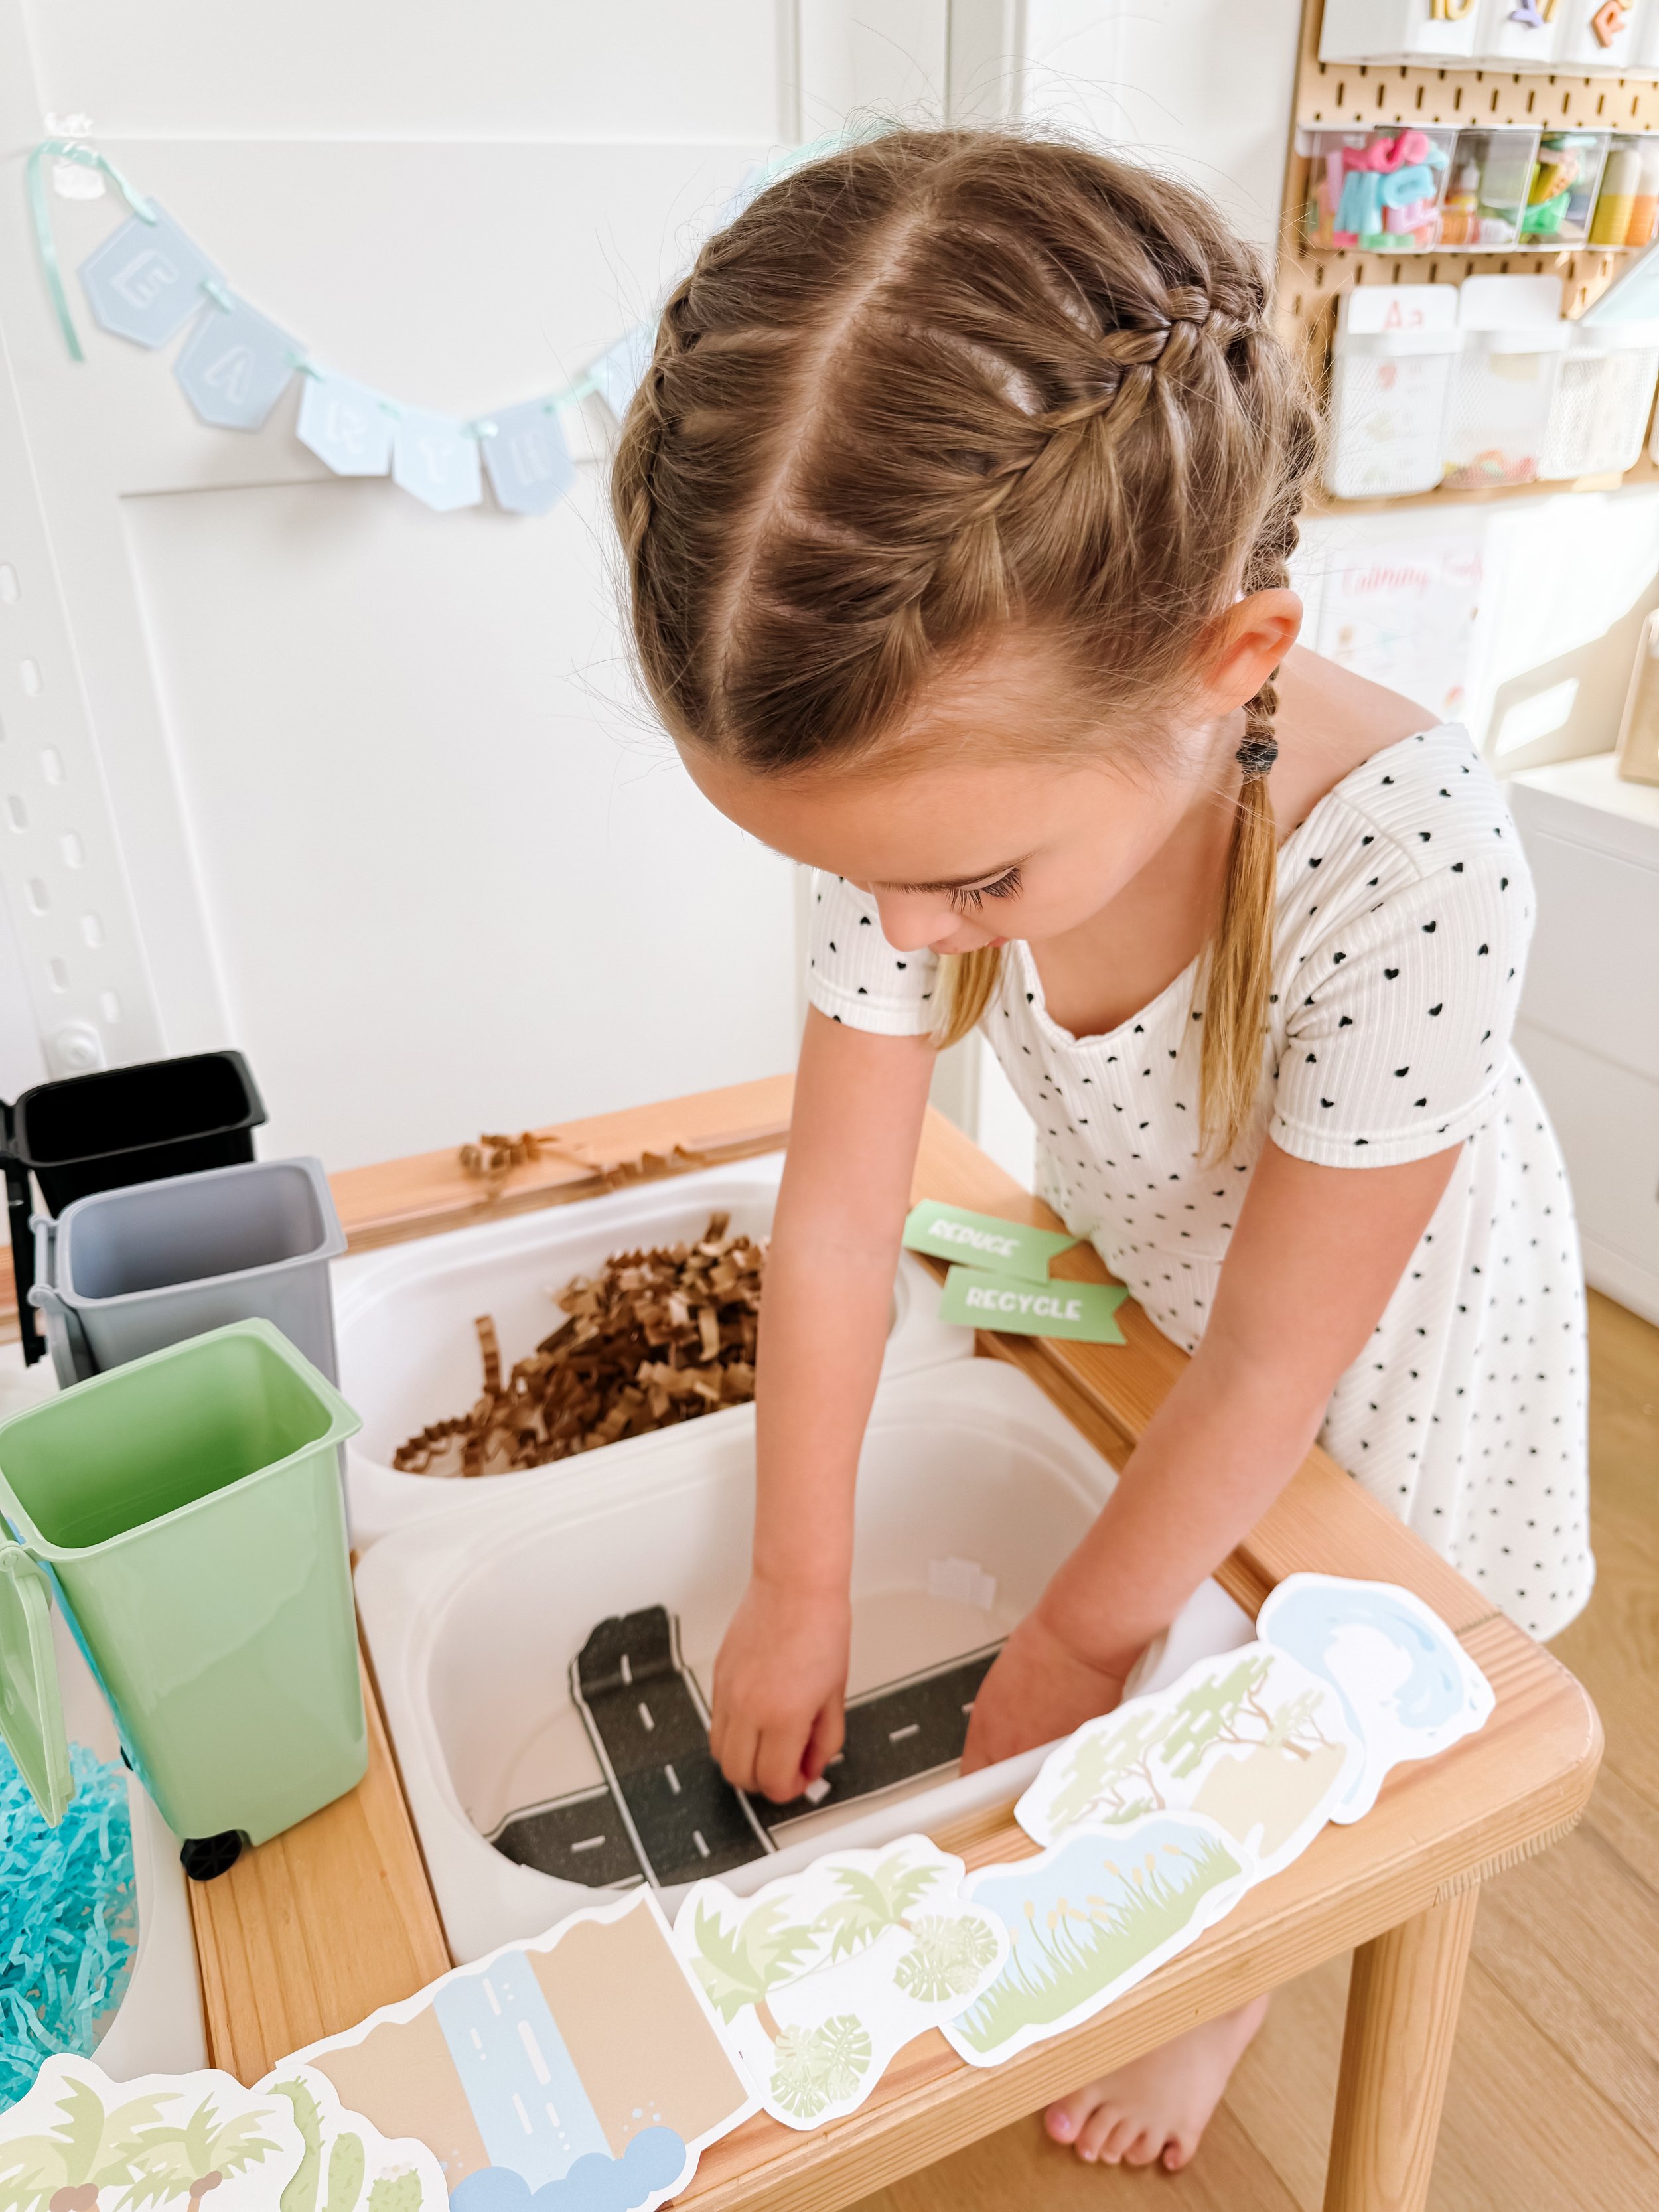
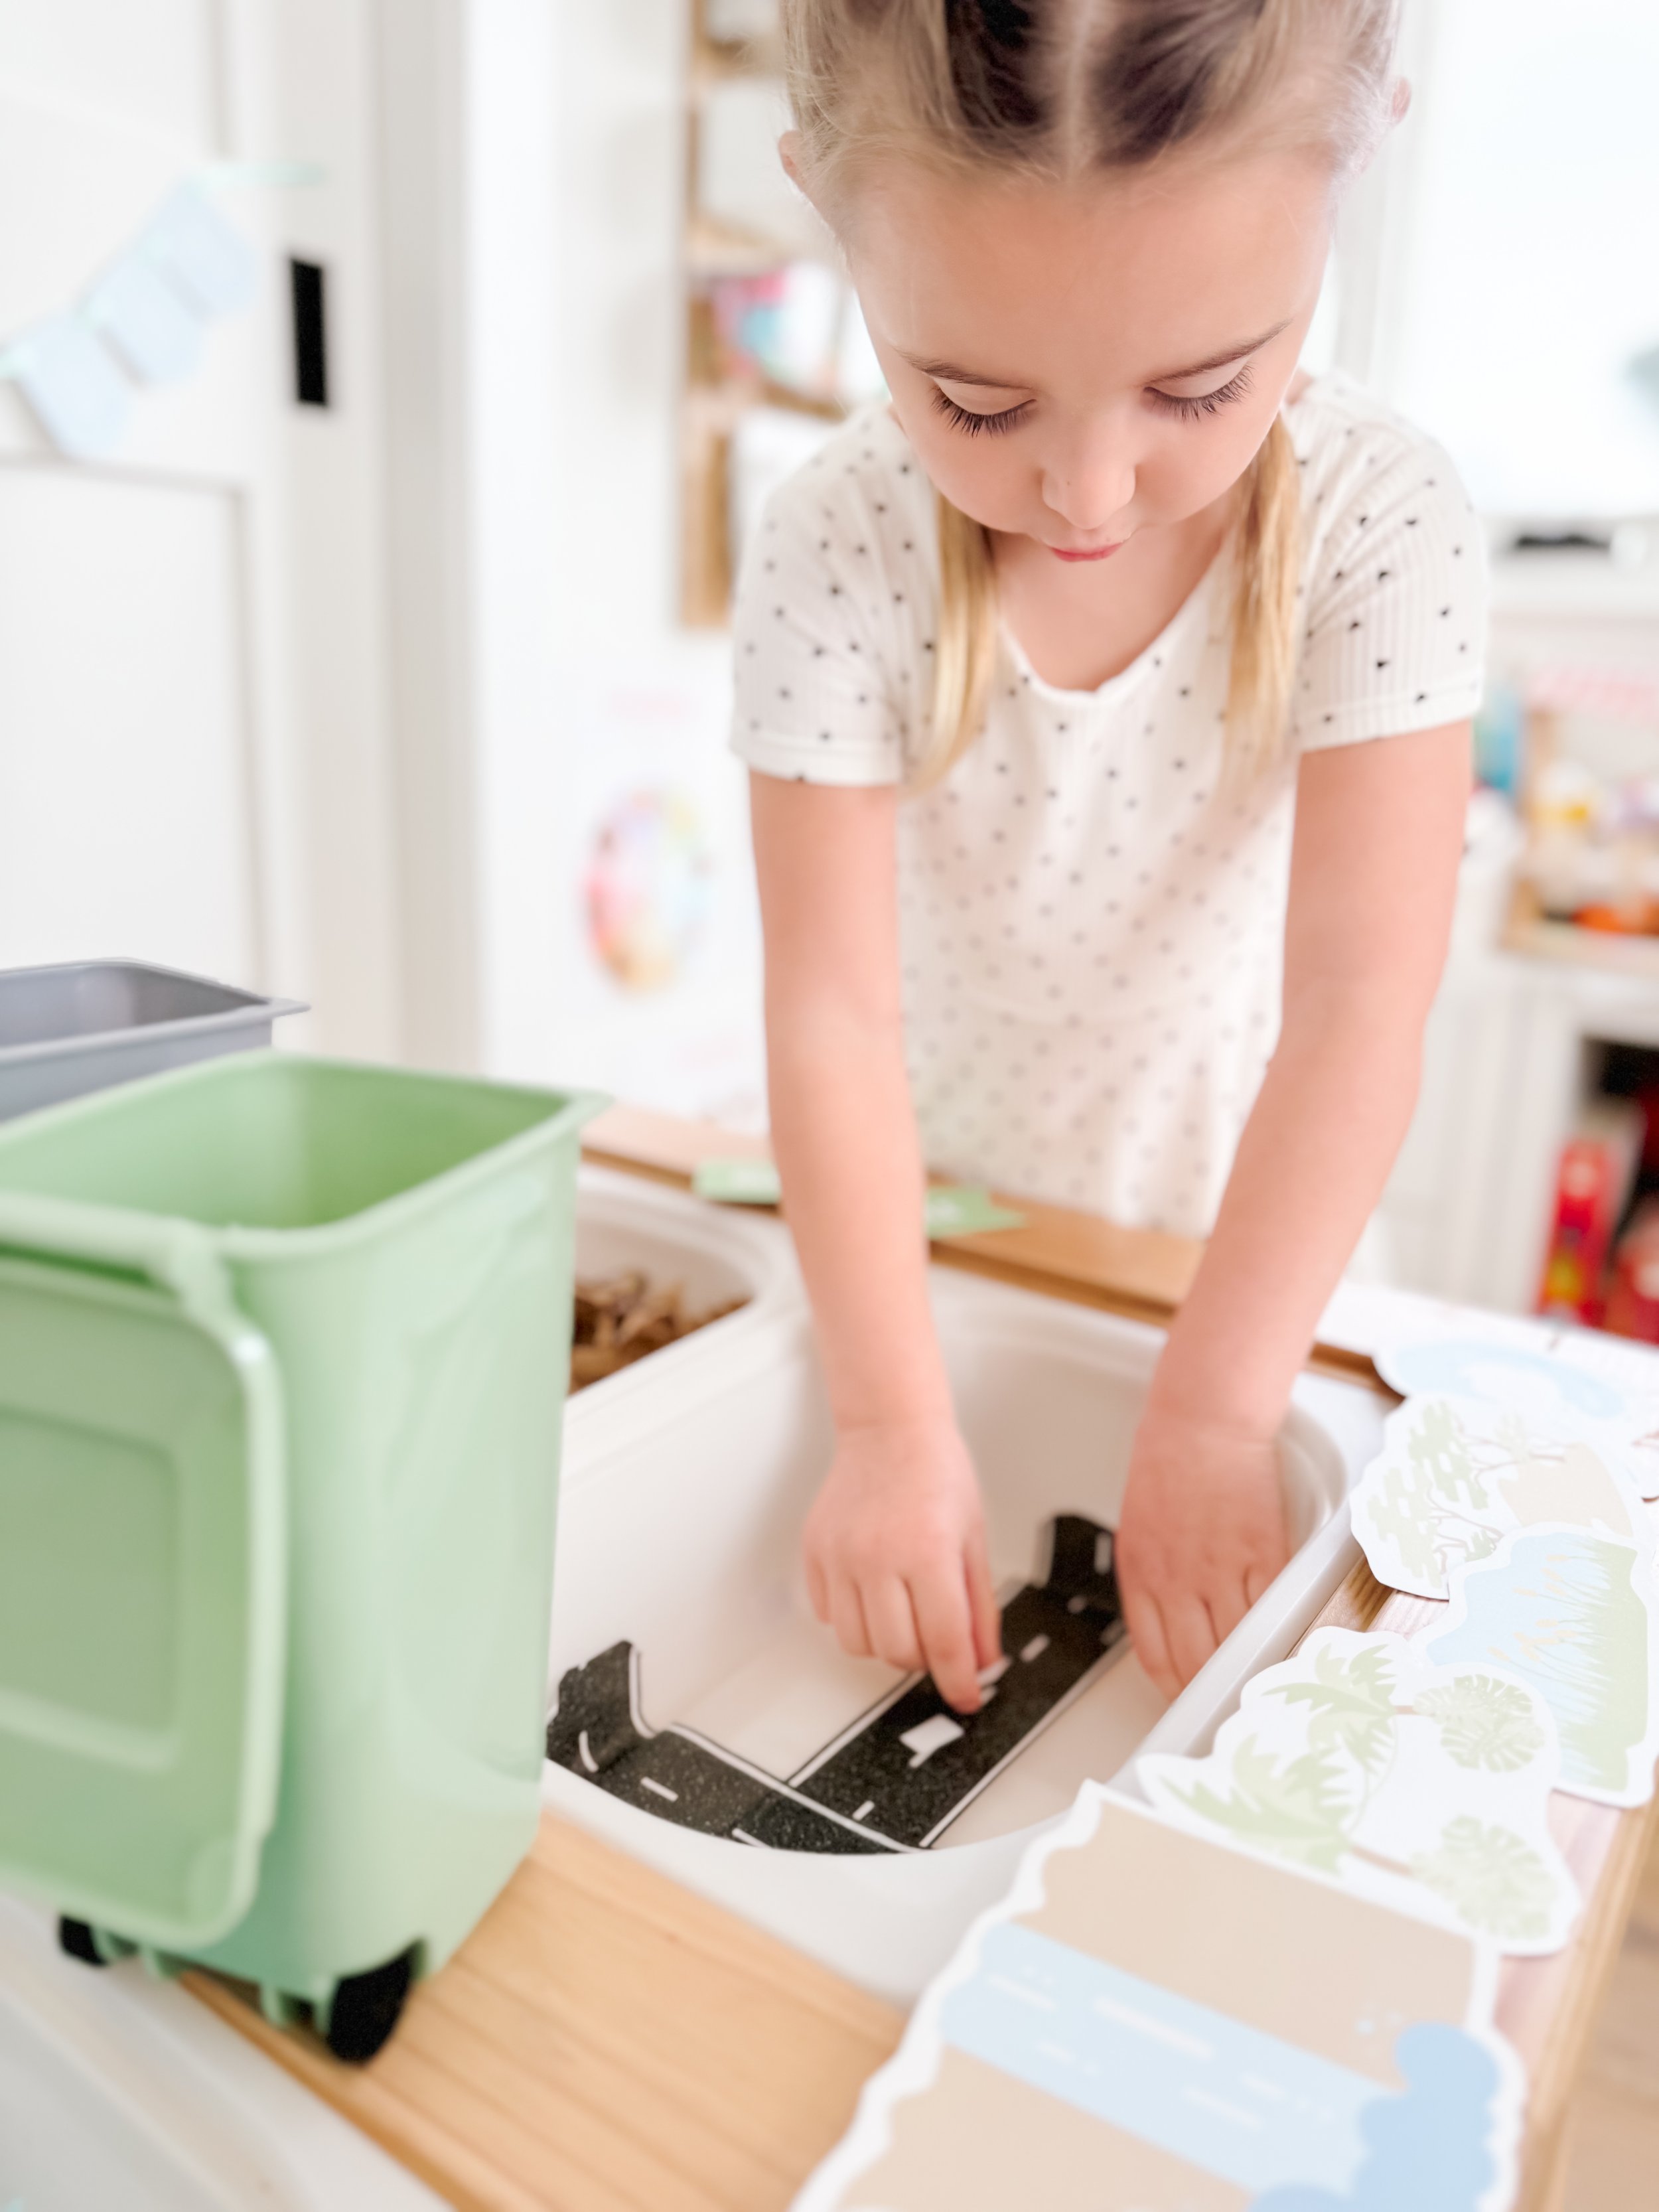
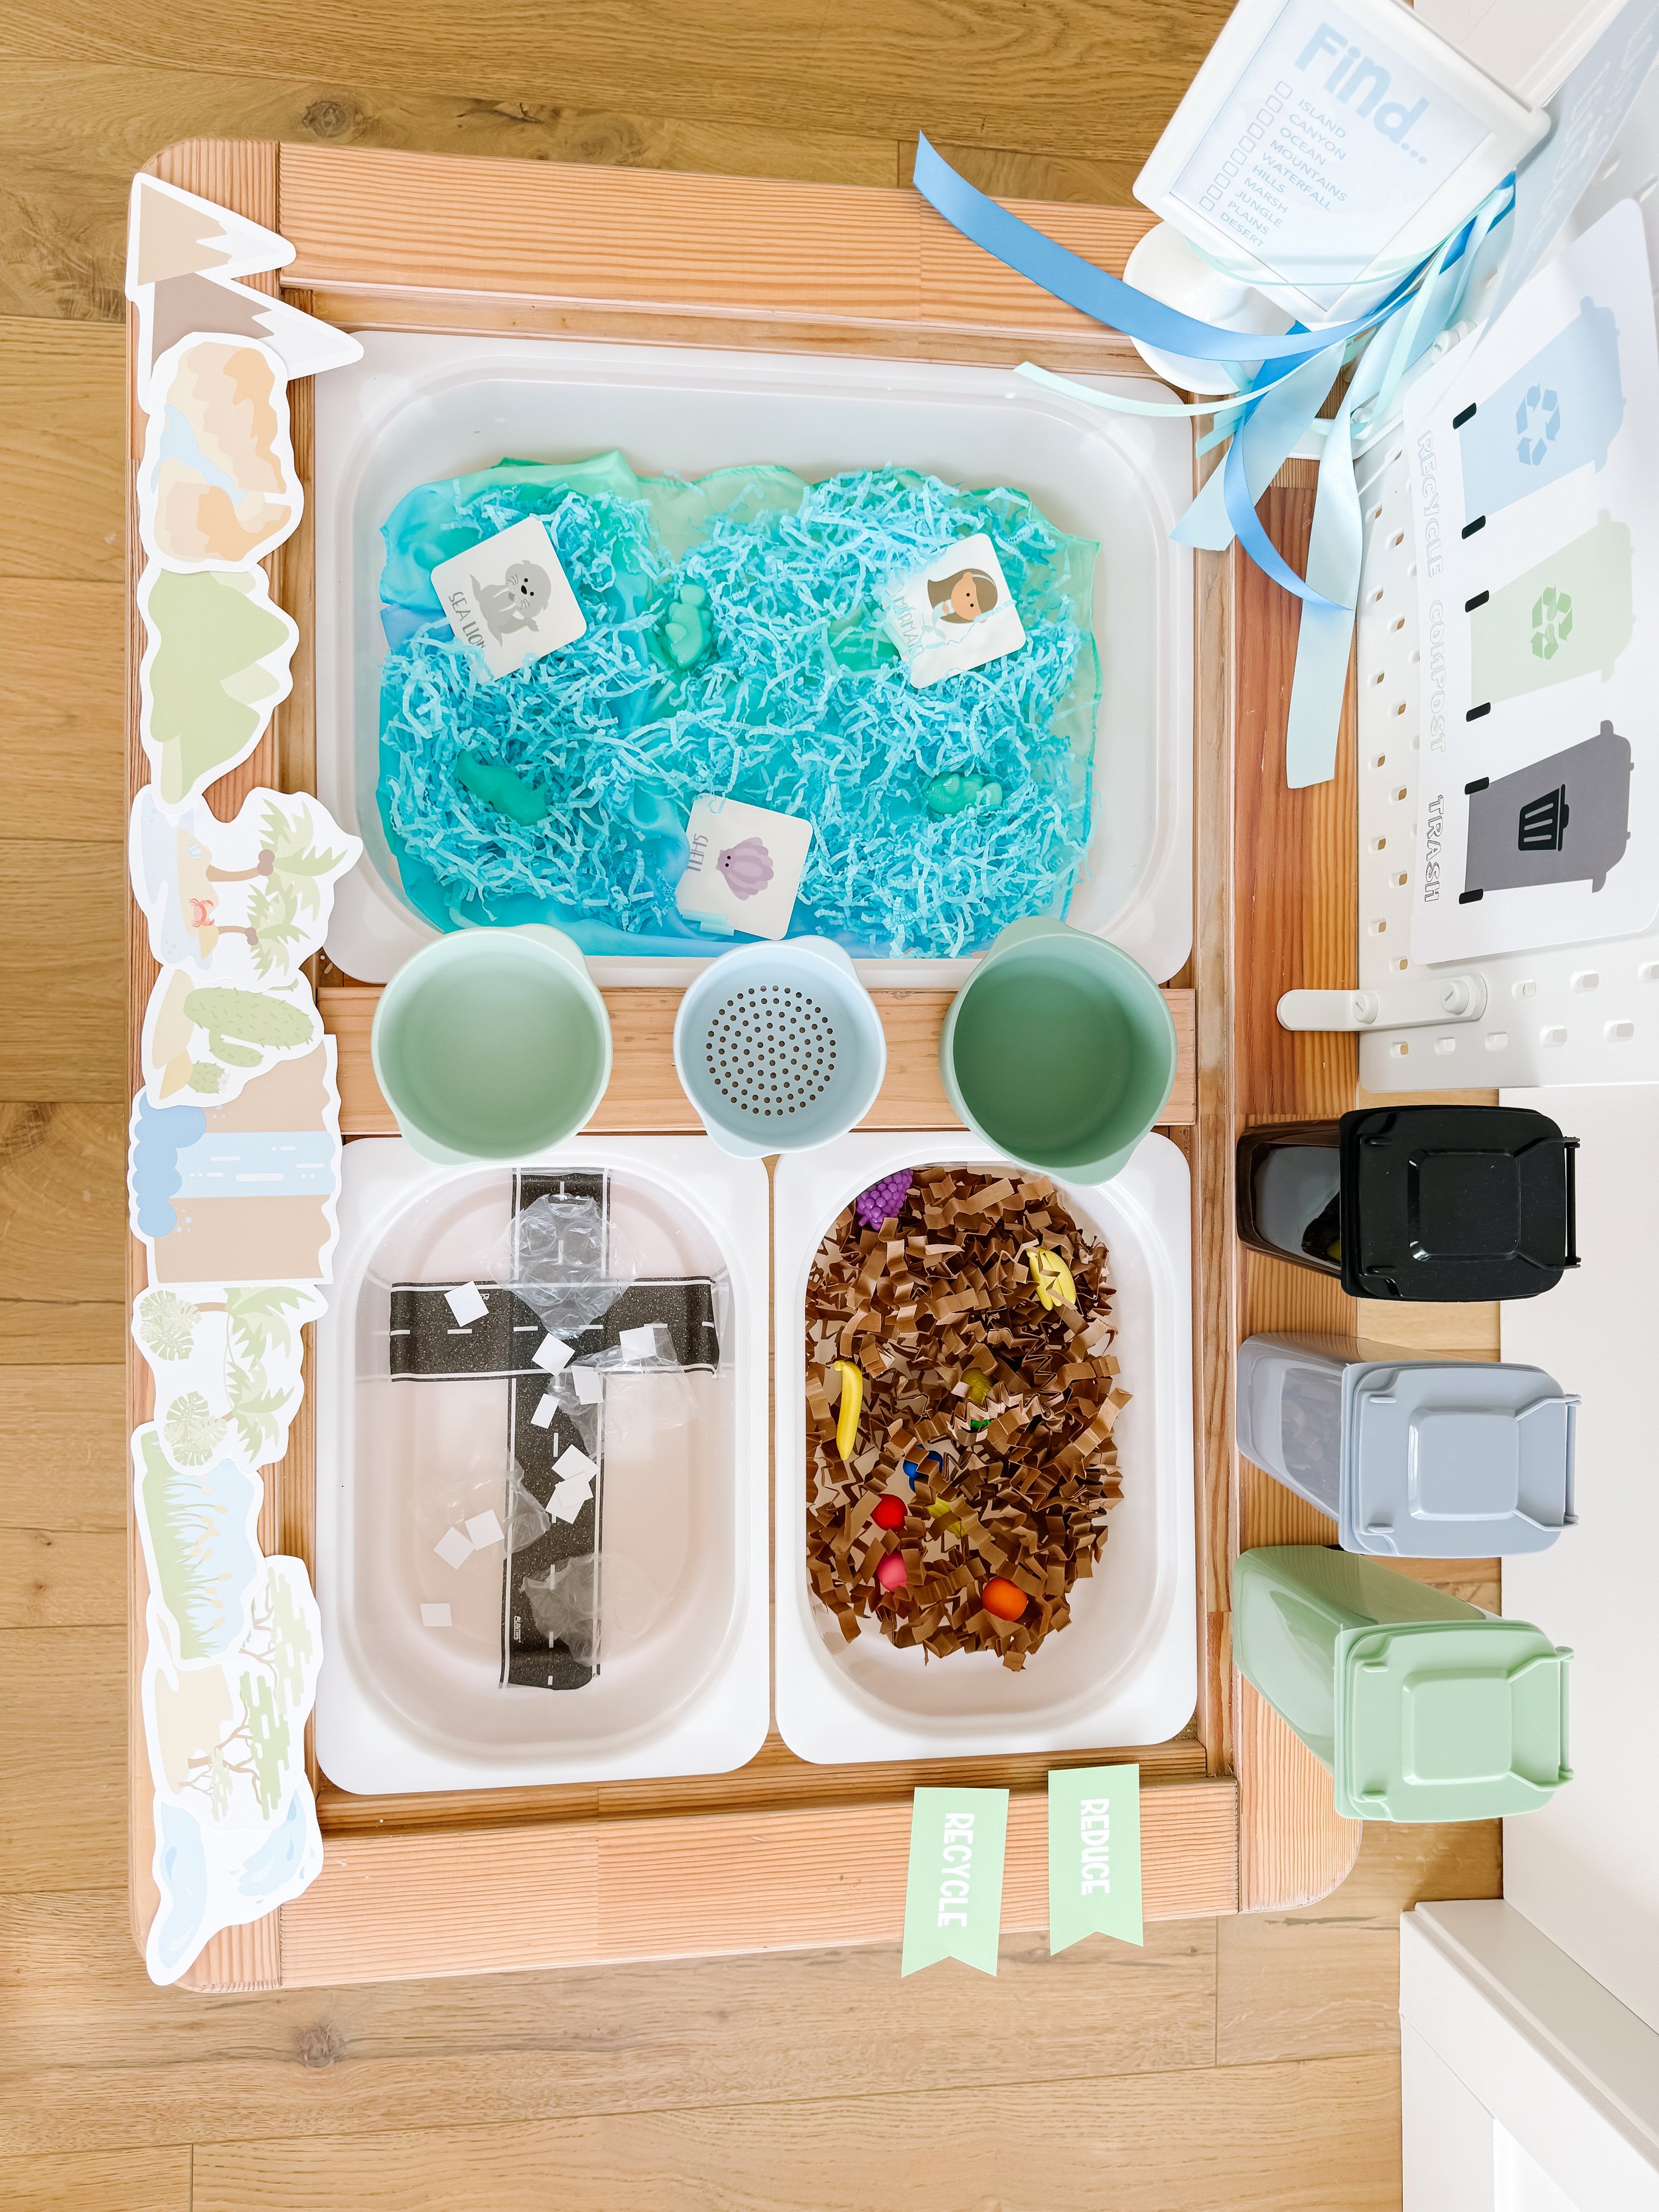
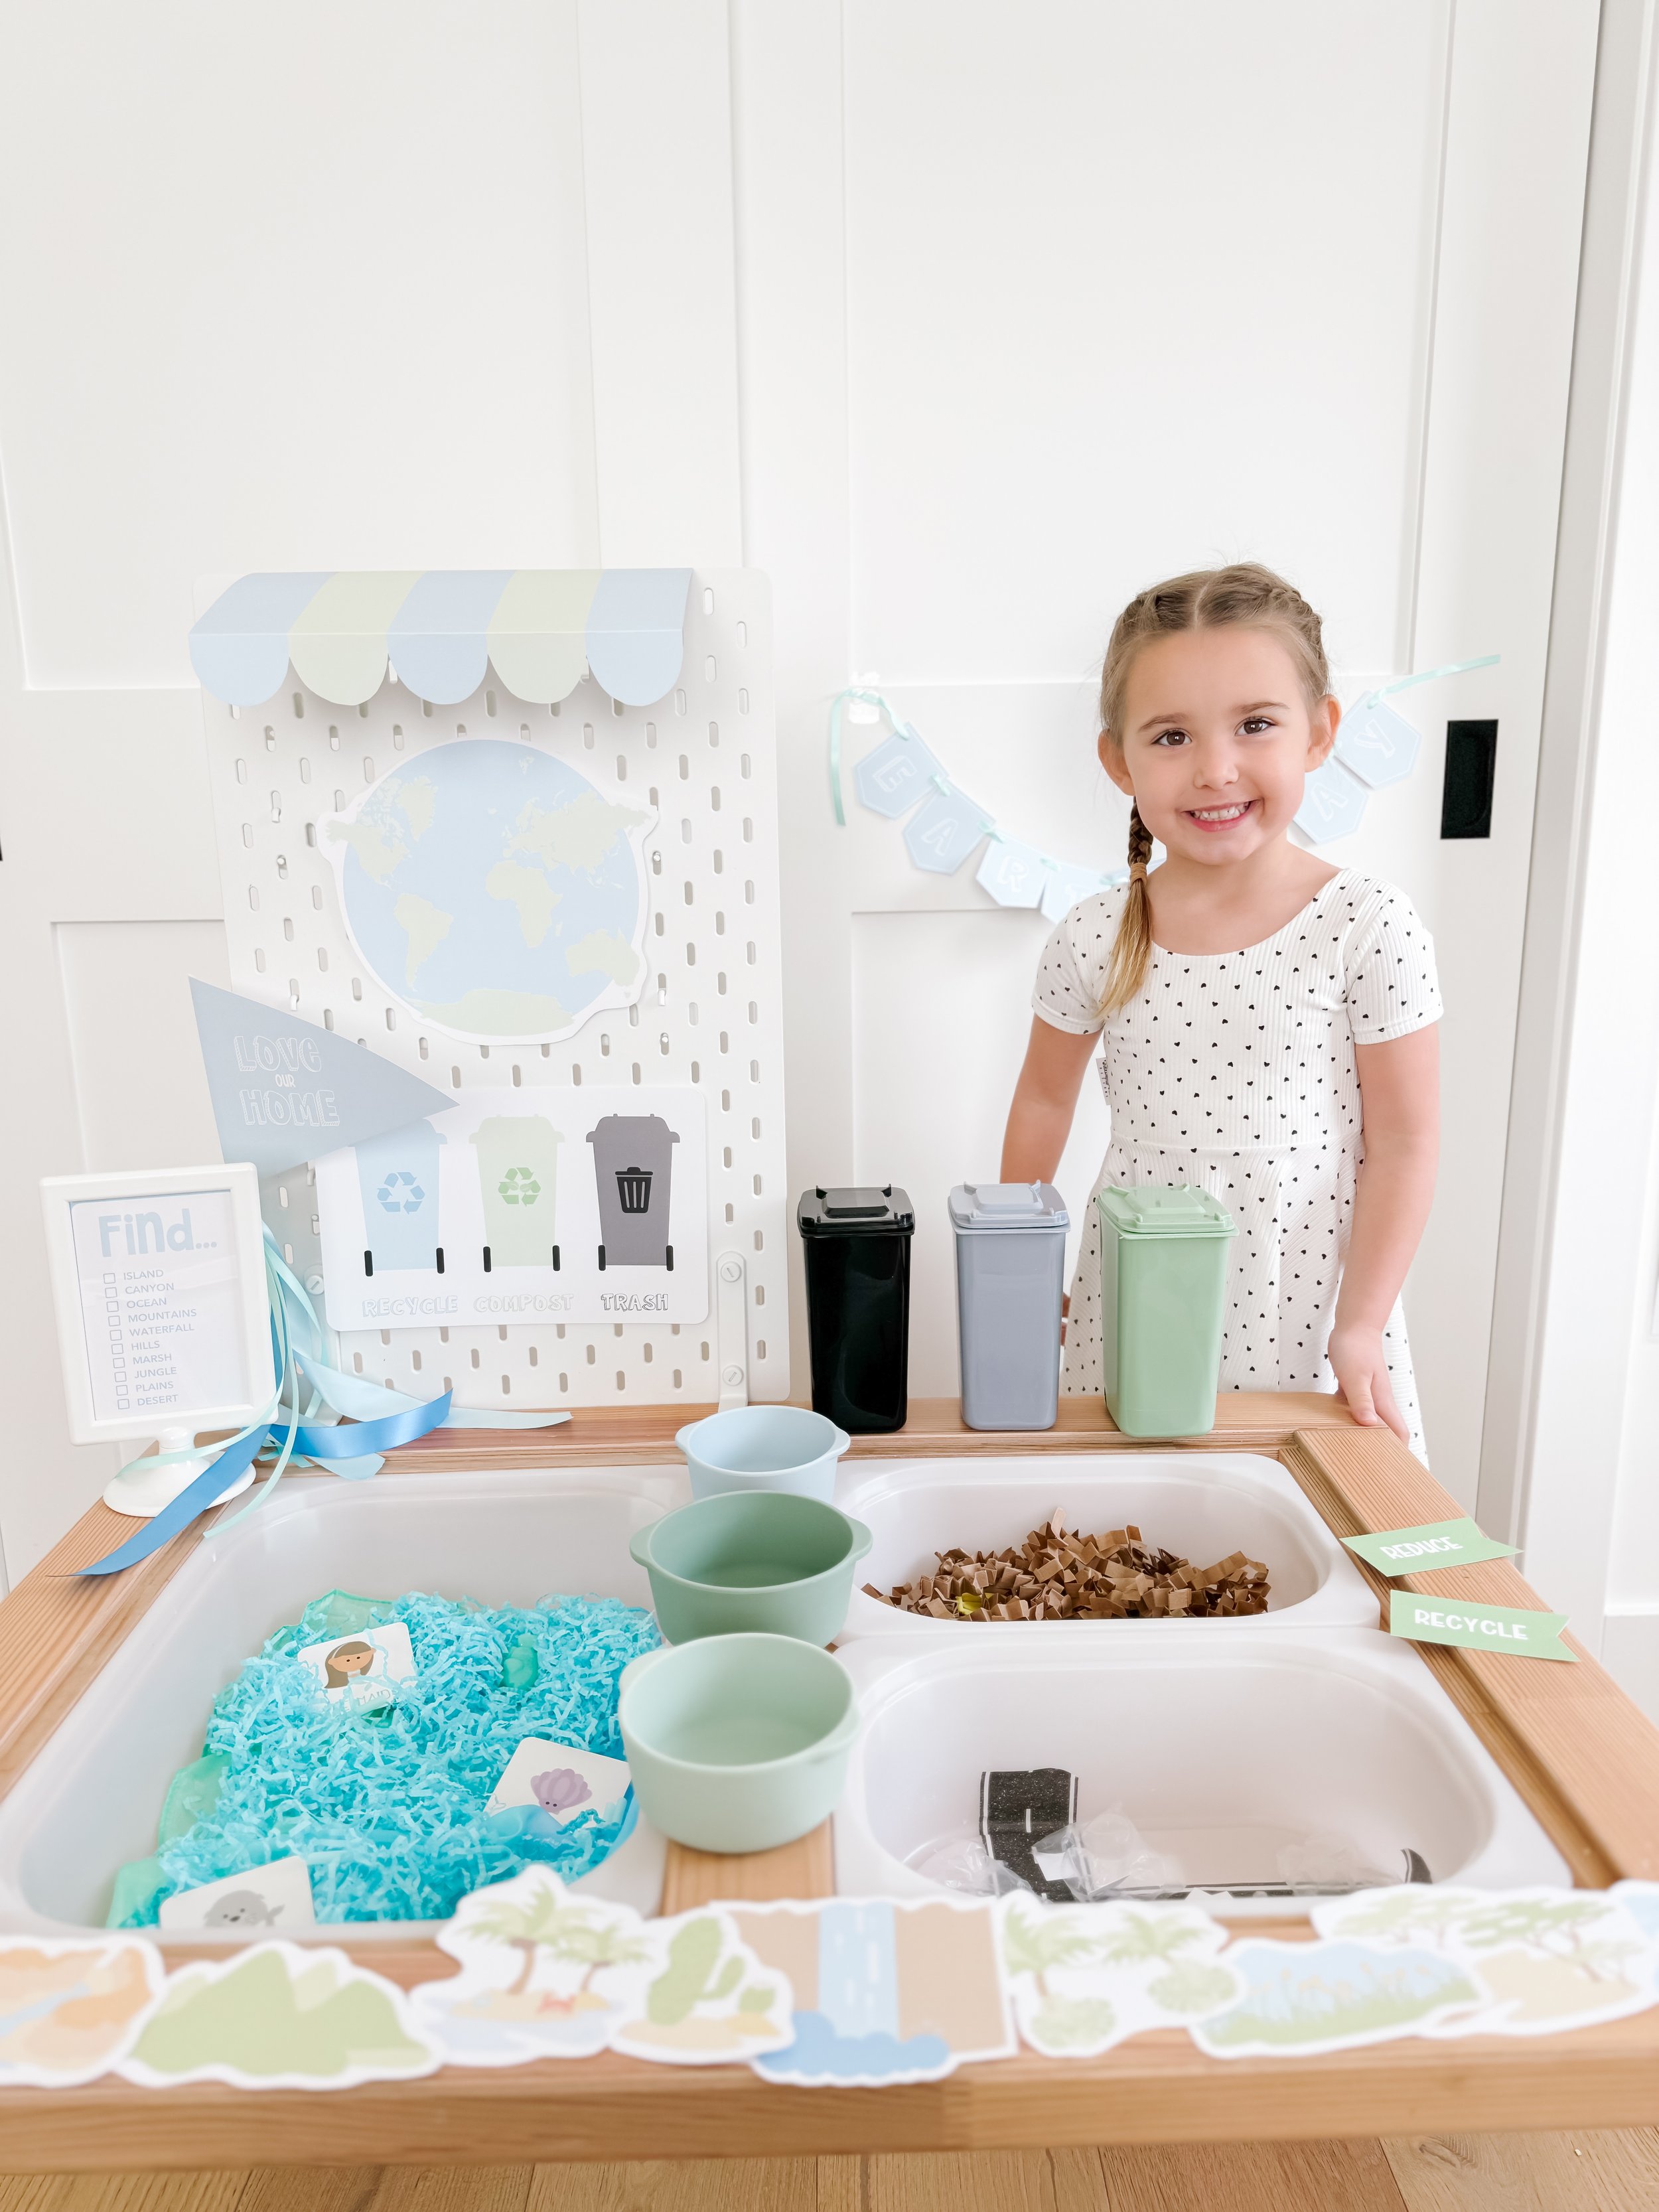
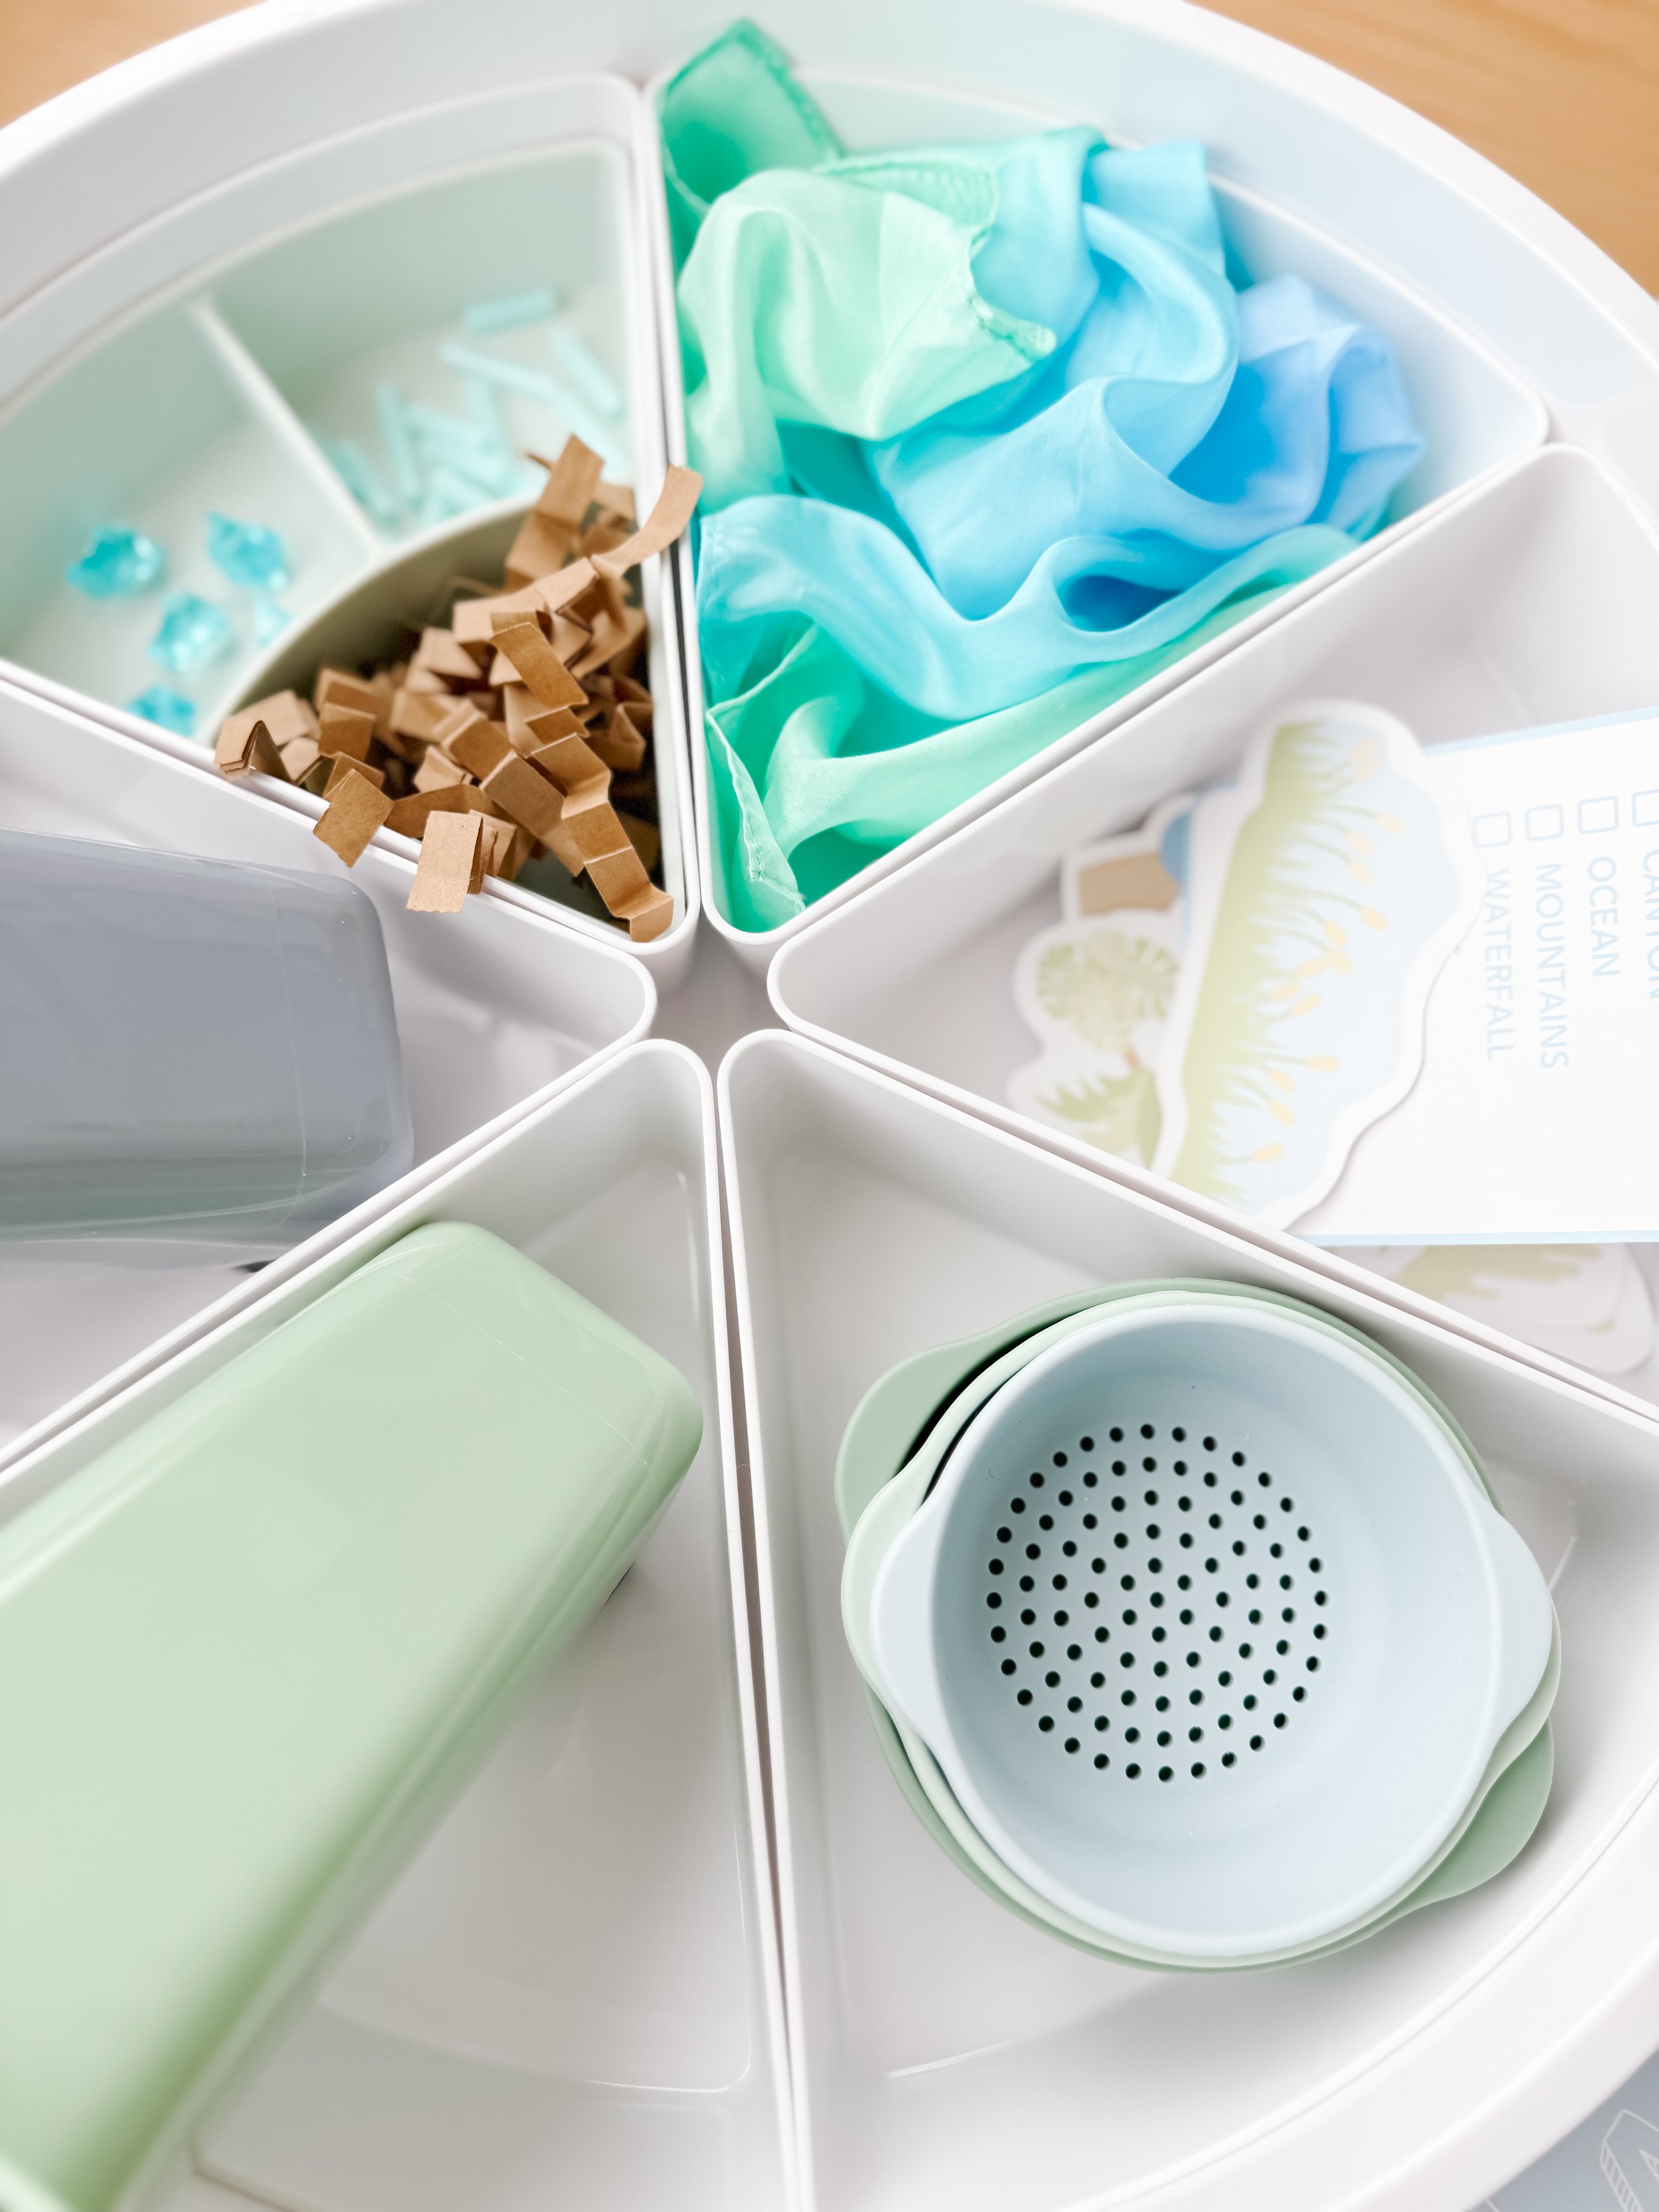
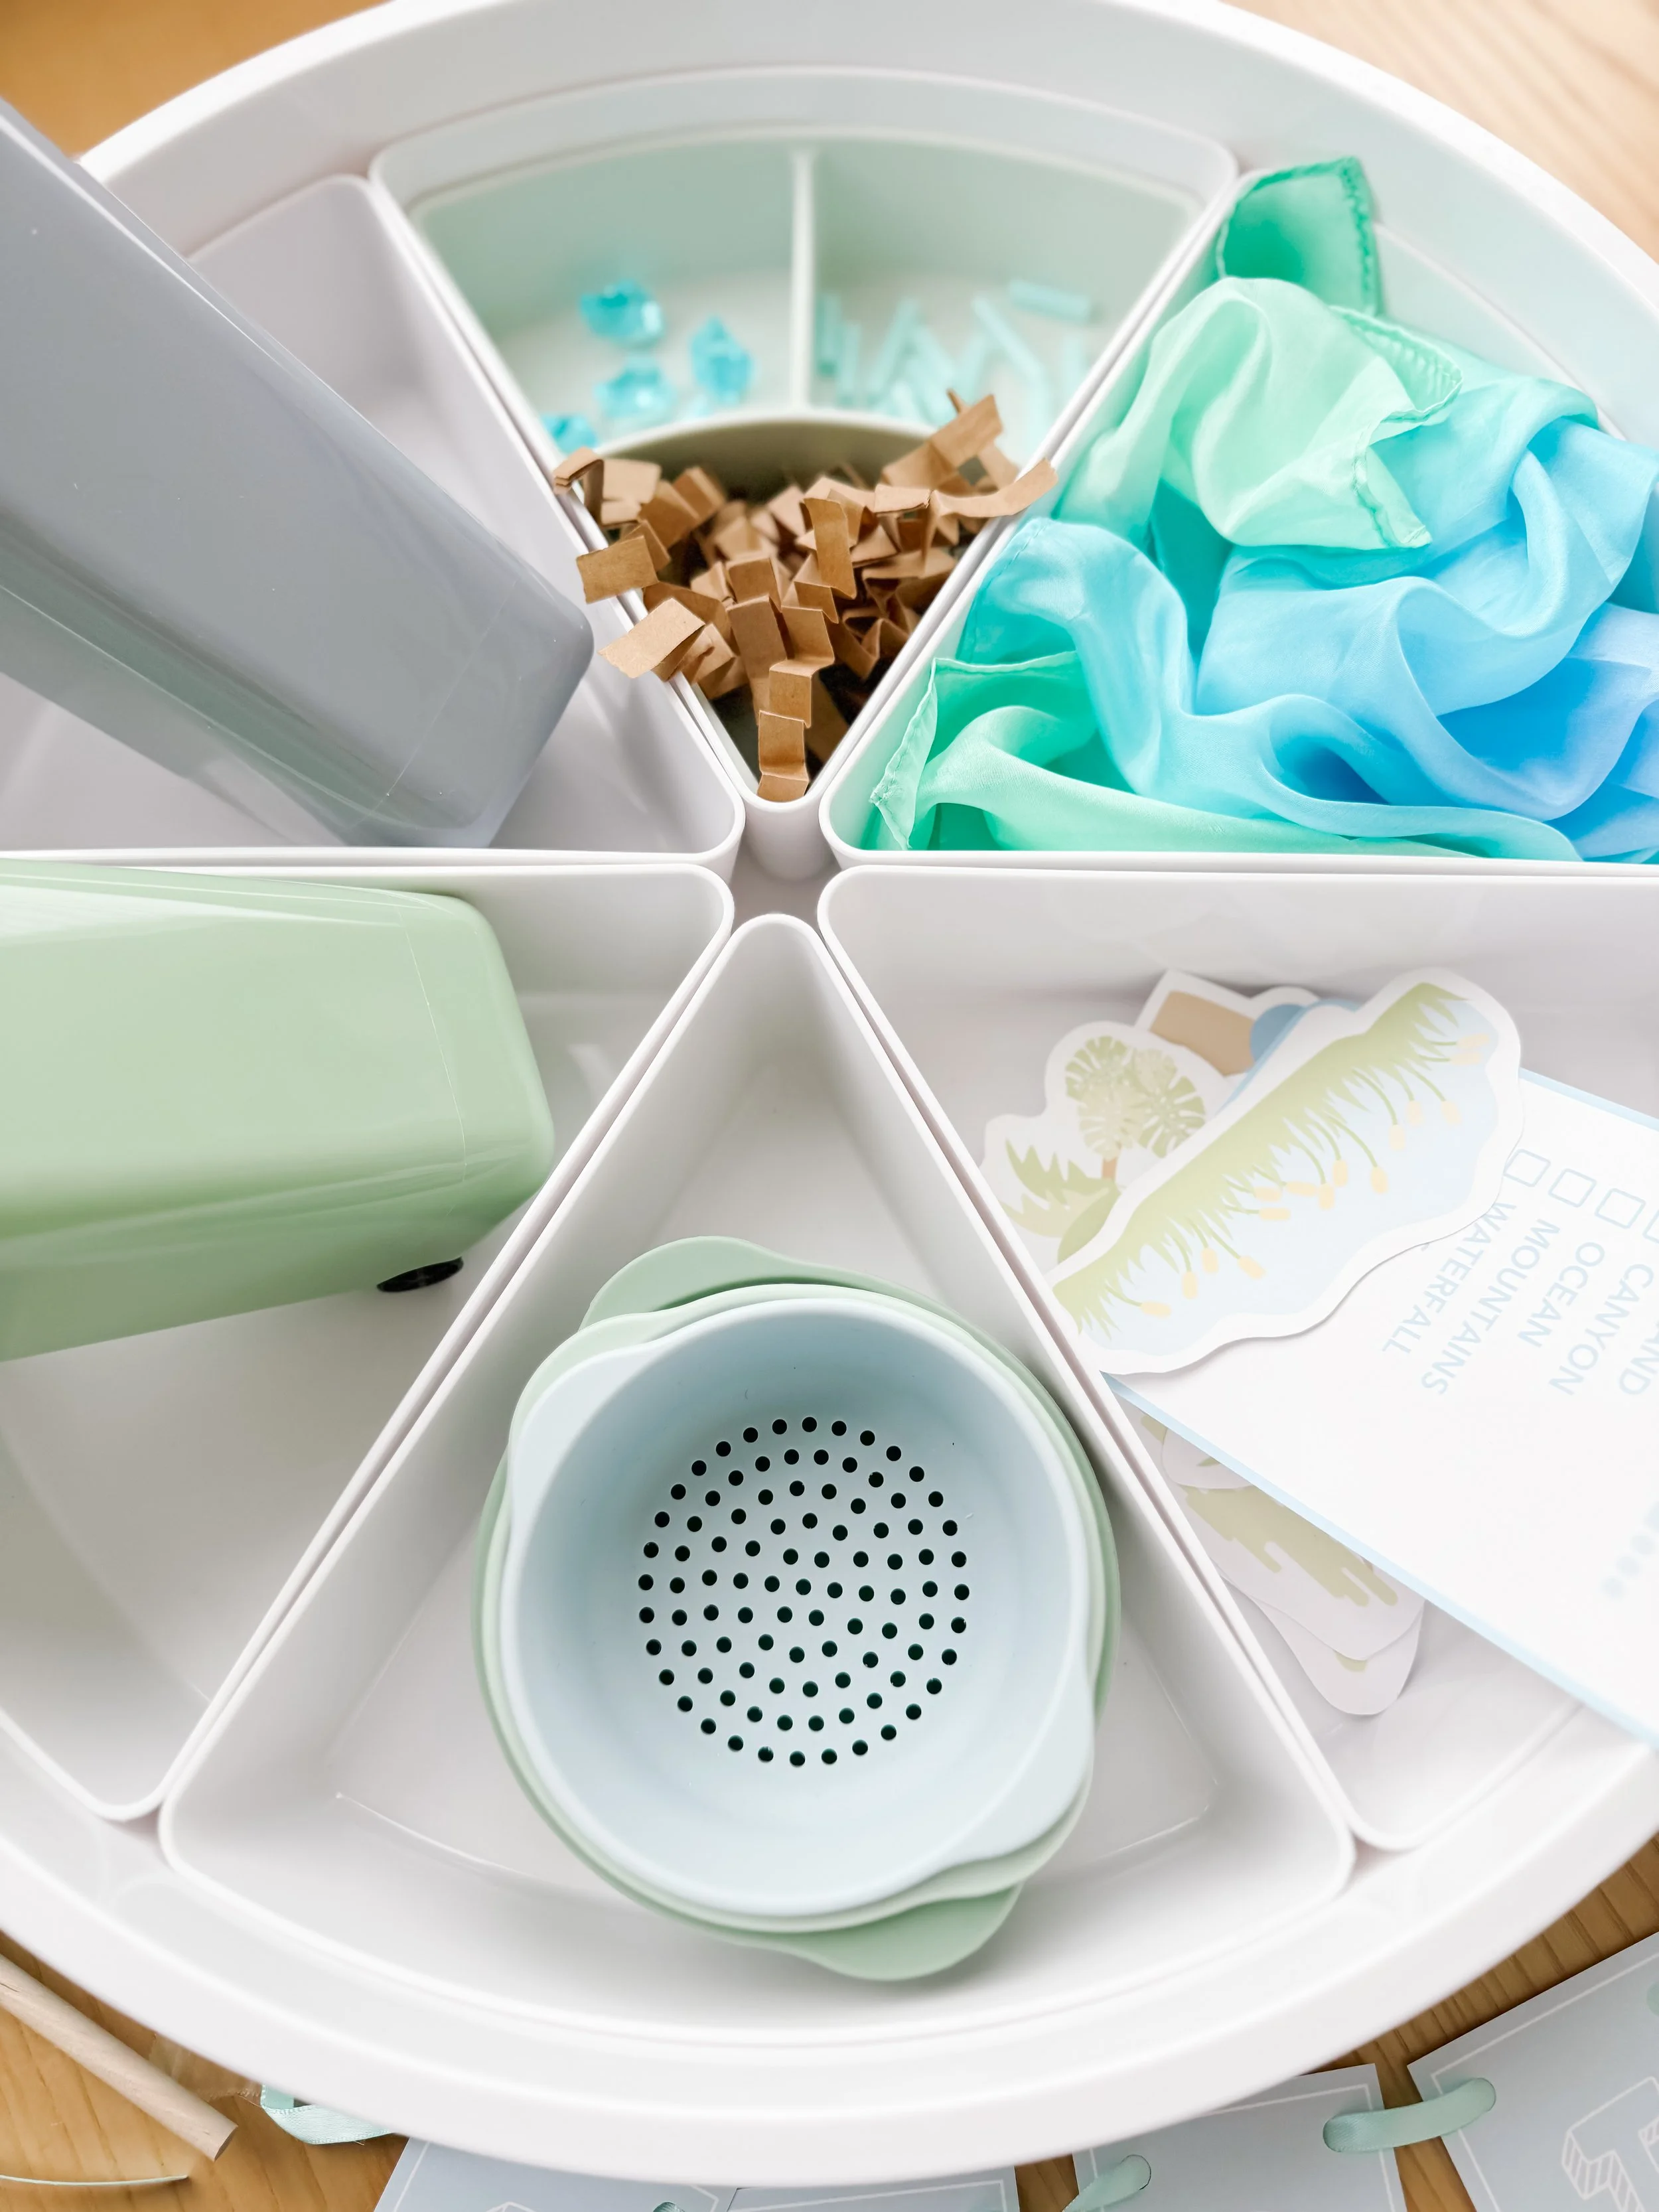
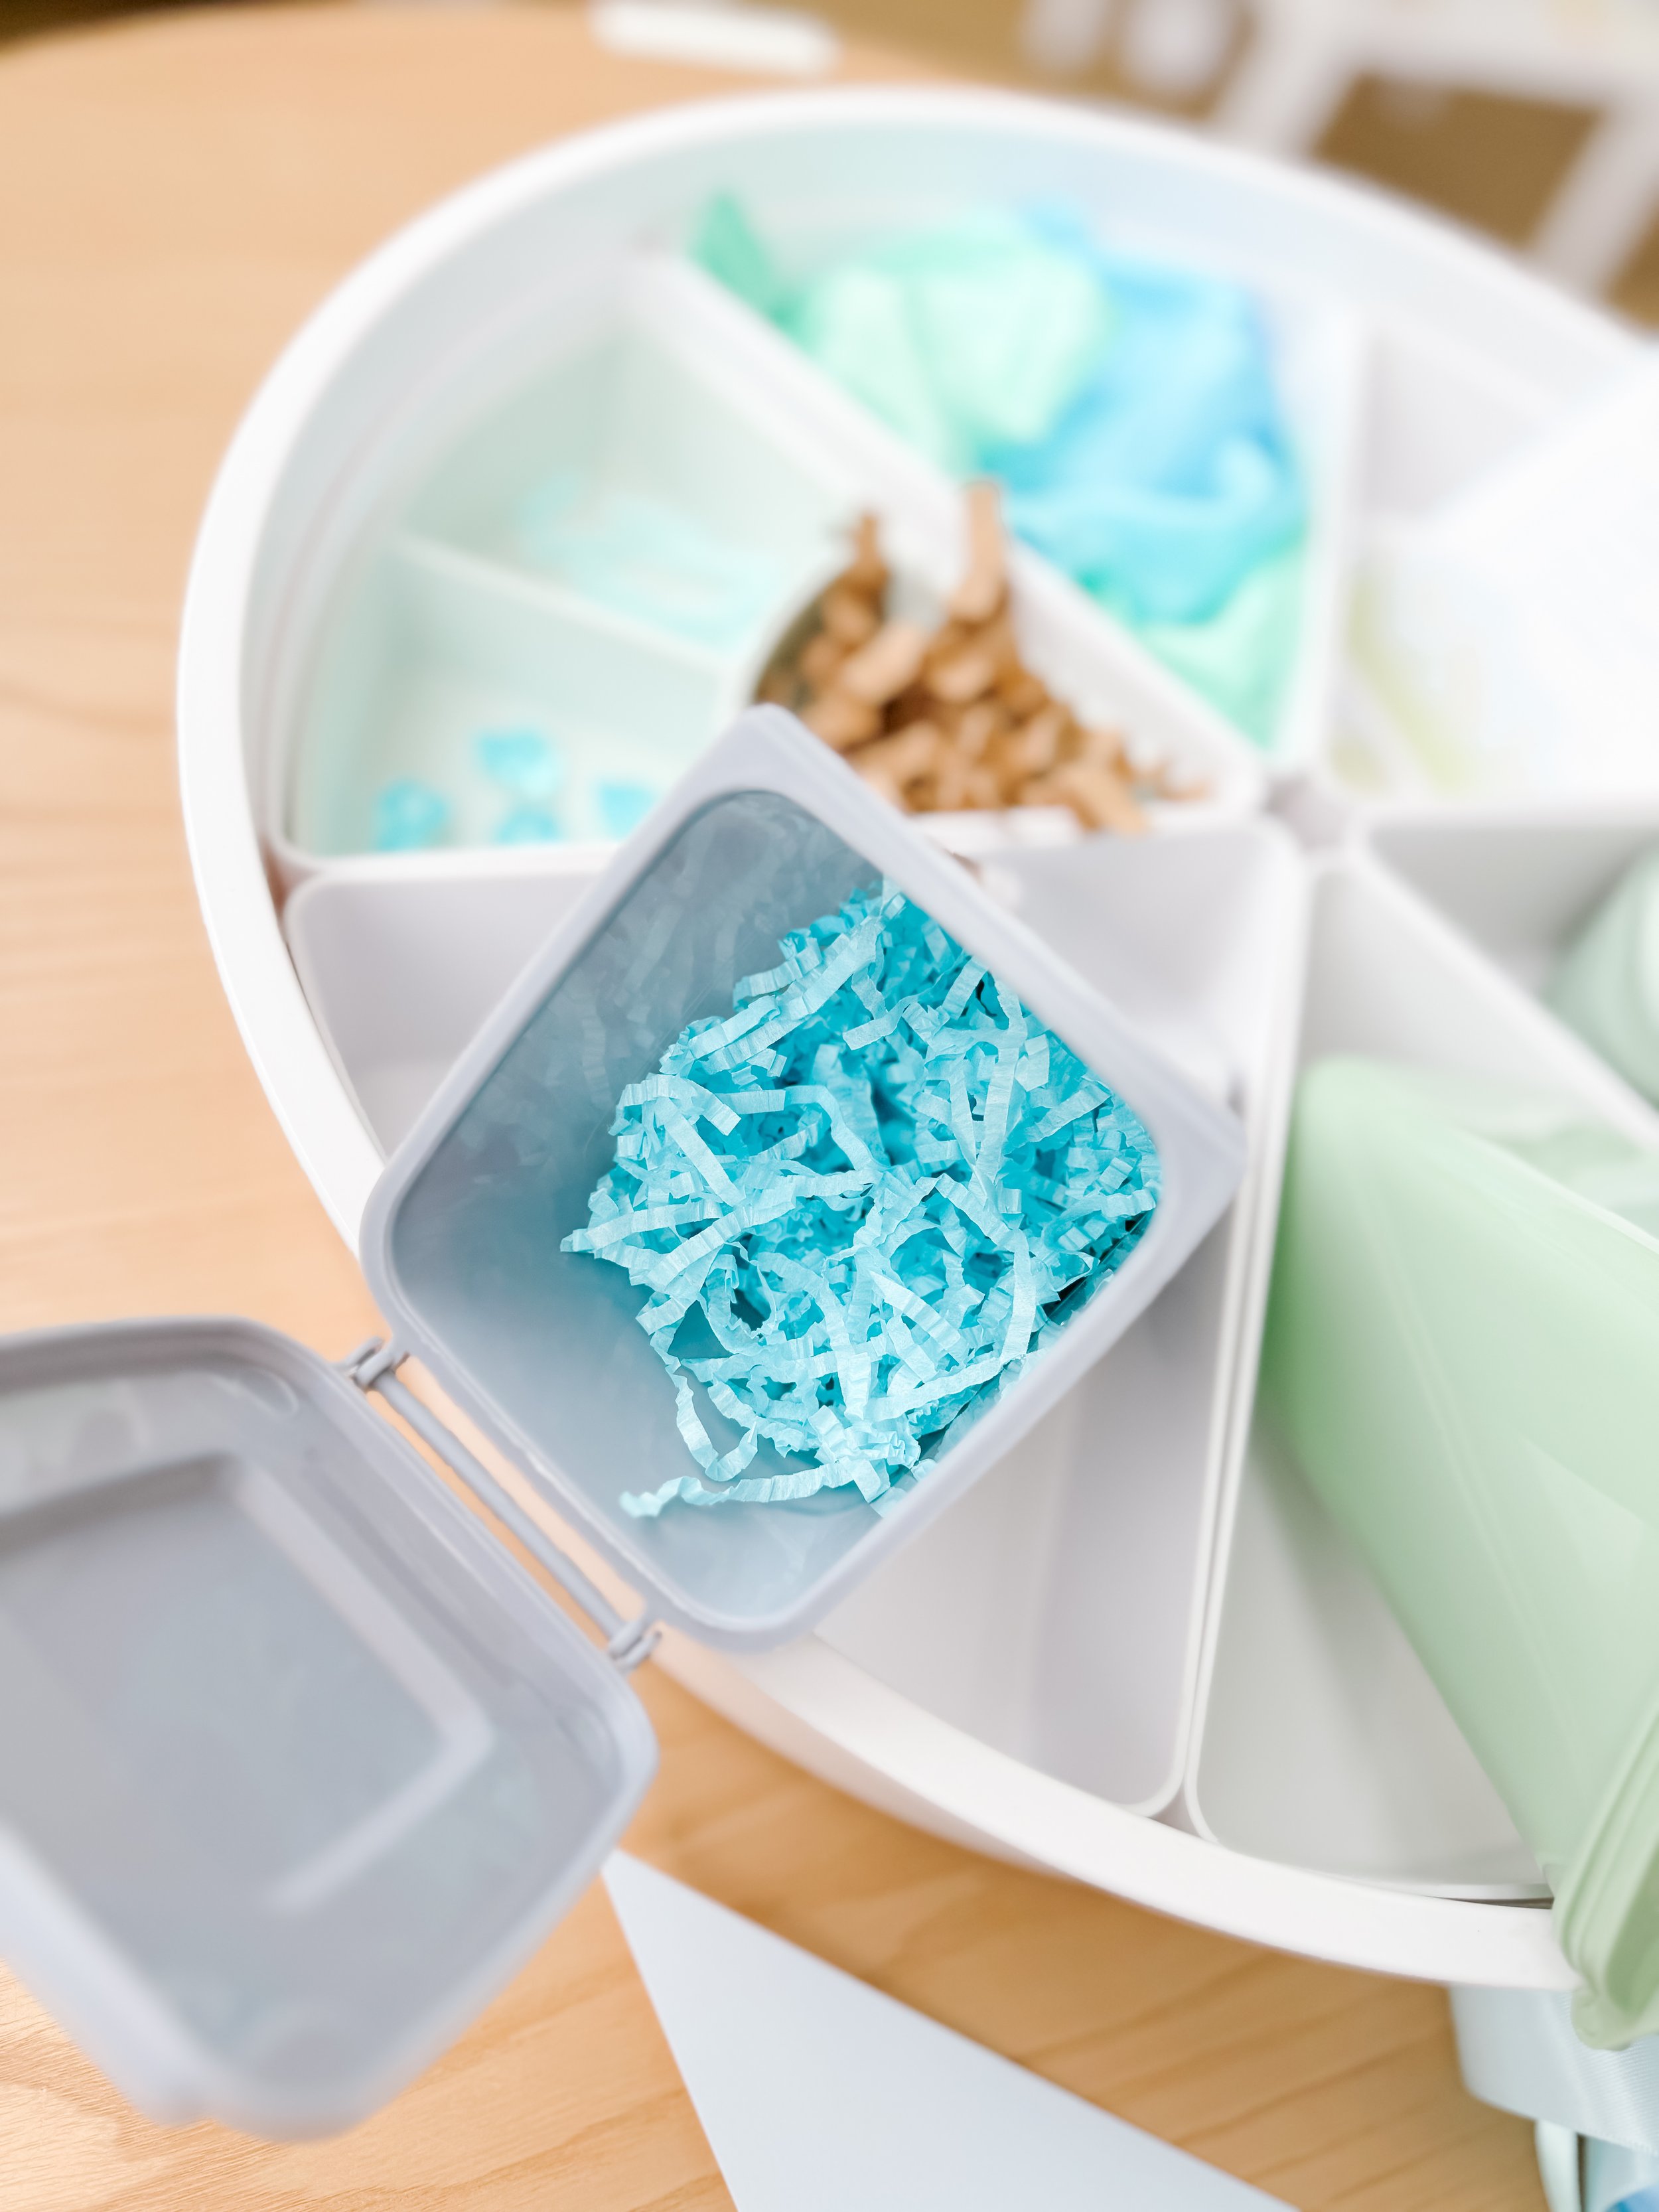
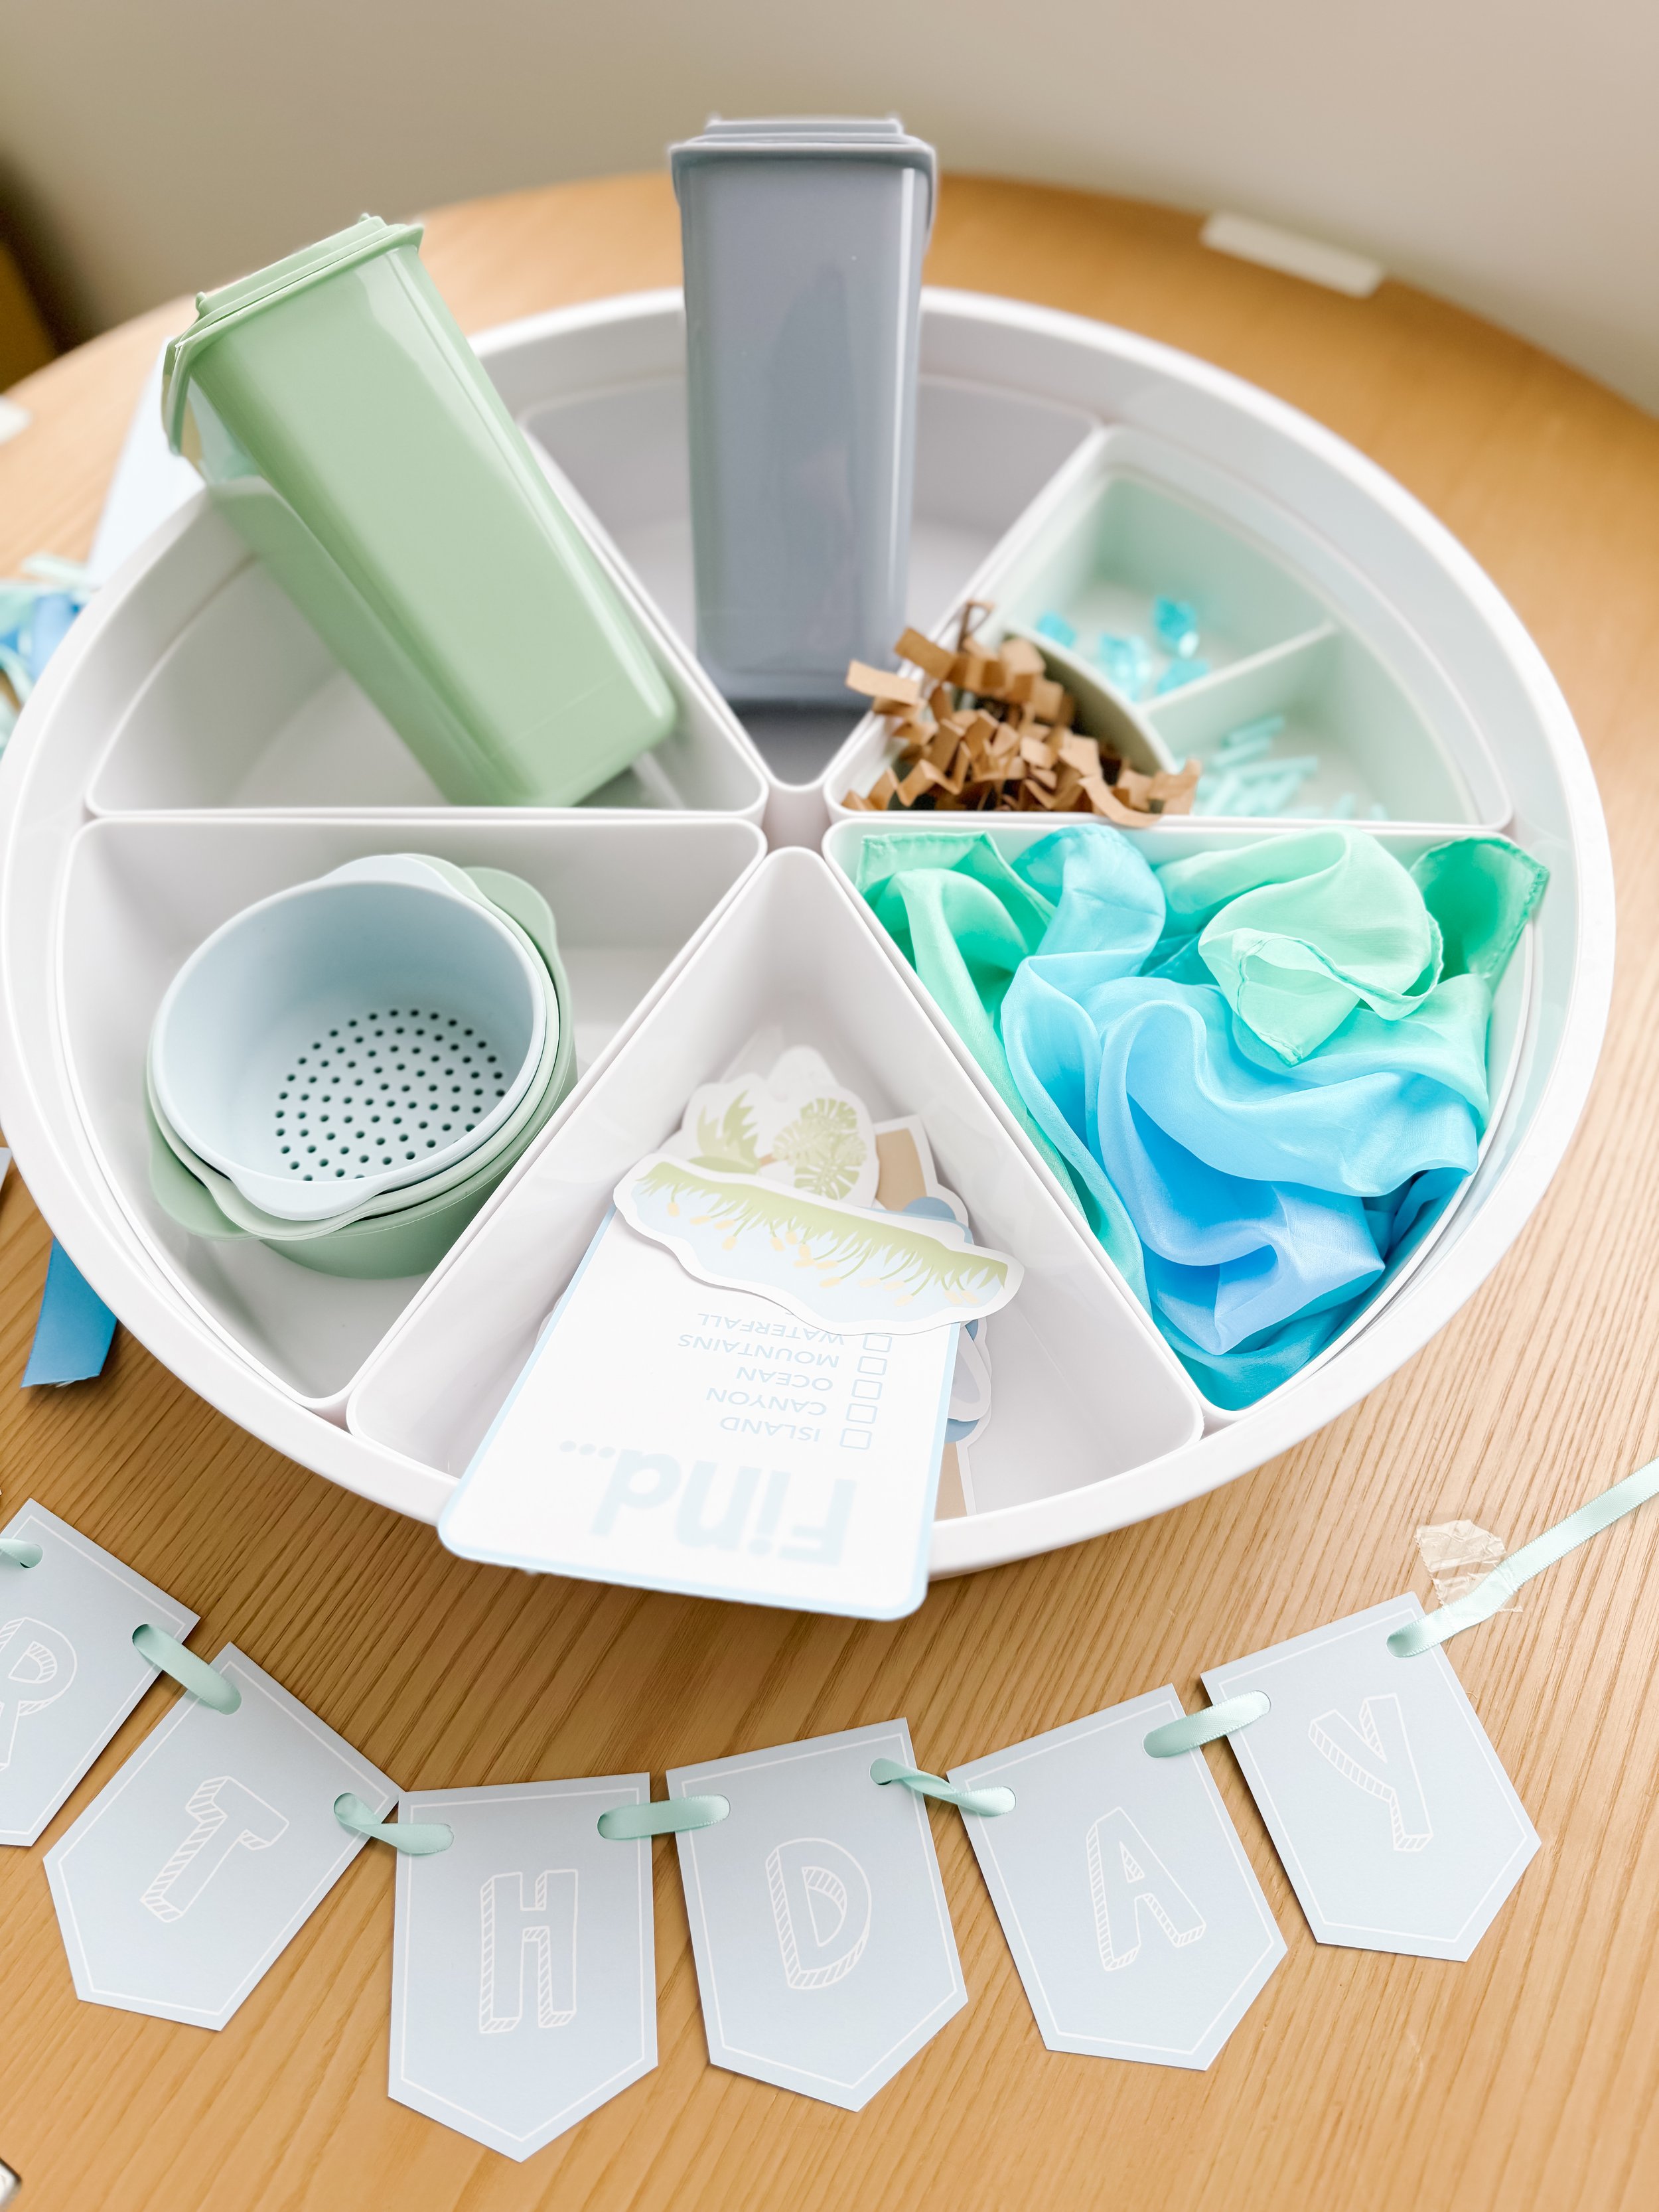
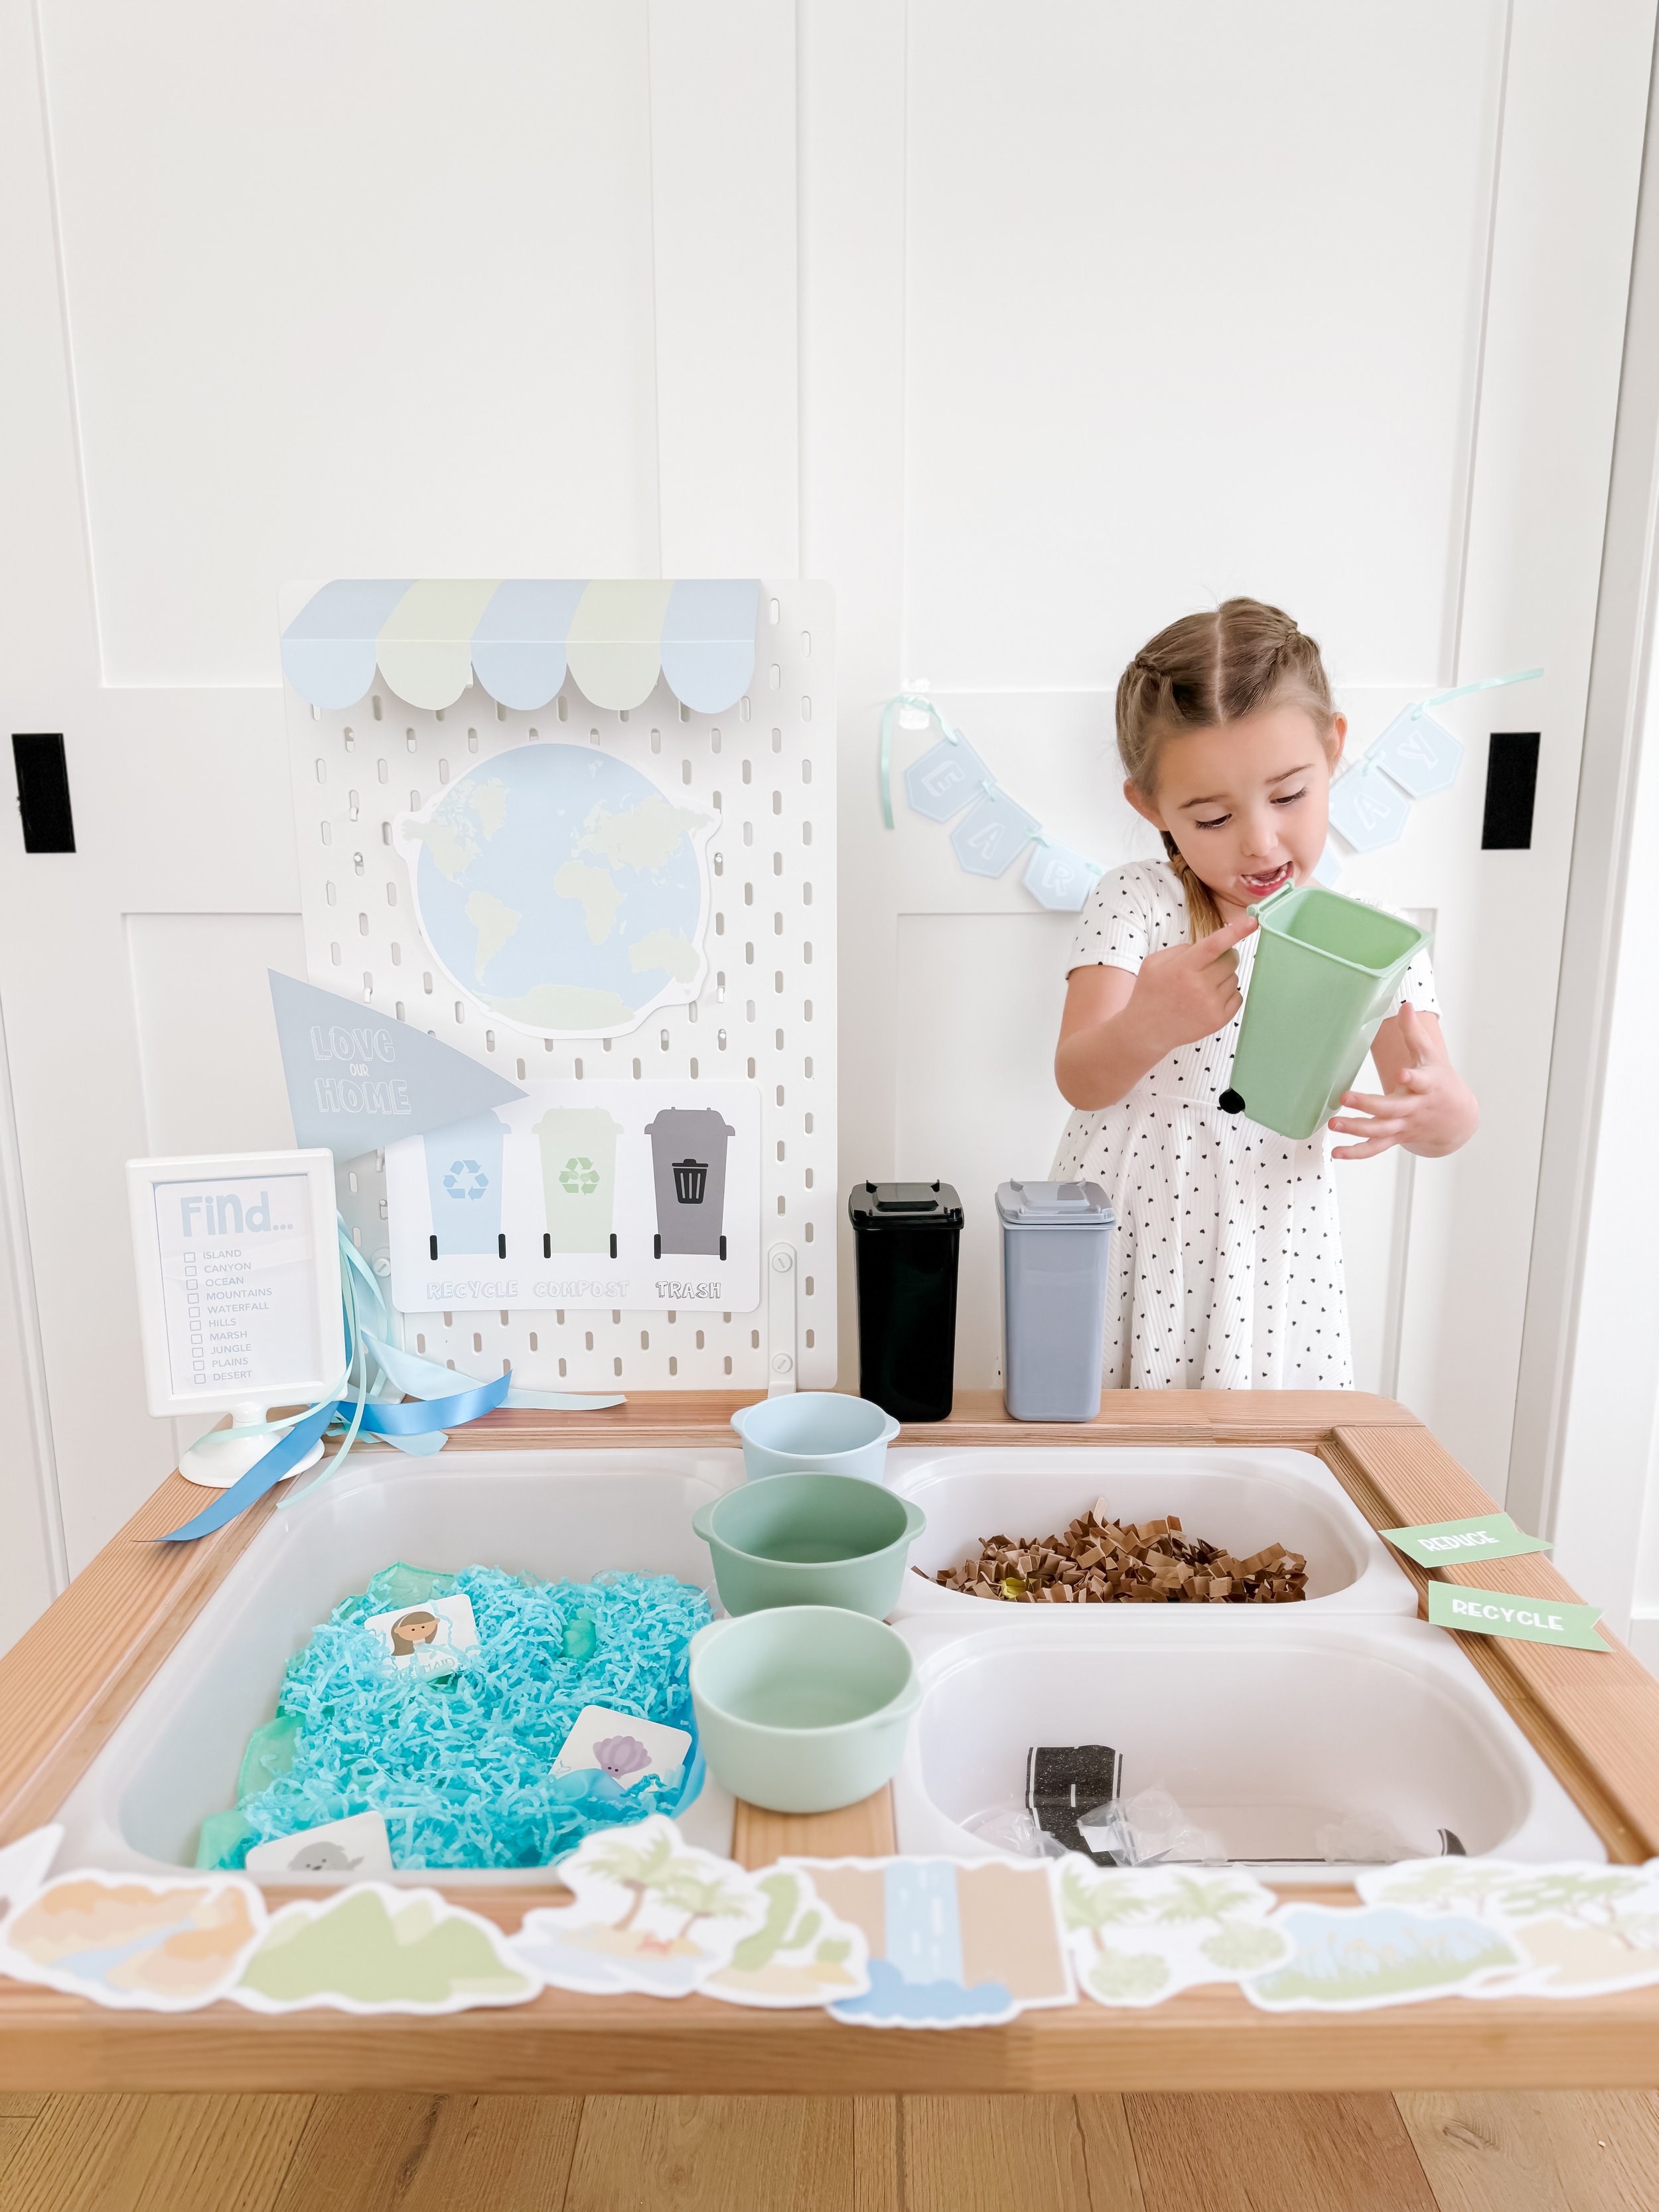
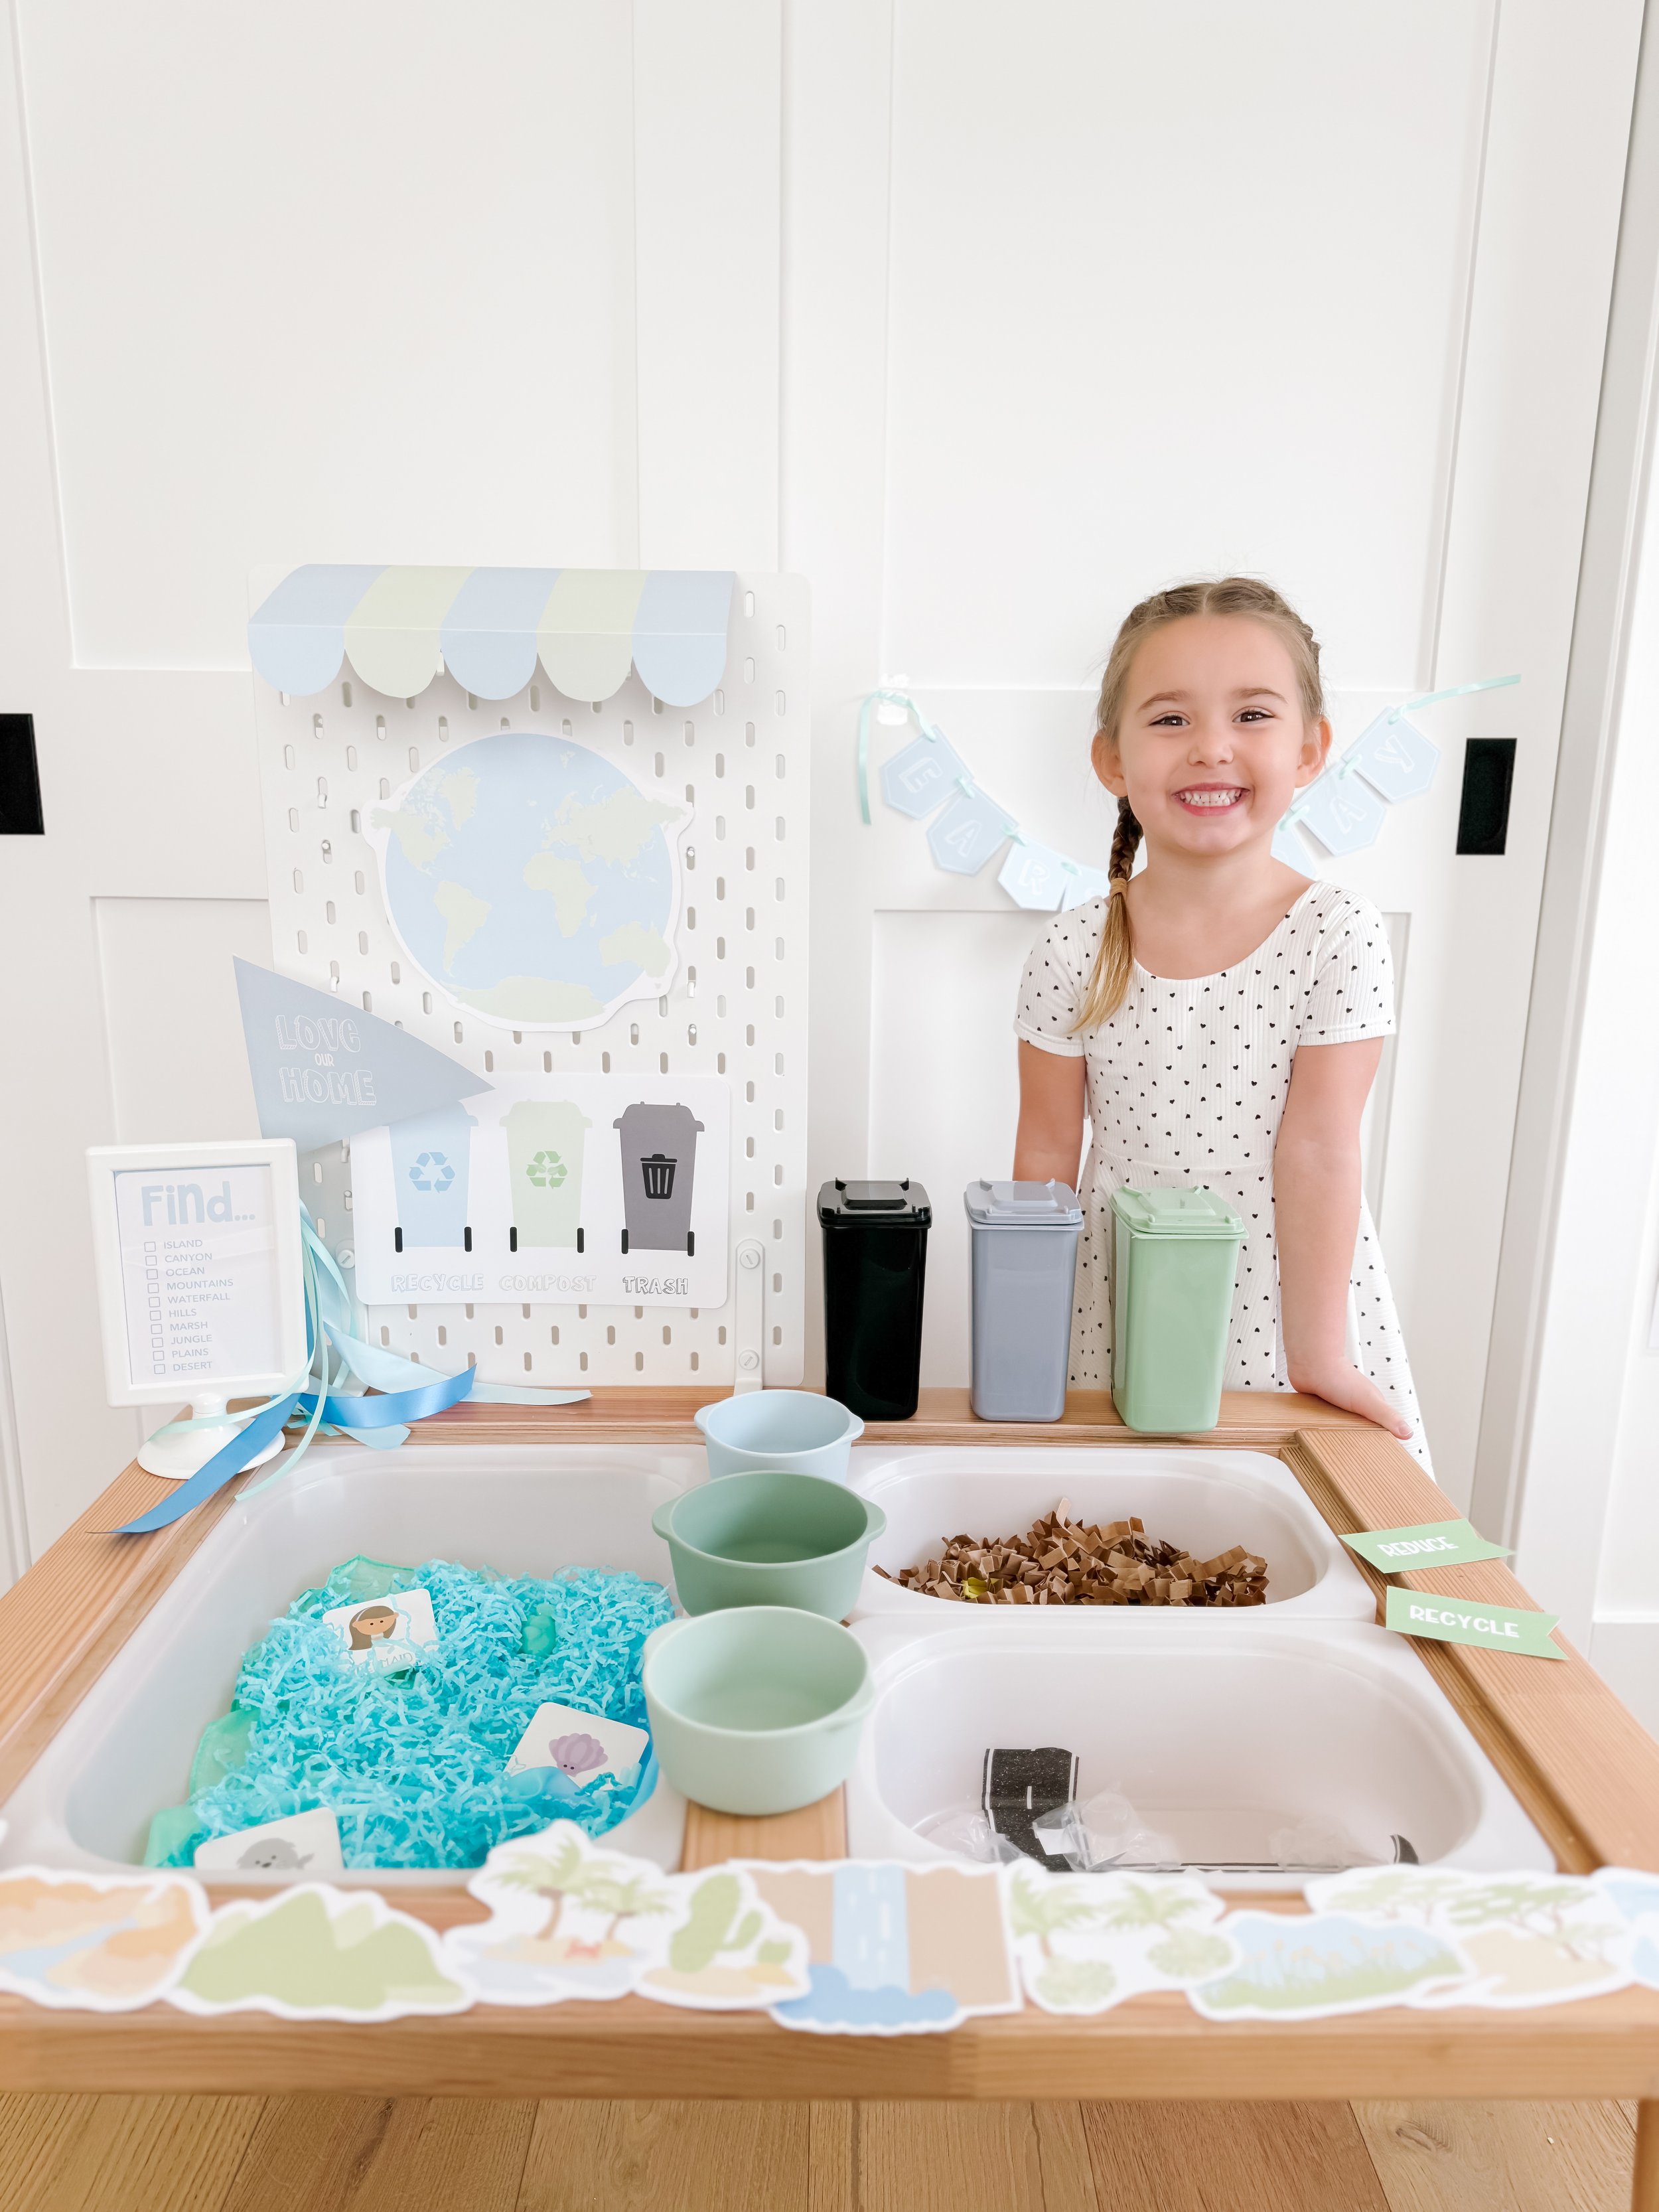
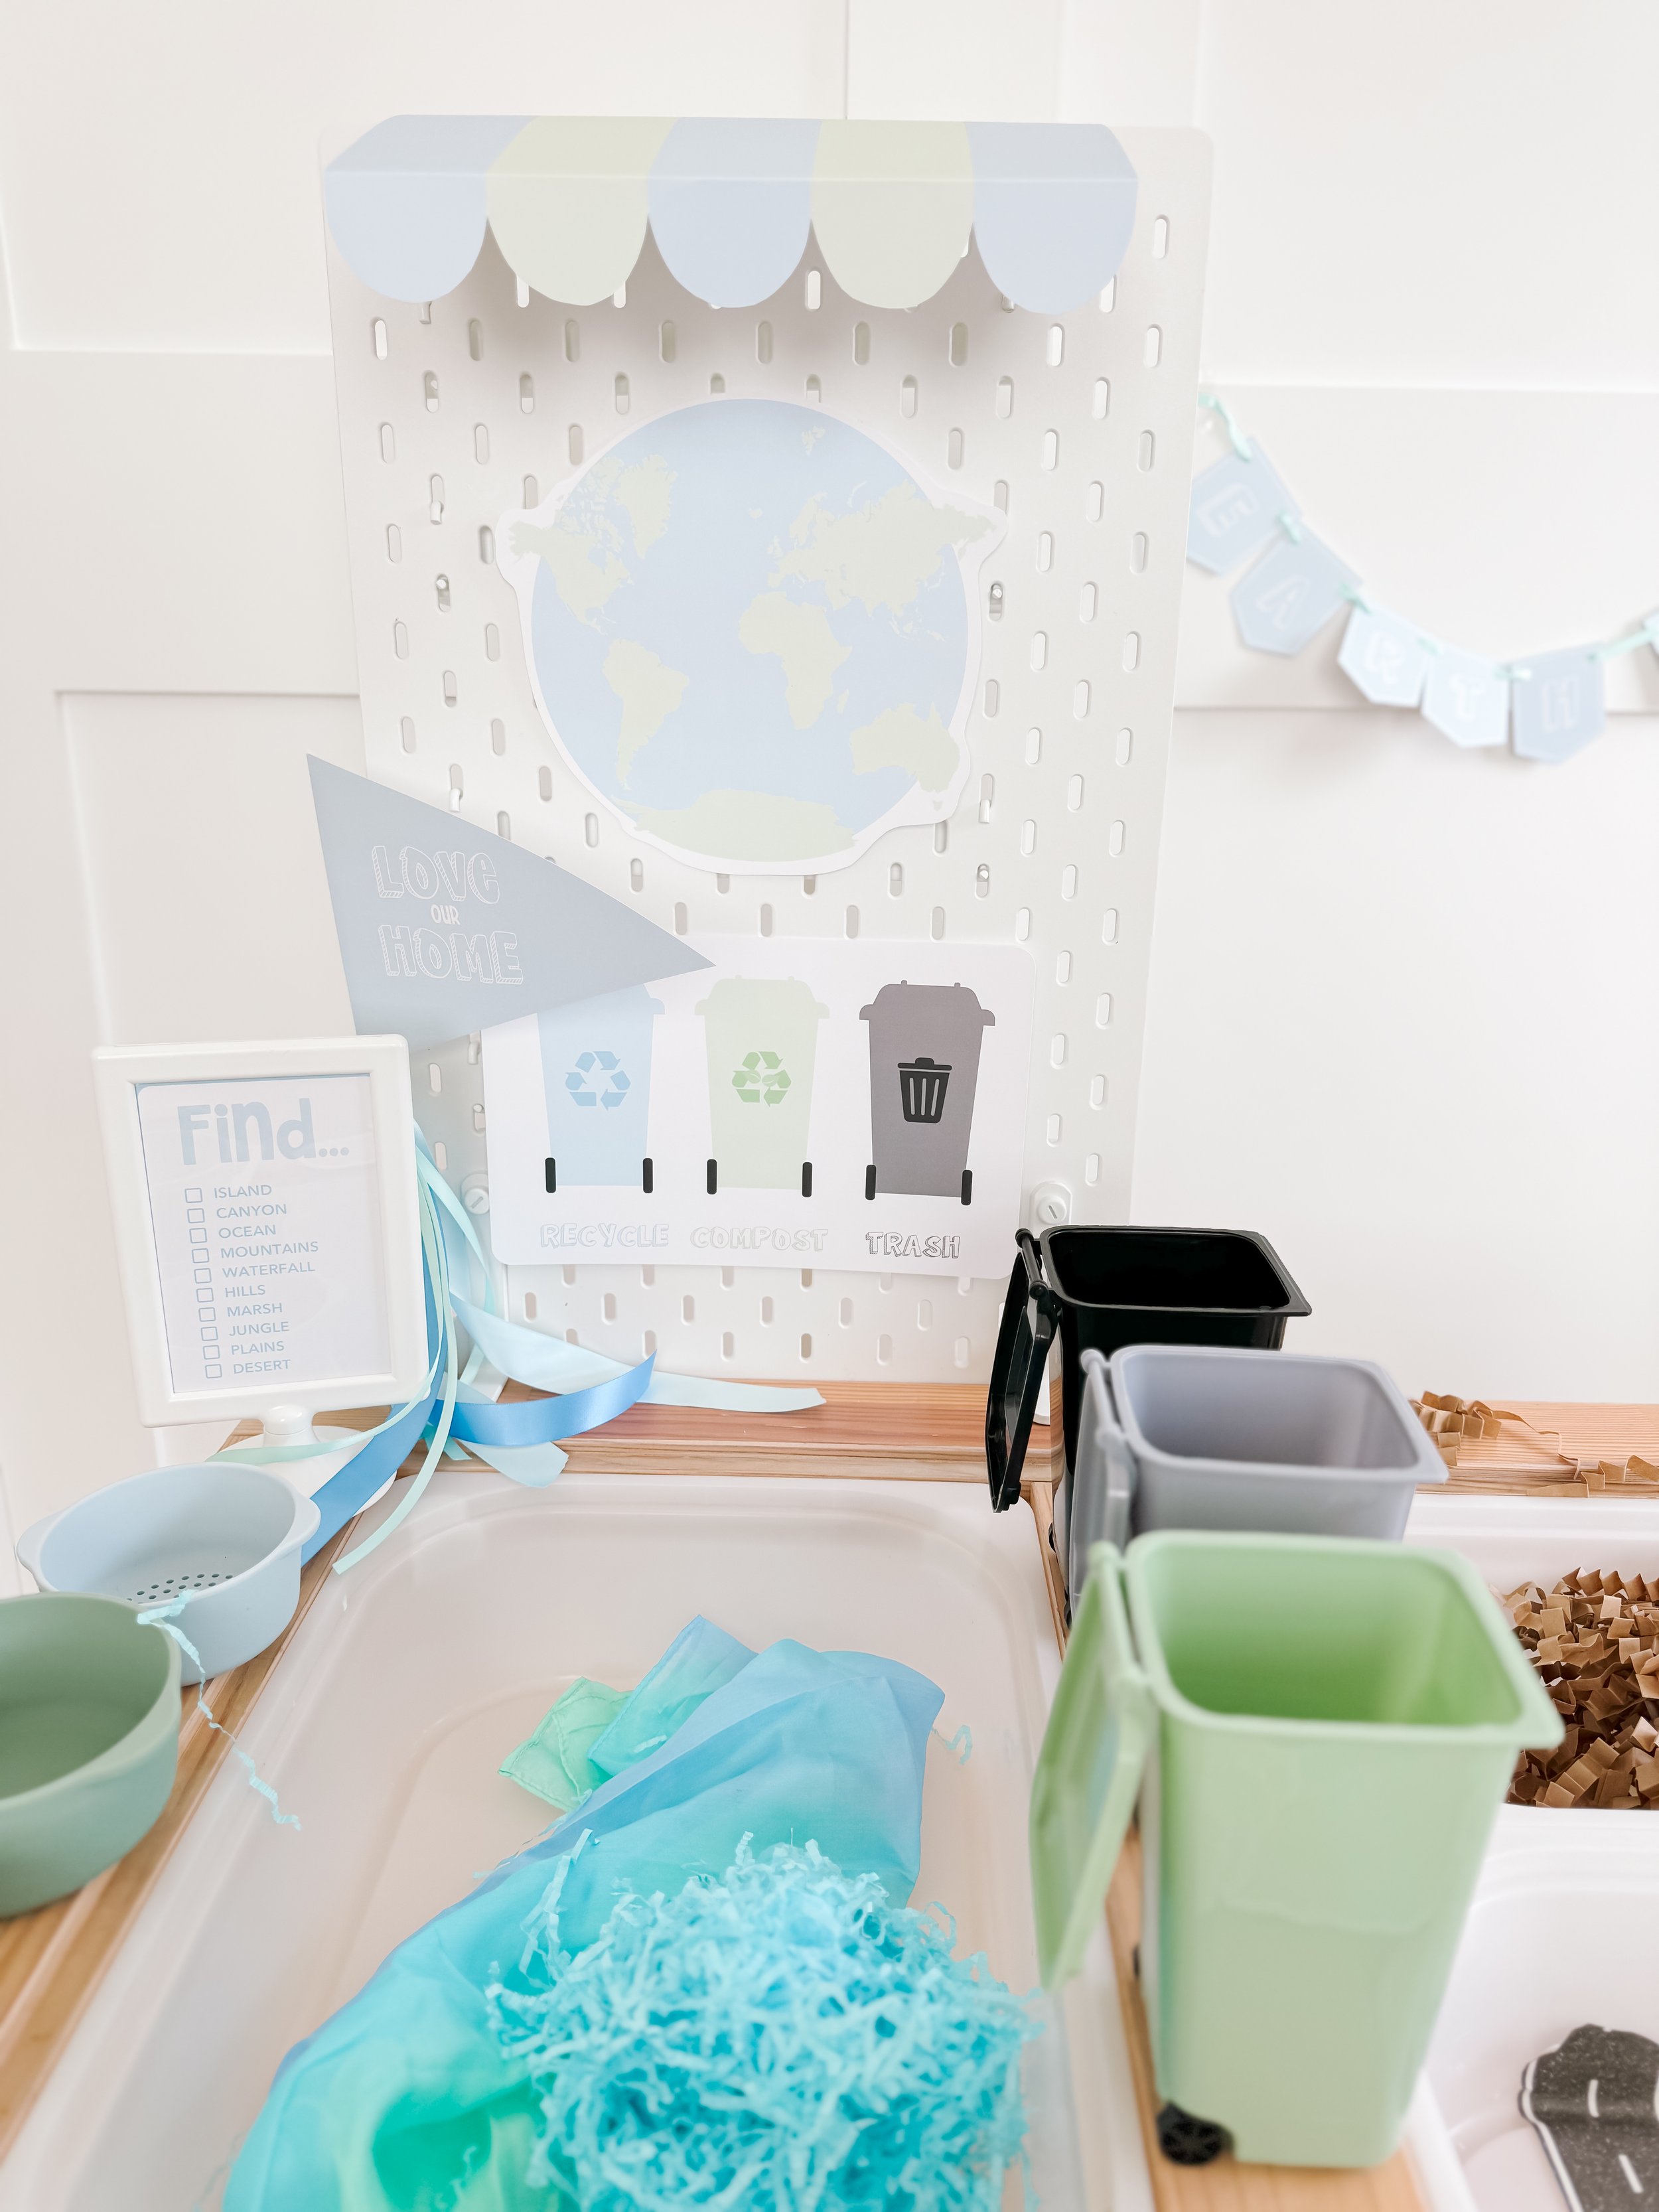
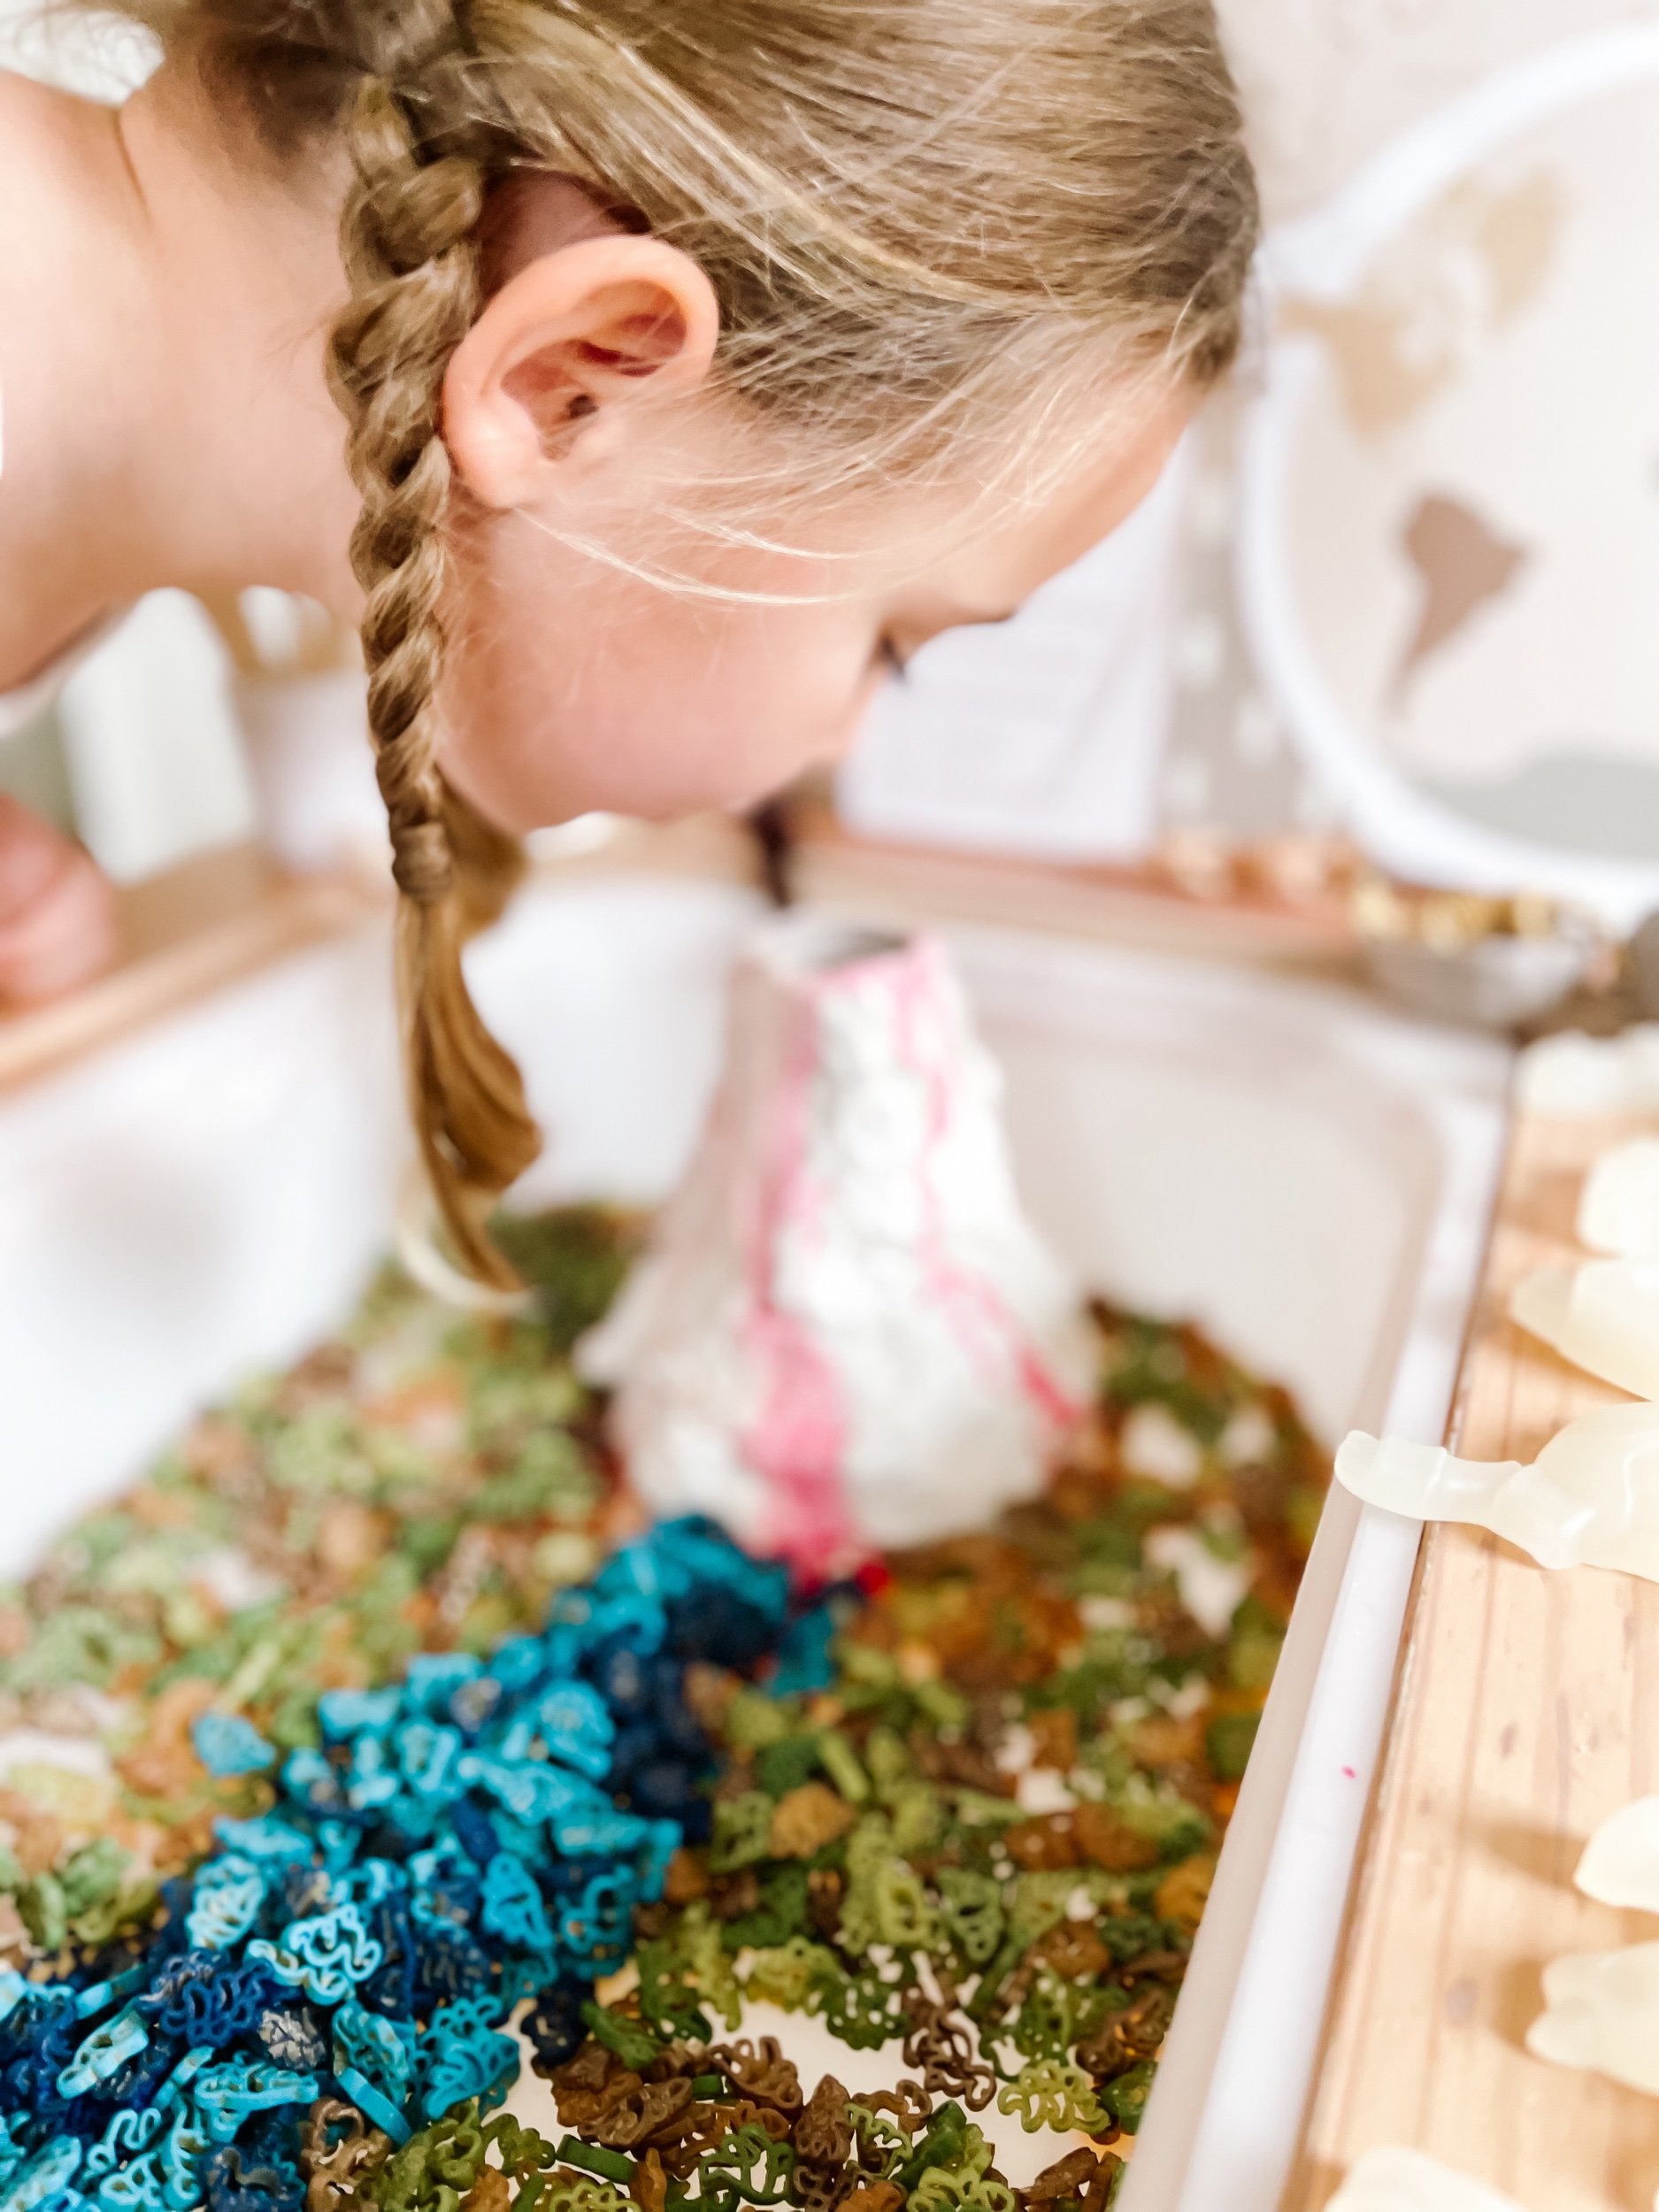
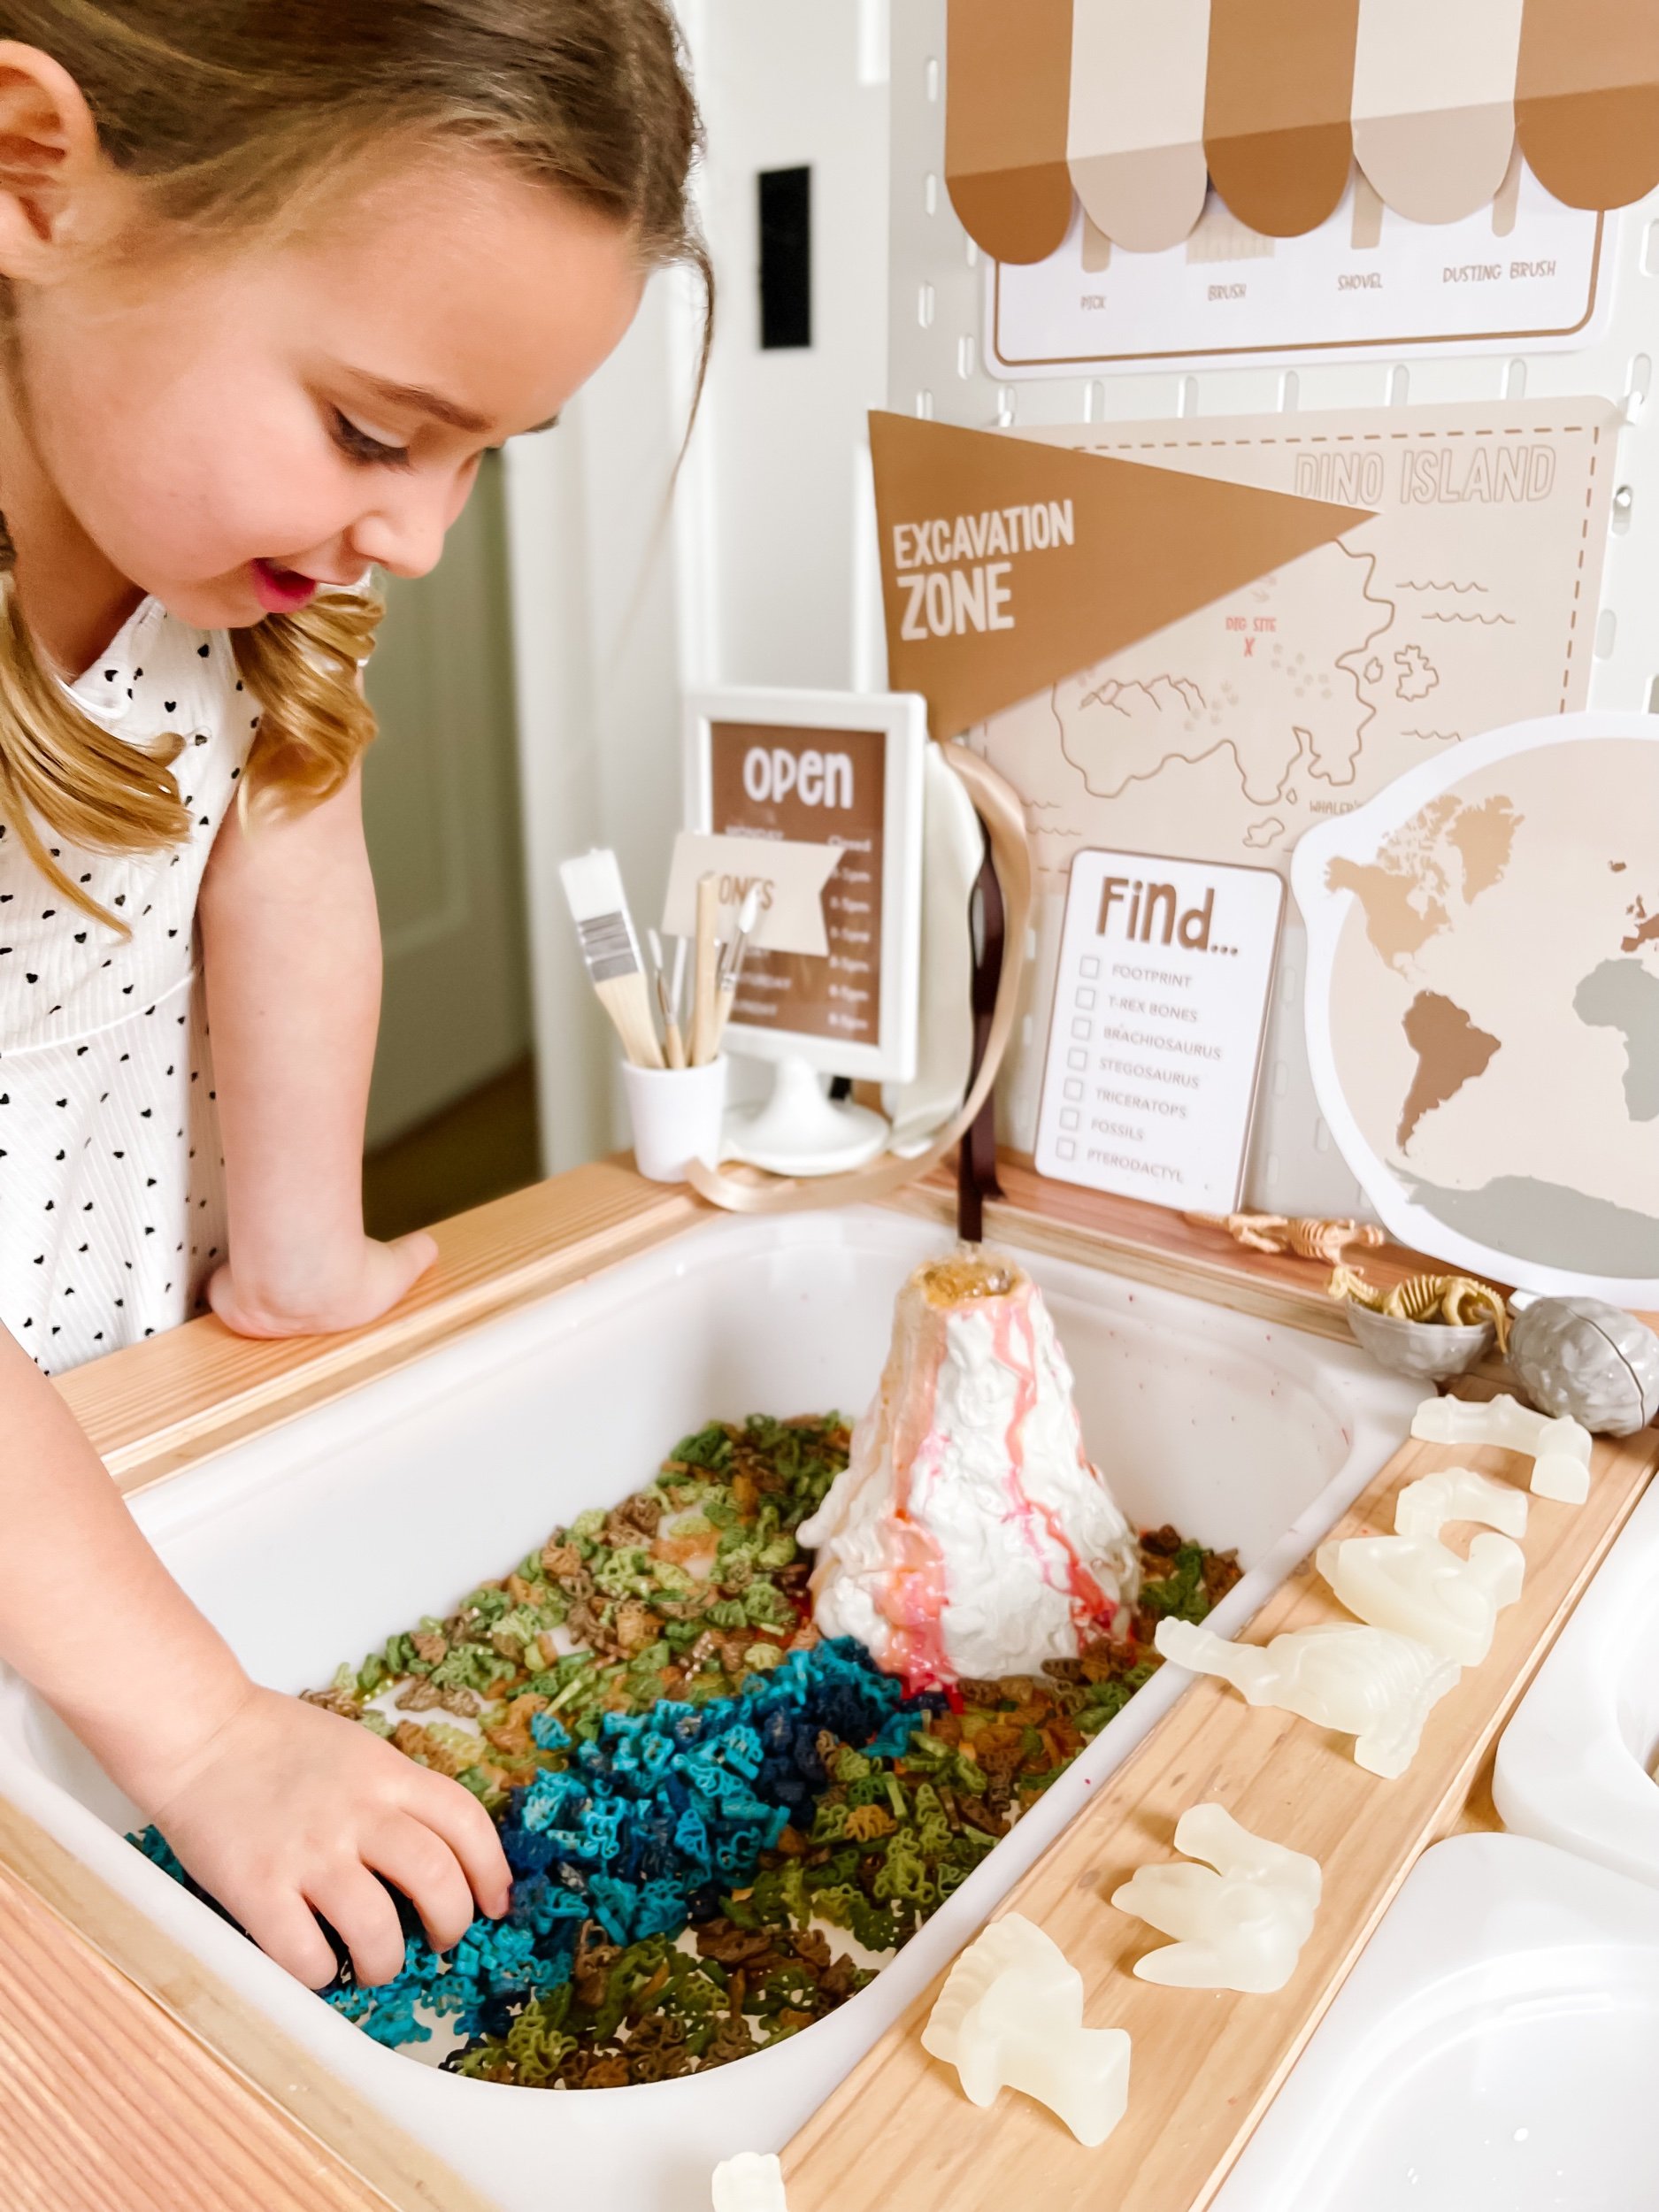
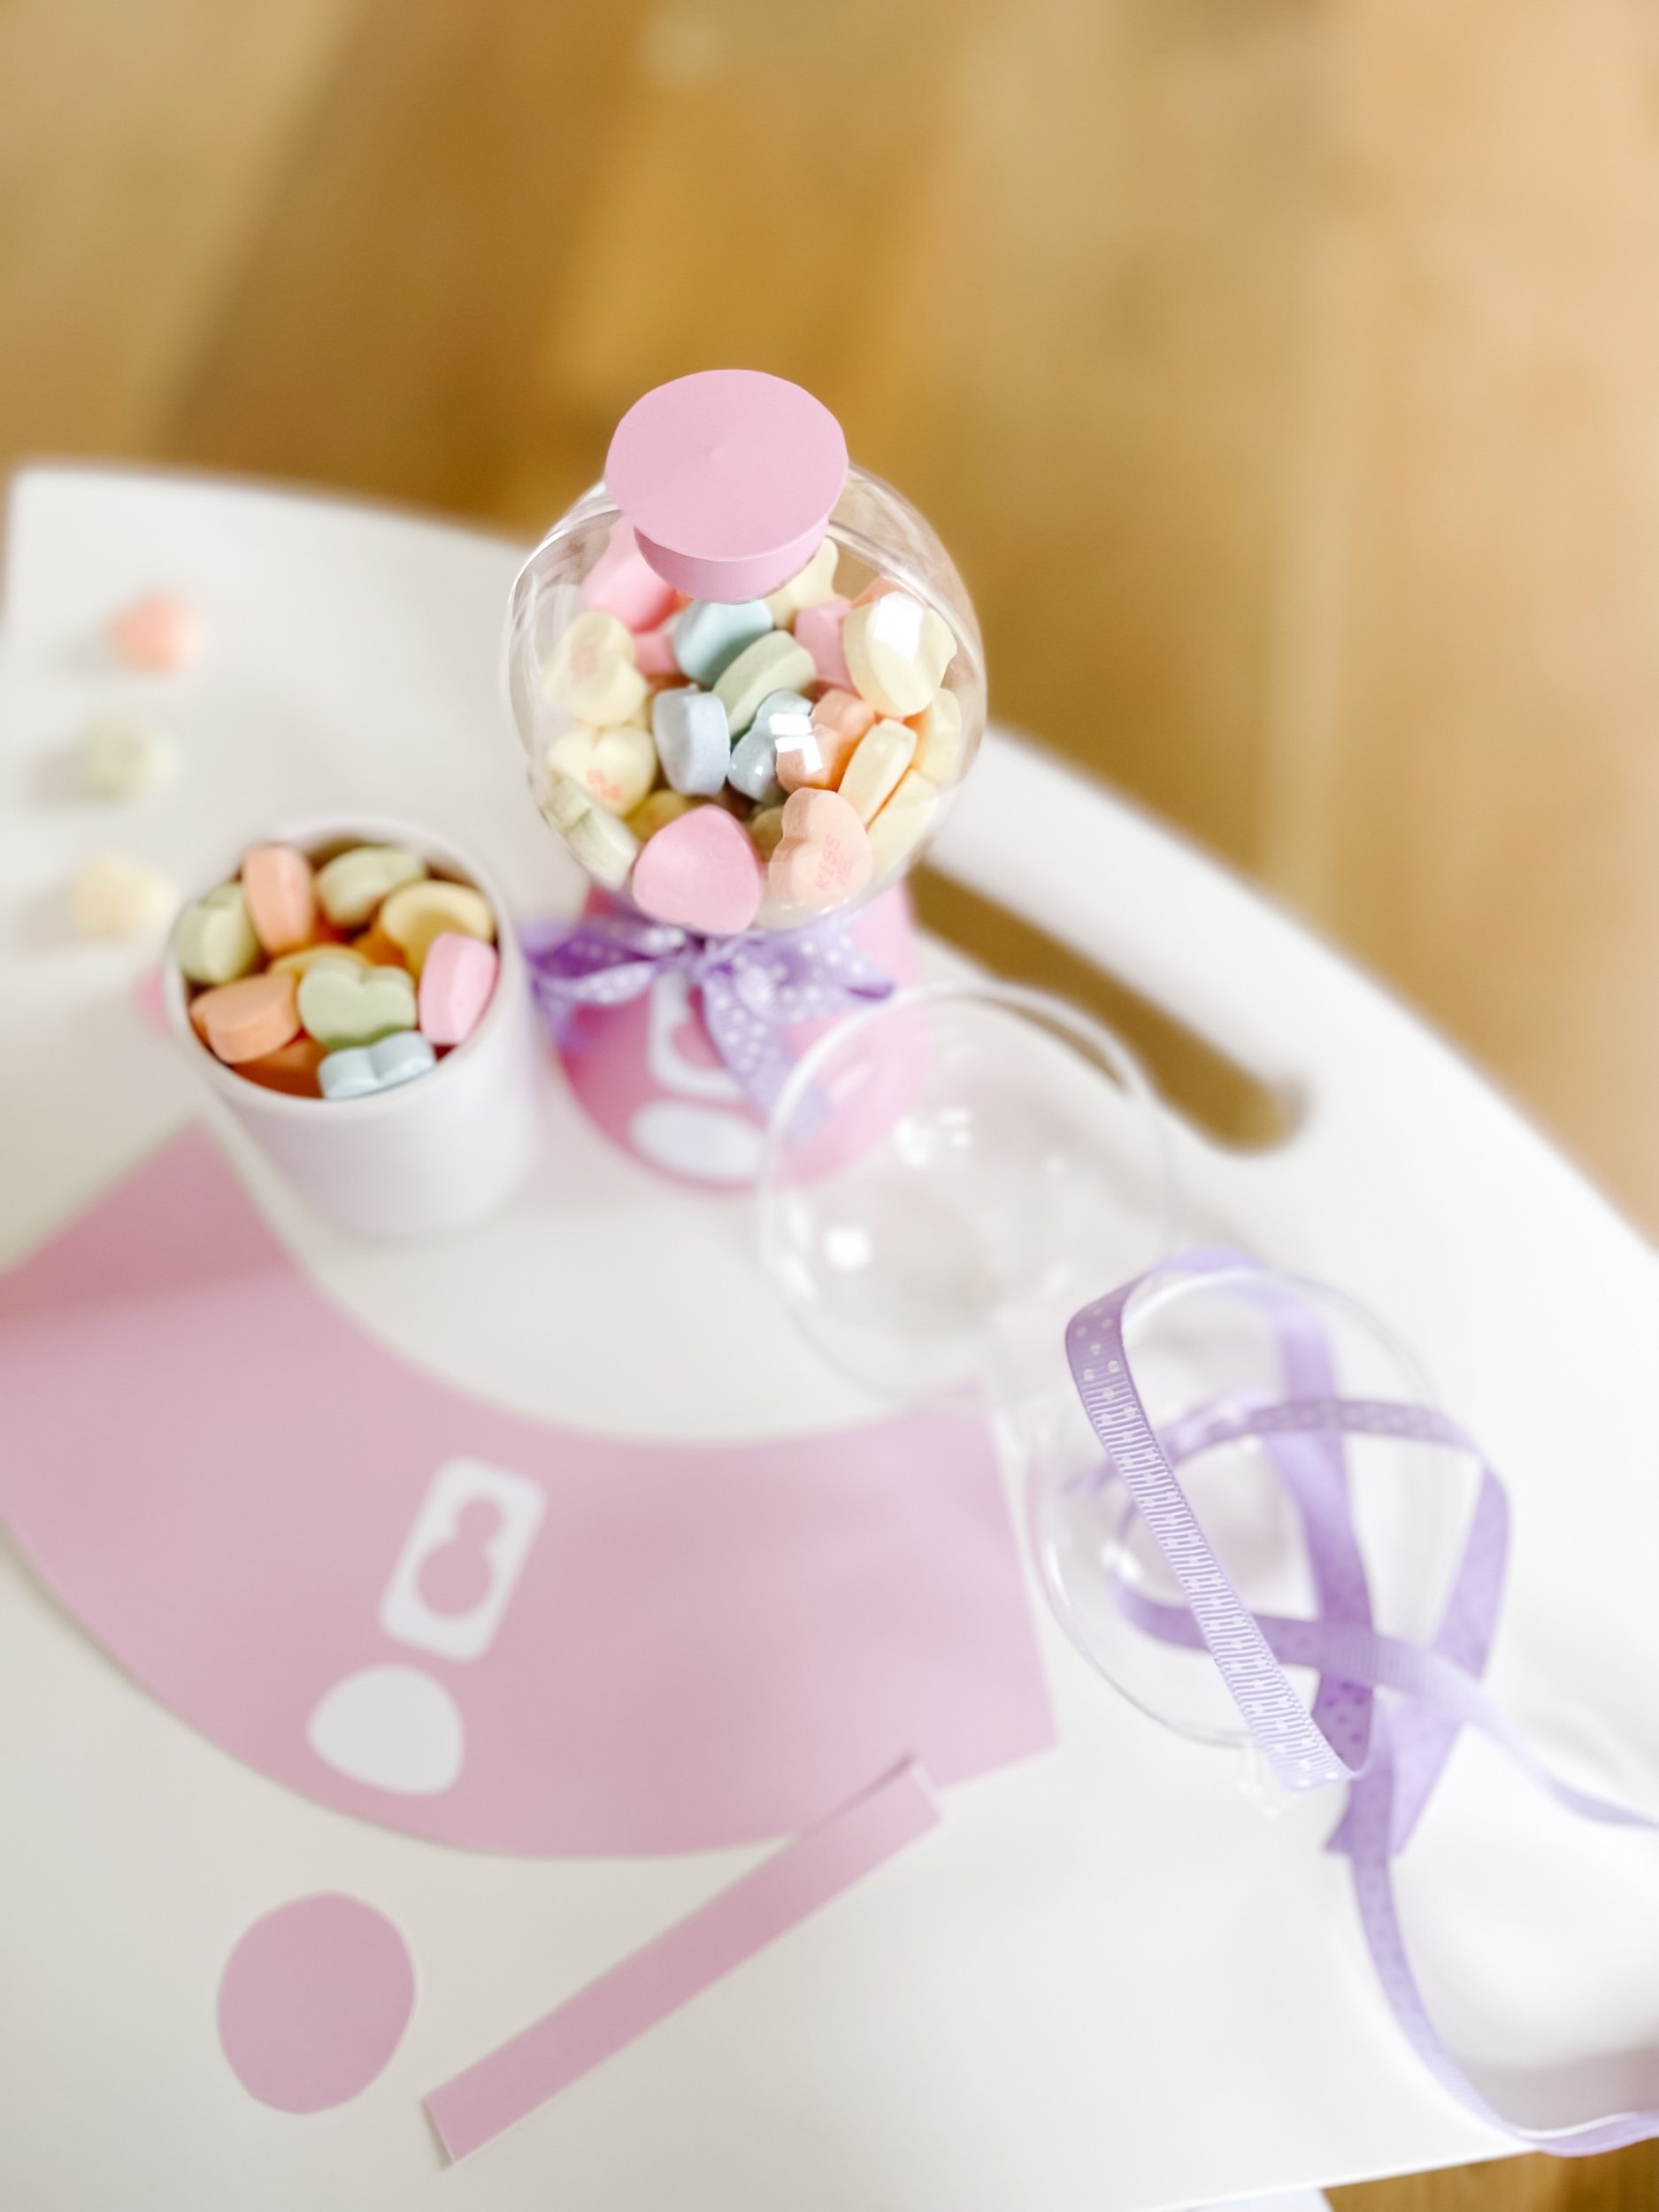
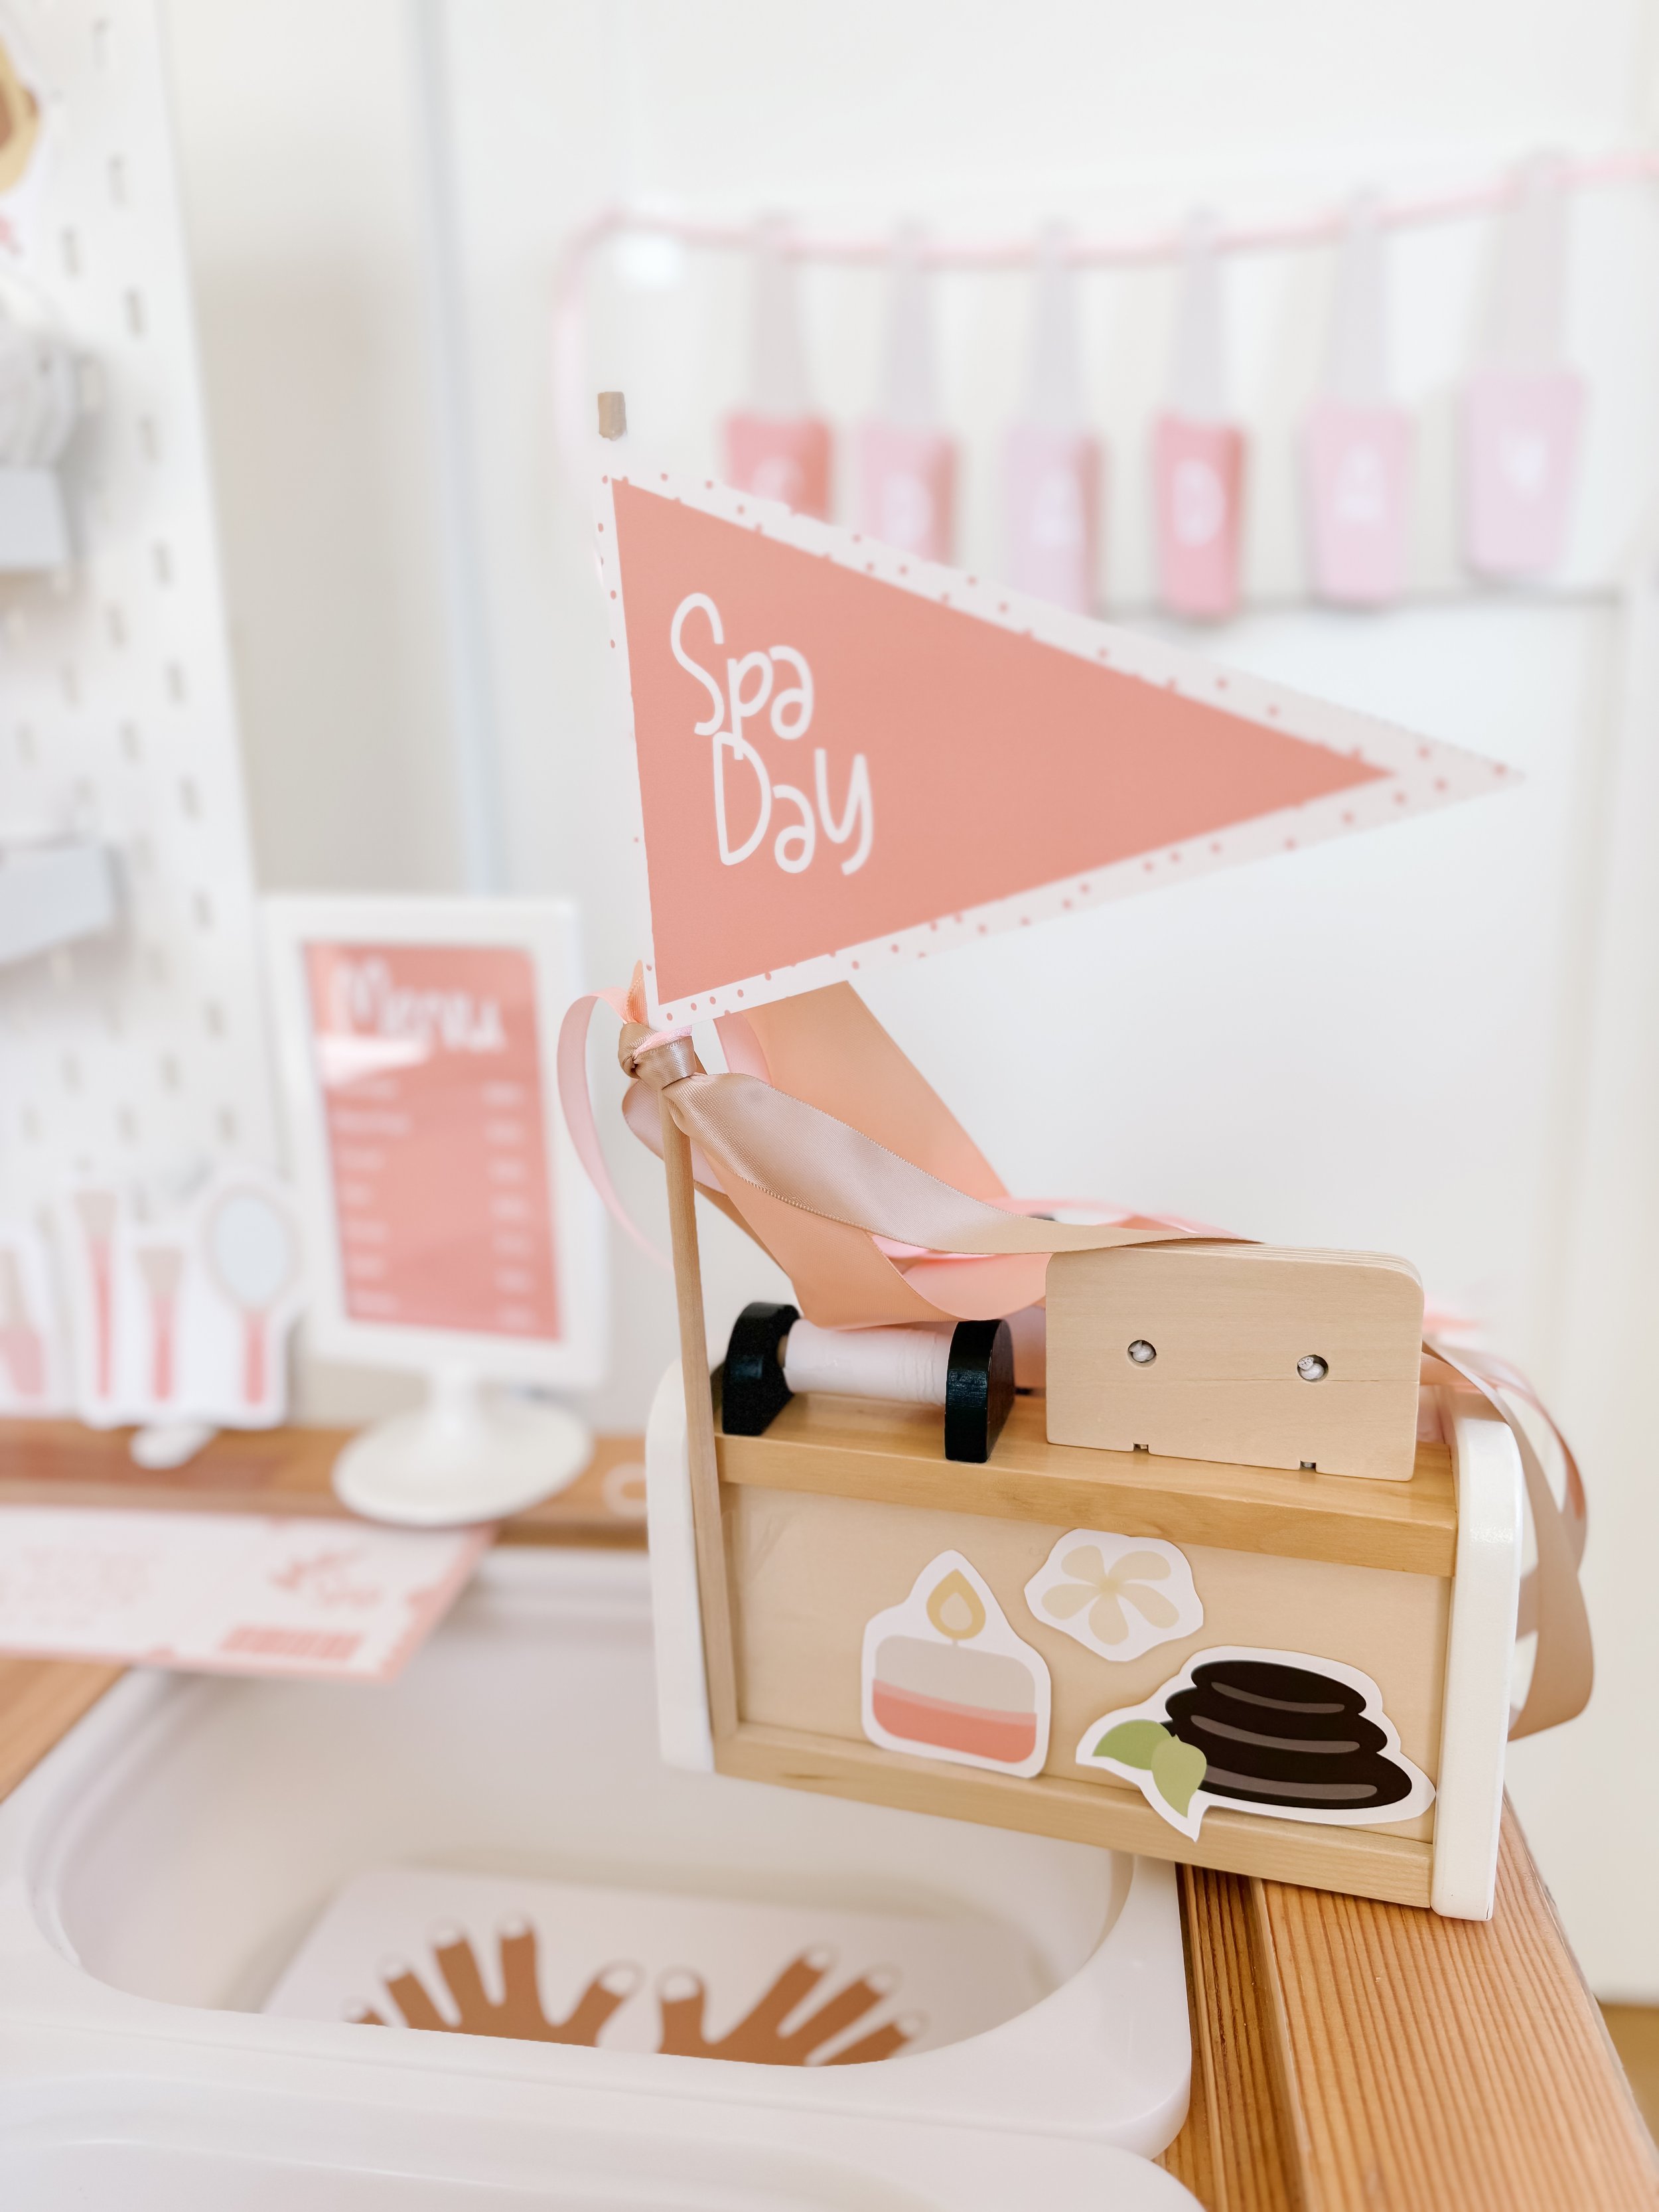
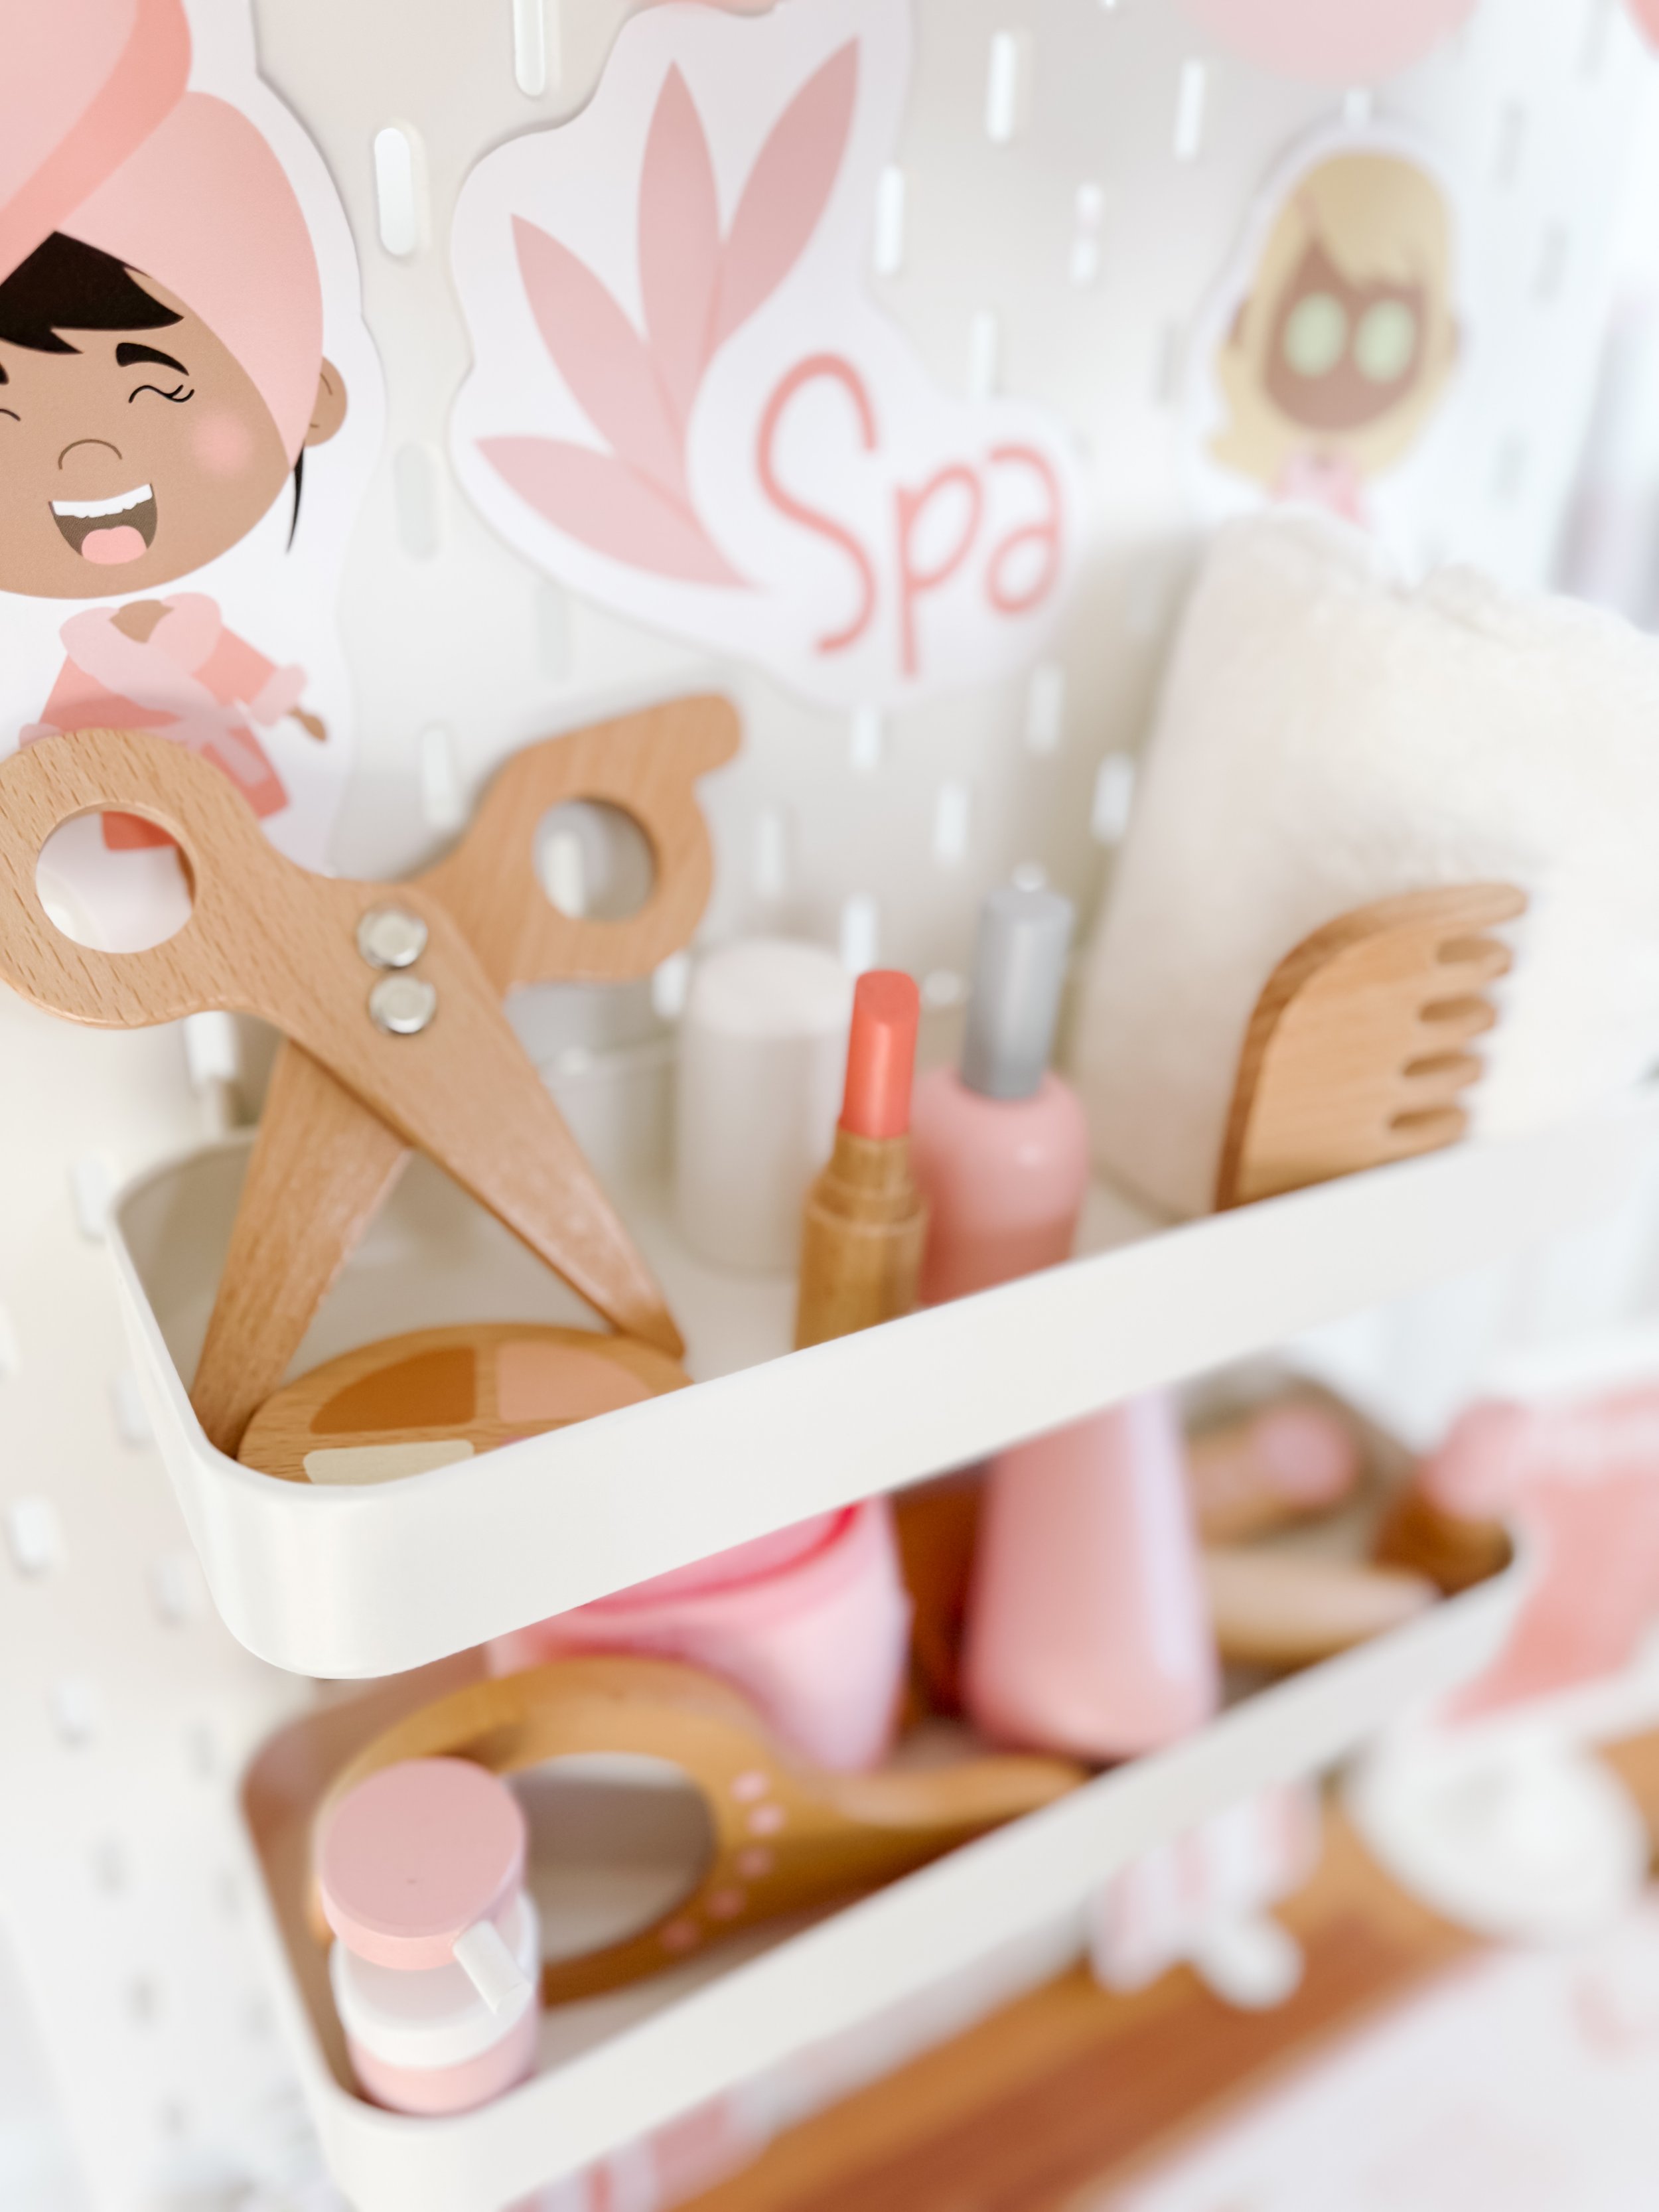
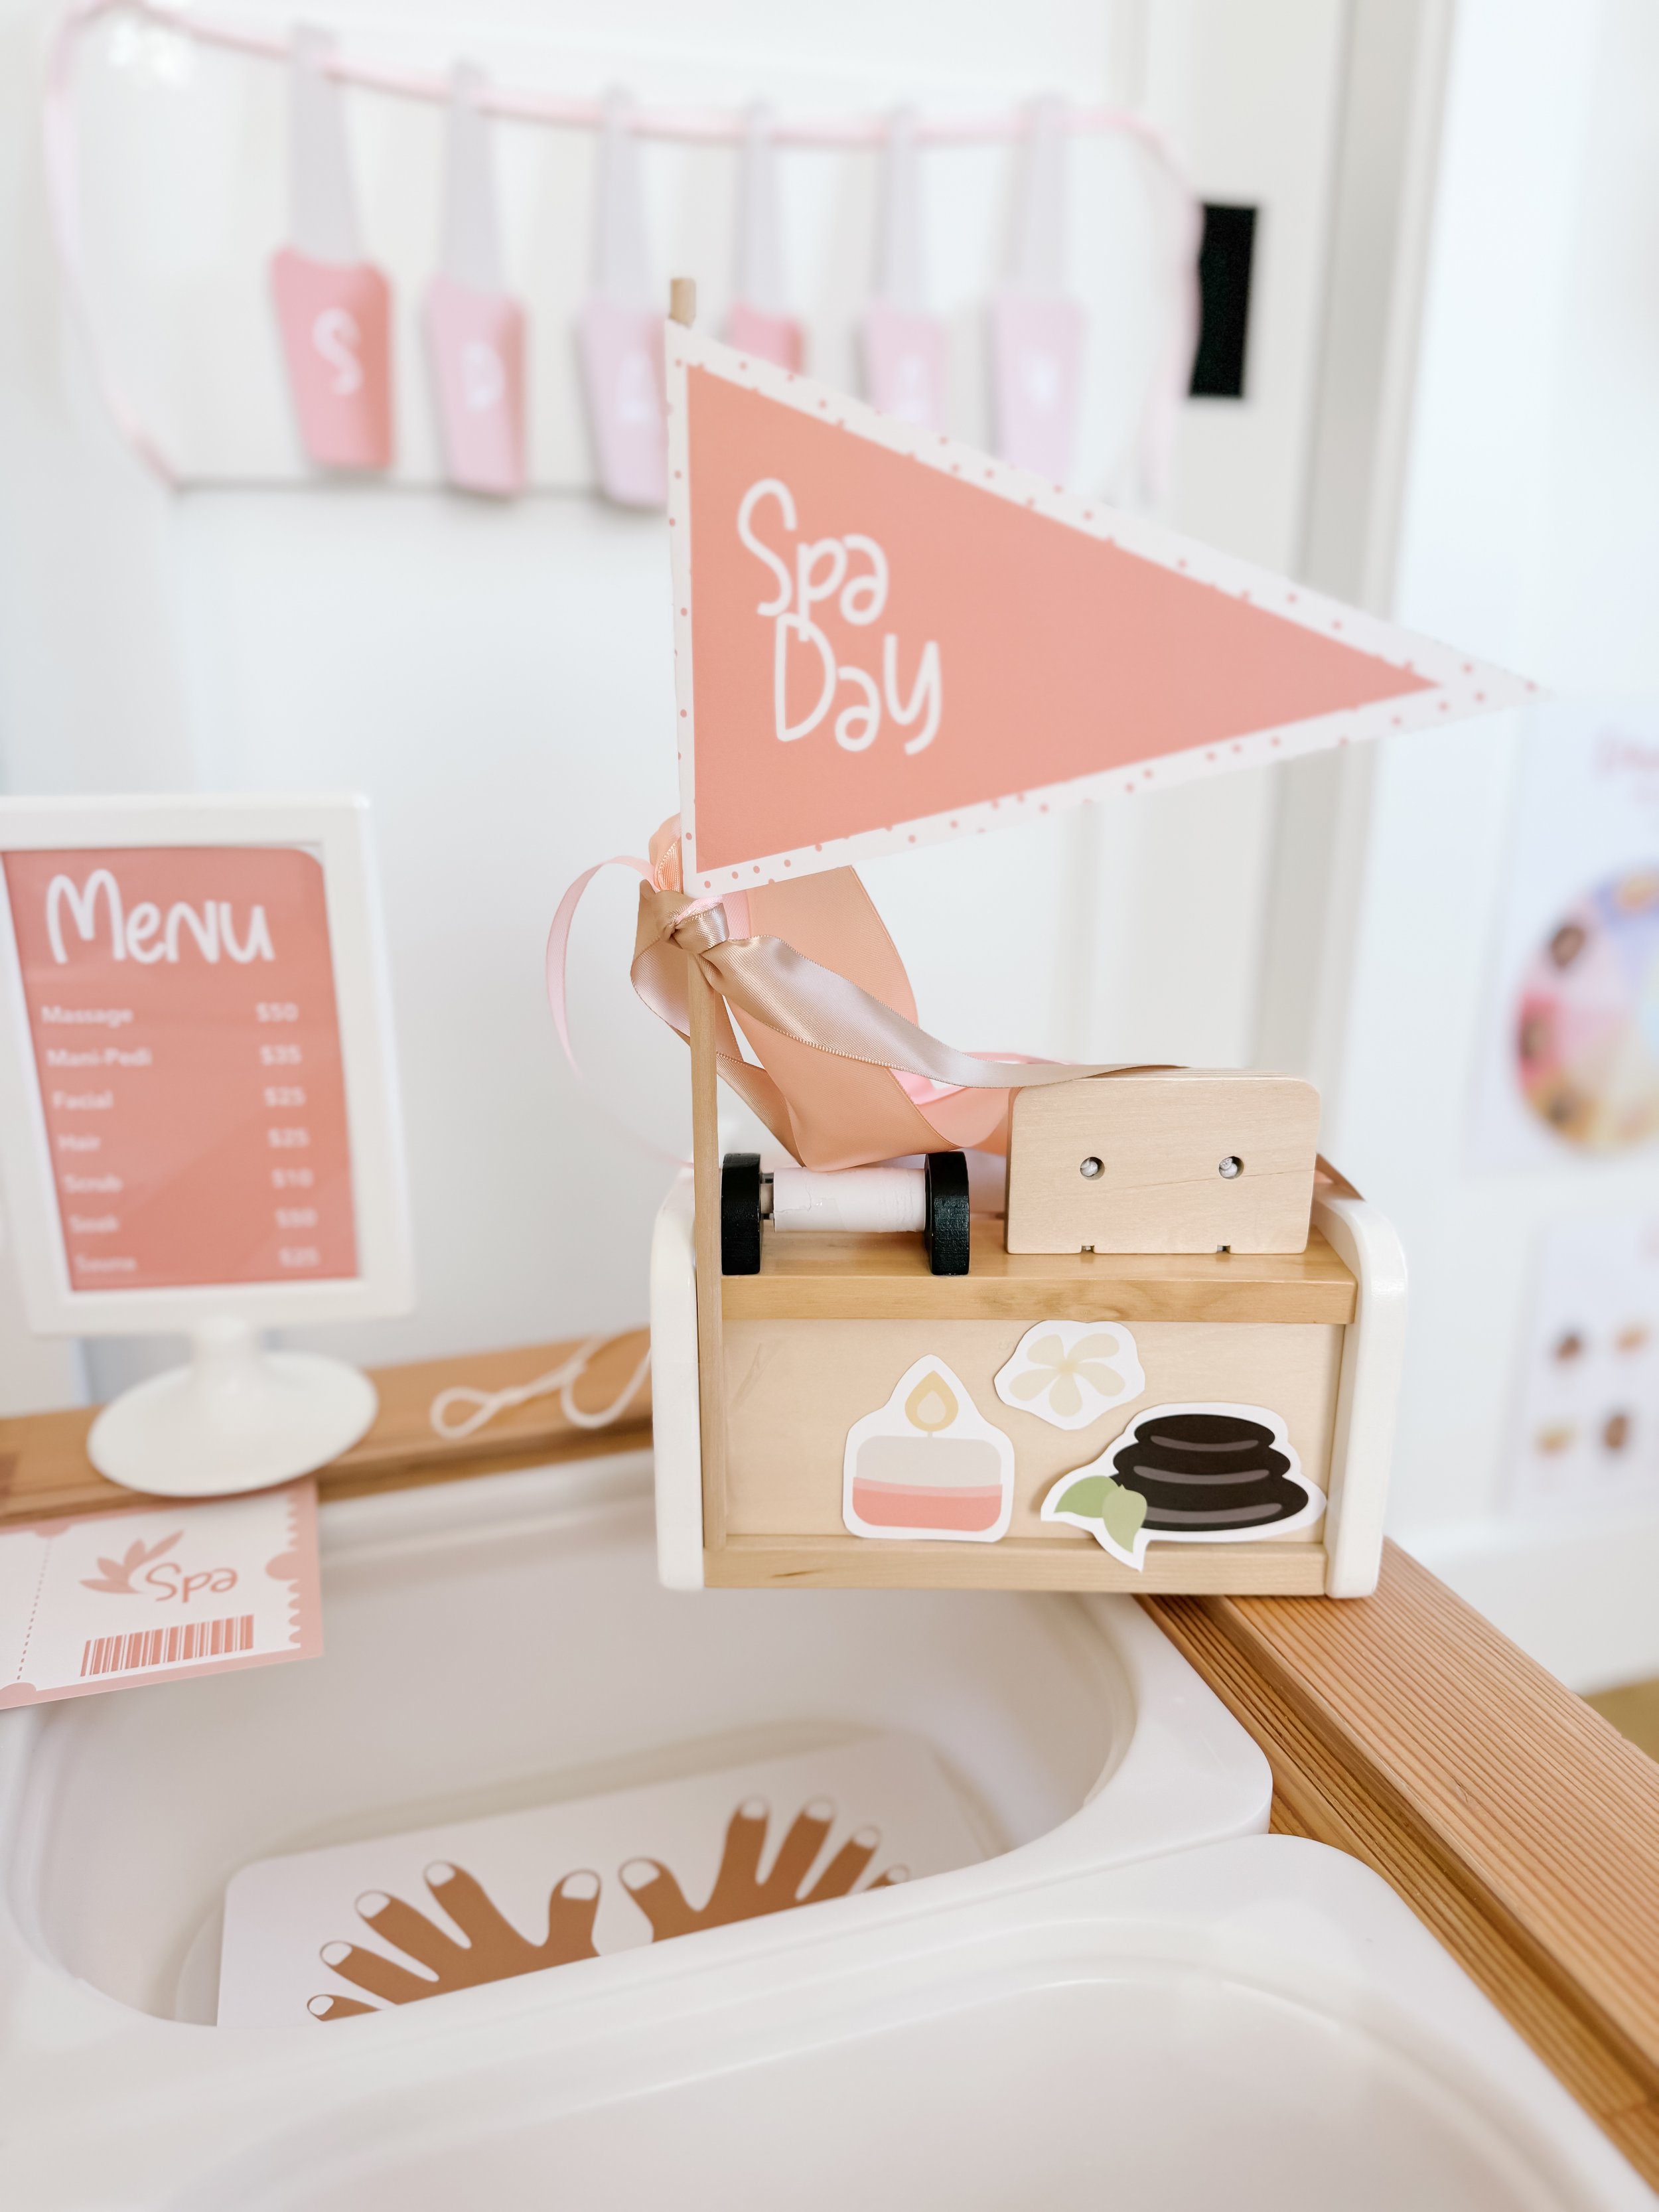
Pamper and Play: Spa Day Sensory Fun for Preschoolers
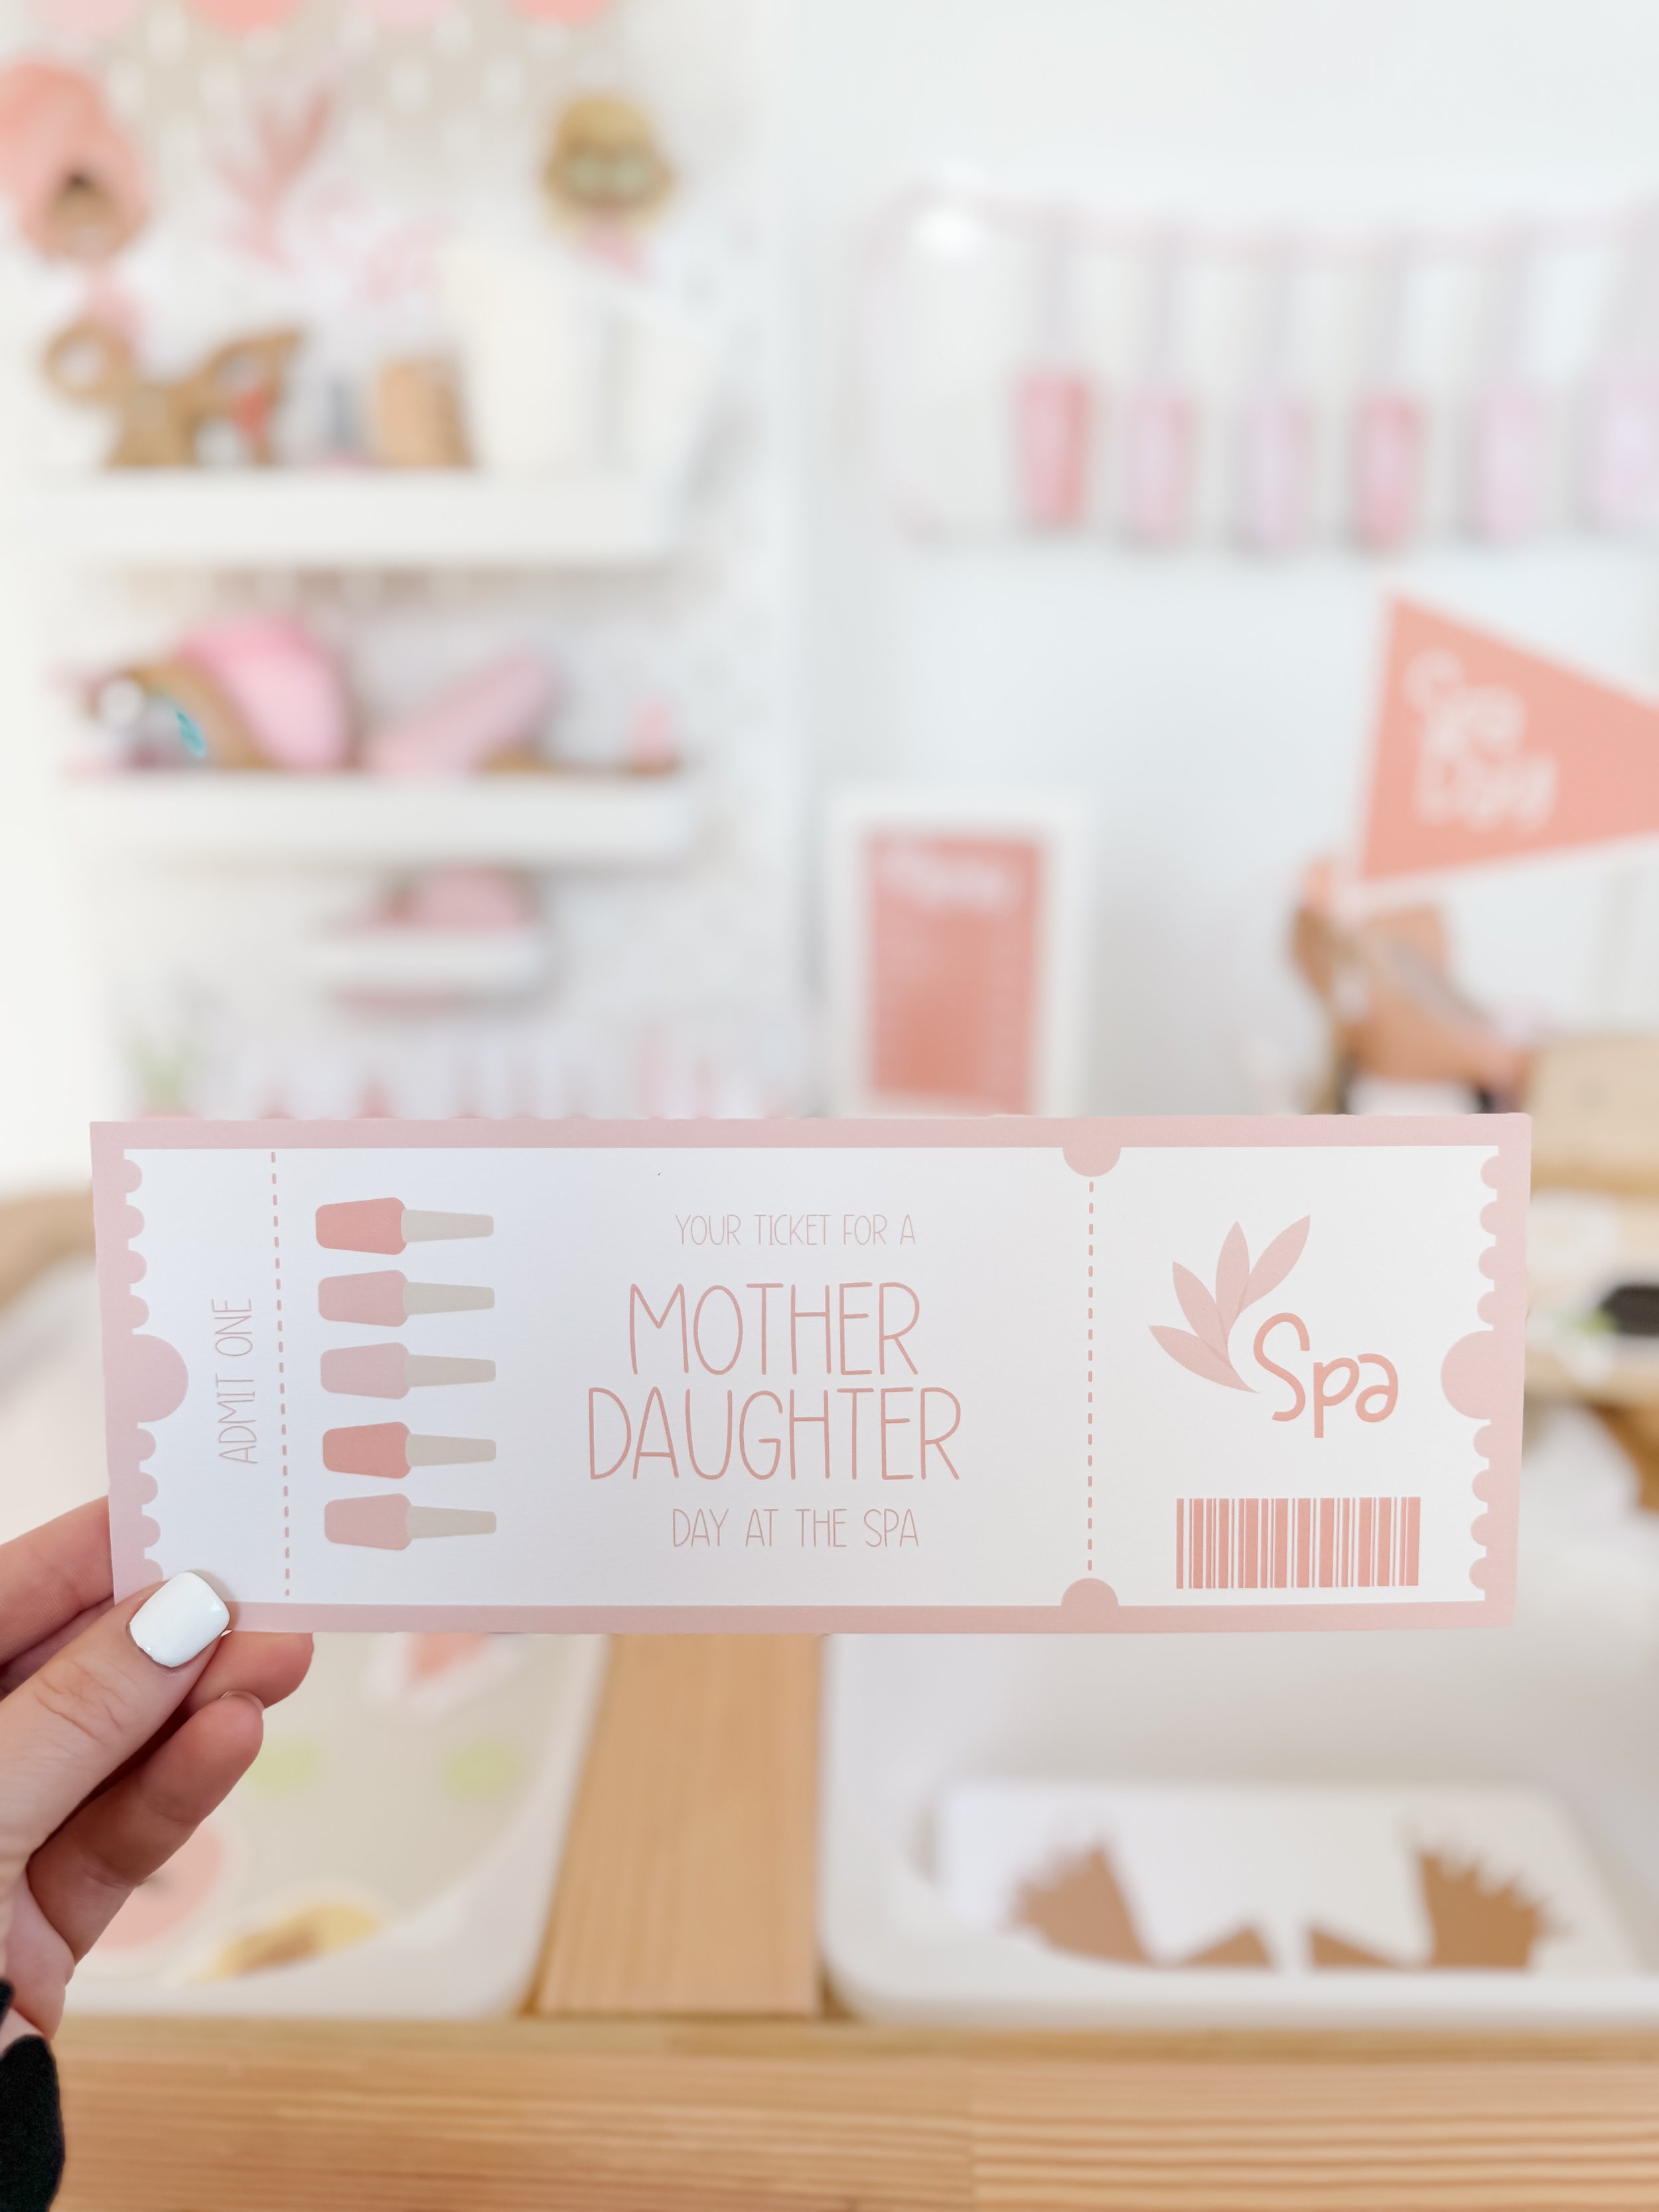
Celebrate Mother’s Day in style with a spa day sensory play setup that will transport you and your little ones into a world of relaxation and imagination. With printable decor and simple activities, you can create the perfect spa experience right at home.
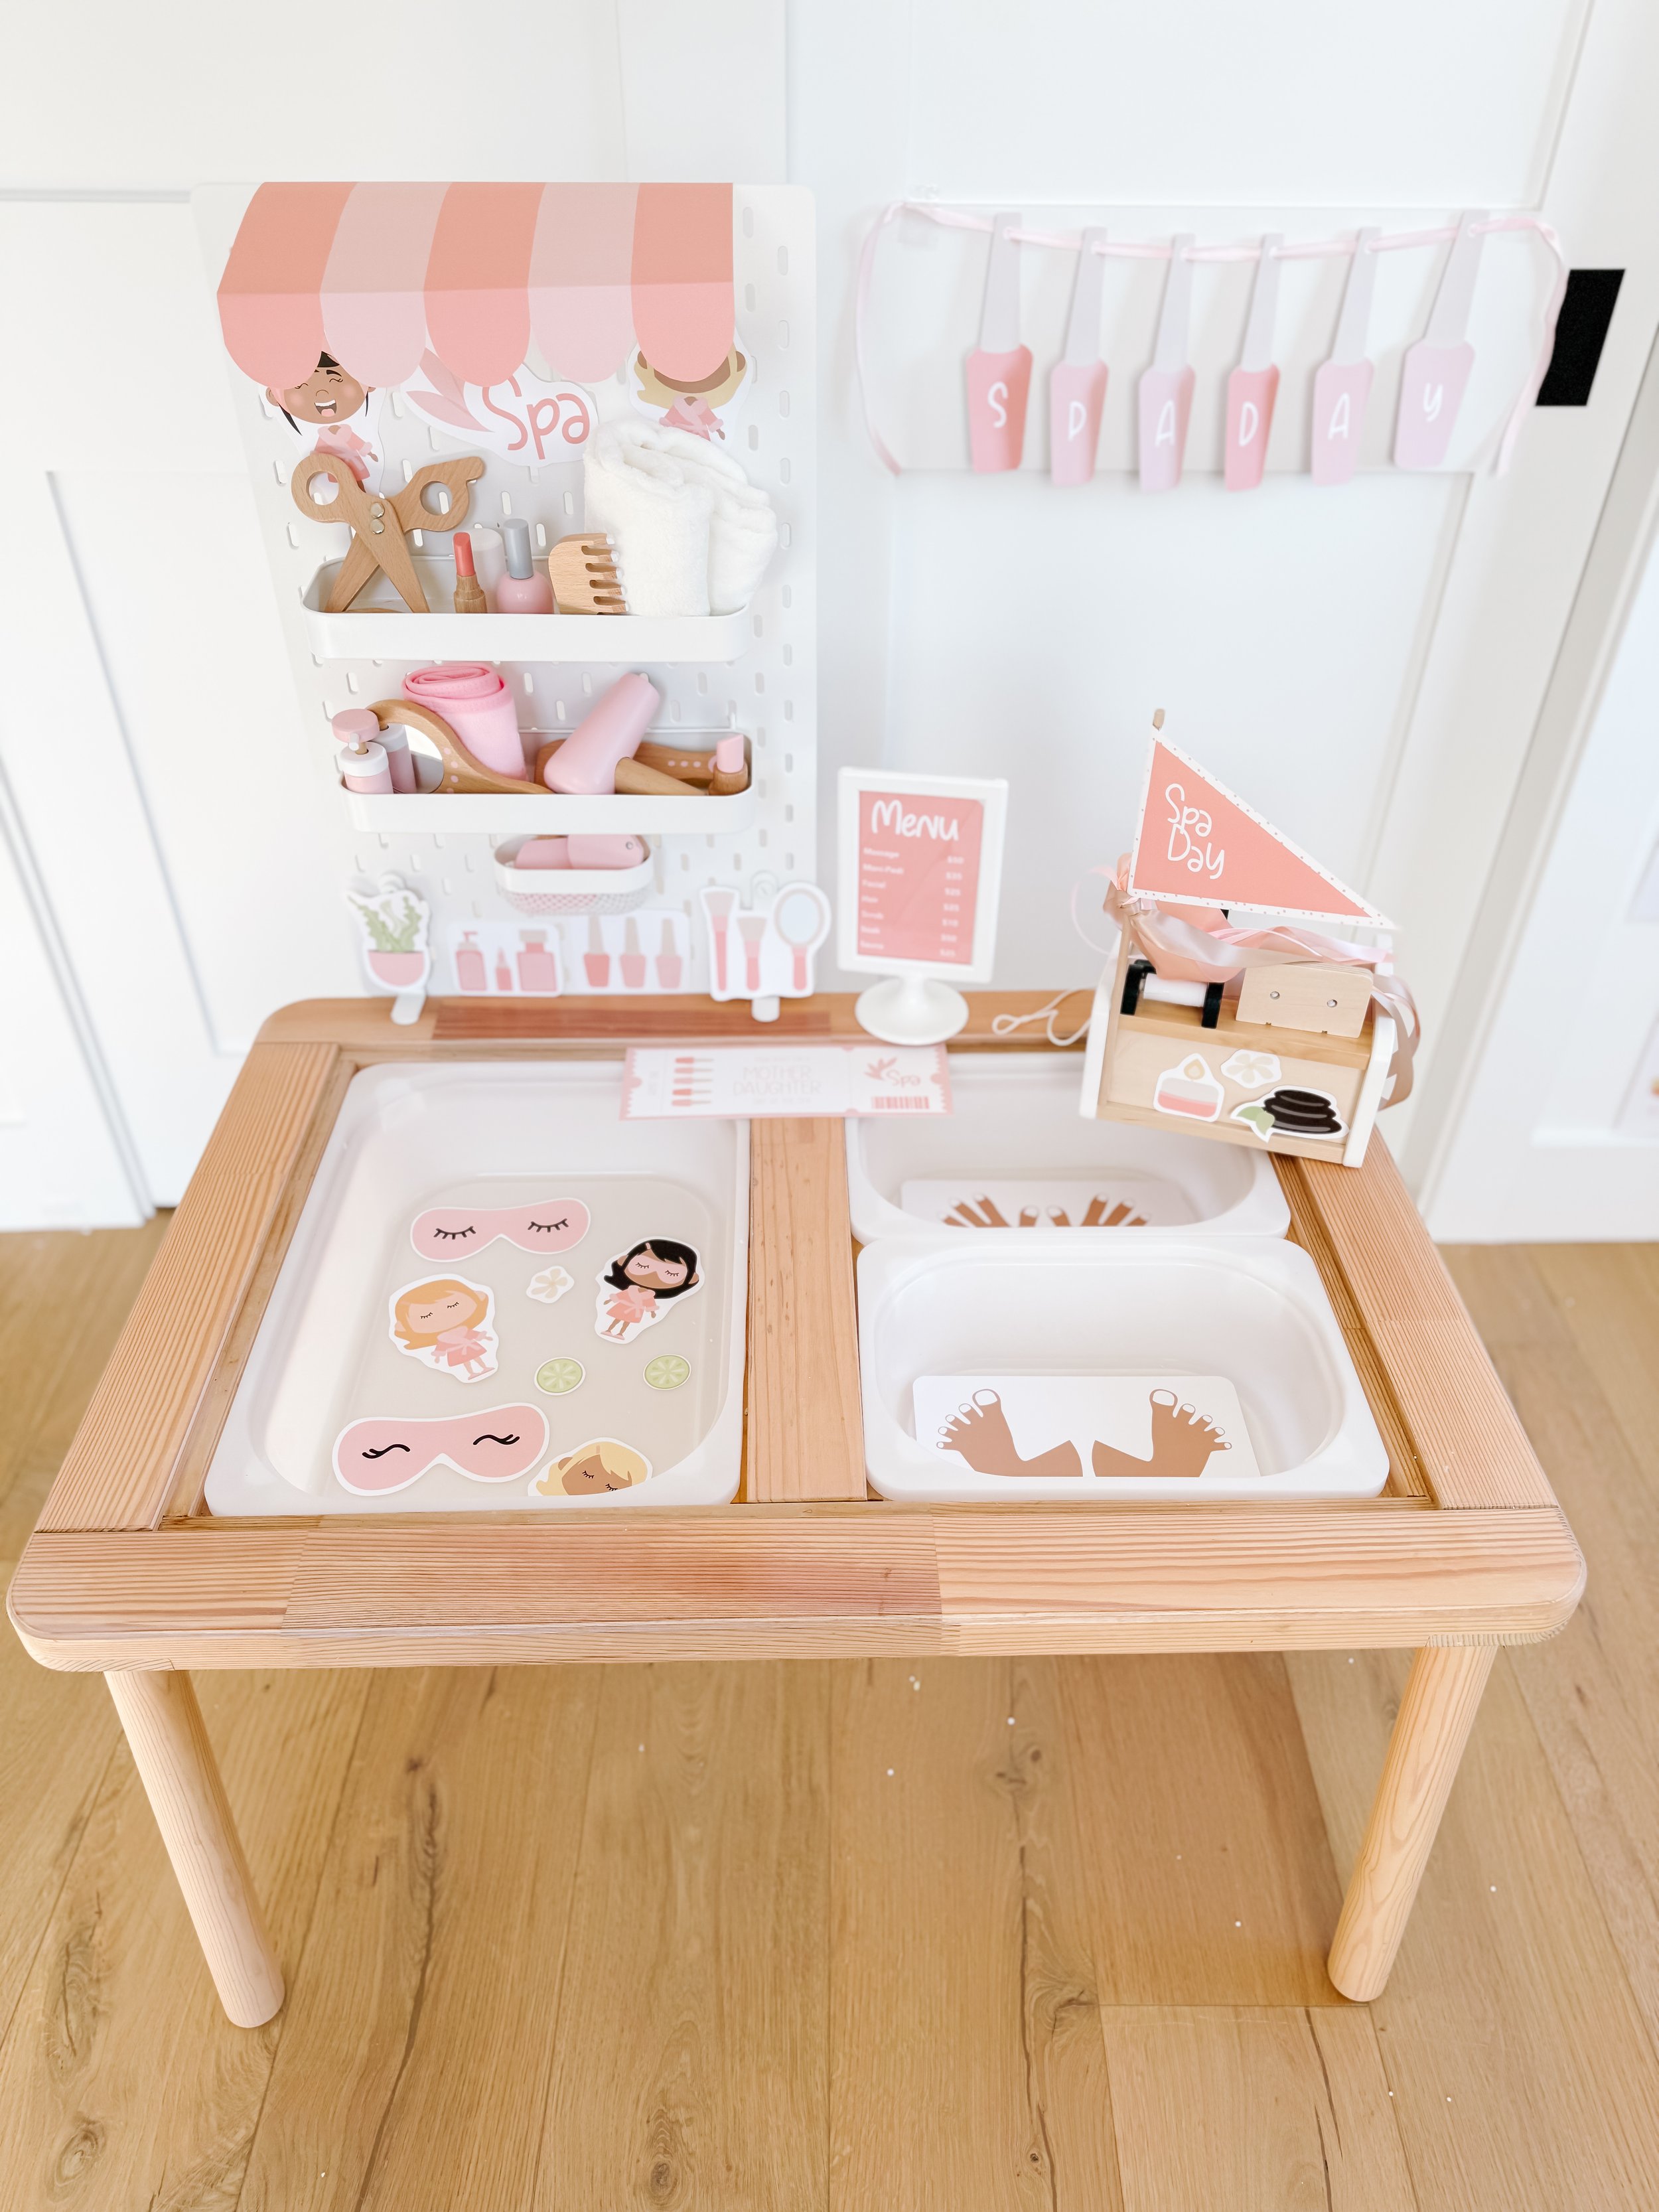
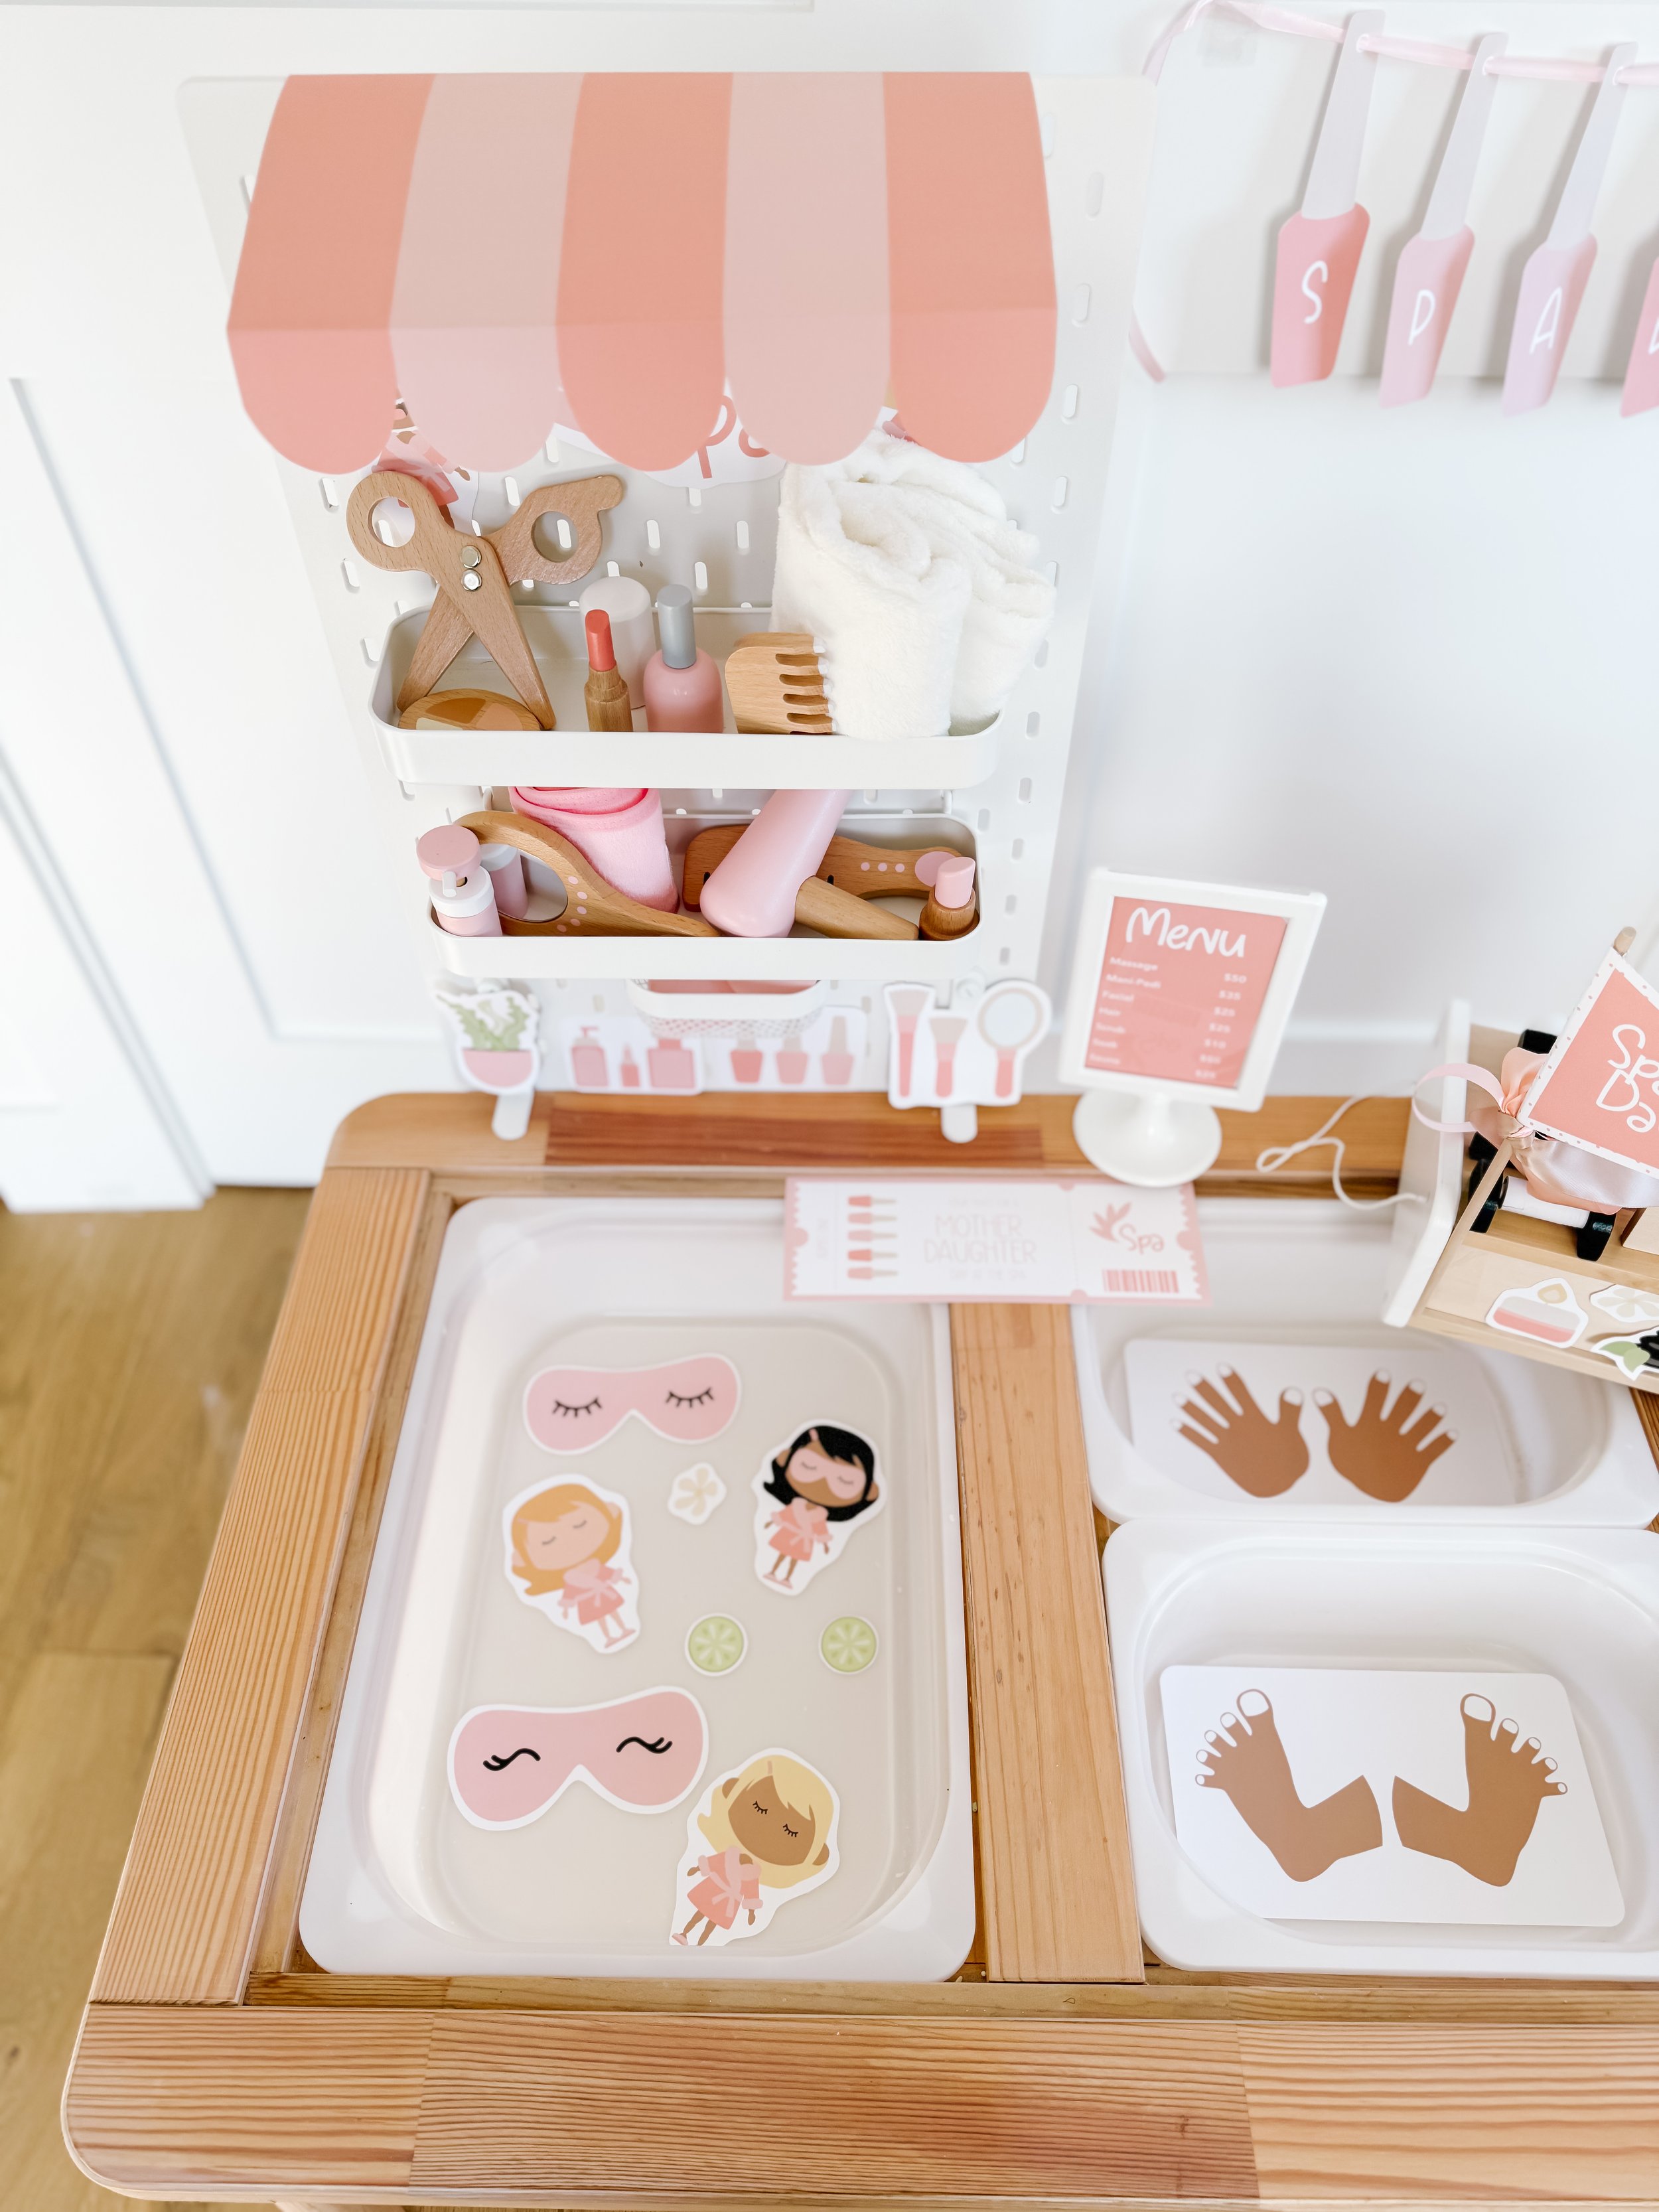


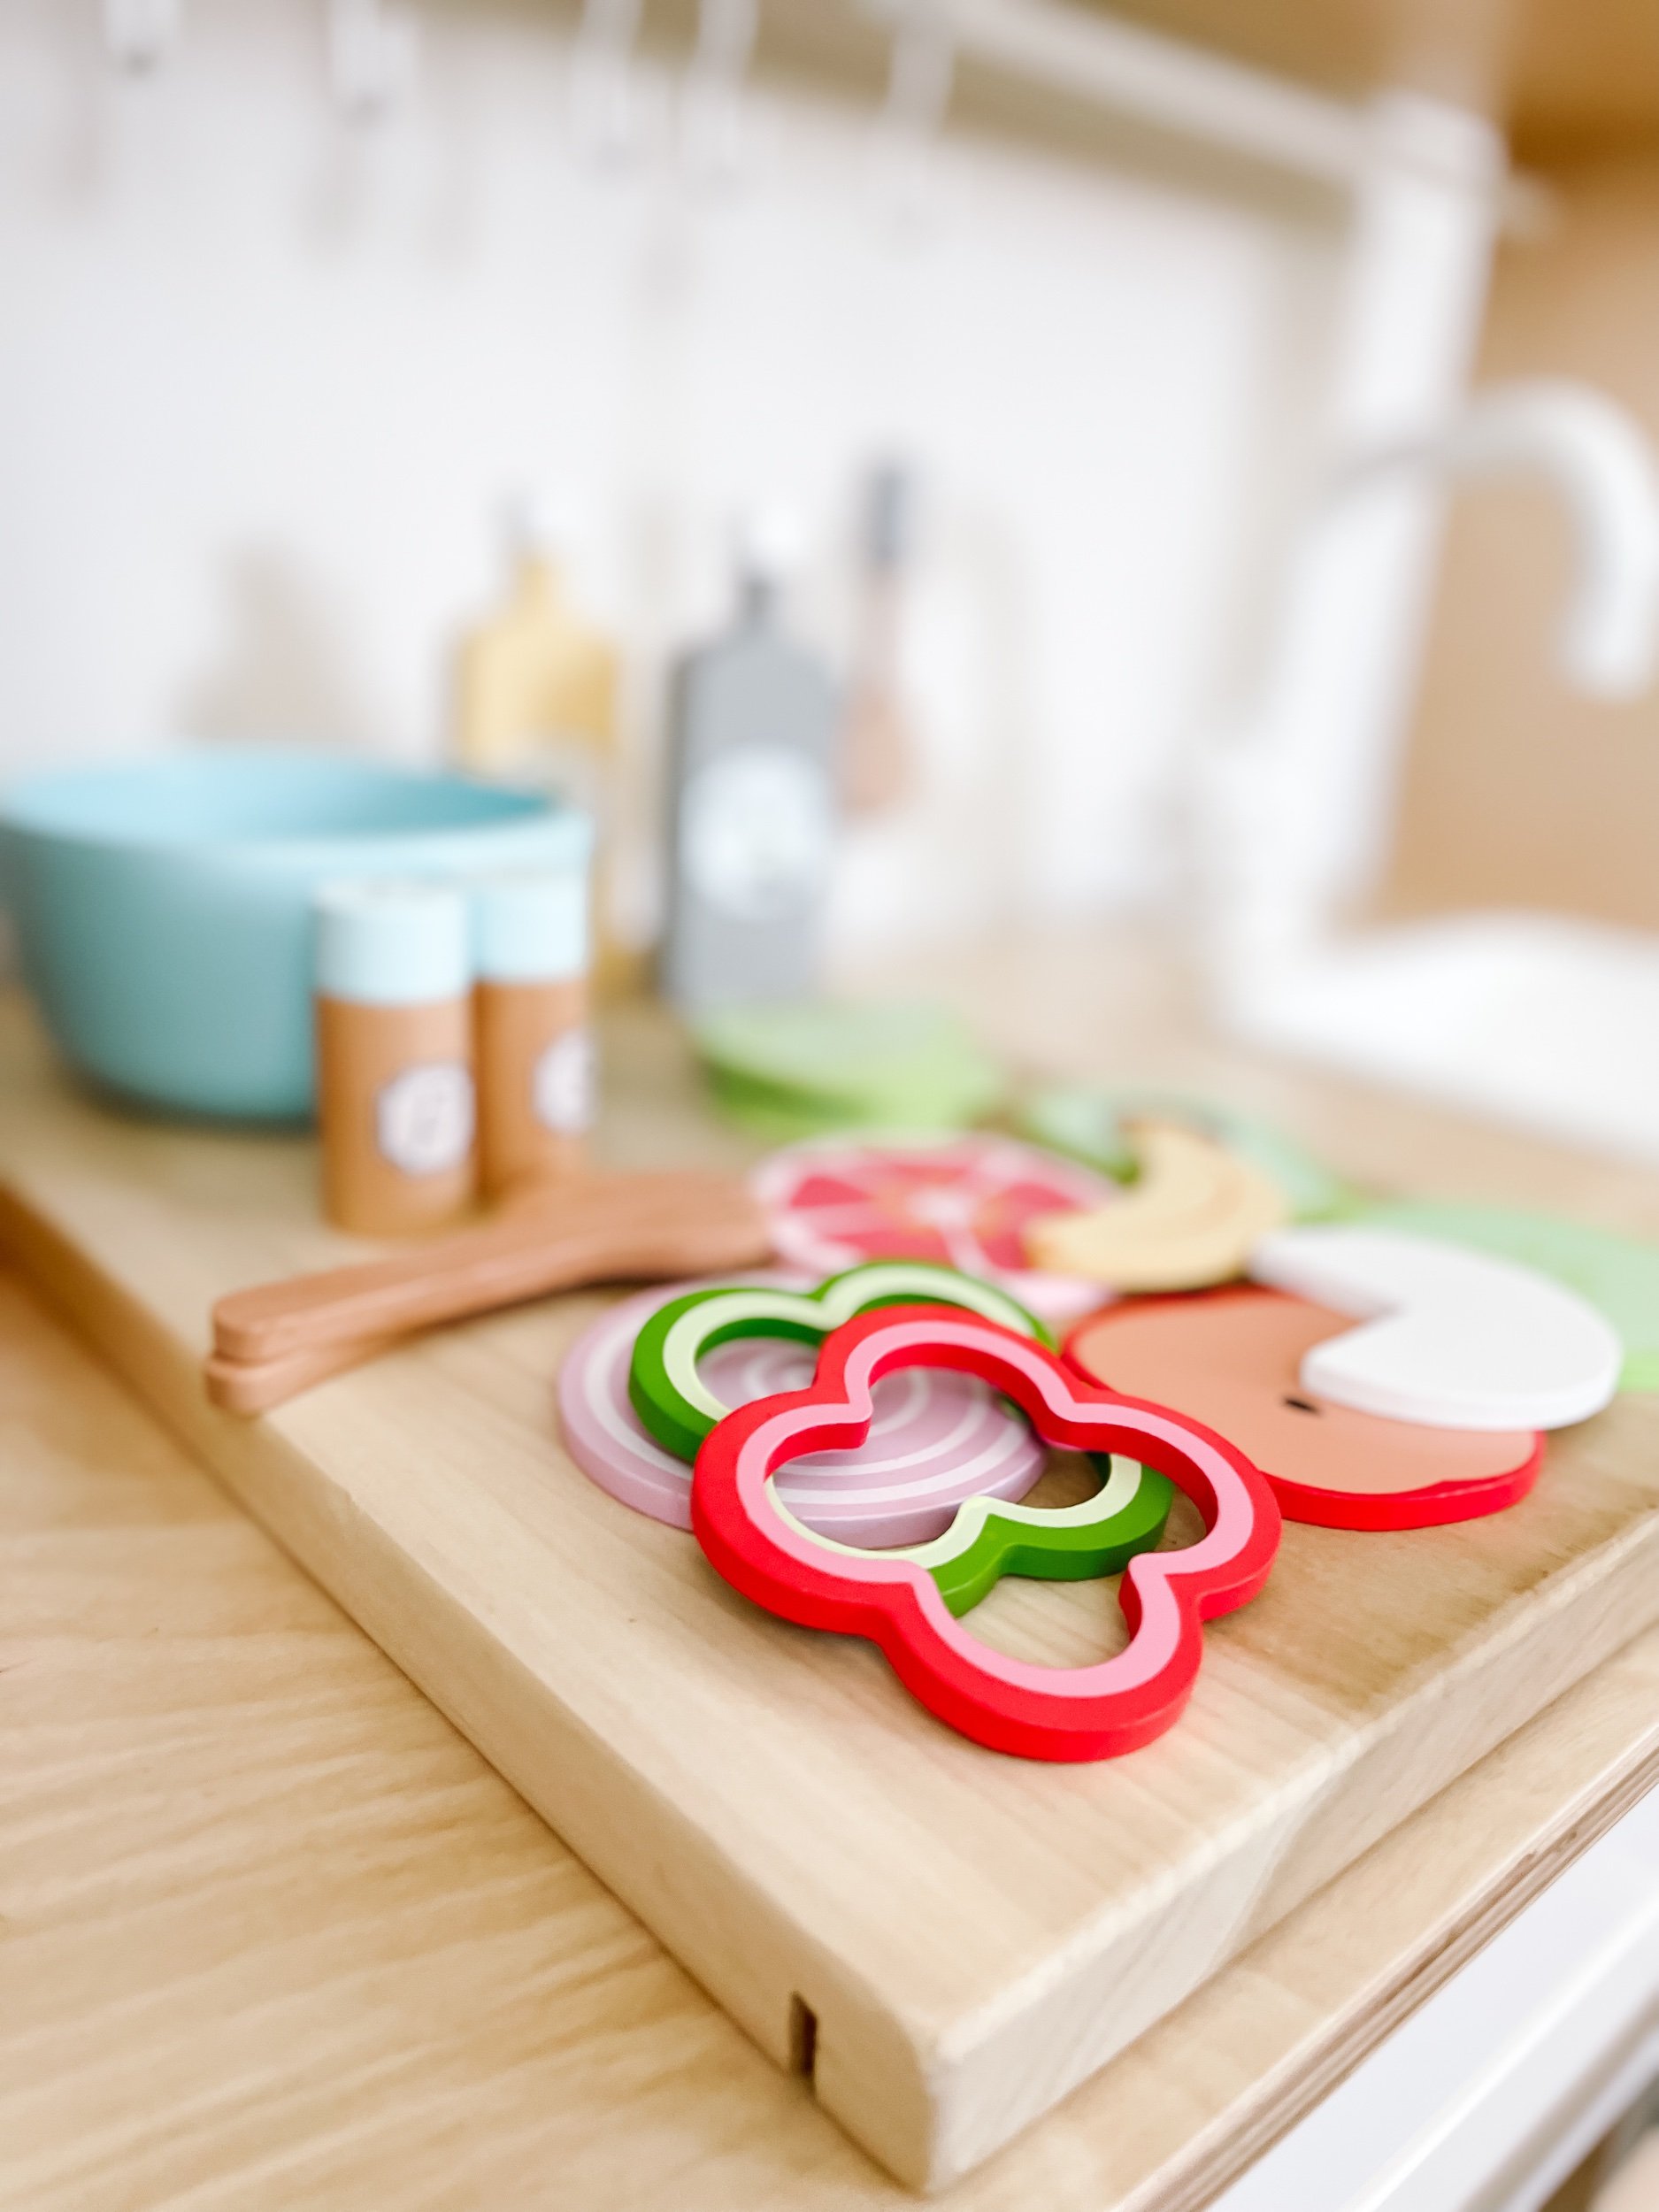
1. Painting Nails:
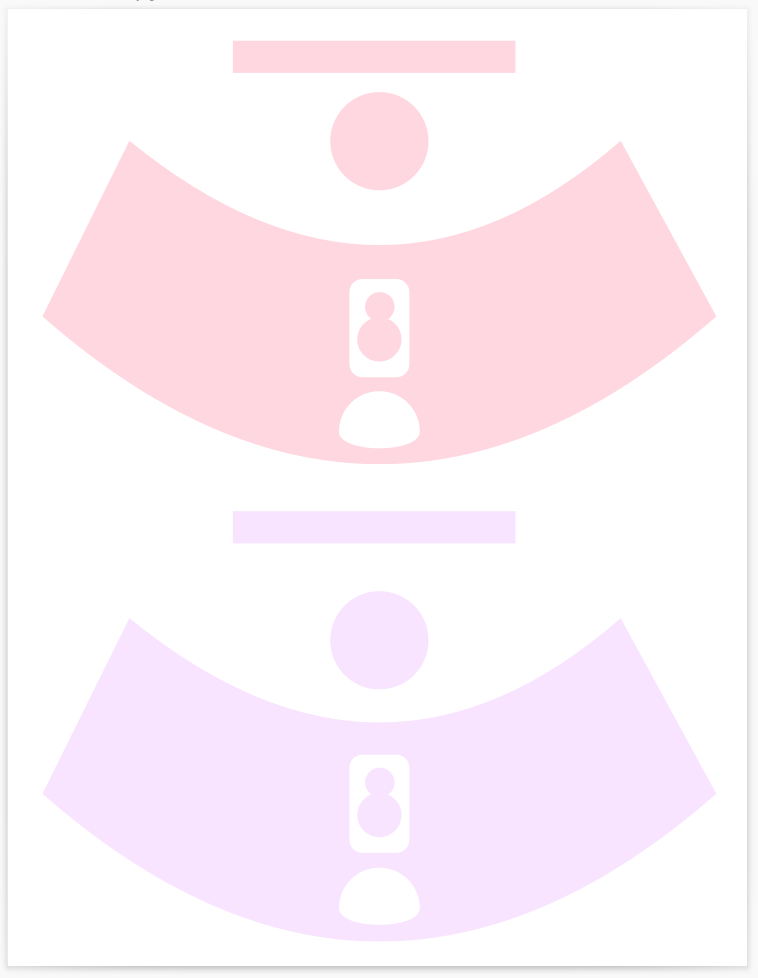
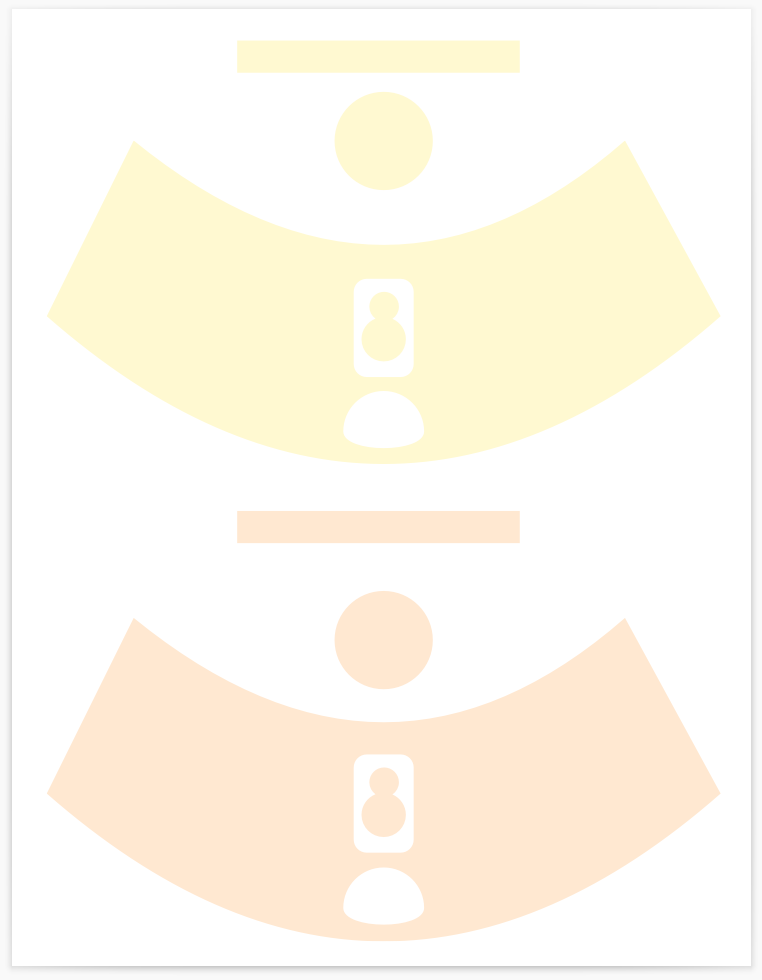
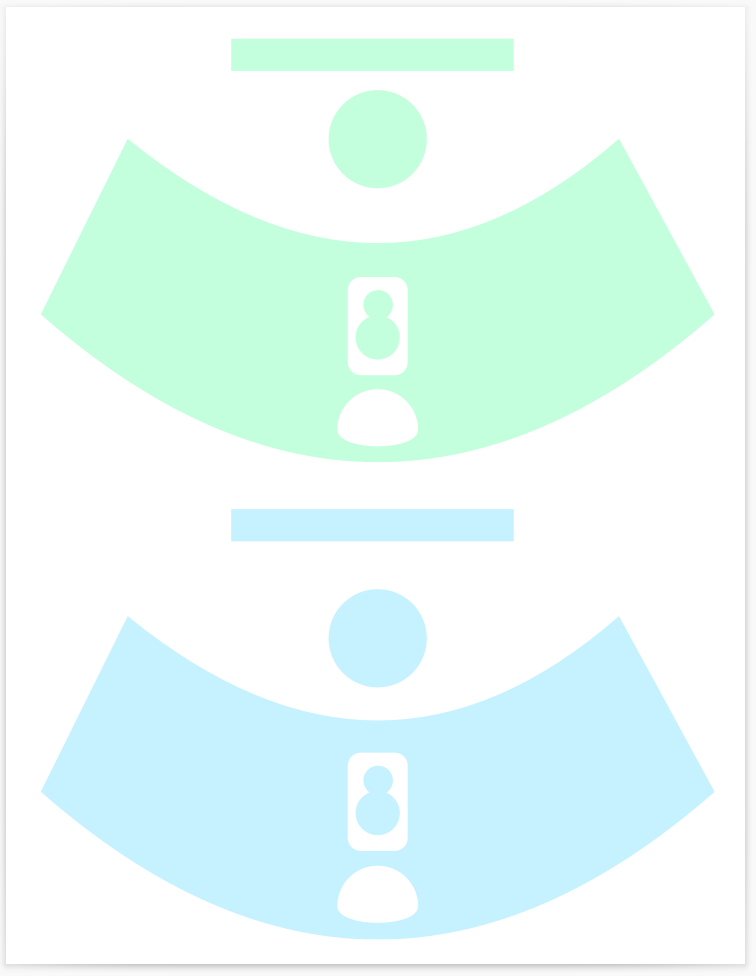
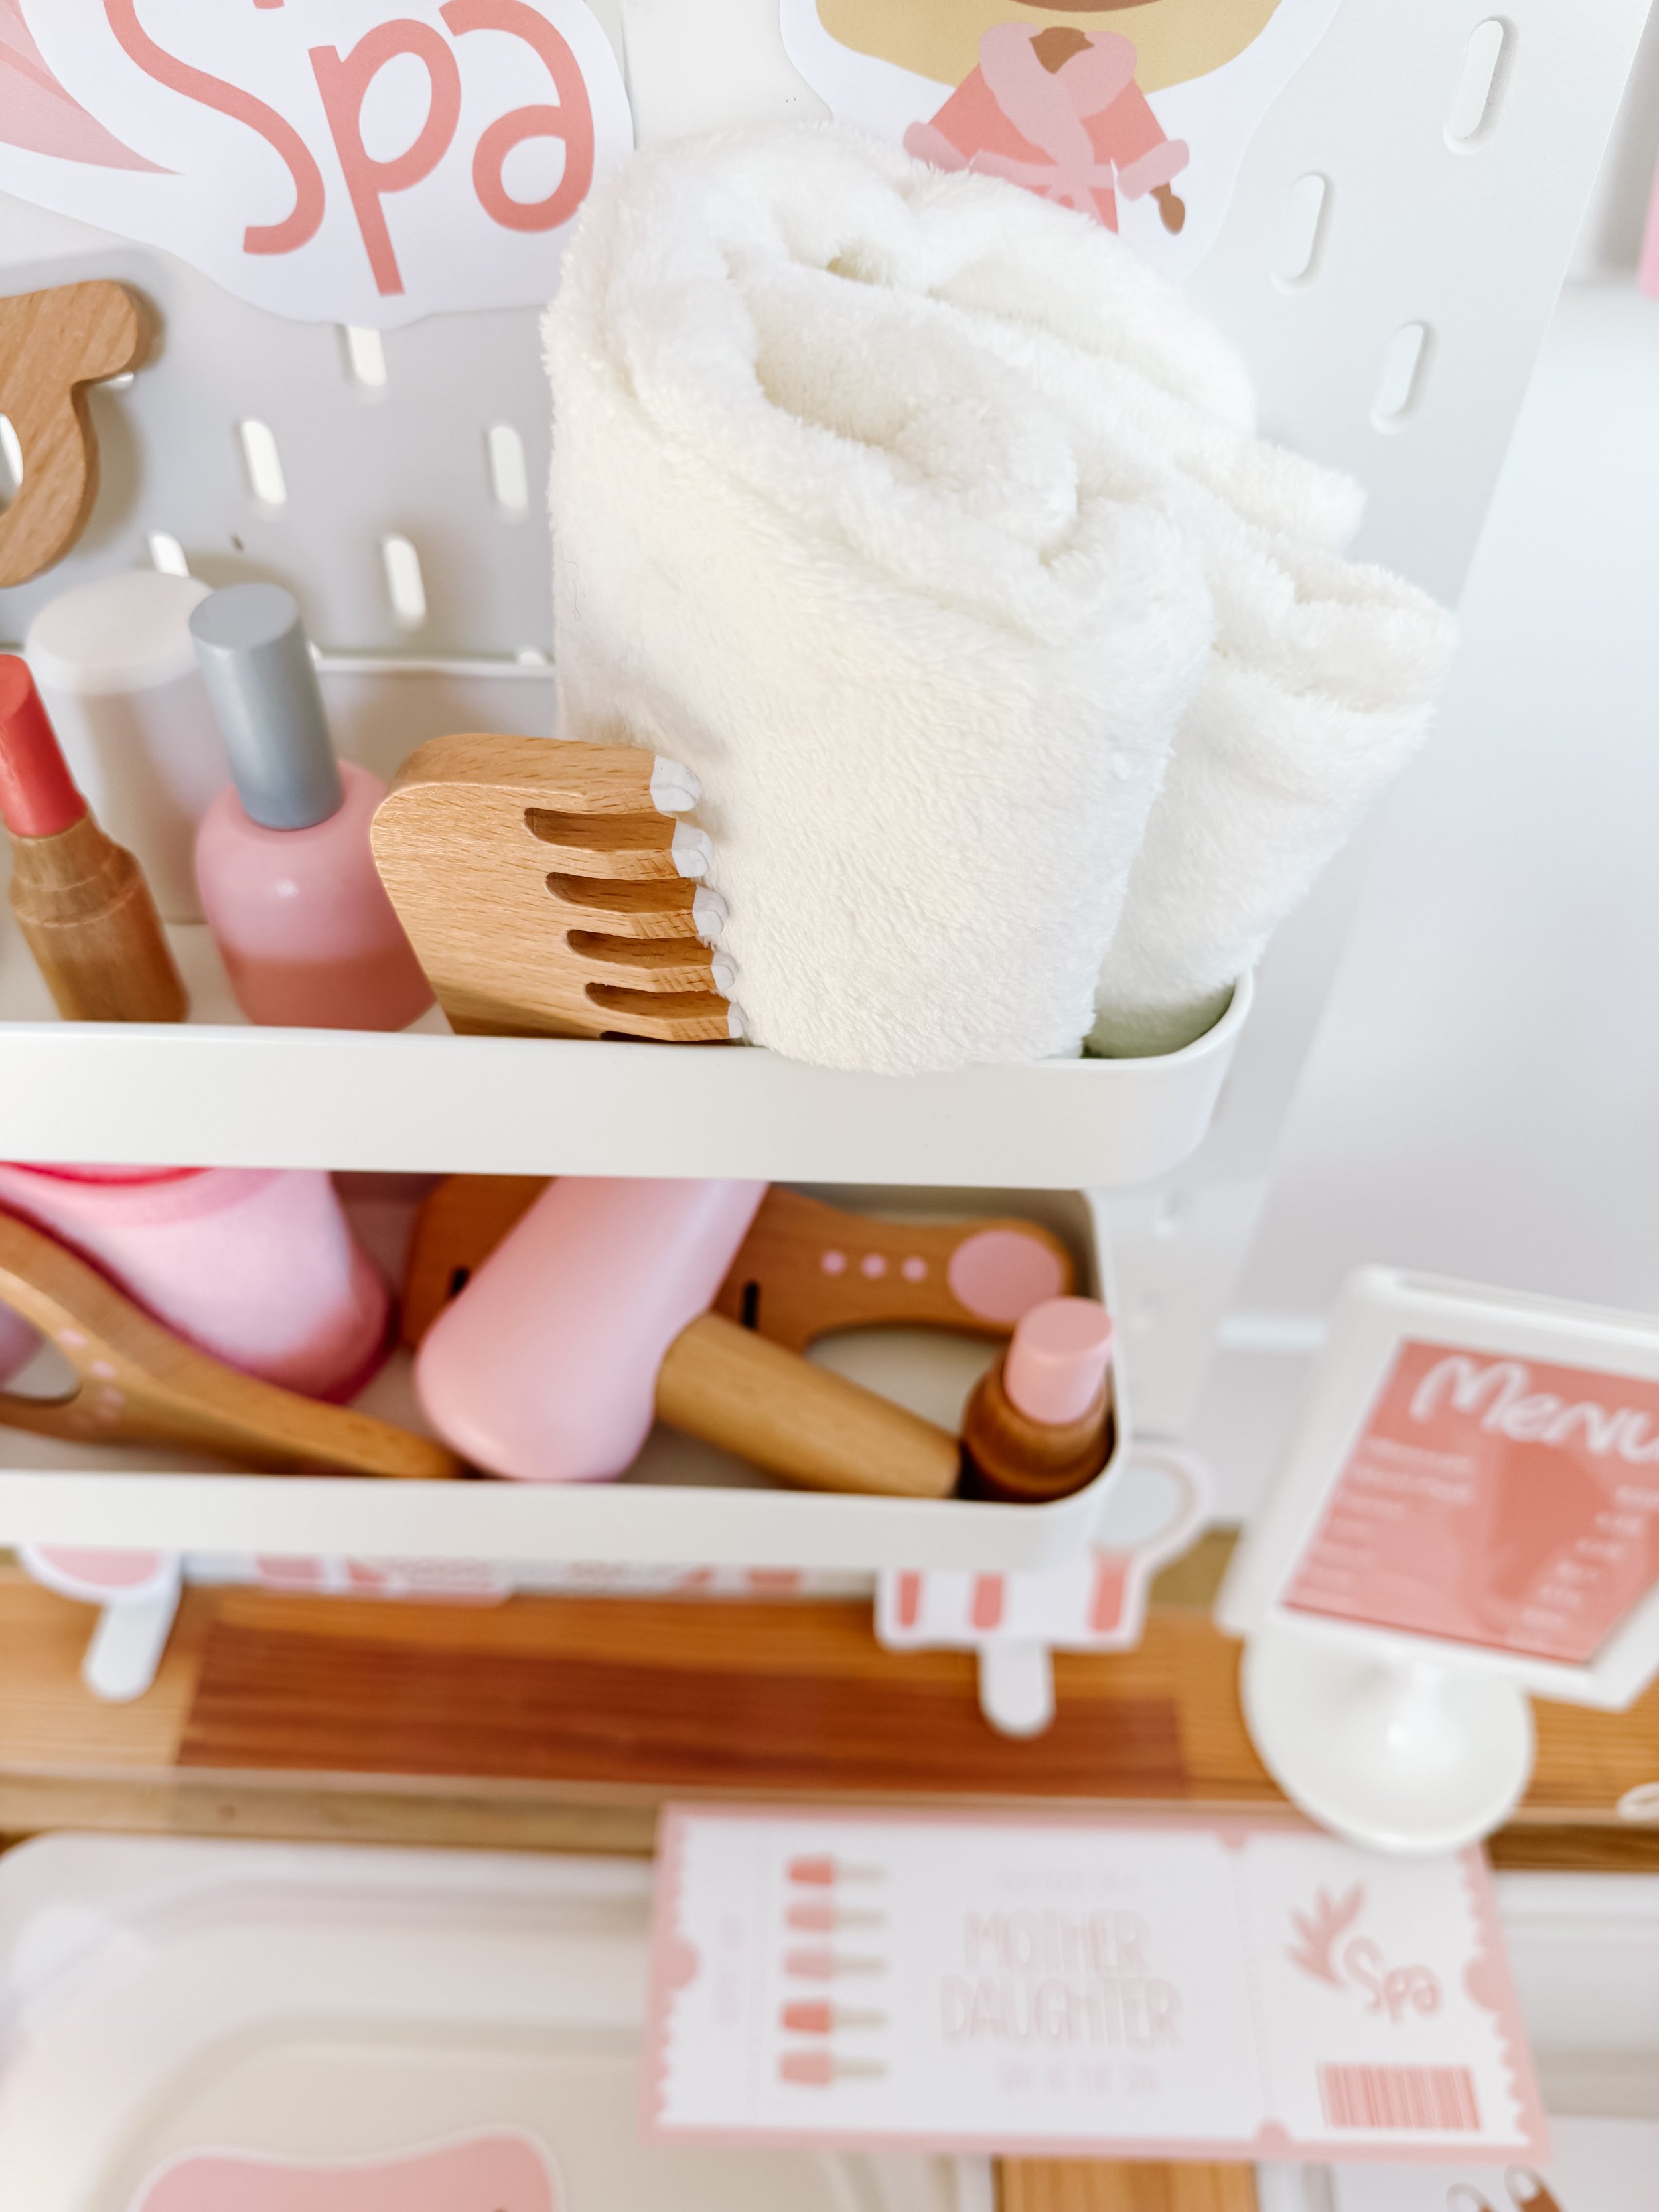
Transform ordinary play into a glamorous spa session by providing printable fingers and toes for your little ones to paint. Laminate the printables for durability, then let them unleash their creativity with markers or washable paint. This activity not only enhances fine motor skills but also encourages self-expression and imagination.

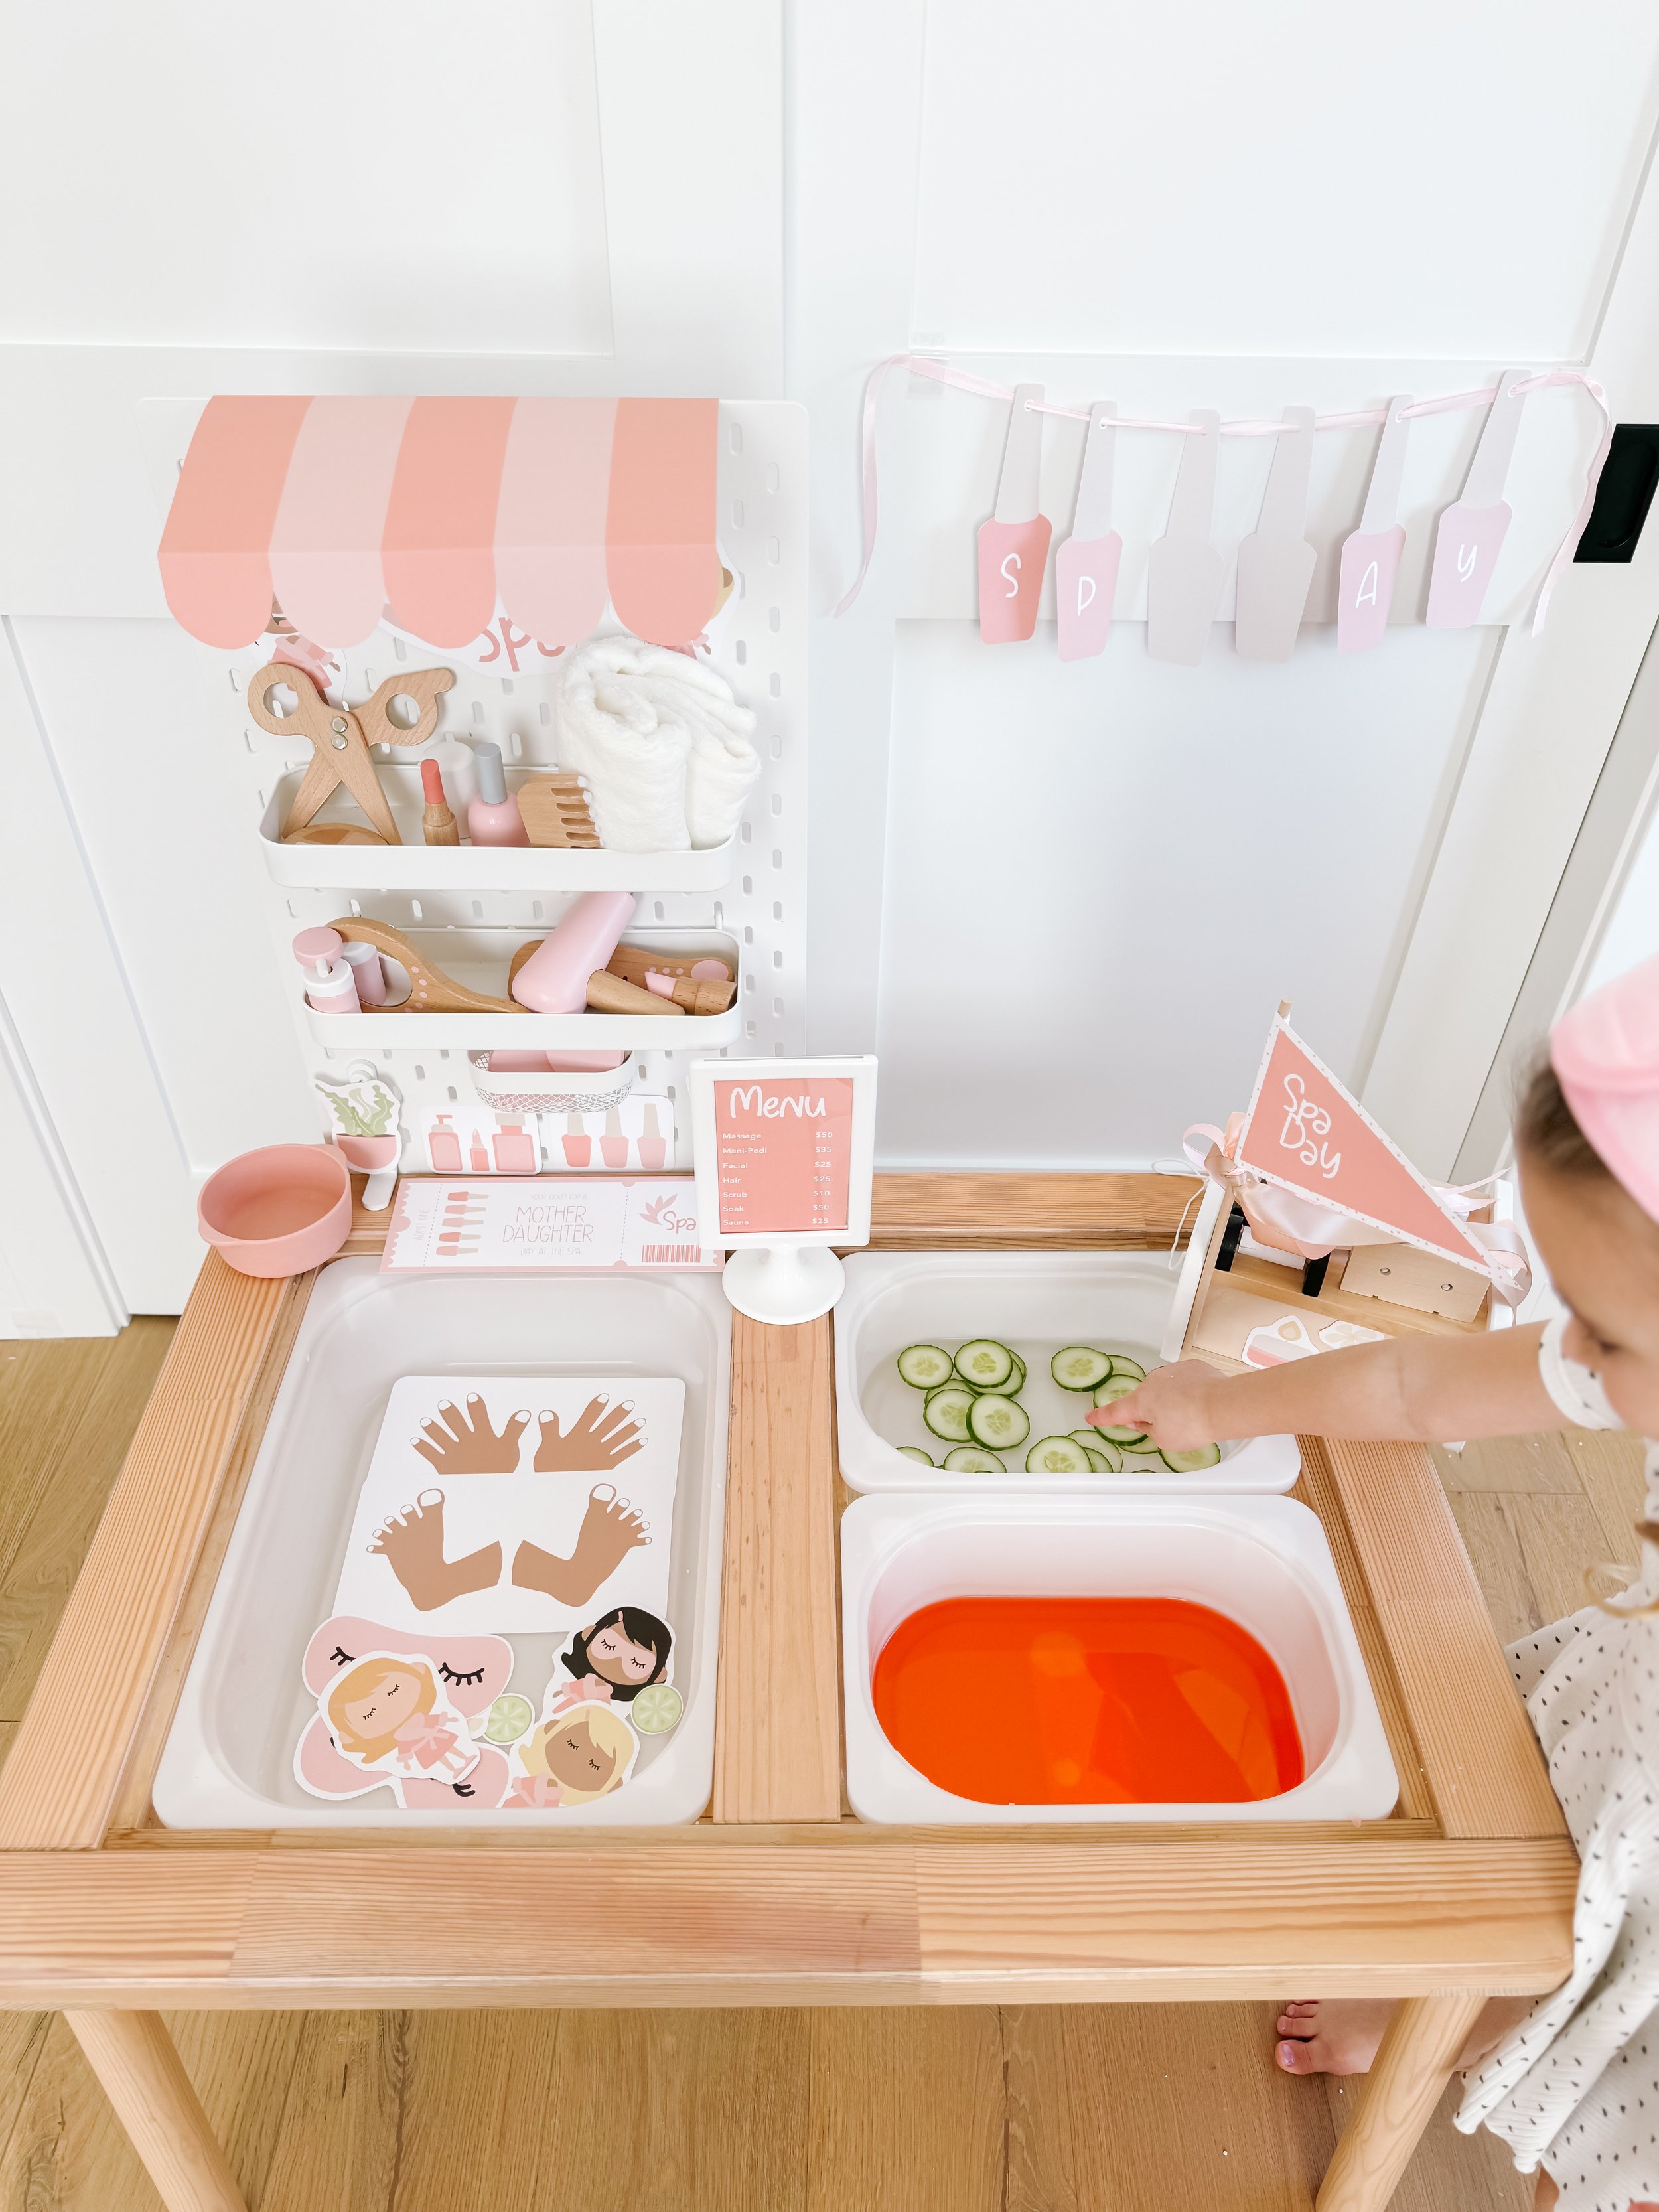
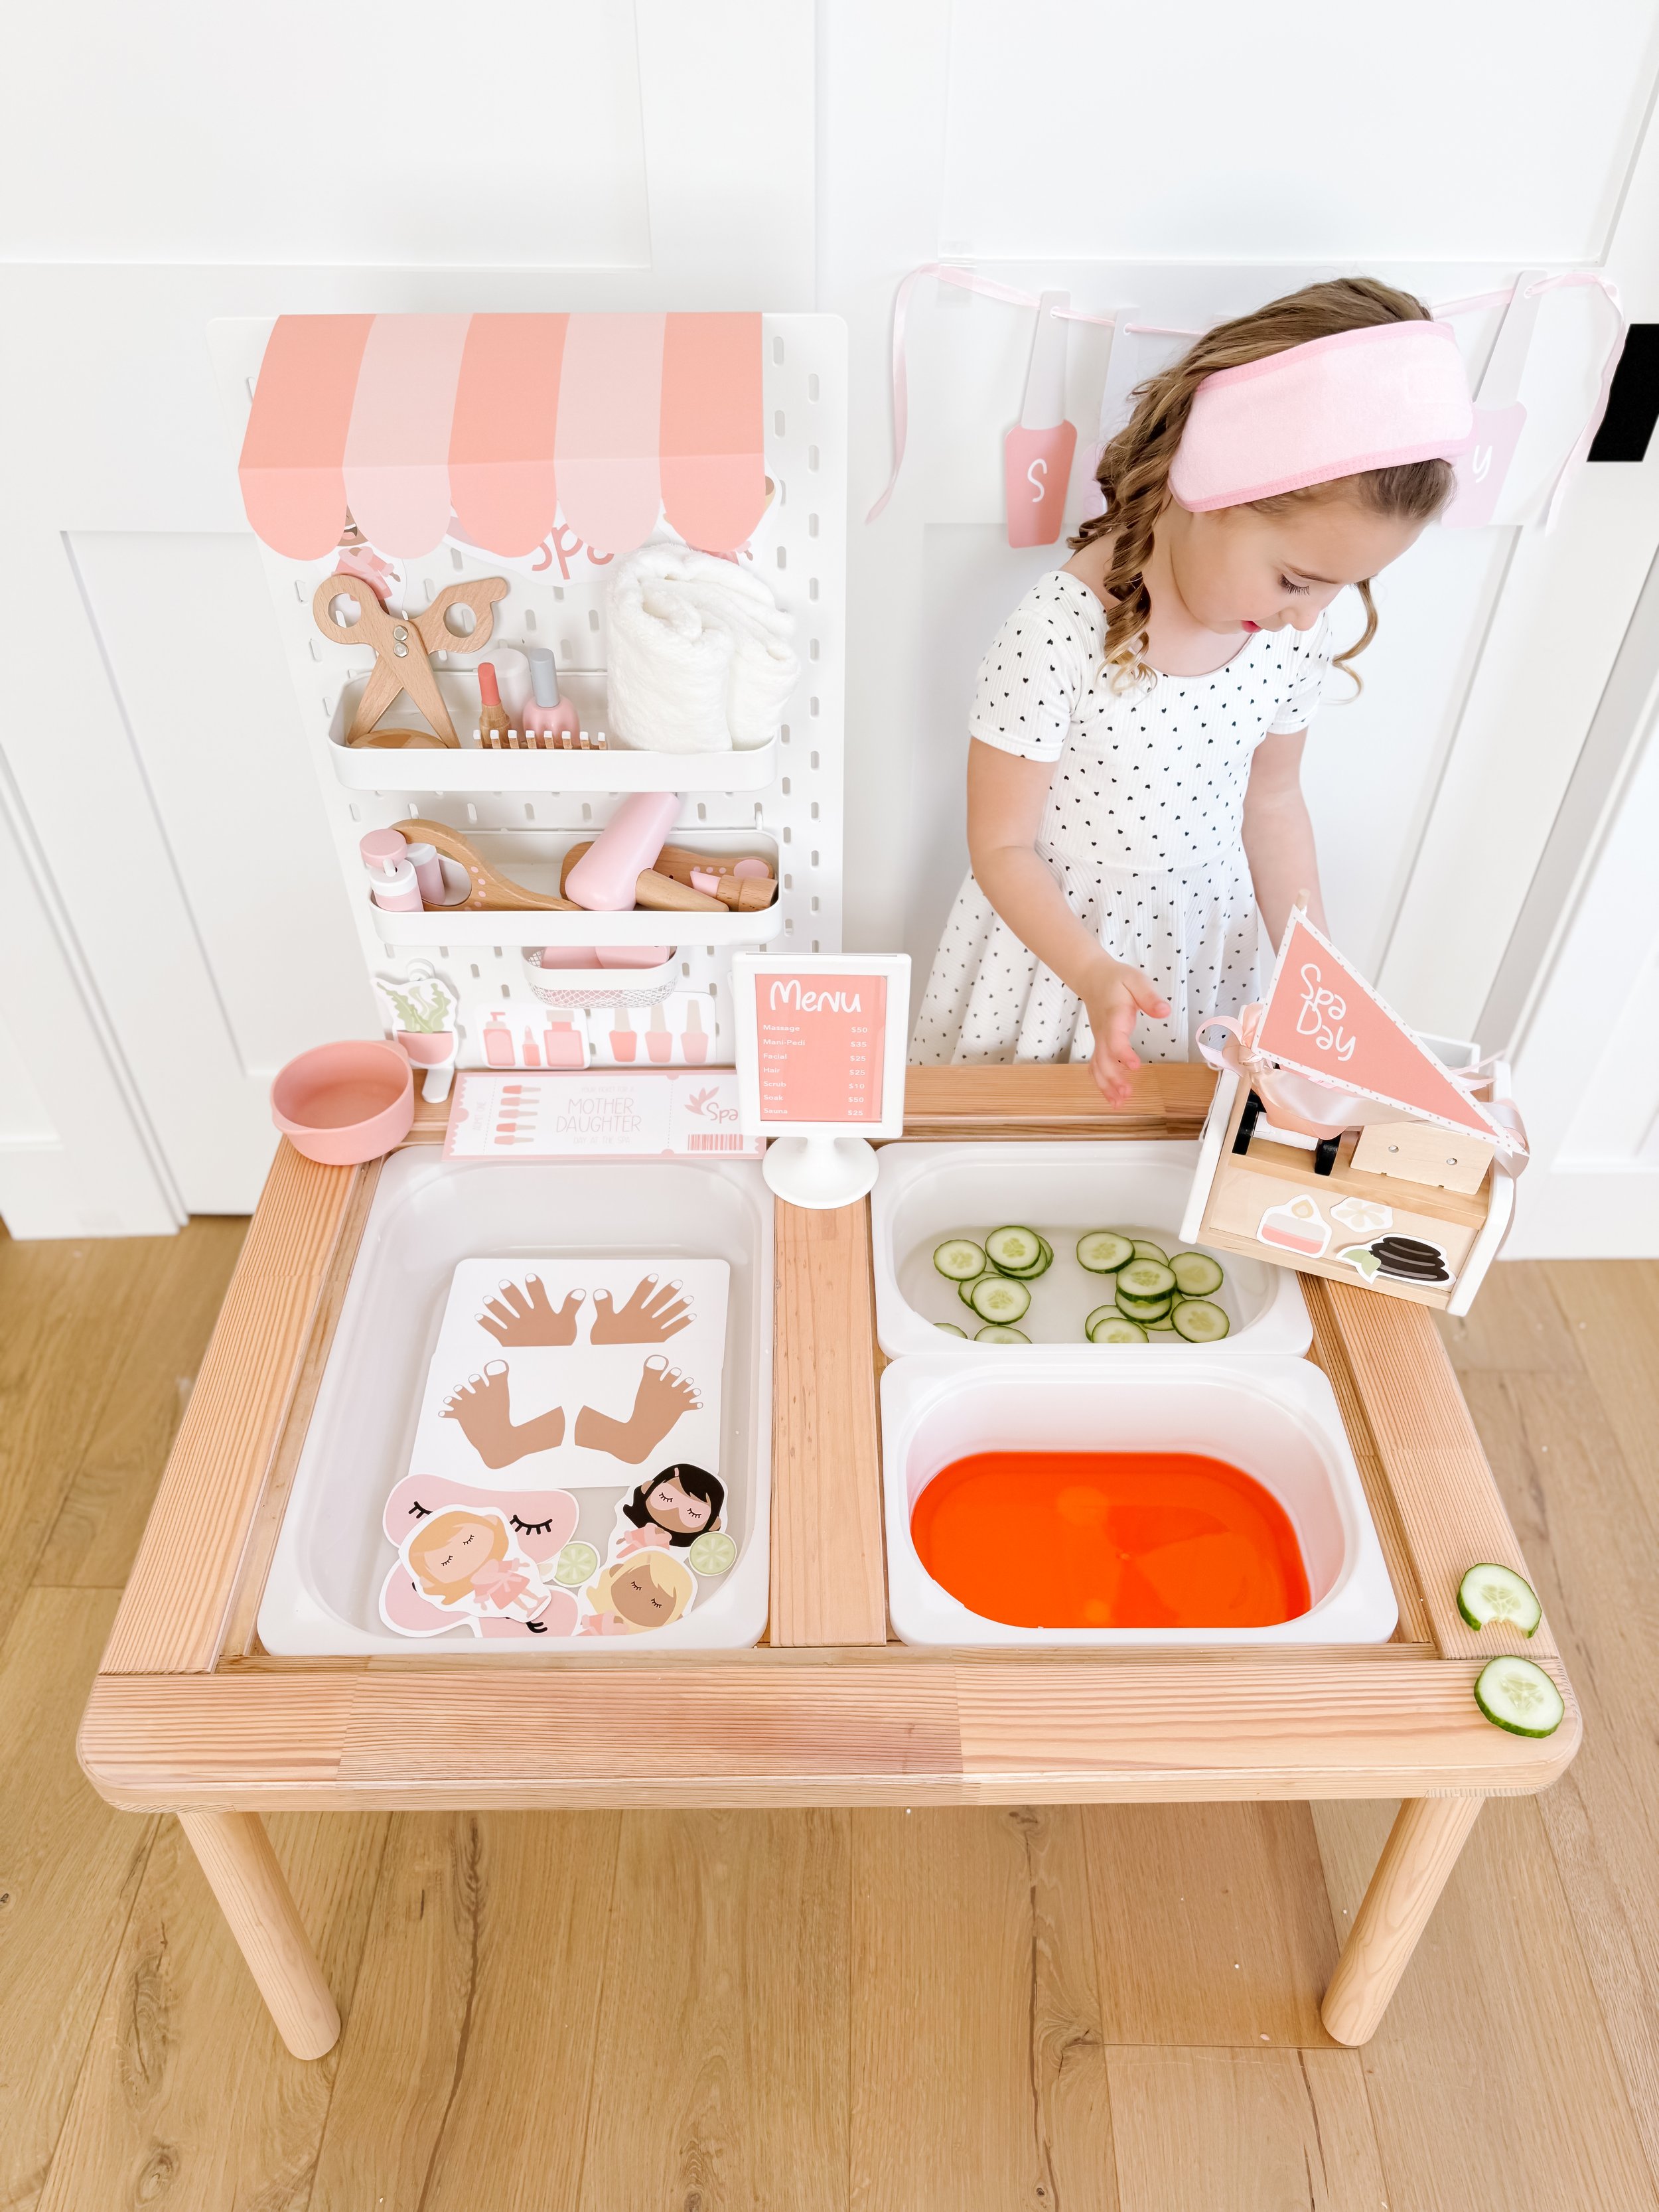
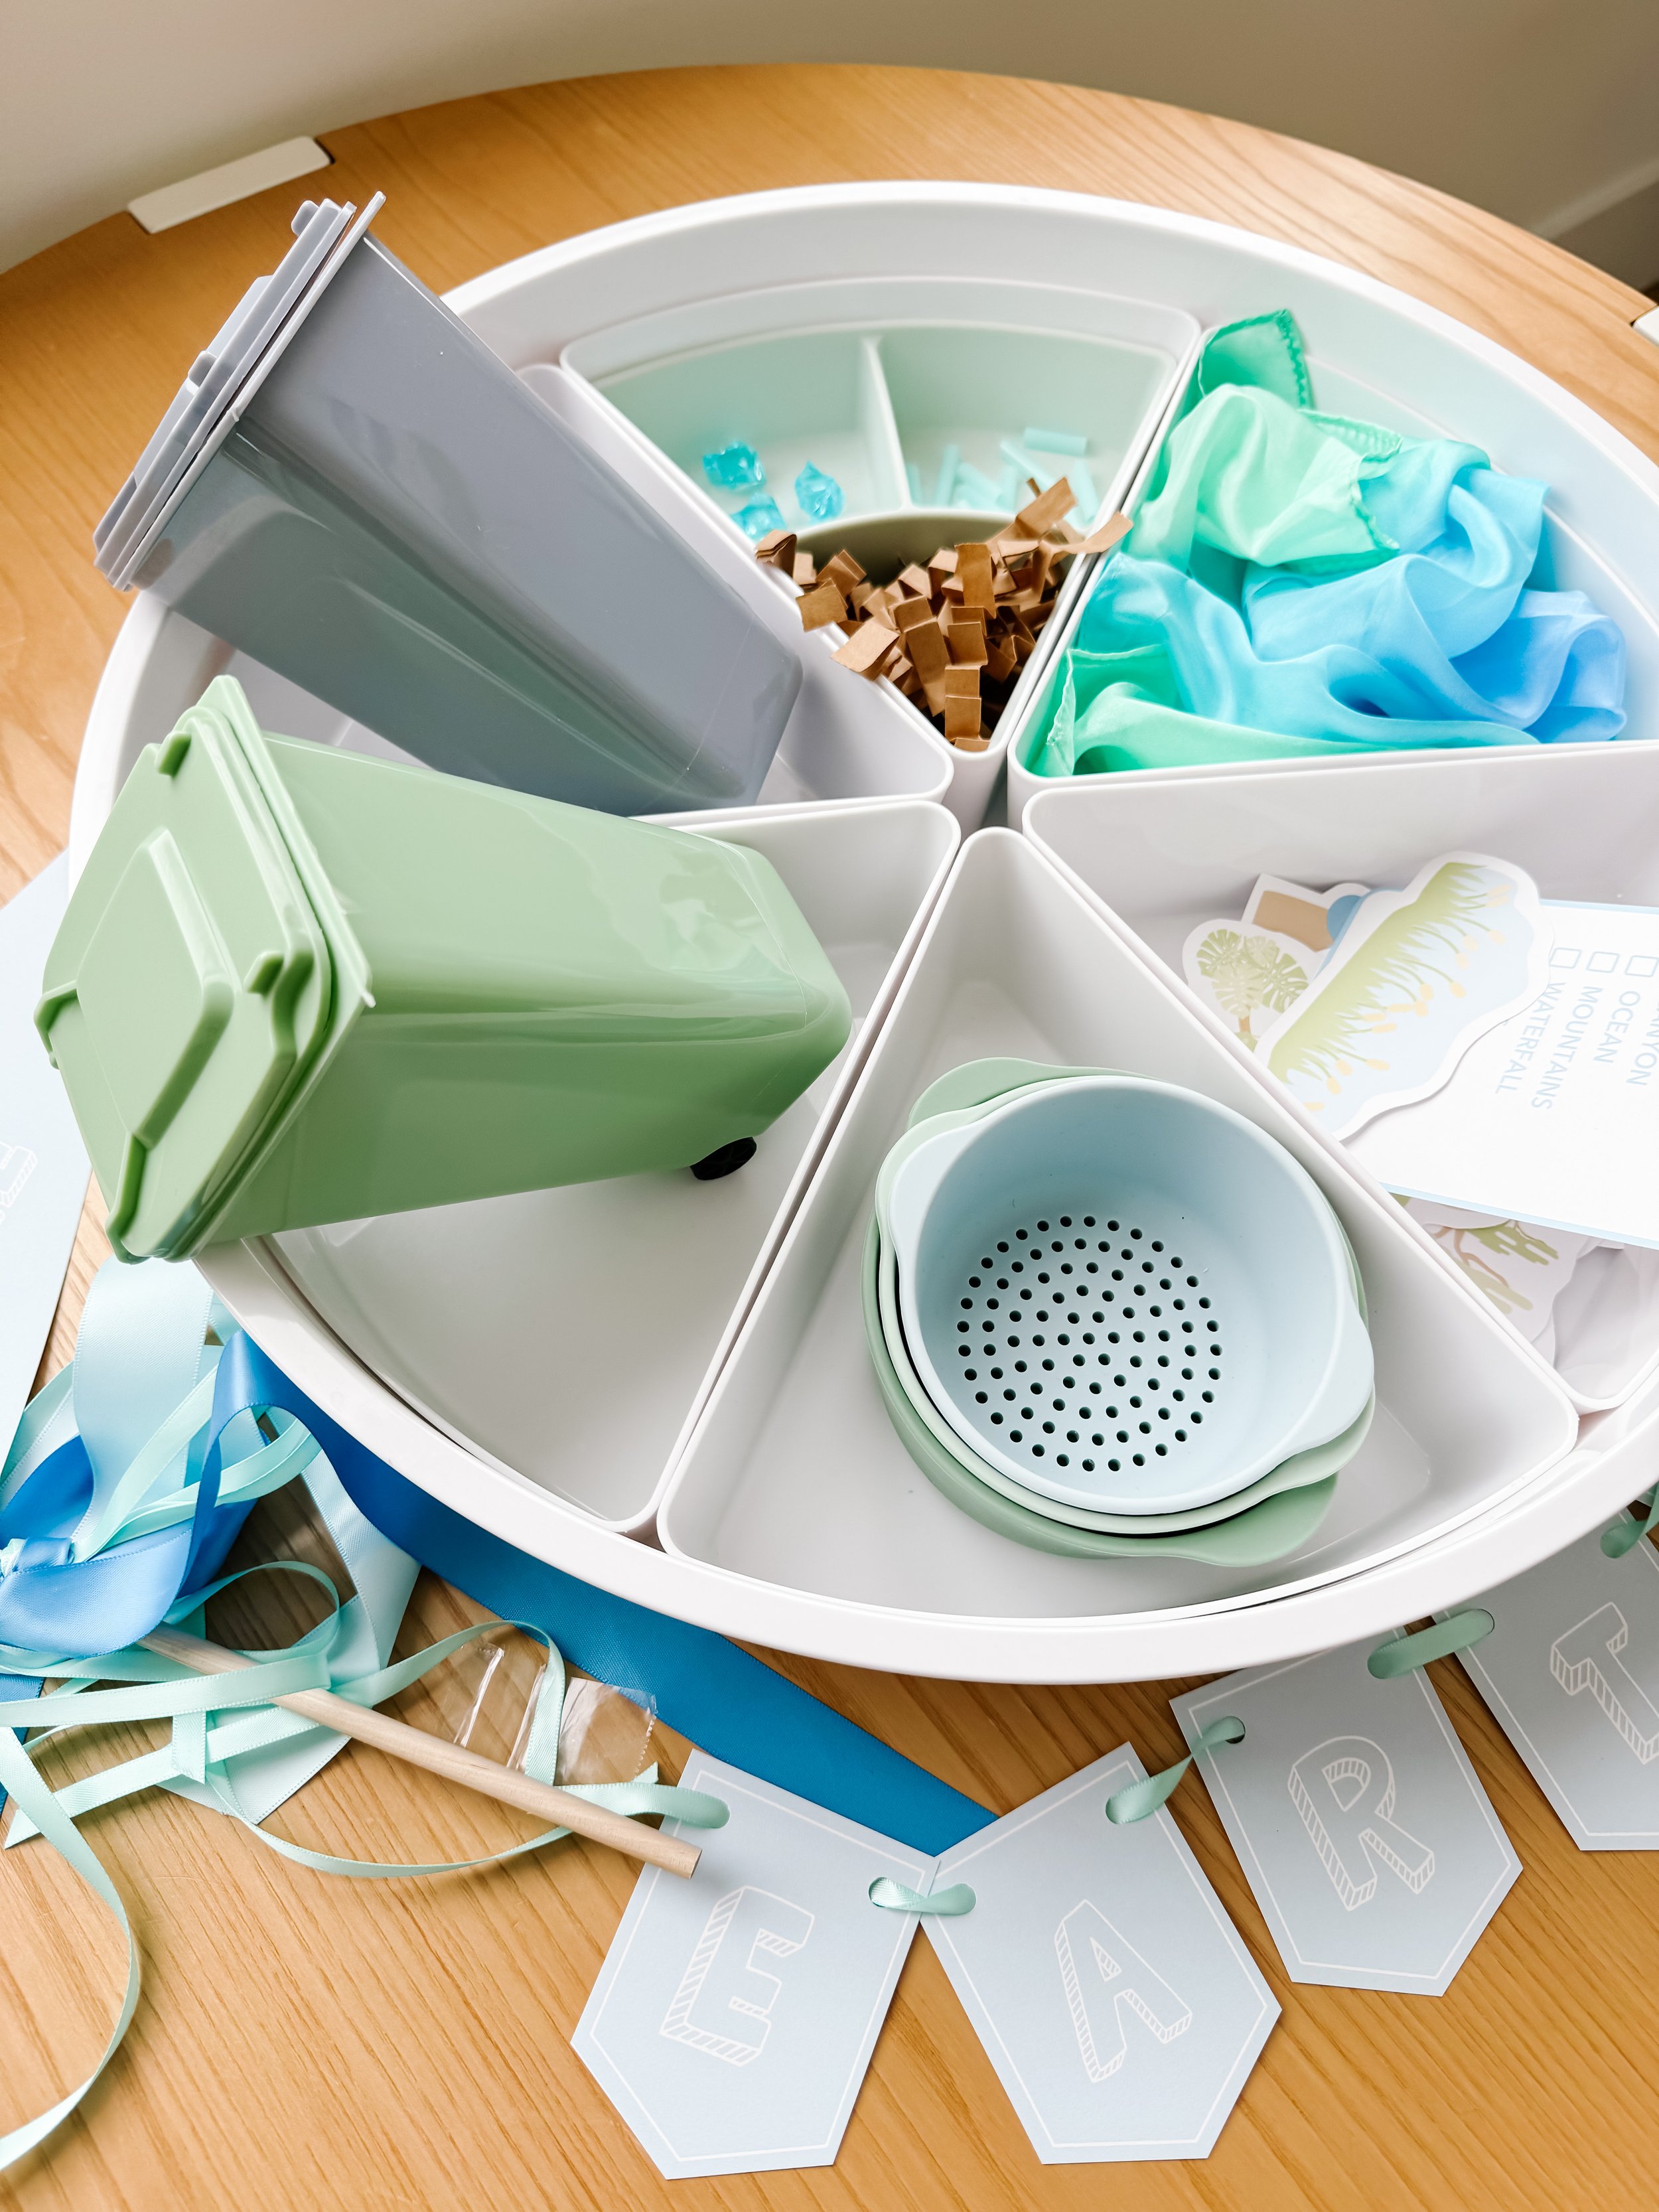
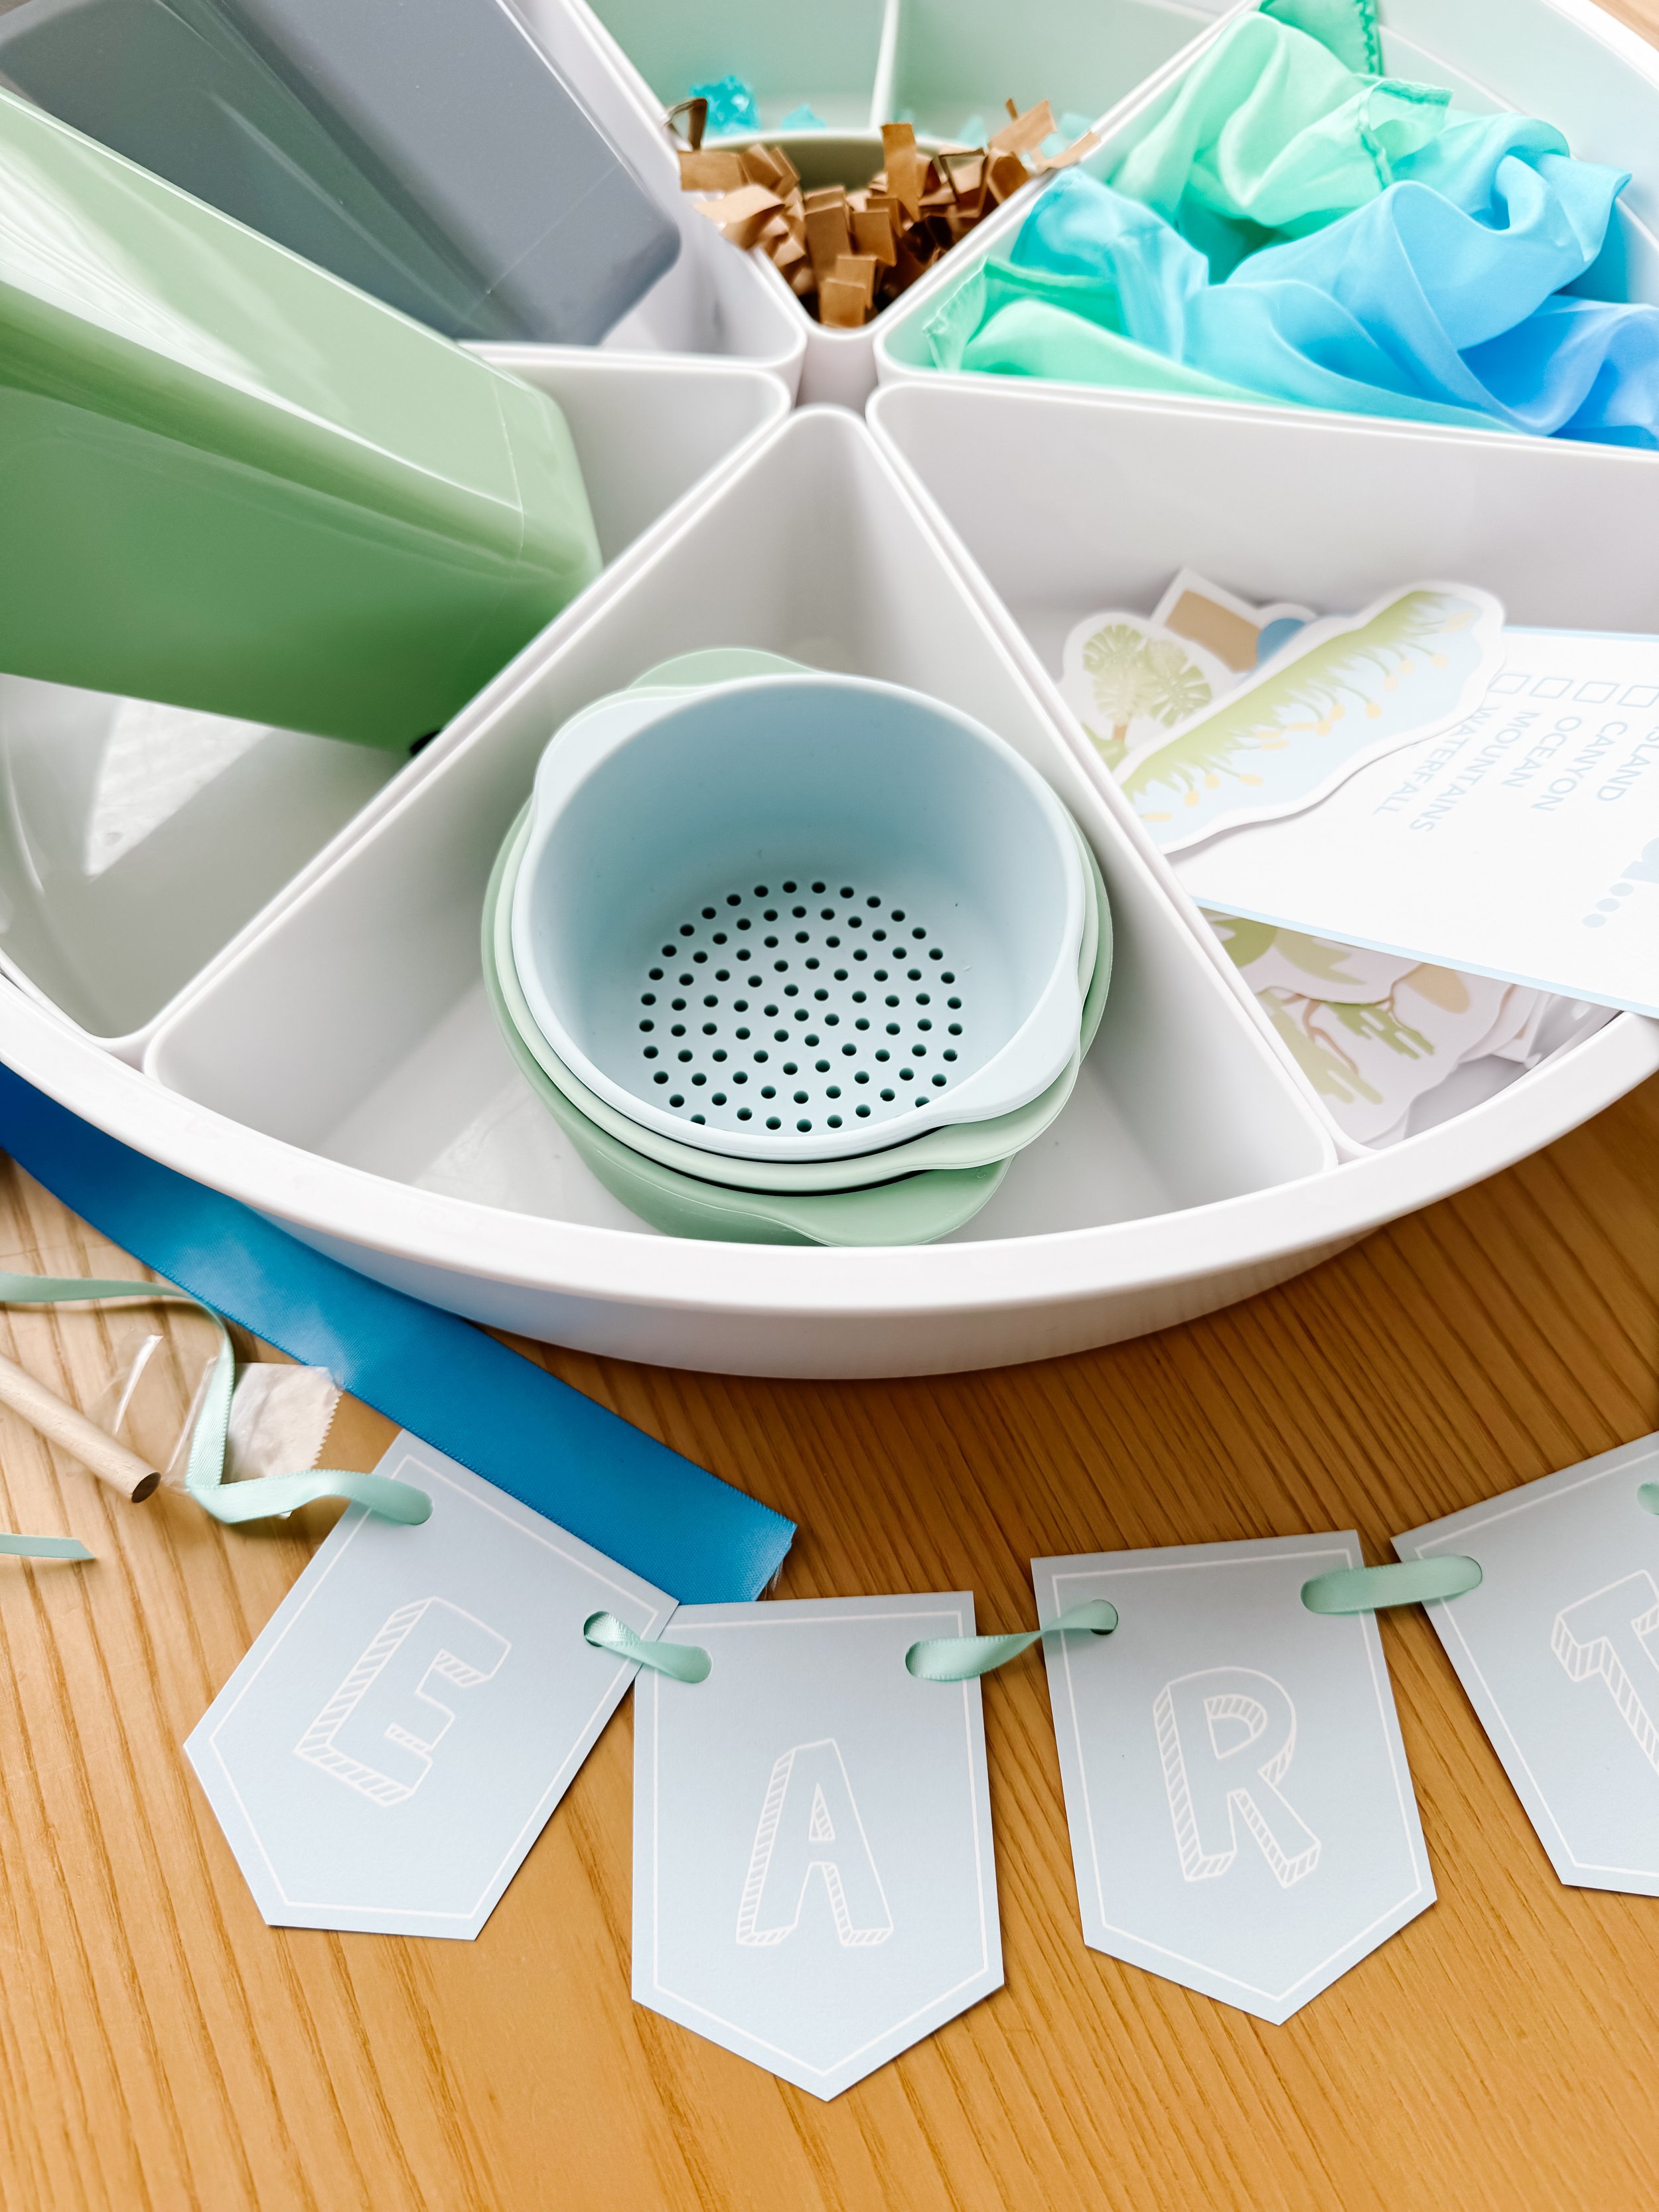
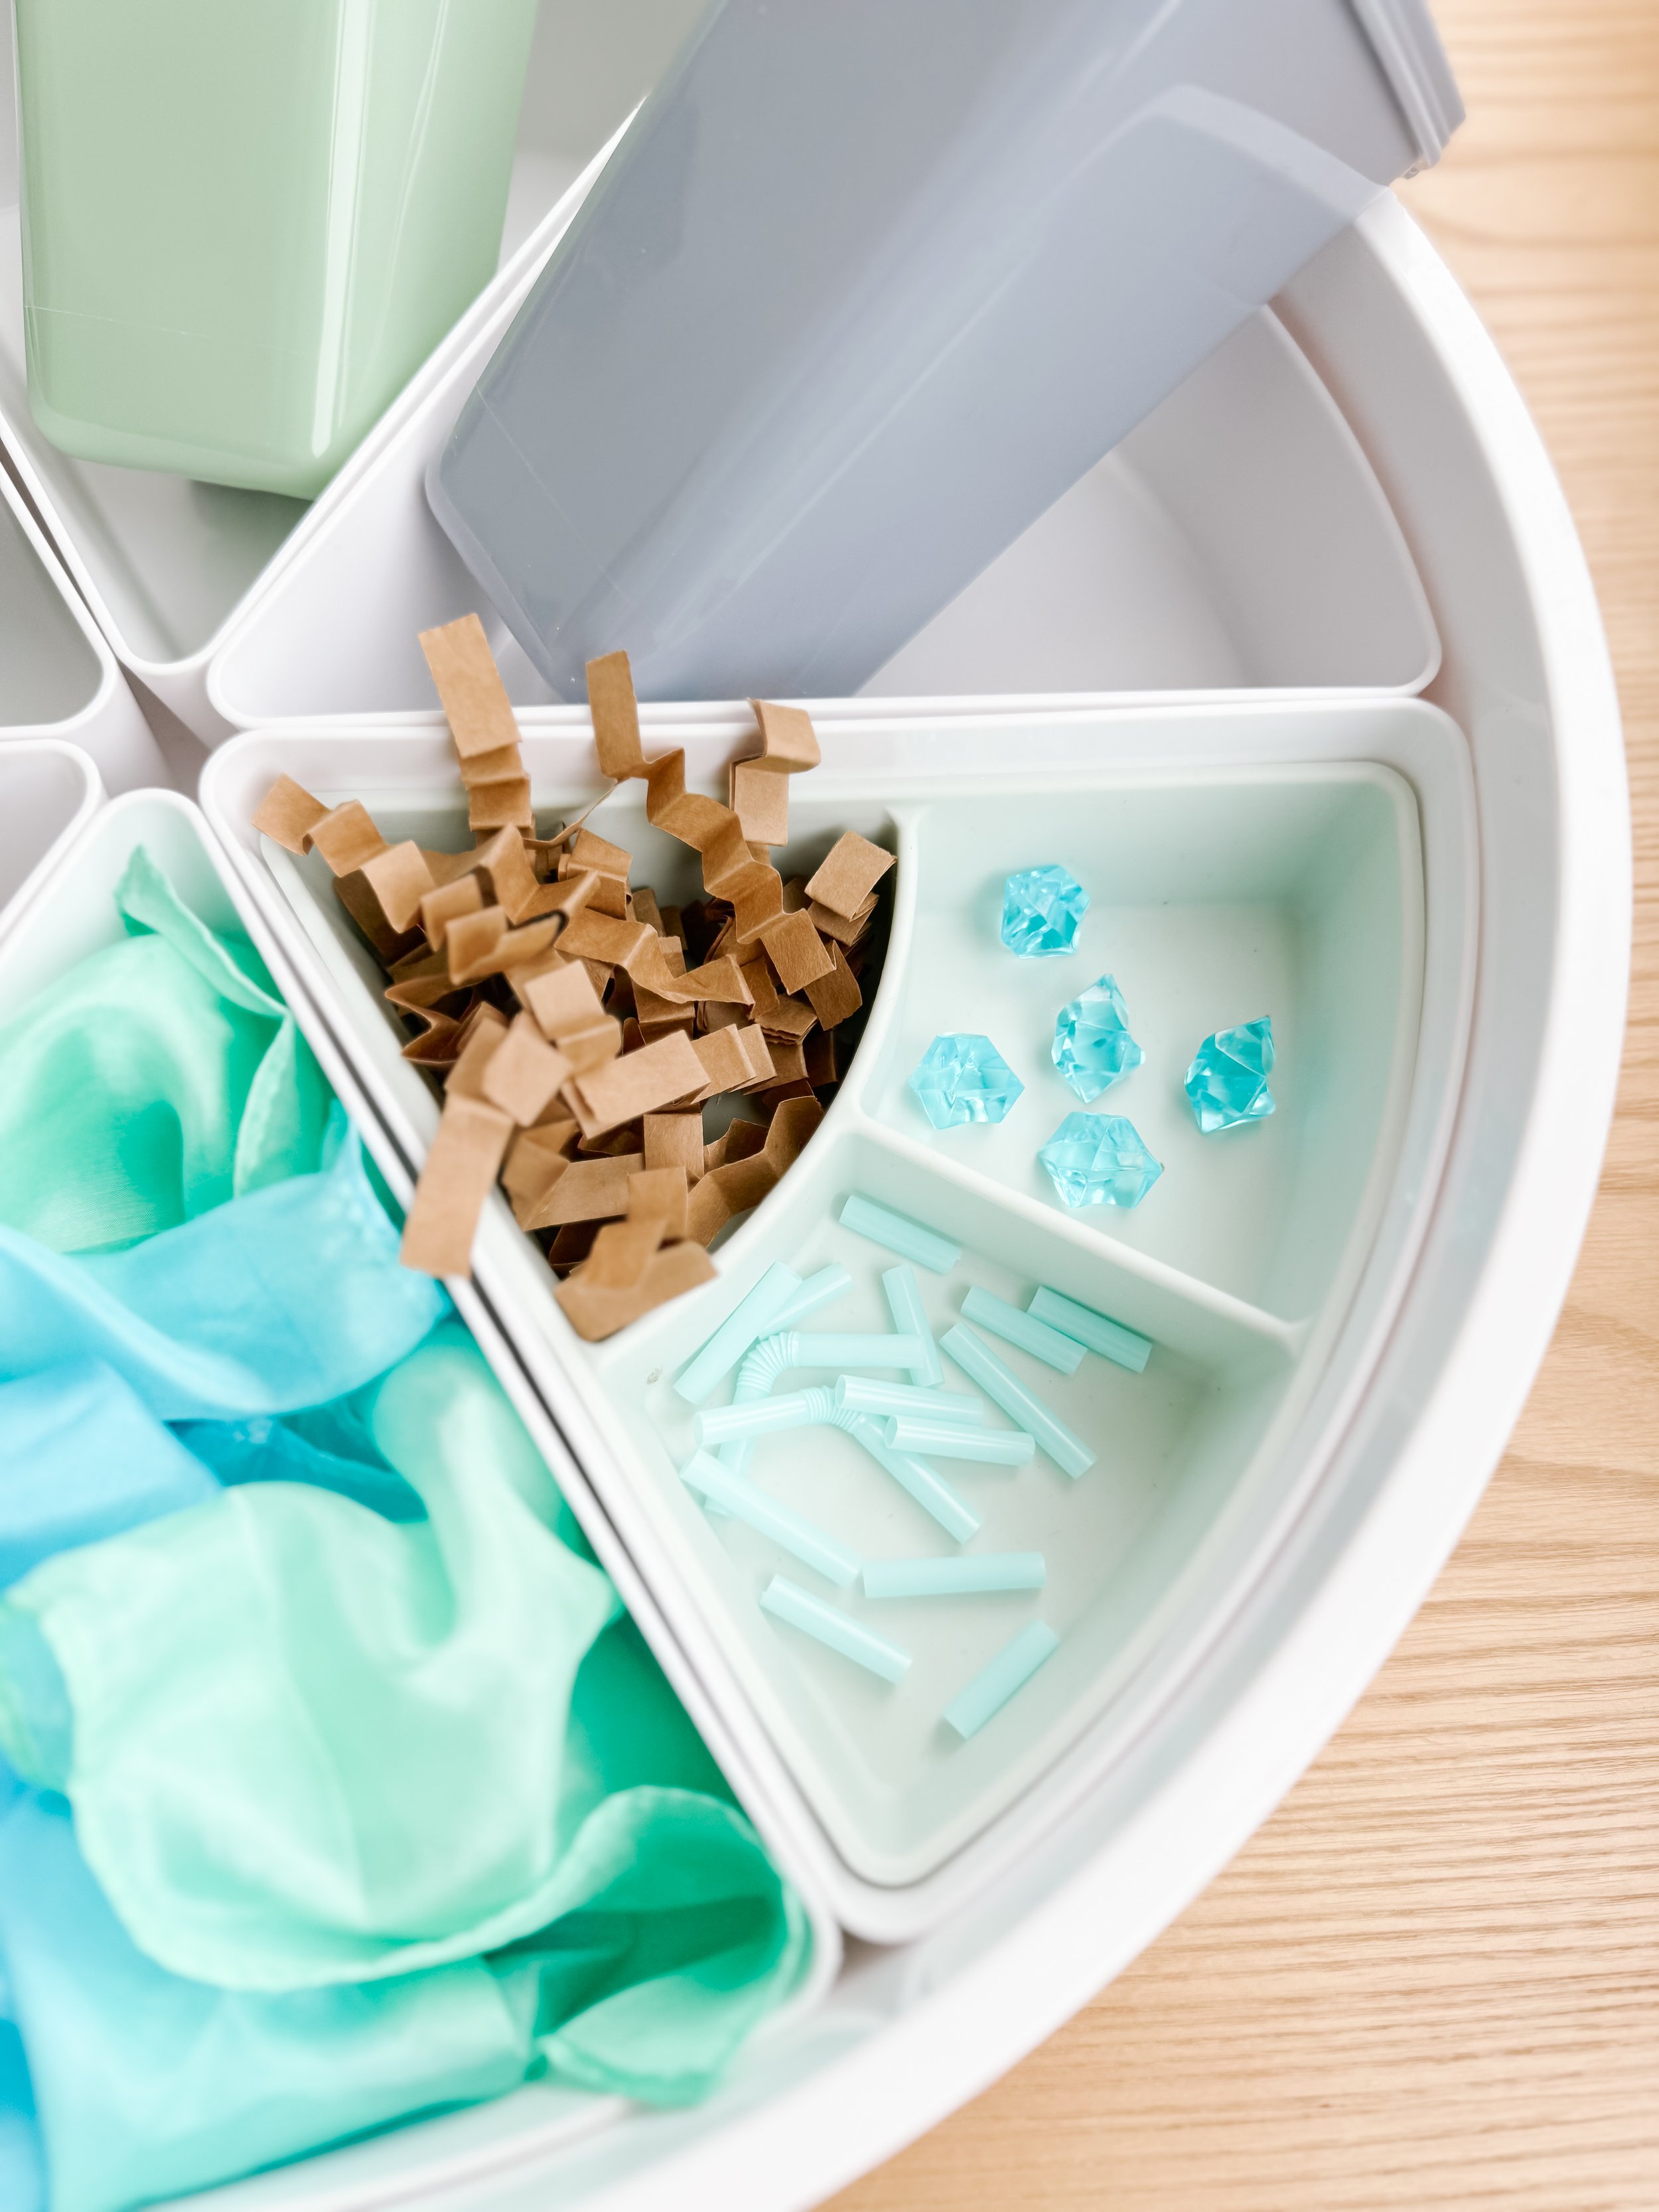
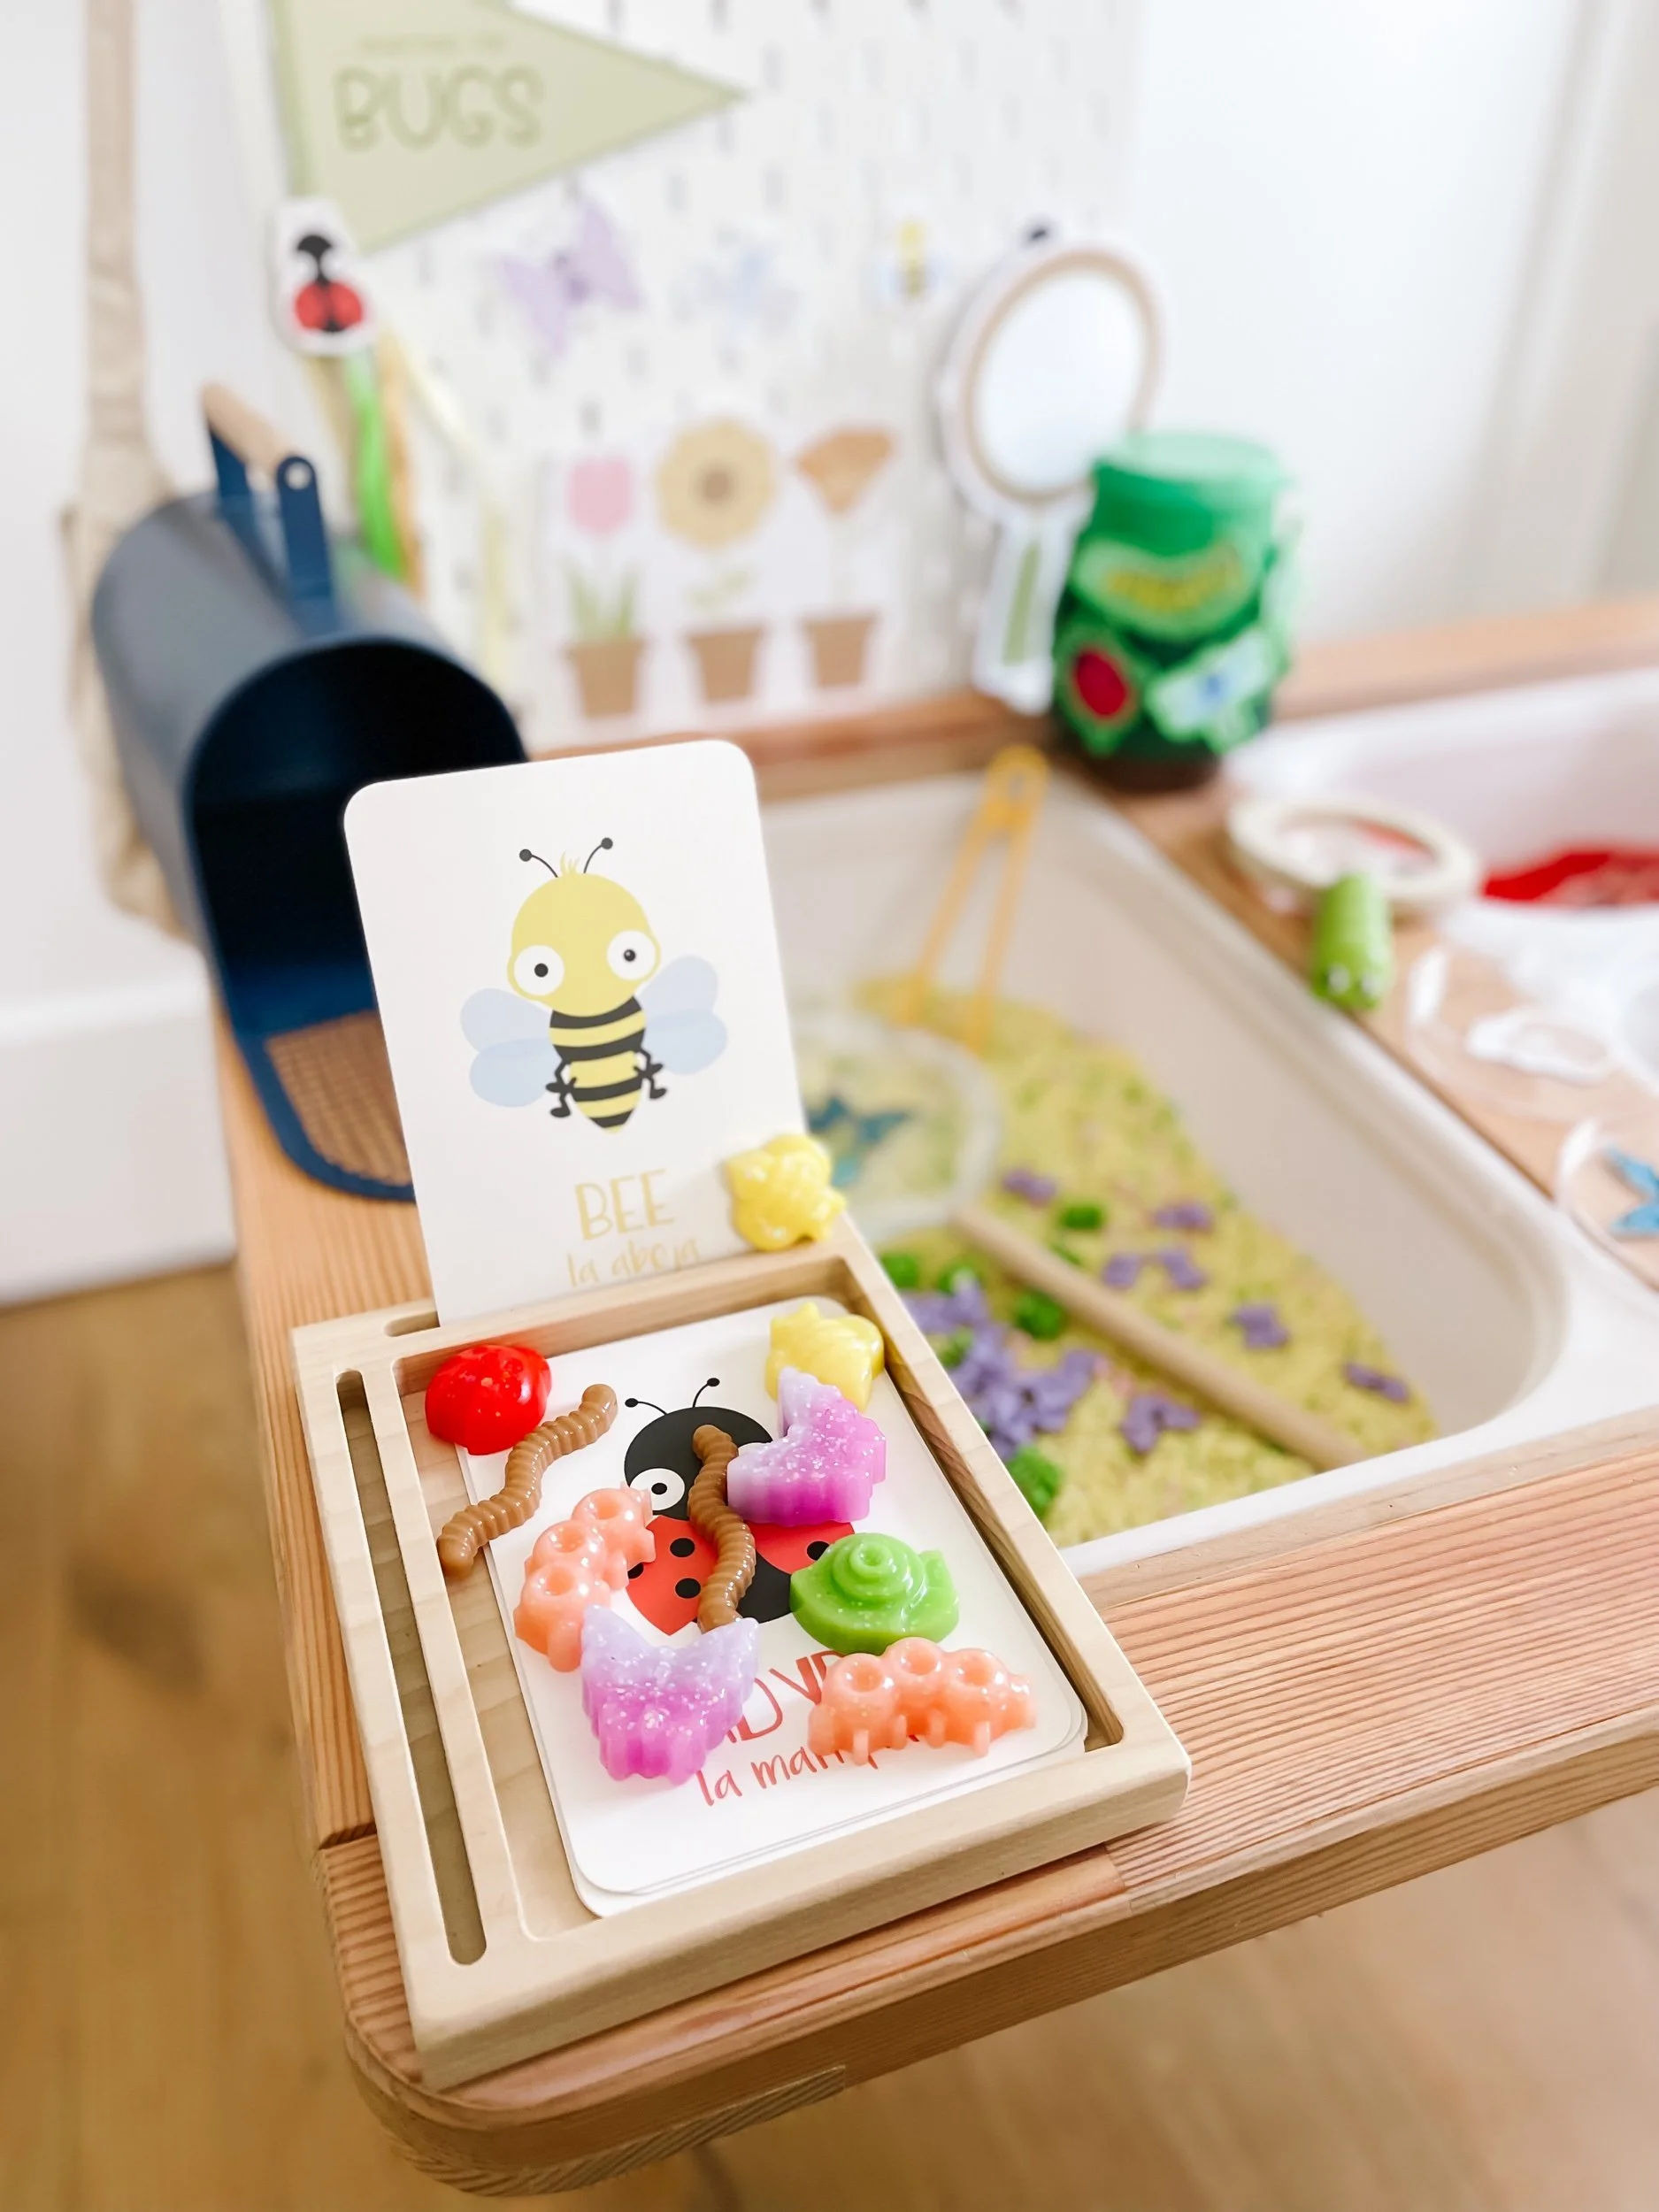
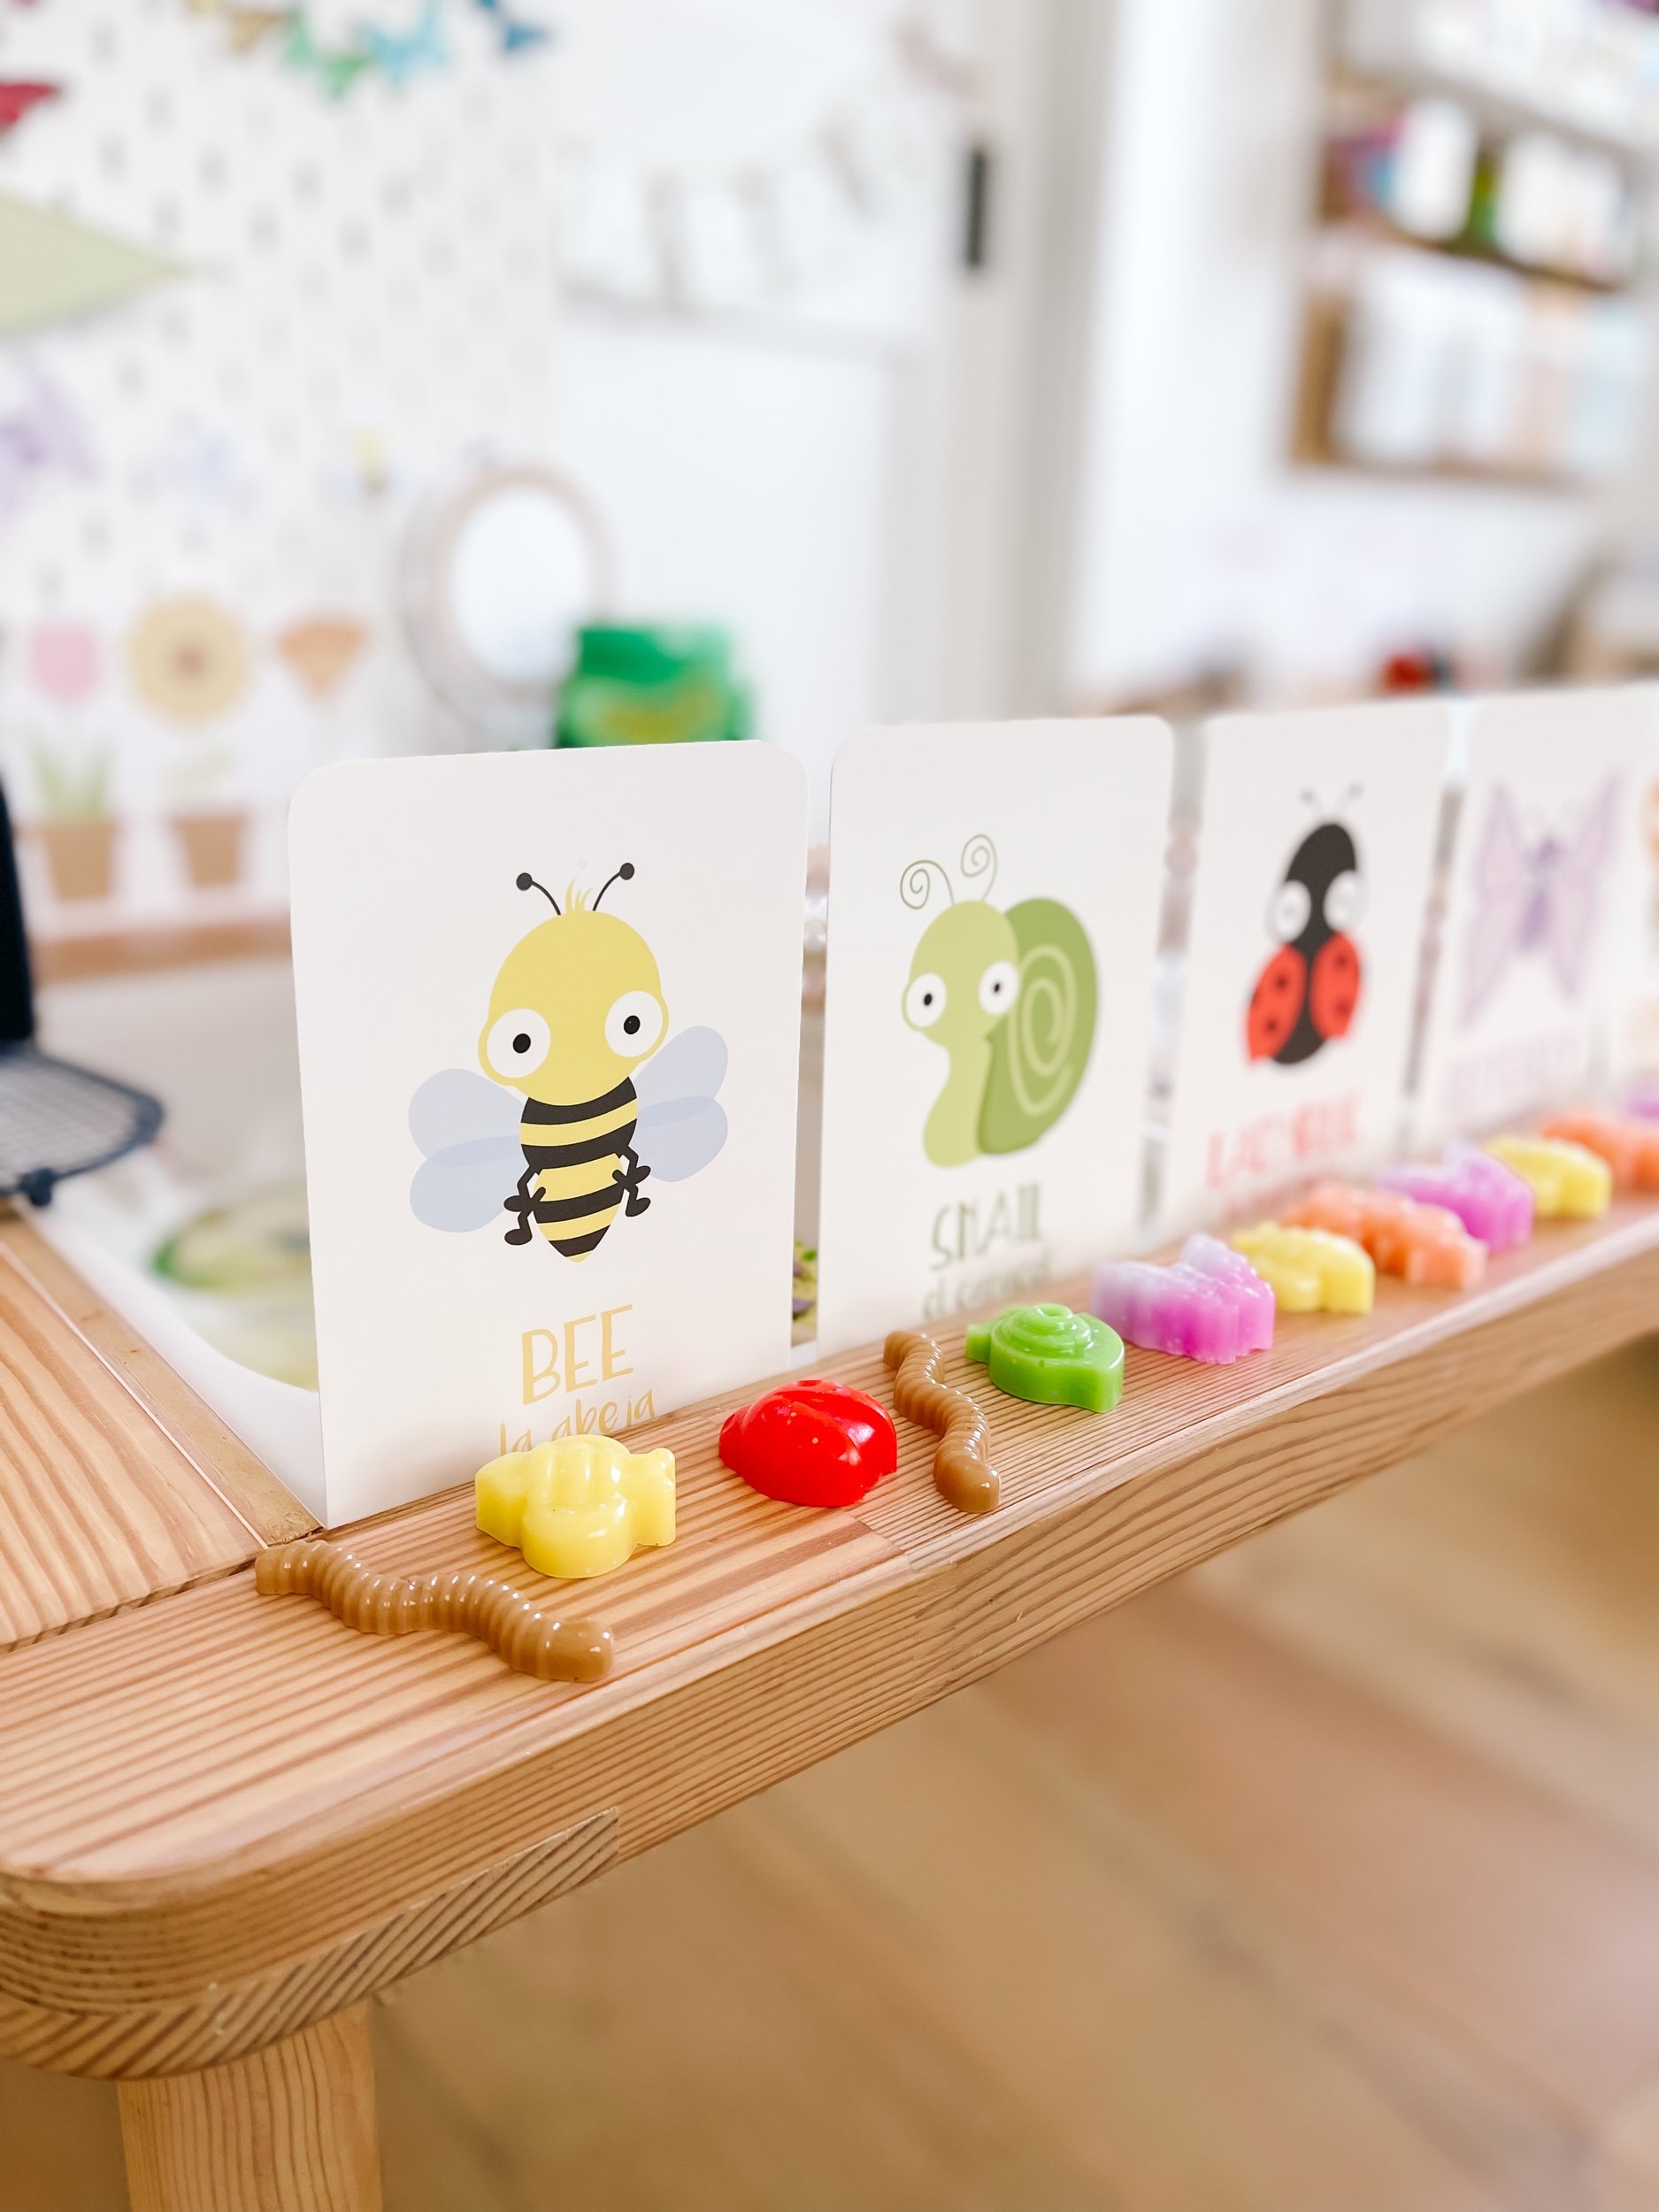
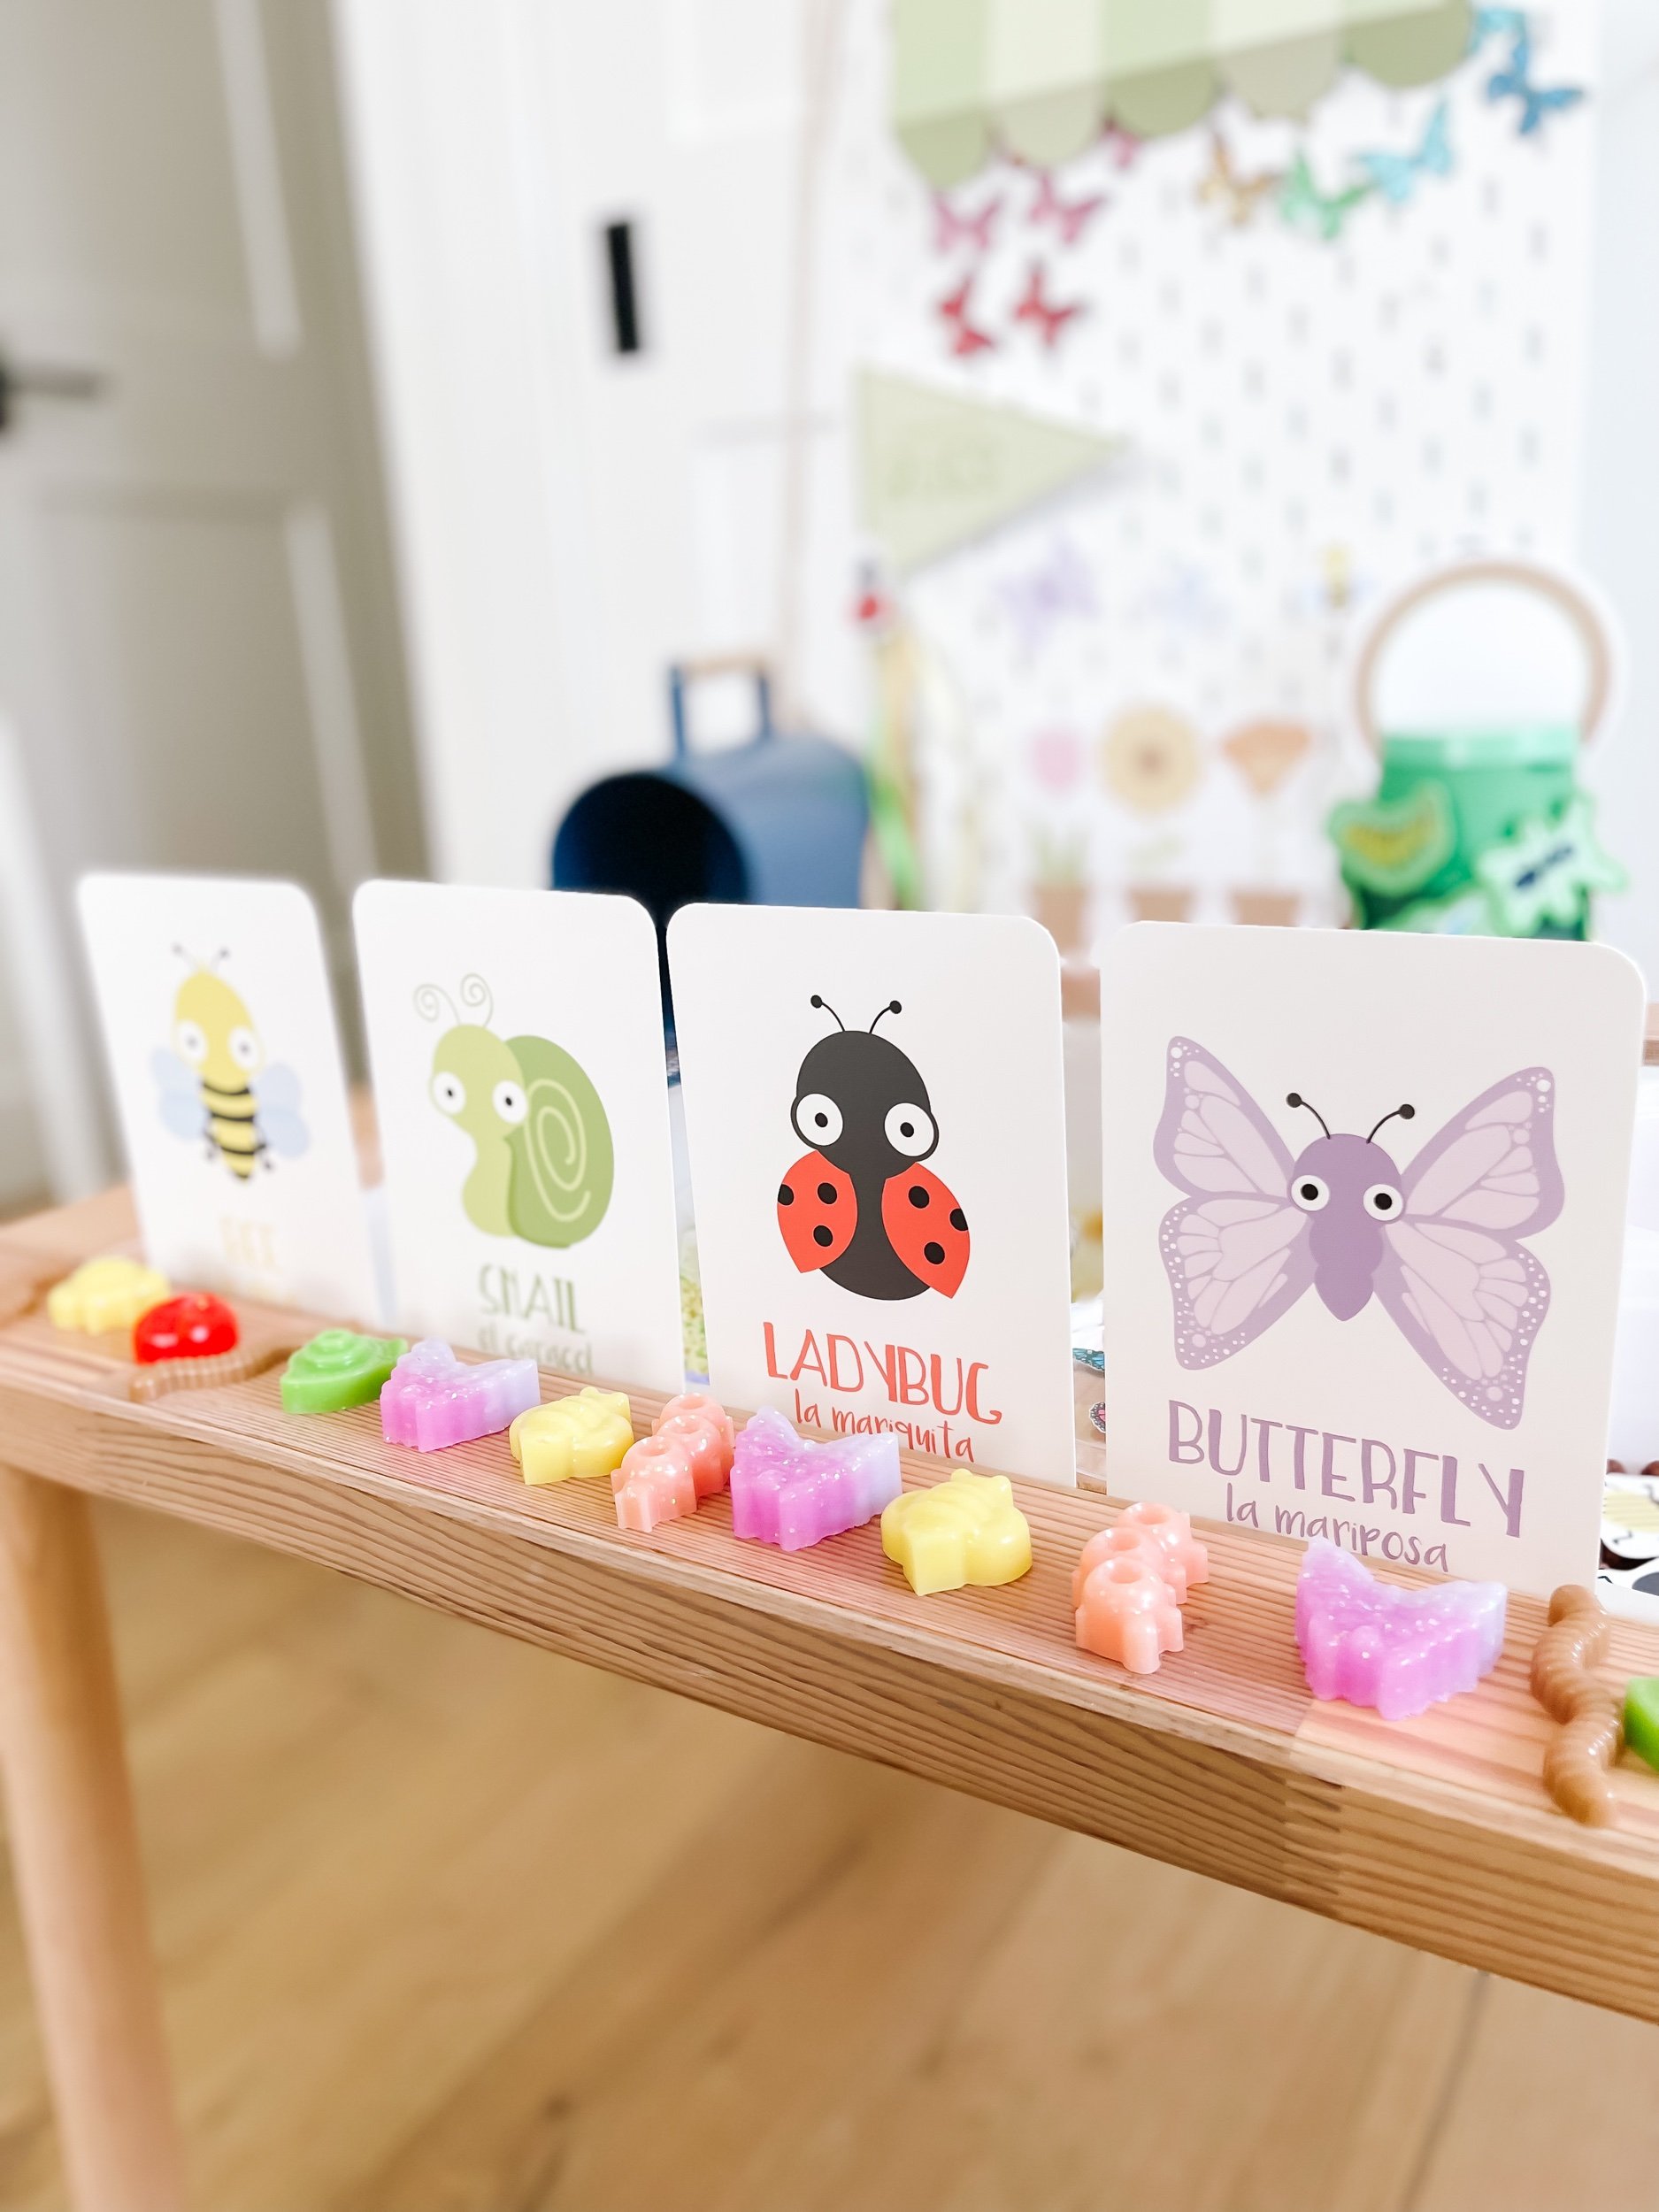
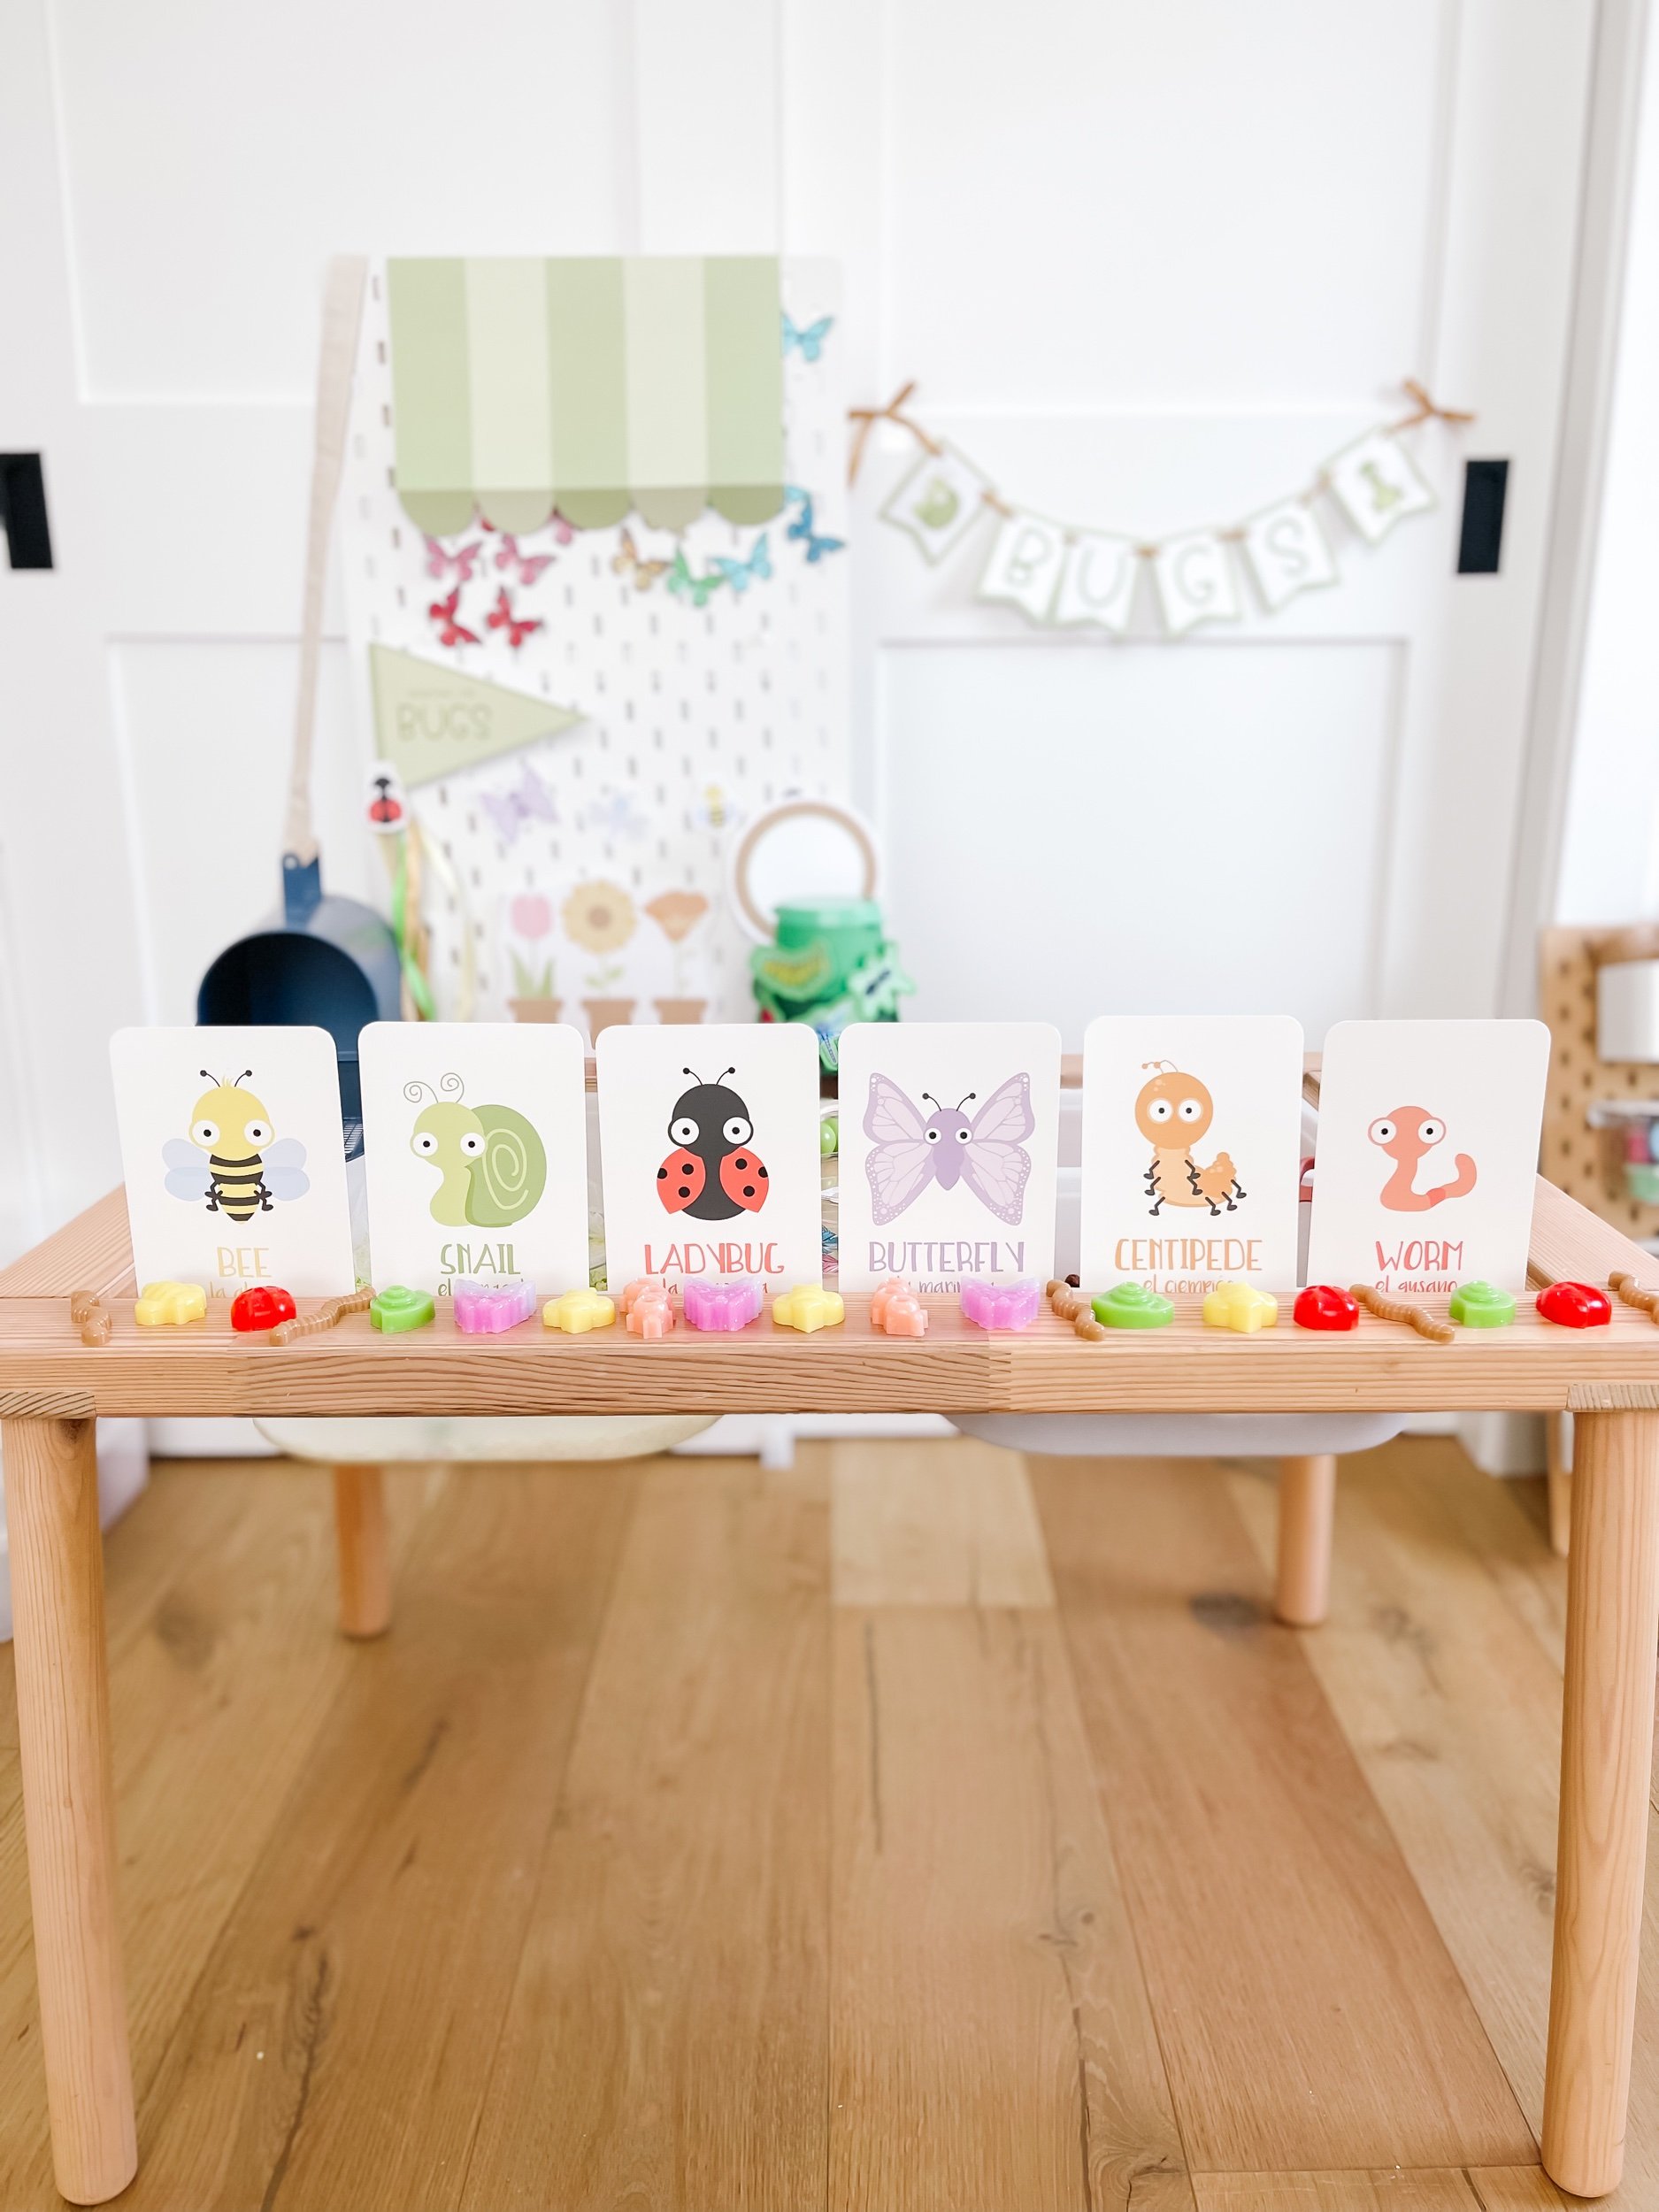
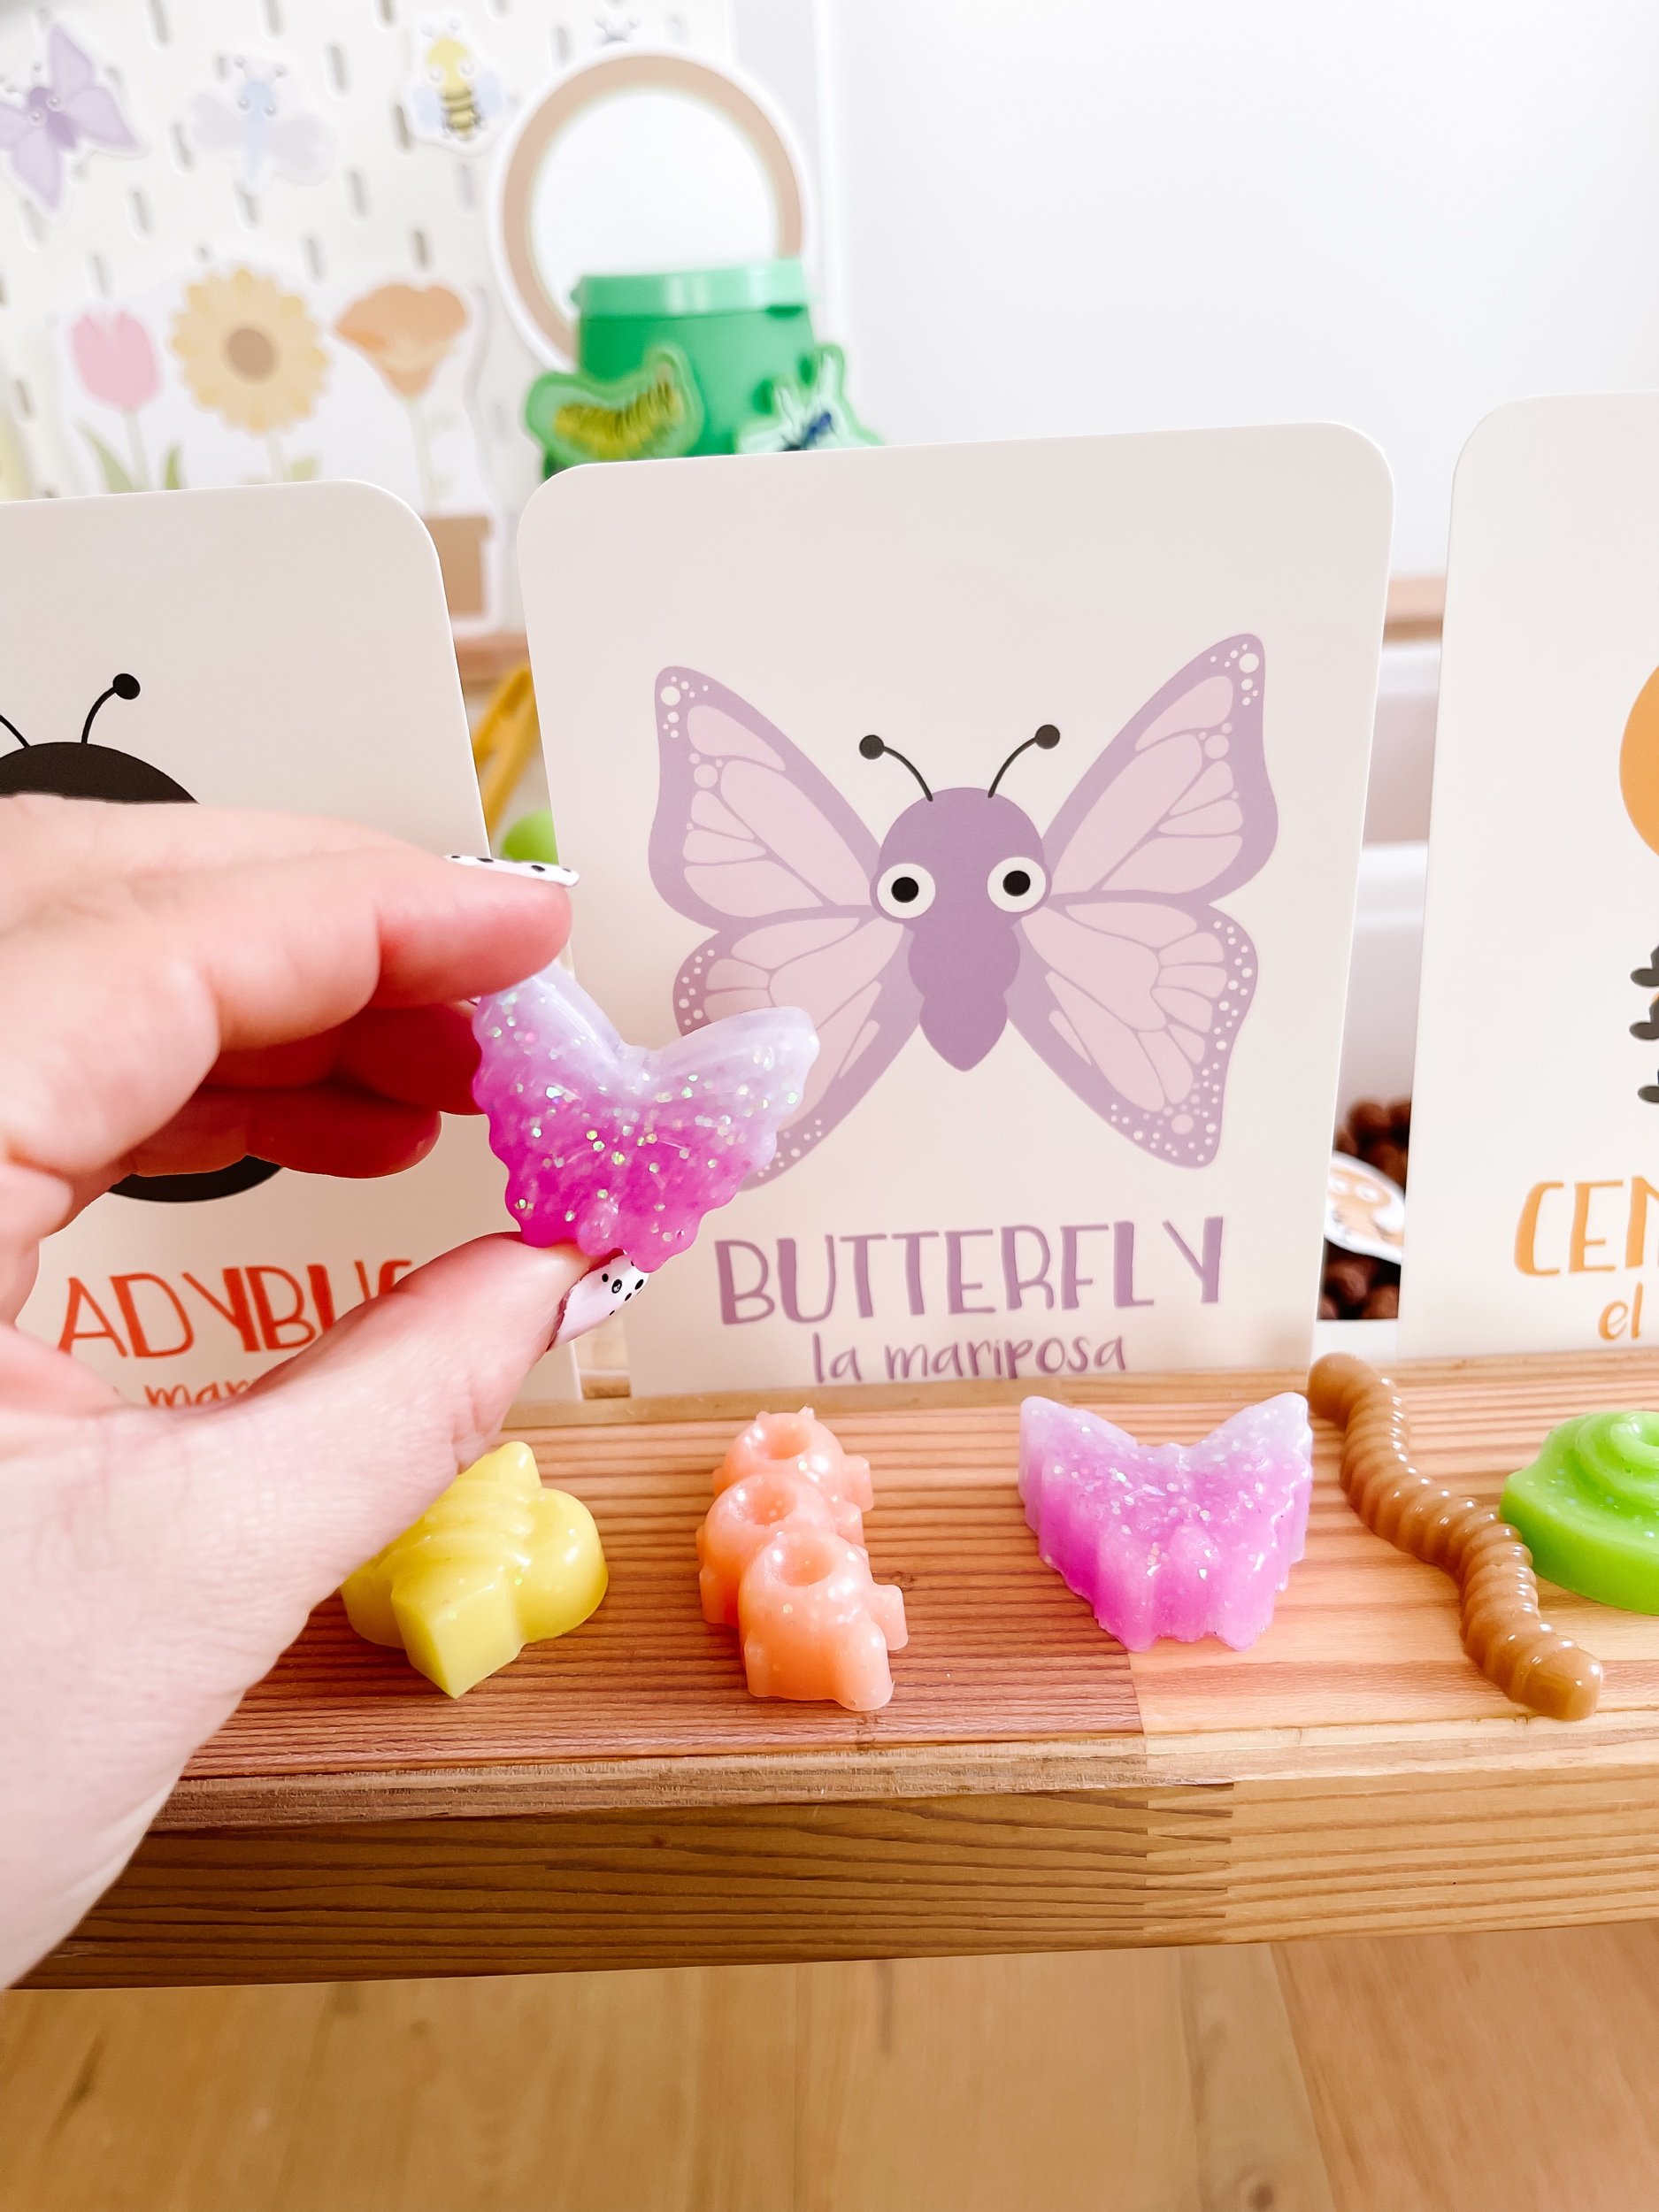
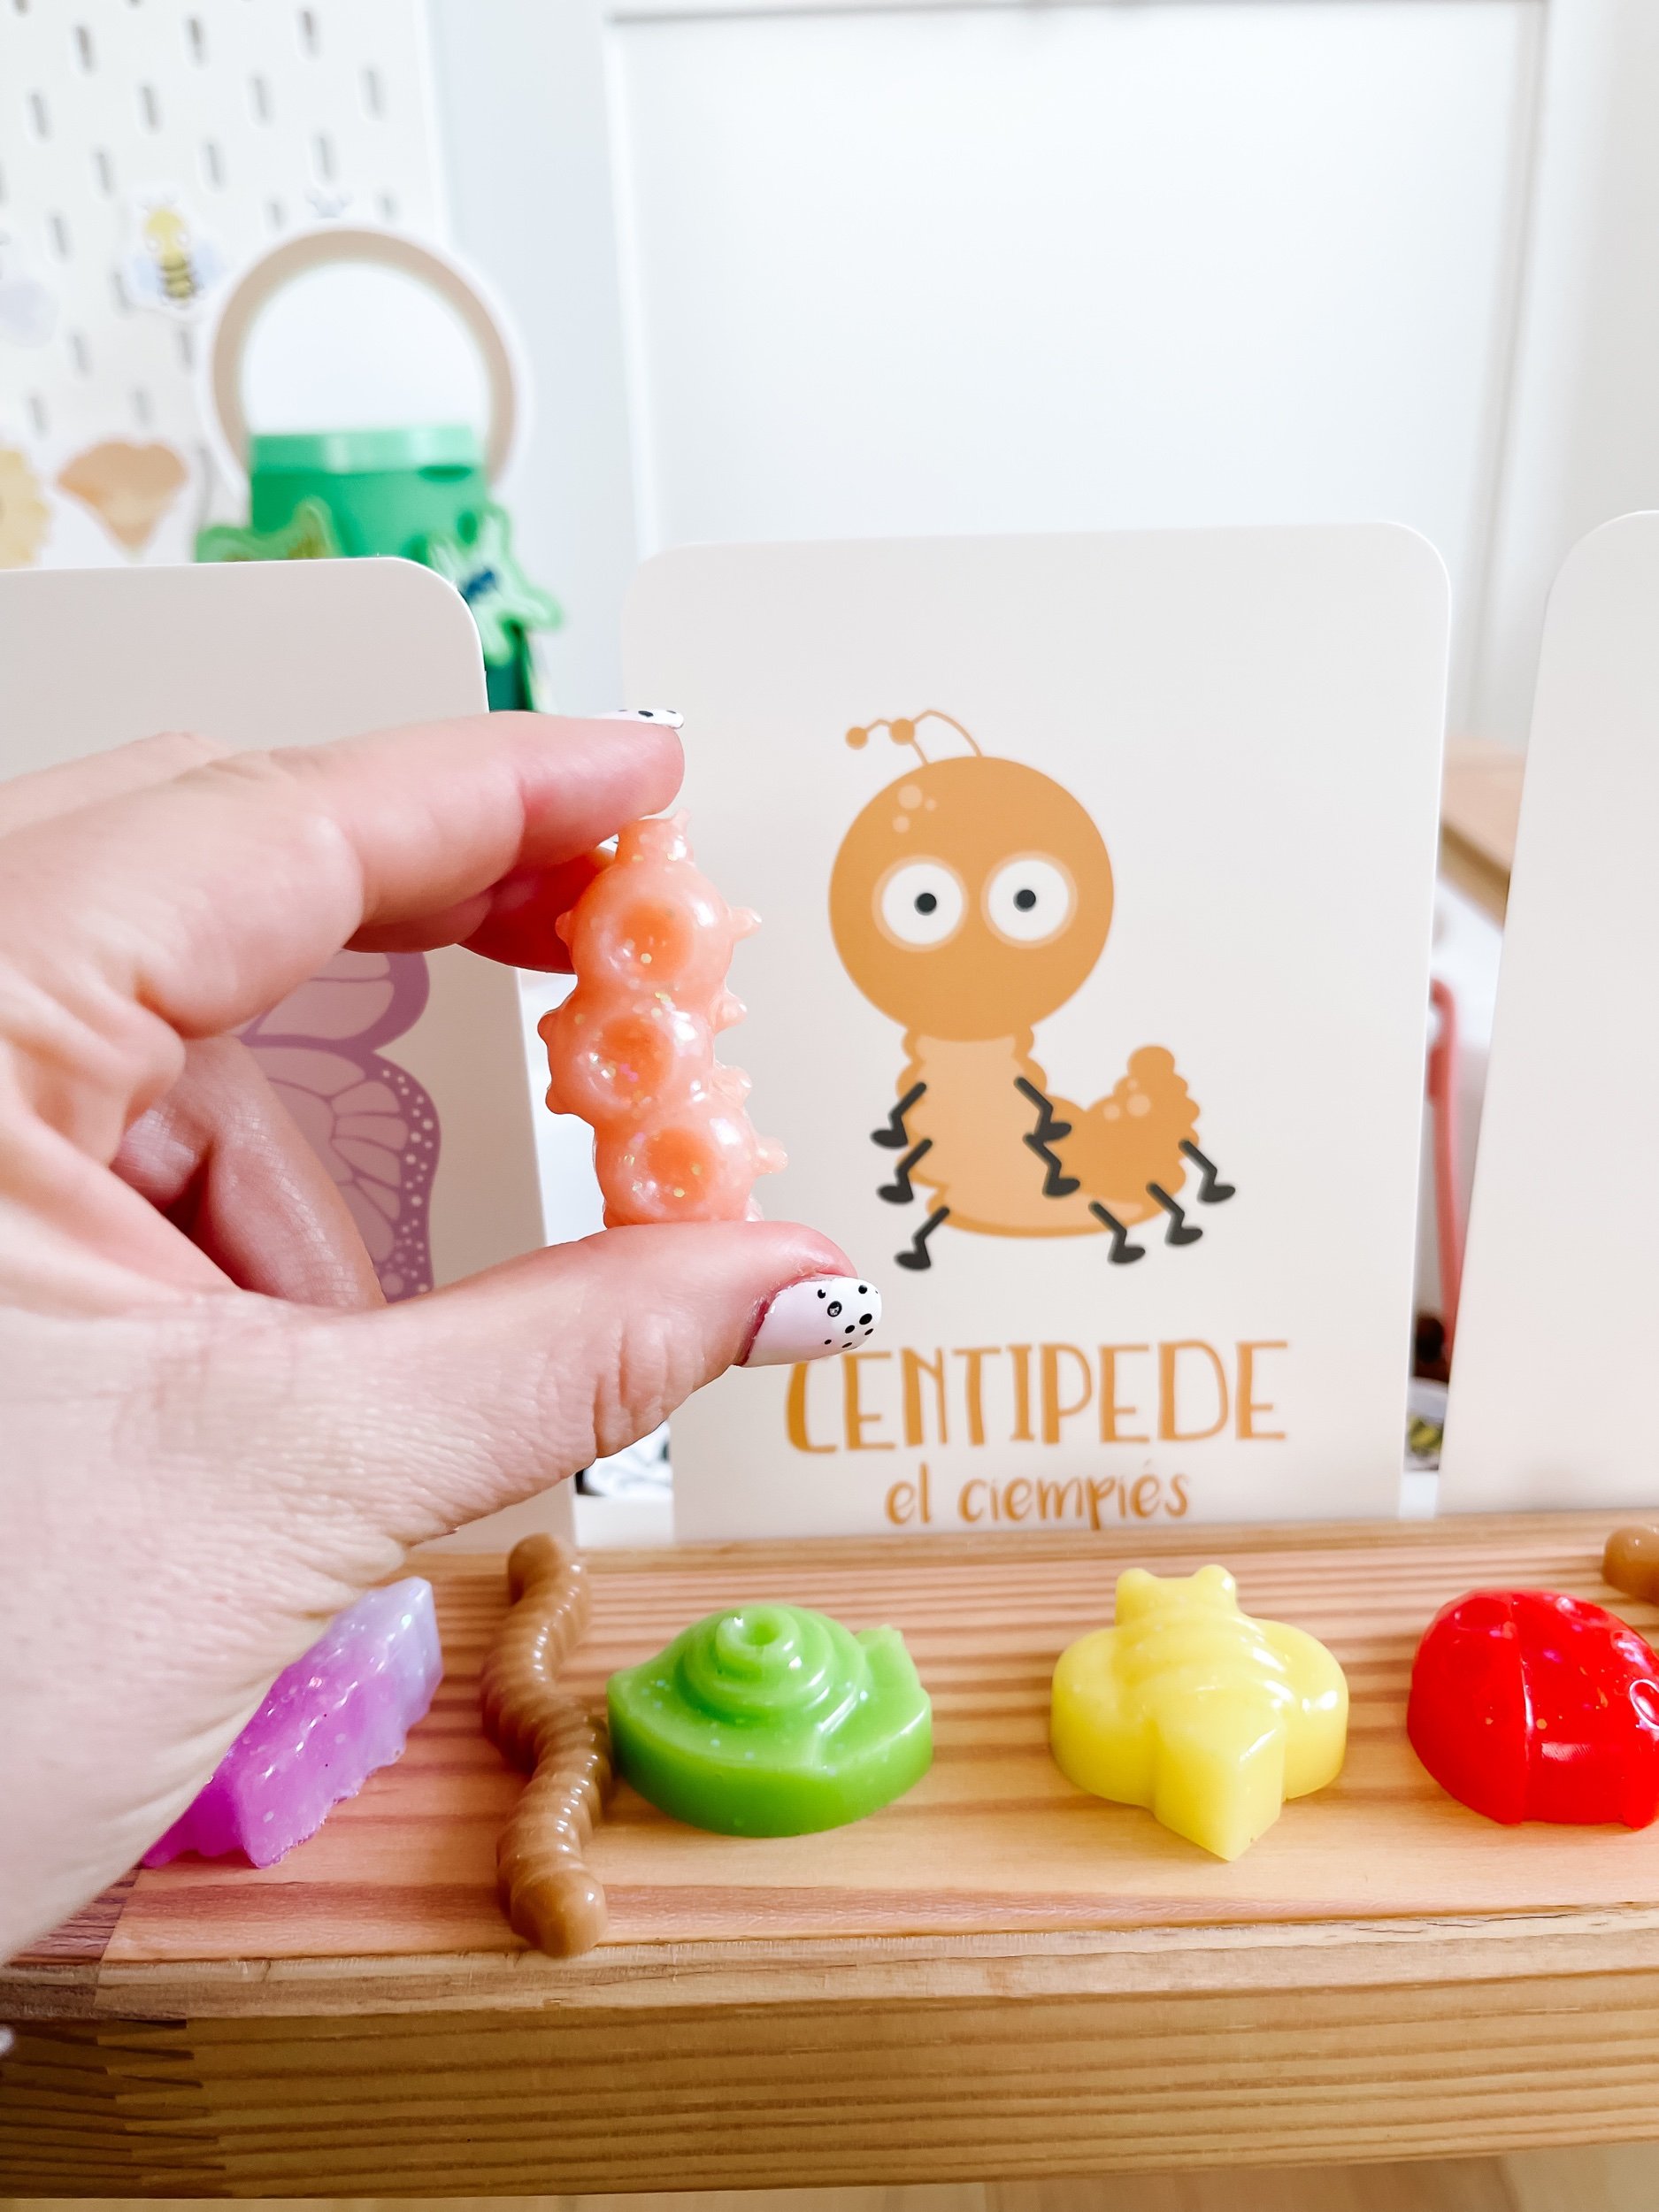
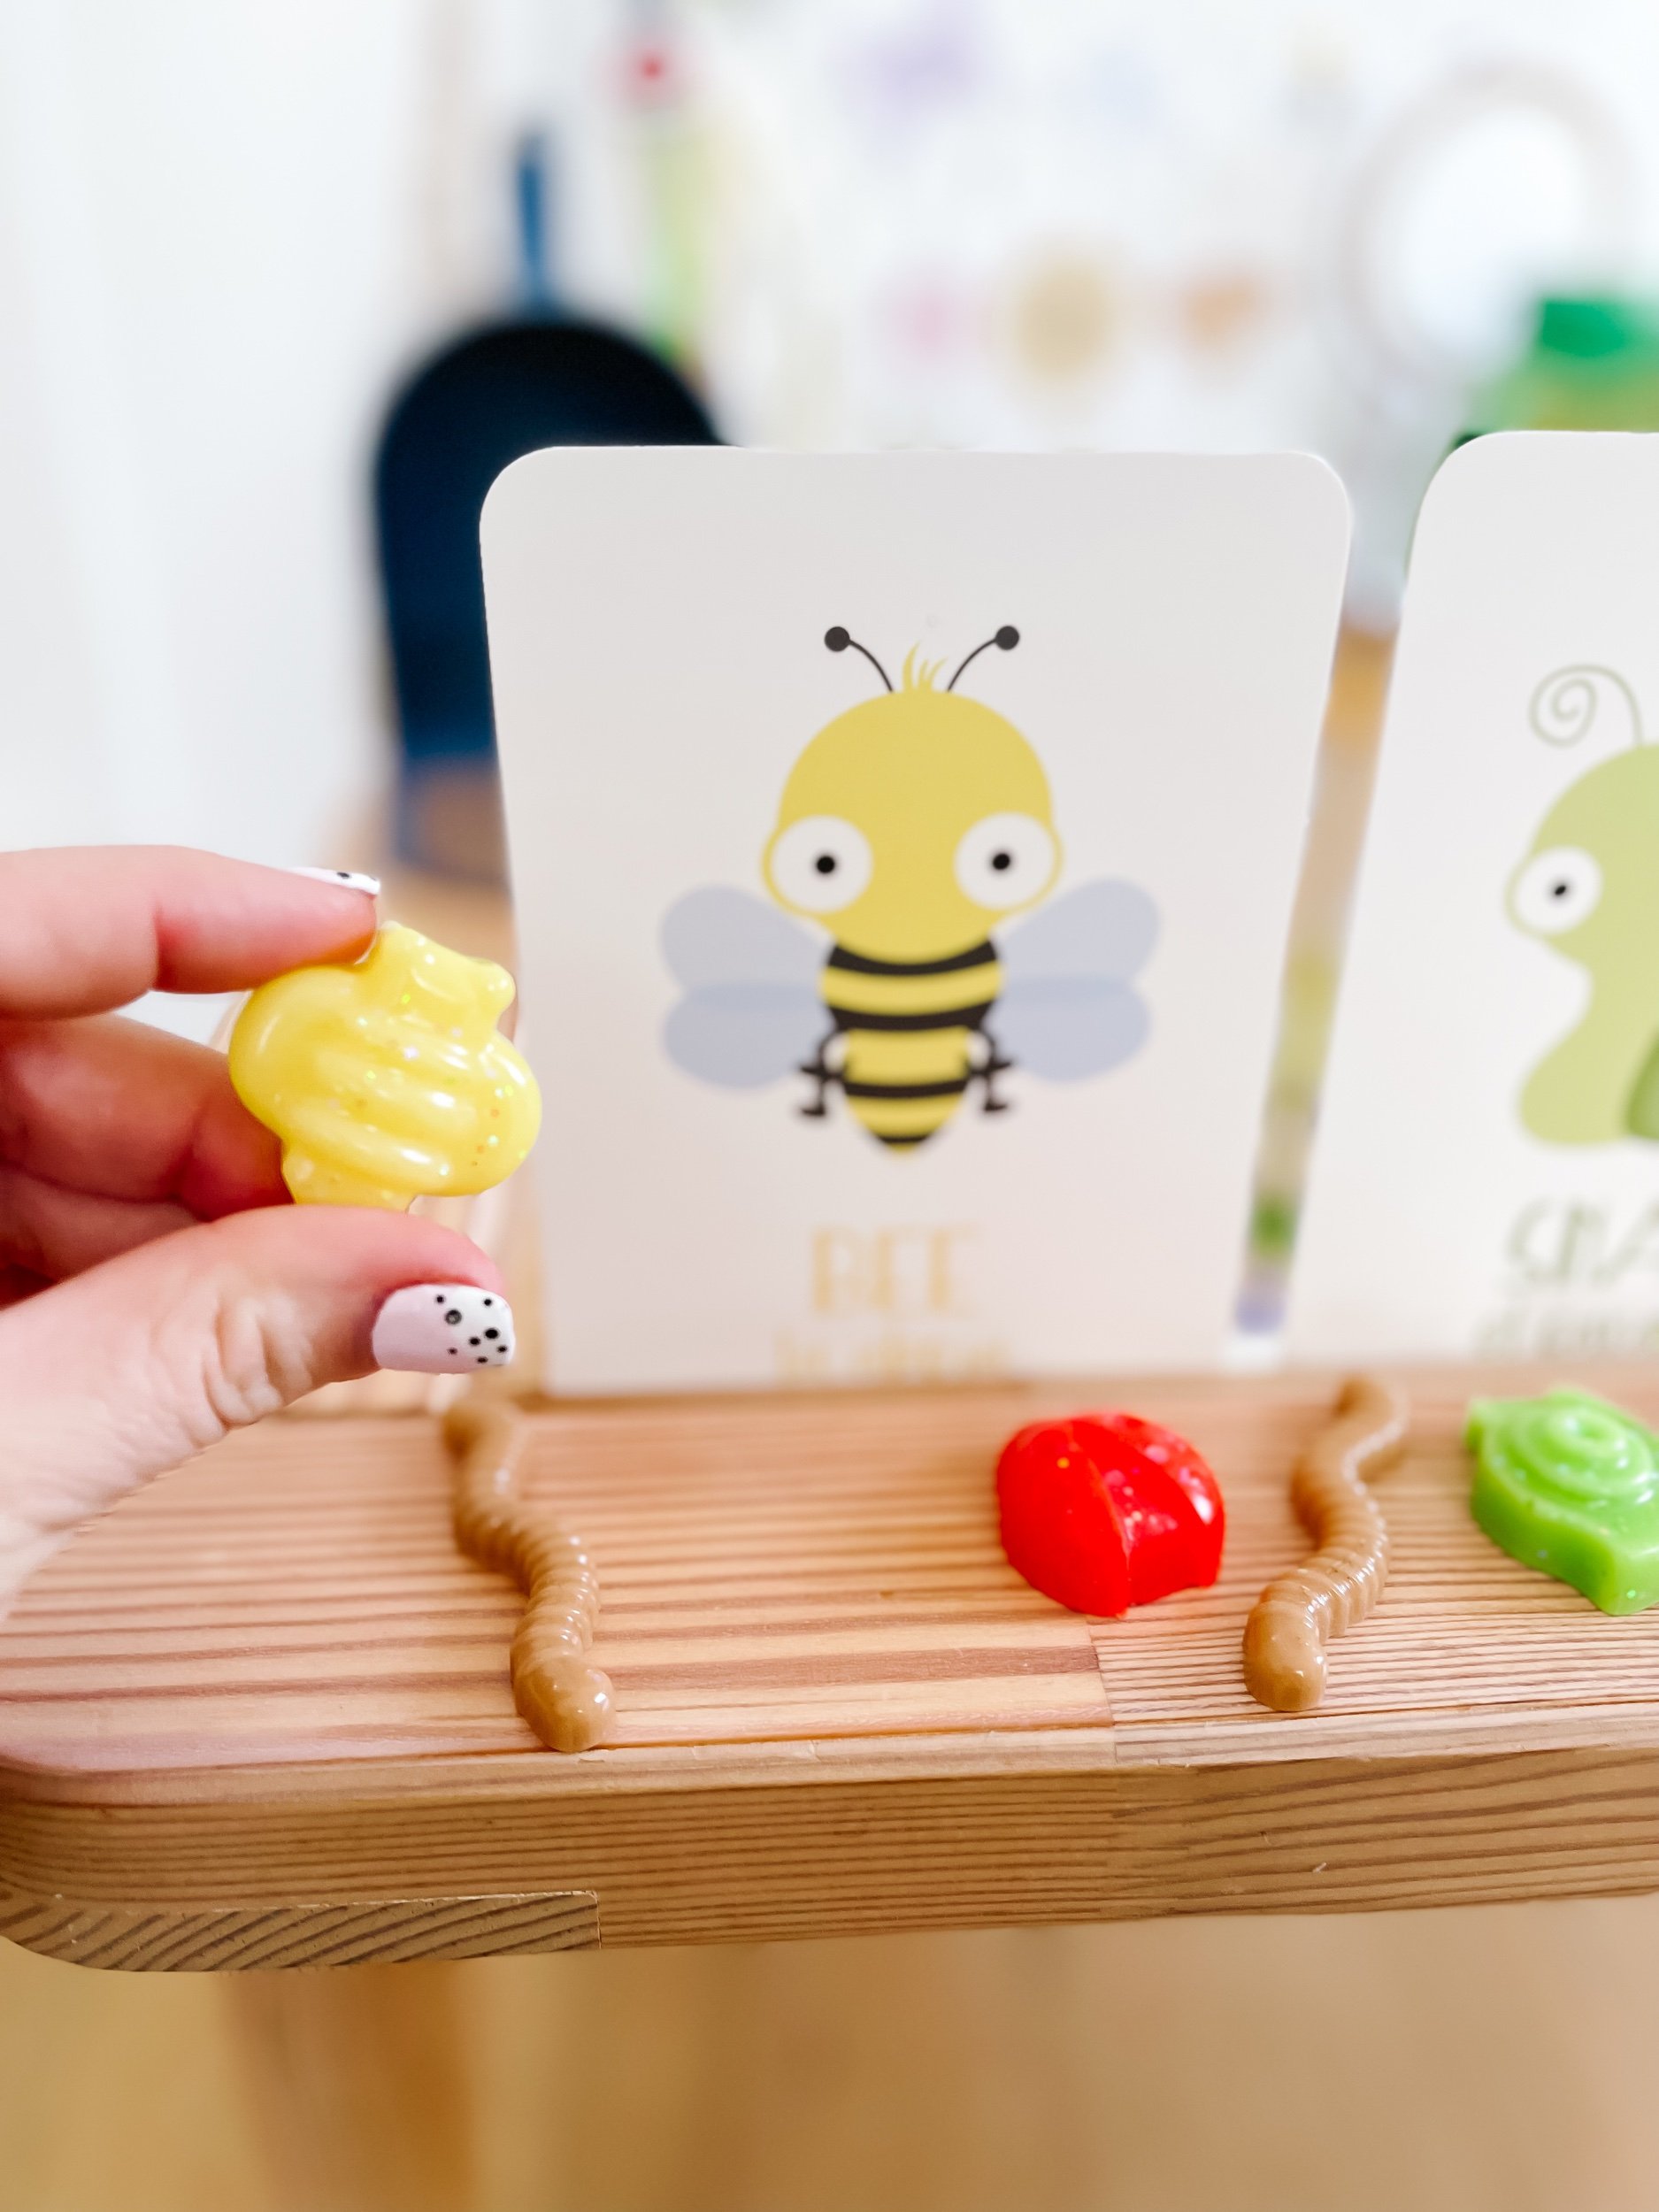
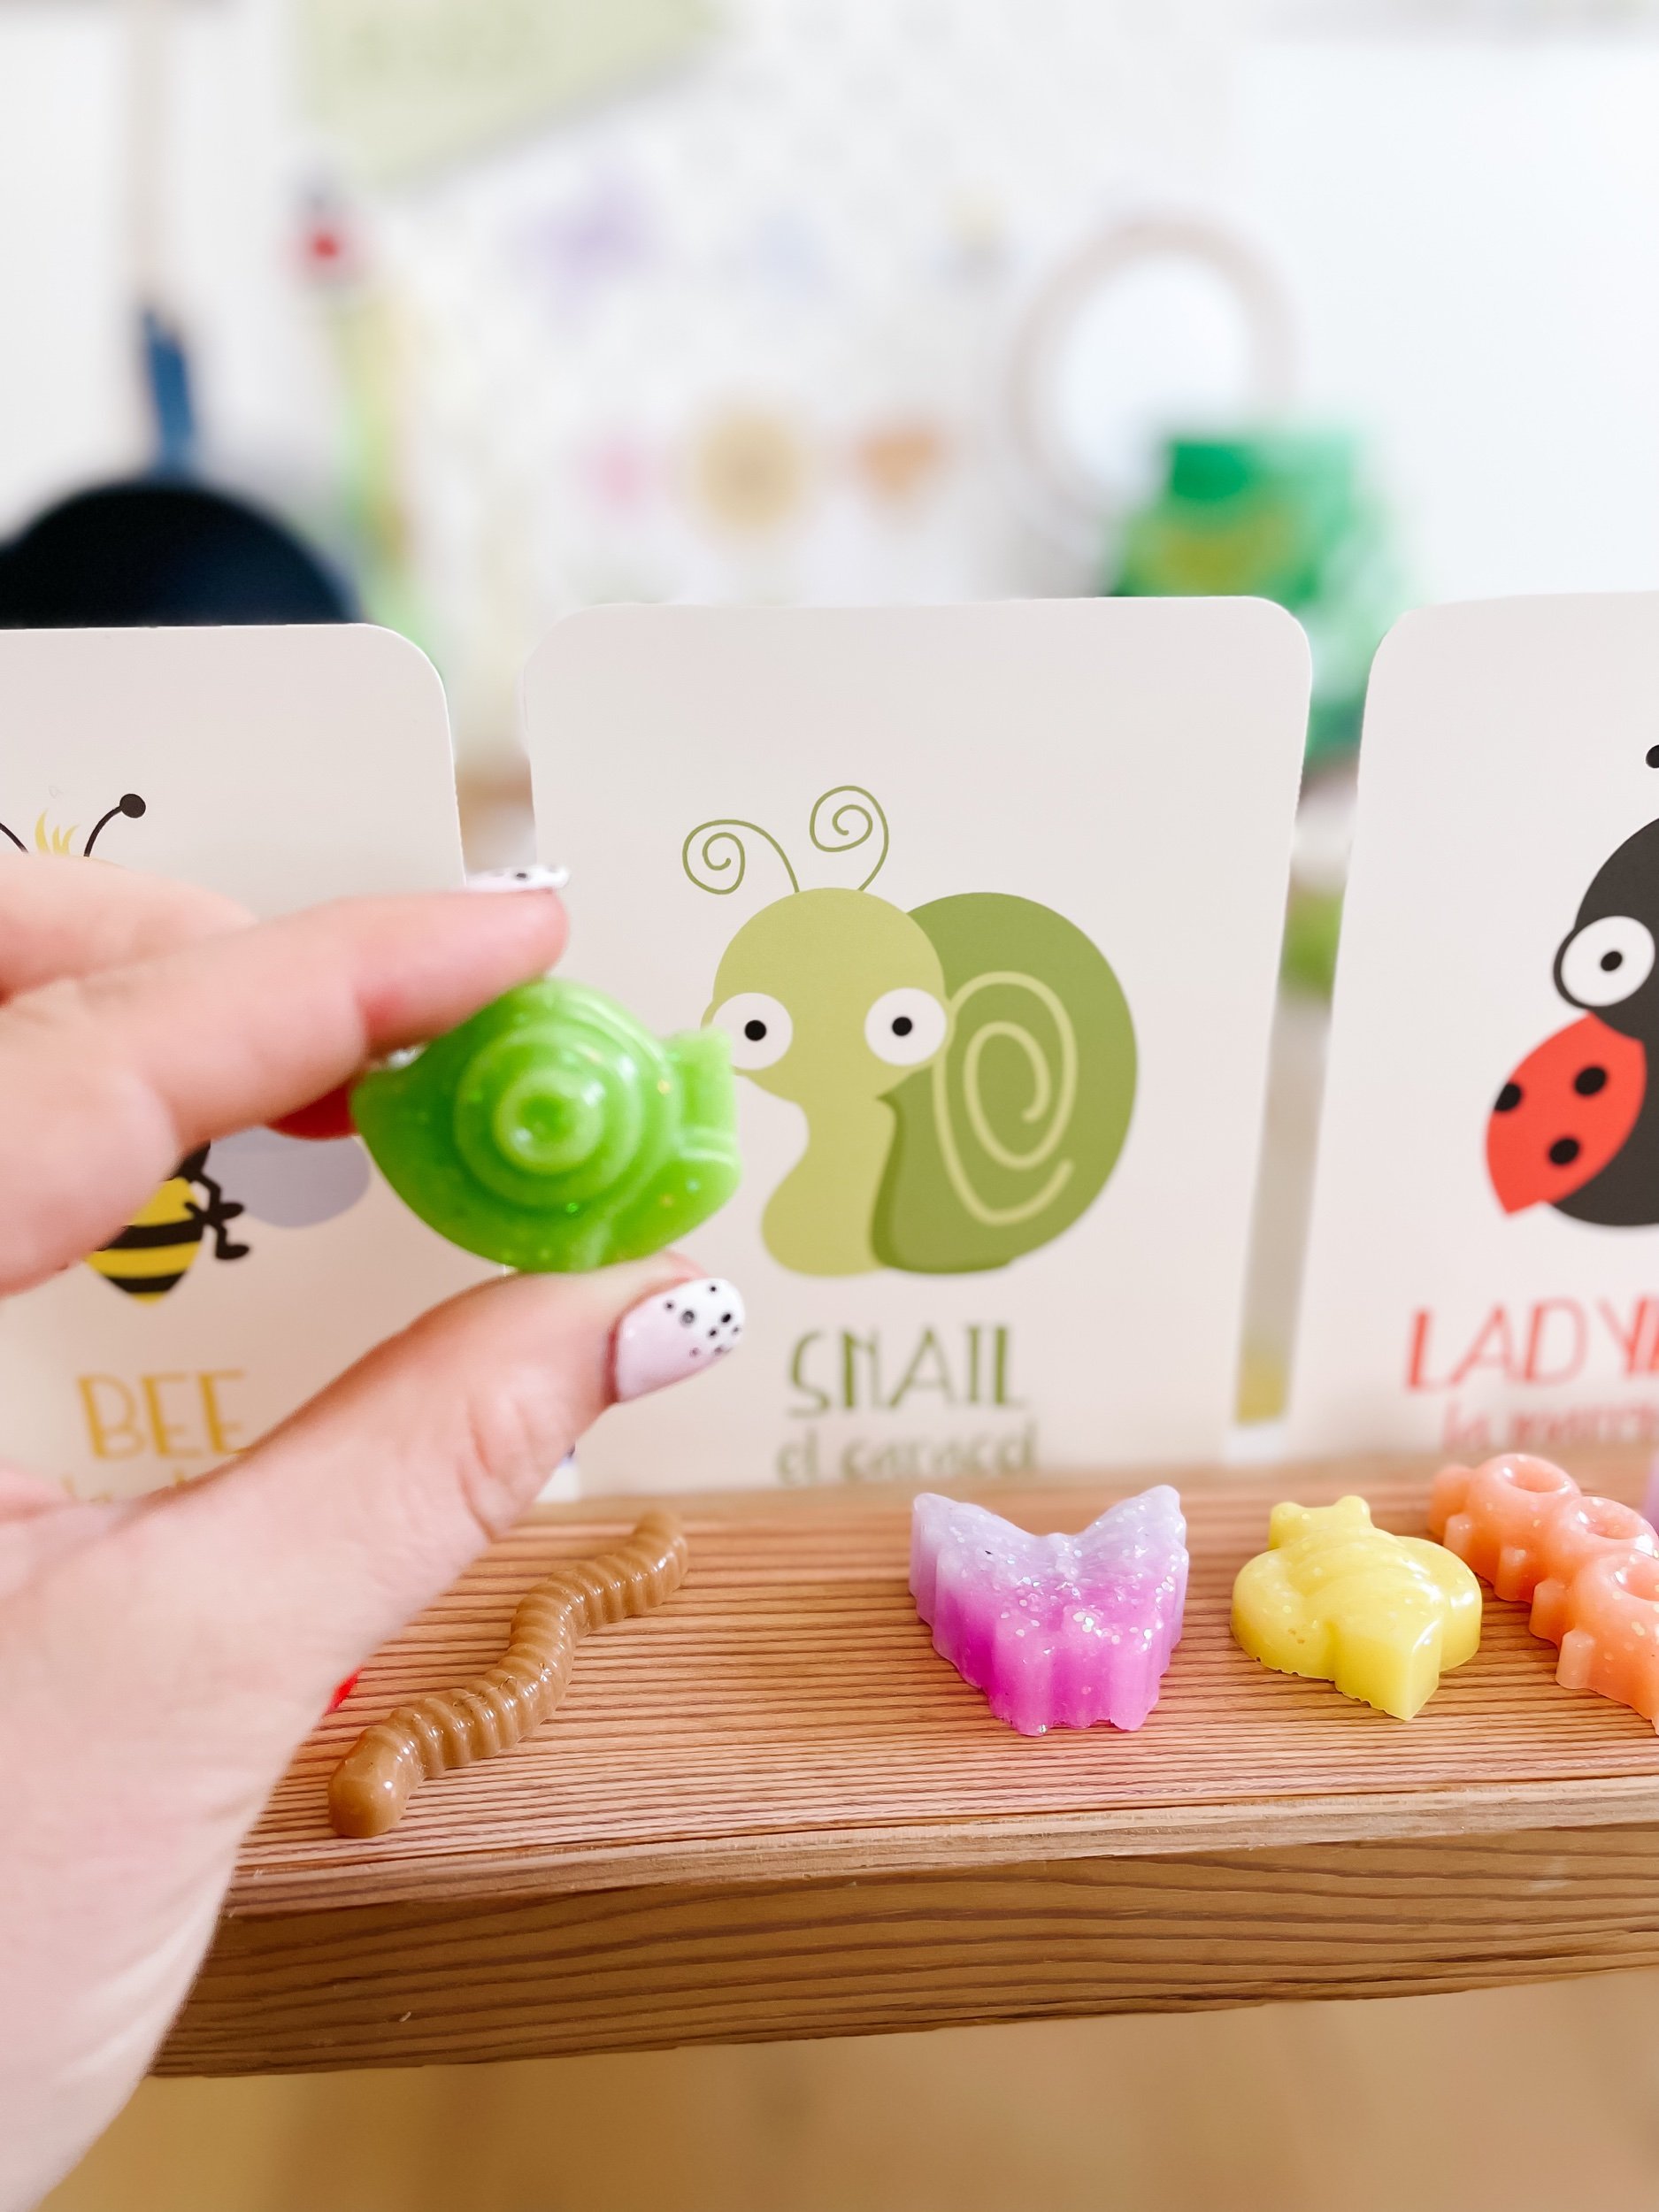
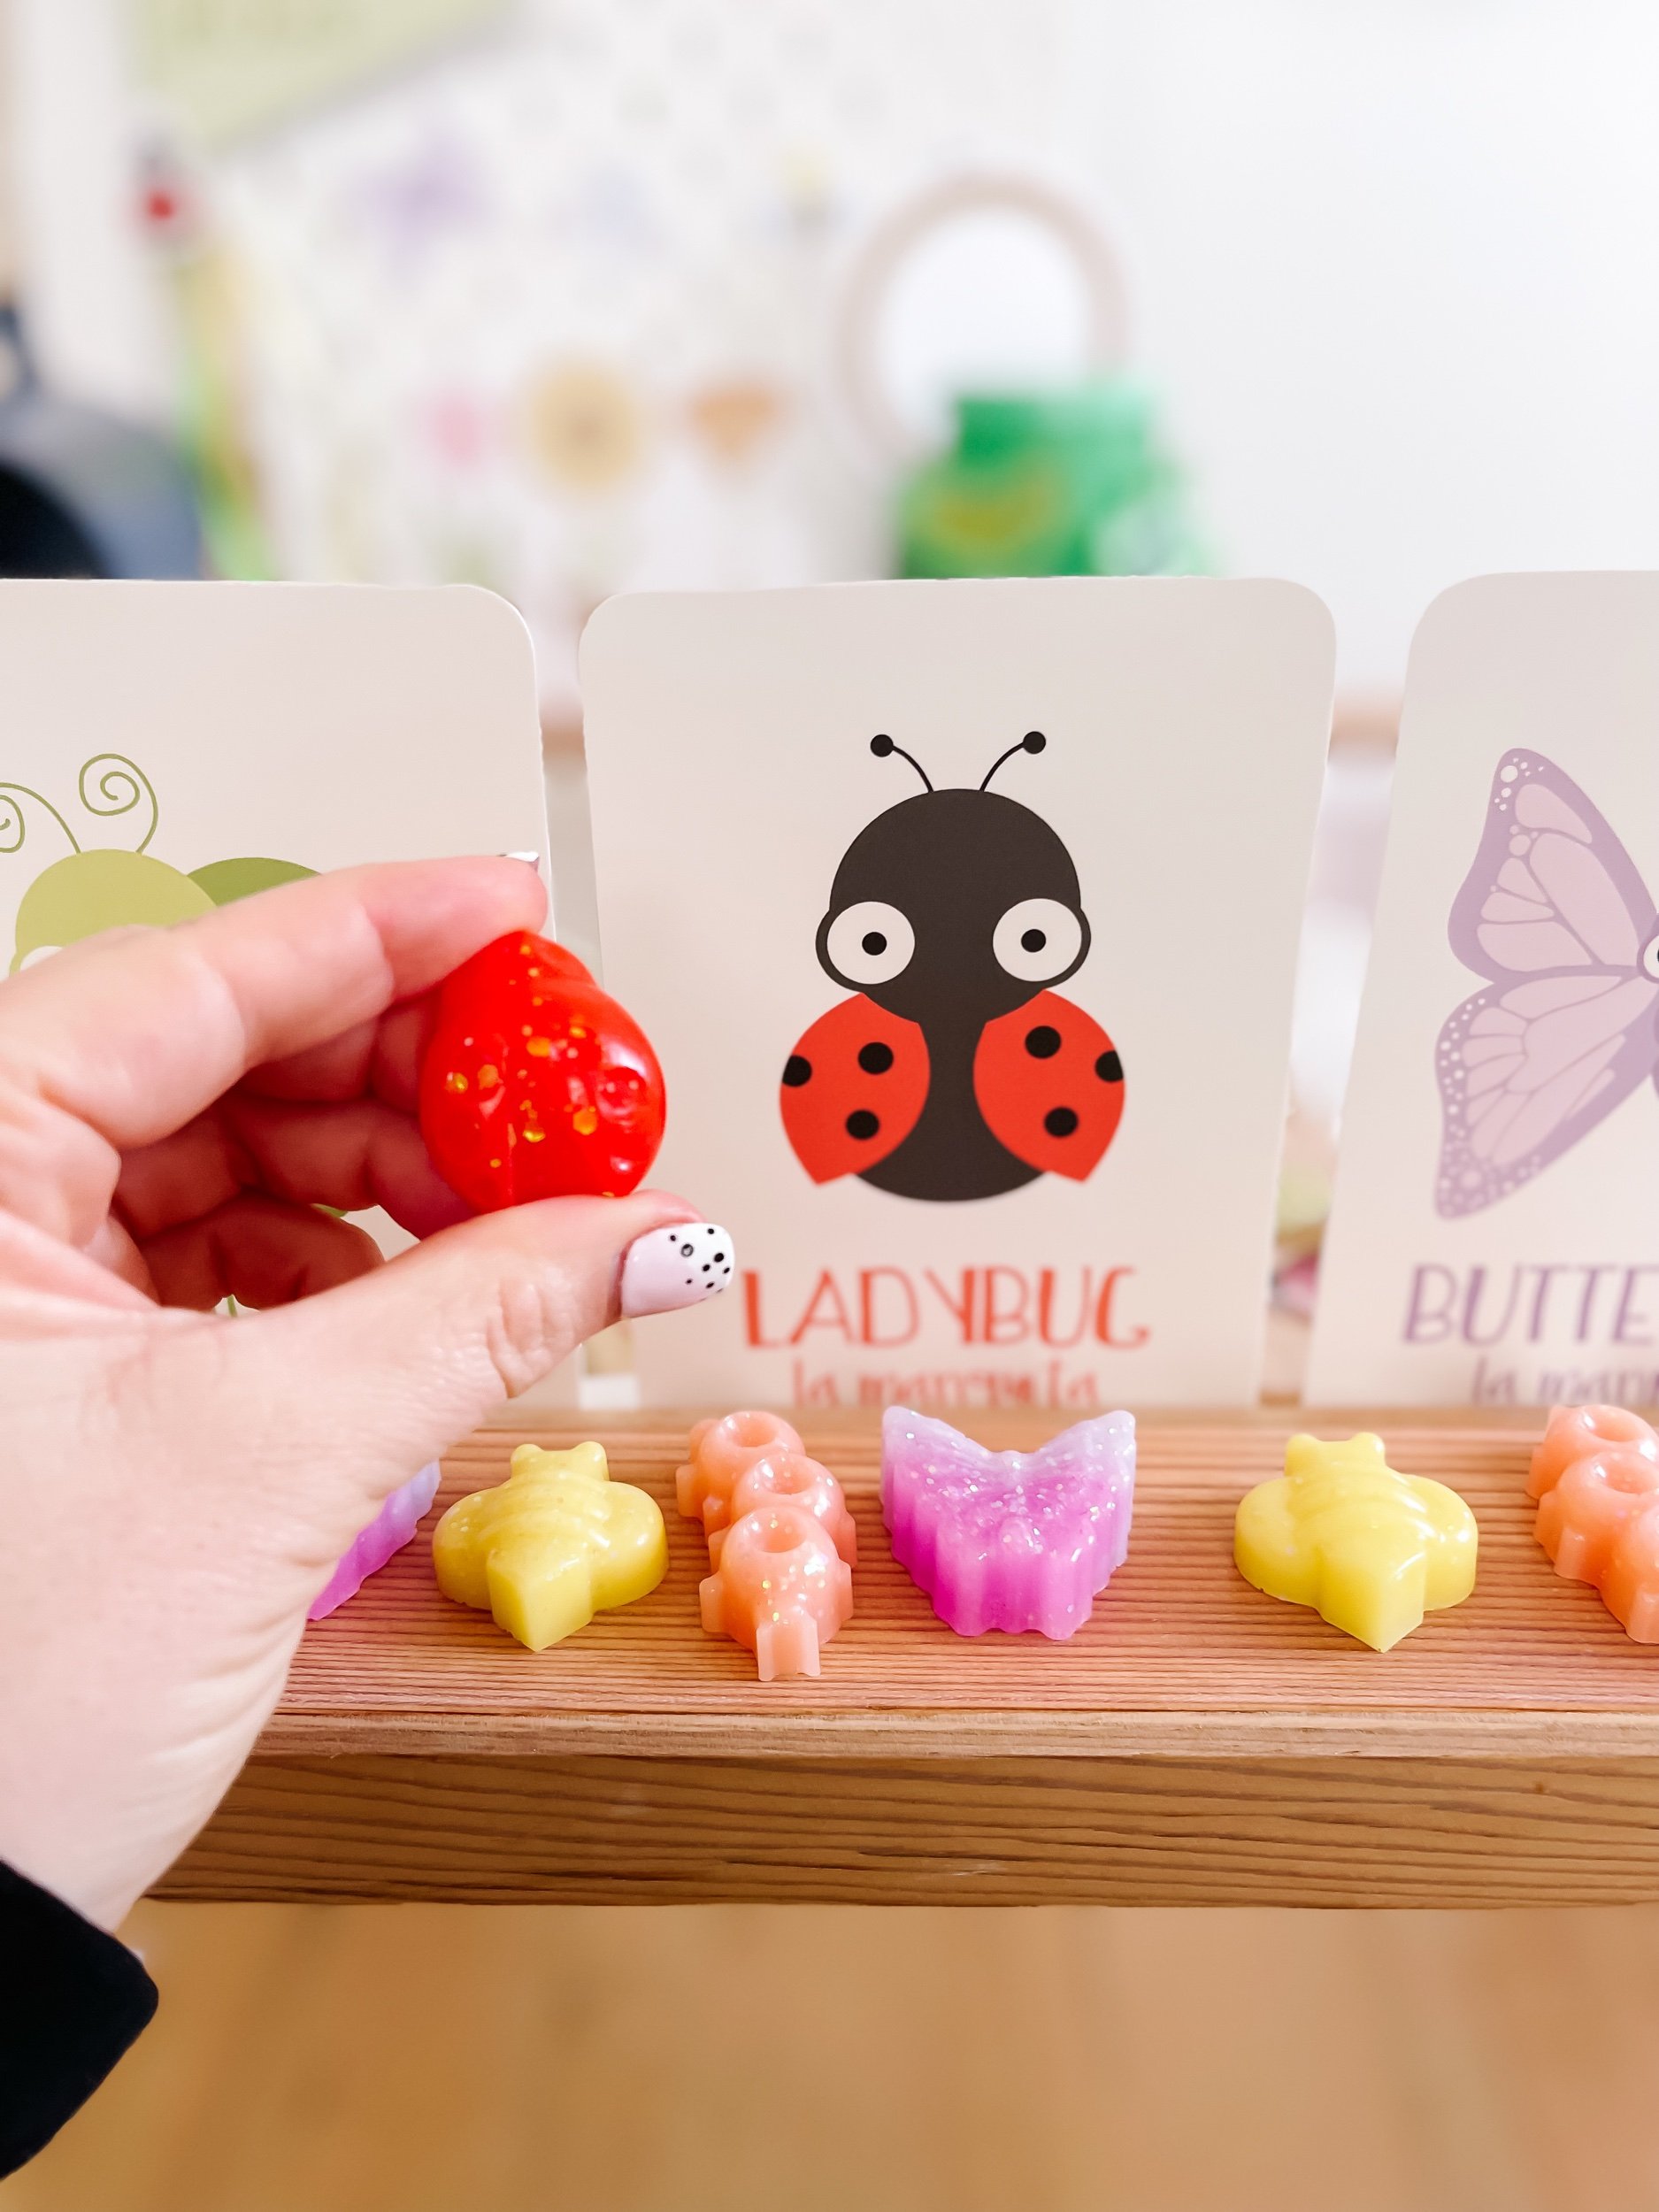
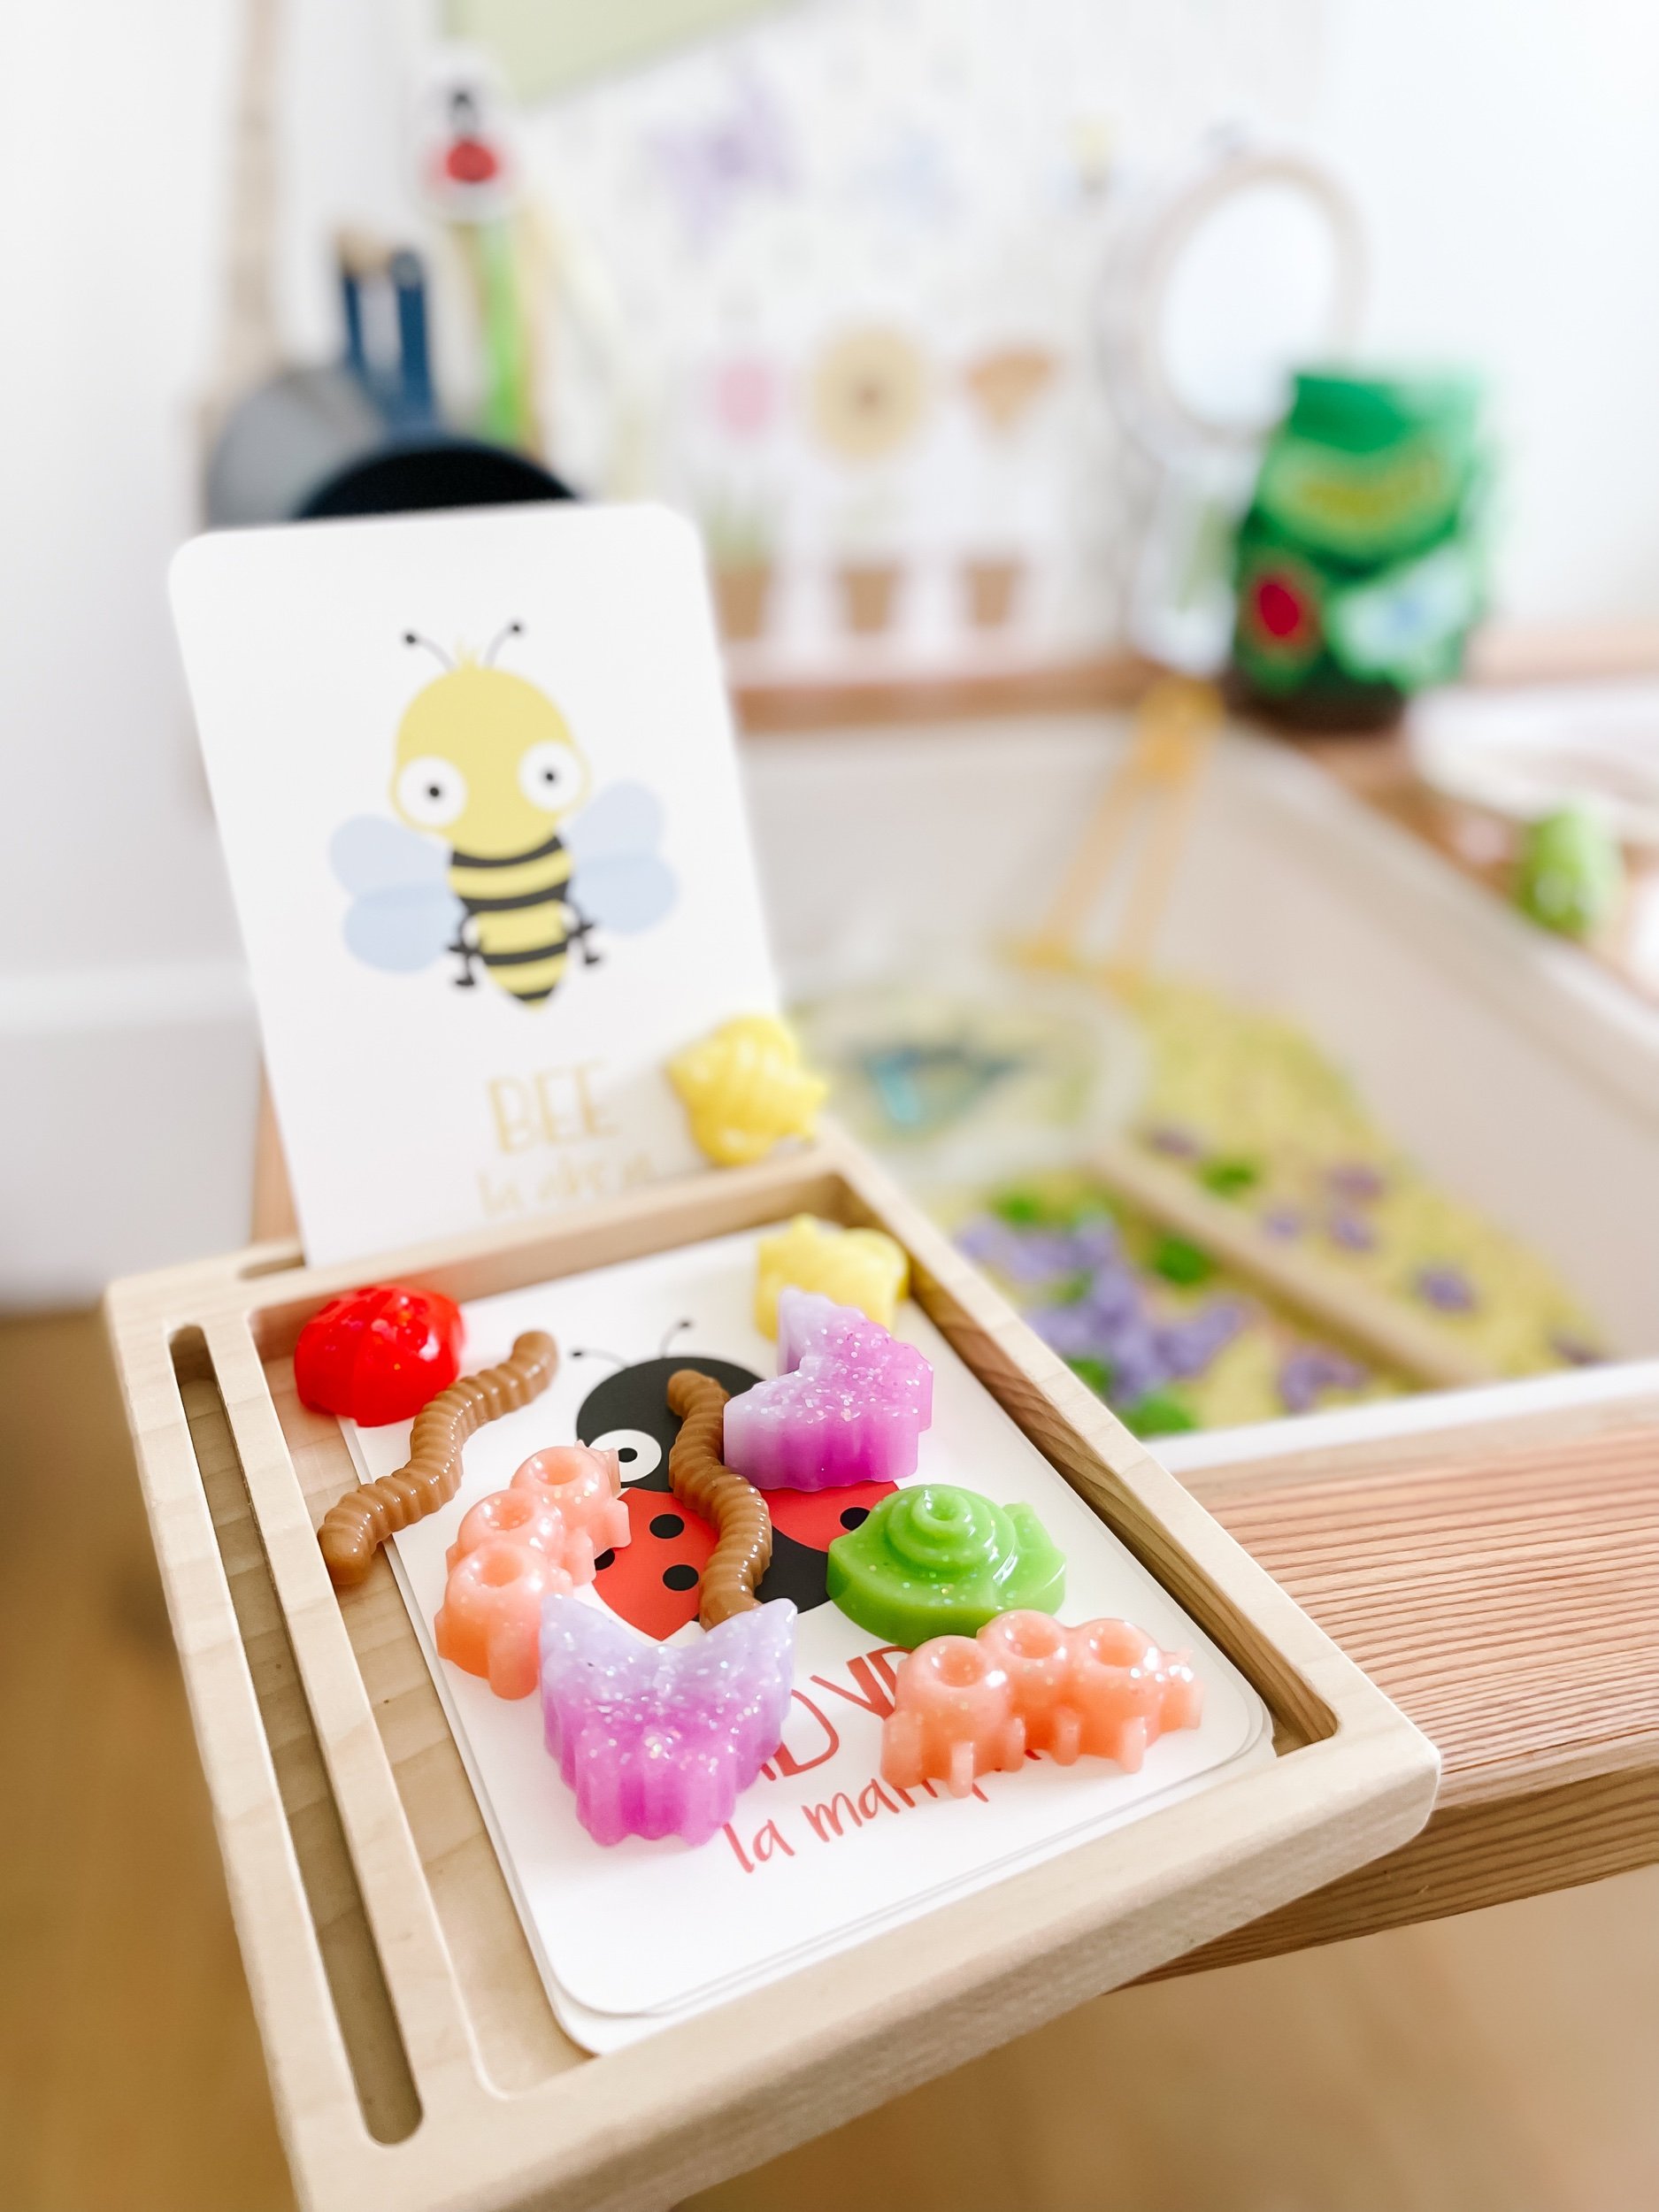
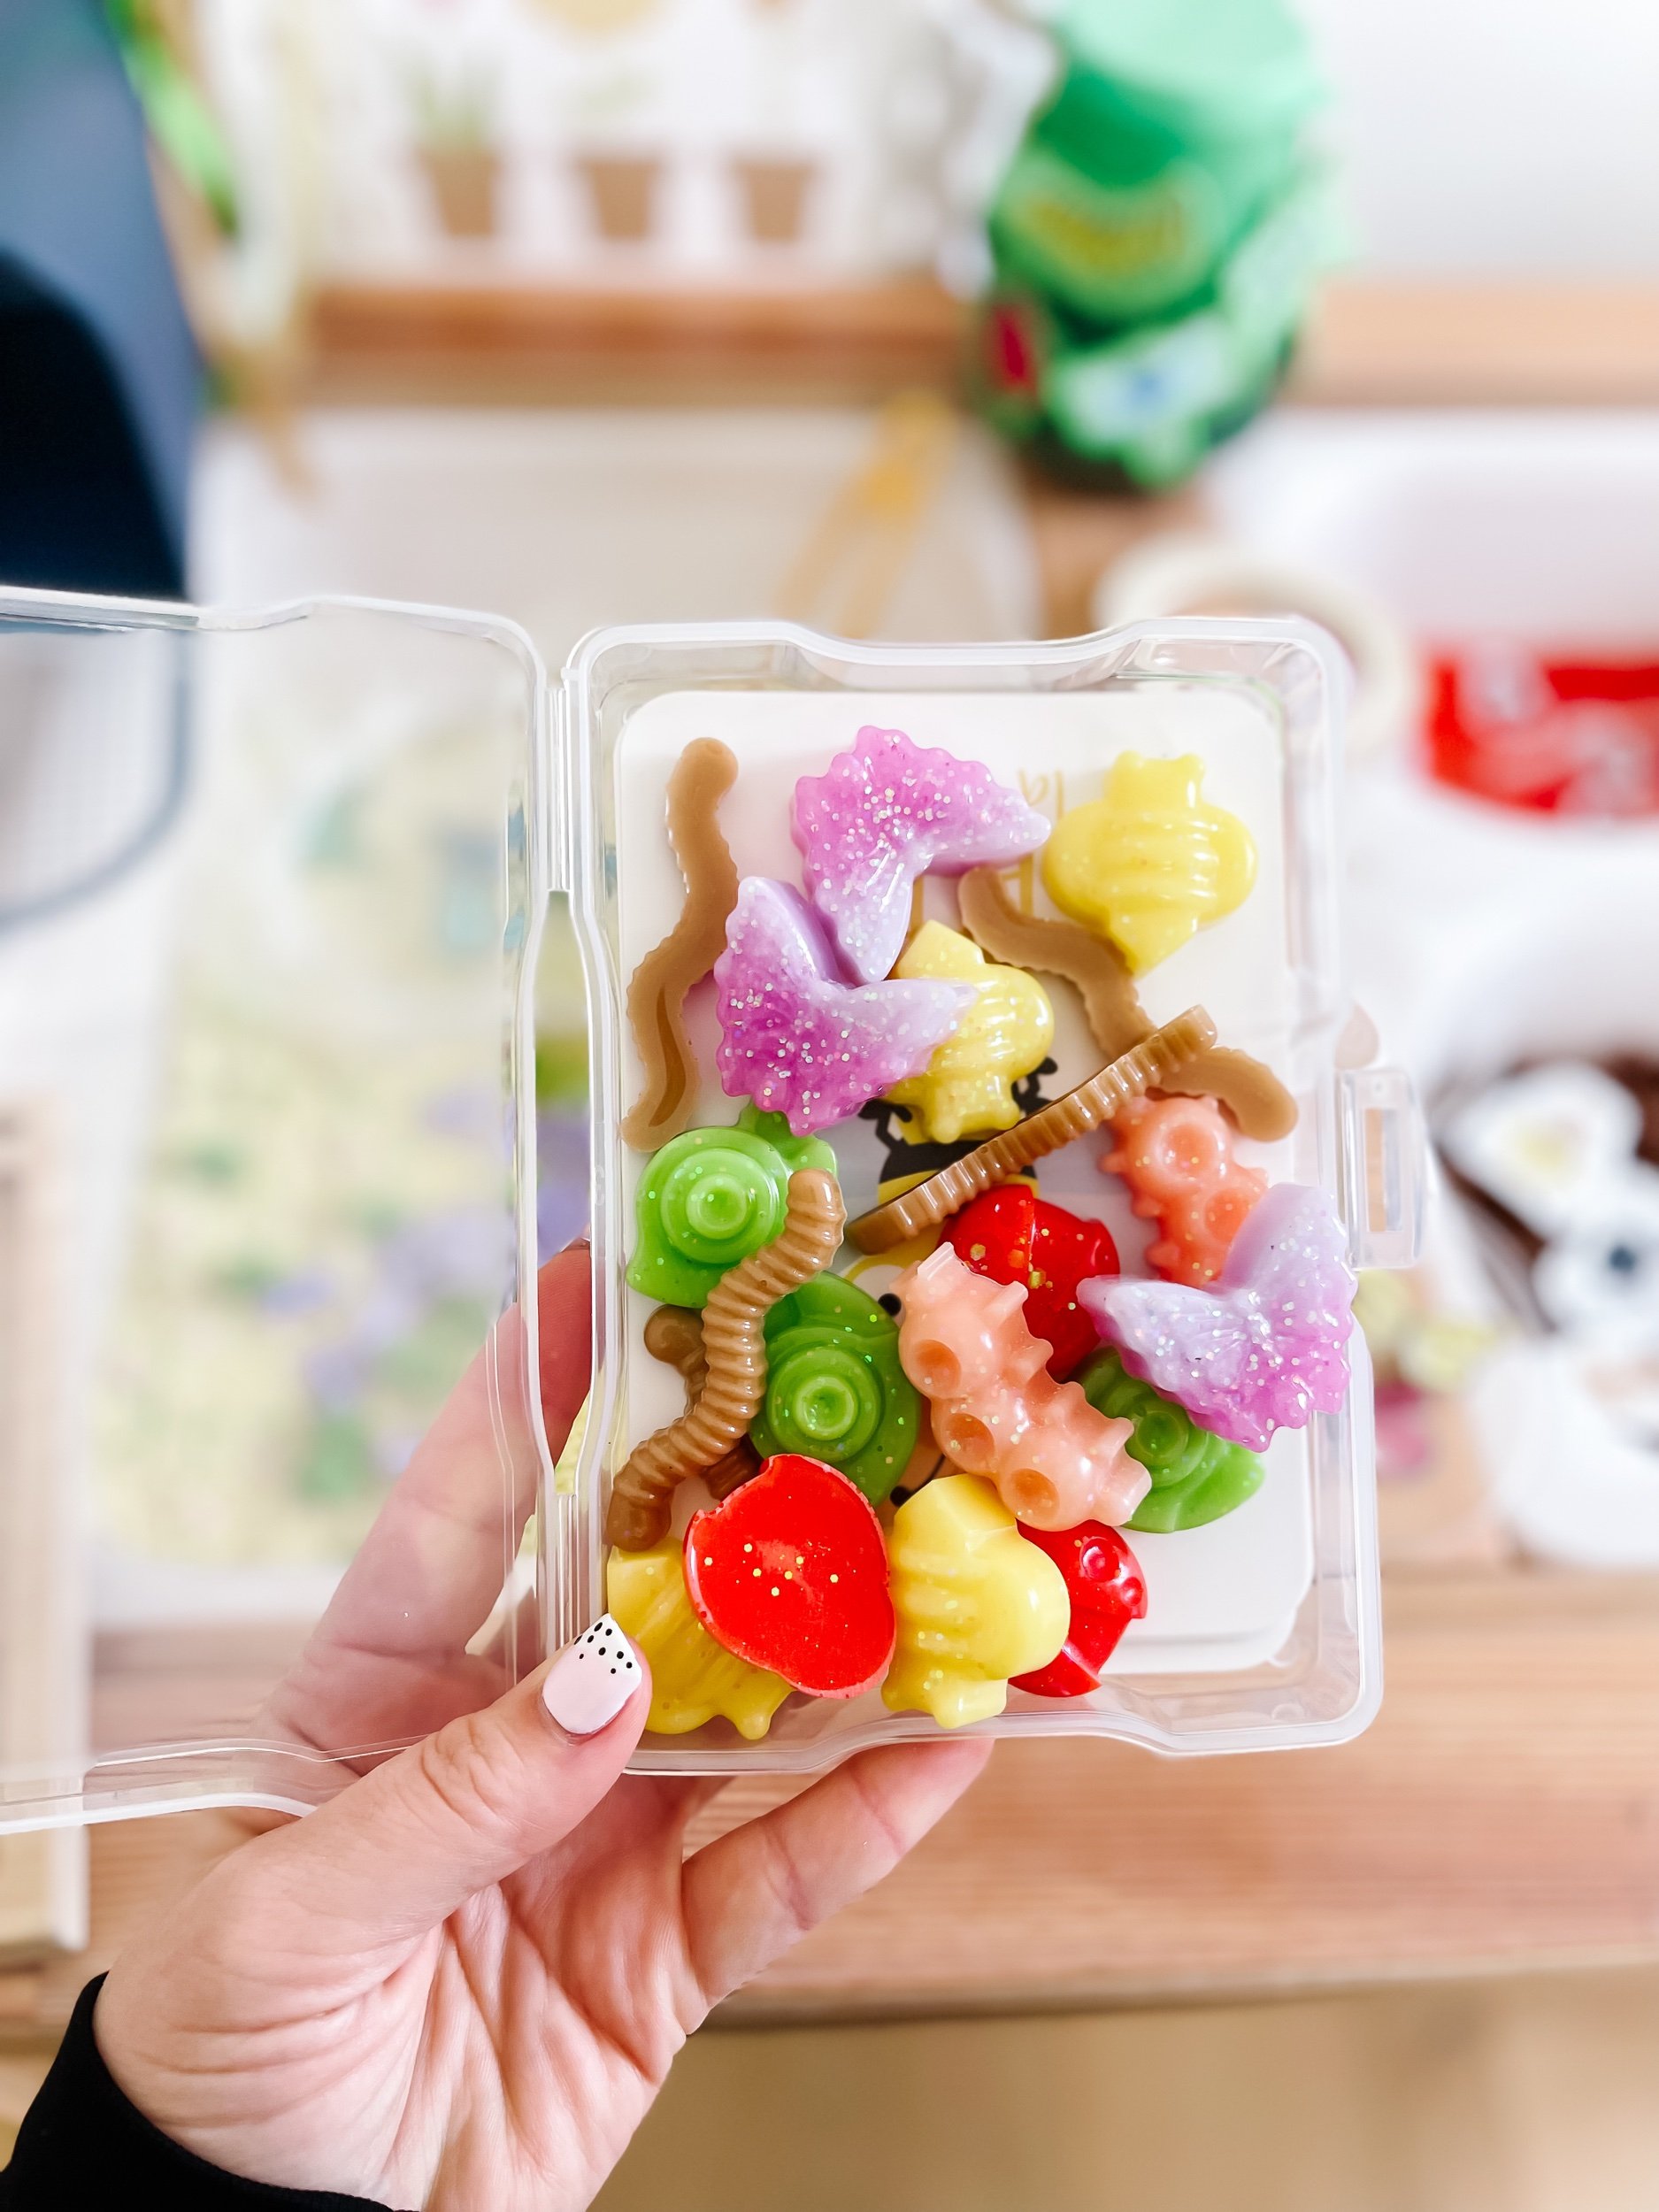
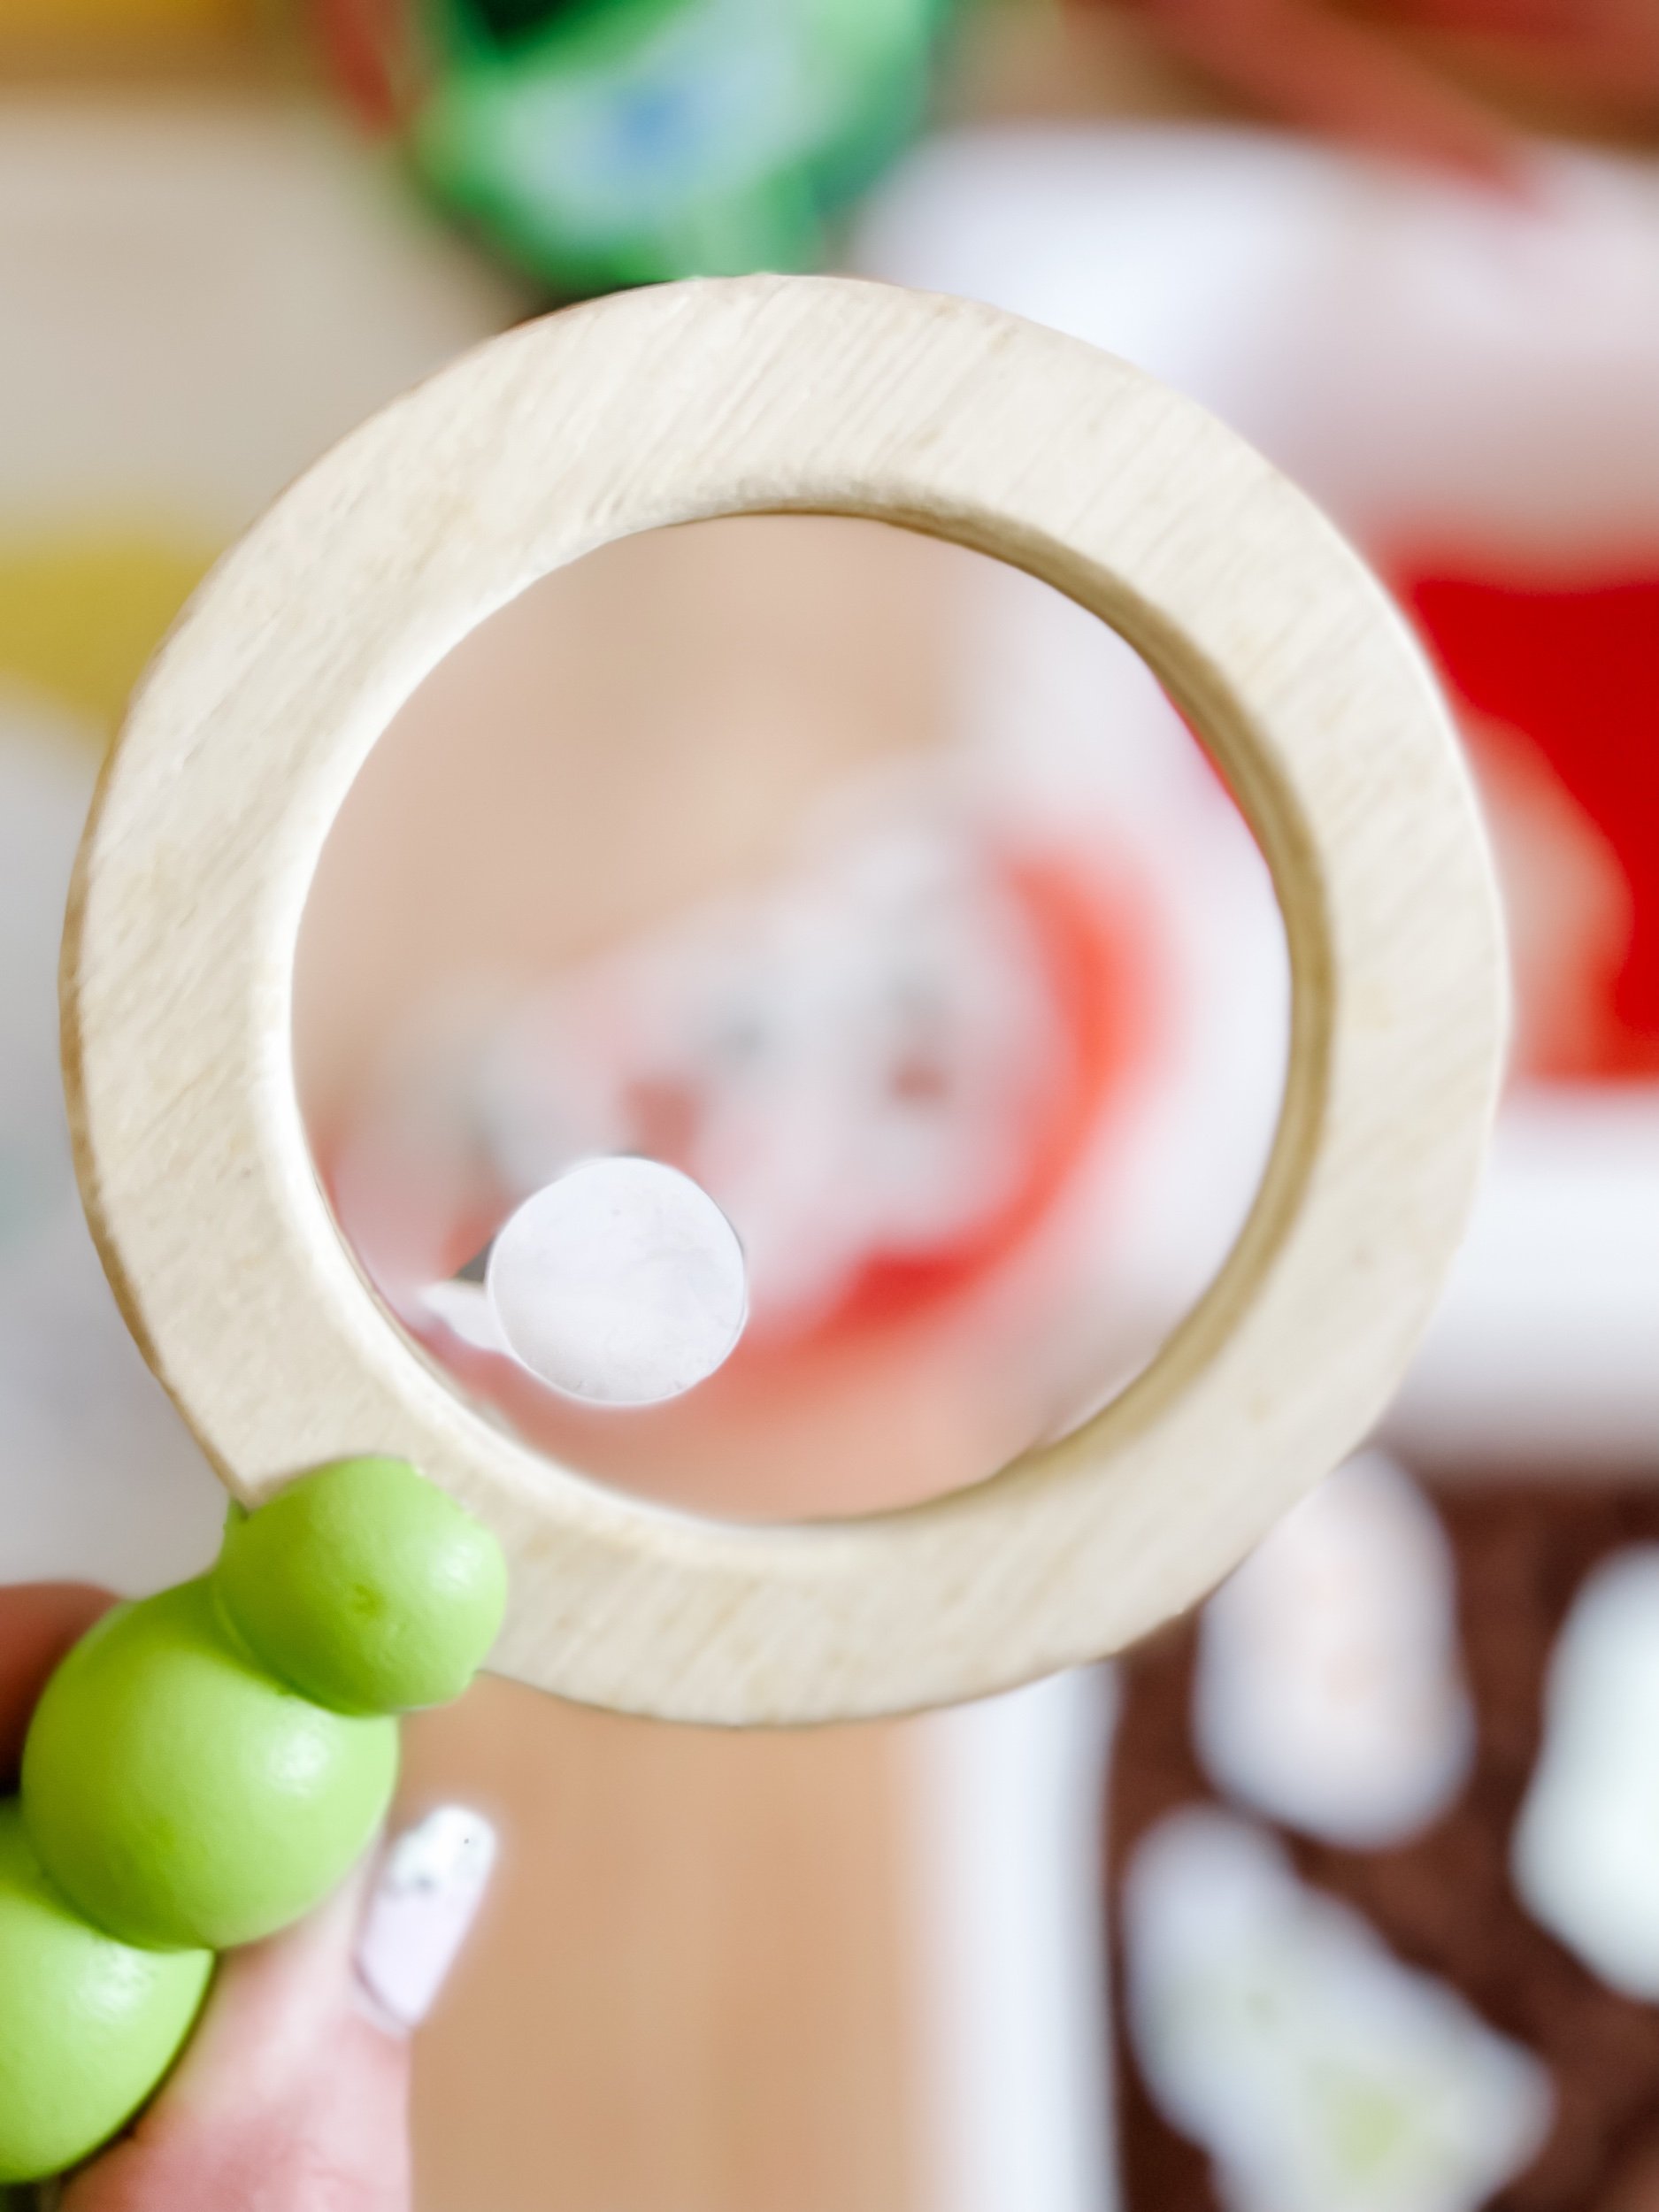
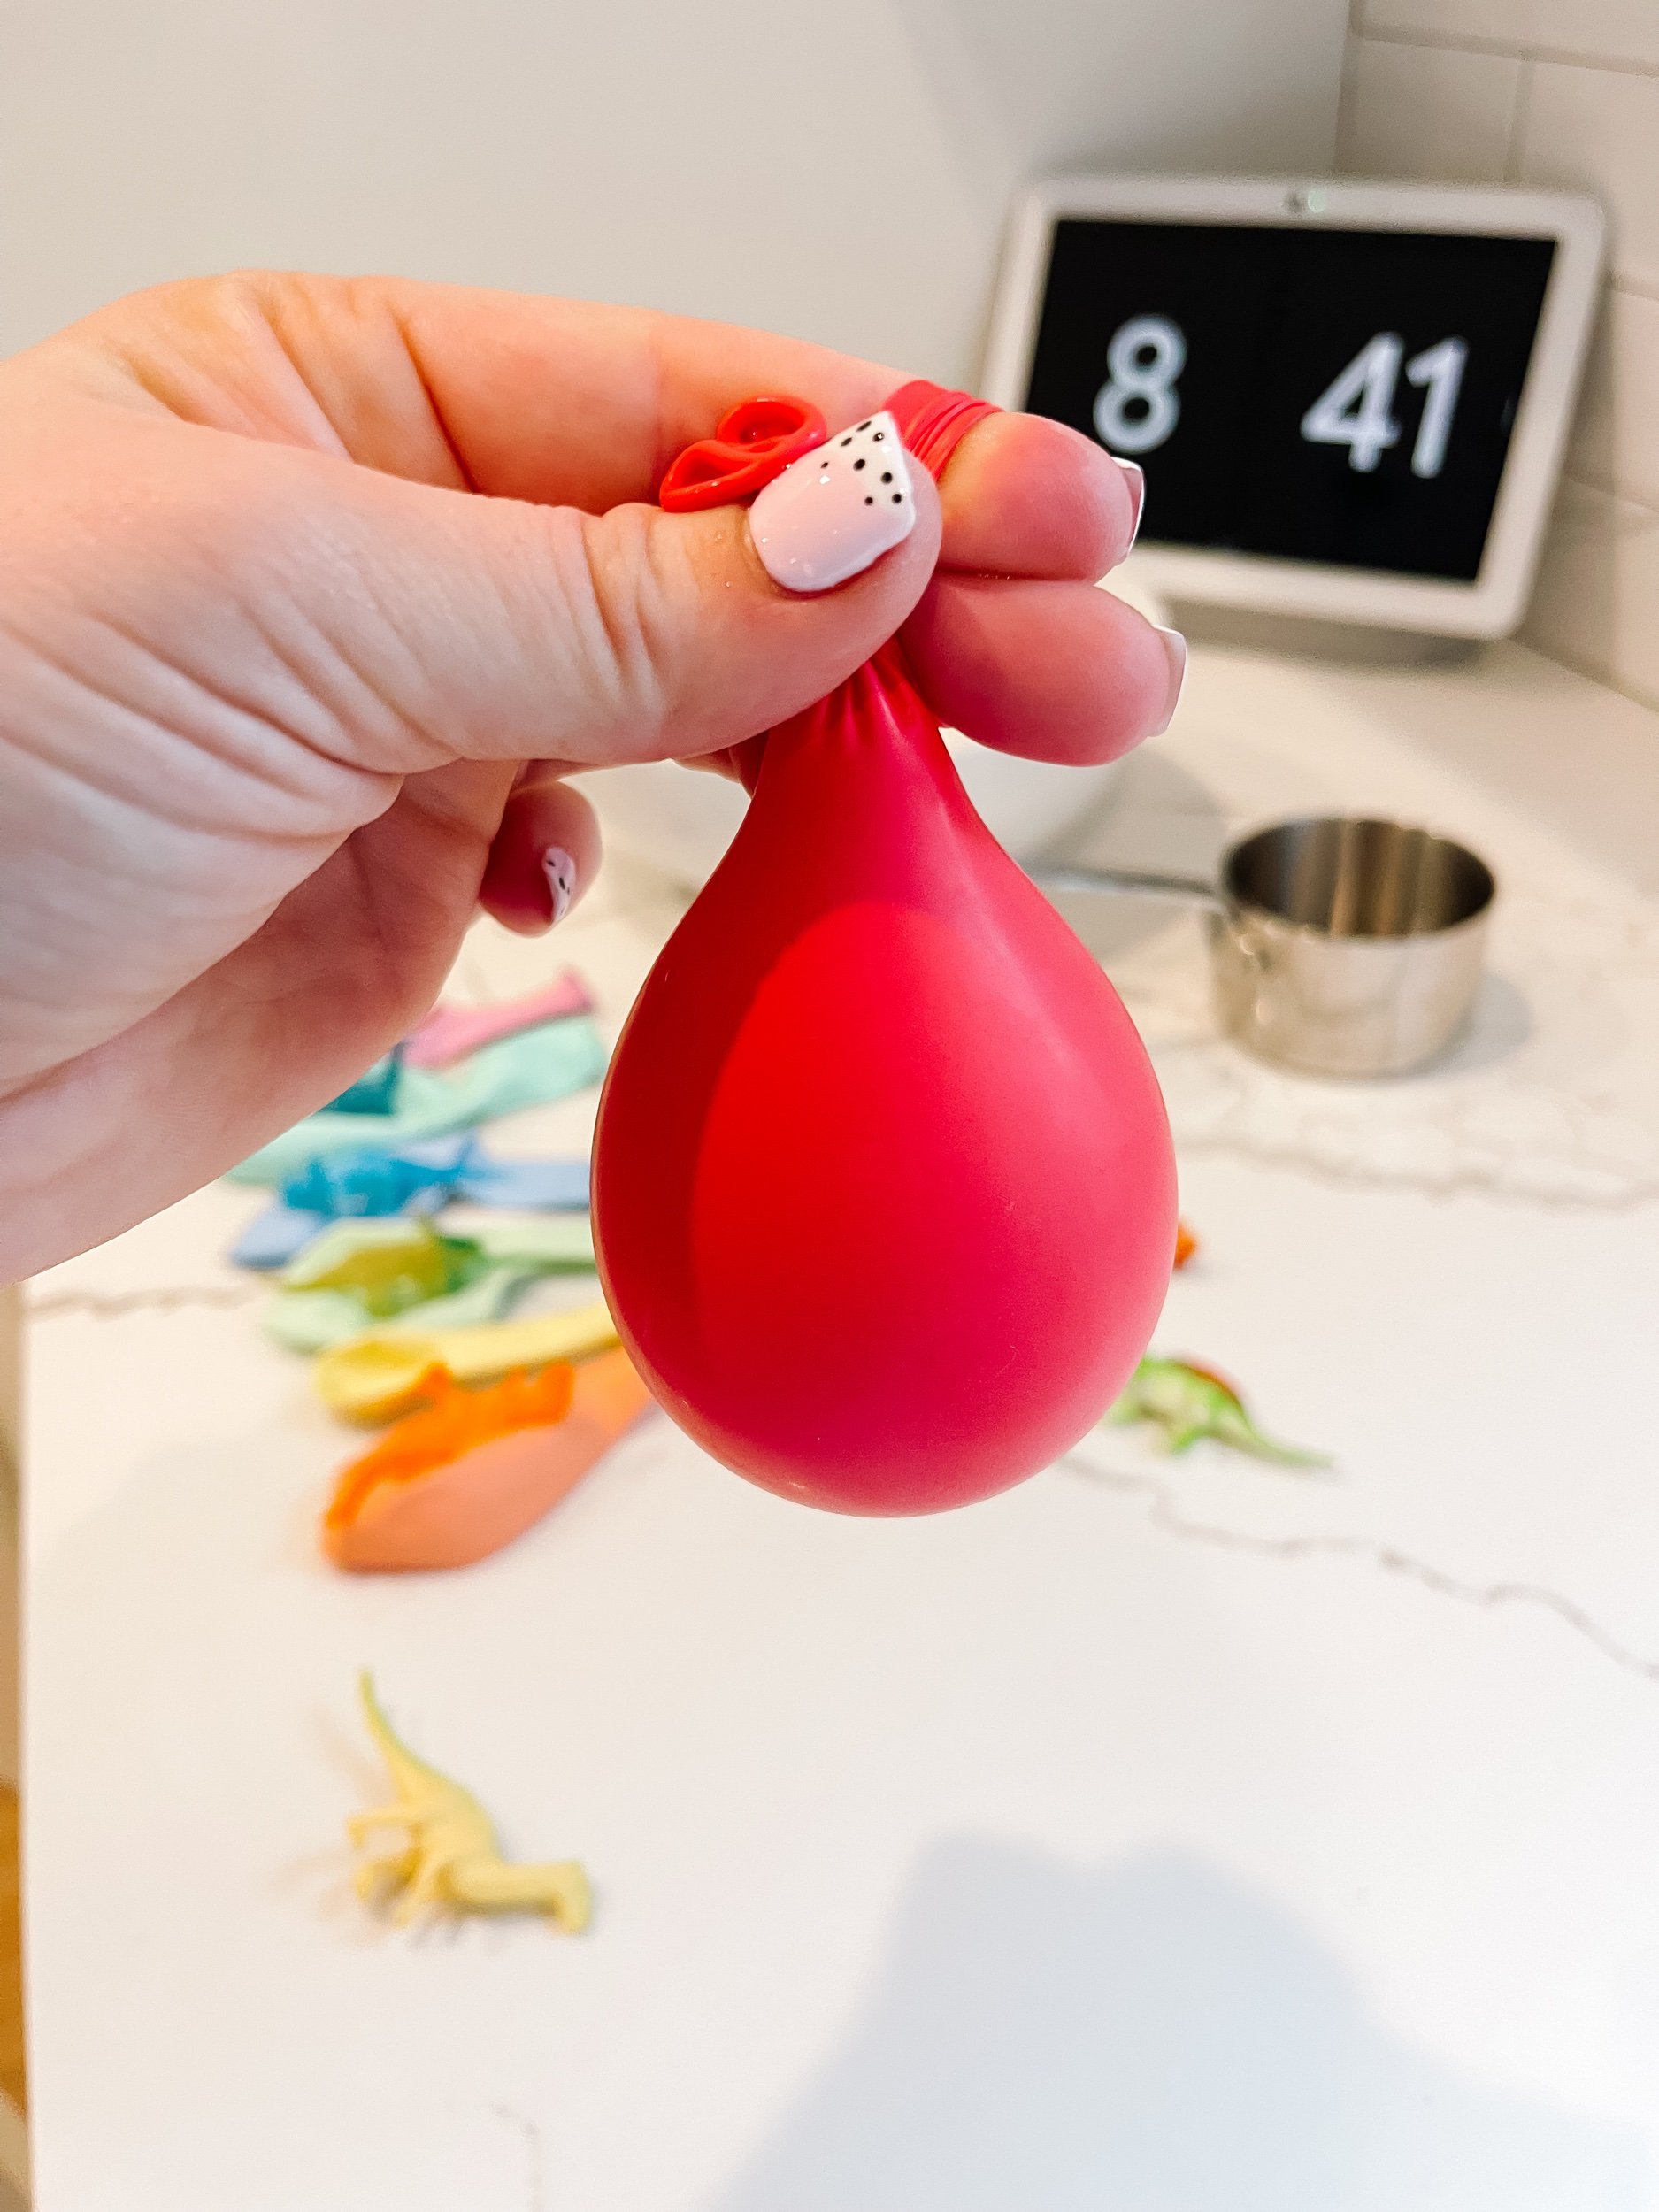
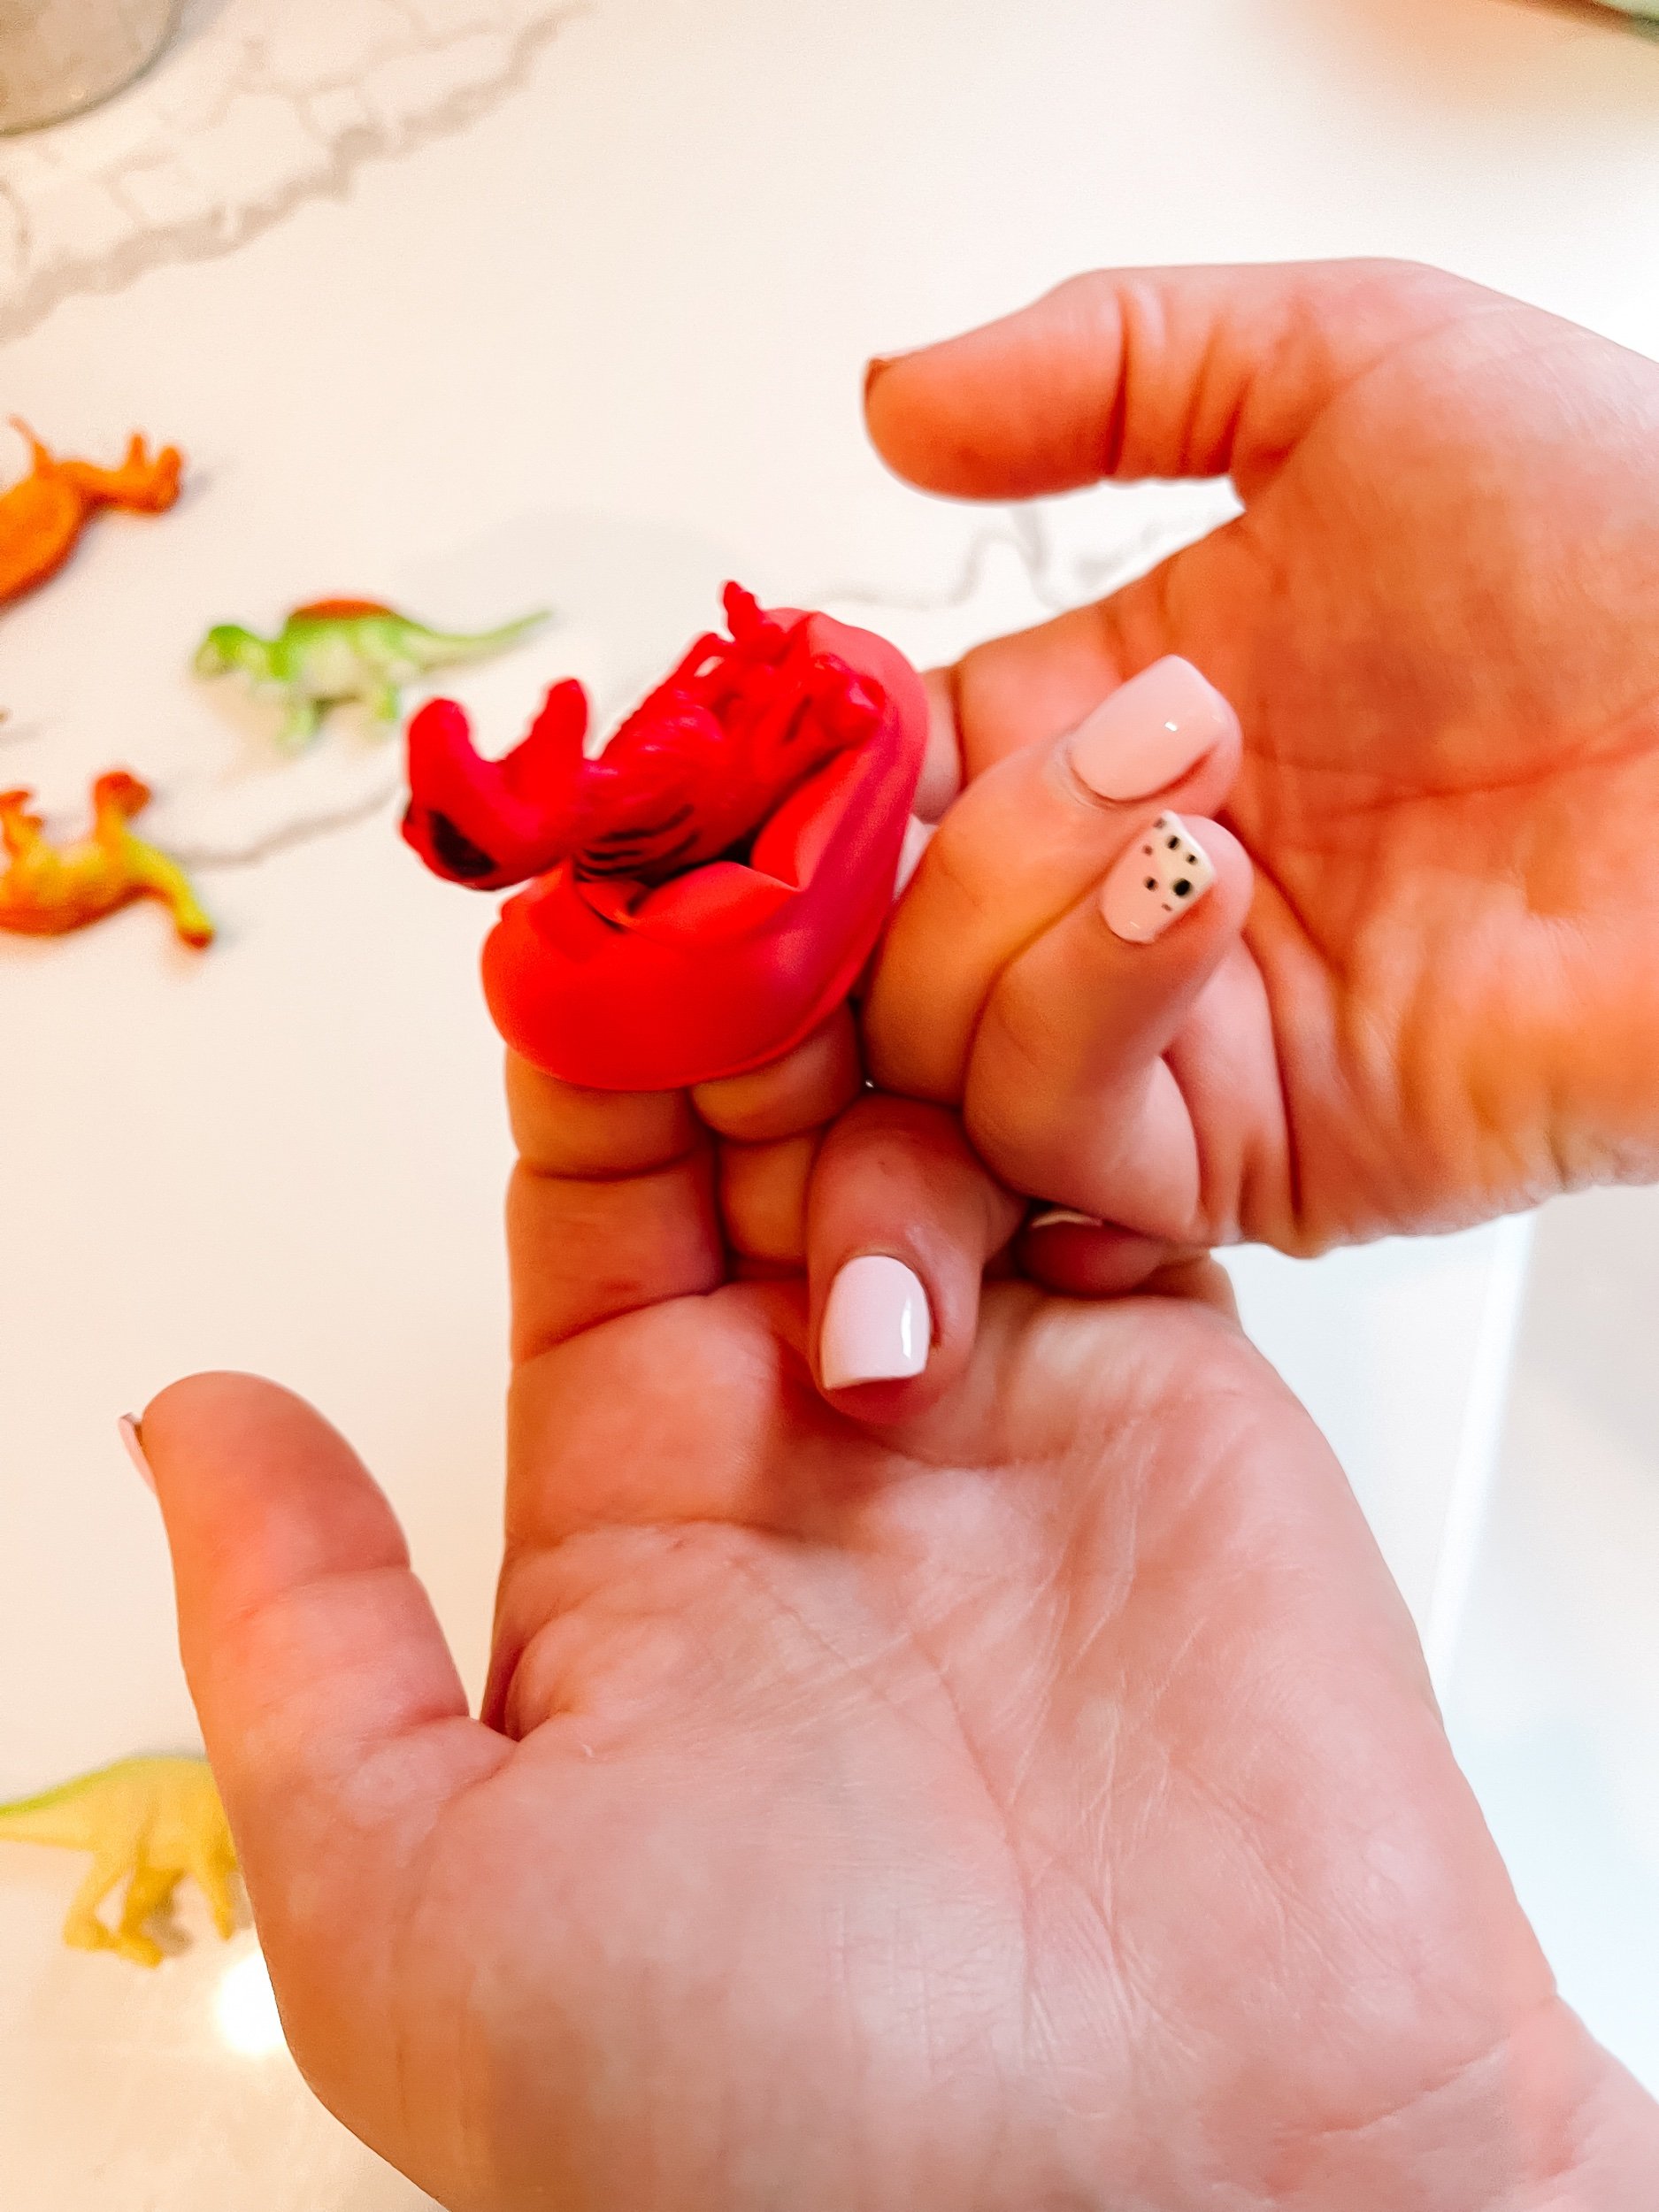
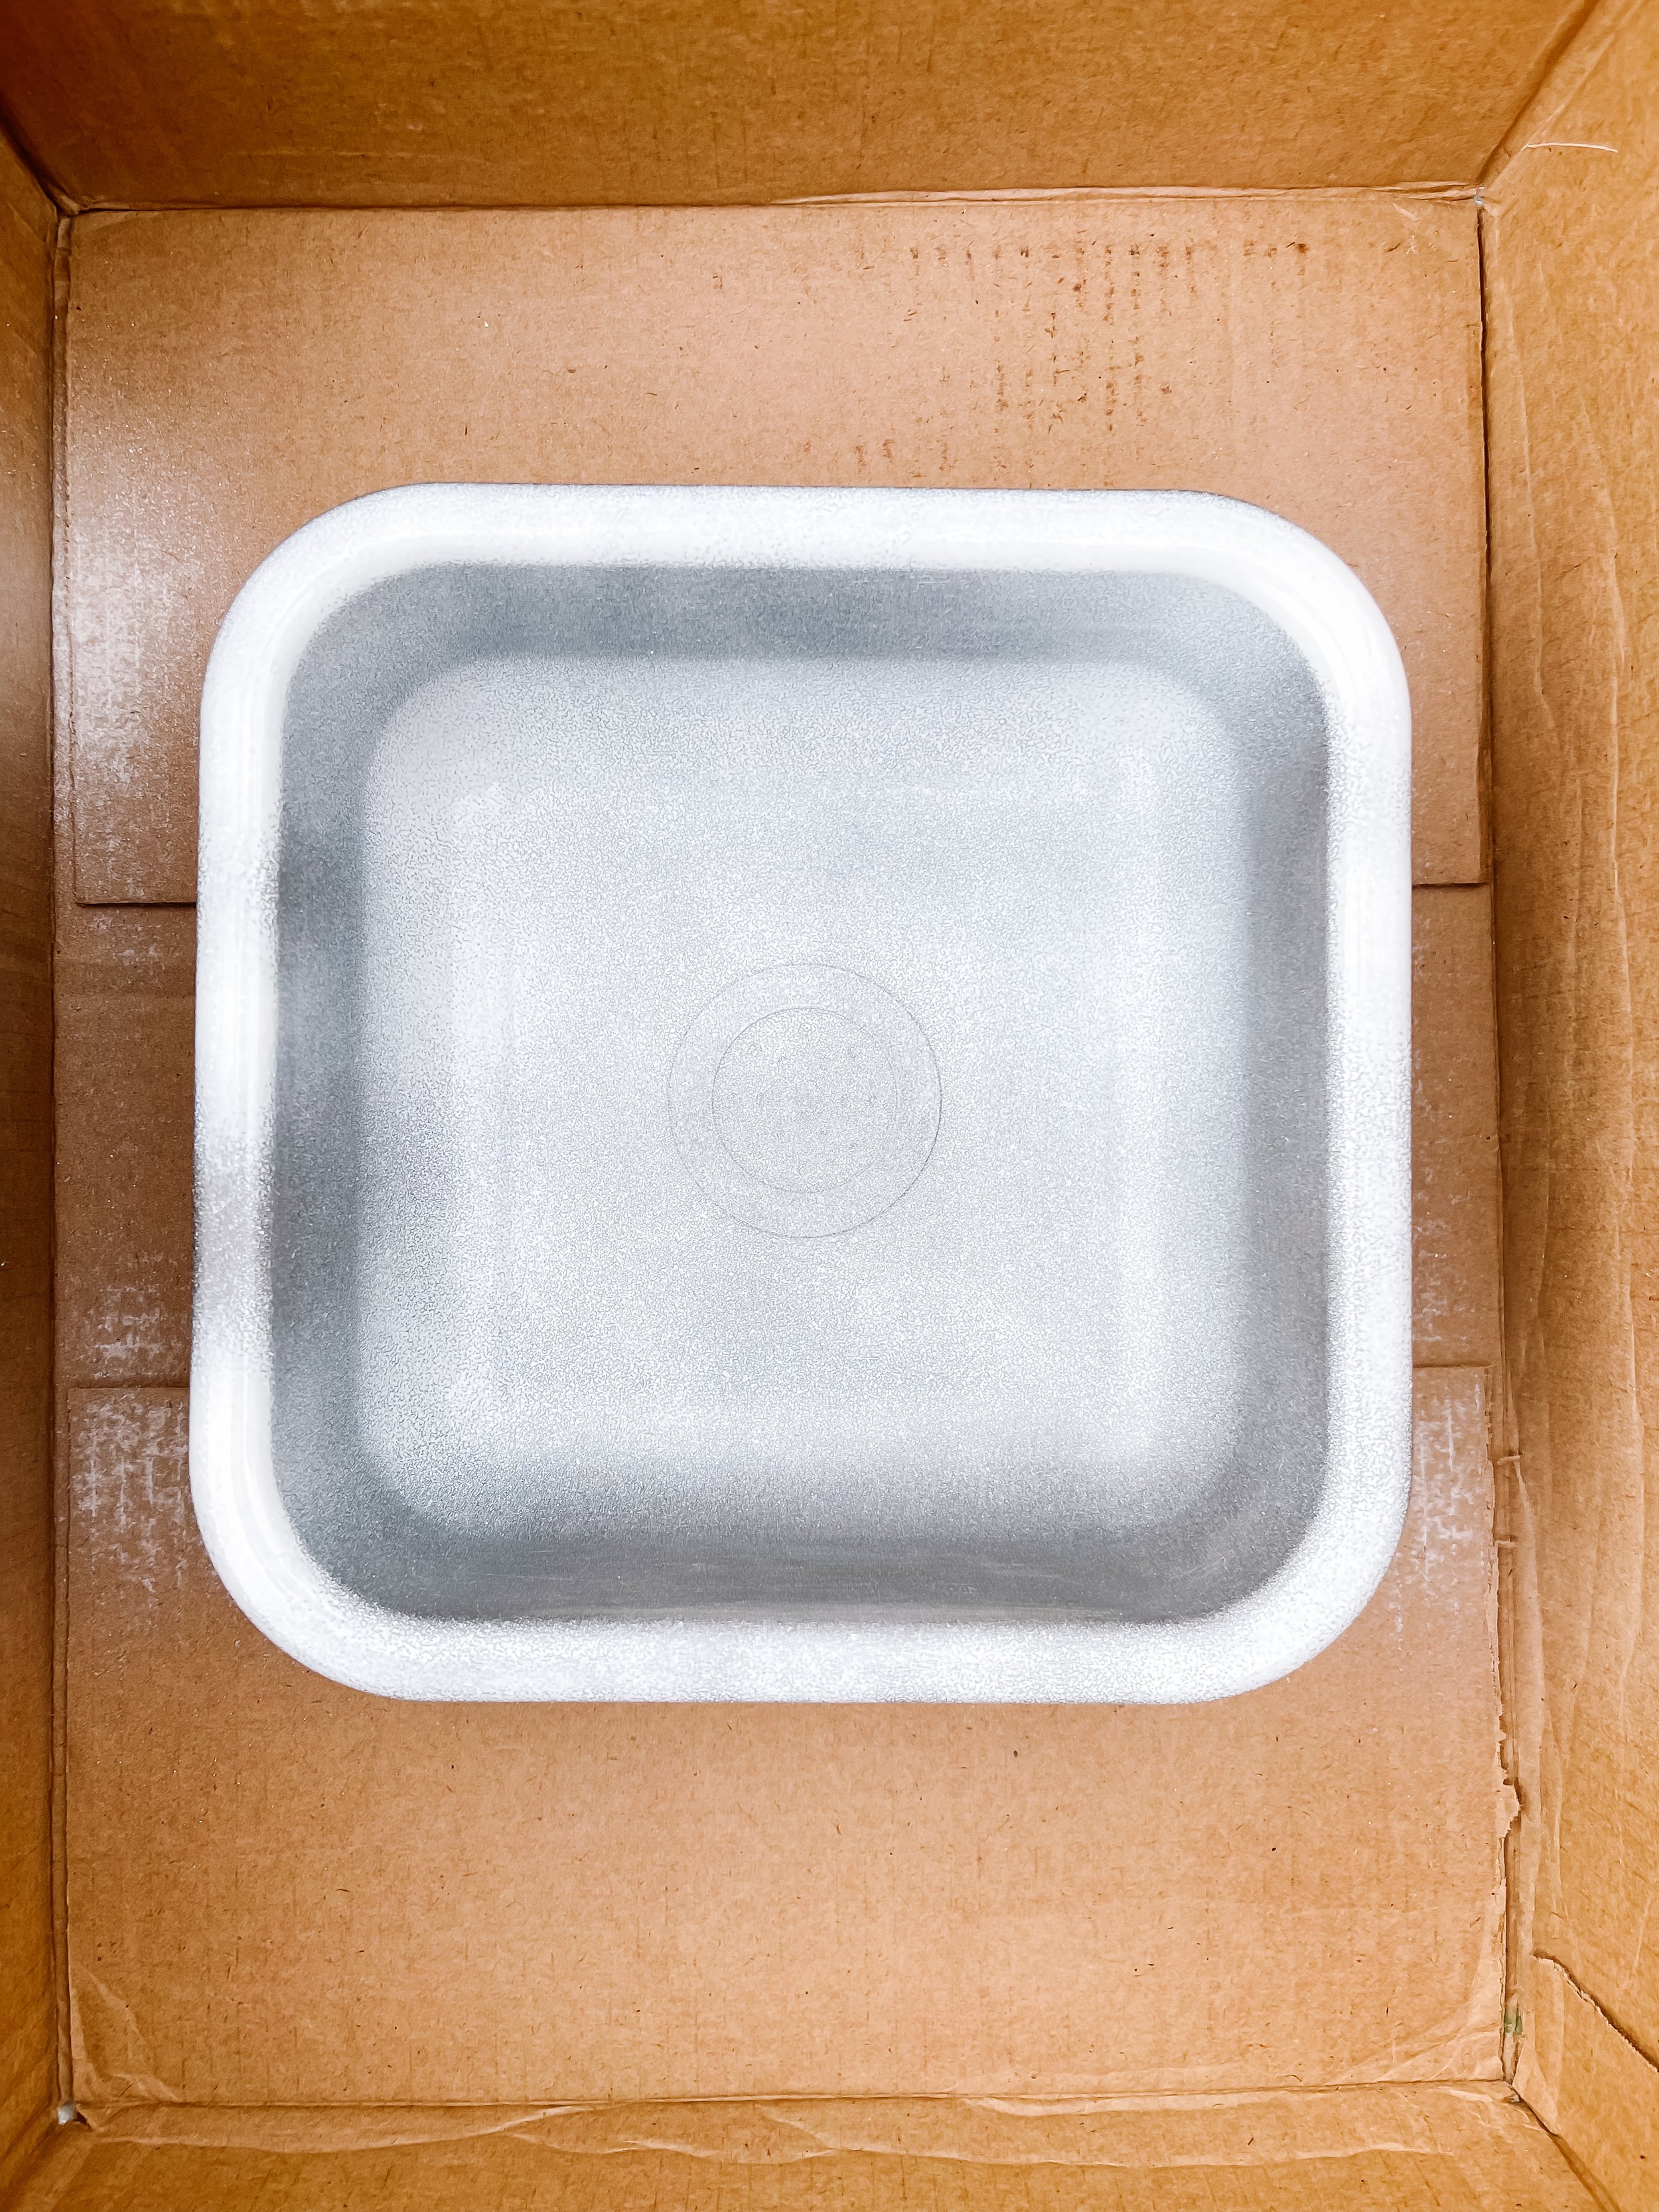
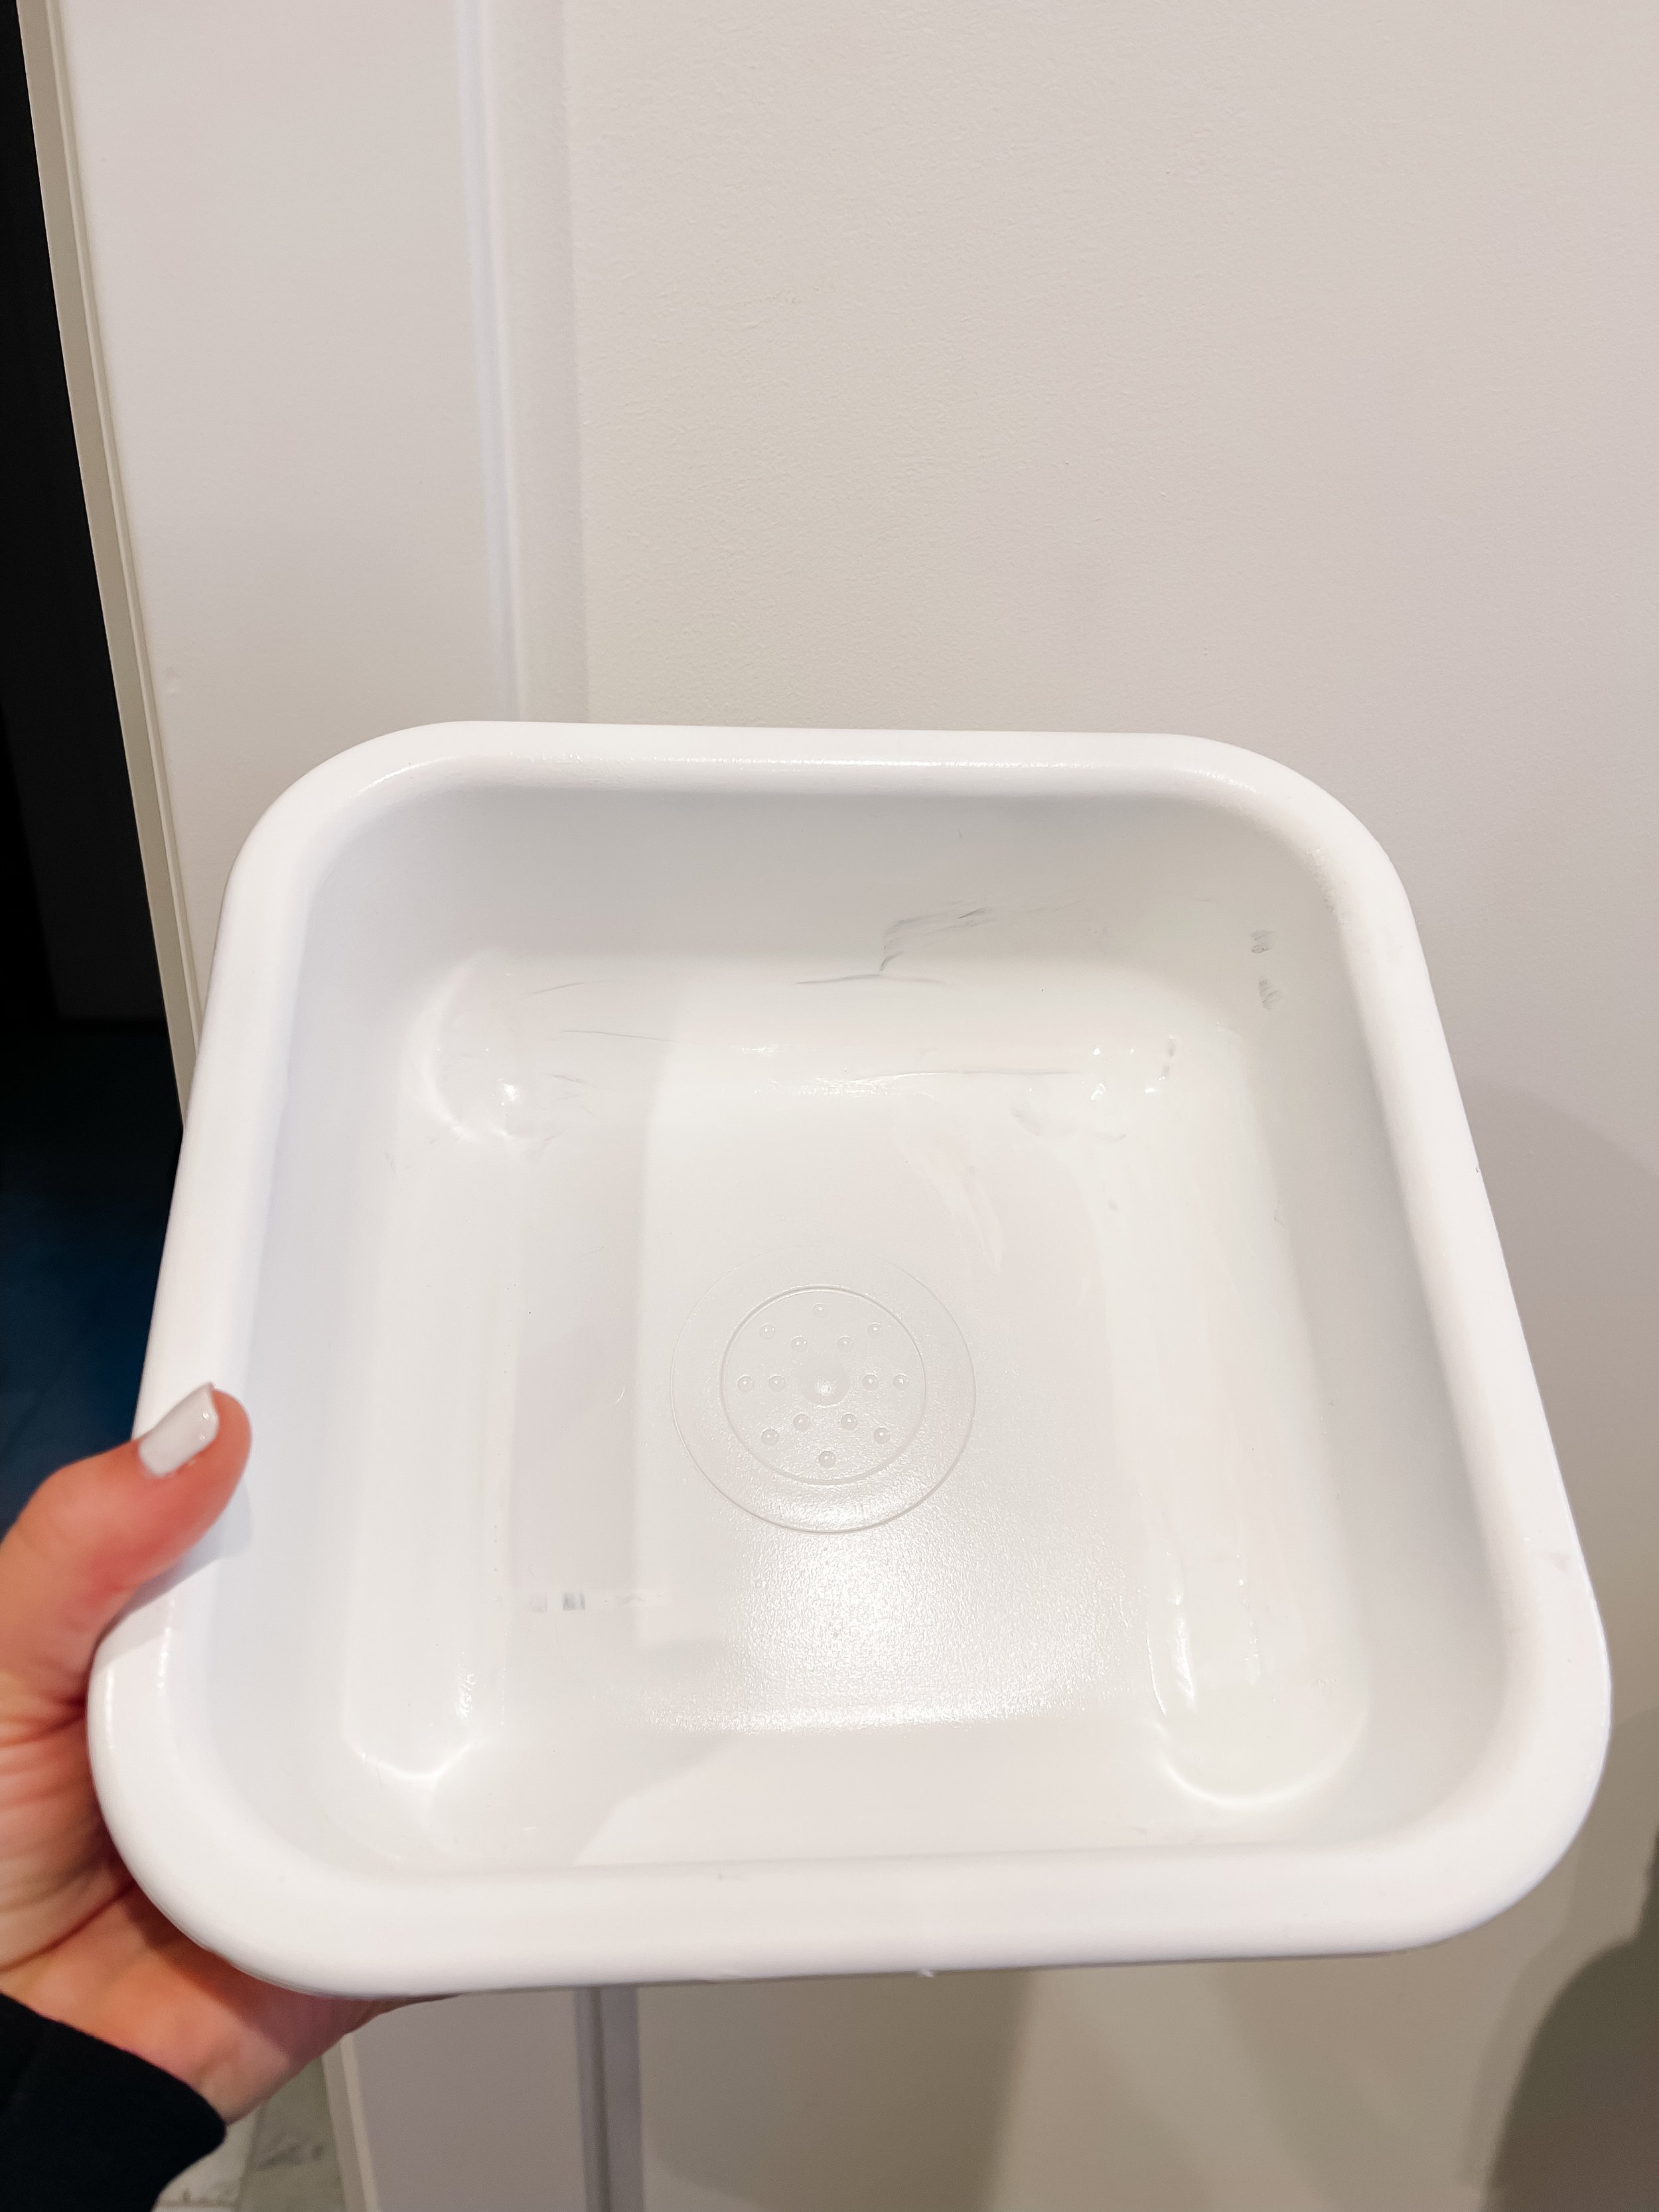
2. Spa Wax:
Take sensory play to the next level with a spa wax station. Melt wax and pour it into a Flisat Trofast bin, allowing kids to squish and play as the wax hardens. This tactile experience promotes sensory exploration and provides a soothing sensation as the wax cools. Plus, it's a fantastic opportunity for imaginative play, as children can pretend to be at a real spa.
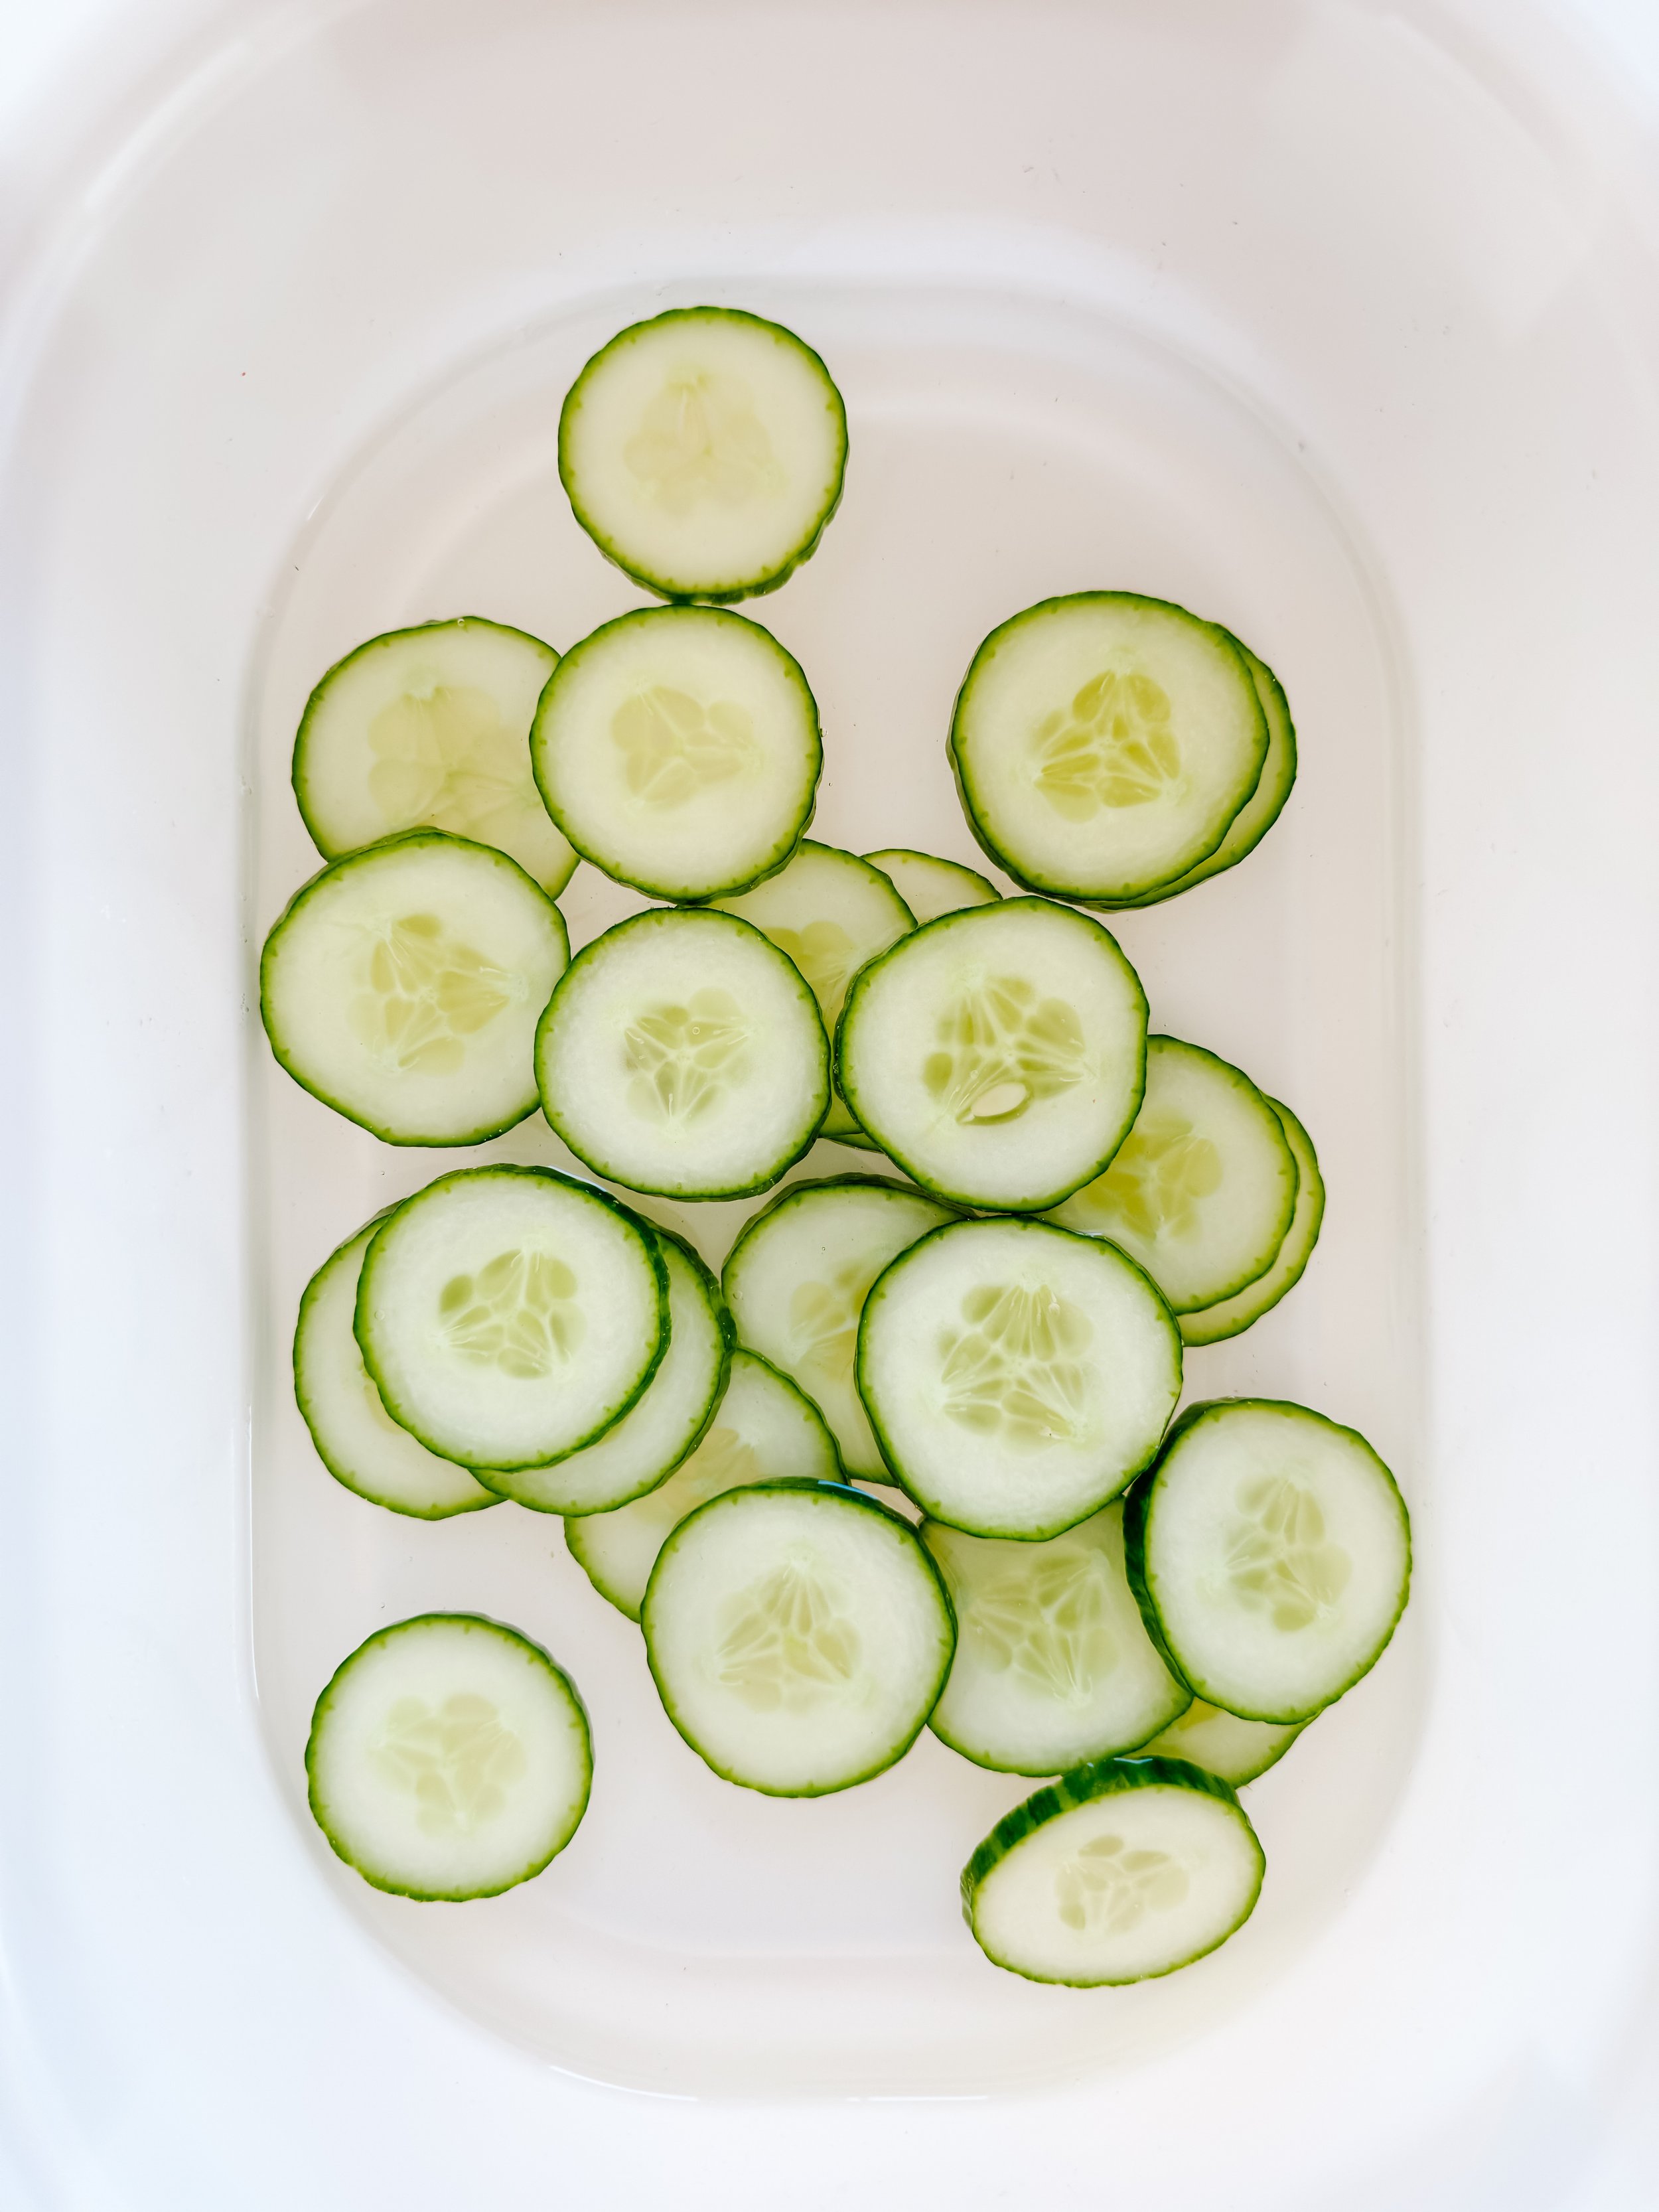
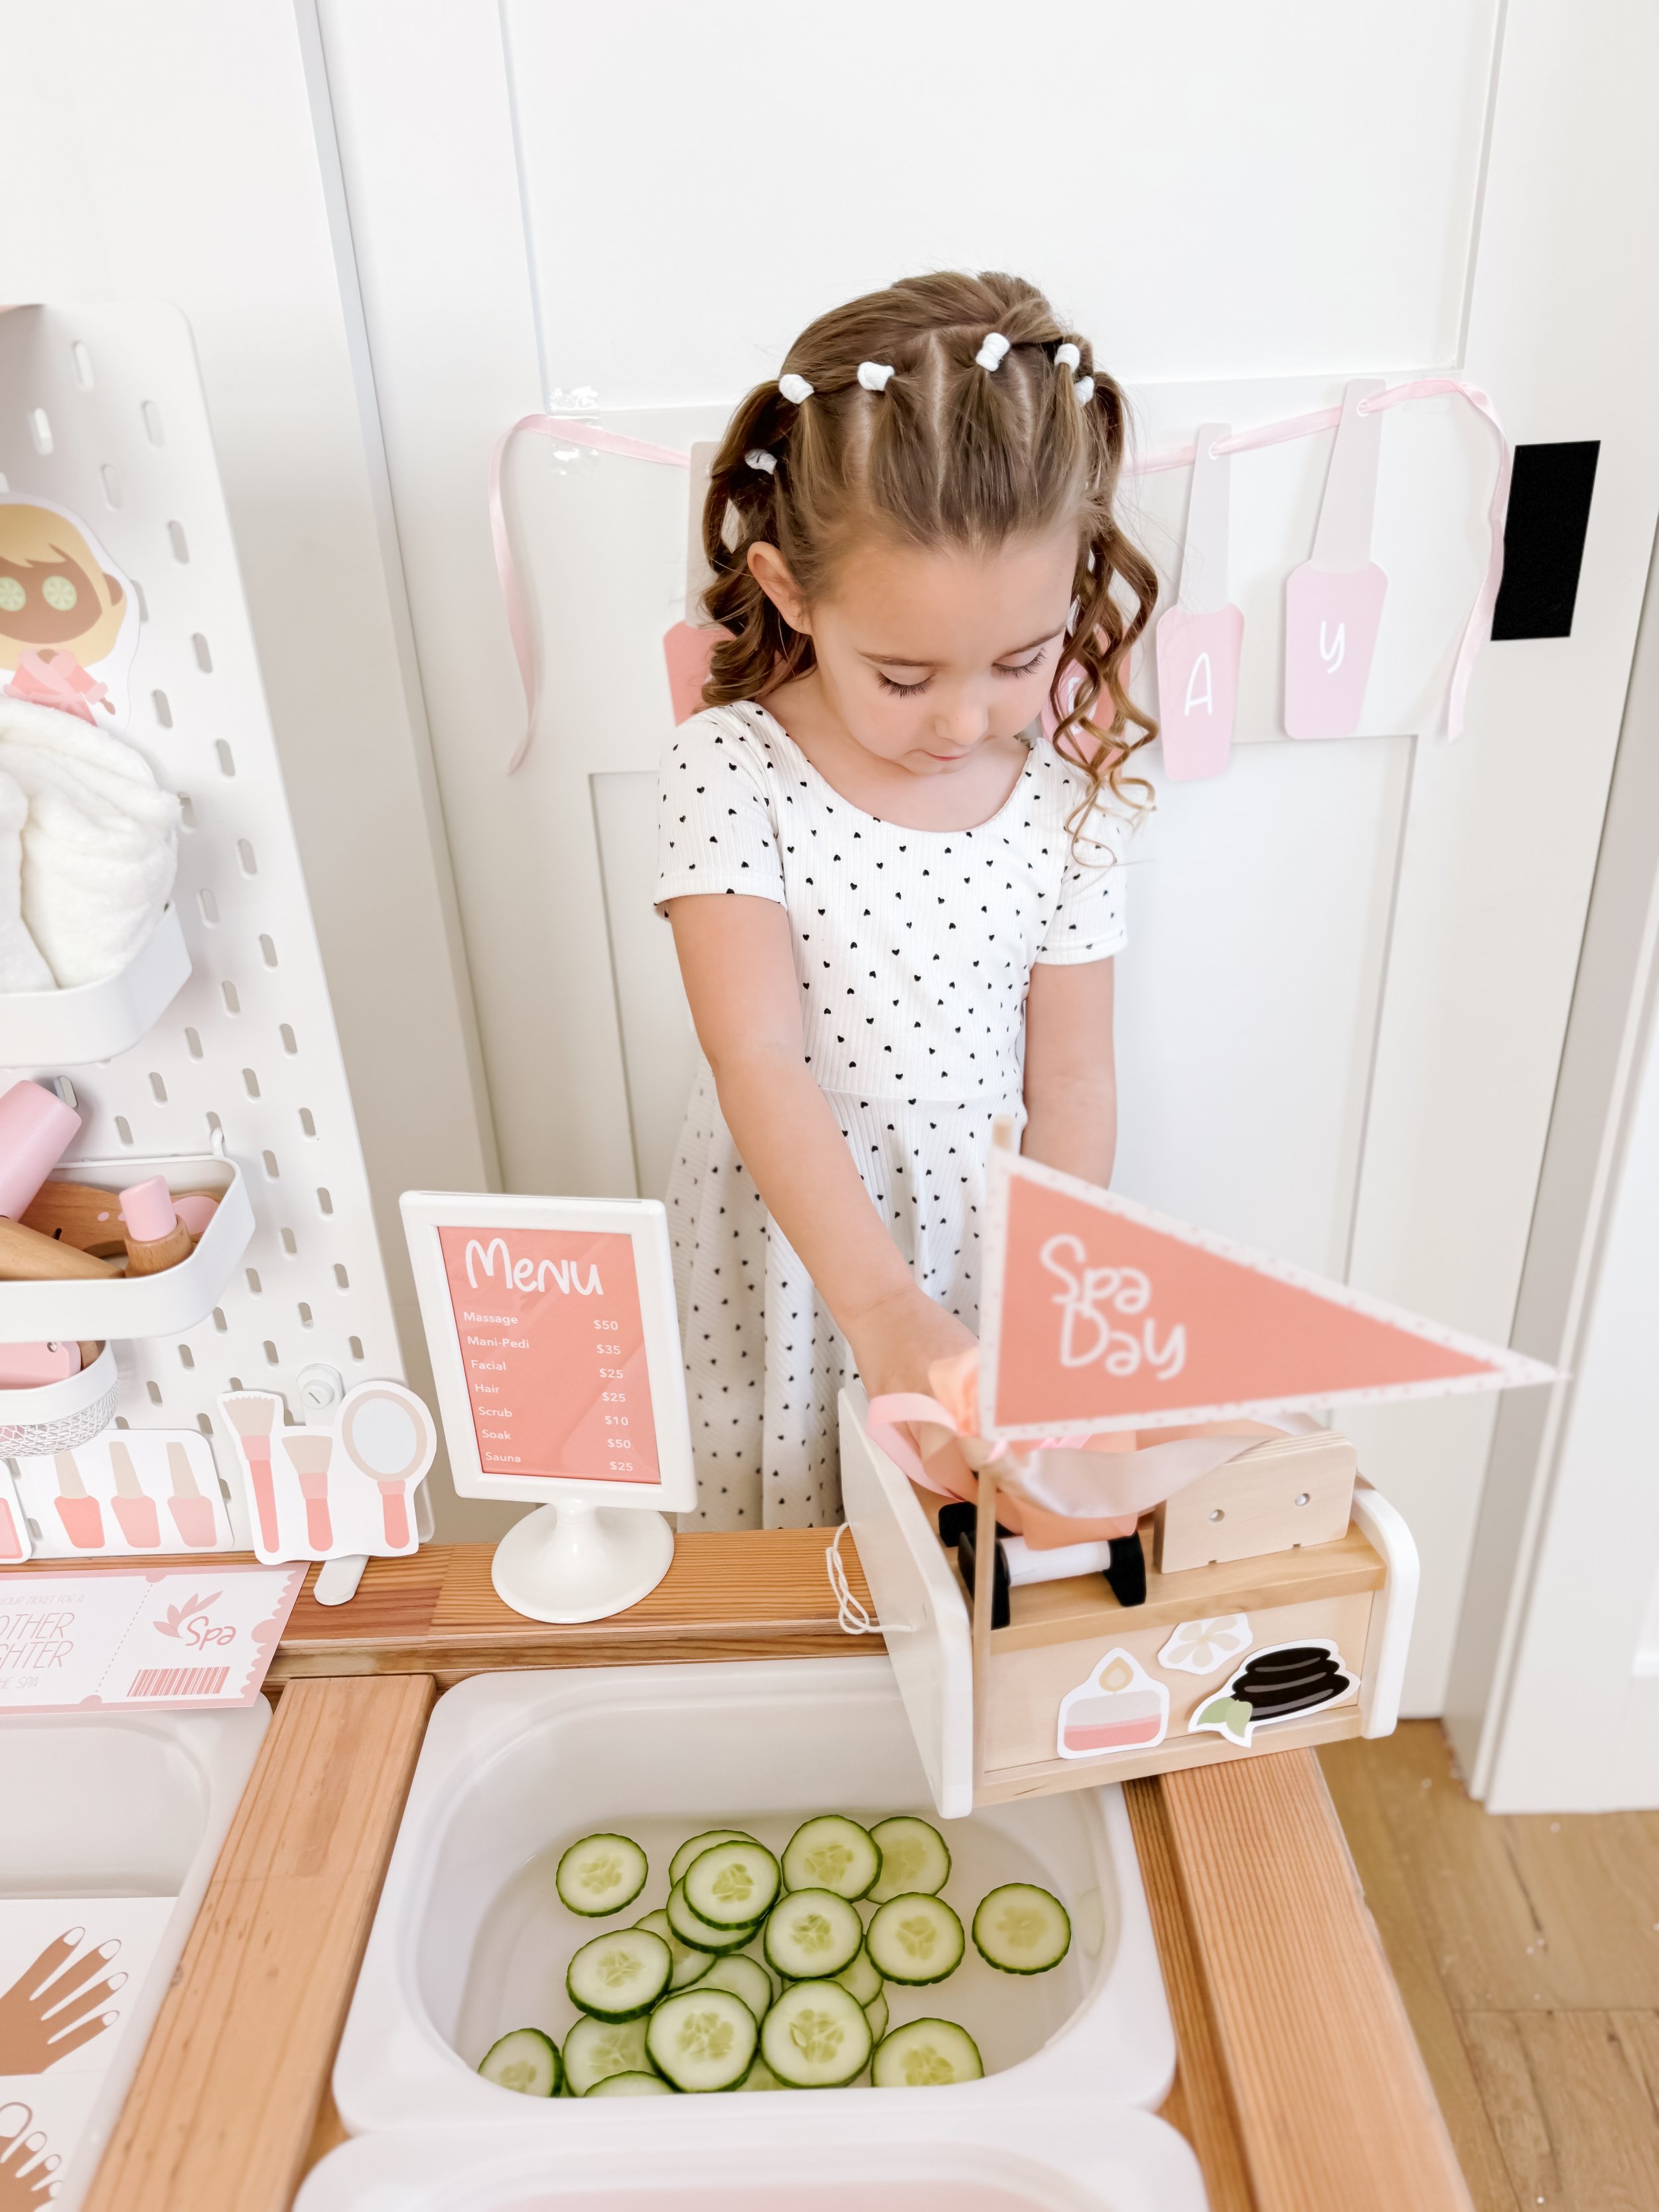
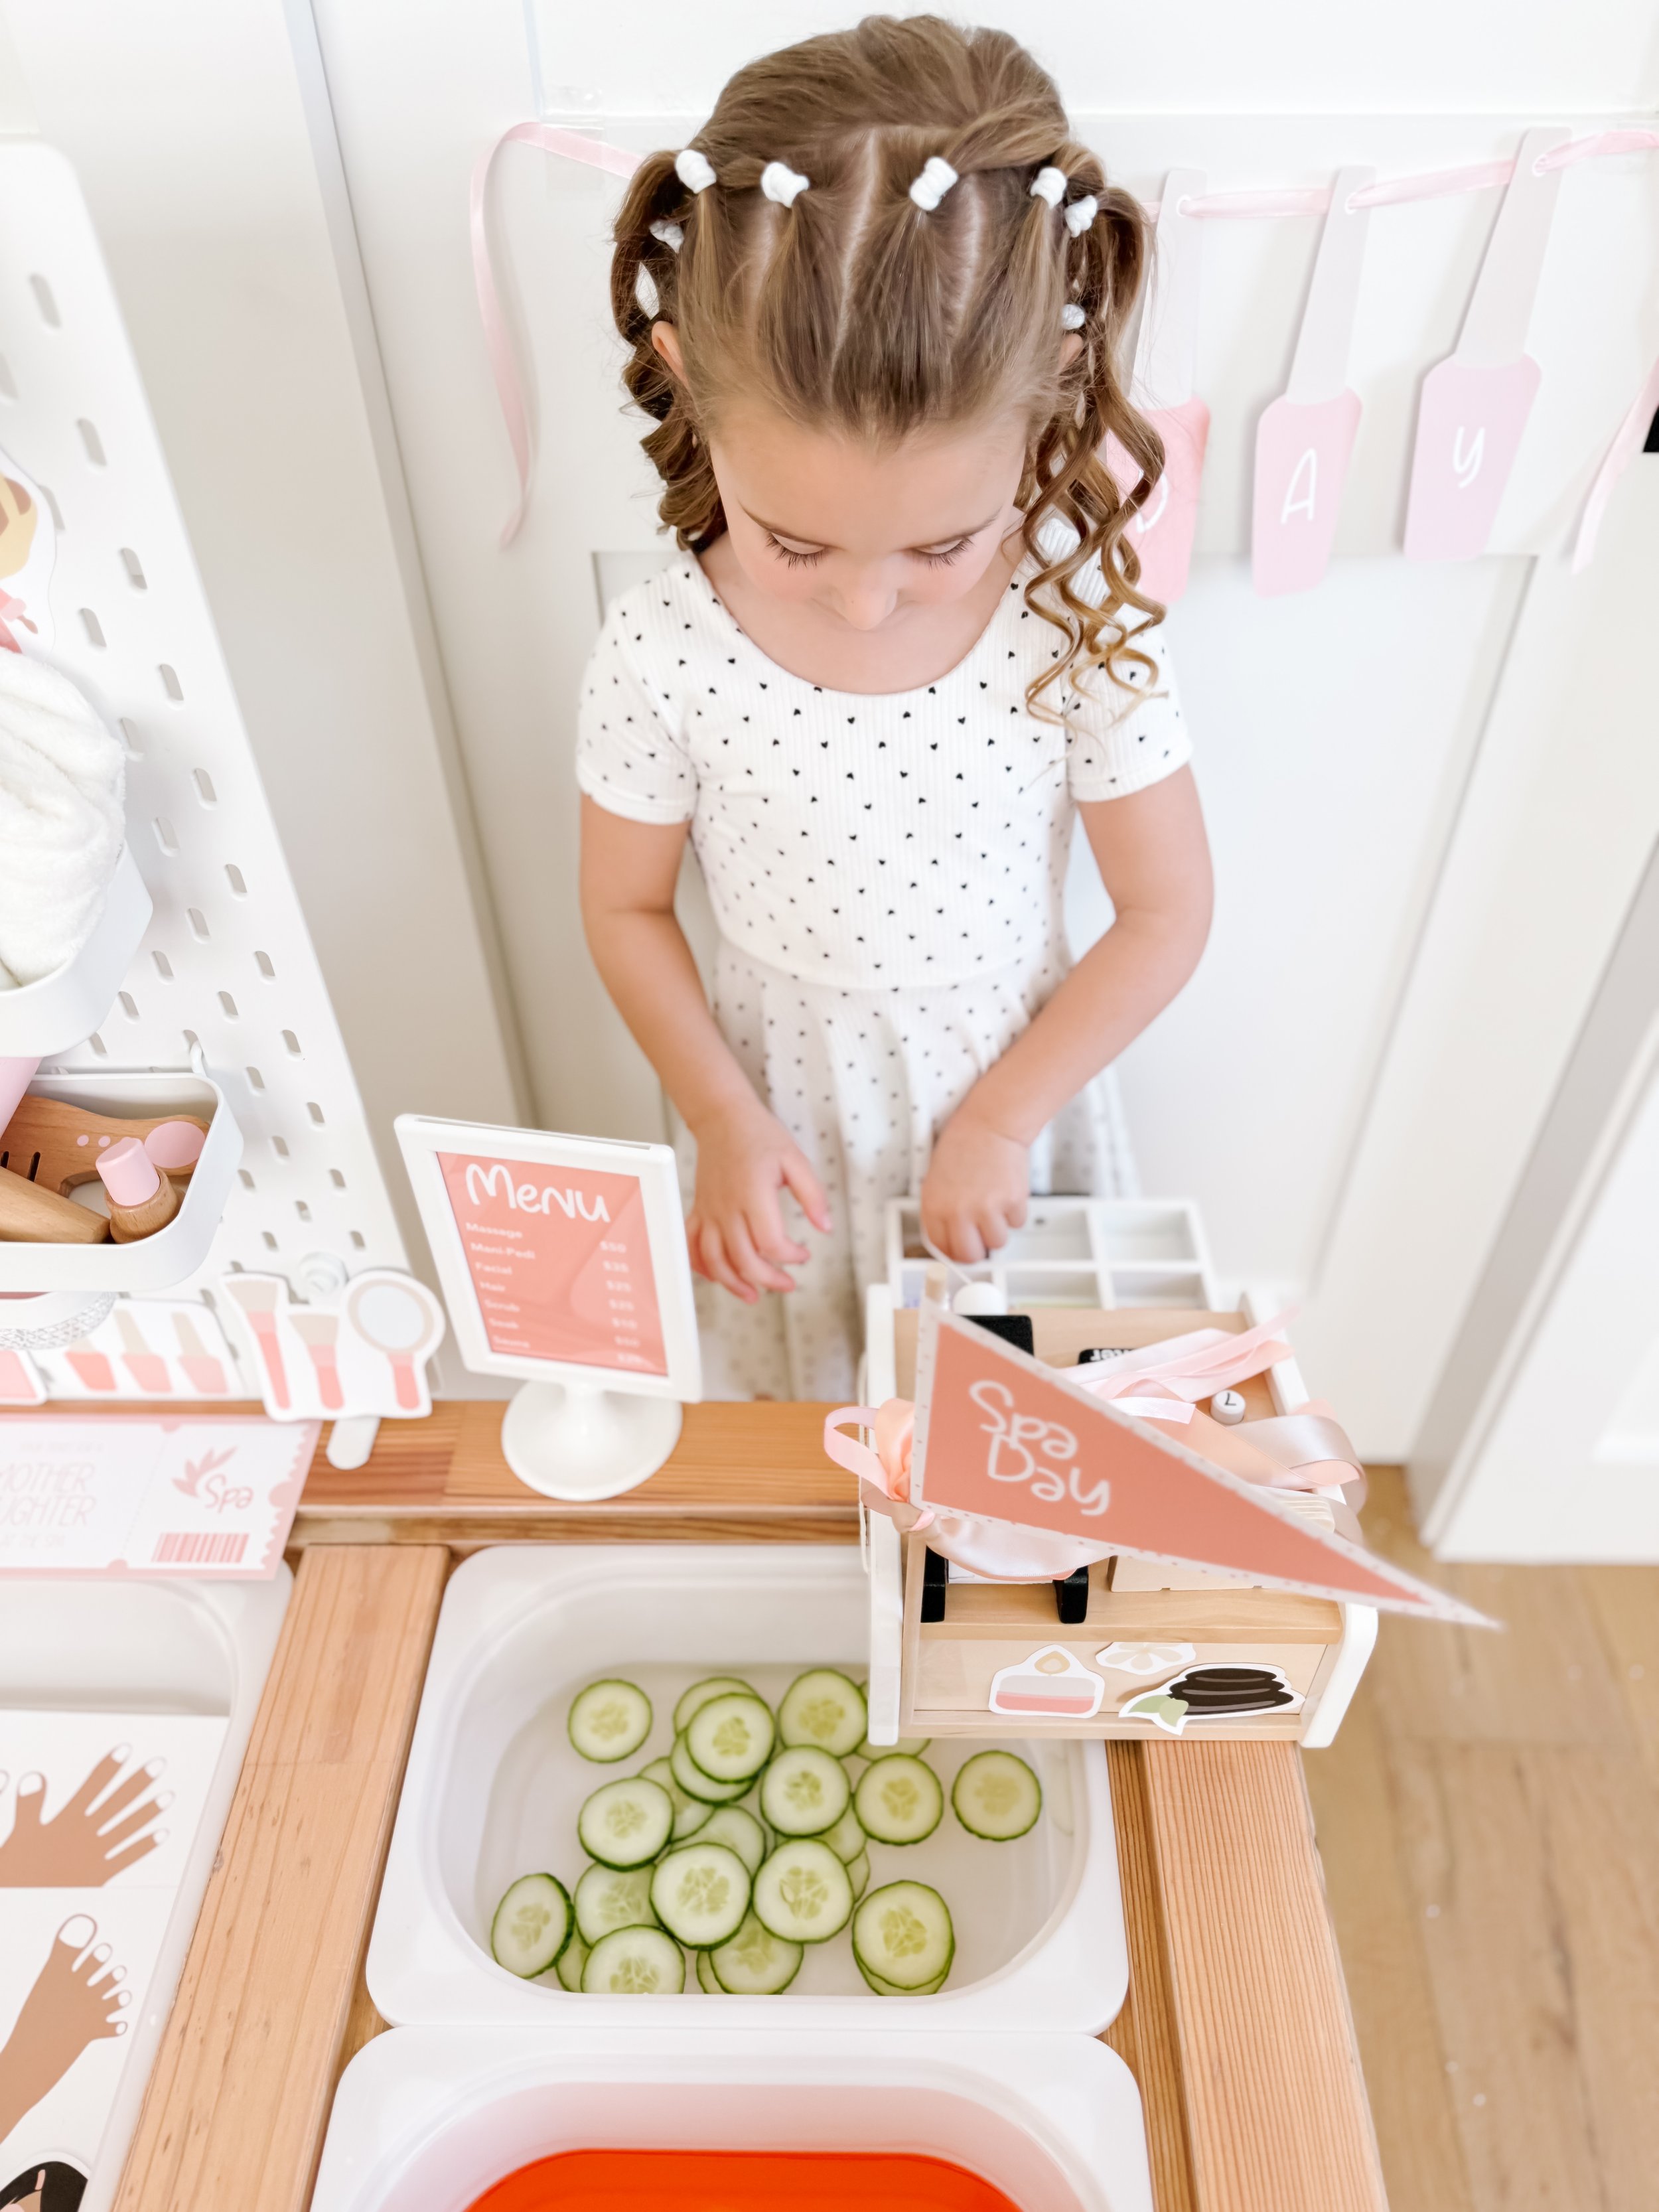
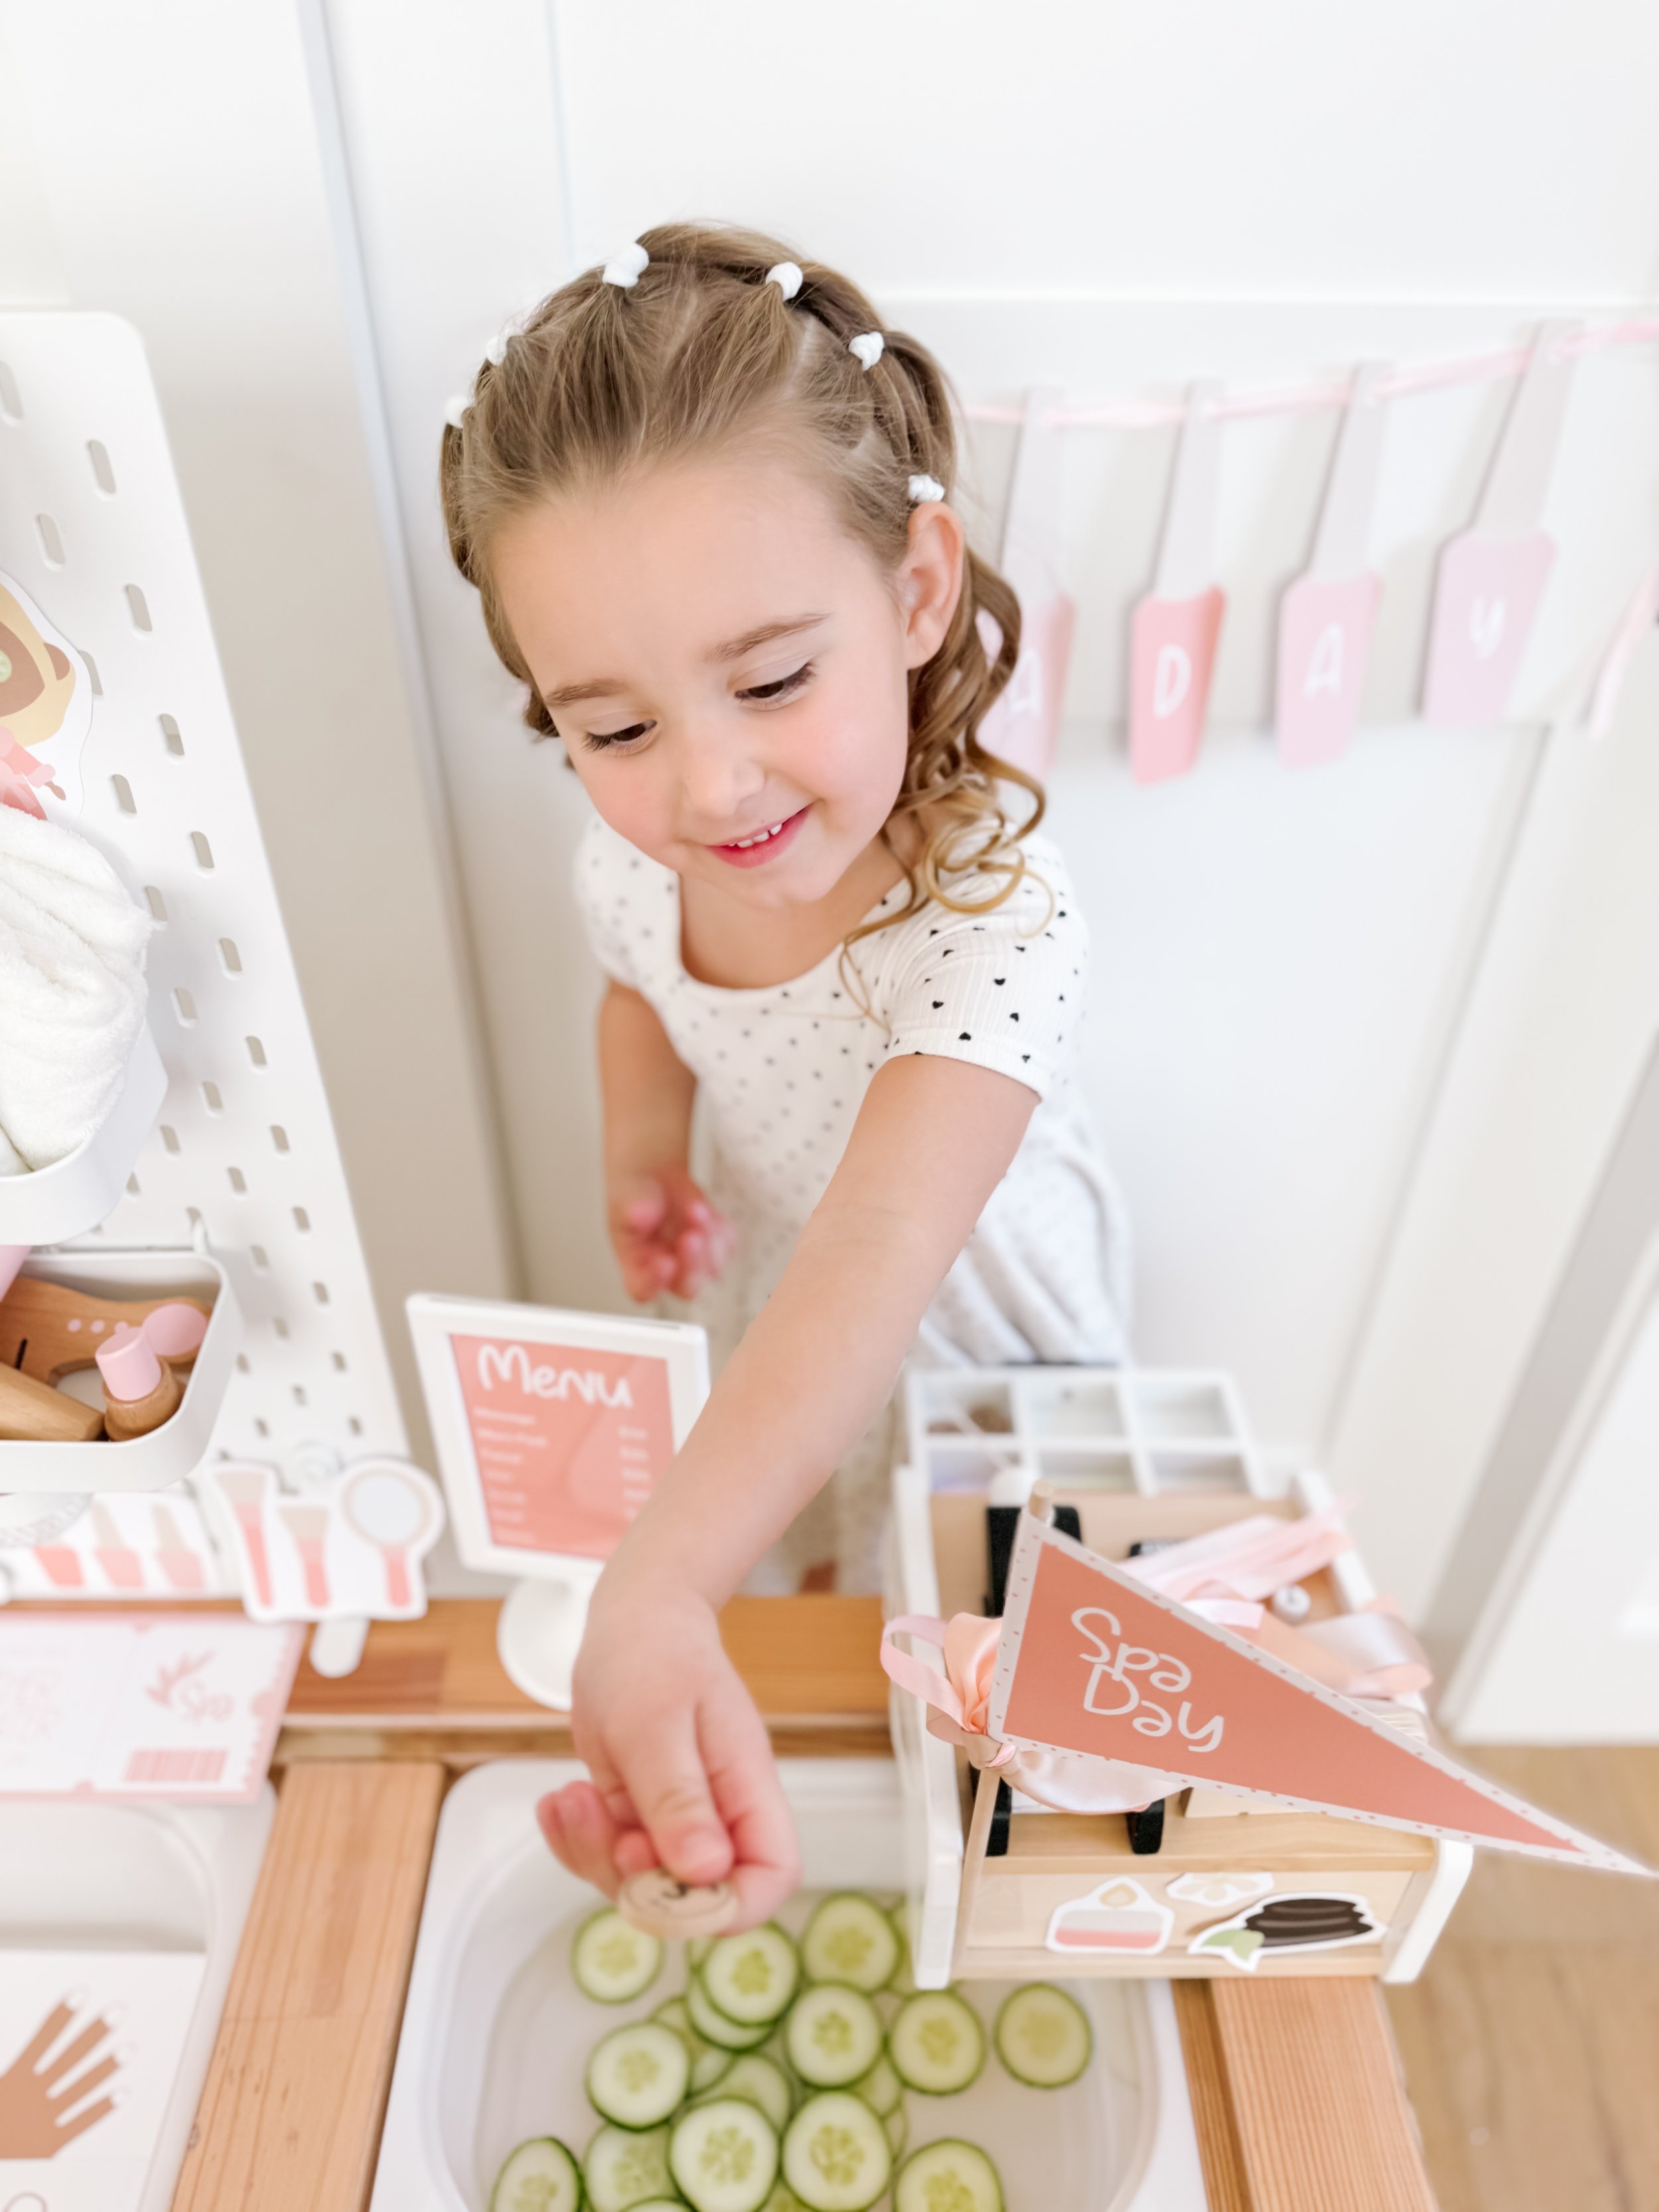
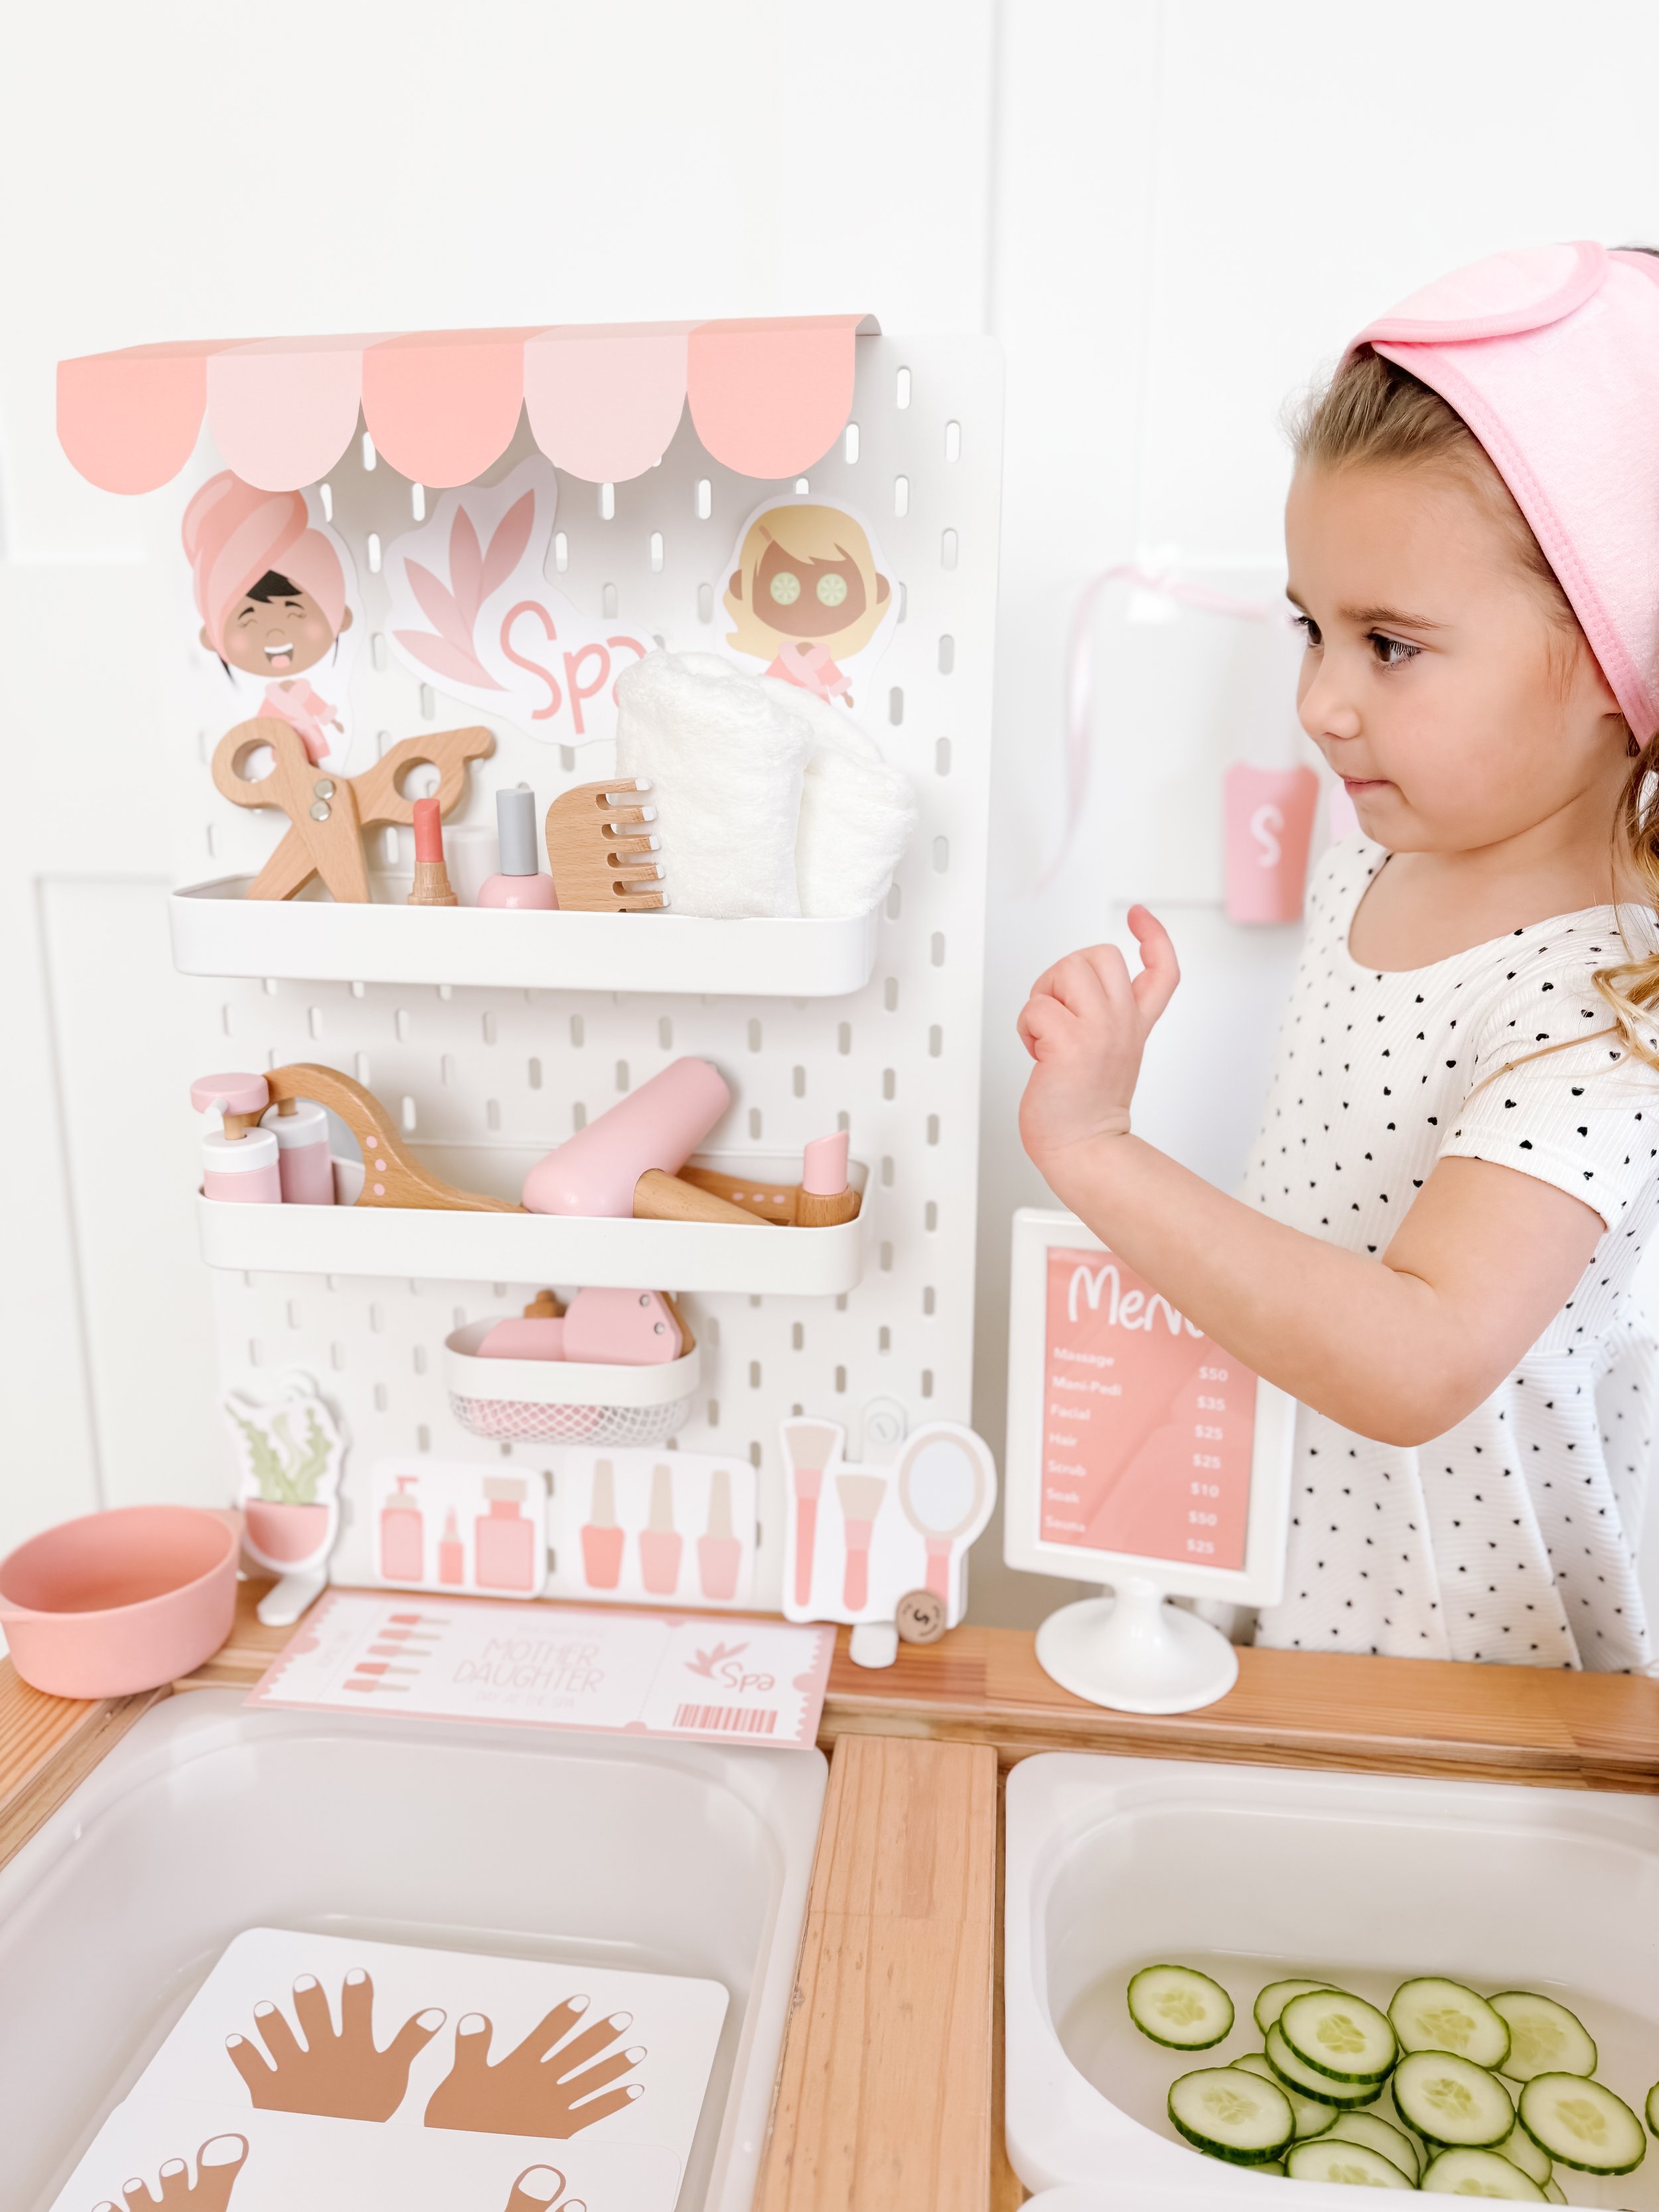

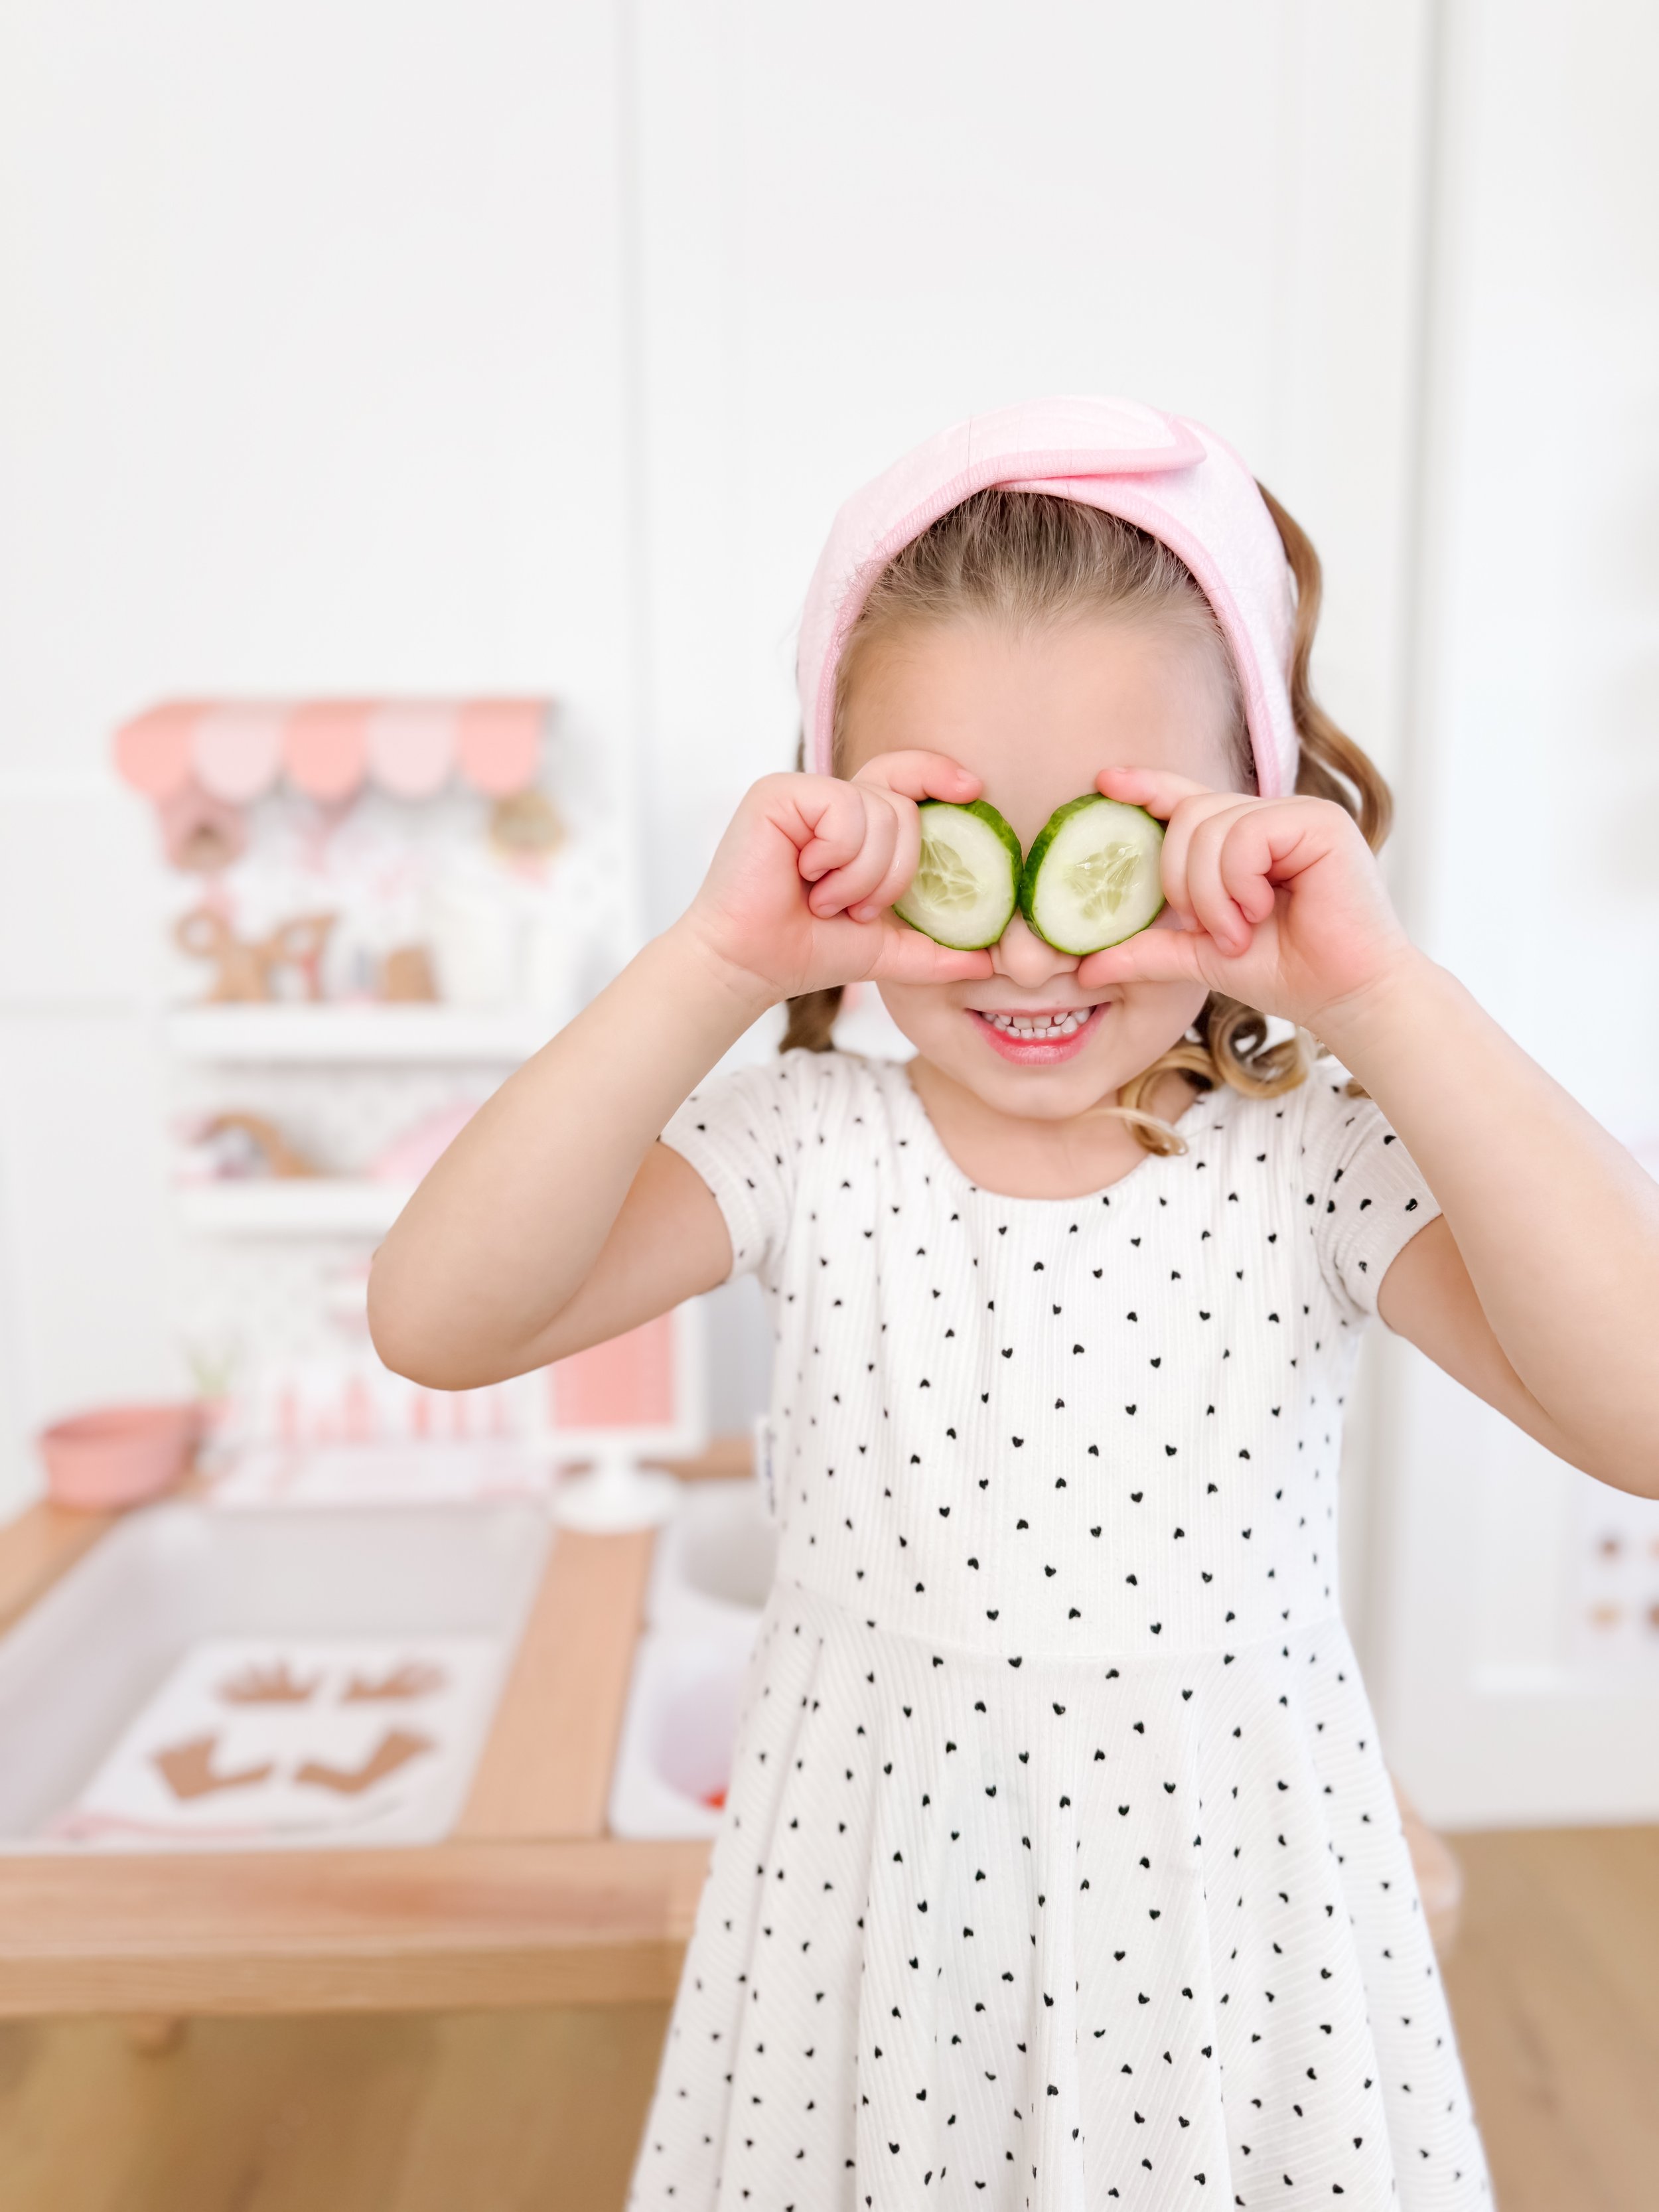
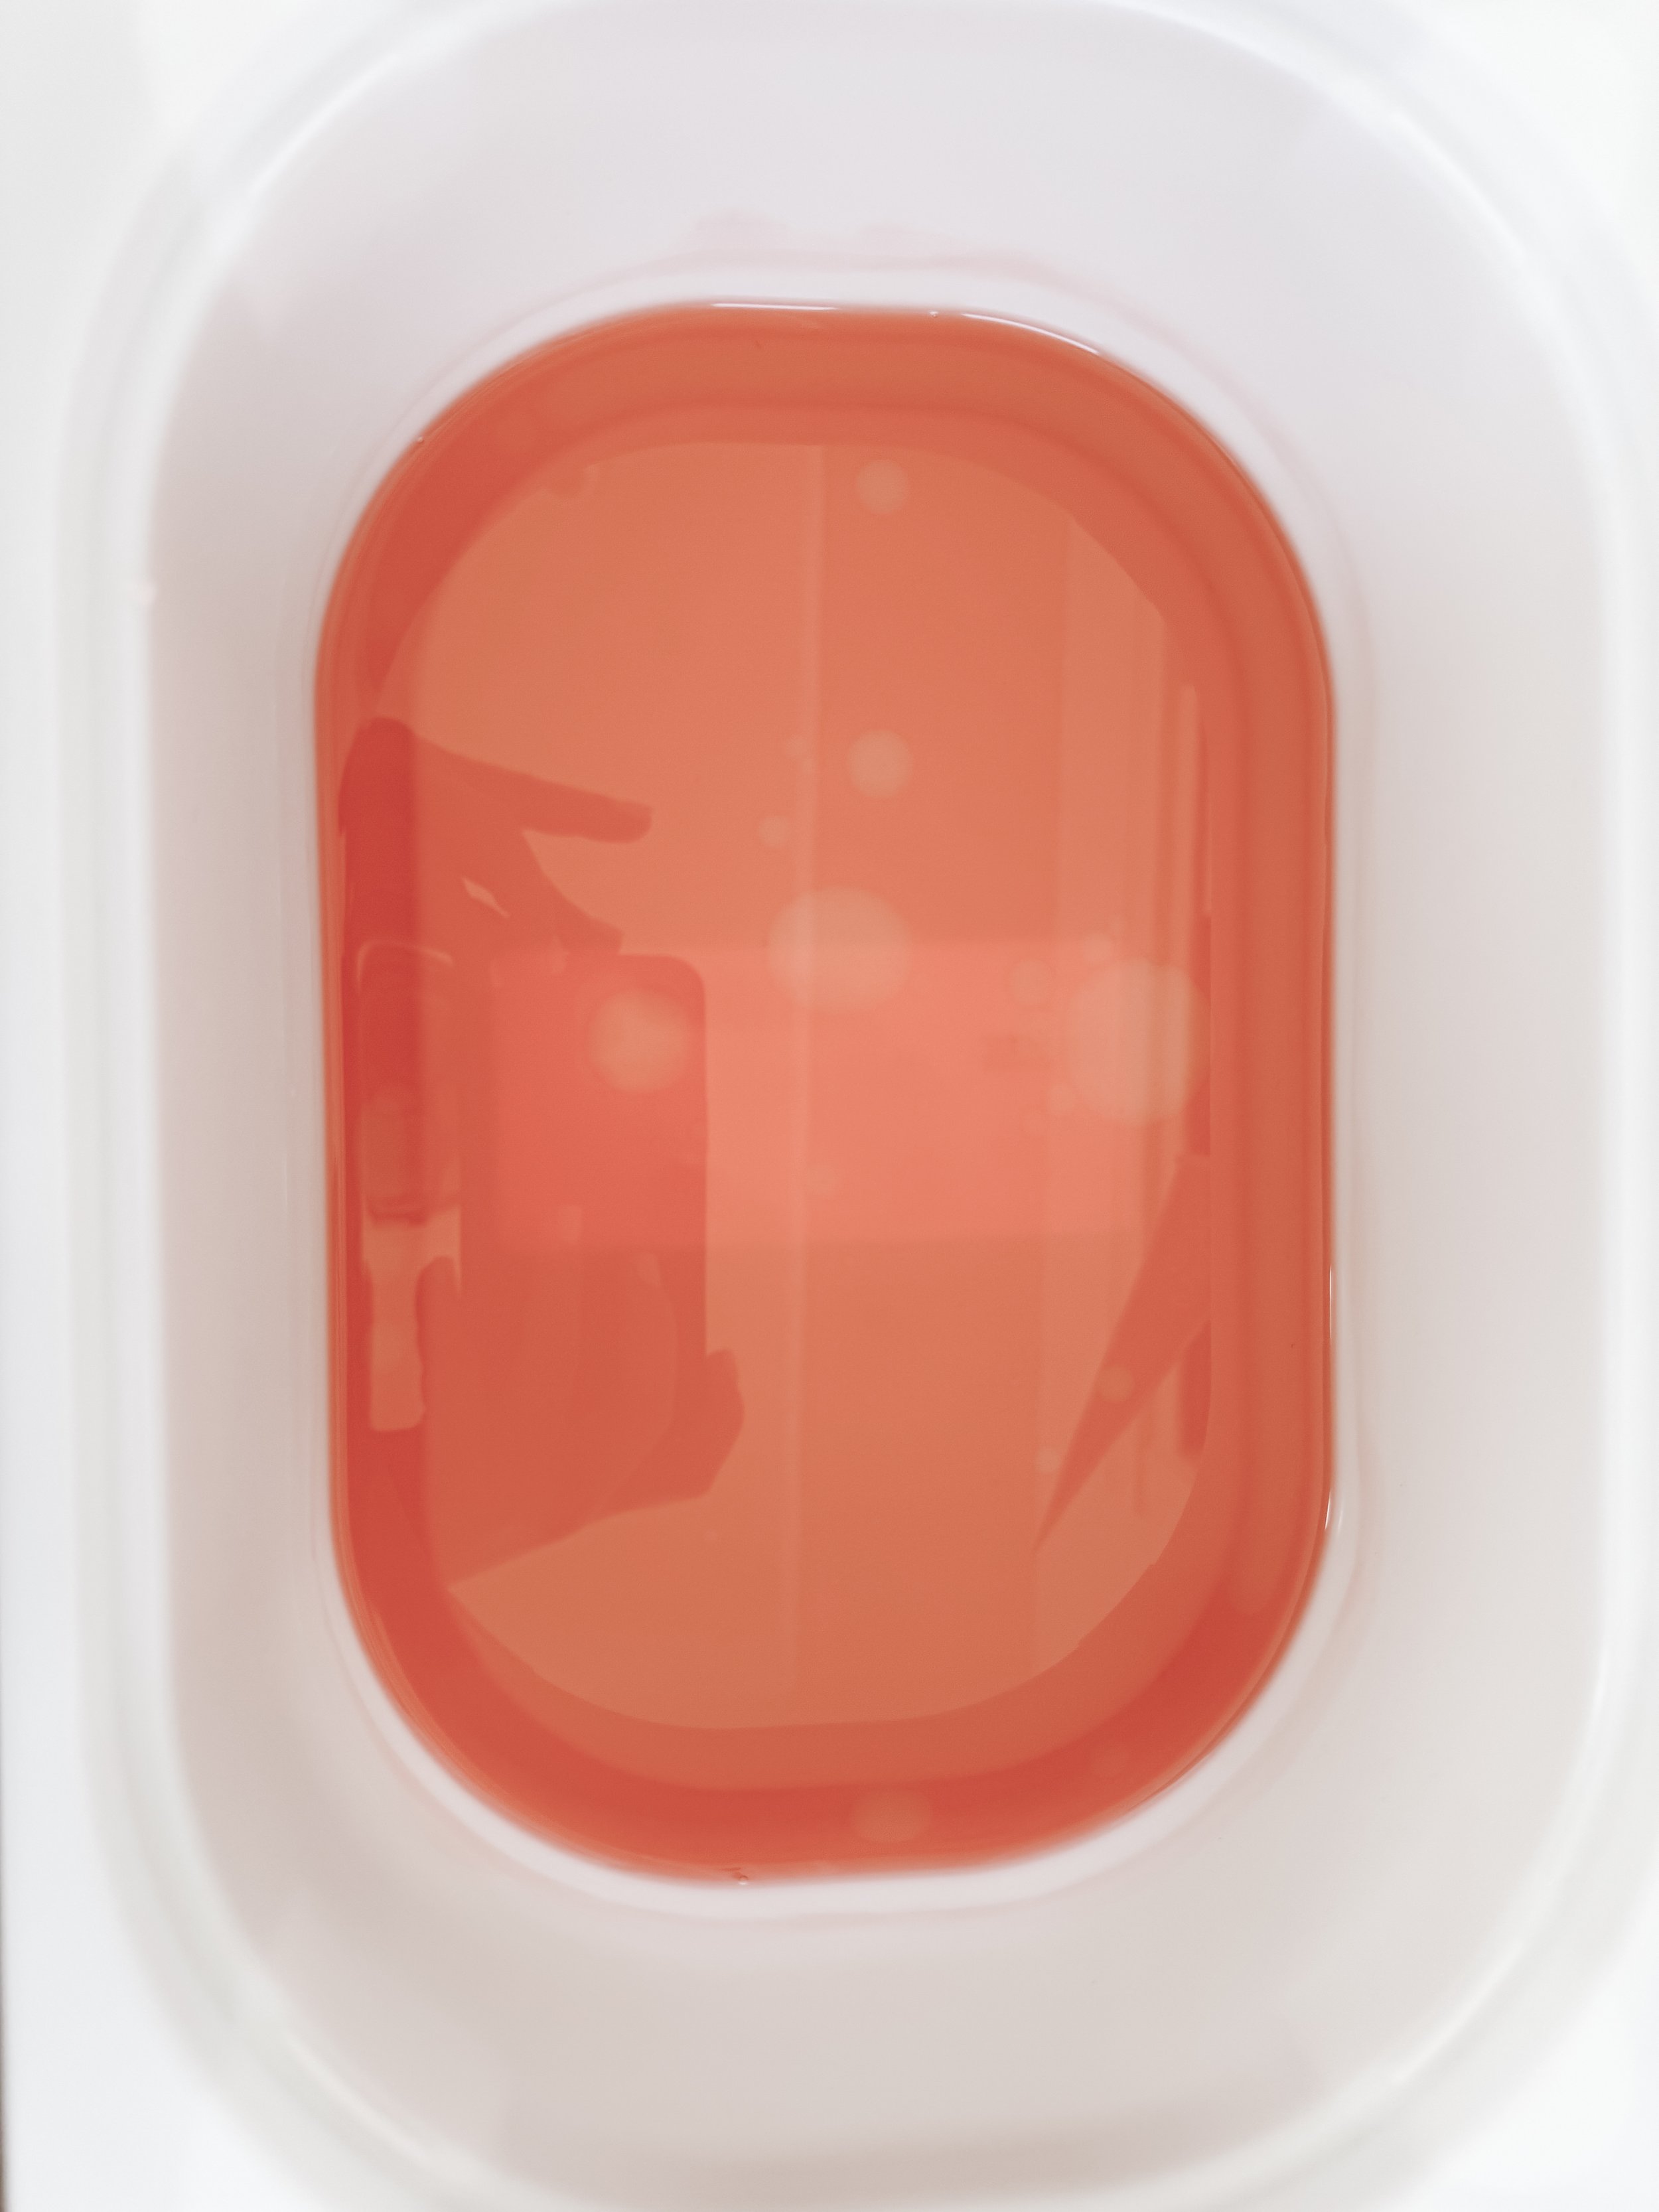
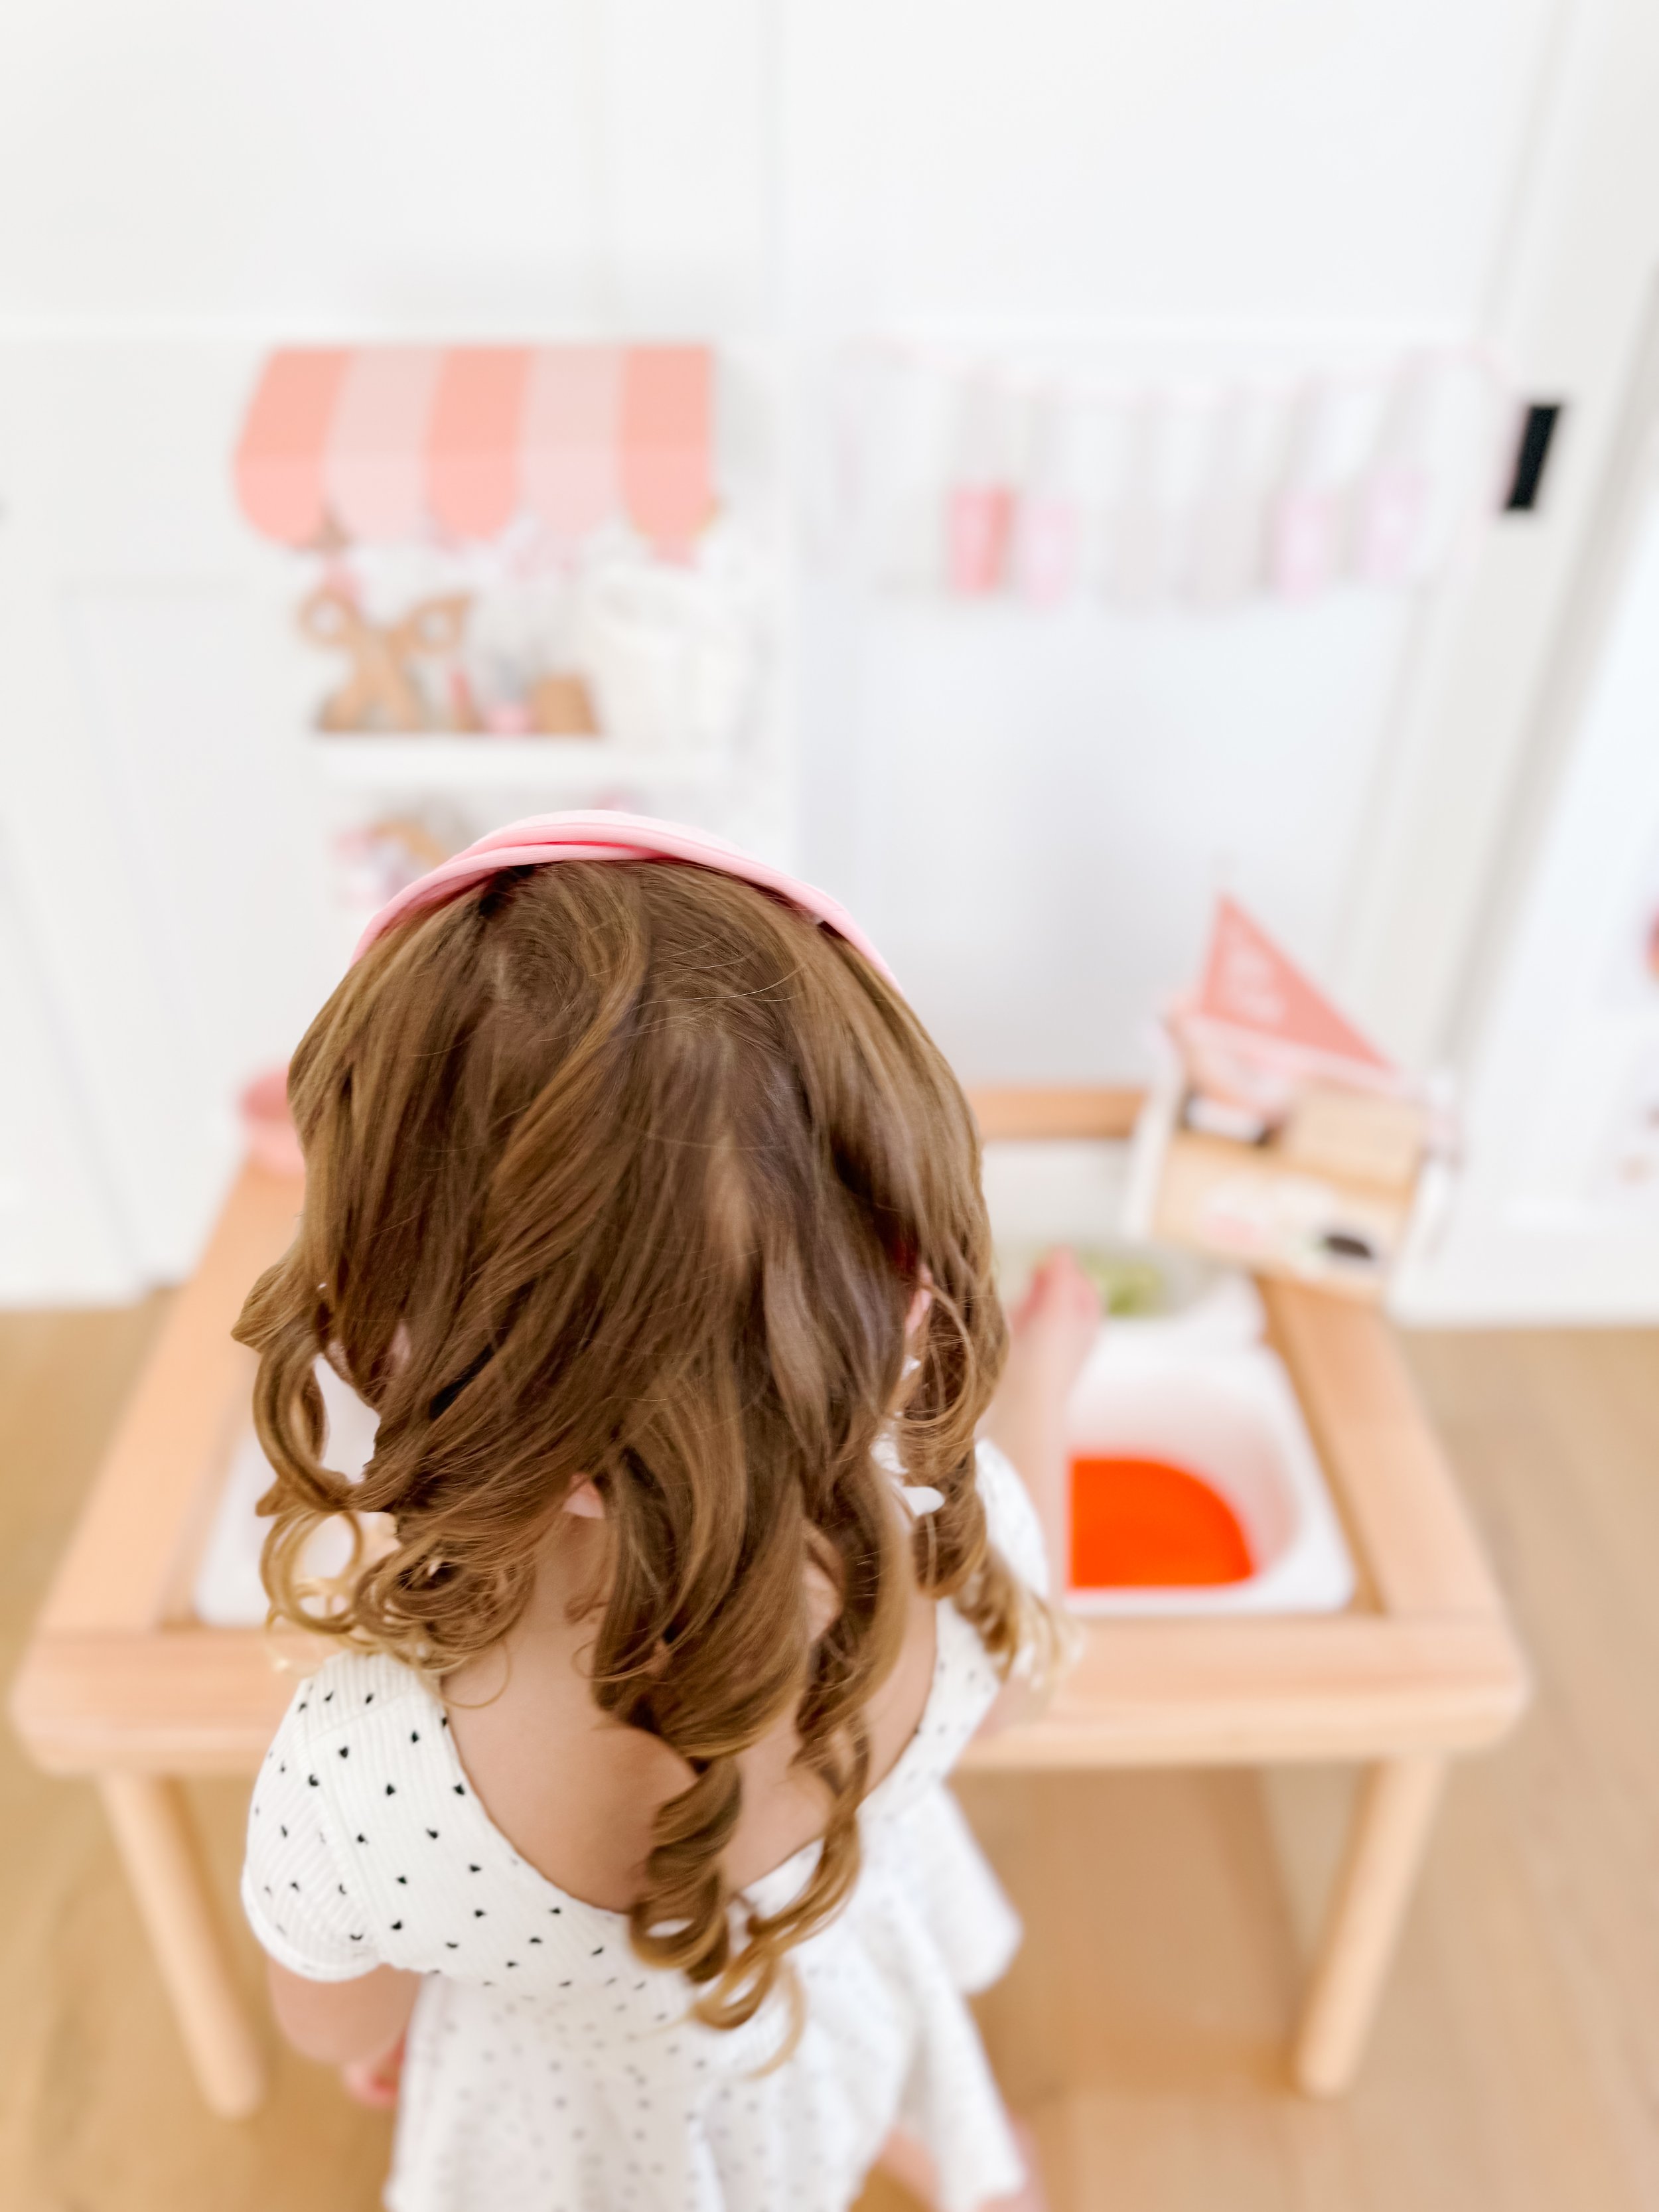
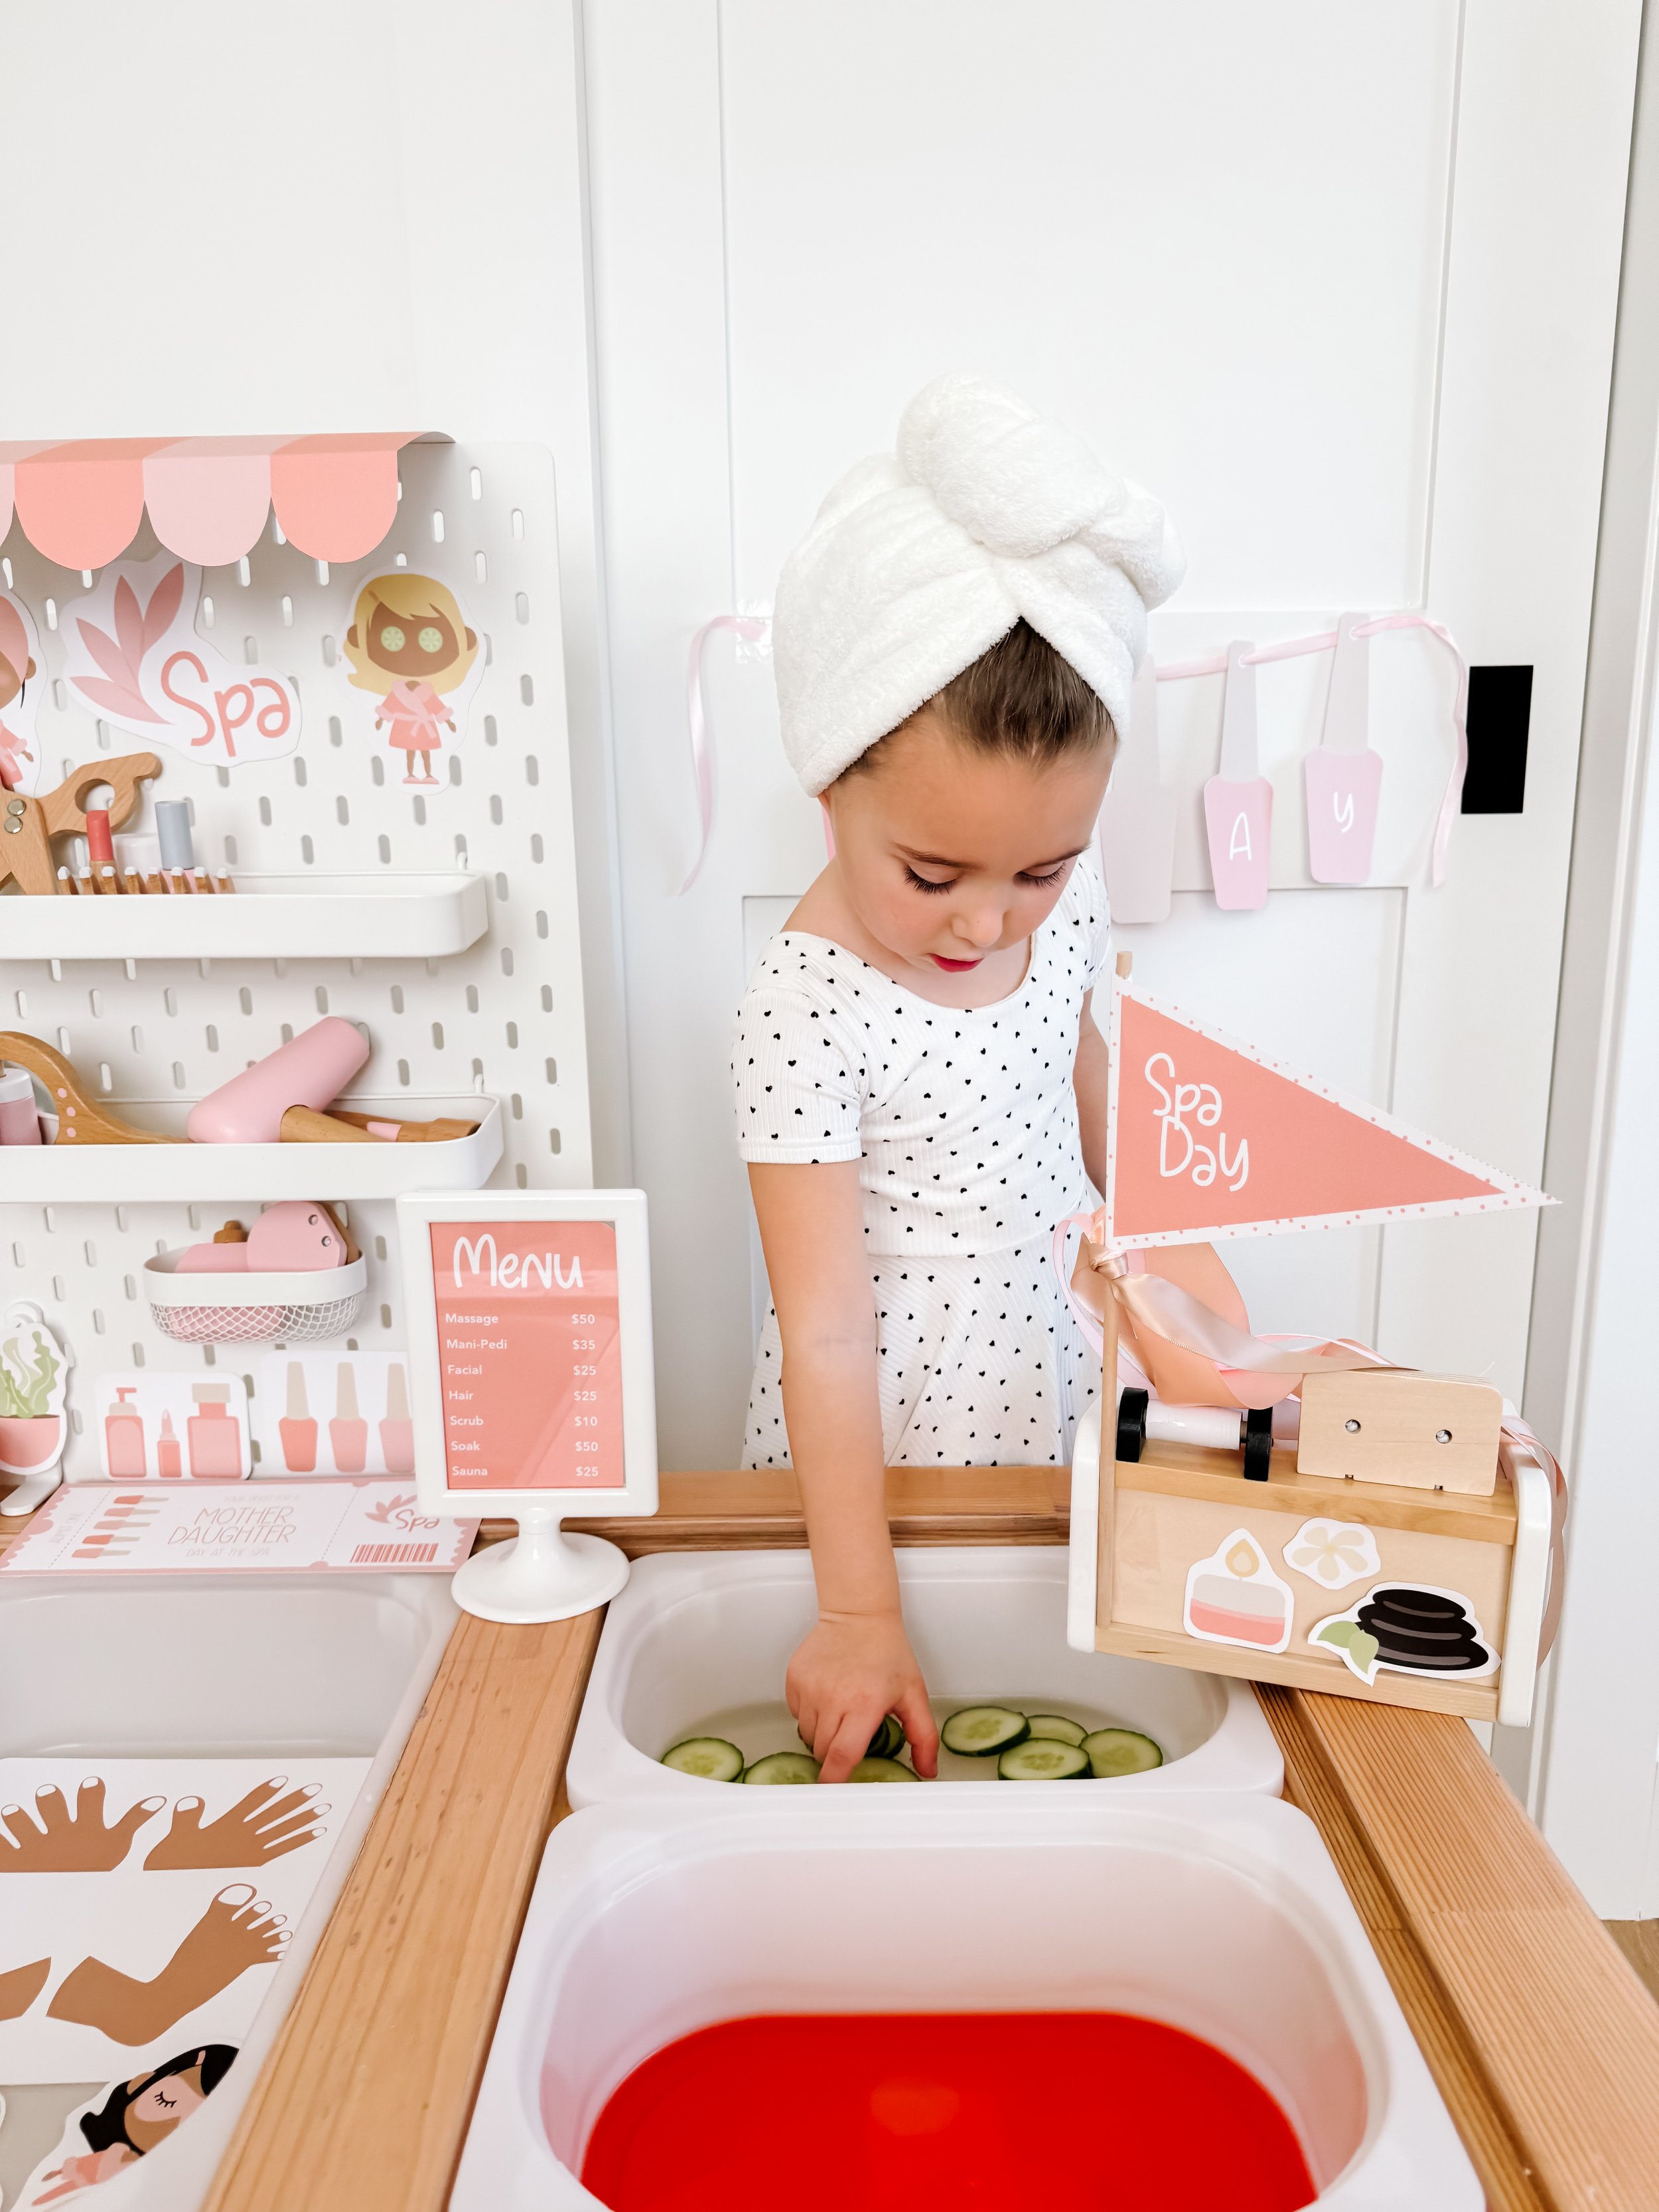
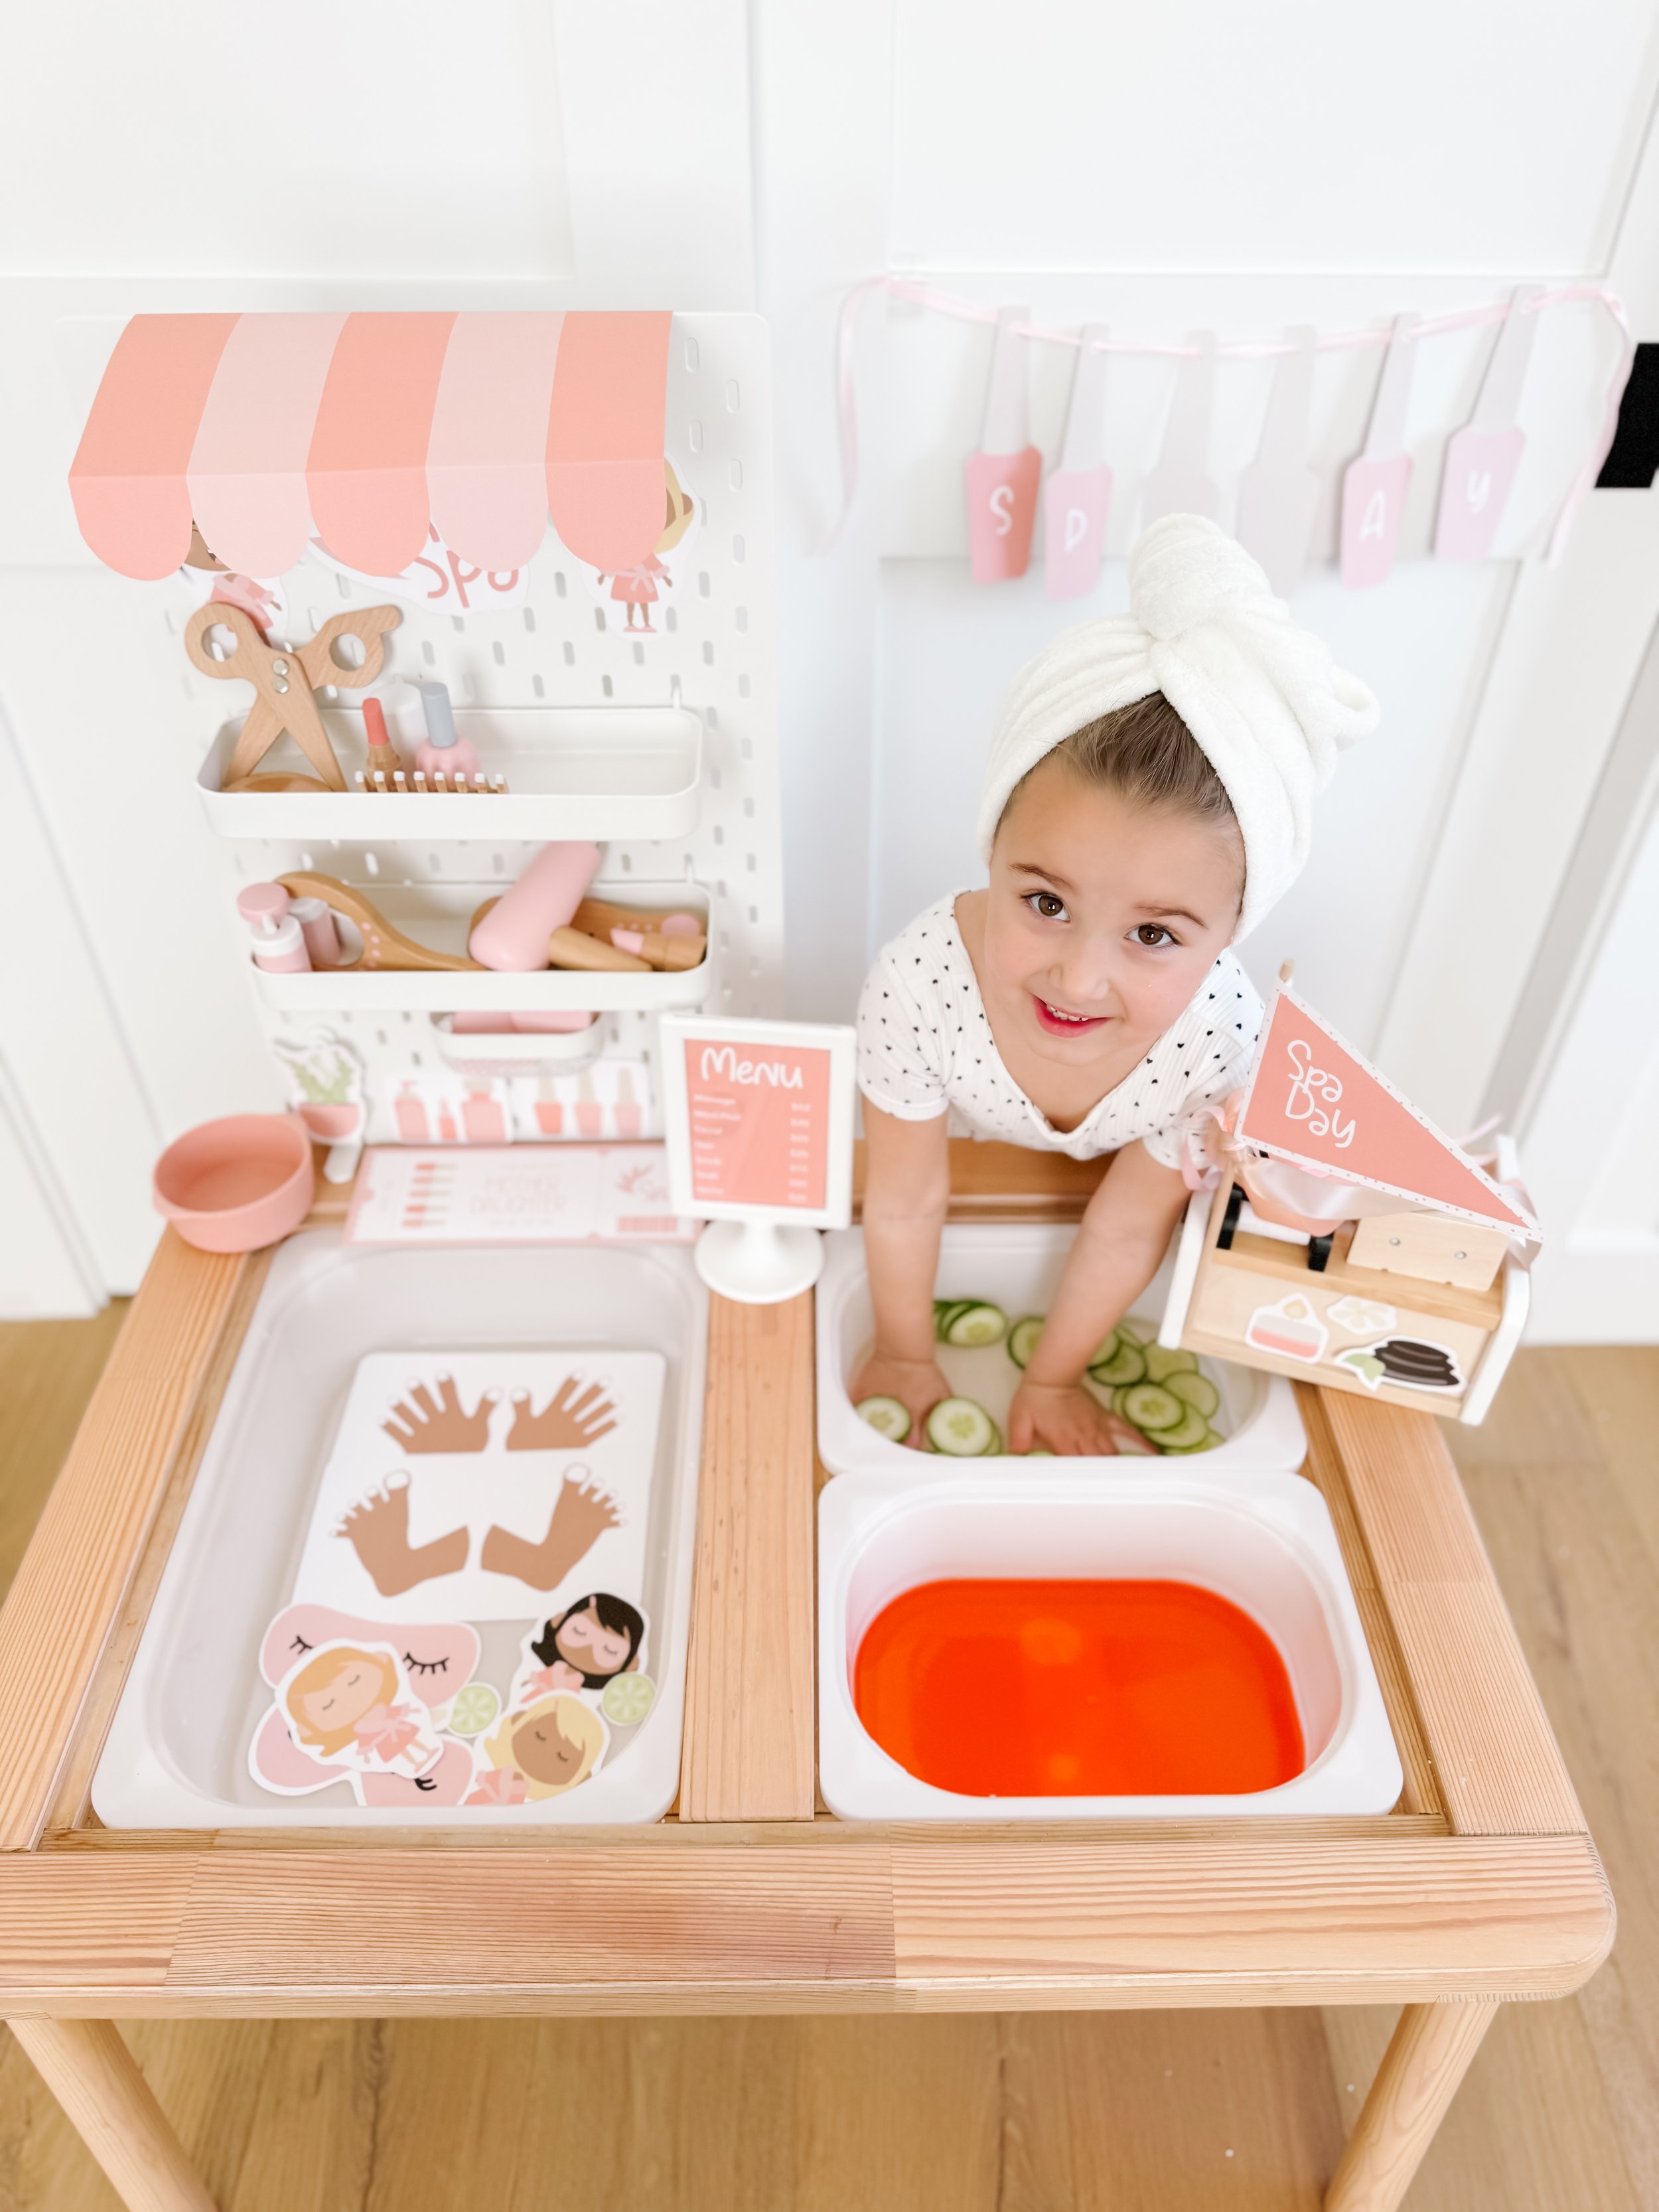
3. Cucumber Water:
Quench your thirst for fun with a taste-safe sensory activity. Fill a bin with sliced cucumbers and water to create a refreshing cucumber water sensory bin. Not only does this activity stimulate the senses with its crisp texture and cool sensation, but it also introduces toddlers to new tastes and encourages healthy eating habits.
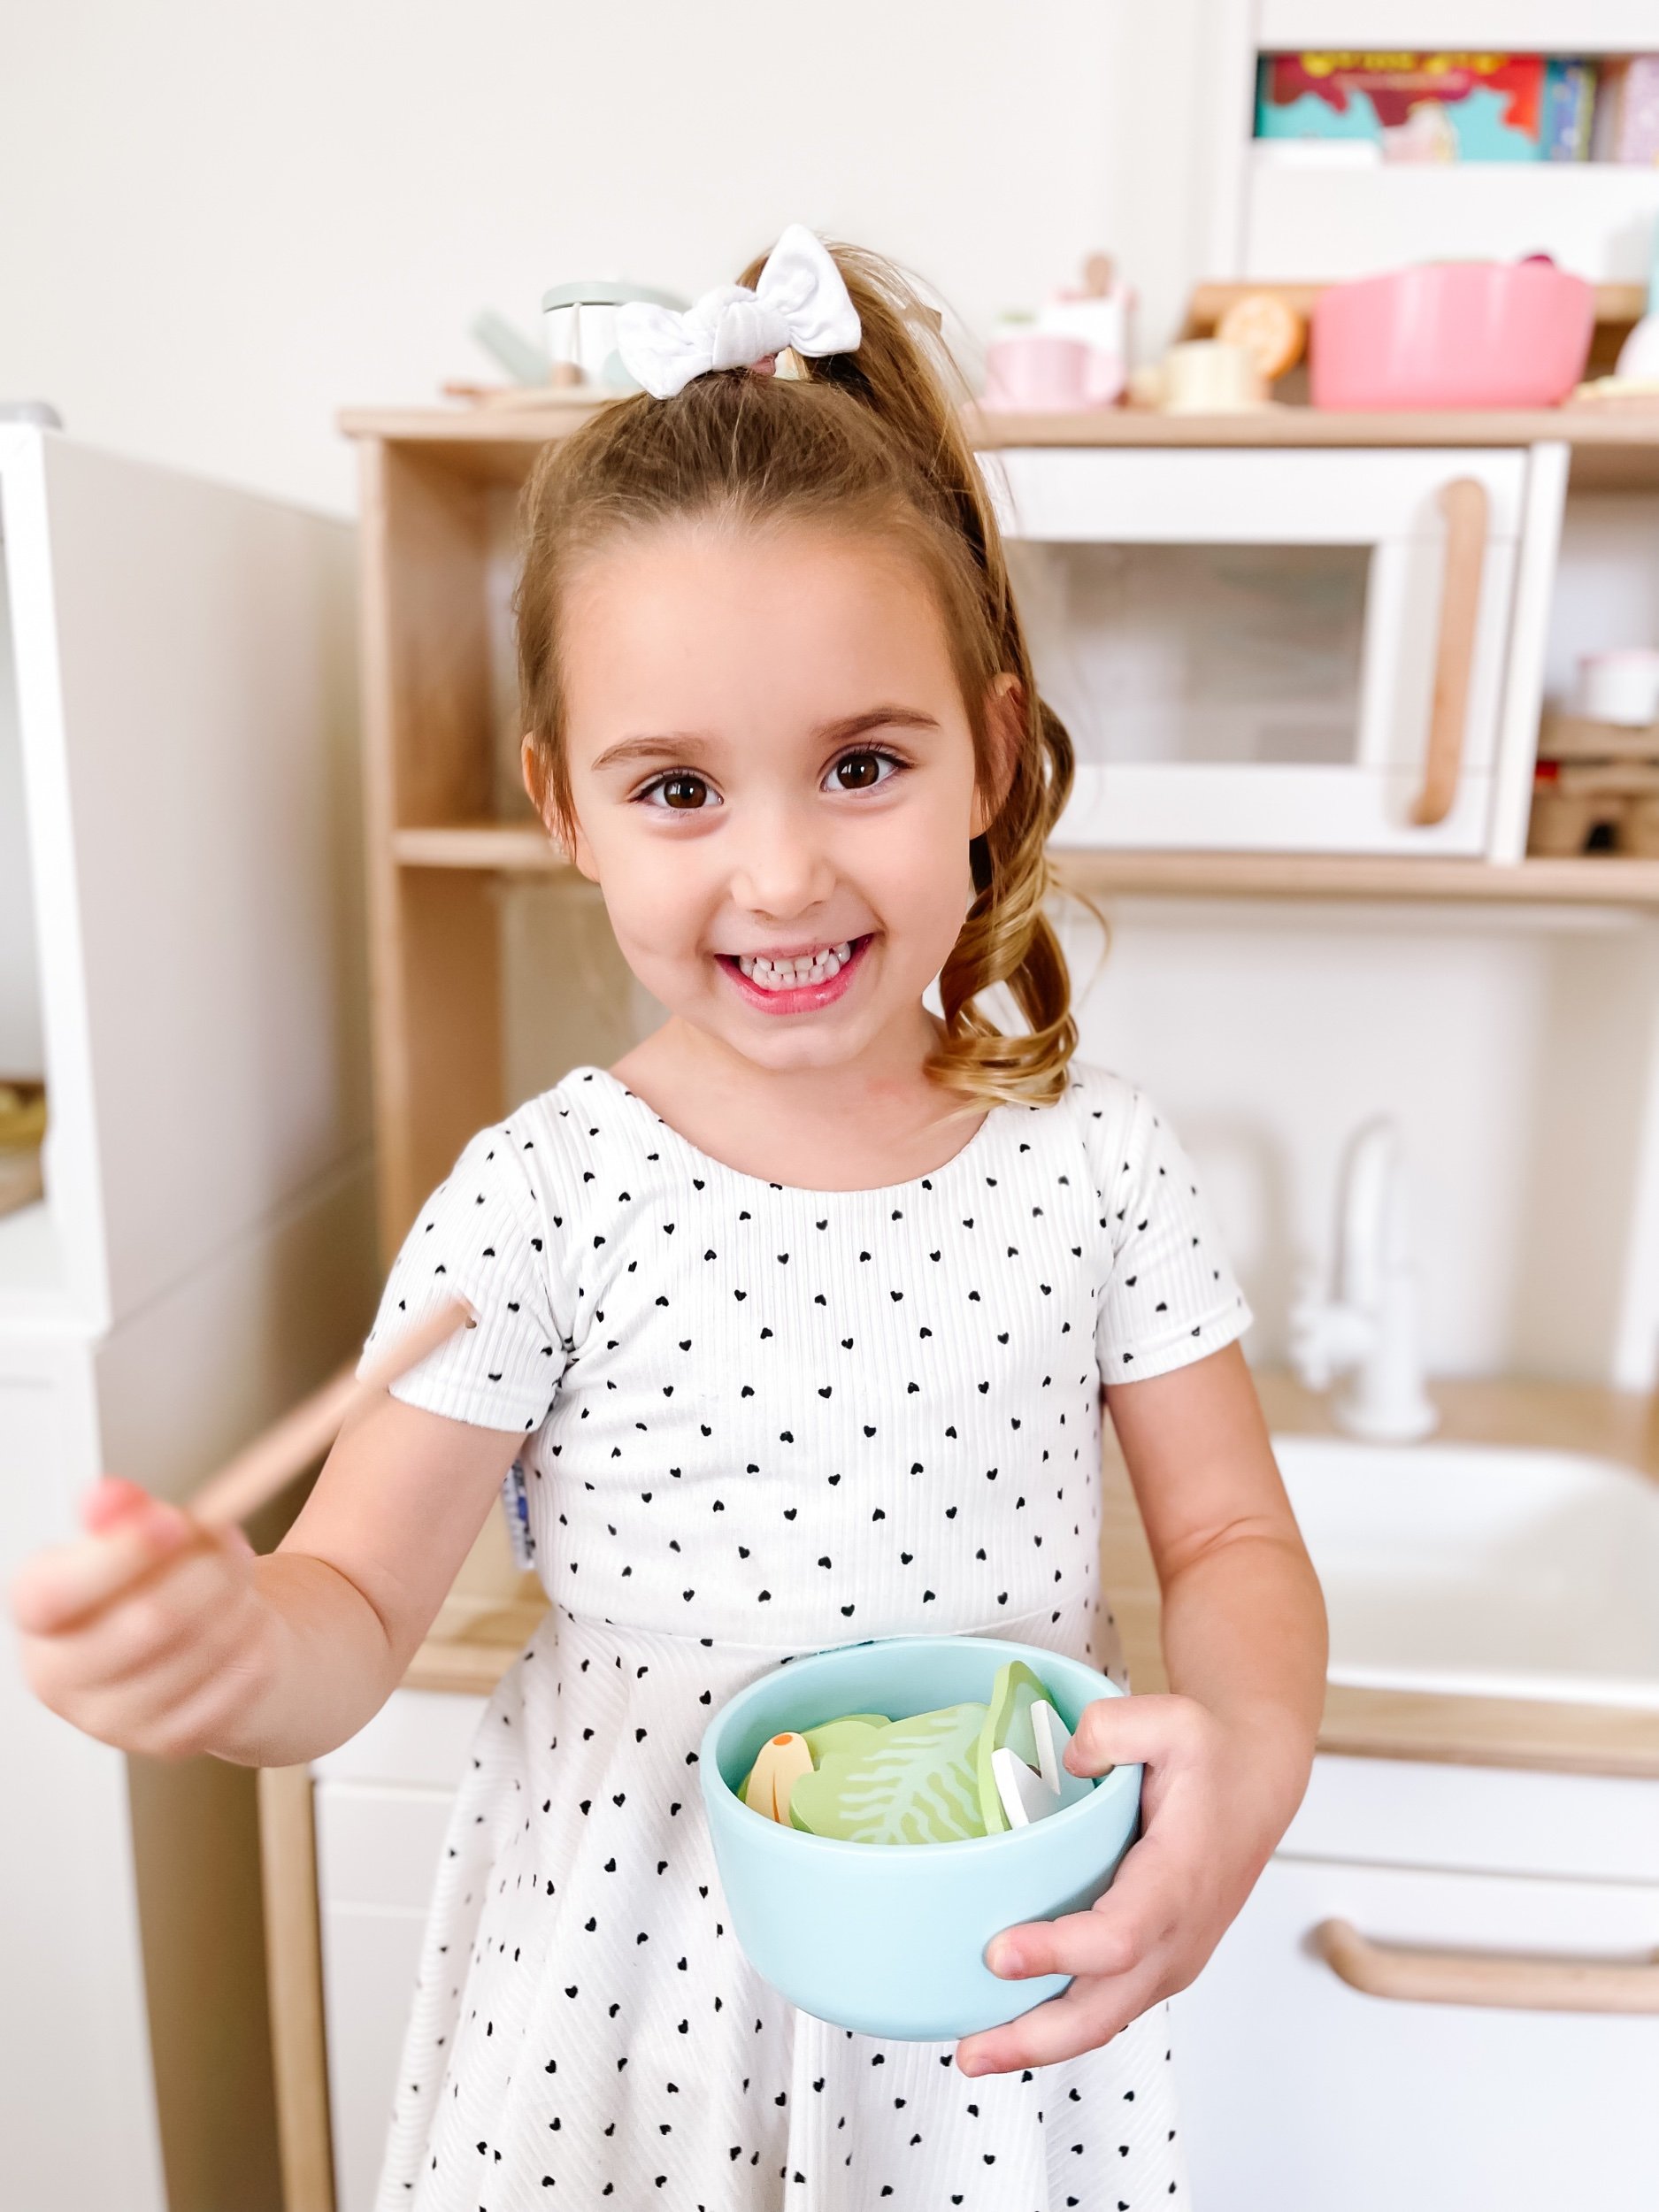
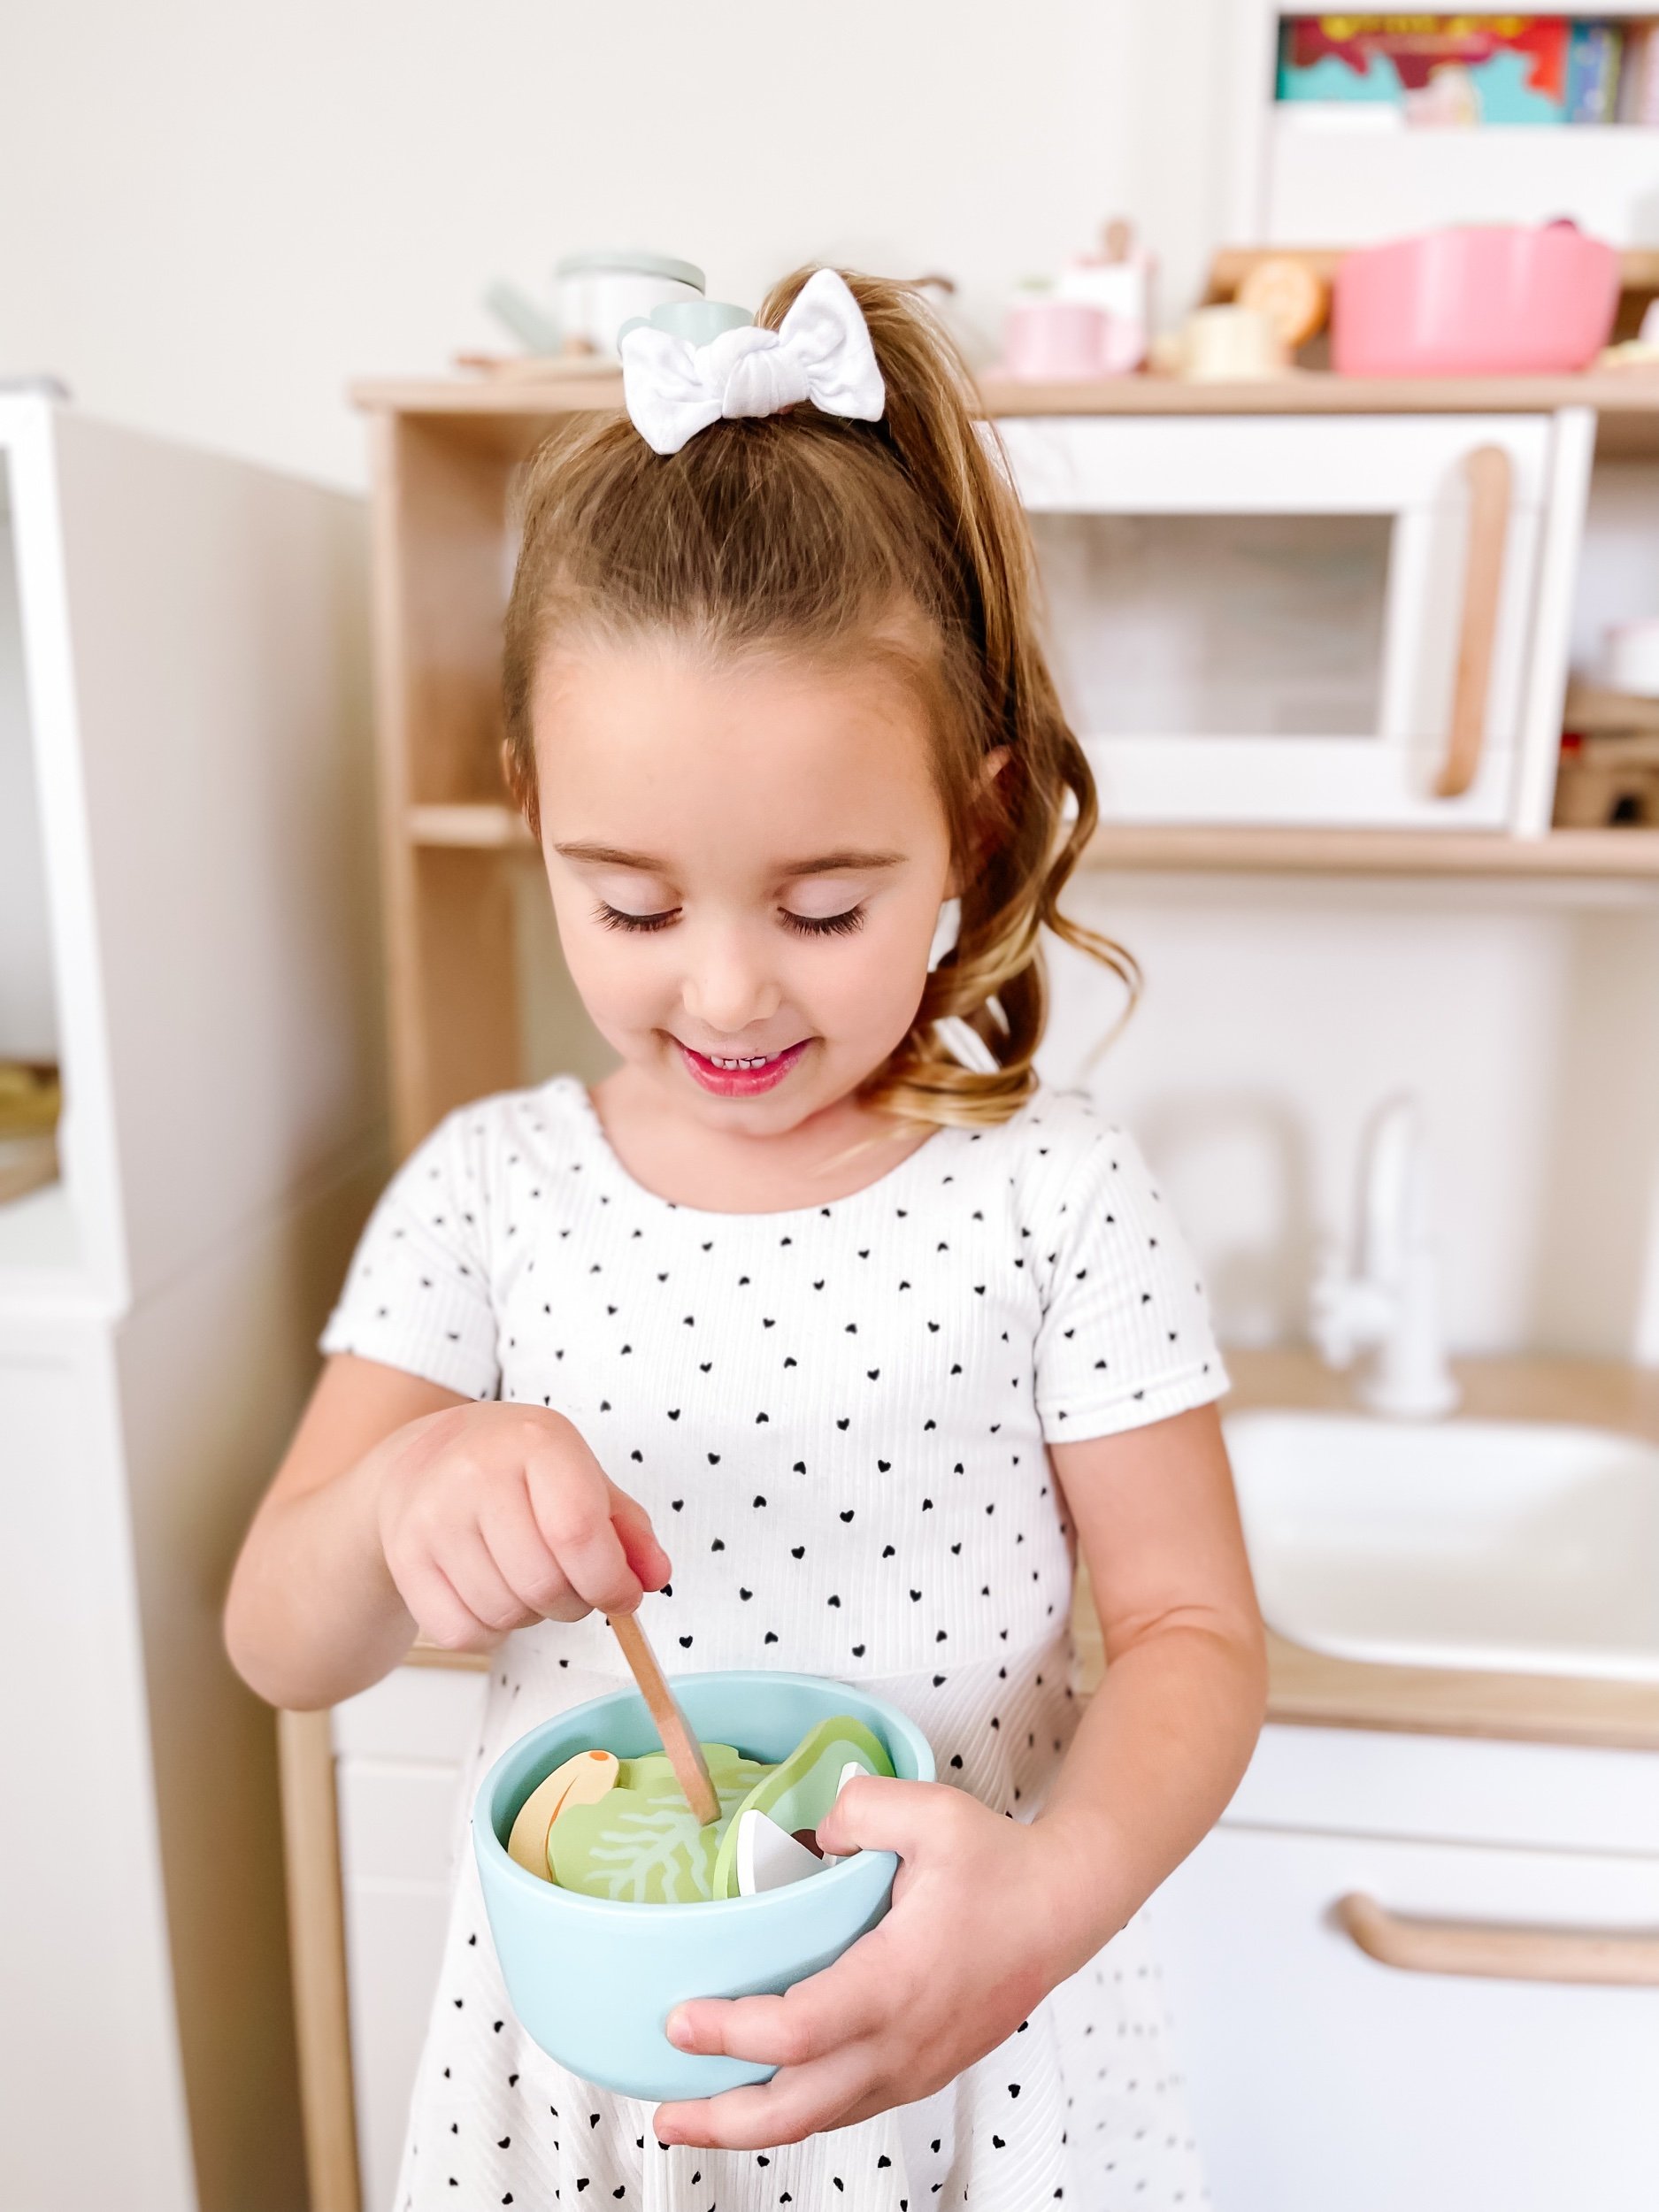
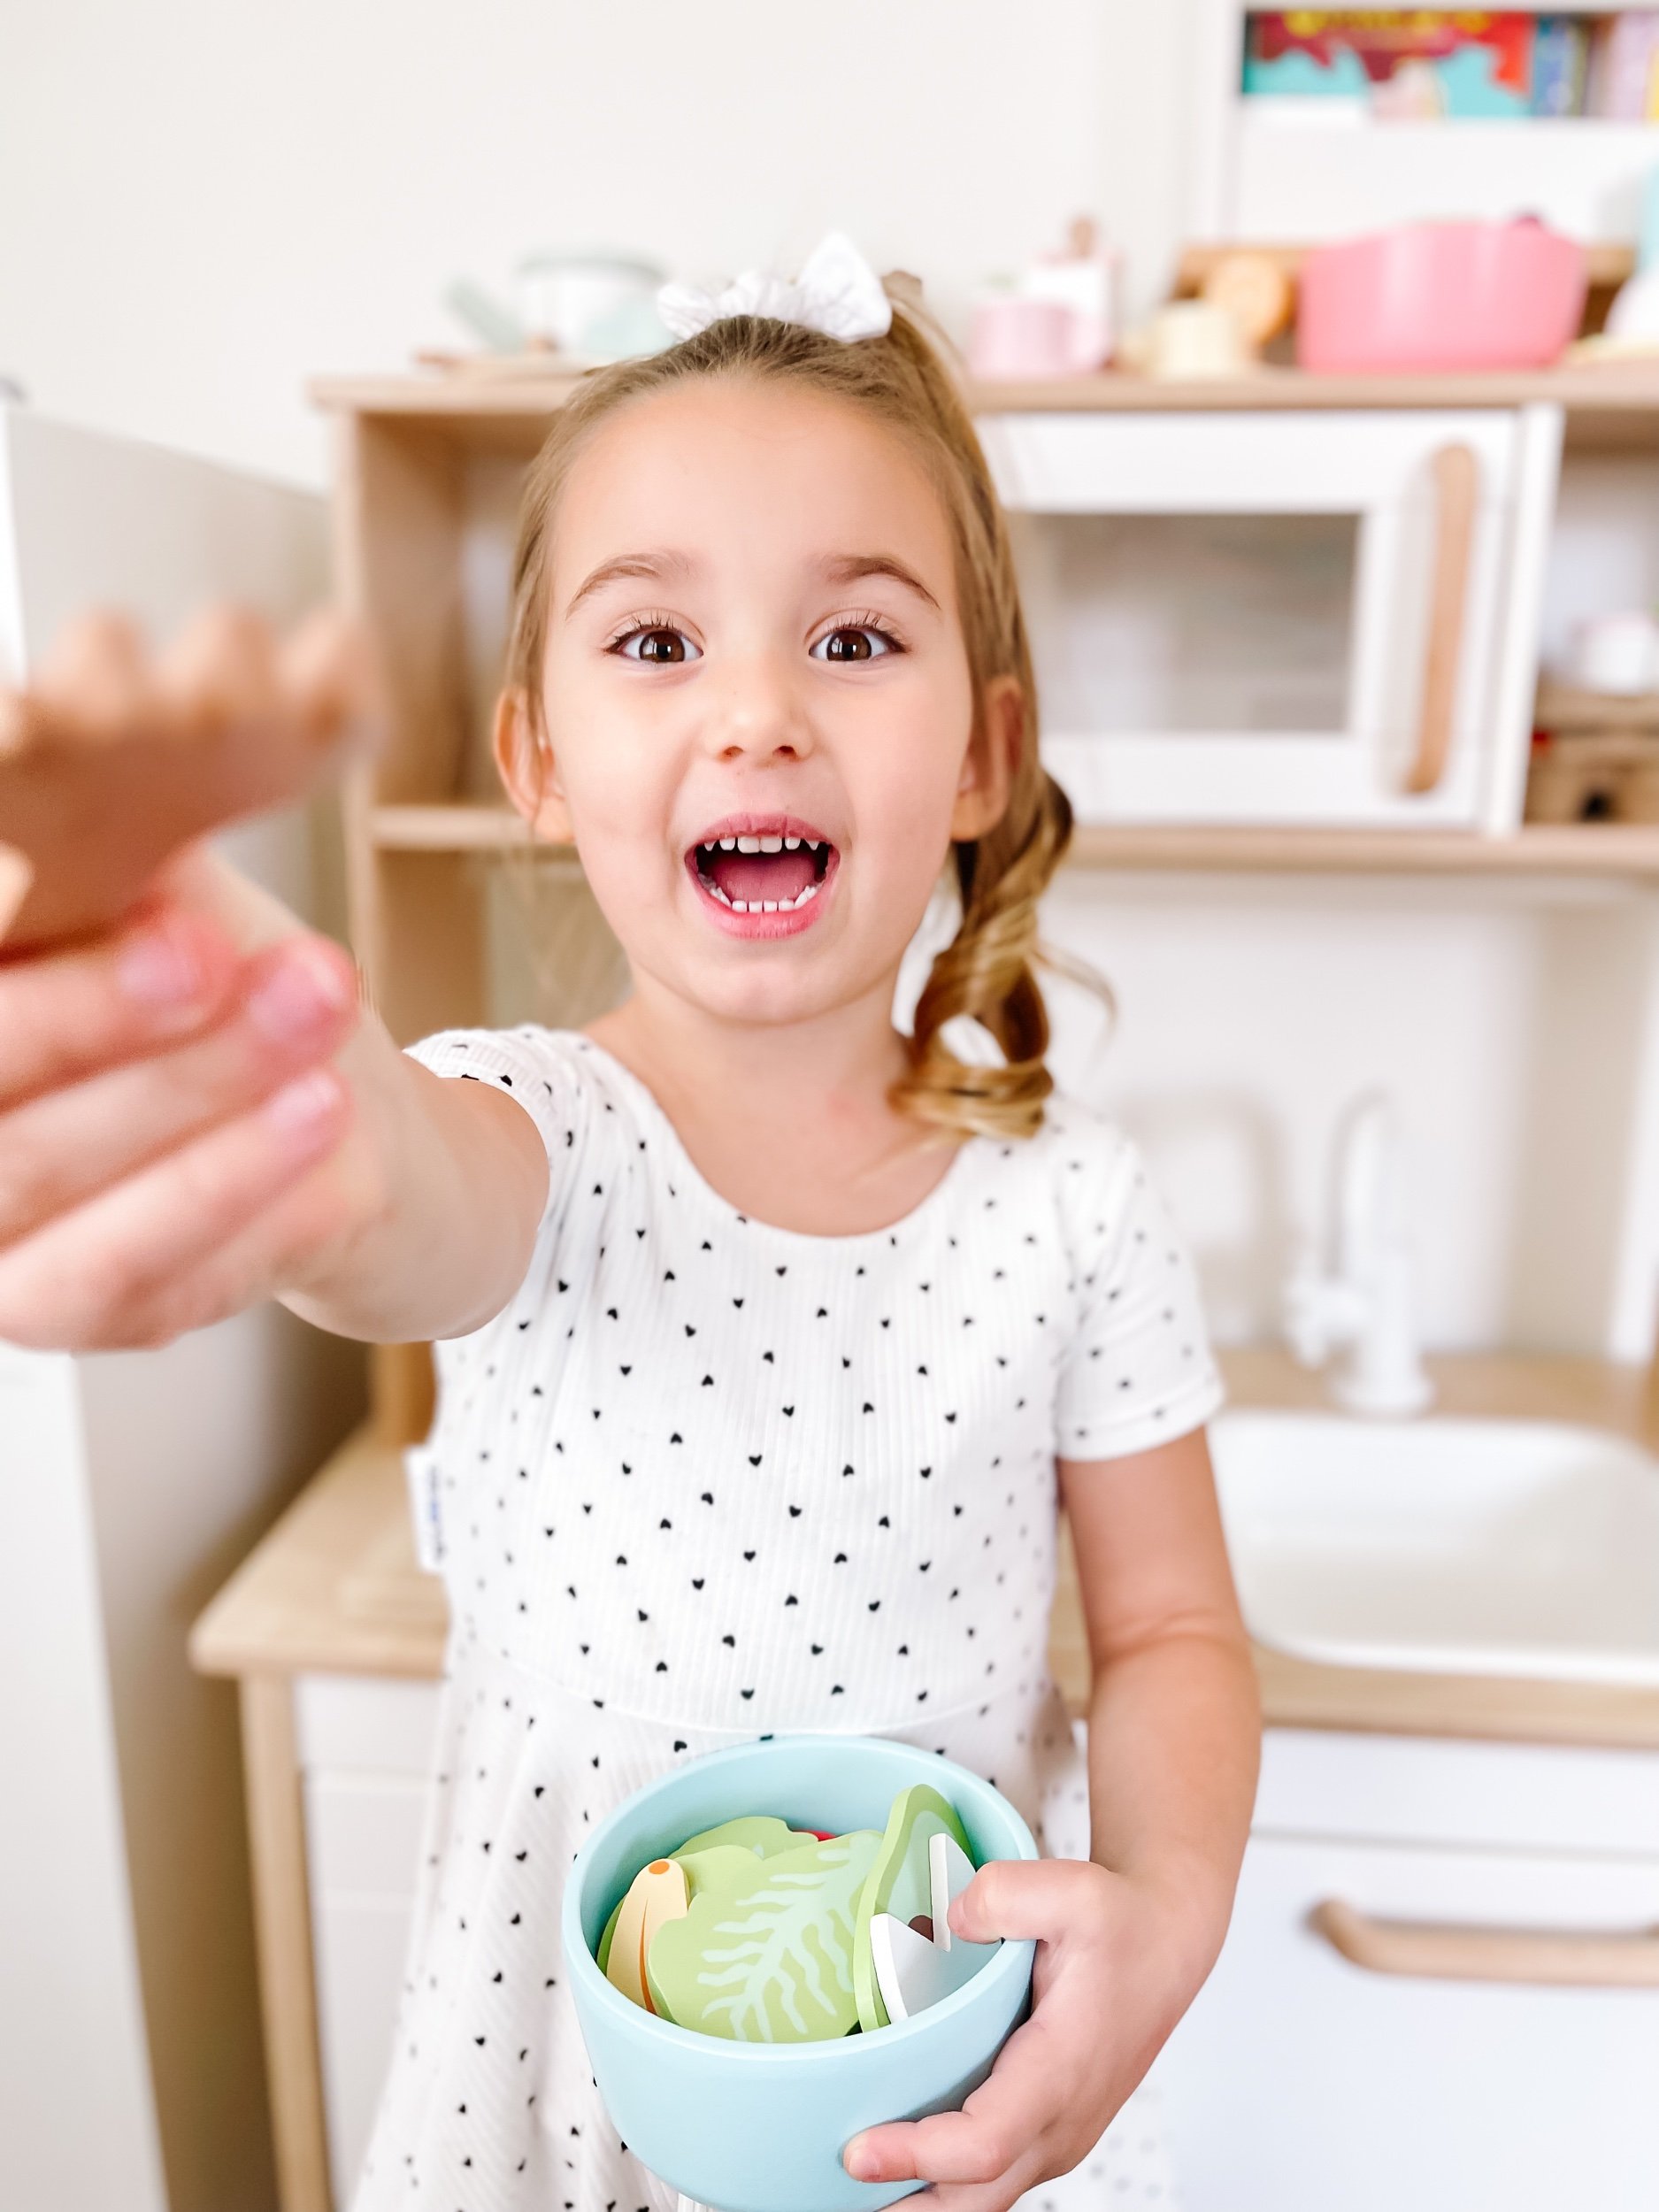
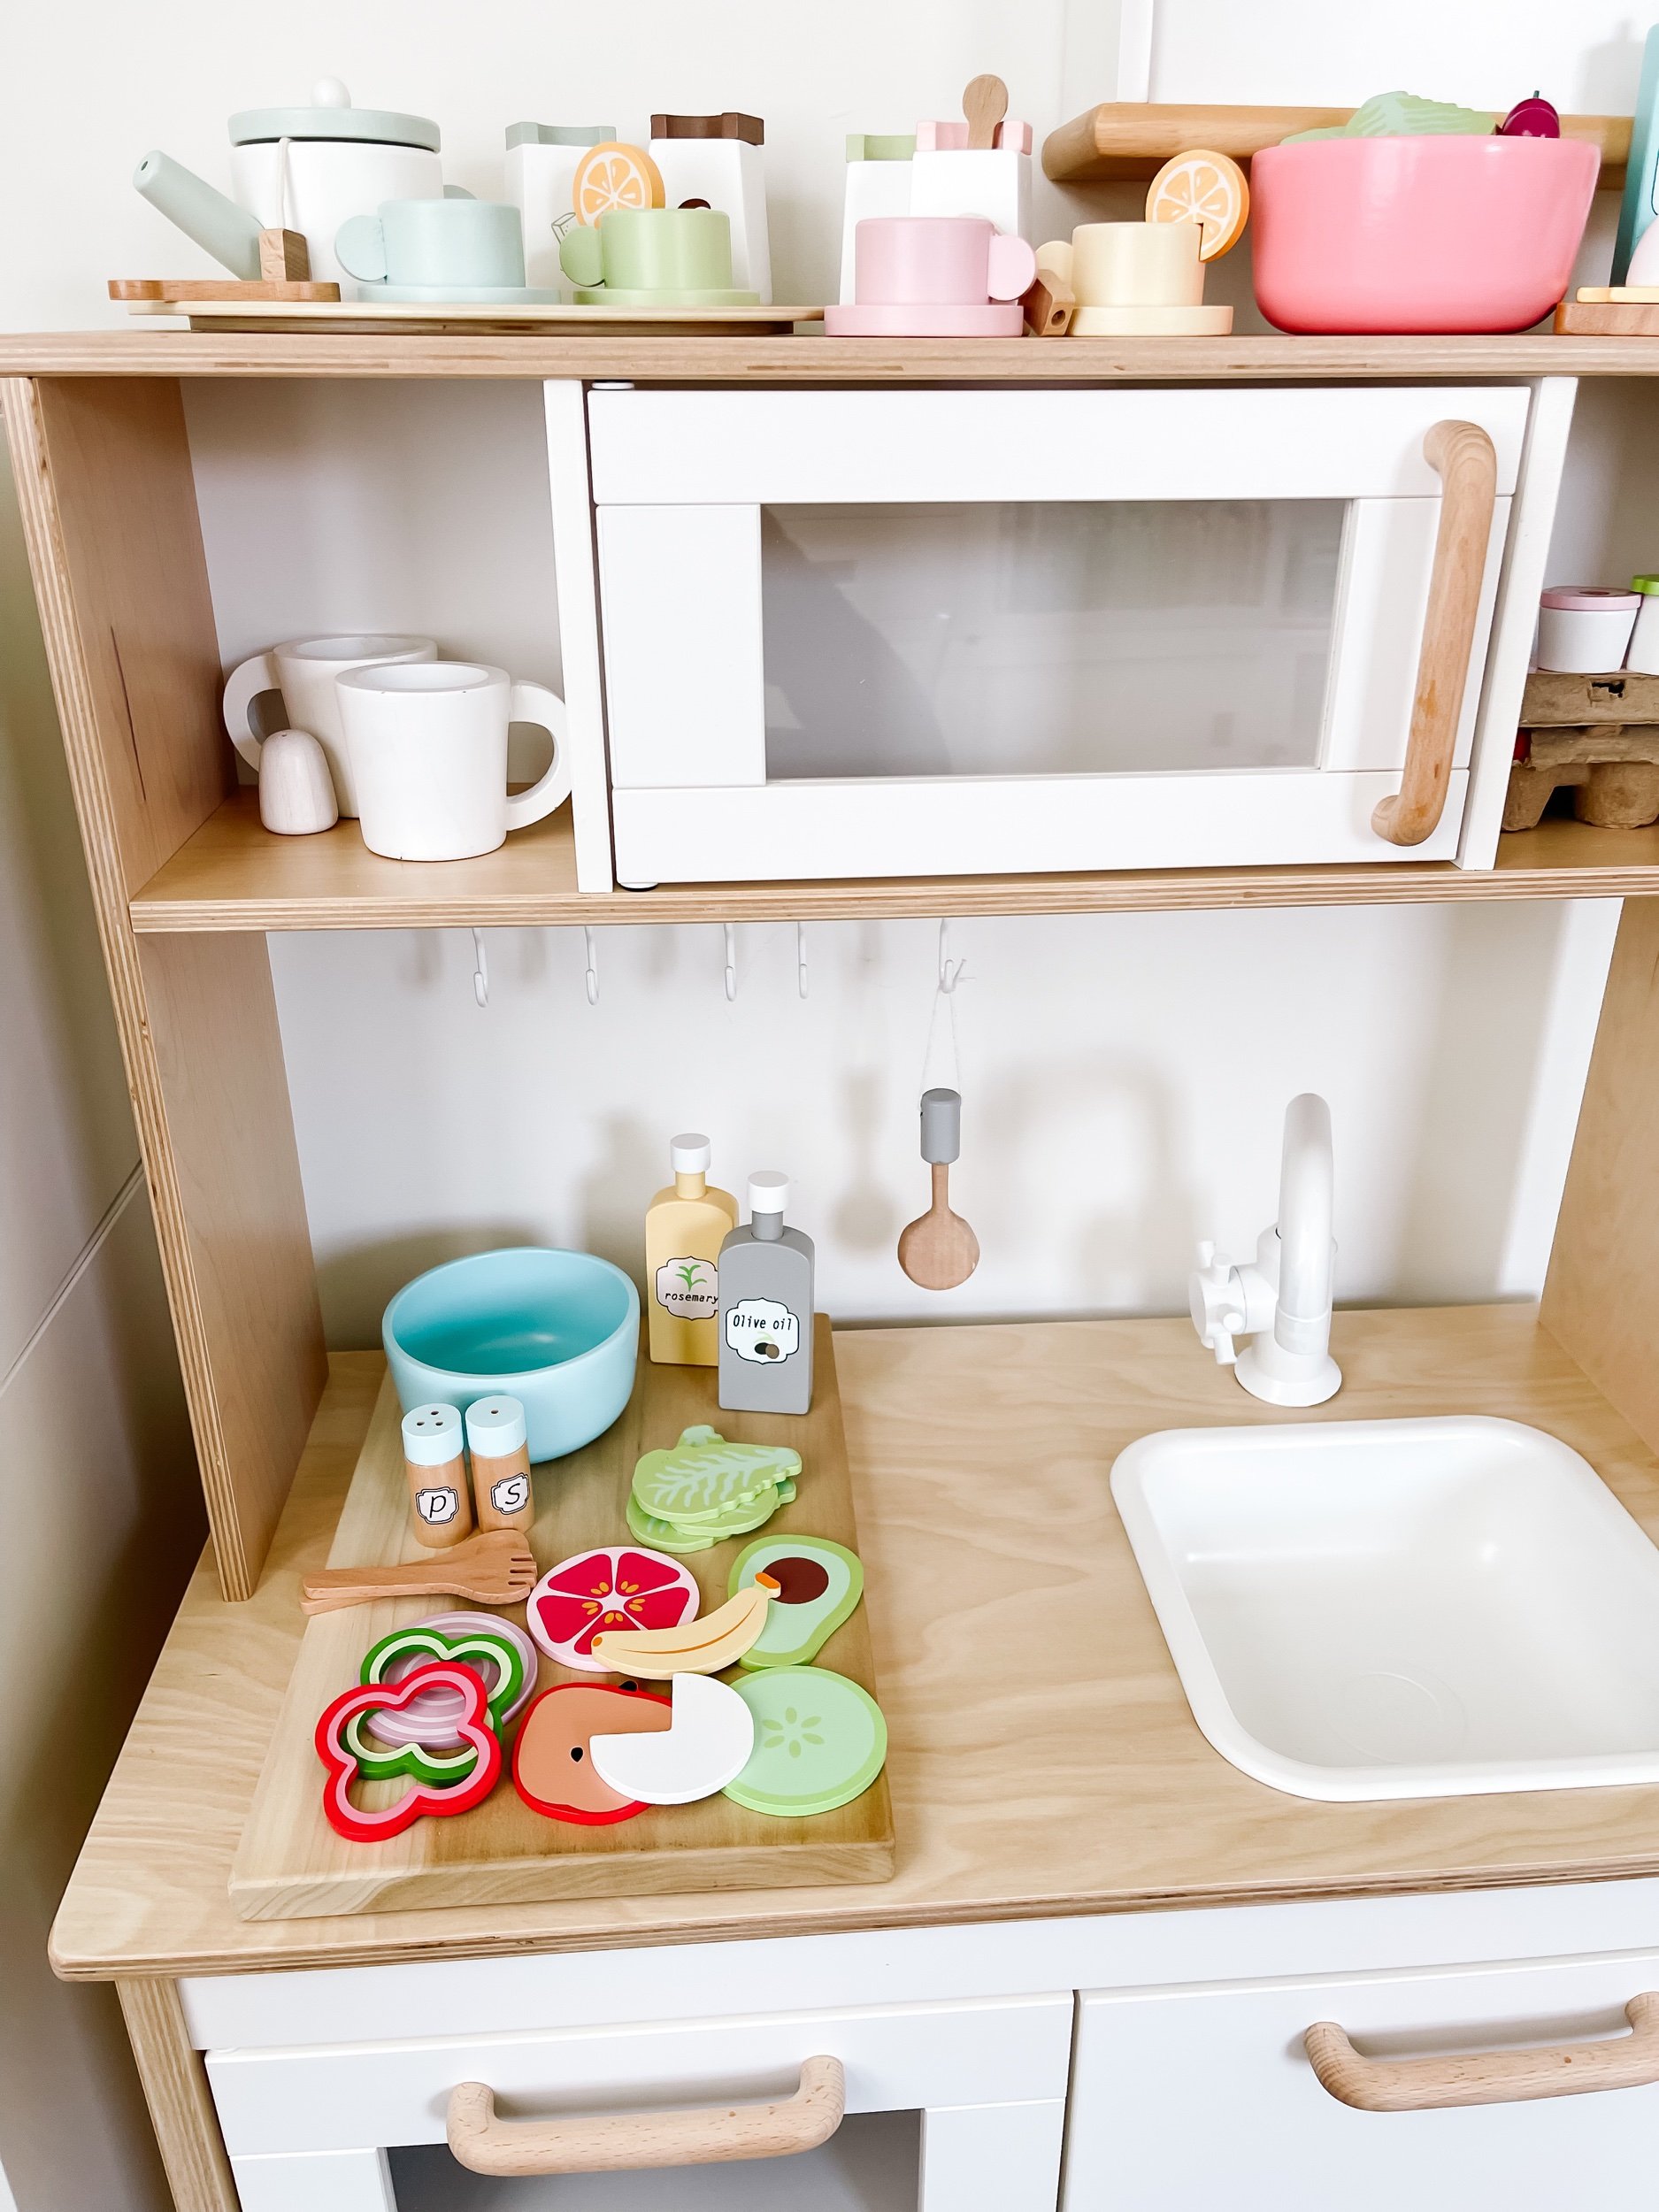
Sensory play and dramatic play are essential components of early childhood development, offering numerous benefits for toddlers. By engaging in activities like painting nails, spa wax play, and exploring cucumber water sensory bins, children develop crucial skills such as fine motor skills, creativity, and sensory awareness. Incorporating these activities into your playtime routine fosters imagination, exploration, and bonding between parents and children.
Vocabulary Words for Toddlers:
1. Nail
2. Spa
3. Relaxation
4. Imagination
5. Sensory
6. Fine motor skills
7. Creativity
8. Squish
9. Wax
10. Bin
11. Cool
12. Refreshing
13. Taste-safe
14. Thirst
15. Texture
16. Pretend play
17. Soothing
18. Exploration
19. Healthy
20. Cucumber
21. Water
22. Fun
23. Glamorous
24. Express
25. Bonding