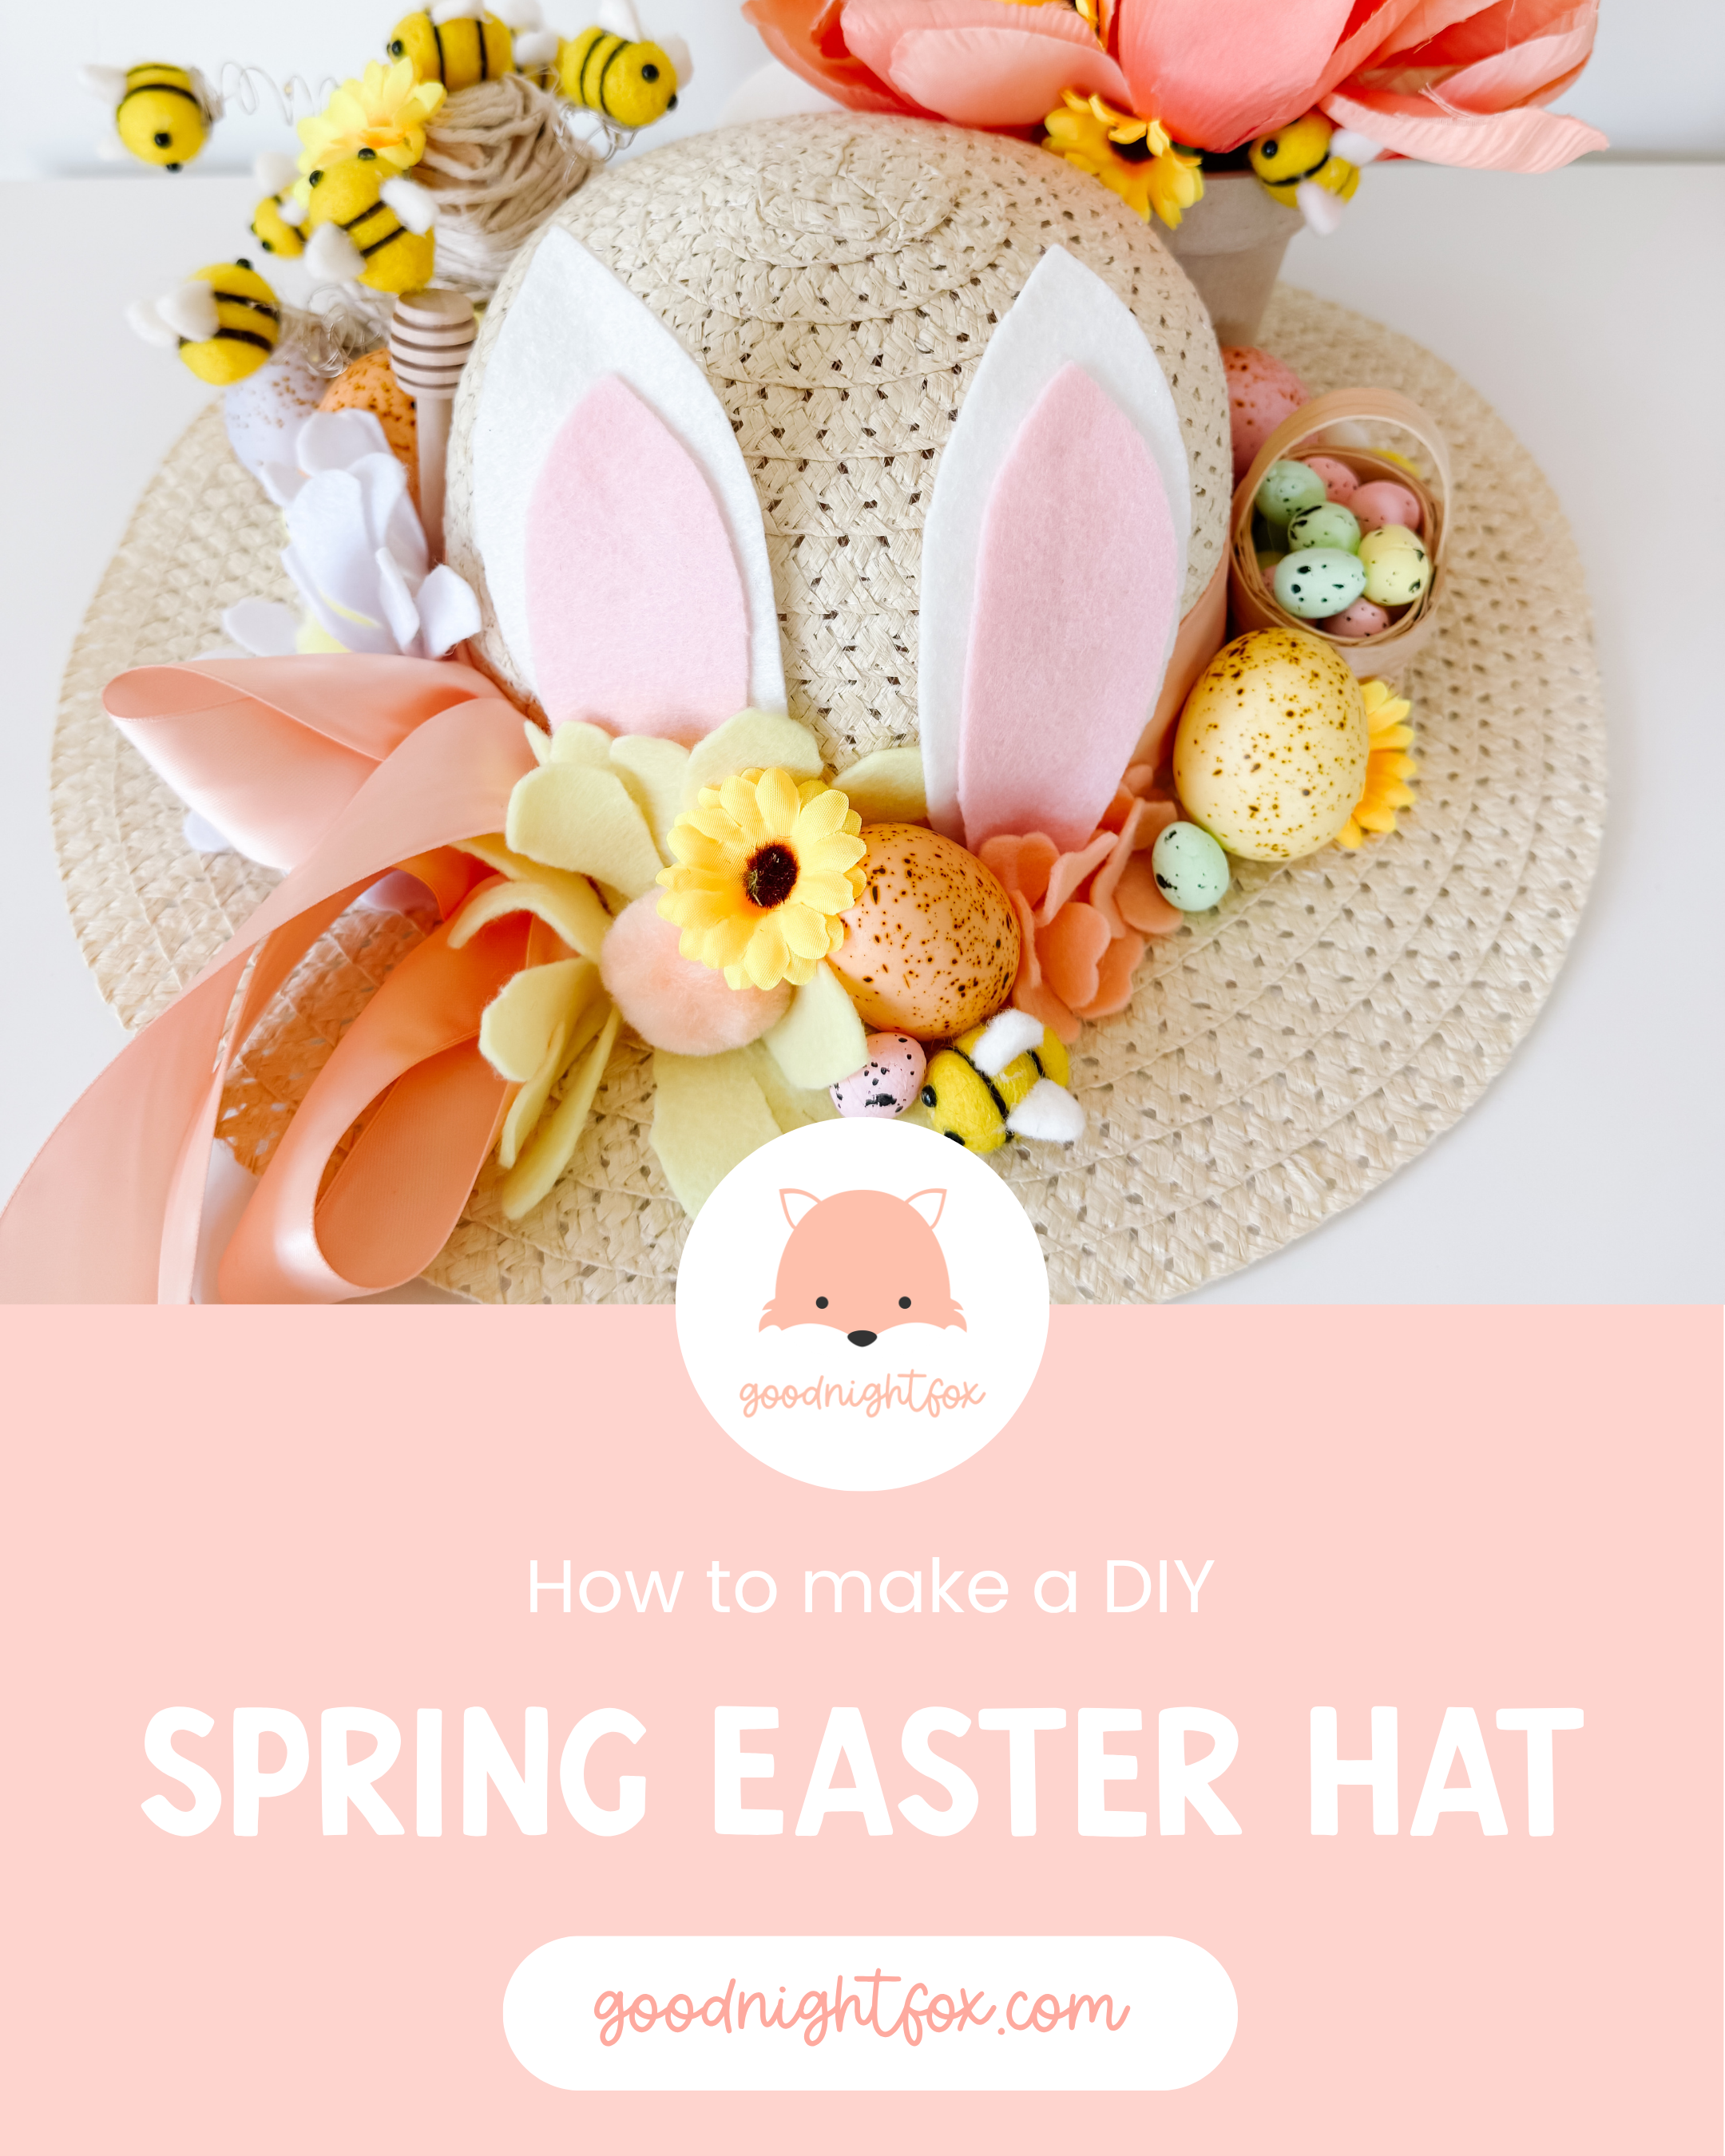
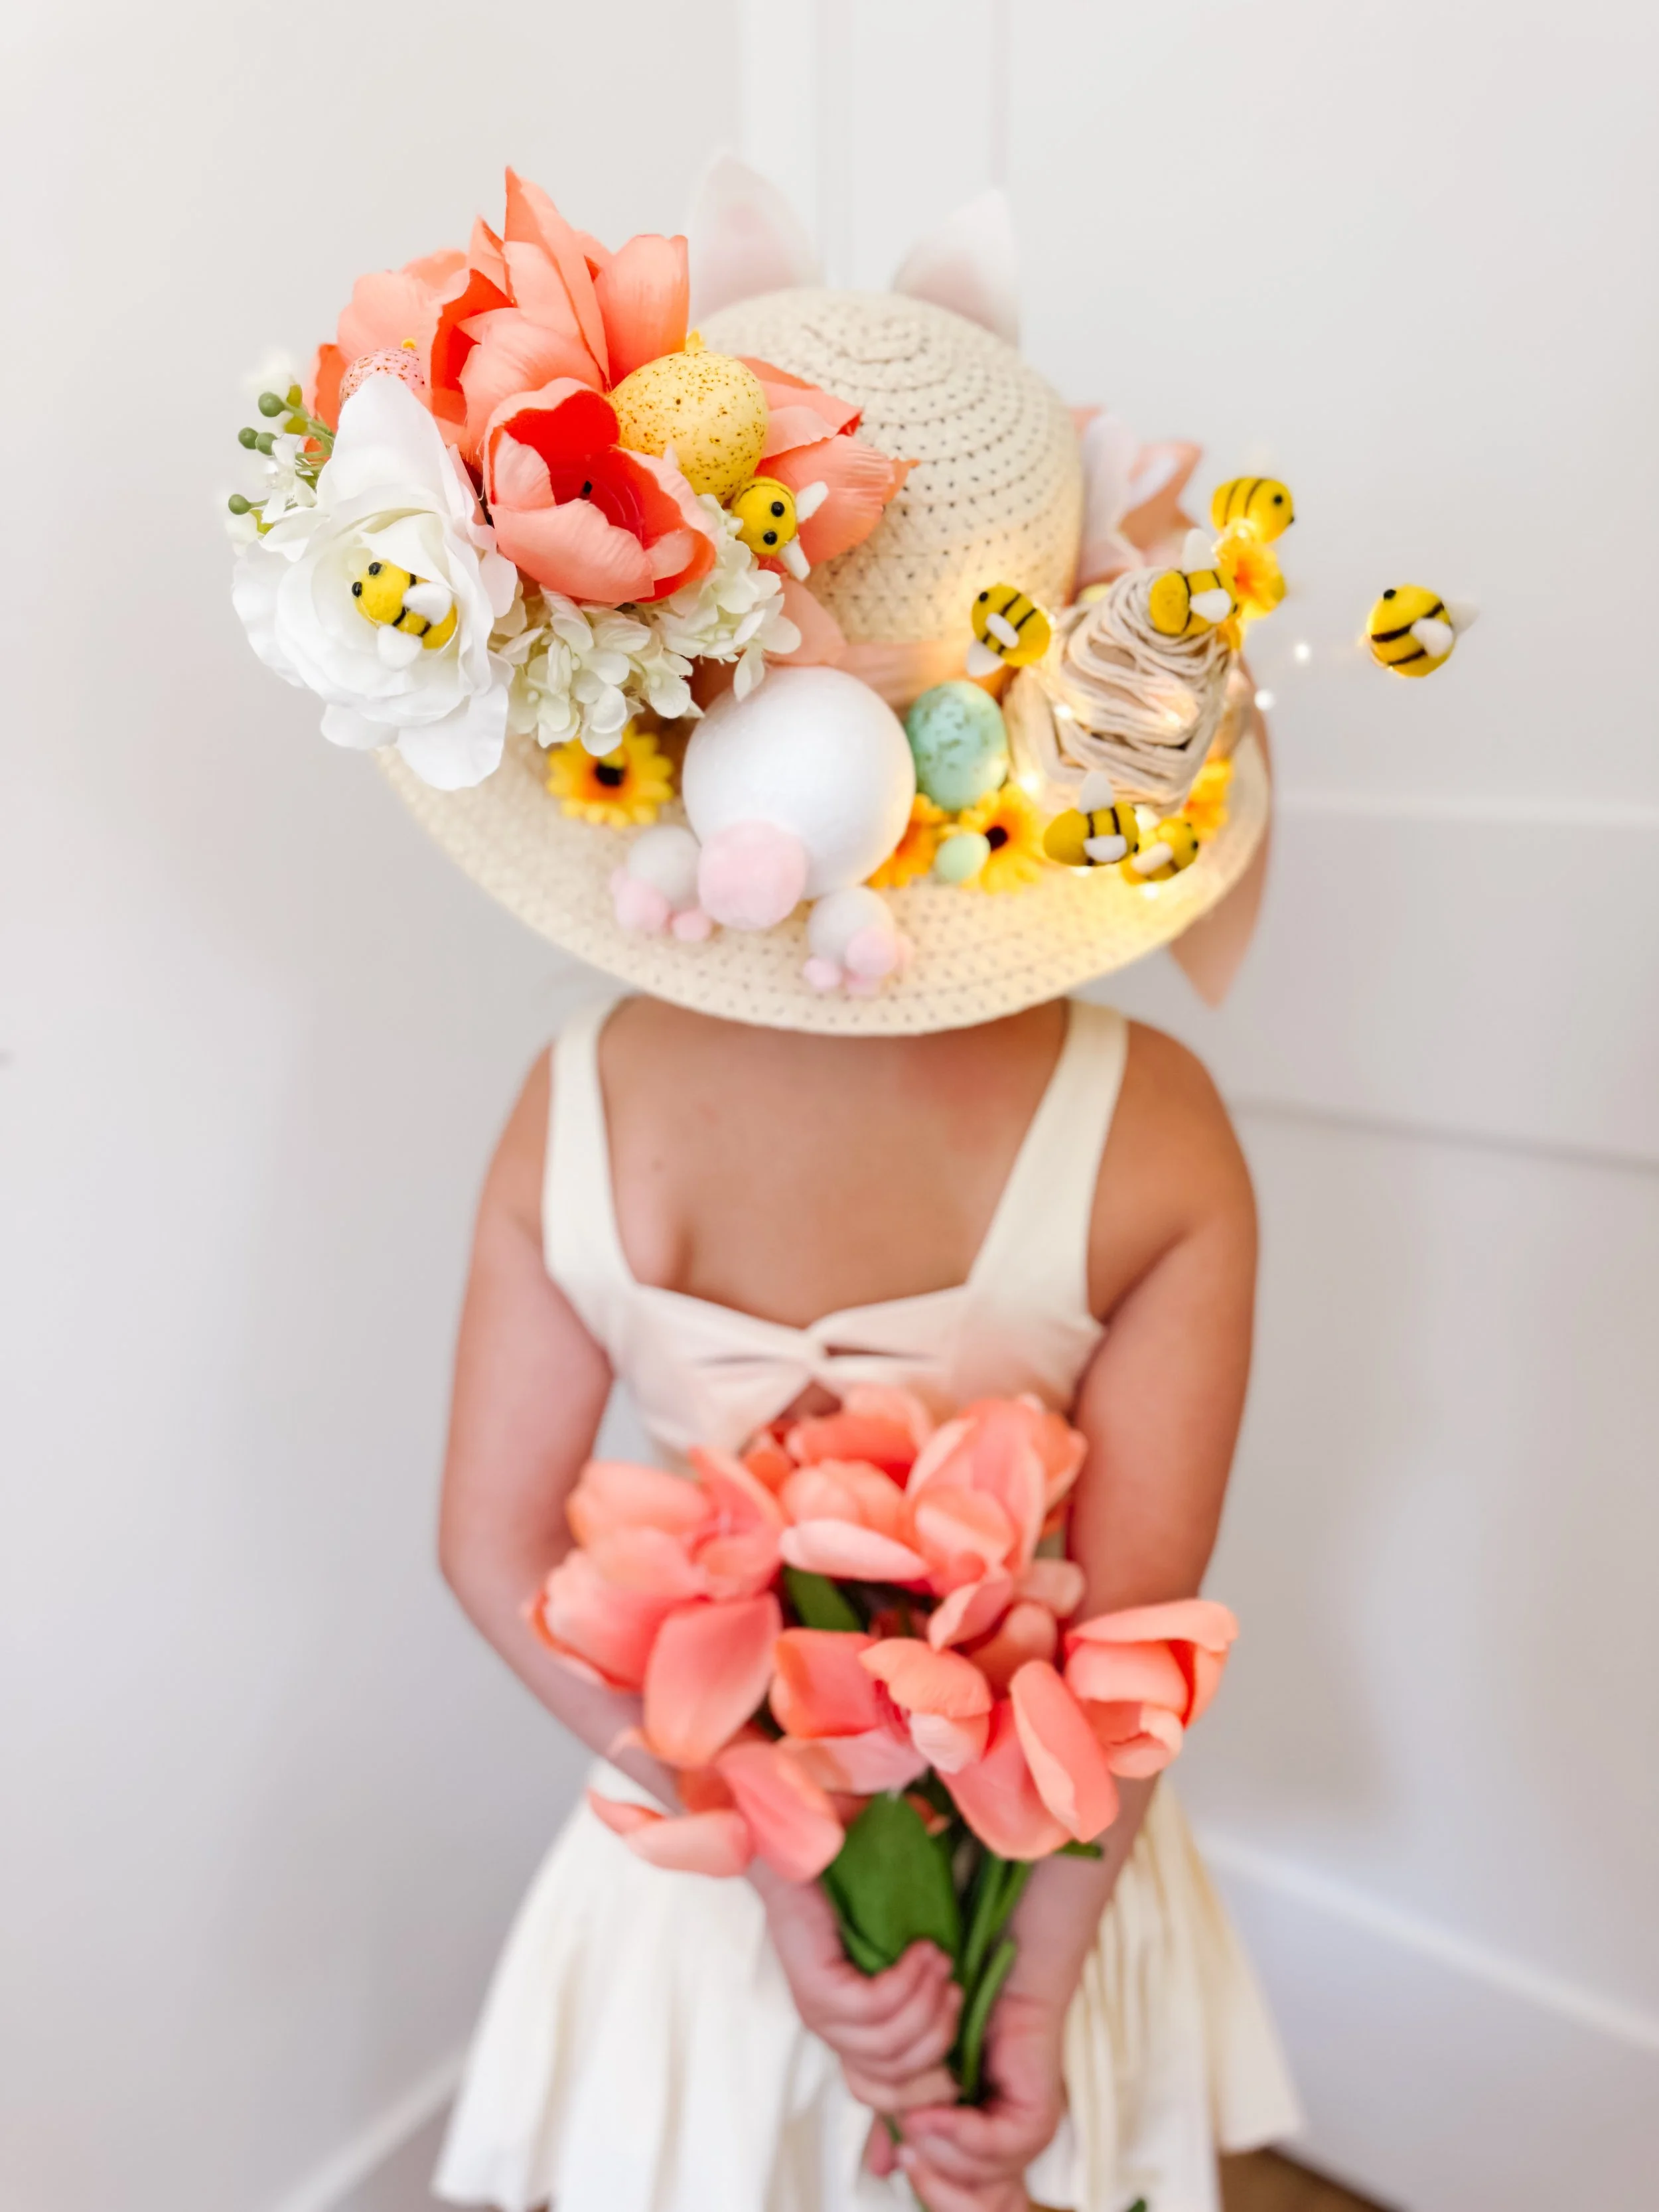
If you’re looking for a show-stopping spring craft, this DIY Easter hat is pure magic.
With soft florals, buzzing bees, a sweet bunny bum, and a tiny beehive scene, this hat turns into a wearable sensory story — and it’s perfect for:
🌸 Spring crafts for kids
🐰 Easter bonnet contests
🐝 Garden or insect learning themes
📸 Adorable seasonal photos
This project looks intricate, but it’s surprisingly simple when you build it piece by piece.
Materials Needed
Base
Wide brim straw hat (adult or child size)
Hot glue gun + glue sticks
Bunny Element
White foam ball (for bunny body)
Small pink pom poms (for feet + tail)
White felt (for ears)
Pink felt (inner ears)
Bee + Hive Element
Twine or yarn (for hive)
Small plastic or felt bees
Fairy lights (optional but highly recommended ✨)
Floral Element
Faux flowers (mix of large + small blooms)
Small faux greenery or filler flowers
Mini decorative eggs
Decorative Details
Felt flowers
Ribbon (for trailing bow)
Small basket (optional detail)
Mini honey dipper (optional but adorable)
Step-by-Step Instructions
Step 1: Start with Your Base Layout
Before gluing anything, place all your elements on the hat to plan your layout.
You’ll want:
One side = floral focal point
Back = bunny element
Side = bee hive + bees
Front = smaller decorative details
Think of it like building a mini garden scene around the hat.
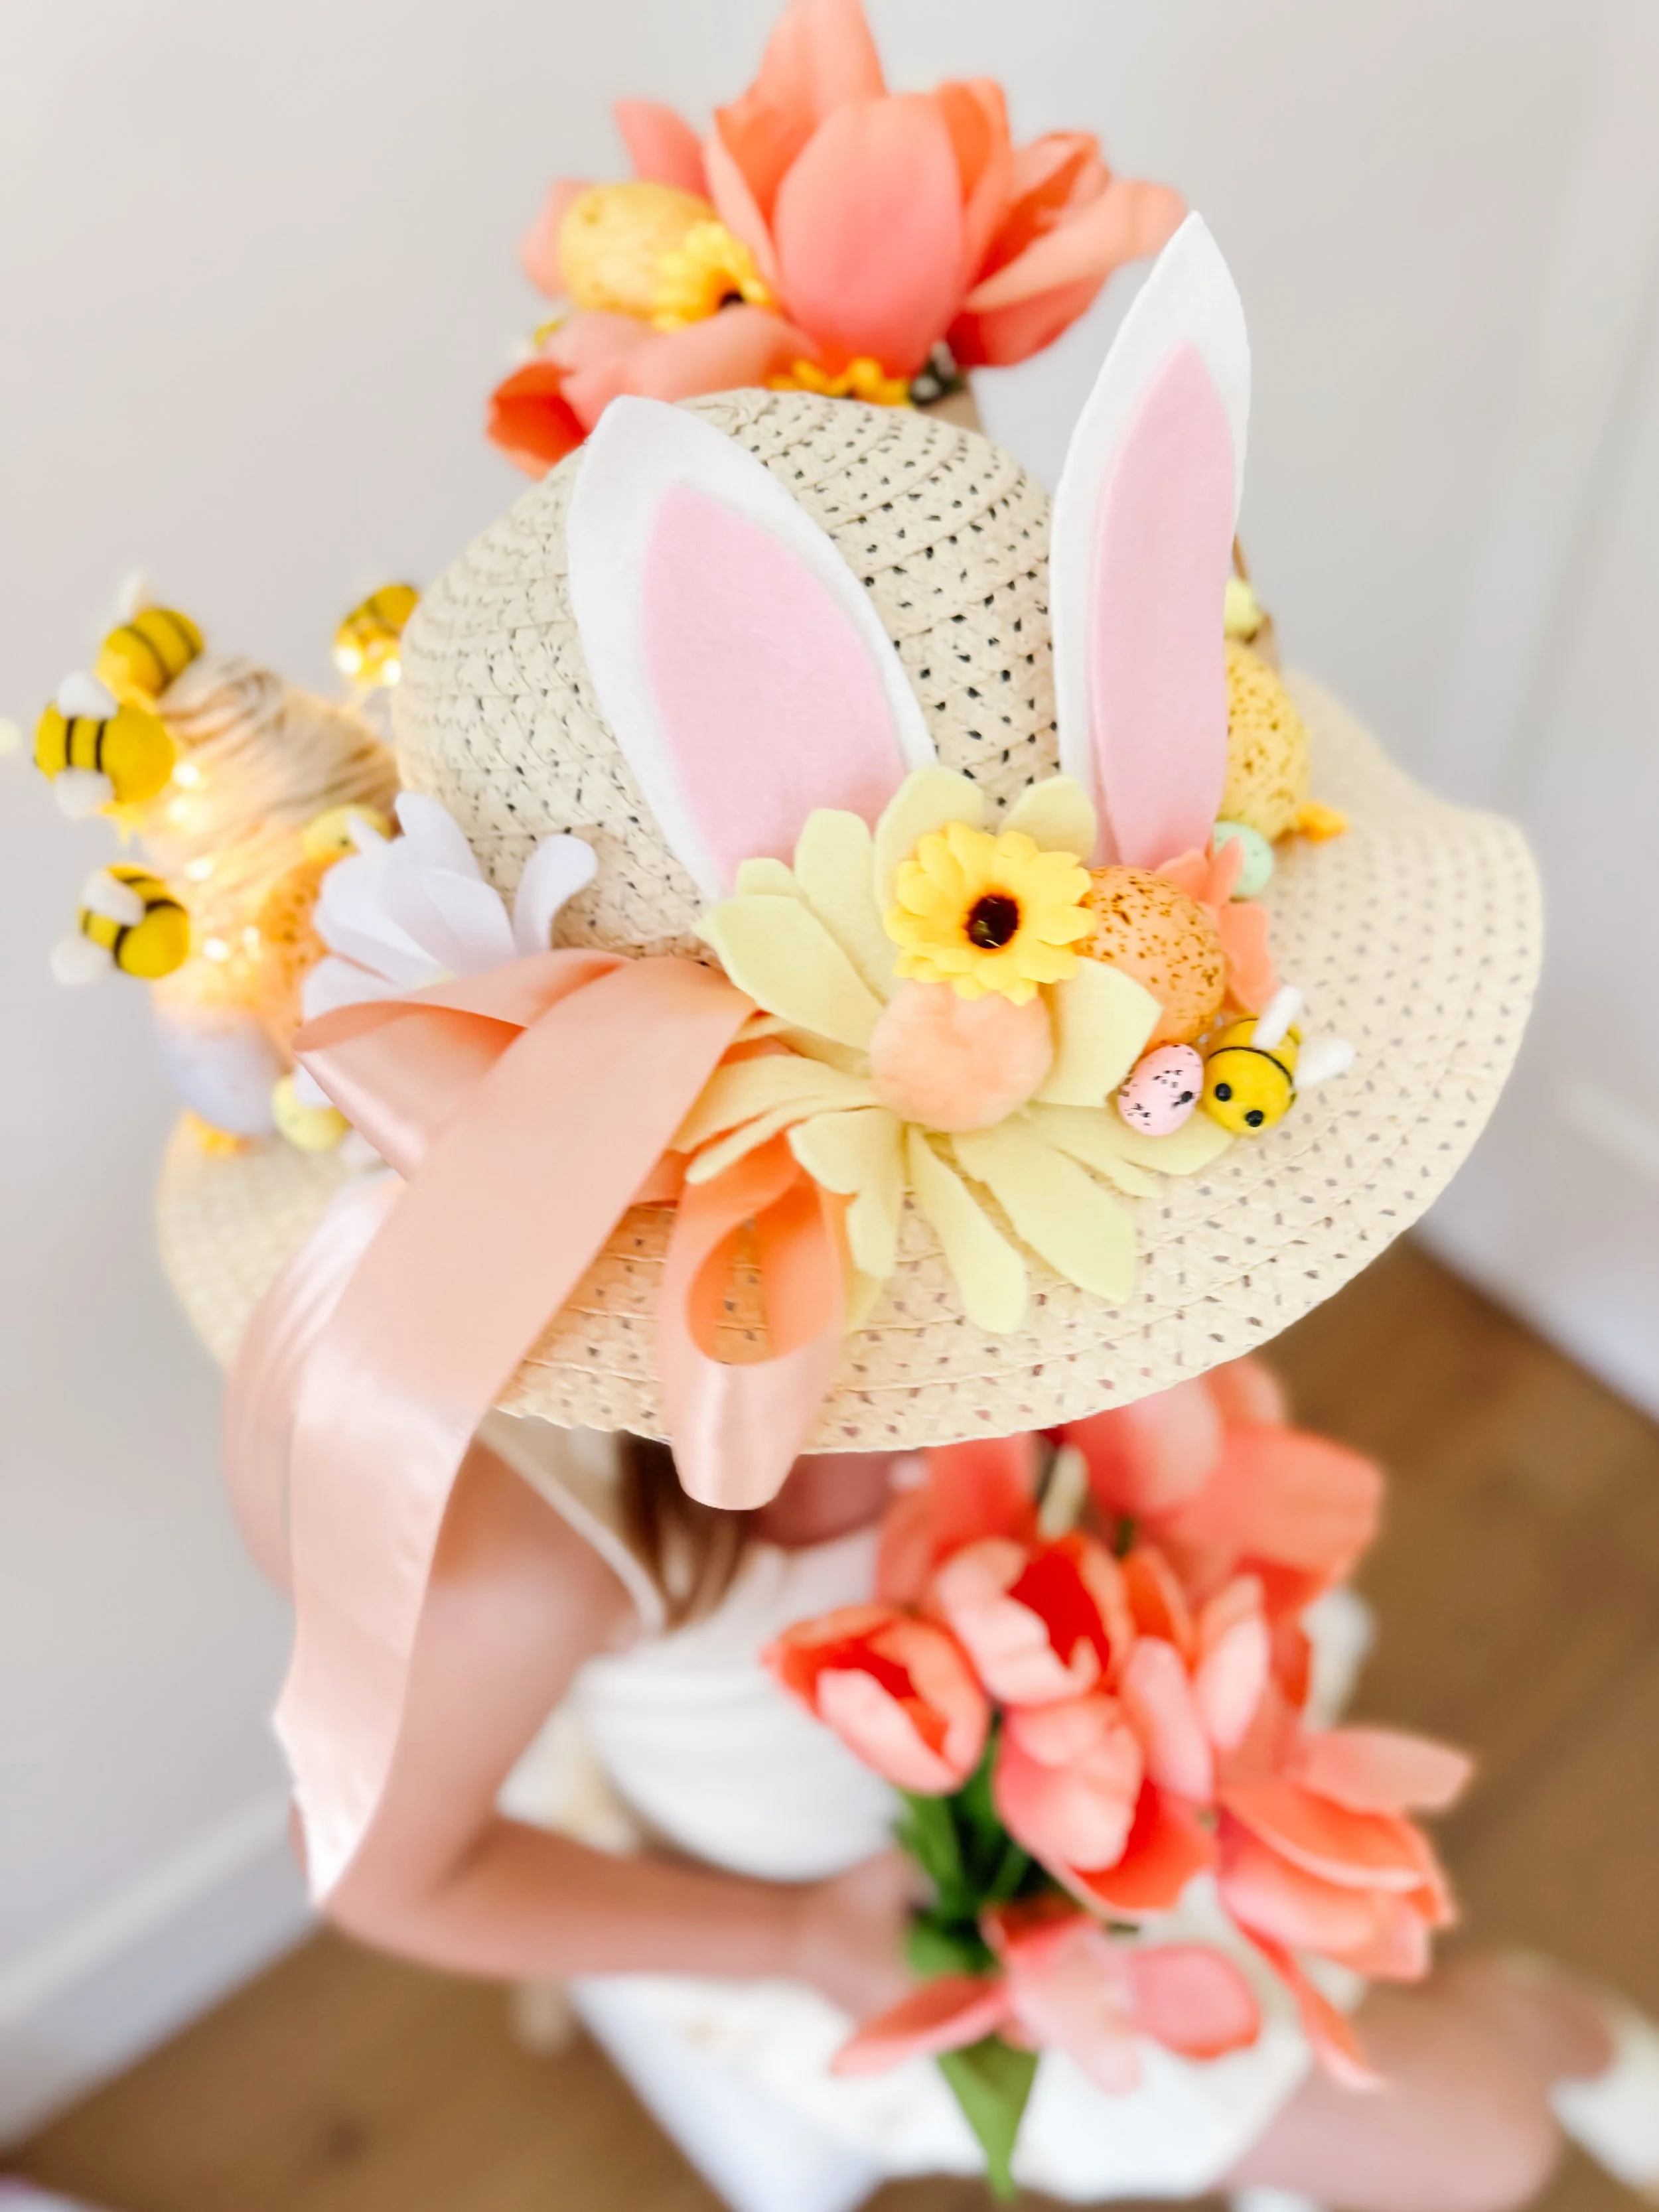
Step 2: Create the Bunny Bum 🐰
This is one of the cutest parts of the entire hat.
How to Make It:
Glue a medium foam ball onto the brim (this is the bunny body)
Add a smaller pom pom for the tail
Glue two small pink pom poms at the base for feet
Cut bunny ears from white felt and glue pink inner ear pieces
Attach ears slightly behind or next to the bunny body
💡 Tip: Angle the bunny slightly “diving” into the flowers for that whimsical look.
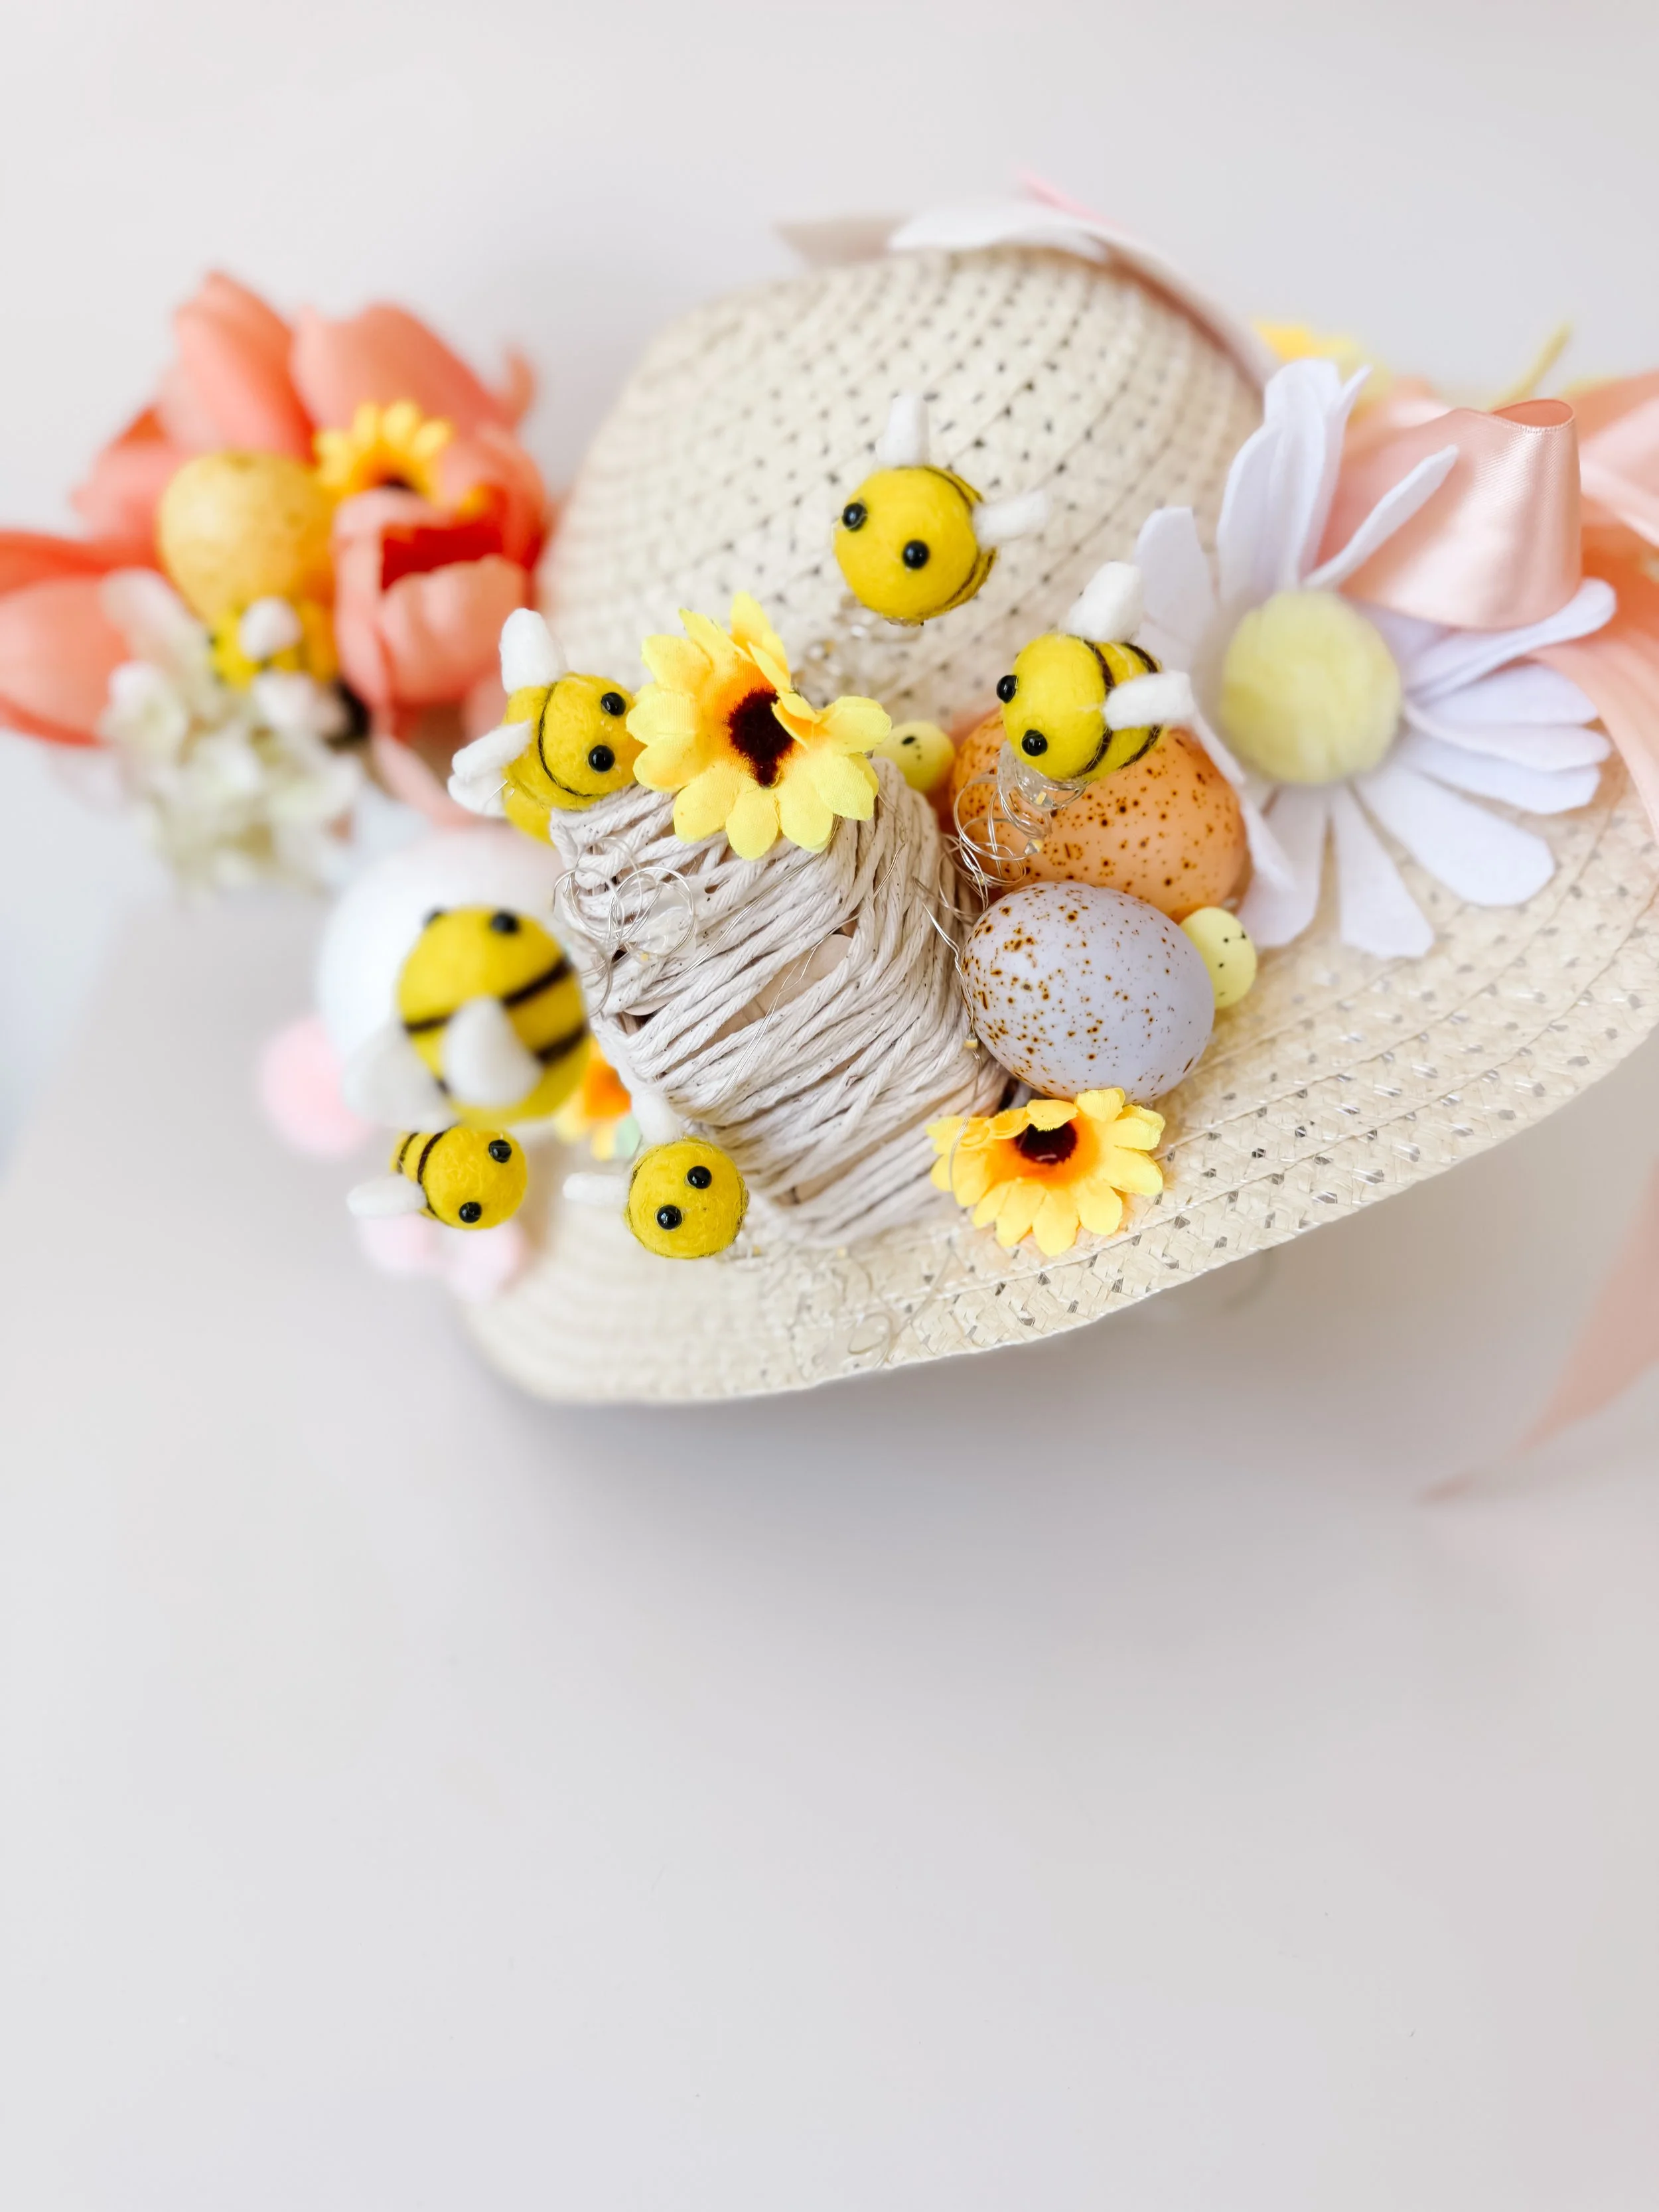
Step 3: Build the Beehive + Bees 🐝
This adds so much personality and movement to the hat.
How to Make the Hive:
Wrap twine tightly into a small cone or oval shape
Secure with glue as you wrap
Glue the hive onto the brim
Add Bees:
Glue small bees around the hive
Attach a few slightly lifted or “flying” using wire or glue dots
Optional: weave fairy lights around for a magical glow ✨
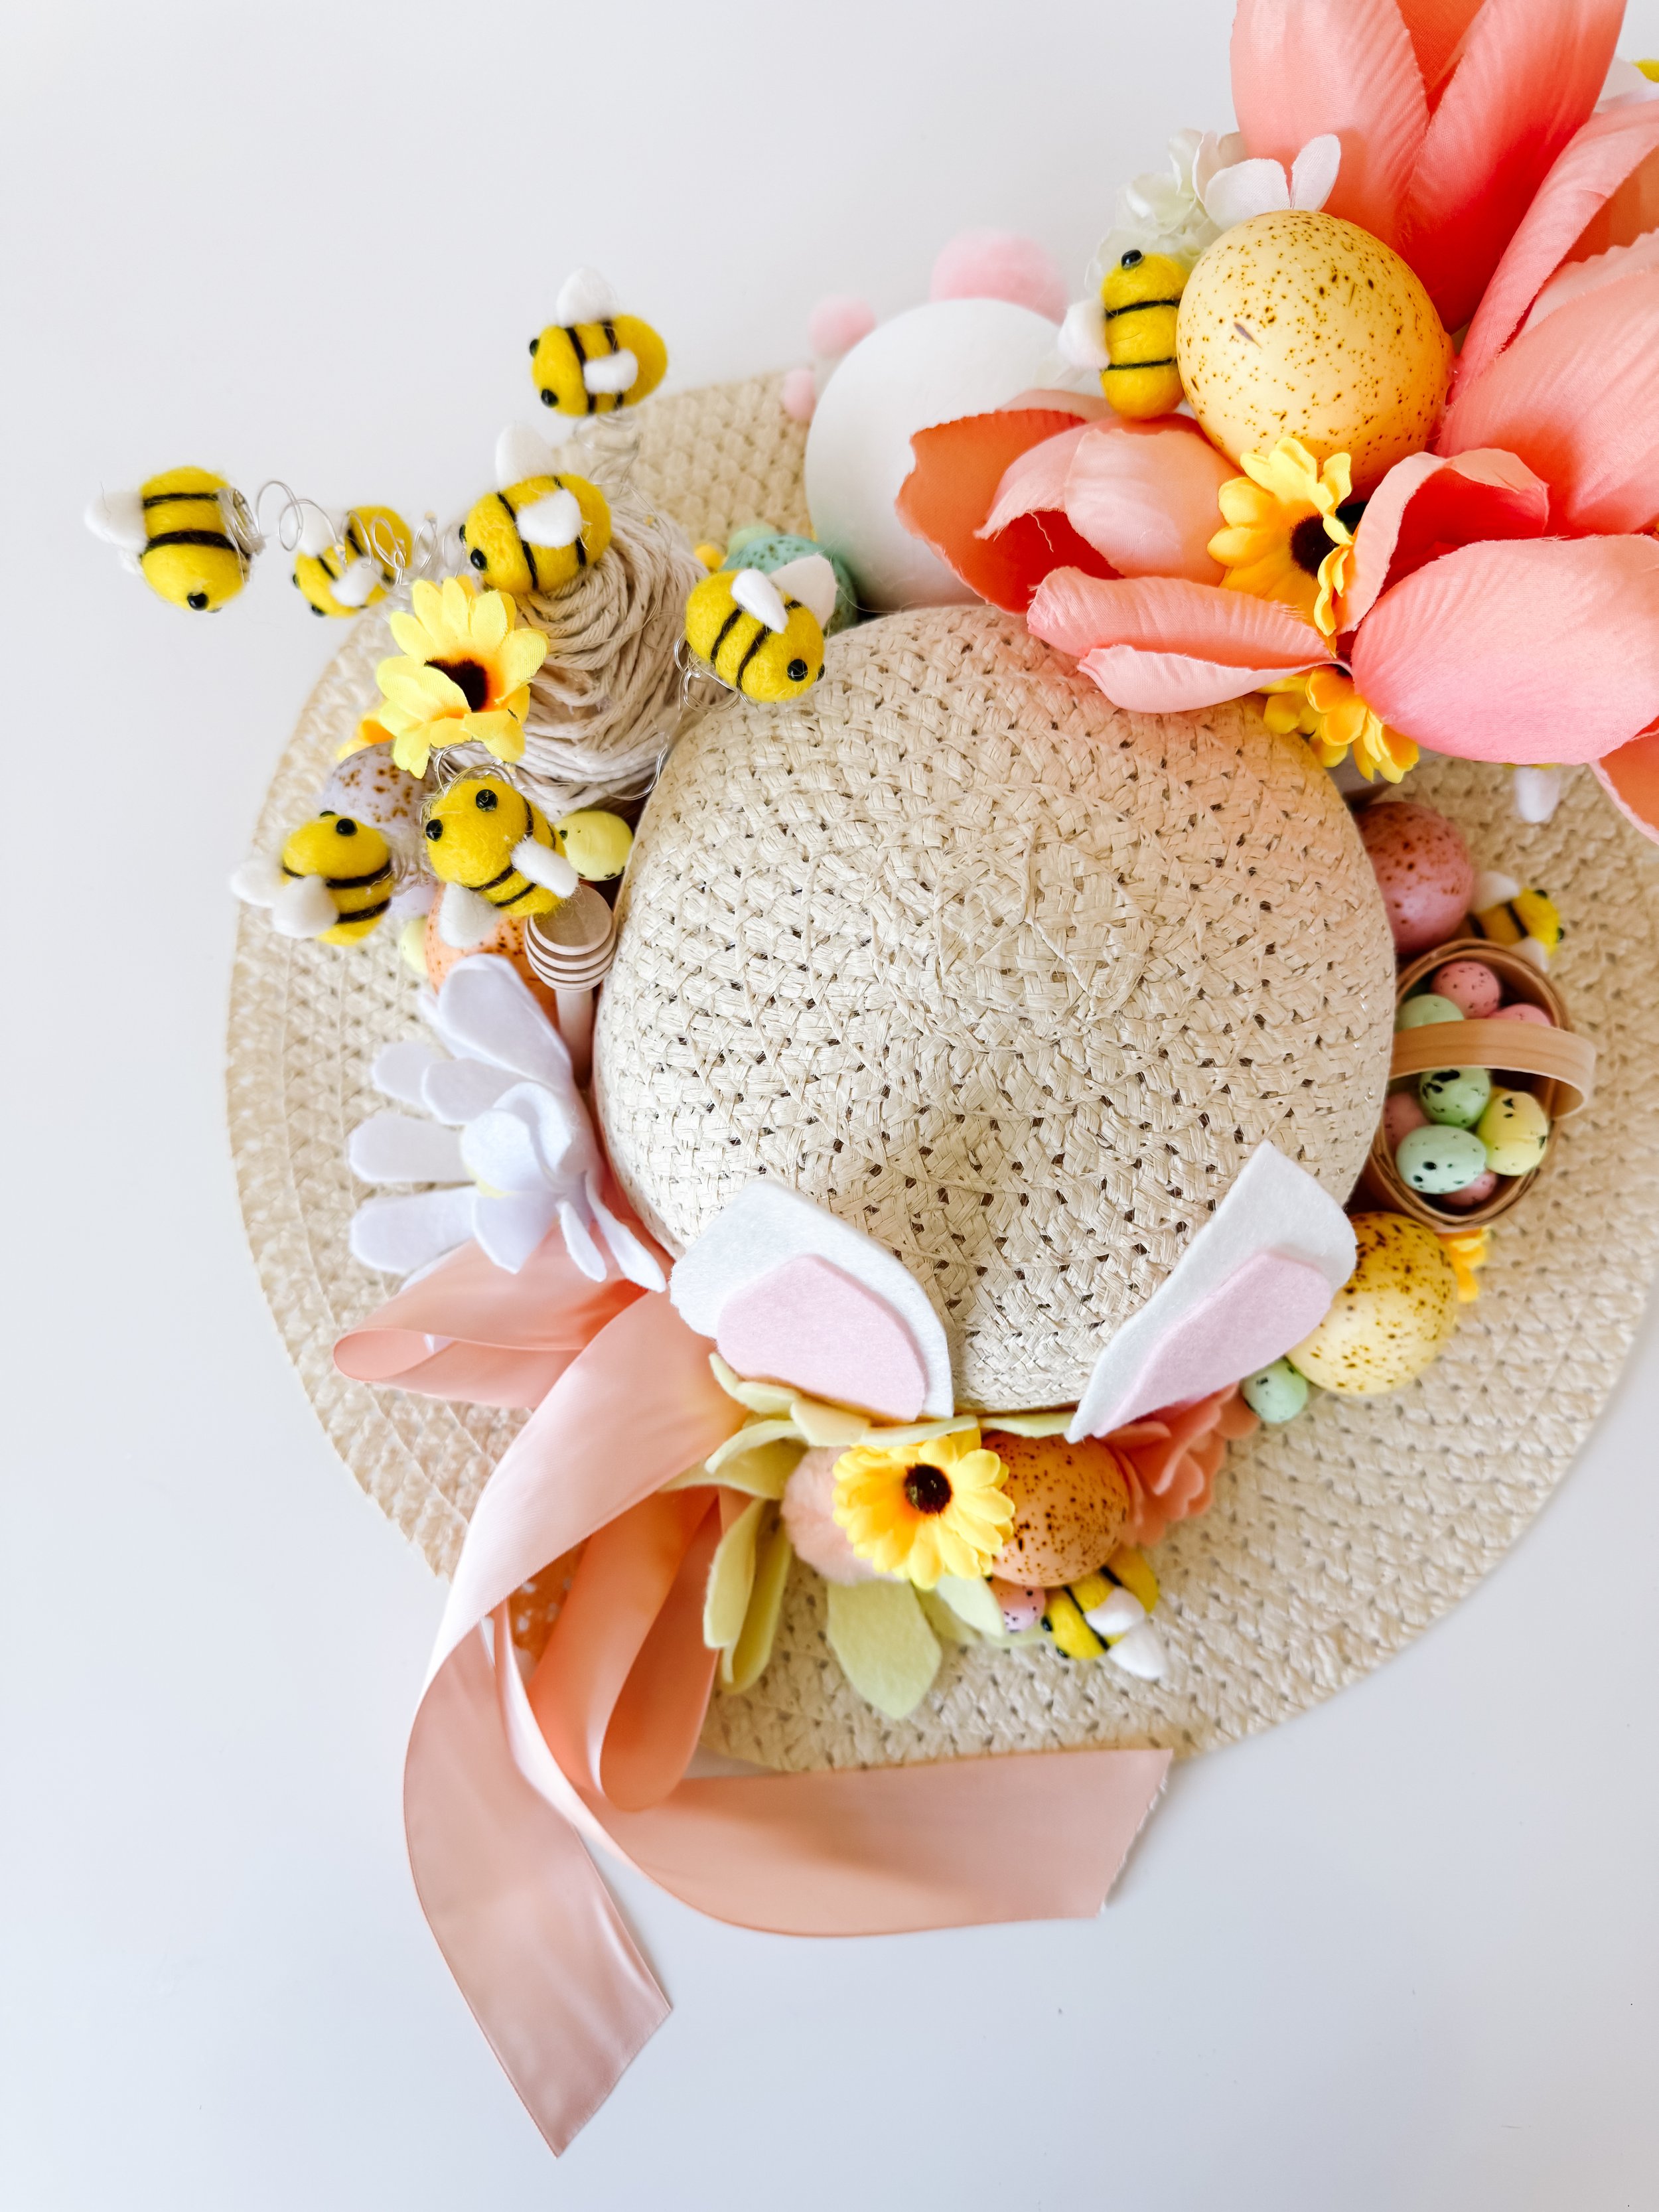
Step 4: Create the Flower Pot Scene
This is your main focal area.
Steps:
Glue a small faux pot or create one using rolled cardstock
Fill with faux flowers (mix textures + sizes)
Add mini eggs tucked between flowers
Layer flowers outward onto the brim to blend the scene
💡 Use one large flower (like your coral bloom) as the anchor piece.
Step 5: Add Felt Flowers + Ground Layer
This helps everything feel cohesive and full.
Steps:
Glue felt flowers around the base of each element
Fill empty spaces with smaller blooms
Add pops of yellow (like daisies) for that spring look
This step is what makes the hat feel full and finished.
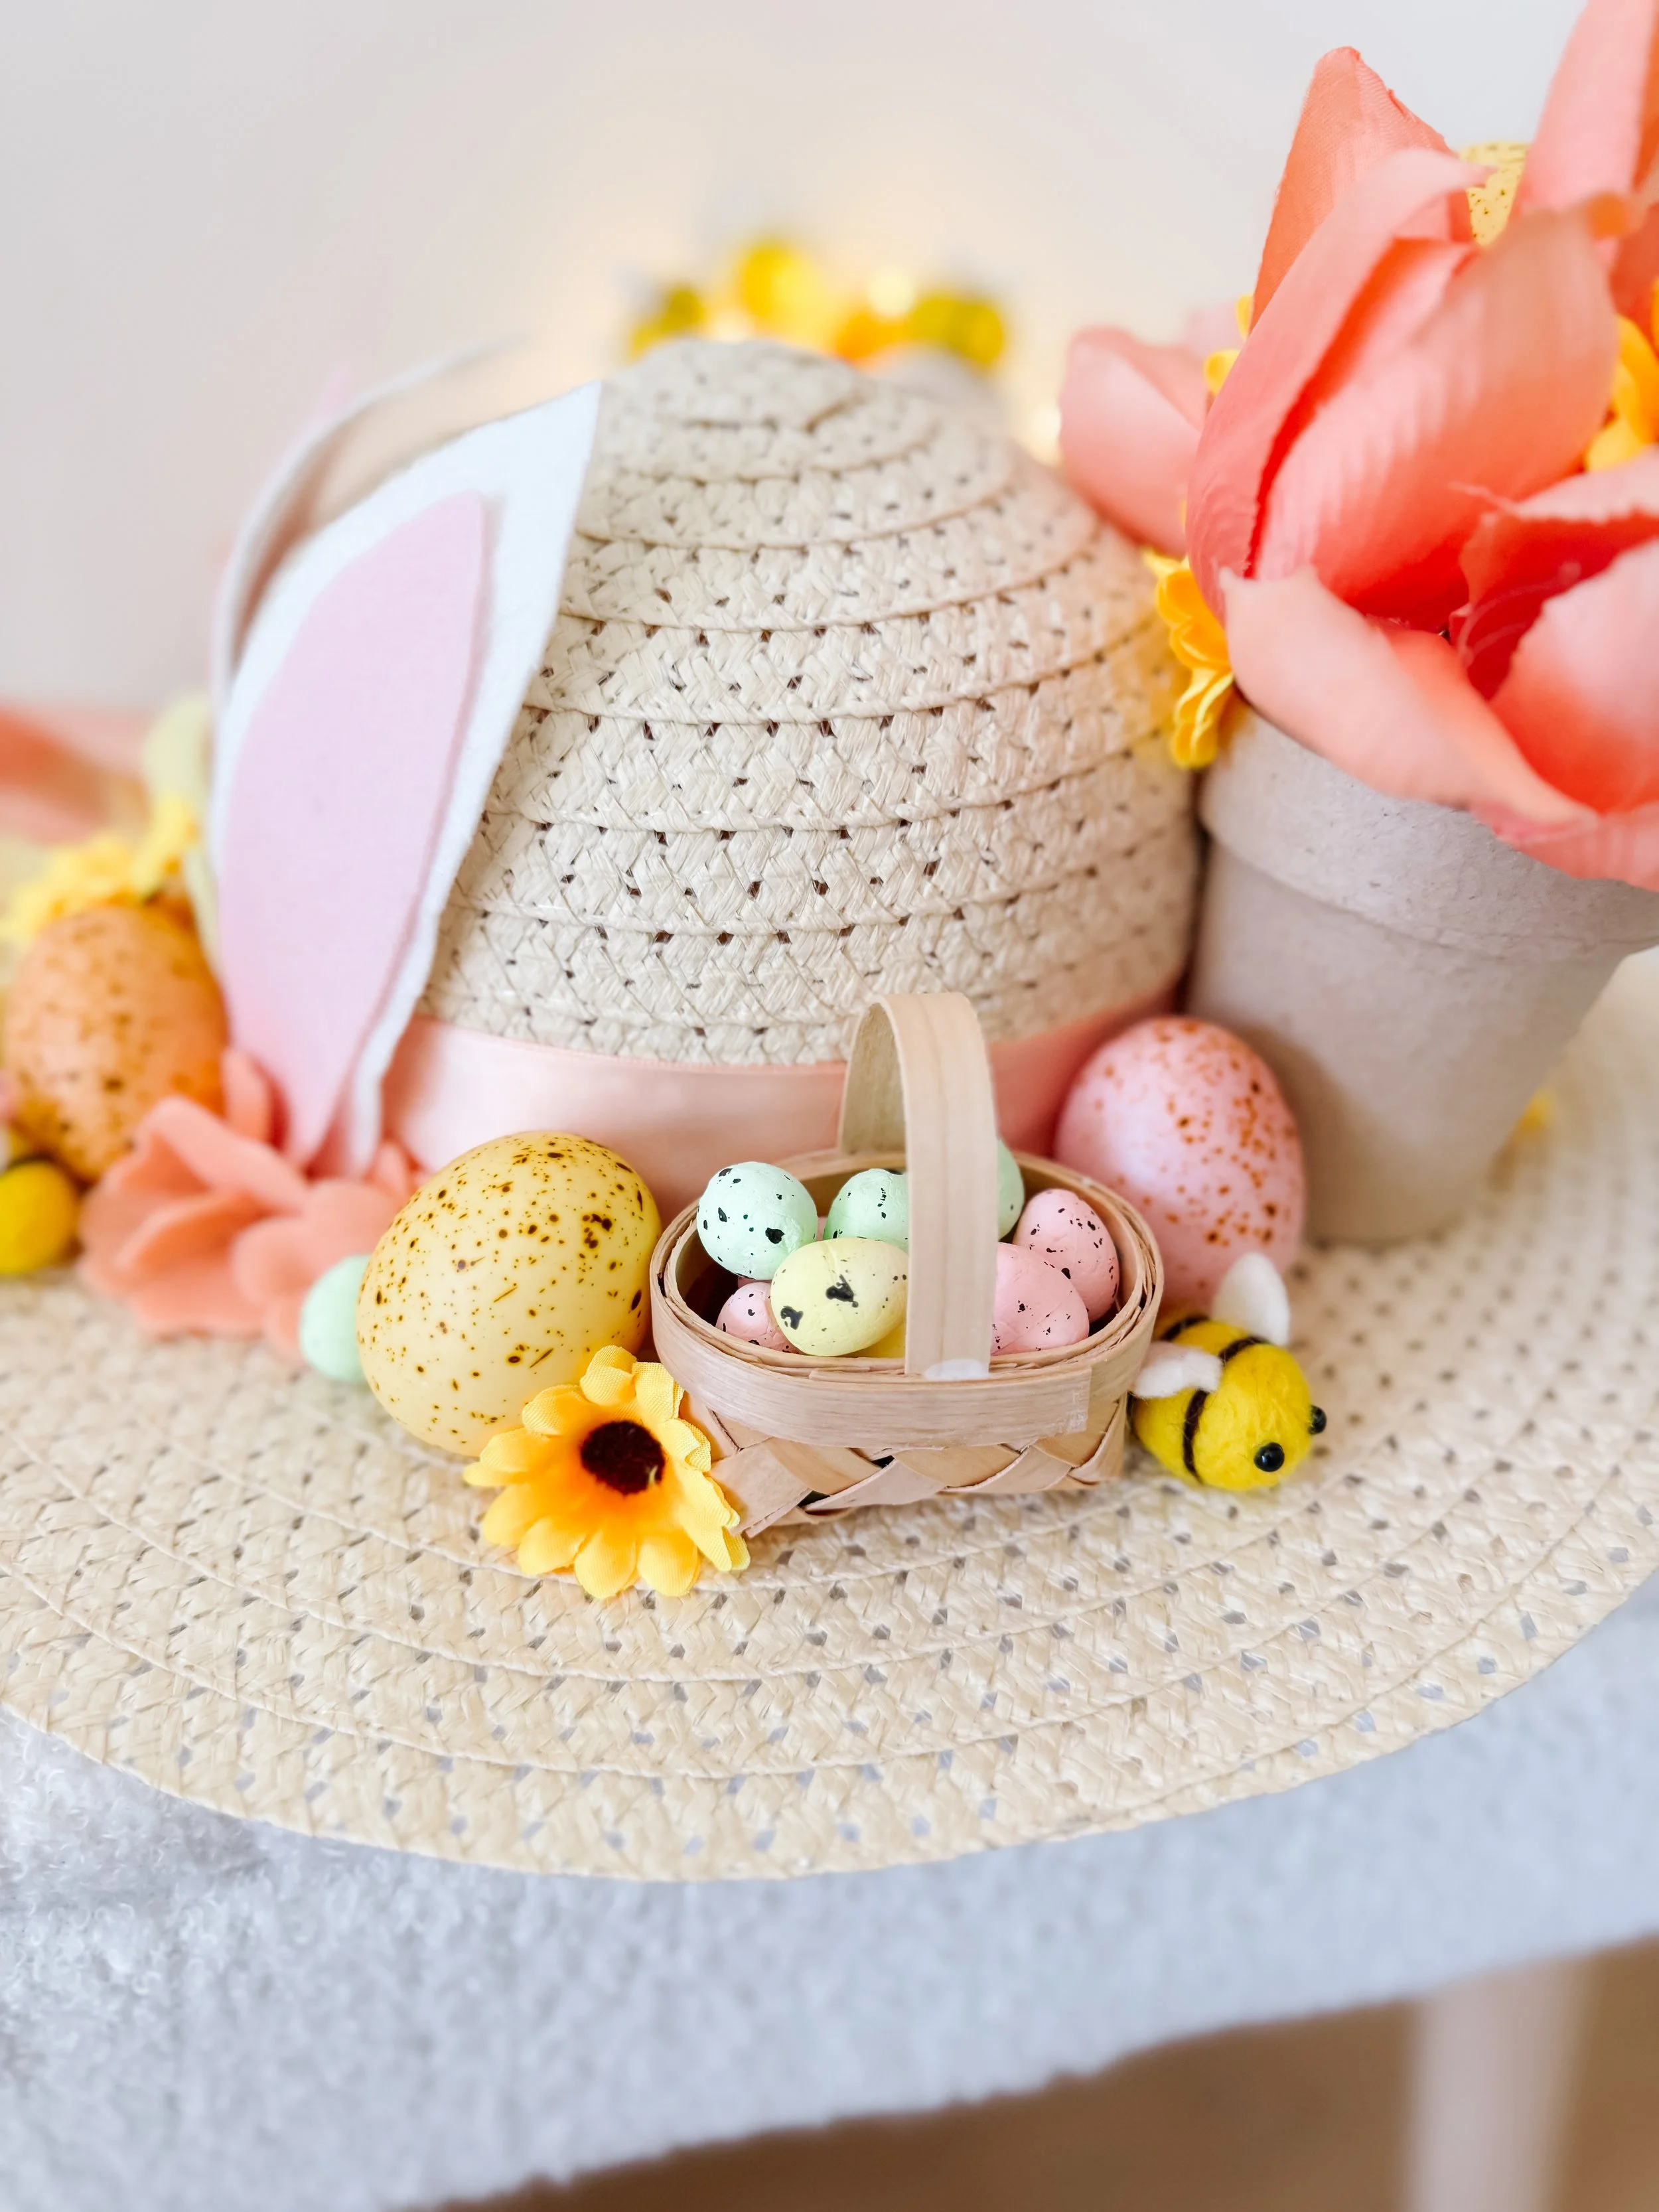
Step 6: Add Front Details (Ears + Basket)
At the front of the hat:
Glue bunny ears upright for visibility
Add a mini basket filled with eggs
Tuck in a few flowers and bees
This creates a 360° design so it looks beautiful from every angle.
Step 7: Finish with Ribbon 🎀
Tie or glue a soft ribbon around the base of the hat.
Let it trail down for that whimsical, vintage Easter look.
How to Style This Hat
This hat pairs beautifully with:
Soft neutral or pastel dresses
Barefoot or ballet flats
A small bouquet (like shown here 🌸)
Perfect for:
Easter photos
Spring parties
Garden play themes
Learning Through Play Extensions
This isn’t just a craft — it connects to learning themes:
🐝 Talk about bees and pollination
🌸 Identify different flowers
🐰 Discuss animals and habitats
🥚 Count and sort eggs by color
You can pair this with:
🌸 Spring sensory play: https://www.goodnightfox.com/blog/flowers
🐝 Bug activities: https://www.goodnightfox.com/blog/march
Final Thoughts
This DIY spring hat is one of those projects that feels like a keepsake.
It’s creative, immersive, and tells a story — which is exactly what play-based learning is all about.
And honestly… it’s just SO cute.