
If you love crafts that look adorable, take very little prep, and keep little hands busy, you’re going to be obsessed with these Easter Shakers. They’re part craft, part sensory “instrument,” and they double as the cutest Easter basket stuffer, classroom craft, or Spring-themed fine motor activity.
These are also a perfect fit for your Easter + Spring Activities because they work for toddlers and preschoolers, and you can easily pair them with an Easter sensory bin week or an “Easter + Spring” play theme.

Free Printable Easter Shaker Craft
Don’t forget to check out our free printable resource library for play-based learning activities, sensory play, and early literacy.
Download NowMaterials Needed
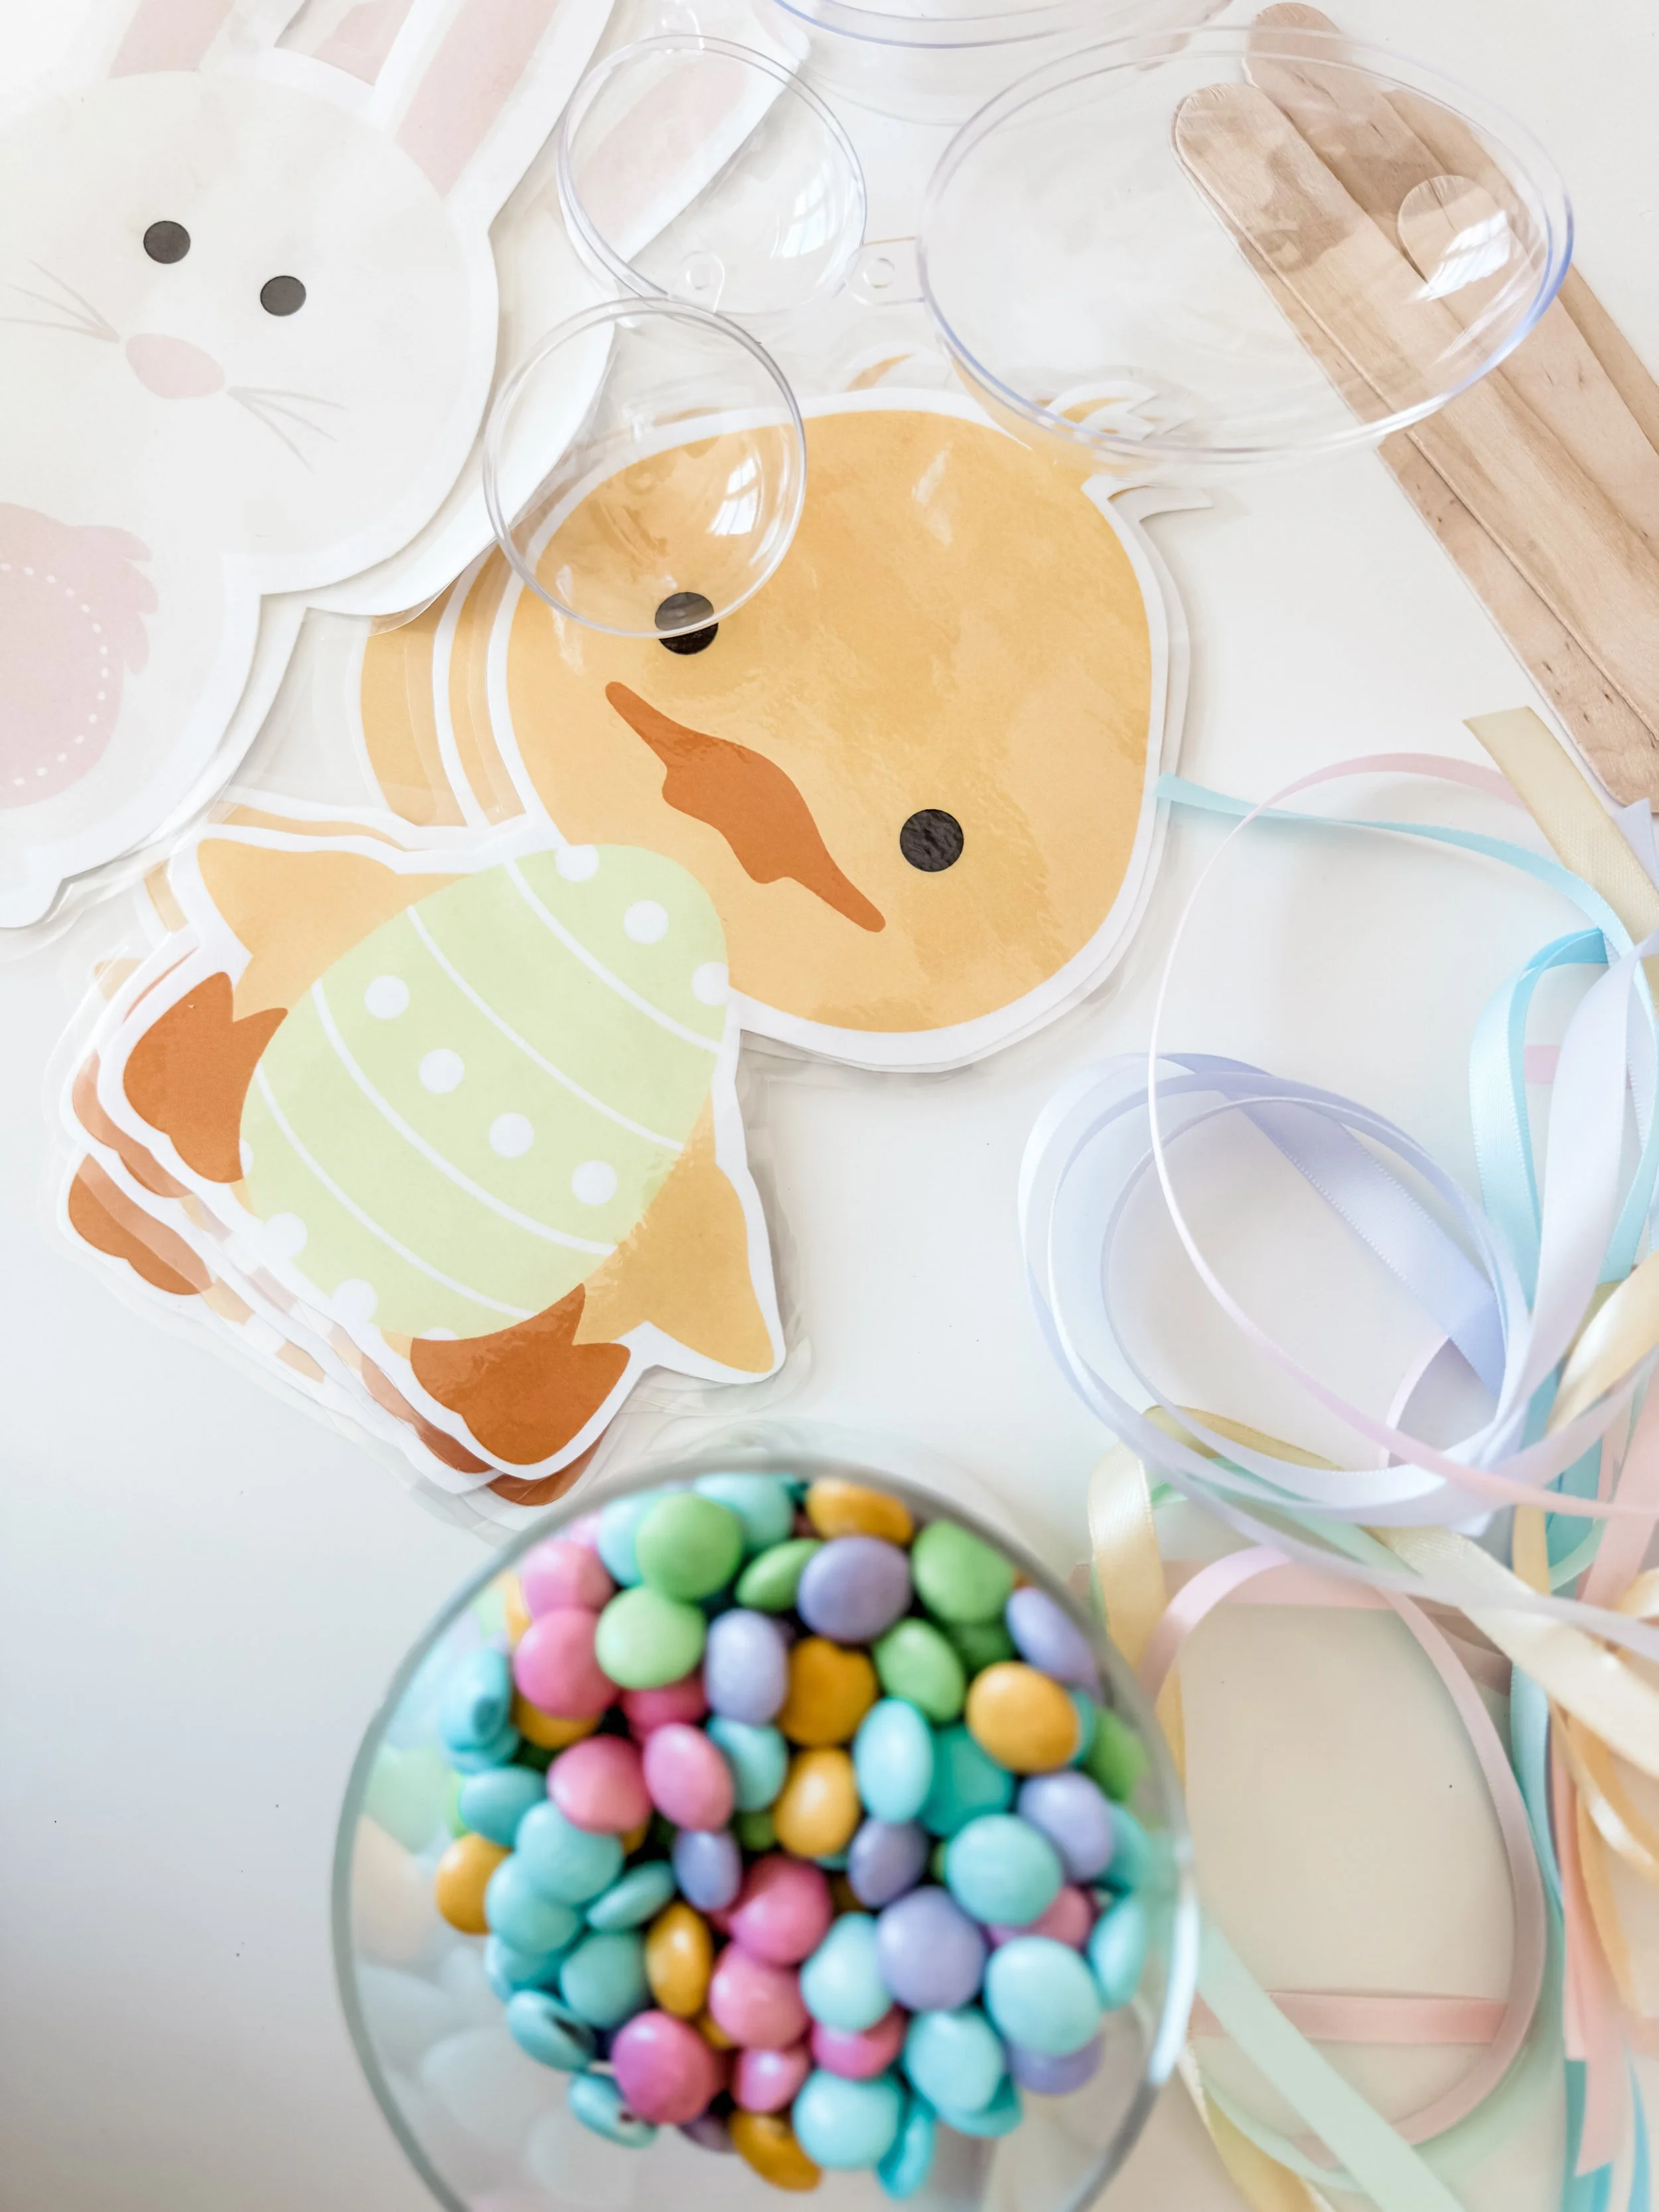
Craft supplies
Free Easter Shaker printable (printed on cardstock for best results)
Laminator + laminating pouches (highly recommended for durability)
Scissors
Clear plastic ornament halves
Hot glue gun + glue sticks (adult-only)
Shaker “filler” ideas (choose 1)
What This Craft Is
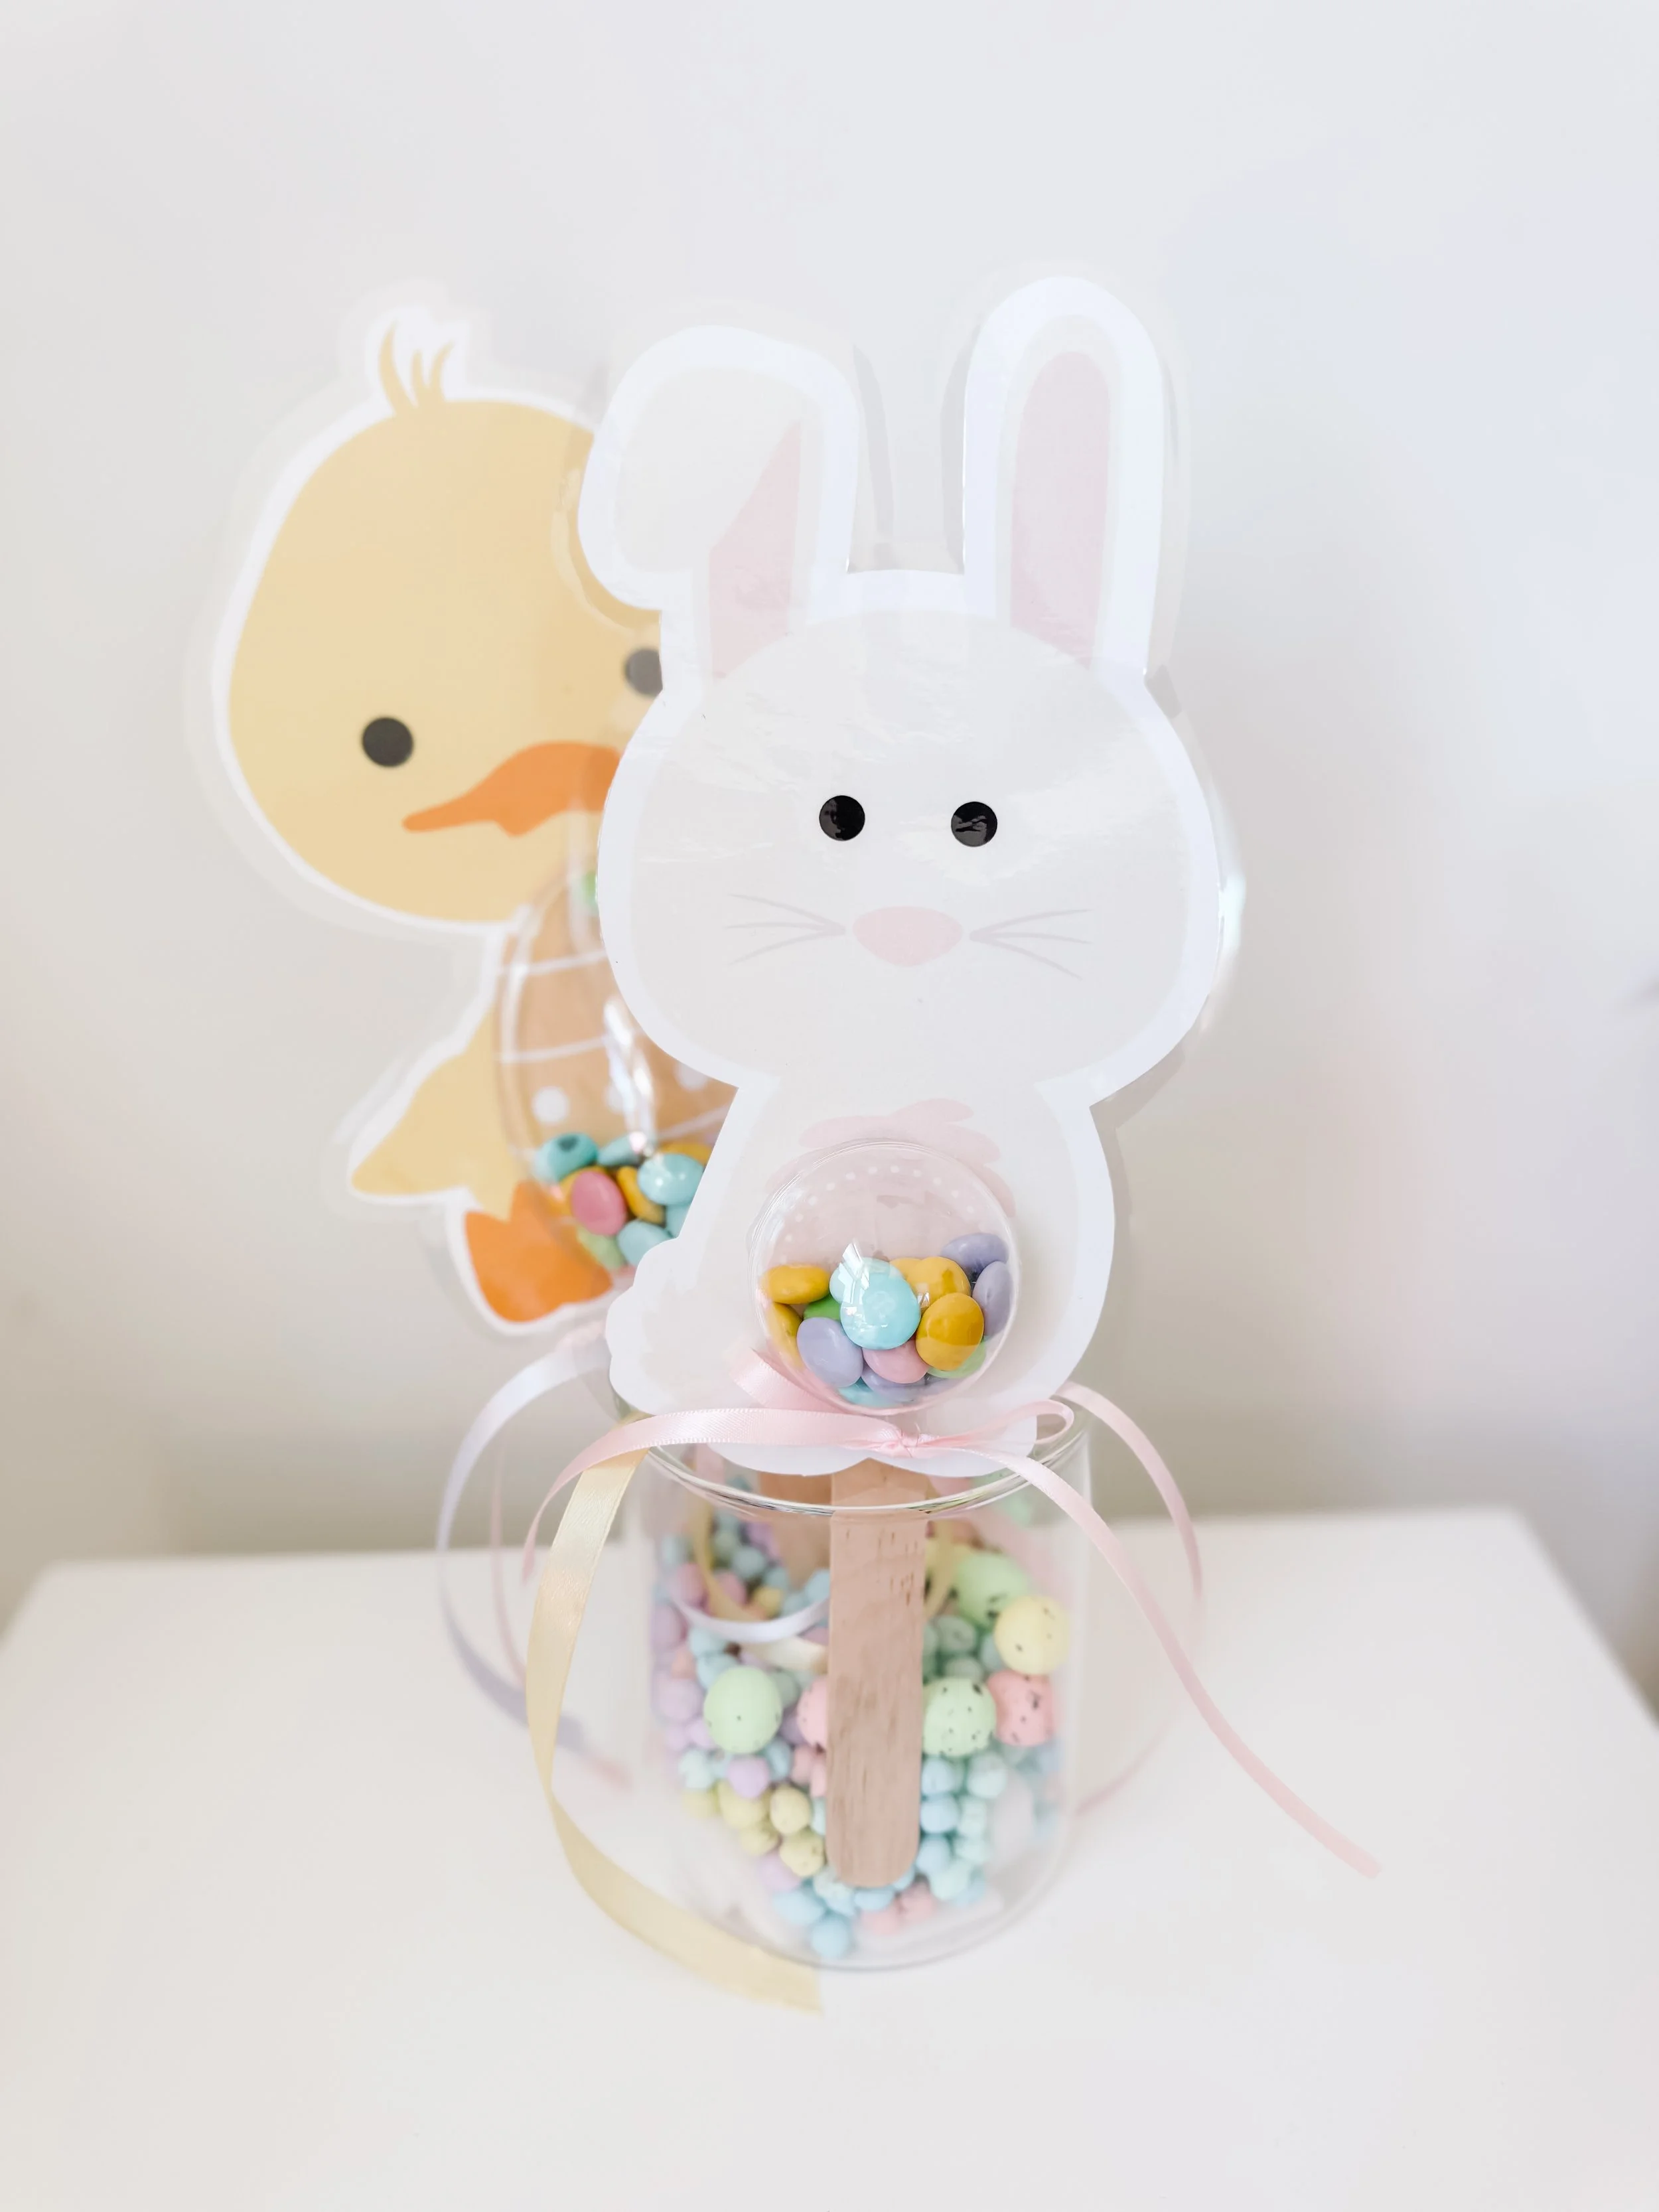
These Easter shakers are sweet little Spring characters (chicks + bunnies) with a clear “shaker belly” filled with colorful pieces that rattle when kids shake them. They’re perfect for:
Easter morning baskets
Spring classroom parties
A rainy-day Easter activity at home
A homeschool “Easter week” craft that ties into sensory play
If you’re building an Easter learning week, pair this with an Easter sensory setup
Step-by-Step Tutorial: How to Make Easter Shakers

Step 1: Print the free printable
Print your Easter shaker characters on cardstock for sturdier results.
Step 2: Cut out the characters
Cut around each character. Don’t stress about perfection—laminating makes everything look polished.
Step 3: Laminate the cutouts
Place your characters into laminating pouches and run them through your laminator.
Pro tip: Leave a small clear border around the edge when you cut them out after laminating—this keeps the laminate sealed.
Step 4: Trim the laminated shapes
Cut each laminated character out, leaving that small clear outline.
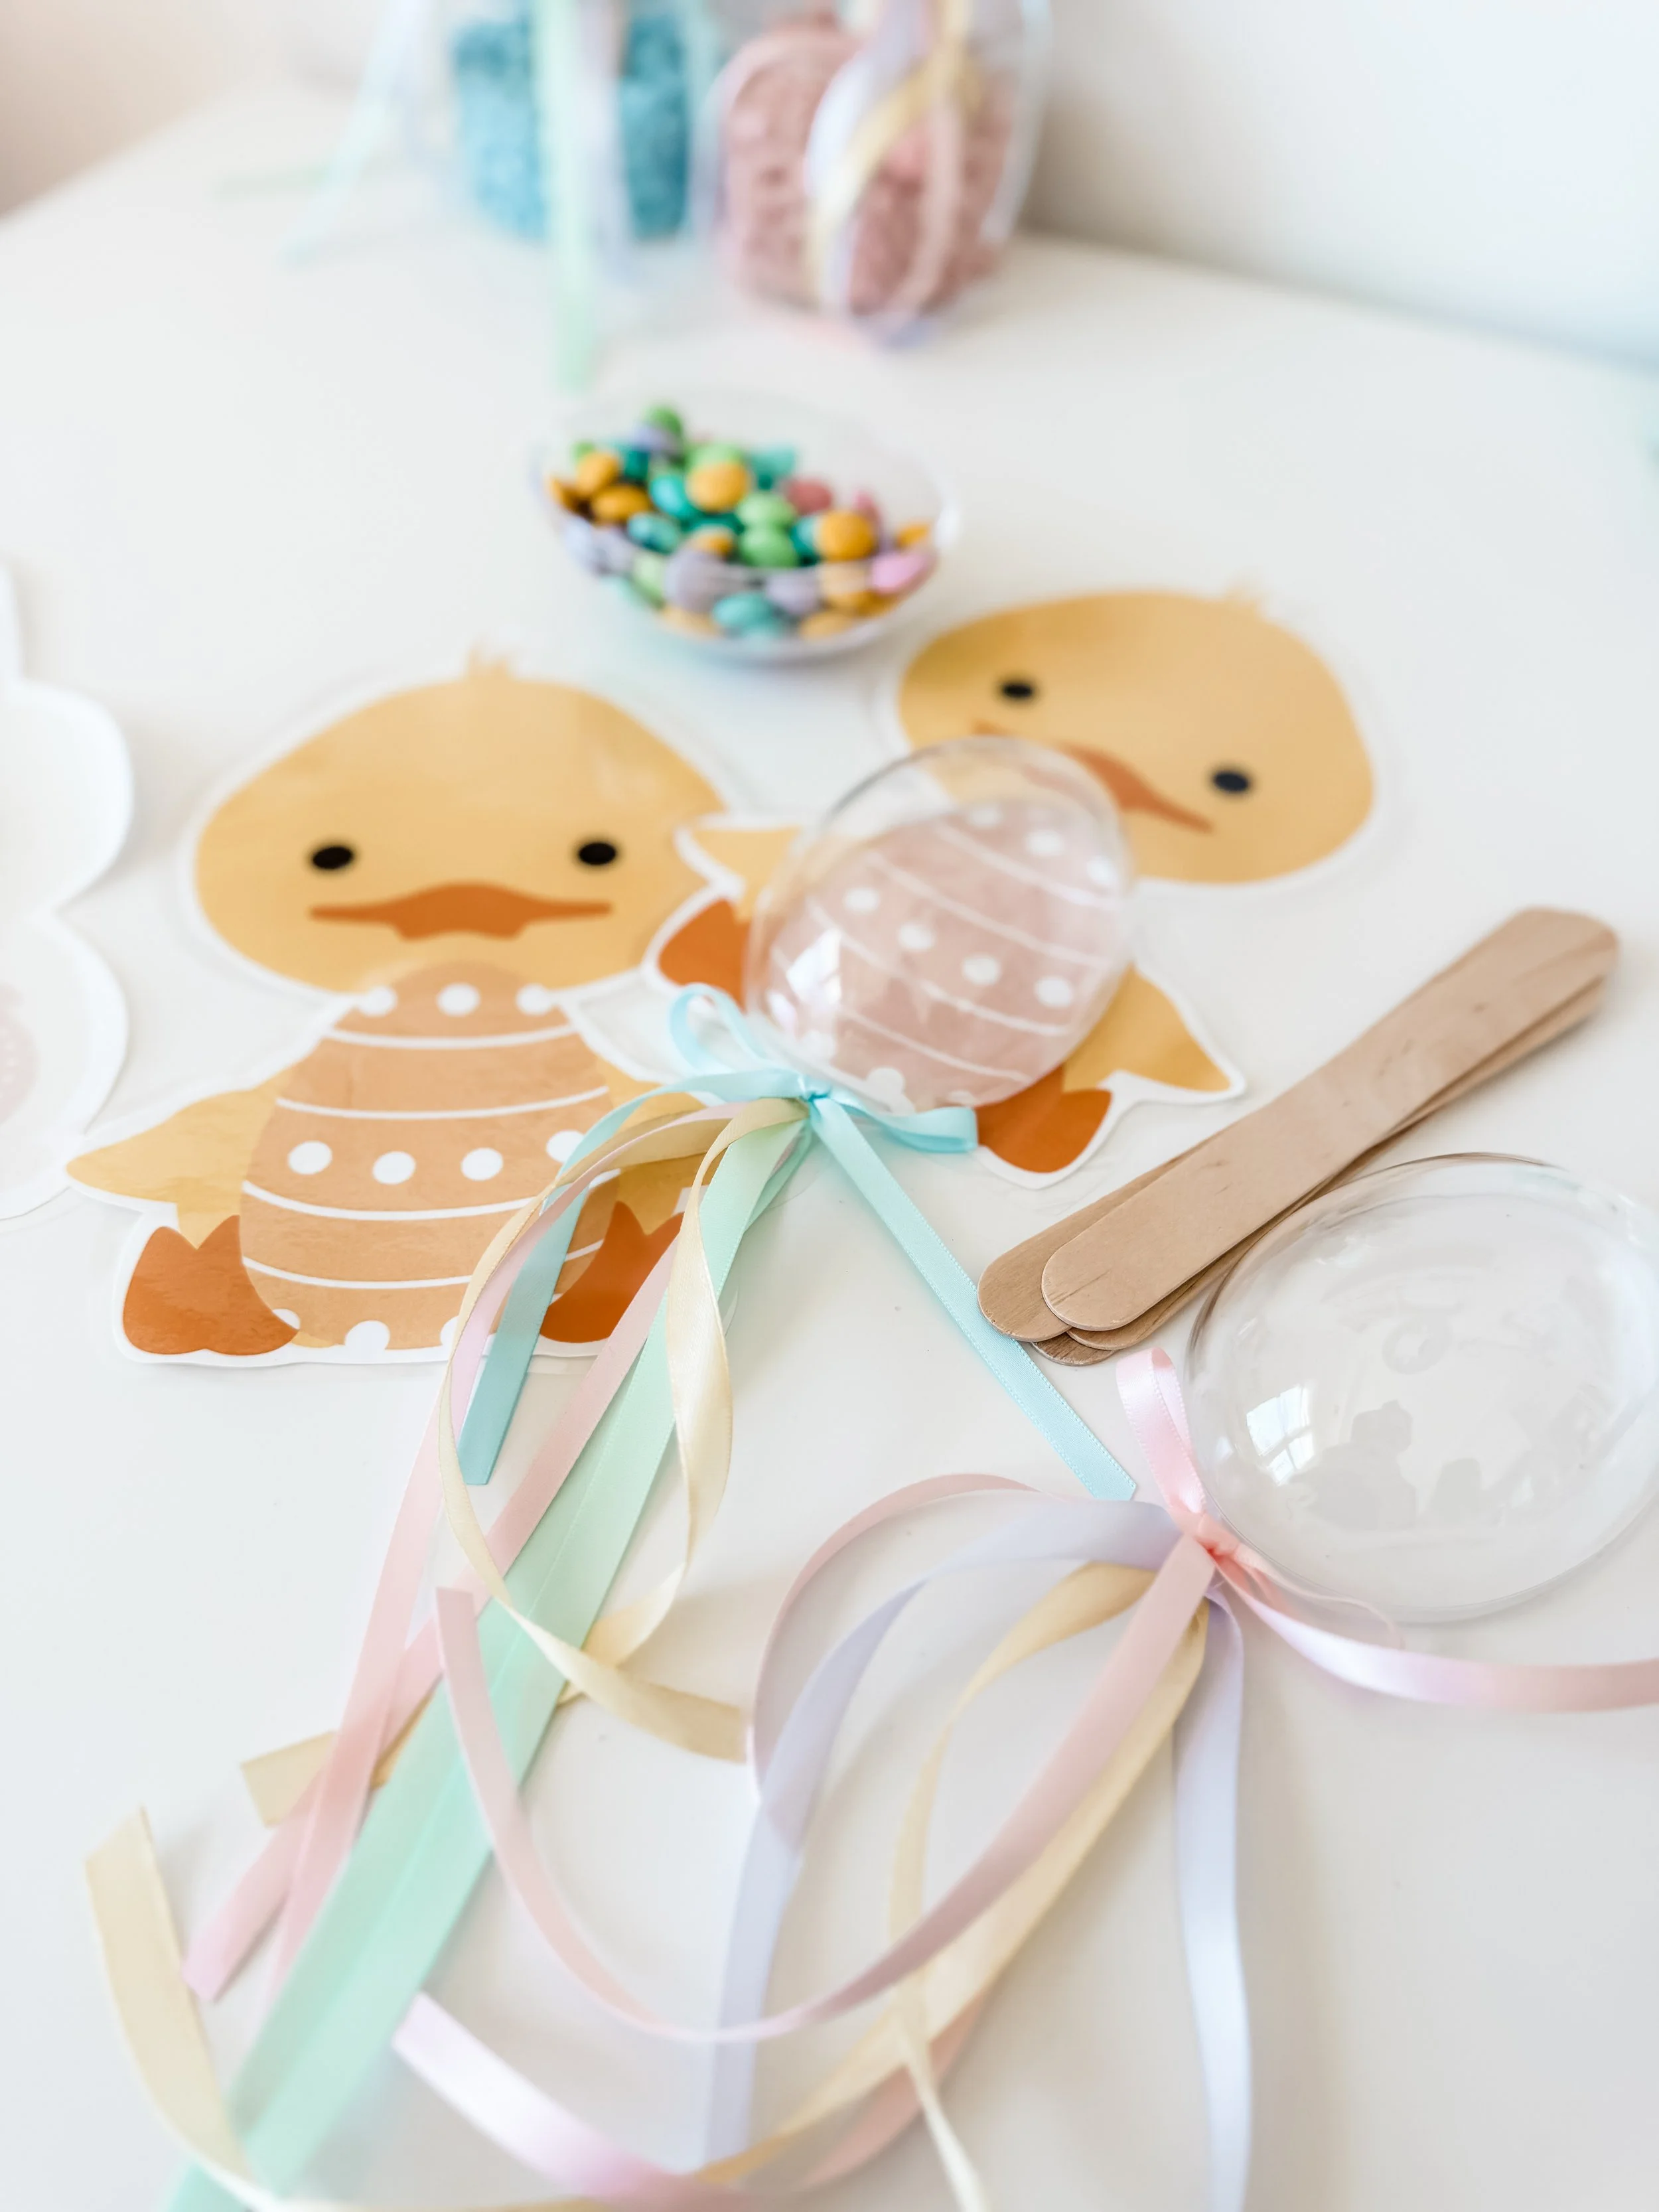
Step 5: Prep your shaker ornament
Use a clear fillable ornament (the kind that opens into two halves).
Add your filler into one side:
a small handful of pastel candies, or
beads/sequins/pom-poms
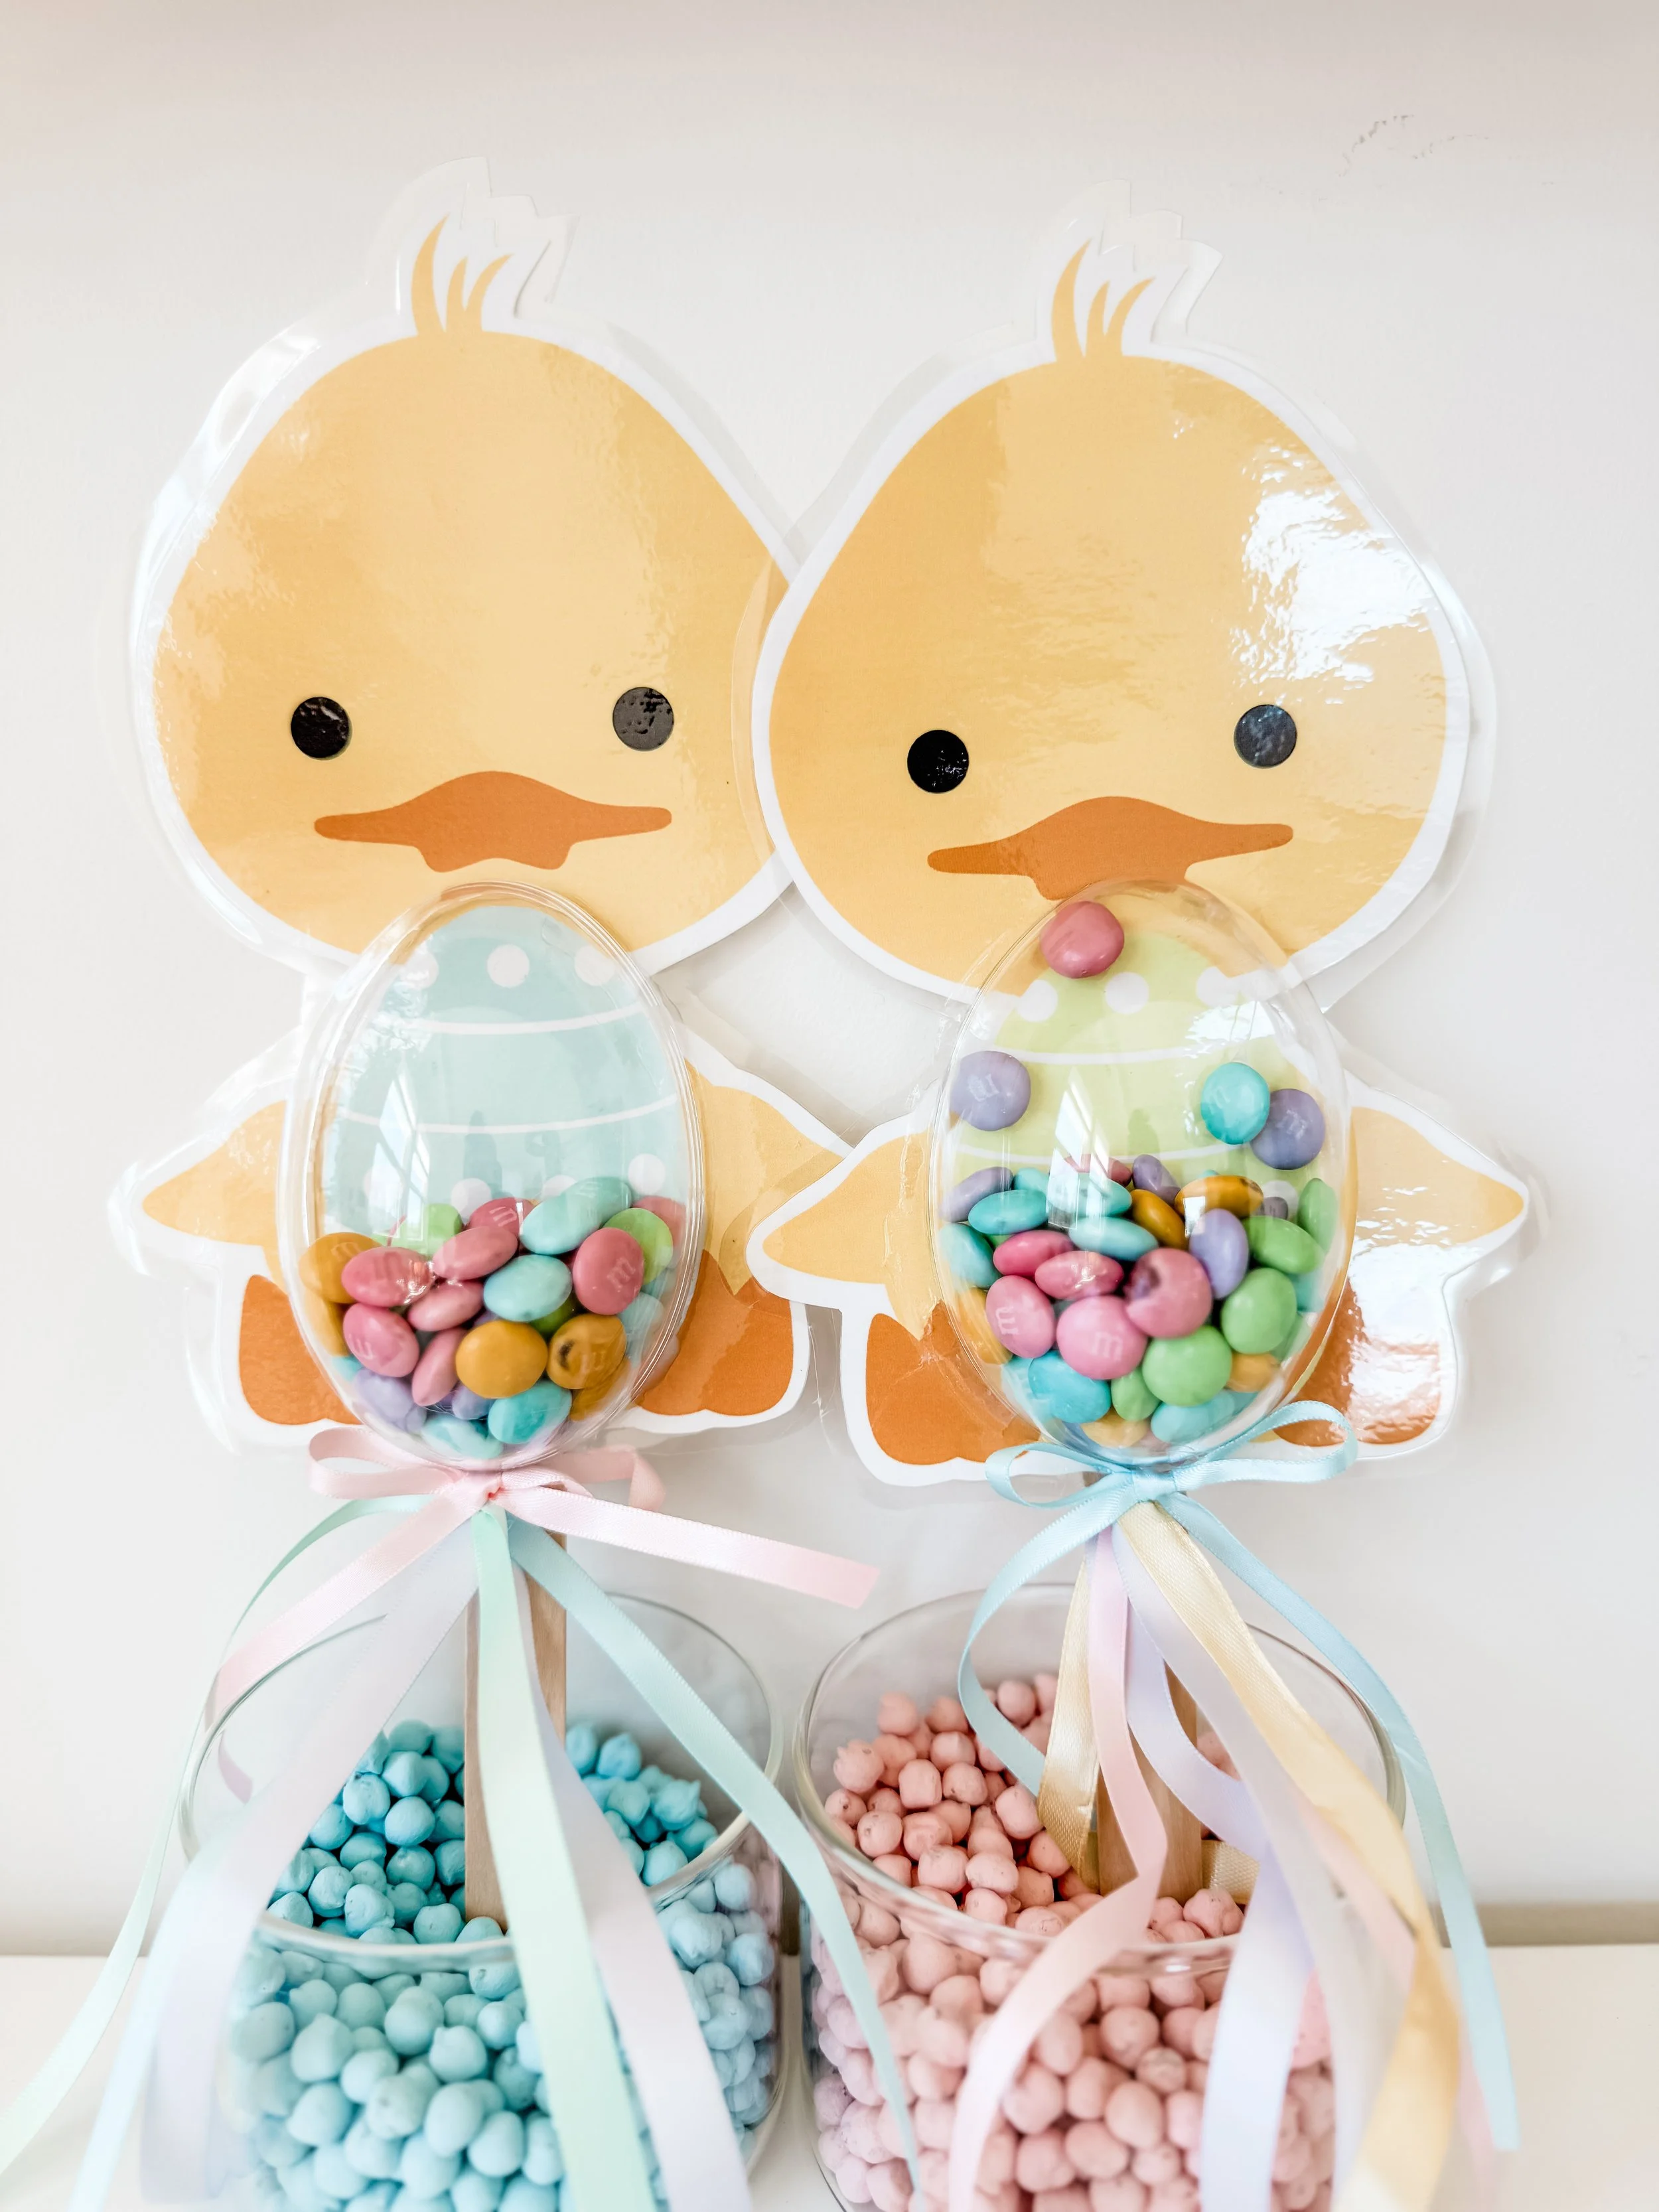
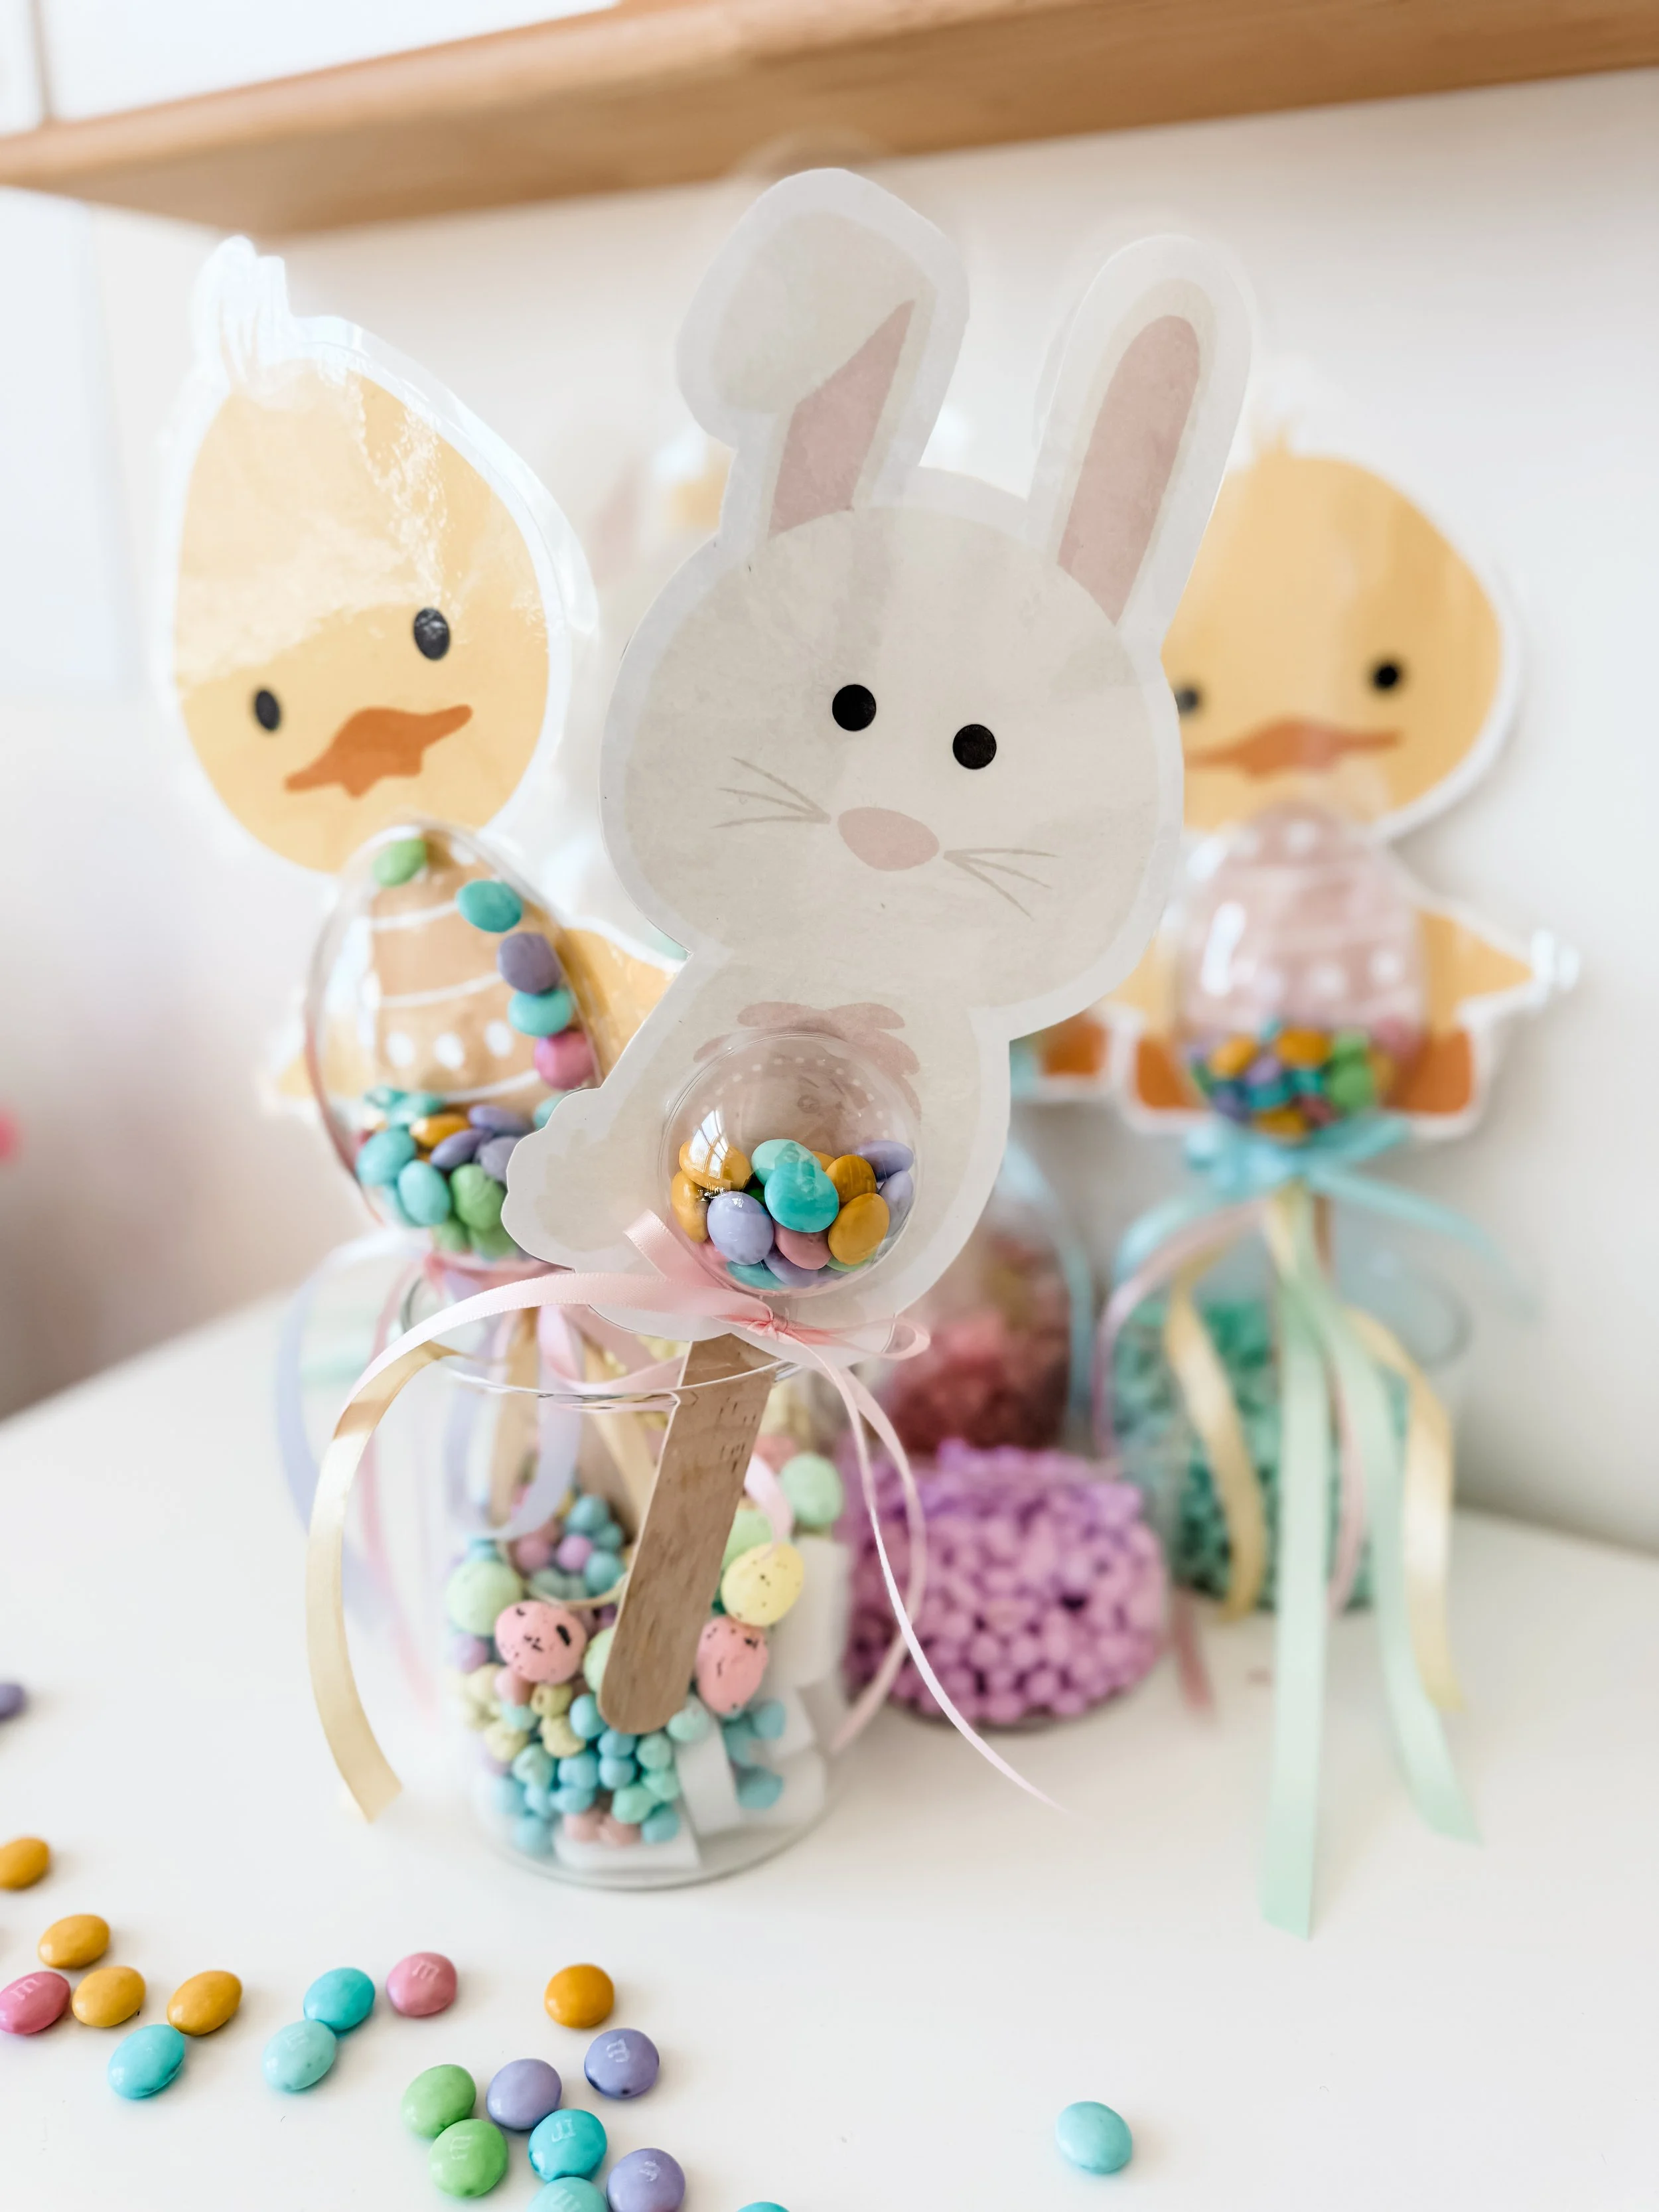
Step 6: Attach the shaker “belly” to your character
Hot glue the ornament onto the front of the character where you want the shaker belly to sit (centered looks best). The best way is to put glue on the character first outlining the shape of the circle or the egg. Leave a small opening at the bottom with no glue so that you can fill it with treats. Place the plastic ornament on top and press and hold until the hot glue dries.
Step 7: FILL THE BELLY
This is a great activity for your little helpers to partake! With the opening at the bottom, pop in the fillers or treats.
Step 8: Add the craft stick handle
Hot glue a jumbo craft stick to the back (like a lollipop). Hold it in place until fully set.
Step 9: Finish with ribbon
Tie ribbon near the top of the stick (right under the character) for that “giftable” look. The ornaments that I used had a small hole at the top so I threaded the ribbon through the ornament hole and then tied a bow and hot glued it to the front for a polished look.
Step 10: Shake + play!
Make a few and start a mini Easter “parade” around the house, or use them during songs, story time, and play-based learning.
Easy Ways to Extend the Activity (So It’s Not “Just a Craft”)
Color Hunt: “Find something in the room that matches your shaker filler!”
Sound Play: loud vs quiet shaking (great for self-regulation)
Counting: count the candies as you add them
Patterning: alternate colors while filling the ornament
Storytelling: name your chick/bunny and invent a Spring story
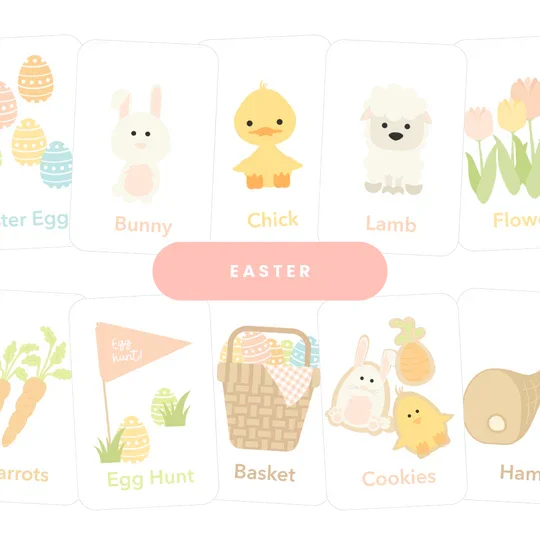
Pair This Craft With More Easter + Spring Ideas From GoodnightFox
If you’re looking for even more Easter fun, these craft activities, snack ideas, and learning materials are all part of Easter Week in our preschool Play School Planner. We loving sharing play ideas that make kids smile and these Easter favorites are sure to impress.
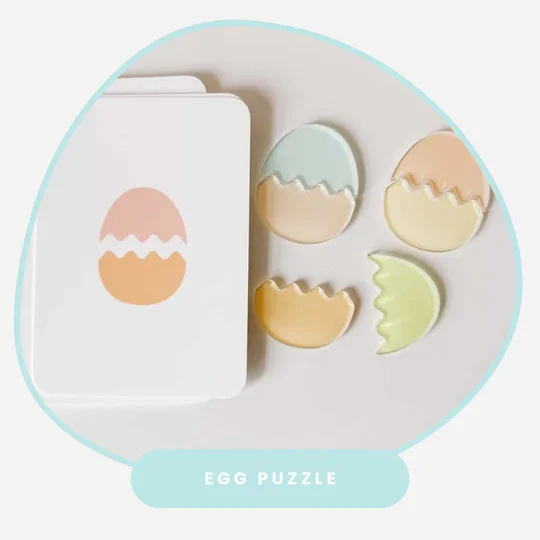

More Easter Play awaits in our Sensory Play Shop
If you’re looking for more fun, packaged up and ready to go, these pair beautifully:
FAQ + Safety Notes
Are these safe for toddlers?
With supervision, yes—but these contain small pieces. For toddlers who mouth items, swap candy/beads for larger pom-poms and seal the ornament extra well.Do I have to laminate?
You can skip it, but laminating makes them sturdy enough to reuse year after year.What if I don’t have clear ornaments?
Any clear fillable “shaker” works: plastic eggs, flat photo shakers, or even a small clear bag taped securely (less durable, but works in a pinch).