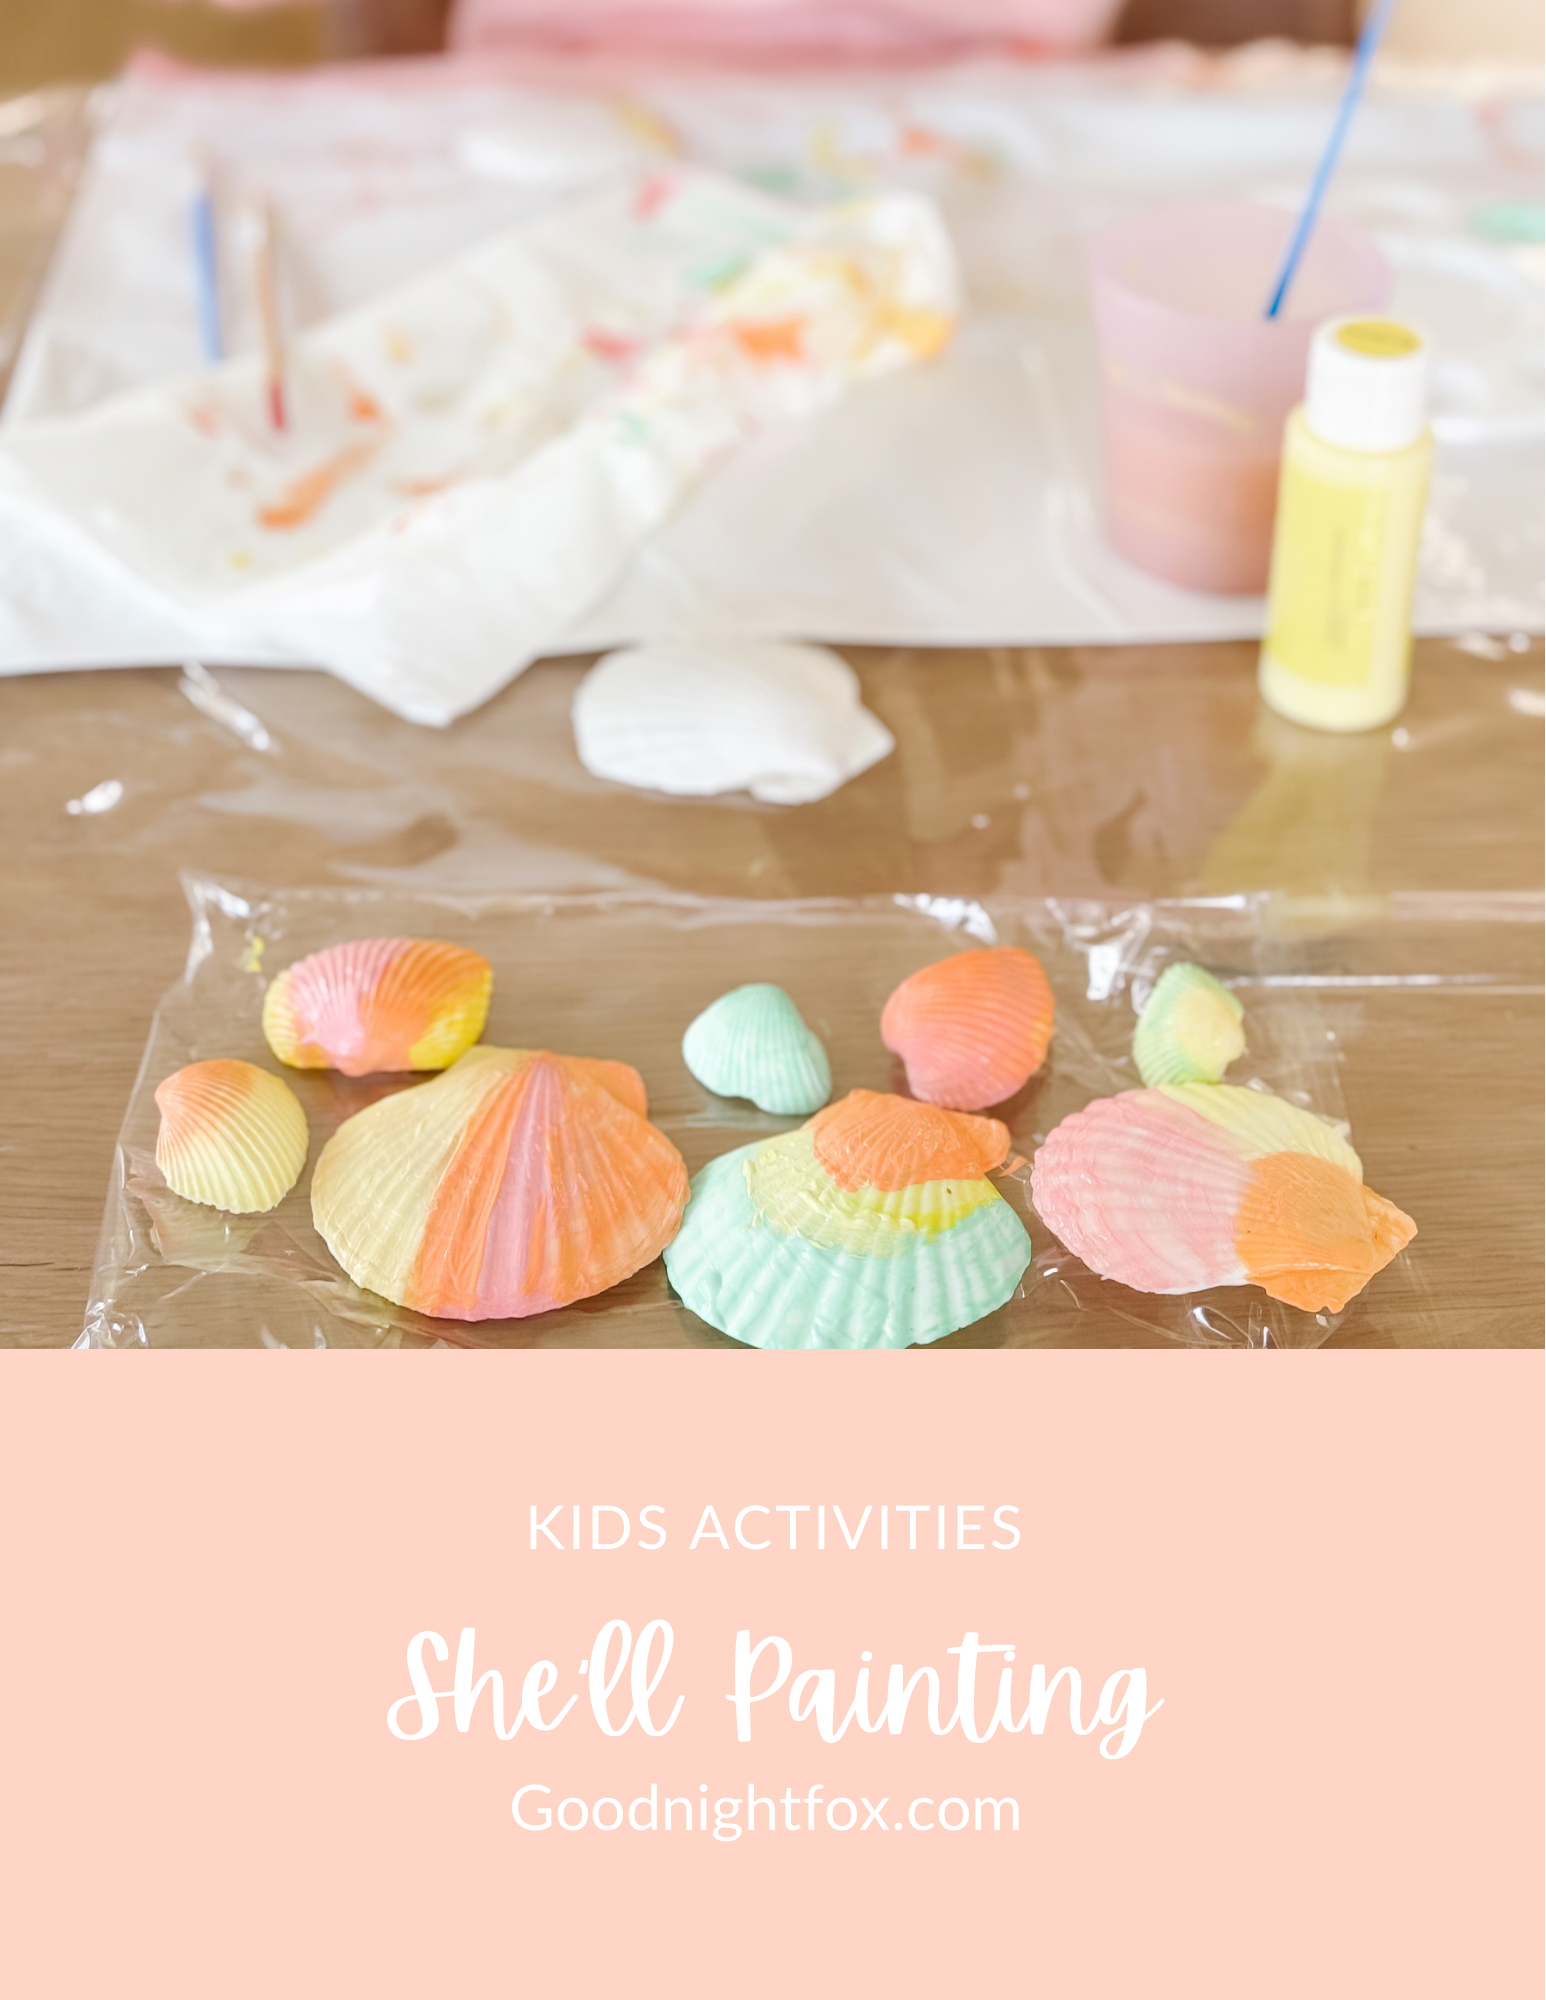
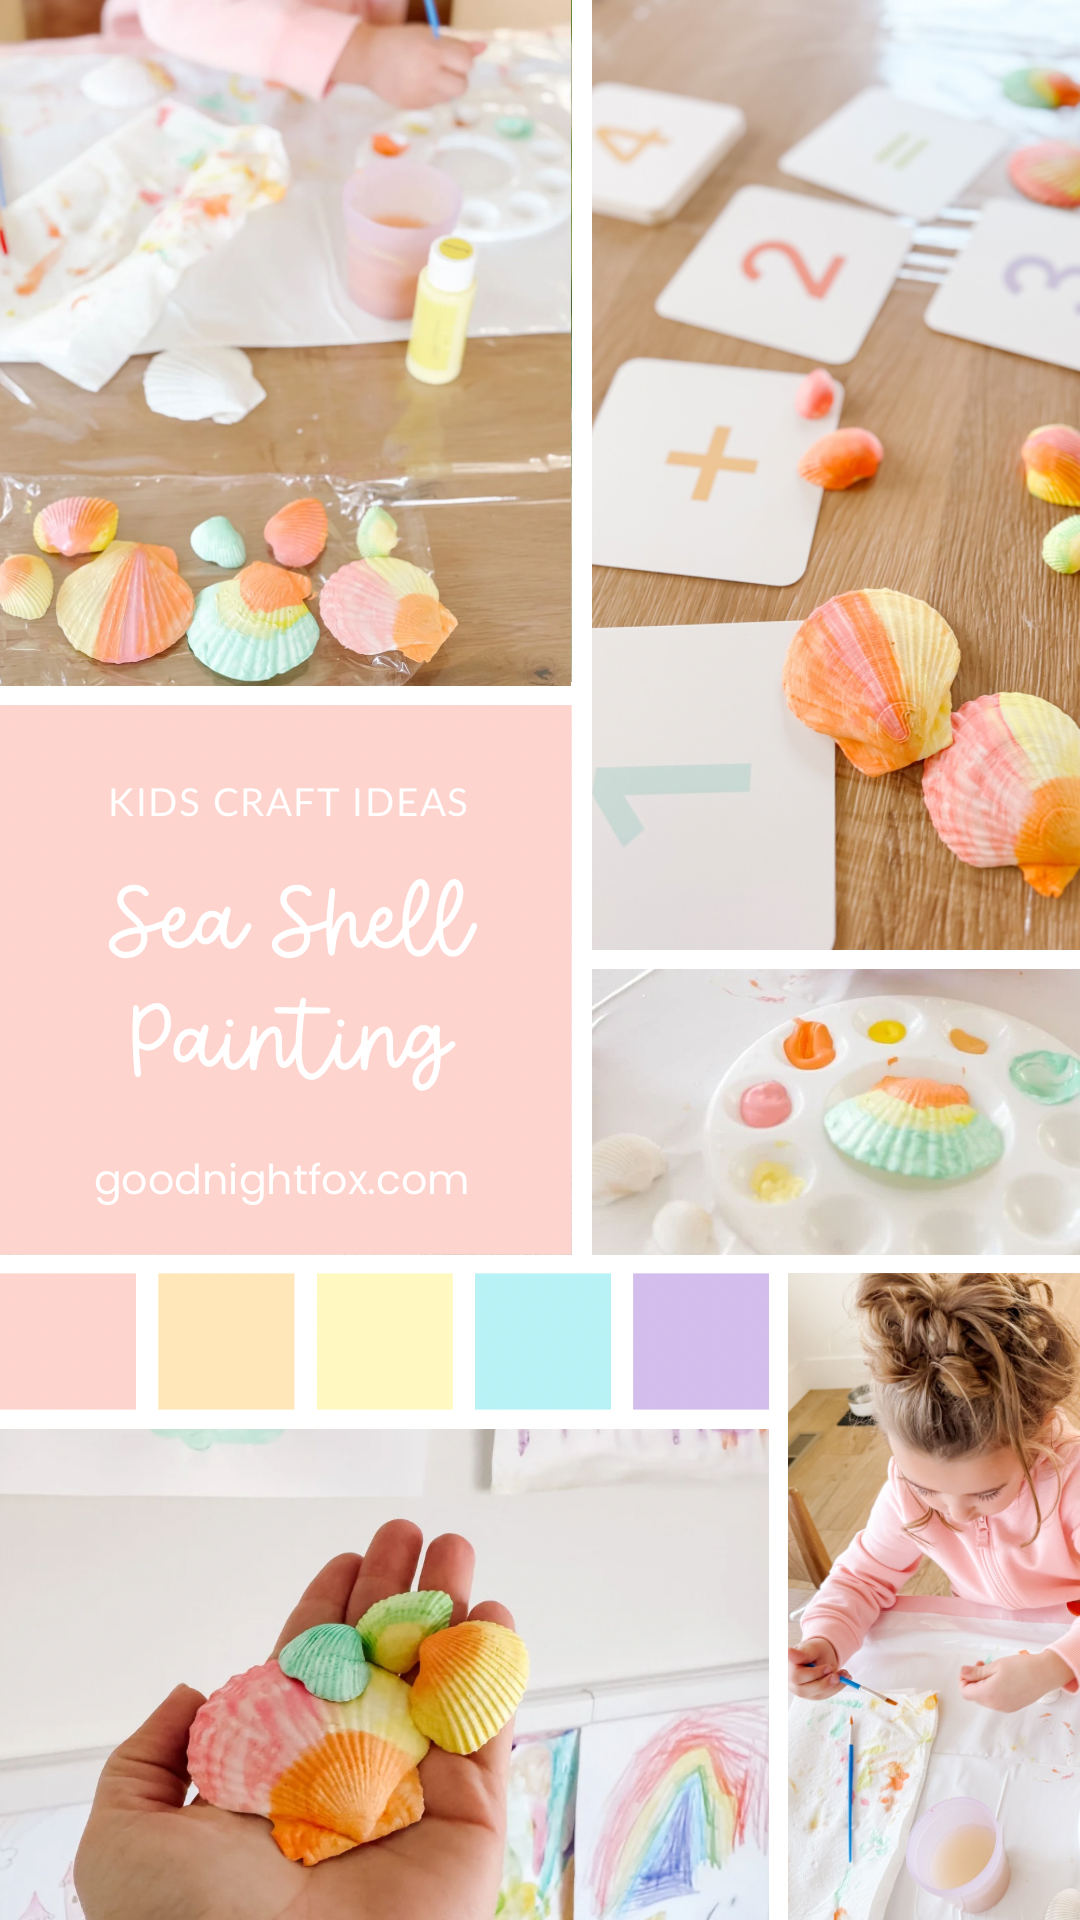
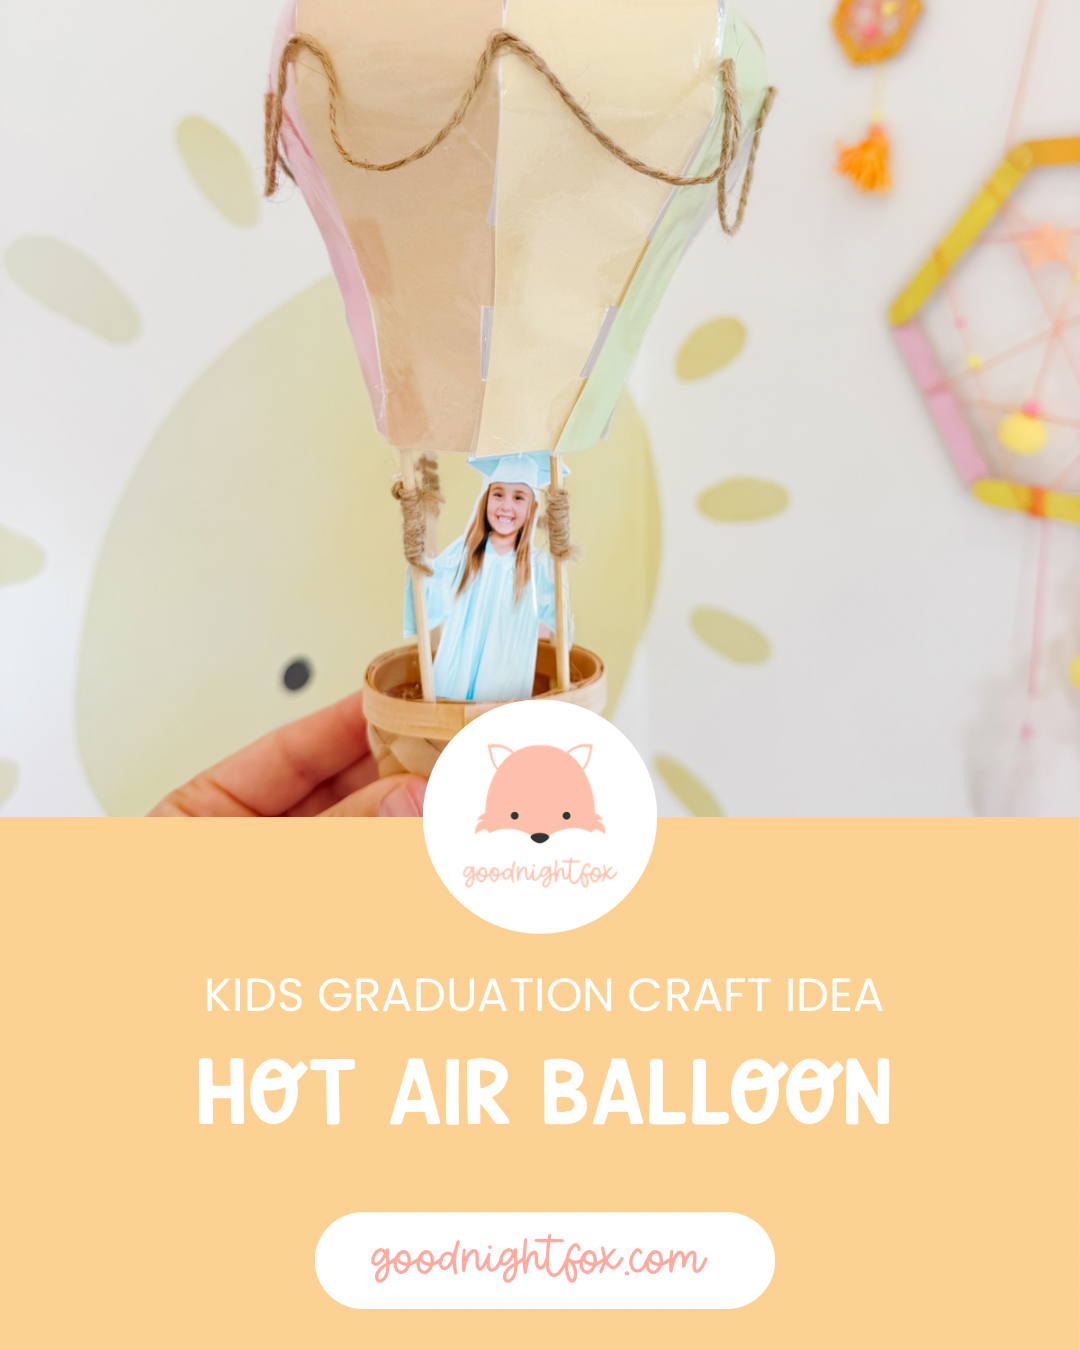
Hot Air Balloon Graduation Craft
Celebrate a preschool or kindergarten graduate with an “Oh, the Places You’ll Go!”-inspired hot air balloon keepsake featuring the child’s photo, favorite colors, dreams, and hopes for the next adventure.
A little balloon for a very big milestone
Preschool and kindergarten graduation can feel surprisingly emotional. One minute your child is learning how to hang up a backpack, open a lunchbox, and sit for circle time. The next minute, they are standing in a tiny graduation cap, ready to move on to a brand-new classroom.
I wanted to create a keepsake that captured more than the graduation photo. I wanted something that represented the excitement, uncertainty, and possibility of everything still ahead.
A hot air balloon felt perfect.
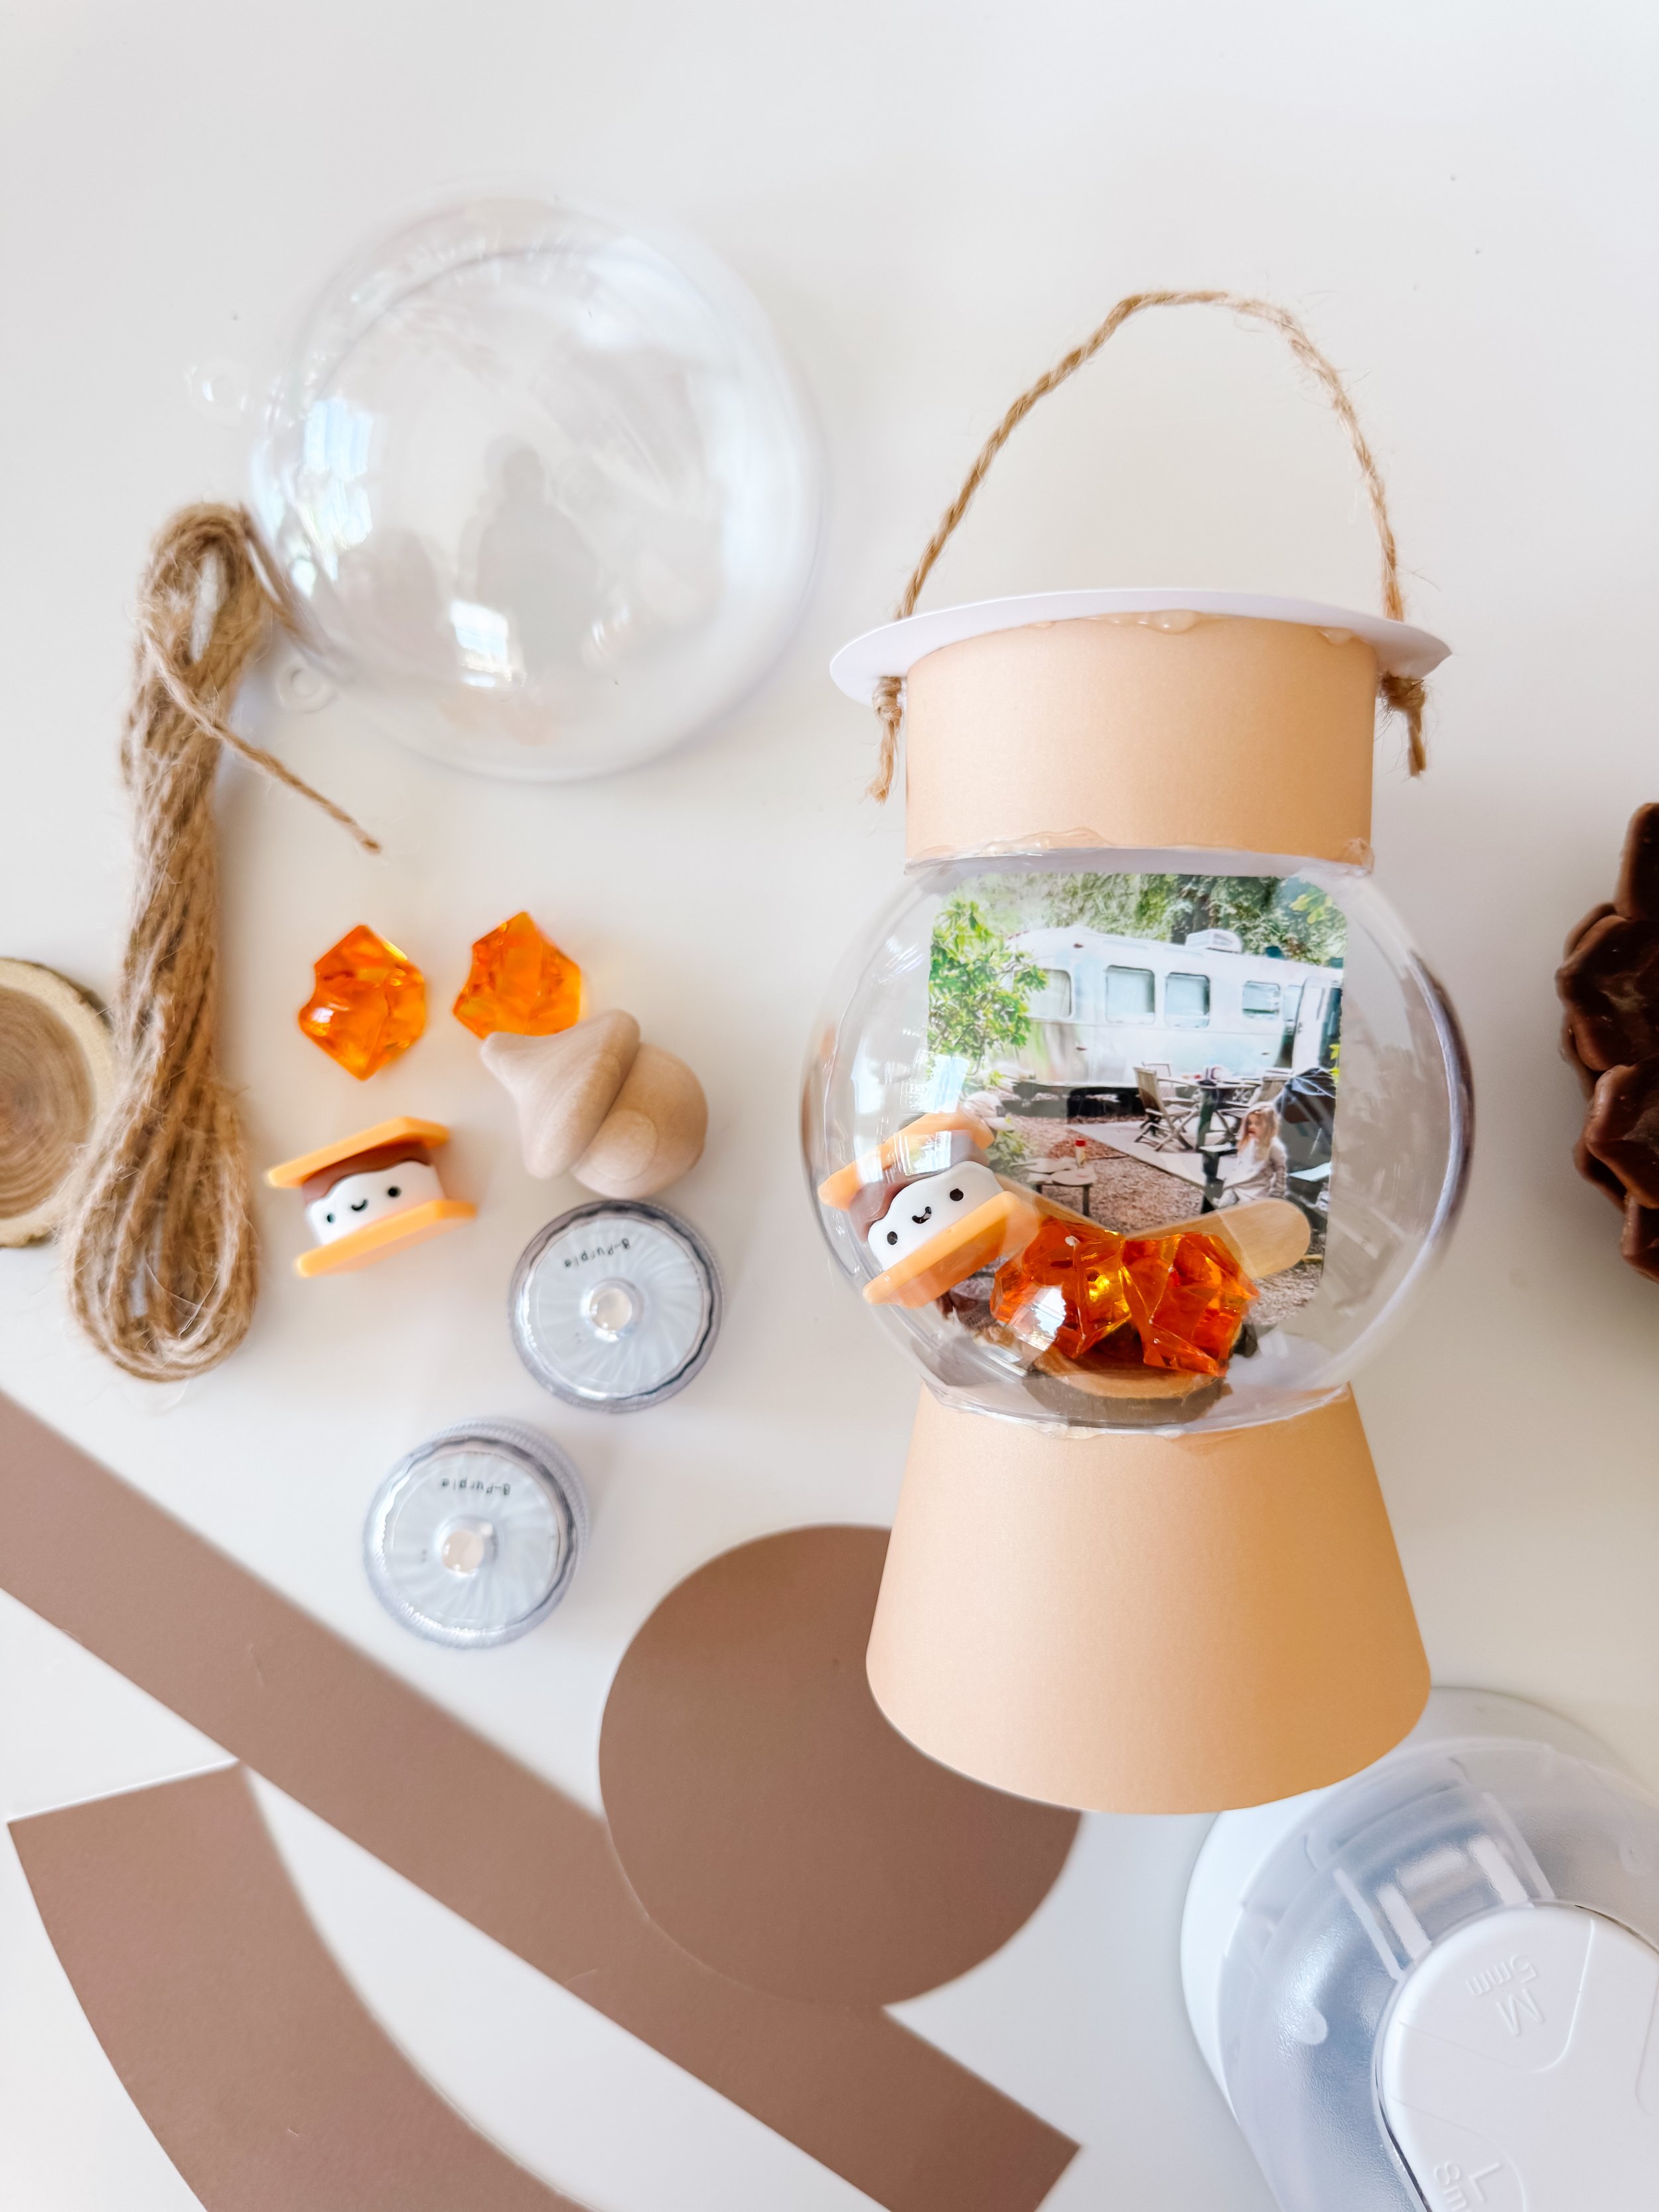
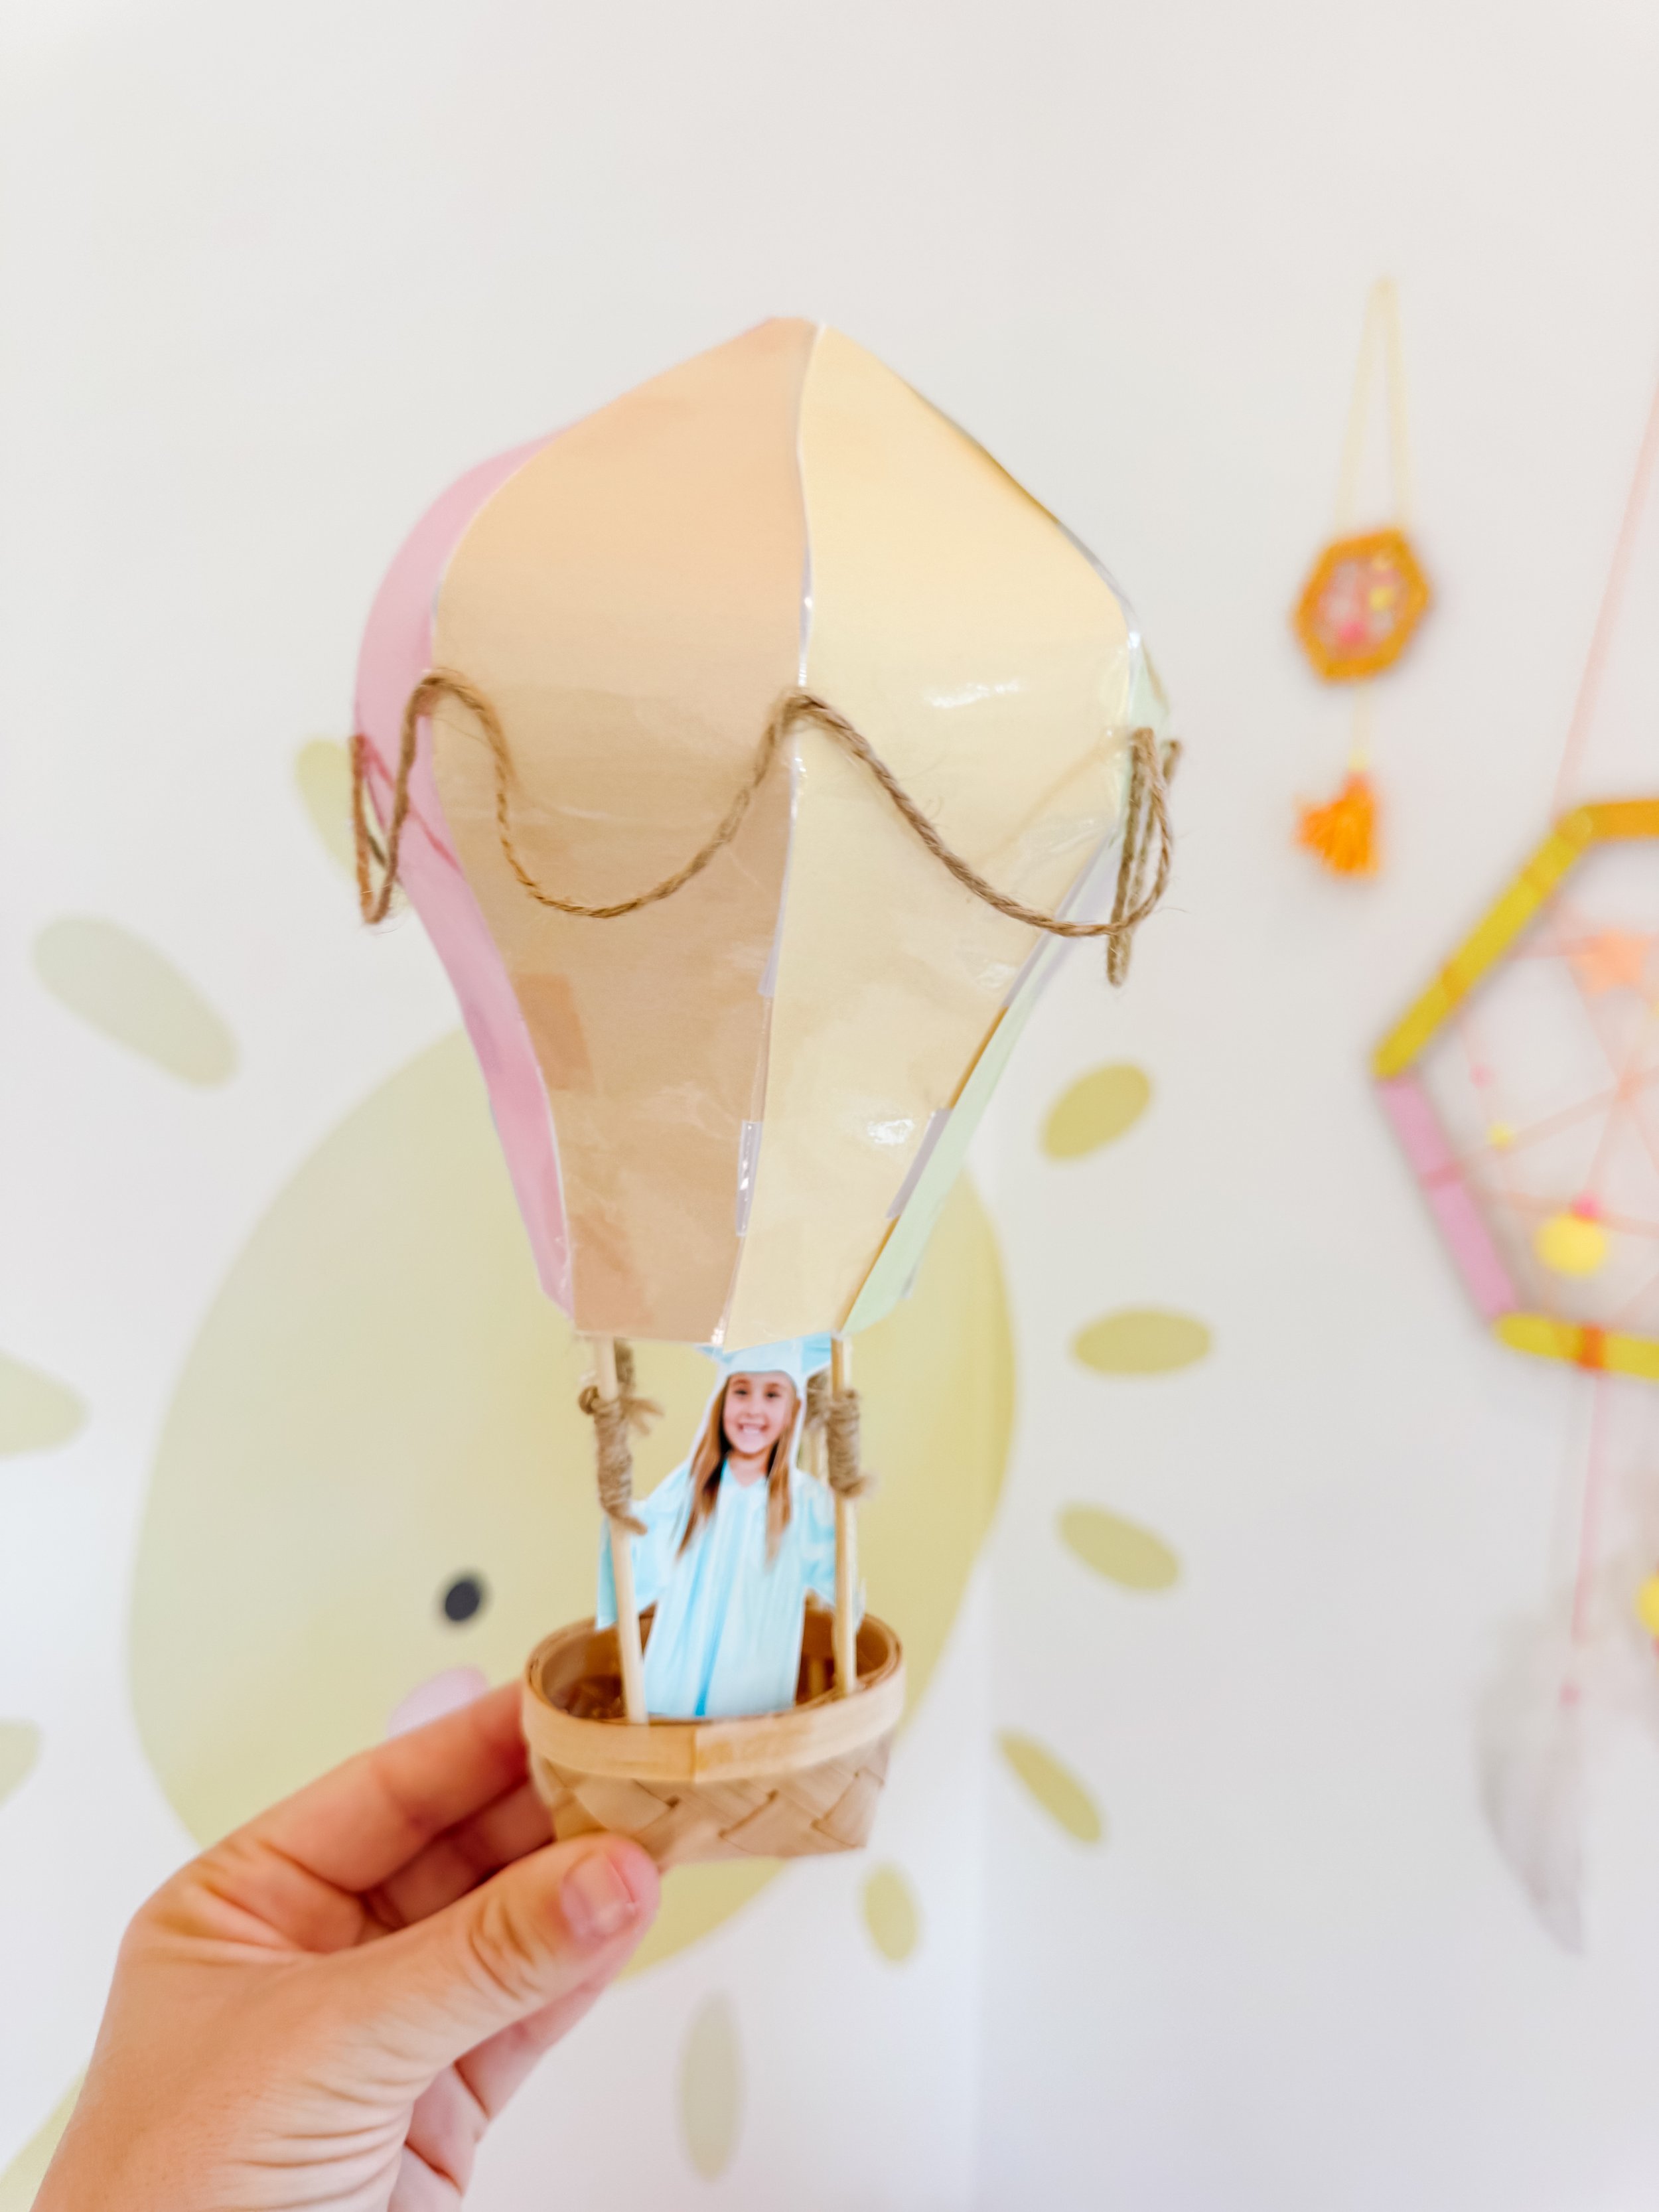
We built a dimensional pastel balloon from curved paper panels, added a miniature basket, and placed the graduate’s photo inside as though she were beginning her next great adventure.
The finished craft can stand alone as a graduation decoration, but it becomes even more meaningful when children add their own dreams, memories, and predictions. Years later, it will be fun to look back at what they imagined for themselves at this exact moment.
Make it a graduation time capsule
Before assembling the balloon, ask your child a few questions and write their answers on small slips of paper. Tuck the answers into the basket or attach them to the back of the craft.
- What was your favorite thing about school this year?
- What are you most proud of learning?
- What do you want to learn next?
- What do you want to be when you grow up?
- Where would you travel in a hot air balloon?
- What do you think your next classroom will be like?
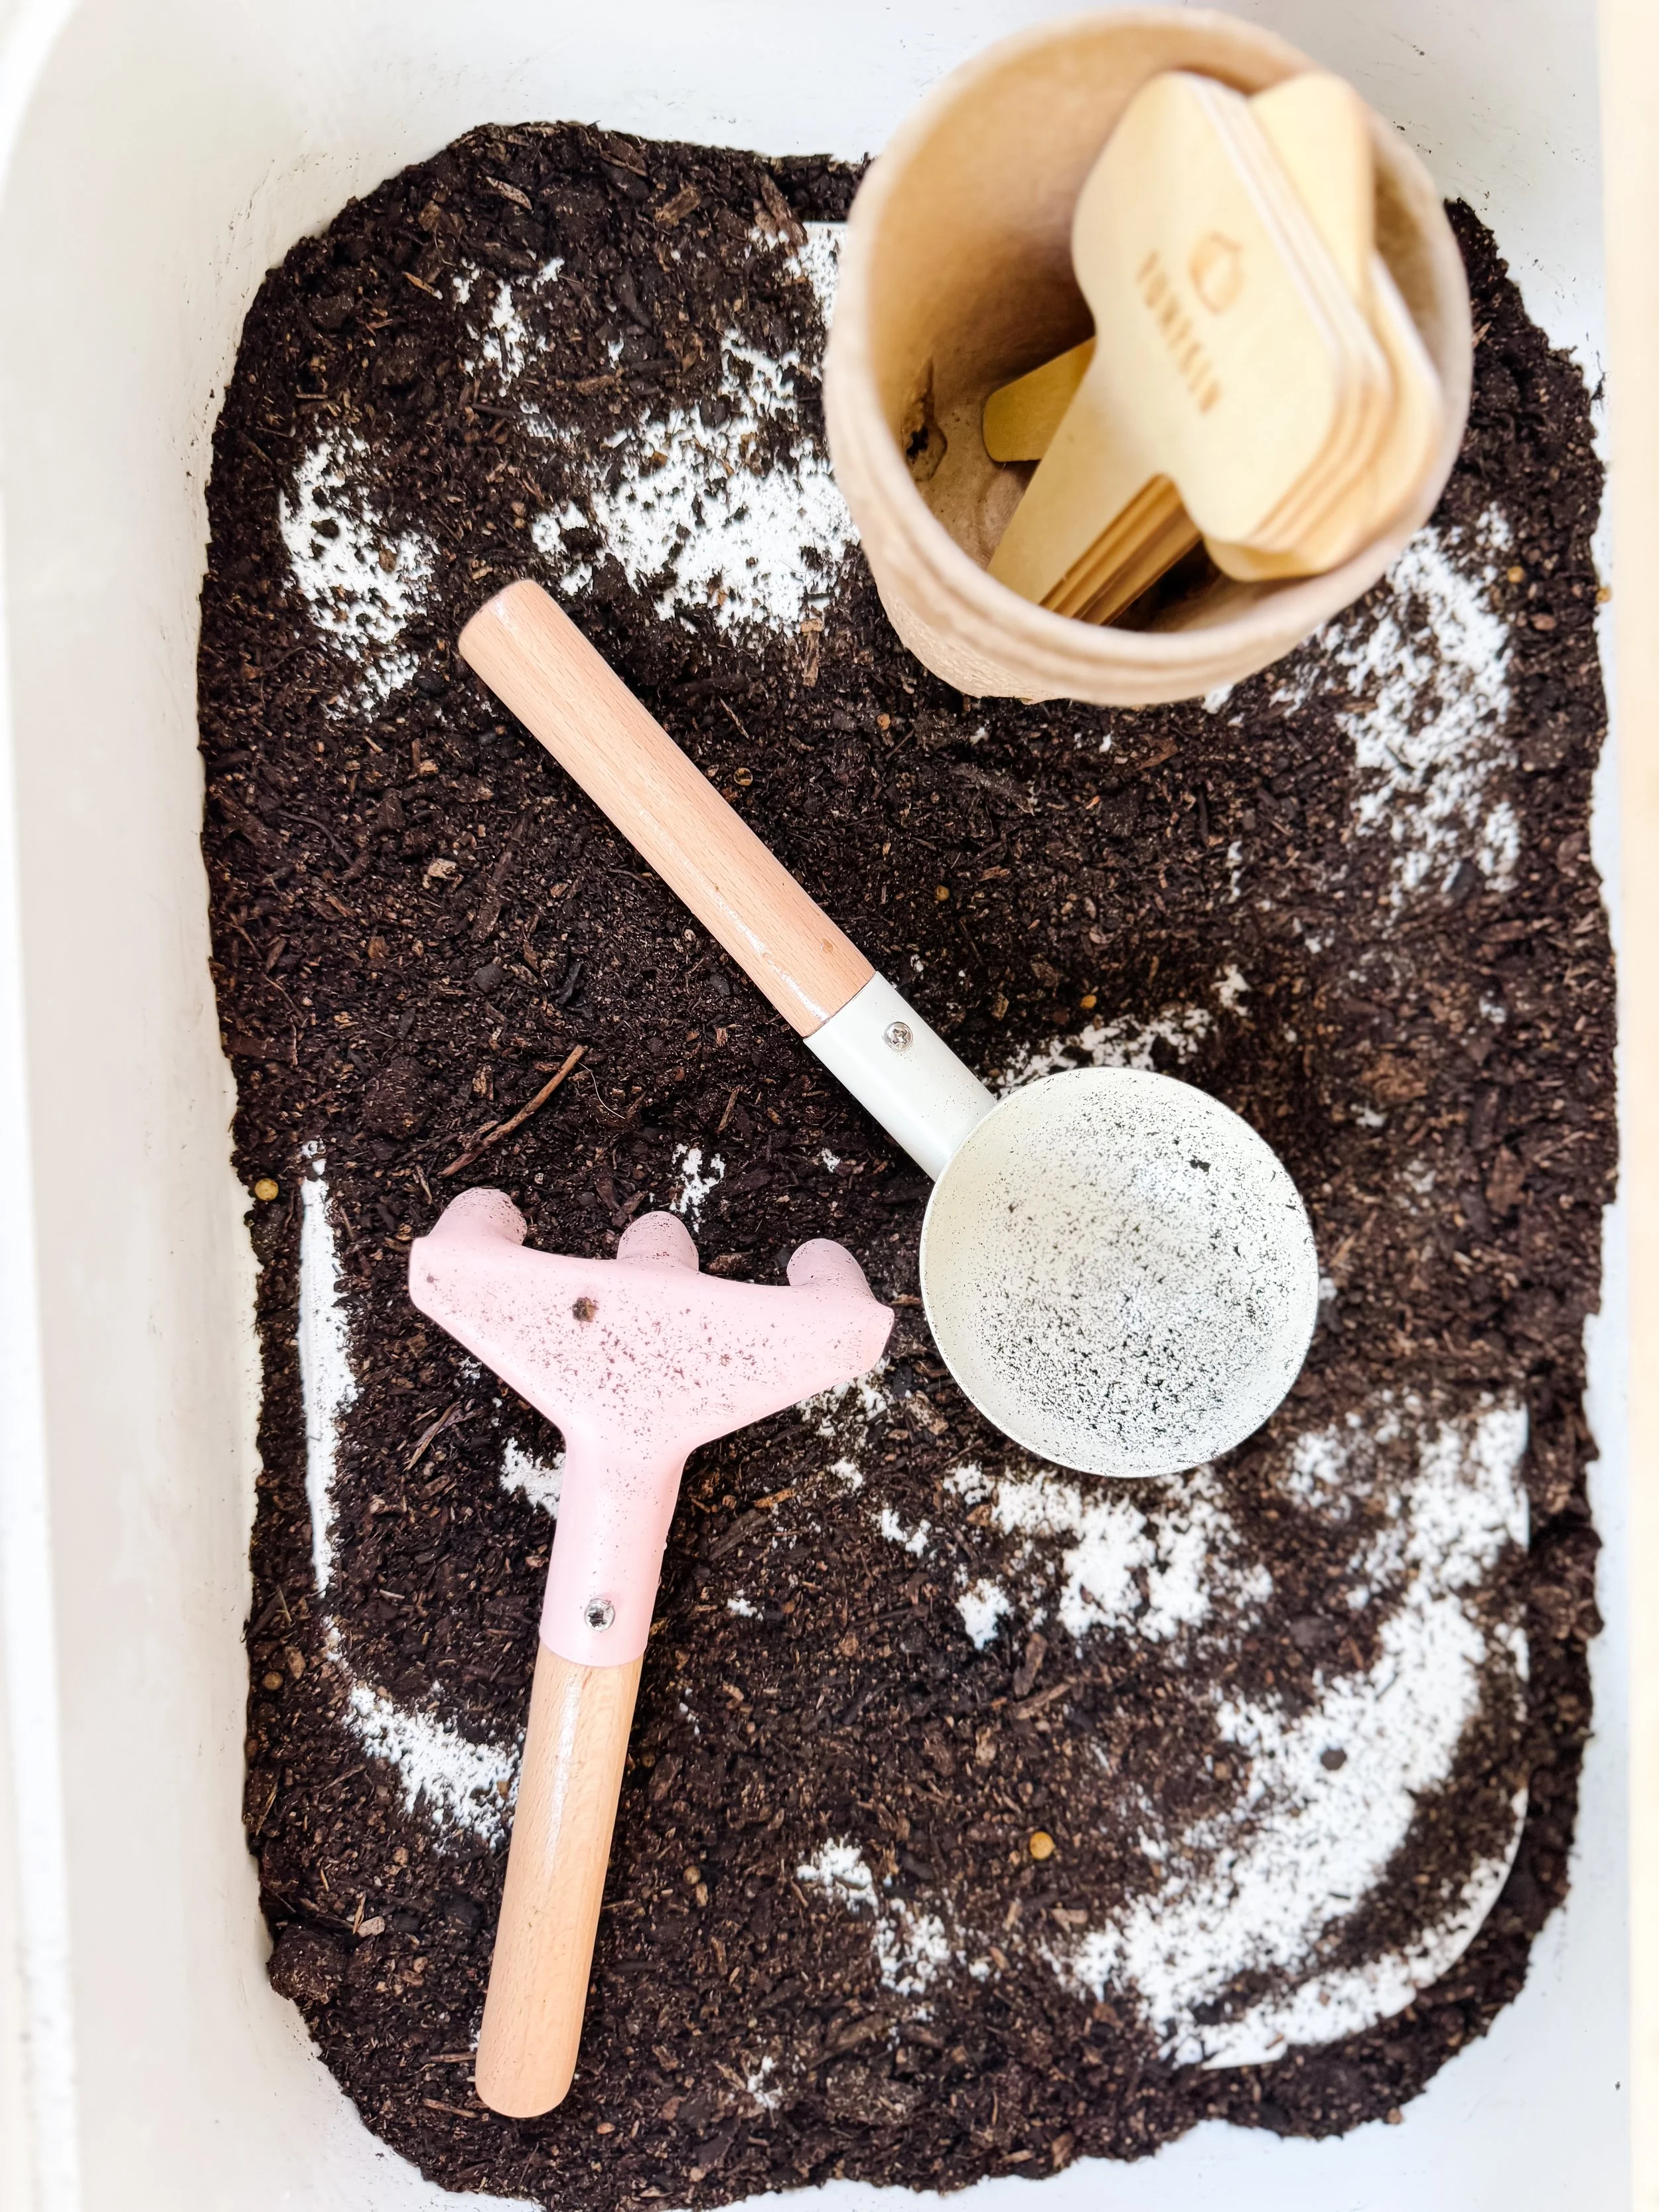
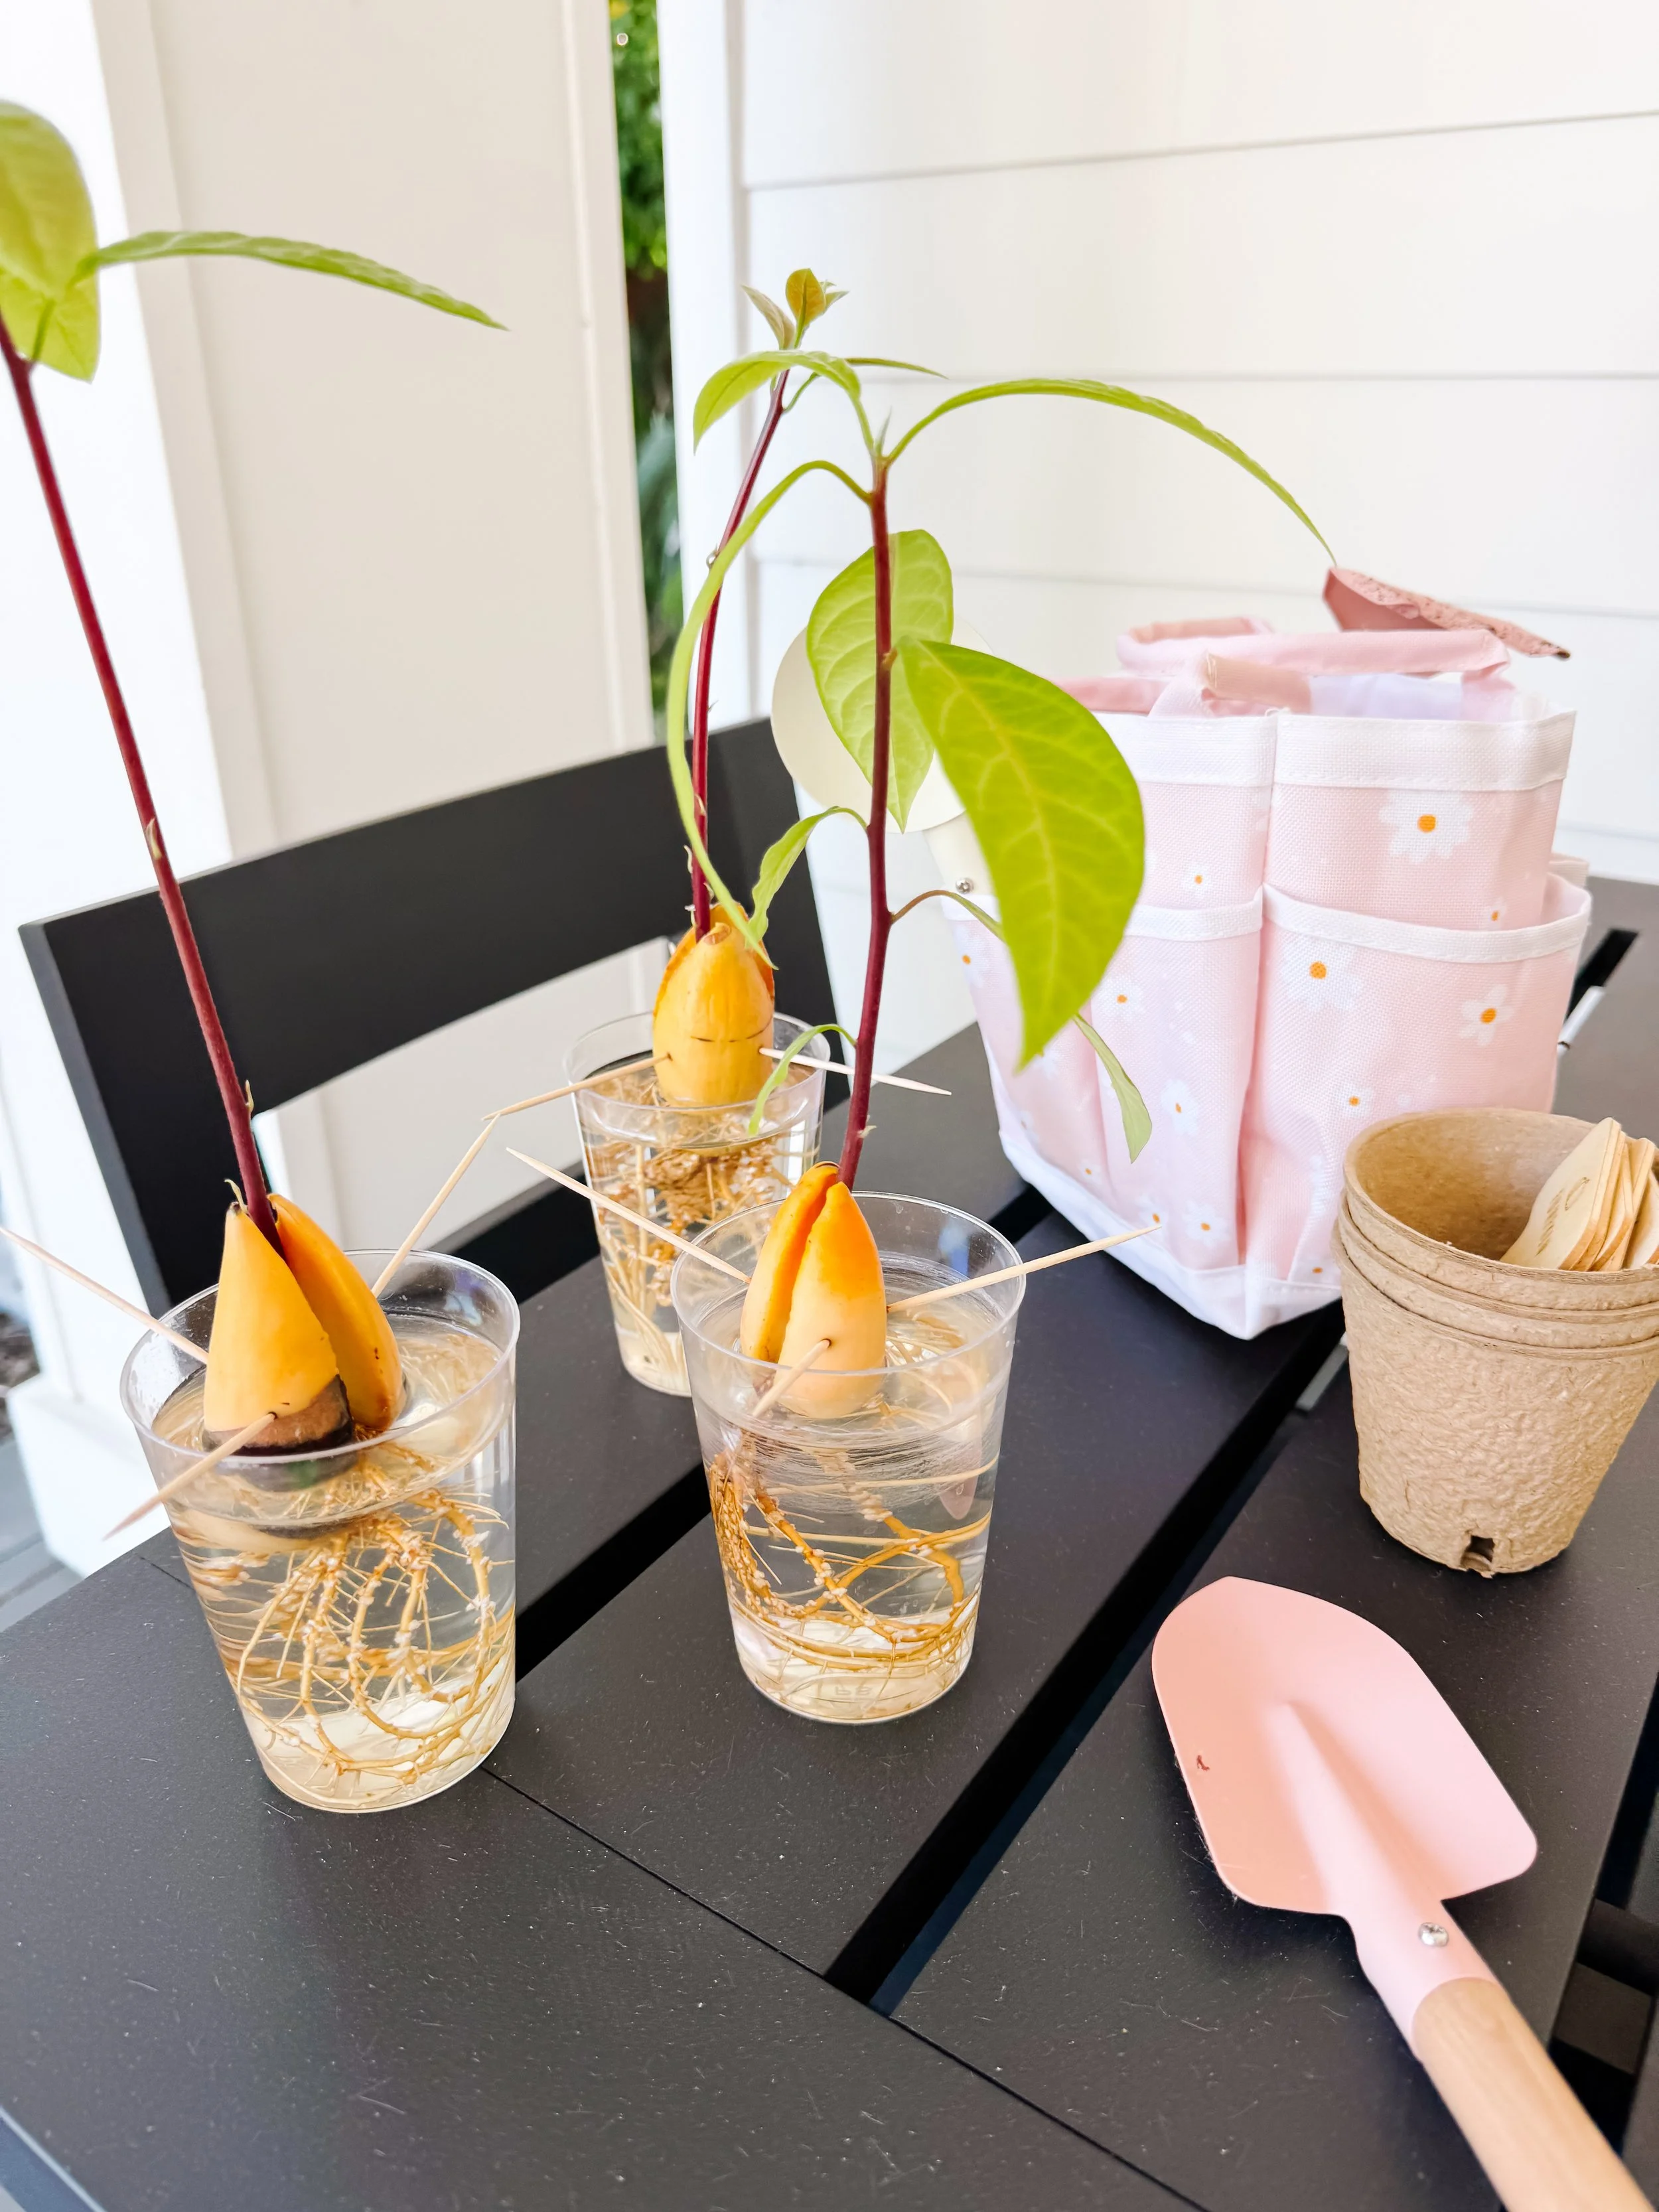
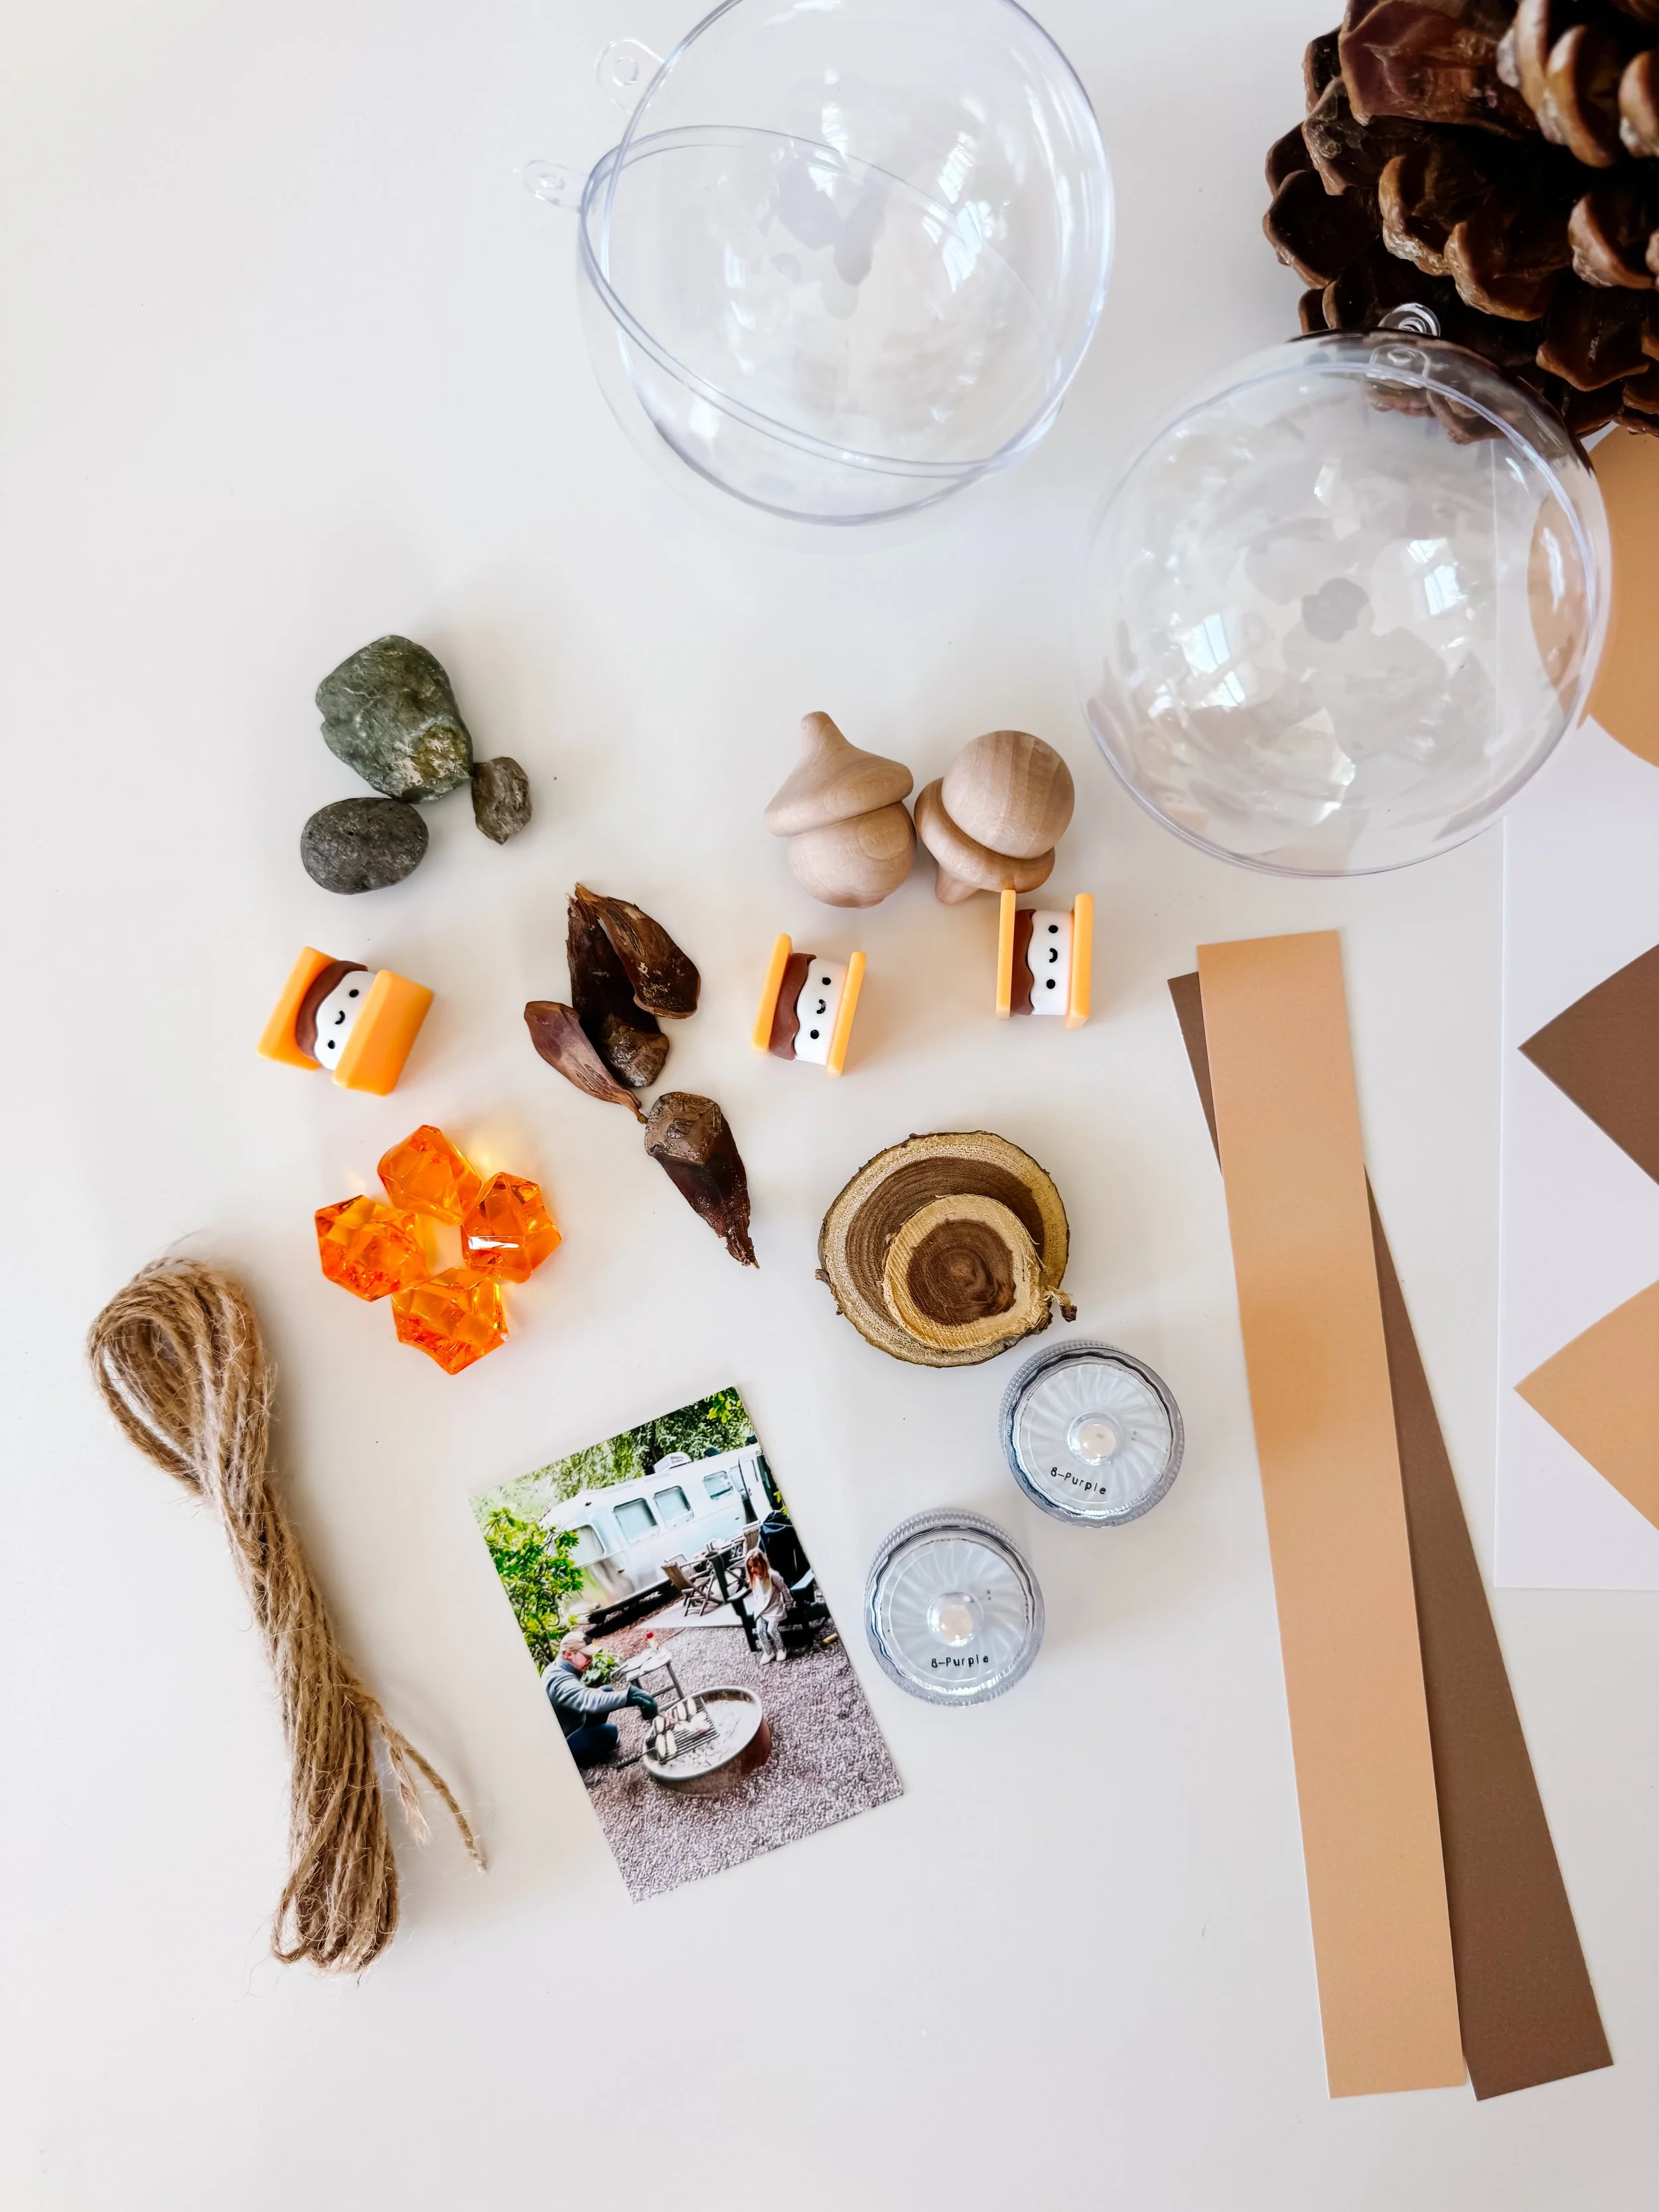
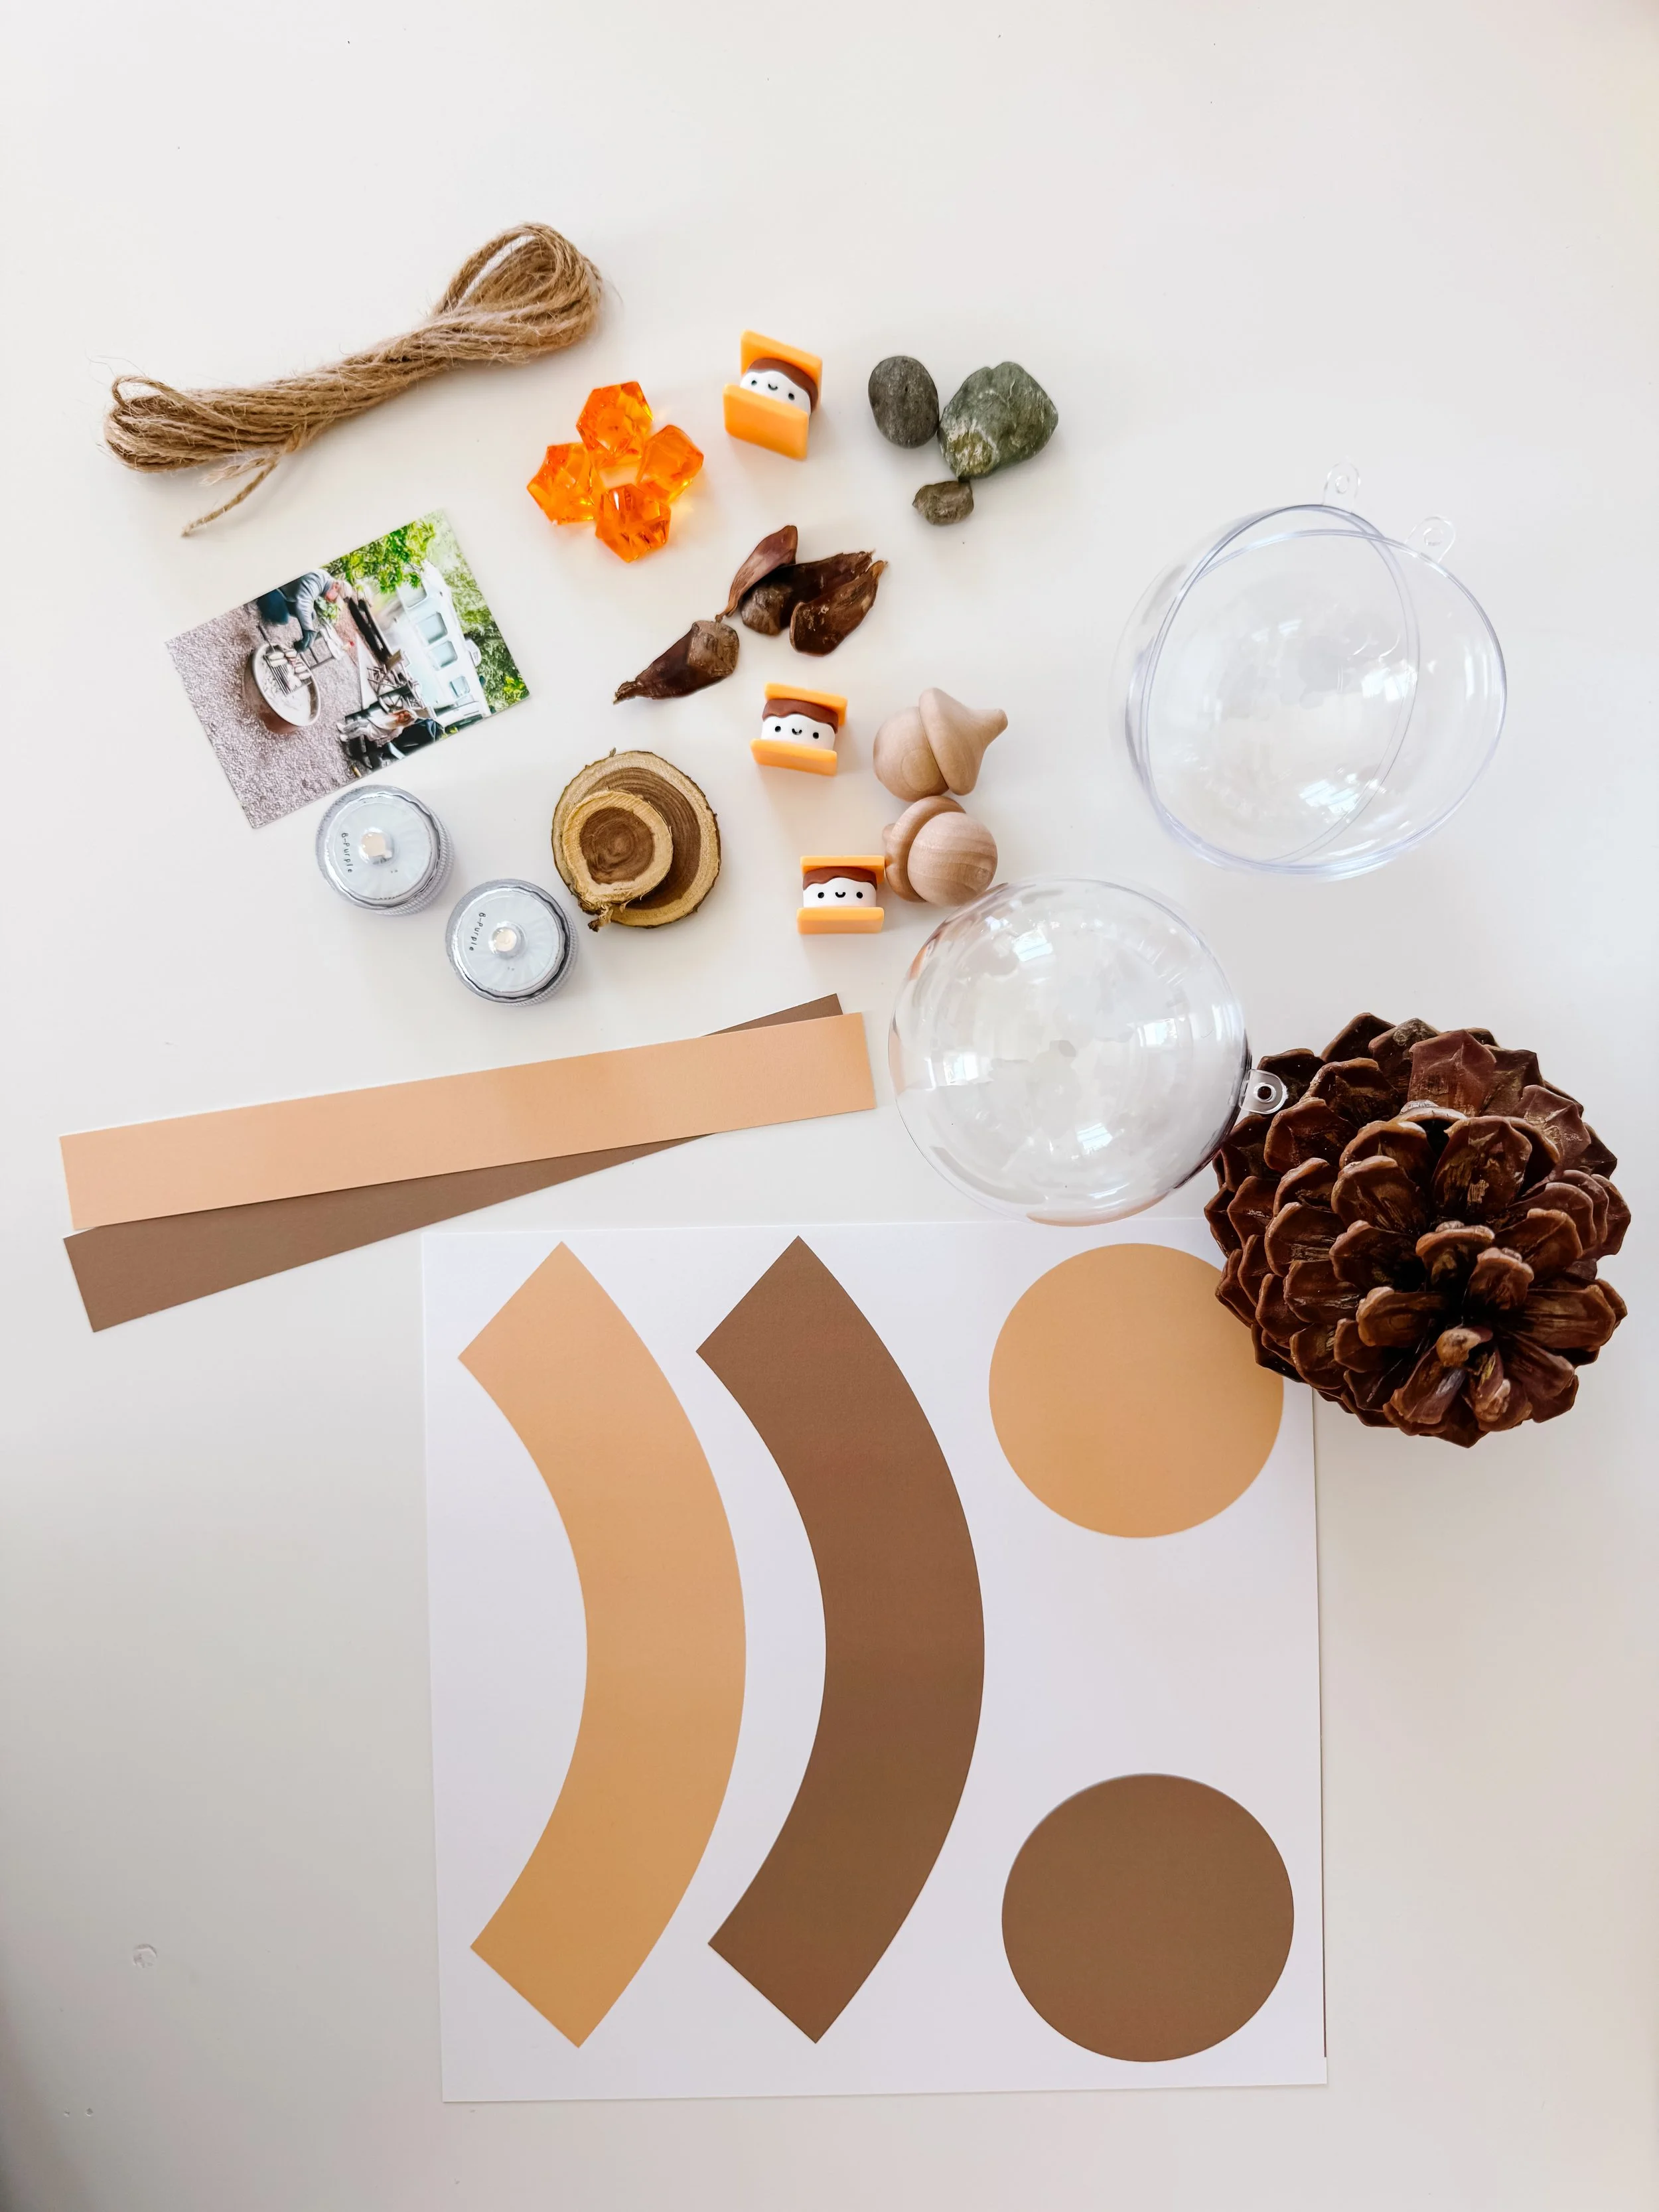
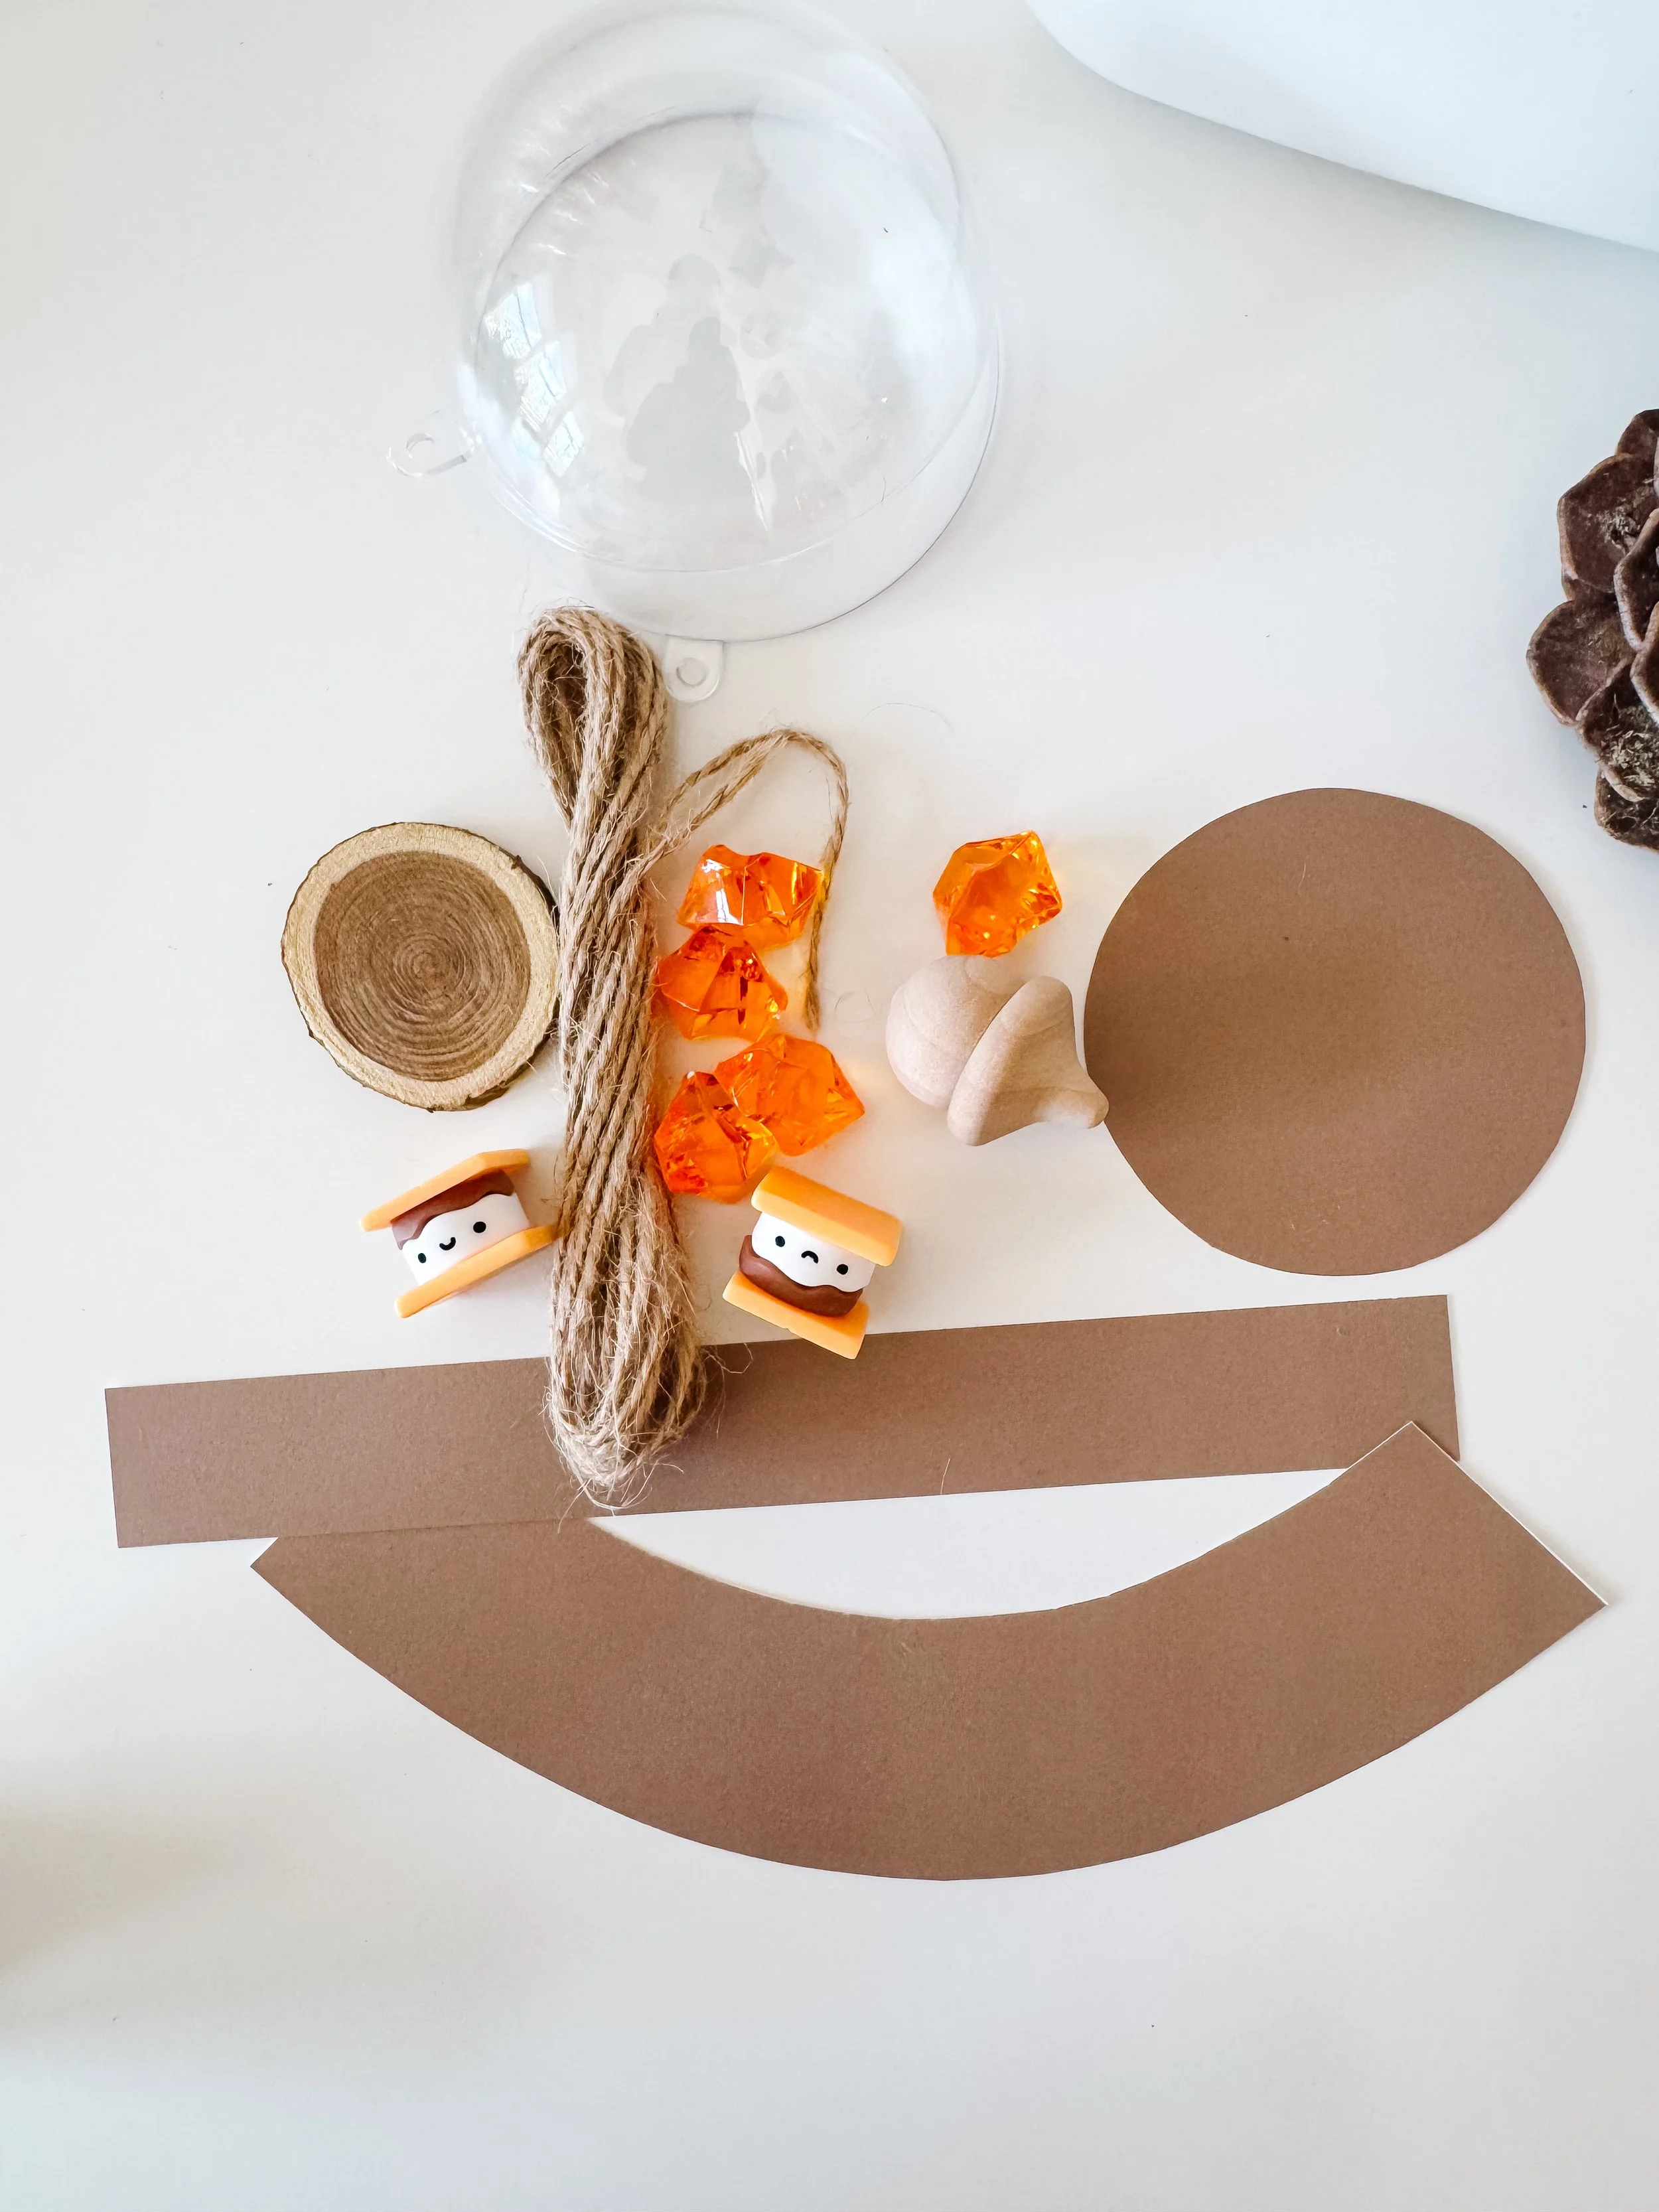
Materials needed
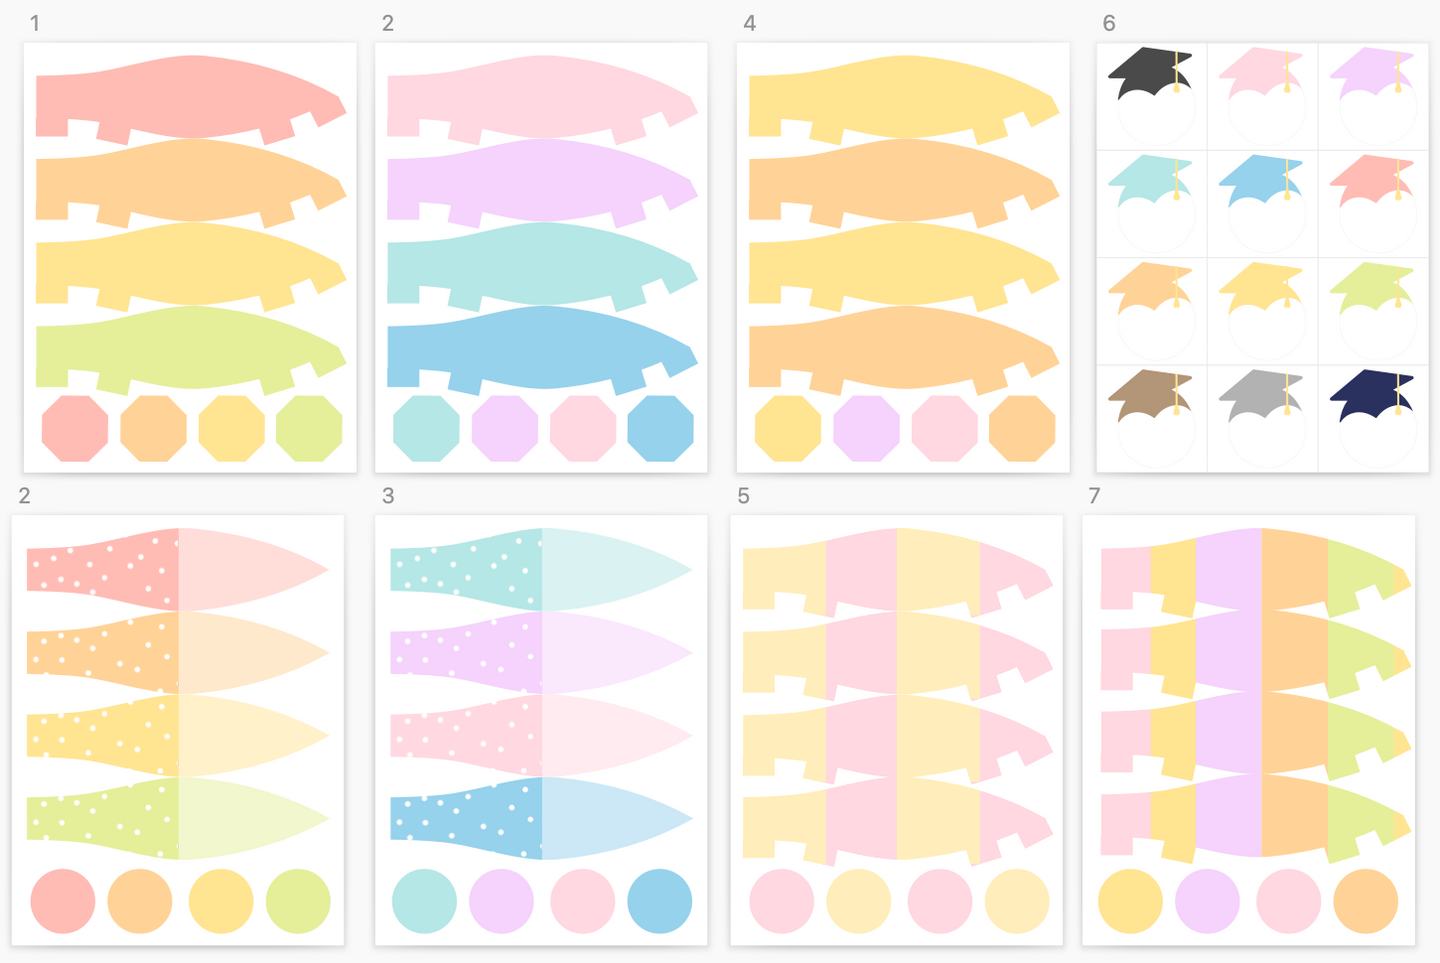
- GoodnightFox Hot Air Balloon Keepsake Craft printable
- White cardstock or heavyweight printer paper
- A small printed graduation photo
- Miniature woven basket, paper cup, or cardstock basket
- Four wooden skewers, dowels, or sturdy paper straws
- Natural twine or yarn
- Scissors
- Glue, glue dots, or low-temperature hot glue with adult help
- Clear tape or double-sided tape
- Optional ribbon, tassels, pom-poms, stars, or paper clouds
- Optional slips of paper for goals and graduation memories
Get the Hot Air Balloon Keepsake Printable
Hot Air Balloon Keepsake Craft
Skip the measuring and hand-drawing with this ready-to-print Hot Air Balloon Keepsake Craft. The printable includes coordinating pastel balloon panels, basket pieces and photo-frame options so families and teachers can quickly create a personalized preschool or kindergarten graduation keepsake.
Choose from several color palettes and patterns, add a favorite graduation photo, and personalize the basket with the child’s school memories, future dreams, or hopes for the next adventure.
Get the PrintableSafety note
Adults should cut or trim wooden skewers and handle hot glue. Pointed ends should be covered securely with glue, twine, paper, or tape so they are not exposed during play or display.
How to make the hot air balloon graduation craft
Prepare the printable pieces
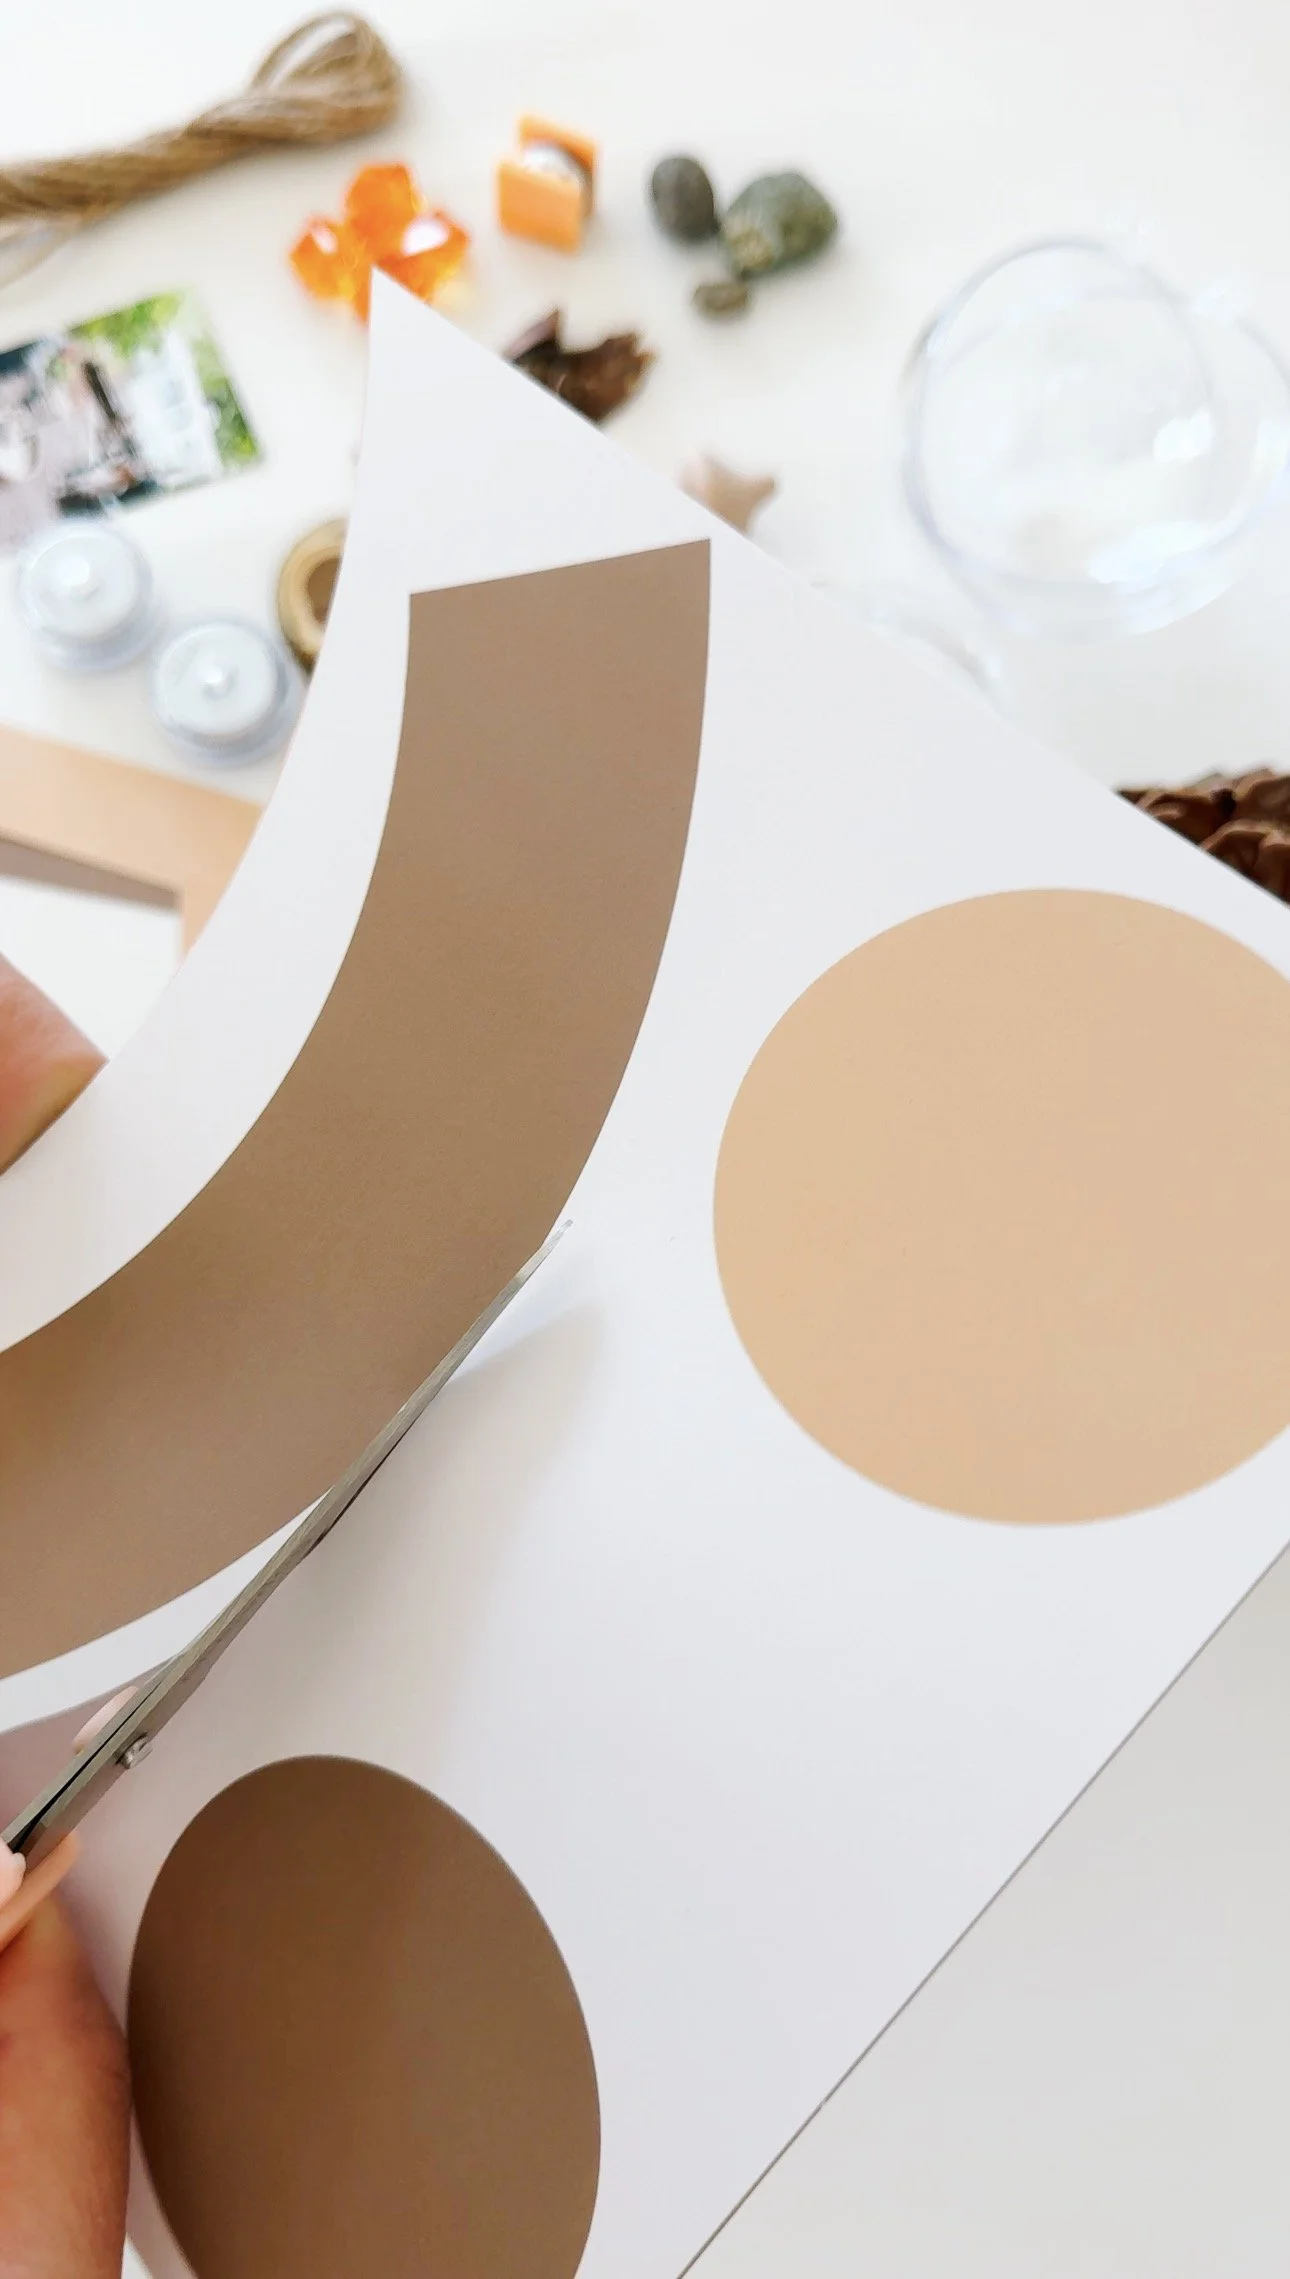
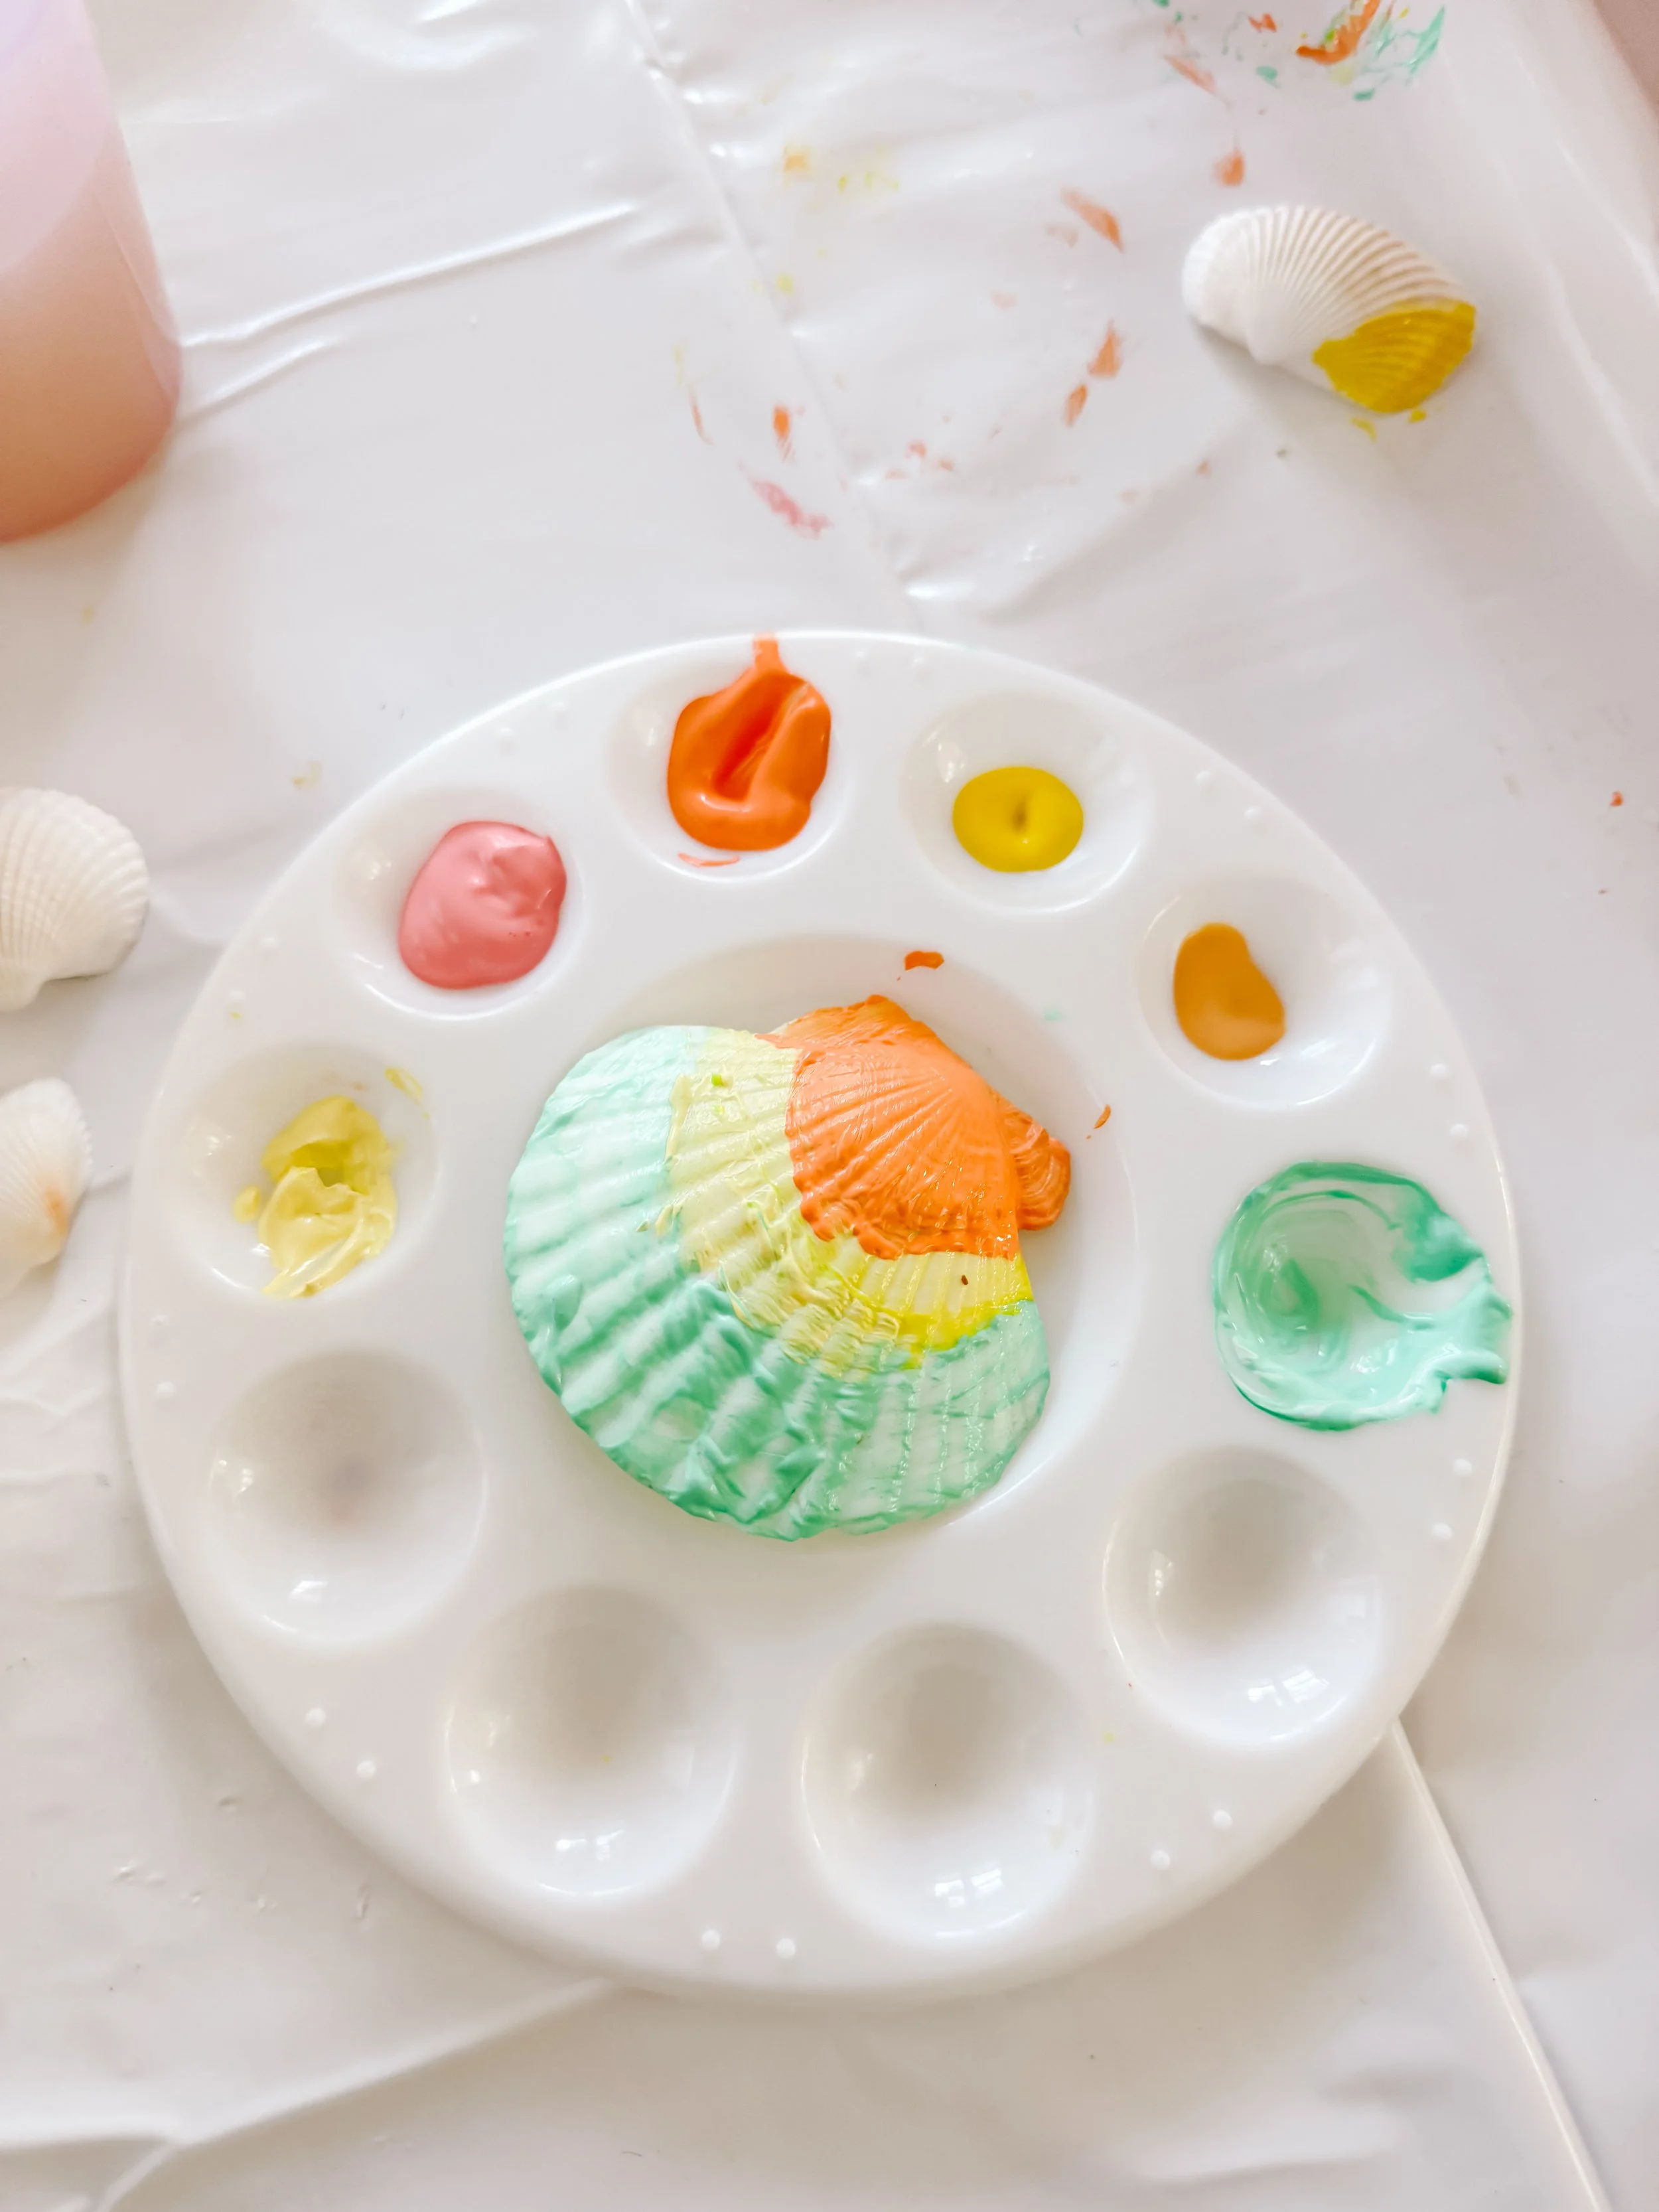
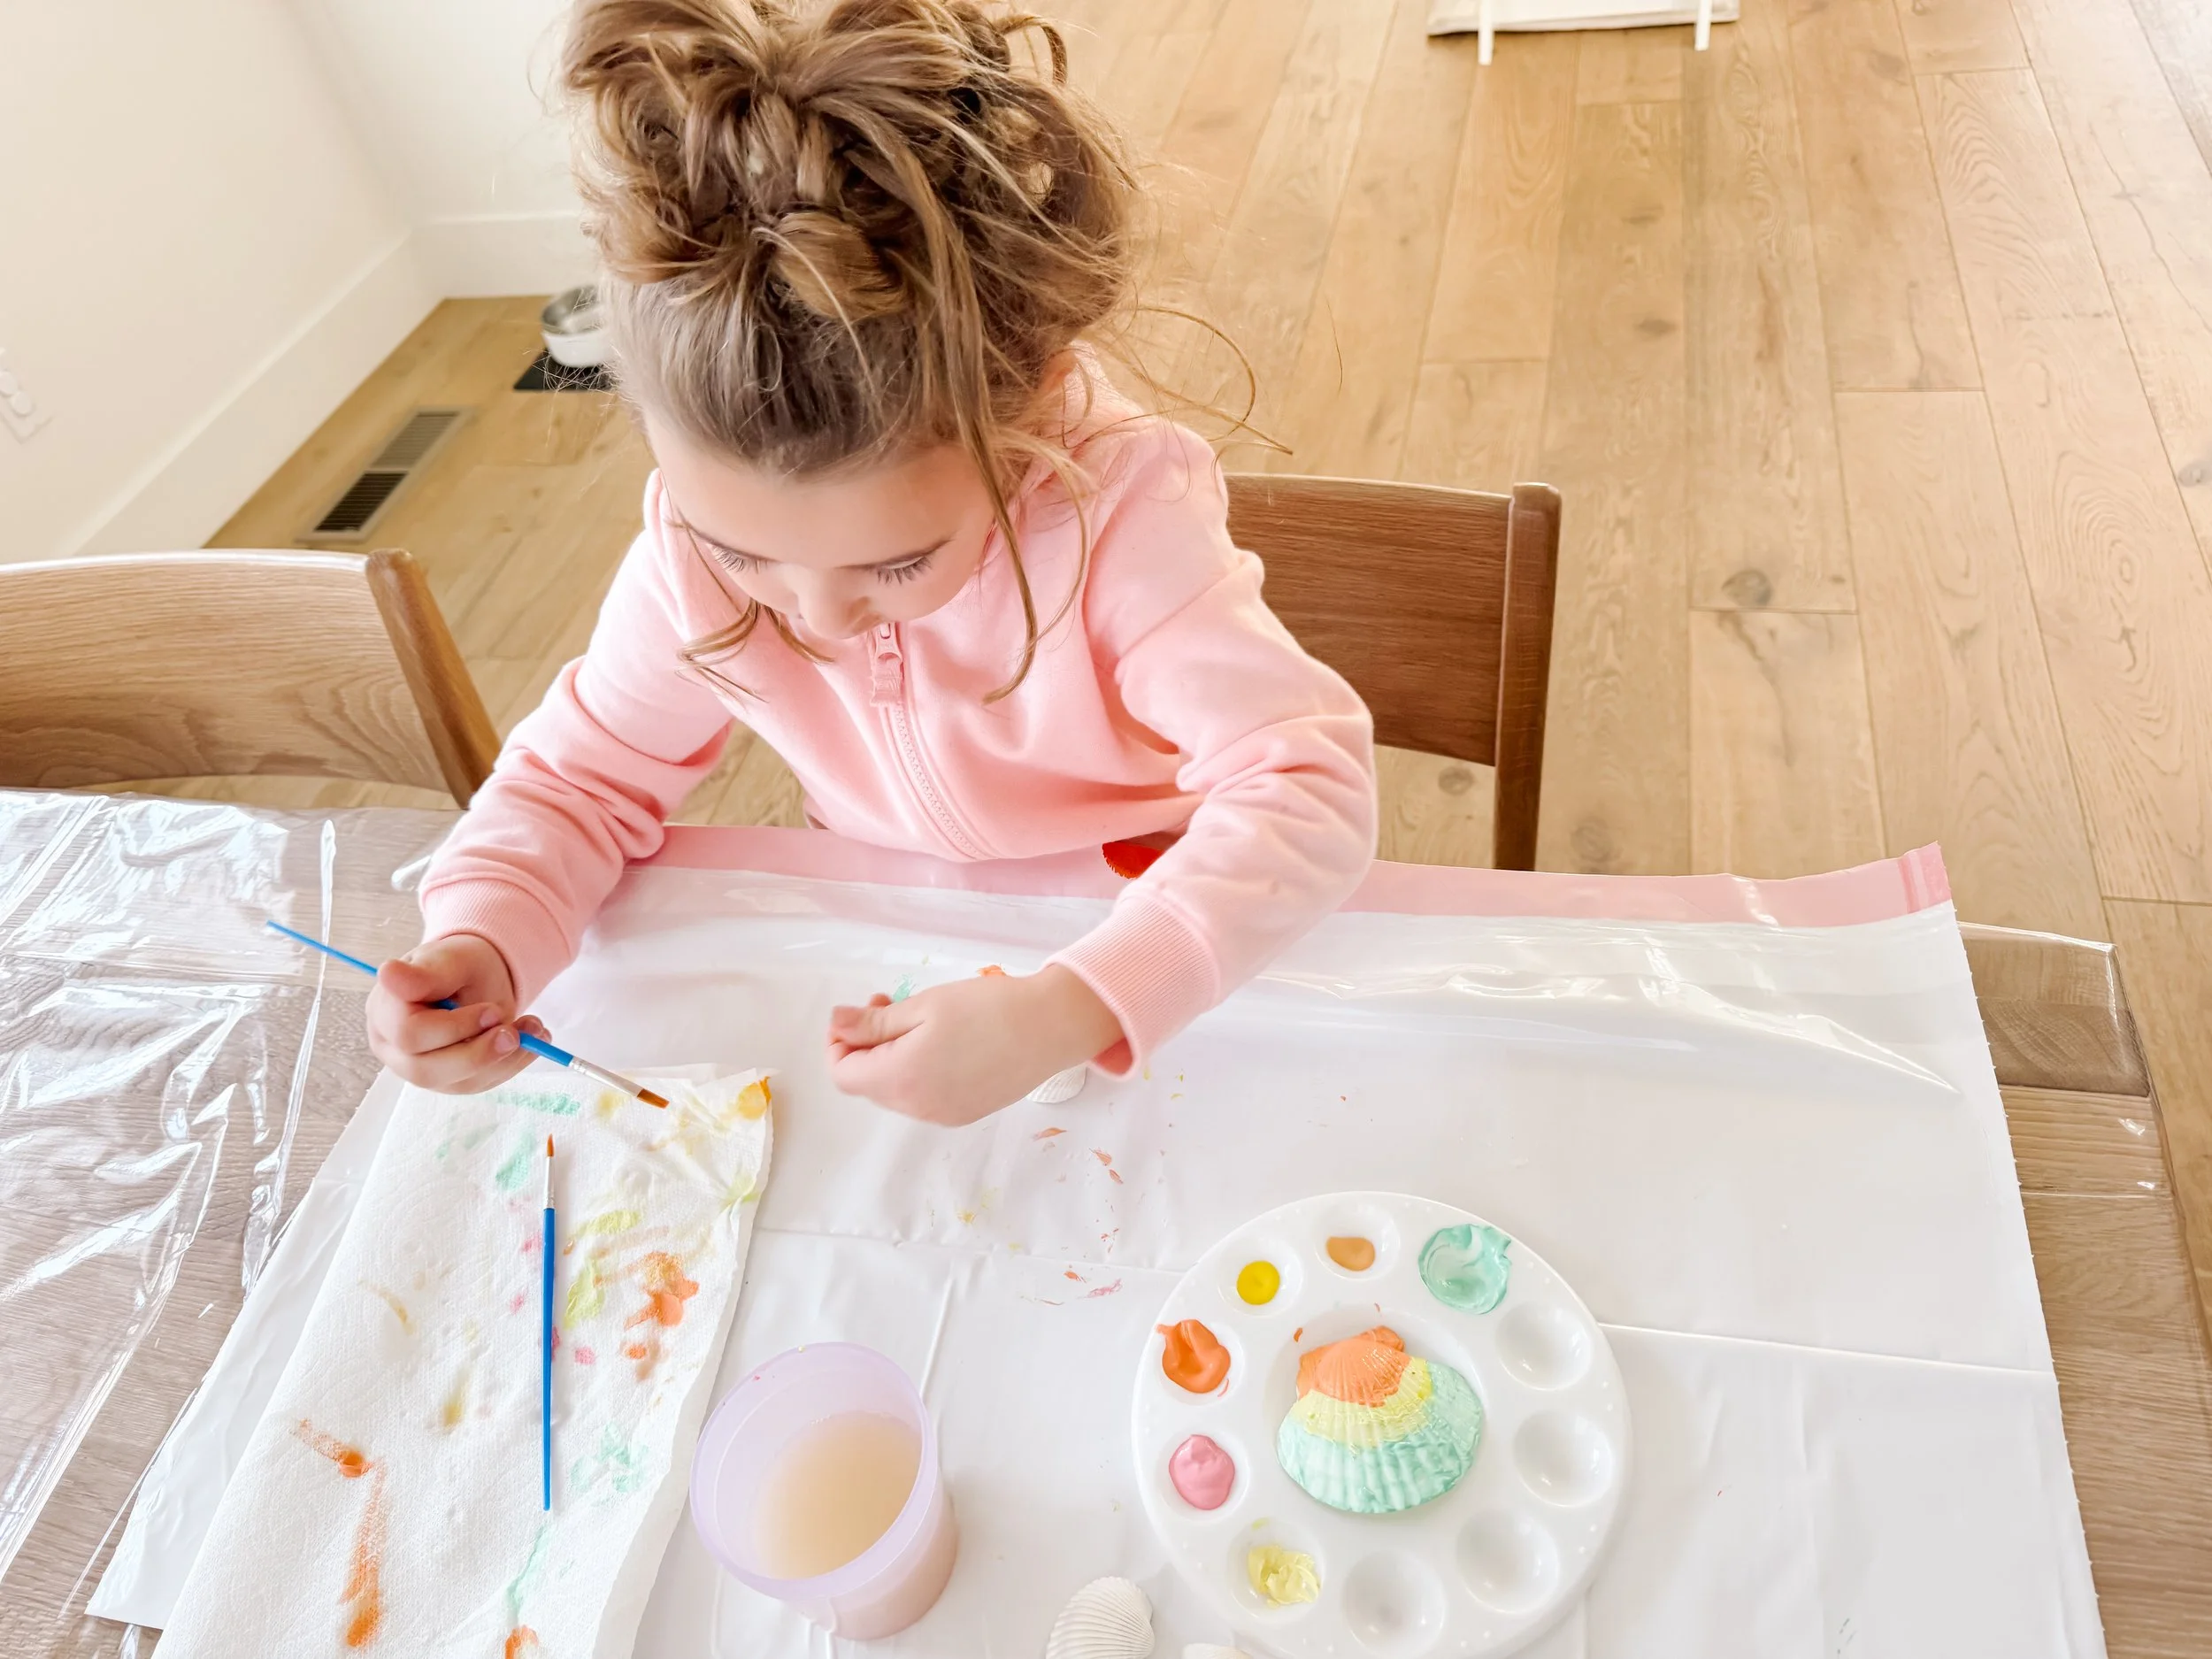
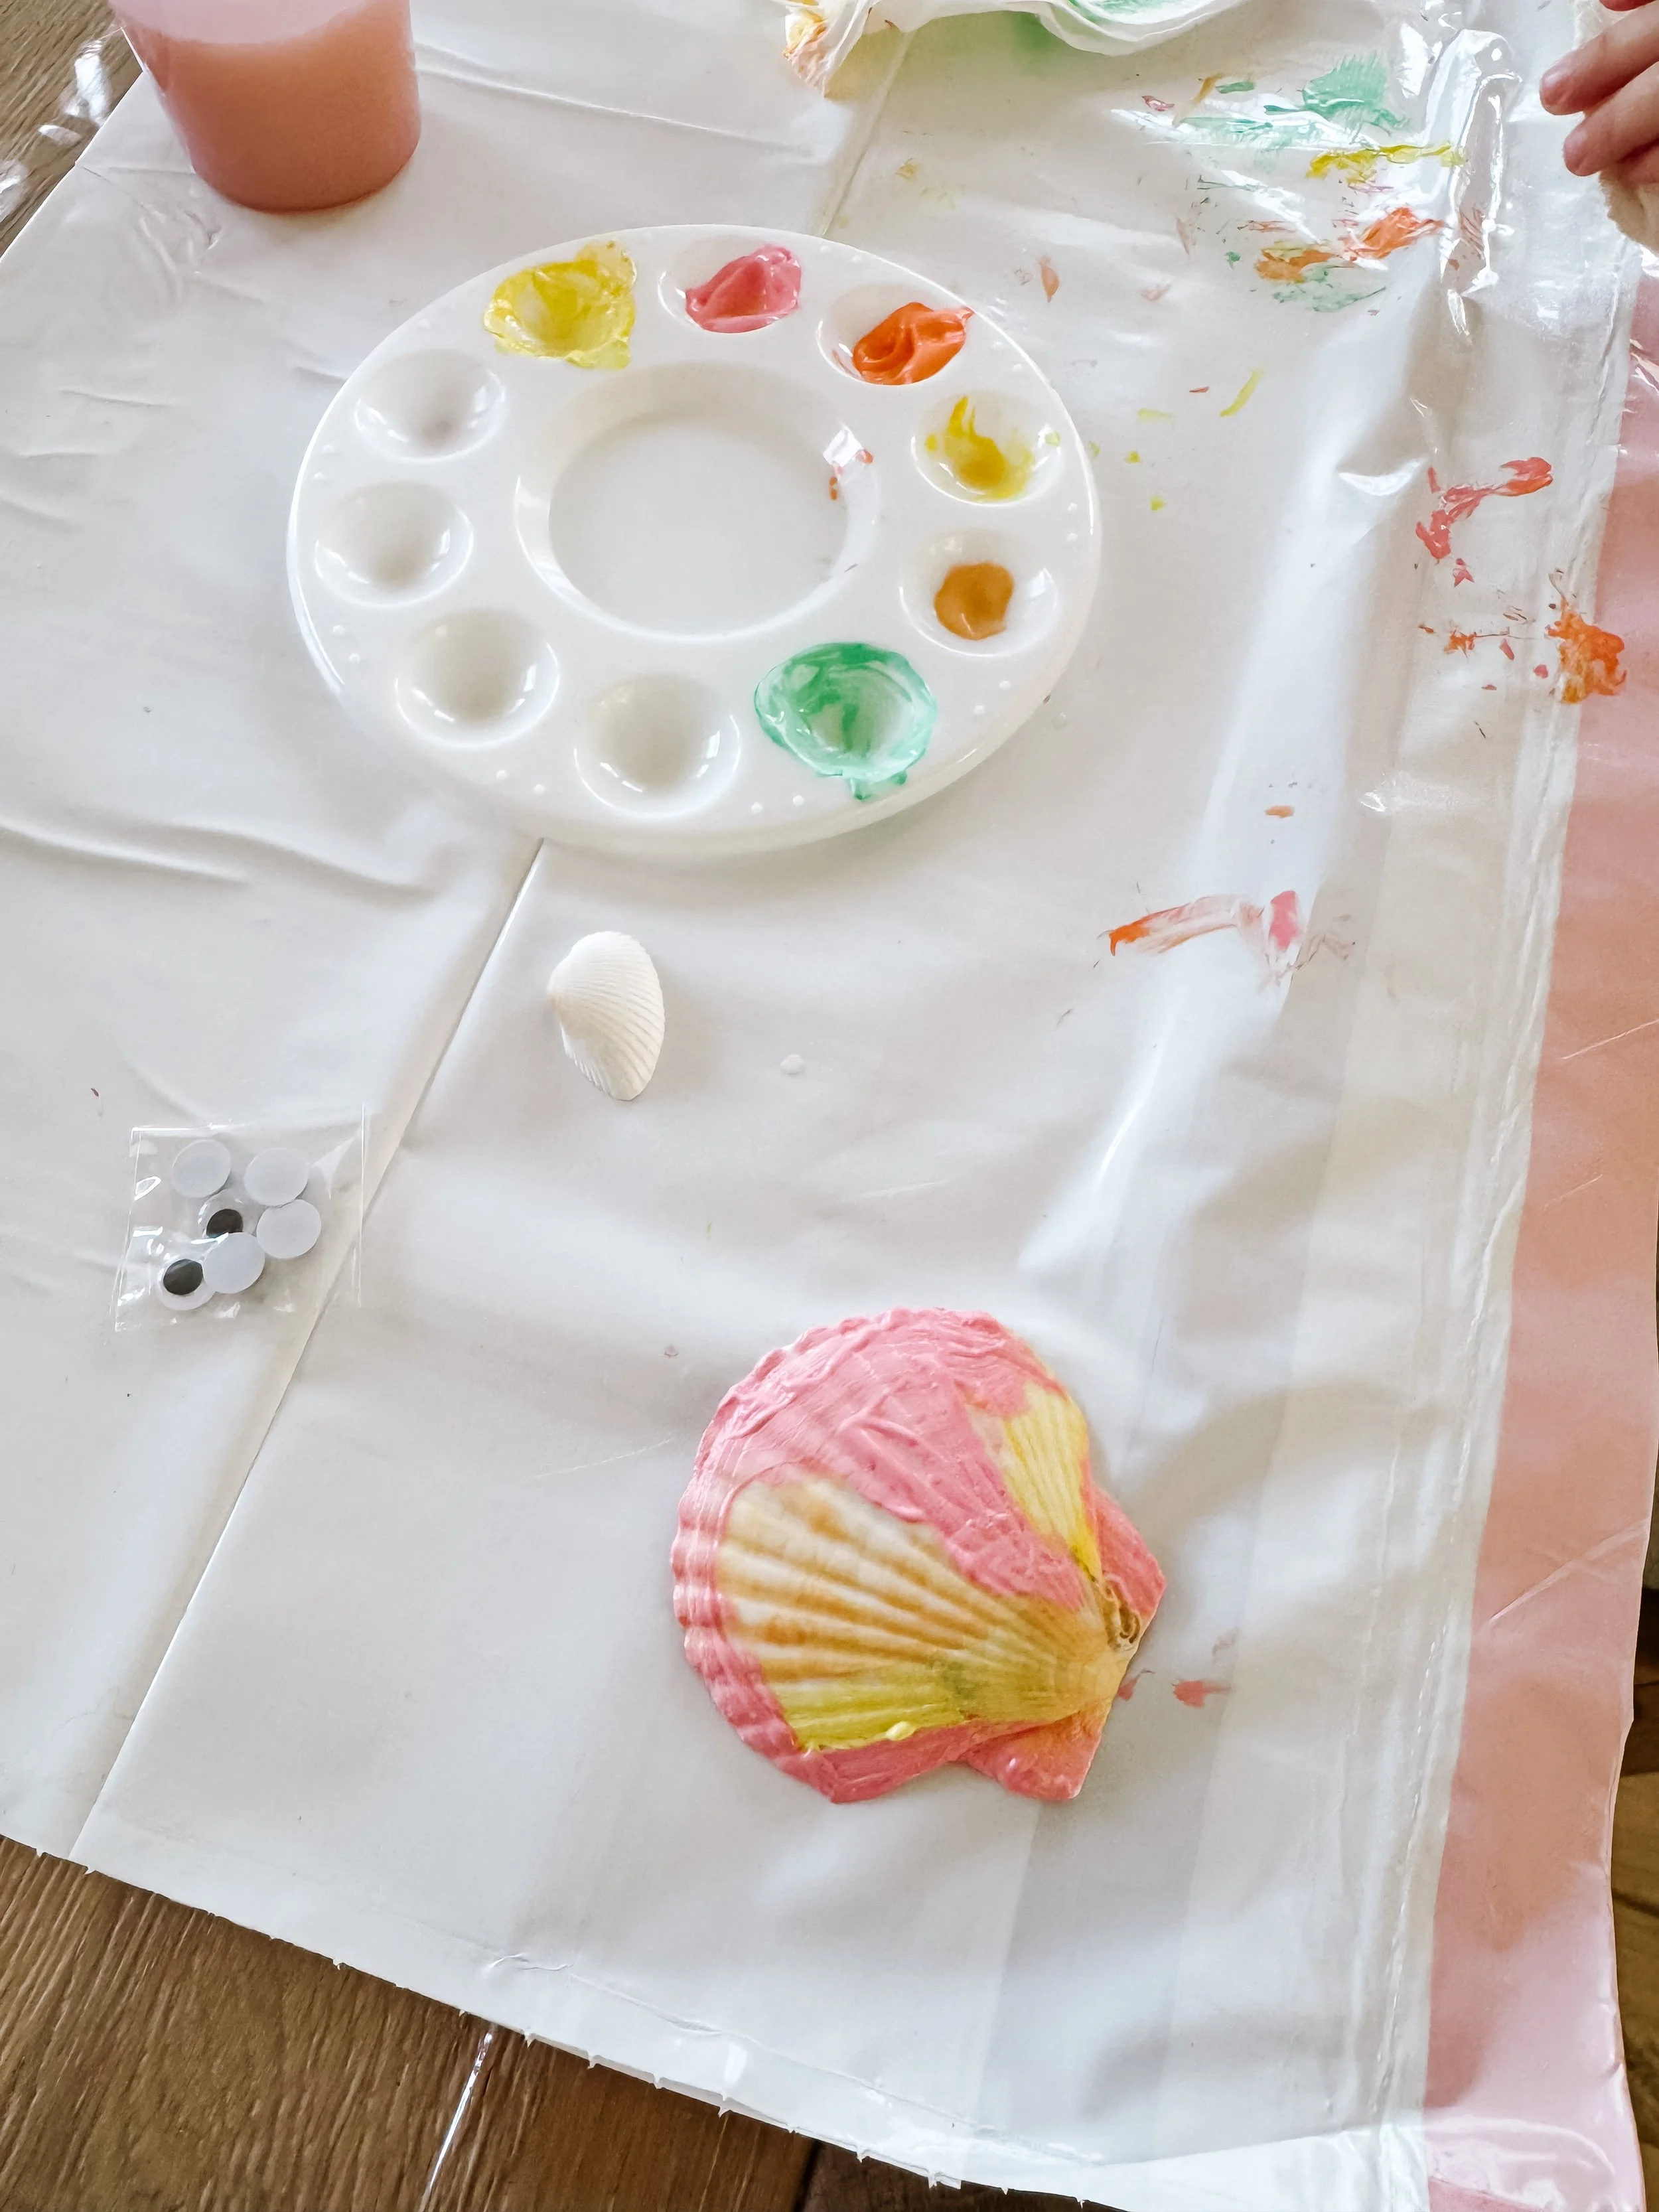
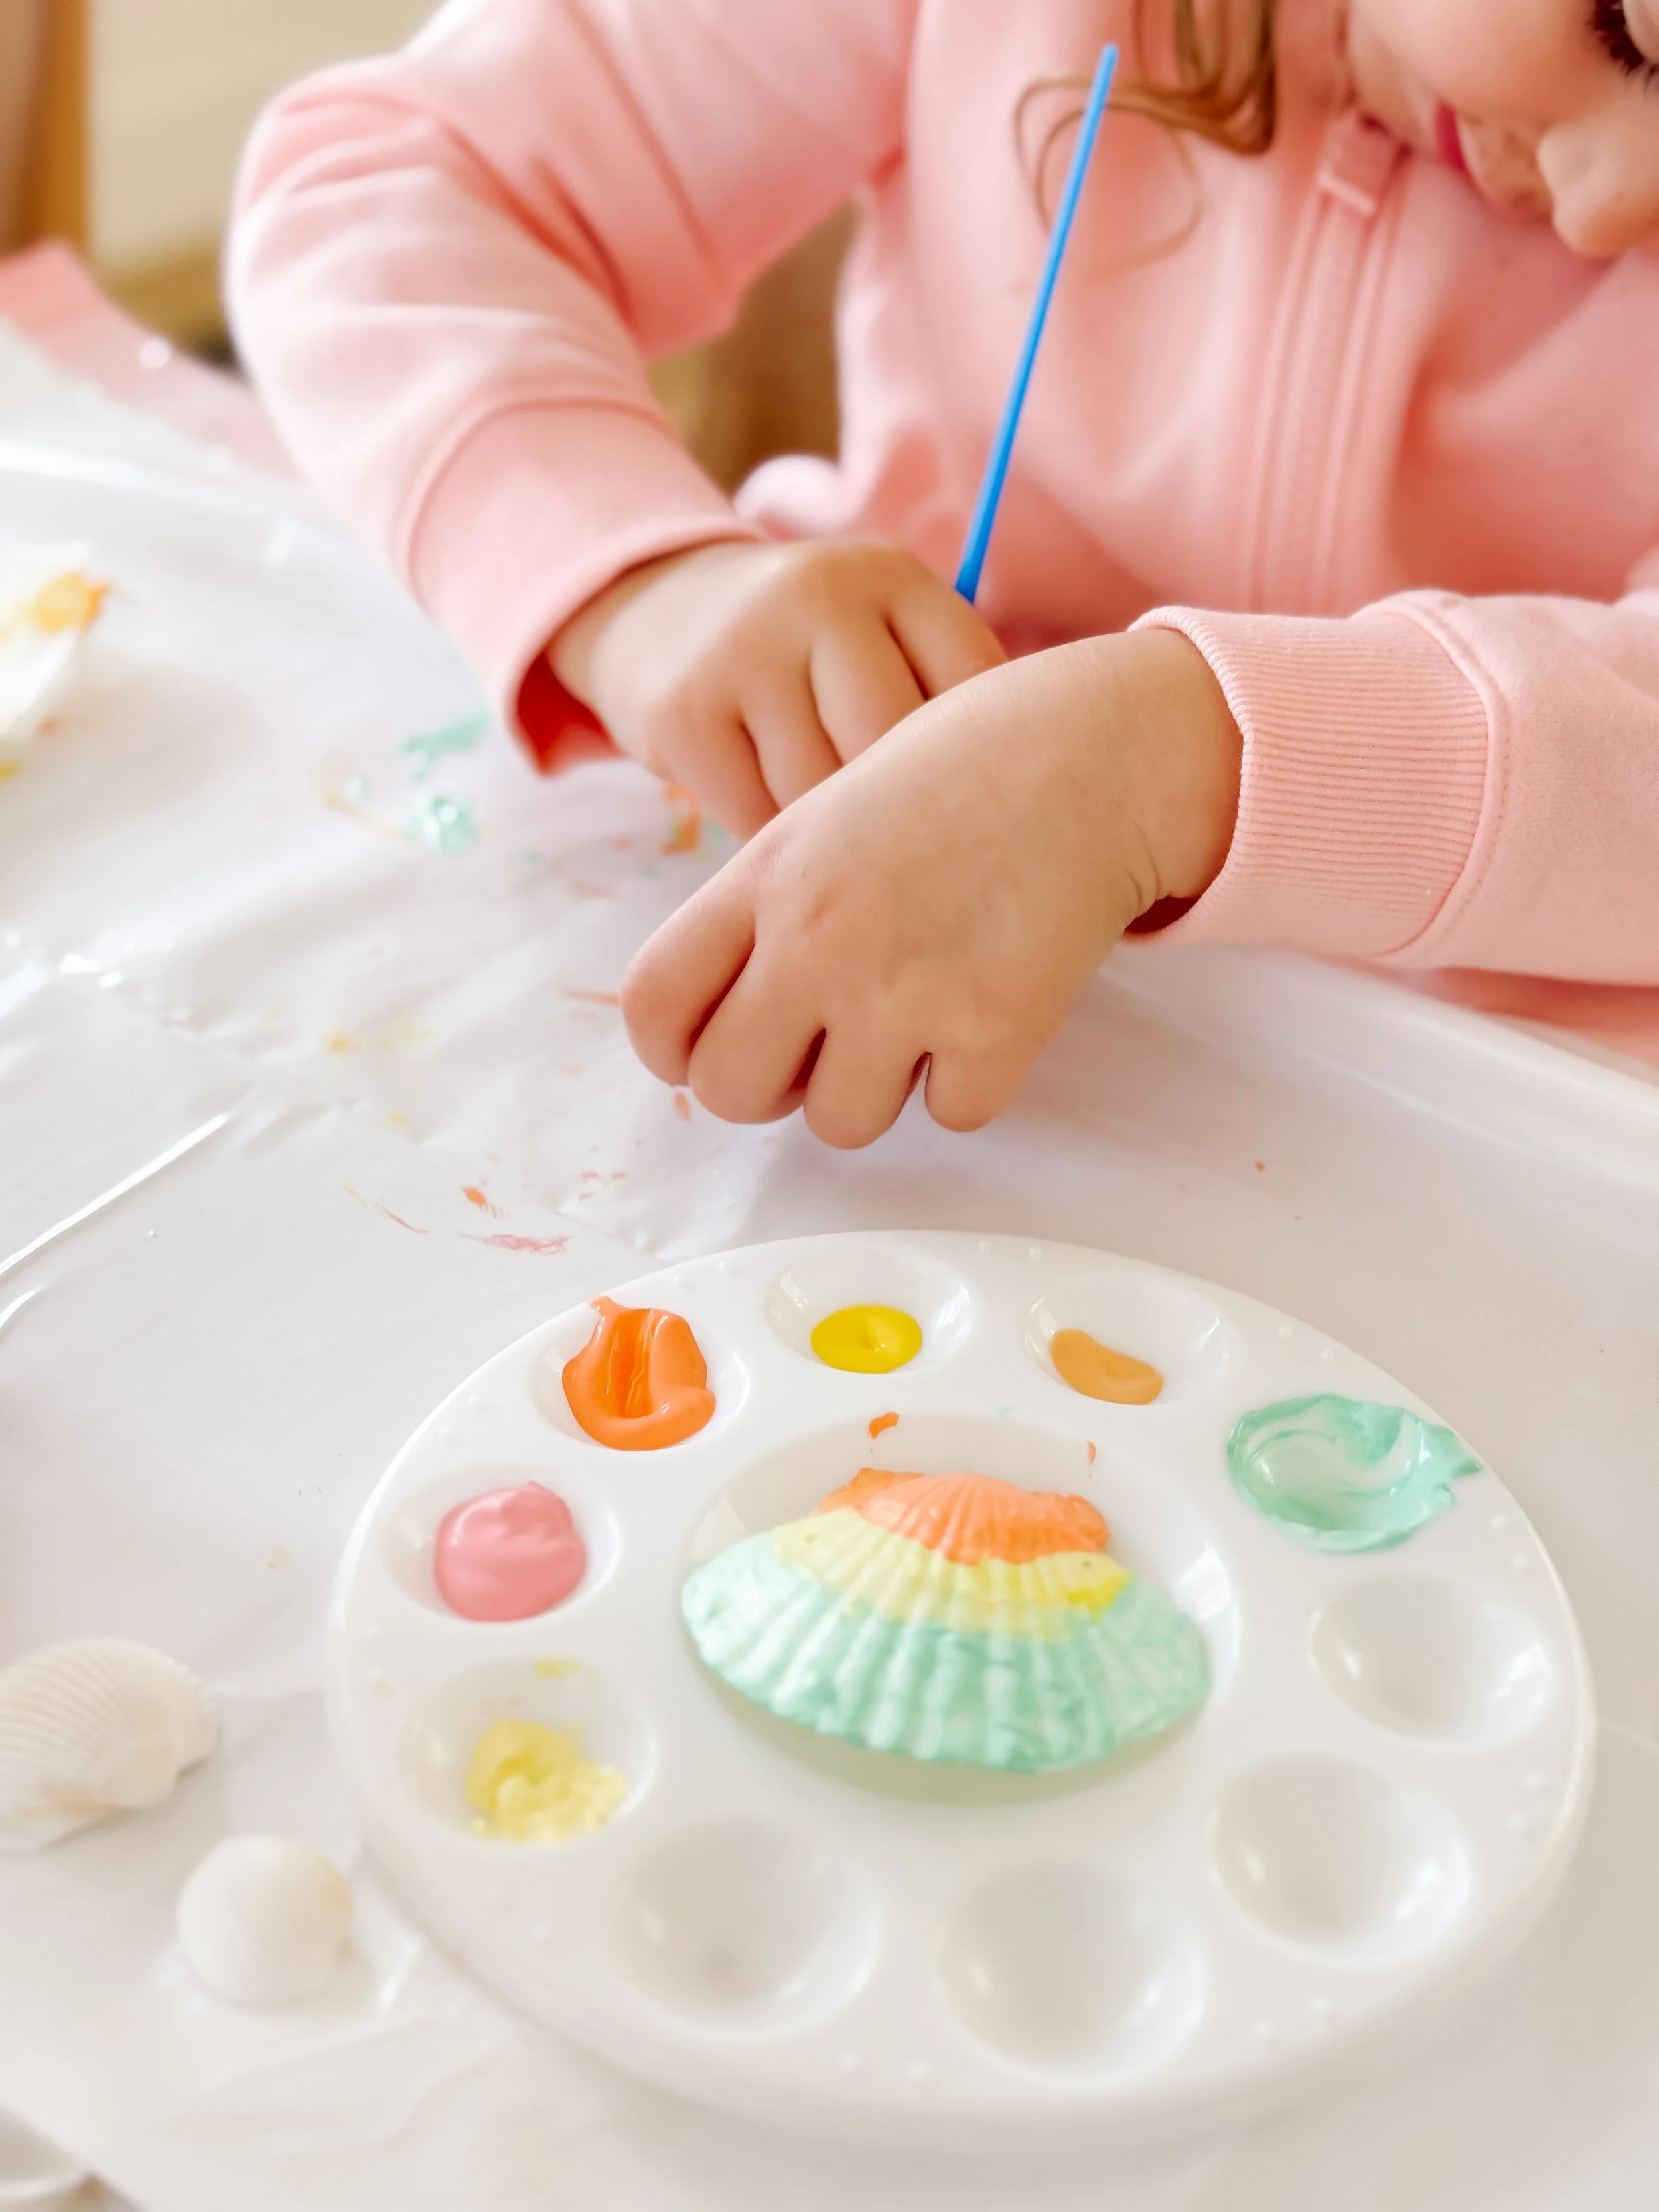
Print the GoodnightFox Hot Air Balloon Keepsake Craft on sturdy white cardstock, then choose your favorite balloon color palette and cut out the coordinating pieces.
The printable includes several pastel designs, basket pieces, and photo-frame options, making it easy to personalize the craft for each preschool or kindergarten graduate.
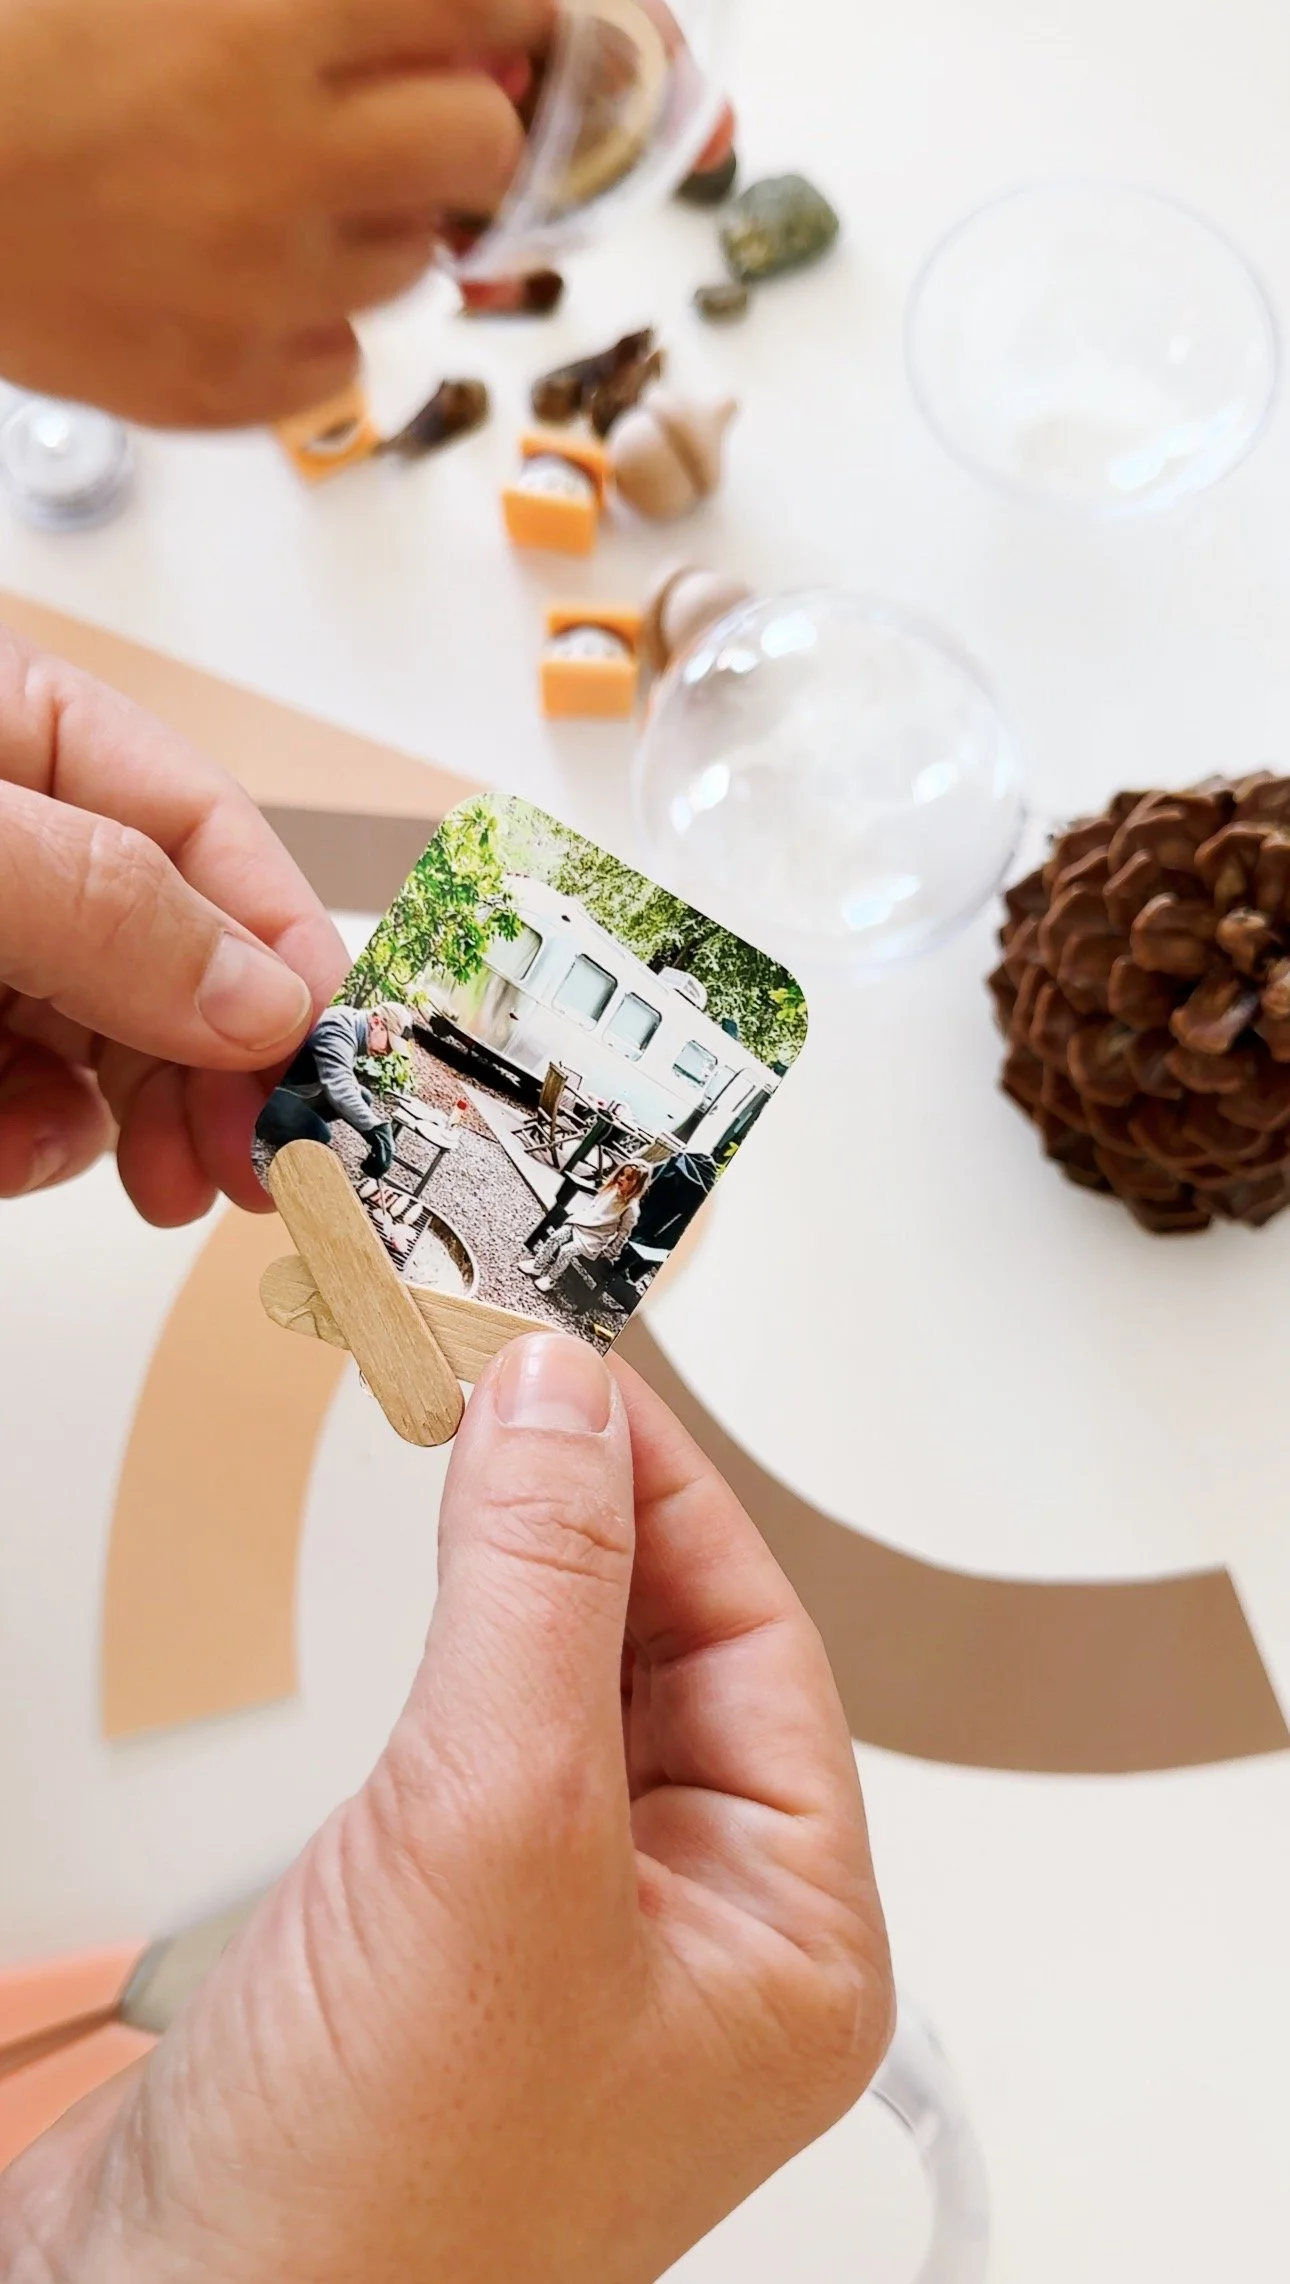
Print and trim a graduation photo so the child’s head and body will fit inside the basket. A photo taken against a simple background works best.
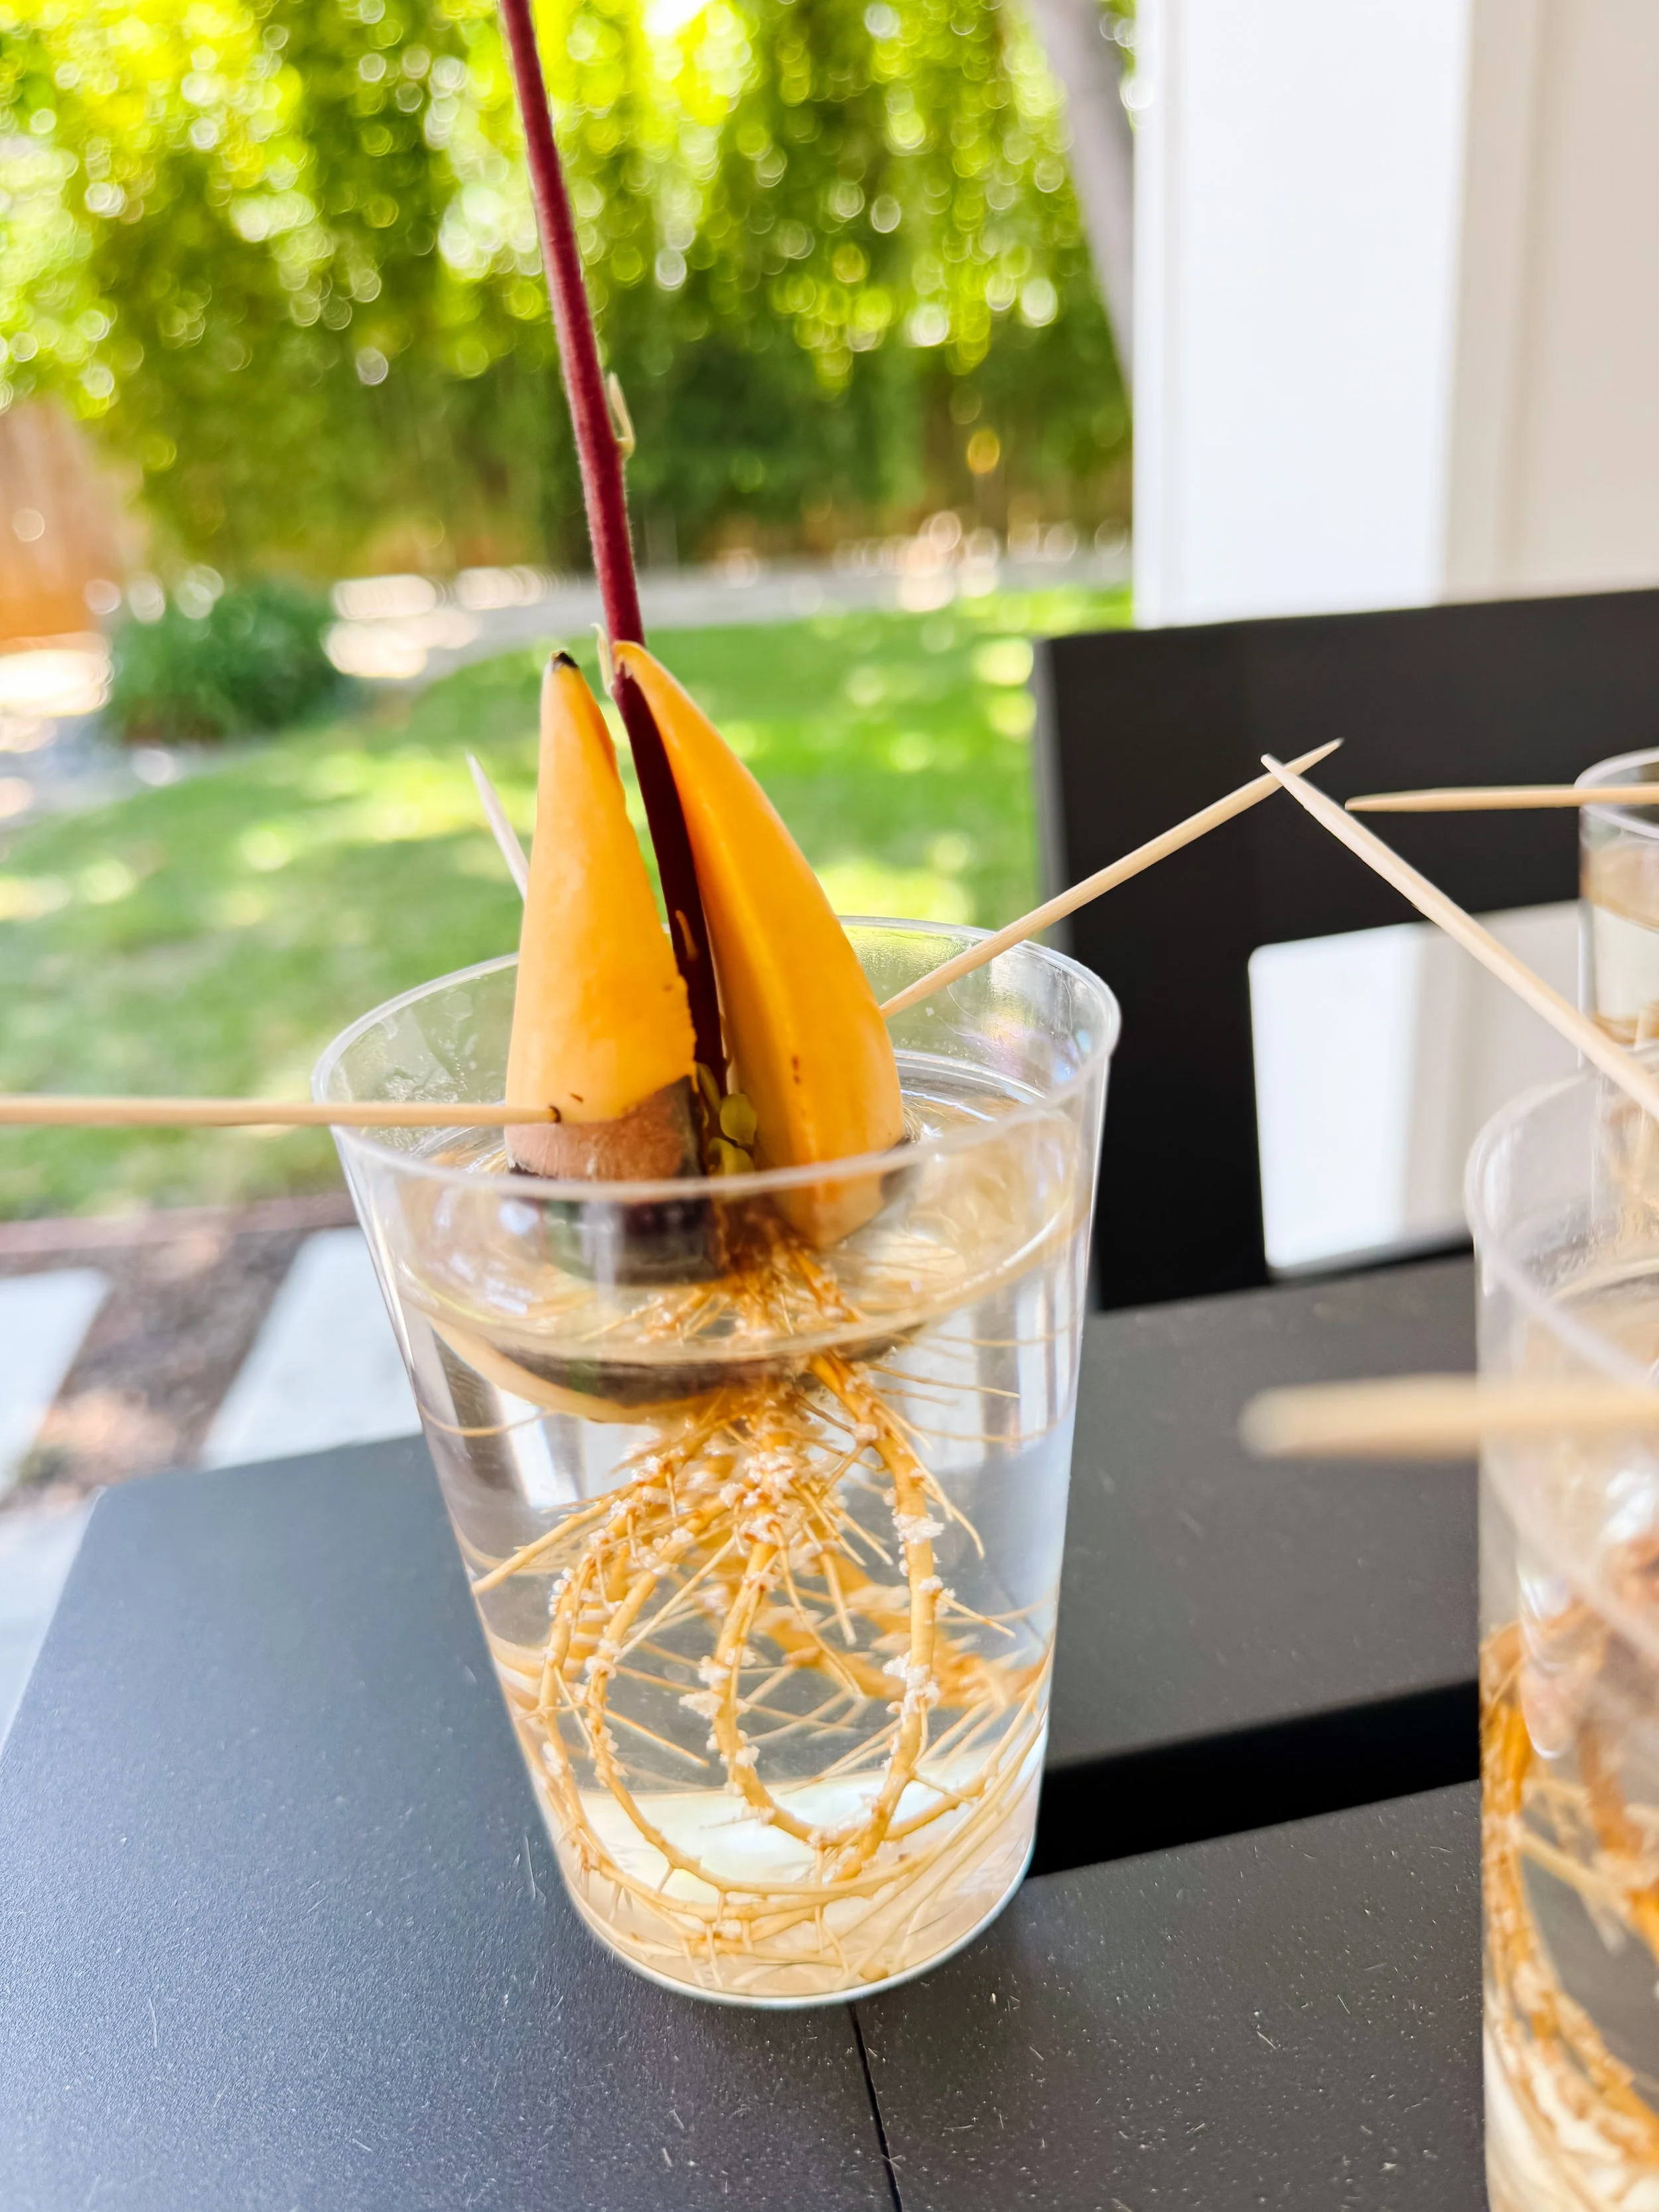
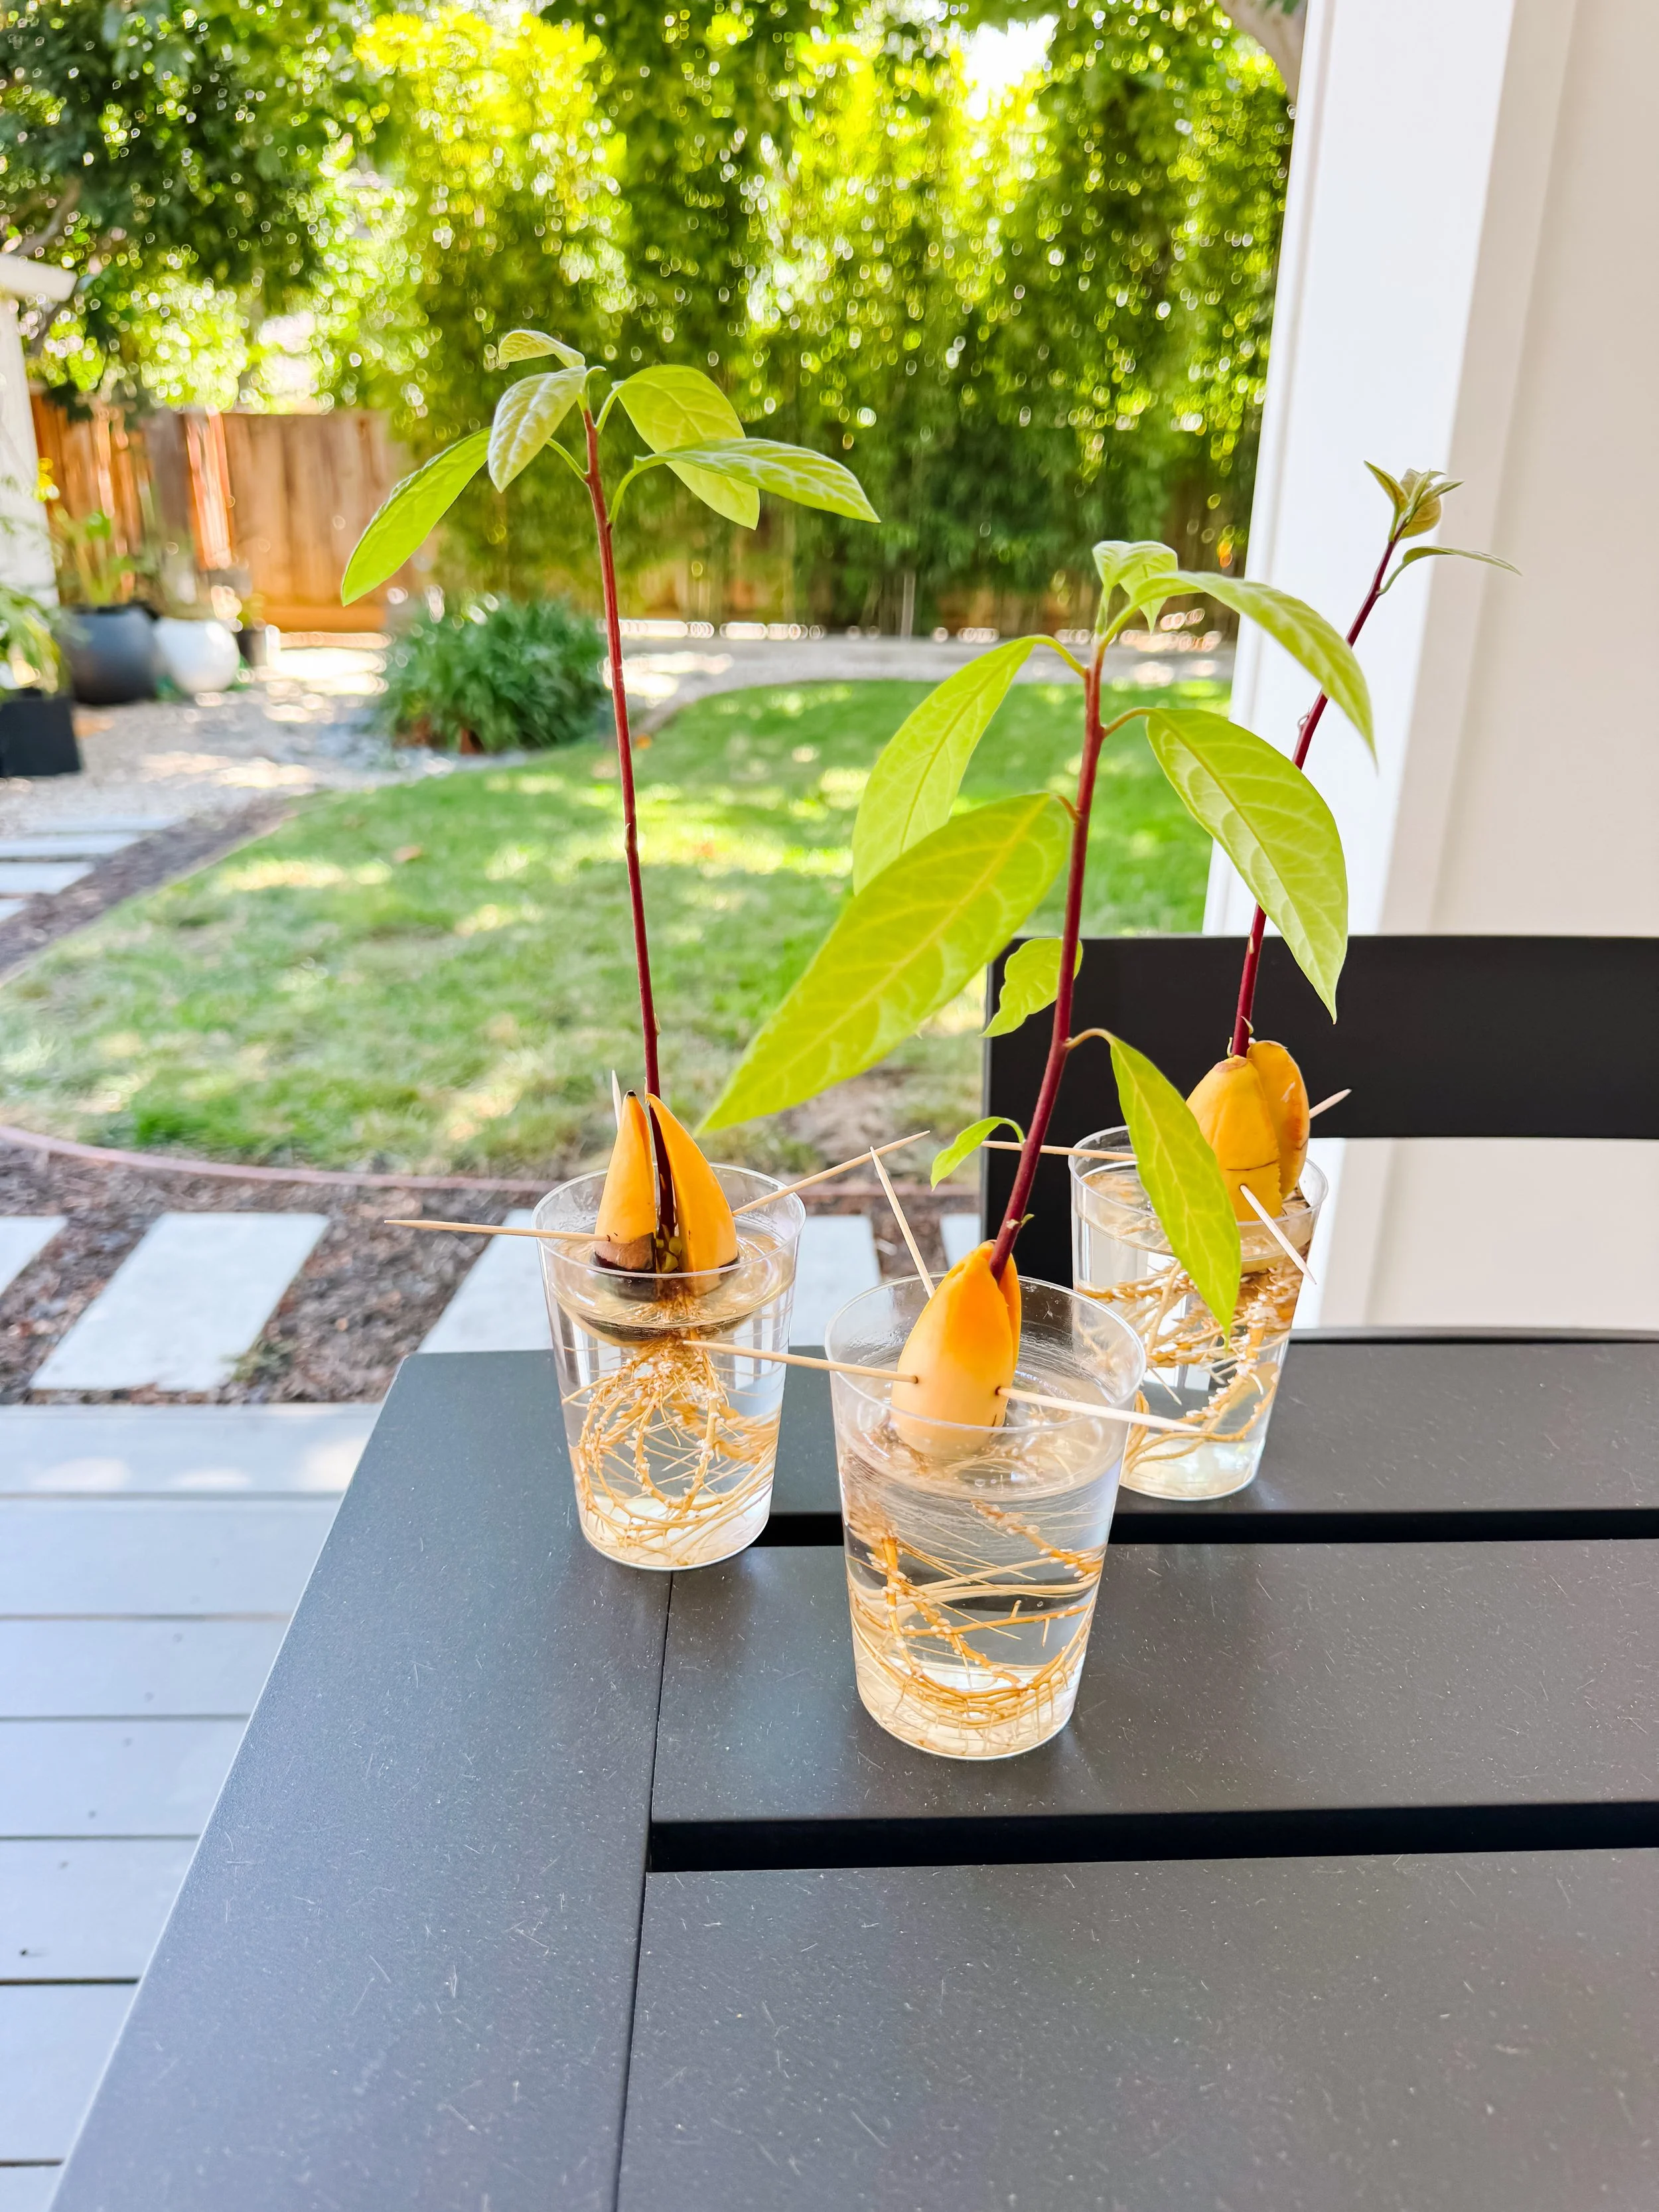
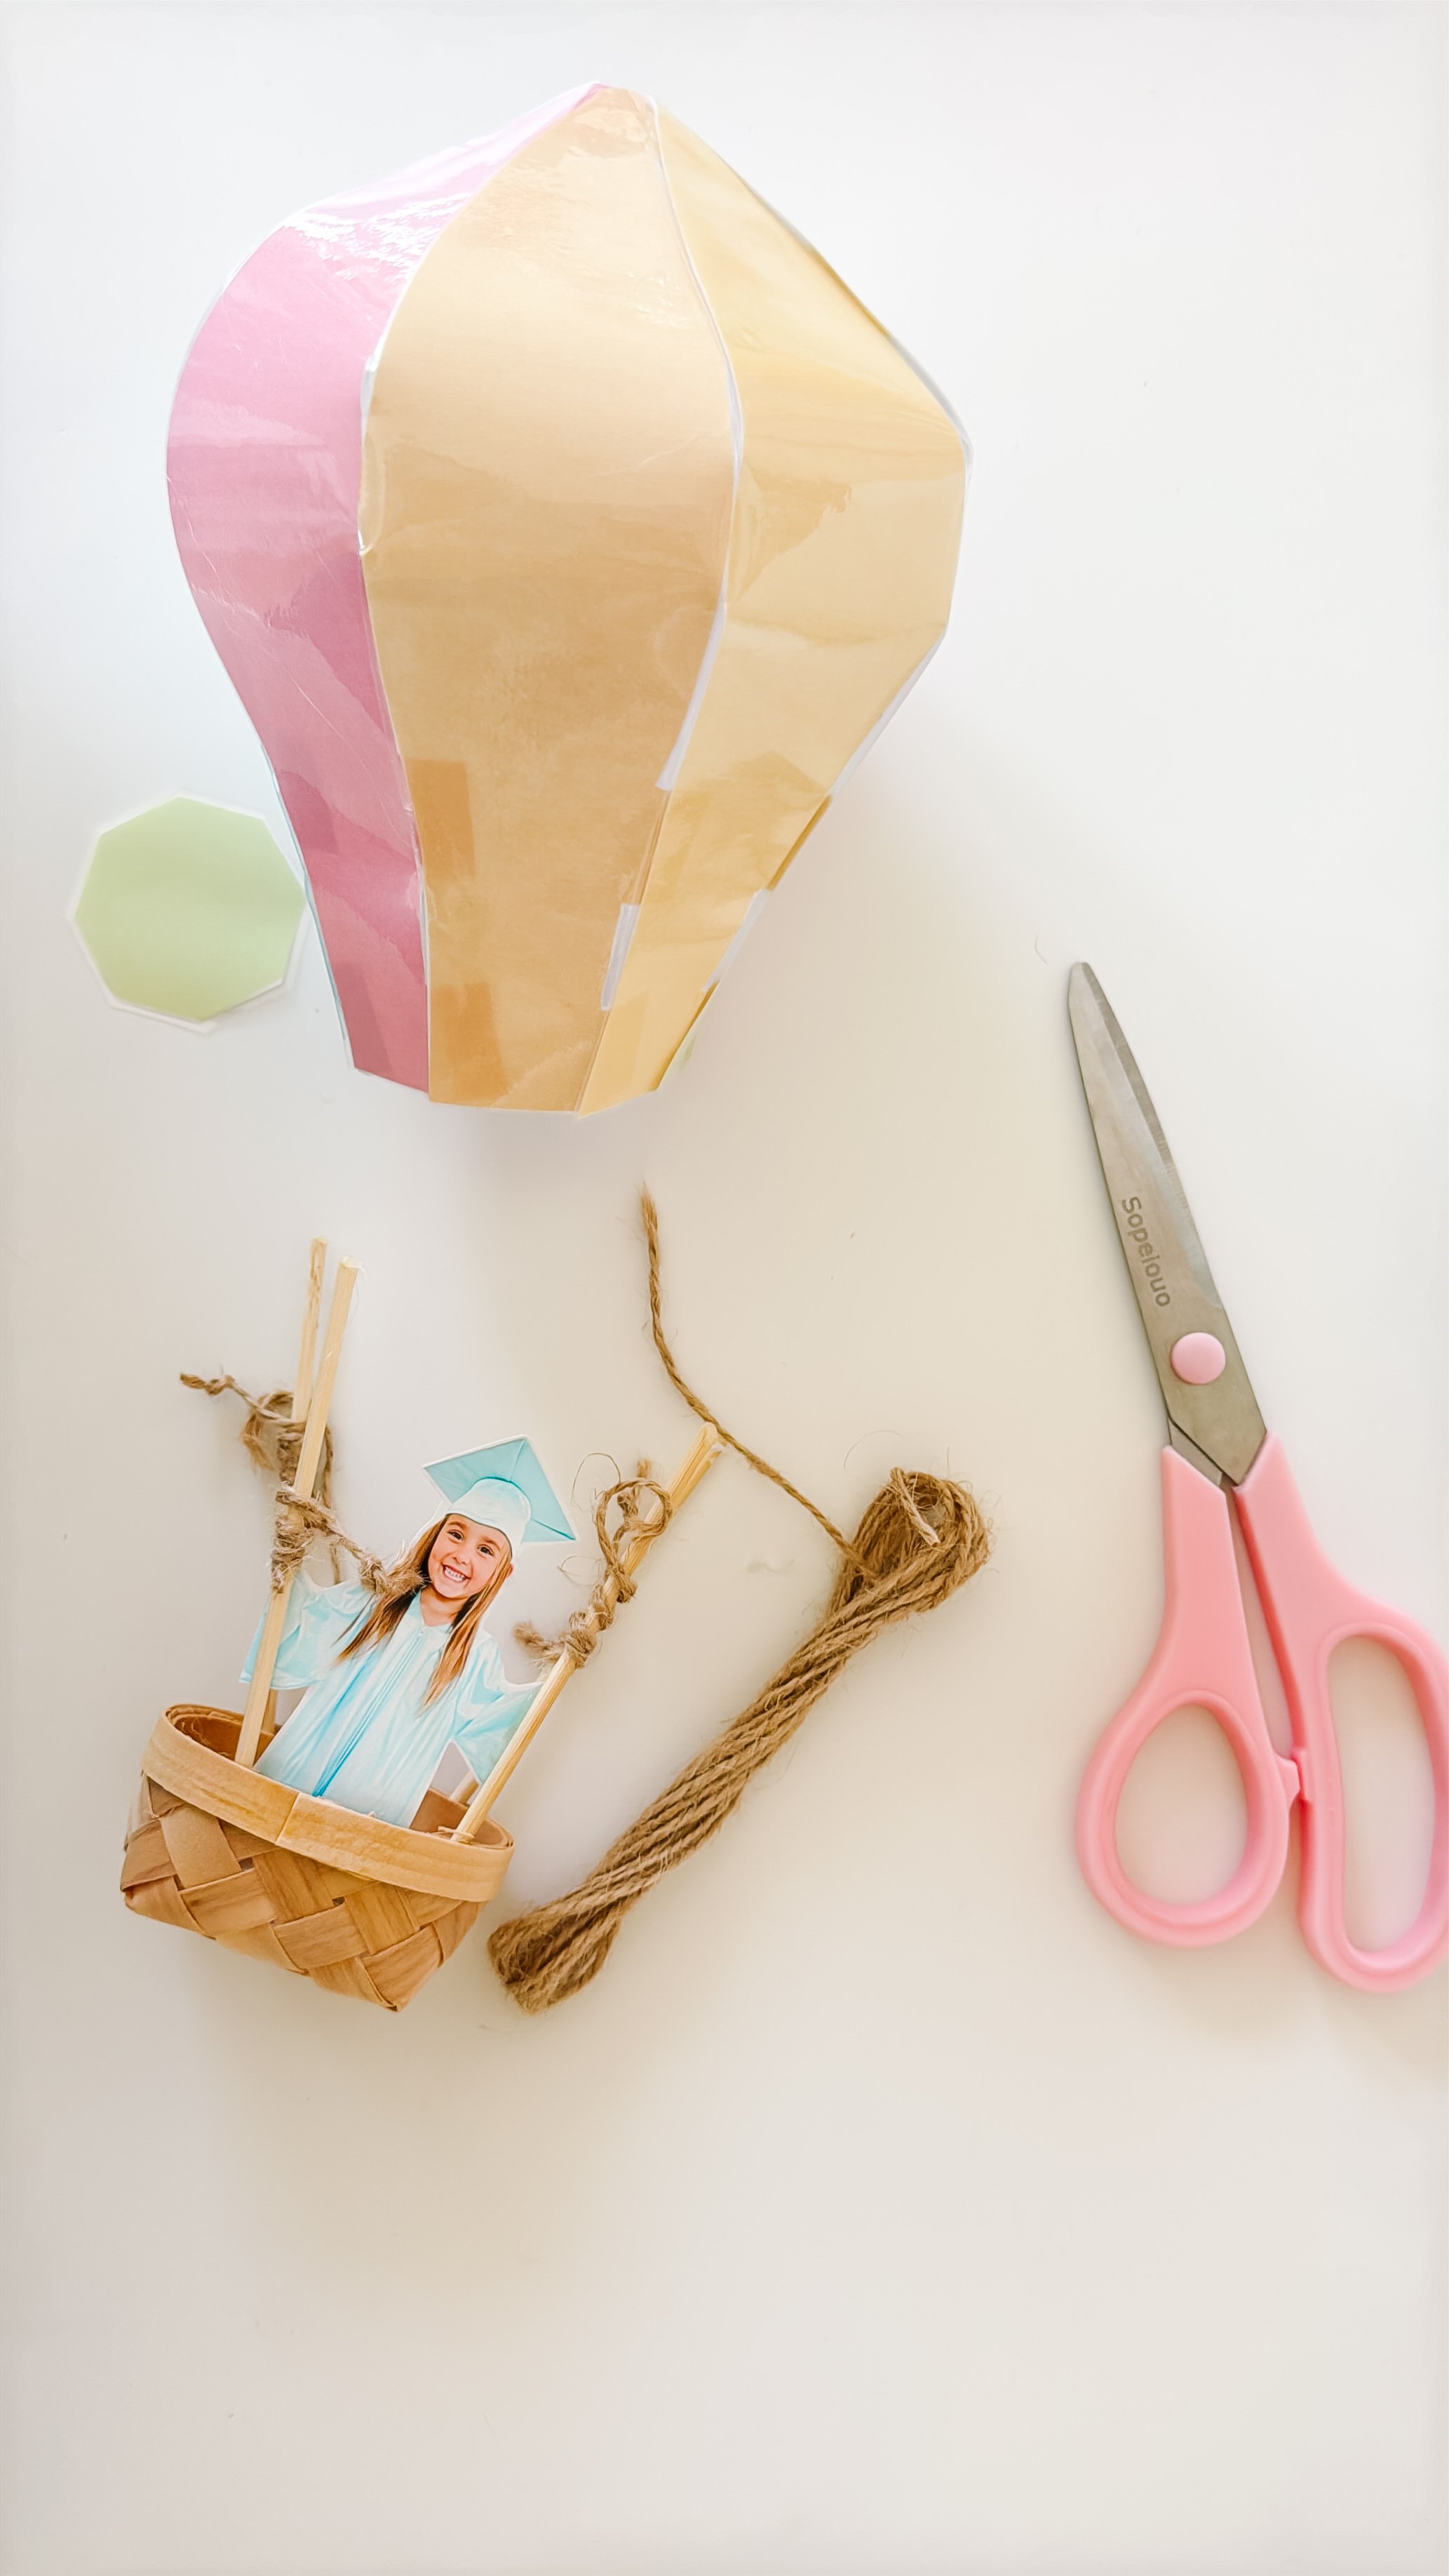
Prepare four equal-length wooden skewers or paper straws to connect the basket to the balloon.
Build the dimensional balloon
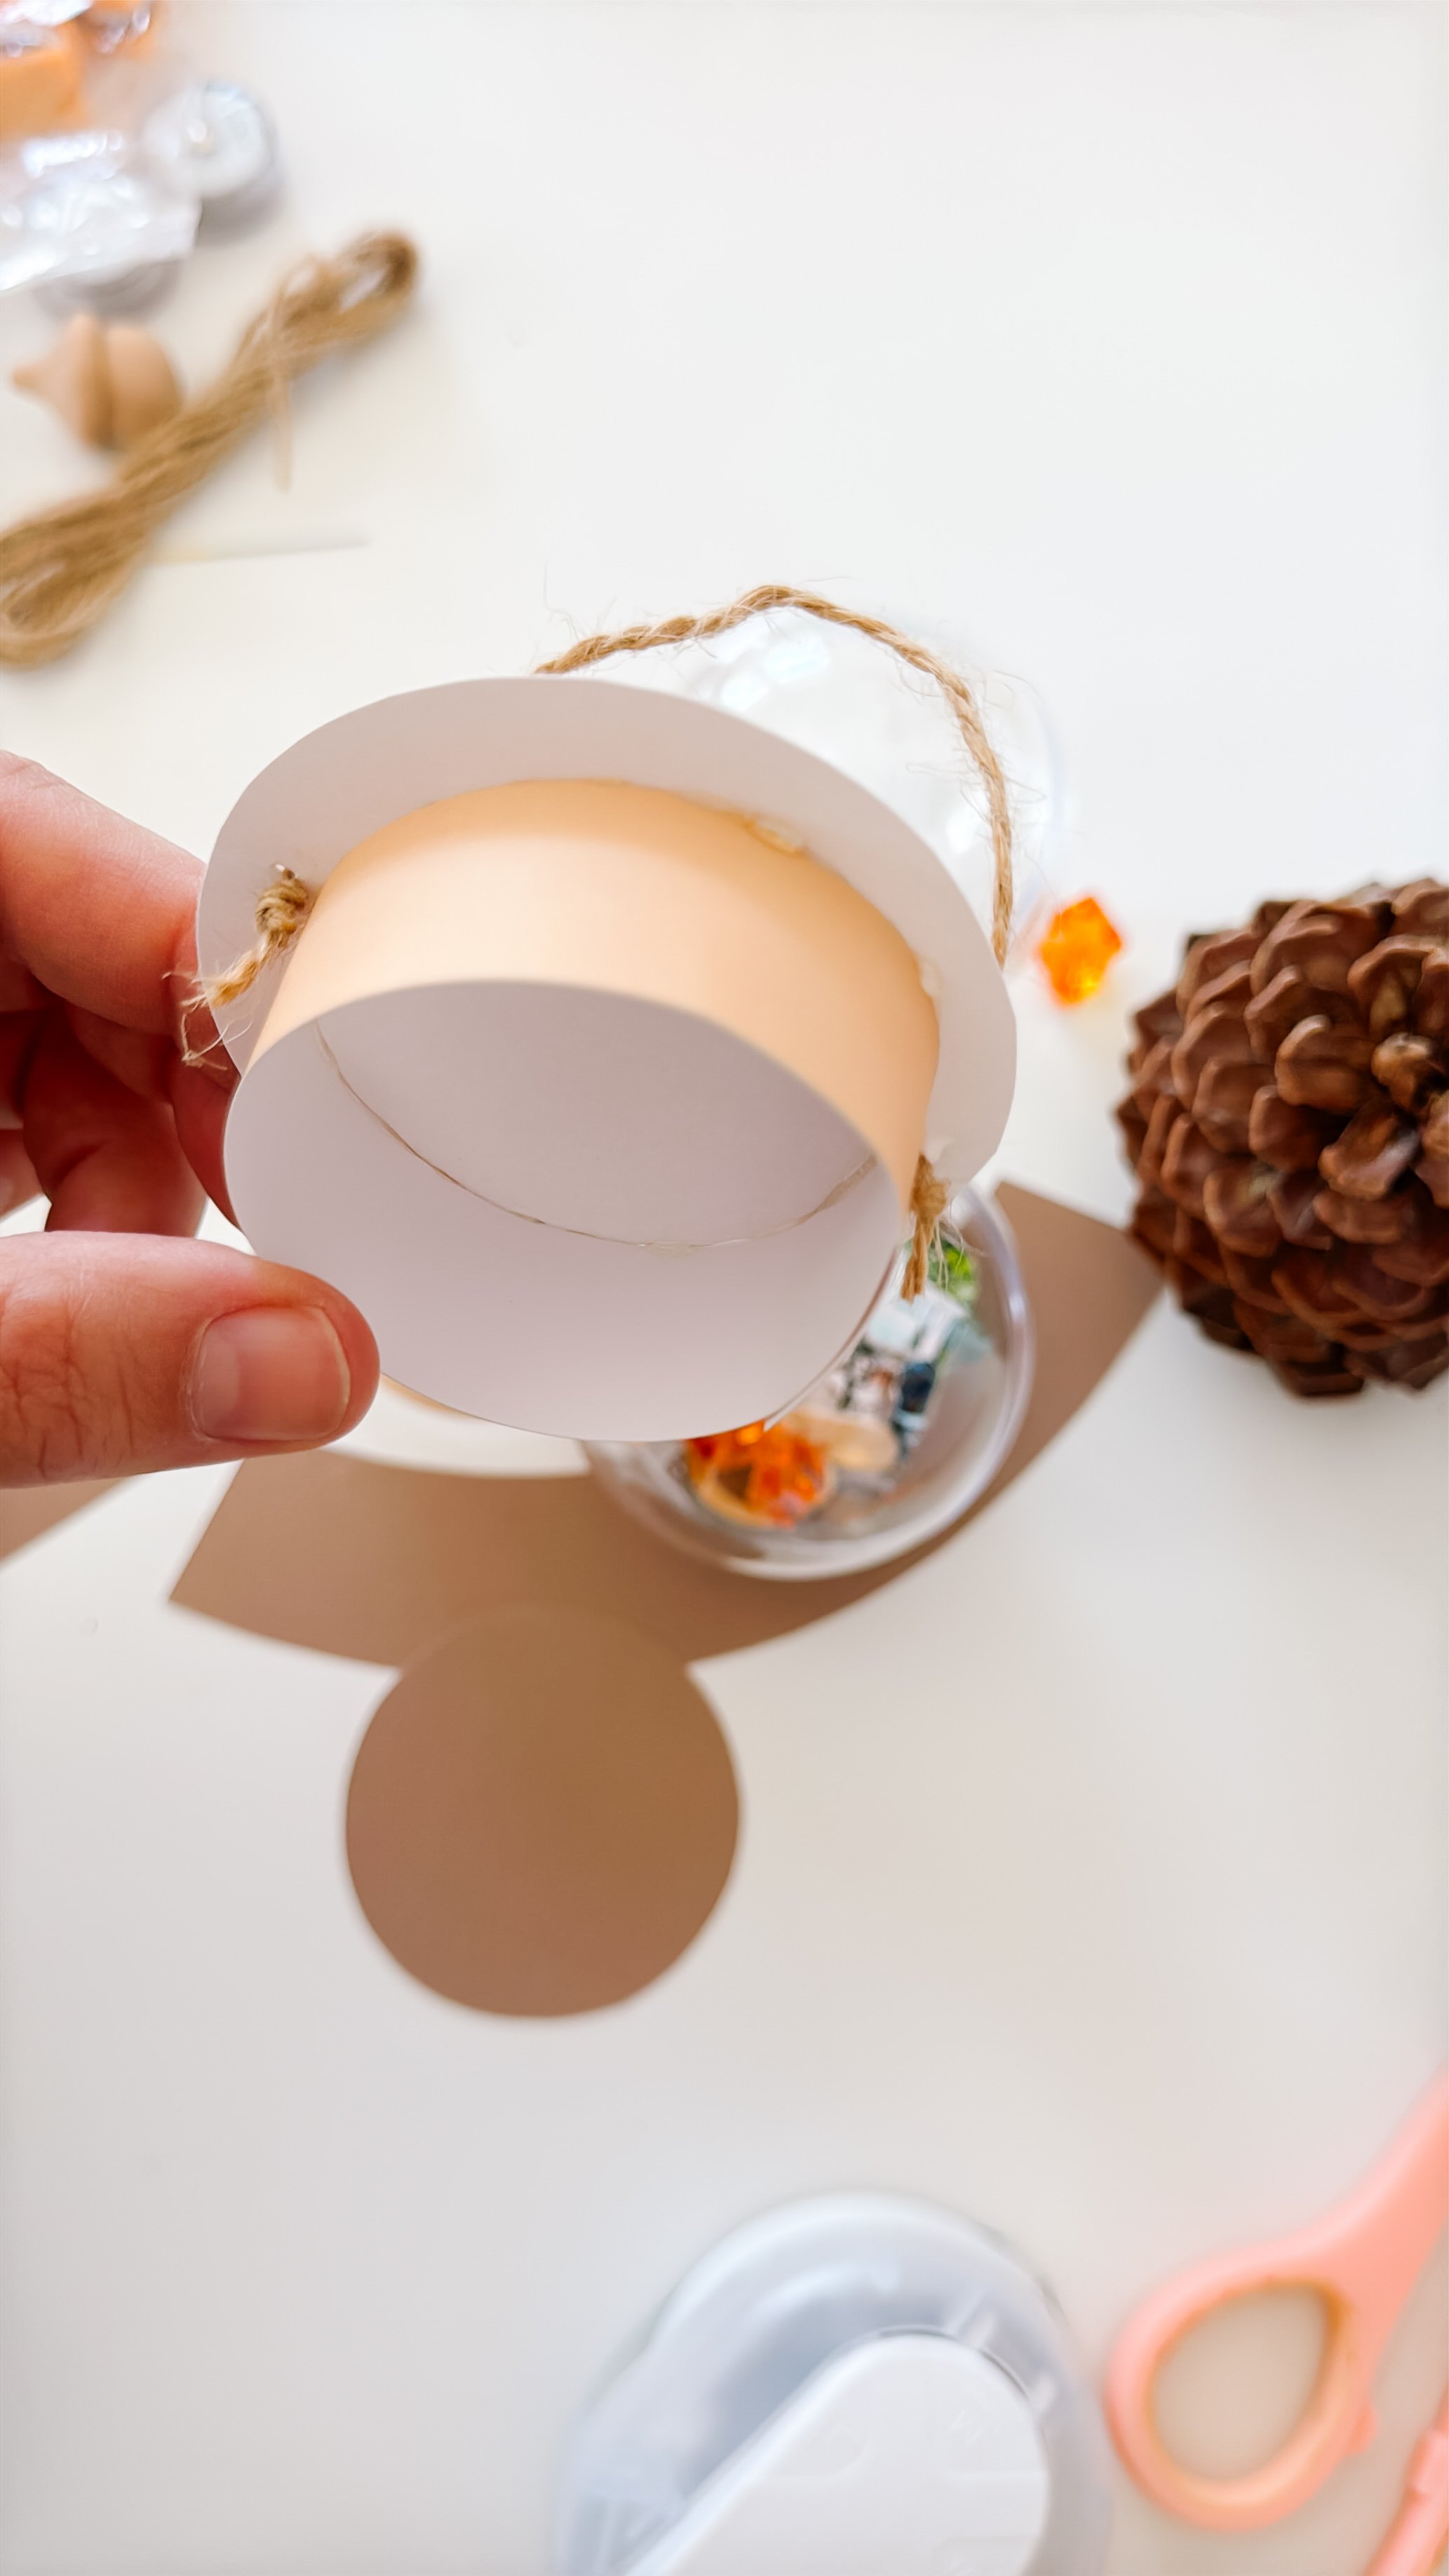
Fold each paper balloon panel vertically down the center.
Glue one folded half to the matching half of the next panel. Continue joining panels until the shape begins to open into a rounded, three-dimensional balloon.
Join the final two outer sides and gently spread the panels so the balloon has an even shape.
A simpler version can be made by gluing two flat balloon shapes back-to-back around the tops of the supporting skewers.
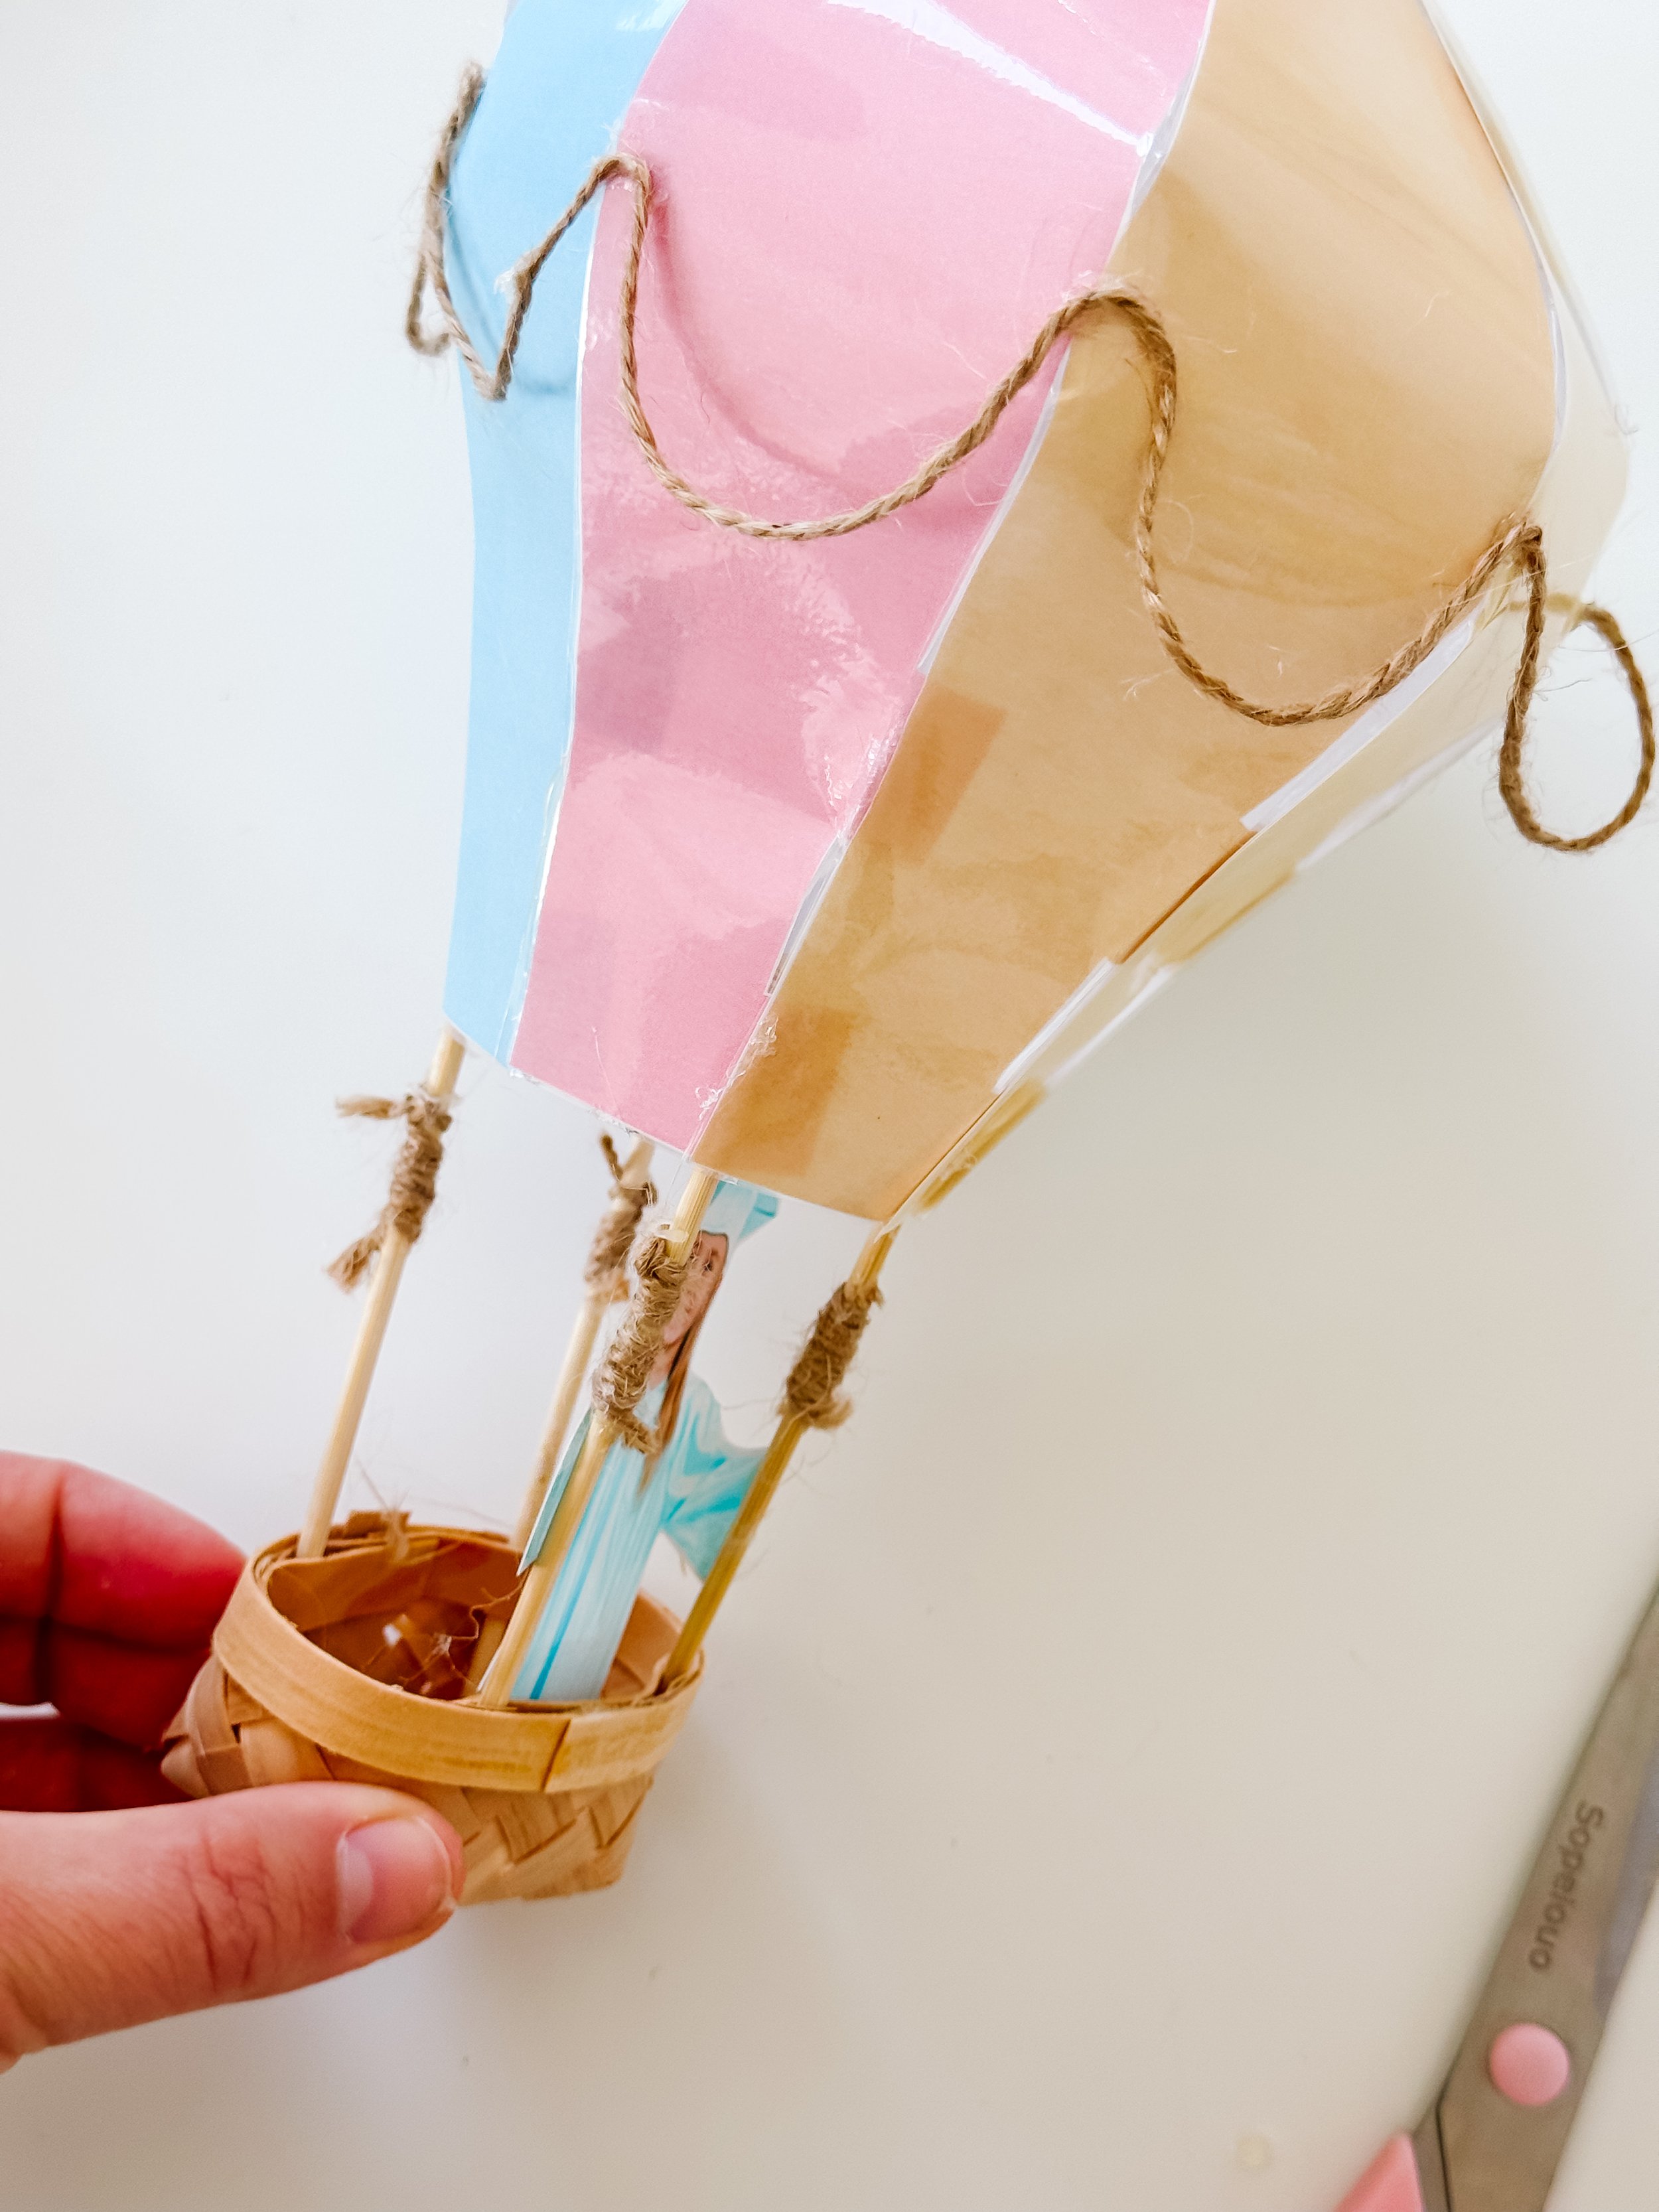
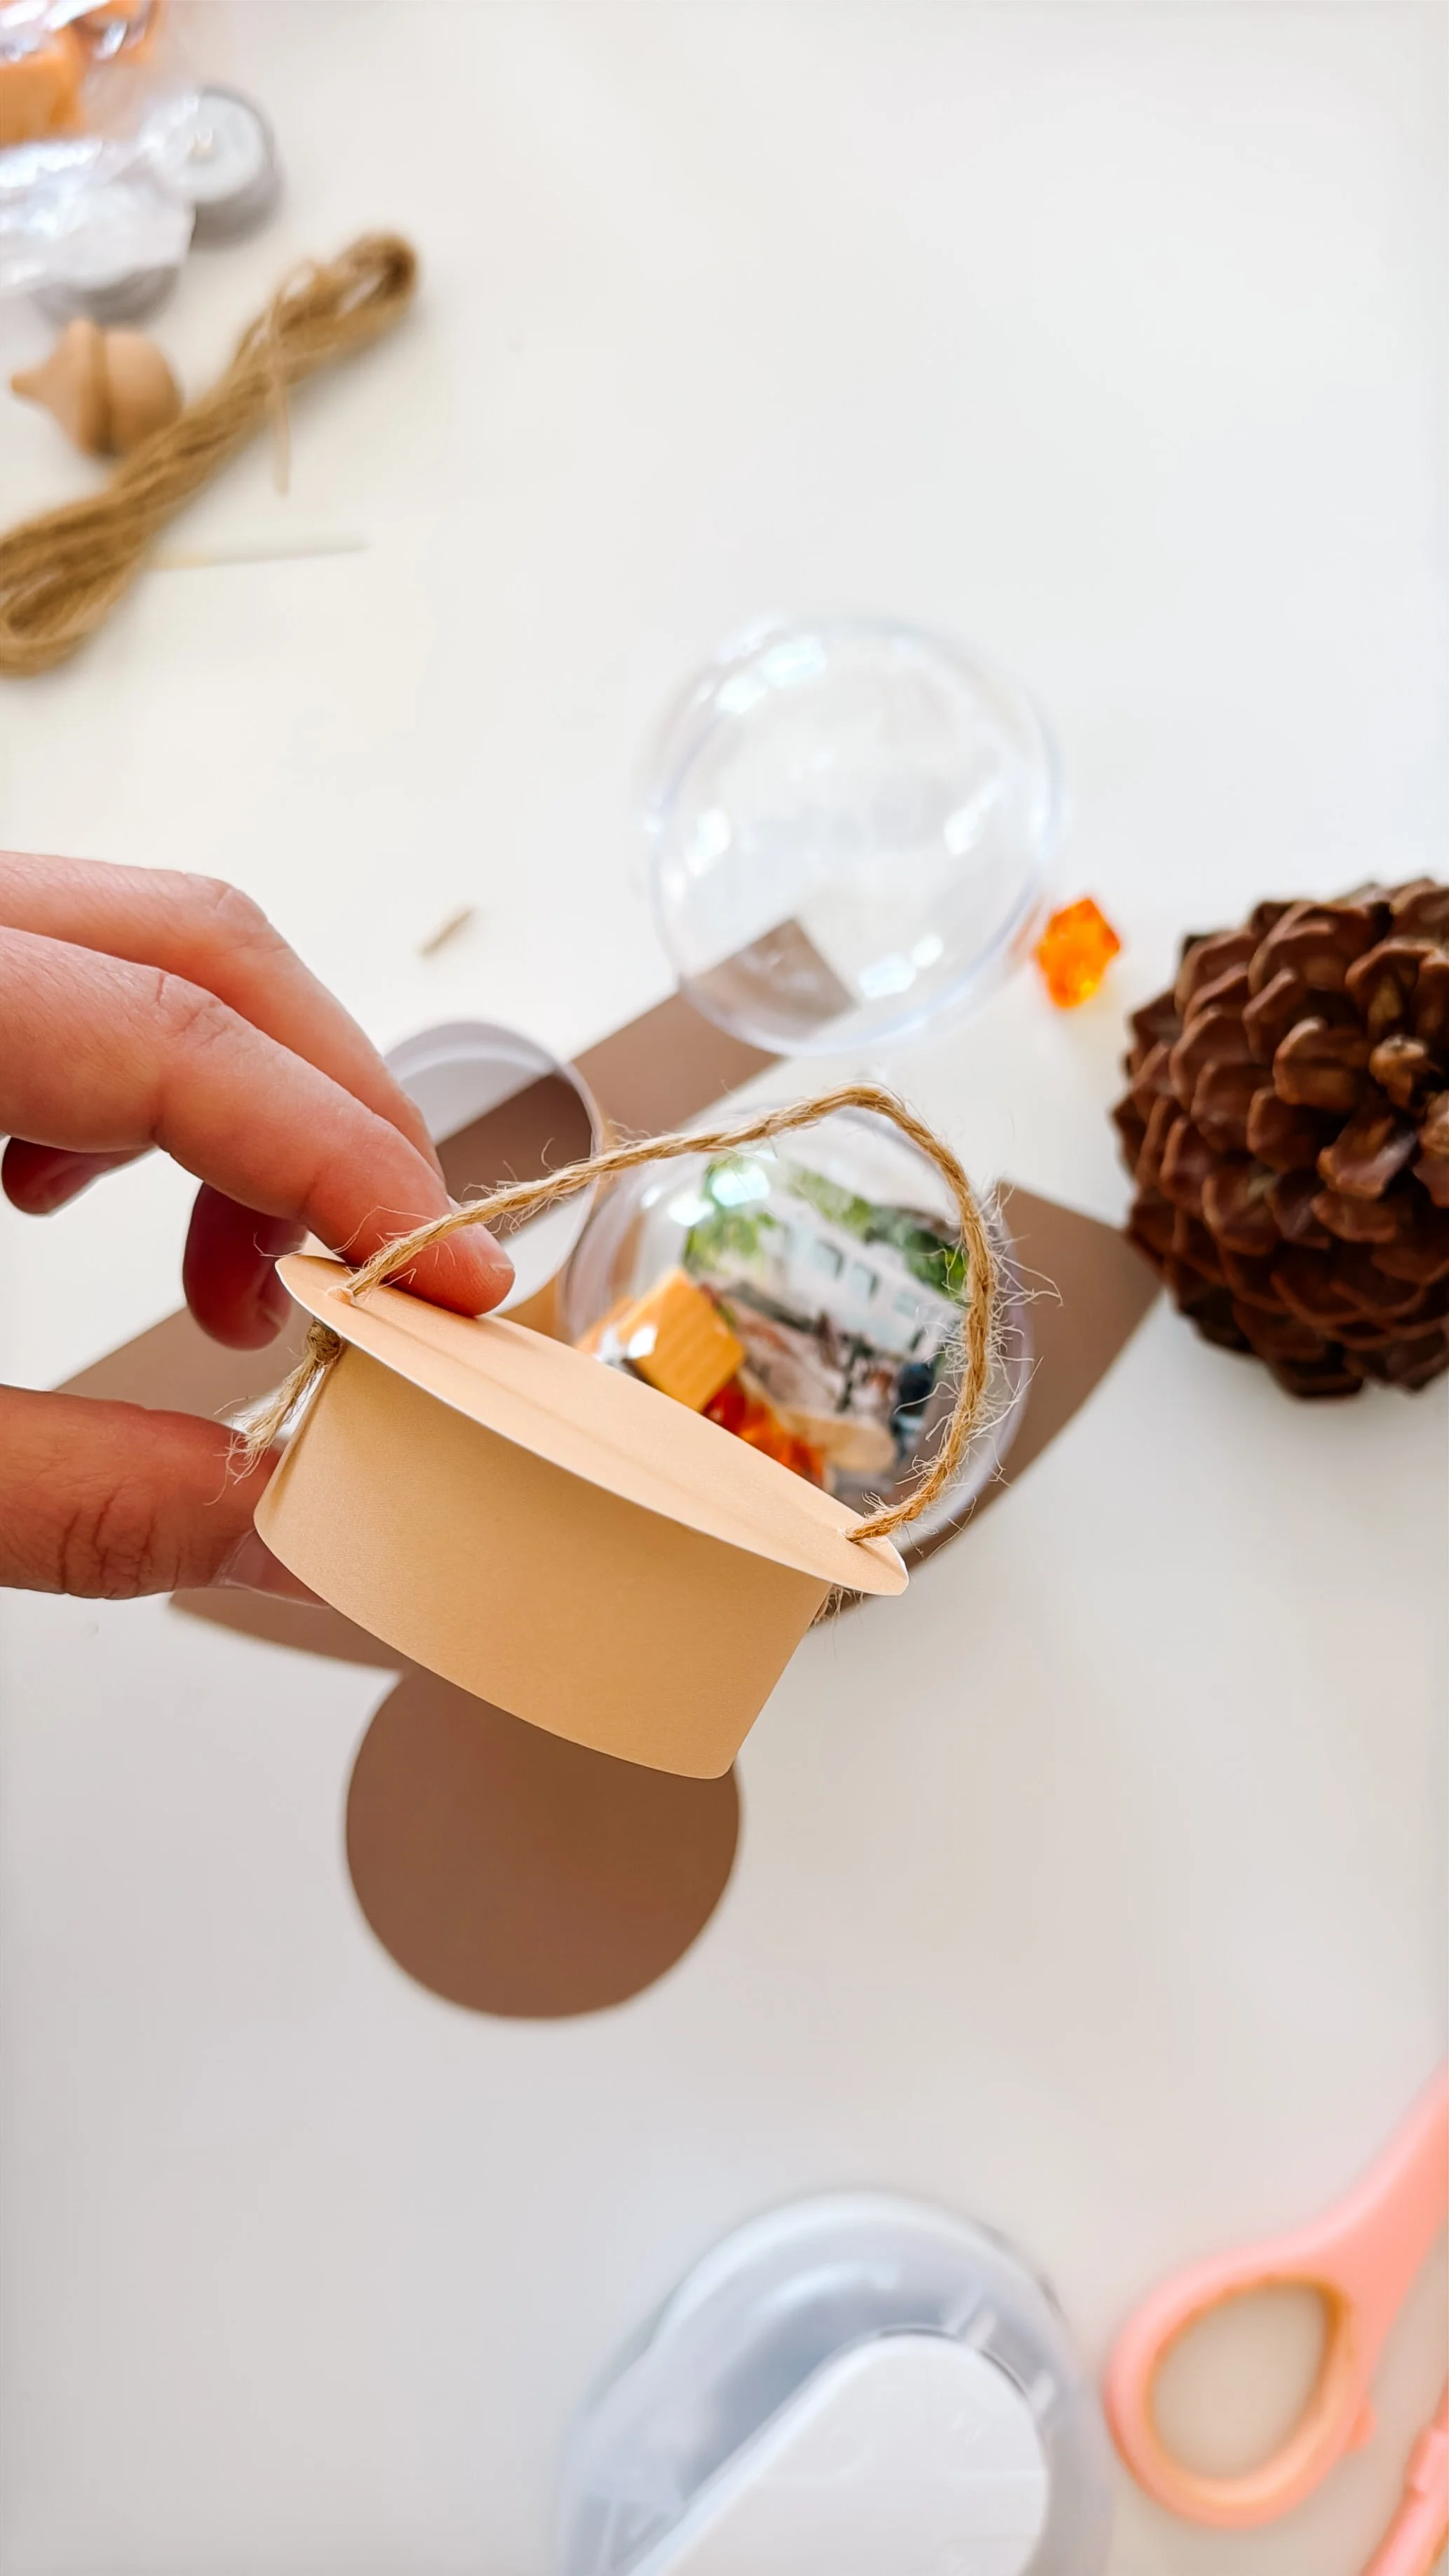
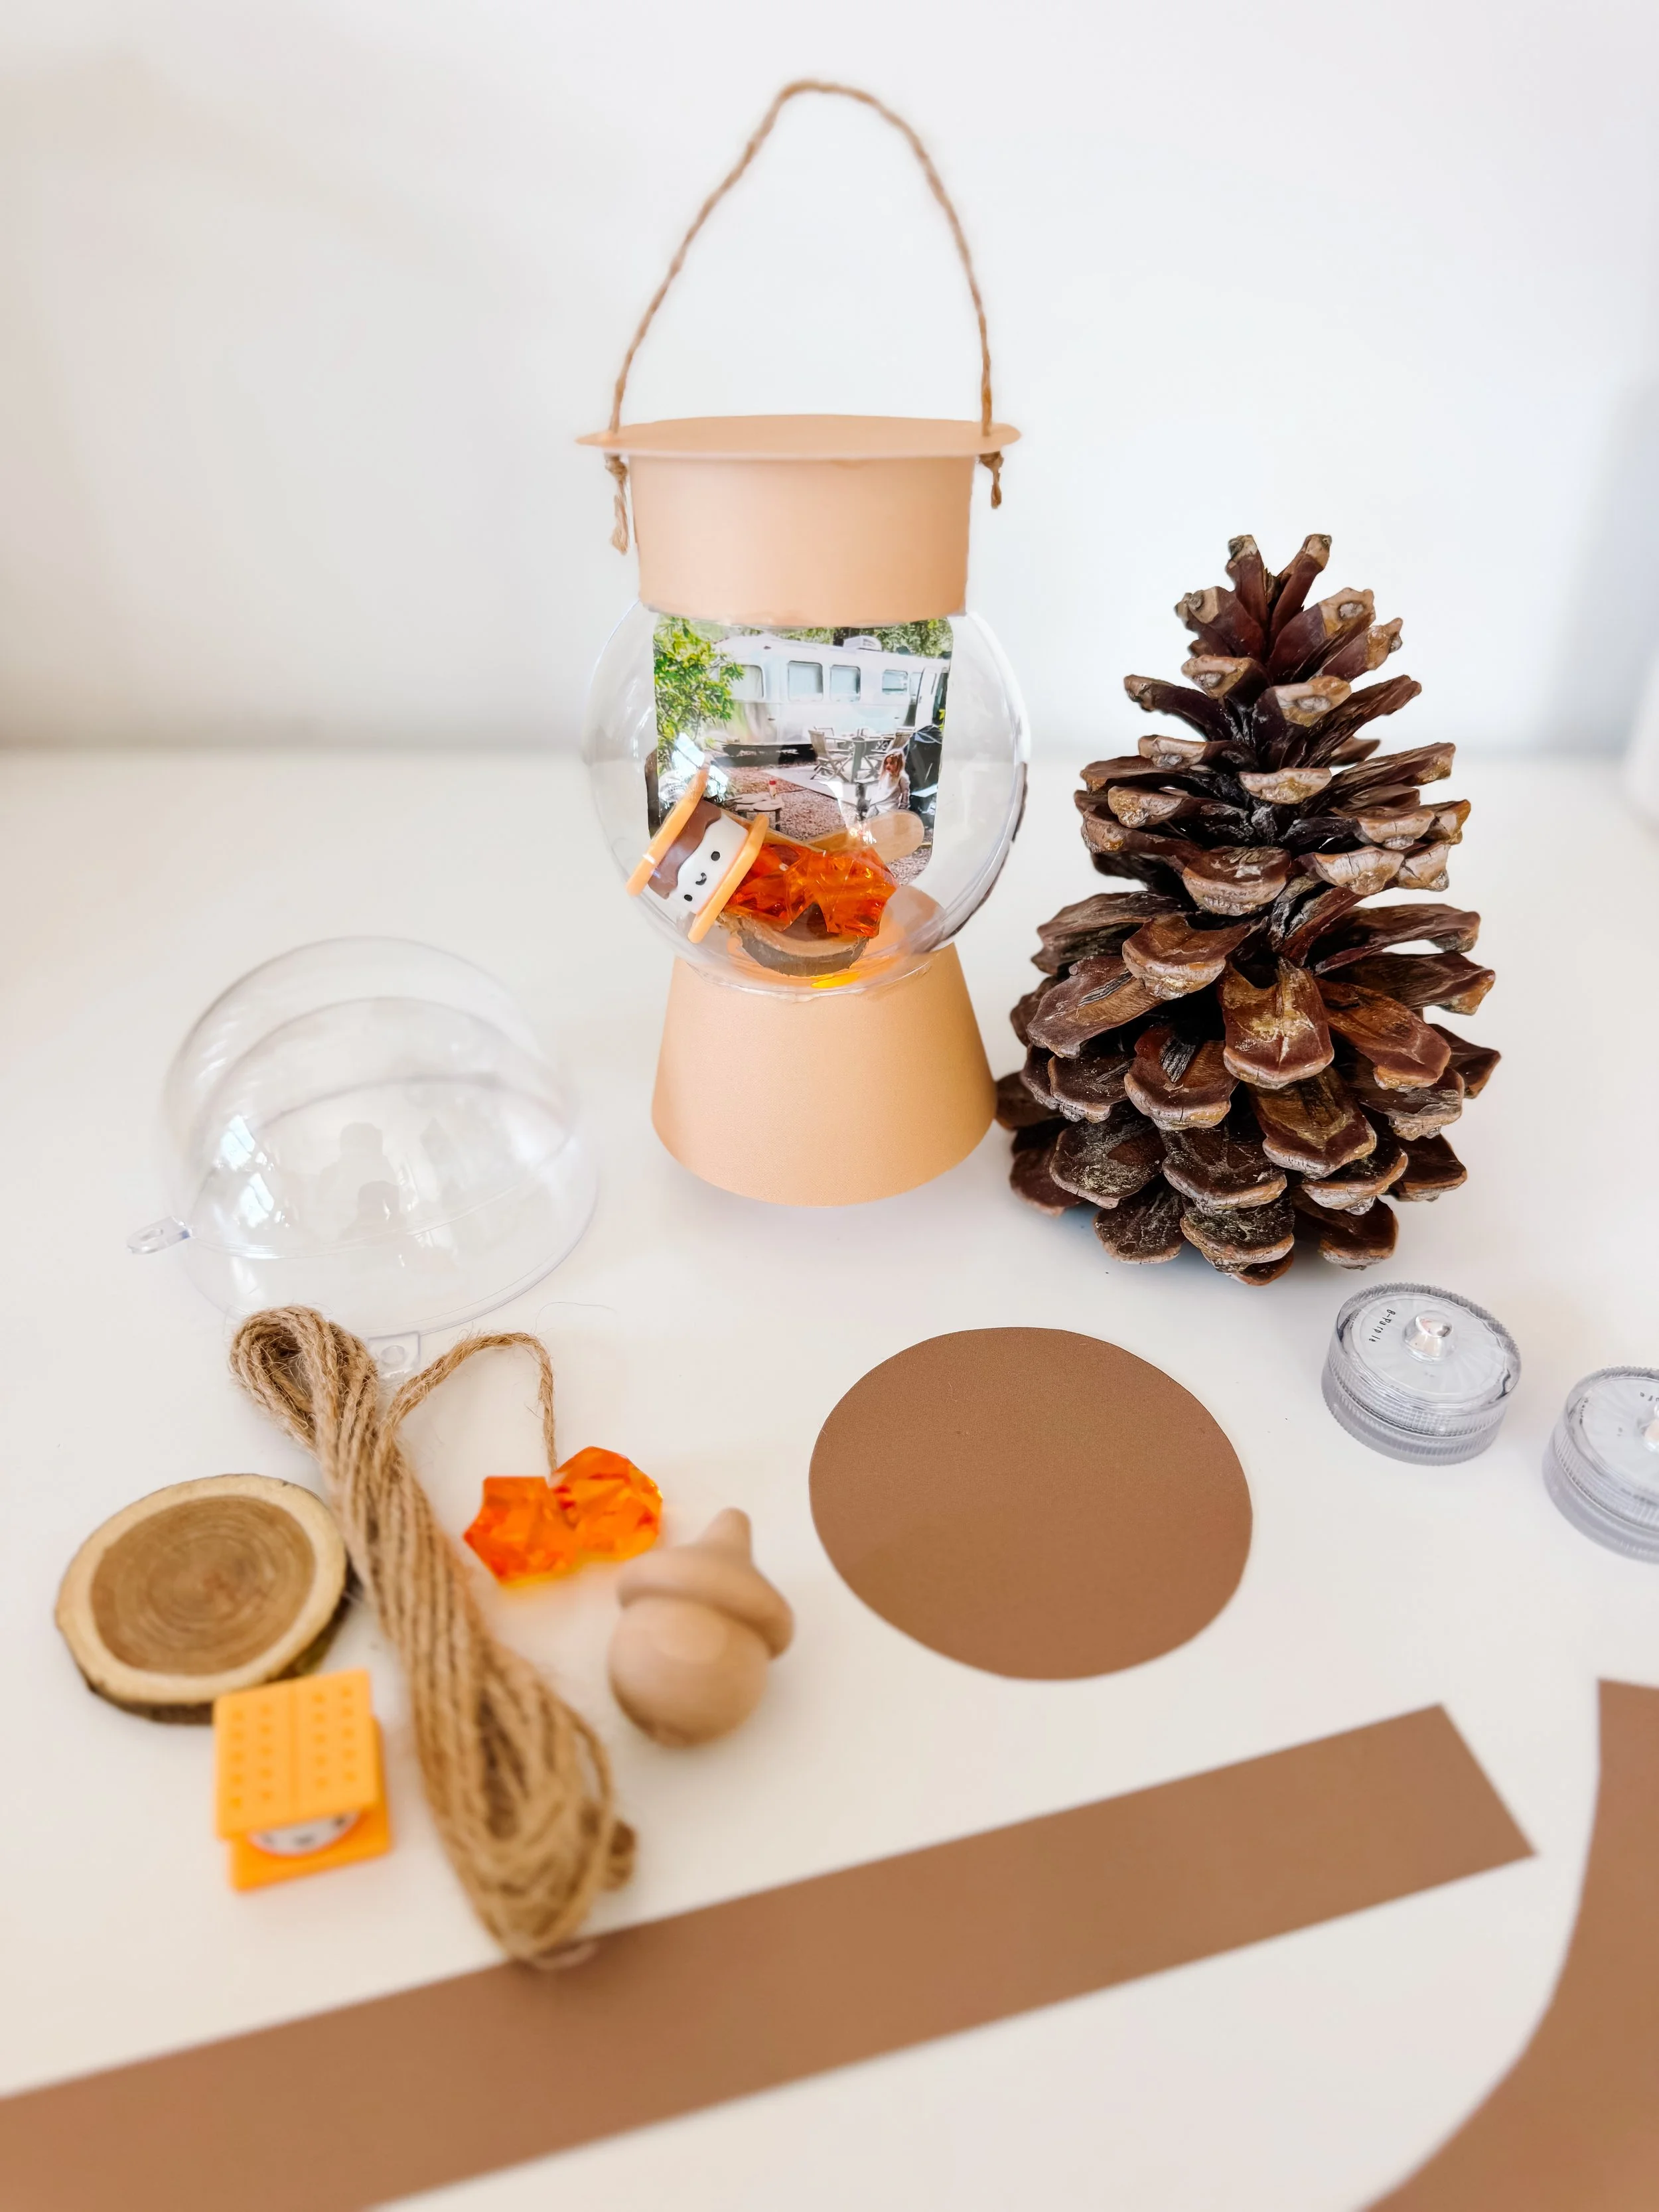
Connect the basket to the balloon
Attach one support to each side of the basket, spacing the four pieces evenly.
Secure the upper ends beneath the hot air balloon. Adjust the supports until the basket hangs level.
Wrap short pieces of twine around the attachment points to hide glue and create a finished, rope-like appearance.
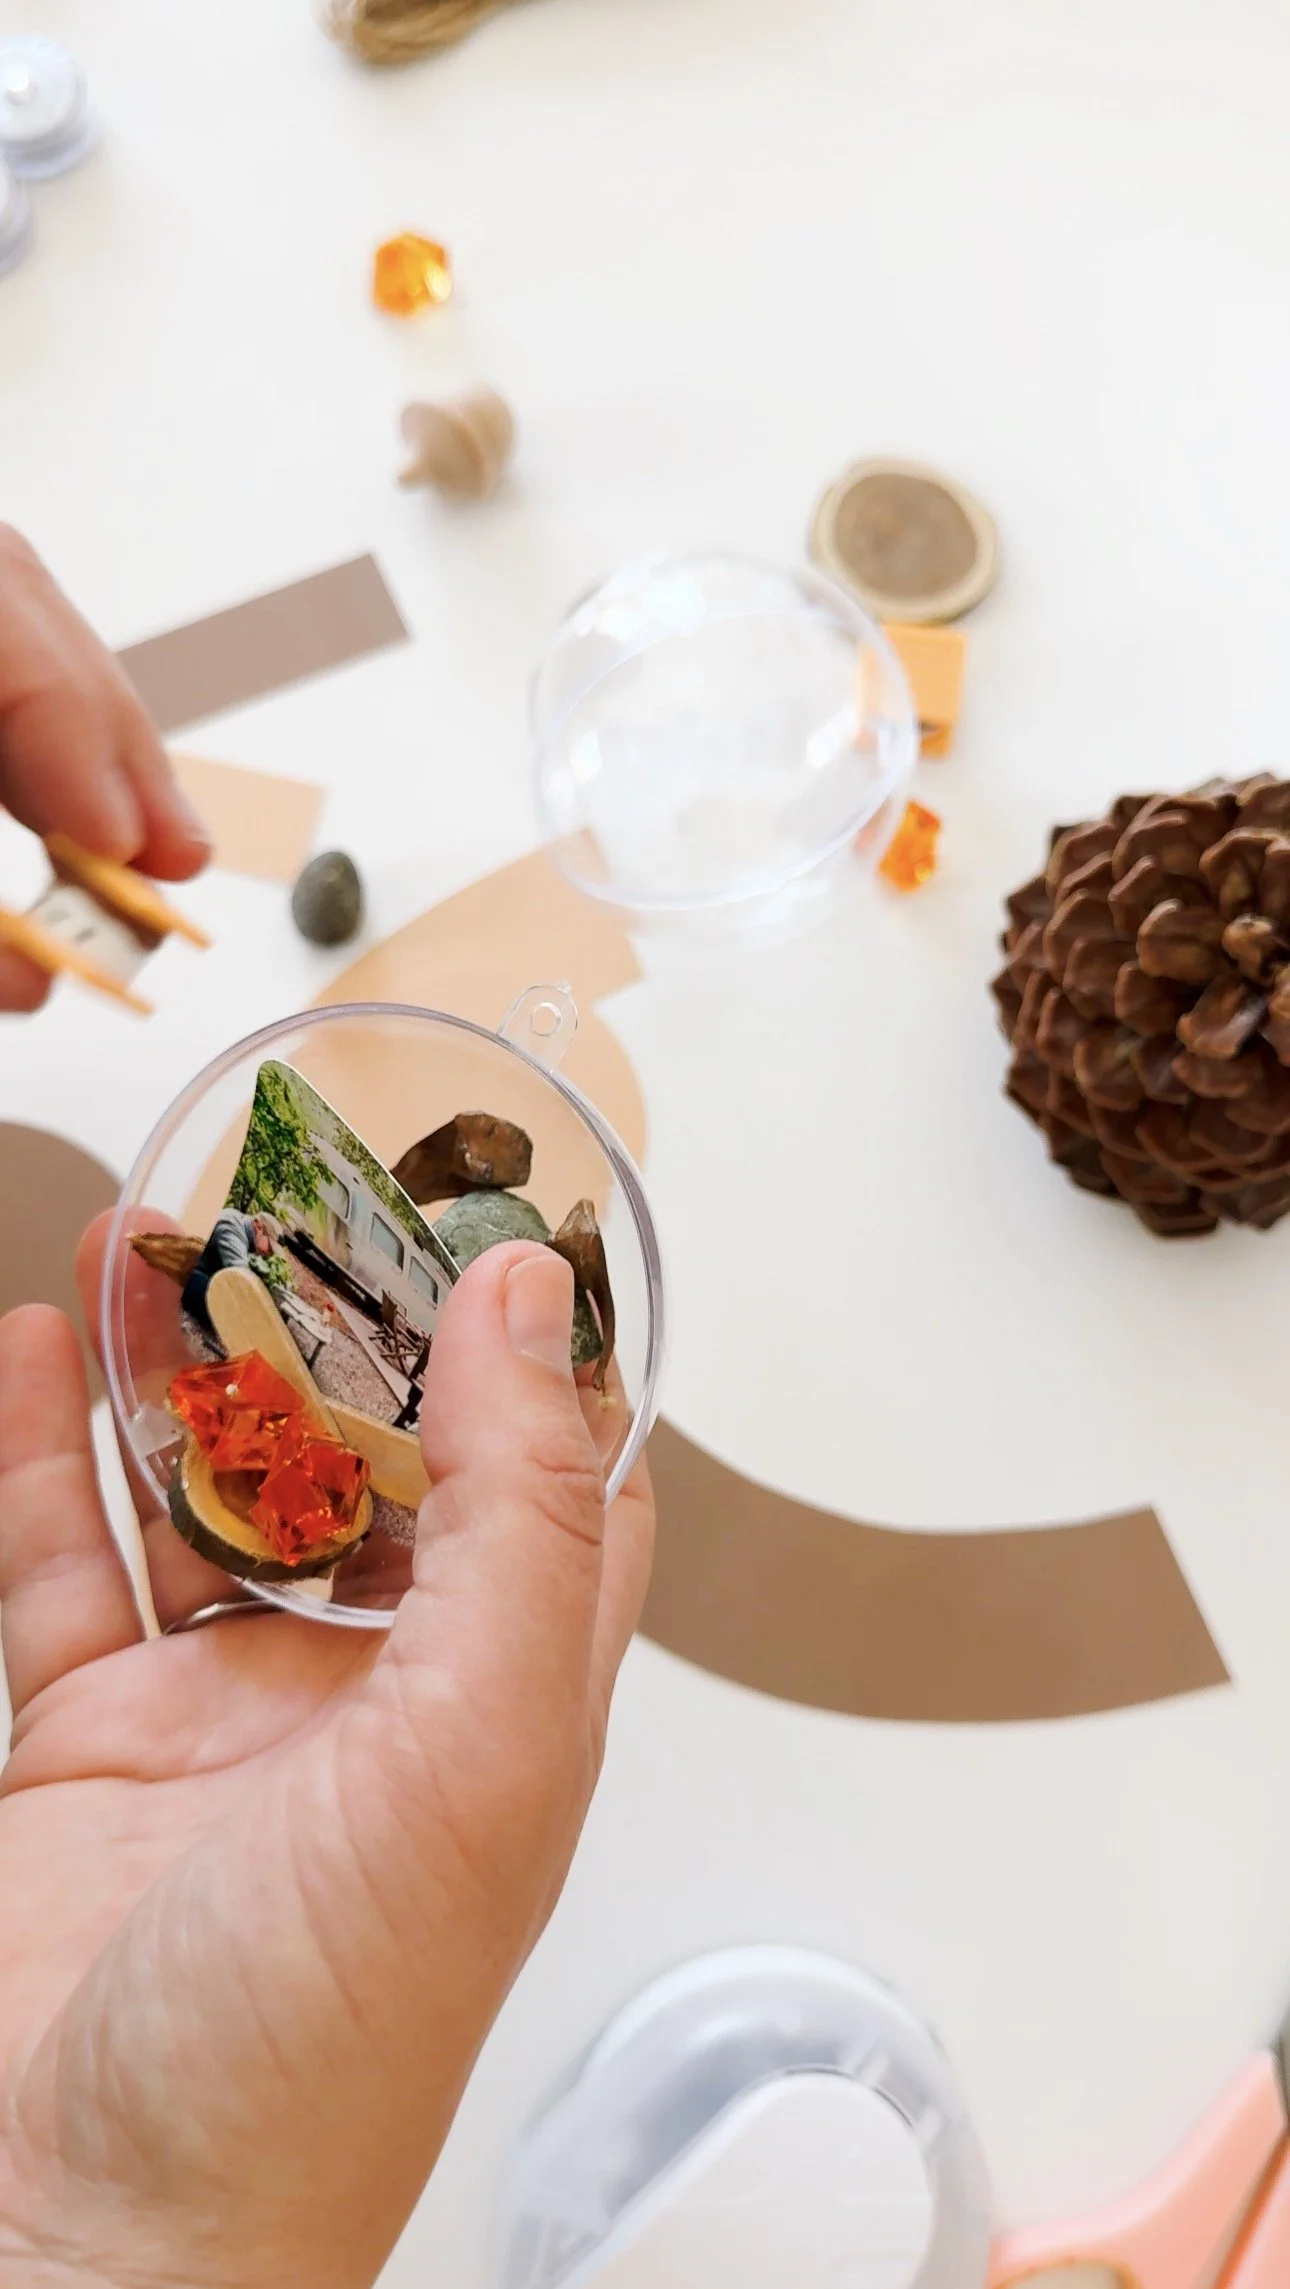
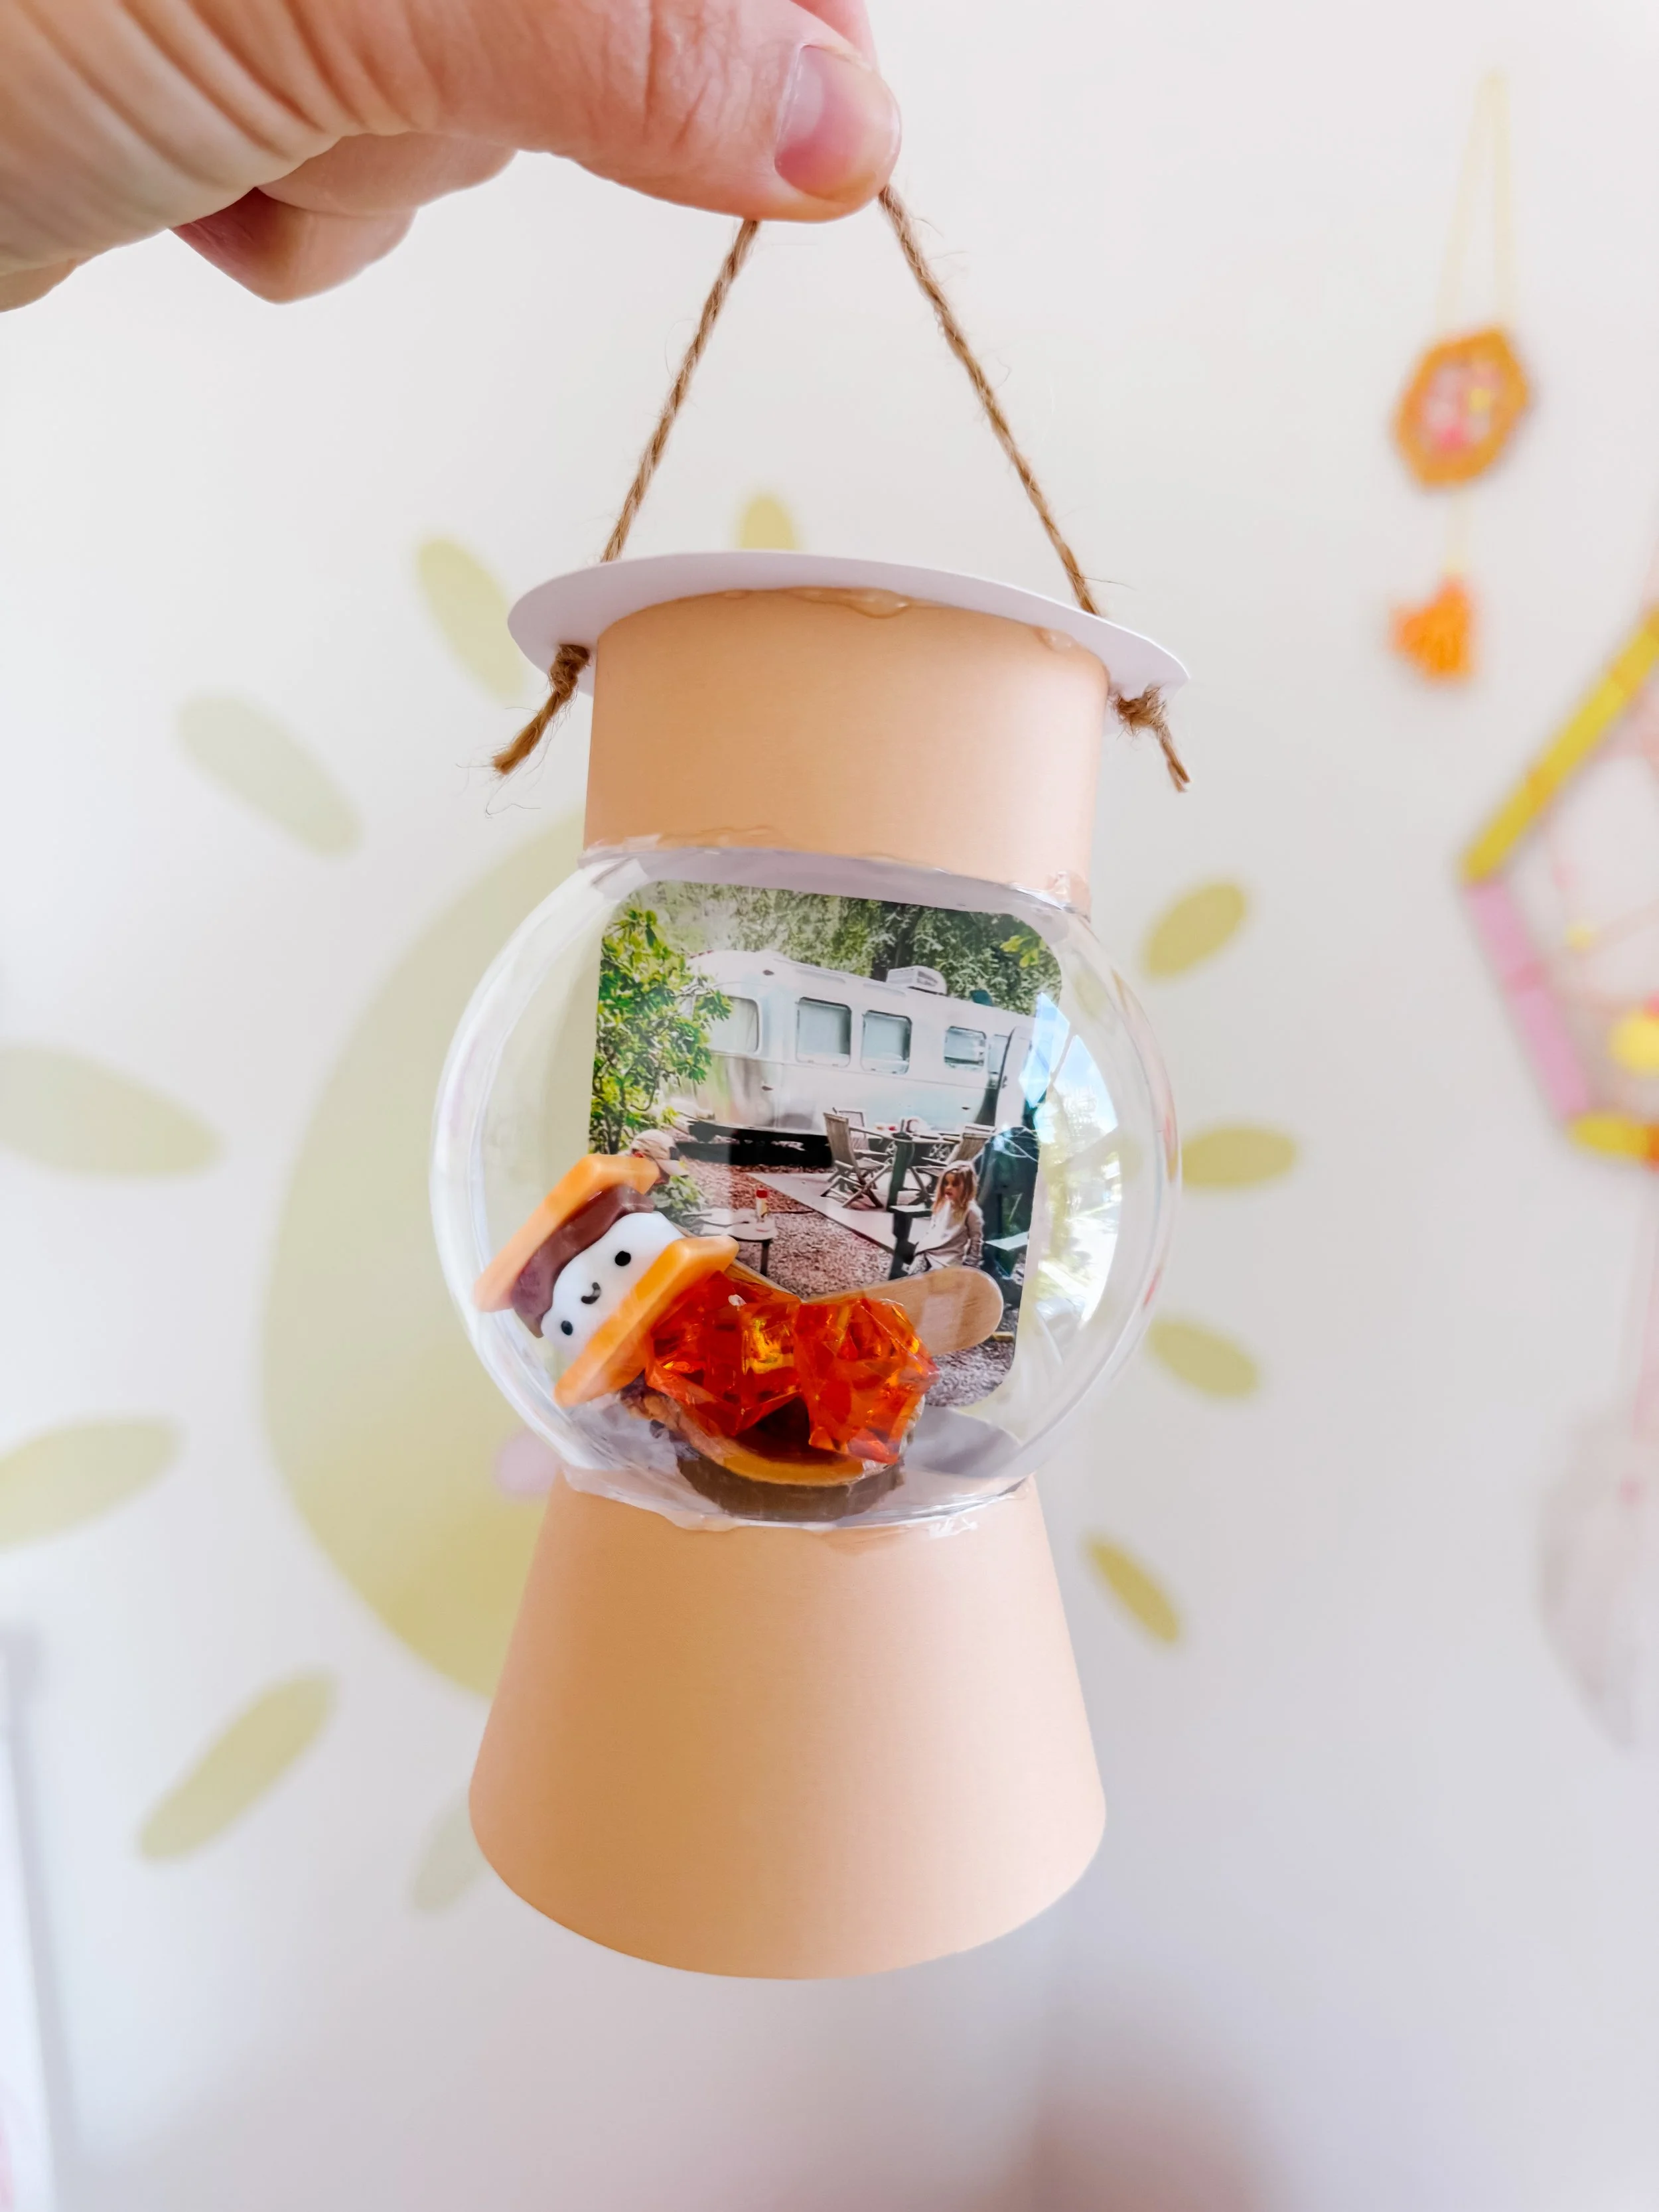
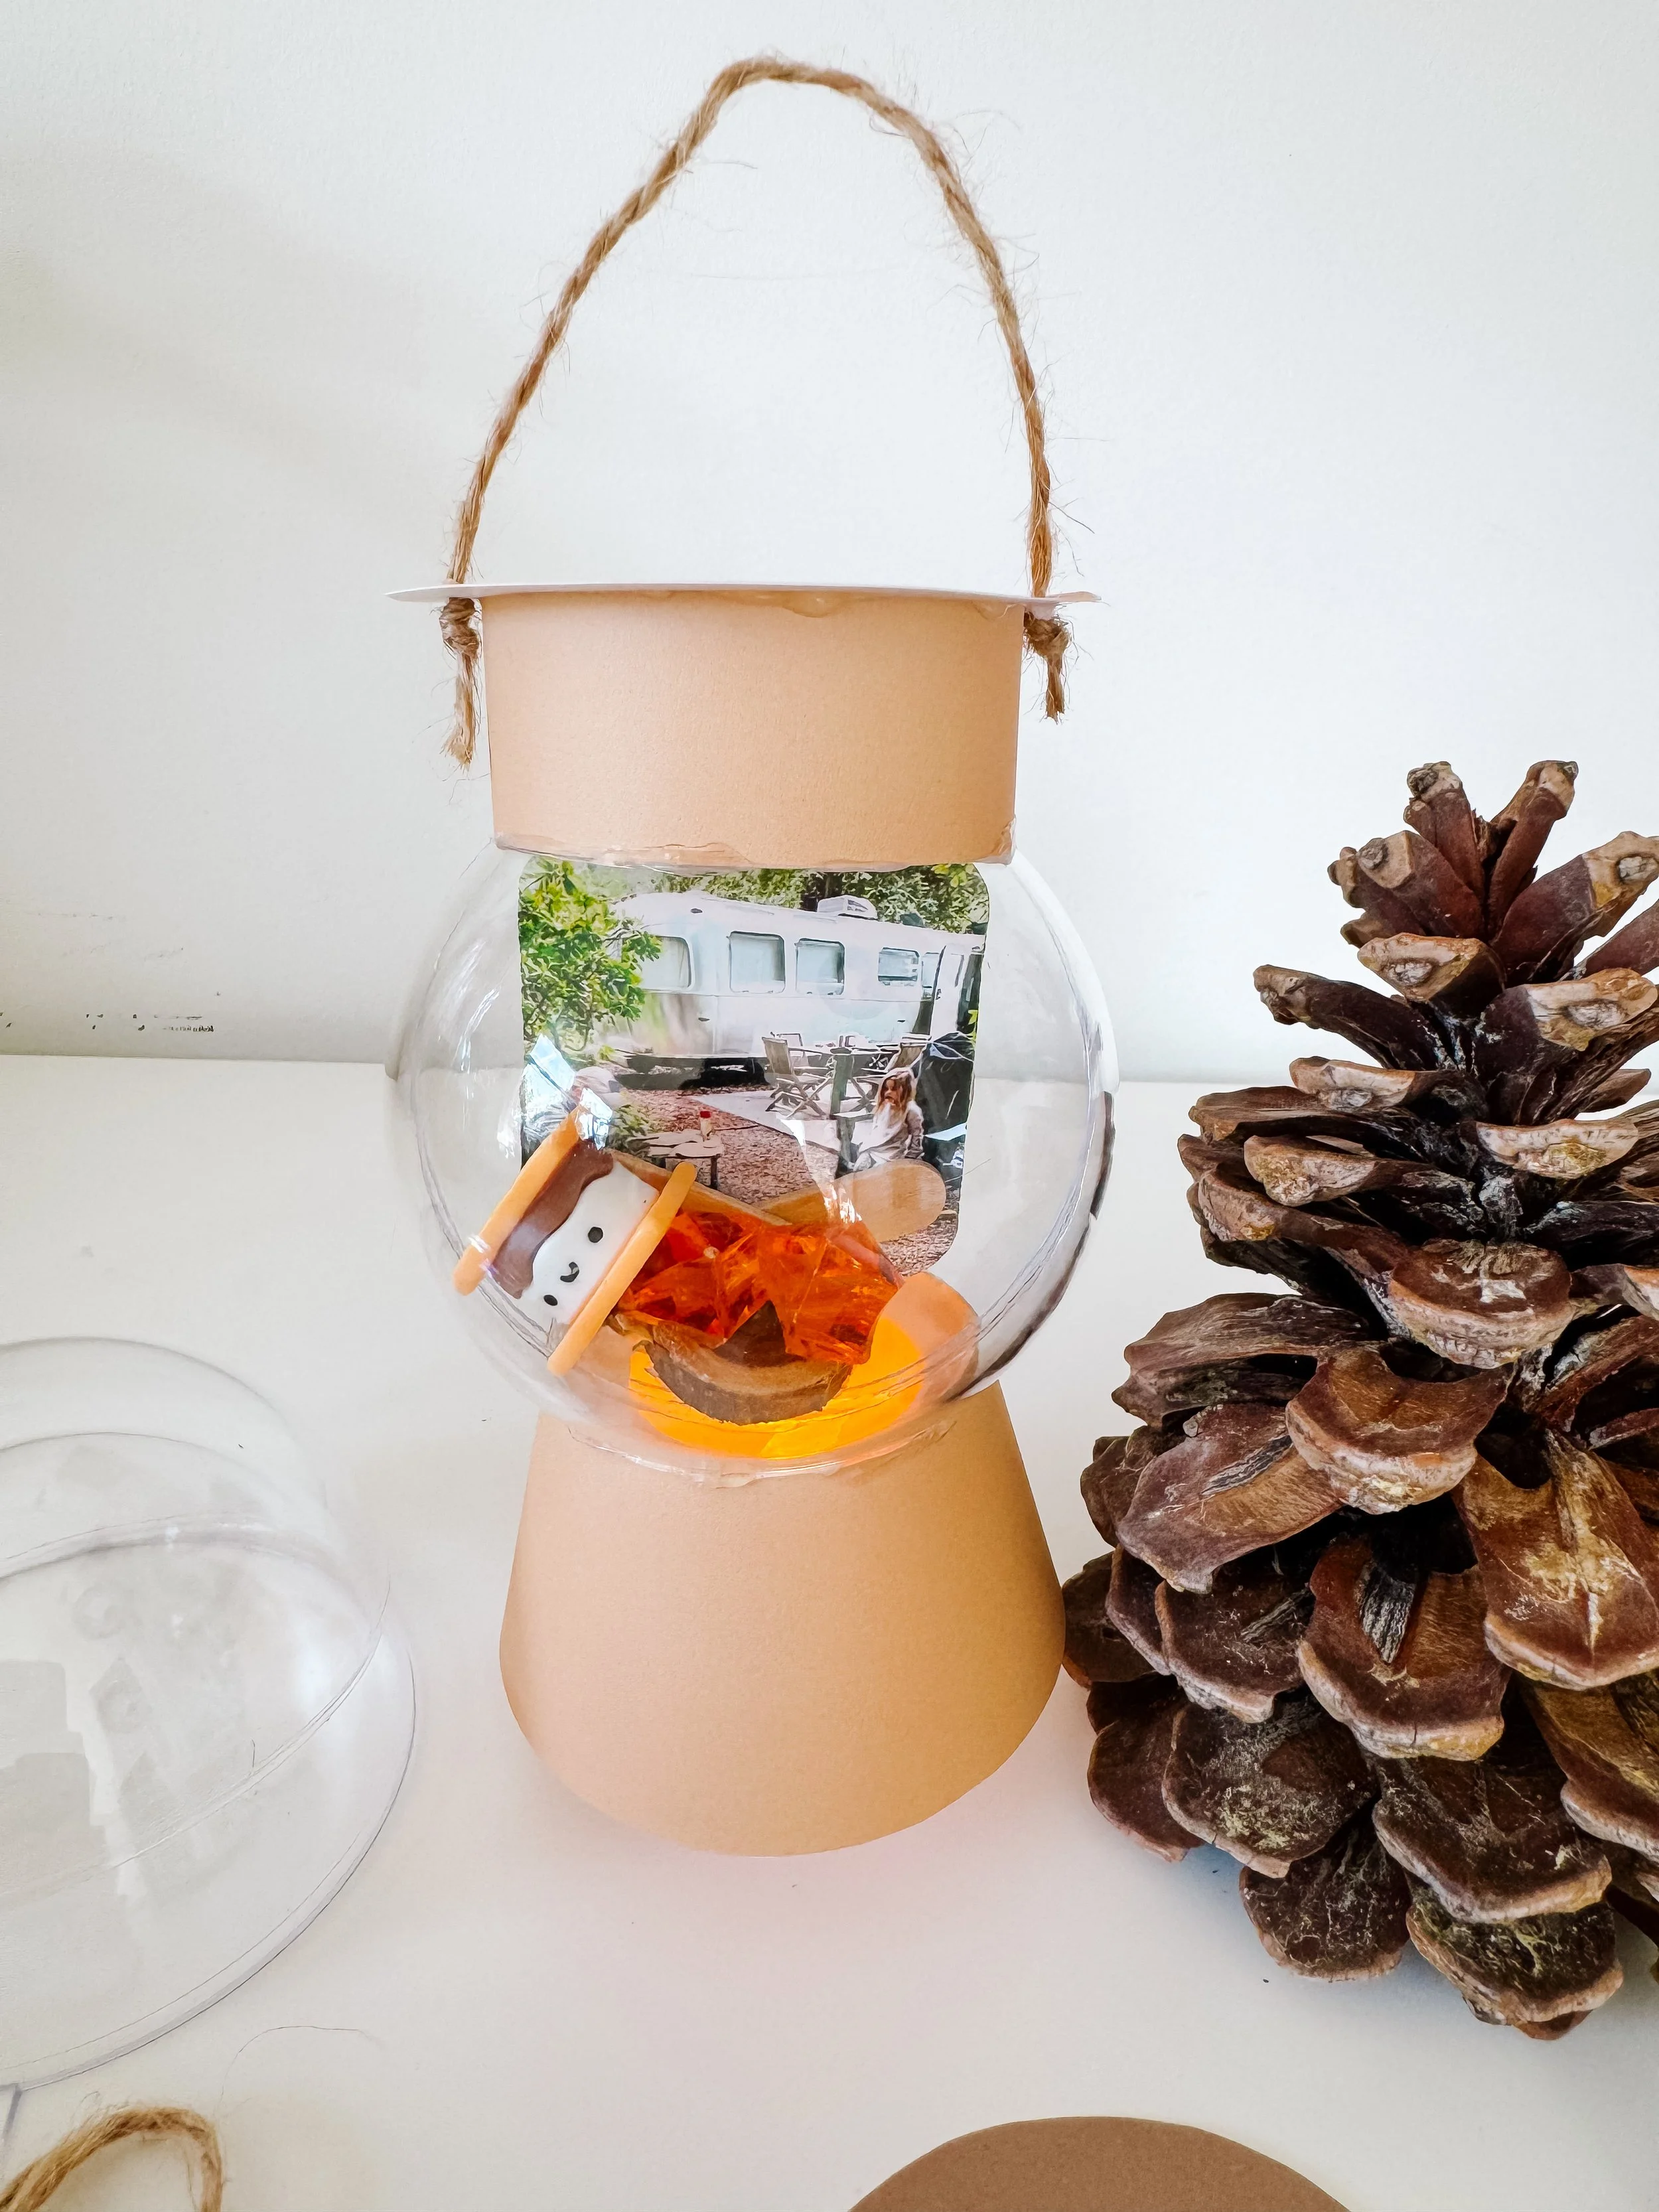
Add the graduate’s photo
Place the trimmed photo inside the basket so it appears that the graduate is riding in the balloon.
Attach it to the inside of the basket or one of the supports with a glue dot or small piece of clear tape.
Keep the photo removable when possible so it can be updated, saved in a scrapbook, or replaced with a new photo in future years.
Add the finishing details
Glue a loose scalloped strand of twine around the outside of the balloon to resemble decorative balloon rigging.
Add tassels, paper clouds, stars, ribbons, a graduation year, or a small message such as “Up, up, and away!” or “Ready for the next adventure.”
Tuck the child’s goals, predictions, or favorite school memory into the basket before displaying the finished craft.
Turn the craft into an “Oh, the Places You’ll Go!” activity
Hot air balloons make a natural symbol for graduation because they represent movement, adventure, courage, and the excitement of going somewhere new.
Pair the craft with a conversation about the many kinds of “places” a child may go. These do not need to be literal destinations. A new classroom, a new friendship, a difficult book, a creative idea, and a new skill can all become part of the journey.
Invite children to finish one or more prompts:
- Next year, I hope I learn…
- I am proud that I can…
- I want to be brave enough to…
- I want to help others by…
- A place I hope to visit is…
- Something I want to create is…
- When something is difficult, I can…
Learning benefits
This graduation craft combines visual art, storytelling, early writing, goal setting, and emotional reflection.
Fine motor skillsCutting and gluingThree-dimensional constructionSequencingGoal settingMemory recallStorytellingEmotional expressionCreative decision-makingGrowth mindsetQuestions to ask preschool and kindergarten graduates
- What was your happiest school memory this year?
- What was difficult at first but became easier?
- Who helped you learn something new?
- What are you most proud of?
- What do you hope your next teacher knows about you?
- What do you want to learn next year?
- Where would your balloon travel first?
- Who would you invite into your balloon basket?
- What supplies would you pack for an adventure?
- What would you tell a child starting preschool for the first time?
Graduation vocabulary
More preschool and kindergarten graduation activities
Oh, the Places You’ll Go graduation celebration
Explore more ideas for creating a colorful preschool graduation celebration inspired by adventures, dreams, and the exciting journey ahead.
See the celebrationGraduation keepsake craft collection
Find more photo keepsakes, goal-setting capsules, school celebration crafts, and memory activities for preschool and kindergarten graduates.
Explore graduation craftsBright Ideas light bulb capsule
Invite children to record what they want to learn, the ideas they want to explore, and the goals they have for the next school year.
See more keepsake ideasBack-to-school resources for the next adventure
Graduation celebrates how far children have come. These playful learning resources can help make the transition into the next classroom feel familiar, exciting, and manageable.
Back to School Bundle
A collection of laminated placemats and illustrated flashcards covering the alphabet, numbers, shapes, colors, weather, and early classroom basics.
Shop the bundle
Back to School Dramatic Play
Help children practice school routines through pretend teacher-and-student play, classroom schedules, signs, and familiar learning activities.
Shop the printable
Back to School Sensory Jar
A hands-on sensory option for easing into school themes through letters, shapes, colors, fine motor play, and classroom-inspired loose parts.
Shop the sensory jarTeacher’s Classroom Flashcards Bundle
Build early classroom confidence with illustrated flashcards designed for alphabet, vocabulary, literacy, and foundational learning practice.
Browse classroom flashcardsMontessori Basics Collection
Explore alphabet cards, counting cards, shapes, colors, sight words, learning mats, and school-ready activity bundles.
Explore learning basicsWays to use the finished graduation balloon
Graduation centerpiece
Place one balloon at the center of each table with the graduate’s name and school year.
Classroom display
Create a whole fleet of balloons, with one child riding in each basket beneath a shared graduation banner.
Photo keepsake
Add the finished balloon to a shadow box with the graduation program, cap tassel, or a sample of the child’s handwriting.
First-day comparison
Save the balloon and place it beside a first-day-of-school photo when the new year begins.
Future-self letter
Place a short letter in the basket and open it at the end of kindergarten, elementary school, or another milestone.
Graduation party activity
Let guests write encouraging messages or future wishes and tuck them into the basket.
Parent tip
Let the child’s voice be the keepsake
It can be tempting to rewrite a child’s answers so they sound polished. Preserve their exact words whenever possible—even the funny, unexpected, or impractical ones. Those are often the details families treasure most later.
Hot air balloon graduation craft FAQ
What age is this graduation craft best for?
Preschool and kindergarten graduates can help select colors, decorate the balloon, answer memory questions, and place their photo in the basket. Adults should handle structural assembly, sharp skewers, and hot glue.
Can I make the balloon without wooden skewers?
Yes. Use sturdy paper straws, rolled cardstock tubes, wooden craft sticks, or tightly rolled paper supports instead.
What can I use instead of a miniature woven basket?
Try a small paper cup, berry basket, folded cardstock box, condiment cup, egg-carton section, or a basket cut from brown paper.
How can I make this easier for a classroom?
Use flat paper balloons instead of three-dimensional ones. Pre-cut the basket and balloon shapes, then let children decorate, add their photo, and complete one graduation writing prompt.
What should children write for the “Oh, the Places You’ll Go!” theme?
Ask them about something they hope to learn, a place they want to visit, a challenge they want to try, a job they may want someday, or one way they hope to help others.
Can this be used for an end-of-year activity without graduation?
Yes. Replace the graduation photo with any favorite school picture and focus the writing prompts on memories, summer plans, or hopes for the next grade.
How can I turn this into a keepsake?
Add the child’s name, age, school, graduation date, teacher, favorite memory, and future dream. Store the finished craft in a shadow box or photograph it before storing the written pieces in a memory book.
What skills does this activity support?
Children practice cutting, gluing, three-dimensional construction, sequencing, creative decision-making, memory recall, storytelling, emotional expression, and early goal setting.