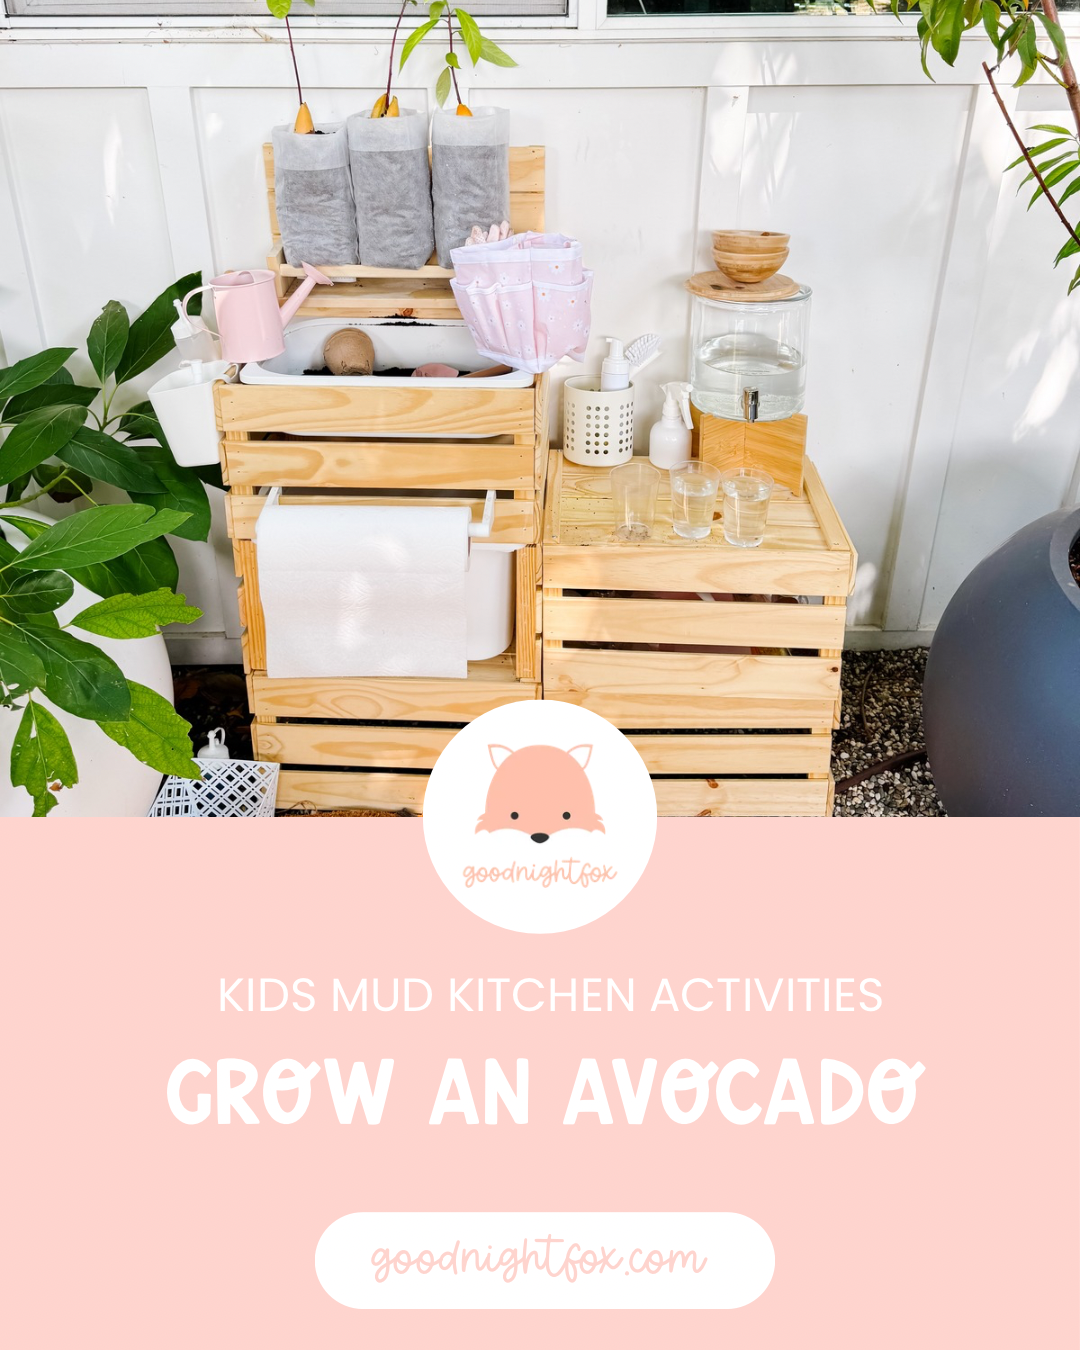
How to Grow an Avocado Seed with Kids
Turn avocado pits into a slow-growing science experiment kids can observe every day using the classic toothpick method or a clear avocado-growing jar.
We never planned to become avocado collectors
It started during our neighborhood walks.
Sofia began noticing avocado trees growing in yards around our neighborhood. Whenever we spotted fruit hanging from a tree, she wanted to stop and look at it. She wondered how something so large and leafy could begin with the smooth brown pit we usually tossed into the compost.
Before long, we had accumulated an assortment of avocado seeds. Some came from locally grown avocados we were given permission to collect. Others came from ordinary grocery-store avocados we used for lunch.
Each seed looked a little different. Some were perfectly round. Others were tall and pointed. A few were pale, while others had dark brown skins that began peeling away as we washed them.
We brought them home, lined up our jars and decided to test two ways of growing them: the classic toothpick method and special avocado-growing glasses that hold the seed above the water without toothpicks.
Then came the hardest part: waiting.
Every morning Sofia checked the jars. For days, it looked as though absolutely nothing was happening. Then one seed developed a tiny line. The line became a crack. The crack widened until we could see the pale interior of the seed—and eventually, a small white root began reaching toward the water.
Watching an avocado pit sprout may be one of the slowest science experiments we have ever tried. That slowness became part of the magic. It gave us something to notice, measure, predict and talk about for weeks.
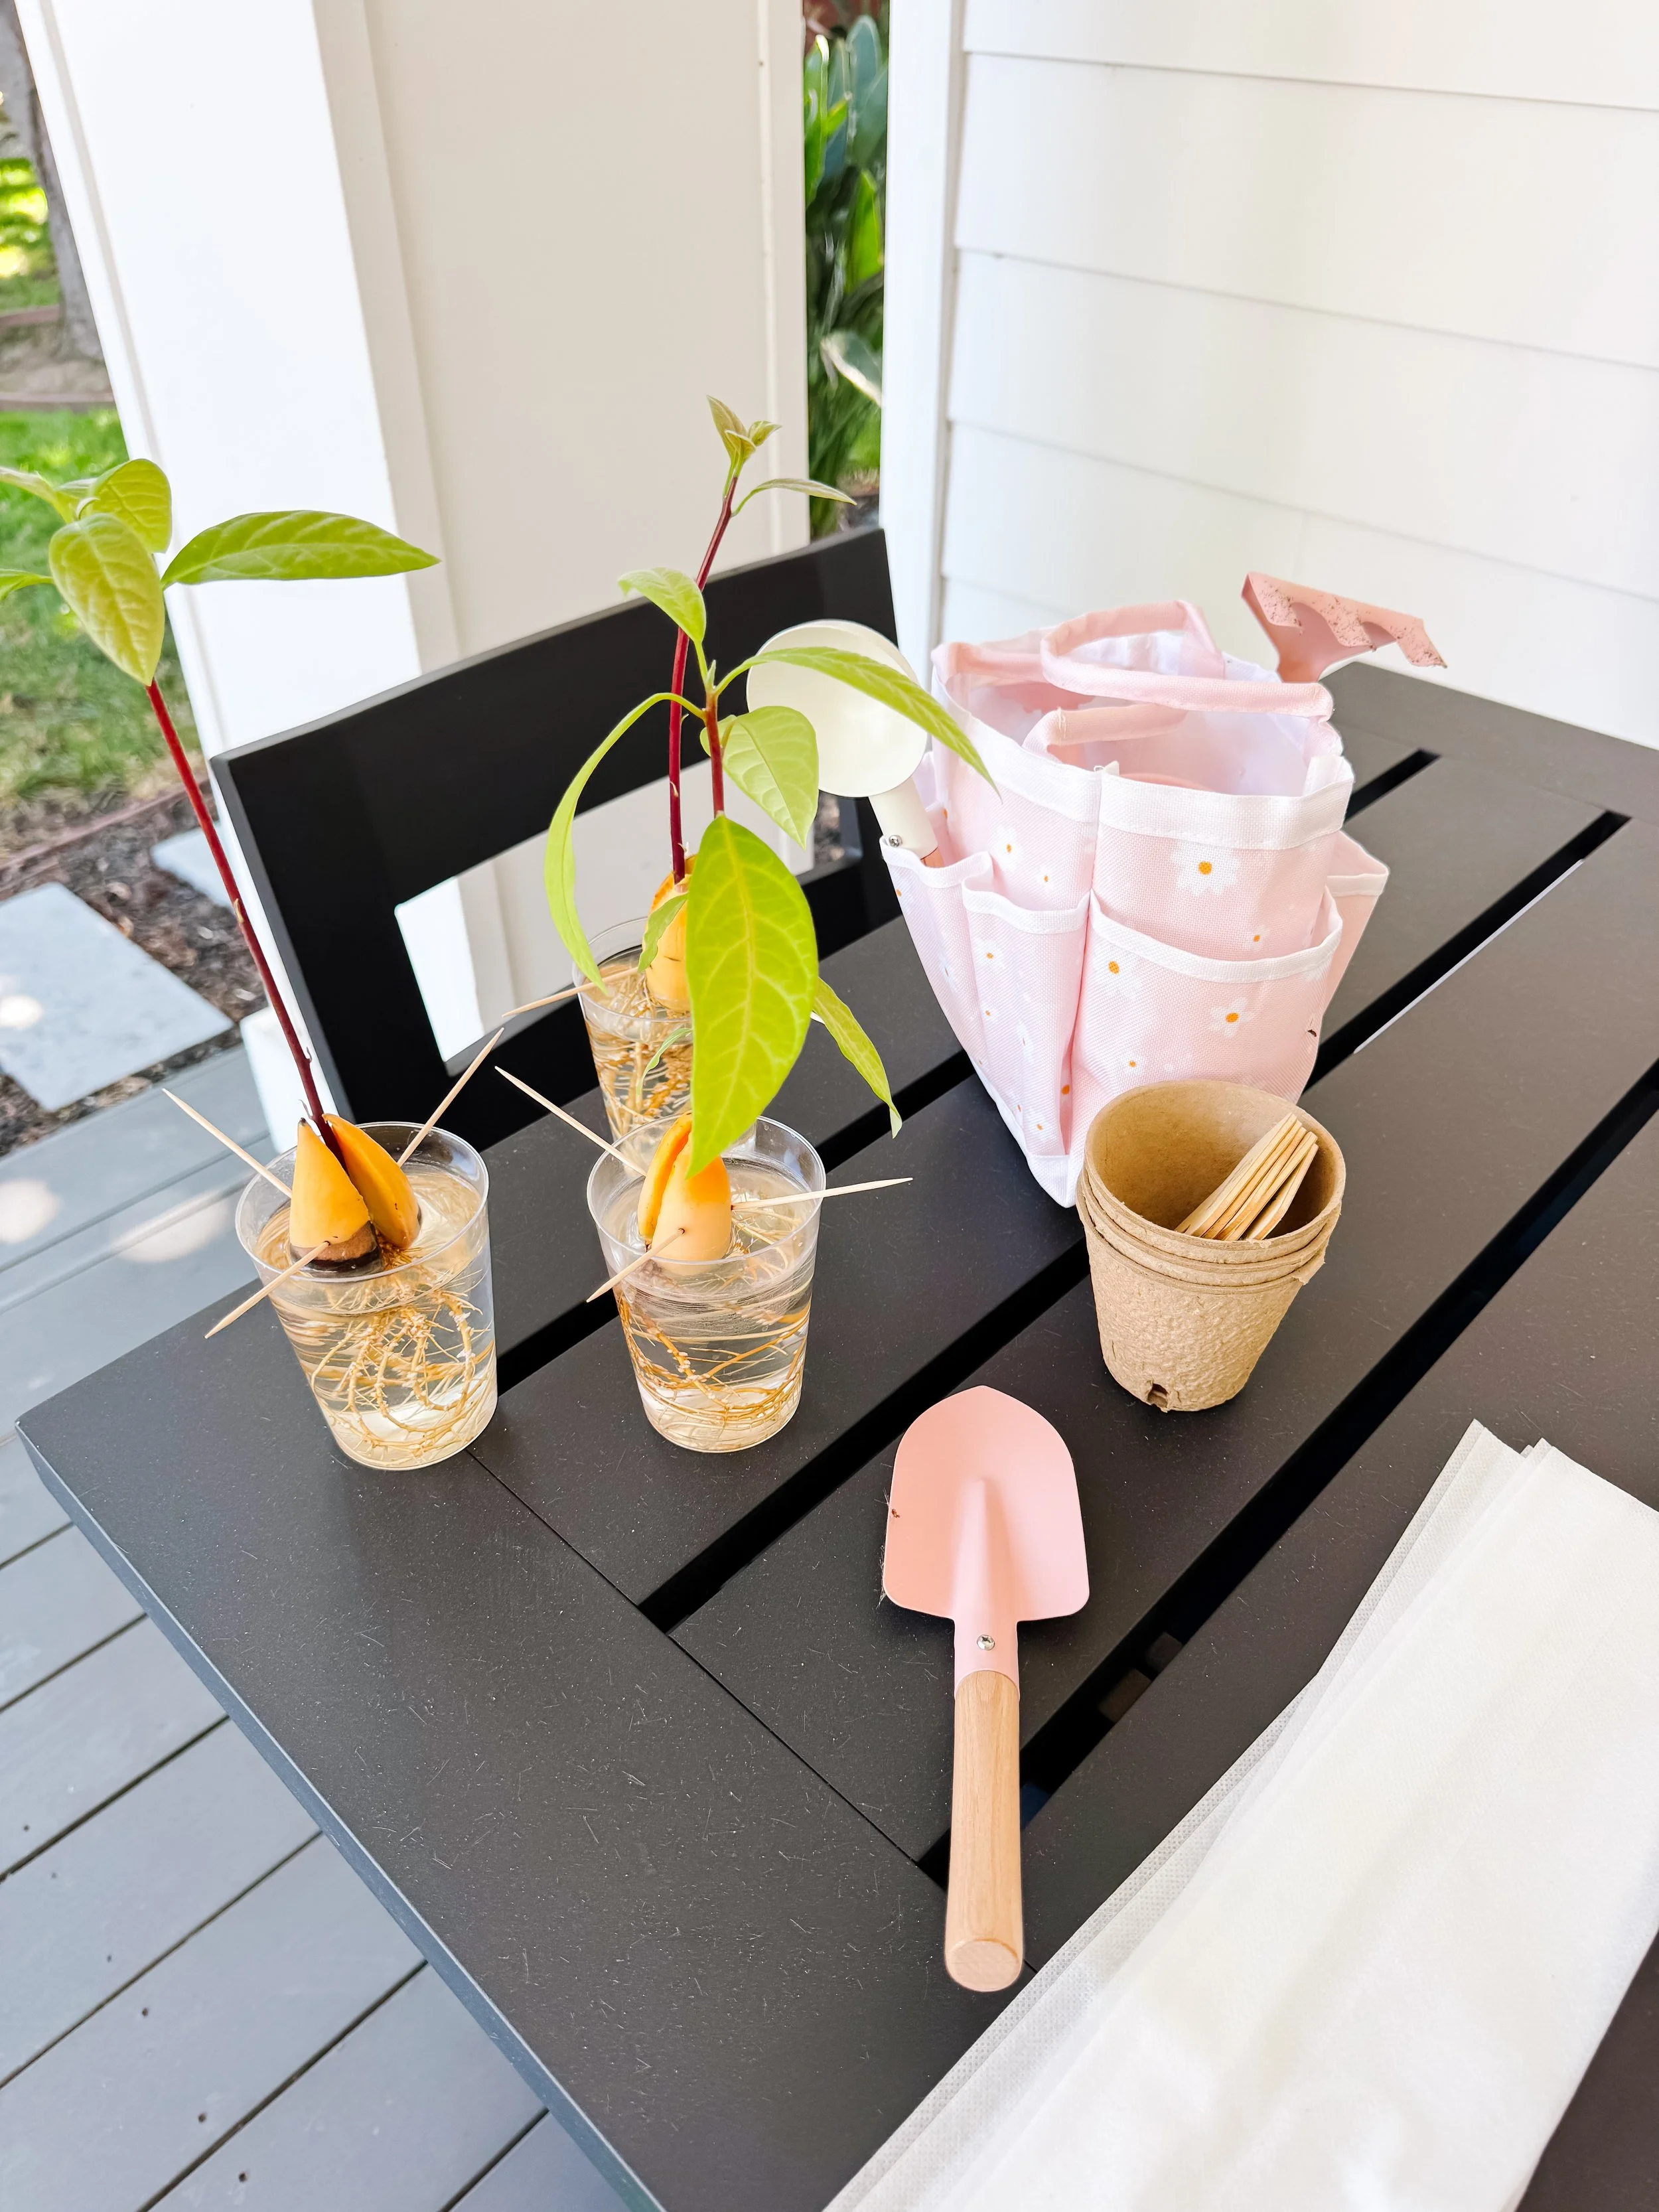
What children learn from growing an avocado seed
Growing an avocado pit turns an everyday kitchen scrap into a living plant-science investigation.
Children can watch roots develop before a stem appears, compare seeds from different fruits, record slow changes over time, measure growth and learn that living things do not all grow at the same speed.
It is especially valuable for young children because many of the important changes remain visible through the clear glass.
Materials needed
- One or more ripe avocados
- Clean avocado pits
- Clear drinking glasses or jars
- Three or four toothpicks per seed
- Optional avocado-growing glasses or vases
- Fresh water
- Washable marker or labels
- Ruler for measuring roots and stems
- Notebook or printable observation sheet
- Small plant pots or grow bags
- Well-draining potting mix for transplanting
- Child-sized watering can and gardening tools
A note about collecting local avocados
Only collect fruit with the owner’s permission. Fruit growing on a privately owned tree still belongs to the property owner, even when a branch extends near a sidewalk. Grocery-store avocado seeds work beautifully for this experiment too.
Which end of an avocado seed goes in the water?
An avocado seed has a broad, slightly flatter bottom and a narrower or more pointed top.
Place the broad end down so it touches the water. The first root usually emerges from this lower end. The new shoot and stem grow upward from the pointed end.
When a seed is nearly round, look for the end with a small flat spot. That is usually the bottom.
Prepare the avocado pits
Remove and clean the seeds
Carefully remove each pit from the avocado without cutting deeply into it.
Rinse away the remaining fruit with lukewarm water. Avoid using soap. Gently rubbing the pit with your fingers or a soft cloth usually removes the slippery residue.
The thin brown seed coat may begin peeling away. Removing loose pieces can make it easier to observe the crack, but do not force off skin that is still tightly attached.
Method 1: Grow an avocado seed with toothpicks
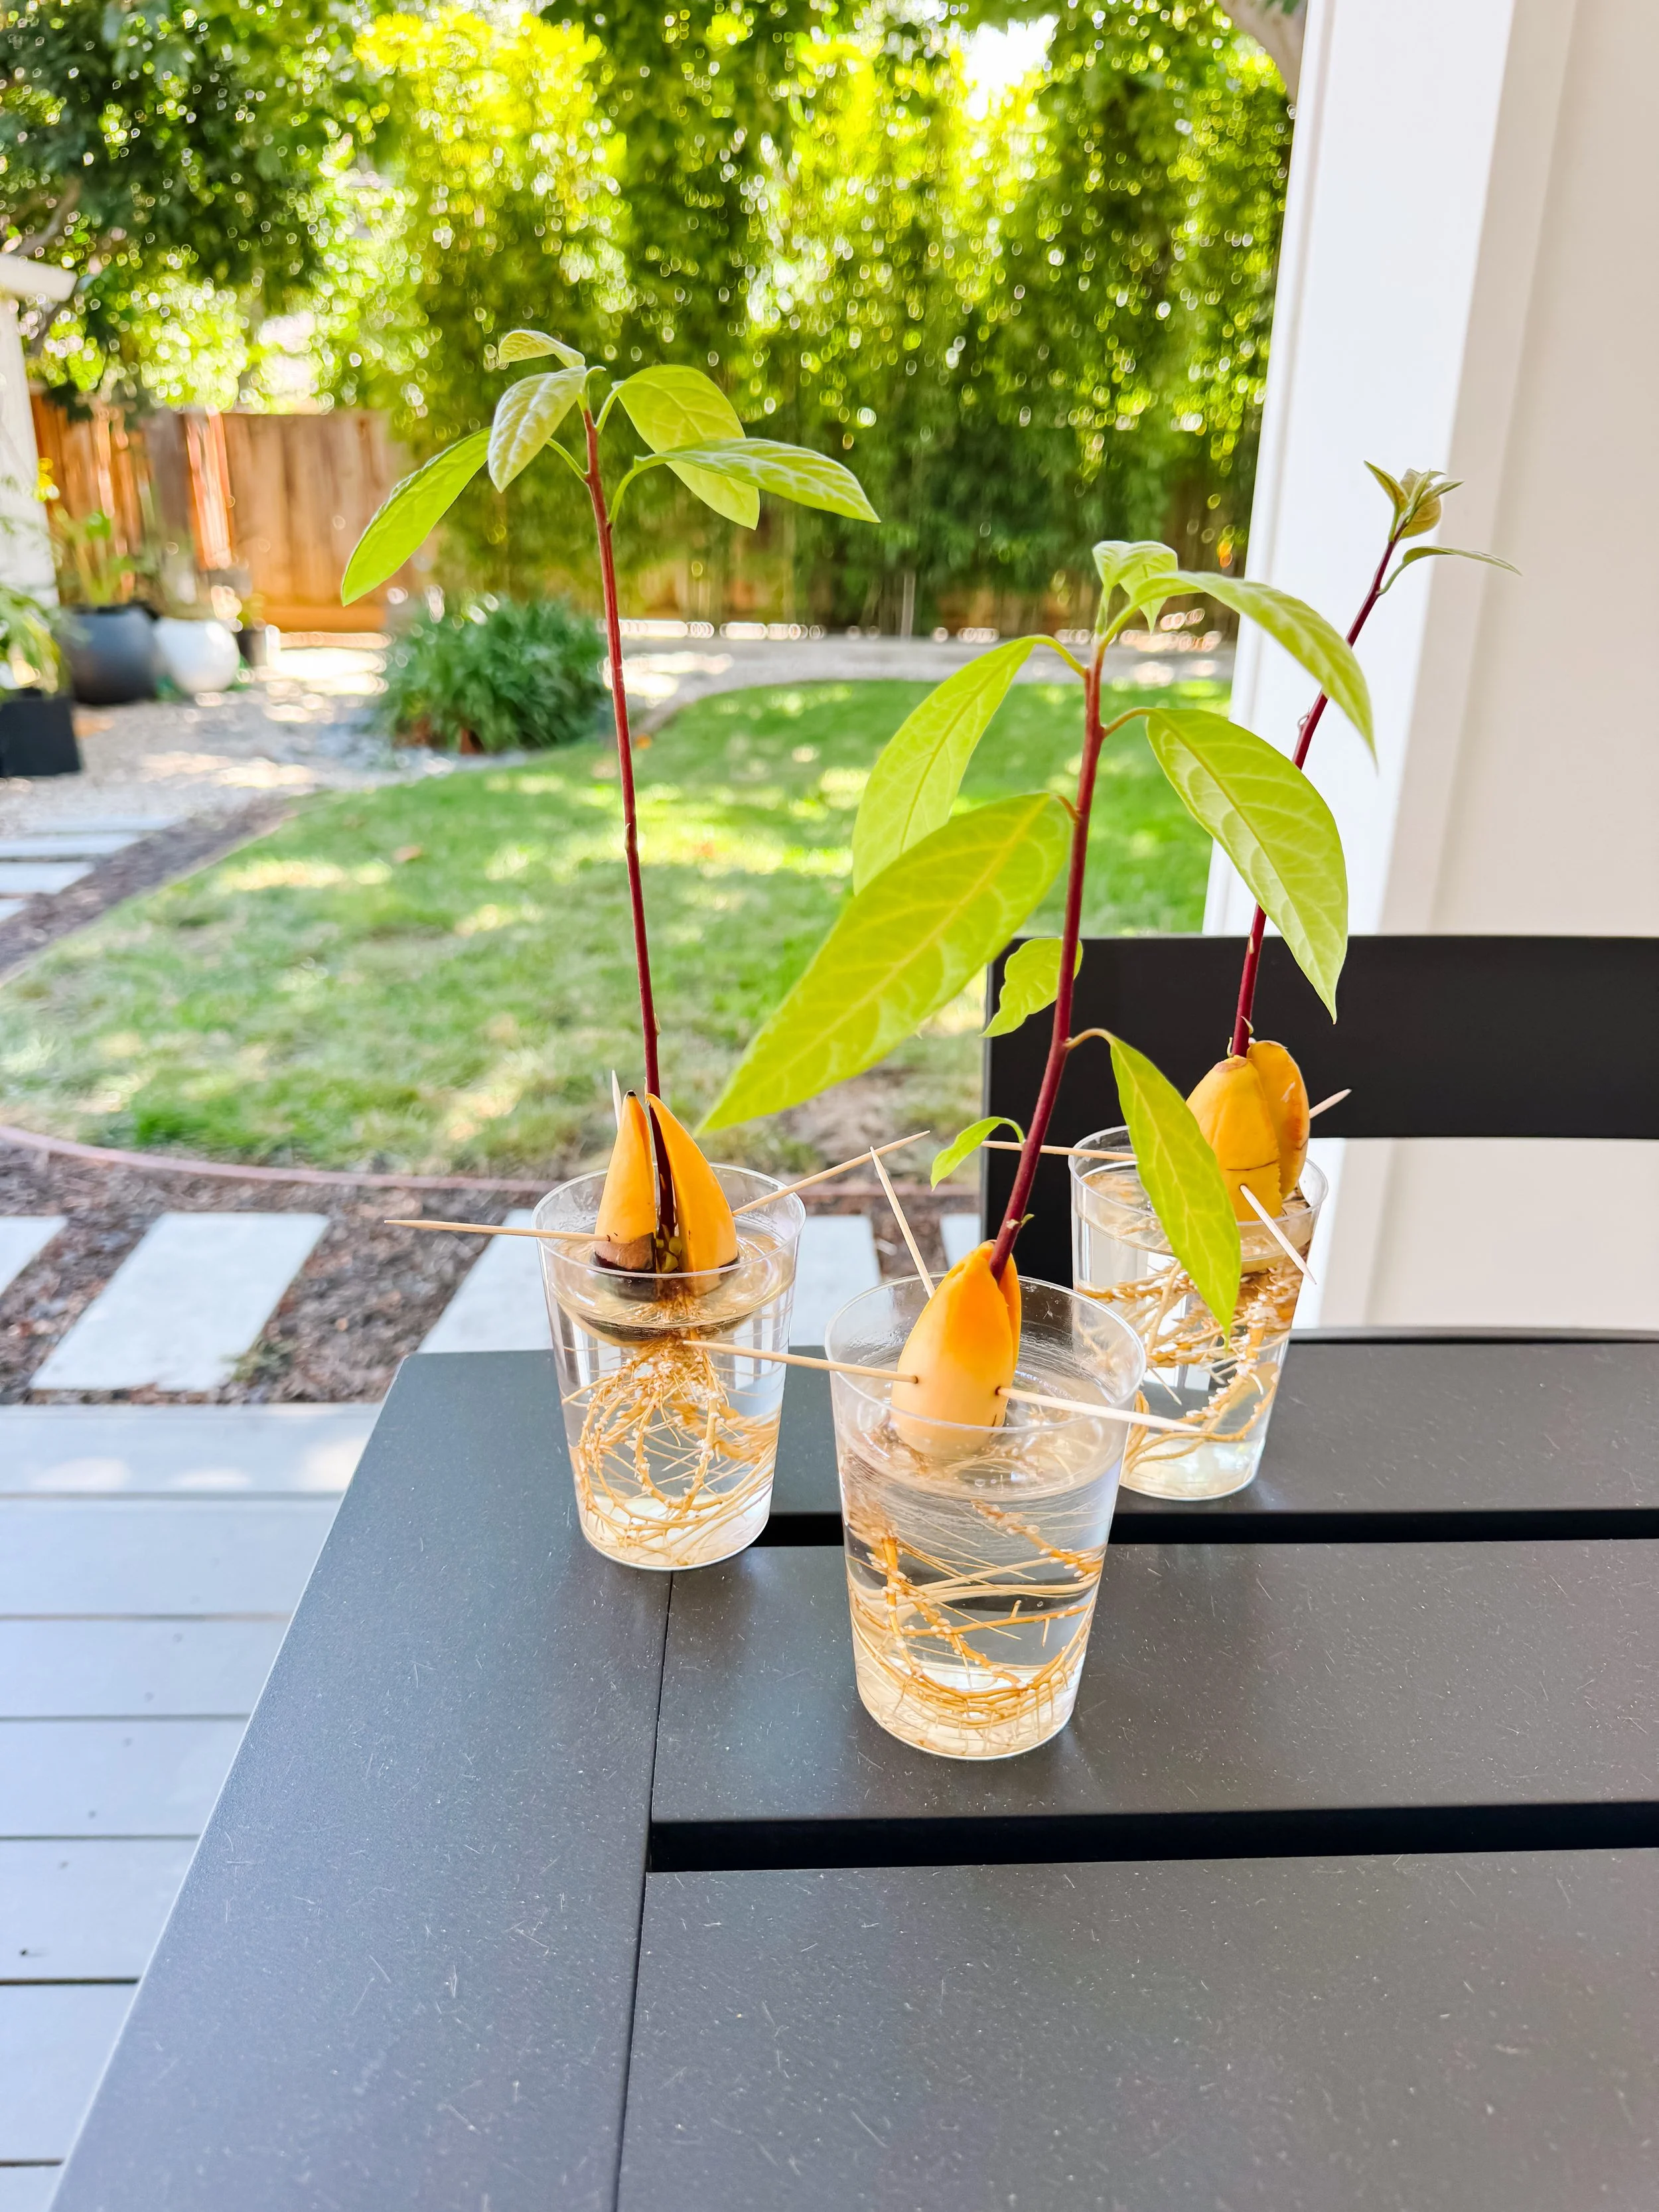
The classic toothpick method
- Identify the broad bottom and pointed top of the seed.
- Ask an adult to insert three or four toothpicks around the middle of the pit.
- Space the toothpicks evenly so they rest securely on the rim of a glass.
- Fill the glass with enough water to cover roughly the lower quarter to half of the seed.
- Place the jar in a warm, bright location with indirect light.
- Top up the water whenever the level drops.
- Refresh the water regularly to keep the jar clean.
Method 2: Use an avocado-growing glass
The avocado glass method
- Fill the propagation glass with fresh water.
- Place the clean pit in the opening with the broad end facing down.
- Adjust the water so the bottom of the seed remains in contact with it.
- Place the glass in a warm location with bright, indirect light.
- Top up and refresh the water as needed.
The shaped opening supports the pit without toothpicks. It also provides a clear view of the root system as it grows downward.
We will add more photos of our earliest glass-jar setup later, but the care process is the same: keep the lower portion of the seed wet and the pointed end facing upward.
Toothpicks versus an avocado-growing glass
Toothpick method
Best for: a classic, inexpensive science experiment.
Advantages:
- Uses materials many families already own
- Works with glasses of different sizes
- Lets children help construct the setup
Things to watch:
- The seed can tilt if the toothpicks are uneven
- The water level may drop below the pit
- An adult should insert the sharp toothpicks
Avocado glass method
Best for: a clean display that makes roots easy to observe.
Advantages:
- No toothpicks required
- The seed stays centered
- Looks beautiful on a windowsill
- Roots remain highly visible
Things to watch:
- The opening must fit the seed
- Water still needs to be topped up and refreshed
- Some pits may sit too high or low depending on their shape
What happens inside an avocado seed?
The avocado pit is not an empty shell. Inside it is a tiny living plant called an embryo, along with stored food that helps support the earliest growth.
When the seed absorbs enough water and experiences suitable warmth, the embryo begins developing. The seed’s two large halves gradually separate as the root grows downward and the shoot pushes upward.
The young plant initially relies on energy stored inside the seed. Once leaves unfold, they can capture light and begin making sugars through photosynthesis.
Avocado seed growth timeline
Stage 1: The quiet seed
The seed absorbs water even though no visible growth may appear. This stage can test everyone’s patience.
Stage 2: The seed coat loosens
The thin brown outer layer may wrinkle or peel. The pale seed beneath becomes easier to see.
Stage 3: A crack forms
A line develops along the seed and gradually widens. The two large halves begin separating.
Stage 4: The first root appears
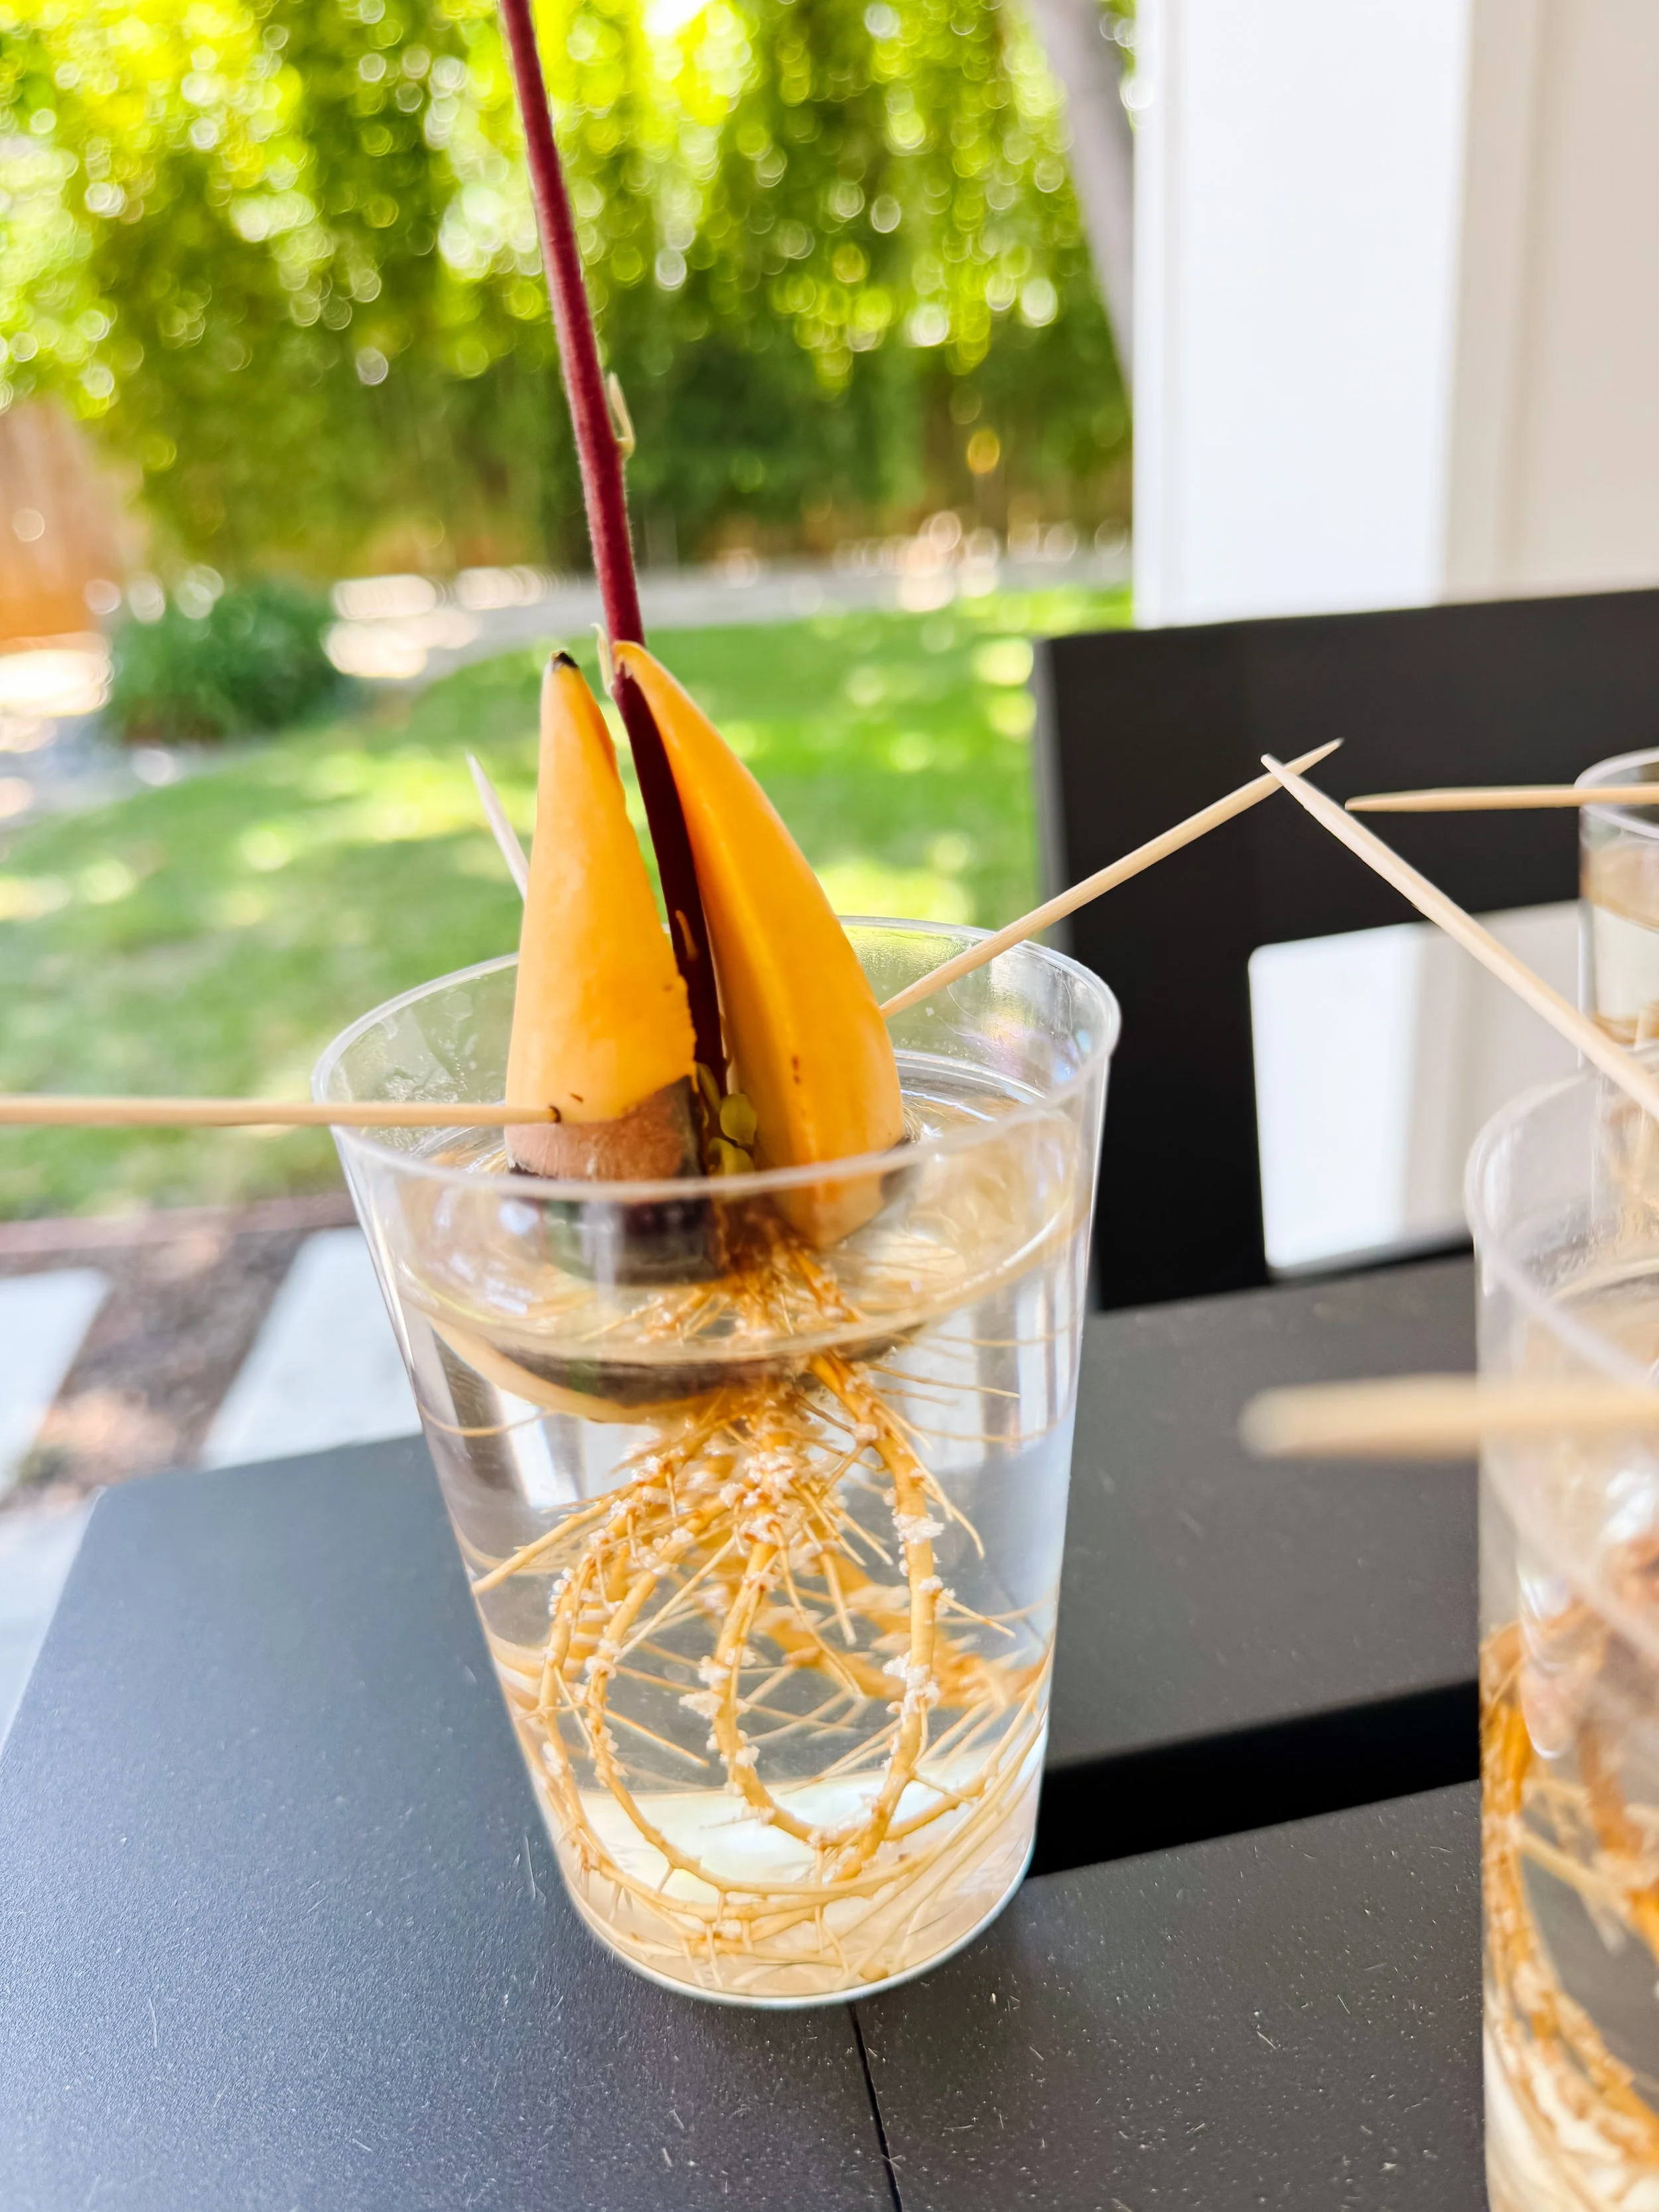
A pale root emerges from the broad end and grows down into the water. Smaller side roots may form later.
Stage 5: The shoot begins
A tiny shoot develops between the seed halves and begins reaching upward.
Stage 6: The stem rises
The shoot becomes a slender stem. It may initially look pale before receiving enough light.
Stage 7: Leaves unfold
Small folded leaves open at the top. The seedling can now capture light and begin making more of its own food.
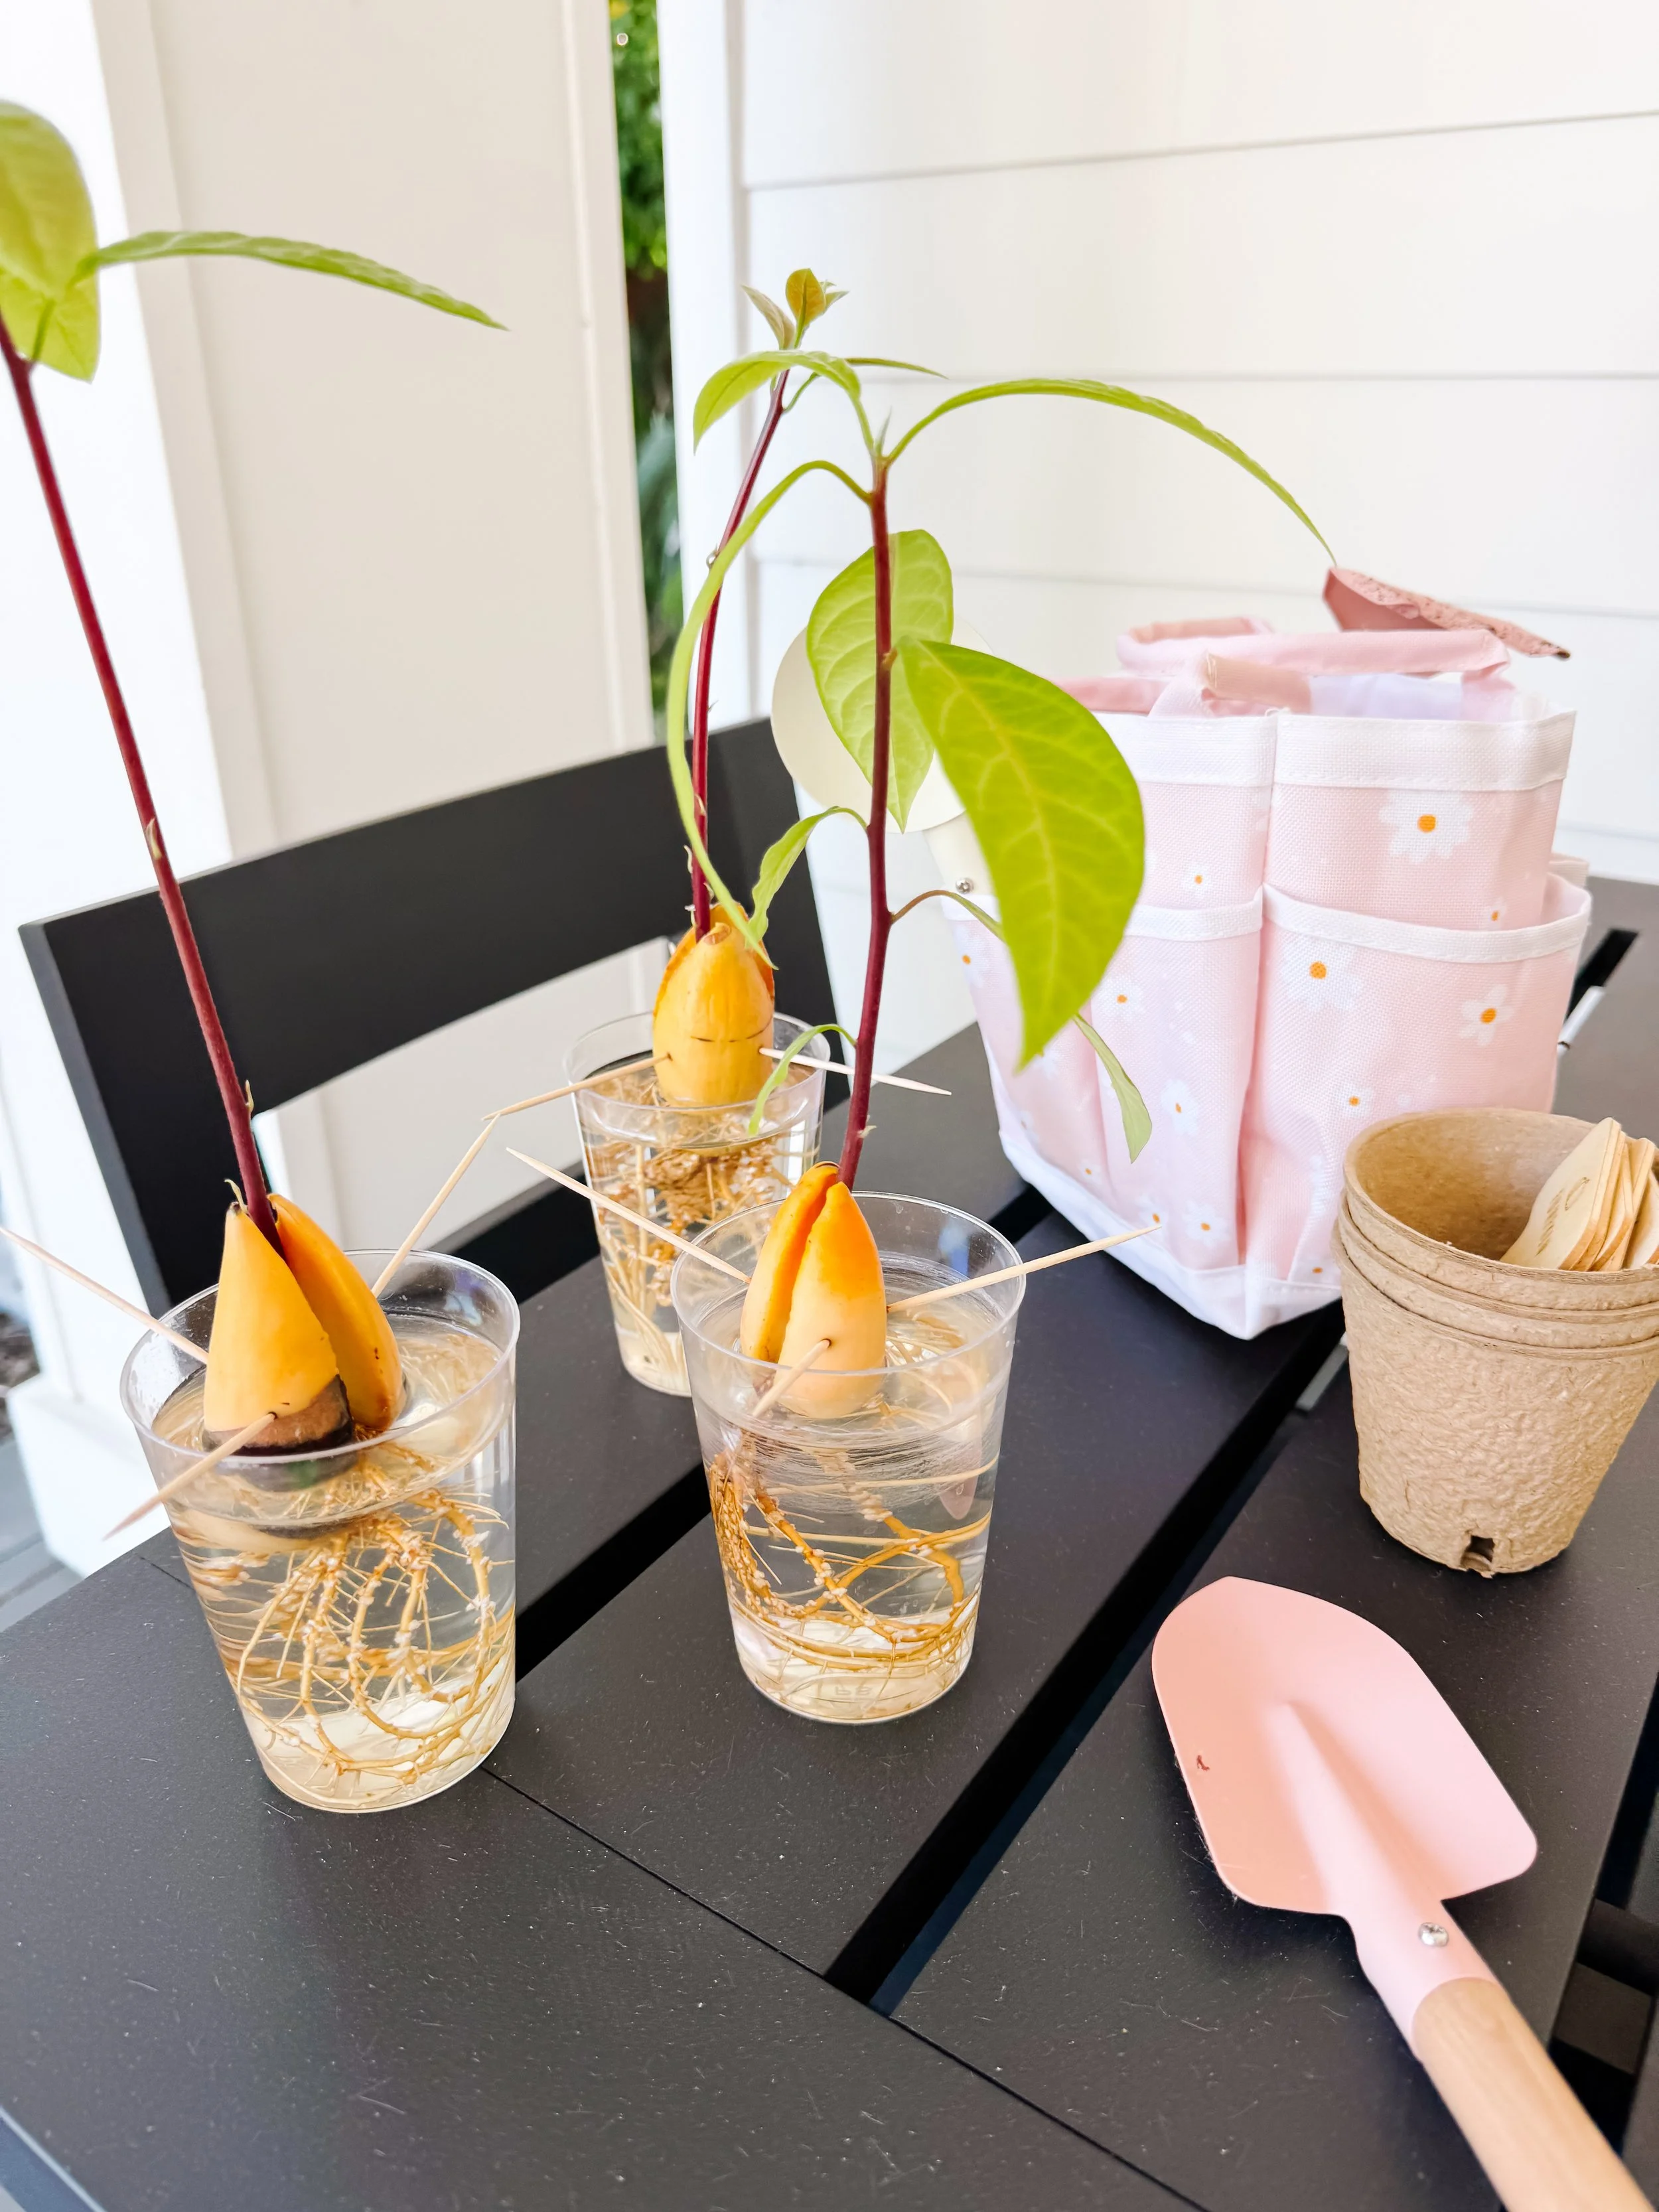
Do not compare your seed too closely to someone else’s timeline
Some avocado pits split and root quickly, while others take many weeks. Temperature, seed maturity, variety, water level and individual seed viability can all affect the pace.
Turn it into a real science experiment
Growing several seeds at once gives children an opportunity to compare variables and observe natural differences.
Try asking one testable question:
- Does the toothpick method or avocado glass method root first?
- Do locally grown avocado seeds sprout faster than grocery-store seeds?
- Do larger pits grow larger roots?
- Does removing the loose brown skin affect what we can observe?
- Which seed grows the longest root in four weeks?
Change only one condition at a time when possible. Label the jars so you can remember which seed belongs to each group.
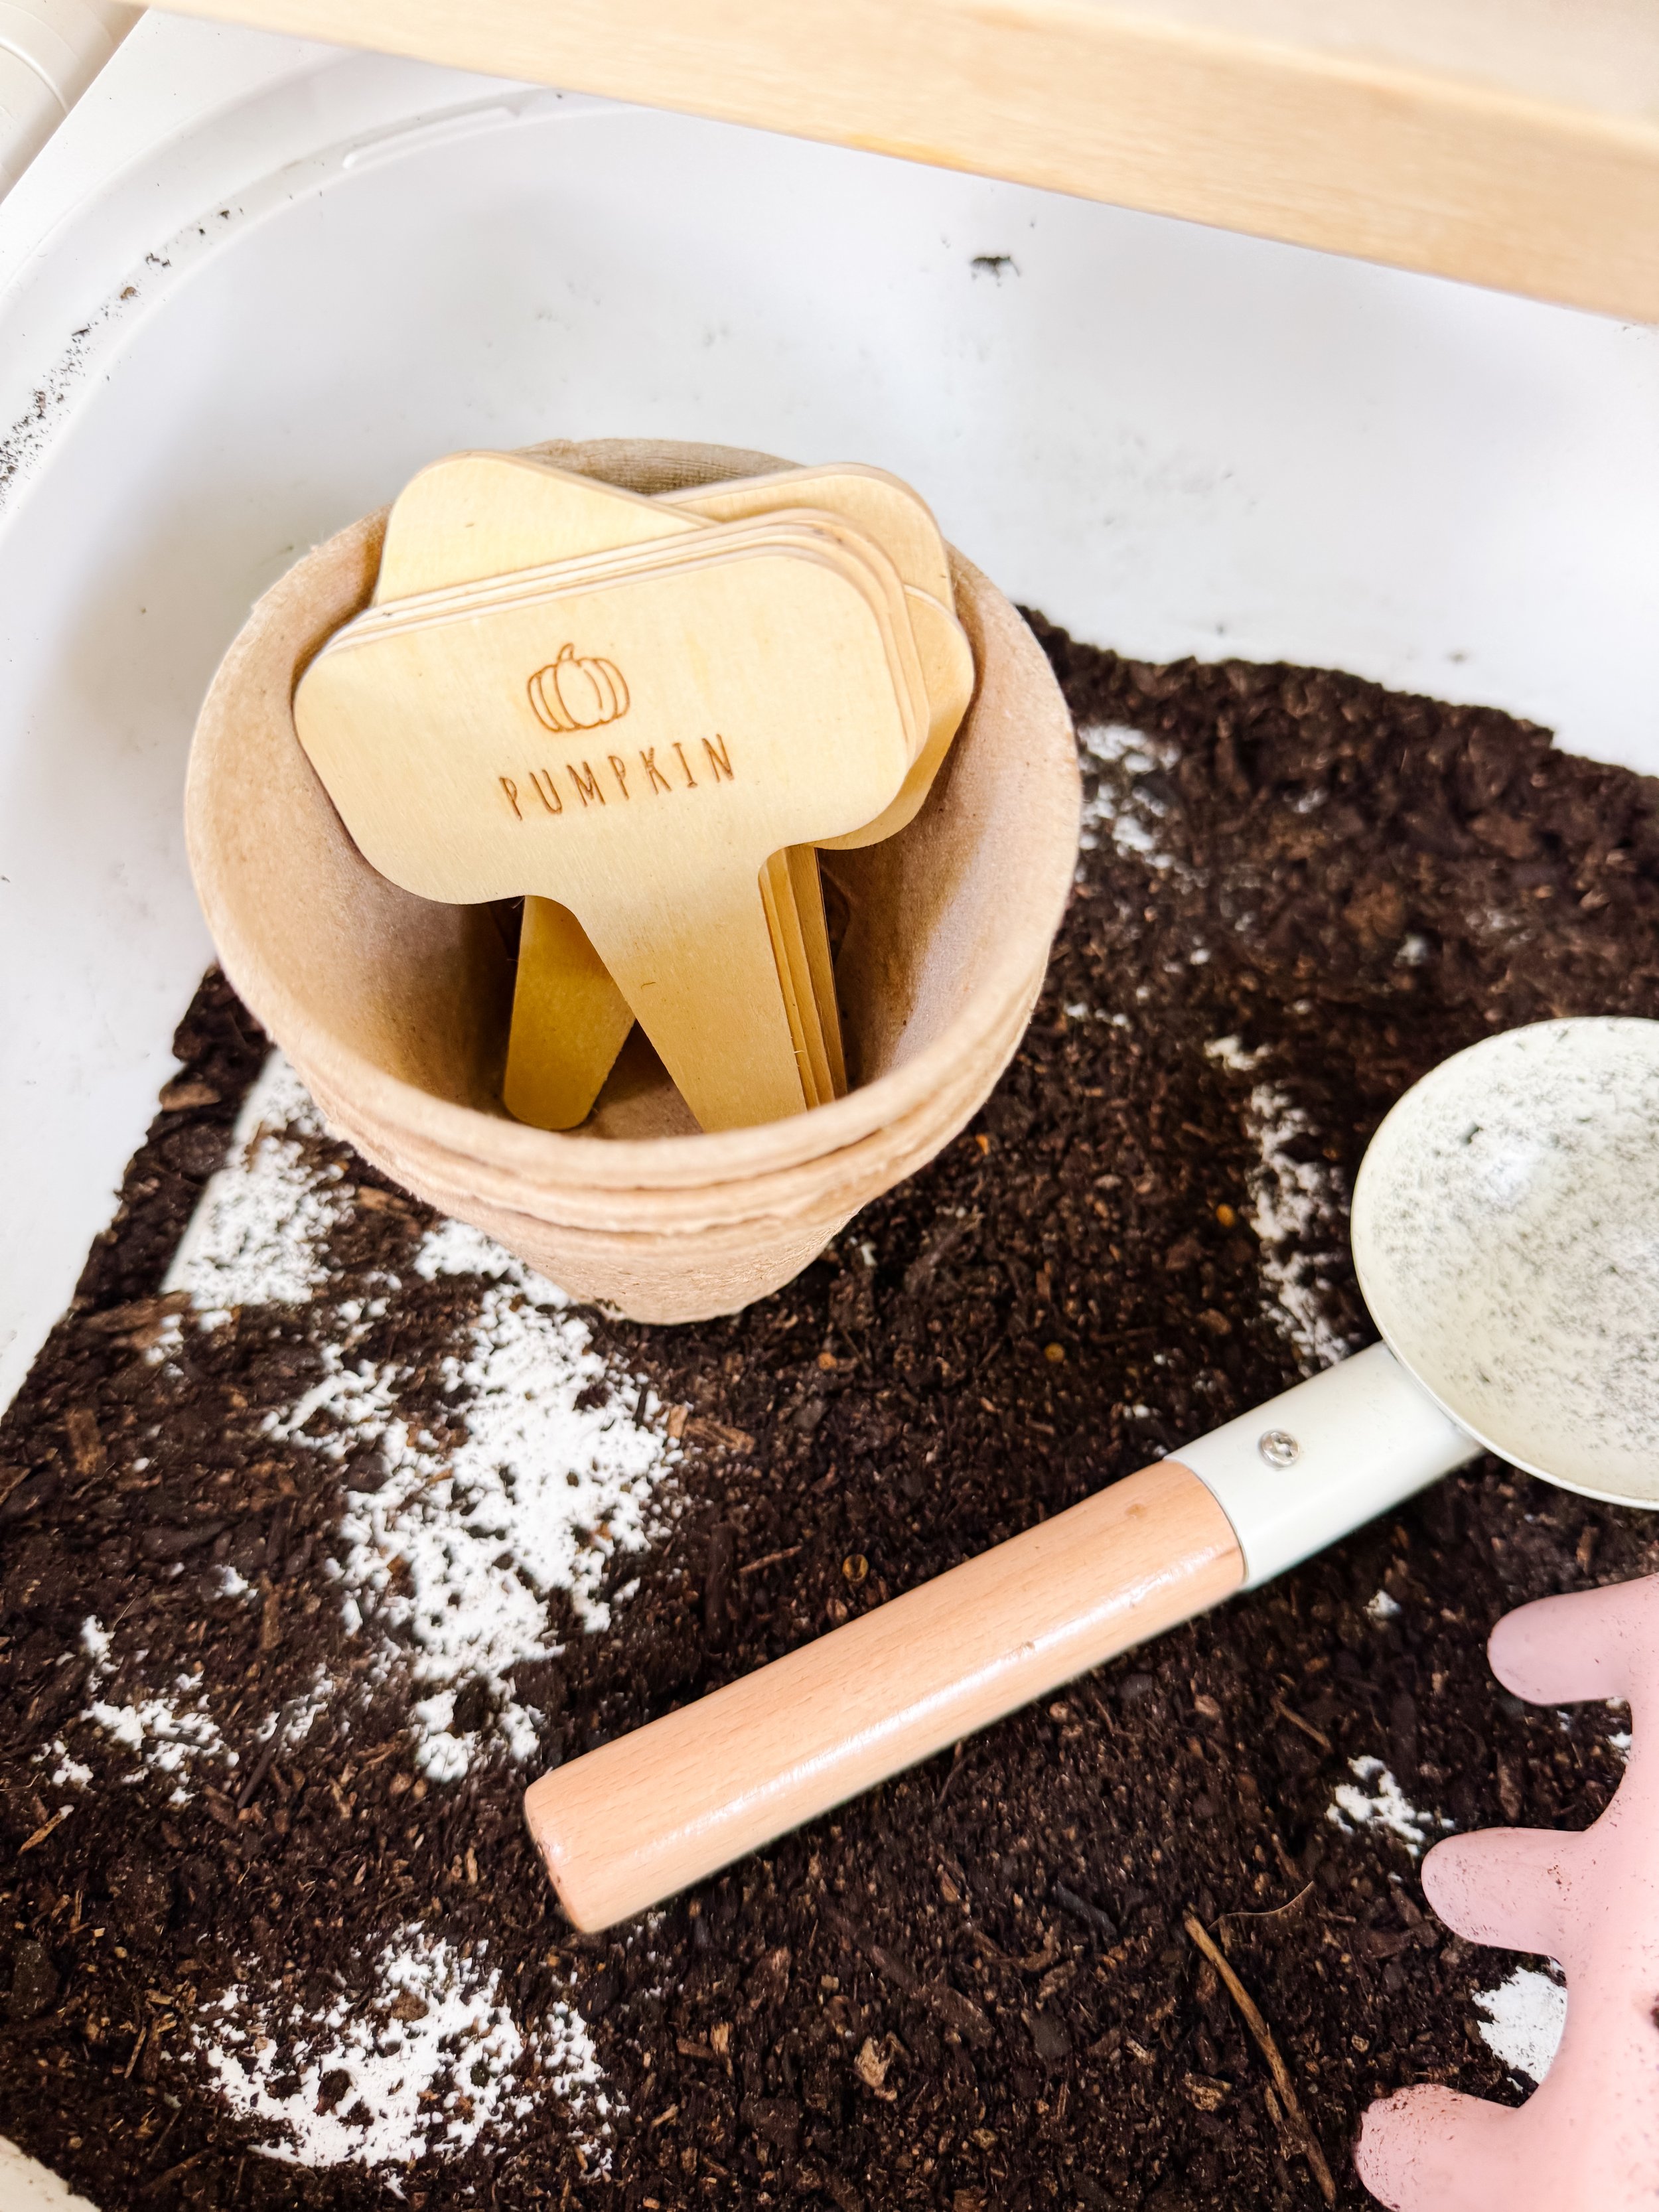
Avocado observation journal ideas
Once or twice each week, invite your child to record:
- The date
- Whether the pit has cracked
- Root length
- Stem height
- Number of leaves
- Changes in color
- A drawing of the seed
- A prediction for the next observation
- One question they still have
Younger children can draw pictures or dictate observations to an adult. Older children can graph root length or compare the average growth of each method.
Questions to ask kids while the seed grows
- Which part do you think will appear first: a root or a stem?
- Why do roots grow down toward the water?
- Why does the stem grow upward?
- What is changing inside the seed even when we cannot see anything?
- Which seed cracked first?
- Are all the roots the same color?
- What happens to the seed halves as the stem grows?
- Why does the seedling need leaves?
- What do you predict it will look like next week?
- Why might two avocado seeds grow at different speeds?
When should you move an avocado seed to soil?
Transplant after the seed has developed a healthy root system and an established shoot. A practical guideline is to wait until the main roots are several inches long and the stem is growing steadily.
- Choose a pot or grow bag with drainage holes.
- Fill it with a well-draining commercial potting mix.
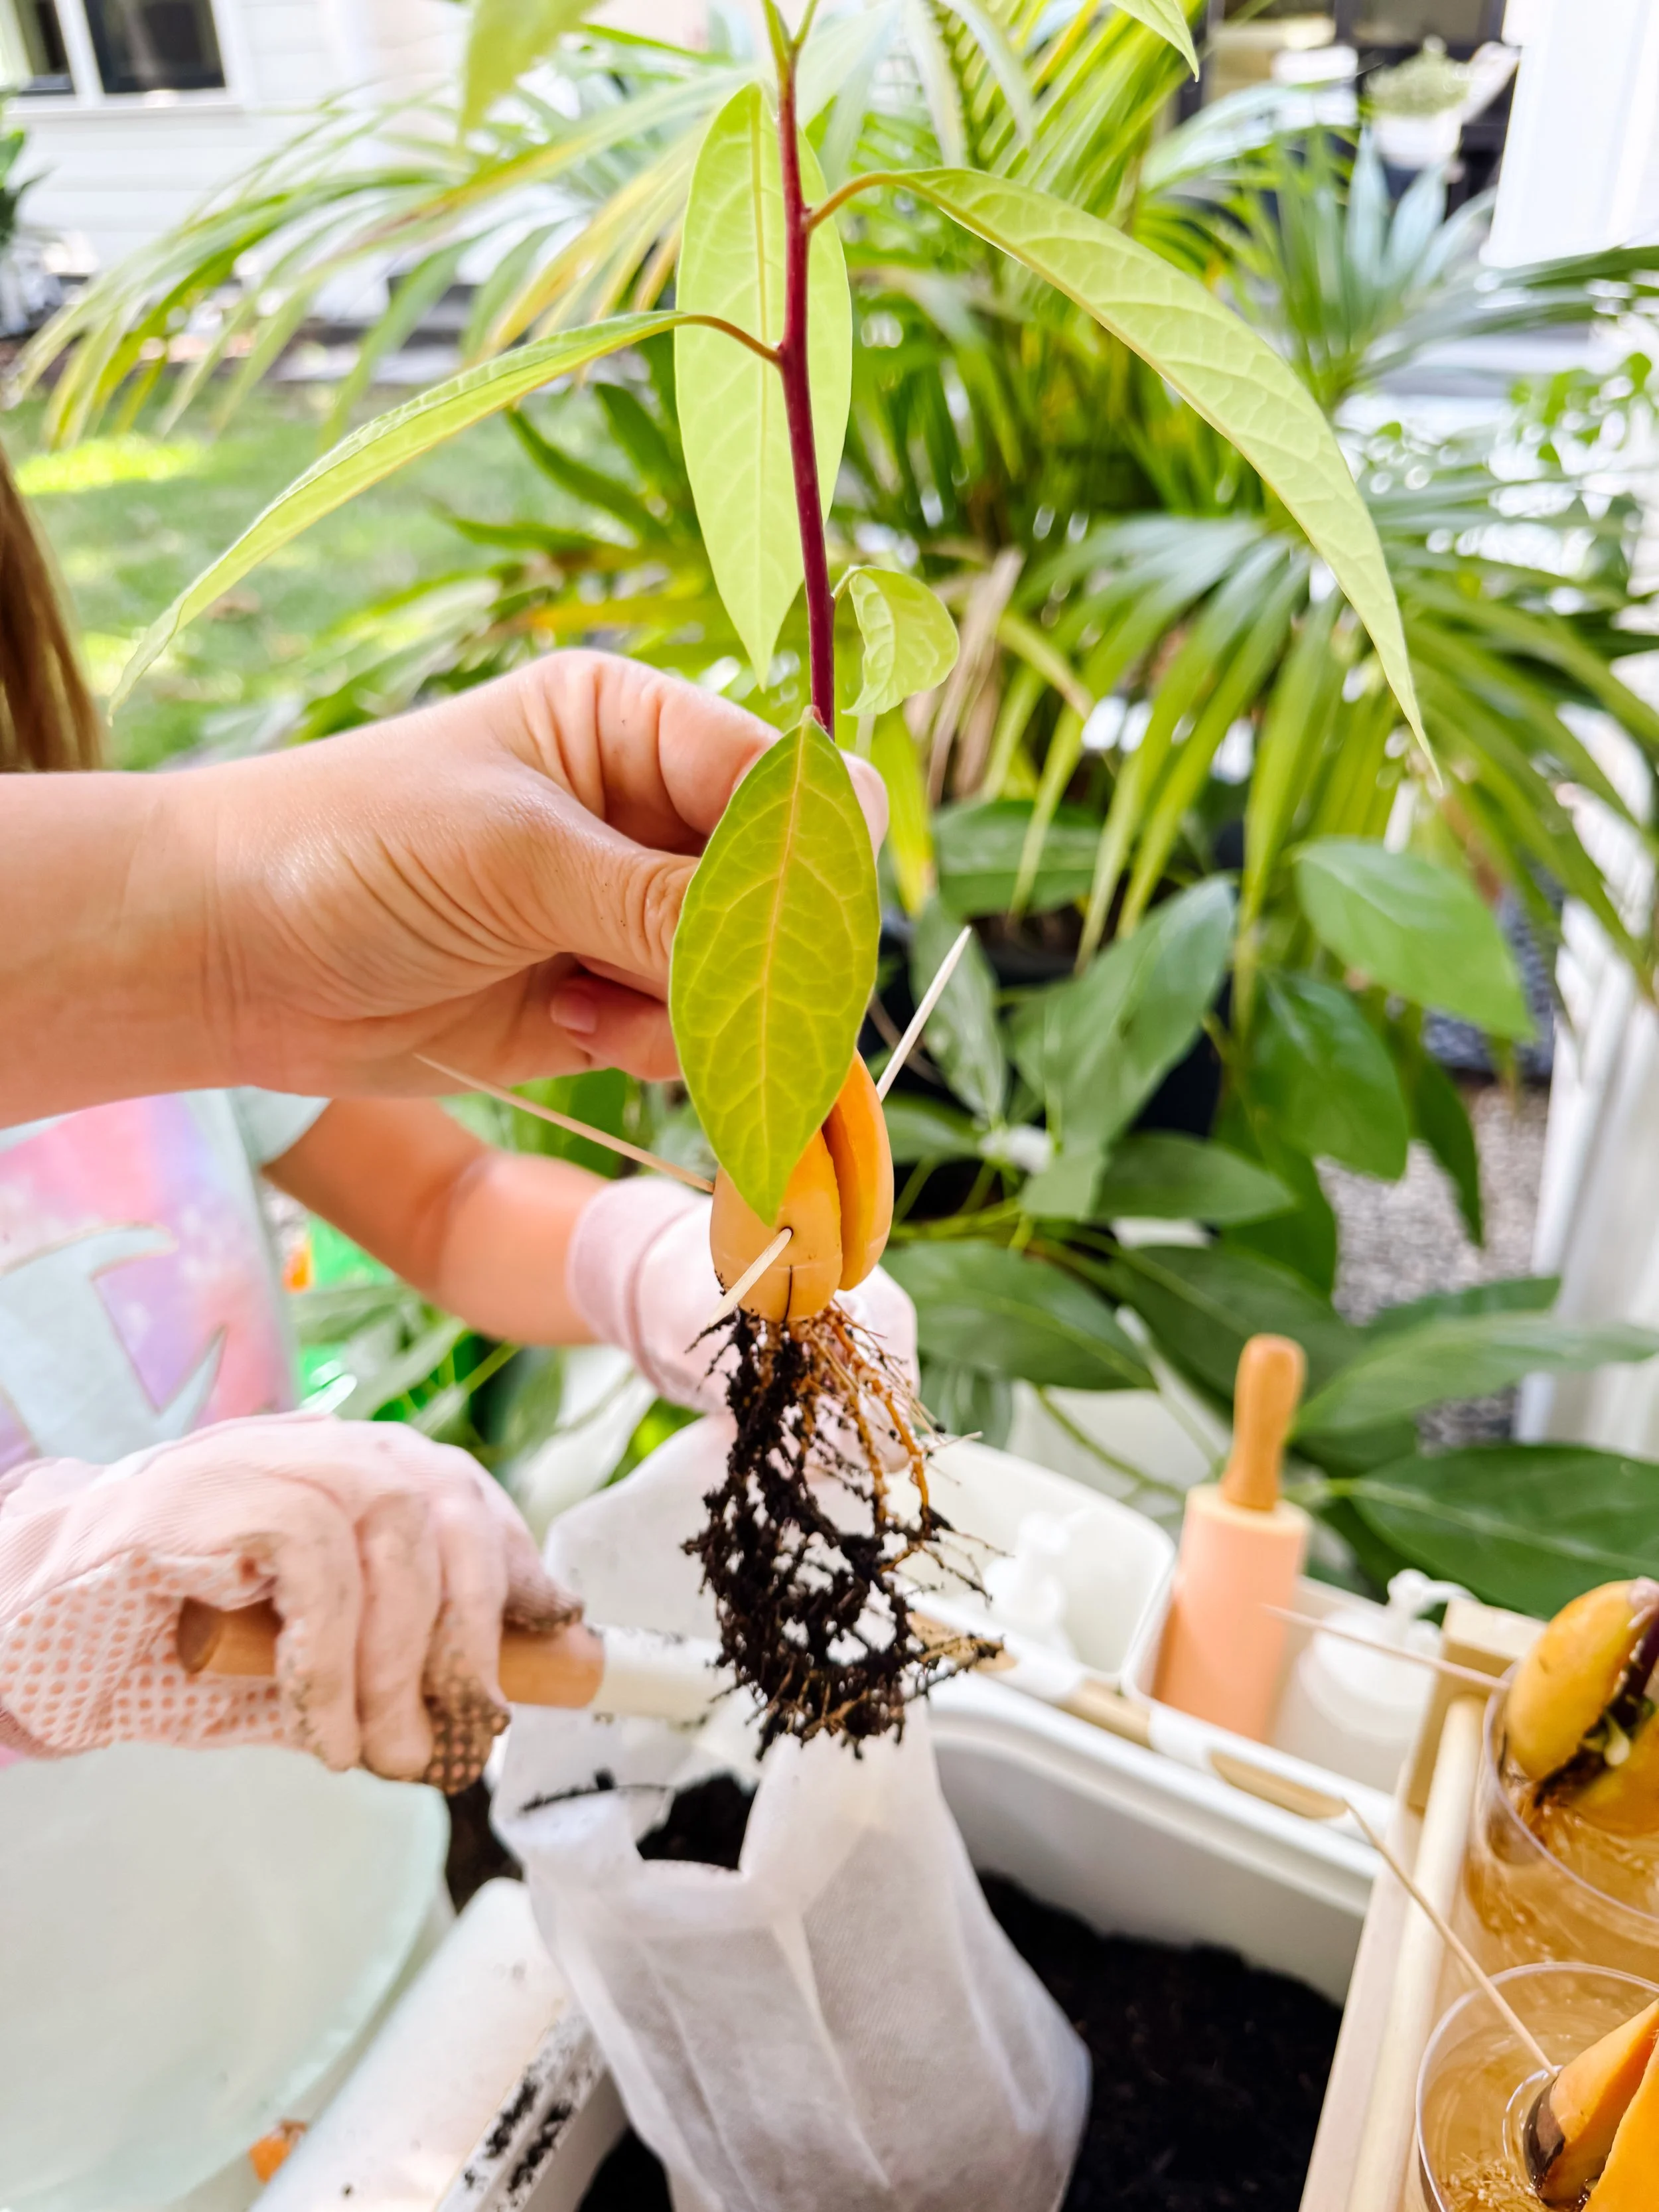
- Handle the seedling carefully because water-grown roots can be brittle.
- Position the seed so the upper portion remains visible near the soil surface.
- Water thoroughly and allow excess water to drain.
- Keep the pot in a bright, warm location.
- Keep the soil lightly moist rather than soggy.
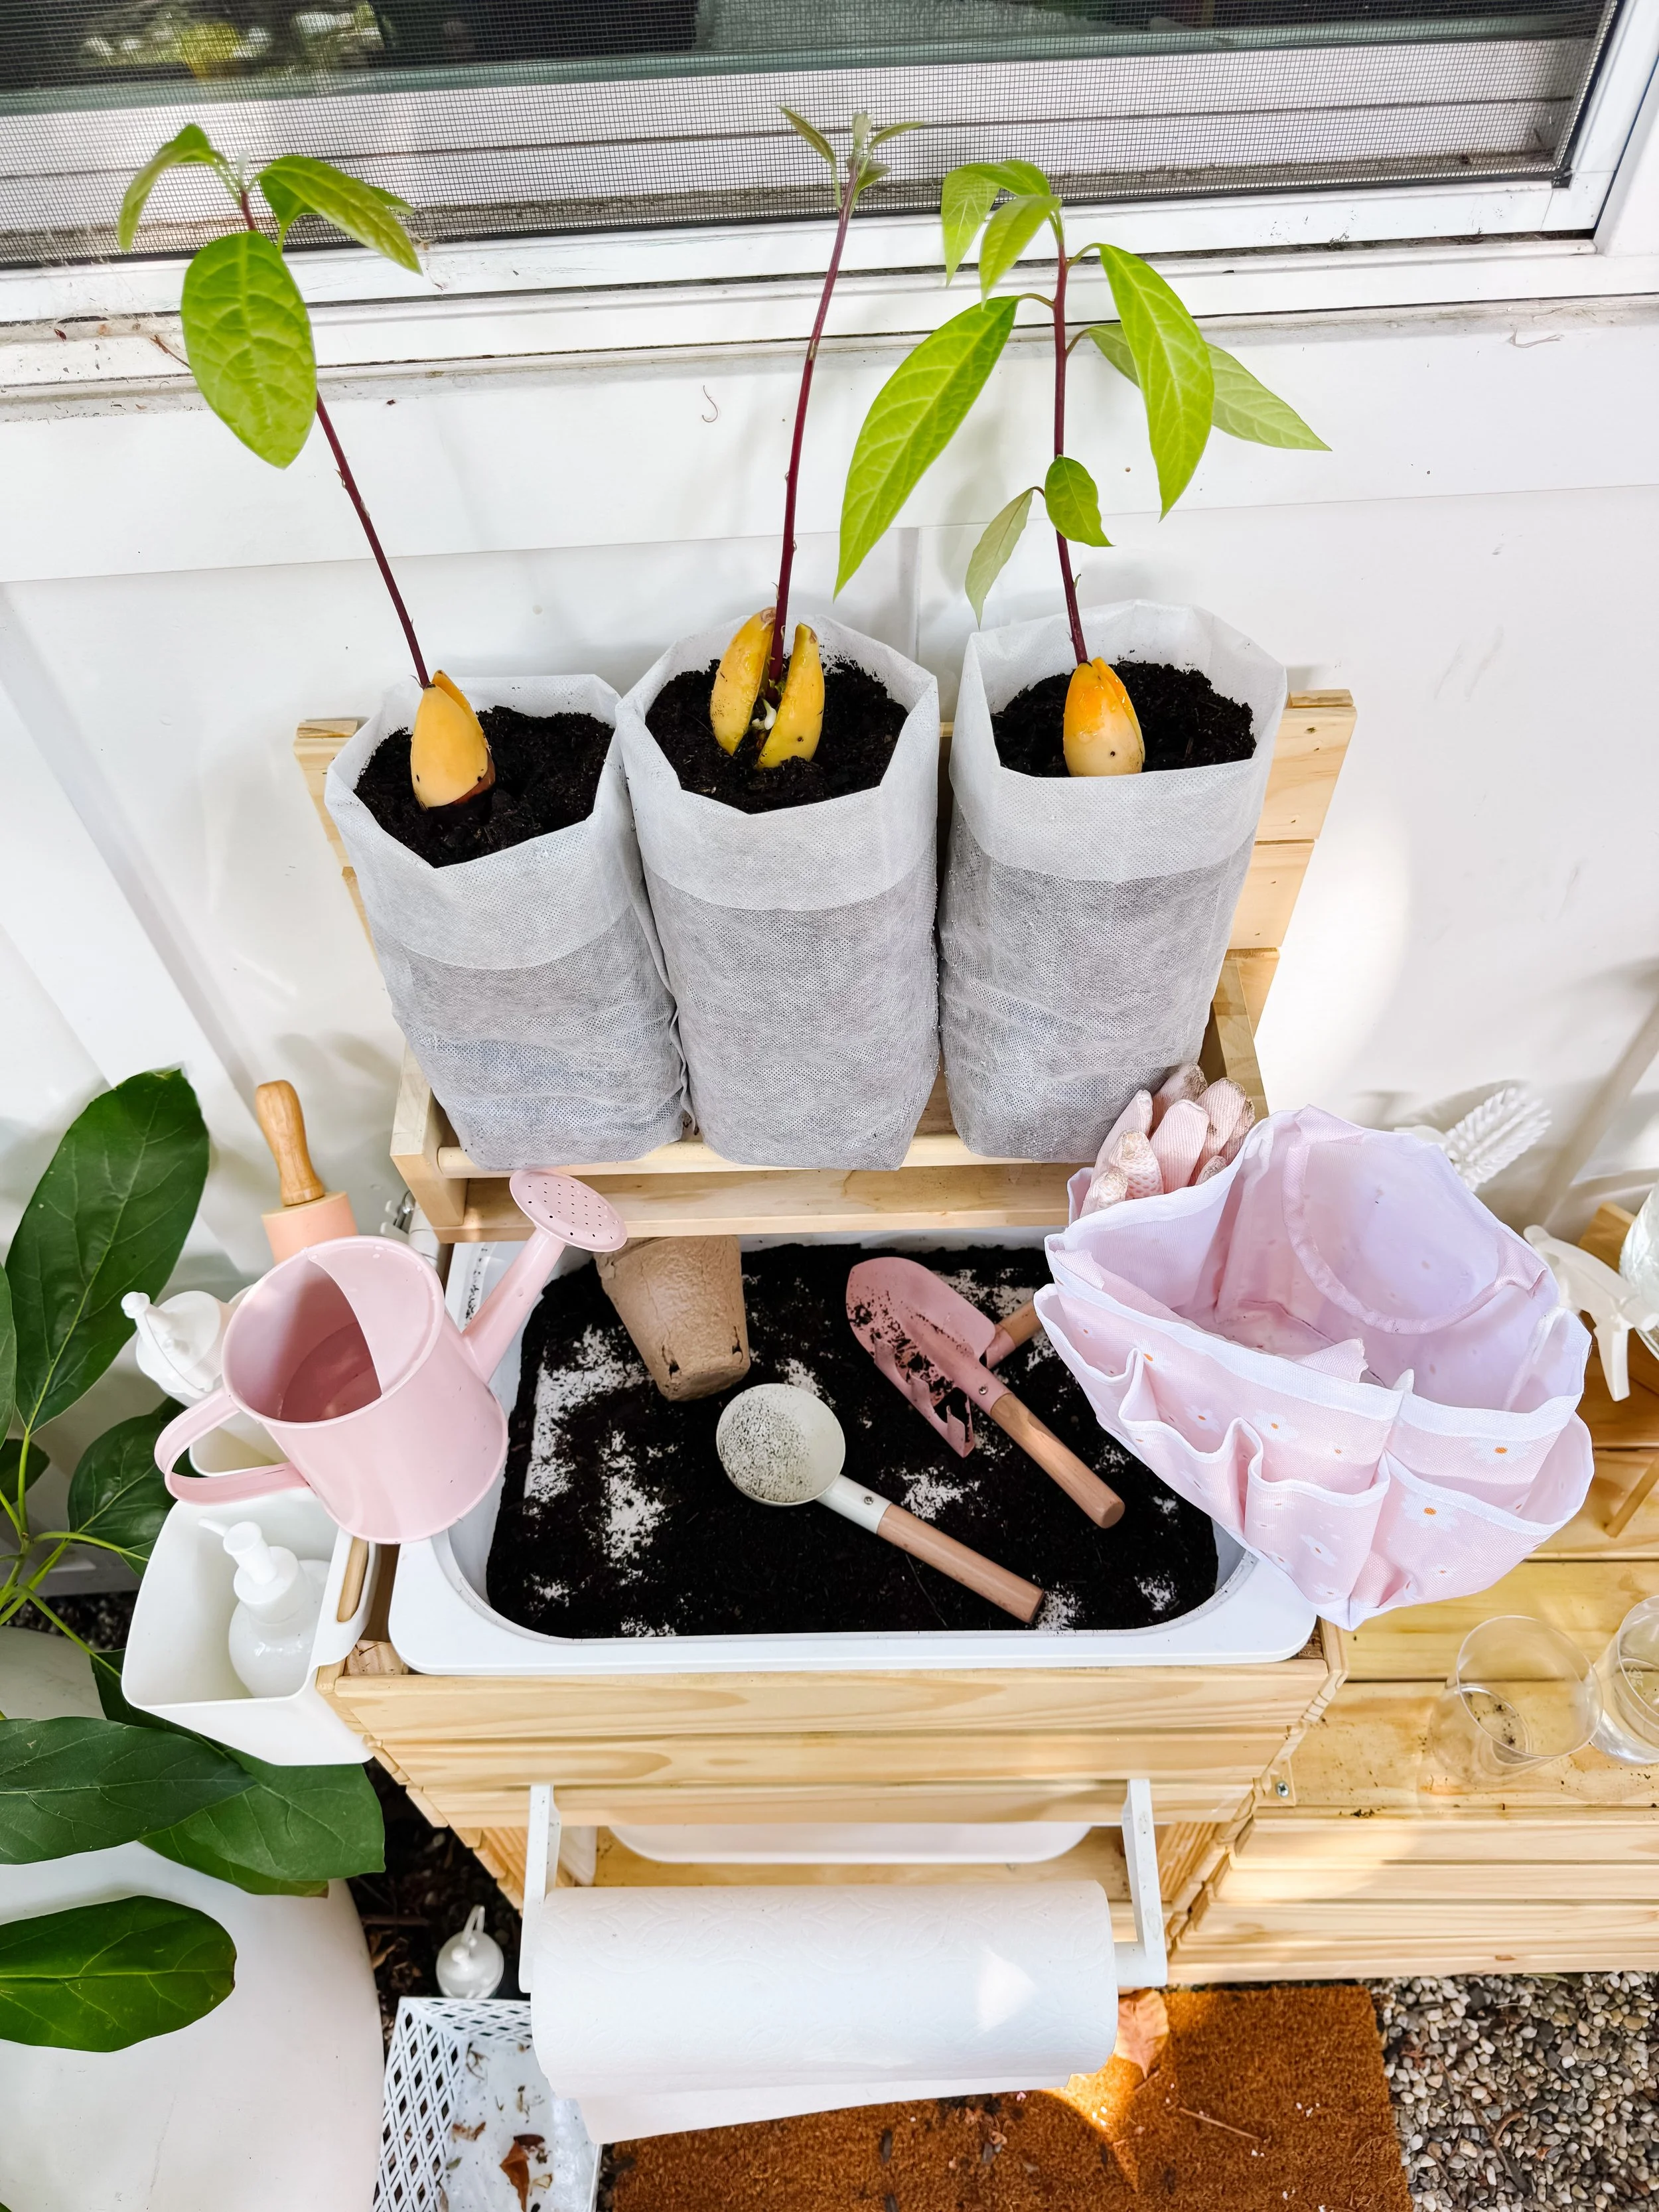
Move the strongest seedlings into soil
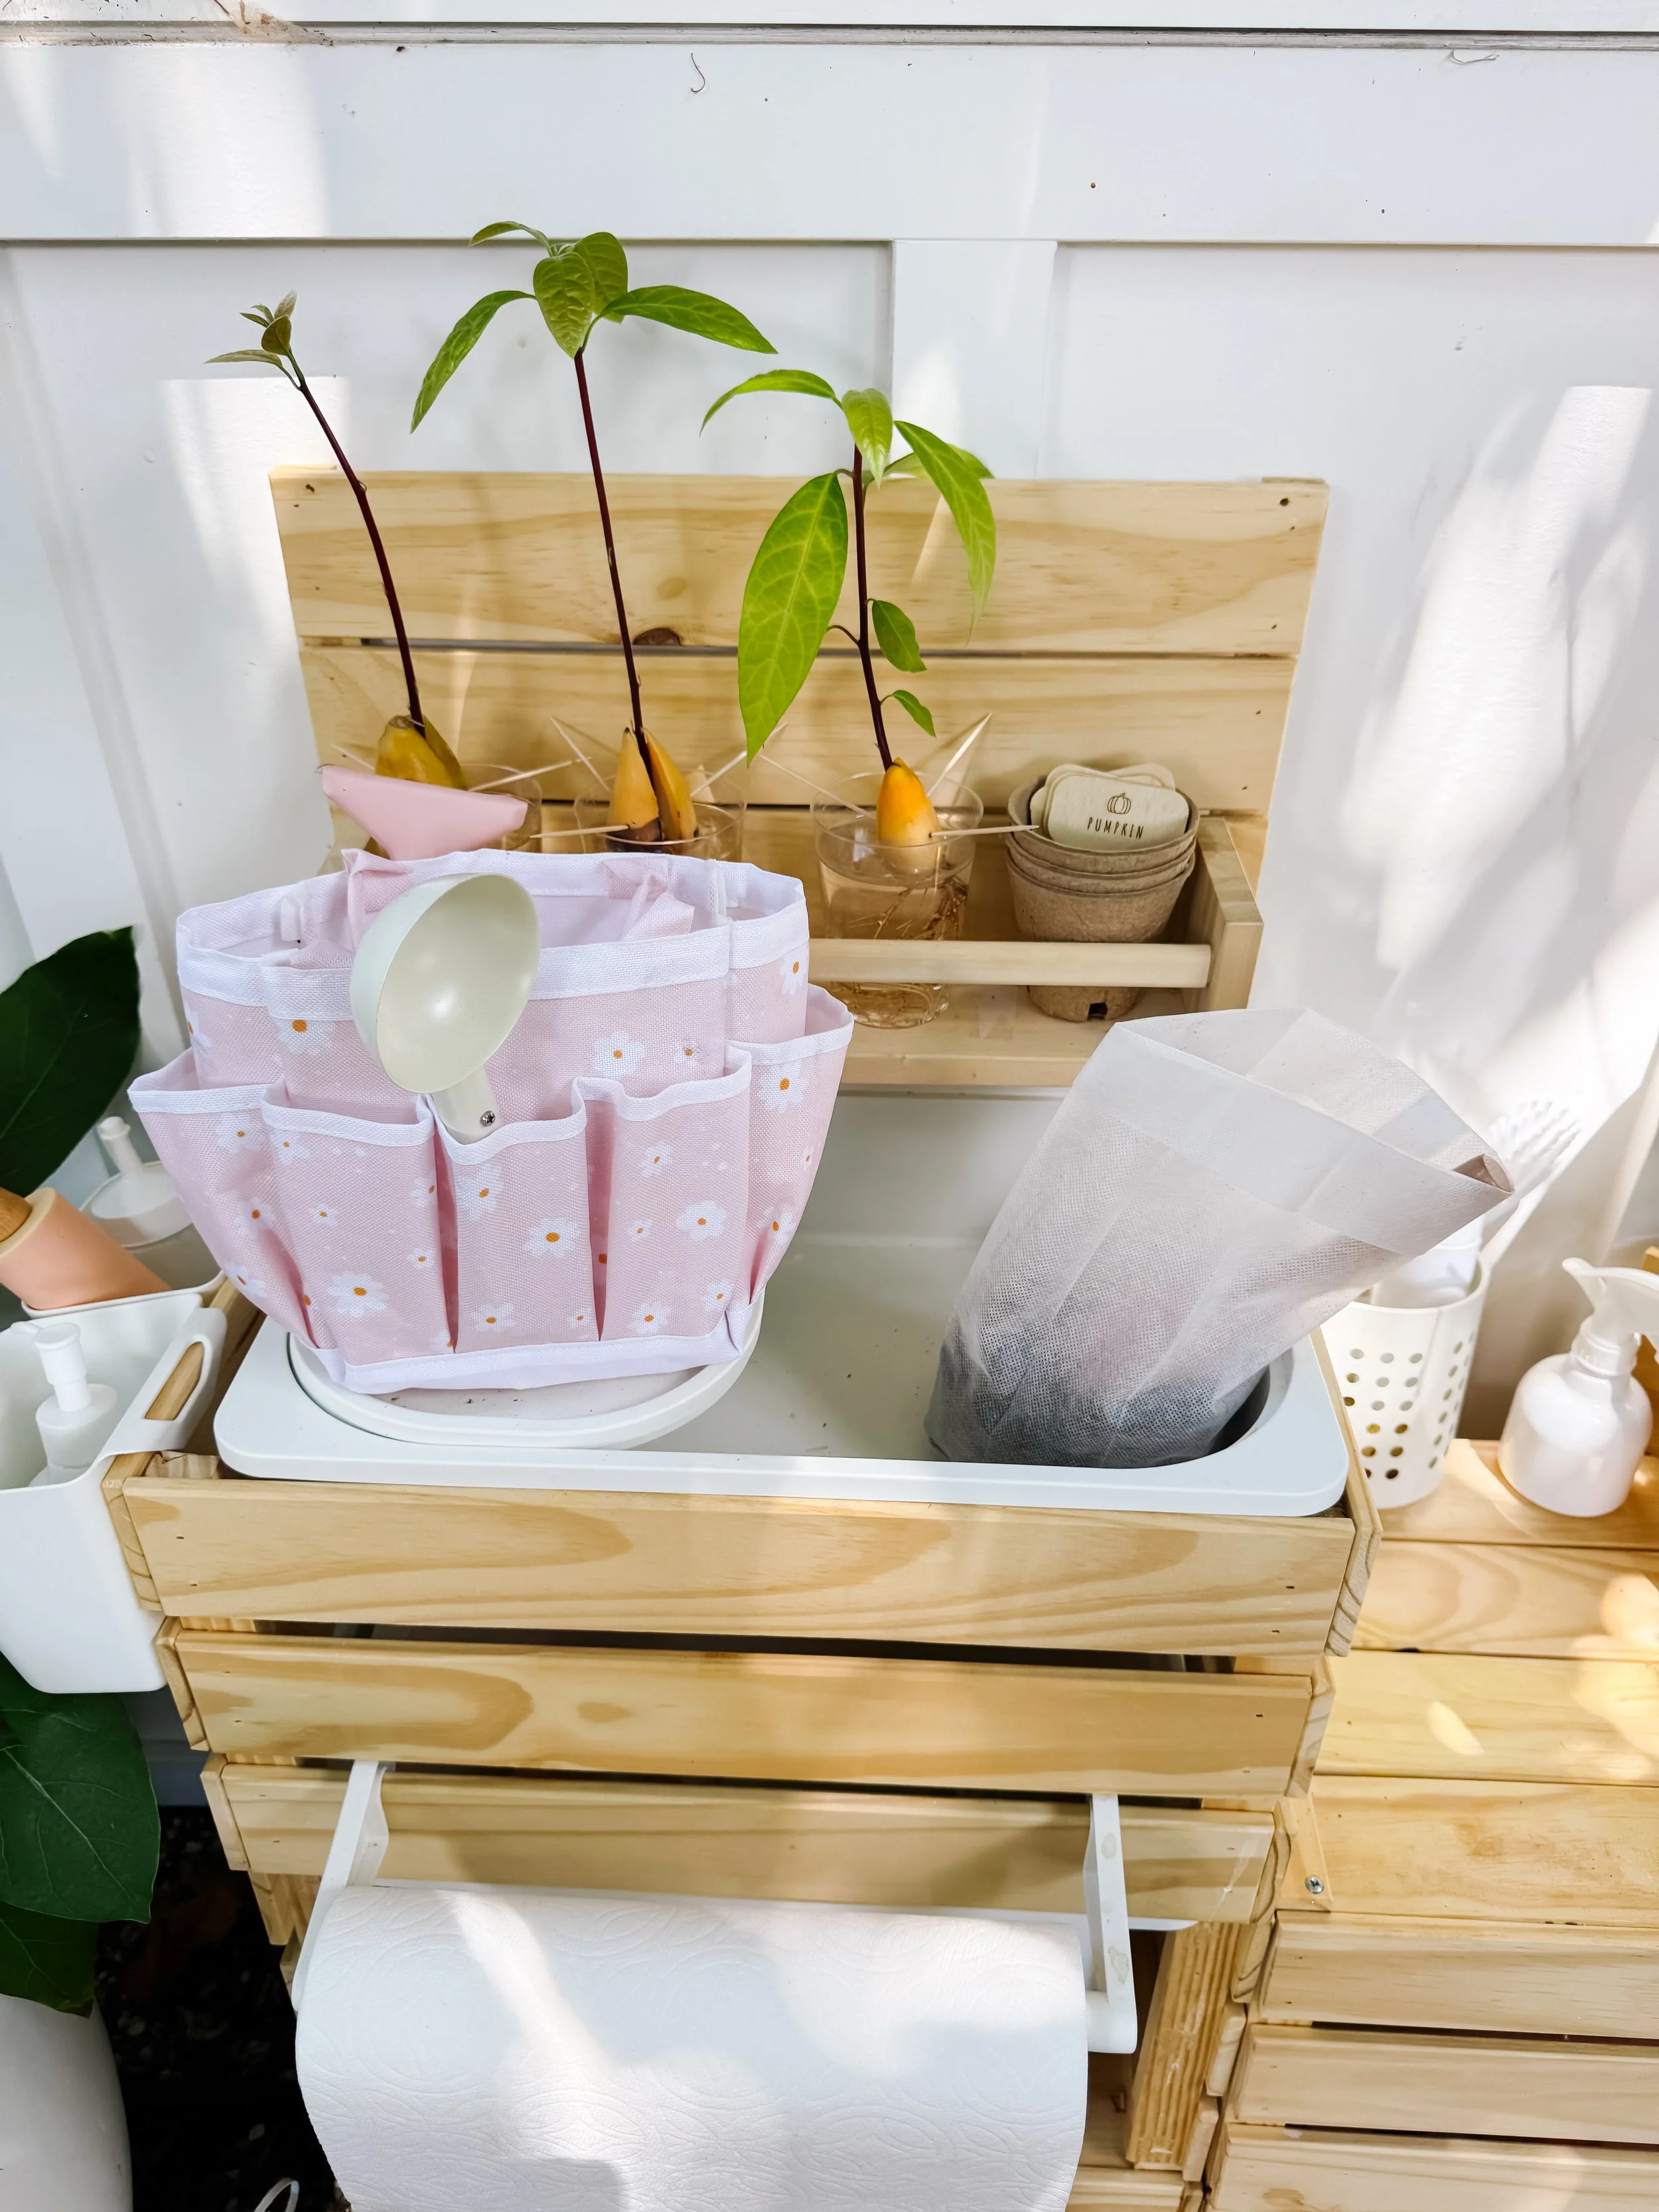
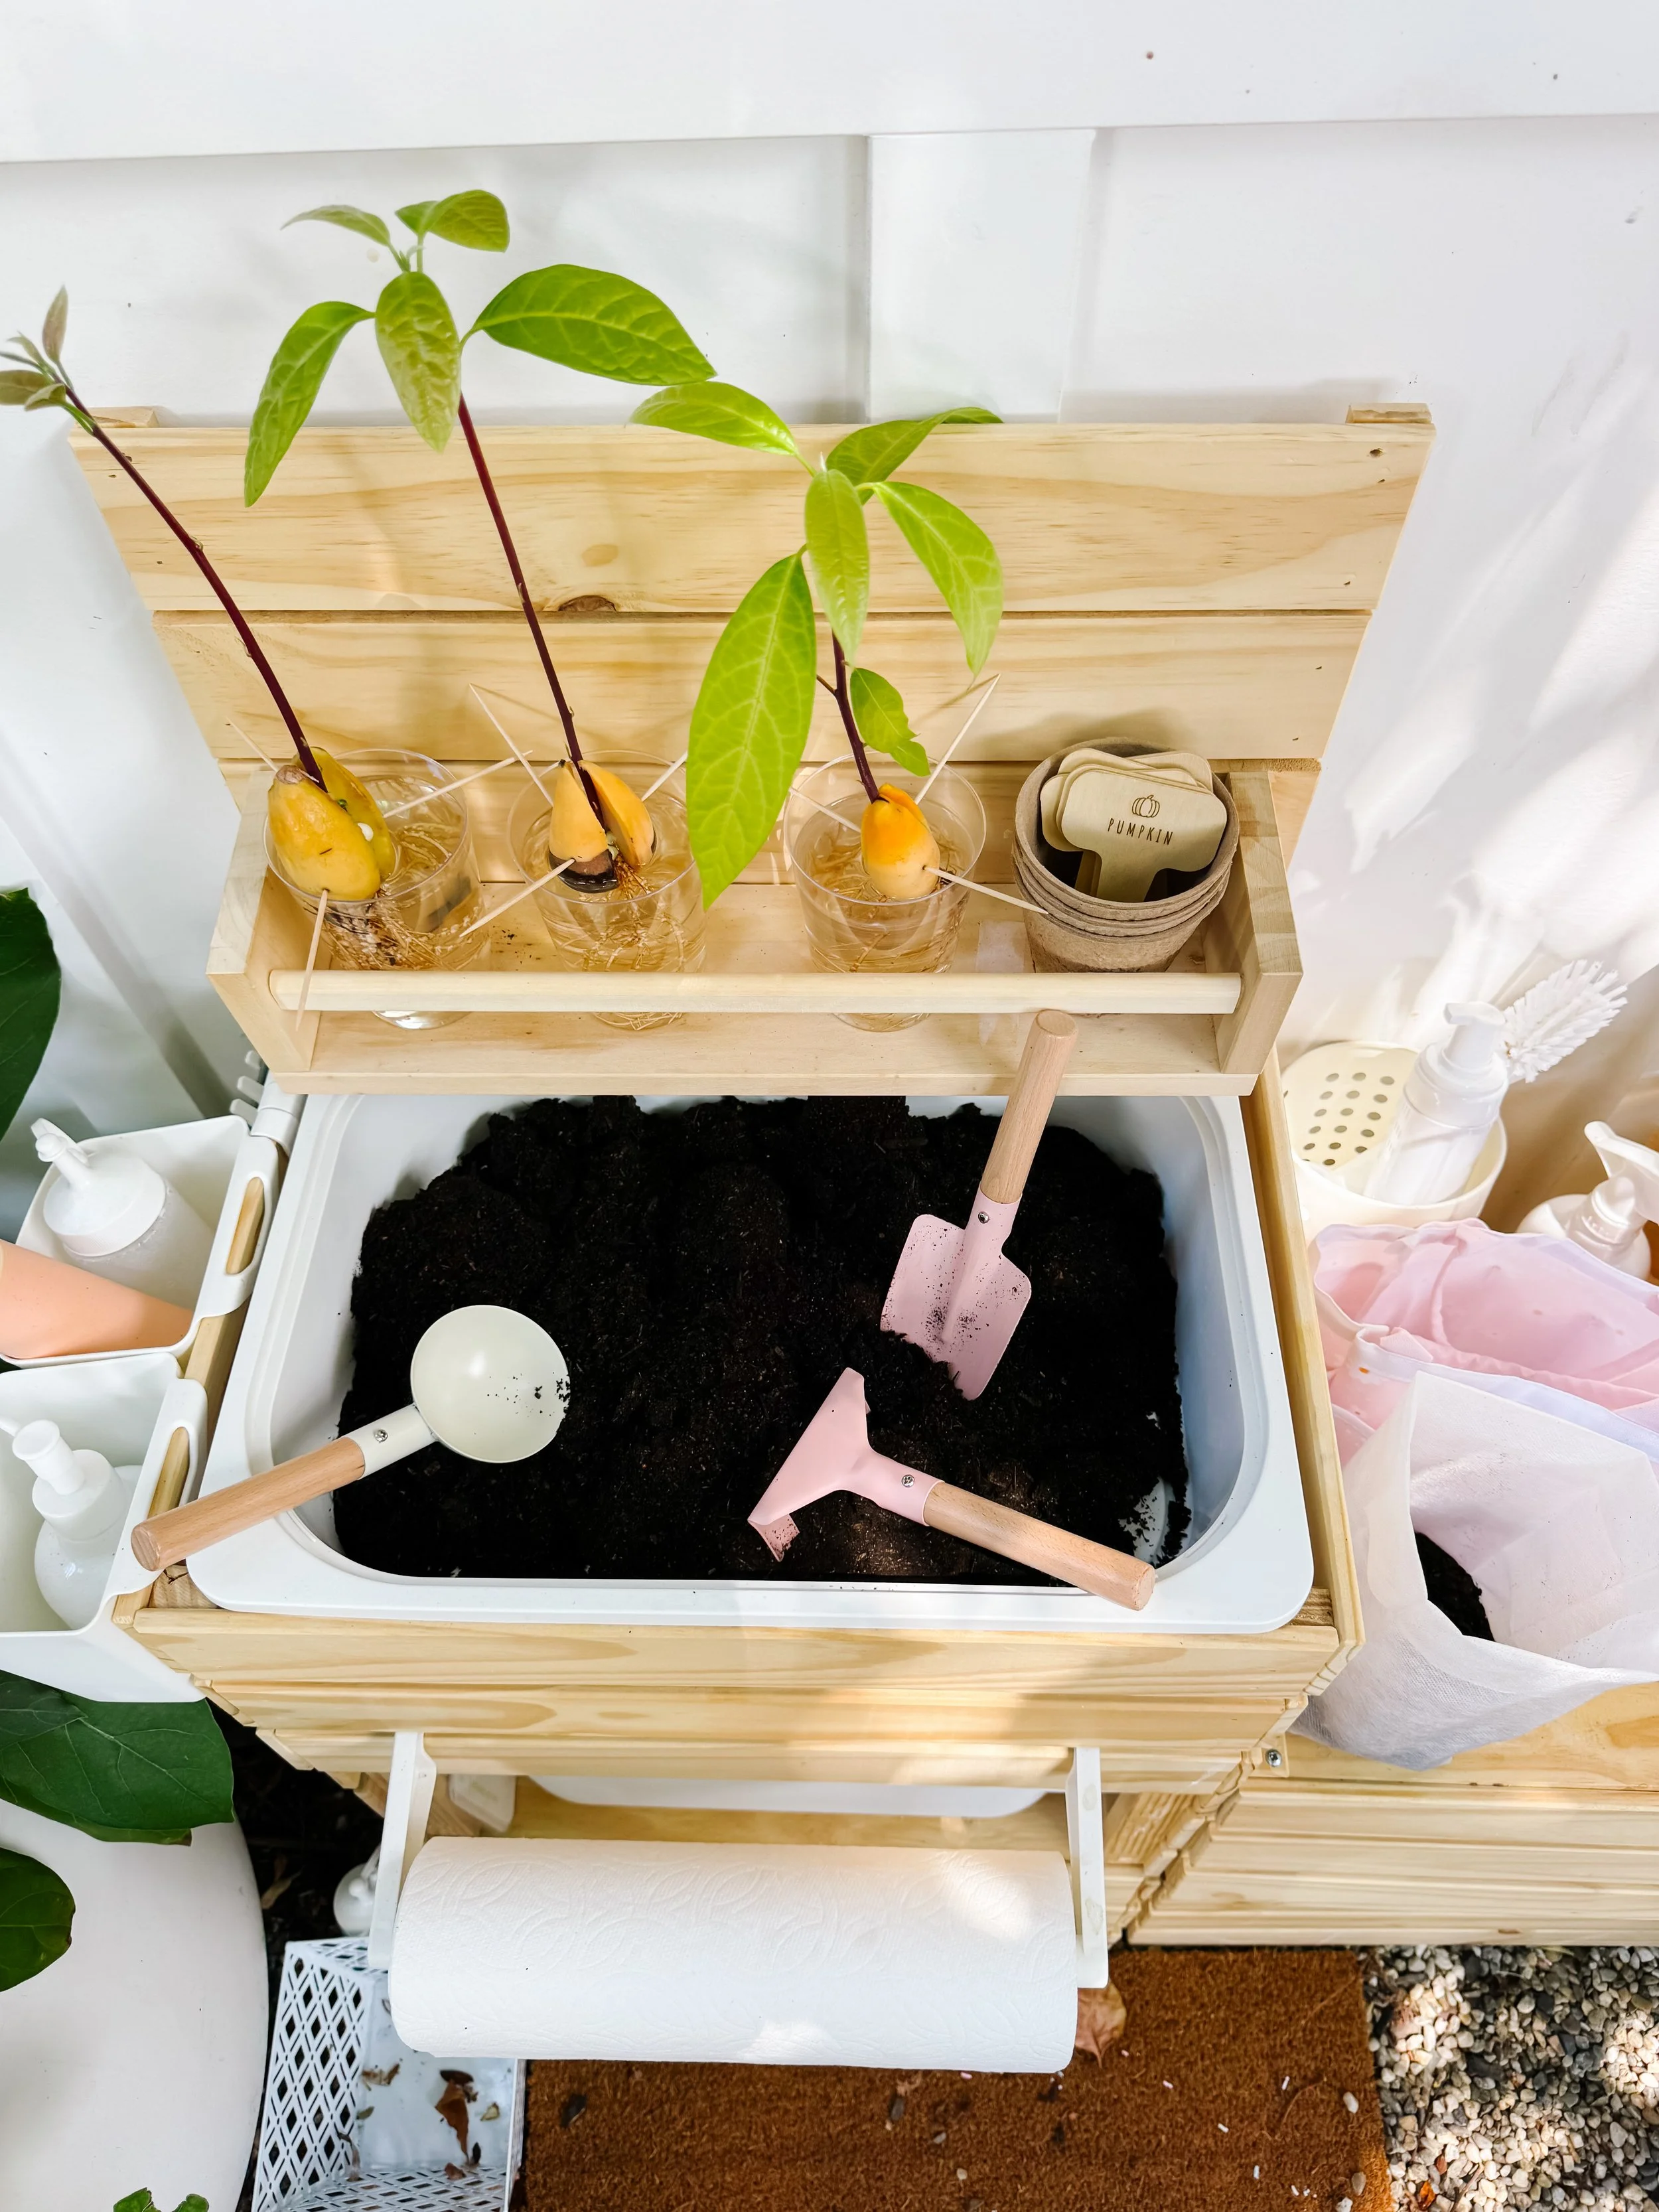
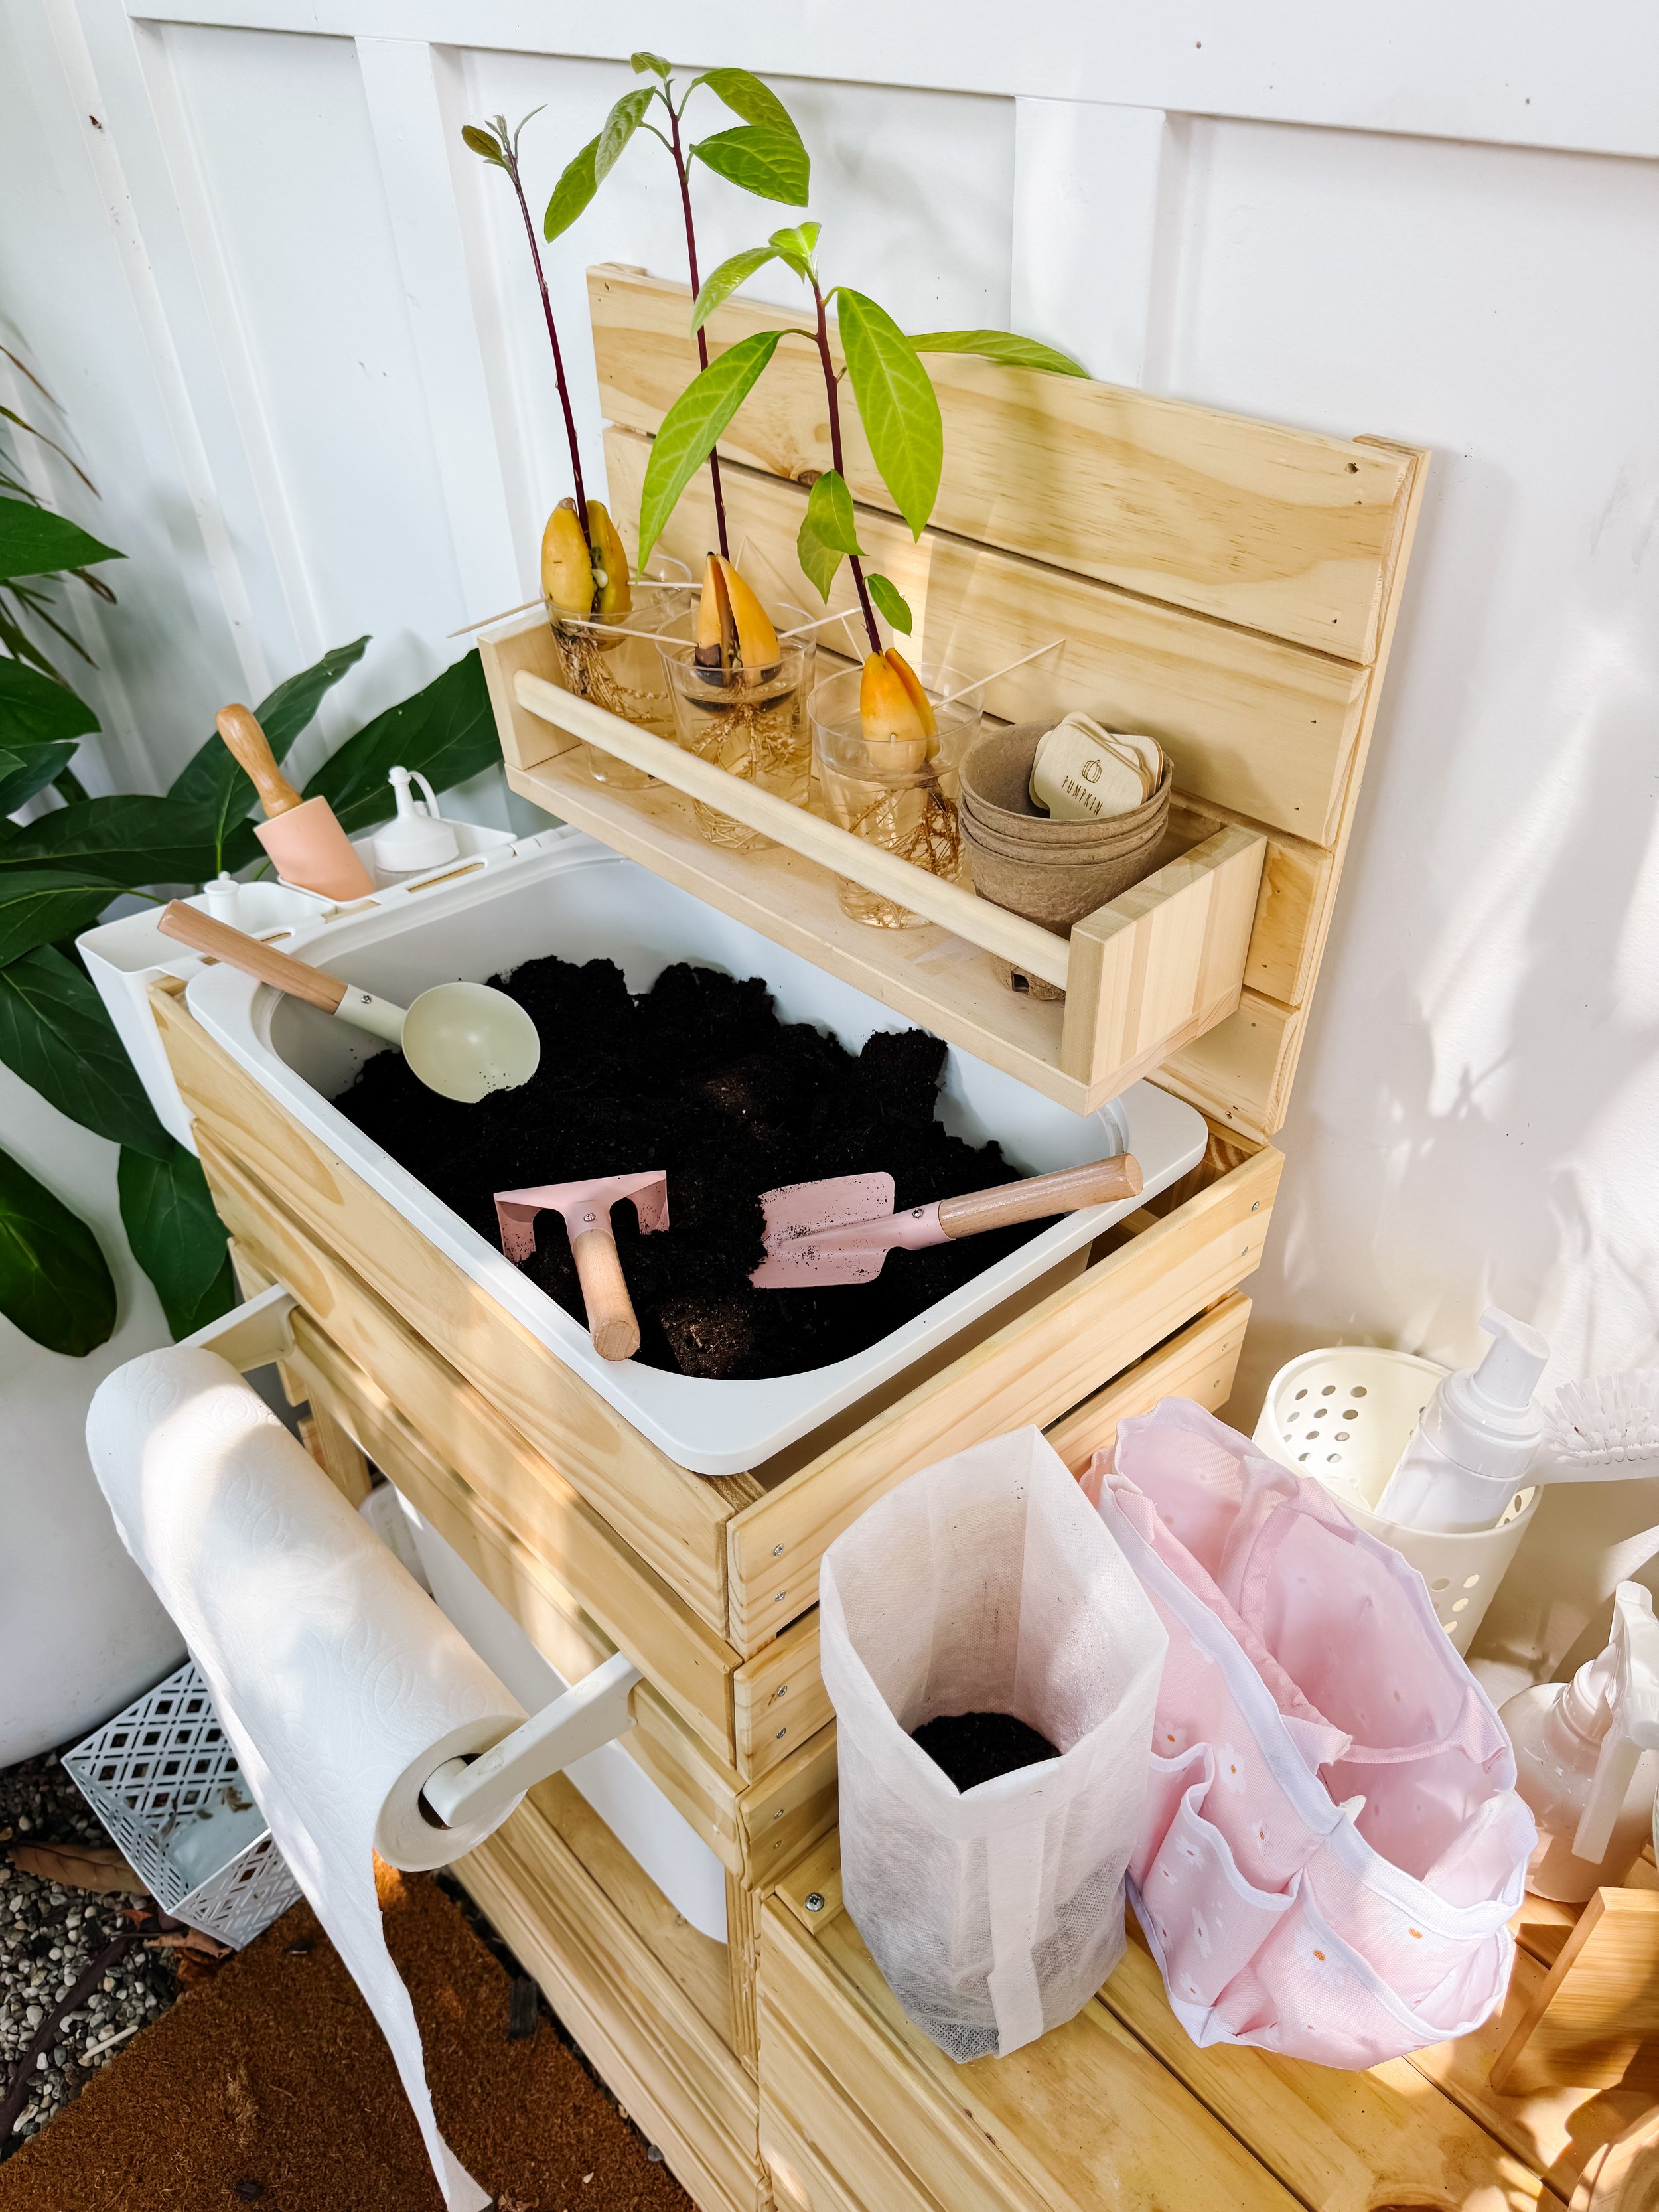
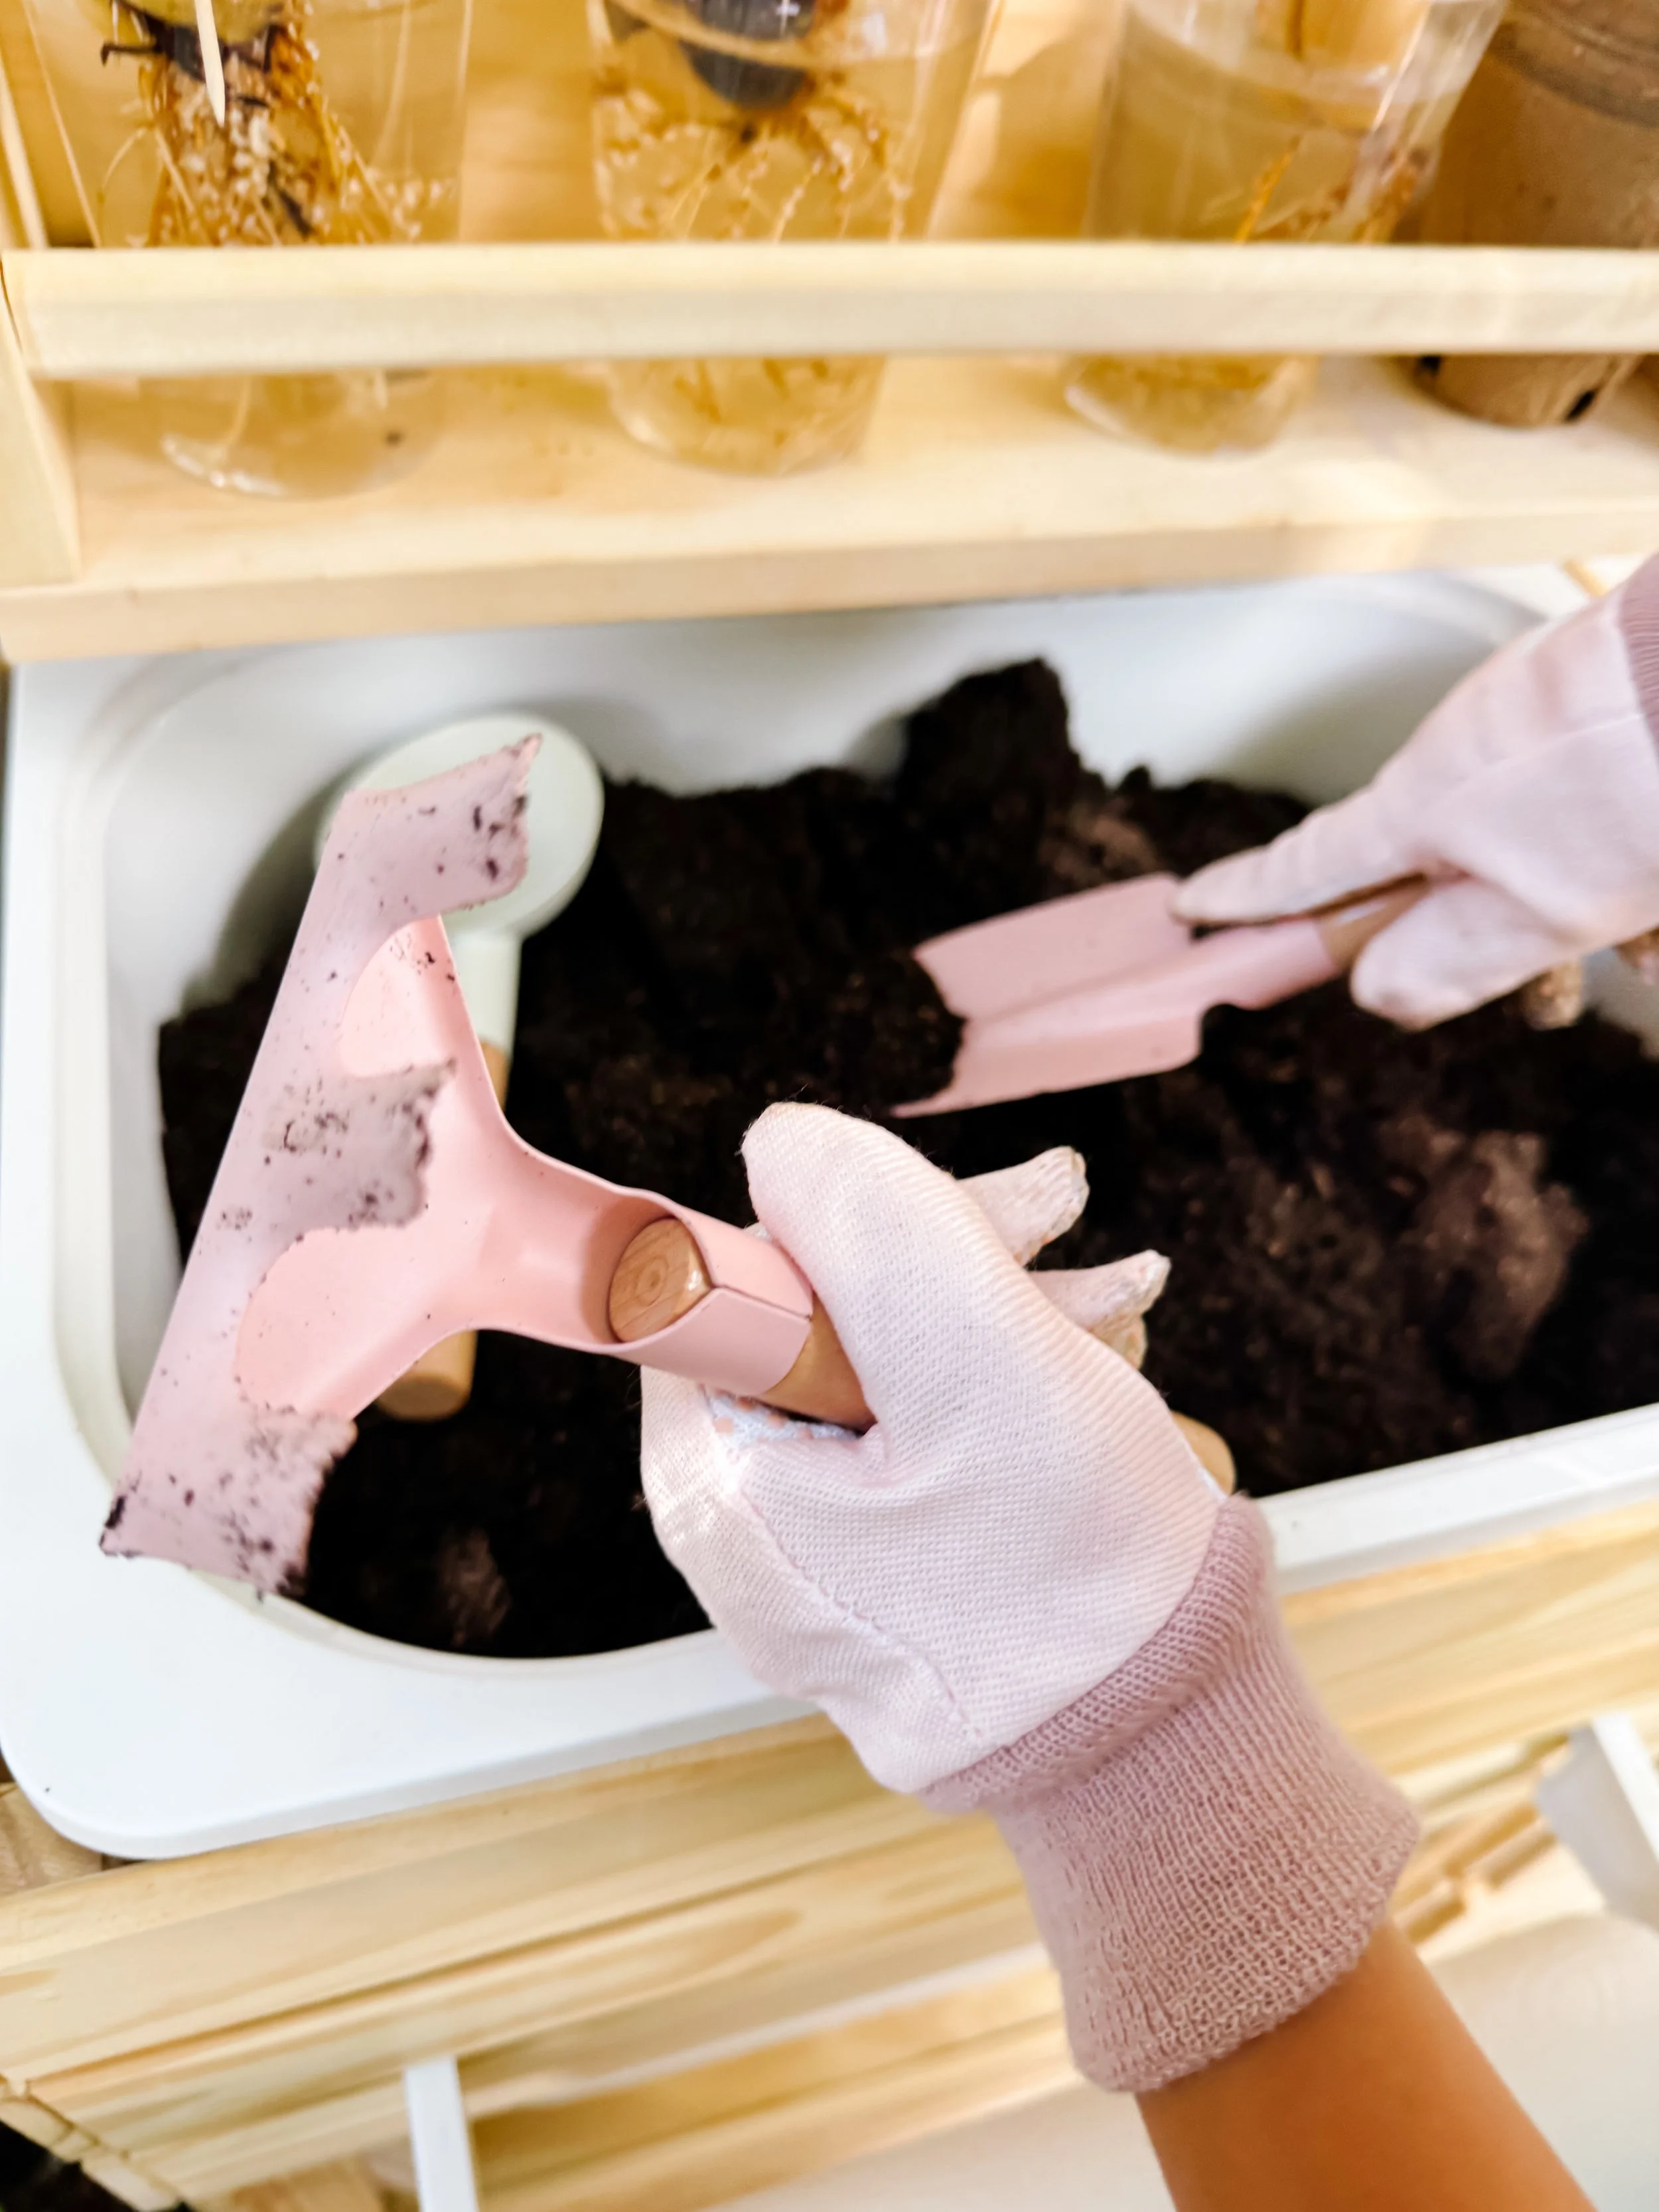
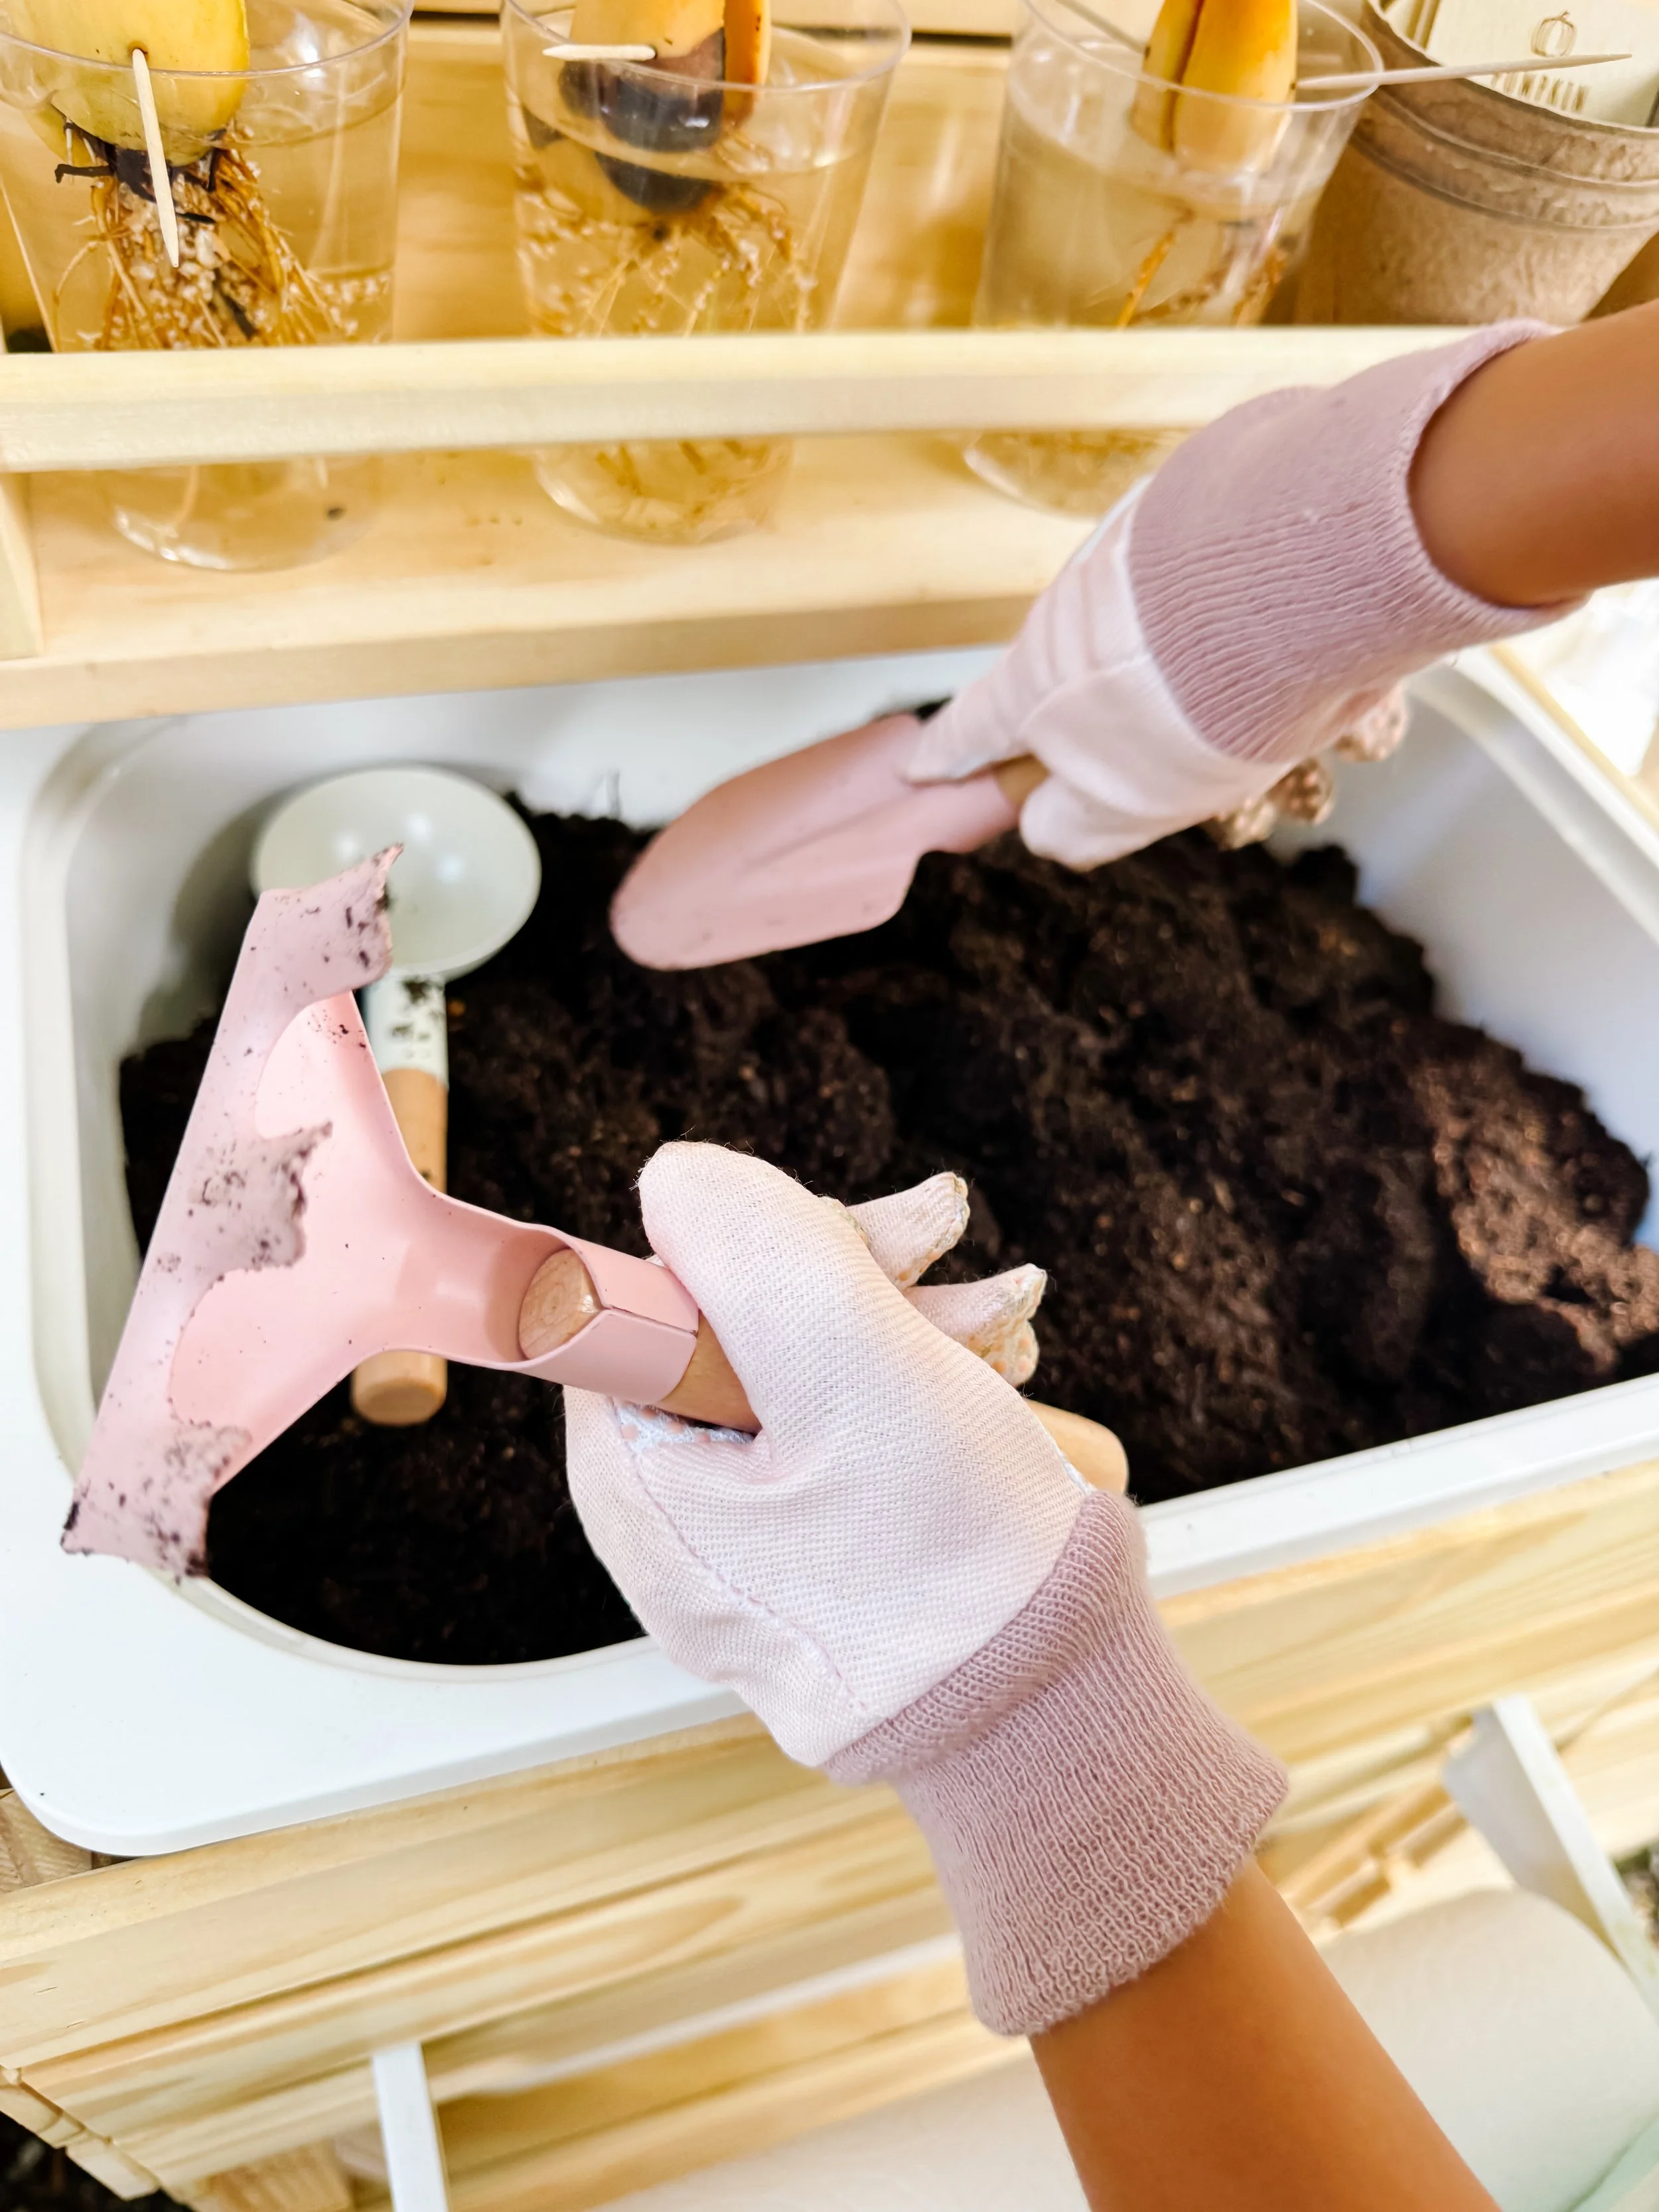
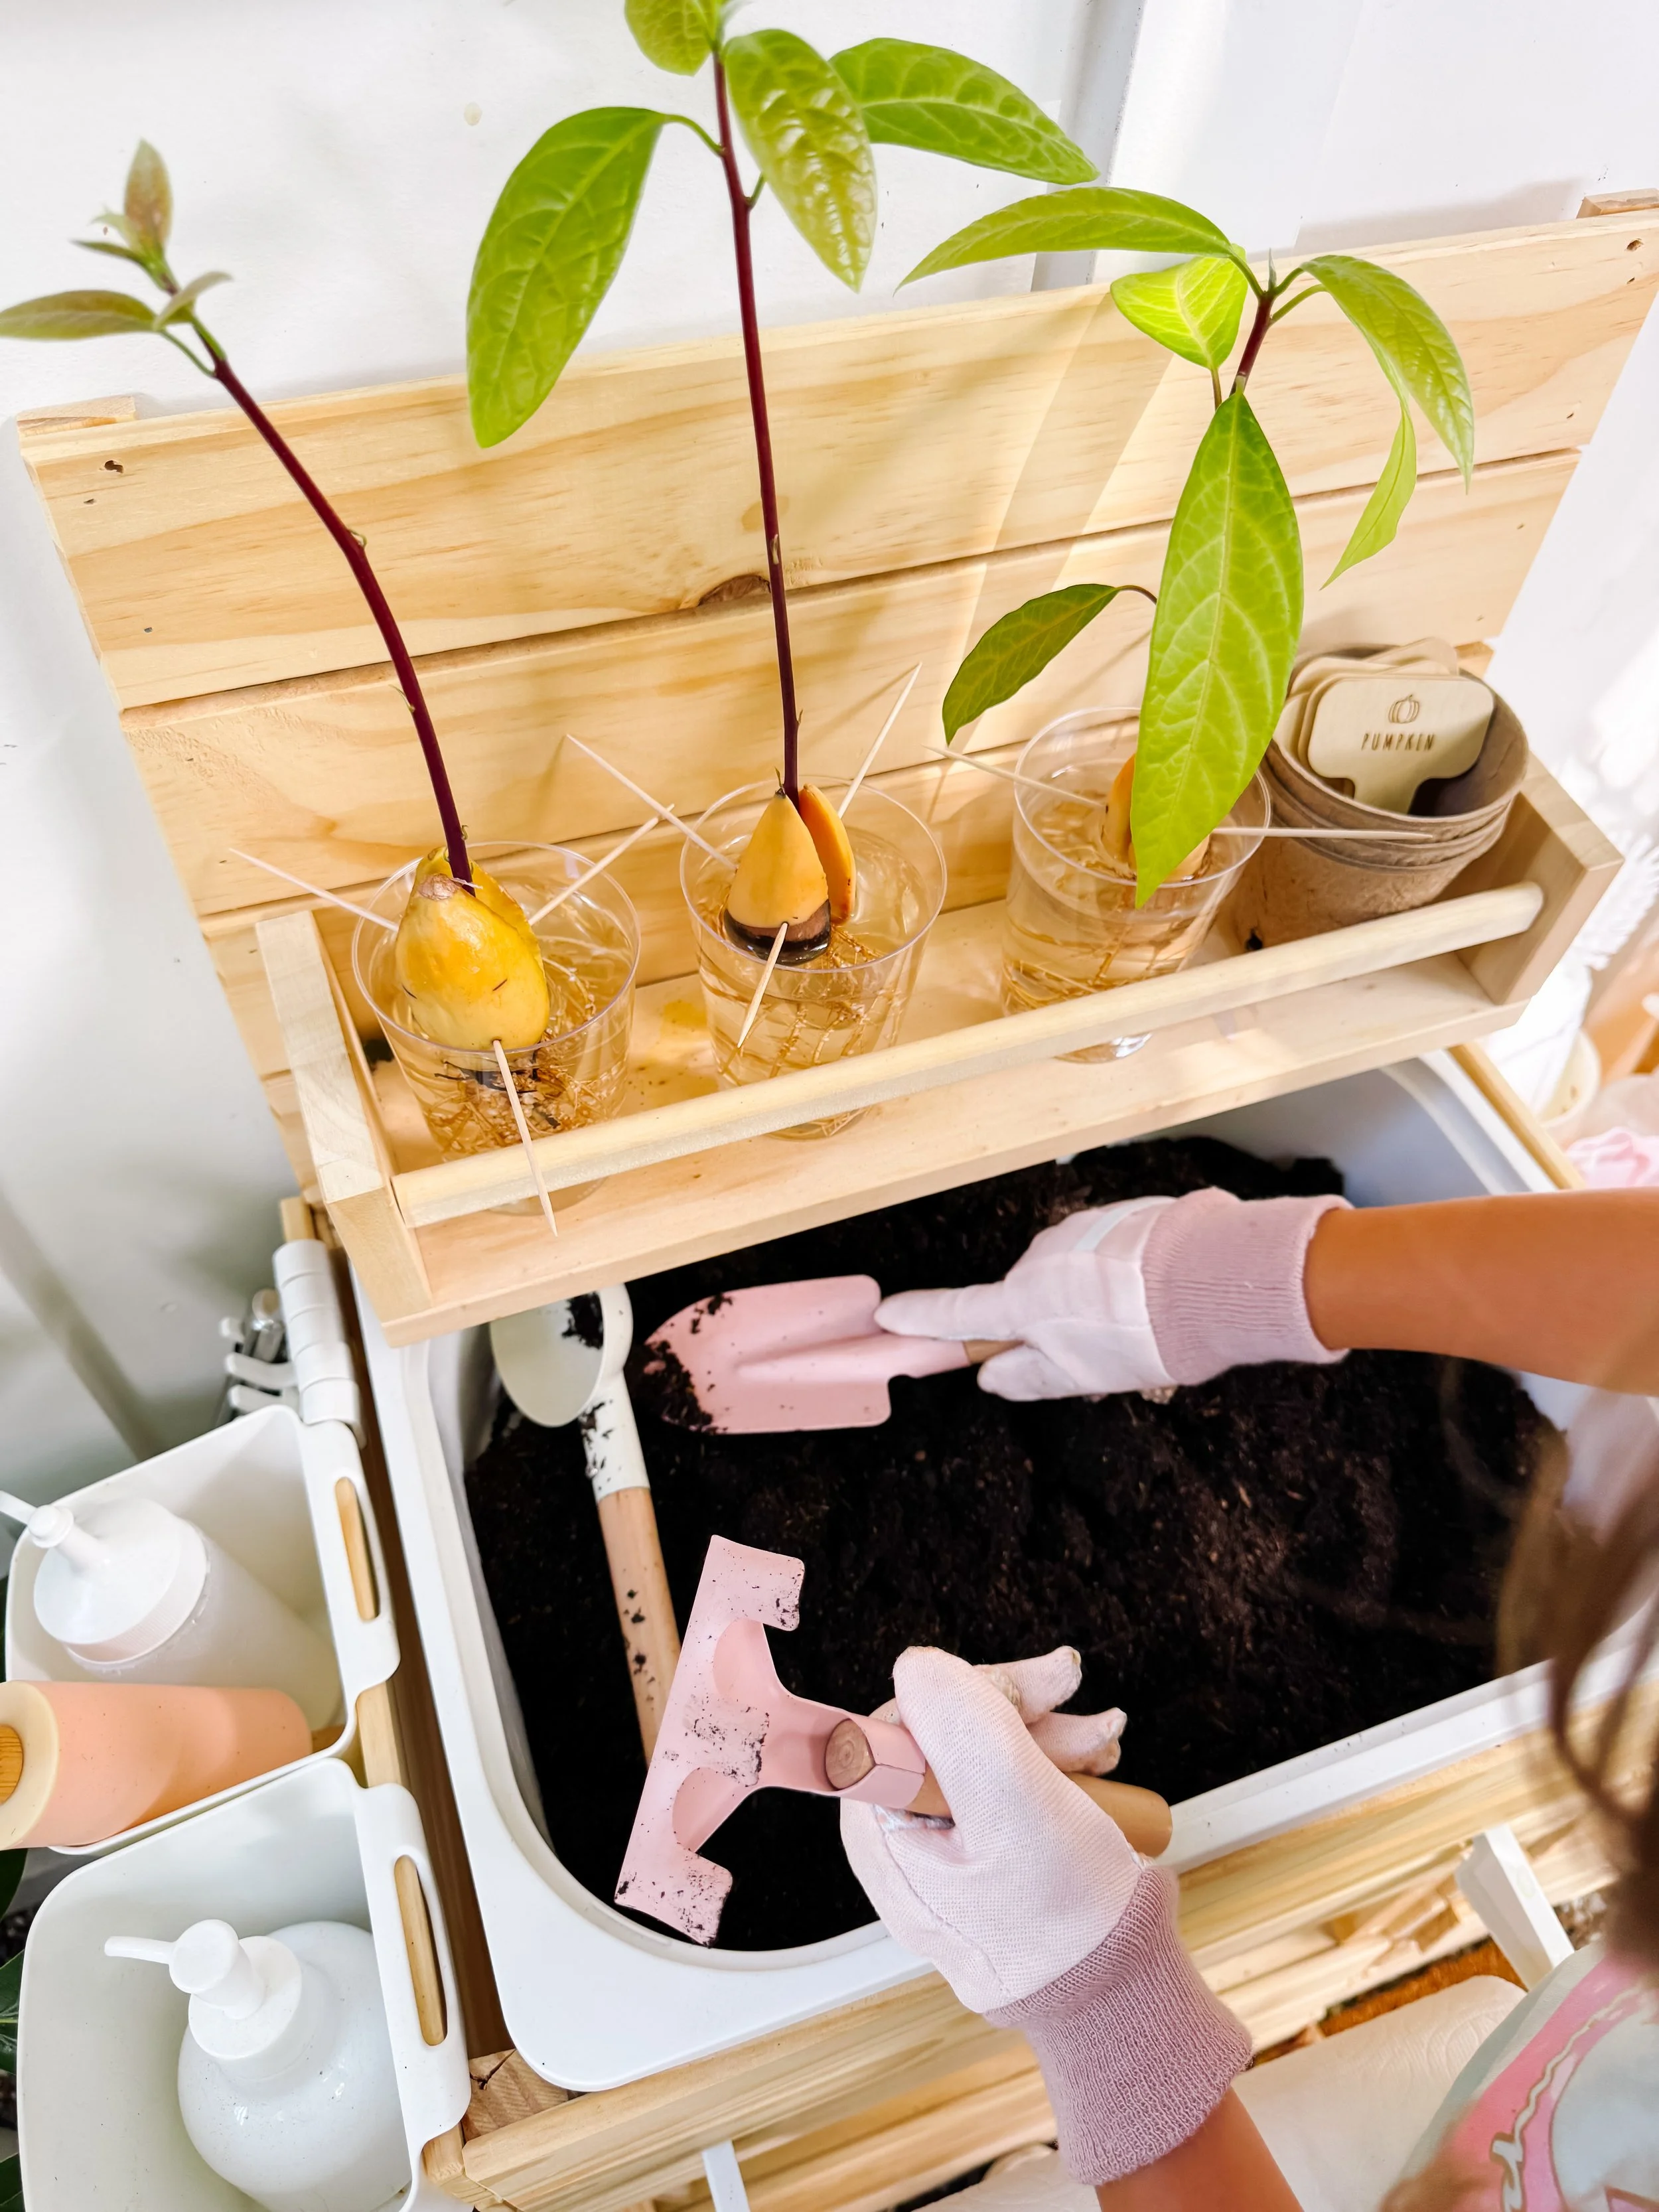
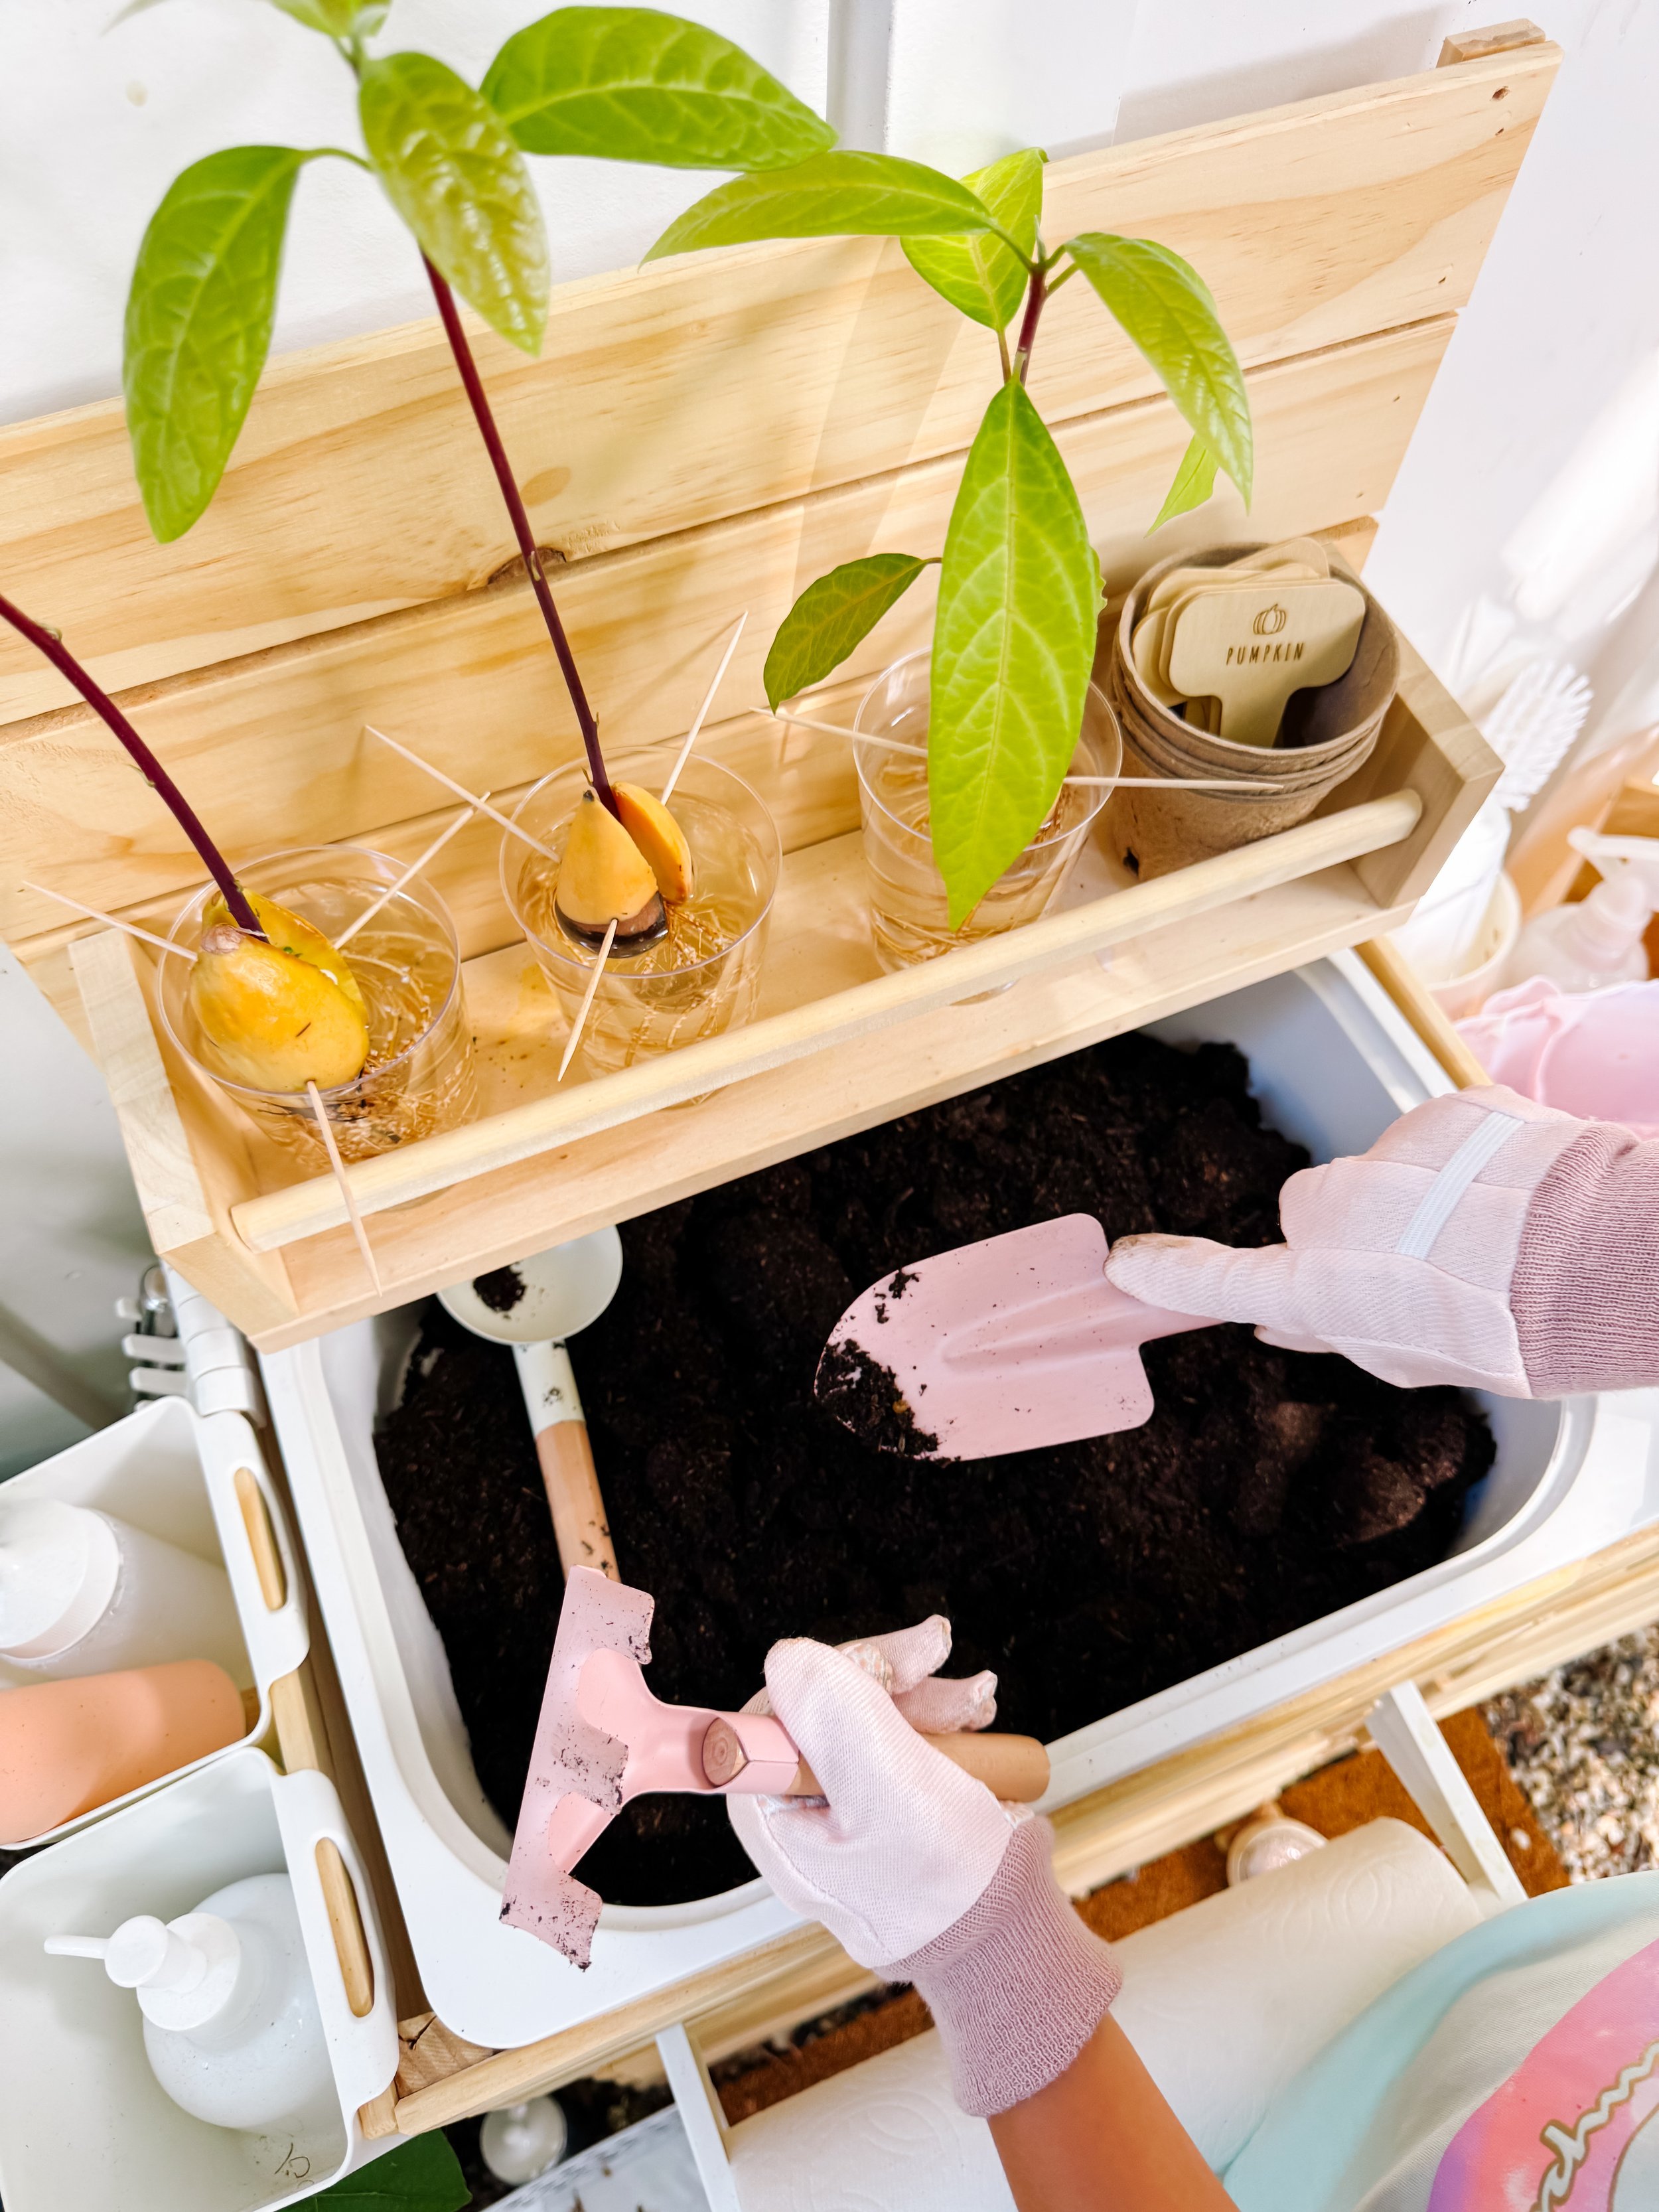
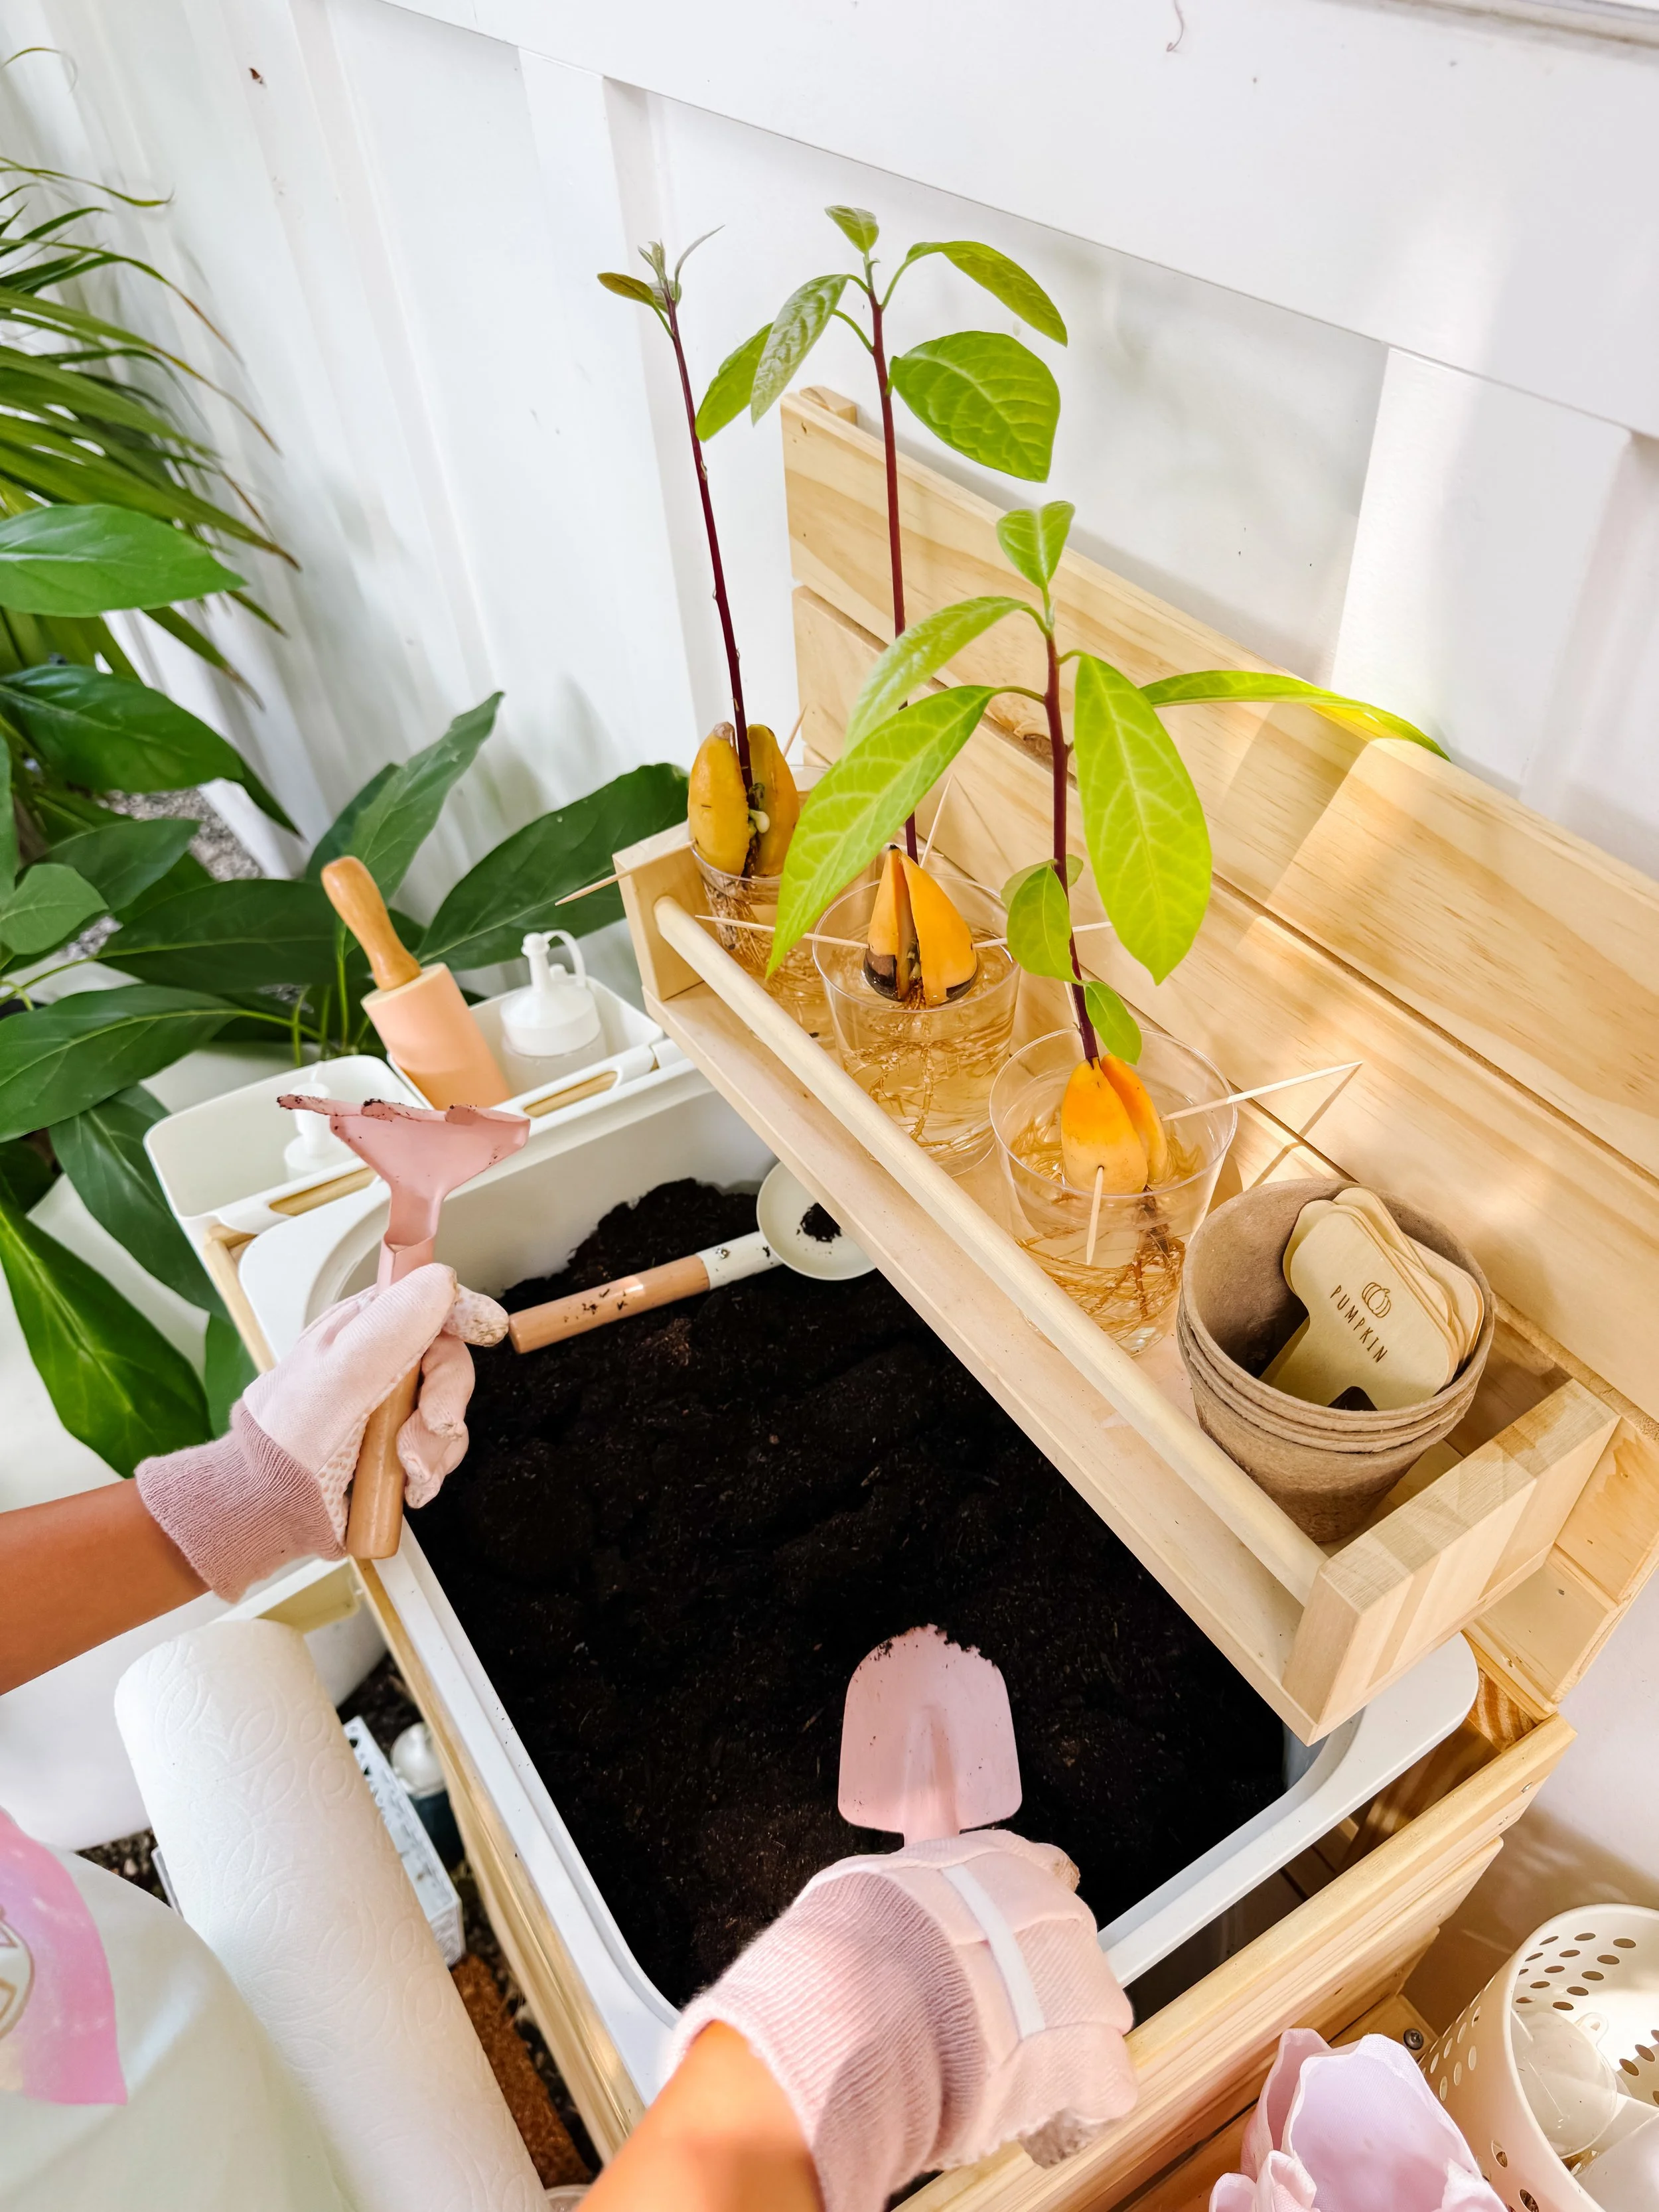
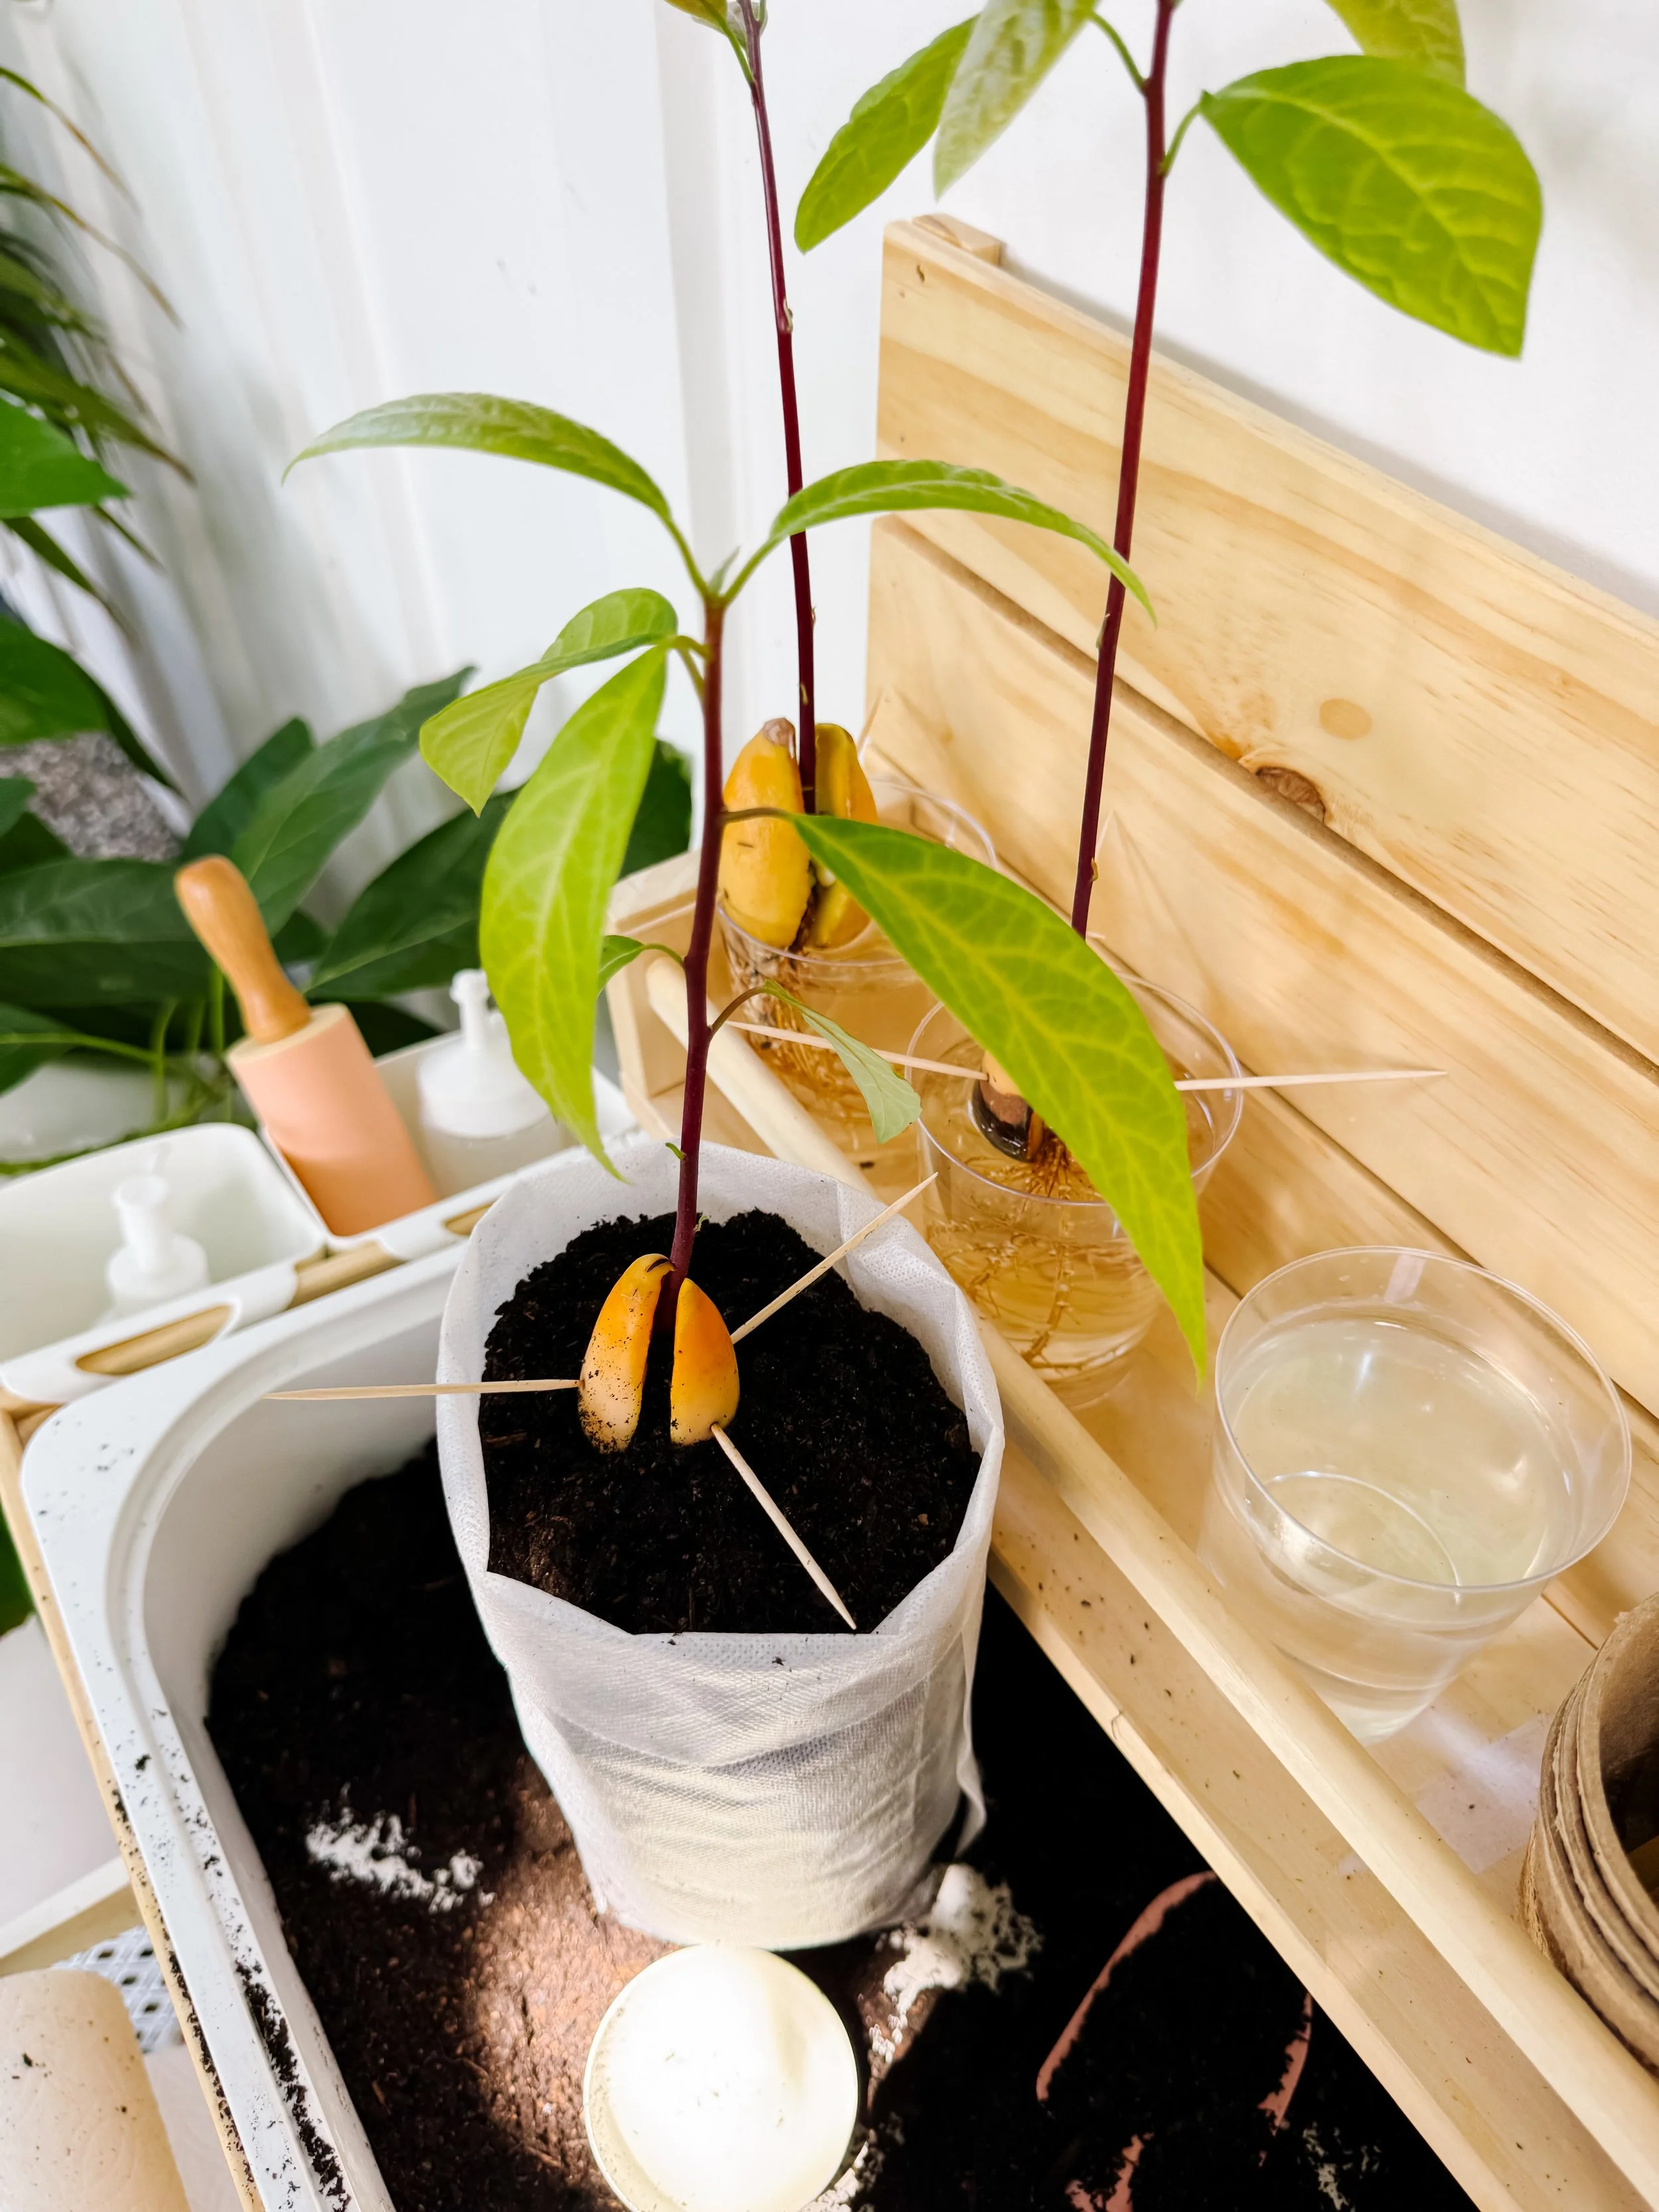
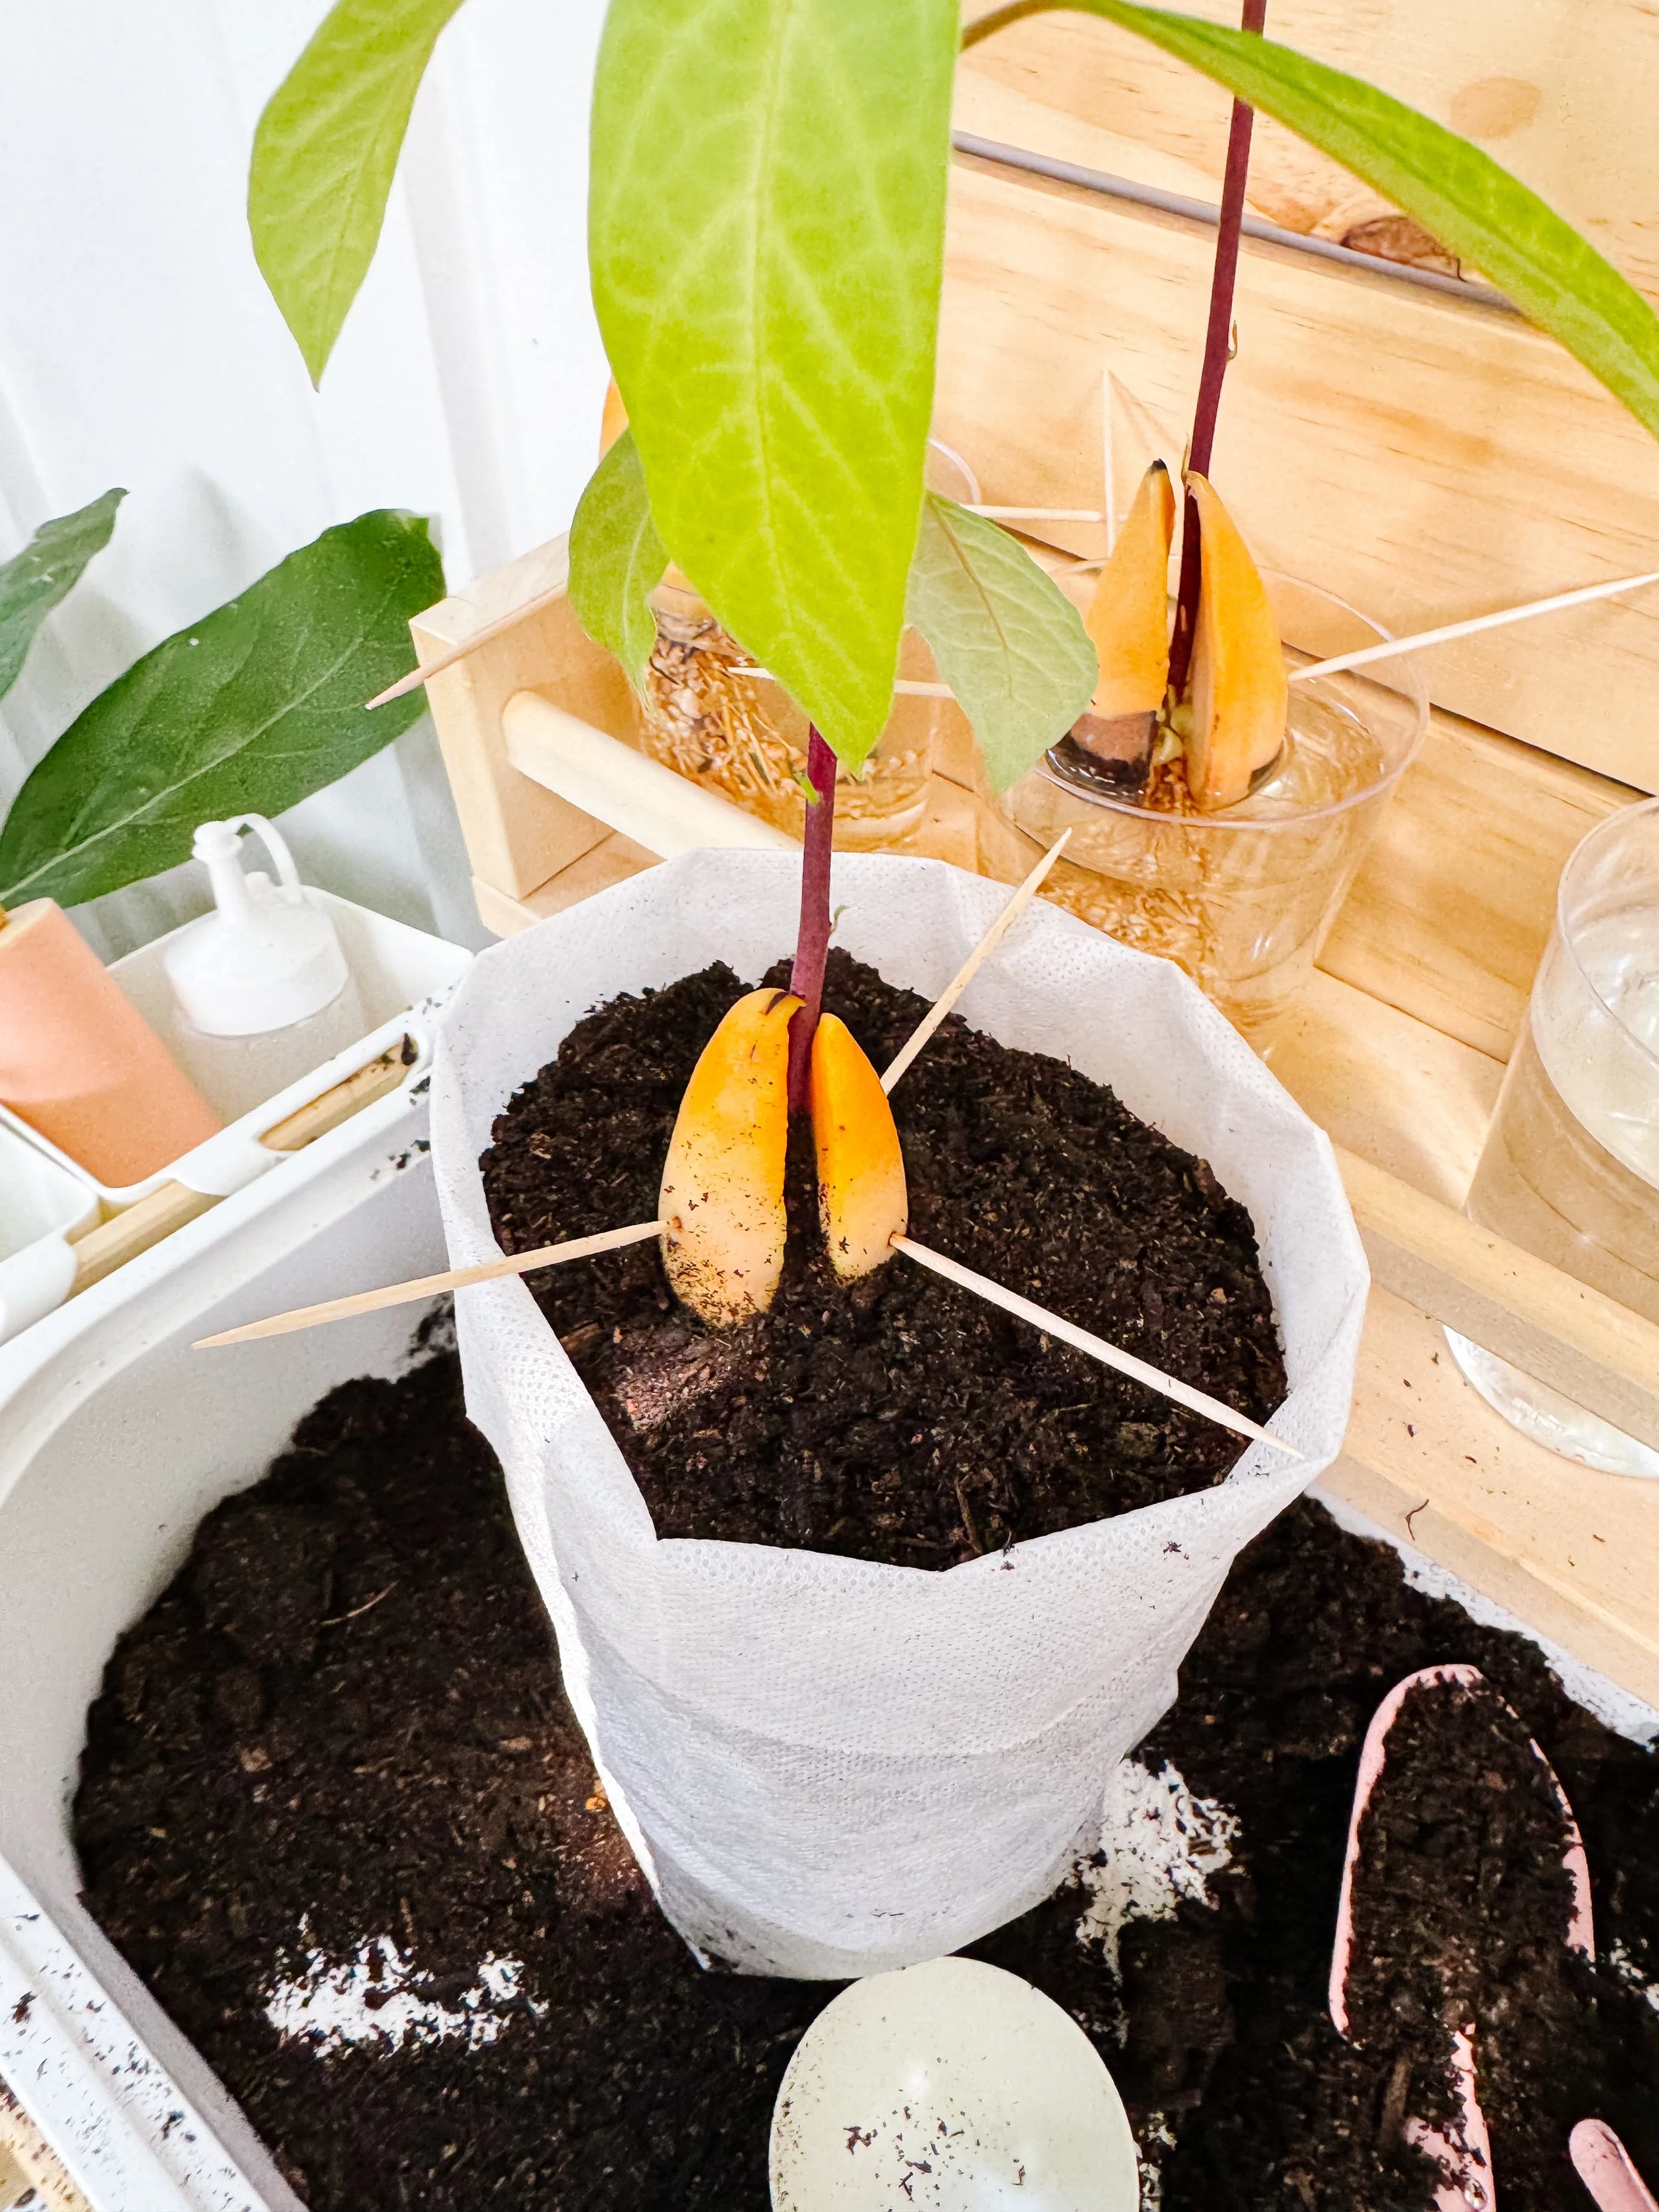
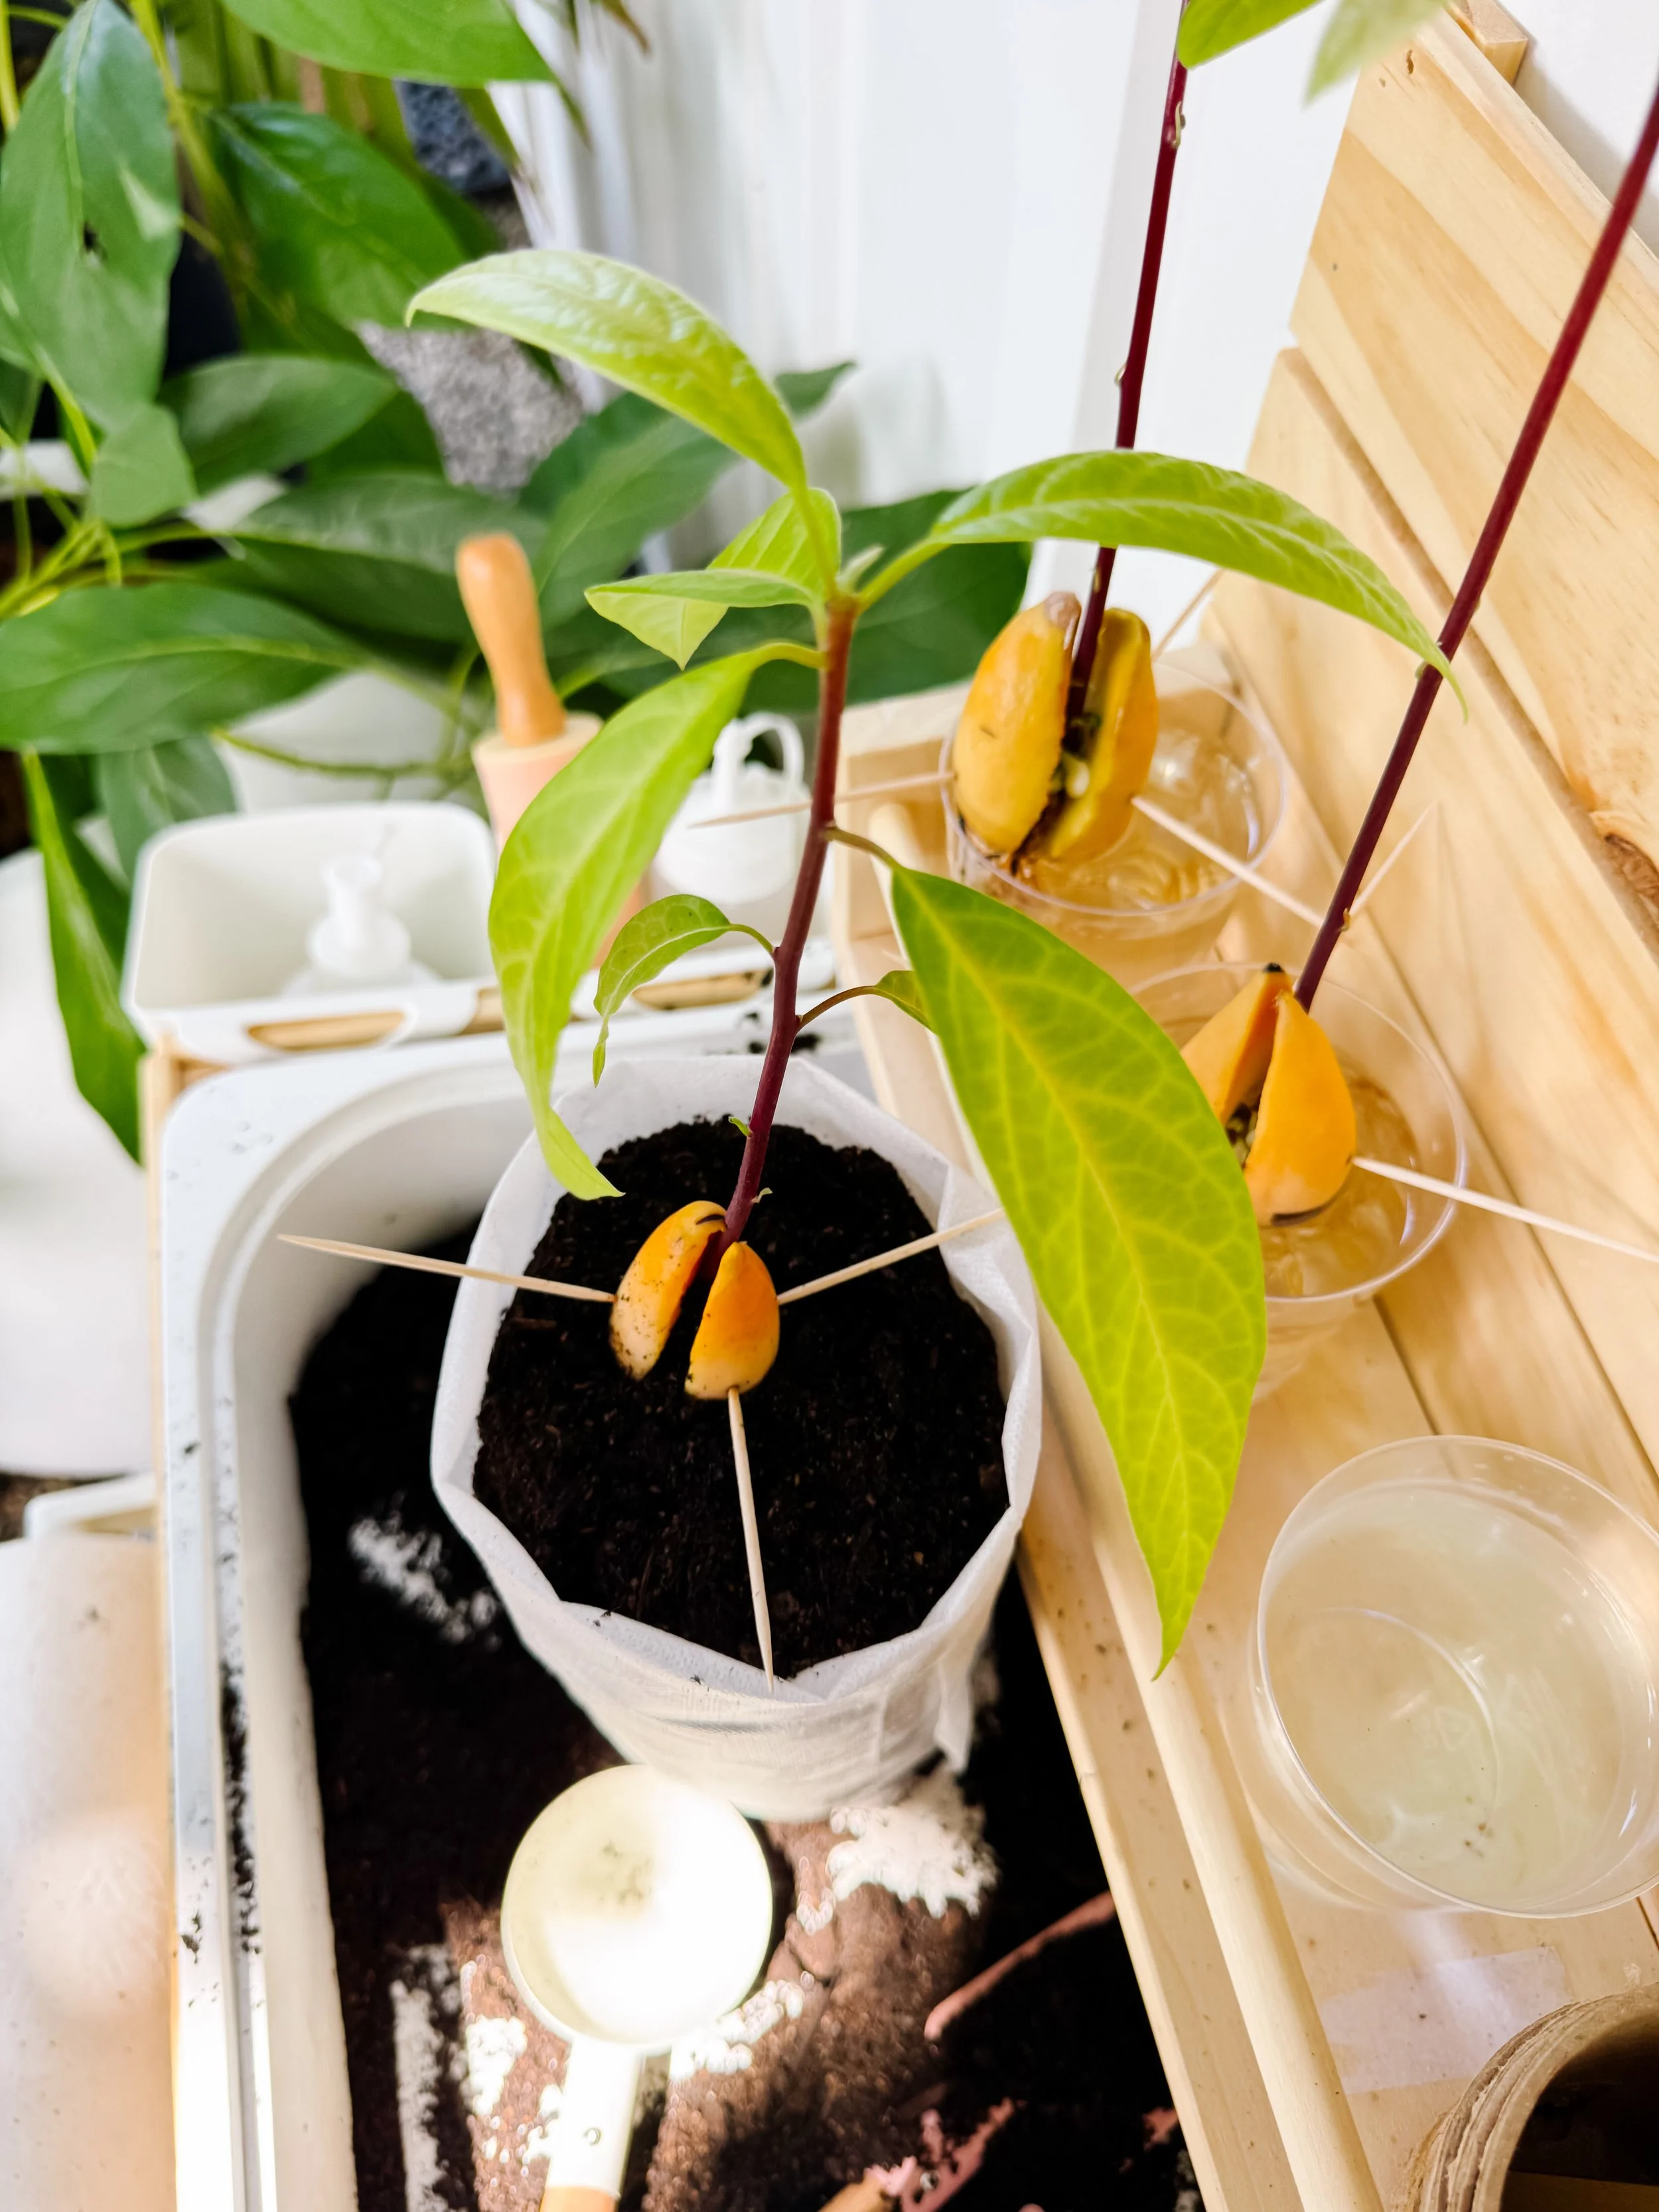
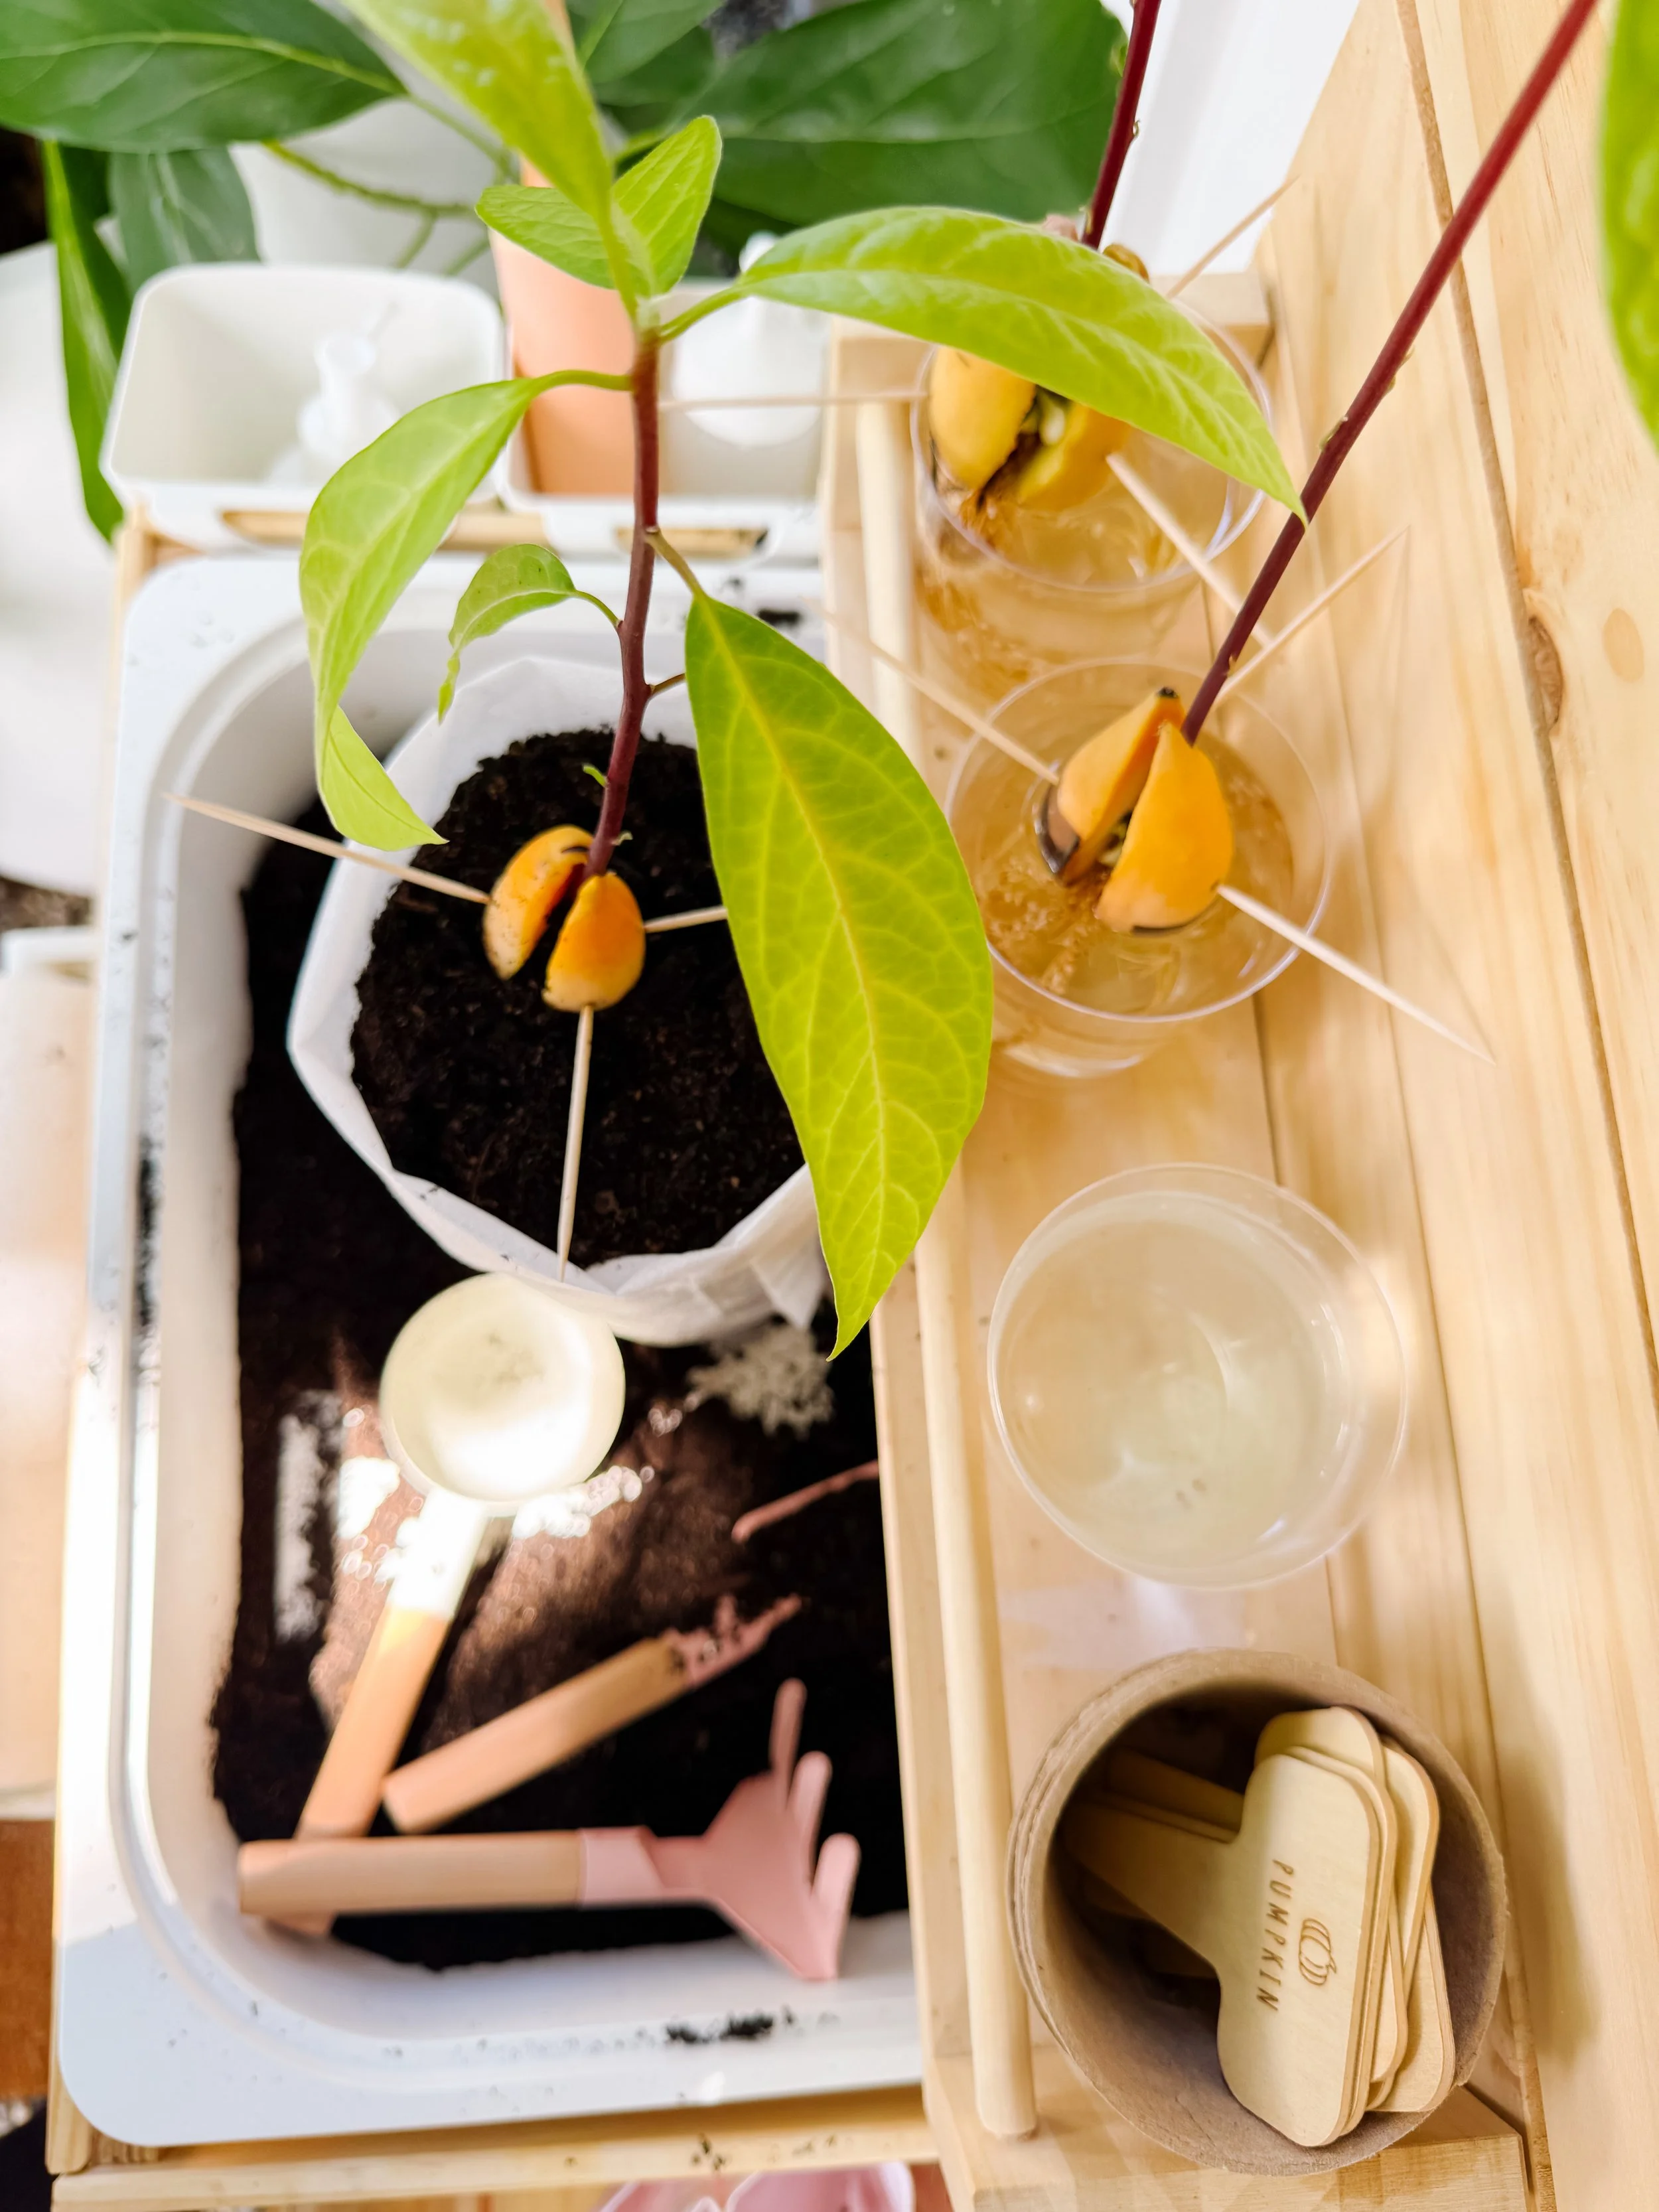
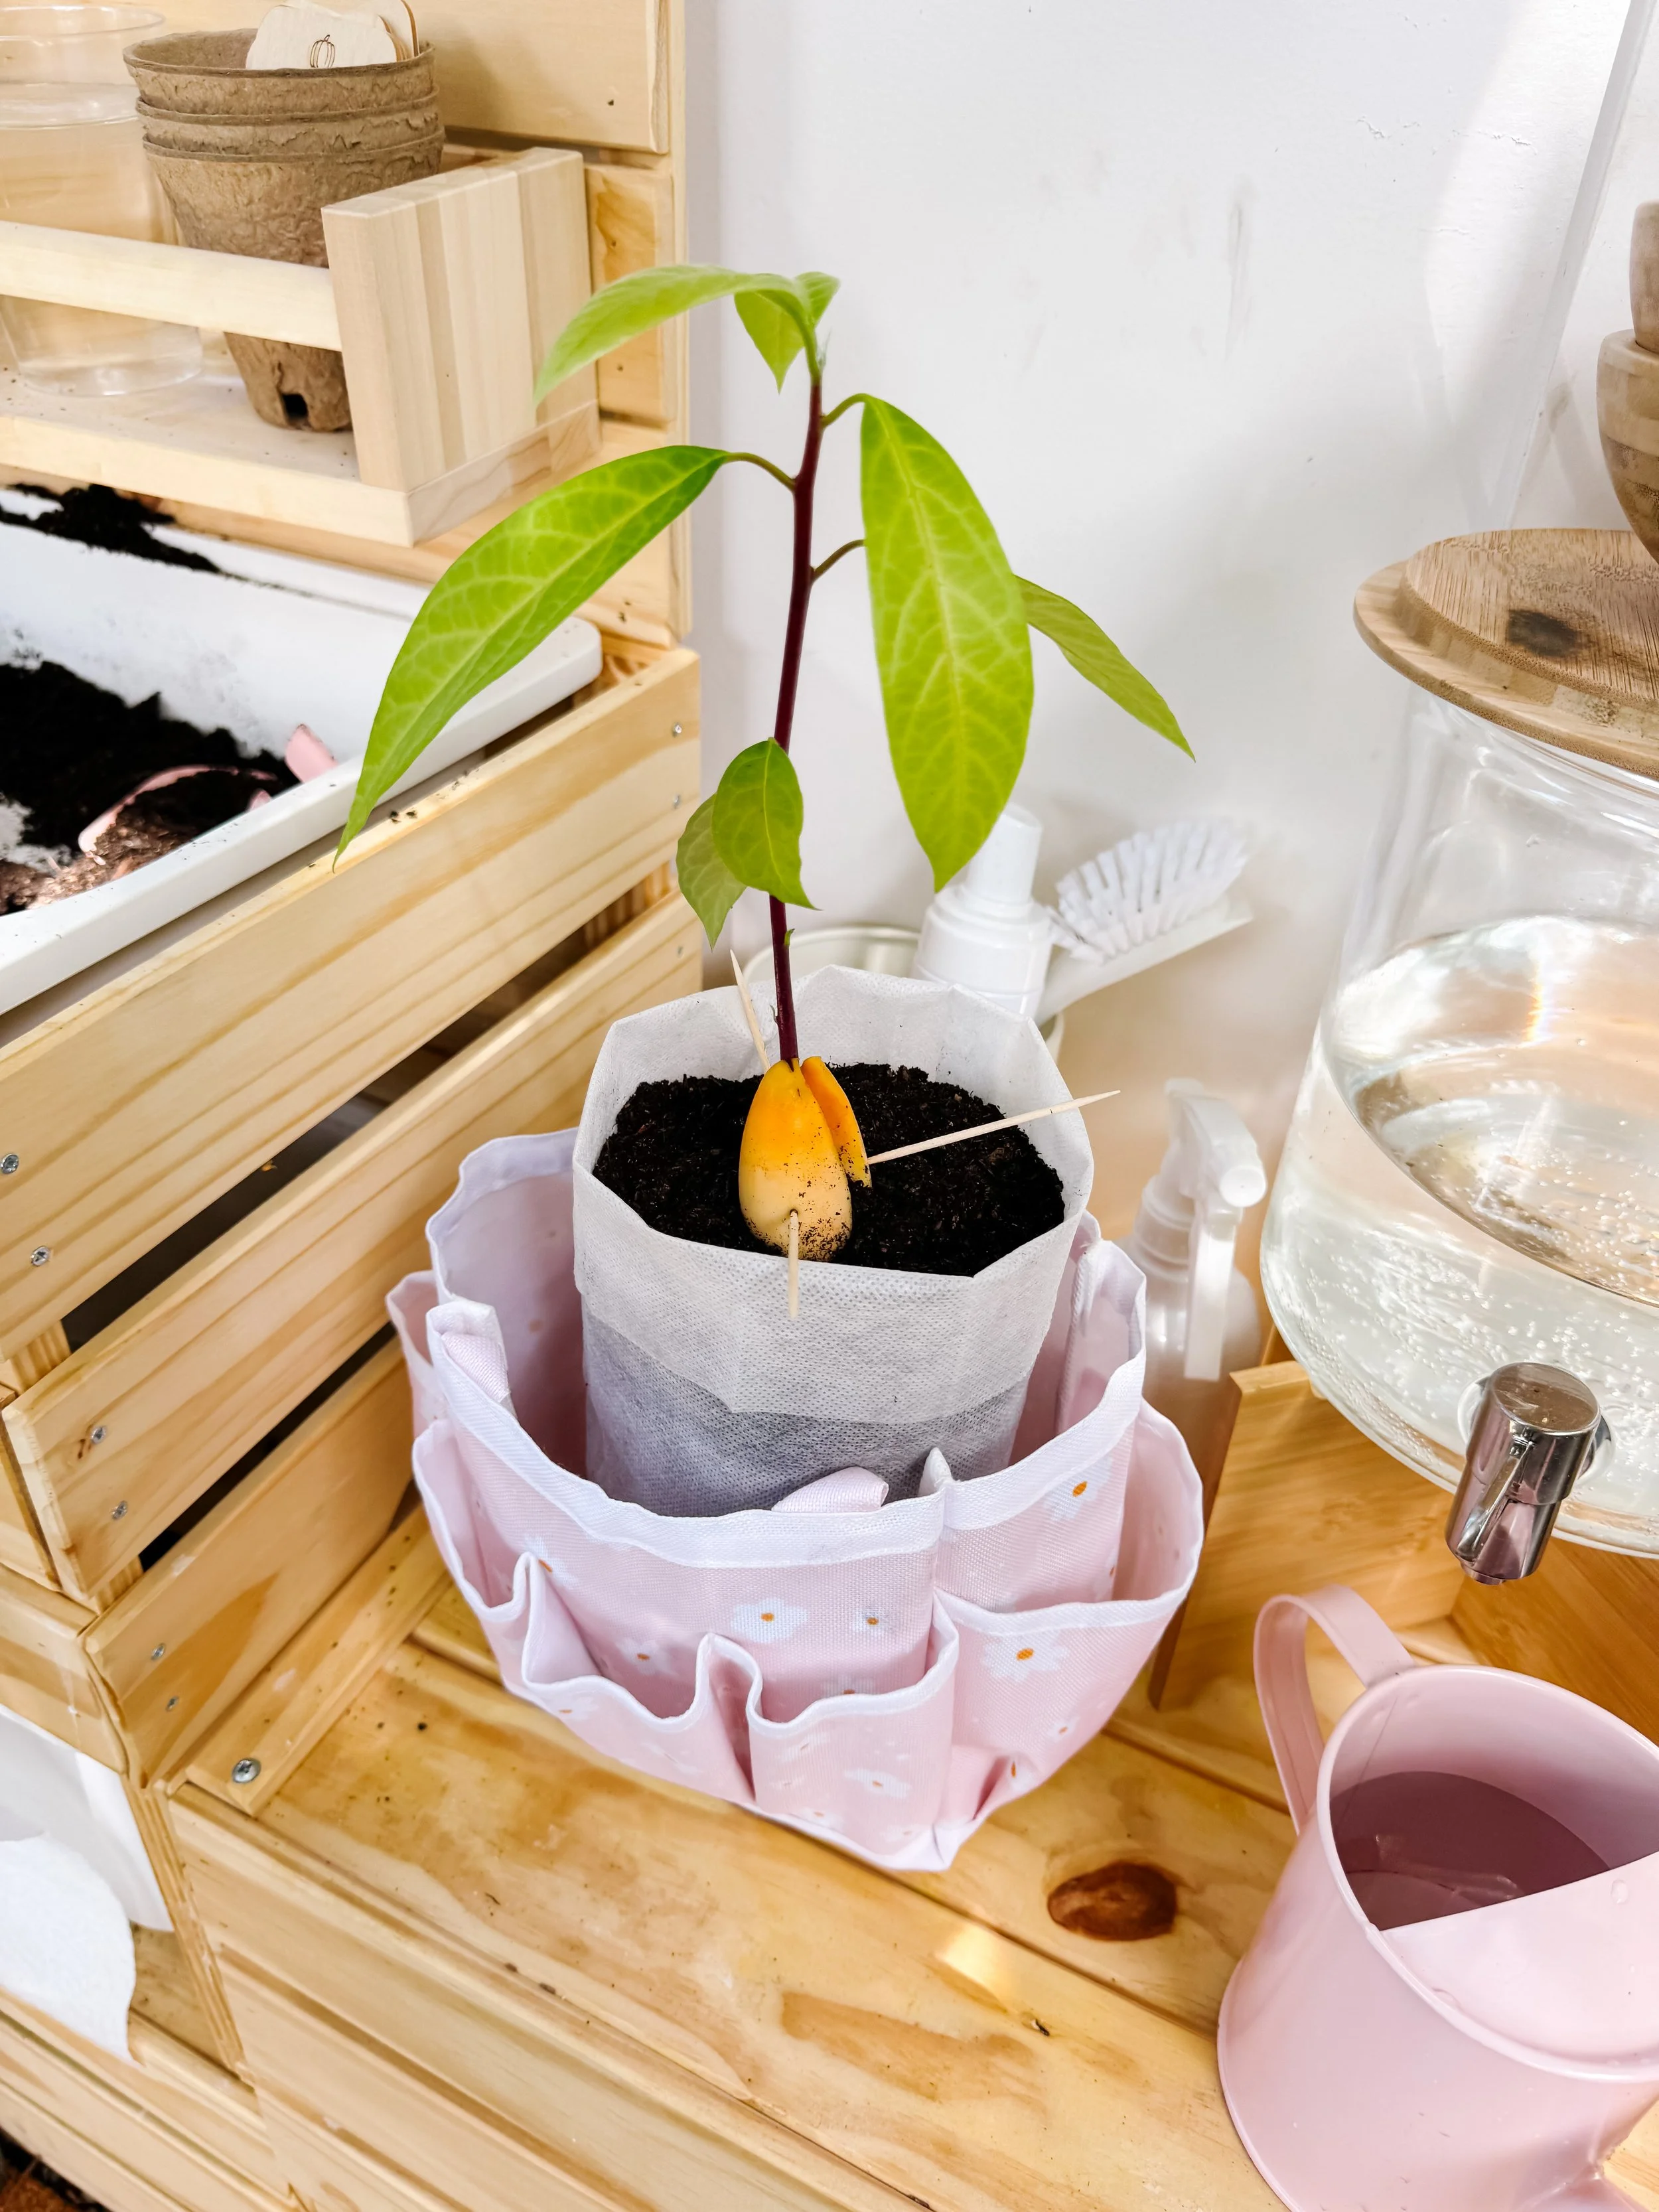
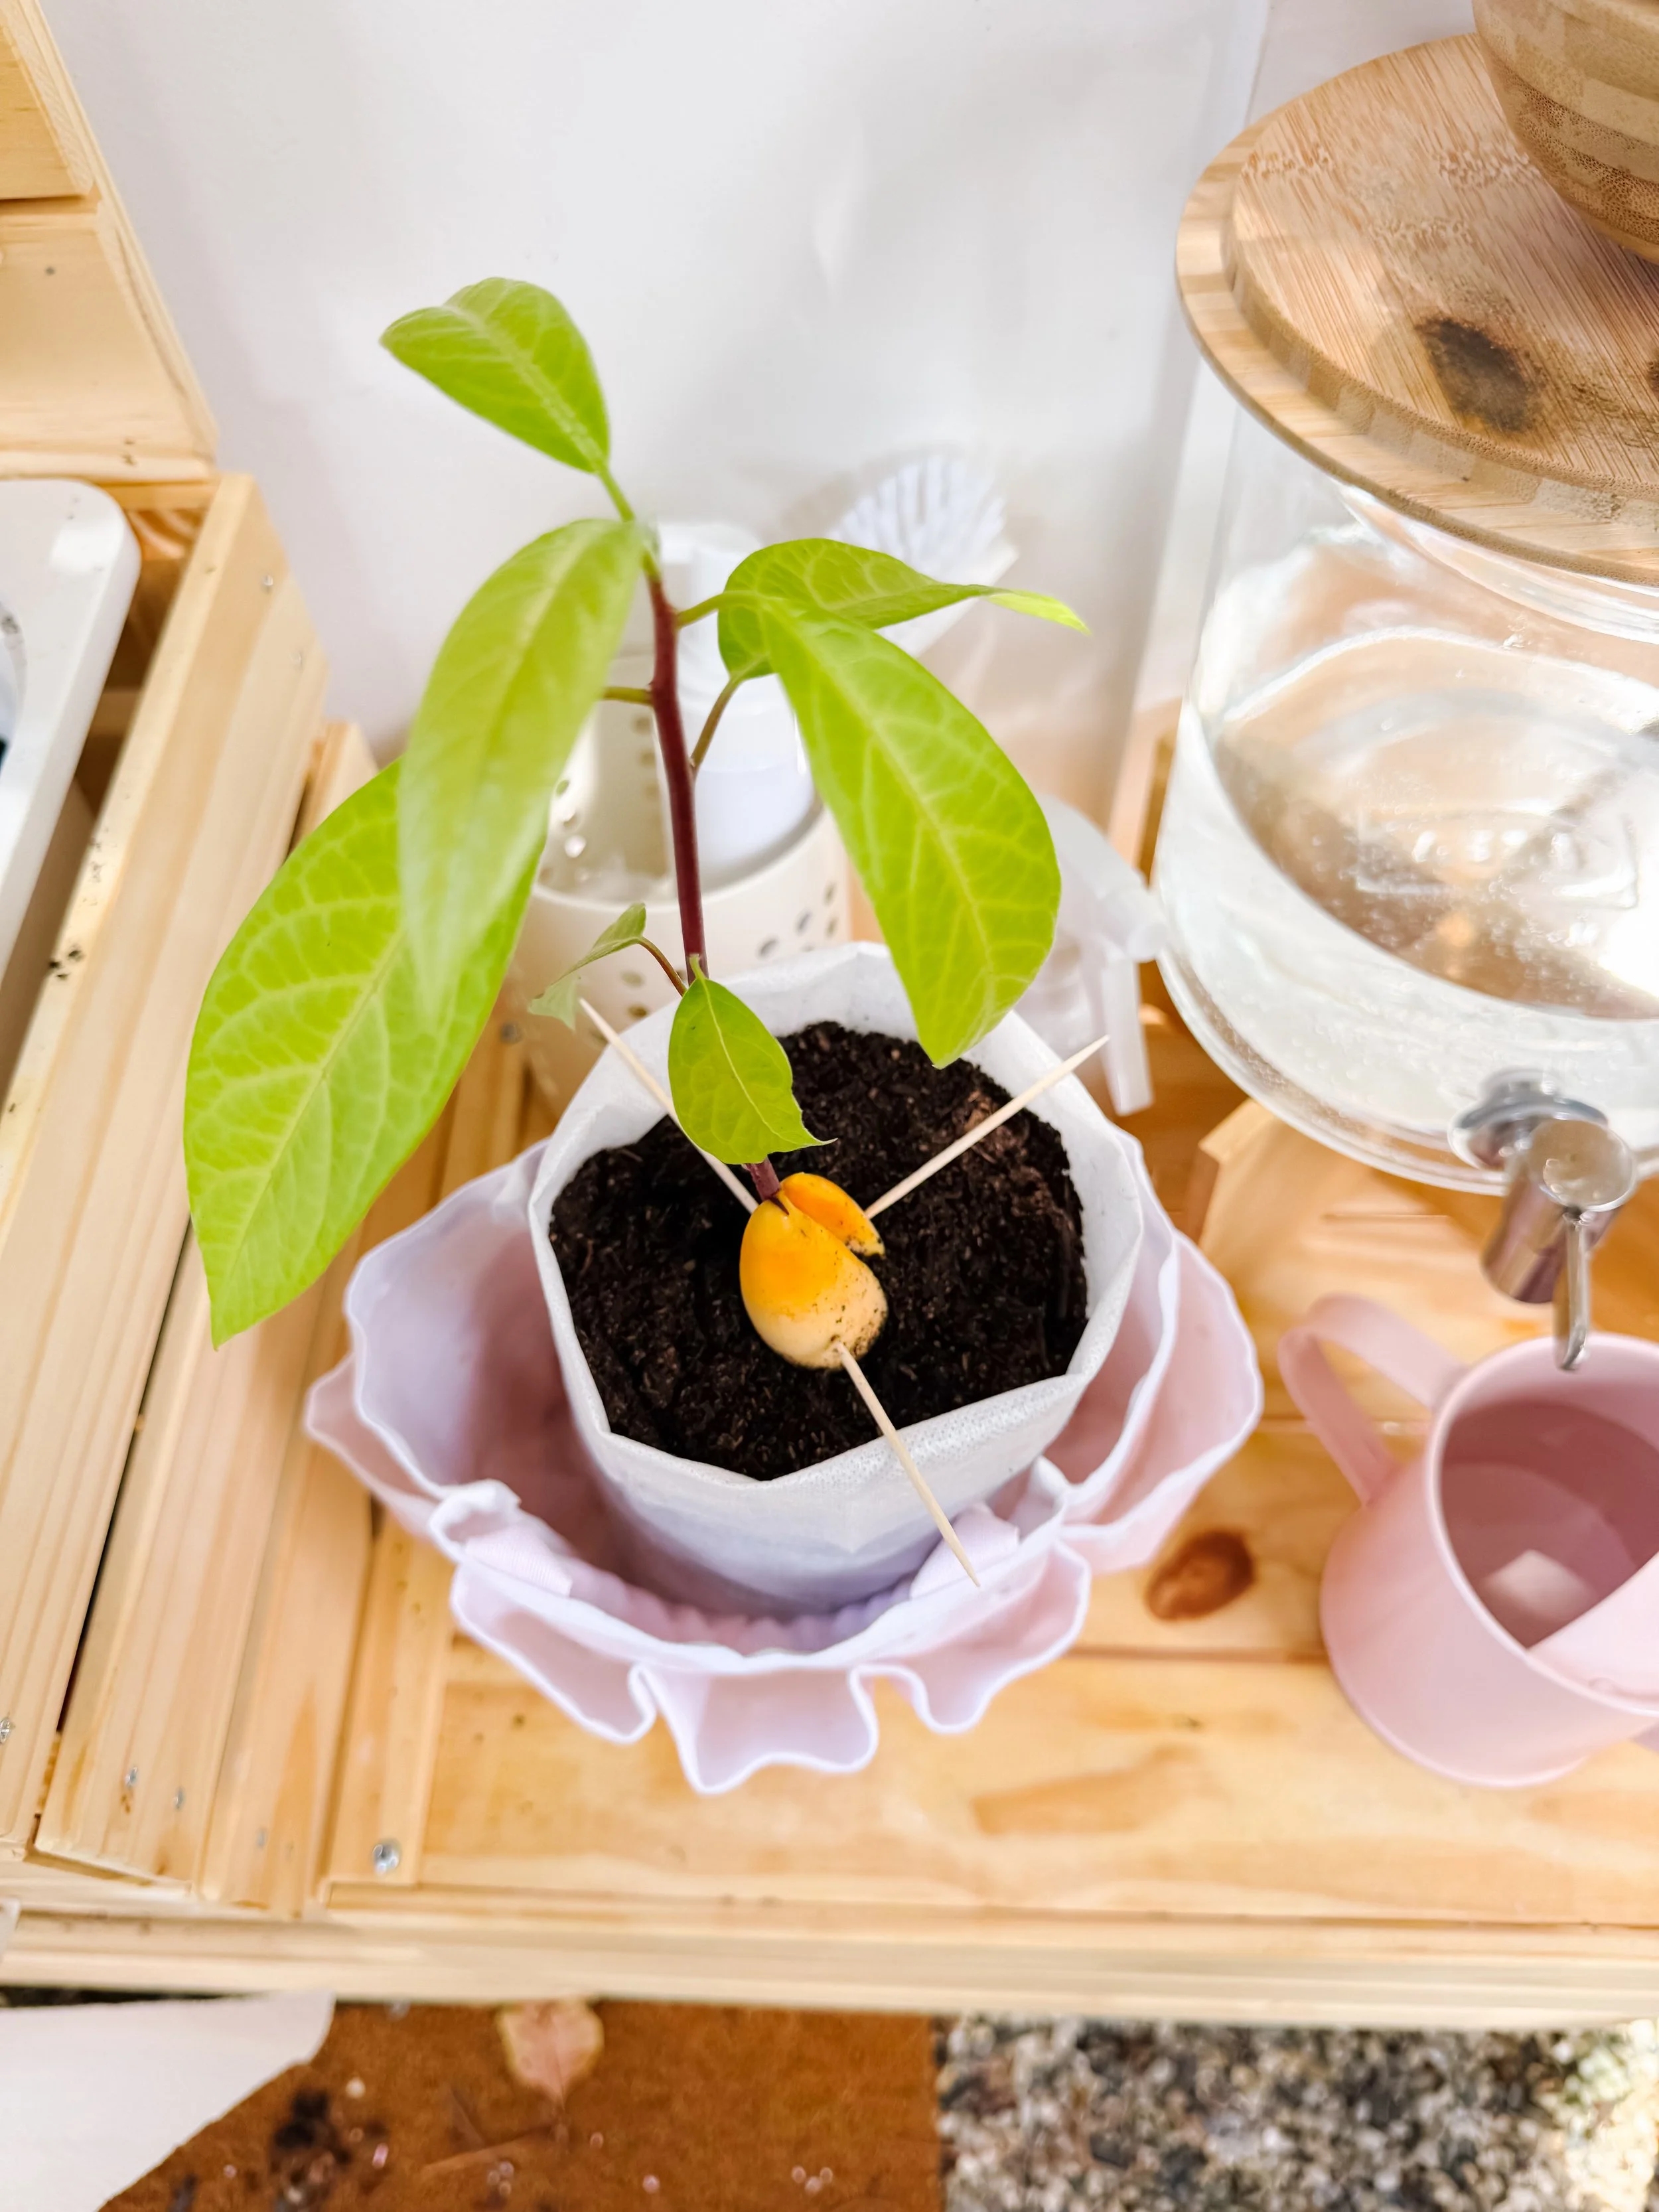
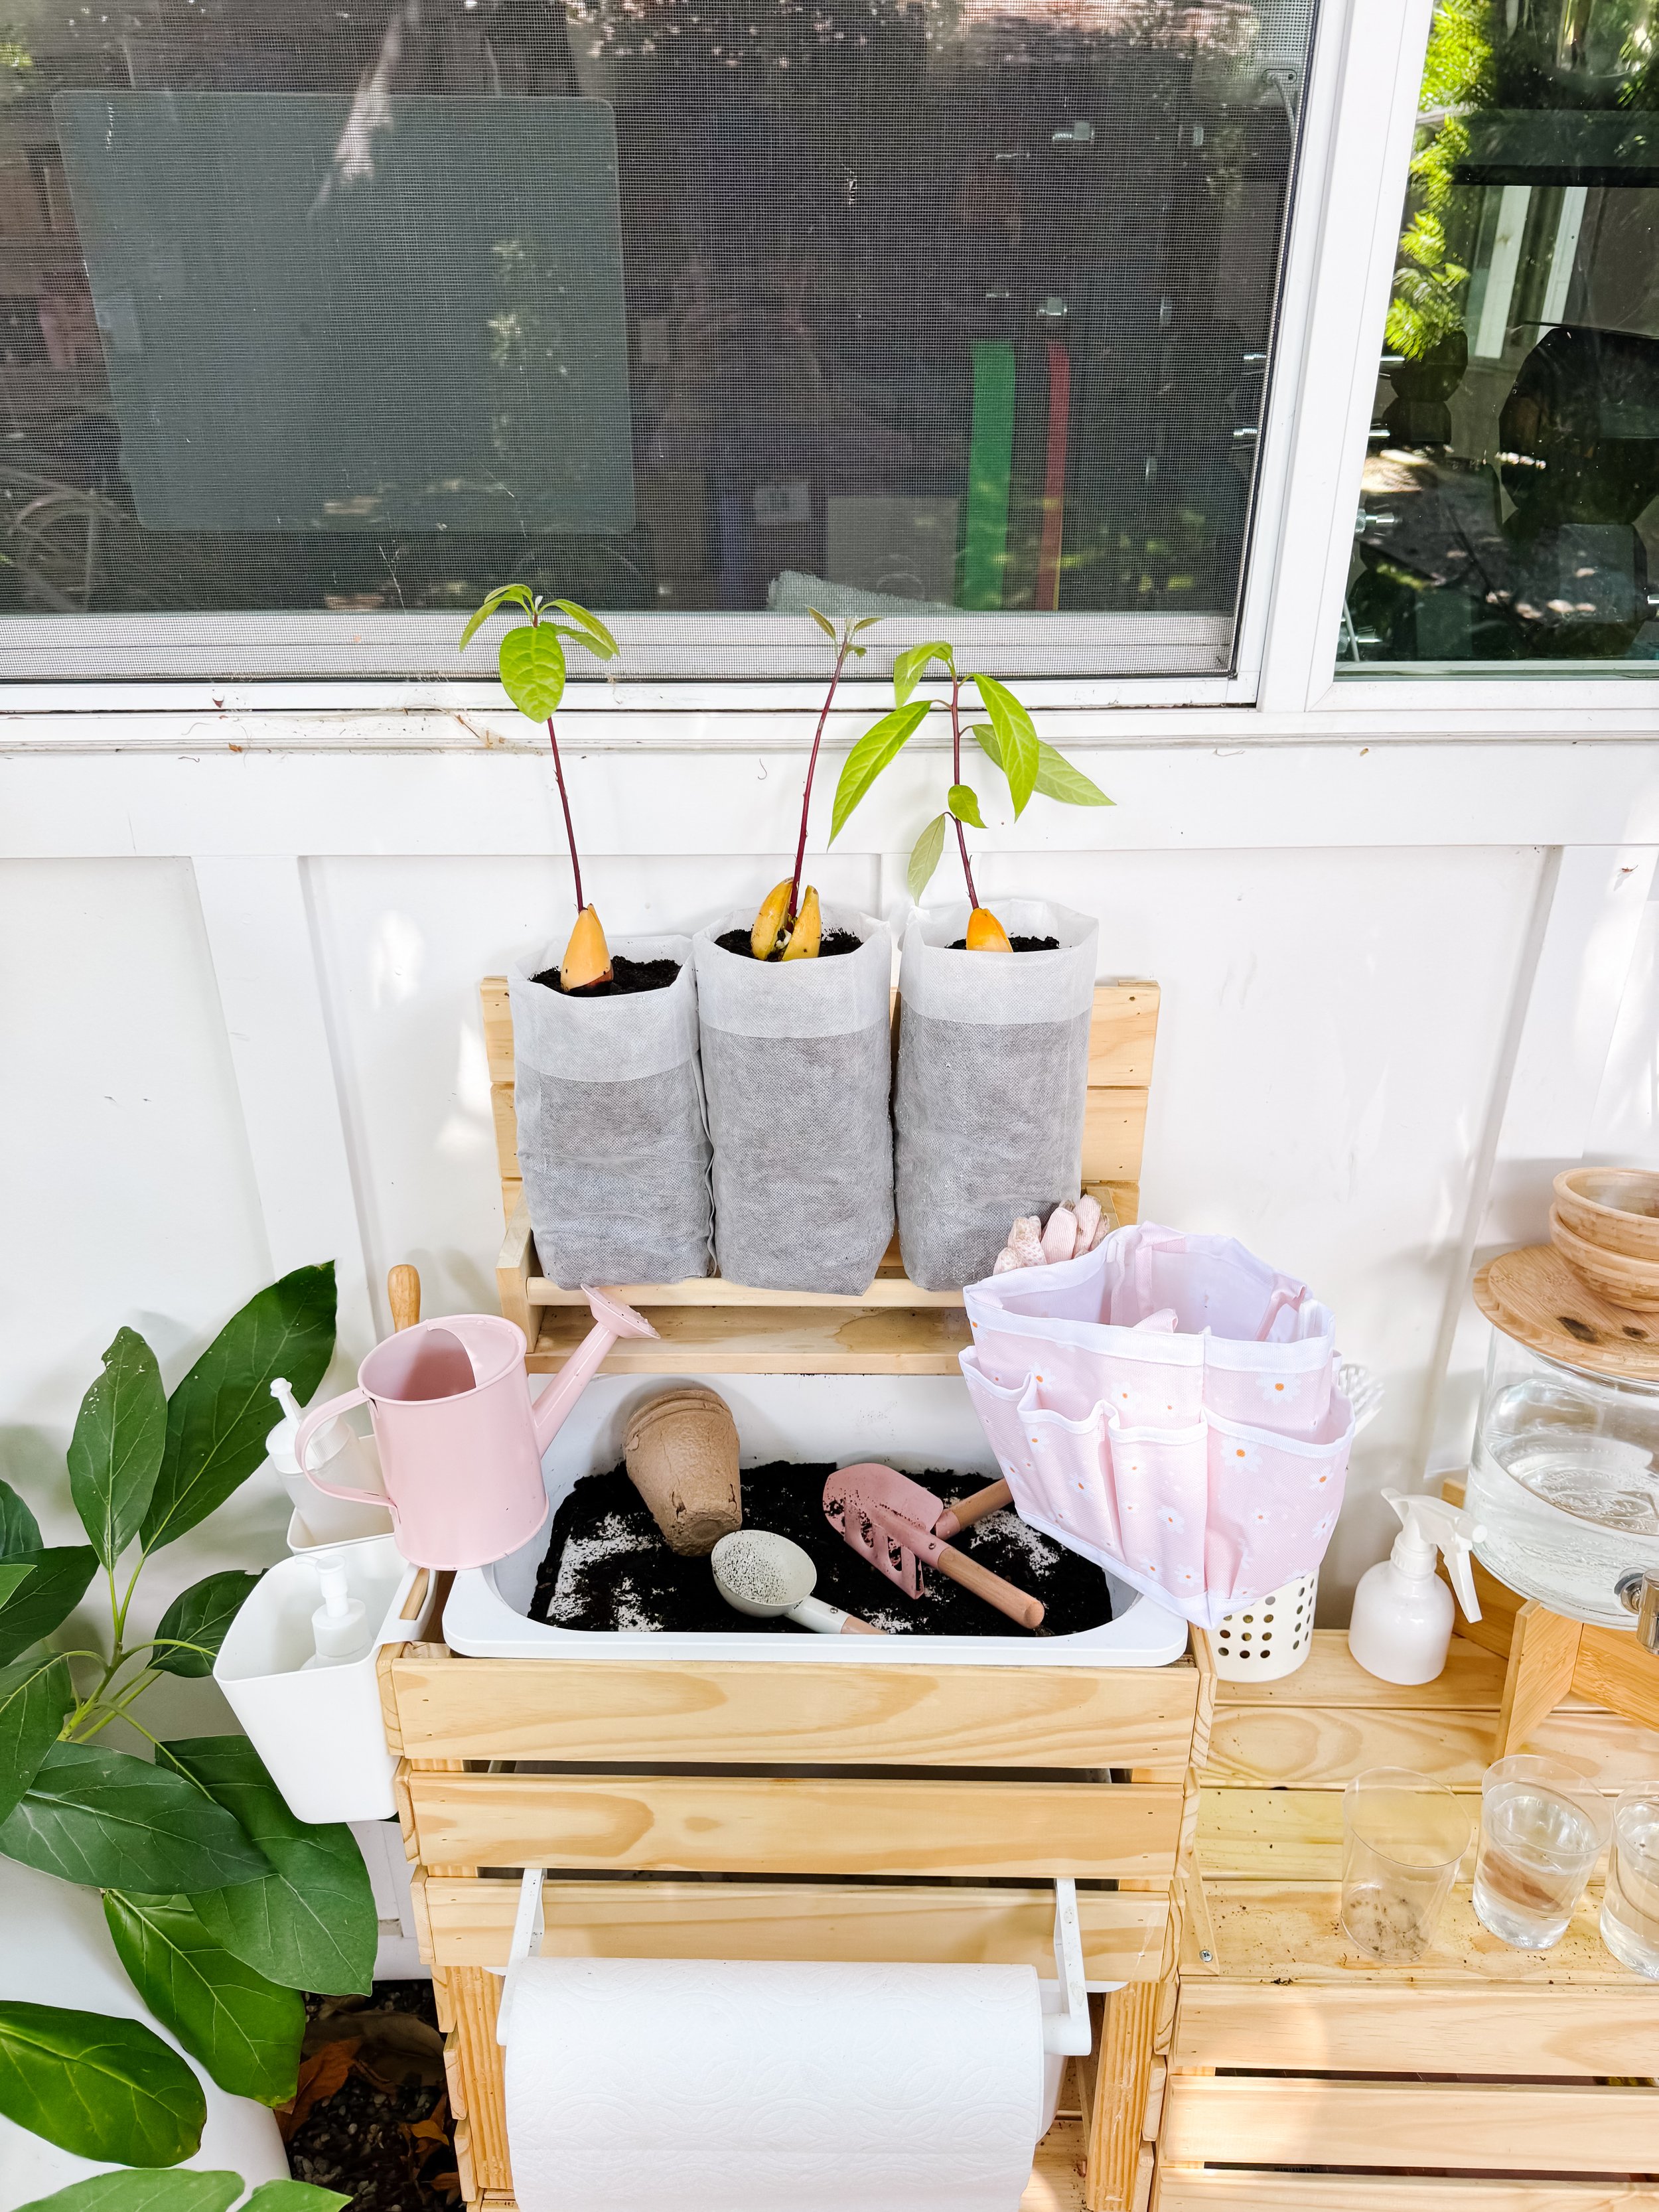
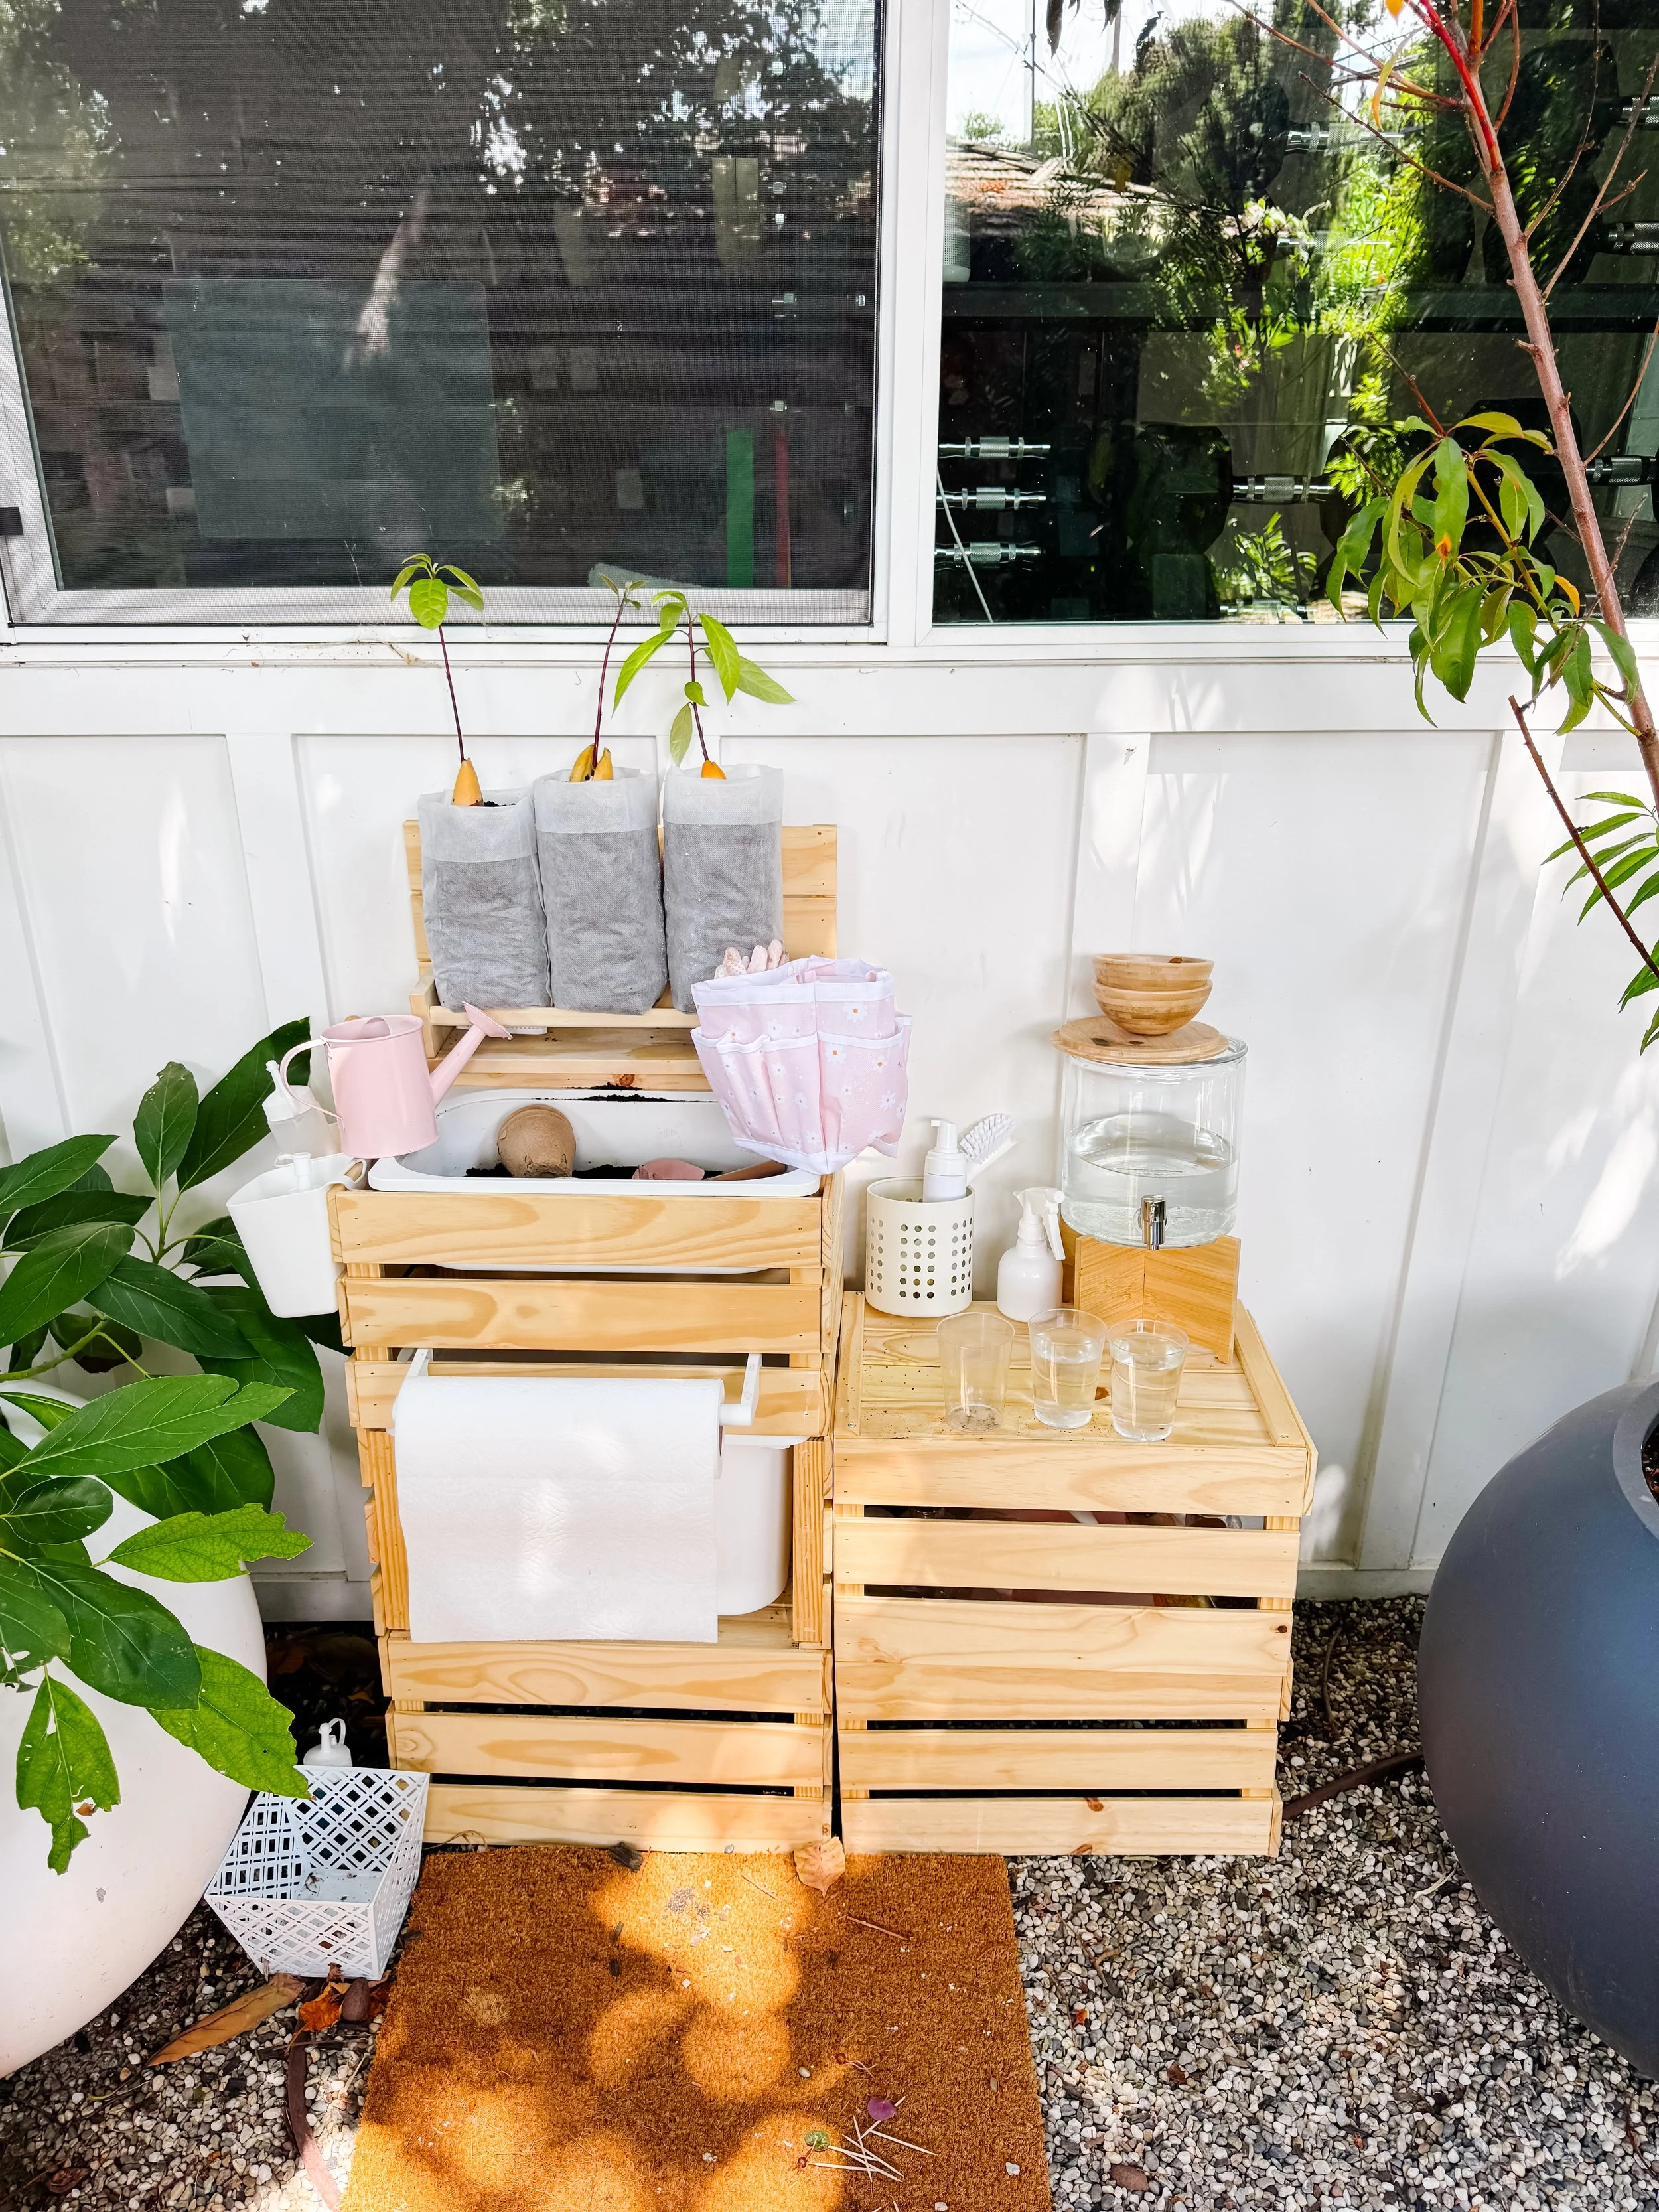
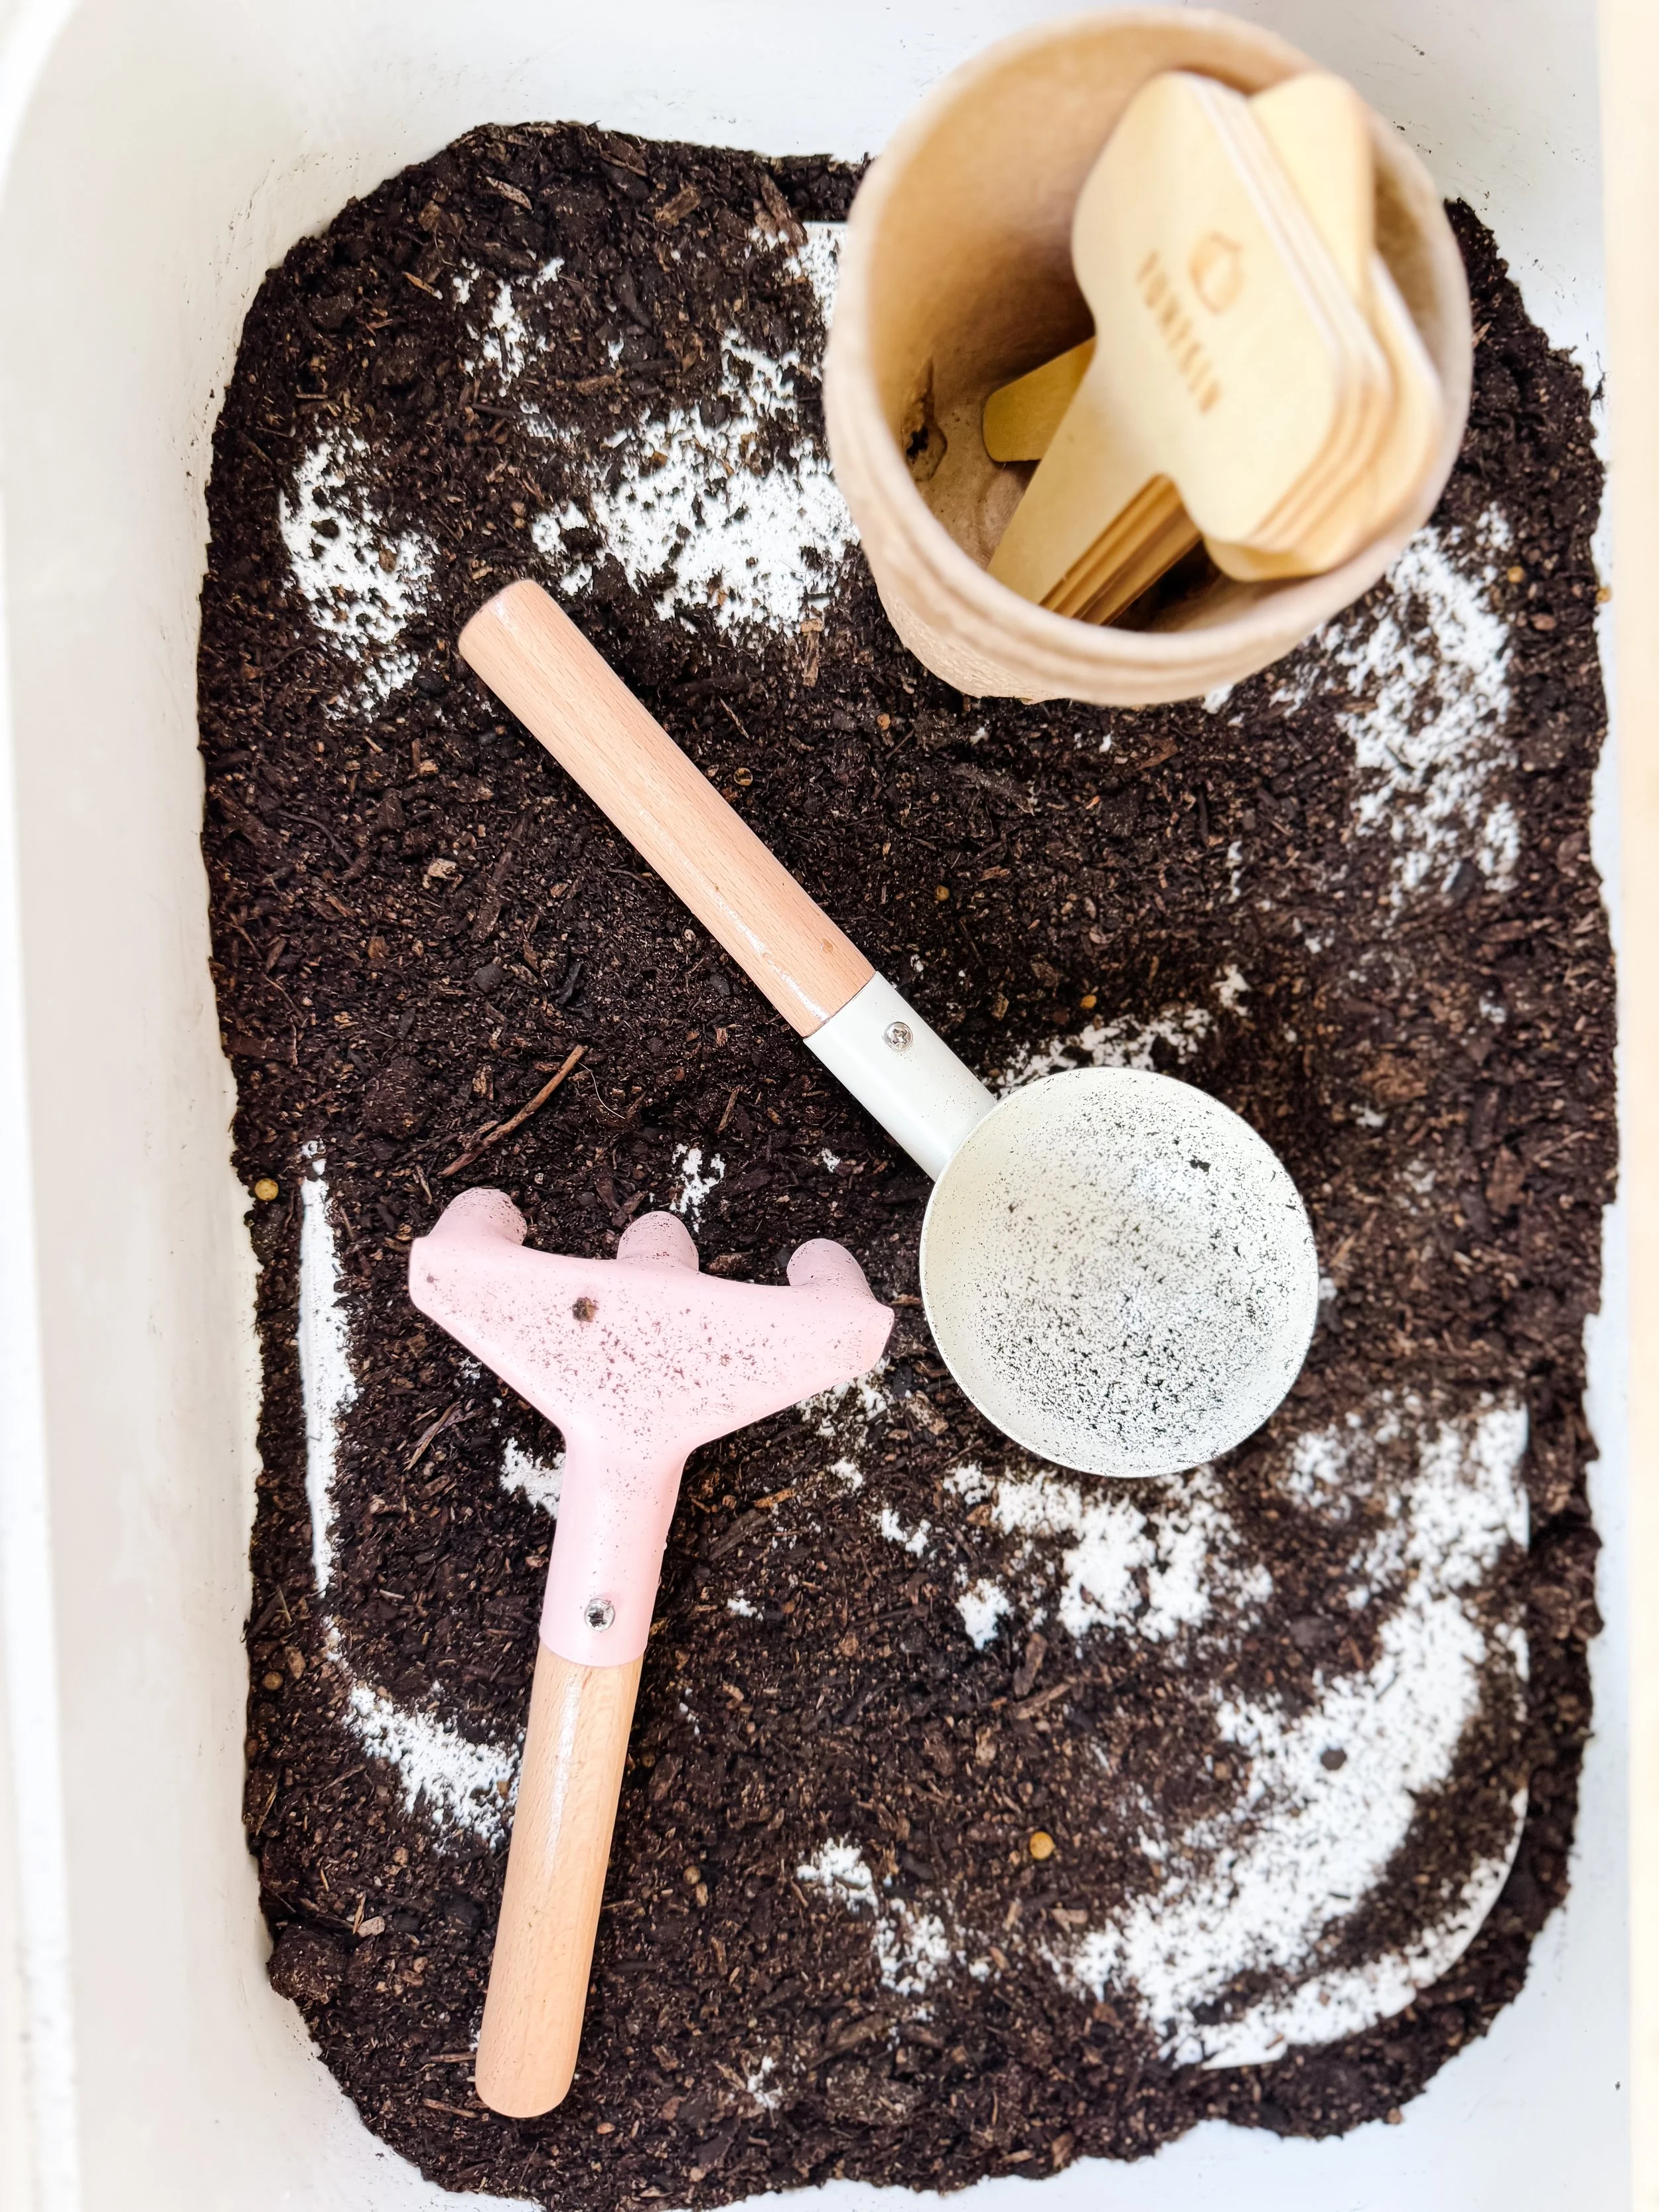
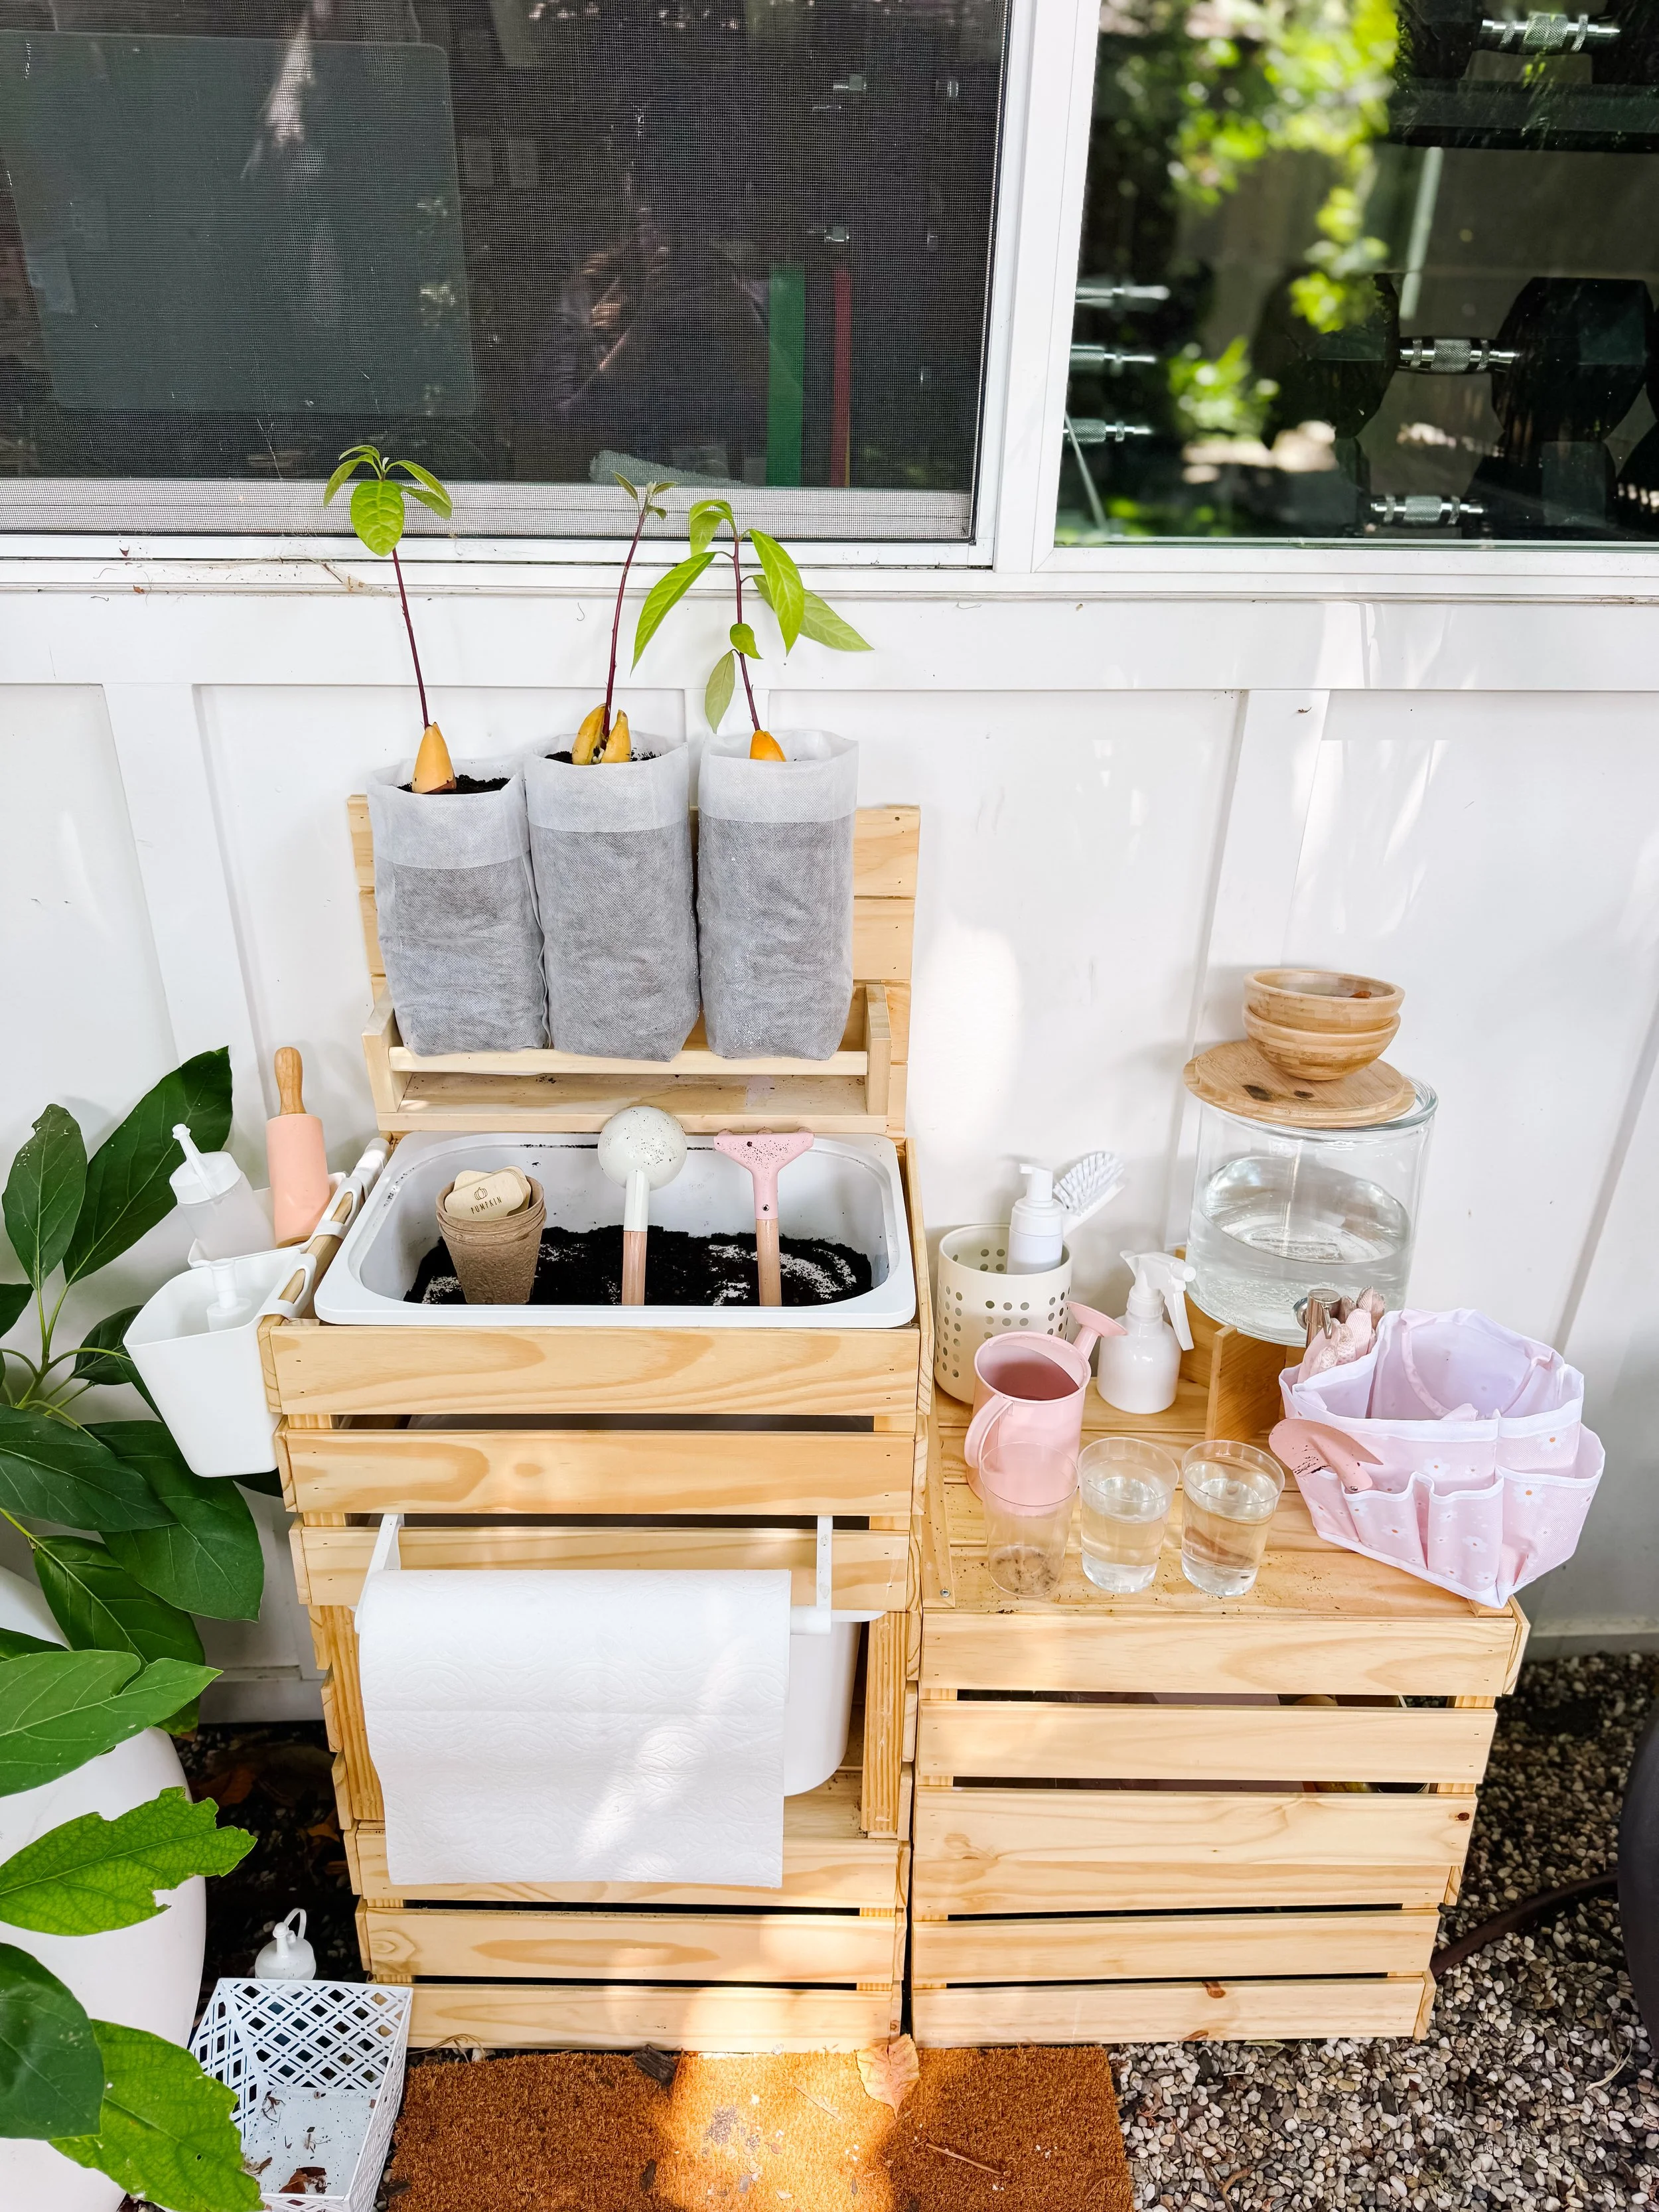
We filled small fabric grow bags with potting mix and carefully transferred each rooted avocado seedling into its own container.
Sofia helped scoop the soil and hold the plant labels while I protected the long, fragile roots.
Leave the upper portion of the avocado pit above the soil so children can continue observing how the seed changes.
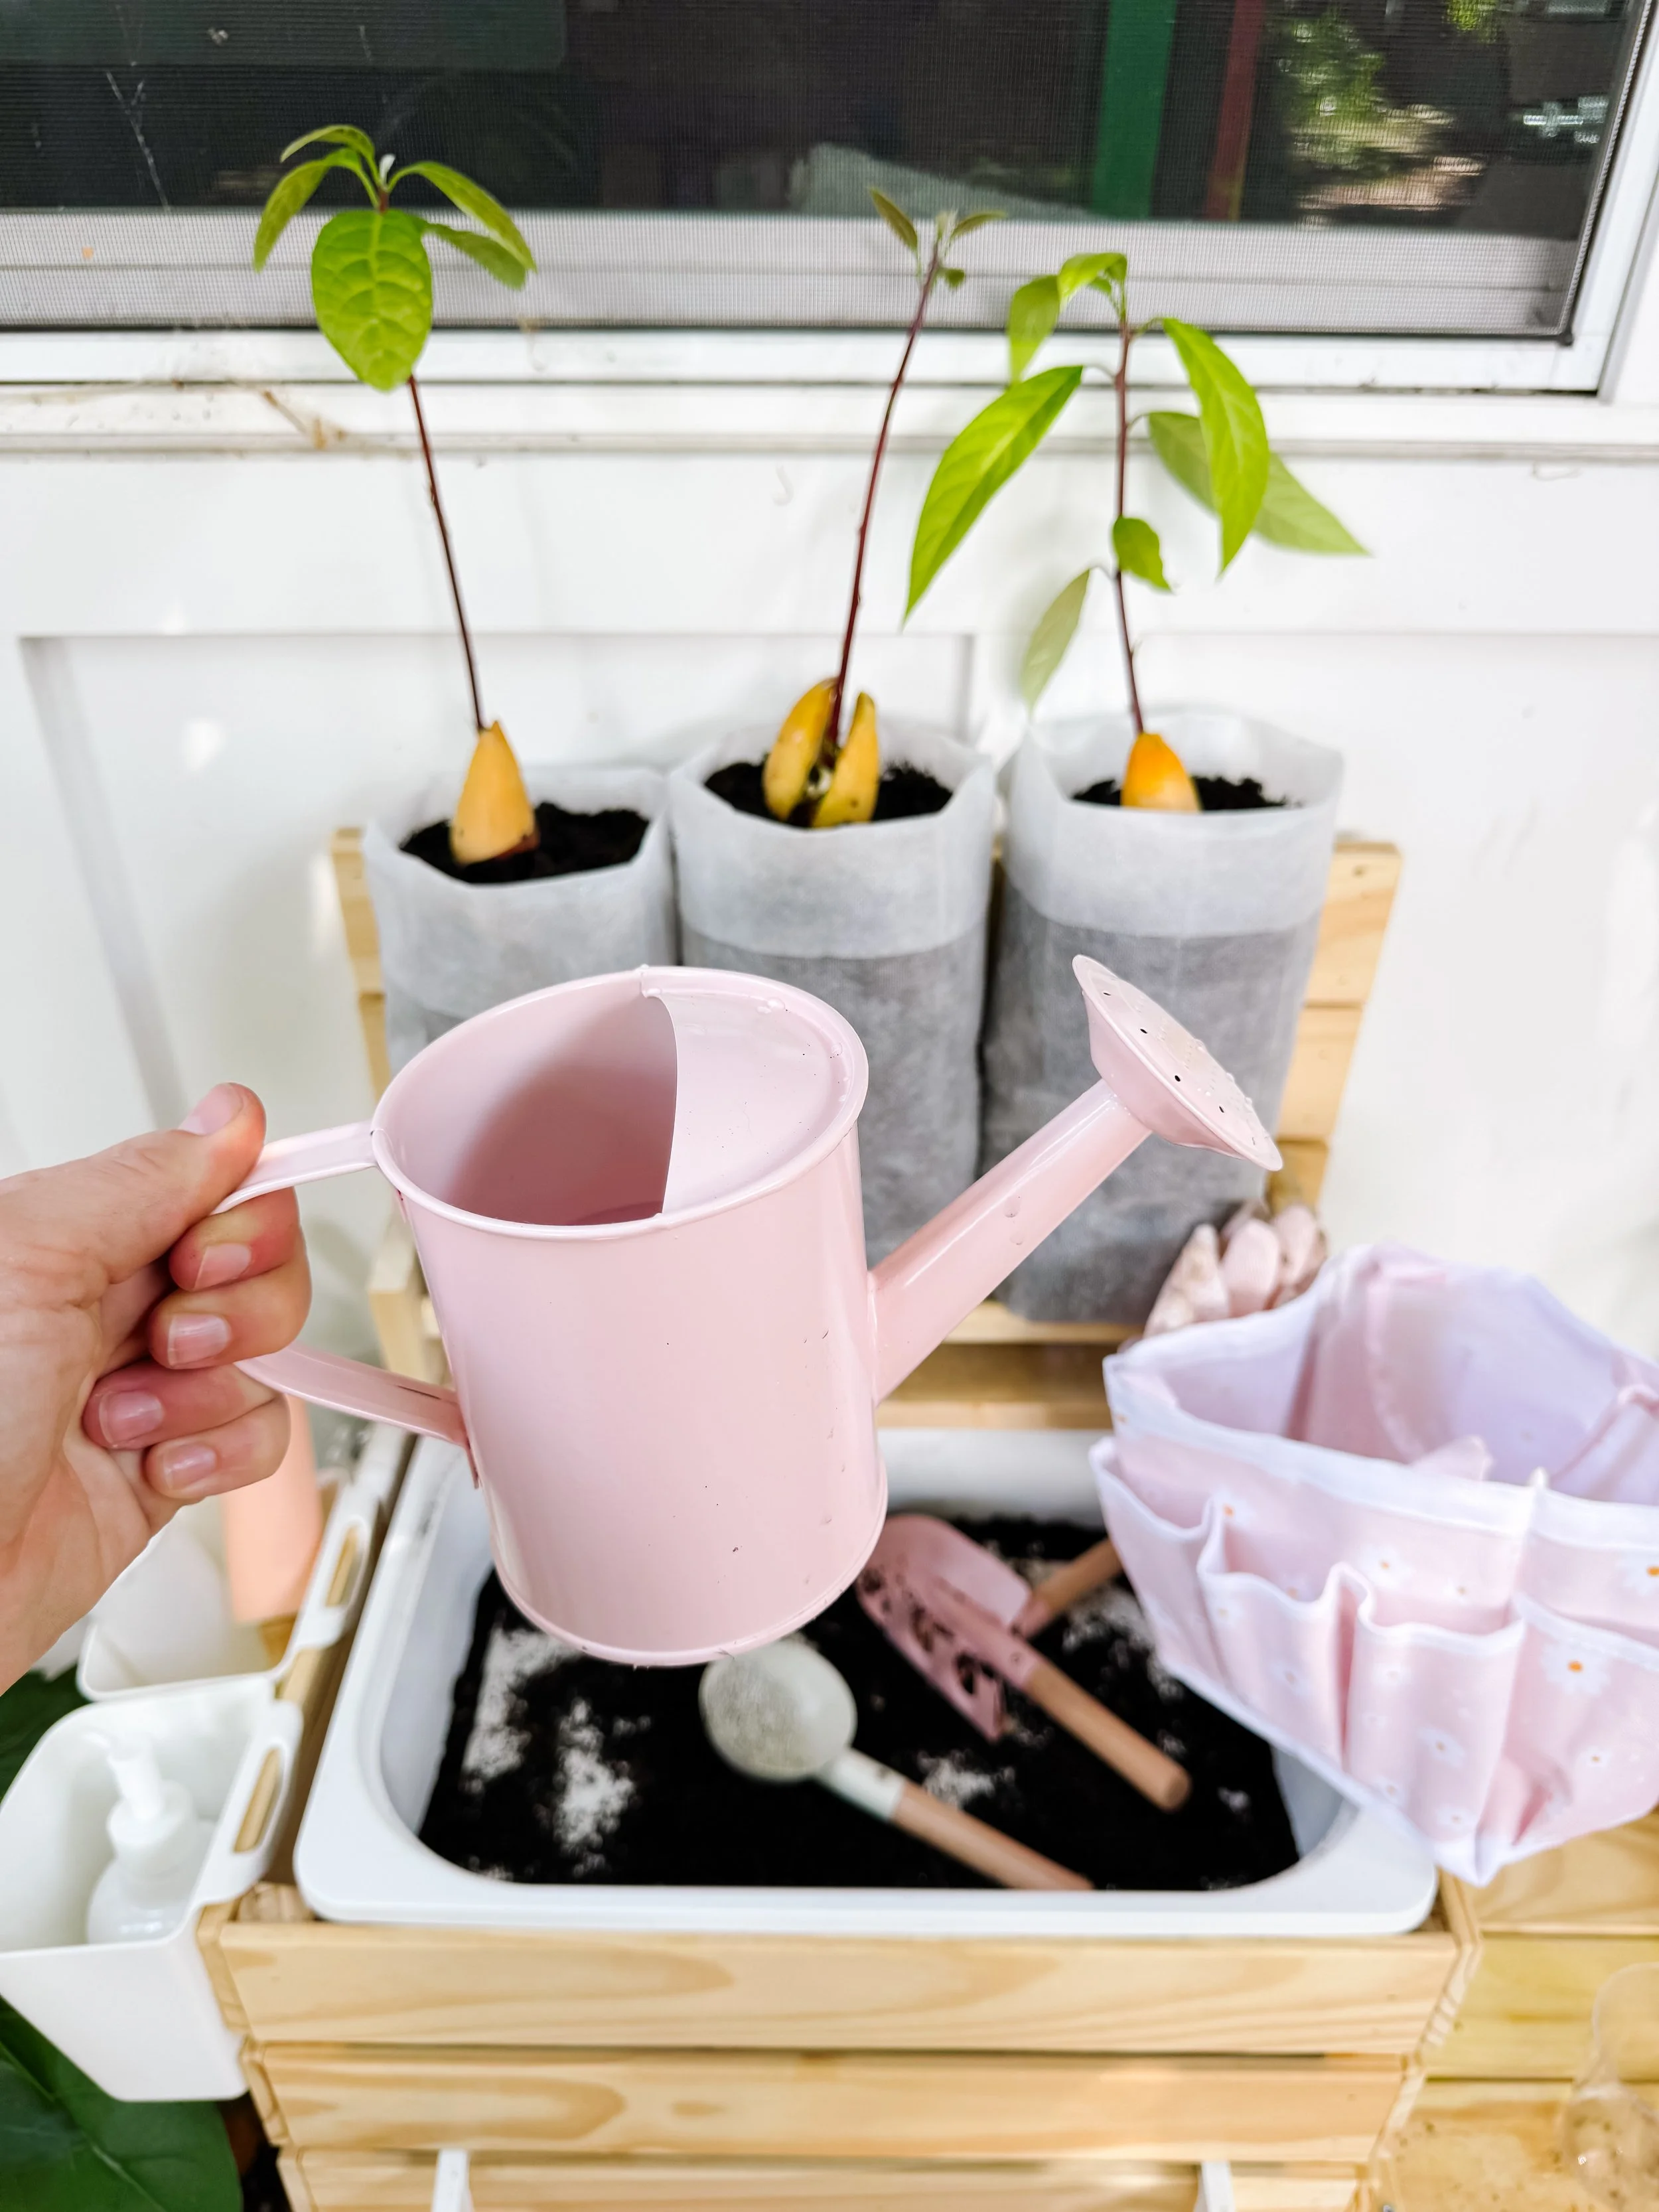
Water gently and observe
Water the newly planted seedlings thoroughly, then allow excess water to drain.
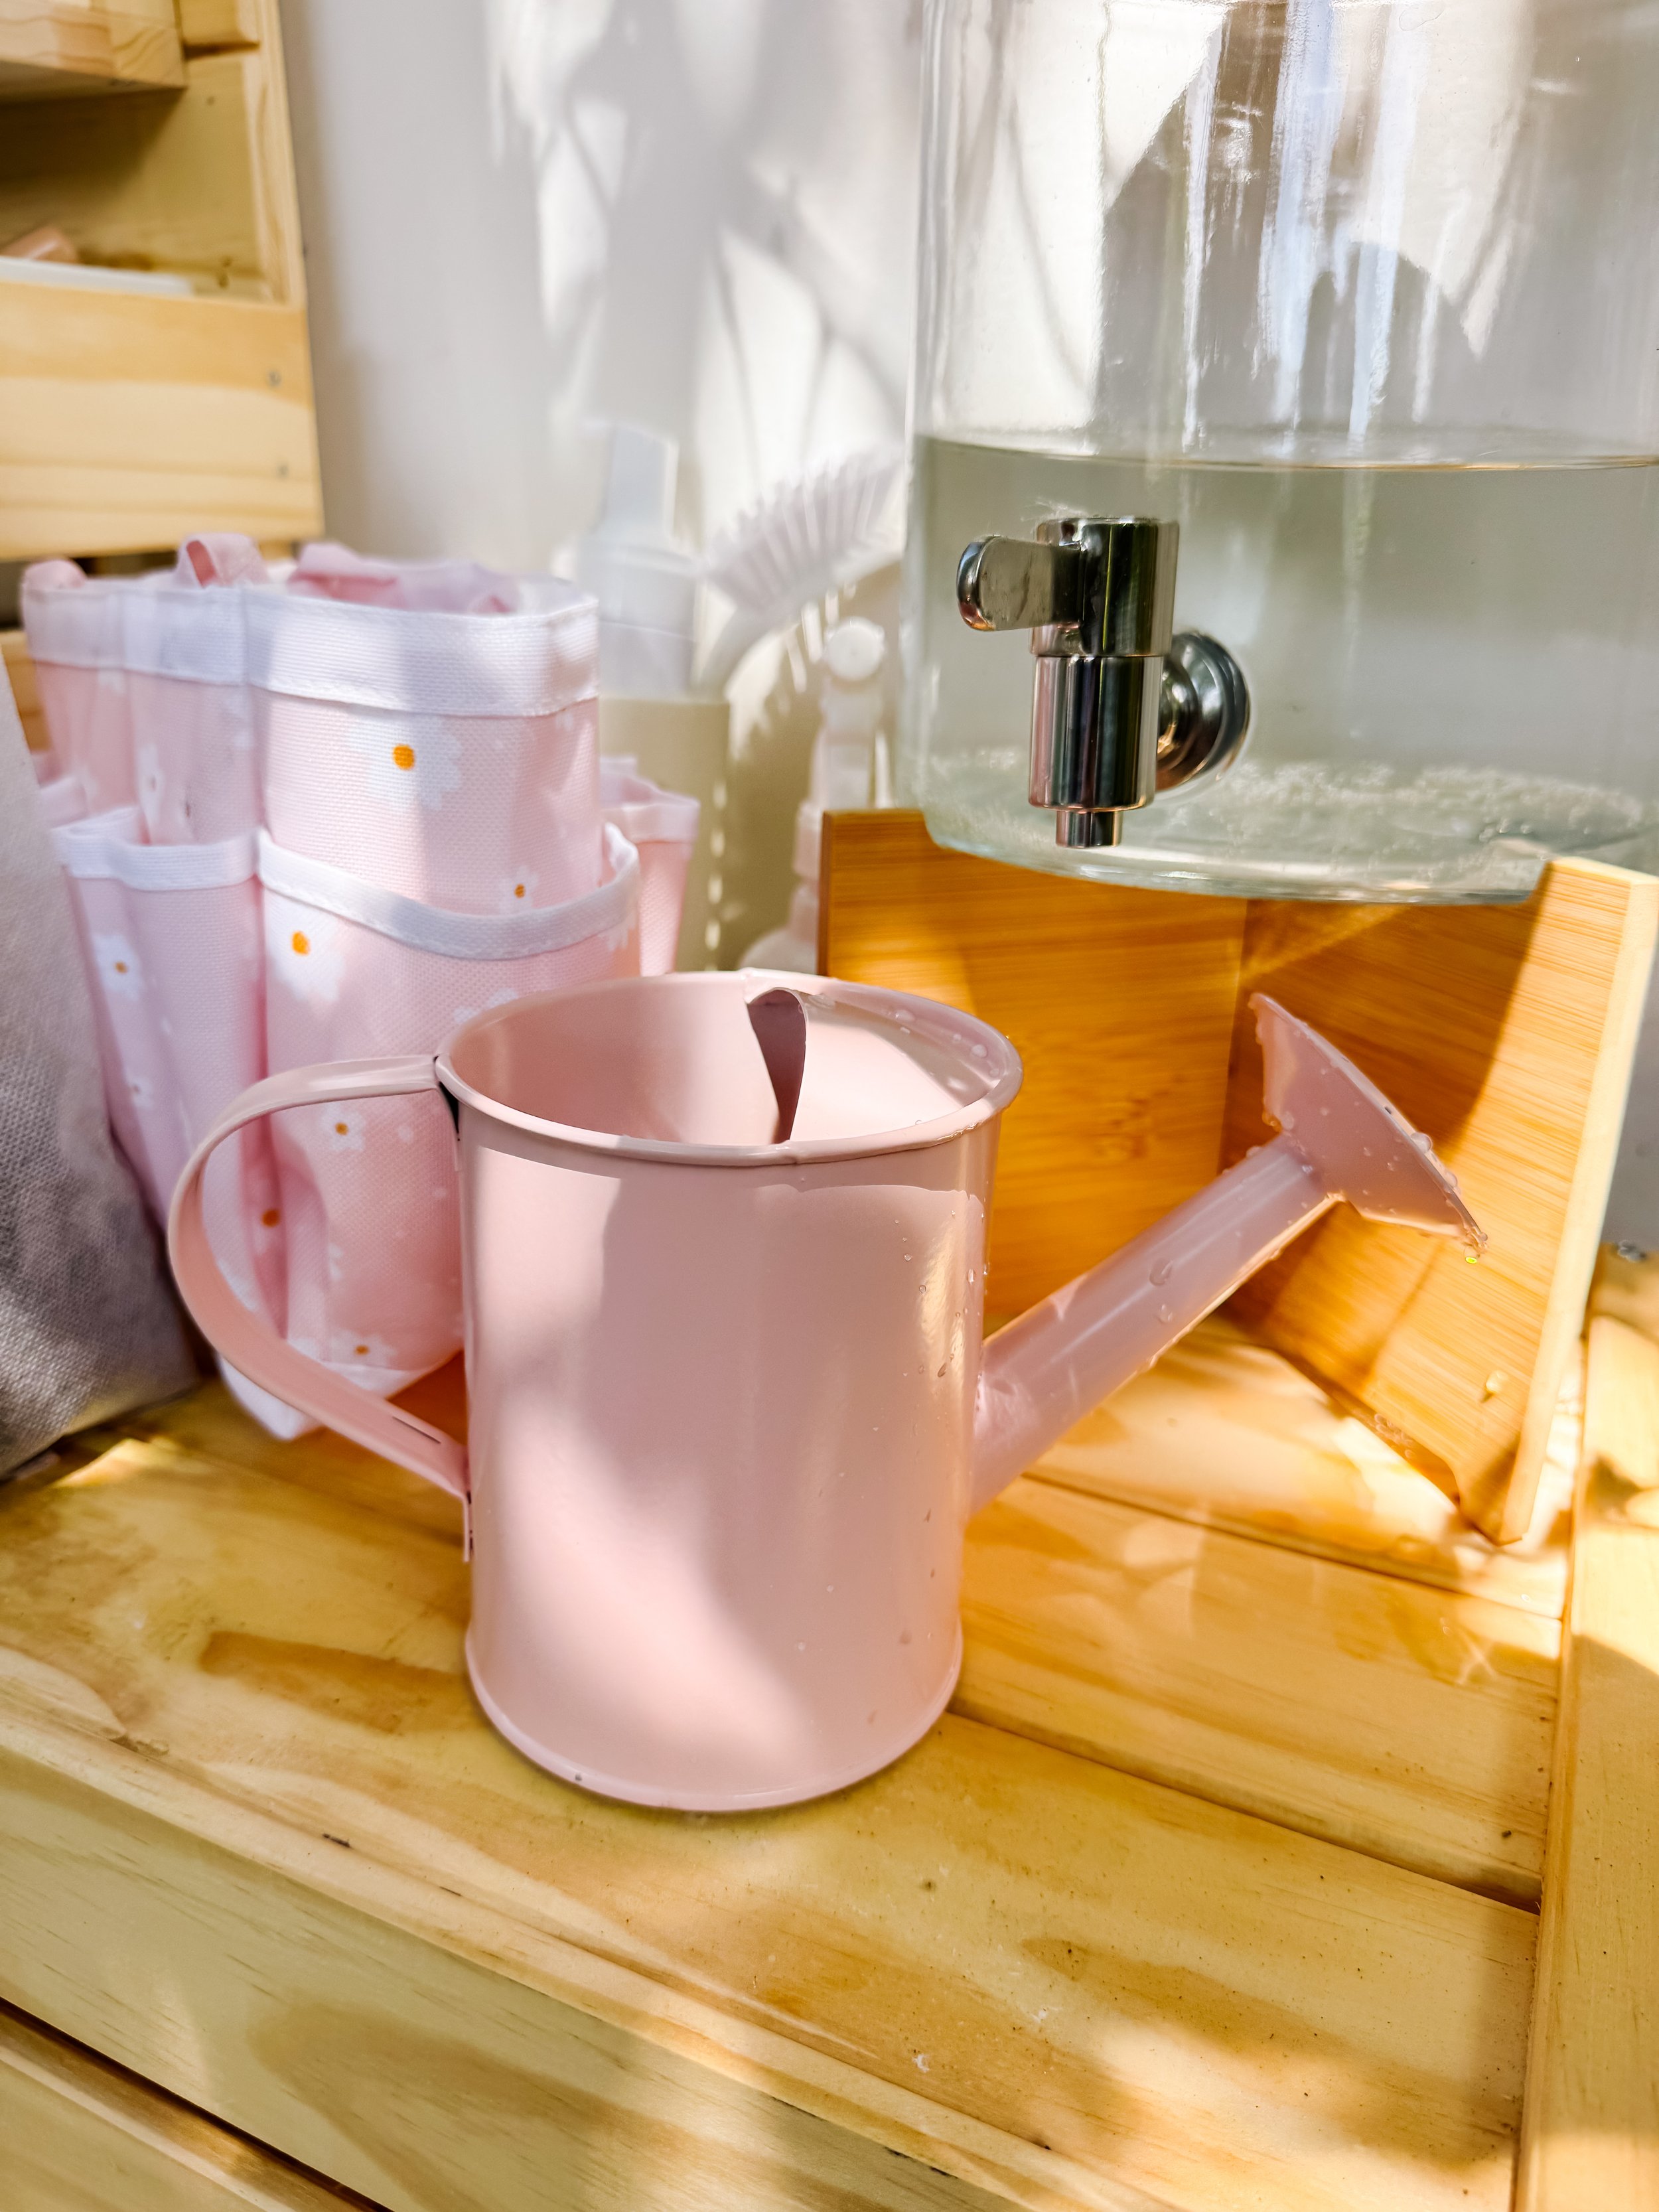
Give children a small watering can so they can help with plant care, but remind them that avocado roots need moisture—not constantly soggy soil.
Continue measuring the stem and counting new leaves after transplanting.
Will a seed-grown avocado produce fruit?
It may eventually become a large plant, but growing a pit is best treated as a science project and houseplant experiment—not a guaranteed way to harvest avocados. Seedlings are genetically different from the parent fruit, and indoor plants often do not flower or fruit.
Our favorite avocado-growing supplies
This section contains affiliate links, which means I may earn a small commission at no additional cost to you.
Avocado-growing supply
A helpful tool from our avocado seed-growing and propagation setup.
View on AmazonAvocado-growing glass
A clean way to support avocado pits and keep the developing roots easy to see.
View on AmazonPlant observation supply
Use this to make the growing experiment easier to observe, compare and maintain.
View on AmazonSeed-starting supply
A useful addition for beginning or transplanting avocado seedlings.
View on AmazonKid-friendly gardening supply
Add this to a child’s gardening station for hands-on nature learning and plant care.
View on AmazonIndoor plant-care supply
Use this as the seedling transitions from water into its first pot or grow bag.
View on AmazonGarden observation supply
A useful tool for expanding this project into a complete plant-study station.
View on AmazonShop the complete garden activity list
See all of the jars, seed-growing tools, plant-care supplies and child-friendly gardening materials collected for this activity.
View the entire shopping listTake the learning outside with mud kitchen recipe cards
Growing avocado seeds naturally led us back outside. Sofia wanted to water plants, mix “garden recipes,” gather leaves and use our mud kitchen as a little garden laboratory.
Visual recipe cards add just enough structure to outdoor play. Children can count scoops, collect natural ingredients, follow steps, compare quantities and practice sequencing while still inventing their own recipes.
Explore all mud kitchen recipe cardsGoodnightFox recipe-card favorites
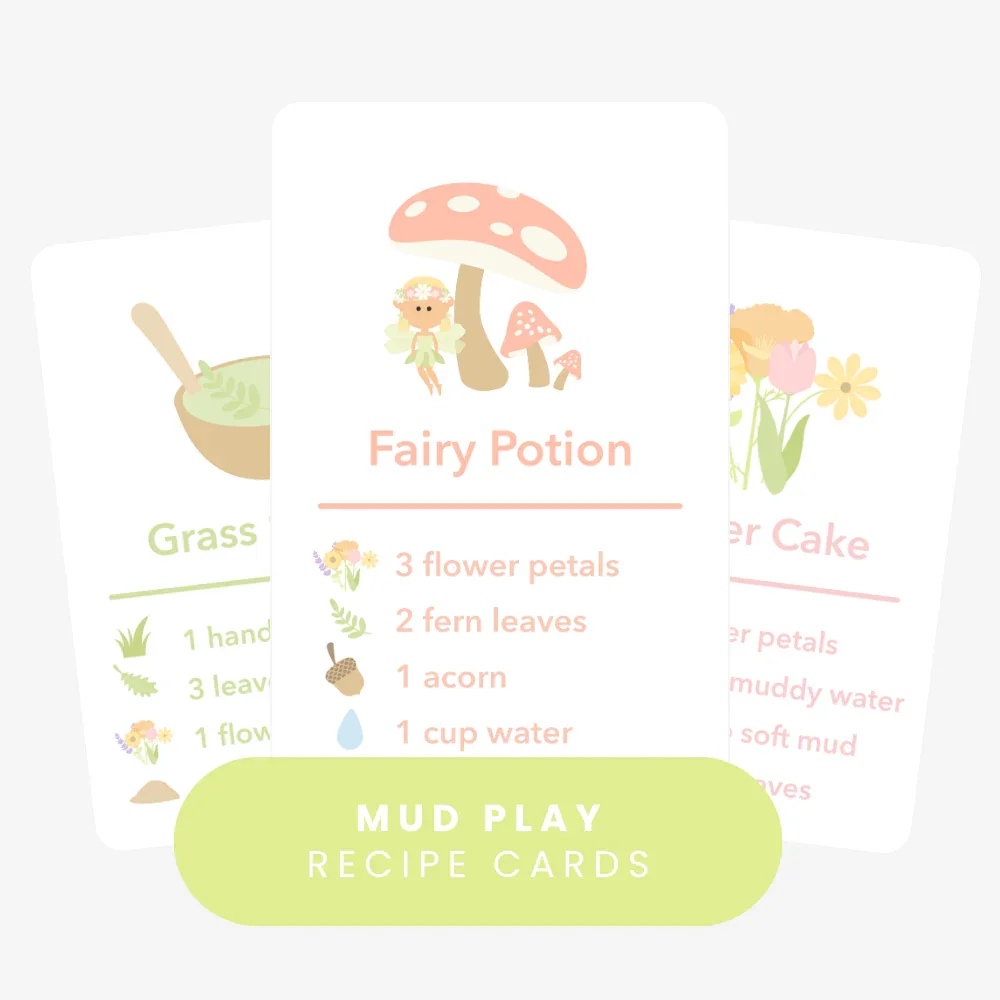
Mud Kitchen Recipe Cards
Whimsical outdoor recipes for mud pies, nature mixtures, soups, salads and imaginative garden play.
Shop recipe cards
Smoothie Recipe Cards
Practice counting, following directions, scooping and pouring with playful fruit smoothie recipes.
Shop smoothie cards
Ice Cream Recipe Play
Turn scoopable sensory materials into an outdoor ice cream shop with playful recipe prompts.
See the activityPrinted & Laminated Recipe Cards
Durable printed recipe-card collections designed for muddy hands and repeated outdoor play.
Browse printed cardsSeasonal Recipe Collections
Explore spring, summer, fall and winter recipe cards for year-round mud-kitchen play.
Shop seasonal recipesAvocado and plant vocabulary
Ways to extend the activity
Measure the roots
Measure the longest root once each week and create a simple line graph.
Draw what is inside
Invite children to draw what they imagine the tiny seedling looked like before the seed opened.
Compare fruit seeds
Compare an avocado pit with apple, lemon, mango or watermelon seeds.
Create a plant-care chart
Track water changes, measurements, new leaves and transplanting tasks.
Open a garden café
Pair the seedlings with recipe cards, bowls, scoops, leaves, flowers and a pretend garden café.
Try another kitchen scrap
Experiment with green onions, celery, sweet potato vines, pineapple tops, citrus seeds or mango pits.
Growing avocado seeds FAQ
How do you grow an avocado seed in water?
Clean the pit, identify the broad bottom, suspend it over a glass with toothpicks or place it in an avocado-growing vase, and keep the lower portion touching fresh water. Place it somewhere warm with bright, indirect light.
Which side of an avocado seed goes down?
The broader, flatter end faces down and remains in contact with the water. The narrower or pointed end faces upward.
How long does an avocado seed take to sprout?
Many seeds take several weeks, and some may take two months or longer. Individual seeds grow at different speeds, so continue monitoring the water level and seed condition.
Why is my avocado seed cracking?
Cracking is usually an exciting sign that the seed is opening as its root and shoot begin developing. A pale root generally emerges from the lower end.
Should I peel the brown skin from an avocado seed?
You can gently remove loose pieces after cleaning, but peeling is not required. Do not damage the pale seed beneath the coat.
How often should I change the water?
Keep the bottom of the pit wet at all times and refresh the water regularly. Check it several times a week and replace cloudy or dirty water promptly.
Why is my avocado seed not sprouting?
It may need more time, warmth, consistent water contact or a fresher seed. Confirm that the broad end is facing down. A seed that becomes soft, foul-smelling or badly discolored may no longer be viable.
Do roots or leaves appear first?
The primary root usually appears before the stem and leaves. The root anchors the plant and begins absorbing water before the shoot grows upward.
When should I plant my avocado seed in soil?
Move it after it has developed a healthy root system and an established shoot. Handle the roots carefully because roots grown in water can be fragile.
Will an avocado grown from a pit produce avocados?
It is possible but not guaranteed, and it may take many years. A seed-grown plant is genetically different from the original fruit. It is best enjoyed as a houseplant and long-term science project.
Can children grow avocado seeds from grocery-store fruit?
Yes. Grocery-store avocado pits are commonly used for this experiment. Starting several seeds gives children more opportunities to compare growth and increases the chance that at least one will germinate.
Is the toothpick method or avocado vase better?
Both can work. Toothpicks are inexpensive and classic, while a shaped growing vase is tidier and often makes the developing roots easier to see.