Create a colorful yarn-web decoration from painted craft sticks, beads and tassels while helping children learn that dreamcatchers are connected specifically to Ojibwe or Anishinaabe traditions. This activity combines weaving, patterning and thoughtful cultural learning.
Read moreNorthern Lights Magic Milk
Northern Lights Magic Milk Experiment
Recreate the glowing green and blue ribbons of the aurora borealis with an easy milk-and-soap science experiment—then turn it into a complete Northern Lights unit study for preschool and early elementary learners.
Age3+
Prep5 minutes
Activity20–30 minutes
Mess★★☆☆☆
SkillsScience + geography
Bringing the Northern Lights to our kitchen table
The real northern lights feel almost impossible to describe to a child. They are not quite a rainbow, not quite a cloud, and not quite a beam of light. They move like glowing curtains, ribbons, waves, and brushstrokes across a dark sky.
Since we could not simply step outside and see the aurora borealis from our backyard, I wanted to create an activity that helped Sofia imagine how those glowing colors might move.
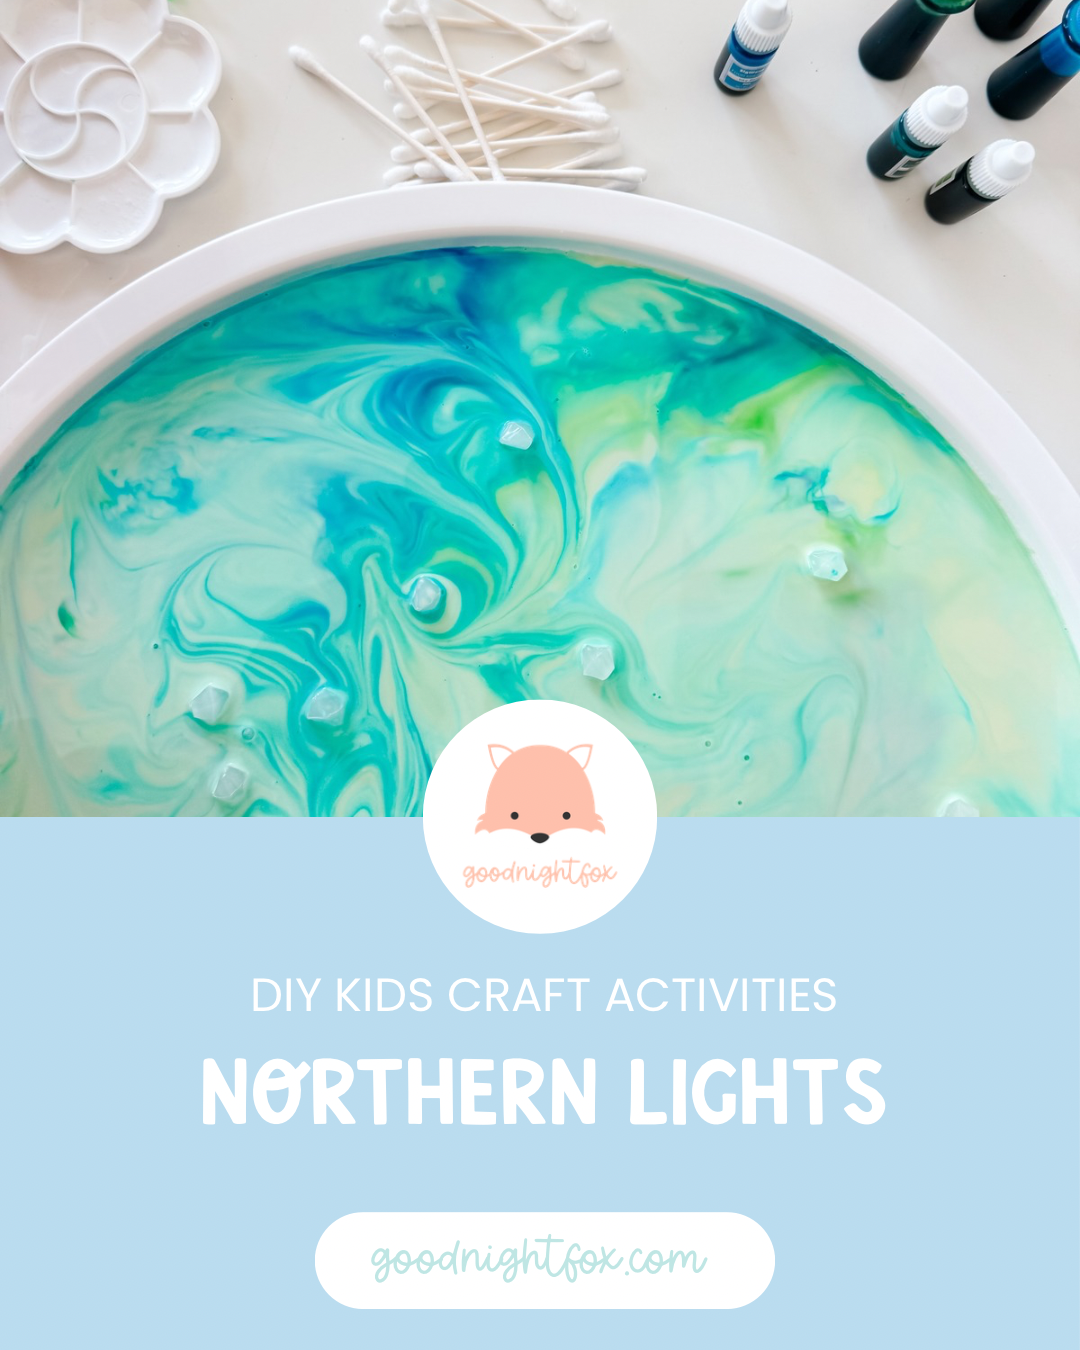
Magic Milk was the perfect starting point. When dish soap touches the milk, the food coloring races, curls, stretches, and folds into flowing patterns. With deep blue, turquoise, teal, and green, the tray began to look like a tiny Arctic sky.
We added clear gems to resemble stars and pieces of ice, then watched the colors travel around them. The activity became part science experiment, part process art, and part geography lesson.
More importantly, it gave us a reason to ask bigger questions: What are the northern lights? Why do they glow? Why are they usually seen near Earth’s poles? And could another planet have an aurora too?
What are the northern lights?
The northern lights are glowing patterns that appear in the sky, most often in areas near the Arctic. Their scientific name is the aurora borealis.
The Sun constantly releases a stream of tiny electrically charged particles called the solar wind. When some of those particles reach Earth, they interact with Earth’s magnetic field.
Earth’s magnetic field guides many of the particles toward the polar regions. High above the ground, the particles collide with gases in our atmosphere. Those gases release energy as visible light, creating the aurora.
A child-friendly way to explain it is:
The Sun sends tiny particles toward Earth. Earth’s invisible magnetic shield guides them toward the poles. When the particles bump into gases in the sky, those gases glow.
Why is it called the aurora borealis?
“Aurora” refers to dawn or light, while “borealis” means northern. Together, the phrase describes the glowing lights of the north.
Auroras also appear near the South Pole. The southern version is called the aurora australis, or southern lights.
Both are created by the same basic interaction between particles from the Sun, a planet’s magnetic environment, and gases in its atmosphere.
What colors can the northern lights be?
| Color | Main atmospheric source | What children may notice |
|---|---|---|
| Green | Oxygen | The most frequently observed aurora color |
| Red | Oxygen at higher altitudes | A rarer glow that may appear above green aurora |
| Blue | Nitrogen | Often seen near lower portions of a display |
| Purple or violet | Nitrogen | Can appear along edges and lower areas |
| Pink | A mixture of emissions | May appear where colors overlap |
Explain aurora colors to a preschooler
Different gases are like different crayons. When the Sun’s particles give those gases energy, each kind can glow in its own colors.
Where can families see the northern lights?
Auroras are most commonly seen at high northern latitudes beneath a region known as the auroral oval.
Well-known viewing areas include parts of:
- Alaska
- Northern Canada
- Greenland
- Iceland
- Northern Norway
- Sweden
- Finland
- Russia
Strong geomagnetic storms can push auroras farther from the poles, occasionally making them visible at much lower latitudes.
To see an aurora, the sky needs to be dark enough and reasonably clear. City lights, clouds, and daylight can hide even an active display.
Materials needed
- Whole milk
- Liquid dish soap
- Blue food coloring
- Green food coloring
- Optional turquoise, purple, or neon food coloring
- Cotton swabs
- A shallow white tray or plate
- A small bowl for dish soap
- Optional round cotton pad for stamping a color pattern
- Optional clear, white, blue, or green acrylic gems
- Paper towels for cleanup
Safety note
Although this activity uses milk and food coloring, it also contains dish soap and is not edible. Supervise children closely and keep the mixture away from eyes and mouths. Small acrylic gems can be a choking hazard.
Shop the science supplies
These are the basic supplies we reuse for Northern Lights, rainbow, fireworks, sunset, and unicorn Magic Milk experiments.
This section contains affiliate links, which means I may earn a small commission at no additional cost to you.
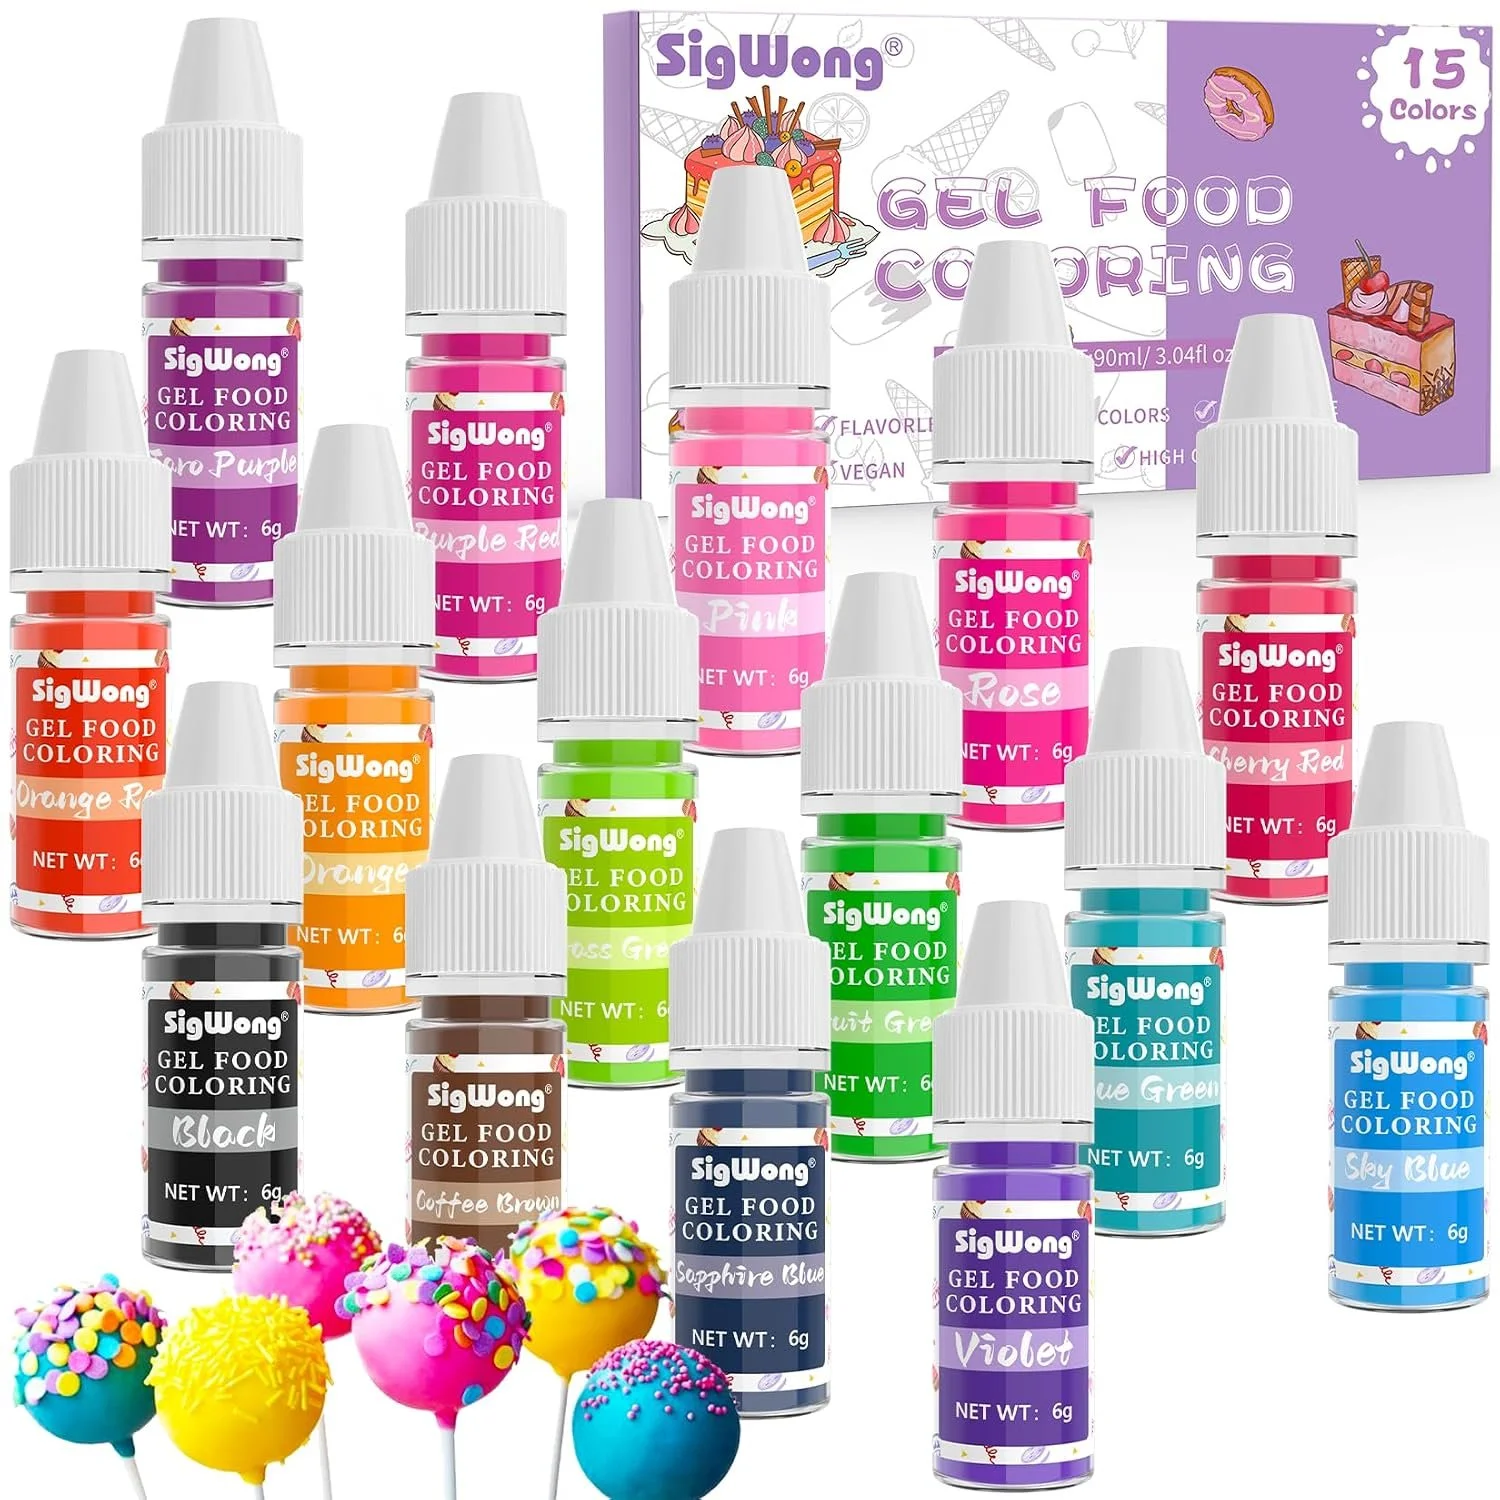
Liquid food coloring
Use blue, green, turquoise, and a touch of purple to recreate a cool-toned aurora palette.
View on Amazon
Whole milk
The higher fat content usually gives the experiment a bold and longer-lasting reaction.
View on Amazon
Liquid dish soap
Dish soap disrupts the milk’s surface tension and interacts with its fat, sending the visible colors into motion.
View on AmazonHow to make Northern Lights Magic Milk
Step 1
Create the Arctic sky
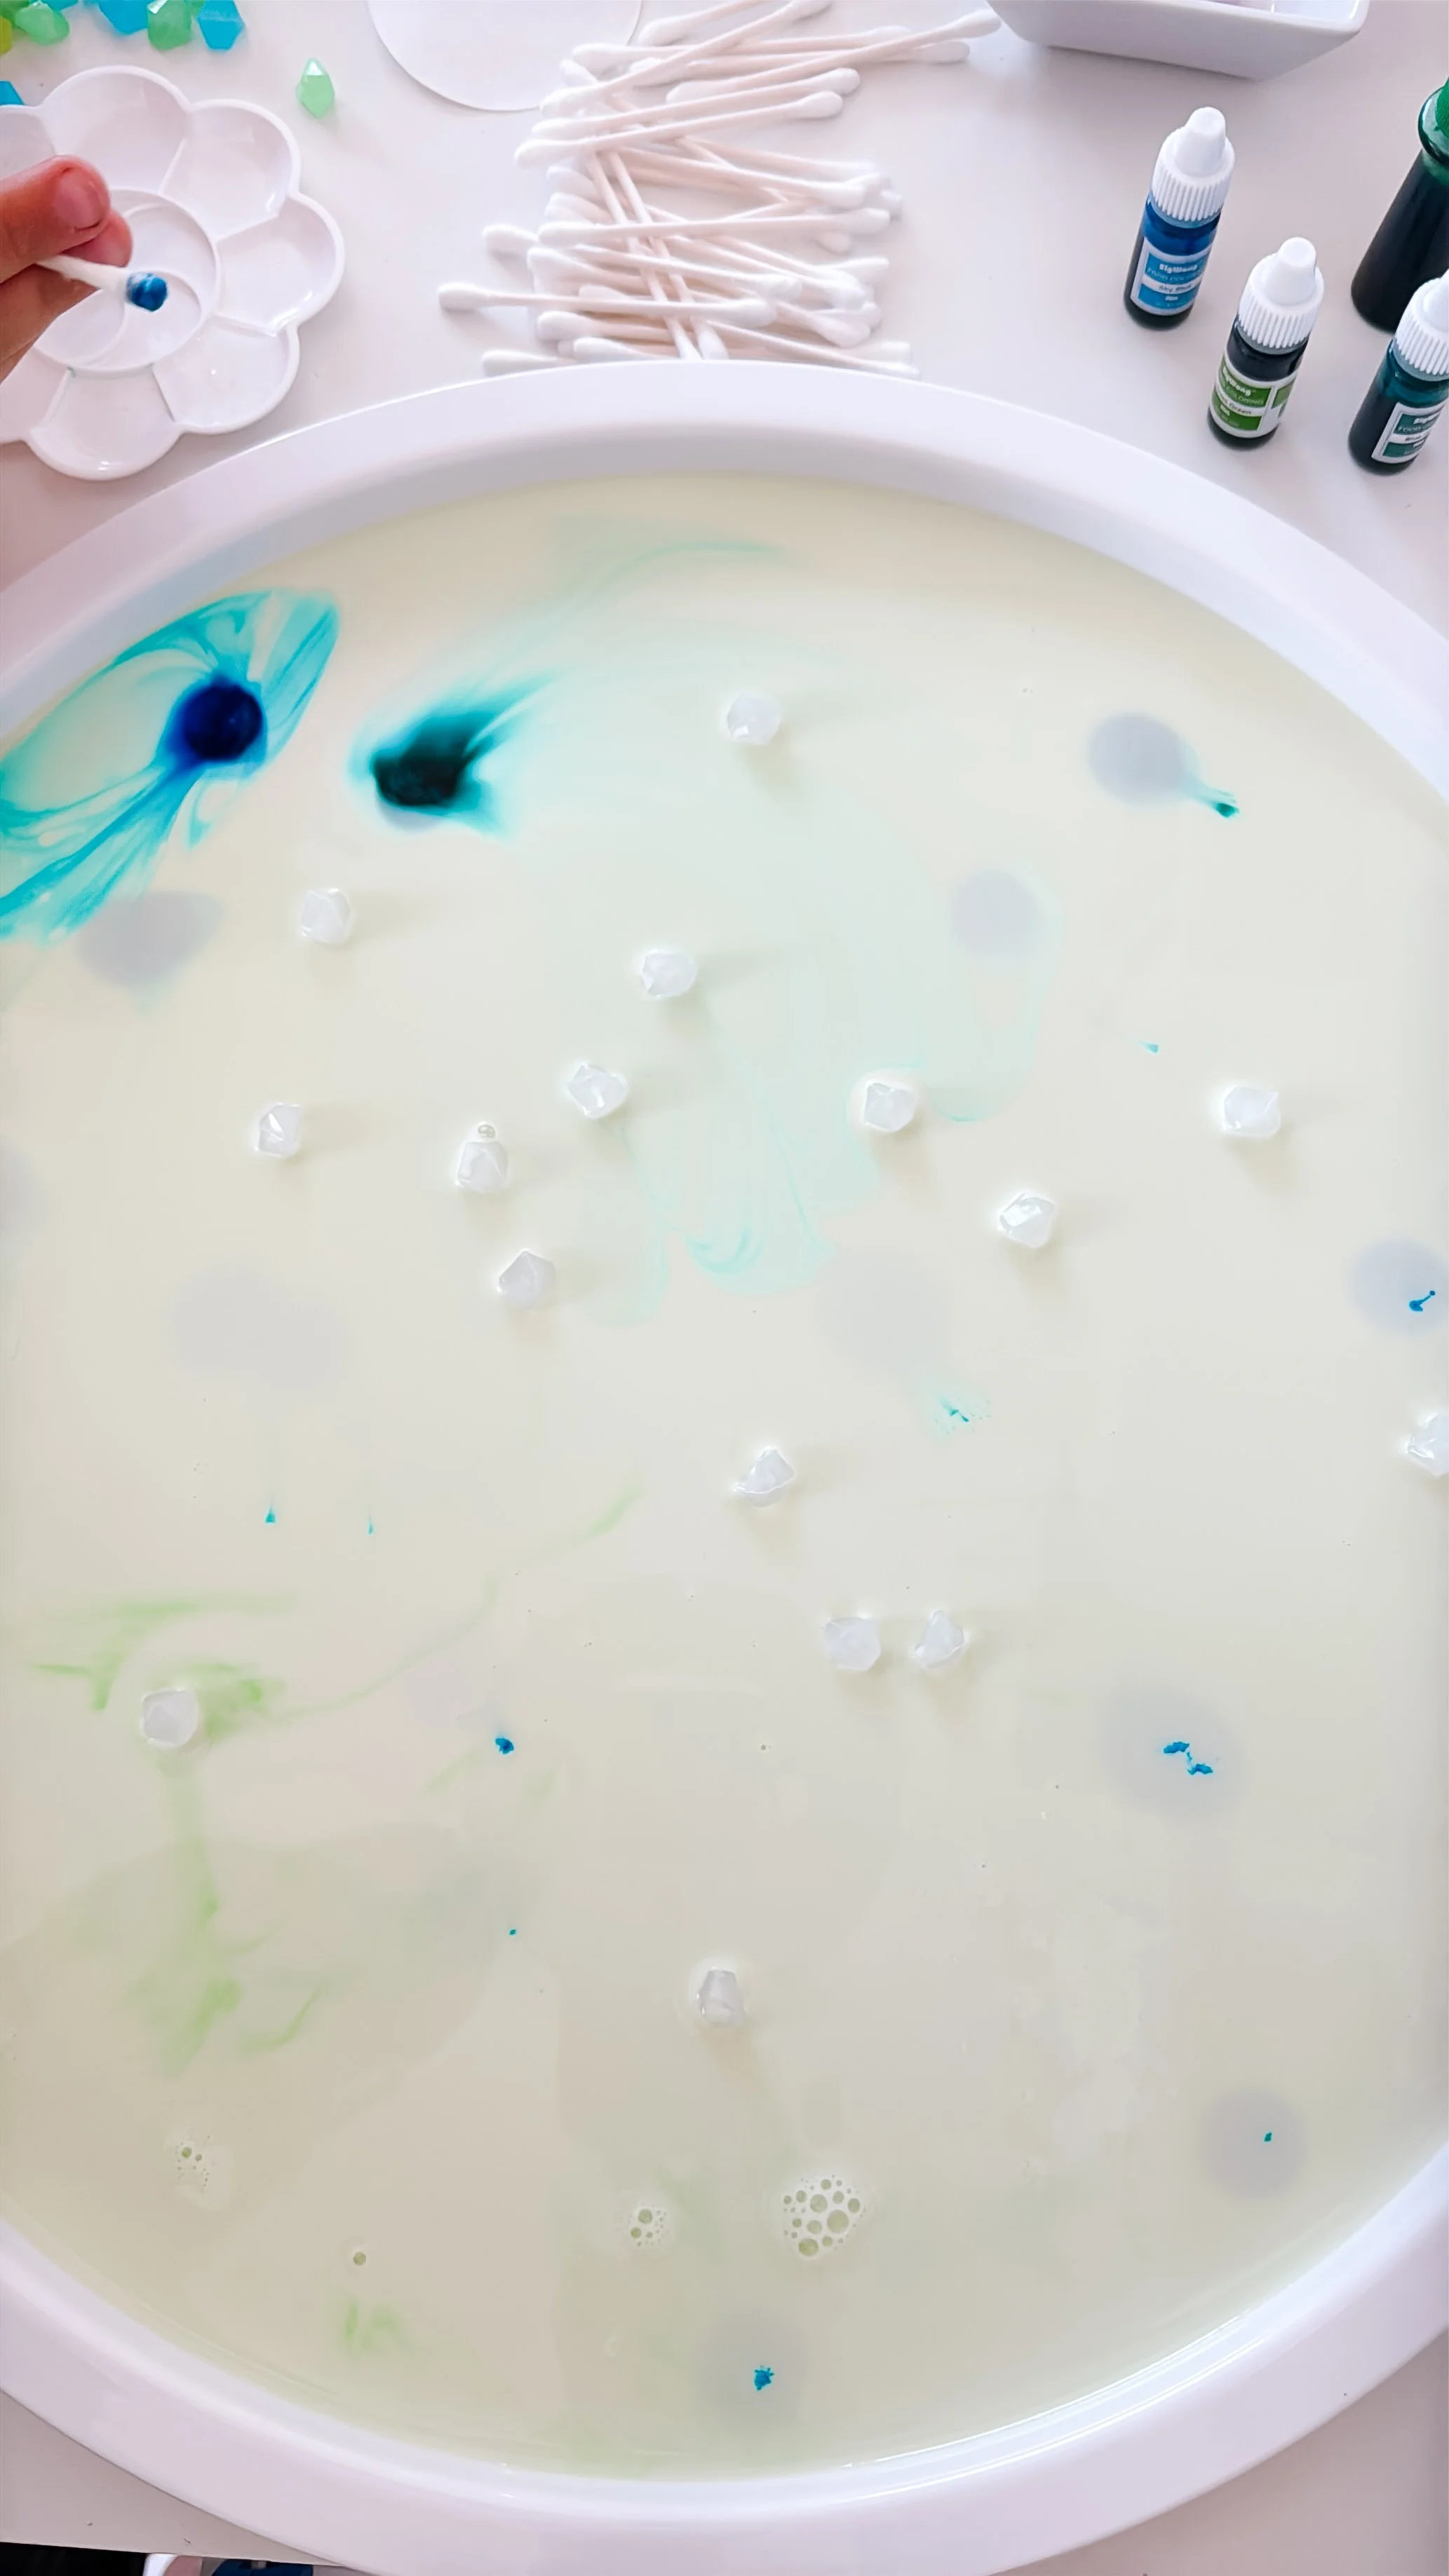
Pour enough whole milk into a shallow white tray to cover the bottom.
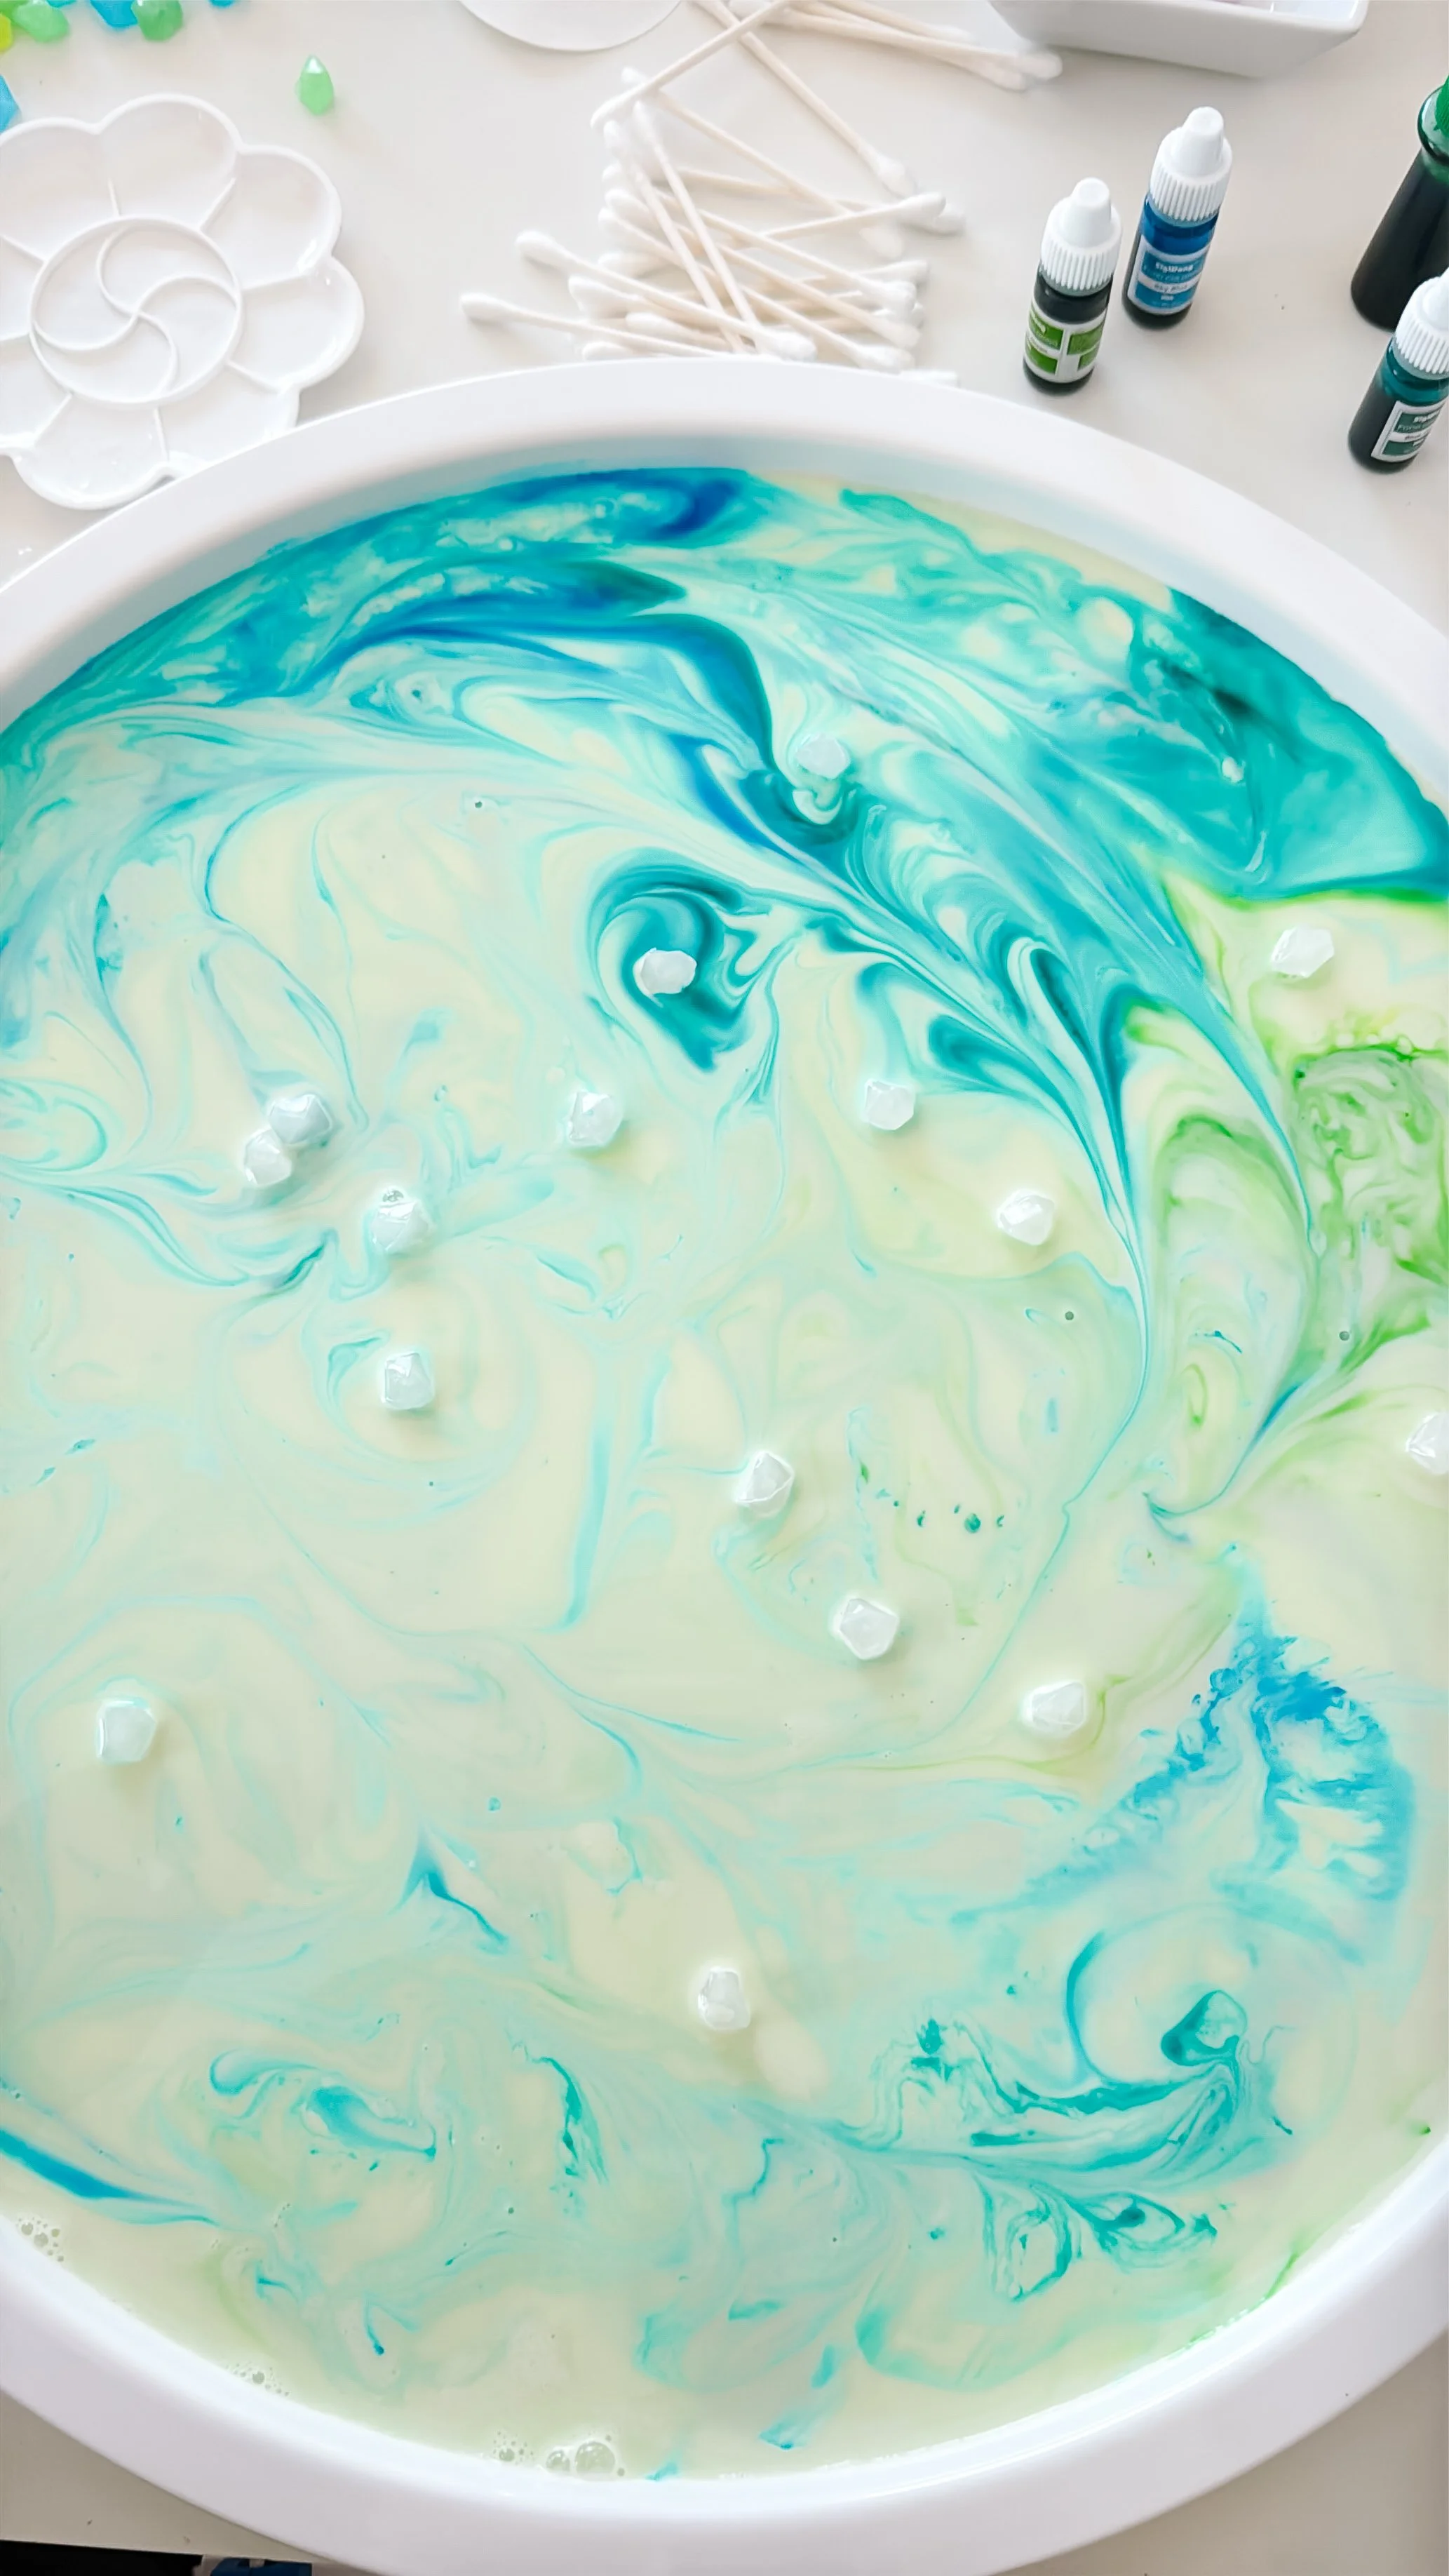
Add small drops of blue, turquoise, and green food coloring around the milk. Leave plenty of white space between the drops so the colors have room to travel.
We also scattered clear gems across the tray to resemble sparkling stars and pieces of Arctic ice.
Step 2
Touch the milk with soap
Pour a small amount of dish soap into a separate dish.
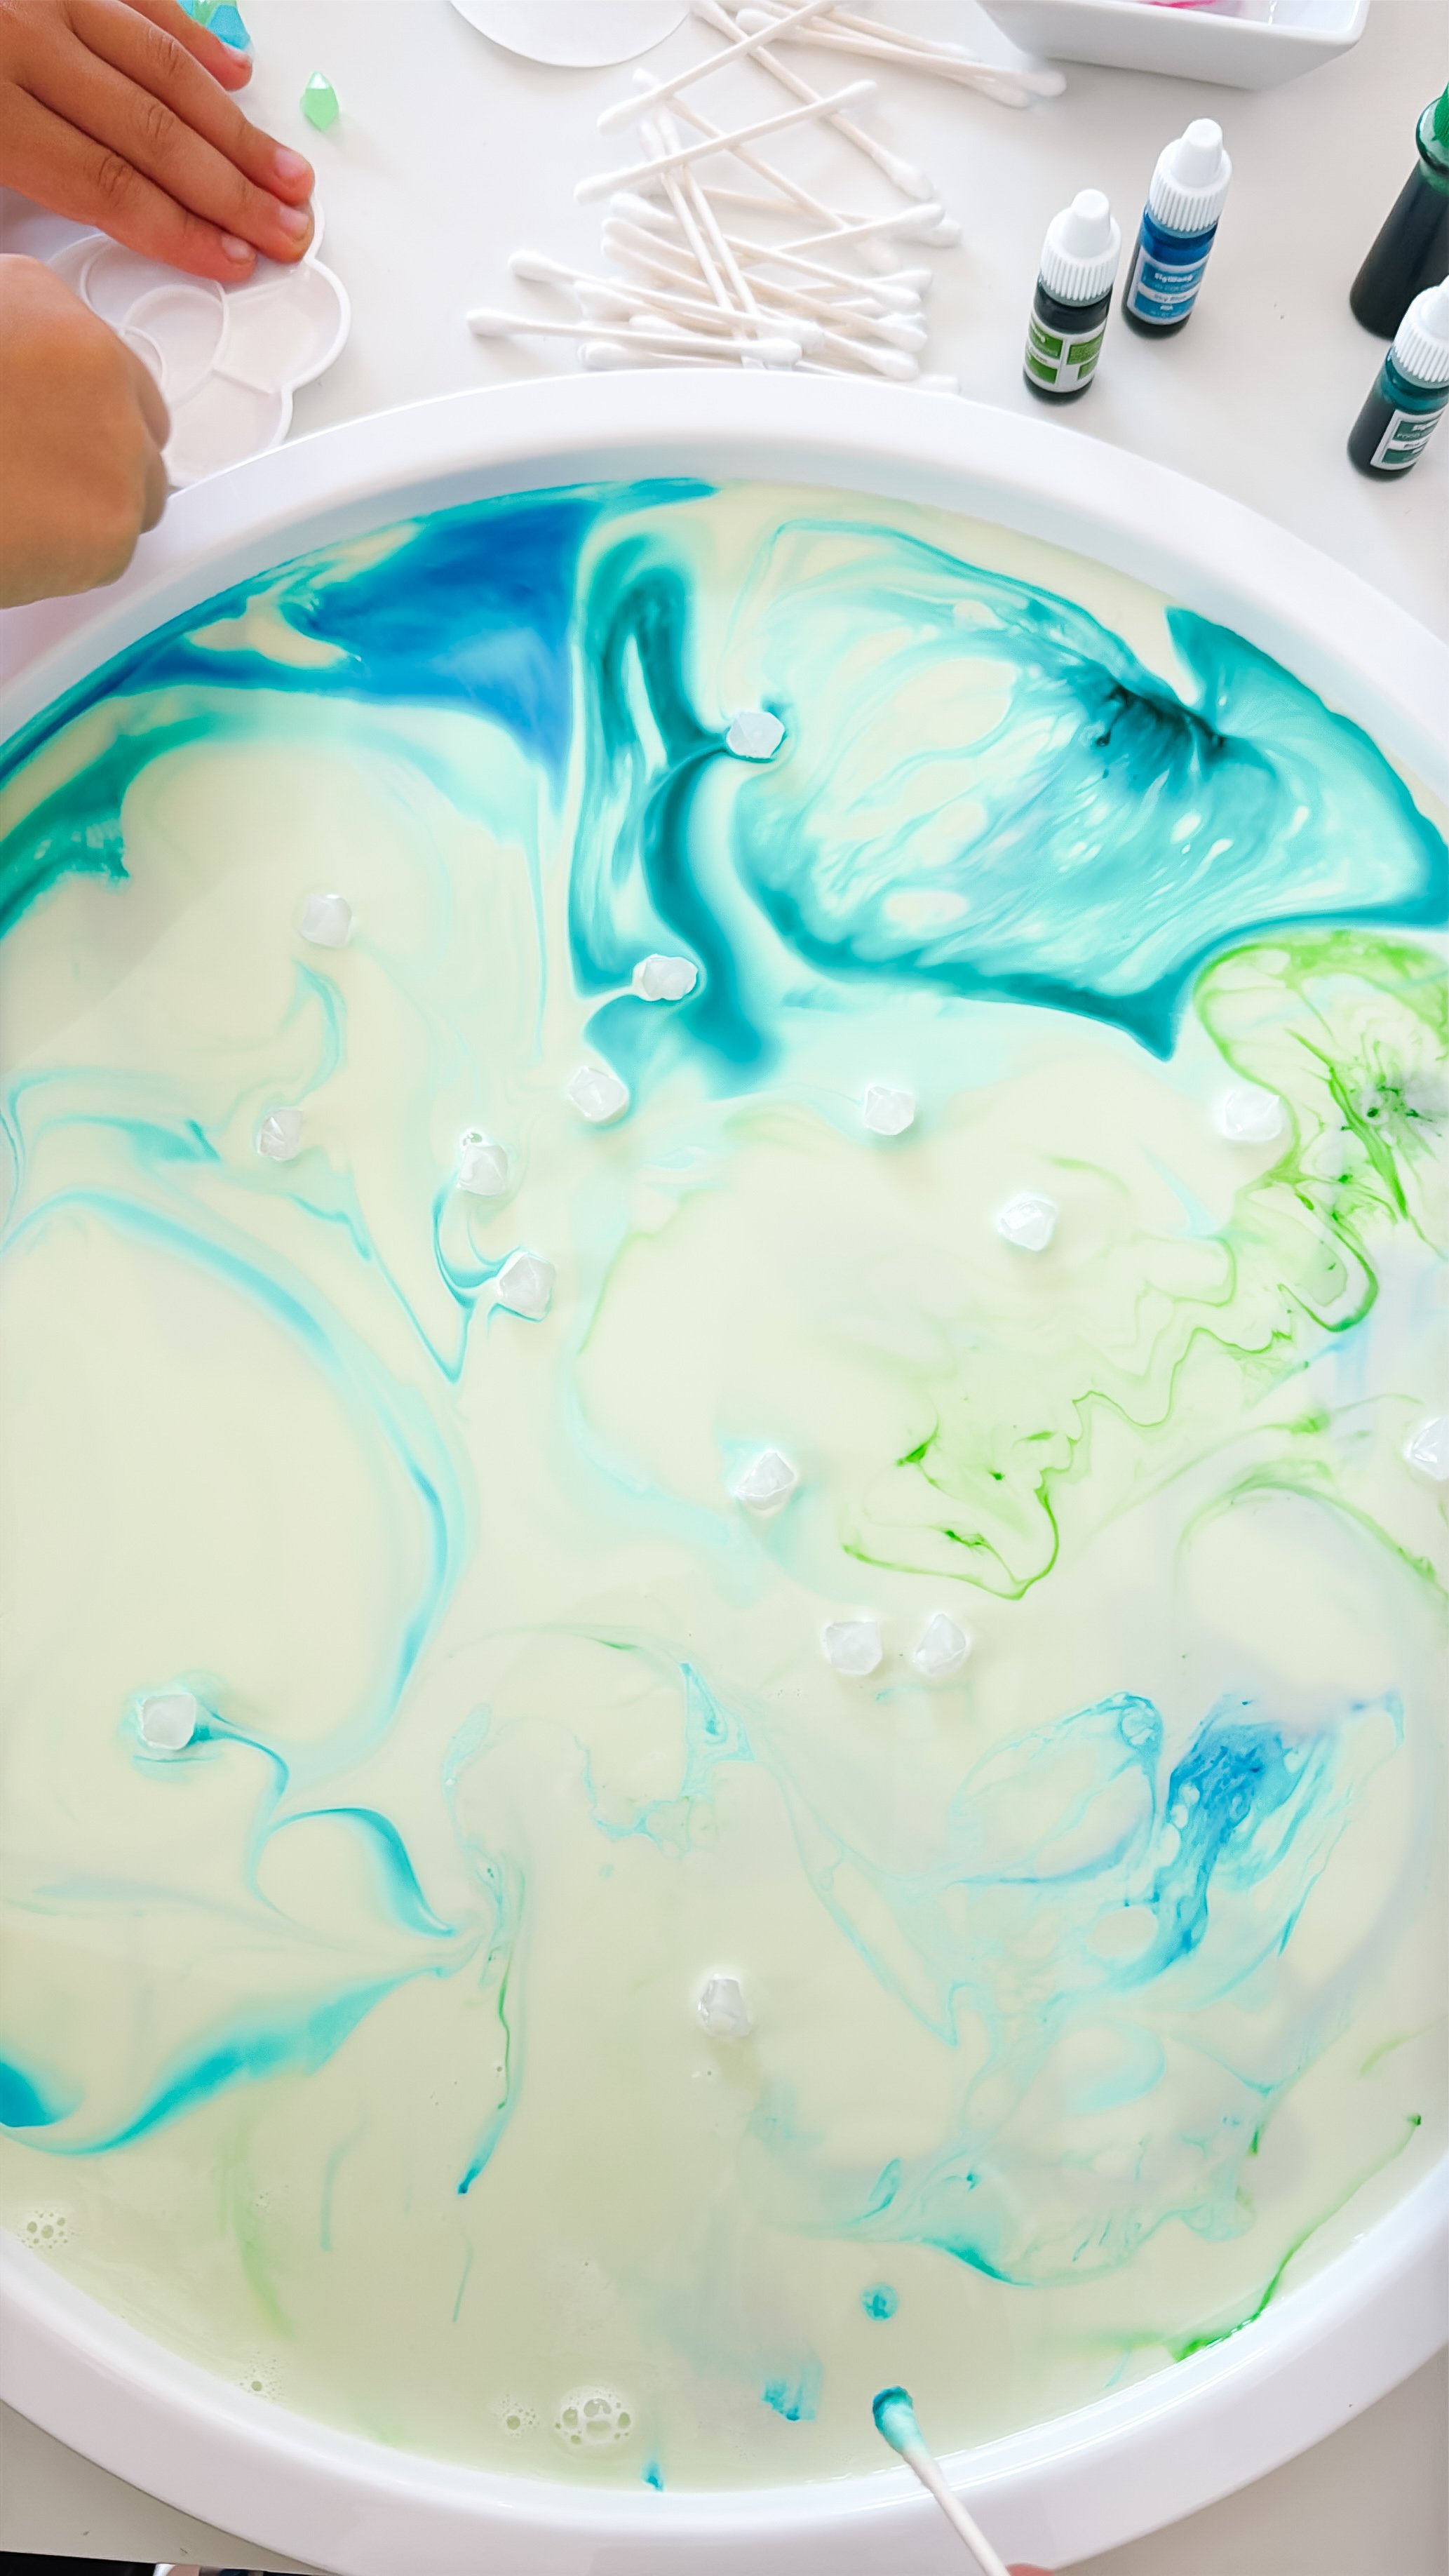
Dip one end of a cotton swab in the soap, then gently touch it to a drop of colored milk. Hold the swab still at first instead of stirring.
Watch as the color quickly pulls away and begins traveling across the tray.
Step 3
Build glowing ribbons
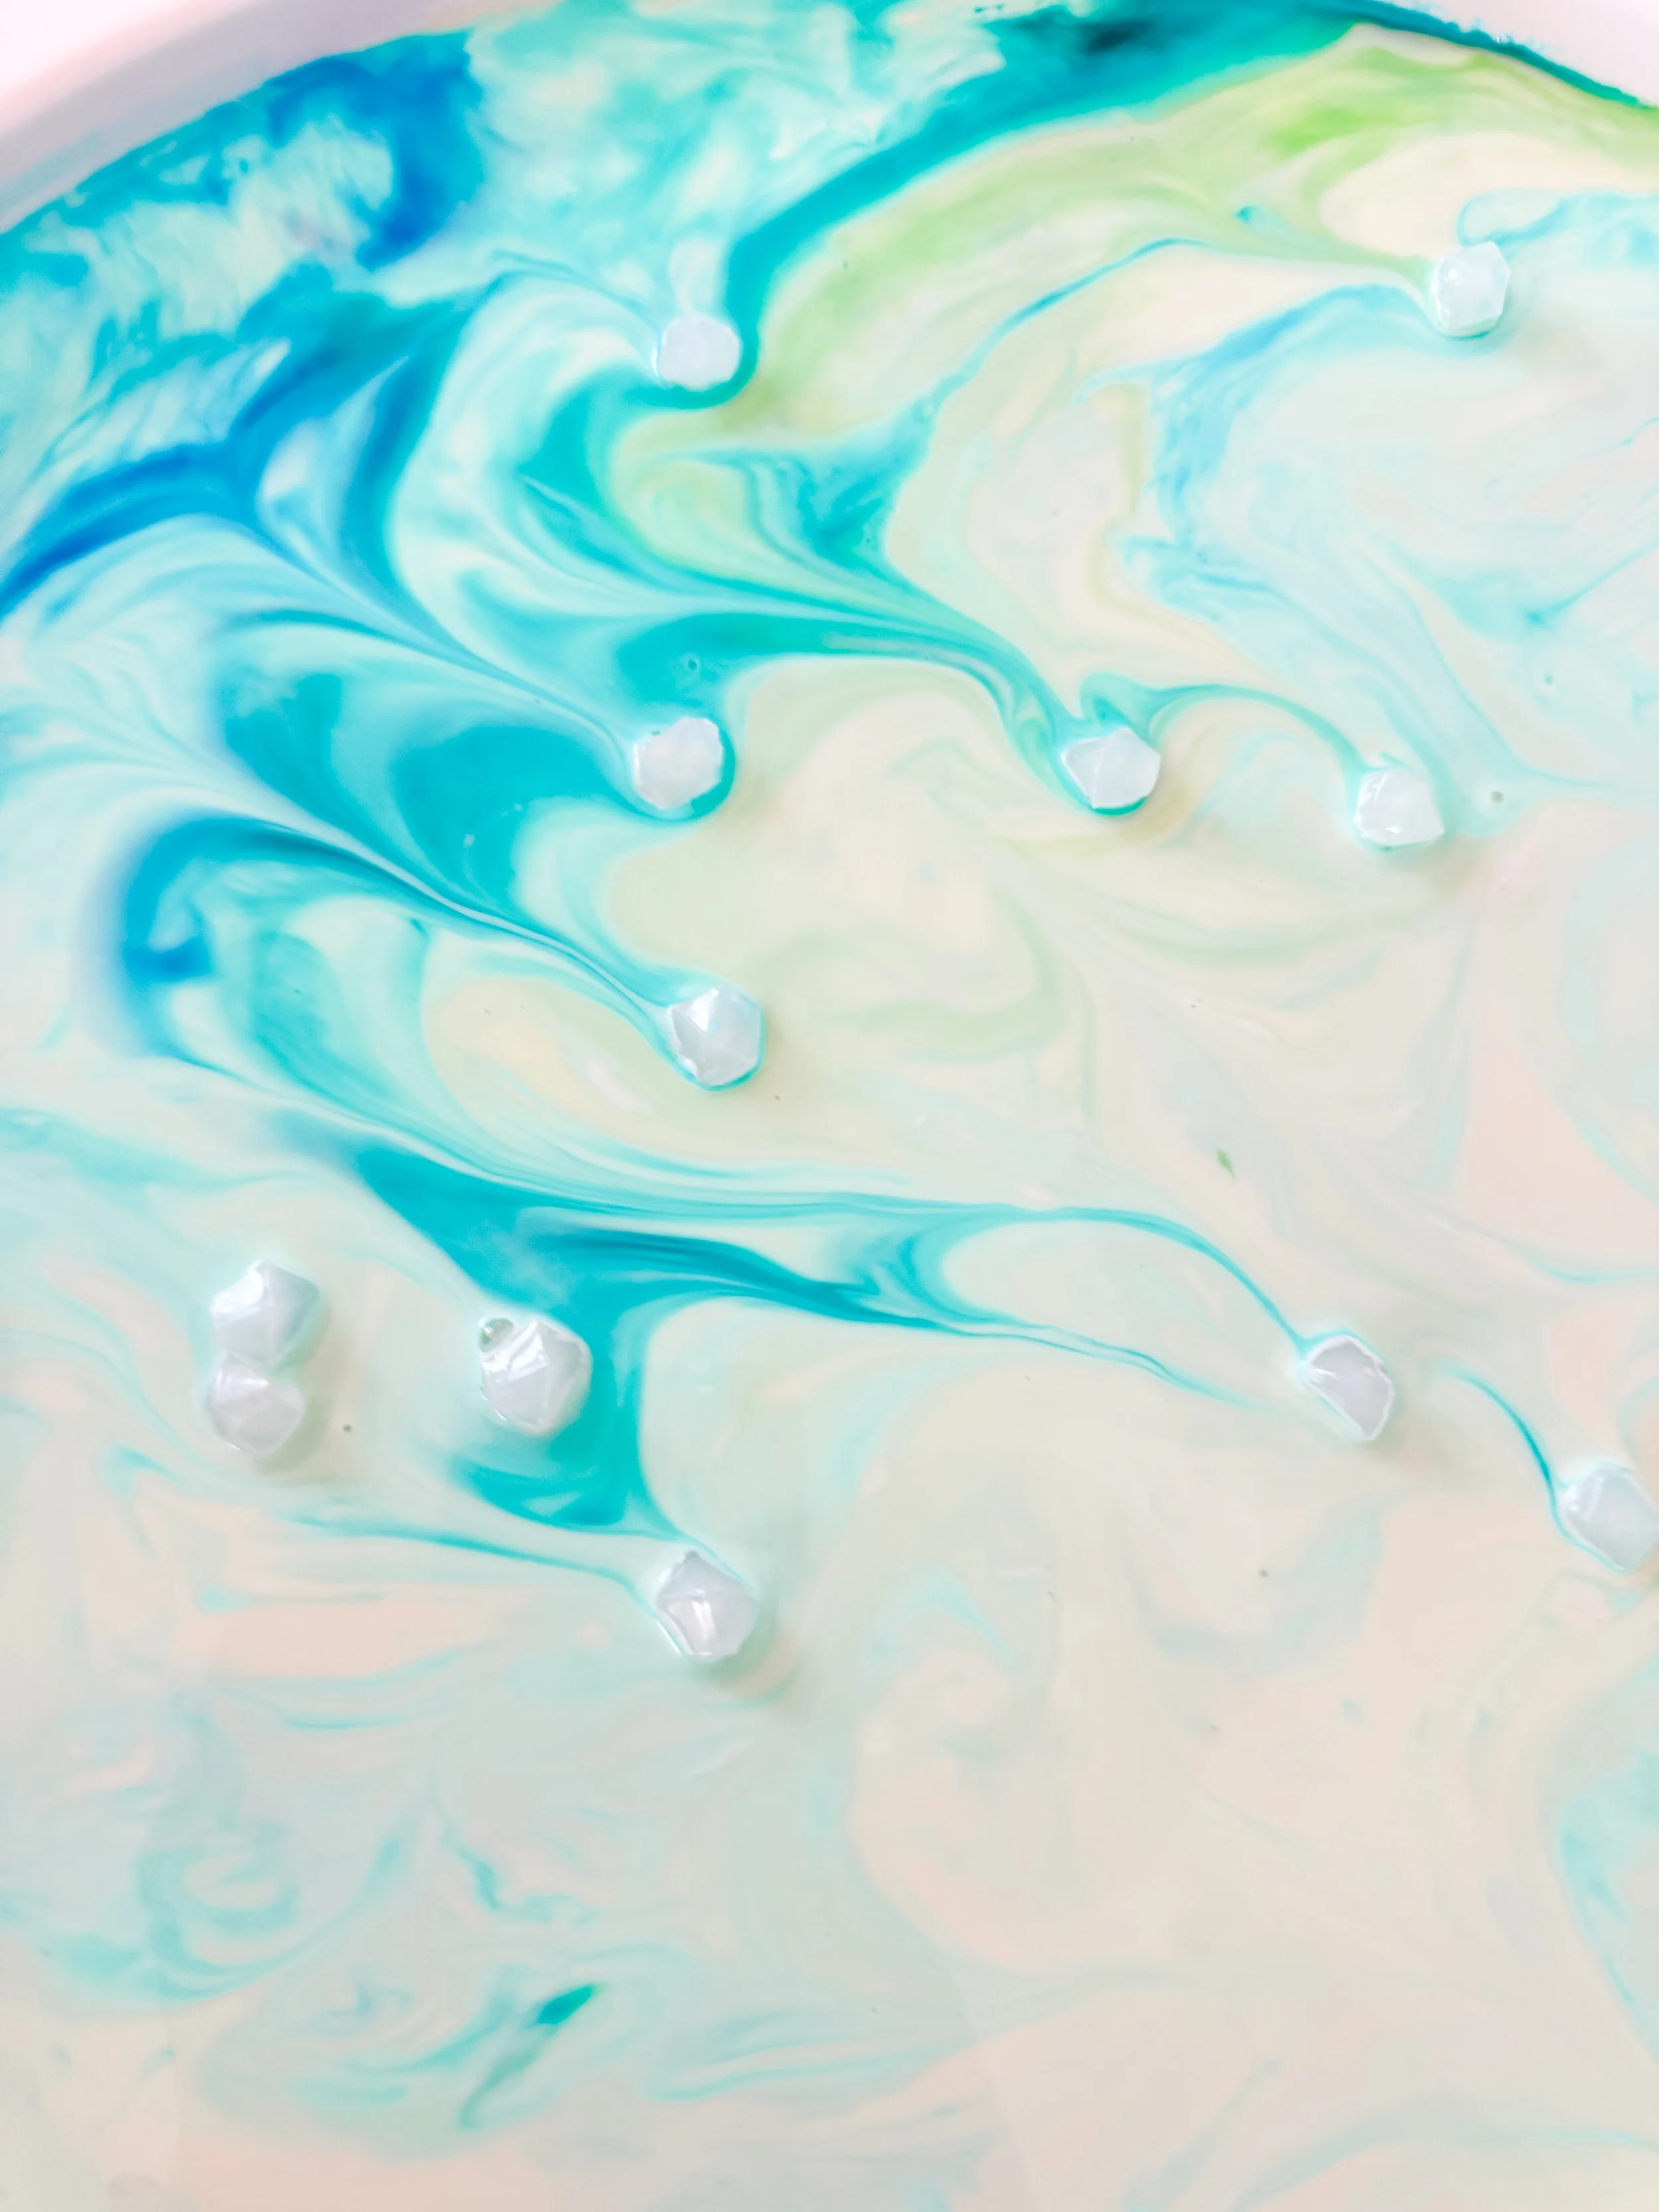
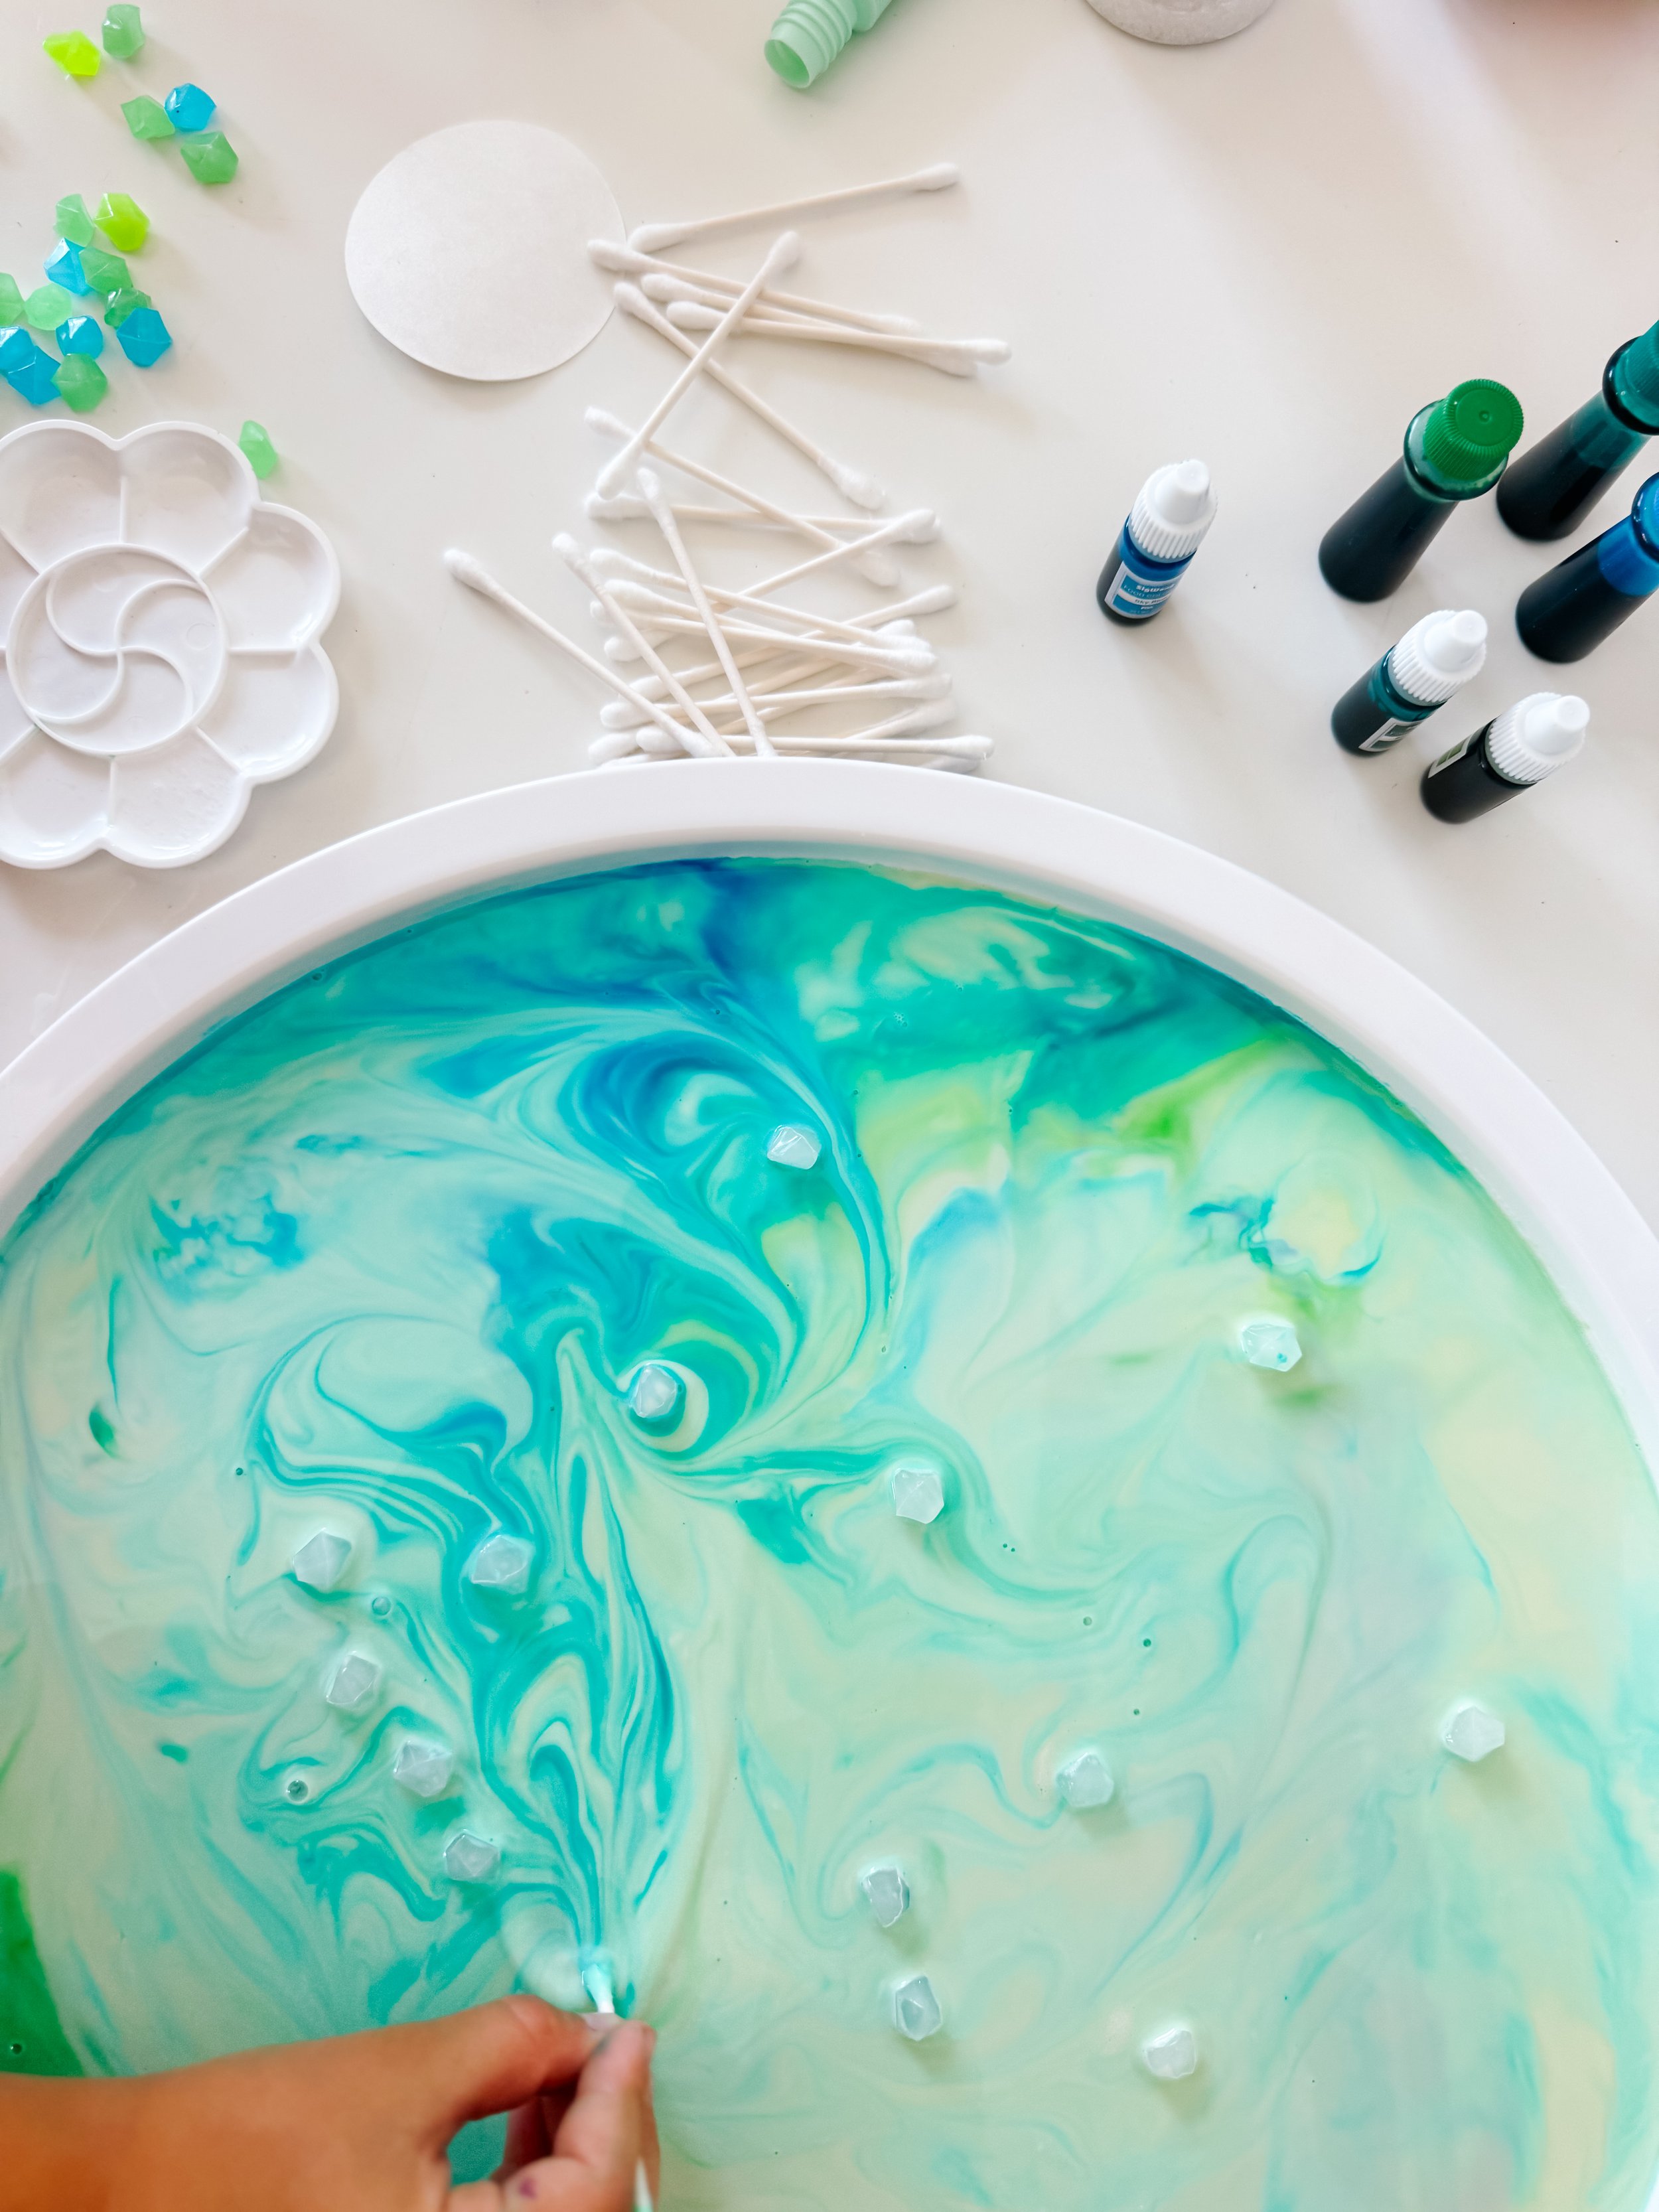
Use fresh soapy cotton swabs to touch several areas around the tray.
Try placing the soap at the center of a dark color drop, along the edge of a swirl, and in a pale area. Compare the movement each touch creates.
The colors will begin forming waves, ribbons, curls, and curtain-like shapes that resemble photographs of the aurora.
Step 4
Observe the motion
Pause before adding more soap and watch how the liquid continues moving.
Ask your child to follow one ribbon with their eyes. Does it stretch, curl, fade, separate, or blend with another color?
Compare the clear gems with stars, ice crystals, or distant planets floating in the night sky.
Step 5
Experiment with green light
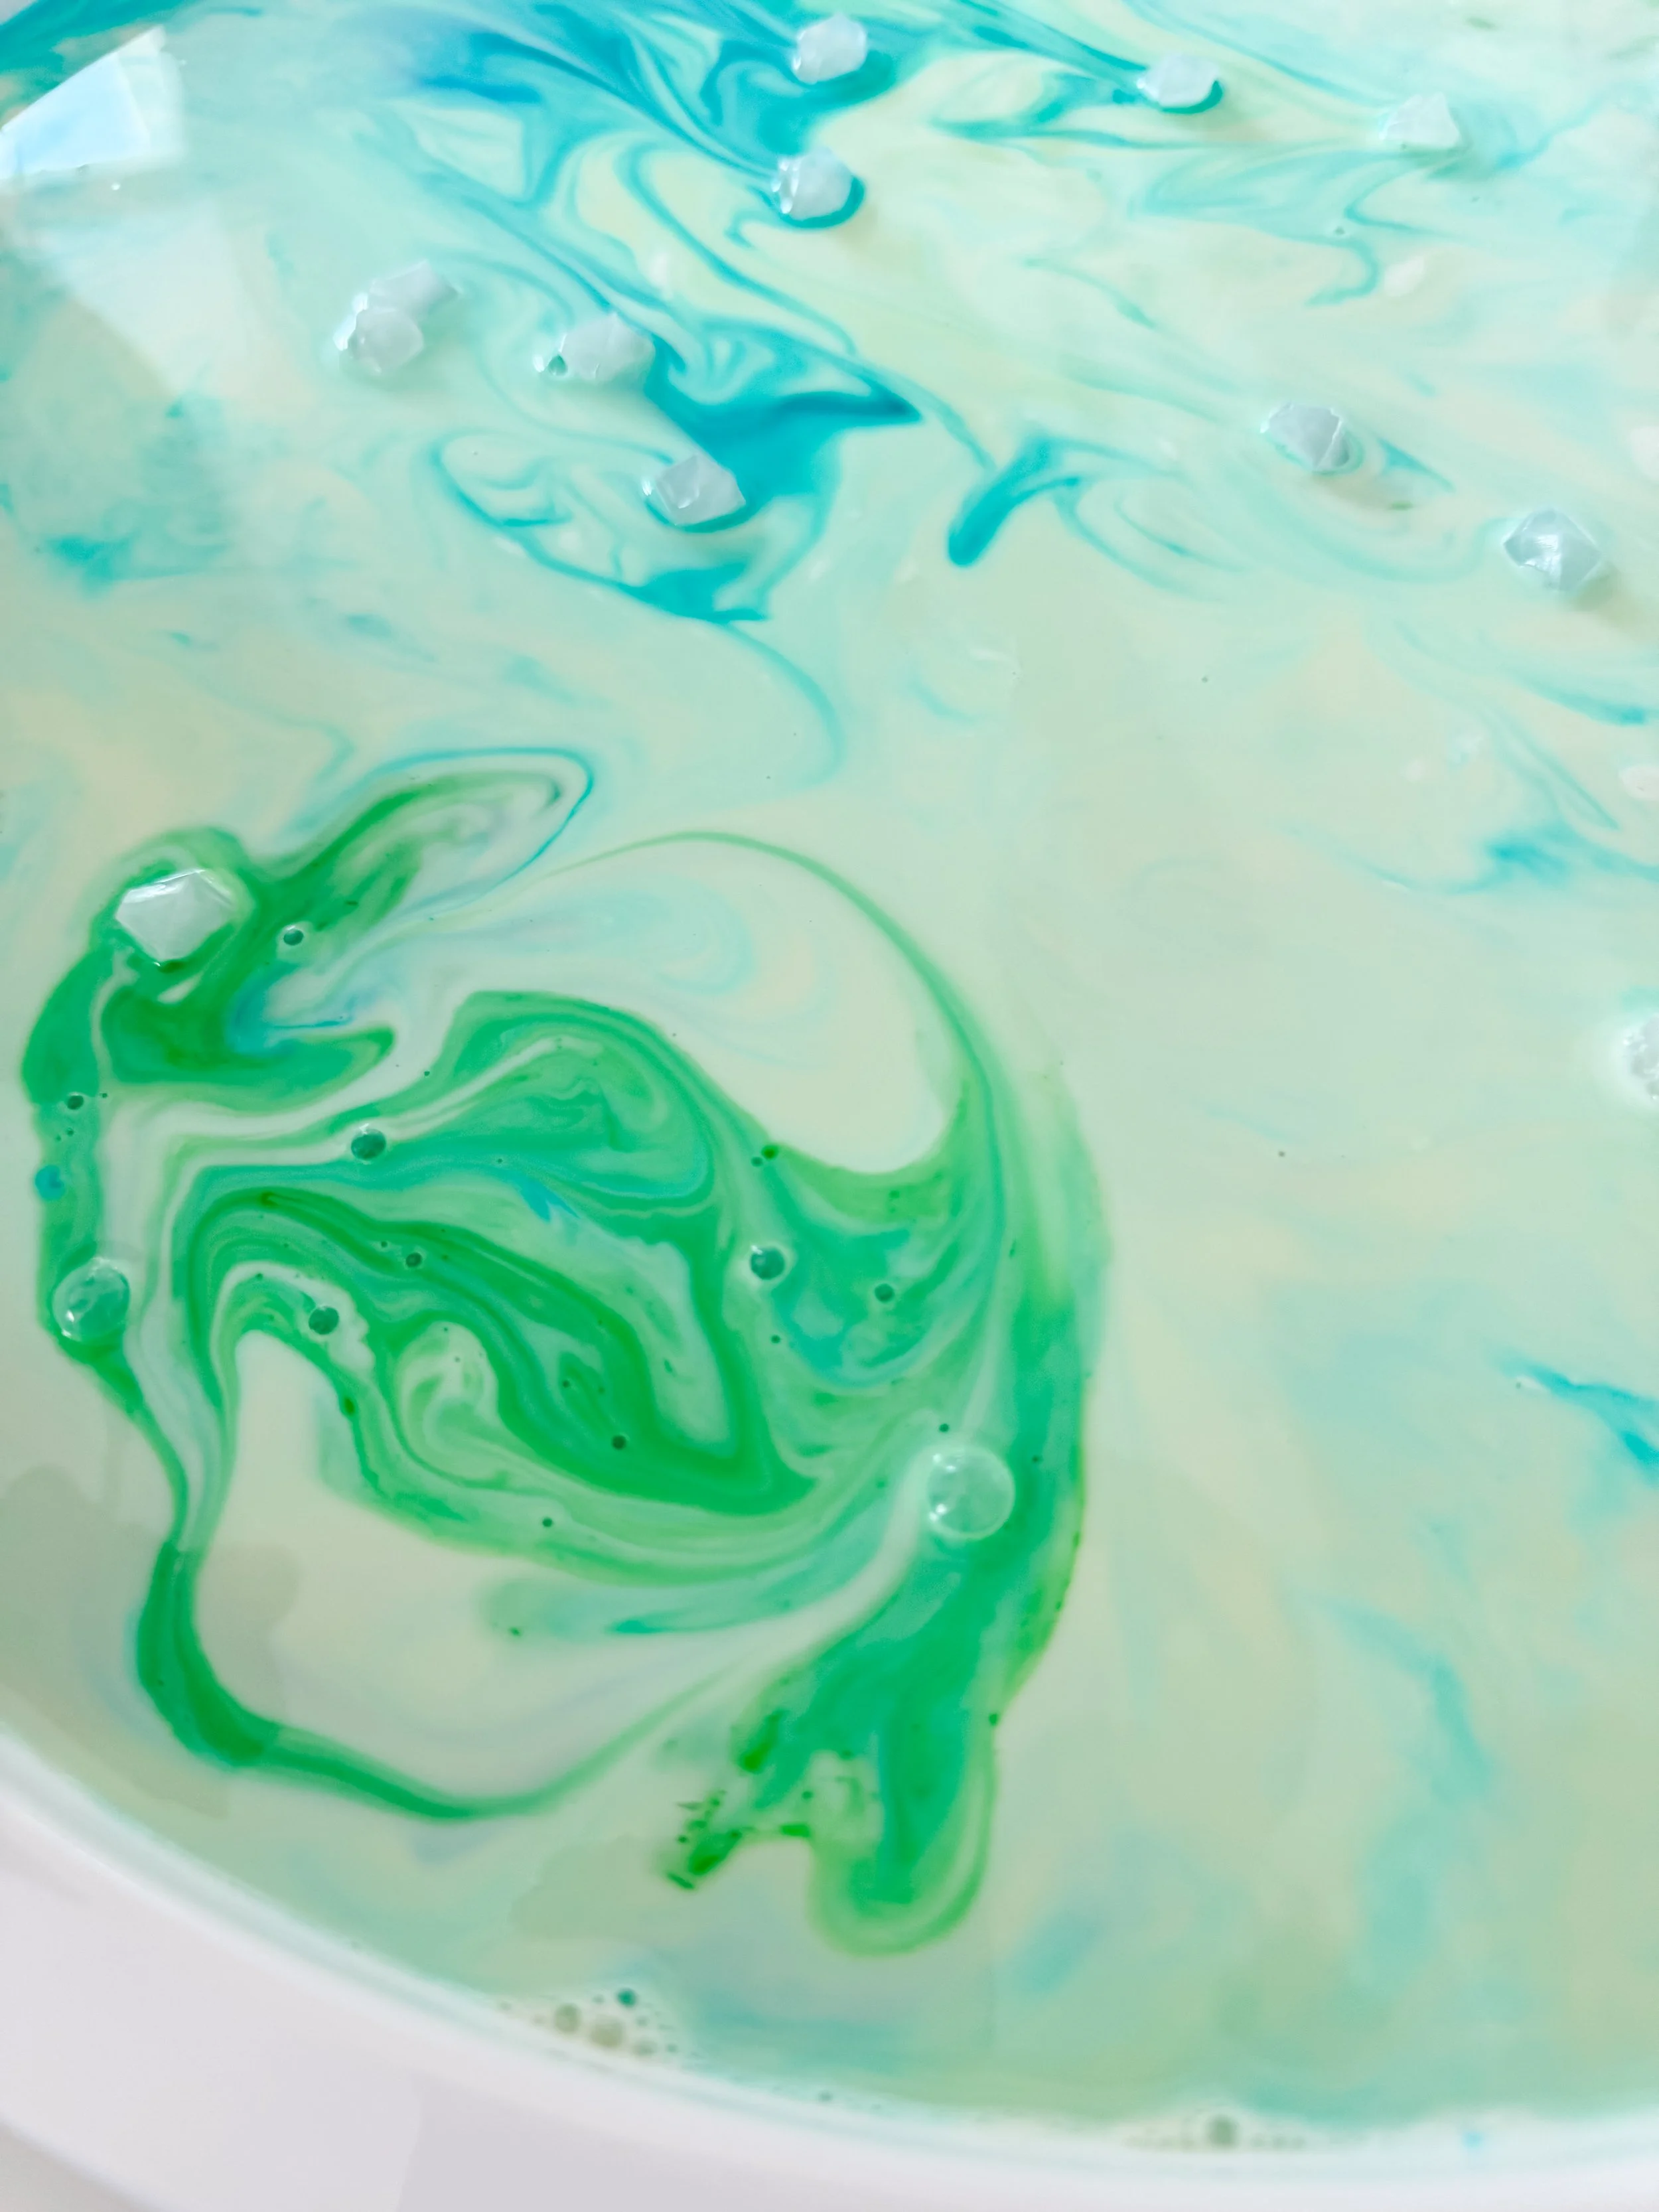
Add a fresh green drop in a quieter area and touch it with a clean soapy swab.
Green is the most commonly observed aurora color, so this is a good moment to explain that oxygen high in Earth’s atmosphere can emit green light after being energized.
Compare the green pattern with the blue and turquoise sections already in the tray.
Step 6
Compare color regions
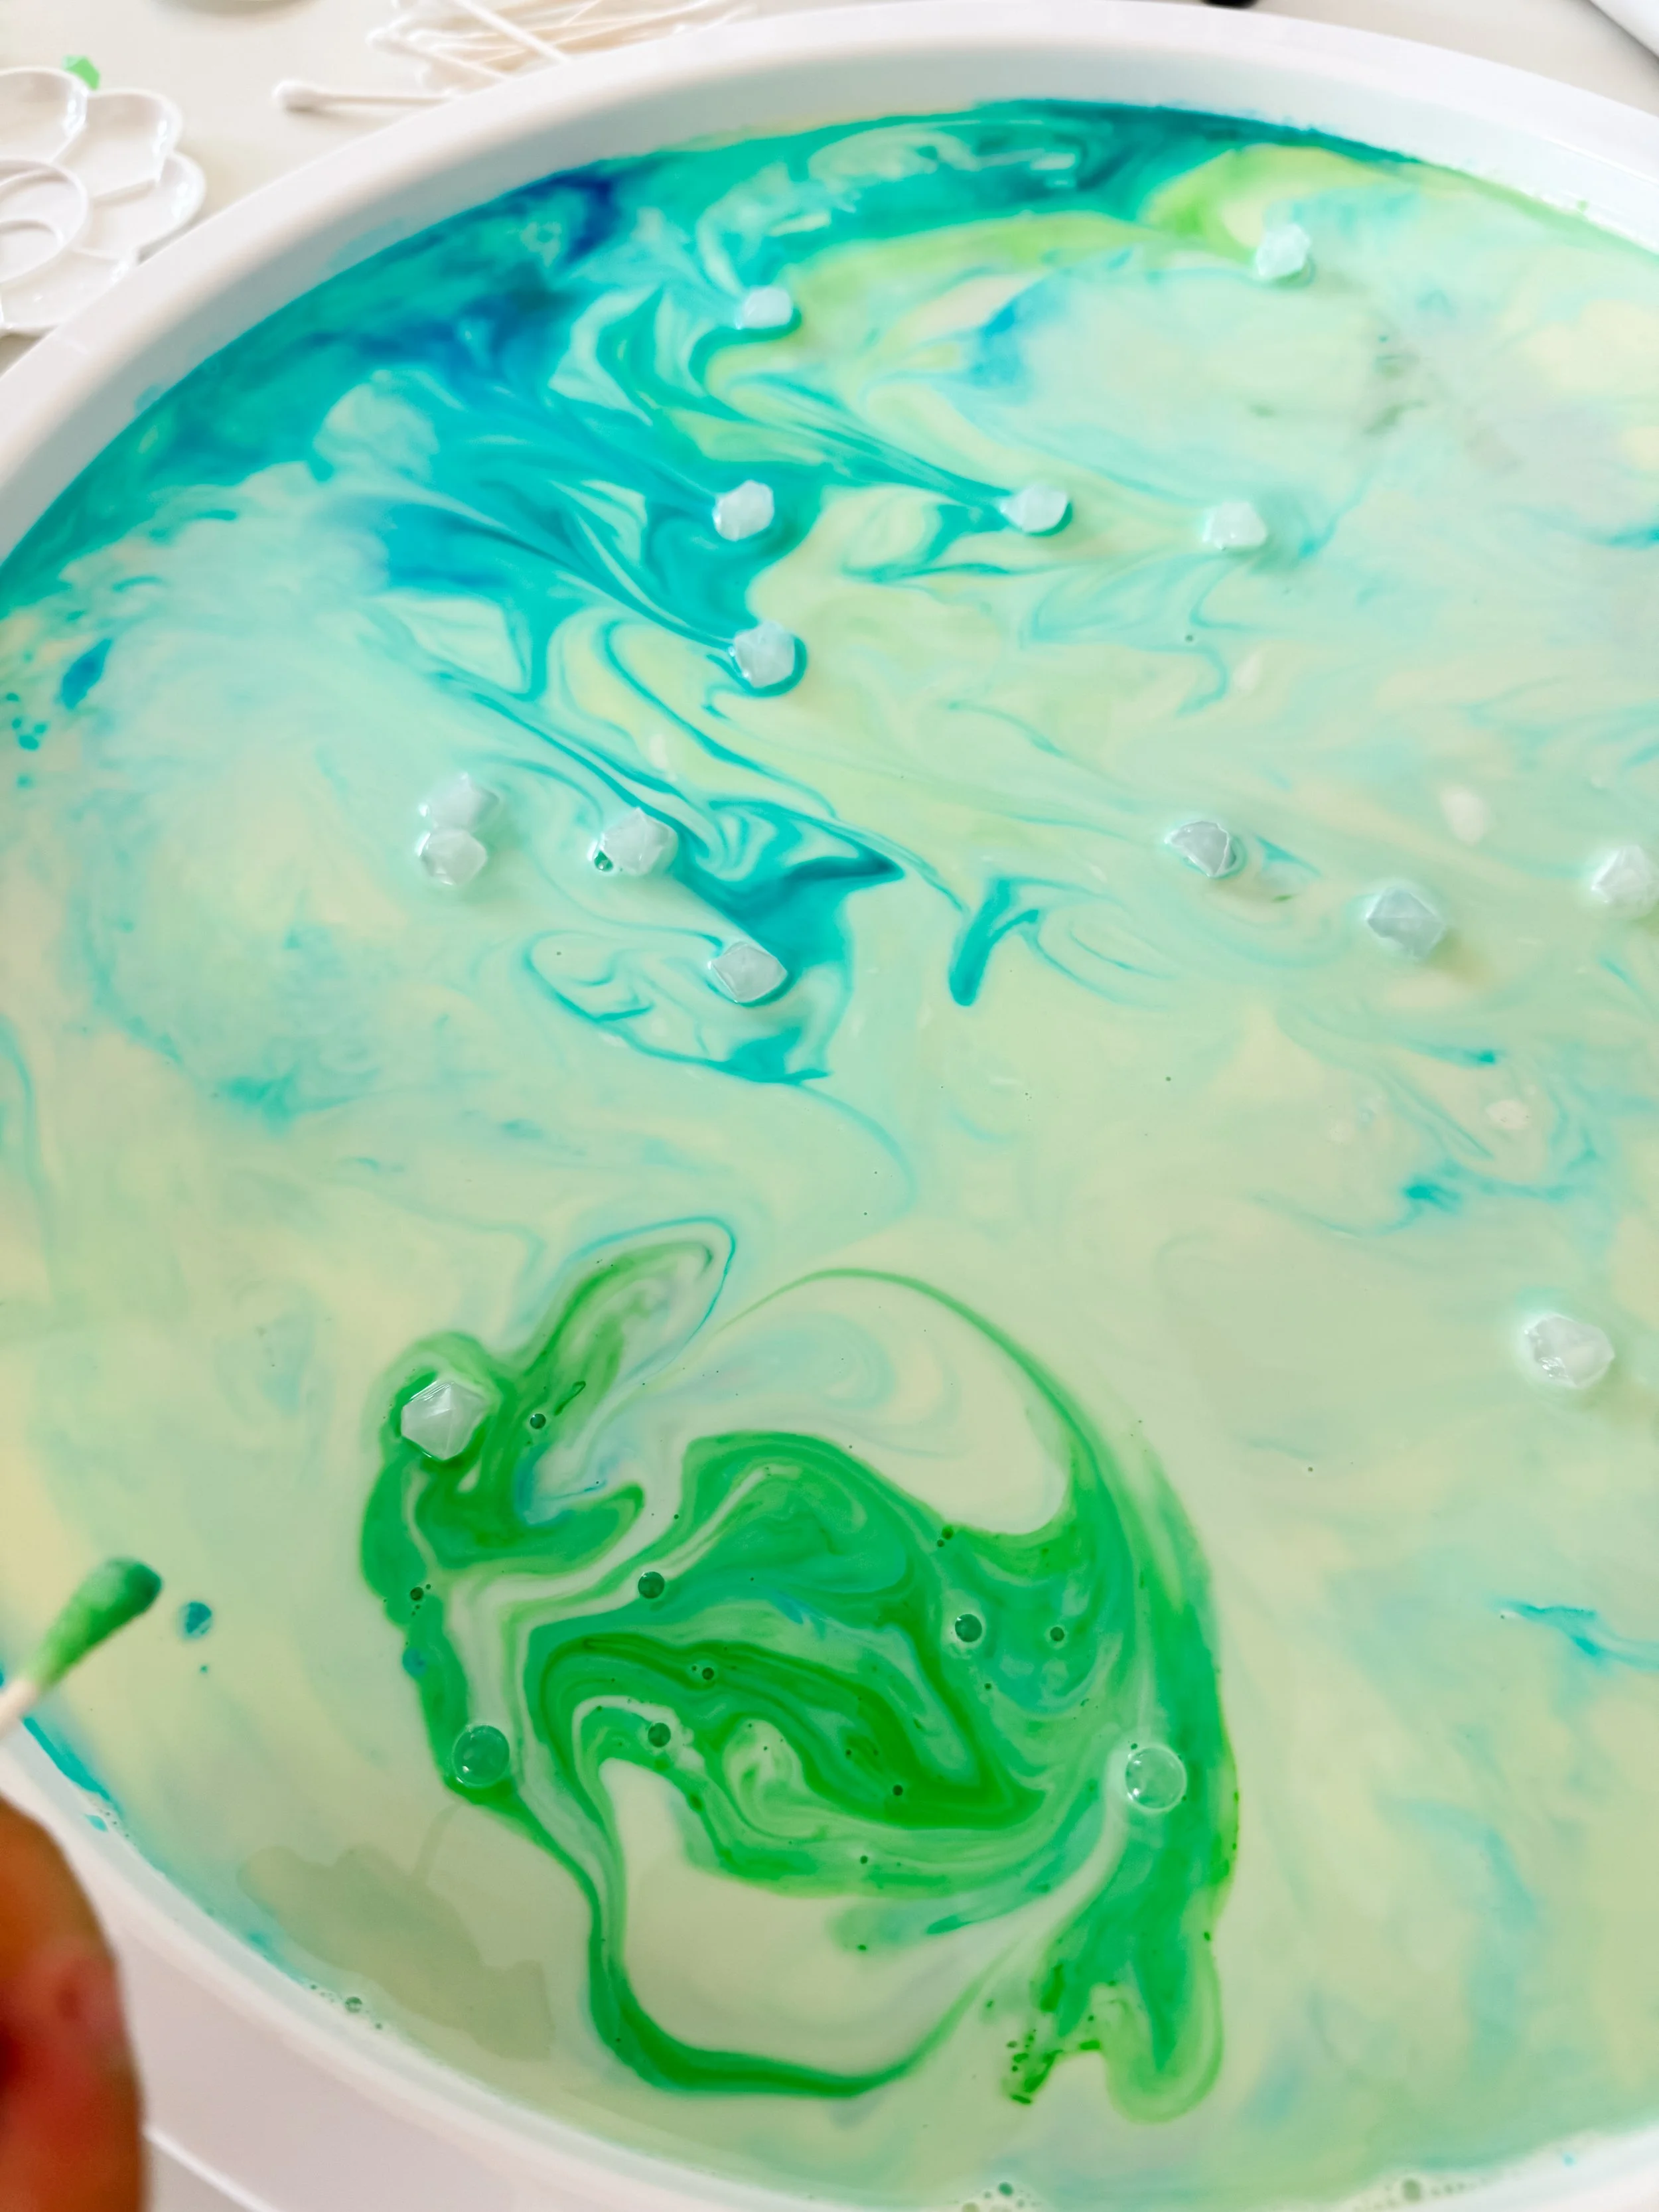
Look for places where the colors remain separate and places where they blend.
Discuss how a real aurora can have multiple layers and colors at once because particles are interacting with different gases and at different altitudes.
Invite your child to describe the patterns using words such as glowing, rippling, waving, dancing, curling, and shimmering.
Step 7
Let your child investigate
Once the first reaction has been observed, allow your child to test different areas independently.
Encourage deliberate experimenting rather than immediately stirring everything together. Ask them to predict where the color will travel before each touch.
If the reaction slows, add one or two fresh drops of coloring in an untouched area.
Step 8
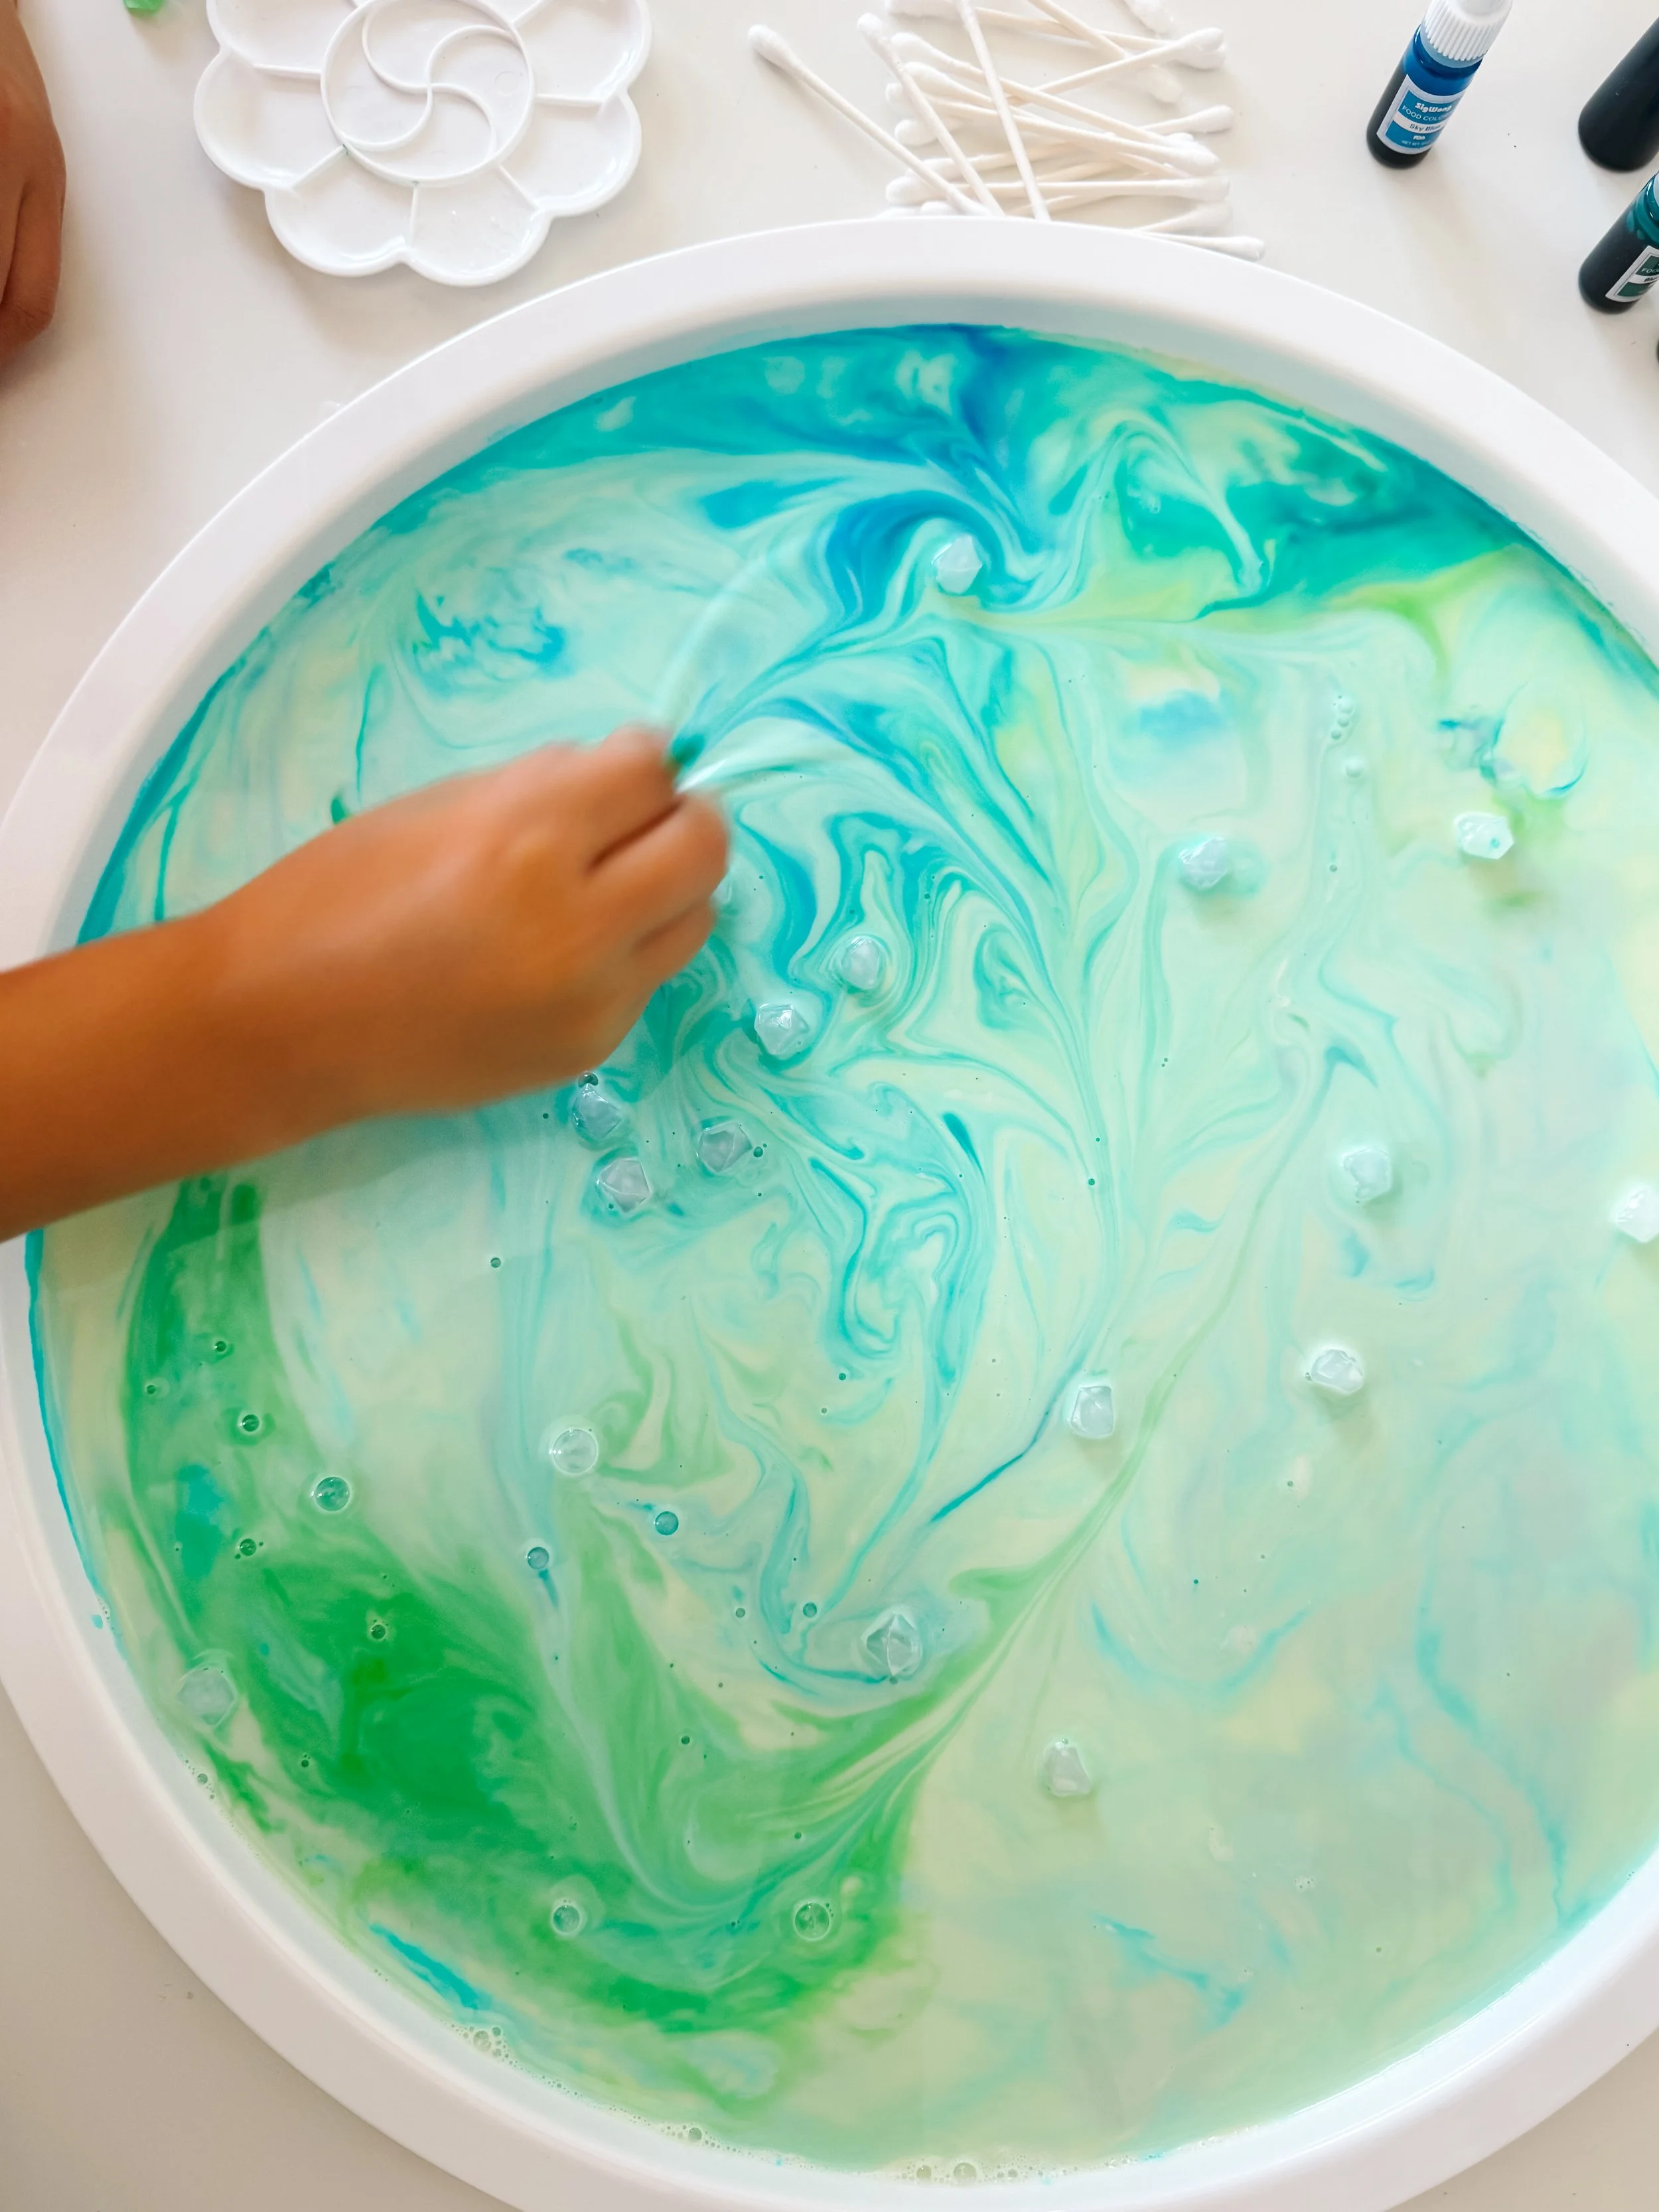
Study the finished aurora
Step back and look at the entire tray as a piece of process art.
Which area looks brightest? Where do the “lights” look like curtains? Can your child find a spiral, wave, animal, mountain, or face hidden in the patterns?
Photograph the final design before cleanup, then use it as inspiration for an aurora painting or drawing.
Parent tip
The activity is most visually dramatic when children touch rather than stir. Let them observe the first several reactions carefully before giving them permission to mix freely at the end.
Why does Magic Milk move?
Milk is made mostly of water, but it also contains fat, protein, sugars, vitamins, and minerals.
Dish soap has molecules that interact with water and fat. When it touches the milk, it reduces surface tension and begins moving through the liquid as it interacts with the fat.
Food coloring makes that otherwise invisible motion easy to see. The coloring is carried into swirls and currents as the soap spreads.
The experiment is not a model of the exact physics that creates an aurora. Instead, it is a visual analogy that helps children imagine flowing, shifting ribbons of light while they investigate a real interaction between household materials.
Northern Lights facts for kids
Auroras happen near both poles
Northern auroras are called aurora borealis. Southern auroras are called aurora australis.
The Sun helps create them
Auroras begin with charged particles carried away from the Sun in the solar wind.
Earth acts like a giant magnet
Earth’s magnetic field helps direct many charged particles toward its polar regions.
Green is the most common color
The familiar pale-green glow is produced when energized oxygen atoms emit light.
Auroras occur high above us
They form in the upper atmosphere, far above normal clouds and weather.
Other planets have auroras
Scientists have observed auroras on planets including Jupiter and Saturn.
Turn this into a Northern Lights unit study
Science
Learn about the Sun, solar wind, Earth’s atmosphere, magnets, charged particles, and light.
Geography
Find the Arctic Circle and countries where families may see the northern lights on a globe or map.
Art
Paint aurora ribbons on black paper with watercolor, chalk pastel, sponges, or diluted paint.
Literacy
Read a picture book, collect descriptive words, and write or dictate a story set beneath an aurora.
Movement
Use ribbons or scarves to move like slow, dancing lights across the night sky.
Technology
Look at a current NOAA aurora forecast and discuss how scientists use observations and models to predict space weather.
Northern Lights books for kids
Pairing the experiment with a picture book helps children connect the scientific explanation with the wonder of seeing the aurora.
The Lights That Dance in the Night
Yuval Zommer’s lyrical picture book follows the northern lights across the Arctic and celebrates the animals and people beneath their glow. A beautiful choice for ages three to seven.
View book on AmazonAurora: A Tale of the Northern Lights
Mindy Dwyer combines an imaginative Arctic story with rich artwork and a child’s search for courage and color.
View book on AmazonSeeking an Aurora
A father and child head into a quiet winter night in search of the aurora. This gentle story captures anticipation, patience, and wonder.
View book on AmazonA Search for the Northern Lights
Elizabeth and Izzi Rusch blend family adventure with accessible science as a mother and child travel in search of the lights.
View book on AmazonLearning skills
Scientific observation
Prediction
Cause and effect
Surface tension
Color mixing
Earth science
Space science
Geography
Descriptive language
Fine motor skills
Creative expression
Questions to ask kids
- What do you predict will happen when the soap touches the milk?
- Which color begins moving first?
- Do the colors move in straight lines, waves, circles, or spirals?
- What does the pattern remind you of?
- Why do you think auroras are often visible near Earth’s poles?
- What does Earth’s magnetic field do?
- Which gas can make an aurora glow green?
- What would it feel like to stand beneath the northern lights?
- Where in the world would you travel to see them?
- What colors would you put in your own imaginary aurora?
Northern Lights vocabulary
Aurora
Aurora borealis
Aurora australis
Solar wind
Charged particle
Magnetic field
Magnetosphere
Atmosphere
Oxygen
Nitrogen
Arctic
Antarctic
Latitude
Glow
Shimmer
More ways to extend the learning
Aurora chalk art
Blend green, blue, purple, and pink chalk across black paper, then add white stars with a paint pen.
Magnet investigation
Test which household objects are attracted to a magnet and discuss Earth’s invisible magnetic field.
Arctic sensory bin
Add faux snow, ice, Arctic animals, scoops, and cool-colored gems for small-world exploration.
Aurora movement activity
Dim the lights and move green and blue scarves slowly like ribbons dancing through the night sky.
Compare the two poles
Locate the Arctic and Antarctica and compare their land, oceans, animals, temperatures, and aurora names.
Check the aurora forecast
Visit NOAA’s aurora forecast with an adult and look for the colored oval around the magnetic poles.
See NOAA’s forecastMore GoodnightFox science activities
Rainbow Magic Milk
Explore a full spectrum of color while watching the same milk-and-soap reaction unfold.
Try Rainbow Magic MilkSunset Magic Milk
Use orange, pink, and yellow to explore warm colors and sunset-inspired color mixing.
Try Sunset Magic MilkFireworks Magic Milk
Arrange red and blue coloring around a cotton round to create an explosion-like reaction.
Try Fireworks Magic MilkUnicorn Magic Milk
Make pink and purple colors swirl around reusable unicorn charms for magical science play.
Try Unicorn Magic MilkLearn more about auroras
These family-friendly science resources explain auroras, their colors, and how particles from the Sun interact with Earth:
Northern Lights FAQ
What causes the northern lights?
Charged particles from the Sun interact with Earth’s magnetic field and are directed toward polar regions. When the particles collide with gases in the upper atmosphere, those gases release visible light.
Why are the northern lights usually green?
Green is commonly produced when energized atomic oxygen releases light in Earth’s upper atmosphere. It is the color people most frequently associate with auroras.
Can the northern lights be purple, blue, pink, or red?
Yes. Oxygen can produce green and red light, while nitrogen contributes blue and purple. Overlapping emissions can create pink and mixed-color displays.
What is the difference between aurora borealis and aurora australis?
Aurora borealis is the name for northern lights near the Arctic. Aurora australis is the name for southern lights near Antarctica.
Where is the best place to see the northern lights?
They are most commonly visible in high-latitude regions such as Alaska, northern Canada, Greenland, Iceland, Scandinavia, and northern Russia. A dark, clear sky away from bright city lights is important.
Can you see the northern lights during the day?
Auroral activity can occur while the Sun is up, but daylight overwhelms its faint glow. People need a dark sky to see it clearly.
Do other planets have auroras?
Yes. Scientists have observed auroras on several planets, including Jupiter and Saturn. Their appearances differ because the planets have different atmospheres and magnetic environments.
How does the Magic Milk experiment relate to the northern lights?
Magic Milk does not recreate the physics of a real aurora. It creates visible moving ribbons and swirls that offer children a memorable visual analogy while they investigate surface tension and the interaction between soap and milk.
Why does whole milk work best for Magic Milk?
Whole milk contains more fat than lower-fat milk. Since dish soap interacts with the fat, whole milk often creates a stronger and longer-lasting visible reaction.
Is Northern Lights Magic Milk taste-safe?
No. Dish soap is not edible. This activity should be treated as a closely supervised science experiment rather than food or taste-safe sensory play.
Avocado Growing
How to Grow an Avocado Seed with Kids
Turn avocado pits into a slow-growing science experiment kids can observe every day using the classic toothpick method or a clear avocado-growing jar.
Age3+ with help
Setup15 minutes
Sprouting2–8+ weeks
Mess★☆☆☆☆
SkillsBotany + observation
We never planned to become avocado collectors
It started during our neighborhood walks.
Sofia began noticing avocado trees growing in yards around our neighborhood. Whenever we spotted fruit hanging from a tree, she wanted to stop and look at it. She wondered how something so large and leafy could begin with the smooth brown pit we usually tossed into the compost.
Before long, we had accumulated an assortment of avocado seeds. Some came from locally grown avocados we were given permission to collect. Others came from ordinary grocery-store avocados we used for lunch.
Each seed looked a little different. Some were perfectly round. Others were tall and pointed. A few were pale, while others had dark brown skins that began peeling away as we washed them.
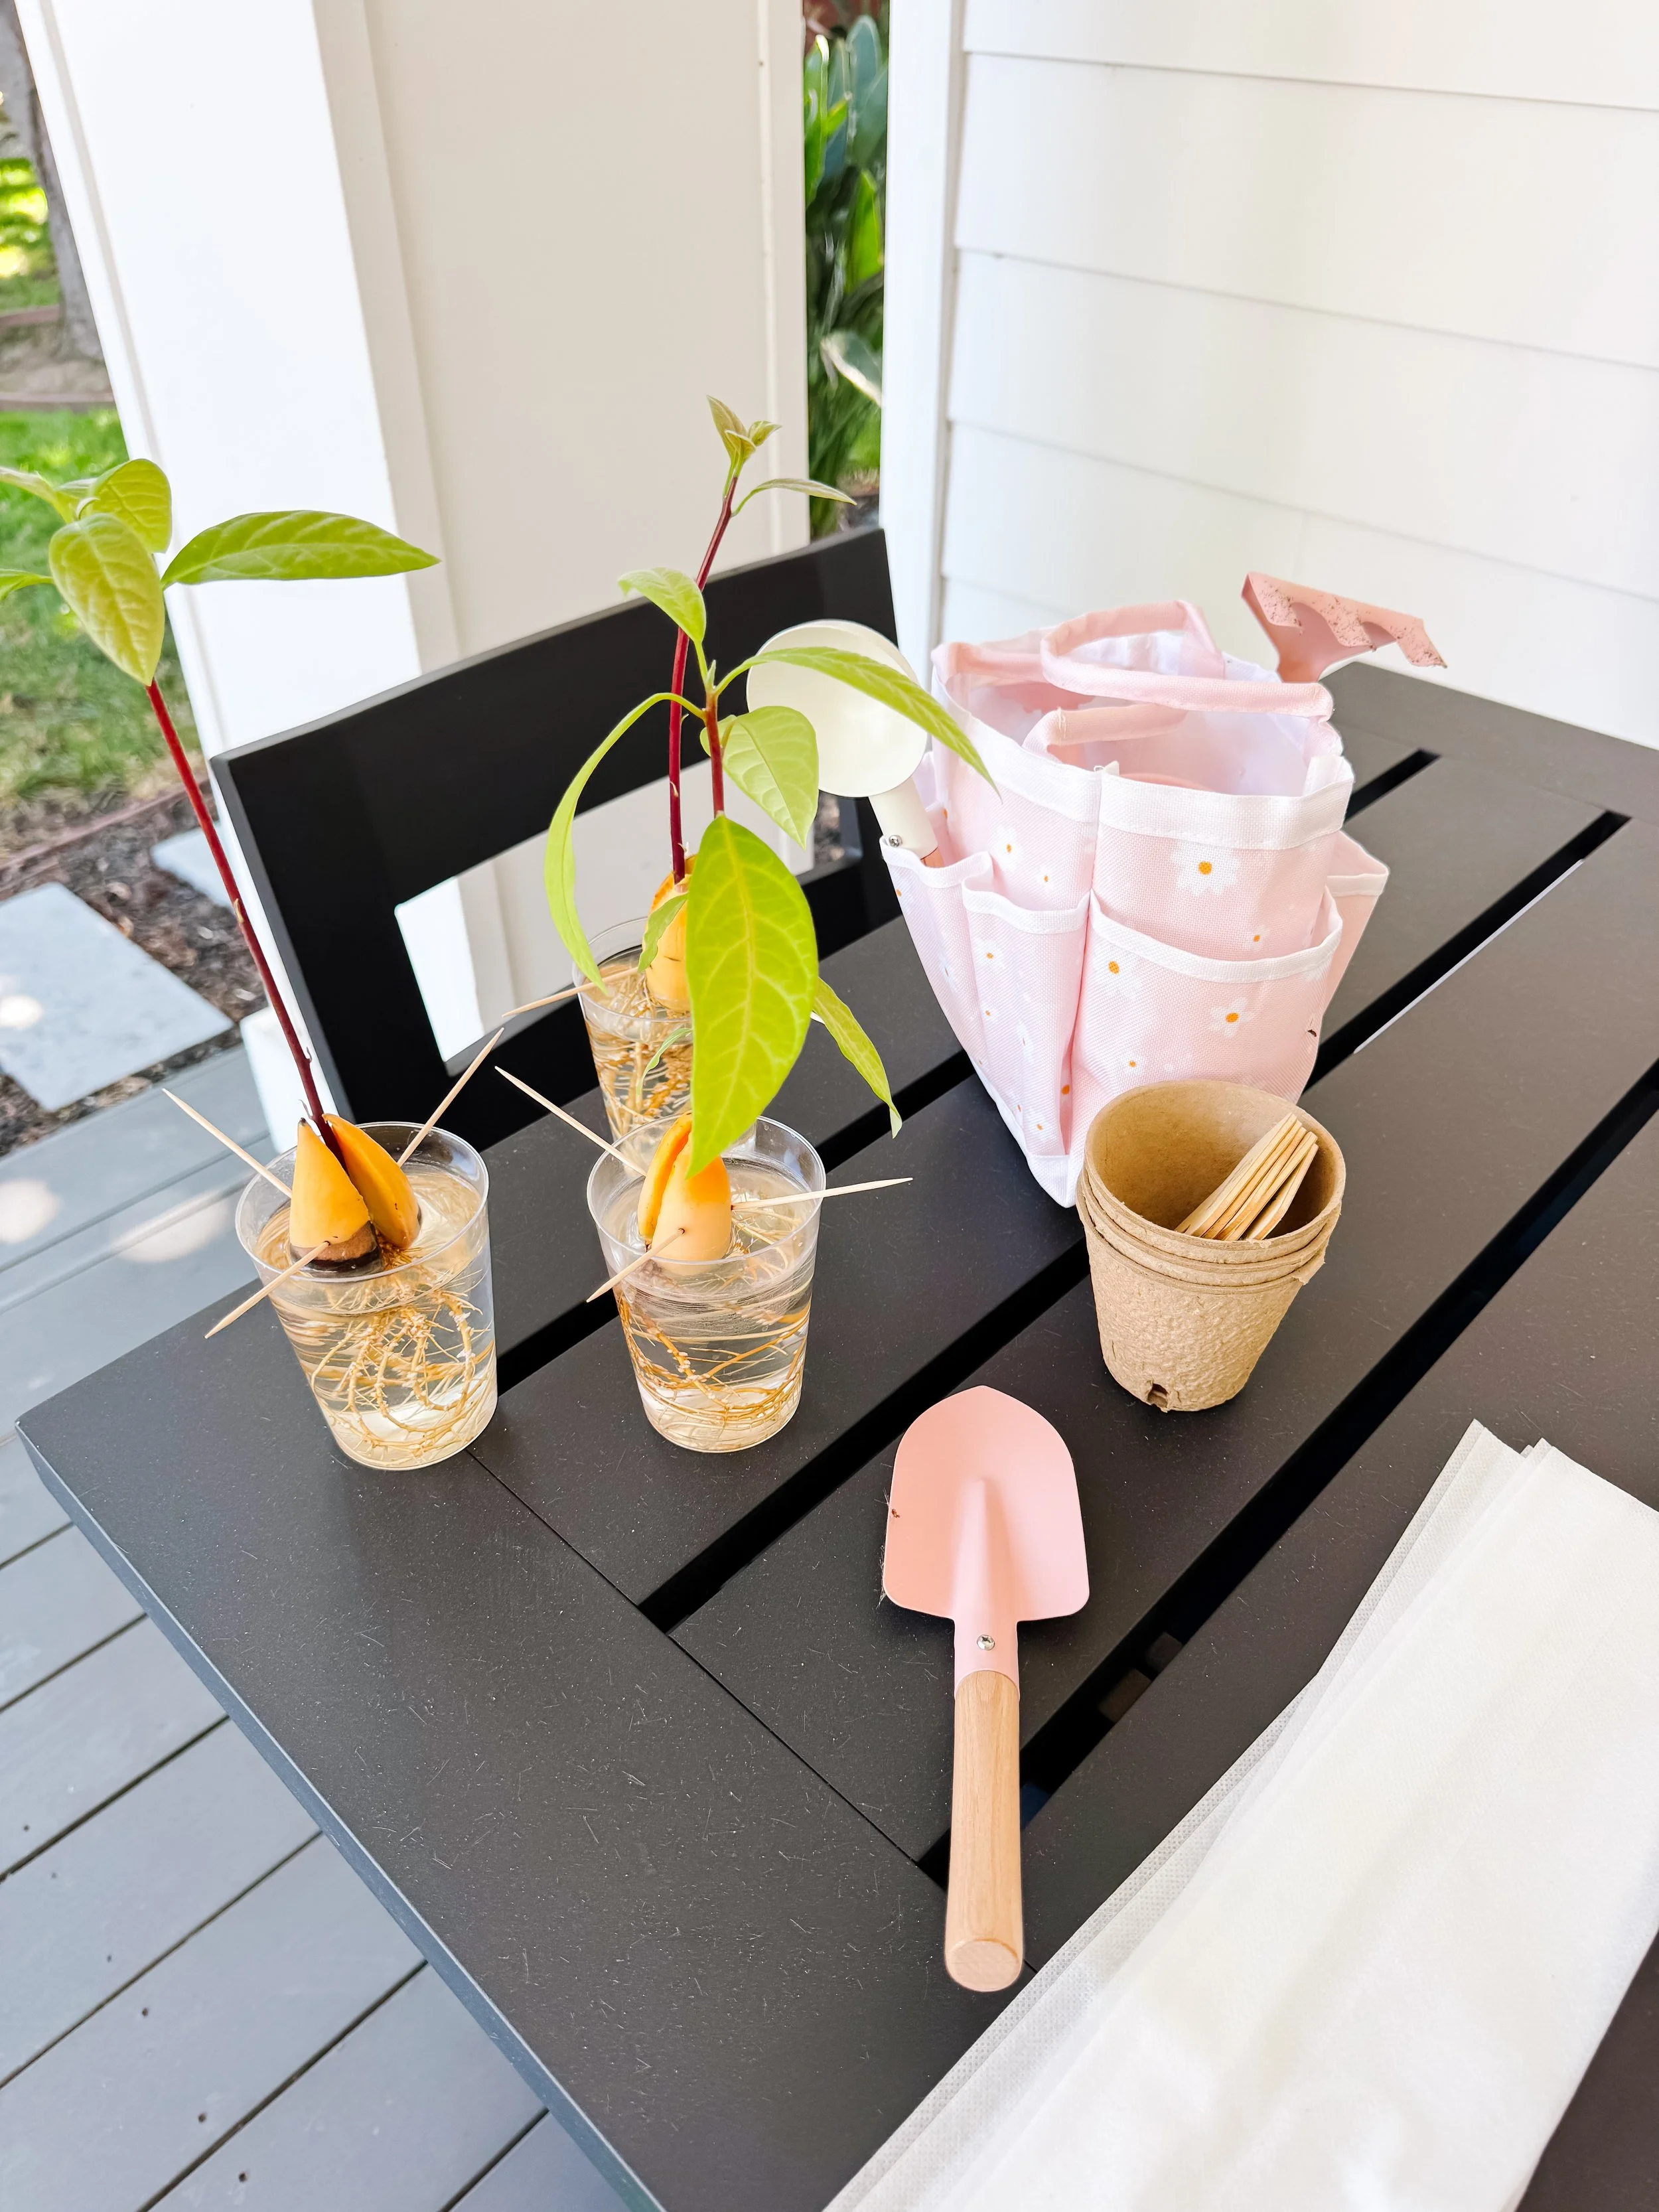
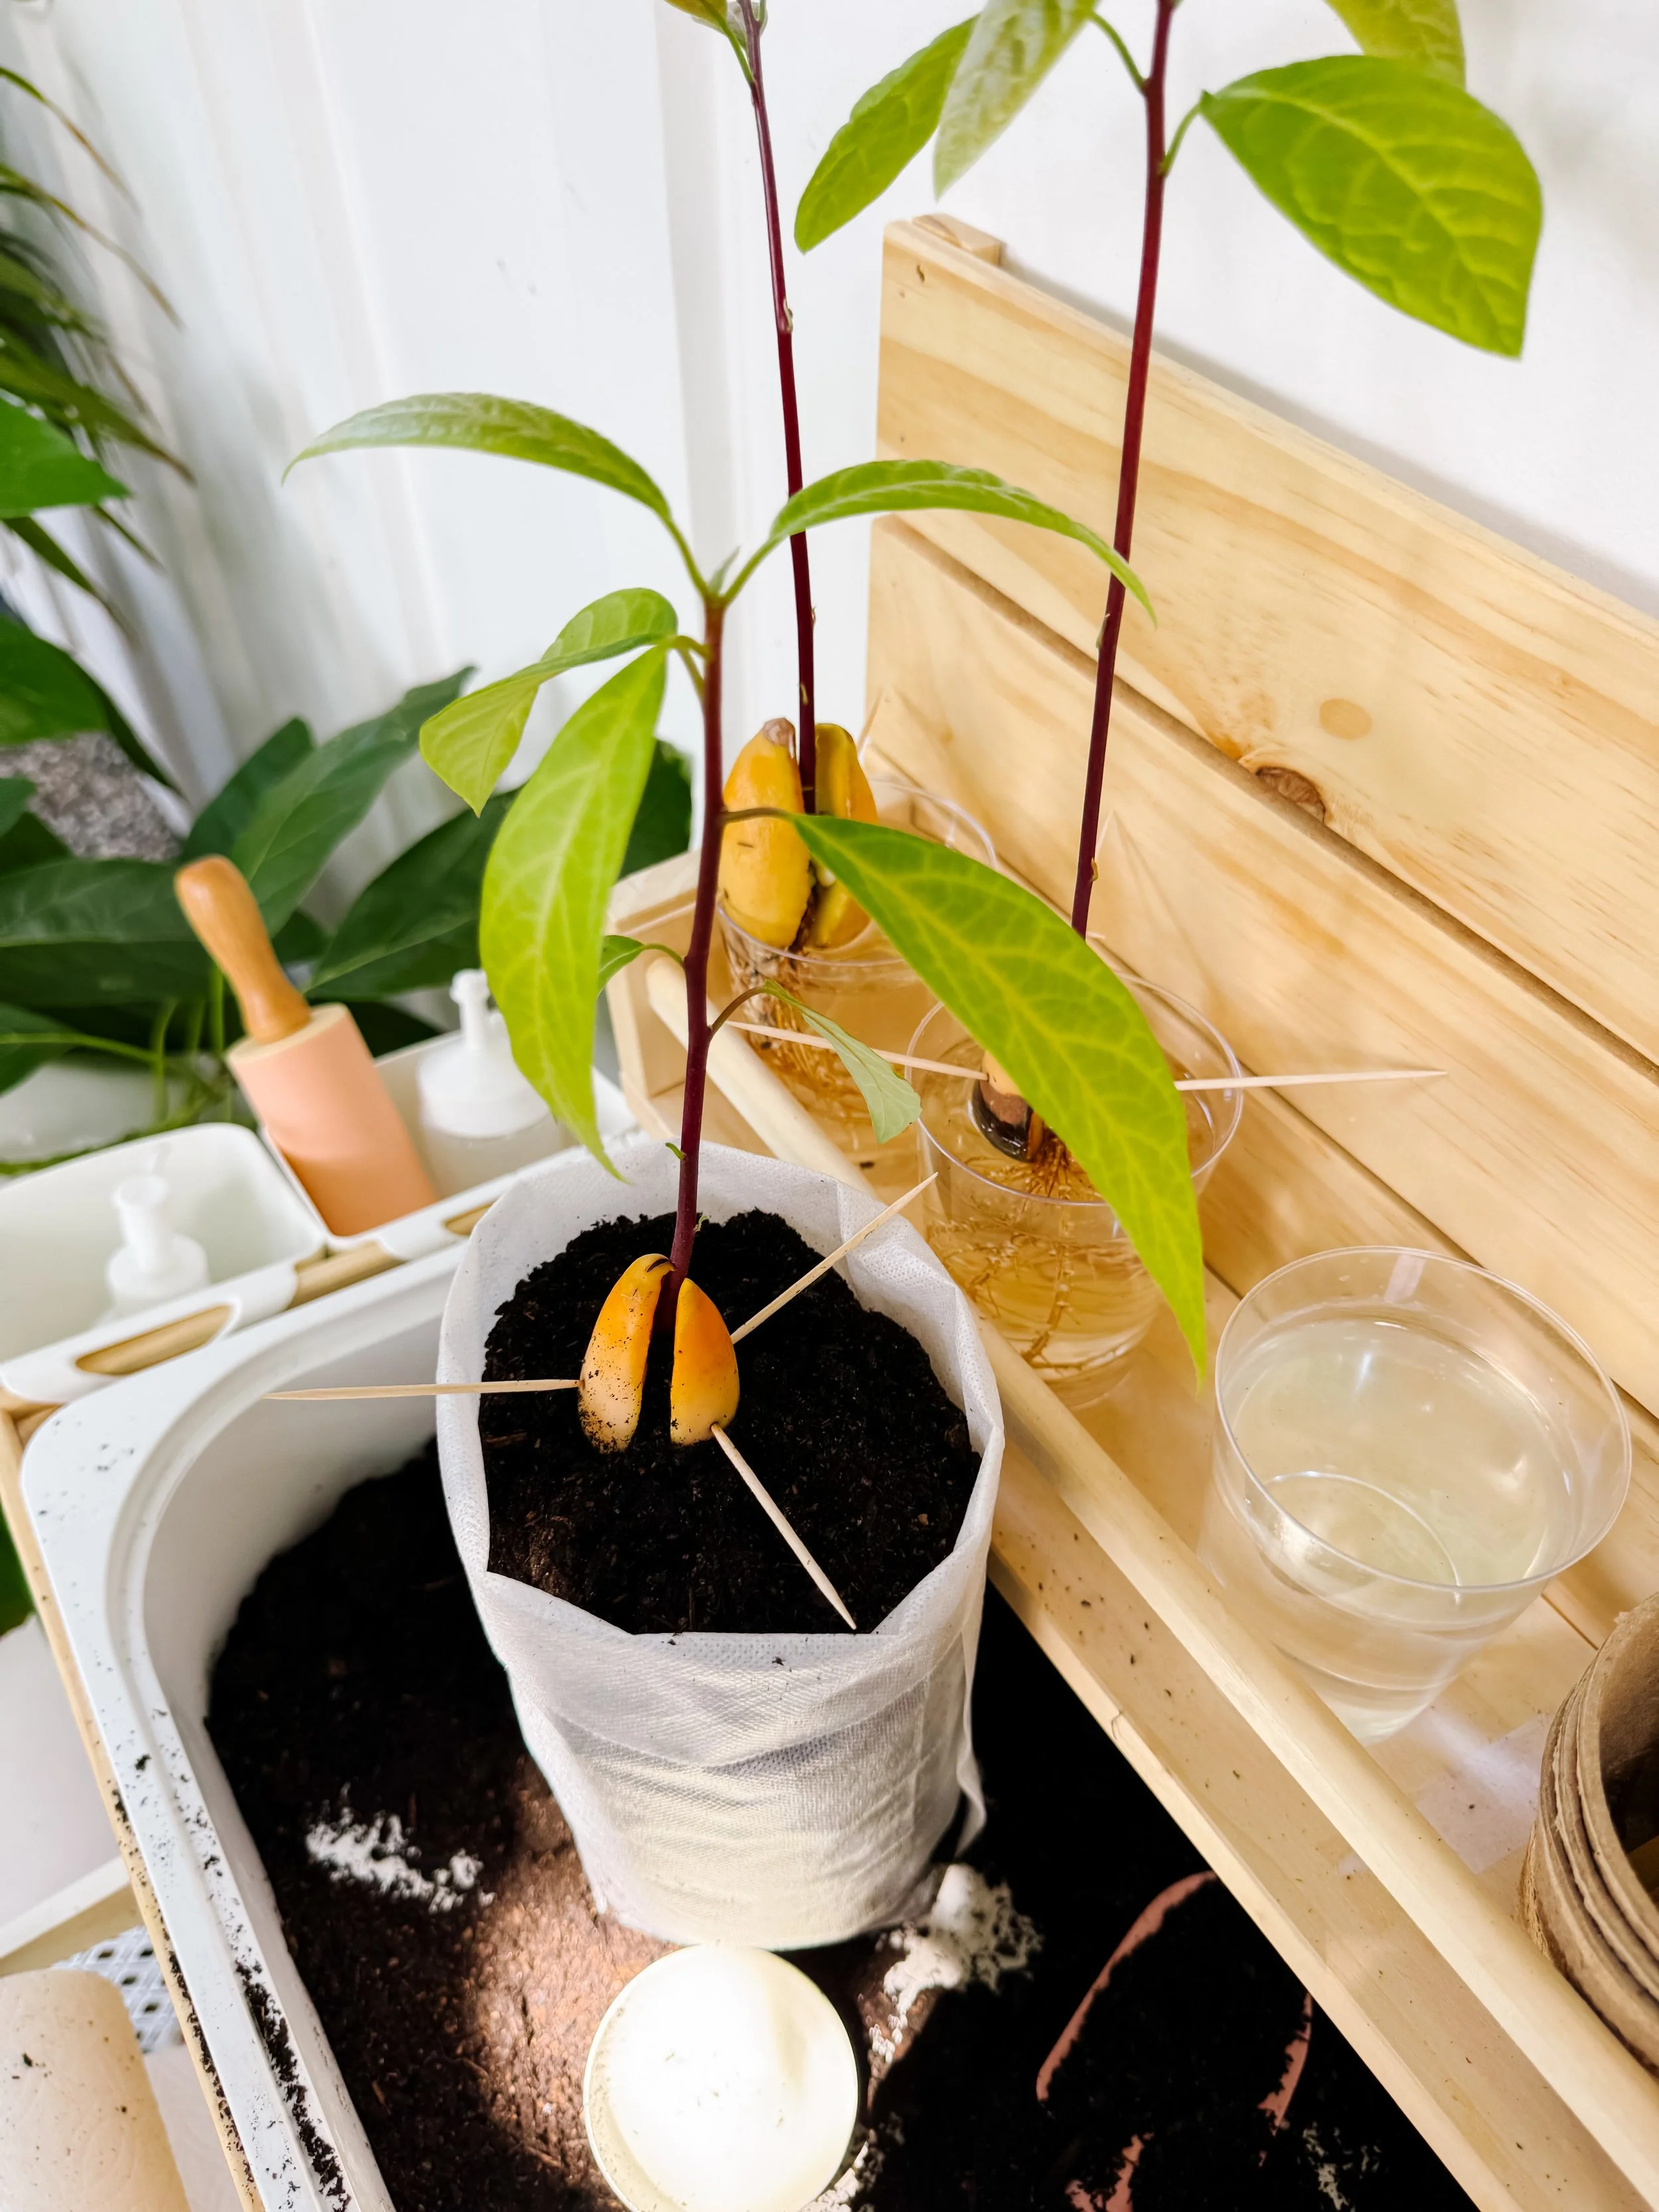
We brought them home, lined up our jars and decided to test two ways of growing them: the classic toothpick method and special avocado-growing glasses that hold the seed above the water without toothpicks.
Then came the hardest part: waiting.
Every morning Sofia checked the jars. For days, it looked as though absolutely nothing was happening. Then one seed developed a tiny line. The line became a crack. The crack widened until we could see the pale interior of the seed—and eventually, a small white root began reaching toward the water.
Watching an avocado pit sprout may be one of the slowest science experiments we have ever tried. That slowness became part of the magic. It gave us something to notice, measure, predict and talk about for weeks.
What children learn from growing an avocado seed
Growing an avocado pit turns an everyday kitchen scrap into a living plant-science investigation.
Children can watch roots develop before a stem appears, compare seeds from different fruits, record slow changes over time, measure growth and learn that living things do not all grow at the same speed.
It is especially valuable for young children because many of the important changes remain visible through the clear glass.
Plant life cycles
Germination
Roots and shoots
Observation
Prediction
Measuring
Comparing
Patience
Recording data
Nature study
Materials needed
- One or more ripe avocados
- Clean avocado pits
- Clear drinking glasses or jars
- Three or four toothpicks per seed
- Optional avocado-growing glasses or vases
- Fresh water
- Washable marker or labels
- Ruler for measuring roots and stems
- Notebook or printable observation sheet
- Small plant pots or grow bags
- Well-draining potting mix for transplanting
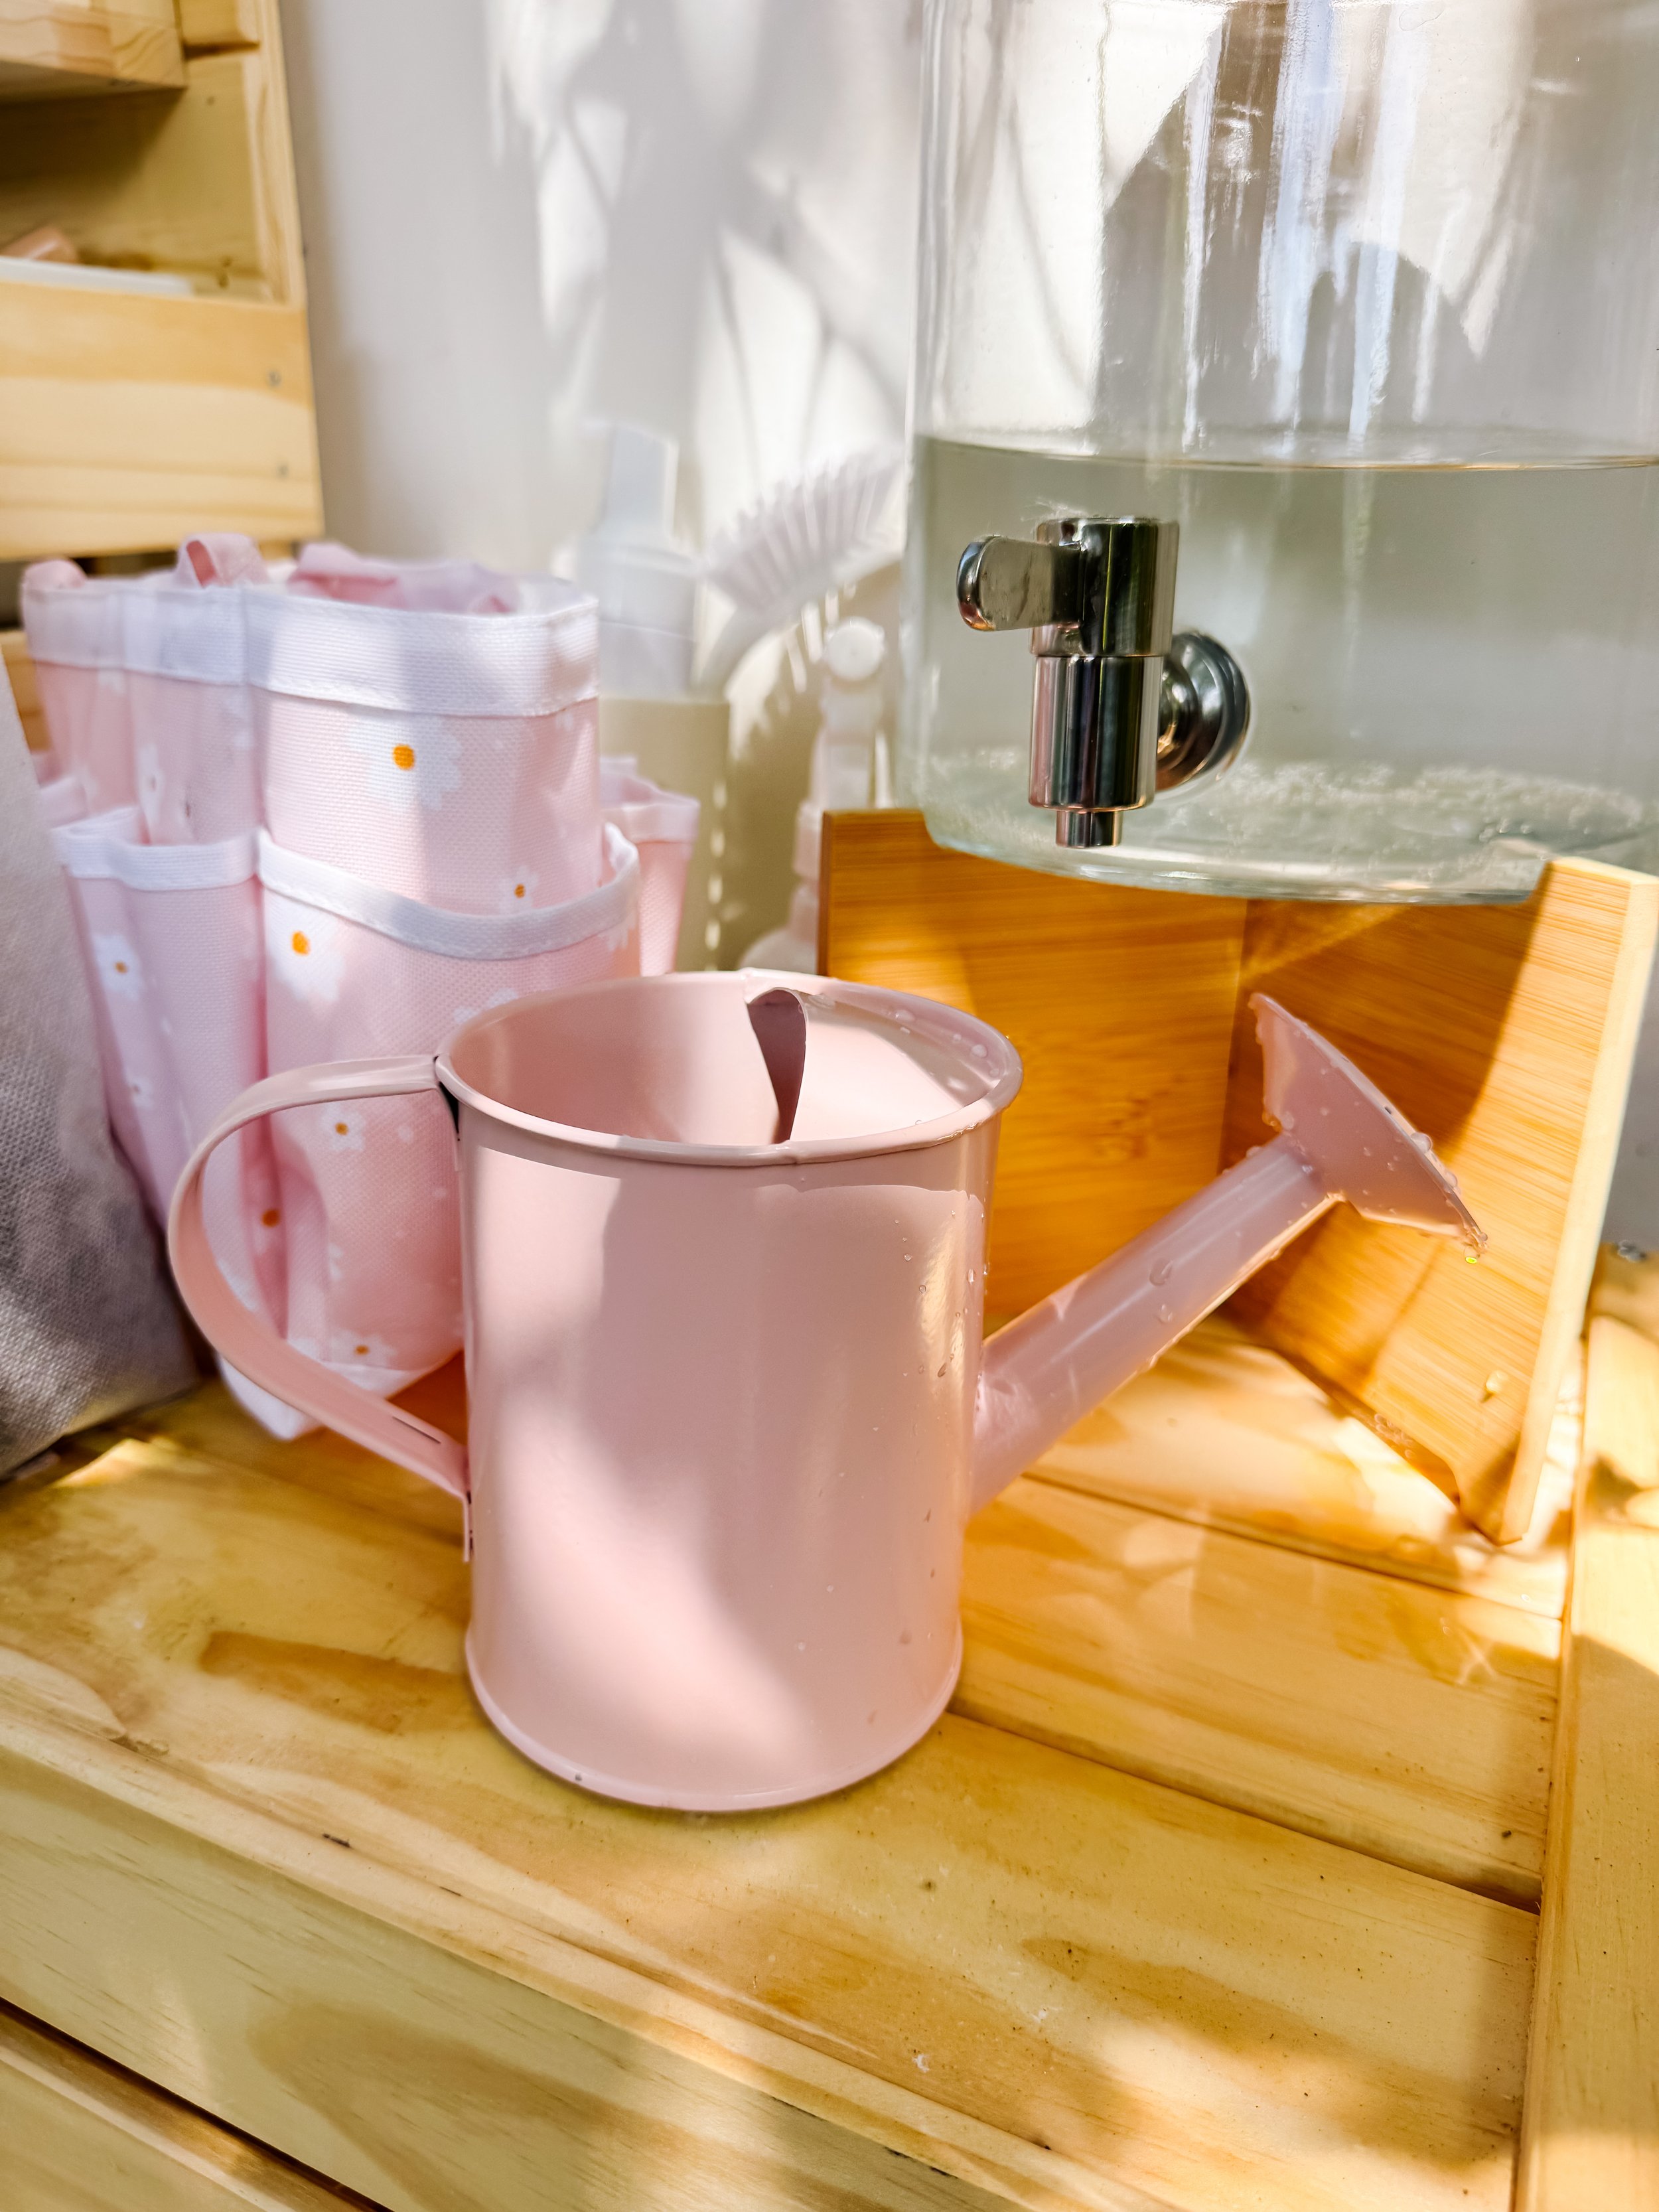
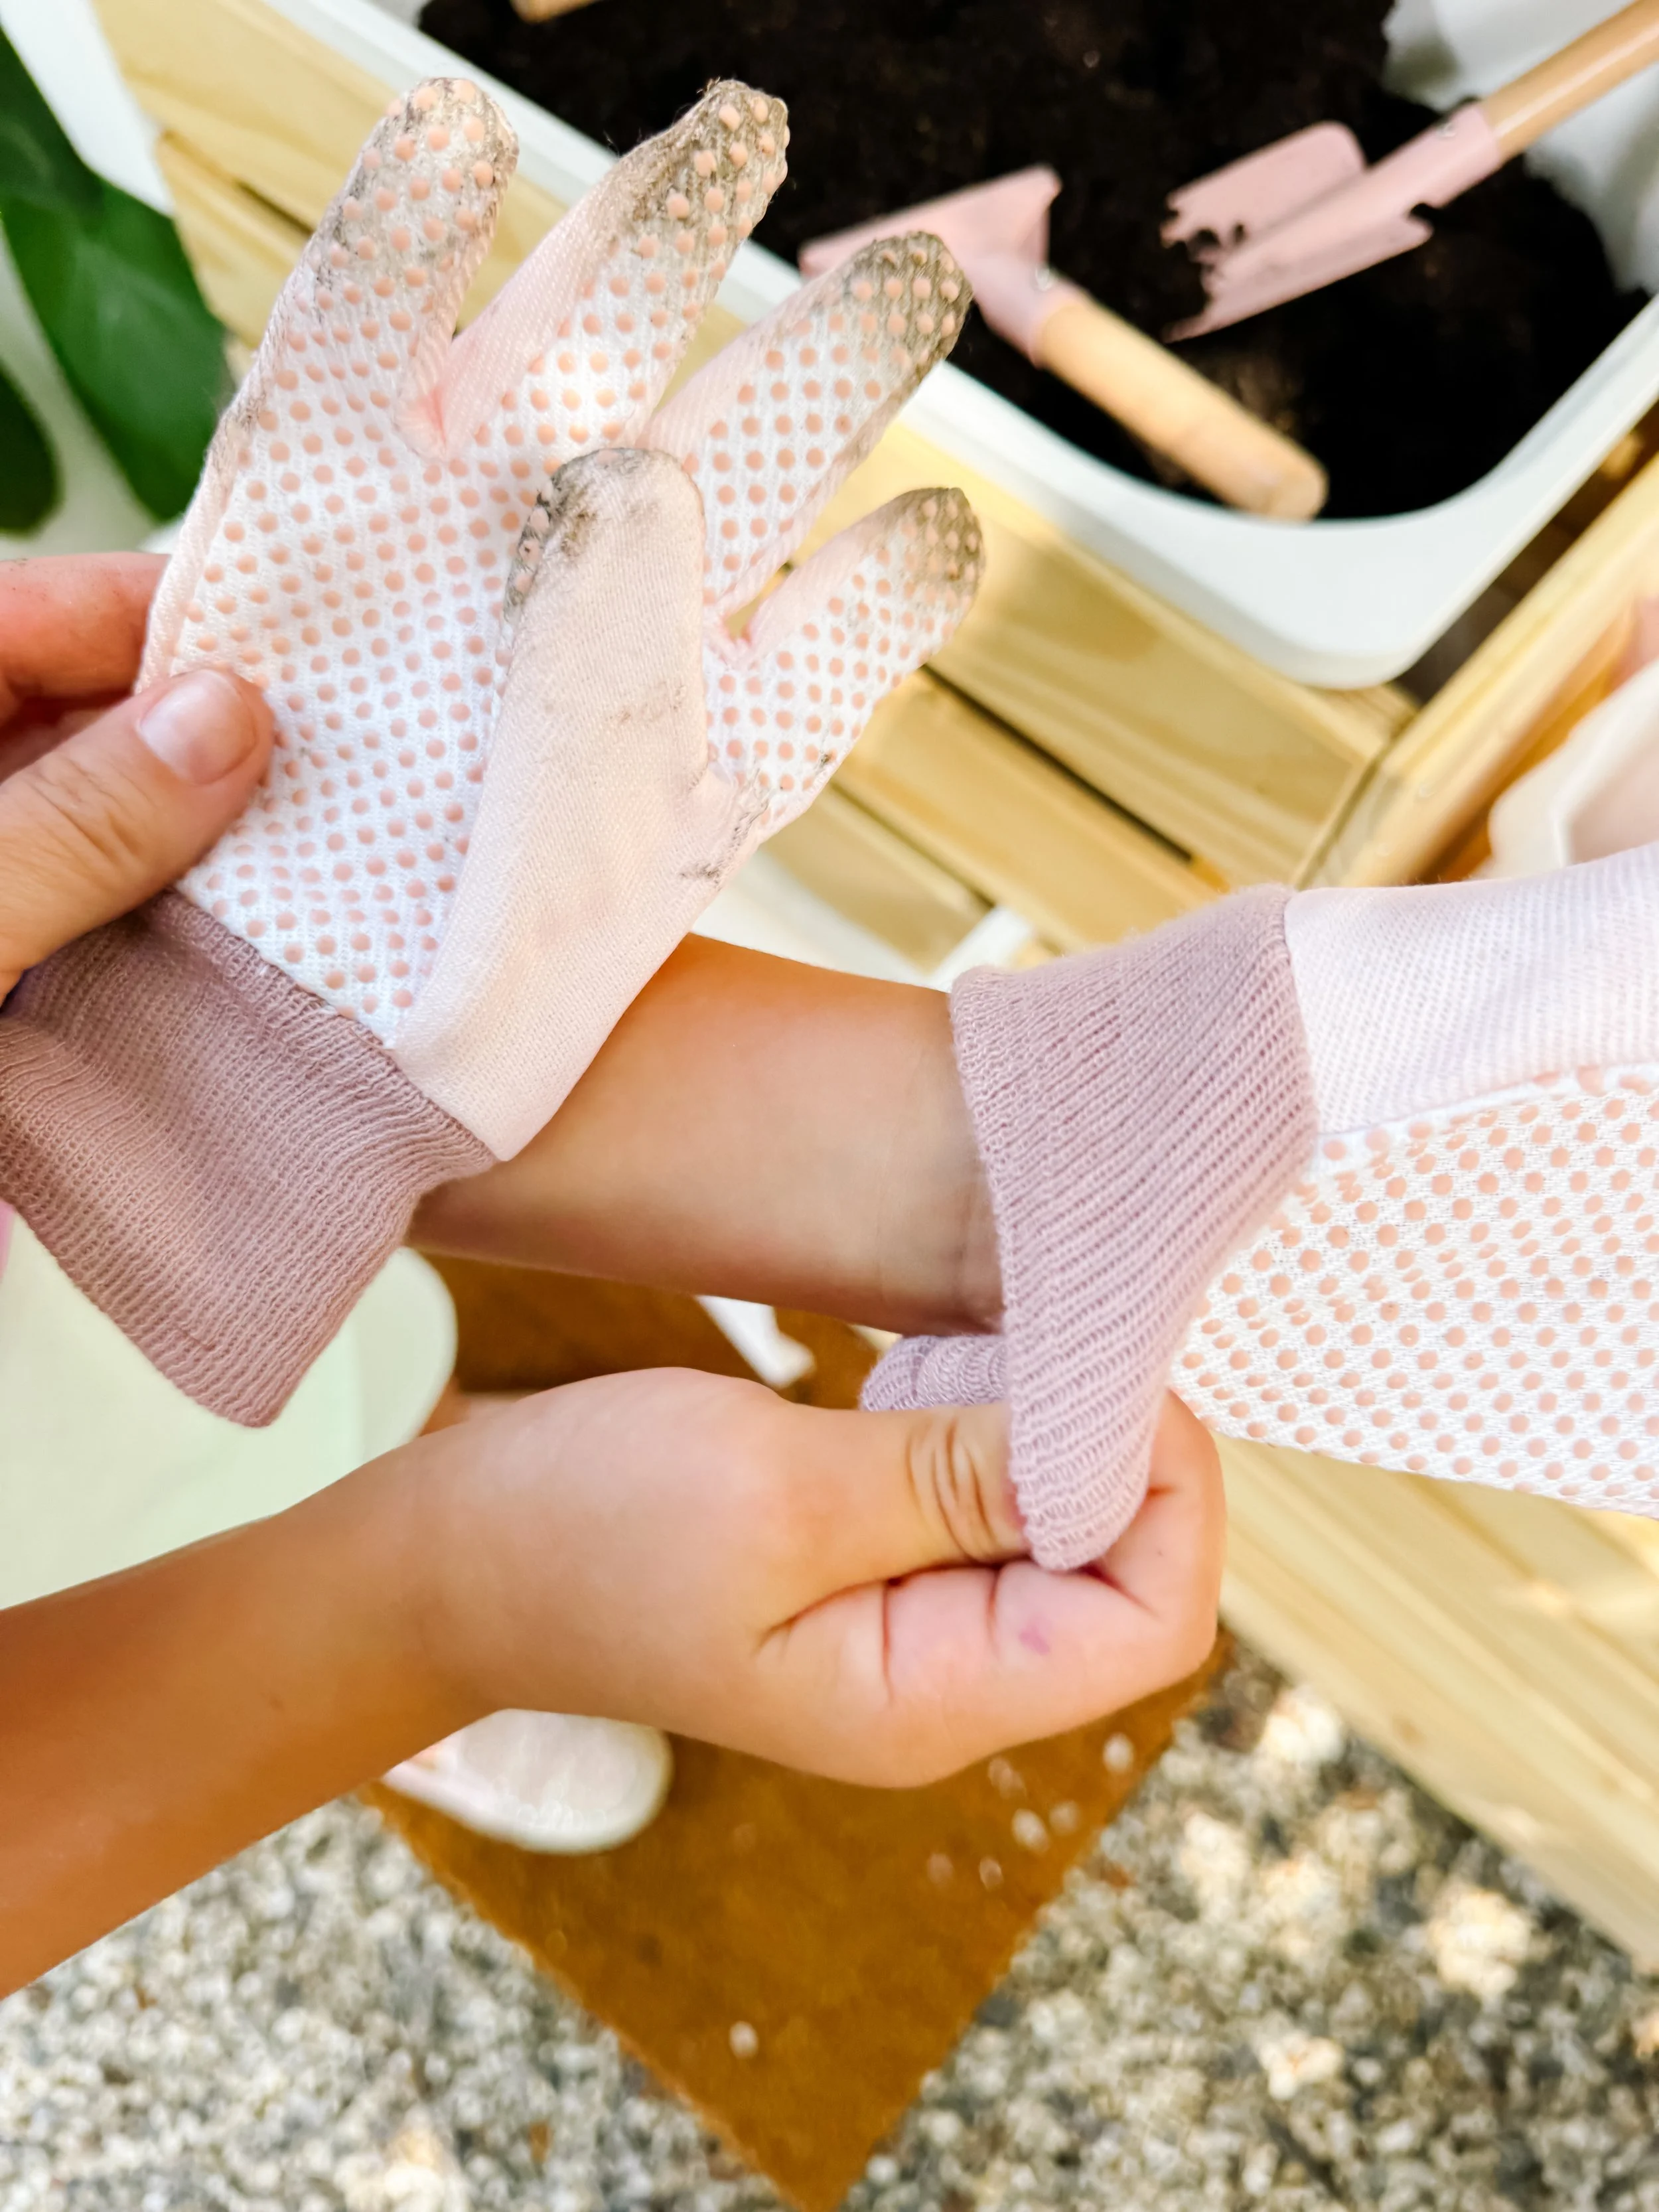
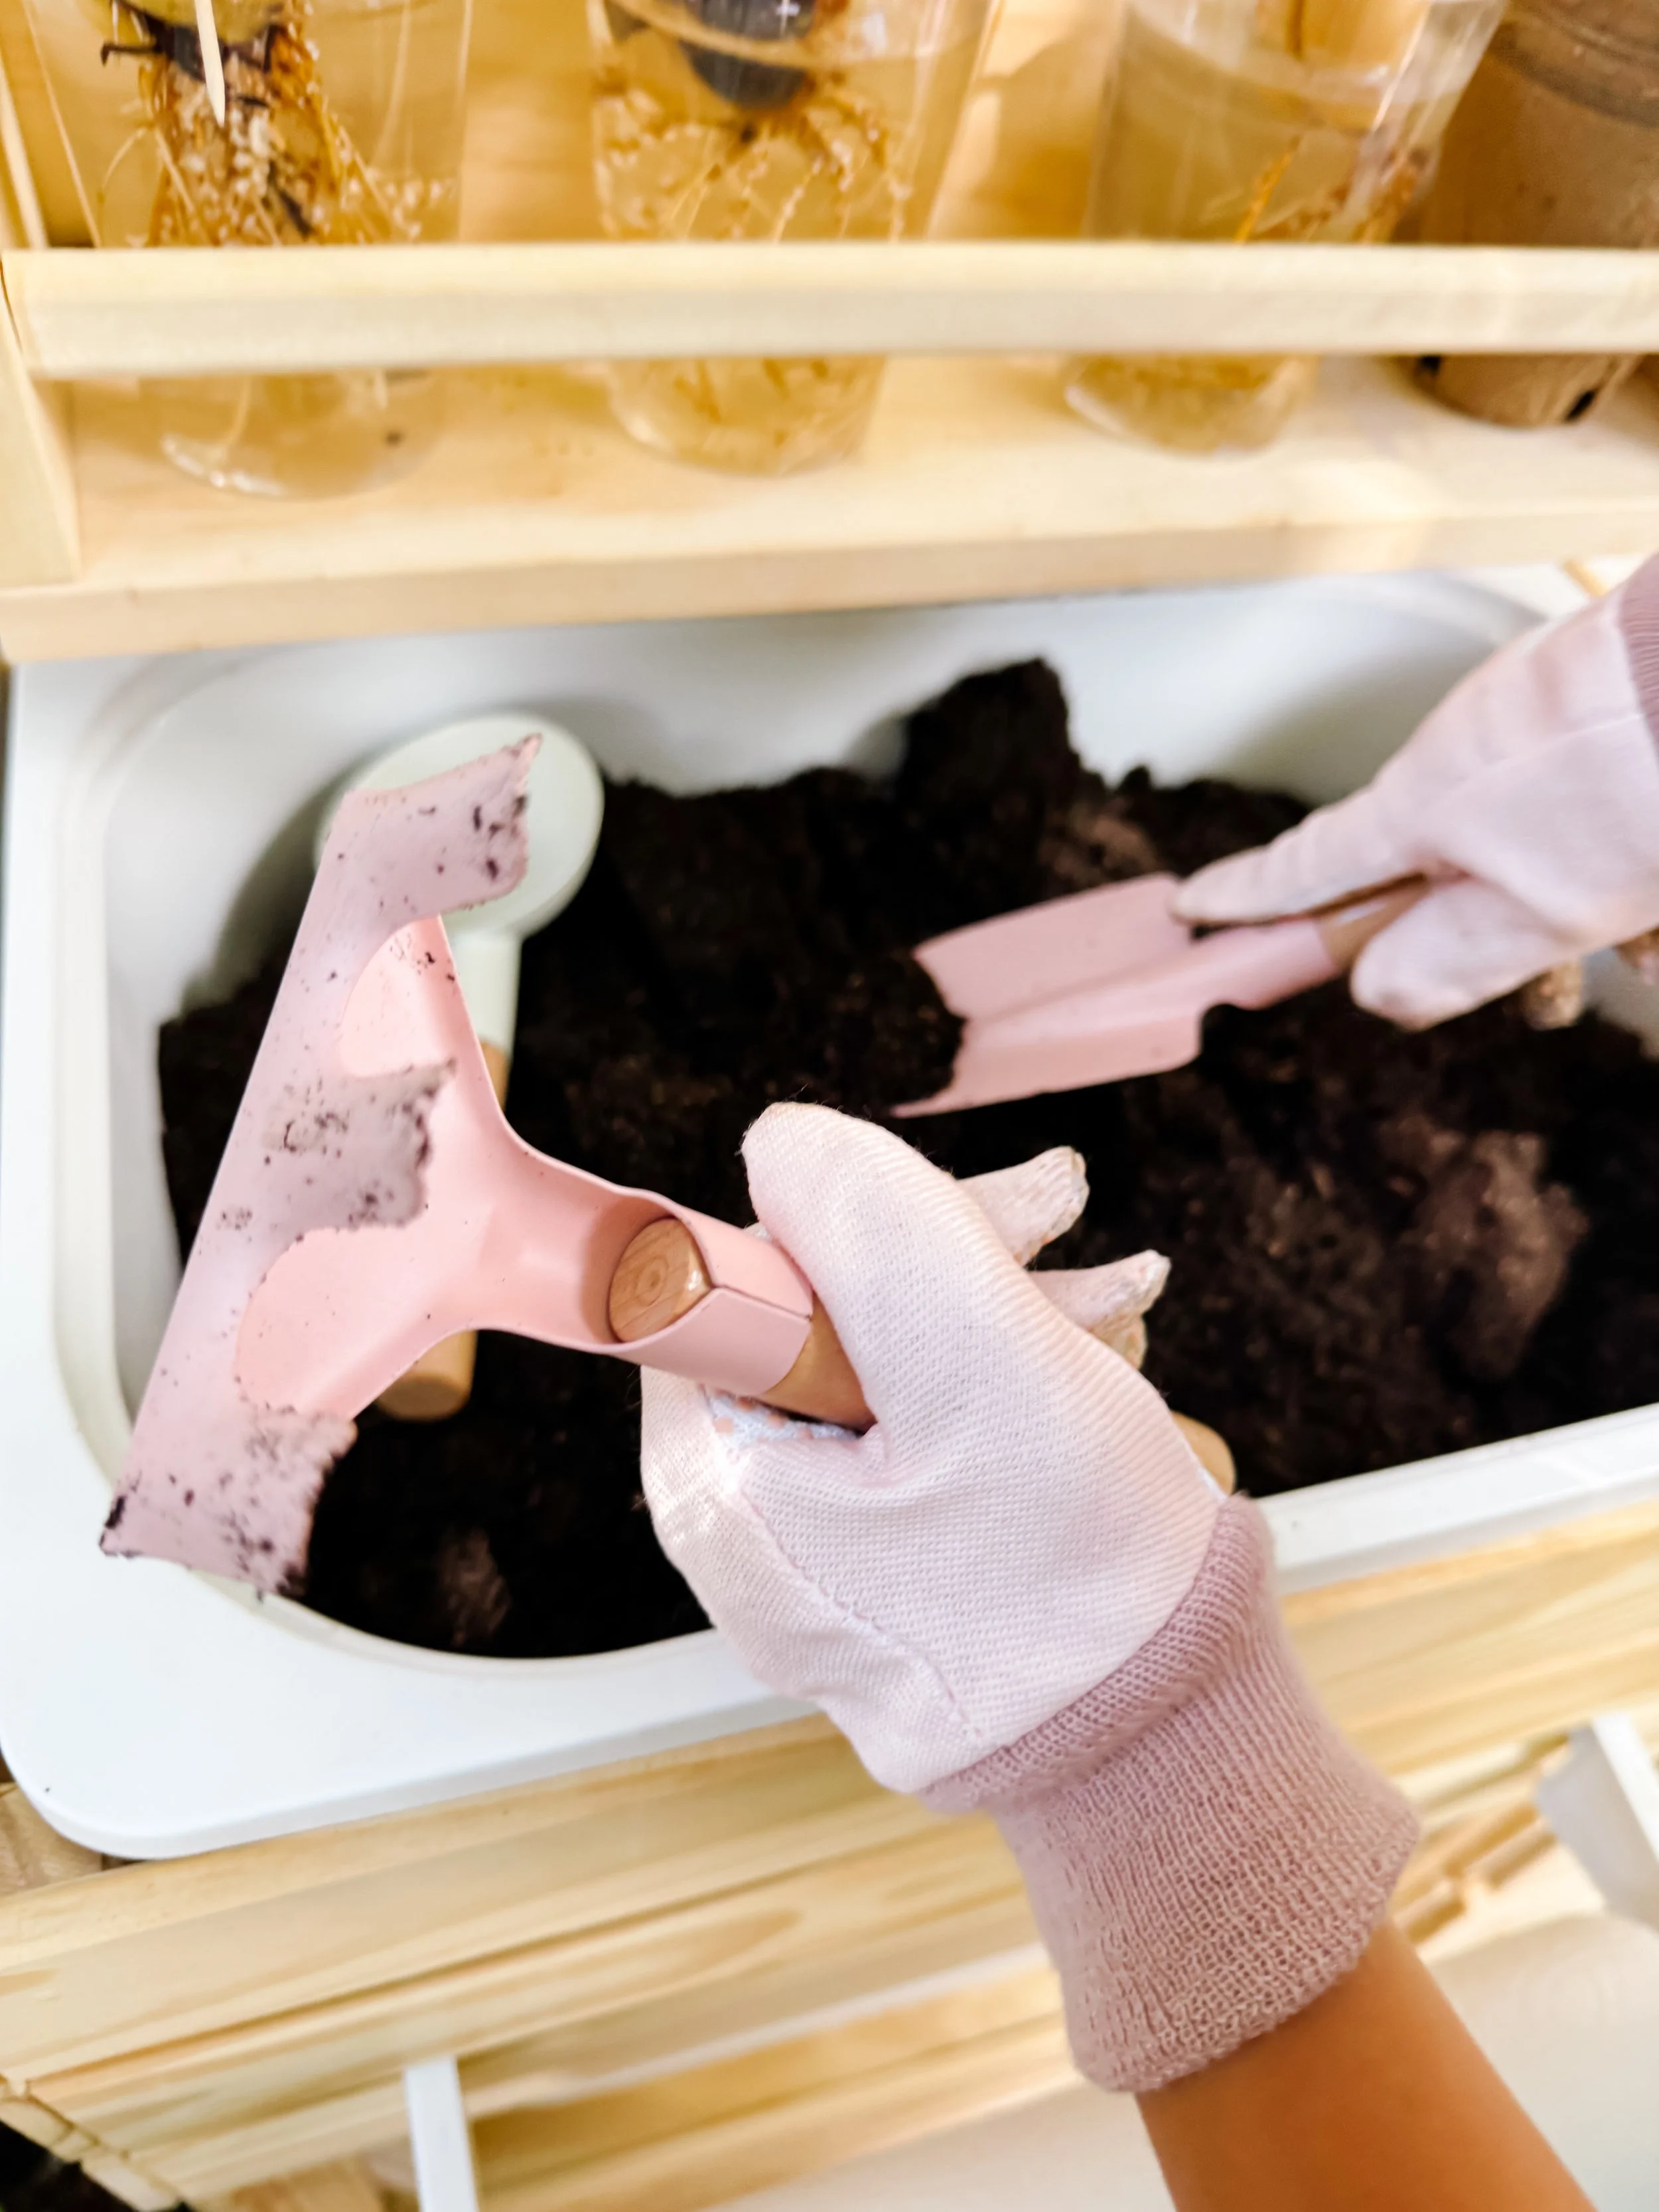
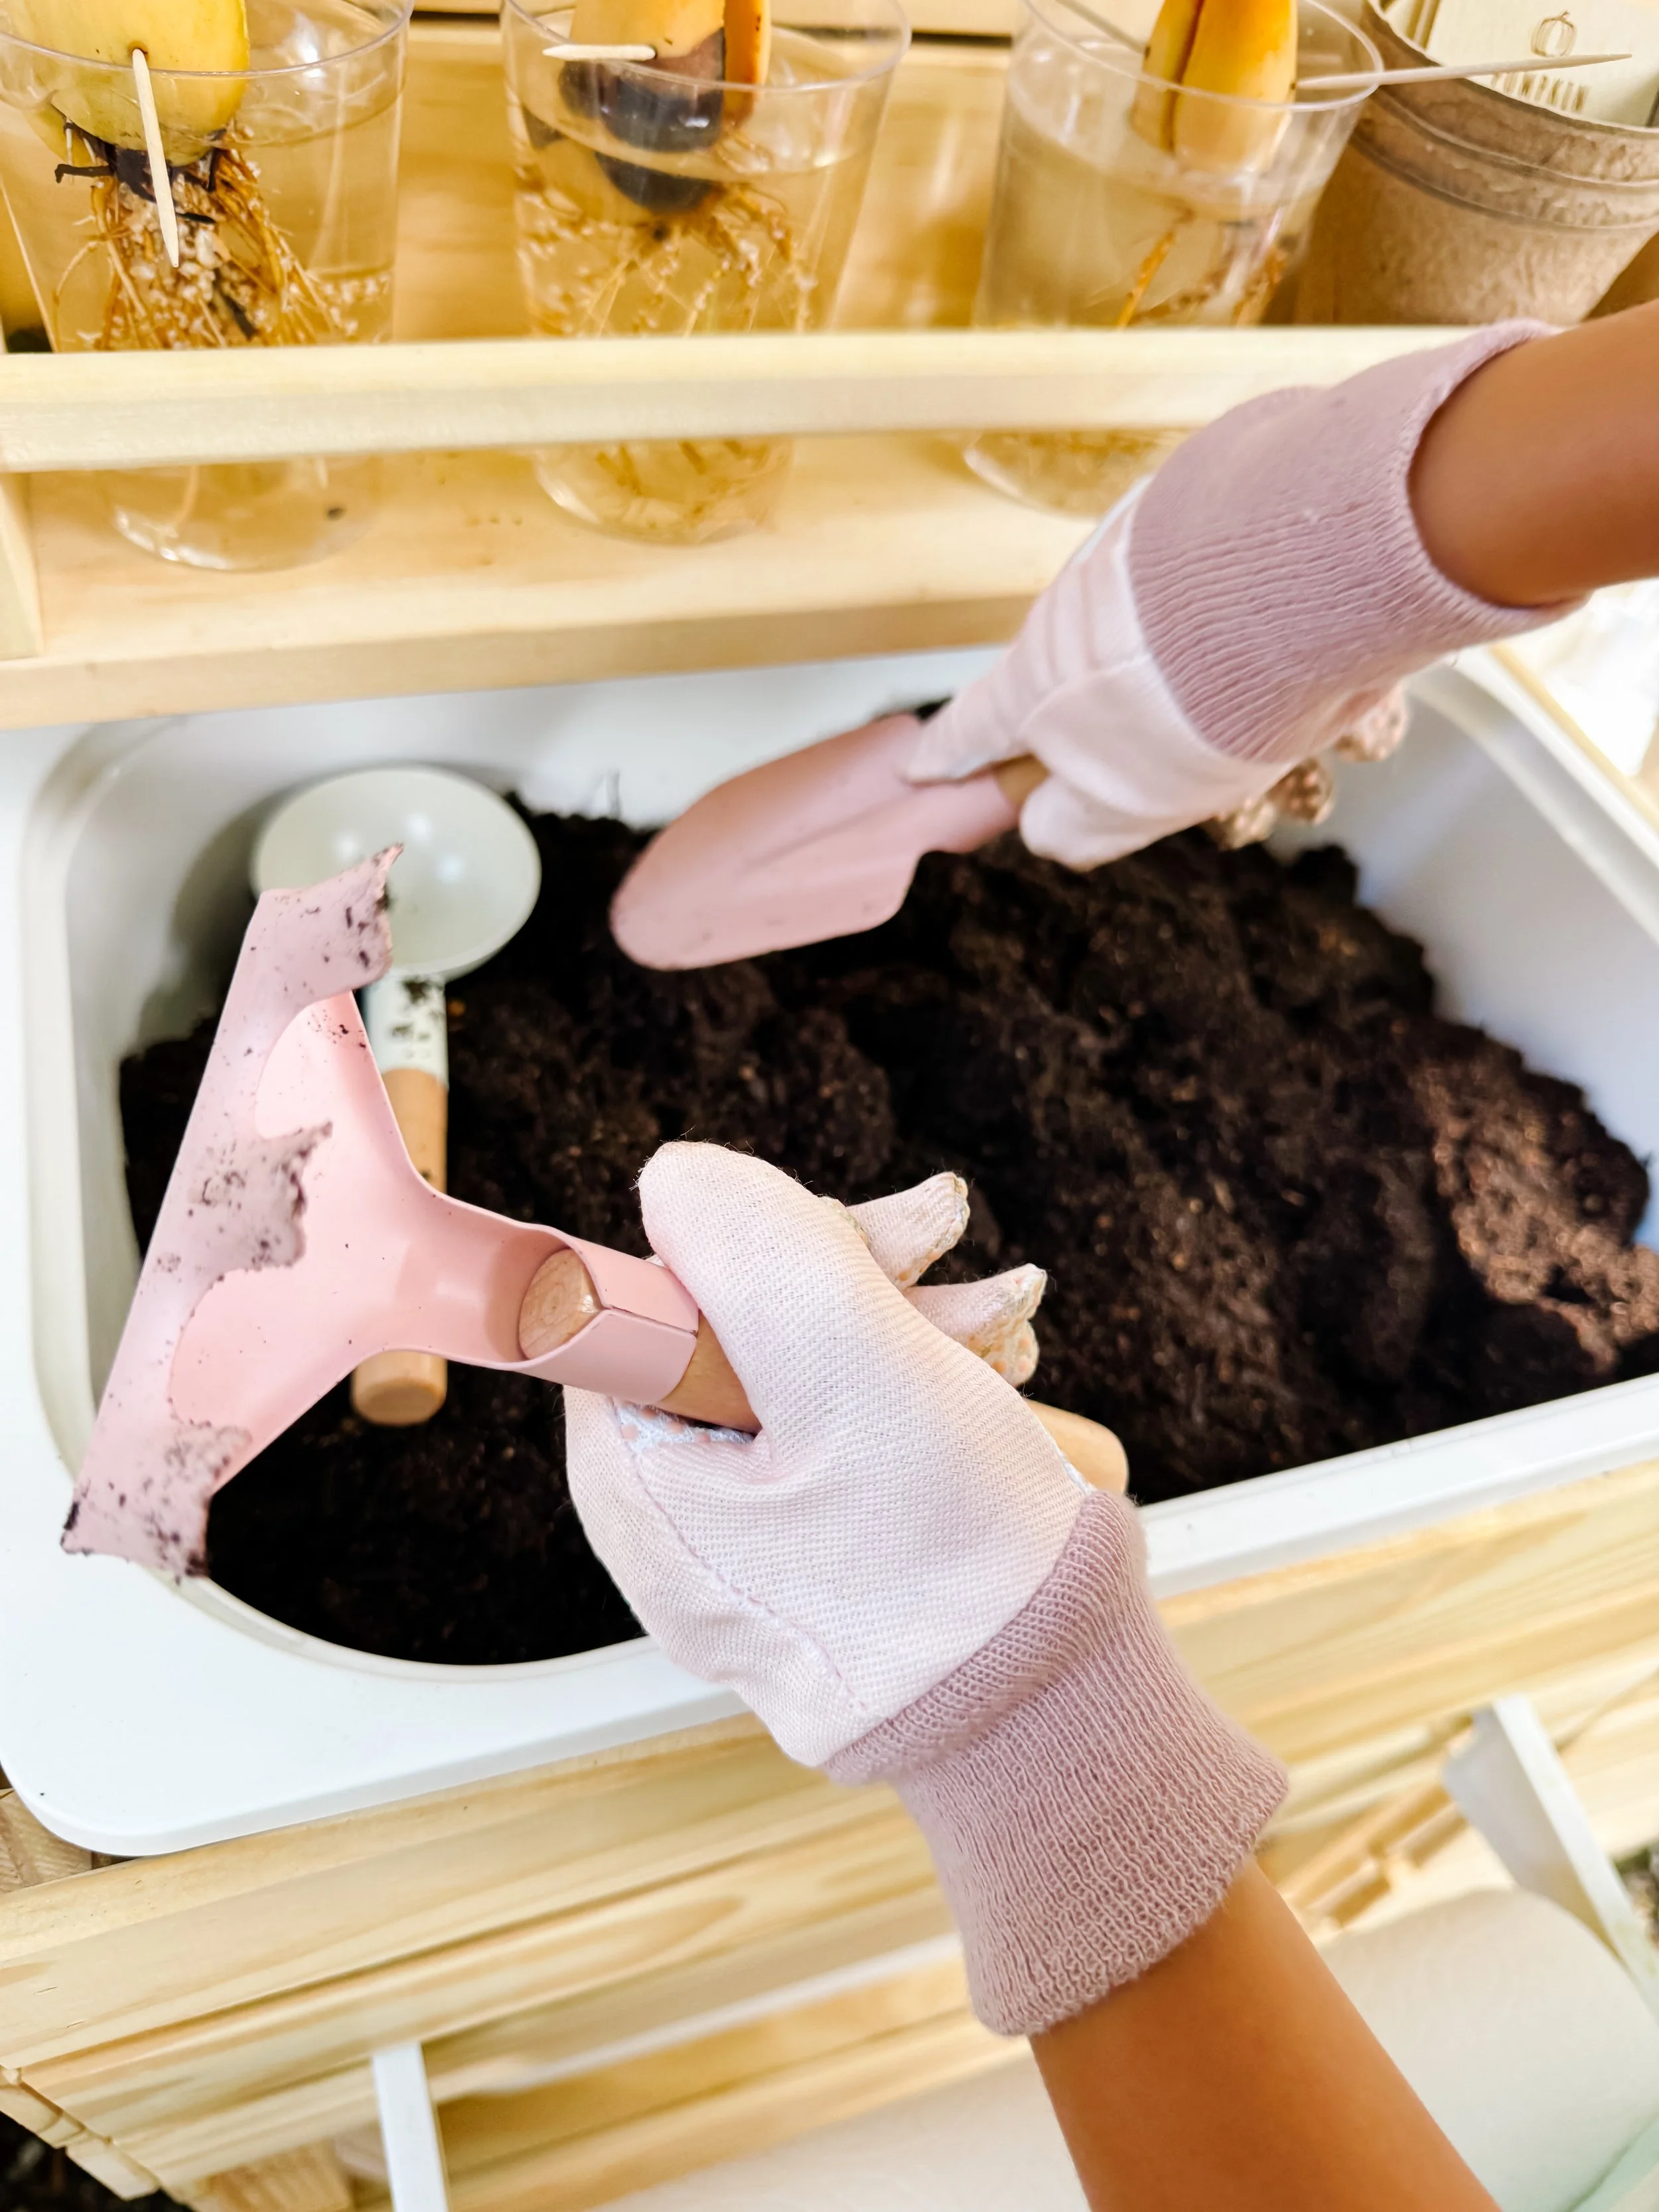
- Child-sized watering can and gardening tools
A note about collecting local avocados
Only collect fruit with the owner’s permission. Fruit growing on a privately owned tree still belongs to the property owner, even when a branch extends near a sidewalk. Grocery-store avocado seeds work beautifully for this experiment too.
Which end of an avocado seed goes in the water?
An avocado seed has a broad, slightly flatter bottom and a narrower or more pointed top.
Place the broad end down so it touches the water. The first root usually emerges from this lower end. The new shoot and stem grow upward from the pointed end.
When a seed is nearly round, look for the end with a small flat spot. That is usually the bottom.
Prepare the avocado pits
Step 1
Remove and clean the seeds
Carefully remove each pit from the avocado without cutting deeply into it.
Rinse away the remaining fruit with lukewarm water. Avoid using soap. Gently rubbing the pit with your fingers or a soft cloth usually removes the slippery residue.
The thin brown seed coat may begin peeling away. Removing loose pieces can make it easier to observe the crack, but do not force off skin that is still tightly attached.
Method 1: Grow an avocado seed with toothpicks
Method 1
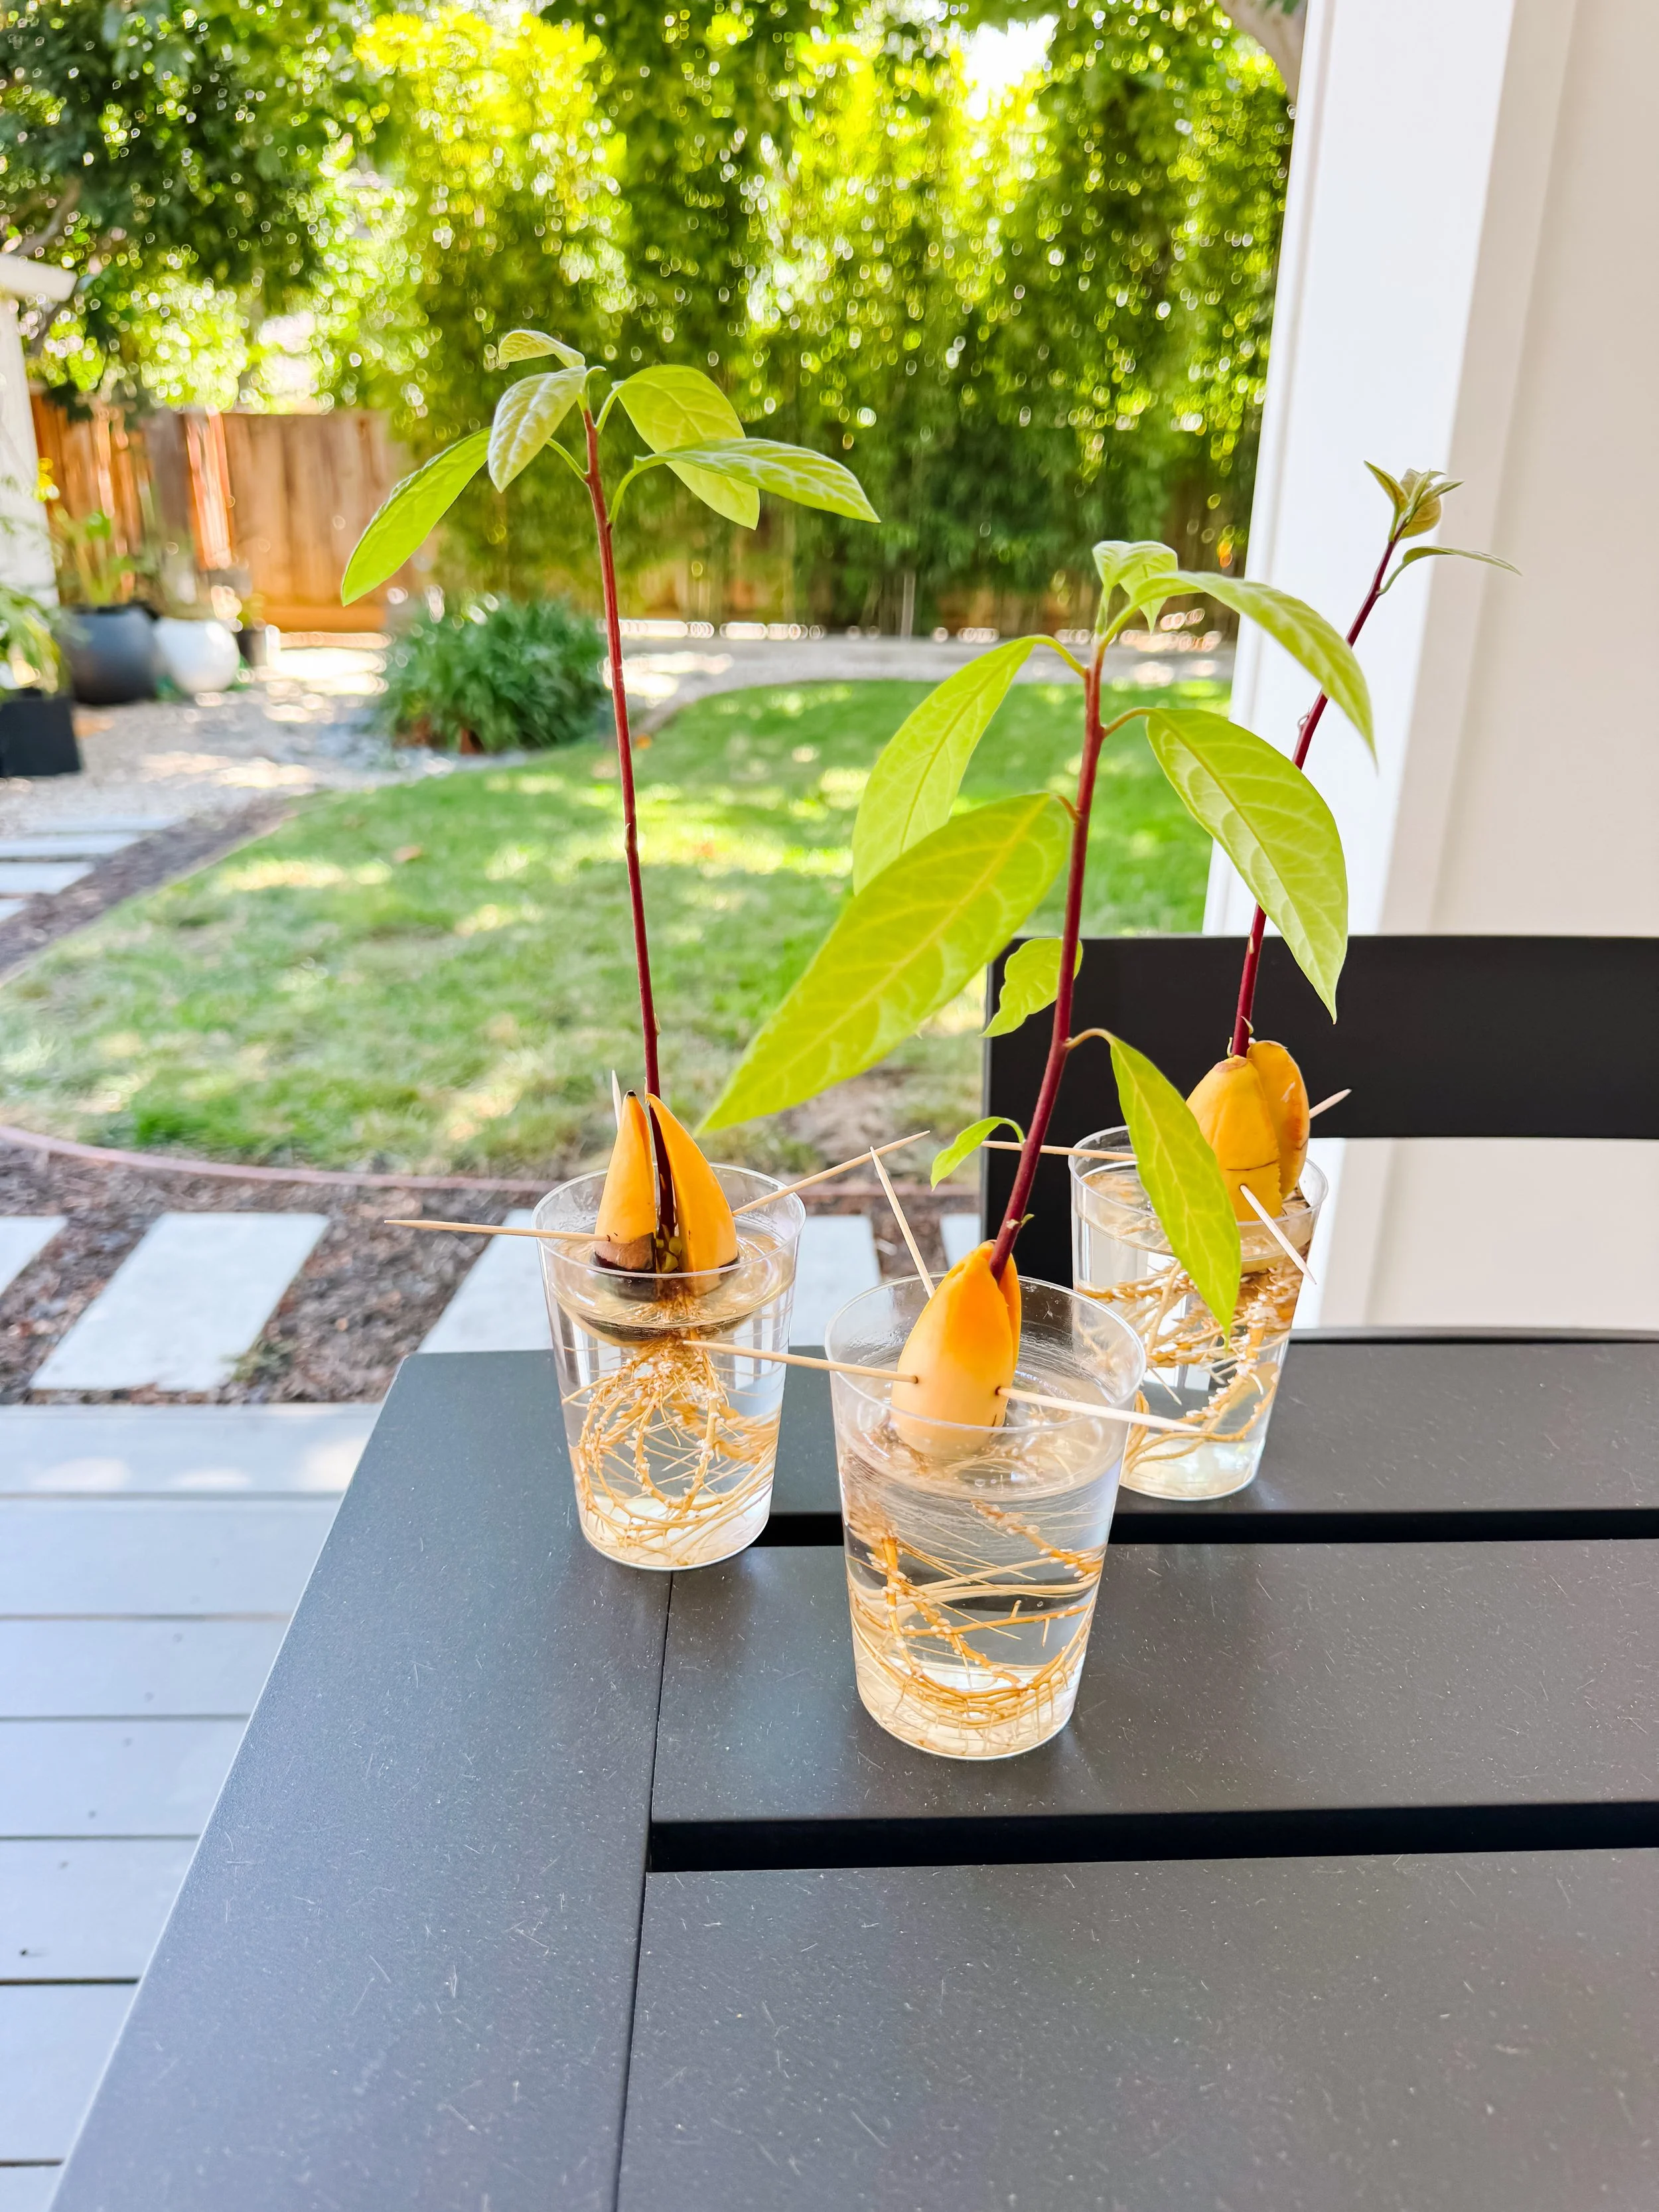
The classic toothpick method
- Identify the broad bottom and pointed top of the seed.
- Ask an adult to insert three or four toothpicks around the middle of the pit.
- Space the toothpicks evenly so they rest securely on the rim of a glass.
- Fill the glass with enough water to cover roughly the lower quarter to half of the seed.
- Place the jar in a warm, bright location with indirect light.
- Top up the water whenever the level drops.
- Refresh the water regularly to keep the jar clean.
Method 2: Use an avocado-growing glass
Method 2
The avocado glass method
- Fill the propagation glass with fresh water.
- Place the clean pit in the opening with the broad end facing down.
- Adjust the water so the bottom of the seed remains in contact with it.
- Place the glass in a warm location with bright, indirect light.
- Top up and refresh the water as needed.
The shaped opening supports the pit without toothpicks. It also provides a clear view of the root system as it grows downward.
We will add more photos of our earliest glass-jar setup later, but the care process is the same: keep the lower portion of the seed wet and the pointed end facing upward.
Toothpicks versus an avocado-growing glass
Toothpick method
Best for: a classic, inexpensive science experiment.
Advantages:
- Uses materials many families already own
- Works with glasses of different sizes
- Lets children help construct the setup
Things to watch:
- The seed can tilt if the toothpicks are uneven
- The water level may drop below the pit
- An adult should insert the sharp toothpicks
Avocado glass method
Best for: a clean display that makes roots easy to observe.
Advantages:
- No toothpicks required
- The seed stays centered
- Looks beautiful on a windowsill
- Roots remain highly visible
Things to watch:
- The opening must fit the seed
- Water still needs to be topped up and refreshed
- Some pits may sit too high or low depending on their shape
What happens inside an avocado seed?
The avocado pit is not an empty shell. Inside it is a tiny living plant called an embryo, along with stored food that helps support the earliest growth.
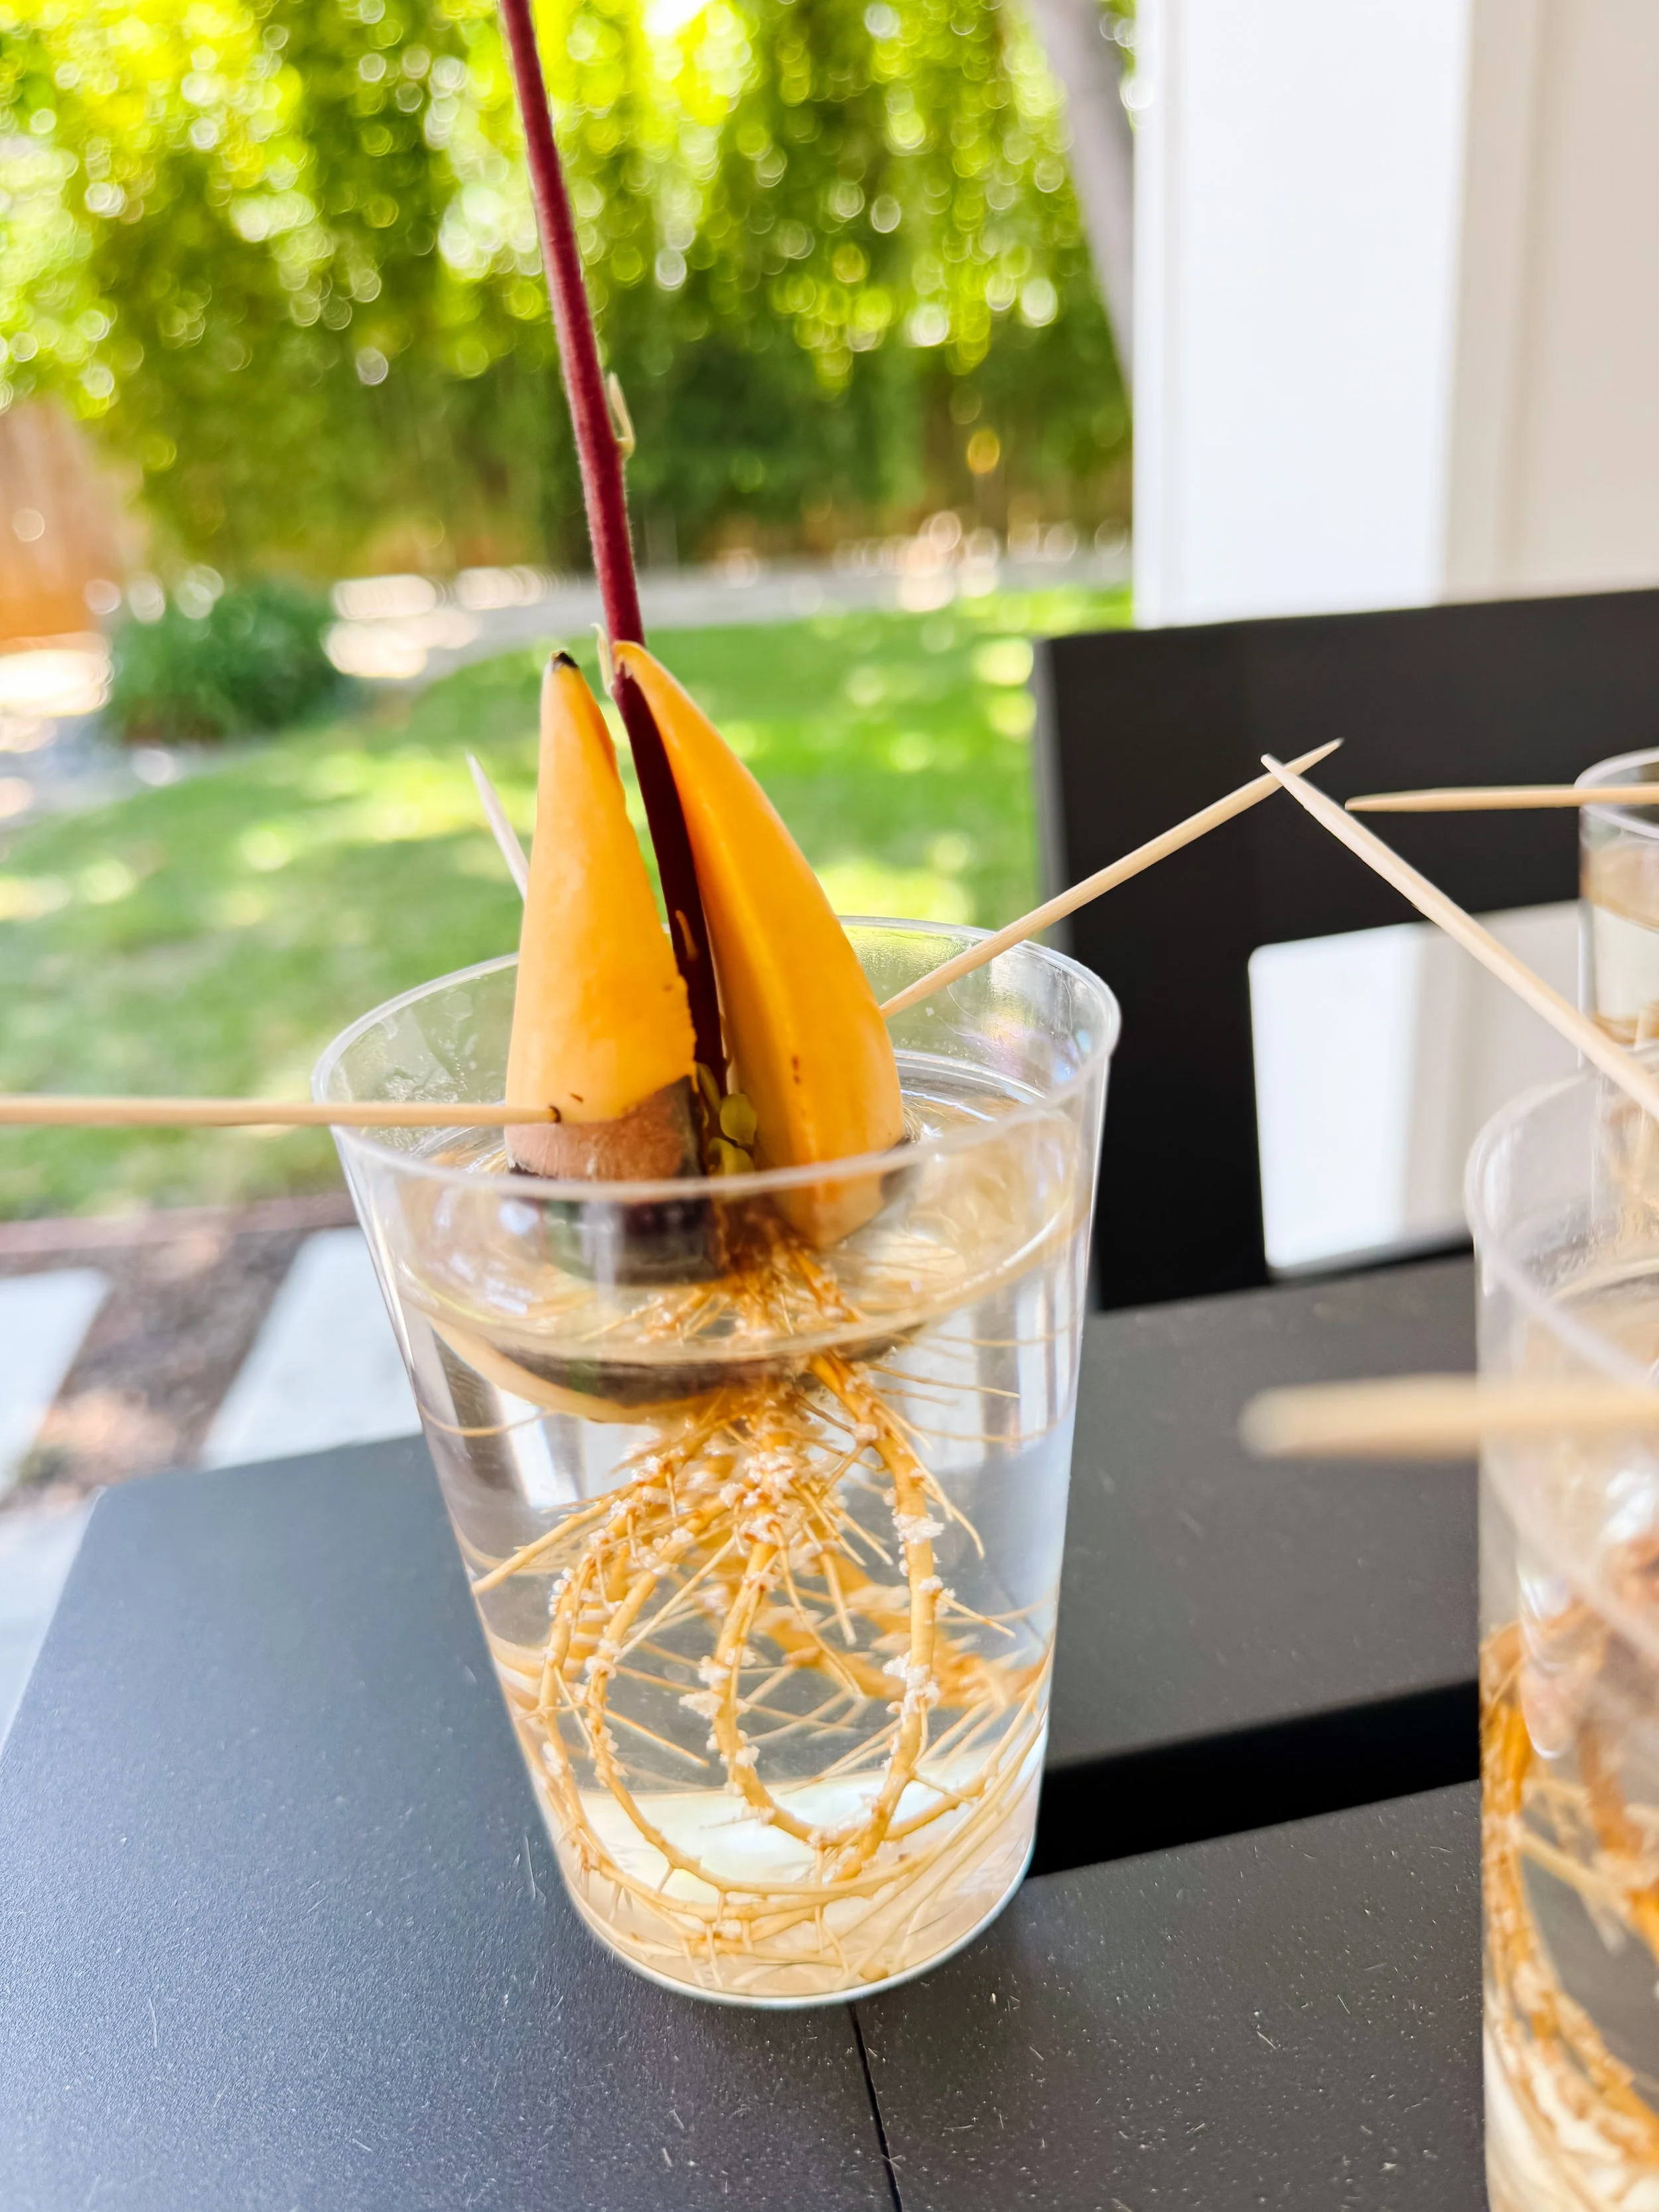
When the seed absorbs enough water and experiences suitable warmth, the embryo begins developing. The seed’s two large halves gradually separate as the root grows downward and the shoot pushes upward.
The young plant initially relies on energy stored inside the seed. Once leaves unfold, they can capture light and begin making sugars through photosynthesis.
Avocado seed growth timeline
Stage 1: The quiet seed
The seed absorbs water even though no visible growth may appear. This stage can test everyone’s patience.
Stage 2: The seed coat loosens
The thin brown outer layer may wrinkle or peel. The pale seed beneath becomes easier to see.
Stage 3: A crack forms
A line develops along the seed and gradually widens. The two large halves begin separating.
Stage 4: The first root appears
A pale root emerges from the broad end and grows down into the water. Smaller side roots may form later.
Stage 5: The shoot begins
A tiny shoot develops between the seed halves and begins reaching upward.
Stage 6: The stem rises
The shoot becomes a slender stem. It may initially look pale before receiving enough light.
Stage 7: Leaves unfold
Small folded leaves open at the top. The seedling can now capture light and begin making more of its own food.
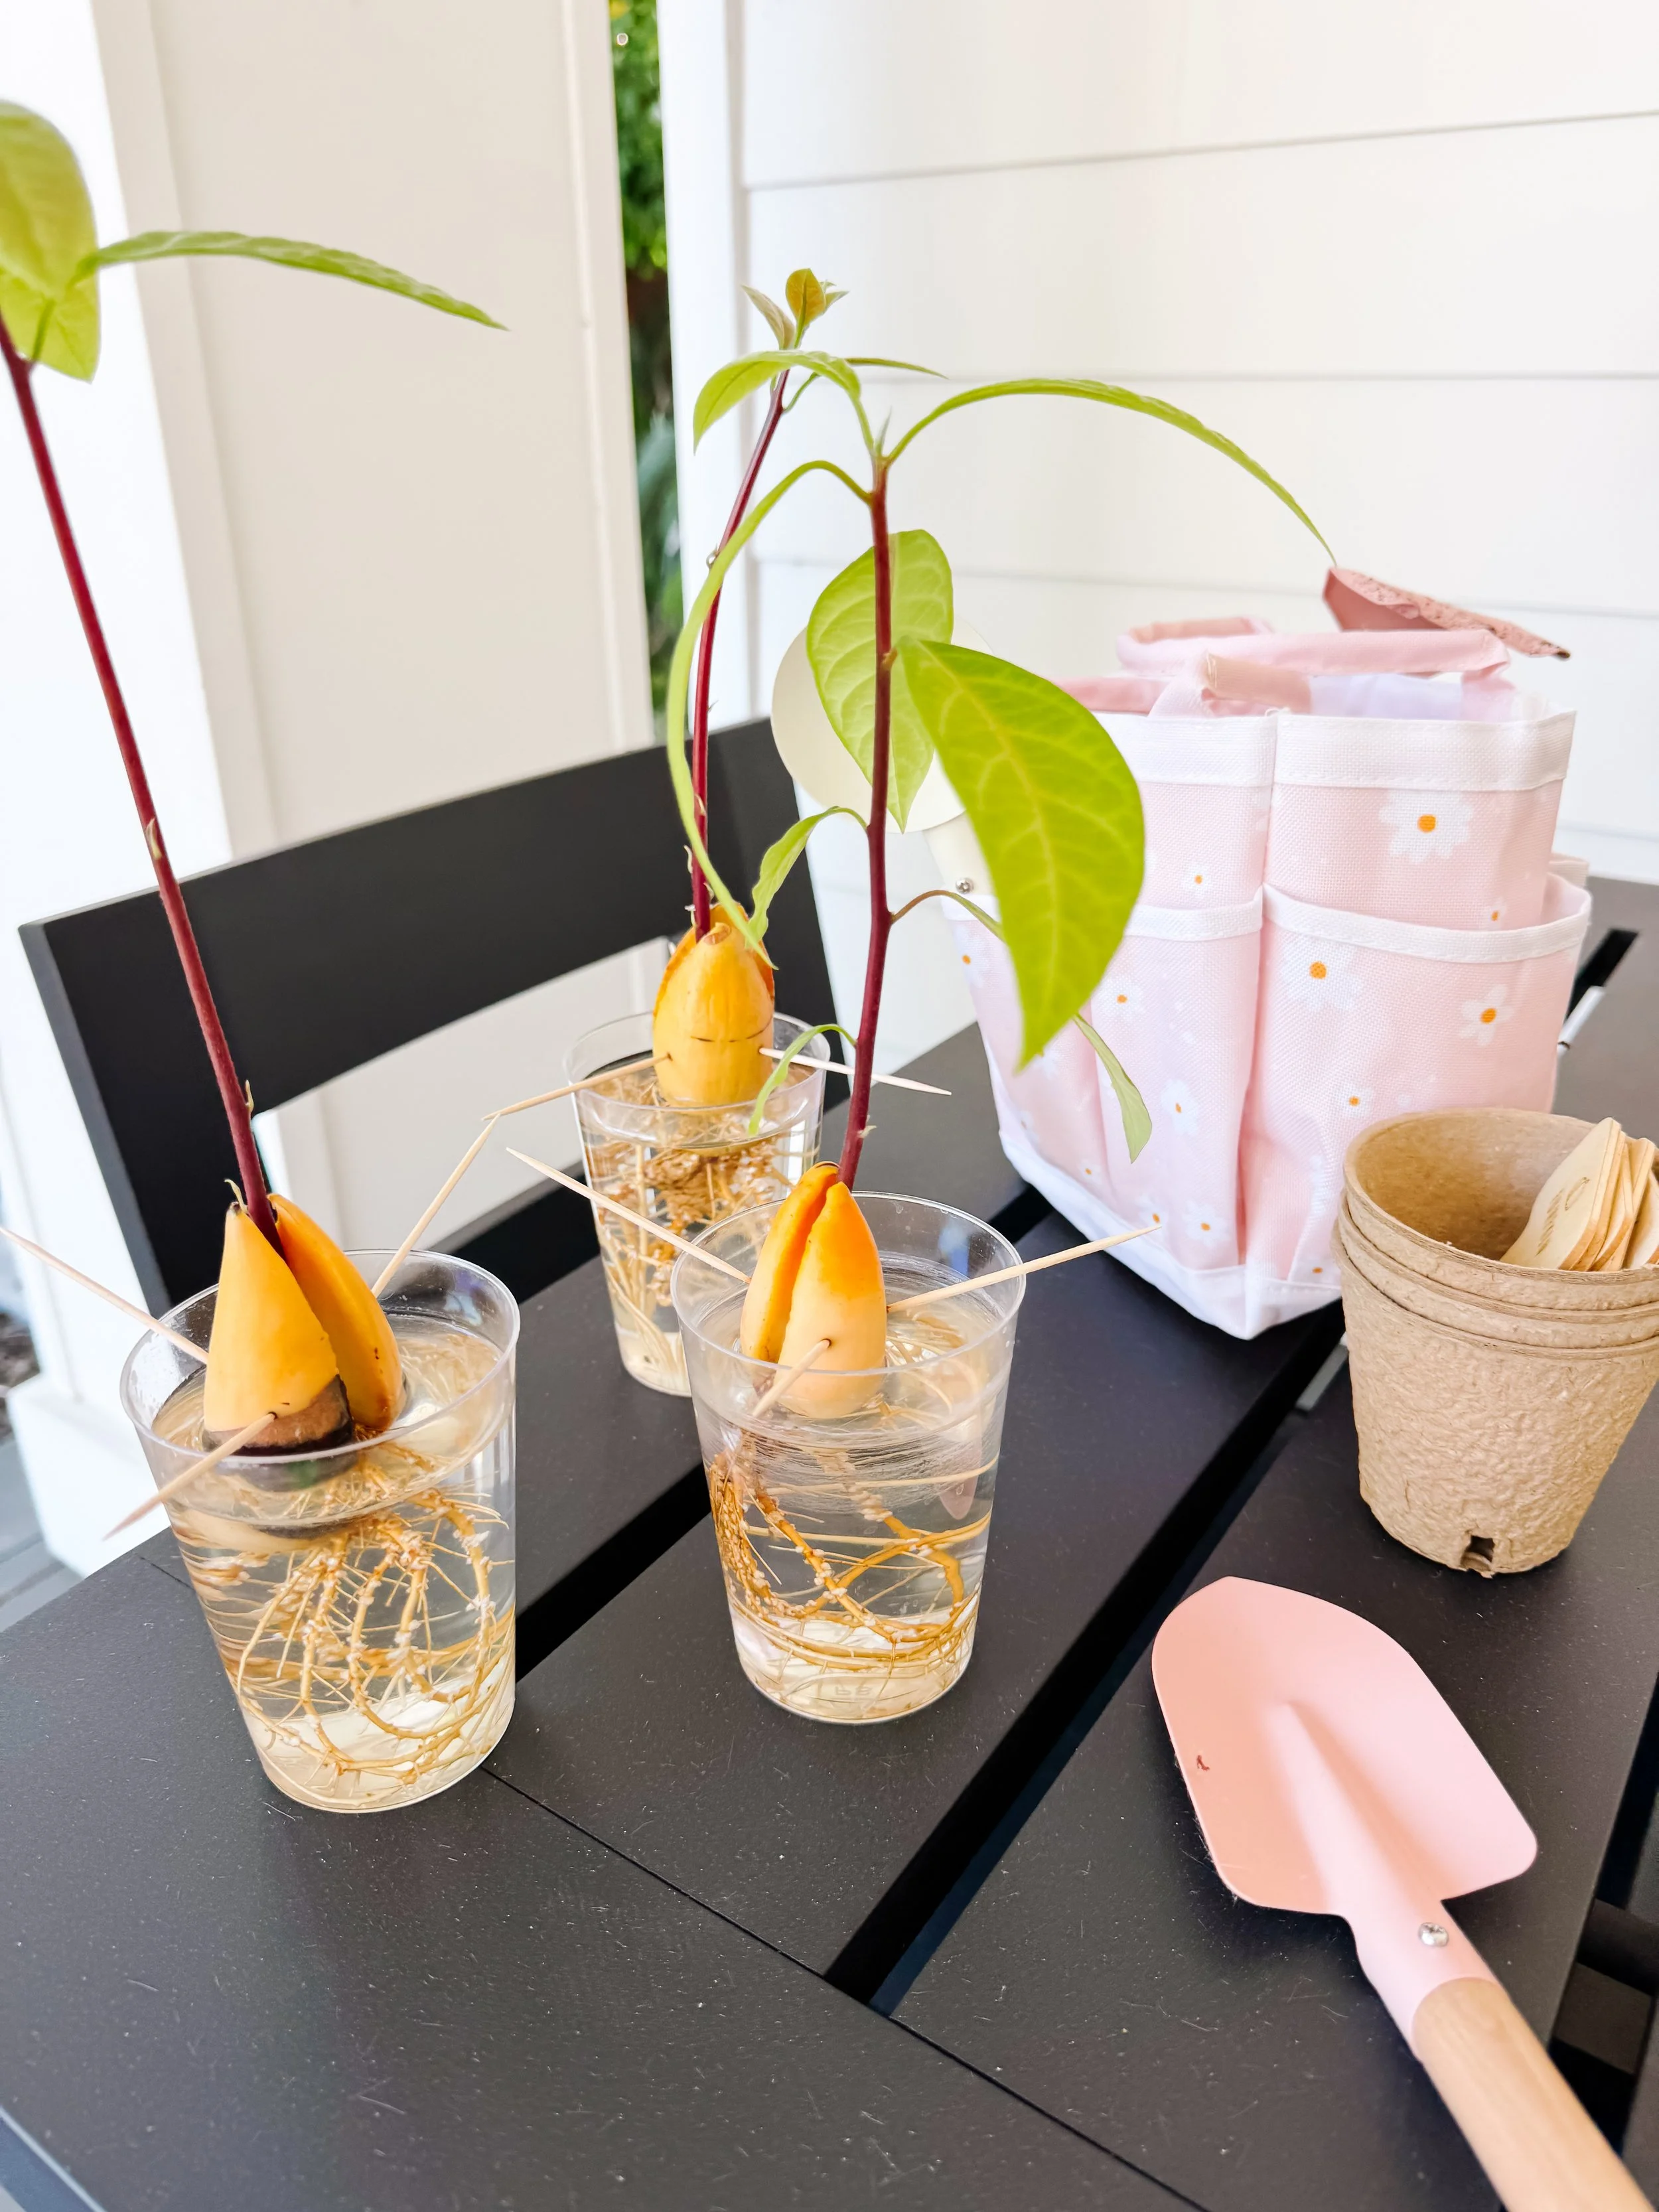
Do not compare your seed too closely to someone else’s timeline
Some avocado pits split and root quickly, while others take many weeks. Temperature, seed maturity, variety, water level and individual seed viability can all affect the pace.
Turn it into a real science experiment
Growing several seeds at once gives children an opportunity to compare variables and observe natural differences.
Try asking one testable question:
- Does the toothpick method or avocado glass method root first?
- Do locally grown avocado seeds sprout faster than grocery-store seeds?
- Do larger pits grow larger roots?
- Does removing the loose brown skin affect what we can observe?
- Which seed grows the longest root in four weeks?
Change only one condition at a time when possible. Label the jars so you can remember which seed belongs to each group.
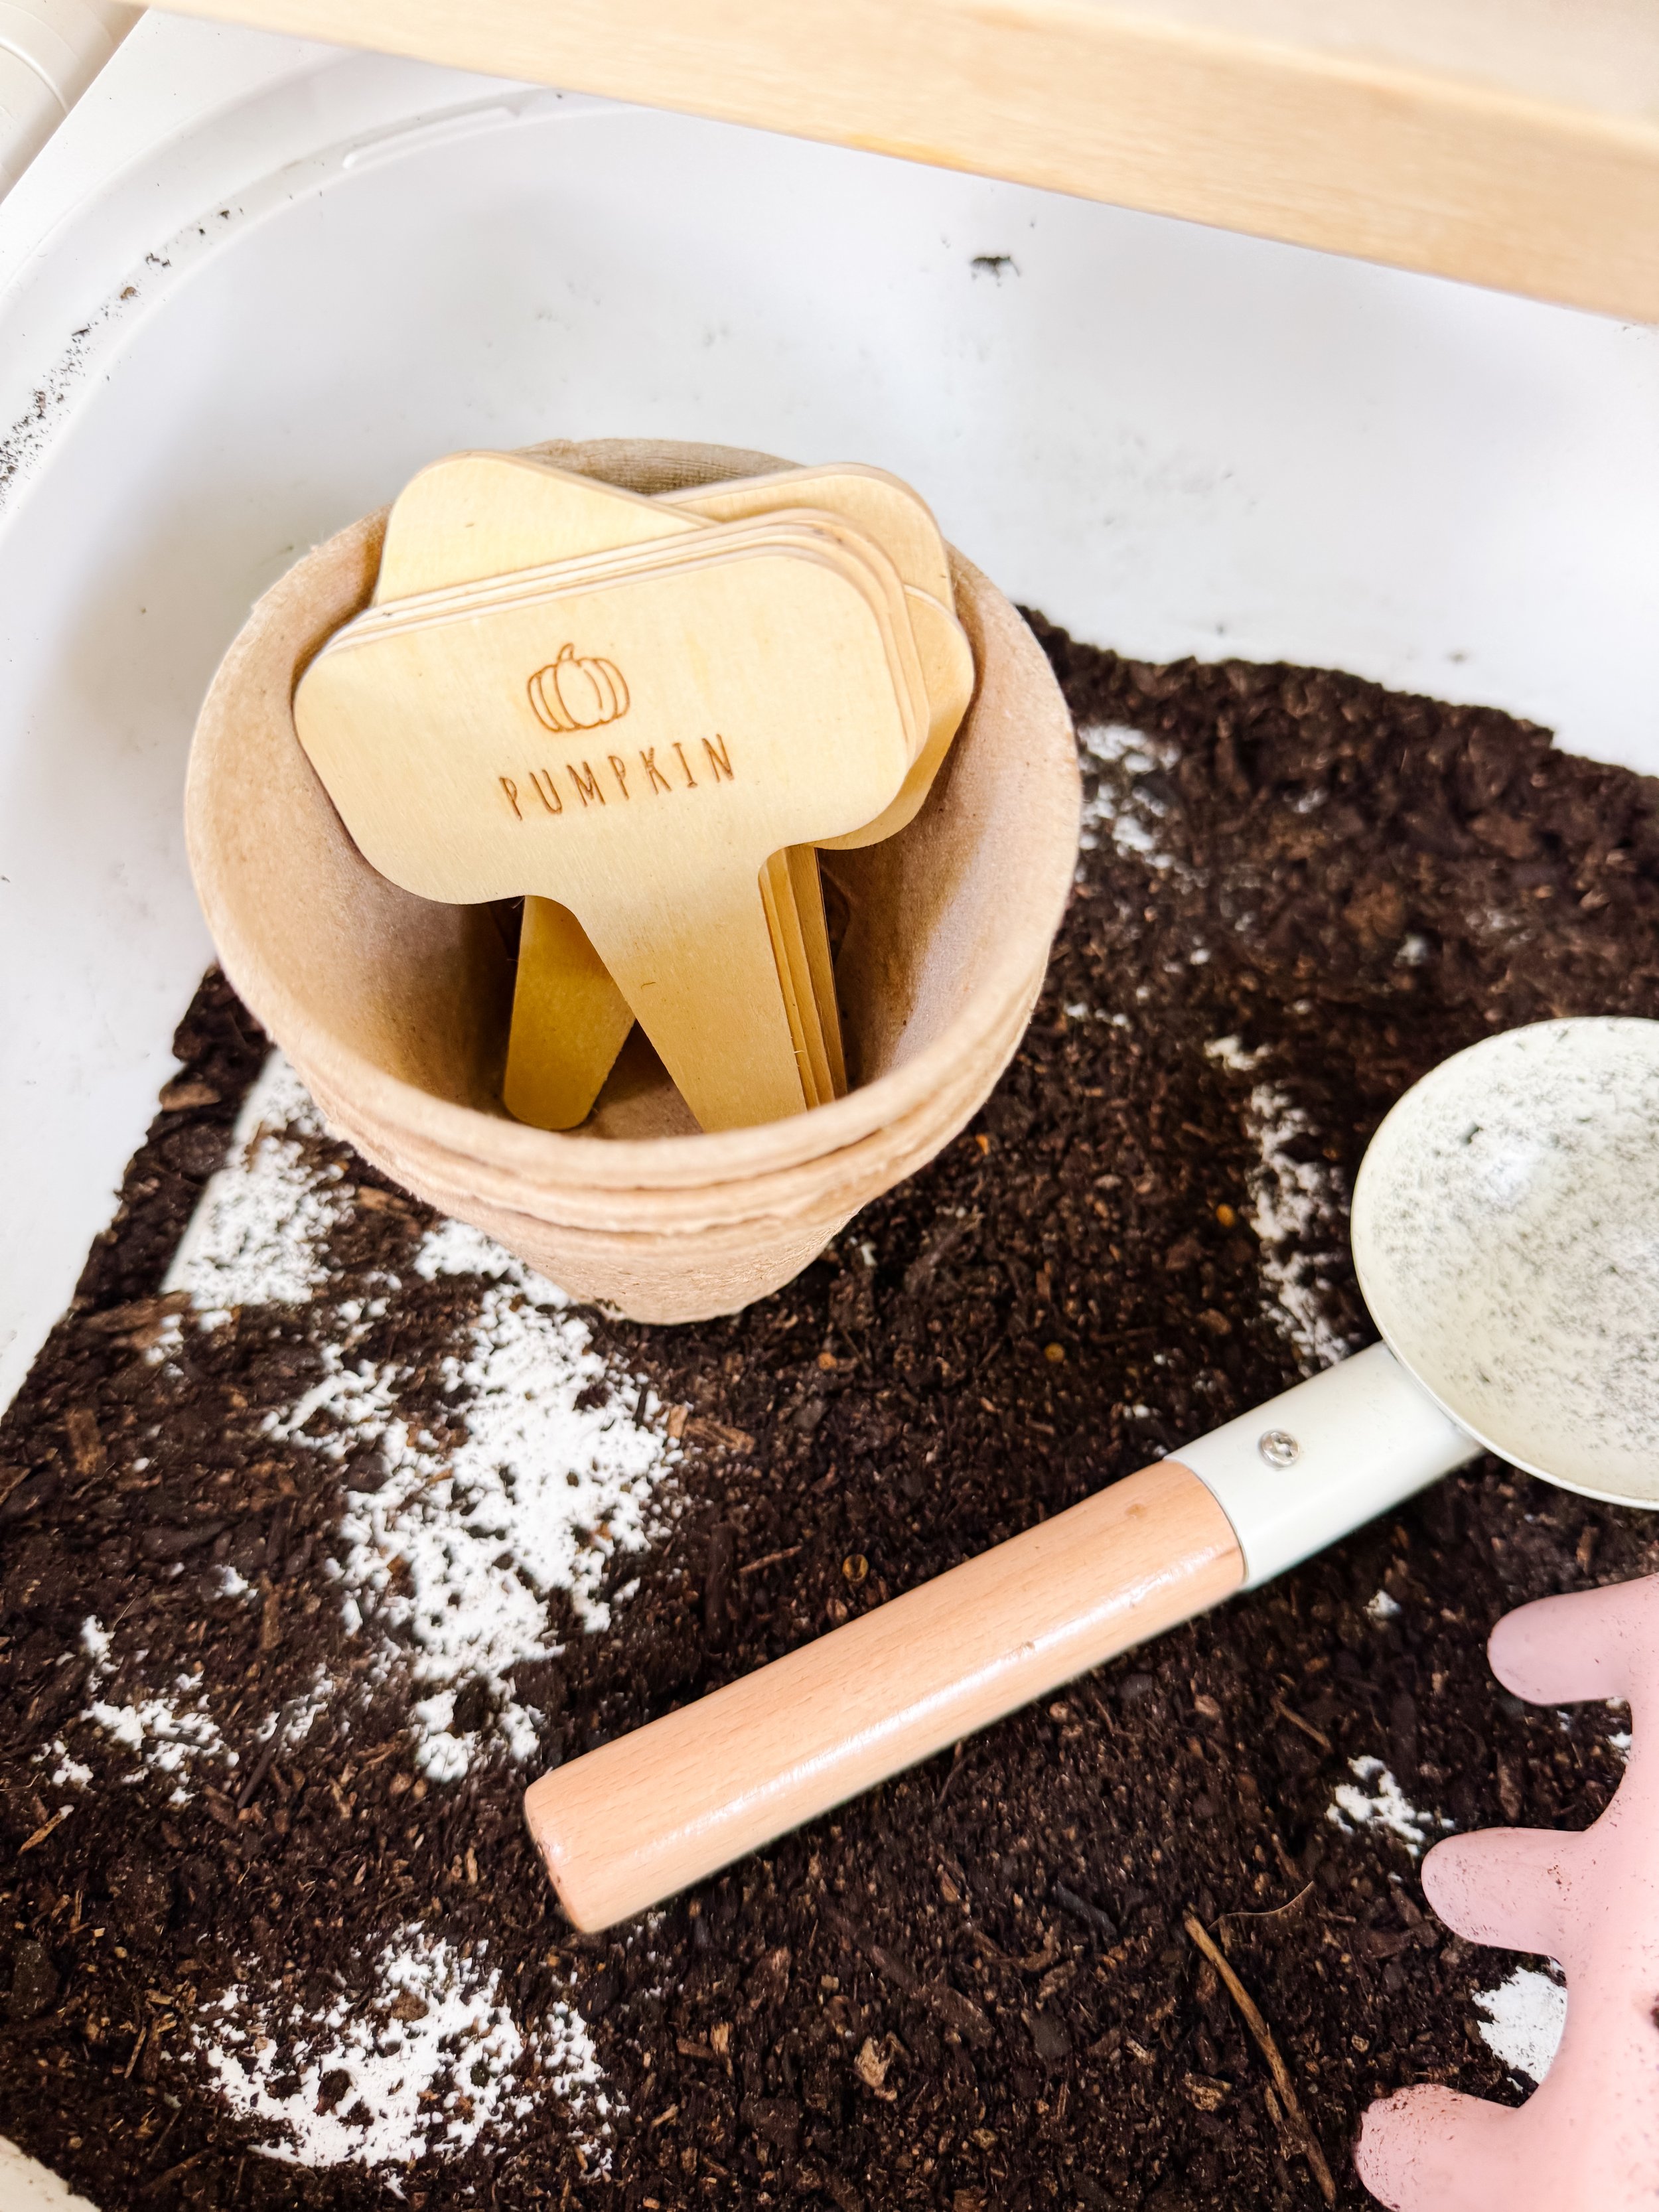
Avocado observation journal ideas
Once or twice each week, invite your child to record:
- The date
- Whether the pit has cracked
- Root length
- Stem height
- Number of leaves
- Changes in color
- A drawing of the seed
- A prediction for the next observation
- One question they still have
Younger children can draw pictures or dictate observations to an adult. Older children can graph root length or compare the average growth of each method.
Questions to ask kids while the seed grows
- Which part do you think will appear first: a root or a stem?
- Why do roots grow down toward the water?
- Why does the stem grow upward?
- What is changing inside the seed even when we cannot see anything?
- Which seed cracked first?
- Are all the roots the same color?
- What happens to the seed halves as the stem grows?
- Why does the seedling need leaves?
- What do you predict it will look like next week?
- Why might two avocado seeds grow at different speeds?
When should you move an avocado seed to soil?
Transplant after the seed has developed a healthy root system and an established shoot. A practical guideline is to wait until the main roots are several inches long and the stem is growing steadily.
- Choose a pot or grow bag with drainage holes.
- Fill it with a well-draining commercial potting mix.
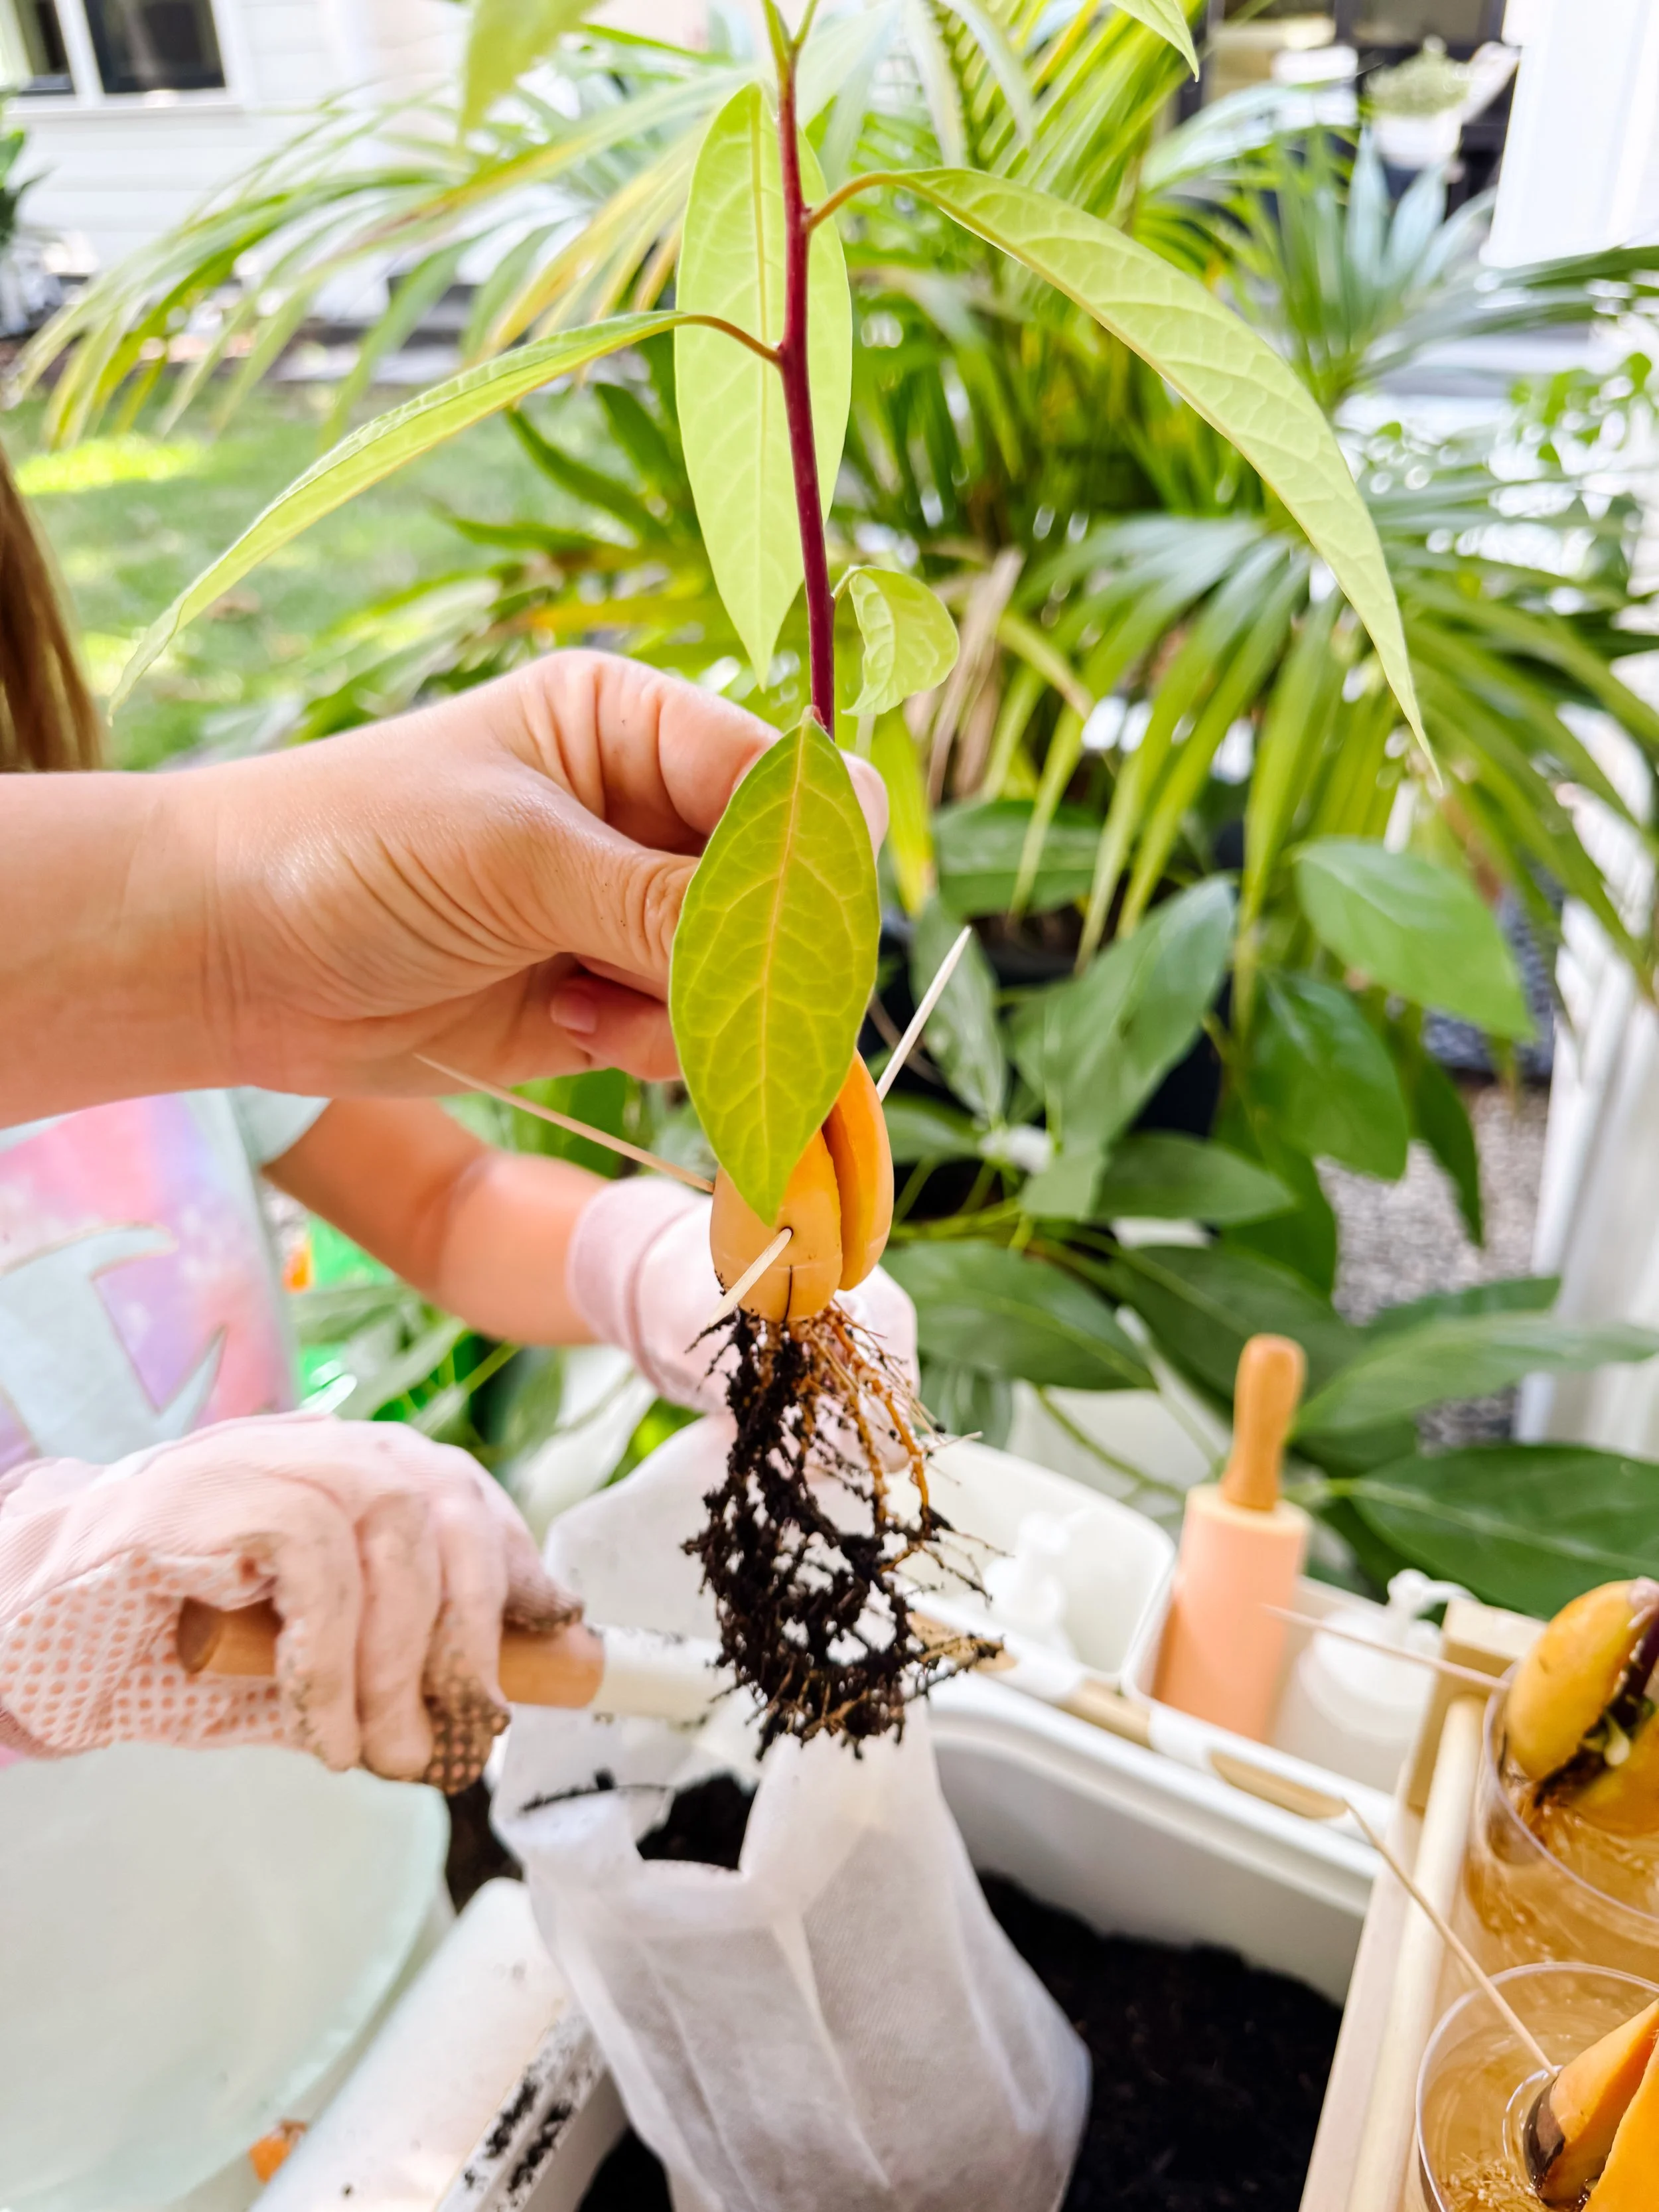
- Handle the seedling carefully because water-grown roots can be brittle.
- Position the seed so the upper portion remains visible near the soil surface.
- Water thoroughly and allow excess water to drain.
- Keep the pot in a bright, warm location.
- Keep the soil lightly moist rather than soggy.
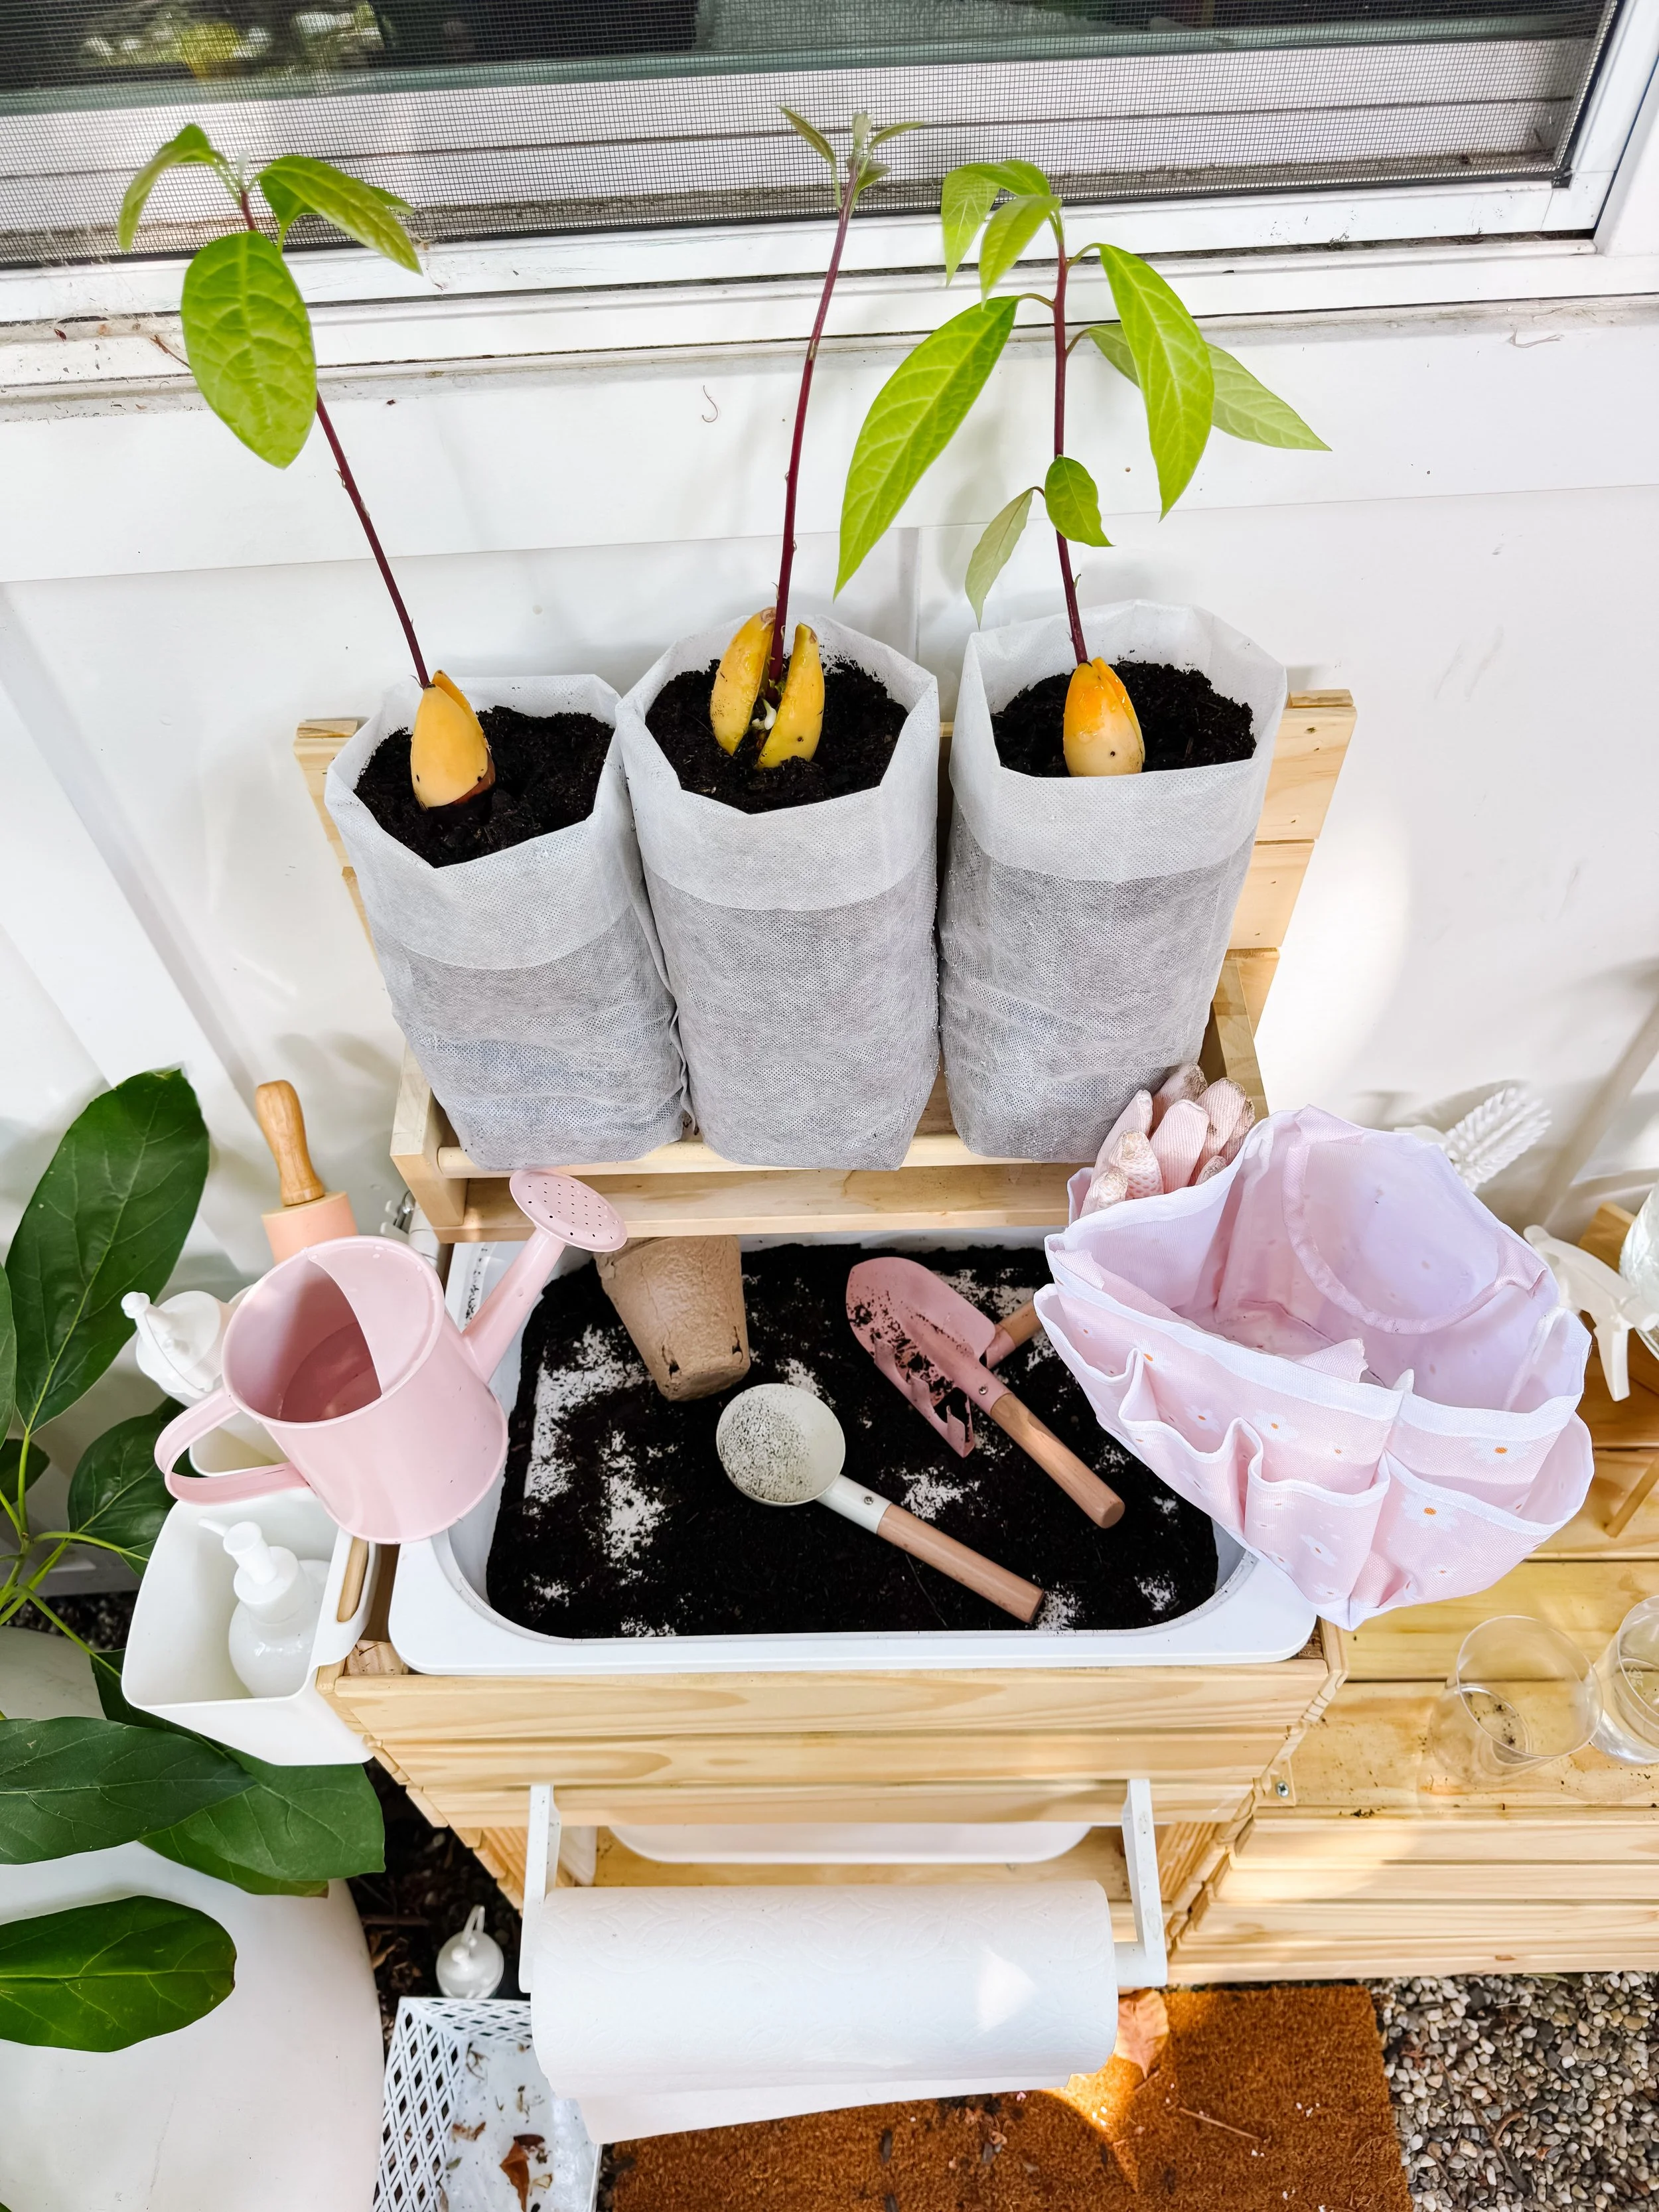
Transplanting
Move the strongest seedlings into soil
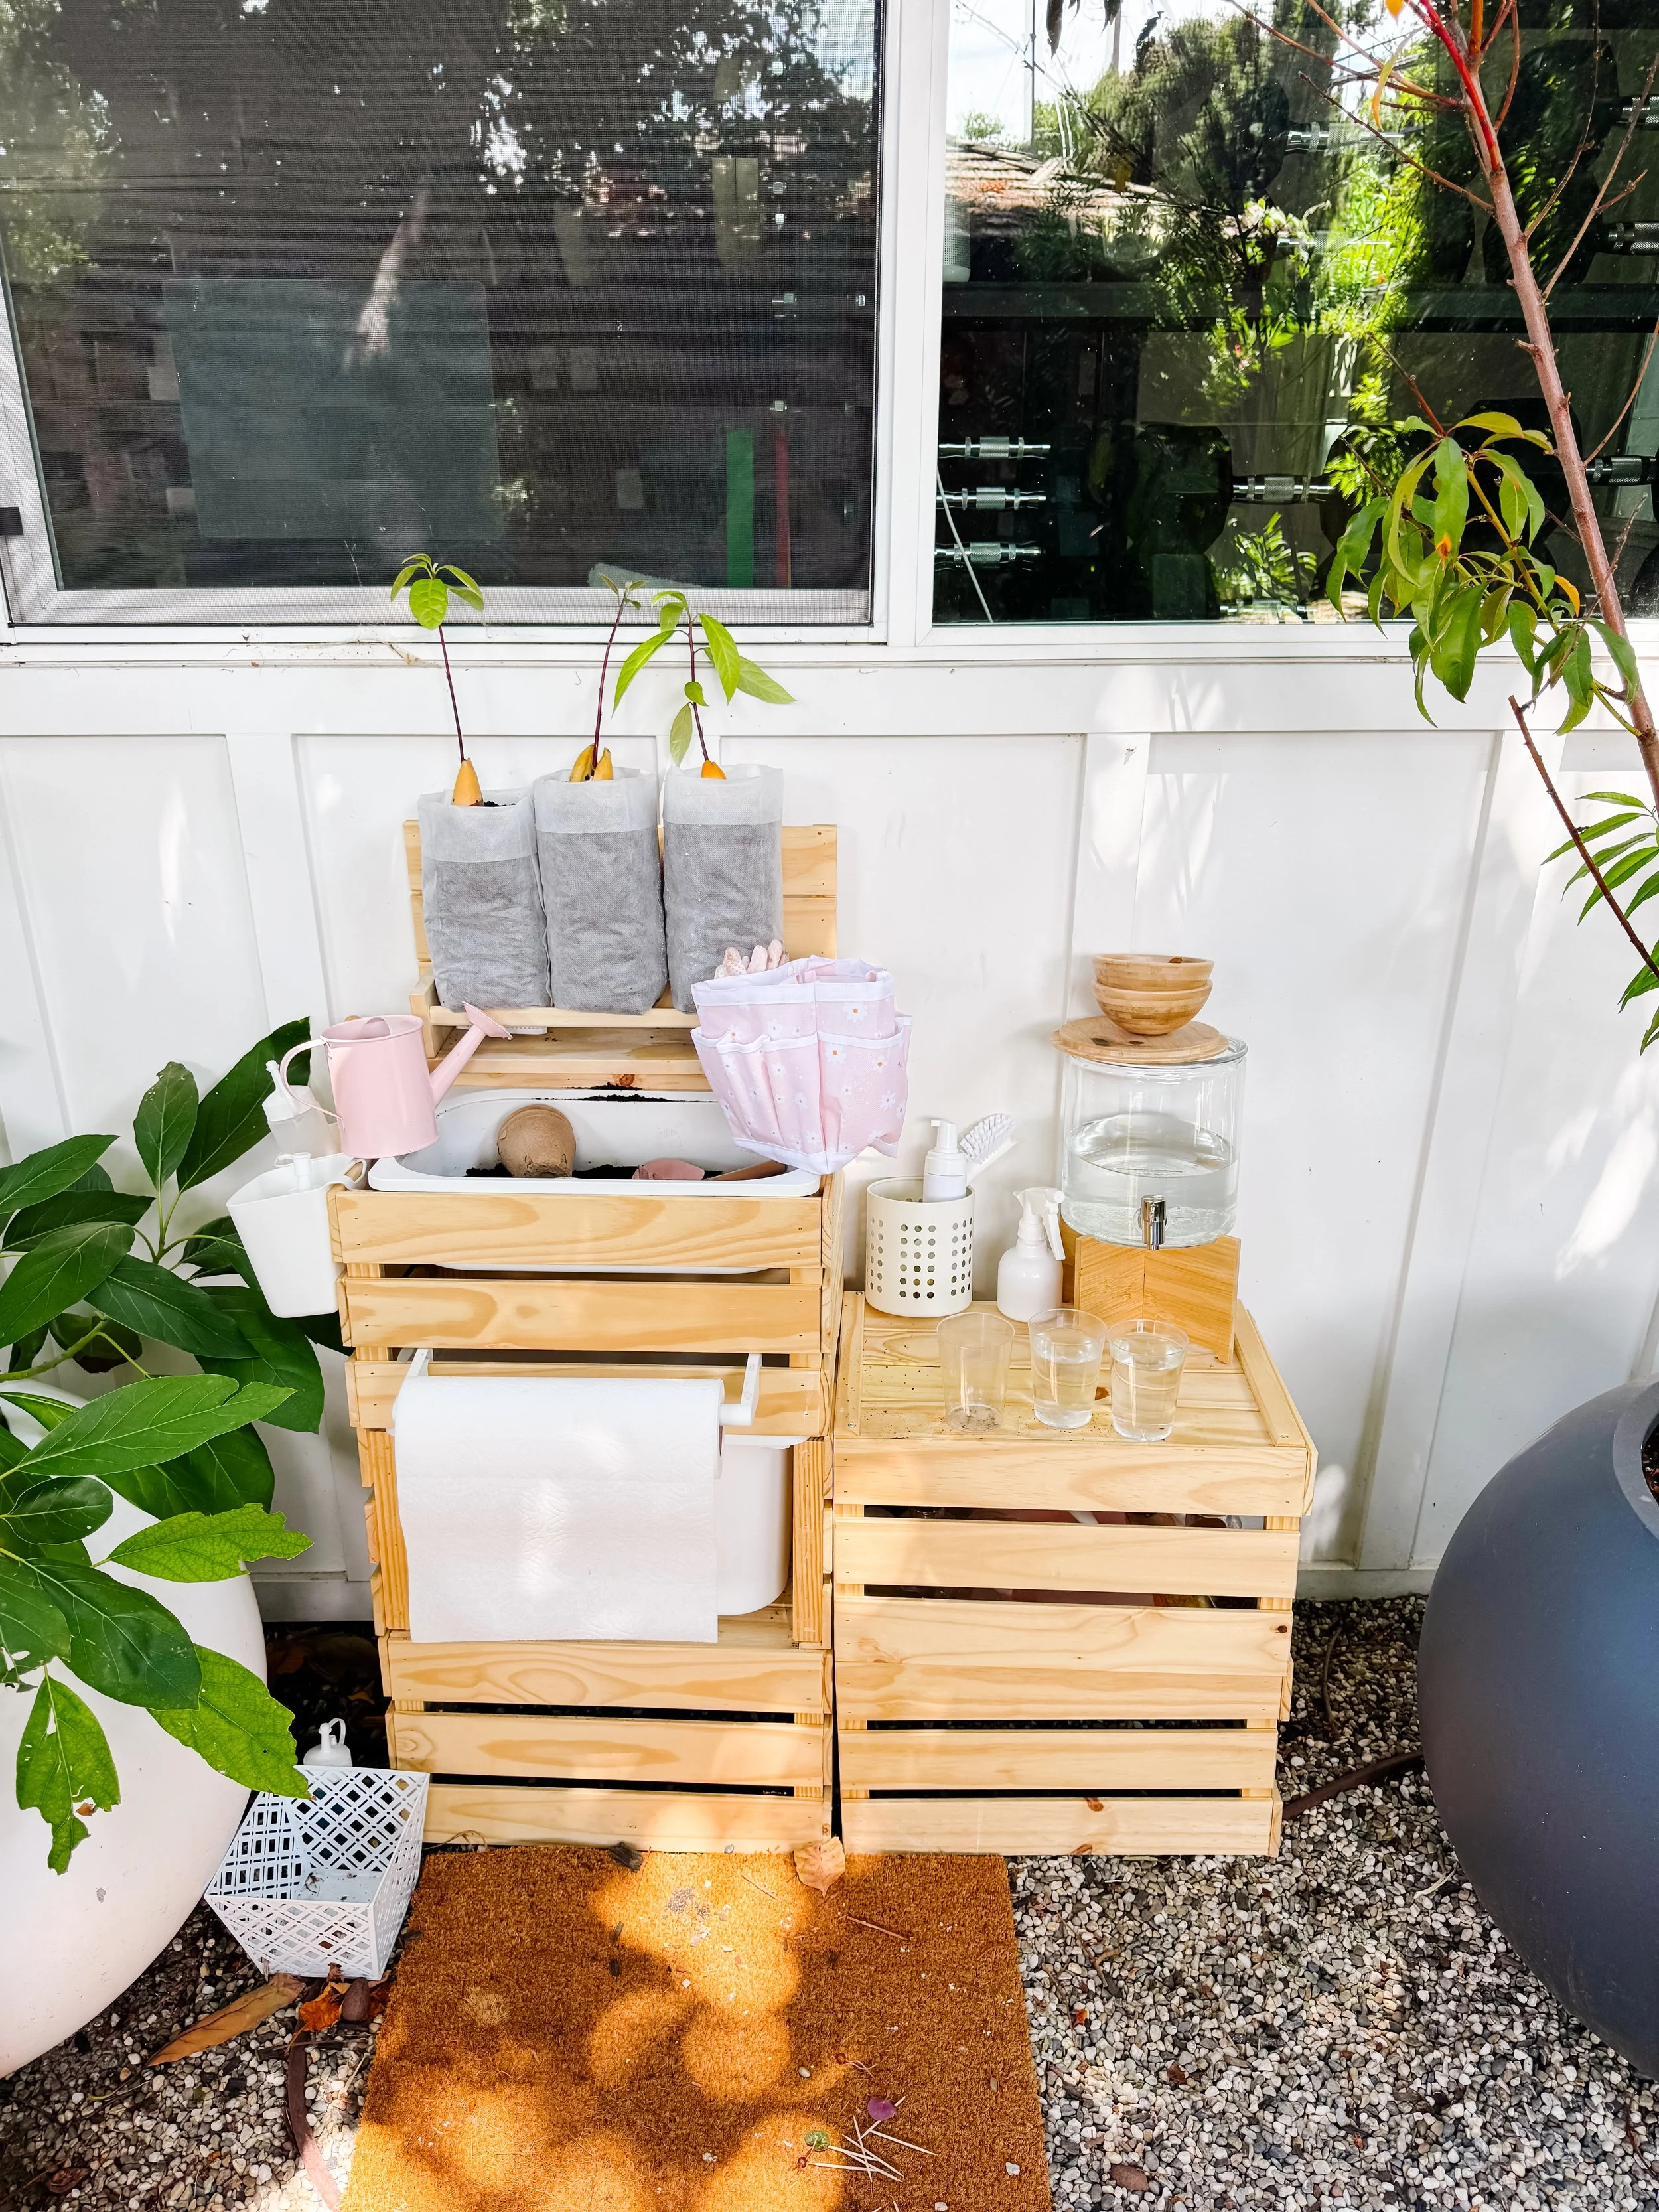
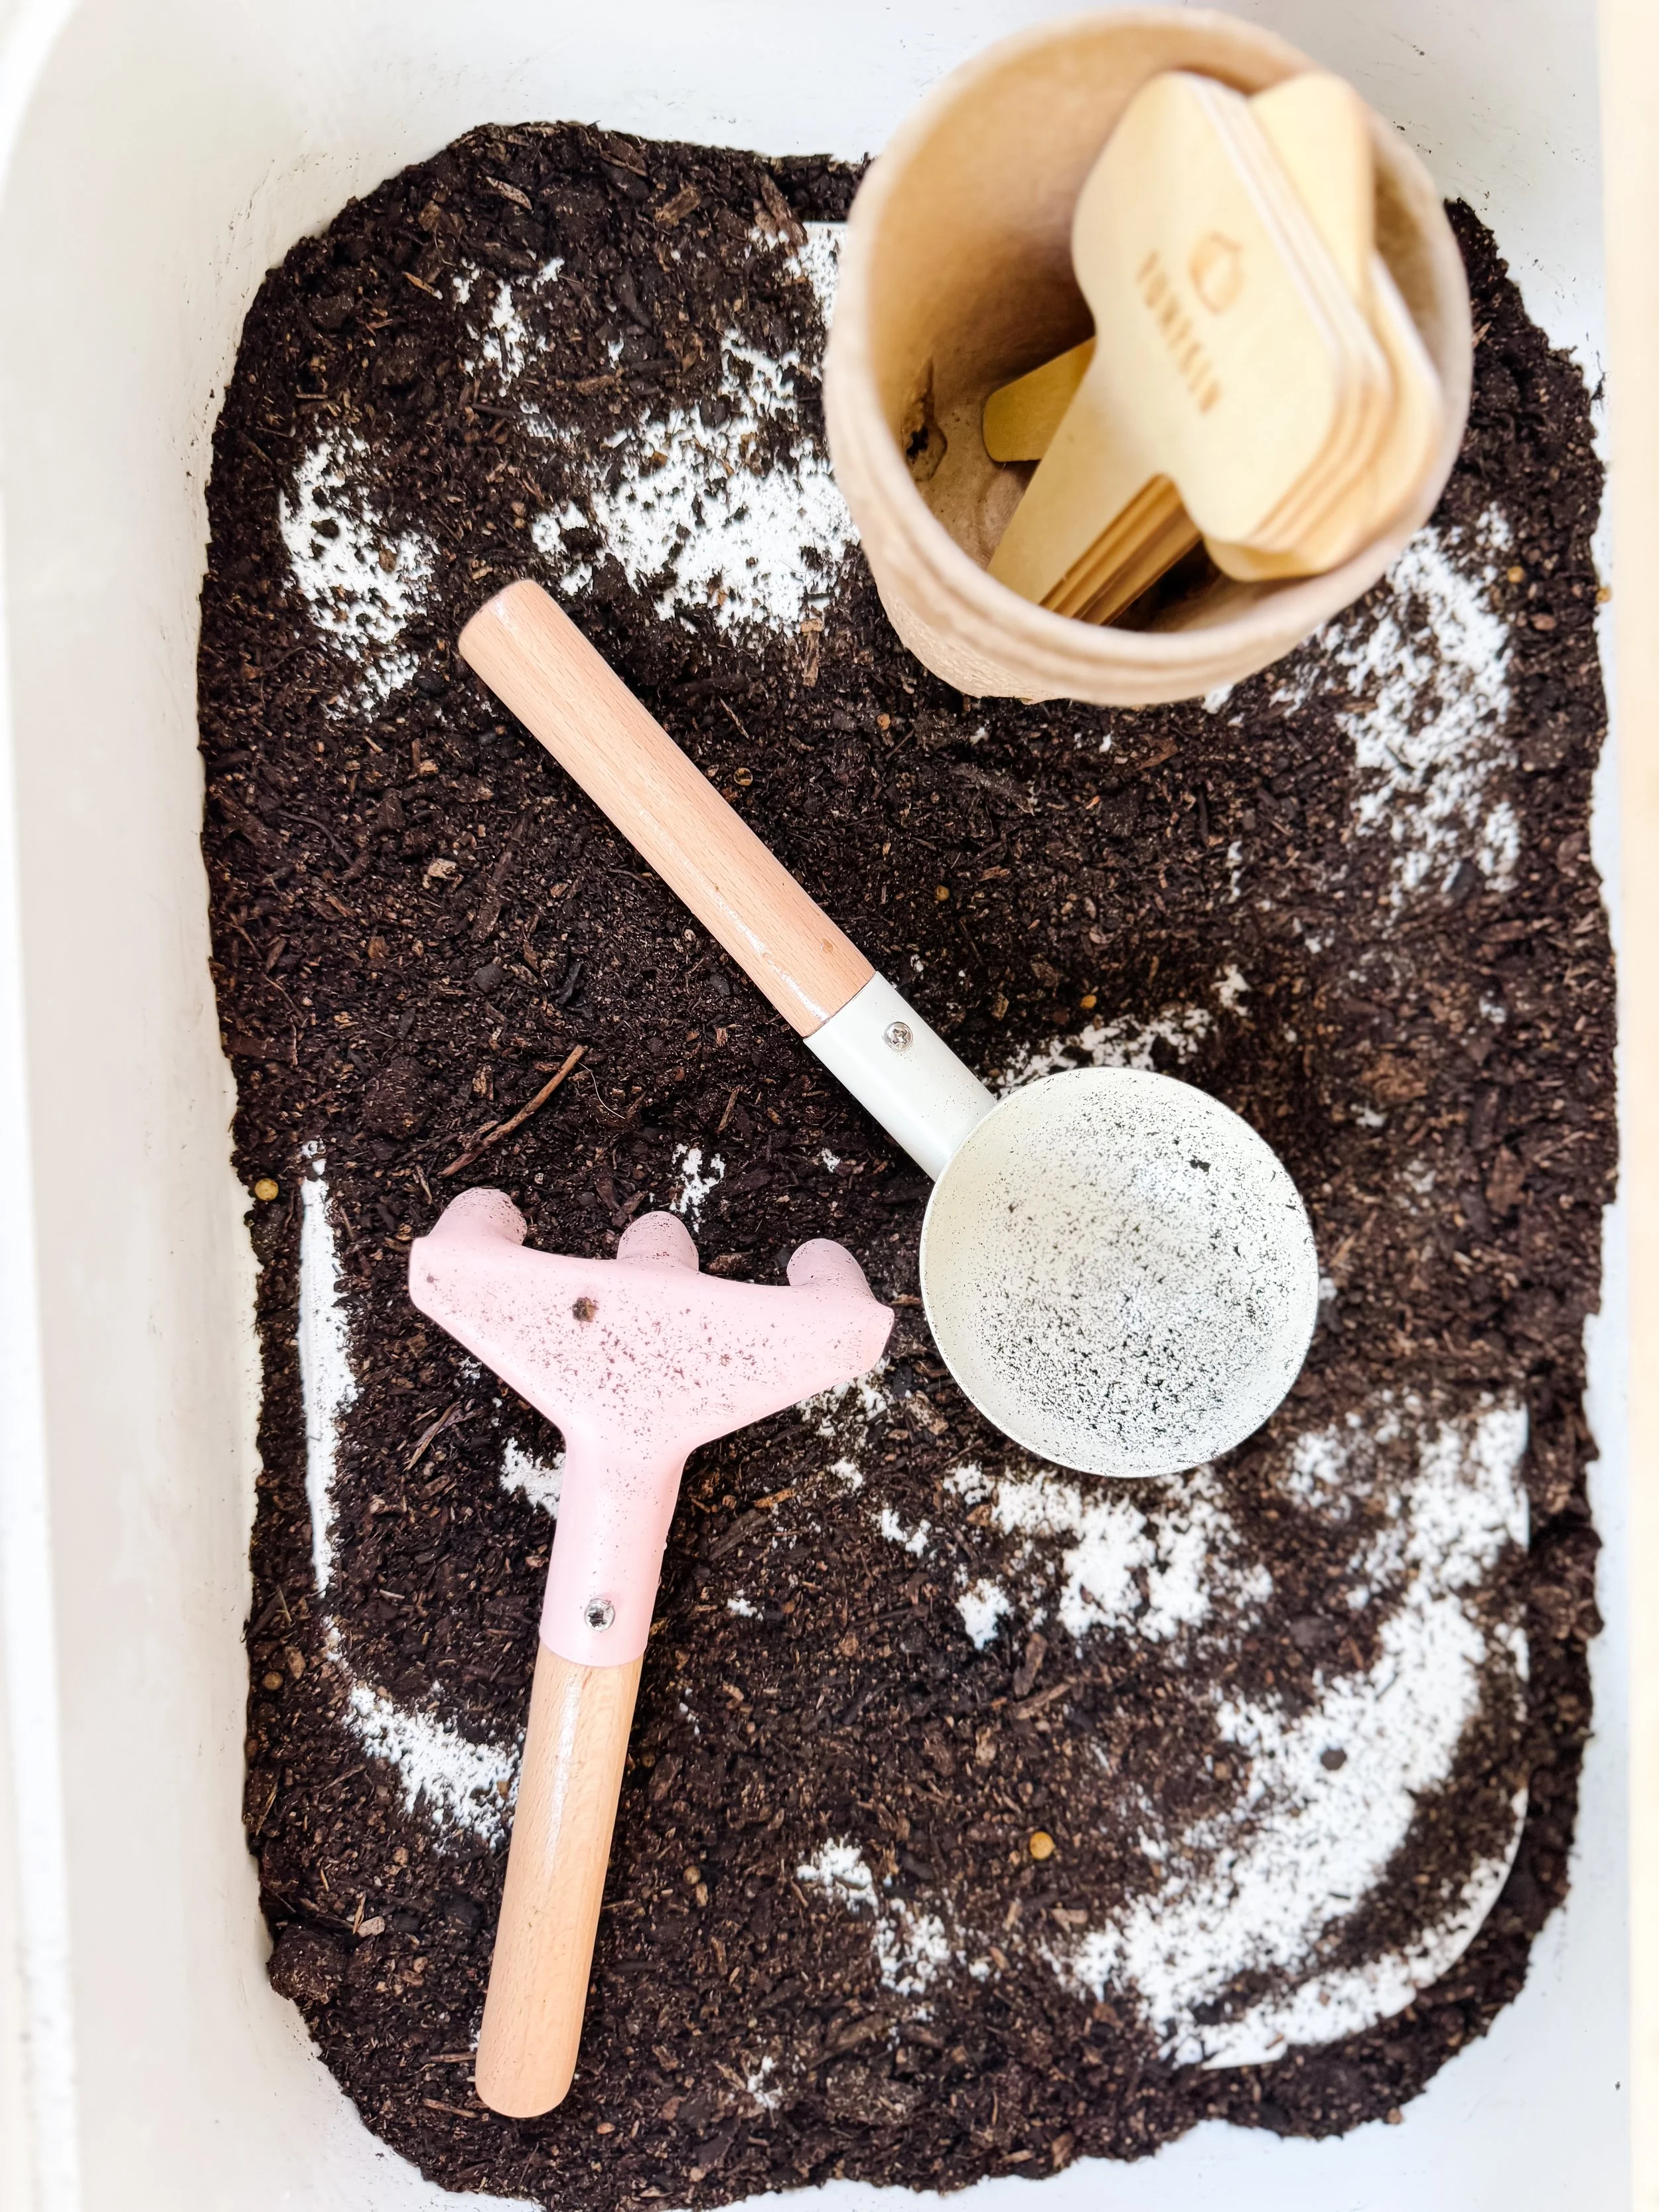
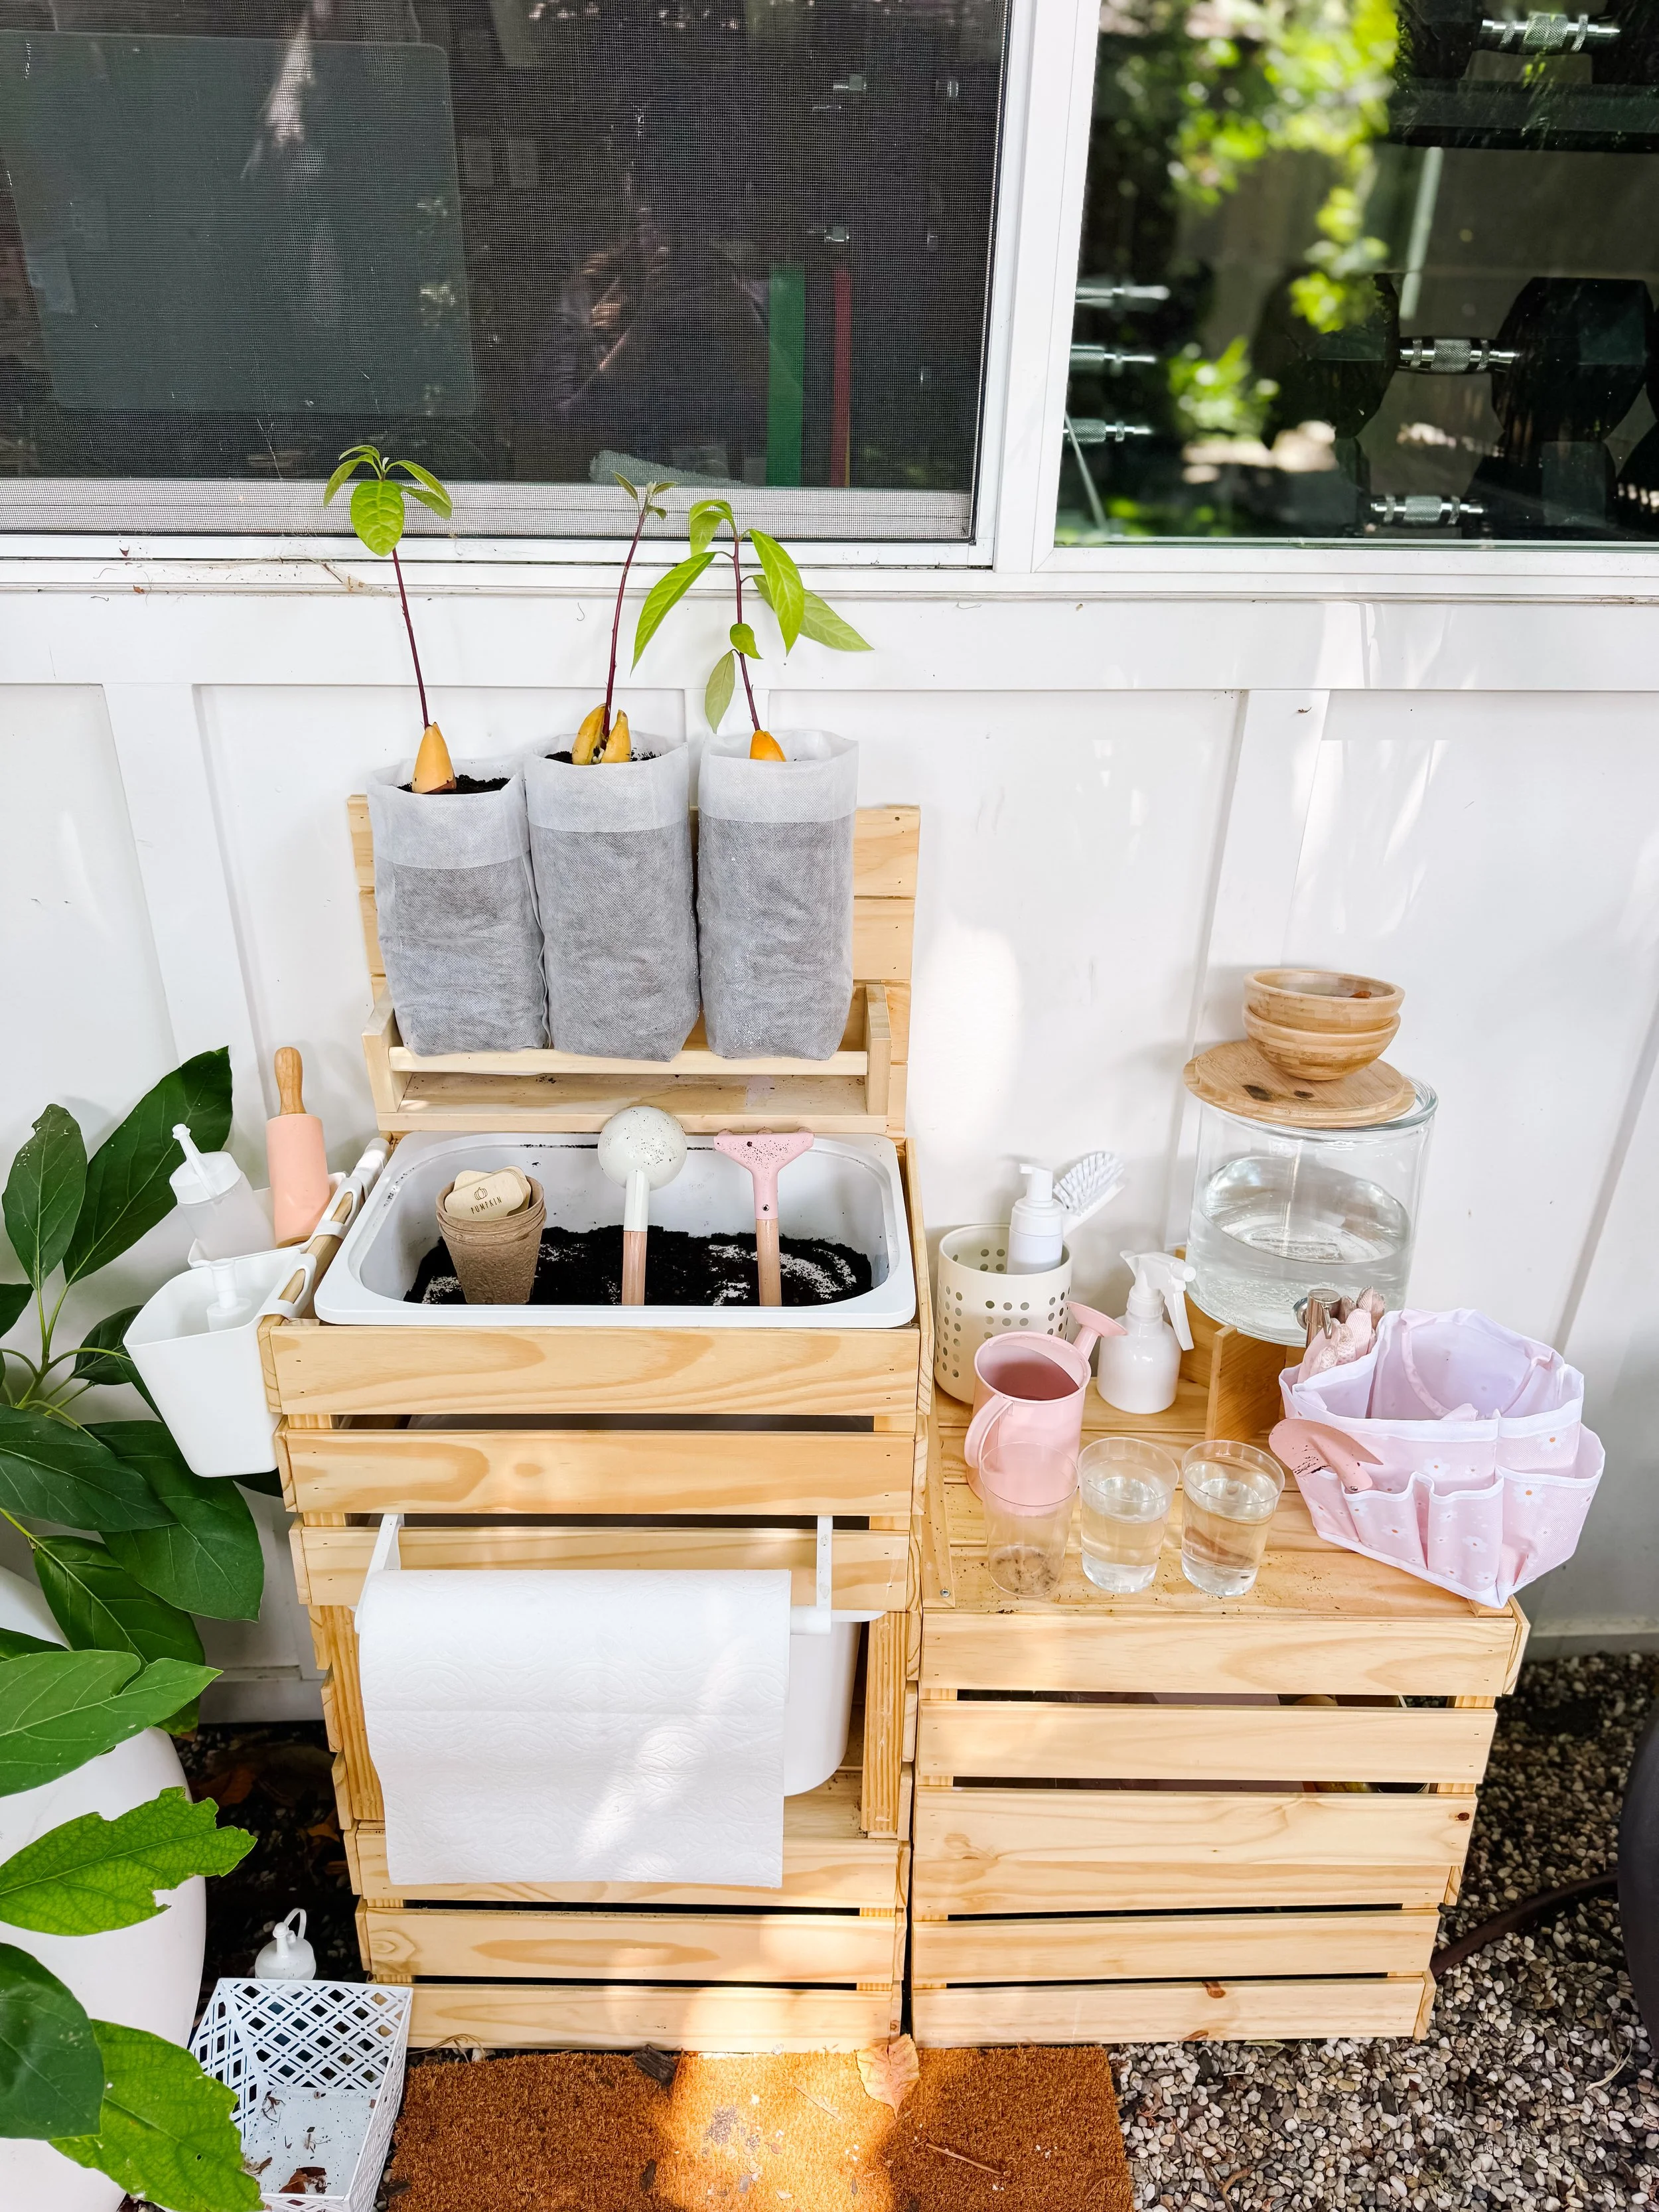
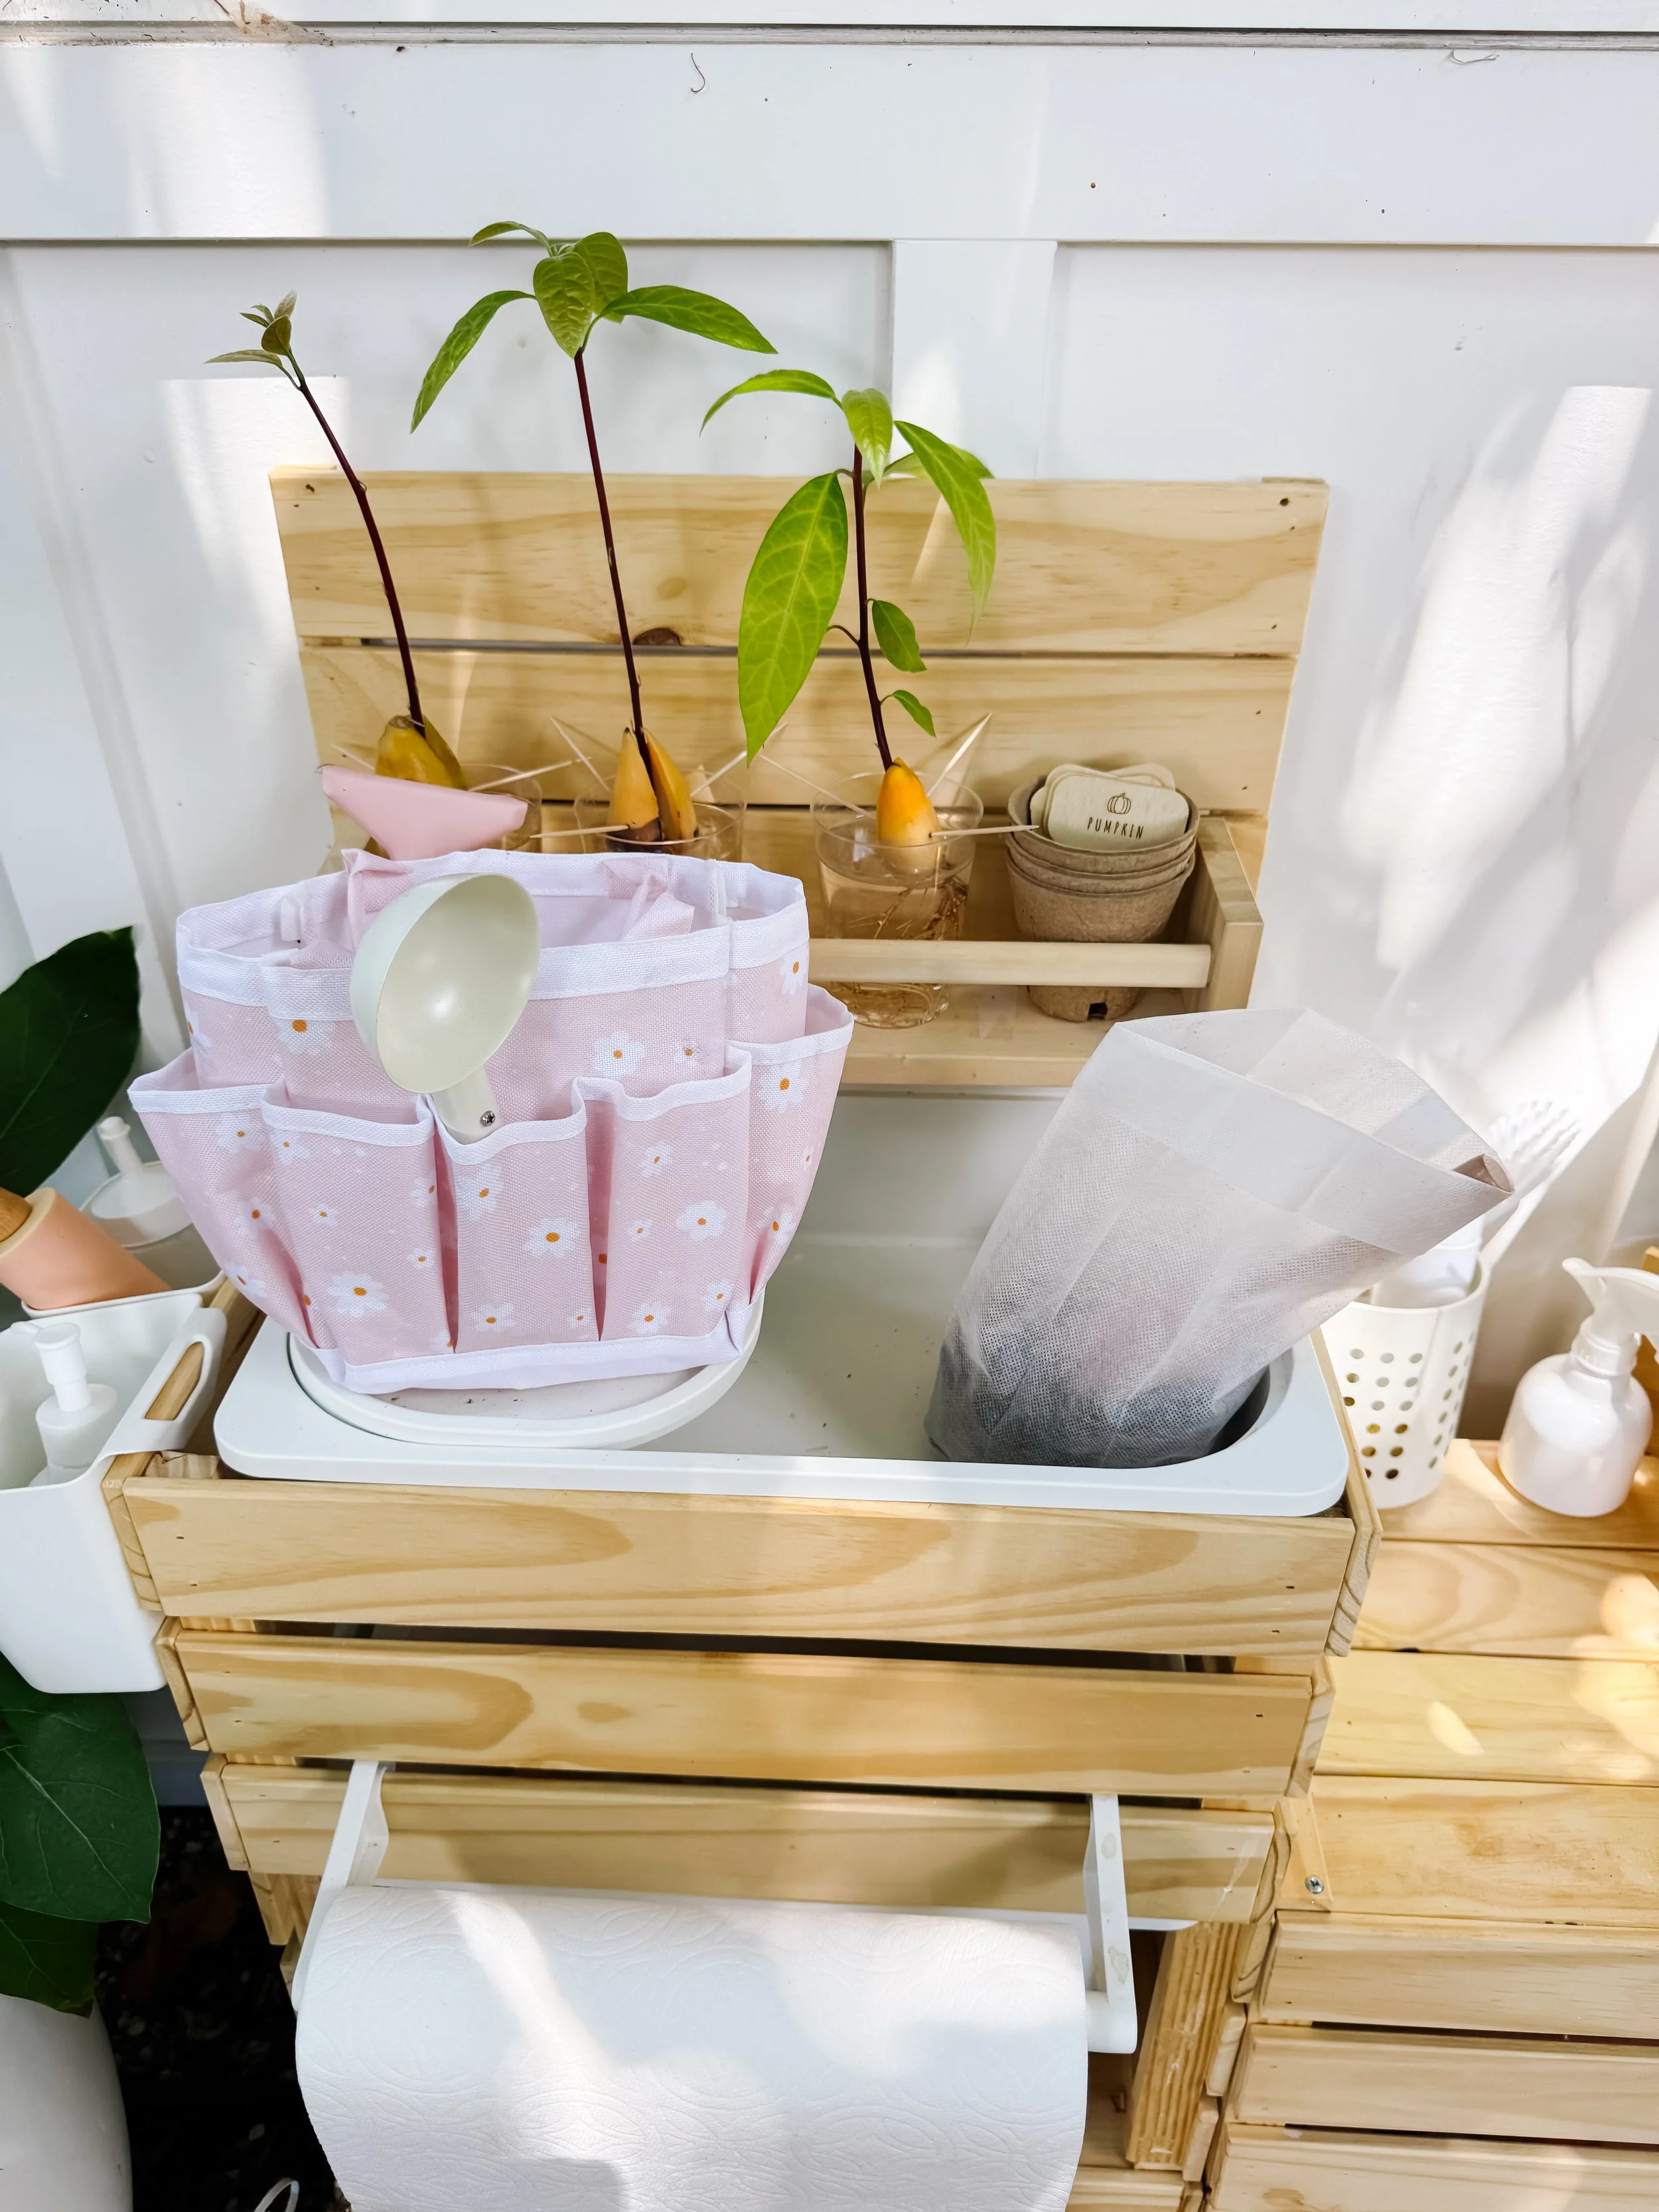
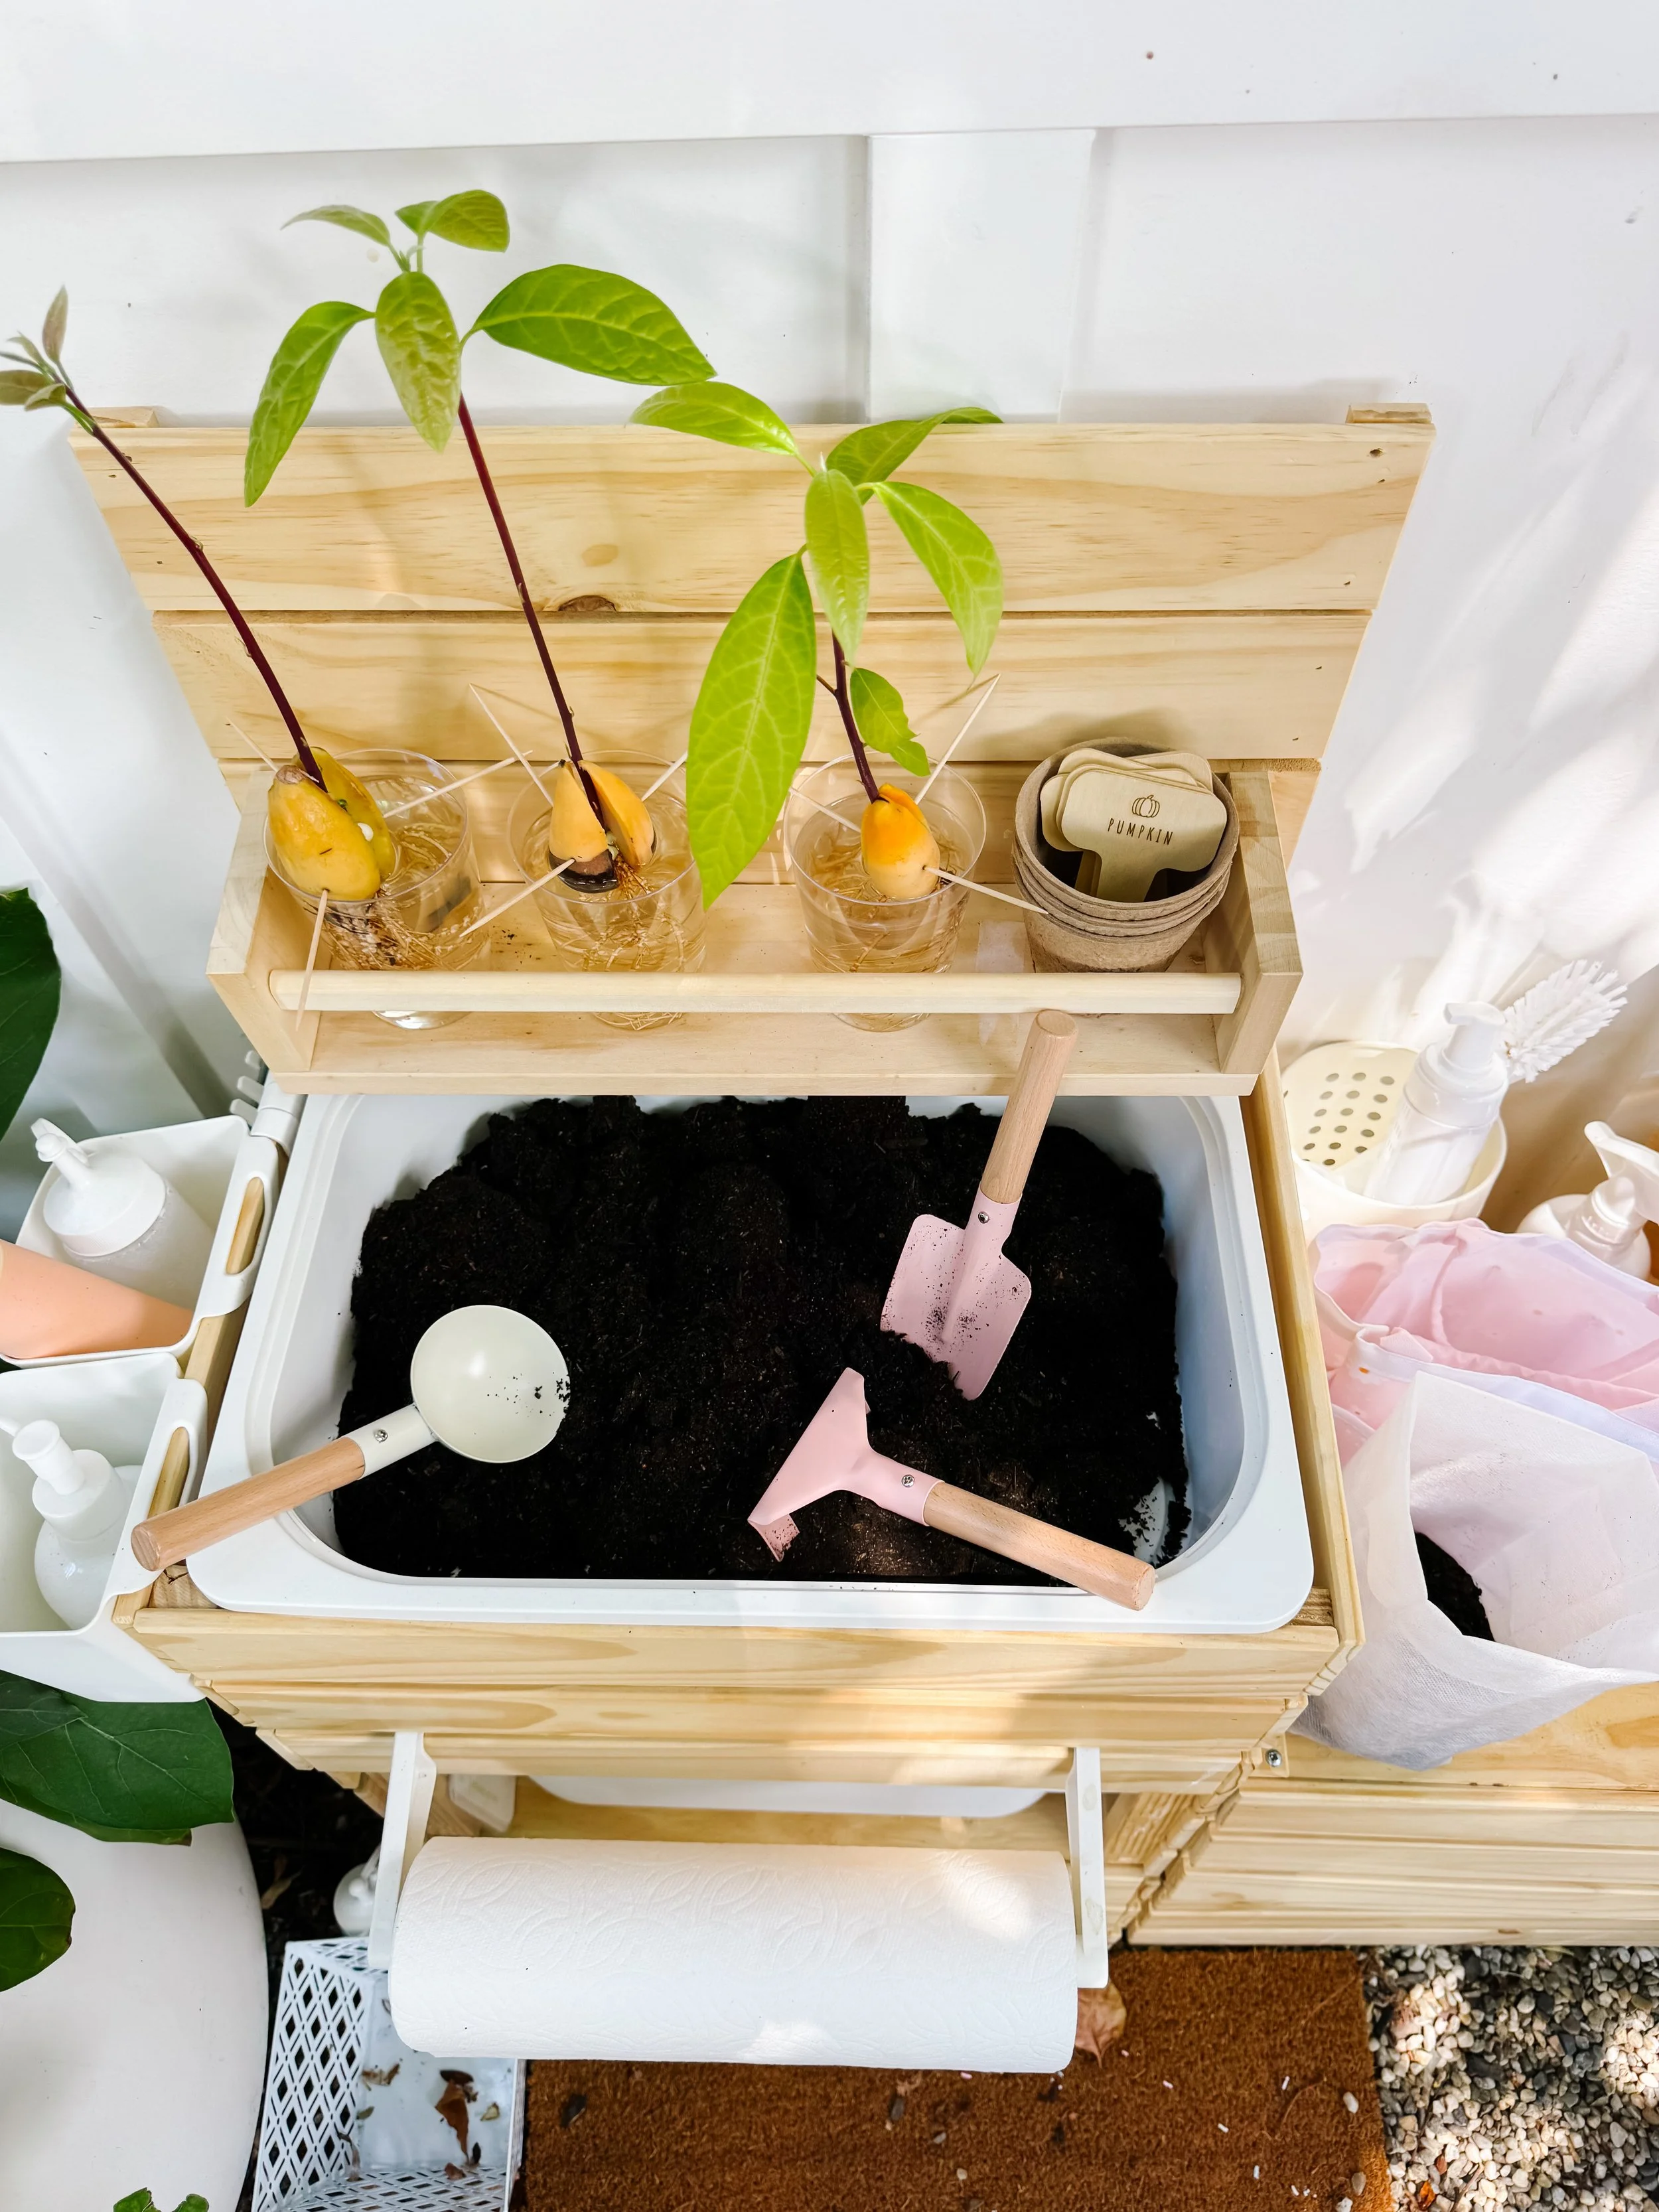
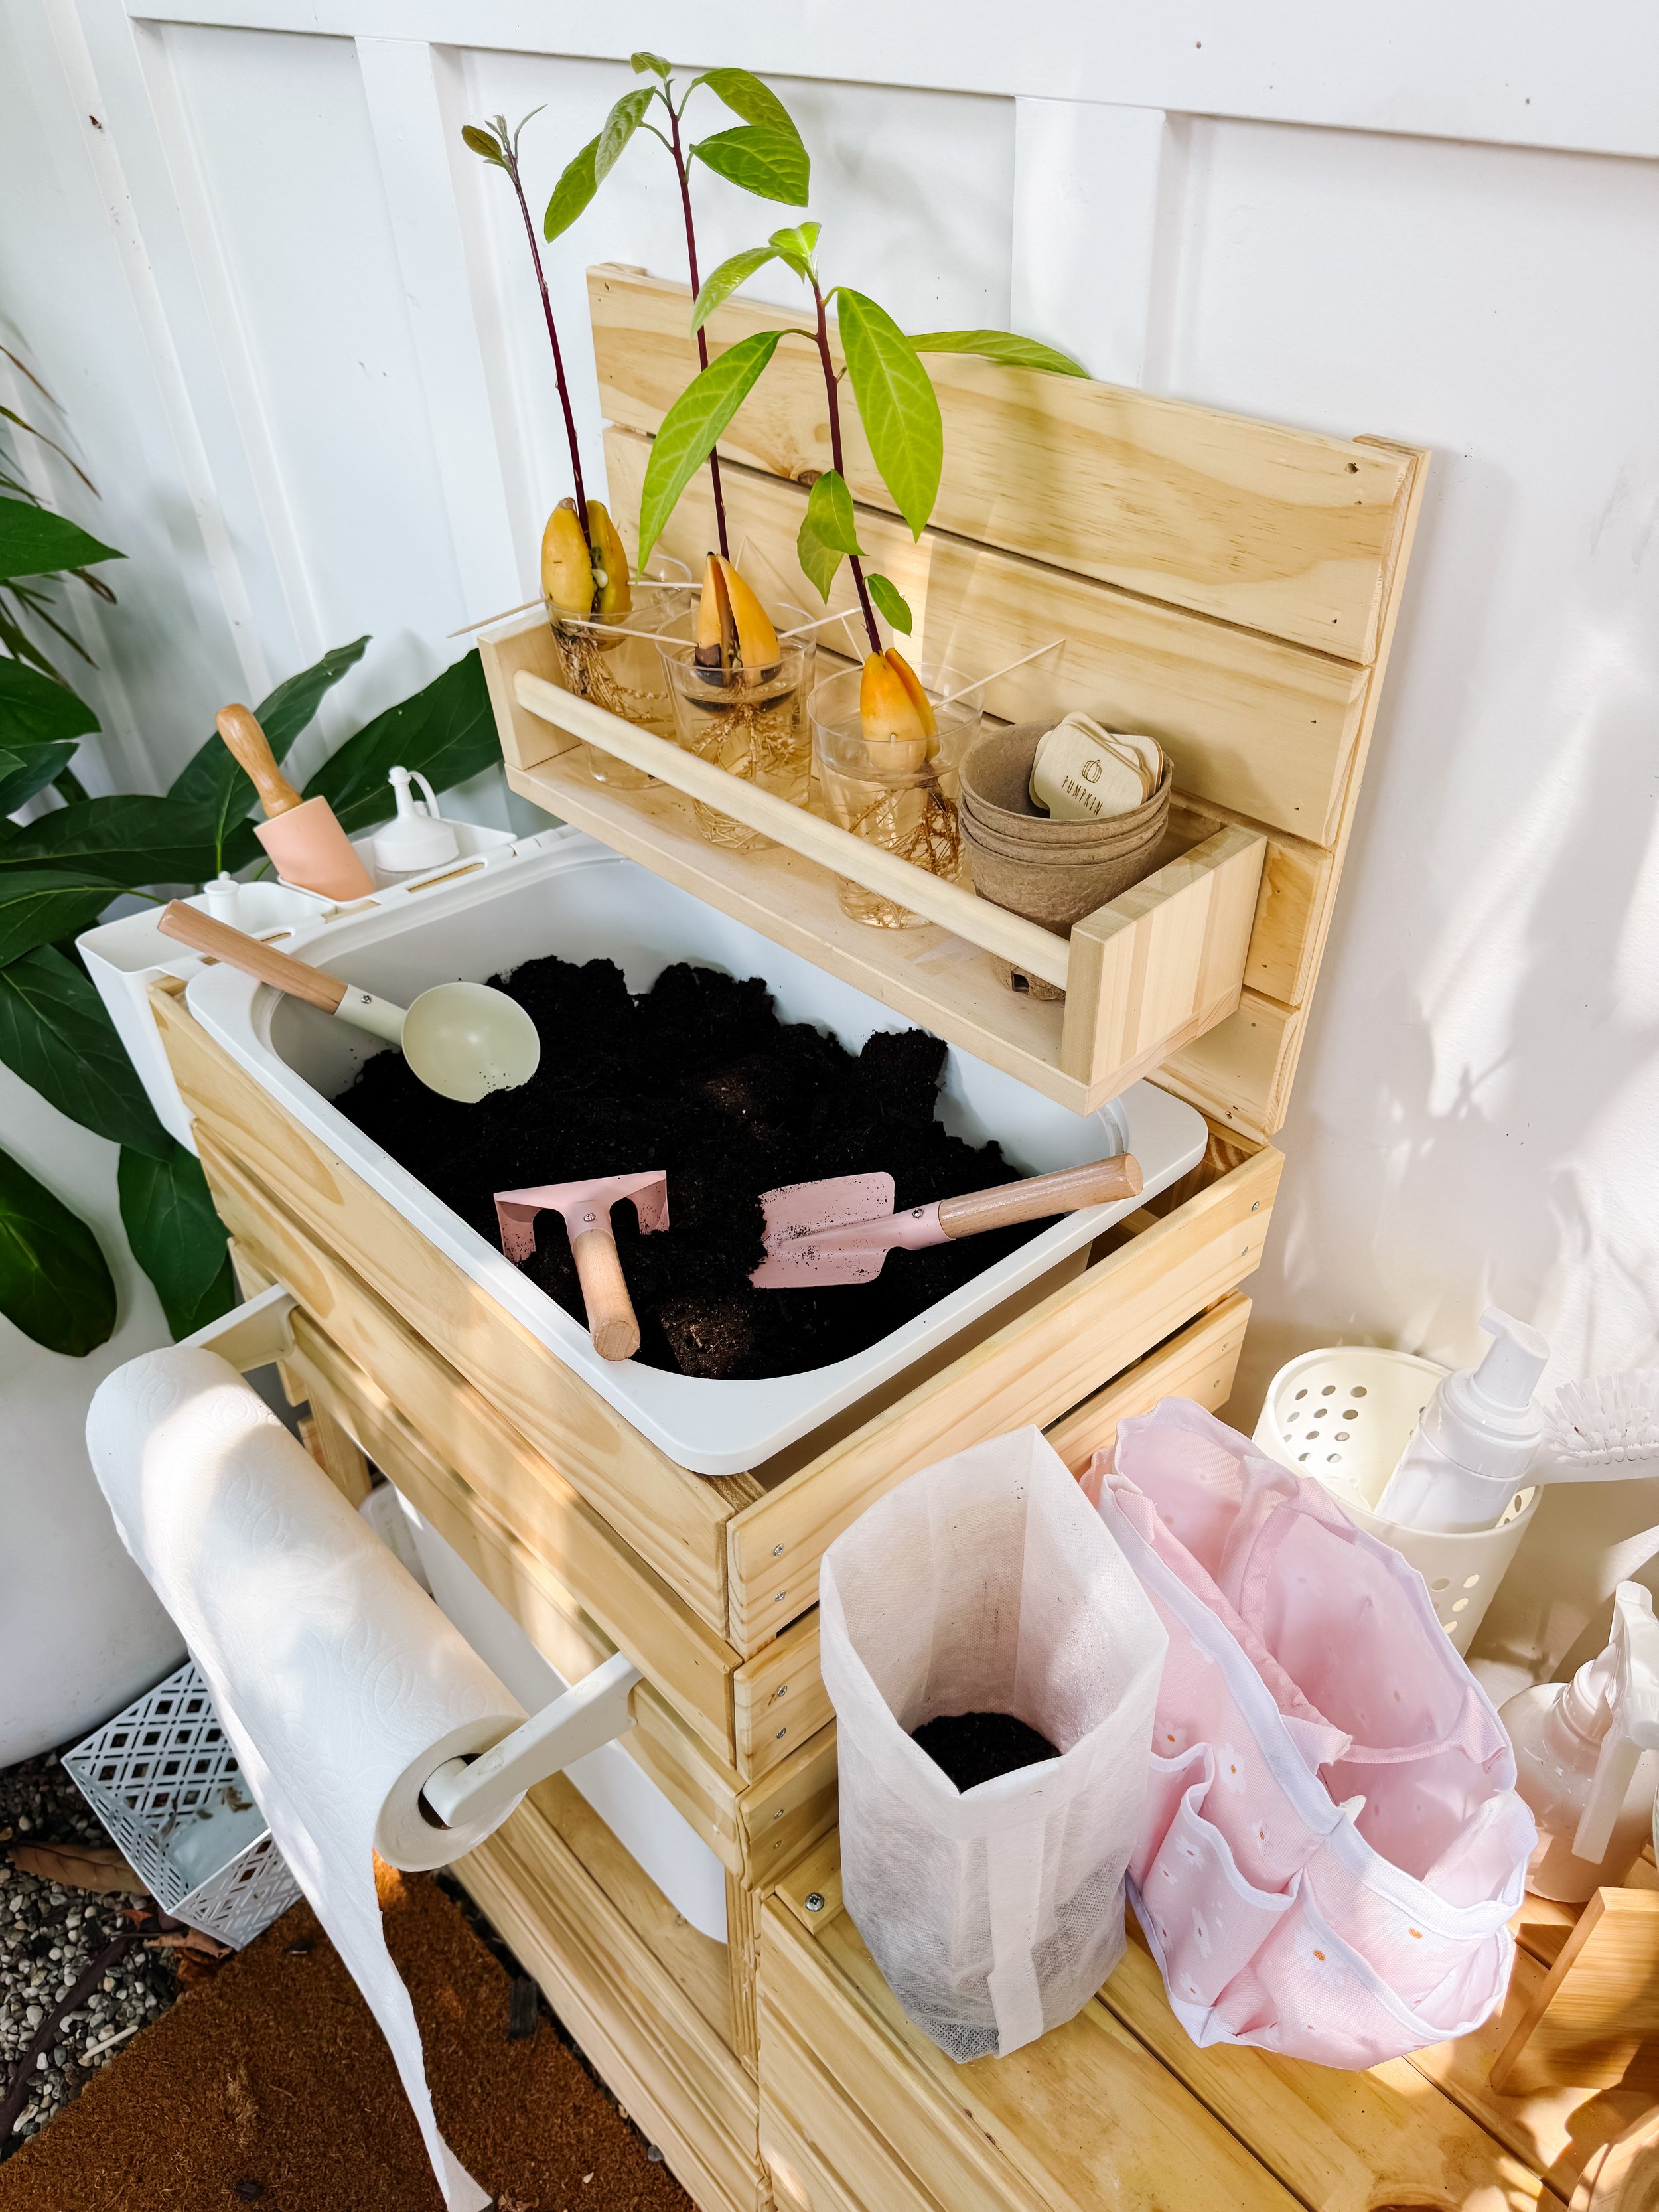
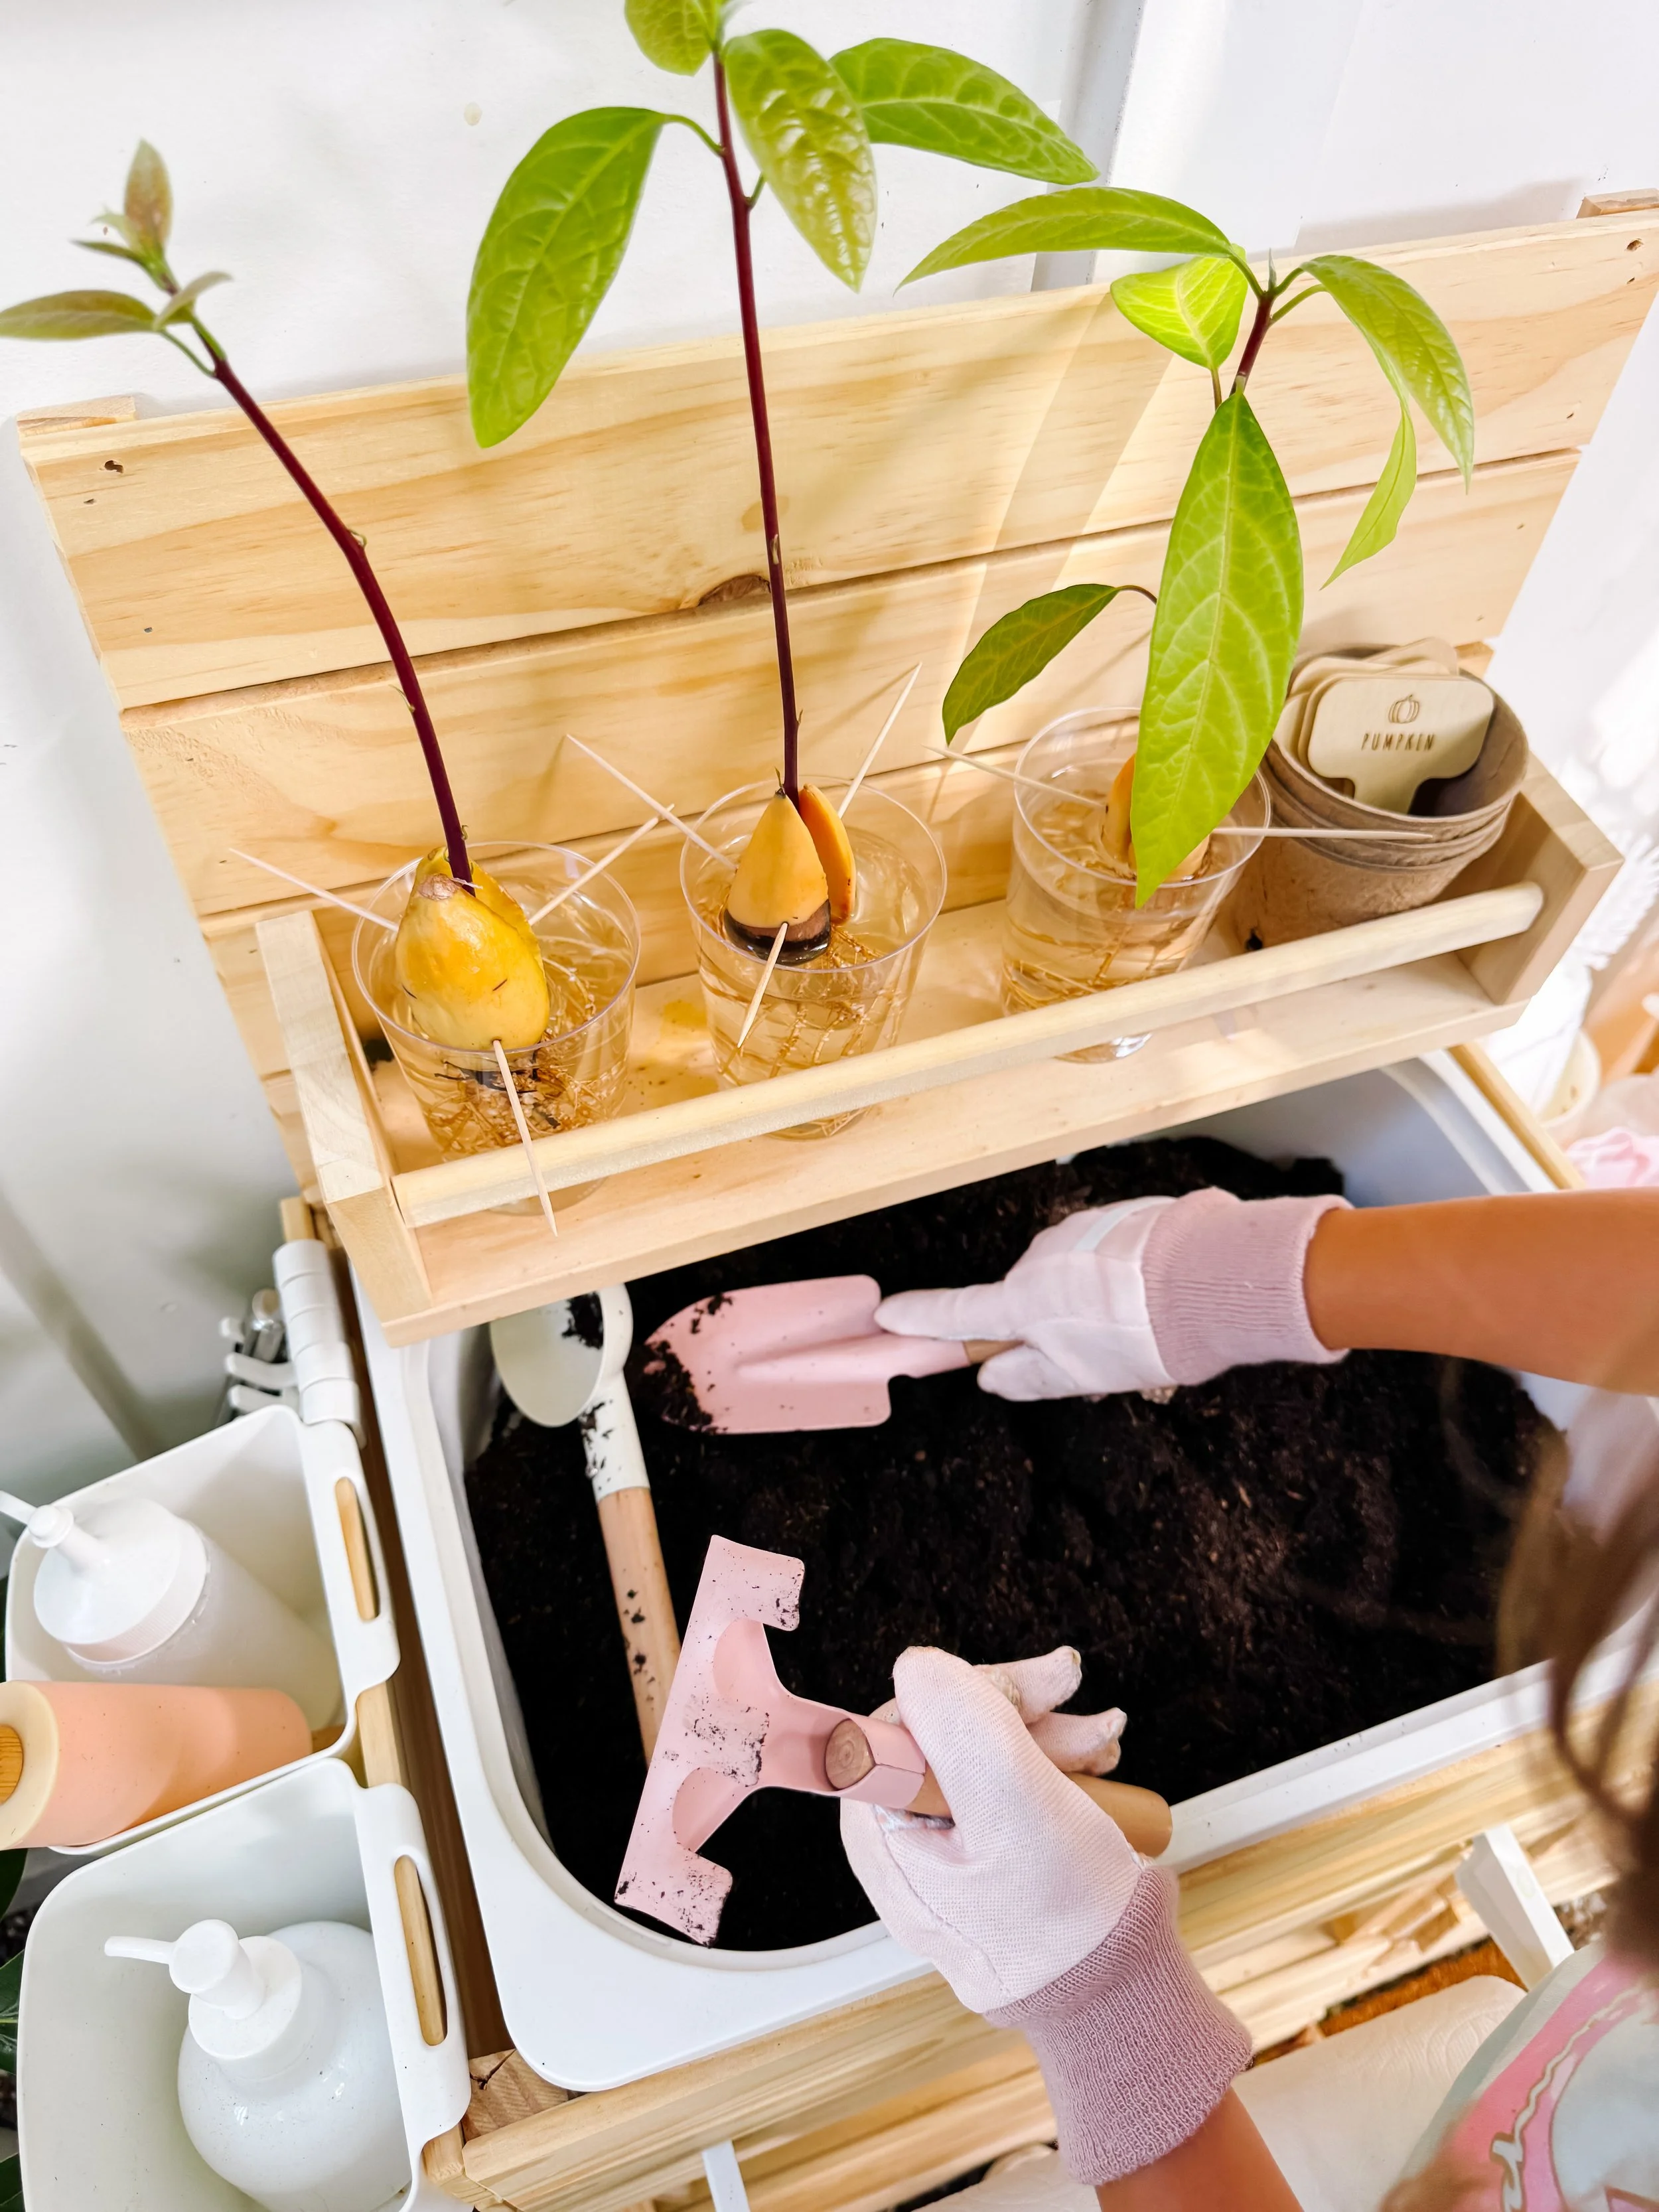
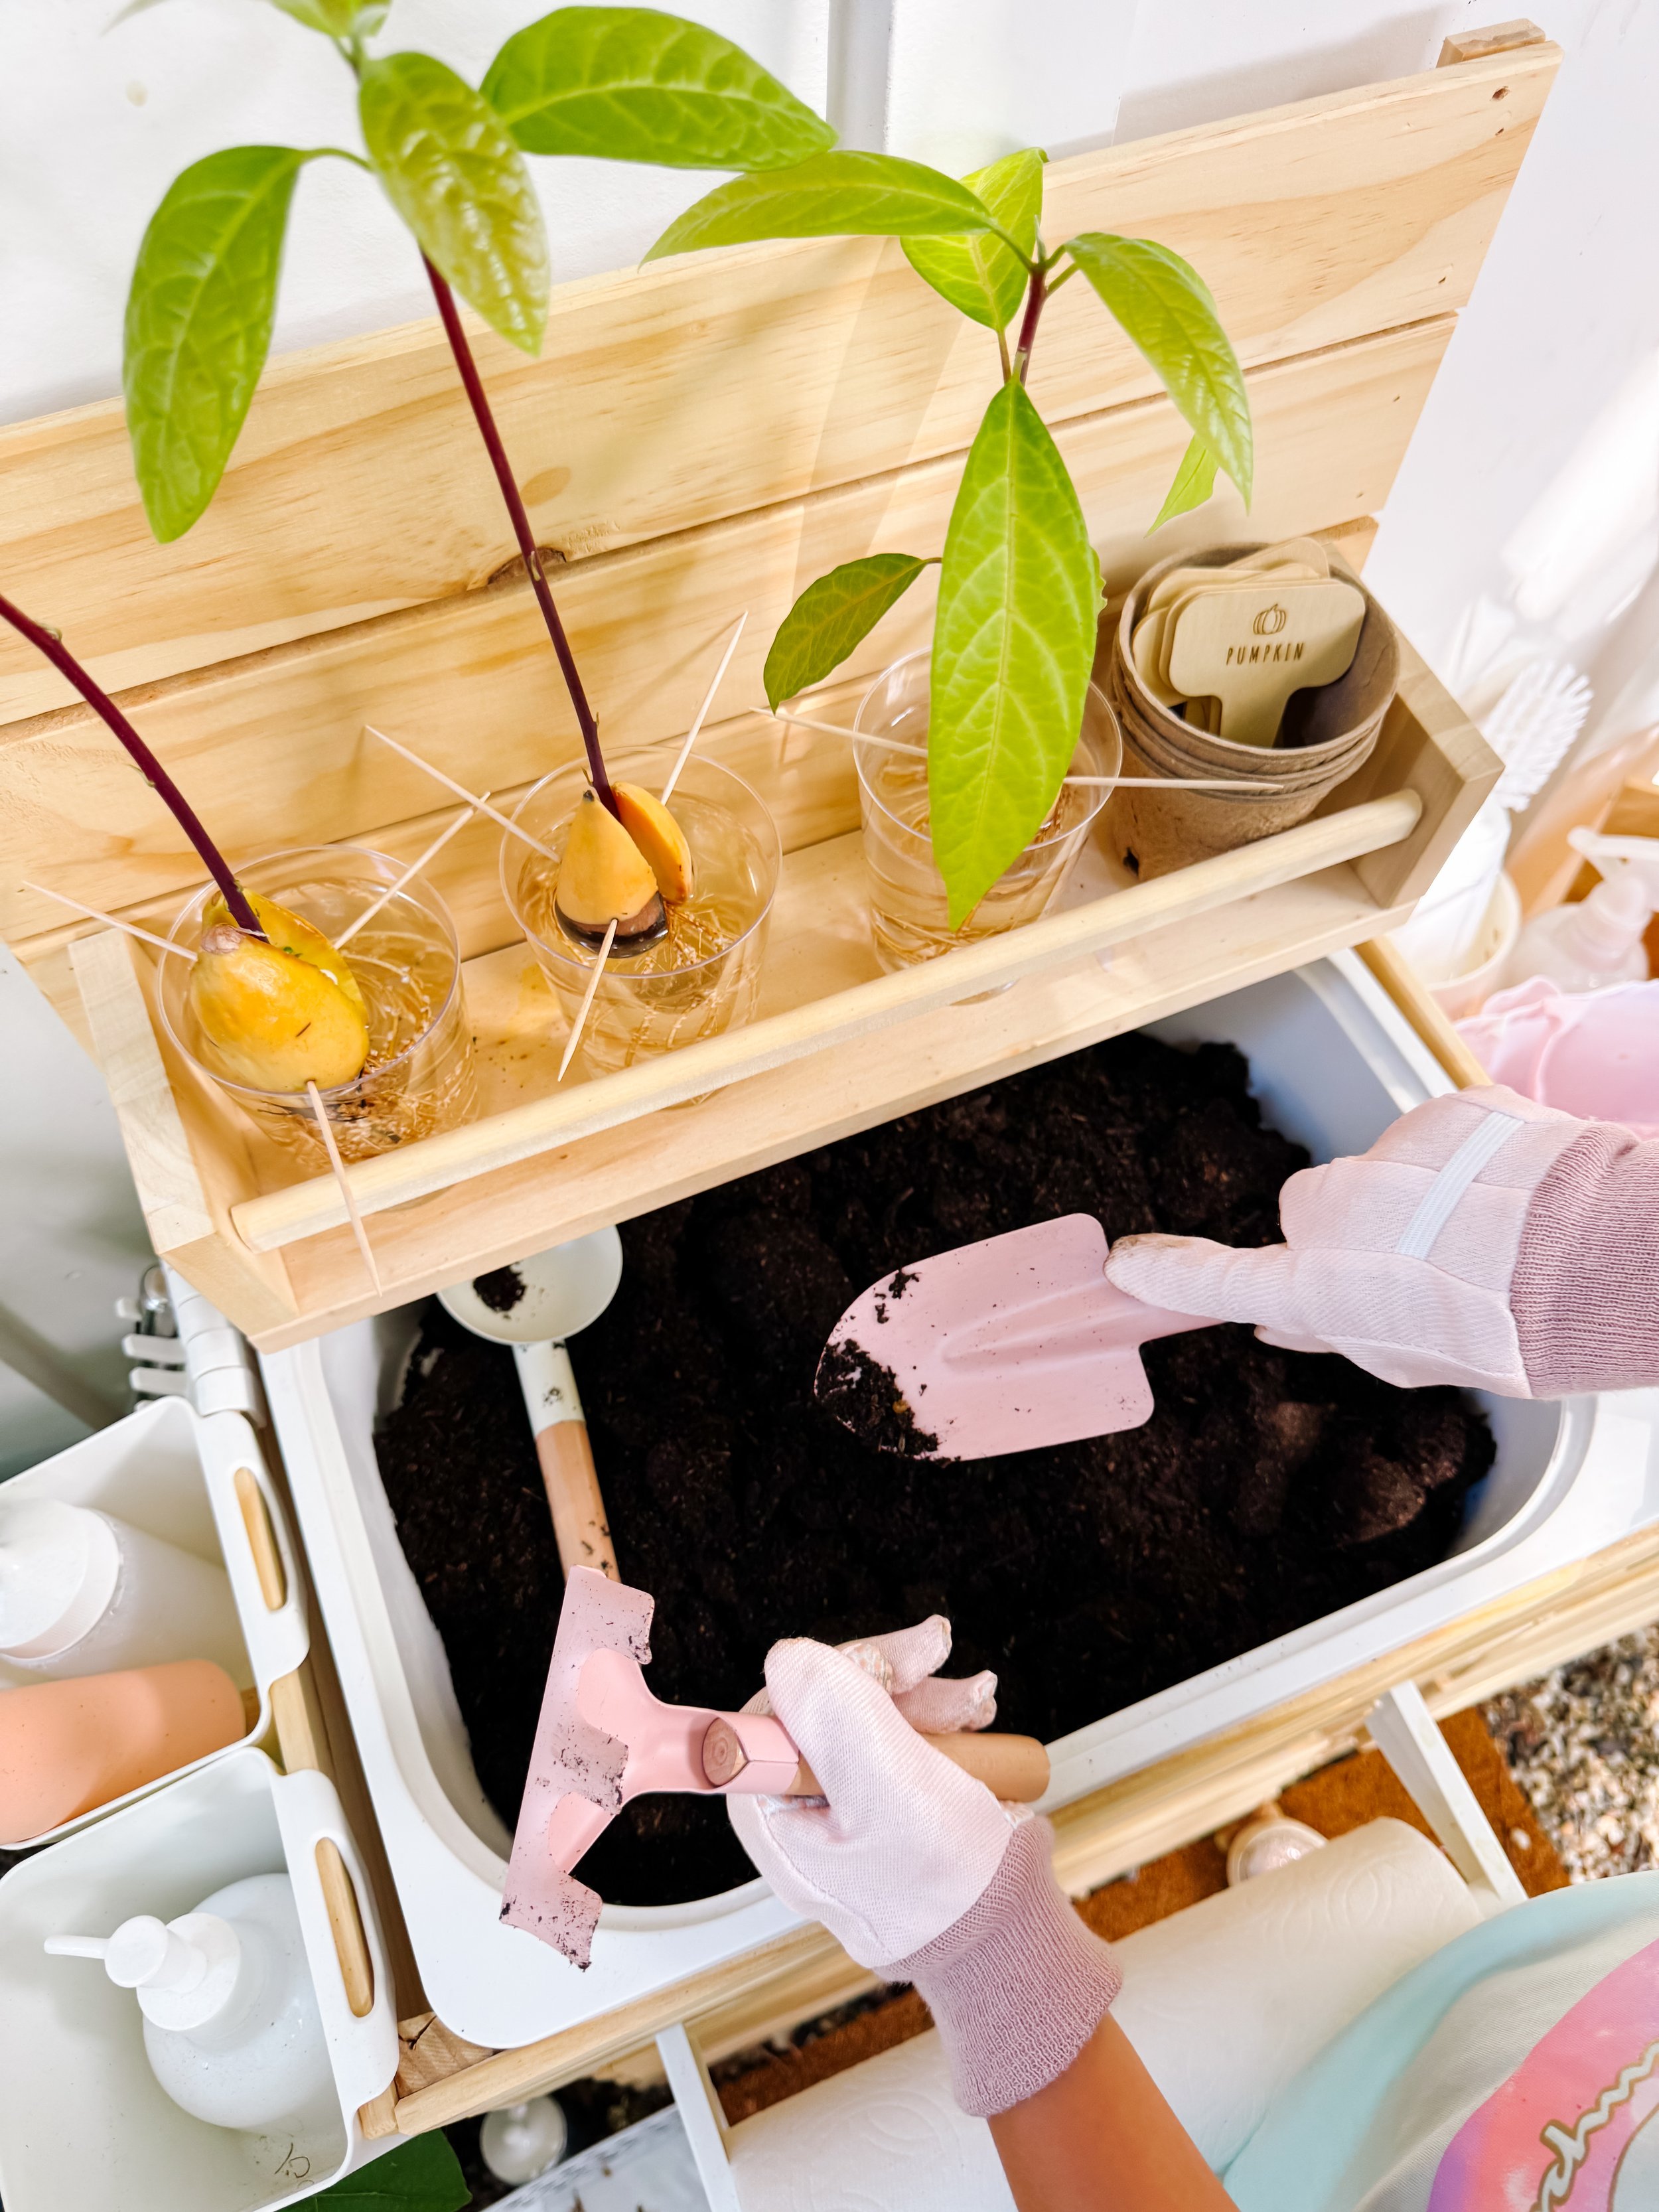
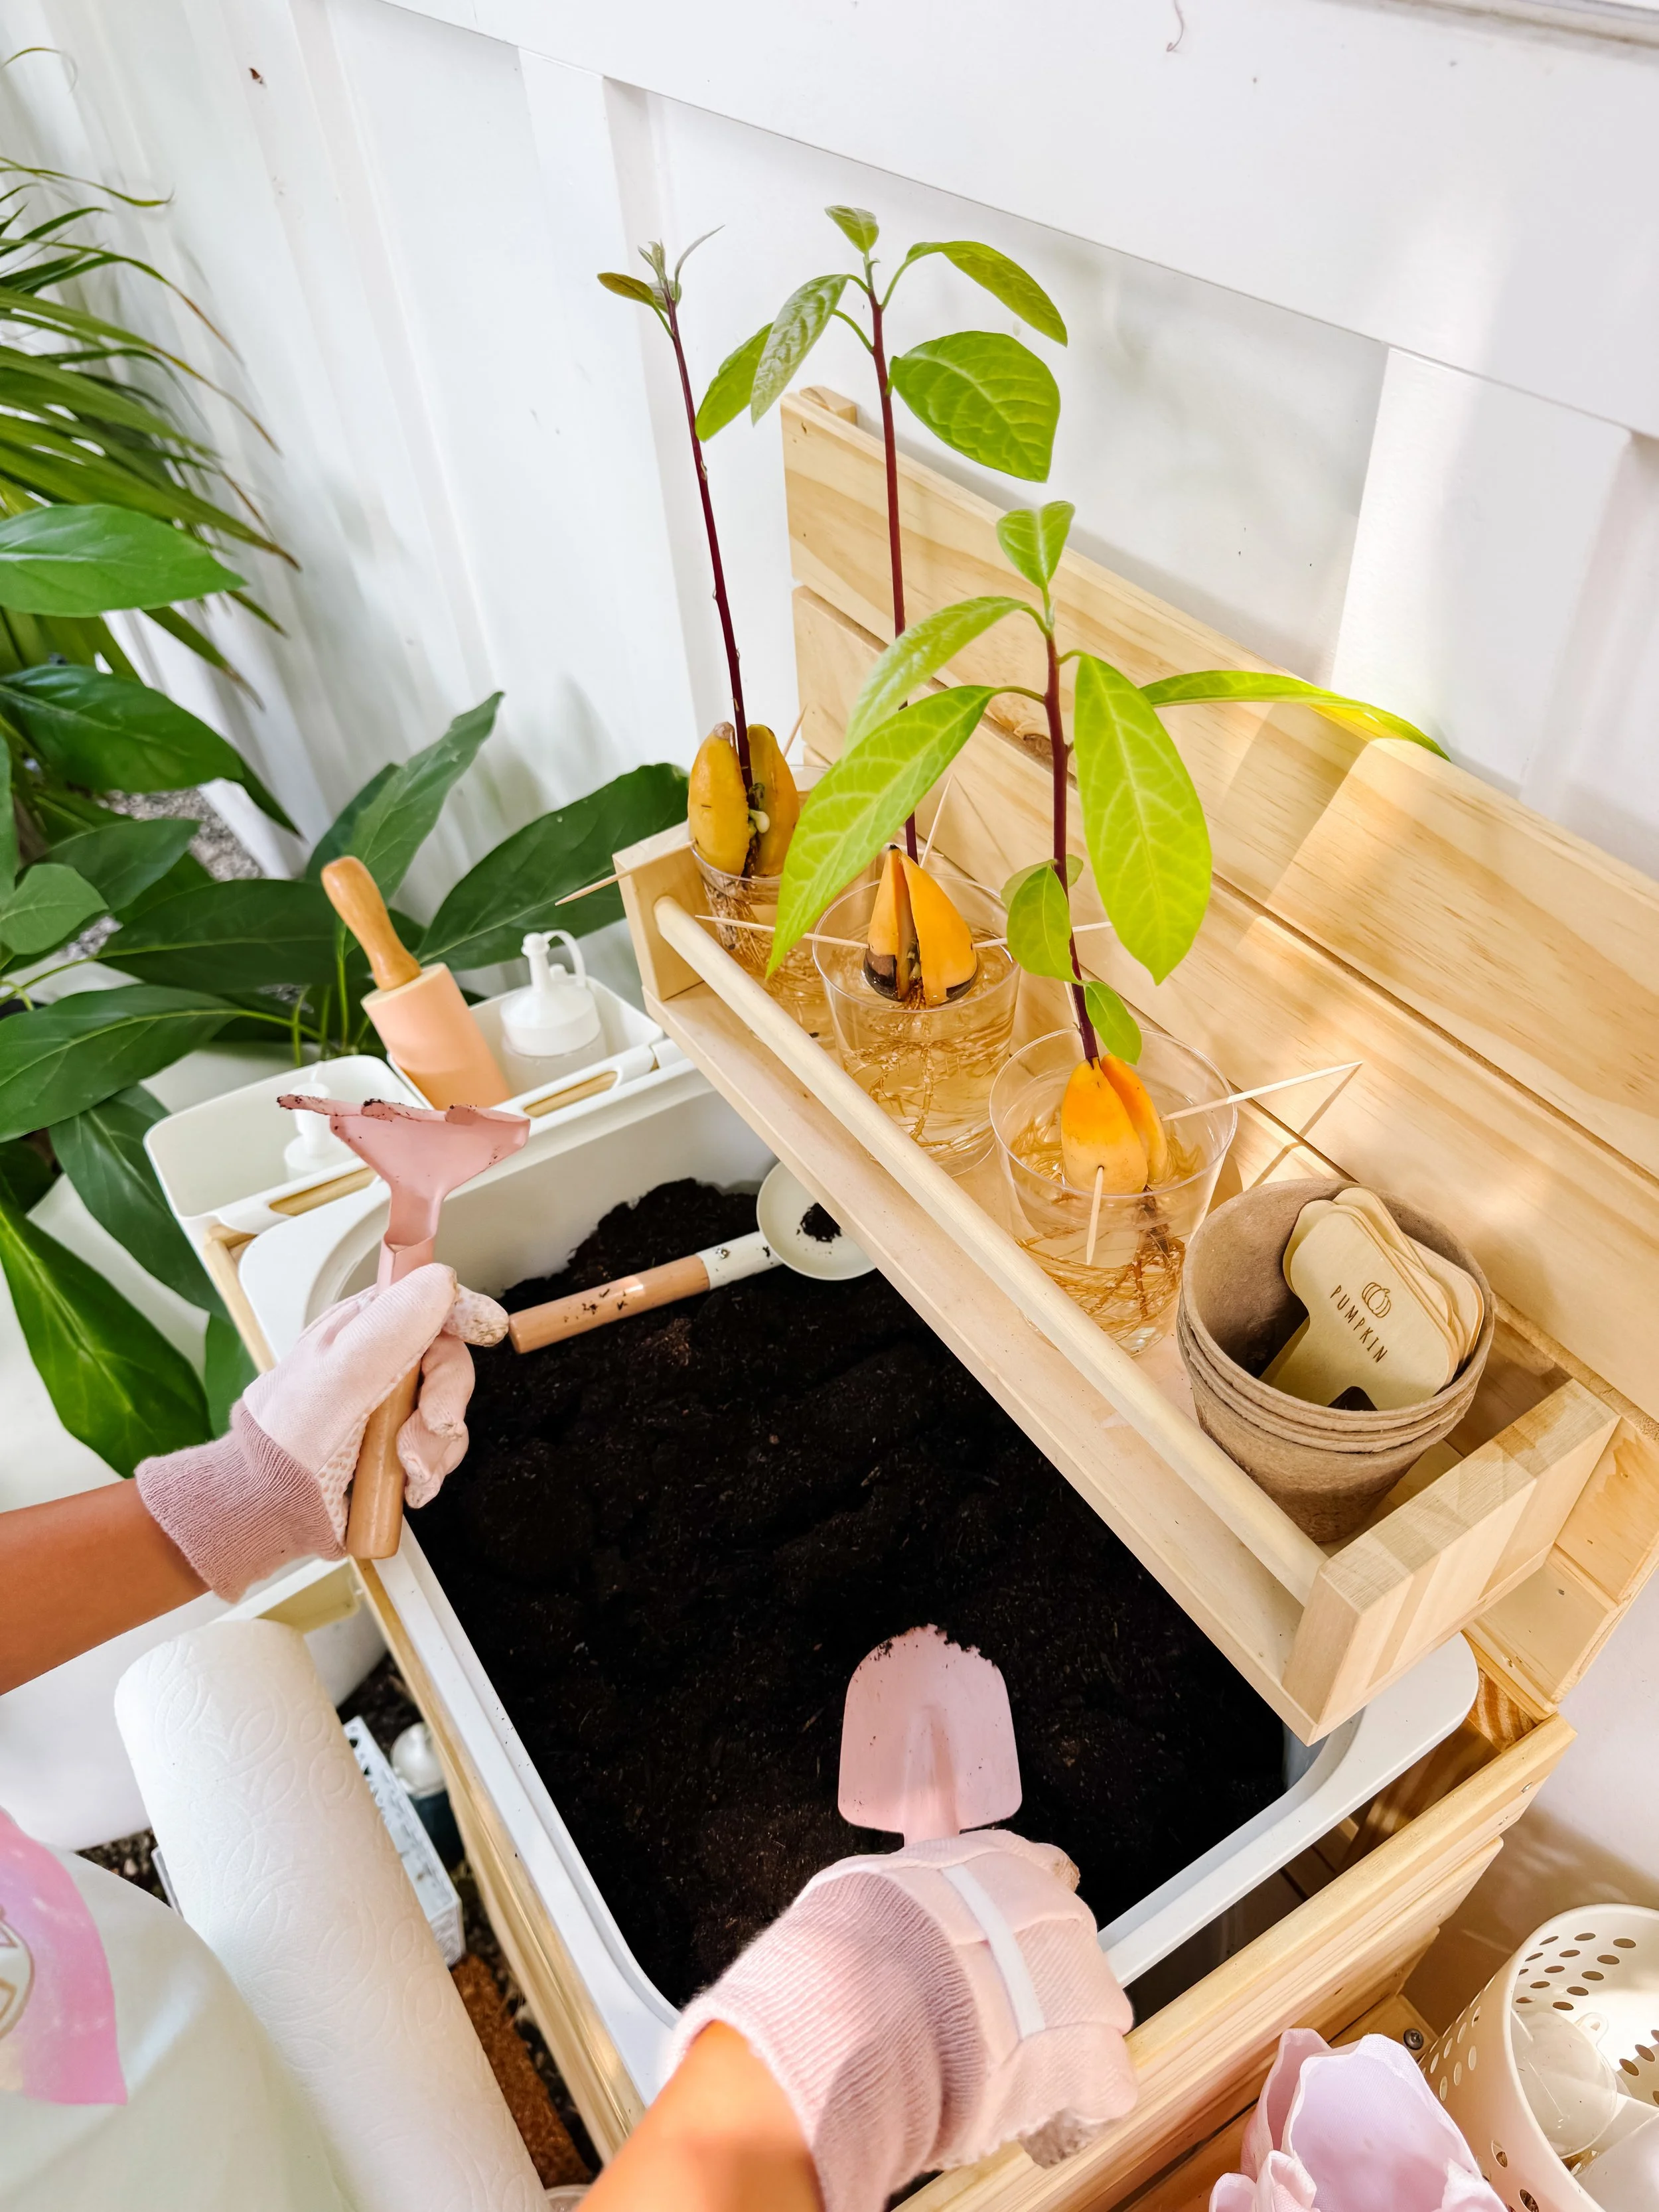
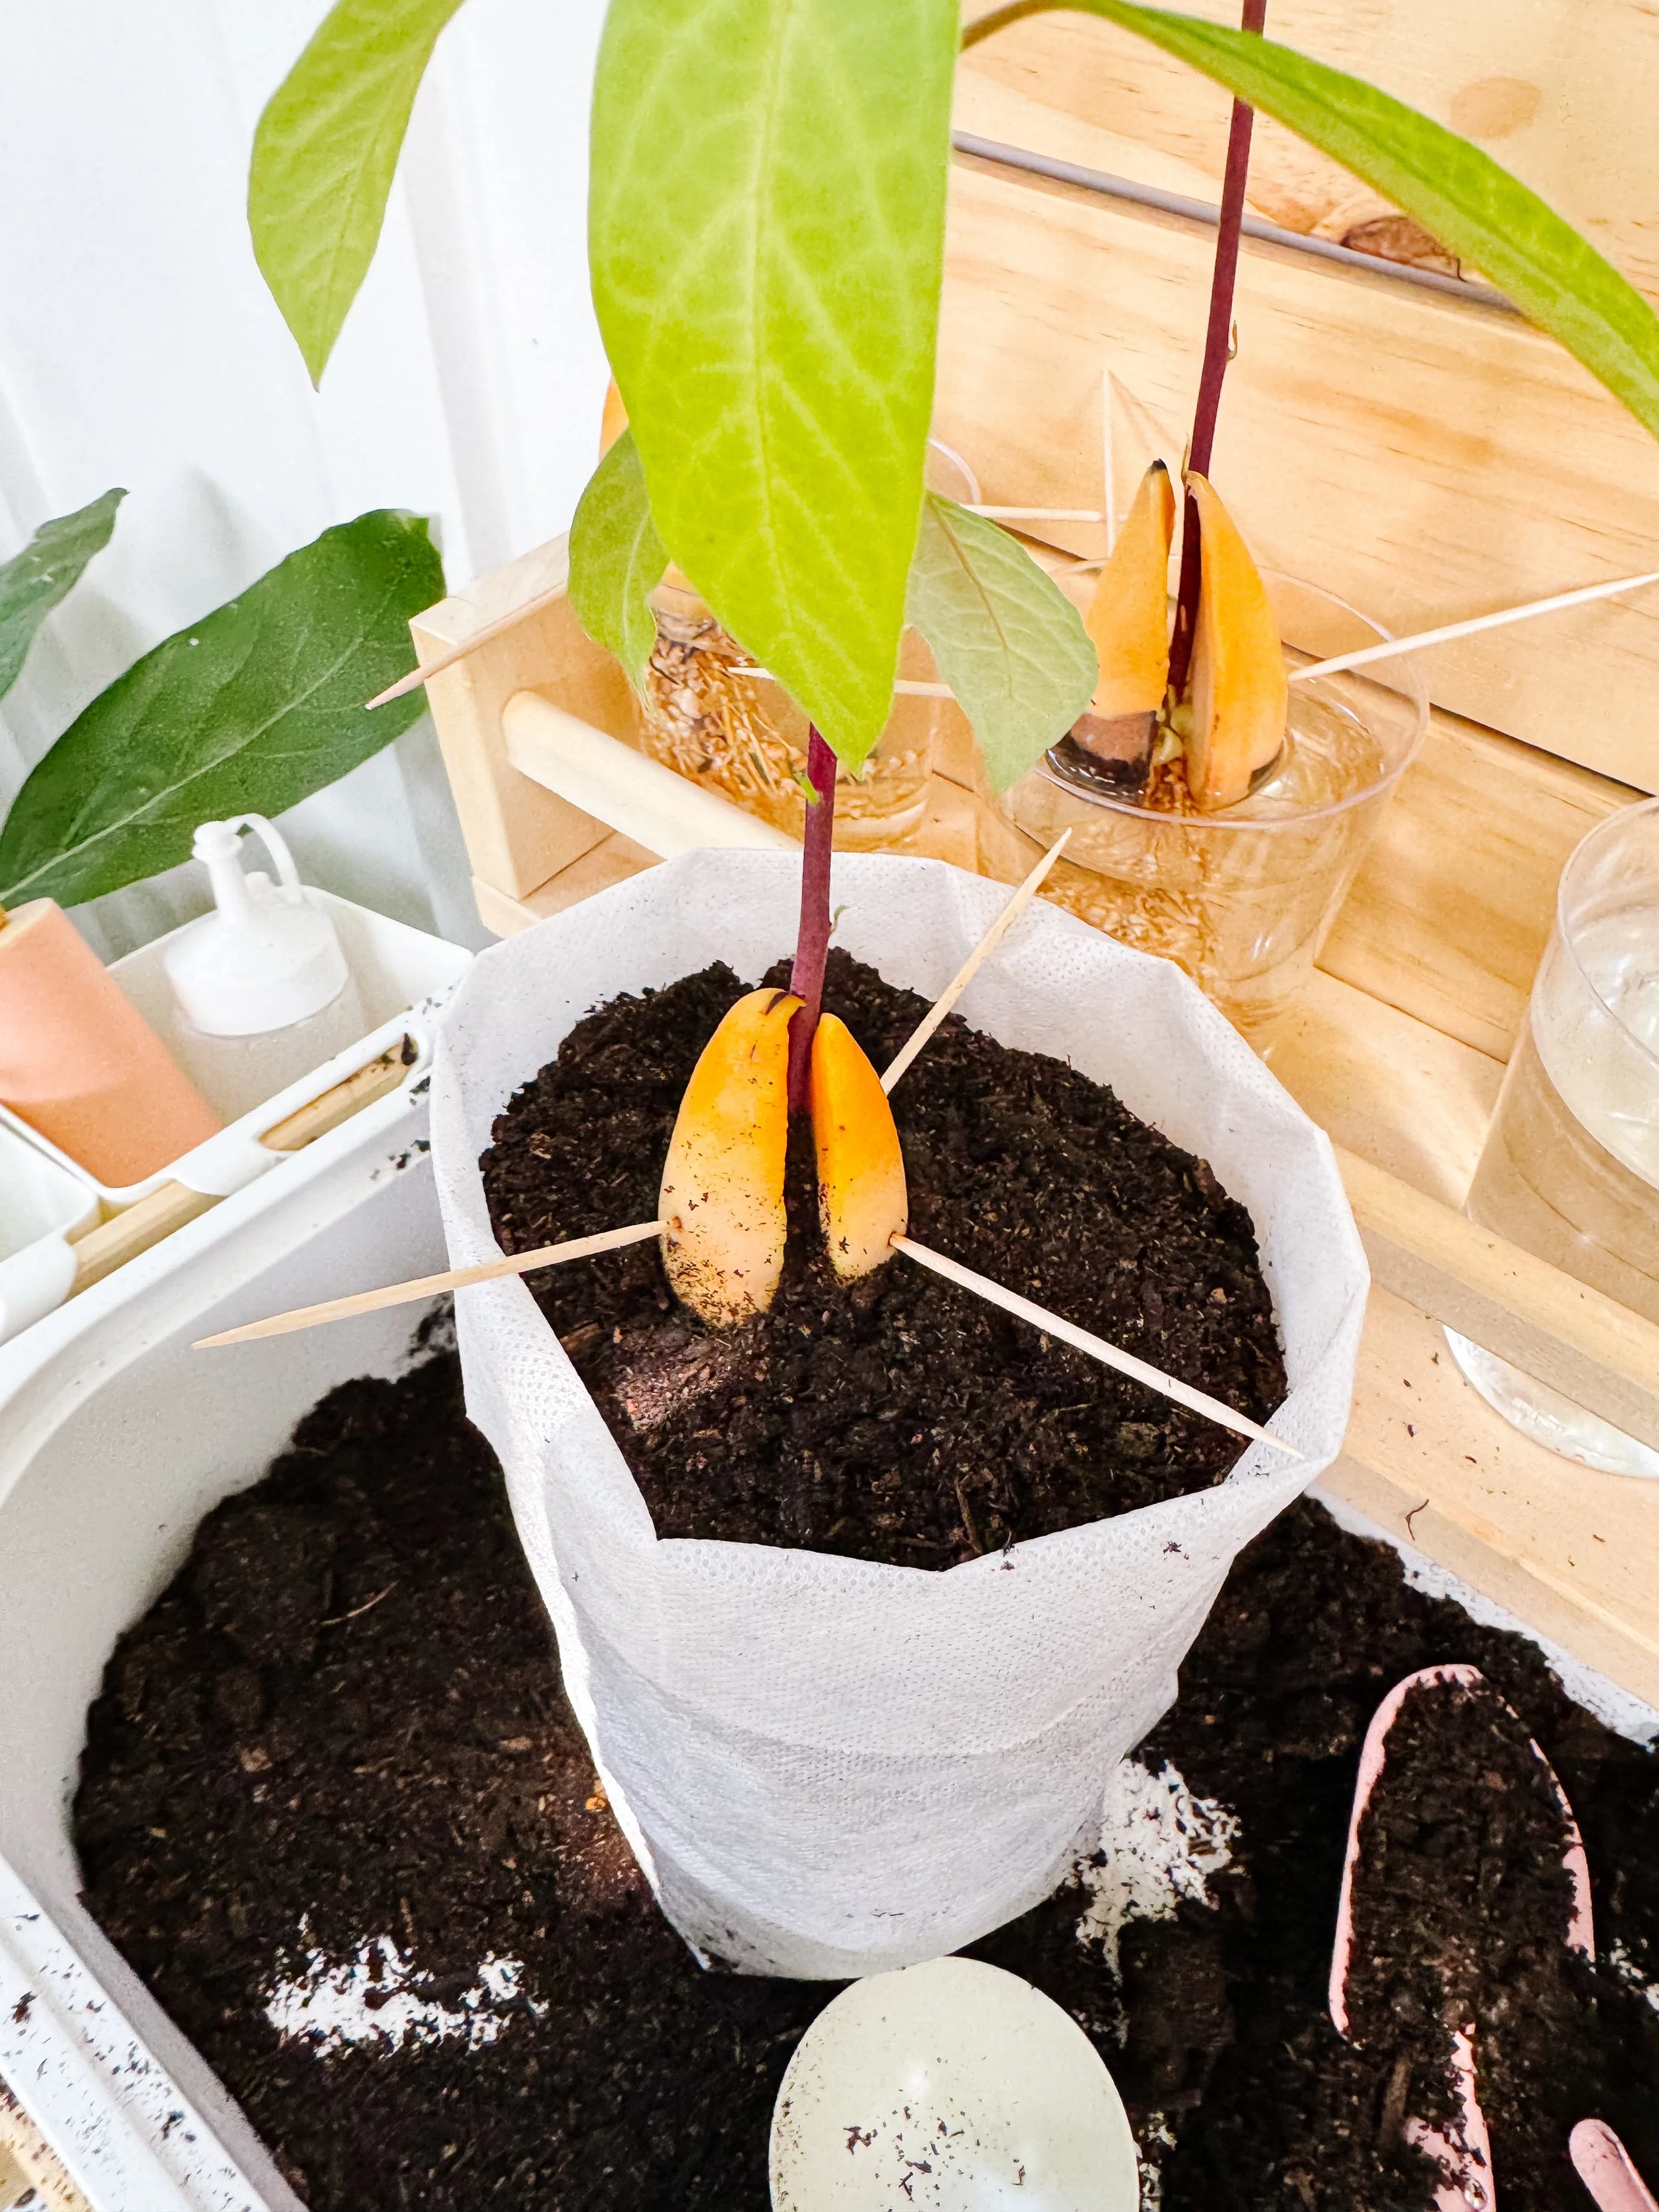
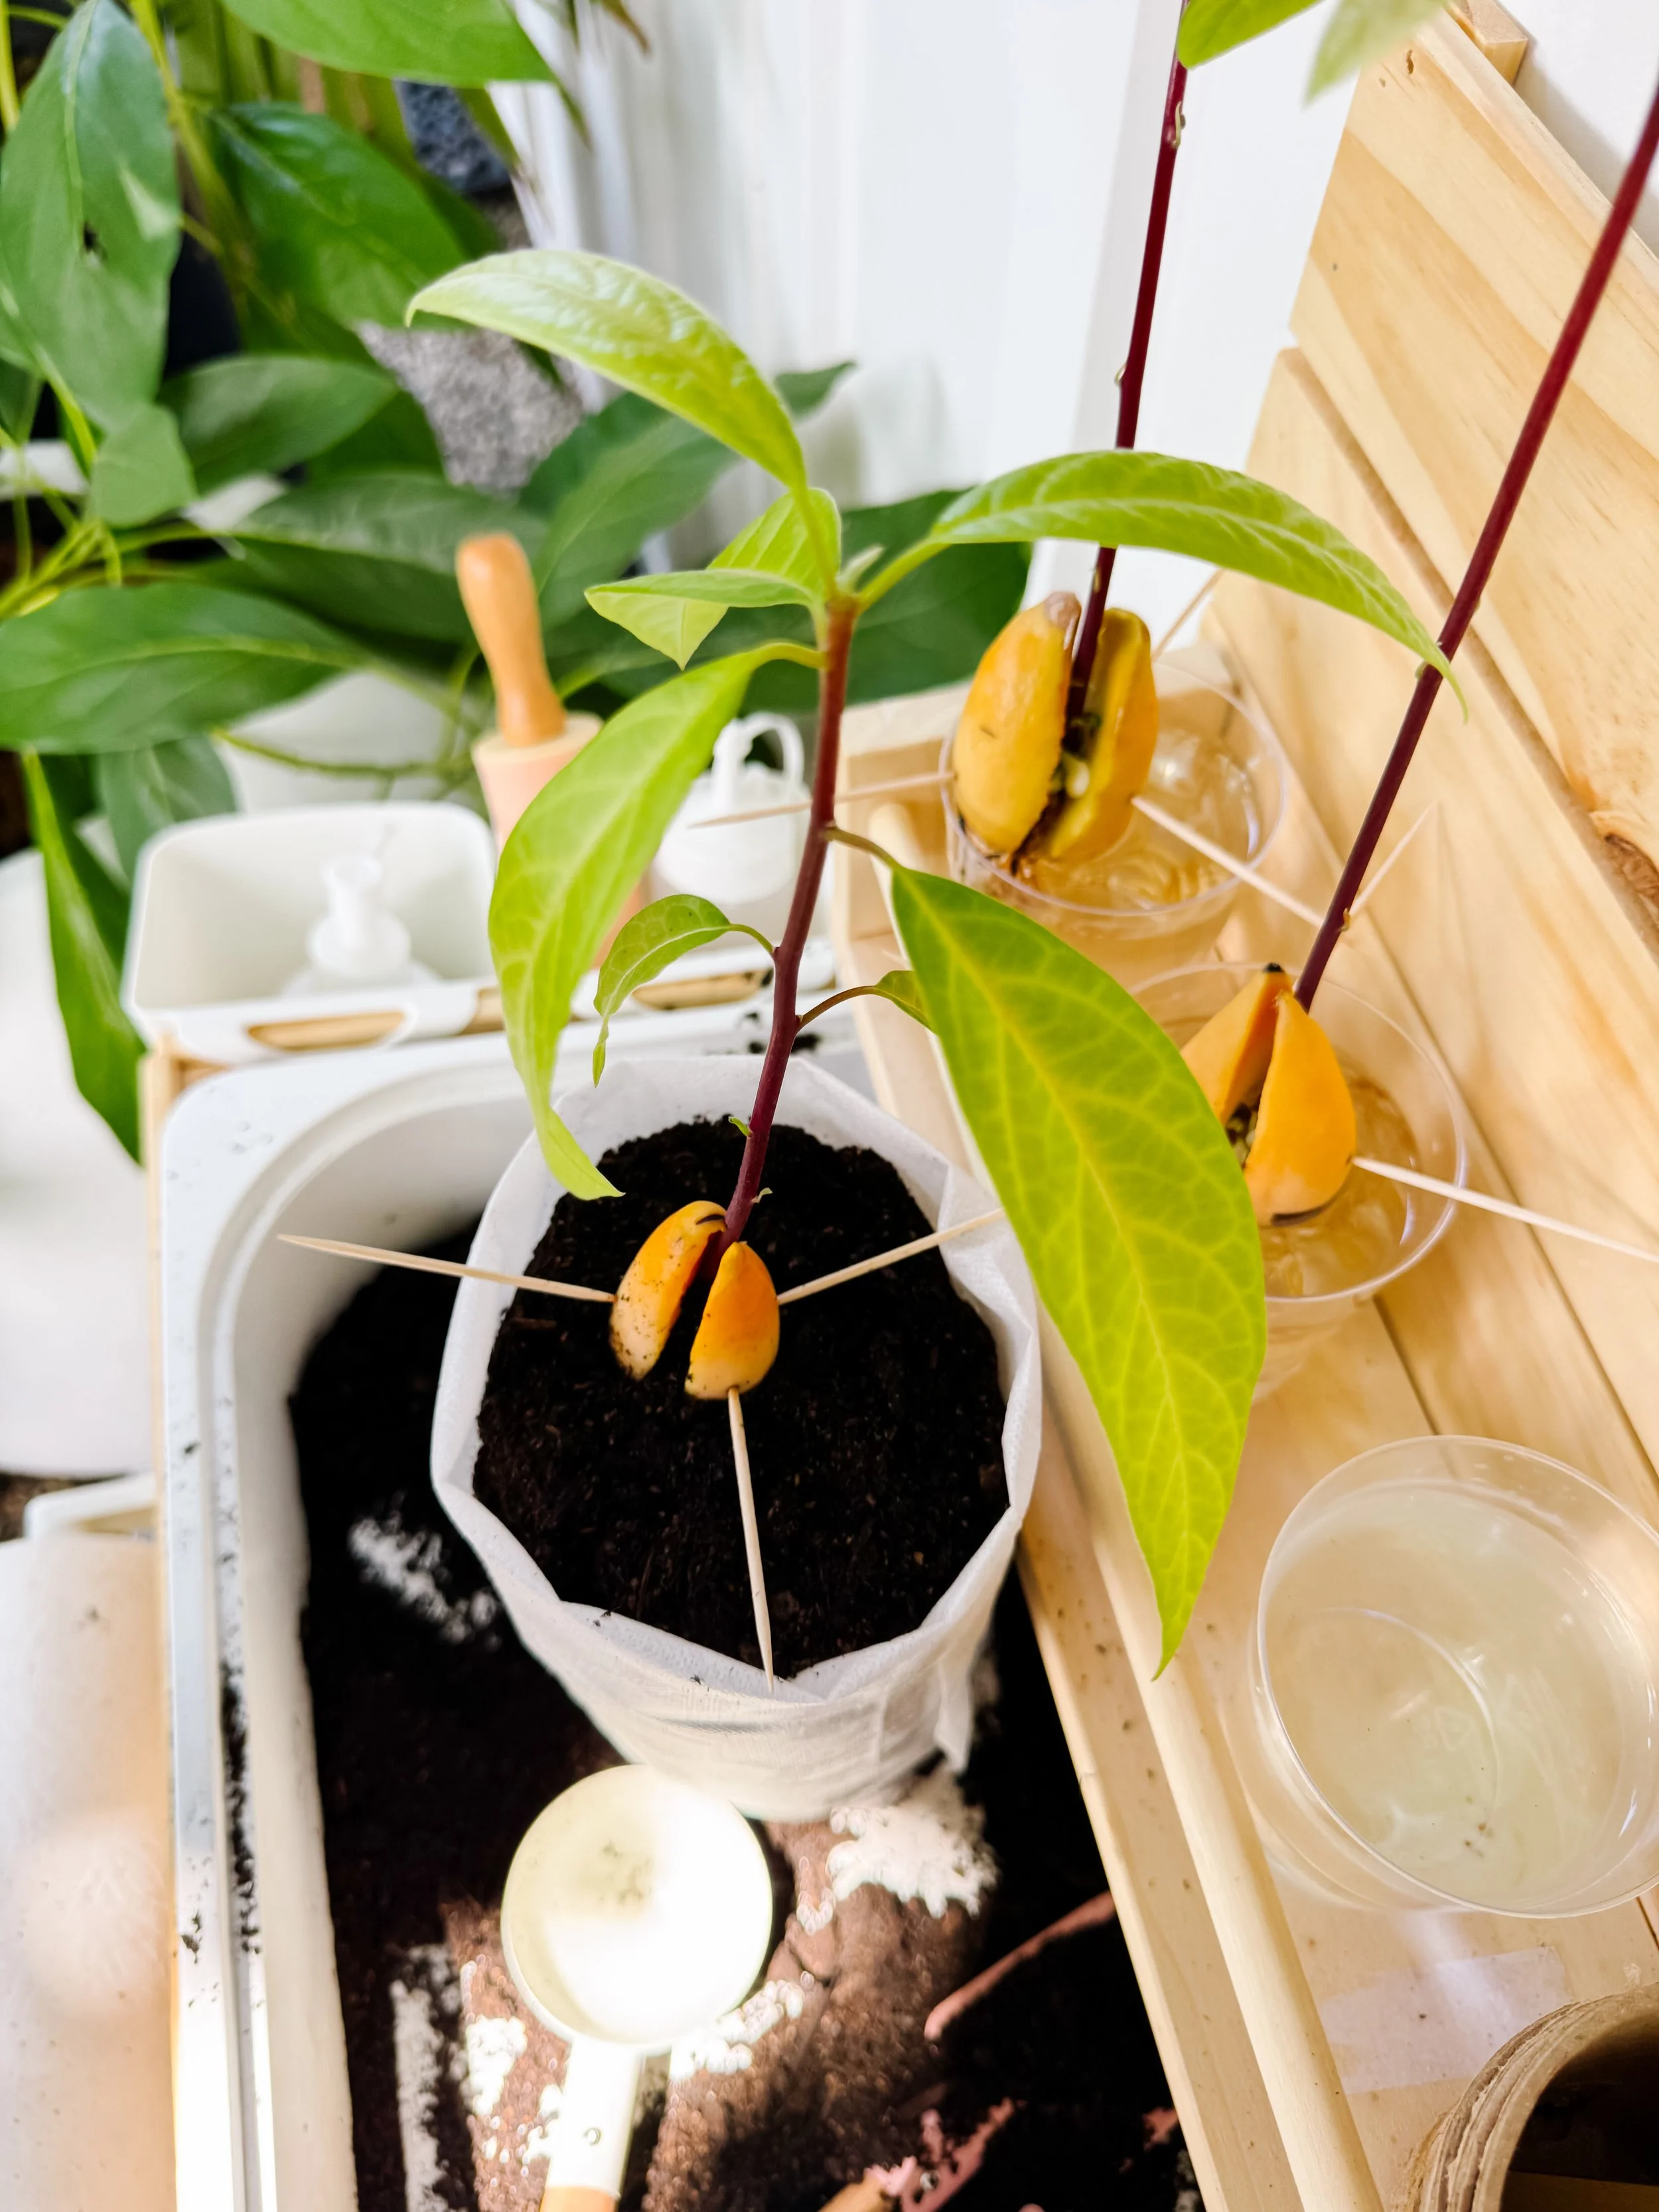
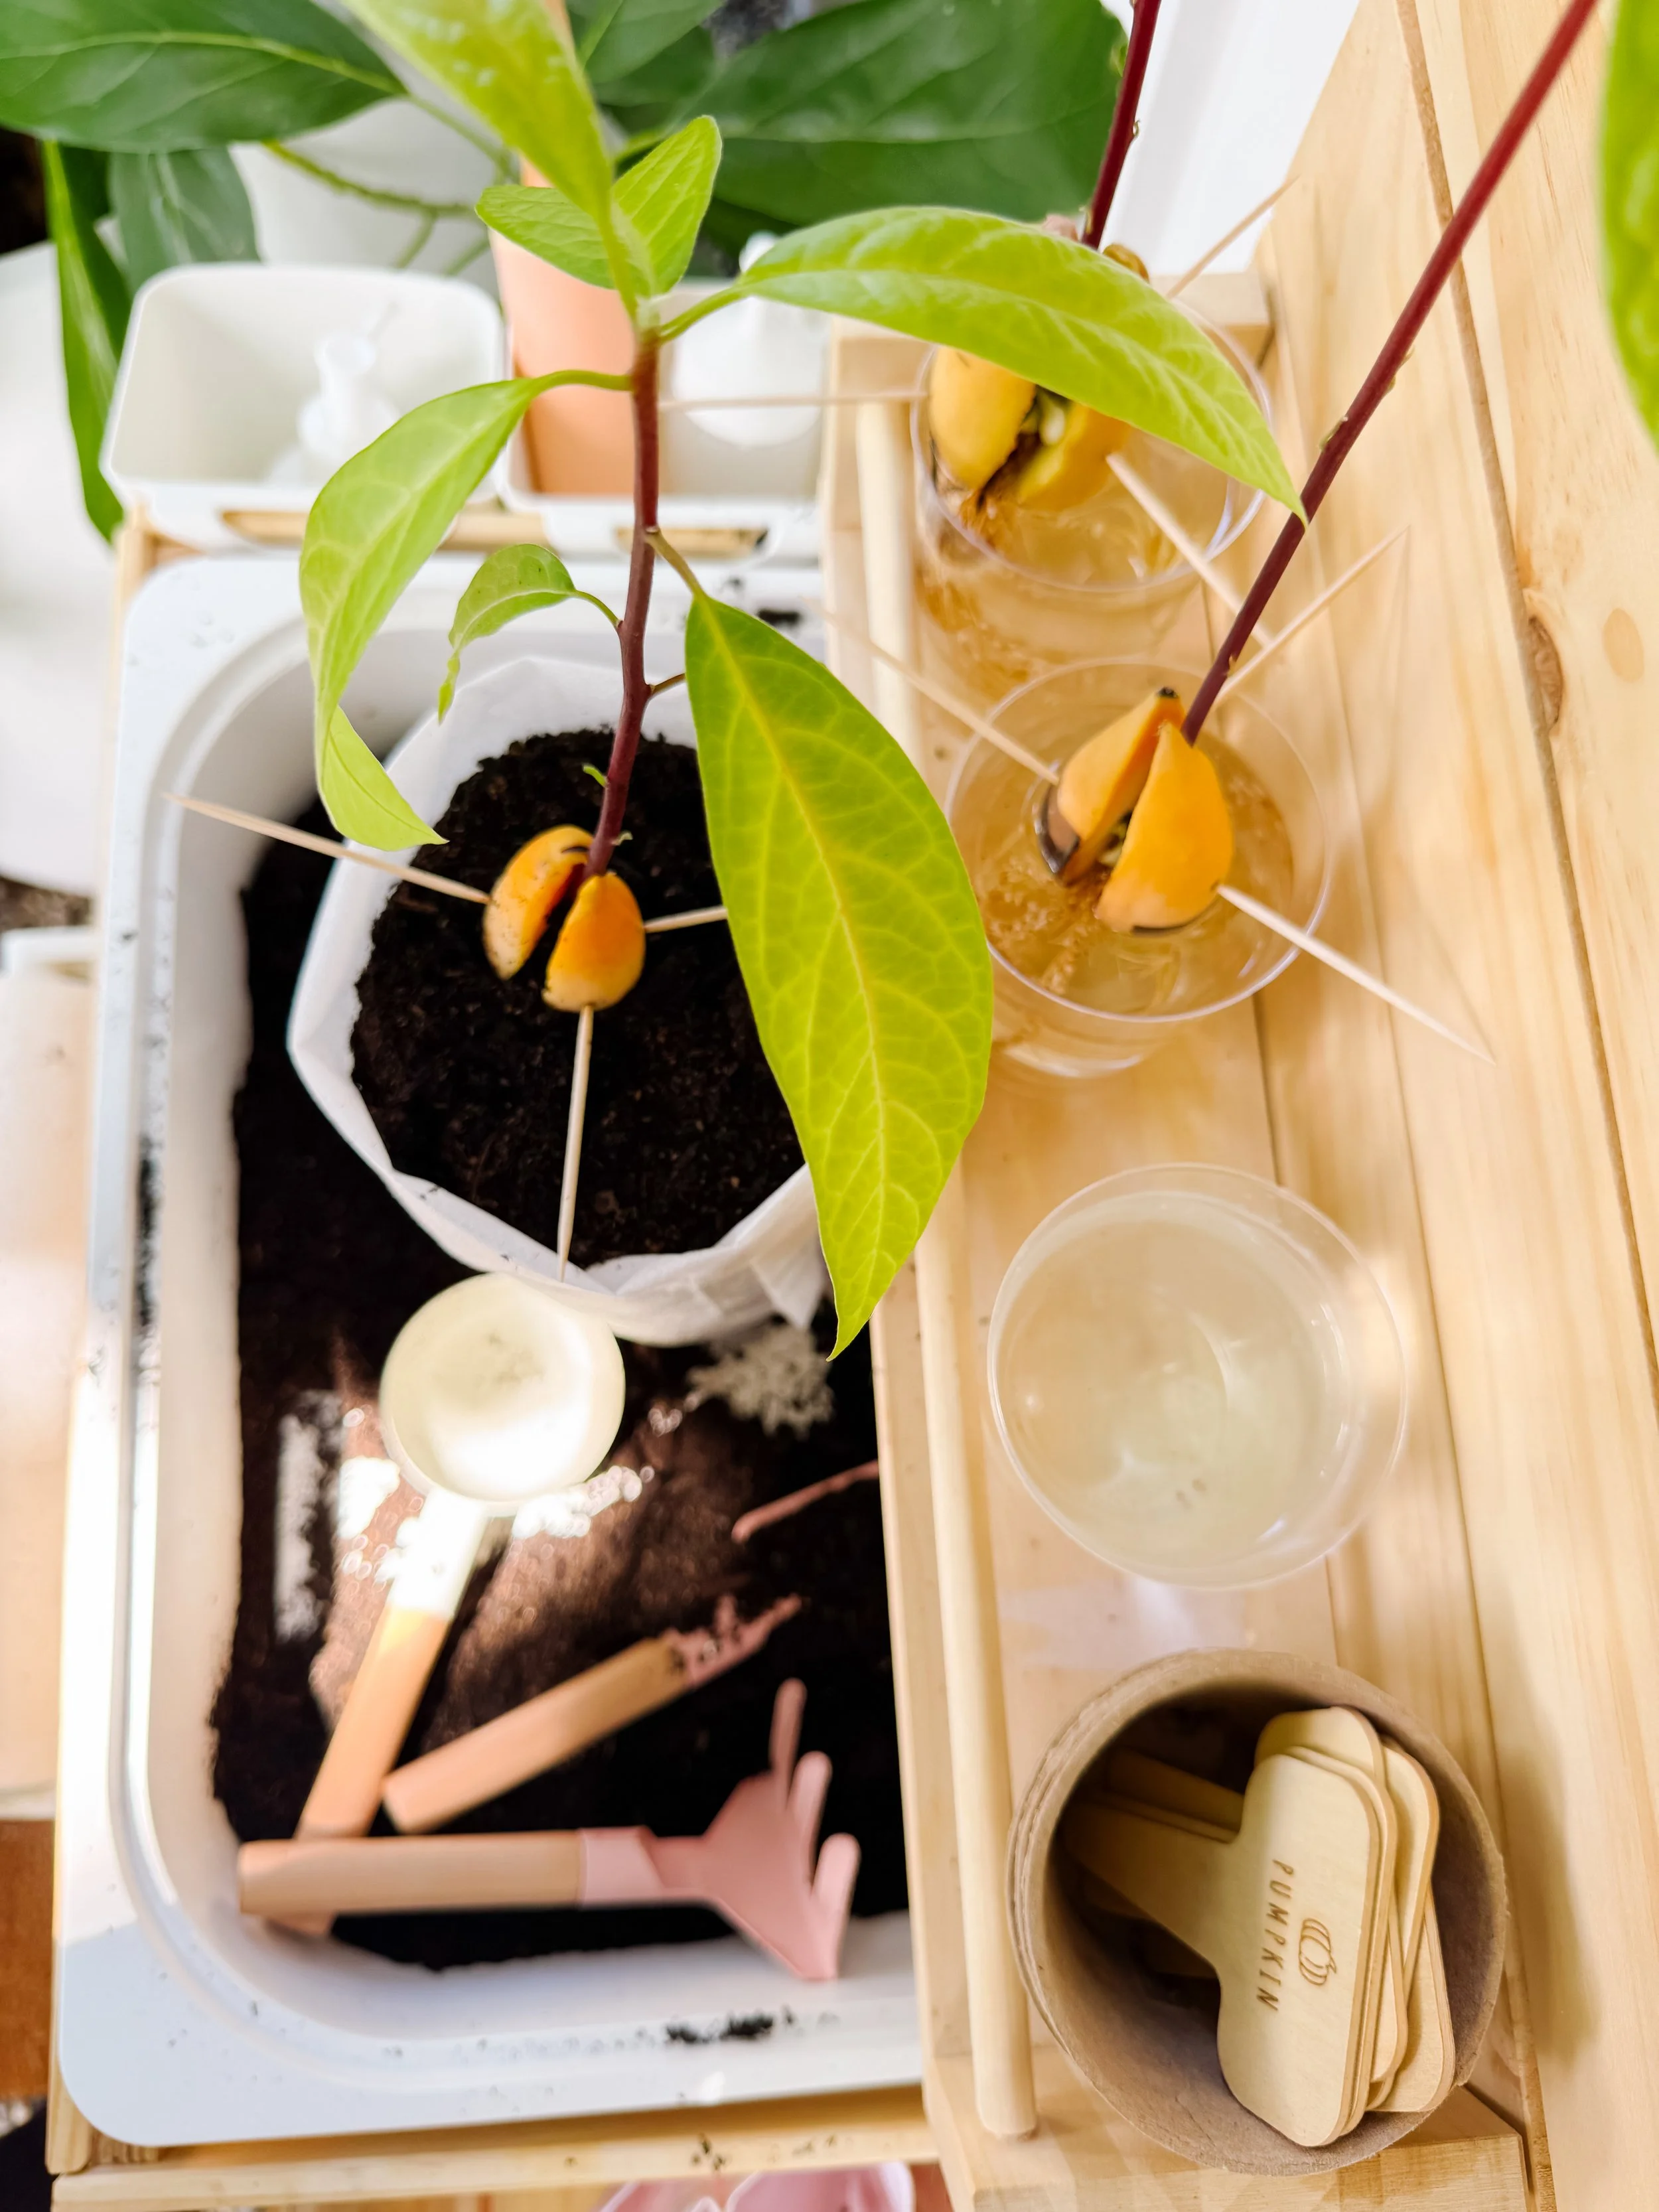
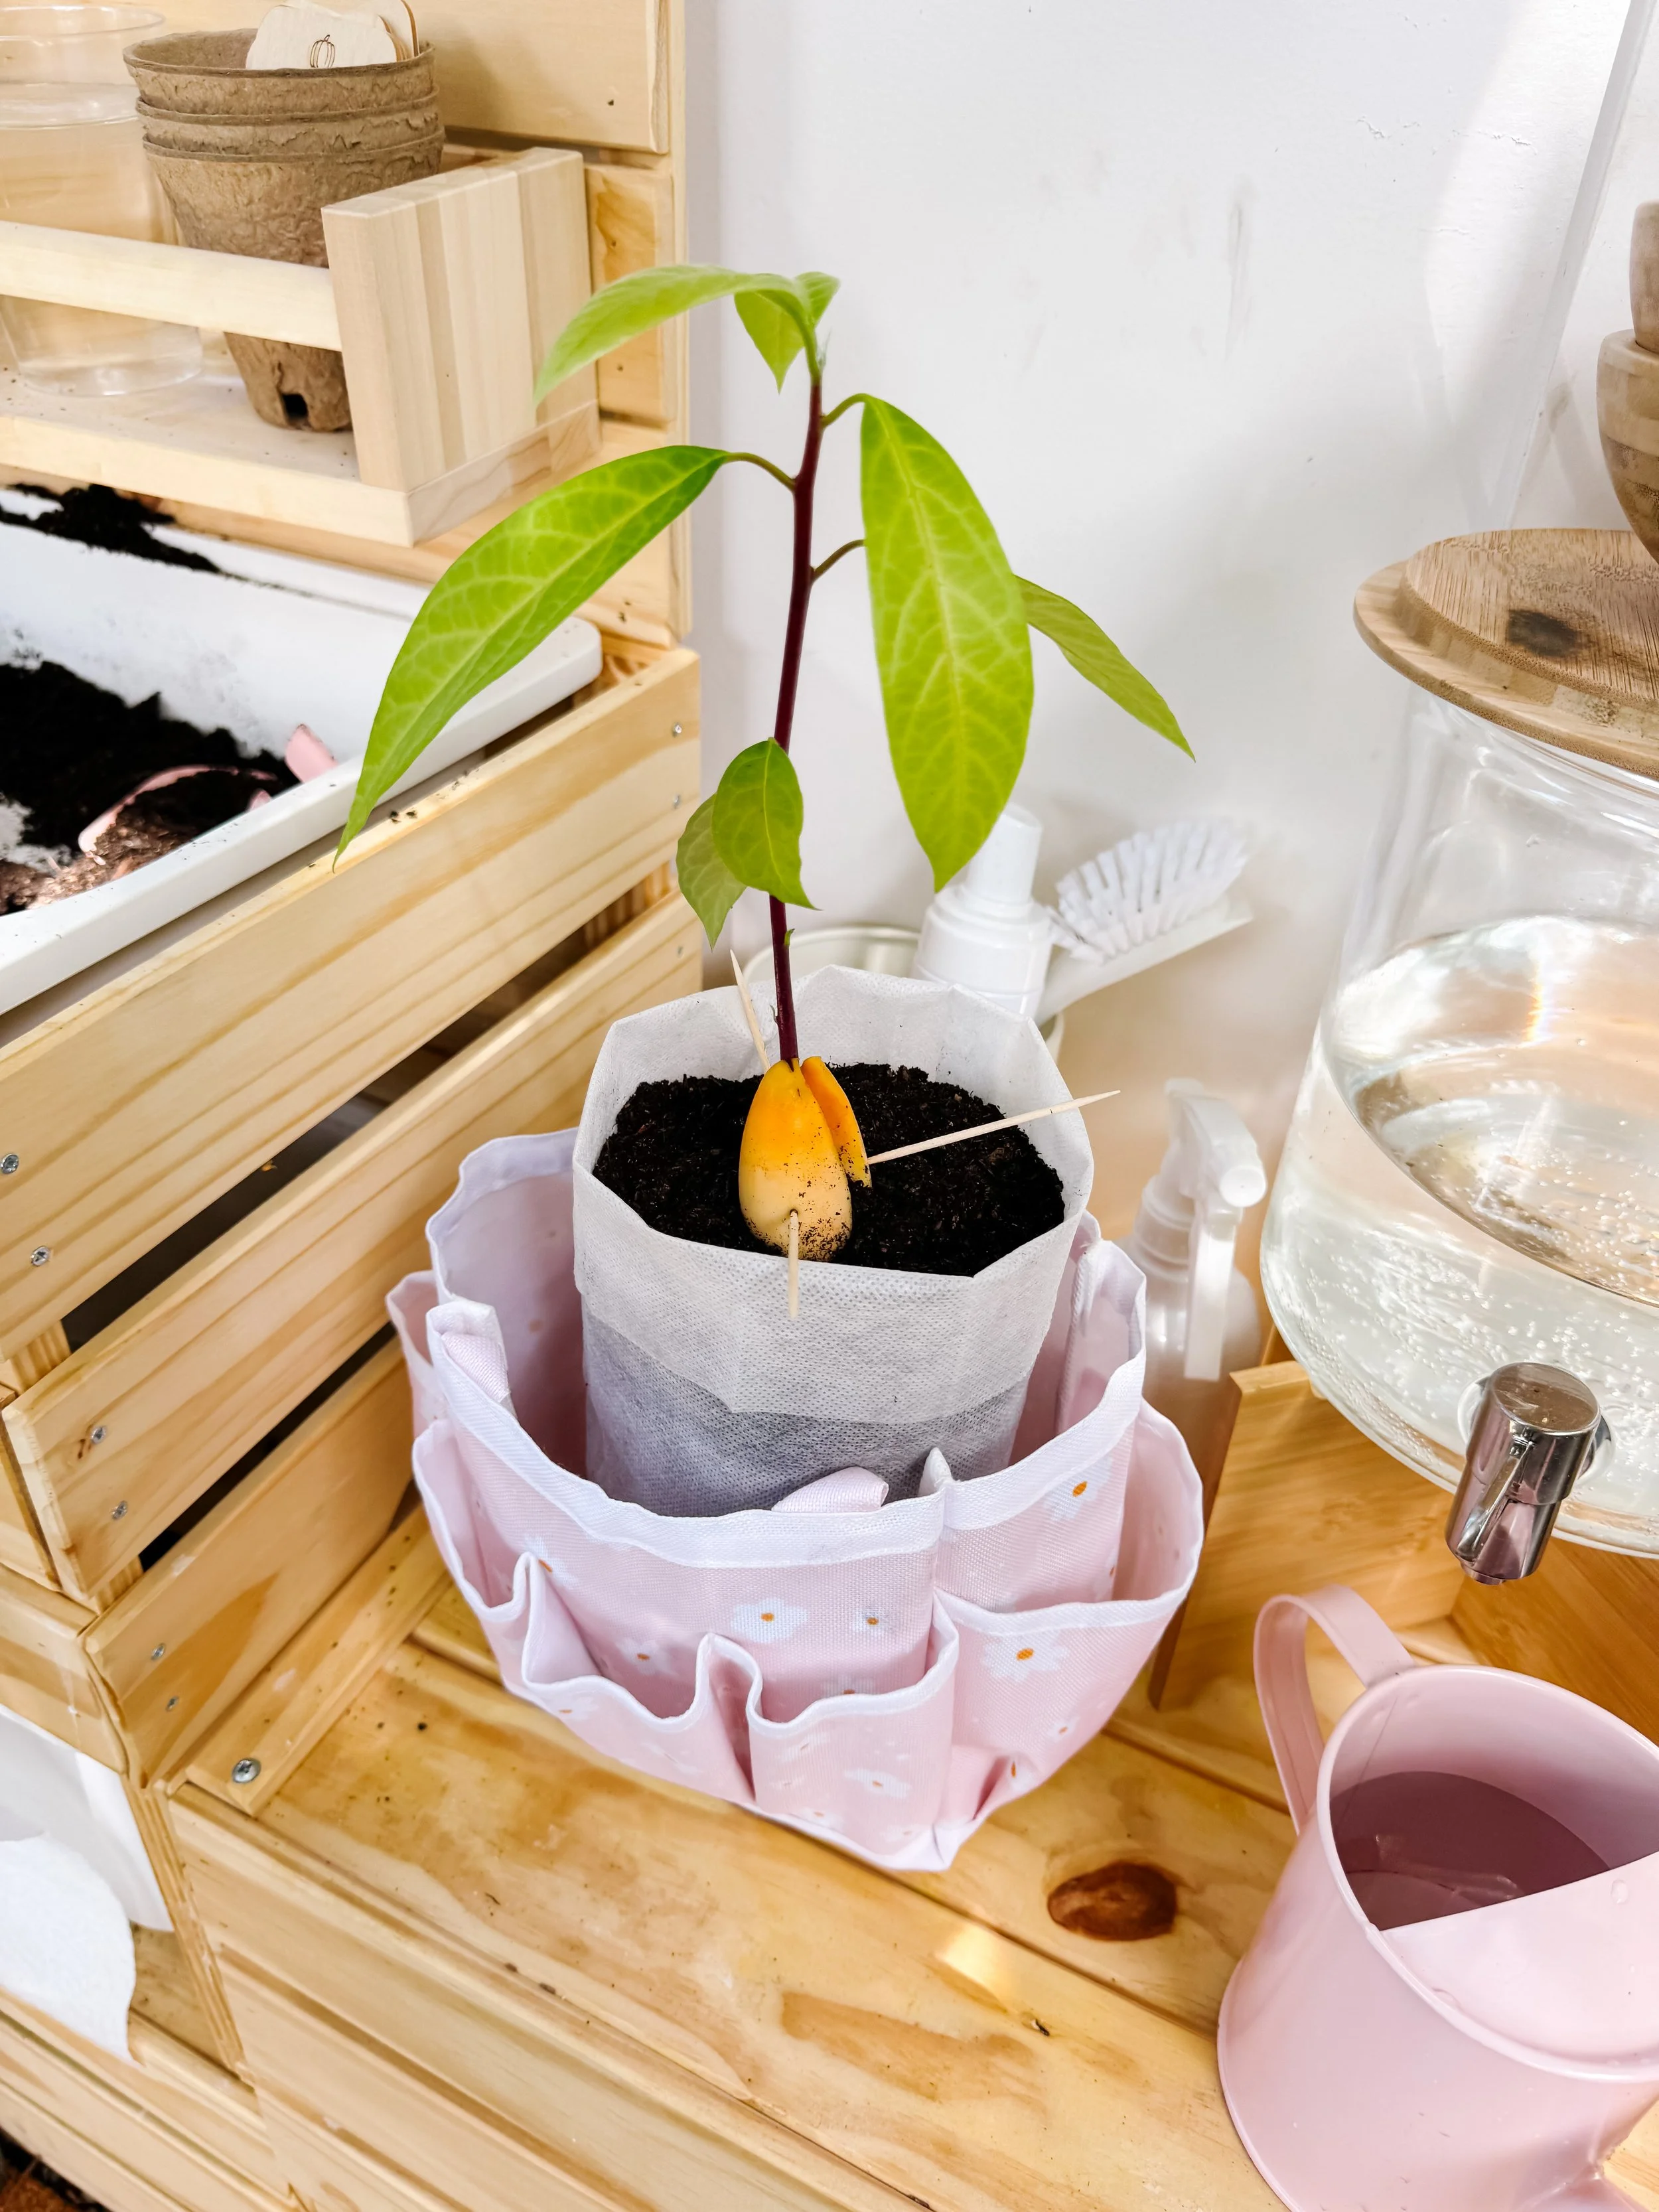
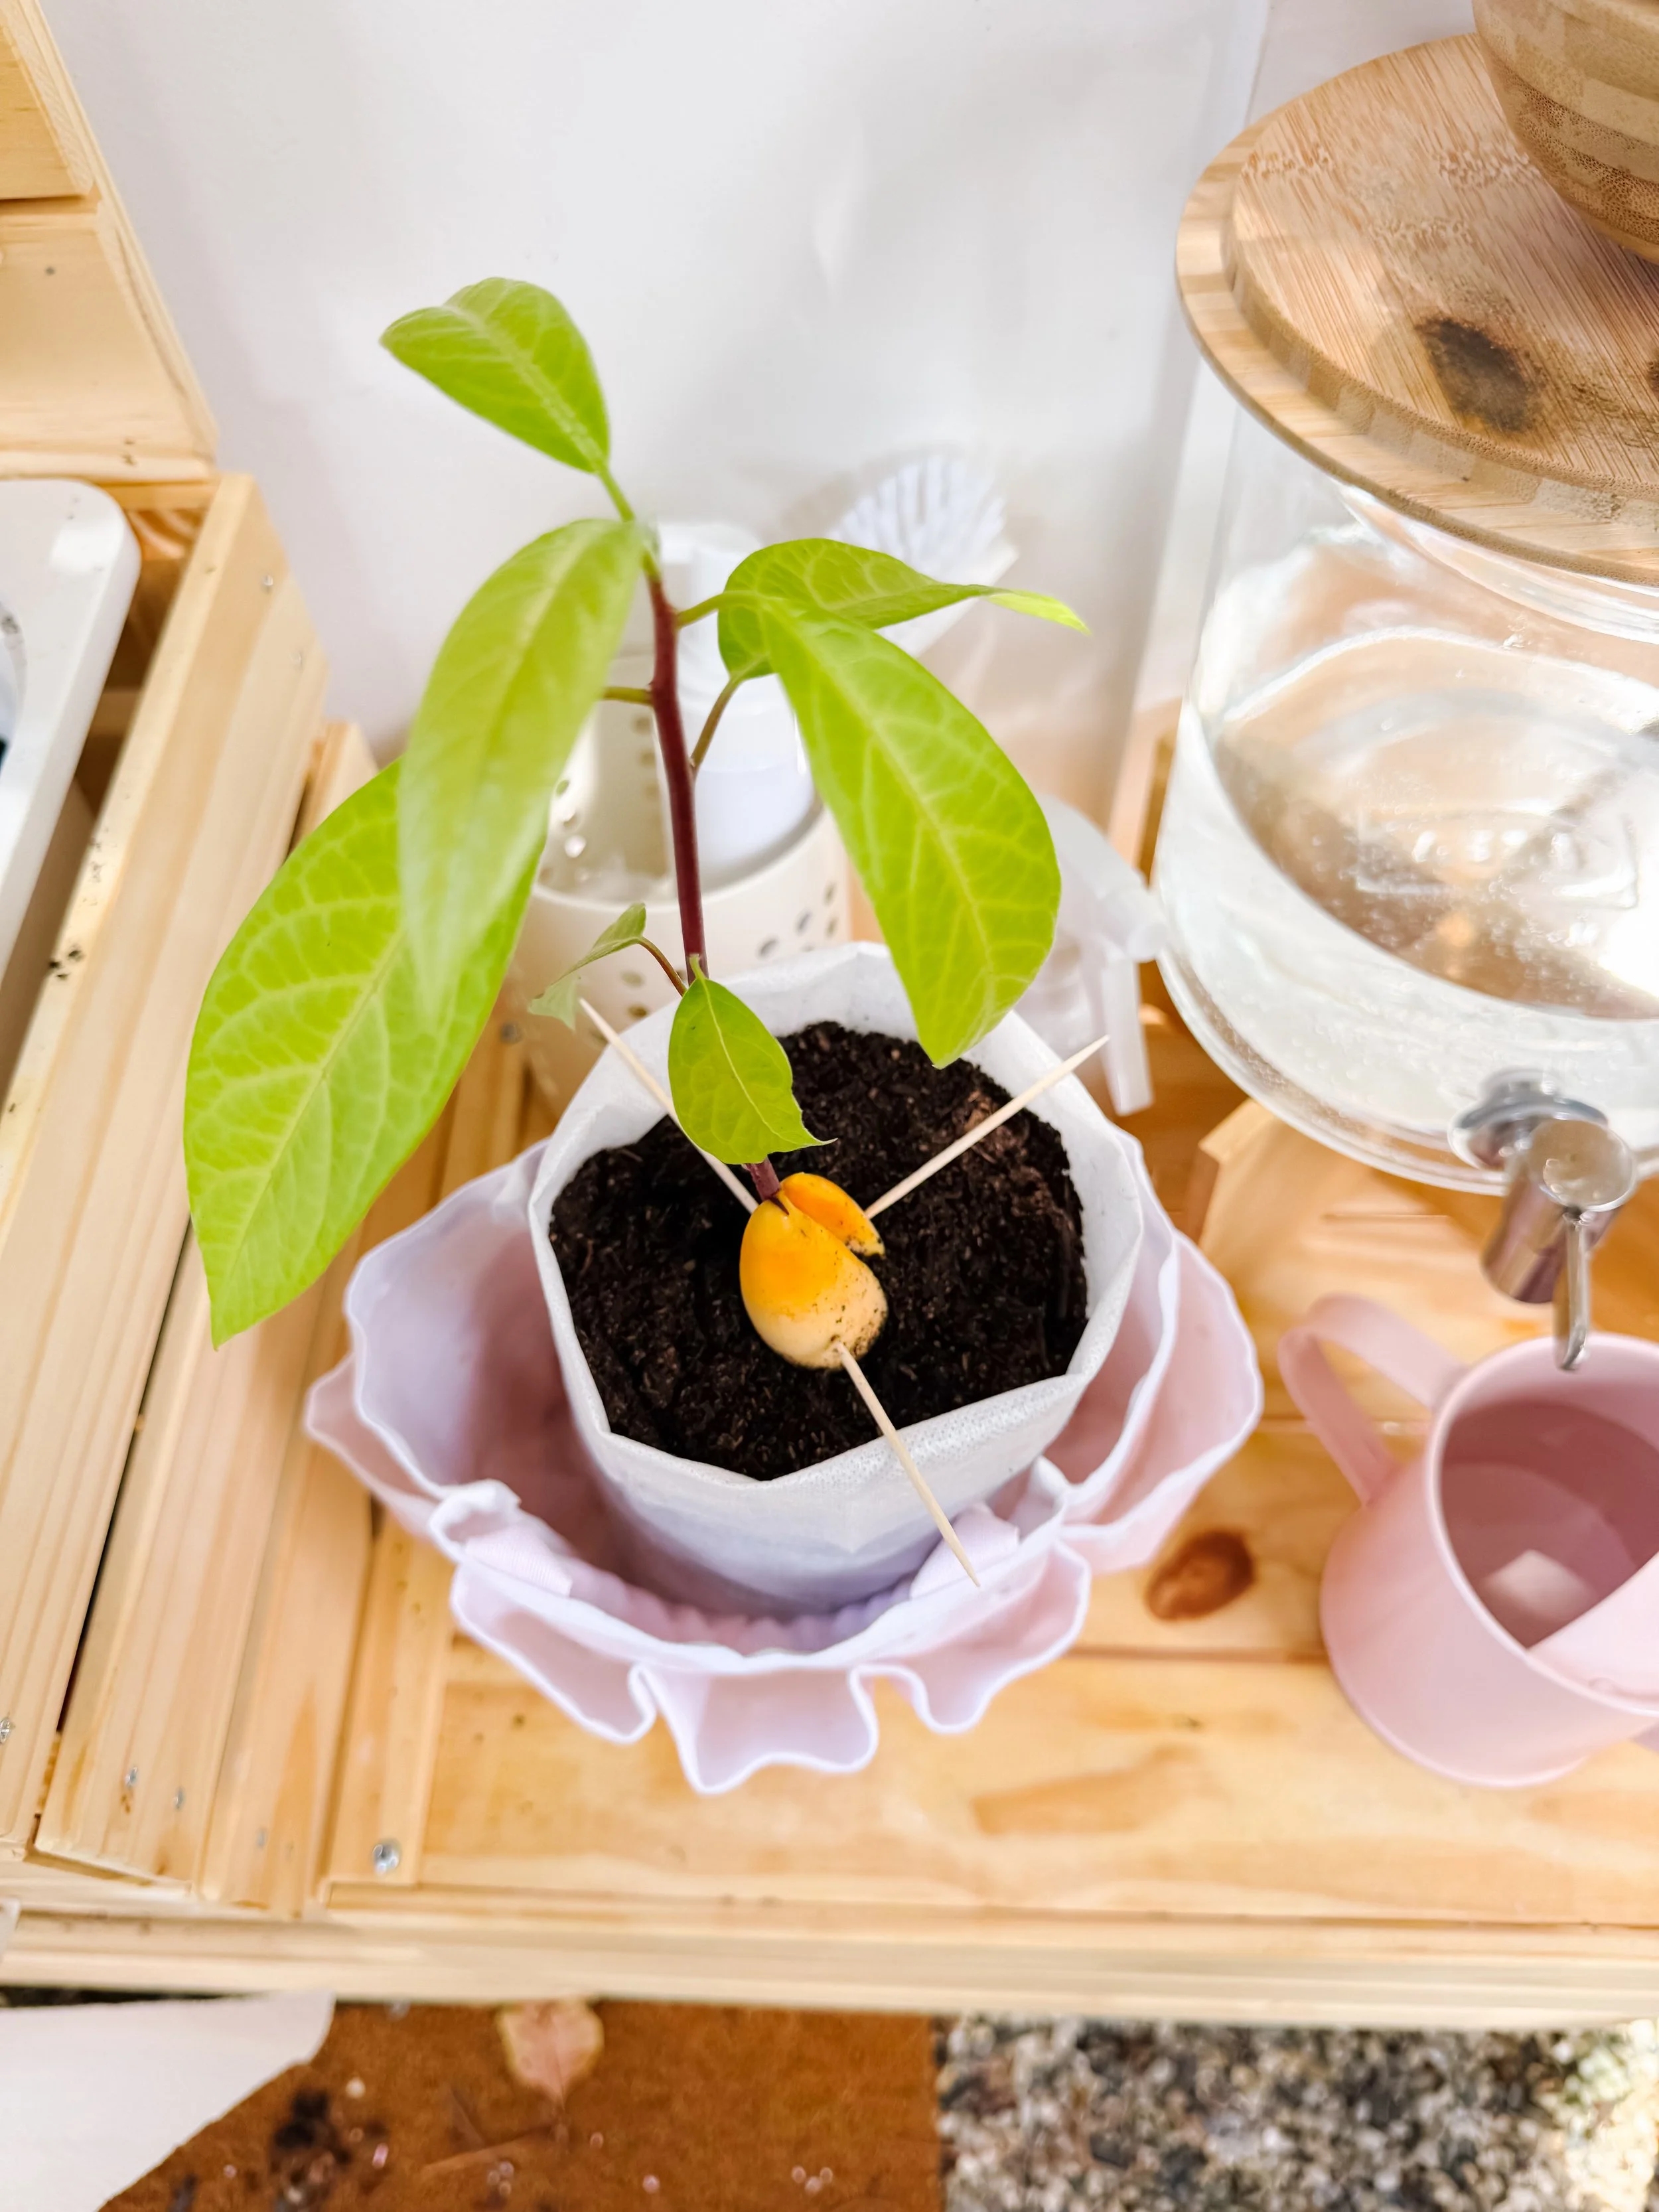
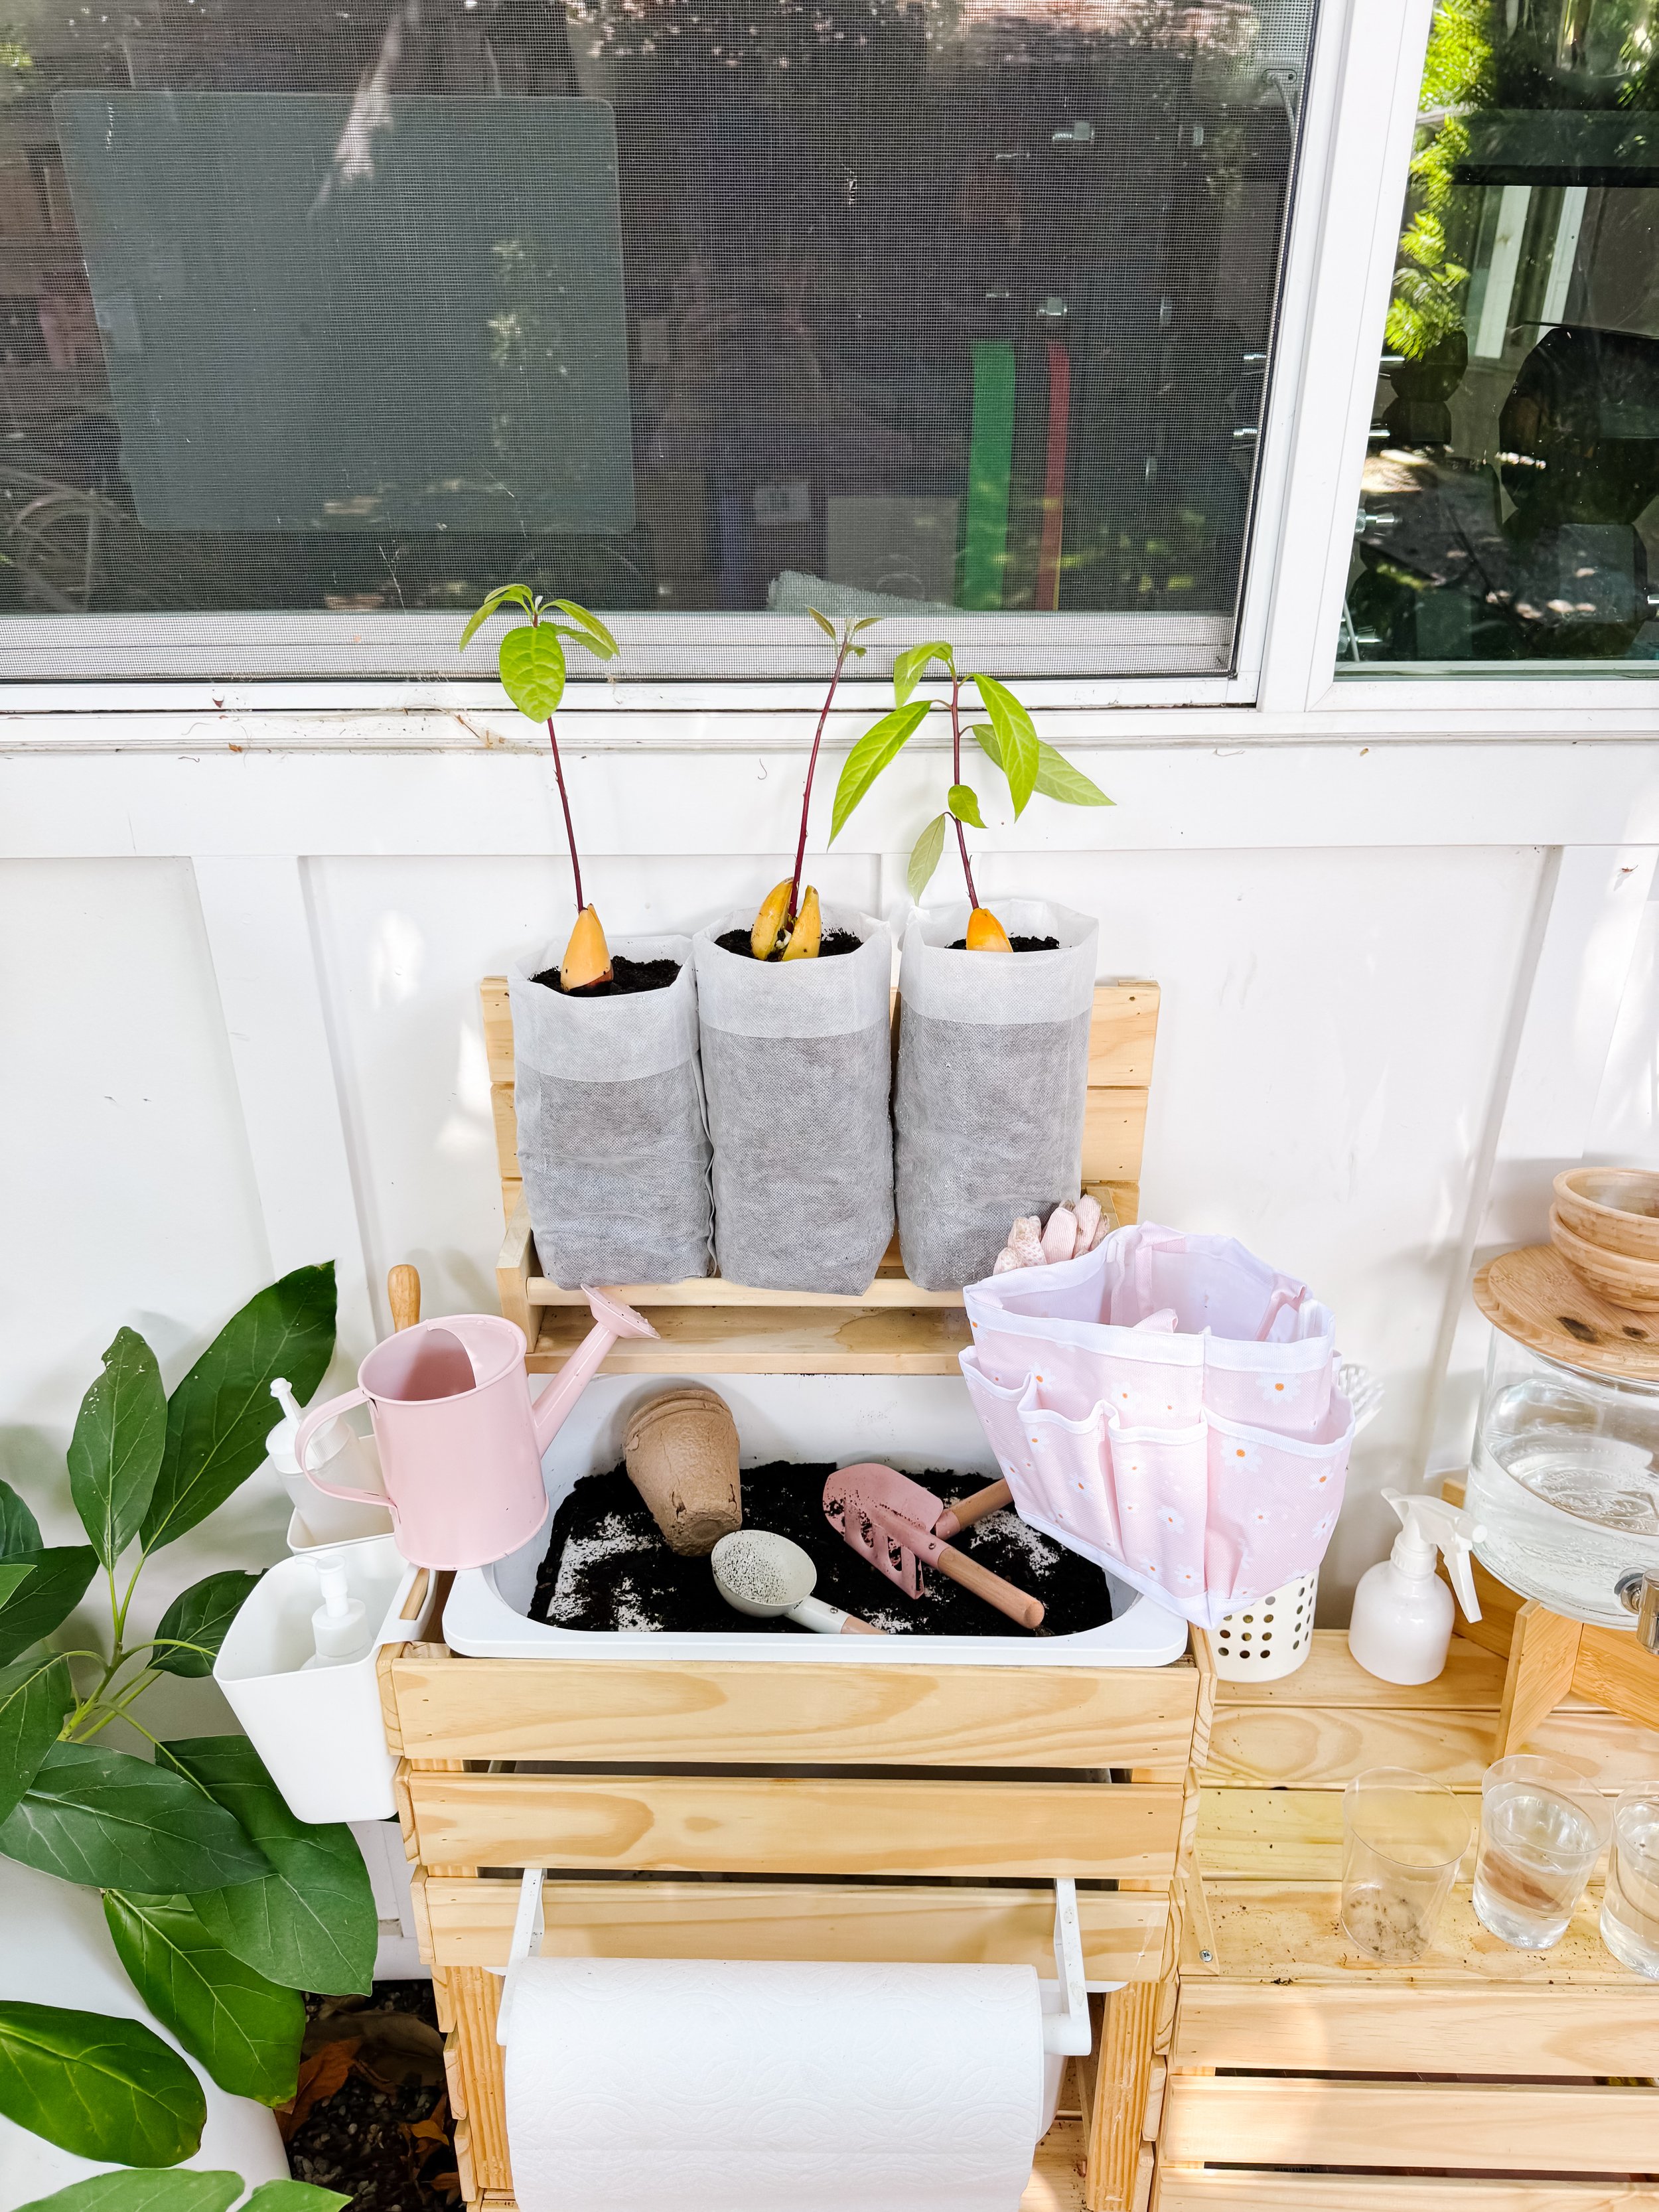
We filled small fabric grow bags with potting mix and carefully transferred each rooted avocado seedling into its own container.
Sofia helped scoop the soil and hold the plant labels while I protected the long, fragile roots.
Leave the upper portion of the avocado pit above the soil so children can continue observing how the seed changes.
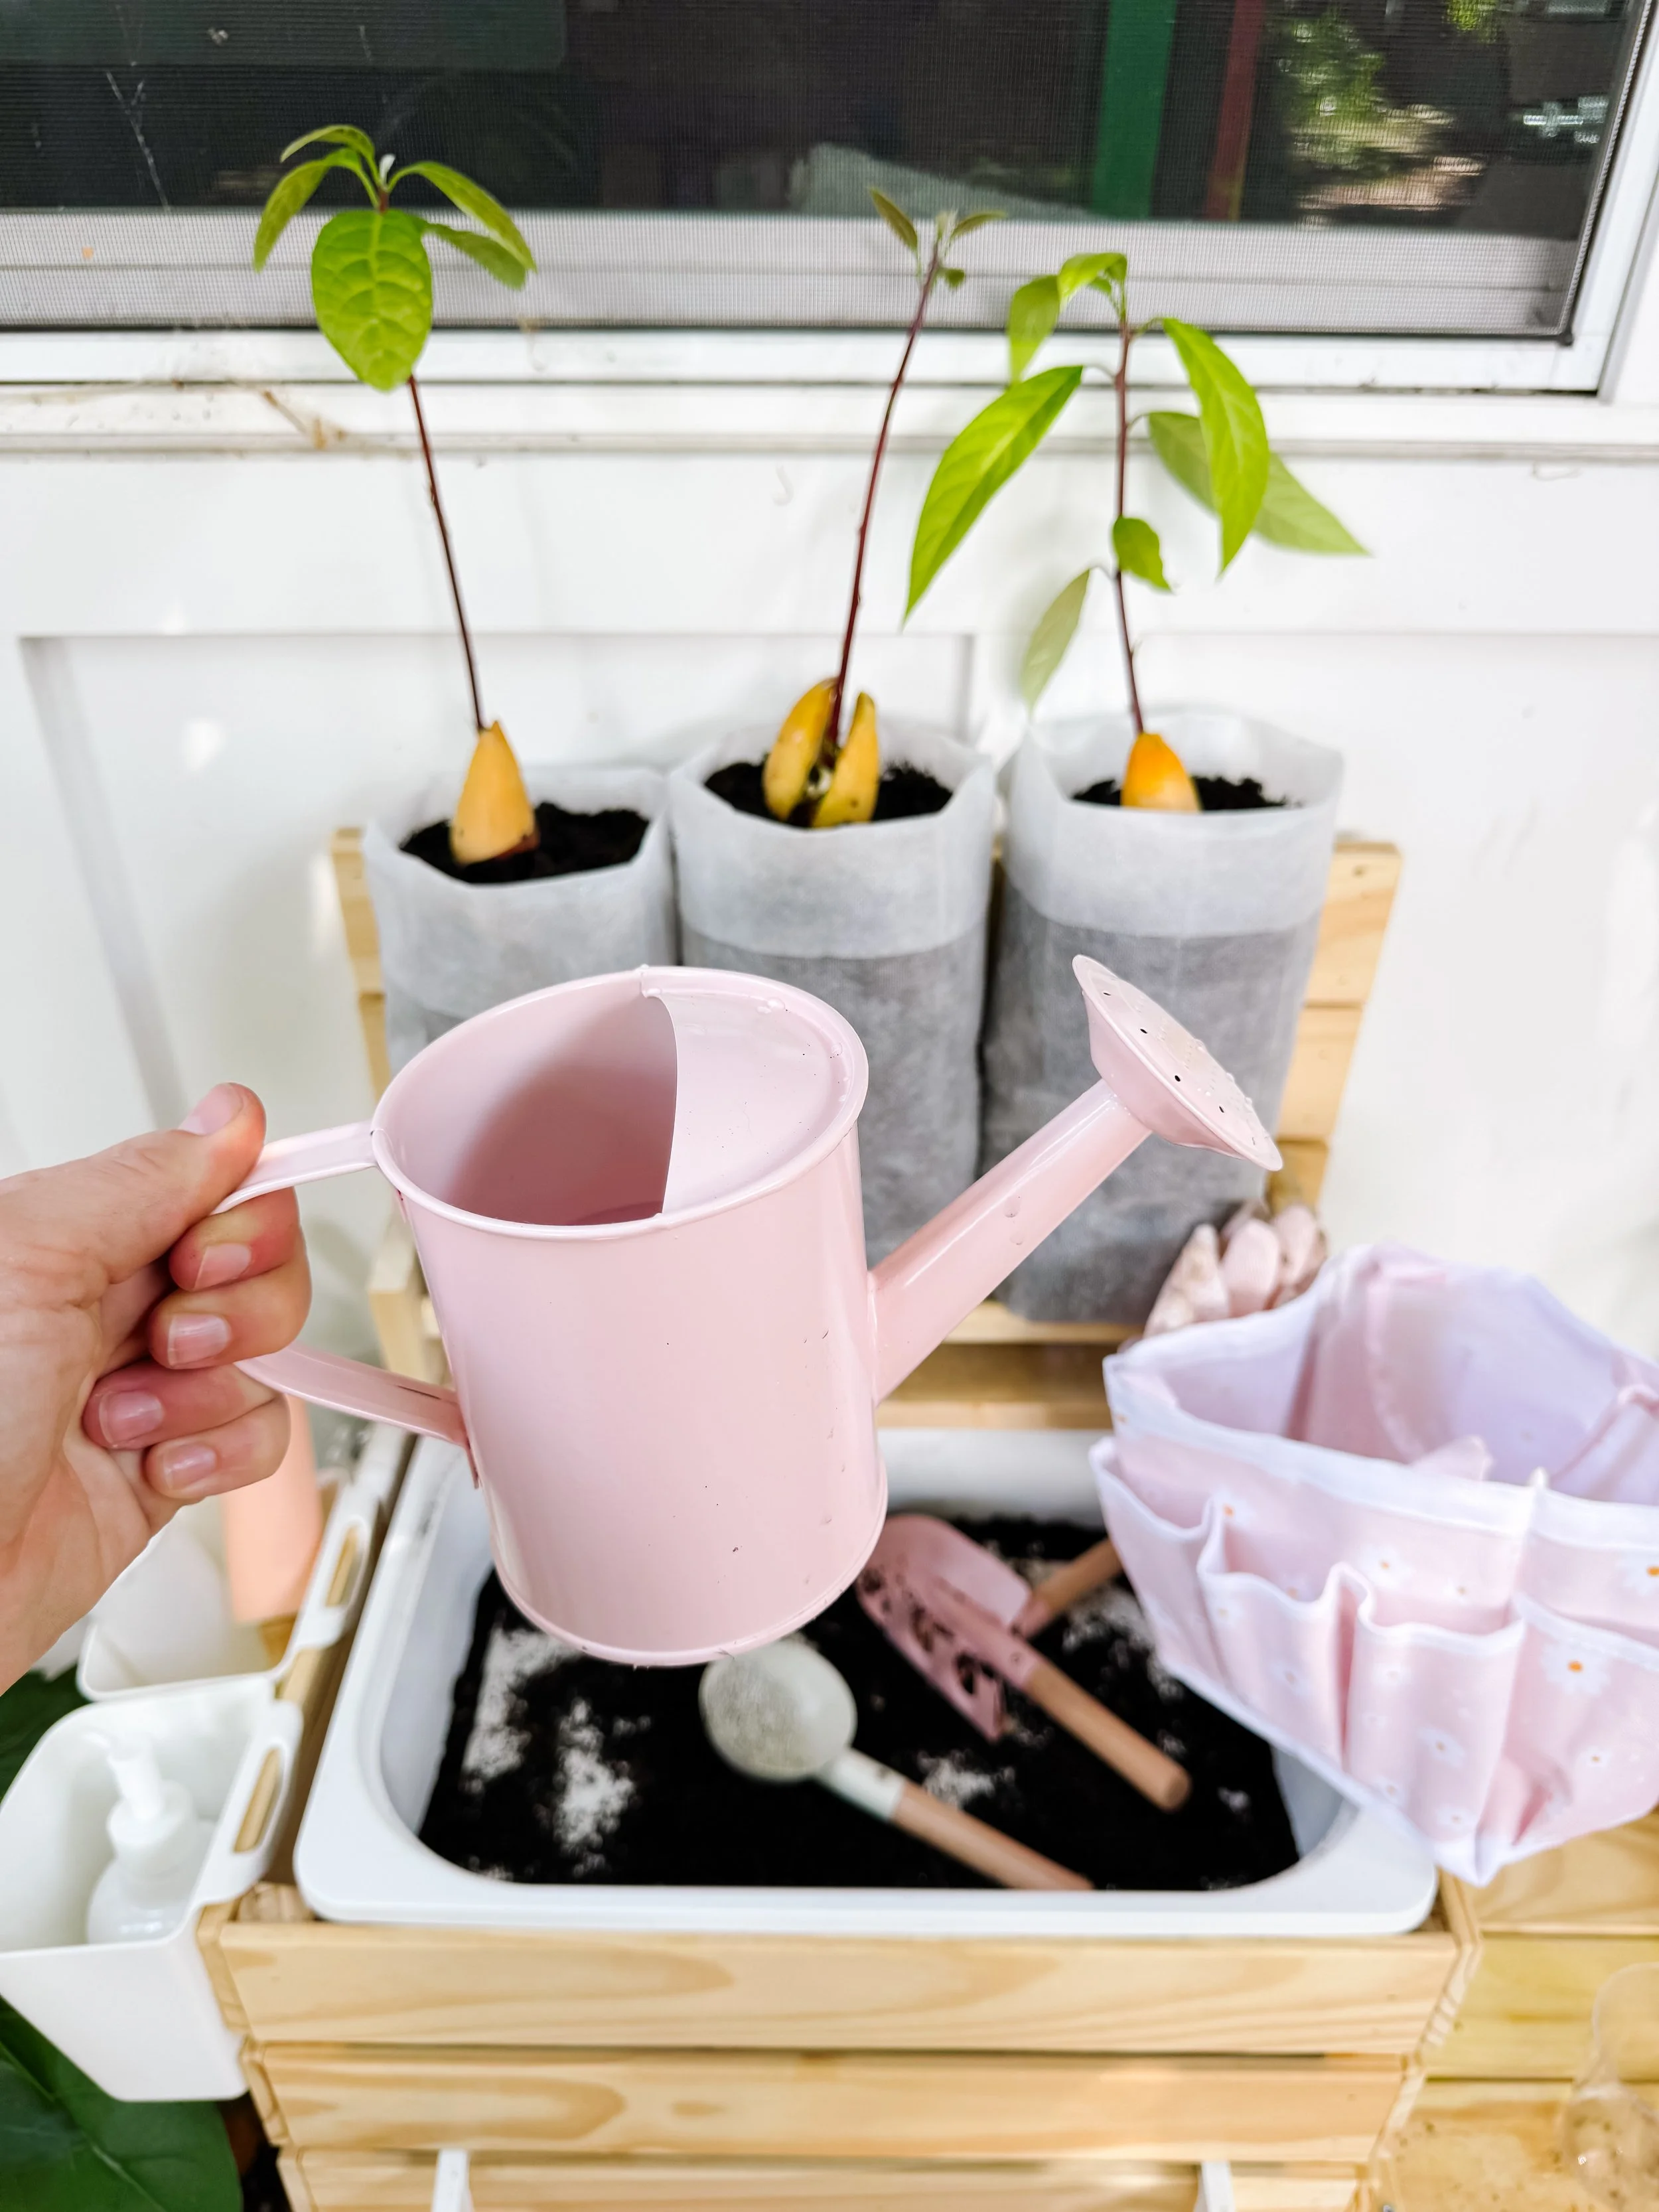
Plant care
Water gently and observe
Water the newly planted seedlings thoroughly, then allow excess water to drain.
Give children a small watering can so they can help with plant care, but remind them that avocado roots need moisture—not constantly soggy soil.
Continue measuring the stem and counting new leaves after transplanting.
Will a seed-grown avocado produce fruit?
It may eventually become a large plant, but growing a pit is best treated as a science project and houseplant experiment—not a guaranteed way to harvest avocados. Seedlings are genetically different from the parent fruit, and indoor plants often do not flower or fruit.
Our favorite avocado-growing supplies
This section contains affiliate links, which means I may earn a small commission at no additional cost to you.
Avocado-growing supply
A helpful tool from our avocado seed-growing and propagation setup.
View on AmazonAvocado-growing glass
A clean way to support avocado pits and keep the developing roots easy to see.
View on AmazonPlant observation supply
Use this to make the growing experiment easier to observe, compare and maintain.
View on AmazonSeed-starting supply
A useful addition for beginning or transplanting avocado seedlings.
View on AmazonKid-friendly gardening supply
Add this to a child’s gardening station for hands-on nature learning and plant care.
View on AmazonIndoor plant-care supply
Use this as the seedling transitions from water into its first pot or grow bag.
View on AmazonGarden observation supply
A useful tool for expanding this project into a complete plant-study station.
View on AmazonShop the complete garden activity list
See all of the jars, seed-growing tools, plant-care supplies and child-friendly gardening materials collected for this activity.
View the entire shopping listTake the learning outside with mud kitchen recipe cards
Growing avocado seeds naturally led us back outside. Sofia wanted to water plants, mix “garden recipes,” gather leaves and use our mud kitchen as a little garden laboratory.
Visual recipe cards add just enough structure to outdoor play. Children can count scoops, collect natural ingredients, follow steps, compare quantities and practice sequencing while still inventing their own recipes.
Explore all mud kitchen recipe cardsGoodnightFox recipe-card favorites
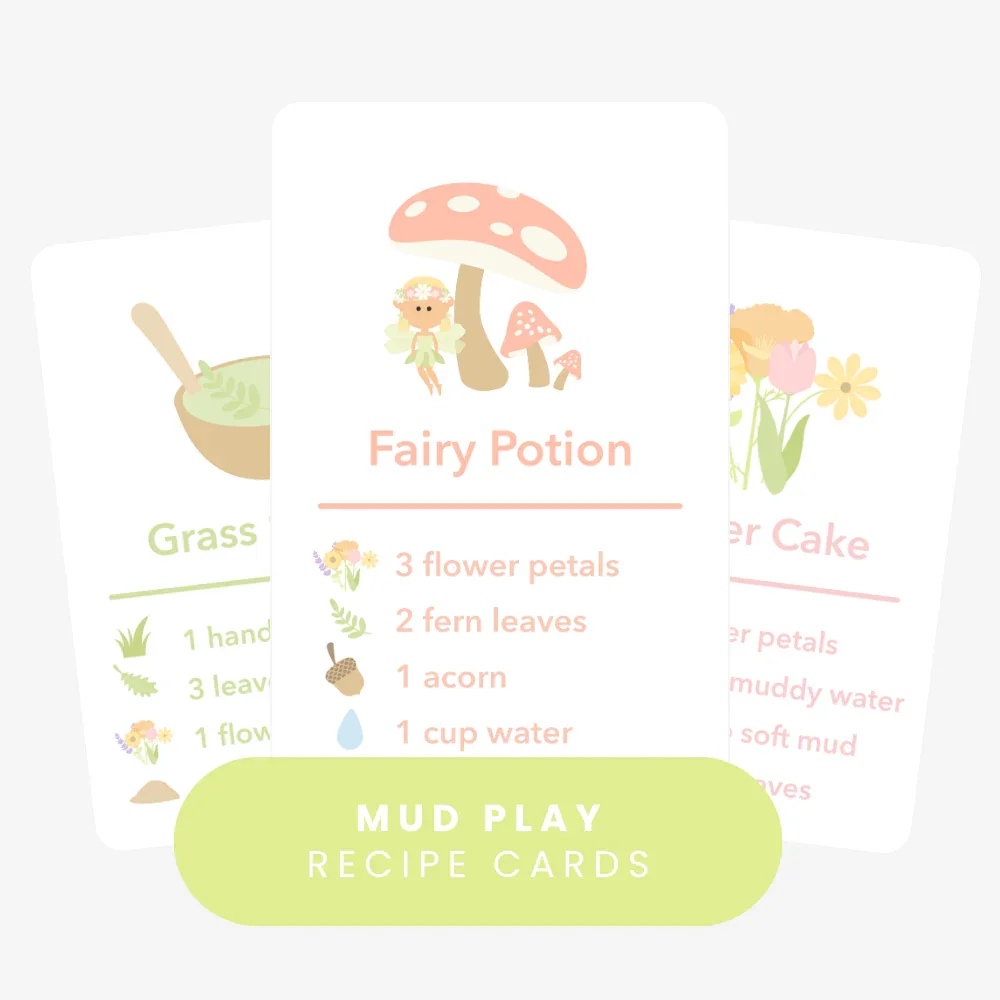
Mud Kitchen Recipe Cards
Whimsical outdoor recipes for mud pies, nature mixtures, soups, salads and imaginative garden play.
Shop recipe cards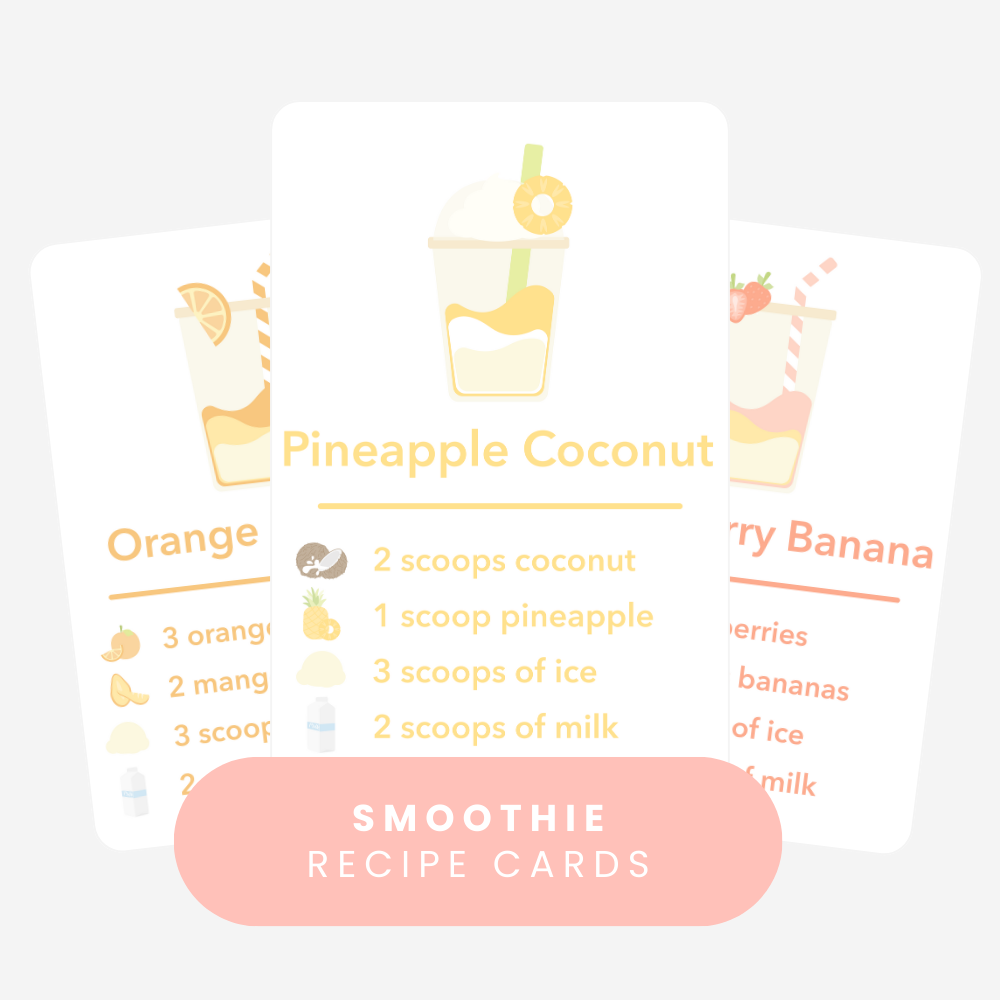
Smoothie Recipe Cards
Practice counting, following directions, scooping and pouring with playful fruit smoothie recipes.
Shop smoothie cards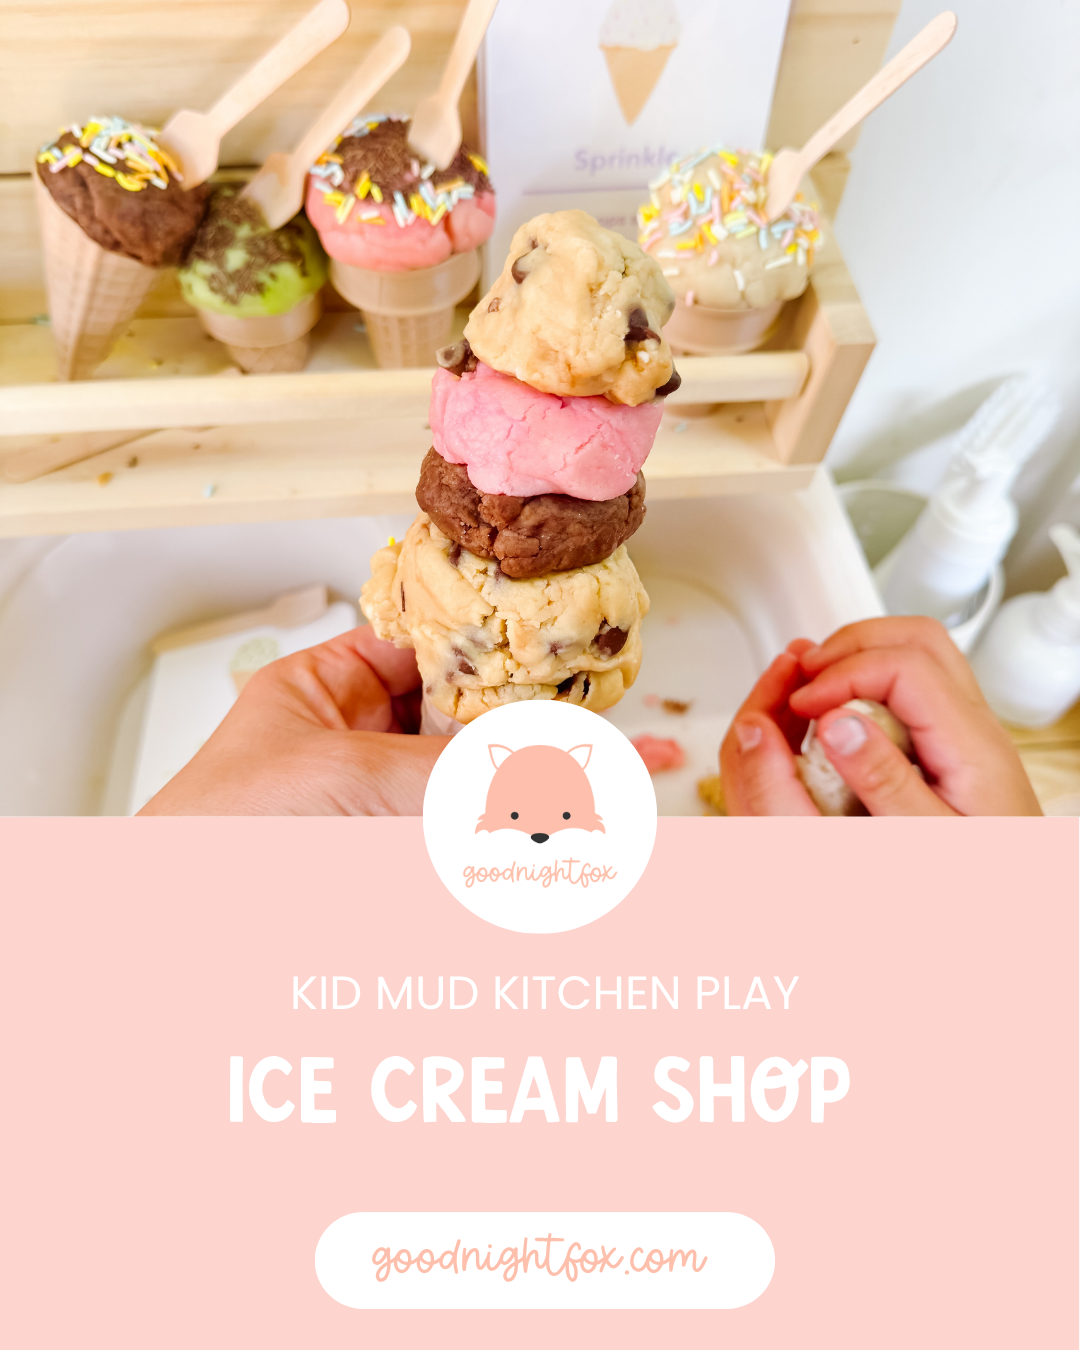
Ice Cream Recipe Play
Turn scoopable sensory materials into an outdoor ice cream shop with playful recipe prompts.
See the activityPrinted & Laminated Recipe Cards
Durable printed recipe-card collections designed for muddy hands and repeated outdoor play.
Browse printed cardsSeasonal Recipe Collections
Explore spring, summer, fall and winter recipe cards for year-round mud-kitchen play.
Shop seasonal recipesAvocado and plant vocabulary
Avocado
Seed
Embryo
Germination
Root
Taproot
Side root
Shoot
Sprout
Stem
Seedling
Leaf
Photosynthesis
Nutrients
Transplant
Observation
Ways to extend the activity
Measure the roots
Measure the longest root once each week and create a simple line graph.
Draw what is inside
Invite children to draw what they imagine the tiny seedling looked like before the seed opened.
Compare fruit seeds
Compare an avocado pit with apple, lemon, mango or watermelon seeds.
Create a plant-care chart
Track water changes, measurements, new leaves and transplanting tasks.
Open a garden café
Pair the seedlings with recipe cards, bowls, scoops, leaves, flowers and a pretend garden café.
Try another kitchen scrap
Experiment with green onions, celery, sweet potato vines, pineapple tops, citrus seeds or mango pits.
Growing avocado seeds FAQ
How do you grow an avocado seed in water?
Clean the pit, identify the broad bottom, suspend it over a glass with toothpicks or place it in an avocado-growing vase, and keep the lower portion touching fresh water. Place it somewhere warm with bright, indirect light.
Which side of an avocado seed goes down?
The broader, flatter end faces down and remains in contact with the water. The narrower or pointed end faces upward.
How long does an avocado seed take to sprout?
Many seeds take several weeks, and some may take two months or longer. Individual seeds grow at different speeds, so continue monitoring the water level and seed condition.
Why is my avocado seed cracking?
Cracking is usually an exciting sign that the seed is opening as its root and shoot begin developing. A pale root generally emerges from the lower end.
Should I peel the brown skin from an avocado seed?
You can gently remove loose pieces after cleaning, but peeling is not required. Do not damage the pale seed beneath the coat.
How often should I change the water?
Keep the bottom of the pit wet at all times and refresh the water regularly. Check it several times a week and replace cloudy or dirty water promptly.
Why is my avocado seed not sprouting?
It may need more time, warmth, consistent water contact or a fresher seed. Confirm that the broad end is facing down. A seed that becomes soft, foul-smelling or badly discolored may no longer be viable.
Do roots or leaves appear first?
The primary root usually appears before the stem and leaves. The root anchors the plant and begins absorbing water before the shoot grows upward.
When should I plant my avocado seed in soil?
Move it after it has developed a healthy root system and an established shoot. Handle the roots carefully because roots grown in water can be fragile.
Will an avocado grown from a pit produce avocados?
It is possible but not guaranteed, and it may take many years. A seed-grown plant is genetically different from the original fruit. It is best enjoyed as a houseplant and long-term science project.
Can children grow avocado seeds from grocery-store fruit?
Yes. Grocery-store avocado pits are commonly used for this experiment. Starting several seeds gives children more opportunities to compare growth and increases the chance that at least one will germinate.
Is the toothpick method or avocado vase better?
Both can work. Toothpicks are inexpensive and classic, while a shaped growing vase is tidier and often makes the developing roots easier to see.
Unicorn Magic Milk
Unicorn Magic Milk Experiment
Turn a classic milk-and-soap science experiment into a magical unicorn activity with swirling pink and purple colors, foamy clouds, and GoodnightFox unicorn charms.
Age3+
Prep5 minutes
Activity15–25 minutes
Mess★★☆☆☆
SkillsScience + color mixing
Why we love this magical science activity
Magic Milk is one of those experiments that never seems to lose its magic. You begin with an ordinary tray of white milk, add a few drops of color, and then watch the entire surface suddenly begin to move.
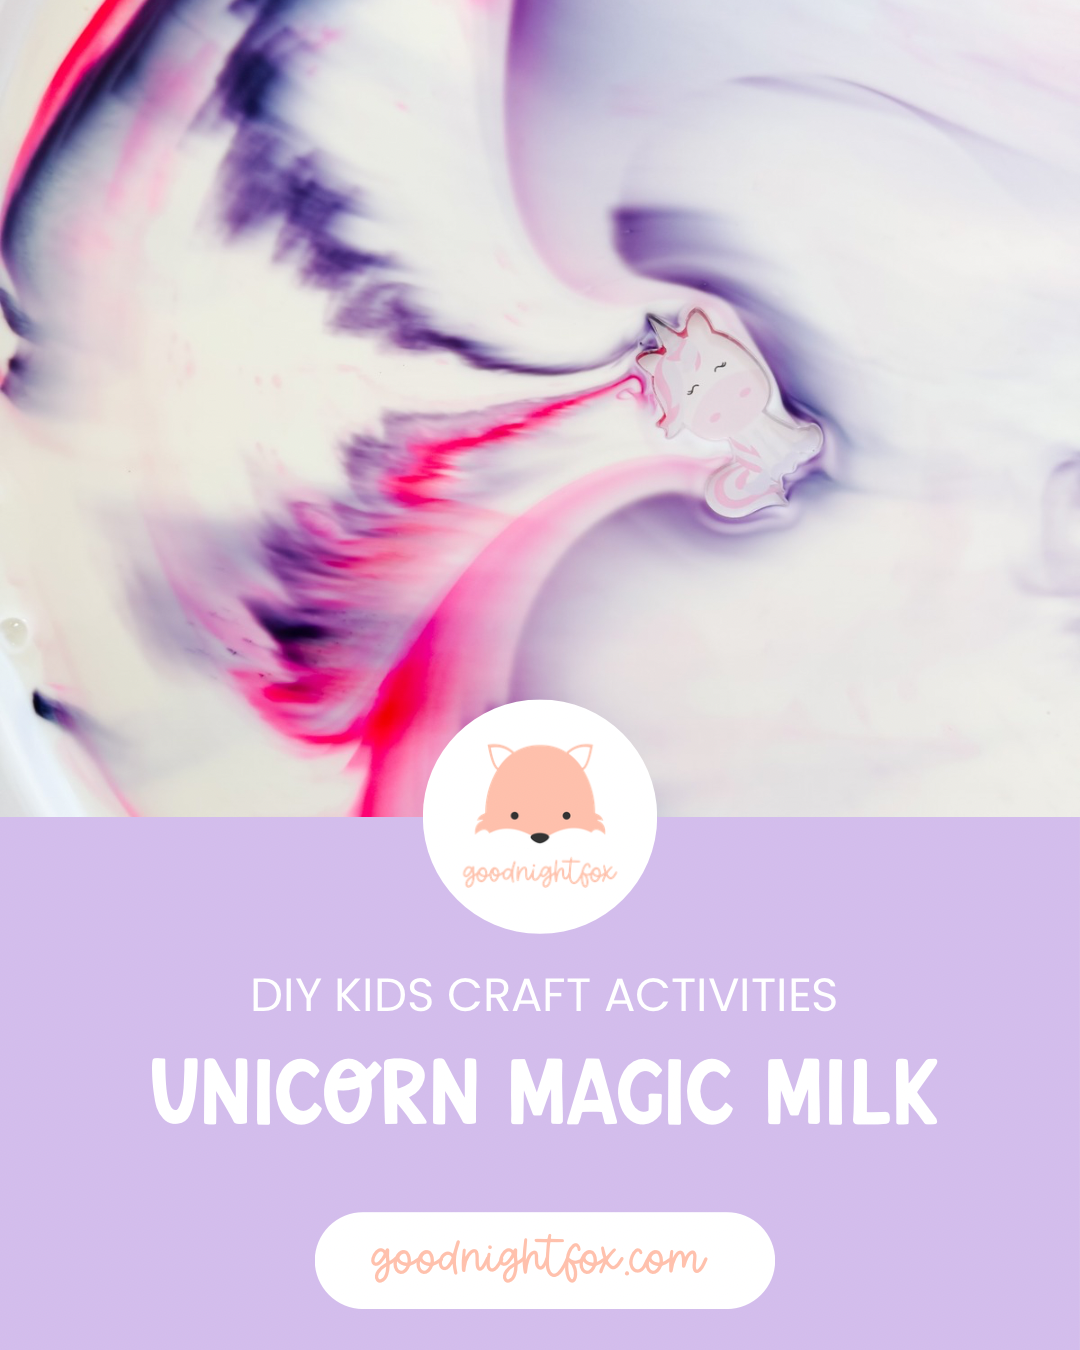
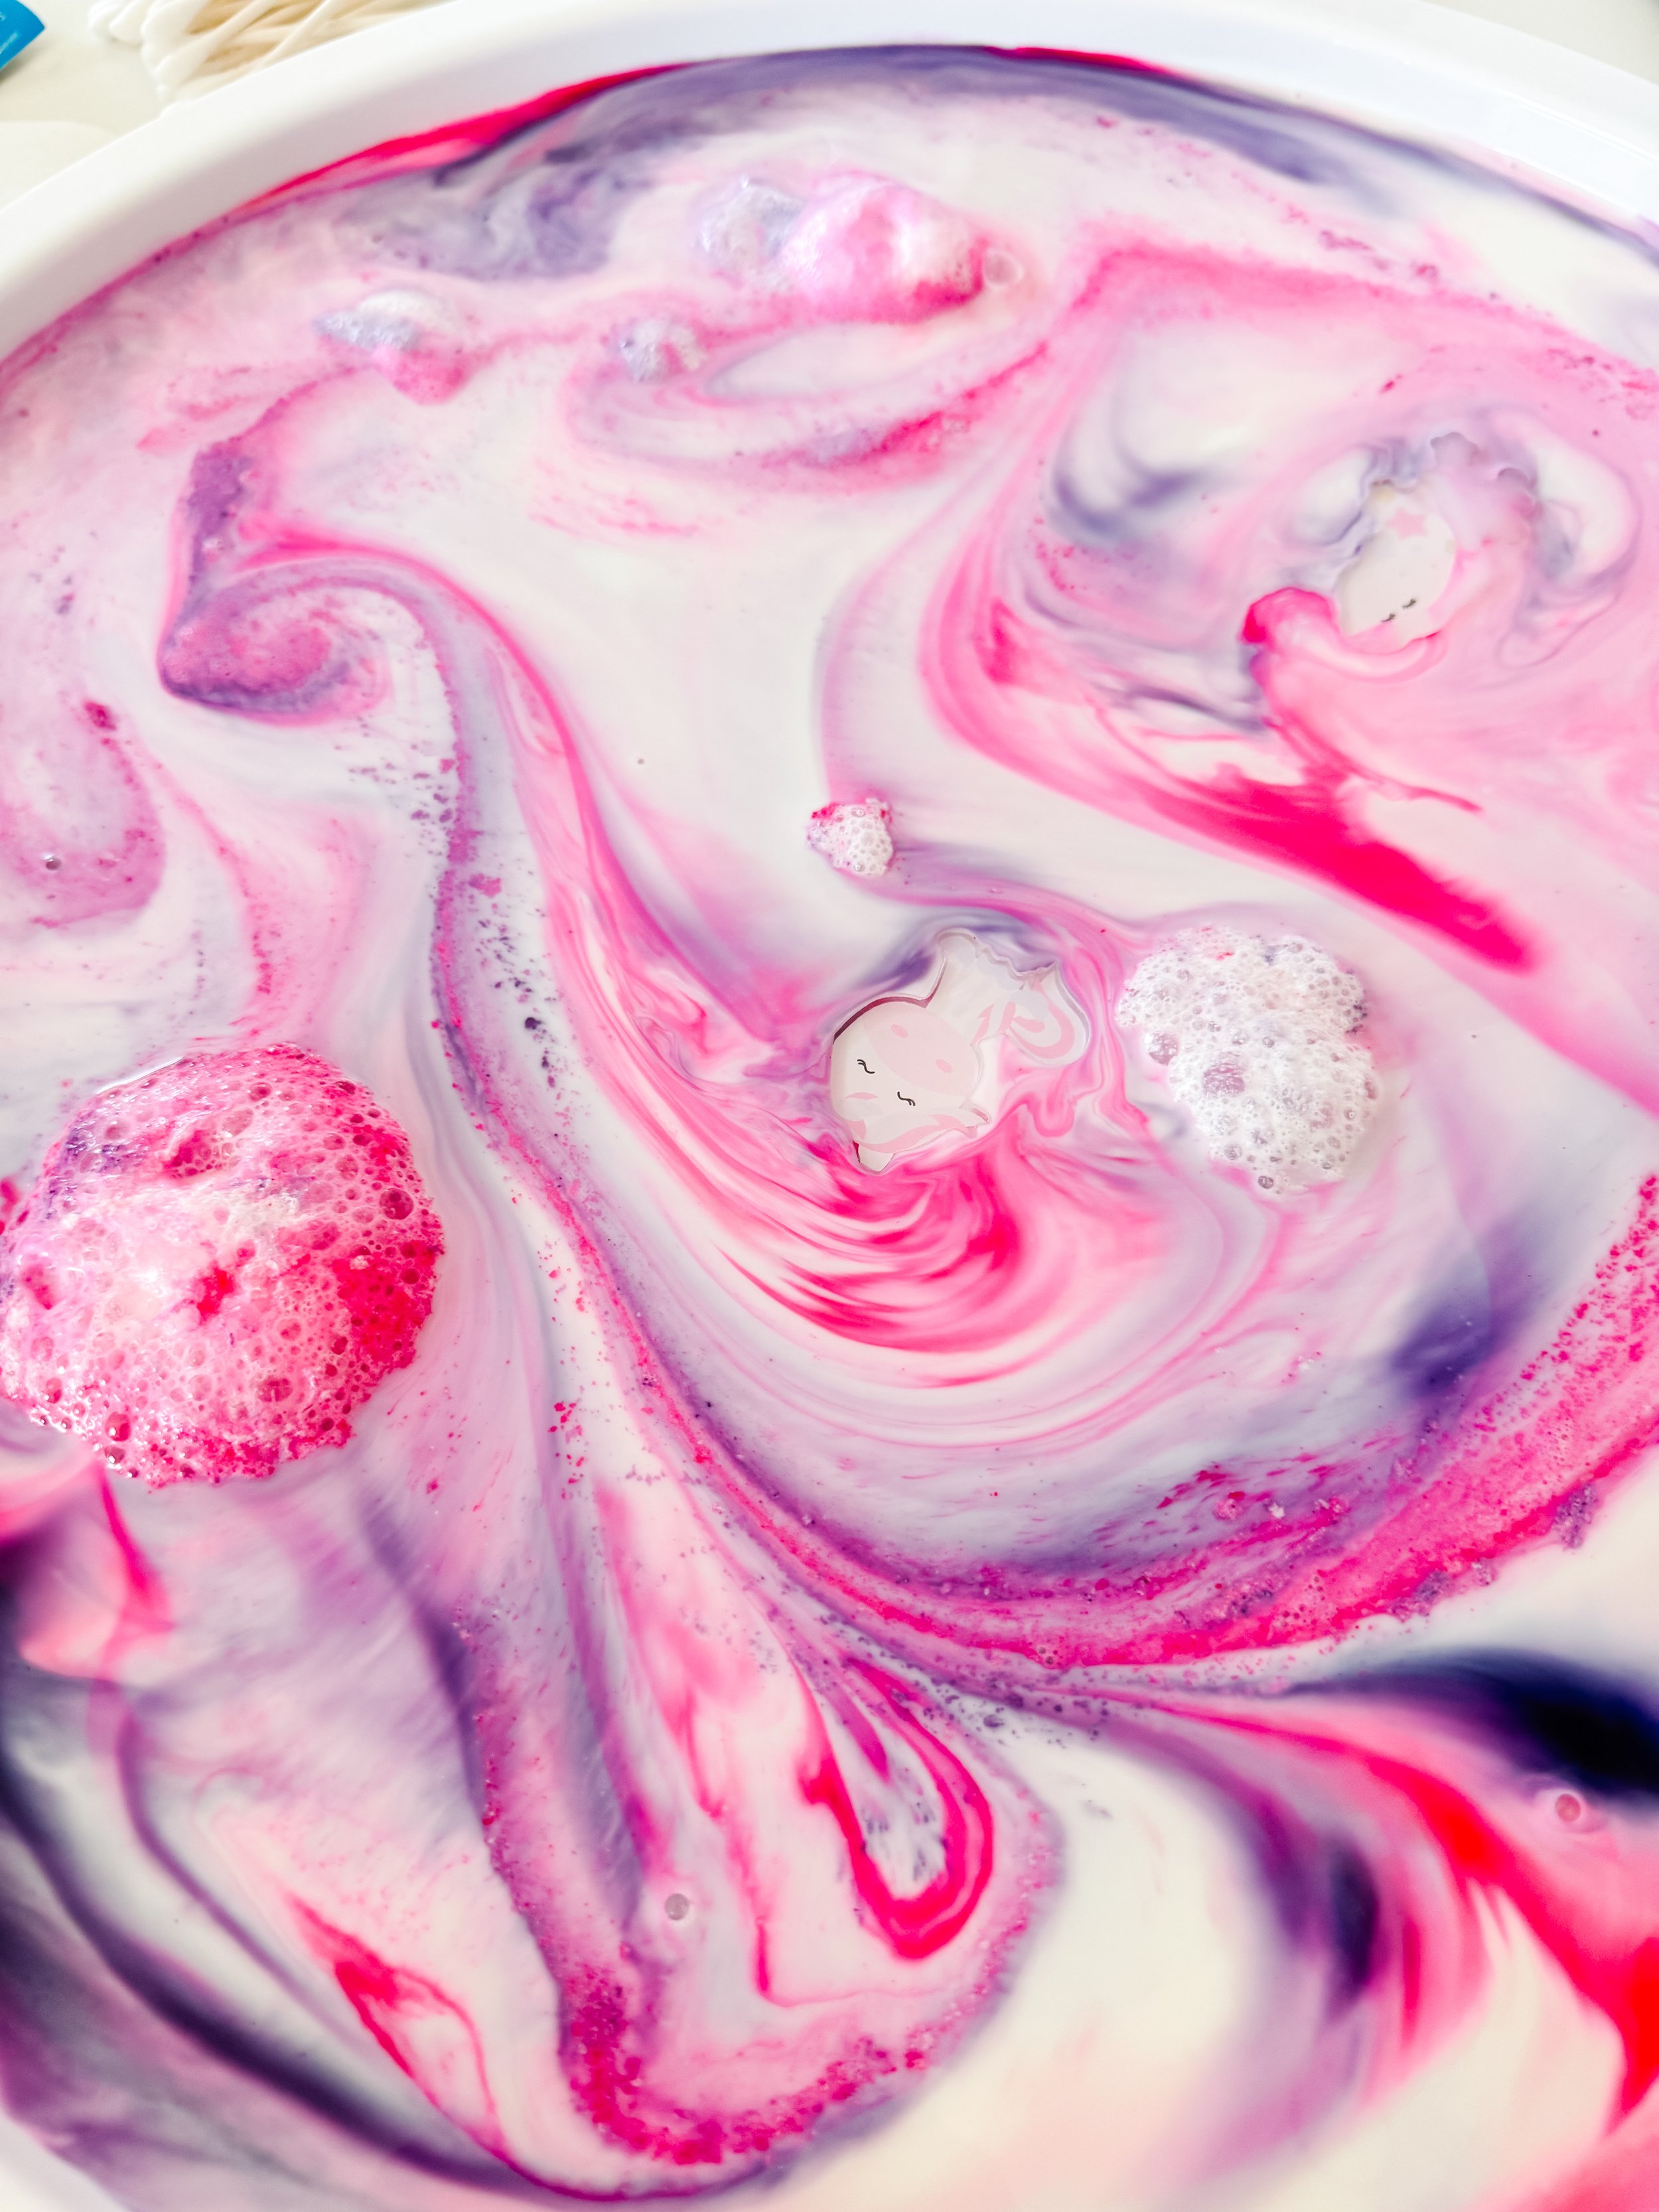
For this version, we chose bright pink, pale pink, lavender, and deep purple so the swirls looked like a unicorn flying through a pastel sky.
We also added our GoodnightFox unicorn acrylic charms to the tray. As the colors spread and curled around them, the unicorns looked as though they were floating through clouds of pink and purple magic.
It is a simple way to turn an easy kitchen-science experiment into a complete themed learning activity. Children can observe a chemical interaction, predict what will happen, explore color mixing, and invent stories about the unicorn world forming in front of them.
Materials needed
- Whole milk
- Liquid dish soap
- Pink food coloring
- Purple food coloring
- Optional blue or red food coloring for mixing new shades
- Cotton swabs
- Shallow white tray or plate
- Small bowl for dish soap
- Optional round cotton pads for stamped color designs
- GoodnightFox Unicorn & Cloud Acrylic Charms
- Paper towels for cleanup
Safety note
This is a sensory science activity, not a snack. Supervise children closely, do not allow them to drink the milk, and keep food coloring and dish soap away from eyes and mouths. Rinse and dry acrylic charms thoroughly after play.
Shop this activity
These are the core materials we use for Magic Milk activities, plus the acrylic unicorn charms that turn this version into magical small-world play.
This section contains affiliate links, which means I may earn a small commission at no additional cost to you.

Unicorn & cloud charms
Add the two-inch unicorn and cloud acrylic charms to Magic Milk, sensory bins, play dough, or unicorn small-world play.
Shop unicorn charms
Food coloring
Use pink and purple shades, or mix red and blue to experiment with making your own unicorn colors.
View on Amazon
Whole milk
Whole milk generally produces a vivid, long-lasting reaction because it contains more fat than lower-fat varieties.
View on Amazon
Liquid dish soap
Dish soap changes the surface tension and interacts with the fat in the milk, sending the colors swirling across the tray.
View on AmazonHow to make Unicorn Magic Milk
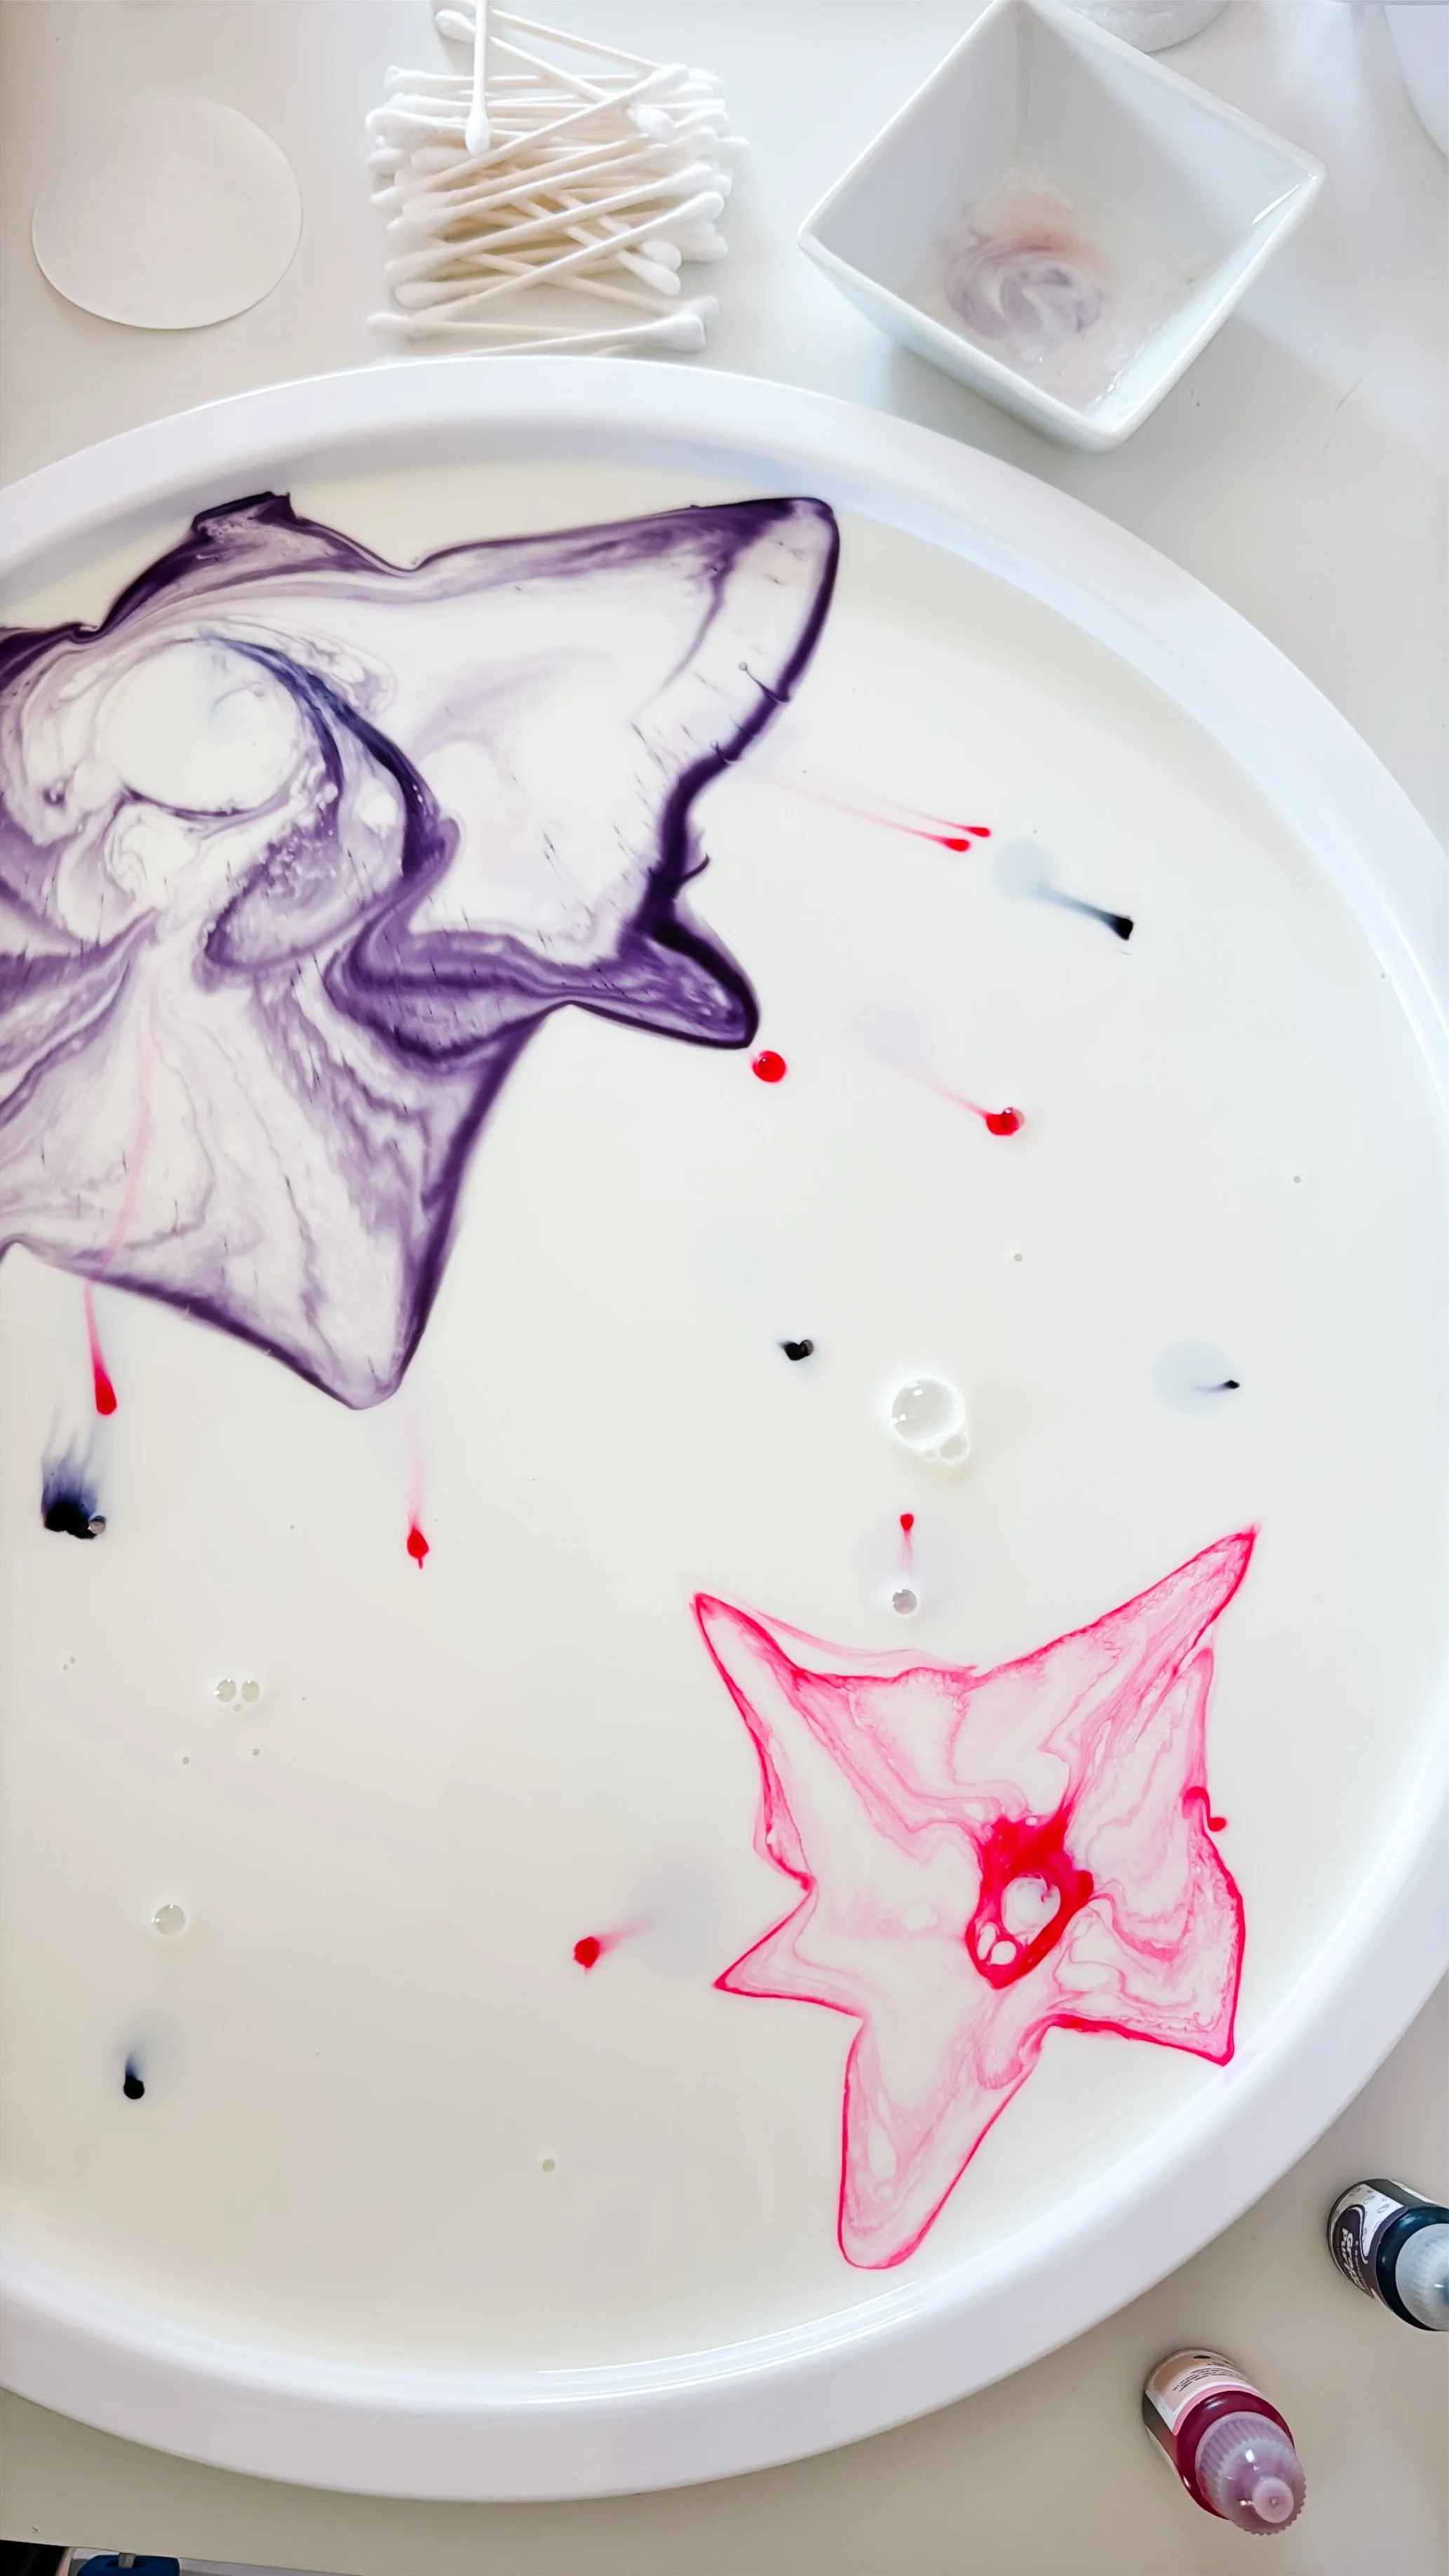
Step 1
Pour the milk and add color
Pour enough whole milk into a shallow white tray to cover the bottom completely.
Add drops of pink and purple food coloring around the tray. You can place individual drops randomly or outline simple unicorn-inspired shapes, stars, hearts, and clouds.
Keep the drops separated at first so your child can observe how each color begins to move.
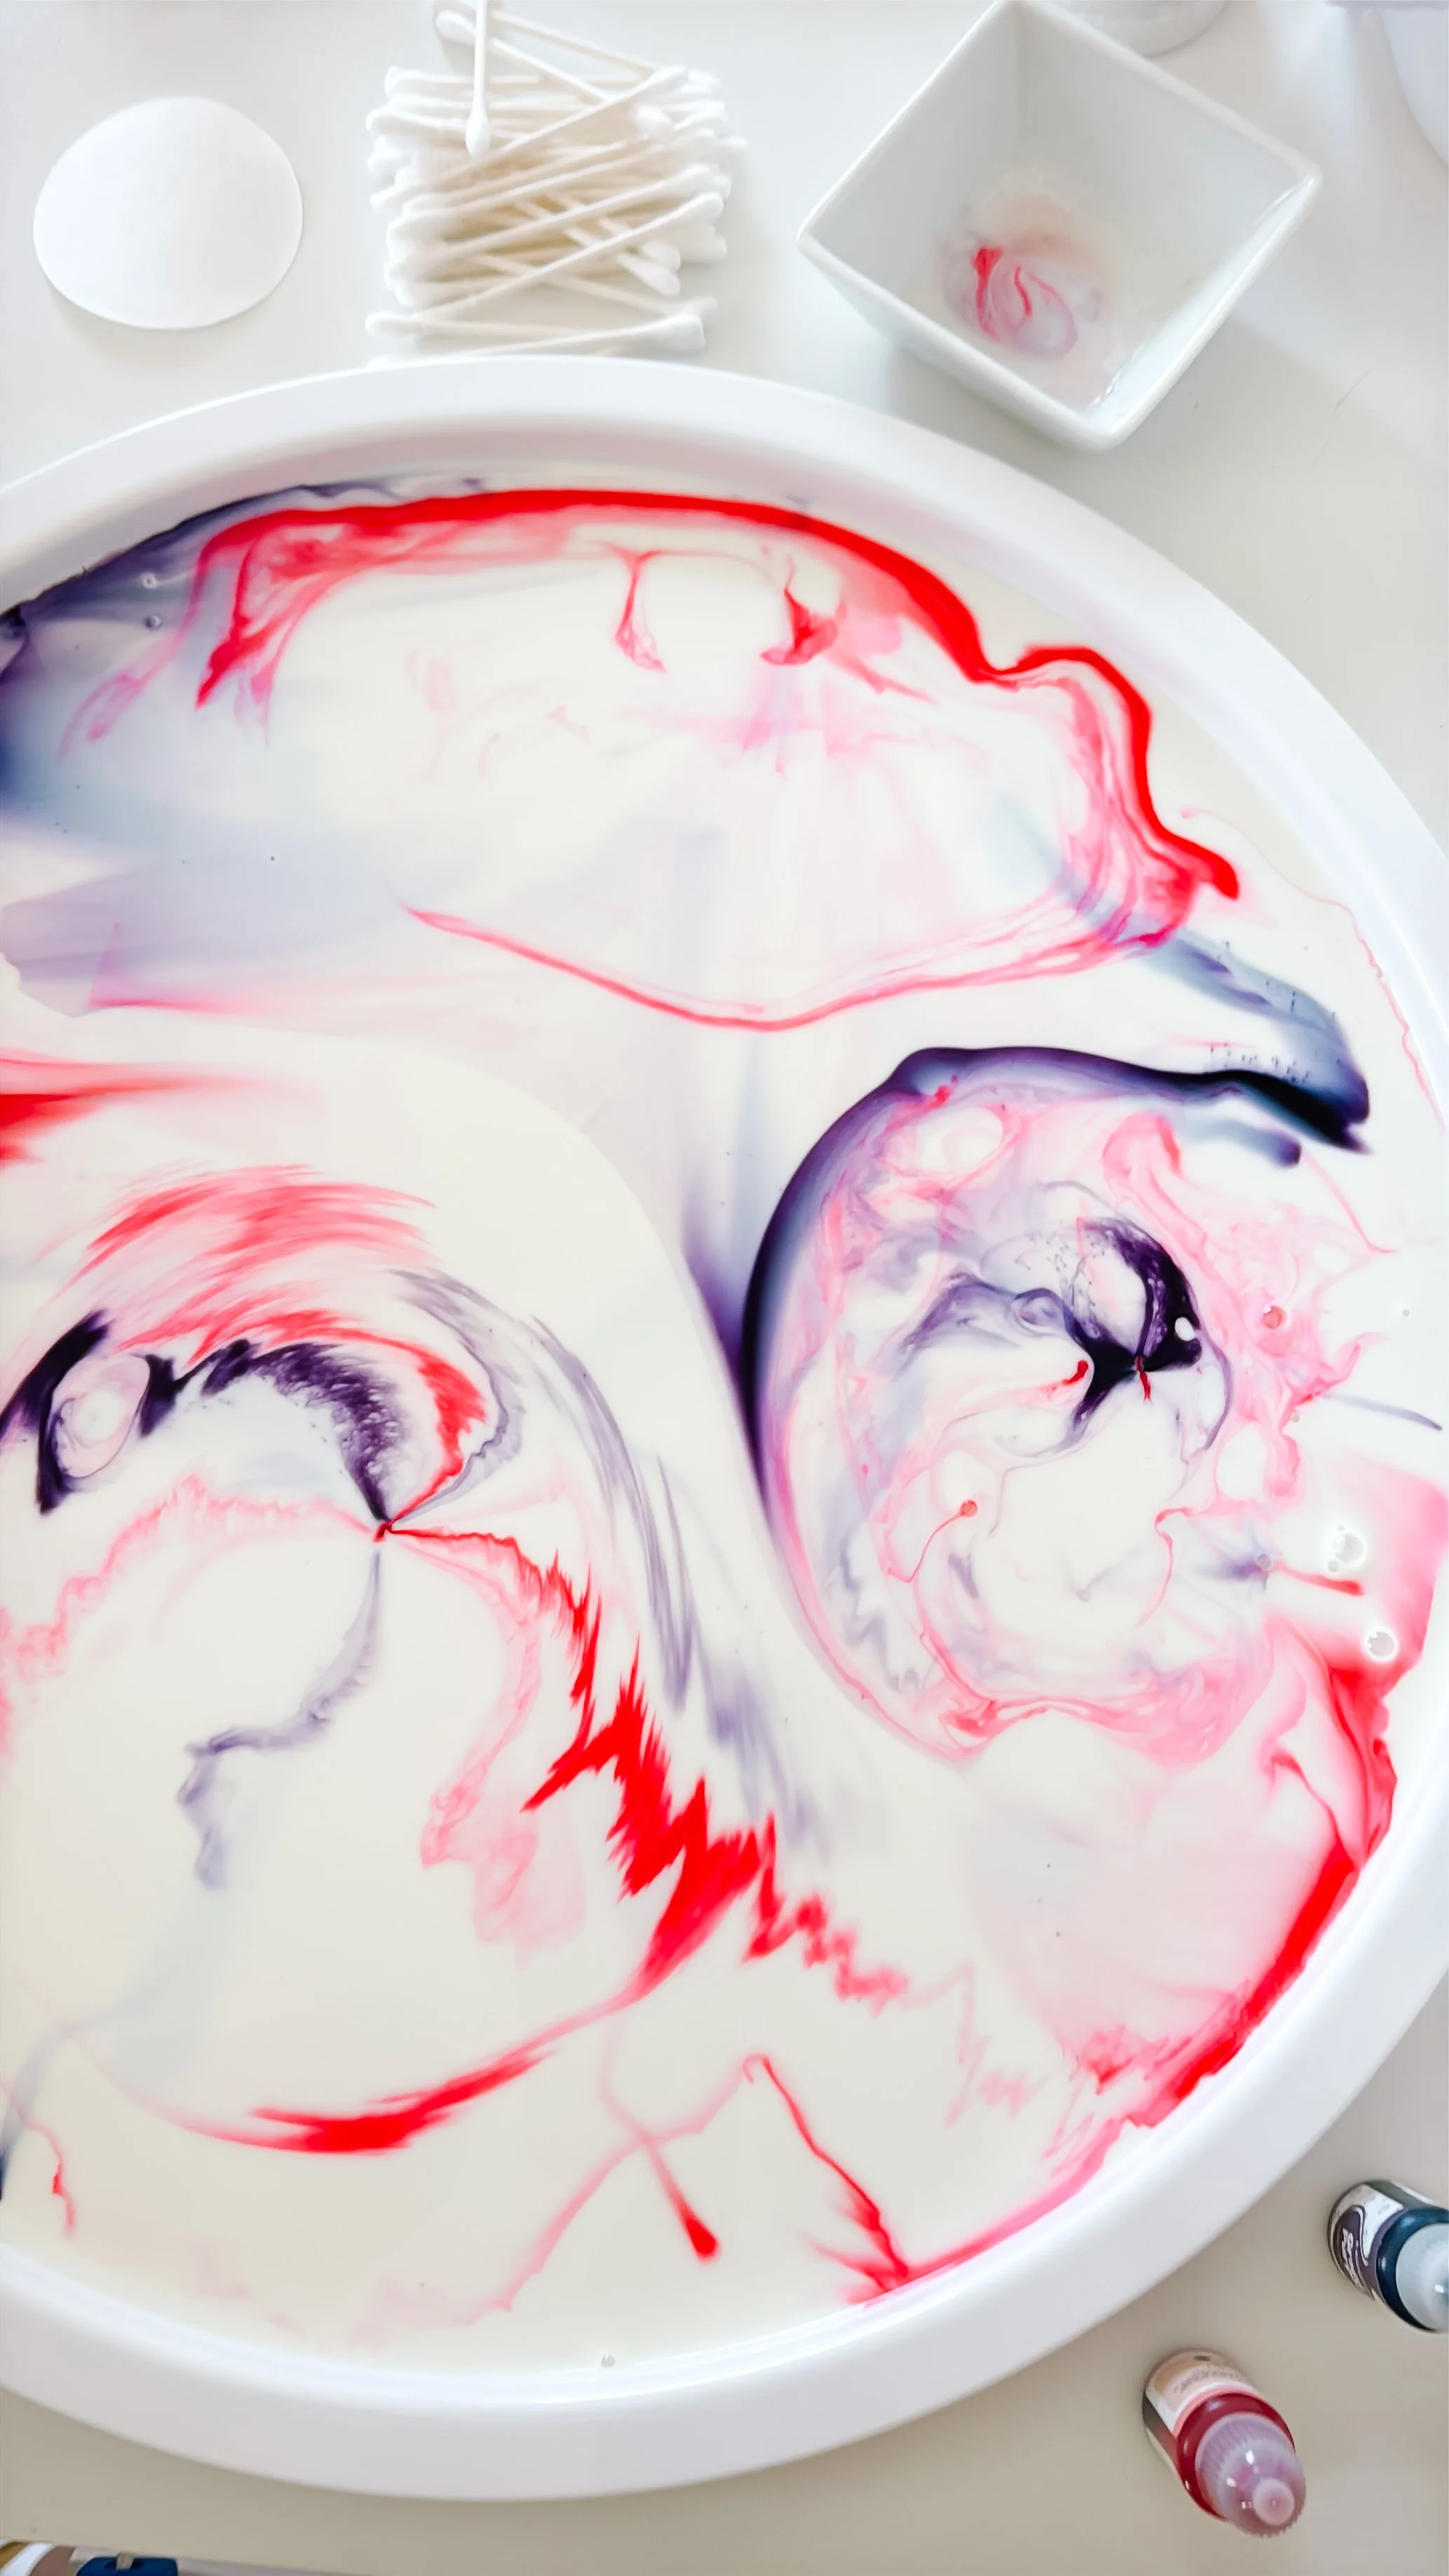
Step 2
Dip the cotton swab in soap
Pour a small amount of dish soap into a separate bowl.
Dip one end of a cotton swab into the soap, then gently touch it to one area of colored milk. Try not to stir immediately—simply hold the swab in place and watch.
The colors should quickly pull away, spread, and begin forming swirls.
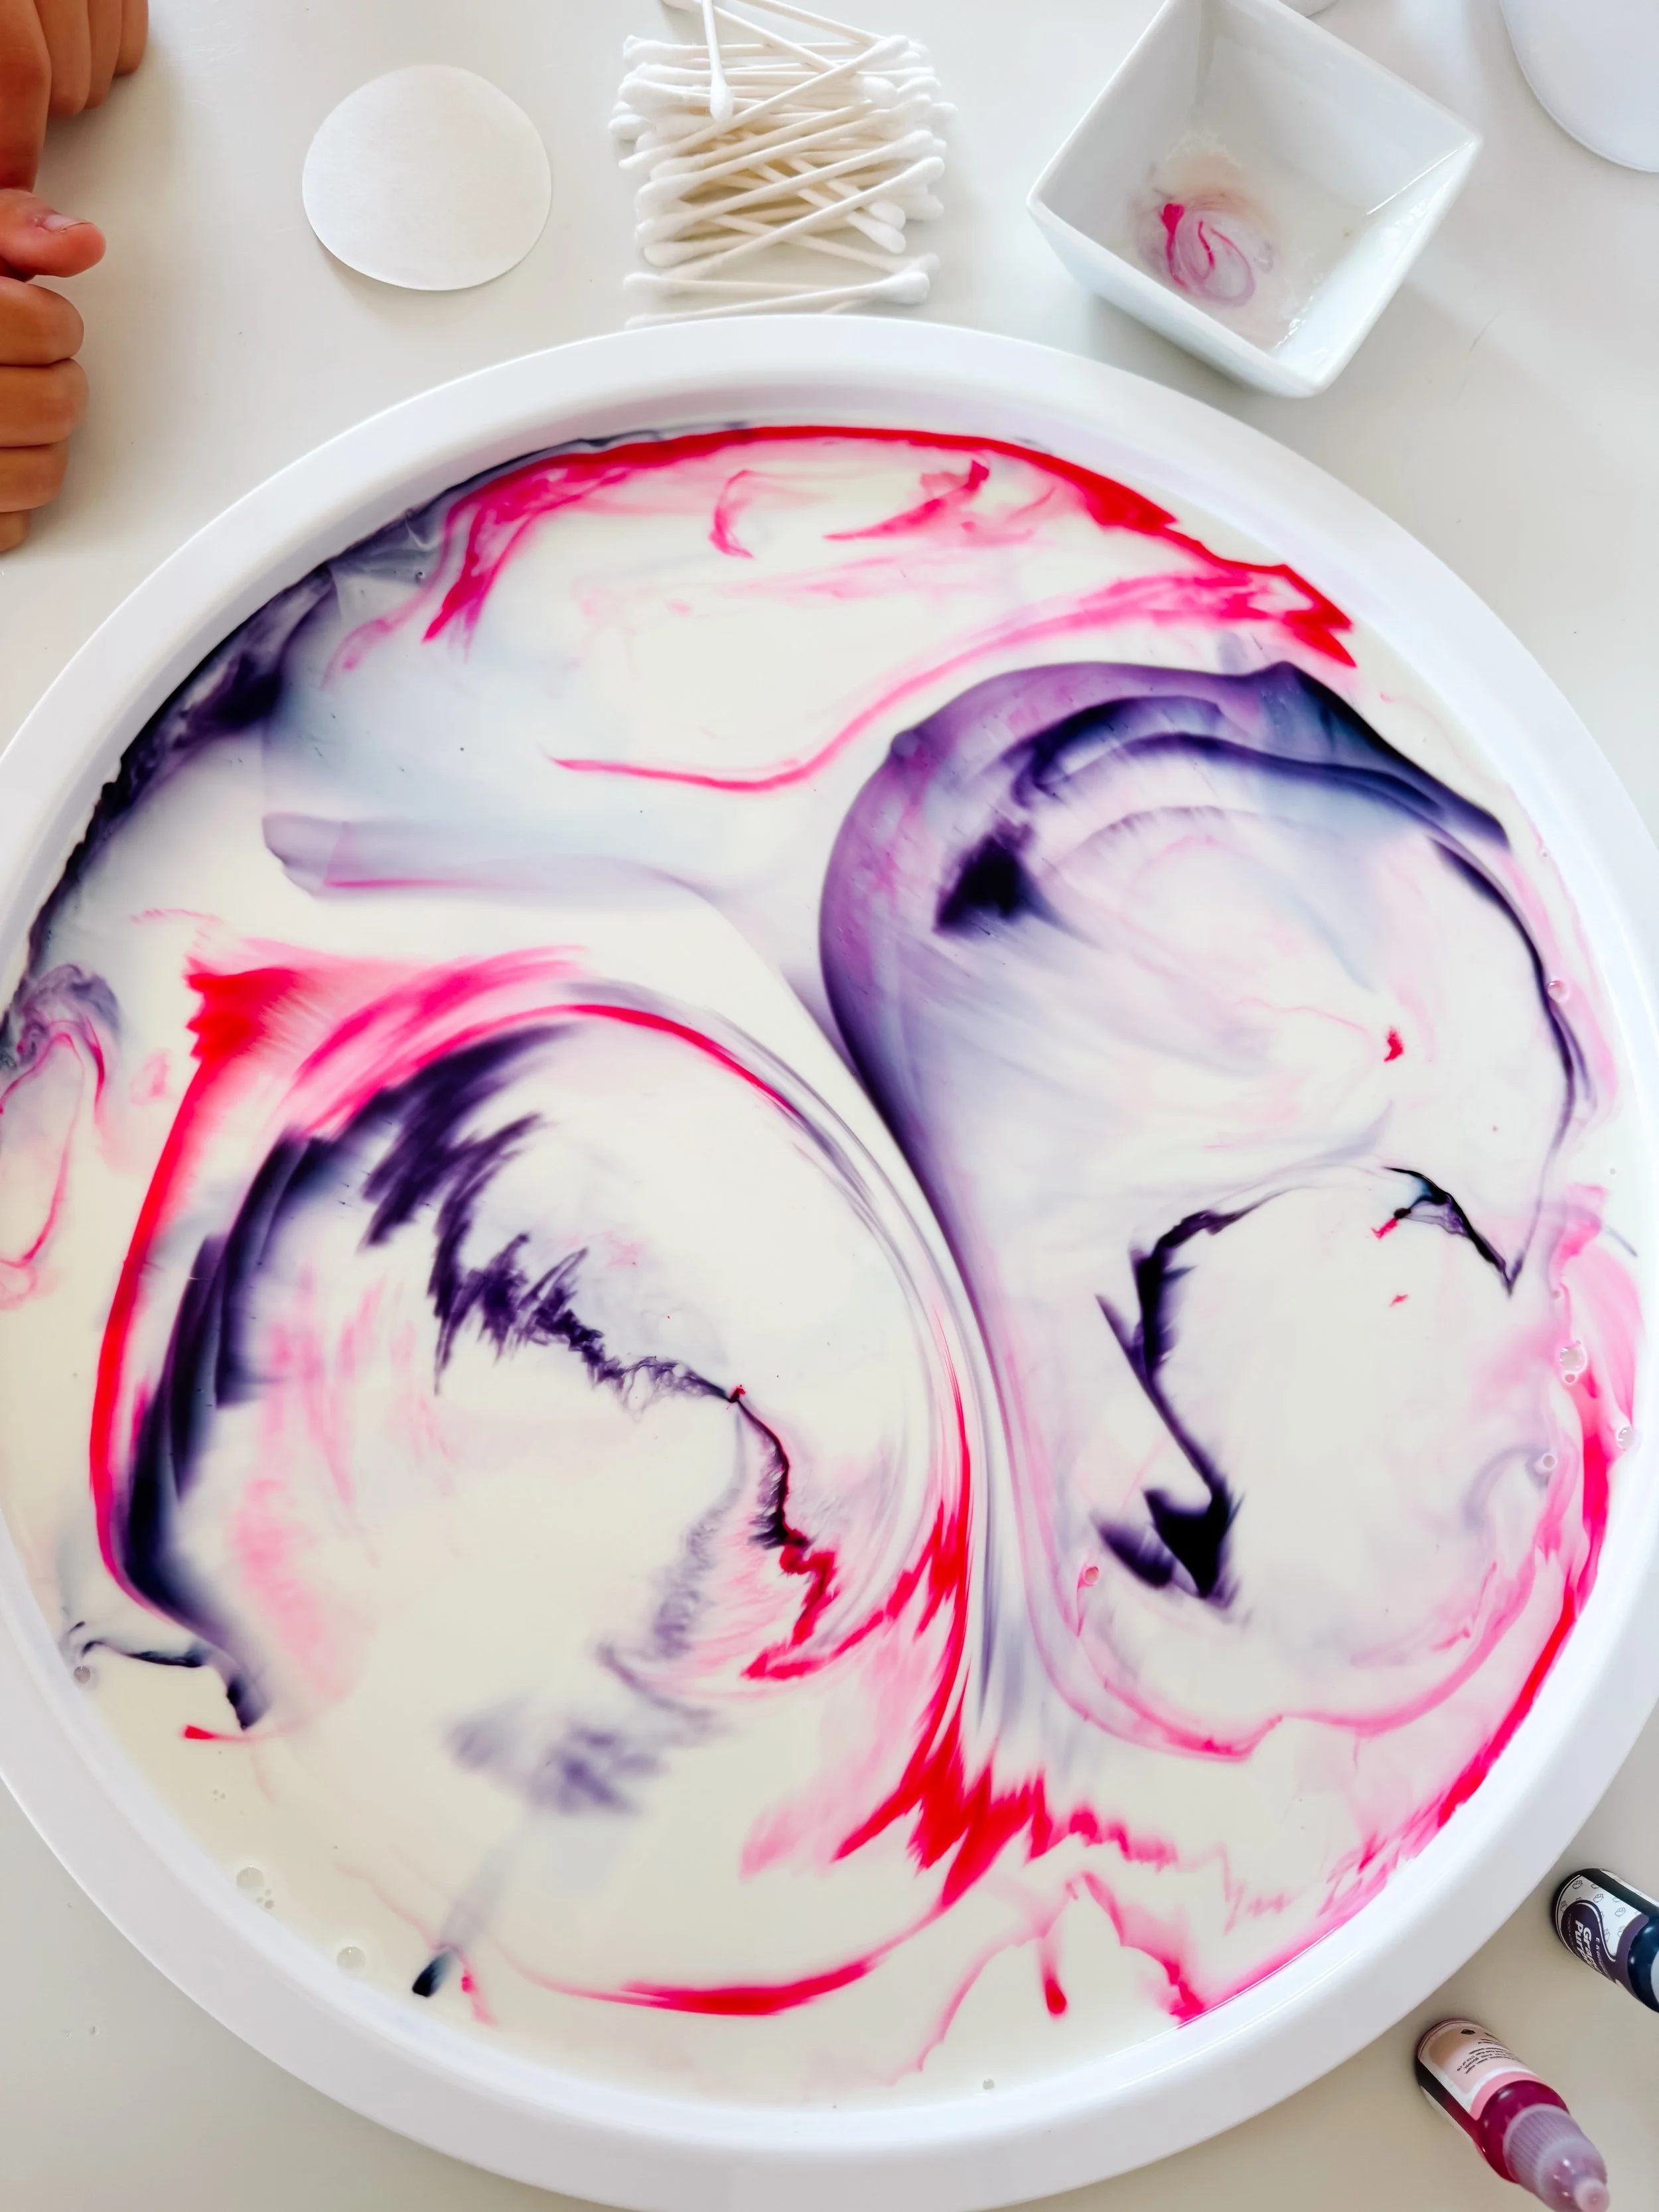
Step 3
Explore different touch points
Dip a clean cotton swab into more soap and touch different parts of the tray.
Compare what happens near a concentrated drop of color versus an area where the colors have already mixed. Try touching the center of a circle, the edge of a swirl, or the space between pink and purple.
Invite your child to predict which direction the color will move before each touch.
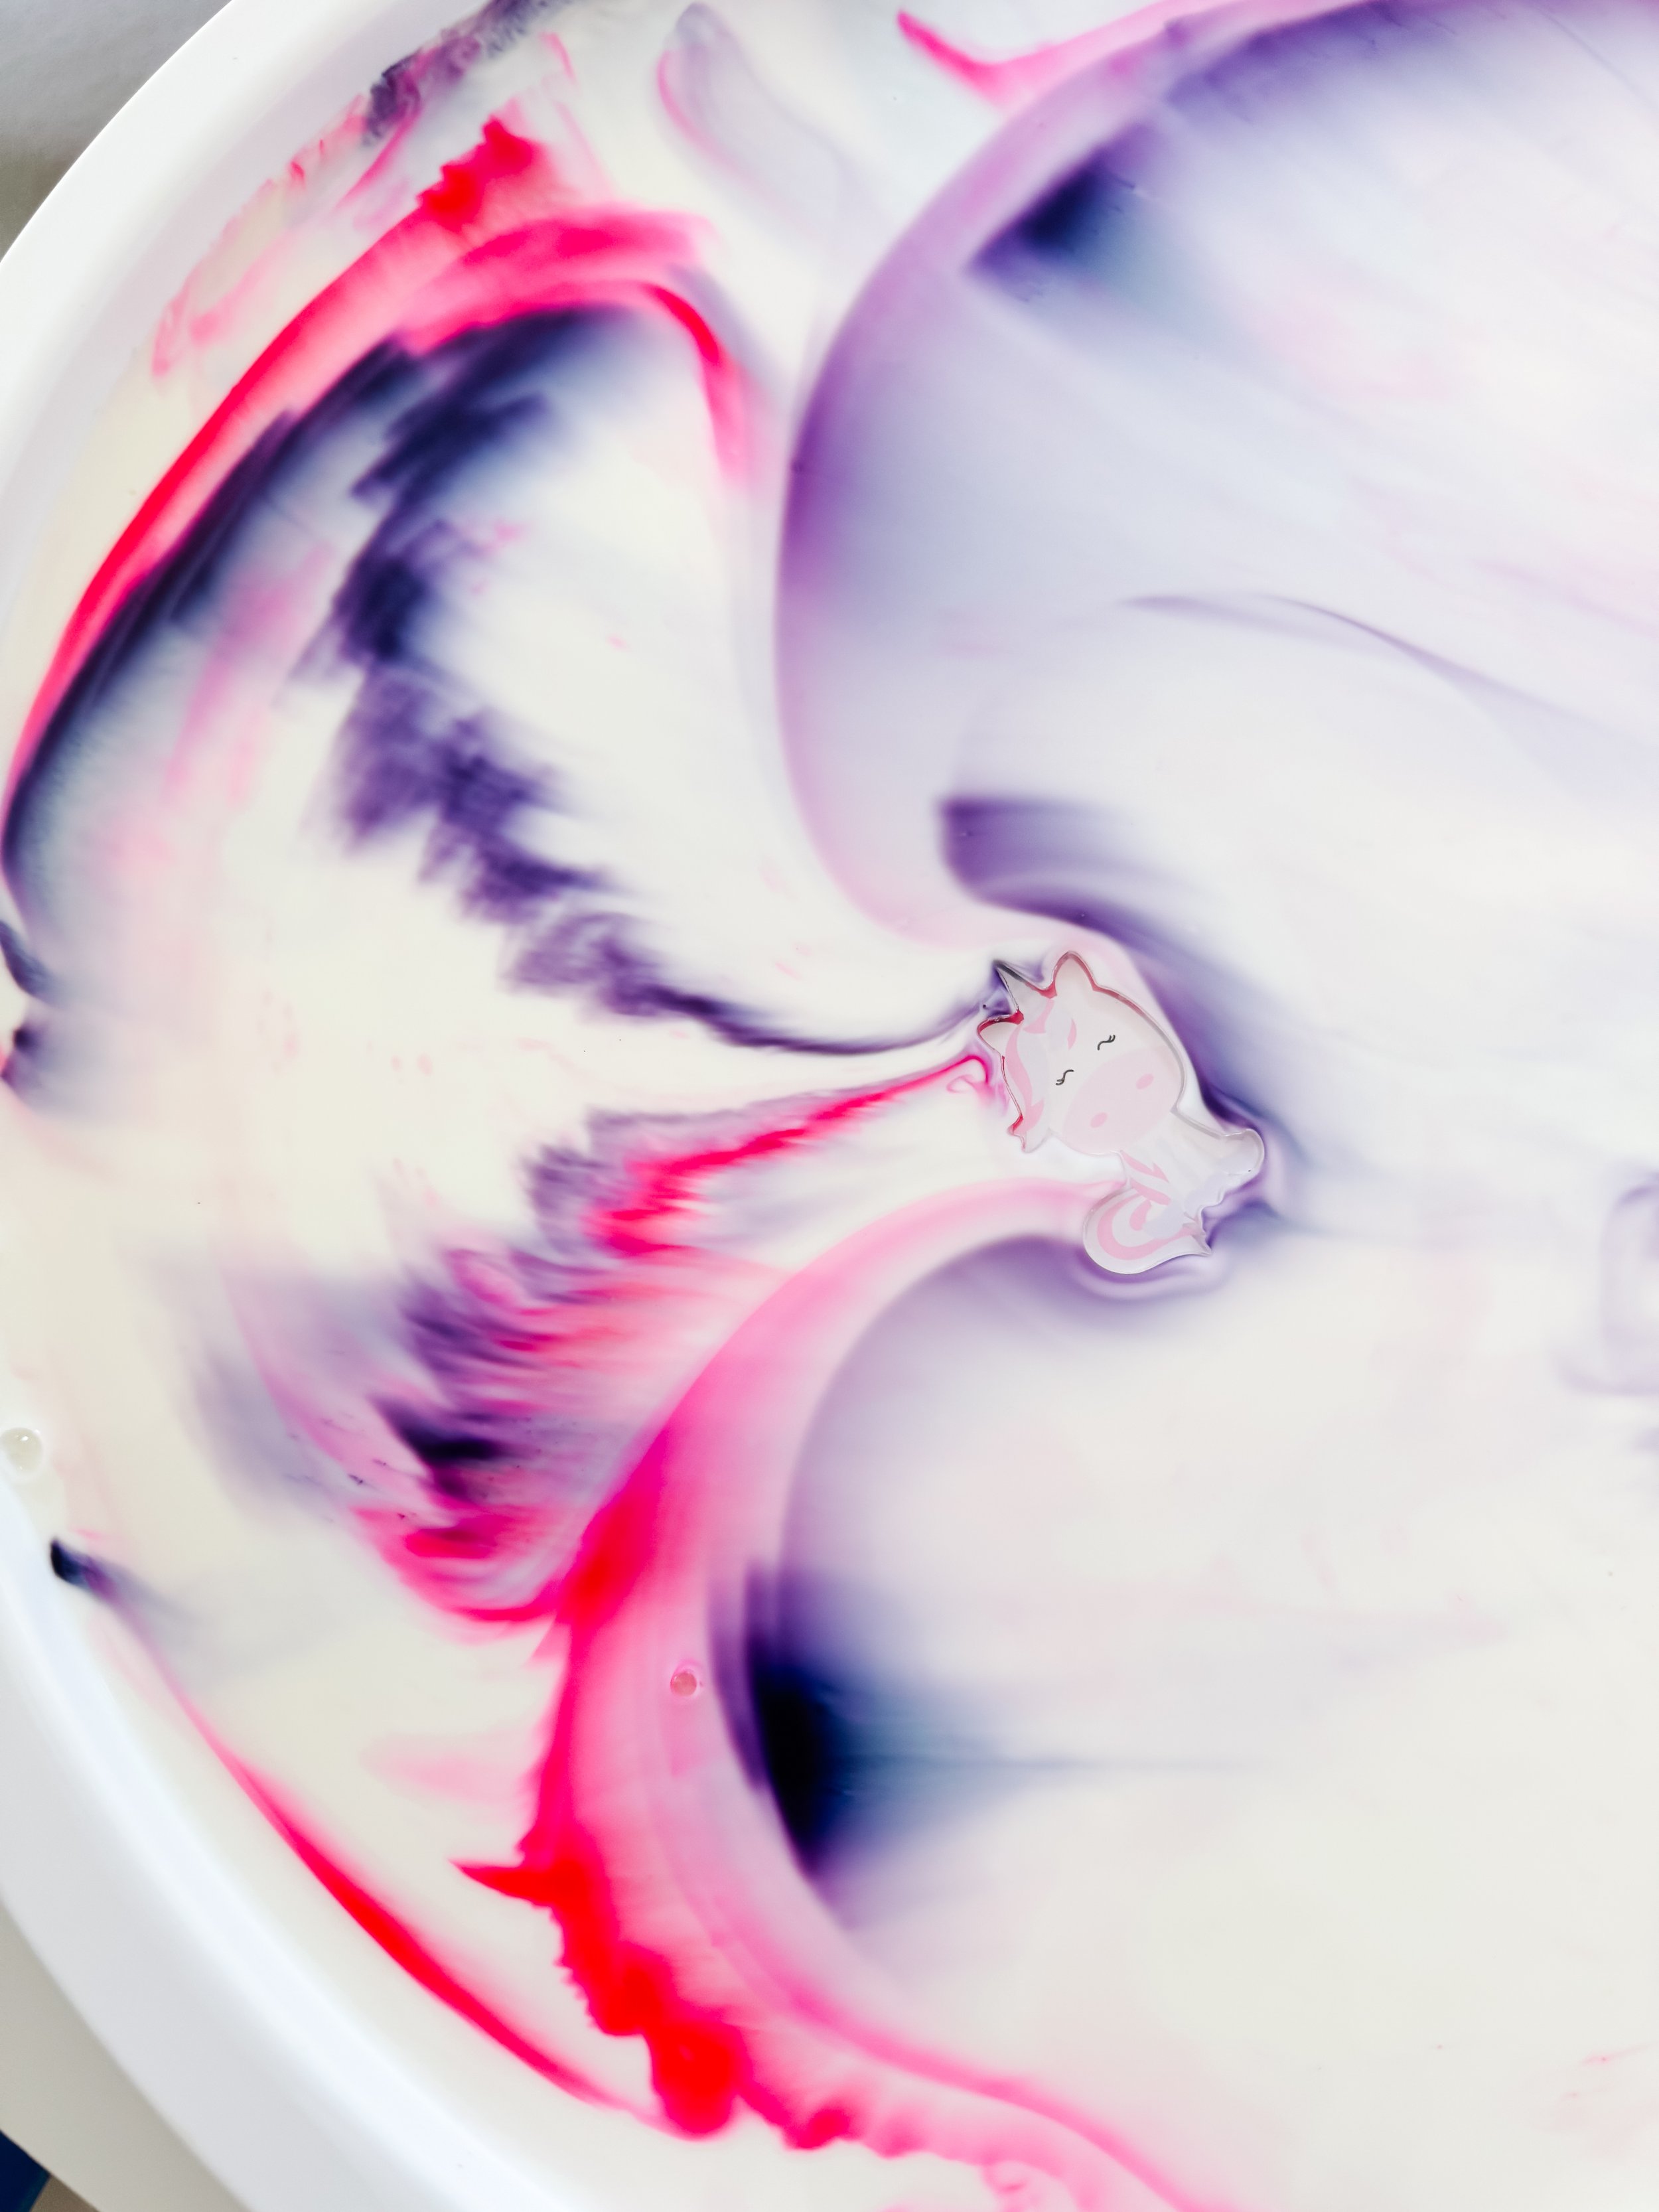
Step 4
Add the unicorn charms
Once the colors are moving, gently place the acrylic unicorn and cloud charms into the tray.
Use the cotton swabs to create swirls around the charms so the unicorns appear to fly through a magical sky.
This is where the experiment naturally turns into storytelling and small-world play.
Step 5
Create clouds and magical stories
Touch the soapy cotton swab in one place several times to create foamy bubbles that resemble clouds.
Invite your child to tell a story about where the unicorns are going, what magic they are carrying, or why the sky is changing color.
When the reaction begins to slow, add a few fresh drops of food coloring and test another area.
Step 6
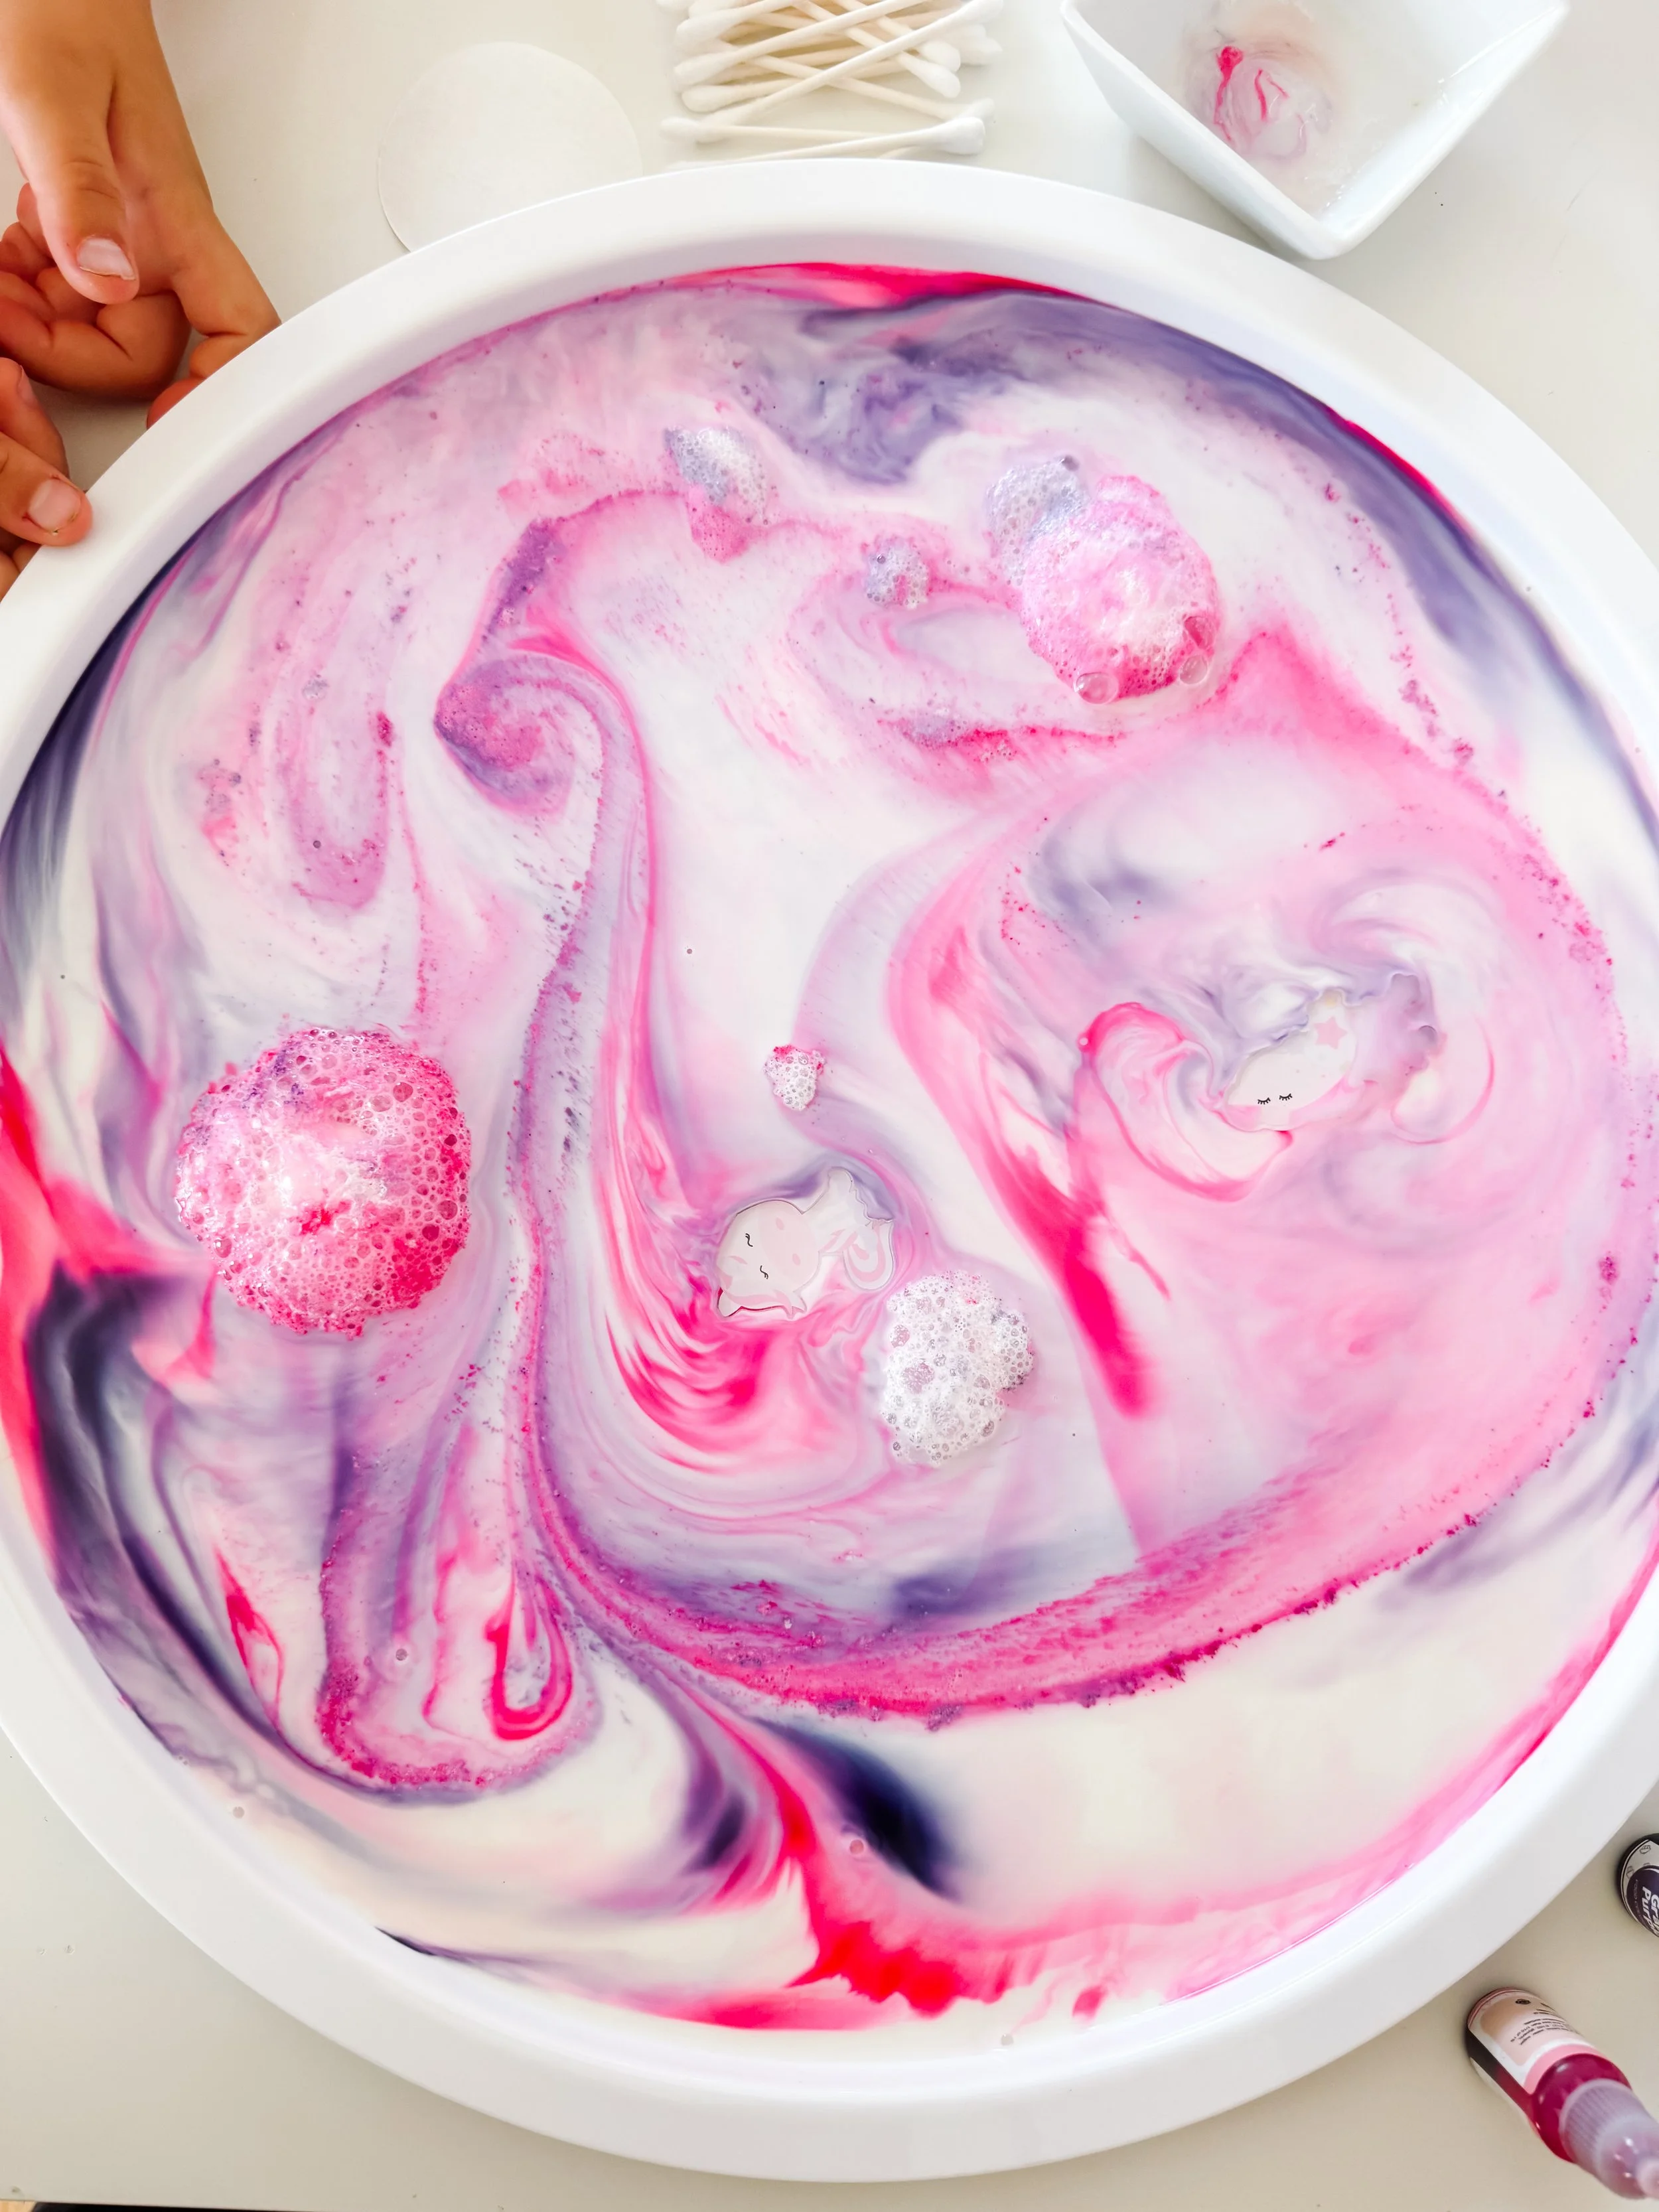
Observe the finished unicorn sky
Step back and look at the patterns that formed across the tray.
Ask your child where the colors blended, where they stayed separate, and which areas resemble clouds, wings, rainbows, or magical trails.
Take a photo before cleanup—the final patterns change quickly and are often beautiful enough to inspire a painting or drawing afterward.
Parent tip
Start with fewer drops of food coloring than you think you need. Leaving plenty of white space gives the colors room to move and creates more visible pink, purple, and lavender patterns.
Why does Magic Milk work?
Milk is mostly water, but it also contains fats, proteins, sugars, vitamins, and minerals.
Dish soap molecules are attracted to both water and fat. When the soap touches the milk, it begins interacting with the fat and disrupting the surface tension across the liquid.
As the soap moves through the milk, the food coloring is carried along with that motion. This makes the invisible movement of the liquid easy to see.
Whole milk usually produces a strong reaction because it contains more fat, but children can also compare whole milk with lower-fat milk as a follow-up experiment.
Turn it into a preschool science investigation
Compare milk types
Try whole milk, two-percent milk, and skim milk in separate dishes. Which one creates the longest-lasting color movement?
Compare color patterns
Test widely spaced drops against drops placed close together. How does the starting pattern change the final design?
Test soap amounts
Compare a lightly coated cotton swab with one holding more dish soap. Does the color move differently?
Mix new unicorn shades
Combine red and blue to make purple, then experiment with different proportions to create lavender, violet, and plum.
Learning benefits
Unicorn Magic Milk blends science, art, sensory play, and storytelling in one low-prep activity.
Children practice observation as they follow the movement of each color. They use prediction before touching the milk with soap and explore cause and effect as they repeat the action in different locations.
The unicorn theme adds imaginative language and narrative play. Children can create characters, settings, problems, and magical adventures while the visual experiment unfolds.
Learning skills
Scientific observation
Prediction
Cause and effect
Surface tension
Color mixing
Fine motor skills
Sensory exploration
Creative storytelling
Imaginative play
Early chemistry
Questions to ask kids
- What do you predict will happen when the soap touches the milk?
- Which color moves first?
- Where do pink and purple blend together?
- What new colors can you see?
- Does the reaction happen faster in some areas?
- What happens when you touch the same place twice?
- What do the patterns remind you of?
- Where are the unicorns traveling?
- What magical power does each unicorn have?
Unicorn and science vocabulary
Experiment
Observe
Predict
Reaction
Surface tension
Molecule
Liquid
Blend
Swirl
Lavender
Violet
Unicorn
Magic
Ways to extend the unicorn play
Paint the final pattern
Use the finished tray as inspiration for a watercolor or process-art painting in pink, purple, white, and lavender.
Create a unicorn story
Ask your child to draw the magical world the unicorn visited and dictate a short story about the adventure.
Build a sensory bin
Rinse the acrylic charms and reuse them with pastel filler, clouds, stars, and scoops for Unicorn World sensory play.
Try another color theme
Make rainbow, sunset, fireworks, Northern Lights, ocean, or holiday-themed Magic Milk using a new color palette.
More unicorn activities
Toilet roll unicorn craft
Turn a recycled cardboard tube into a magical unicorn with curled pastel pipe cleaners and googly eyes.
Make the unicorn craftUnicorn sensory play
Create a pastel unicorn sensory and dramatic-play setup with printable props and magical accessories.
Explore unicorn playUnicorn & cloud charms
Reuse the acrylic charms in sensory bins, play dough, rice, slime, potion play, and small-world scenes.
Shop the charmsUnicorn Magic Milk FAQ
How do you make Unicorn Magic Milk?
Pour whole milk into a shallow tray, add pink and purple food coloring, dip a cotton swab in dish soap, and gently touch the colored milk. Add acrylic unicorn and cloud charms after the colors begin to swirl.
Why does dish soap make the food coloring move?
Dish soap reduces surface tension and interacts with fat molecules in the milk. As the soap spreads through the liquid, it carries the food coloring with it and makes the movement visible.
What kind of milk works best for Magic Milk?
Whole milk typically produces the most dramatic and longer-lasting reaction because it contains more fat. Lower-fat milk will still work but may create a subtler effect.
Can I use gel food coloring?
Liquid food coloring usually spreads more easily. Gel coloring can work when diluted with a small amount of water before it is added to the milk.
Are the unicorn acrylic charms reusable?
Yes. Remove them after play, wash them gently with soap and water, rinse thoroughly, and dry them completely before storing or reusing them.
Is Magic Milk taste-safe?
No. Even though milk and food coloring are food ingredients, dish soap is not edible. Treat this strictly as a supervised science and sensory activity.
What age is this experiment best for?
Unicorn Magic Milk is best for ages three and up with close adult supervision. Older children can make predictions, compare variables, and record their observations.
What can I do with the acrylic charms after the experiment?
Use them in unicorn sensory bins, play dough trays, potion play, small-world scenes, matching activities, party favors, or another themed science experiment.
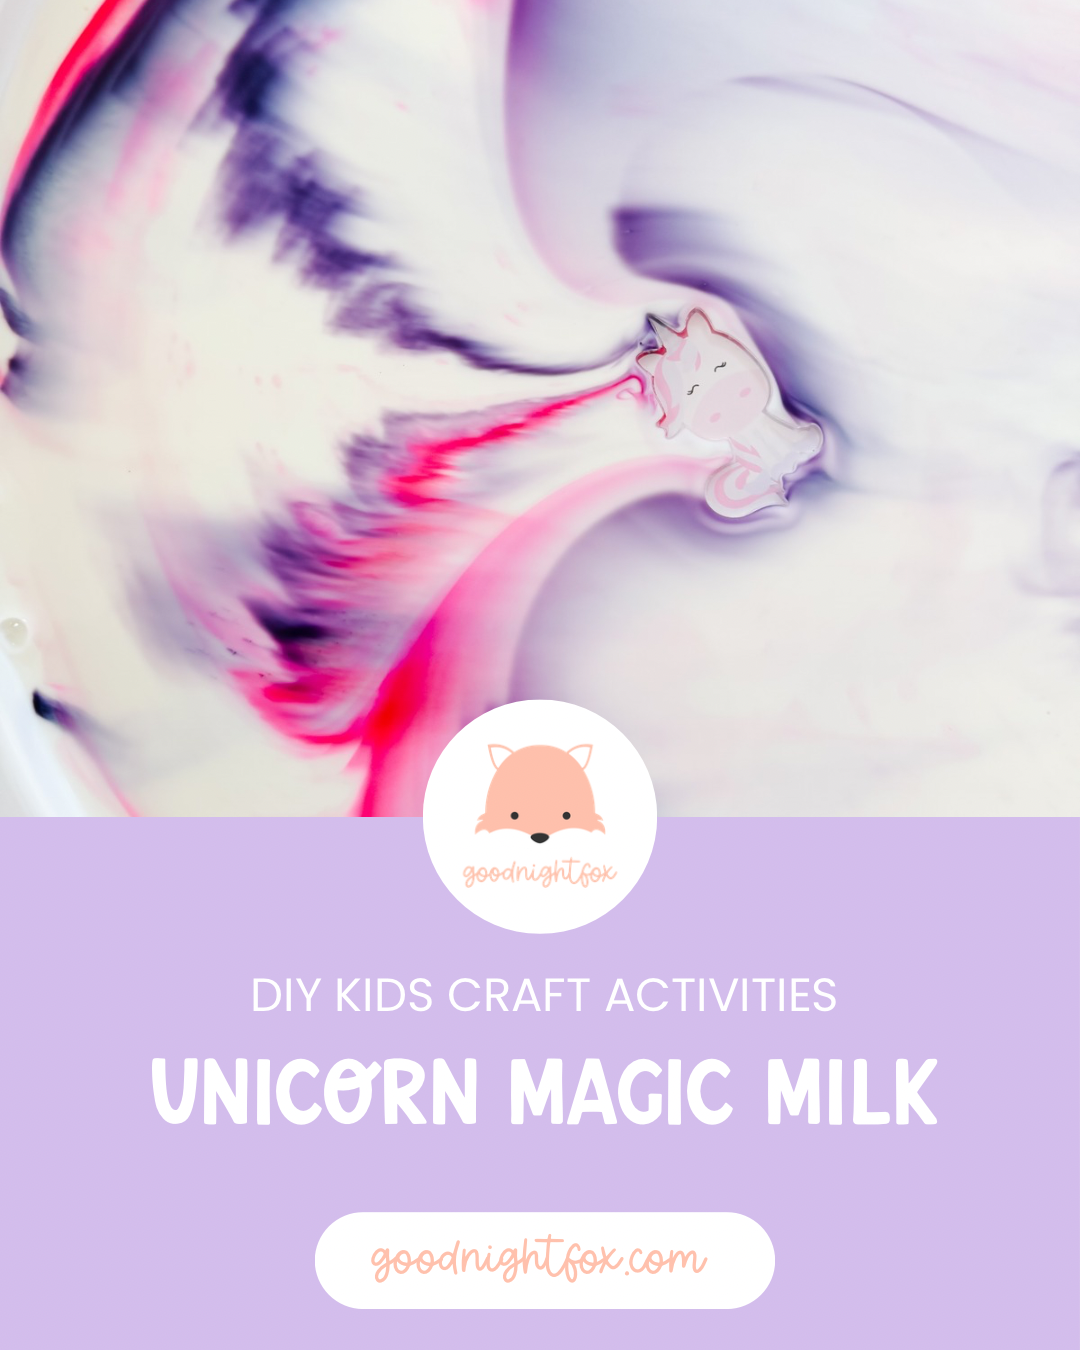
Camping Keepsake Lantern
Camping Keepsake Globe
Turn tiny treasures, favorite photos, and memories from a family camping trip into a glowing lantern-shaped keepsake kids can hold onto for years.
Age5+ with help
Prep15 minutes
Activity30–45 minutes
Mess★☆☆☆☆
SkillsMemory + storytelling
The story behind our camping globe
We had just returned from a family camping trip to Yosemite, and—as usual—Sofia wanted to bring half of the outdoors home with us.
She had carefully collected little rocks, pieces of bark, pinecones, and tiny nature treasures that reminded her of the places we explored. Every piece had a story. One rock came from near our campsite. One pinecone reminded her of a walk through the trees. Even the smallest objects felt important because they belonged to the adventure.
I never want to discourage that instinct to notice and collect, but I also knew we needed a better plan than keeping a loose pile of rocks and pinecones in her bedroom.
So we turned some of those memories into a camping keepsake globe.
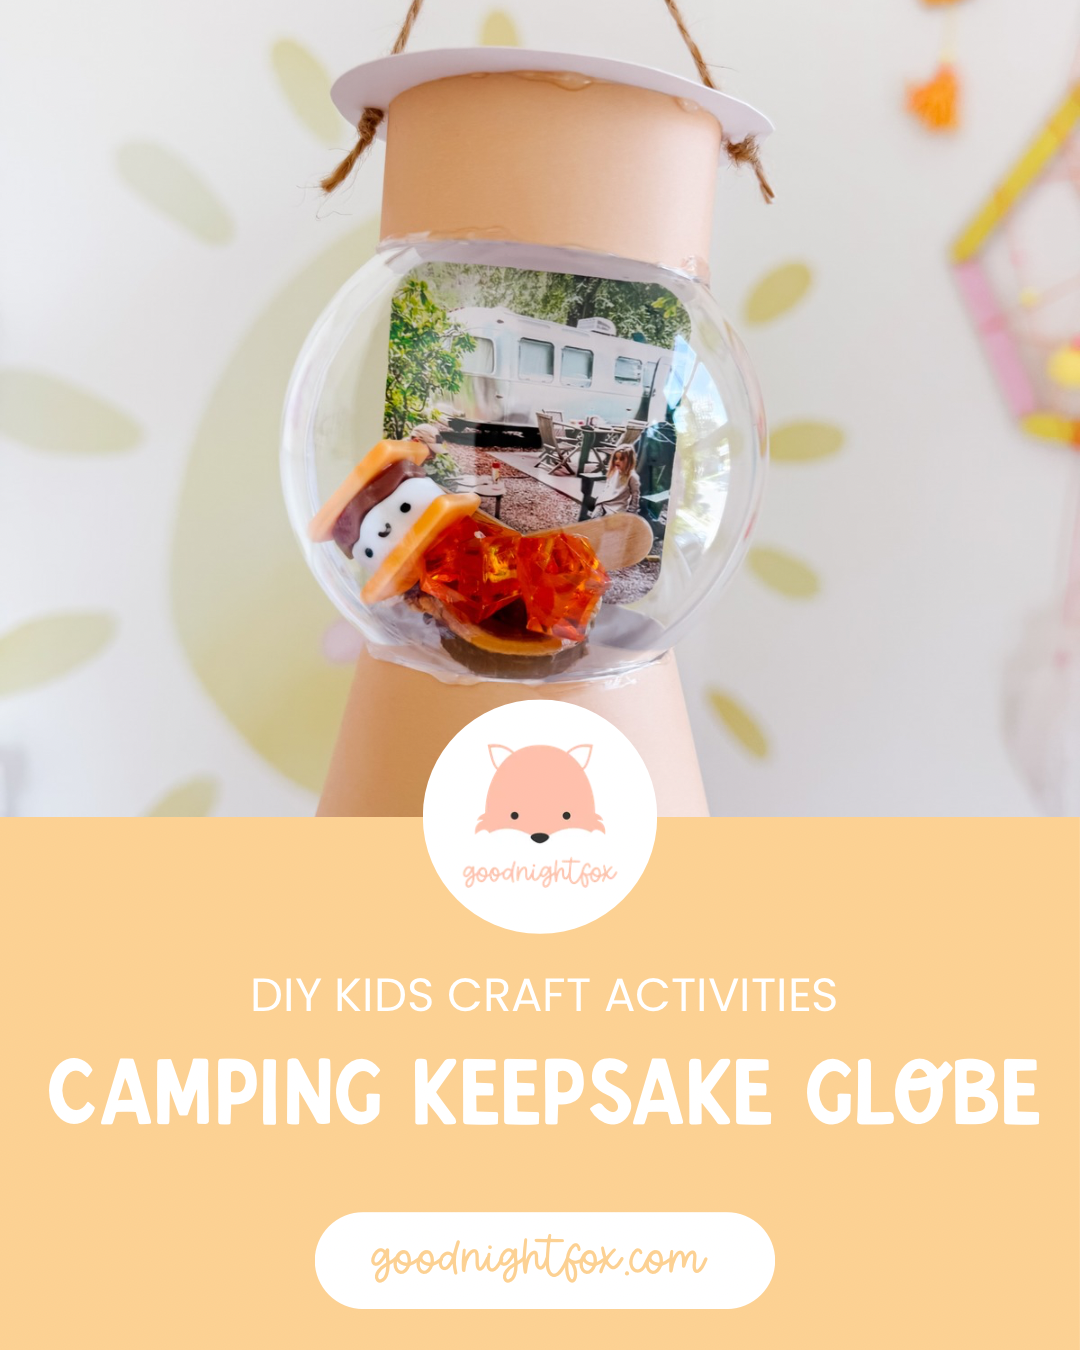
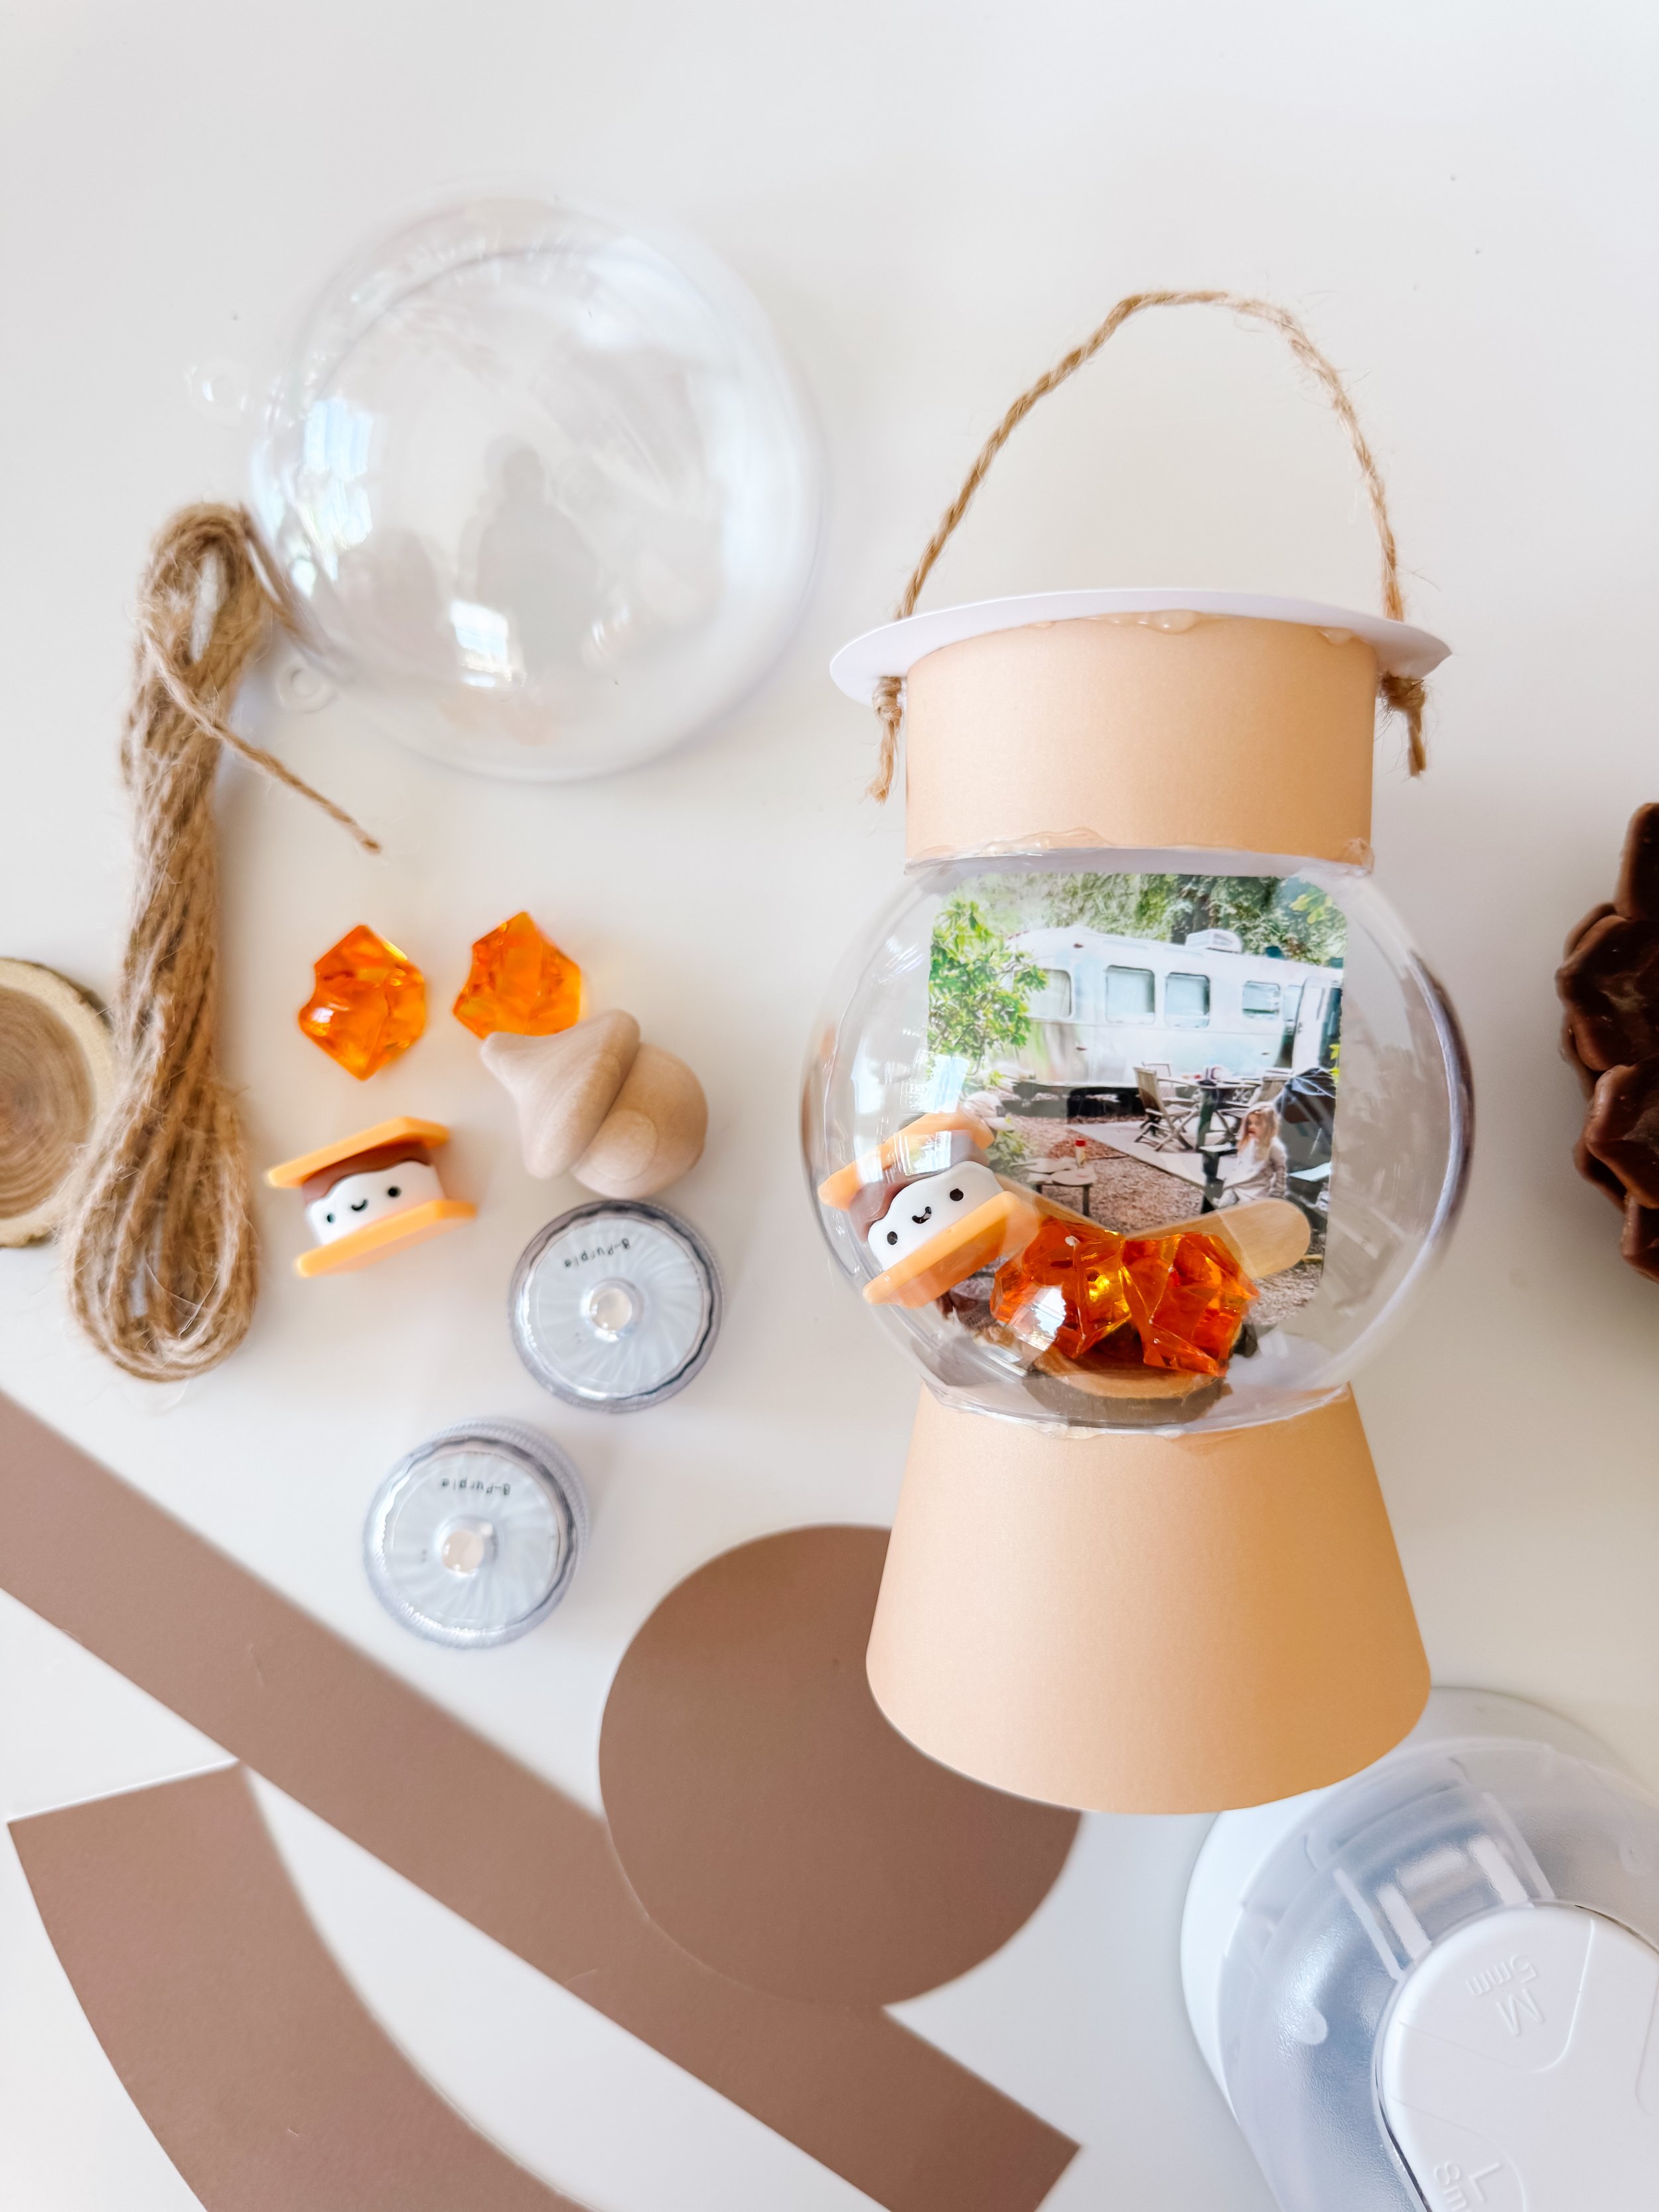
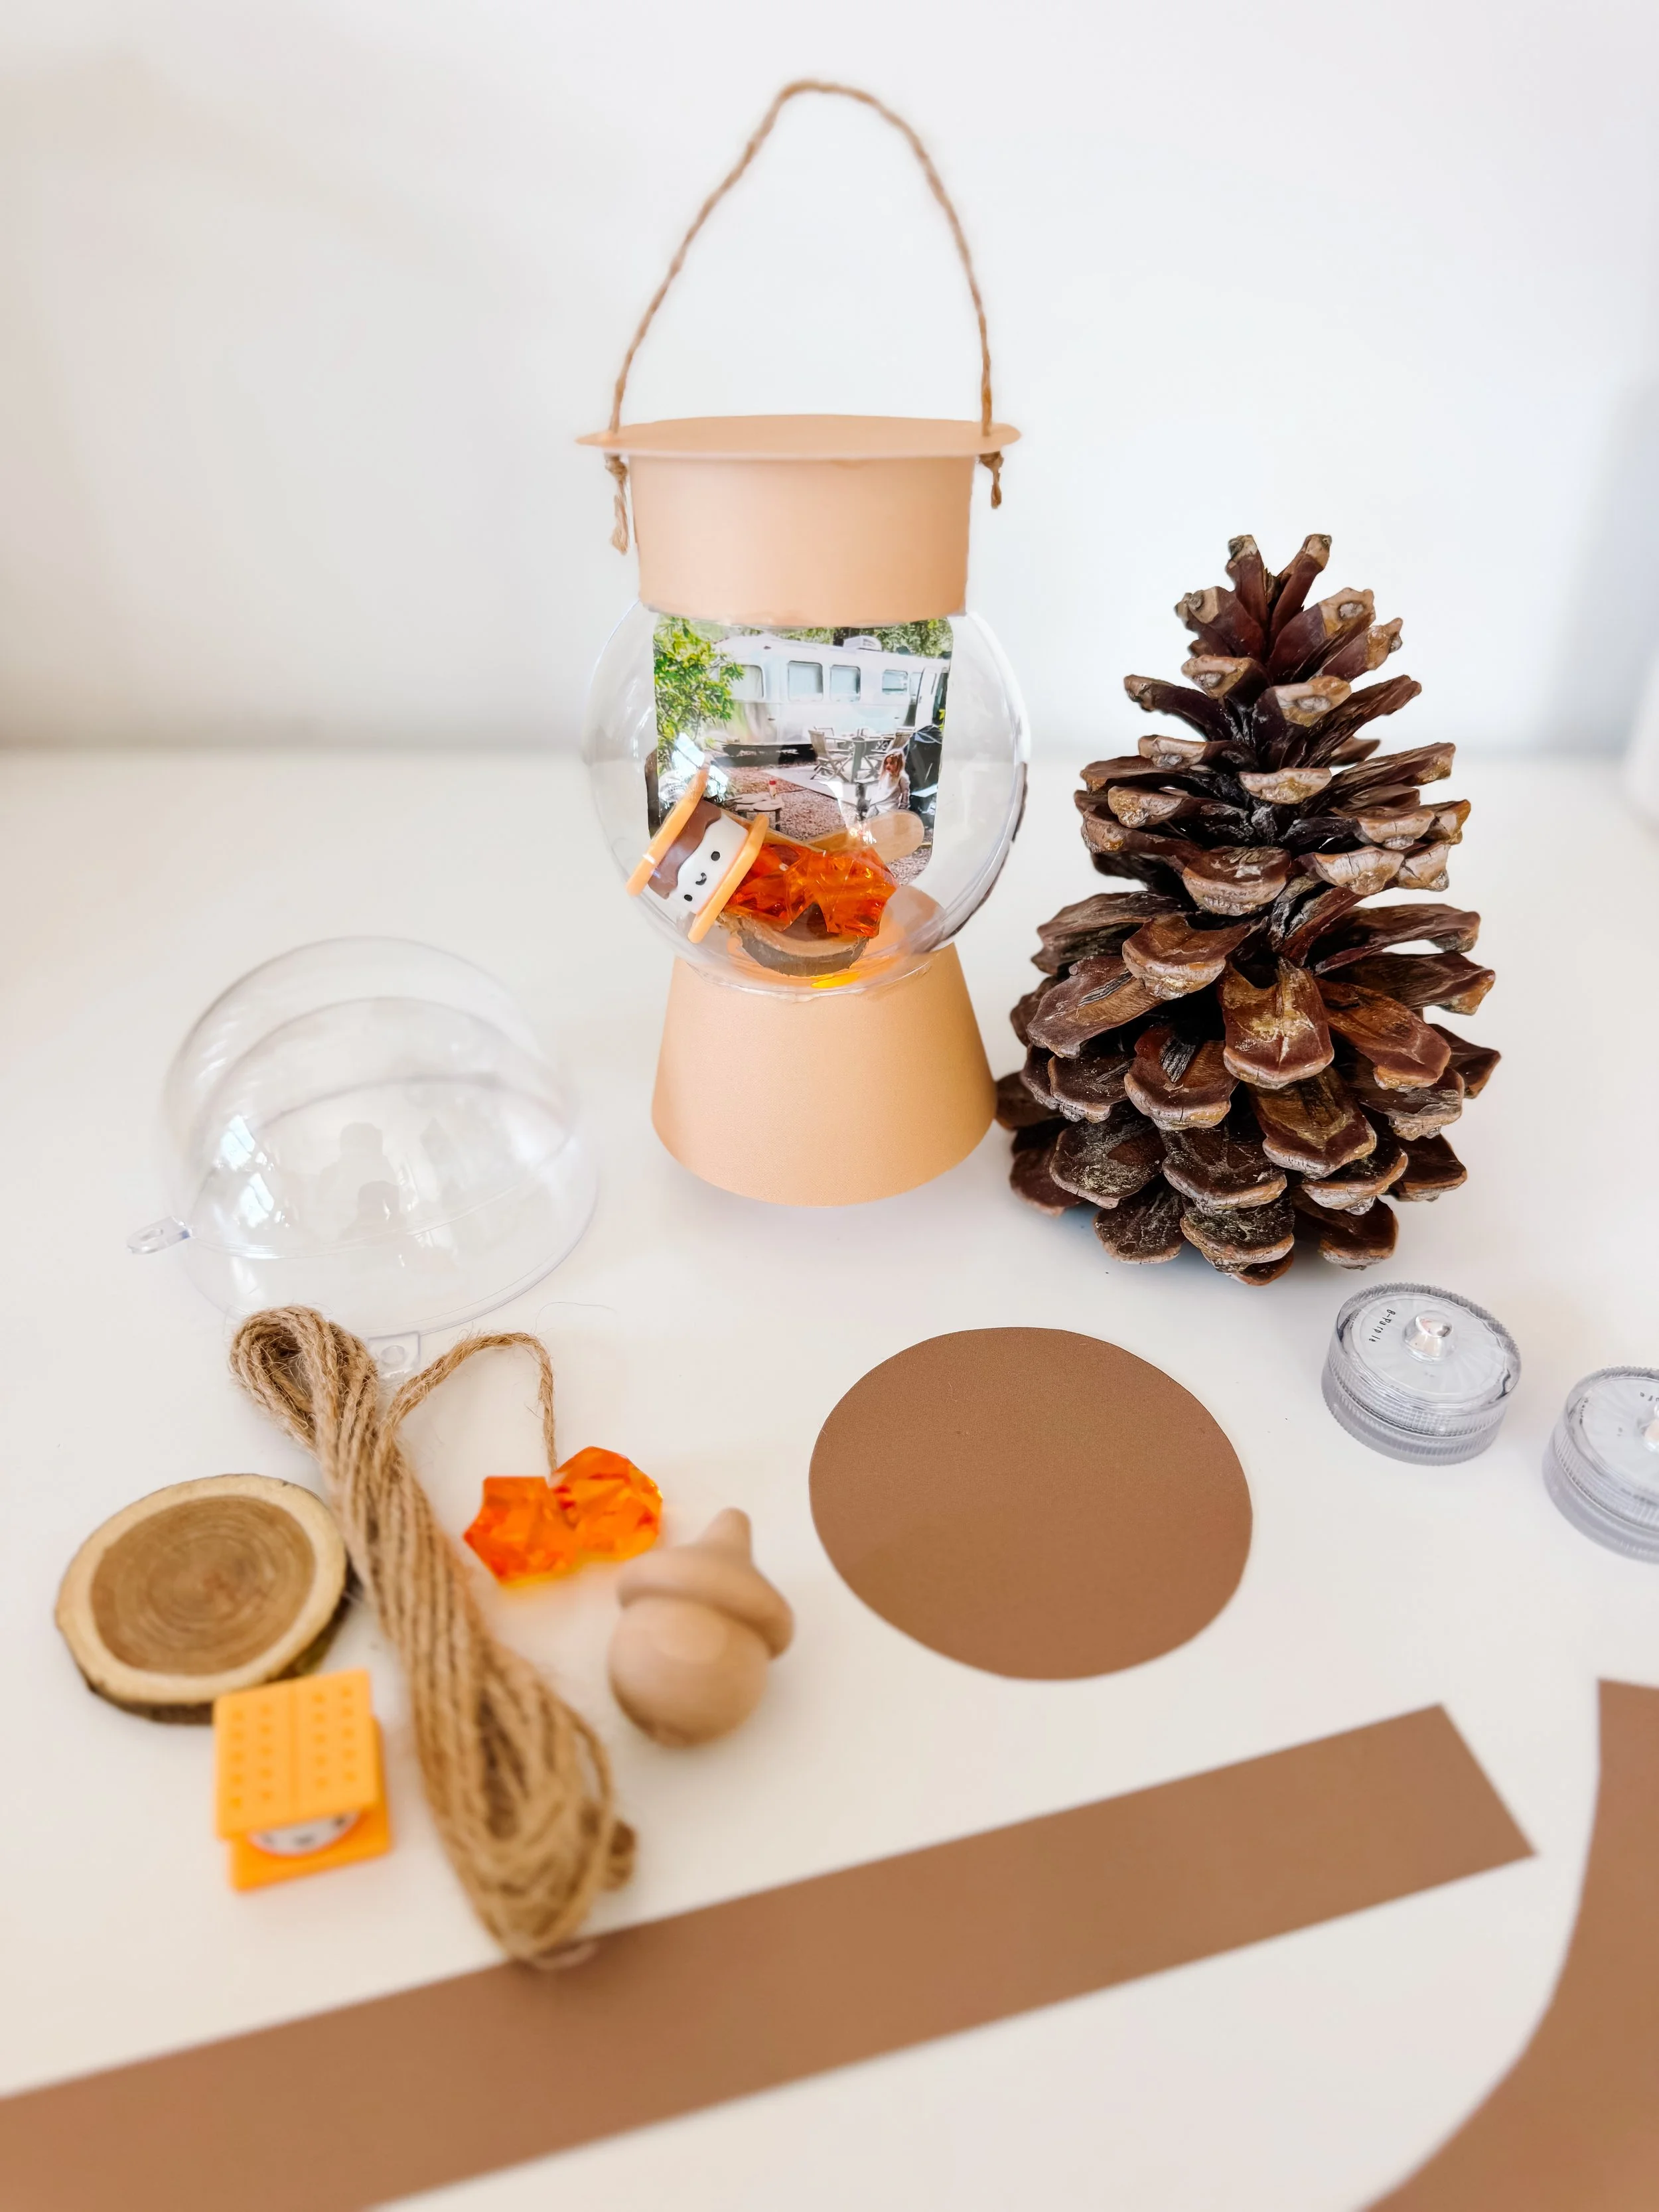
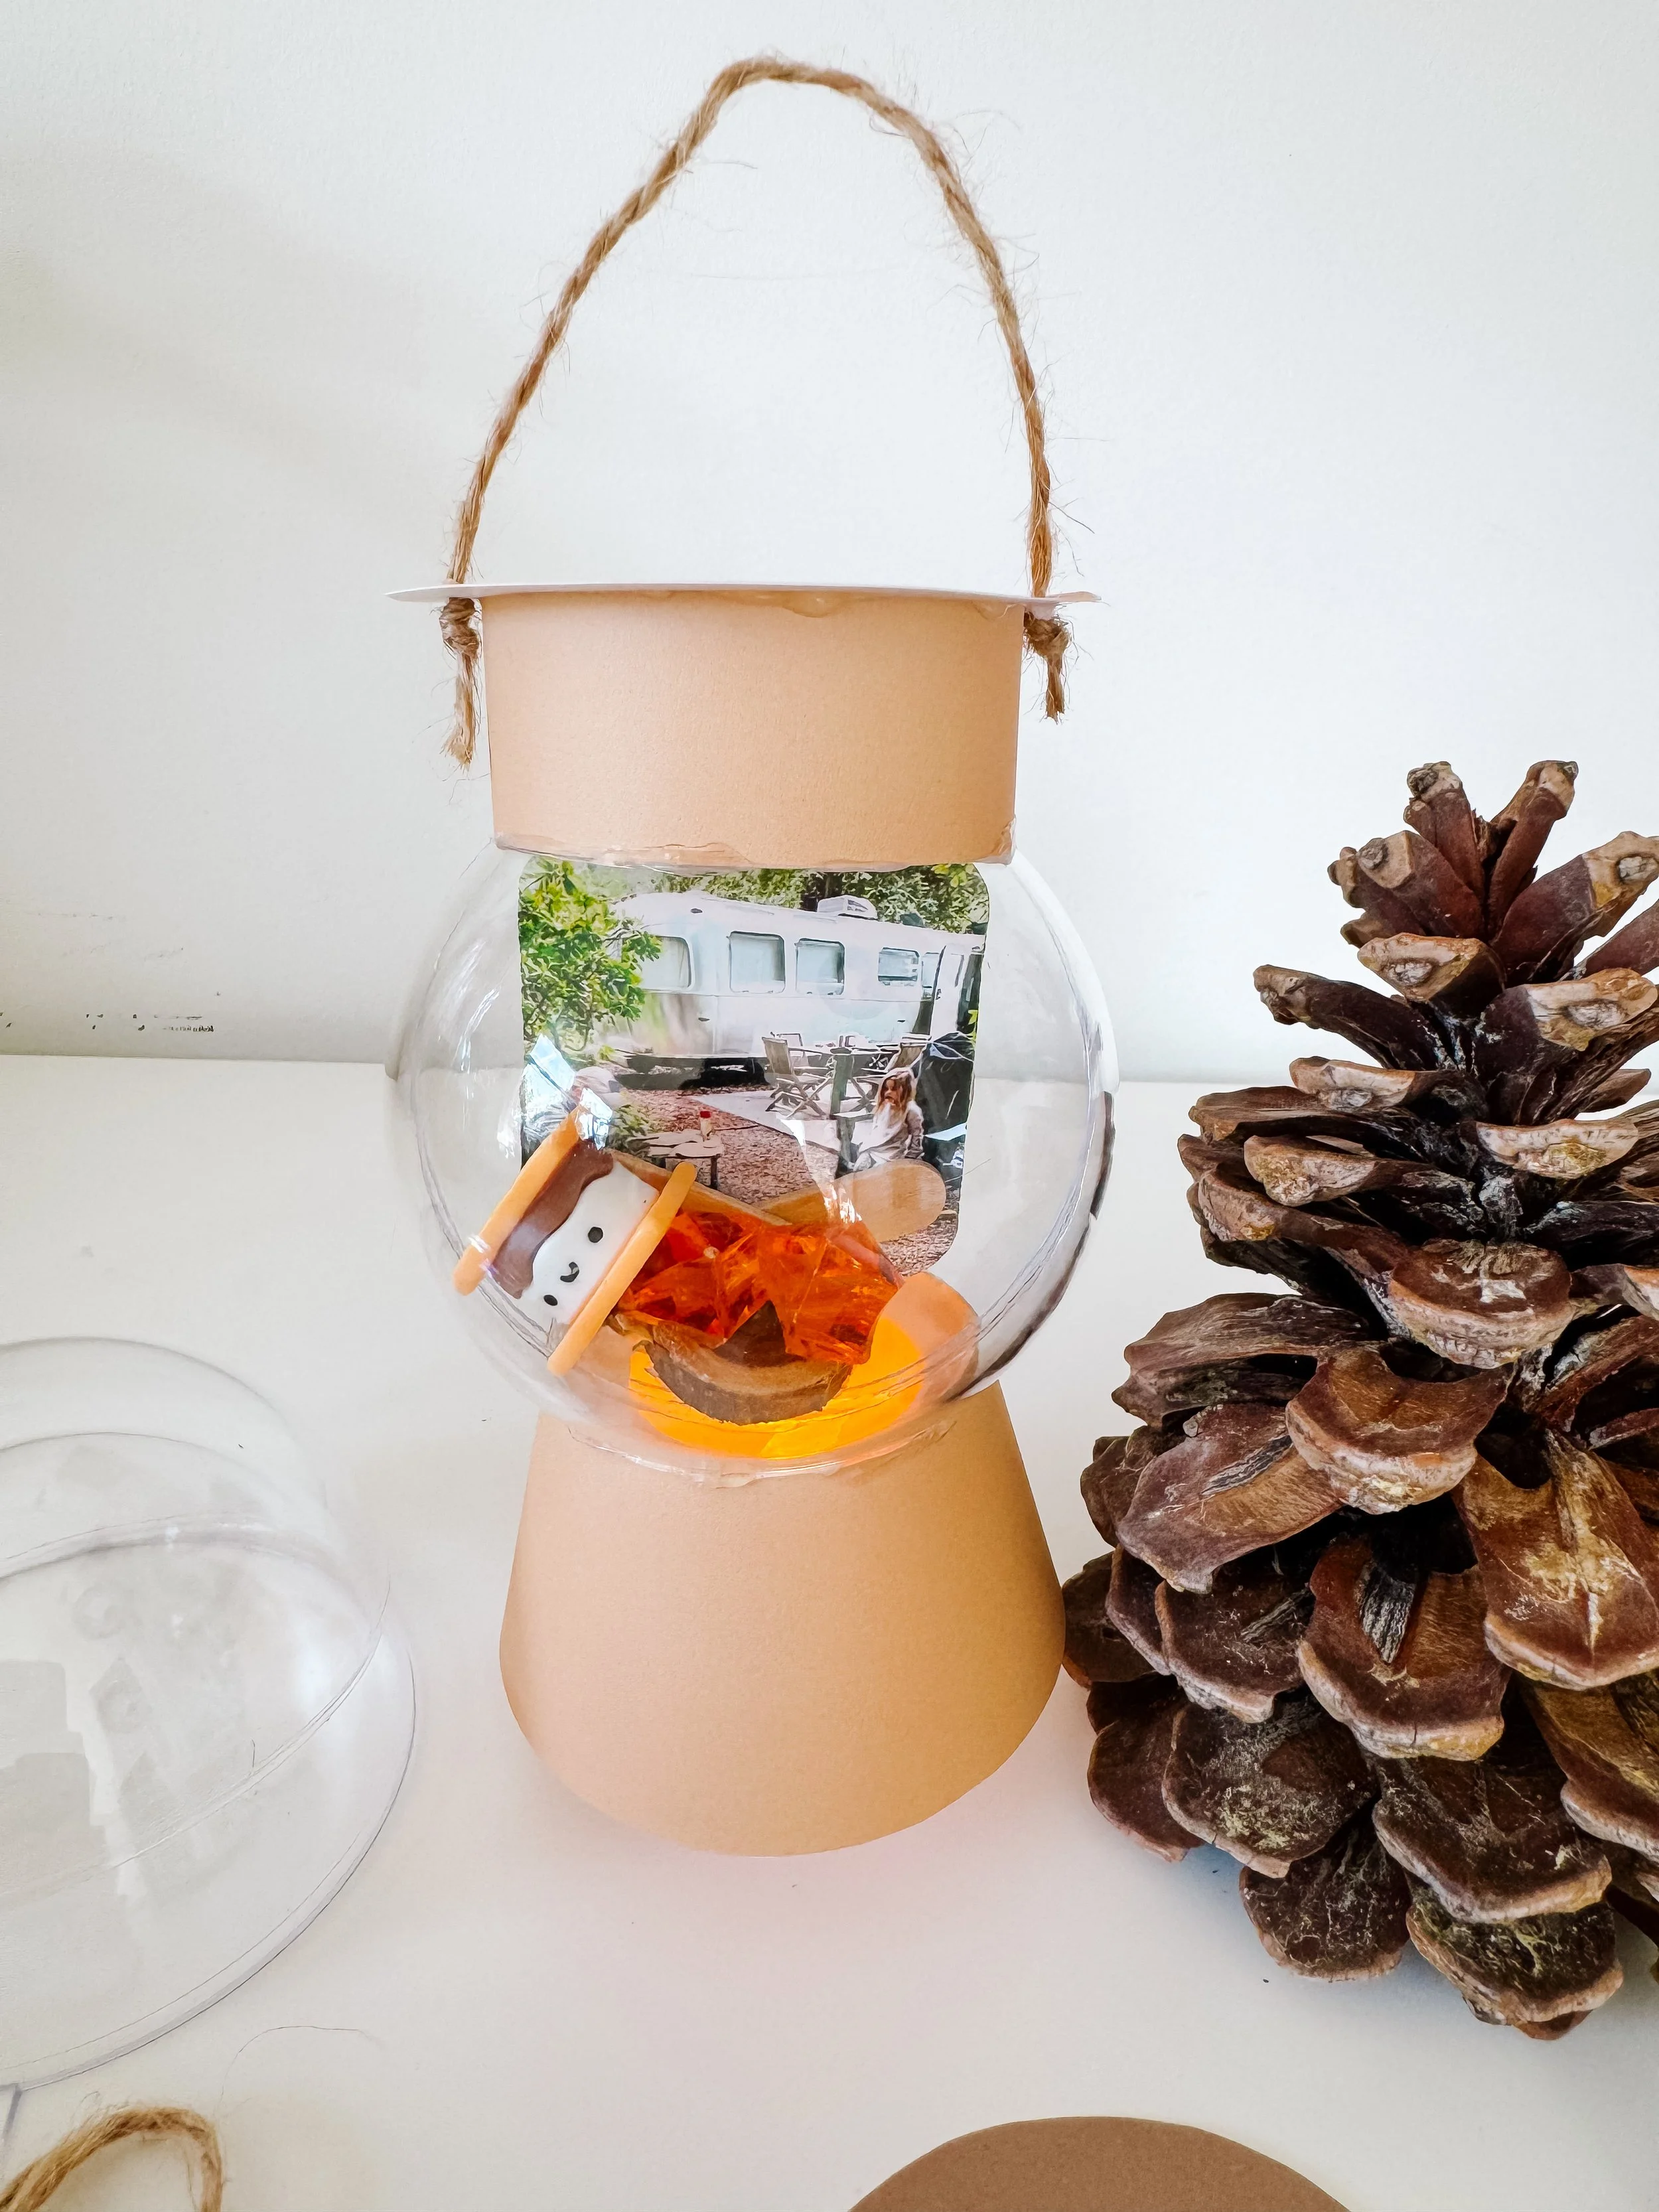
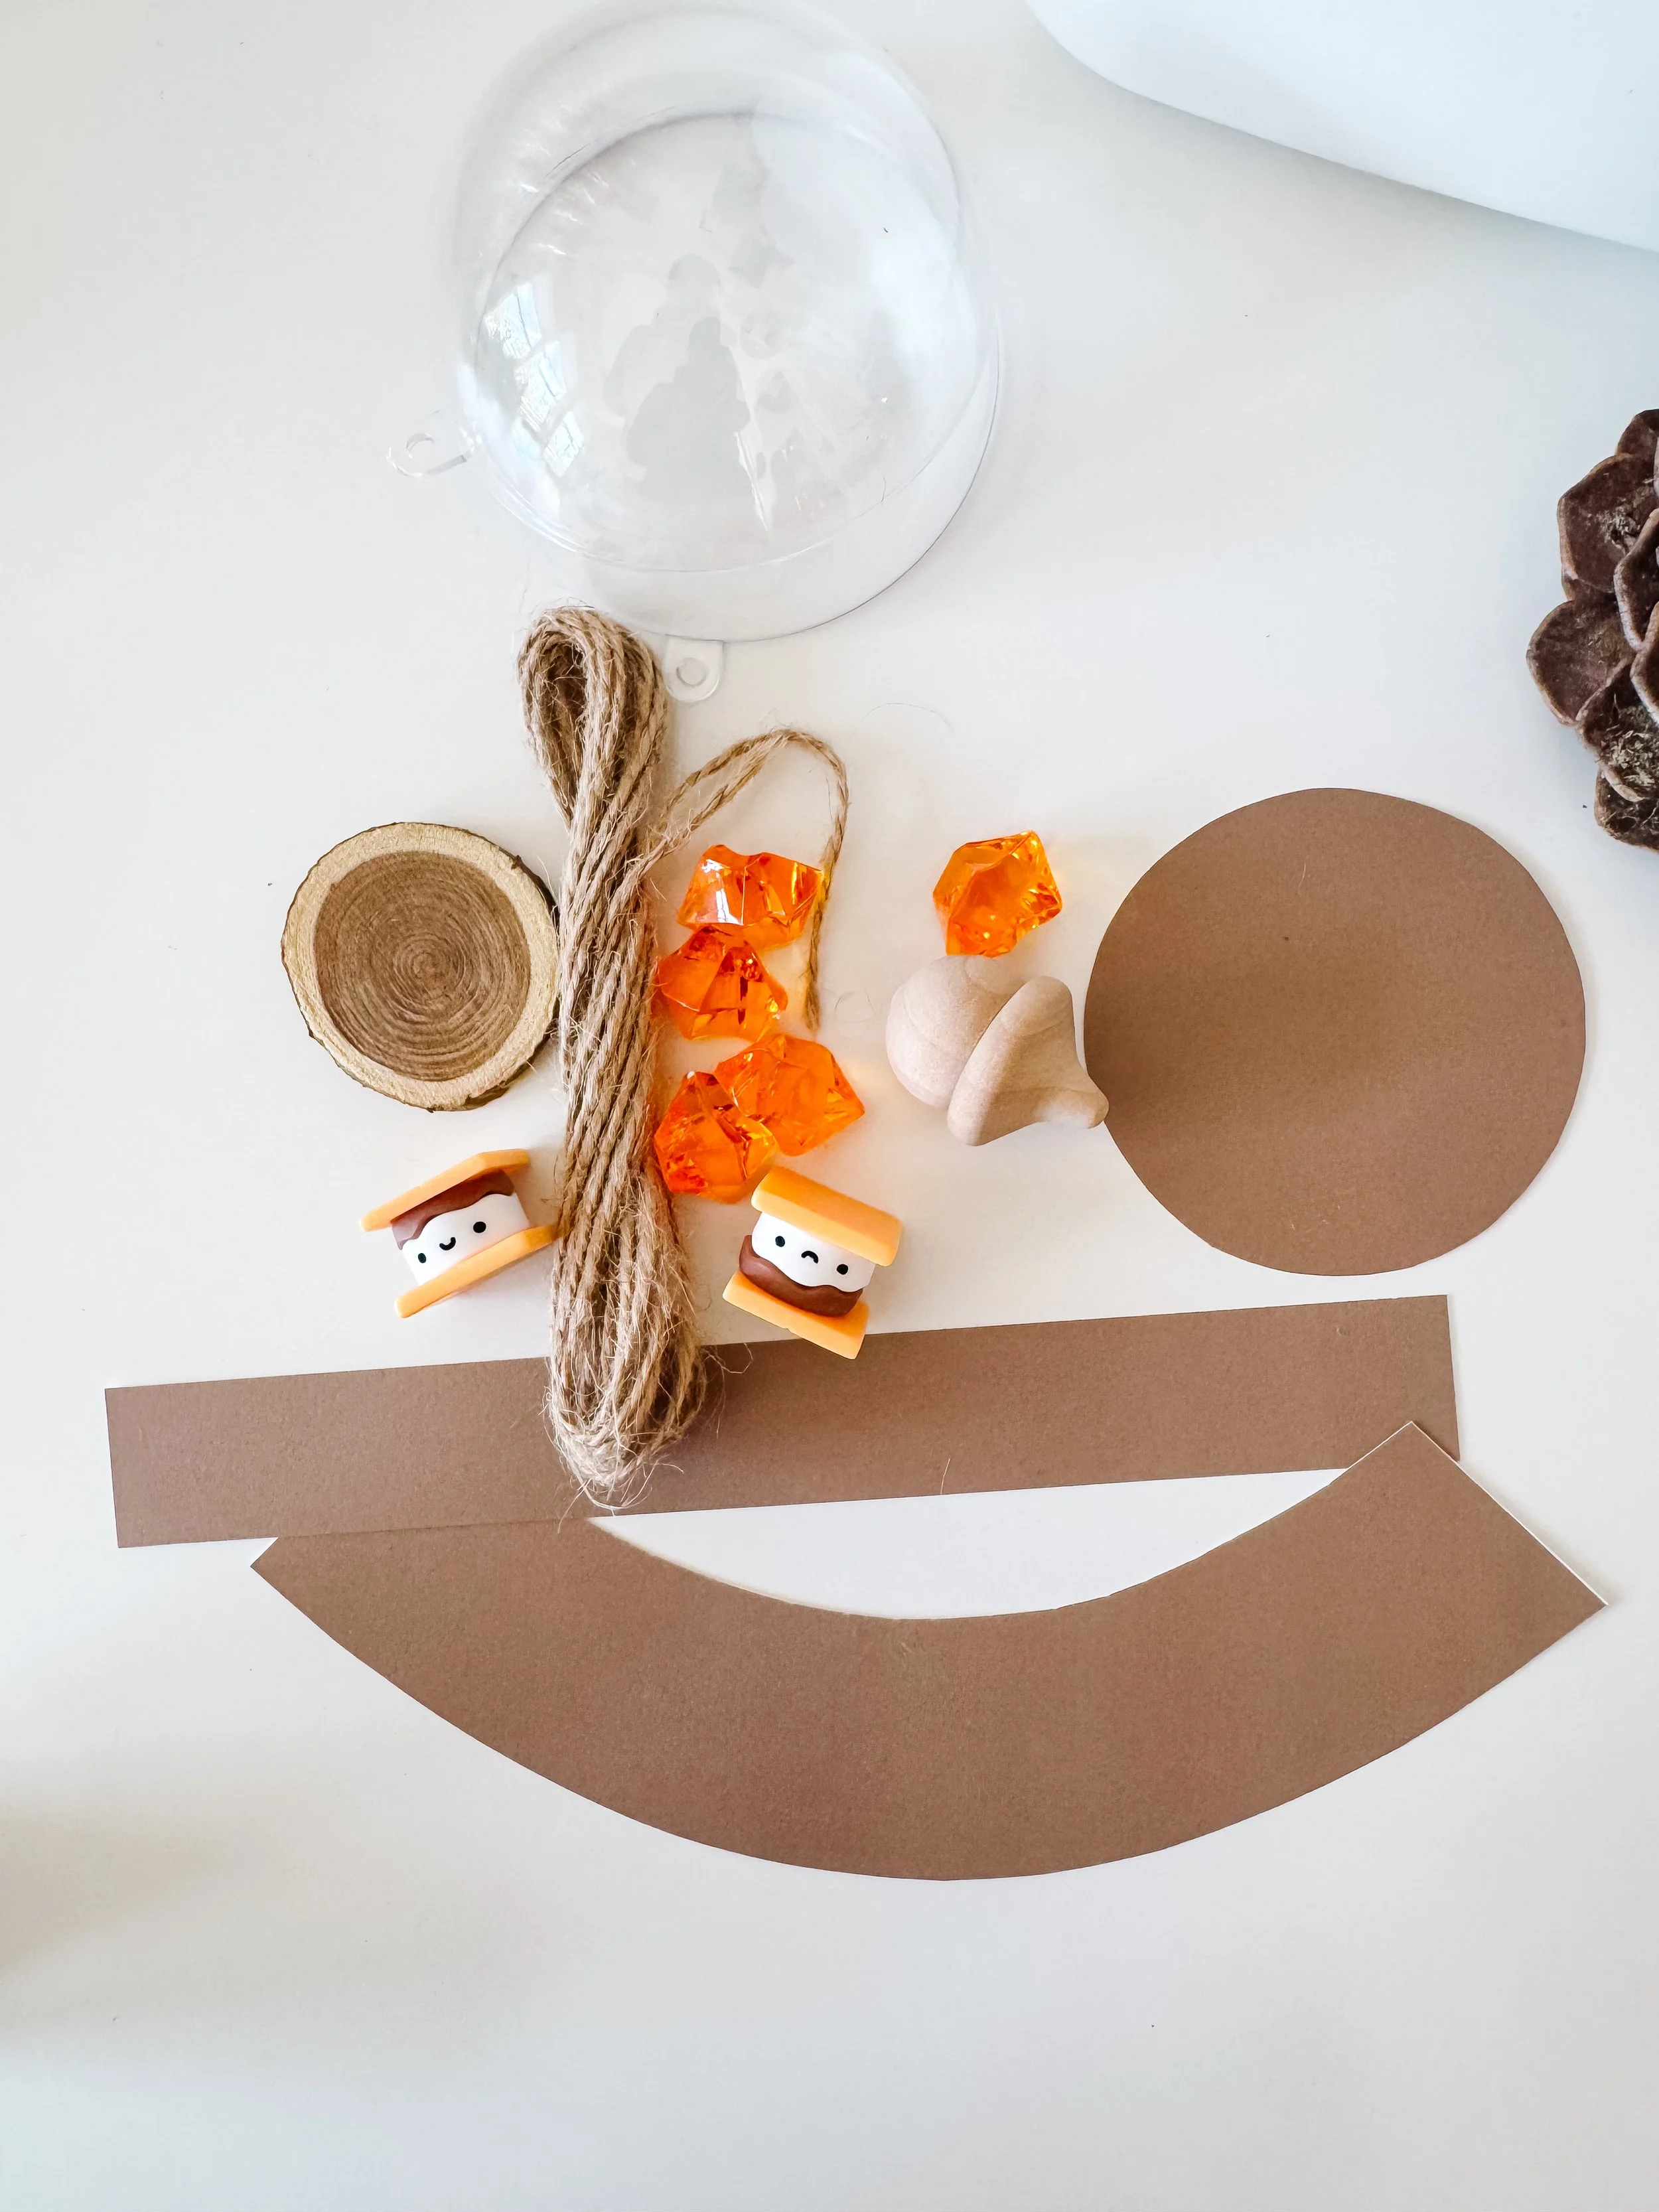
We shaped the outside like a little camping lantern, tucked a favorite photo from the trip into the globe, and filled the scene with tiny camping details: a miniature s’more, wooden pieces, orange “fire” gems, and a few small treasures inspired by Yosemite.
The best part was adding a battery-operated tea light underneath. Once it grew dark, the orange gems began to glow like a tiny campfire inside the lantern.
It became more than a craft. It became a small container for the stories Sofia wanted to remember.
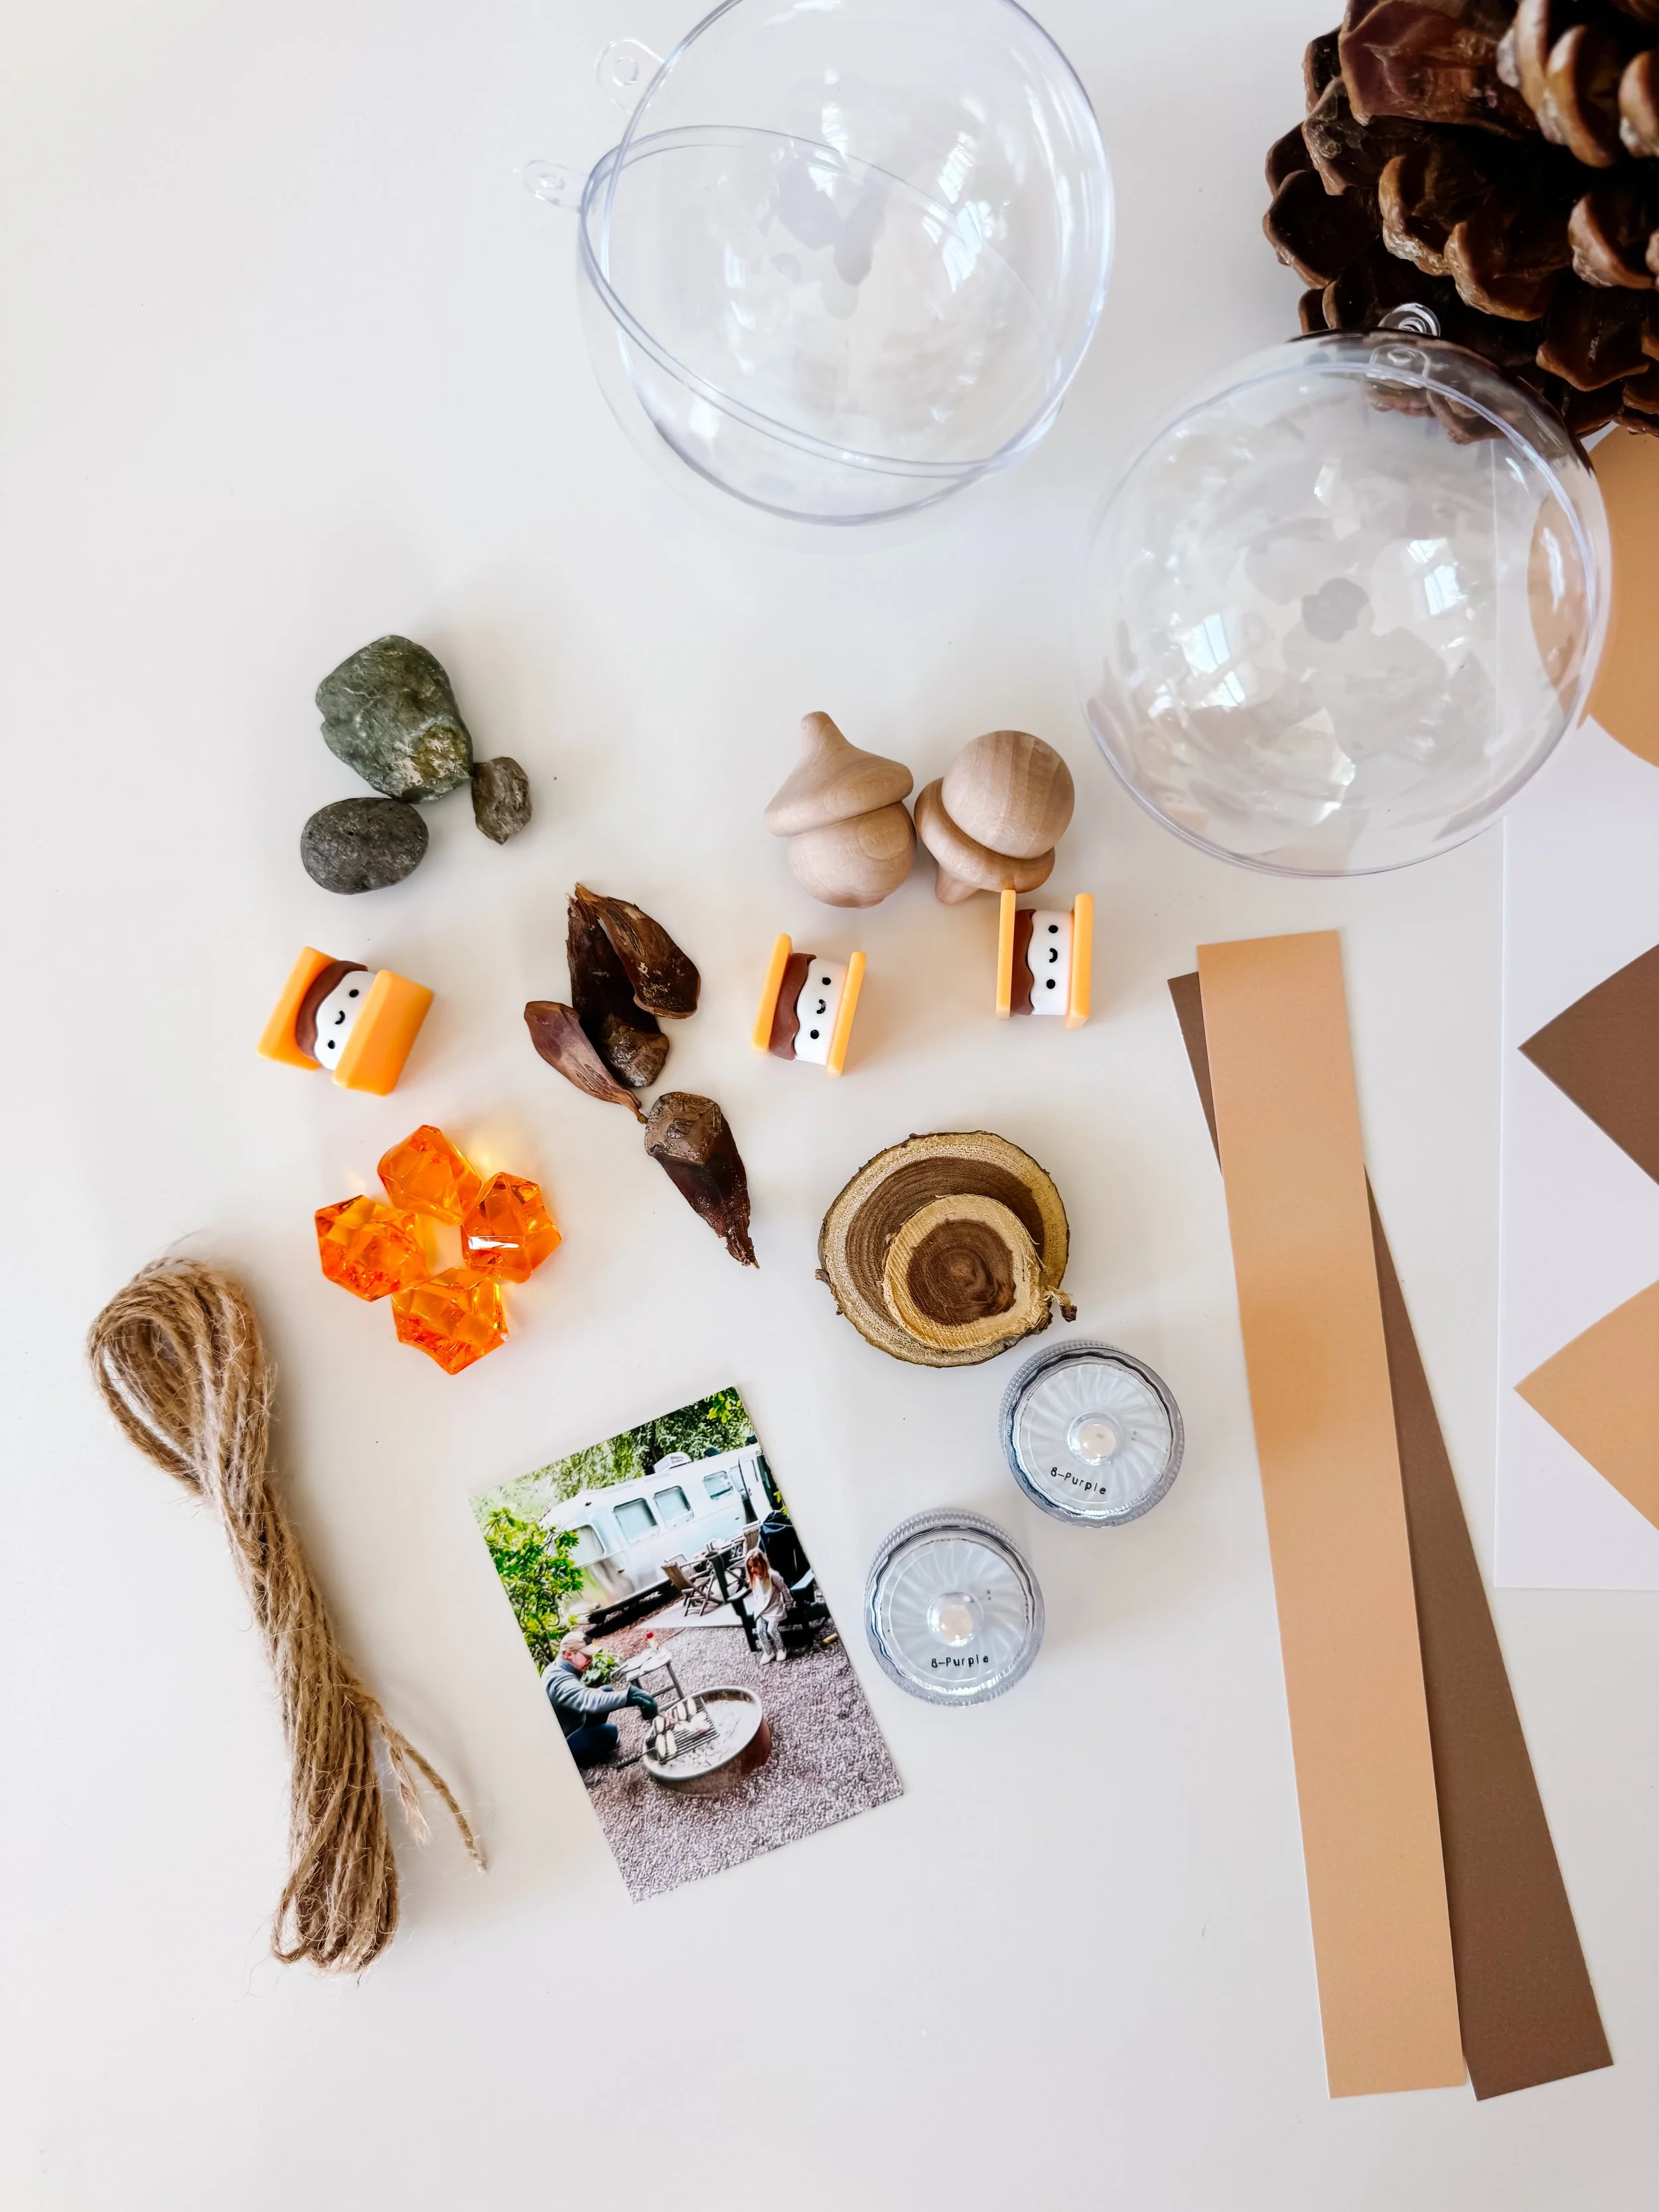
Materials needed
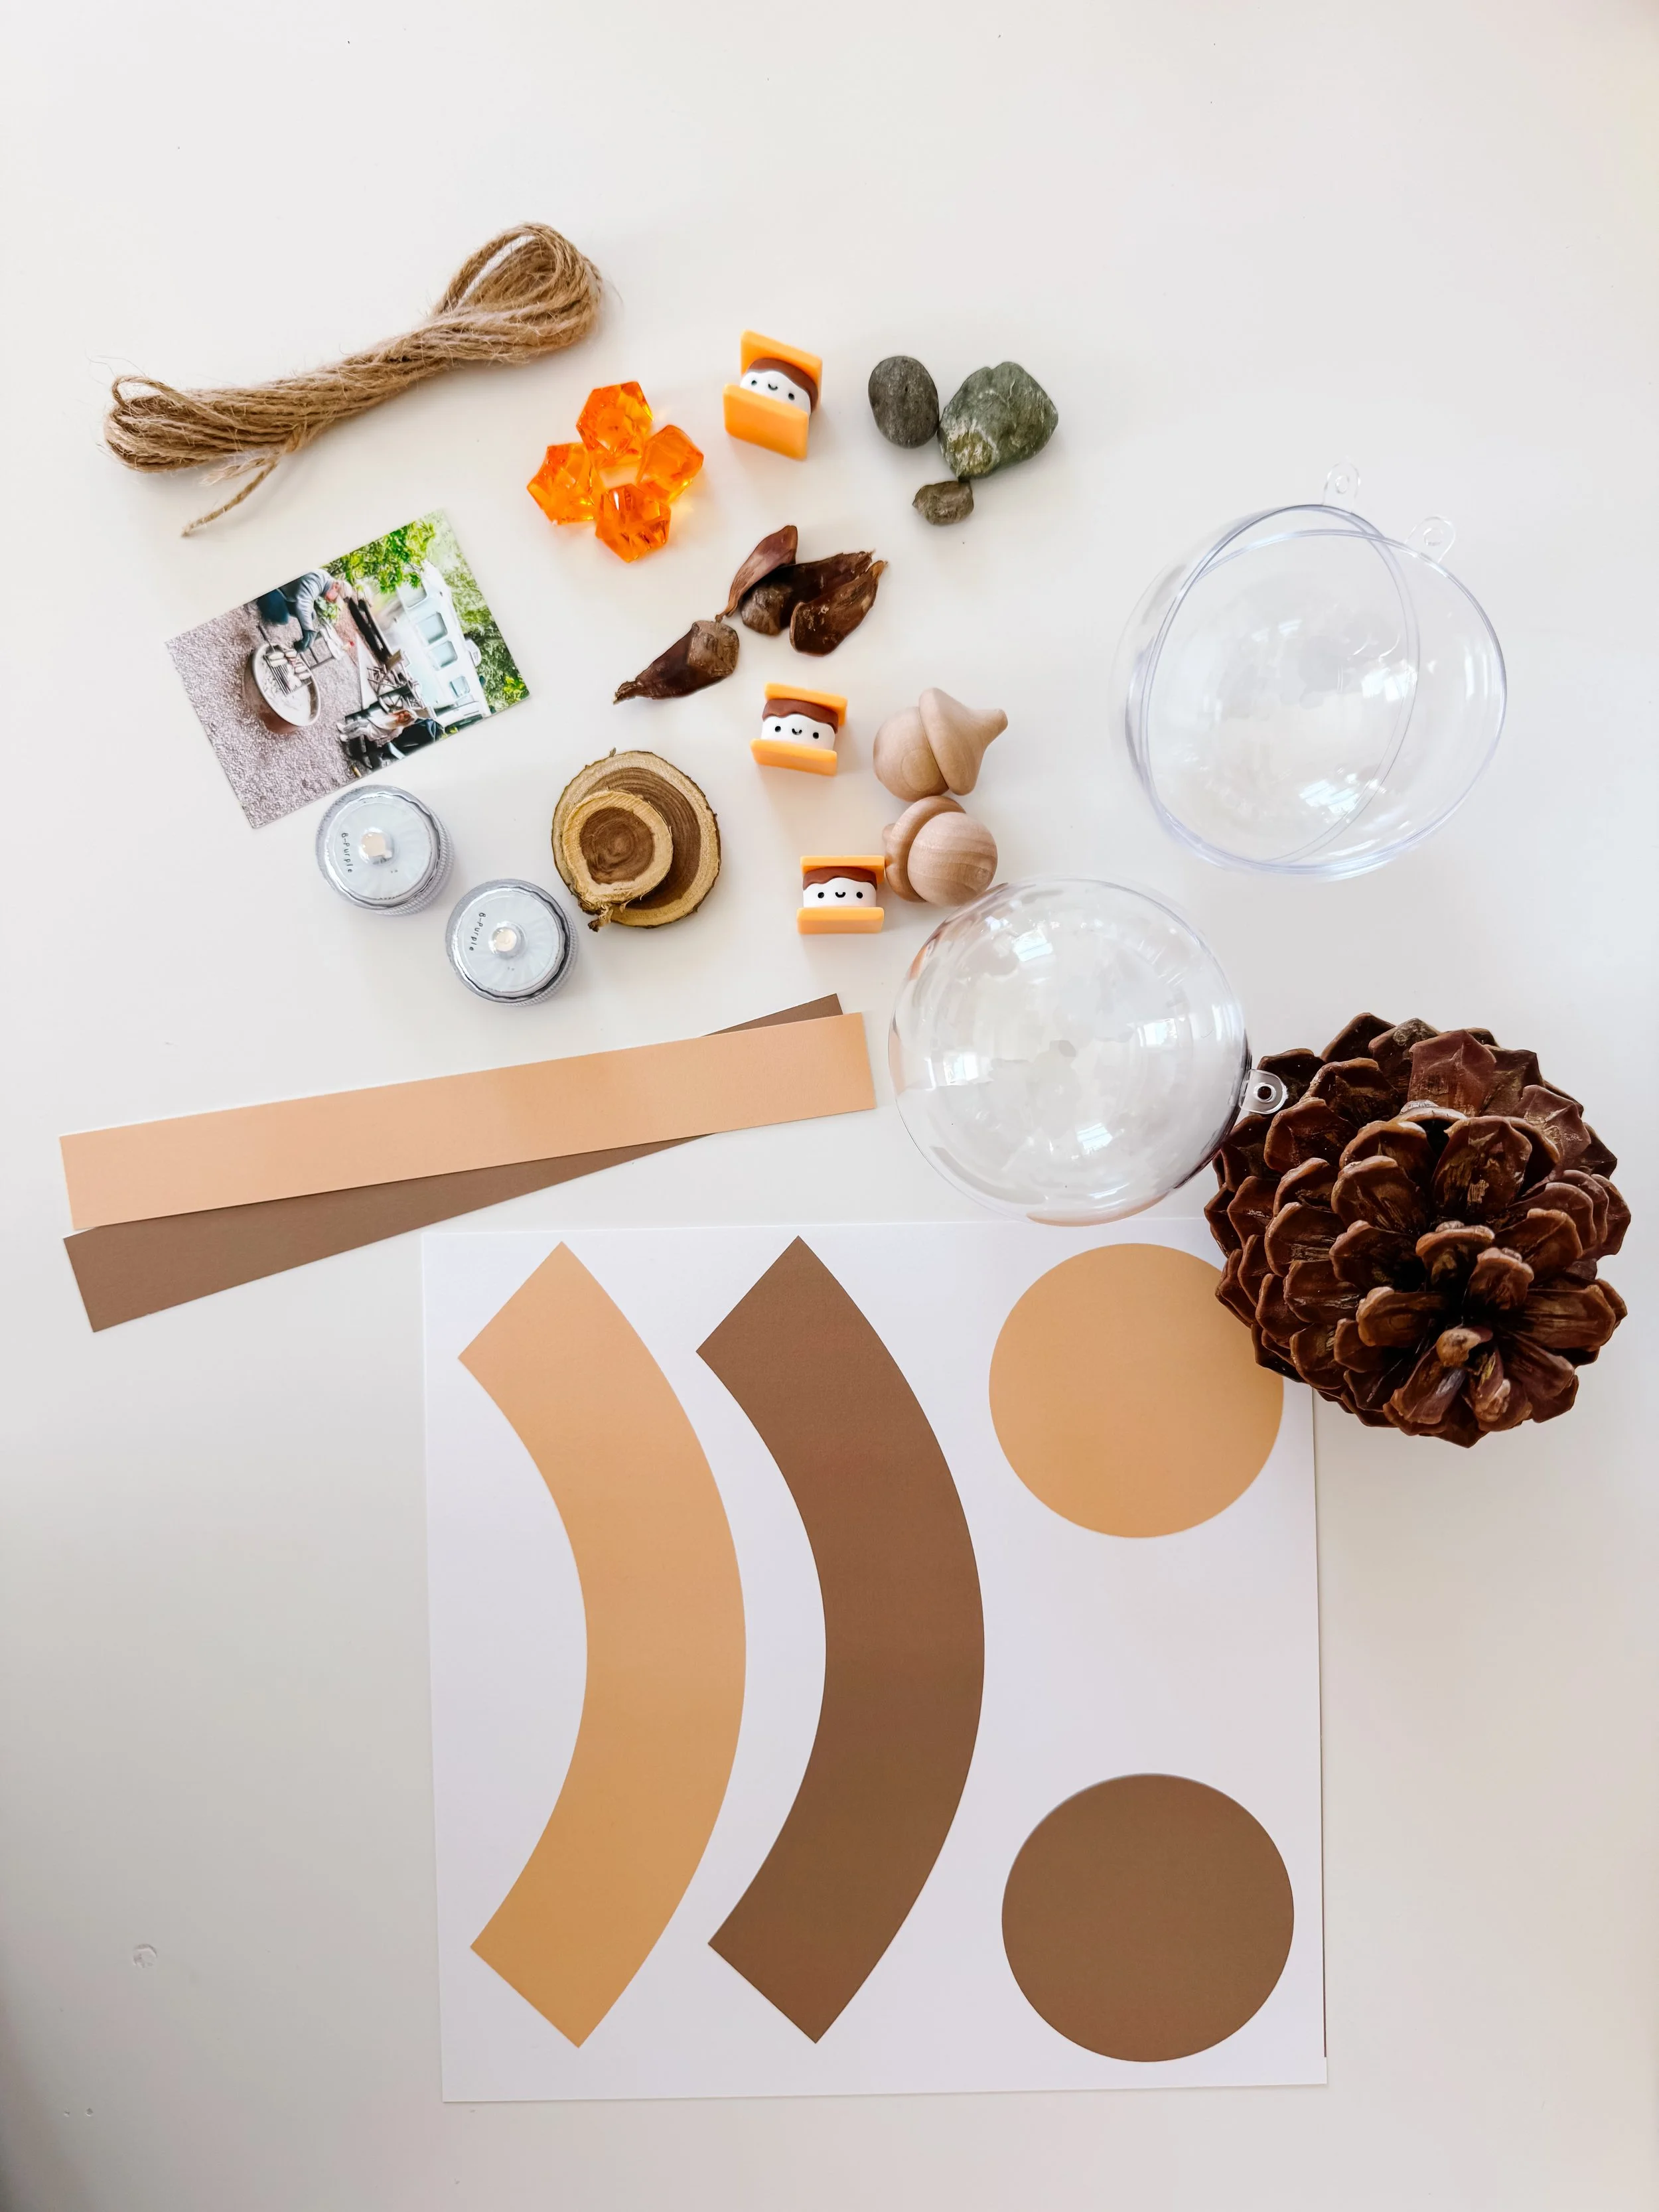
- Clear plastic fillable bauble or ornament
- Camping keepsake globe printable
- A small printed photo from your trip
- Brown and tan cardstock
- Twine
- Battery-operated tea lights
- Orange acrylic gems
- Miniature plastic s’mores
- Wooden acorns or small wooden nature pieces
- Small rocks, bark, pine needles, or other clean nature treasures
- Scissors
- Glue dots or low-temperature hot glue
- Optional wooden round for the campfire base
Before collecting nature treasures
Use only small items that are legal and appropriate to collect. When visiting protected parks or public lands, follow posted rules and leave plants, wildlife, cultural objects, and protected natural materials where you found them. You can always use a photo, drawing, or craft-store substitute when an item should remain in nature.
Shop the supplies
These are the supplies used to create the lantern shape, miniature campfire scene, and glowing effect.
This section contains affiliate links, which means I may earn a small commission at no additional cost to you.
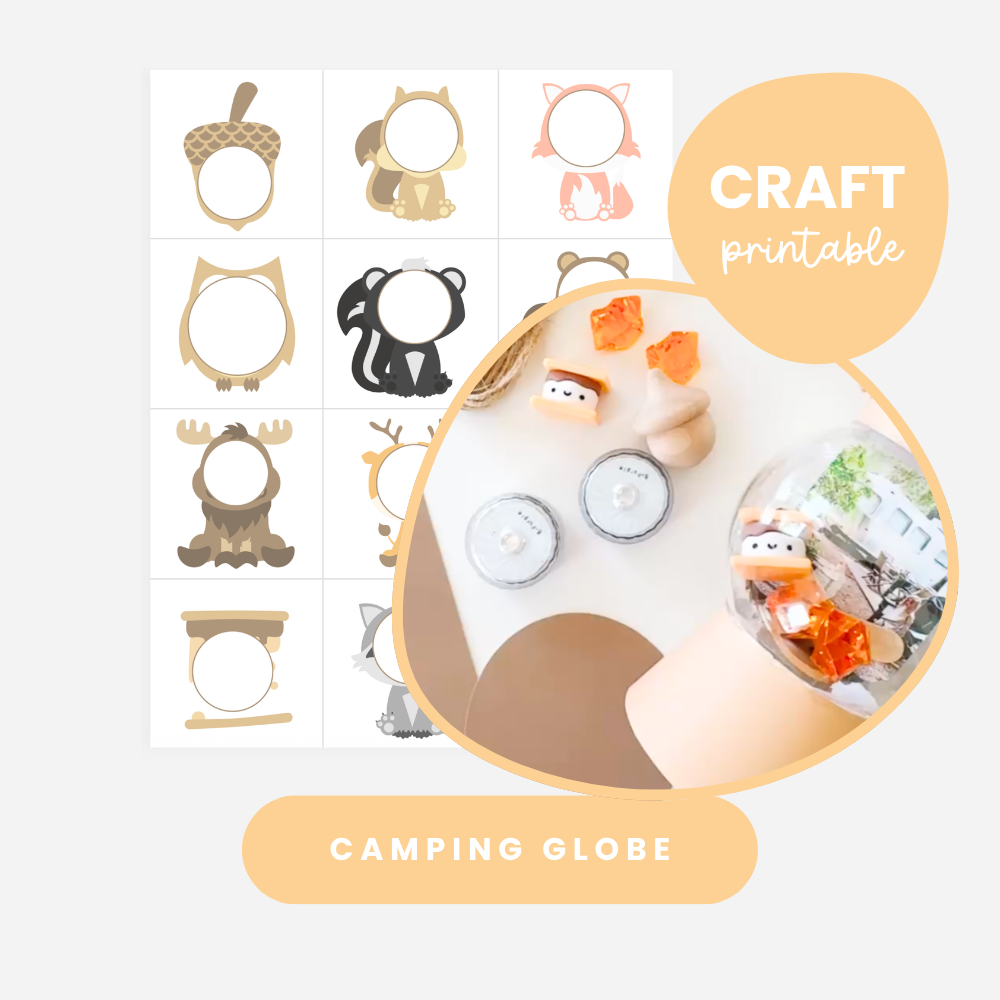
Camping globe printable
Use the lantern pieces and woodland photo frames to personalize the globe with a favorite camping memory.
Get the printableClear plastic baubles
A fillable clear ornament creates the round globe and protects the miniature scene inside.
View on AmazonBattery tea lights
Place one beneath the lantern to make the orange gems glow like a tiny campfire.
View on AmazonOrange acrylic gems
These translucent gems catch the tea light and create a warm fire-like glow inside the globe.
View on AmazonMini plastic s’mores
A tiny s’more adds an instantly recognizable camping detail to the keepsake scene.
View on AmazonNatural jute twine
Use twine to create the lantern handle and add a rustic camping-inspired finish.
View on AmazonWooden acorns
Small wooden forest pieces add texture without requiring you to remove additional materials from nature.
View on AmazonHow to make a camping keepsake globe
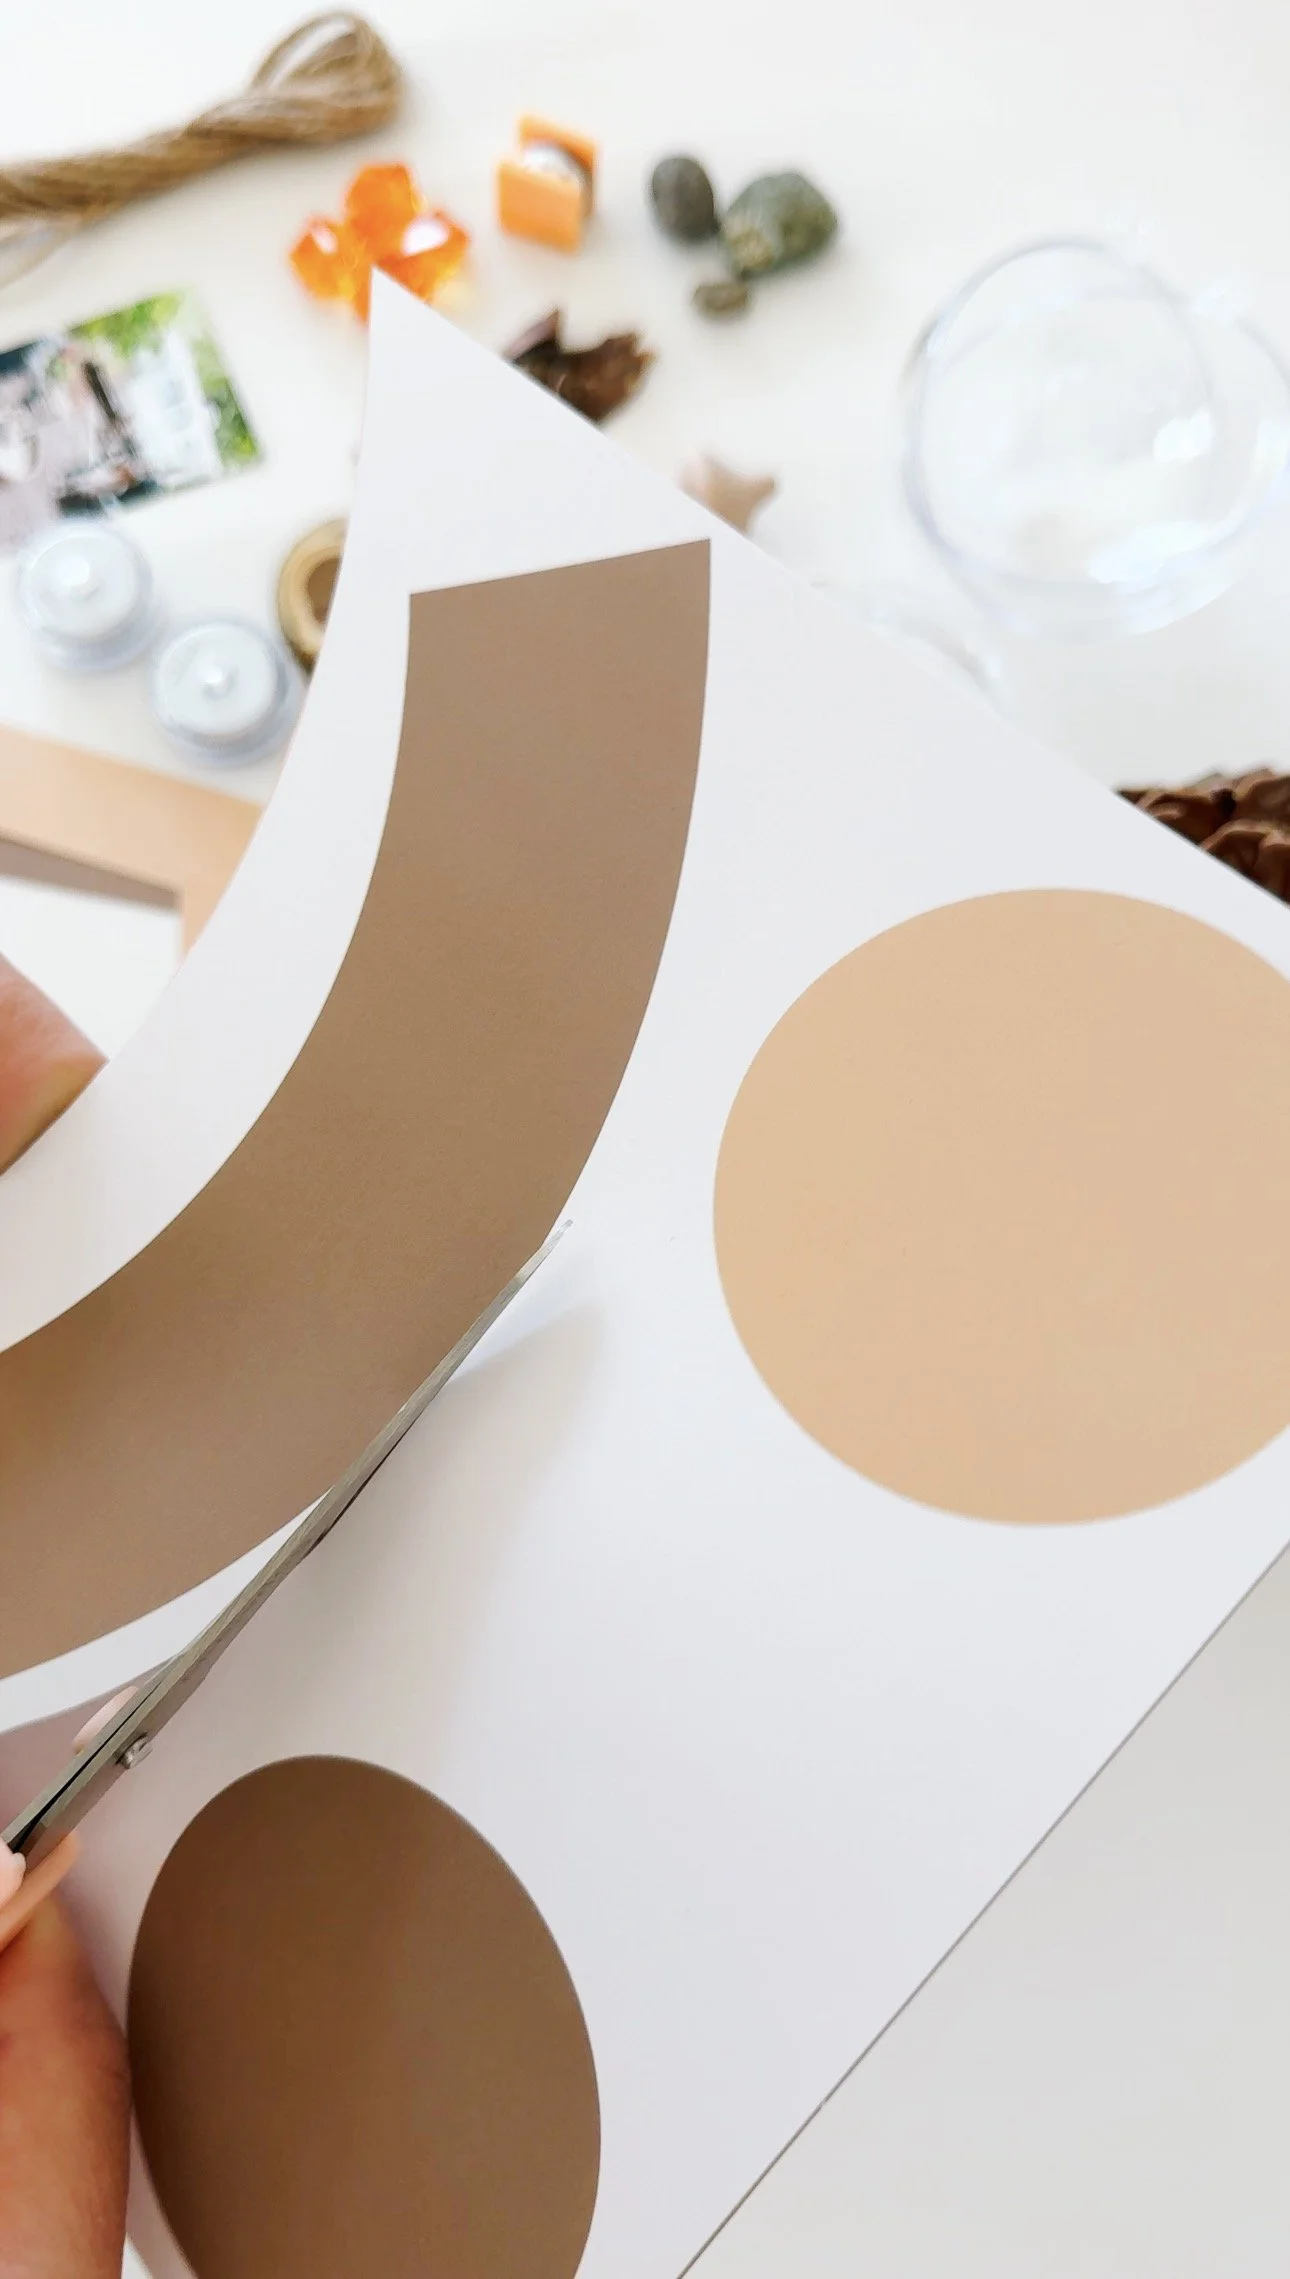
Step 1
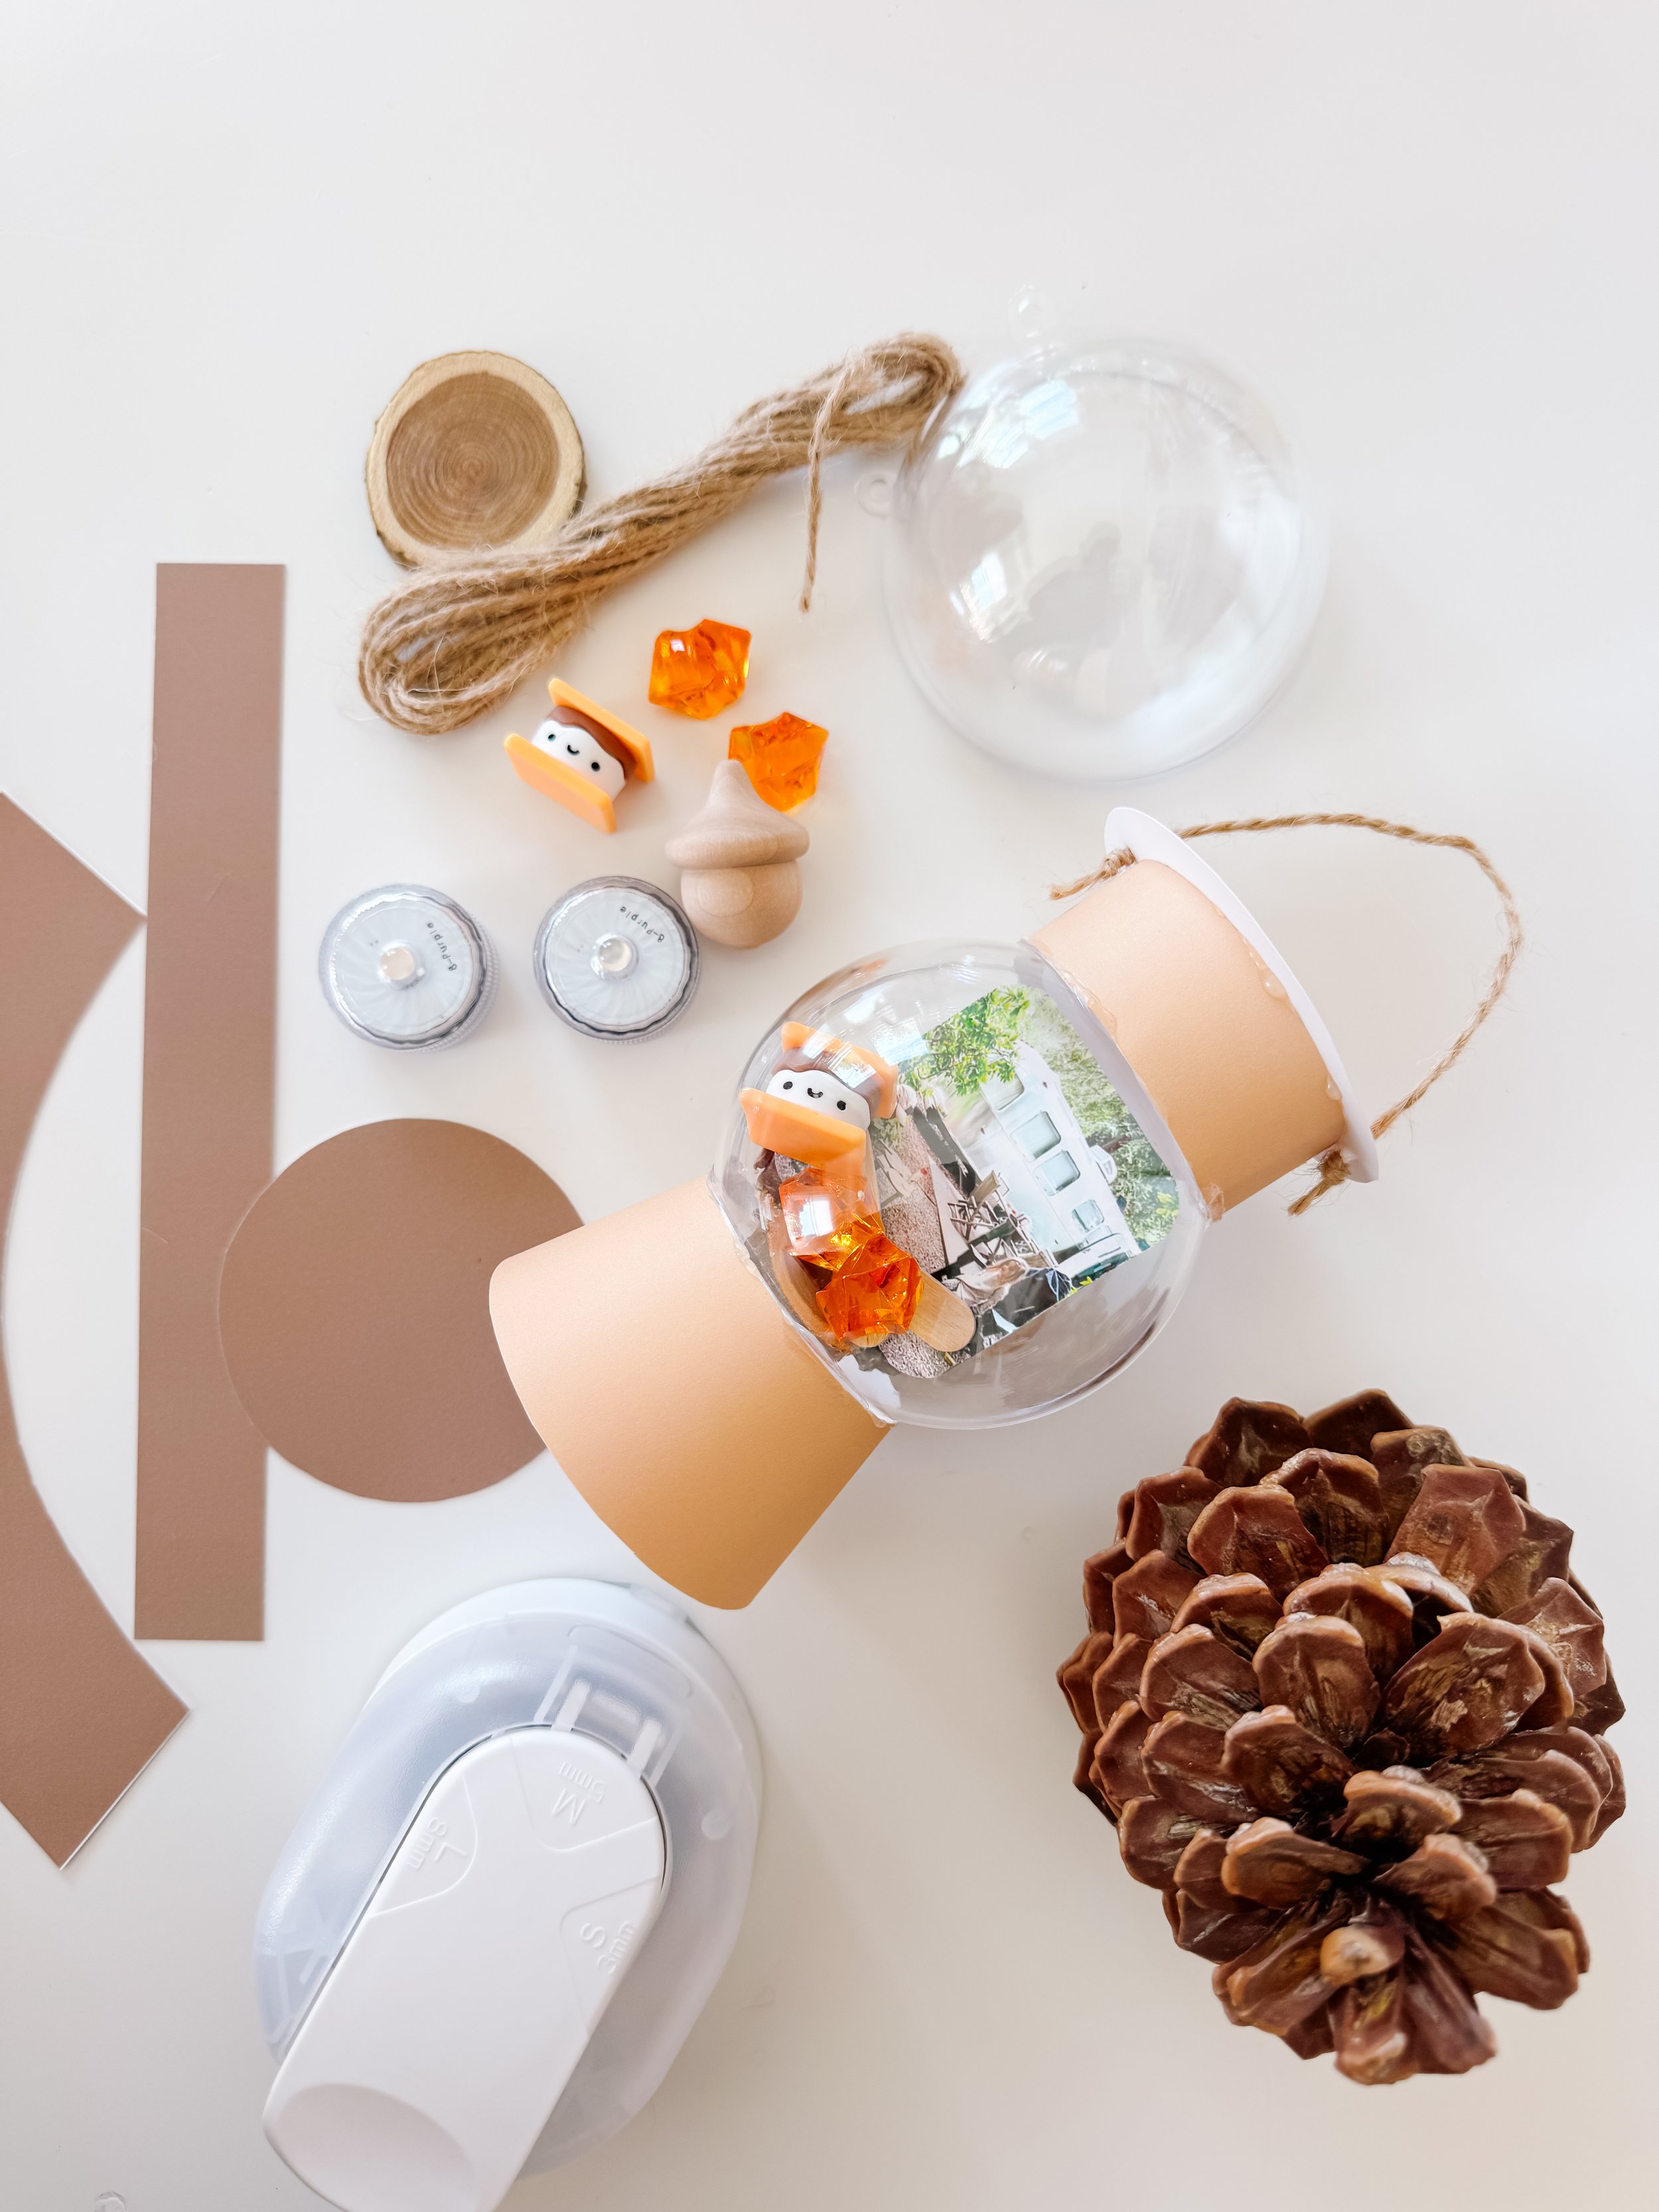
Cut out the lantern pieces
Print the camping keepsake globe template on sturdy paper or cardstock.
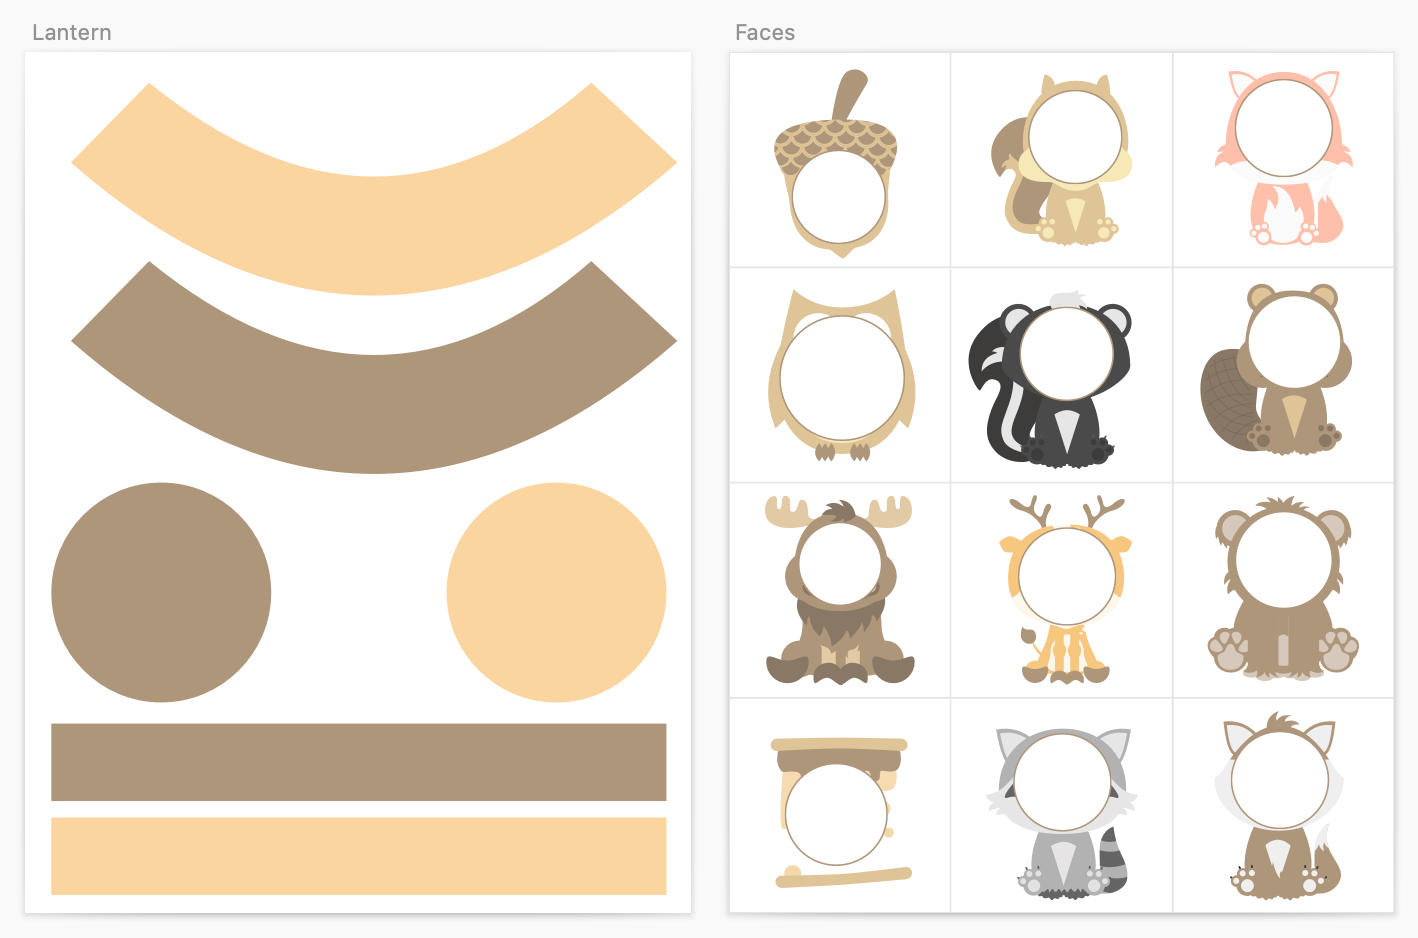
Cut out the curved lantern top and bottom pieces, the round base pieces, and the long strips. Choose the tan or brown colorway—or mix both—to match your camping photo and collected treasures.
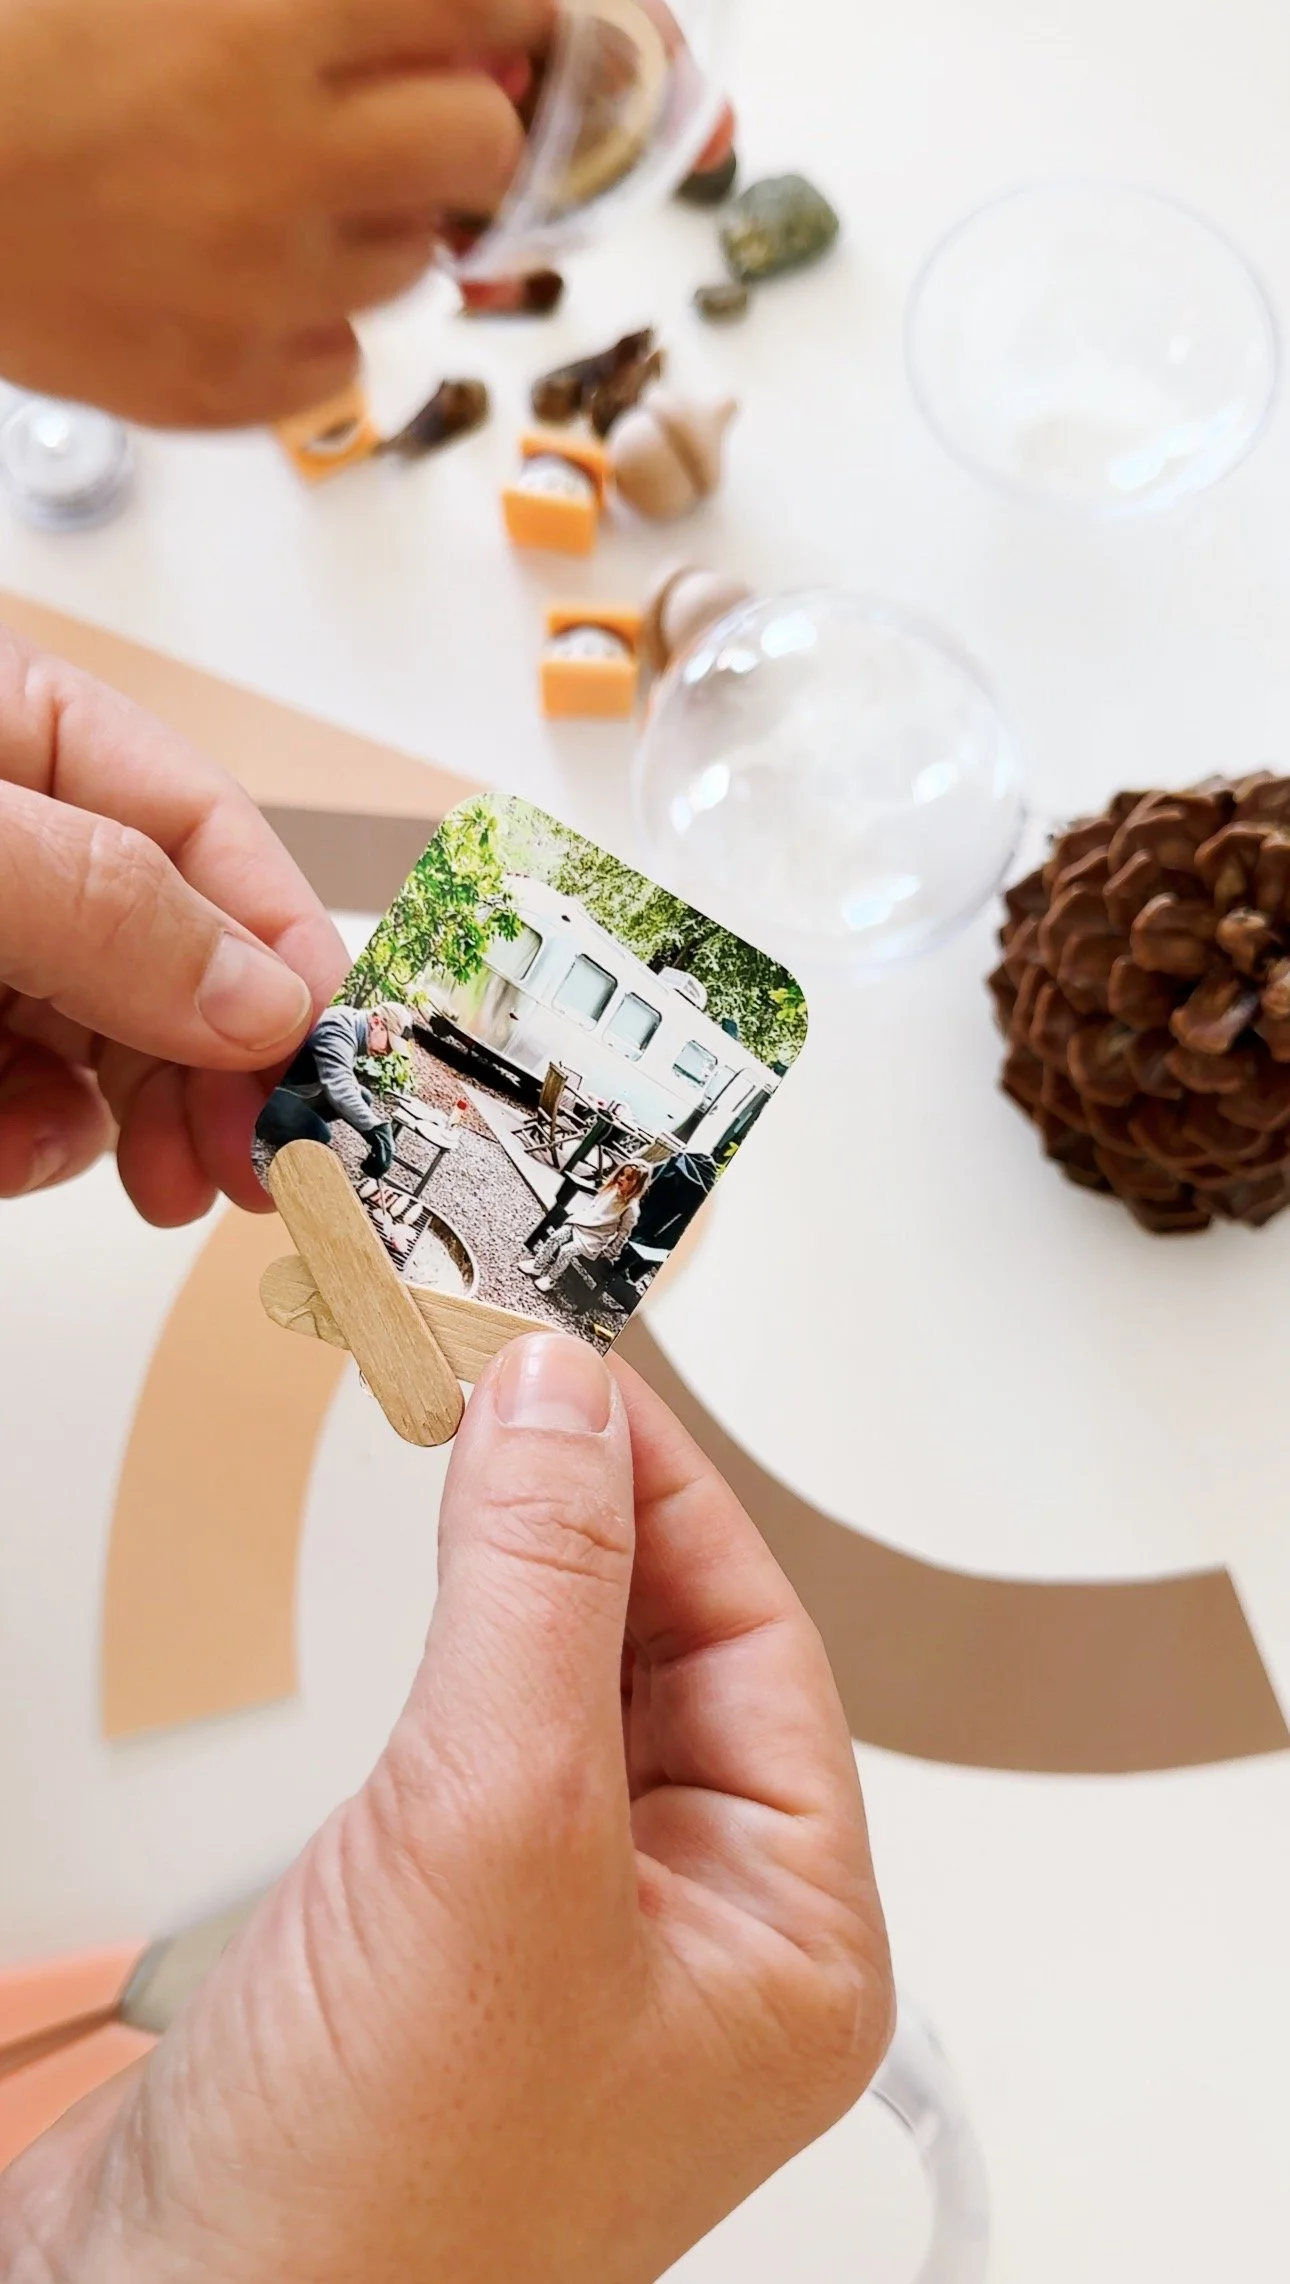
Step 2
Choose a favorite camping photo
Print a small photo from your camping trip and trim it so it fits comfortably inside the clear ornament.
We chose a photo from our Yosemite campsite because it instantly brought us back to the feeling of sitting outside together near the camper.
You can also place the photo inside one of the woodland frames included with the printable.
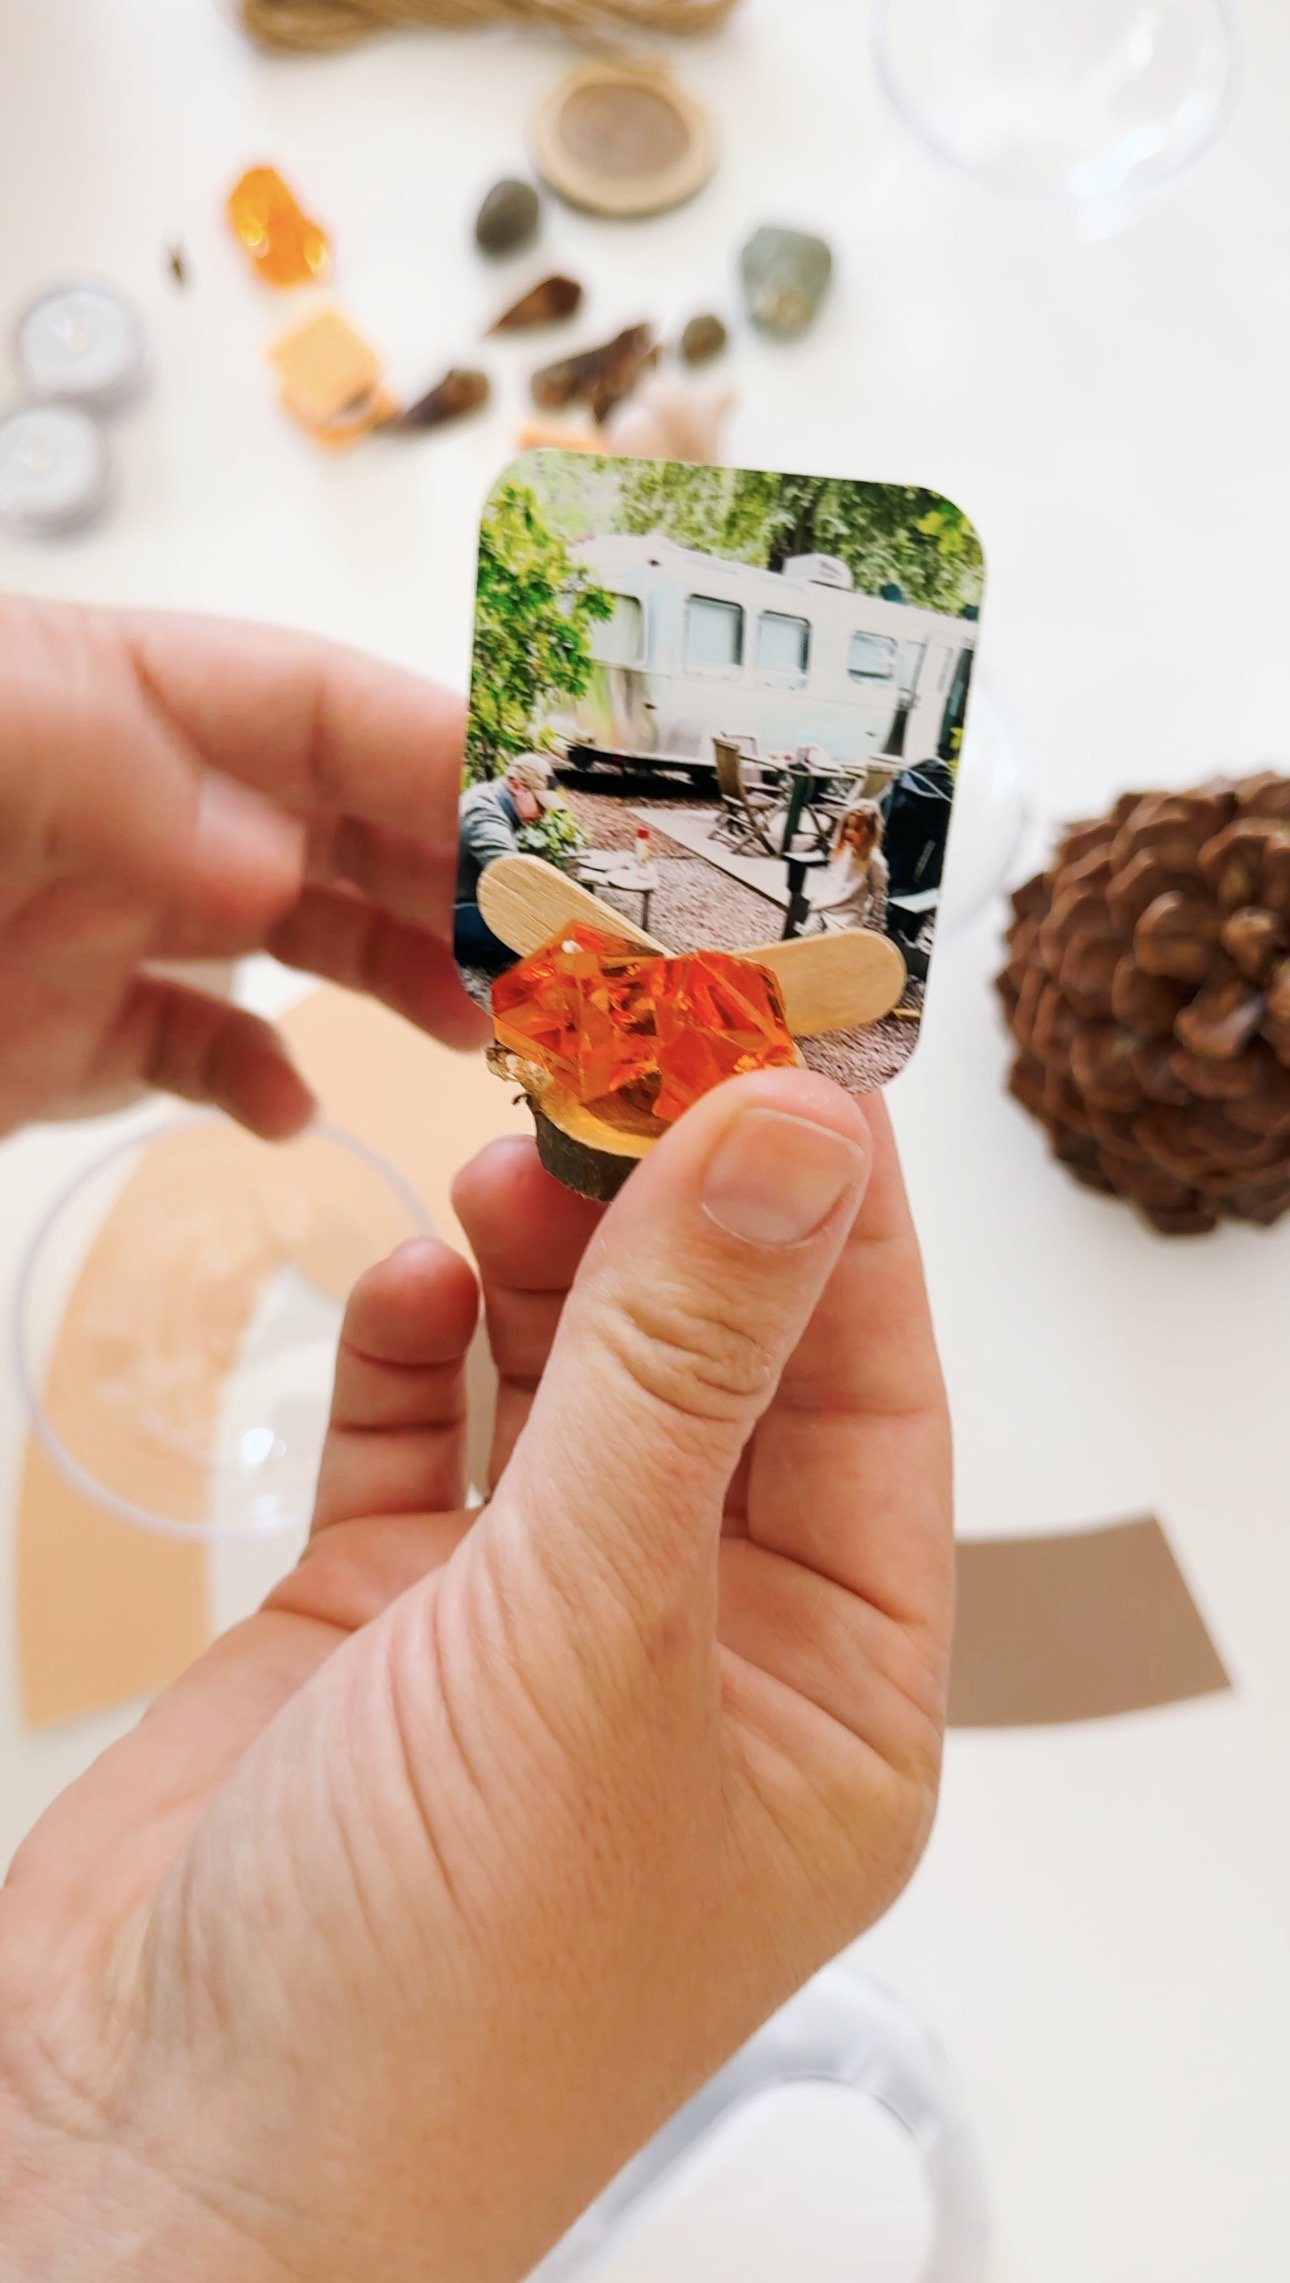
Step 3
Build the tiny campfire scene
Create a miniature base using a wooden round, a small piece of bark, or a sturdy scrap of cardboard.
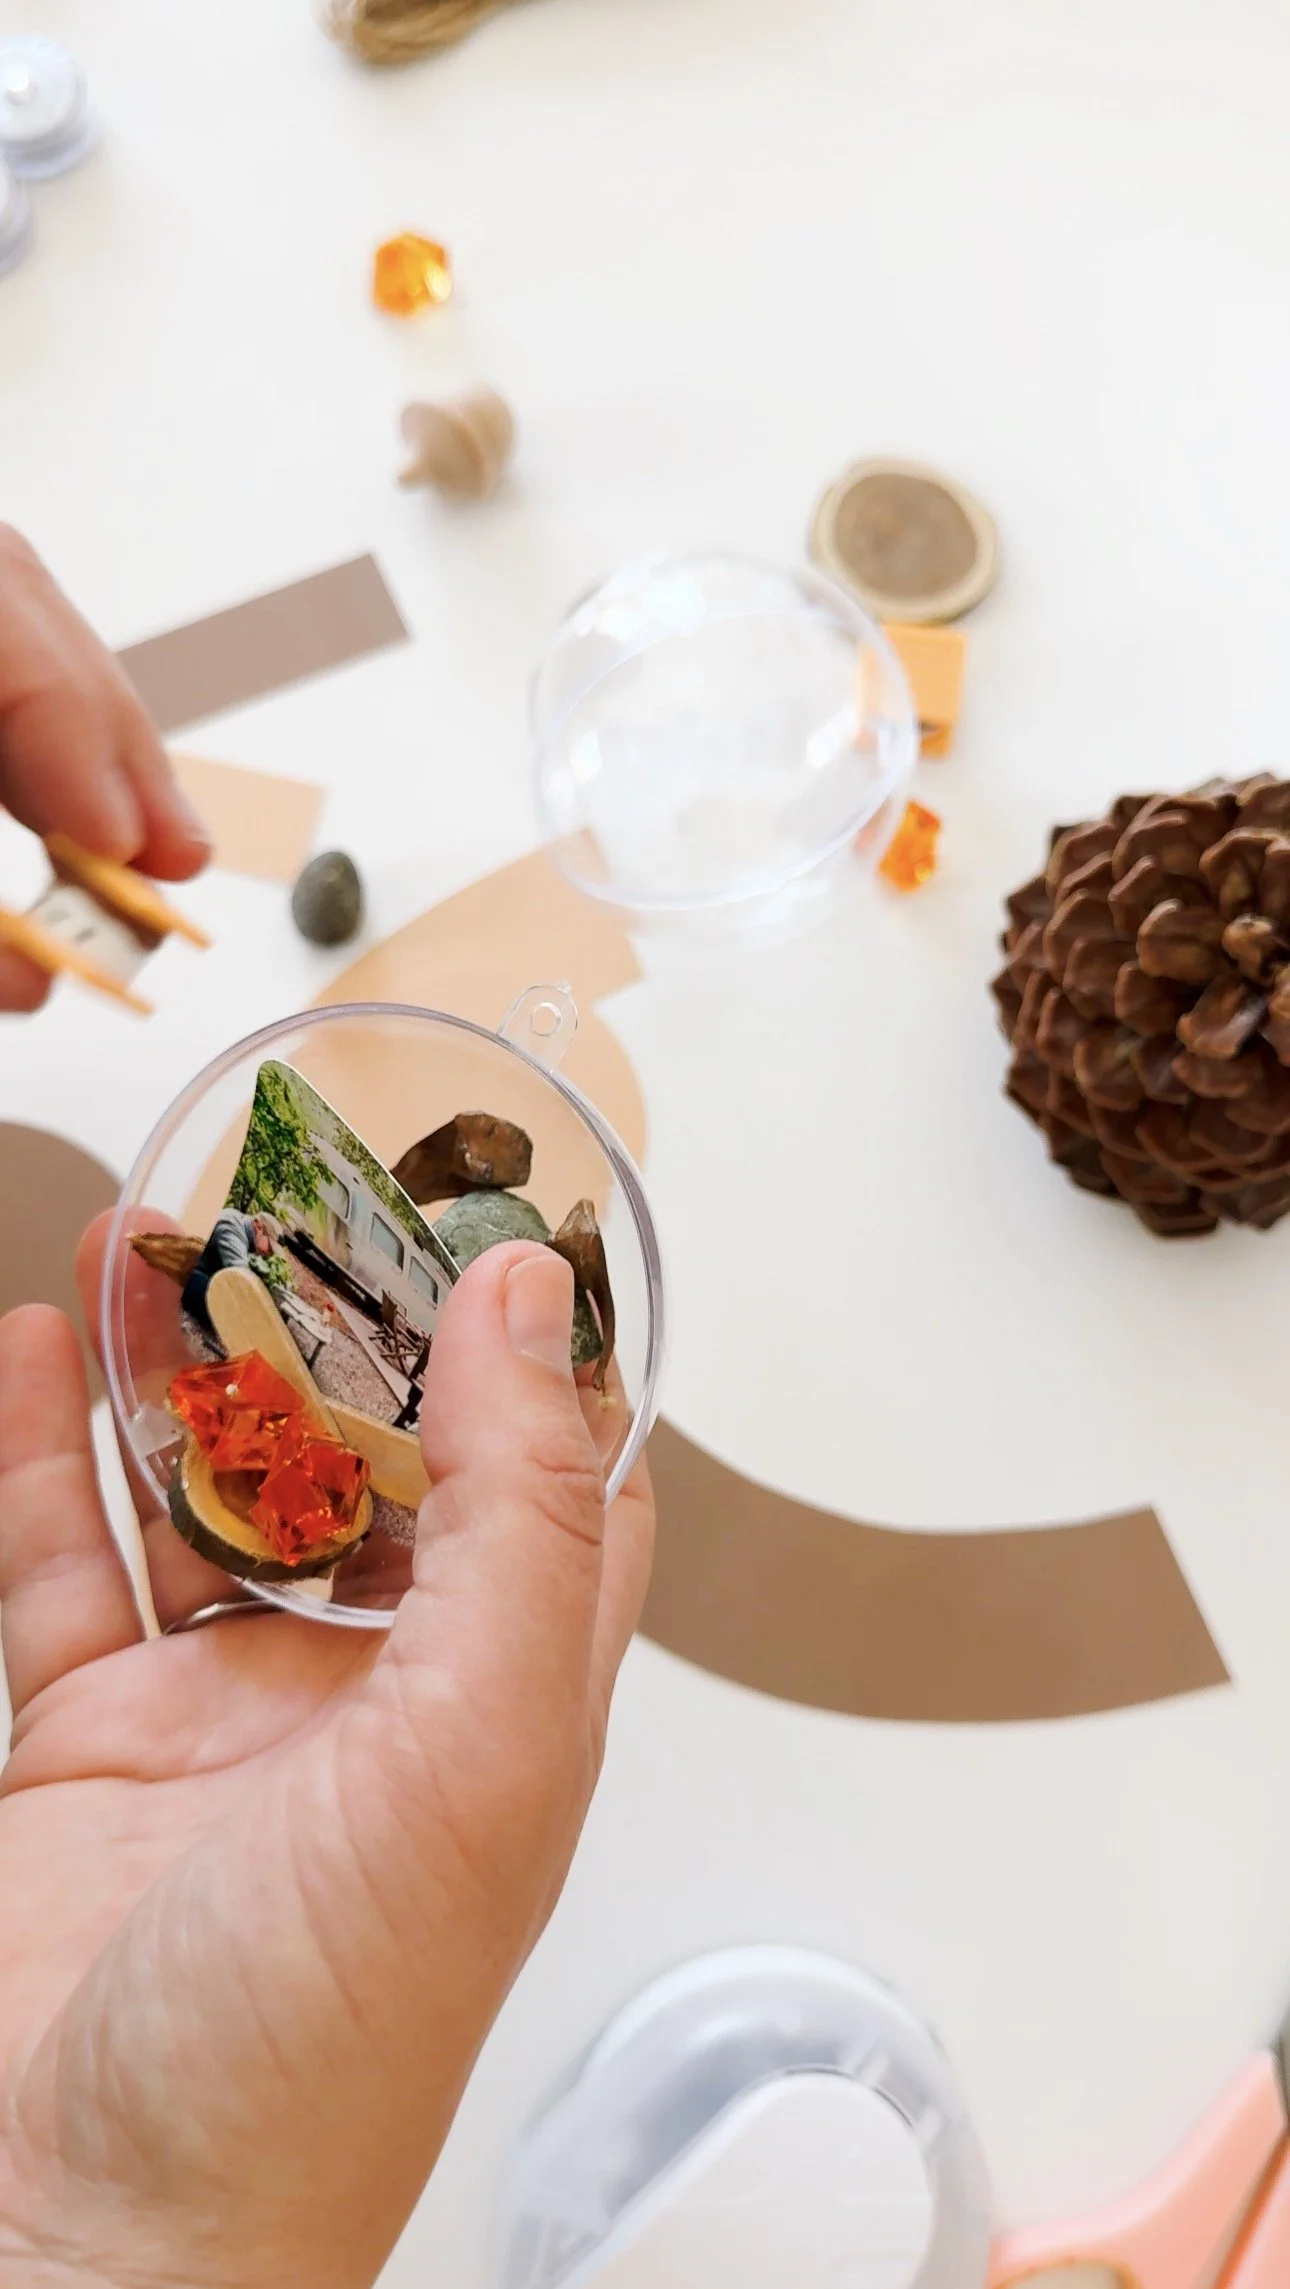
Glue the camping photo upright behind the base. Add translucent orange gems to look like glowing coals or flames, then place the miniature s’more nearby.
You can also add a tiny wooden acorn, miniature log, or another small object connected to your trip.
Step 4
Add the tiny treasures
Place the miniature scene into one half of the plastic bauble.
Add a few small clean rocks, bark pieces, pinecone scales, or other appropriate treasures that remind your child of the trip. Keep the arrangement light enough that the ornament can close securely.
Invite your child to explain why each item belongs in the globe before sealing it.
Step 5: Turn the globe into a lantern
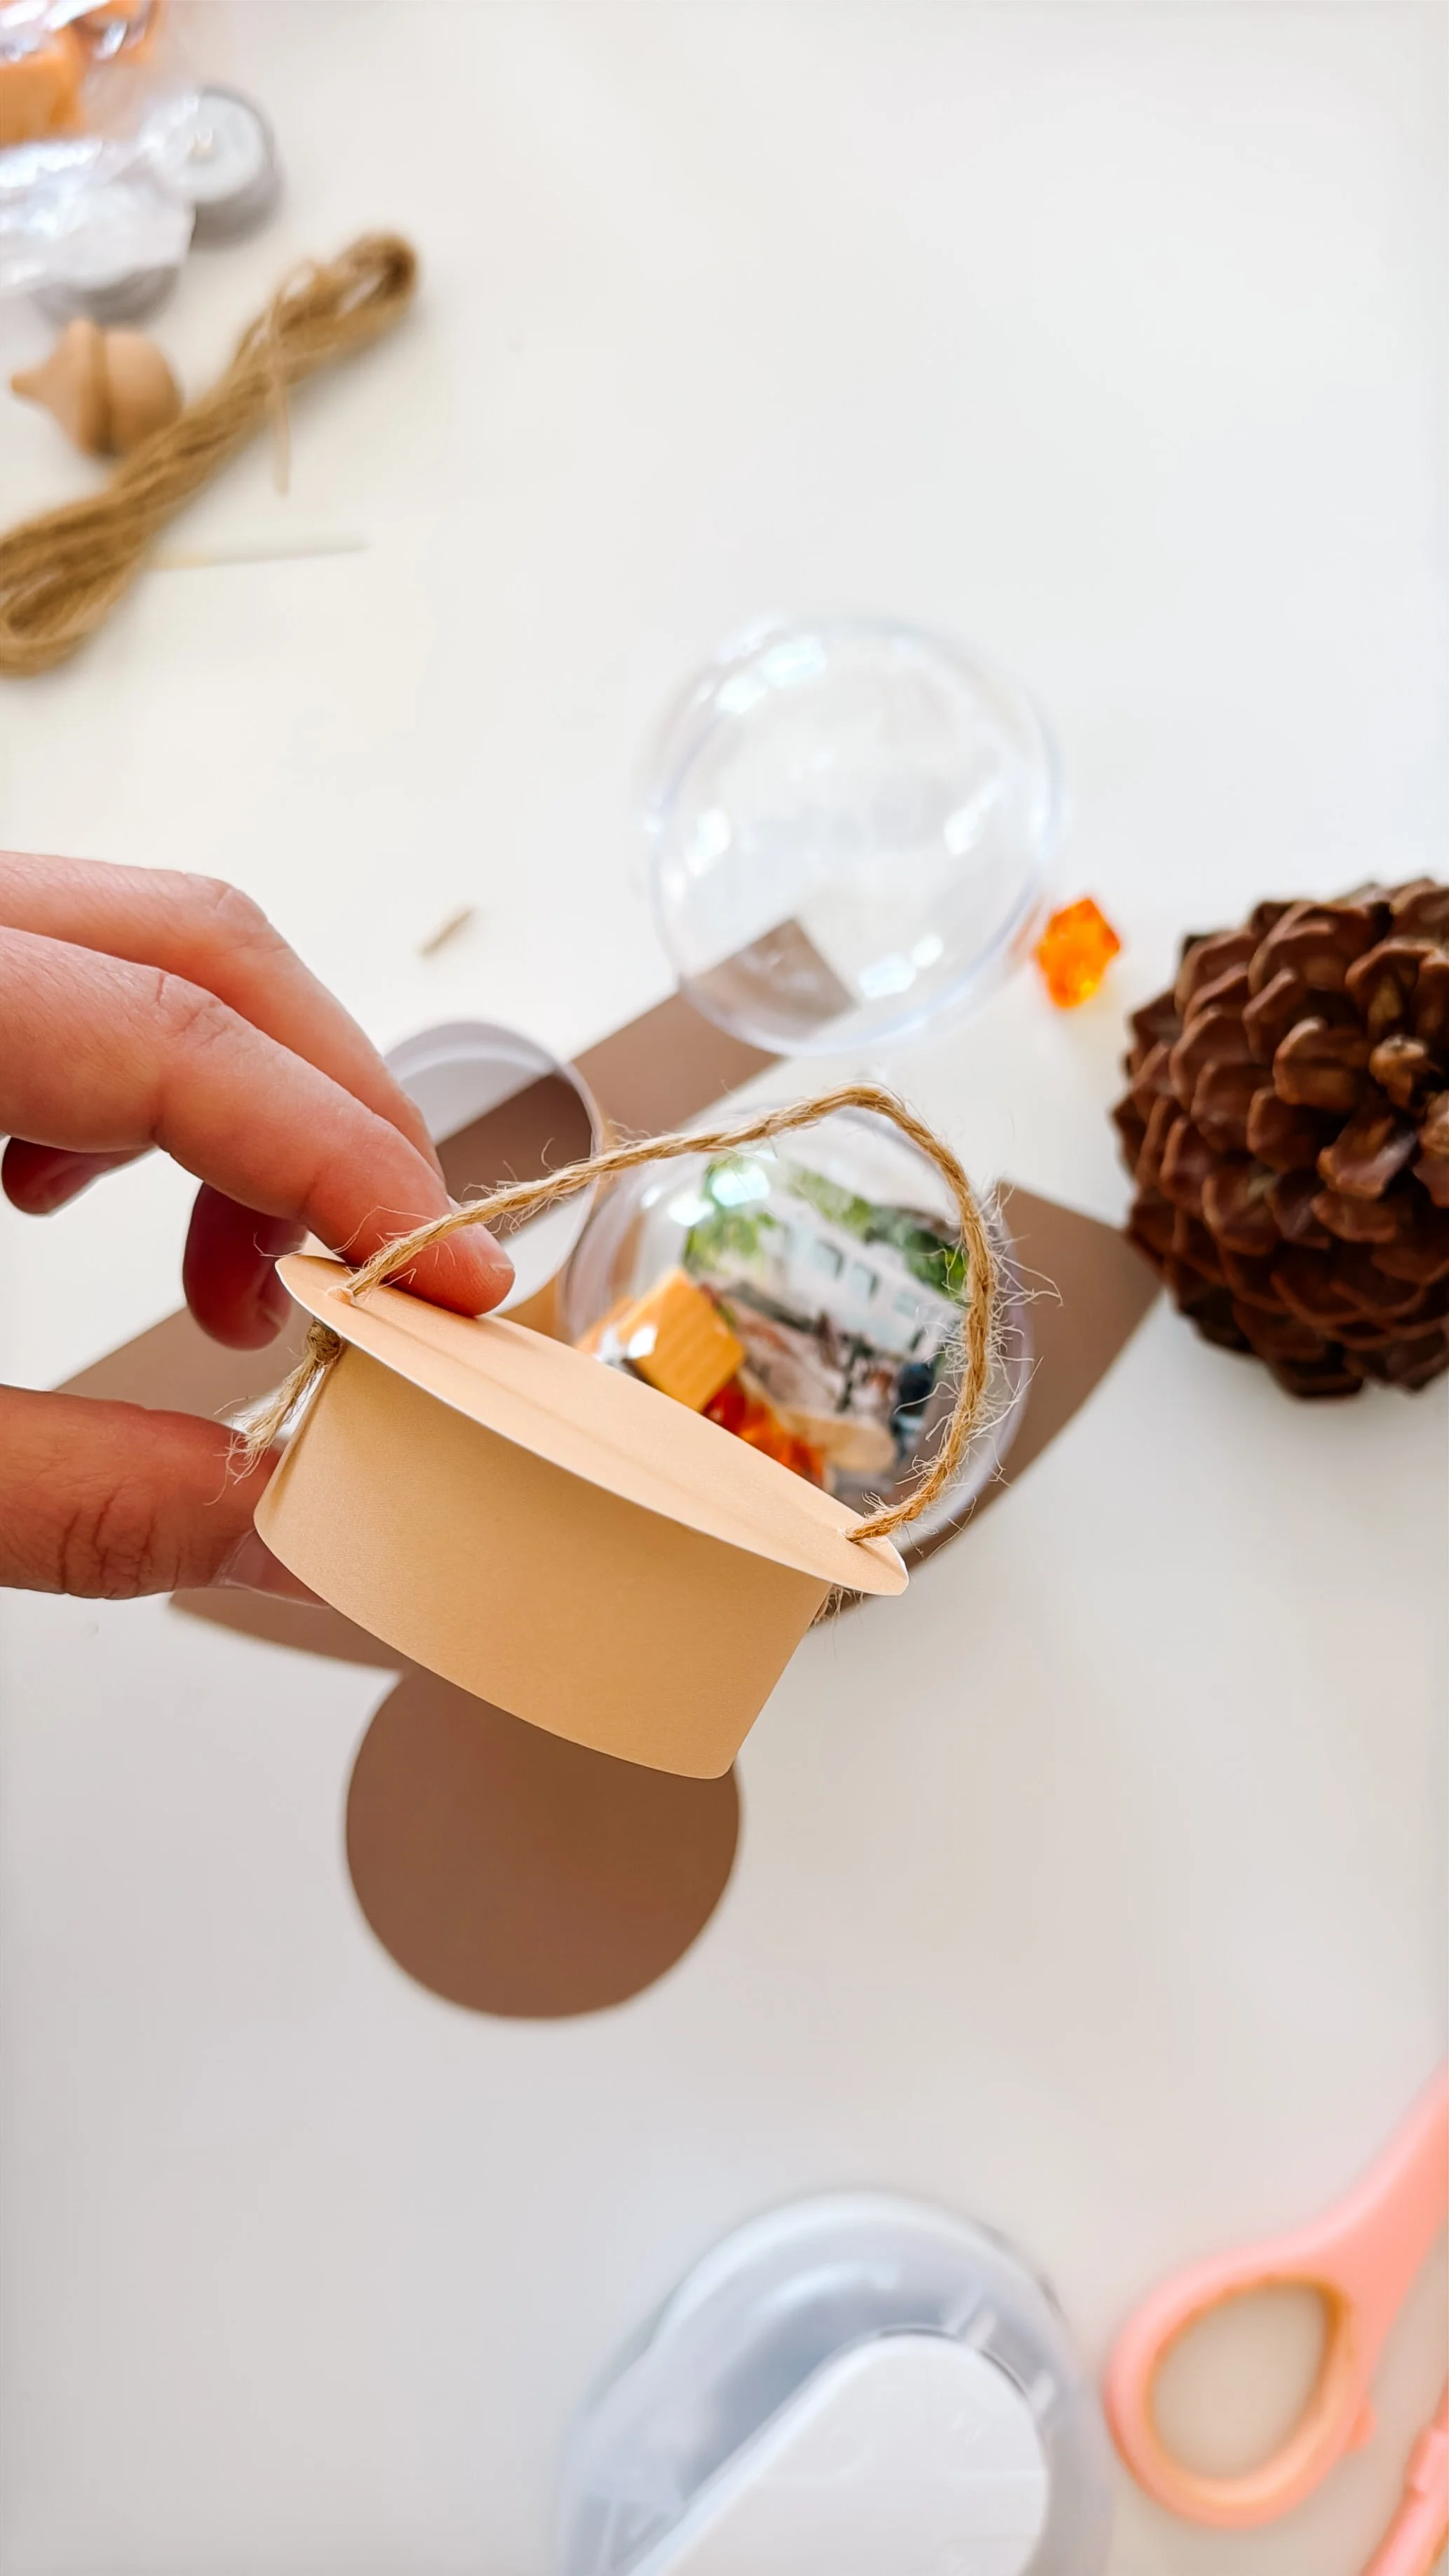
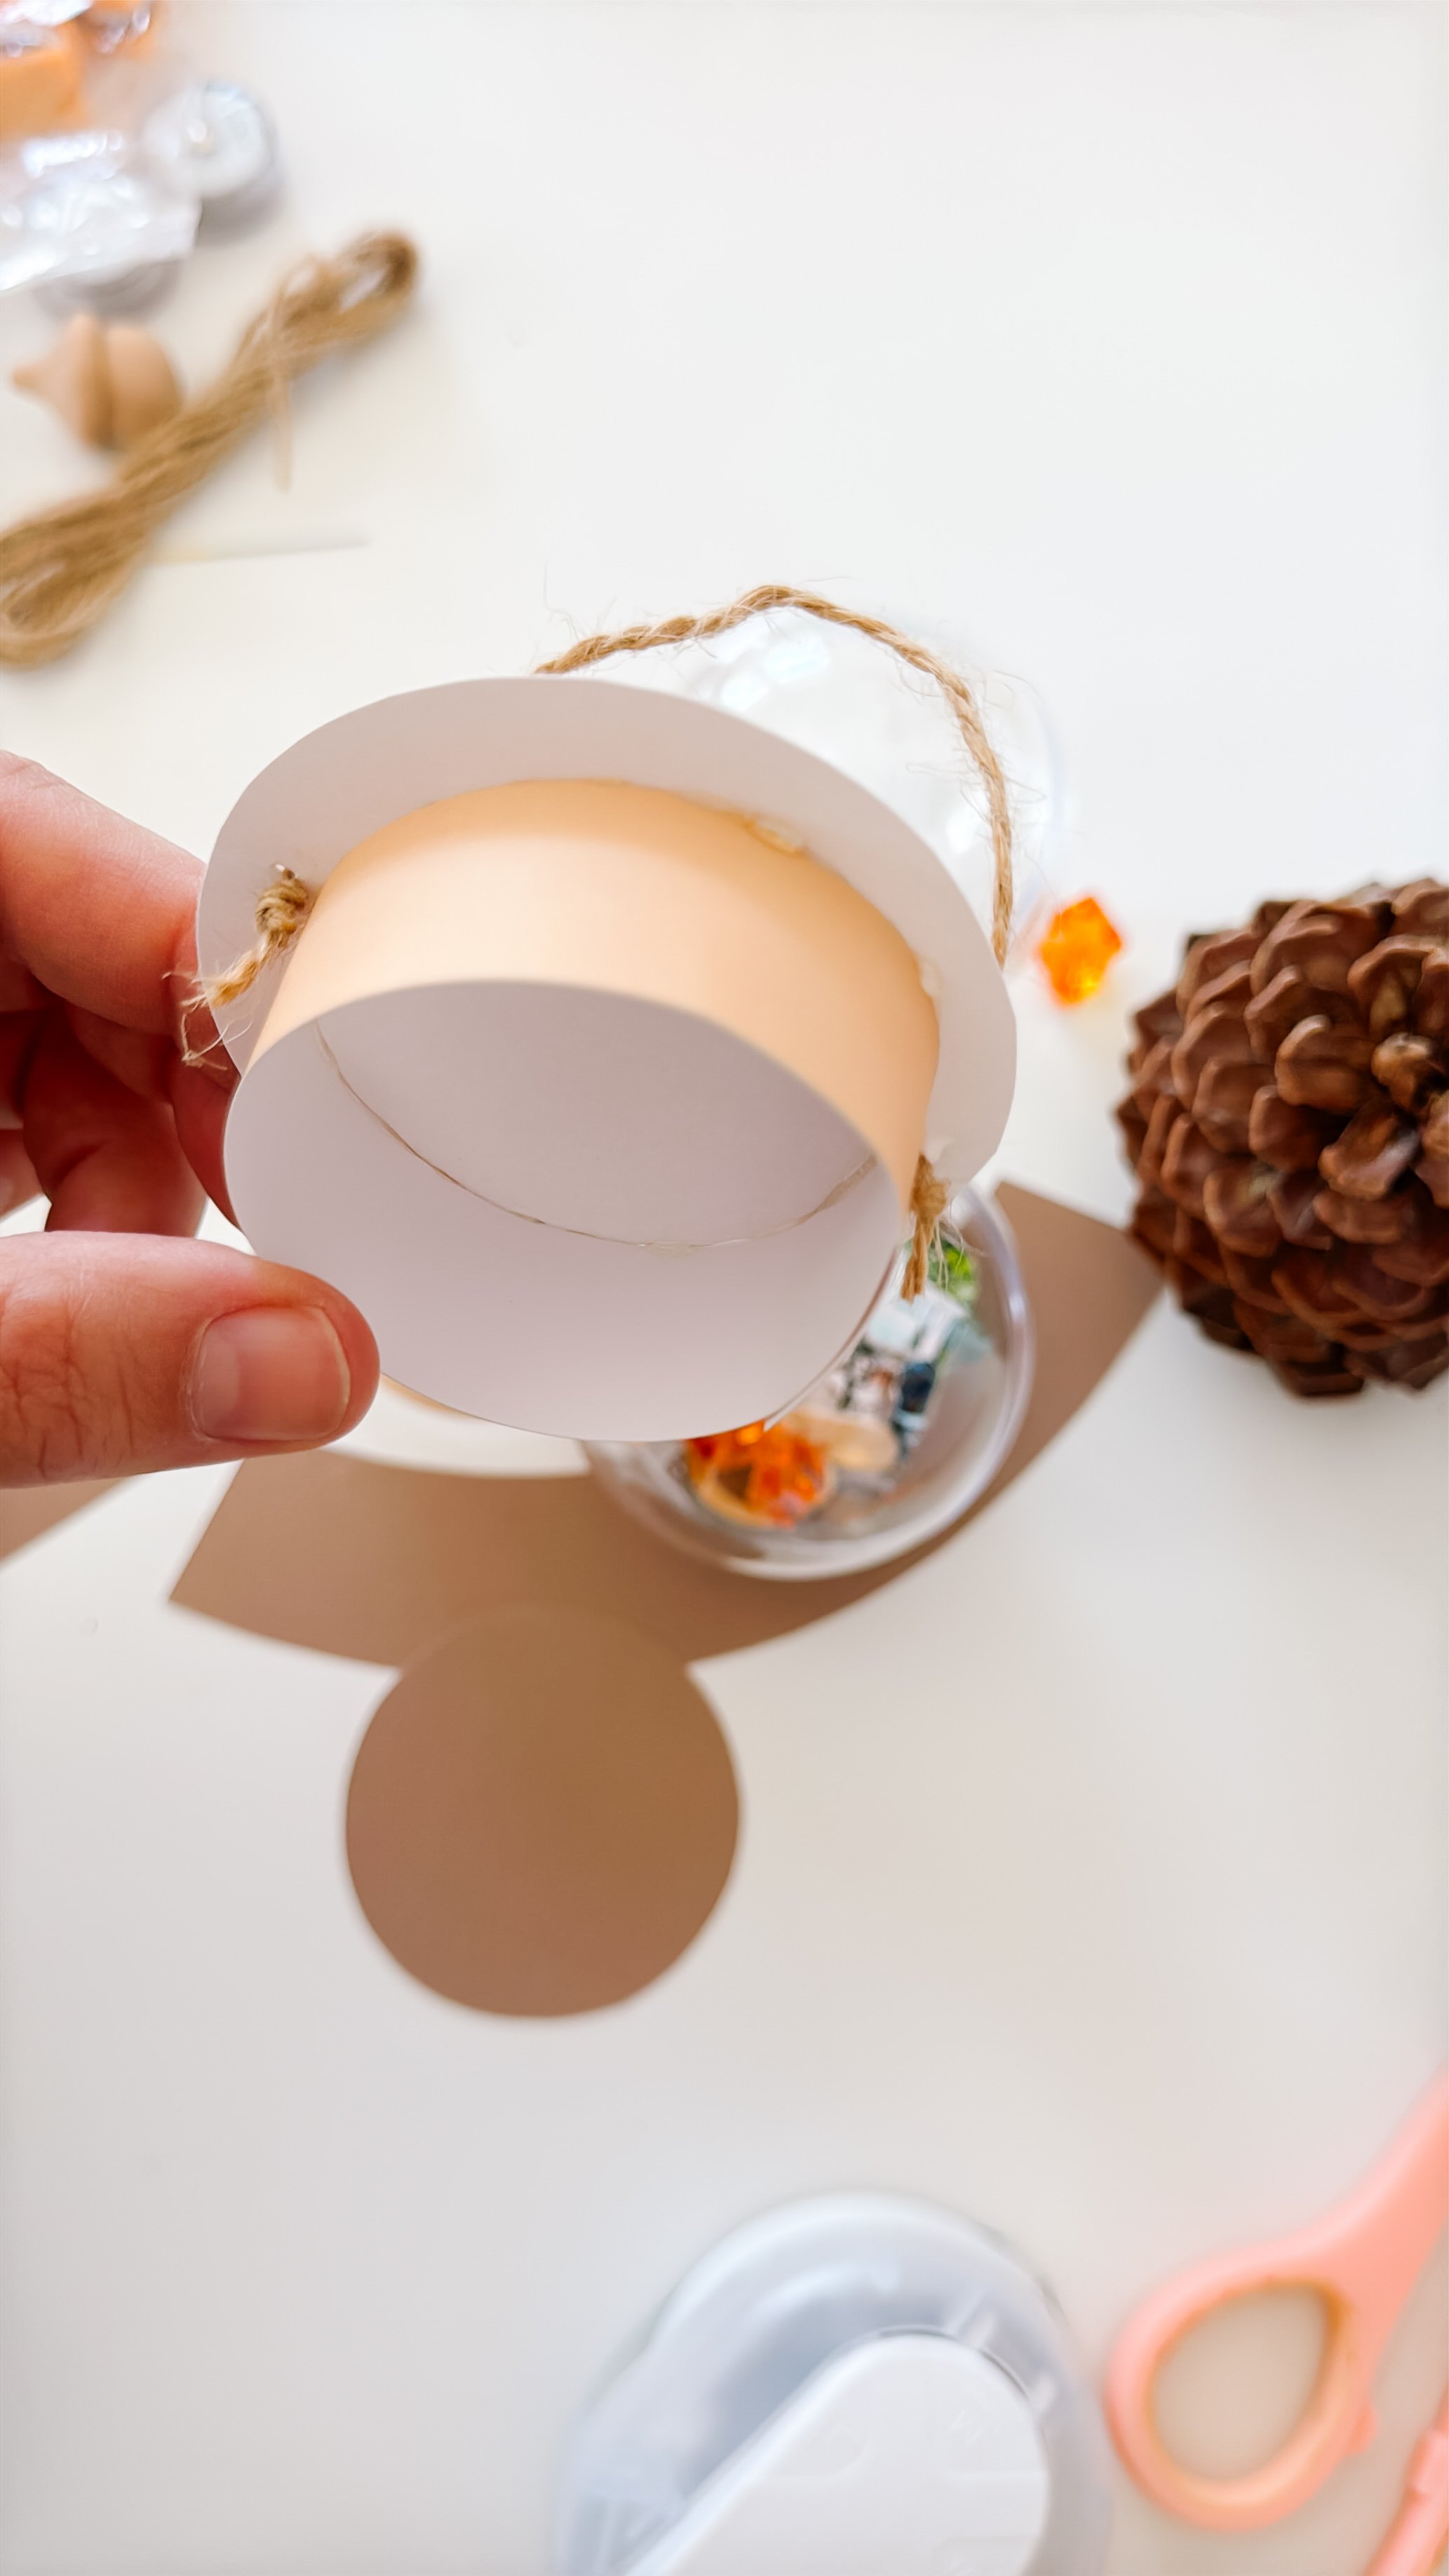
Close the two halves of the plastic bauble. Wrap the curved cardstock pieces around the top and bottom to create the lantern shape.
Attach a loop of twine across the top as the lantern handle. Use glue dots or adult-handled low-temperature hot glue to secure the pieces.
Make sure the bottom remains flat and open enough to sit over a battery-operated tea light.
Step 6: Light the memory lantern
Place a battery-operated tea light beneath the finished globe.
The light shines upward through the clear ornament and catches the orange gems, making the miniature campfire glow.
Turn it on during bedtime storytelling and invite your child to retell a favorite memory from the camping trip.
Parent tip
Ask your child to choose only three to five meaningful treasures. Limiting the number encourages them to think about which objects hold the strongest memories—and keeps the globe from becoming overcrowded.
Make the keepsake more personal
Add a child’s drawing
Shrink a drawing of the campsite, tent, camper, waterfall, or favorite animal and place it inside the globe.
Record the trip details
Write the destination, date, campsite name, and your child’s age on the back of the photo.
Include a favorite quote
Add one funny sentence your child said during the trip or a short description of the memory they never want to forget.
Choose a woodland frame
Use the printable fox, bear, owl, moose, squirrel, or other woodland frame to match an animal seen—or hoped for—during the trip.
Why keepsake crafts matter
Young children often remember experiences through stories, photographs, sensory details, and repeated conversations.
Building a keepsake gives them a physical prompt for recalling what happened: the sound of the campground, the smell of the trees, the rocks they discovered, the food cooked outside, and the people who shared the adventure.
As children choose objects and explain their significance, they practice memory recall, sequencing, descriptive language, storytelling, and emotional connection.
The finished lantern can become part of a bedtime routine. Turn on the little campfire glow and ask your child to tell one story from the trip.
Learning skills
Memory recall
Storytelling
Sequencing events
Nature vocabulary
Fine motor skills
Creative composition
Decision-making
Family connection
Observation
Emotional expression
Questions to ask kids
- What was your favorite part of our camping trip?
- Why did you choose this rock or nature treasure?
- What do you remember hearing at the campsite?
- What did the forest smell like?
- What food did we eat around the campfire?
- What surprised you during the trip?
- Which photo tells the best story?
- What would you like to do the next time we go camping?
- What should we name our little memory lantern?
Camping vocabulary
Campsite
Lantern
Campfire
Pinecone
Trail
Forest
National park
Keepsake
Memory
Treasure
Explore
Adventure
Get the camping keepsake printable
Camping keepsake globe printable
The printable includes lantern pieces in coordinating woodland colors plus multiple forest-animal photo frames that can be personalized with a favorite trip photo.
Get the printableMore ways to preserve family adventures
Beach keepsake globe
Preserve favorite shells, sand-inspired details, and a beach vacation photo inside a glowing souvenir globe.
See the beach globeNature journal page
Invite your child to draw what they saw, record the weather, and write or dictate a favorite memory from the trip.
Camping memory box
Save larger photos, maps, drawings, and paper souvenirs in a decorated box when they are too large for the globe.
Family storytelling night
Turn off the lights, switch on the lantern, and let each family member share one favorite moment from the adventure.
Camping keepsake globe FAQ
What can I put inside a camping keepsake globe?
Add a small trip photo, tiny clean rocks, bark, pinecone scales, wooden nature pieces, a miniature s’more, translucent gems, a child’s drawing, or another lightweight object that represents the camping adventure.
How do you make the camping globe light up?
Place a battery-operated tea light underneath the flat lantern base. The light shines through the clear globe and illuminates the translucent orange gems inside.
Can children collect rocks and pinecones from a national park?
Collection rules vary by location, and many protected areas require visitors to leave natural objects where they are. Follow all posted rules. A photograph, drawing, purchased wooden piece, or treasure collected legally outside a protected area can be used instead.
What age is this keepsake craft best for?
This project is best for children ages five and up with close adult help. Adults should handle hot glue, trim difficult pieces, and supervise all small materials.
How can I make this into a learning activity?
Ask your child to select meaningful objects, put trip events in order, describe sensory memories, identify woodland materials, and tell the story represented inside the globe.
What can I use instead of real nature treasures?
Use wooden acorns, small craft-store pinecones, pebbles from home, printed nature photographs, drawings, artificial moss, bark-textured paper, or miniature camping accessories.
Can I make keepsake globes for other trips?
Yes. The same idea can be adapted for beach vacations, road trips, national parks, visits to grandparents, first days of school, birthdays, holidays, and other meaningful family experiences.
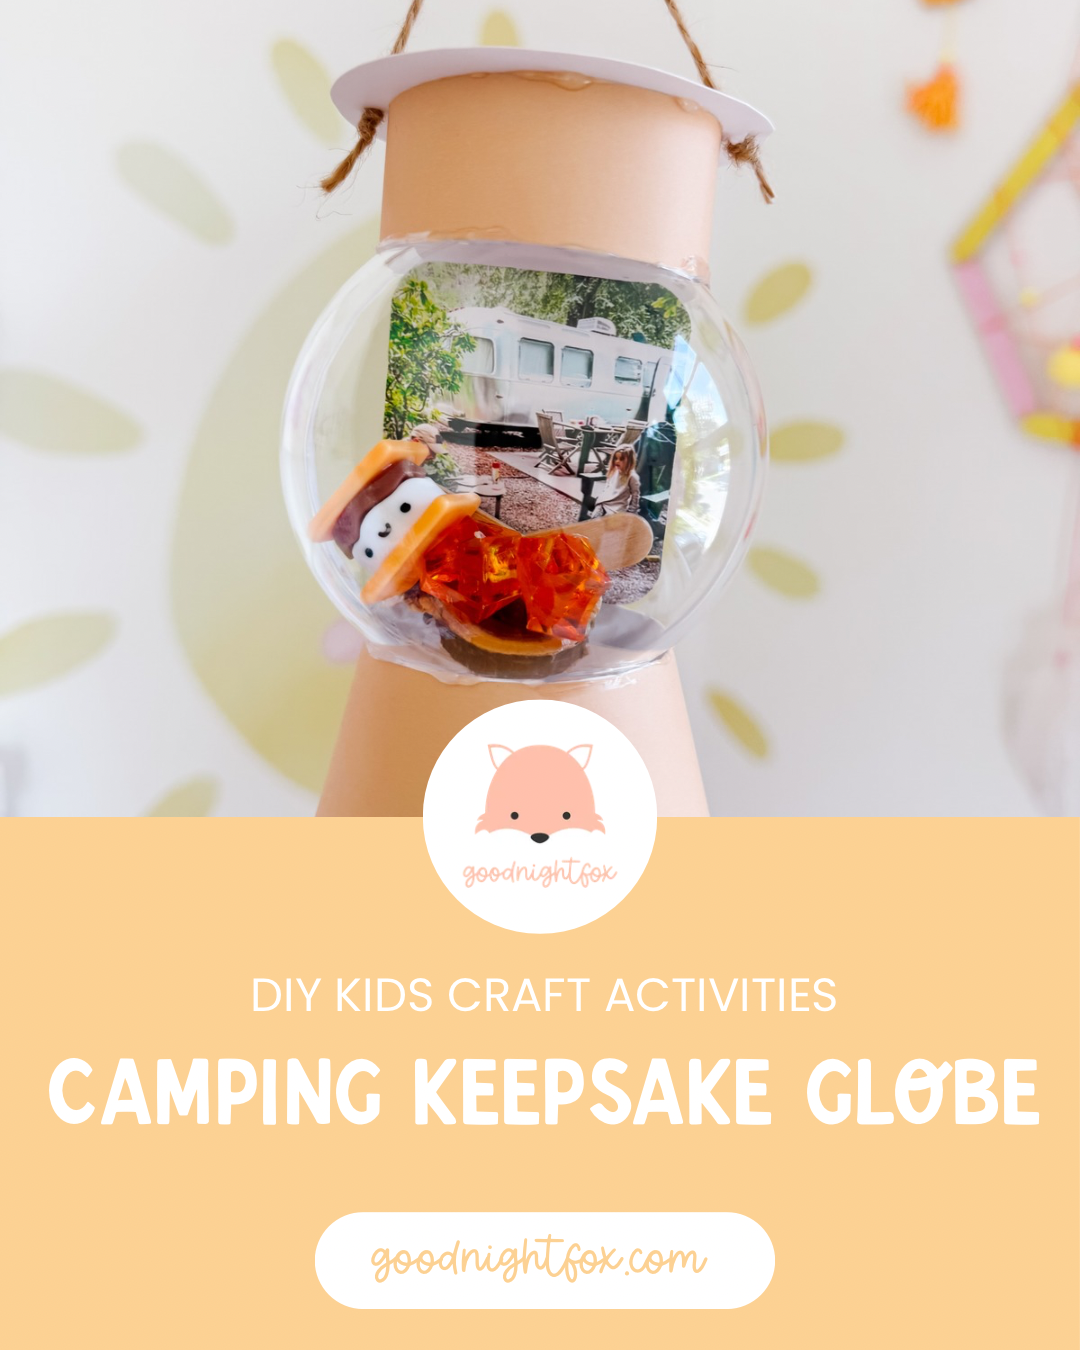
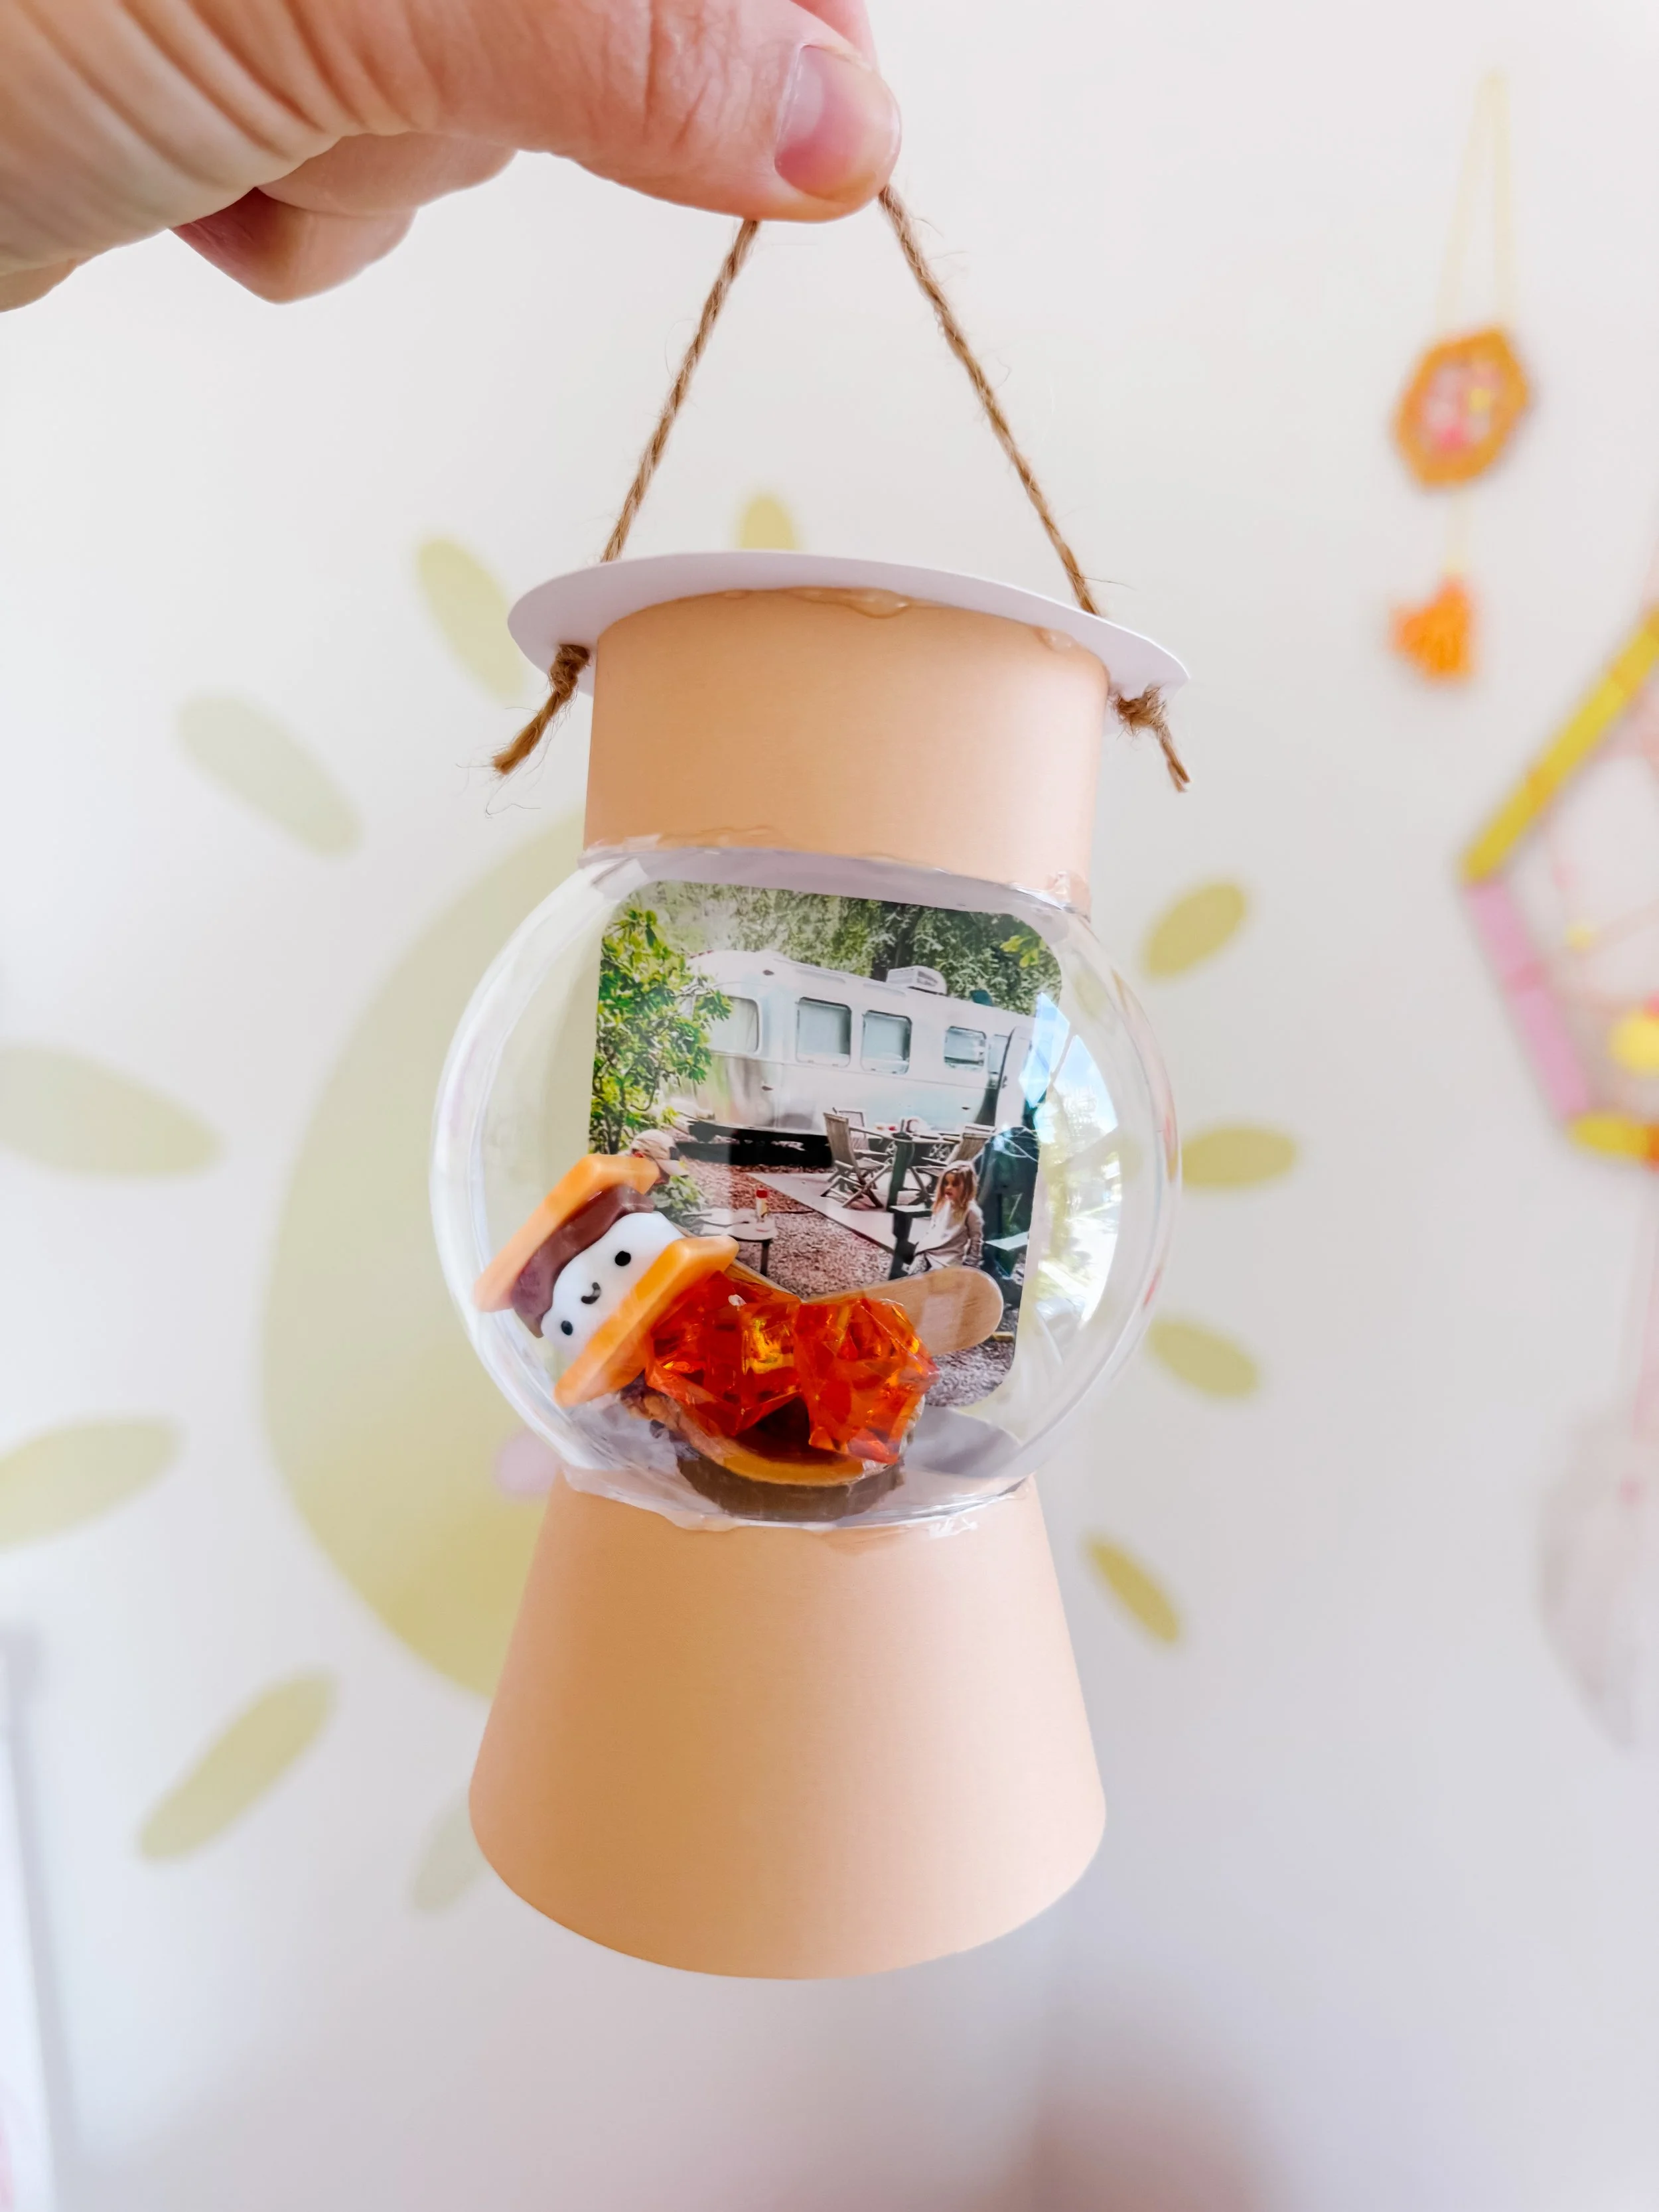
Preserve favorite camping memories in a glowing lantern-shaped keepsake globe! Add a trip photo, tiny rocks, miniature s’mores, orange campfire gems, and a tea light for a meaningful family craft inspired by Yosemite.
Preserve favorite camping memories in a glowing lantern-shaped keepsake globe! Add a trip photo, tiny rocks, miniature s’mores, orange campfire gems, and a tea light for a meaningful family craft inspired by Yosemite.
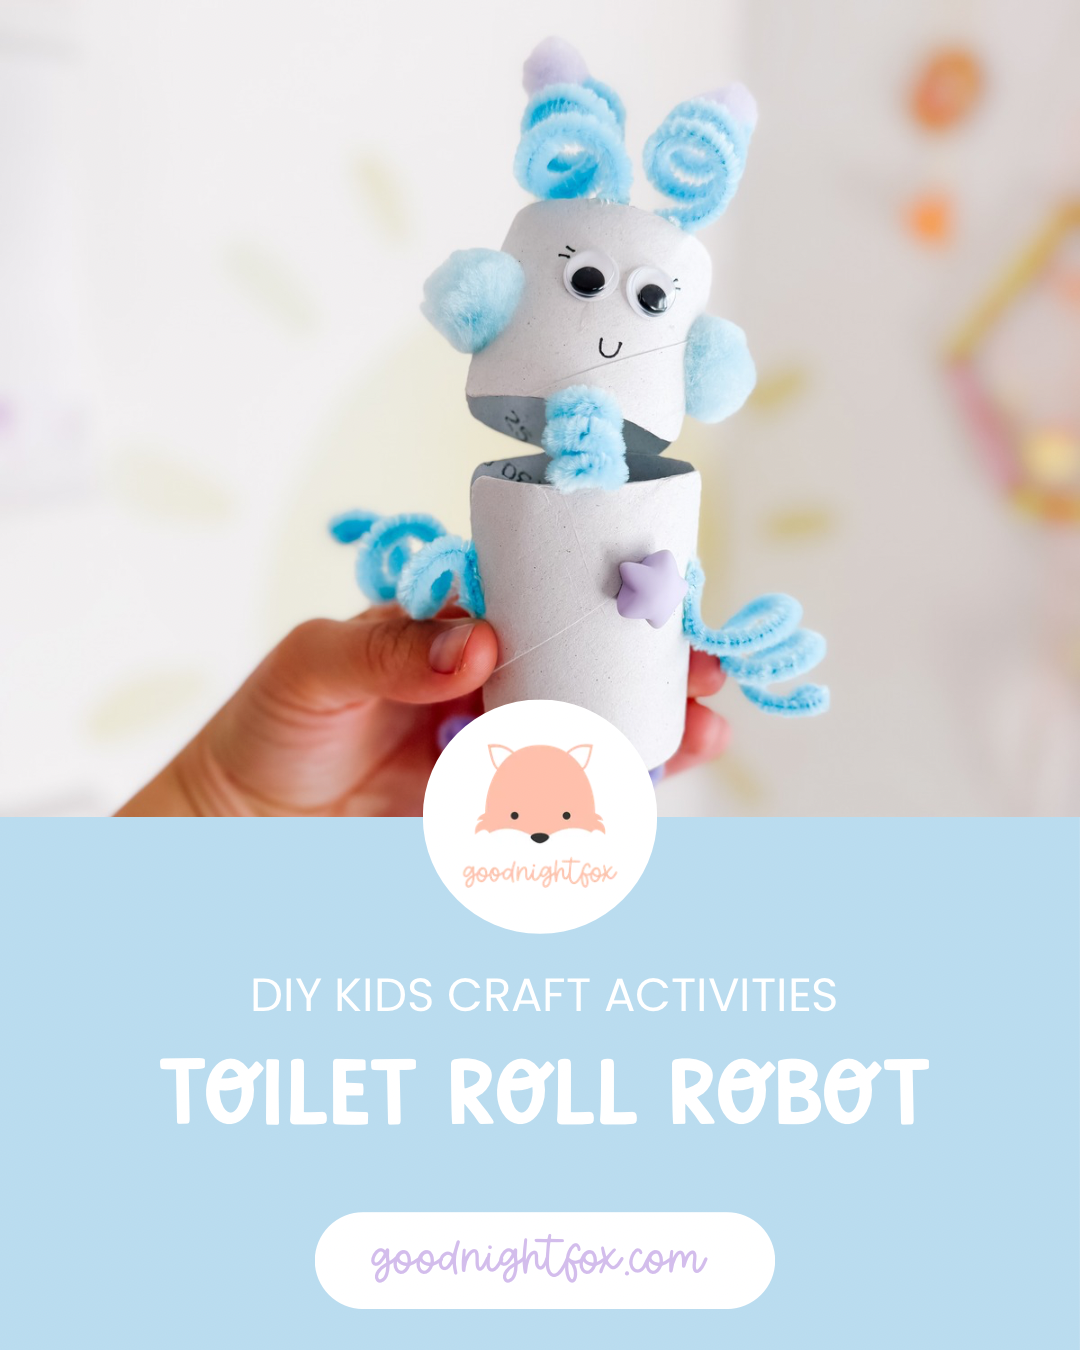
Toilet Paper Roll Robot Craft
Toilet Paper Roll Robot Craft
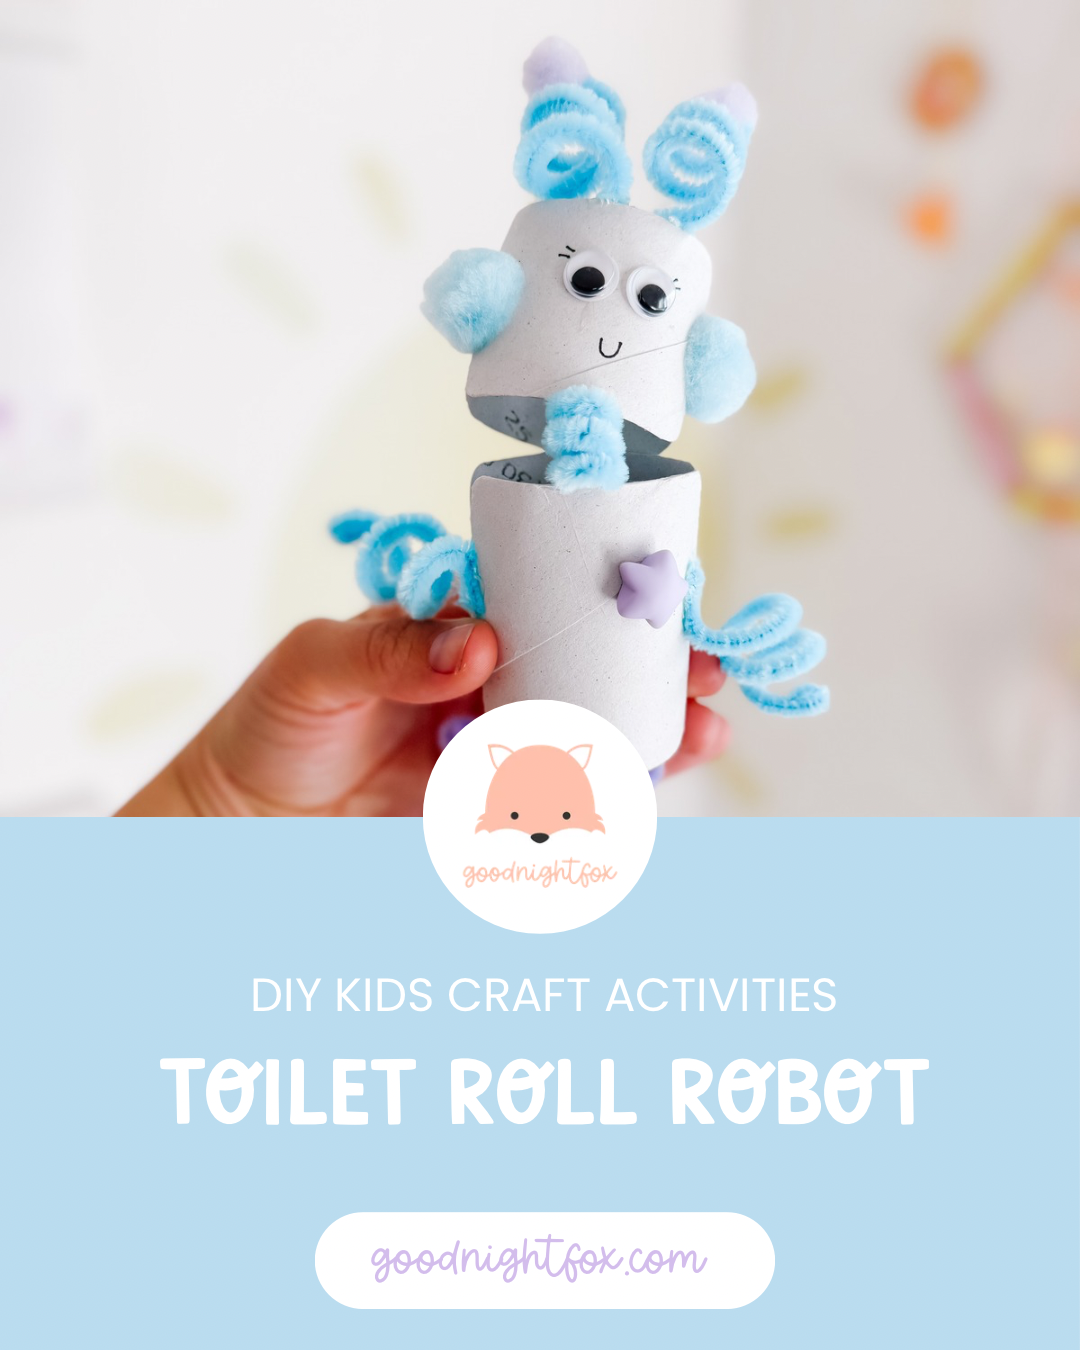
Turn recycled cardboard tubes, pipe cleaners, pom-poms, googly eyes, and building bricks into a playful robot craft kids can build, customize, and use for imaginative play.
Age4+
Prep10 minutes
Activity25–35 minutes
Mess★☆☆☆☆
SkillsSTEM + fine motor
Why we love this robot craft
This toilet paper roll robot started as a simple recycled craft, but it quickly turned into a miniature engineering project.
Kids get to decide how the robot should move, where its arms and legs should attach, what kind of antenna it needs, and which playful details will give it a personality of its own.
We used two cardboard tube sections for the robot’s head and body, then added curled pipe cleaners, pom-poms, googly eyes, markers, and building bricks. The finished robot can bend, wobble, twist, and become a character for pretend play after the crafting is finished.
It is a wonderful activity for Robot Week, Space Week, recycled craft themes, rainy days, classroom maker stations, or any child who loves building and inventing.
Materials needed
- Two empty toilet paper rolls or one roll cut into sections
- White paint or white paper for covering the tubes
- Blue, purple, or pastel pipe cleaners
- Pom-poms
- Googly eyes
- Washable paint markers or regular markers
- Large building bricks or Duplo-style bricks
- Scissors
- Glue or low-temperature hot glue with adult help
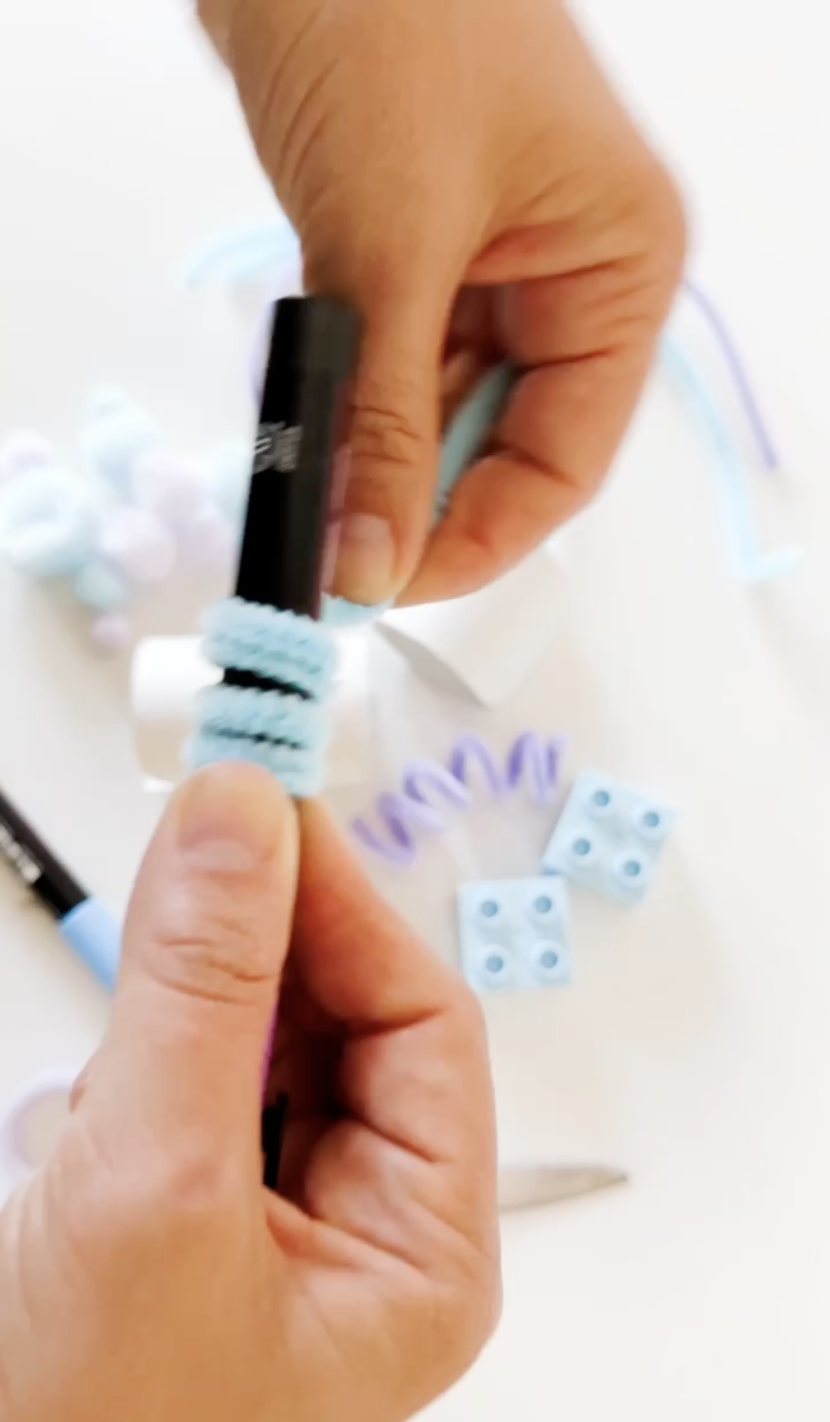
- A pencil or marker for curling pipe cleaners
Safety note
An adult should handle hot glue and help create any holes in the cardboard. Small pom-poms and googly eyes can be choking hazards, so supervise younger children closely.
How to make a toilet paper roll robot
Step 1
Build the robot head
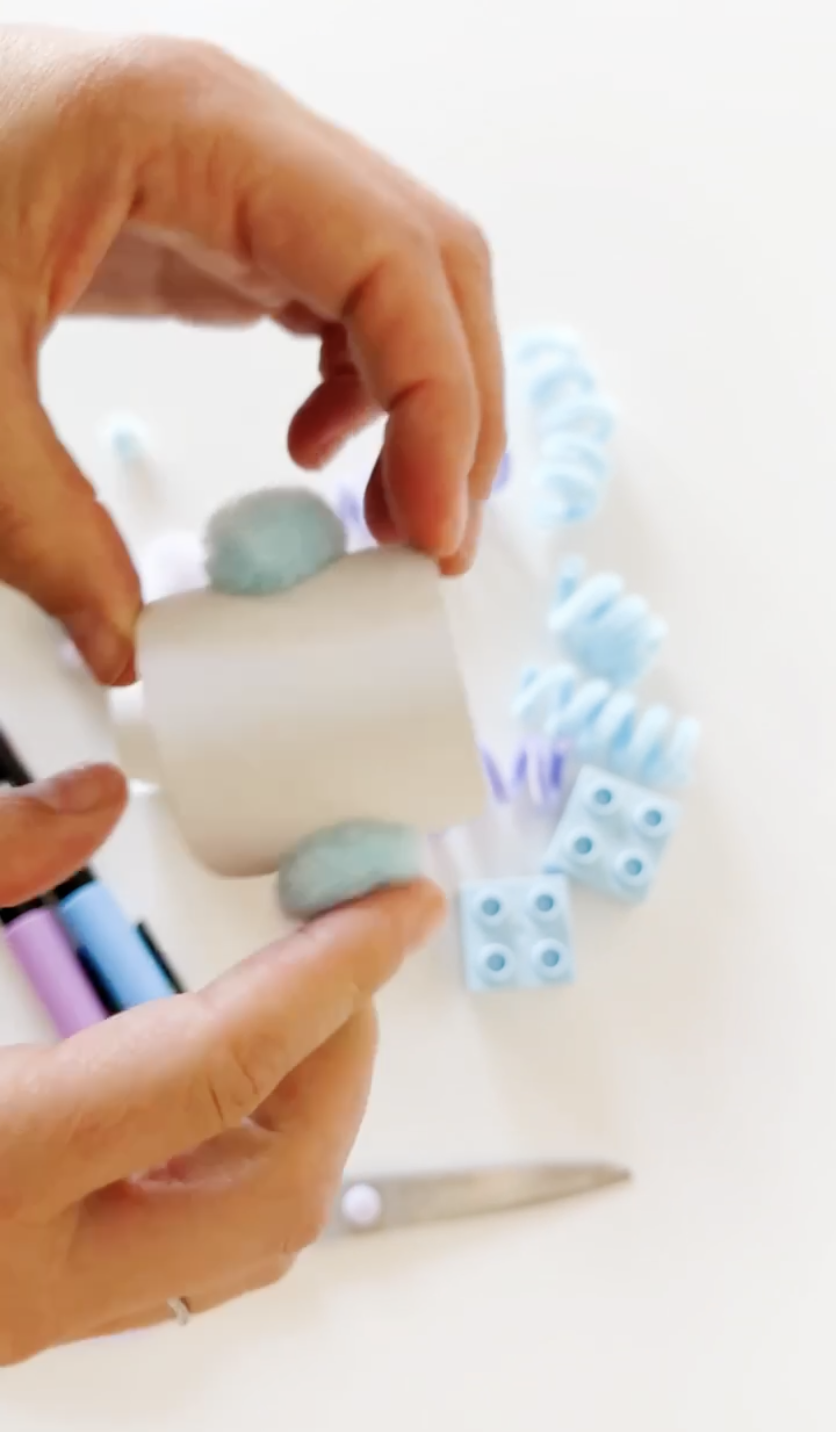
Cut a short section from a cardboard tube to create the robot’s head. Paint or wrap it in white paper if you want a clean robot base.
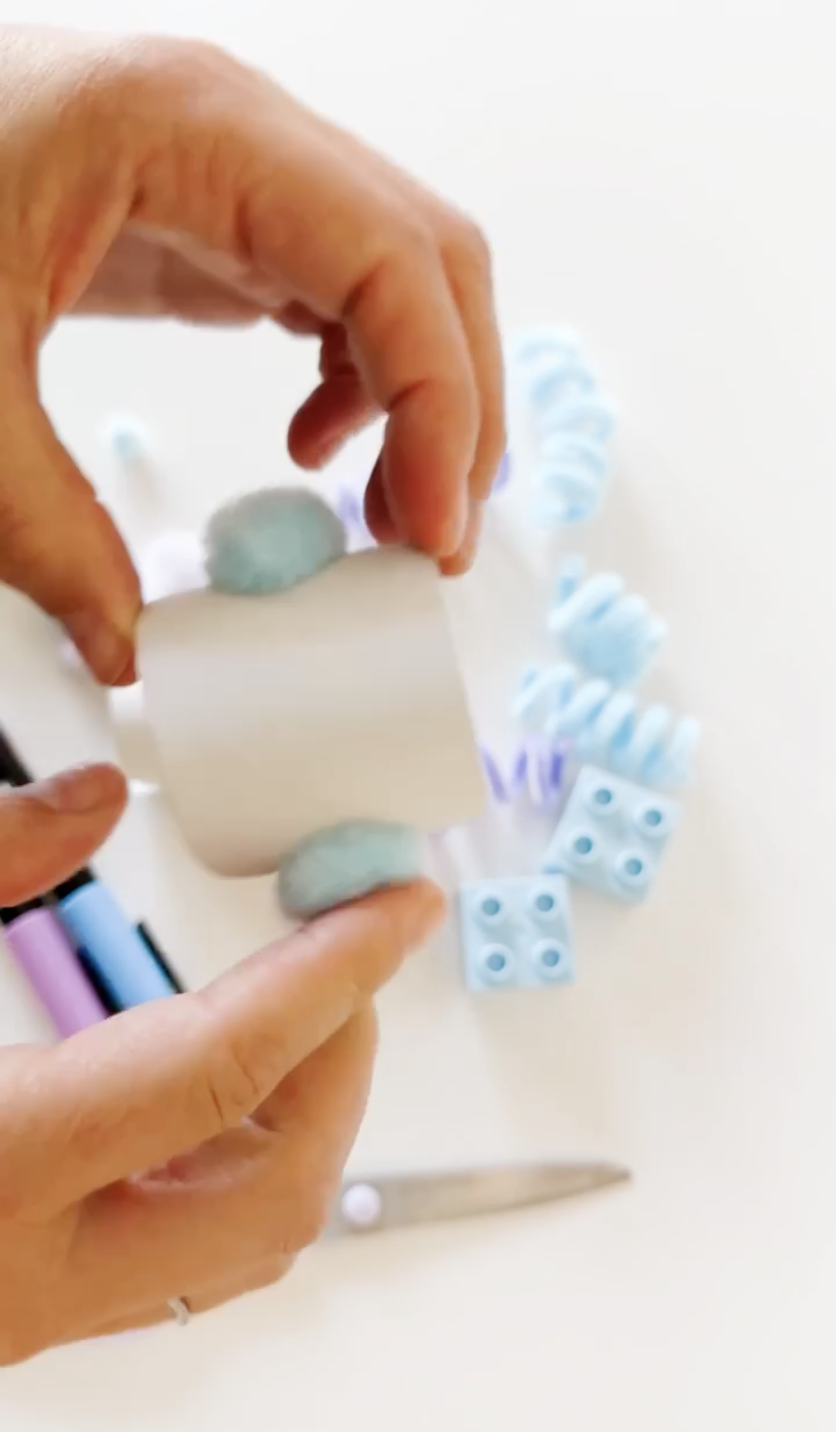
Glue a pom-pom to each side for ears. Add one more pom-pom to the top if you want a soft button, light, or extra robot sensor.
Step 2
Add the face and antennae
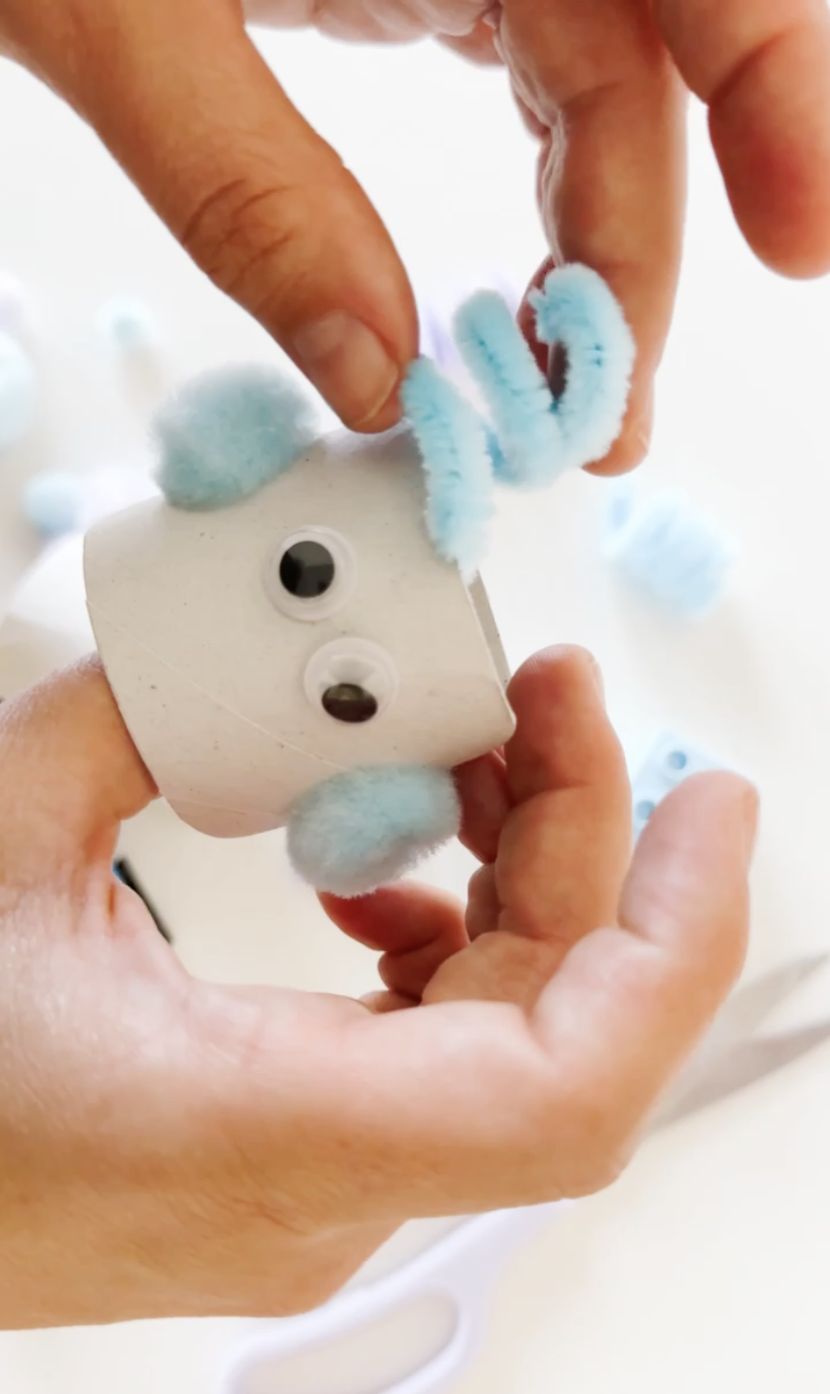
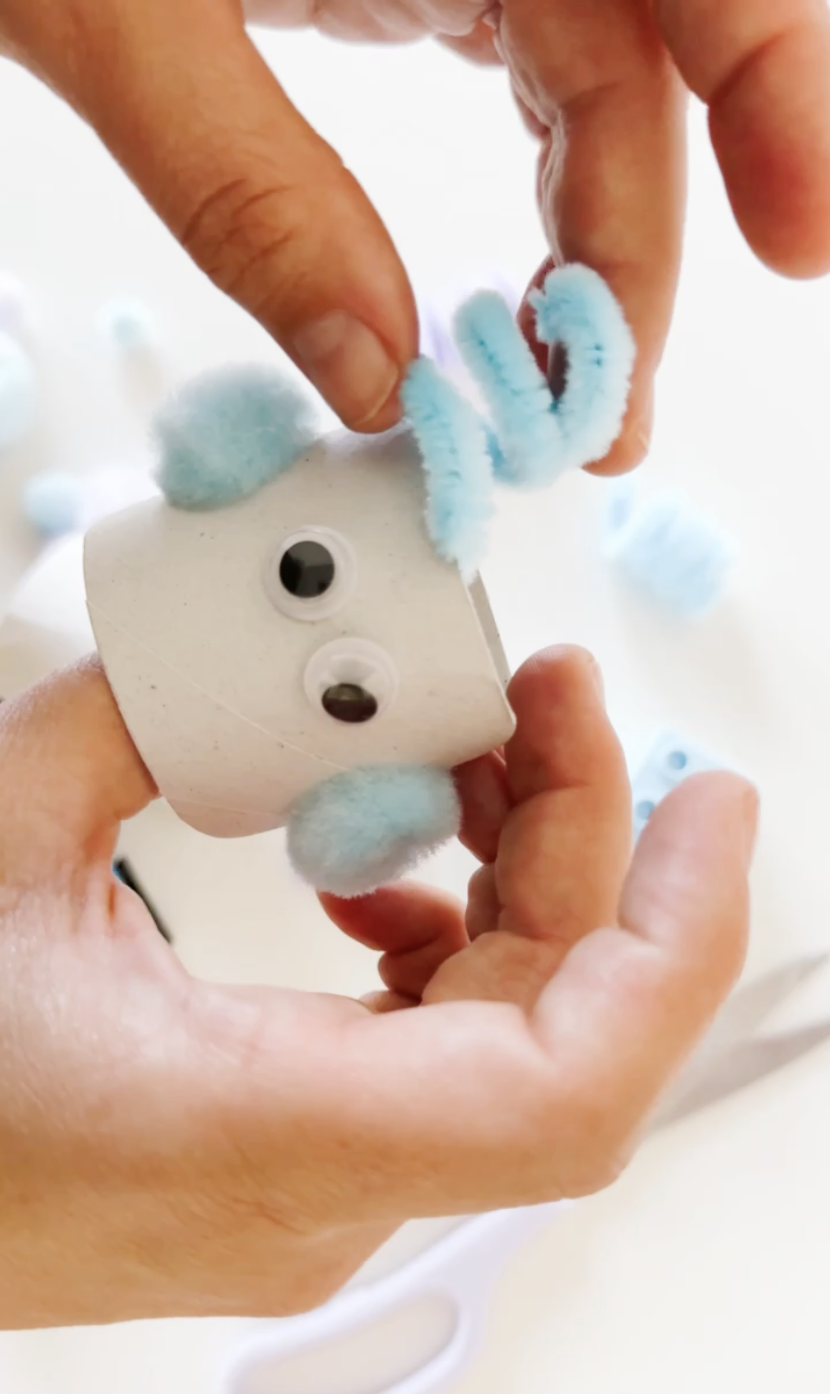
Glue two googly eyes onto the front of the robot head. Draw a small mouth, eyelashes, buttons, bolts, or any other facial details your child wants.
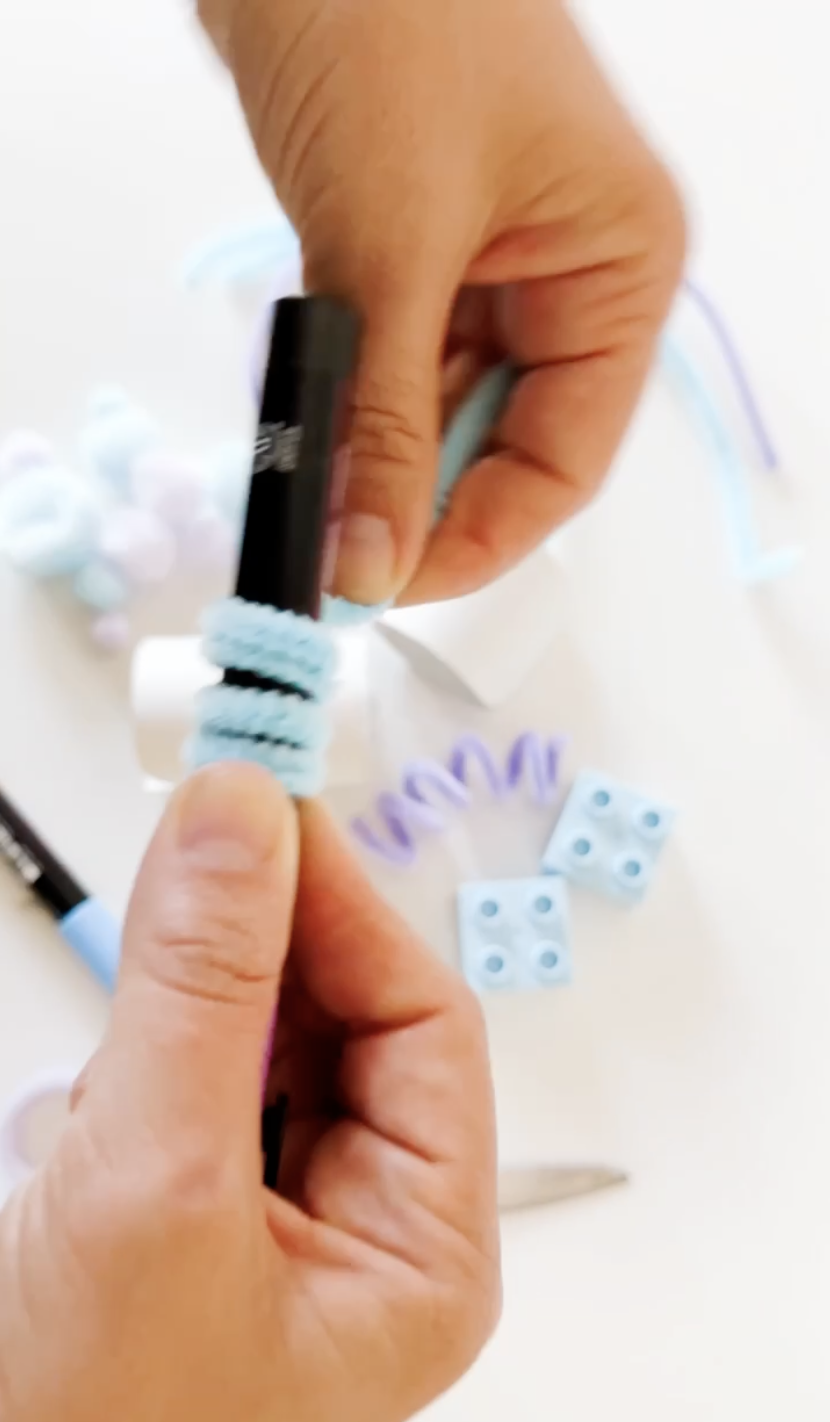
Wrap two pipe cleaners around a marker or pencil to make spirals. Slide them off, bend the ends slightly, and attach them to the top of the robot’s head as antennae.
Step 3
Make curly robot limbs
Wrap additional pipe cleaners around a marker to create coiled arms, legs, and a tail-like wire attachment.
Try making some coils tight and others loose. Ask your child which shape might make the robot bounce, reach, twist, or move most easily.
Step 4
Add building-brick feet
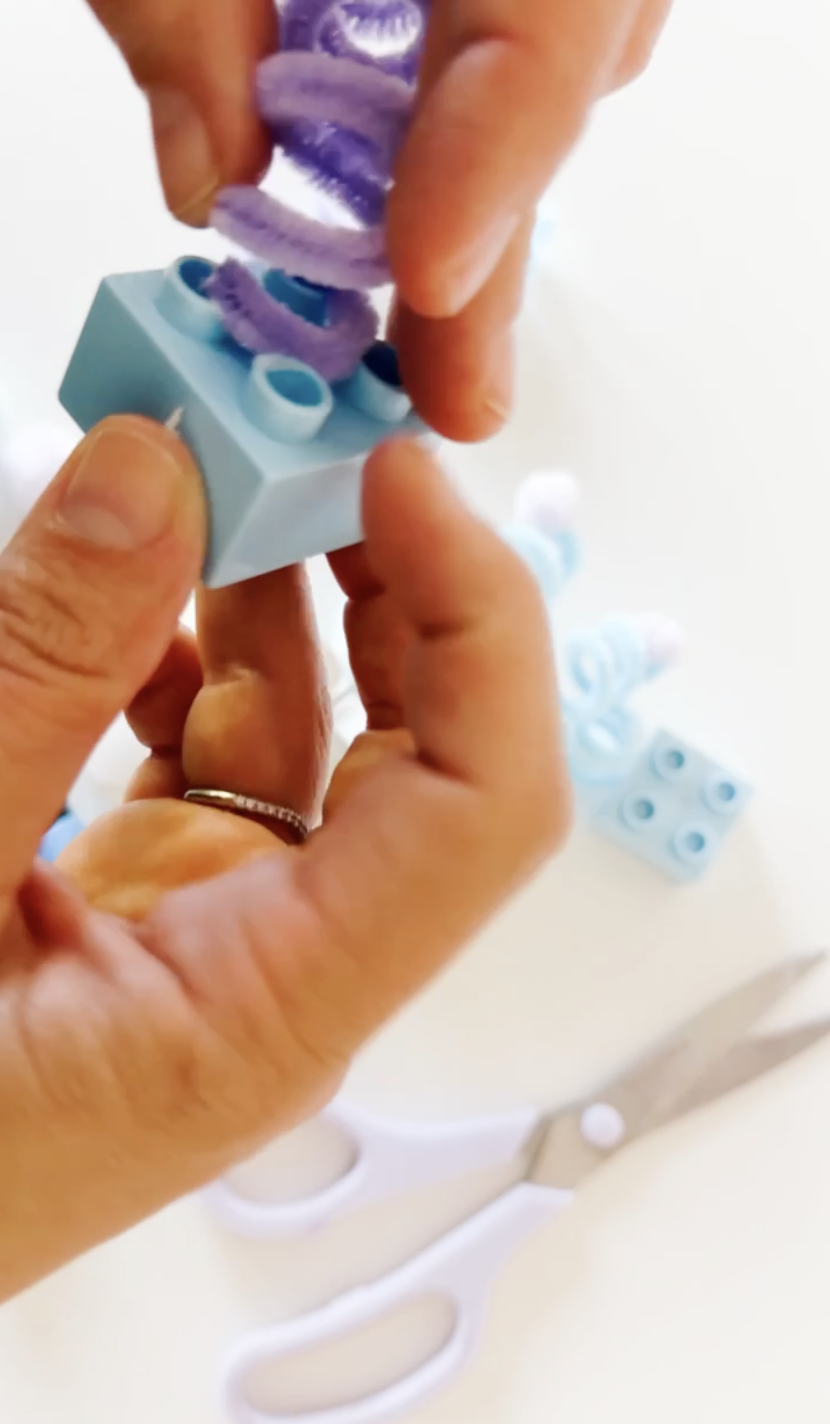
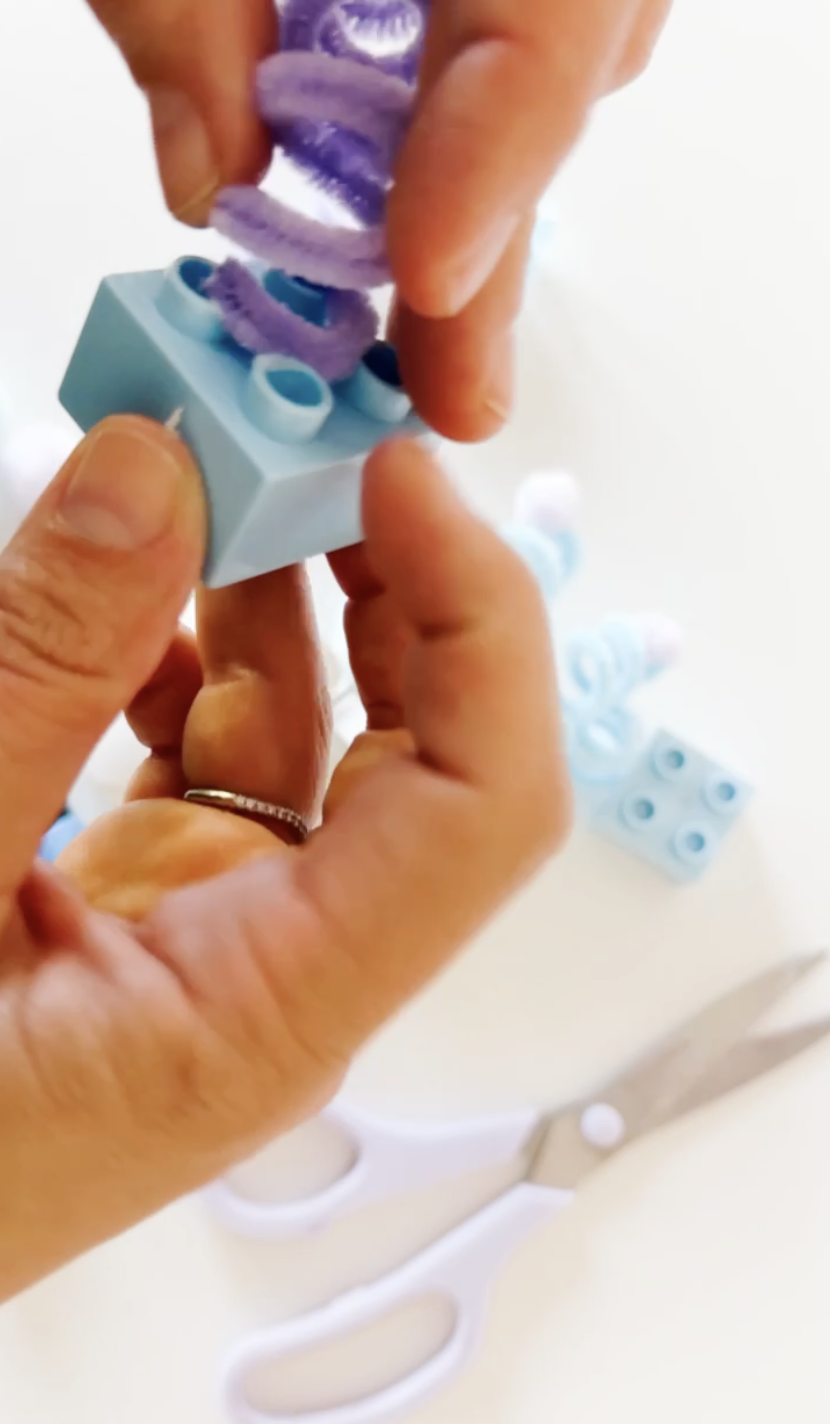
Press the ends of the curled pipe-cleaner legs into the openings of large building bricks. The bricks become chunky robot feet and help the finished creation stand or balance.
Test a few different bricks and positions. This is a playful opportunity to explore balance, stability, weight, and problem-solving.
Step 5
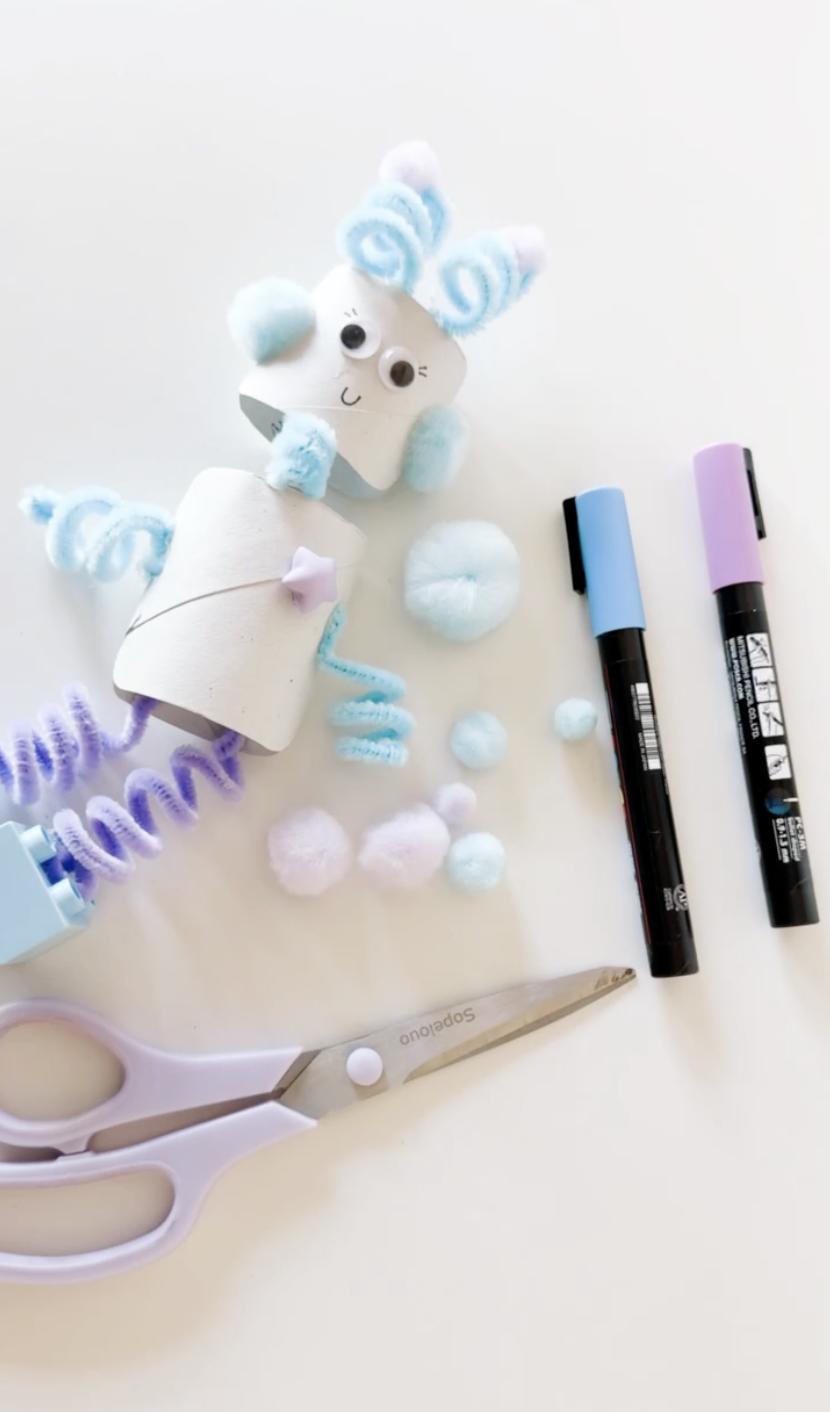
Assemble and decorate the robot
Attach the head to the larger cardboard tube body with a short pipe-cleaner neck, glue, or another flexible connector.
Add the arms, legs, feet, decorative pom-poms, and a building-brick button or control panel. Finish by drawing bolts, switches, numbers, patterns, or a robot name.
Parent tip
Do not worry about making every part perfectly symmetrical. Letting children choose unusual placements and test their own ideas turns this craft into a much richer engineering and problem-solving activity.
Turn it into a mini STEM challenge
Once the basic robot is complete, invite your child to improve its design.
- Can you make the robot stand without falling?
- Can you create arms that bend?
- Can you design feet that support a heavier body?
- Can the head spin or wobble?
- Can you add a tool, button, sensor, or pretend control panel?
- Can you build a second robot with a completely different job?
These small design challenges encourage children to plan, test, adjust, and try again—the same basic process engineers use when developing a new invention.
What kids learn from this robot craft
This recycled robot craft supports much more than creativity.
Wrapping pipe cleaners around a marker strengthens hand muscles and coordination. Gluing small details develops precision. Connecting the pieces introduces construction, balance, flexible joints, and cause and effect.
Children also practice planning as they decide what their robot should do and which parts it needs. When a piece does not balance or attach correctly, they get an authentic opportunity to problem-solve and revise their design.
Learning skills
Fine motor skills
Early engineering
Problem-solving
Balance
Cause and effect
Creative design
Recycled materials
Pretend play
Hand-eye coordination
Questions to ask kids
- What job does your robot do?
- Why does it need antennae?
- Which parts can bend or move?
- How can we help the robot balance?
- What would happen if the feet were smaller?
- What tools or buttons does your robot need?
- What is your robot’s name?
- Can you invent a story about where the robot lives?
Robot vocabulary
Robot
Engineer
Invent
Design
Machine
Antenna
Sensor
Control panel
Joint
Balance
Build
Test
Improve
Ways to extend the play
Robot repair shop
Set out toy tools, loose parts, building bricks, and recycled materials so children can repair and upgrade their robots.
Robot movement game
Take turns moving like robots. Use commands such as forward, backward, turn, freeze, lift, and recharge.
Design a robot helper
Ask your child to draw or build a robot that helps with a real-life job, such as cleaning, cooking, gardening, or exploring space.
Build a robot world
Use boxes, building bricks, tubes, and recycled containers to create a laboratory, charging station, or robot city.
More robot and space activities
DIY robot costume
Turn cardboard boxes, lights, building bricks, tubes, and playful materials into a full wearable robot costume.
See the robot costumeDIY astronaut costume
Continue the engineering and imaginative-play theme with a sparkly homemade astronaut costume and jetpack.
See the astronaut costumeFree printable activities
Explore more hands-on printables, activity books, dramatic-play resources, and early-learning materials.
Browse free printablesToilet paper roll robot FAQ
How do you make a robot from a toilet paper roll?
Use one cardboard tube section for the head and another for the body. Add googly eyes, pom-pom ears, curled pipe-cleaner arms and legs, and large building bricks for the feet. Attach the parts with glue or pipe cleaners and decorate with markers.
What age is this robot craft best for?
This activity is best for children ages four and up with adult supervision. Younger children can decorate pre-cut pieces, while older children can help design, connect, and balance the robot independently.
How do you curl pipe cleaners for robot arms and legs?
Wrap a pipe cleaner tightly around a pencil or marker, then gently slide it off. Stretch or compress the spiral depending on how long and flexible you want the robot limb to be.
What can kids learn from making a robot?
Children practice fine motor skills, early engineering, creative design, balance, problem-solving, planning, and imaginative storytelling.
What can I use instead of building bricks for the feet?
Try bottle caps, small cardboard squares, corks, wooden blocks, egg-carton cups, foam shapes, or another sturdy recycled material.
Can I use this craft for a robot or space unit study?
Yes. Pair it with books about robots, coding movement games, recycled-building challenges, space sensory play, and conversations about how engineers design machines to solve problems.
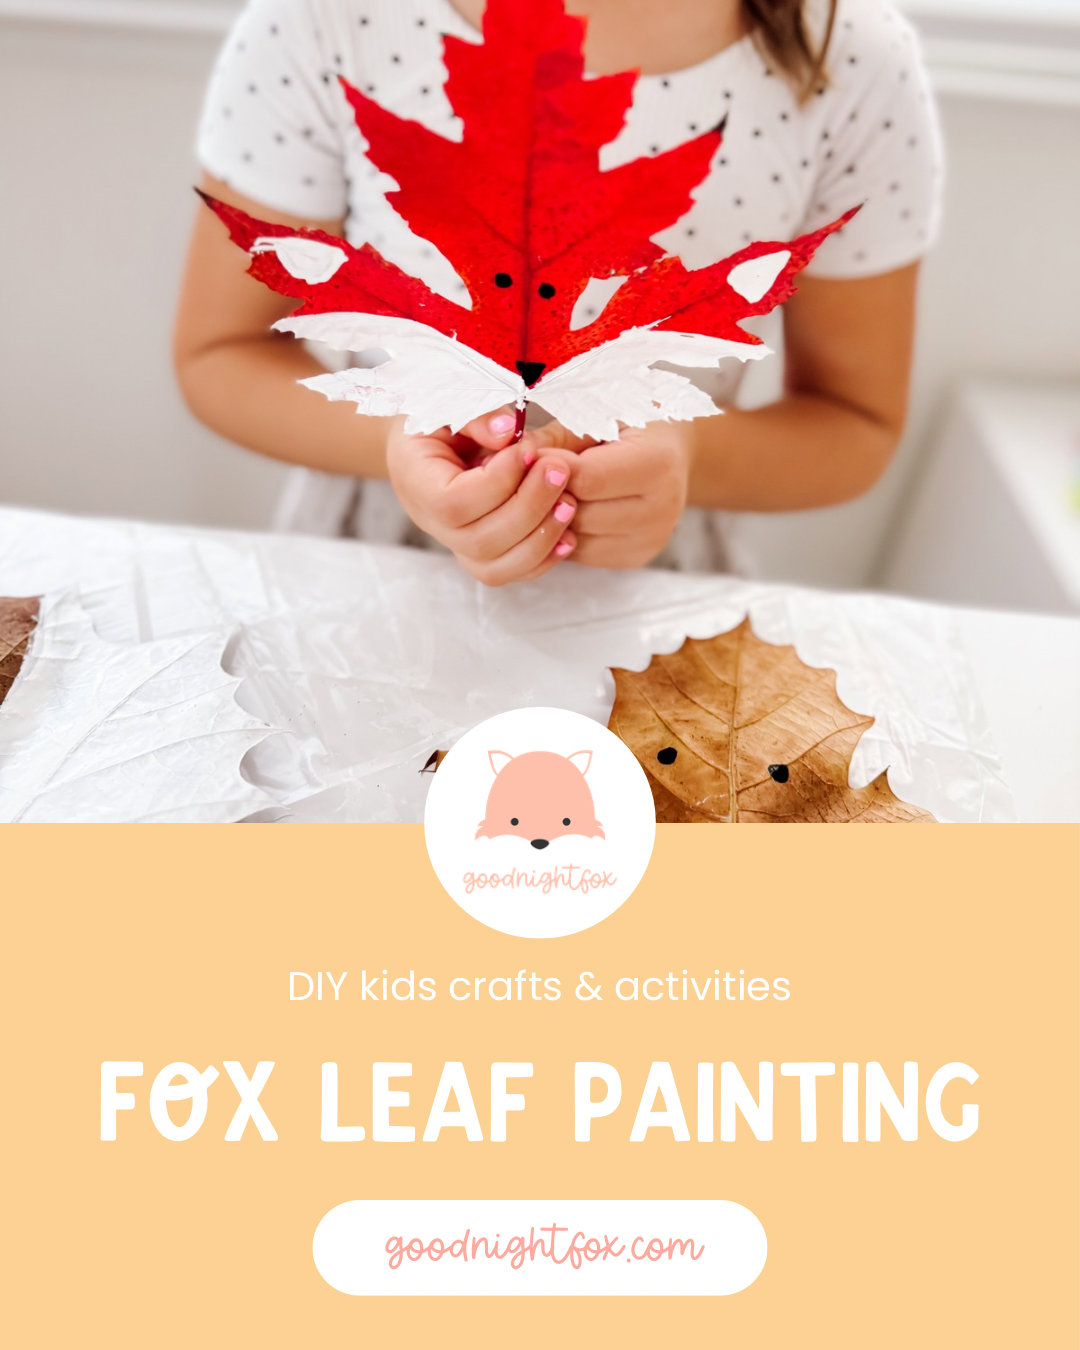
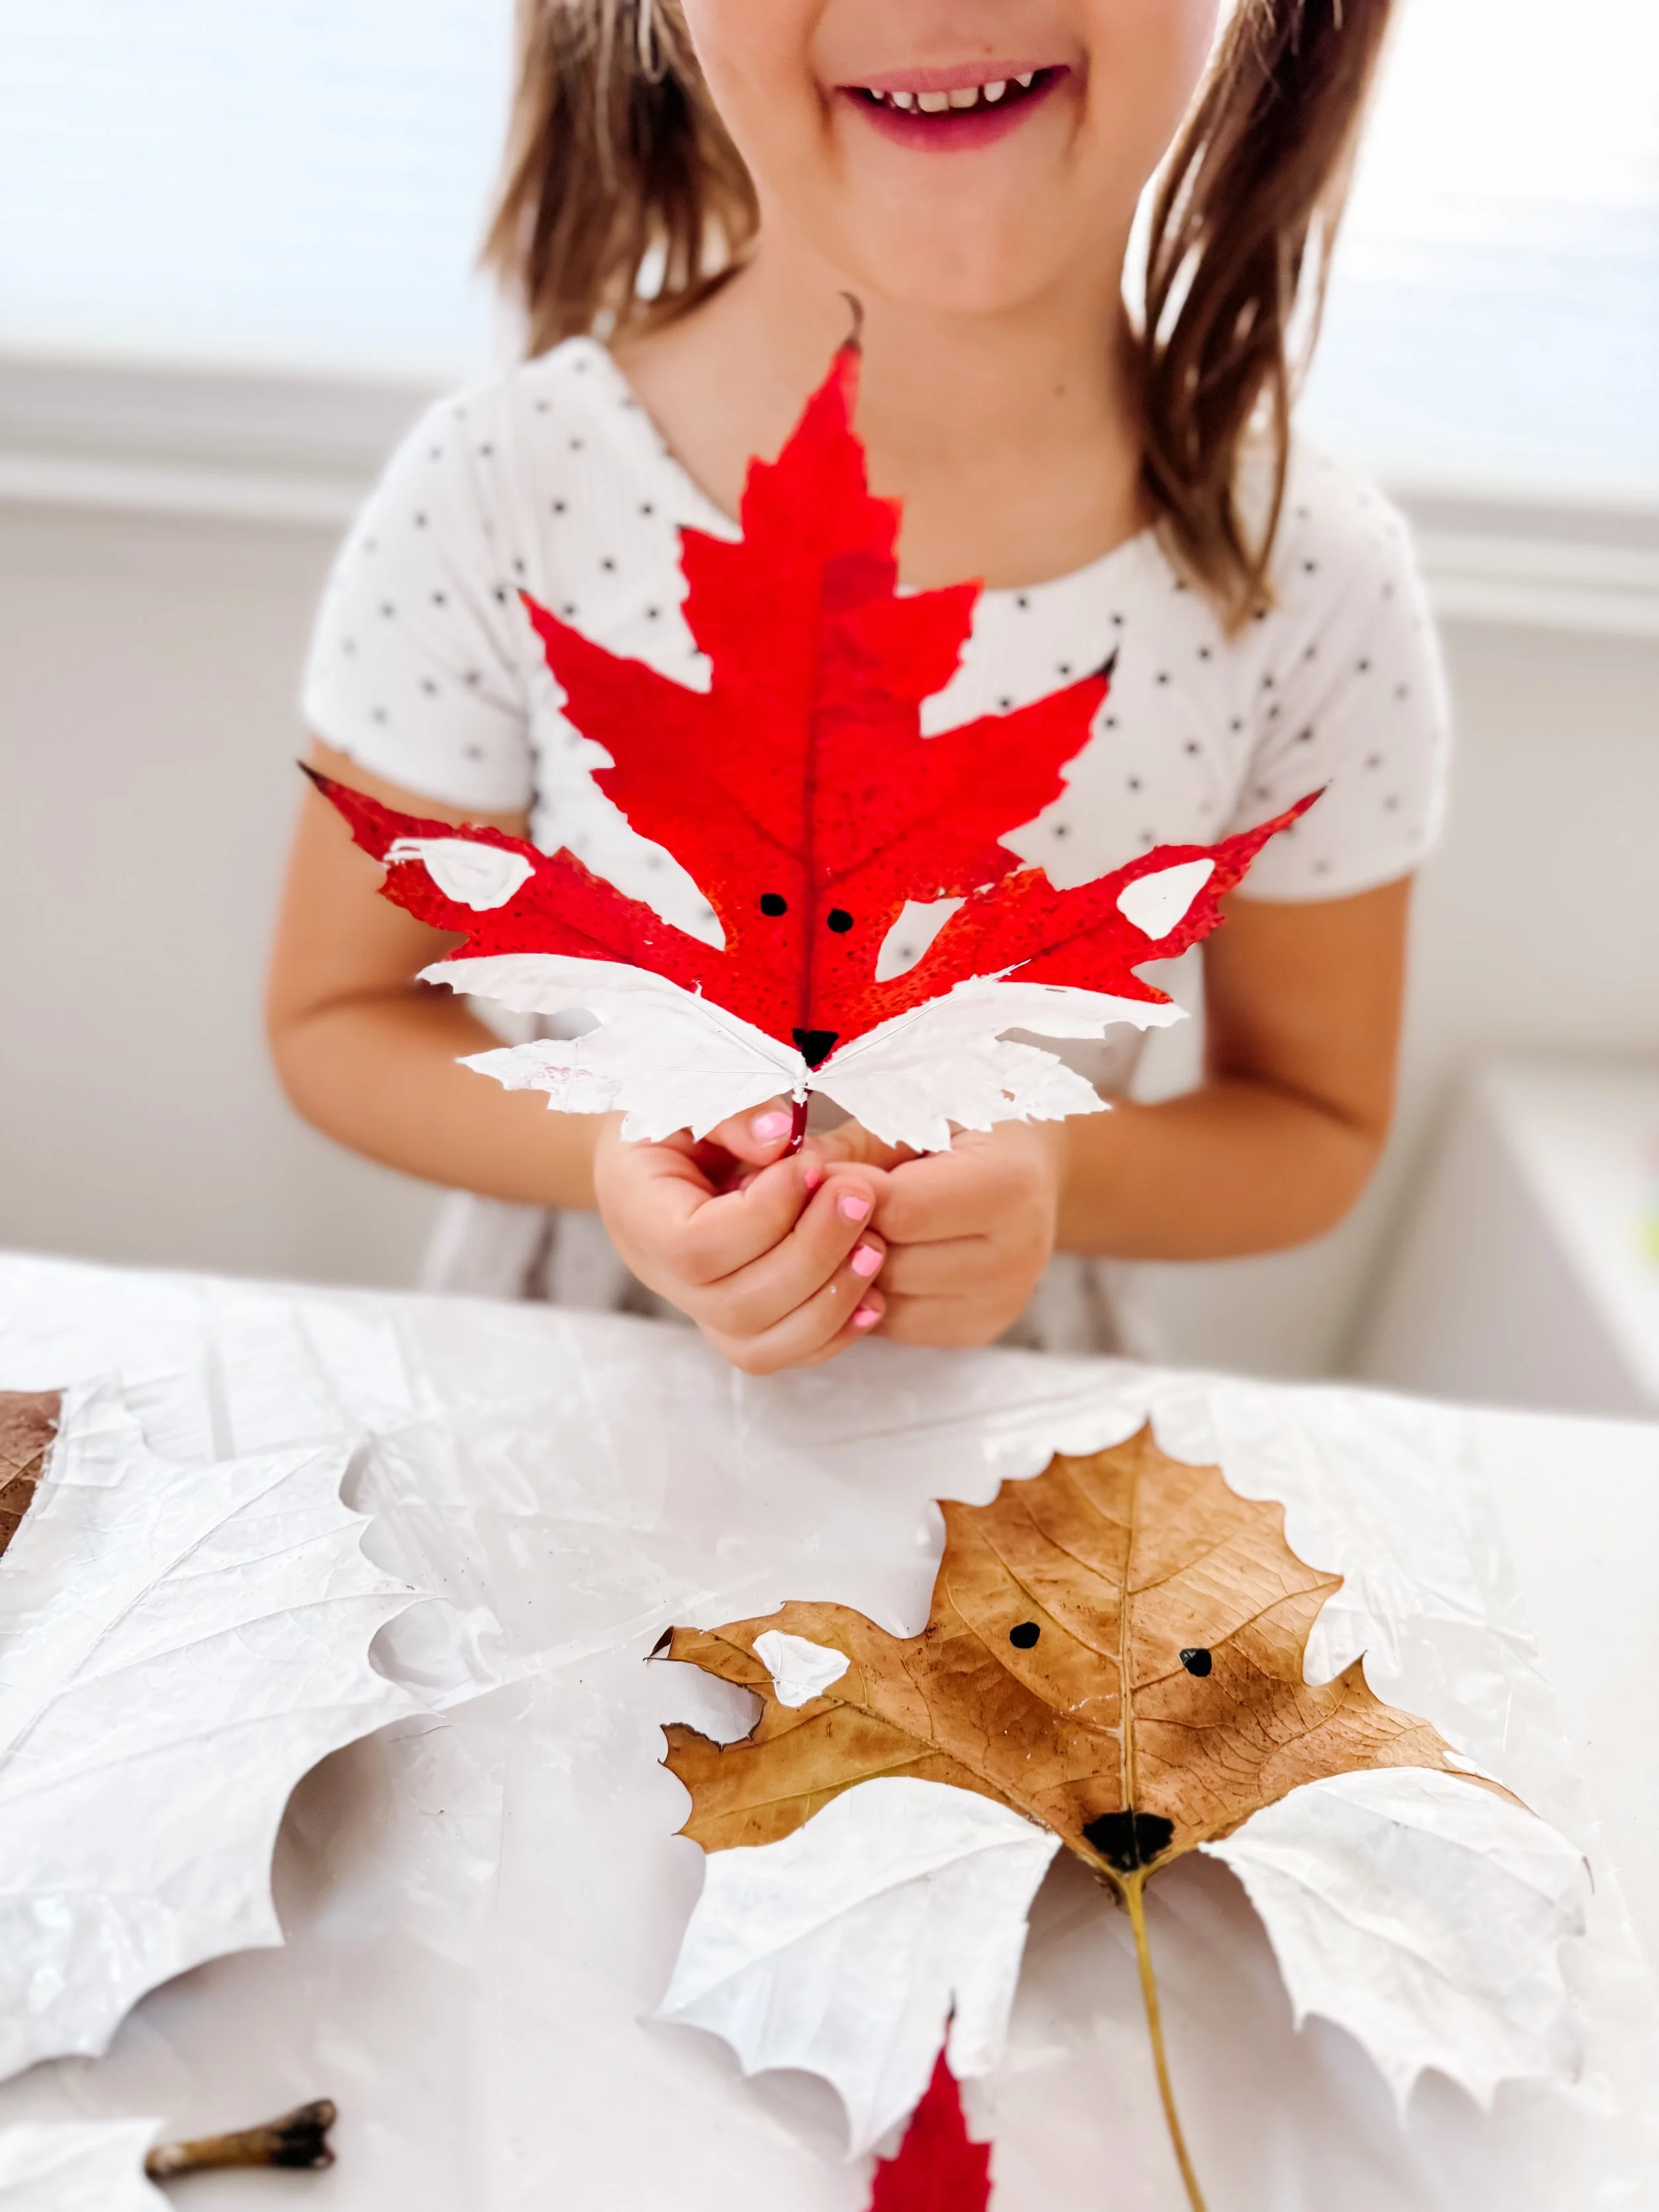
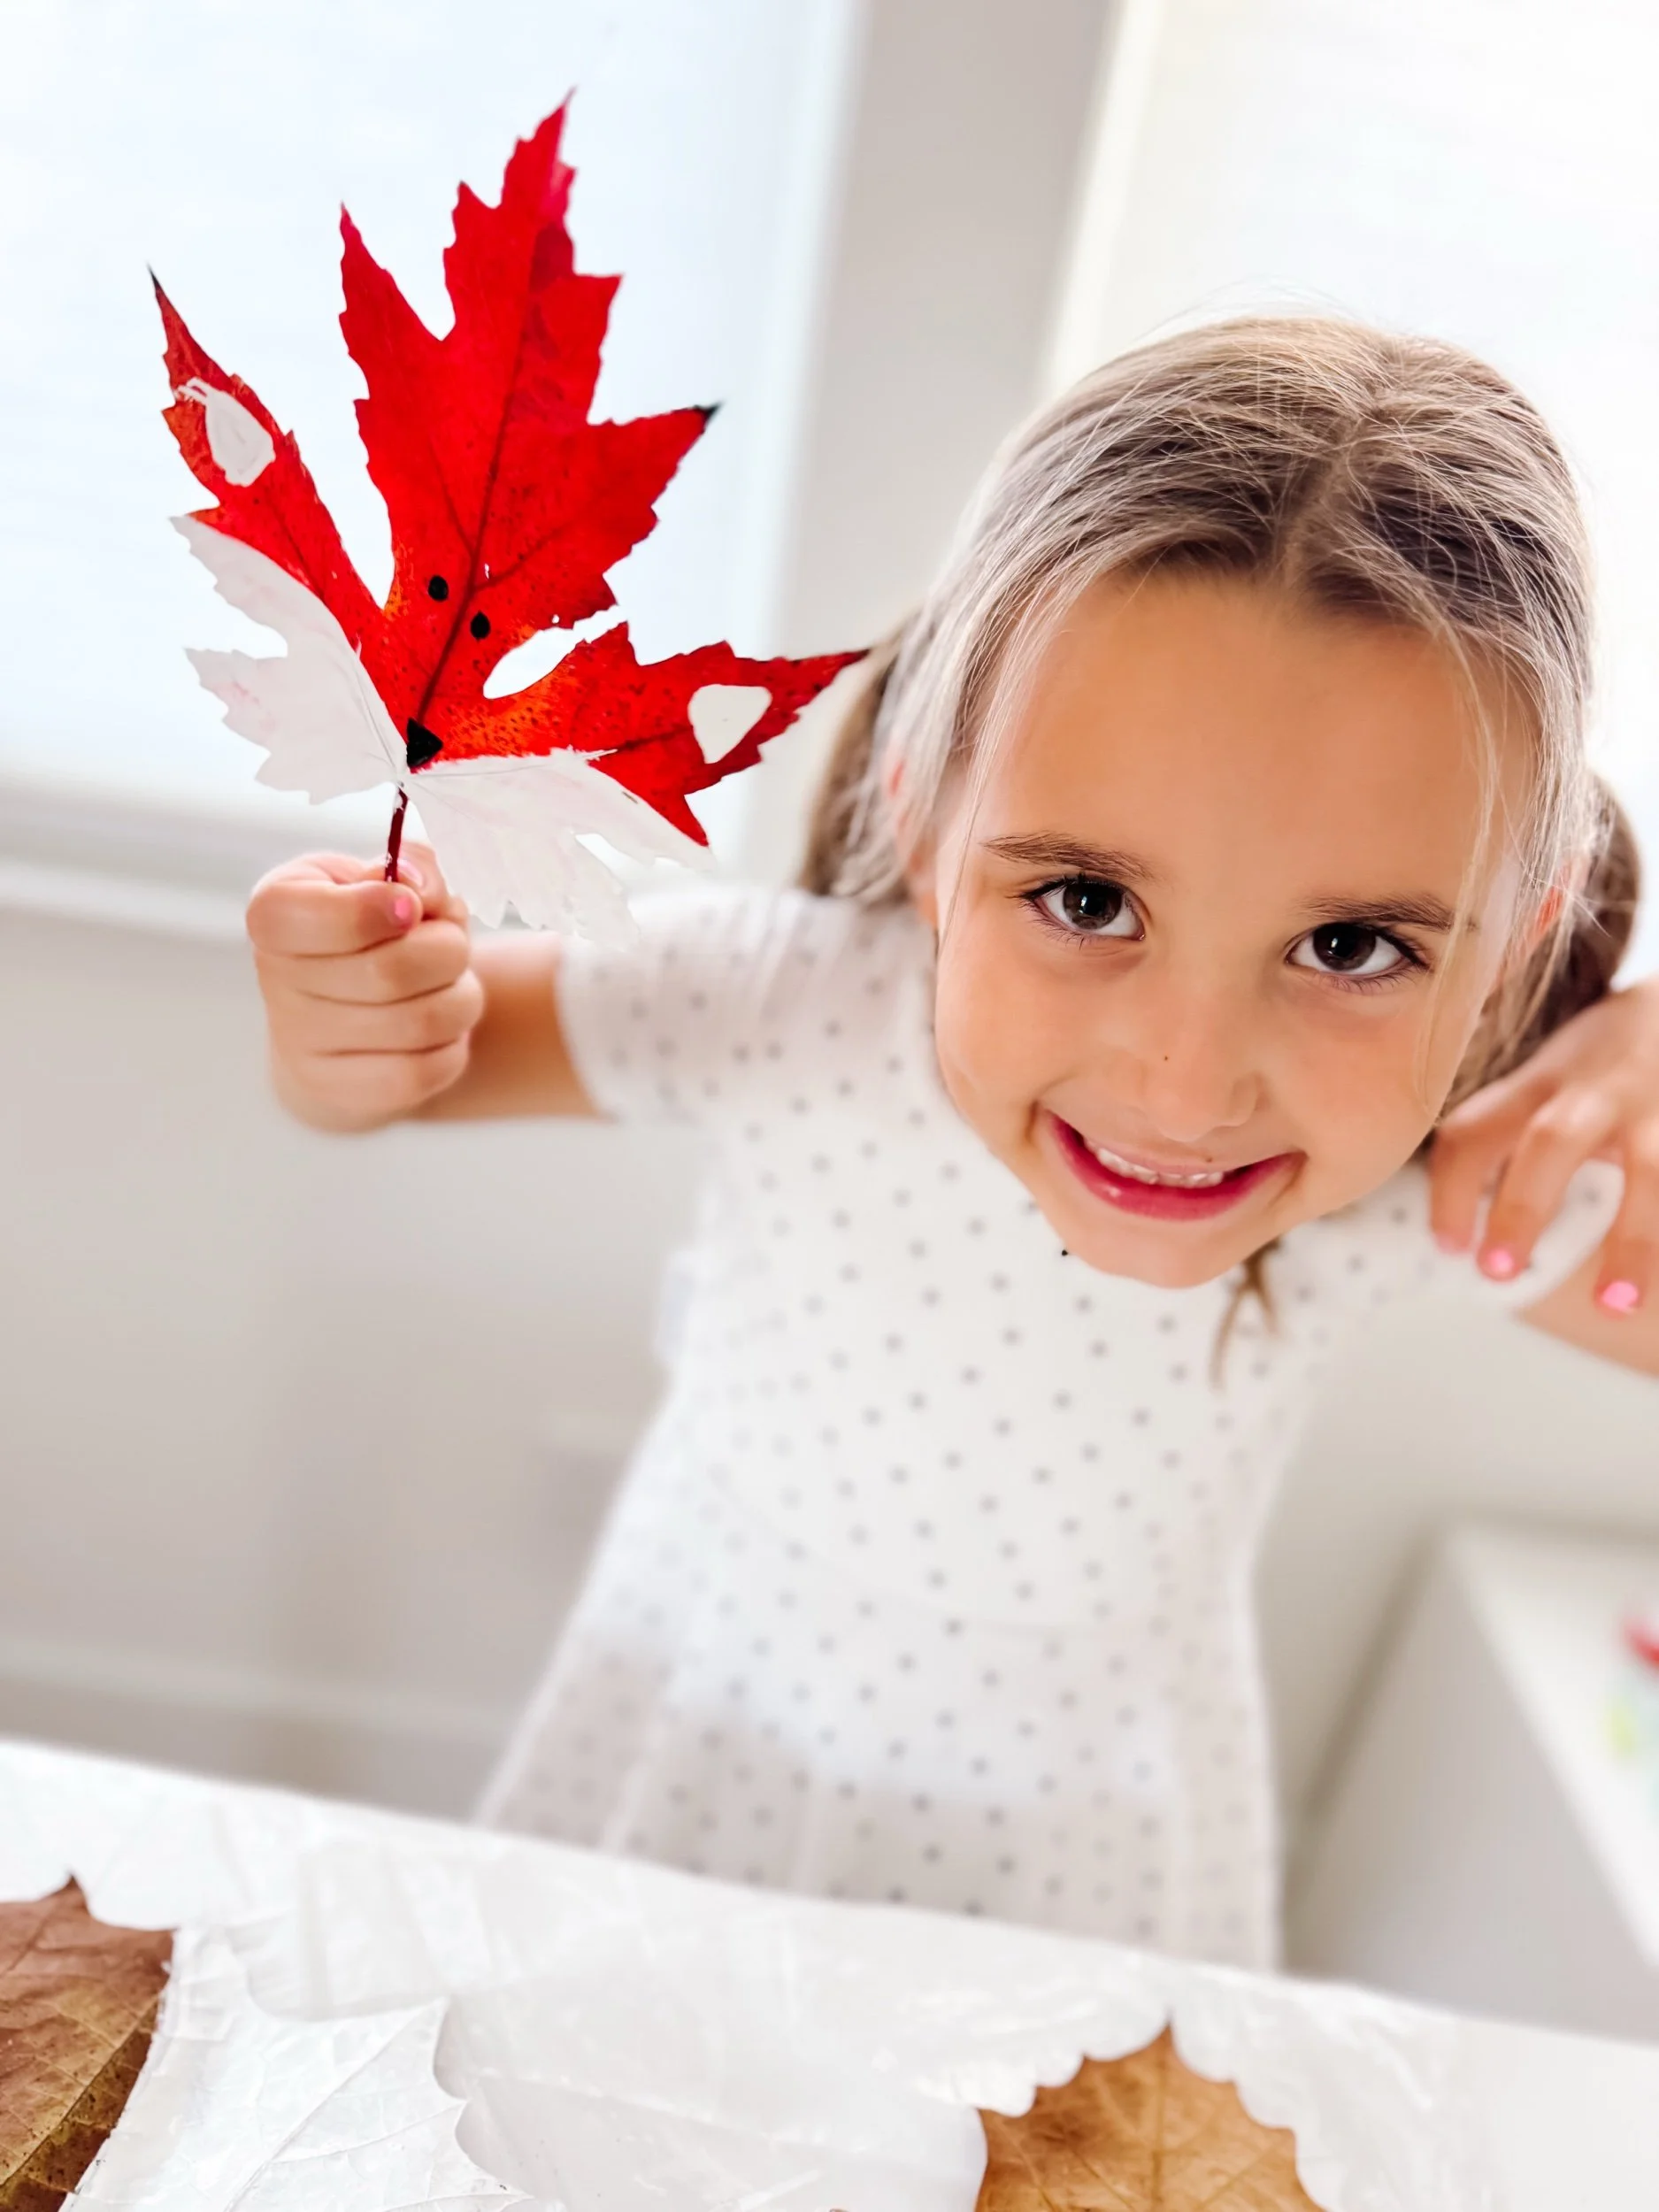
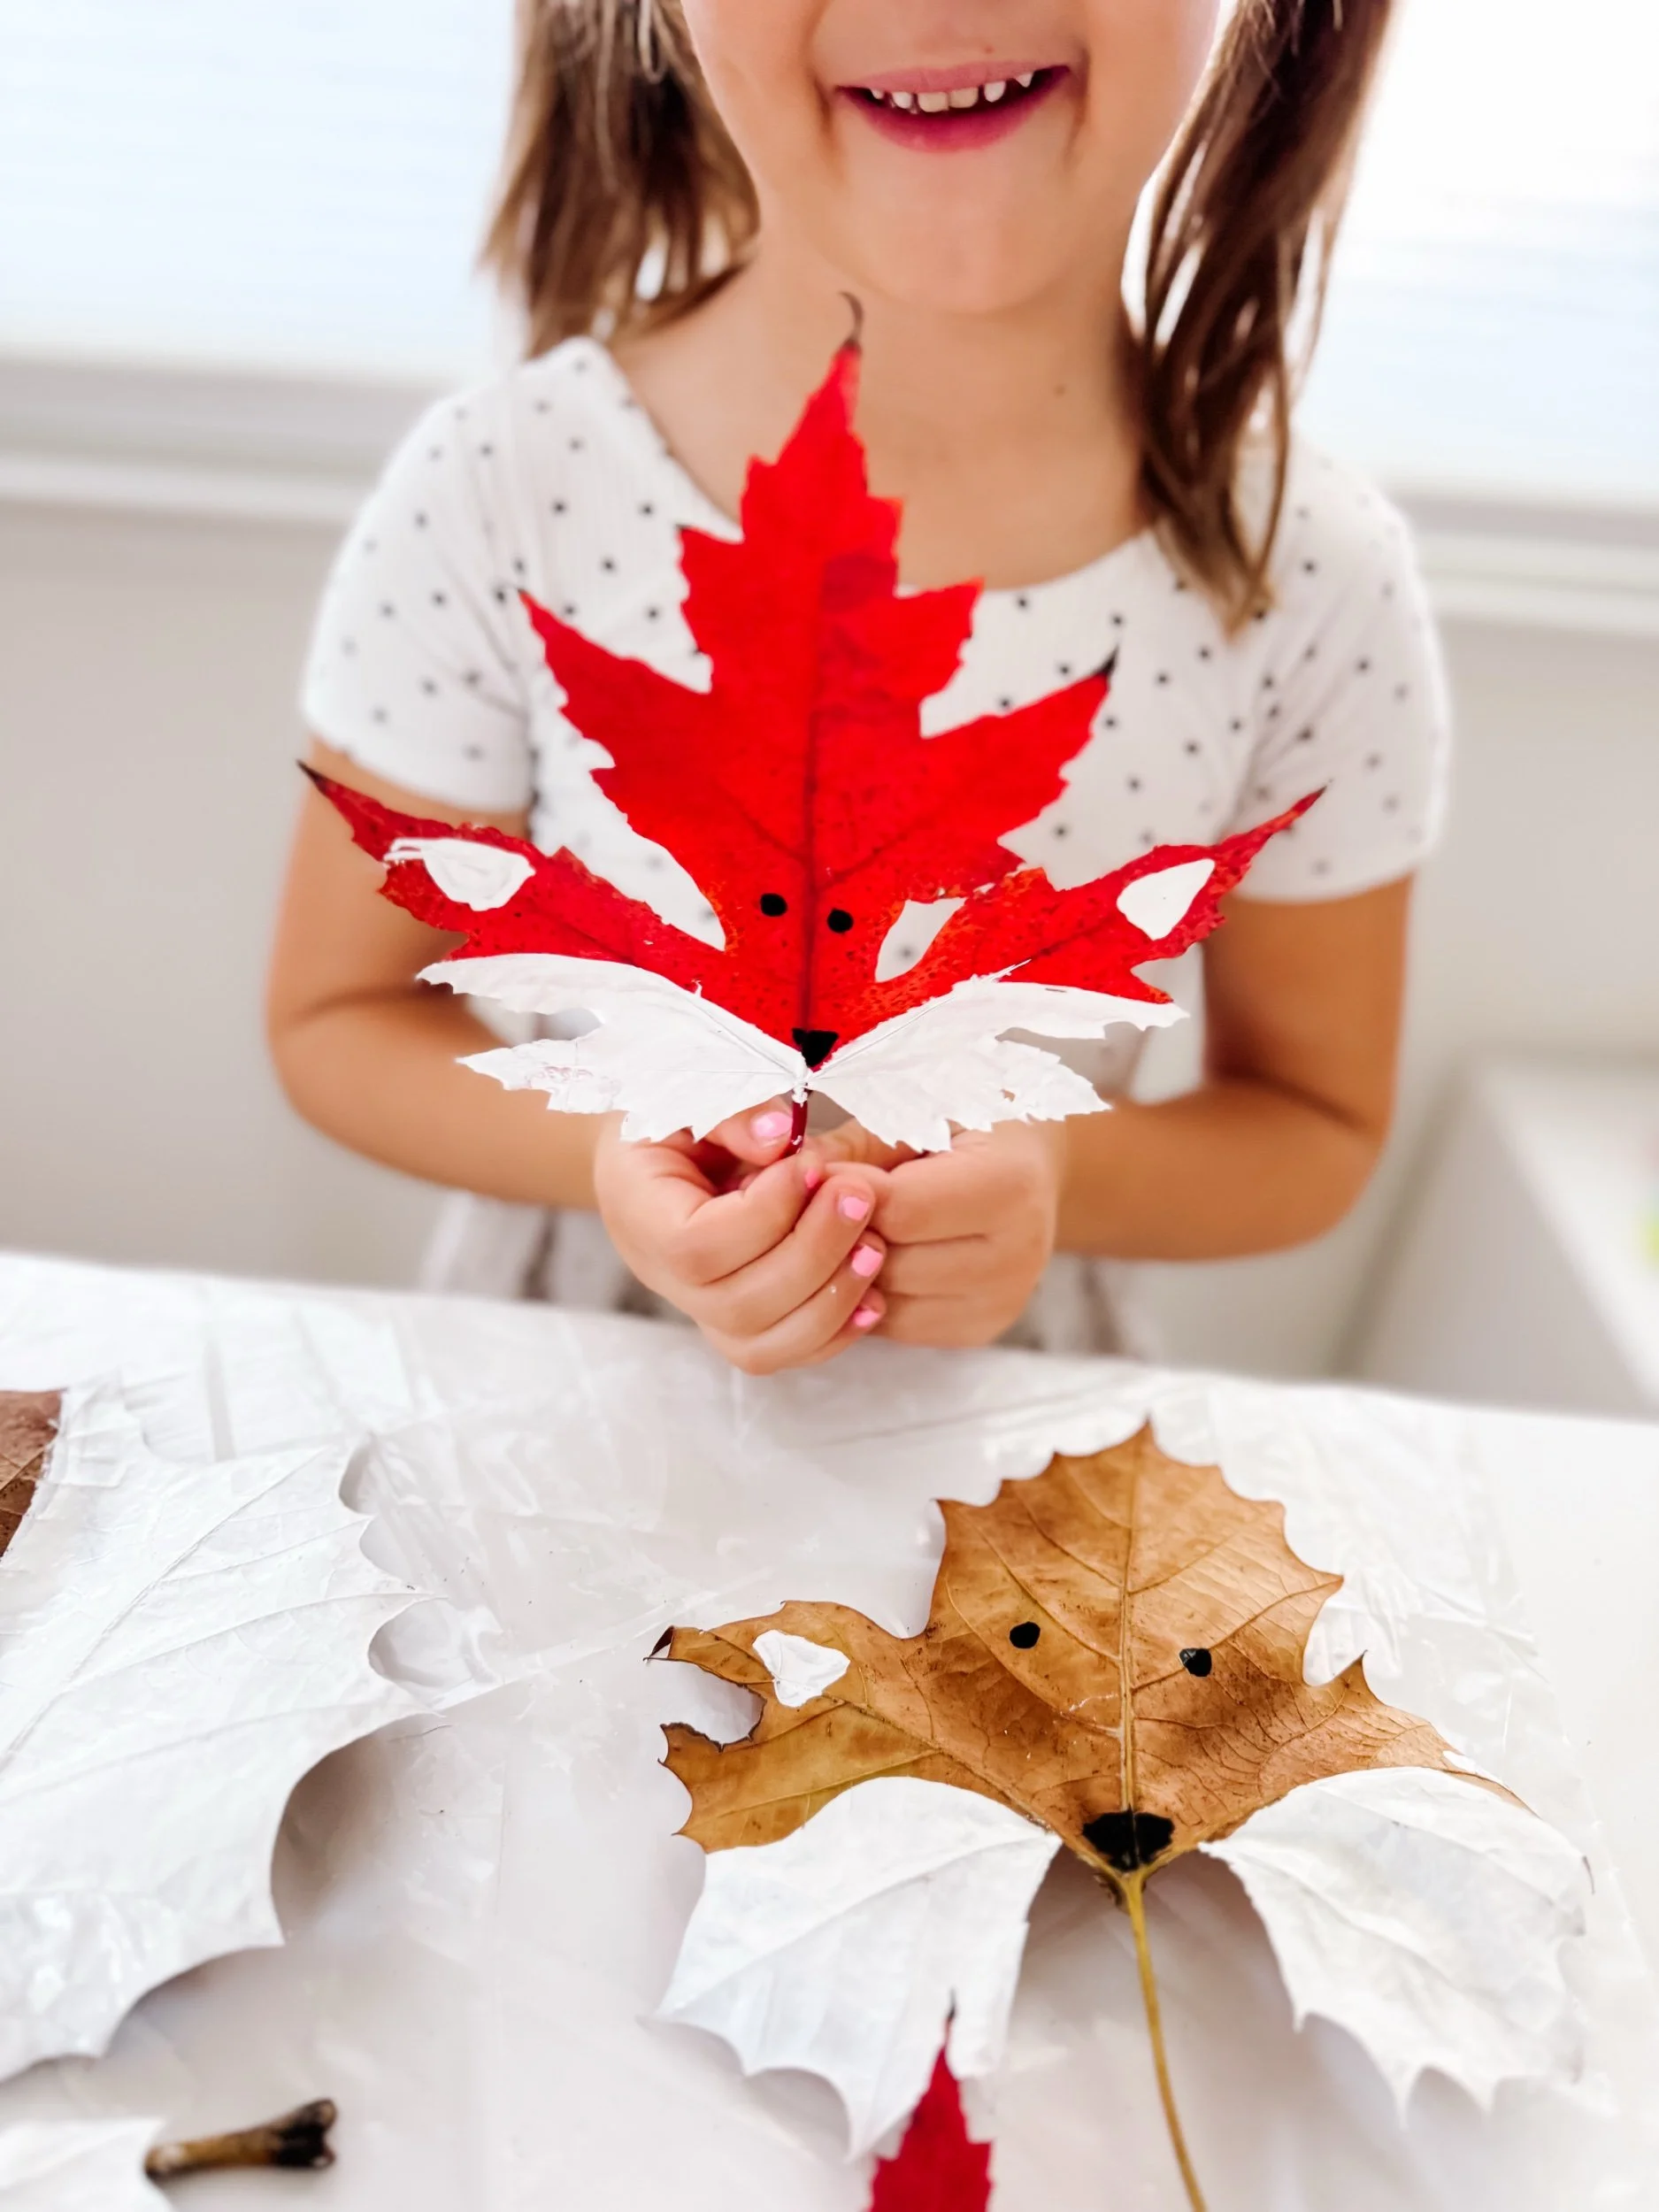
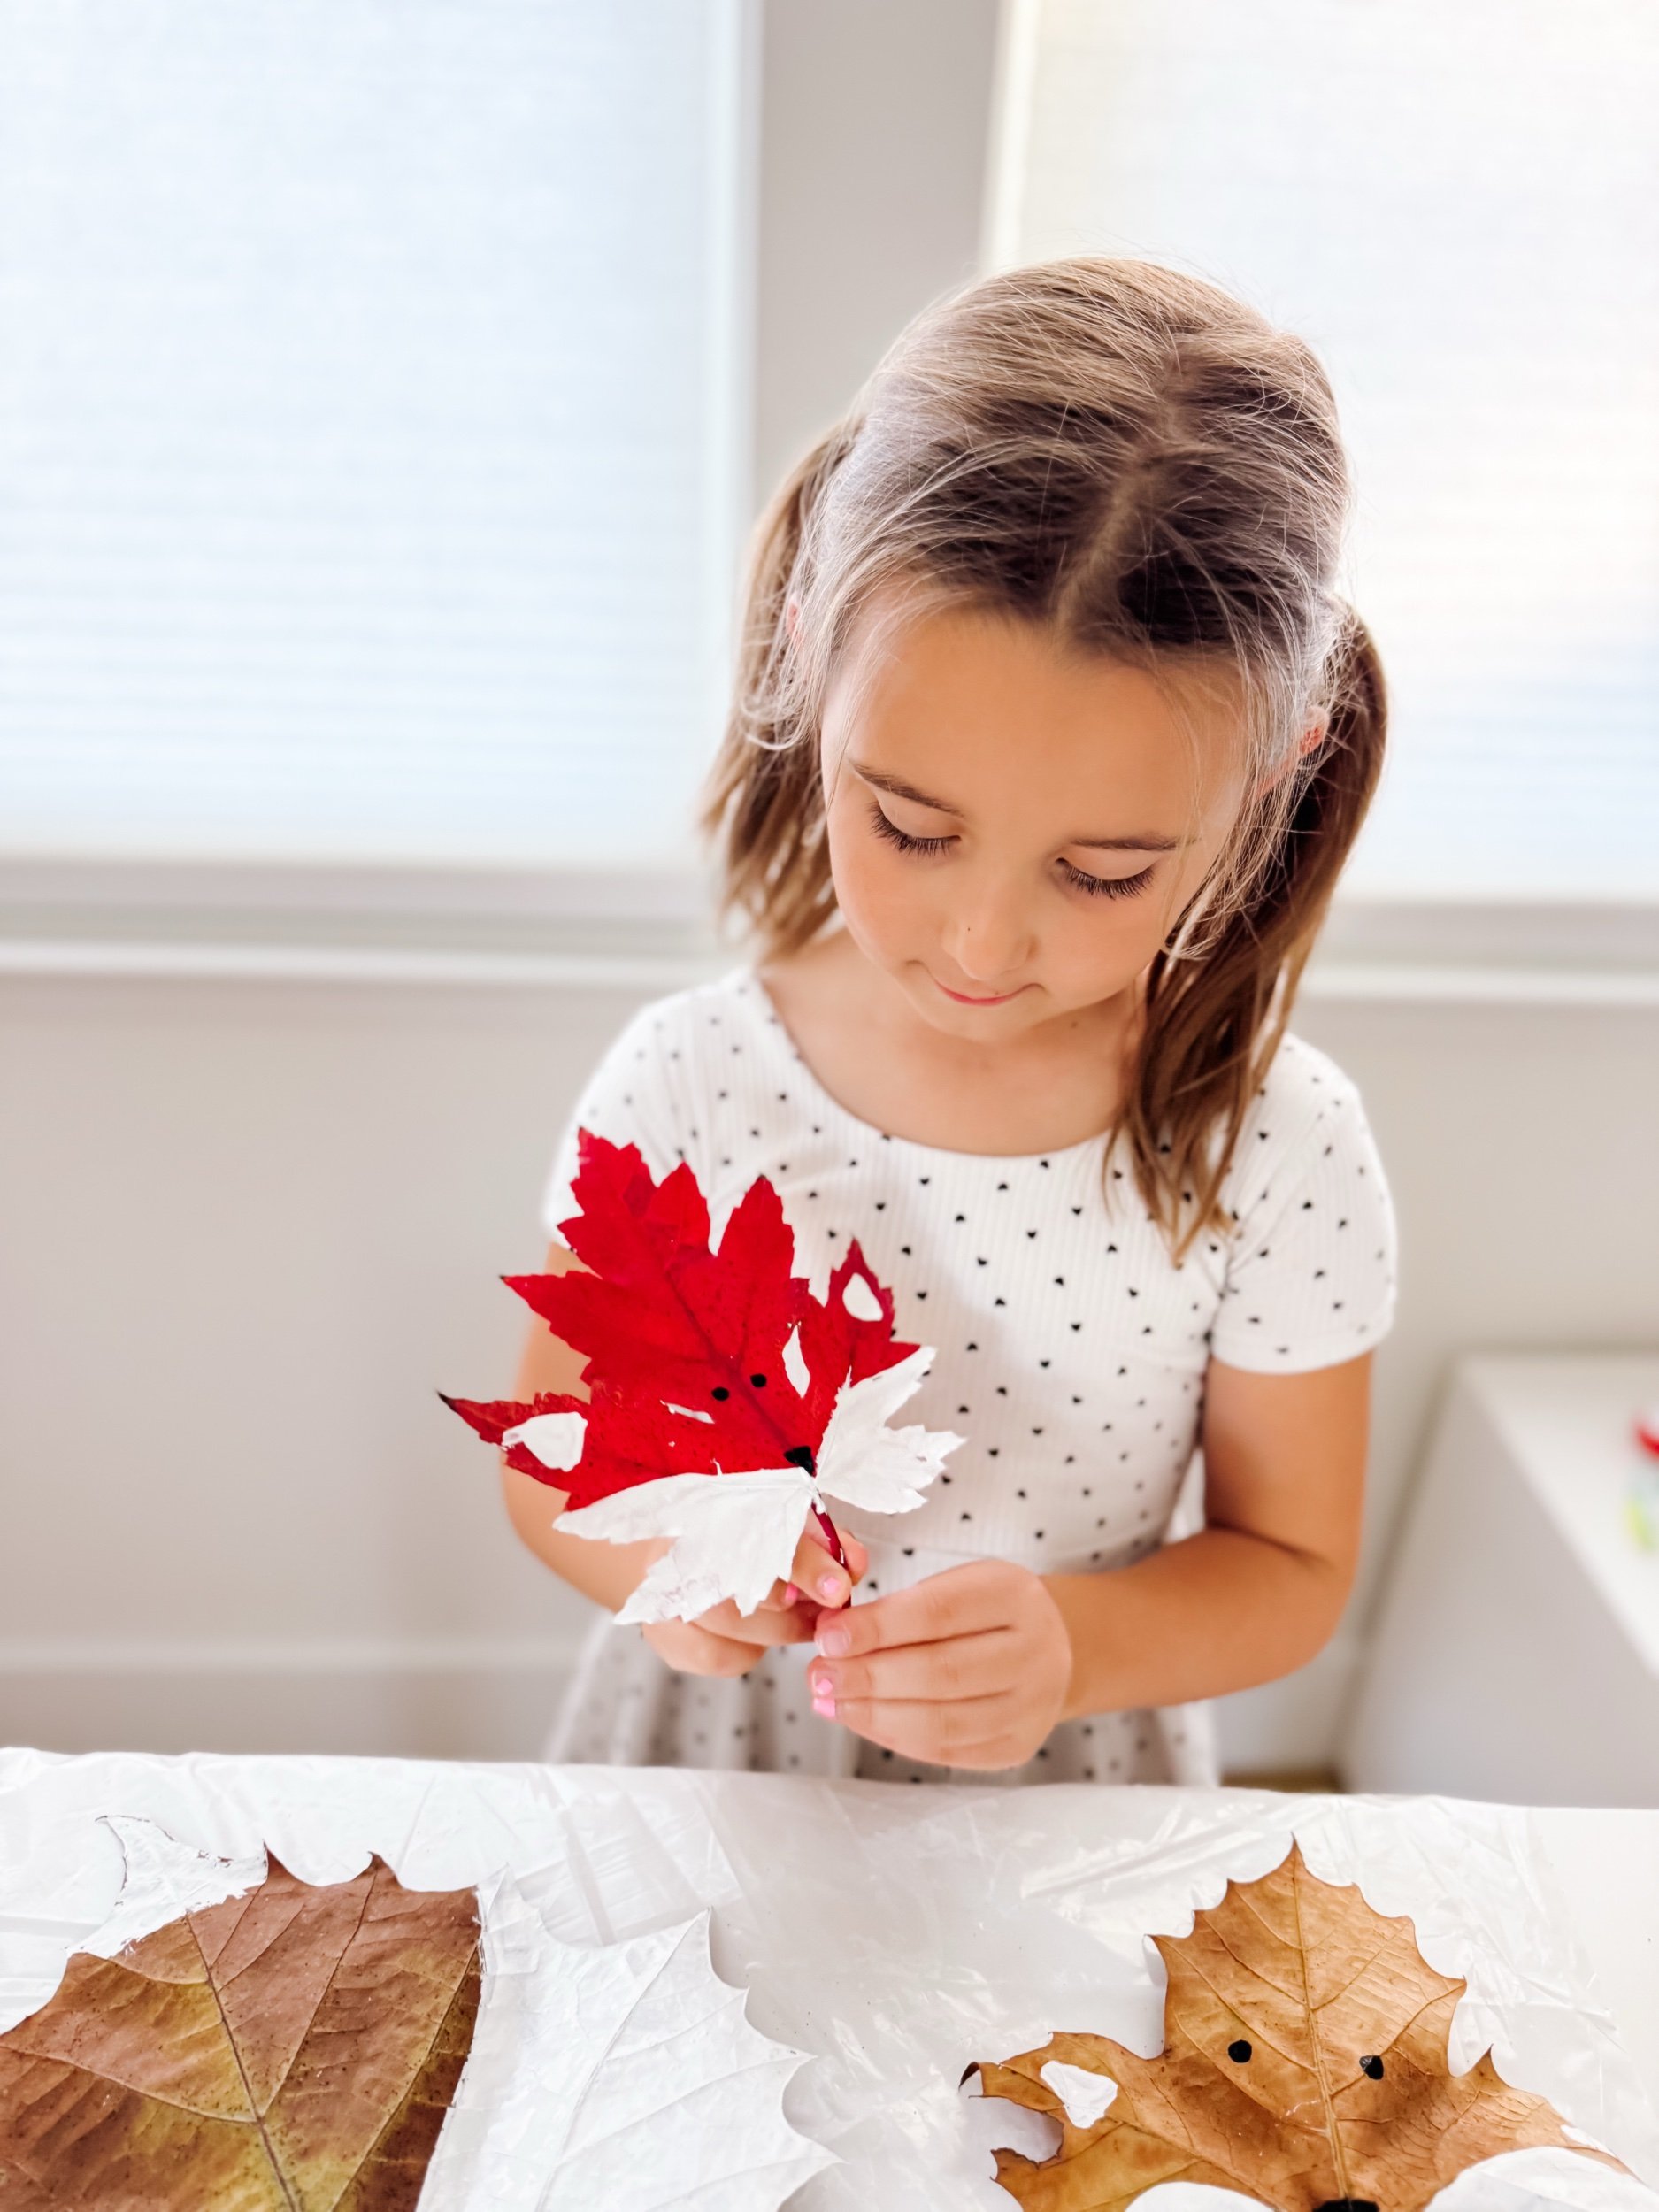
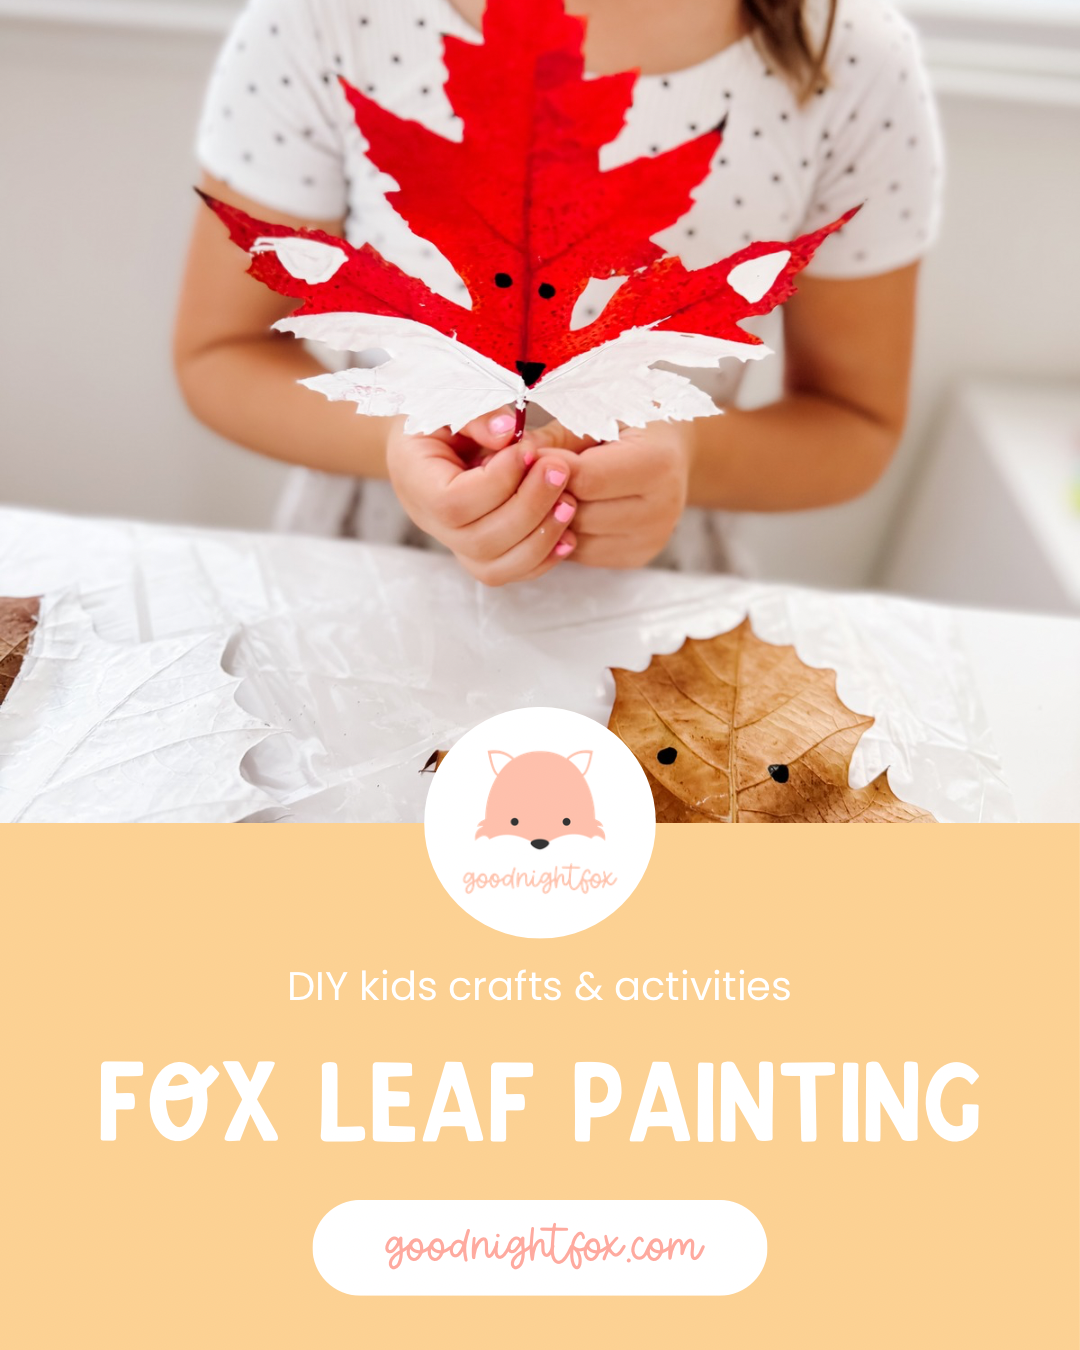
Adorable Leaf Fox Craft for Fall — A Nature-Based Preschool Activity for Homeschool Families
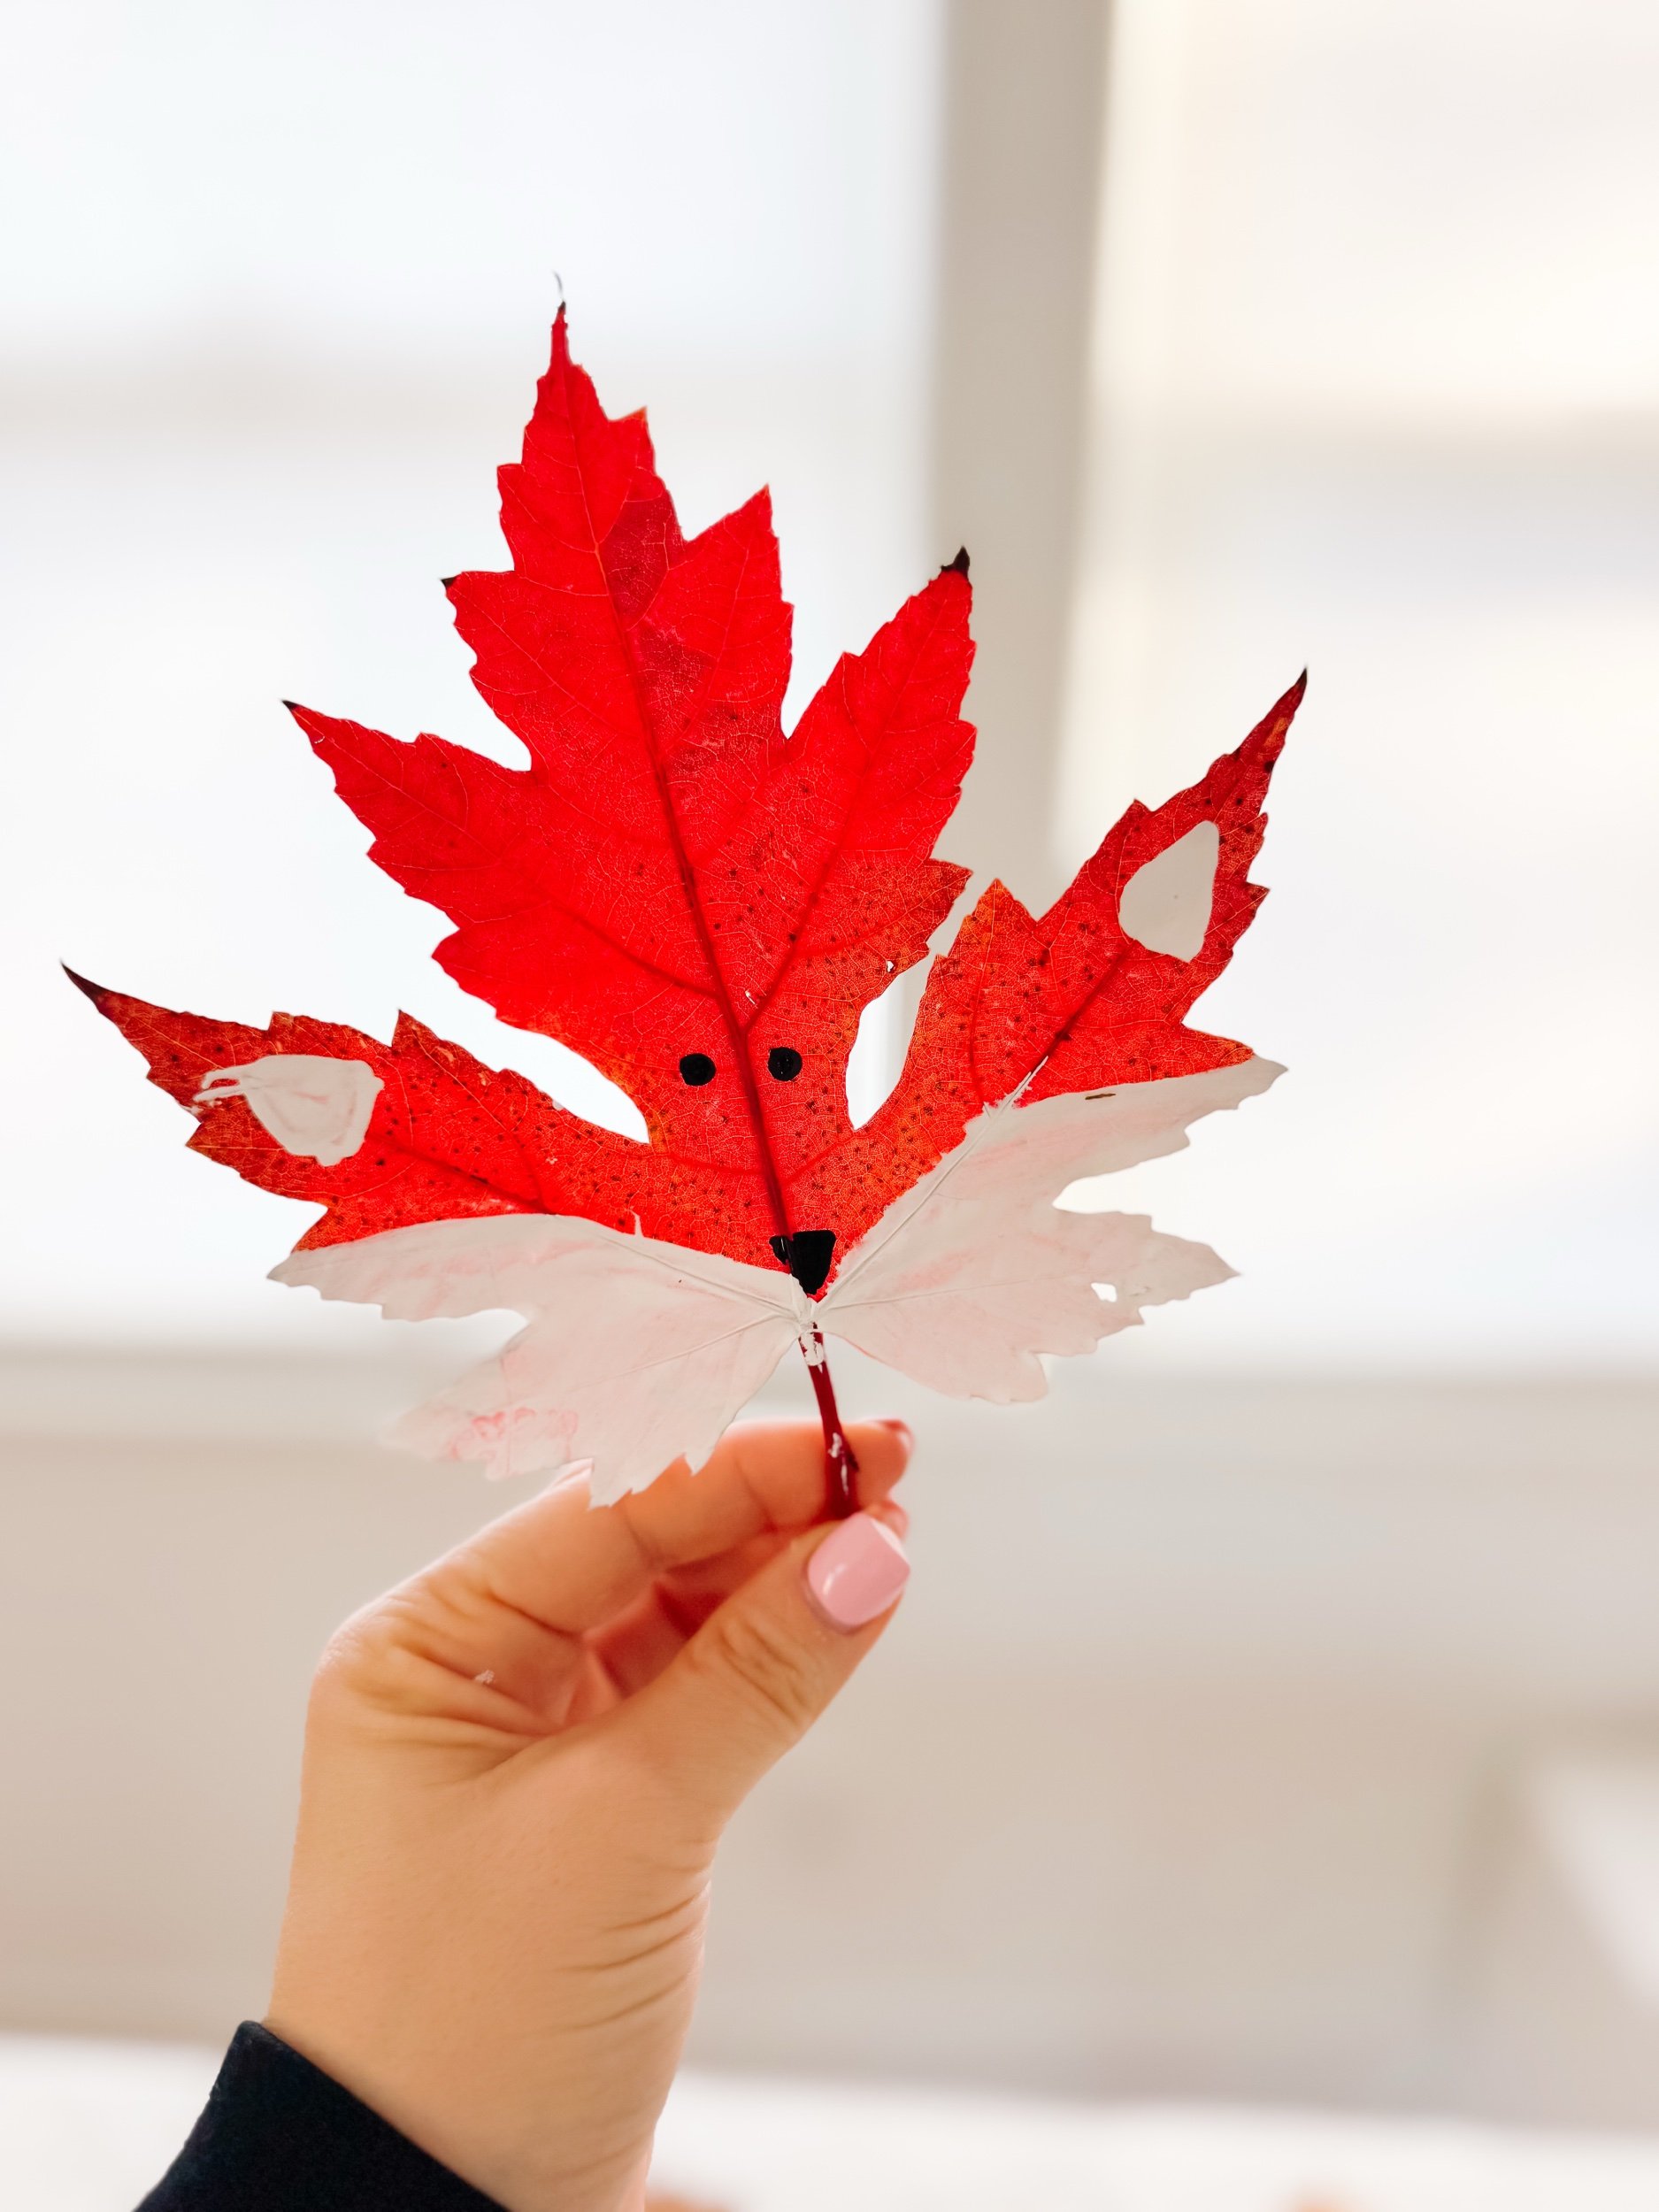
Leaf Fox Craft
A sweet fall nature craft for kids using real leaves, paint, and simple supplies to make adorable woodland fox faces.
Age3+
Prep10 minutes
Activity20 minutes
Mess★★☆☆☆
SkillsNature + fine motor
Why we love this activity
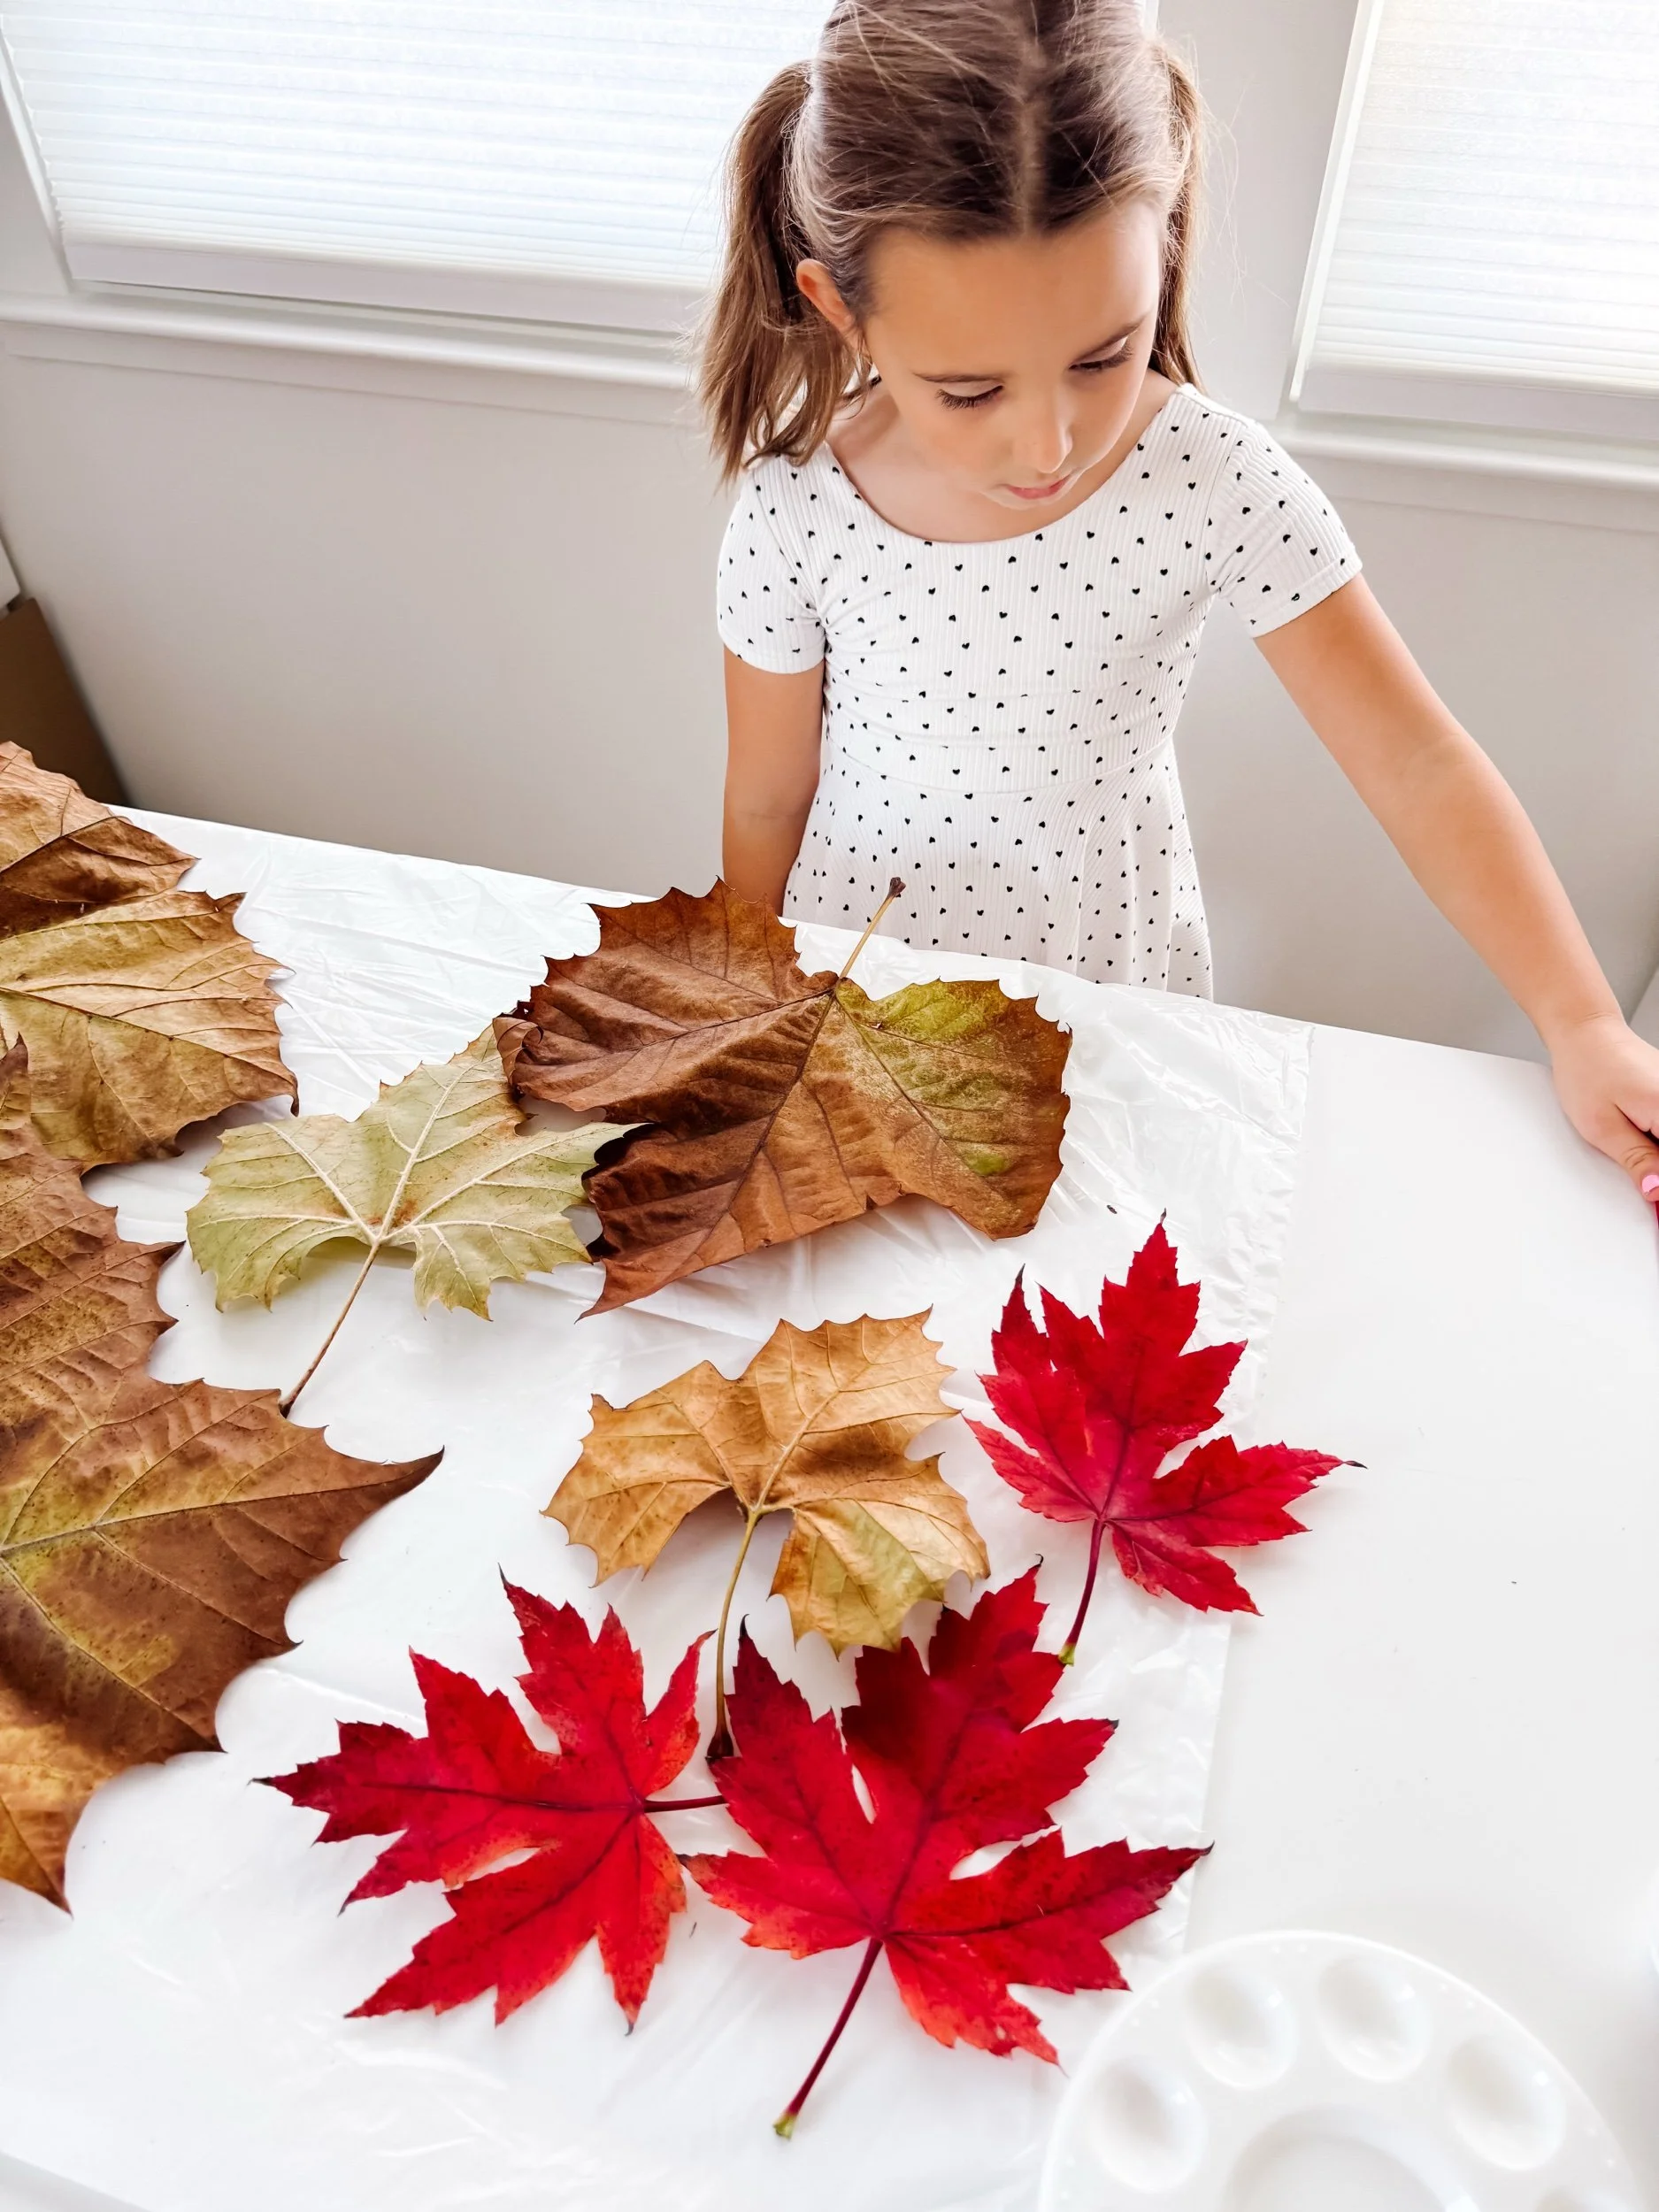
Fall is the perfect season for slowing down, heading outside, and turning nature treasures into art.
This leaf fox craft is simple, low-prep, and so charming. Kids collect leaves, observe their shapes and colors, then use paint to transform an ordinary leaf into a sweet woodland fox.
It is a beautiful activity for autumn nature studies, woodland animal themes, fall homeschool weeks, preschool art, and outdoor learning.
I especially love that this craft begins with a leaf hunt. Before the painting even starts, kids are noticing colors, comparing shapes, counting points, and looking closely at the natural world.
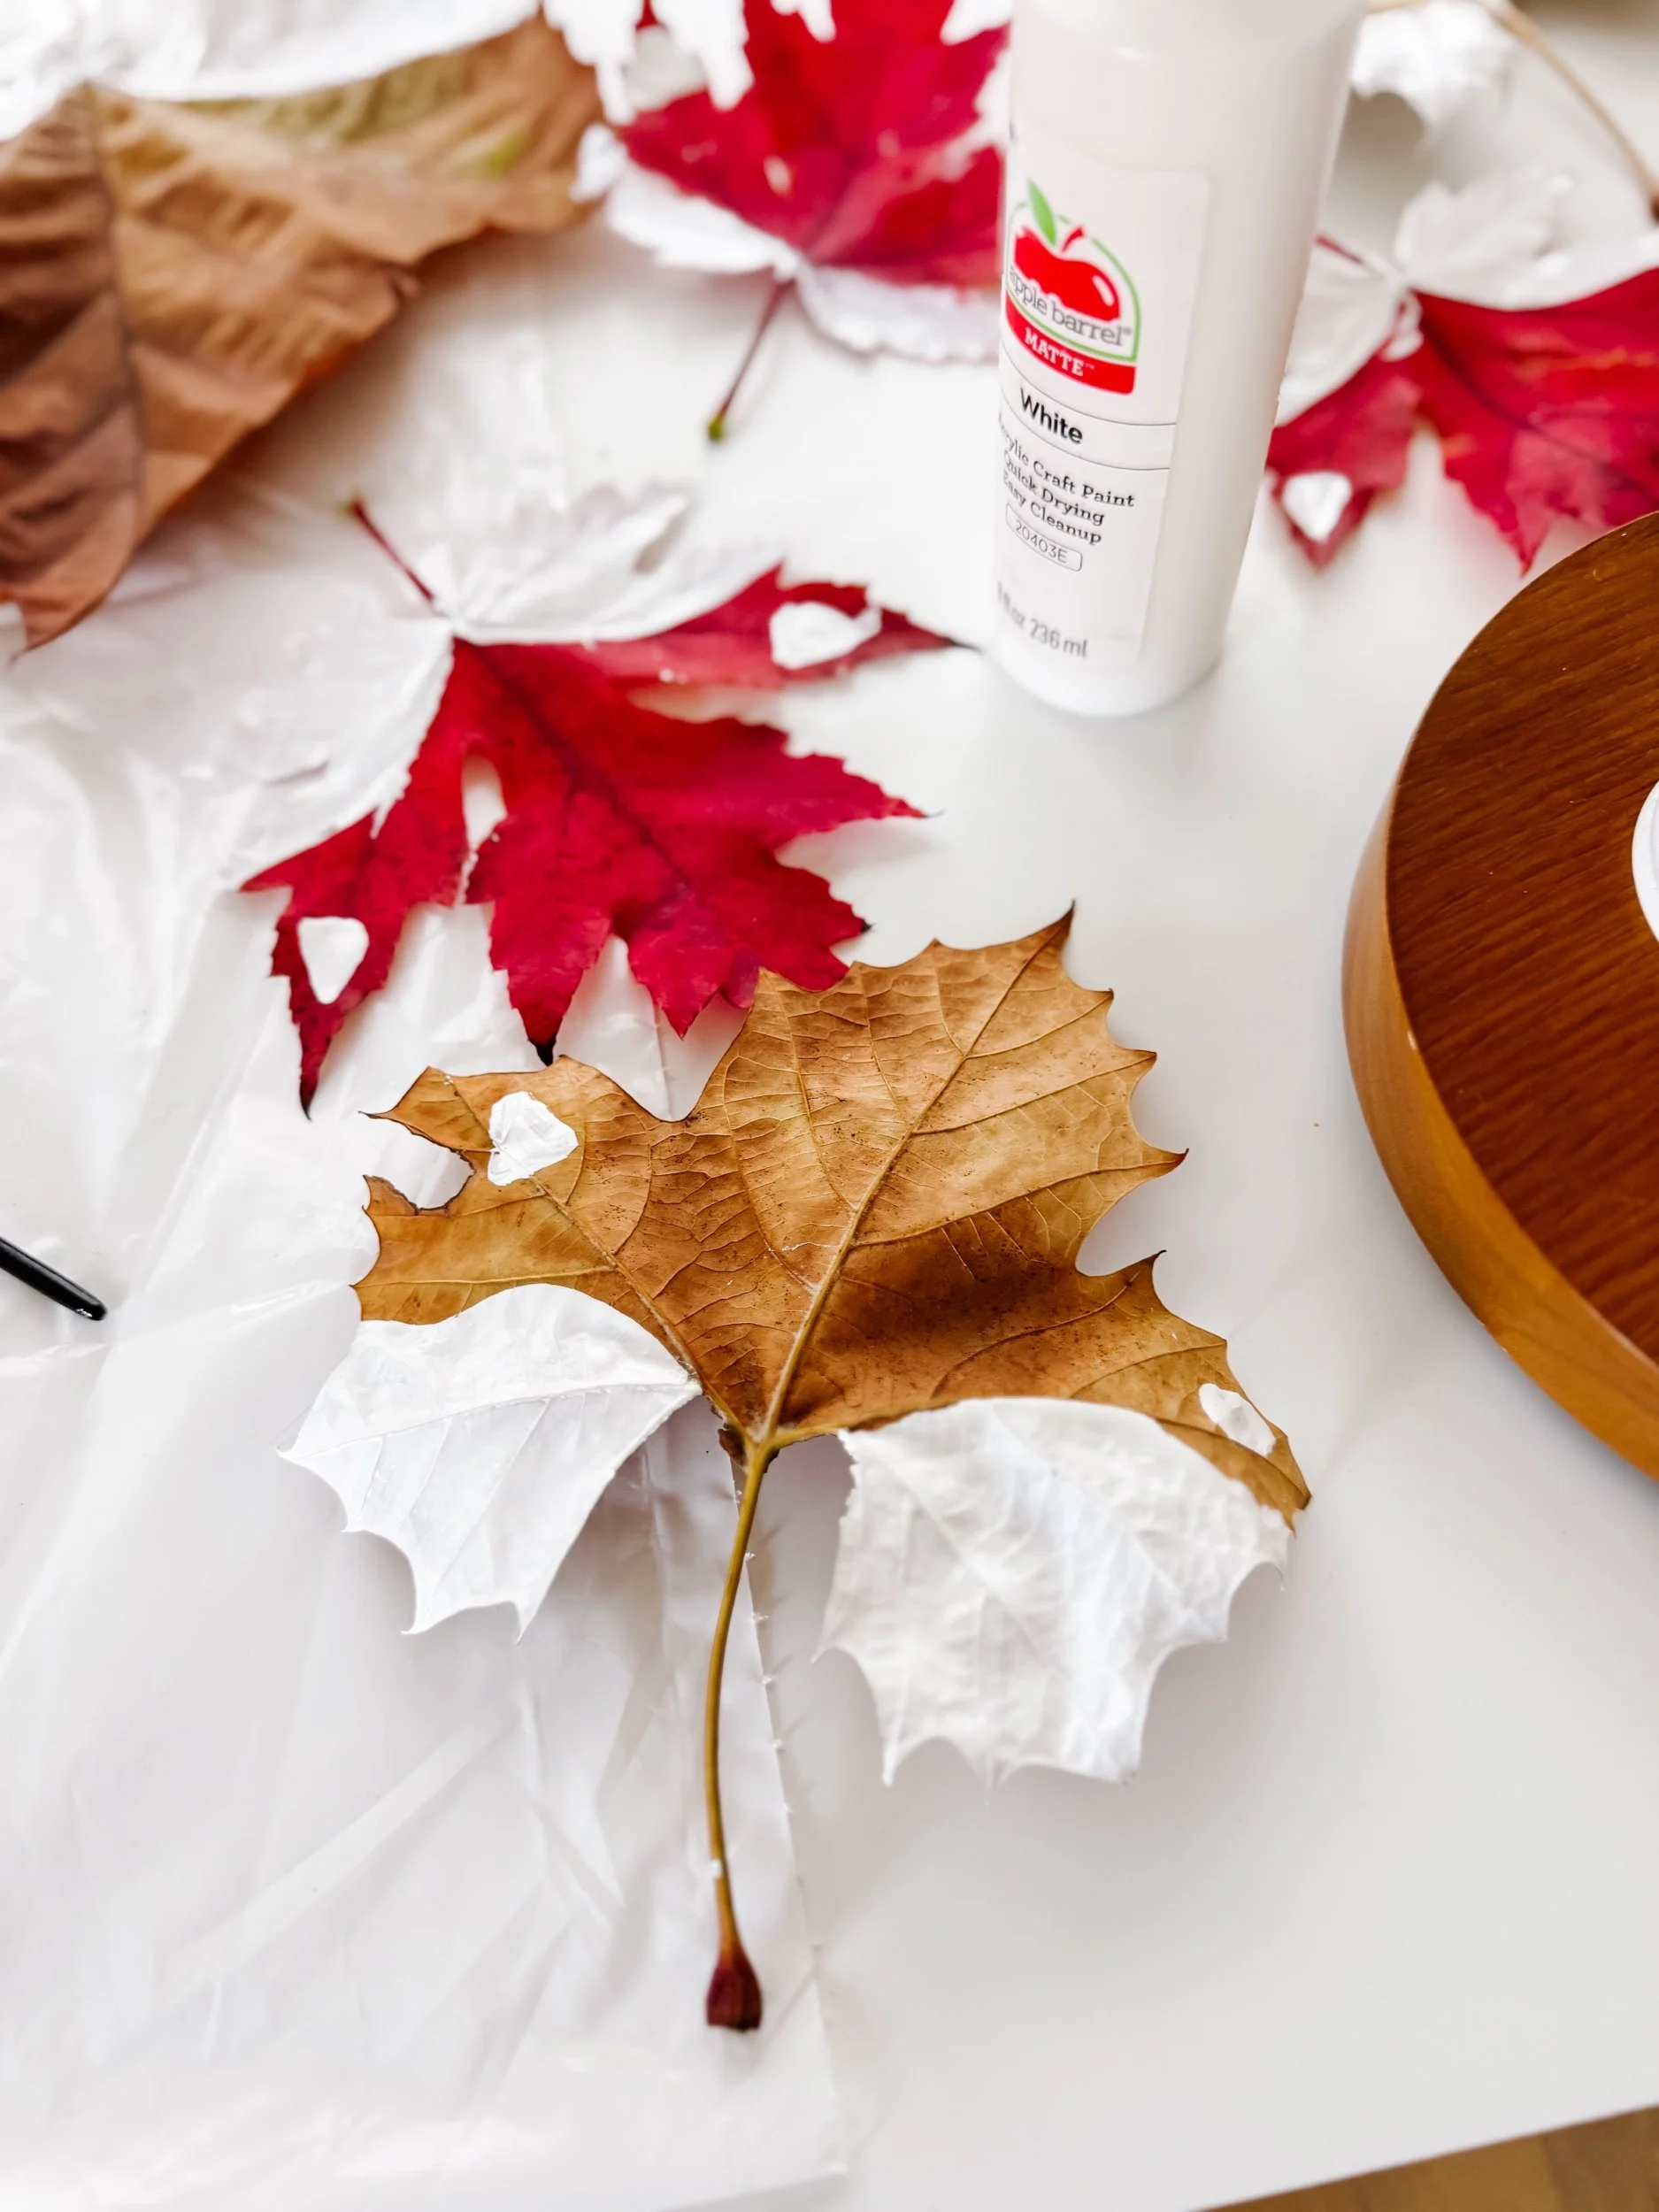
Materials needed
- Fall leaves, especially maple leaves
- White paint
- Black paint or black marker
- Small paintbrushes
- Cotton swabs for dotting eyes
- Parchment paper, tray, or table cover
- Optional: paper for mounting or displaying
How to make a leaf fox
Step 1
Go on a leaf hunt
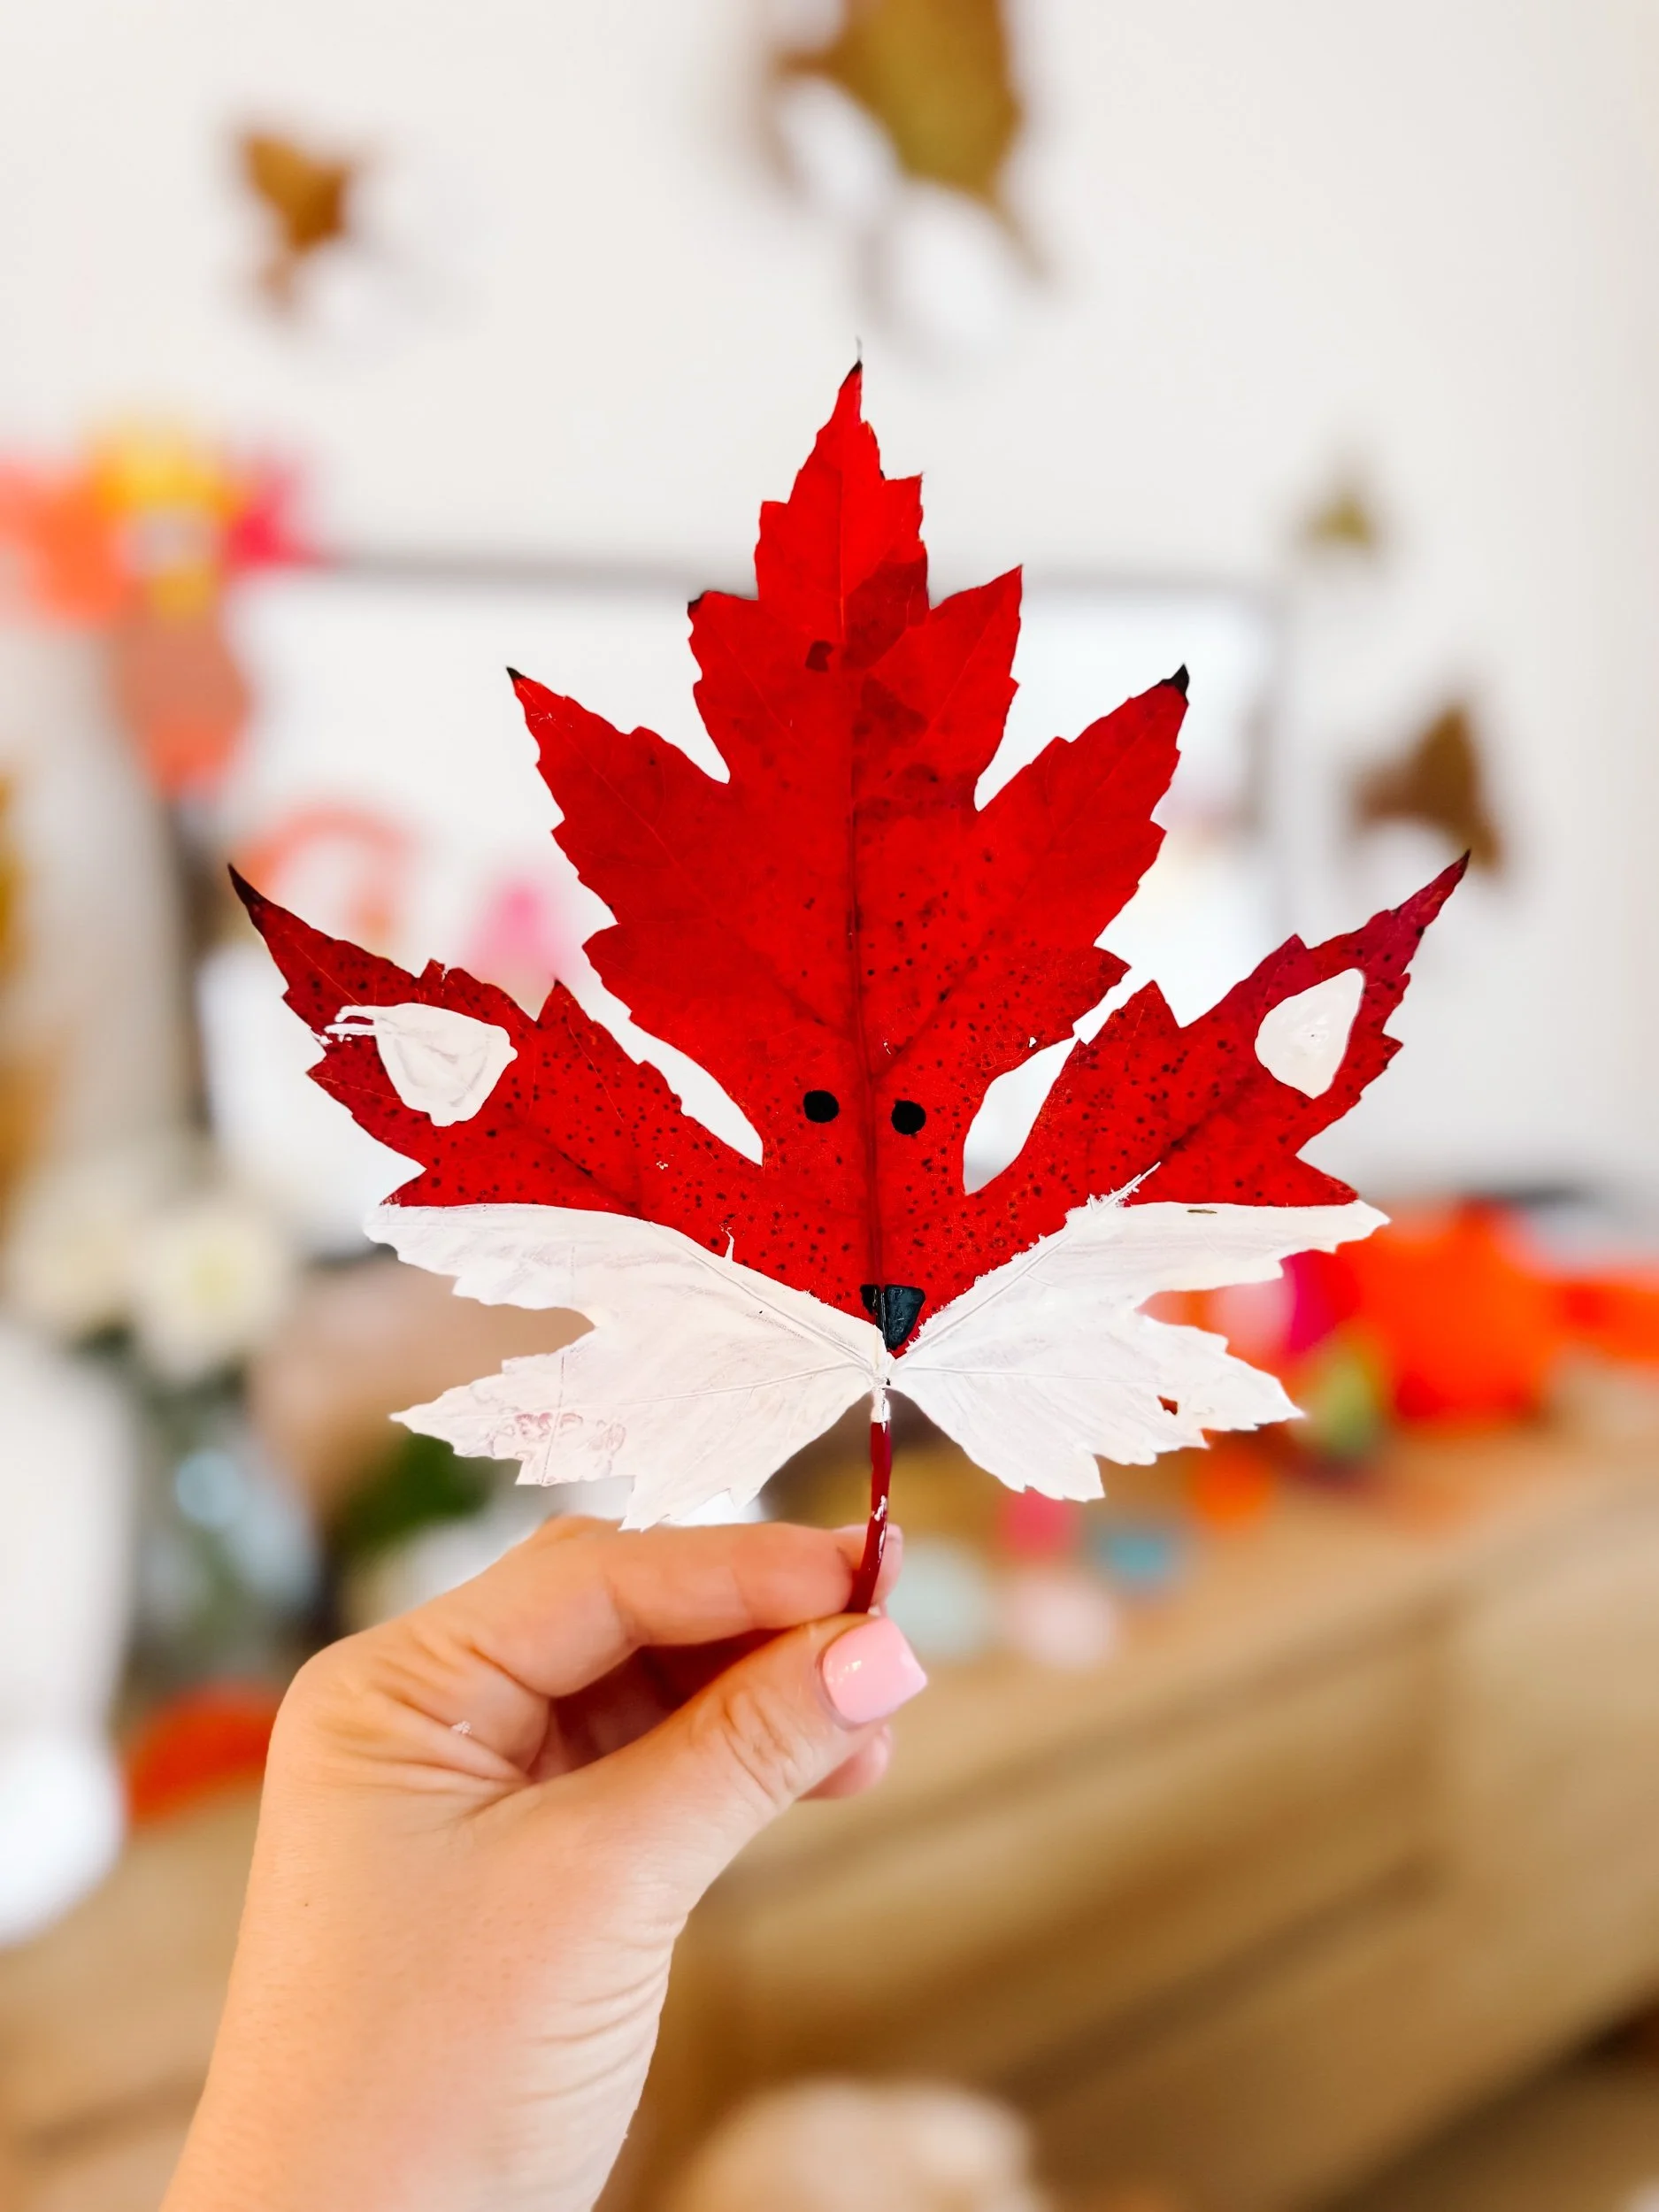
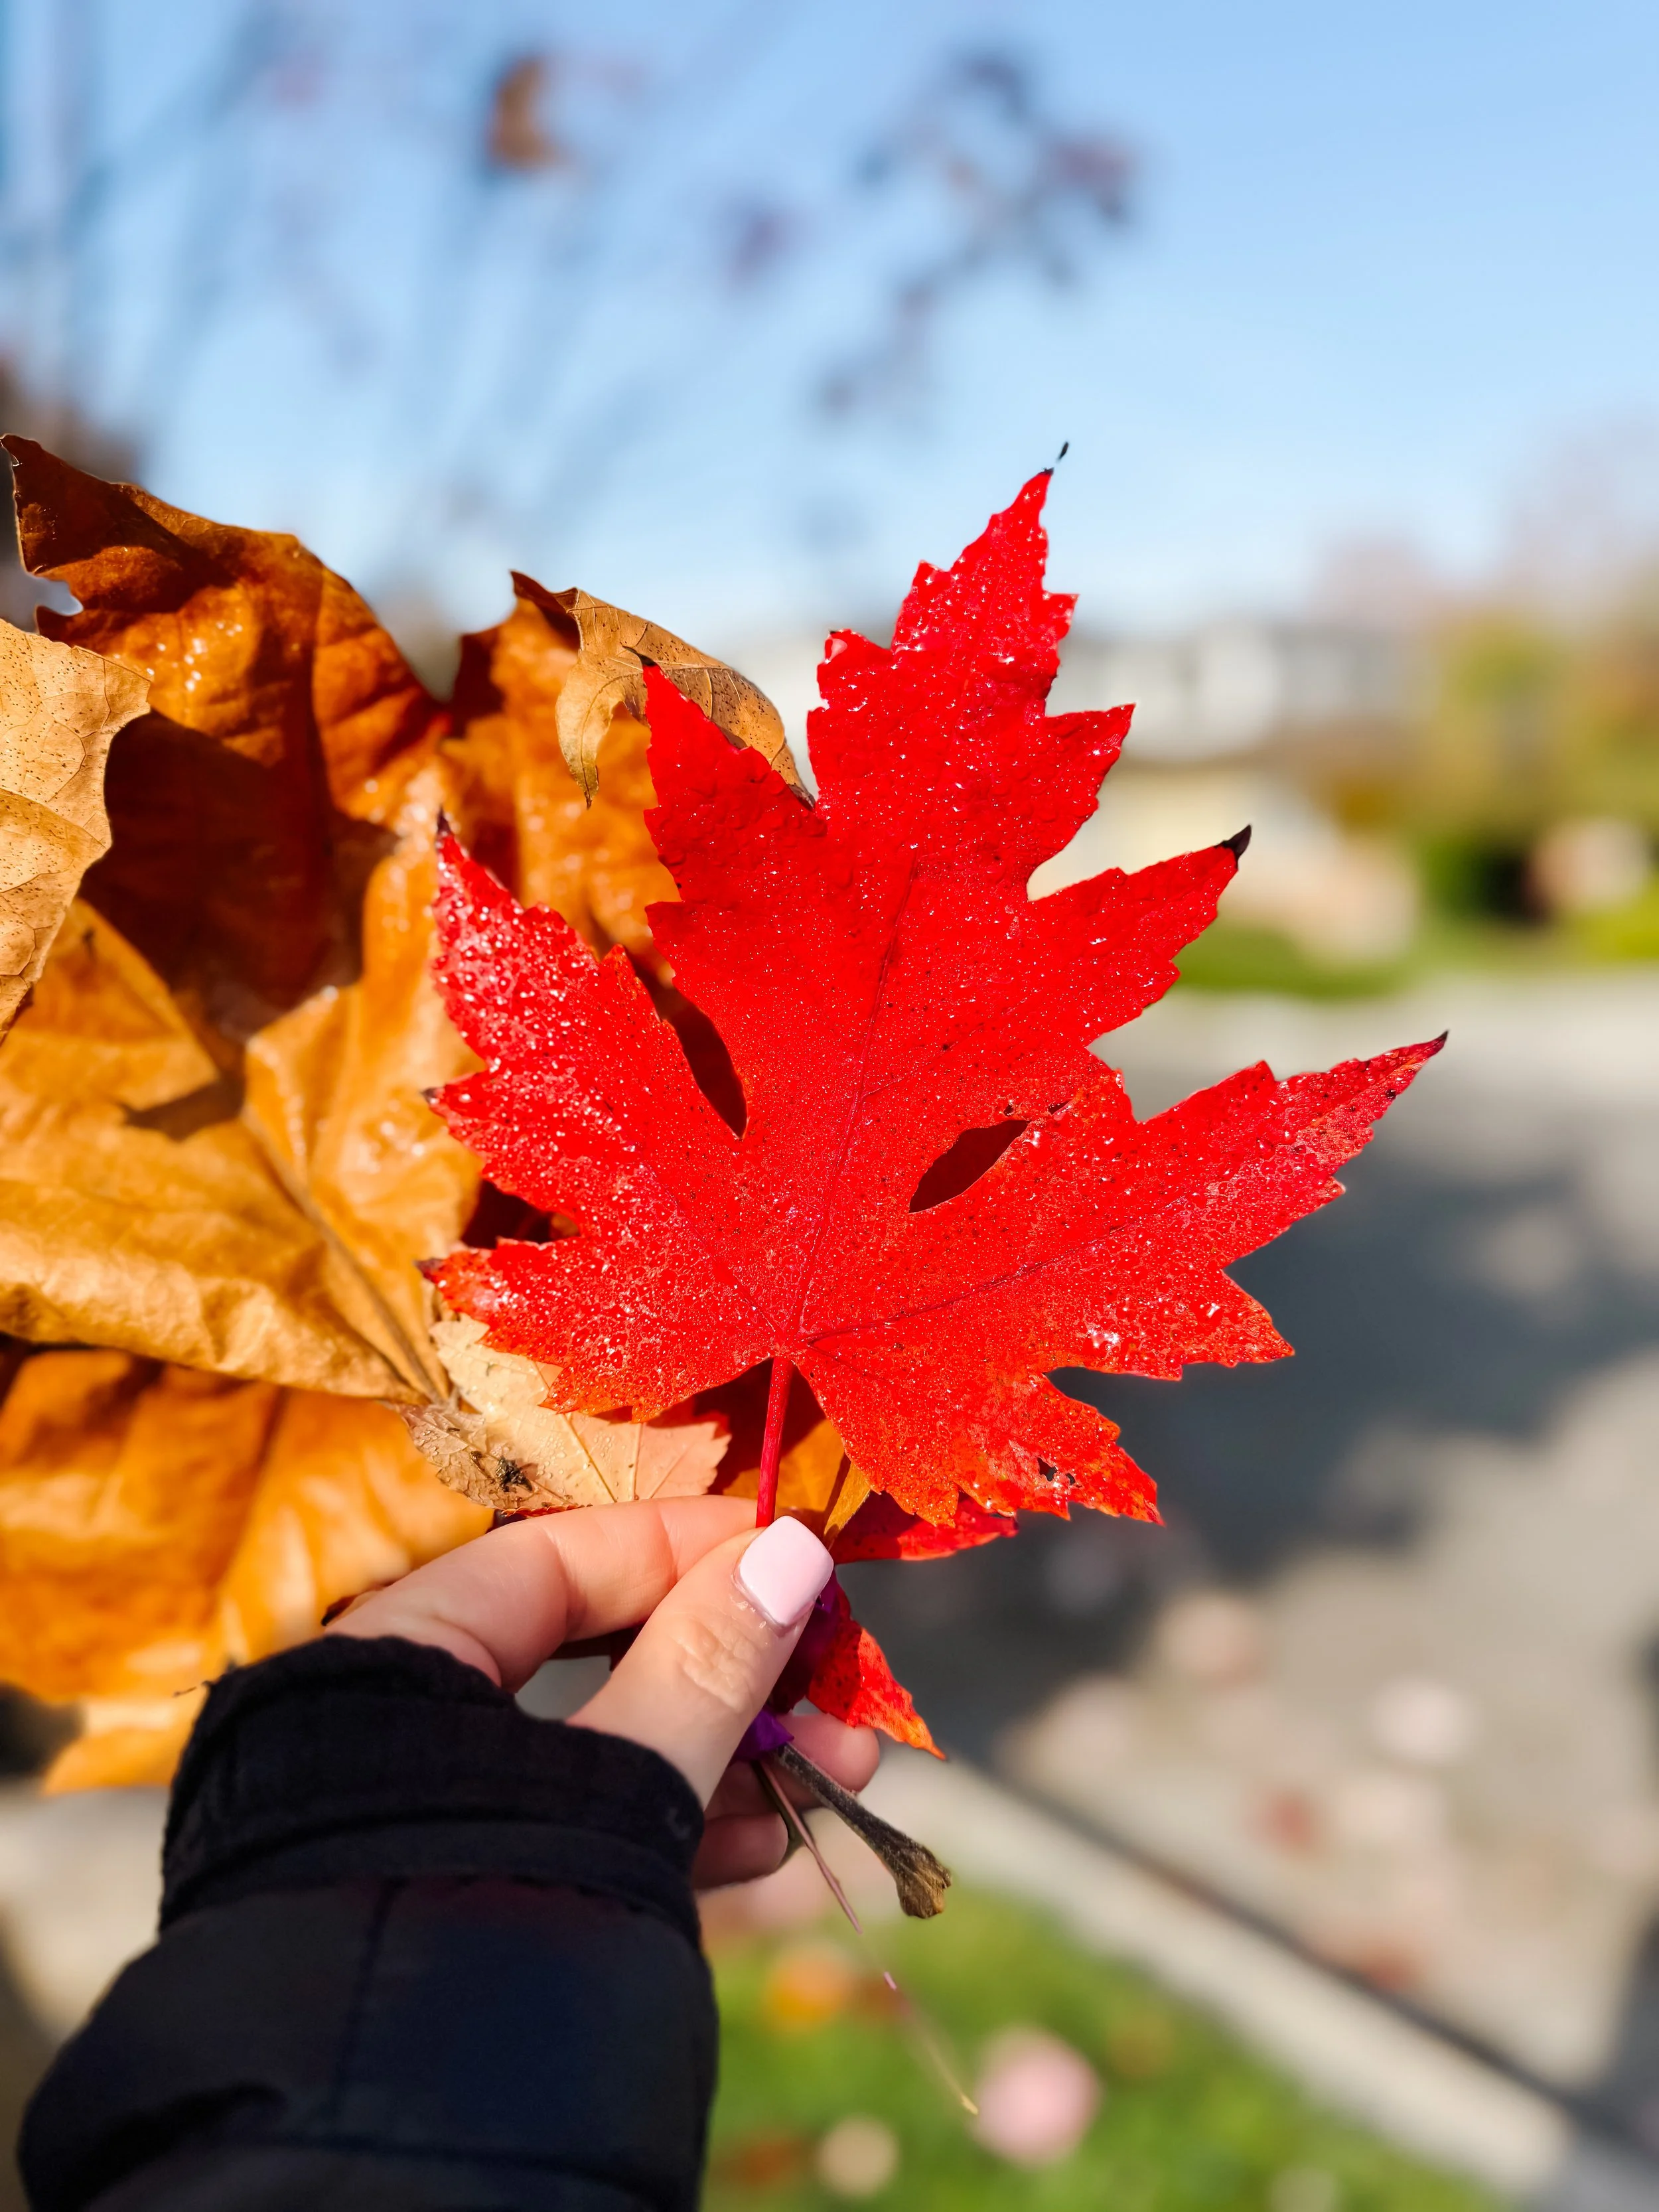
Head outside and collect leaves in different colors, shapes, and sizes. Maple leaves work especially well because the points naturally look like fox ears and fluffy cheeks.

Step 2
Paint the fox cheeks
Use white paint to create two fluffy cheek shapes on the lower sides of the leaf. Let your child experiment with different leaf shapes and different cheek styles.

Step 3
Add the eyes and nose
Once the white paint is dry, add two small black eyes and a little black nose. A cotton swab works well for younger kids who are still practicing careful dot painting.

Step 4
Let it dry and display
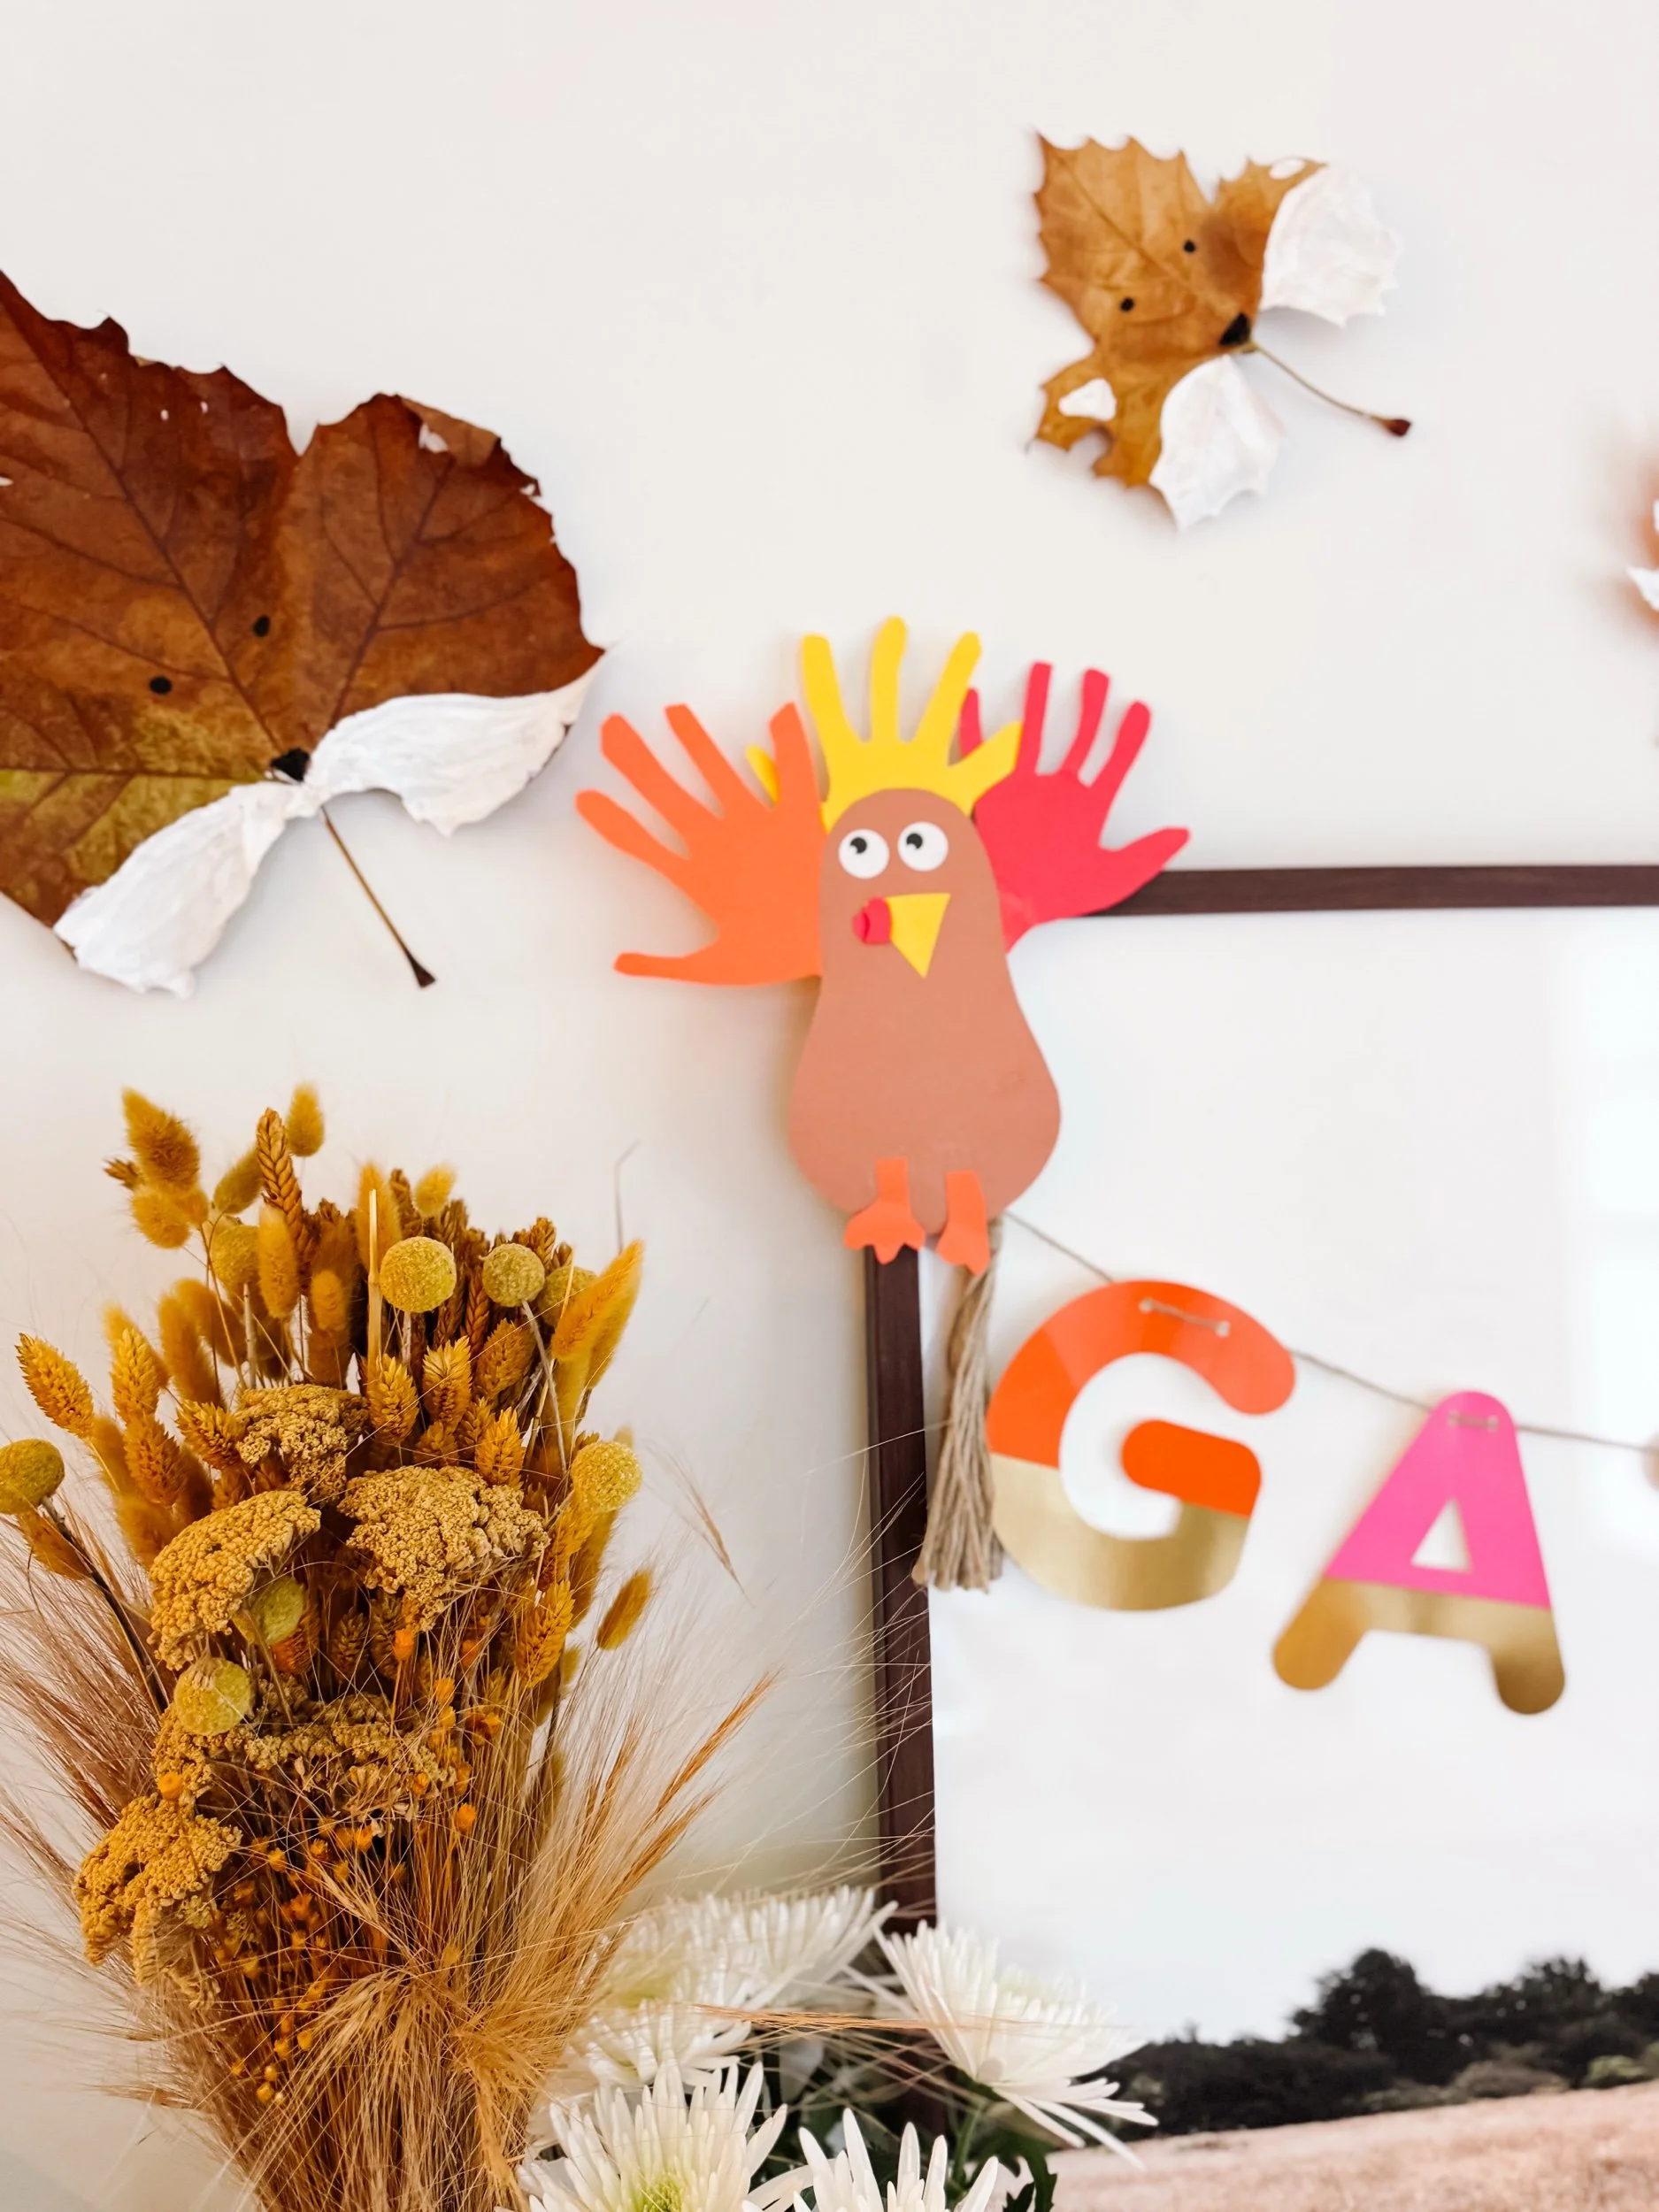
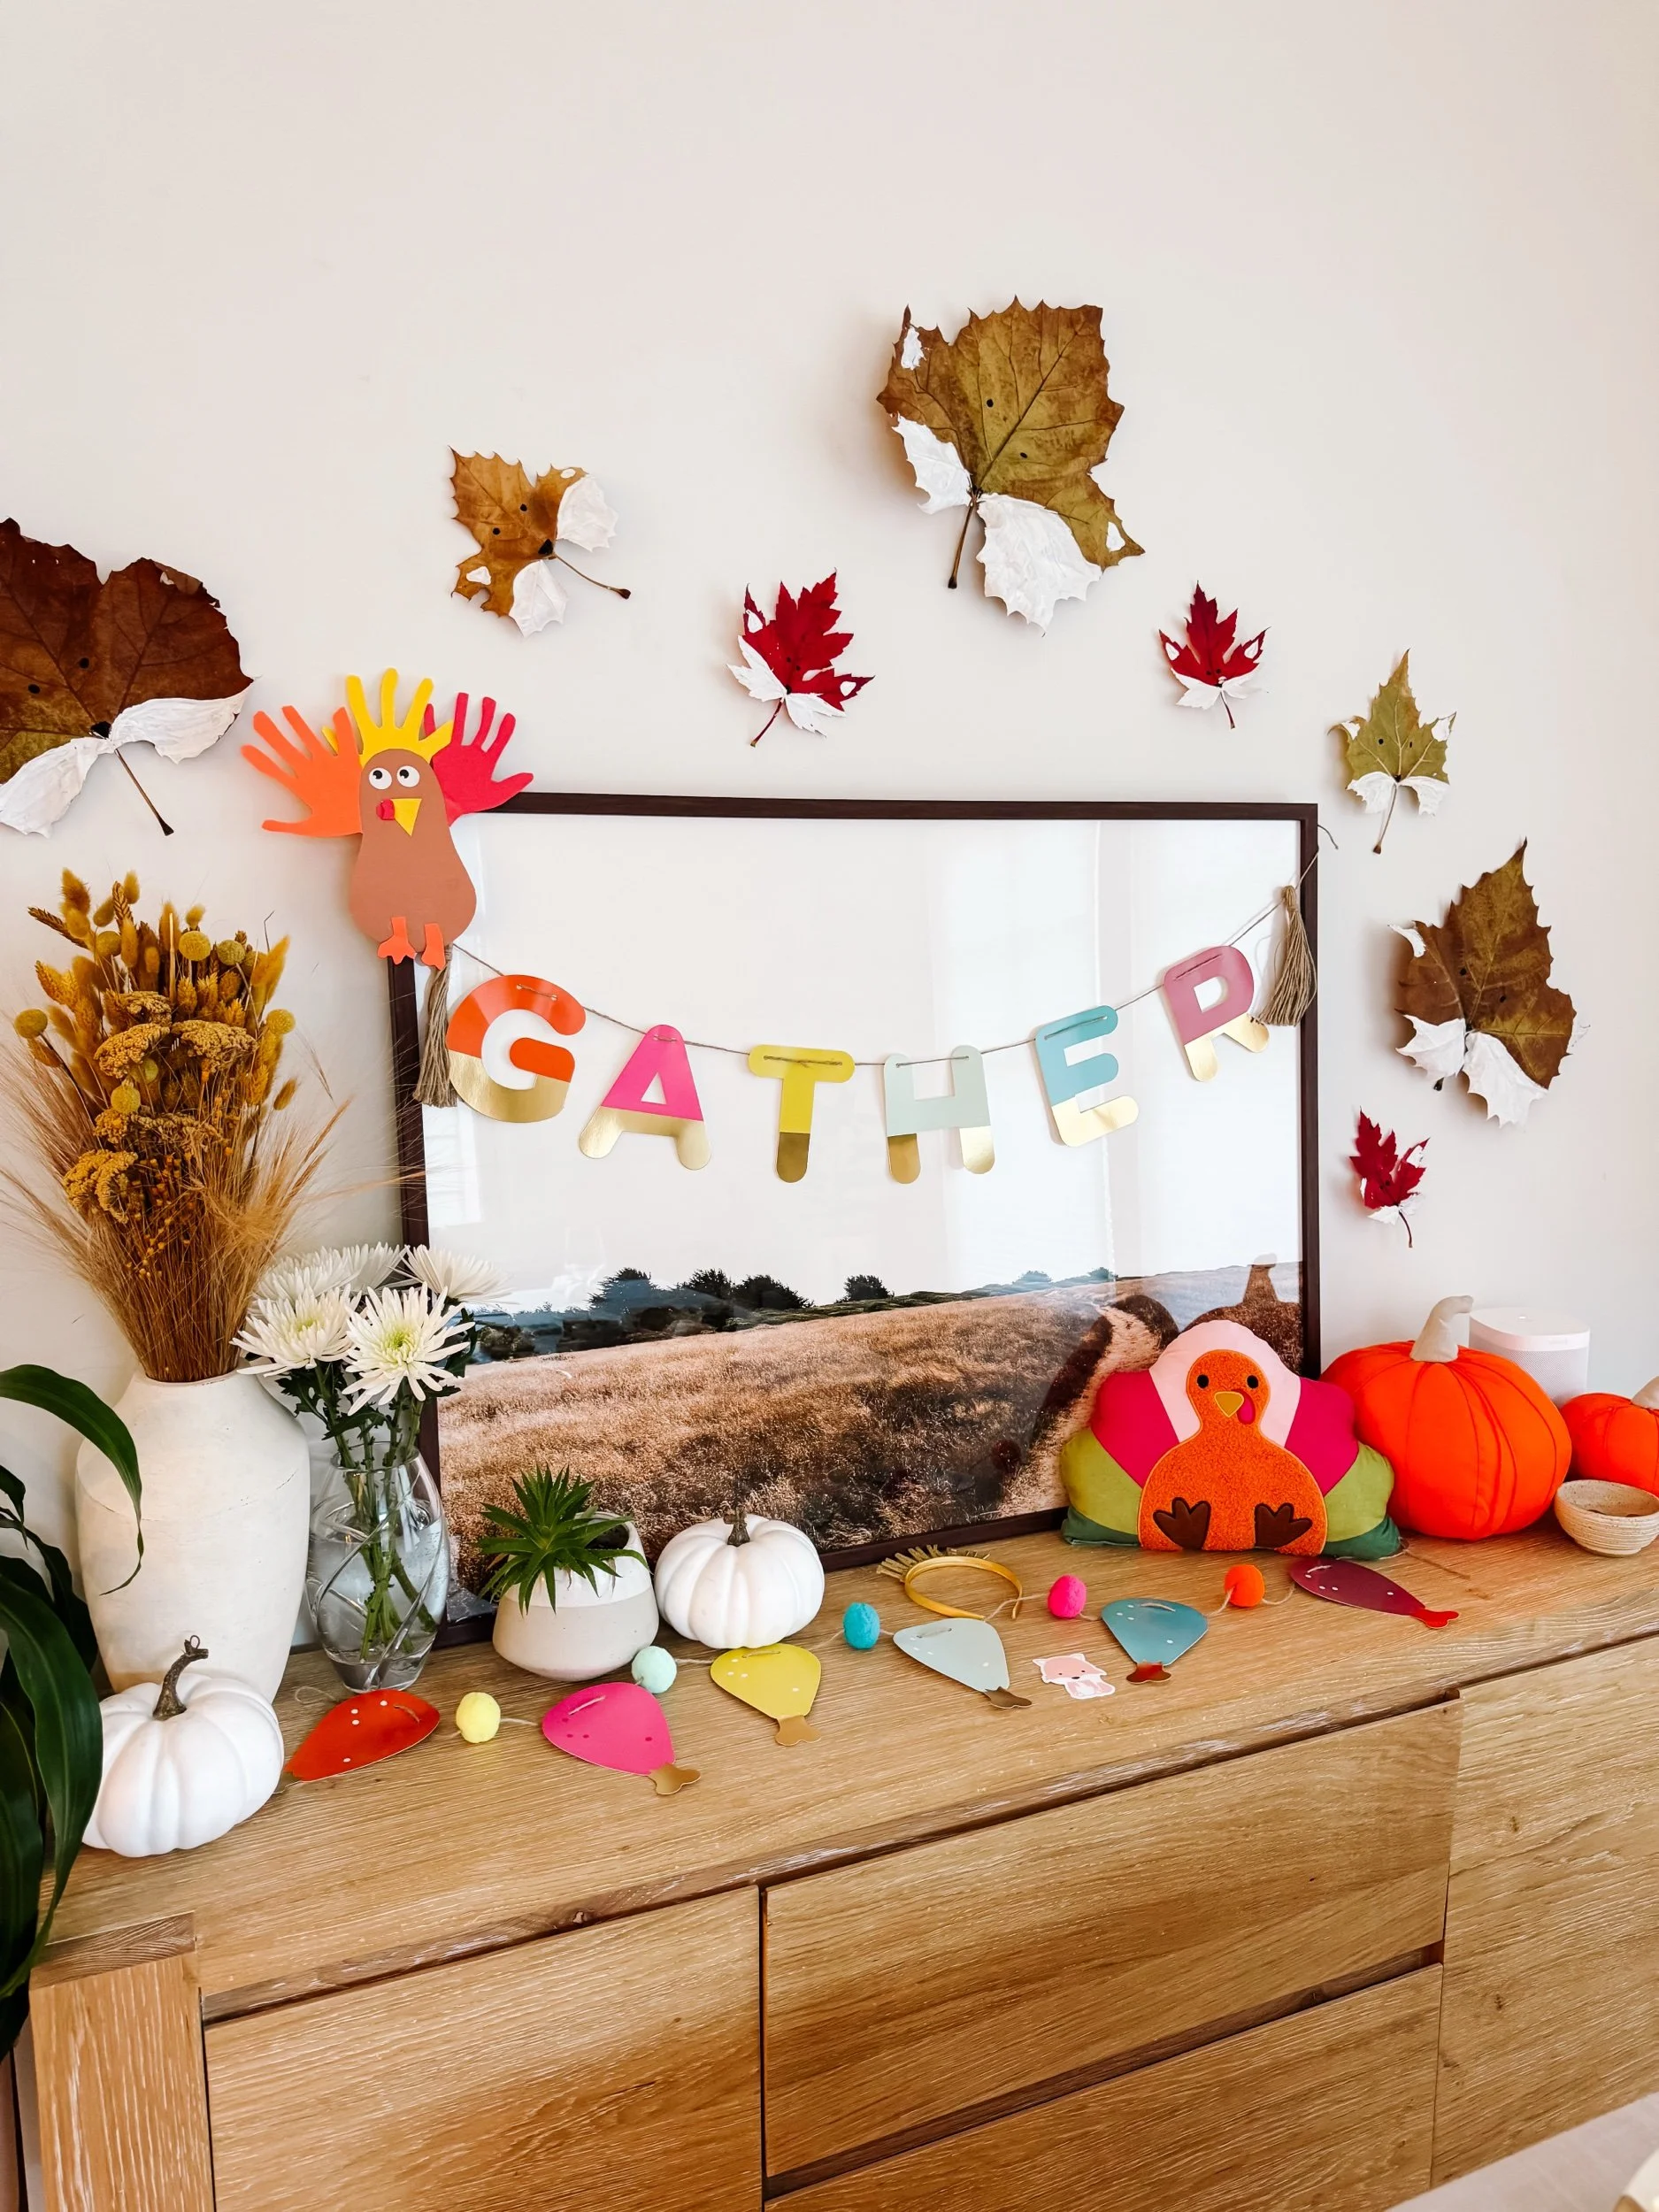
Let the leaf fox dry completely, then display it on your homeschool wall, tape it to a window, turn it into a fall card, or use it as part of a woodland animal study.
Parent tip
Press leaves under a heavy book for a few hours before painting if they are curled. Flat leaves are easier for little hands to paint.
Why this craft is great for fall learning
This activity blends nature exploration, art, science, and storytelling.
Children practice fine motor skills as they paint small details, observe leaf shapes and veins, compare colors, and talk about how trees change in the fall.
It also opens the door to woodland animal conversations. After making the fox, you can talk about where foxes live, what they eat, how they move, and how animals prepare for winter.
Learning skills
Fine motor skills
Nature observation
Fall vocabulary
Woodland animals
Leaf shapes
Creative expression
Storytelling
Seasonal awareness
Woodland products to pair with this craft
Extend your leaf fox craft into a woodland animal unit with sensory play, vocabulary cards, and small-world play.

Woodland sensory kit
Add woodland animals, sensory filler, and small-world pieces for a full forest-themed play setup.
Shop sensory kit
Woodland play rounds
Wooden woodland animal play rounds for sensory bins, matching games, and forest animal storytelling.
Shop play rounds
Woodland flashcards
Practice woodland animal vocabulary with illustrated fox, deer, raccoon, squirrel, moose, and forest animal cards.
Shop flashcardsQuestions to ask kids
- What shape is this leaf?
- Which part of the leaf looks like fox ears?
- What colors do you see in the leaves?
- Can you find the veins on the leaf?
- Where do foxes live?
- What other animals could we make from leaves?
More fall activities
Fall woodland animal play
Pair woodland animals with flashcards and sensory materials for a cozy fall forest learning setup.
Woodland playFall pumpkin activities
Explore pumpkin-themed sensory play, snacks, and hands-on fall learning ideas.
Pumpkin activitiesFall sensory play ideas
Browse more autumn sensory bins, nature-based activities, and seasonal play ideas.
Fall ideasLeaf fox craft FAQ
How do you make a fox out of a leaf?
Choose a wide fall leaf, paint white cheek shapes on the lower sides, then add small black eyes and a nose once the paint dries. Maple leaves work especially well because their points look like fox ears.
What kind of leaves work best for a leaf fox craft?
Maple leaves are ideal because of their pointed shape, but any wide leaf can work. Try different shapes and colors to make a whole family of foxes.
What age is this fall craft best for?
This craft is best for ages three and up with adult supervision. Younger kids may need help painting small details like the eyes and nose.
What can kids learn from a leaf craft?
Kids can practice fine motor skills, nature observation, color recognition, leaf vocabulary, seasonal awareness, and creative storytelling.
How can I use this for a woodland animal unit?
Pair the leaf fox craft with woodland animal flashcards, sensory bins, books about forest animals, and conversations about habitats, camouflage, and how animals prepare for winter.
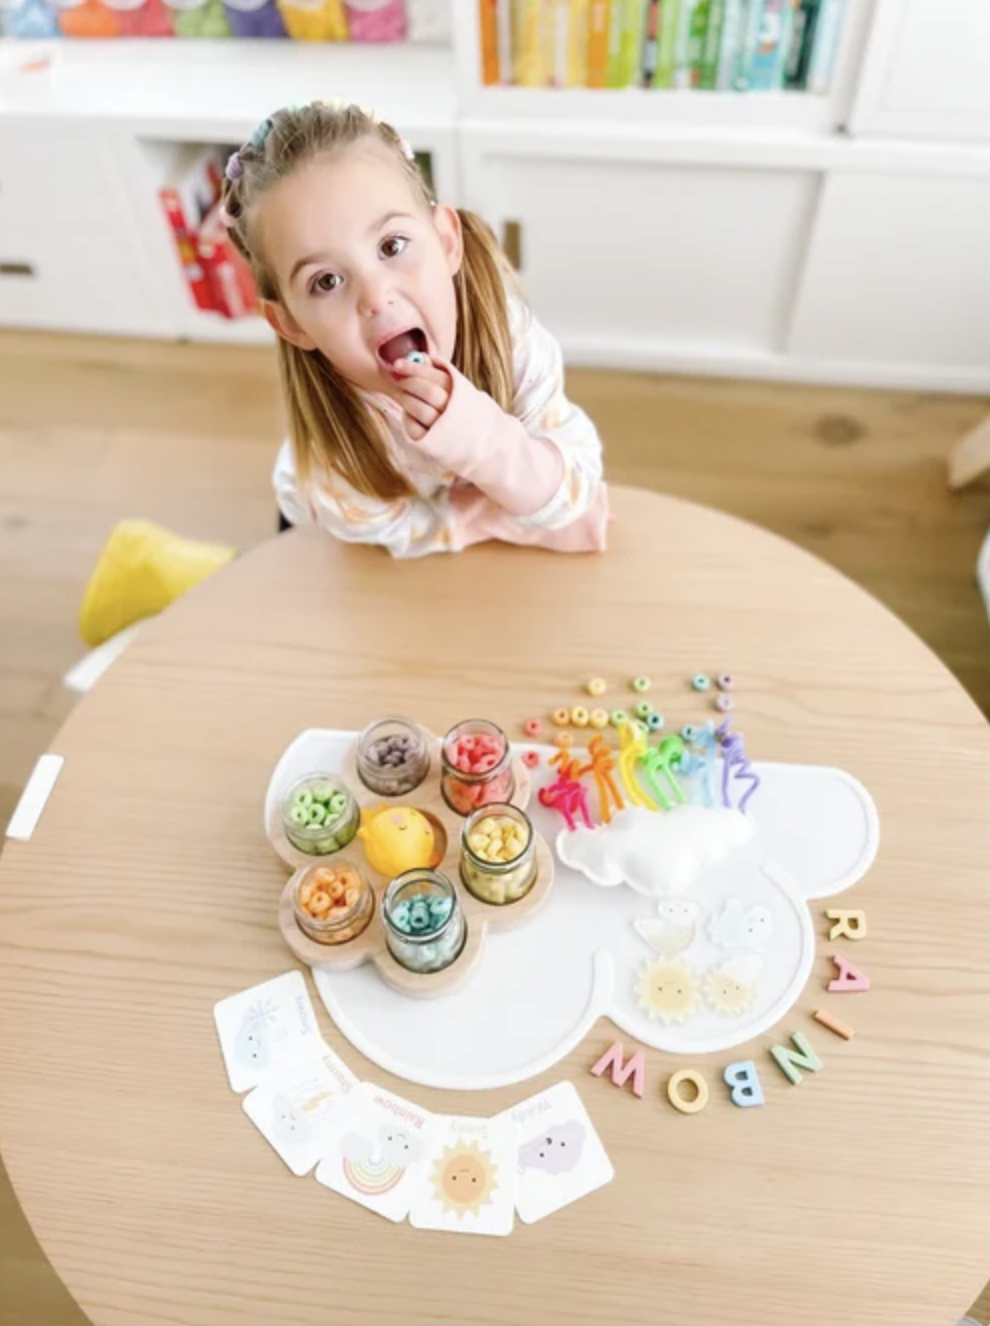
Rainbow Cloud Pipe Cleaner & Fruit Loop Craft
Rainbow Cloud Pipe Cleaner & Fruit Loop Craft
A cheerful rainbow craft for kids that combines pipe cleaners, Fruit Loops, and a simple cloud shape for color sorting, fine motor practice, and weather-themed learning.
Age3+
Prep10 minutes
Activity20 minutes
Mess★☆☆☆☆
SkillsFine motor + colors
Why we love this activity
This rainbow cloud craft is one of those simple activities that feels playful, colorful, and secretly full of learning.
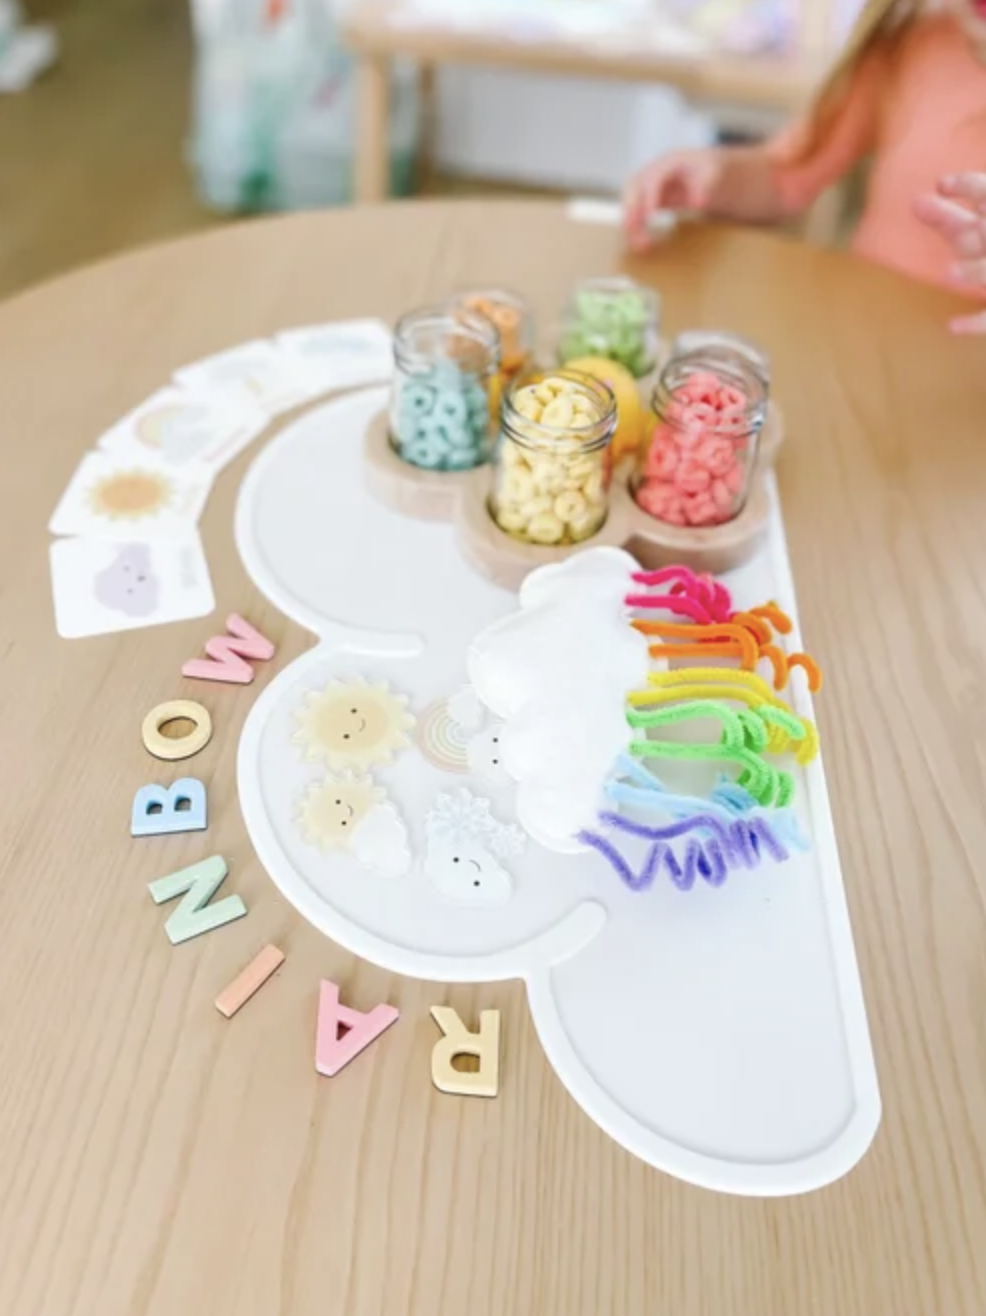
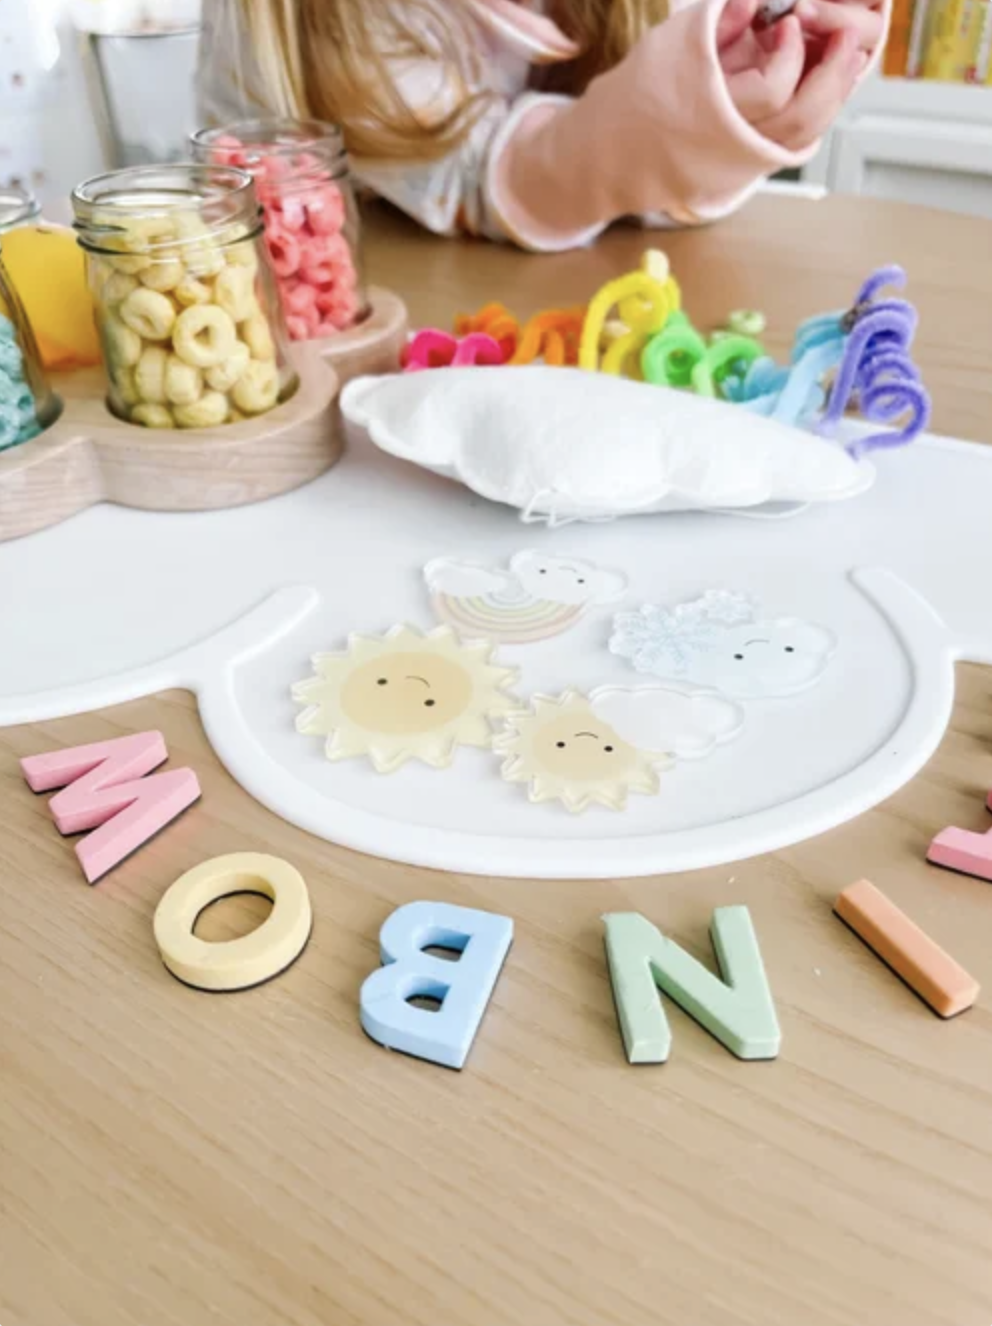
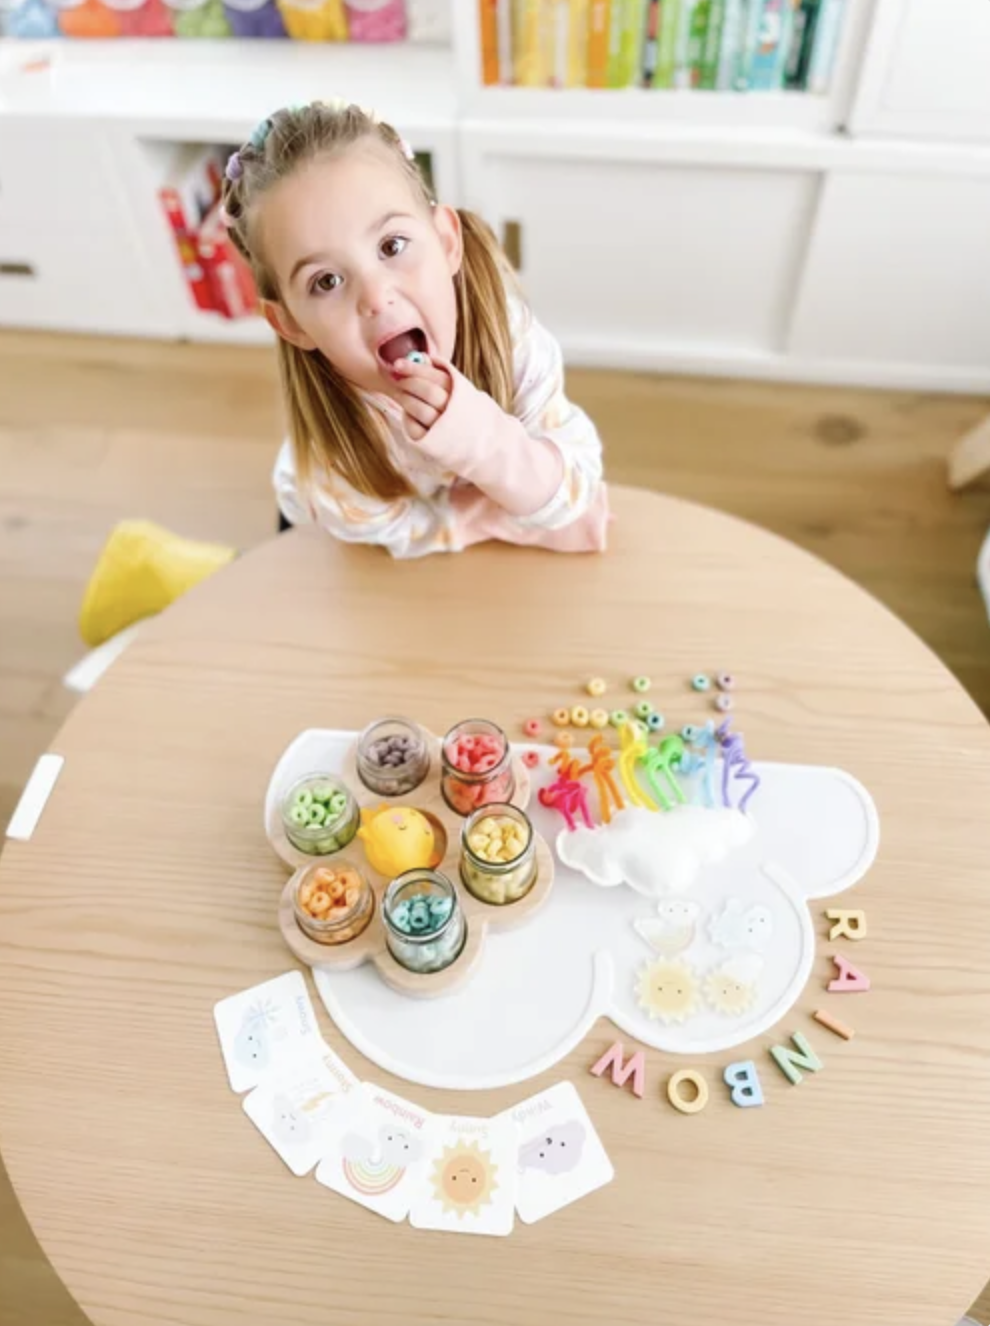
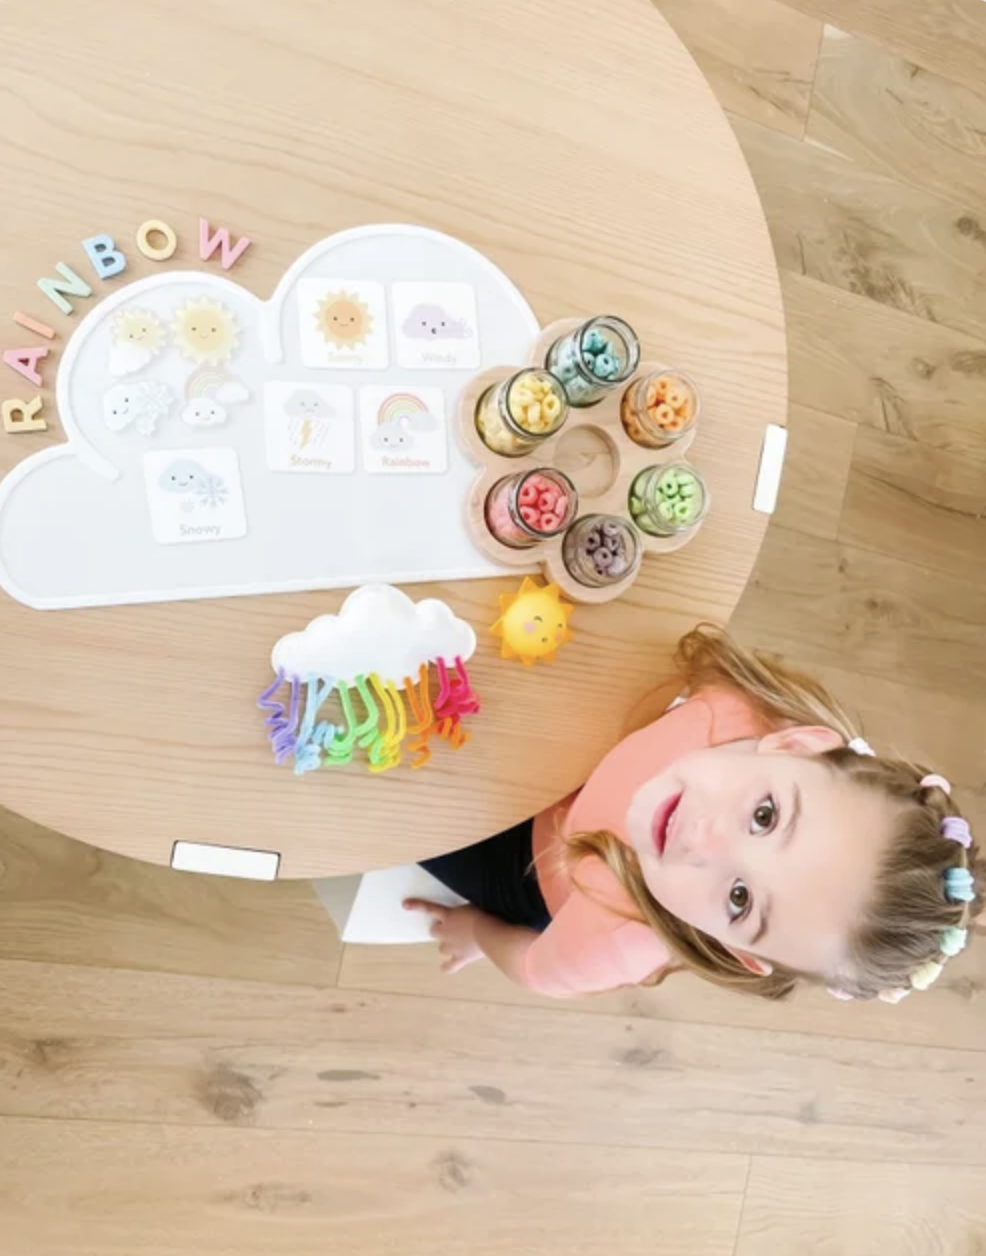
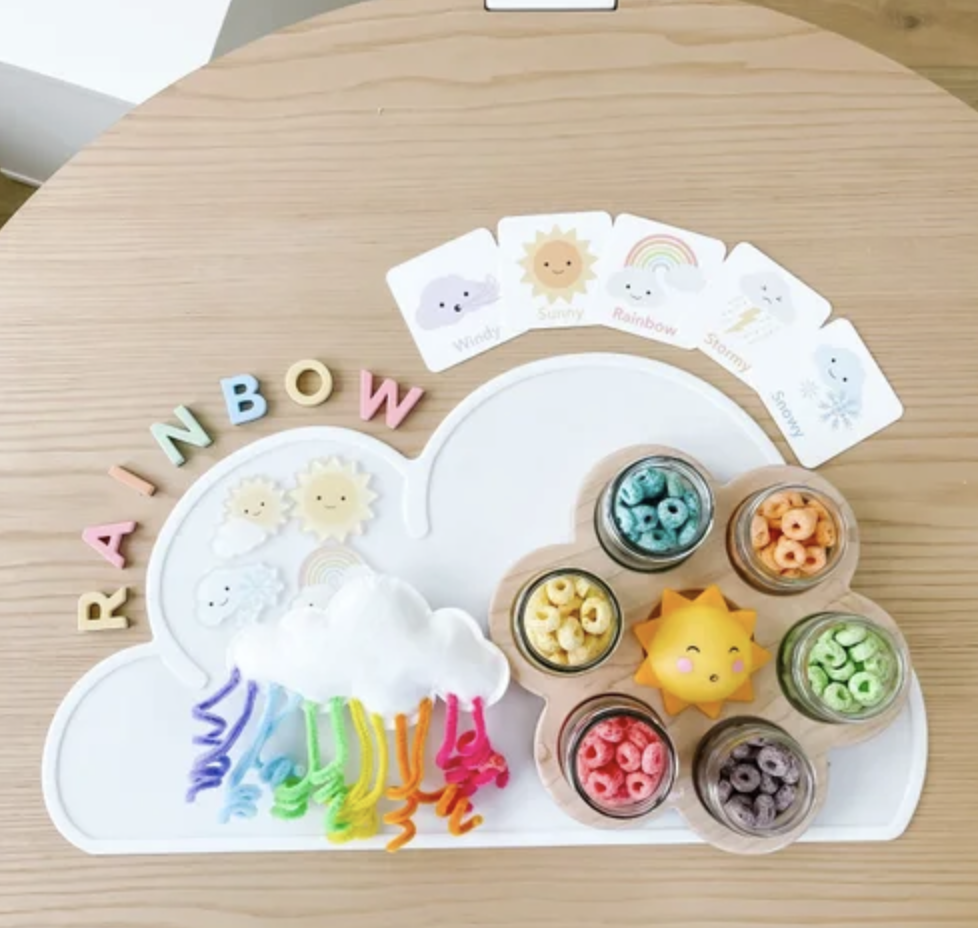
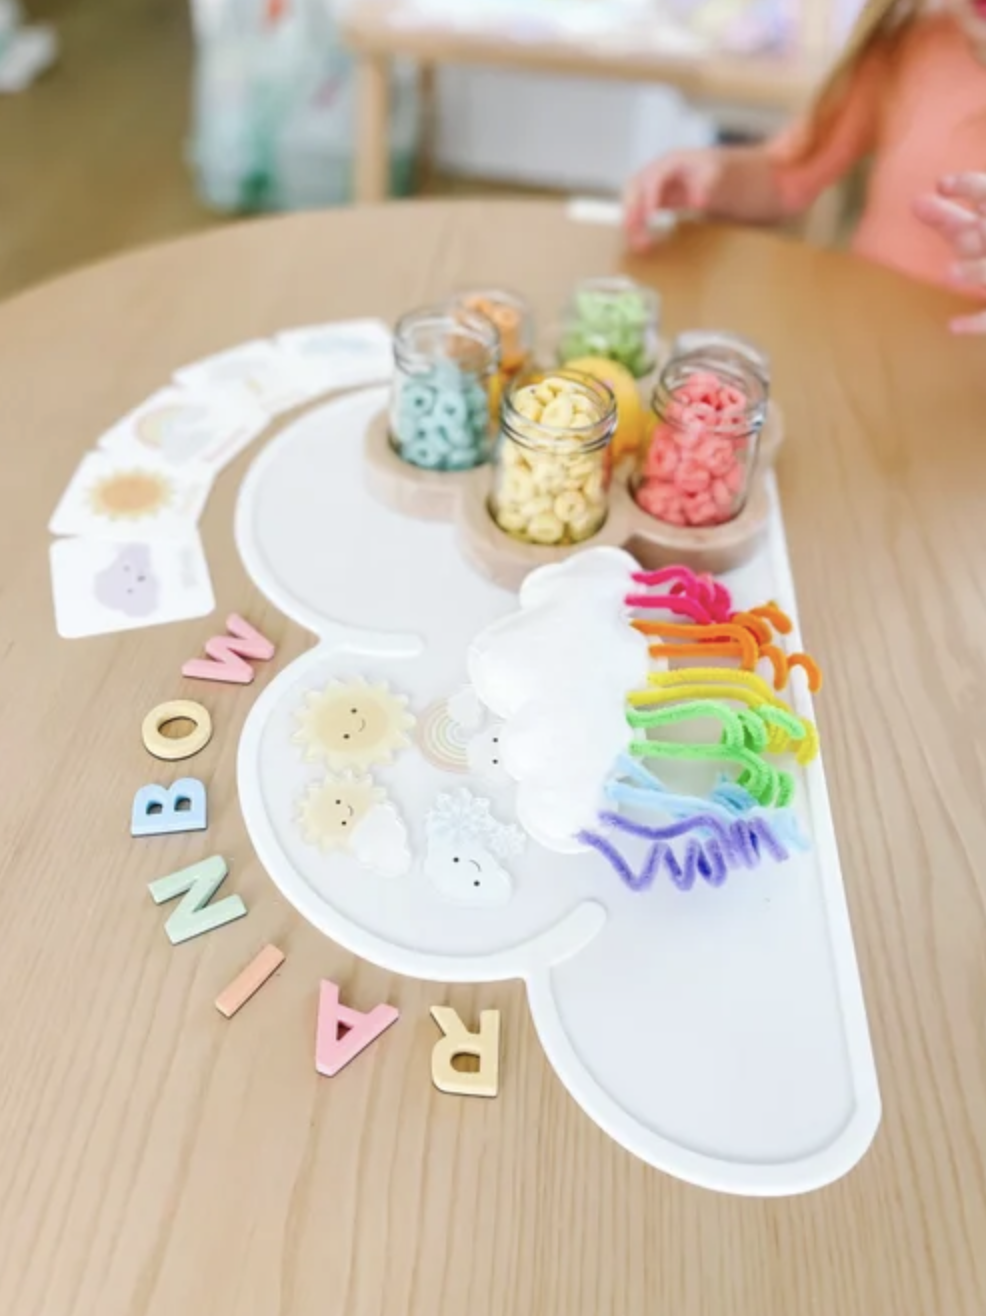
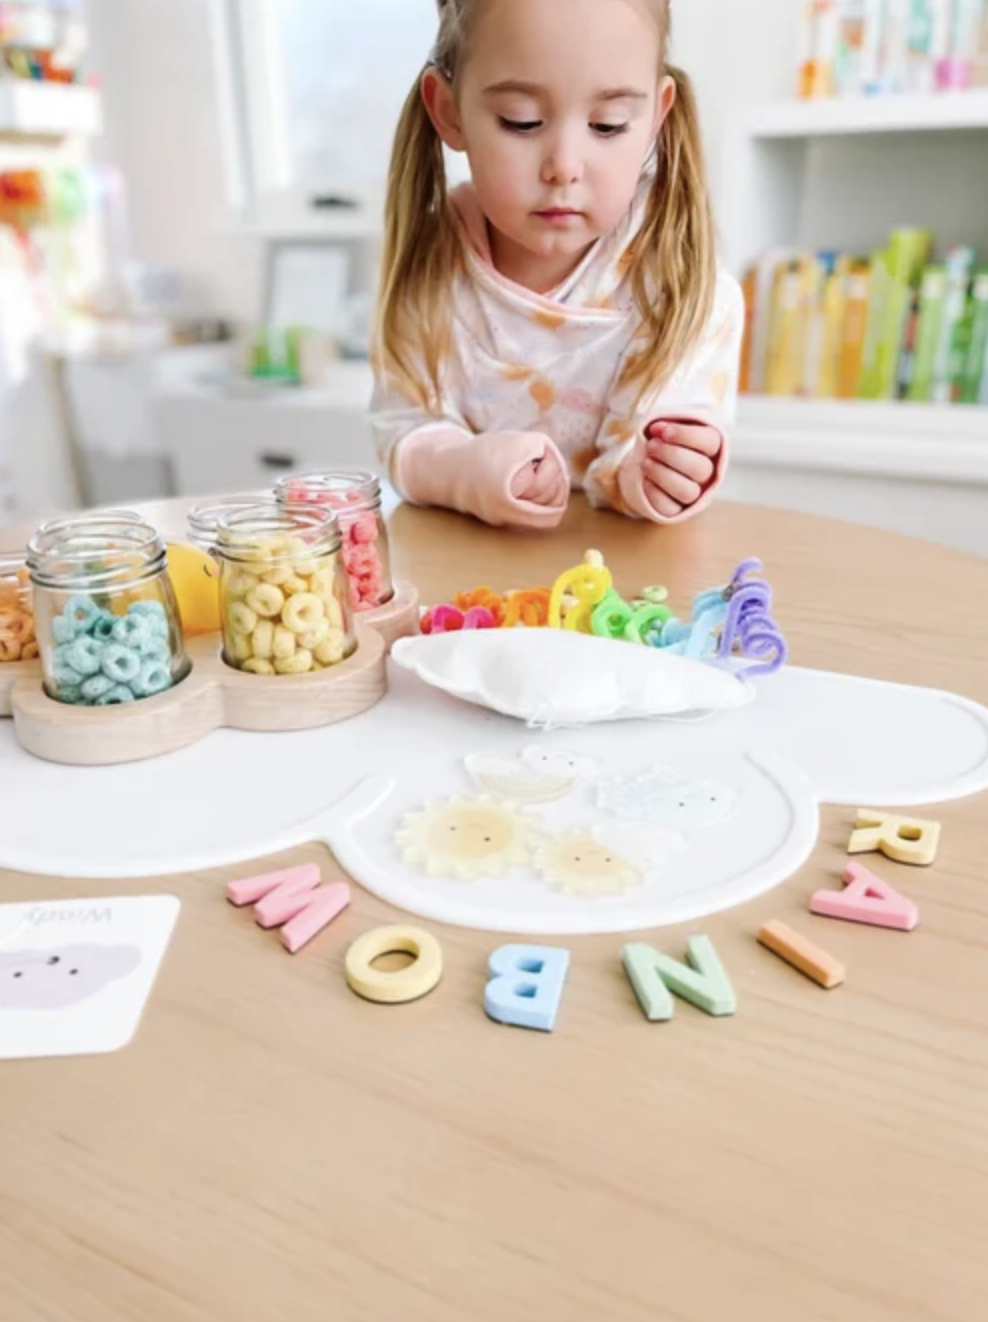
Kids get to thread Fruit Loops onto pipe cleaners, sort cereal by color, build rainbow arches, and attach everything to a fluffy cloud shape.
It is perfect for rainbow week, weather week, spring activities, St. Patrick’s Day, or anytime you want a low-prep fine motor activity that keeps little hands busy.
Because children are matching colors, sequencing the rainbow, and using careful finger movements, this craft works beautifully as both a creative project and a hands-on learning activity.
Materials needed
- Fruit Loops or colorful cereal
- Pipe cleaners in rainbow colors
- White cardstock, cardboard, or foam for the cloud
- Scissors
- Tape or glue dots
- Optional cotton balls for extra cloud texture
How to make a rainbow cloud craft
Step 1
Set up the rainbow colors
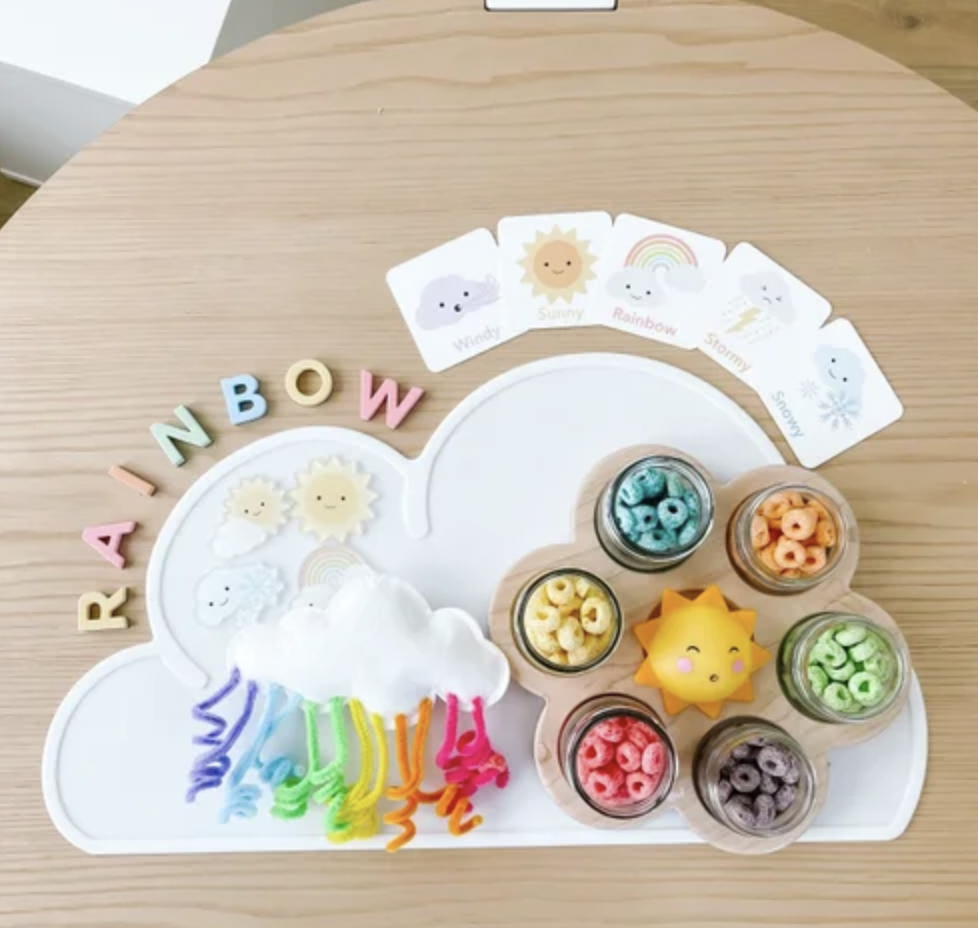
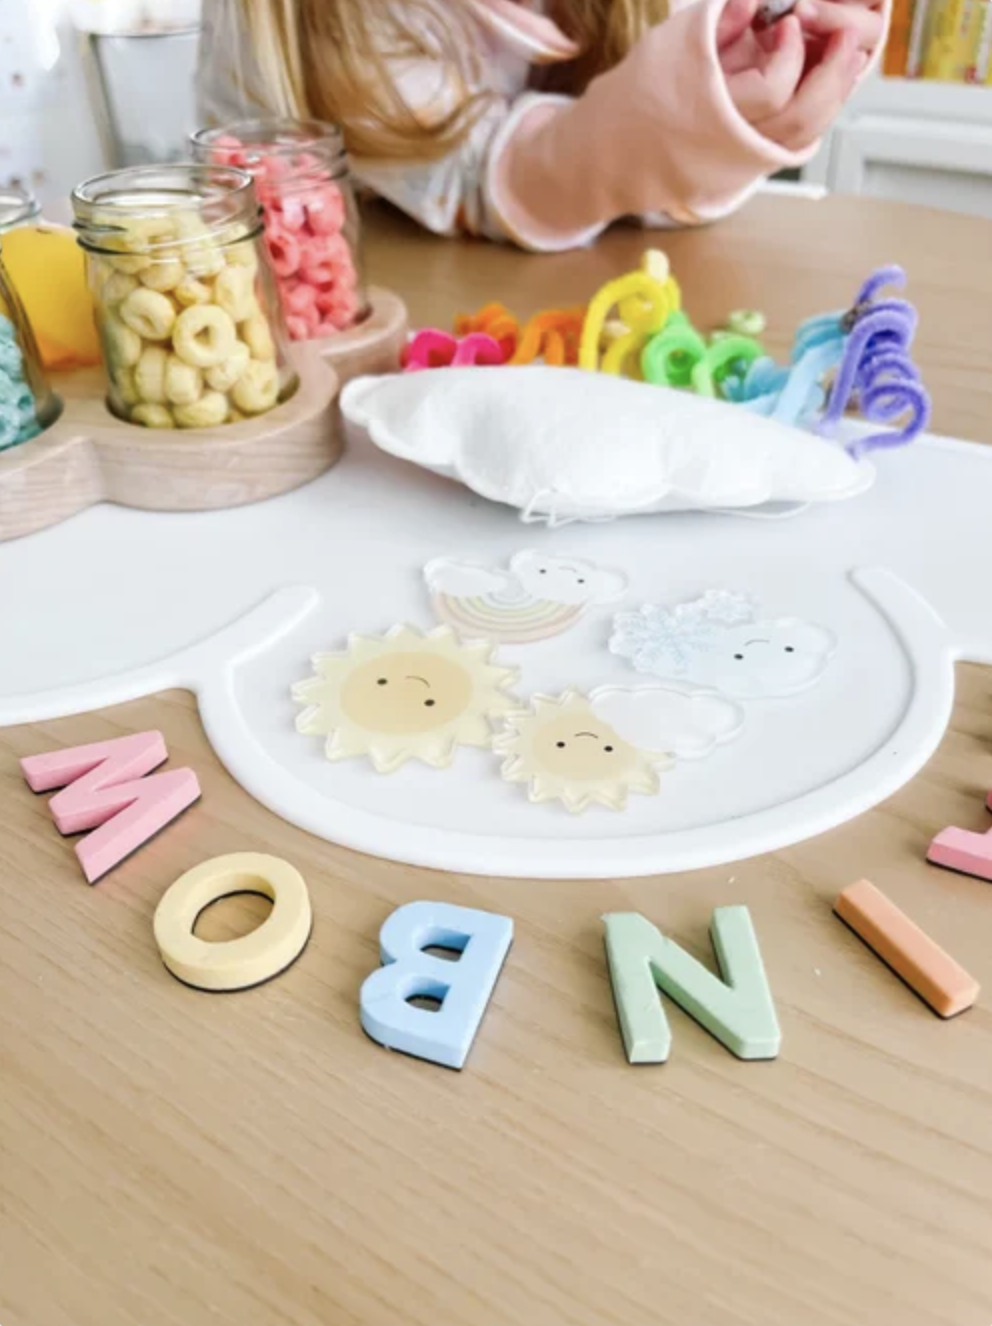
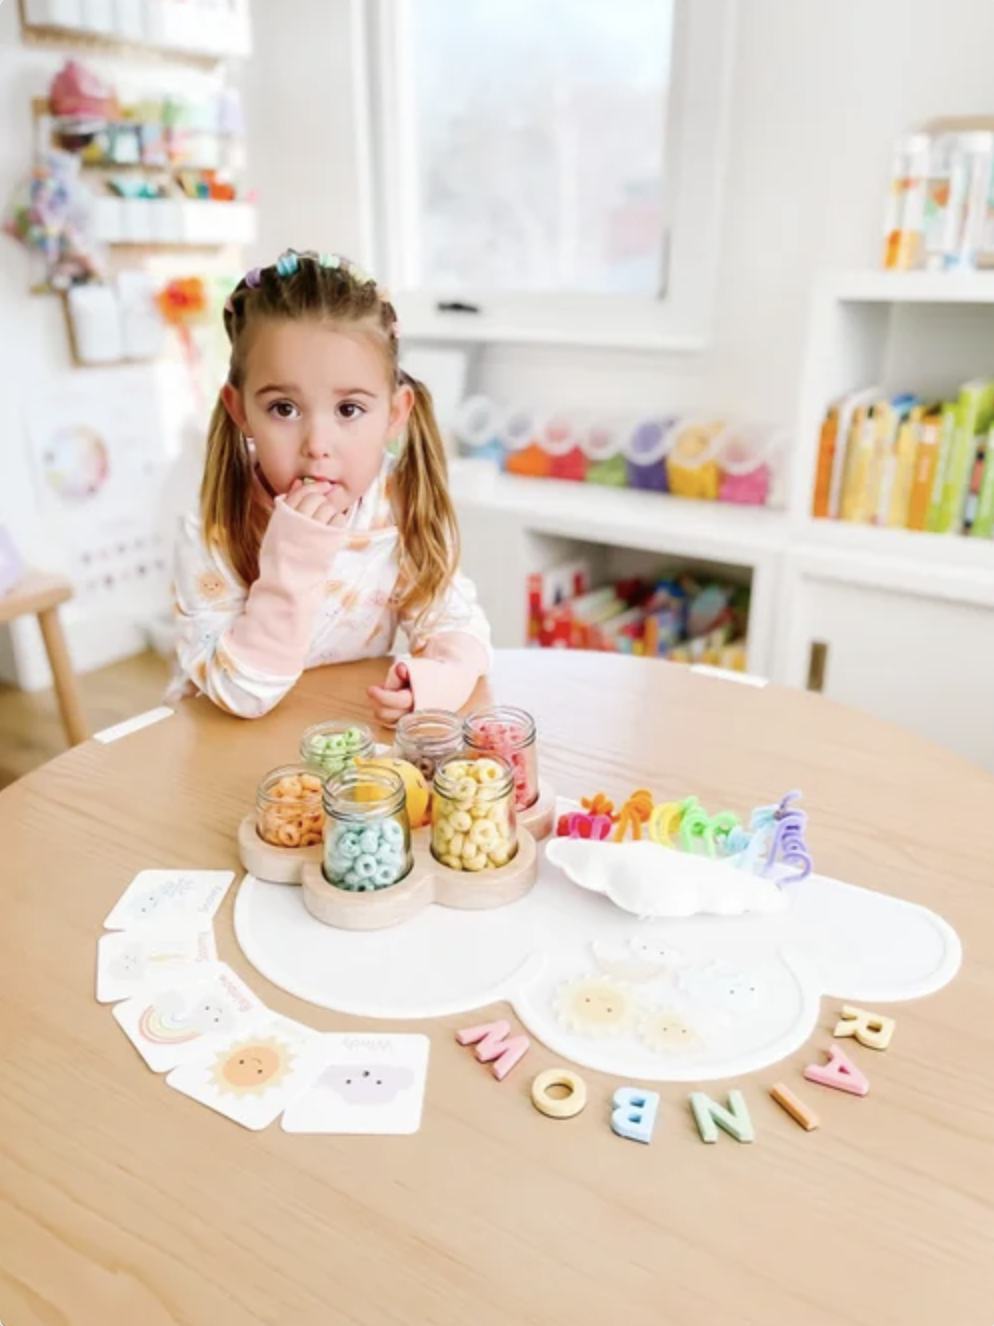
Lay out pipe cleaners in rainbow order and pour colorful cereal into small jars, bowls, or a tray. Invite your child to sort the cereal by color before threading.
Step 2
Thread the cereal
Have your child thread Fruit Loops onto each pipe cleaner. This is wonderful fine motor practice and gives kids a chance to name colors as they work.
Step 3
Build the rainbow
Bend each pipe cleaner into a rainbow arch and tape the ends behind the cloud. Layer the colors from largest to smallest to create a bright rainbow shape.
Parent tip
If your child is still working on threading, use fewer cereal pieces and leave extra space on the pipe cleaner. For older kids, challenge them to build the rainbow in correct color order.
Learning benefits
This rainbow craft is simple, but it builds so many early learning skills.
Threading cereal strengthens fine motor muscles and hand-eye coordination. Sorting Fruit Loops by color supports visual discrimination and color recognition. Building the rainbow in order introduces sequencing and patterning.
It is also a natural way to start a conversation about weather, rainbows, clouds, rain, and sunshine.
Learning skills
Fine motor skills
Color sorting
Rainbow order
Sequencing
Weather vocabulary
Hand-eye coordination
Patterning
Creative play
Weather and rainbow products to pair with this activity
Extend this rainbow craft into a full weather-themed learning day with GoodnightFox weather printables and play materials.

Weather station pretend play
Set up a pretend weather station with forecast boards, weather symbols, and meteorologist role-play.
Shop weather station
Weather flashcards
Practice weather vocabulary with soft pastel weather cards, including rainbow, sun, rain, clouds, and storms.
Shop flashcards
Weather wood play rounds
Add wooden weather pieces to sensory bins, matching games, calendar time, and weather-themed play trays.
Shop play roundsQuestions to ask kids
- What colors are in your rainbow?
- Which color comes first?
- Can you sort the cereal by color?
- What weather do we need to see a rainbow?
- What happens after it rains and the sun comes out?
- Can you count how many cereal pieces are on each pipe cleaner?
More rainbow and weather activities
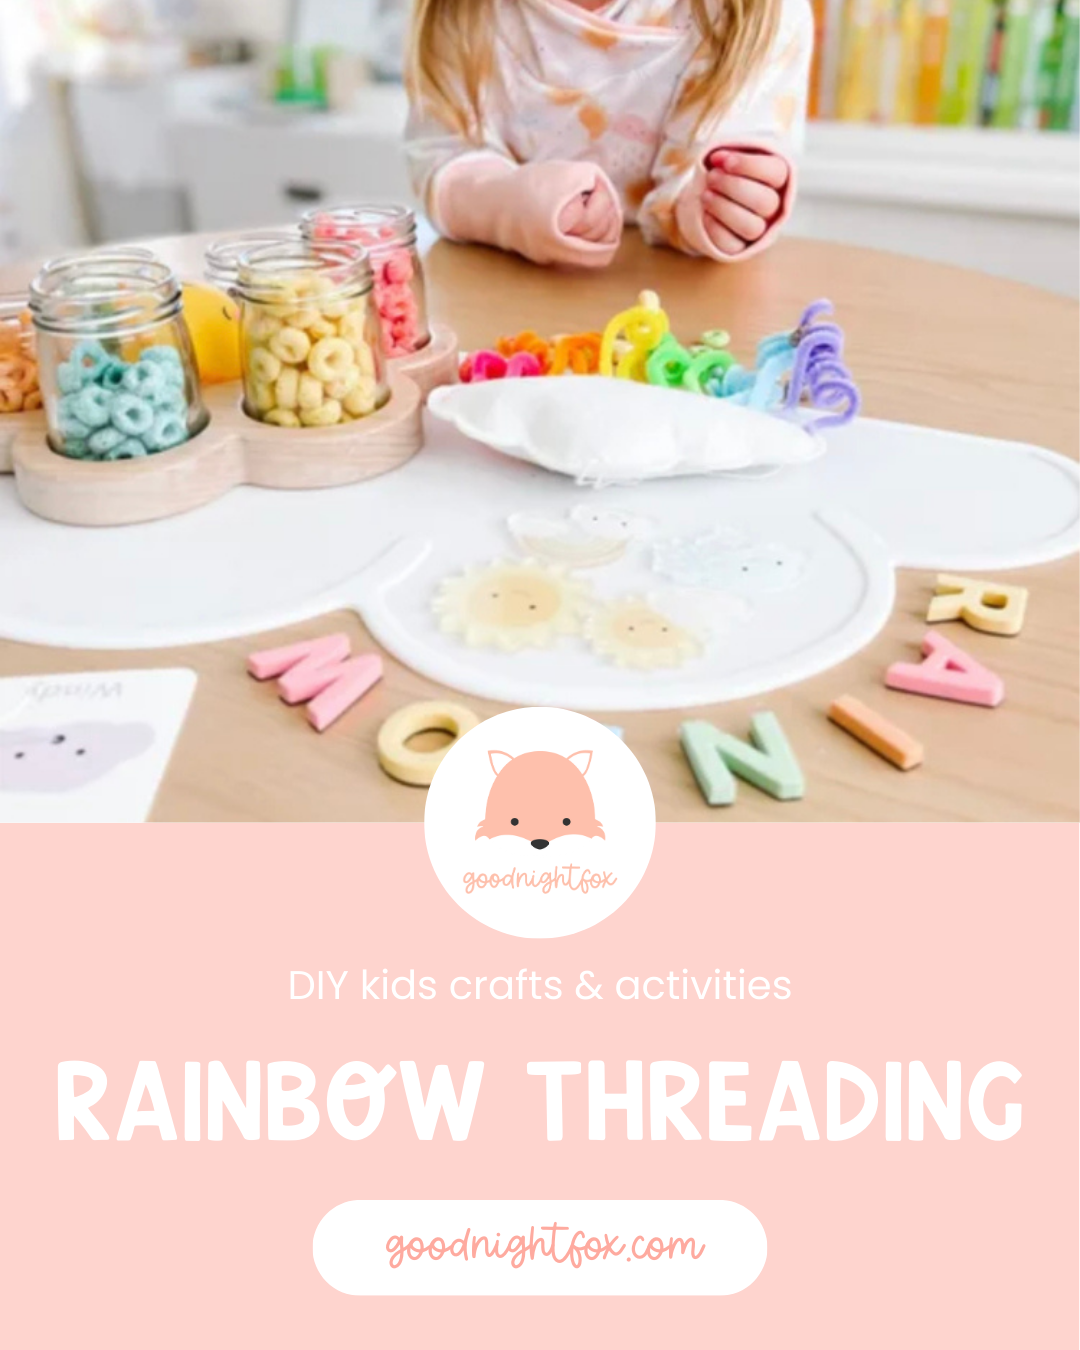
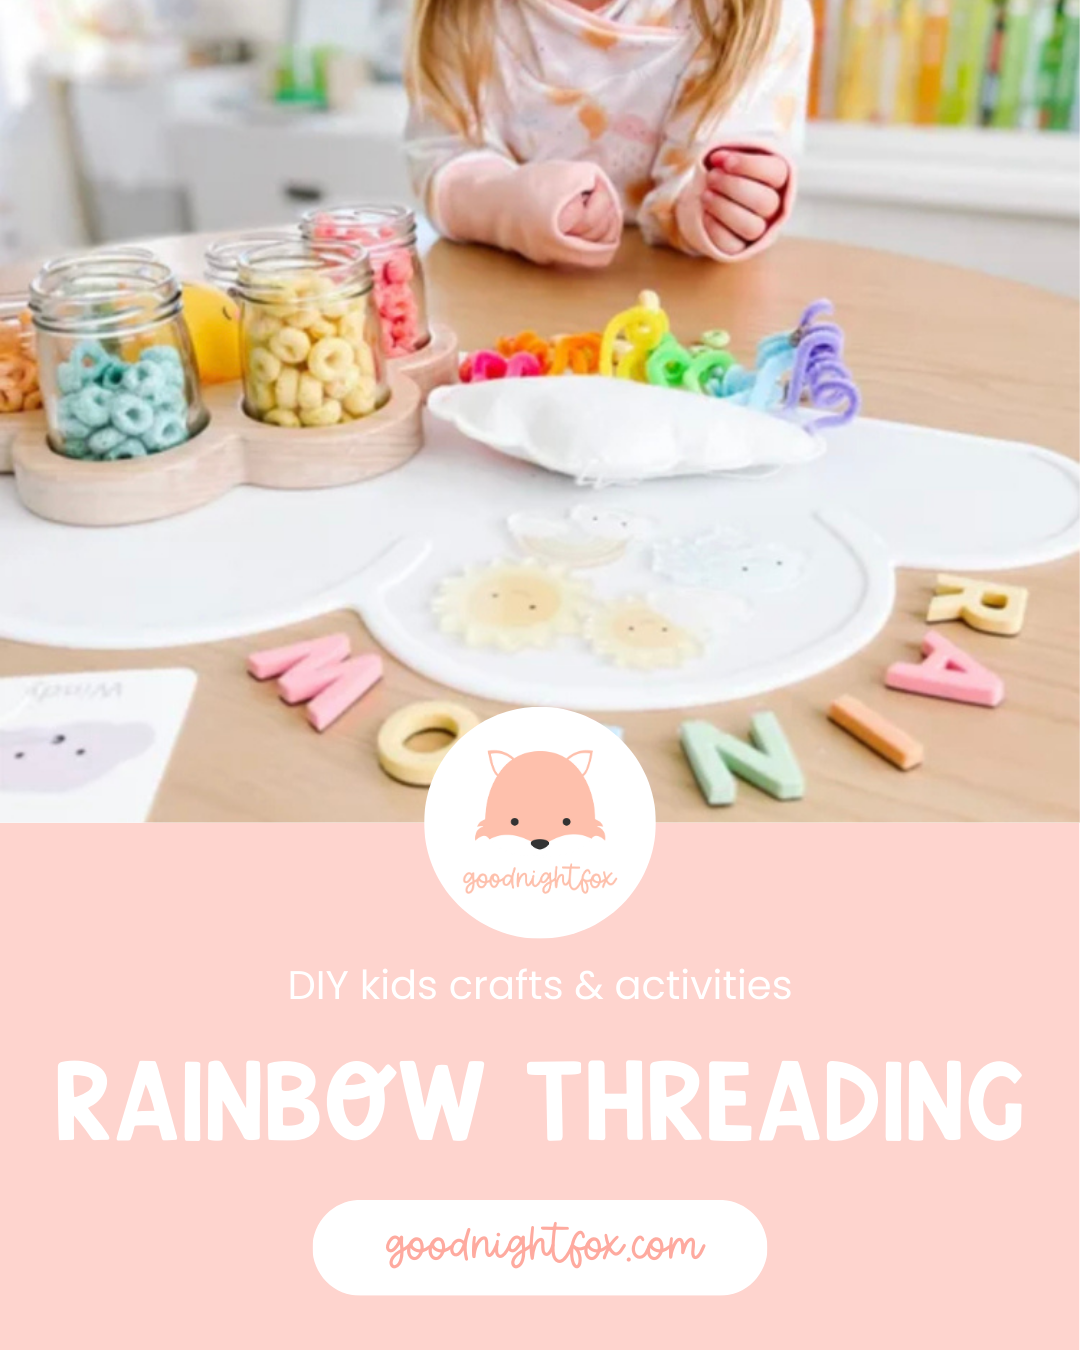
Rainbow threading
Save this rainbow threading idea for Weather Week, spring crafts, or a colorful fine motor activity.
Rainbow threadingRainbow milk experiment
Make colors swirl across milk while learning about surface tension and color mixing.
Rainbow milkSunset milk experiment
Explore warm colors, cool colors, and color mixing through a beautiful science activity.
Sunset milkRainbow cloud craft FAQ
How do you make a Fruit Loop rainbow craft?
Thread colorful cereal onto pipe cleaners, bend the pipe cleaners into rainbow arches, and attach them to a white cloud shape made from cardstock, cardboard, or foam.
What age is this rainbow craft best for?
This craft is best for ages three and up with adult supervision. Younger children may need help threading cereal and bending the pipe cleaners.
What do kids learn from a rainbow craft?
Kids can practice color recognition, sorting, sequencing, fine motor skills, hand-eye coordination, counting, and weather vocabulary.
Can I use this for Weather Week?
Yes. This craft pairs perfectly with weather lessons about rainbows, clouds, rain, sunshine, and the colors we see after a storm.
What can I use instead of Fruit Loops?
You can use pony beads, buttons, dyed pasta, paper circles, pom poms, or any small colorful item that can be sorted or threaded safely.
Toilet Roll Unicorn
Toilet Roll Unicorn Craft
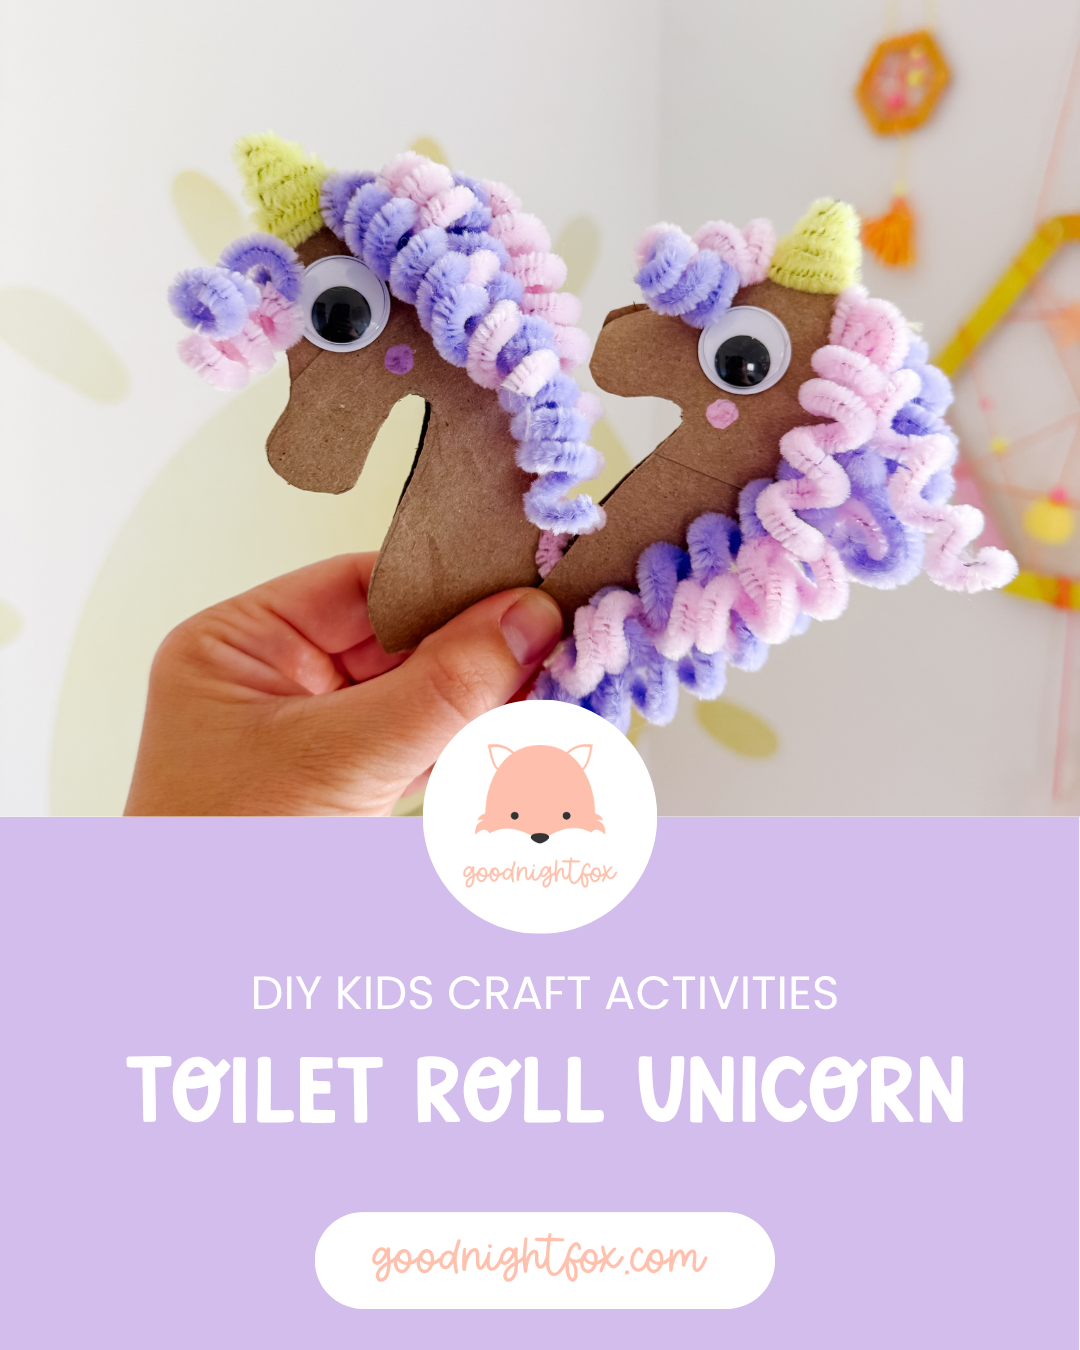
A magical recycled craft for kids using a toilet paper roll, pipe cleaners, googly eyes, and simple supplies—perfect for unicorn week, princess play, castle crafts, and imaginative storytelling.
Age3+
Prep10 minutes
Activity20 minutes
Mess★☆☆☆☆
SkillsFine motor + pretend play
Why we love this activity
This toilet roll unicorn craft is such a sweet way to turn a recycled cardboard tube into something magical.
Kids get to twist pipe cleaners, glue on googly eyes, draw little details, and create a colorful mane and horn. It is simple enough for preschoolers with a little help, but still open-ended enough for older kids to personalize.
What I love most is that the finished unicorn becomes more than a craft. It can gallop into castle play, unicorn sensory bins, fairy gardens, puppet shows, and magical storytelling.
Materials needed
- Empty toilet paper roll
- Pastel pipe cleaners
- Yellow pipe cleaner or paper for the horn
- Googly eyes
- Pink and purple markers
- Scissors
- Glue
- Pencil
How to make a toilet roll unicorn
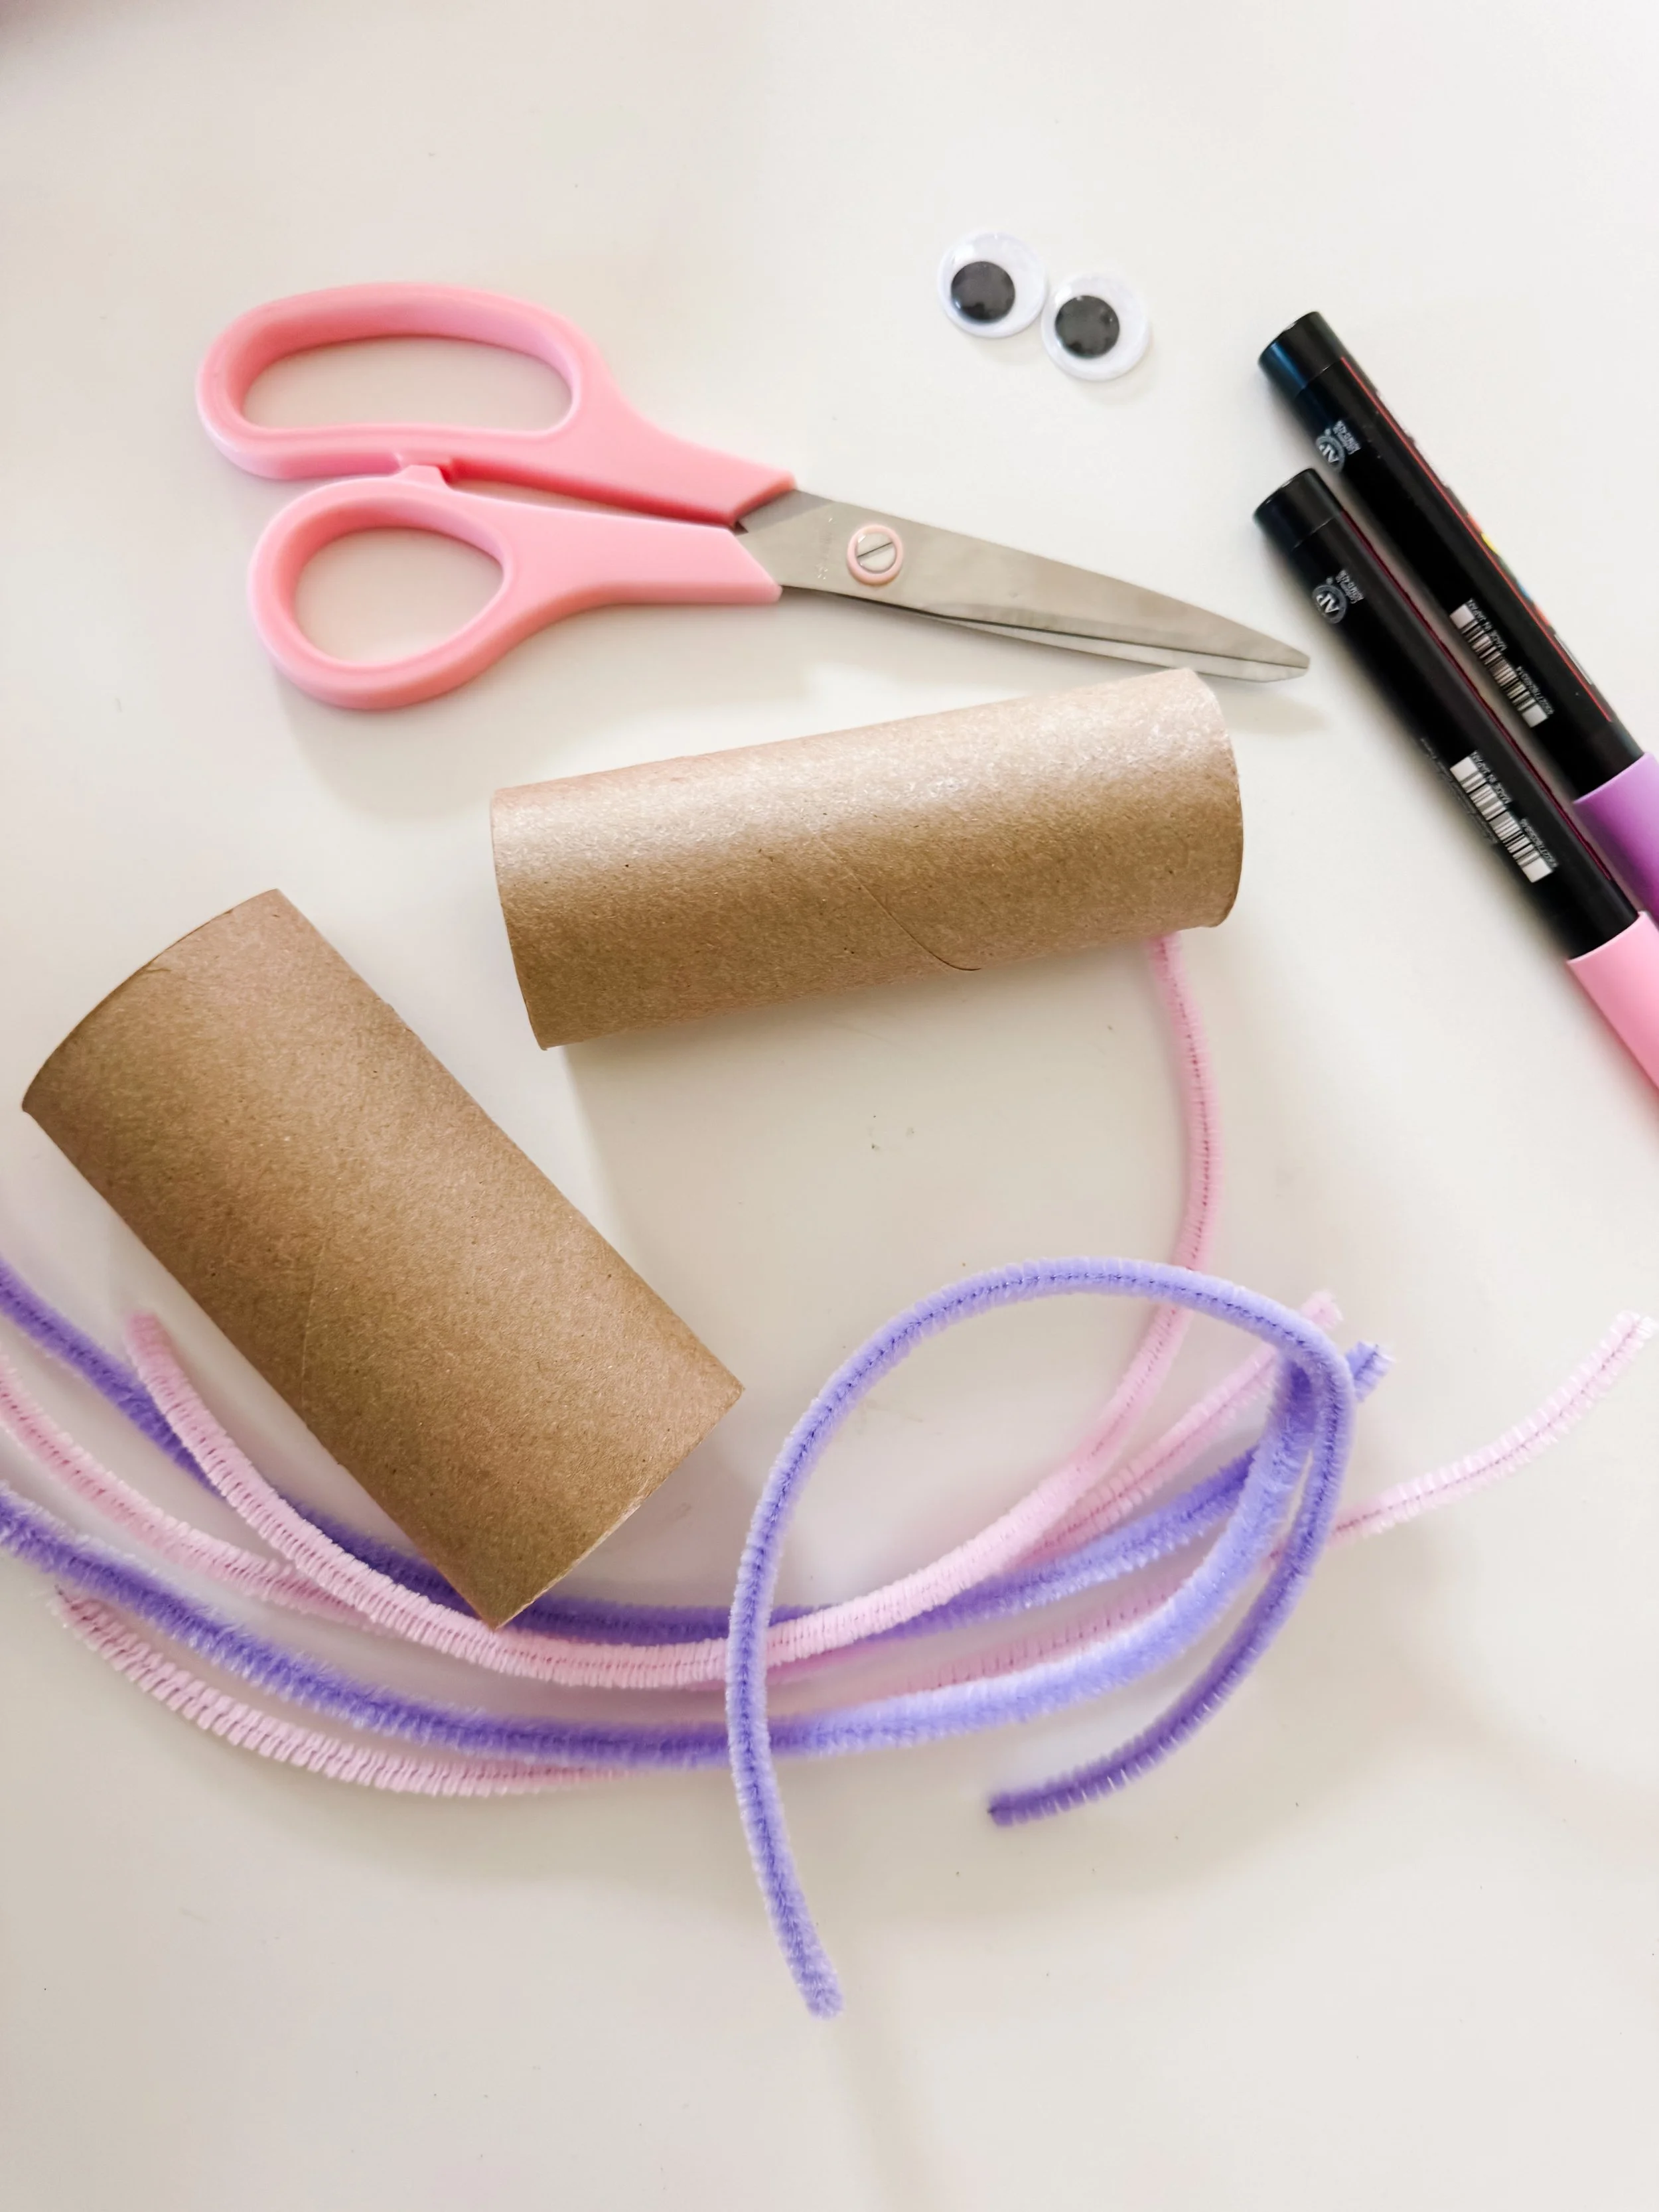
Step 1
Gather the supplies
Set out a cardboard tube, pastel pipe cleaners, googly eyes, markers, scissors, glue, and a pencil. For younger kids, pre-cut the unicorn shape so they can focus on decorating.
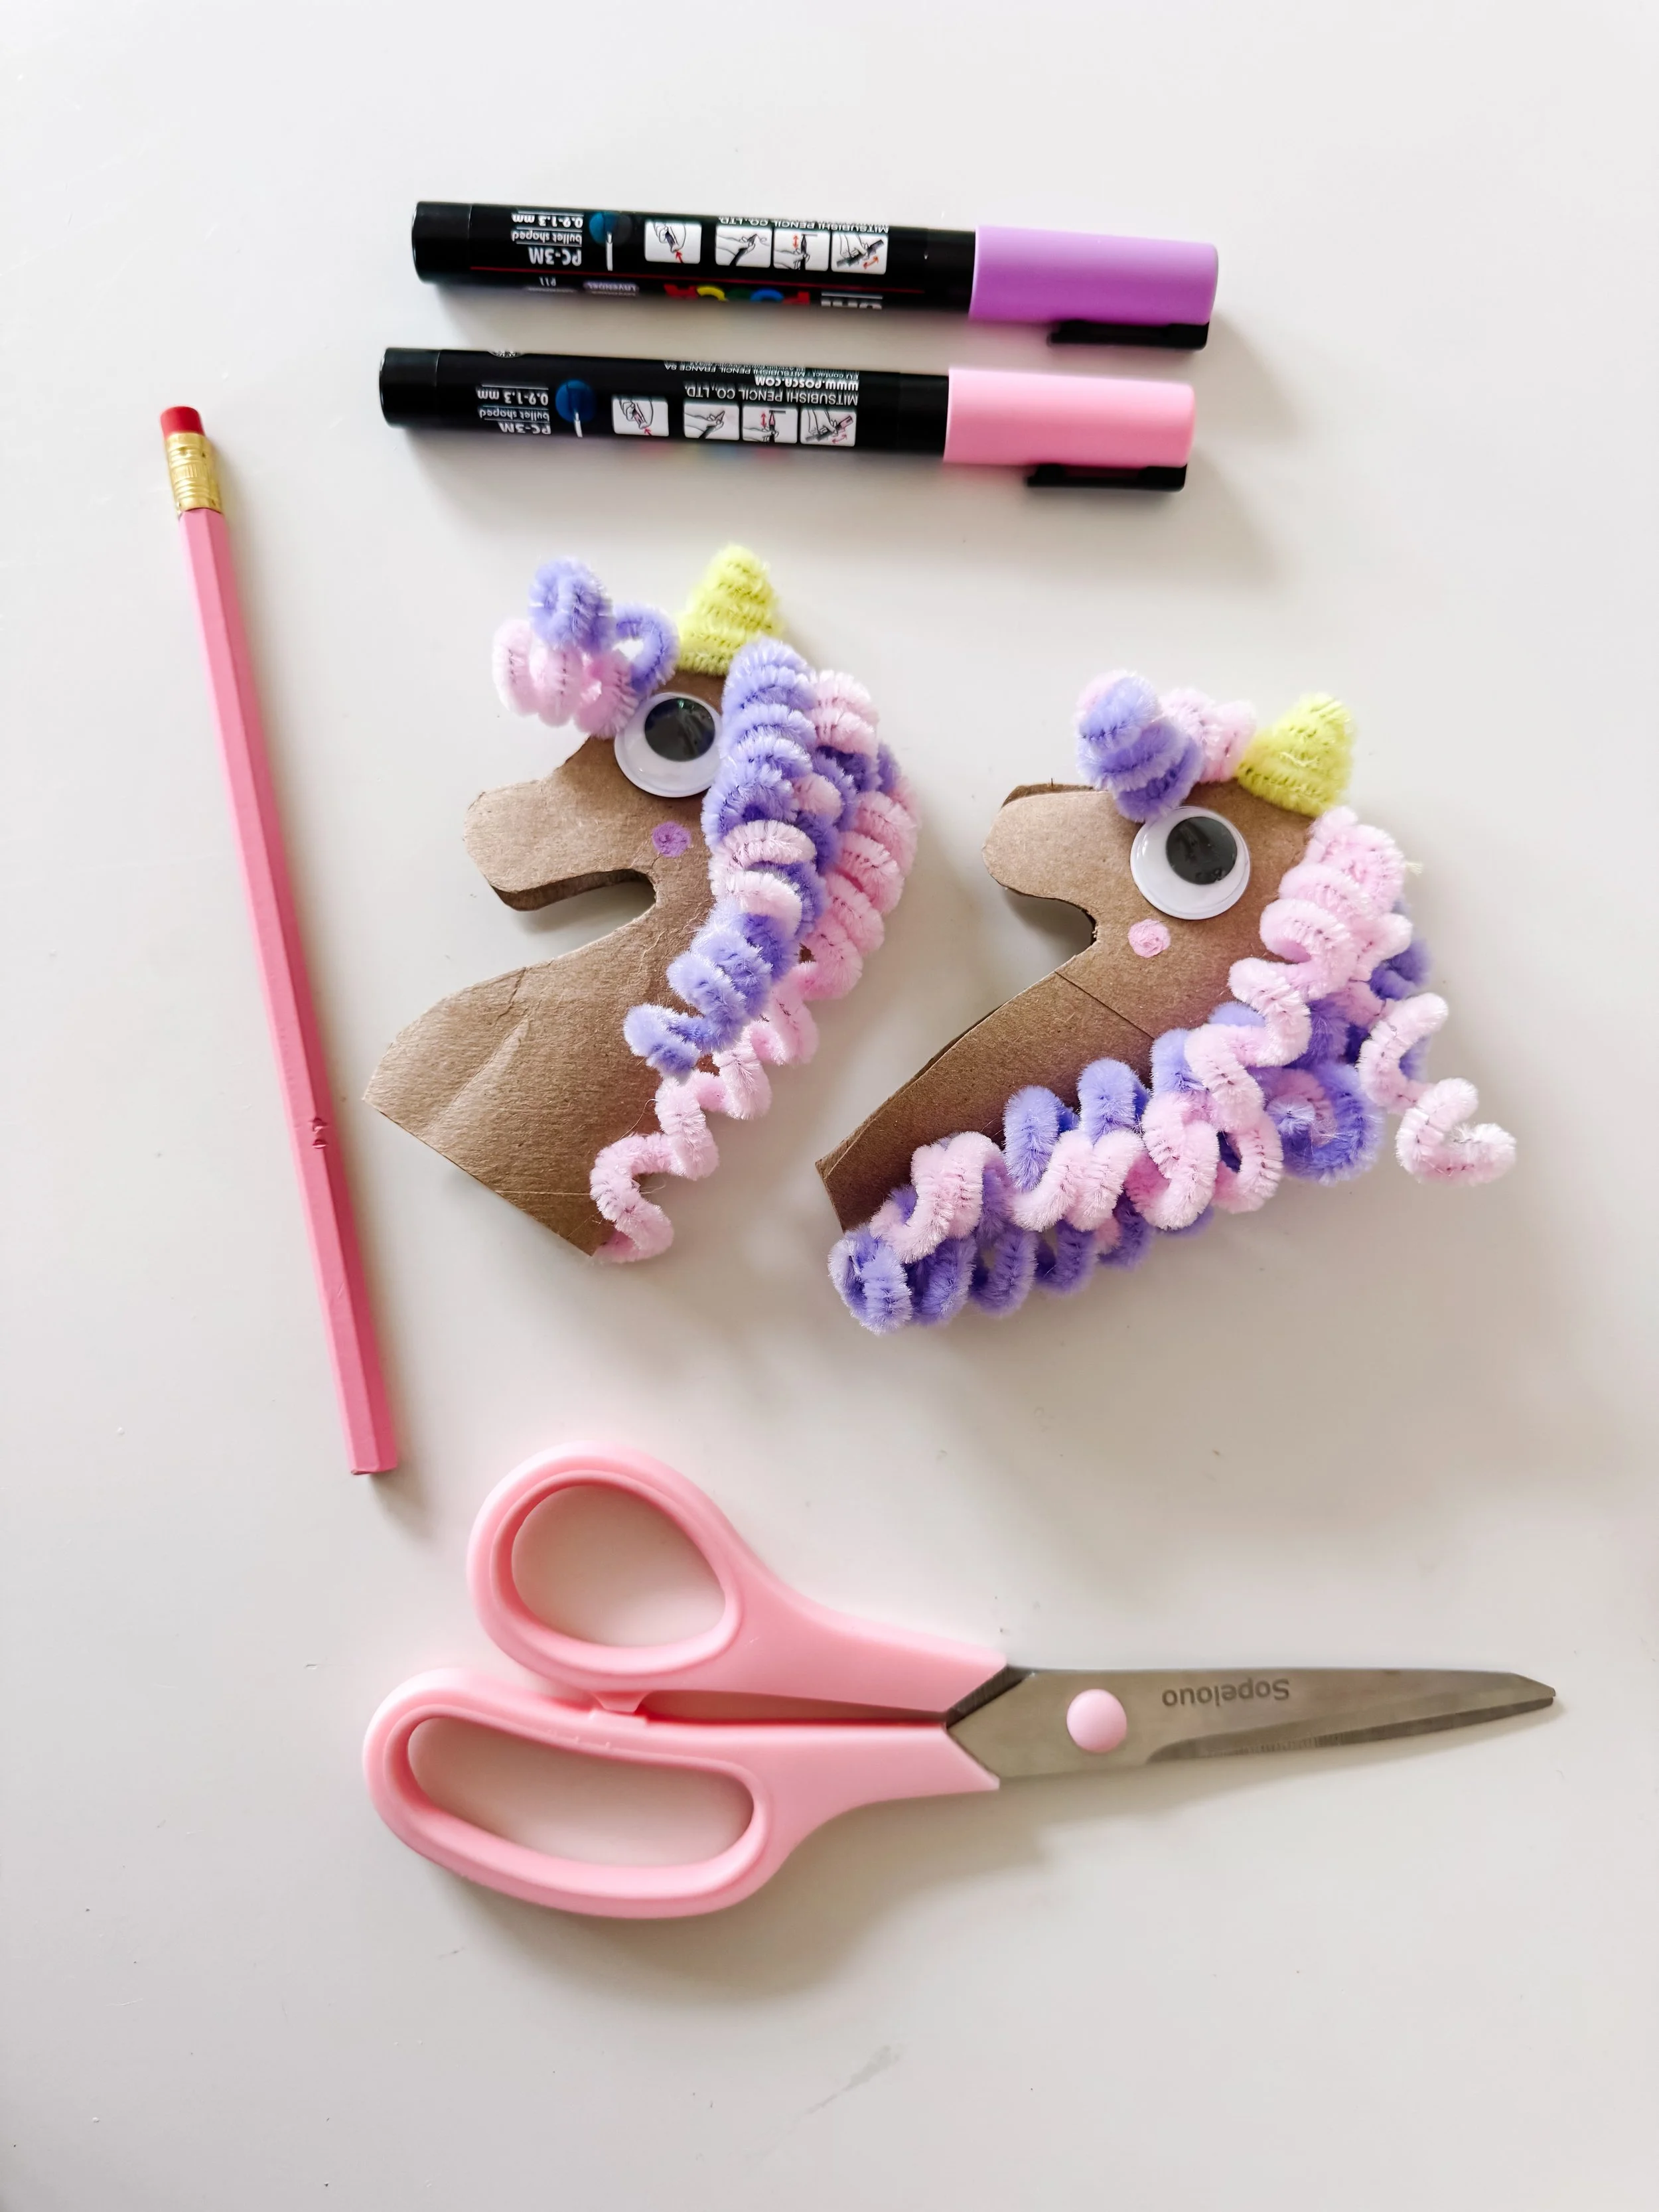
Step 2
Shape the unicorn
Cut the cardboard tube into a simple unicorn head and neck shape. Add googly eyes, draw a little cheek, and attach a small yellow horn at the top.
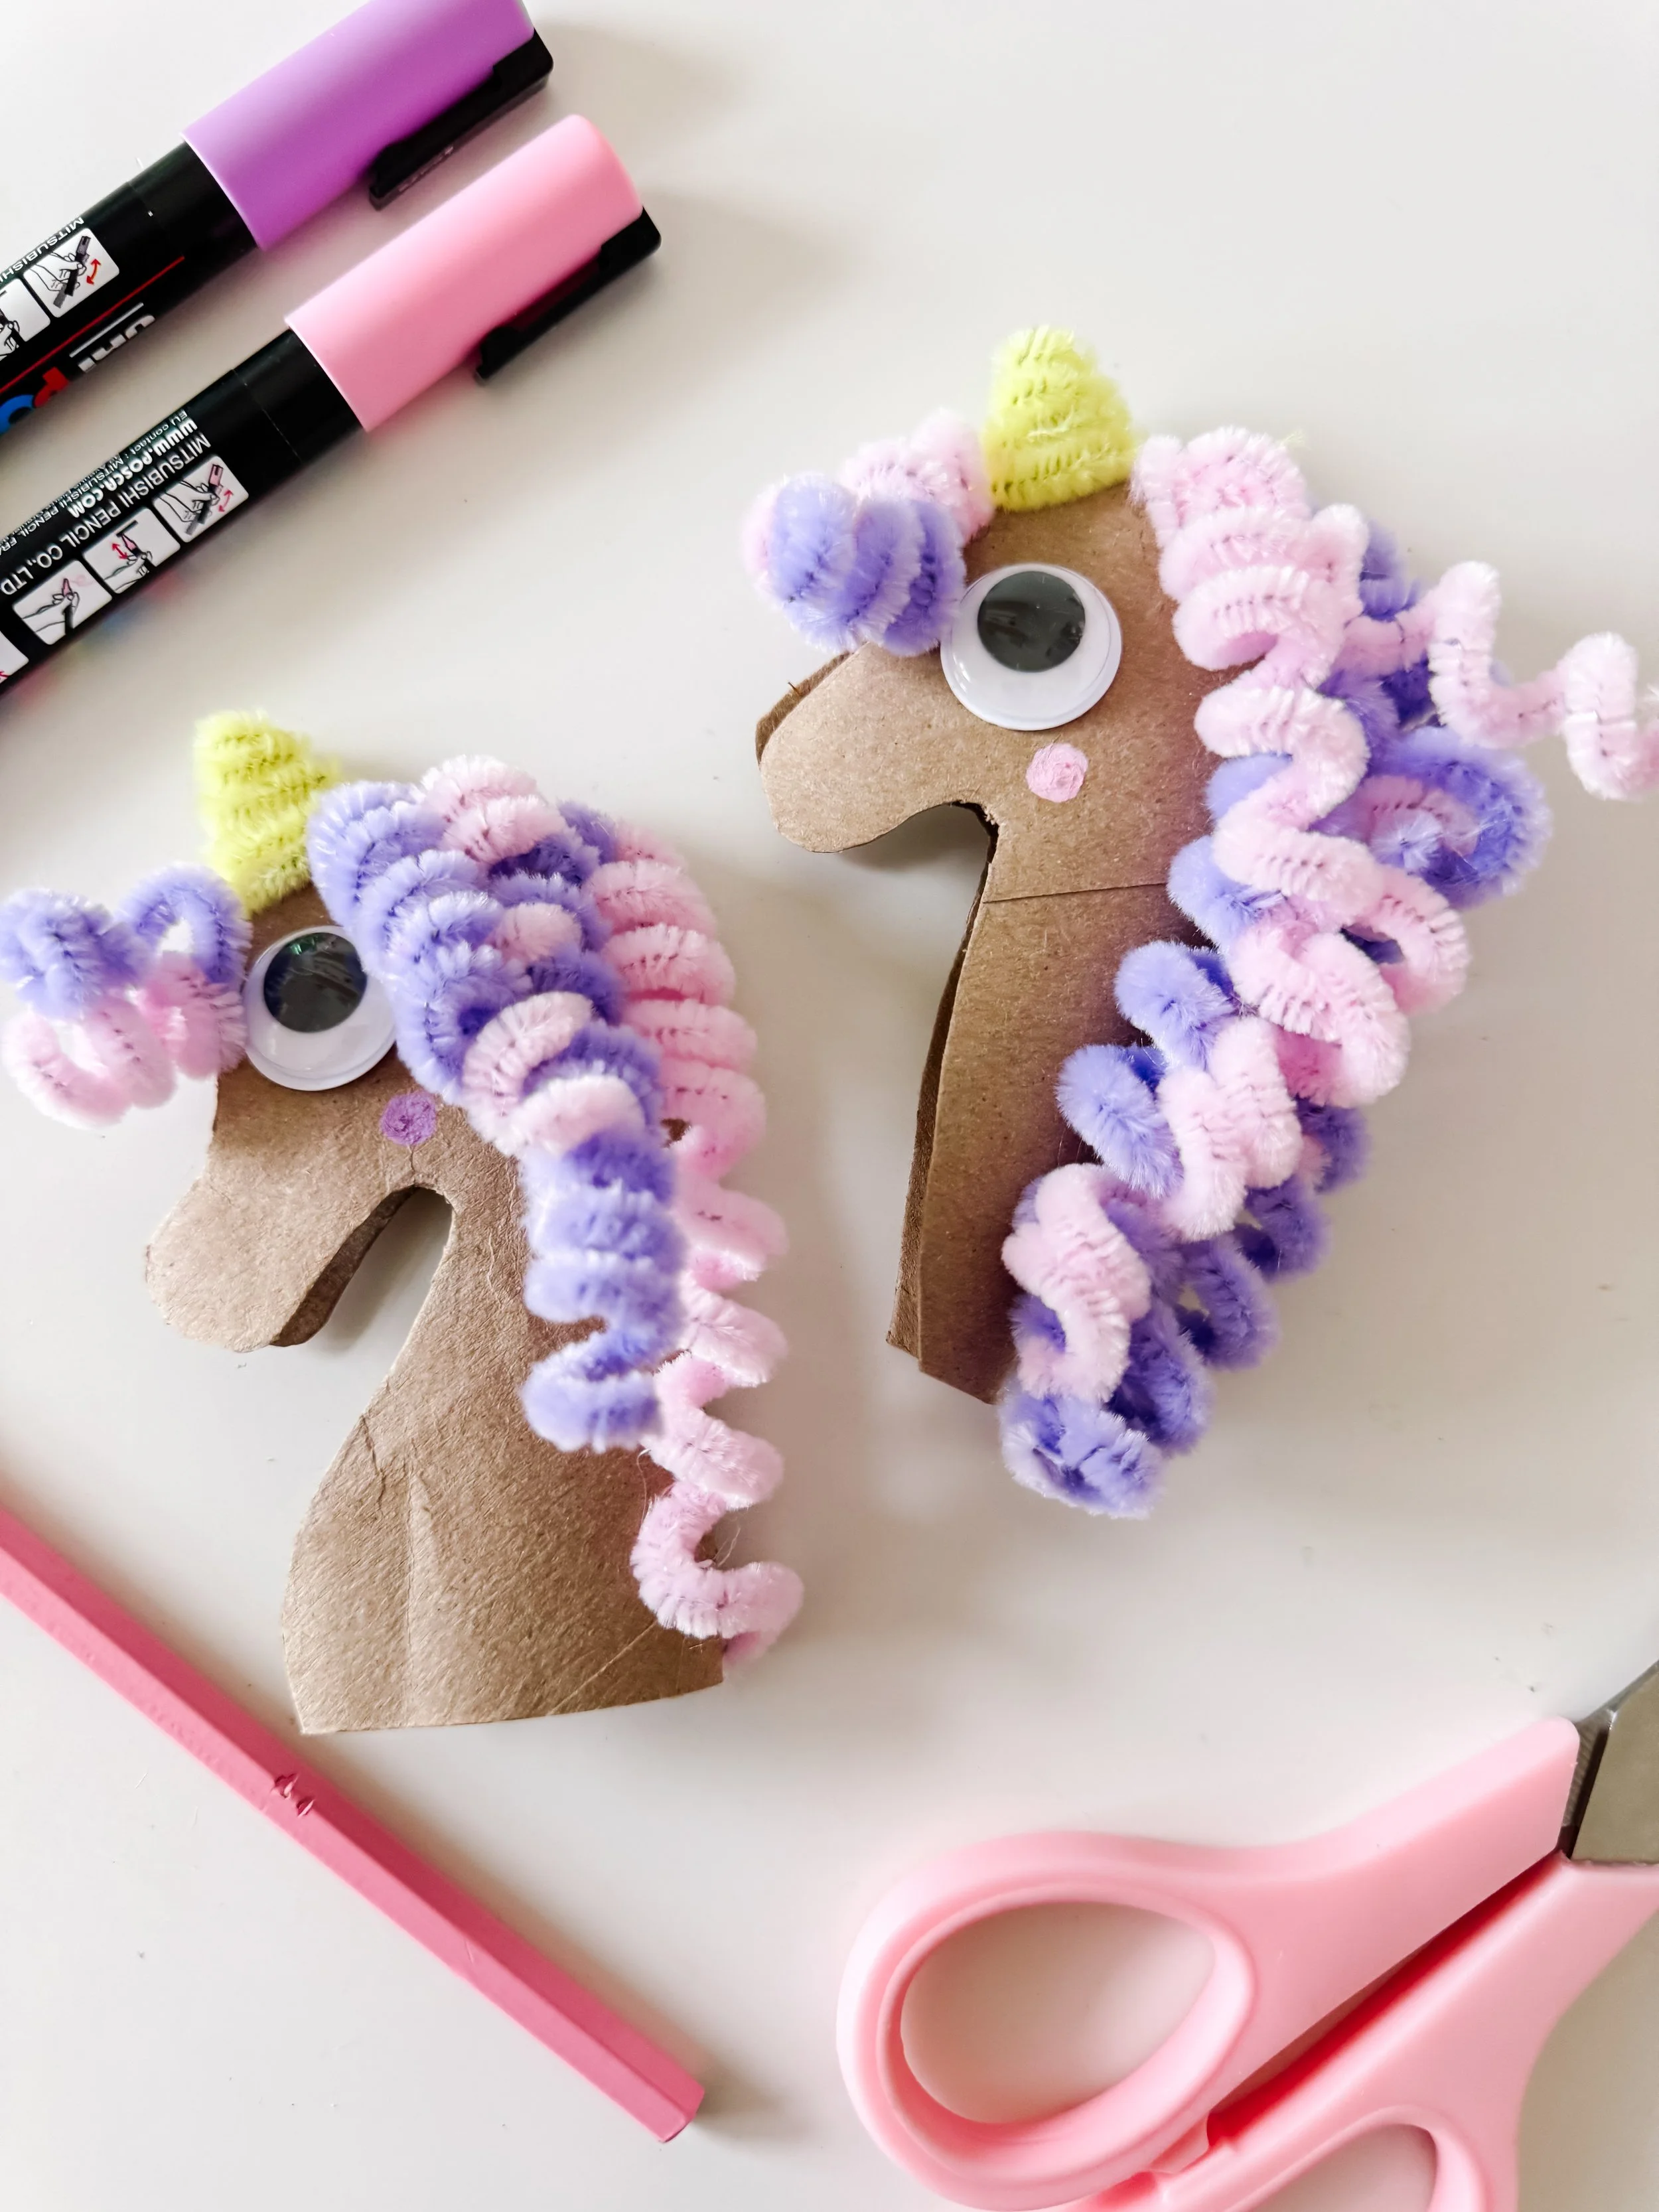
Step 3
Add the mane
Twist pastel pipe cleaners around a pencil to create curls, then glue or tape them along the unicorn’s head and neck. Mix pink, lavender, and yellow for a magical rainbow look.
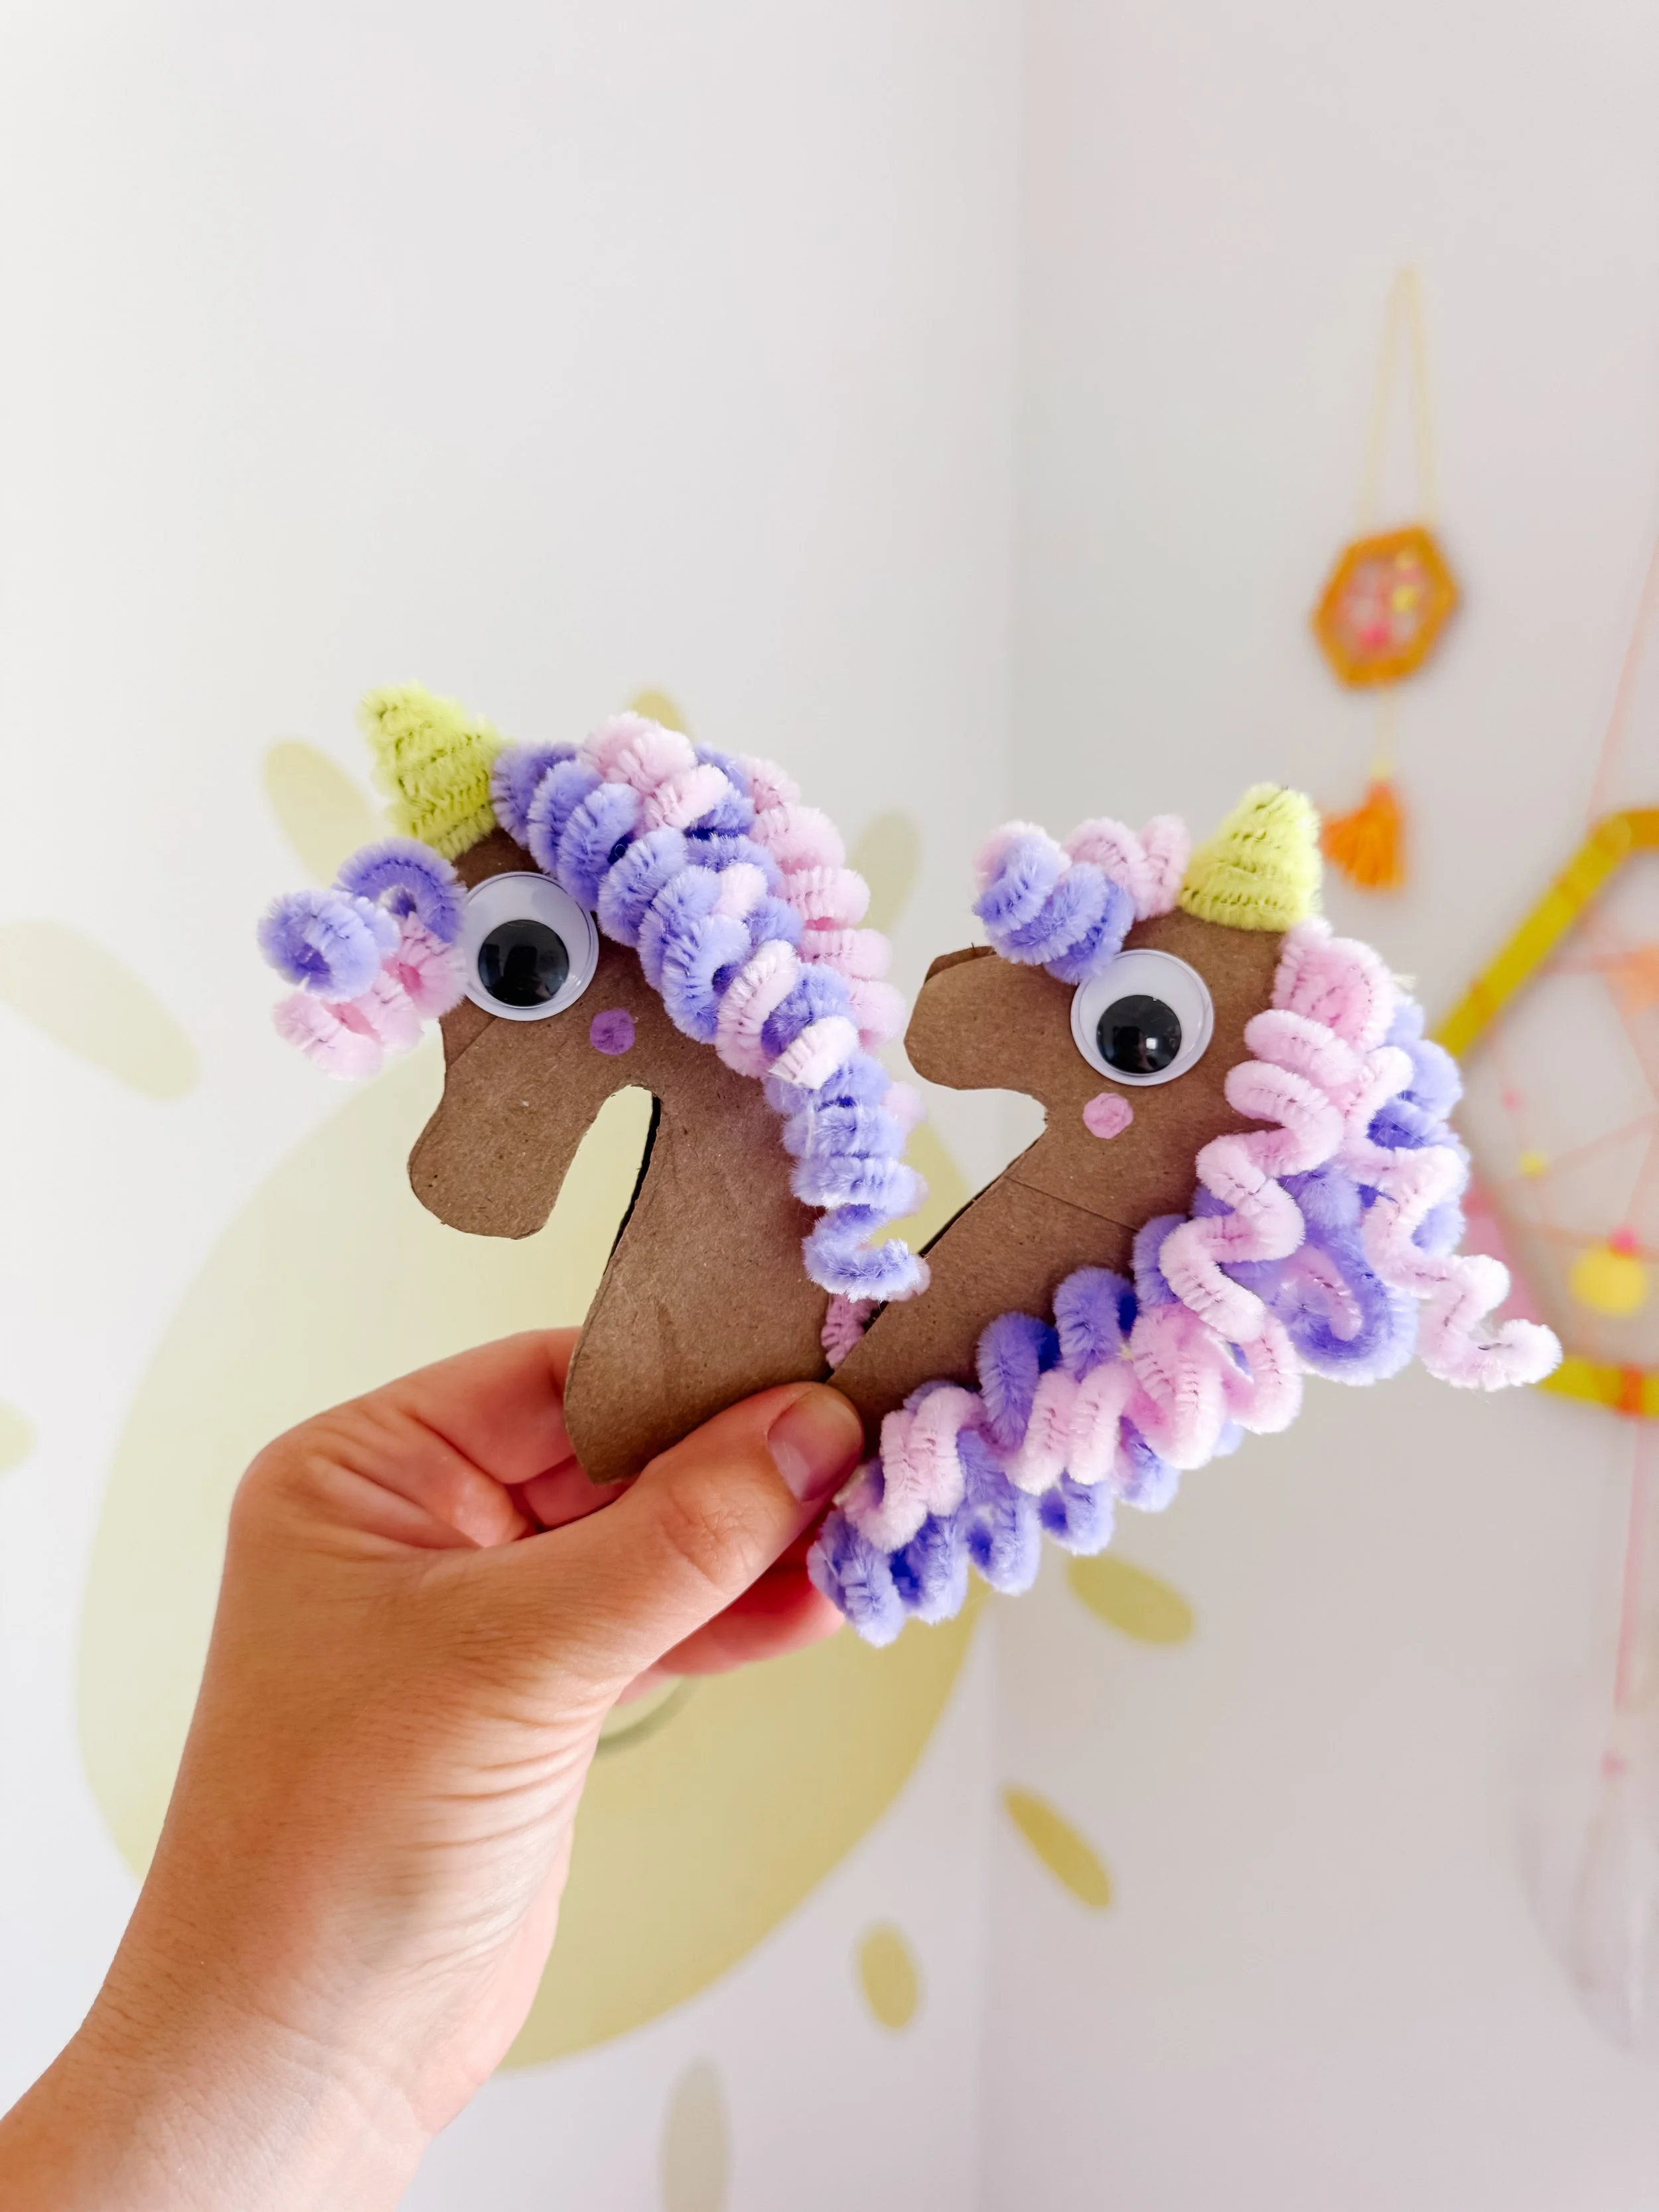
Step 4
Play with your unicorn
Once the glue dries, use the unicorns for puppet play, castle storytelling, unicorn sensory play, or a magical small-world setup.
Parent tip
To make the curly mane, wrap pipe cleaners around a pencil and slide them off gently. This is a great fine motor challenge for older preschoolers and early elementary kids.
Unicorn learning ideas
This craft naturally supports fine motor skills, creativity, and storytelling. Children strengthen their hands as they twist pipe cleaners, practice careful gluing, and decorate small details.
After the craft, invite your child to name their unicorn, create a magical kingdom, tell a story, or build a cardboard castle for the unicorn to live in.
You can also pair this with rainbow sorting, color vocabulary, unicorn sensory play, or pretend dramatic play for a full unicorn-themed activity day.
Learning skills
Fine motor skills
Pipe cleaner twisting
Cutting practice
Gluing
Color vocabulary
Pretend play
Creative storytelling
Recycled crafts
Unicorn products to pair with this craft
Extend the magic with unicorn-themed dramatic play, sensory kits, and matching games from GoodnightFox.

Unicorn dramatic play
A printable unicorn sensory and dramatic play setup with unicorn signs, rainbows, magical accessories, and role-play props.
Shop unicorn play
Unicorn sensory kit
Add a magical hands-on sensory bin with pastel filler, unicorn pieces, and small-world play materials.
Shop sensory kit
Unicorn memory game
A sweet unicorn and princess matching game for quiet play, party favors, and early memory practice.
Shop memory gameMore unicorn and castle activities
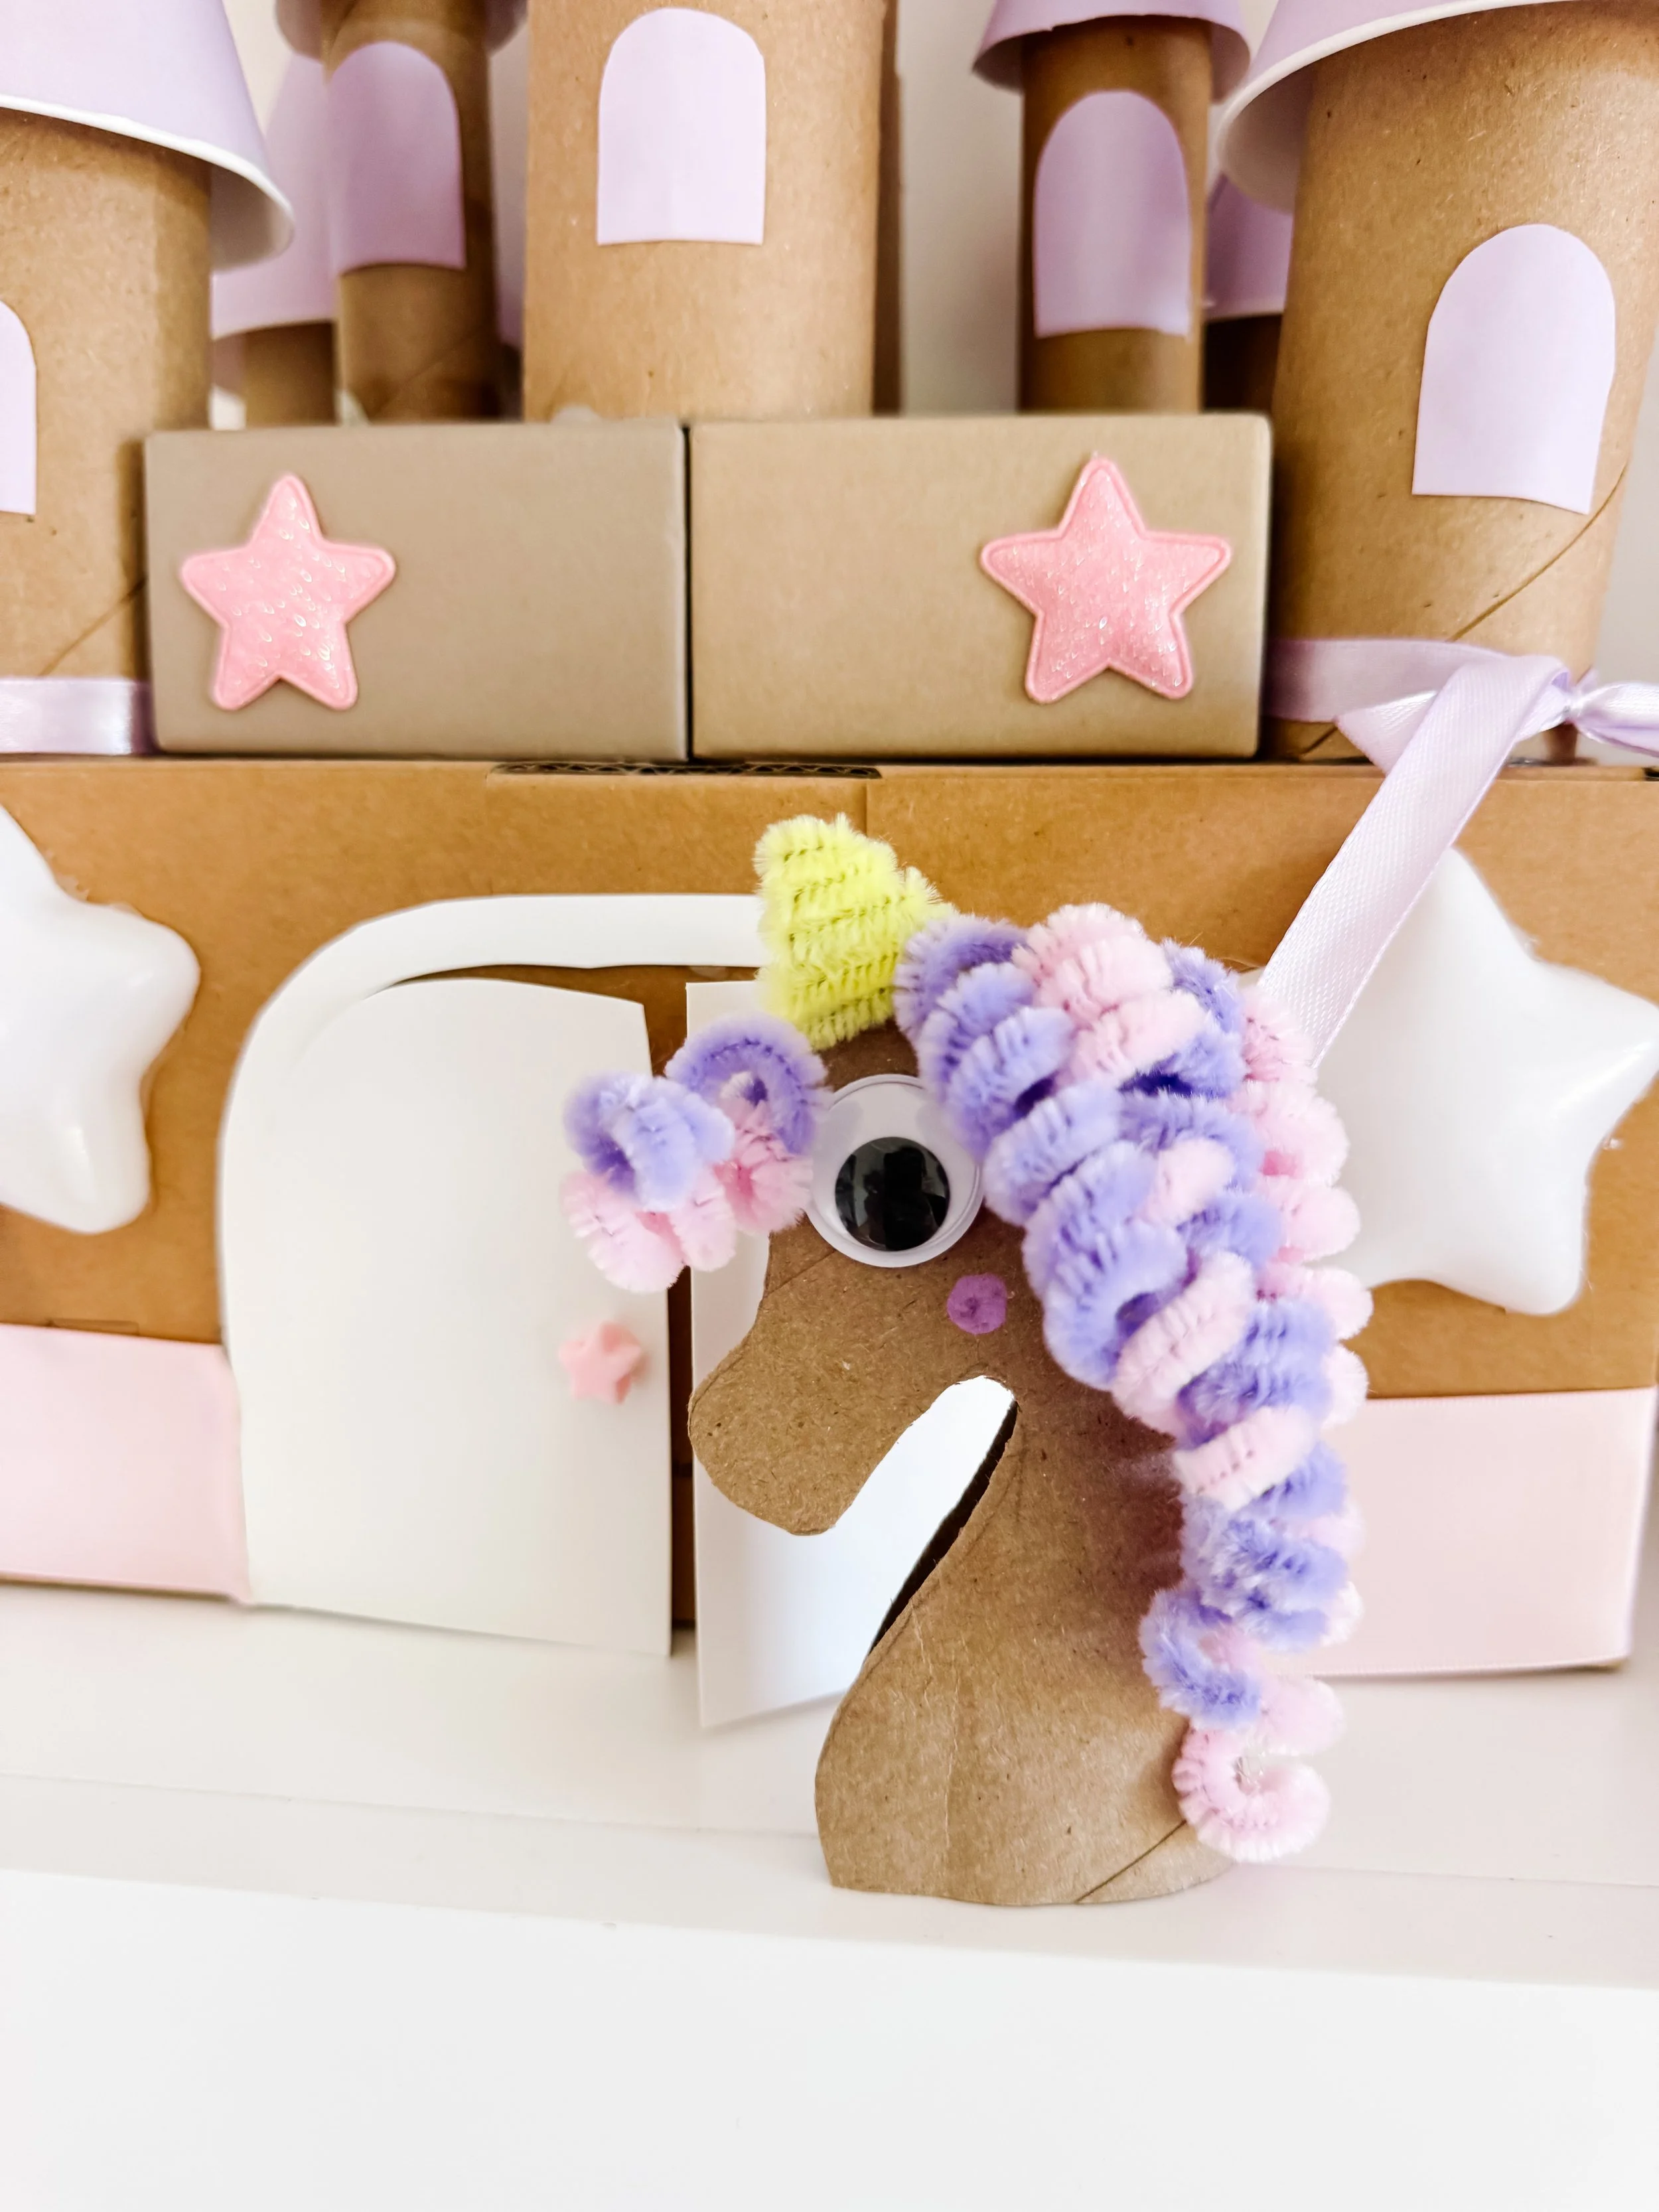
Cardboard castle craft
Build a magical cardboard castle using recycled materials, then use your unicorns for pretend play.
DIY castle craft
Unicorn sensory play
Set up a rainbow-filled unicorn sensory tray with printable props and magical small-world play.
Unicorn sensory play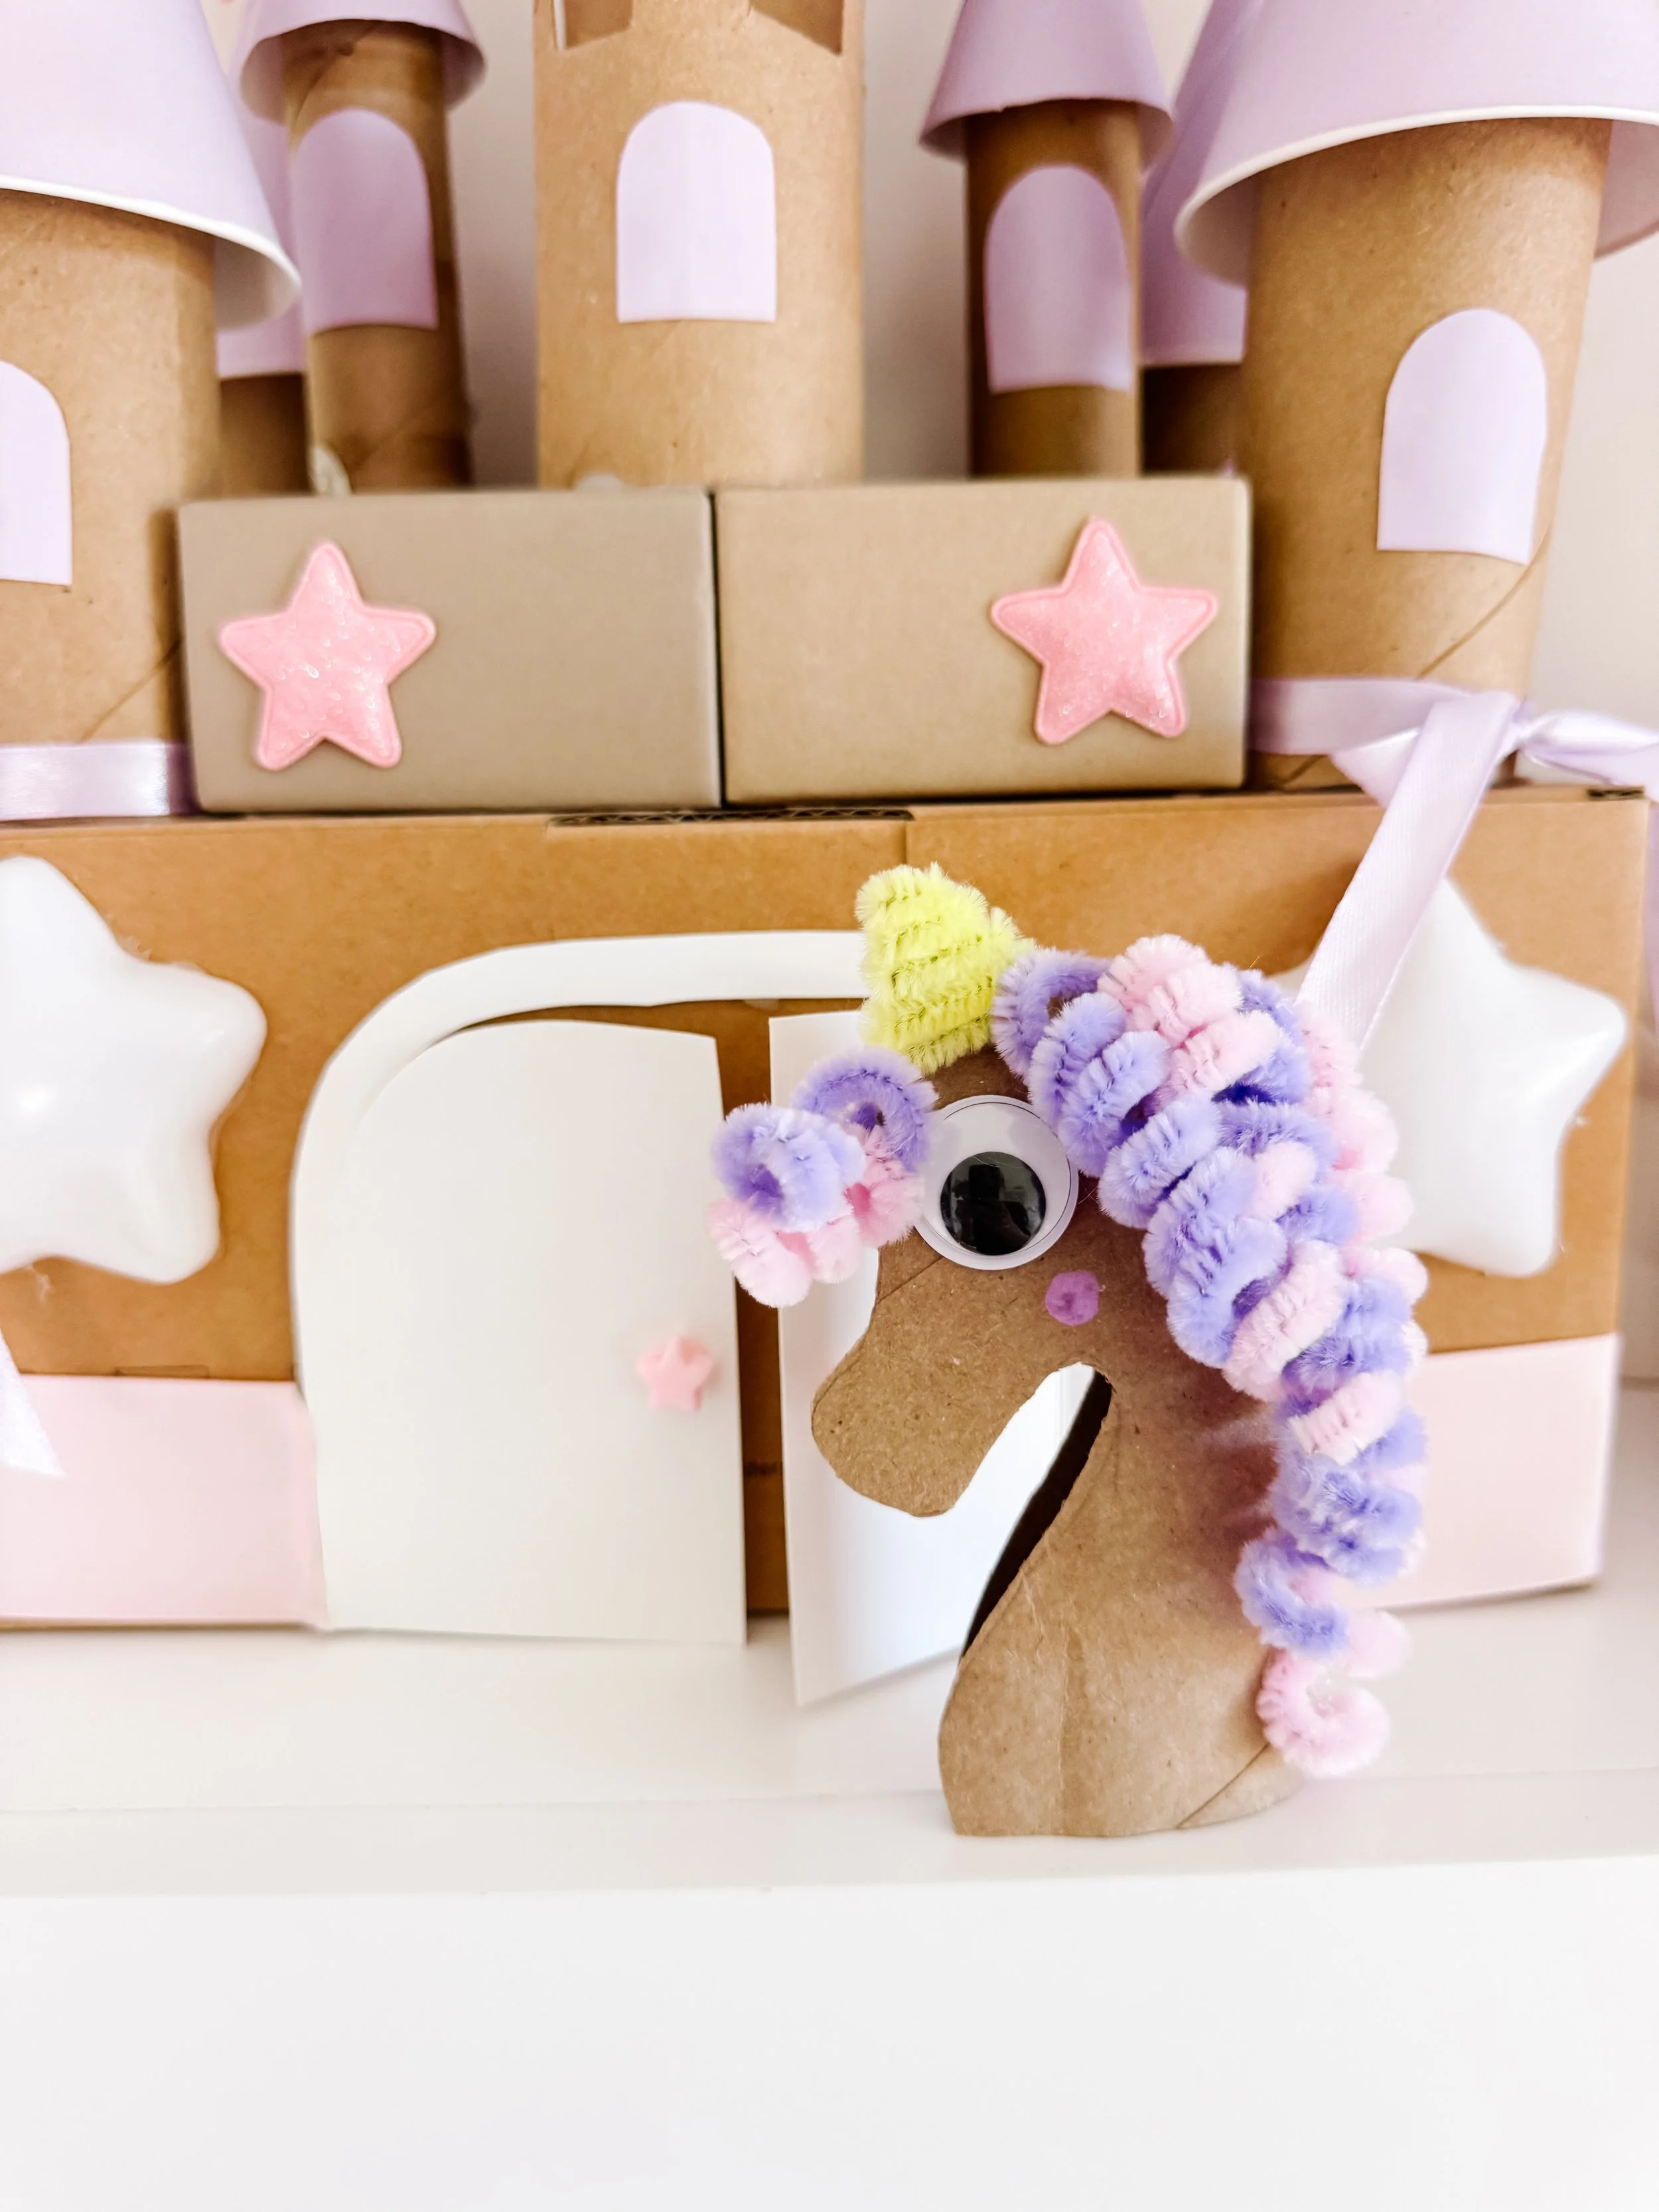
Magical storytelling
Use the unicorns as puppets for princess, fairy, castle, and rainbow-themed storytelling.
More unicorn ideasQuestions to ask kids
- What is your unicorn’s name?
- What magical power does your unicorn have?
- Where does your unicorn live?
- What colors are in the unicorn’s mane?
- Can your unicorn visit the castle?
- Can you tell a story about your unicorn?
Toilet roll unicorn FAQ
How do you make a unicorn out of a toilet paper roll?
Cut an empty cardboard tube into a simple unicorn head shape, add googly eyes, attach a small horn, and glue curled pipe cleaners along the head and neck to create the mane.
What age is this unicorn craft best for?
This craft is best for ages three and up with adult supervision. Younger children may need help cutting the cardboard and attaching the pipe cleaners.
How do you make the curly unicorn mane?
Wrap pastel pipe cleaners around a pencil, slide them off gently, and glue or tape them to the cardboard tube to create a curly unicorn mane.
What can kids learn from this craft?
Kids practice fine motor skills, cutting, gluing, color vocabulary, creativity, and storytelling. The finished craft can also become a pretend play puppet.
What can I pair with a unicorn craft?
Pair this craft with unicorn sensory play, rainbow sorting, a cardboard castle, princess pretend play, fairy stories, or a unicorn dramatic play setup.
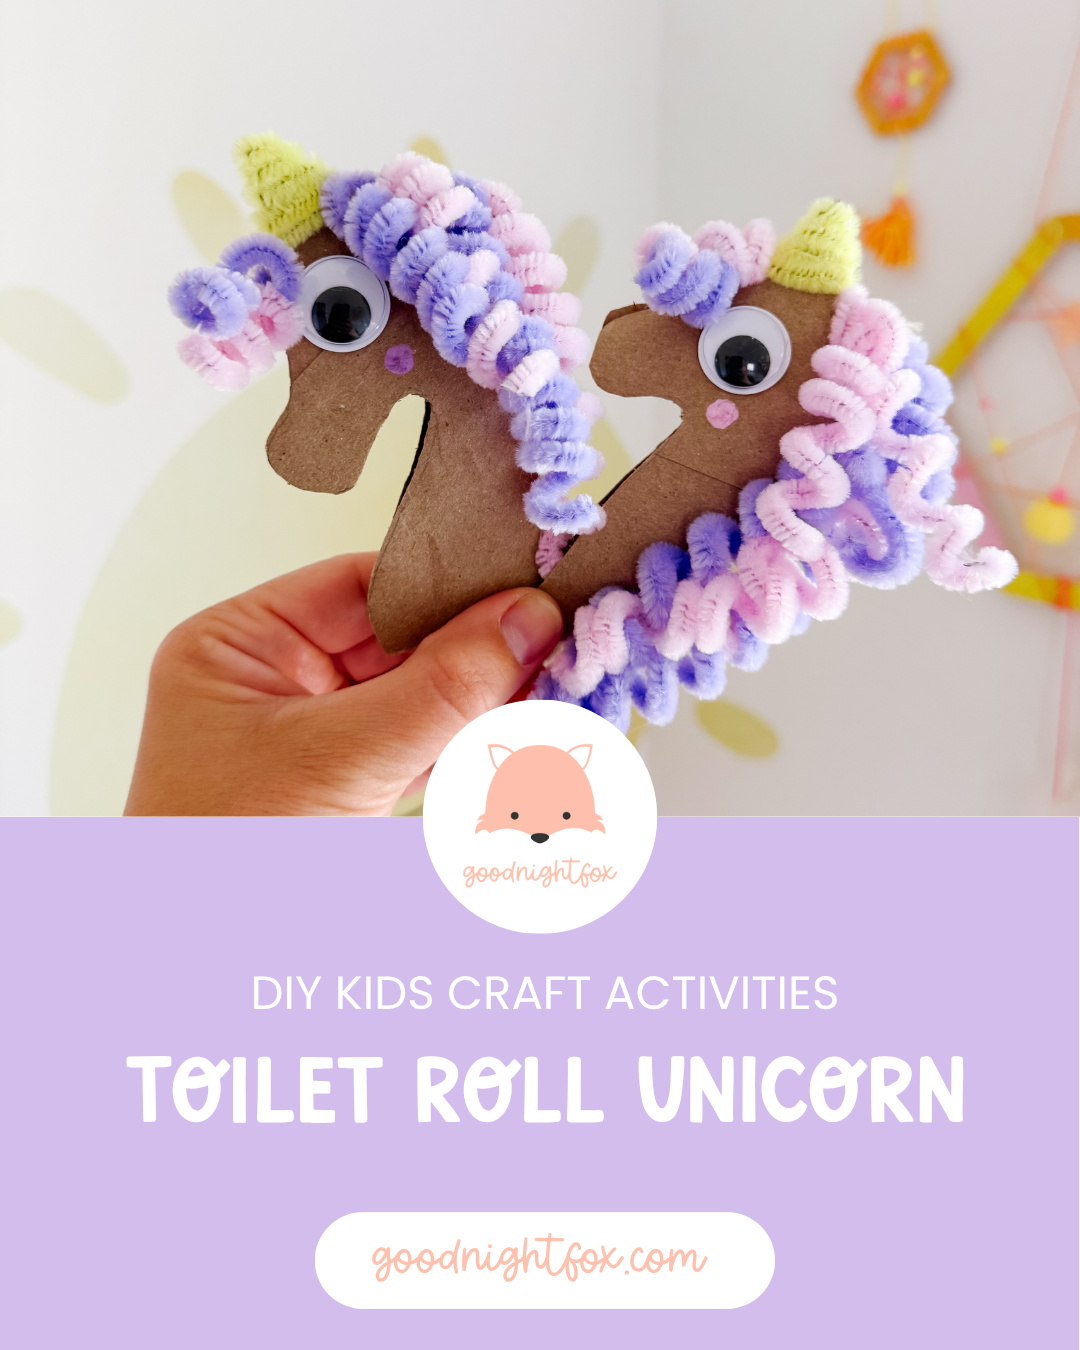
Hello, World!
Toilet Roll Narwhal
Toilet Roll Narwhal Craft
A sweet ocean animal craft for kids using a toilet paper roll, tissue paper, pipe cleaners, and googly eyes—perfect for Ocean Week, summer crafts, and under-the-sea learning.
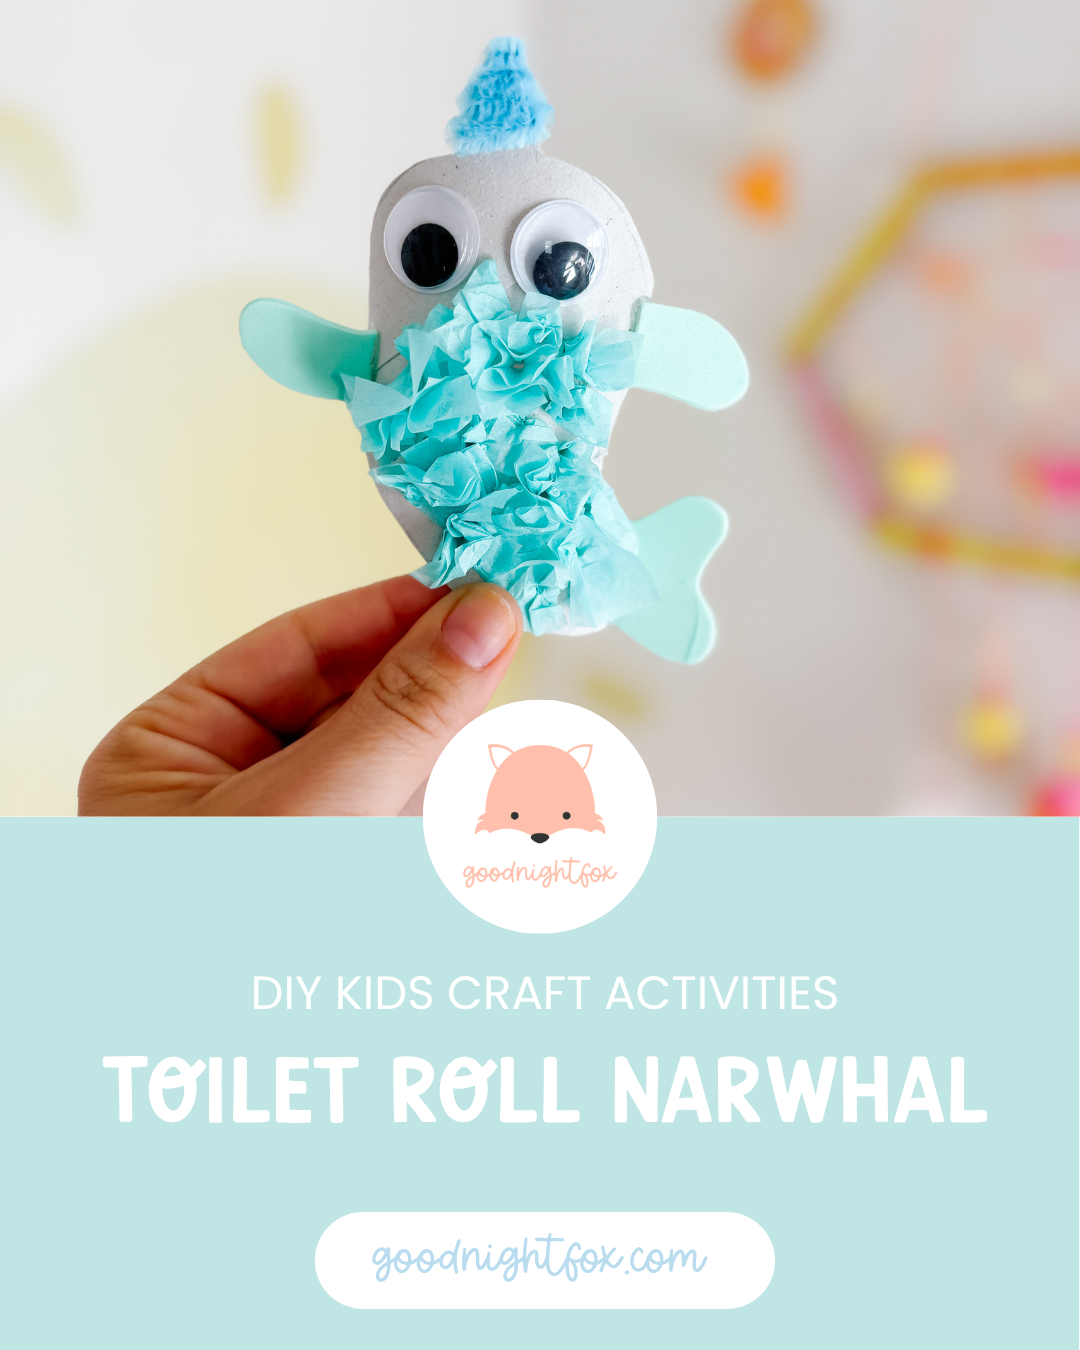
Age3+
Prep10 minutes
Activity20 minutes
Mess★☆☆☆☆
SkillsFine motor + ocean
Why we love this activity
This toilet roll narwhal craft is such a cute way to reuse a cardboard tube while adding a little ocean magic to your day.
Kids get to crumple tissue paper, glue, cut simple shapes, add googly eyes, and twist a pipe cleaner horn. It is simple enough for preschoolers, but still adorable enough to display or use in pretend ocean play afterward.
I love this craft for Ocean Week because it naturally opens up conversations about sea animals, arctic waters, whale families, and imaginative under-the-sea storytelling.
Materials needed
- Empty toilet paper roll
- Blue or teal tissue paper
- Blue or teal construction paper or craft foam
- Blue pipe cleaner
- Googly eyes
- Glue
- Scissors
- Pencil
How to make a toilet roll narwhal
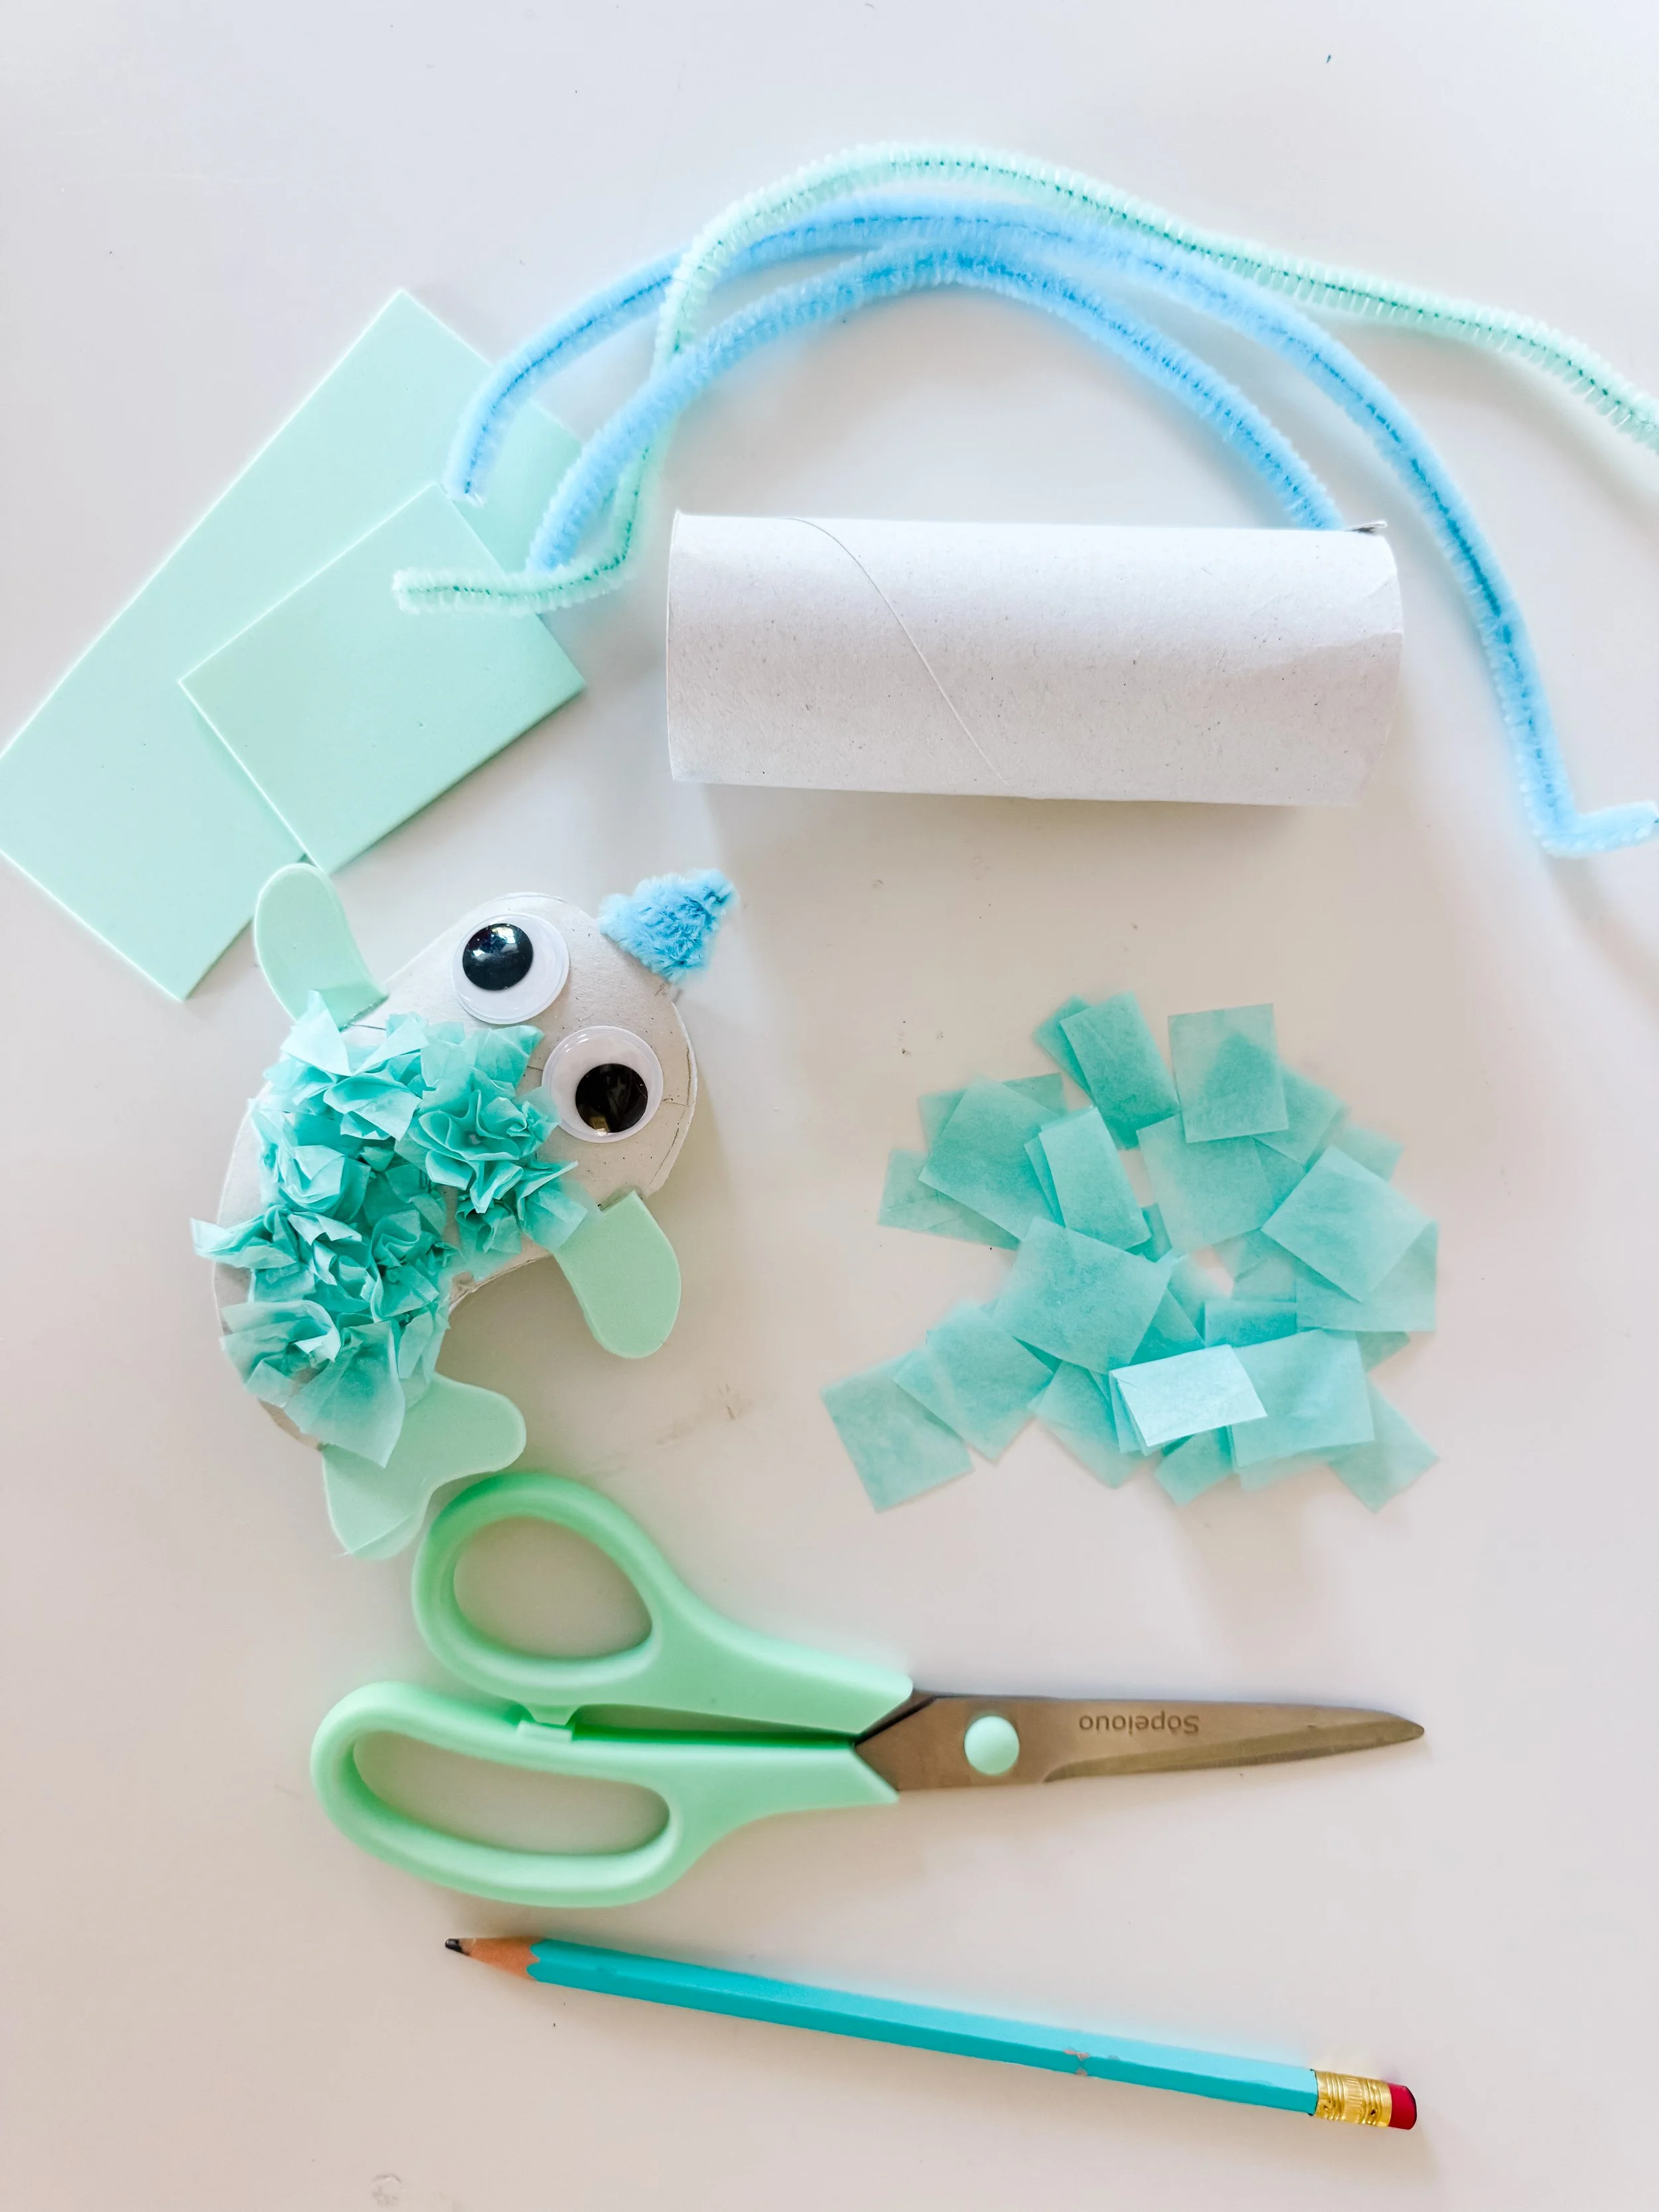
Step 1
Gather the supplies
Set out the cardboard tube, tissue paper squares, pipe cleaners, googly eyes, scissors, glue, and craft foam or paper for the fins and tail.
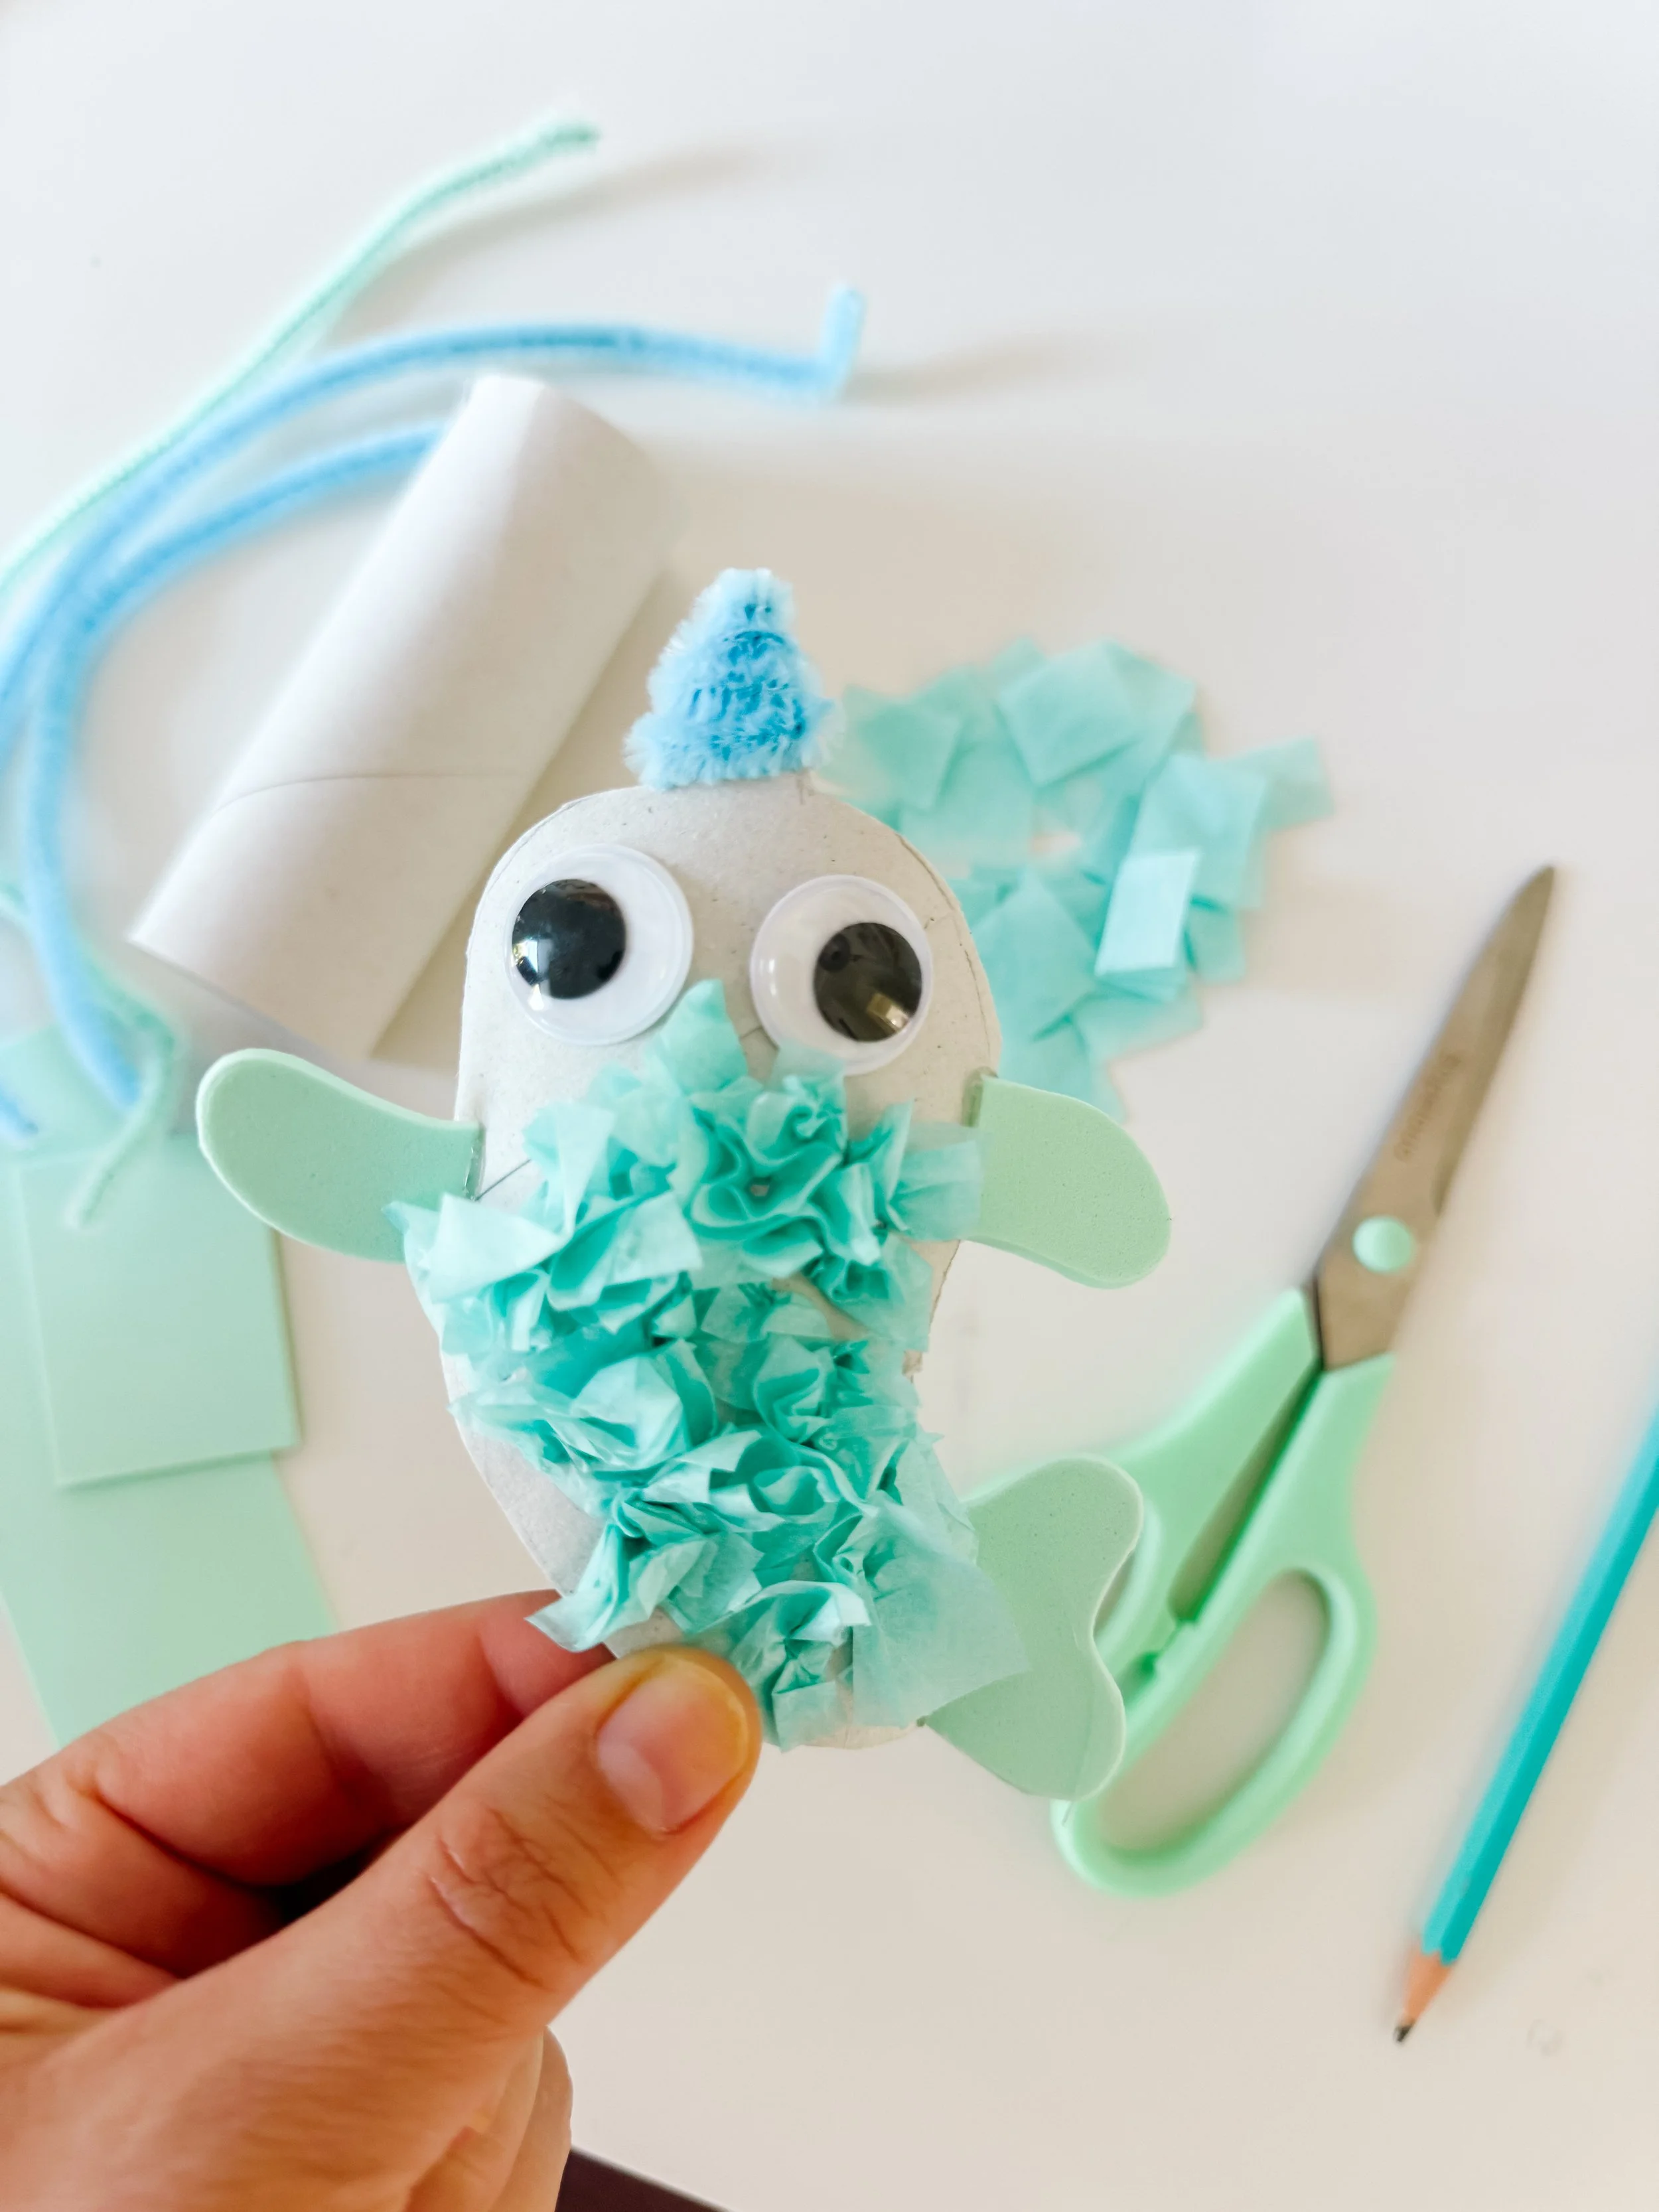
Step 2
Decorate the body
Have your child crumple small pieces of tissue paper and glue them onto the front of the cardboard tube. This gives the narwhal a fun, textured body and is great for fine motor practice.
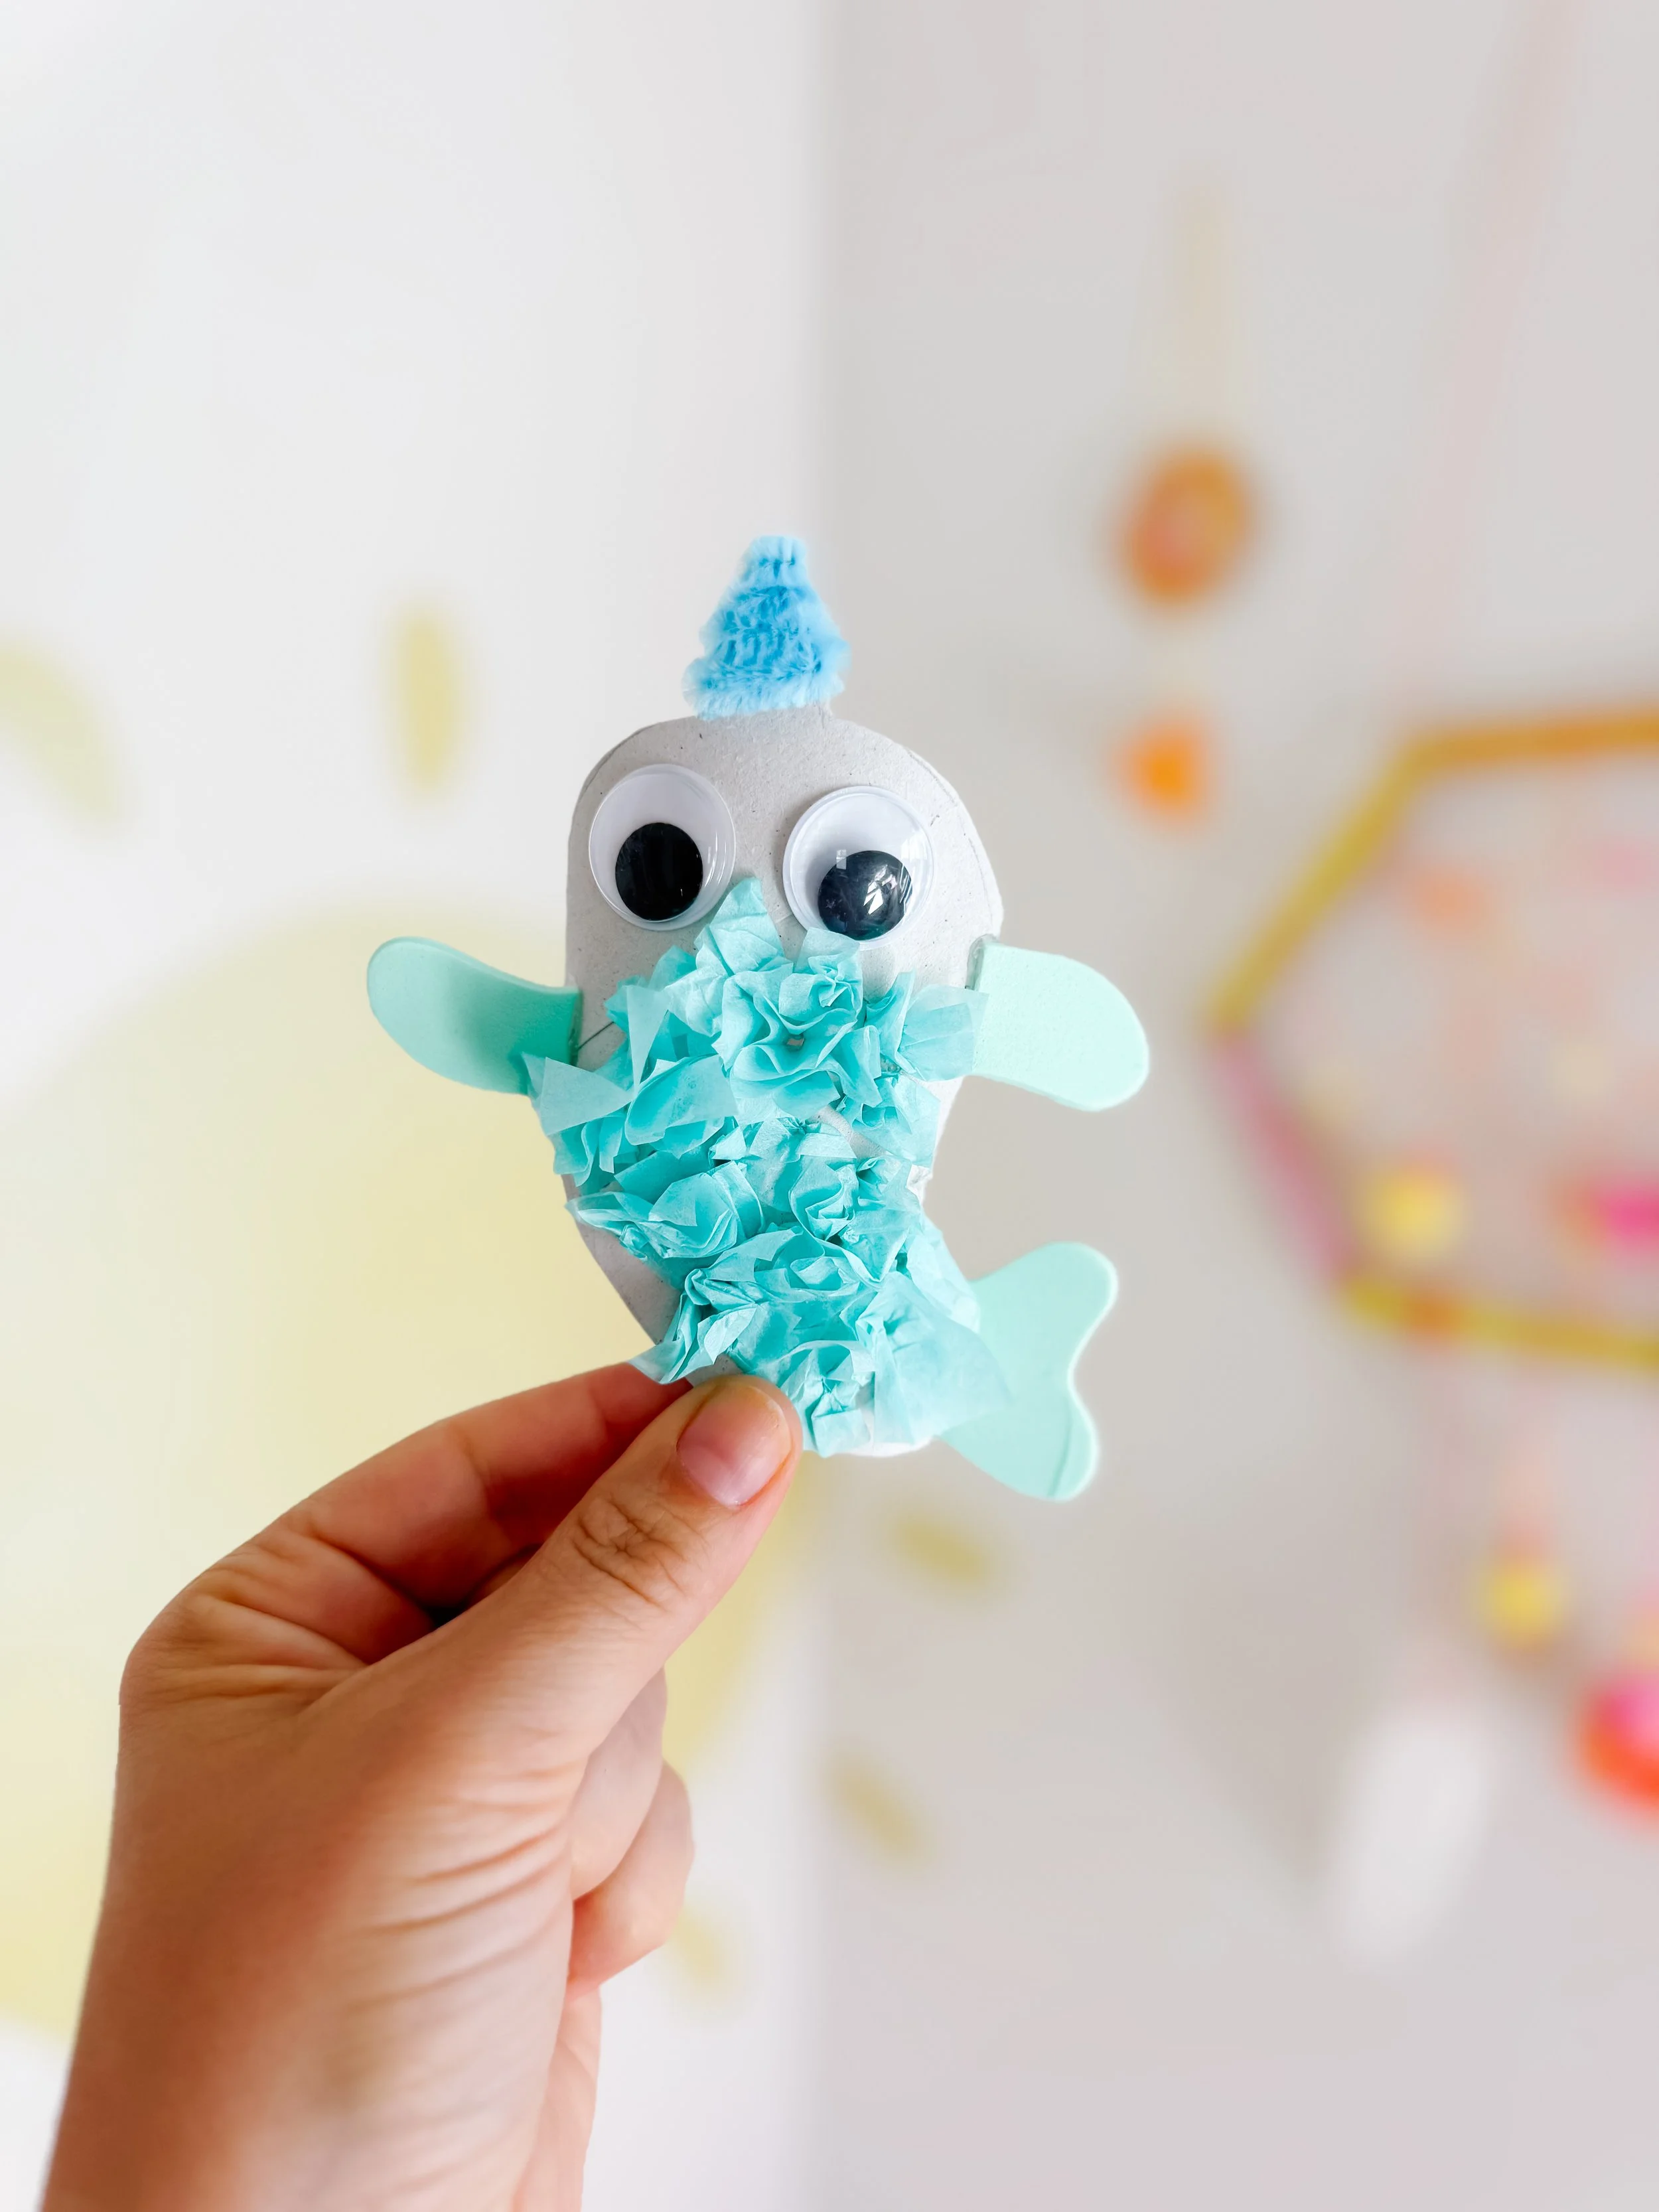
Step 3
Add the narwhal details
Glue on two googly eyes, add side fins and a tail, then twist a small piece of pipe cleaner into a horn and attach it to the top.
Parent tip
Pre-cut the fins and tail for younger preschoolers, then let them focus on crumpling tissue paper and gluing. Older kids can draw and cut the pieces themselves.
Ocean week learning ideas
This narwhal craft is a simple way to add an ocean animal activity to your Ocean Week plans.
After making the craft, talk about where narwhals live, what their tusk looks like, and how they are related to whales. You can also compare narwhals with other ocean animals like dolphins, whales, seahorses, fish, crabs, and sharks.
Then use the finished craft as a puppet for storytelling, small-world ocean play, or a pretend underwater adventure.
Learning skills
Fine motor skills
Cutting practice
Gluing
Ocean vocabulary
Pretend play
Recycled crafts
Creative storytelling
Questions to ask kids
- What kind of animal is a narwhal?
- Where do narwhals live?
- What does the narwhal horn look like?
- What other ocean animals can we make?
- What should your narwhal’s name be?
- Can your narwhal swim through an ocean story?
Ocean products to pair with this craft
Extend Ocean Week with sensory play, dramatic play, and printable learning activities.

Mermaid dramatic play
Create an underwater kingdom with printable mermaids, sea creatures, ocean props, and treasure-themed pretend play.
Shop mermaid play
Mermaid sensory kit
Add sensory filler, shells, charms, and mermaid pieces for a magical ocean sensory bin.
Shop sensory kit
Mermaid busy book
A printable ocean learning activity book with early literacy, matching, and fine motor practice.
Shop busy book
Sea animal play rounds
Wooden ocean animal play rounds for sensory bins, matching games, and small-world ocean play.
Shop play roundsMore Ocean Week ideas

Ocean sensory play
Set up a mermaid and sea animal sensory tray with ocean vocabulary and hands-on play.
Ocean sensory play
Coral reef play
Explore ocean animals and coral reefs through sensory play and small-world storytelling.
Coral reef play
Ocean snack idea
Make playful crab sandwiches as a themed lunch or snack for Ocean Week.
Ocean week snacksToilet roll narwhal FAQ
How do you make a narwhal out of a toilet paper roll?
Use an empty cardboard tube as the body, cover it with tissue paper, add fins and a tail from craft paper or foam, glue on googly eyes, and twist a pipe cleaner into the narwhal horn.
What age is this narwhal craft best for?
This craft is best for ages three and up with adult supervision. Younger children may need help cutting the fins, tail, and horn.
What can kids learn from an ocean animal craft?
Kids can practice fine motor skills, cutting, gluing, ocean vocabulary, animal recognition, storytelling, and creative expression.
How can I use this craft for Ocean Week?
Pair it with ocean sensory bins, mermaid dramatic play, sea animal books, crab snacks, and vocabulary cards for a full Ocean Week activity plan.
What other toilet roll ocean animals can kids make?
Kids can make seahorses, whales, fish, sharks, jellyfish, octopuses, and mermaids using recycled cardboard tubes.