Unicorn Magic Milk

Unicorn Magic Milk Experiment

Turn a classic milk-and-soap science experiment into a magical unicorn activity with swirling pink and purple colors, foamy clouds, and GoodnightFox unicorn charms.
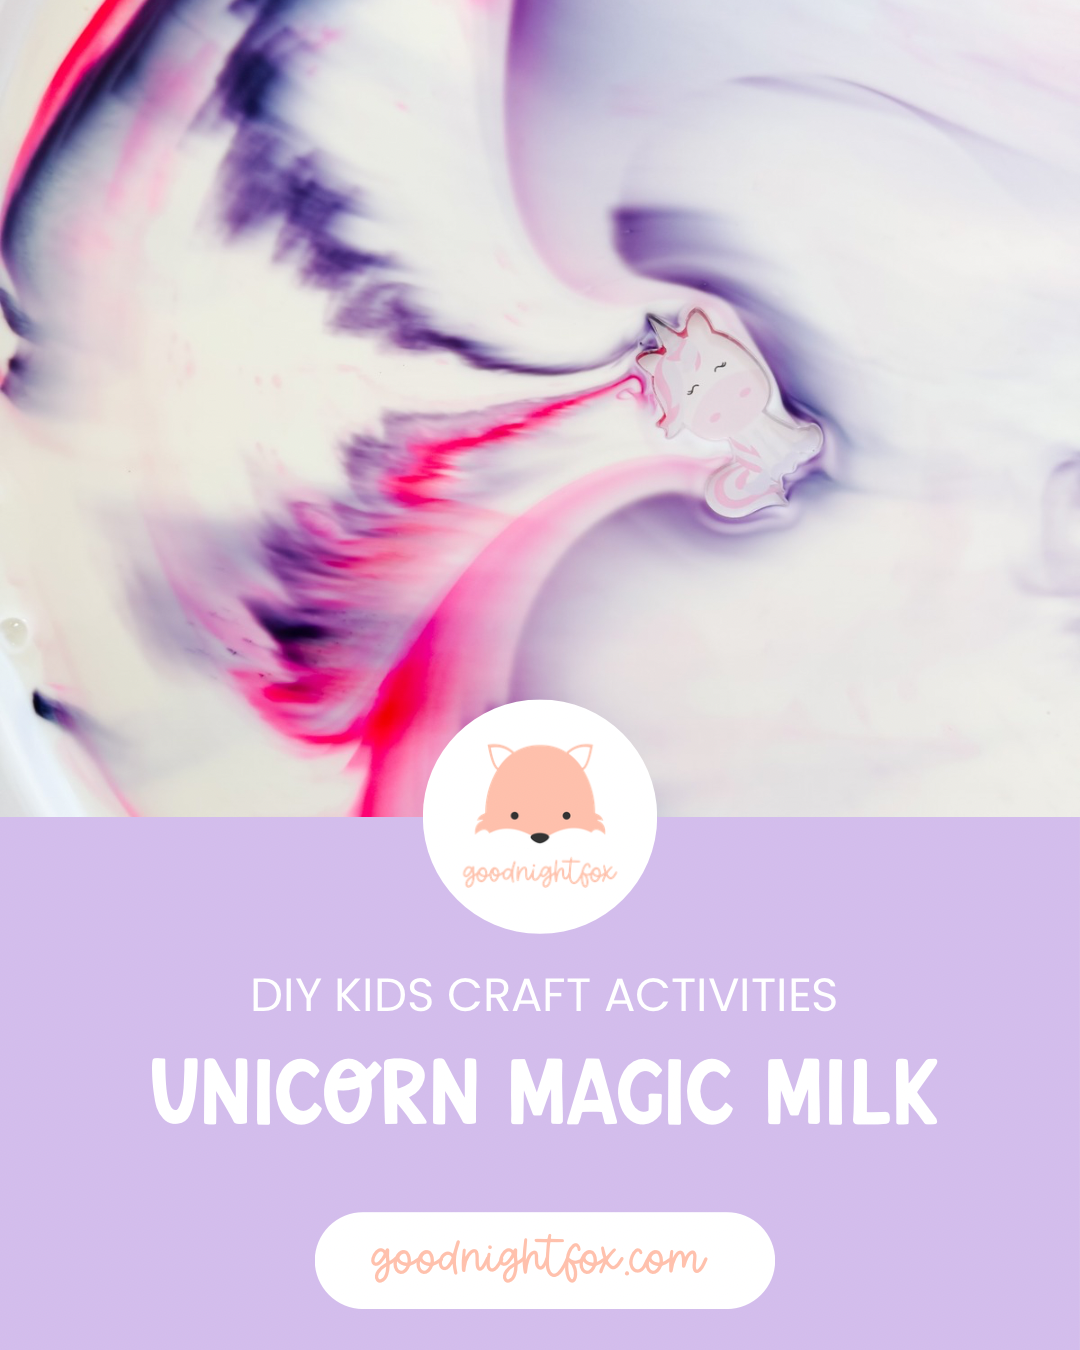
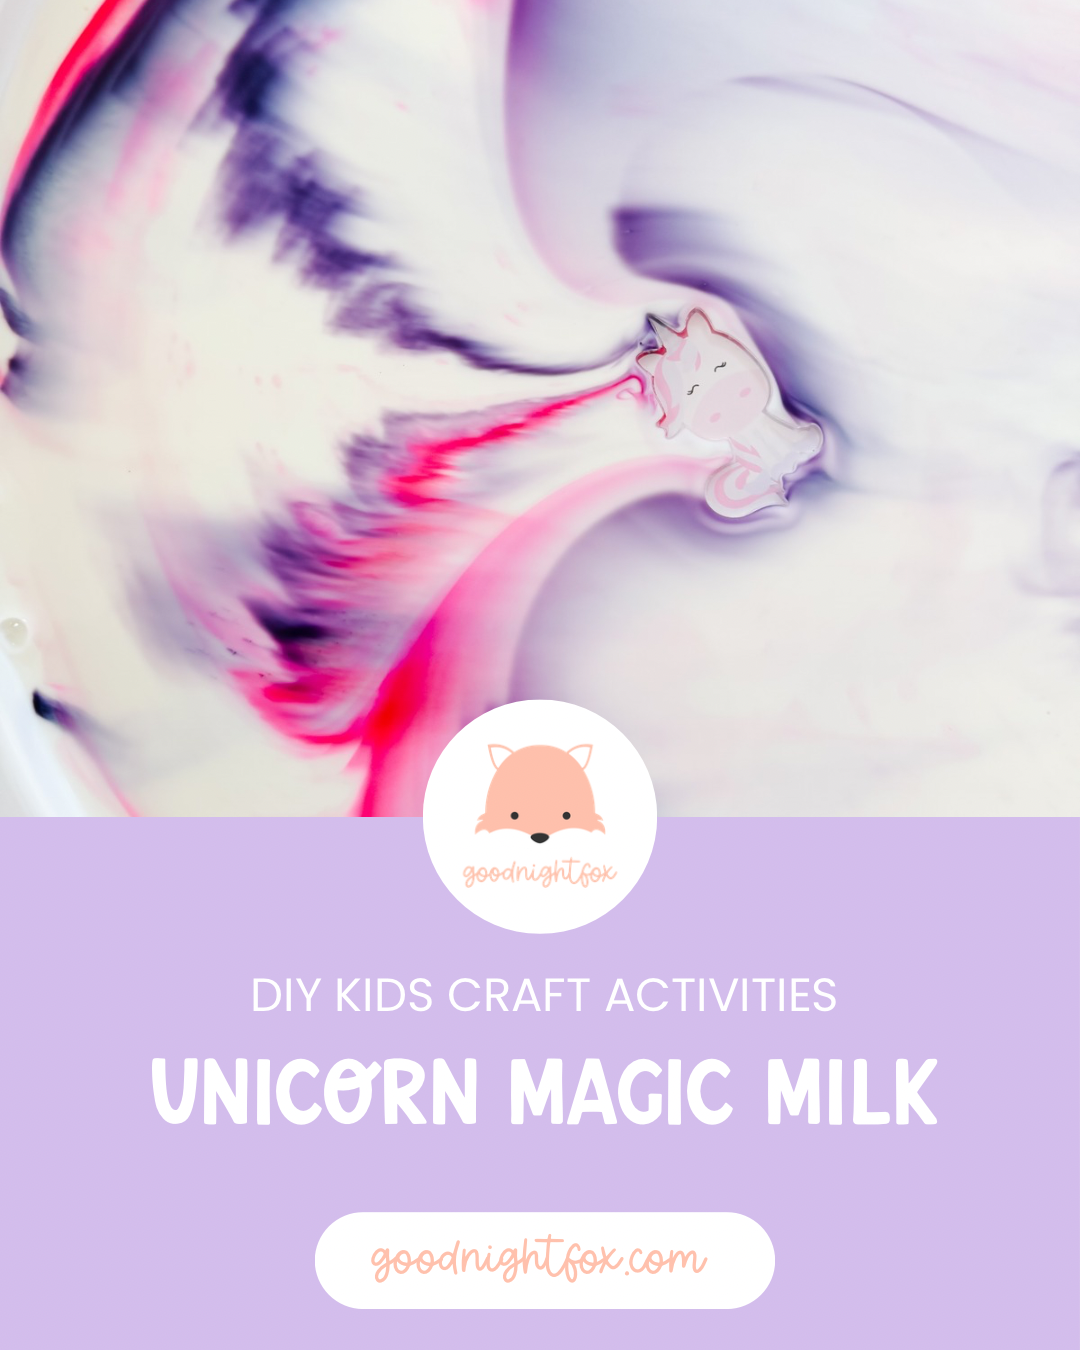
Unicorn Magic Milk science experiment with swirling pink and purple food coloring and a unicorn acrylic charm.
Age3+
Prep5 minutes
Activity15–25 minutes
Mess★★☆☆☆
SkillsScience + color mixing

Why we love this magical science activity

Magic Milk is one of those experiments that never seems to lose its magic. You begin with an ordinary tray of white milk, add a few drops of color, and then watch the entire surface suddenly begin to move.

For this version, we chose bright pink, pale pink, lavender, and deep purple so the swirls looked like a unicorn flying through a pastel sky.

We also added our GoodnightFox unicorn acrylic charms to the tray. As the colors spread and curled around them, the unicorns looked as though they were floating through clouds of pink and purple magic.

It is a simple way to turn an easy kitchen-science experiment into a complete themed learning activity. Children can observe a chemical interaction, predict what will happen, explore color mixing, and invent stories about the unicorn world forming in front of them.

Materials needed

  • Whole milk
  • Liquid dish soap
  • Pink food coloring
  • Purple food coloring
  • Optional blue or red food coloring for mixing new shades
  • Cotton swabs
  • Shallow white tray or plate
  • Small bowl for dish soap
  • Optional round cotton pads for stamped color designs
  • GoodnightFox Unicorn & Cloud Acrylic Charms
  • Paper towels for cleanup

Safety note

This is a sensory science activity, not a snack. Supervise children closely, do not allow them to drink the milk, and keep food coloring and dish soap away from eyes and mouths. Rinse and dry acrylic charms thoroughly after play.

Shop this activity

These are the core materials we use for Magic Milk activities, plus the acrylic unicorn charms that turn this version into magical small-world play.

This section contains affiliate links, which means I may earn a small commission at no additional cost to you.

GoodnightFox Unicorn and Cloud Acrylic Charms for unicorn sensory play.

Unicorn & cloud charms

Add the two-inch unicorn and cloud acrylic charms to Magic Milk, sensory bins, play dough, or unicorn small-world play.

Shop unicorn charms
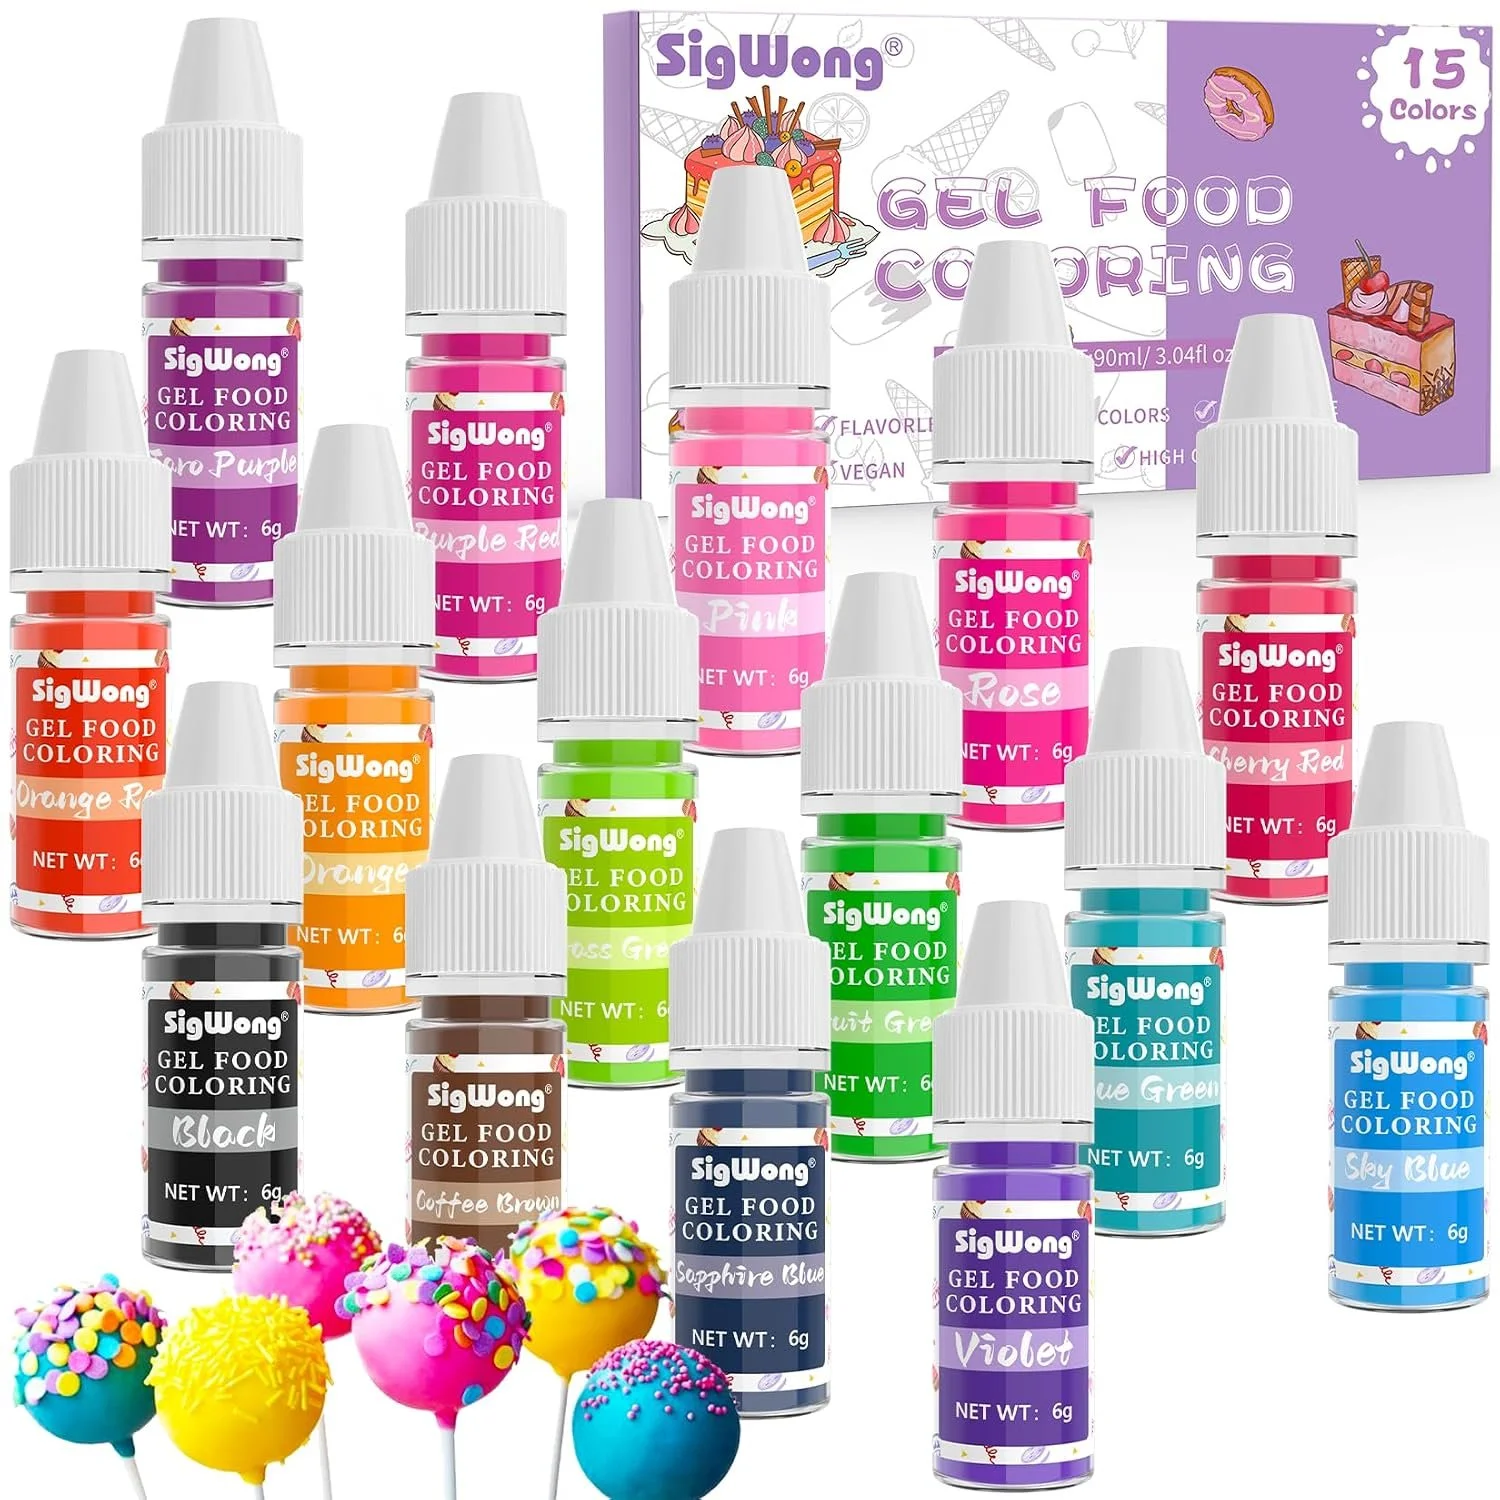
Liquid food coloring for pink and purple Unicorn Magic Milk.

Food coloring

Use pink and purple shades, or mix red and blue to experiment with making your own unicorn colors.

View on Amazon
Whole milk for a Magic Milk science experiment.

Whole milk

Whole milk generally produces a vivid, long-lasting reaction because it contains more fat than lower-fat varieties.

View on Amazon
Liquid dish soap for the Unicorn Magic Milk experiment.

Liquid dish soap

Dish soap changes the surface tension and interacts with the fat in the milk, sending the colors swirling across the tray.

View on Amazon

How to make Unicorn Magic Milk

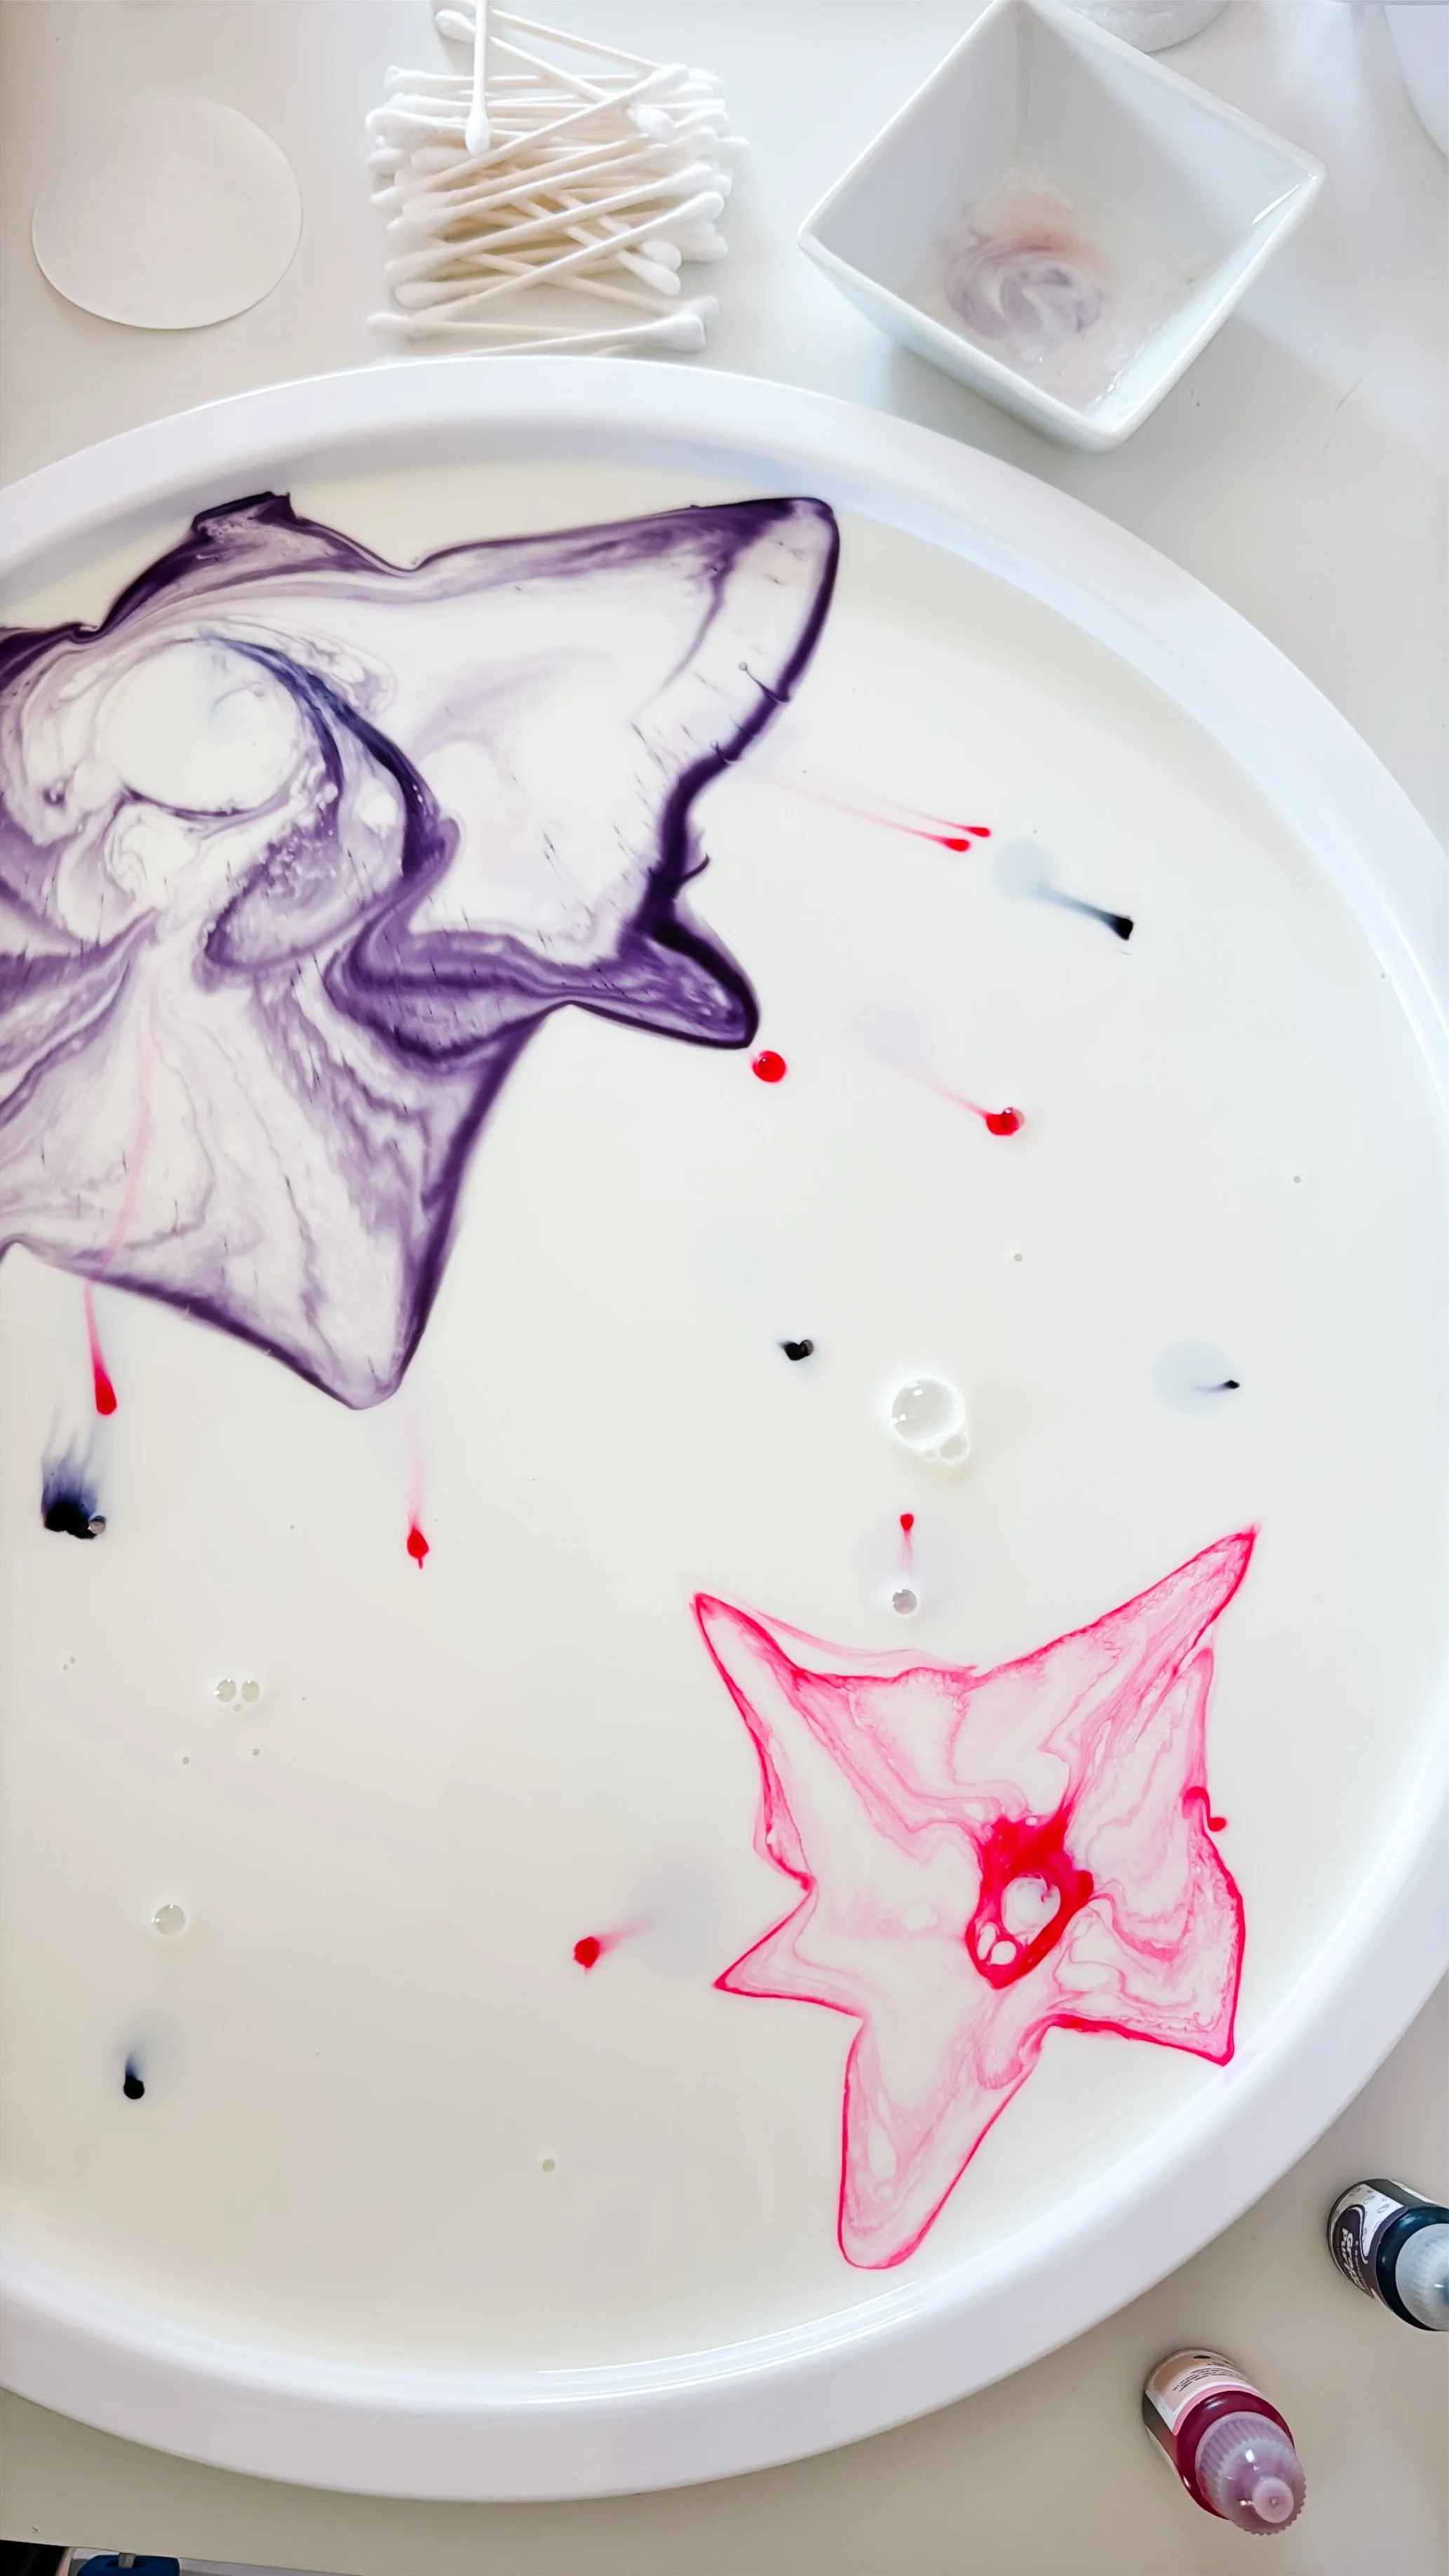
Pink and purple food coloring arranged in unicorn-inspired shapes on a tray of whole milk.
Step 1

Pour the milk and add color

Pour enough whole milk into a shallow white tray to cover the bottom completely.

Add drops of pink and purple food coloring around the tray. You can place individual drops randomly or outline simple unicorn-inspired shapes, stars, hearts, and clouds.

Keep the drops separated at first so your child can observe how each color begins to move.
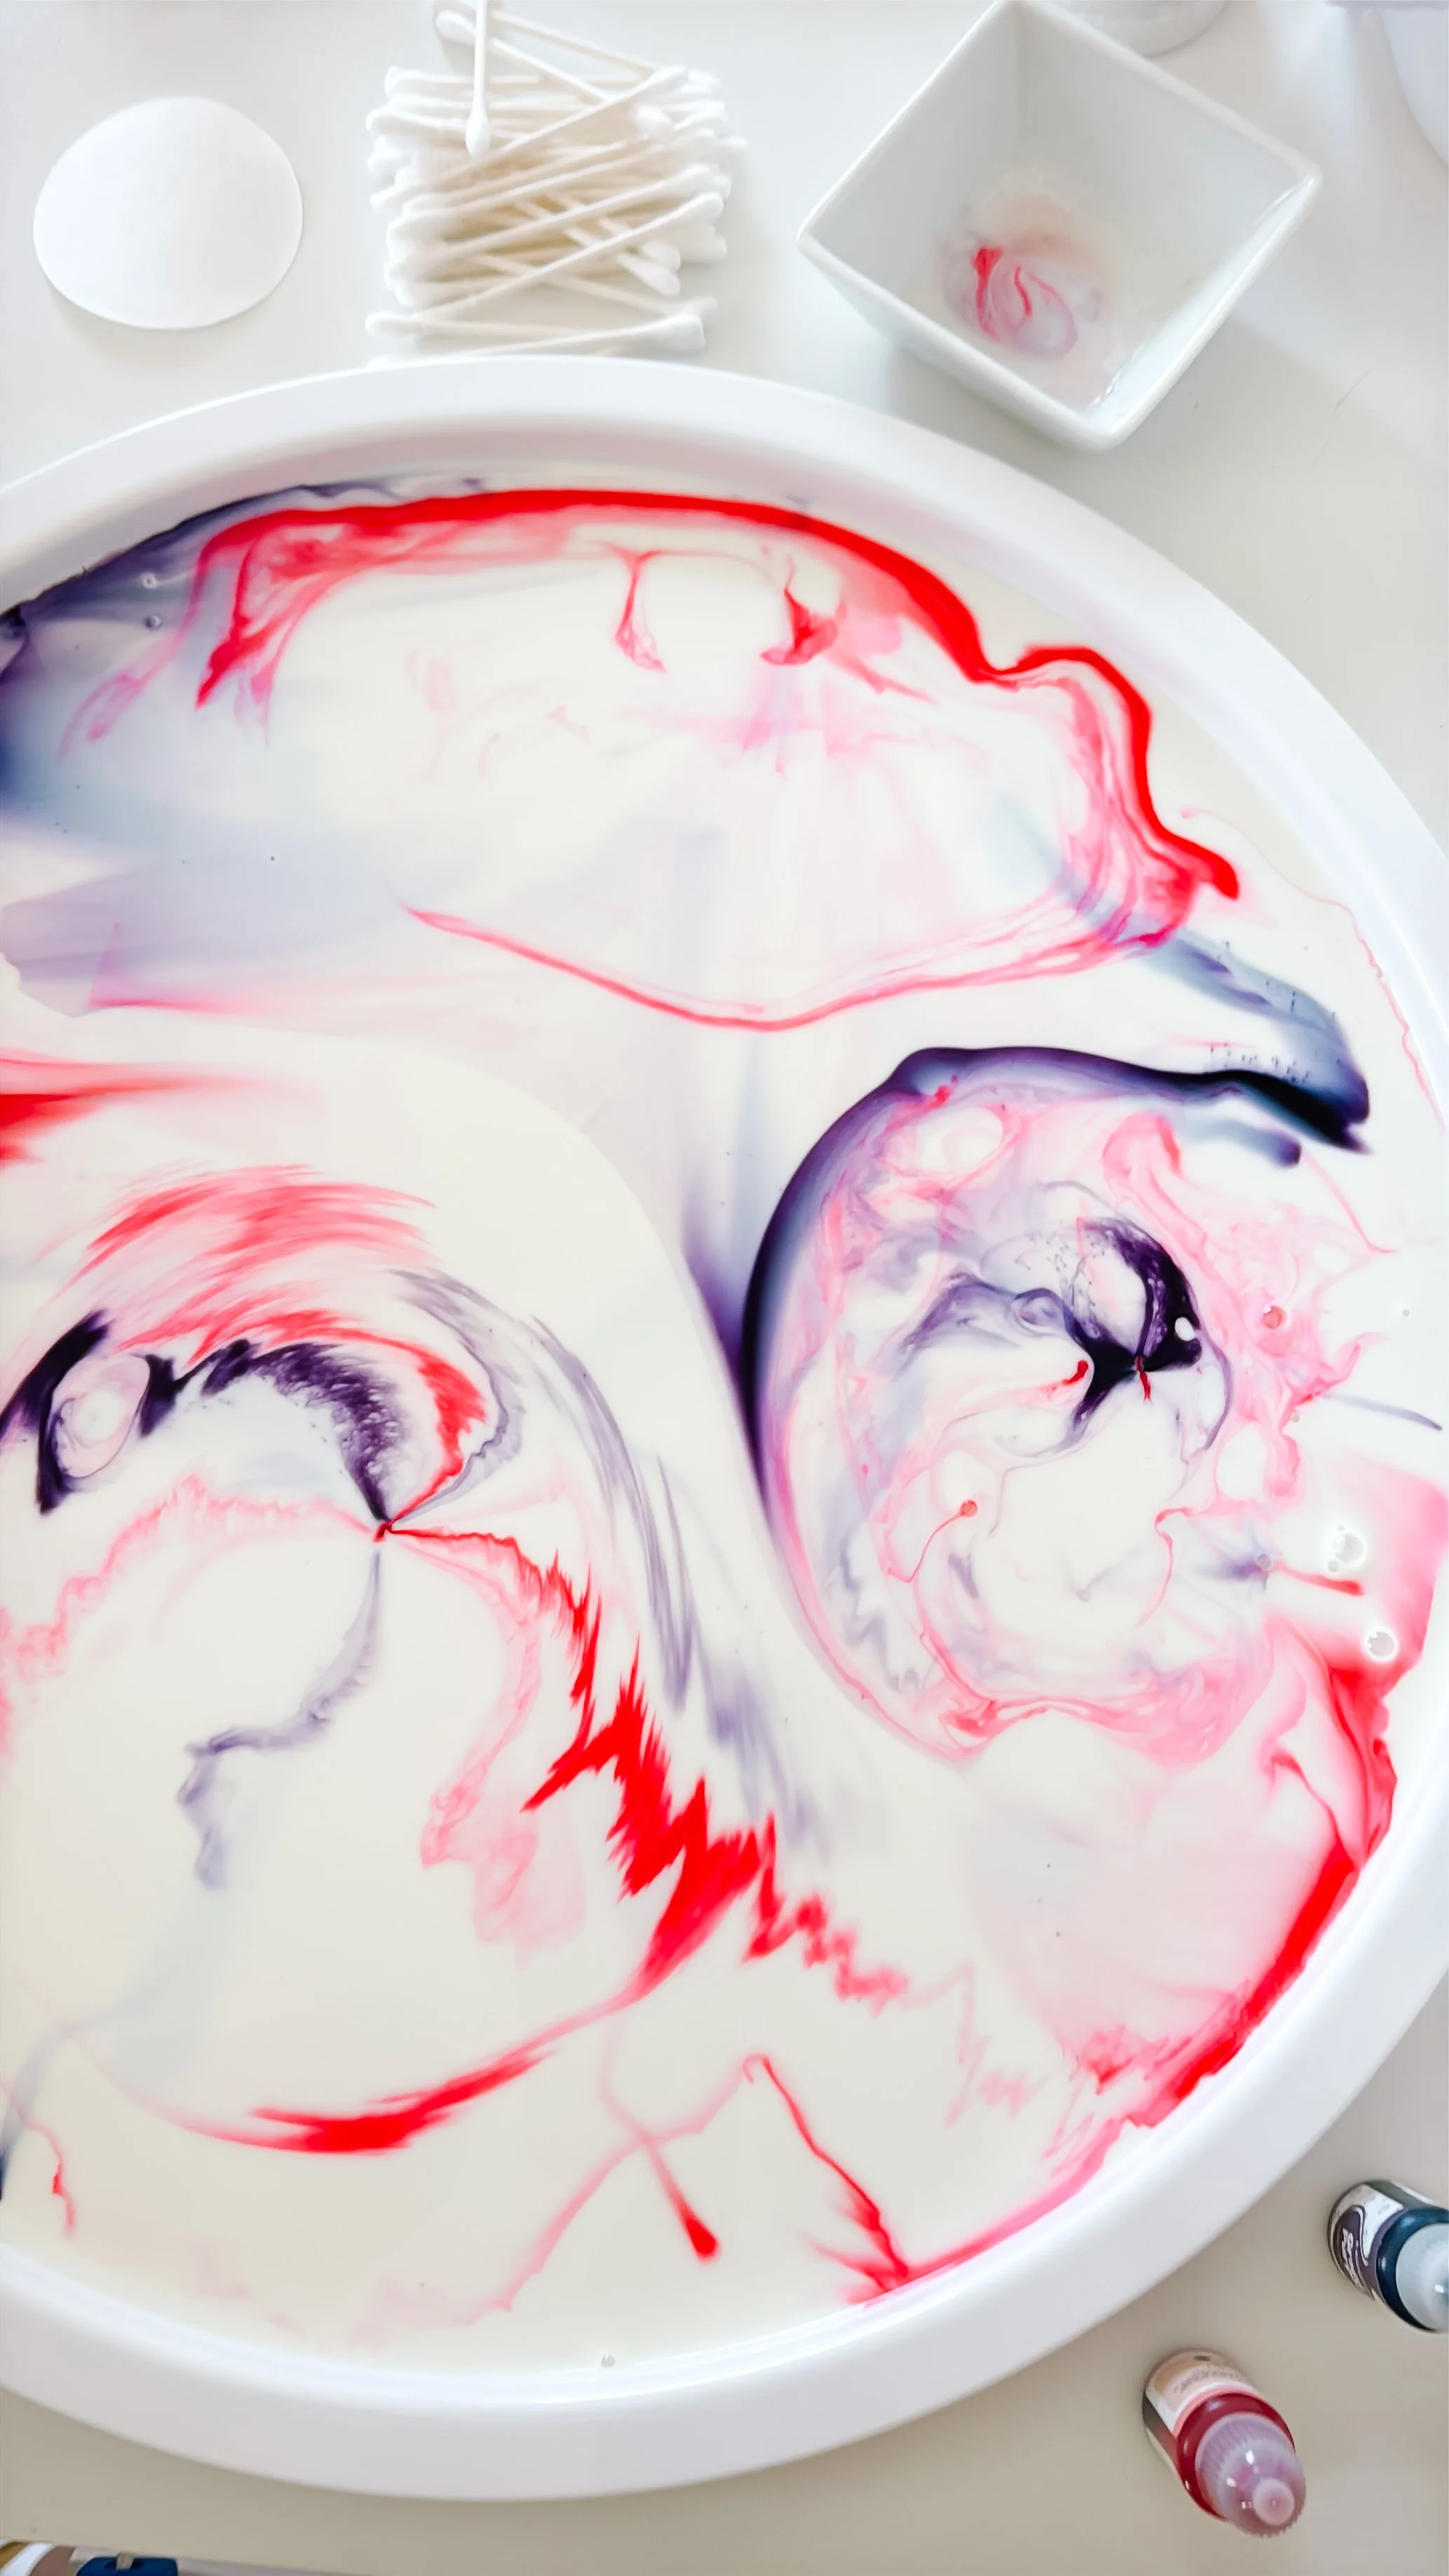
Pink and purple color patterns spreading across milk during a unicorn science experiment.
Step 2

Dip the cotton swab in soap

Pour a small amount of dish soap into a separate bowl.

Dip one end of a cotton swab into the soap, then gently touch it to one area of colored milk. Try not to stir immediately—simply hold the swab in place and watch.

The colors should quickly pull away, spread, and begin forming swirls.
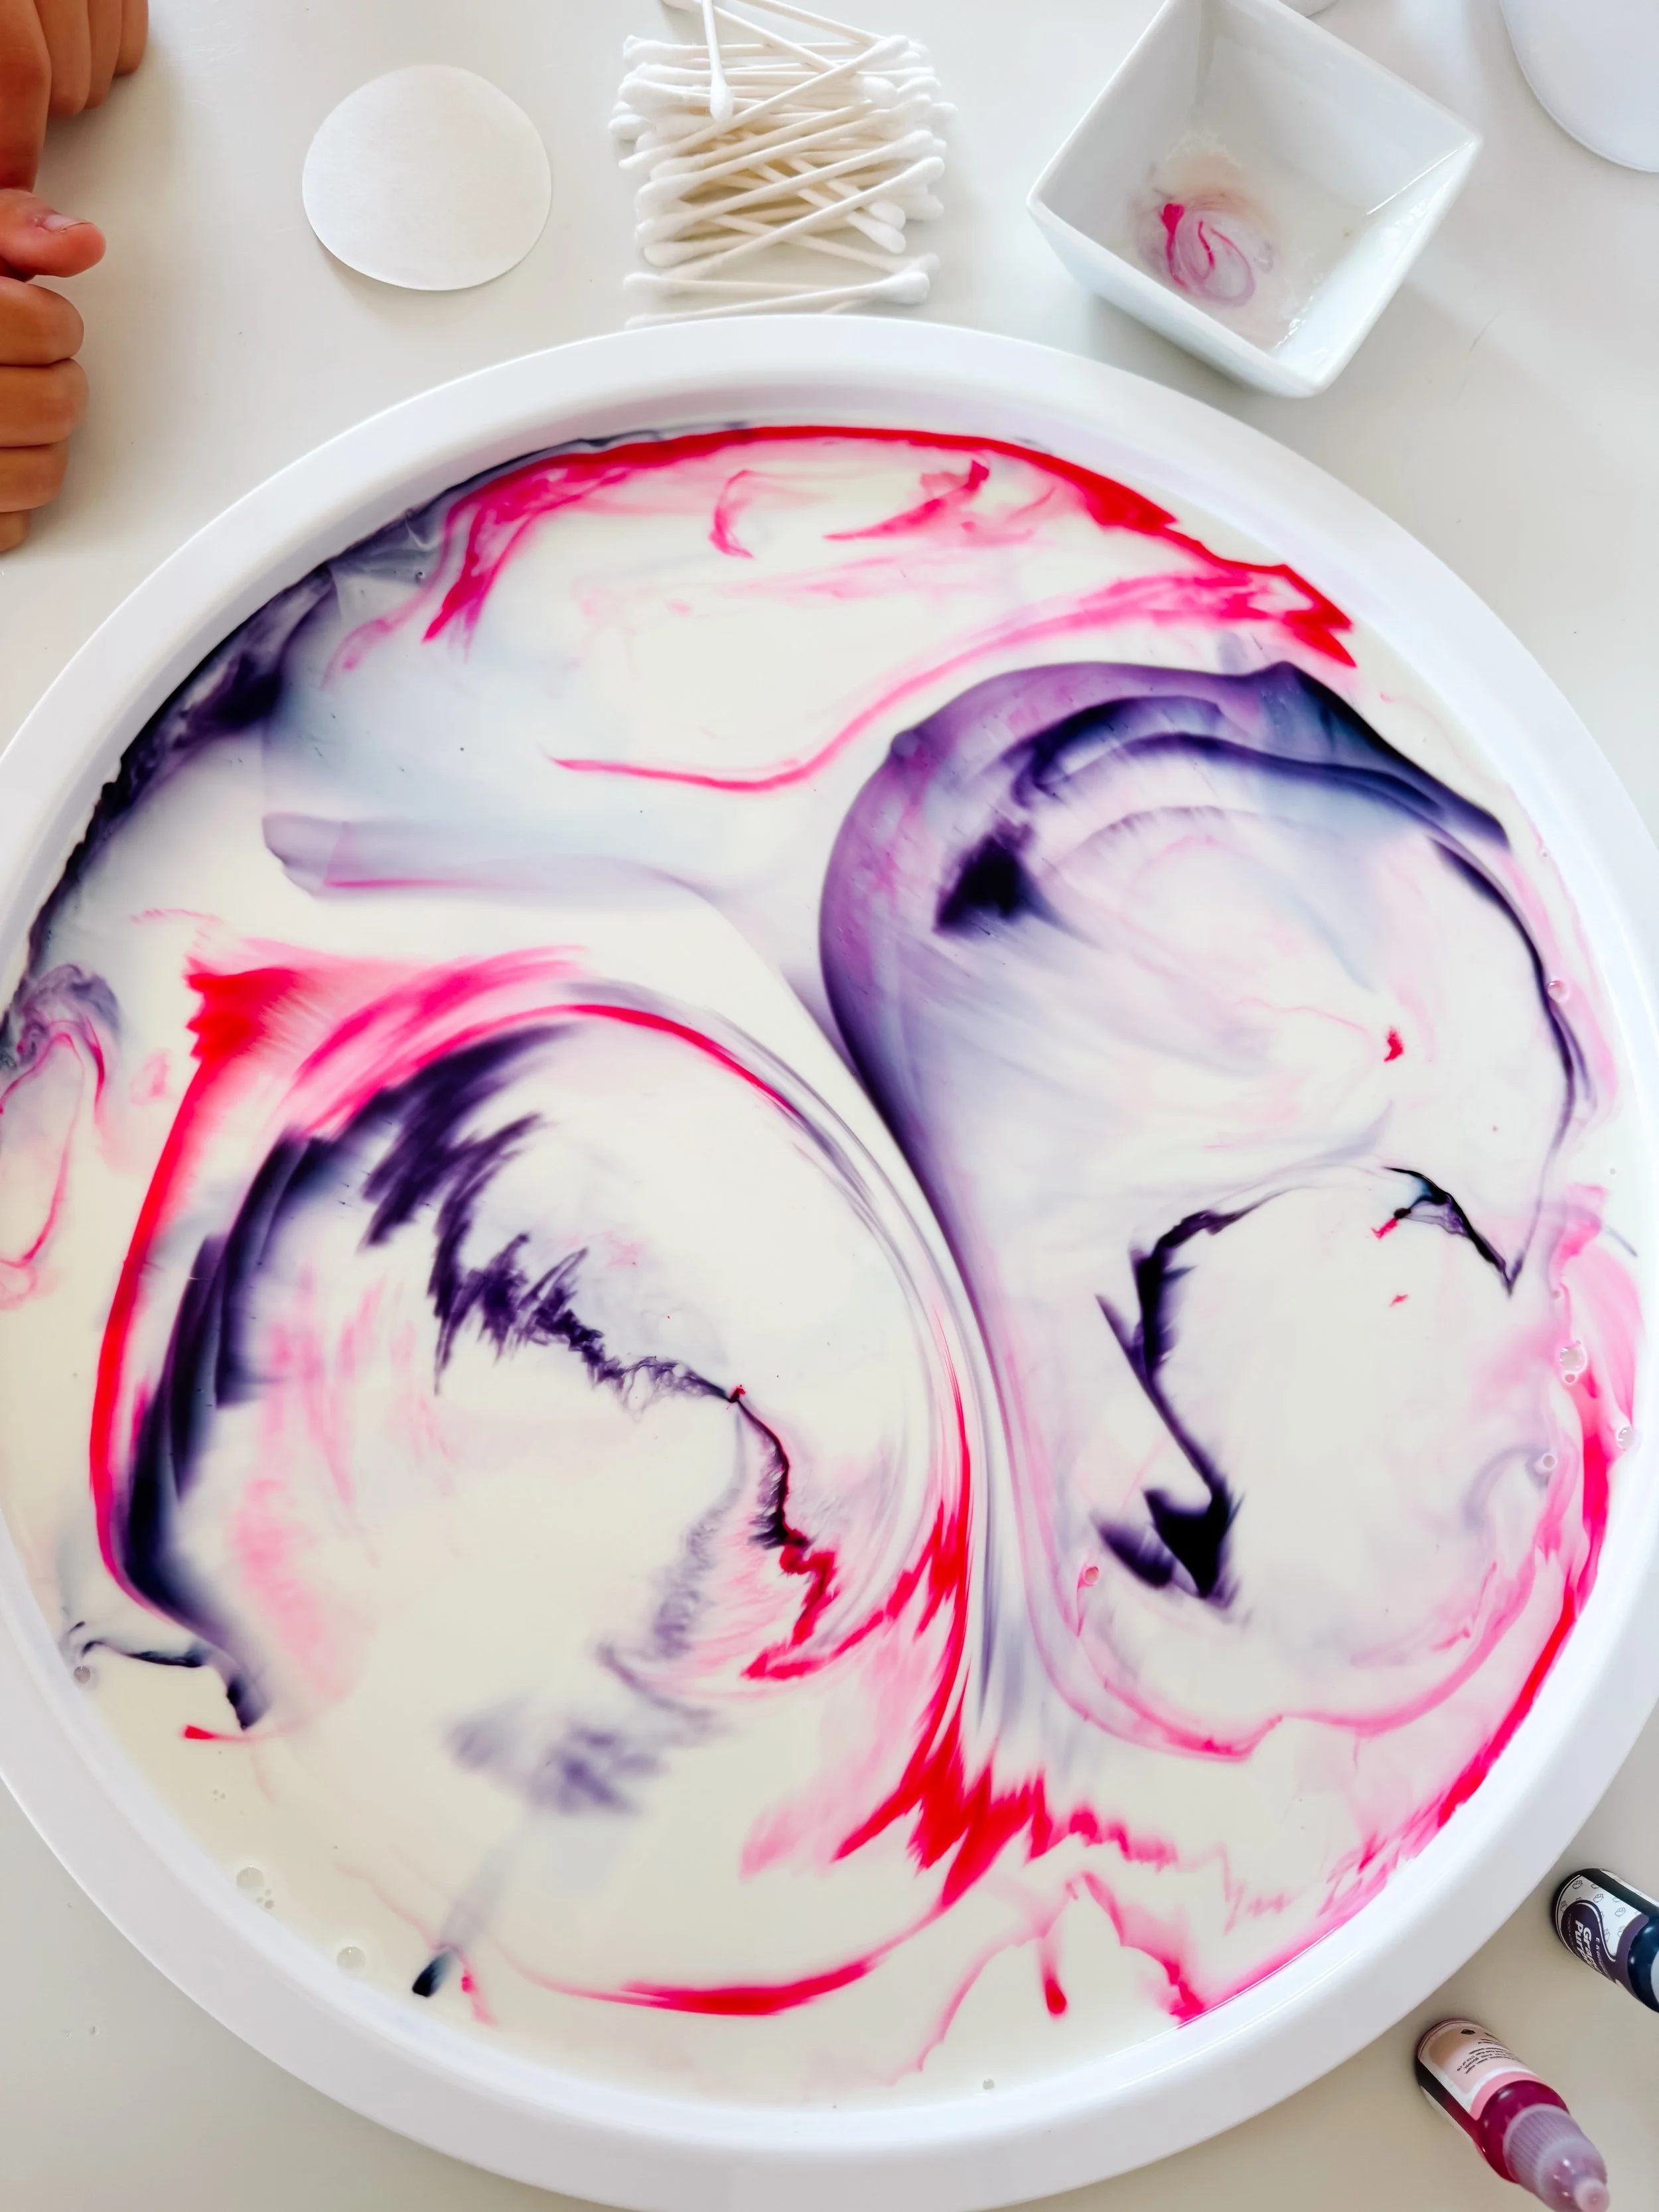
Large swirling circles of pink and purple food coloring moving through milk.
Step 3

Explore different touch points

Dip a clean cotton swab into more soap and touch different parts of the tray.

Compare what happens near a concentrated drop of color versus an area where the colors have already mixed. Try touching the center of a circle, the edge of a swirl, or the space between pink and purple.

Invite your child to predict which direction the color will move before each touch.
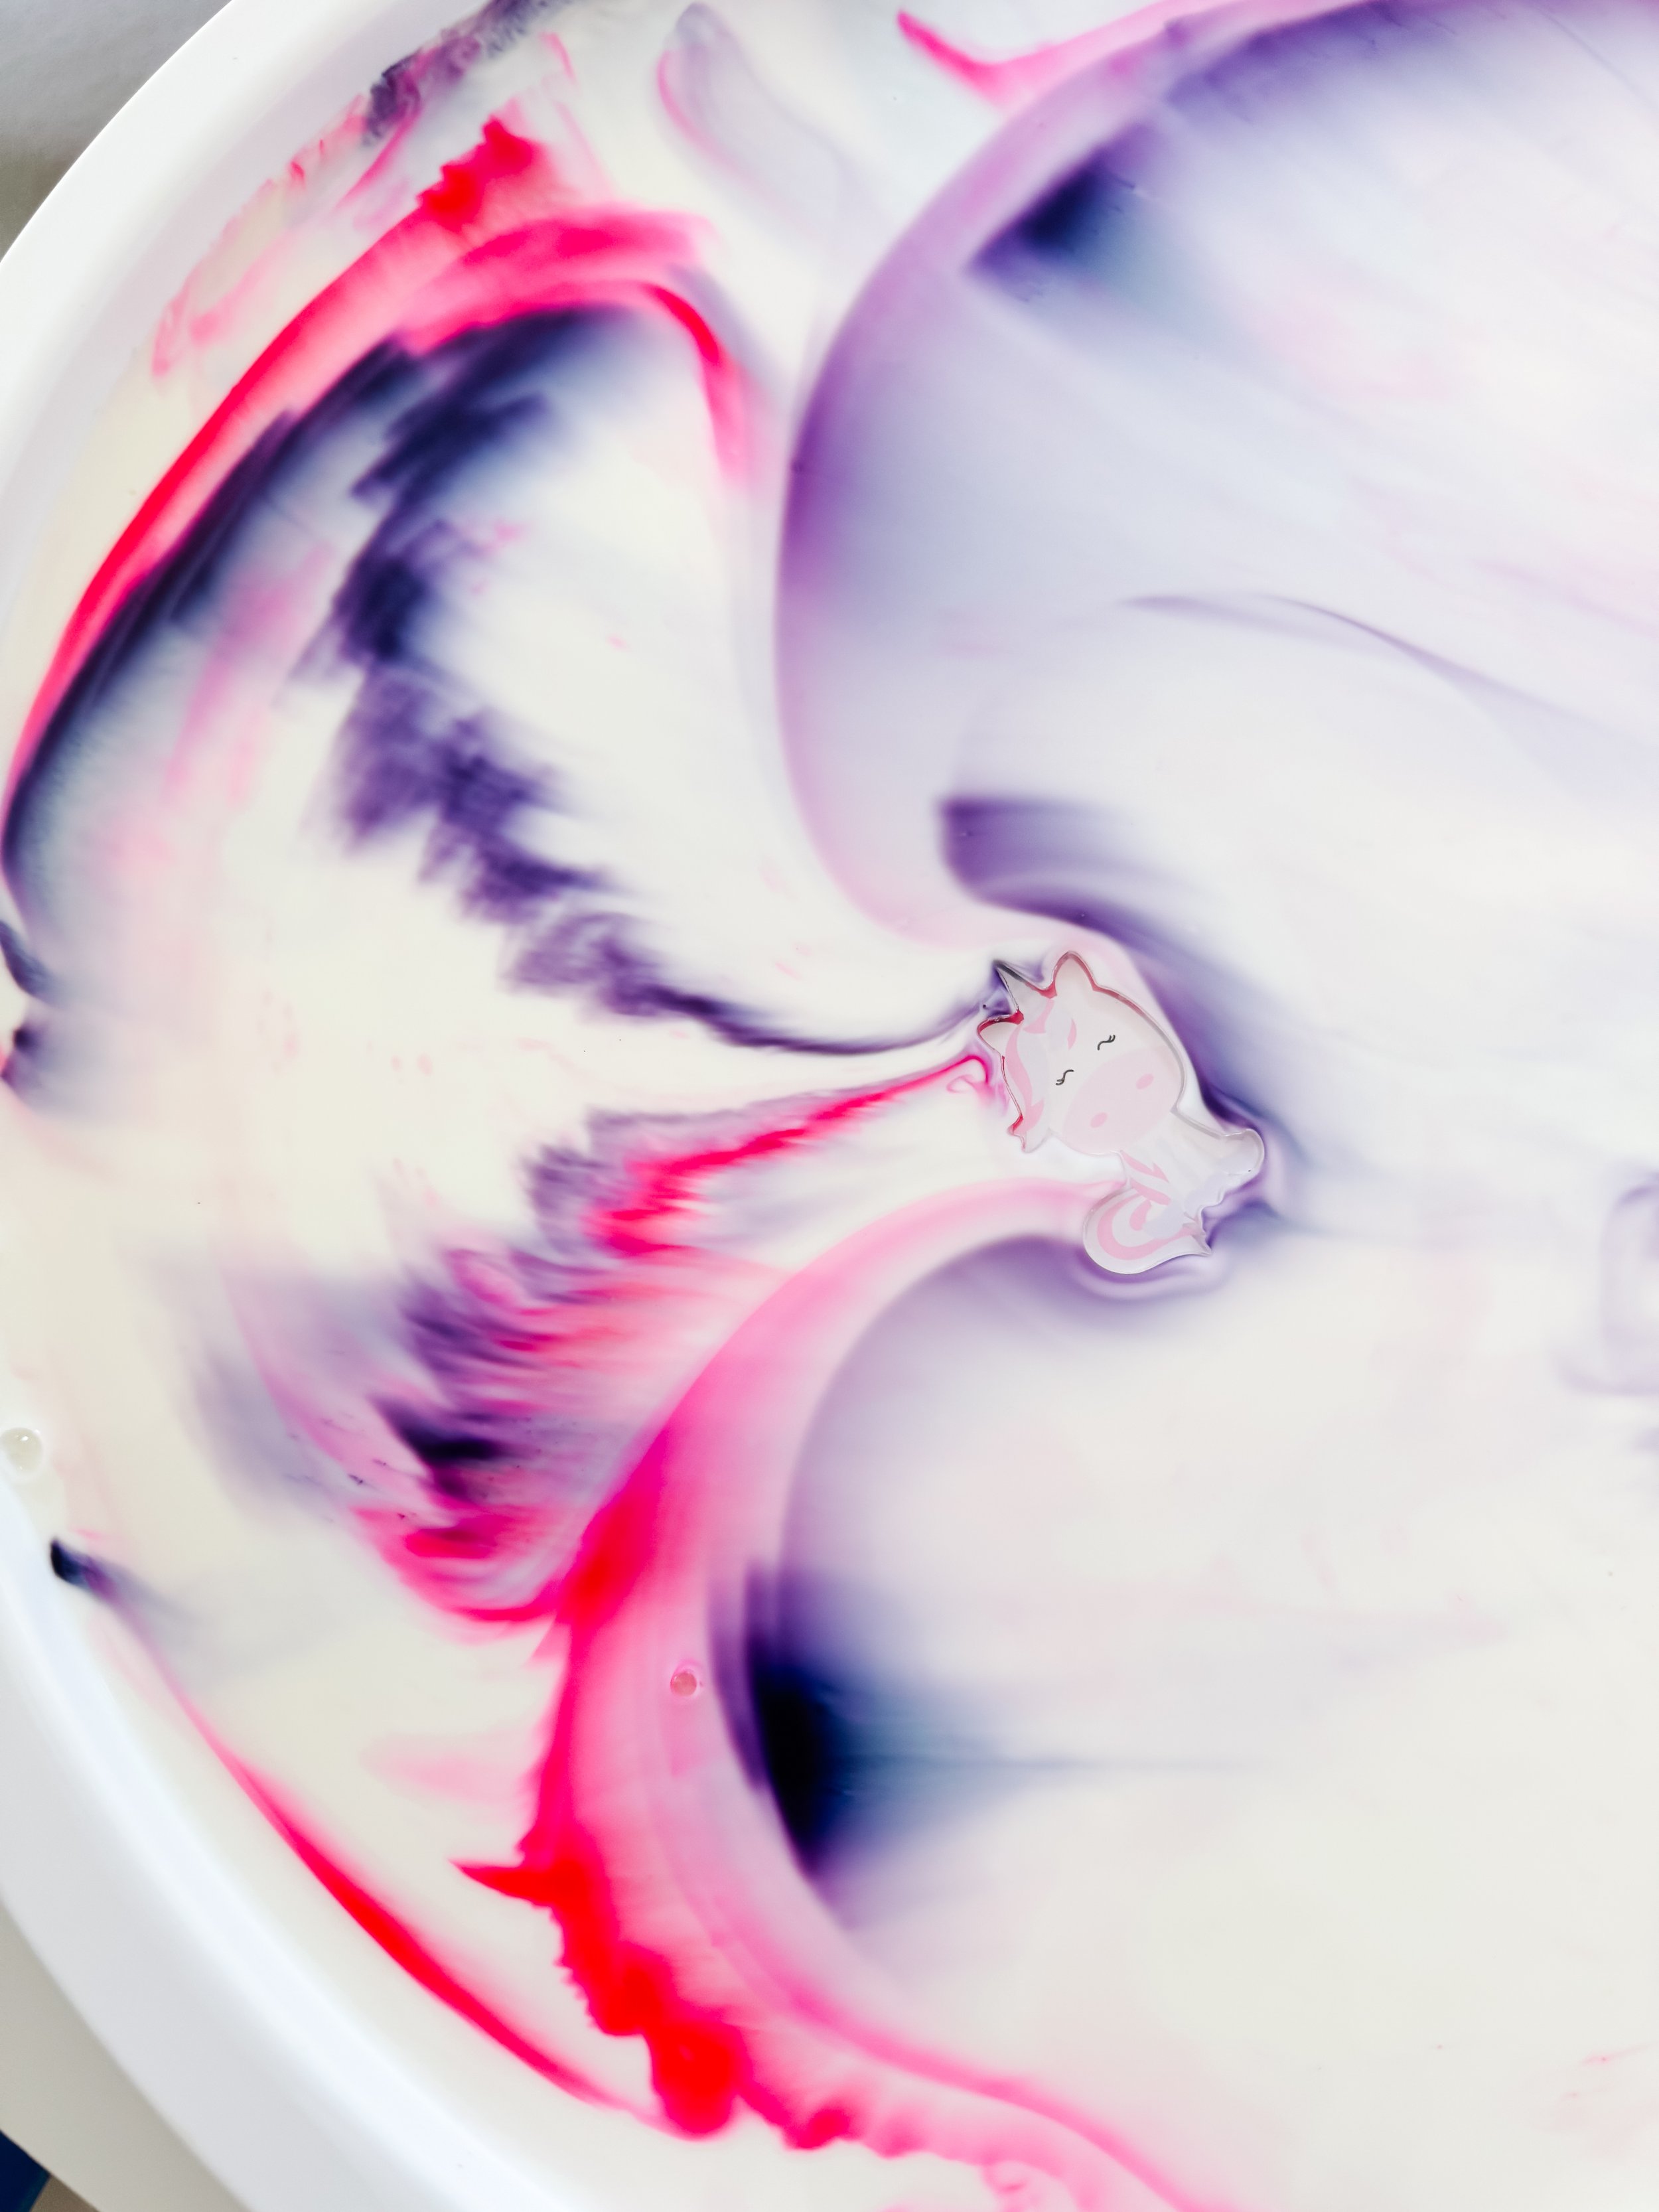
Unicorn acrylic charm floating among bright pink and purple Magic Milk swirls.
Step 4

Add the unicorn charms

Once the colors are moving, gently place the acrylic unicorn and cloud charms into the tray.

Use the cotton swabs to create swirls around the charms so the unicorns appear to fly through a magical sky.

This is where the experiment naturally turns into storytelling and small-world play.
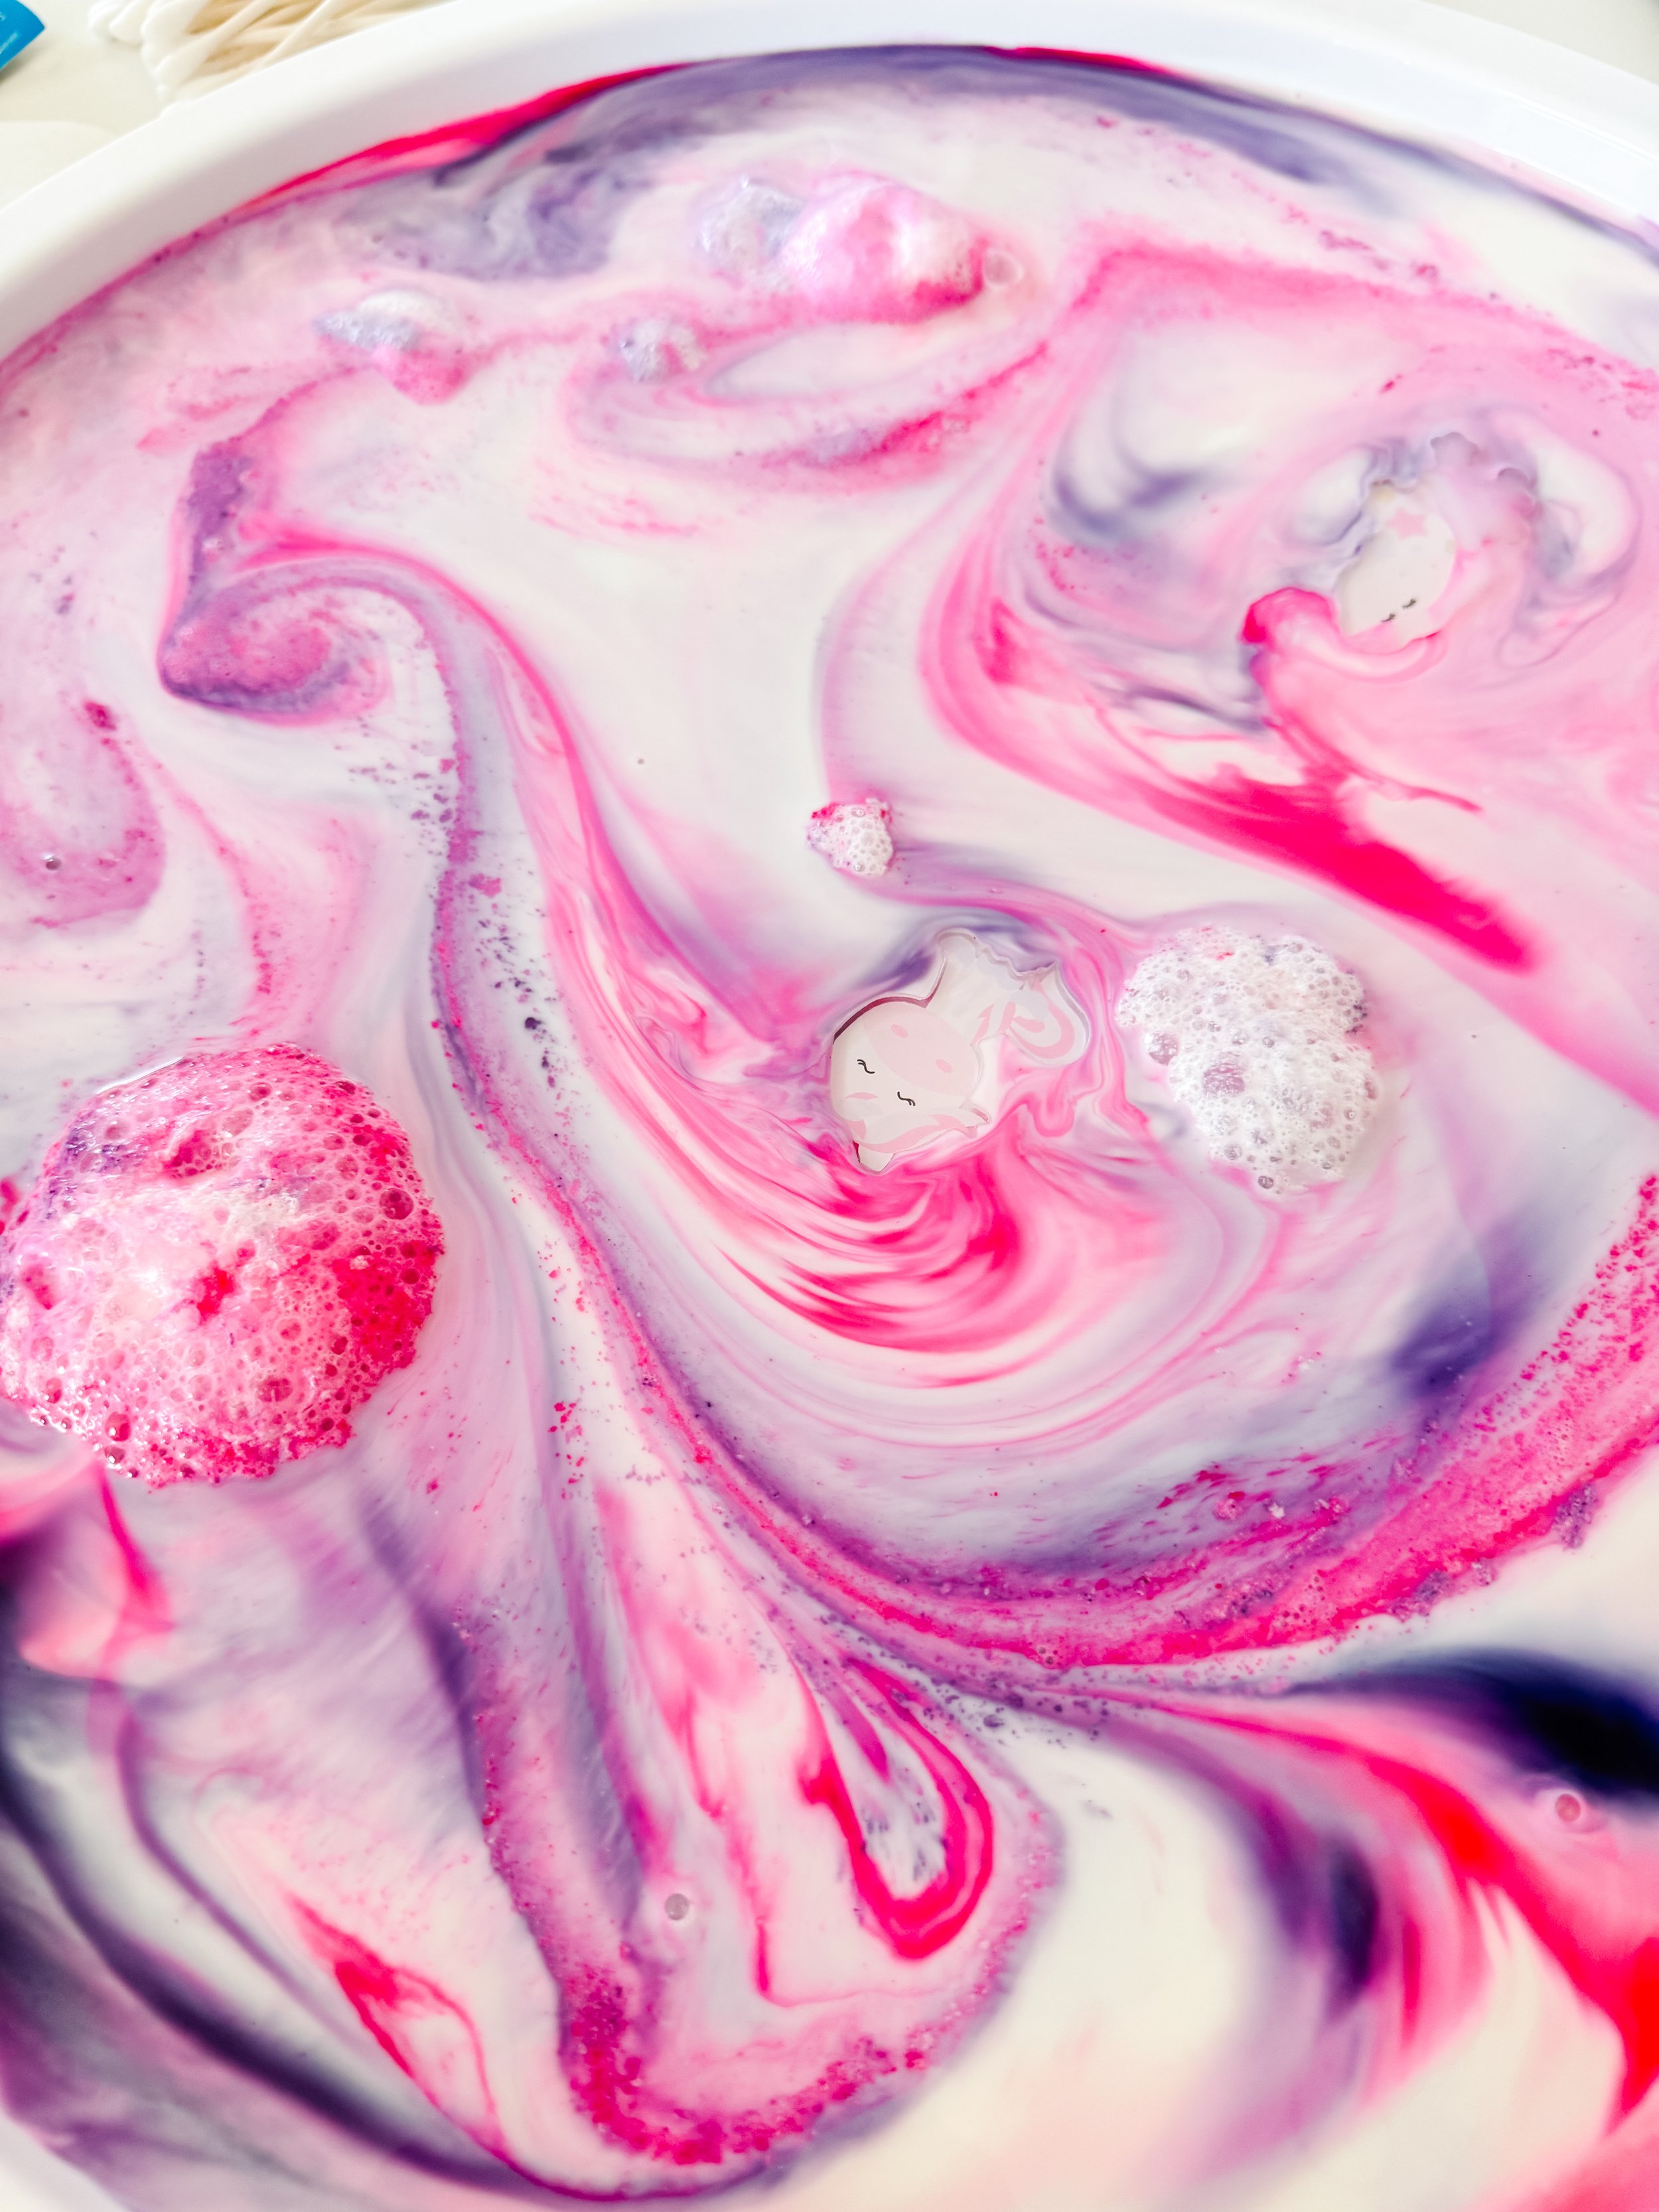
Two unicorn acrylic charms surrounded by pink and lavender Magic Milk swirls and bubbles.
Step 5

Create clouds and magical stories

Touch the soapy cotton swab in one place several times to create foamy bubbles that resemble clouds.

Invite your child to tell a story about where the unicorns are going, what magic they are carrying, or why the sky is changing color.

When the reaction begins to slow, add a few fresh drops of food coloring and test another area.
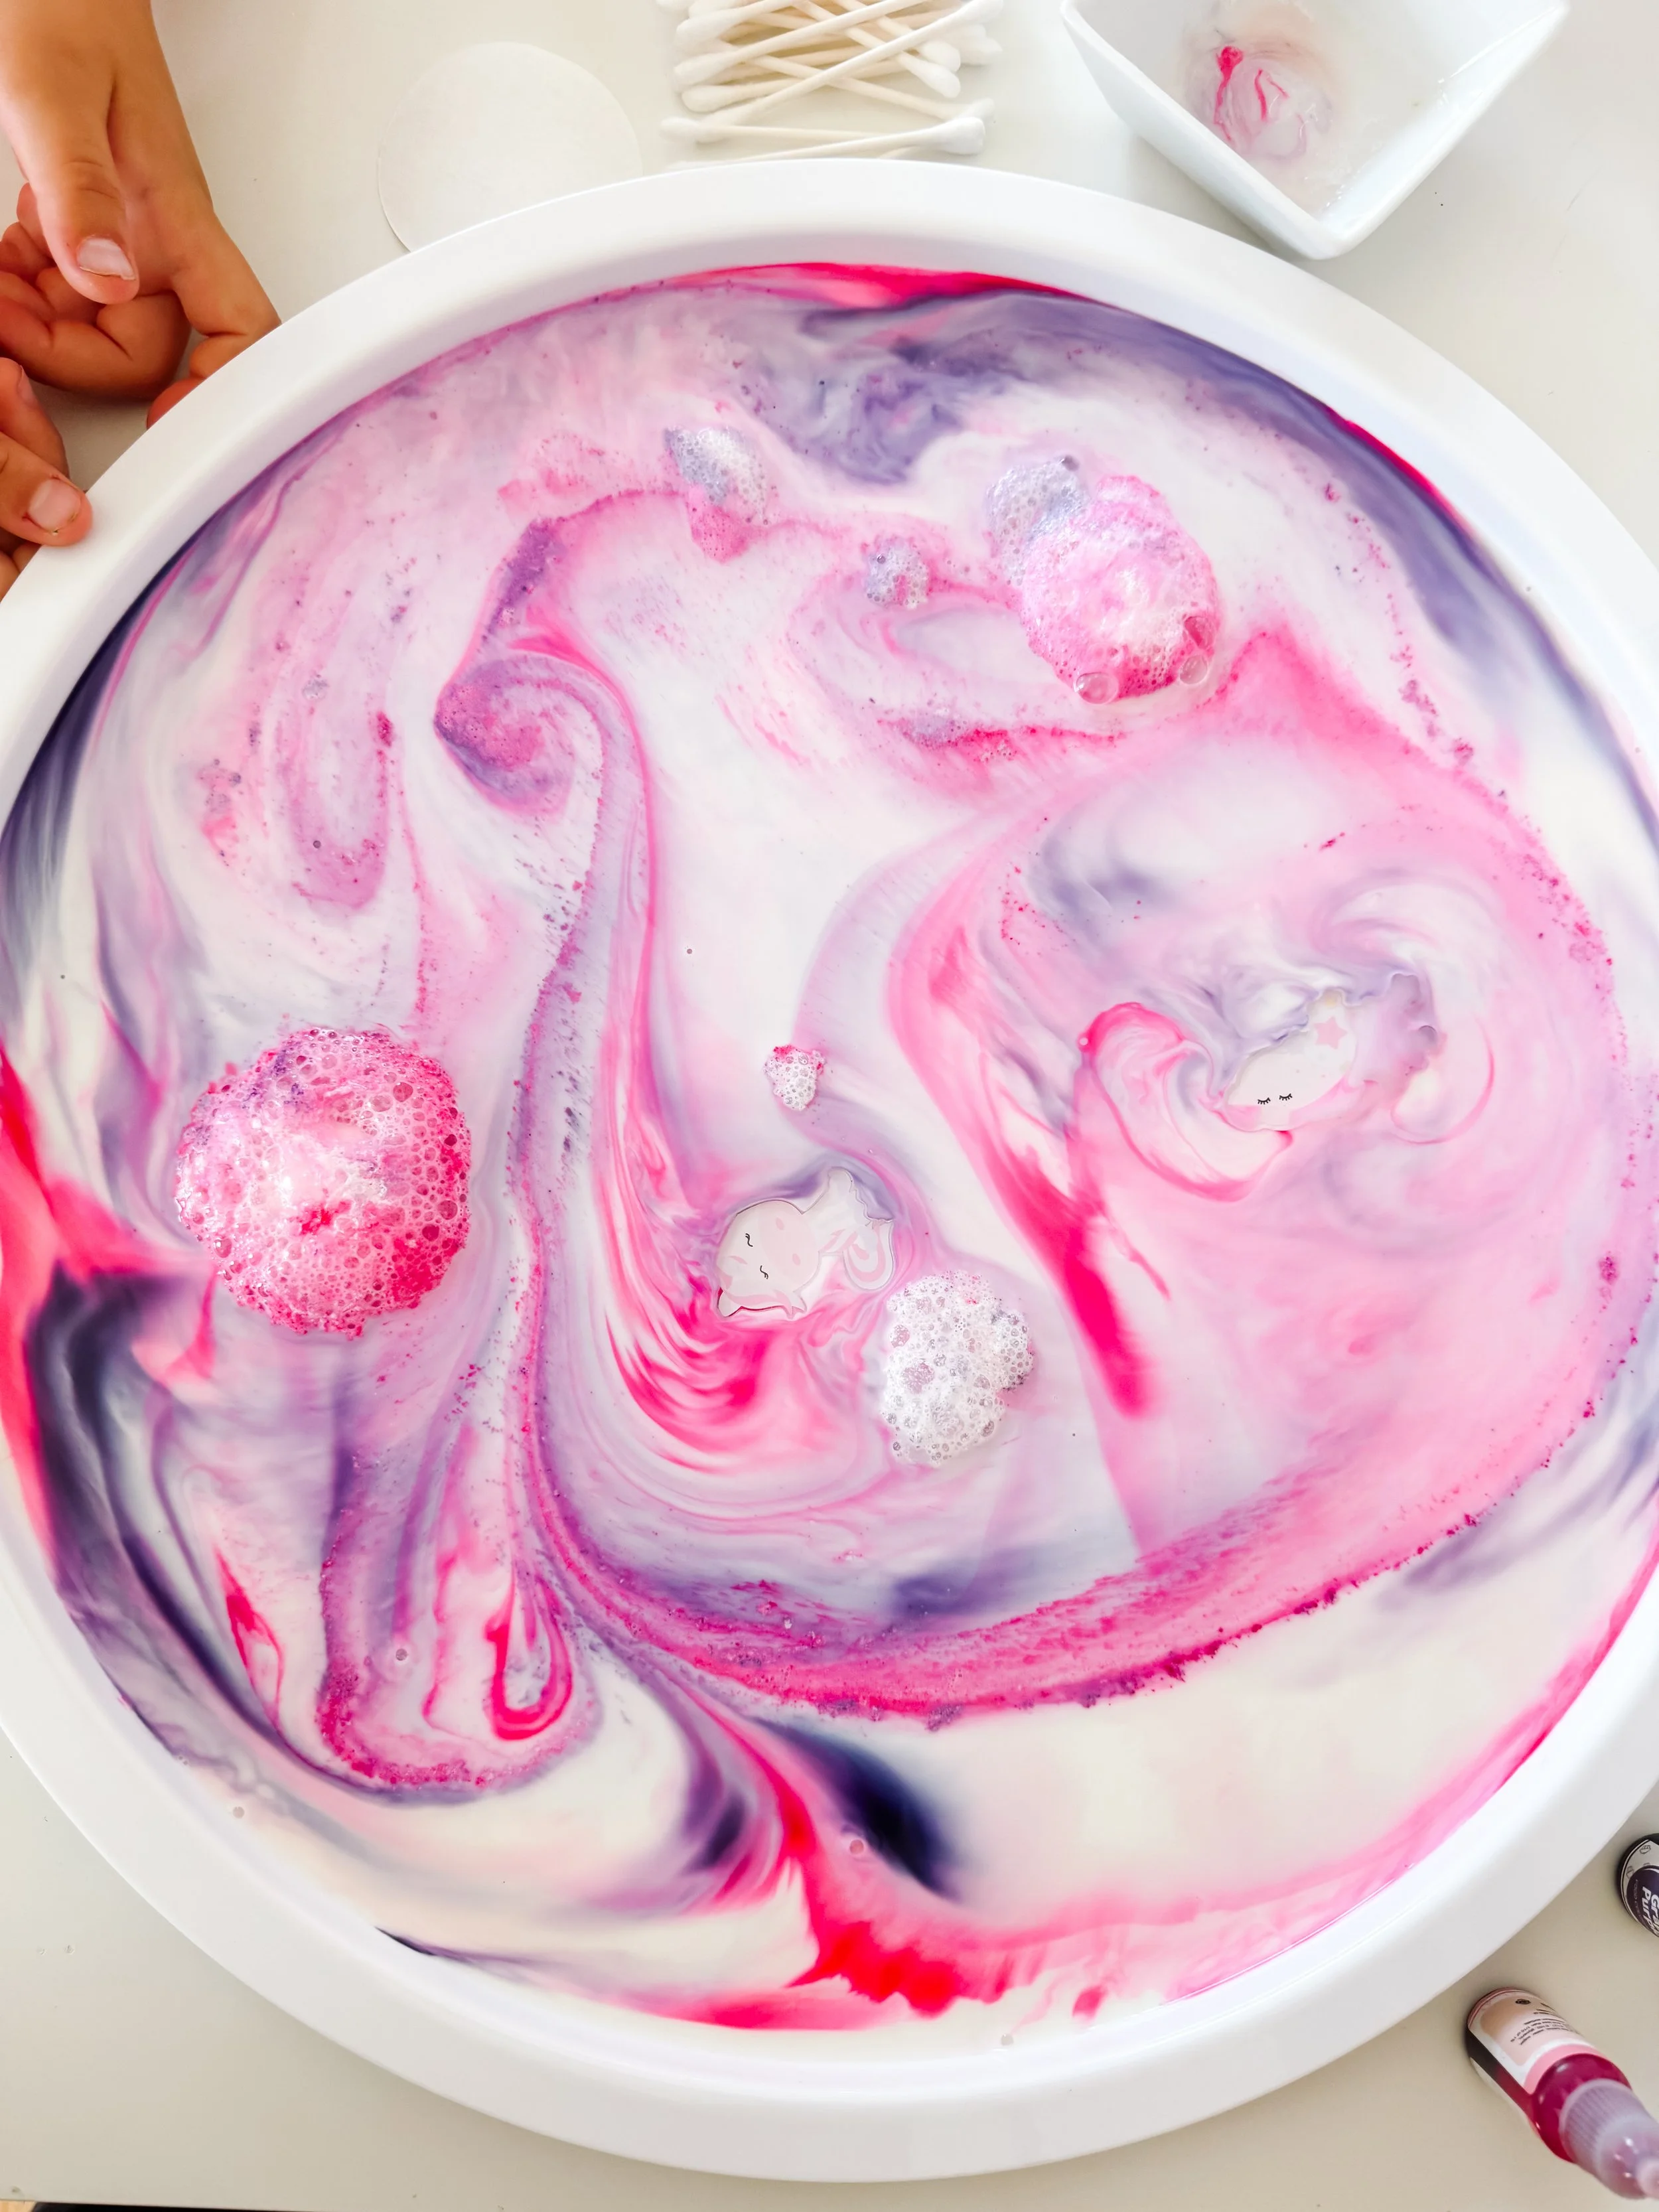
Finished Unicorn Magic Milk tray with pink and purple swirls, unicorn charms, and bubbly clouds.
Step 6

Observe the finished unicorn sky

Step back and look at the patterns that formed across the tray.

Ask your child where the colors blended, where they stayed separate, and which areas resemble clouds, wings, rainbows, or magical trails.

Take a photo before cleanup—the final patterns change quickly and are often beautiful enough to inspire a painting or drawing afterward.

Parent tip

Start with fewer drops of food coloring than you think you need. Leaving plenty of white space gives the colors room to move and creates more visible pink, purple, and lavender patterns.

Why does Magic Milk work?

Milk is mostly water, but it also contains fats, proteins, sugars, vitamins, and minerals.

Dish soap molecules are attracted to both water and fat. When the soap touches the milk, it begins interacting with the fat and disrupting the surface tension across the liquid.

As the soap moves through the milk, the food coloring is carried along with that motion. This makes the invisible movement of the liquid easy to see.

Whole milk usually produces a strong reaction because it contains more fat, but children can also compare whole milk with lower-fat milk as a follow-up experiment.

Turn it into a preschool science investigation

Compare milk types

Try whole milk, two-percent milk, and skim milk in separate dishes. Which one creates the longest-lasting color movement?

Compare color patterns

Test widely spaced drops against drops placed close together. How does the starting pattern change the final design?

Test soap amounts

Compare a lightly coated cotton swab with one holding more dish soap. Does the color move differently?

Mix new unicorn shades

Combine red and blue to make purple, then experiment with different proportions to create lavender, violet, and plum.

Learning benefits

Unicorn Magic Milk blends science, art, sensory play, and storytelling in one low-prep activity.

Children practice observation as they follow the movement of each color. They use prediction before touching the milk with soap and explore cause and effect as they repeat the action in different locations.

The unicorn theme adds imaginative language and narrative play. Children can create characters, settings, problems, and magical adventures while the visual experiment unfolds.

Learning skills

Scientific observation Prediction Cause and effect Surface tension Color mixing Fine motor skills Sensory exploration Creative storytelling Imaginative play Early chemistry

Questions to ask kids

  • What do you predict will happen when the soap touches the milk?
  • Which color moves first?
  • Where do pink and purple blend together?
  • What new colors can you see?
  • Does the reaction happen faster in some areas?
  • What happens when you touch the same place twice?
  • What do the patterns remind you of?
  • Where are the unicorns traveling?
  • What magical power does each unicorn have?

Unicorn and science vocabulary

Experiment Observe Predict Reaction Surface tension Molecule Liquid Blend Swirl Lavender Violet Unicorn Magic

Ways to extend the unicorn play

Paint the final pattern

Use the finished tray as inspiration for a watercolor or process-art painting in pink, purple, white, and lavender.

Create a unicorn story

Ask your child to draw the magical world the unicorn visited and dictate a short story about the adventure.

Build a sensory bin

Rinse the acrylic charms and reuse them with pastel filler, clouds, stars, and scoops for Unicorn World sensory play.

Try another color theme

Make rainbow, sunset, fireworks, Northern Lights, ocean, or holiday-themed Magic Milk using a new color palette.

More unicorn activities

Toilet roll unicorn craft

Turn a recycled cardboard tube into a magical unicorn with curled pastel pipe cleaners and googly eyes.

Make the unicorn craft

Unicorn sensory play

Create a pastel unicorn sensory and dramatic-play setup with printable props and magical accessories.

Explore unicorn play

Unicorn & cloud charms

Reuse the acrylic charms in sensory bins, play dough, rice, slime, potion play, and small-world scenes.

Shop the charms

Unicorn Magic Milk FAQ

How do you make Unicorn Magic Milk?

Pour whole milk into a shallow tray, add pink and purple food coloring, dip a cotton swab in dish soap, and gently touch the colored milk. Add acrylic unicorn and cloud charms after the colors begin to swirl.

Why does dish soap make the food coloring move?

Dish soap reduces surface tension and interacts with fat molecules in the milk. As the soap spreads through the liquid, it carries the food coloring with it and makes the movement visible.

What kind of milk works best for Magic Milk?

Whole milk typically produces the most dramatic and longer-lasting reaction because it contains more fat. Lower-fat milk will still work but may create a subtler effect.

Can I use gel food coloring?

Liquid food coloring usually spreads more easily. Gel coloring can work when diluted with a small amount of water before it is added to the milk.

Are the unicorn acrylic charms reusable?

Yes. Remove them after play, wash them gently with soap and water, rinse thoroughly, and dry them completely before storing or reusing them.

Is Magic Milk taste-safe?

No. Even though milk and food coloring are food ingredients, dish soap is not edible. Treat this strictly as a supervised science and sensory activity.

What age is this experiment best for?

Unicorn Magic Milk is best for ages three and up with close adult supervision. Older children can make predictions, compare variables, and record their observations.

What can I do with the acrylic charms after the experiment?

Use them in unicorn sensory bins, play dough trays, potion play, small-world scenes, matching activities, party favors, or another themed science experiment.
Toilet Paper Roll Robot Craft

Toilet Paper Roll Robot Craft

Turn recycled cardboard tubes, pipe cleaners, pom-poms, googly eyes, and building bricks into a playful robot craft kids can build, customize, and use for imaginative play.

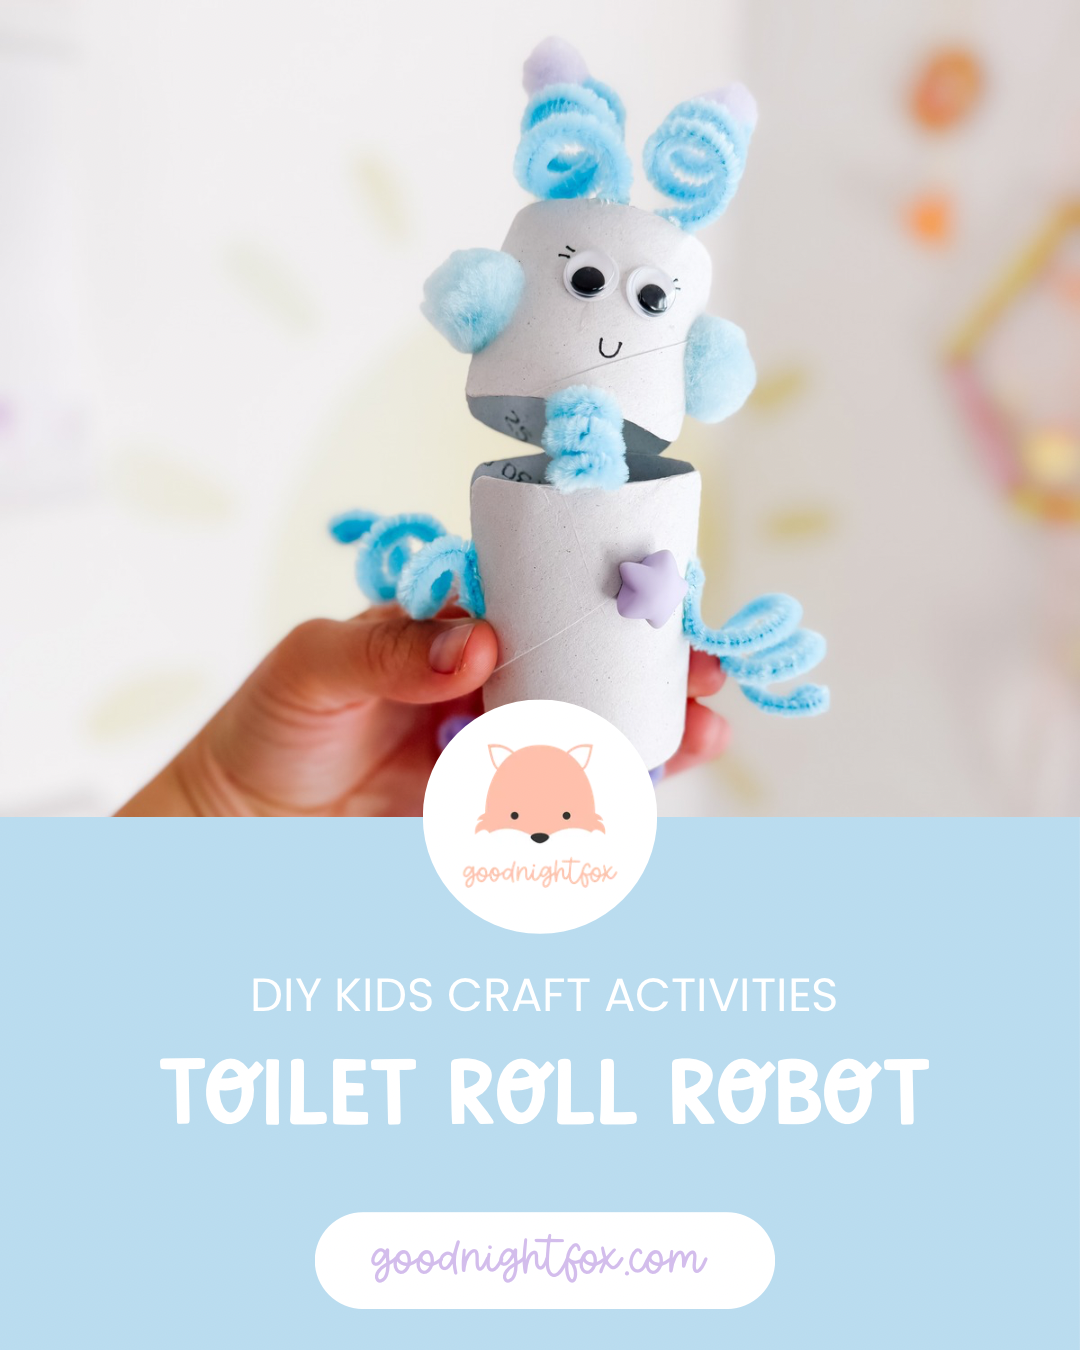
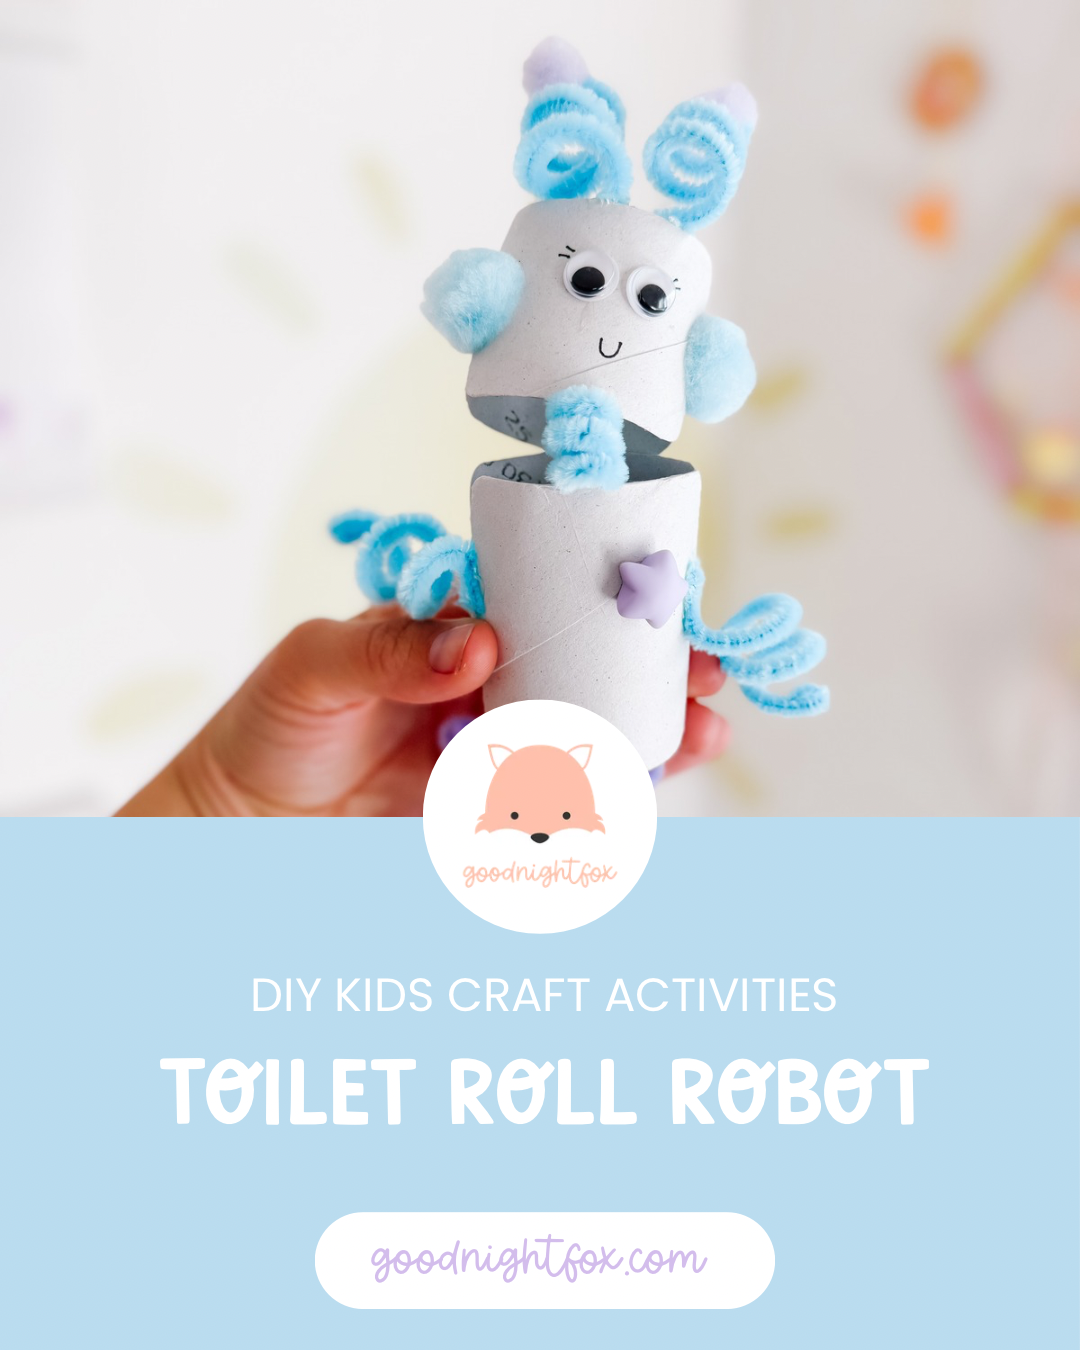
Finished toilet paper roll robot craft made with white cardboard tubes, blue and purple pipe cleaners, pom-poms, googly eyes, and building bricks.
Age4+
Prep10 minutes
Activity25–35 minutes
Mess★☆☆☆☆
SkillsSTEM + fine motor

Why we love this robot craft

This toilet paper roll robot started as a simple recycled craft, but it quickly turned into a miniature engineering project.

Kids get to decide how the robot should move, where its arms and legs should attach, what kind of antenna it needs, and which playful details will give it a personality of its own.

We used two cardboard tube sections for the robot’s head and body, then added curled pipe cleaners, pom-poms, googly eyes, markers, and building bricks. The finished robot can bend, wobble, twist, and become a character for pretend play after the crafting is finished.

It is a wonderful activity for Robot Week, Space Week, recycled craft themes, rainy days, classroom maker stations, or any child who loves building and inventing.

Materials needed

  • Two empty toilet paper rolls or one roll cut into sections
  • White paint or white paper for covering the tubes
  • Blue, purple, or pastel pipe cleaners
  • Pom-poms
  • Googly eyes
  • Washable paint markers or regular markers
  • Large building bricks or Duplo-style bricks
  • Scissors
  • Glue or low-temperature hot glue with adult help
  • A pencil or marker for curling pipe cleaners

Safety note

An adult should handle hot glue and help create any holes in the cardboard. Small pom-poms and googly eyes can be choking hazards, so supervise younger children closely.

How to make a toilet paper roll robot

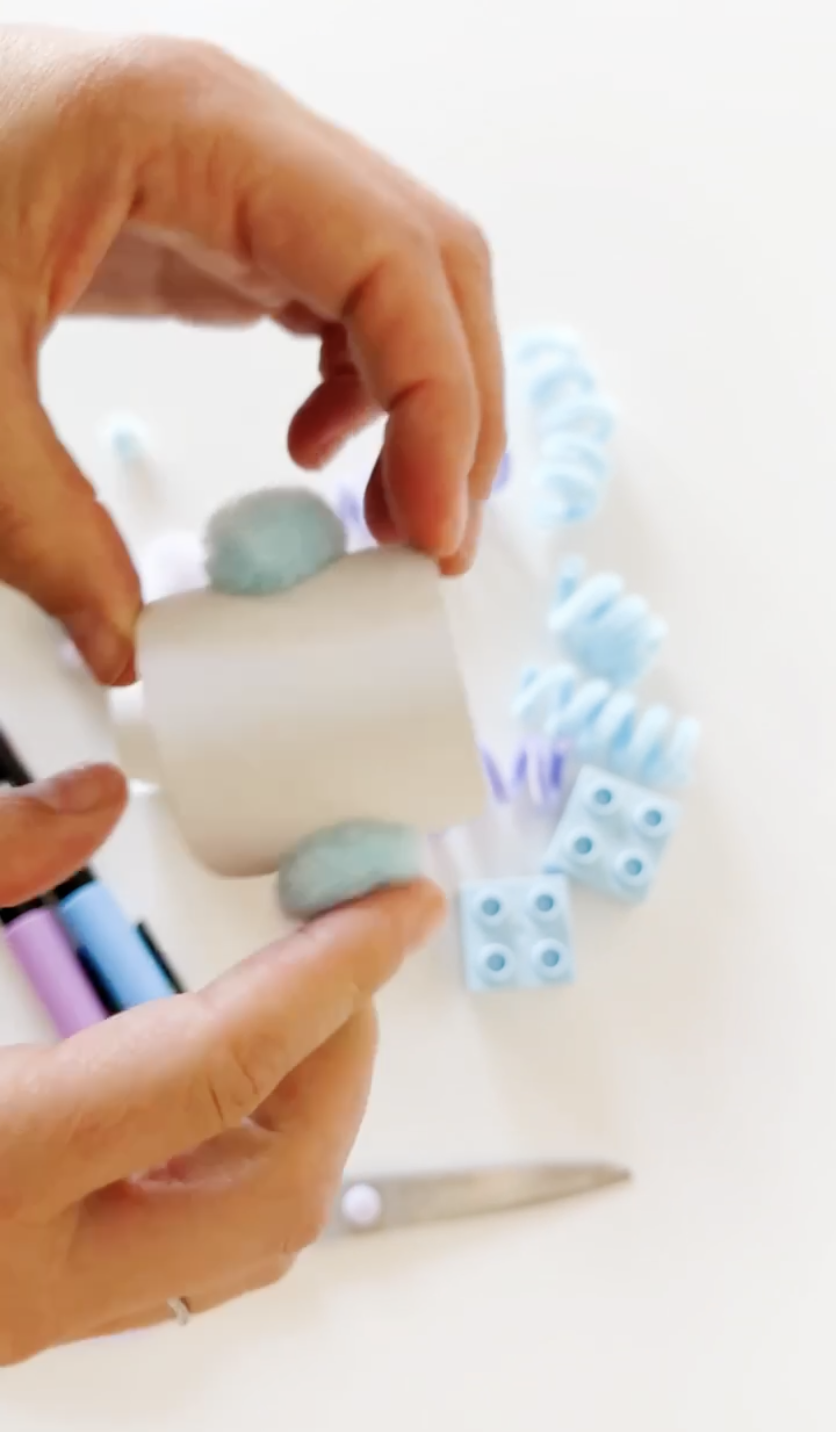
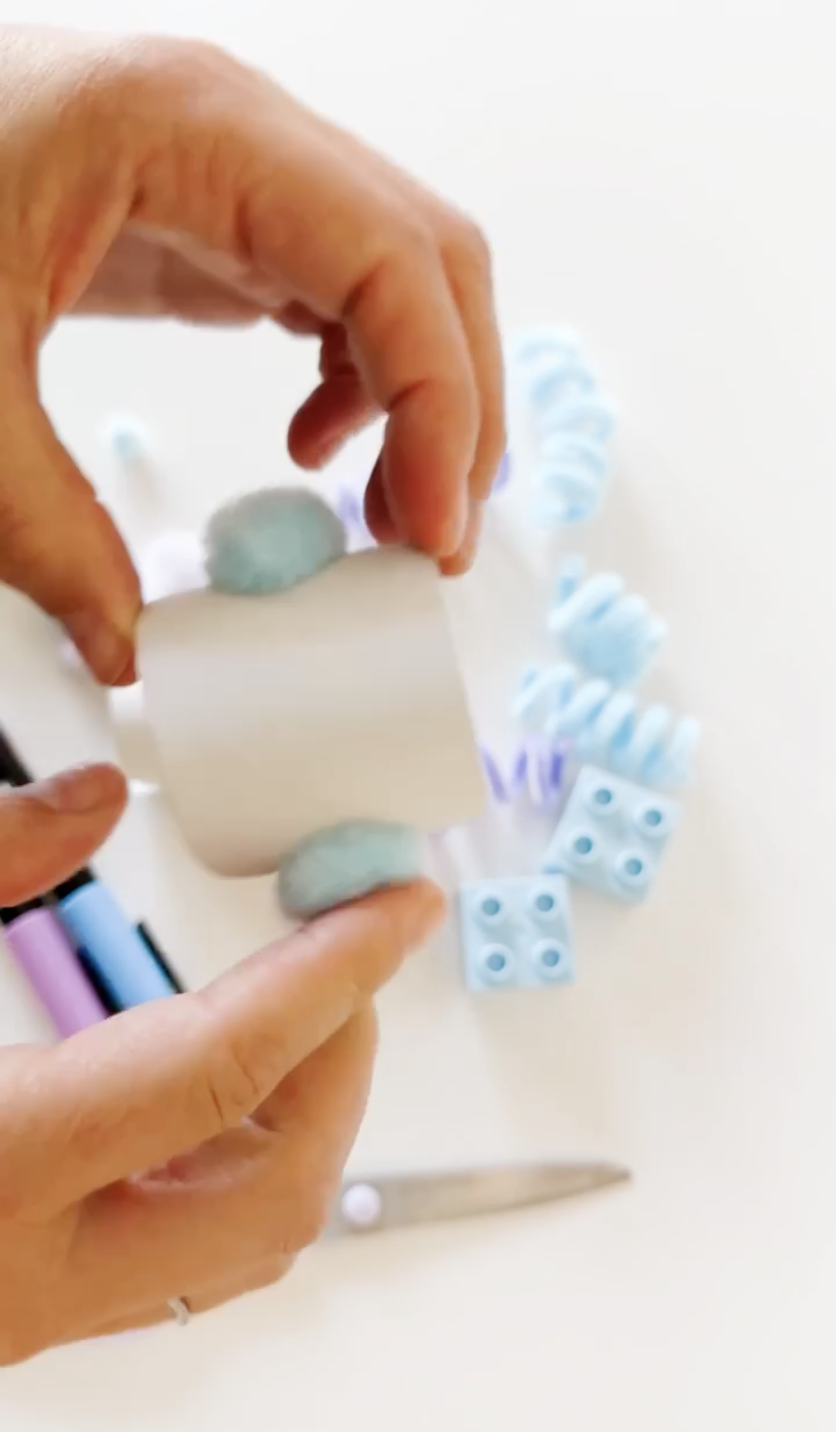
Attaching soft blue pom-poms to the sides of a white cardboard tube to make robot ears.
Step 1

Build the robot head

Cut a short section from a cardboard tube to create the robot’s head. Paint or wrap it in white paper if you want a clean robot base.

Glue a pom-pom to each side for ears. Add one more pom-pom to the top if you want a soft button, light, or extra robot sensor.

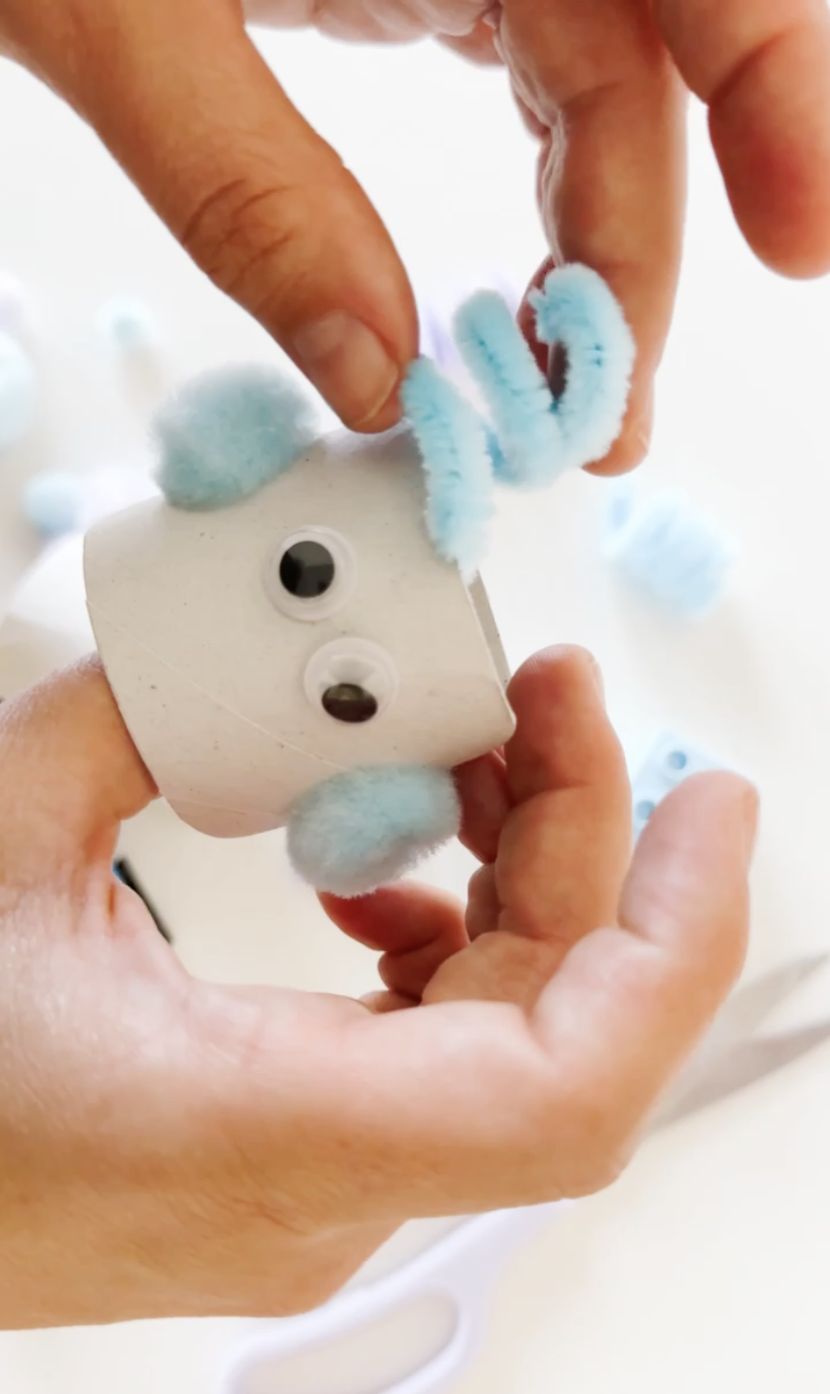
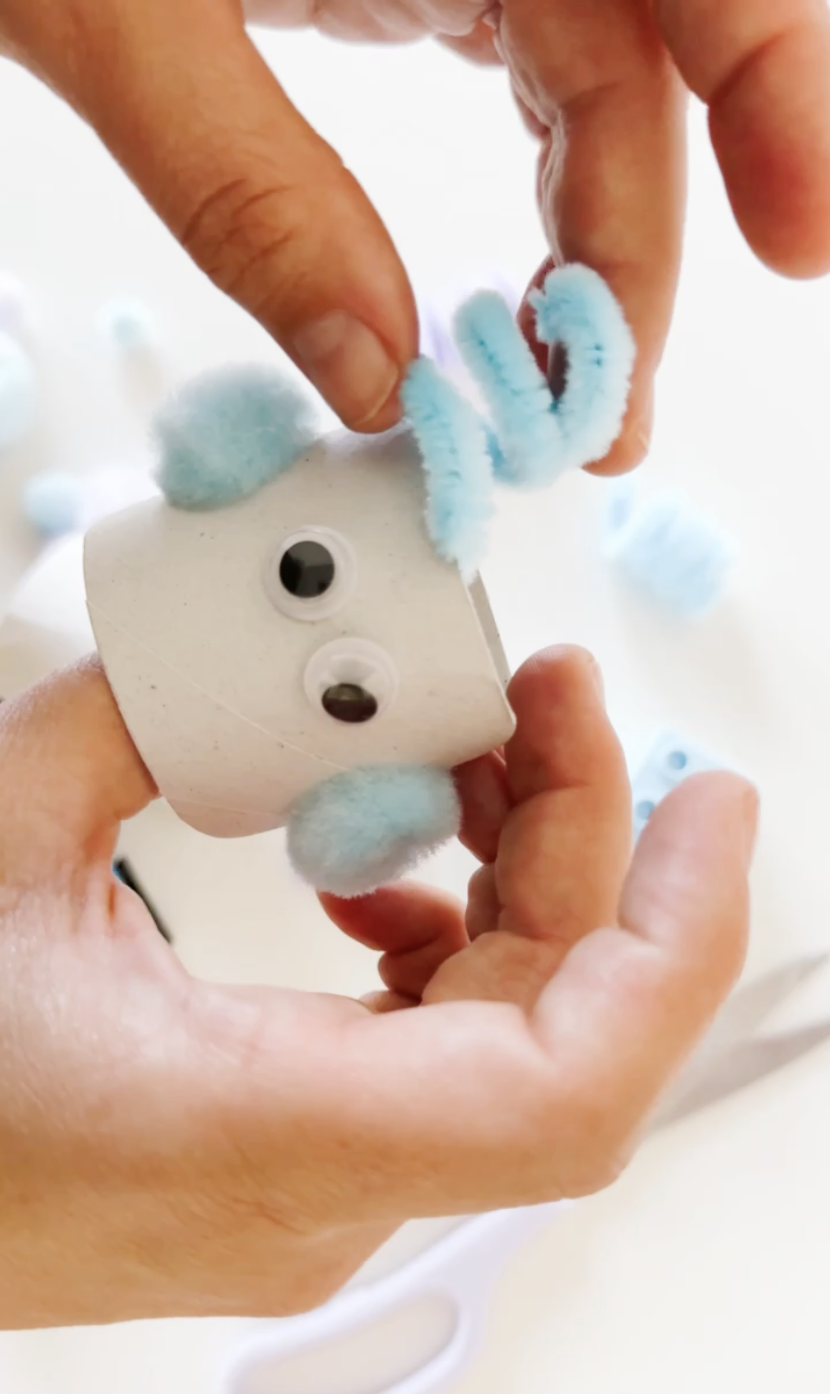
Adding googly eyes and curled blue pipe cleaner antennae to the cardboard robot head.
Step 2

Add the face and antennae

Glue two googly eyes onto the front of the robot head. Draw a small mouth, eyelashes, buttons, bolts, or any other facial details your child wants.

Wrap two pipe cleaners around a marker or pencil to make spirals. Slide them off, bend the ends slightly, and attach them to the top of the robot’s head as antennae.

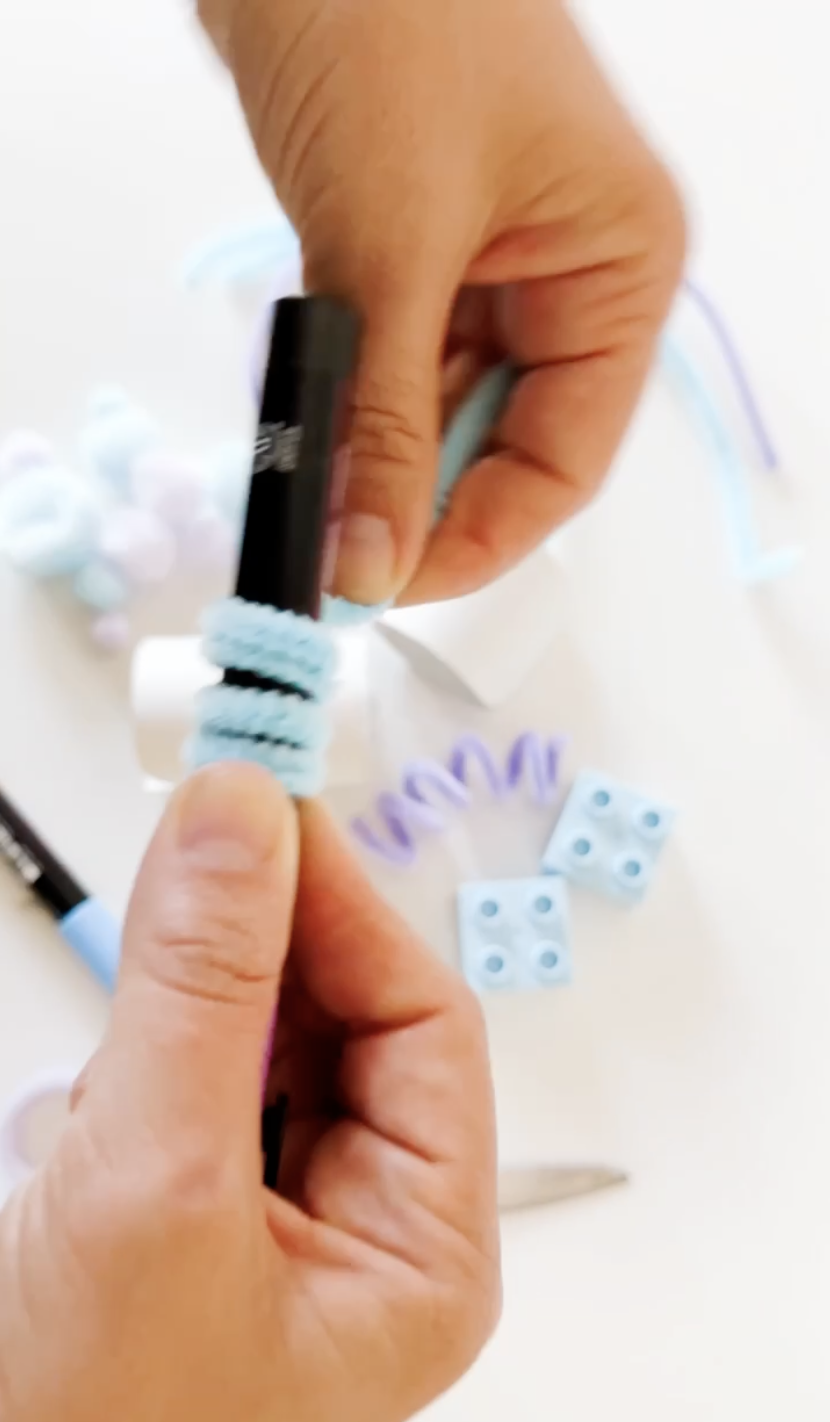
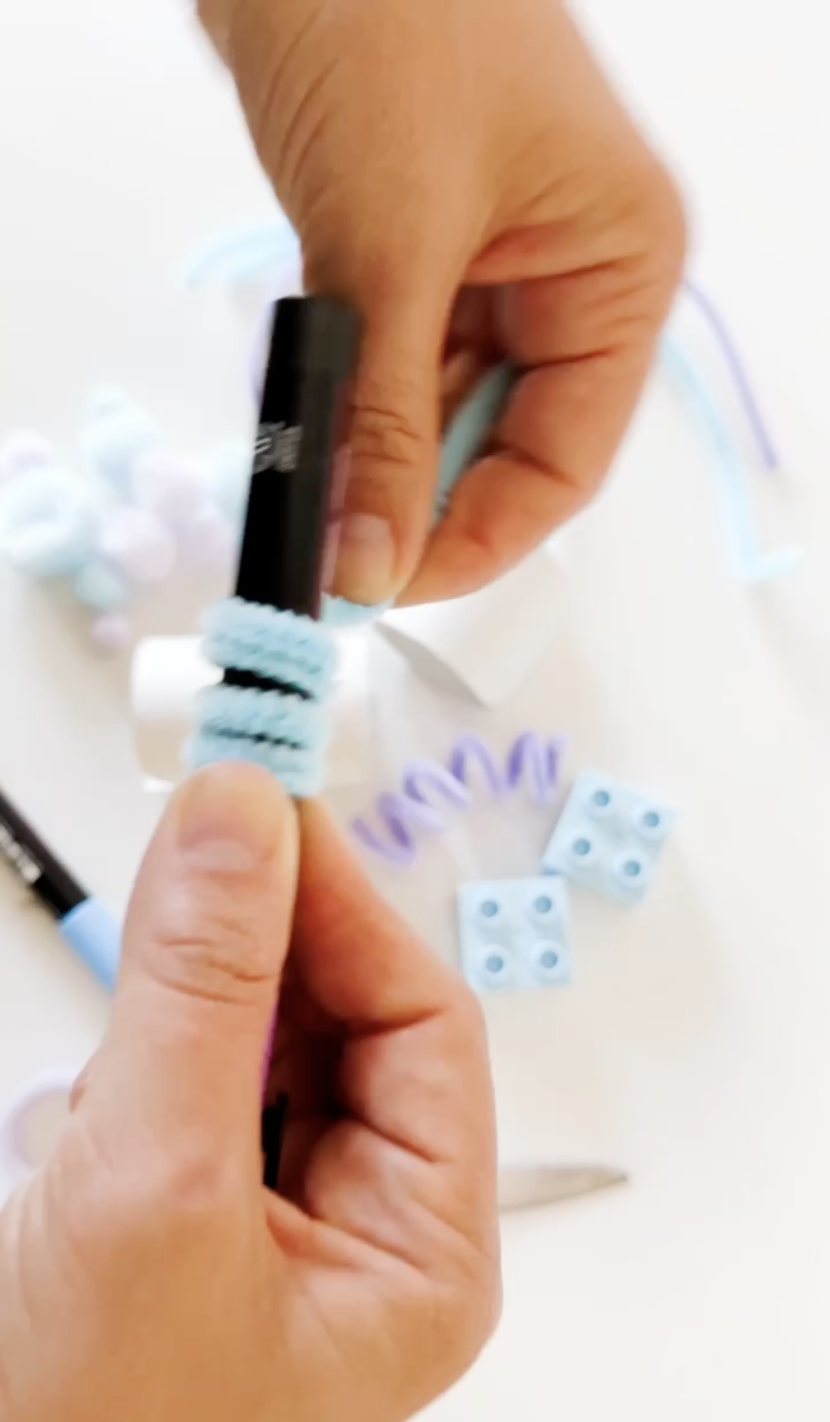
Curling a blue pipe cleaner around a black marker to make a spiral robot arm or leg.
Step 3

Make curly robot limbs

Wrap additional pipe cleaners around a marker to create coiled arms, legs, and a tail-like wire attachment.

Try making some coils tight and others loose. Ask your child which shape might make the robot bounce, reach, twist, or move most easily.

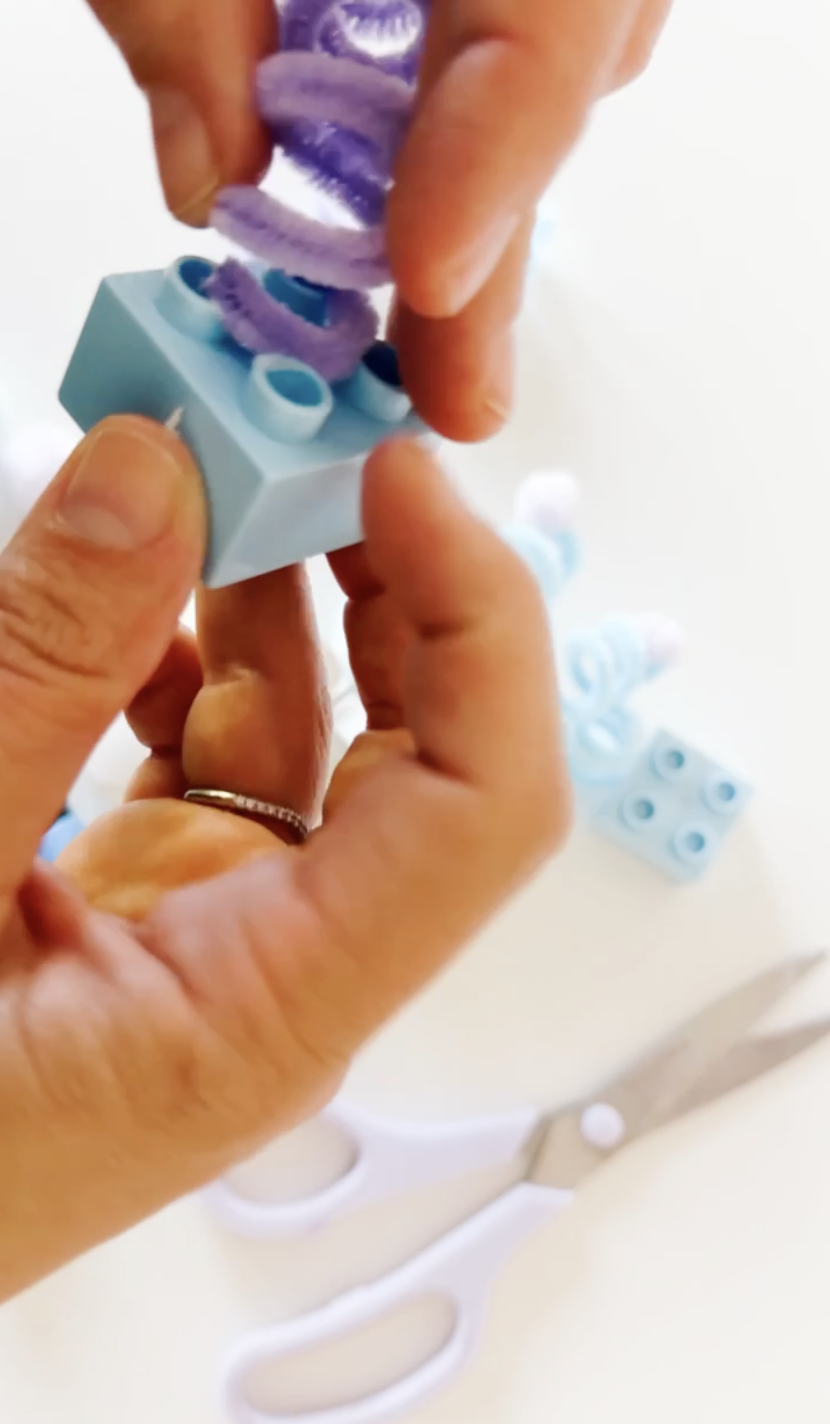
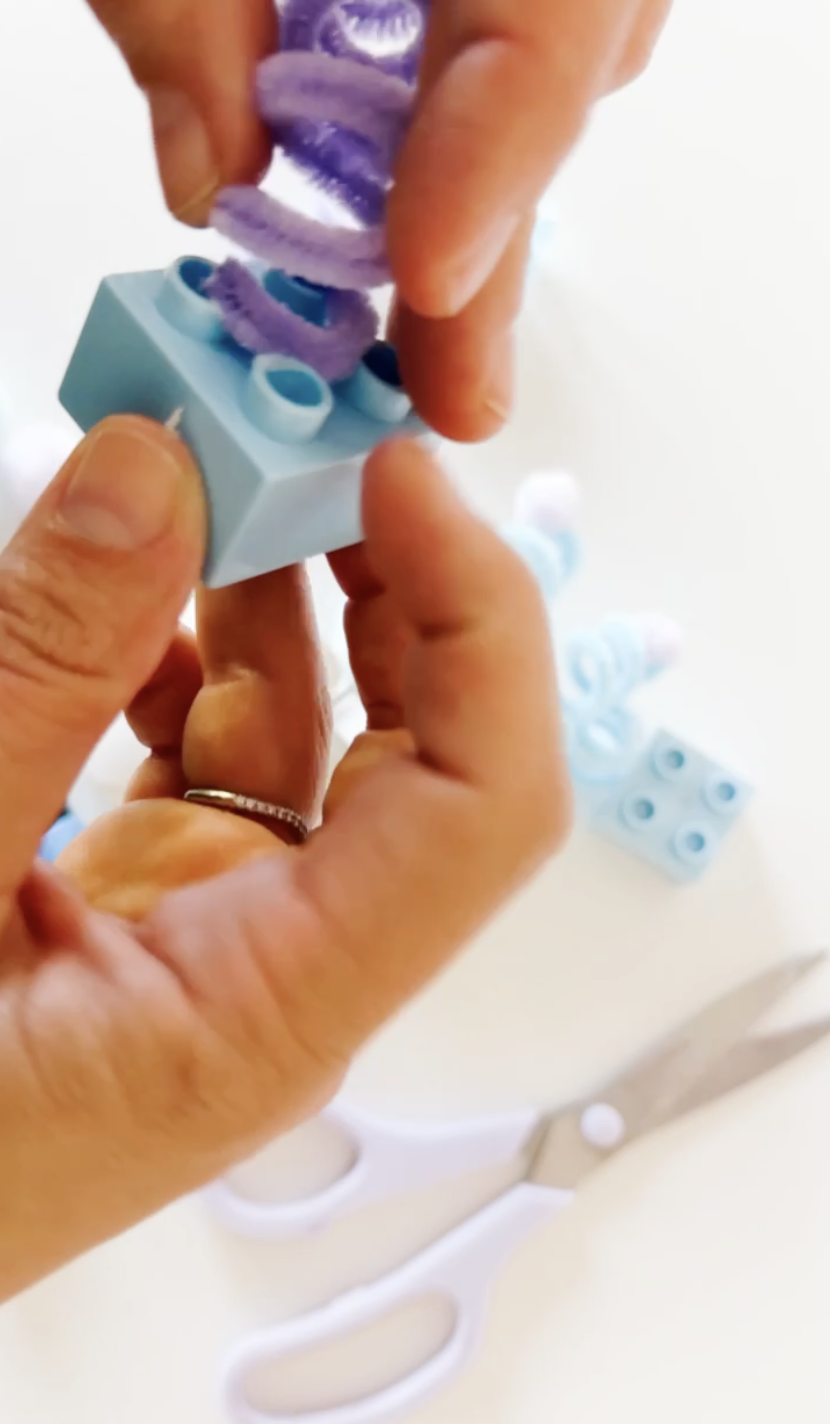
Inserting a purple curled pipe cleaner into a blue building brick to create a robot foot.
Step 4

Add building-brick feet

Press the ends of the curled pipe-cleaner legs into the openings of large building bricks. The bricks become chunky robot feet and help the finished creation stand or balance.

Test a few different bricks and positions. This is a playful opportunity to explore balance, stability, weight, and problem-solving.

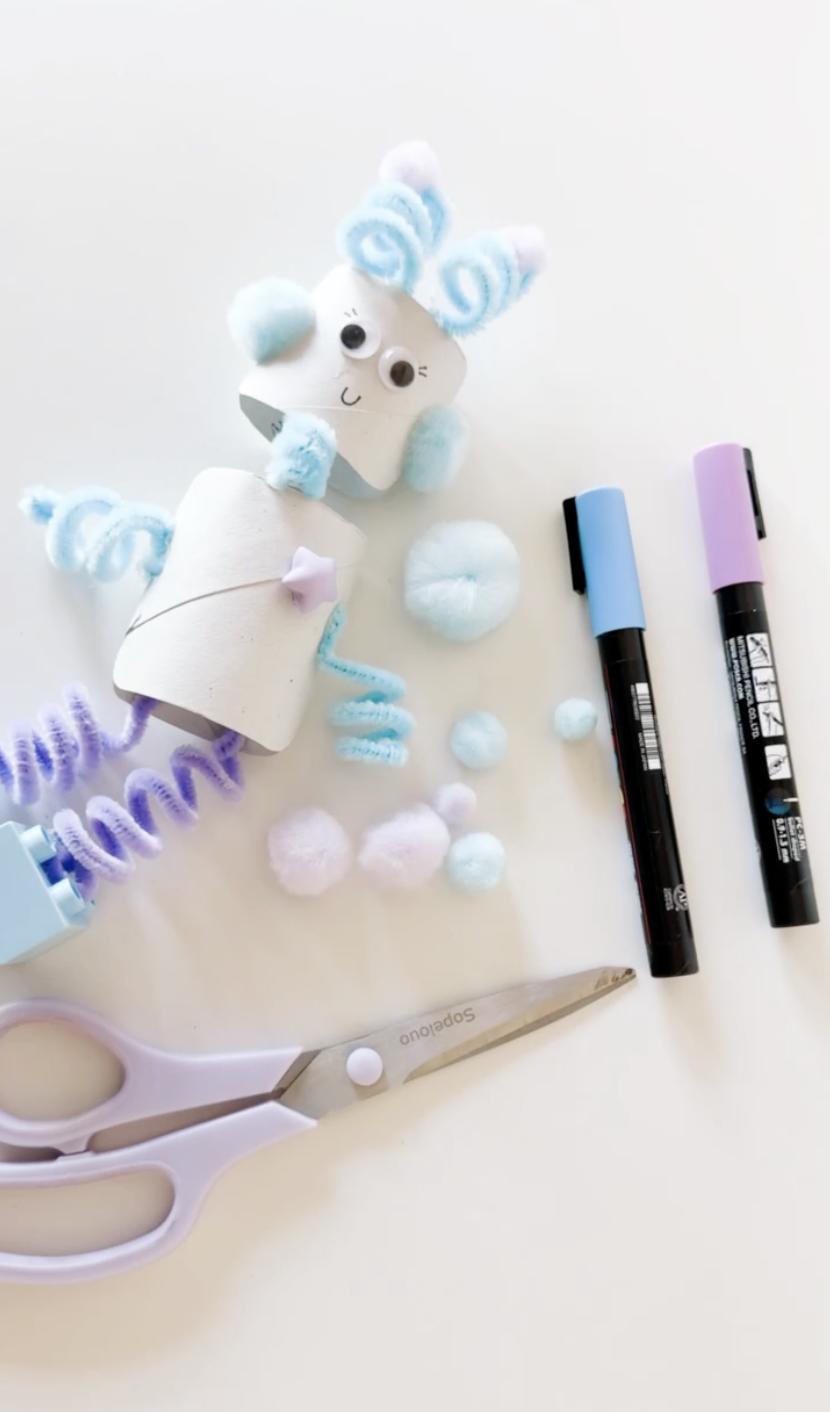
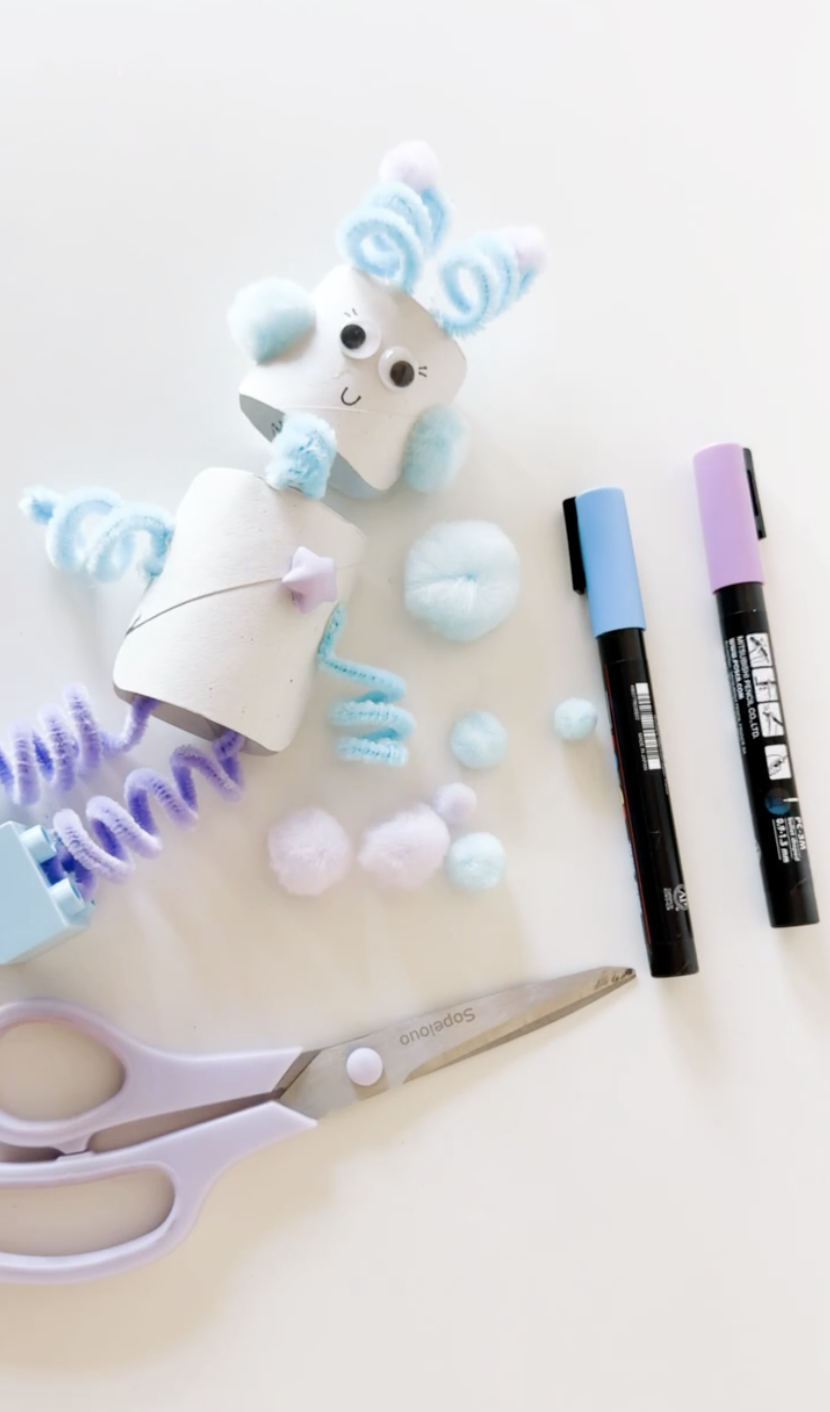
Completed toilet roll robot pieces with curled pipe cleaner limbs, pom-poms, markers, scissors, and building bricks.
Step 5

Assemble and decorate the robot

Attach the head to the larger cardboard tube body with a short pipe-cleaner neck, glue, or another flexible connector.

Add the arms, legs, feet, decorative pom-poms, and a building-brick button or control panel. Finish by drawing bolts, switches, numbers, patterns, or a robot name.

Parent tip

Do not worry about making every part perfectly symmetrical. Letting children choose unusual placements and test their own ideas turns this craft into a much richer engineering and problem-solving activity.

Turn it into a mini STEM challenge

Once the basic robot is complete, invite your child to improve its design.

  • Can you make the robot stand without falling?
  • Can you create arms that bend?
  • Can you design feet that support a heavier body?
  • Can the head spin or wobble?
  • Can you add a tool, button, sensor, or pretend control panel?
  • Can you build a second robot with a completely different job?

These small design challenges encourage children to plan, test, adjust, and try again—the same basic process engineers use when developing a new invention.

What kids learn from this robot craft

This recycled robot craft supports much more than creativity.

Wrapping pipe cleaners around a marker strengthens hand muscles and coordination. Gluing small details develops precision. Connecting the pieces introduces construction, balance, flexible joints, and cause and effect.

Children also practice planning as they decide what their robot should do and which parts it needs. When a piece does not balance or attach correctly, they get an authentic opportunity to problem-solve and revise their design.

Learning skills

Fine motor skills Early engineering Problem-solving Balance Cause and effect Creative design Recycled materials Pretend play Hand-eye coordination

Questions to ask kids

  • What job does your robot do?
  • Why does it need antennae?
  • Which parts can bend or move?
  • How can we help the robot balance?
  • What would happen if the feet were smaller?
  • What tools or buttons does your robot need?
  • What is your robot’s name?
  • Can you invent a story about where the robot lives?

Robot vocabulary

Robot Engineer Invent Design Machine Antenna Sensor Control panel Joint Balance Build Test Improve

Ways to extend the play

Robot repair shop

Set out toy tools, loose parts, building bricks, and recycled materials so children can repair and upgrade their robots.

Robot movement game

Take turns moving like robots. Use commands such as forward, backward, turn, freeze, lift, and recharge.

Design a robot helper

Ask your child to draw or build a robot that helps with a real-life job, such as cleaning, cooking, gardening, or exploring space.

Build a robot world

Use boxes, building bricks, tubes, and recycled containers to create a laboratory, charging station, or robot city.

More robot and space activities

DIY robot costume

Turn cardboard boxes, lights, building bricks, tubes, and playful materials into a full wearable robot costume.

See the robot costume

DIY astronaut costume

Continue the engineering and imaginative-play theme with a sparkly homemade astronaut costume and jetpack.

See the astronaut costume

Free printable activities

Explore more hands-on printables, activity books, dramatic-play resources, and early-learning materials.

Browse free printables

Toilet paper roll robot FAQ

How do you make a robot from a toilet paper roll?

Use one cardboard tube section for the head and another for the body. Add googly eyes, pom-pom ears, curled pipe-cleaner arms and legs, and large building bricks for the feet. Attach the parts with glue or pipe cleaners and decorate with markers.

What age is this robot craft best for?

This activity is best for children ages four and up with adult supervision. Younger children can decorate pre-cut pieces, while older children can help design, connect, and balance the robot independently.

How do you curl pipe cleaners for robot arms and legs?

Wrap a pipe cleaner tightly around a pencil or marker, then gently slide it off. Stretch or compress the spiral depending on how long and flexible you want the robot limb to be.

What can kids learn from making a robot?

Children practice fine motor skills, early engineering, creative design, balance, problem-solving, planning, and imaginative storytelling.

What can I use instead of building bricks for the feet?

Try bottle caps, small cardboard squares, corks, wooden blocks, egg-carton cups, foam shapes, or another sturdy recycled material.

Can I use this craft for a robot or space unit study?

Yes. Pair it with books about robots, coding movement games, recycled-building challenges, space sensory play, and conversations about how engineers design machines to solve problems.

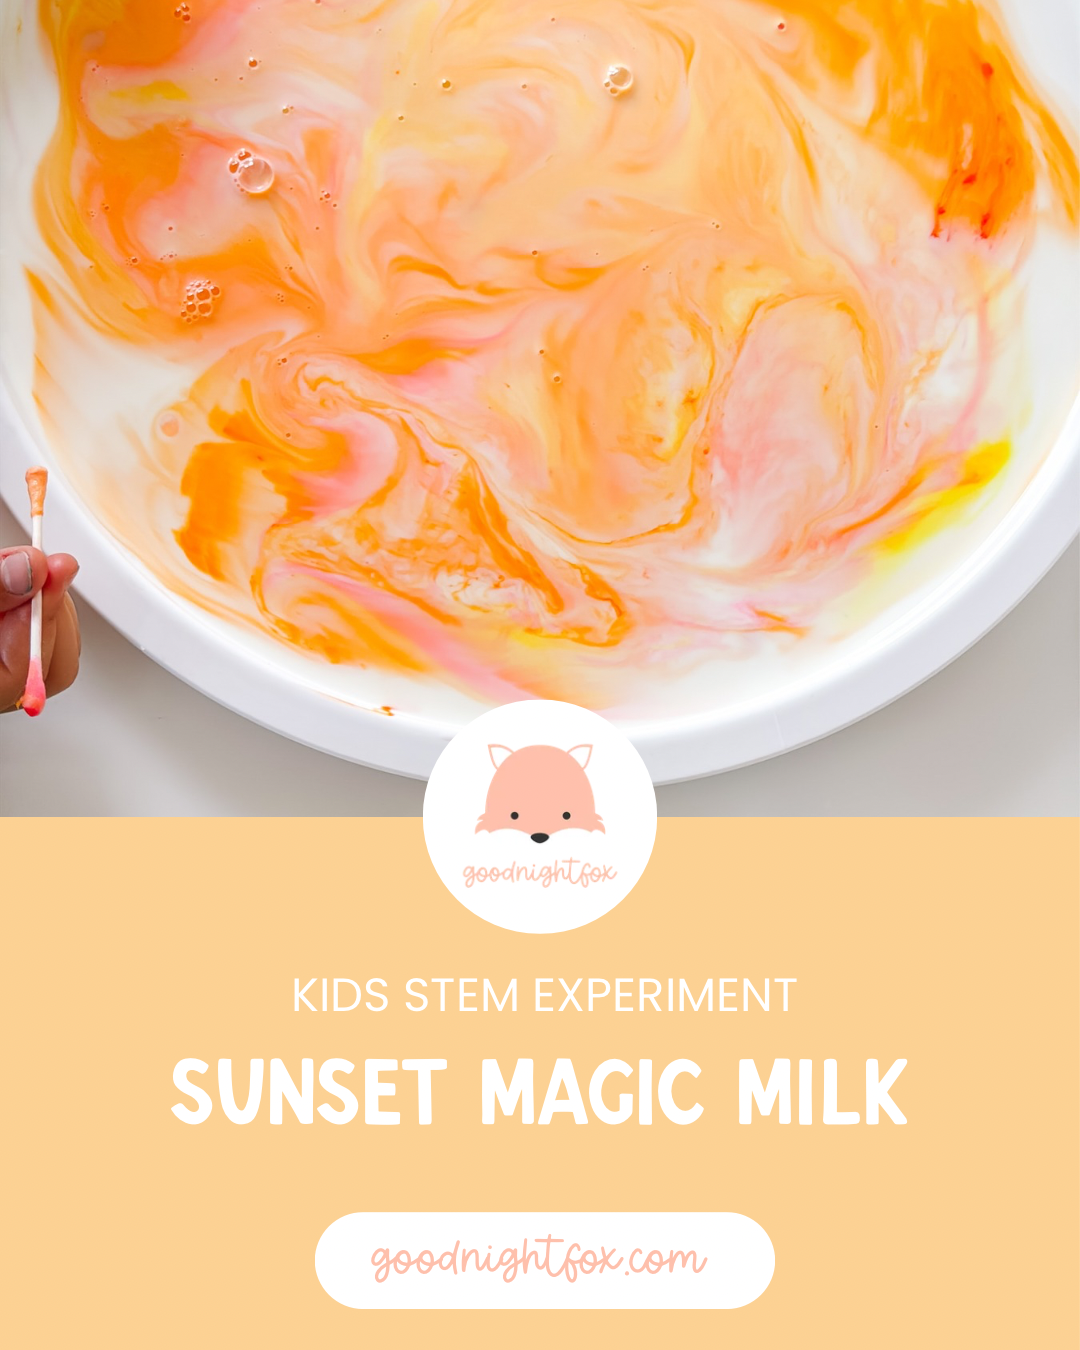
Sunset Magic Milk

Sunset Milk Experiment

A warm-color magic milk science activity that blends art and STEM while teaching kids about surface tension, color mixing, and warm vs. cool colors.

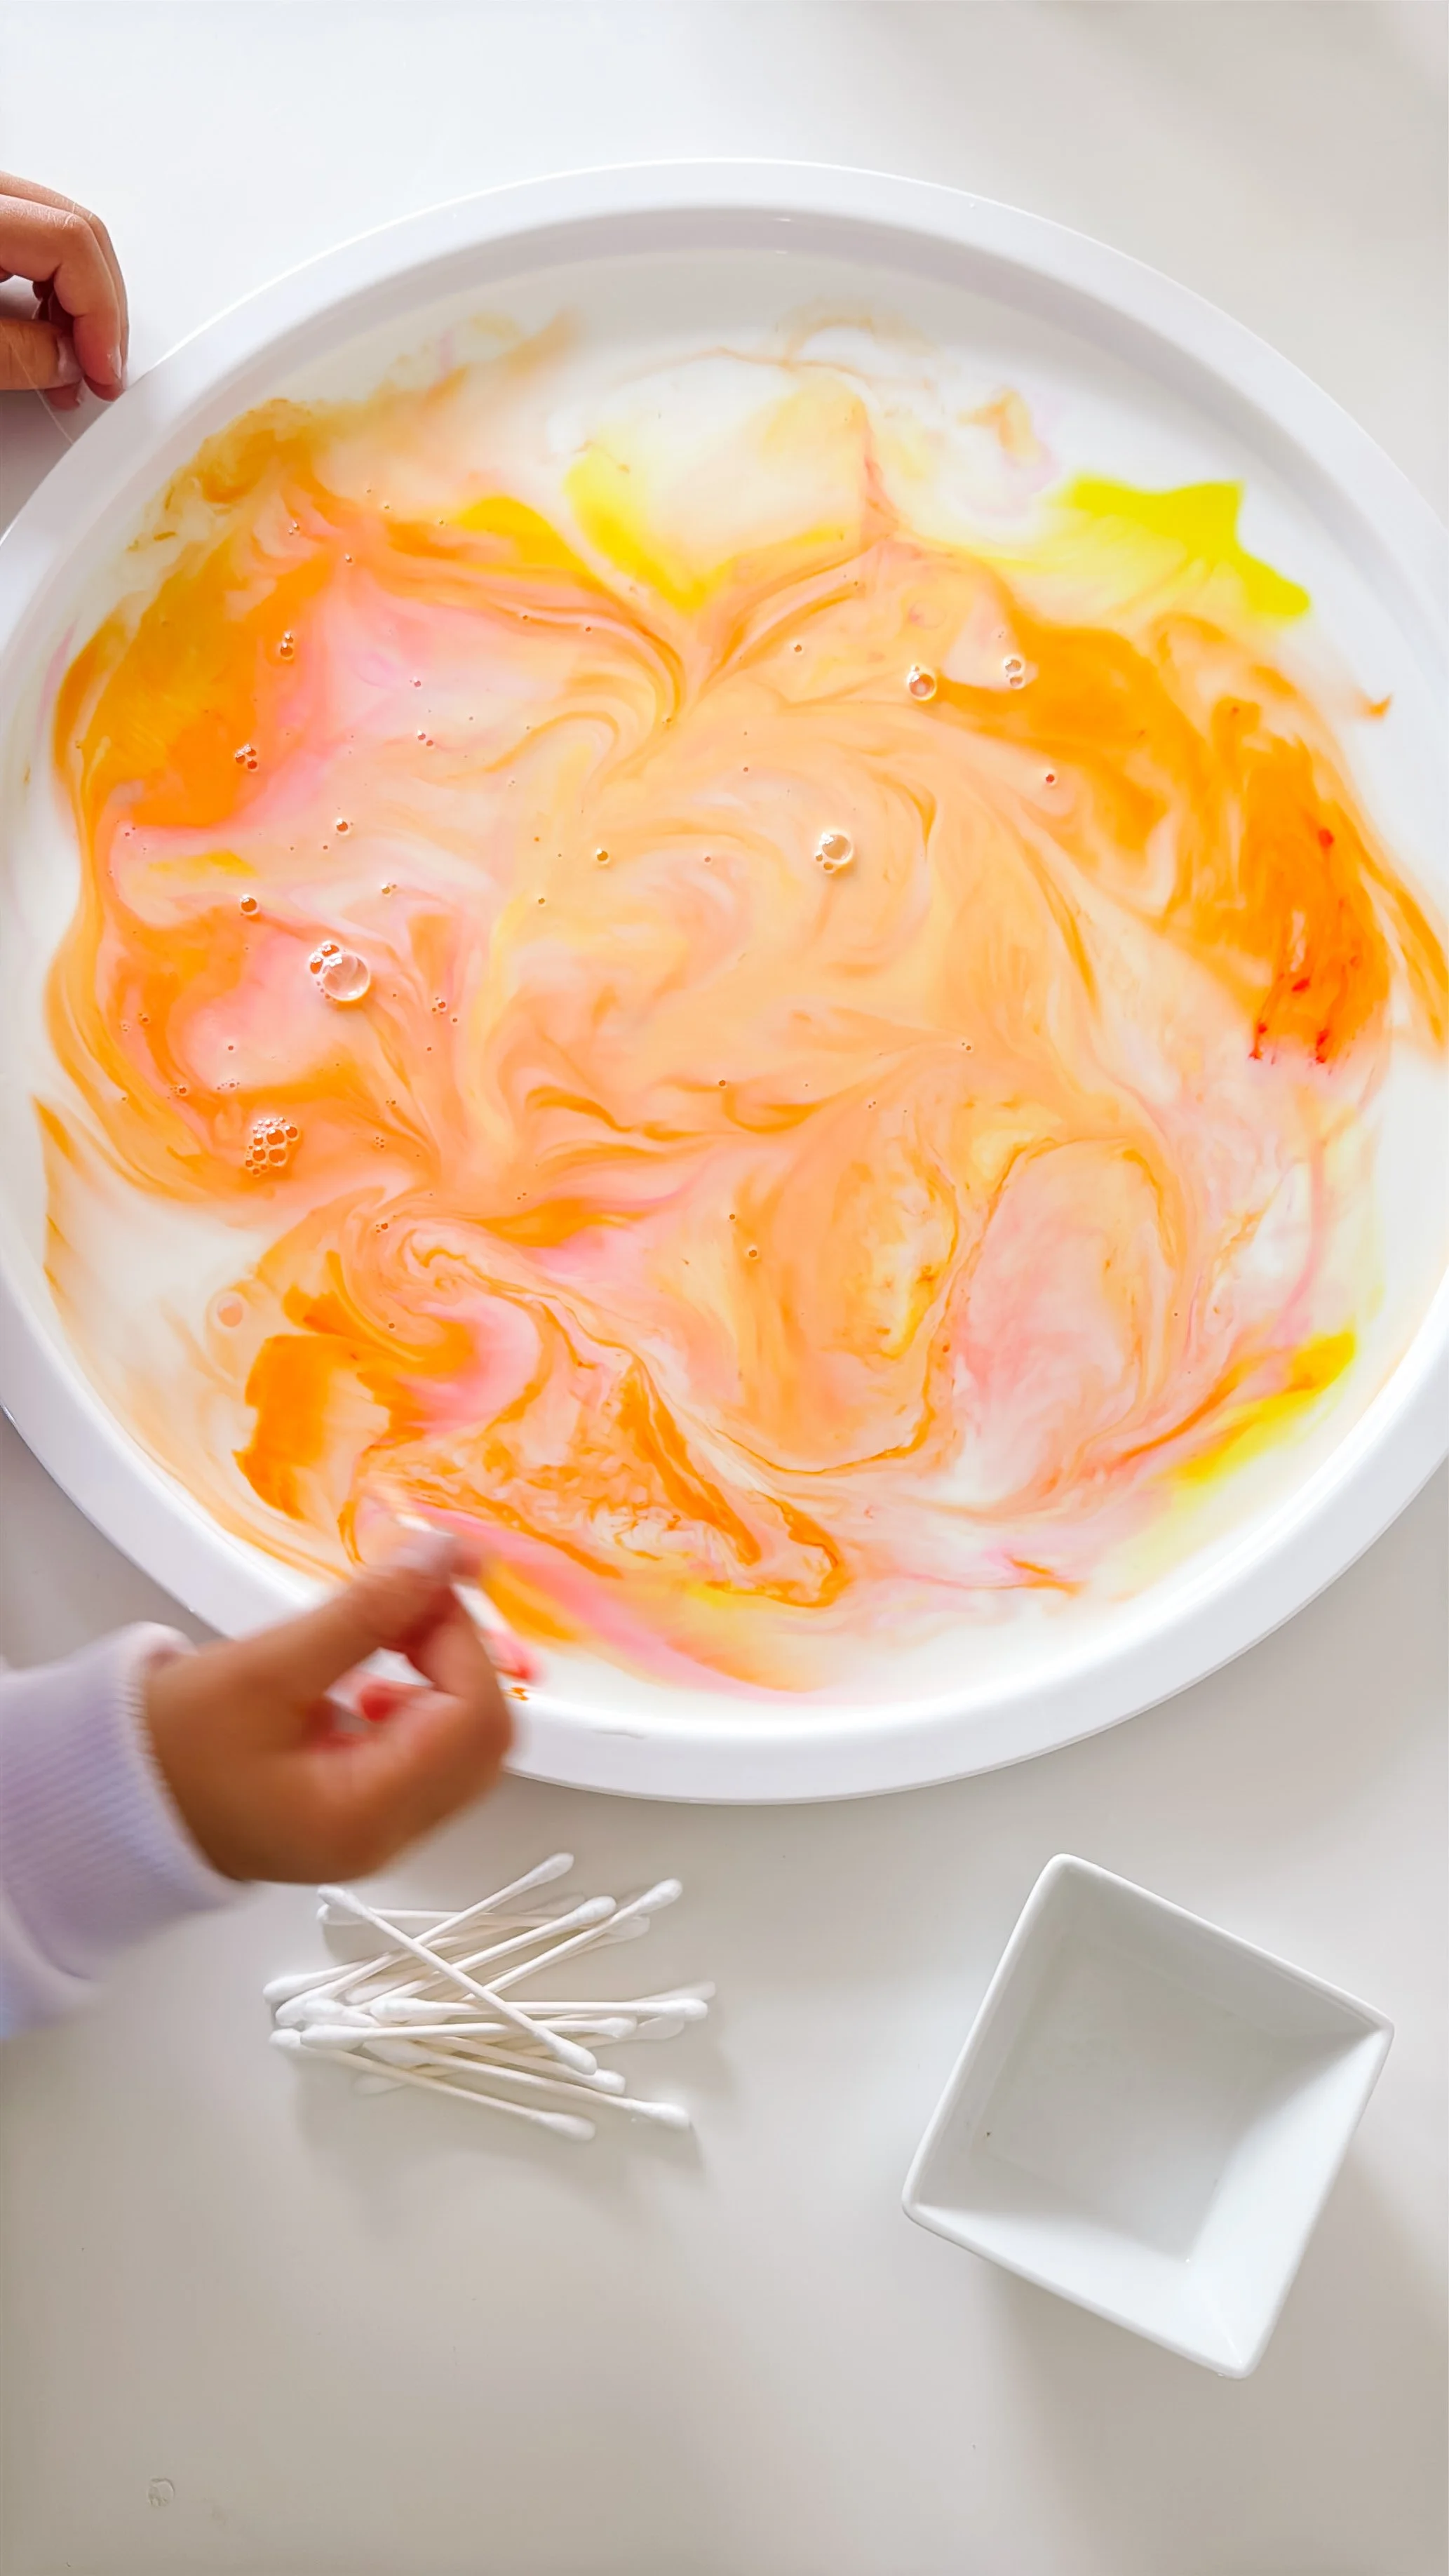
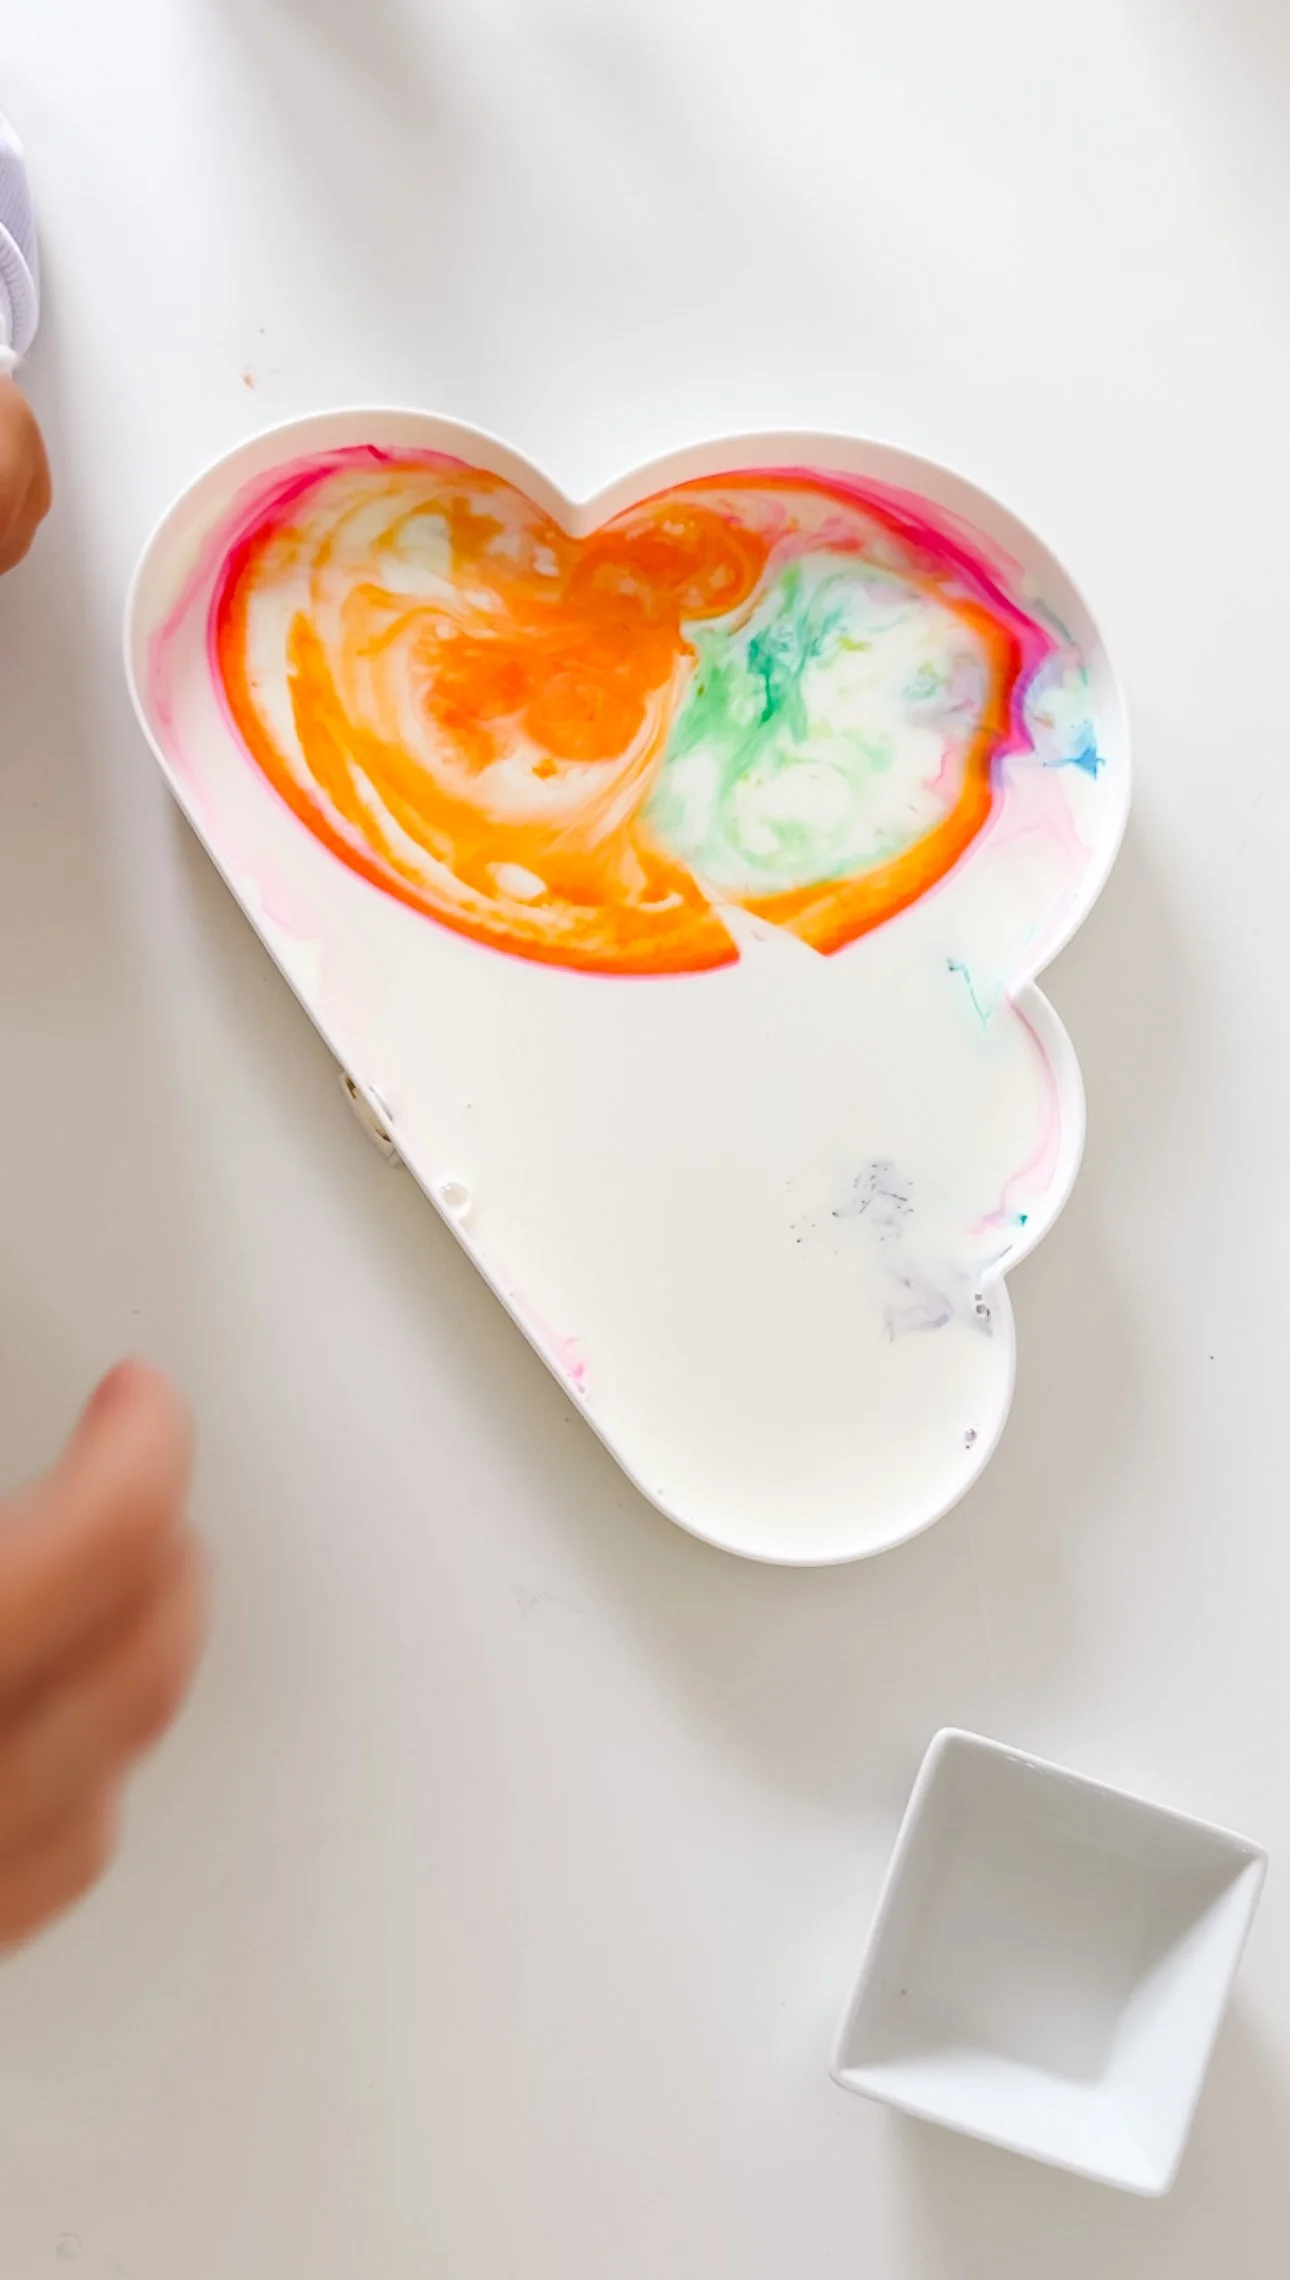
Sunset milk experiment for kids with warm red, orange, and yellow colors swirling in milk.
Age3+
Prep5 minutes
Activity20 minutes
Mess★☆☆☆☆
SkillsStem + color theory

Why we love this activity

After making our rainbow and fireworks versions of Magic Milk, we wanted to try a softer version inspired by the colors of a summer sunset.

Instead of using every color, we chose warm colors like red, orange, yellow, and pink. When the dish soap touched the milk, the colors slowly swirled together like the sky at golden hour.

This sunset milk experiment feels a little calmer than the rainbow version, which makes it a sweet art-and-science activity for winding down at the end of the day.

It is also a wonderful way to introduce preschoolers to warm vs. cool colors while still exploring the same STEM concepts of surface tension, molecules, observation, and cause and effect.

Materials needed

  • Whole milk
  • Liquid dish soap
  • Red food coloring
  • Yellow food coloring
  • Orange or pink food coloring
  • Cotton swabs
  • Shallow plate or dish
  • Paper towels for cleanup

Shop this activity

These are the simple supplies we used for our magic milk science experiments.

Food coloring for sunset milk science experiment.
Food coloring

Use red, yellow, orange, and pink food coloring to create a warm sunset-inspired milk experiment.

View on Amazon
Whole milk for sunset milk STEM experiment.

Whole milk

Whole milk creates the strongest magic milk reaction because it has more fat.

View on Amazon
Dish soap for sunset milk color mixing experiment.

Dish soap

The magic ingredient that sends the sunset colors swirling across the milk.

View on Amazon

How to make sunset milk

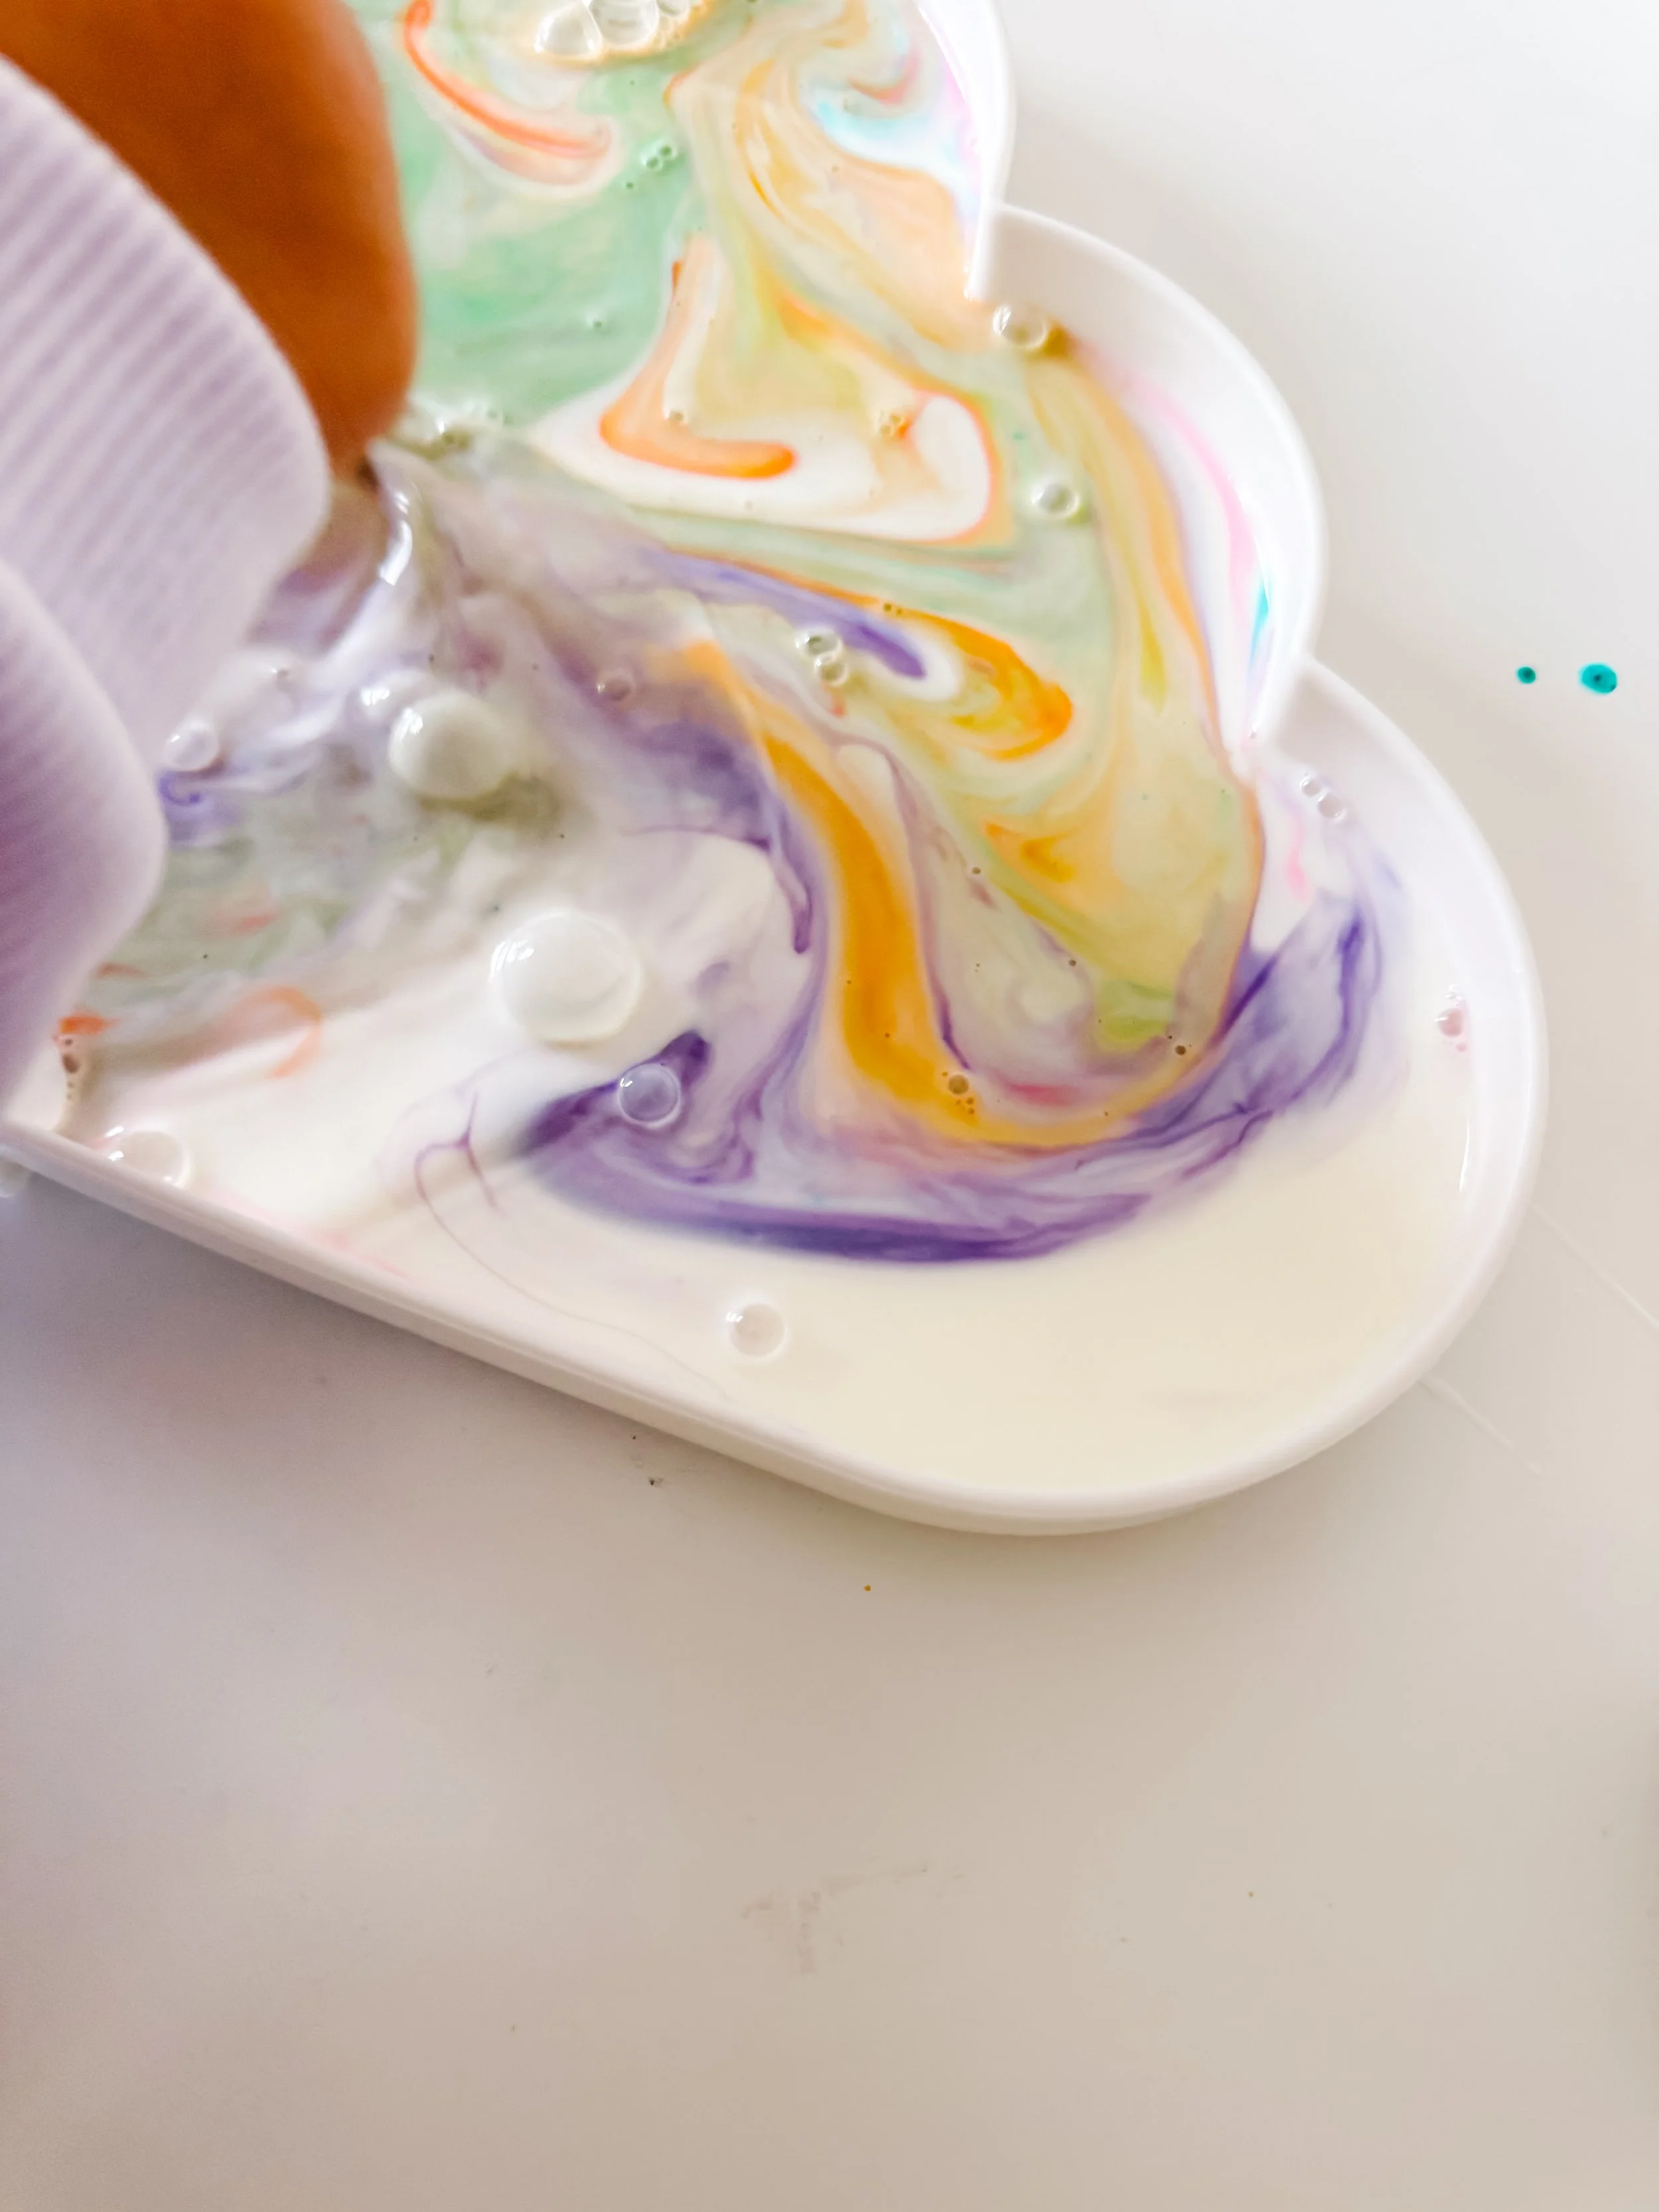
Warm food coloring drops in milk for a sunset milk science experiment.
Step 1

Choose warm colors

Add drops of red, yellow, orange, and pink food coloring to a shallow dish of whole milk. Talk about how these colors remind us of sunsets, fire, sunshine, and warm summer evenings.

Sunset milk experiment with warm colors spreading through milk.
Step 2

Add dish soap

Dip a cotton swab into dish soap, then gently touch the milk. Watch the warm colors begin to move, swirl, and blend together.

Finished sunset milk experiment showing red, orange, and yellow colors swirling together.
Step 3

Observe the sunset swirl

Try touching the cotton swab in different areas of the milk. Ask your child which colors look like the sky, sunshine, or clouds at sunset.

Parent tip

Use this activity as both science and art. After the experiment, invite your child to paint or draw a sunset using the same warm colors they saw in the milk.

Warm vs. cool colors

This activity is a simple way to introduce warm colors and cool colors.

Warm colors include red, orange, yellow, and pink. They often remind us of sunshine, fire, warmth, and sunsets.

Cool colors include blue, green, and purple. They often remind us of water, grass, shade, and the night sky.

For this sunset version, we focused mostly on warm colors so the experiment looked like a glowing evening sky.

Why does the sunset milk experiment work?

Milk contains tiny fat molecules floating throughout the liquid. Dish soap is designed to break apart fats.

When the soap touches the milk, it starts pulling those fat molecules in different directions. The food coloring rides along with the moving milk, creating beautiful swirling patterns.

The science is the same as our rainbow milk and fireworks milk experiments, but the warm color palette makes this version feel more like an art project.

Stem concepts

Surface tension Molecules Color mixing Warm colors Cool colors Observation Prediction Cause & effect

Questions to ask kids

  • Which colors remind you of a sunset?
  • What do you think will happen when the soap touches the milk?
  • Do the colors move quickly or slowly?
  • What warm colors can you name?
  • What cool colors can you name?
  • How is this different from the rainbow milk experiment?

Vocabulary words

Experiment Observe Predict Reaction Surface tension Molecule Warm color Cool color Sunset Swirl Blend

Try another magic milk experiment

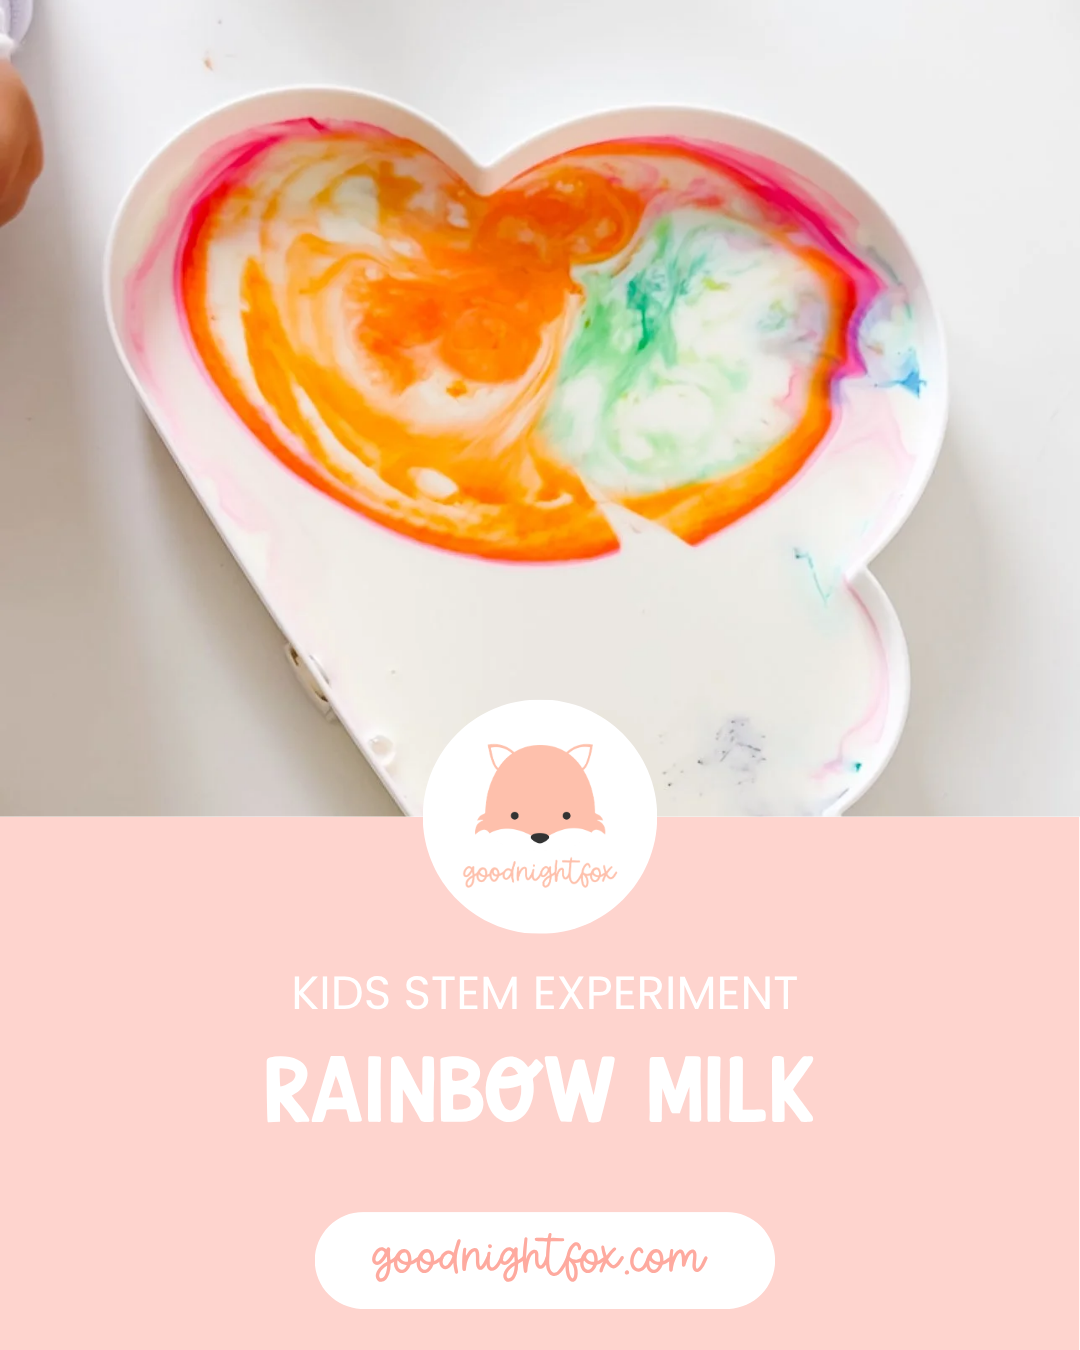
Rainbow milk

A colorful rainbow version that is perfect for color mixing and preschool science.

Rainbow milk

Fireworks milk

A red and blue version that looks like tiny fireworks bursting across the milk.

Fireworks milk

Magic milk experiments

See all three milk and soap STEM experiments in one place.

Coming soon

Sunset milk experiment FAQ

How do you make a sunset milk experiment?

Pour whole milk into a shallow dish, add warm-colored food coloring like red, yellow, orange, and pink, then touch the milk with a cotton swab dipped in dish soap.

What are warm colors for kids?

Warm colors are colors like red, orange, yellow, and pink. They often remind children of sunshine, fire, warmth, and sunsets.

What are cool colors for kids?

Cool colors include blue, green, and purple. They often remind children of water, grass, shade, and the night sky.

Why does dish soap make the colors move in milk?

Dish soap breaks apart the fat molecules in milk. As the molecules move, they carry the food coloring with them, creating colorful swirls.

Is this an art activity or a science experiment?

It is both. Children explore surface tension and molecules while also learning about warm colors, color mixing, and sunset-inspired art.