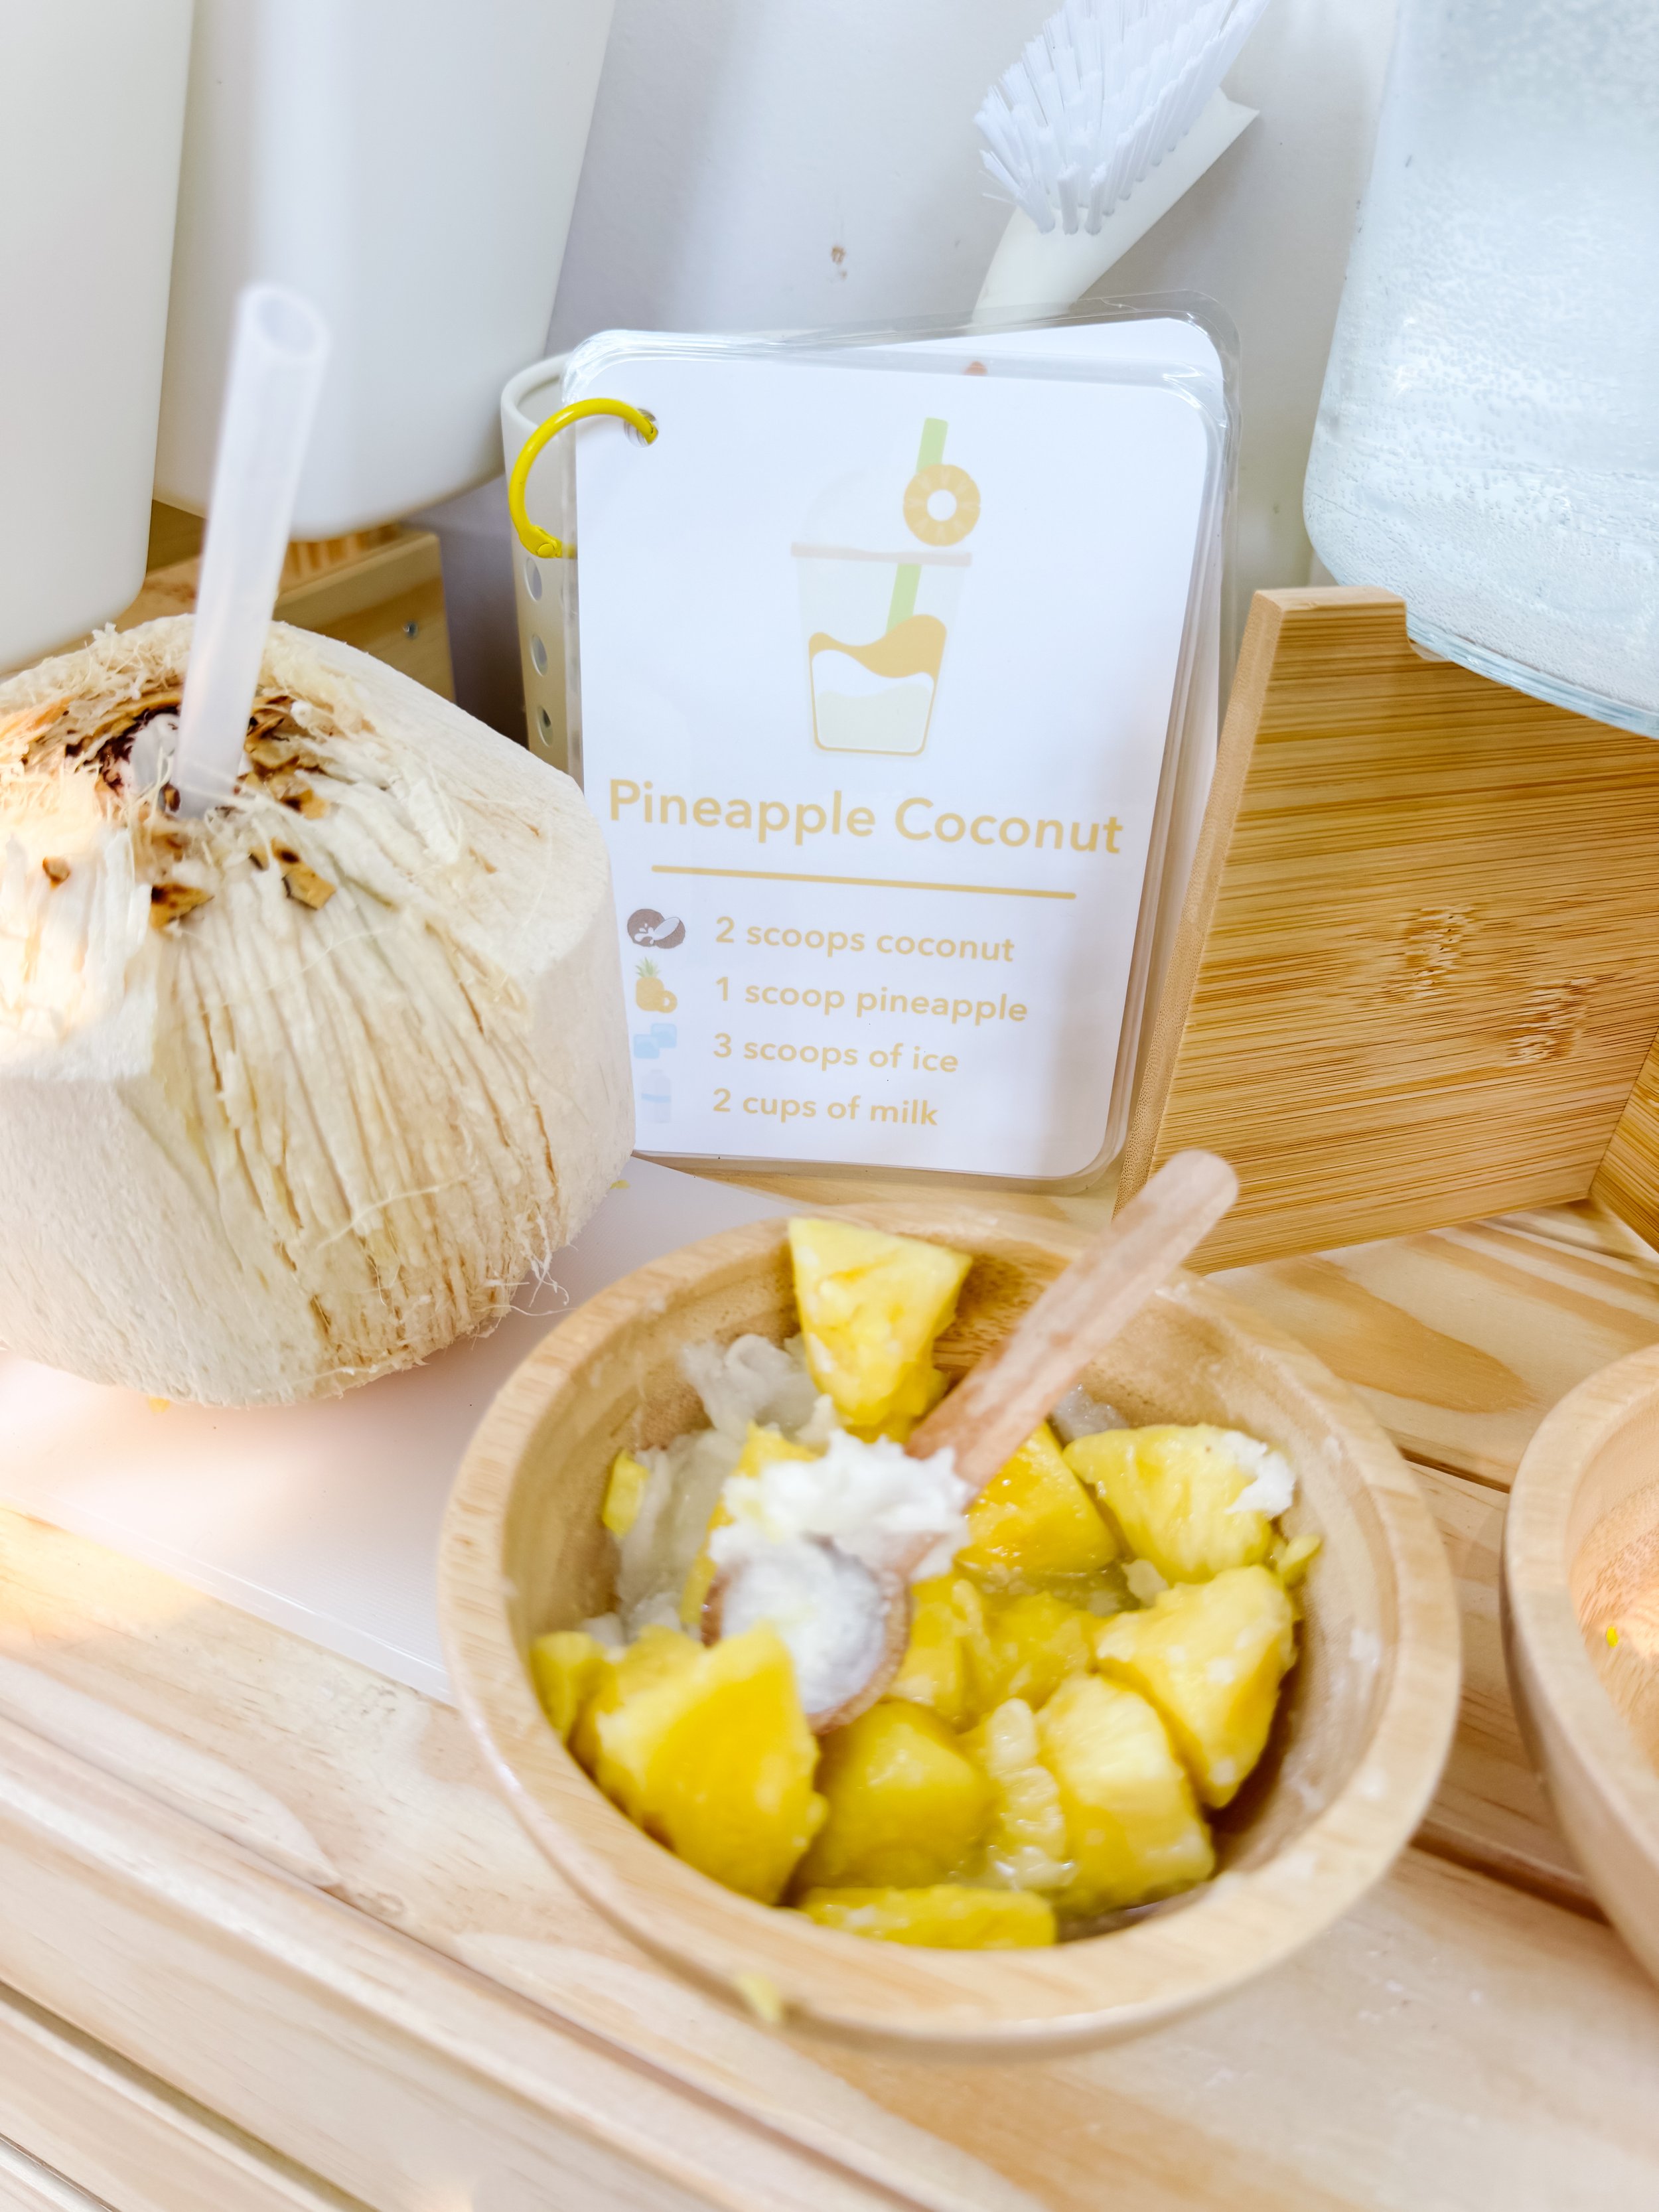
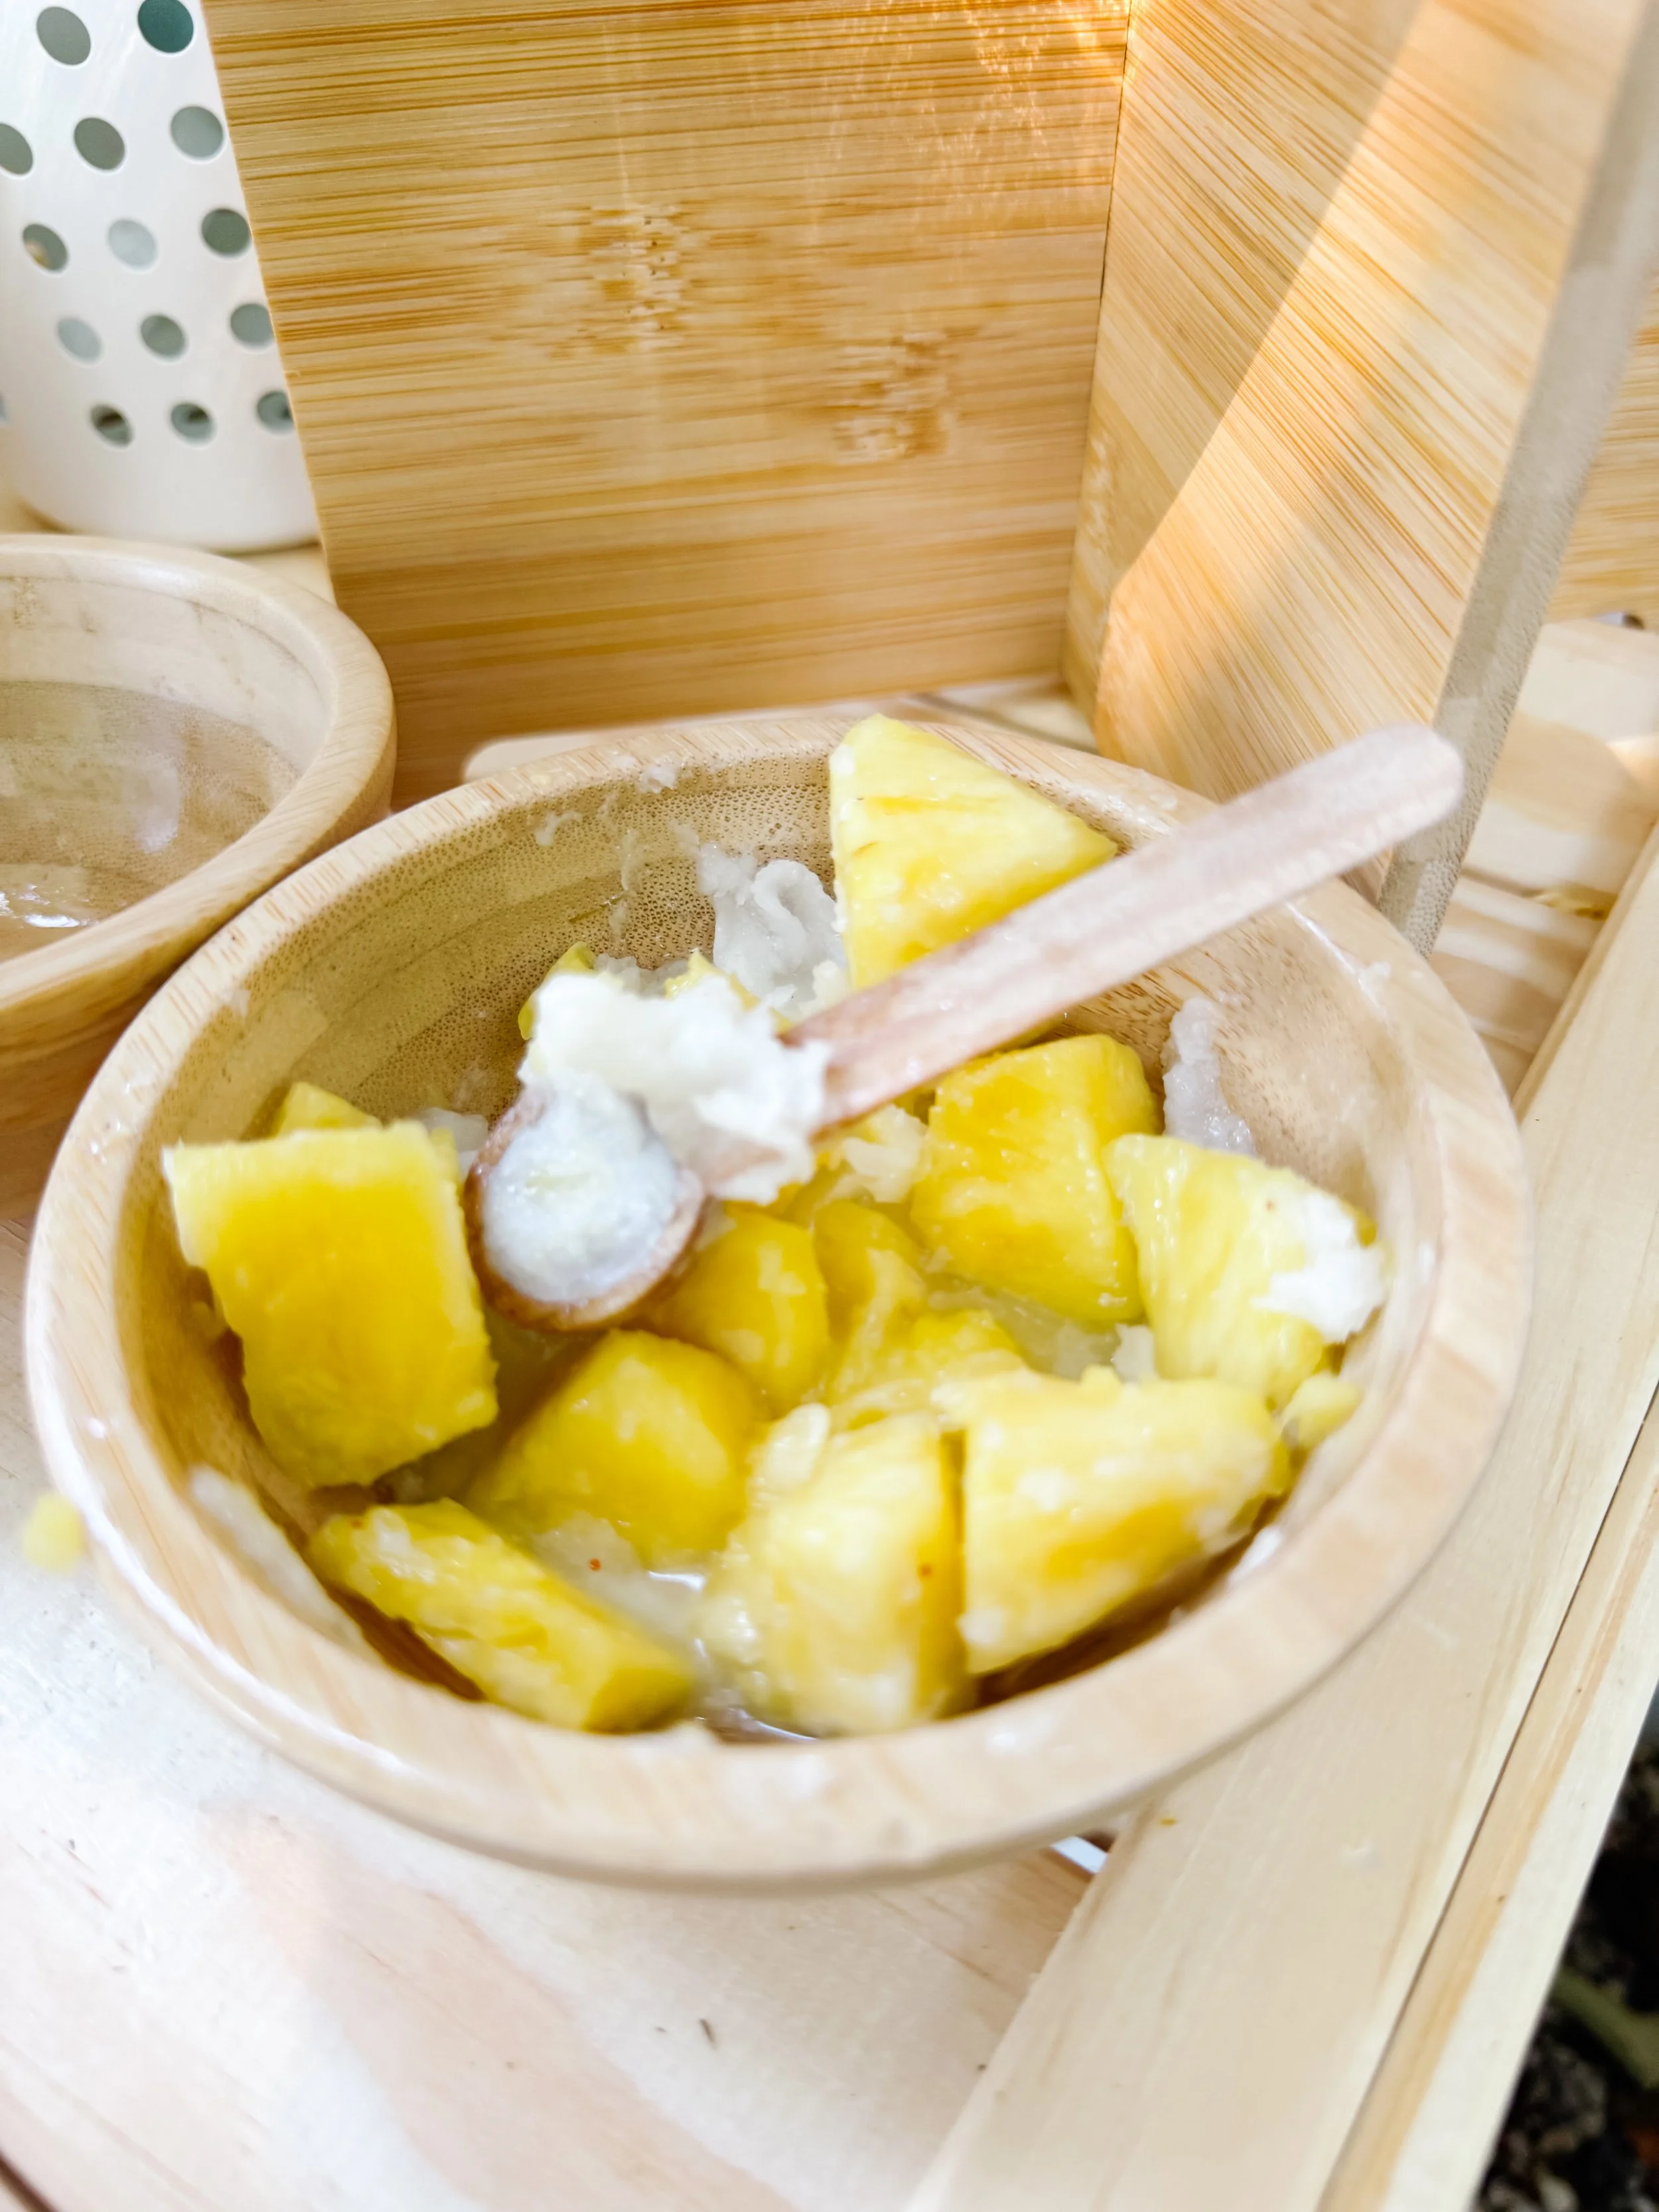
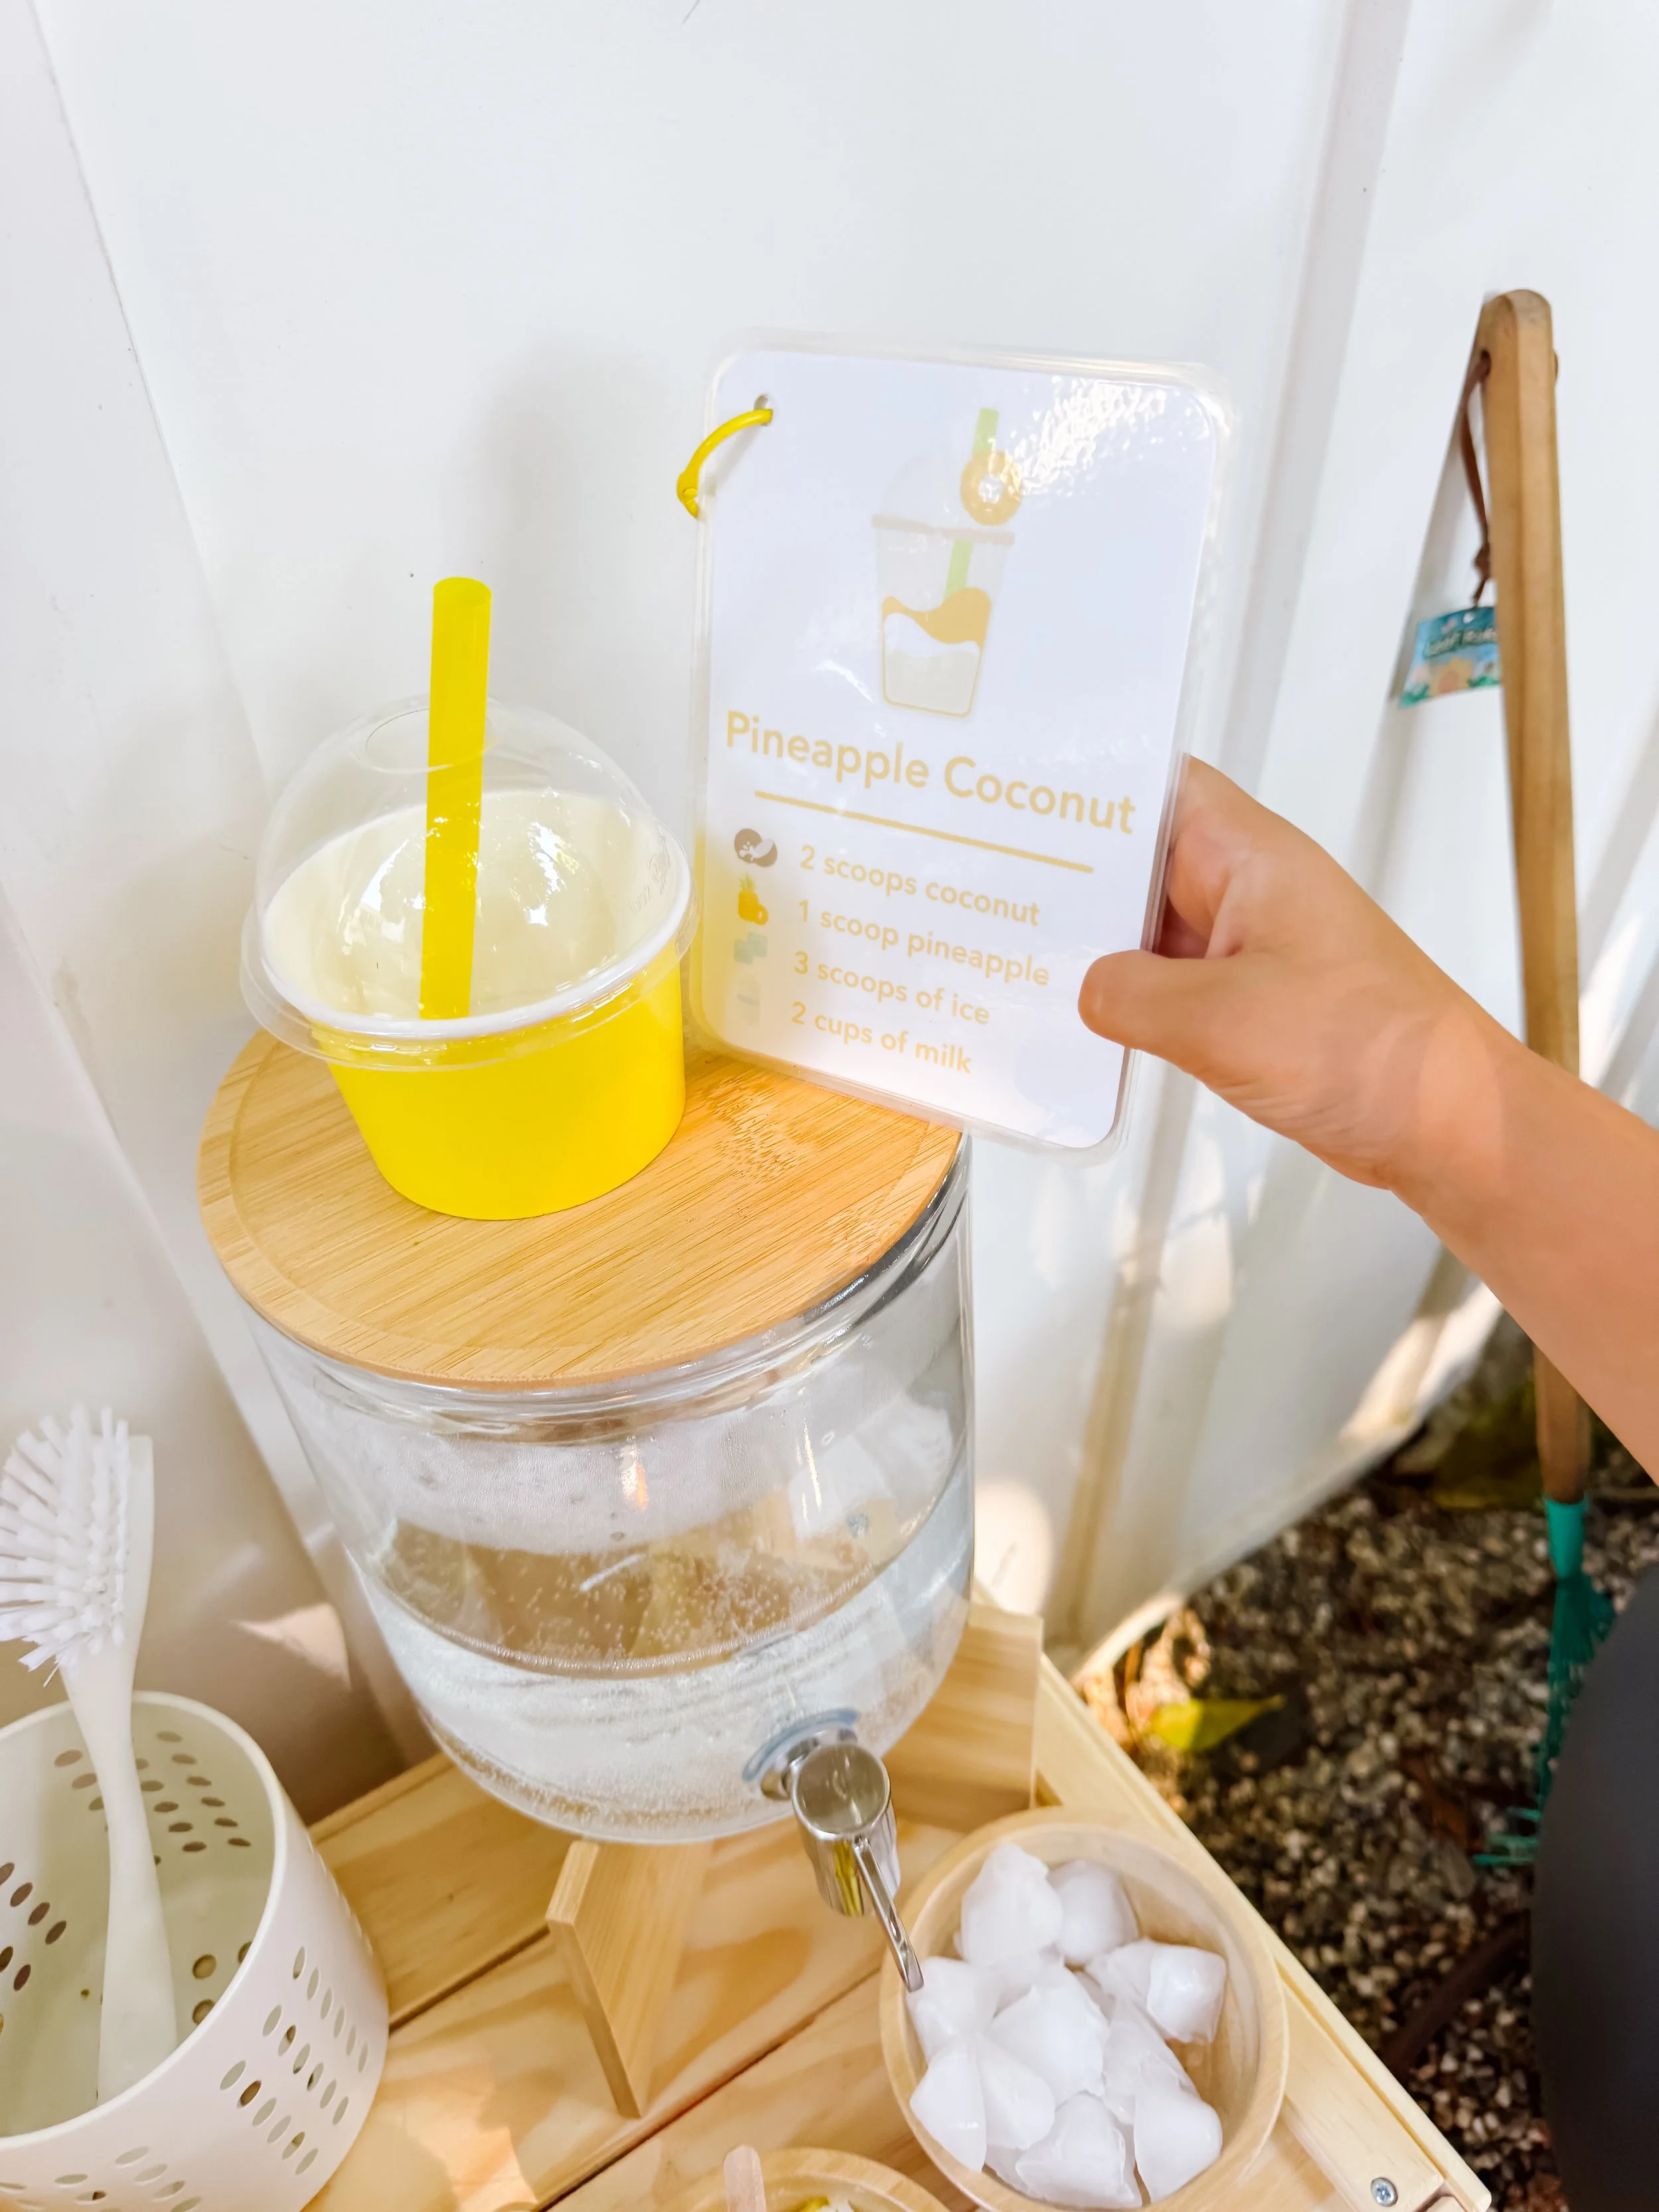
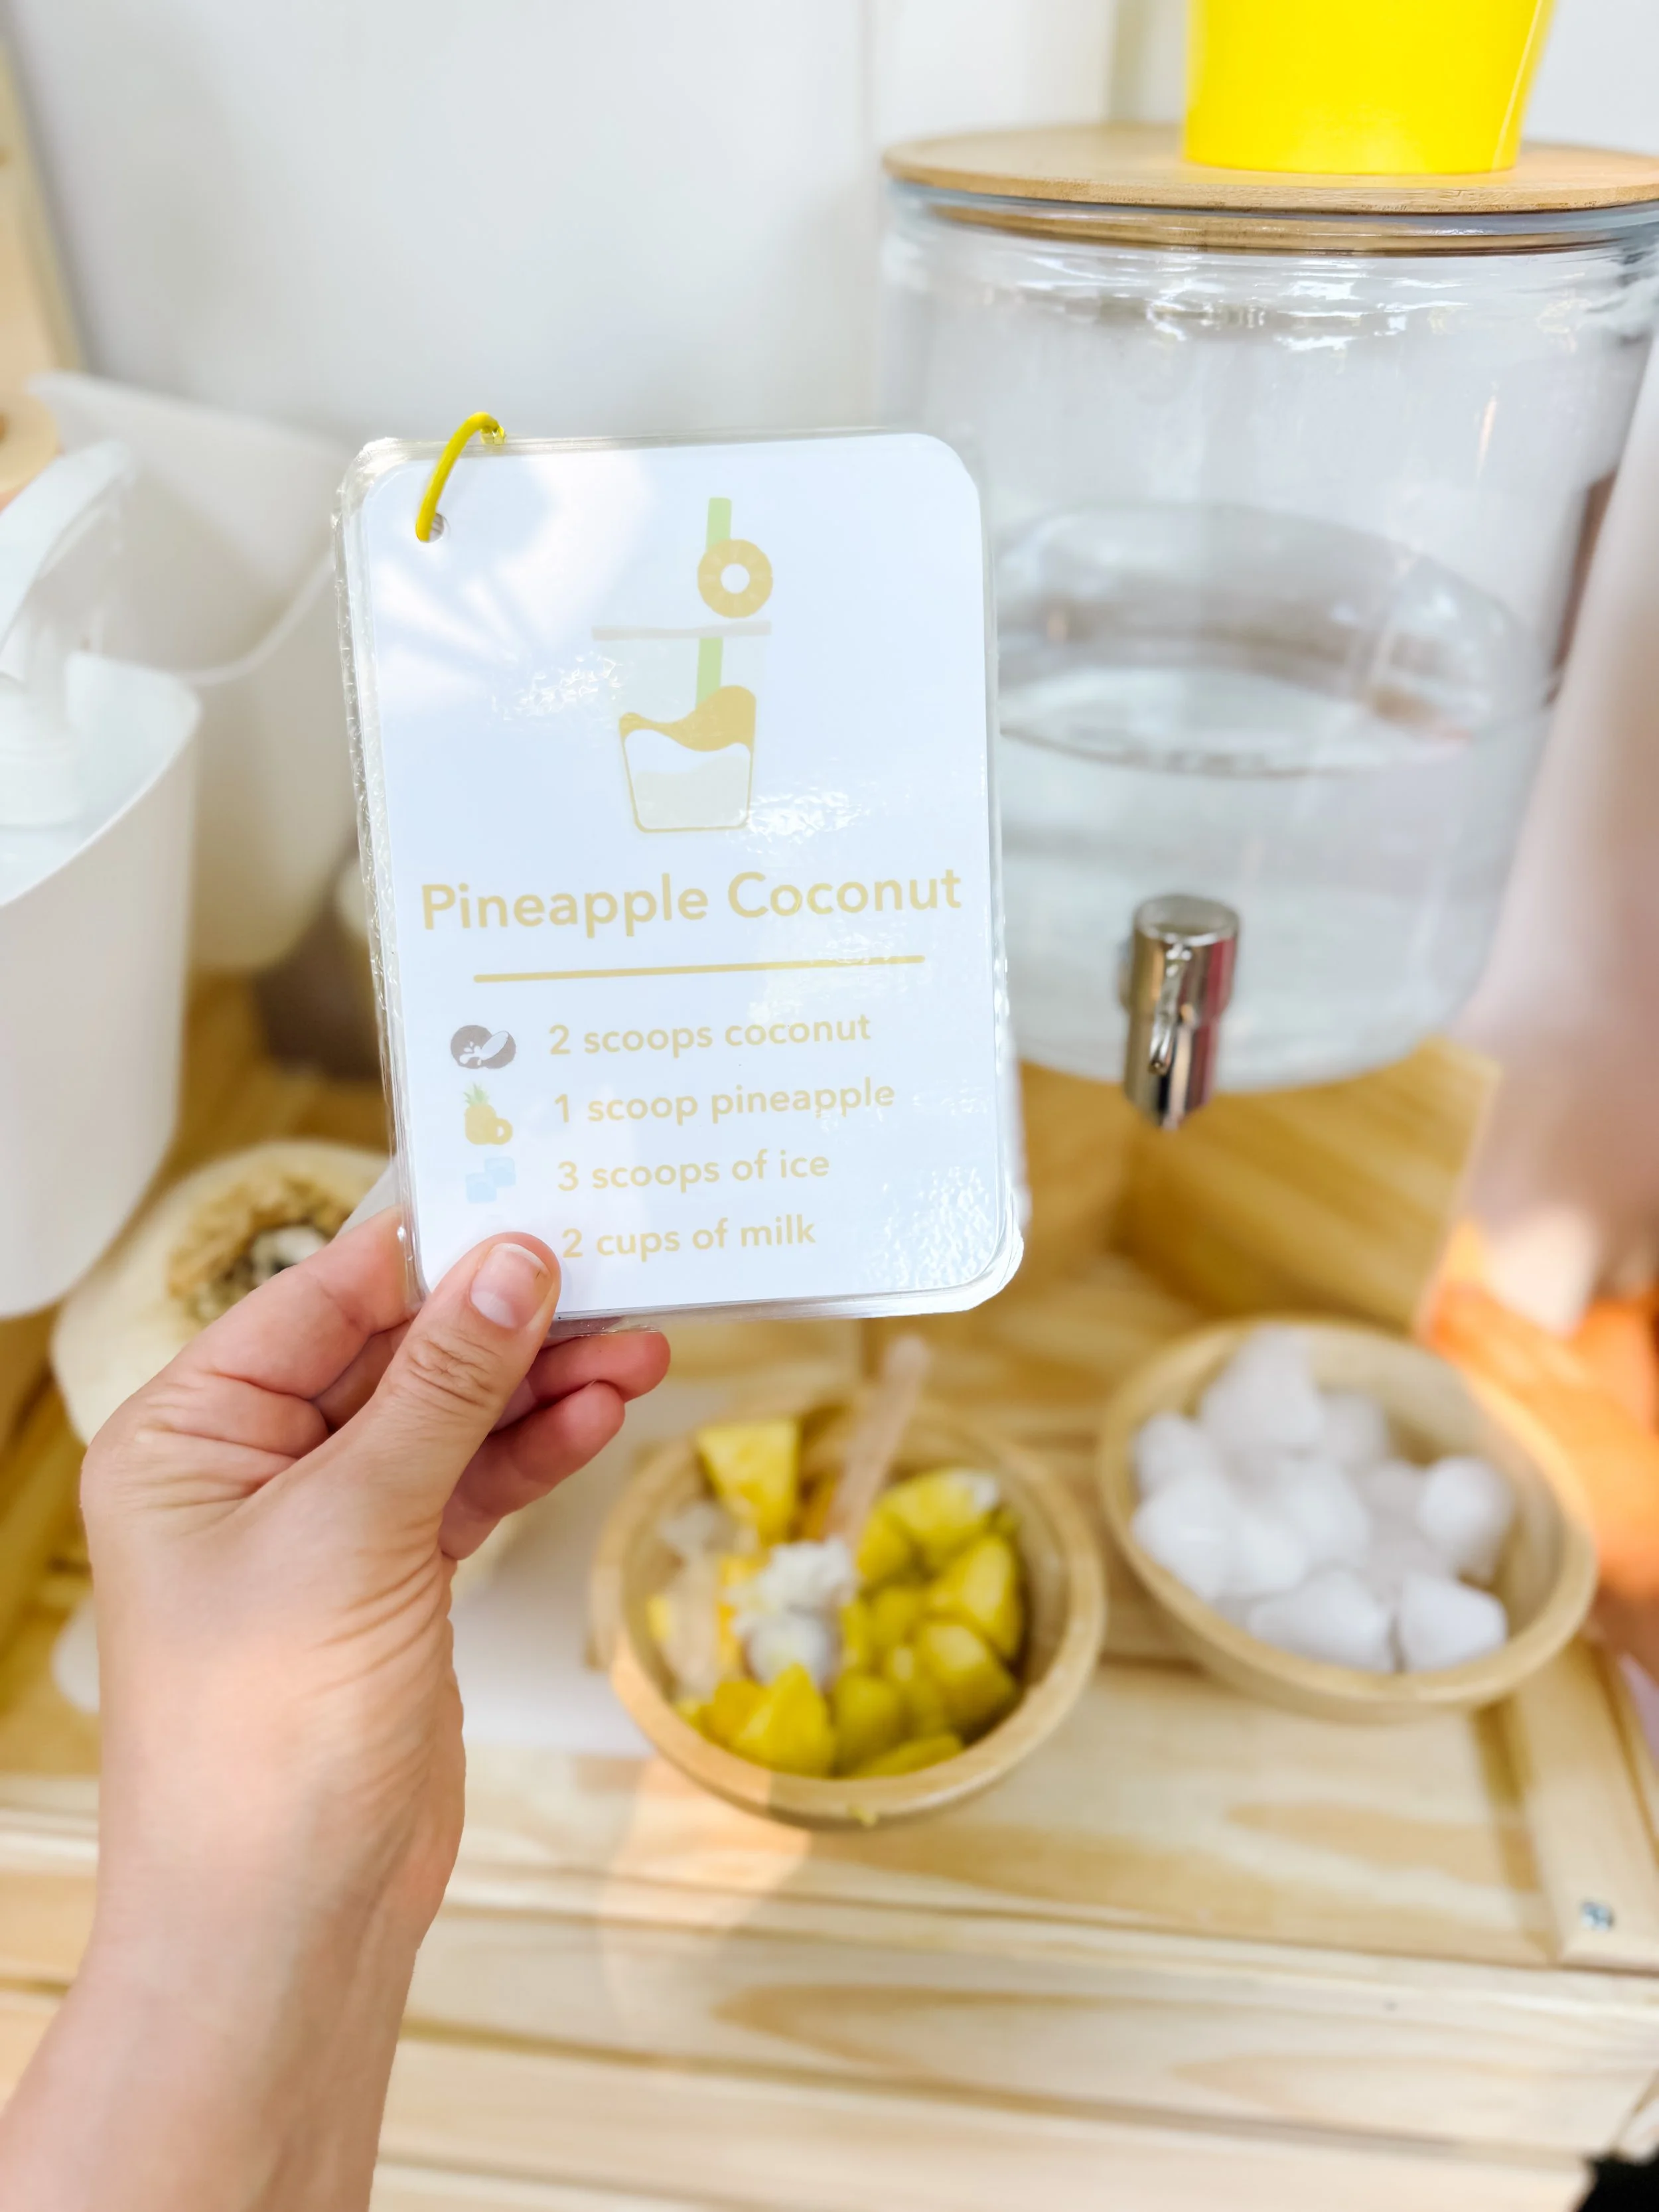
Unicorn Magic Milk

Unicorn Magic Milk Experiment

Turn a classic milk-and-soap science experiment into a magical unicorn activity with swirling pink and purple colors, foamy clouds, and GoodnightFox unicorn charms.
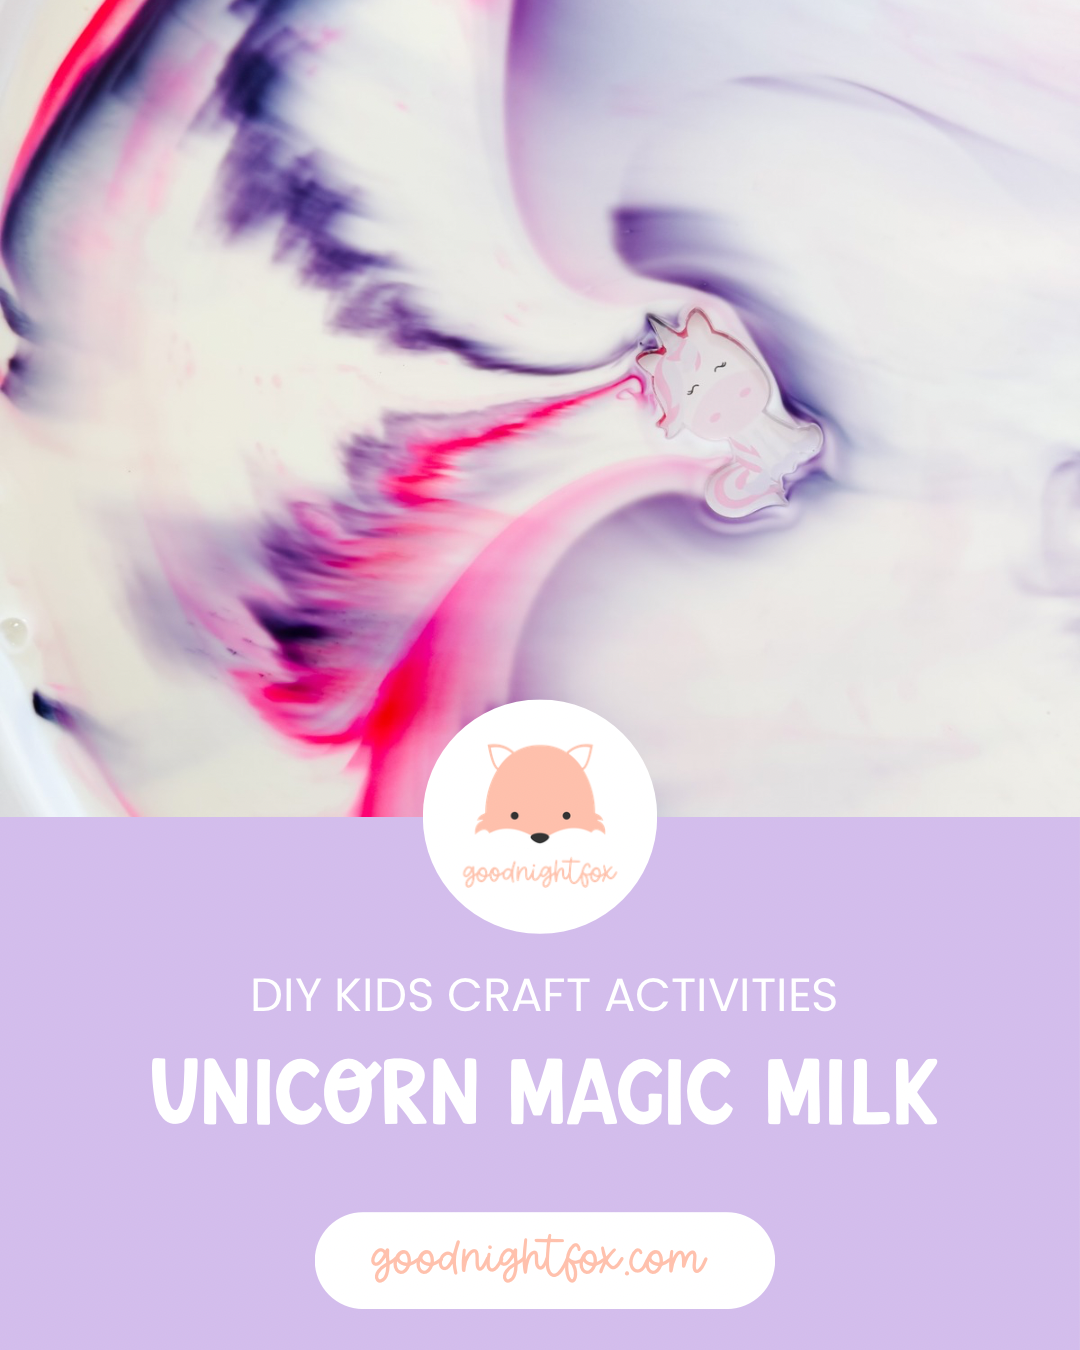
Unicorn Magic Milk science experiment with swirling pink and purple food coloring and a unicorn acrylic charm.
Age3+
Prep5 minutes
Activity15–25 minutes
Mess★★☆☆☆
SkillsScience + color mixing

Why we love this magical science activity

Magic Milk is one of those experiments that never seems to lose its magic. You begin with an ordinary tray of white milk, add a few drops of color, and then watch the entire surface suddenly begin to move.

For this version, we chose bright pink, pale pink, lavender, and deep purple so the swirls looked like a unicorn flying through a pastel sky.

We also added our GoodnightFox unicorn acrylic charms to the tray. As the colors spread and curled around them, the unicorns looked as though they were floating through clouds of pink and purple magic.

It is a simple way to turn an easy kitchen-science experiment into a complete themed learning activity. Children can observe a chemical interaction, predict what will happen, explore color mixing, and invent stories about the unicorn world forming in front of them.

Materials needed

  • Whole milk
  • Liquid dish soap
  • Pink food coloring
  • Purple food coloring
  • Optional blue or red food coloring for mixing new shades
  • Cotton swabs
  • Shallow white tray or plate
  • Small bowl for dish soap
  • Optional round cotton pads for stamped color designs
  • GoodnightFox Unicorn & Cloud Acrylic Charms
  • Paper towels for cleanup

Safety note

This is a sensory science activity, not a snack. Supervise children closely, do not allow them to drink the milk, and keep food coloring and dish soap away from eyes and mouths. Rinse and dry acrylic charms thoroughly after play.

Shop this activity

These are the core materials we use for Magic Milk activities, plus the acrylic unicorn charms that turn this version into magical small-world play.

This section contains affiliate links, which means I may earn a small commission at no additional cost to you.

GoodnightFox Unicorn and Cloud Acrylic Charms for unicorn sensory play.

Unicorn & cloud charms

Add the two-inch unicorn and cloud acrylic charms to Magic Milk, sensory bins, play dough, or unicorn small-world play.

Shop unicorn charms
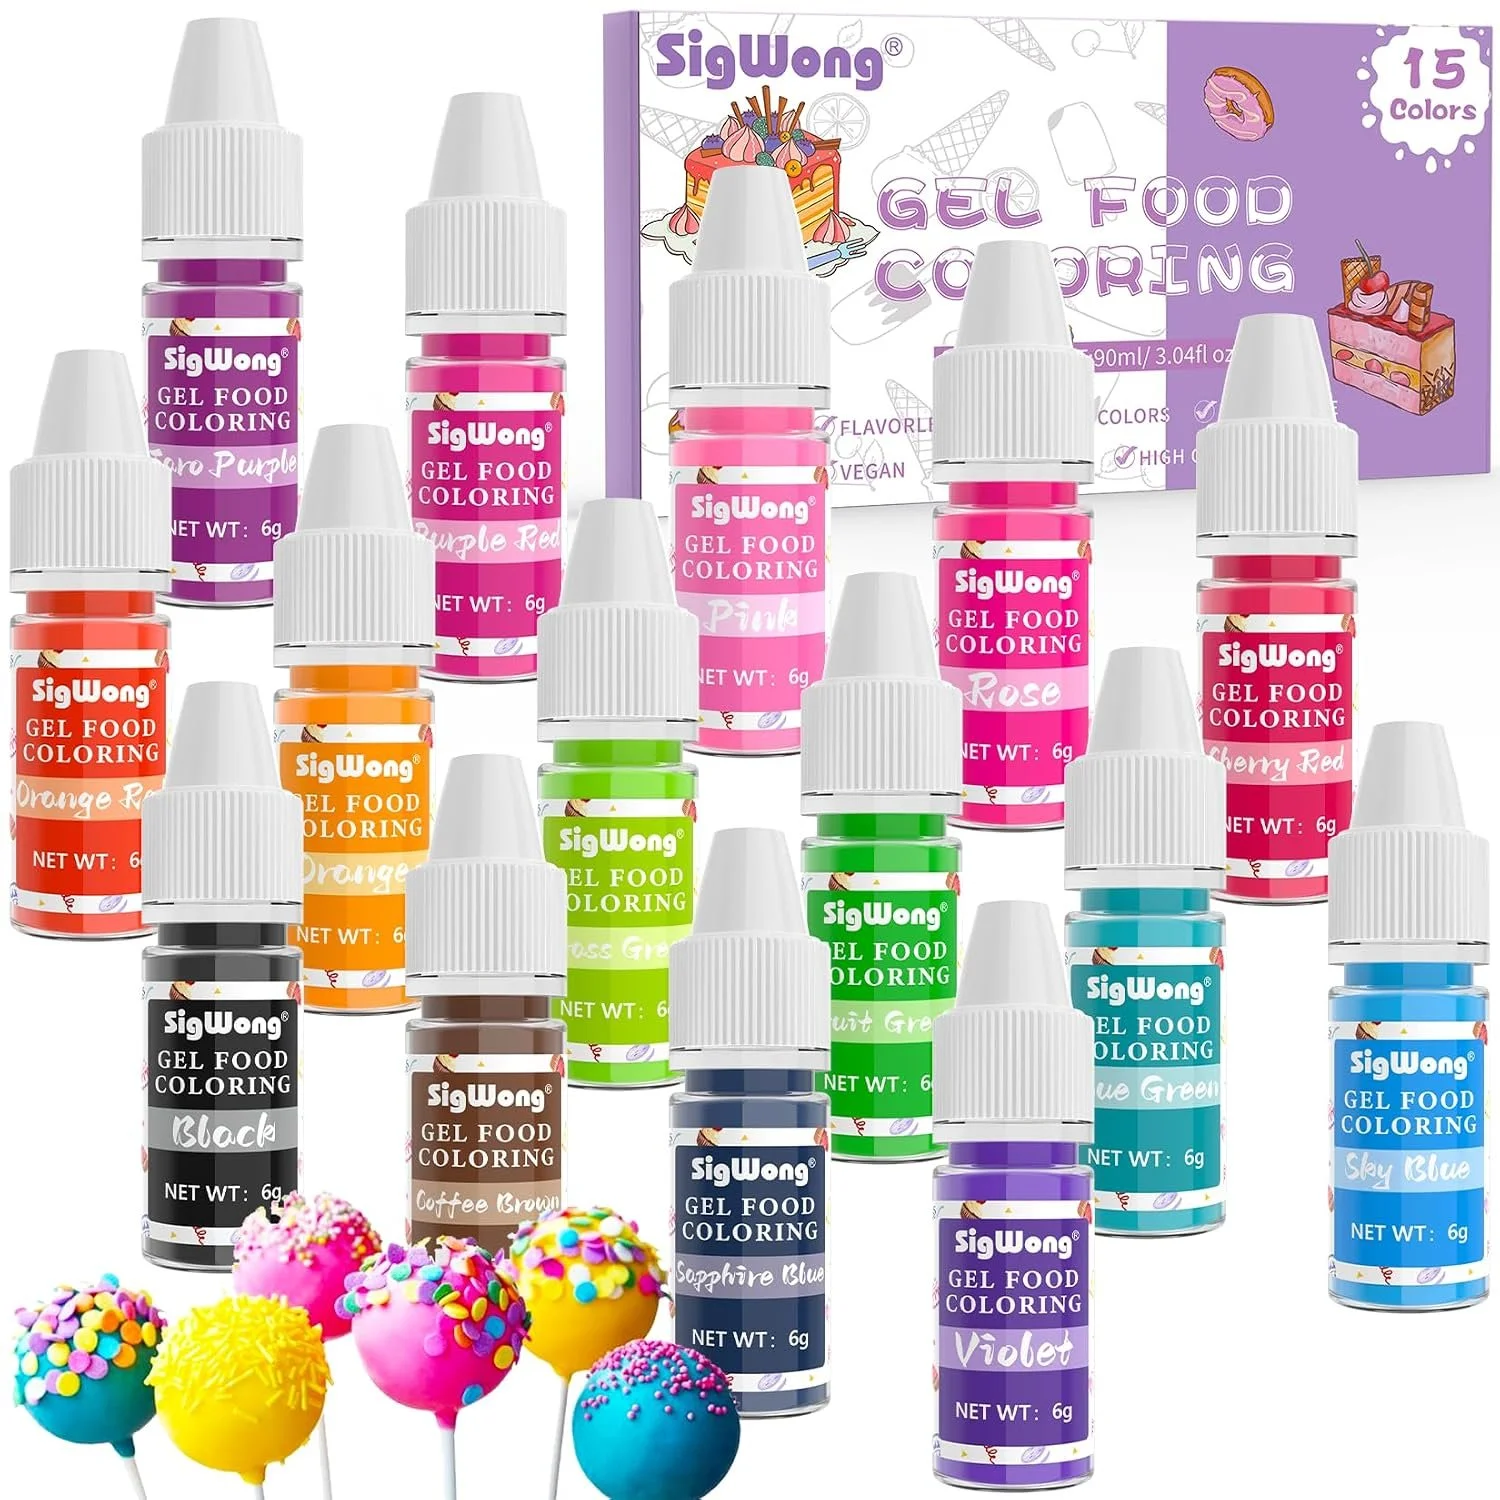
Liquid food coloring for pink and purple Unicorn Magic Milk.

Food coloring

Use pink and purple shades, or mix red and blue to experiment with making your own unicorn colors.

View on Amazon
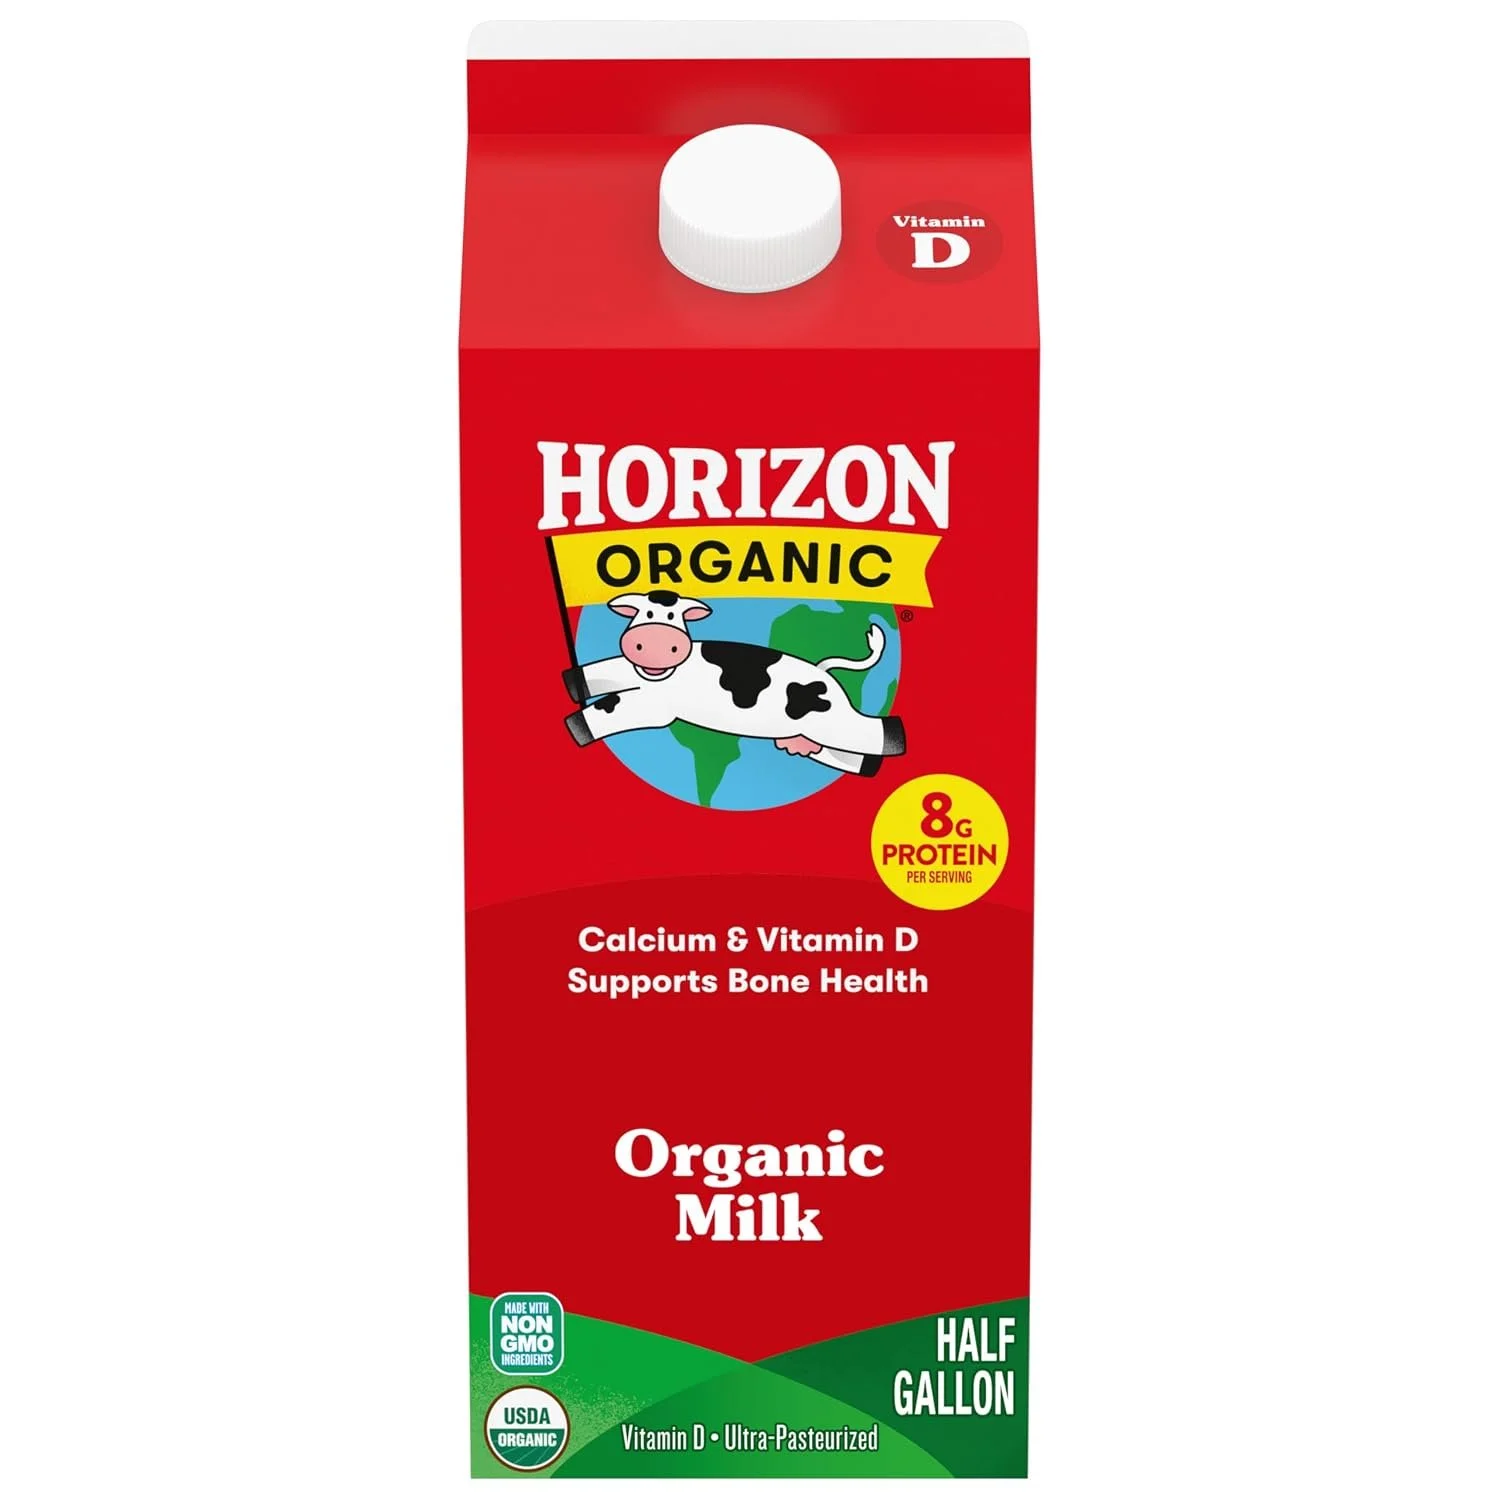
Whole milk for a Magic Milk science experiment.

Whole milk

Whole milk generally produces a vivid, long-lasting reaction because it contains more fat than lower-fat varieties.

View on Amazon
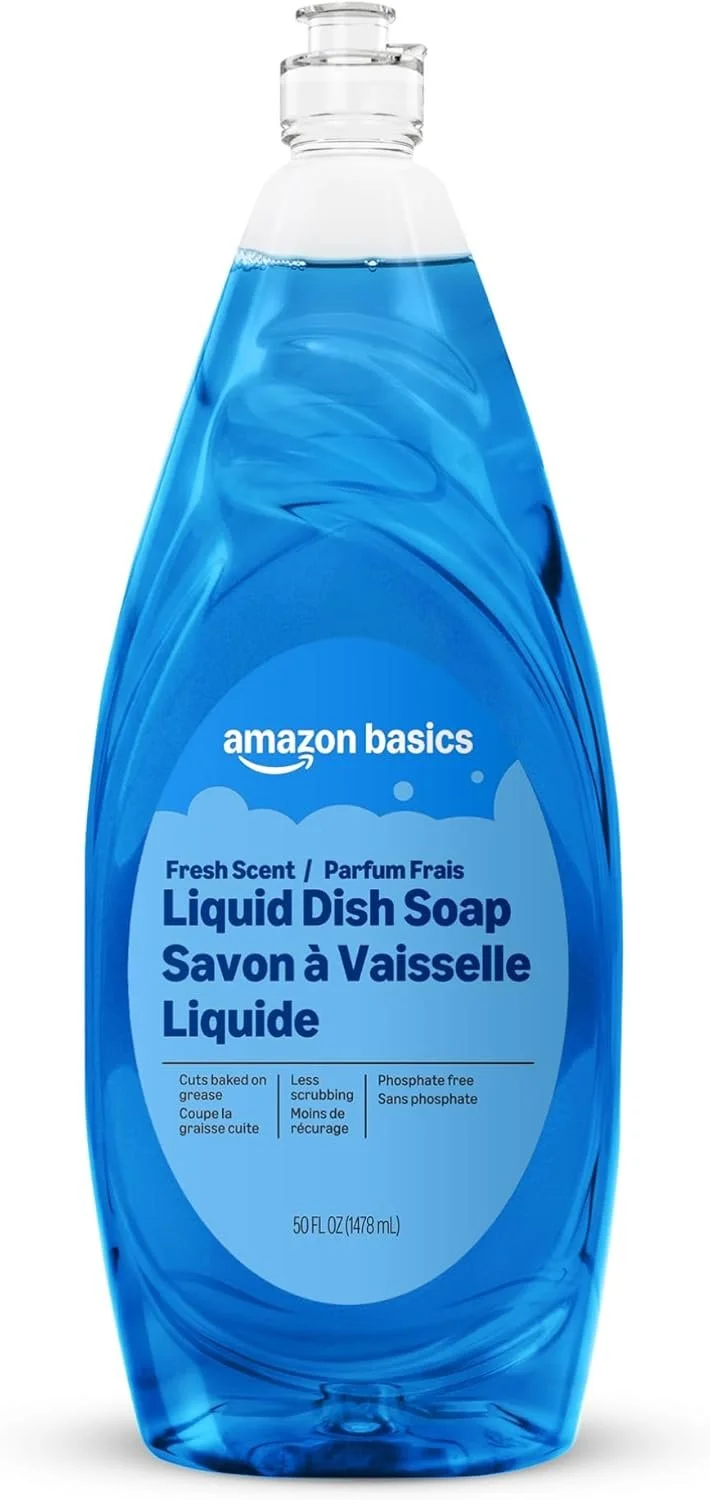
Liquid dish soap for the Unicorn Magic Milk experiment.

Liquid dish soap

Dish soap changes the surface tension and interacts with the fat in the milk, sending the colors swirling across the tray.

View on Amazon

How to make Unicorn Magic Milk

Pink and purple food coloring arranged in unicorn-inspired shapes on a tray of whole milk.
Step 1

Pour the milk and add color

Pour enough whole milk into a shallow white tray to cover the bottom completely.

Add drops of pink and purple food coloring around the tray. You can place individual drops randomly or outline simple unicorn-inspired shapes, stars, hearts, and clouds.

Keep the drops separated at first so your child can observe how each color begins to move.
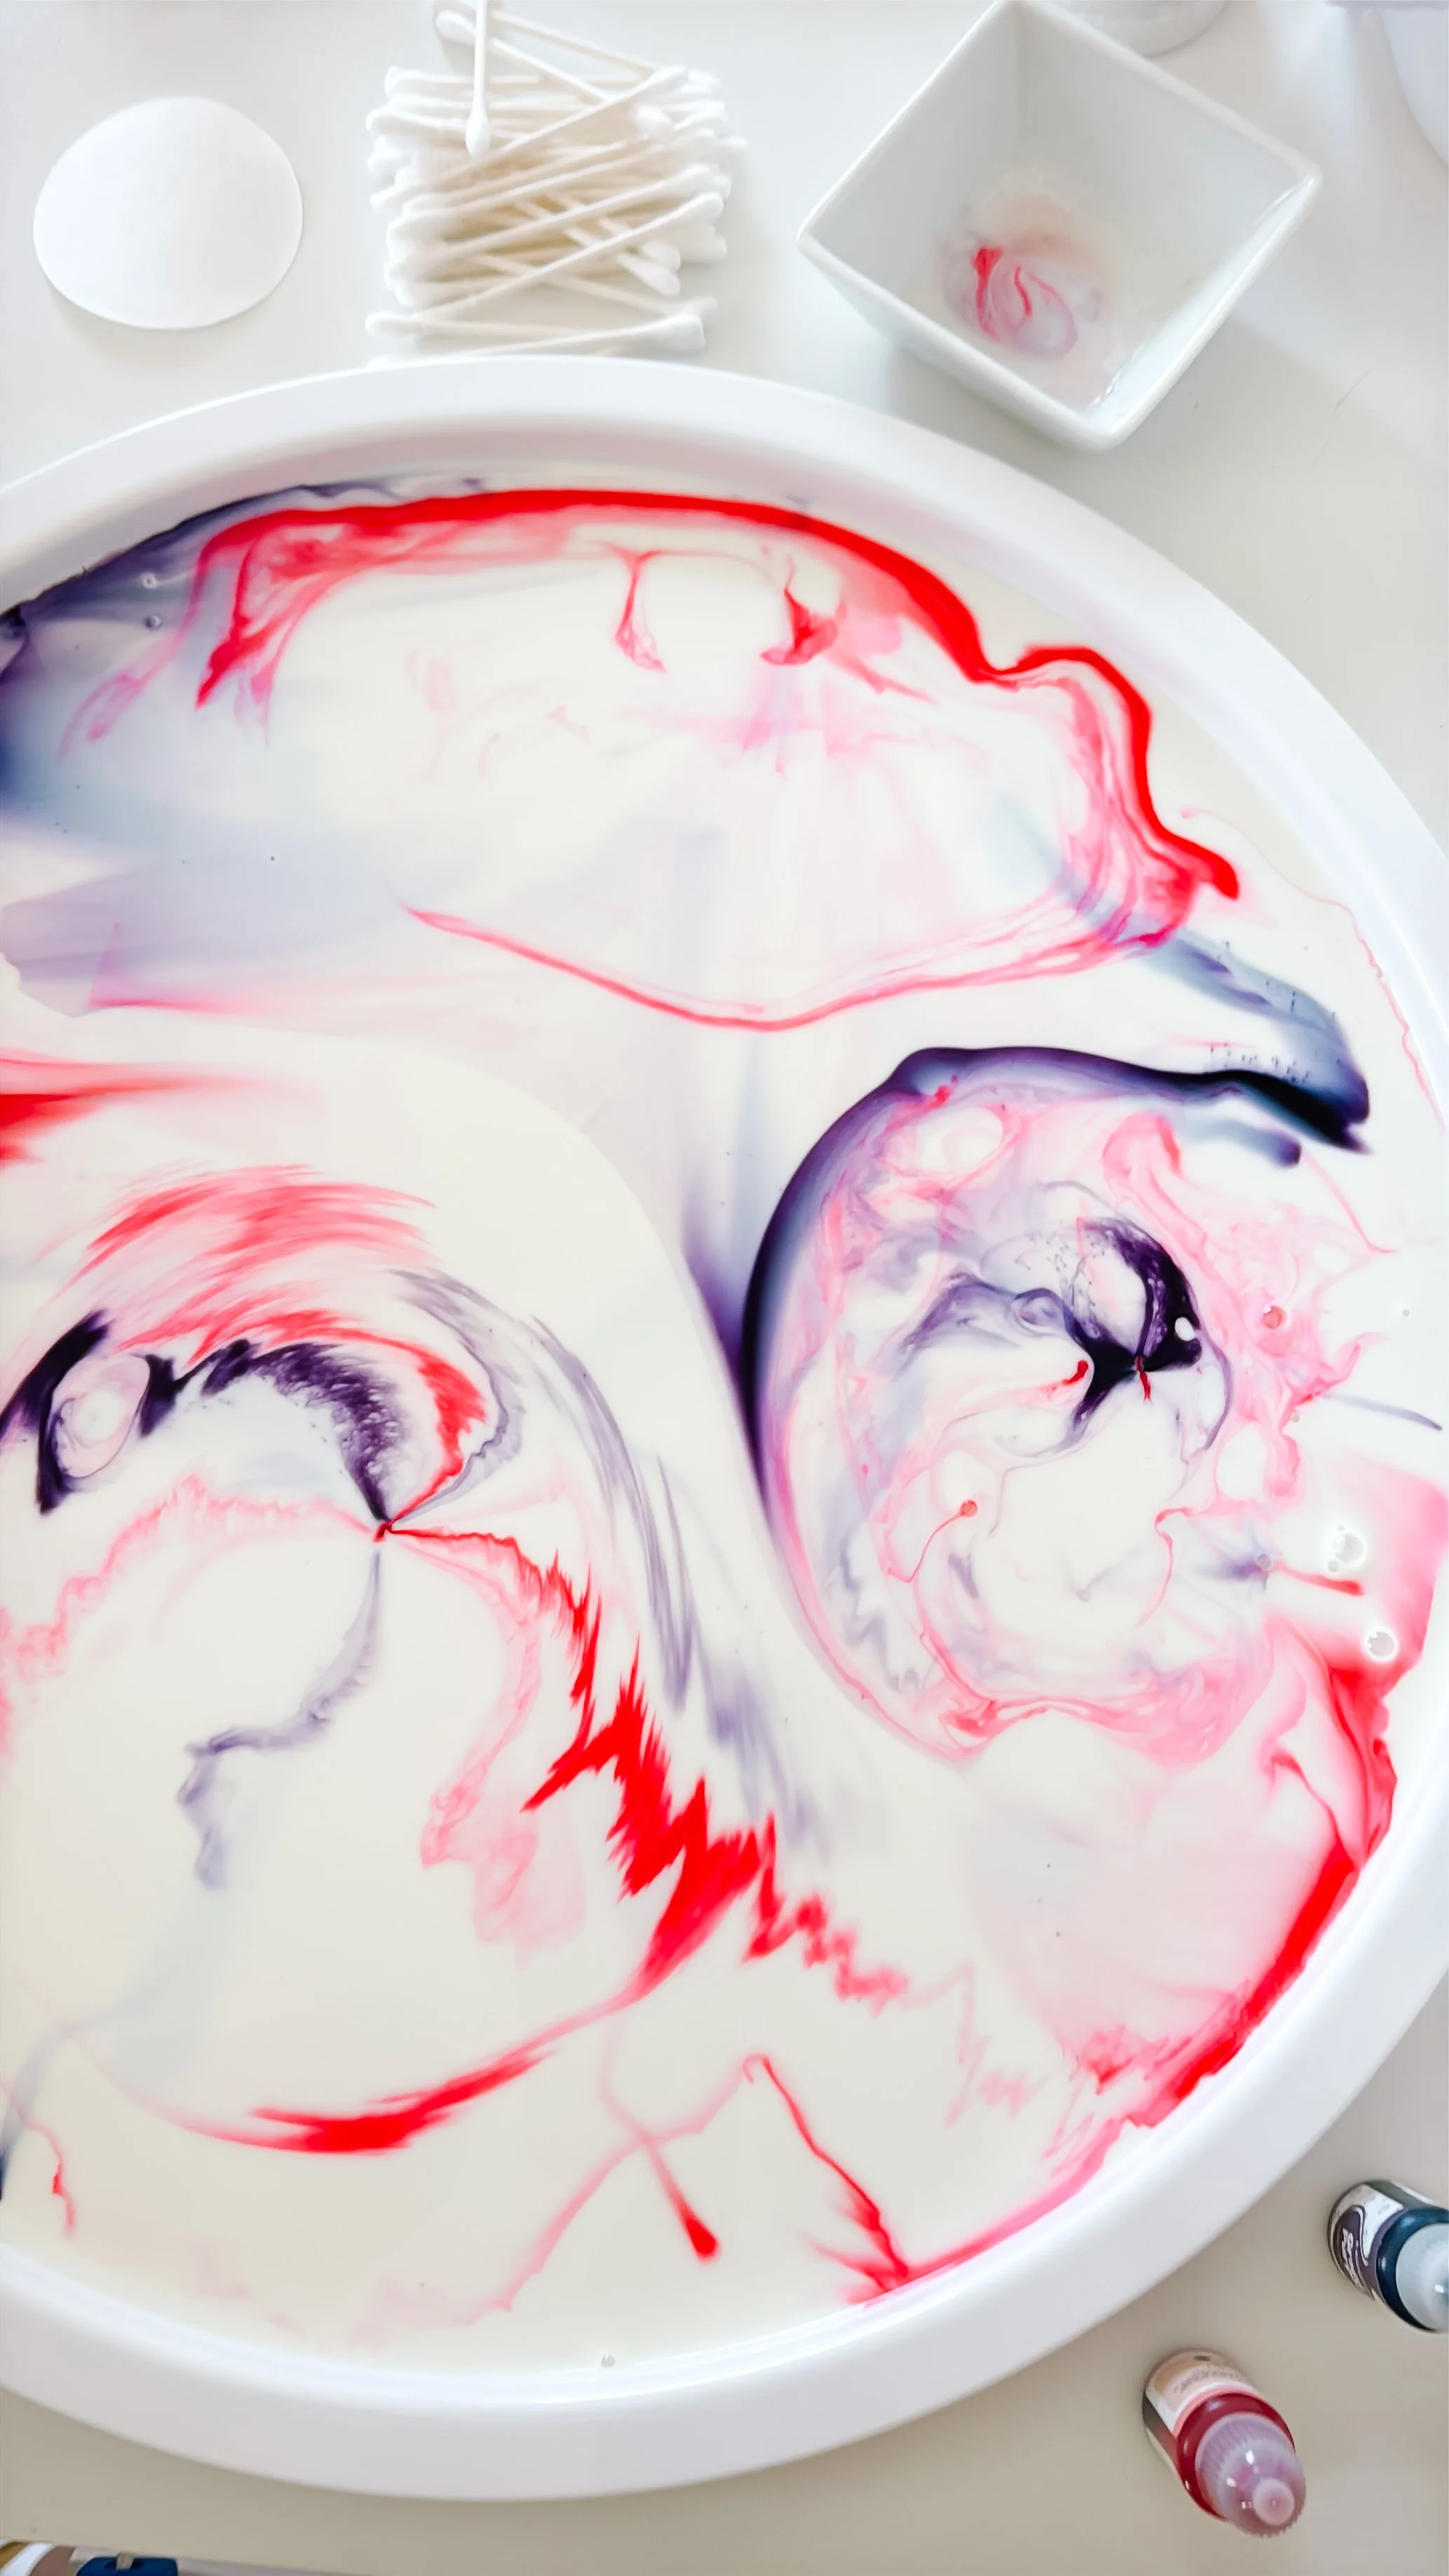
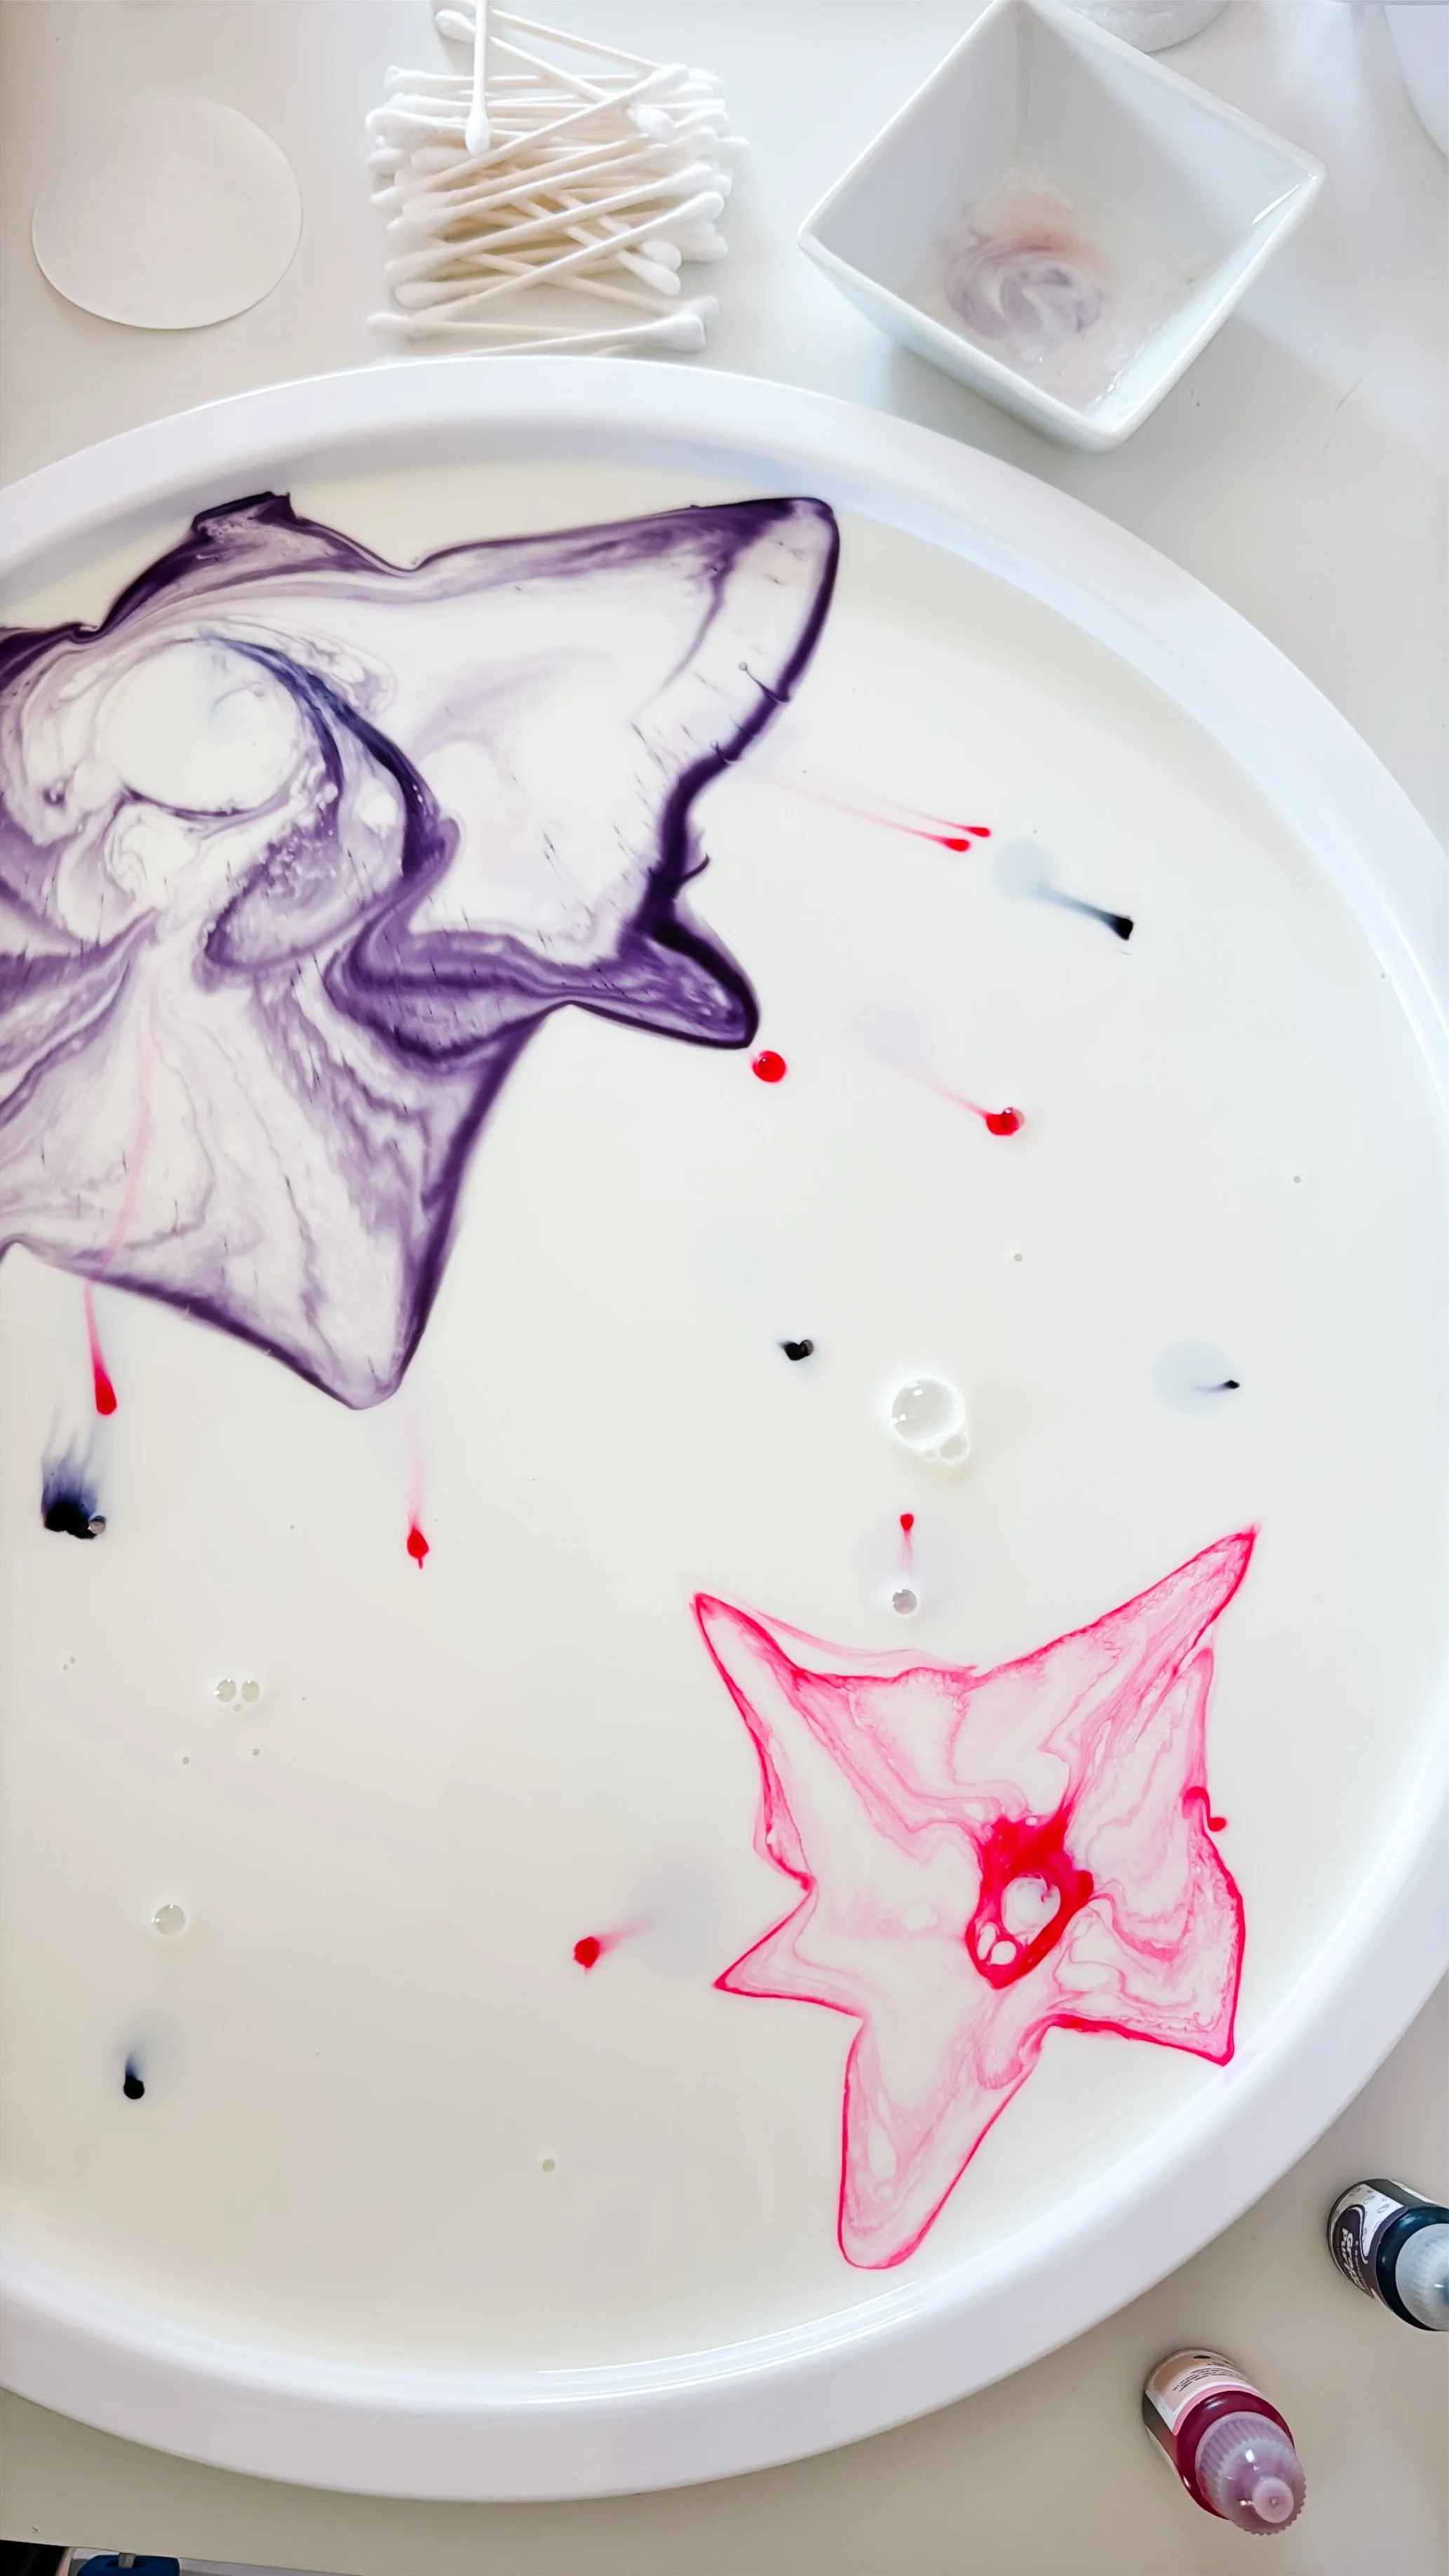
Pink and purple color patterns spreading across milk during a unicorn science experiment.
Step 2

Dip the cotton swab in soap

Pour a small amount of dish soap into a separate bowl.

Dip one end of a cotton swab into the soap, then gently touch it to one area of colored milk. Try not to stir immediately—simply hold the swab in place and watch.

The colors should quickly pull away, spread, and begin forming swirls.
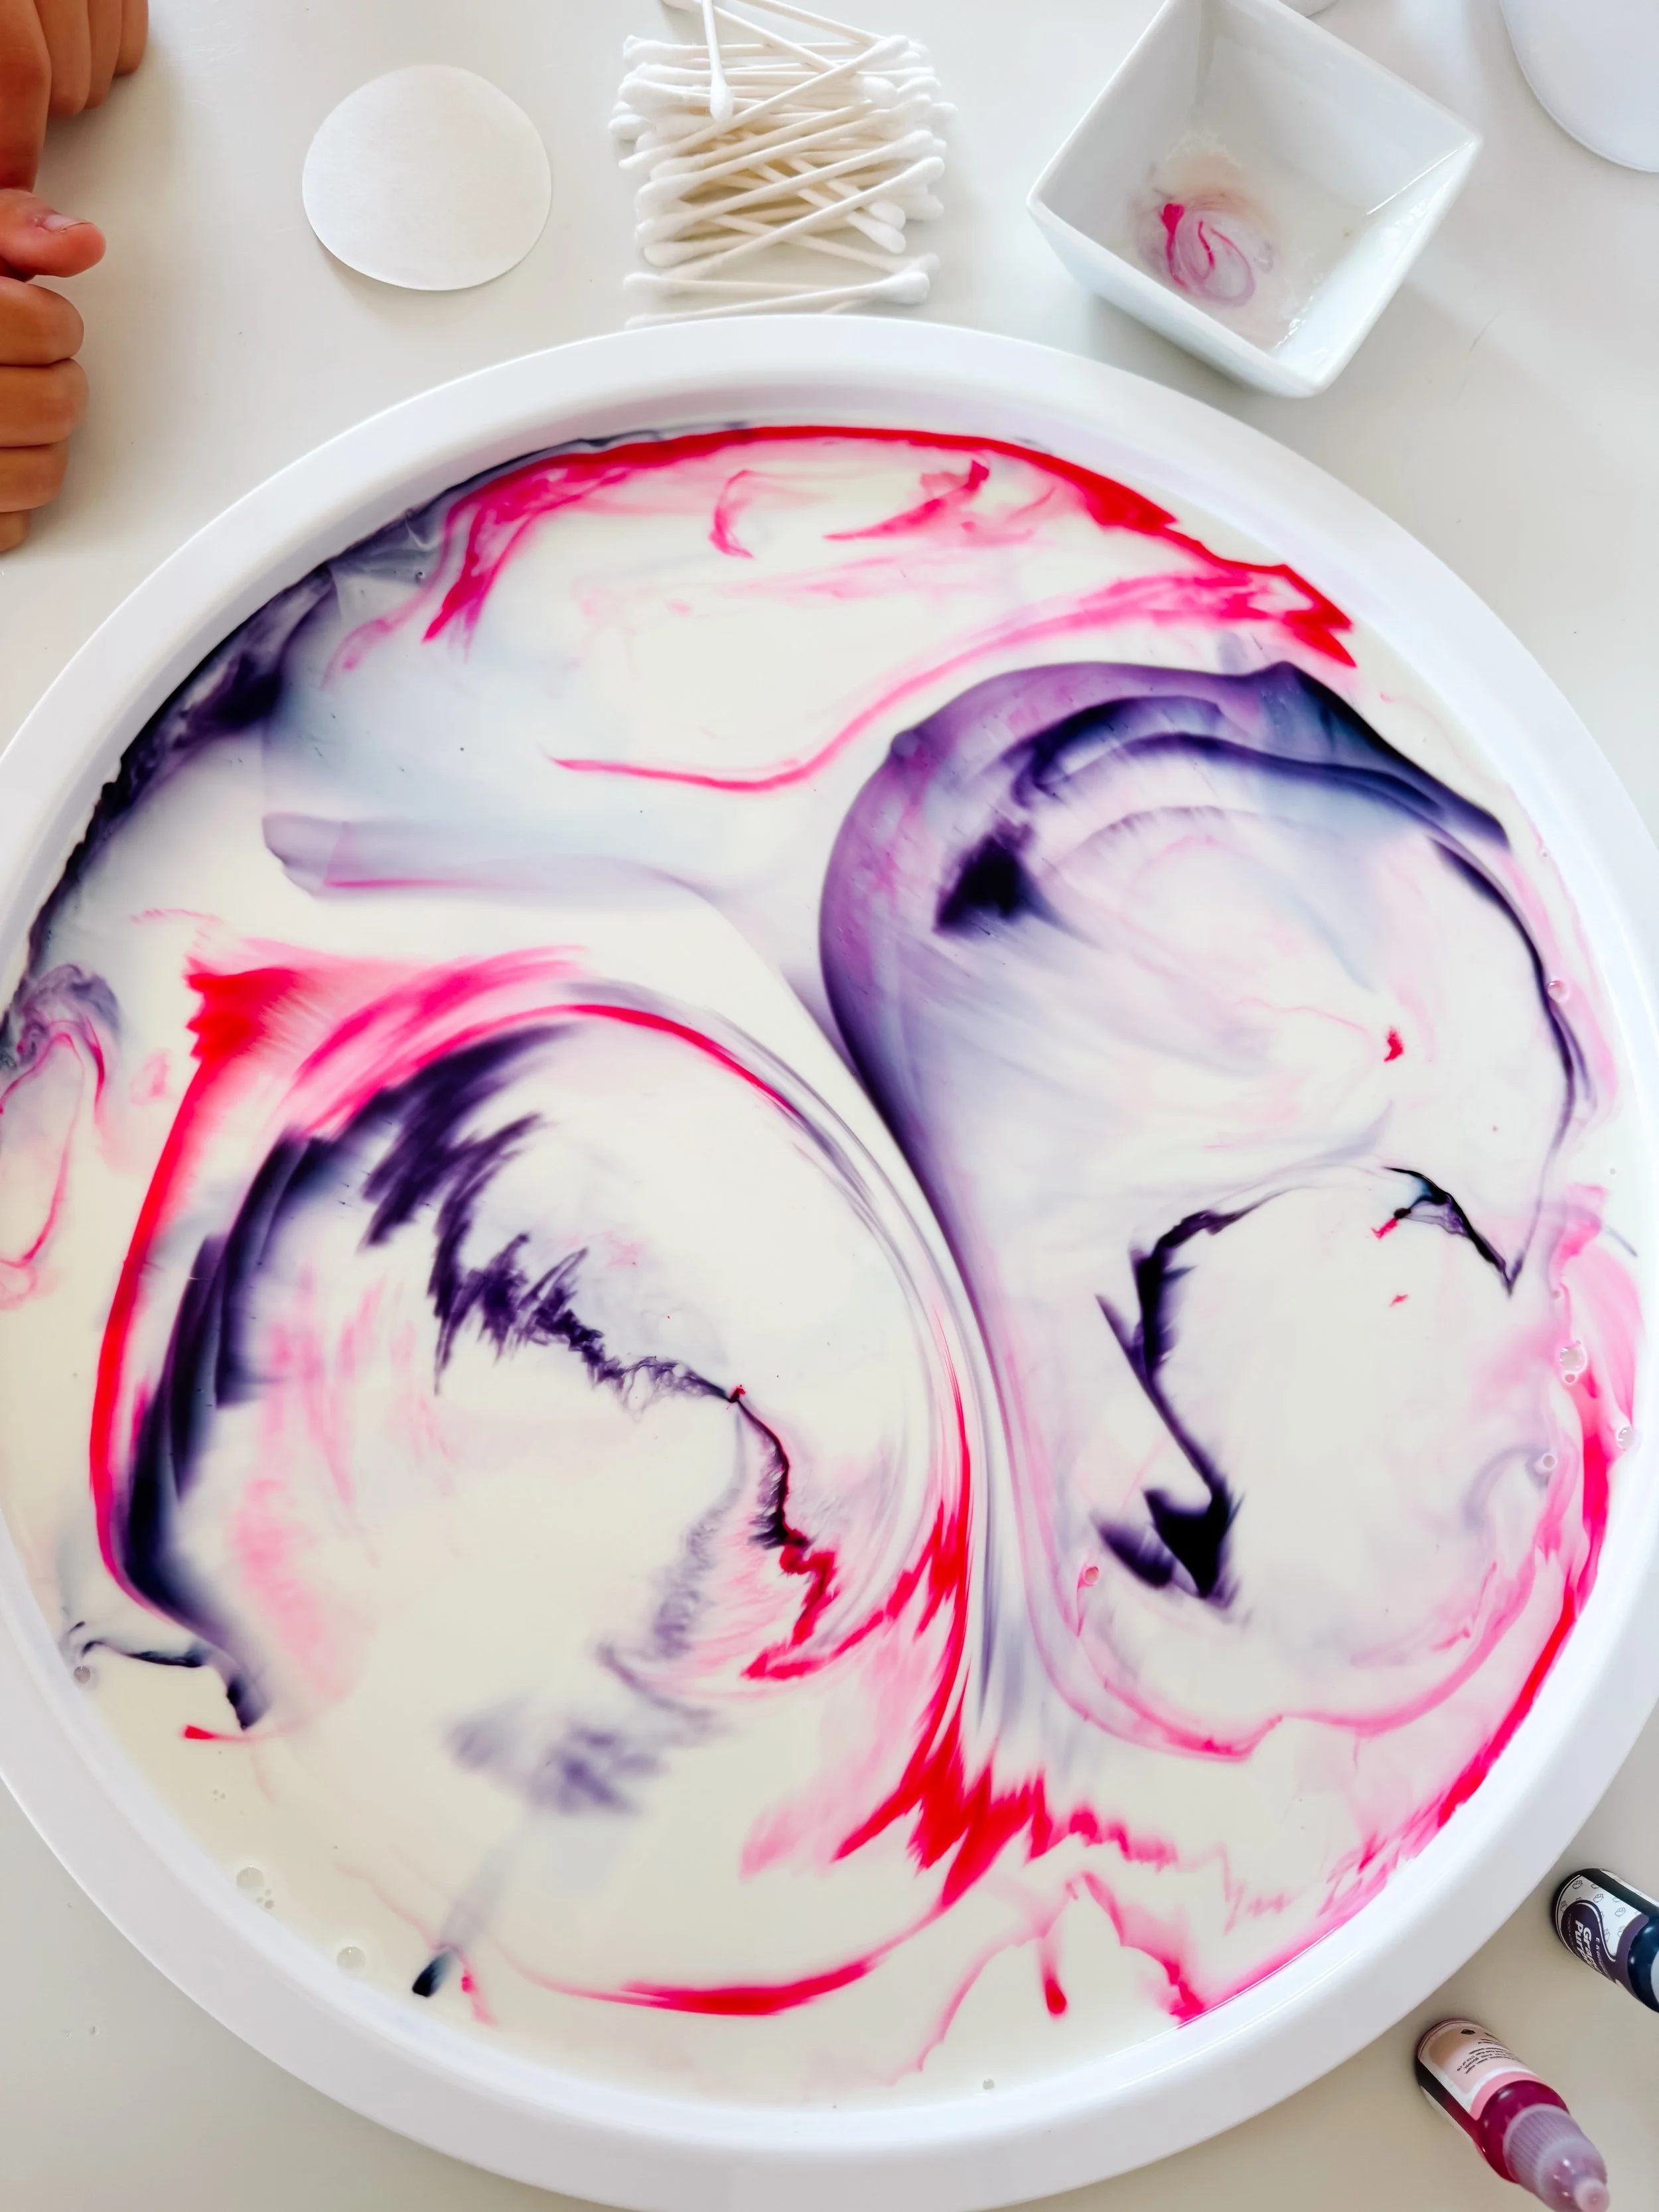
Large swirling circles of pink and purple food coloring moving through milk.
Step 3

Explore different touch points

Dip a clean cotton swab into more soap and touch different parts of the tray.

Compare what happens near a concentrated drop of color versus an area where the colors have already mixed. Try touching the center of a circle, the edge of a swirl, or the space between pink and purple.

Invite your child to predict which direction the color will move before each touch.
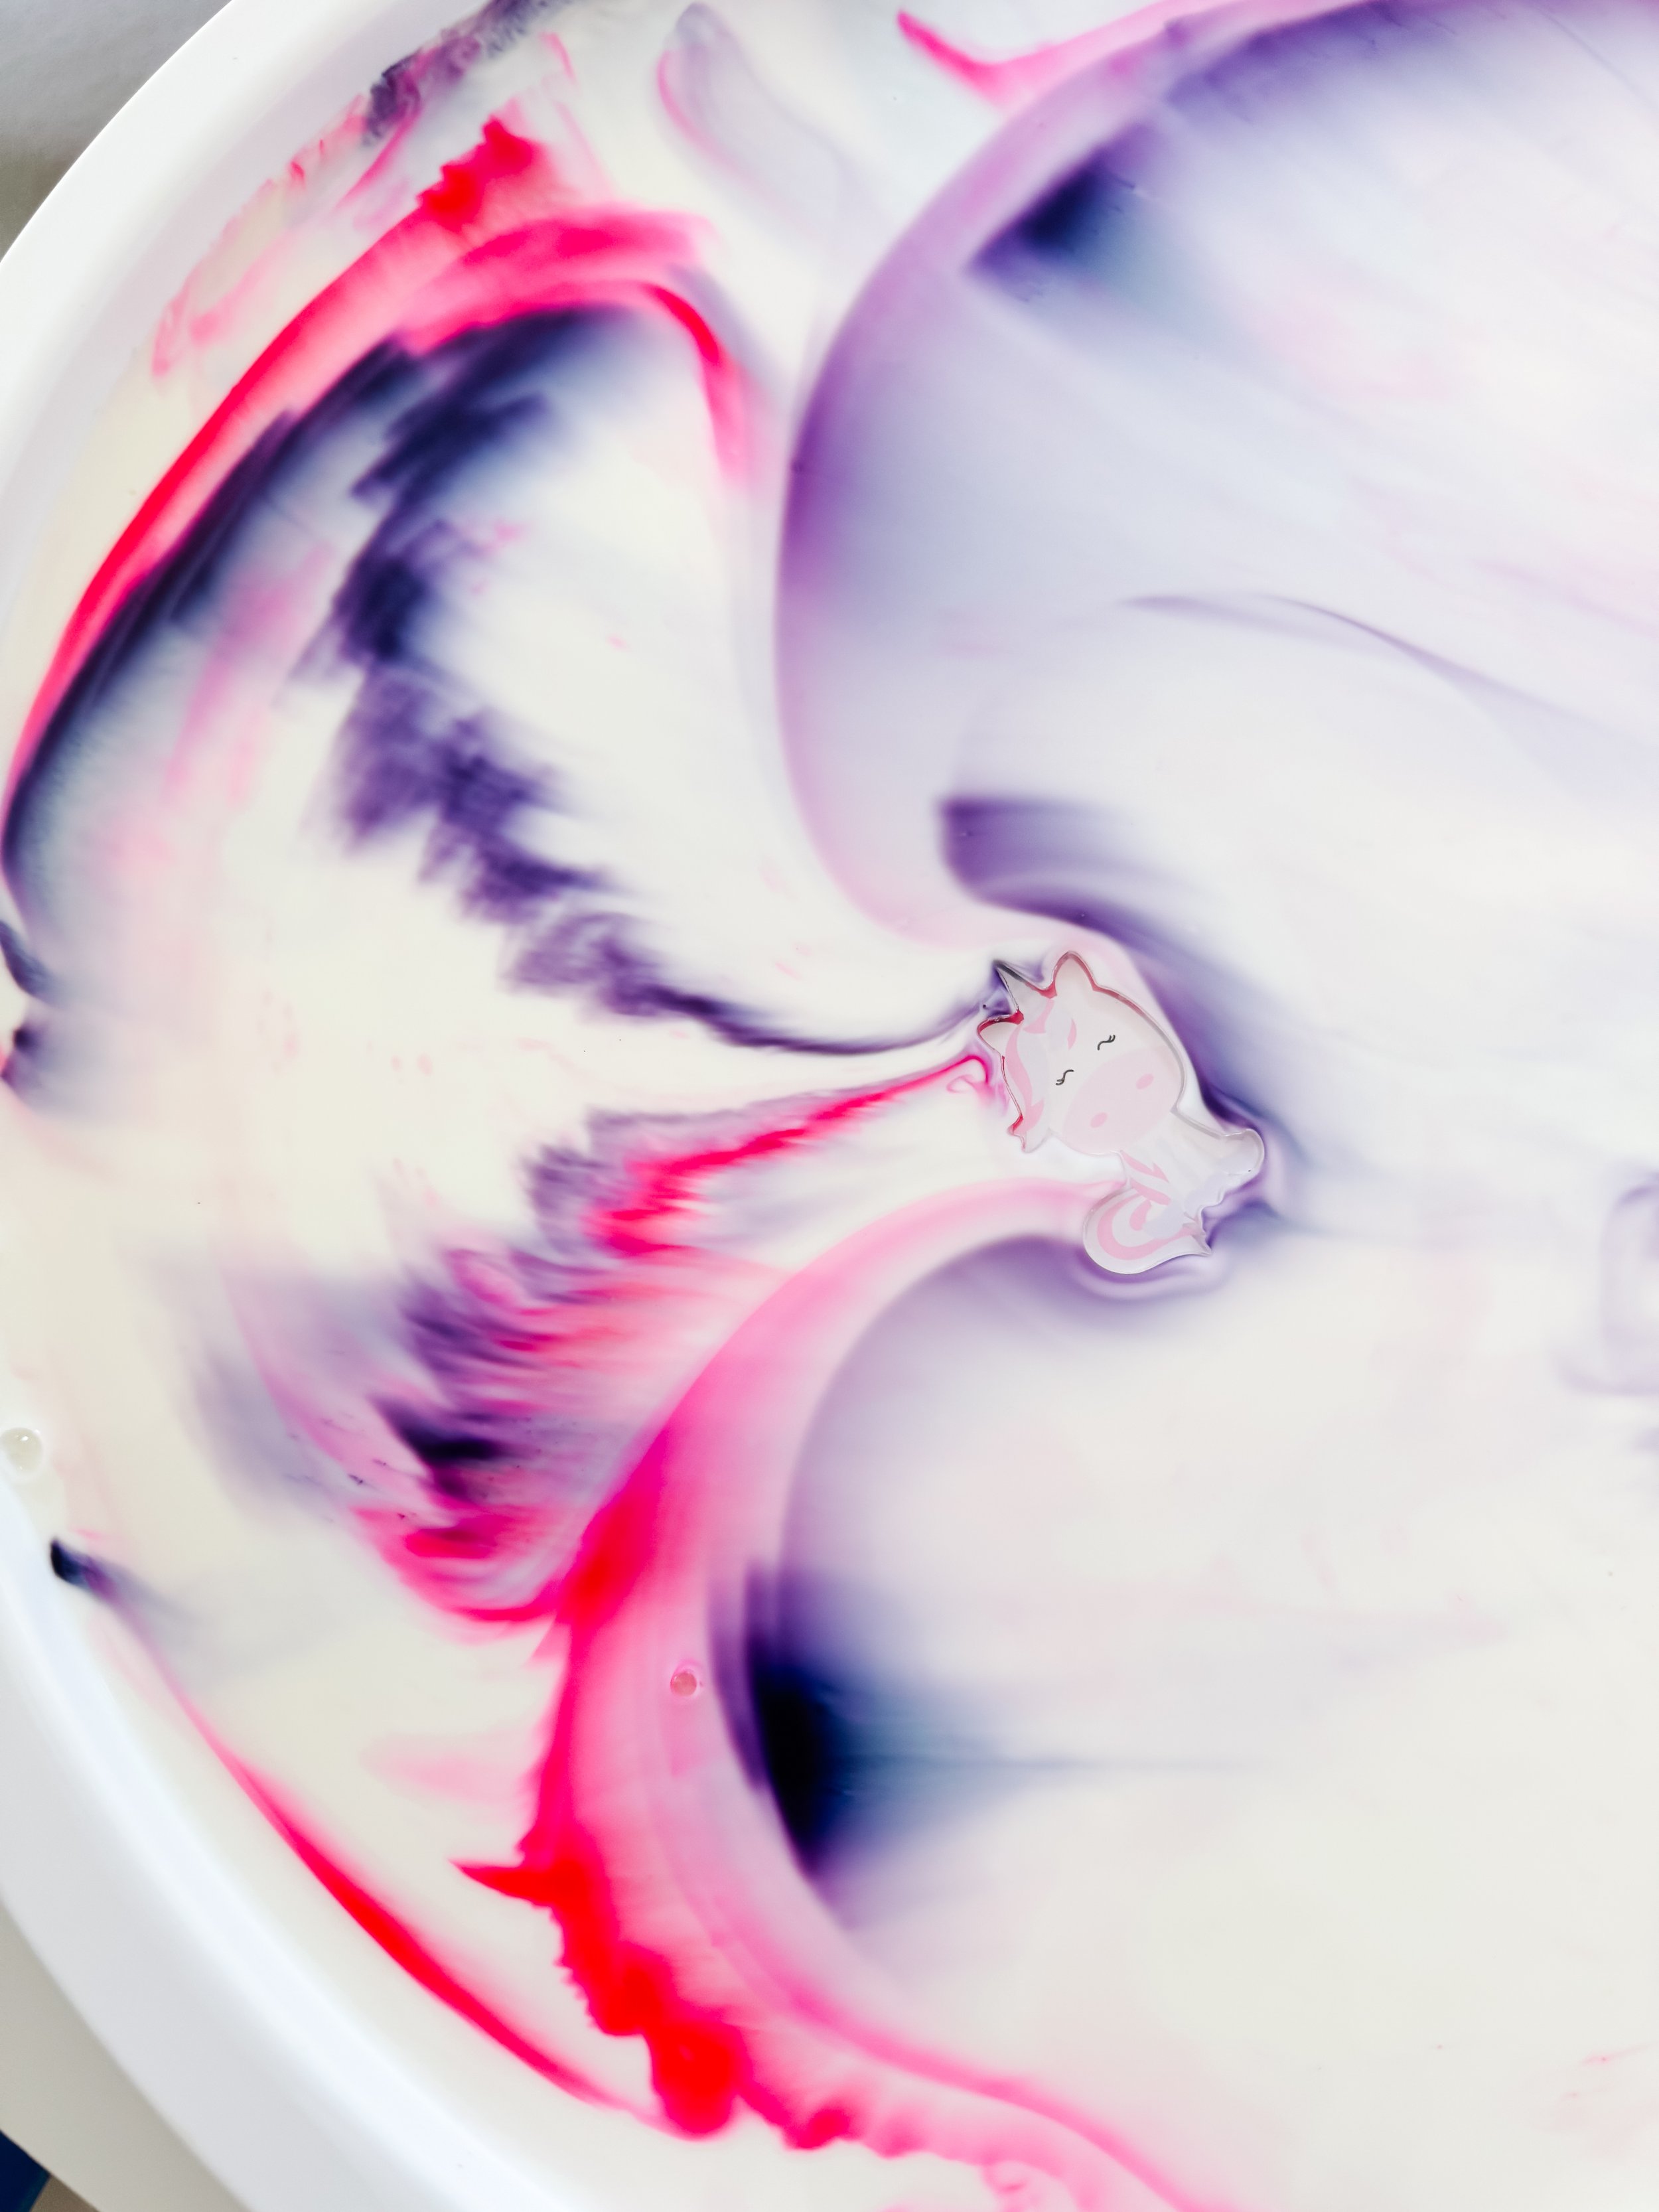
Unicorn acrylic charm floating among bright pink and purple Magic Milk swirls.
Step 4

Add the unicorn charms

Once the colors are moving, gently place the acrylic unicorn and cloud charms into the tray.

Use the cotton swabs to create swirls around the charms so the unicorns appear to fly through a magical sky.

This is where the experiment naturally turns into storytelling and small-world play.
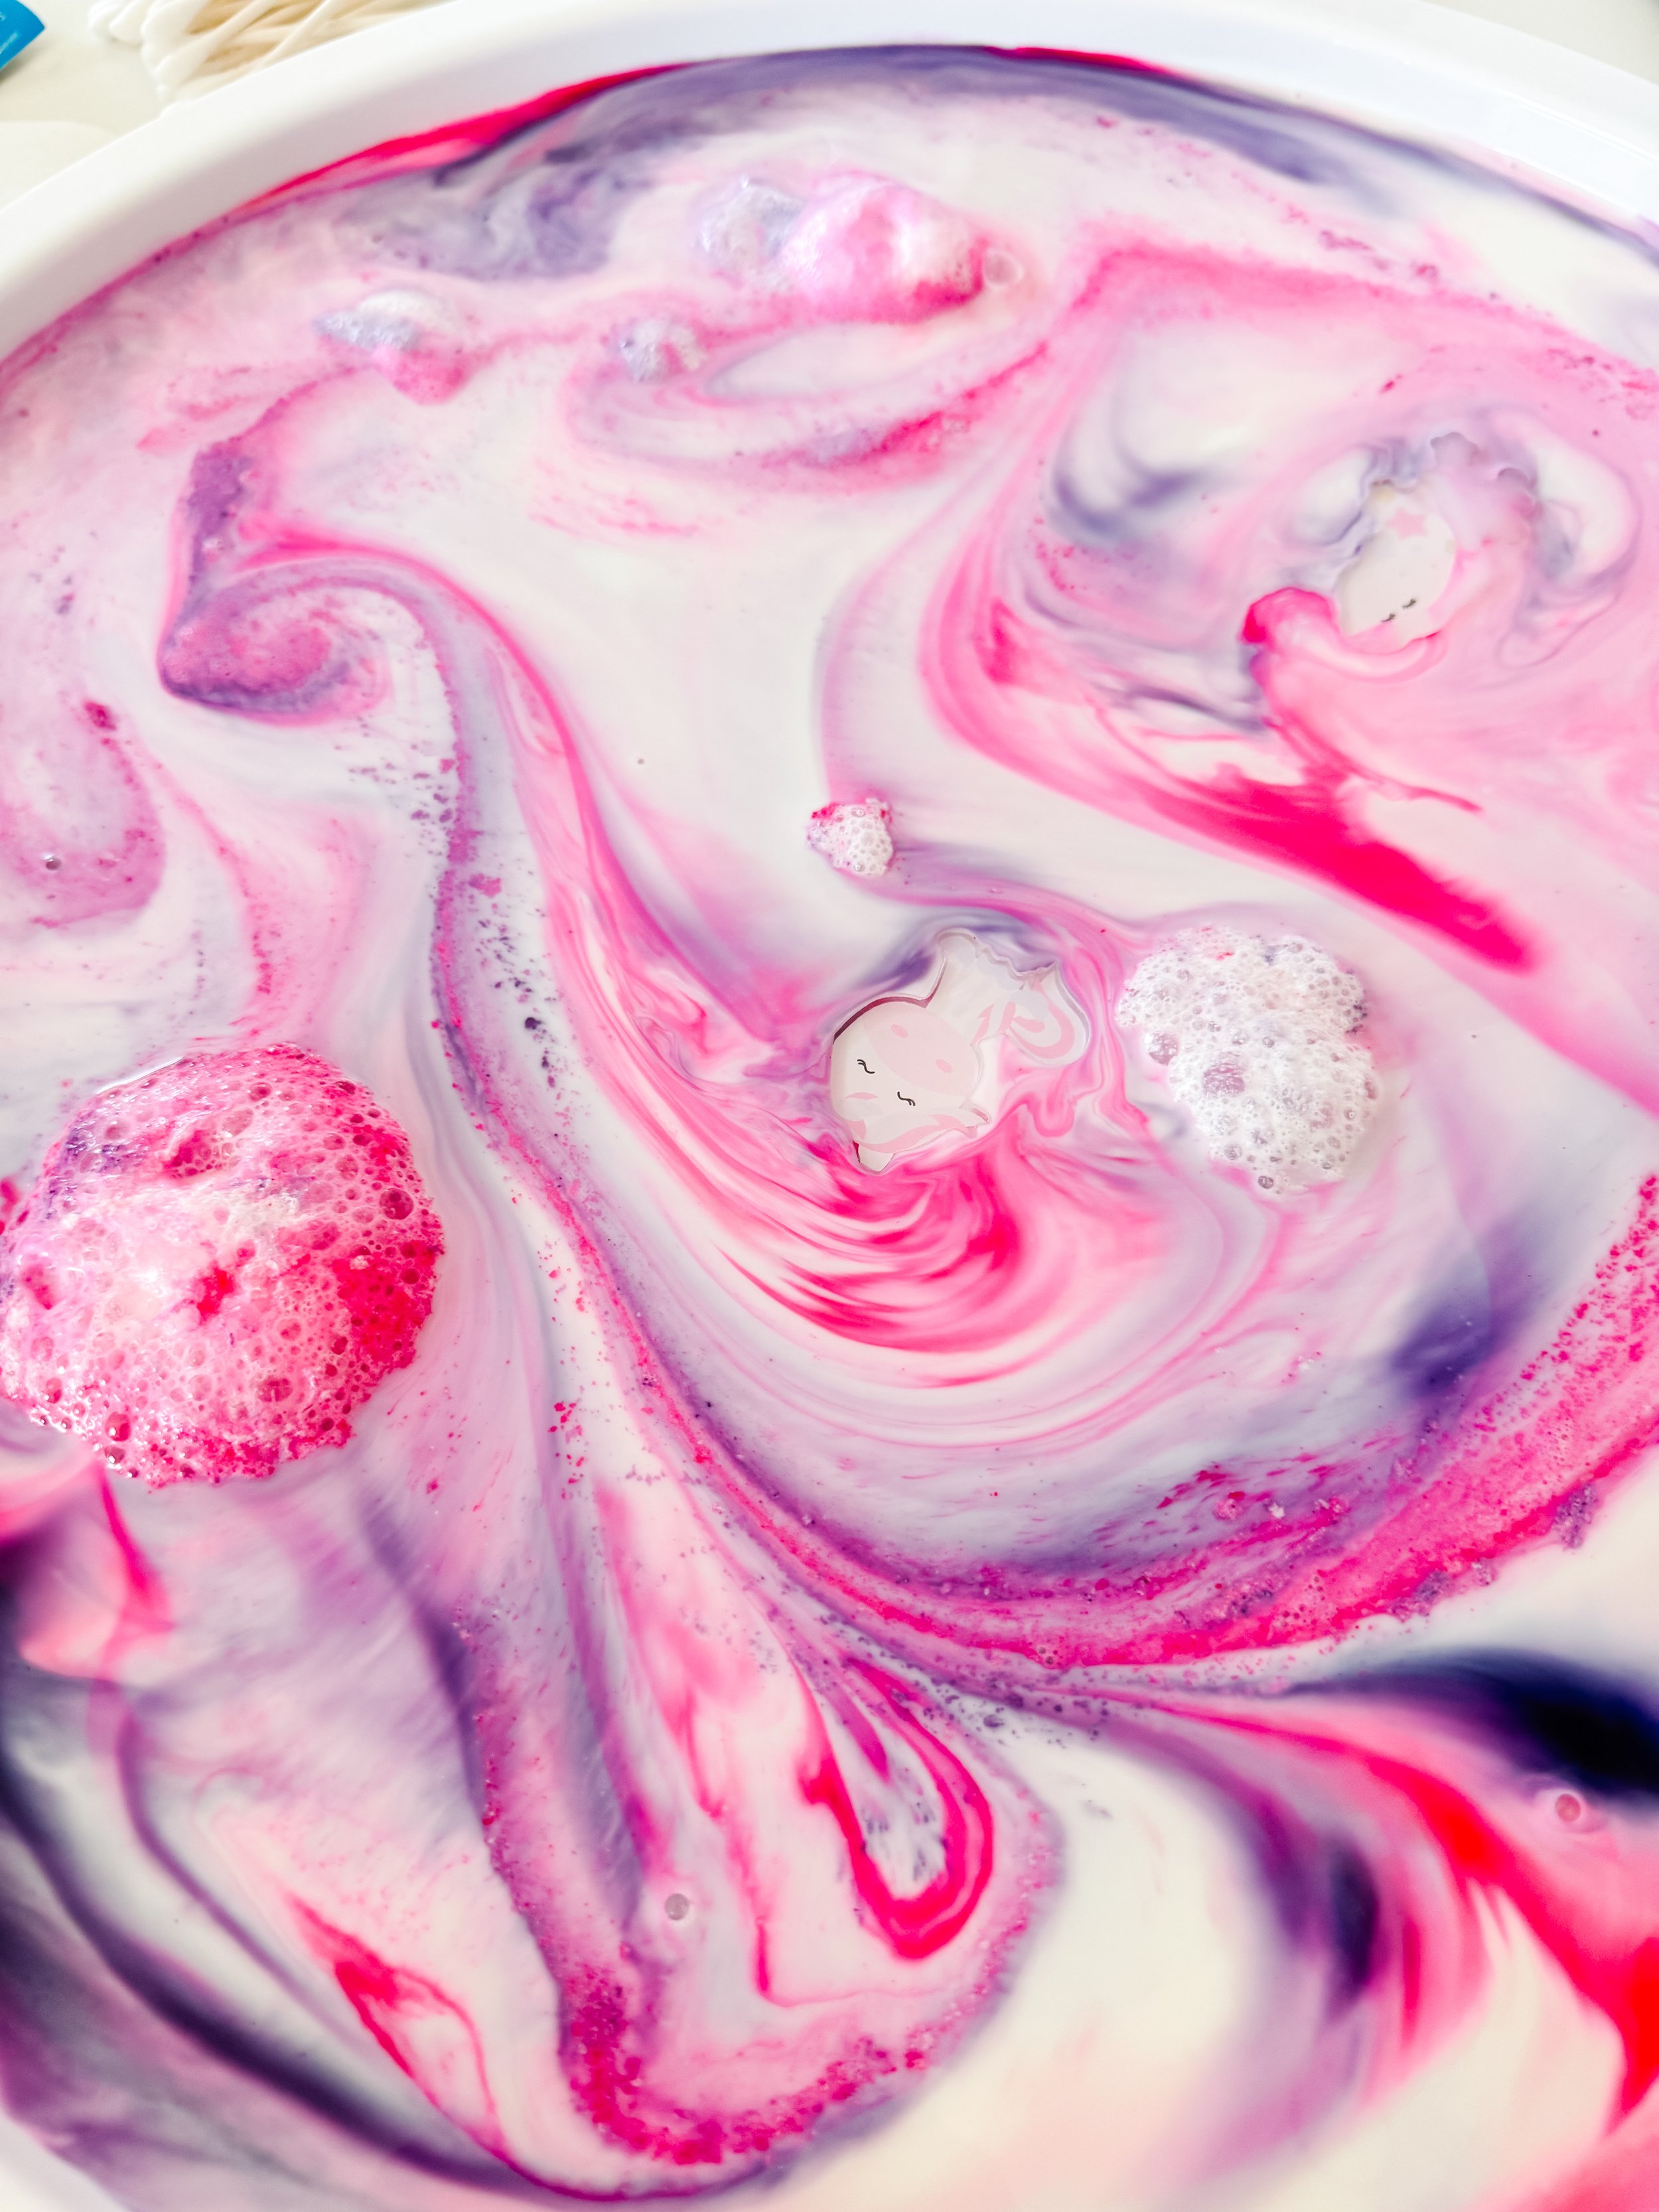
Two unicorn acrylic charms surrounded by pink and lavender Magic Milk swirls and bubbles.
Step 5

Create clouds and magical stories

Touch the soapy cotton swab in one place several times to create foamy bubbles that resemble clouds.

Invite your child to tell a story about where the unicorns are going, what magic they are carrying, or why the sky is changing color.

When the reaction begins to slow, add a few fresh drops of food coloring and test another area.
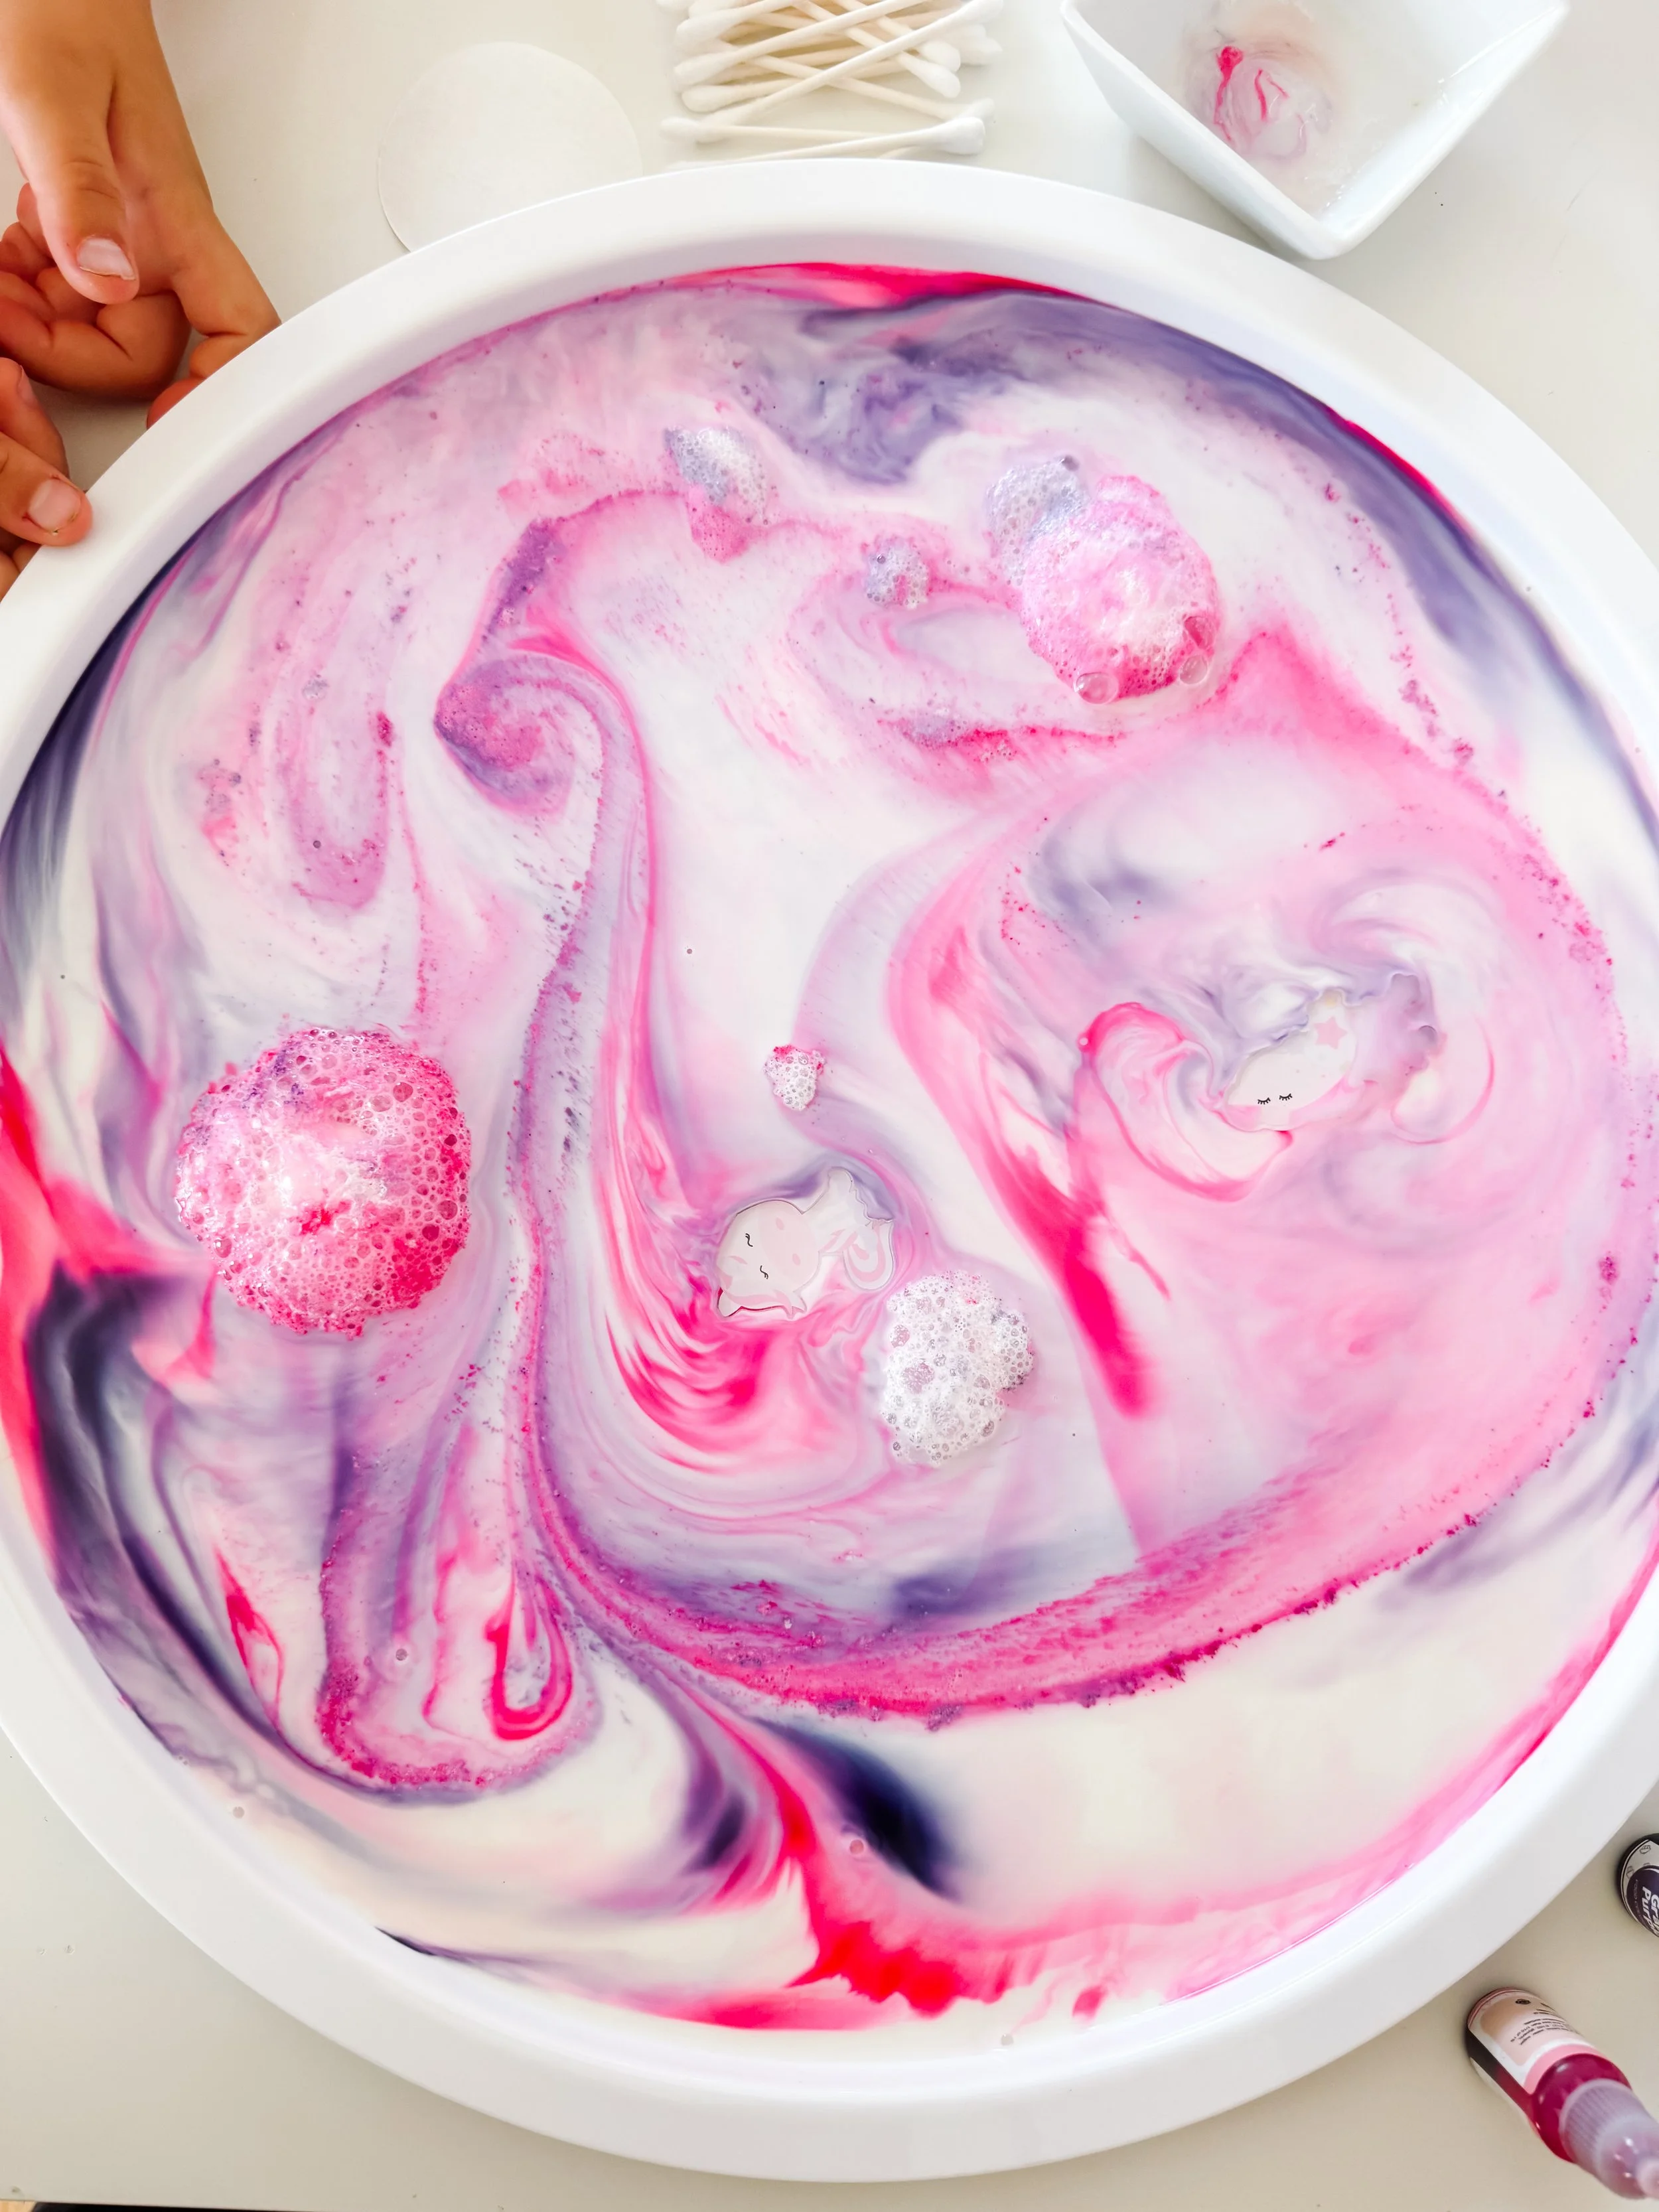
Finished Unicorn Magic Milk tray with pink and purple swirls, unicorn charms, and bubbly clouds.
Step 6

Observe the finished unicorn sky

Step back and look at the patterns that formed across the tray.

Ask your child where the colors blended, where they stayed separate, and which areas resemble clouds, wings, rainbows, or magical trails.

Take a photo before cleanup—the final patterns change quickly and are often beautiful enough to inspire a painting or drawing afterward.

Parent tip

Start with fewer drops of food coloring than you think you need. Leaving plenty of white space gives the colors room to move and creates more visible pink, purple, and lavender patterns.

Why does Magic Milk work?

Milk is mostly water, but it also contains fats, proteins, sugars, vitamins, and minerals.

Dish soap molecules are attracted to both water and fat. When the soap touches the milk, it begins interacting with the fat and disrupting the surface tension across the liquid.

As the soap moves through the milk, the food coloring is carried along with that motion. This makes the invisible movement of the liquid easy to see.

Whole milk usually produces a strong reaction because it contains more fat, but children can also compare whole milk with lower-fat milk as a follow-up experiment.

Turn it into a preschool science investigation

Compare milk types

Try whole milk, two-percent milk, and skim milk in separate dishes. Which one creates the longest-lasting color movement?

Compare color patterns

Test widely spaced drops against drops placed close together. How does the starting pattern change the final design?

Test soap amounts

Compare a lightly coated cotton swab with one holding more dish soap. Does the color move differently?

Mix new unicorn shades

Combine red and blue to make purple, then experiment with different proportions to create lavender, violet, and plum.

Learning benefits

Unicorn Magic Milk blends science, art, sensory play, and storytelling in one low-prep activity.

Children practice observation as they follow the movement of each color. They use prediction before touching the milk with soap and explore cause and effect as they repeat the action in different locations.

The unicorn theme adds imaginative language and narrative play. Children can create characters, settings, problems, and magical adventures while the visual experiment unfolds.

Learning skills

Scientific observation Prediction Cause and effect Surface tension Color mixing Fine motor skills Sensory exploration Creative storytelling Imaginative play Early chemistry

Questions to ask kids

  • What do you predict will happen when the soap touches the milk?
  • Which color moves first?
  • Where do pink and purple blend together?
  • What new colors can you see?
  • Does the reaction happen faster in some areas?
  • What happens when you touch the same place twice?
  • What do the patterns remind you of?
  • Where are the unicorns traveling?
  • What magical power does each unicorn have?

Unicorn and science vocabulary

Experiment Observe Predict Reaction Surface tension Molecule Liquid Blend Swirl Lavender Violet Unicorn Magic

Ways to extend the unicorn play

Paint the final pattern

Use the finished tray as inspiration for a watercolor or process-art painting in pink, purple, white, and lavender.

Create a unicorn story

Ask your child to draw the magical world the unicorn visited and dictate a short story about the adventure.

Build a sensory bin

Rinse the acrylic charms and reuse them with pastel filler, clouds, stars, and scoops for Unicorn World sensory play.

Try another color theme

Make rainbow, sunset, fireworks, Northern Lights, ocean, or holiday-themed Magic Milk using a new color palette.

More unicorn activities

Toilet roll unicorn craft

Turn a recycled cardboard tube into a magical unicorn with curled pastel pipe cleaners and googly eyes.

Make the unicorn craft

Unicorn sensory play

Create a pastel unicorn sensory and dramatic-play setup with printable props and magical accessories.

Explore unicorn play

Unicorn & cloud charms

Reuse the acrylic charms in sensory bins, play dough, rice, slime, potion play, and small-world scenes.

Shop the charms

Unicorn Magic Milk FAQ

How do you make Unicorn Magic Milk?

Pour whole milk into a shallow tray, add pink and purple food coloring, dip a cotton swab in dish soap, and gently touch the colored milk. Add acrylic unicorn and cloud charms after the colors begin to swirl.

Why does dish soap make the food coloring move?

Dish soap reduces surface tension and interacts with fat molecules in the milk. As the soap spreads through the liquid, it carries the food coloring with it and makes the movement visible.

What kind of milk works best for Magic Milk?

Whole milk typically produces the most dramatic and longer-lasting reaction because it contains more fat. Lower-fat milk will still work but may create a subtler effect.

Can I use gel food coloring?

Liquid food coloring usually spreads more easily. Gel coloring can work when diluted with a small amount of water before it is added to the milk.

Are the unicorn acrylic charms reusable?

Yes. Remove them after play, wash them gently with soap and water, rinse thoroughly, and dry them completely before storing or reusing them.

Is Magic Milk taste-safe?

No. Even though milk and food coloring are food ingredients, dish soap is not edible. Treat this strictly as a supervised science and sensory activity.

What age is this experiment best for?

Unicorn Magic Milk is best for ages three and up with close adult supervision. Older children can make predictions, compare variables, and record their observations.

What can I do with the acrylic charms after the experiment?

Use them in unicorn sensory bins, play dough trays, potion play, small-world scenes, matching activities, party favors, or another themed science experiment.
Toilet Paper Roll Robot Craft

Toilet Paper Roll Robot Craft

Turn recycled cardboard tubes, pipe cleaners, pom-poms, googly eyes, and building bricks into a playful robot craft kids can build, customize, and use for imaginative play.

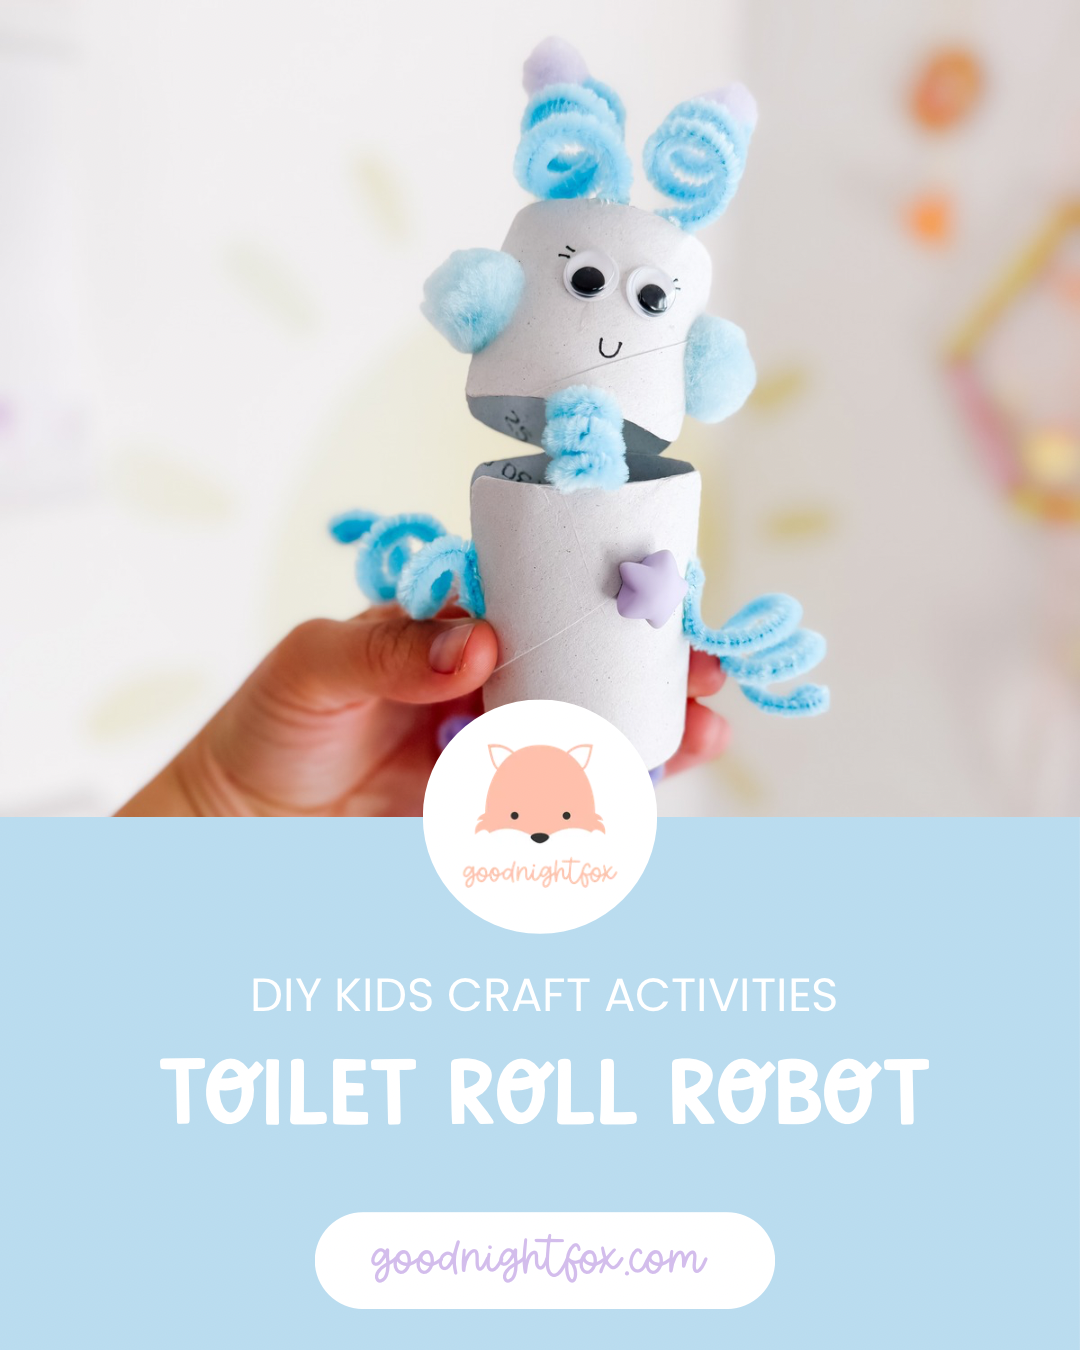
Finished toilet paper roll robot craft made with white cardboard tubes, blue and purple pipe cleaners, pom-poms, googly eyes, and building bricks.
Age4+
Prep10 minutes
Activity25–35 minutes
Mess★☆☆☆☆
SkillsSTEM + fine motor

Why we love this robot craft

This toilet paper roll robot started as a simple recycled craft, but it quickly turned into a miniature engineering project.

Kids get to decide how the robot should move, where its arms and legs should attach, what kind of antenna it needs, and which playful details will give it a personality of its own.

We used two cardboard tube sections for the robot’s head and body, then added curled pipe cleaners, pom-poms, googly eyes, markers, and building bricks. The finished robot can bend, wobble, twist, and become a character for pretend play after the crafting is finished.

It is a wonderful activity for Robot Week, Space Week, recycled craft themes, rainy days, classroom maker stations, or any child who loves building and inventing.

Materials needed

  • Two empty toilet paper rolls or one roll cut into sections
  • White paint or white paper for covering the tubes
  • Blue, purple, or pastel pipe cleaners
  • Pom-poms
  • Googly eyes
  • Washable paint markers or regular markers
  • Large building bricks or Duplo-style bricks
  • Scissors
  • Glue or low-temperature hot glue with adult help
  • A pencil or marker for curling pipe cleaners

Safety note

An adult should handle hot glue and help create any holes in the cardboard. Small pom-poms and googly eyes can be choking hazards, so supervise younger children closely.

How to make a toilet paper roll robot

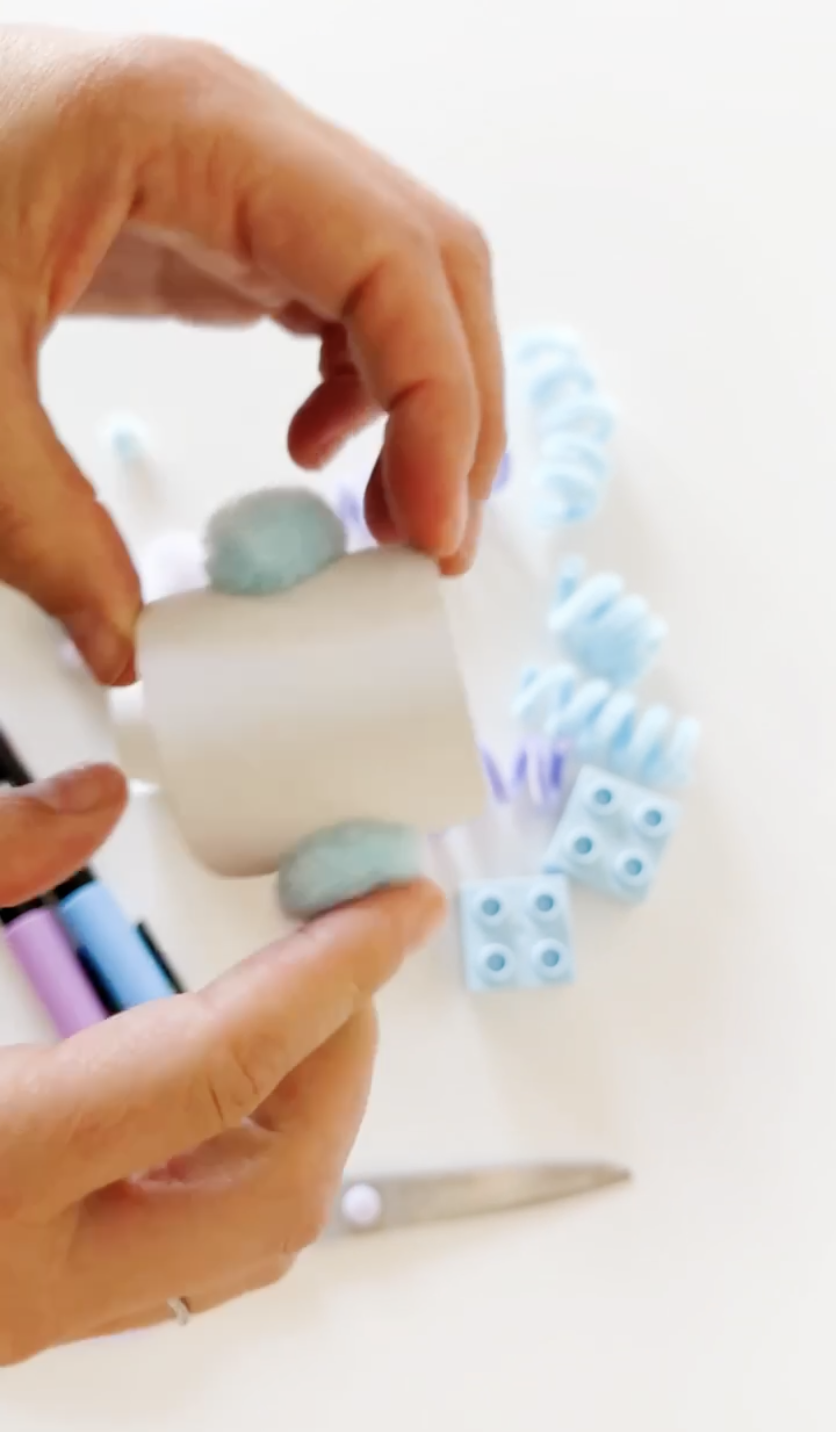
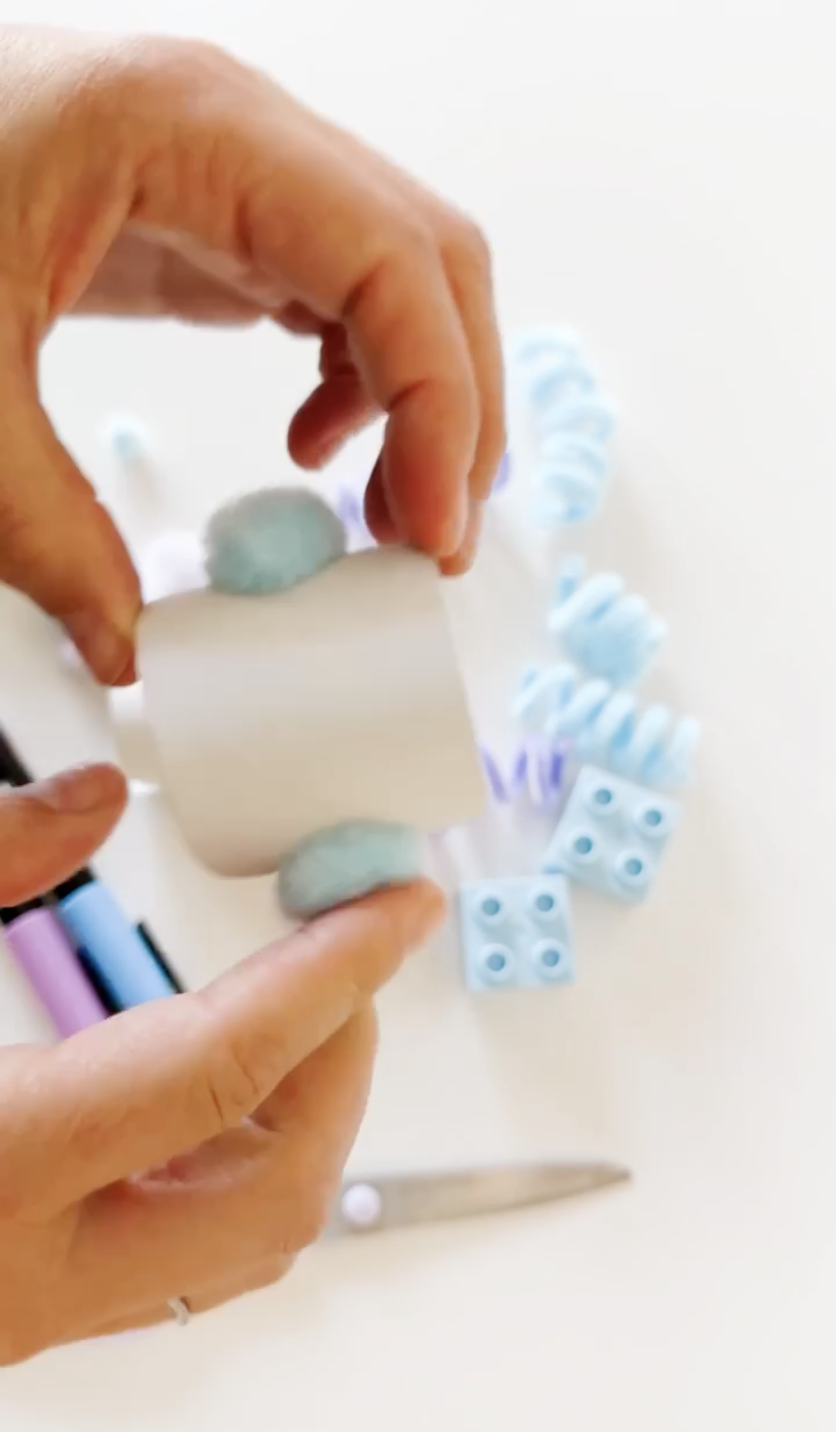
Attaching soft blue pom-poms to the sides of a white cardboard tube to make robot ears.
Step 1

Build the robot head

Cut a short section from a cardboard tube to create the robot’s head. Paint or wrap it in white paper if you want a clean robot base.

Glue a pom-pom to each side for ears. Add one more pom-pom to the top if you want a soft button, light, or extra robot sensor.

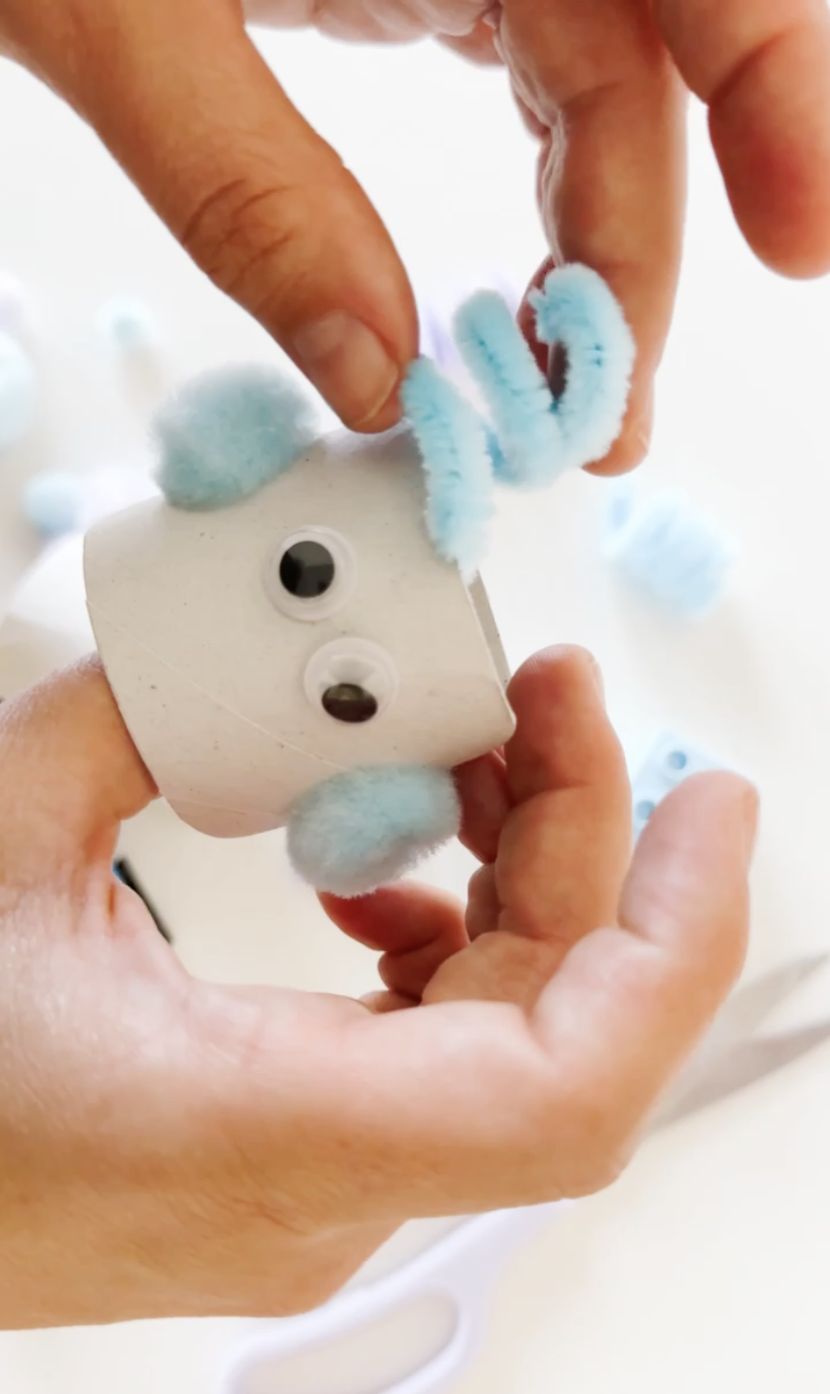
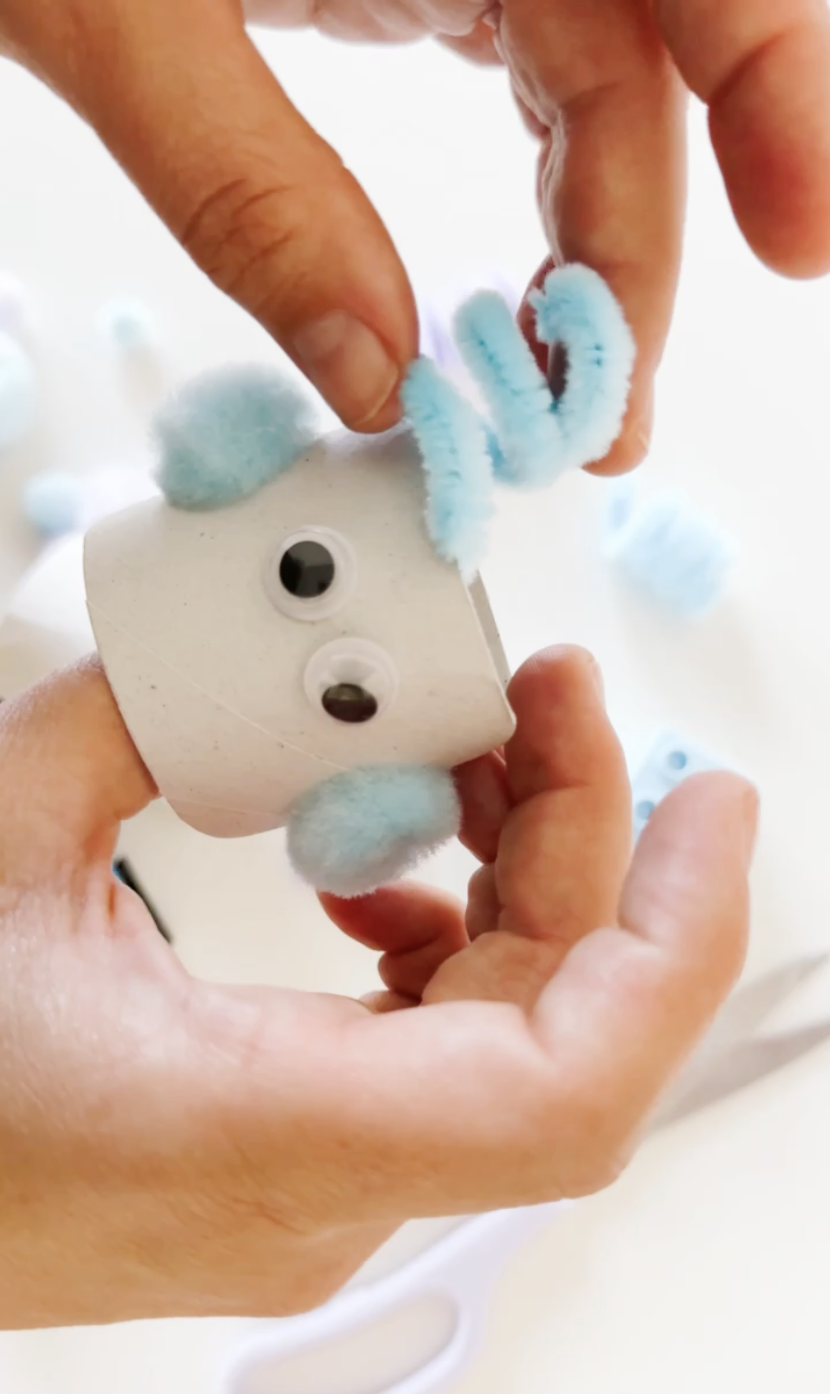
Adding googly eyes and curled blue pipe cleaner antennae to the cardboard robot head.
Step 2

Add the face and antennae

Glue two googly eyes onto the front of the robot head. Draw a small mouth, eyelashes, buttons, bolts, or any other facial details your child wants.

Wrap two pipe cleaners around a marker or pencil to make spirals. Slide them off, bend the ends slightly, and attach them to the top of the robot’s head as antennae.

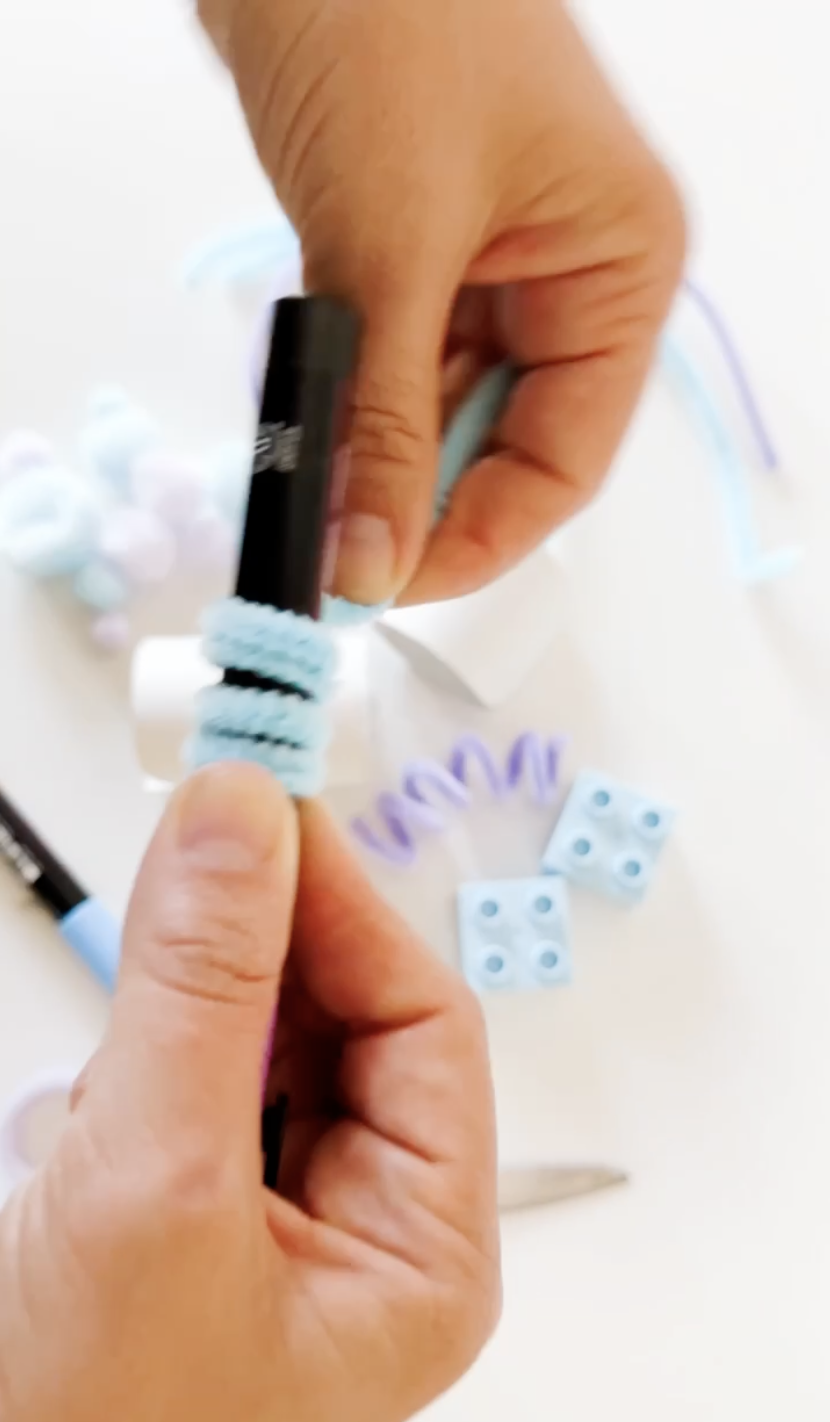
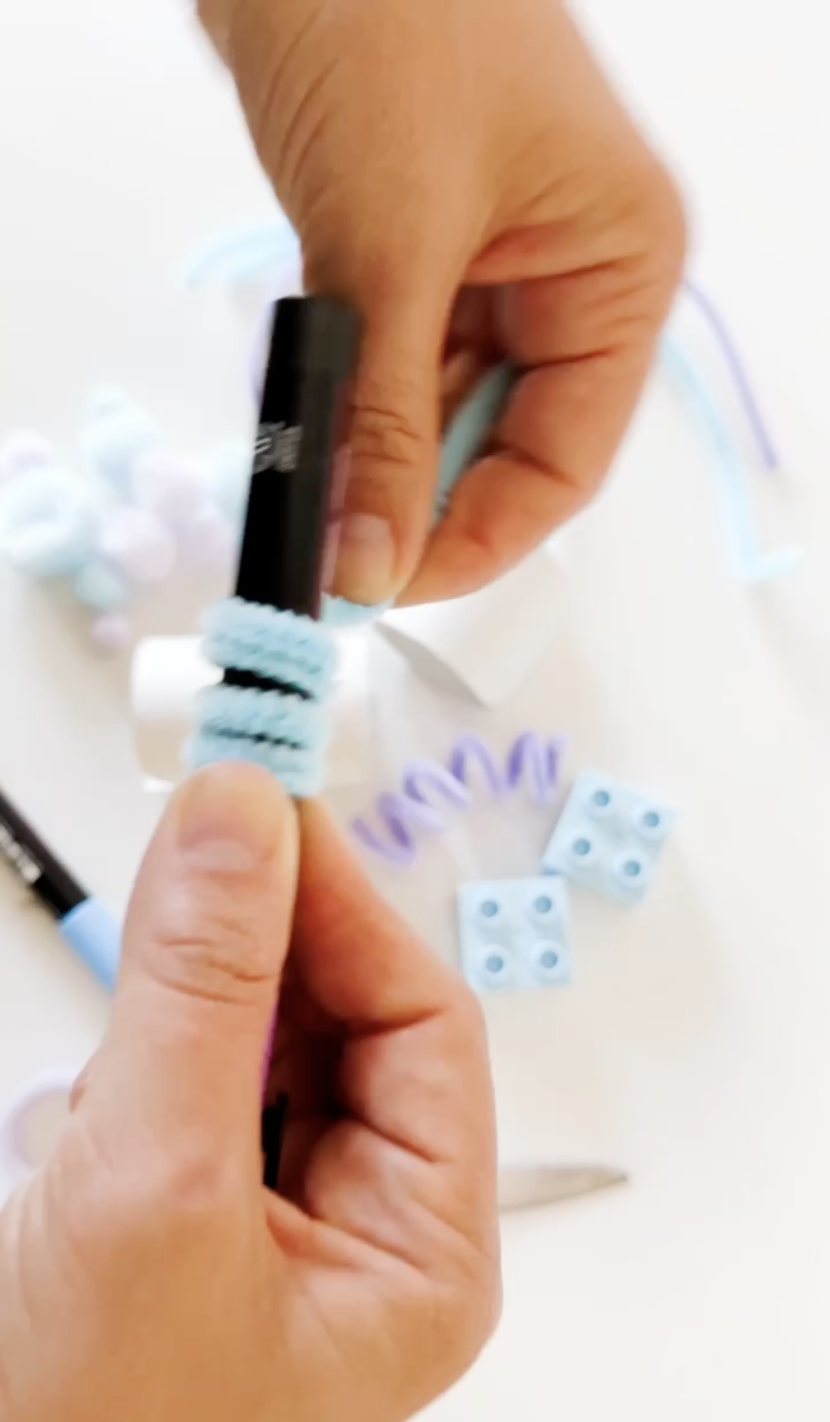
Curling a blue pipe cleaner around a black marker to make a spiral robot arm or leg.
Step 3

Make curly robot limbs

Wrap additional pipe cleaners around a marker to create coiled arms, legs, and a tail-like wire attachment.
Try making some coils tight and others loose. Ask your child which shape might make the robot bounce, reach, twist, or move most easily.

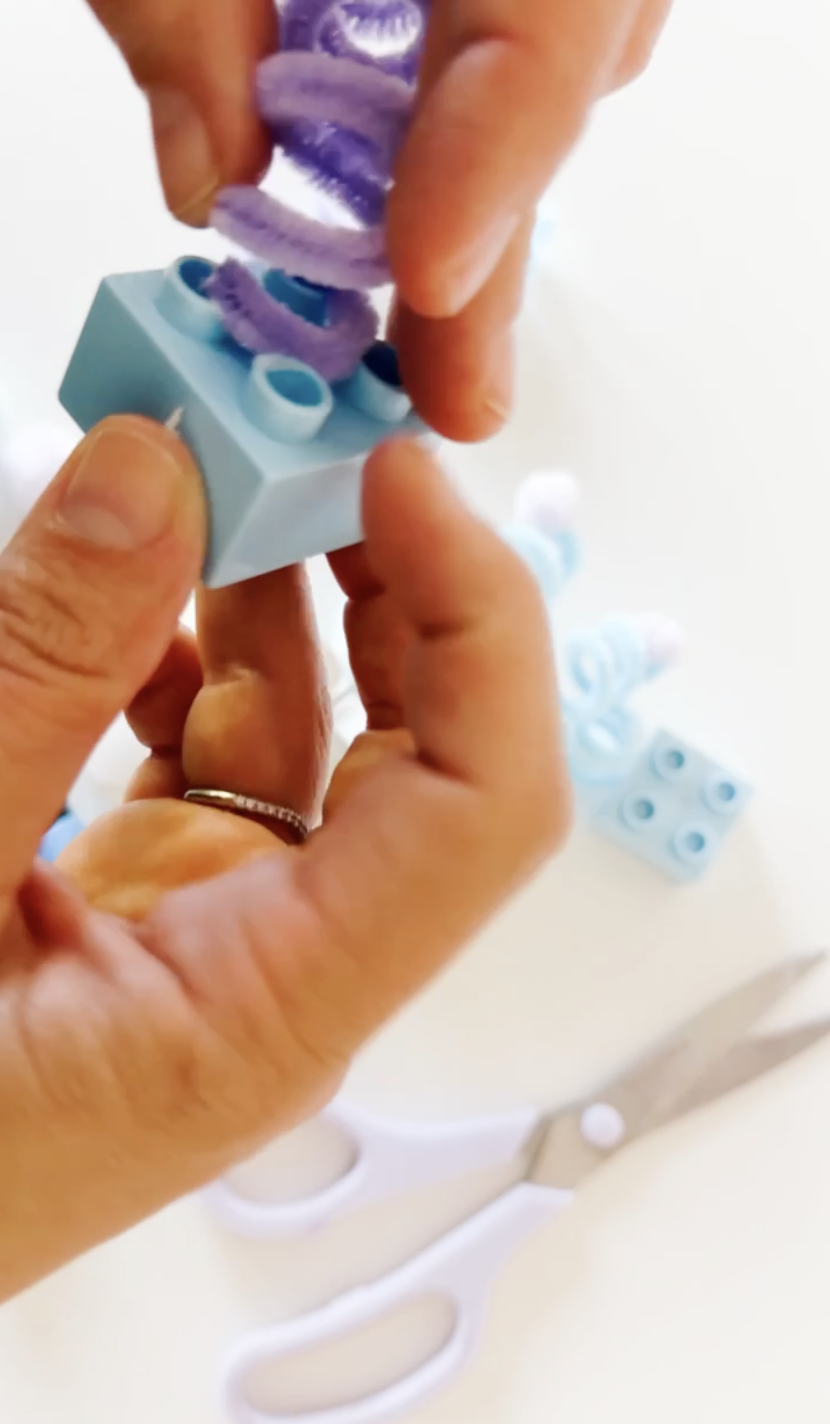
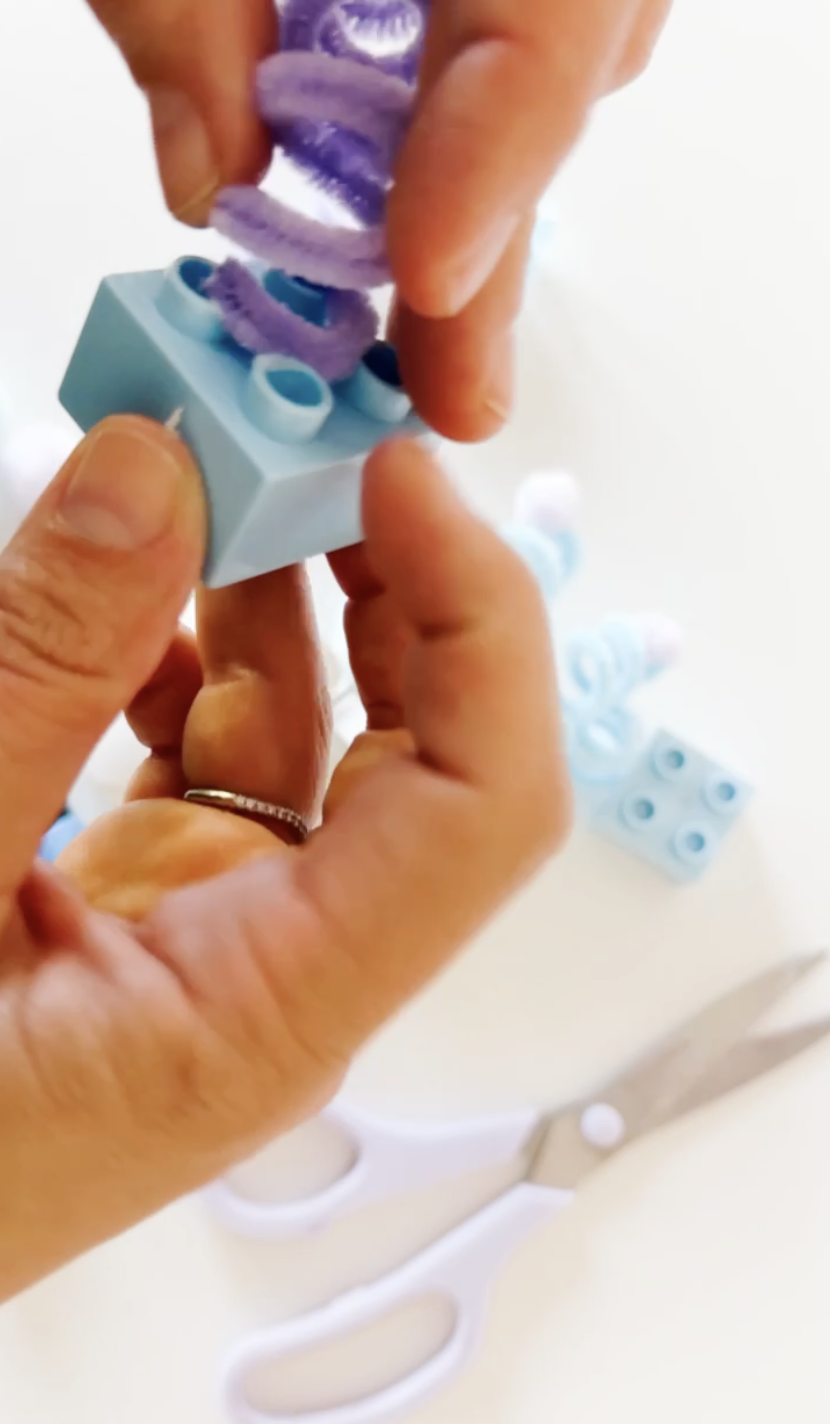
Inserting a purple curled pipe cleaner into a blue building brick to create a robot foot.
Step 4

Add building-brick feet

Press the ends of the curled pipe-cleaner legs into the openings of large building bricks. The bricks become chunky robot feet and help the finished creation stand or balance.

Test a few different bricks and positions. This is a playful opportunity to explore balance, stability, weight, and problem-solving.

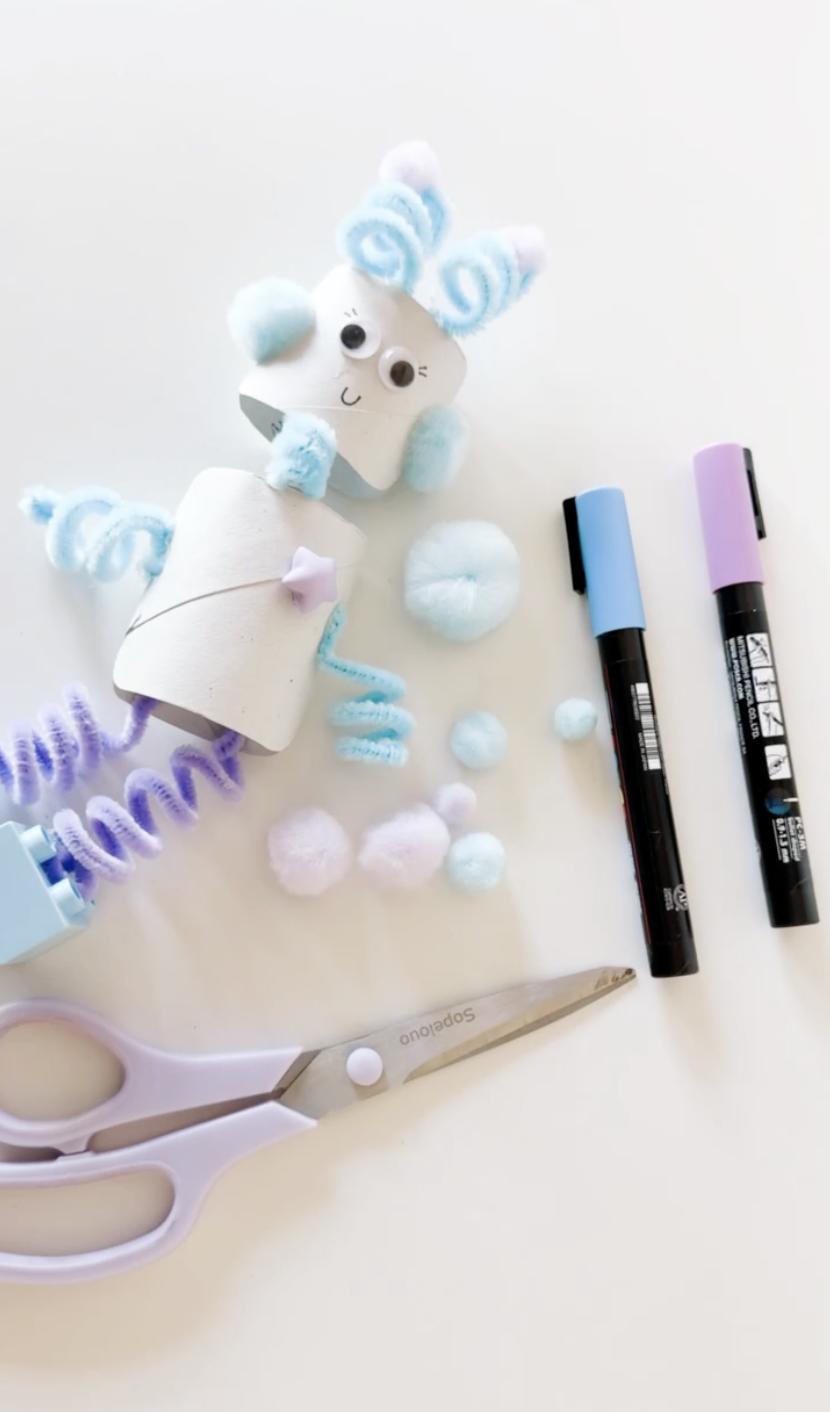
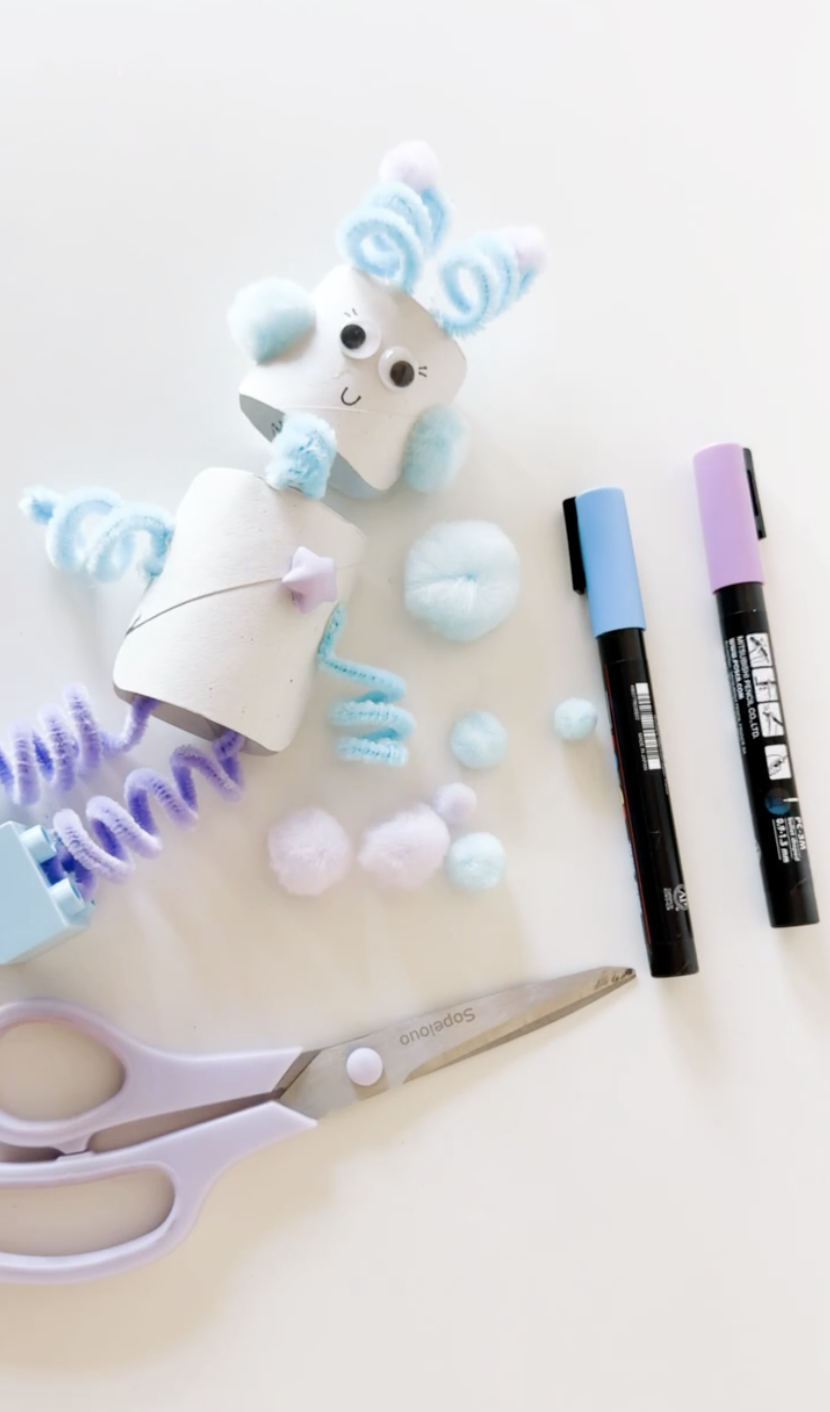
Completed toilet roll robot pieces with curled pipe cleaner limbs, pom-poms, markers, scissors, and building bricks.
Step 5

Assemble and decorate the robot

Attach the head to the larger cardboard tube body with a short pipe-cleaner neck, glue, or another flexible connector.

Add the arms, legs, feet, decorative pom-poms, and a building-brick button or control panel. Finish by drawing bolts, switches, numbers, patterns, or a robot name.

Parent tip

Do not worry about making every part perfectly symmetrical. Letting children choose unusual placements and test their own ideas turns this craft into a much richer engineering and problem-solving activity.

Turn it into a mini STEM challenge

Once the basic robot is complete, invite your child to improve its design.

  • Can you make the robot stand without falling?
  • Can you create arms that bend?
  • Can you design feet that support a heavier body?
  • Can the head spin or wobble?
  • Can you add a tool, button, sensor, or pretend control panel?
  • Can you build a second robot with a completely different job?

These small design challenges encourage children to plan, test, adjust, and try again—the same basic process engineers use when developing a new invention.

What kids learn from this robot craft

This recycled robot craft supports much more than creativity.

Wrapping pipe cleaners around a marker strengthens hand muscles and coordination. Gluing small details develops precision. Connecting the pieces introduces construction, balance, flexible joints, and cause and effect.

Children also practice planning as they decide what their robot should do and which parts it needs. When a piece does not balance or attach correctly, they get an authentic opportunity to problem-solve and revise their design.

Learning skills

Fine motor skills Early engineering Problem-solving Balance Cause and effect Creative design Recycled materials Pretend play Hand-eye coordination

Questions to ask kids

  • What job does your robot do?
  • Why does it need antennae?
  • Which parts can bend or move?
  • How can we help the robot balance?
  • What would happen if the feet were smaller?
  • What tools or buttons does your robot need?
  • What is your robot’s name?
  • Can you invent a story about where the robot lives?

Robot vocabulary

Robot Engineer Invent Design Machine Antenna Sensor Control panel Joint Balance Build Test Improve

Ways to extend the play

Robot repair shop

Set out toy tools, loose parts, building bricks, and recycled materials so children can repair and upgrade their robots.

Robot movement game

Take turns moving like robots. Use commands such as forward, backward, turn, freeze, lift, and recharge.

Design a robot helper

Ask your child to draw or build a robot that helps with a real-life job, such as cleaning, cooking, gardening, or exploring space.

Build a robot world

Use boxes, building bricks, tubes, and recycled containers to create a laboratory, charging station, or robot city.

More robot and space activities

DIY robot costume

Turn cardboard boxes, lights, building bricks, tubes, and playful materials into a full wearable robot costume.

See the robot costume

DIY astronaut costume

Continue the engineering and imaginative-play theme with a sparkly homemade astronaut costume and jetpack.

See the astronaut costume

Free printable activities

Explore more hands-on printables, activity books, dramatic-play resources, and early-learning materials.

Browse free printables

Toilet paper roll robot FAQ

How do you make a robot from a toilet paper roll?

Use one cardboard tube section for the head and another for the body. Add googly eyes, pom-pom ears, curled pipe-cleaner arms and legs, and large building bricks for the feet. Attach the parts with glue or pipe cleaners and decorate with markers.

What age is this robot craft best for?

This activity is best for children ages four and up with adult supervision. Younger children can decorate pre-cut pieces, while older children can help design, connect, and balance the robot independently.

How do you curl pipe cleaners for robot arms and legs?

Wrap a pipe cleaner tightly around a pencil or marker, then gently slide it off. Stretch or compress the spiral depending on how long and flexible you want the robot limb to be.

What can kids learn from making a robot?

Children practice fine motor skills, early engineering, creative design, balance, problem-solving, planning, and imaginative storytelling.

What can I use instead of building bricks for the feet?

Try bottle caps, small cardboard squares, corks, wooden blocks, egg-carton cups, foam shapes, or another sturdy recycled material.

Can I use this craft for a robot or space unit study?

Yes. Pair it with books about robots, coding movement games, recycled-building challenges, space sensory play, and conversations about how engineers design machines to solve problems.

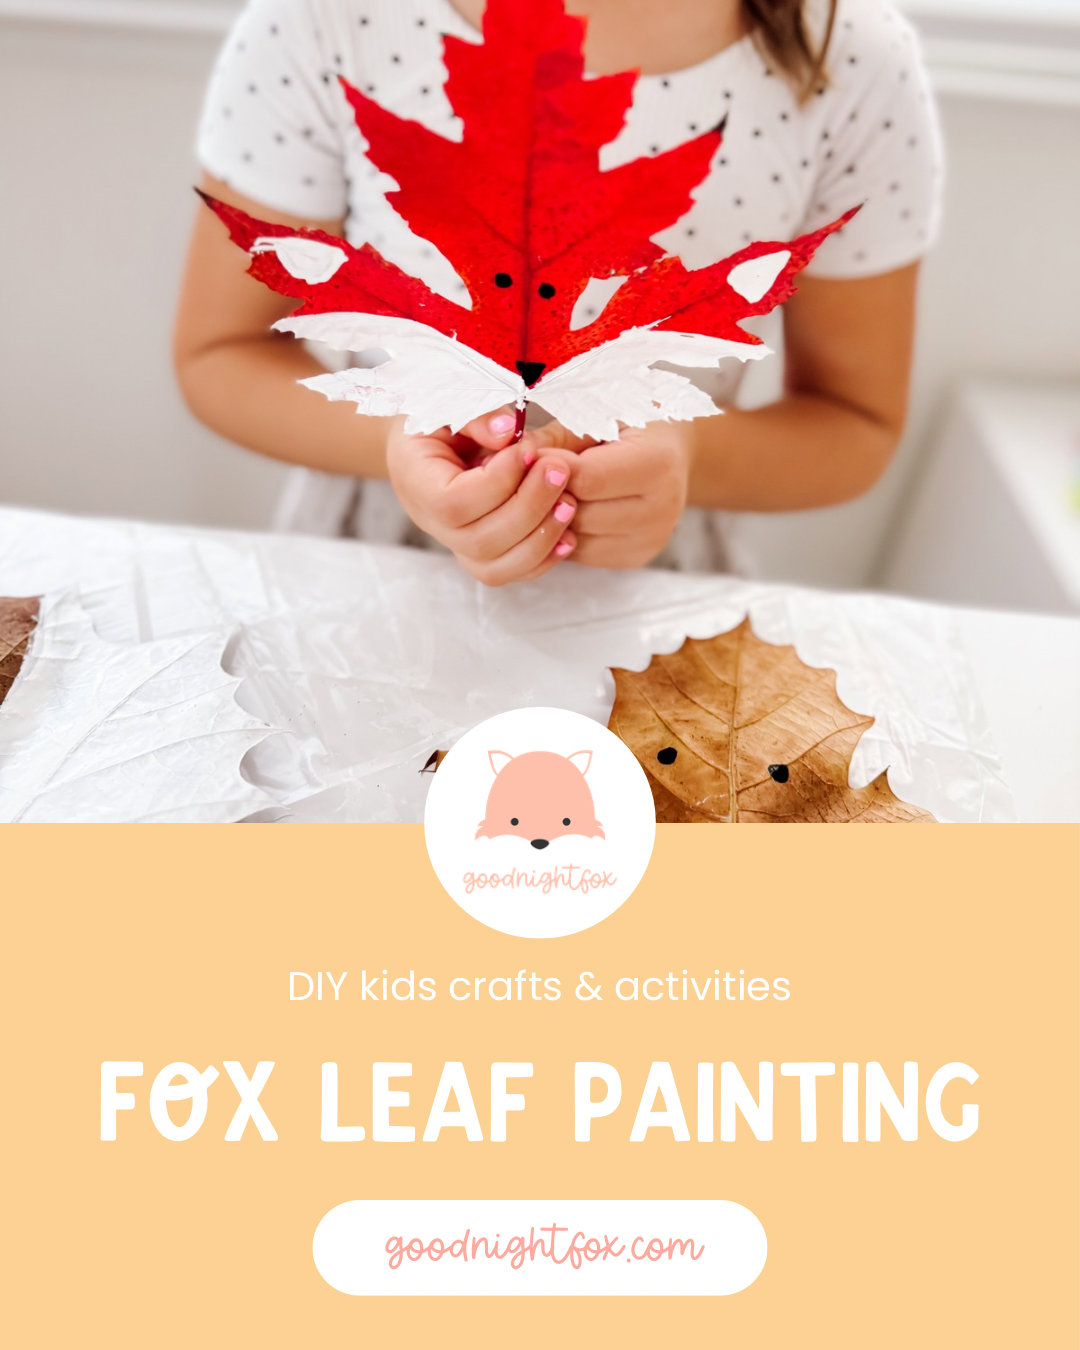
Adorable Leaf Fox Craft for Fall — A Nature-Based Preschool Activity for Homeschool Families

Leaf Fox Craft

A sweet fall nature craft for kids using real leaves, paint, and simple supplies to make adorable woodland fox faces.

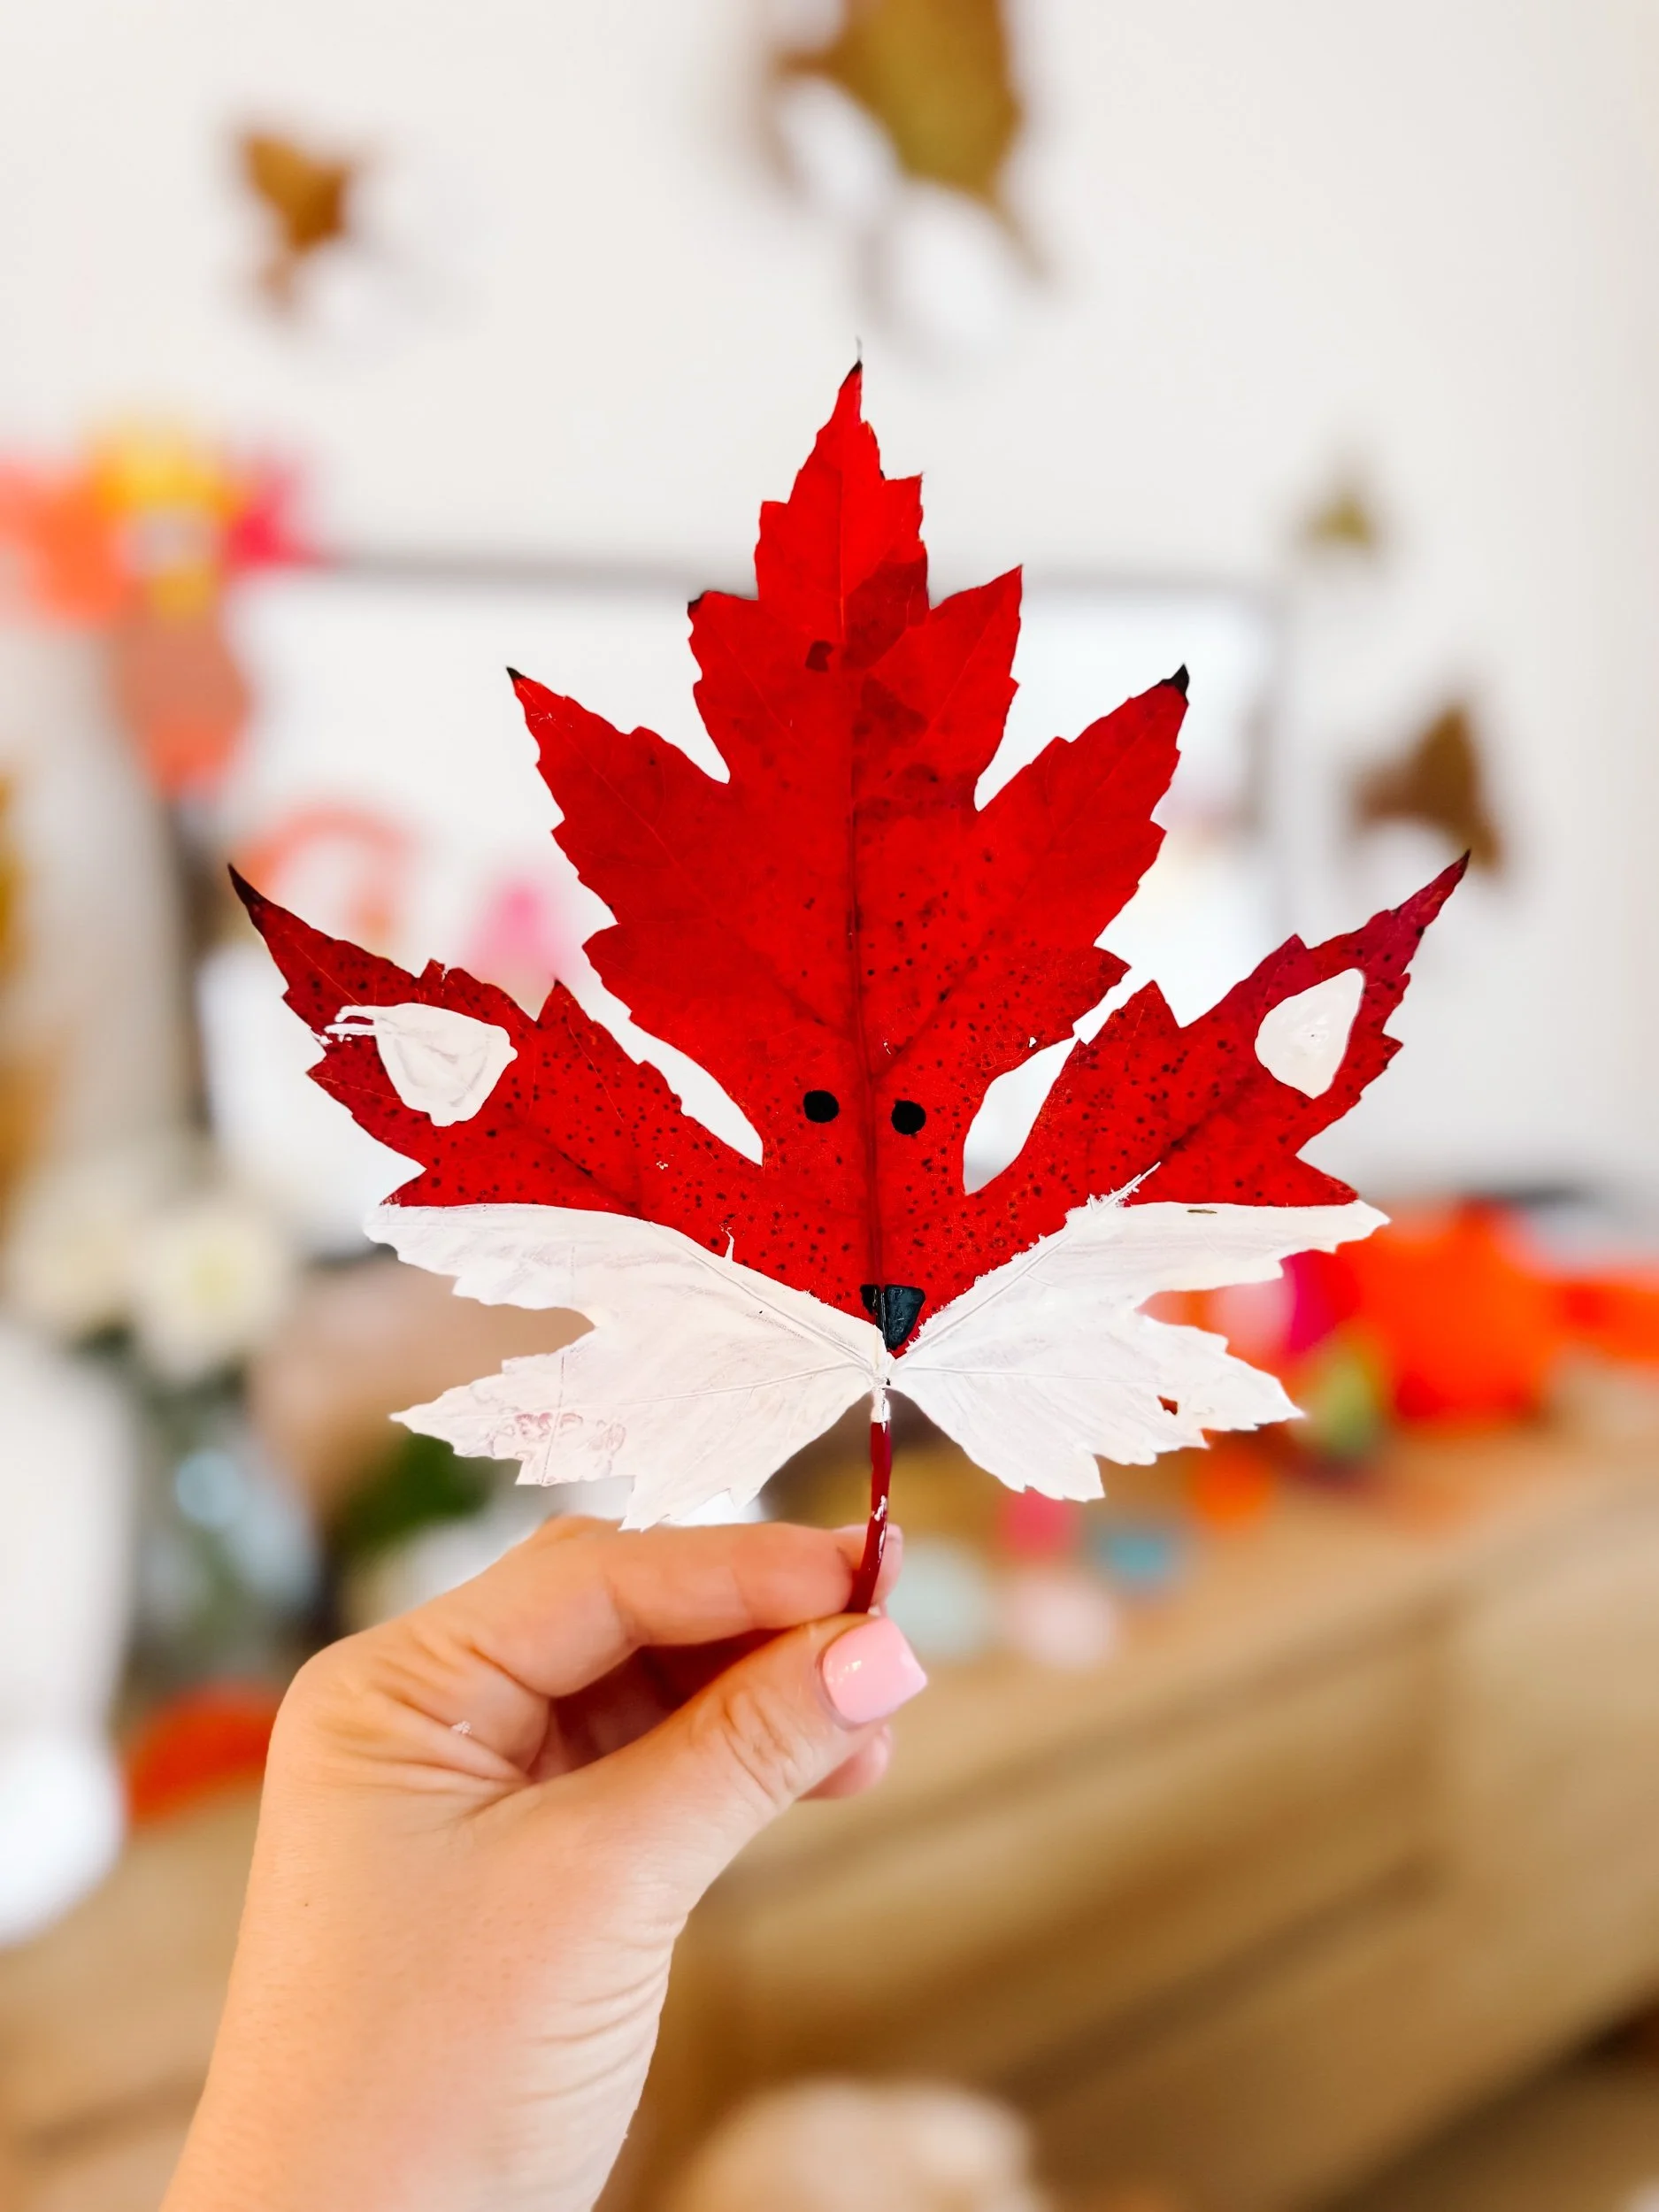
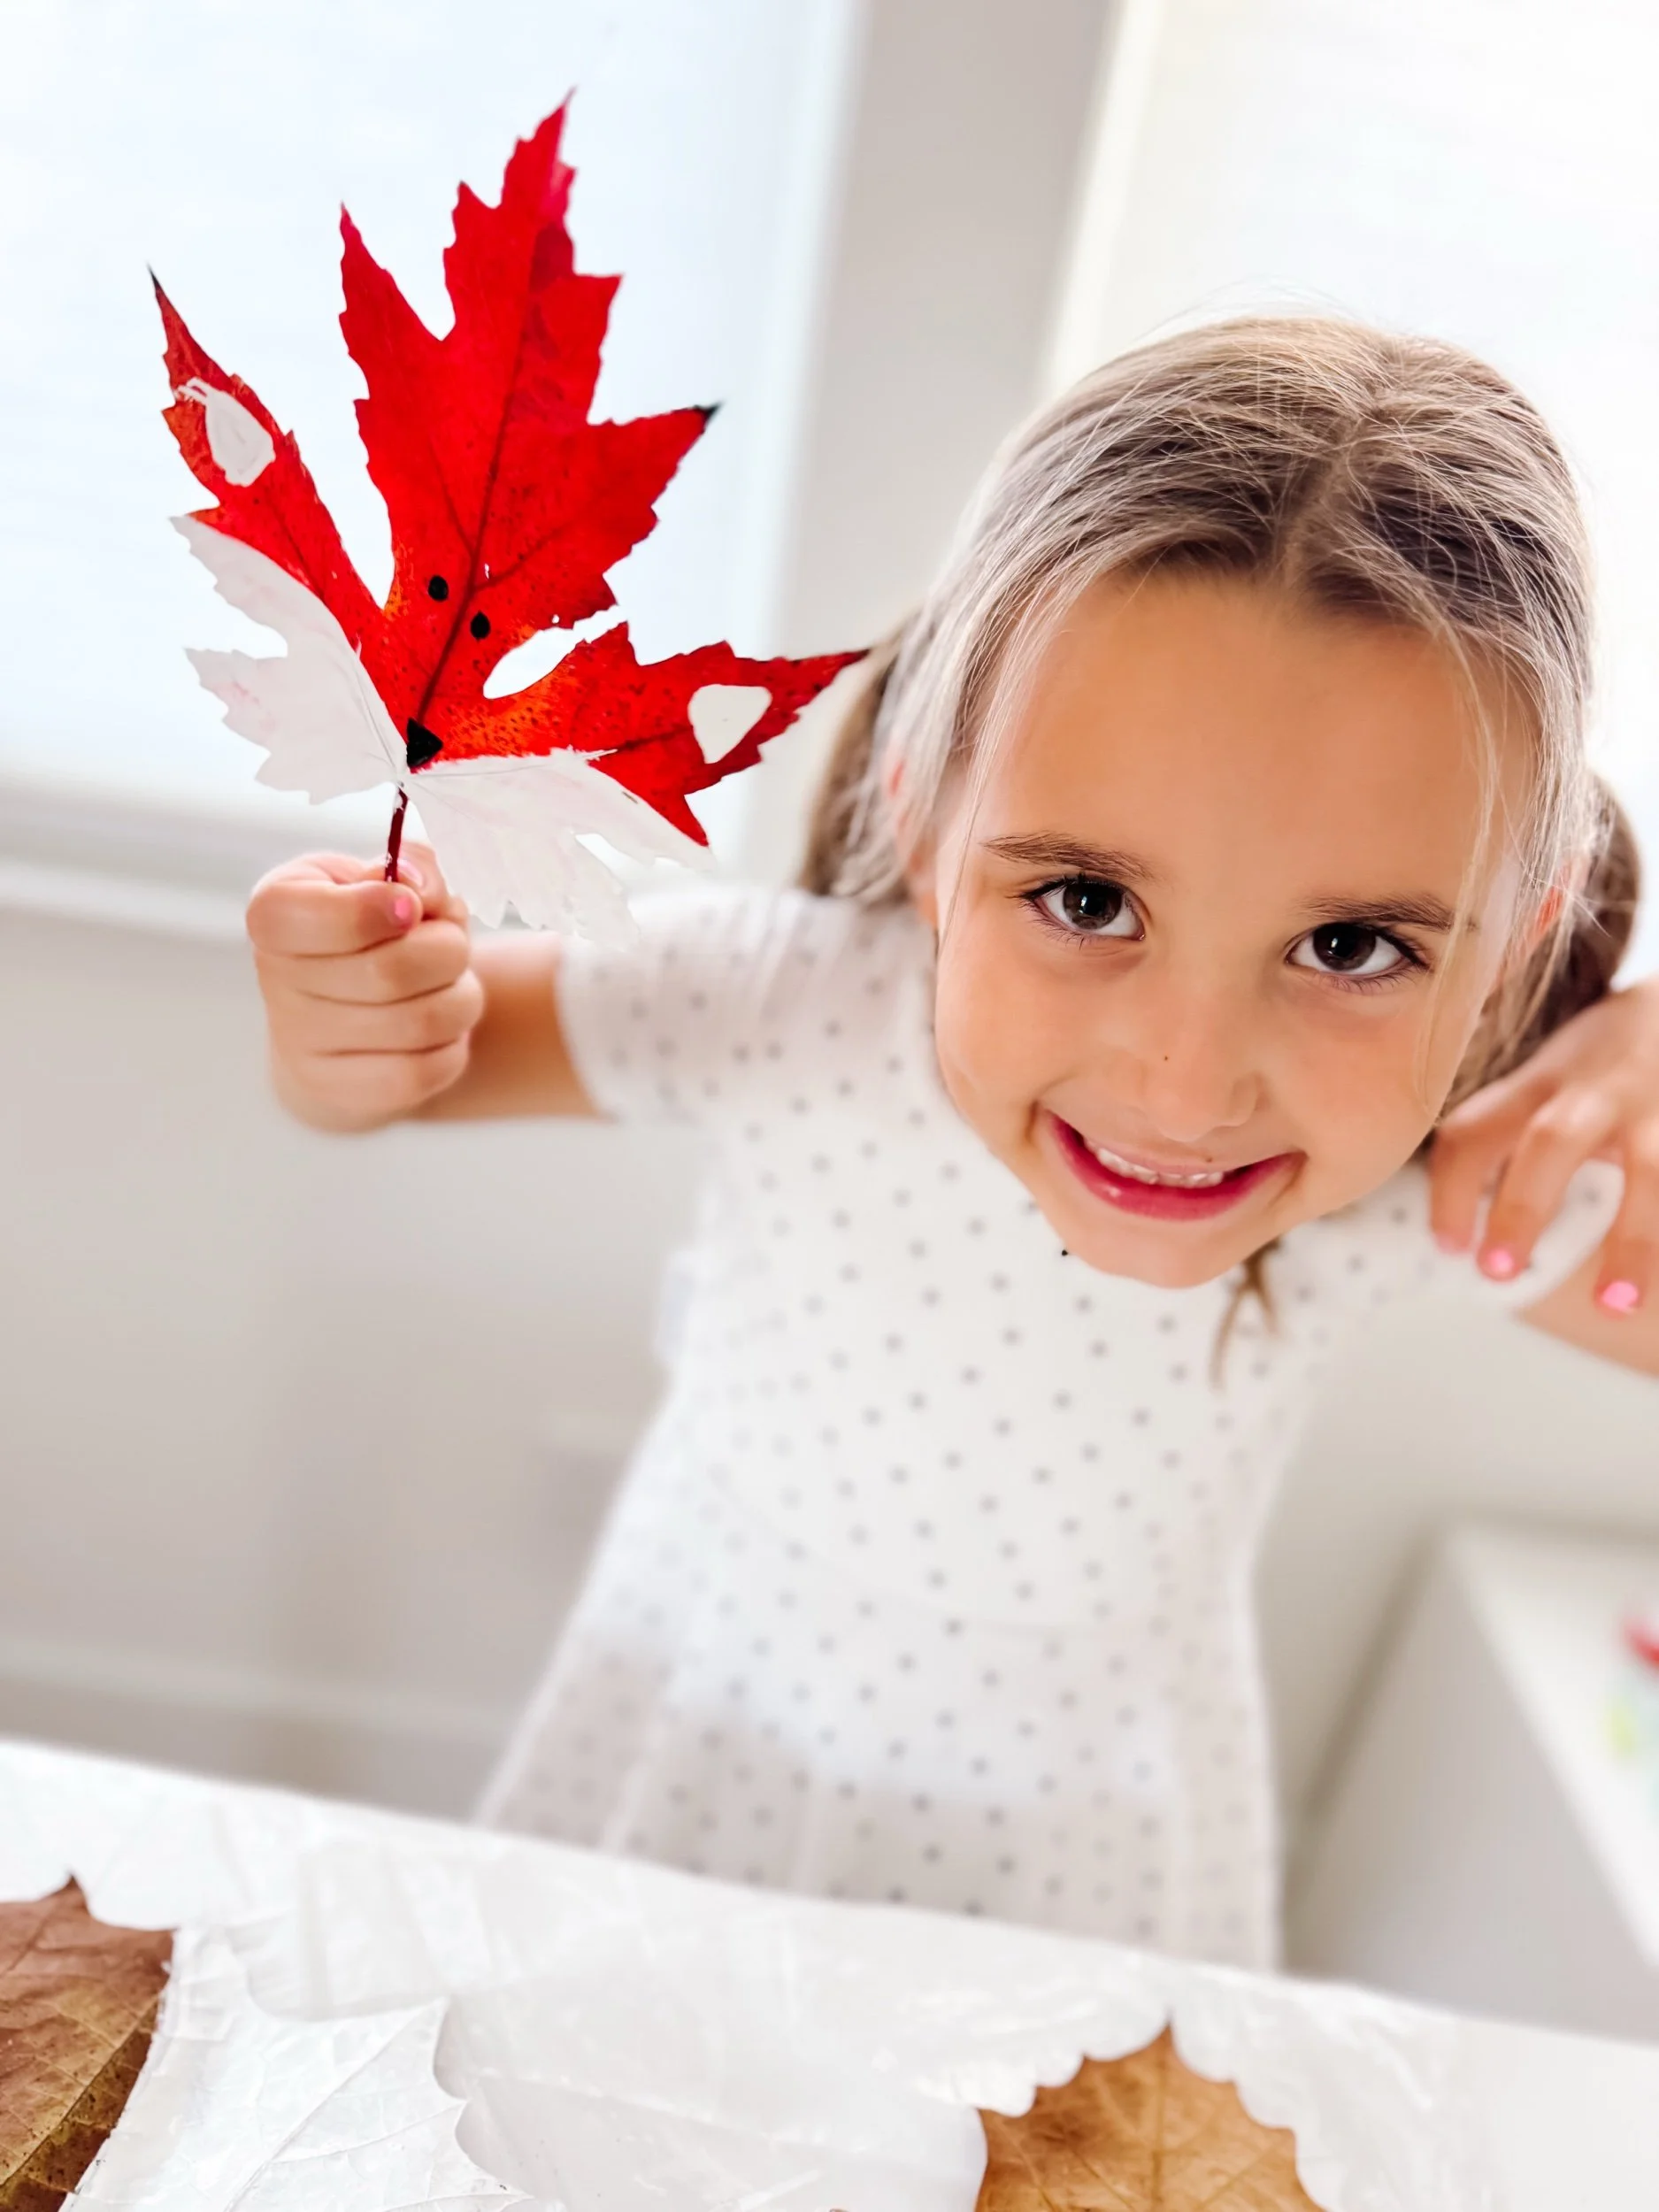
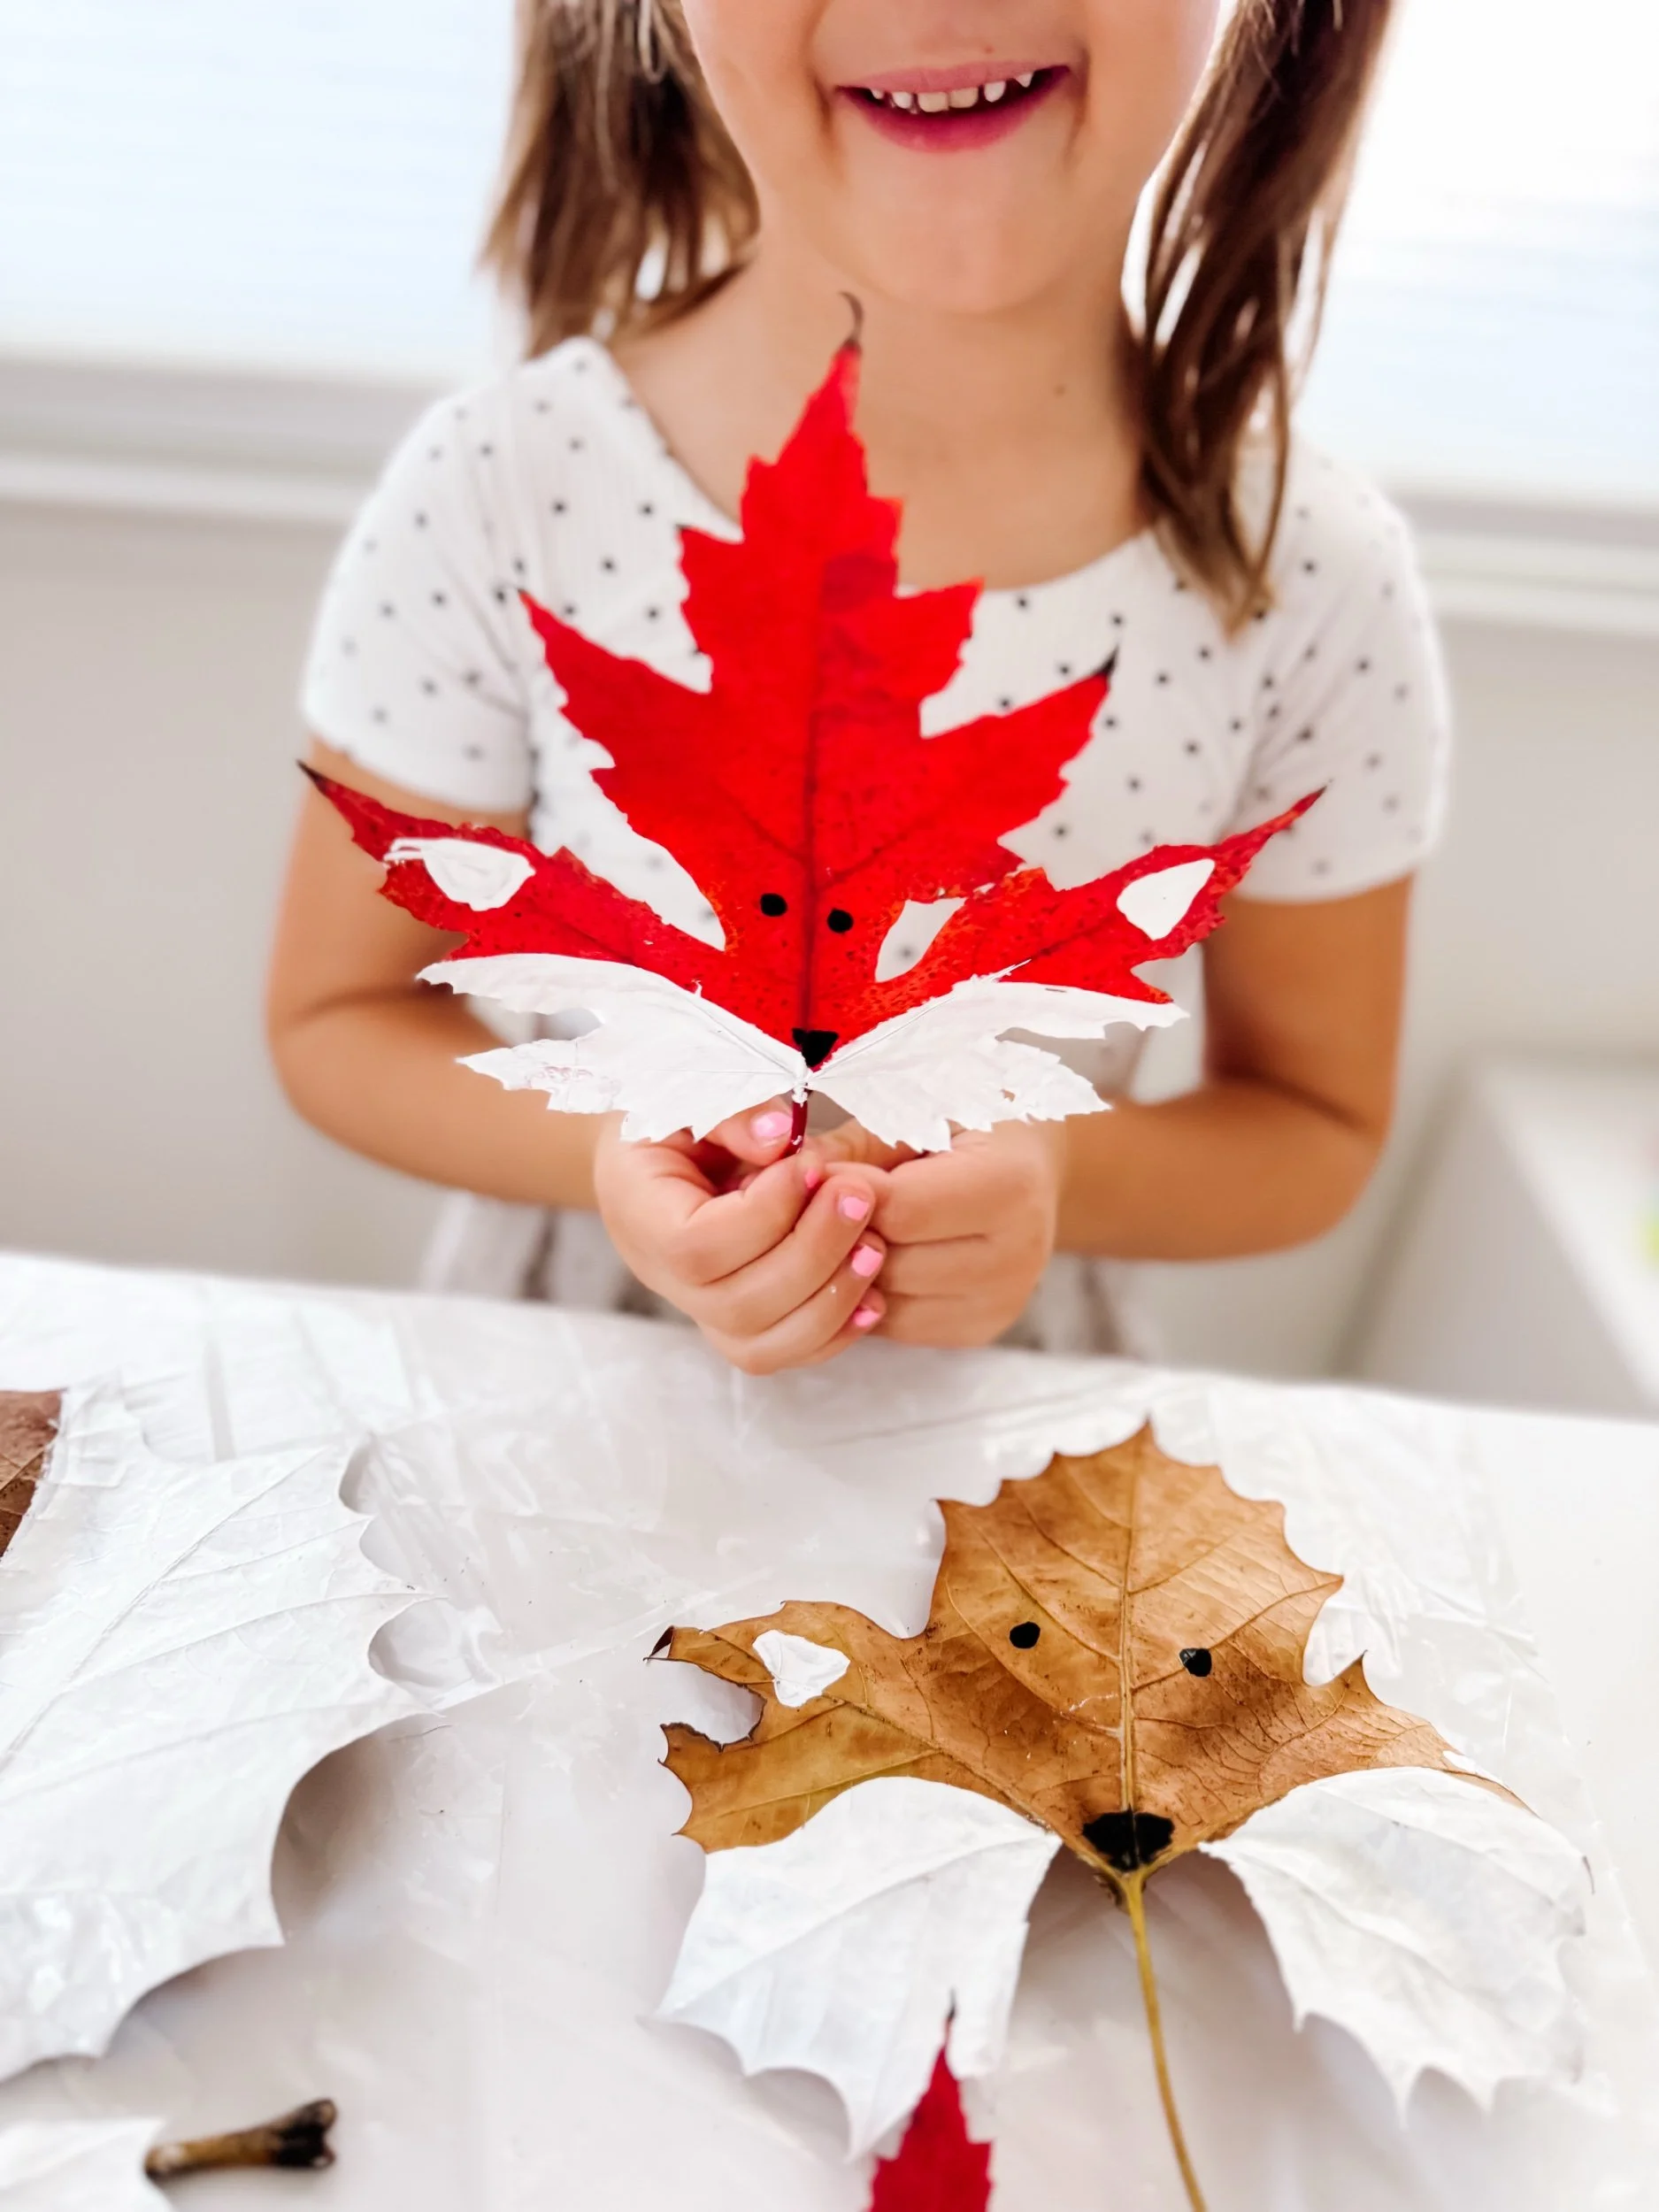
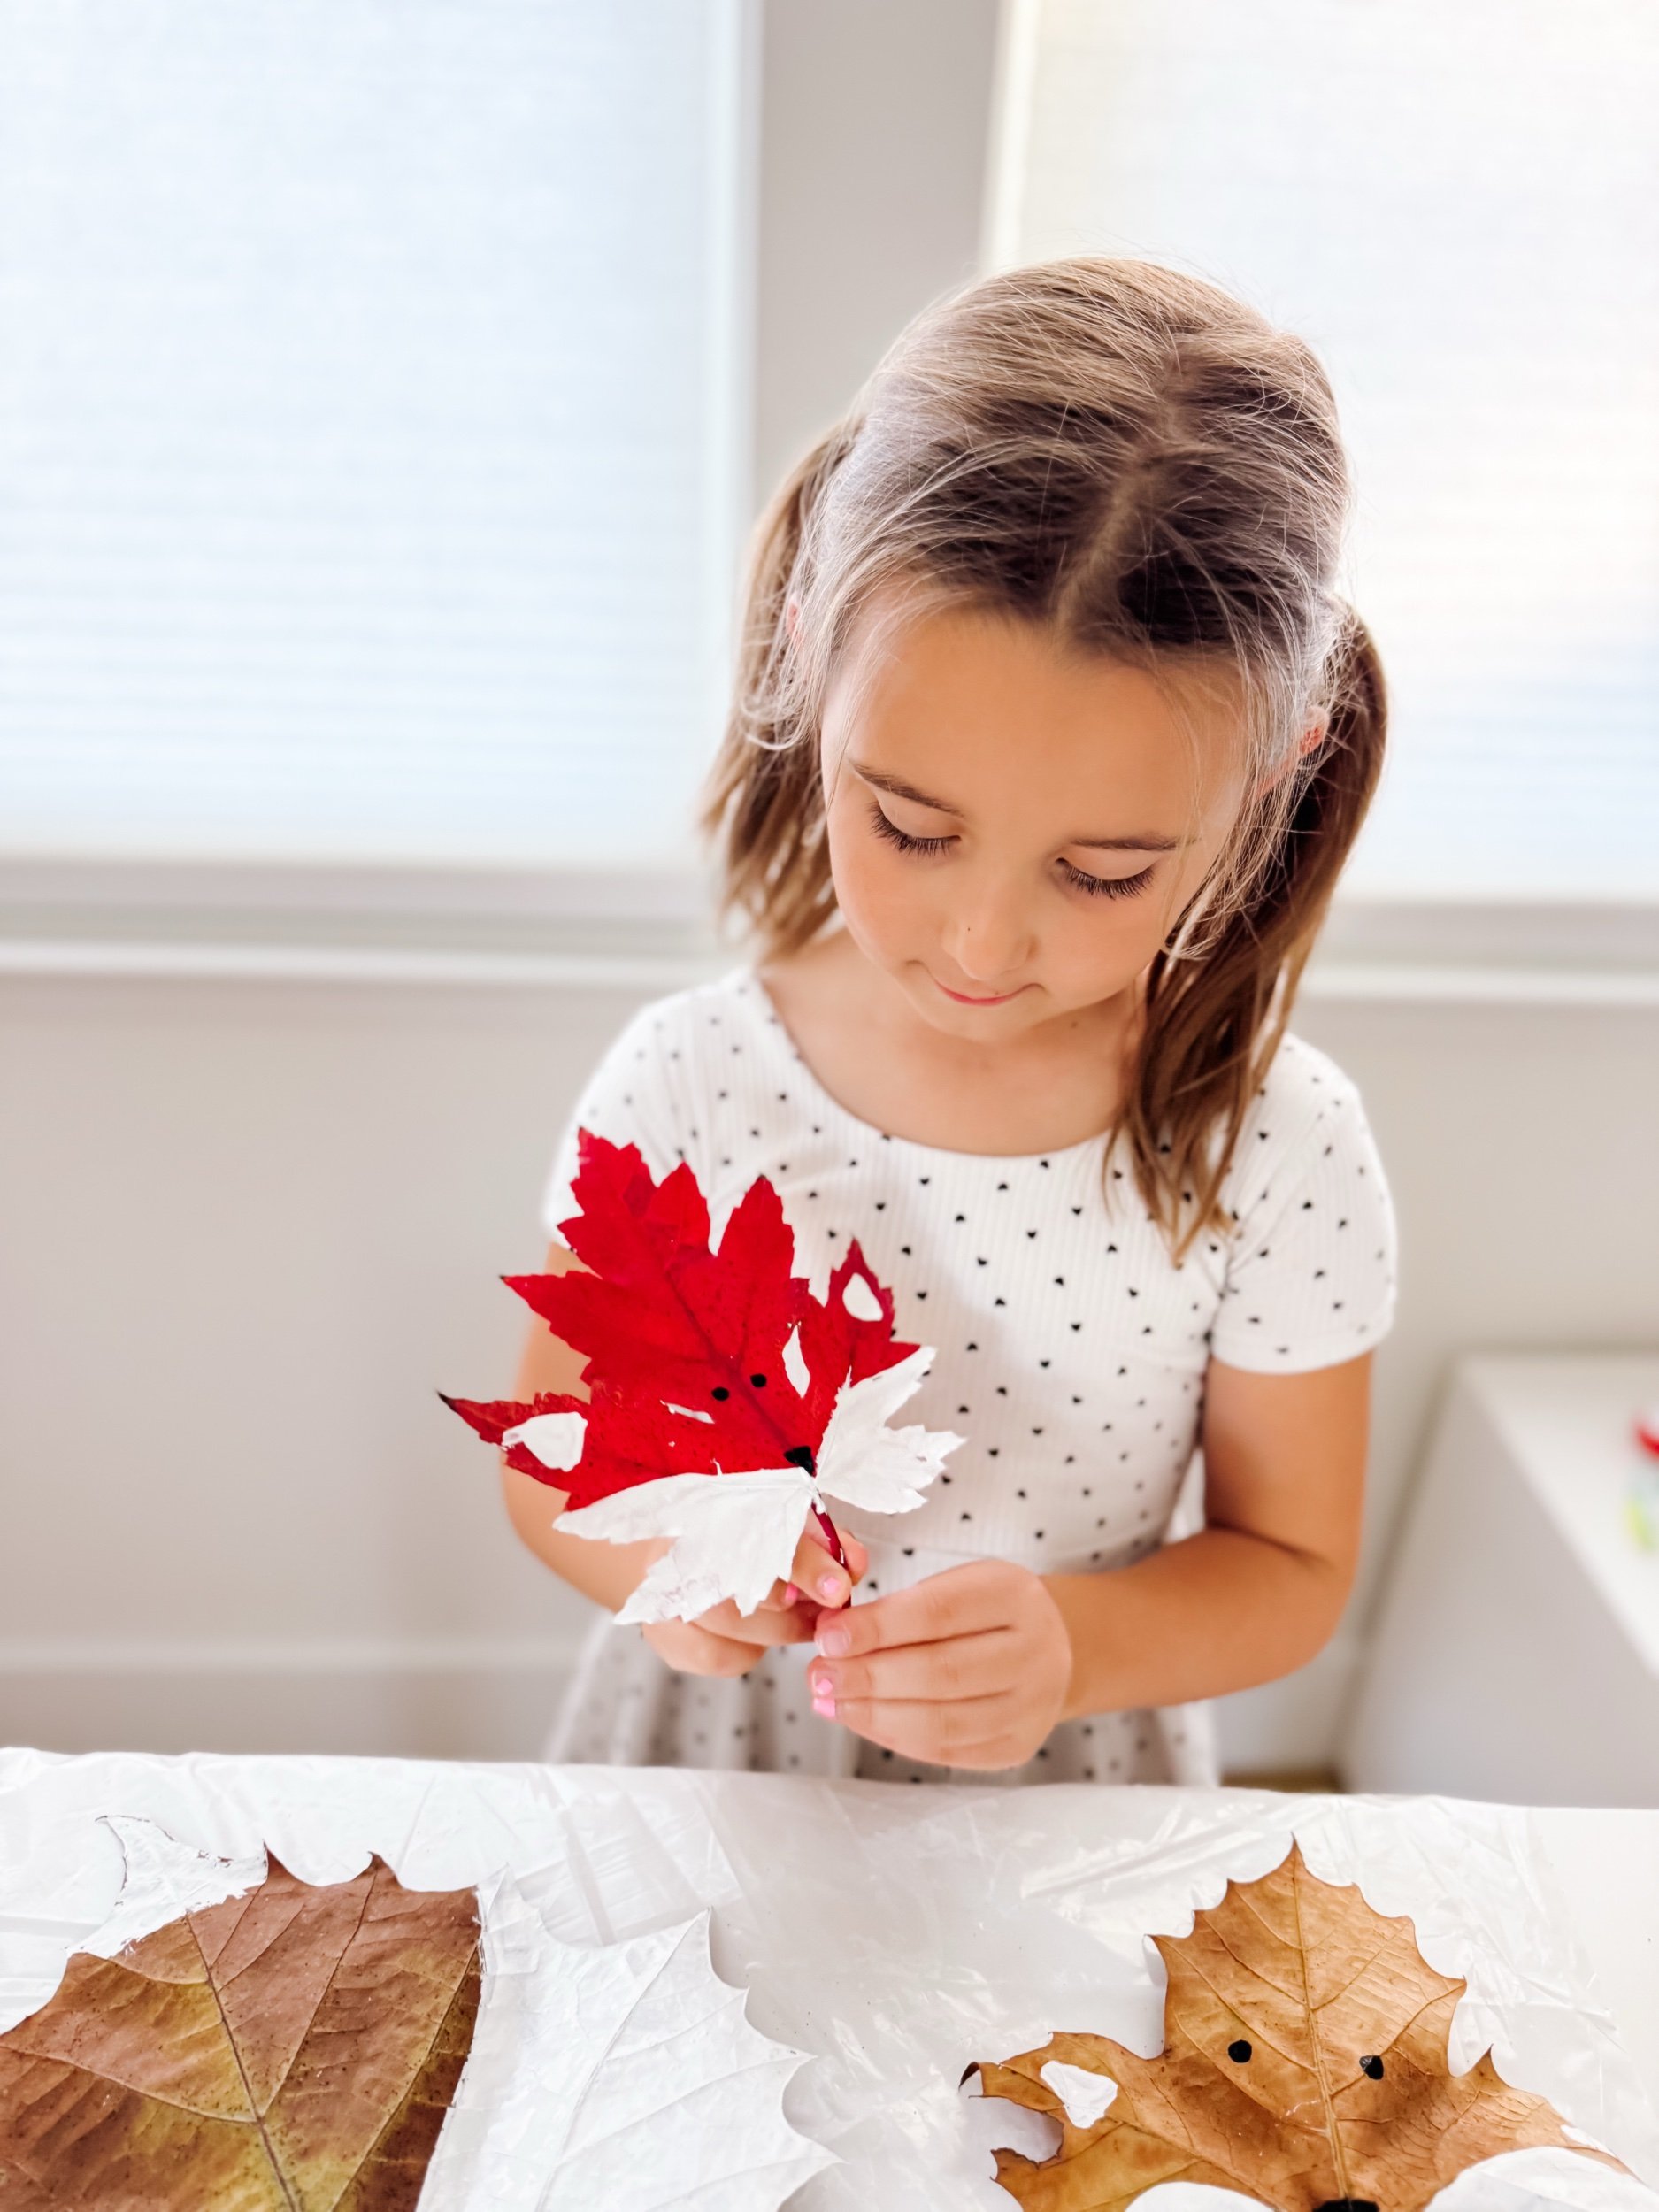
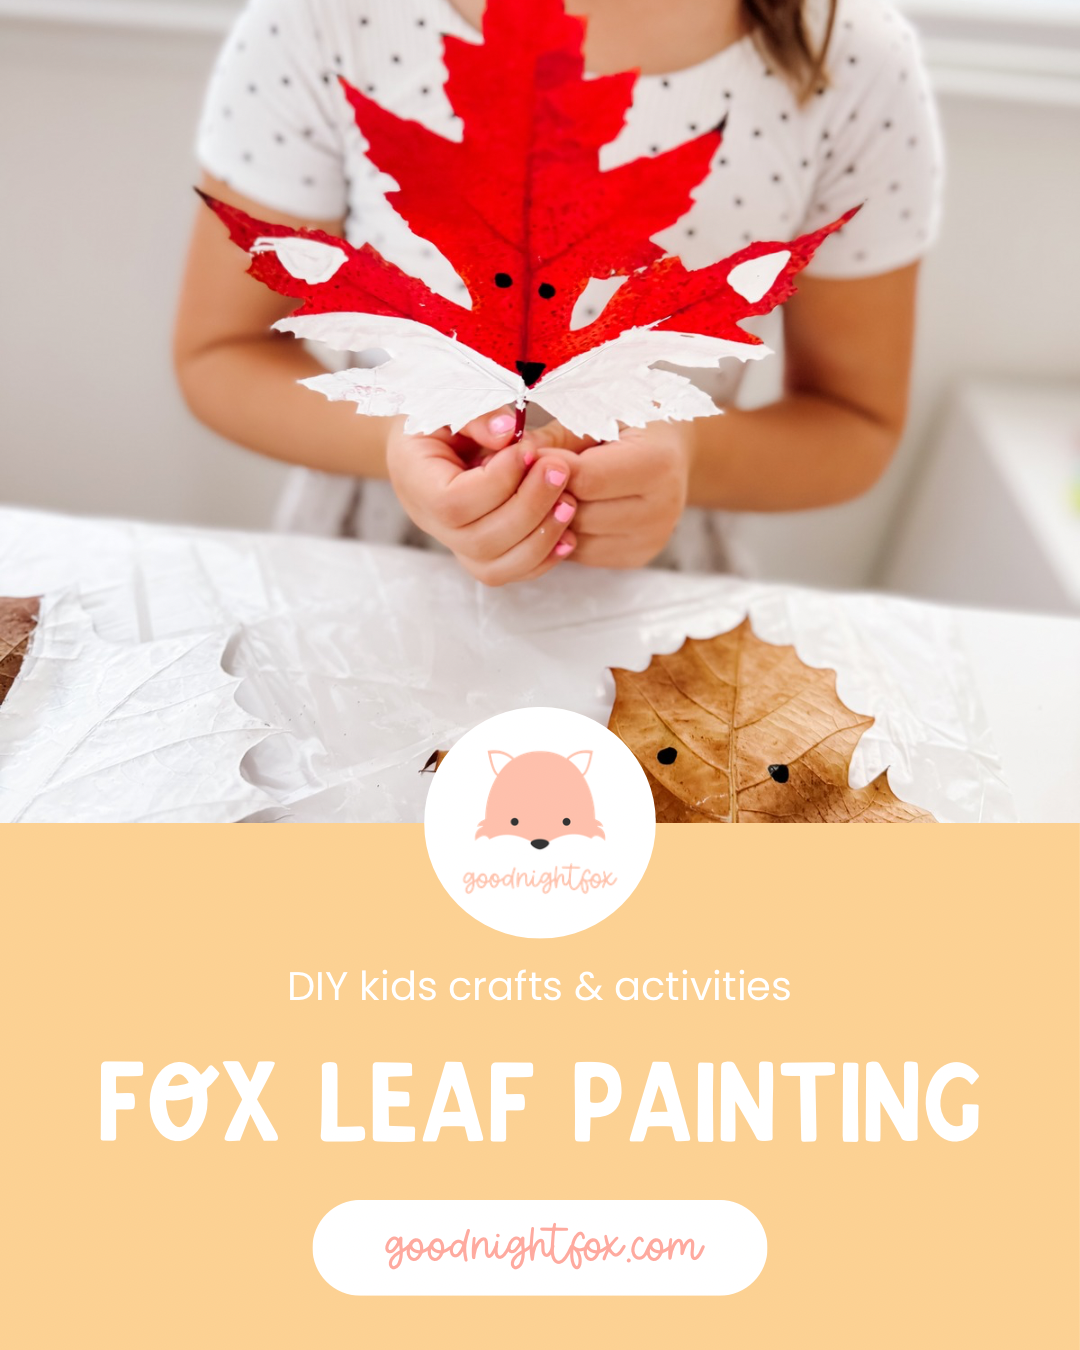
Leaf fox craft for kids made from a red maple leaf painted with white cheeks, black eyes, and a fox nose.
Age3+
Prep10 minutes
Activity20 minutes
Mess★★☆☆☆
SkillsNature + fine motor

Why we love this activity

Fall is the perfect season for slowing down, heading outside, and turning nature treasures into art.

This leaf fox craft is simple, low-prep, and so charming. Kids collect leaves, observe their shapes and colors, then use paint to transform an ordinary leaf into a sweet woodland fox.

It is a beautiful activity for autumn nature studies, woodland animal themes, fall homeschool weeks, preschool art, and outdoor learning.

I especially love that this craft begins with a leaf hunt. Before the painting even starts, kids are noticing colors, comparing shapes, counting points, and looking closely at the natural world.

Materials needed

  • Fall leaves, especially maple leaves
  • White paint
  • Black paint or black marker
  • Small paintbrushes
  • Cotton swabs for dotting eyes
  • Parchment paper, tray, or table cover
  • Optional: paper for mounting or displaying

How to make a leaf fox

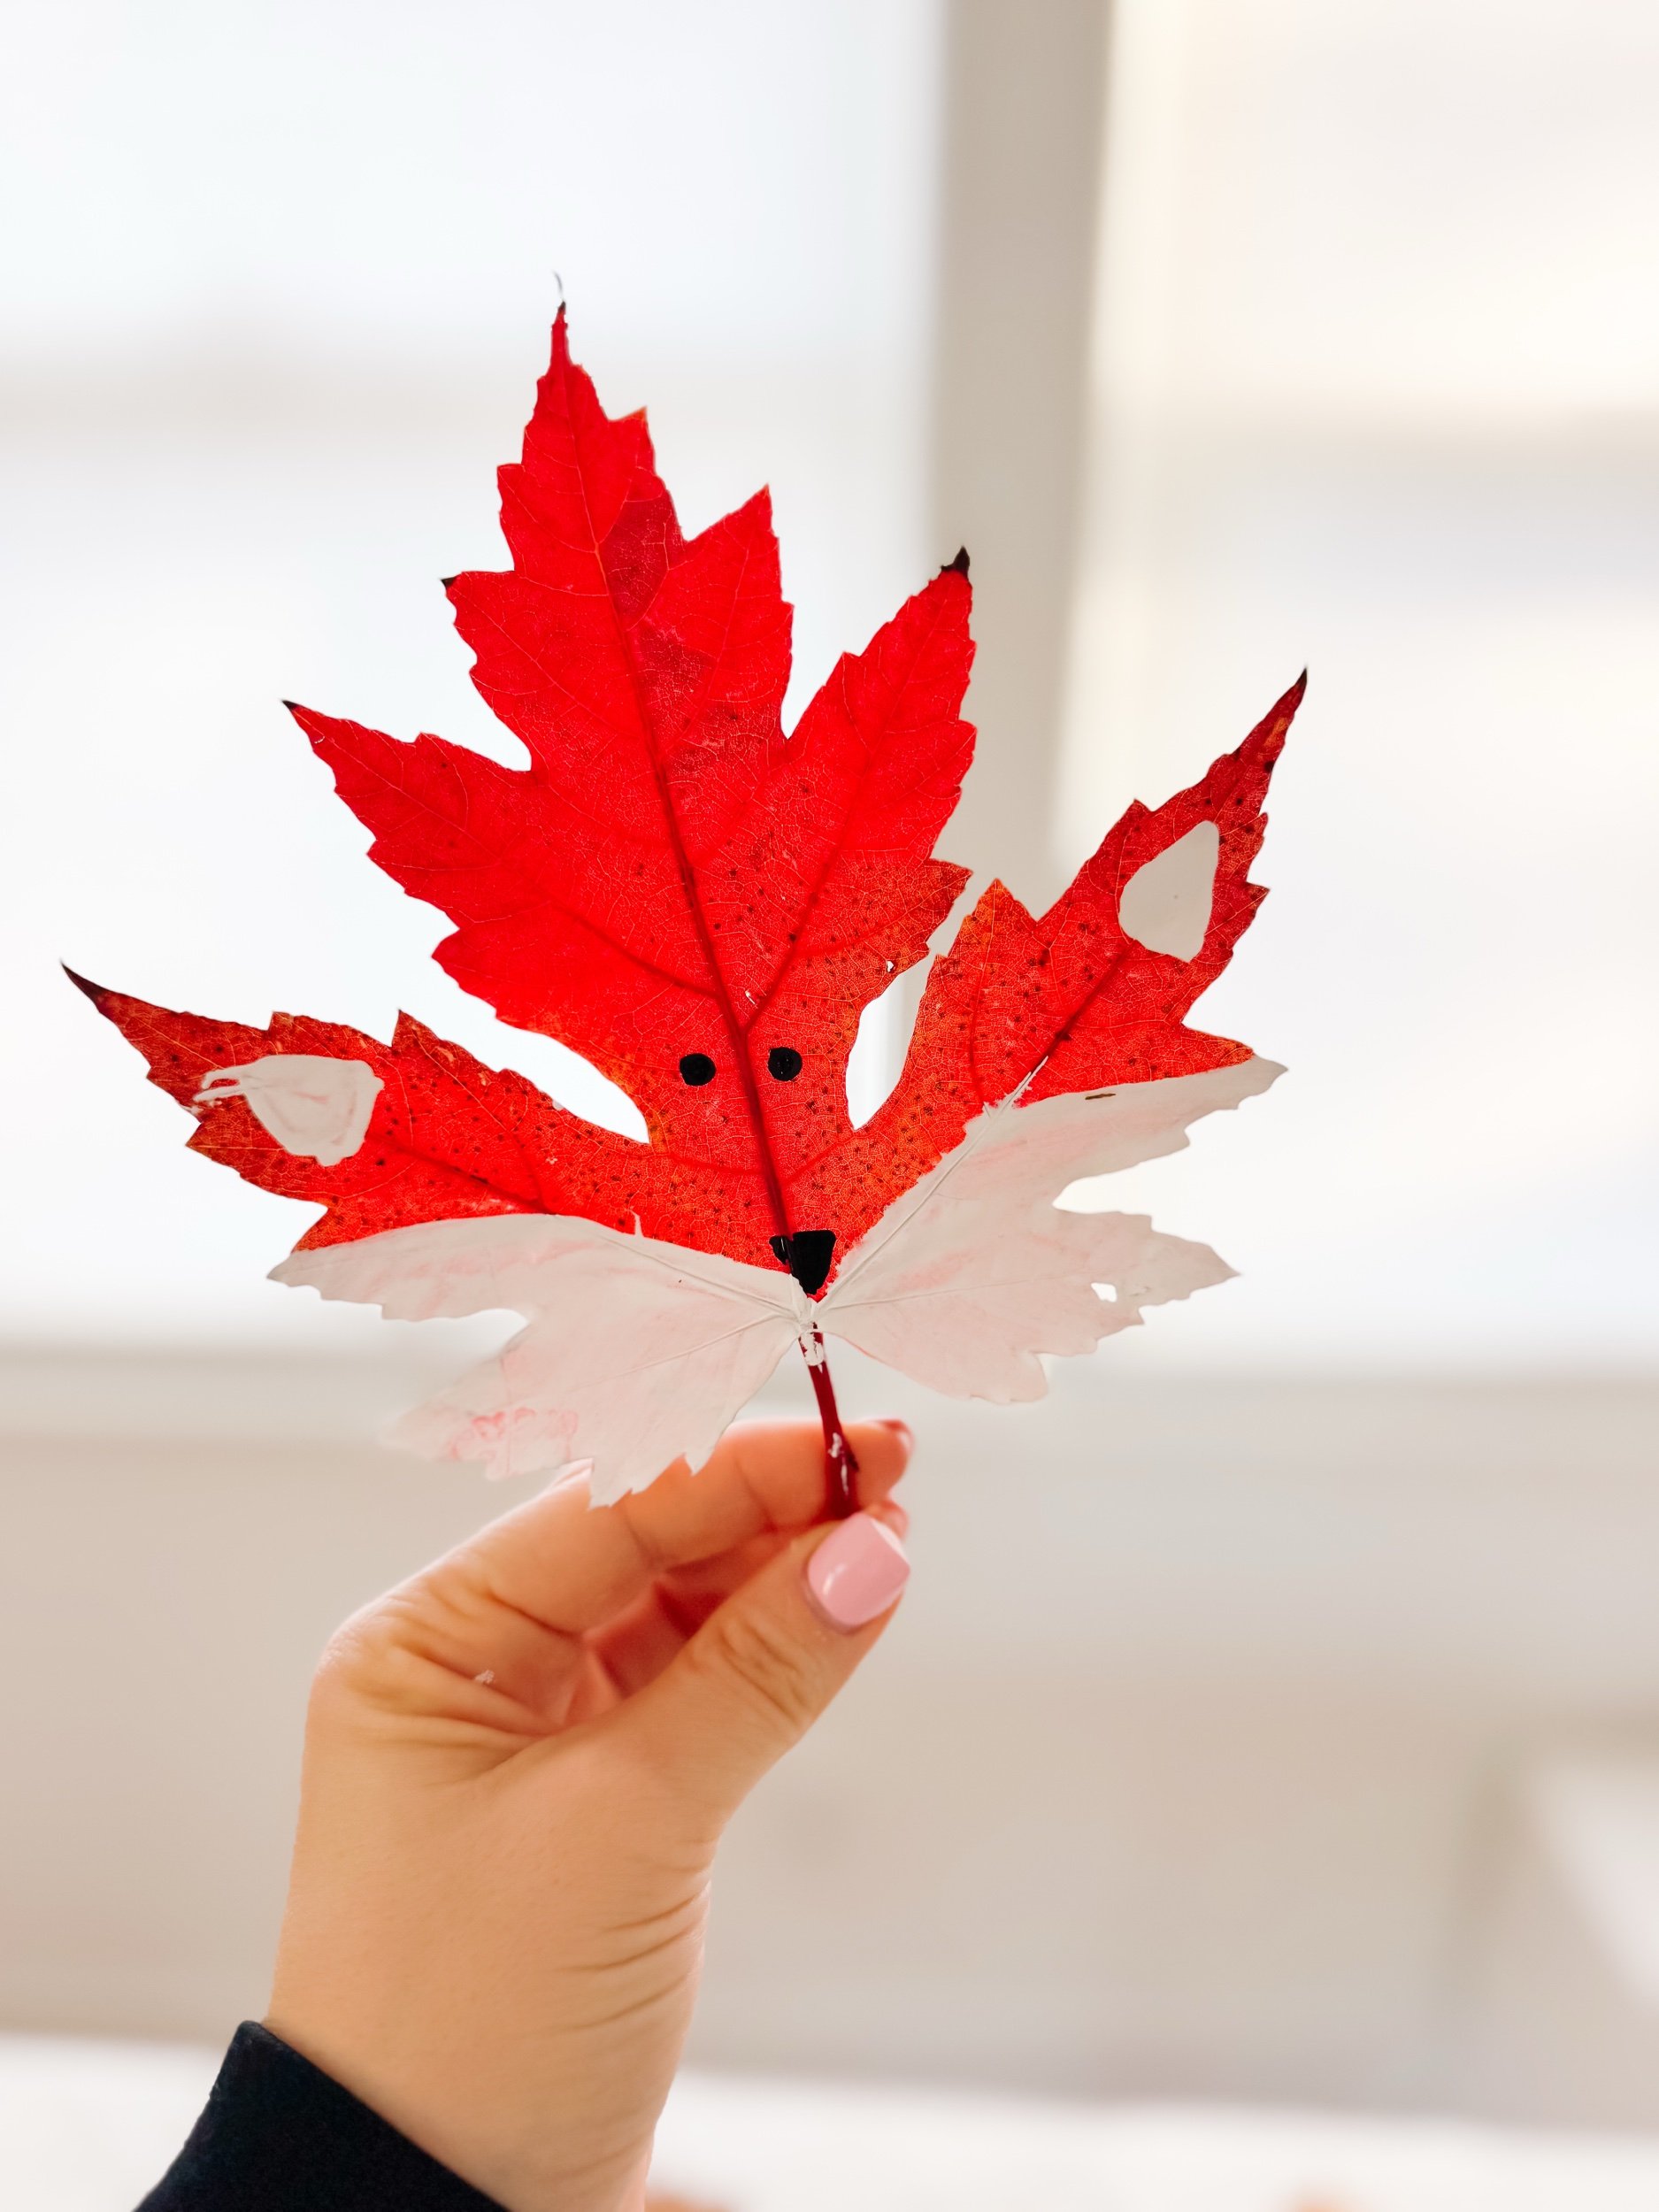
Finished red maple leaf fox craft with white painted cheeks, black eyes, and a black nose.
Step 1

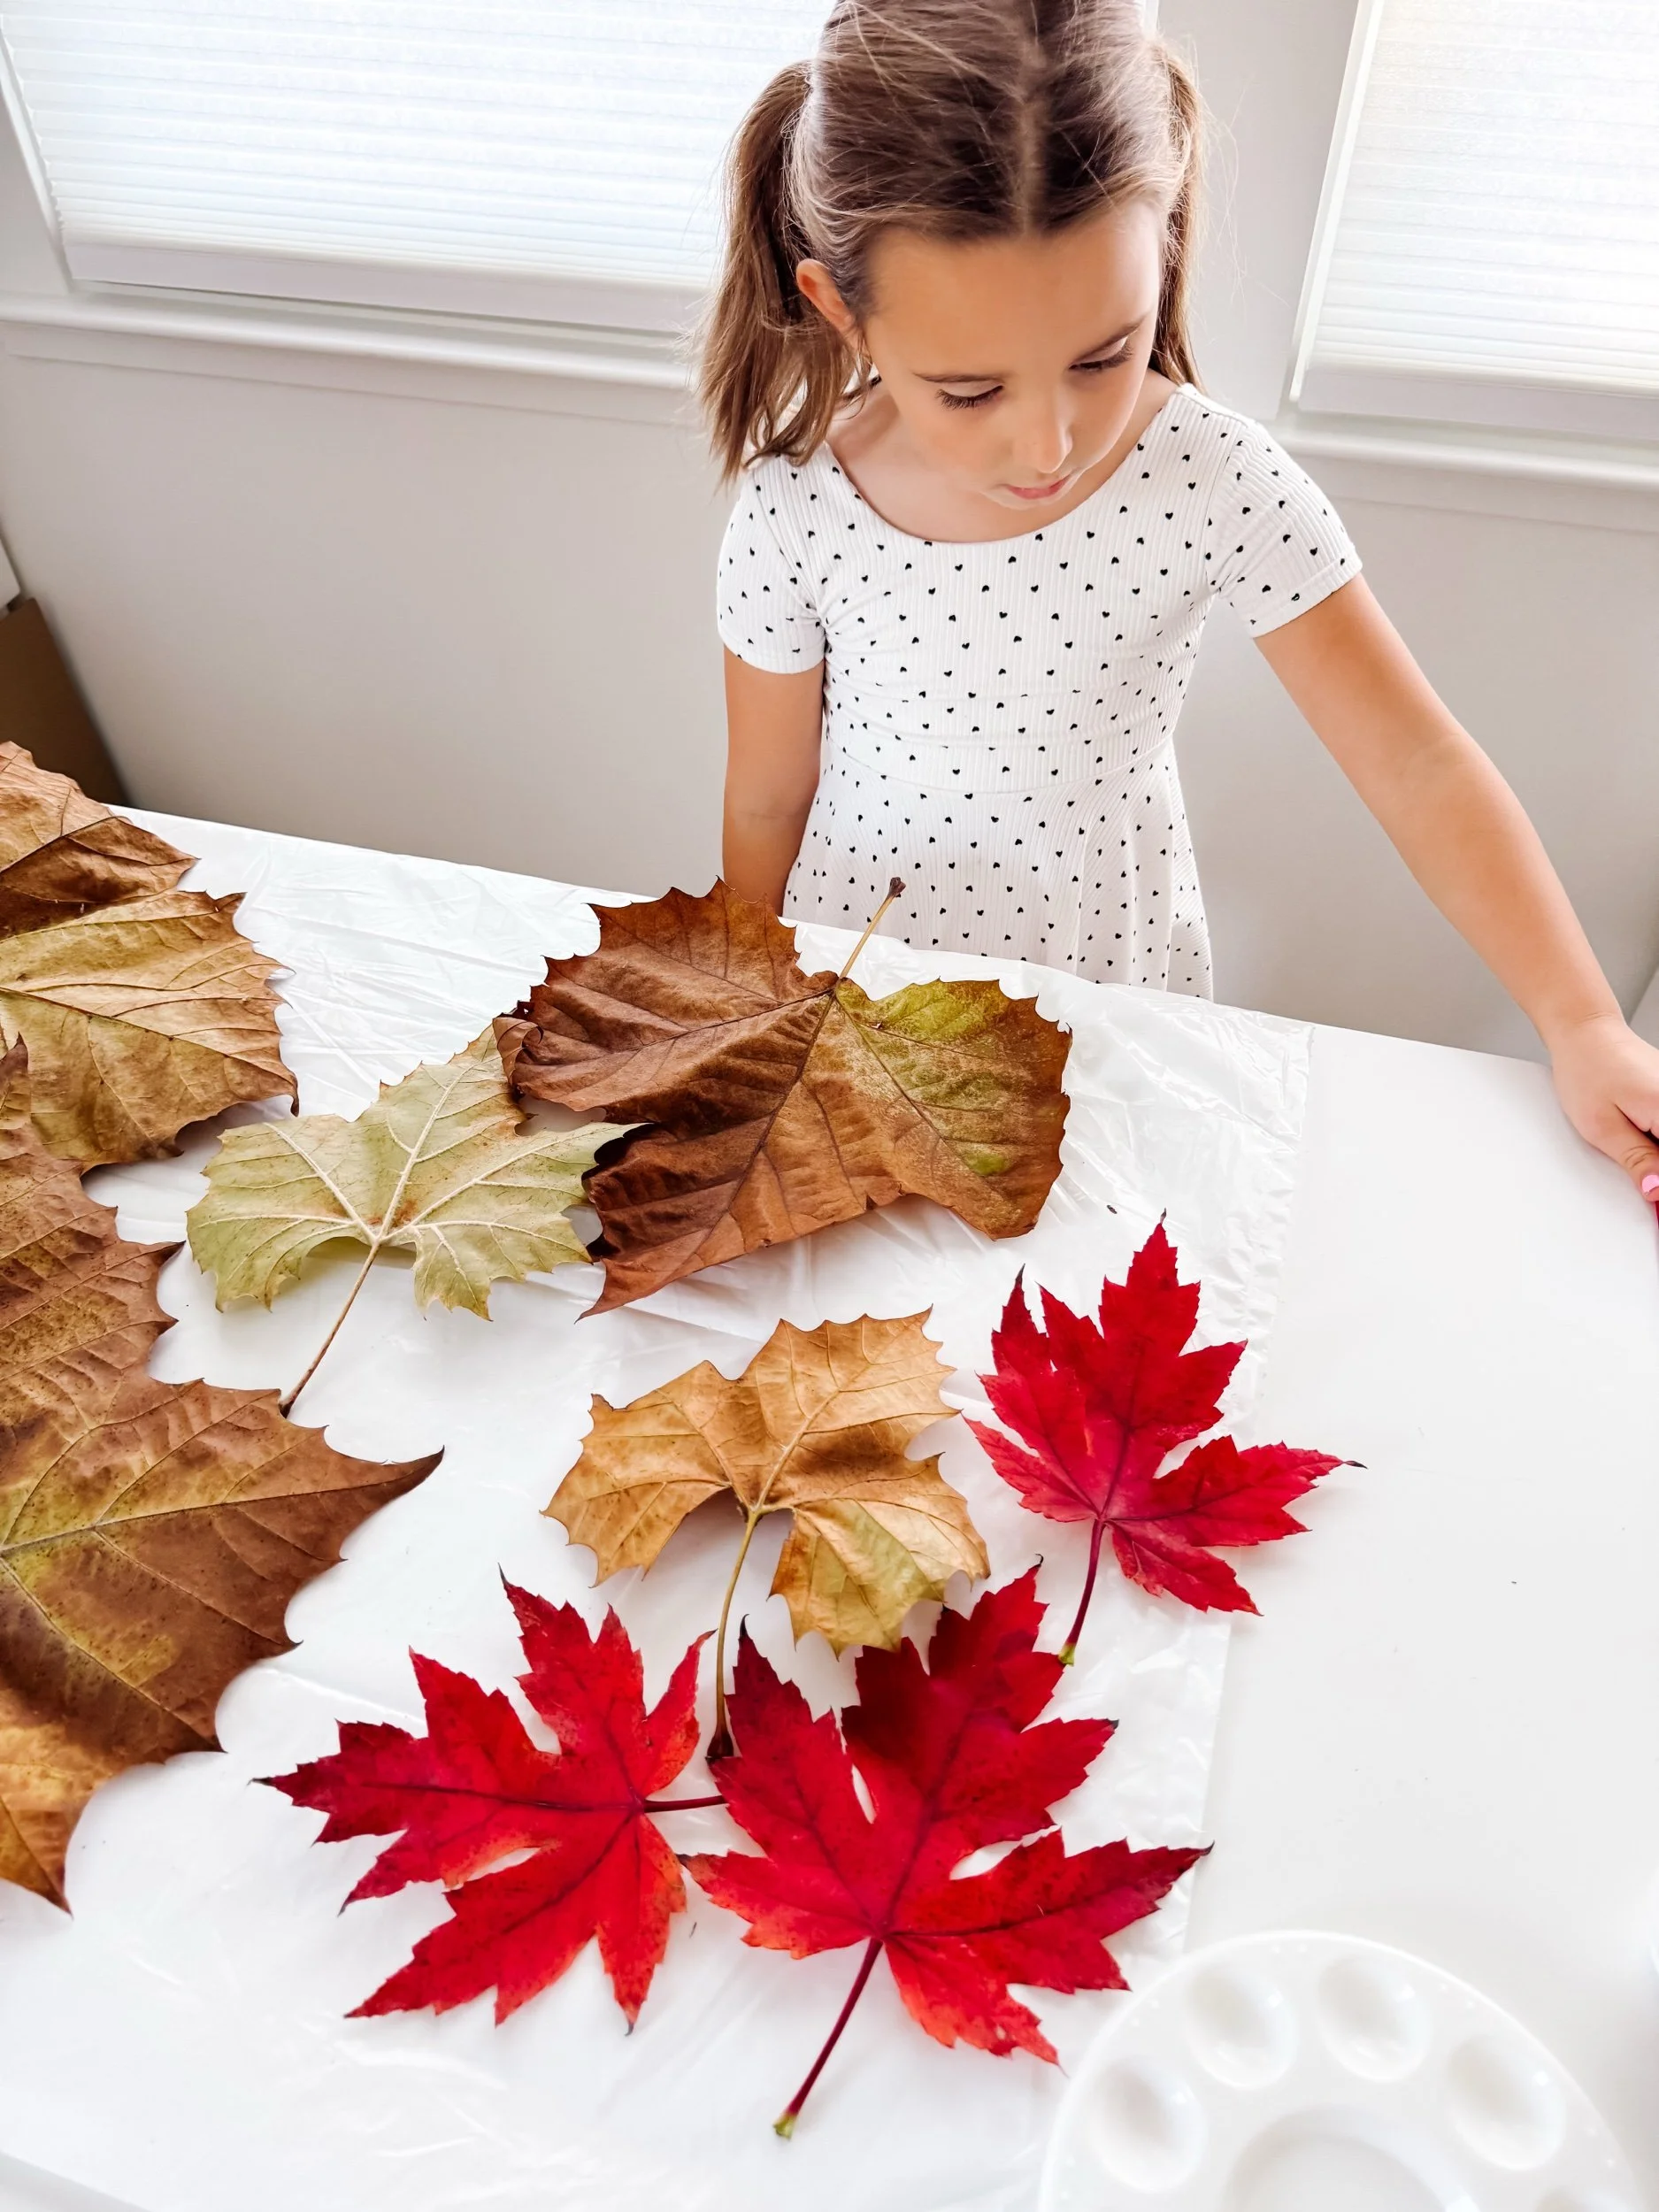
Go on a leaf hunt

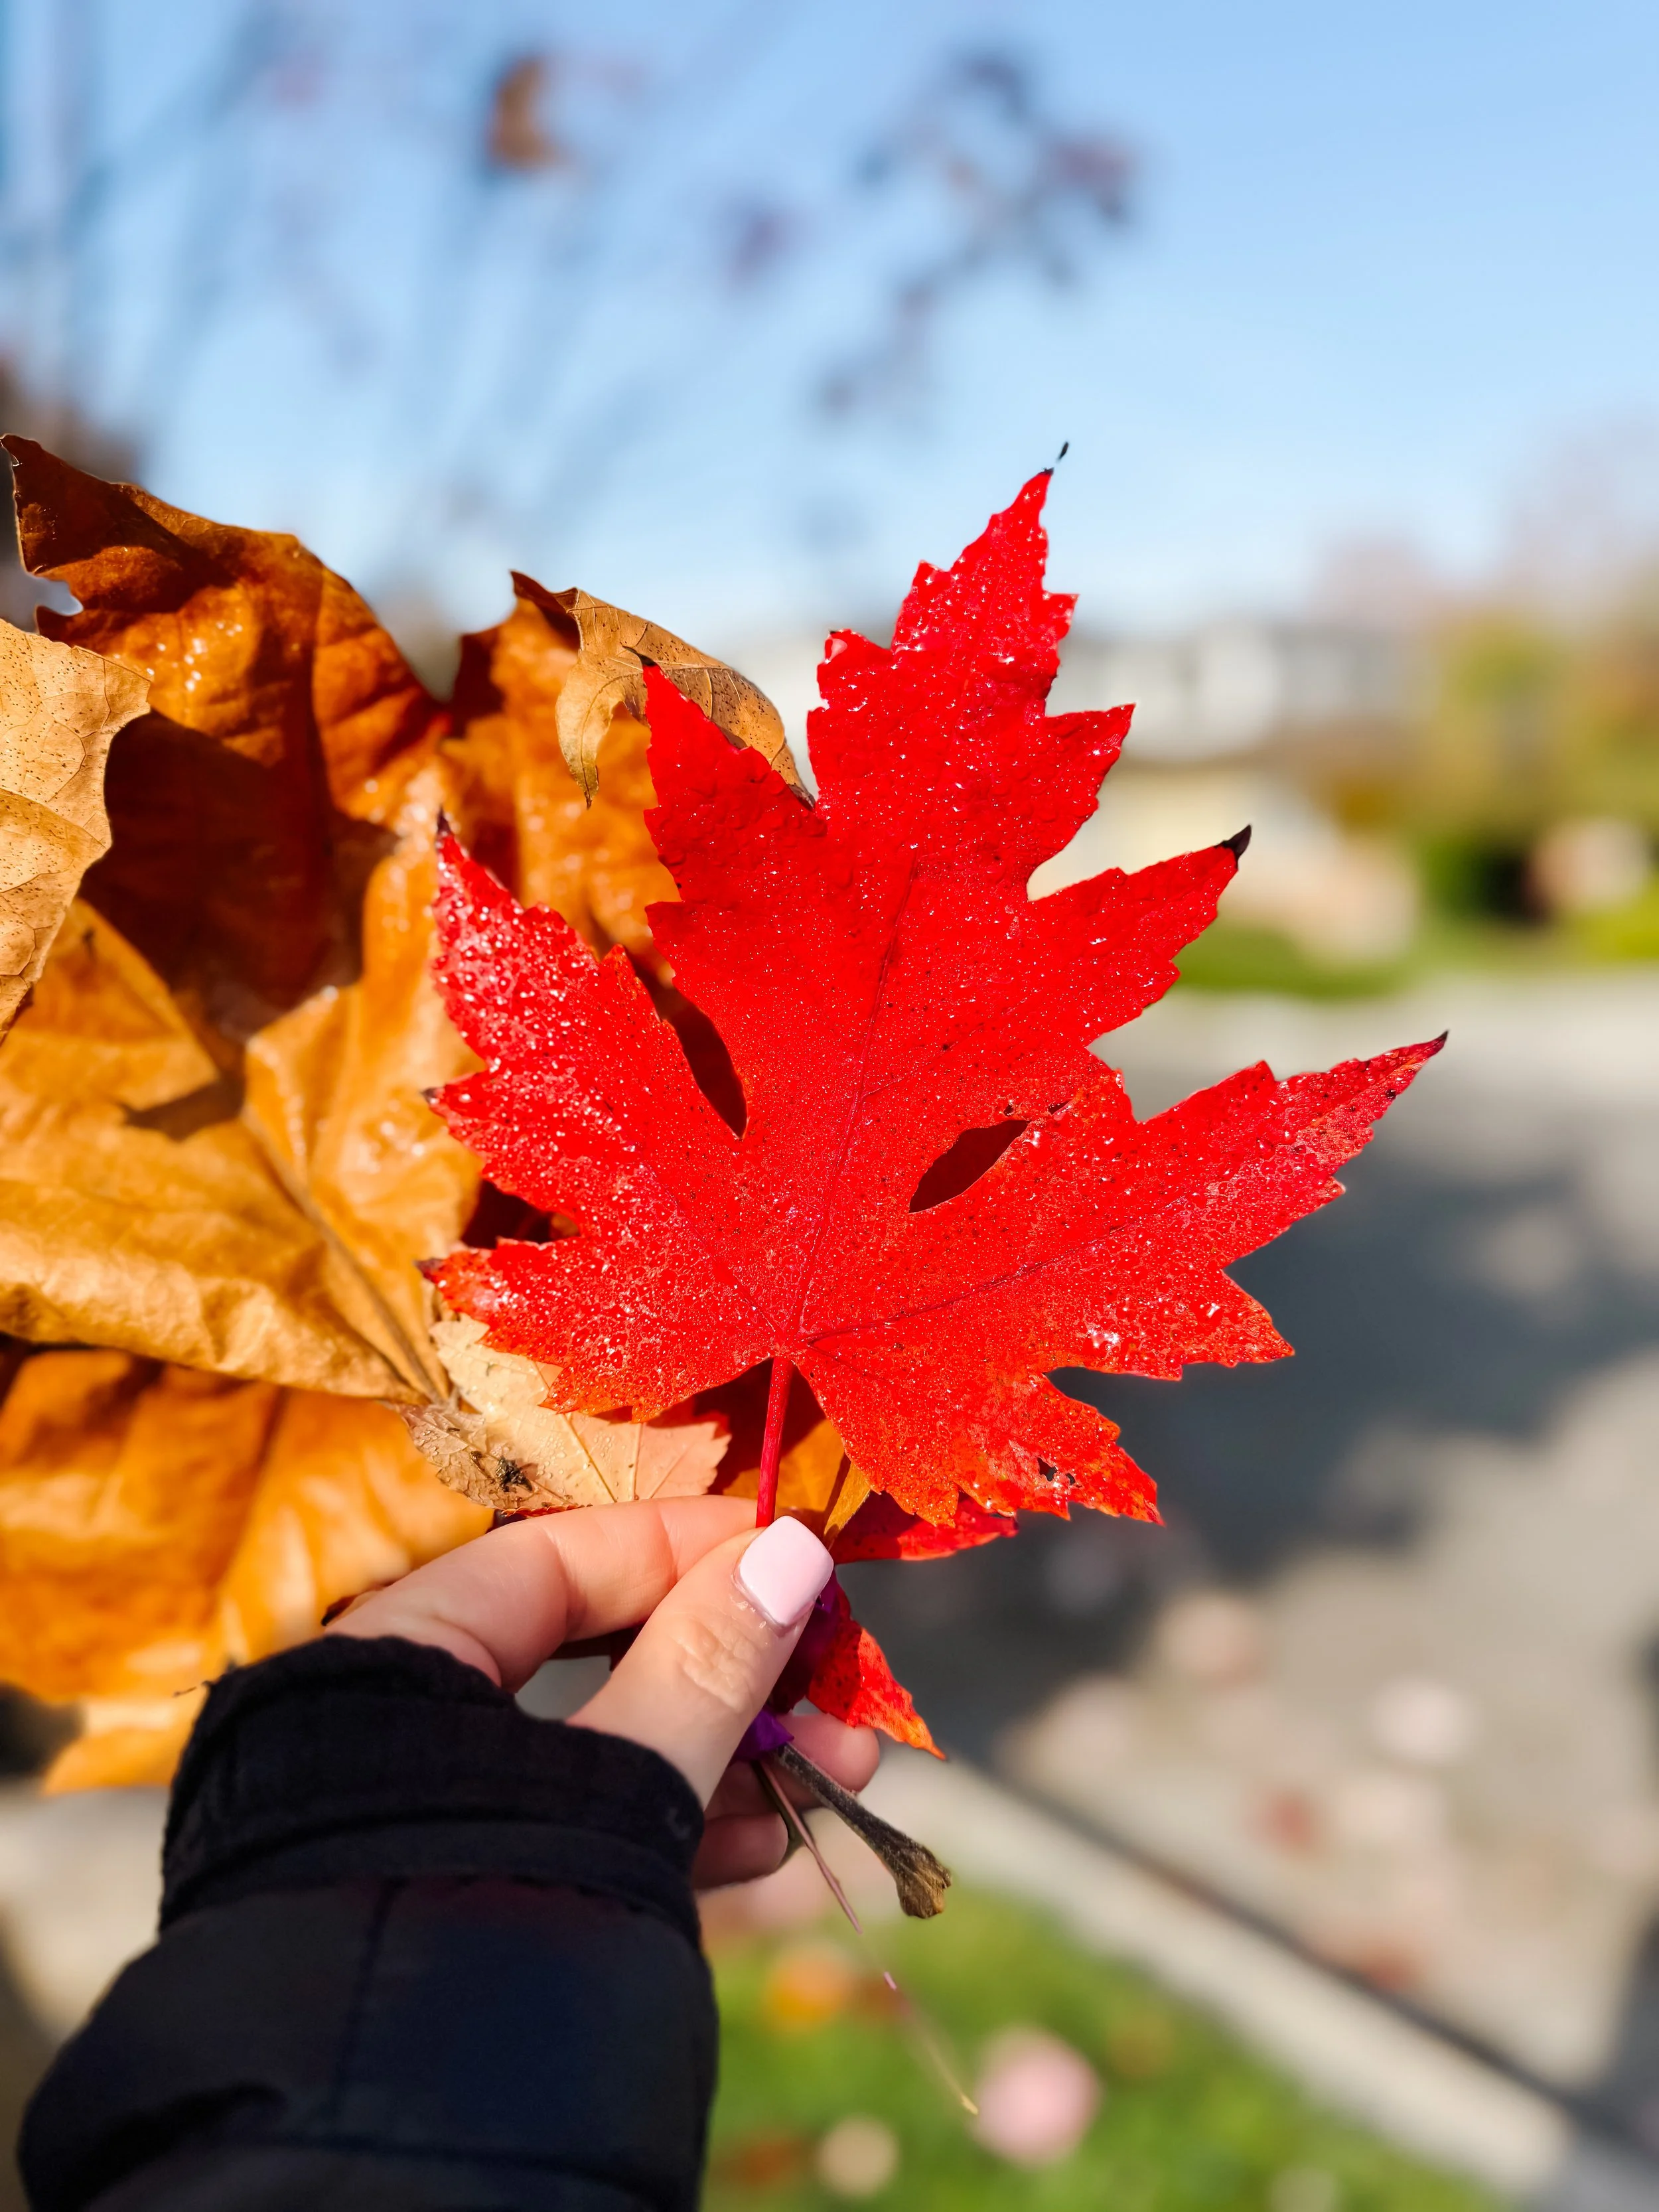
Head outside and collect leaves in different colors, shapes, and sizes. Maple leaves work especially well because the points naturally look like fox ears and fluffy cheeks.

Child painting white cheeks on a red fall leaf to make a fox craft.
Step 2

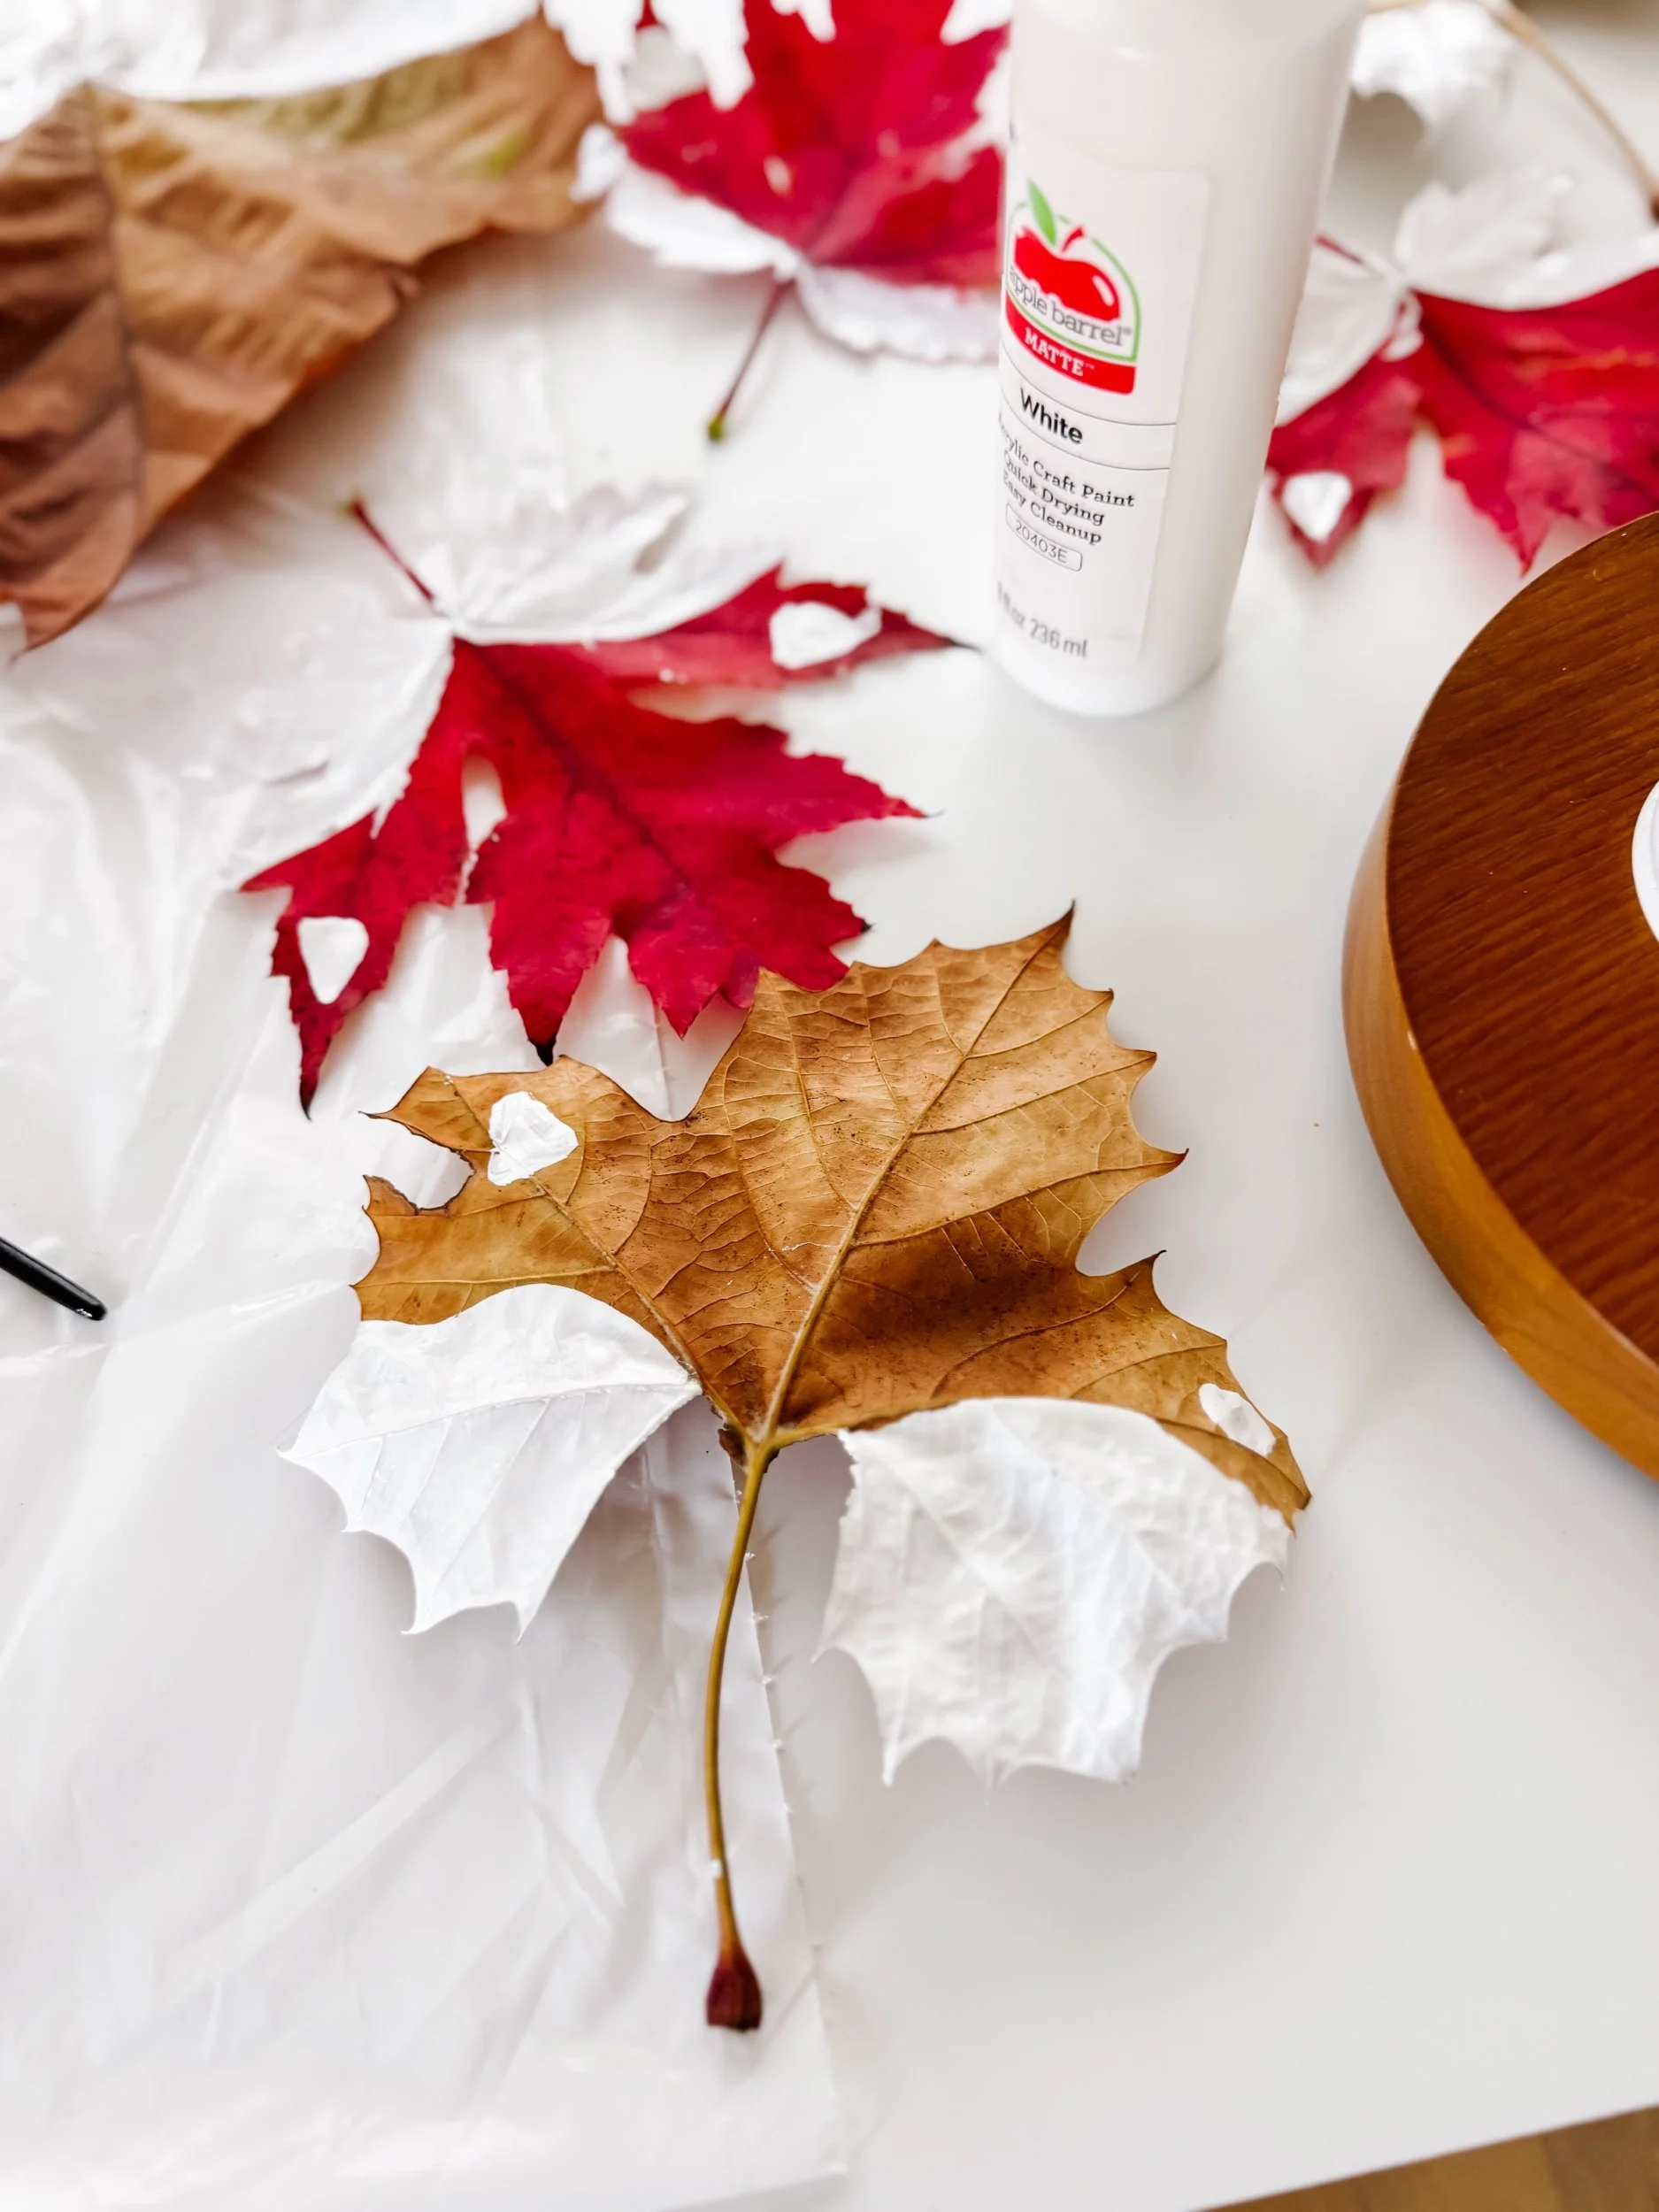
Paint the fox cheeks

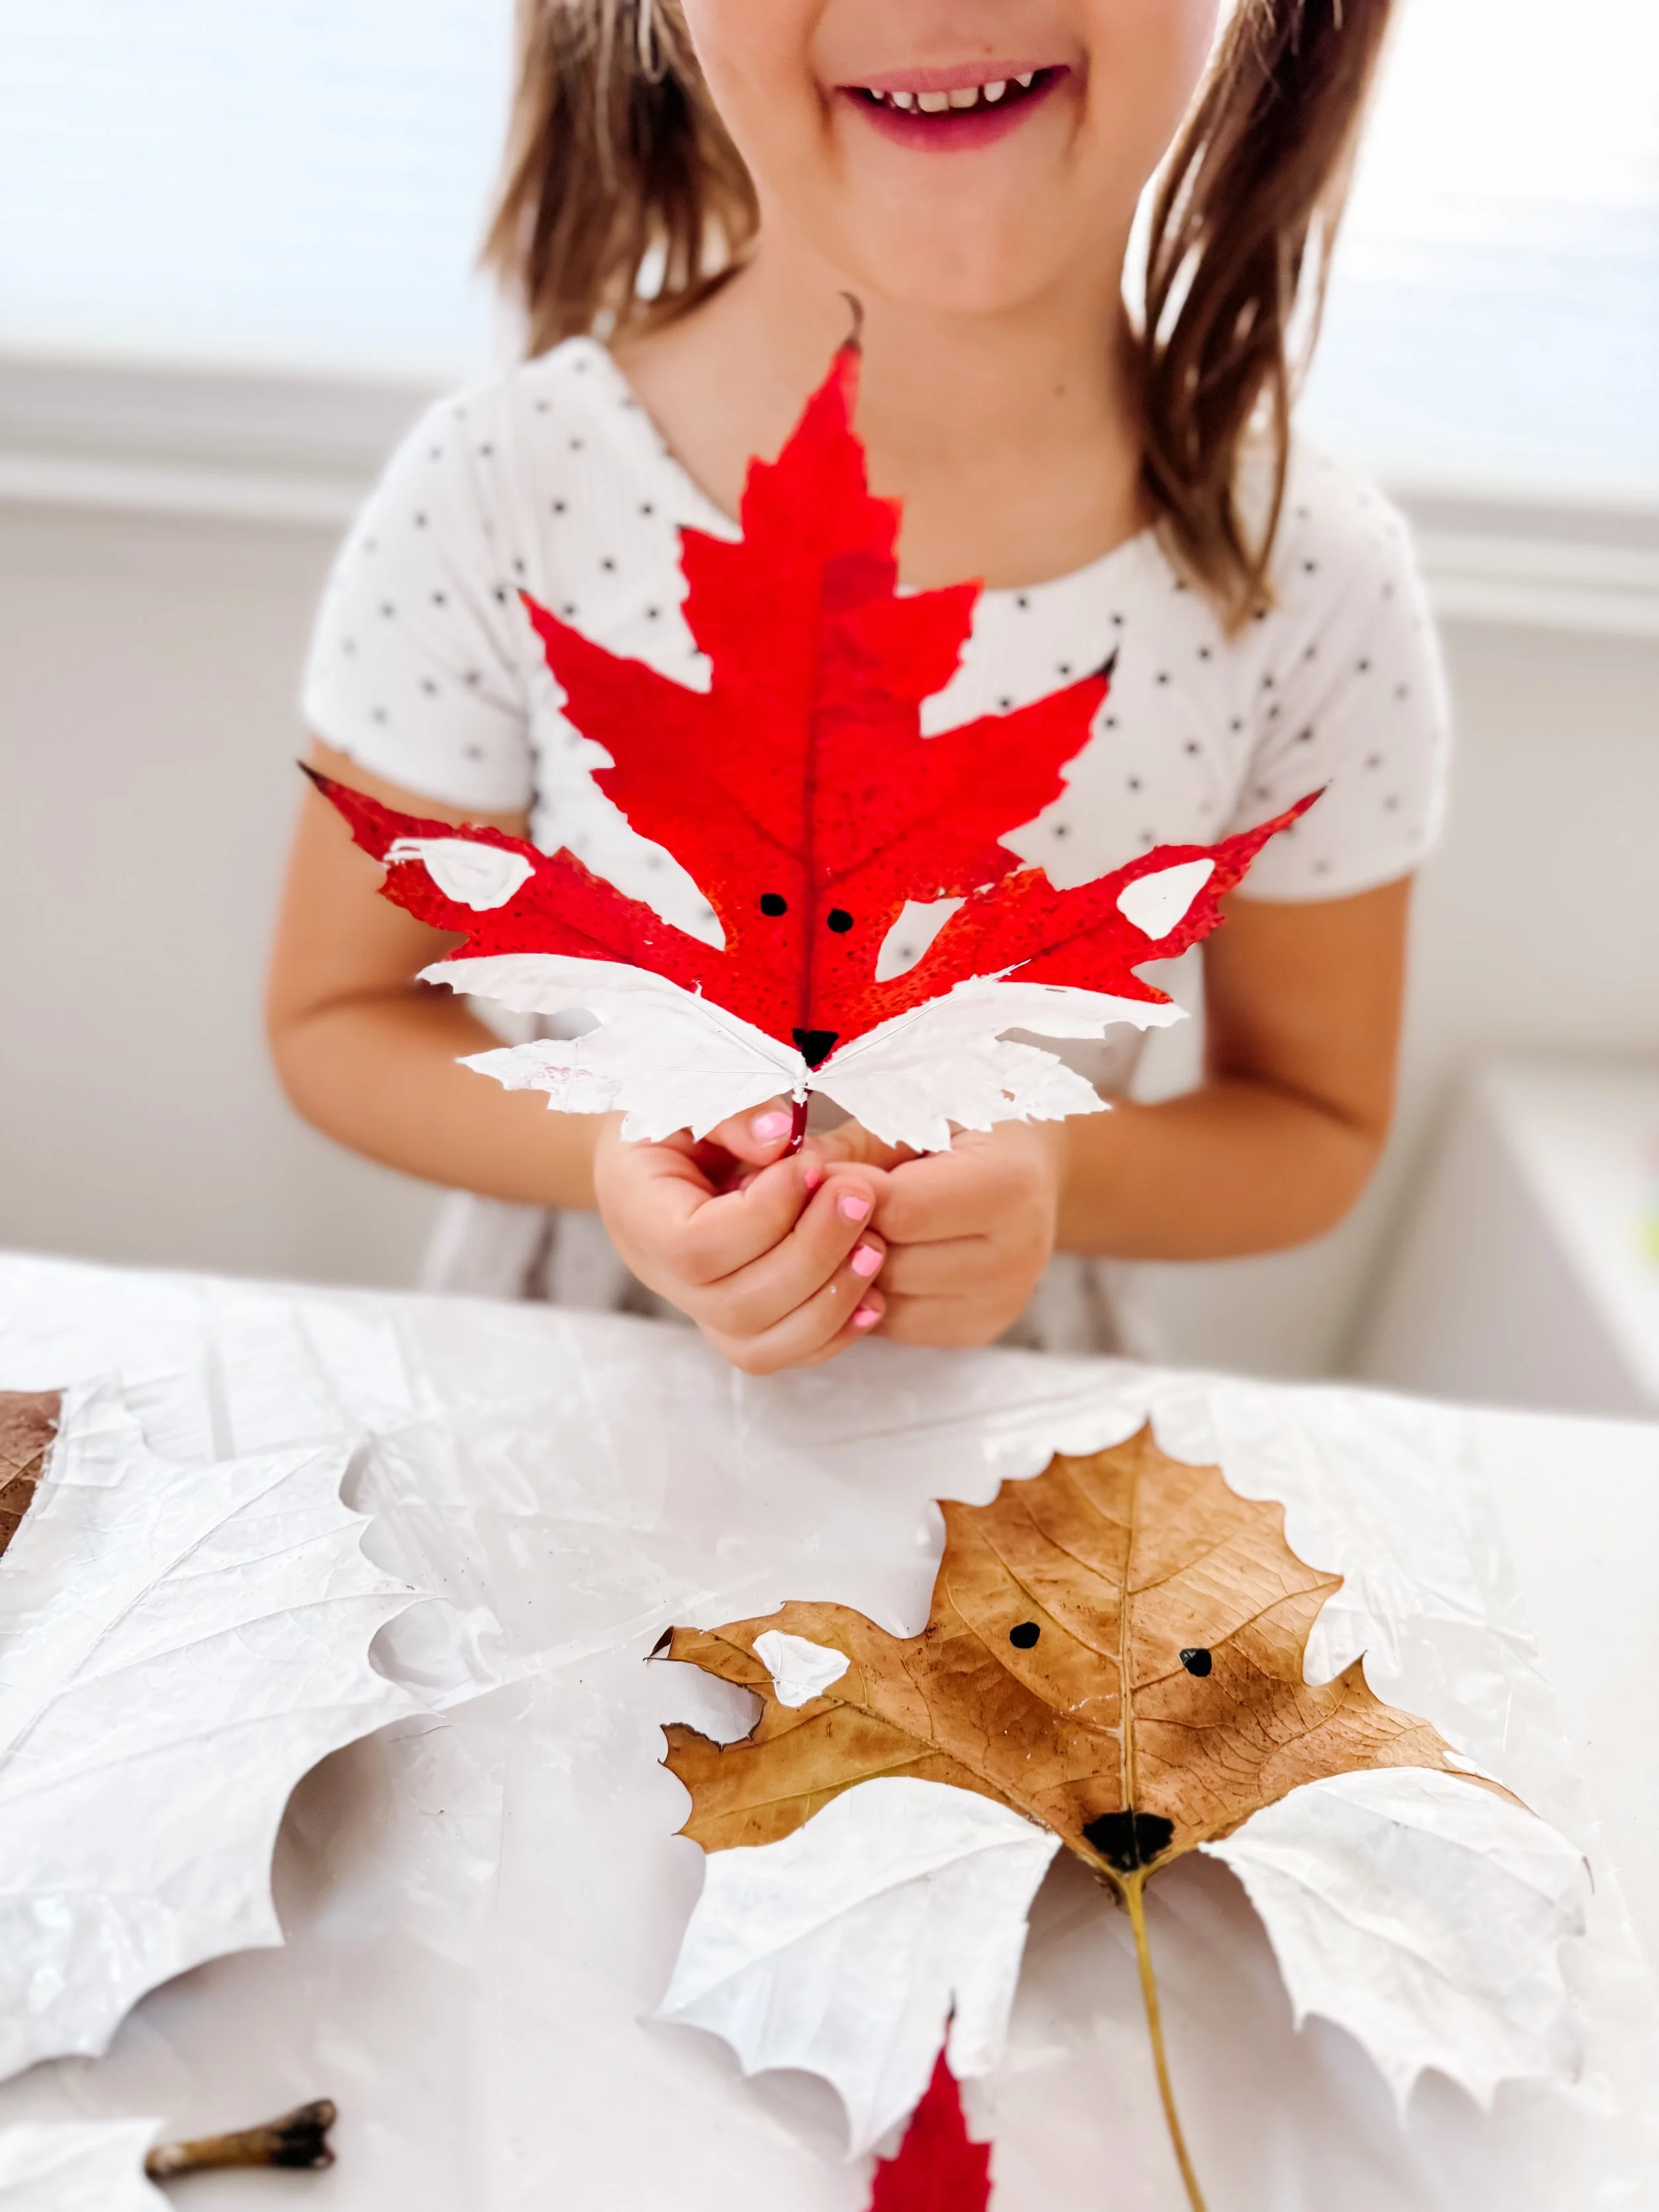
Use white paint to create two fluffy cheek shapes on the lower sides of the leaf. Let your child experiment with different leaf shapes and different cheek styles.

Leaf fox craft with painted white cheeks and black face details drying on a craft table.
Step 3

Add the eyes and nose

Once the white paint is dry, add two small black eyes and a little black nose. A cotton swab works well for younger kids who are still practicing careful dot painting.

Fall leaf fox craft displayed with other autumn leaves and woodland animal learning materials.
Step 4

Let it dry and display

Let the leaf fox dry completely, then display it on your homeschool wall, tape it to a window, turn it into a fall card, or use it as part of a woodland animal study.

Parent tip

Press leaves under a heavy book for a few hours before painting if they are curled. Flat leaves are easier for little hands to paint.

Why this craft is great for fall learning

This activity blends nature exploration, art, science, and storytelling.

Children practice fine motor skills as they paint small details, observe leaf shapes and veins, compare colors, and talk about how trees change in the fall.

It also opens the door to woodland animal conversations. After making the fox, you can talk about where foxes live, what they eat, how they move, and how animals prepare for winter.

Learning skills

Fine motor skills Nature observation Fall vocabulary Woodland animals Leaf shapes Creative expression Storytelling Seasonal awareness

Woodland products to pair with this craft

Extend your leaf fox craft into a woodland animal unit with sensory play, vocabulary cards, and small-world play.

GoodnightFox Woodland Sensory Kit with woodland animal cards and sensory play materials.

Woodland sensory kit

Add woodland animals, sensory filler, and small-world pieces for a full forest-themed play setup.

Shop sensory kit
GoodnightFox Woodland Animal Play Rounds with fox, squirrel, skunk, and forest animals.

Woodland play rounds

Wooden woodland animal play rounds for sensory bins, matching games, and forest animal storytelling.

Shop play rounds
GoodnightFox Woodland Animal Flashcards with fox, beaver, deer, squirrel, raccoon, moose, and other woodland animals.

Woodland flashcards

Practice woodland animal vocabulary with illustrated fox, deer, raccoon, squirrel, moose, and forest animal cards.

Shop flashcards

Questions to ask kids

  • What shape is this leaf?
  • Which part of the leaf looks like fox ears?
  • What colors do you see in the leaves?
  • Can you find the veins on the leaf?
  • Where do foxes live?
  • What other animals could we make from leaves?

More fall activities

Fall woodland animal play

Pair woodland animals with flashcards and sensory materials for a cozy fall forest learning setup.

Woodland play

Fall pumpkin activities

Explore pumpkin-themed sensory play, snacks, and hands-on fall learning ideas.

Pumpkin activities

Fall sensory play ideas

Browse more autumn sensory bins, nature-based activities, and seasonal play ideas.

Fall ideas

Leaf fox craft FAQ

How do you make a fox out of a leaf?

Choose a wide fall leaf, paint white cheek shapes on the lower sides, then add small black eyes and a nose once the paint dries. Maple leaves work especially well because their points look like fox ears.

What kind of leaves work best for a leaf fox craft?

Maple leaves are ideal because of their pointed shape, but any wide leaf can work. Try different shapes and colors to make a whole family of foxes.

What age is this fall craft best for?

This craft is best for ages three and up with adult supervision. Younger kids may need help painting small details like the eyes and nose.

What can kids learn from a leaf craft?

Kids can practice fine motor skills, nature observation, color recognition, leaf vocabulary, seasonal awareness, and creative storytelling.

How can I use this for a woodland animal unit?

Pair the leaf fox craft with woodland animal flashcards, sensory bins, books about forest animals, and conversations about habitats, camouflage, and how animals prepare for winter.

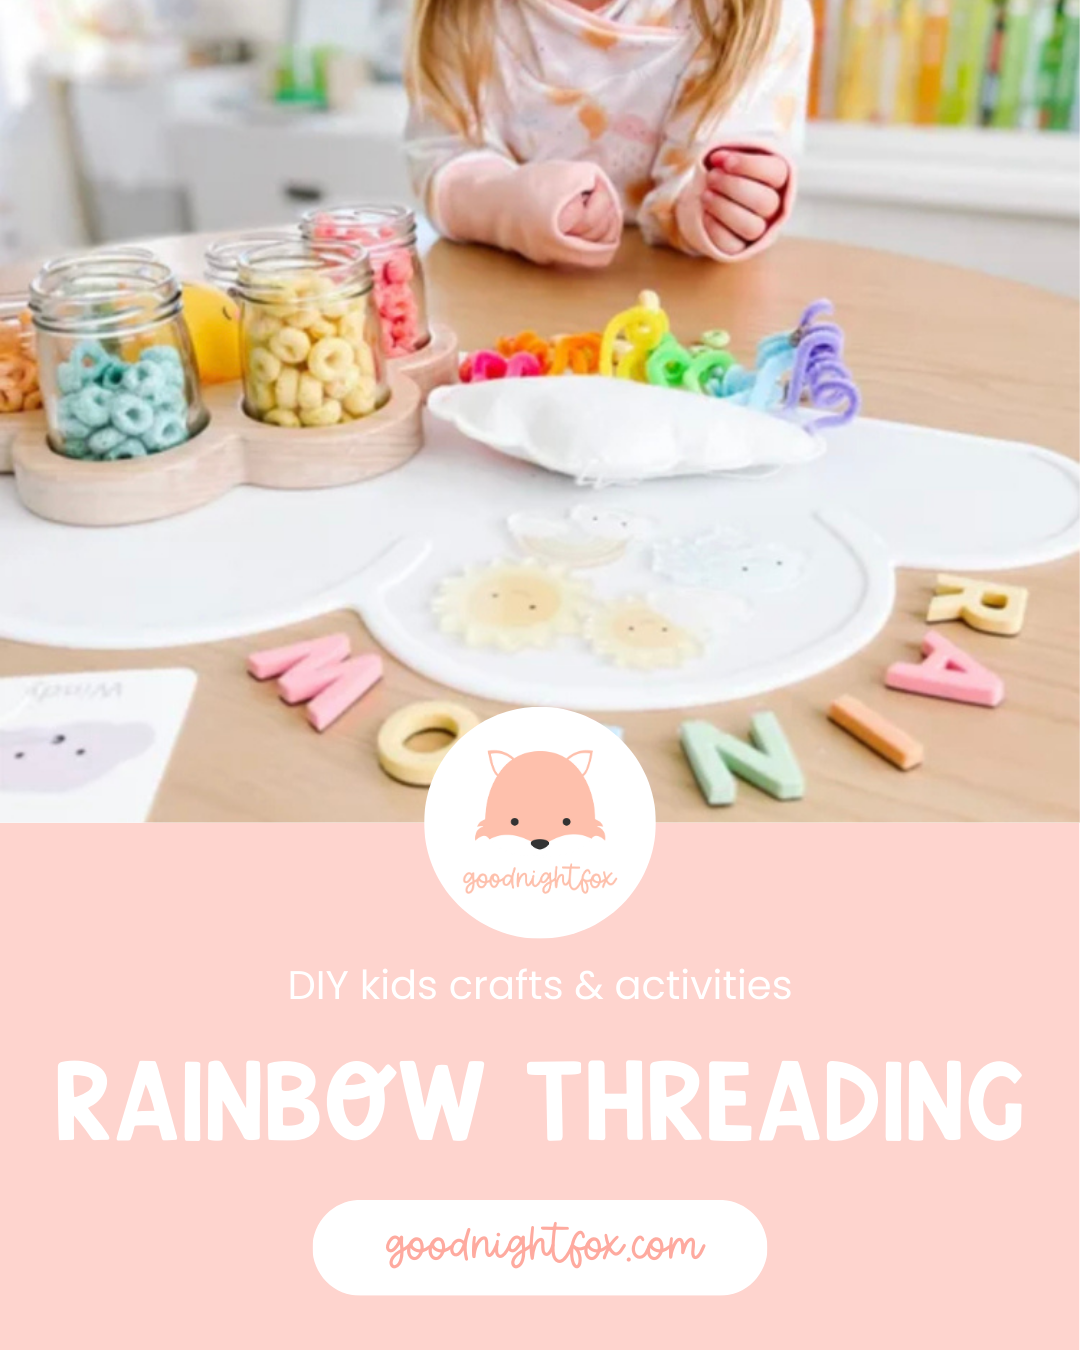
Rainbow Cloud Pipe Cleaner & Fruit Loop Craft

Rainbow Cloud Pipe Cleaner & Fruit Loop Craft

A cheerful rainbow craft for kids that combines pipe cleaners, Fruit Loops, and a simple cloud shape for color sorting, fine motor practice, and weather-themed learning.

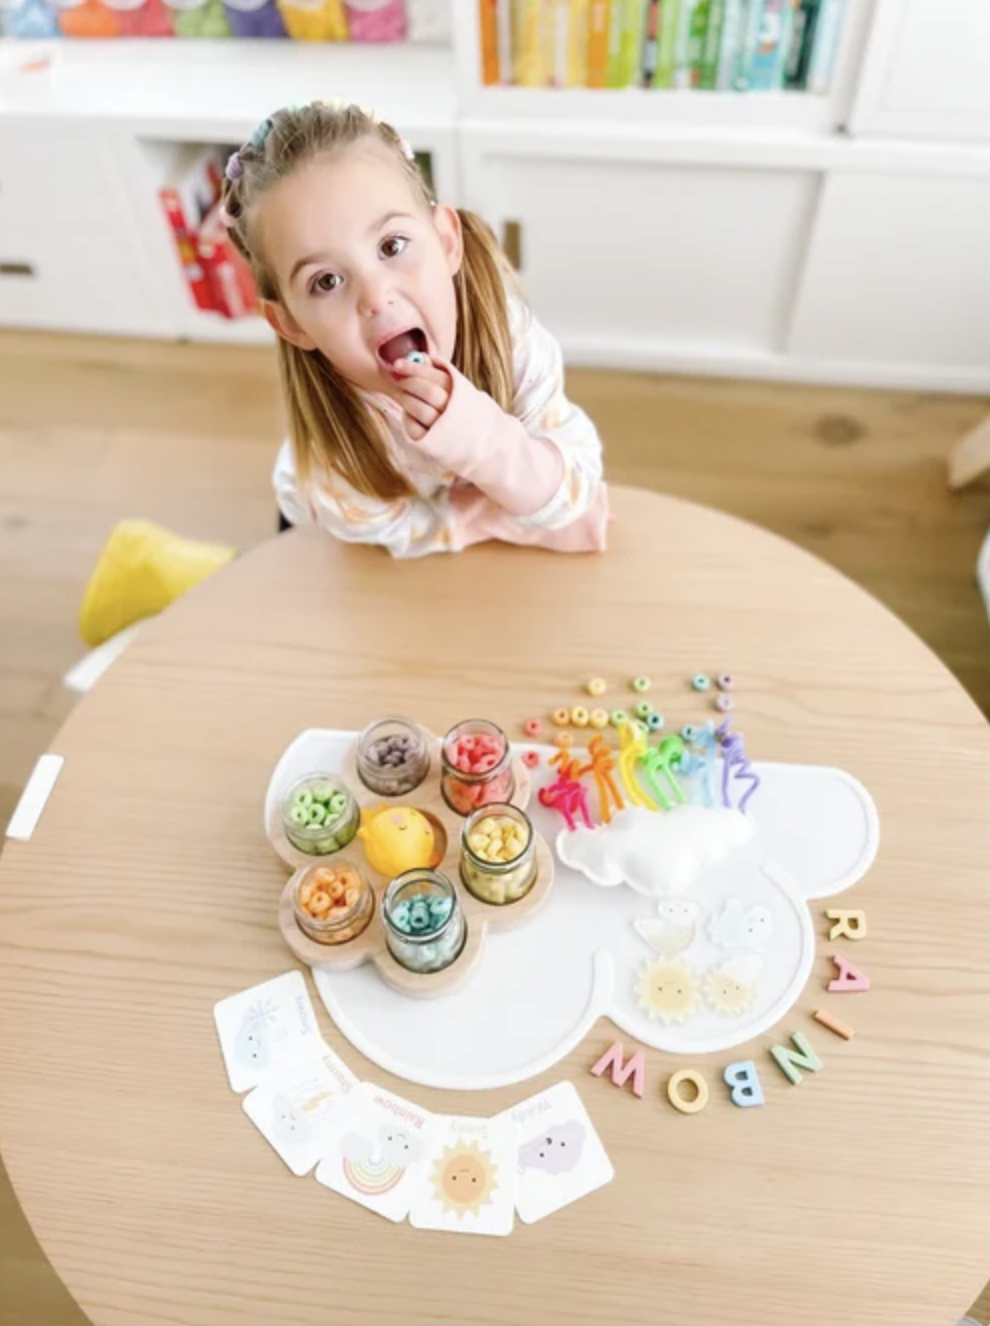
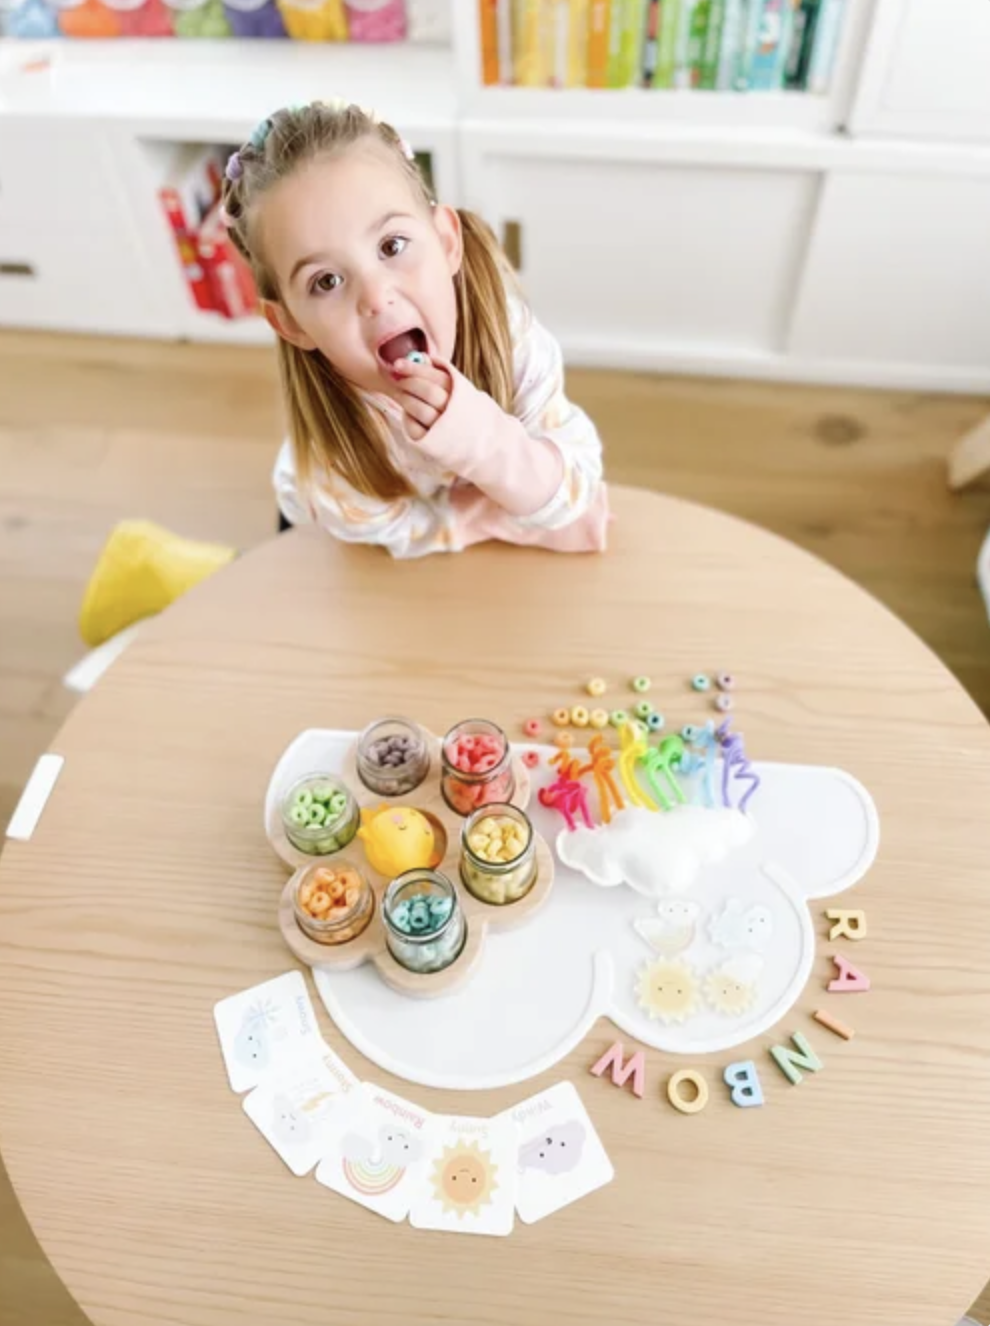
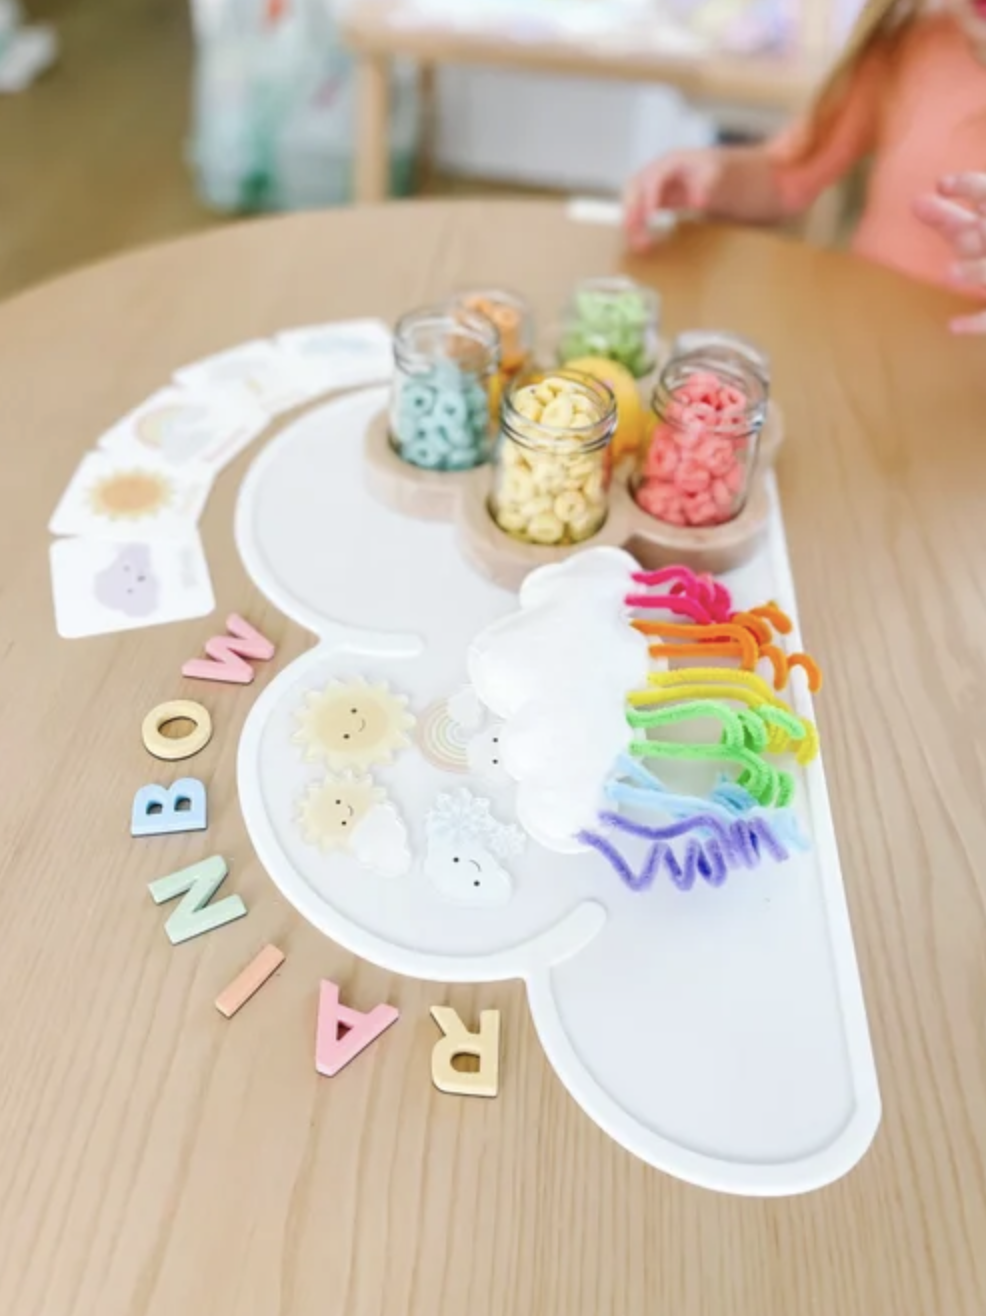
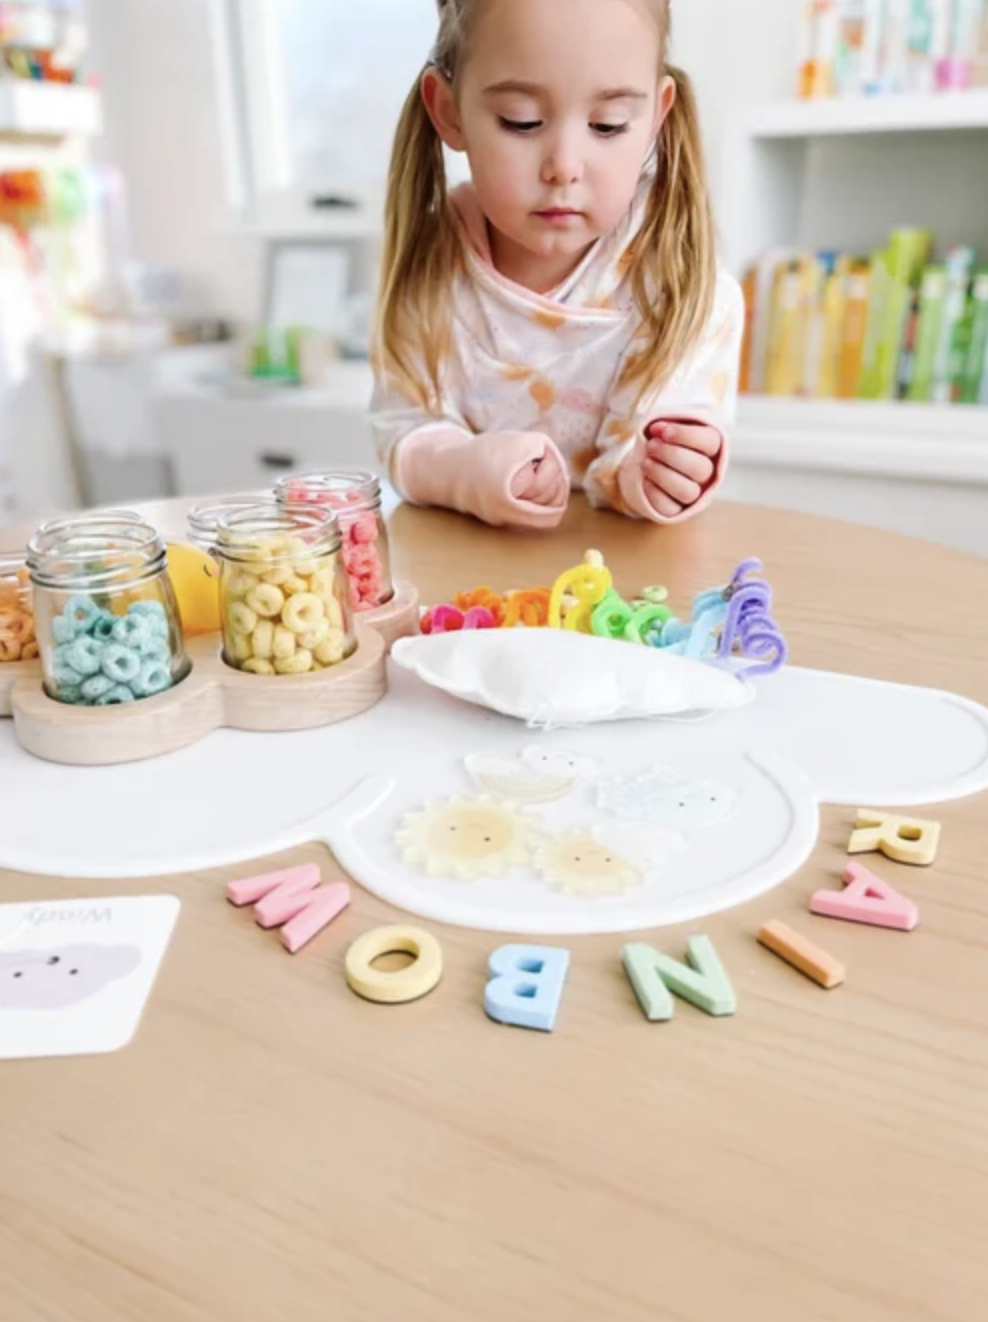
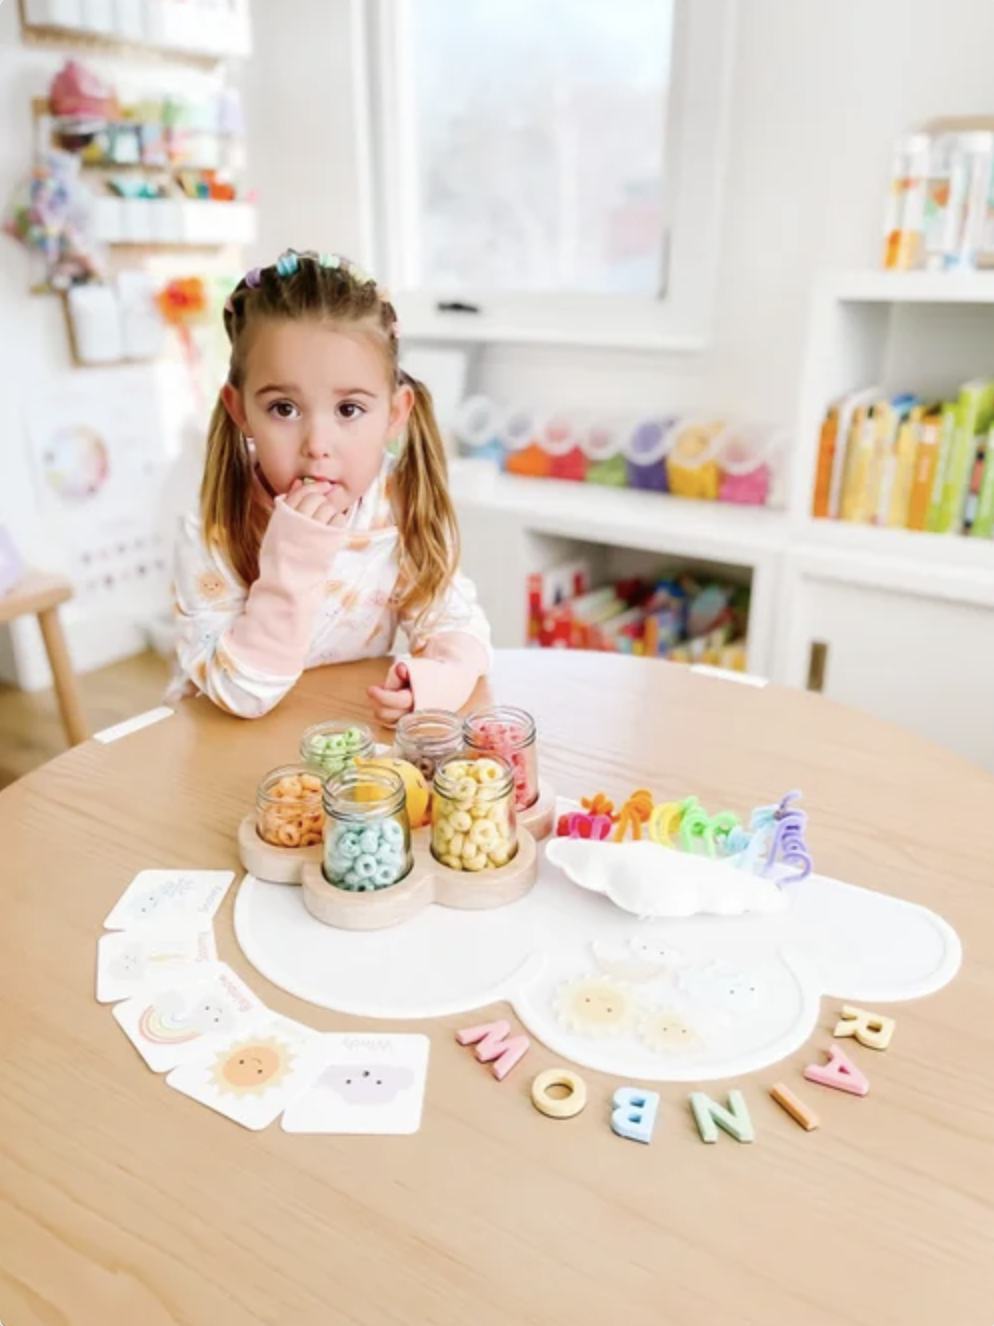
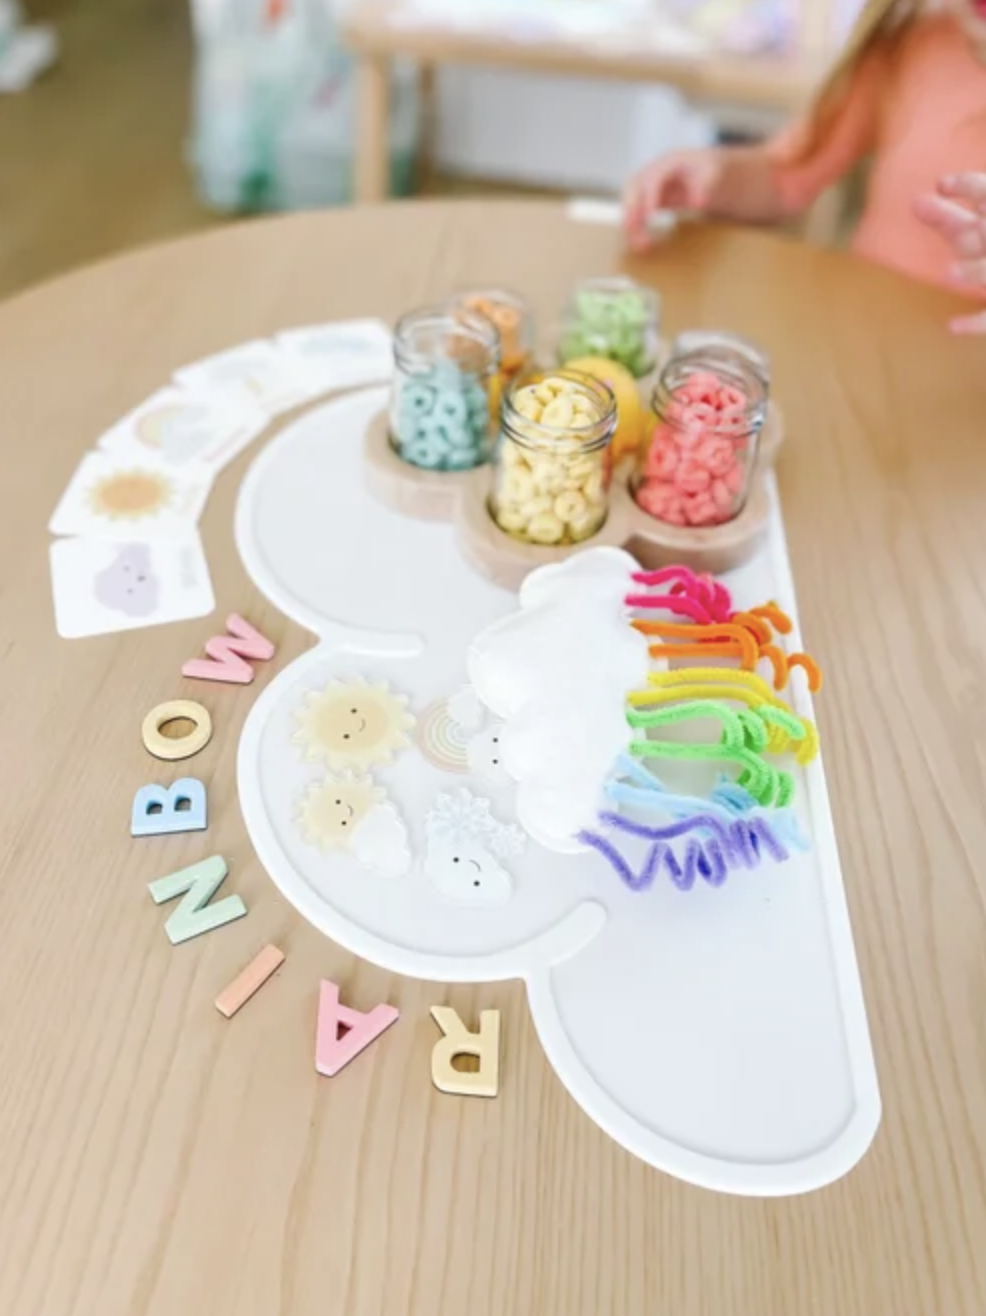
Child doing a rainbow cloud pipe cleaner and Fruit Loop craft with colorful cereal sorted in jars.
Age3+
Prep10 minutes
Activity20 minutes
Mess★☆☆☆☆
SkillsFine motor + colors

Why we love this activity

This rainbow cloud craft is one of those simple activities that feels playful, colorful, and secretly full of learning.

Kids get to thread Fruit Loops onto pipe cleaners, sort cereal by color, build rainbow arches, and attach everything to a fluffy cloud shape.

It is perfect for rainbow week, weather week, spring activities, St. Patrick’s Day, or anytime you want a low-prep fine motor activity that keeps little hands busy.

Because children are matching colors, sequencing the rainbow, and using careful finger movements, this craft works beautifully as both a creative project and a hands-on learning activity.

Materials needed

  • Fruit Loops or colorful cereal
  • Pipe cleaners in rainbow colors
  • White cardstock, cardboard, or foam for the cloud
  • Scissors
  • Tape or glue dots
  • Optional cotton balls for extra cloud texture

How to make a rainbow cloud craft

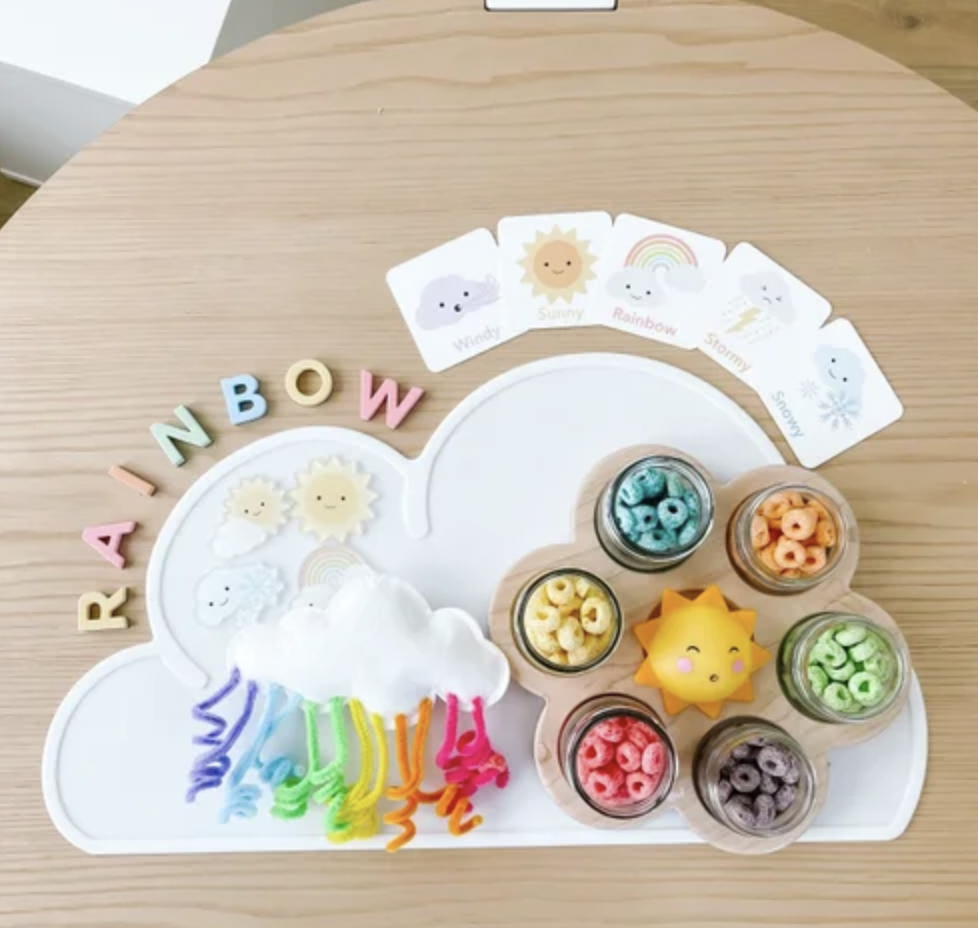
Rainbow cloud craft setup with Fruit Loops sorted by color, weather cards, pipe cleaners, and cloud tray.
Step 1

Set up the rainbow colors

Lay out pipe cleaners in rainbow order and pour colorful cereal into small jars, bowls, or a tray. Invite your child to sort the cereal by color before threading.

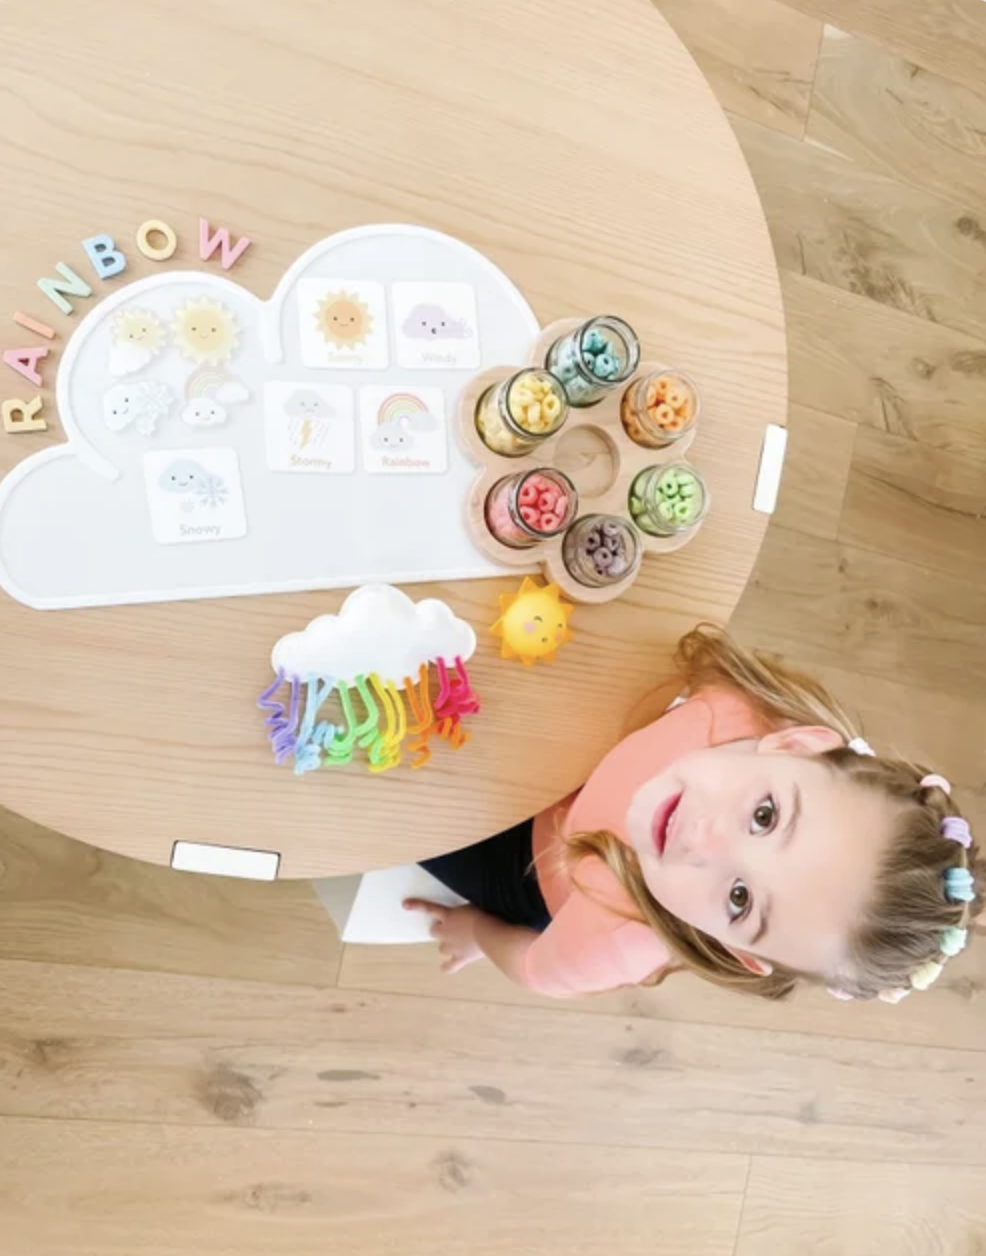
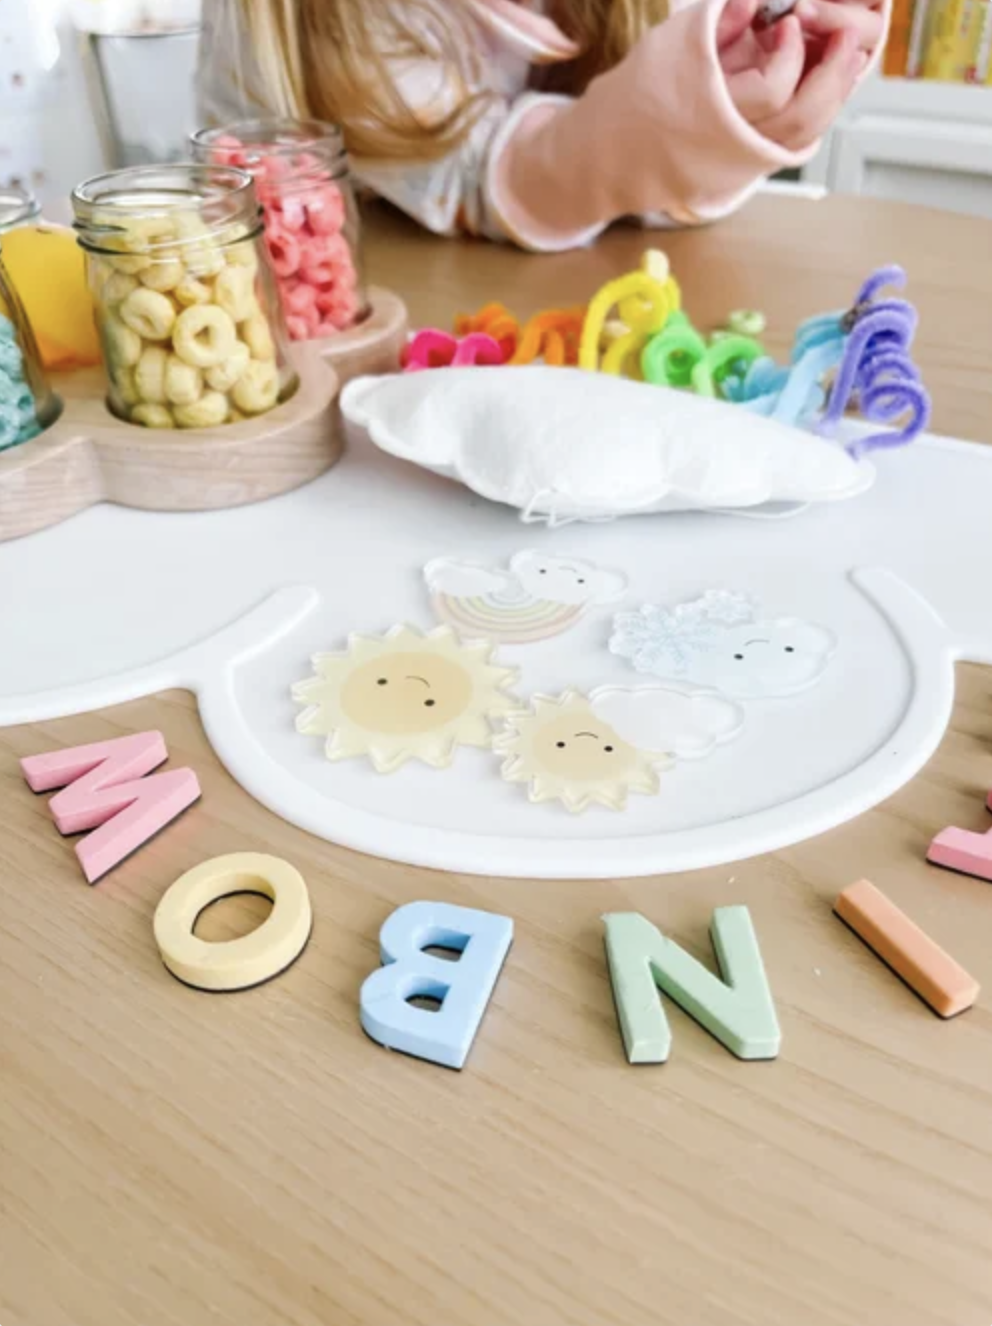
Rainbow pipe cleaners and colorful Fruit Loops arranged on a cloud tray for a preschool craft.
Step 2

Thread the cereal

Have your child thread Fruit Loops onto each pipe cleaner. This is wonderful fine motor practice and gives kids a chance to name colors as they work.

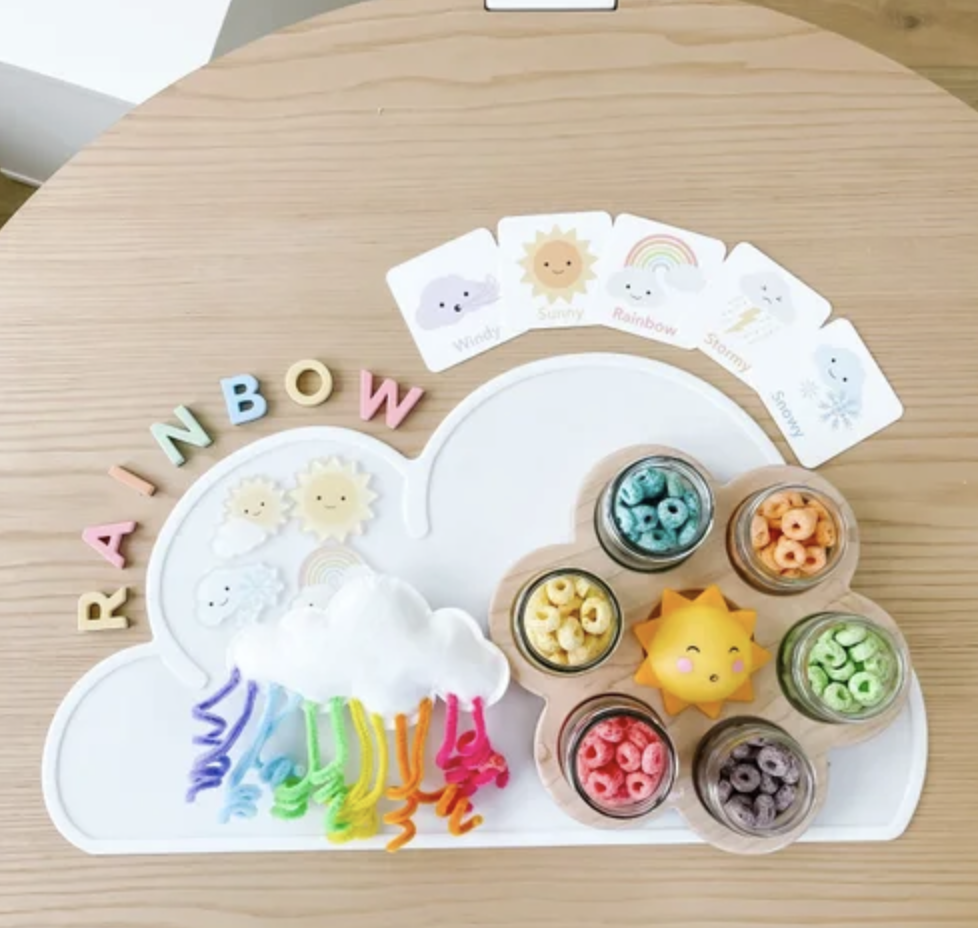
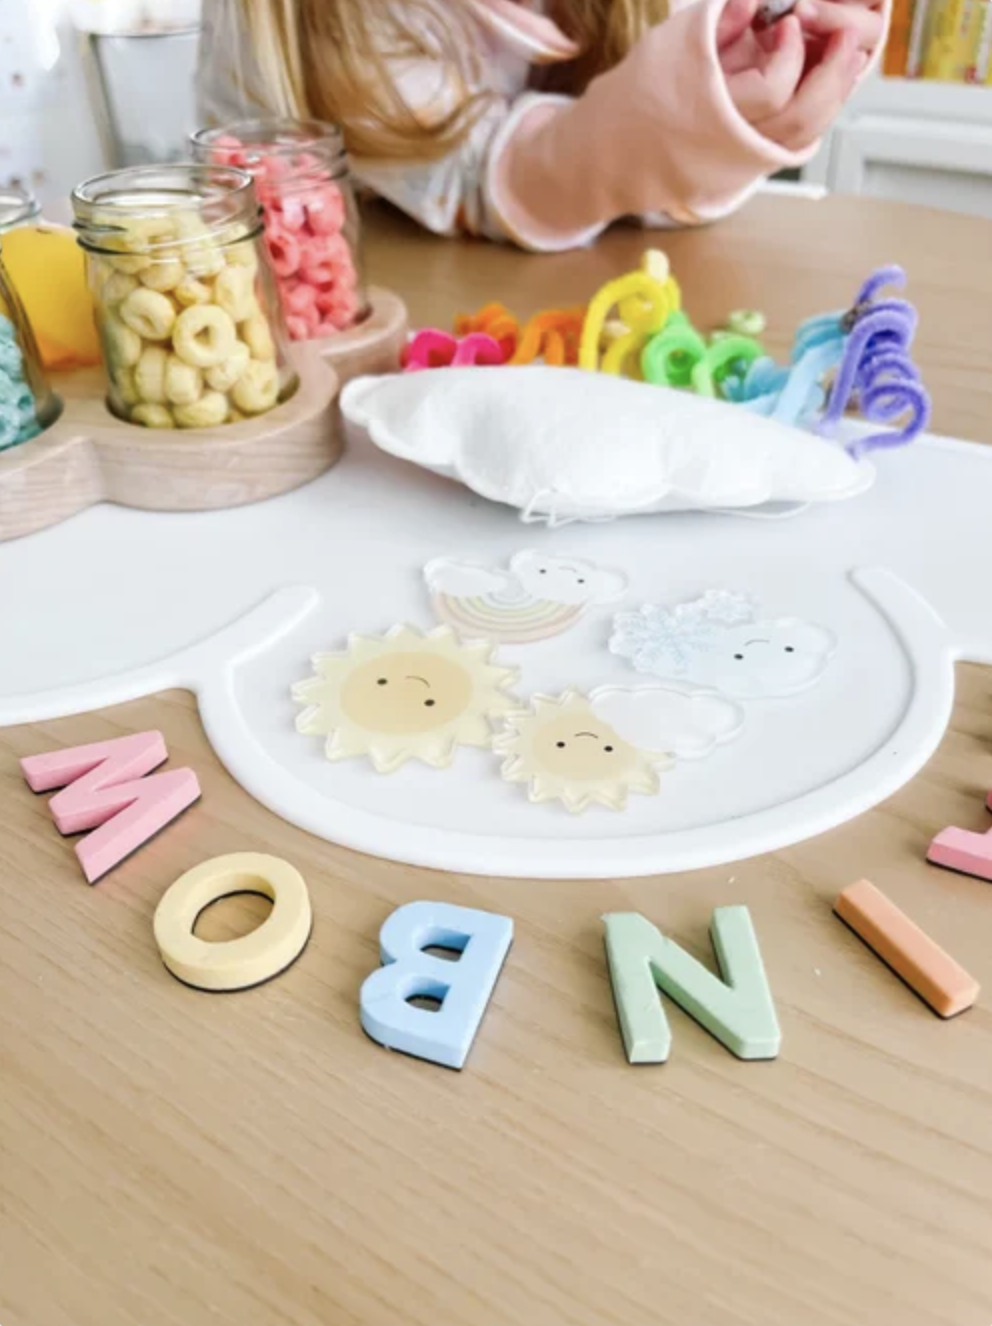
Close-up of rainbow threading activity with pipe cleaners, Fruit Loops, weather pieces, and letter tiles.
Step 3

Build the rainbow

Bend each pipe cleaner into a rainbow arch and tape the ends behind the cloud. Layer the colors from largest to smallest to create a bright rainbow shape.

Parent tip

If your child is still working on threading, use fewer cereal pieces and leave extra space on the pipe cleaner. For older kids, challenge them to build the rainbow in correct color order.

Learning benefits

This rainbow craft is simple, but it builds so many early learning skills.

Threading cereal strengthens fine motor muscles and hand-eye coordination. Sorting Fruit Loops by color supports visual discrimination and color recognition. Building the rainbow in order introduces sequencing and patterning.

It is also a natural way to start a conversation about weather, rainbows, clouds, rain, and sunshine.

Learning skills

Fine motor skills Color sorting Rainbow order Sequencing Weather vocabulary Hand-eye coordination Patterning Creative play

Weather and rainbow products to pair with this activity

Extend this rainbow craft into a full weather-themed learning day with GoodnightFox weather printables and play materials.

GoodnightFox Weather Station Printable Dramatic Play kit with rainbow and forecast activities.

Weather station pretend play

Set up a pretend weather station with forecast boards, weather symbols, and meteorologist role-play.

Shop weather station
GoodnightFox Weather Flashcards with rainbow, sun, rain, snow, and storm cards.

Weather flashcards

Practice weather vocabulary with soft pastel weather cards, including rainbow, sun, rain, clouds, and storms.

Shop flashcards
GoodnightFox Weather Wood Play Rounds with illustrated weather symbols.

Weather wood play rounds

Add wooden weather pieces to sensory bins, matching games, calendar time, and weather-themed play trays.

Shop play rounds

Questions to ask kids

  • What colors are in your rainbow?
  • Which color comes first?
  • Can you sort the cereal by color?
  • What weather do we need to see a rainbow?
  • What happens after it rains and the sun comes out?
  • Can you count how many cereal pieces are on each pipe cleaner?

More rainbow and weather activities

Rainbow threading craft Pinterest graphic for GoodnightFox.

Rainbow threading

Save this rainbow threading idea for Weather Week, spring crafts, or a colorful fine motor activity.

Rainbow threading

Rainbow milk experiment

Make colors swirl across milk while learning about surface tension and color mixing.

Rainbow milk

Sunset milk experiment

Explore warm colors, cool colors, and color mixing through a beautiful science activity.

Sunset milk

Rainbow cloud craft FAQ

How do you make a Fruit Loop rainbow craft?

Thread colorful cereal onto pipe cleaners, bend the pipe cleaners into rainbow arches, and attach them to a white cloud shape made from cardstock, cardboard, or foam.

What age is this rainbow craft best for?

This craft is best for ages three and up with adult supervision. Younger children may need help threading cereal and bending the pipe cleaners.

What do kids learn from a rainbow craft?

Kids can practice color recognition, sorting, sequencing, fine motor skills, hand-eye coordination, counting, and weather vocabulary.

Can I use this for Weather Week?

Yes. This craft pairs perfectly with weather lessons about rainbows, clouds, rain, sunshine, and the colors we see after a storm.

What can I use instead of Fruit Loops?

You can use pony beads, buttons, dyed pasta, paper circles, pom poms, or any small colorful item that can be sorted or threaded safely.

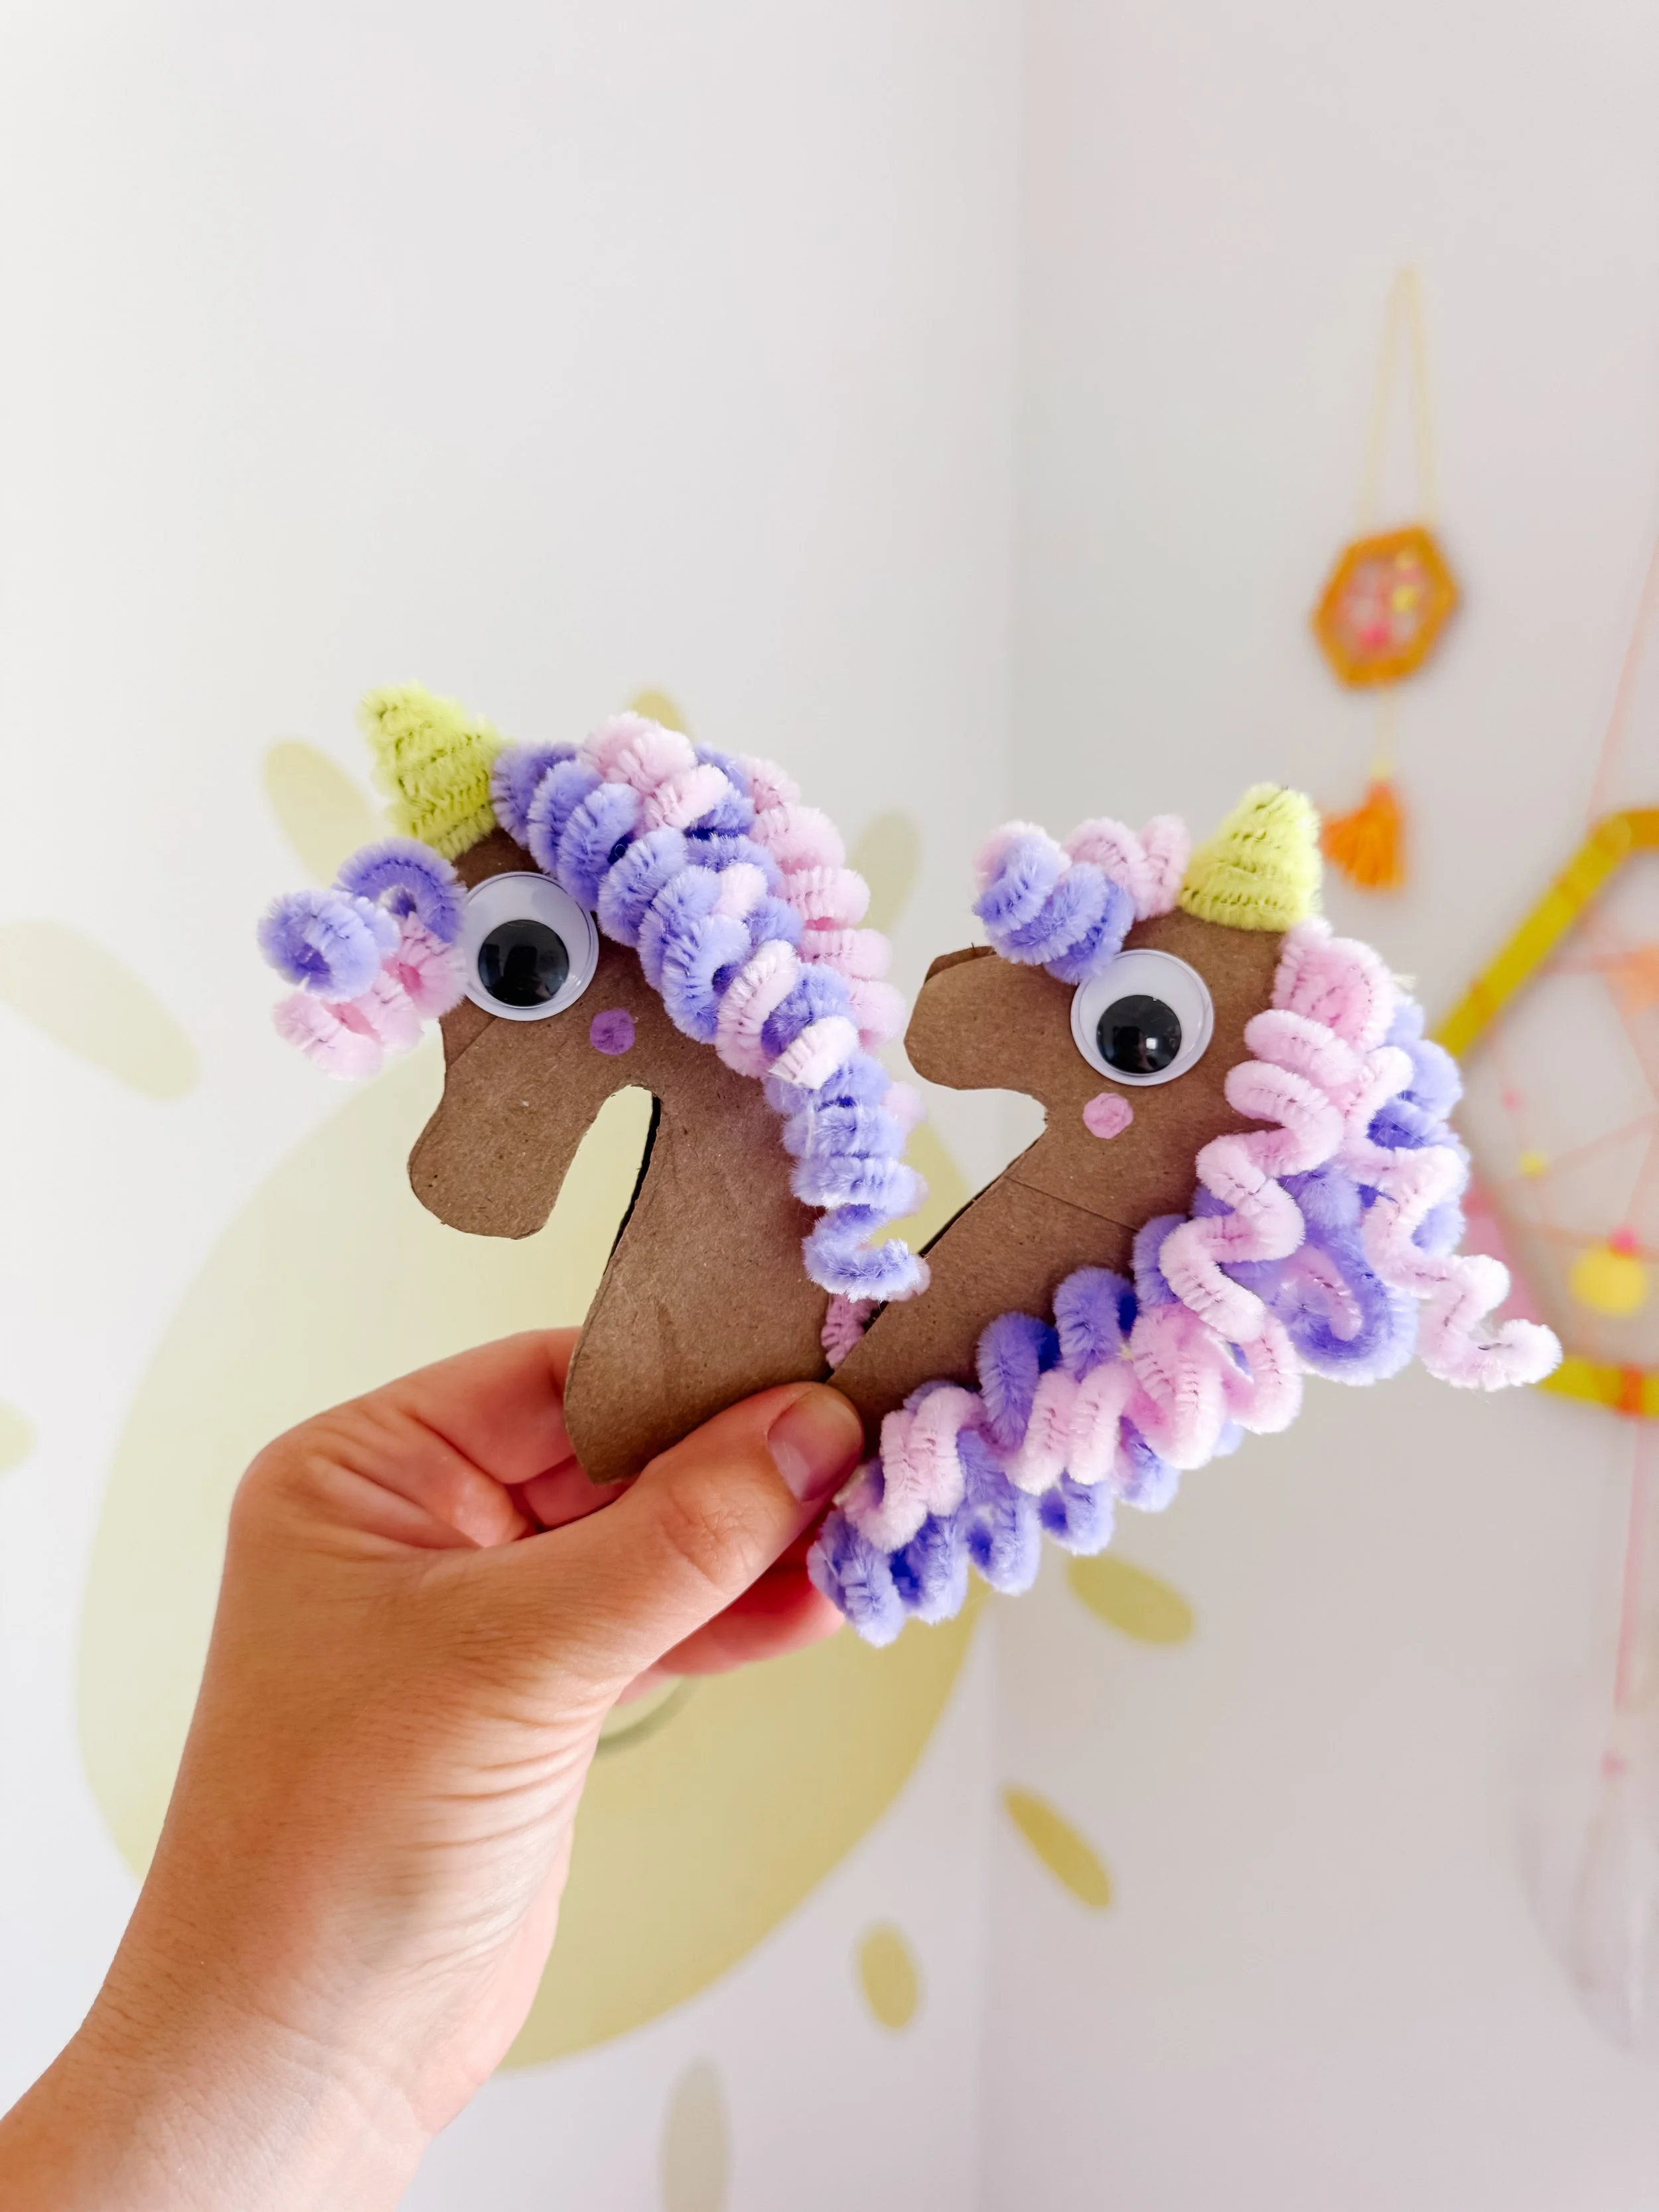
Toilet Roll Unicorn

Toilet Roll Unicorn Craft

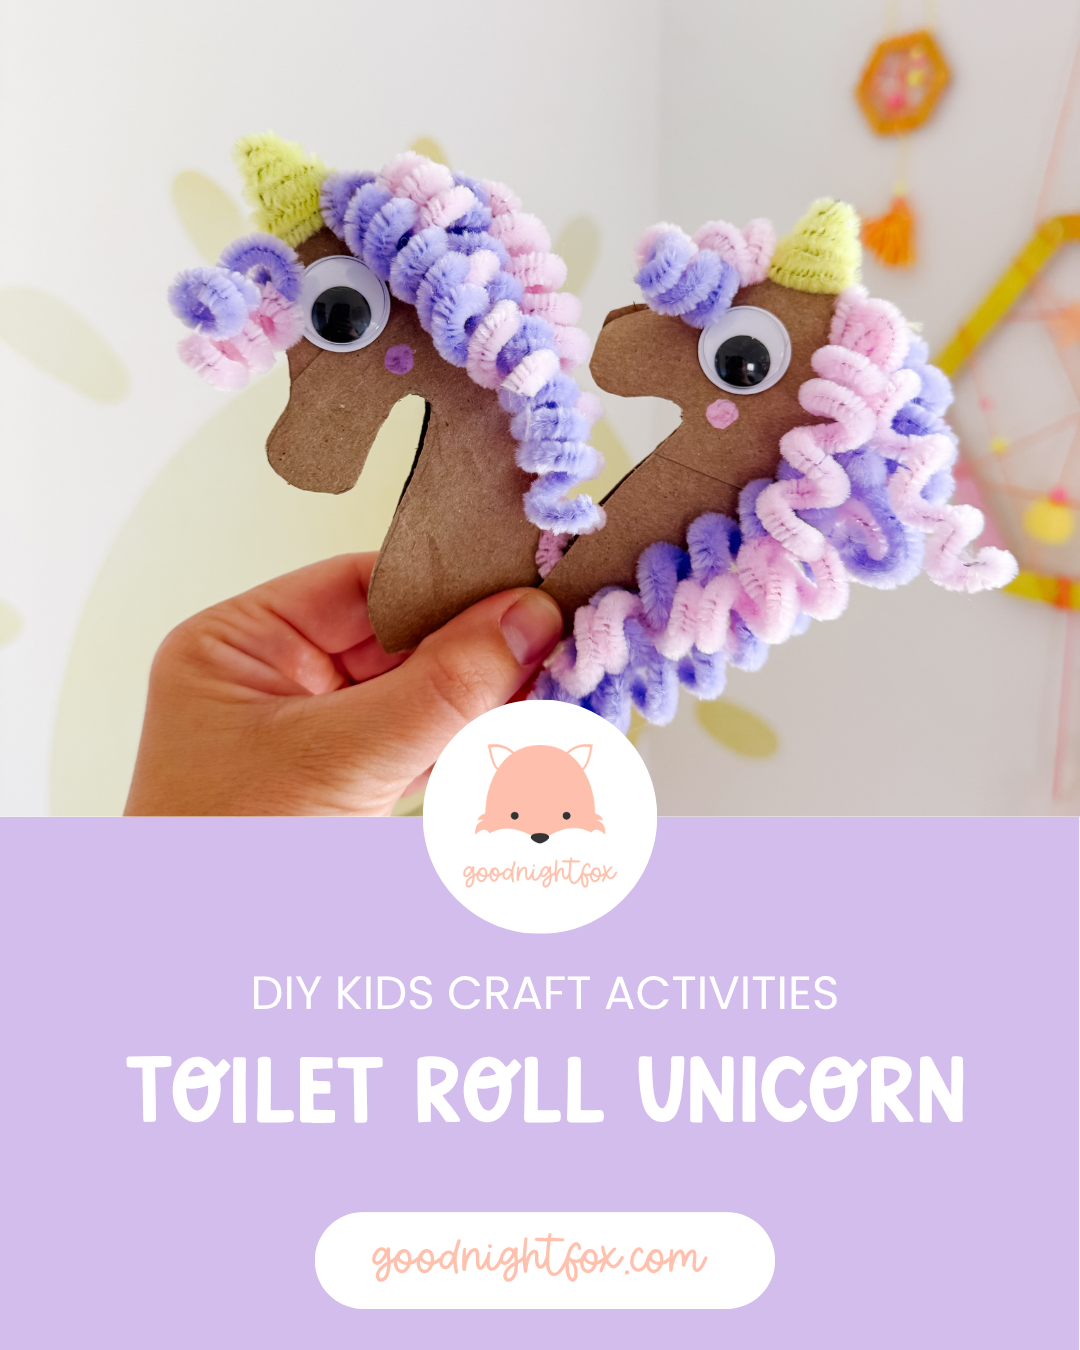
A magical recycled craft for kids using a toilet paper roll, pipe cleaners, googly eyes, and simple supplies—perfect for unicorn week, princess play, castle crafts, and imaginative storytelling.

Toilet roll unicorn craft for kids with pastel pipe cleaner mane, googly eyes, and yellow horn.
Age3+
Prep10 minutes
Activity20 minutes
Mess★☆☆☆☆
SkillsFine motor + pretend play

Why we love this activity

This toilet roll unicorn craft is such a sweet way to turn a recycled cardboard tube into something magical.

Kids get to twist pipe cleaners, glue on googly eyes, draw little details, and create a colorful mane and horn. It is simple enough for preschoolers with a little help, but still open-ended enough for older kids to personalize.

What I love most is that the finished unicorn becomes more than a craft. It can gallop into castle play, unicorn sensory bins, fairy gardens, puppet shows, and magical storytelling.

Materials needed

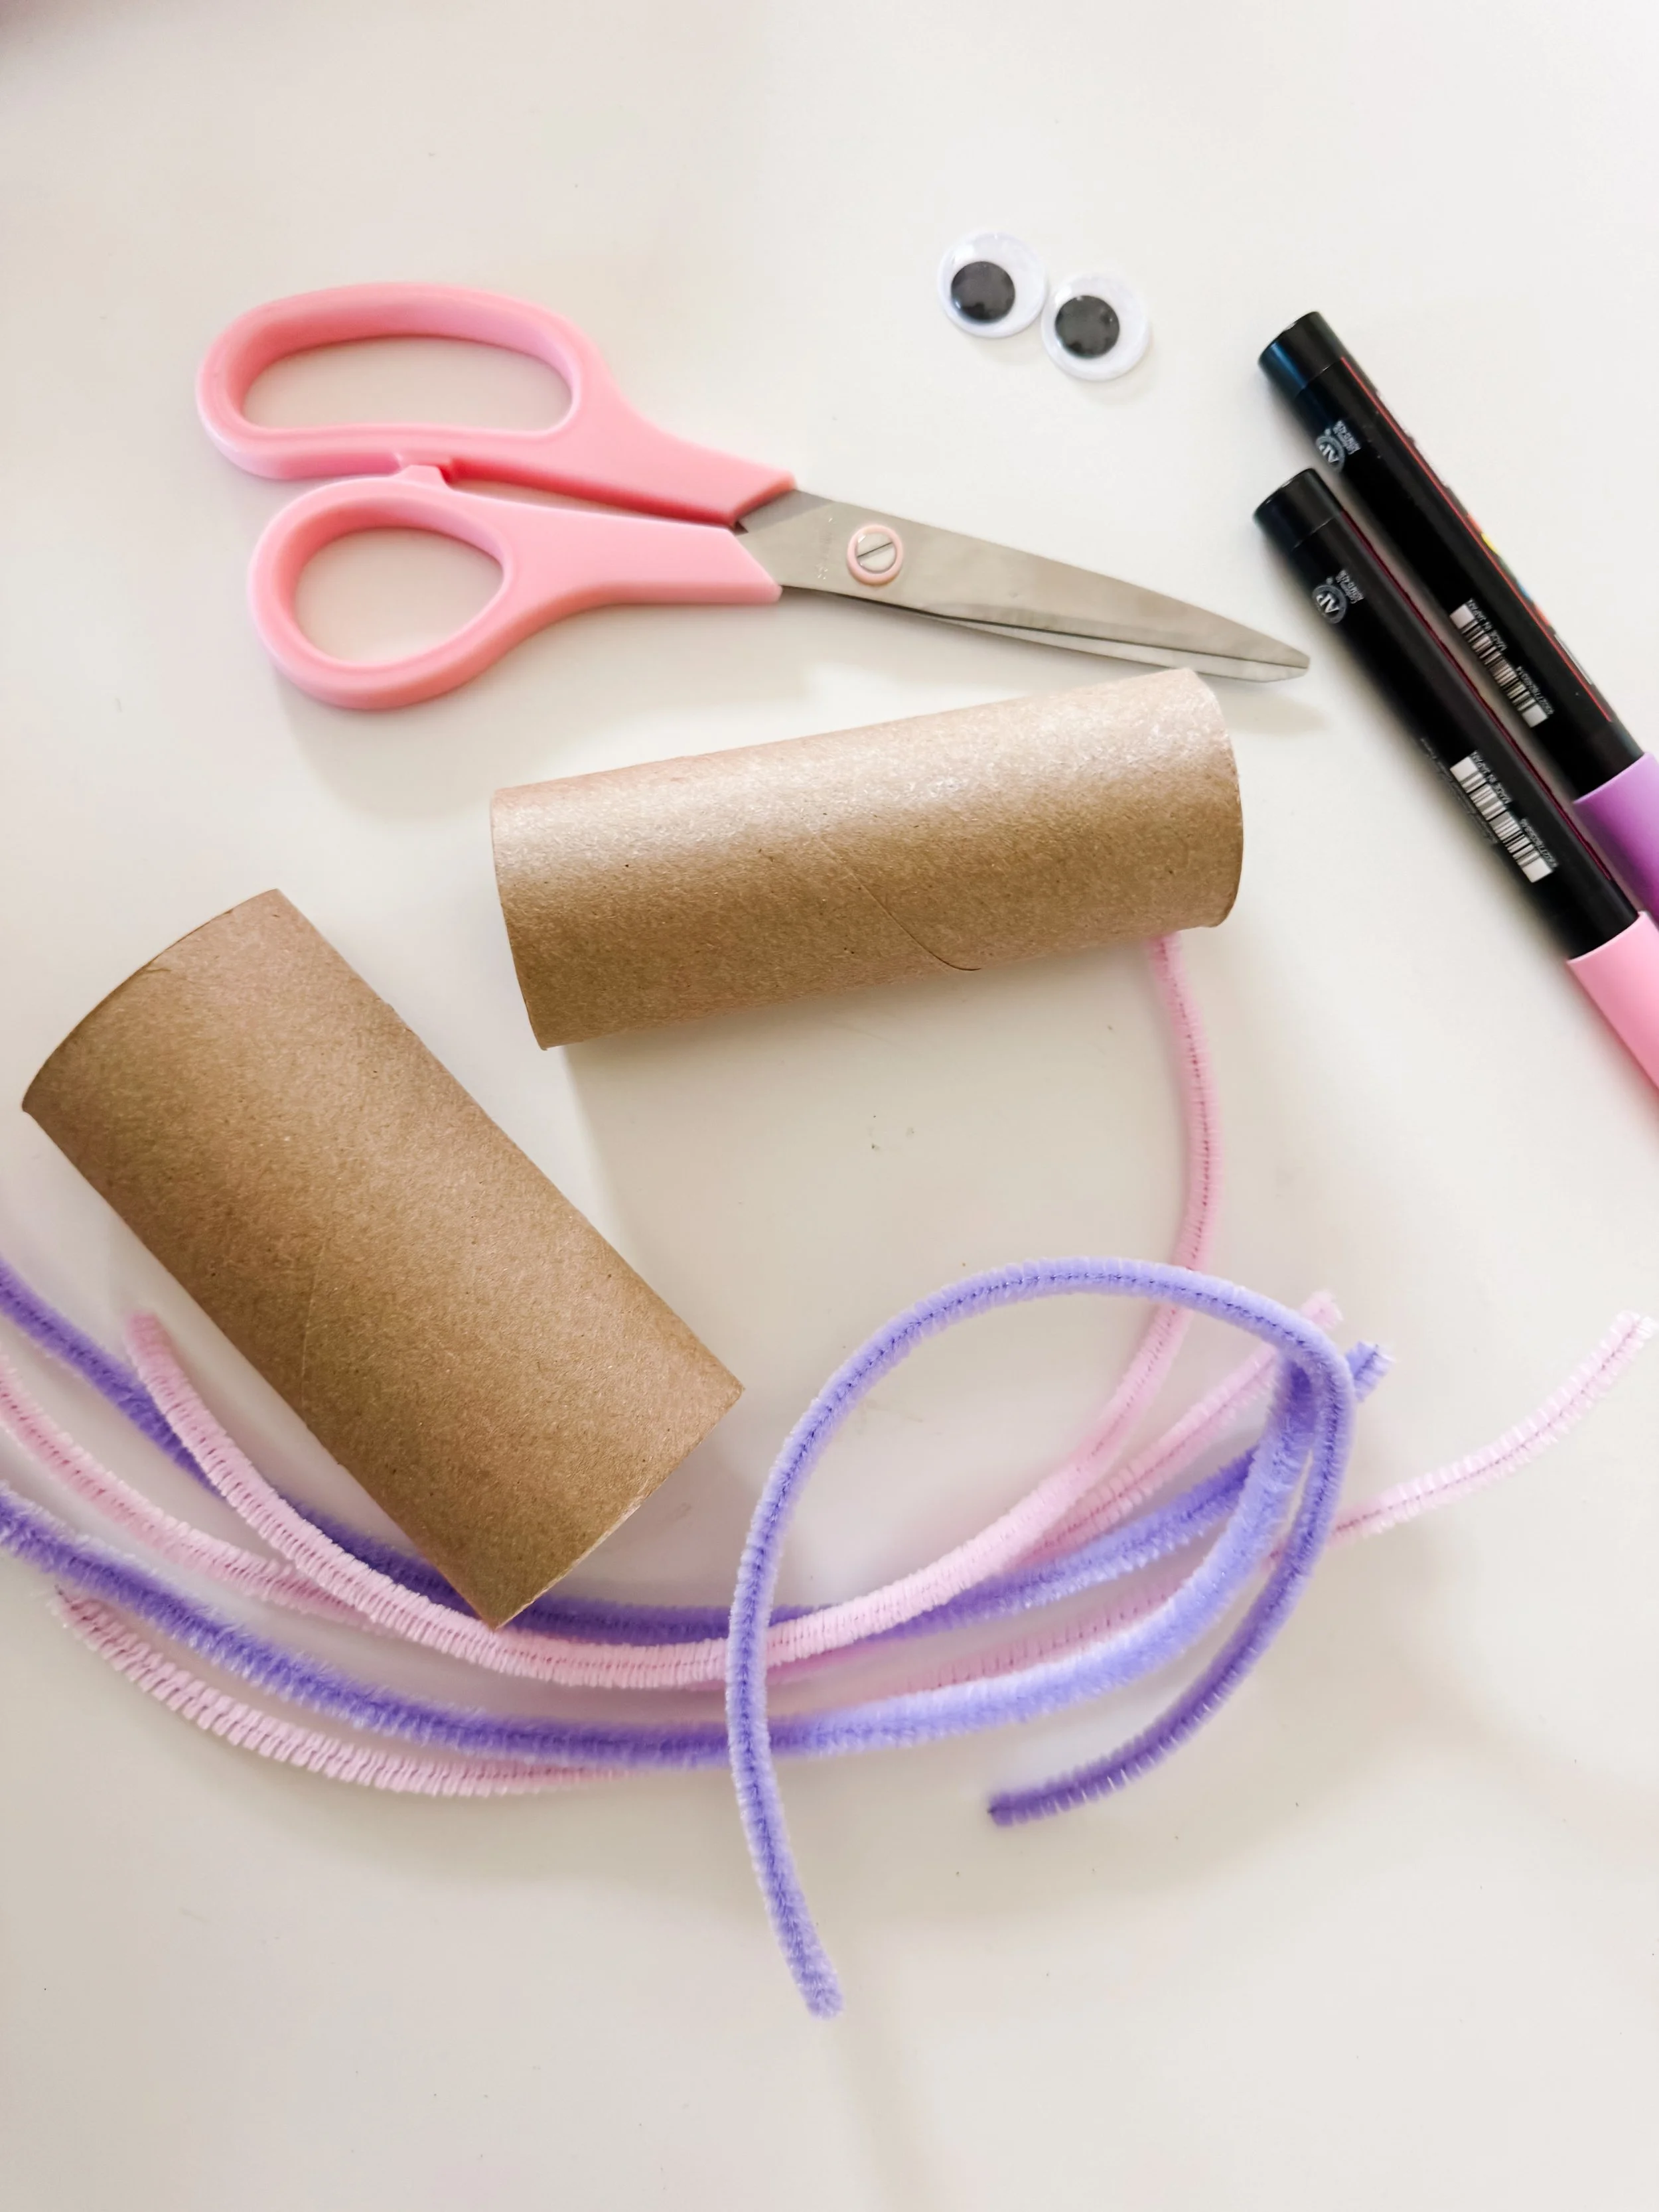
  • Empty toilet paper roll
  • Pastel pipe cleaners
  • Yellow pipe cleaner or paper for the horn
  • Googly eyes
  • Pink and purple markers
  • Scissors
  • Glue
  • Pencil

How to make a toilet roll unicorn

Supplies for toilet roll unicorn craft including cardboard tubes, pipe cleaners, scissors, markers, and googly eyes.
Step 1

Gather the supplies

Set out a cardboard tube, pastel pipe cleaners, googly eyes, markers, scissors, glue, and a pencil. For younger kids, pre-cut the unicorn shape so they can focus on decorating.

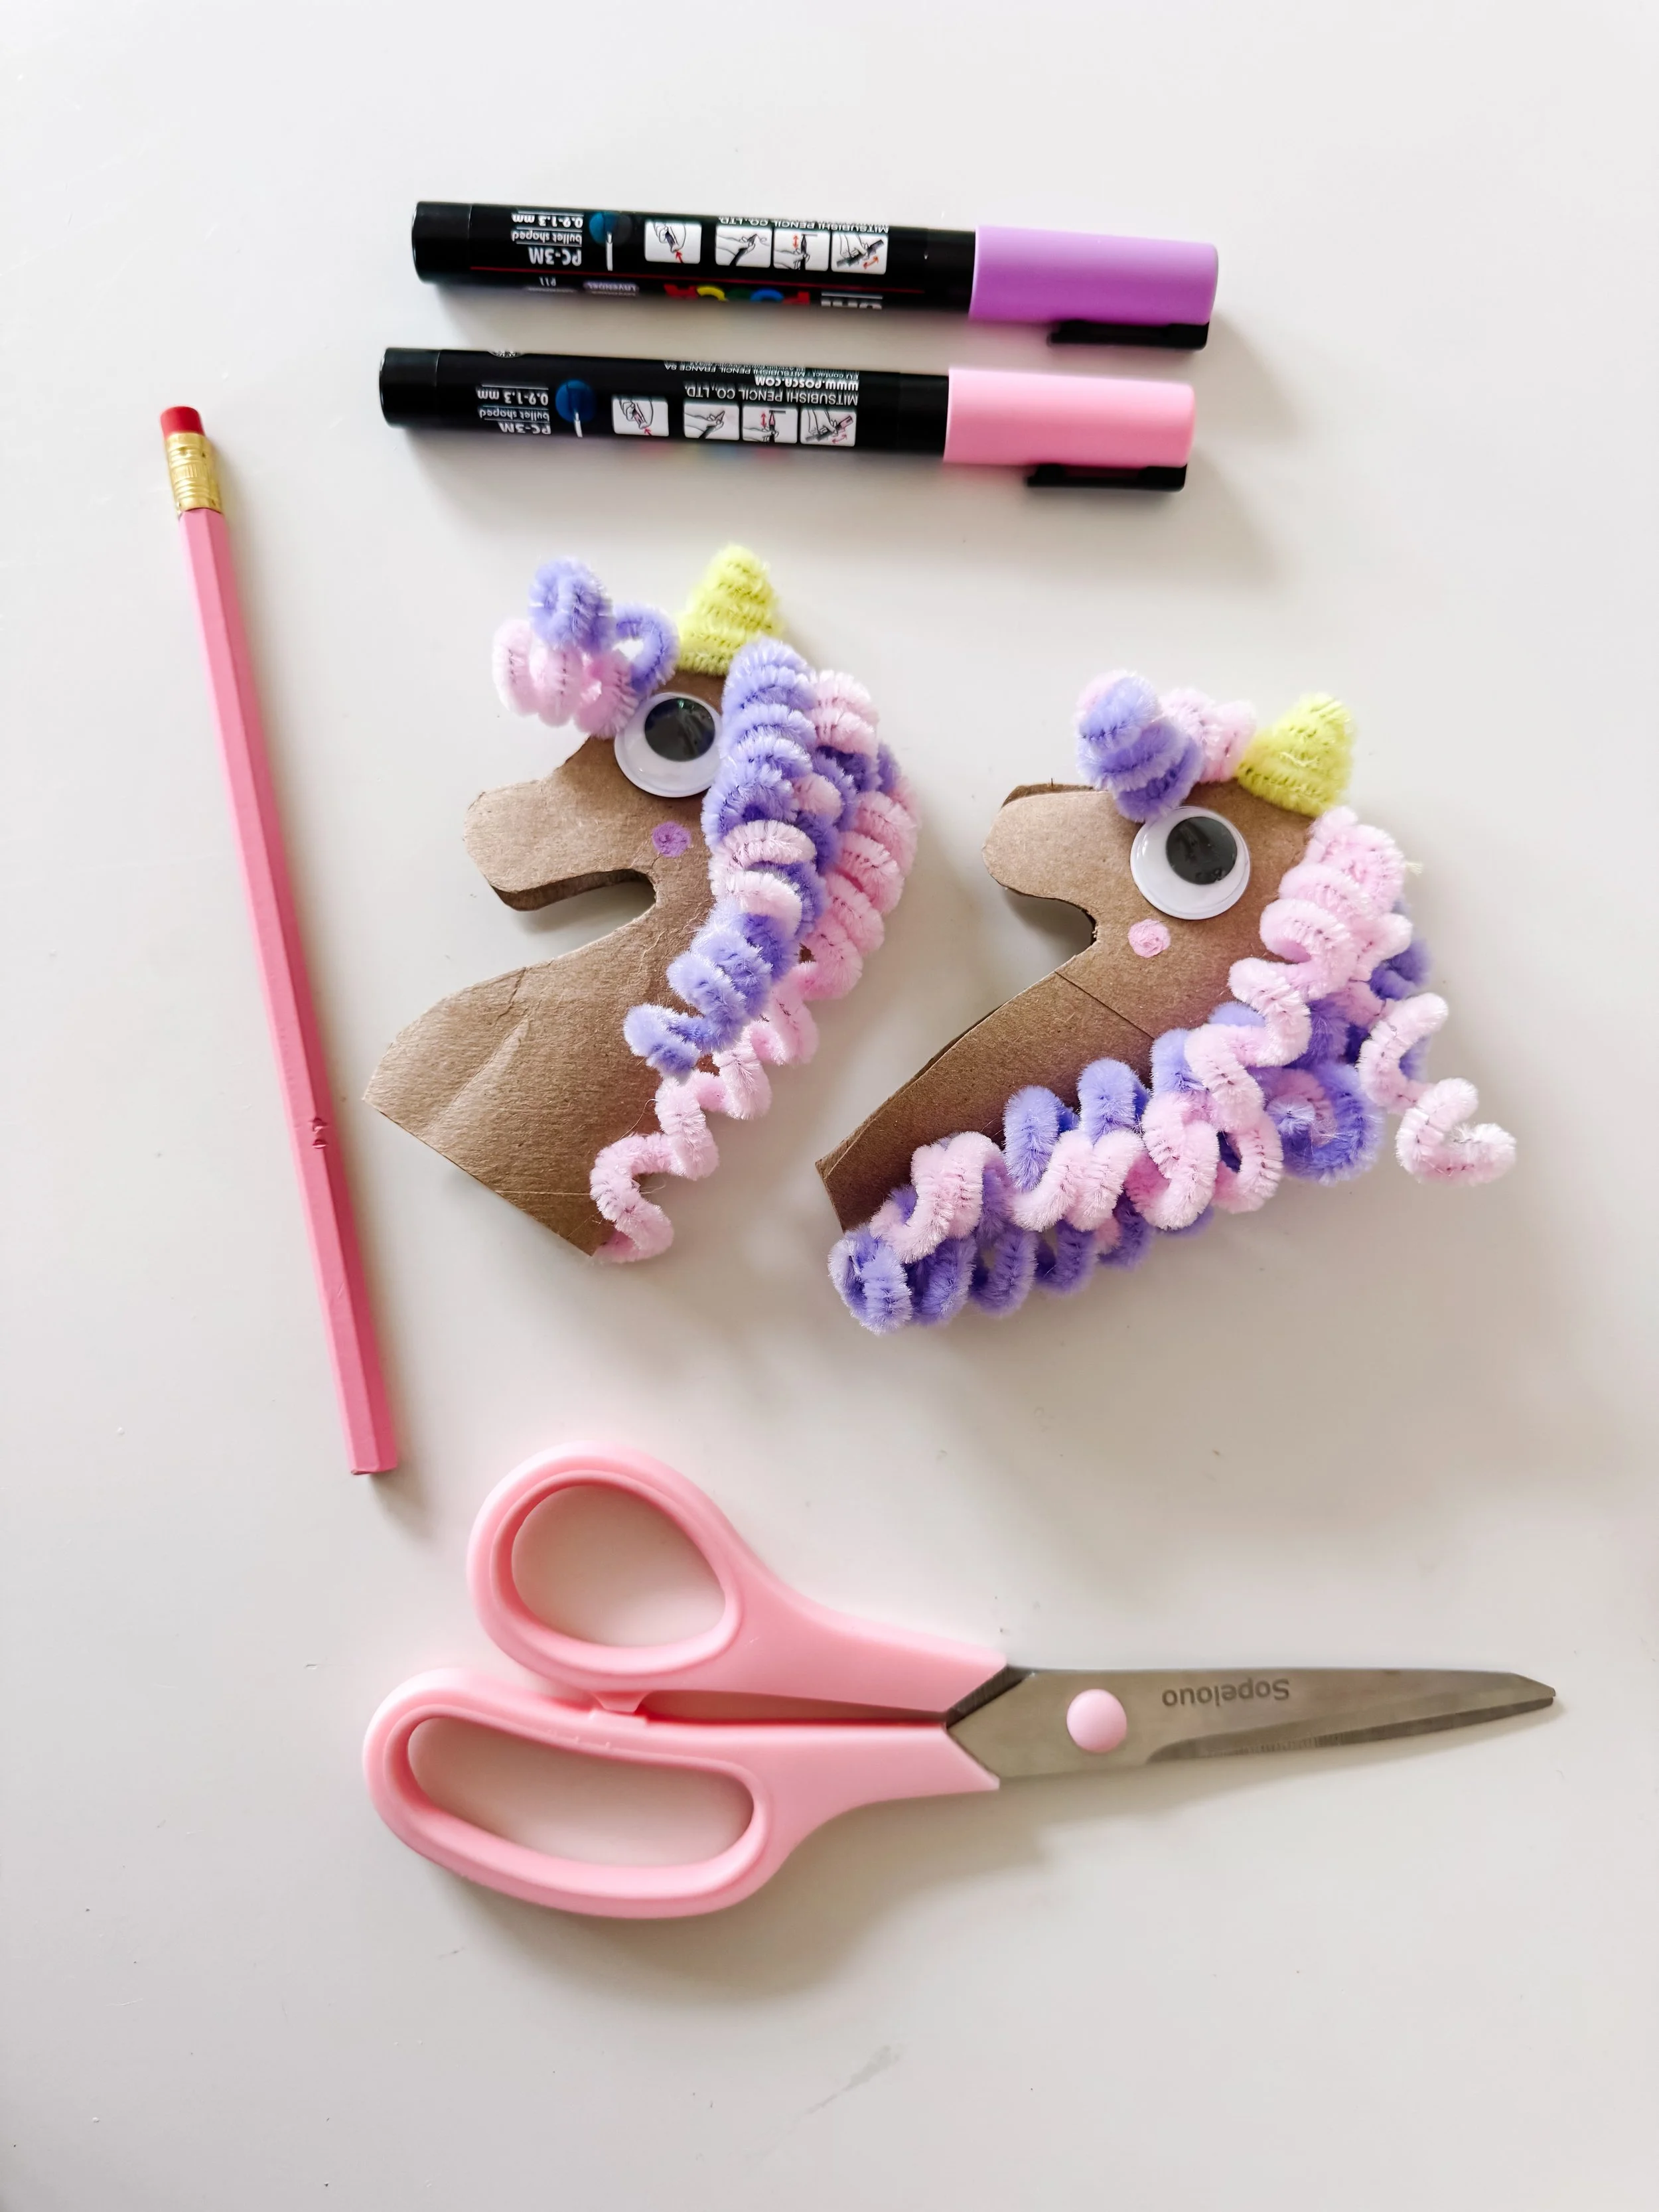
Finished toilet roll unicorn crafts with pastel pipe cleaner manes, yellow horns, and craft supplies.
Step 2

Shape the unicorn

Cut the cardboard tube into a simple unicorn head and neck shape. Add googly eyes, draw a little cheek, and attach a small yellow horn at the top.

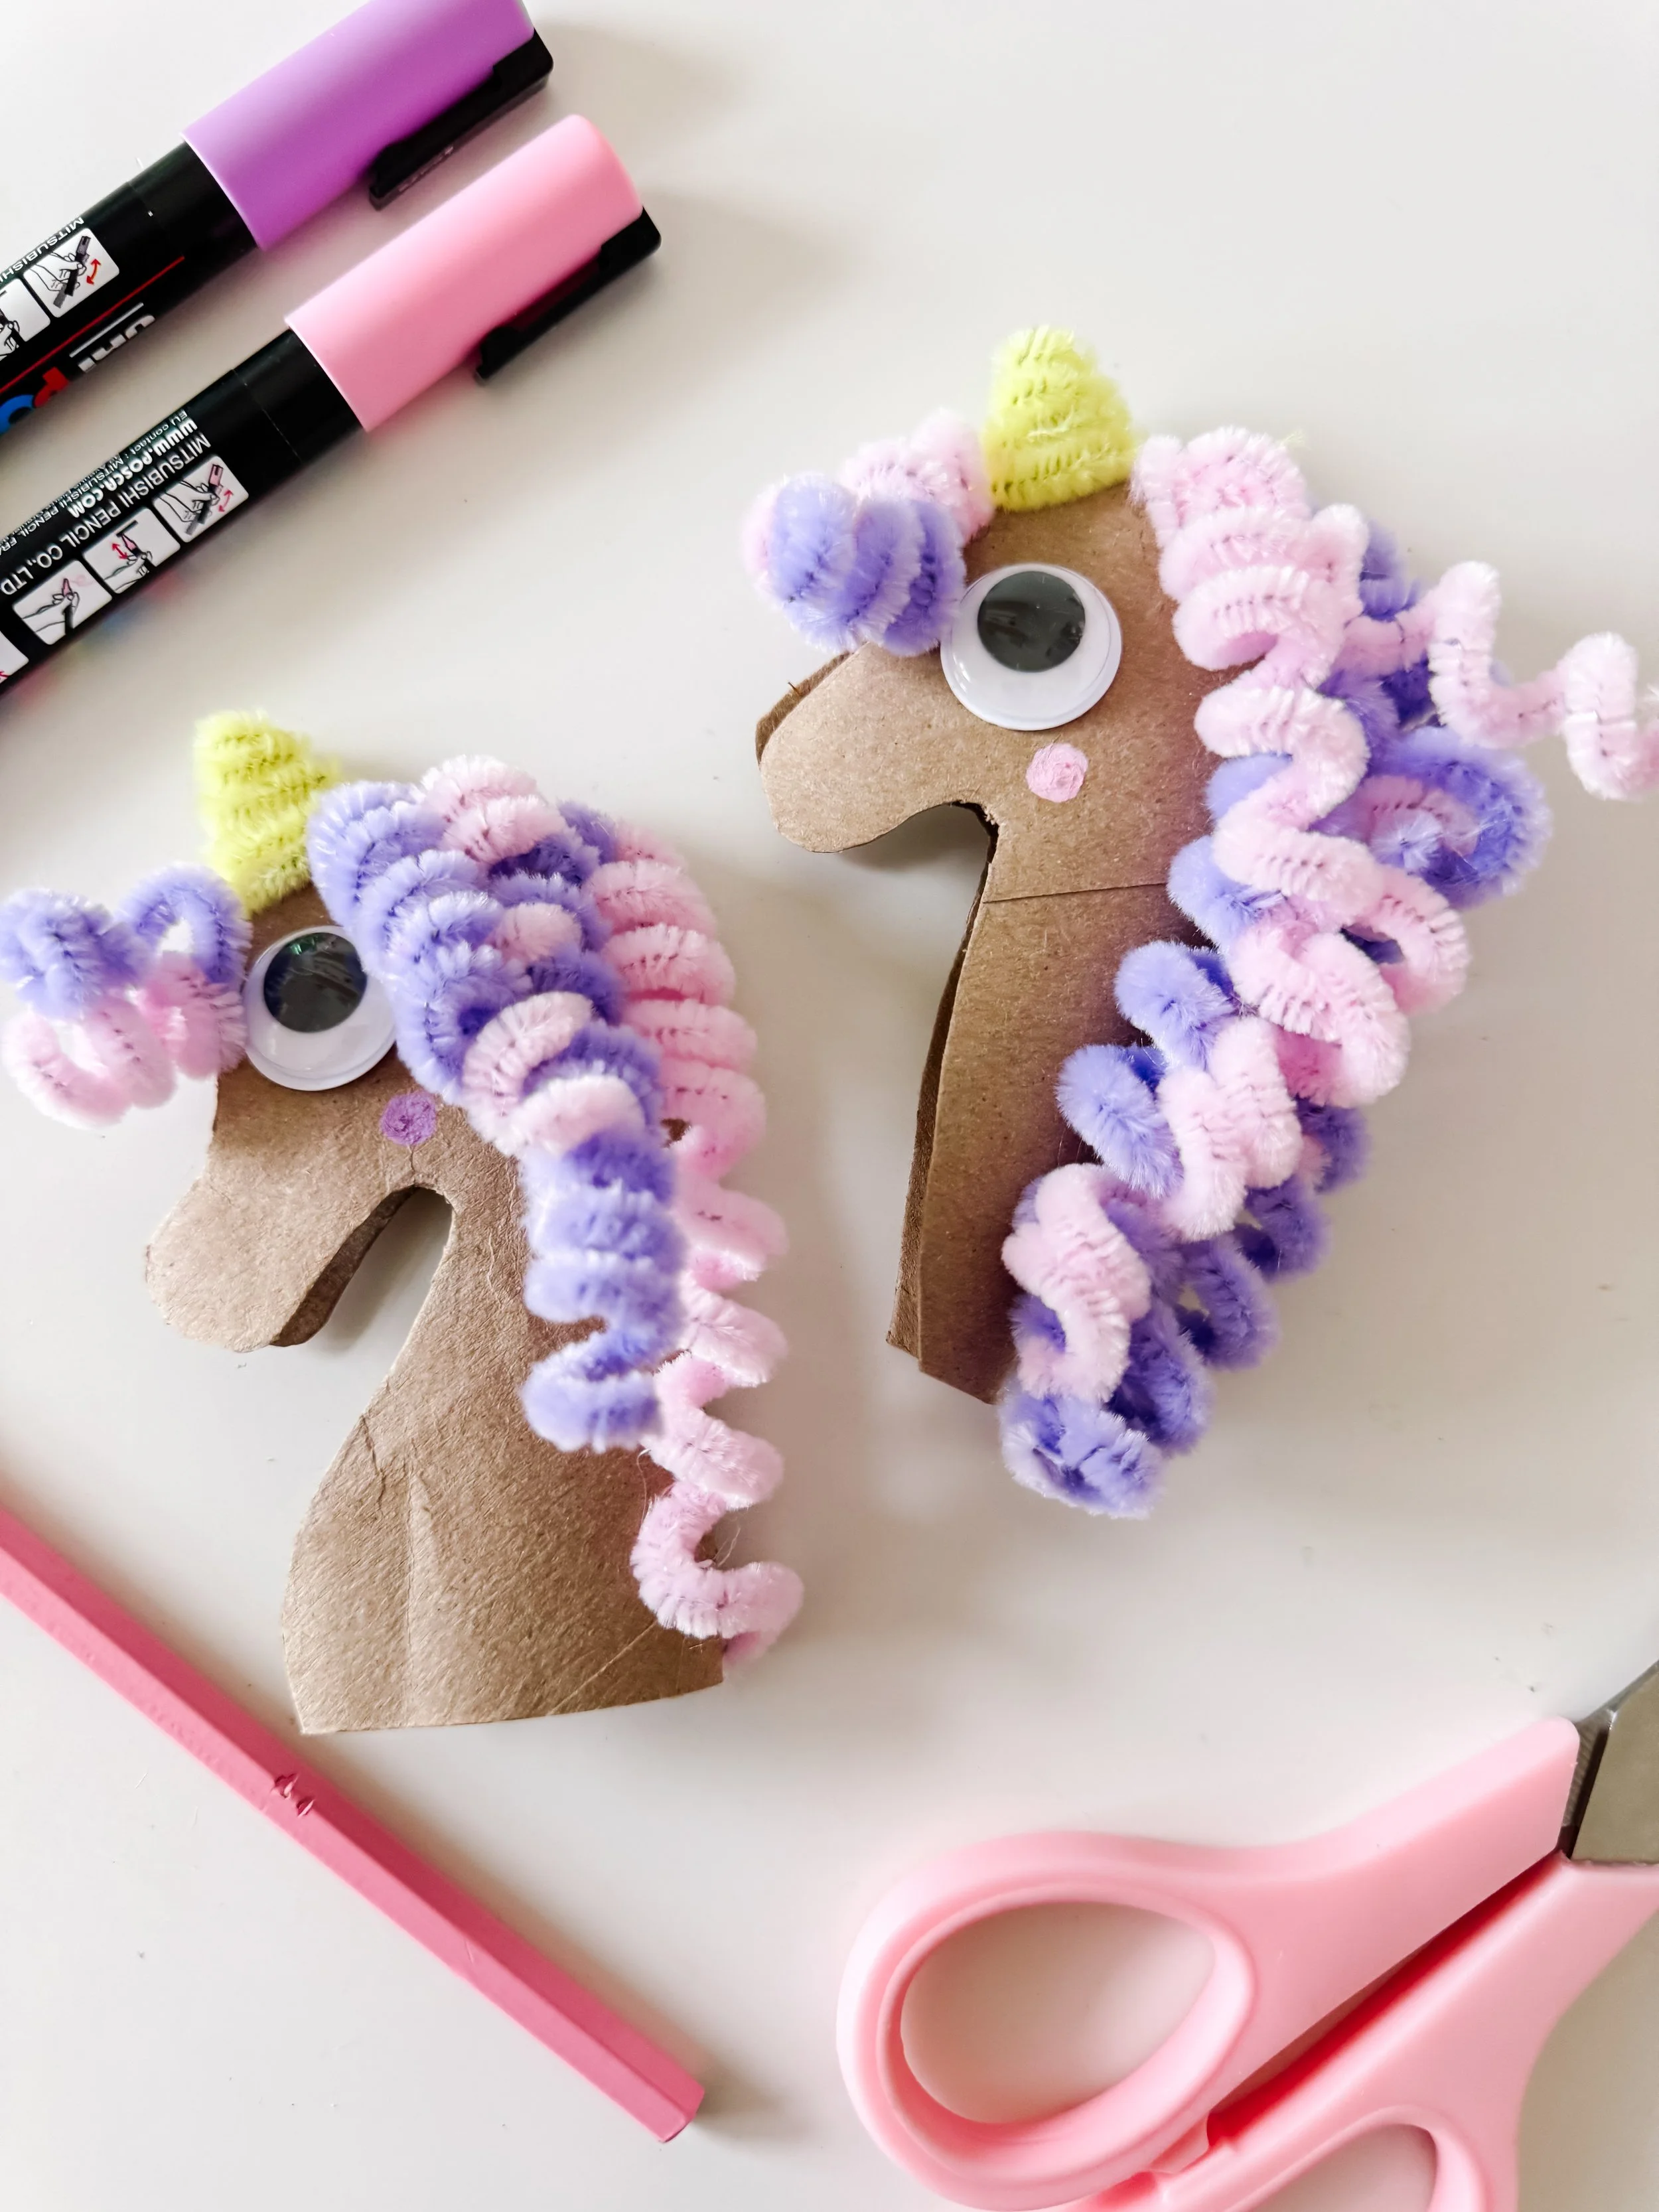
Two completed toilet roll unicorn crafts with curled pastel pipe cleaner manes.
Step 3

Add the mane

Twist pastel pipe cleaners around a pencil to create curls, then glue or tape them along the unicorn’s head and neck. Mix pink, lavender, and yellow for a magical rainbow look.

Child holding two pastel toilet roll unicorn crafts for imaginative play.
Step 4

Play with your unicorn

Once the glue dries, use the unicorns for puppet play, castle storytelling, unicorn sensory play, or a magical small-world setup.

Parent tip

To make the curly mane, wrap pipe cleaners around a pencil and slide them off gently. This is a great fine motor challenge for older preschoolers and early elementary kids.

Unicorn learning ideas

This craft naturally supports fine motor skills, creativity, and storytelling. Children strengthen their hands as they twist pipe cleaners, practice careful gluing, and decorate small details.

After the craft, invite your child to name their unicorn, create a magical kingdom, tell a story, or build a cardboard castle for the unicorn to live in.

You can also pair this with rainbow sorting, color vocabulary, unicorn sensory play, or pretend dramatic play for a full unicorn-themed activity day.

Learning skills

Fine motor skills Pipe cleaner twisting Cutting practice Gluing Color vocabulary Pretend play Creative storytelling Recycled crafts

Unicorn products to pair with this craft

Extend the magic with unicorn-themed dramatic play, sensory kits, and matching games from GoodnightFox.

GoodnightFox Unicorn Sensory and Dramatic Play Setup printable kit.

Unicorn dramatic play

A printable unicorn sensory and dramatic play setup with unicorn signs, rainbows, magical accessories, and role-play props.

Shop unicorn play
GoodnightFox Unicorn Sensory Kit with pastel sensory filler and unicorn play pieces.

Unicorn sensory kit

Add a magical hands-on sensory bin with pastel filler, unicorn pieces, and small-world play materials.

Shop sensory kit
GoodnightFox Unicorn and Princess Memory Game for kids.

Unicorn memory game

A sweet unicorn and princess matching game for quiet play, party favors, and early memory practice.

Shop memory game

More unicorn and castle activities

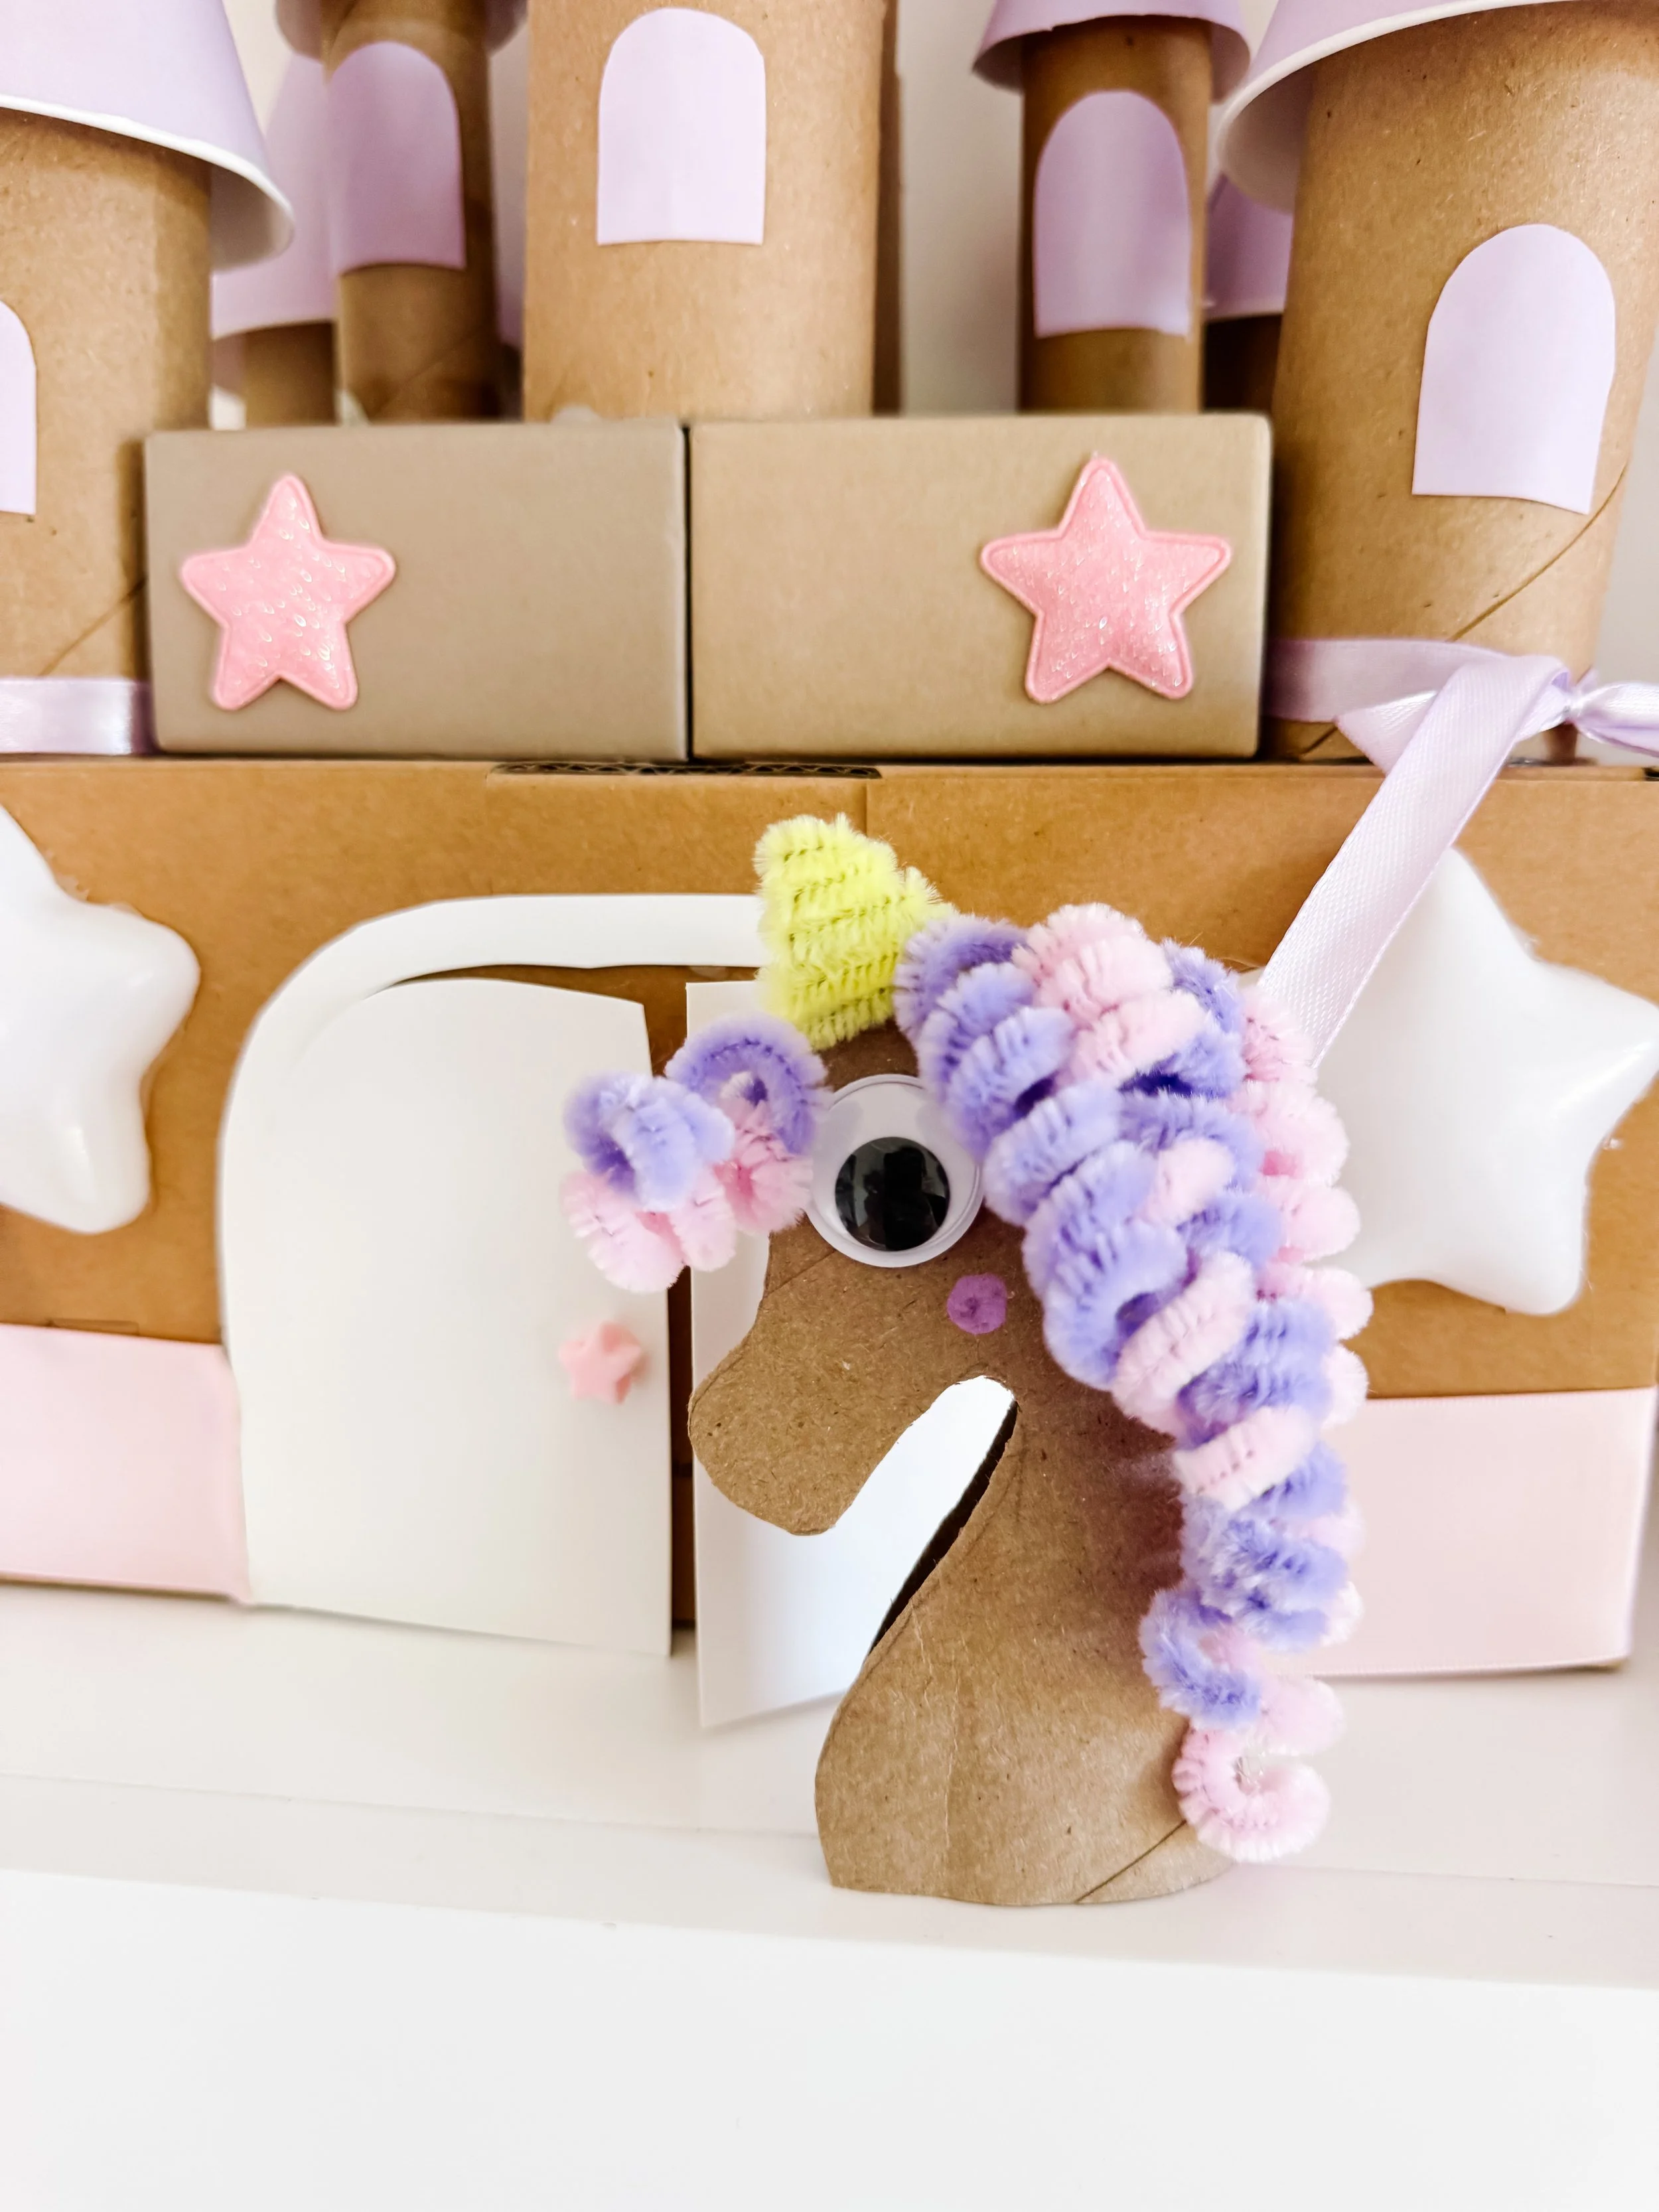
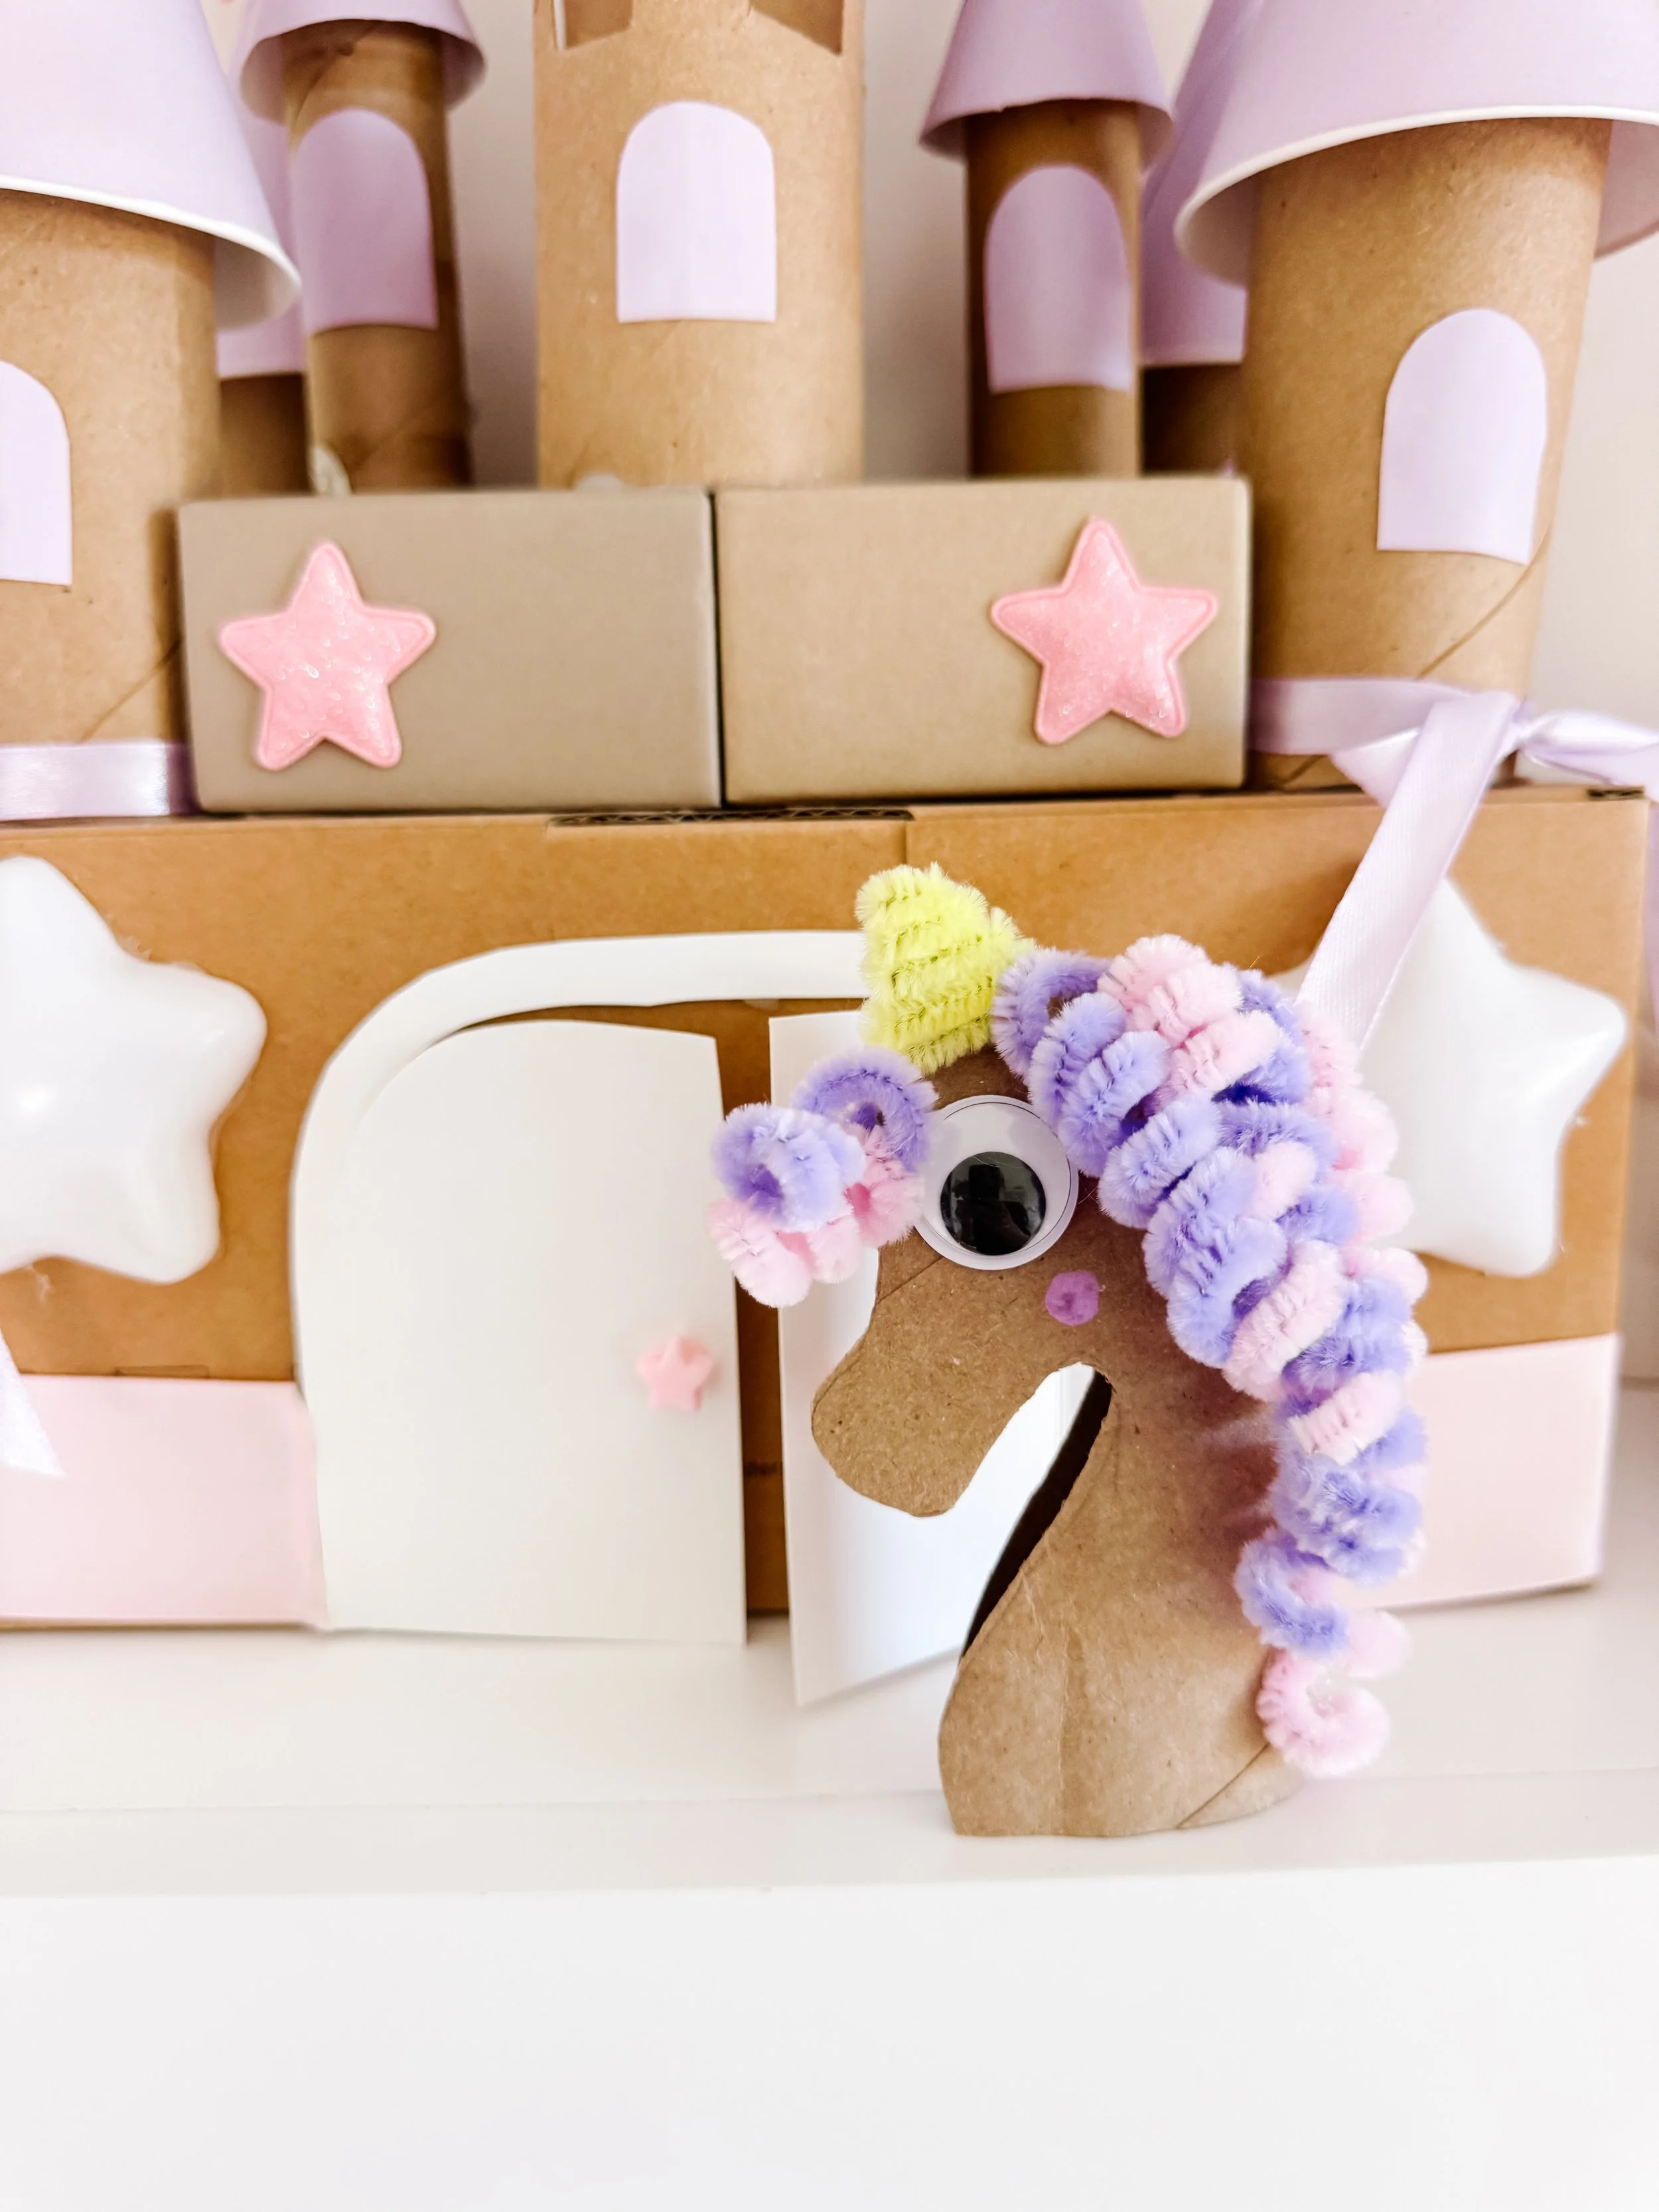
Toilet roll unicorn craft in front of a DIY cardboard castle.

Cardboard castle craft

Build a magical cardboard castle using recycled materials, then use your unicorns for pretend play.

DIY castle craft
Unicorn sensory and dramatic play printable setup.

Unicorn sensory play

Set up a rainbow-filled unicorn sensory tray with printable props and magical small-world play.

Unicorn sensory play
Toilet roll unicorn craft standing in front of a cardboard castle.

Magical storytelling

Use the unicorns as puppets for princess, fairy, castle, and rainbow-themed storytelling.

More unicorn ideas

Questions to ask kids

  • What is your unicorn’s name?
  • What magical power does your unicorn have?
  • Where does your unicorn live?
  • What colors are in the unicorn’s mane?
  • Can your unicorn visit the castle?
  • Can you tell a story about your unicorn?

Toilet roll unicorn FAQ

How do you make a unicorn out of a toilet paper roll?

Cut an empty cardboard tube into a simple unicorn head shape, add googly eyes, attach a small horn, and glue curled pipe cleaners along the head and neck to create the mane.

What age is this unicorn craft best for?

This craft is best for ages three and up with adult supervision. Younger children may need help cutting the cardboard and attaching the pipe cleaners.

How do you make the curly unicorn mane?

Wrap pastel pipe cleaners around a pencil, slide them off gently, and glue or tape them to the cardboard tube to create a curly unicorn mane.

What can kids learn from this craft?

Kids practice fine motor skills, cutting, gluing, color vocabulary, creativity, and storytelling. The finished craft can also become a pretend play puppet.

What can I pair with a unicorn craft?

Pair this craft with unicorn sensory play, rainbow sorting, a cardboard castle, princess pretend play, fairy stories, or a unicorn dramatic play setup.

Hello, World!

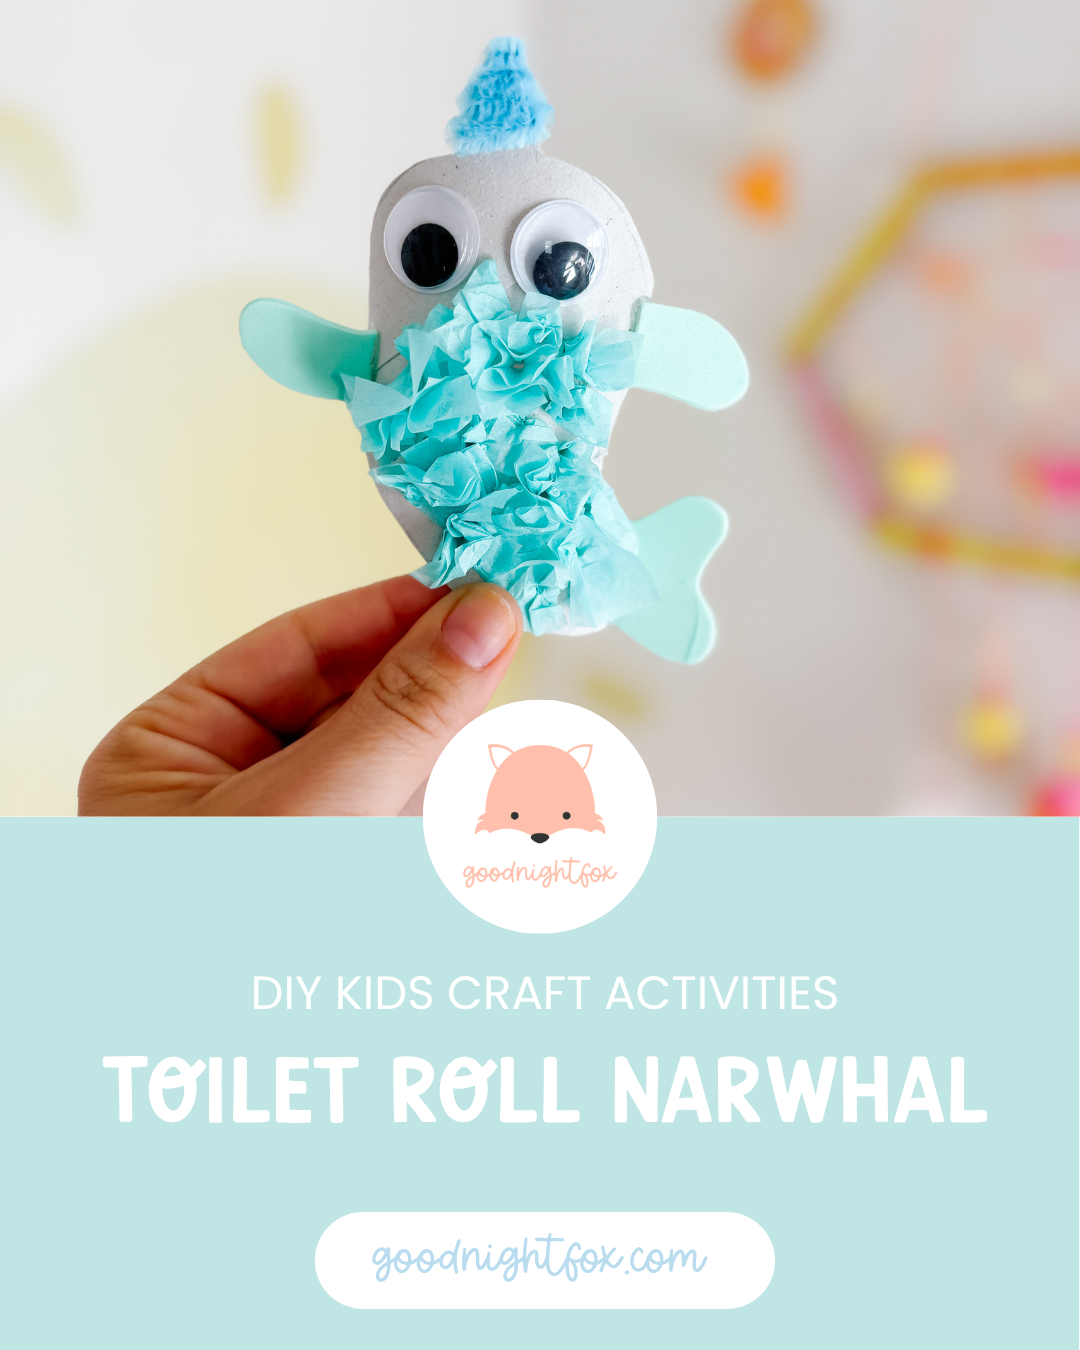
Toilet Roll Narwhal

Toilet Roll Narwhal Craft

A sweet ocean animal craft for kids using a toilet paper roll, tissue paper, pipe cleaners, and googly eyes—perfect for Ocean Week, summer crafts, and under-the-sea learning.

Toilet roll narwhal craft for kids with blue tissue paper, googly eyes, foam fins, and a pipe cleaner horn.
Age3+
Prep10 minutes
Activity20 minutes
Mess★☆☆☆☆
SkillsFine motor + ocean

Why we love this activity

This toilet roll narwhal craft is such a cute way to reuse a cardboard tube while adding a little ocean magic to your day.

Kids get to crumple tissue paper, glue, cut simple shapes, add googly eyes, and twist a pipe cleaner horn. It is simple enough for preschoolers, but still adorable enough to display or use in pretend ocean play afterward.

I love this craft for Ocean Week because it naturally opens up conversations about sea animals, arctic waters, whale families, and imaginative under-the-sea storytelling.

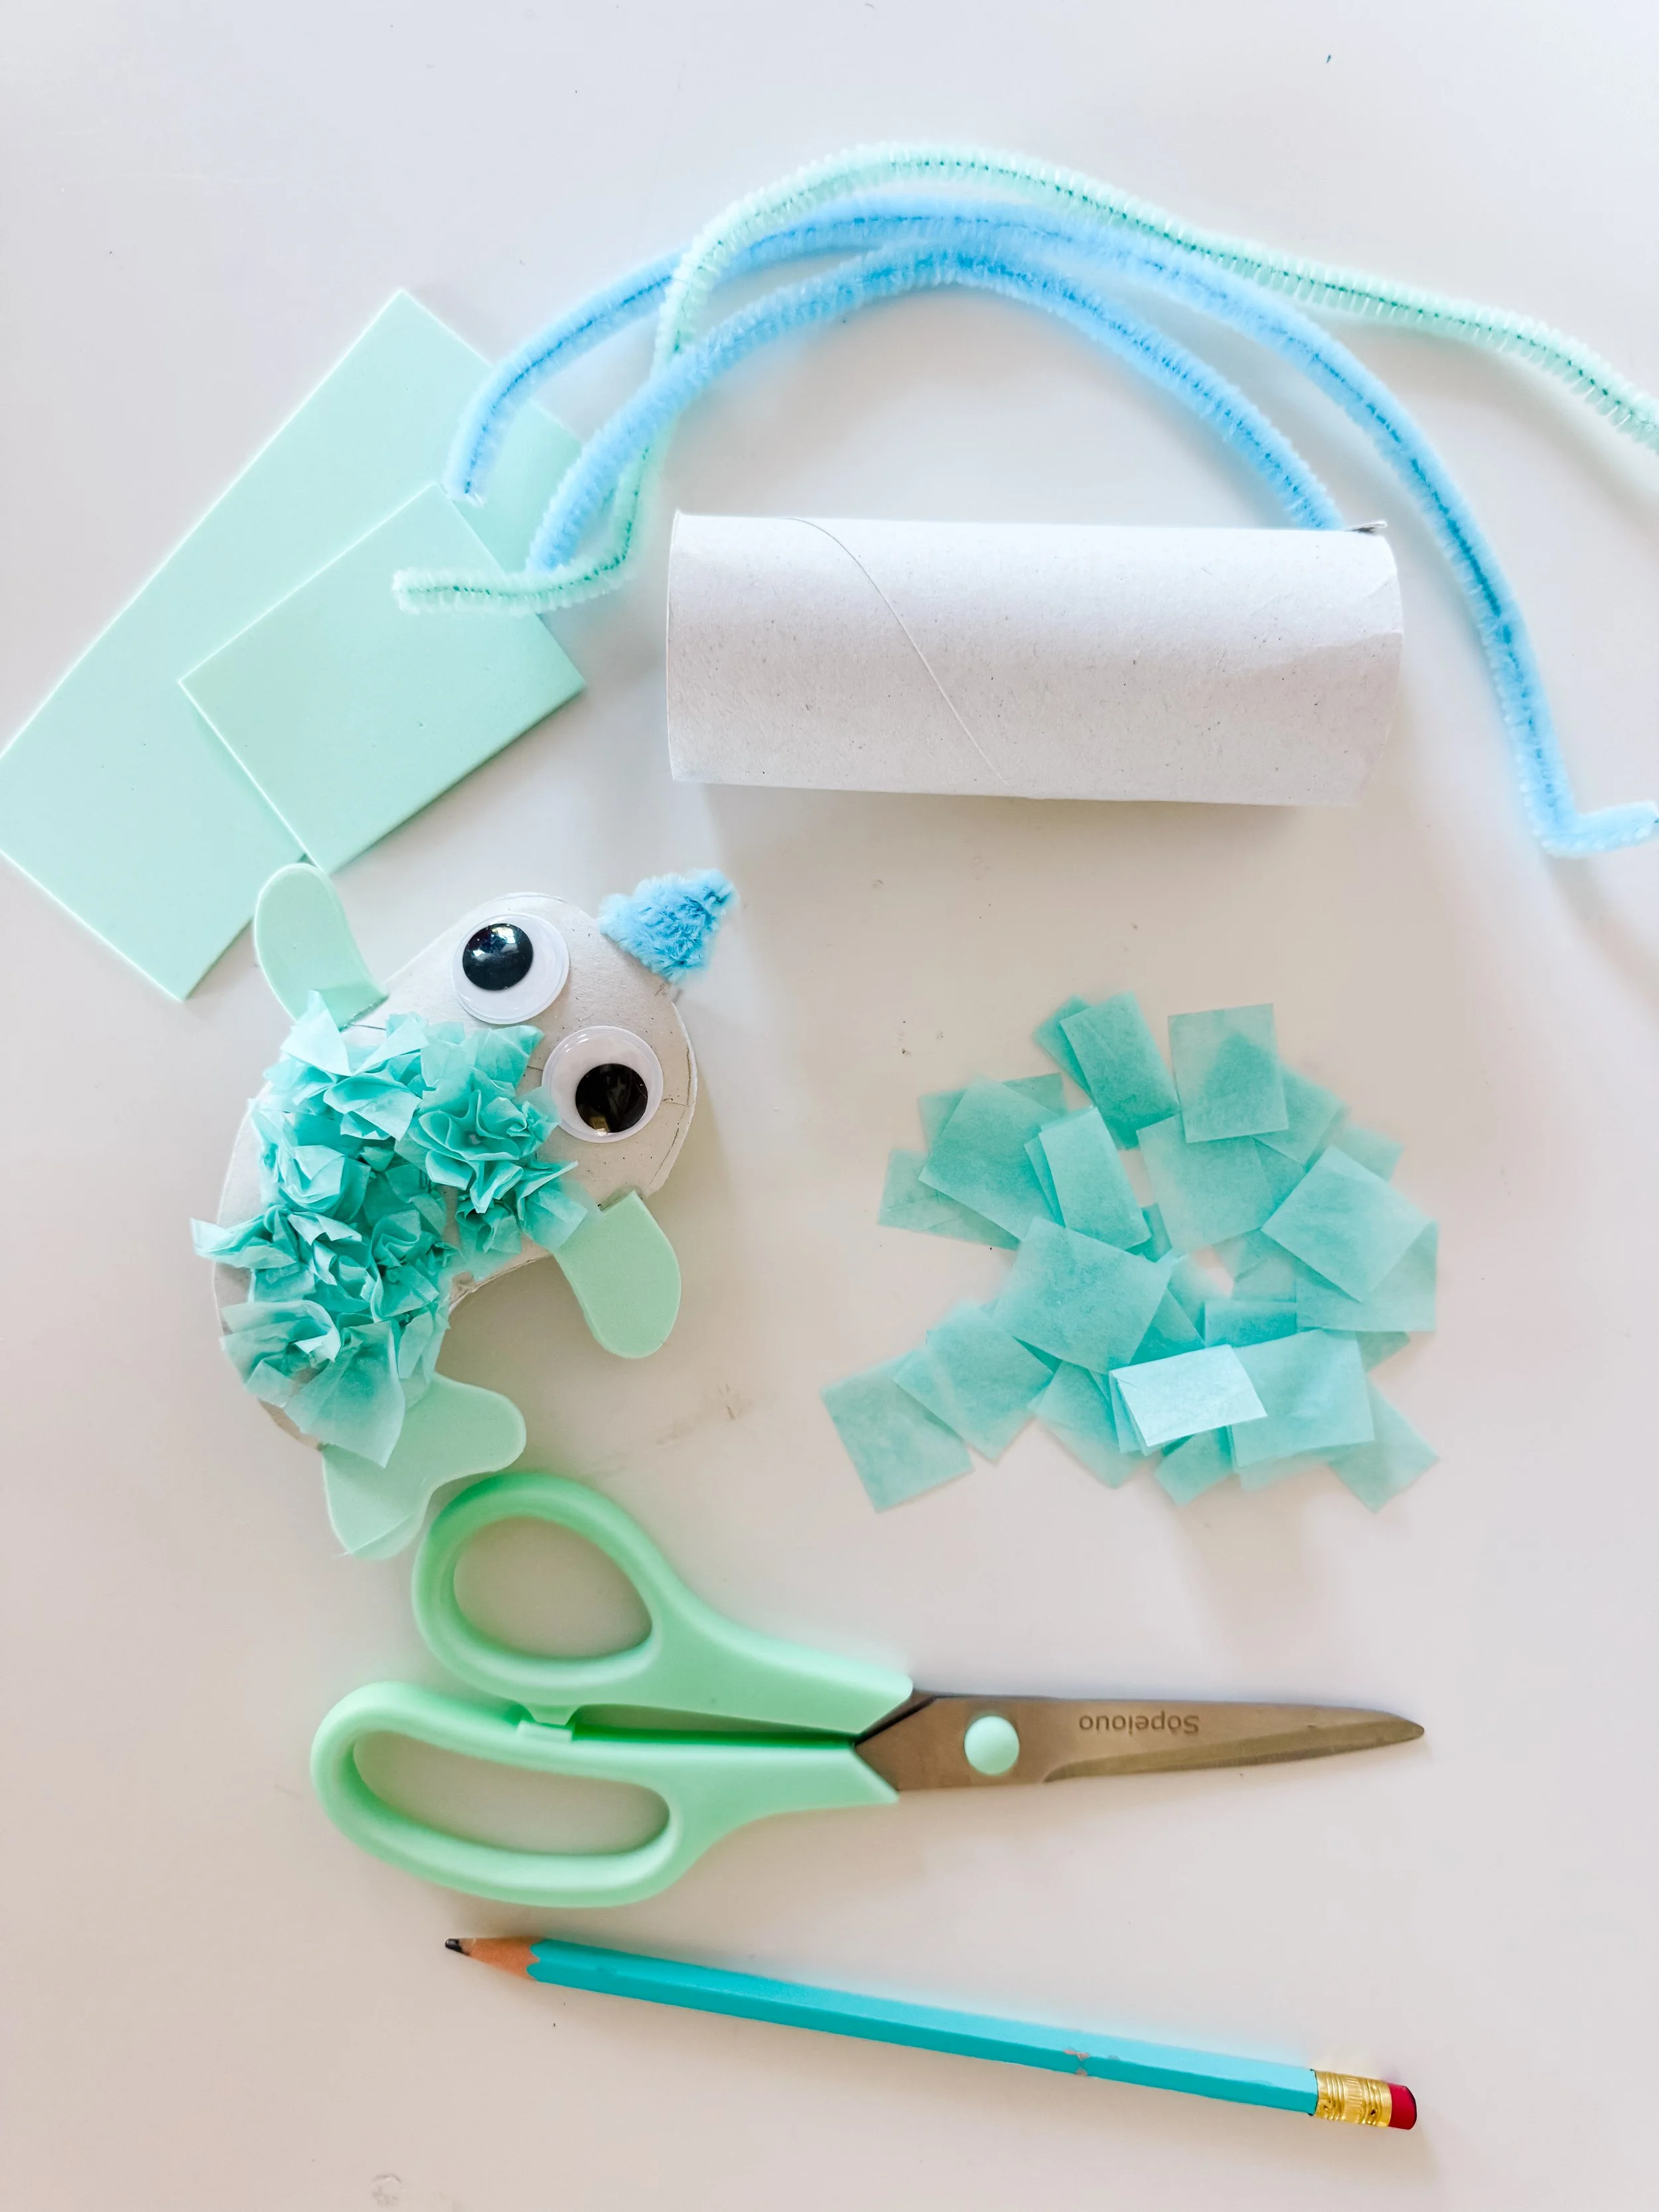
Materials needed

  • Empty toilet paper roll
  • Blue or teal tissue paper
  • Blue or teal construction paper or craft foam
  • Blue pipe cleaner
  • Googly eyes
  • Glue
  • Scissors
  • Pencil

How to make a toilet roll narwhal

Supplies for making a toilet roll narwhal craft including tissue paper, pipe cleaners, scissors, pencil, foam, and googly eyes.
Step 1

Gather the supplies

Set out the cardboard tube, tissue paper squares, pipe cleaners, googly eyes, scissors, glue, and craft foam or paper for the fins and tail.

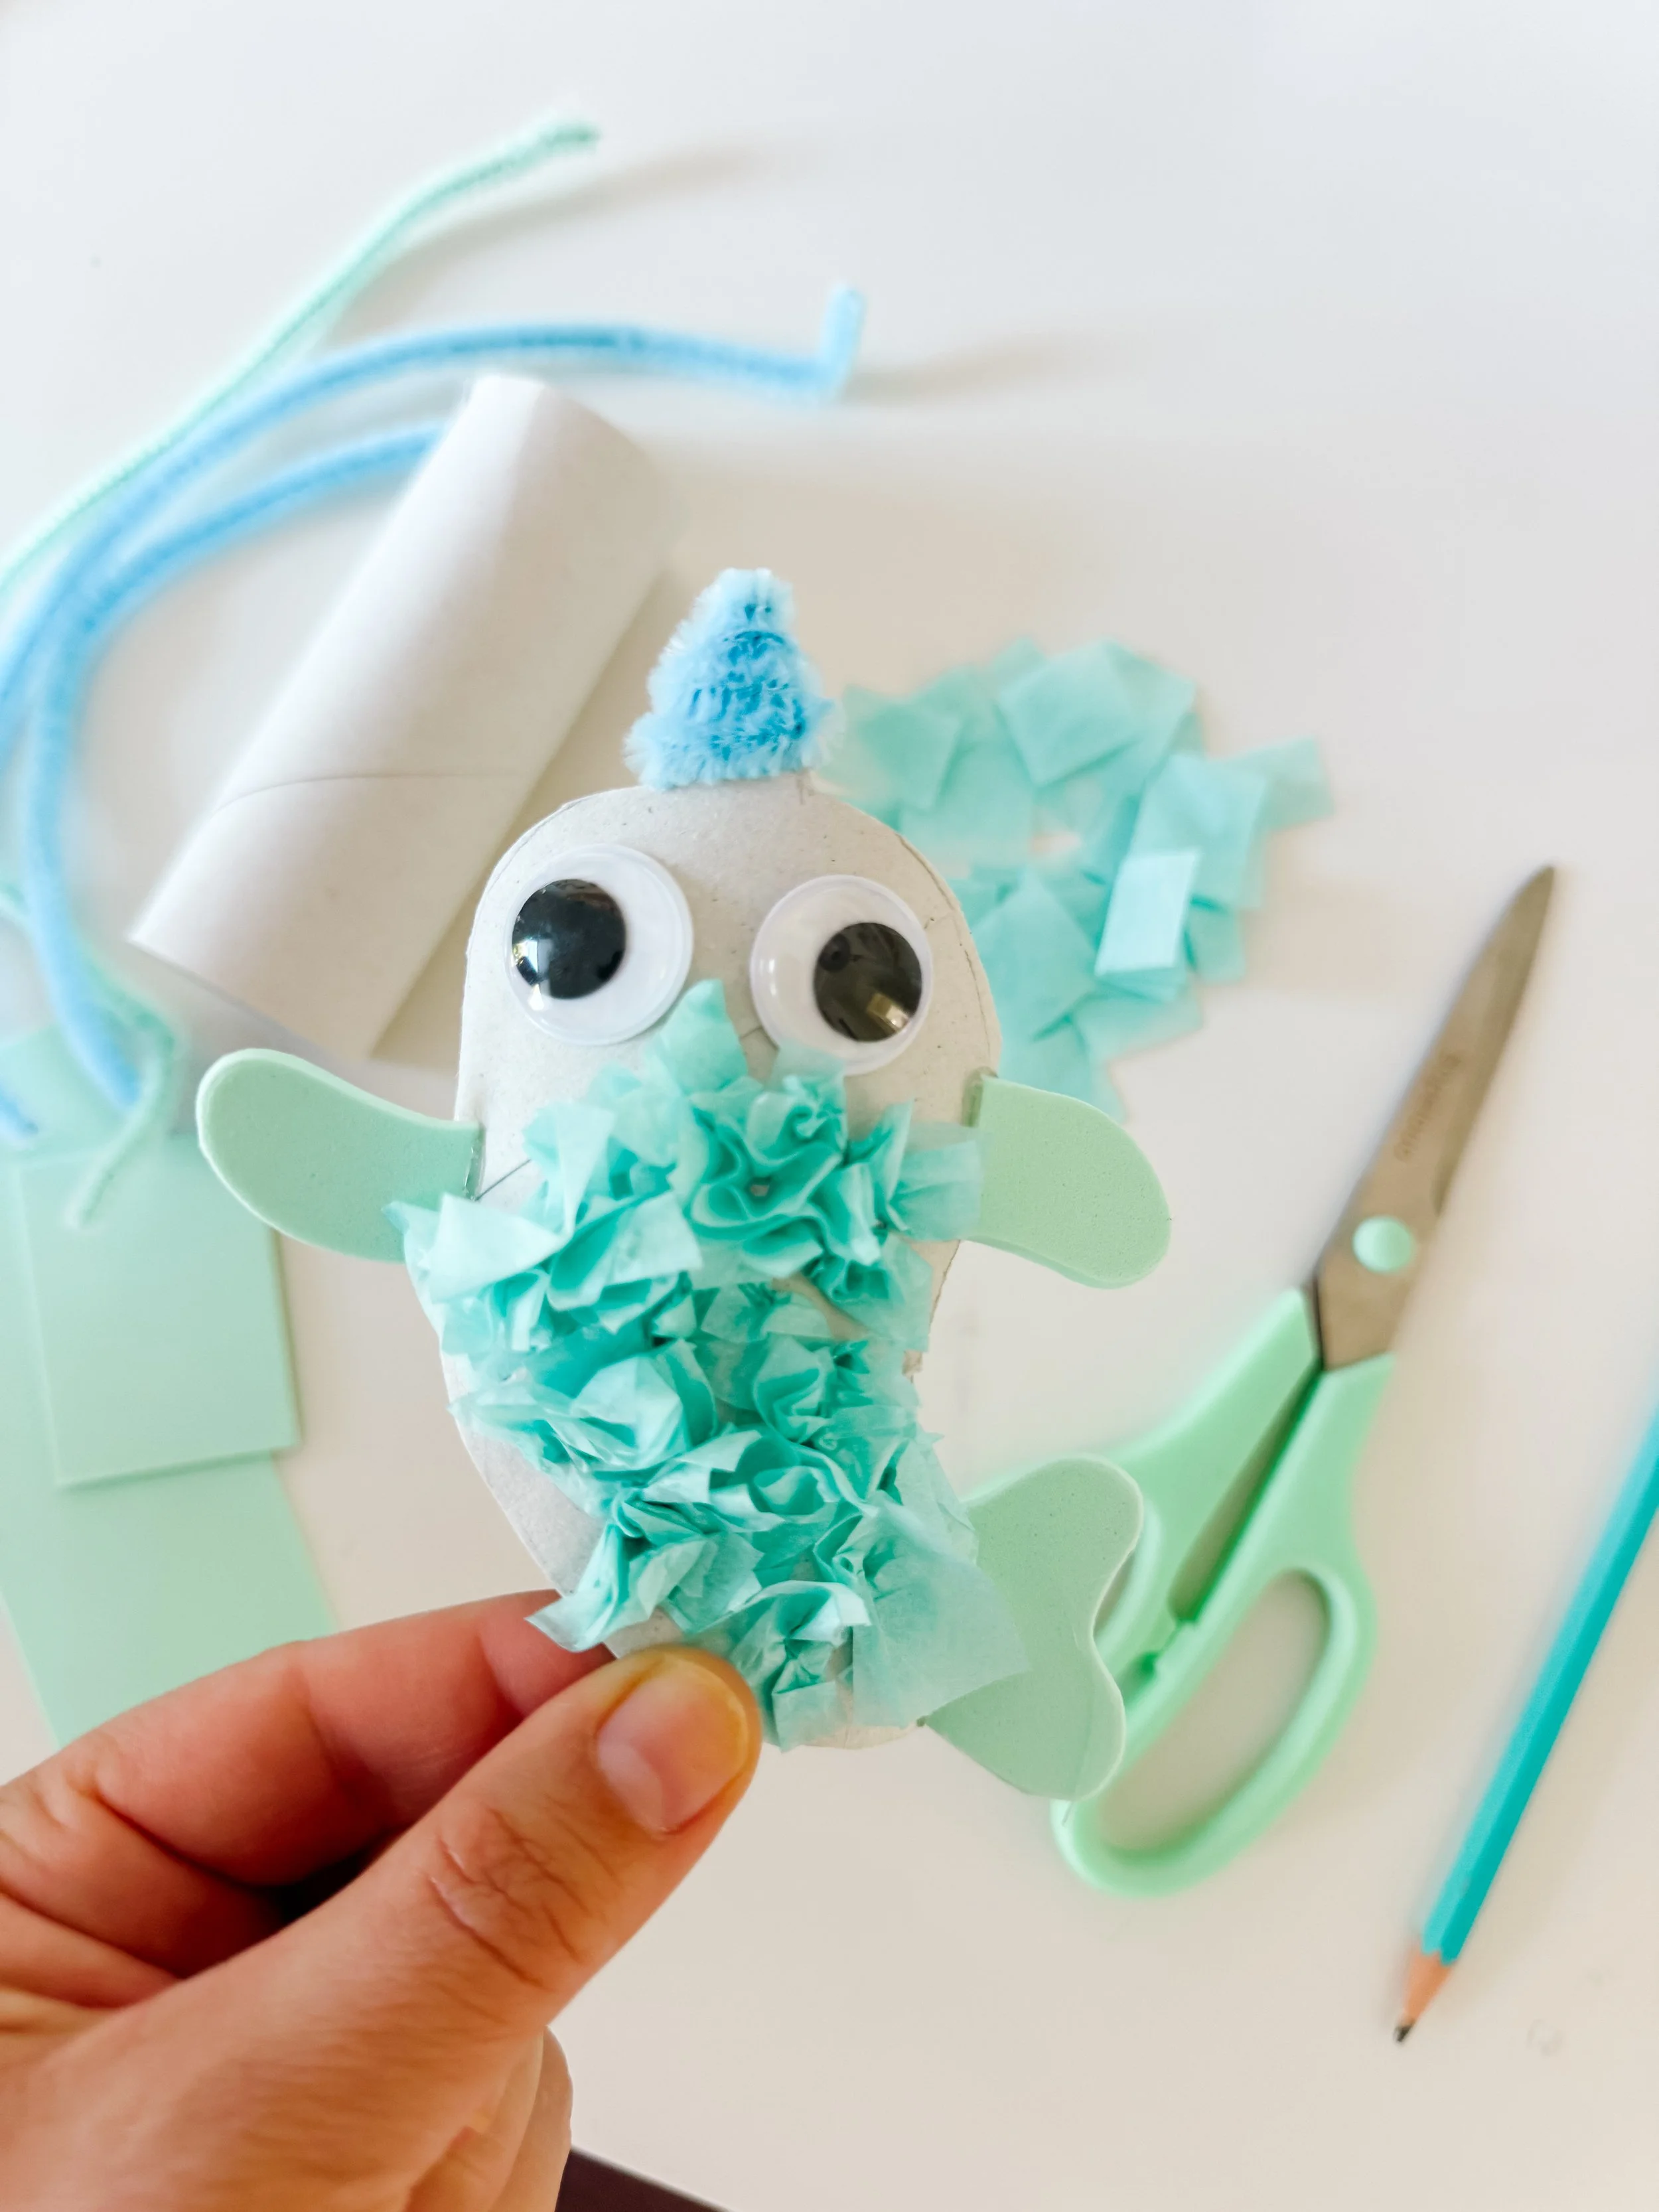
Finished toilet roll narwhal craft with tissue paper body, blue pipe cleaner horn, foam fins, and googly eyes.
Step 2

Decorate the body

Have your child crumple small pieces of tissue paper and glue them onto the front of the cardboard tube. This gives the narwhal a fun, textured body and is great for fine motor practice.

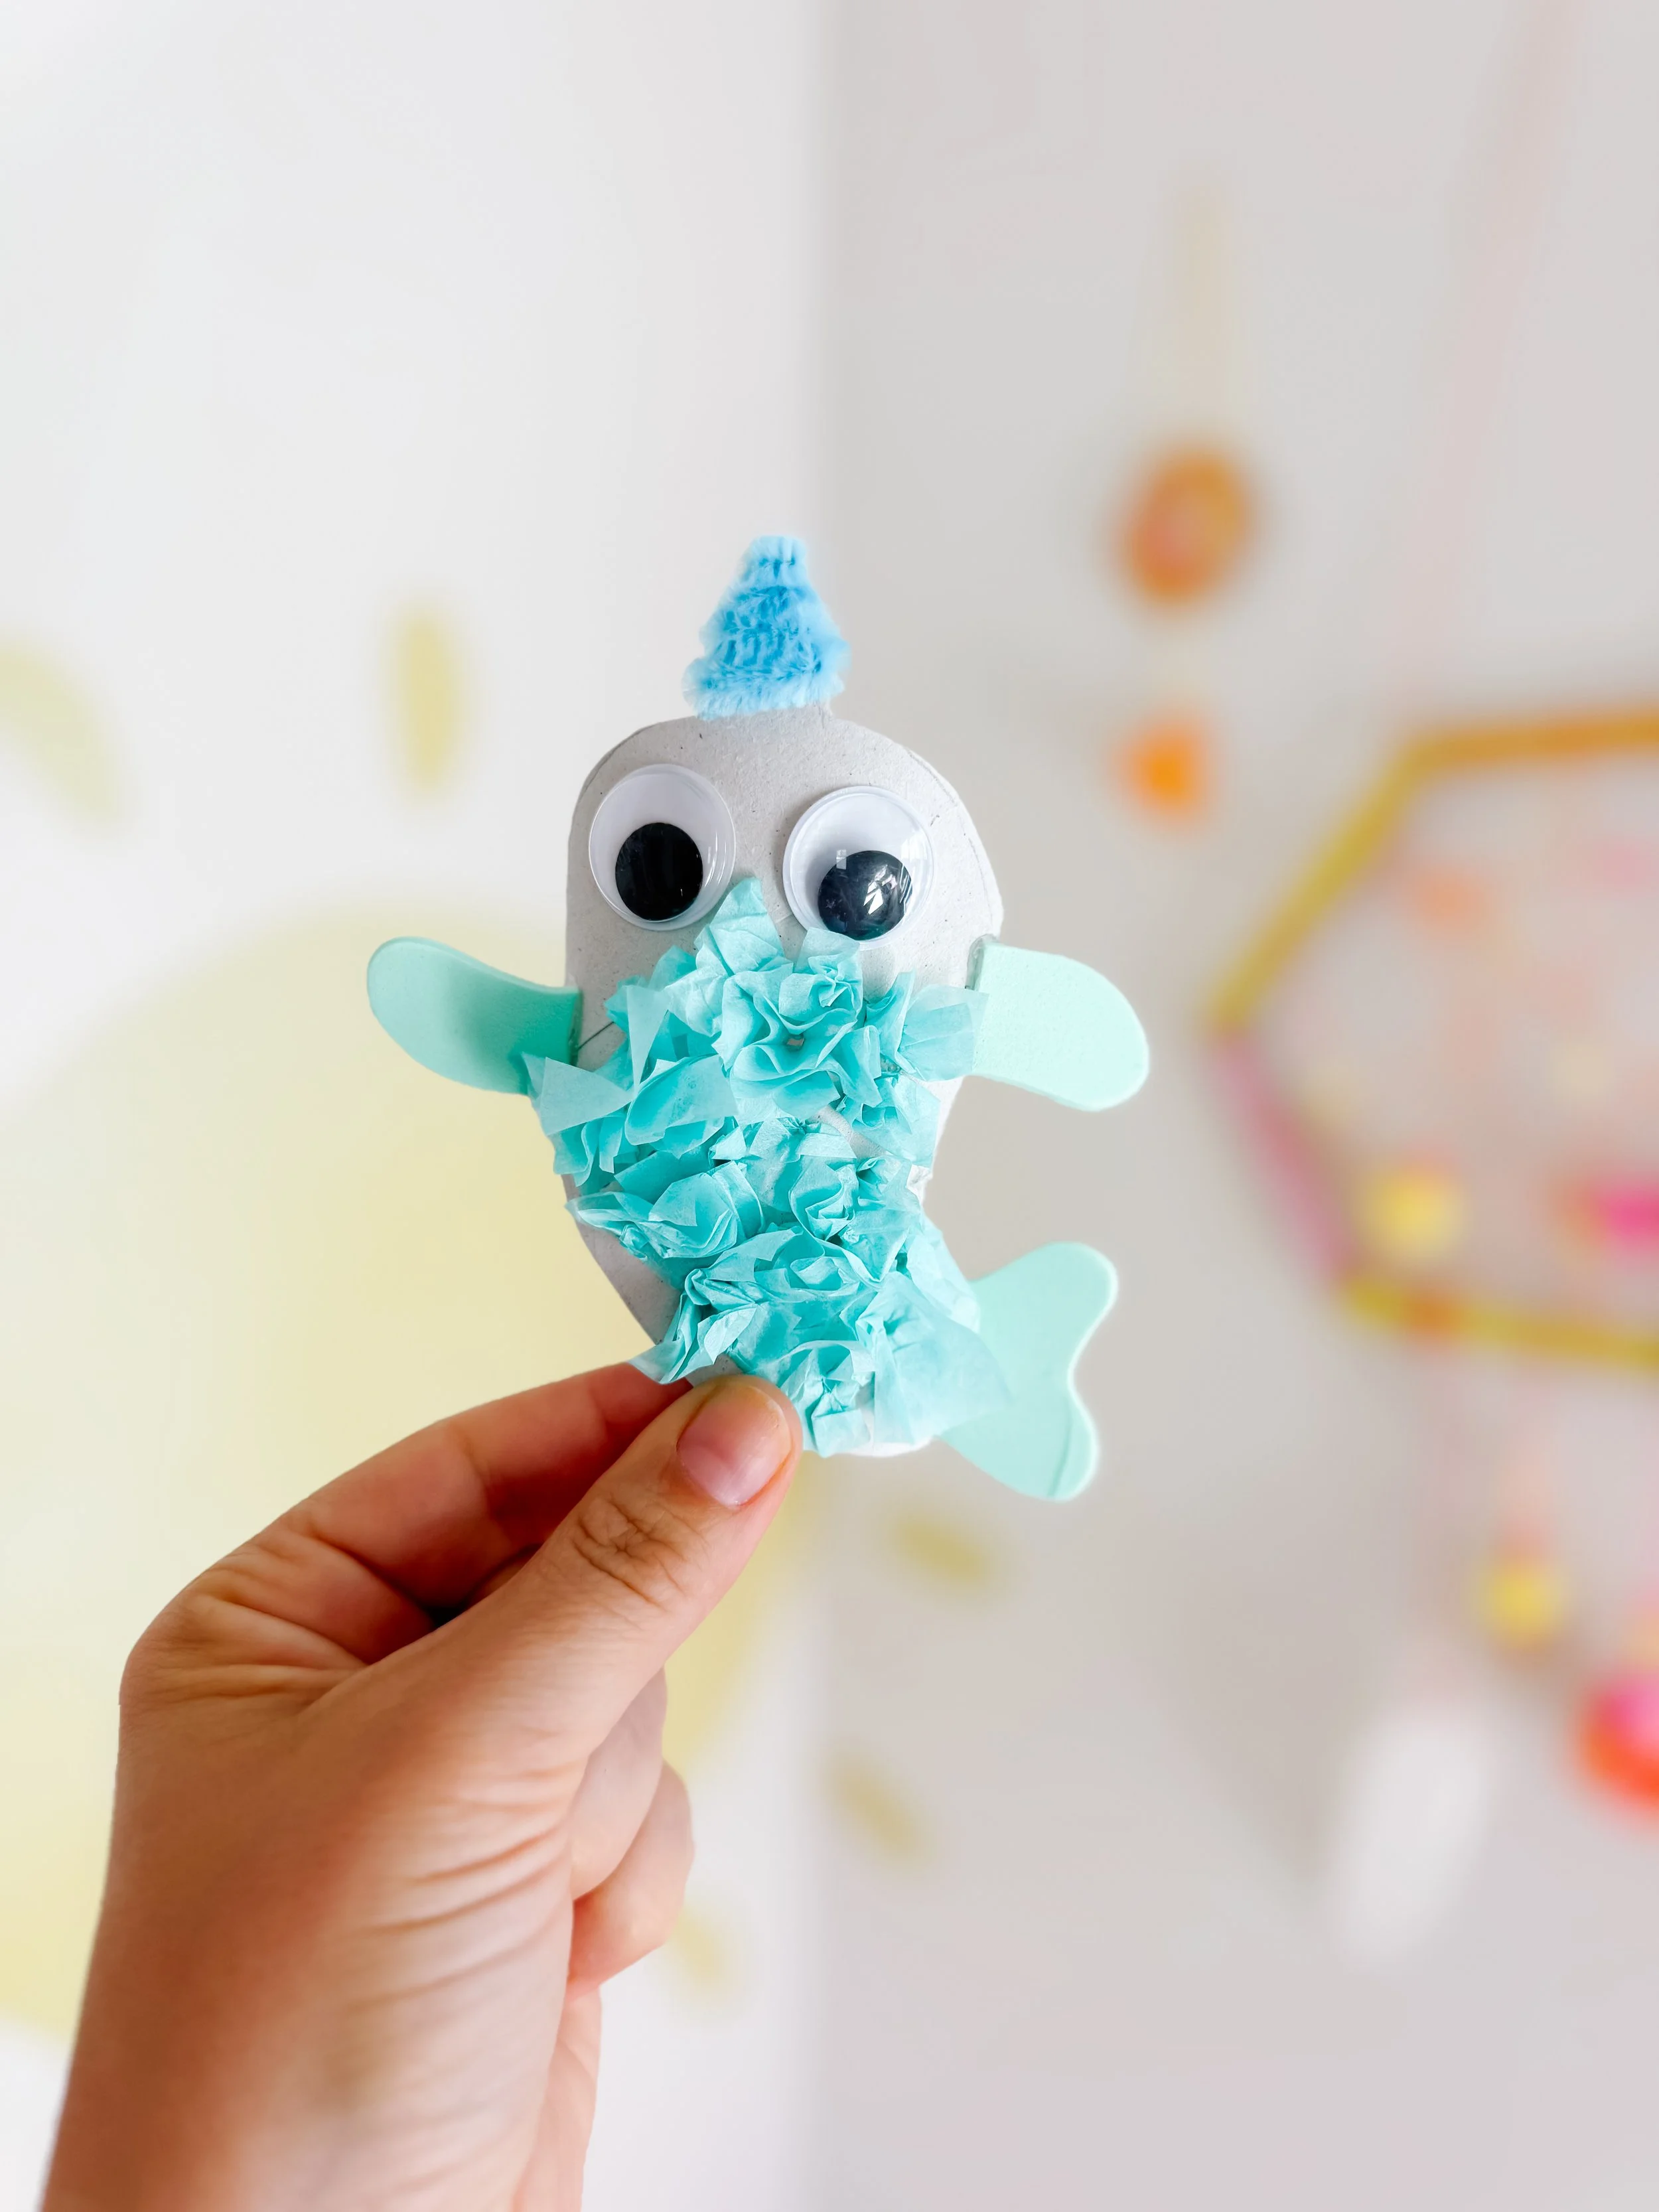
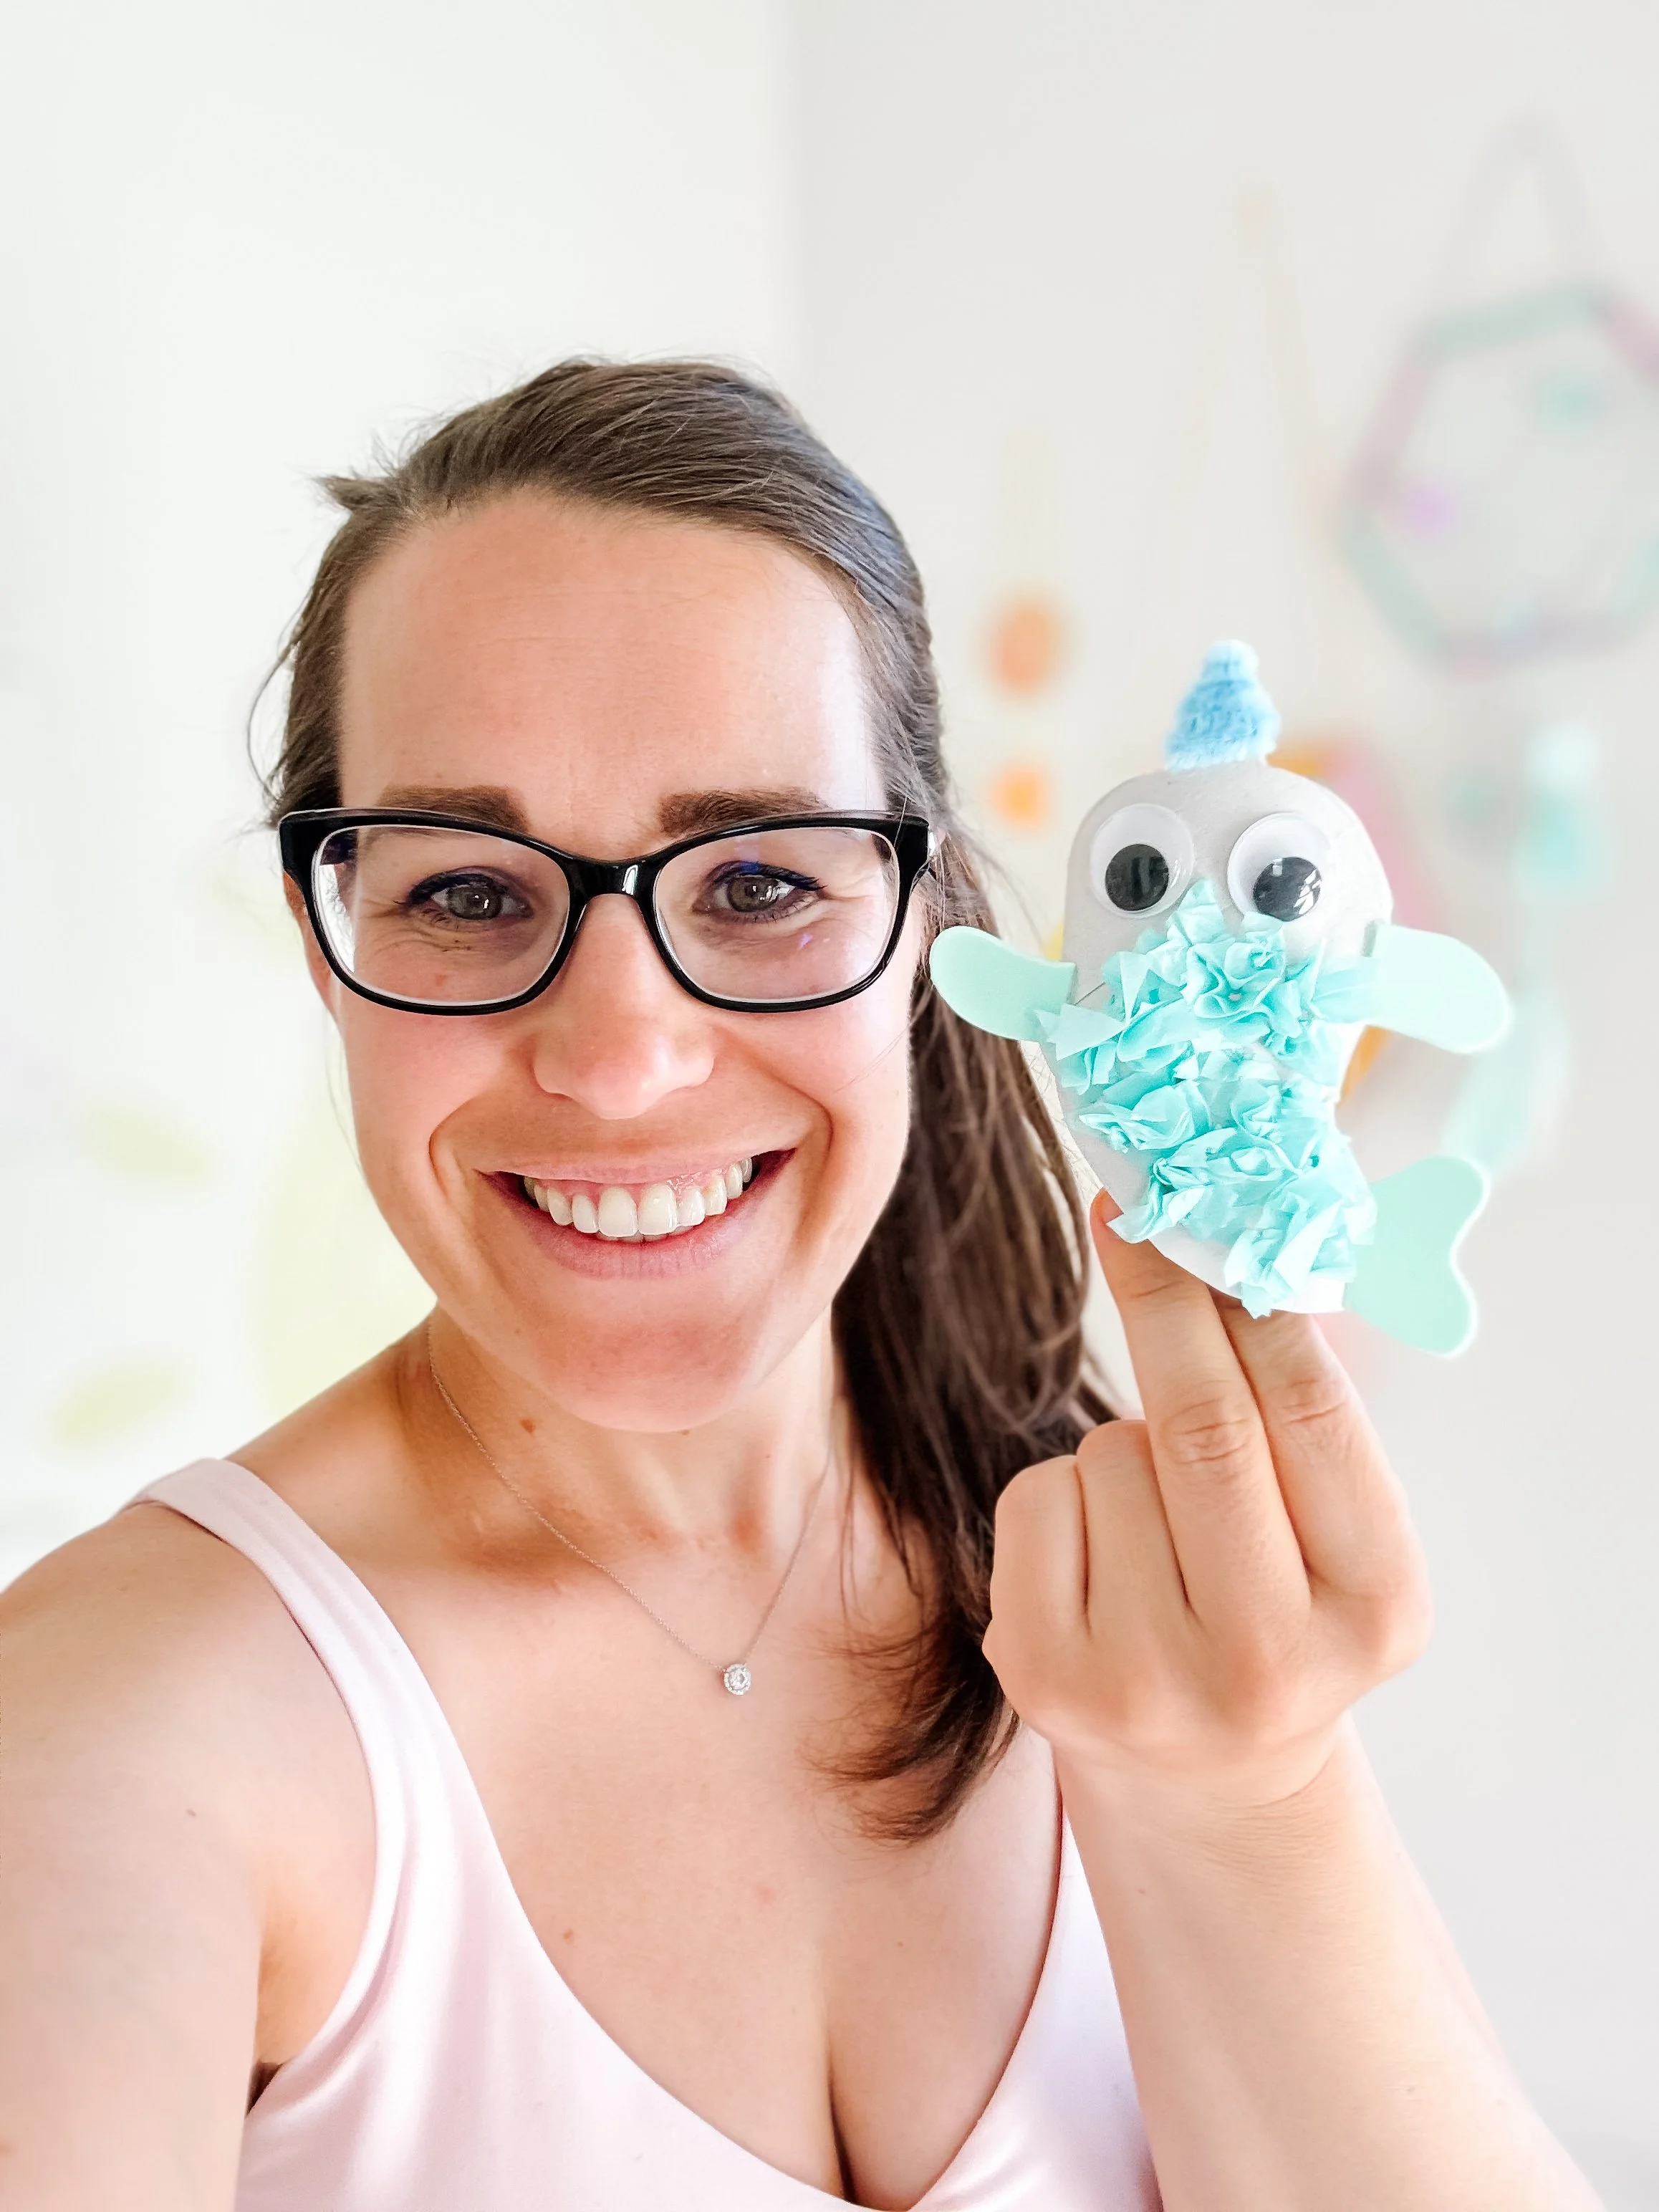
Child holding a completed blue toilet roll narwhal craft.
Step 3

Add the narwhal details

Glue on two googly eyes, add side fins and a tail, then twist a small piece of pipe cleaner into a horn and attach it to the top.

Parent tip

Pre-cut the fins and tail for younger preschoolers, then let them focus on crumpling tissue paper and gluing. Older kids can draw and cut the pieces themselves.

Ocean week learning ideas

This narwhal craft is a simple way to add an ocean animal activity to your Ocean Week plans.

After making the craft, talk about where narwhals live, what their tusk looks like, and how they are related to whales. You can also compare narwhals with other ocean animals like dolphins, whales, seahorses, fish, crabs, and sharks.

Then use the finished craft as a puppet for storytelling, small-world ocean play, or a pretend underwater adventure.

Learning skills

Fine motor skills Cutting practice Gluing Ocean vocabulary Pretend play Recycled crafts Creative storytelling

Questions to ask kids

  • What kind of animal is a narwhal?
  • Where do narwhals live?
  • What does the narwhal horn look like?
  • What other ocean animals can we make?
  • What should your narwhal’s name be?
  • Can your narwhal swim through an ocean story?

Ocean products to pair with this craft

Extend Ocean Week with sensory play, dramatic play, and printable learning activities.

Mermaid printable dramatic play kit for ocean themed pretend play.

Mermaid dramatic play

Create an underwater kingdom with printable mermaids, sea creatures, ocean props, and treasure-themed pretend play.

Shop mermaid play
Mermaid sensory kit with ocean themed sensory filler and play pieces.

Mermaid sensory kit

Add sensory filler, shells, charms, and mermaid pieces for a magical ocean sensory bin.

Shop sensory kit
Mermaid busy book printable for preschool ocean learning activities.

Mermaid busy book

A printable ocean learning activity book with early literacy, matching, and fine motor practice.

Shop busy book
Sea animals wood play rounds for ocean sensory play.

Sea animal play rounds

Wooden ocean animal play rounds for sensory bins, matching games, and small-world ocean play.

Shop play rounds

More Ocean Week ideas

Ocean sensory play setup with sand, blue sensory filler, sea animal cards, shells, and beach props.

Ocean sensory play

Set up a mermaid and sea animal sensory tray with ocean vocabulary and hands-on play.

Ocean sensory play
Coral reef sensory play activity for toddlers with ocean animals and pasta coral.

Coral reef play

Explore ocean animals and coral reefs through sensory play and small-world storytelling.

Coral reef play
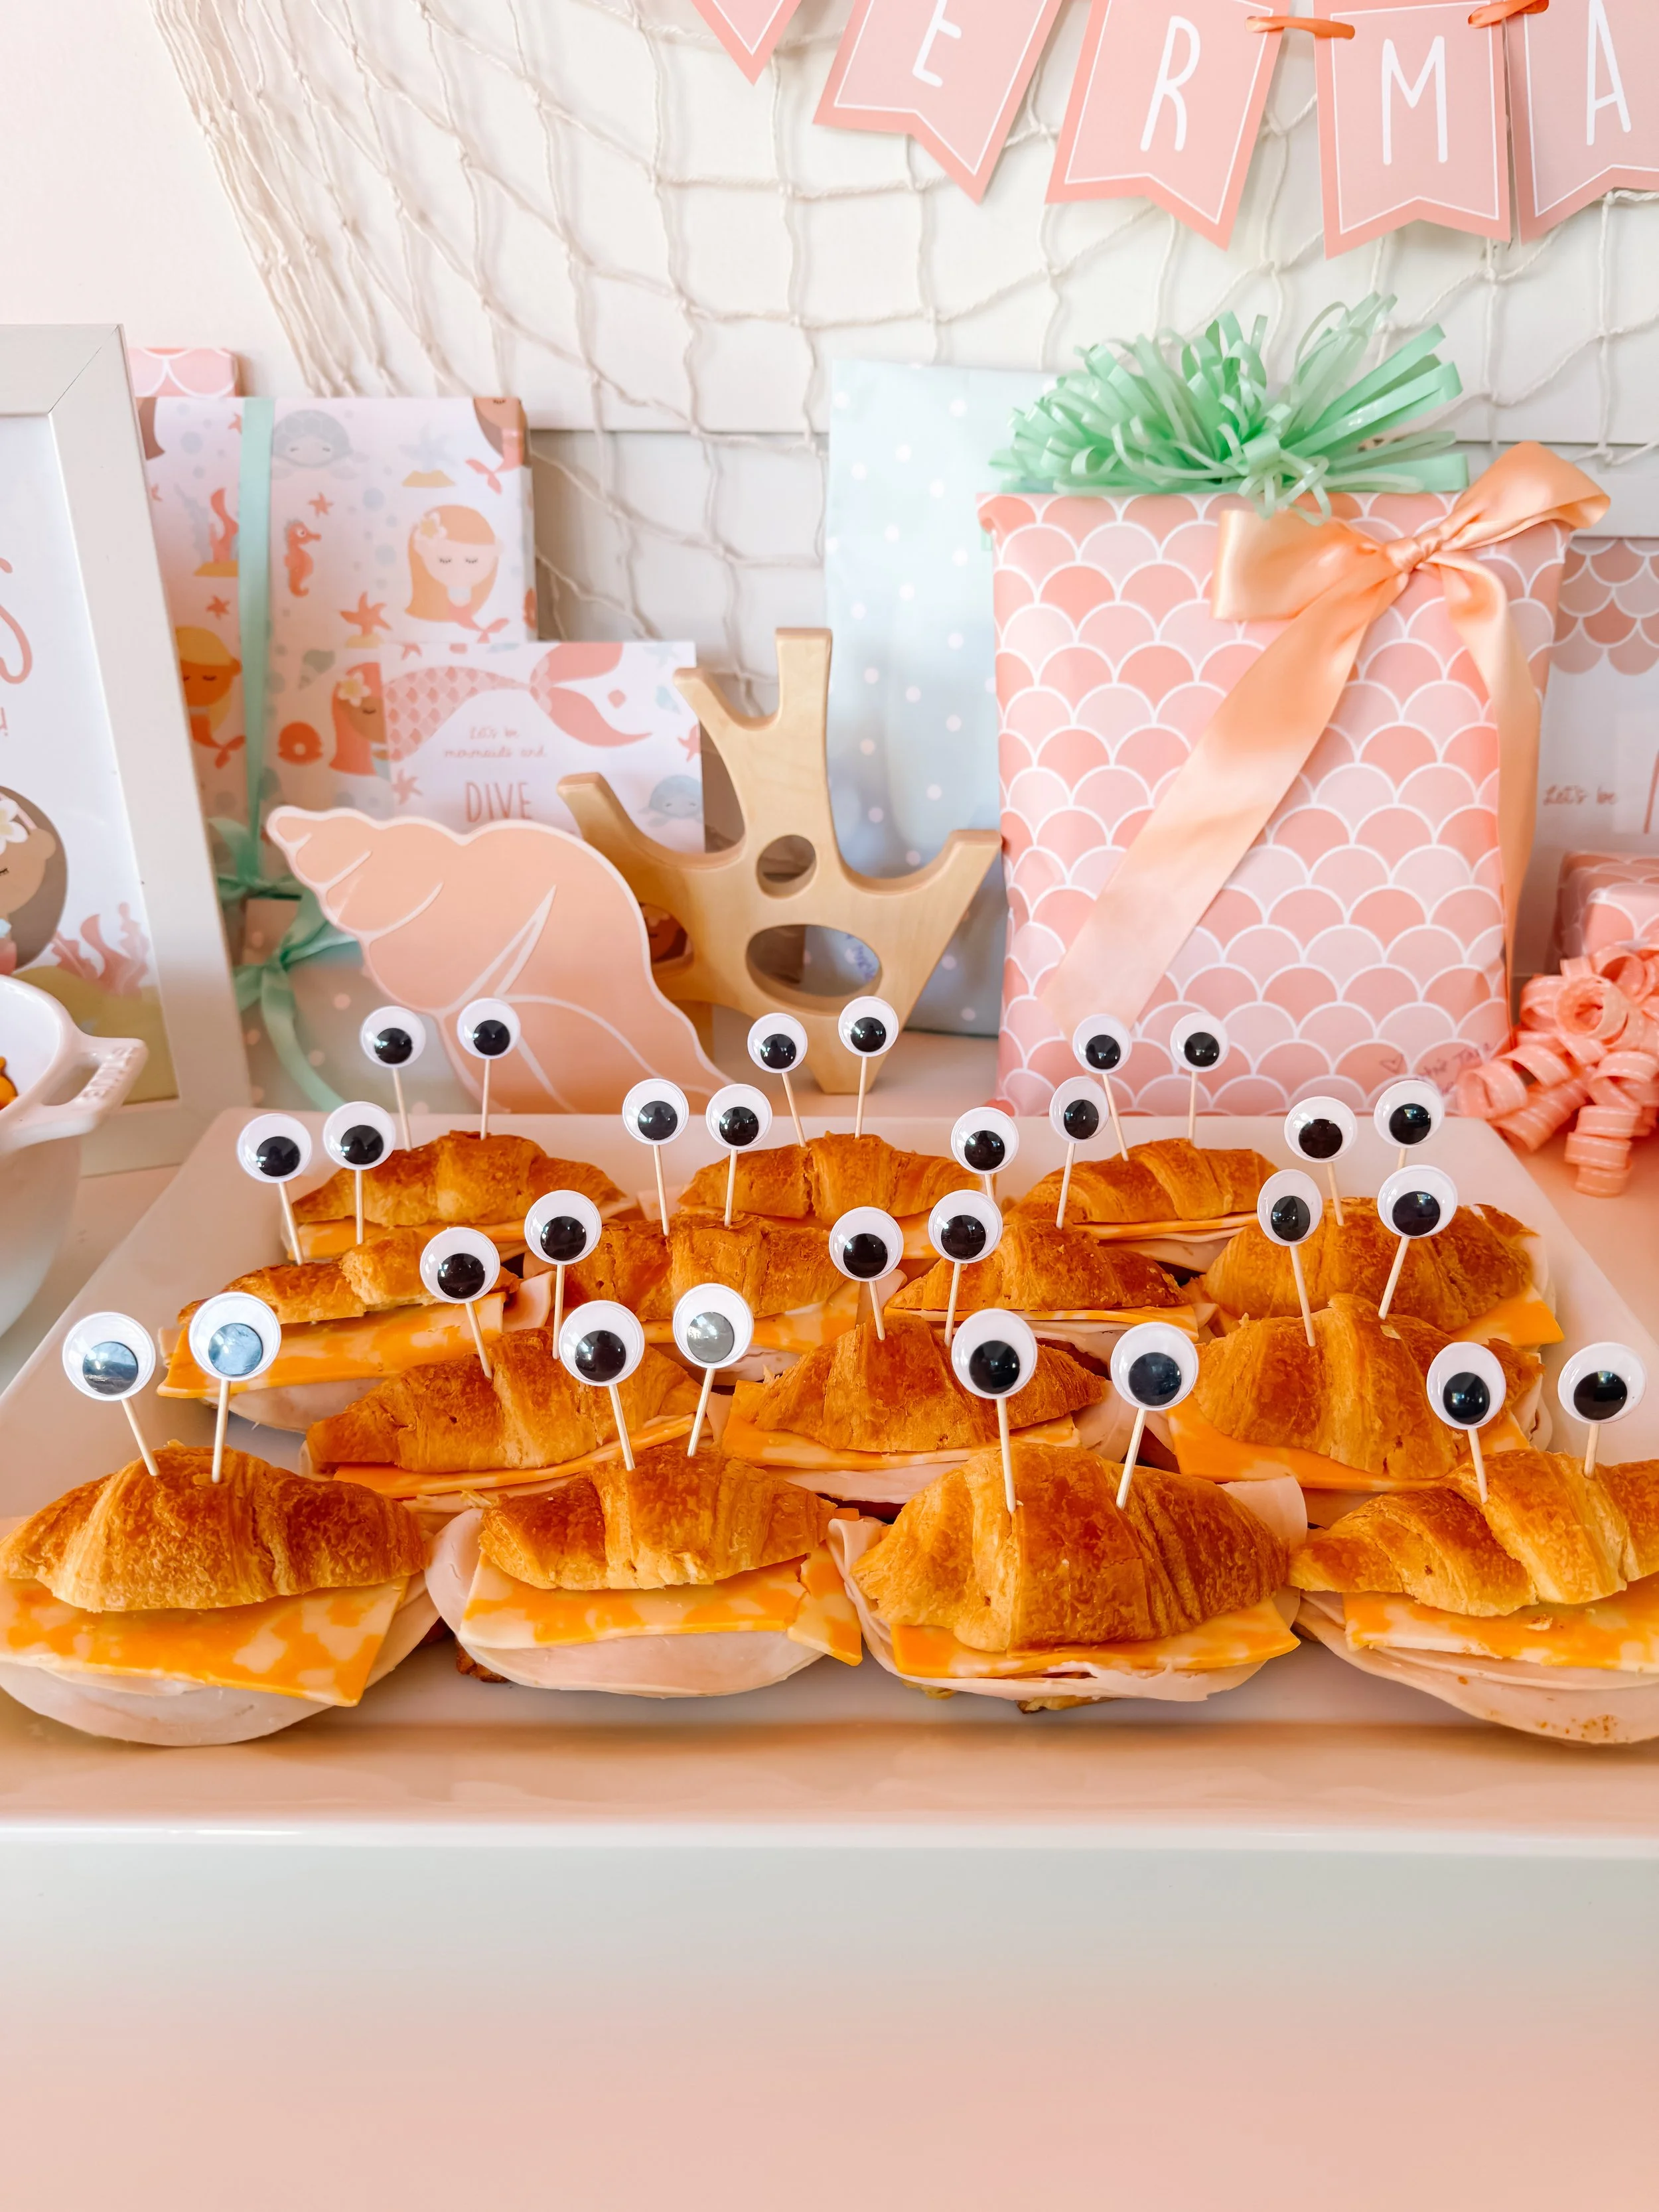
Ocean themed crab sandwiches for kids with googly eye toothpicks and mermaid party decor.

Ocean snack idea

Make playful crab sandwiches as a themed lunch or snack for Ocean Week.

Ocean week snacks

Toilet roll narwhal FAQ

How do you make a narwhal out of a toilet paper roll?

Use an empty cardboard tube as the body, cover it with tissue paper, add fins and a tail from craft paper or foam, glue on googly eyes, and twist a pipe cleaner into the narwhal horn.

What age is this narwhal craft best for?

This craft is best for ages three and up with adult supervision. Younger children may need help cutting the fins, tail, and horn.

What can kids learn from an ocean animal craft?

Kids can practice fine motor skills, cutting, gluing, ocean vocabulary, animal recognition, storytelling, and creative expression.

How can I use this craft for Ocean Week?

Pair it with ocean sensory bins, mermaid dramatic play, sea animal books, crab snacks, and vocabulary cards for a full Ocean Week activity plan.

What other toilet roll ocean animals can kids make?

Kids can make seahorses, whales, fish, sharks, jellyfish, octopuses, and mermaids using recycled cardboard tubes.

Mud Kitchen Recipe Play

Mud Kitchen Recipe Play

Whimsical mud kitchen recipe cards that turn outdoor play into magical pretend recipes, sensory exploration, counting practice, and playful instruction-following.

GoodnightFox mud kitchen recipe play with child using recipe cards in an outdoor mud kitchen.
Age3+
Prep10 minutes
Play Time45+ minutes
Mess★★★☆☆
SkillsRecipes + pretend play

Why we love this activity

Mud kitchens are already magical, but adding recipe cards gives the play a whole new layer of purpose.

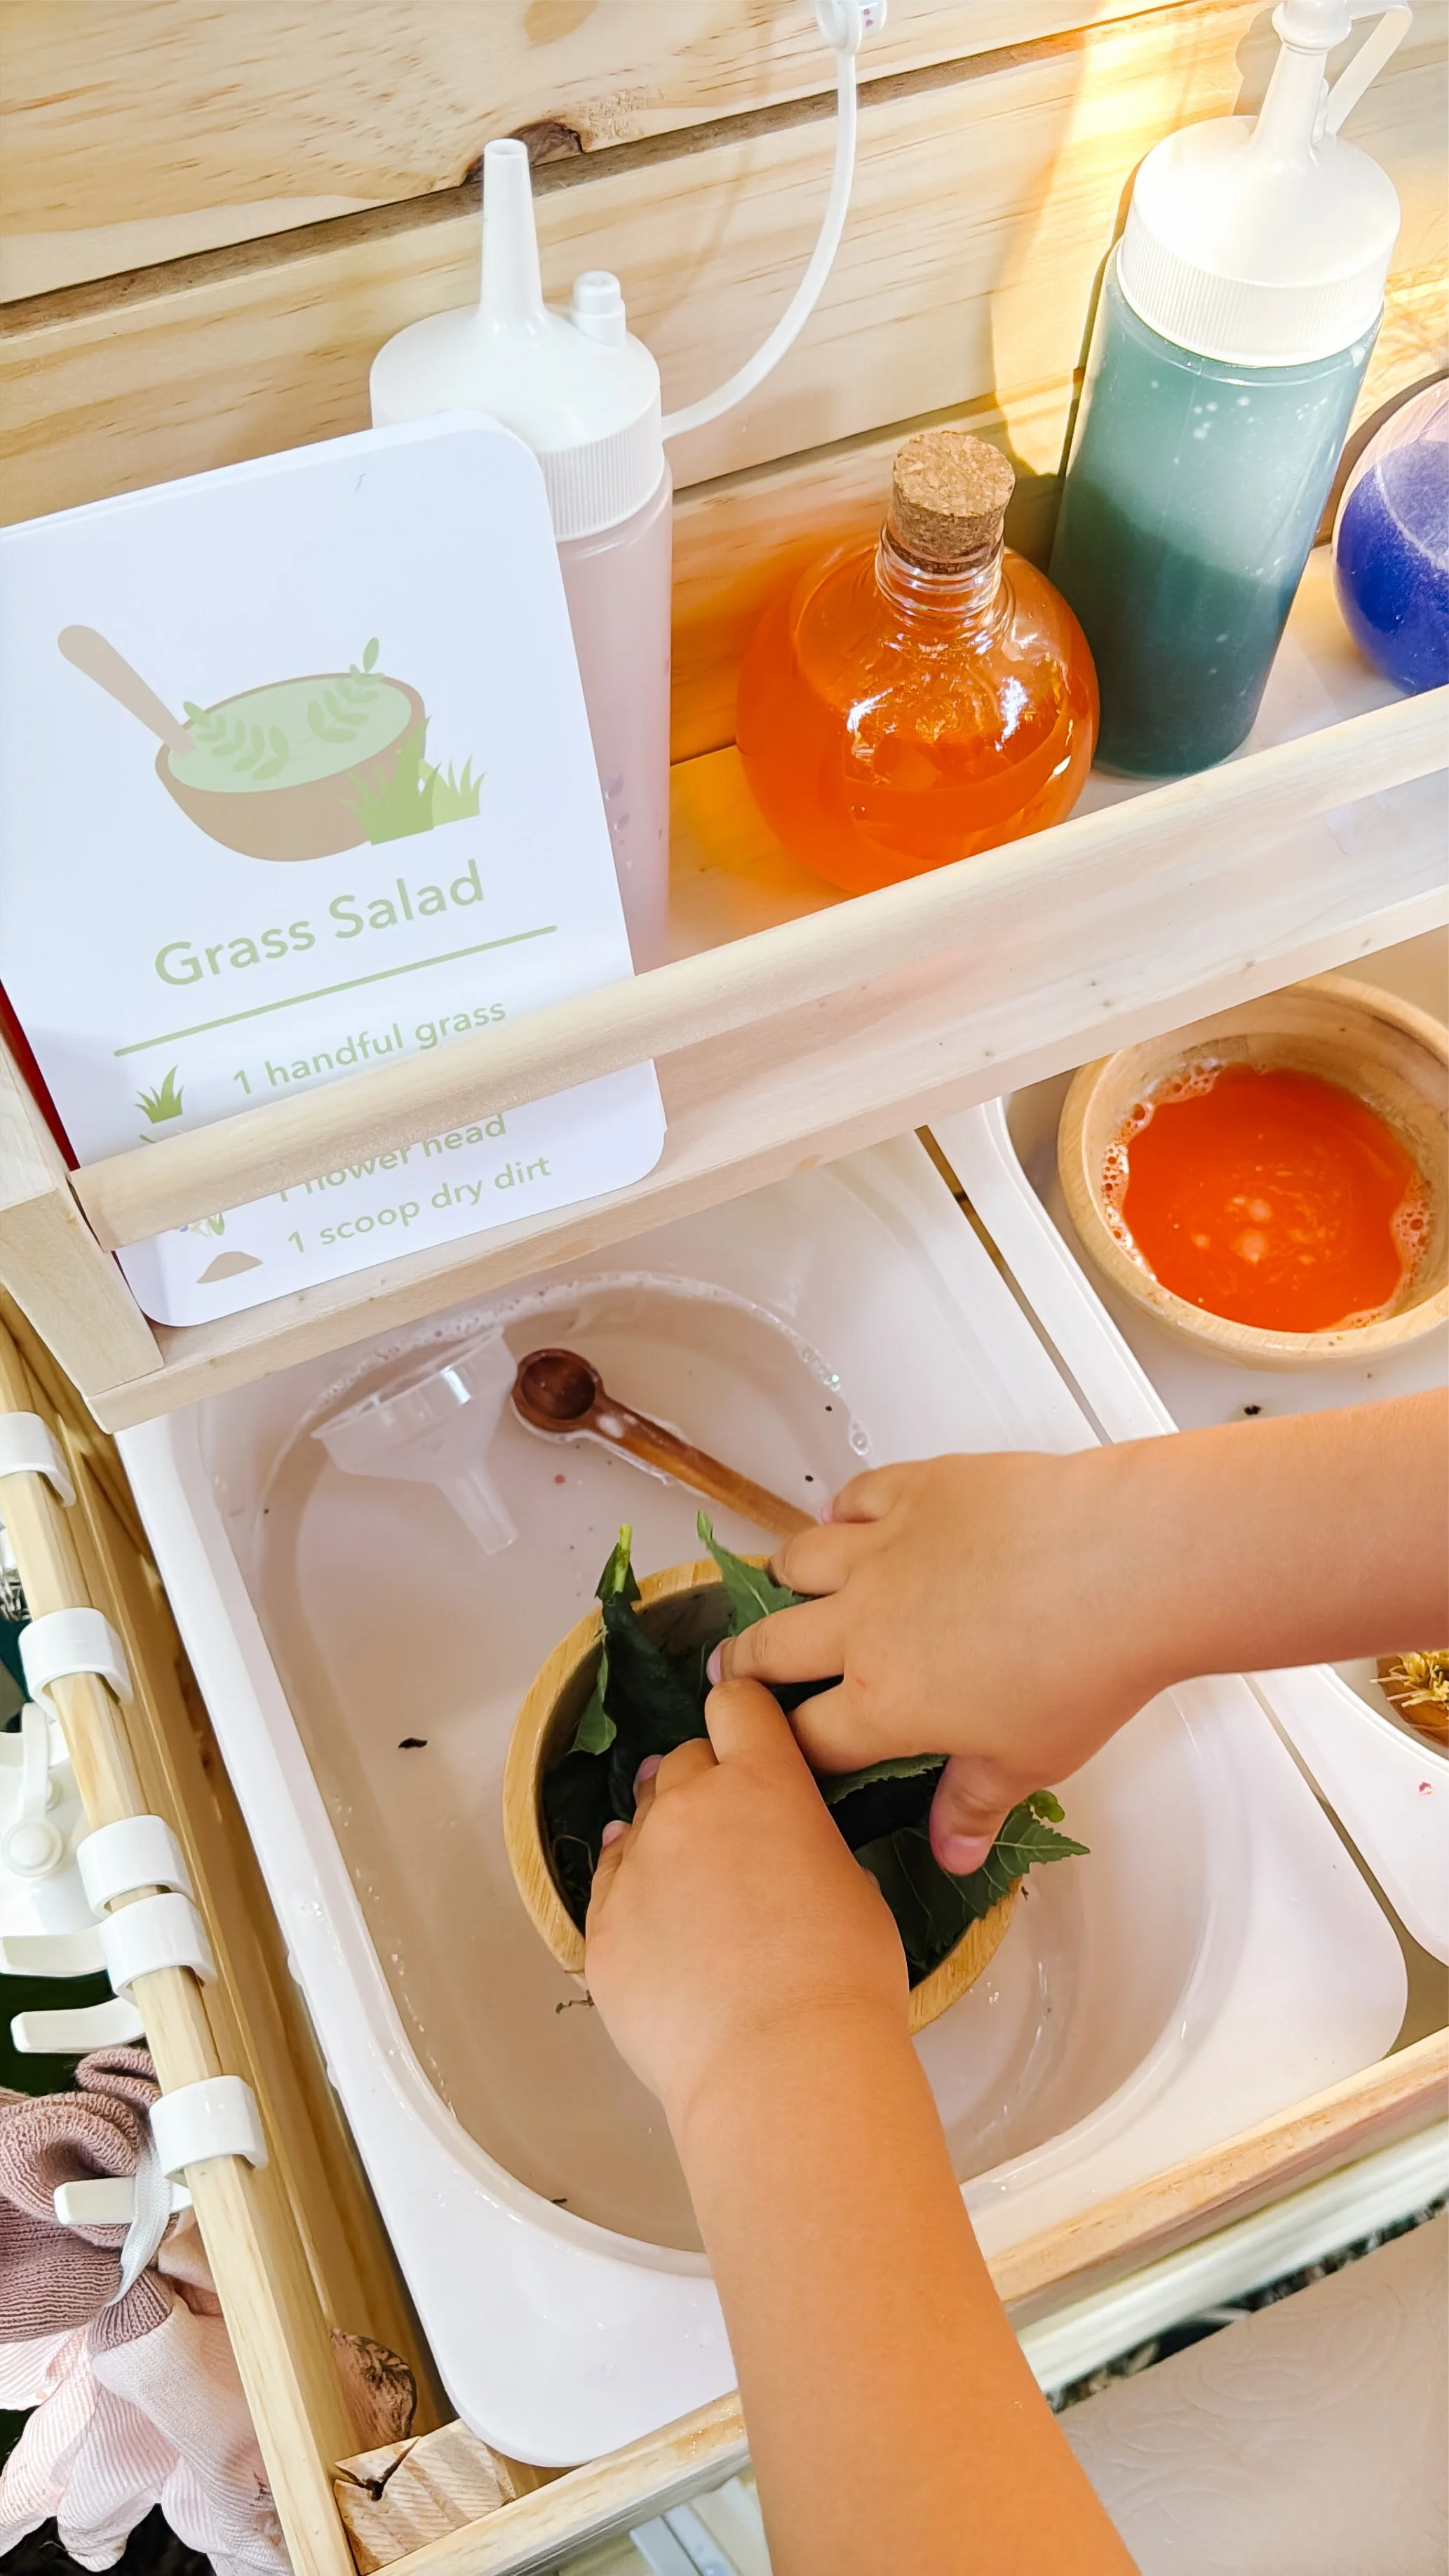
Instead of simply mixing dirt and water, kids can follow whimsical pretend recipes like fairy potion, flower cake, grass salad, leaf soup, and mud pie.

The recipe cards give children a playful mission: find the ingredients, count the scoops, follow the steps, mix the recipe, and serve their creation.

It still feels open-ended and imaginative, but it also builds early math, sequencing, vocabulary, fine motor skills, and independent play.

What is mud kitchen recipe play?

Mud kitchen recipe play is a simple way to add structure to outdoor sensory play. Children use visual recipe cards to gather natural materials, count ingredients, scoop, pour, stir, and create pretend recipes.

For this set, the recipes are intentionally whimsical and magical. Think fairy potions, flower cakes, leaf soup, grass salad, and mud pie.

It is perfect for a backyard mud kitchen, outdoor play kitchen, nature table, preschool classroom, forest school setup, or sensory table.

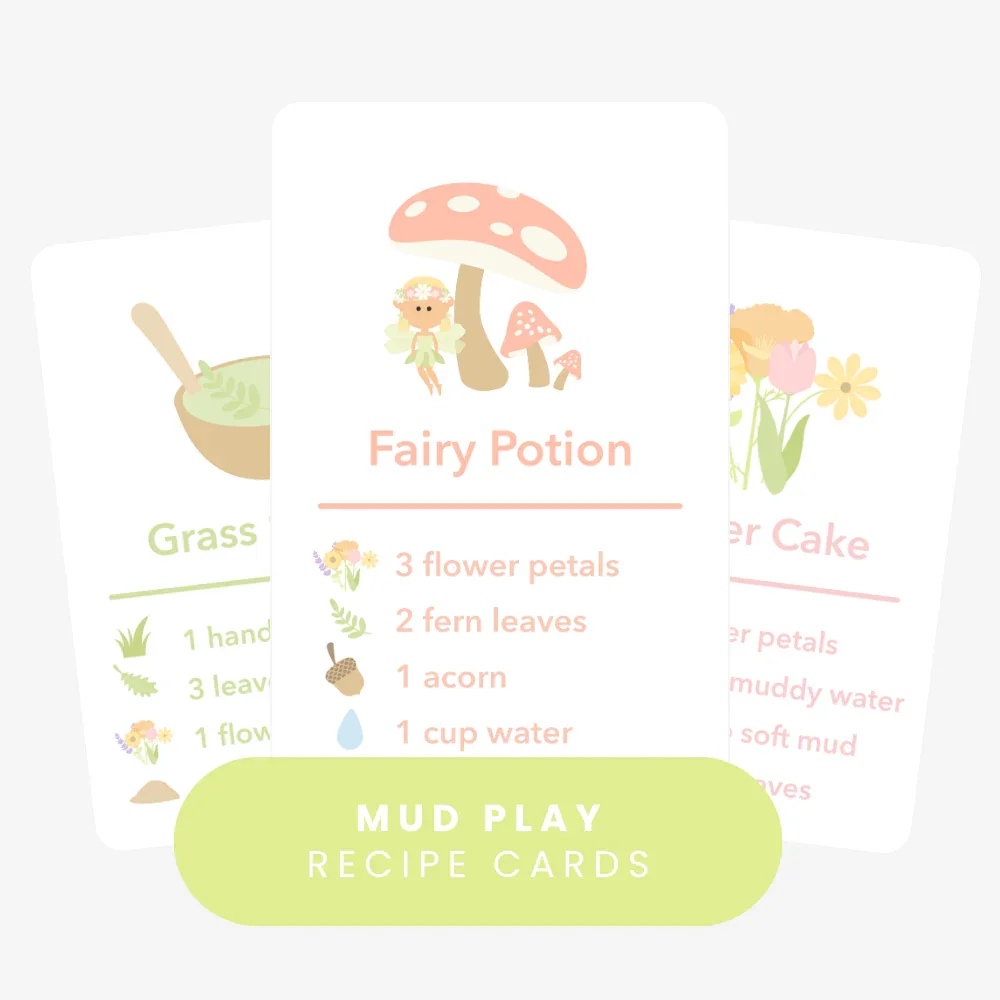
Featured printable

Use the mockup card below to promote the printable Mud Play Recipe Cards.

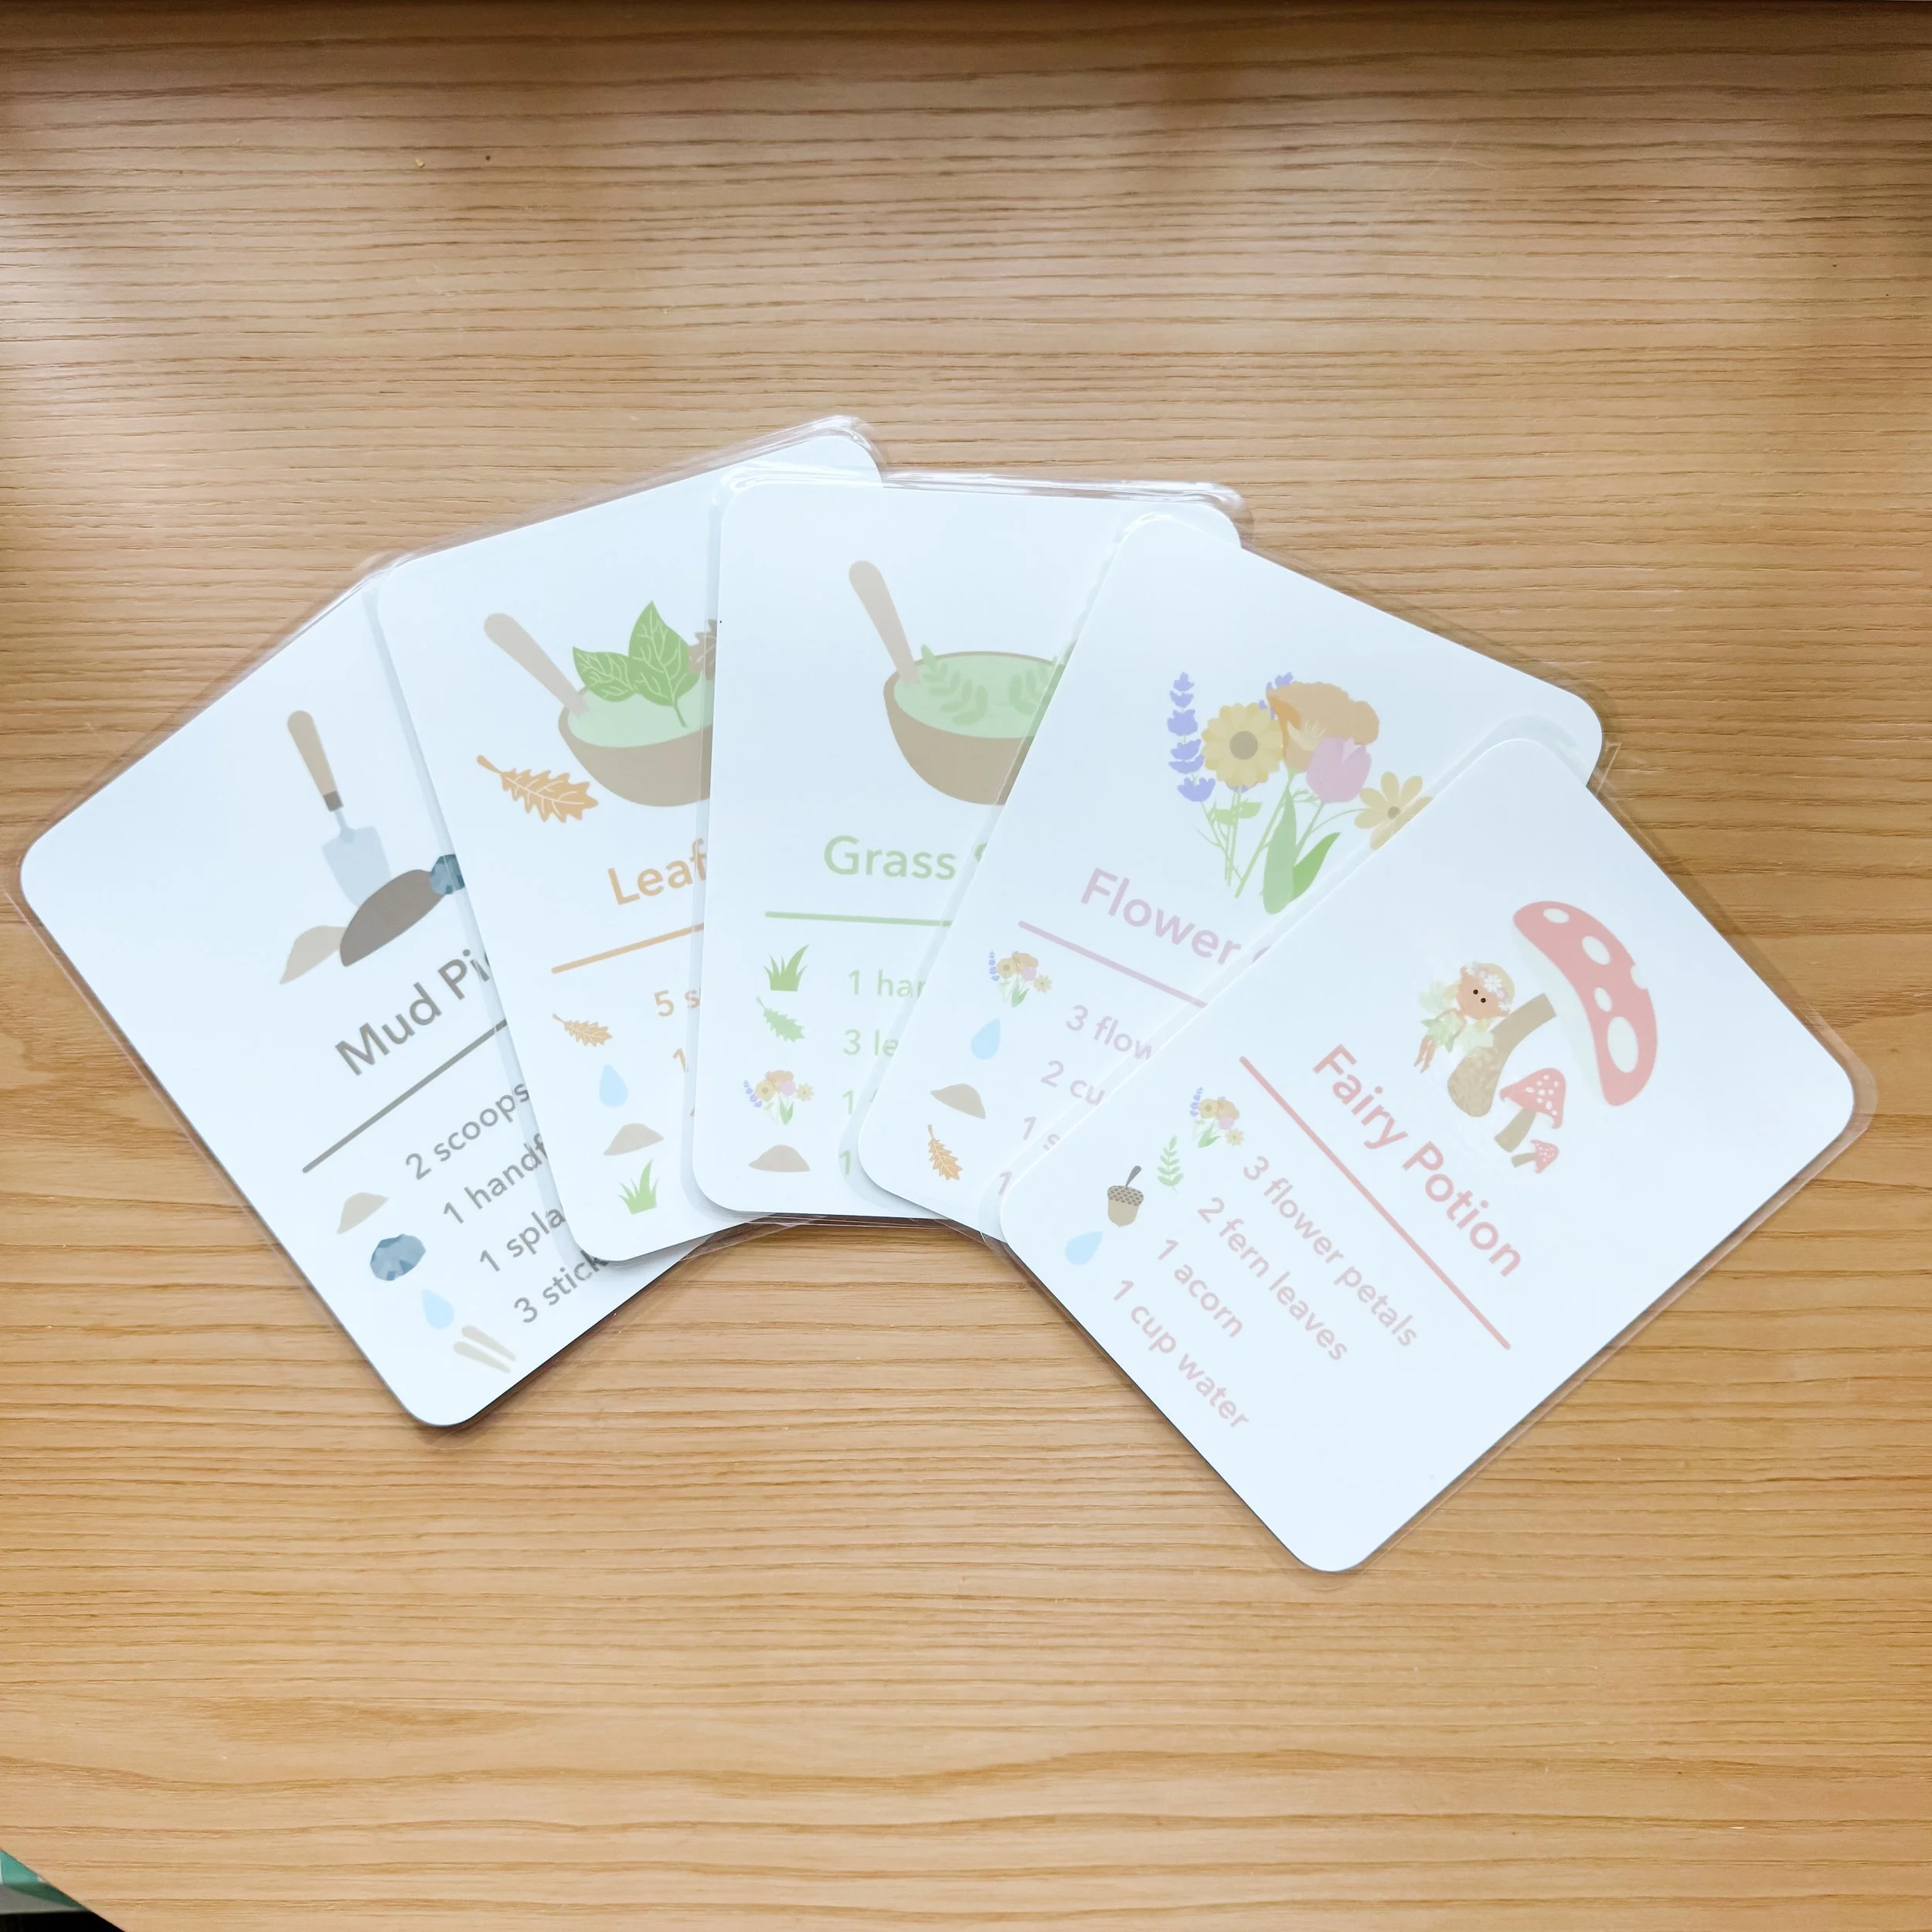
GoodnightFox Mud Play Recipe Cards printable with fairy potion, grass salad, and flower cake recipe cards.

Mud play recipe cards

Printable mud kitchen recipe cards designed for whimsical outdoor play, counting practice, sensory exploration, and magical pretend recipes.

Shop recipe cards
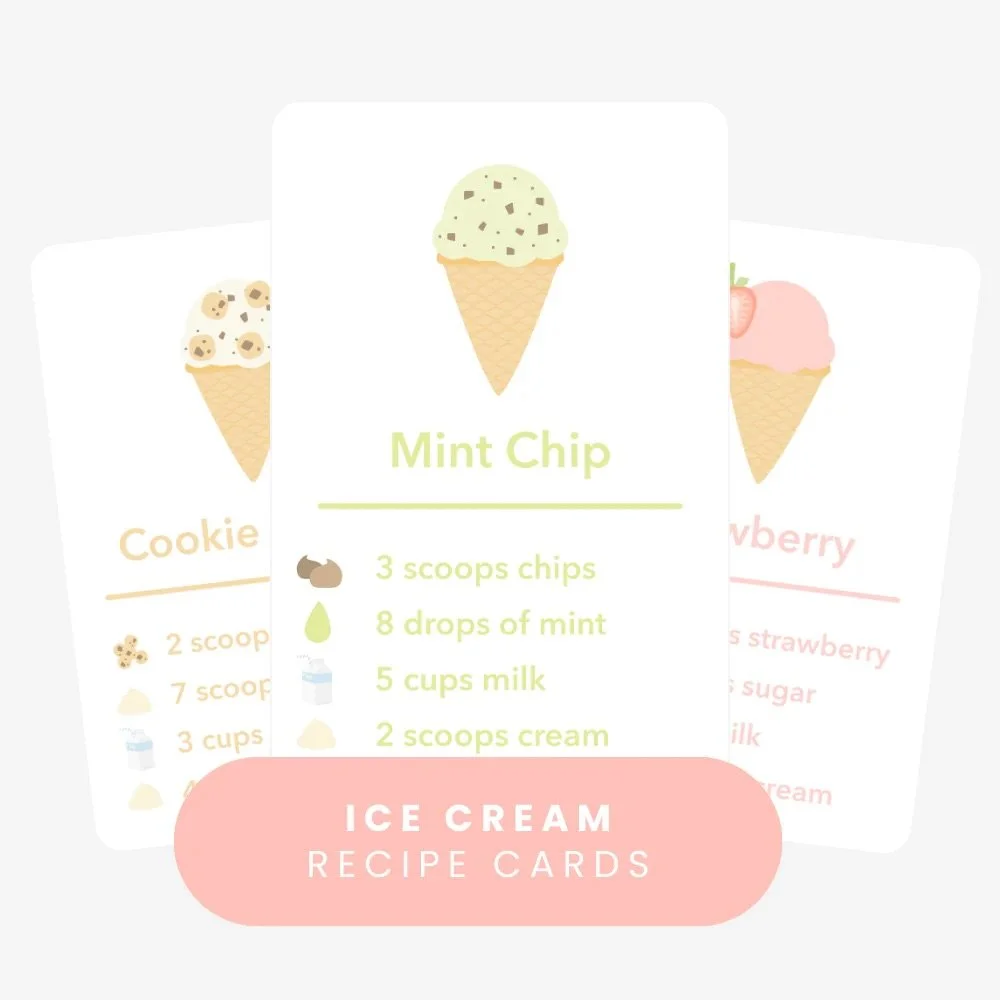
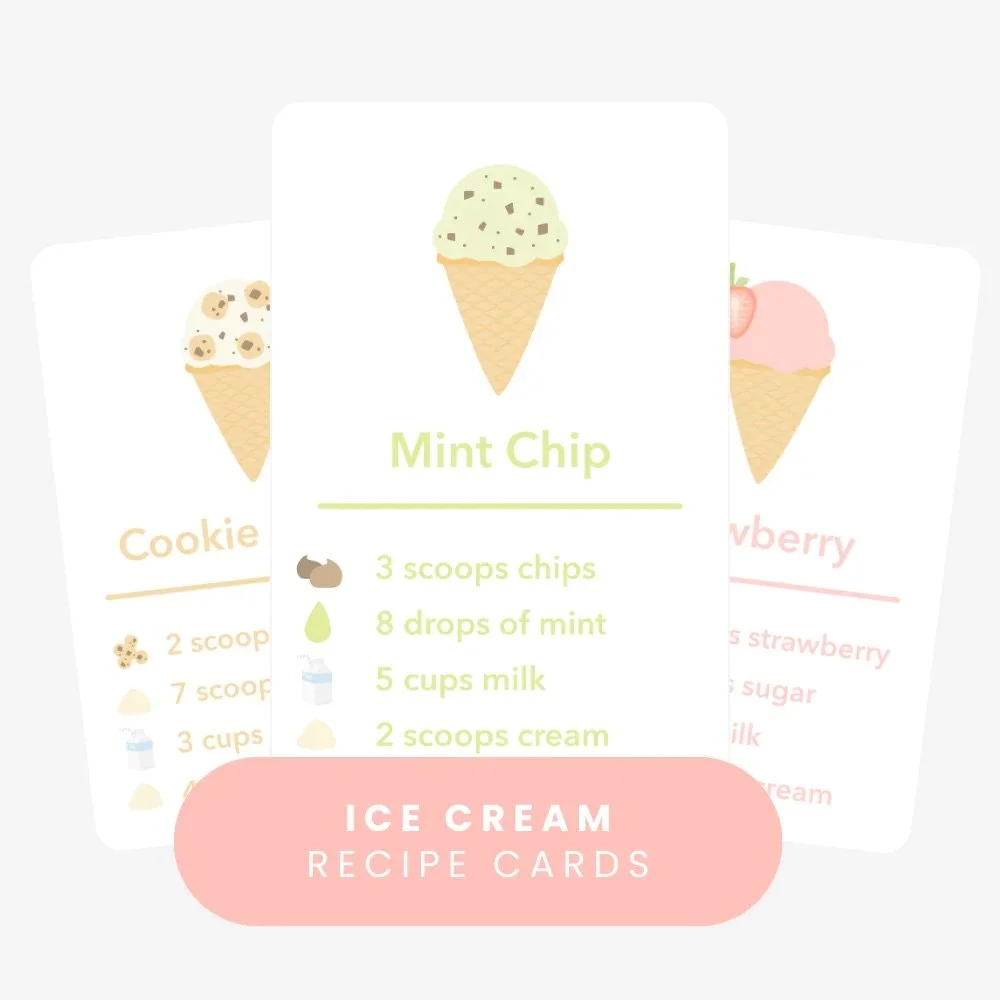
Free ice cream recipe cards for pretend play and mud kitchen sensory play.

Free ice cream recipe cards

Try the free ice cream recipe cards to see how recipe cards can extend sensory play and dramatic play.

Get the freebie

Recipes included in this set

  • Fairy Potion — a magical recipe using flower petals, fern leaves, acorns, and water.
  • Flower Cake — a whimsical nature recipe with petals, soft mud, and garden treasures.
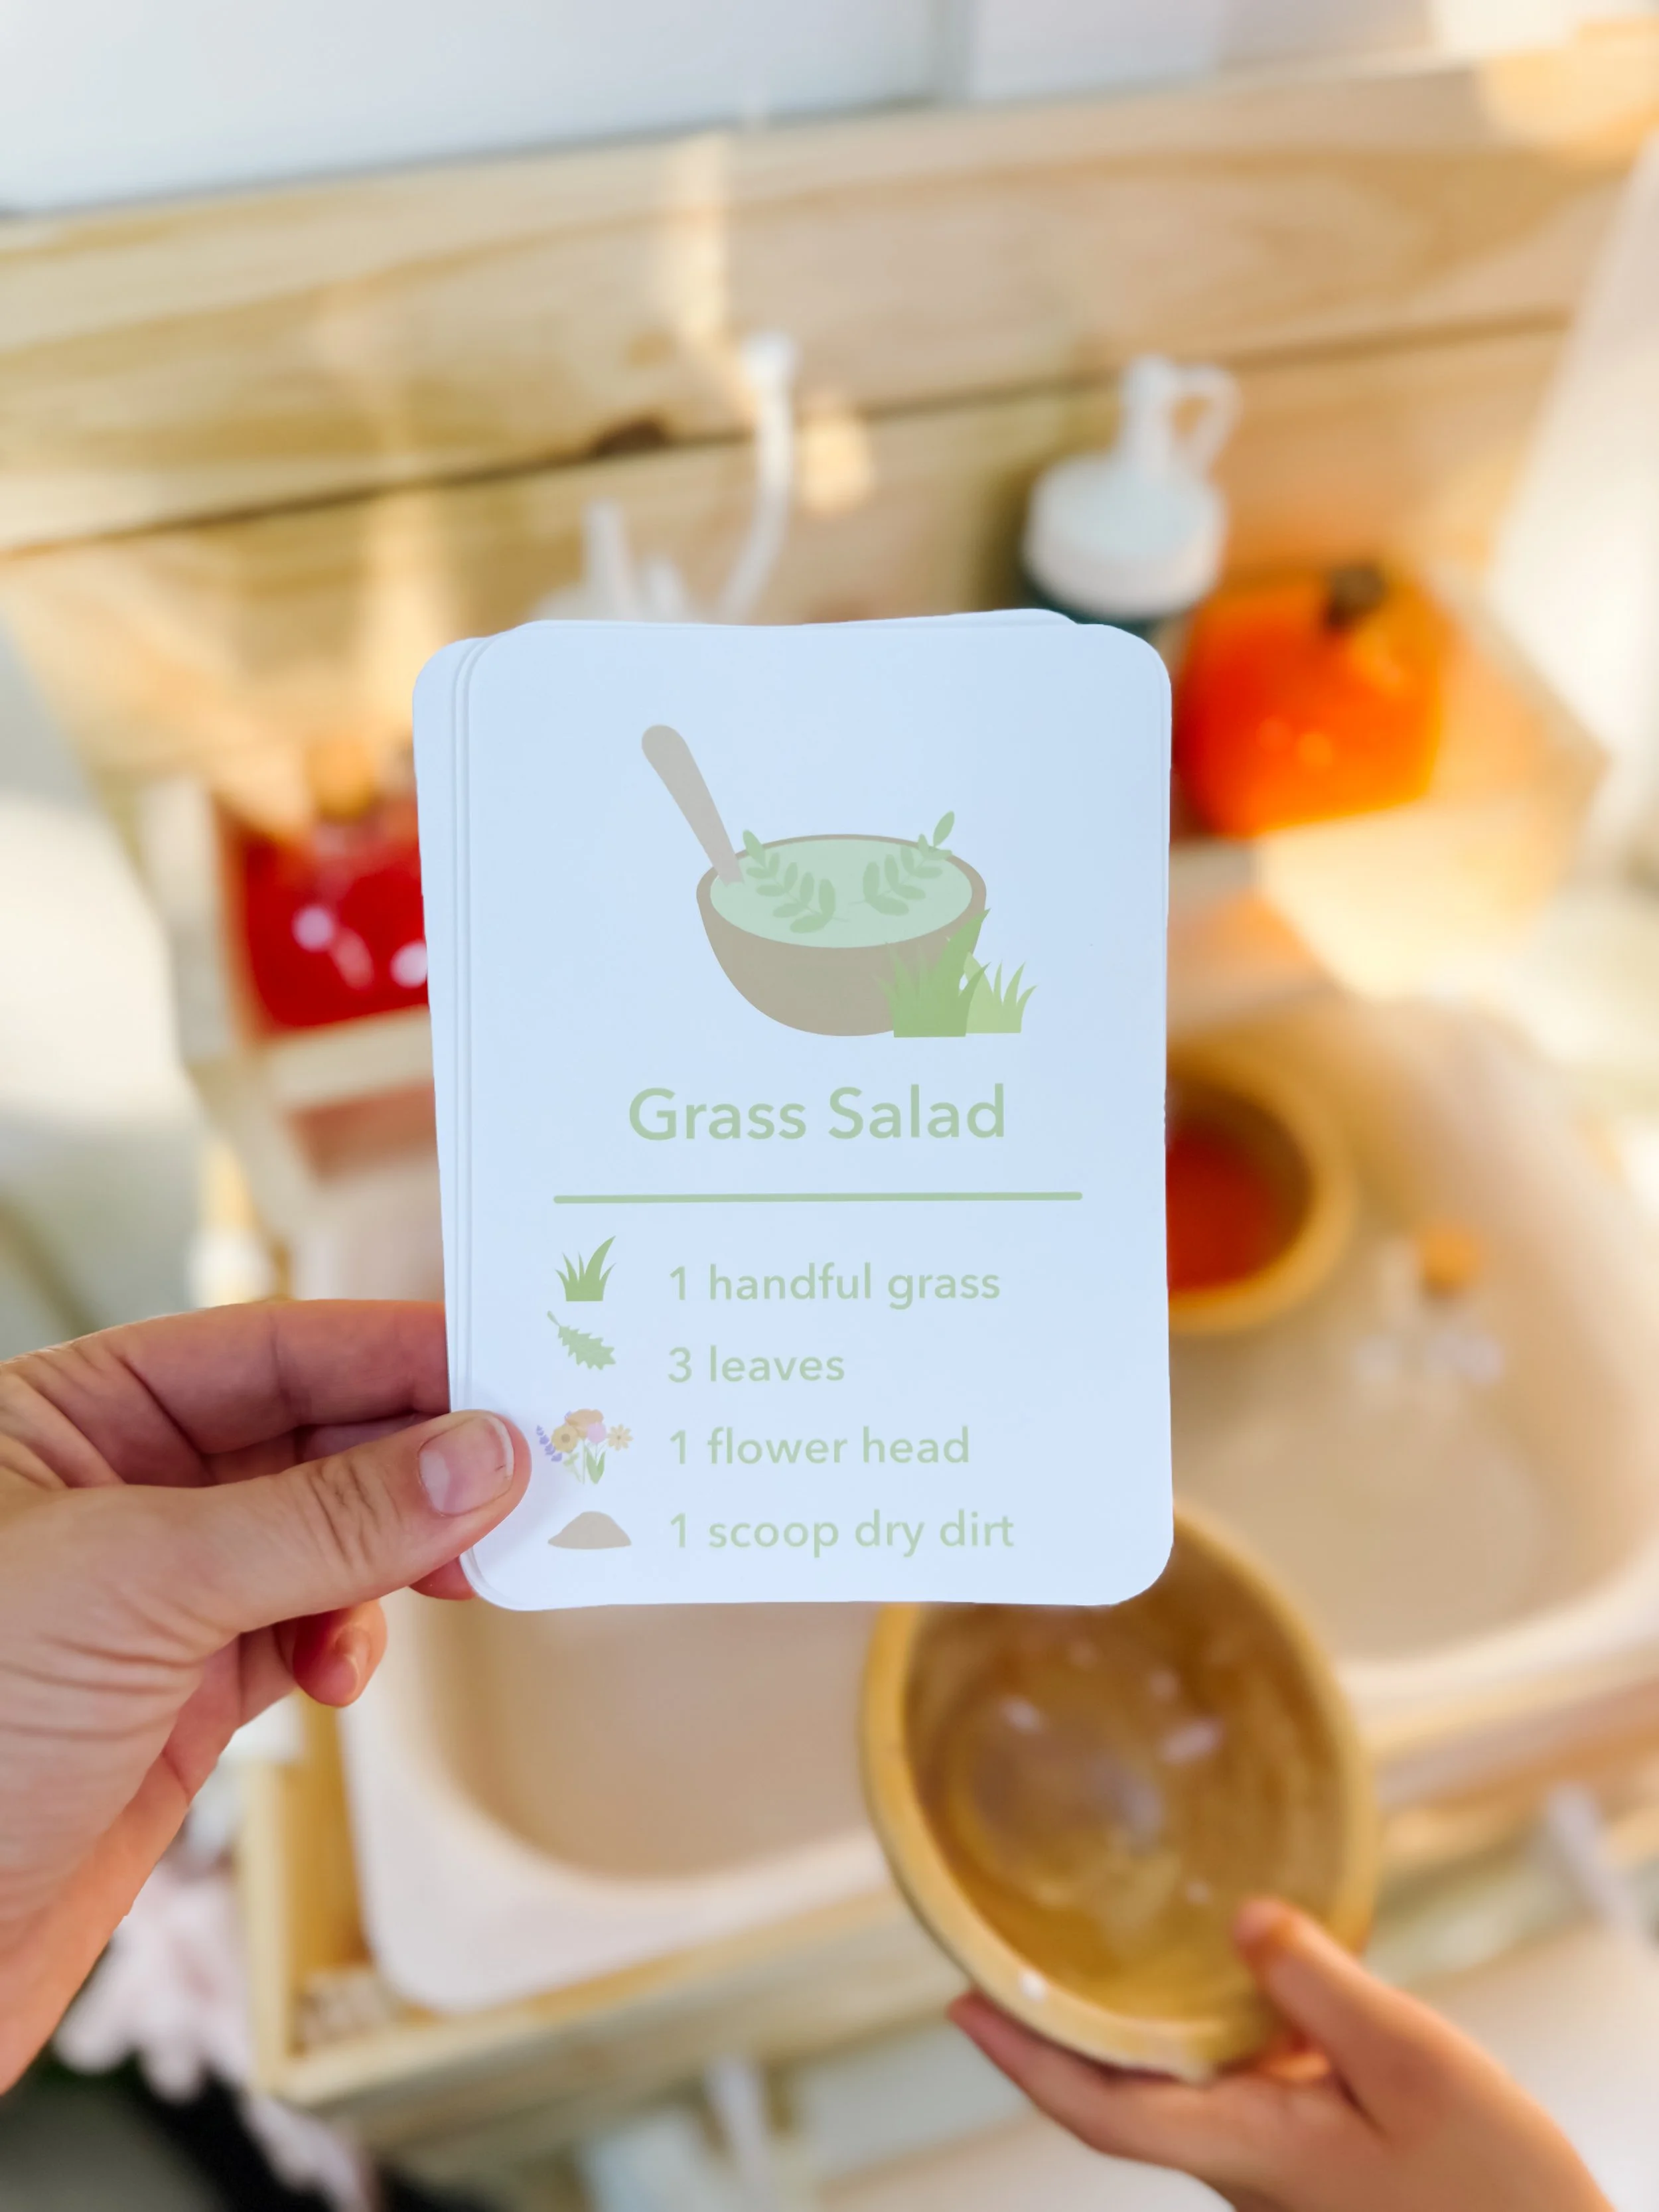
  • Grass Salad — a silly outdoor pretend recipe using handfuls of grass, leaves, flowers, and dirt.
  • Leaf Soup — a classic mud kitchen recipe using leaves, water, and natural materials.
  • Mud Pie — the ultimate mud kitchen classic with scoops of dirt, water, and found treasures.

How to set up mud kitchen recipe play

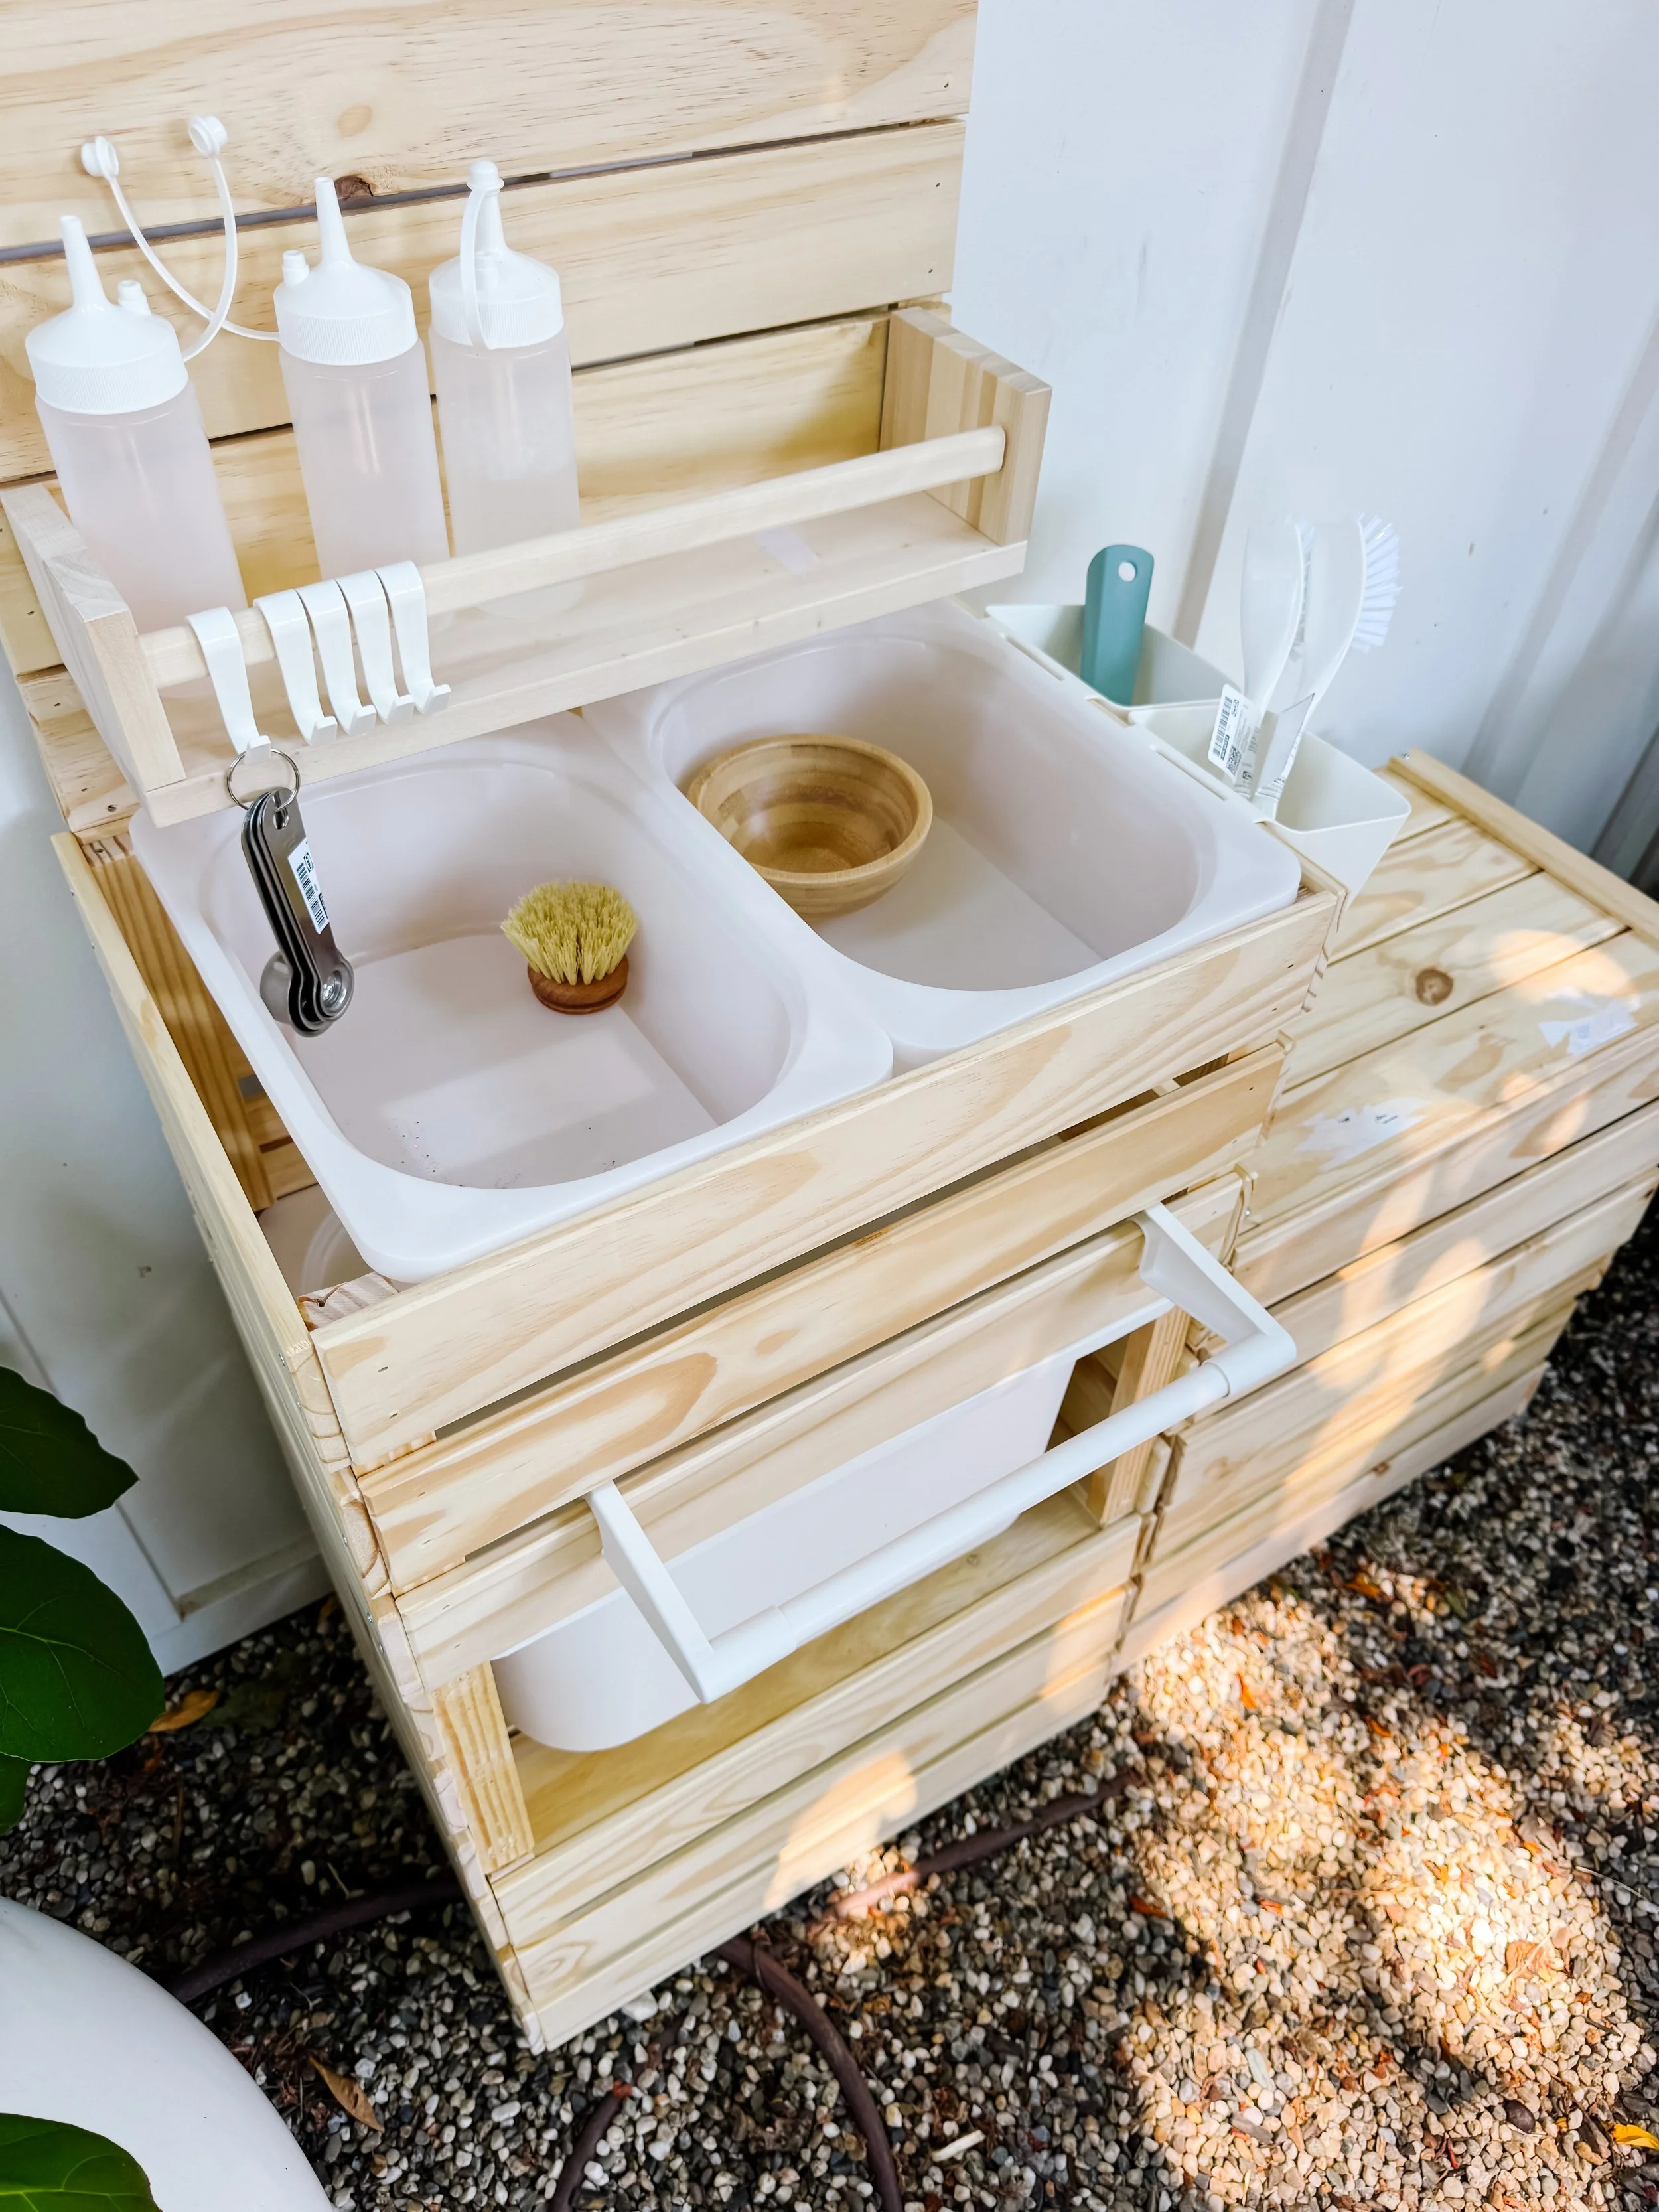
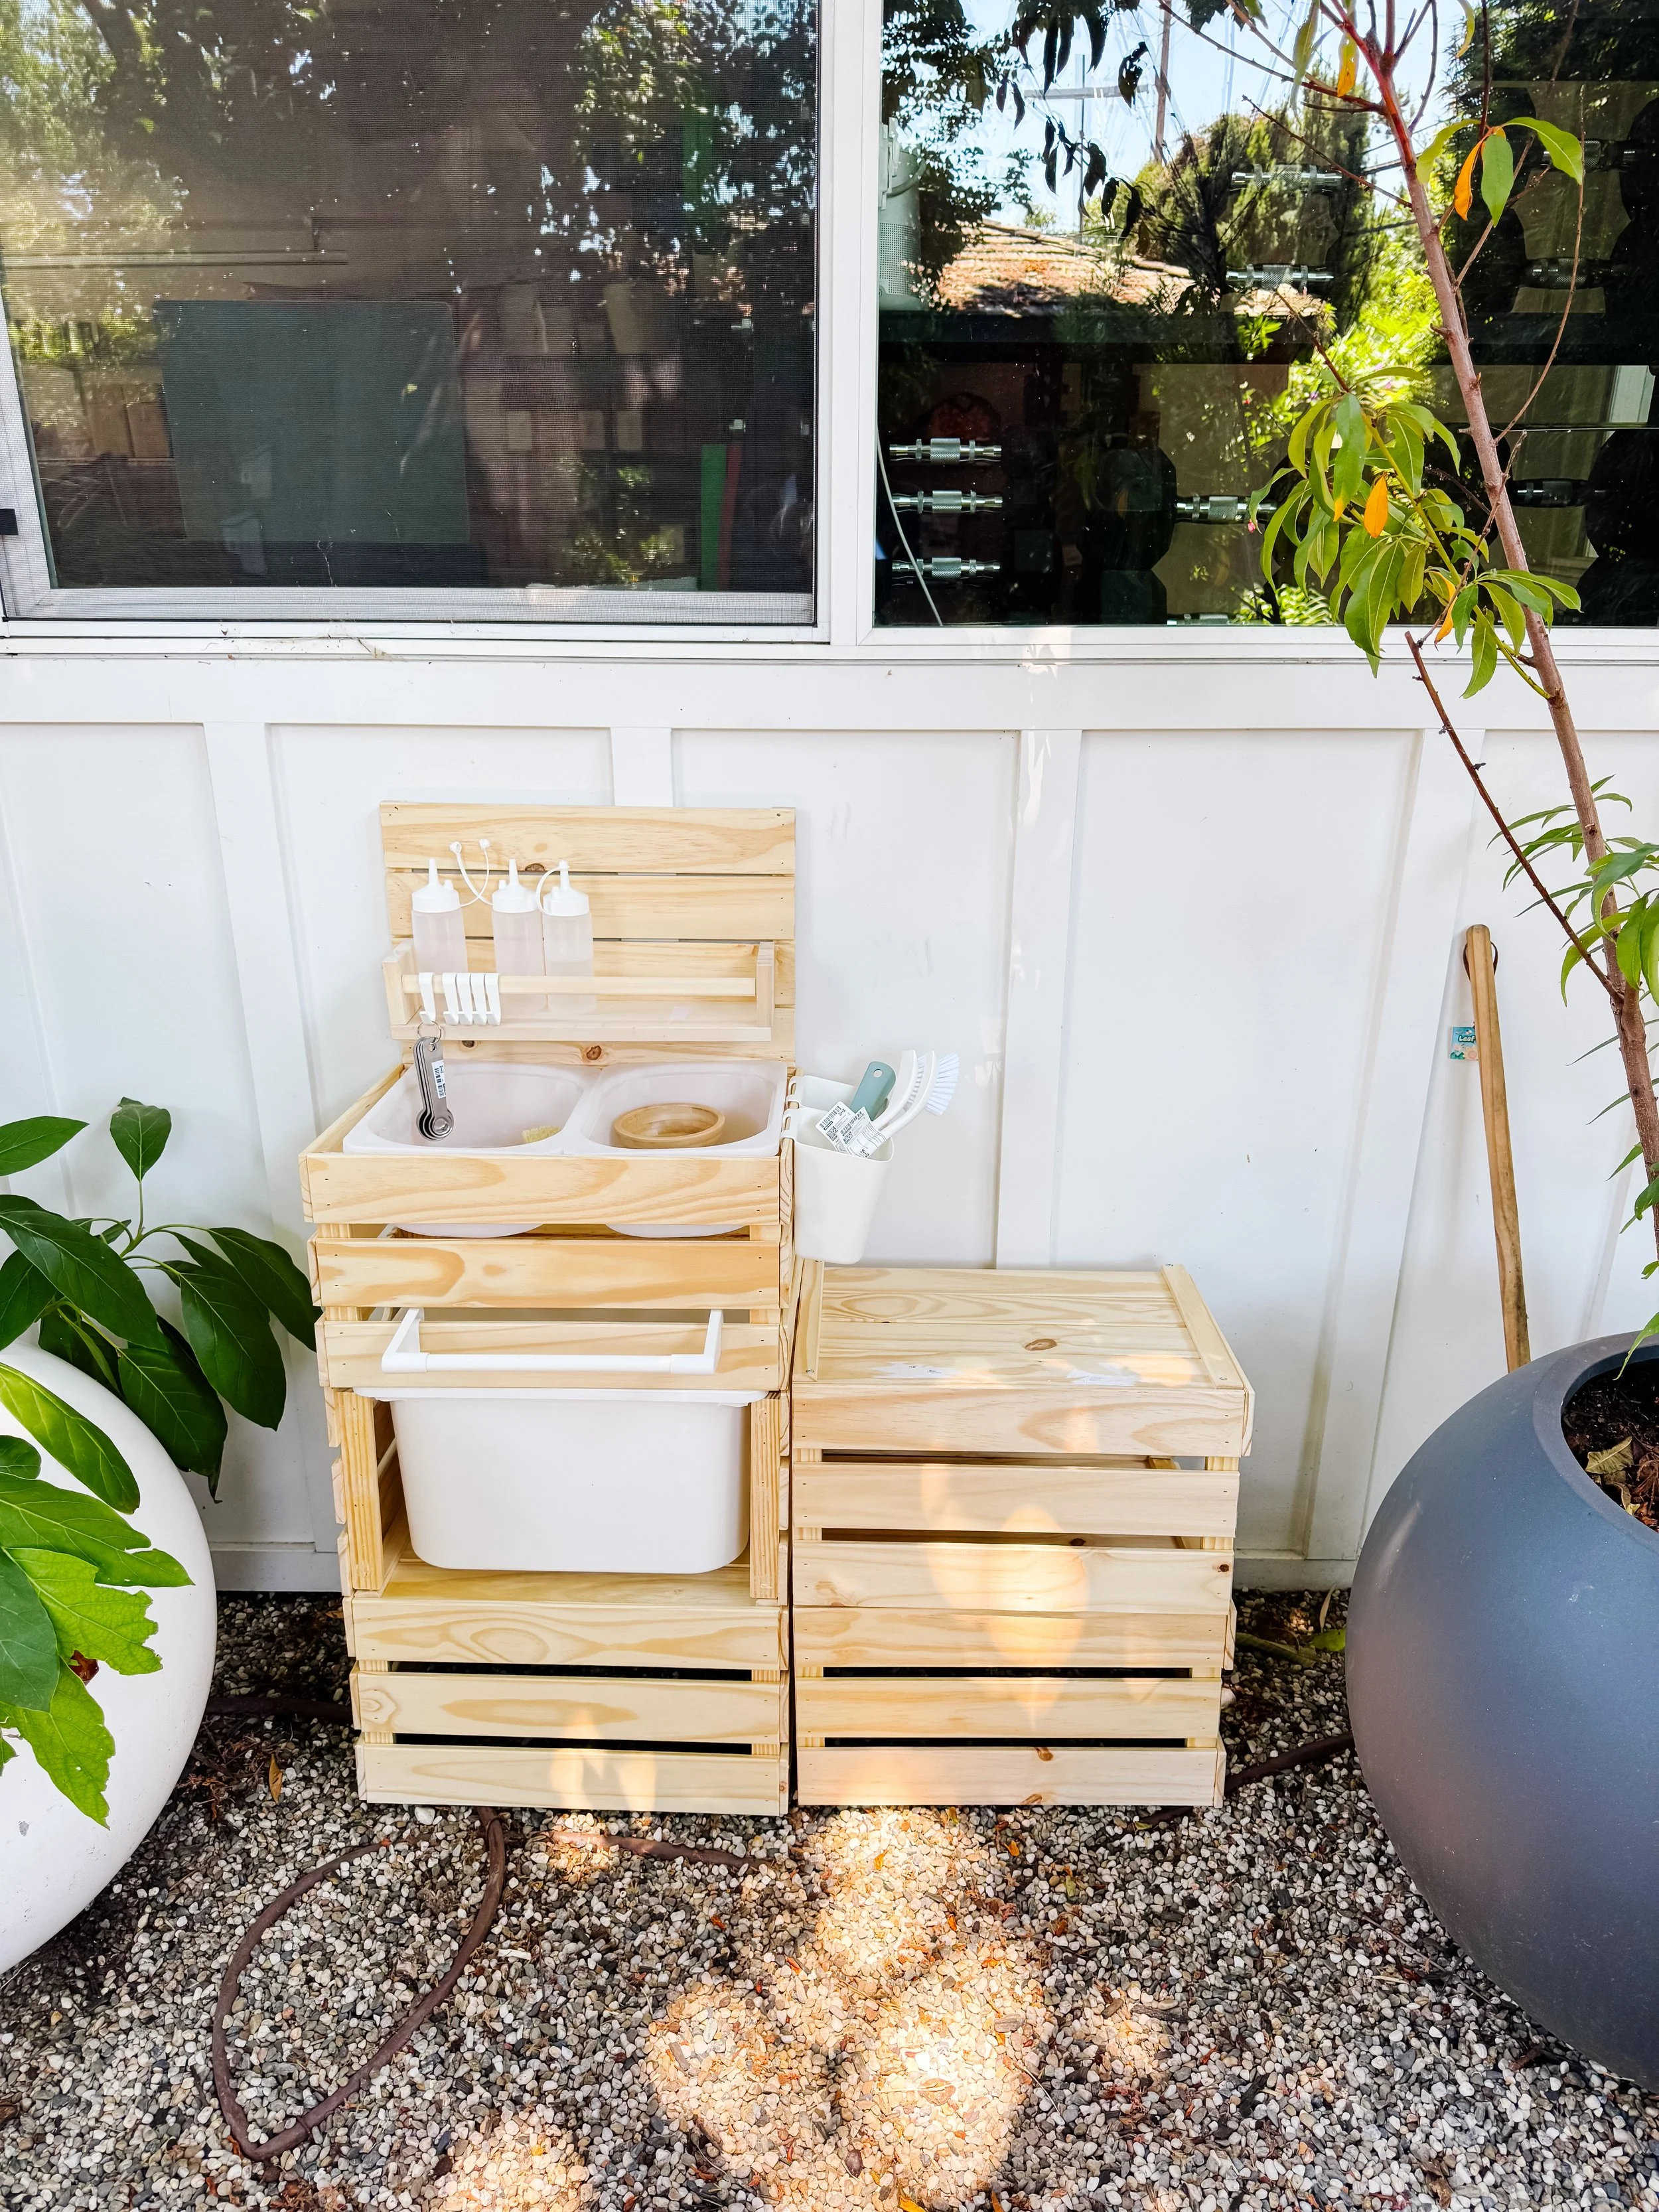
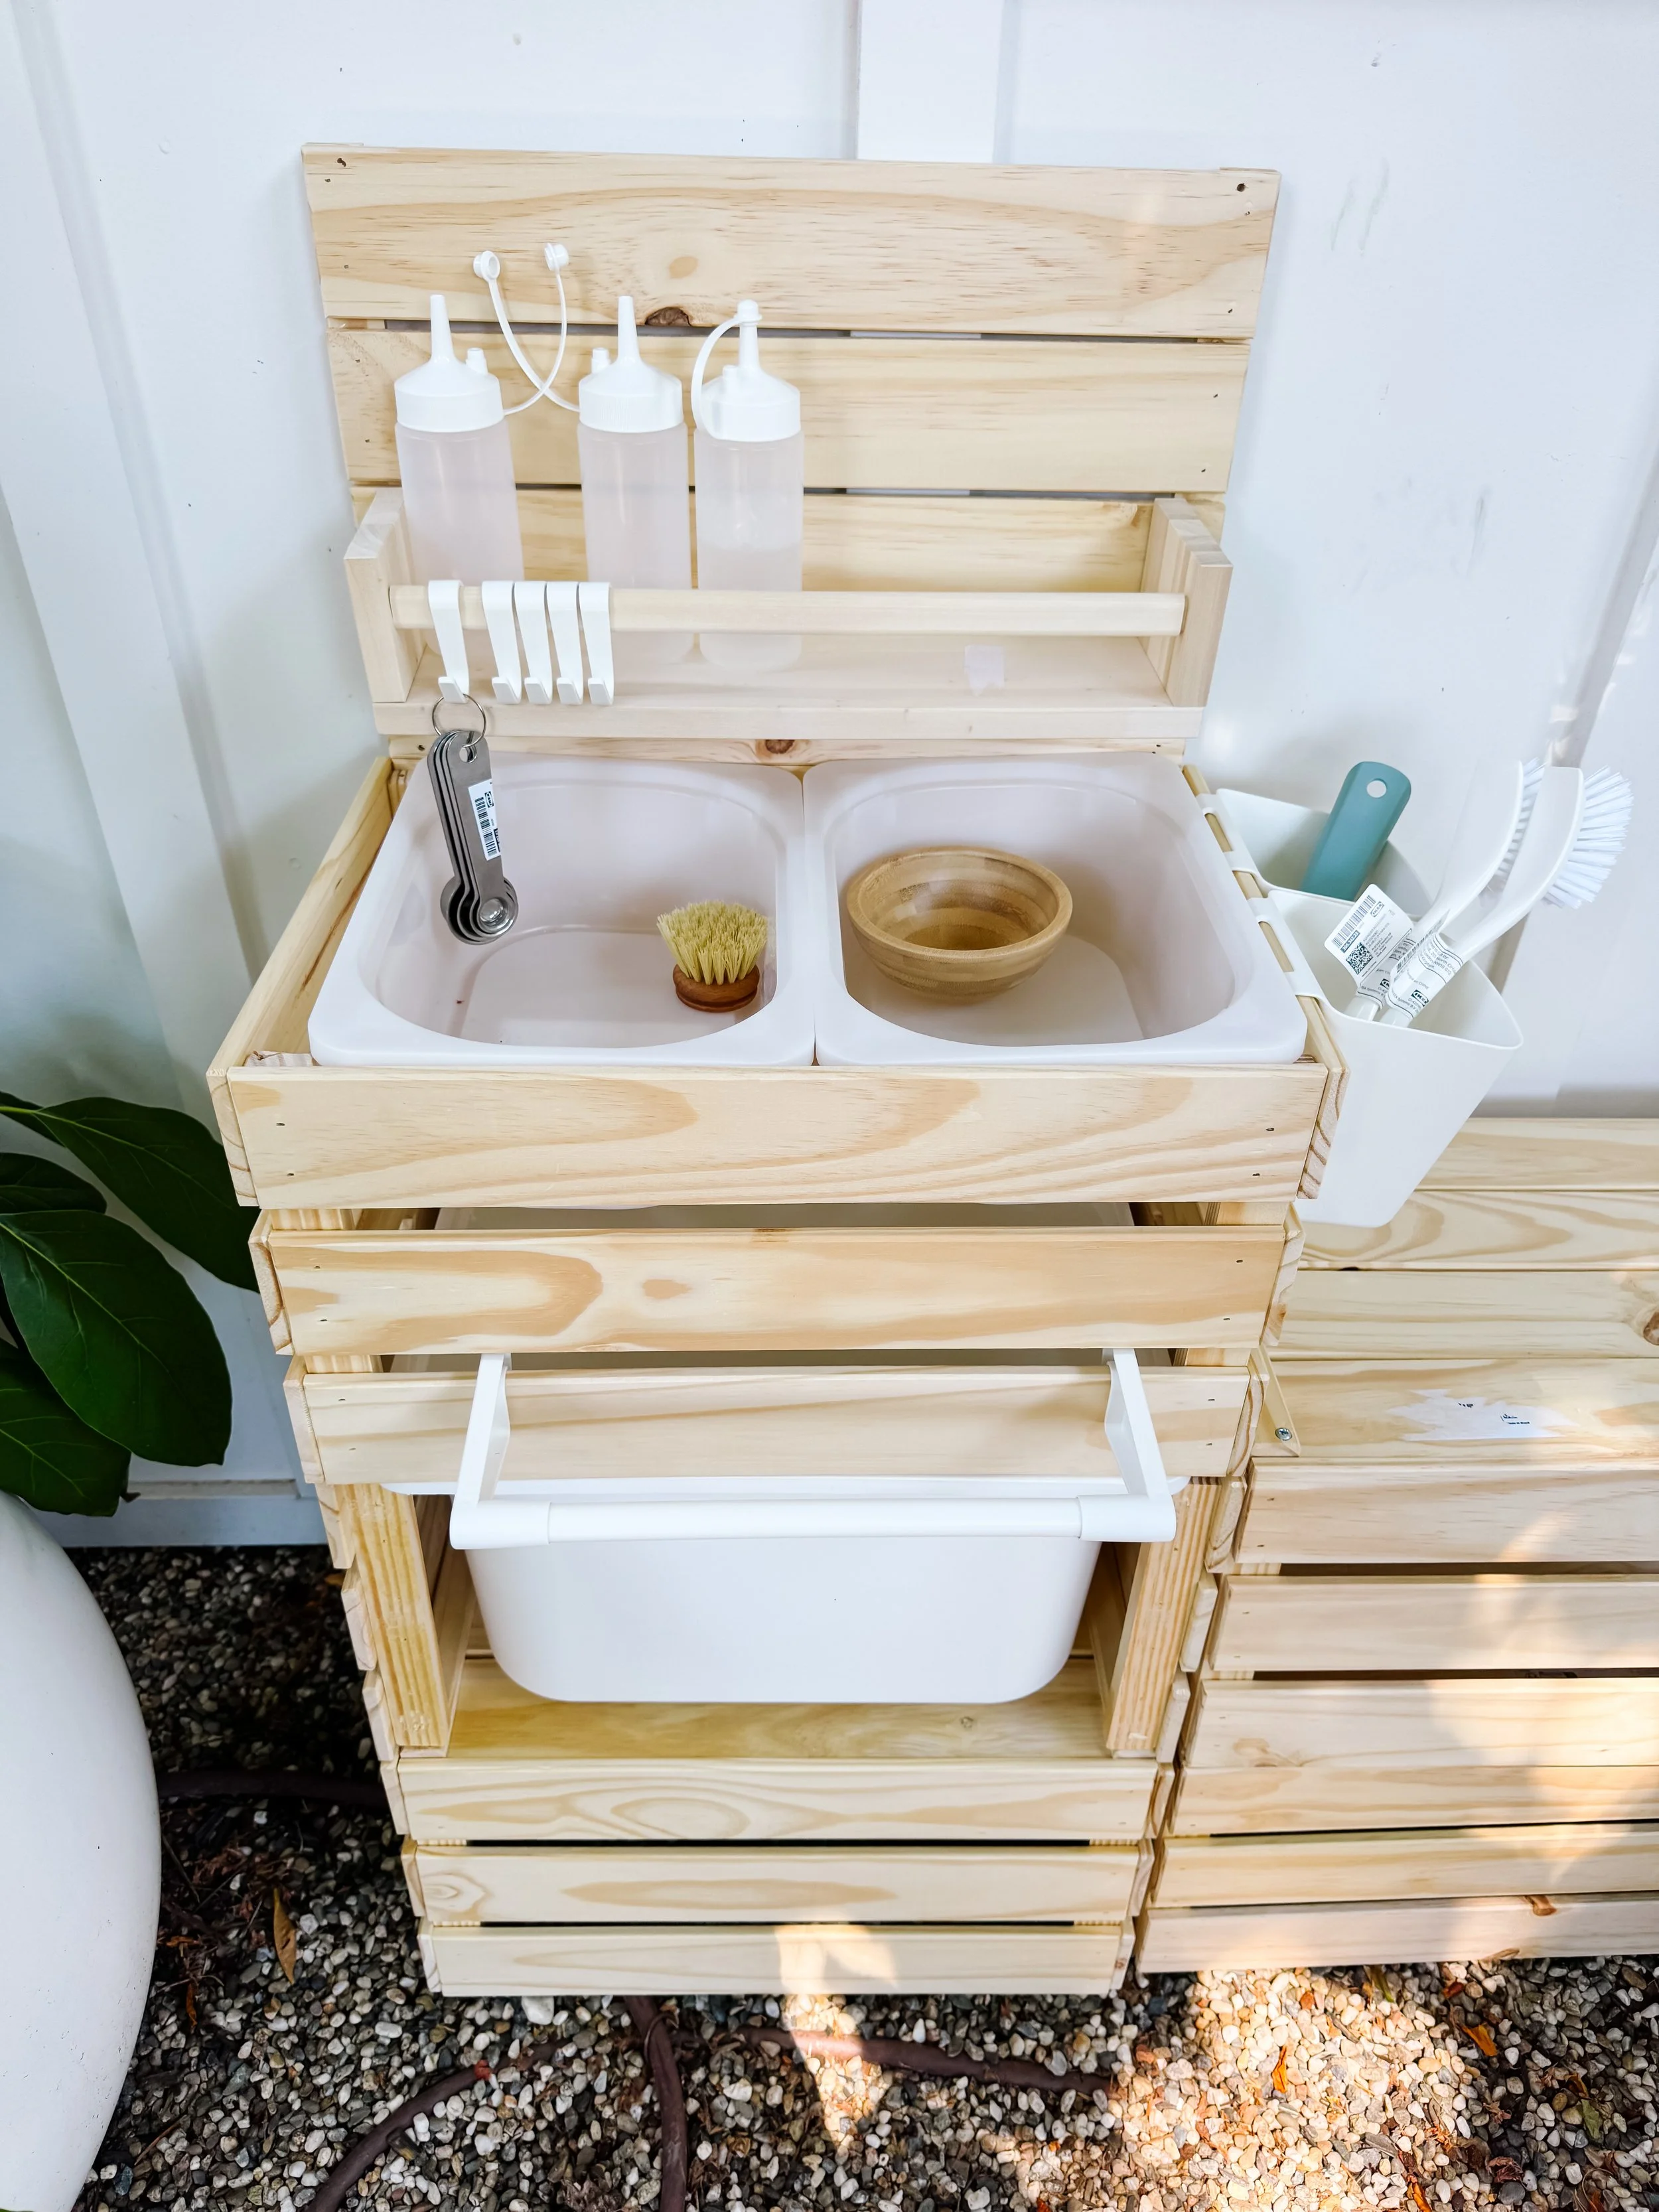
Outdoor mud kitchen setup with bowls, bottles, utensils, and sensory play supplies.
Step 1

Set up the mud kitchen

Start with a mud kitchen, play kitchen, sensory table, or a simple outdoor bin. Add bowls, spoons, scoops, water bottles, and small containers.

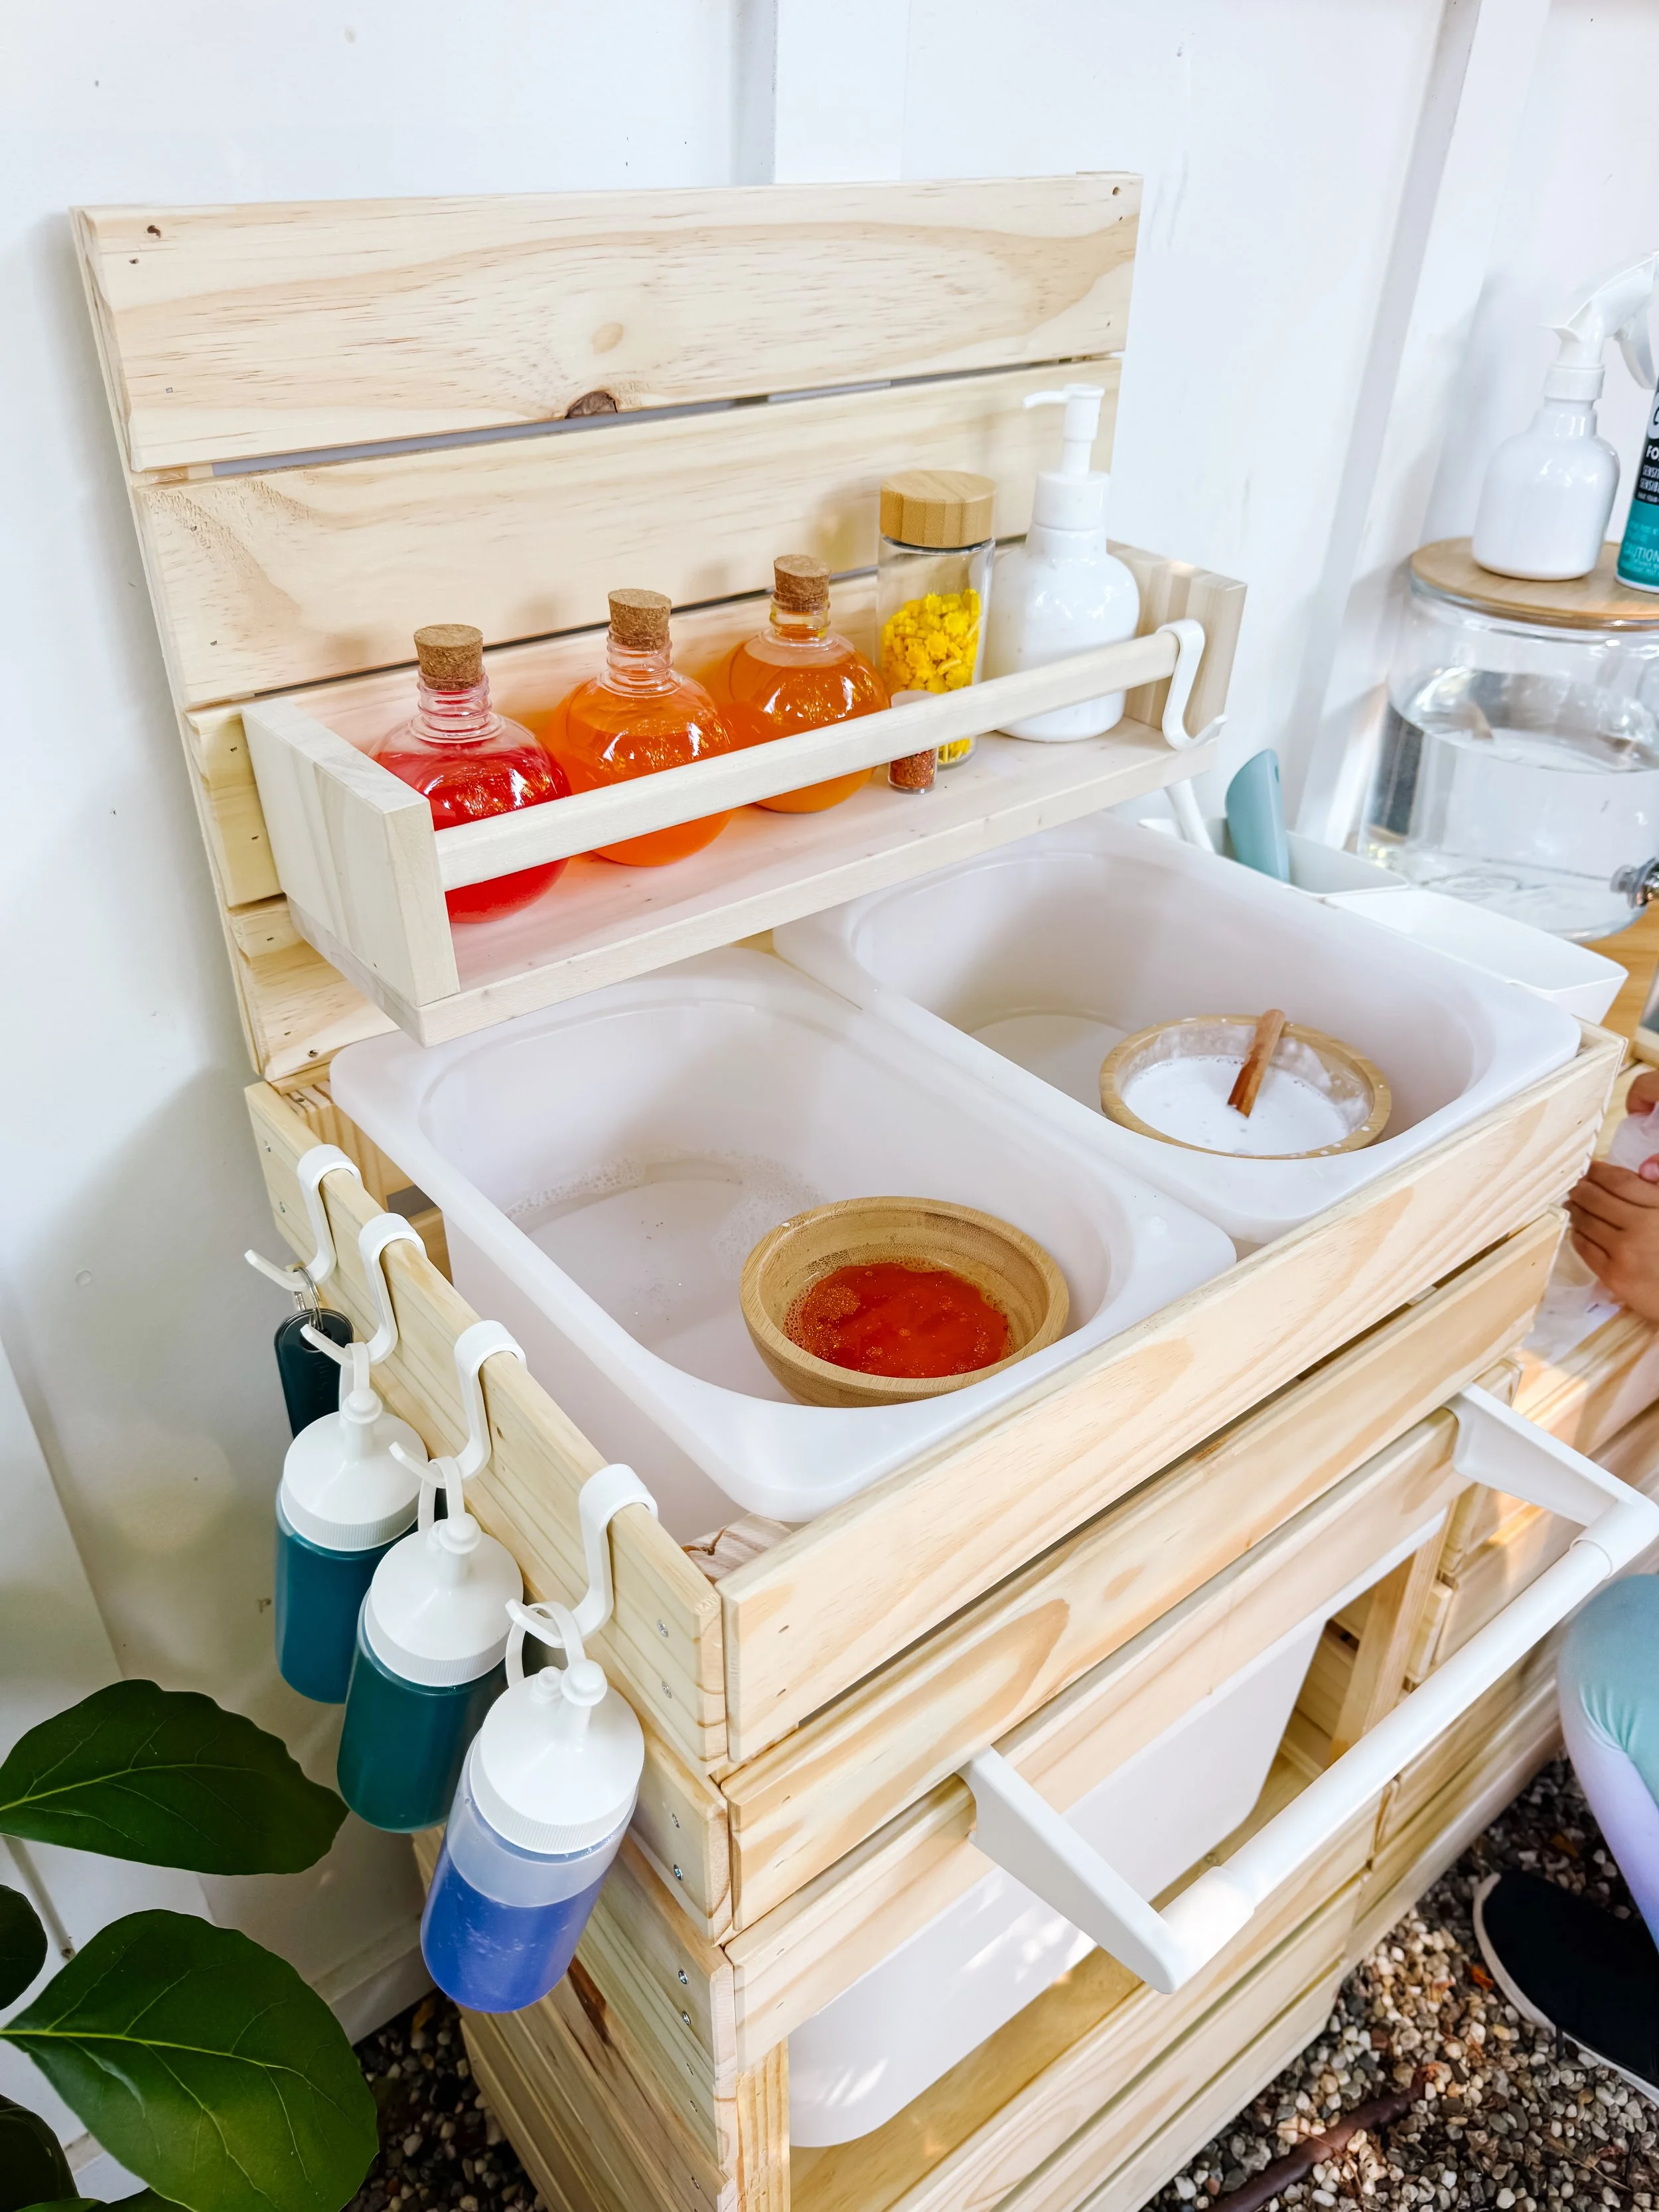
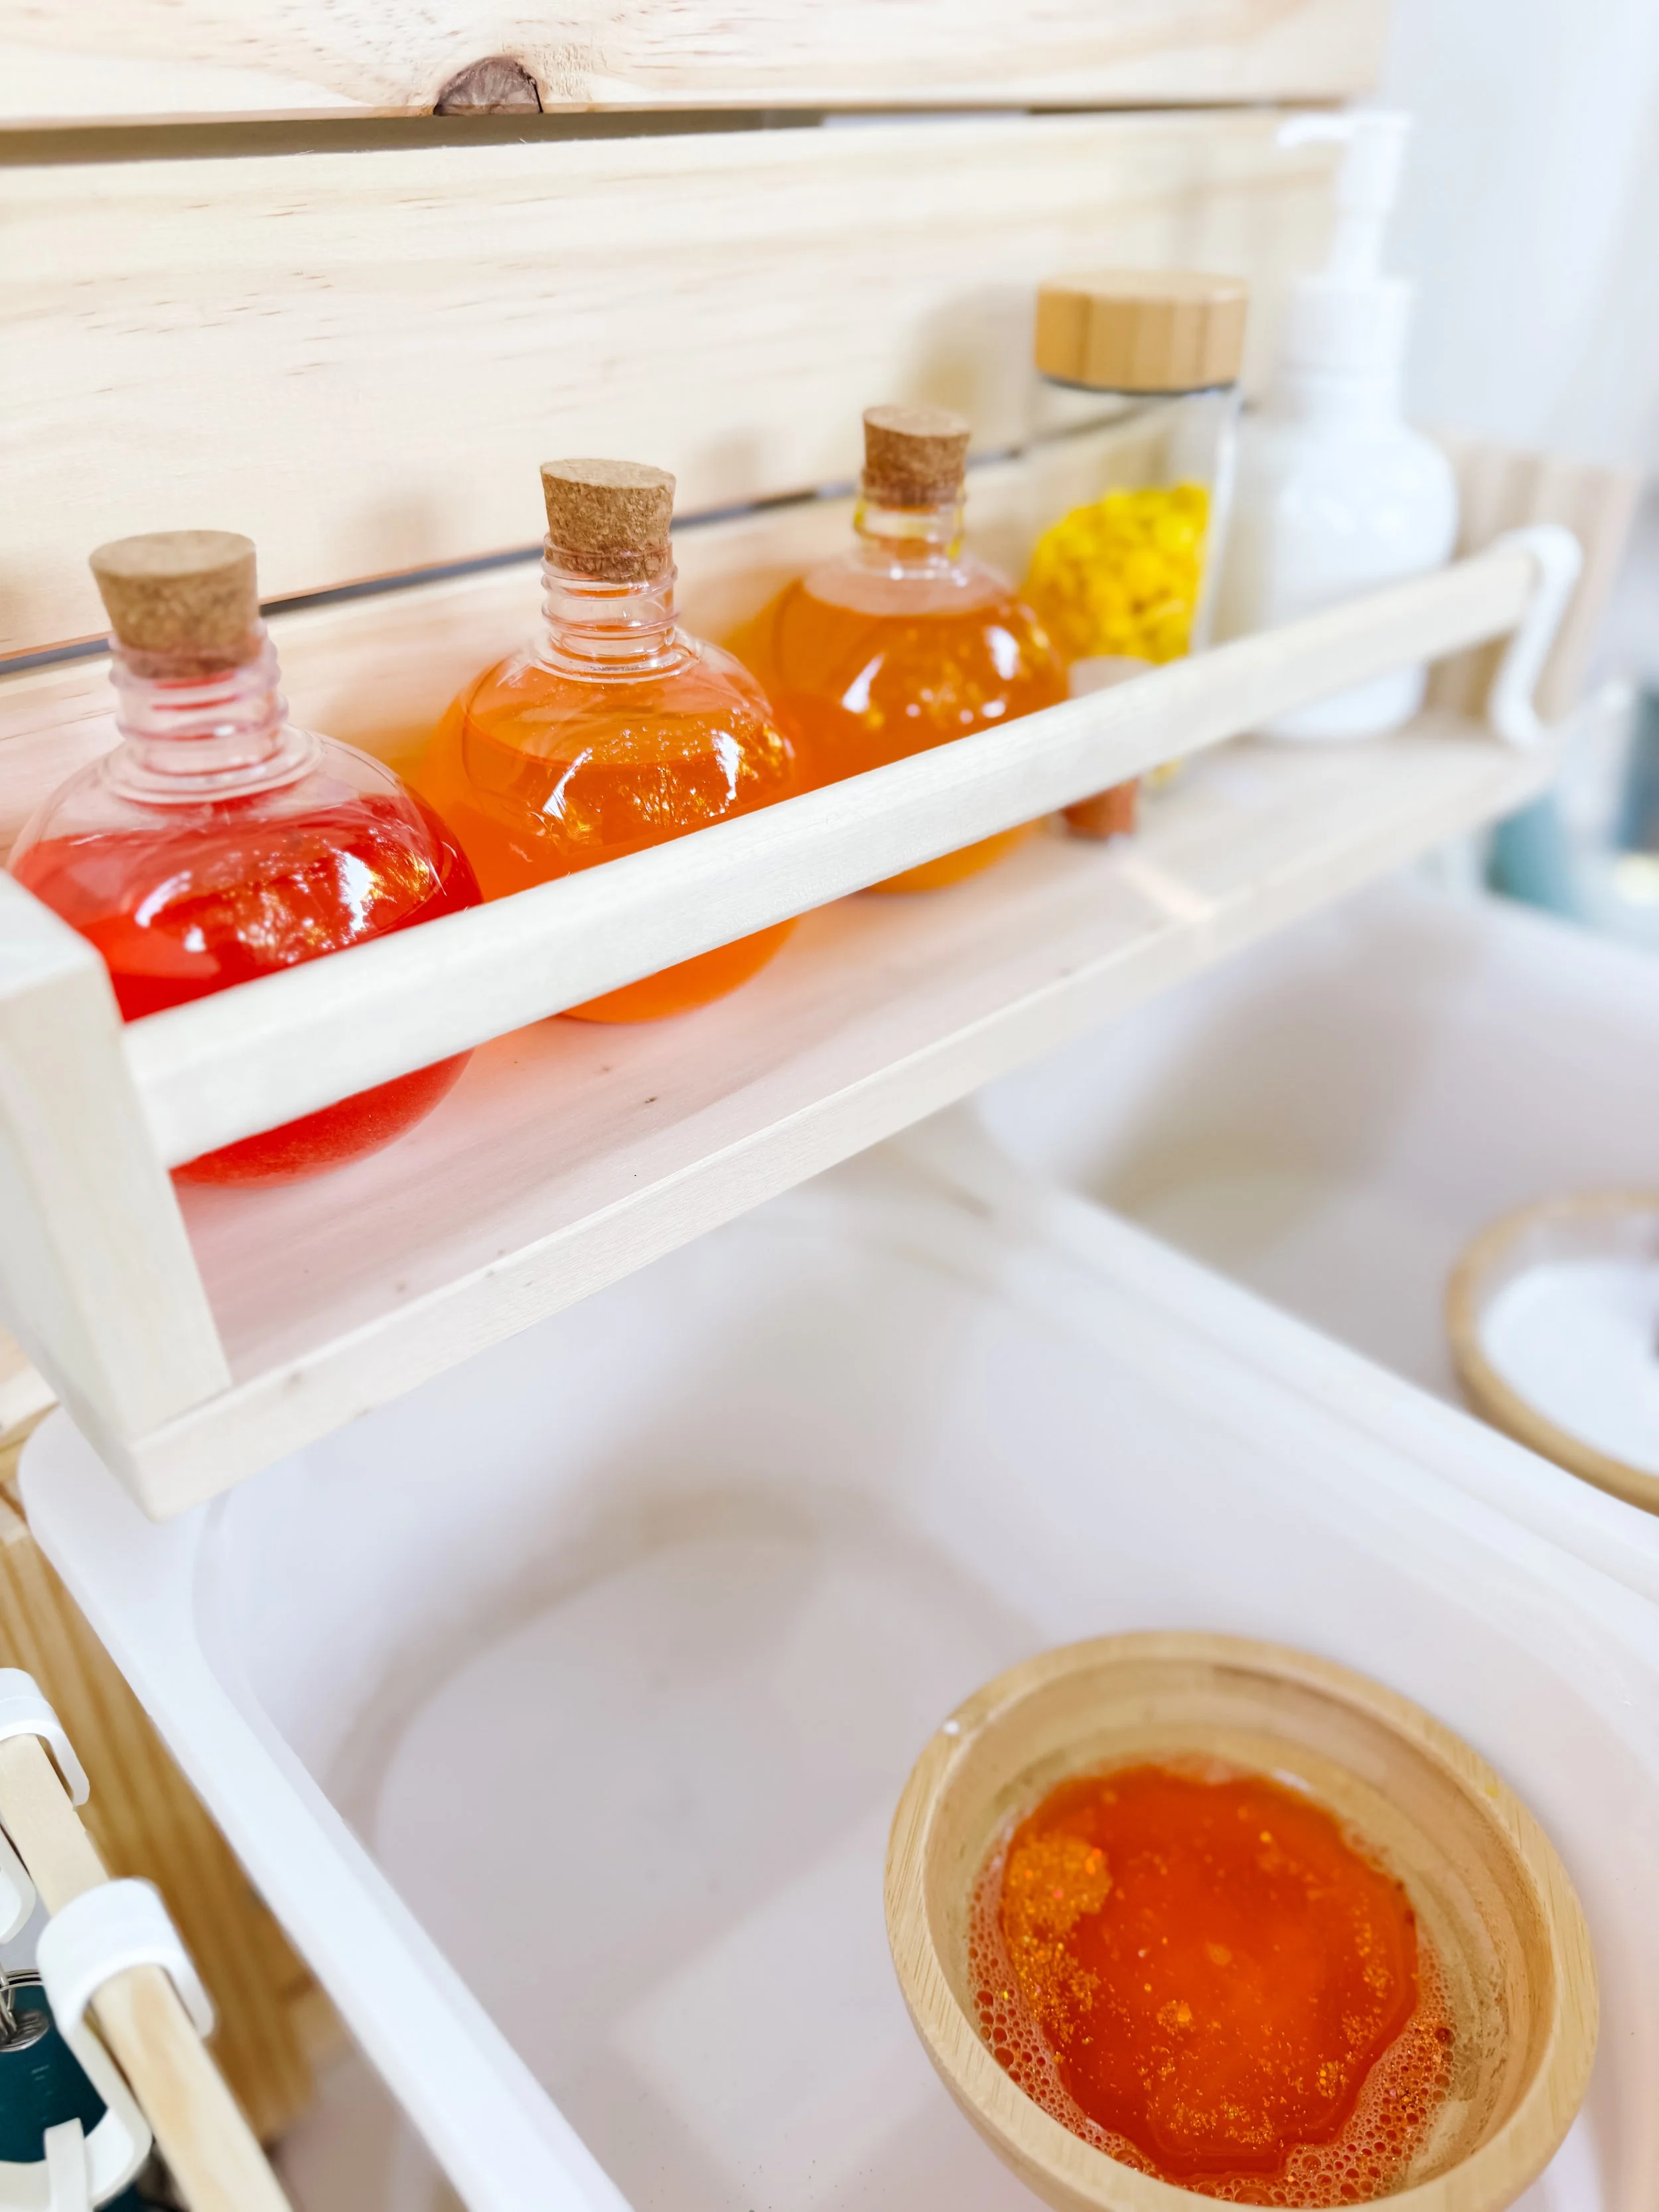
Mud kitchen setup with colored water, bowls, brushes, bottles, and pretend recipe supplies.
Step 2

Add natural ingredients

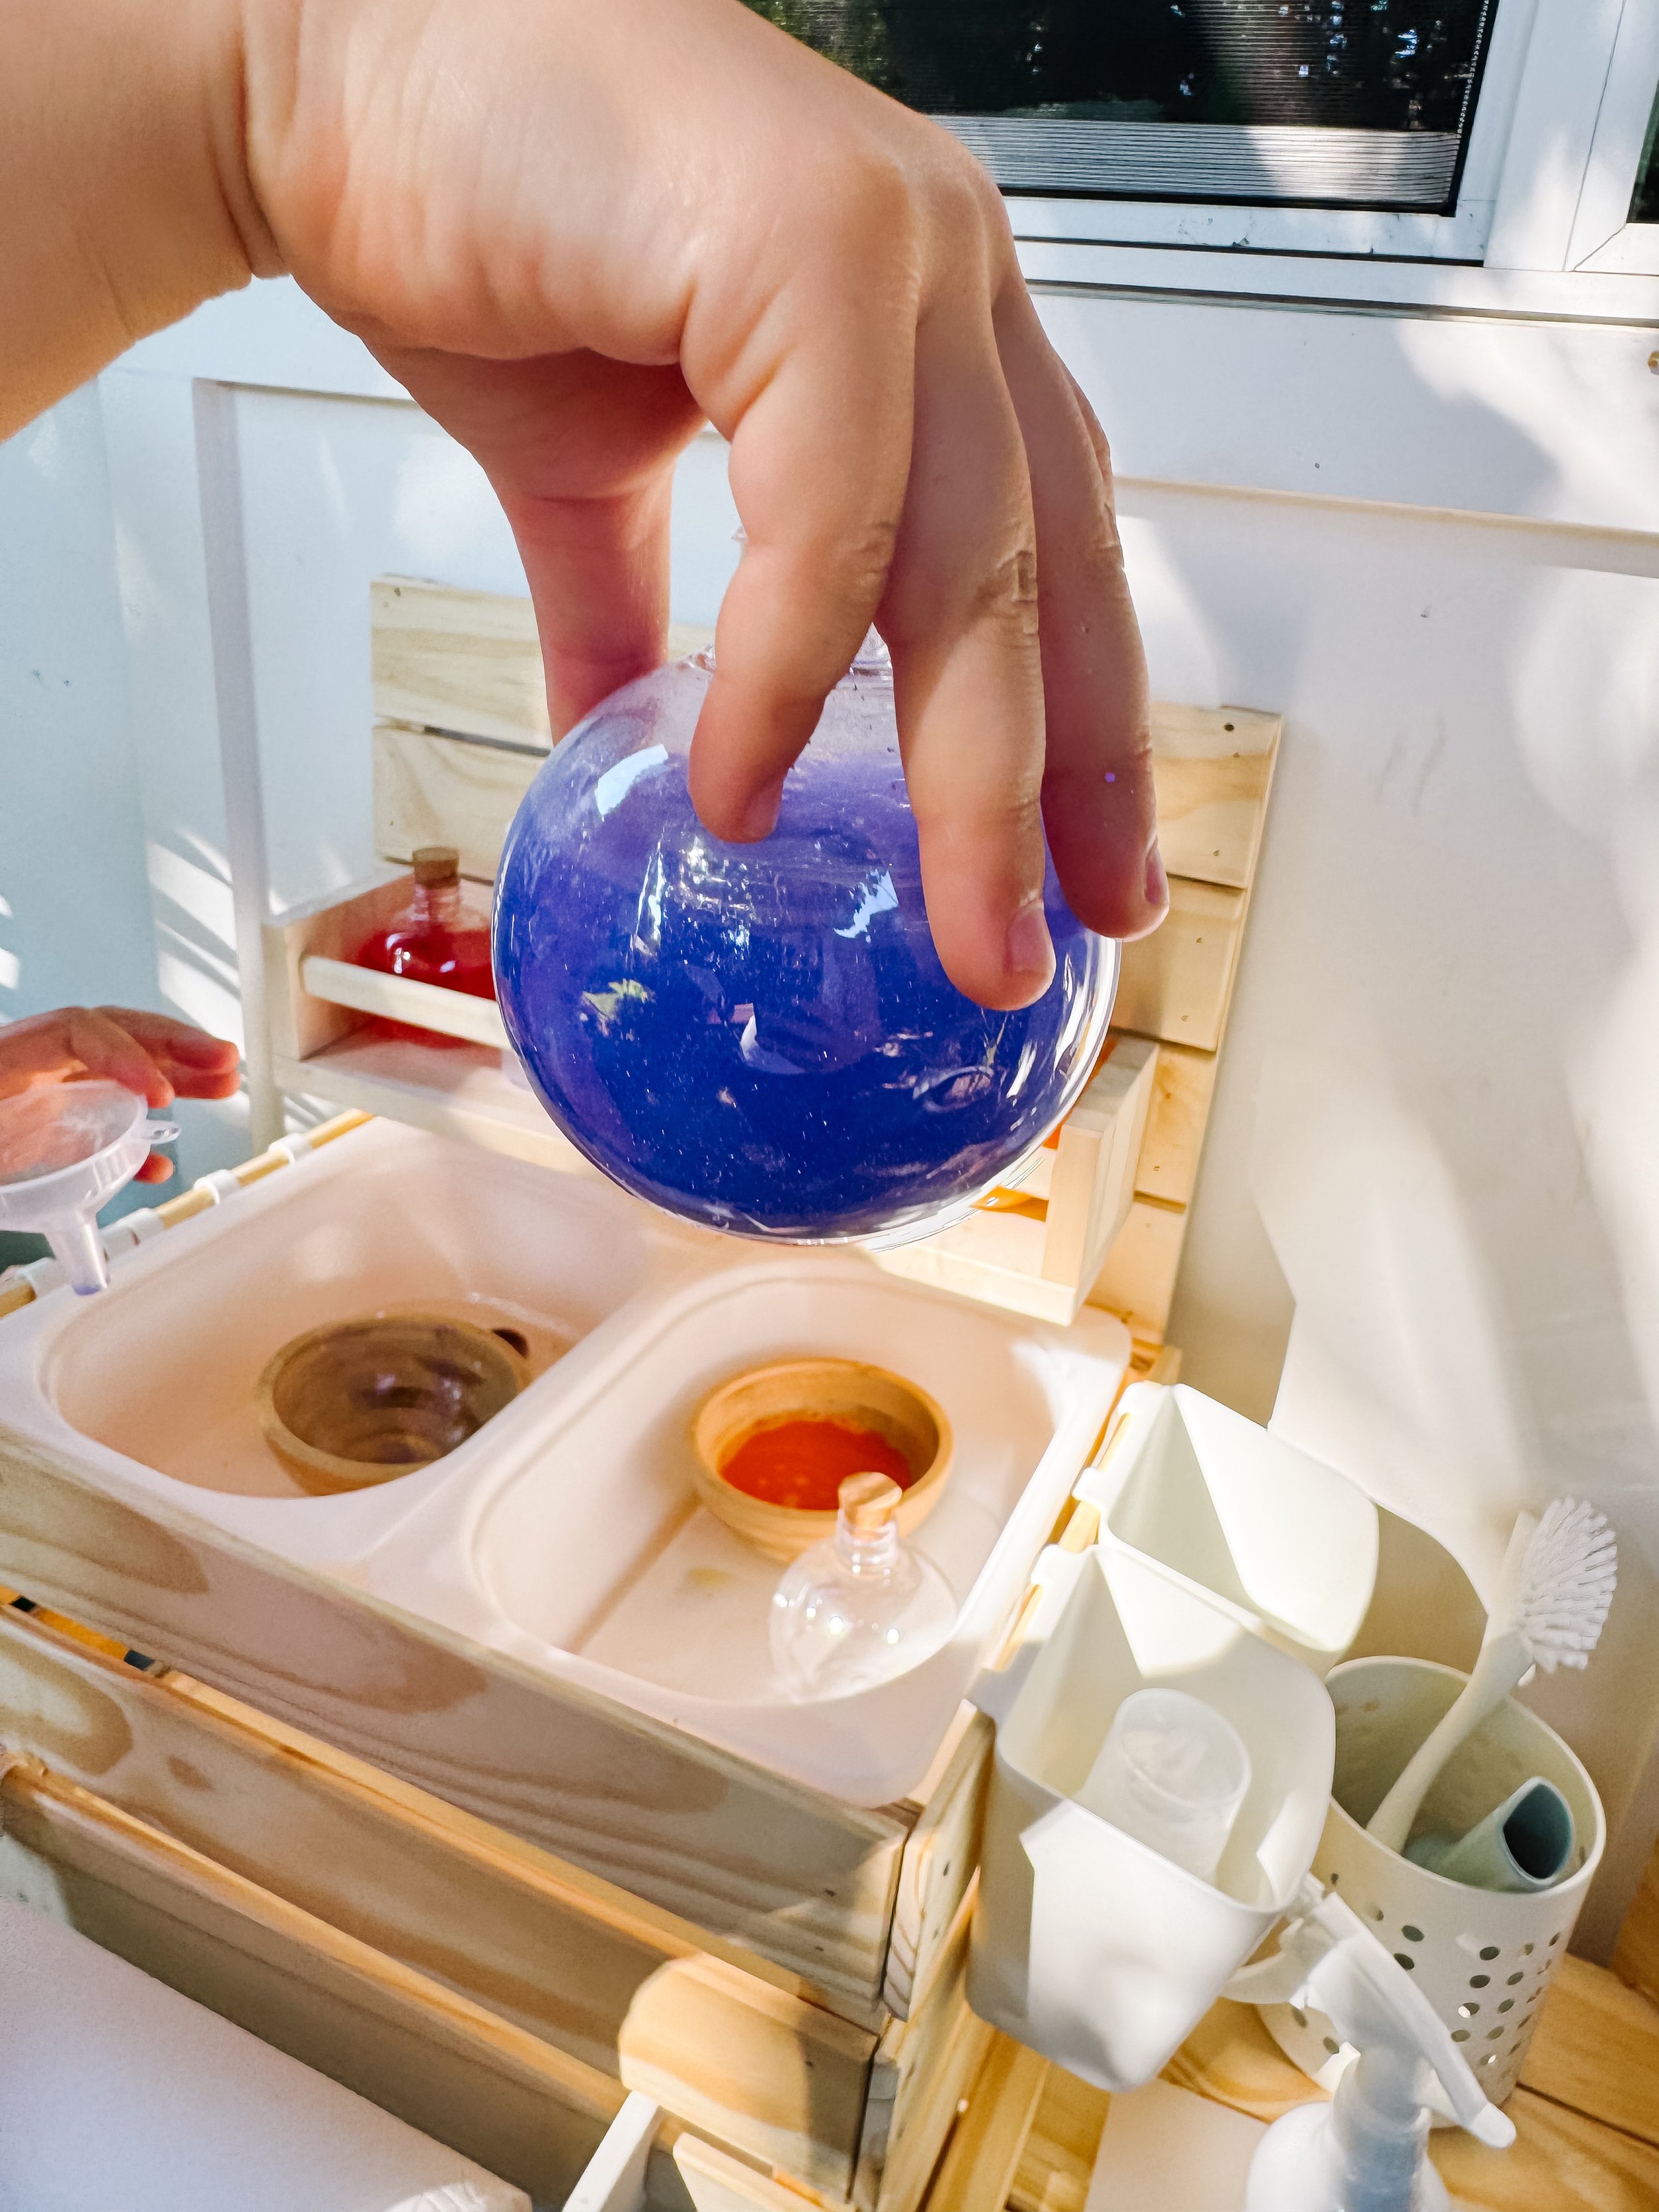
Invite kids to gather safe nature materials like leaves, grass, flower petals, sticks, dirt, acorns, and water. You can also set out colored water for extra magical potion play.

GoodnightFox mud kitchen recipe cards including fairy potion, grass salad, leaf soup, flower cake, and mud pie.
Step 3

Choose a recipe card

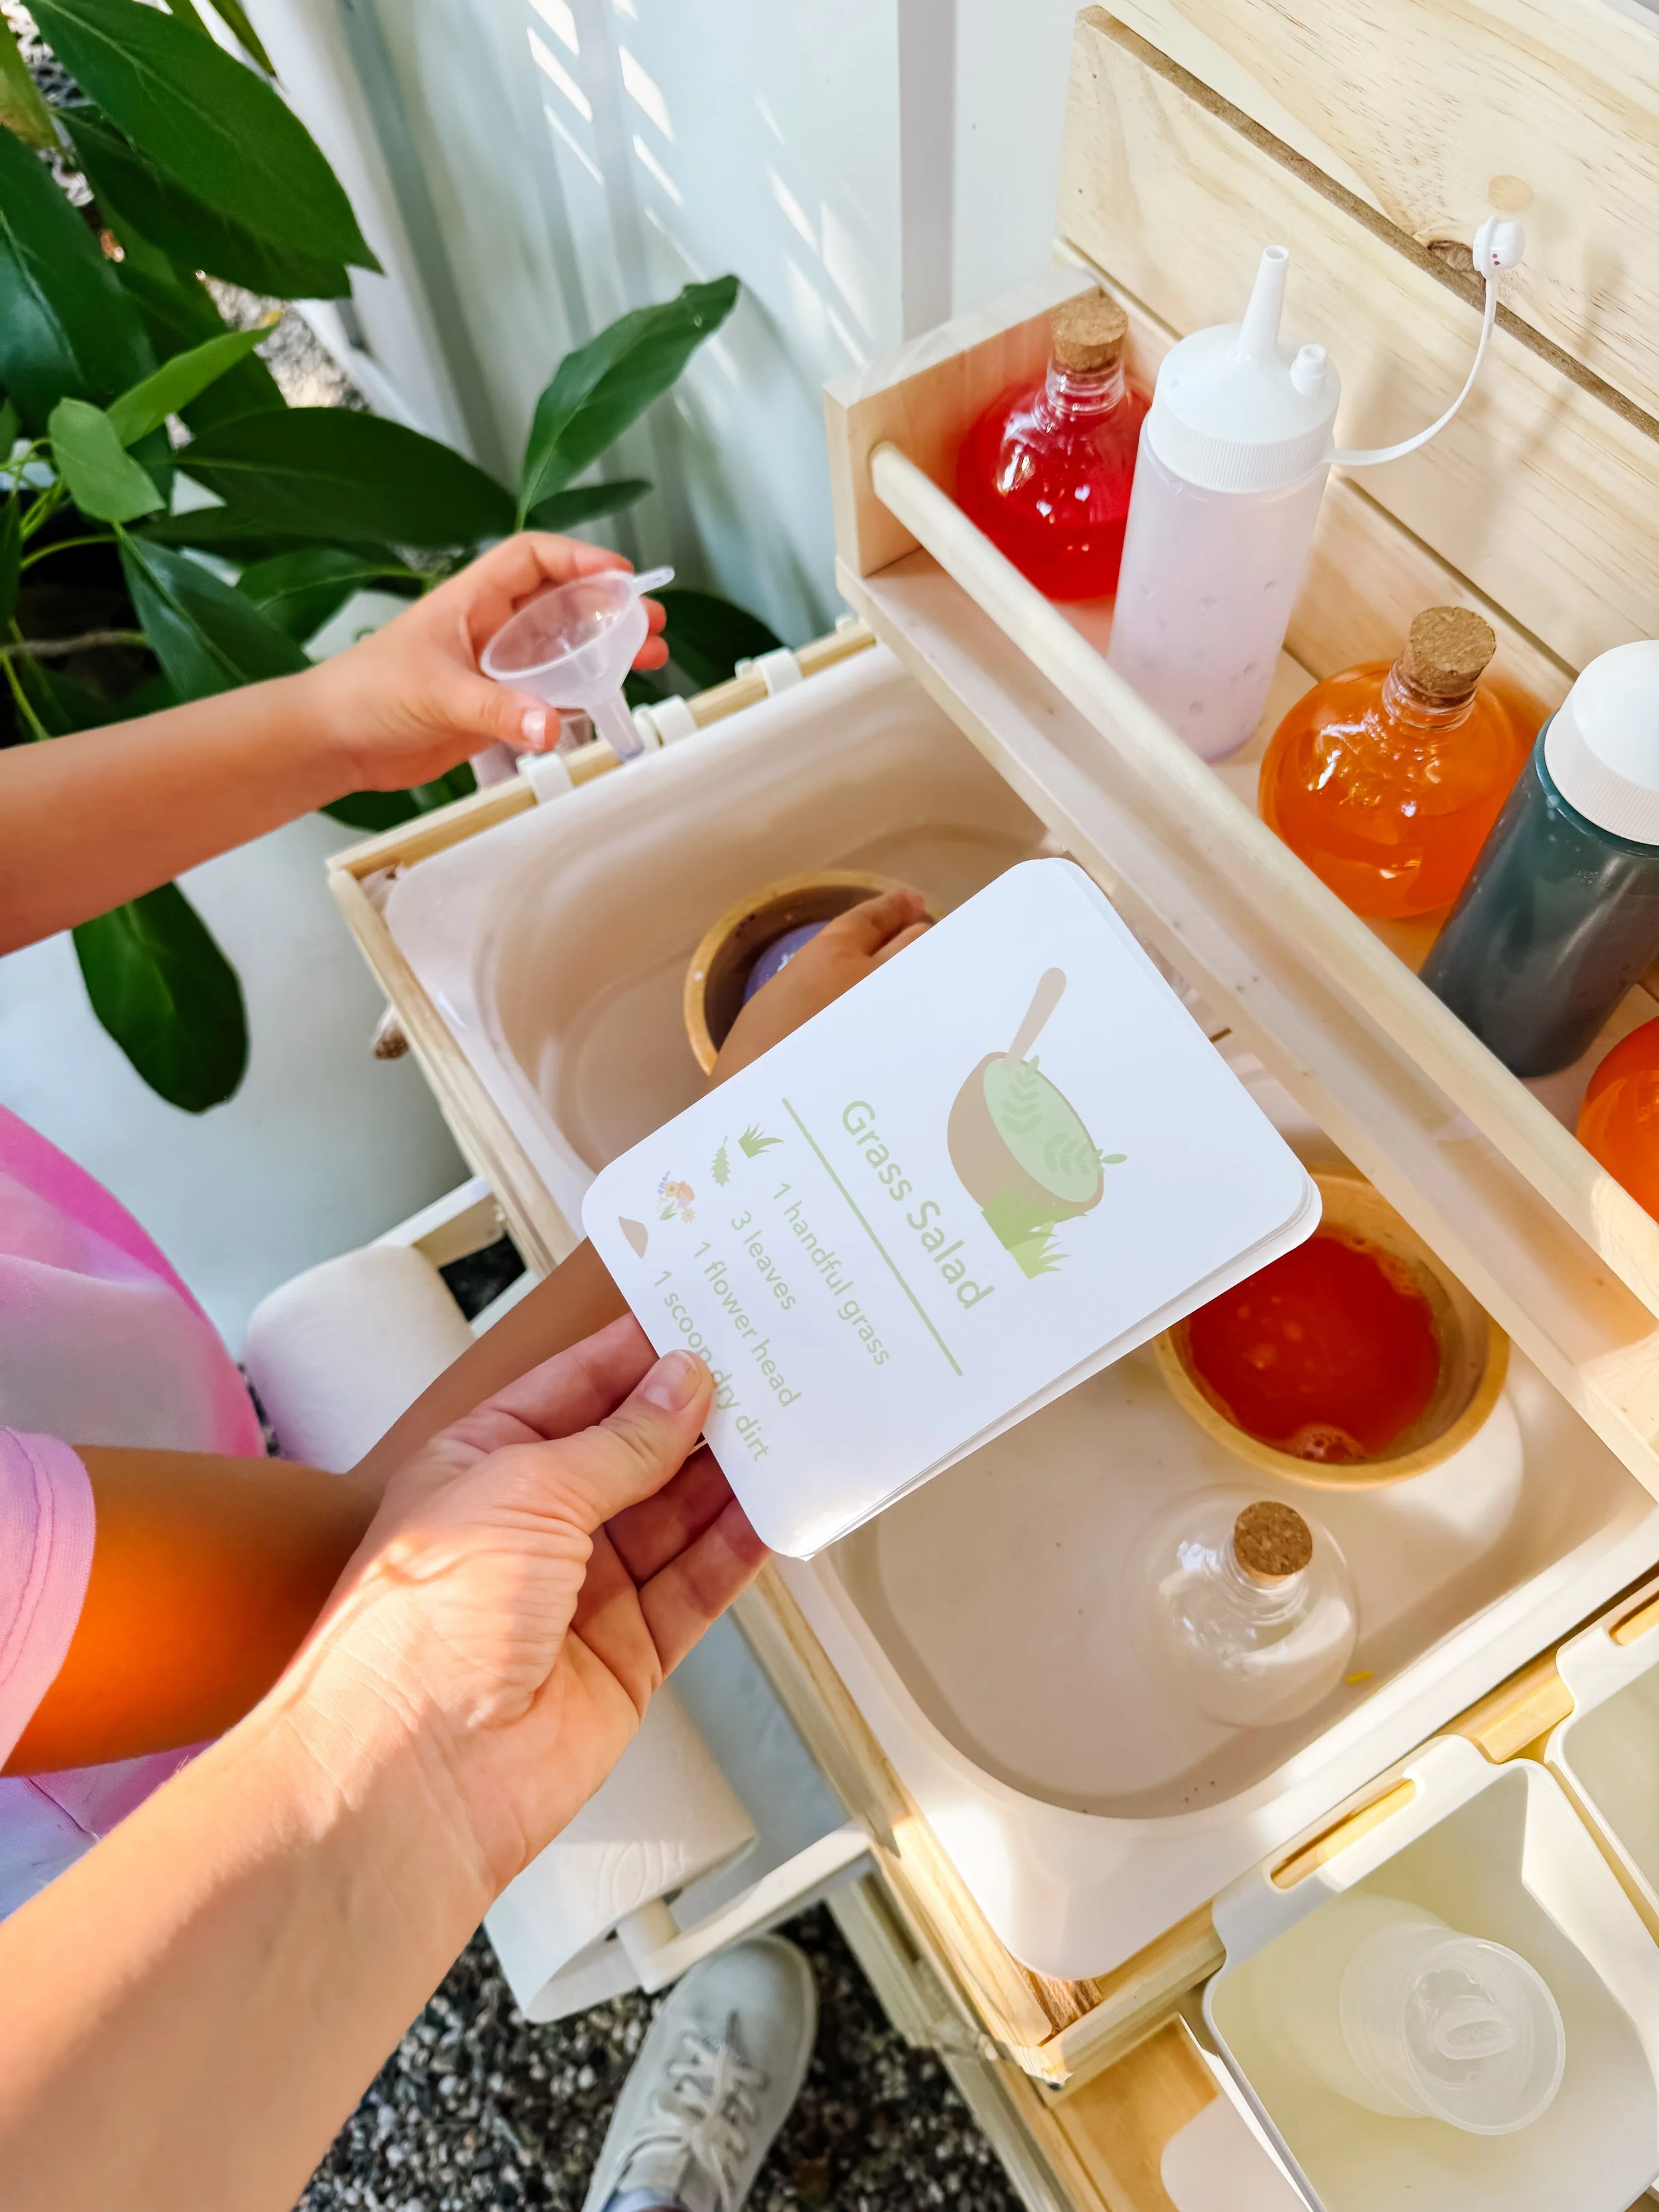
Let your child pick one recipe card to follow. The pictures help children identify ingredients, count quantities, and understand the steps even before they can read independently.

Child using a grass salad recipe card in a mud kitchen with colored water and bowls.
Step 4

Mix and pretend

Have your child count, scoop, pour, stir, and serve their recipe. Encourage them to name their creation and explain what they made.

Parent tip

Laminating the recipe cards makes them much easier to use outdoors. Kids can handle them with muddy hands, and you can simply wipe them clean after play.

Why recipe cards are so powerful for mud kitchen play

Open-ended mud kitchen play is wonderful, but sometimes children need a little prompt to stay engaged longer.

Recipe cards act like playful activity extenders. They give children a clear goal while still leaving room for imagination.

When kids follow a recipe card, they practice sequencing, matching, counting, scooping, comparing quantities, vocabulary, and independent task completion.

They are also perfect for children who love pretend play because each recipe invites storytelling: fairy café, garden bakery, forest restaurant, potion lab, or muddy outdoor restaurant.

Learning skills

Following directions Counting scoops Sequencing Fine motor skills Pretend play Outdoor sensory play Nature vocabulary Independent play Creative storytelling

Questions to ask kids

  • Which recipe should we make first?
  • How many scoops does the card say to add?
  • What ingredient comes next?
  • What does your potion smell like?
  • Who are you making this recipe for?
  • Can you create your own mud kitchen recipe?

Ways to extend the play

Fairy café

Use the fairy potion and flower cake cards to create a tiny magical restaurant.

Nature scavenger hunt

Have kids search the yard for each ingredient before they begin cooking.

Make your own recipe

Invite your child to invent a new recipe and draw the ingredients on a blank card.

Try these next

Pineapple coconut smoothie play

Use recipe cards to create tropical pretend smoothie shop play.

Smoothie play

Ice cream mud kitchen

Turn scoopable sensory dough into a pretend ice cream shop.

Ice cream play

Ice cream play dough

Make soft, fluffy, scoopable dough for sensory play and pretend shops.

Ice cream dough

Mud kitchen recipe play FAQ

What are mud kitchen recipe cards?

Mud kitchen recipe cards are visual prompt cards that show kids pretend recipes to make outside using mud, water, leaves, flowers, grass, and other nature materials.

Why use recipe cards in a mud kitchen?

Recipe cards help kids practice following directions, counting, sequencing, matching ingredients, and independent play while still enjoying open-ended sensory exploration.

What recipes can kids make in a mud kitchen?

Kids can make pretend recipes like fairy potion, flower cake, grass salad, leaf soup, mud pie, smoothie recipes, ice cream recipes, and their own invented nature recipes.

What age are mud kitchen recipe cards best for?

They are great for ages three and up. Younger children can use the pictures to match ingredients, while older preschoolers can follow the recipe more independently.

How do I make mud kitchen play last longer?

Add tools, goals, or prompts like recipe cards, scoops, tongs, containers, menus, order forms, and nature scavenger hunts to extend the play.

Pineapple Coconut Smoothie Recipe Mud Kitchen Play

Pineapple Coconut Smoothie Mud Kitchen Play

A tropical pretend smoothie recipe activity for mud kitchens, play kitchens, and sensory tables that helps kids practice following directions, counting scoops, and imaginative play.

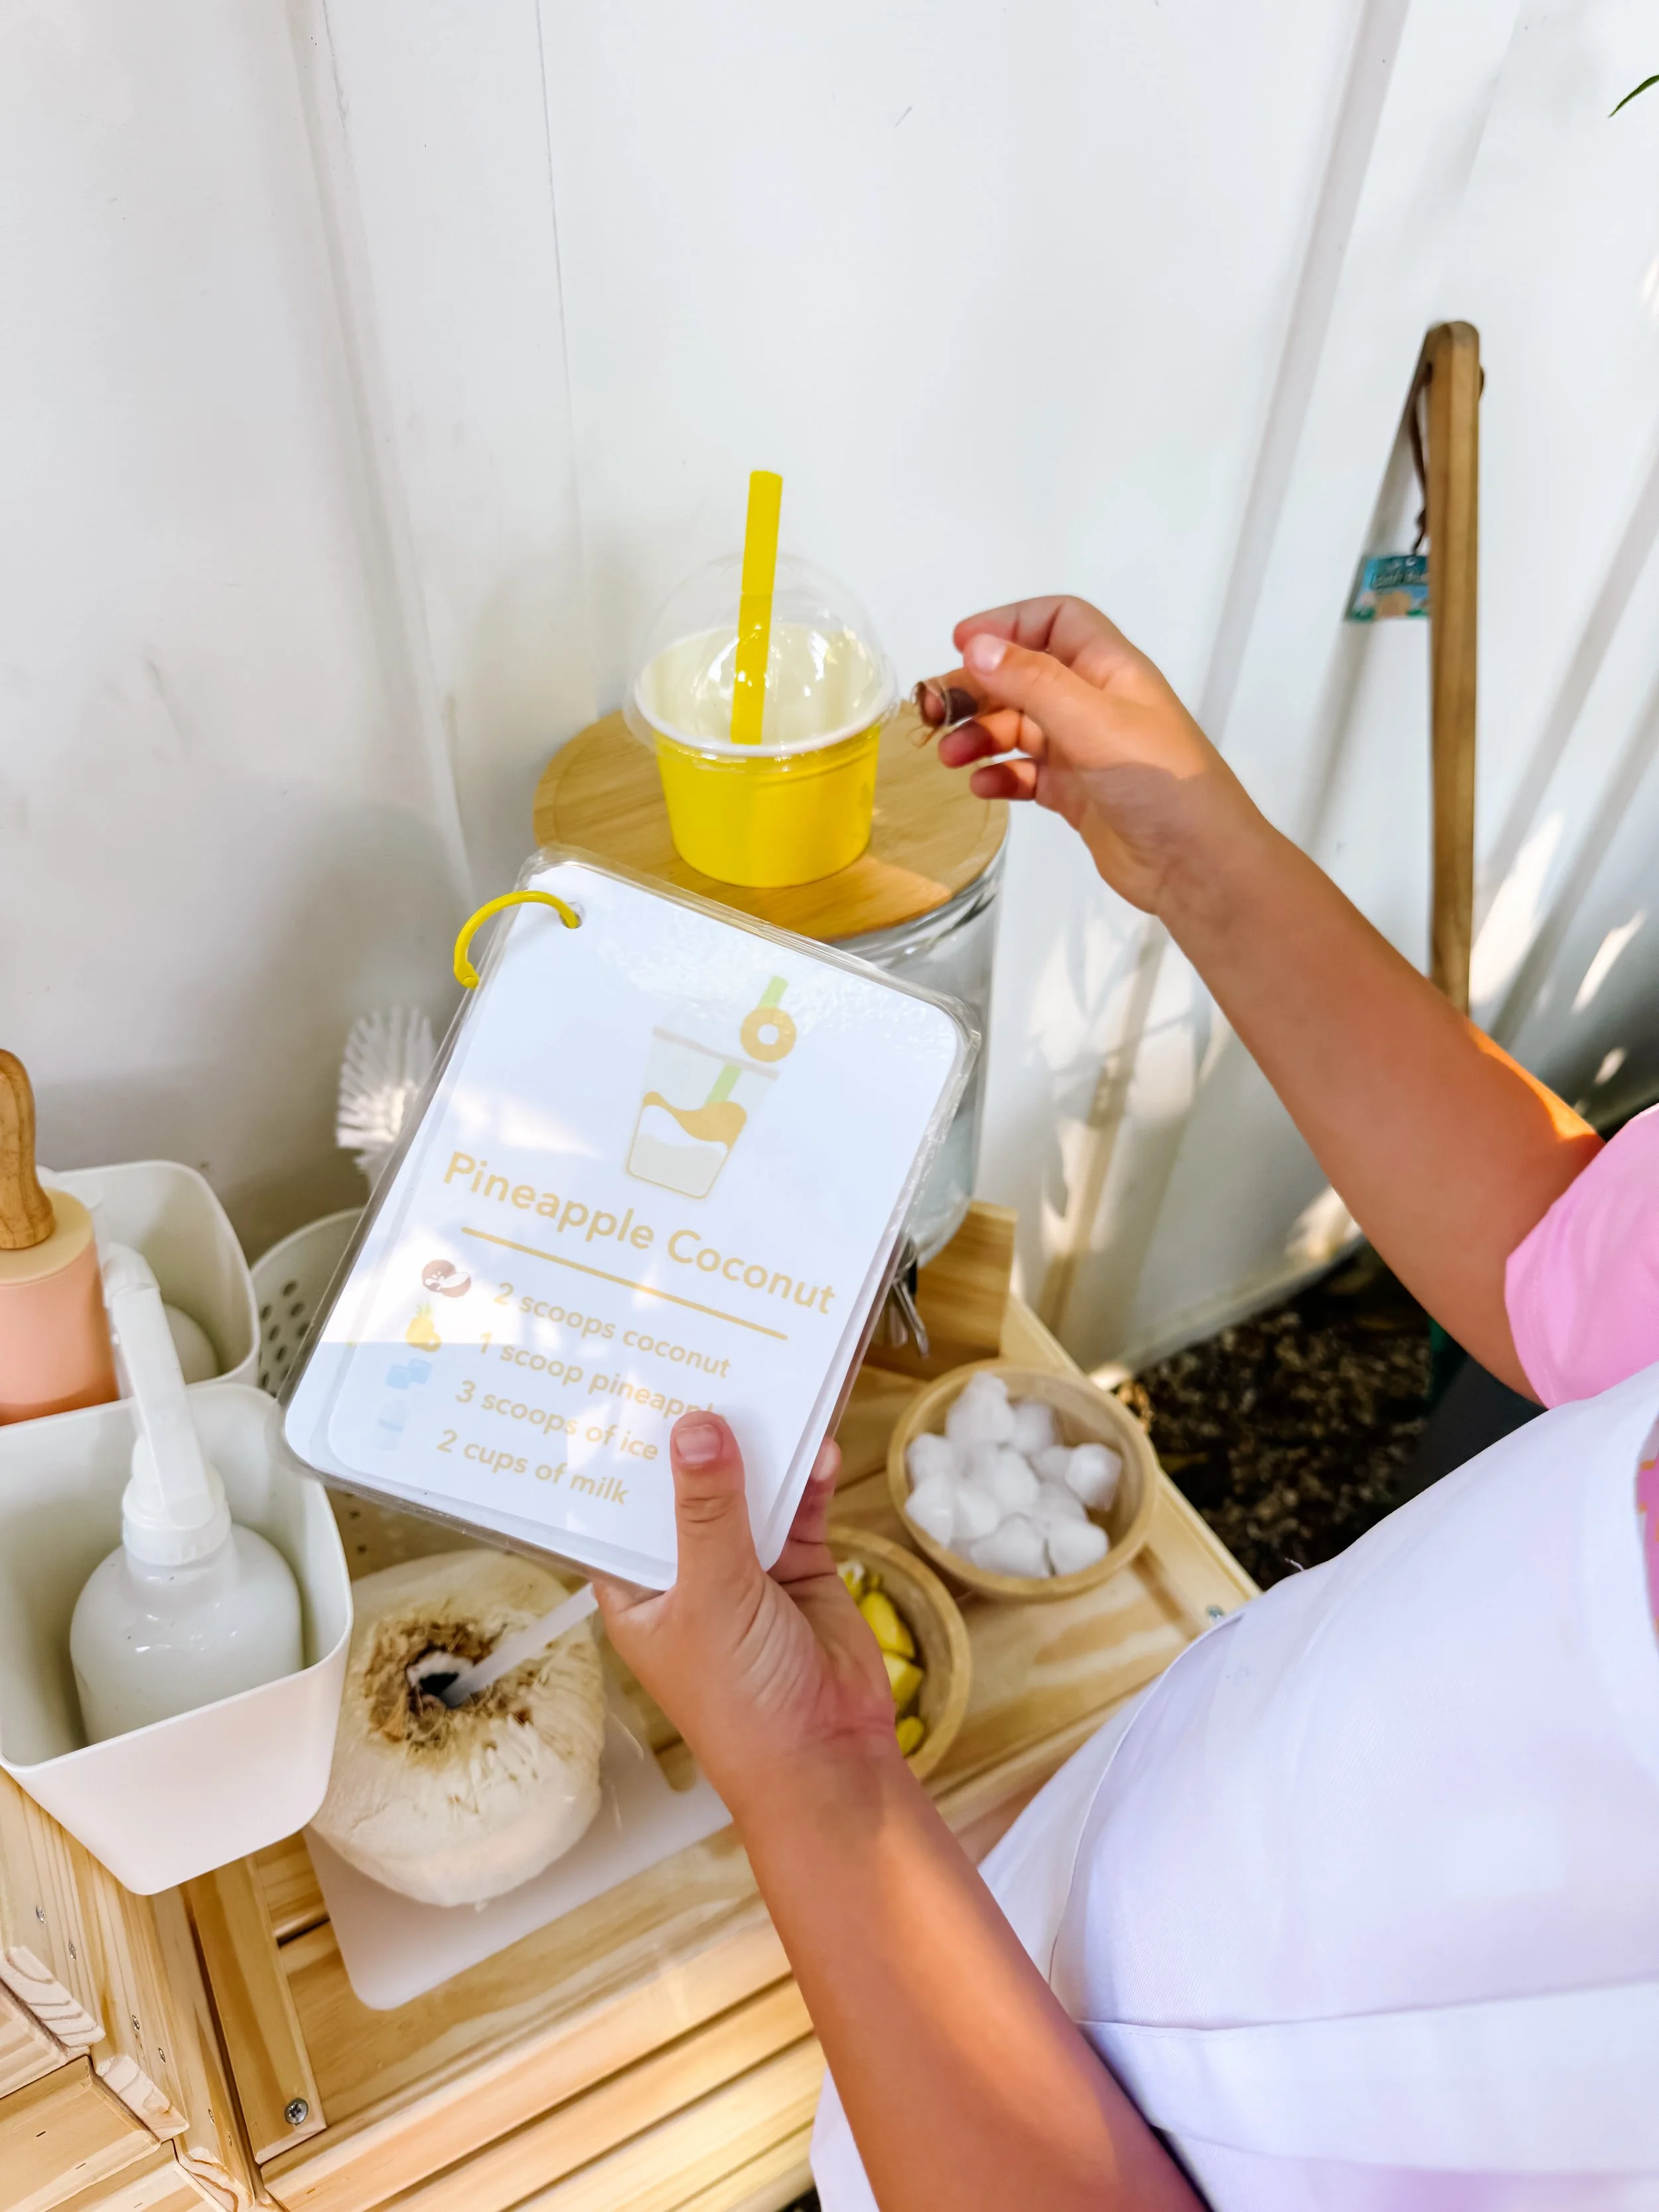
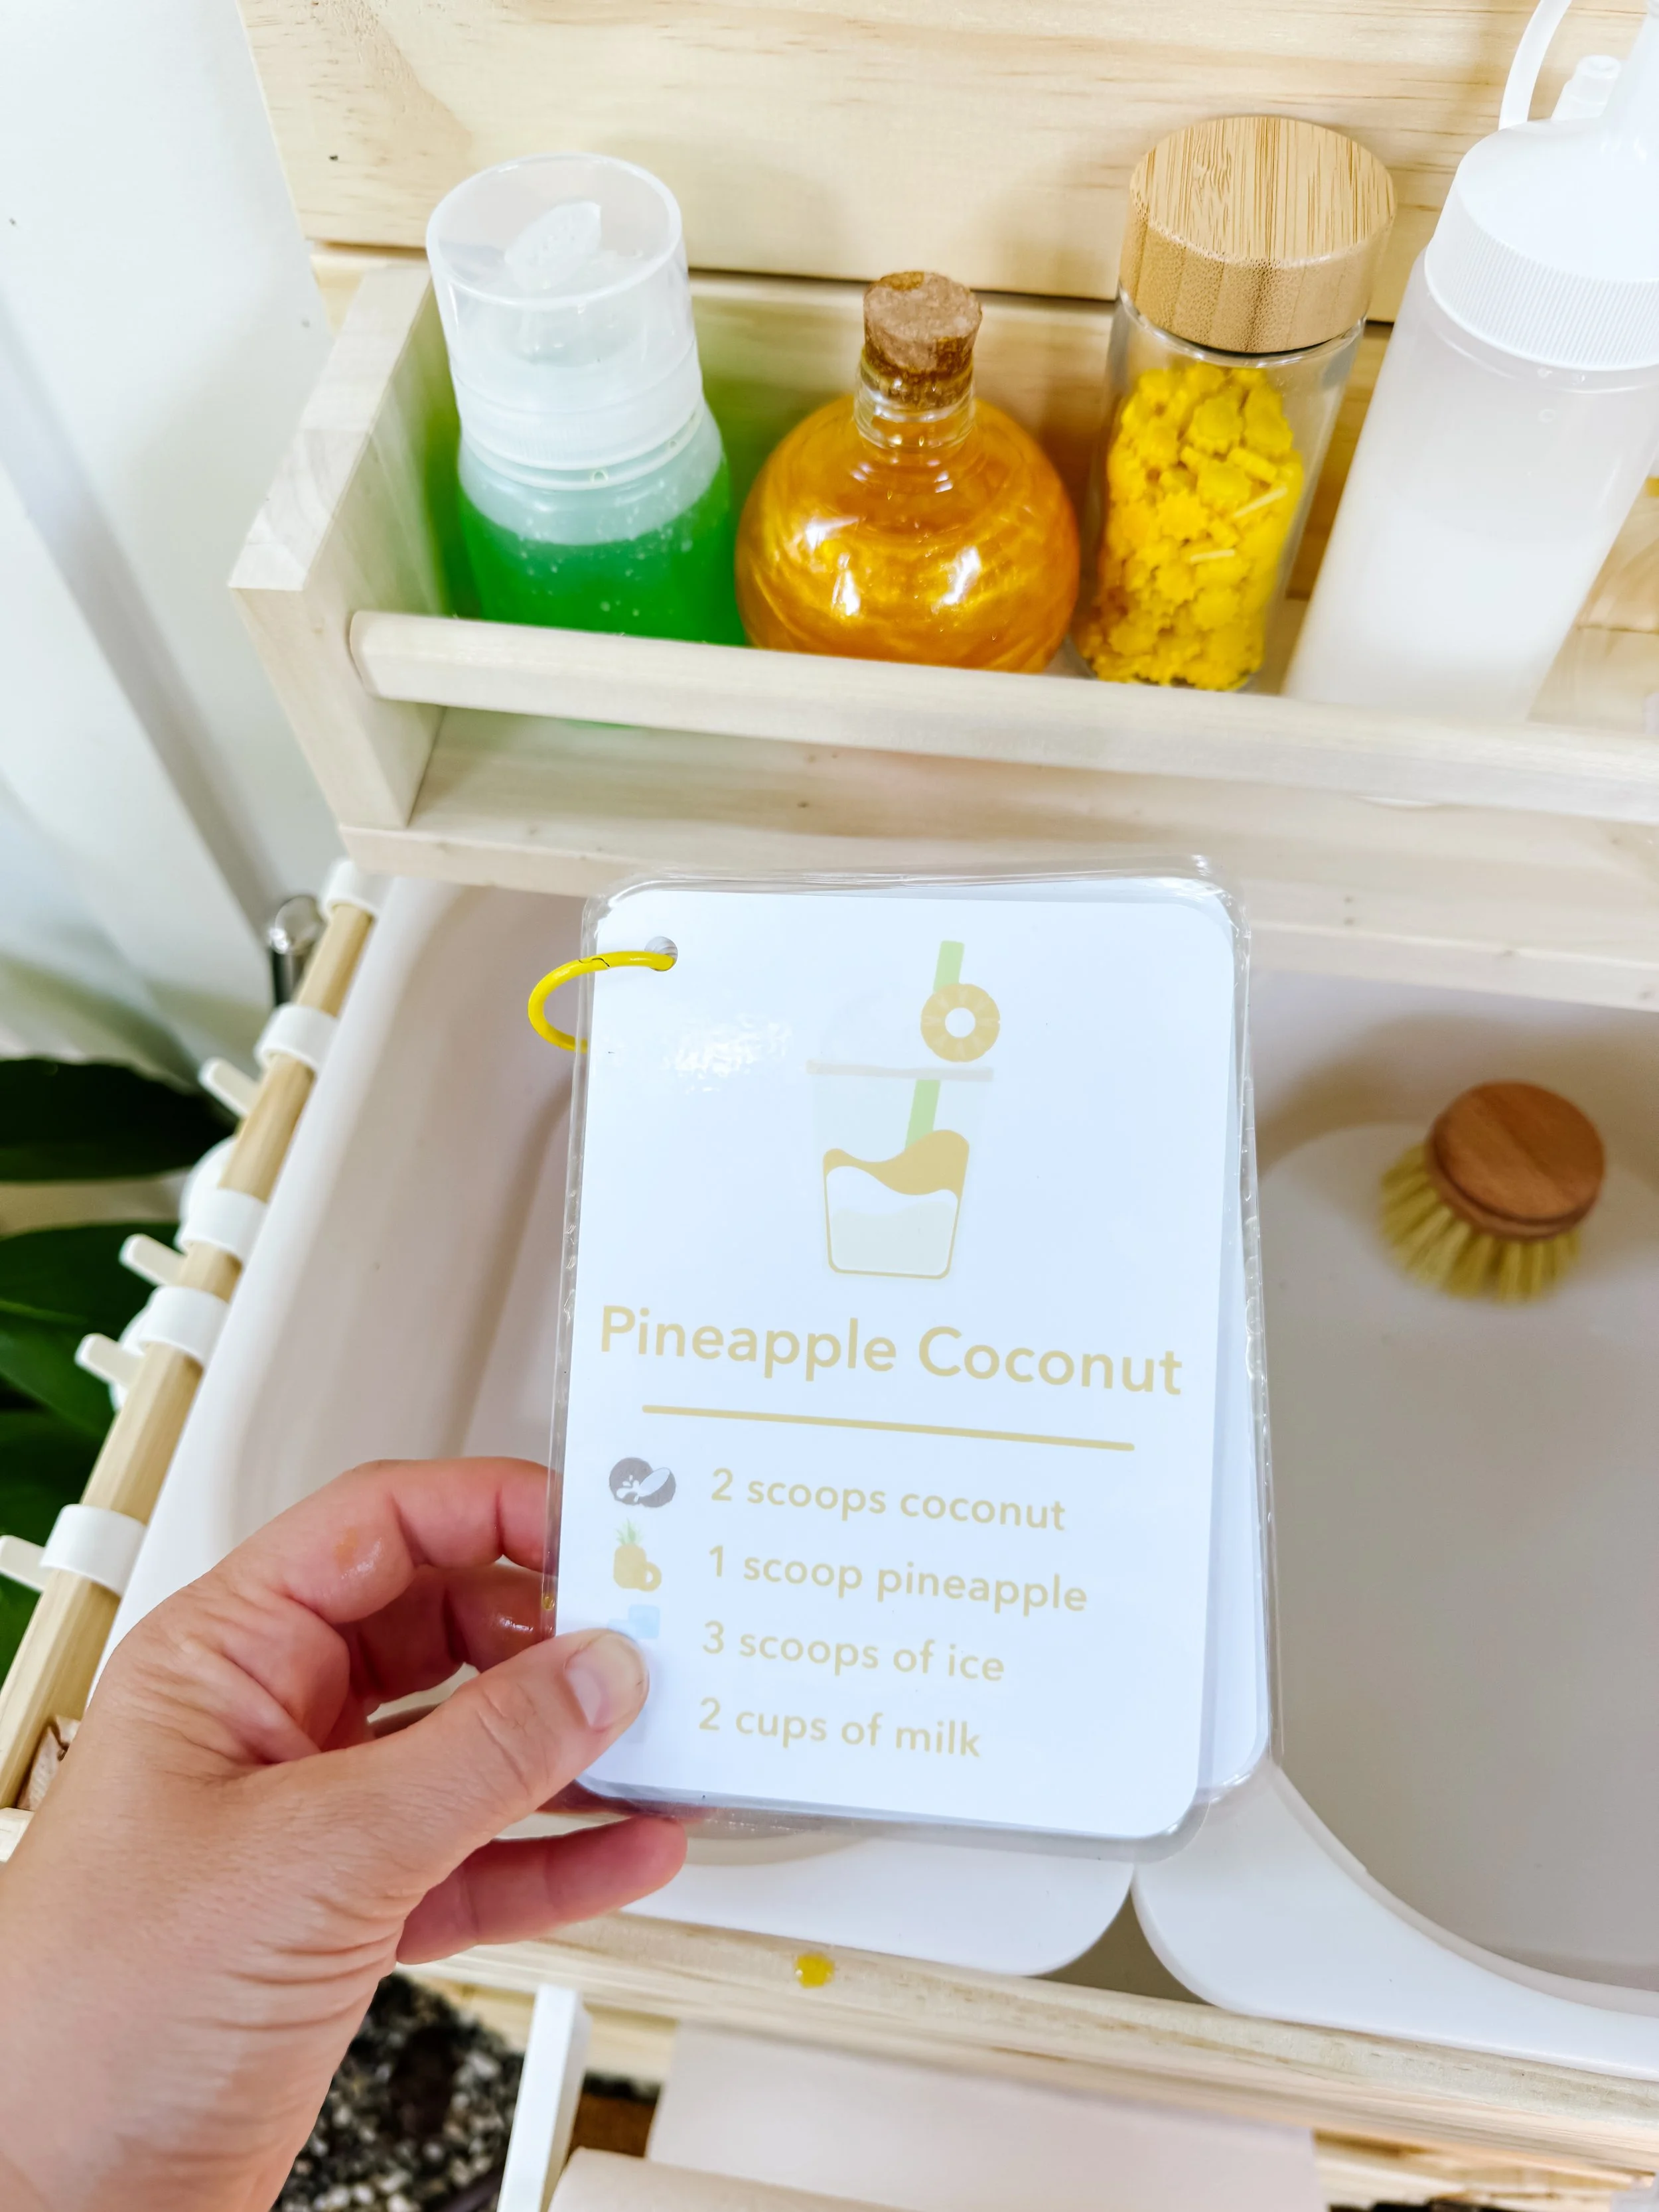
Child holding pineapple coconut smoothie recipe card during mud kitchen pretend play.
Age3+
Prep10 minutes
Play Time30+ minutes
Mess★★☆☆☆
SkillsCounting + directions

Why we love this activity

This pineapple coconut smoothie recipe activity turns a simple mud kitchen setup into a pretend smoothie shop.

Kids get to scoop, pour, stir, count, follow a recipe card, and serve their creation just like they are running a little tropical smoothie stand.

What I love most is that the recipe card gives the play just enough structure without taking away the imagination. Children still get to invent, mix, and pretend—but they also practice reading visual instructions, counting scoops, sequencing steps, and matching ingredients.

It is perfect for mud kitchens, play kitchens, sensory tables, outdoor play, summer themes, and tropical pretend play.

What you need

  • Smoothie recipe cards
  • Fresh or pretend pineapple pieces
  • Coconut pieces or coconut sensory filler
  • Ice cubes or pretend ice
  • Water or pretend milk
  • Small bowls
  • Spoons or scoops
  • Cups with lids and straws
  • Mud kitchen, play kitchen, or sensory table

Featured product

Use printable recipe cards to turn open-ended sensory play into a playful learning activity.

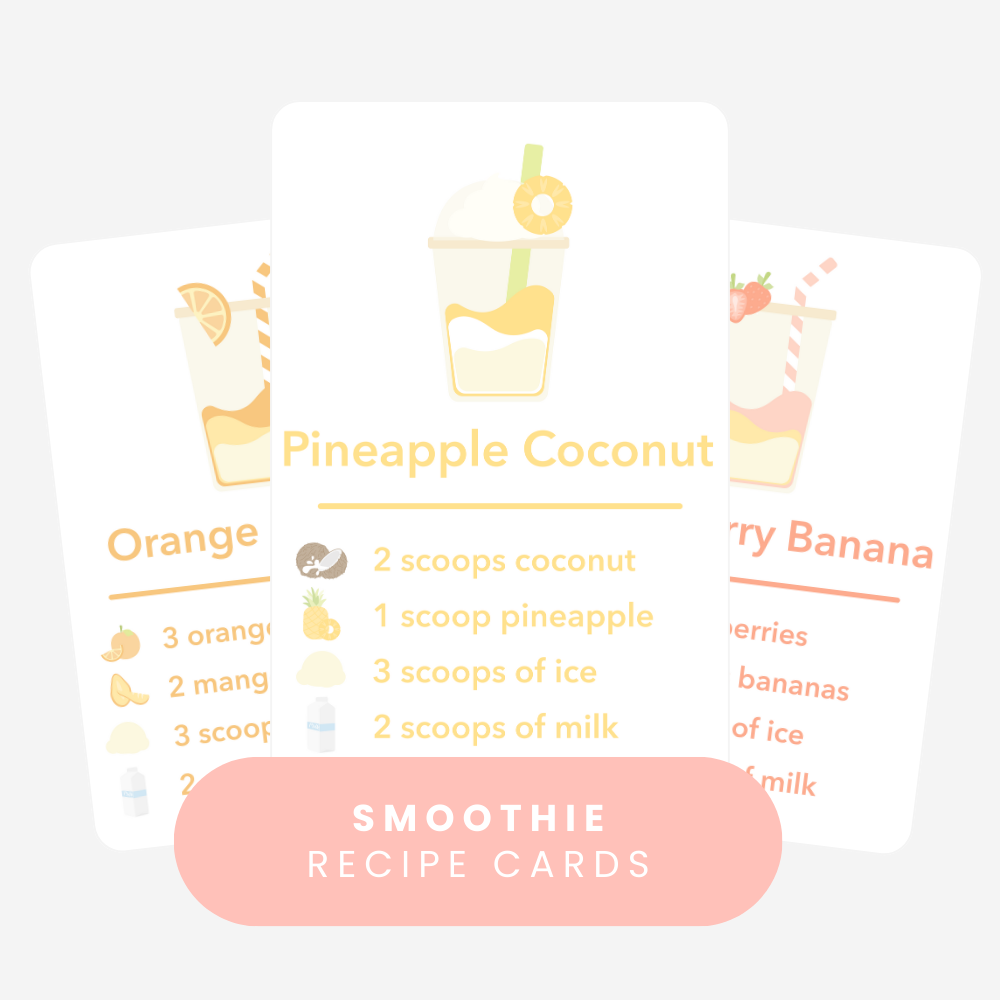
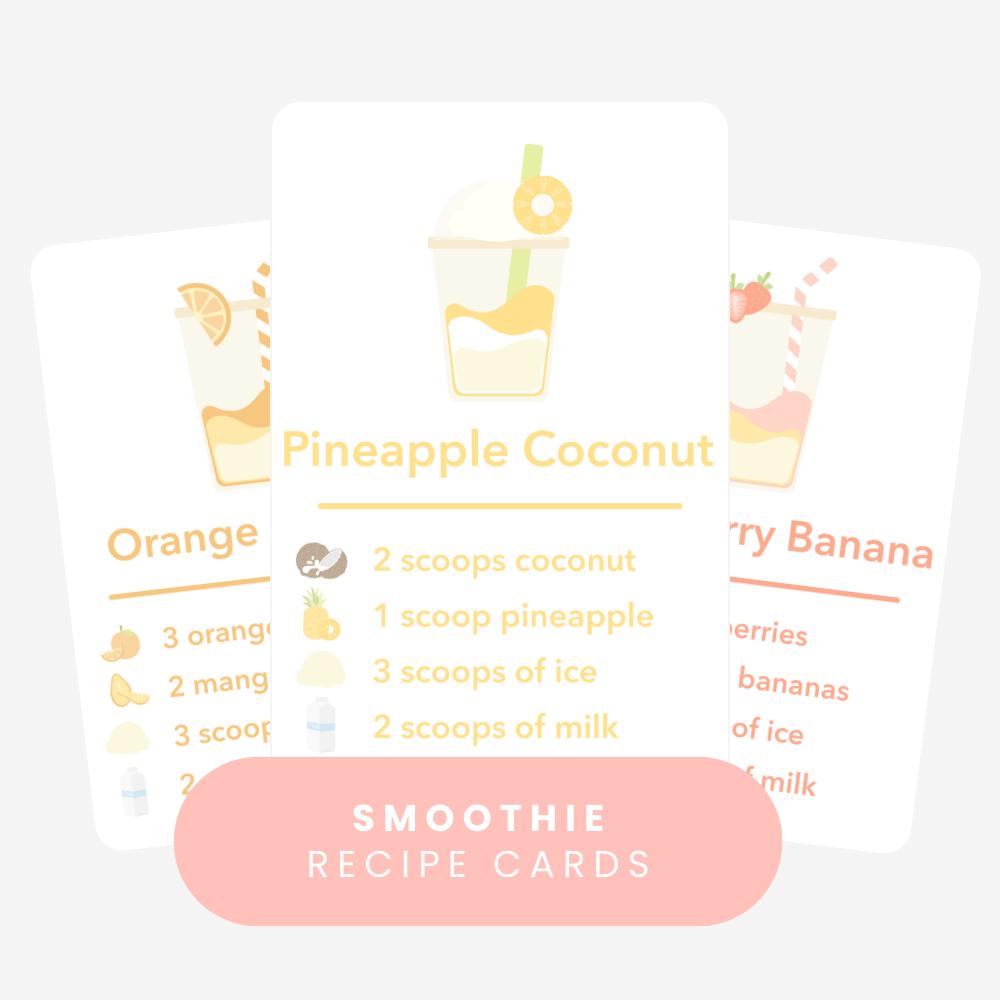
GoodnightFox smoothie recipe cards printable for mud kitchen and sensory play.

Smoothie recipe cards

Printable smoothie recipe cards for mud kitchens, play kitchens, sensory tables, and pretend smoothie shop play.

Shop smoothie cards
Free ice cream mud kitchen recipe cards for pretend play.

Free ice cream recipe cards

Try the free ice cream recipe cards to extend this same recipe-card learning format into pretend ice cream shop play.

Free ice cream cards

How to set up pineapple coconut smoothie play

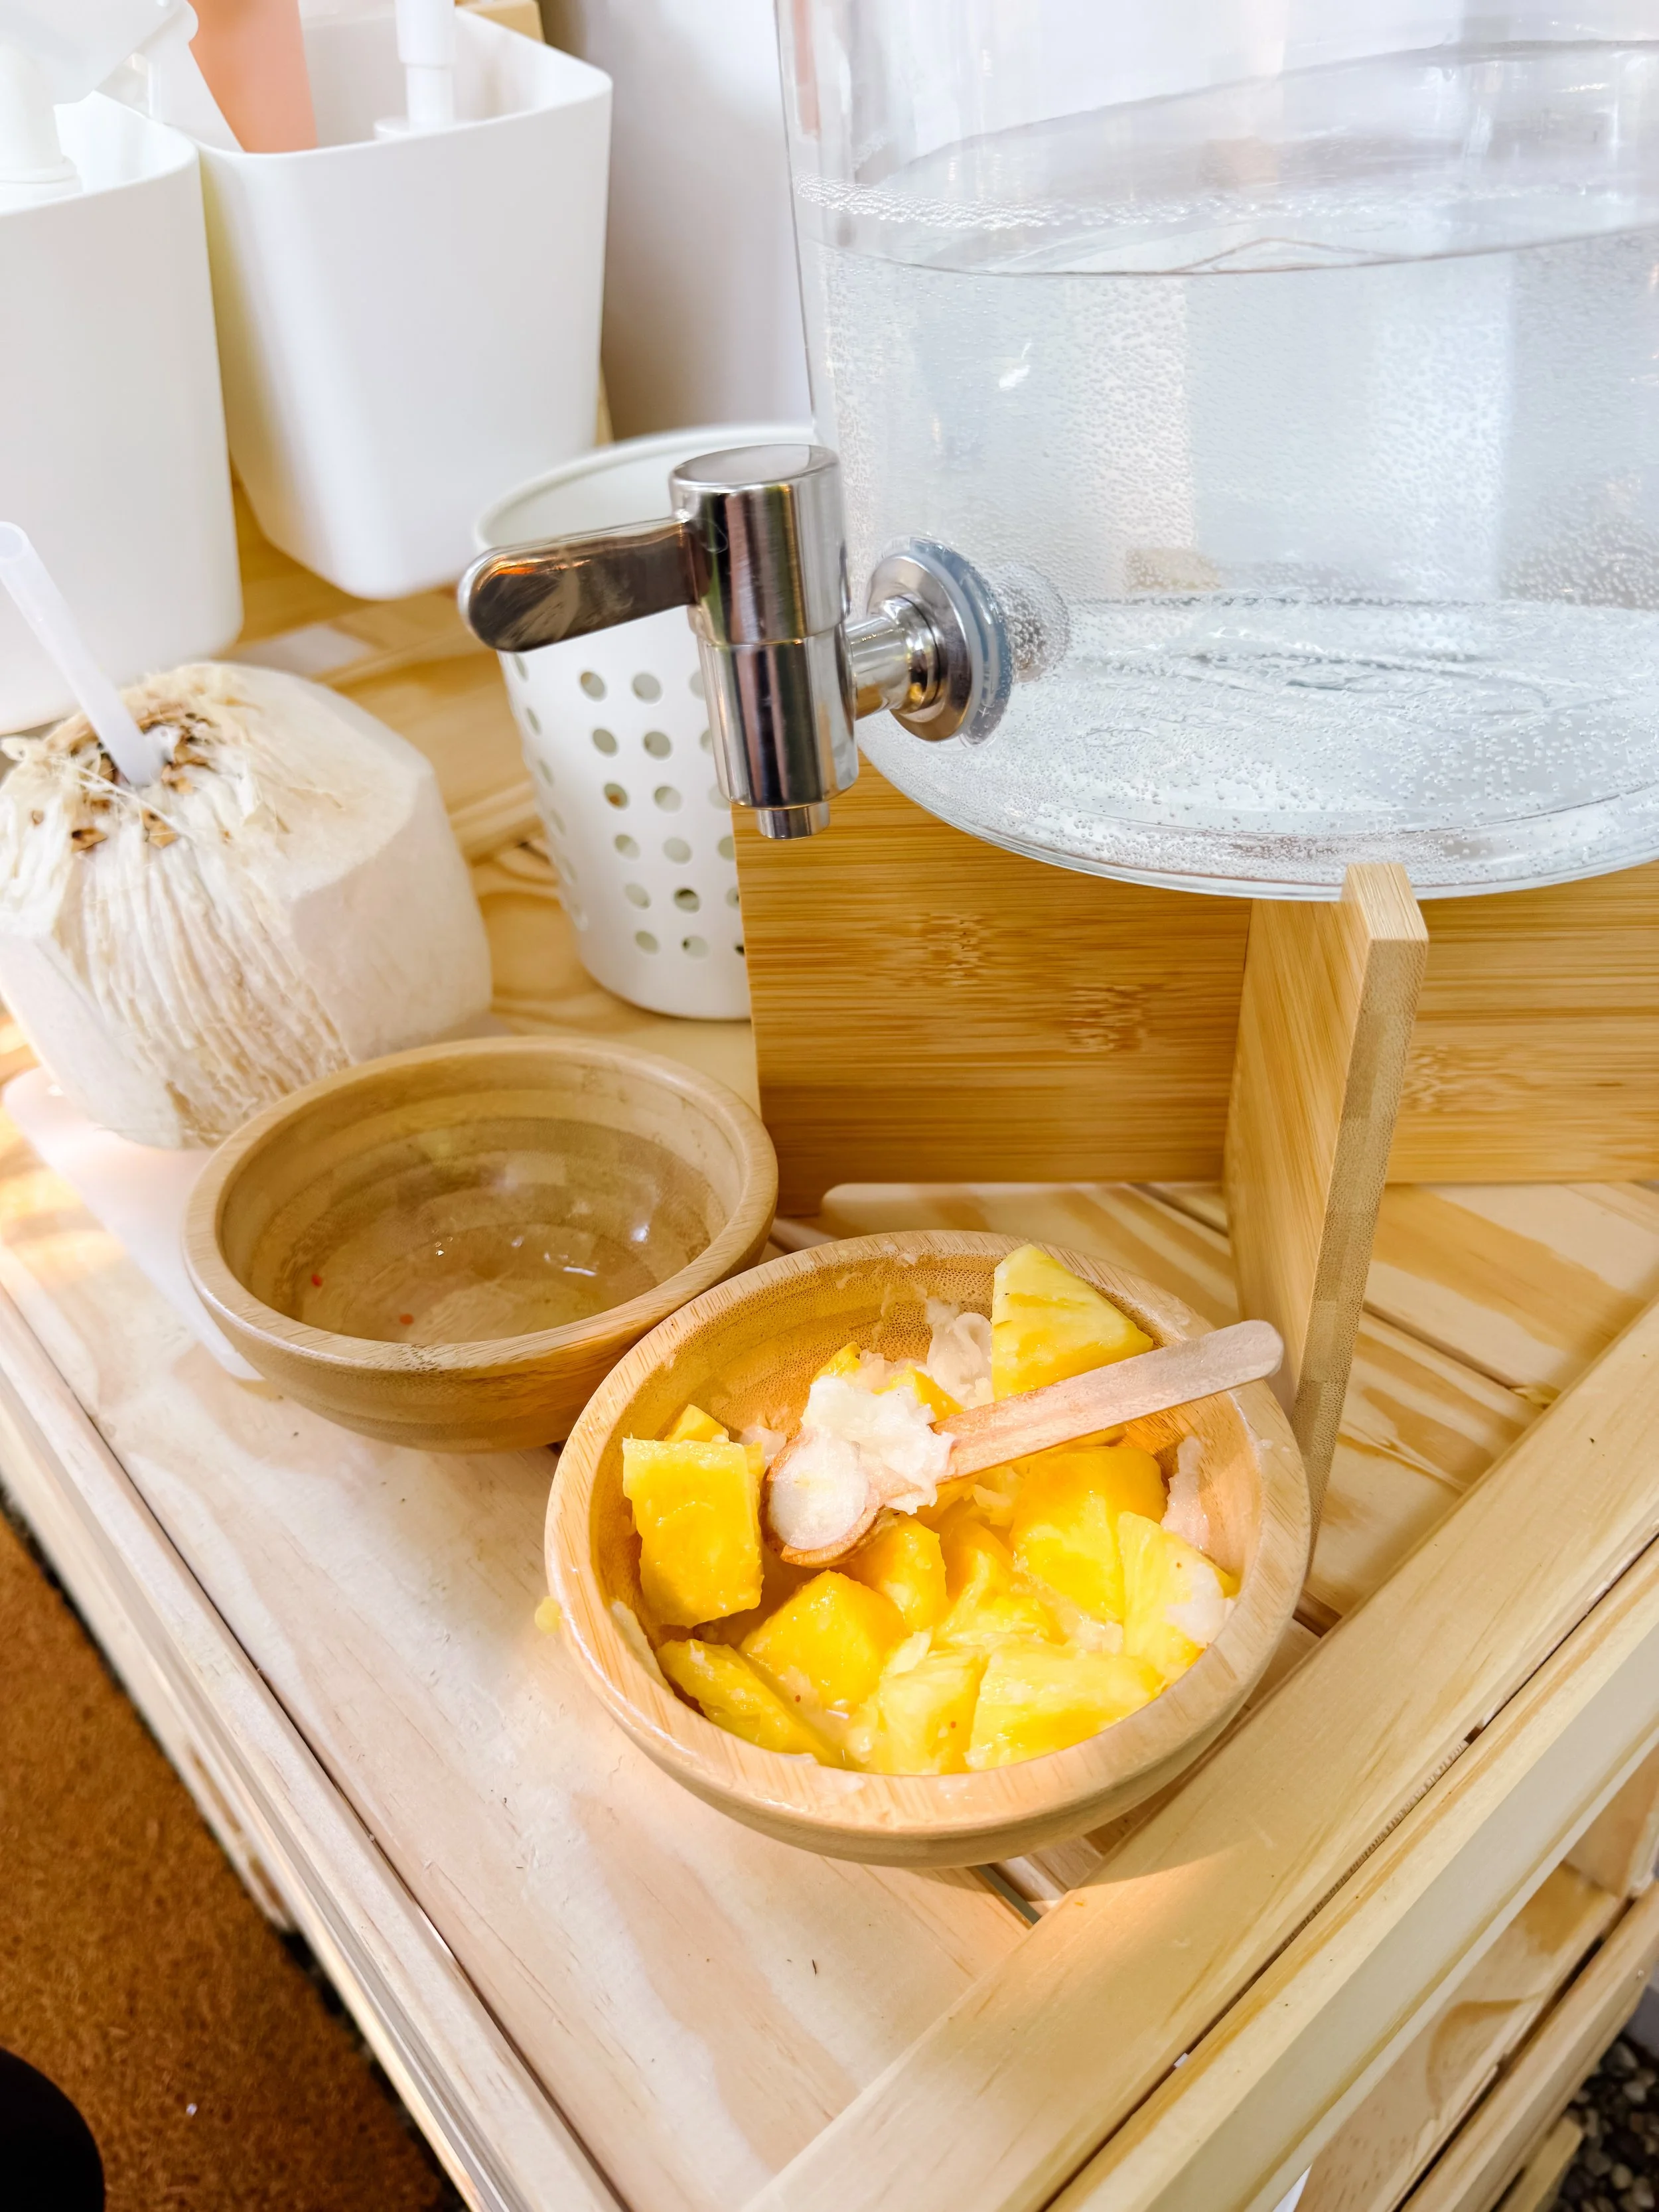
Pineapple and coconut ingredients in small bowls for smoothie mud kitchen play.
Step 1

Set out the ingredients

Place pineapple, coconut, ice, and pretend milk or water in small bowls or containers. Keep everything within reach so kids can independently scoop and pour.

Pineapple coconut smoothie recipe card with ingredients for mud kitchen sensory play.
Step 2

Read the recipe card

Invite your child to look at the picture recipe card and identify each ingredient. The visual recipe helps kids practice following directions even before they can read independently.
Child scooping pineapple and coconut into a wooden bowl for pretend smoothie play.
Step 3

Count and scoop

Use the recipe card to count scoops of coconut, pineapple, ice, and milk. This turns pretend play into meaningful early math practice.

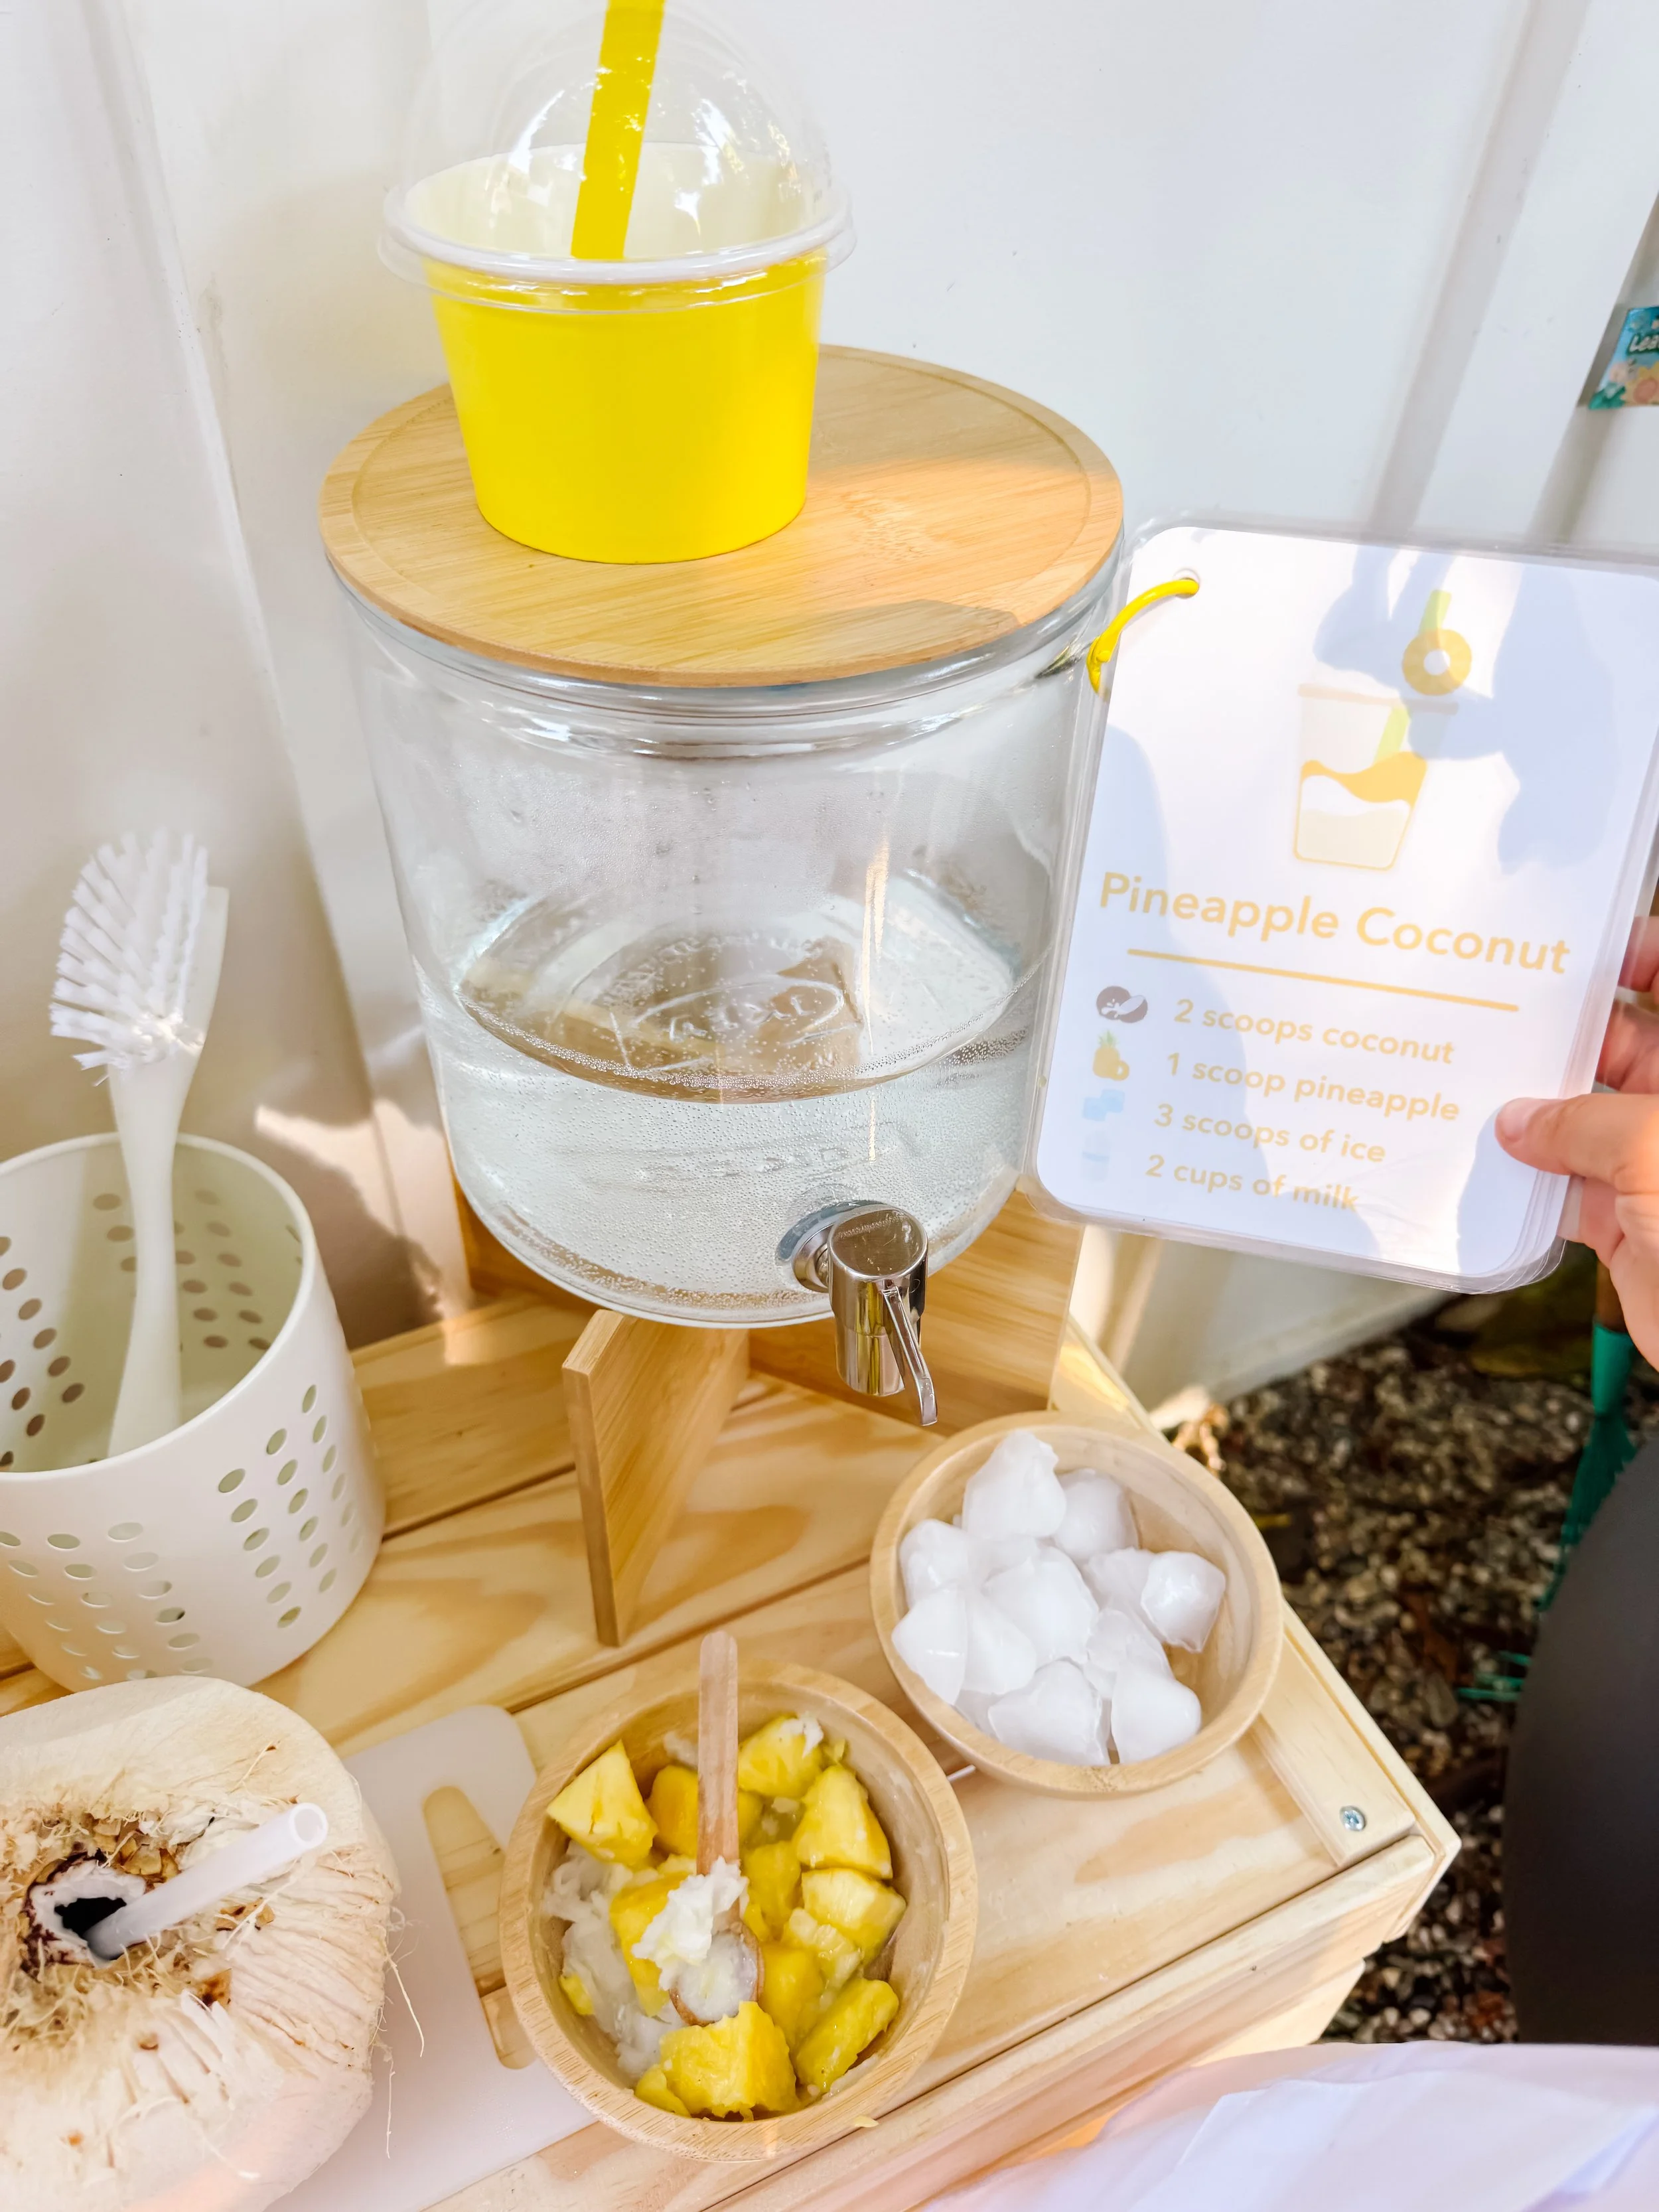
Pretend pineapple coconut smoothie served in a yellow cup with recipe card.
Step 4

Serve the smoothie

Once the smoothie is mixed, invite your child to pour or pretend-serve it in a cup with a straw. Add a recipe card nearby to complete the pretend smoothie shop setup.

Parent tip

Recipe cards are one of my favorite ways to extend sensory play because they add a clear goal. Kids still get open-ended play, but they also practice sequencing, counting, matching, and following instructions.

Why recipe cards are great for learning

Recipe cards help children turn pretend play into a structured learning experience. They give kids a visual sequence to follow, which supports early literacy, executive functioning, and independence.

When children follow a recipe card, they practice looking carefully, matching ingredients, counting scoops, remembering steps, and checking their work.

For mud kitchens and sensory tables, recipe cards also help extend attention span because children have a playful mission: make the smoothie, serve the order, and try another recipe.

Learning skills

Following directions Counting scoops Sequencing Fine motor skills Pretend play Early math Vocabulary Independent play Sensory exploration

Questions to ask kids

  • What ingredient comes first?
  • How many scoops of pineapple do we need?
  • What happens if we add more ice?
  • Can you take my smoothie order?
  • What should we name this smoothie flavor?
  • Which ingredient is your favorite to scoop?

More ways to play

Smoothie shop

Set up cups, straws, menus, and recipe cards so kids can take pretend orders.

Sensory table

Use bowls, scoops, and pretend ingredients in a sensory table for low-prep indoor play.

Play kitchen

Move the recipe cards indoors and use pretend fruit, pom poms, or play dough ingredients.

Try these next

Ice cream mud kitchen

Use free ice cream recipe cards to create a pretend ice cream shop outside.

Ice cream play

Ice cream play dough

Make soft scoopable ice cream dough for pretend play and sensory bins.

Ice cream dough

Smoothie recipe cards

Build a full smoothie recipe activity with printable visual recipe cards.

Shop cards

Pineapple coconut smoothie play FAQ

How do you set up smoothie mud kitchen play?

Set out pretend smoothie ingredients like pineapple, coconut, ice, and pretend milk with bowls, scoops, cups, and recipe cards. Invite kids to follow the recipe and serve pretend smoothies.

Why use recipe cards for mud kitchen play?

Recipe cards help children practice following instructions, counting, sequencing, matching ingredients, and completing a task during pretend play.

Can I use this activity indoors?

Yes. This activity works beautifully in a play kitchen or sensory table. Use pretend ingredients, pom poms, play dough, or taste-safe materials depending on your setup.

What age is this smoothie recipe activity best for?

This activity is best for ages three and up with adult supervision. Younger children can scoop and stir, while older preschoolers can follow the recipe card more independently.

What do kids learn from pretend smoothie shop play?

Kids practice early math, fine motor skills, sequencing, vocabulary, pretend play, social language, and independence as they follow the recipe and serve smoothies.

Ice Cream Mud Kitchen Play

Ice Cream Mud Kitchen Play

Turn soft, scoopable ice cream dough into a pretend ice cream shop for outdoor mud kitchen play, dramatic play, sensory exploration, and summer learning.

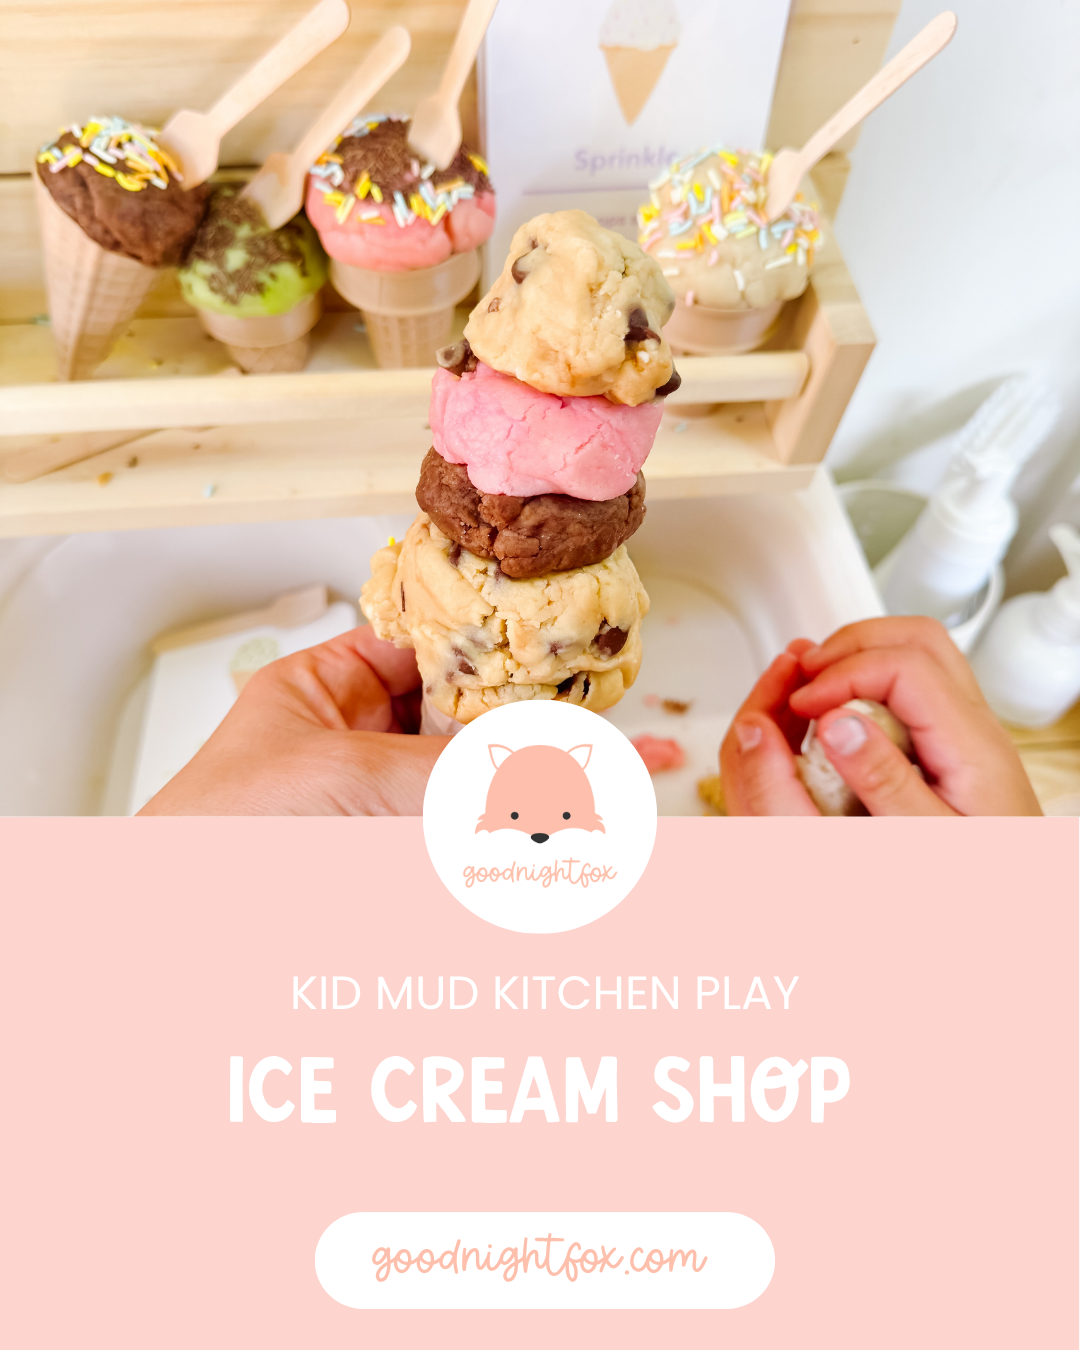
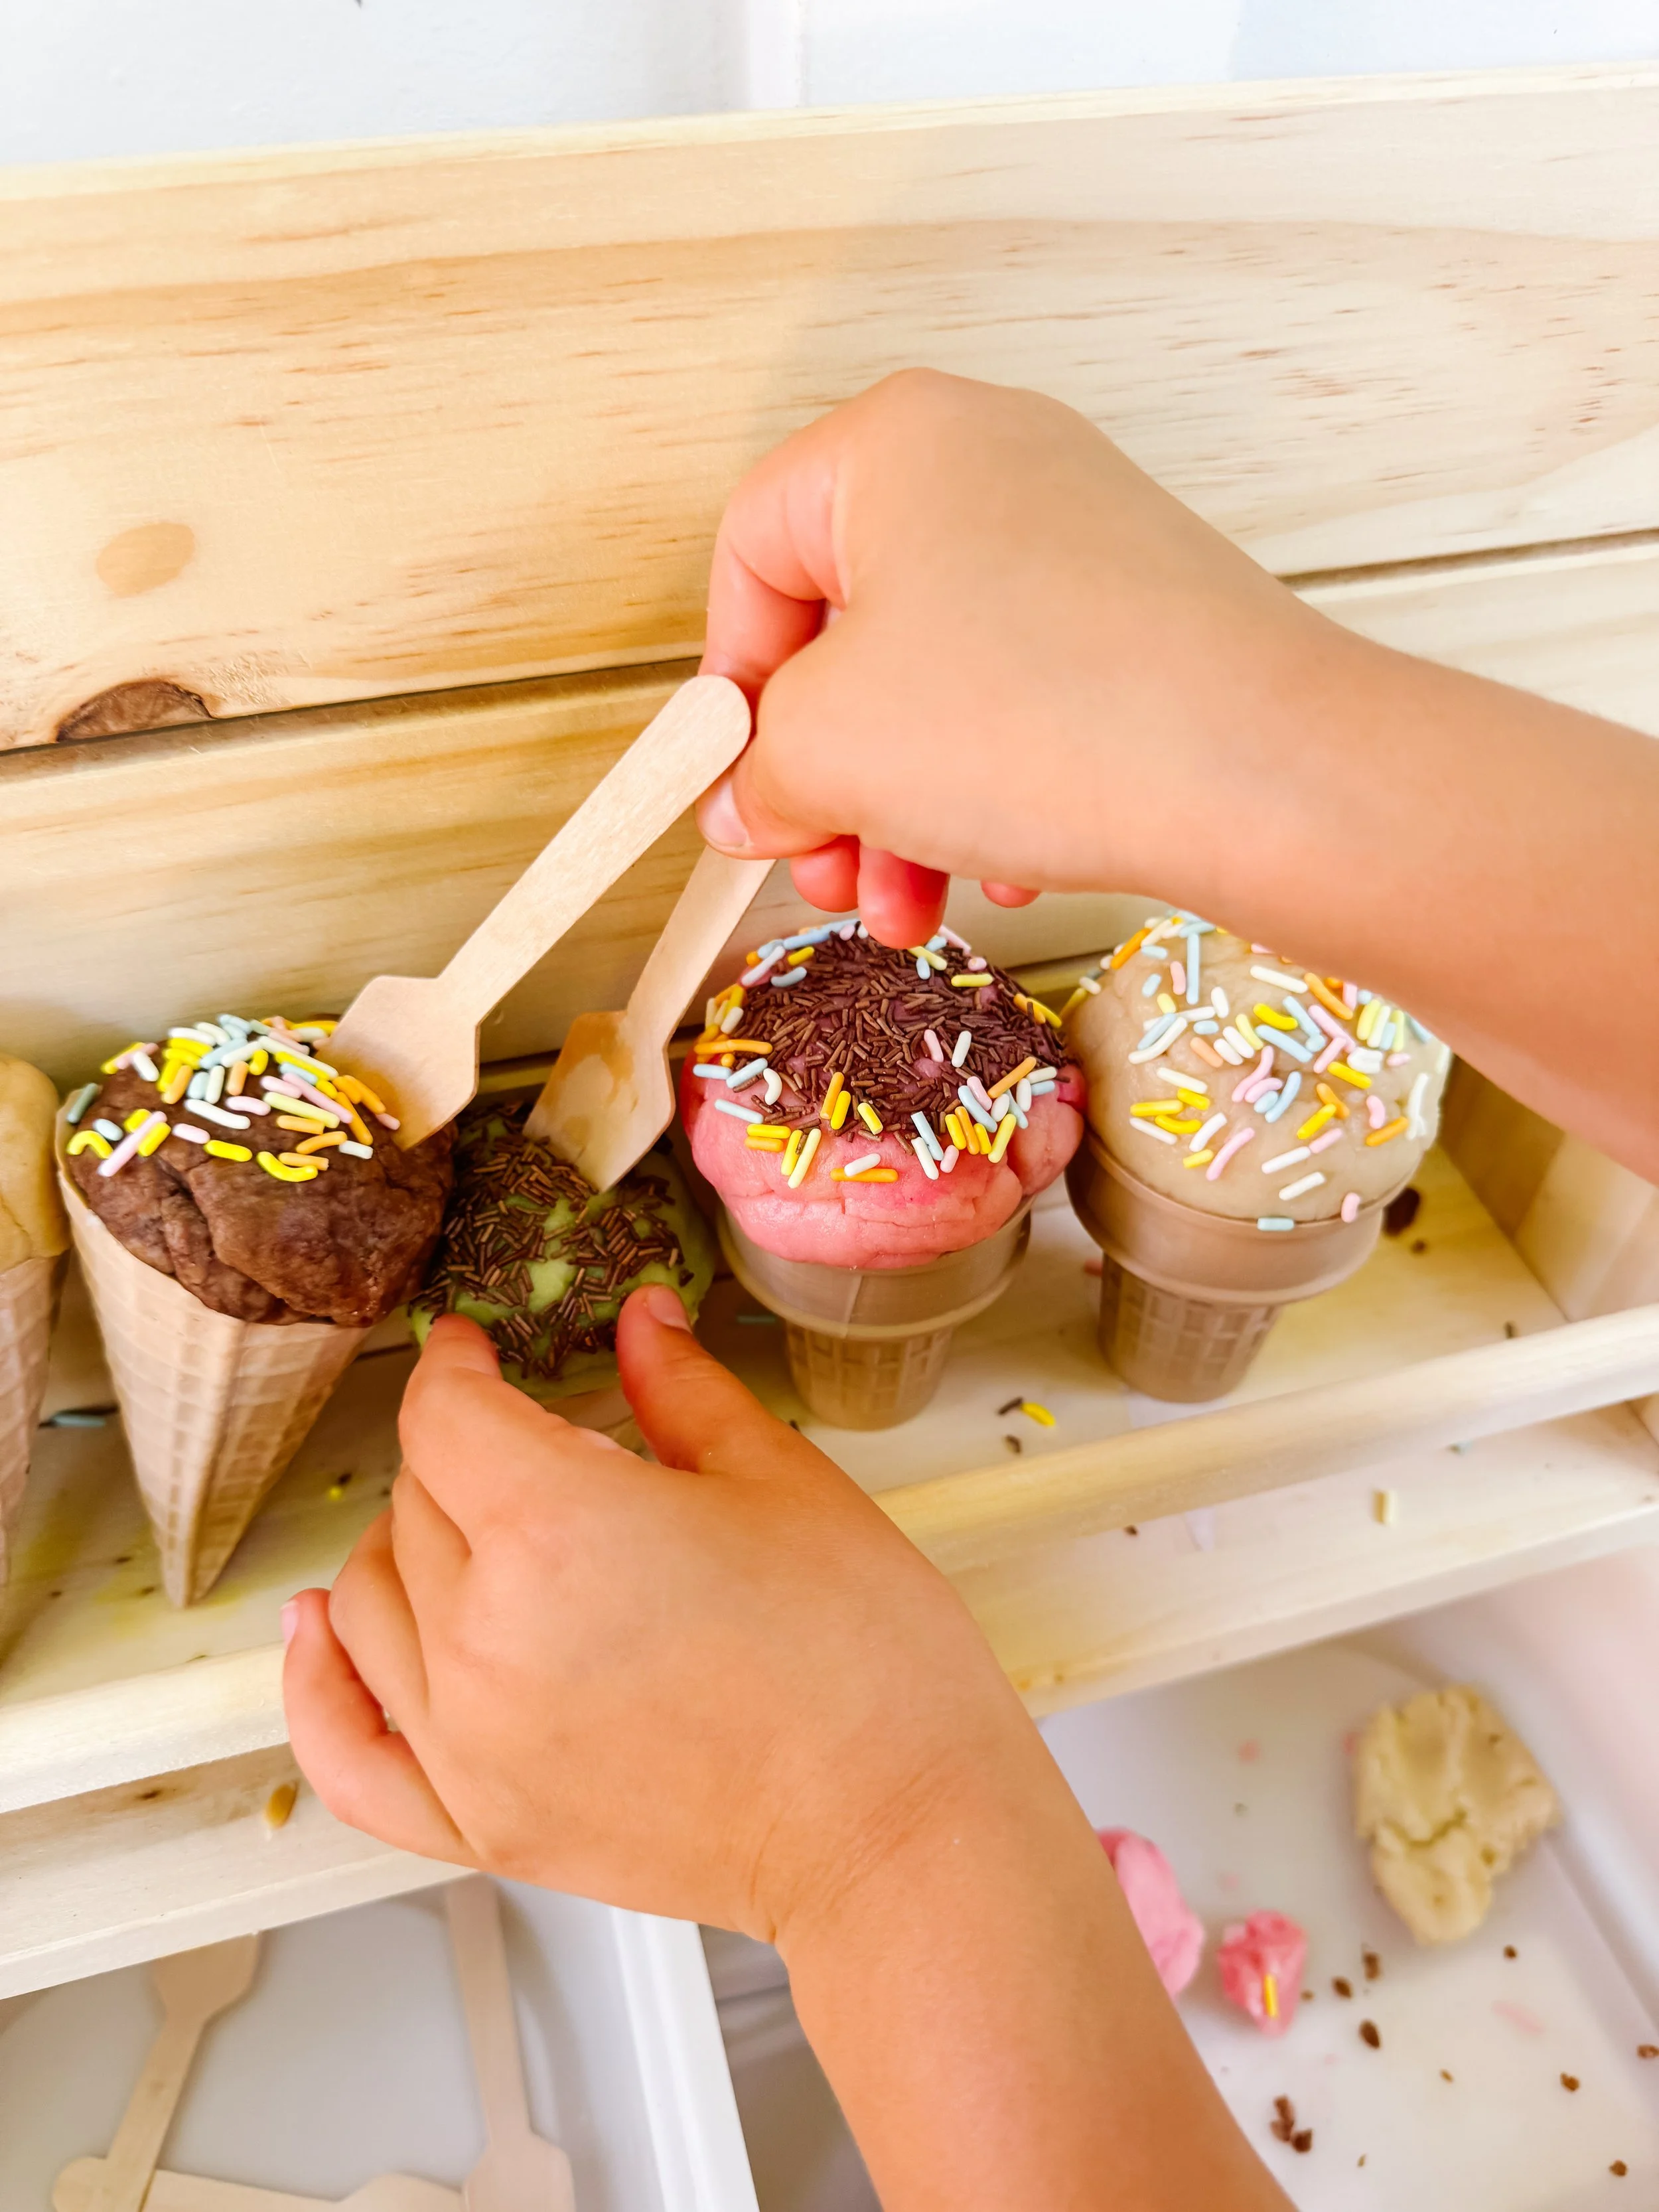
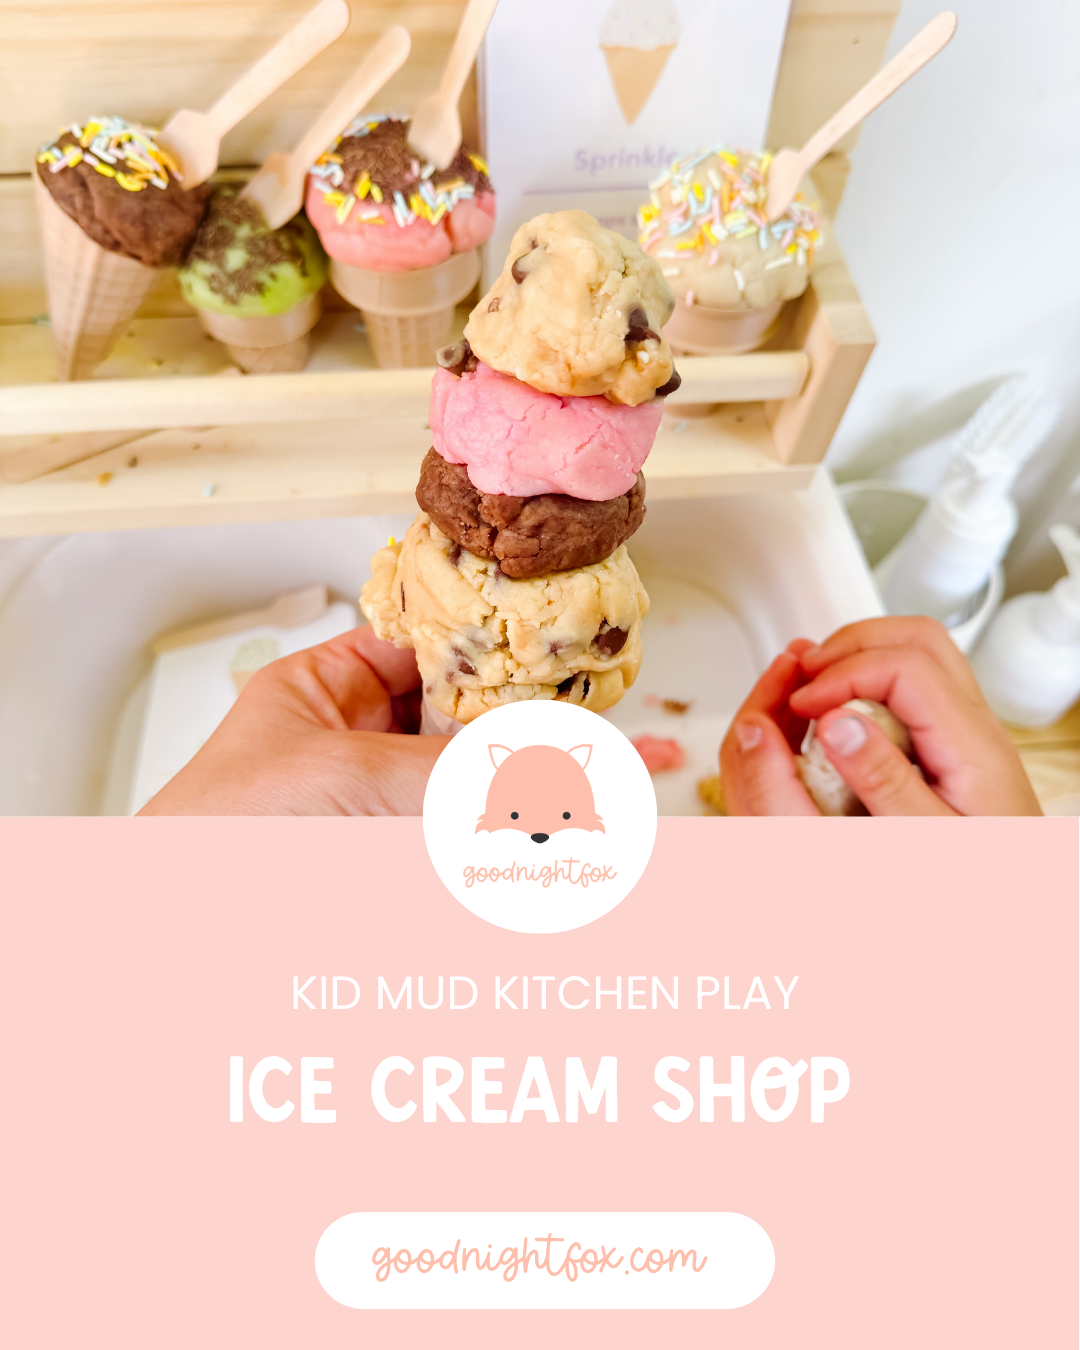
Ice cream mud kitchen play setup with pretend ice cream cones and GoodnightFox recipe cards.
Age3+
Prep15 minutes
Play Time45+ minutes
Mess★★☆☆☆
SkillsPretend play + sensory

Why we love this setup

This ice cream mud kitchen setup was one of those activities that instantly turned into a full pretend play world.

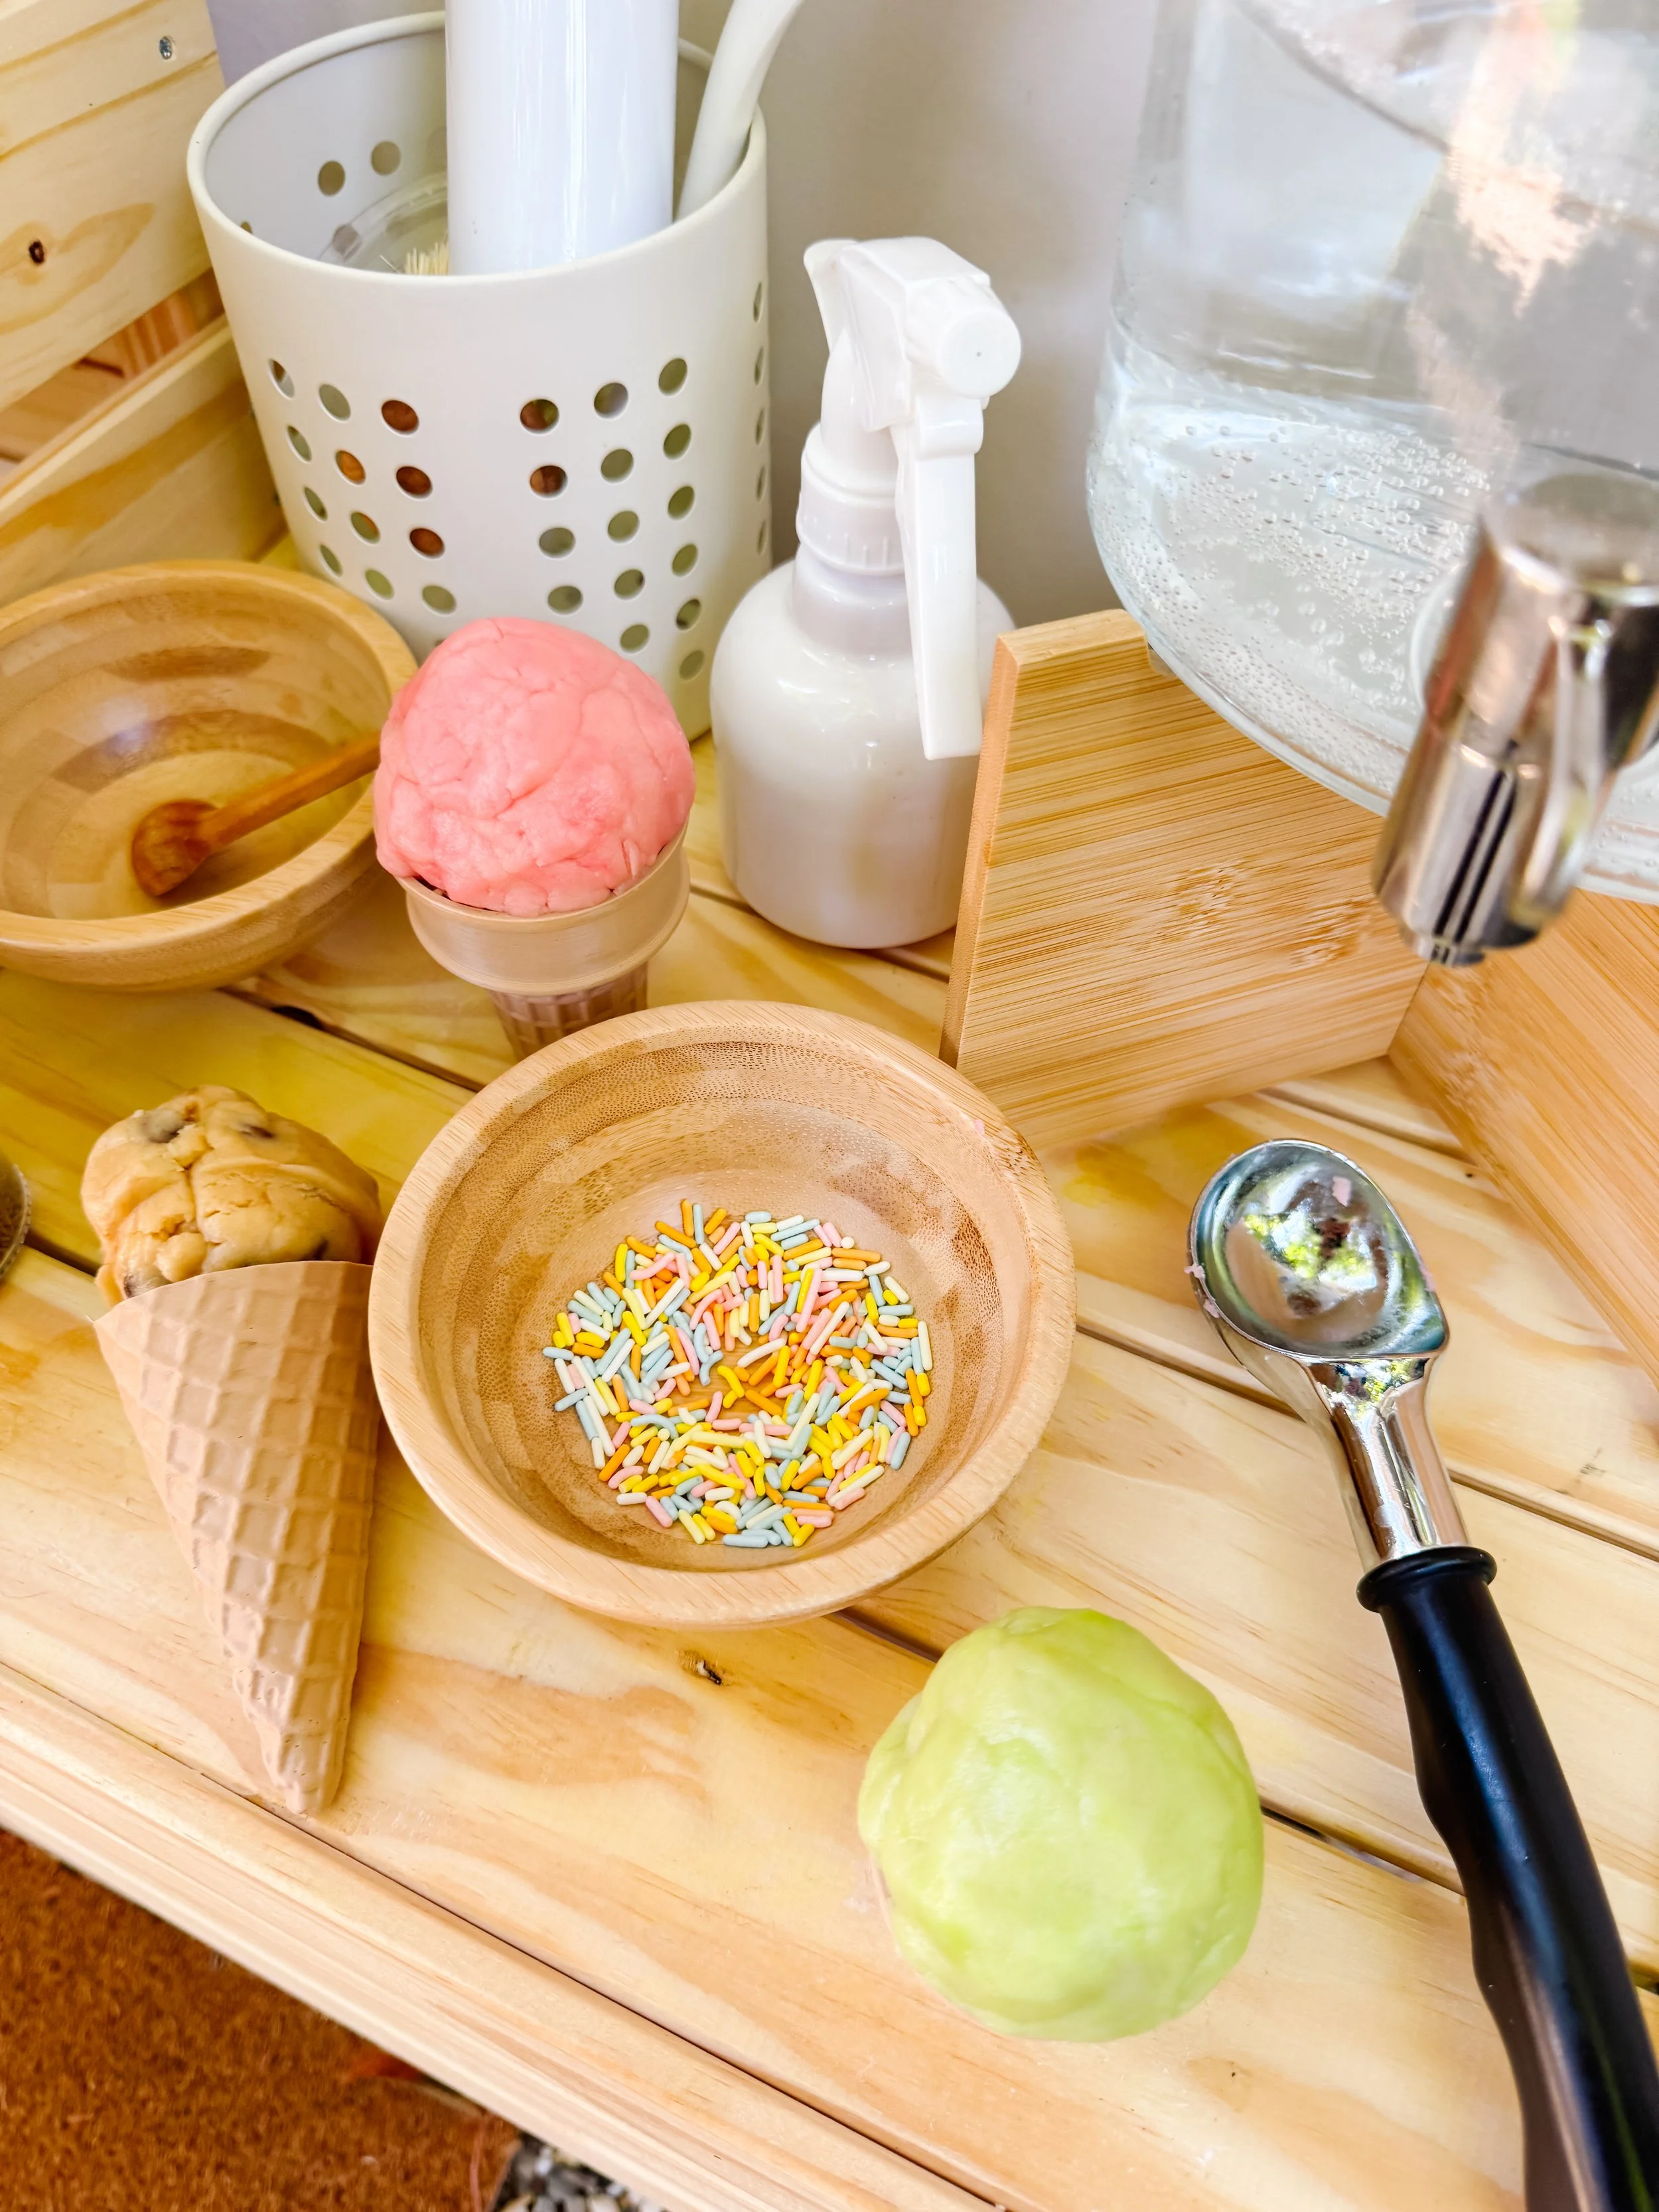
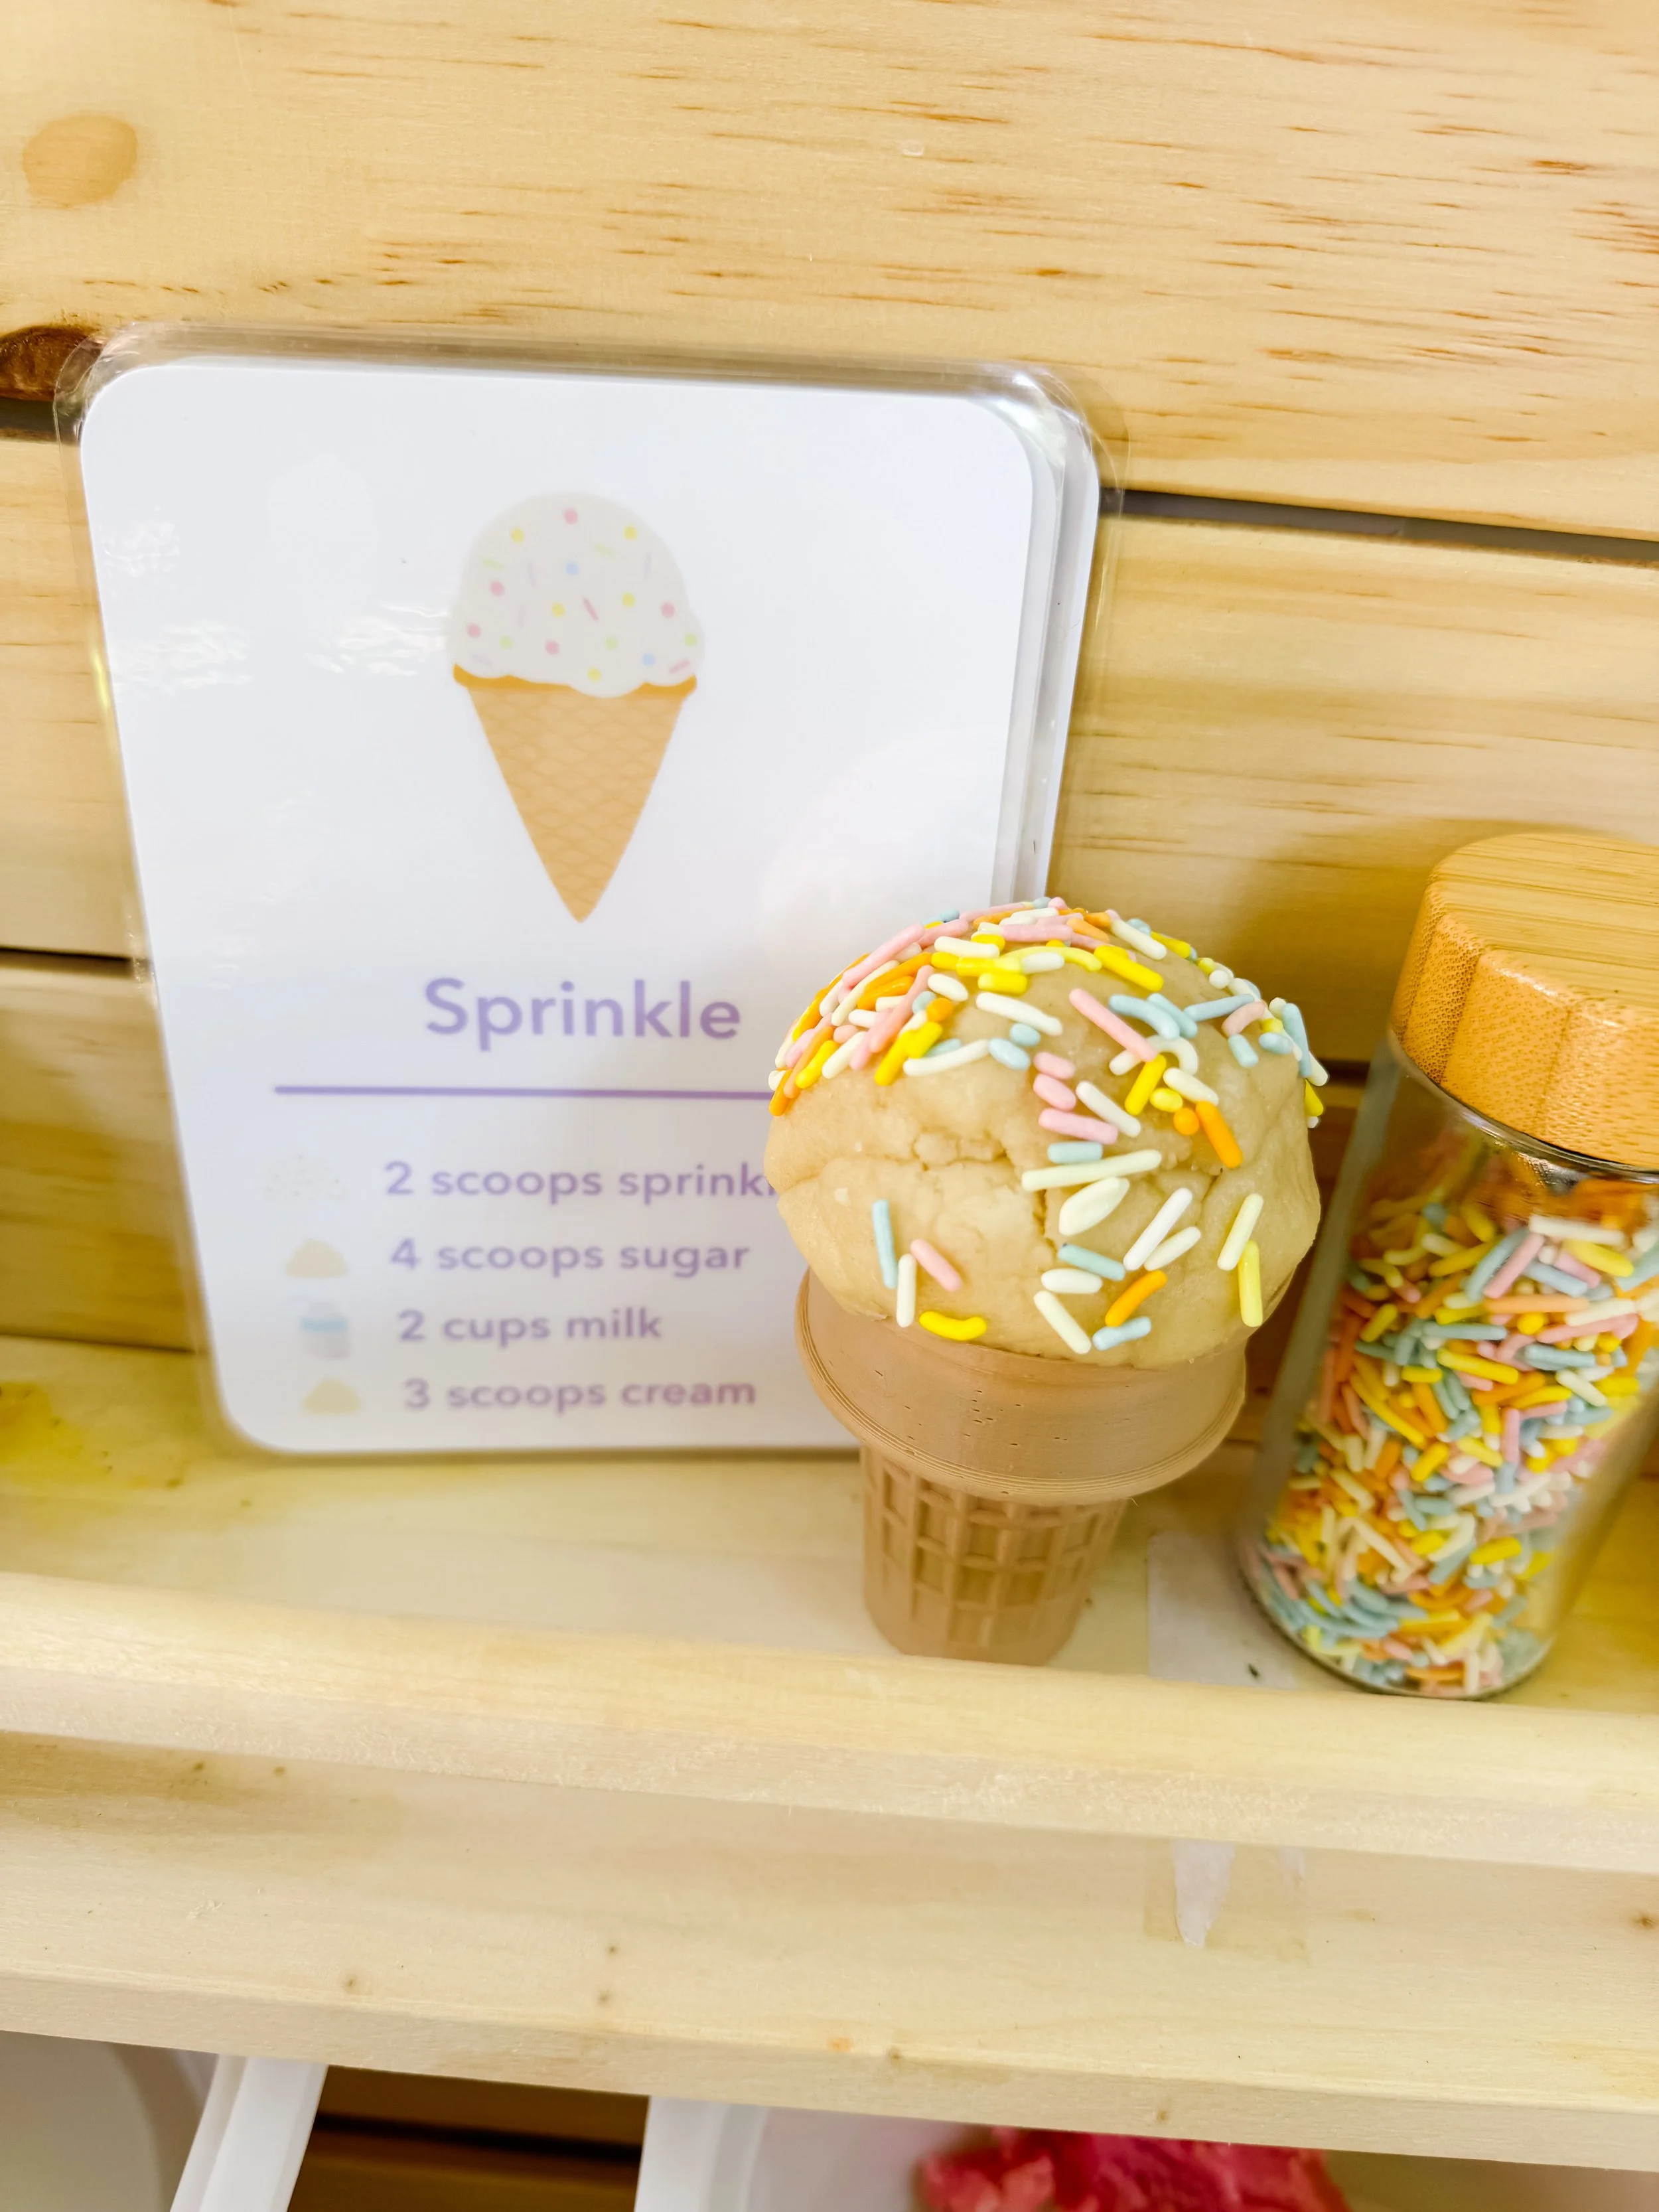
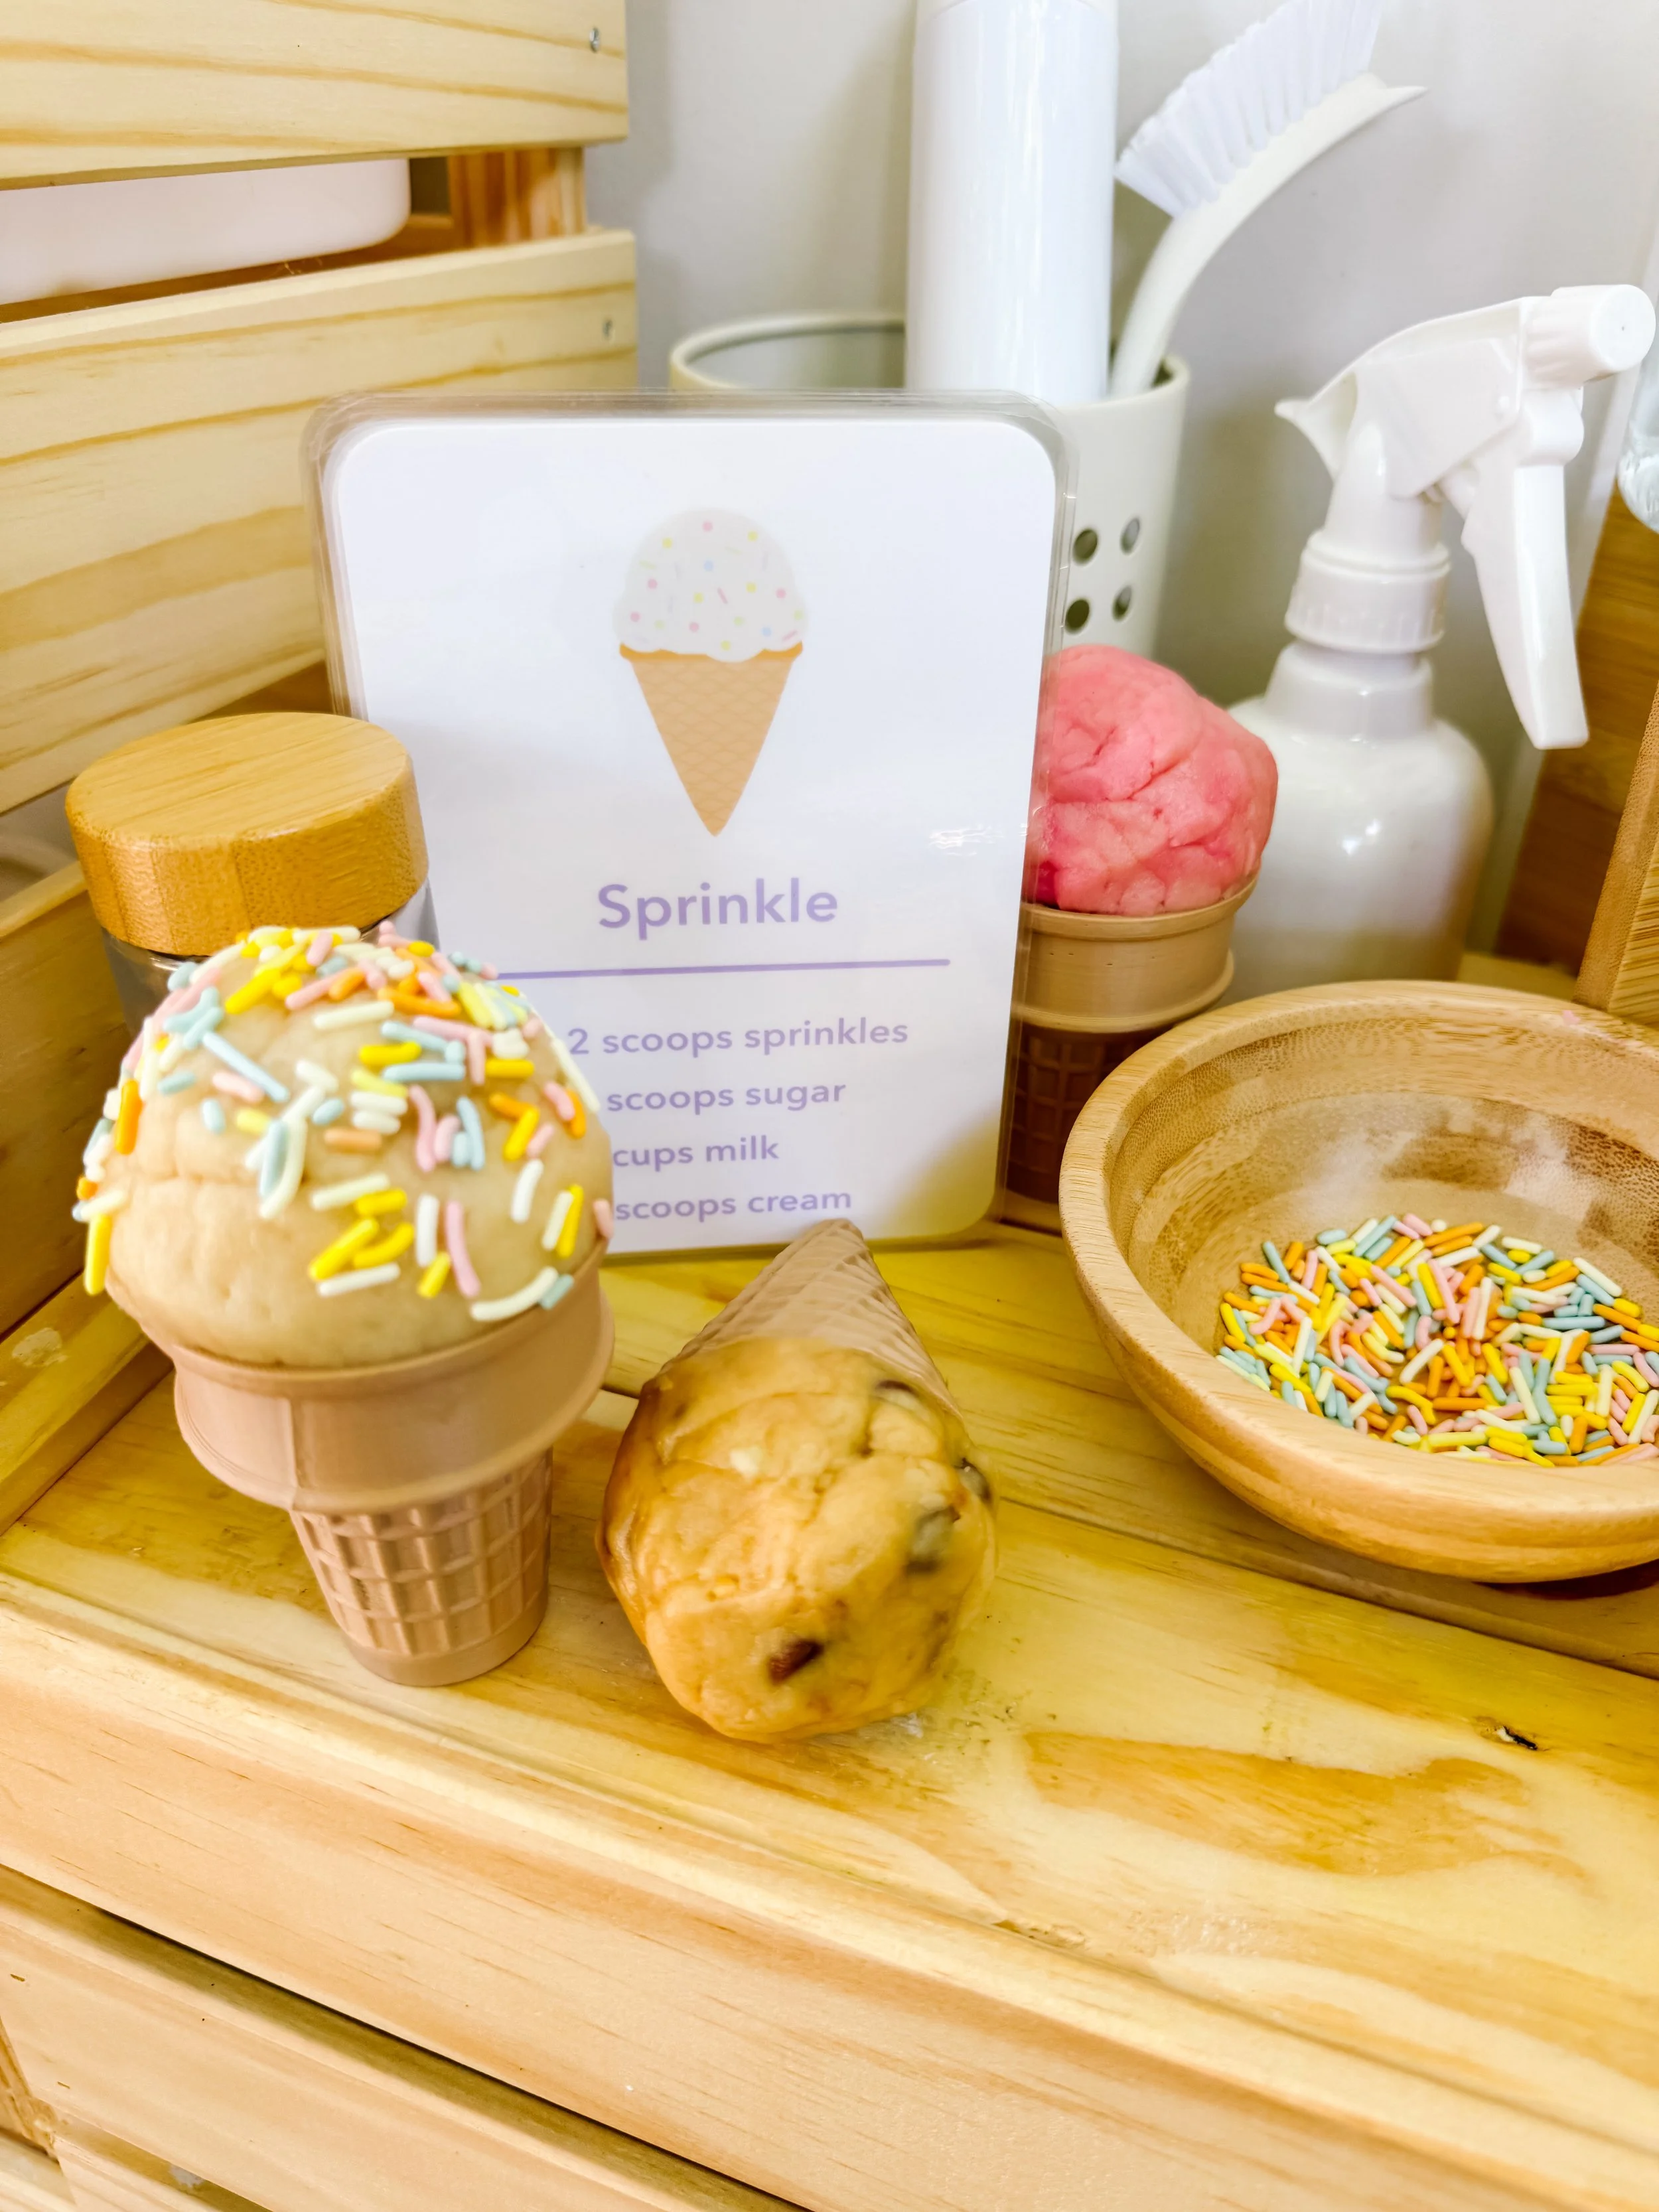
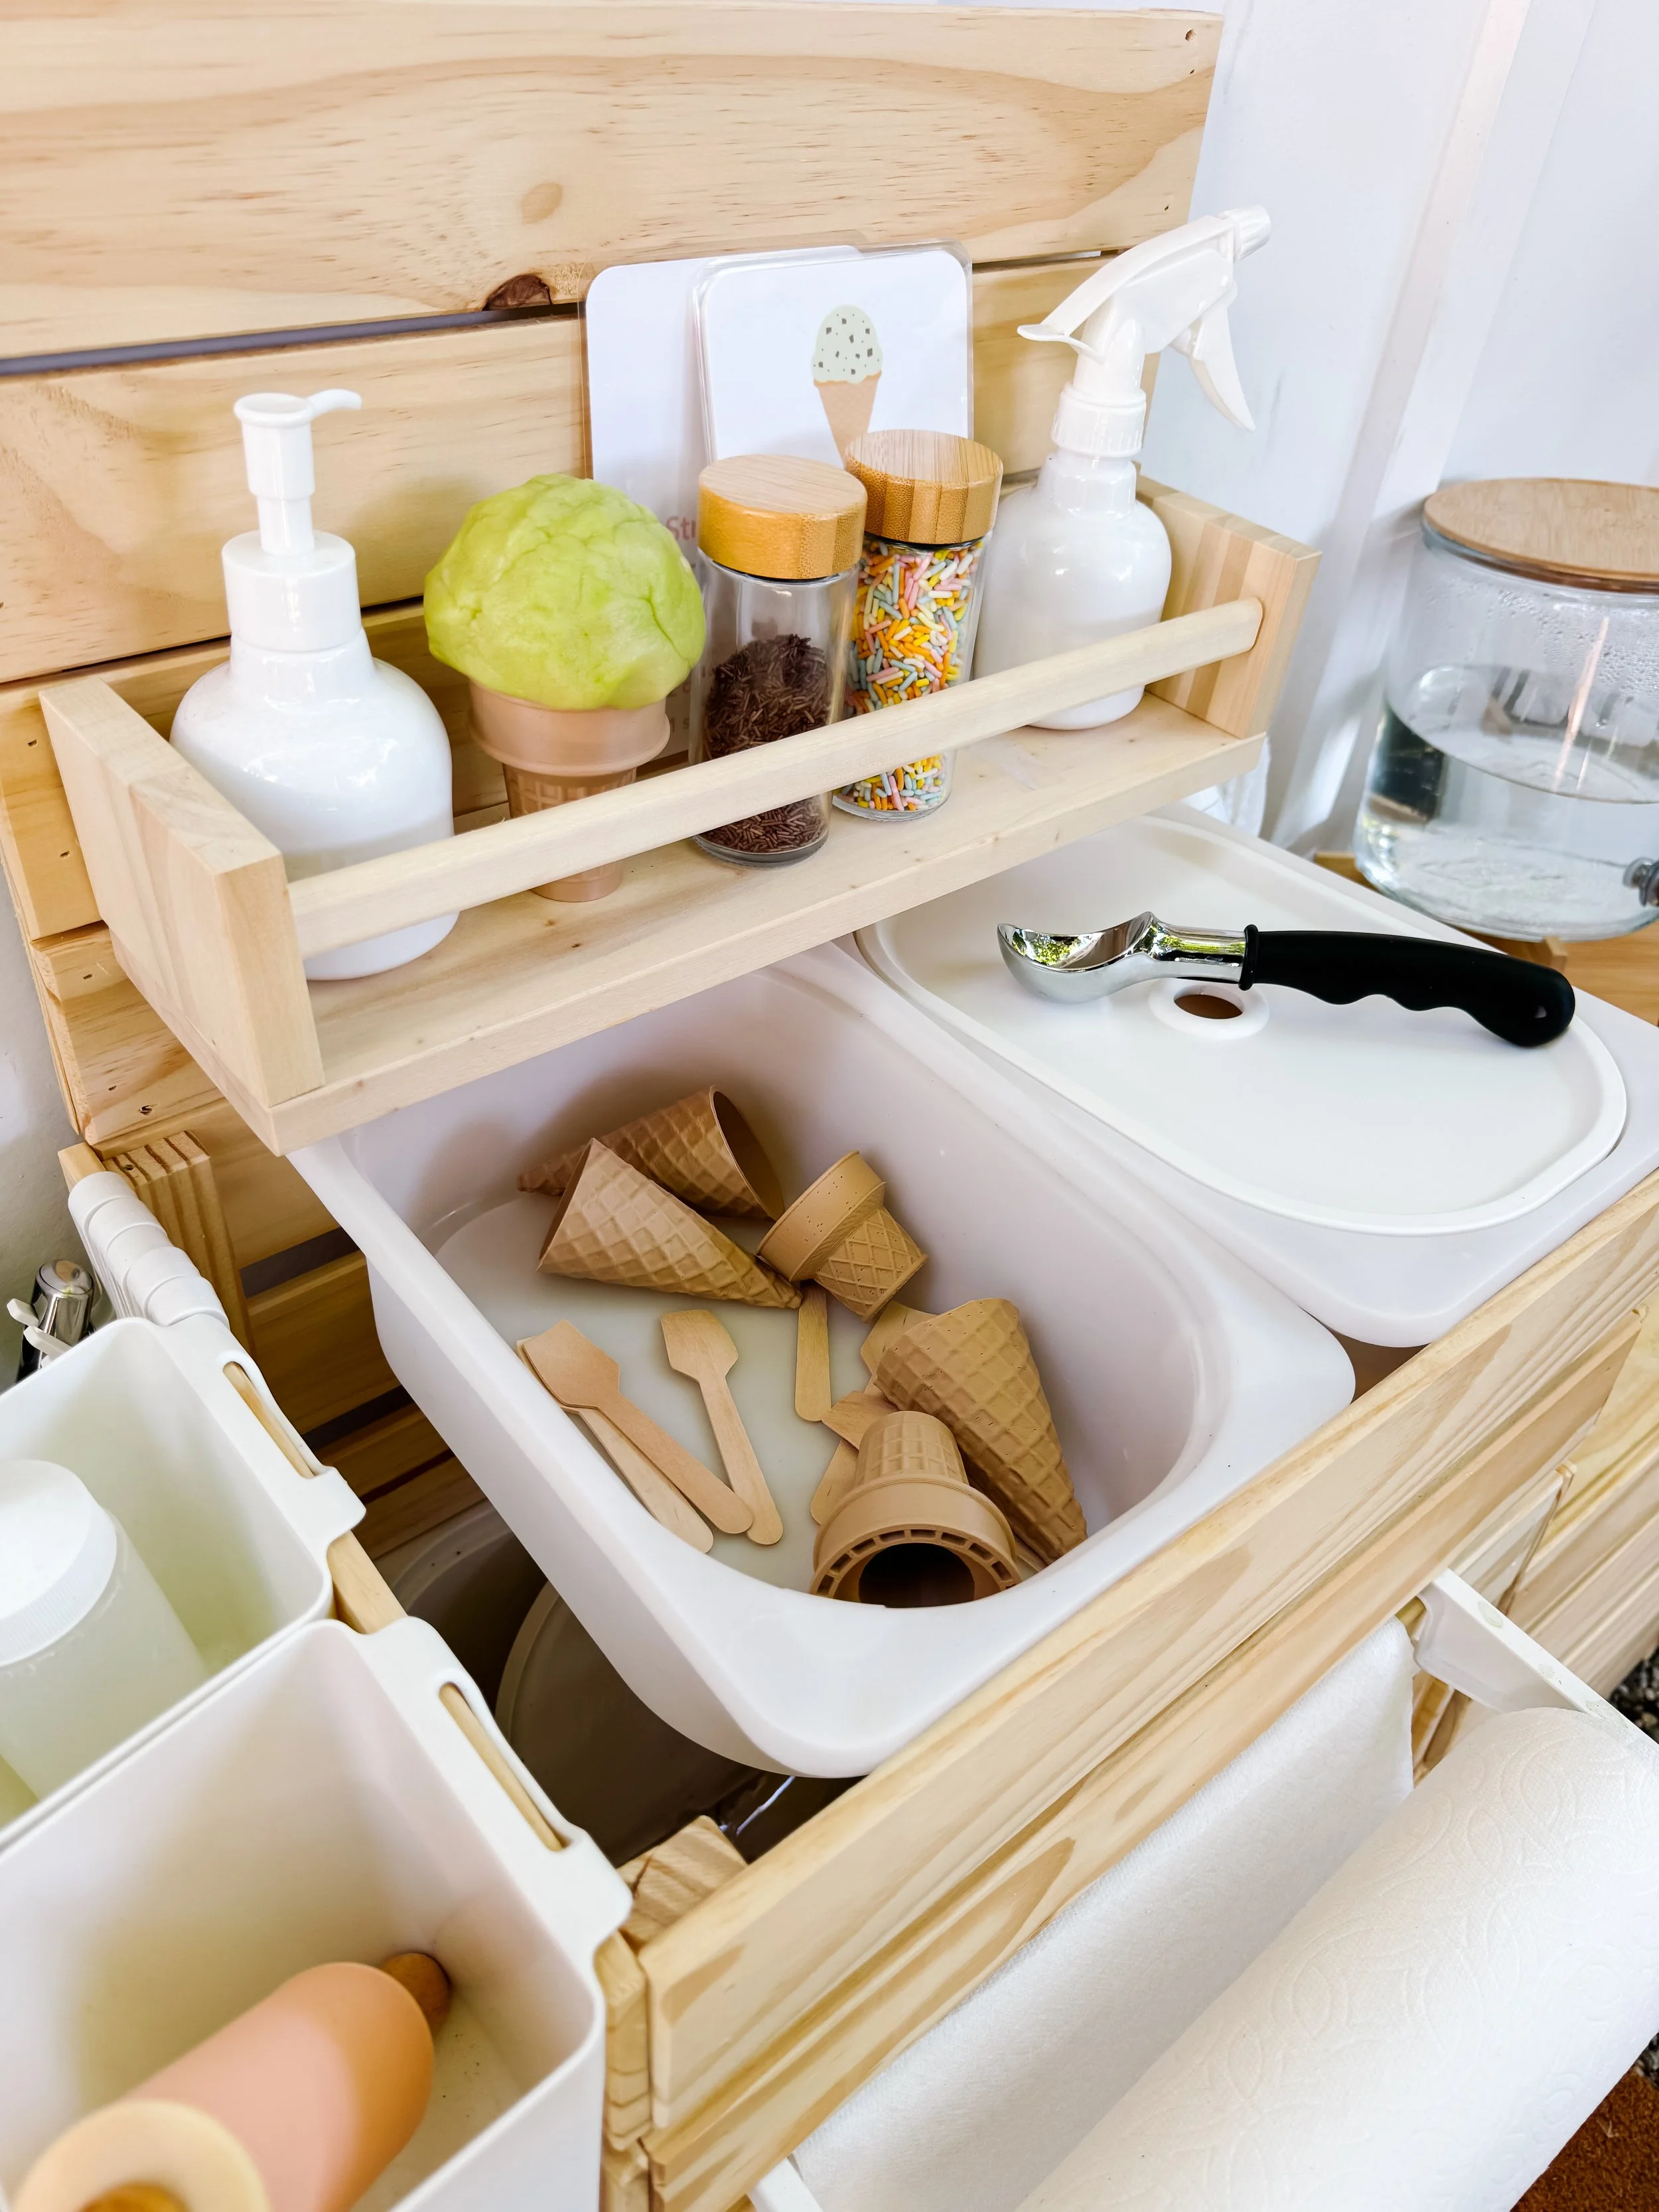
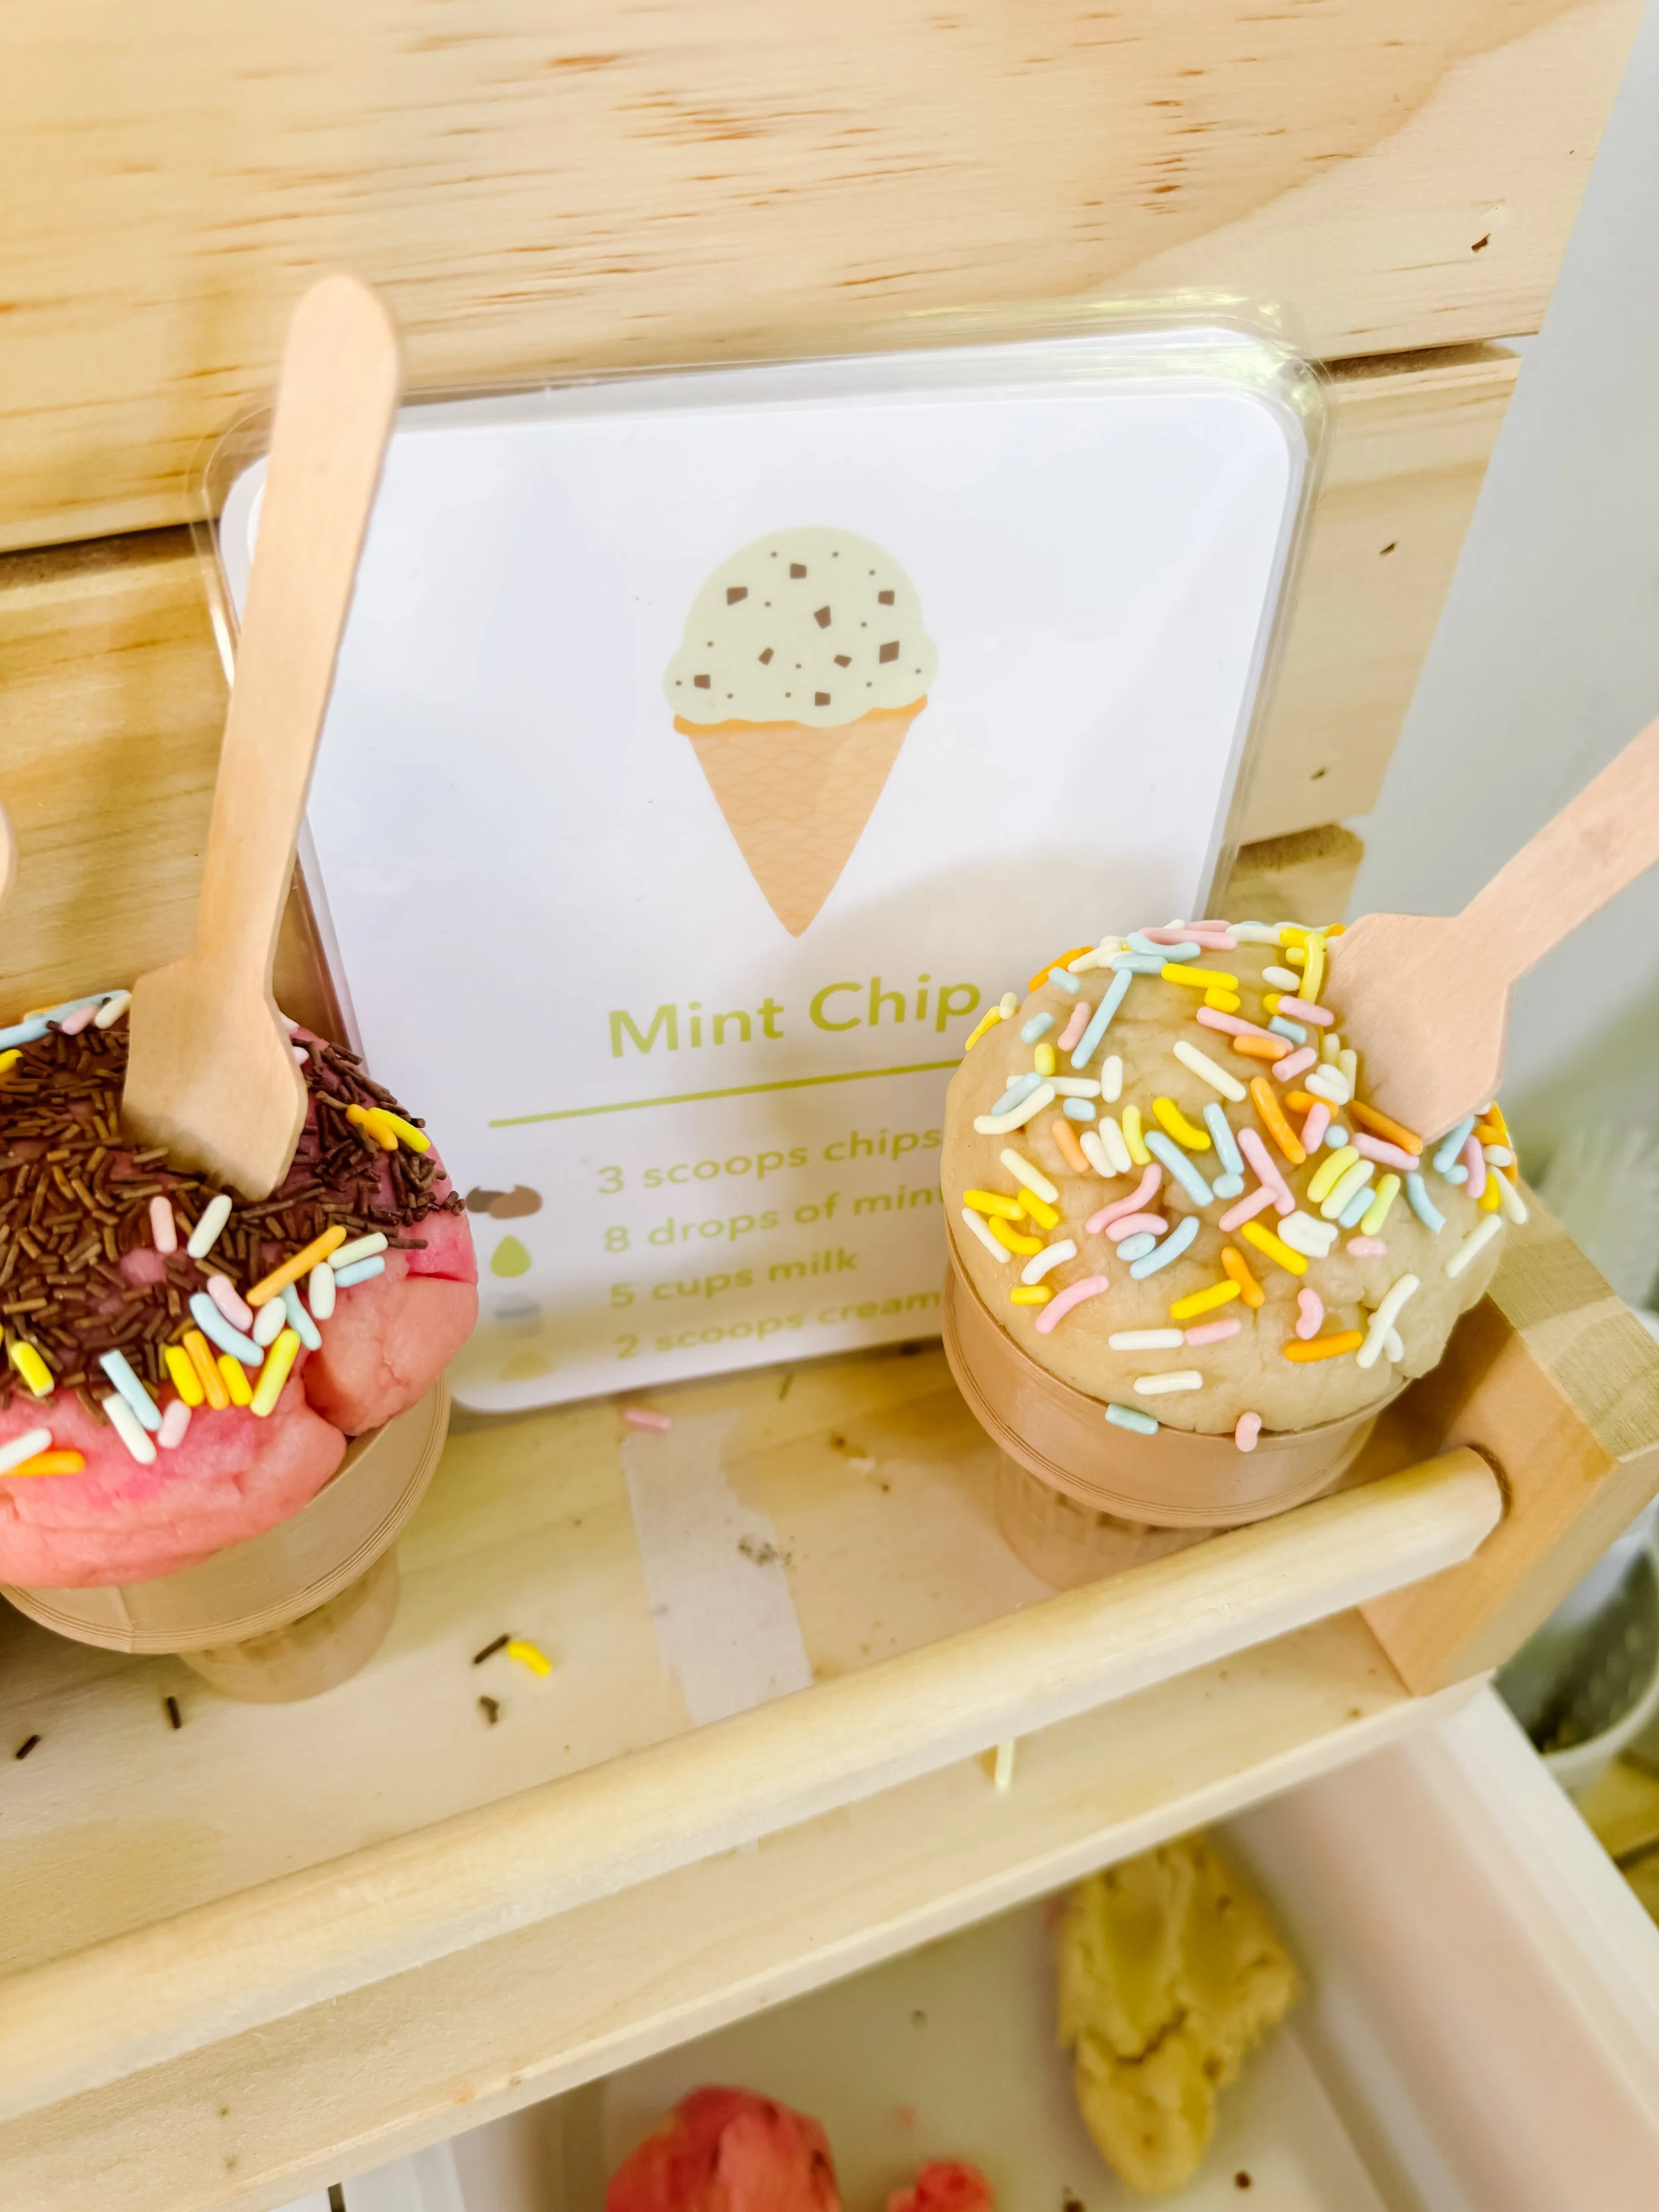
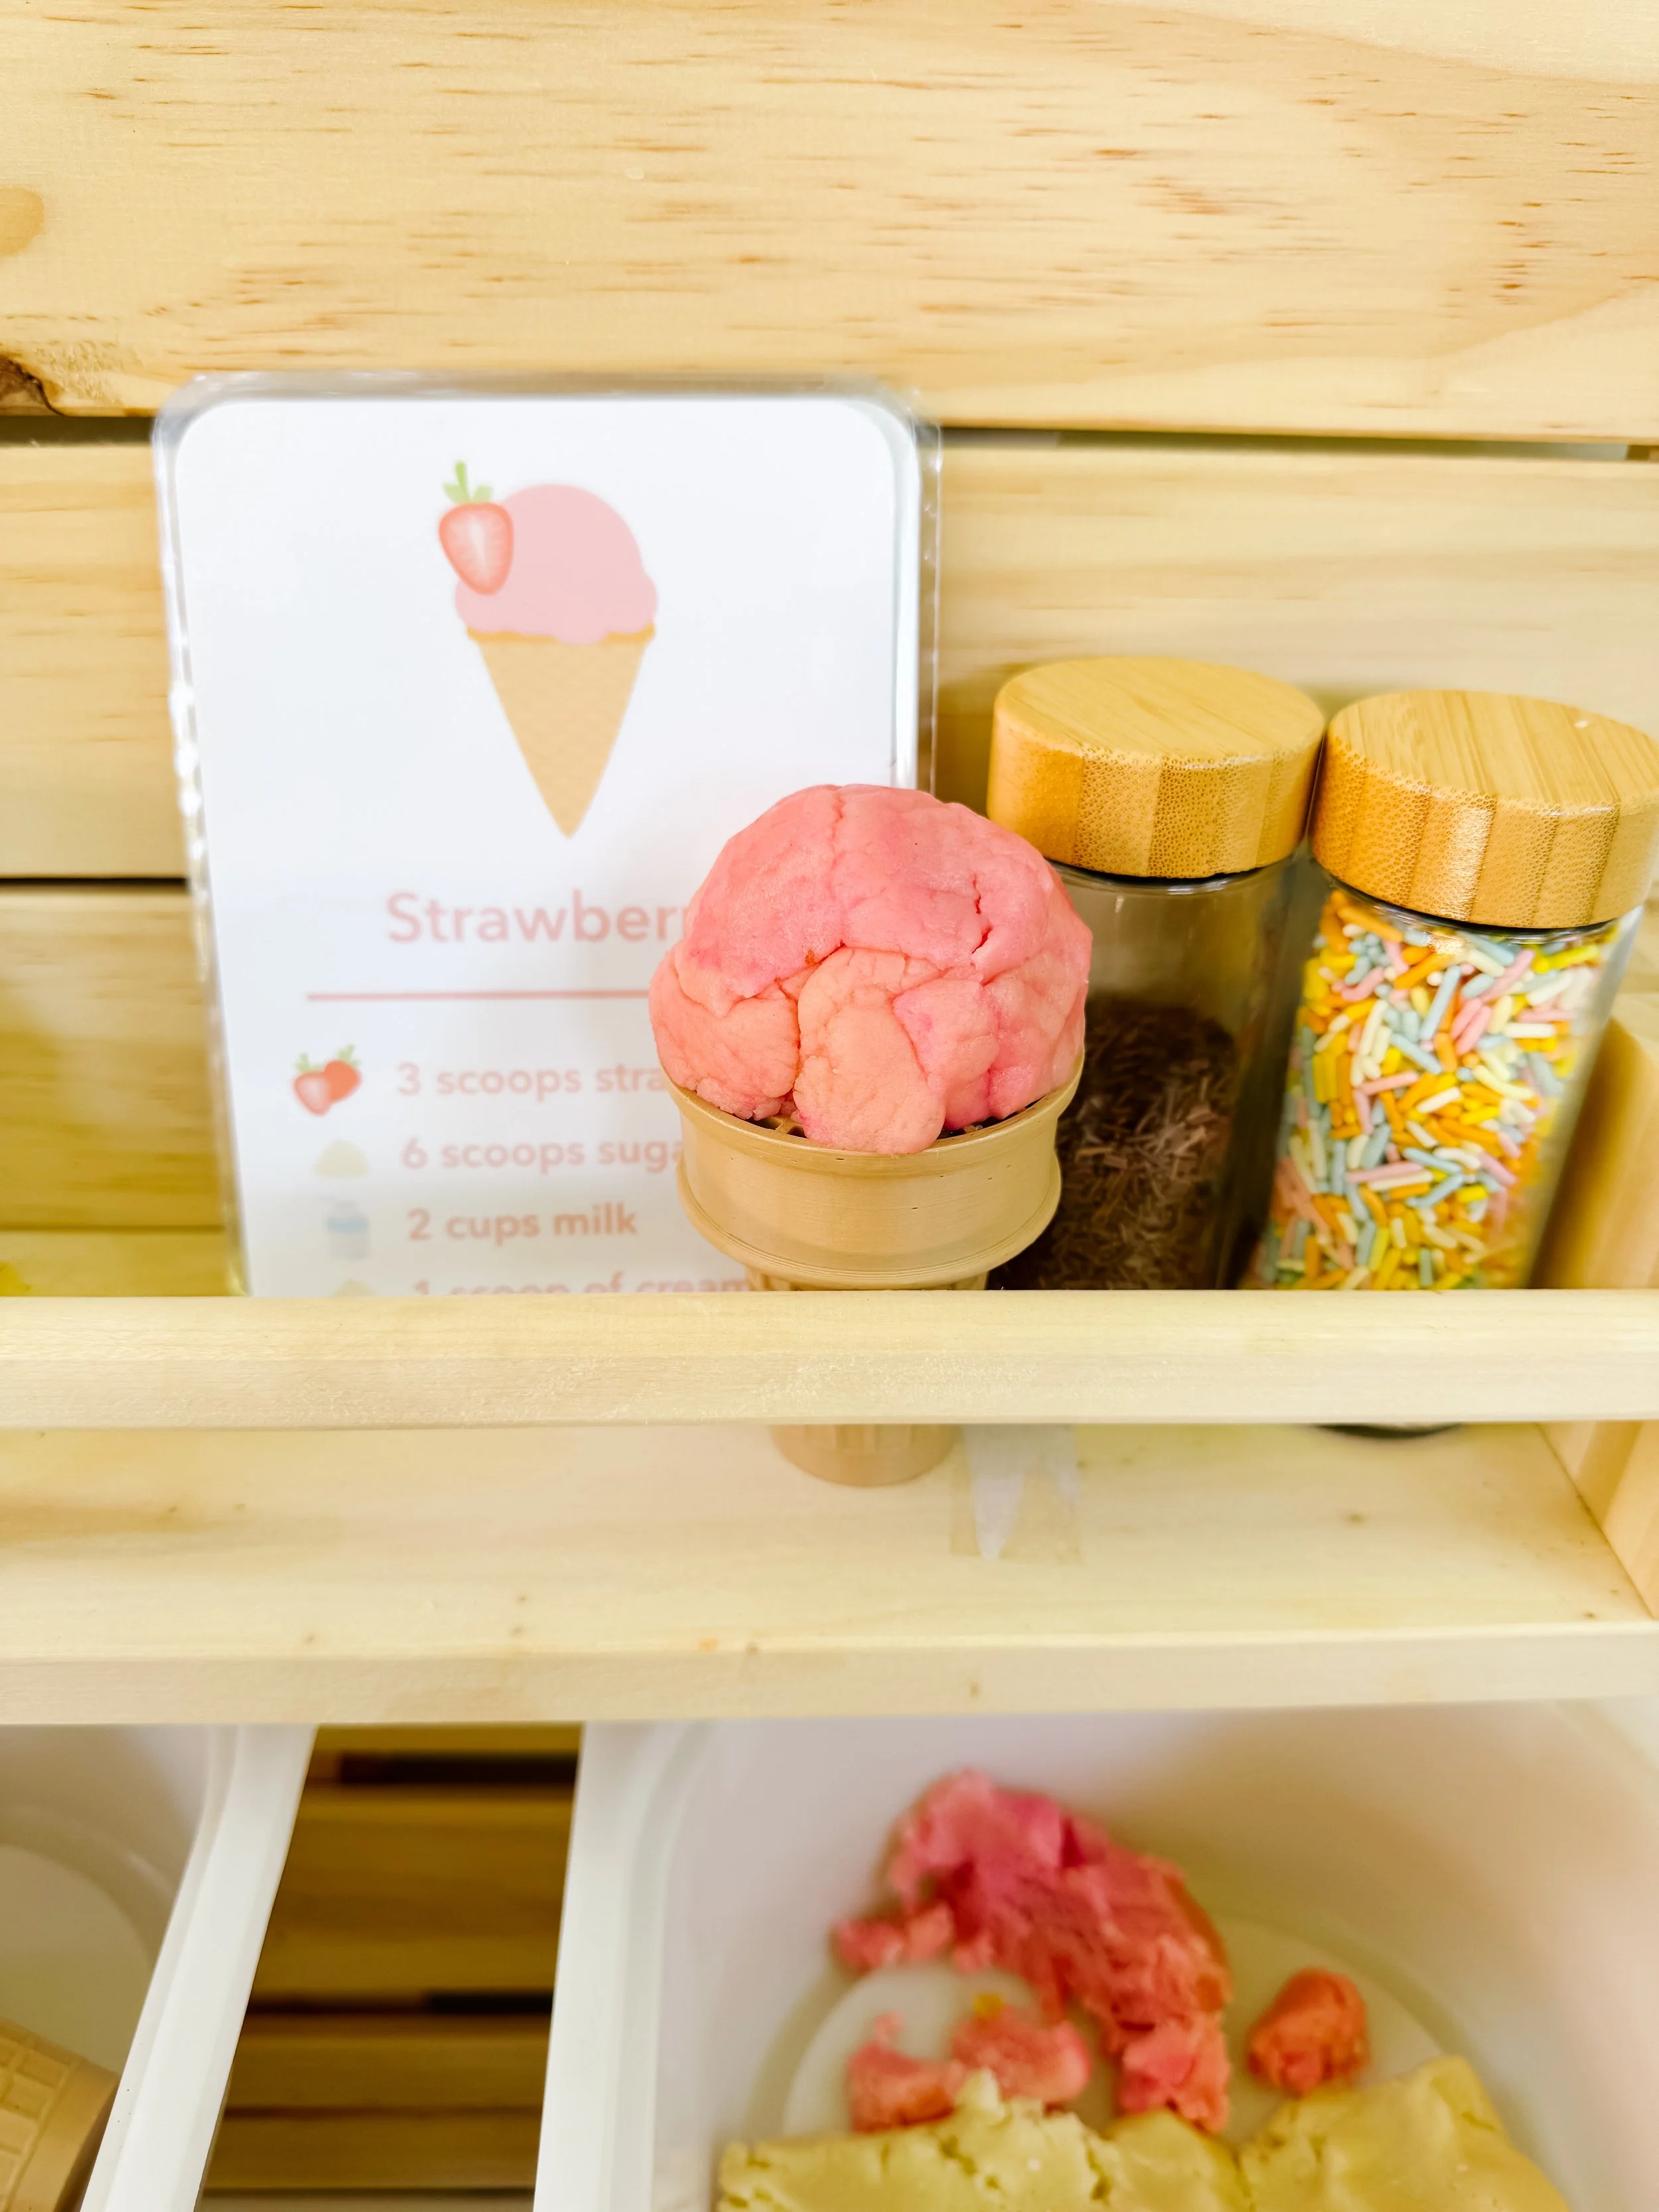
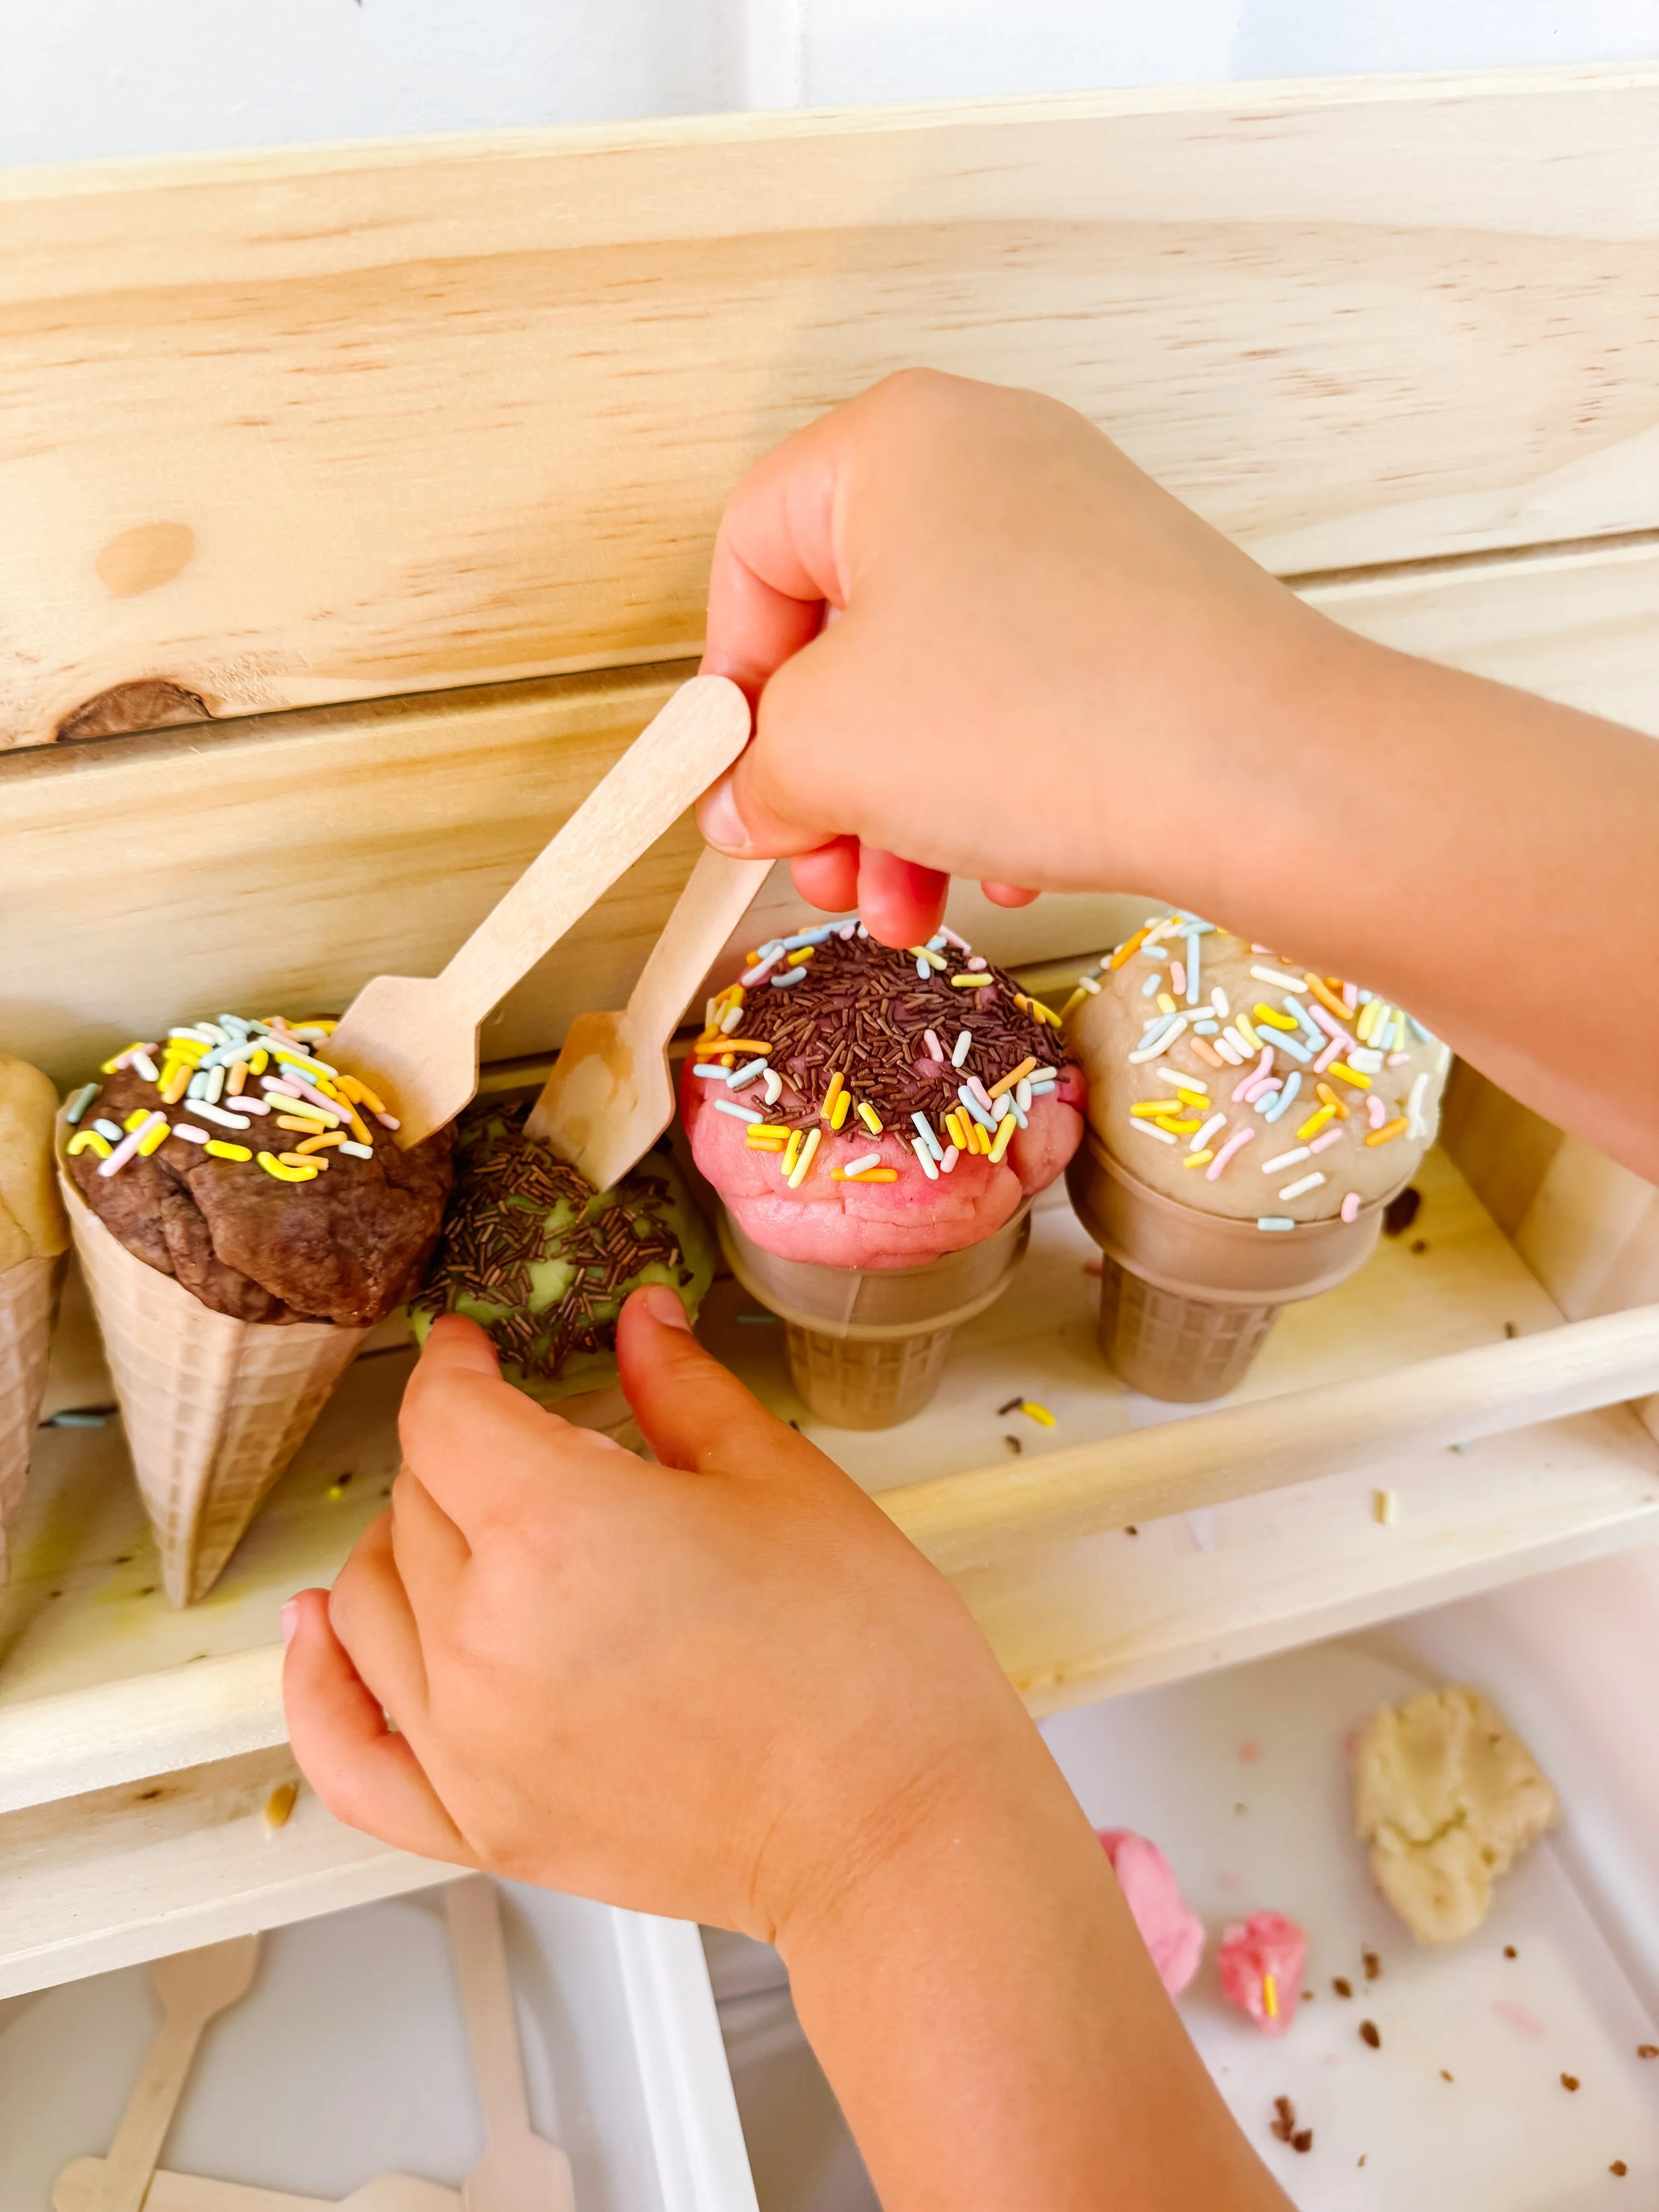
We used our soft, scoopable ice cream play dough as the “ice cream,” then added cones, wooden spoons, bowls, pretend sprinkles, and recipe cards to create a little outdoor ice cream shop.

What I love most is that this activity feels playful and open-ended. Kids can scoop, stack, decorate, take orders, invent flavors, count scoops, and practice social language while playing.

It is the perfect blend of sensory play, dramatic play, fine motor work, and summer pretend play.

What you need

  • Ice cream play dough
  • Ice cream cones or pretend cones
  • Small bowls or cups
  • Wooden spoons or scoops
  • Pretend sprinkles
  • Recipe cards or menus
  • Play kitchen or mud kitchen
  • Water dispenser or spray bottle for pretend cleanup

How to set up an ice cream mud kitchen

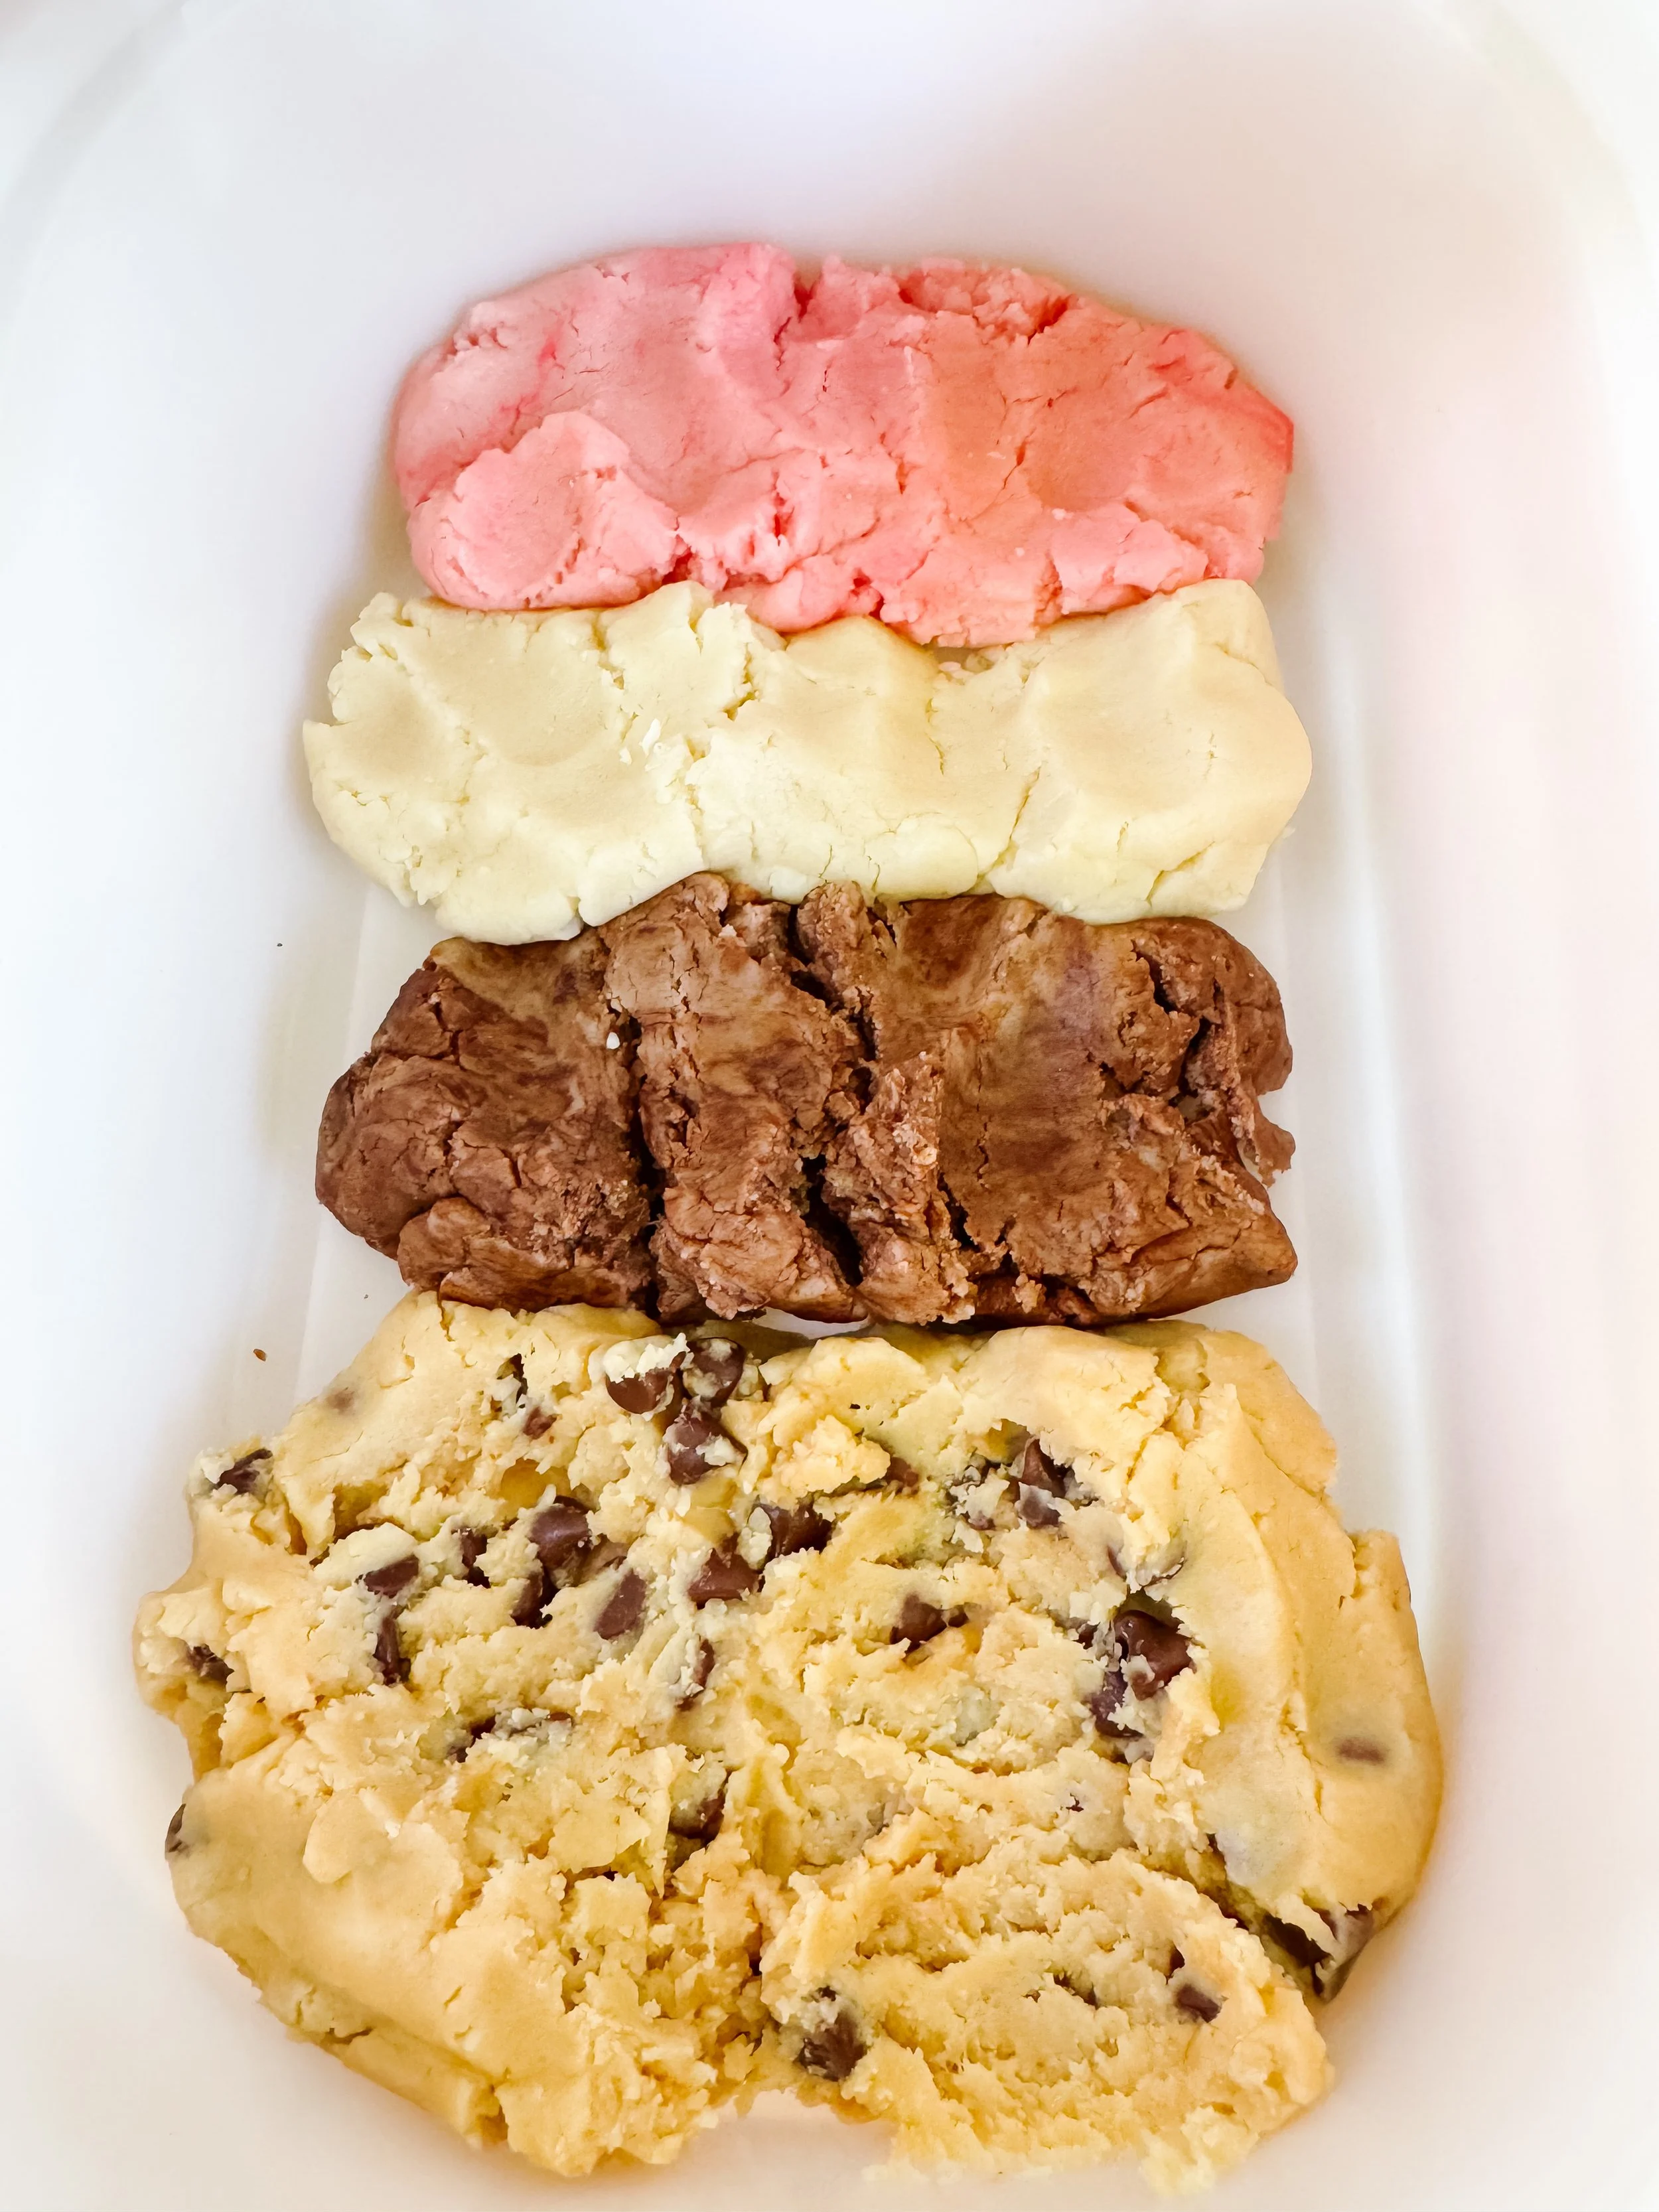
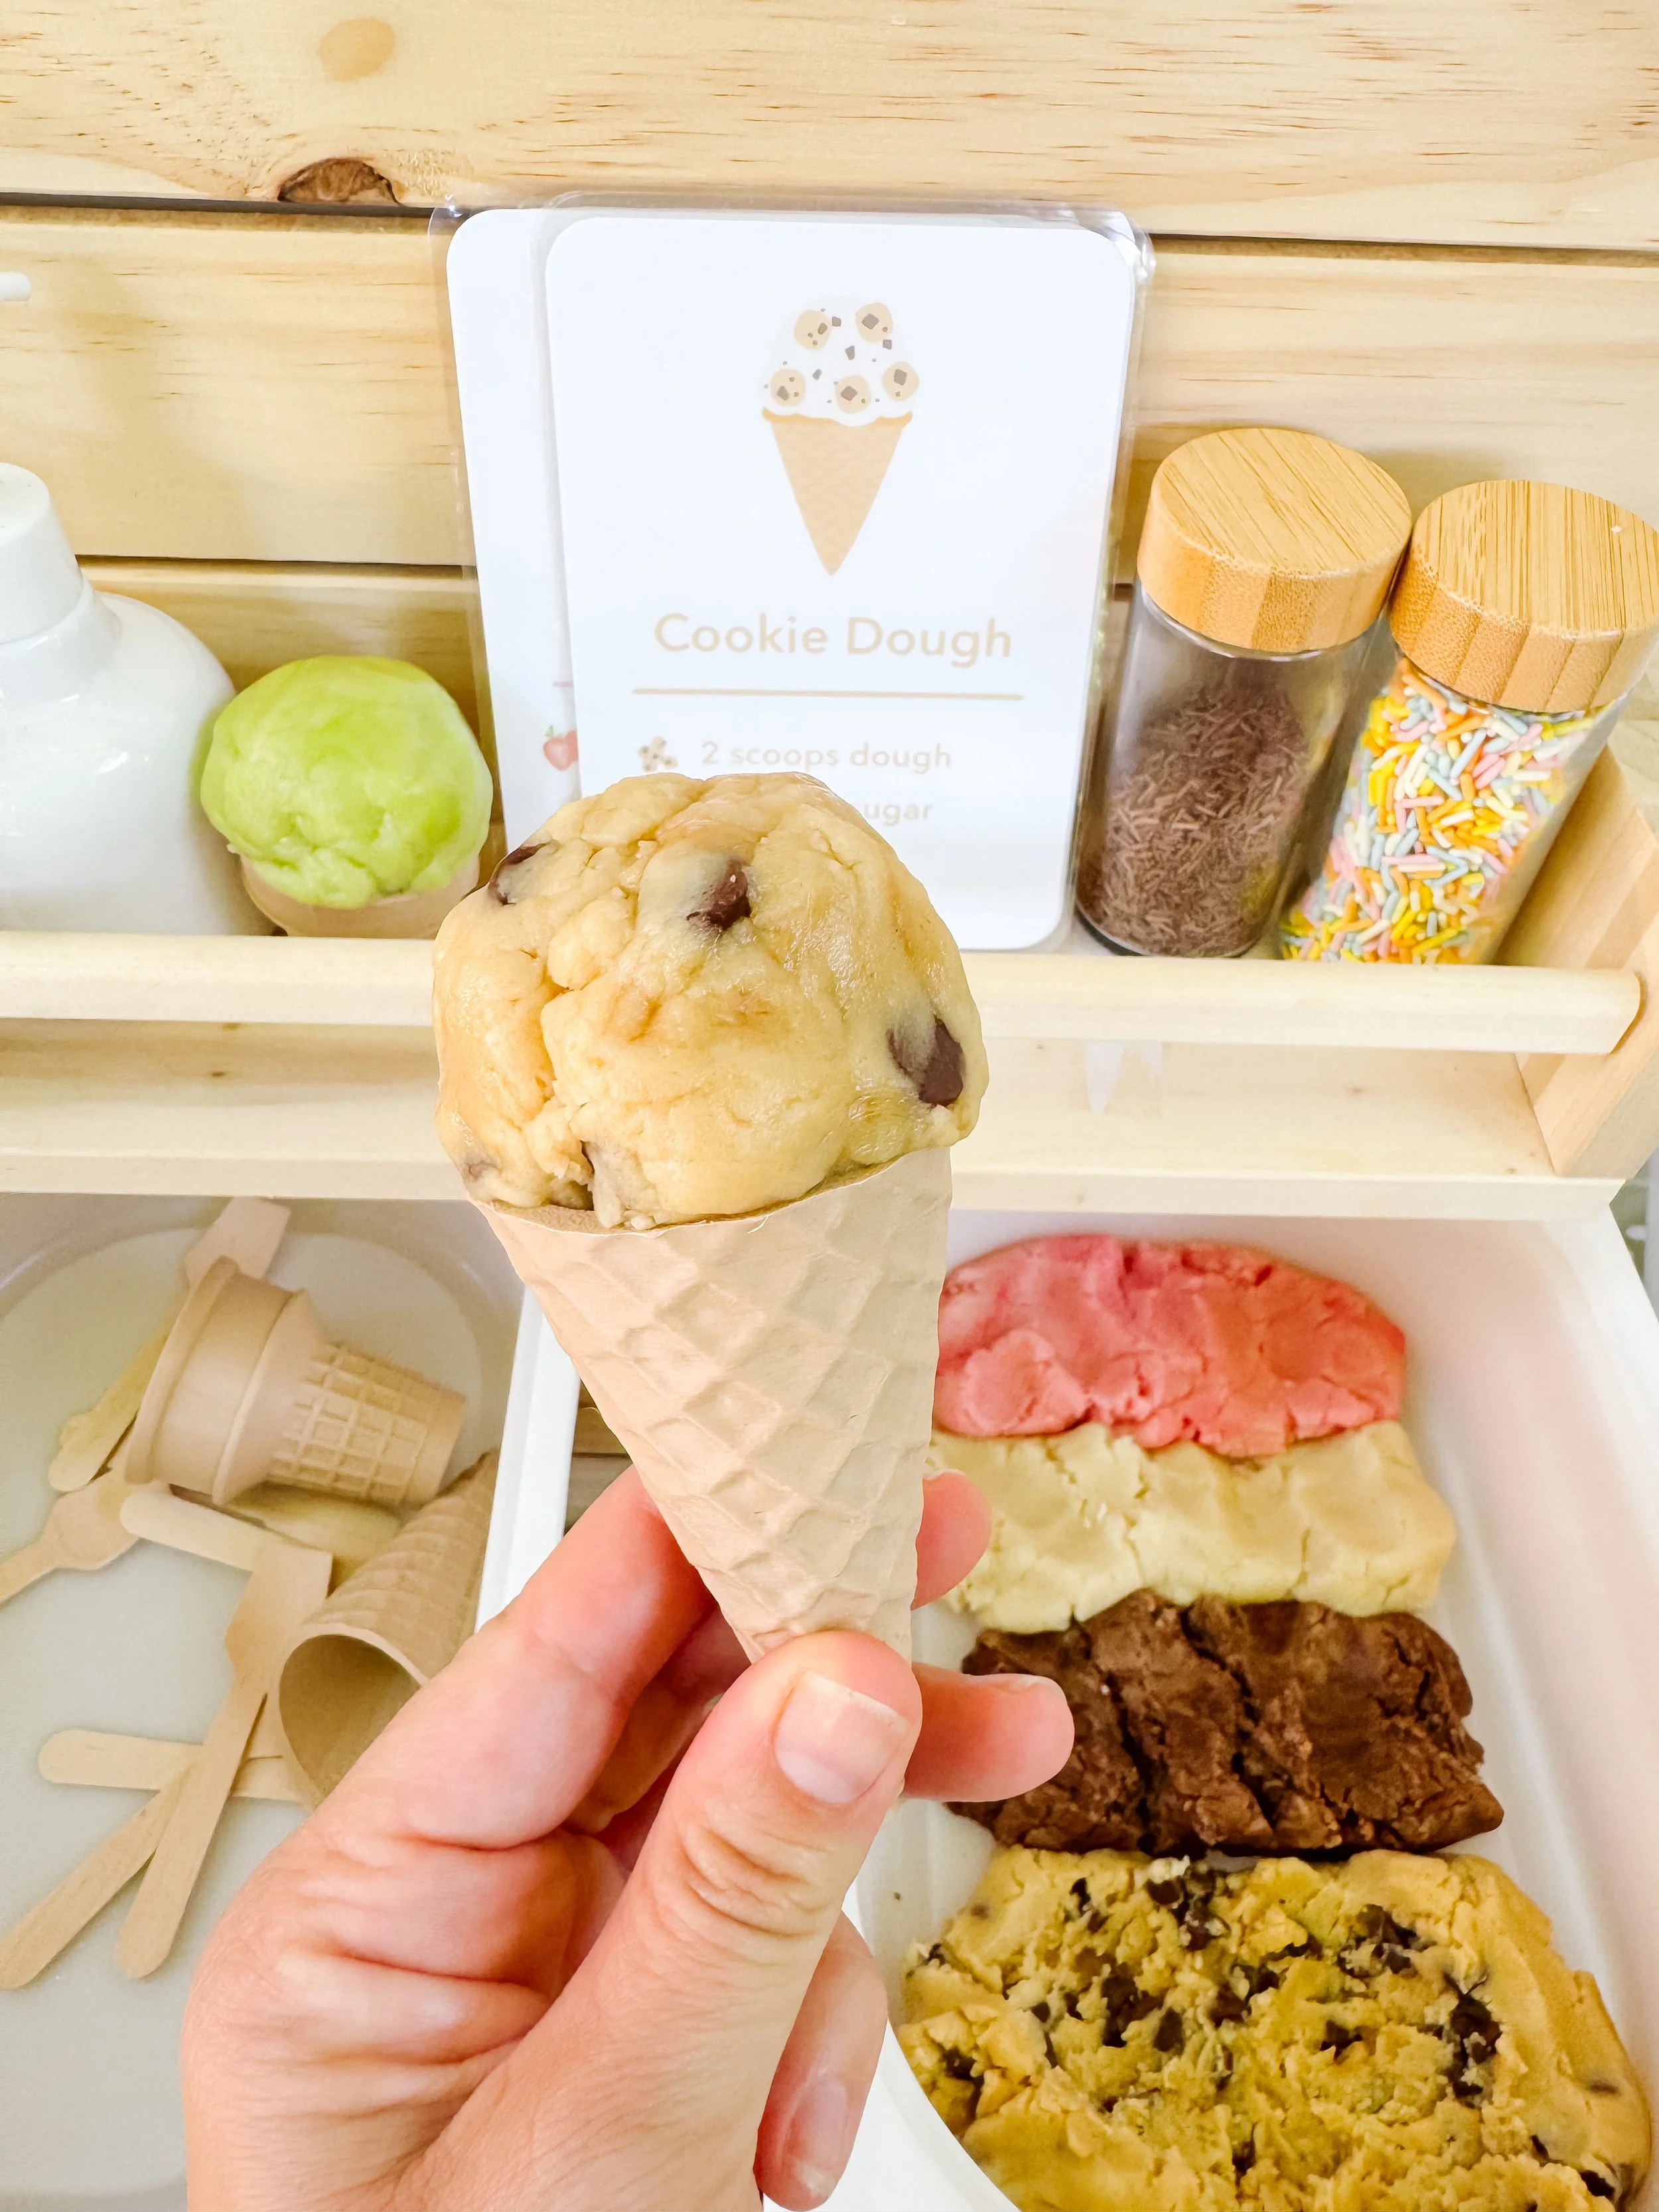
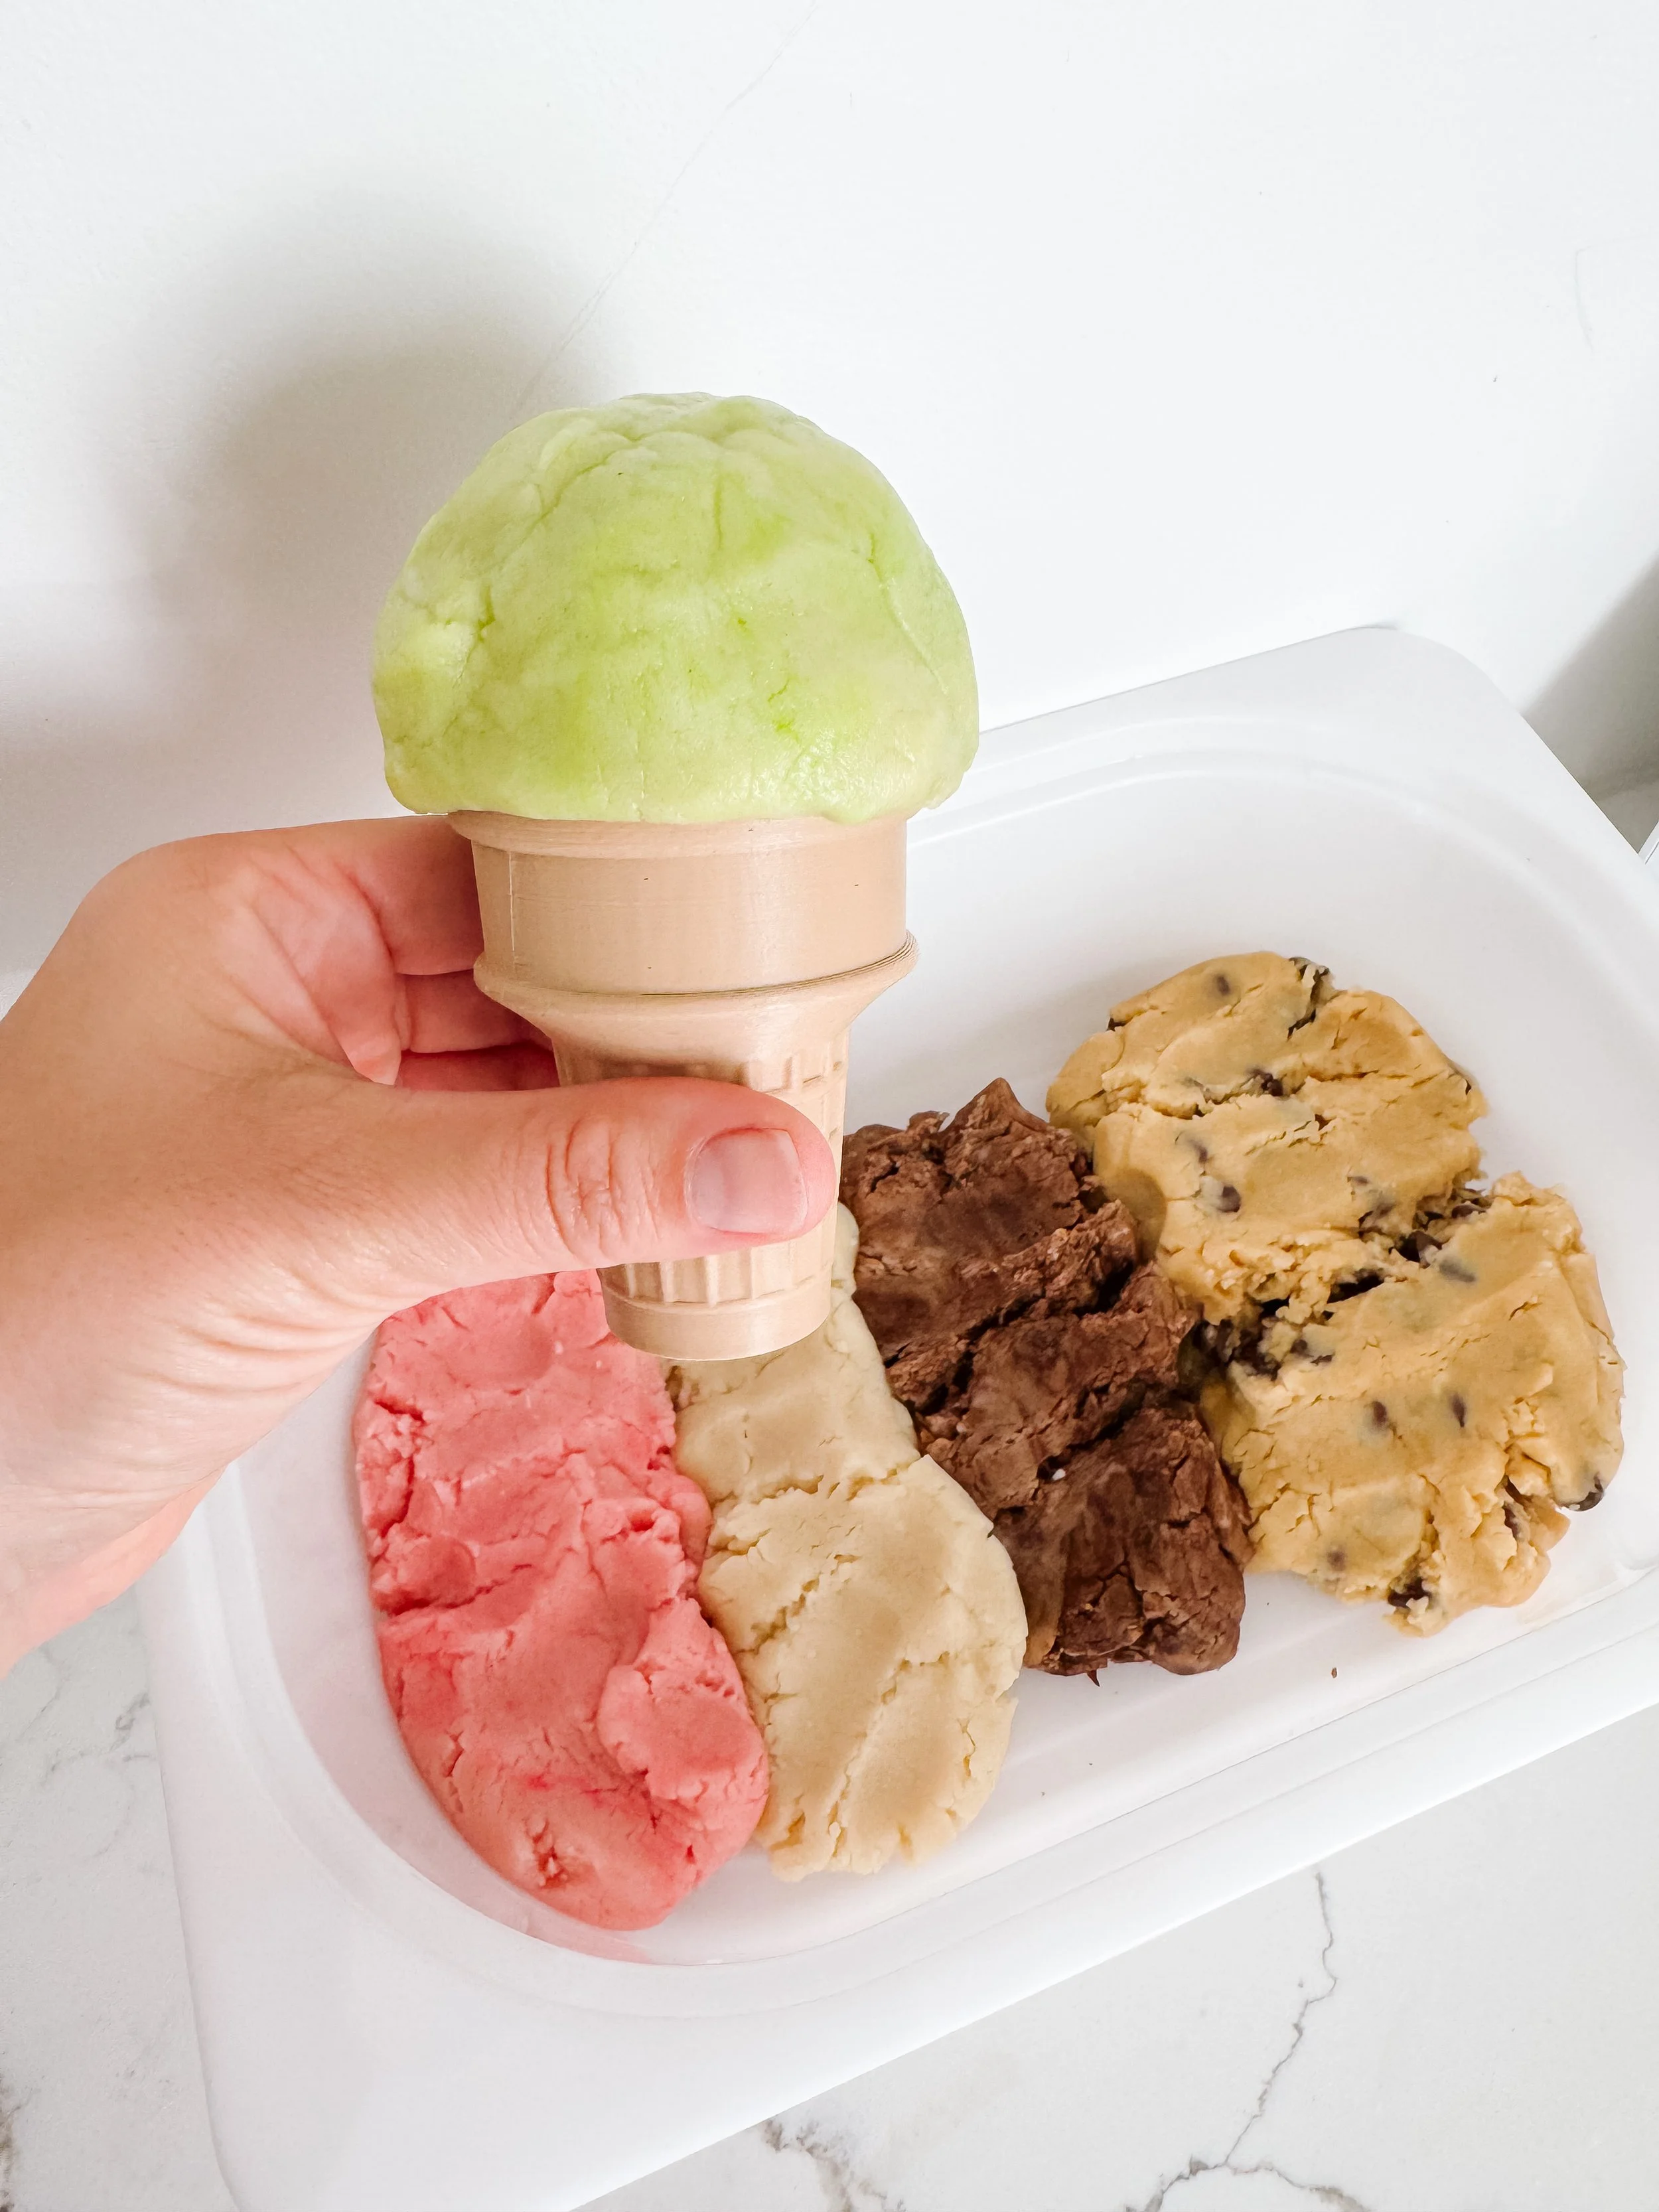
Colorful ice cream play dough flavors arranged in a bin for mud kitchen play.
Step 1

Make the ice cream dough

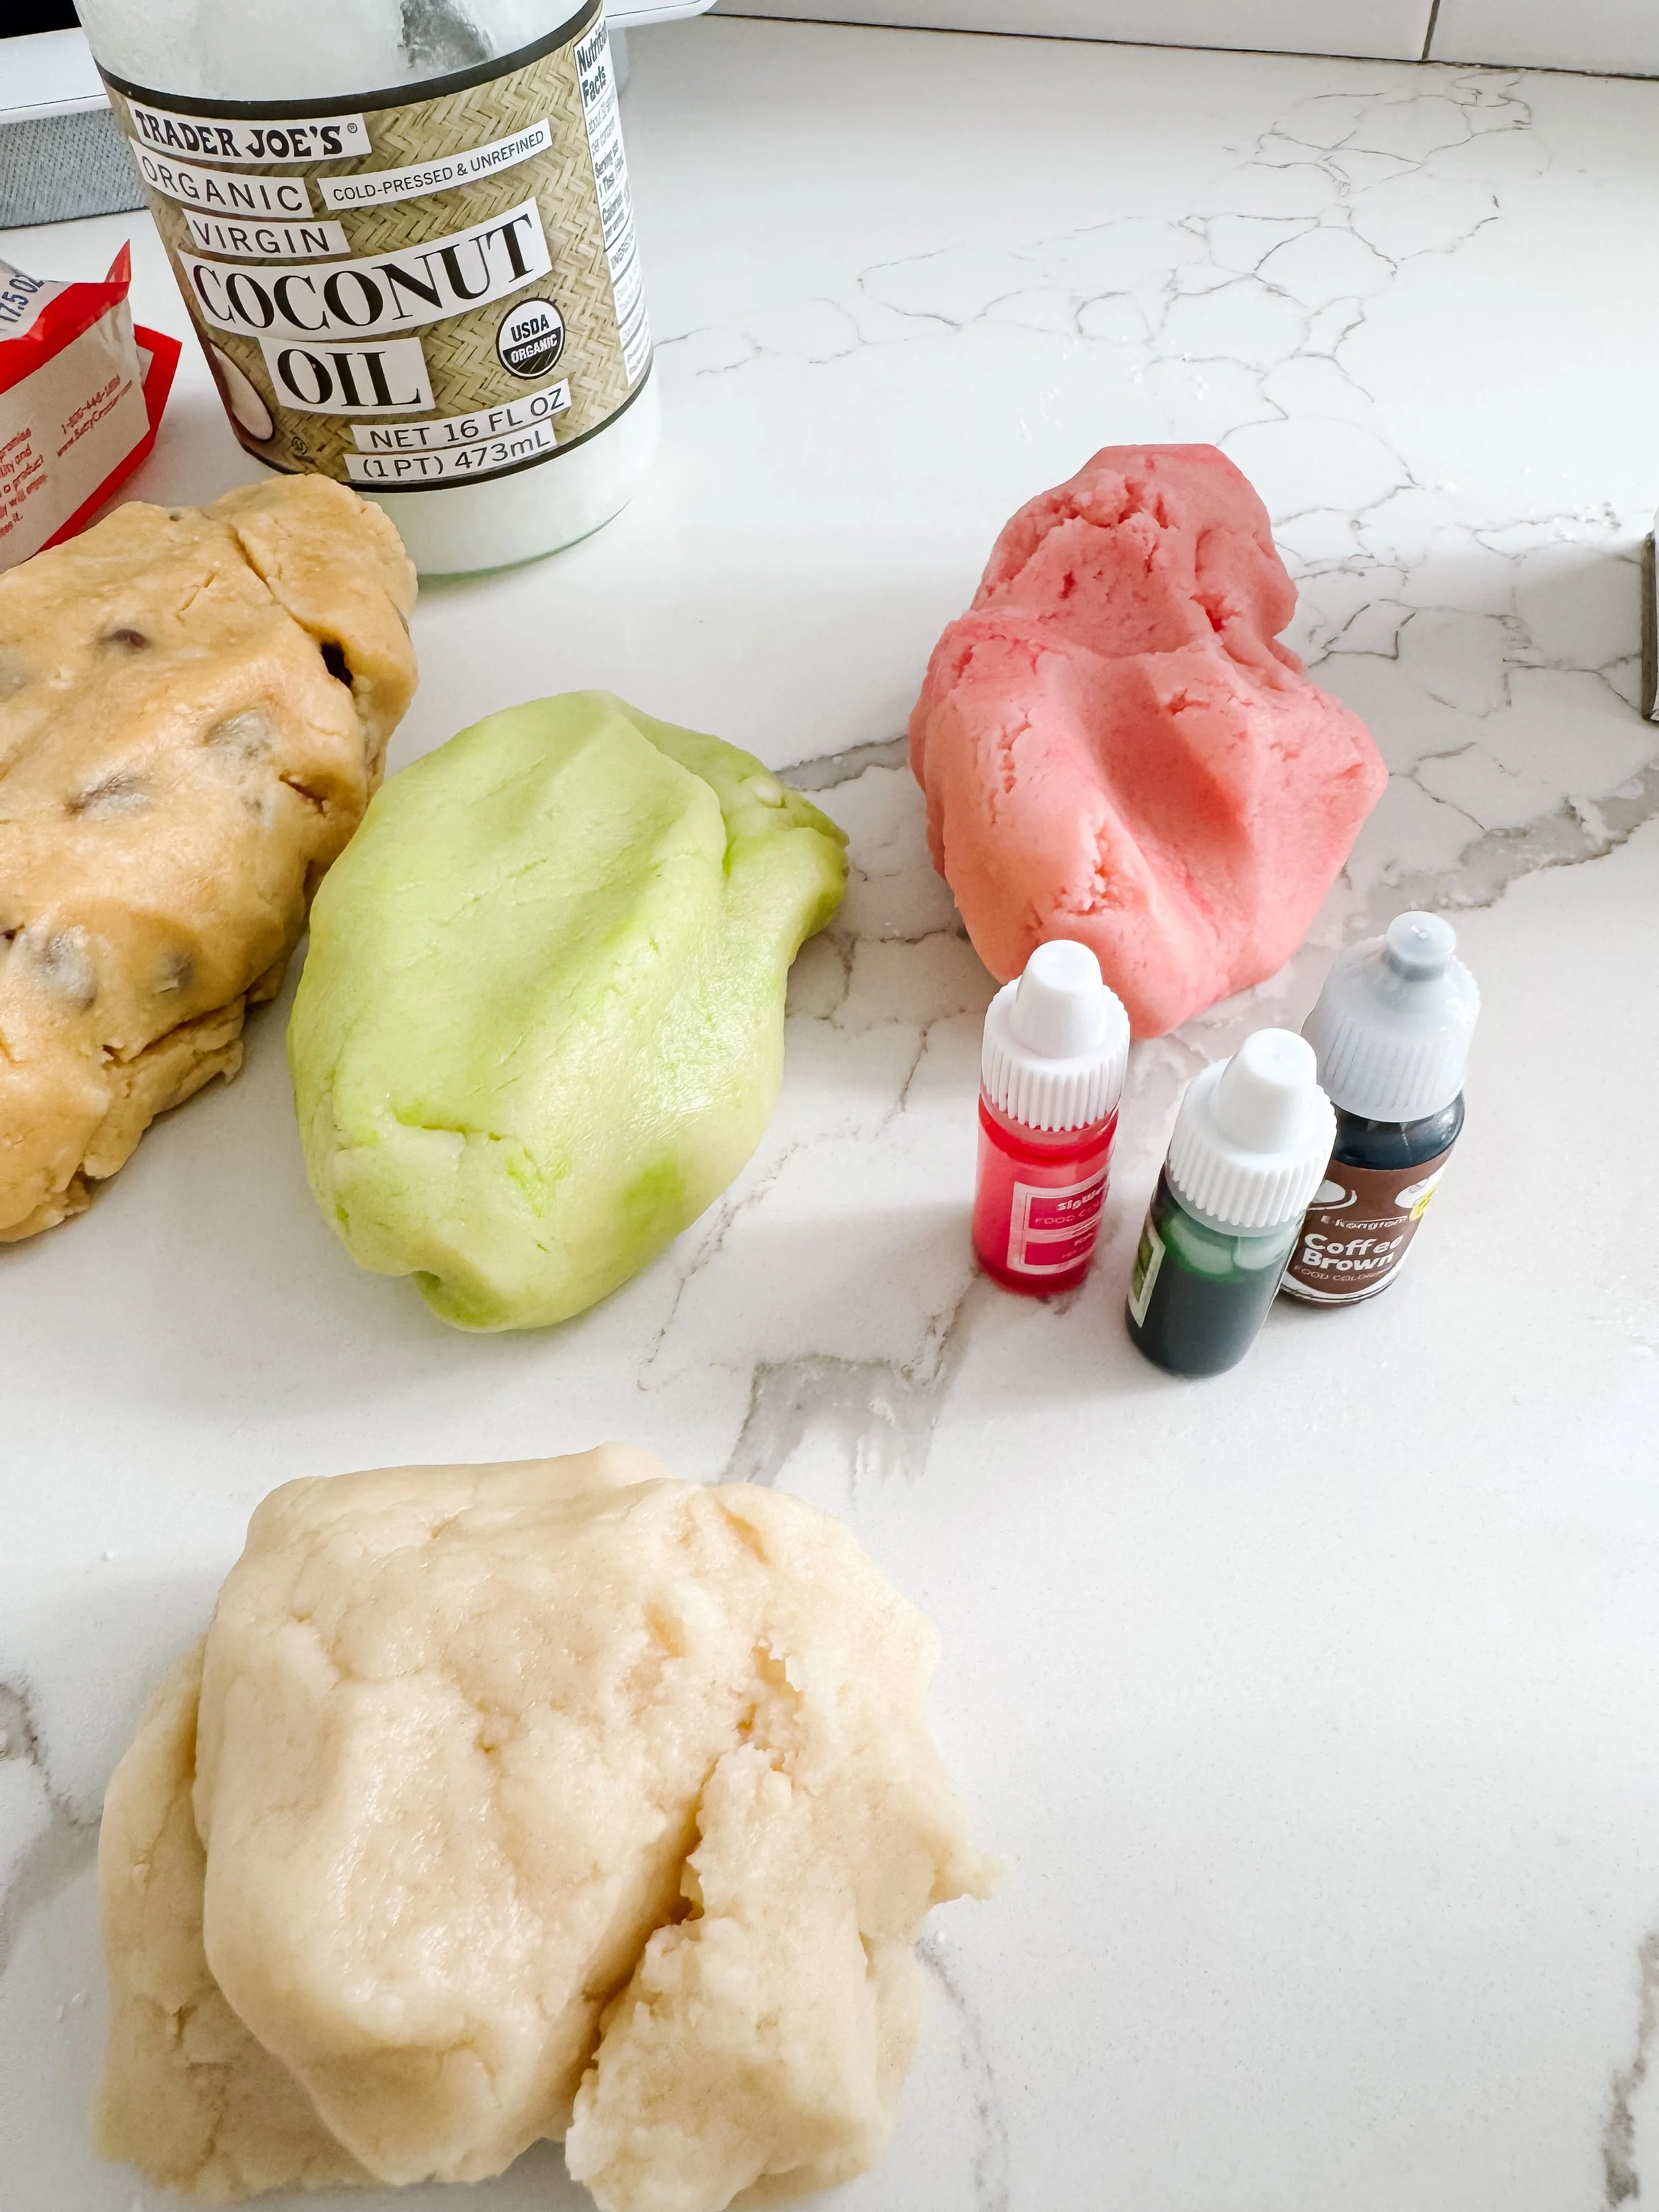
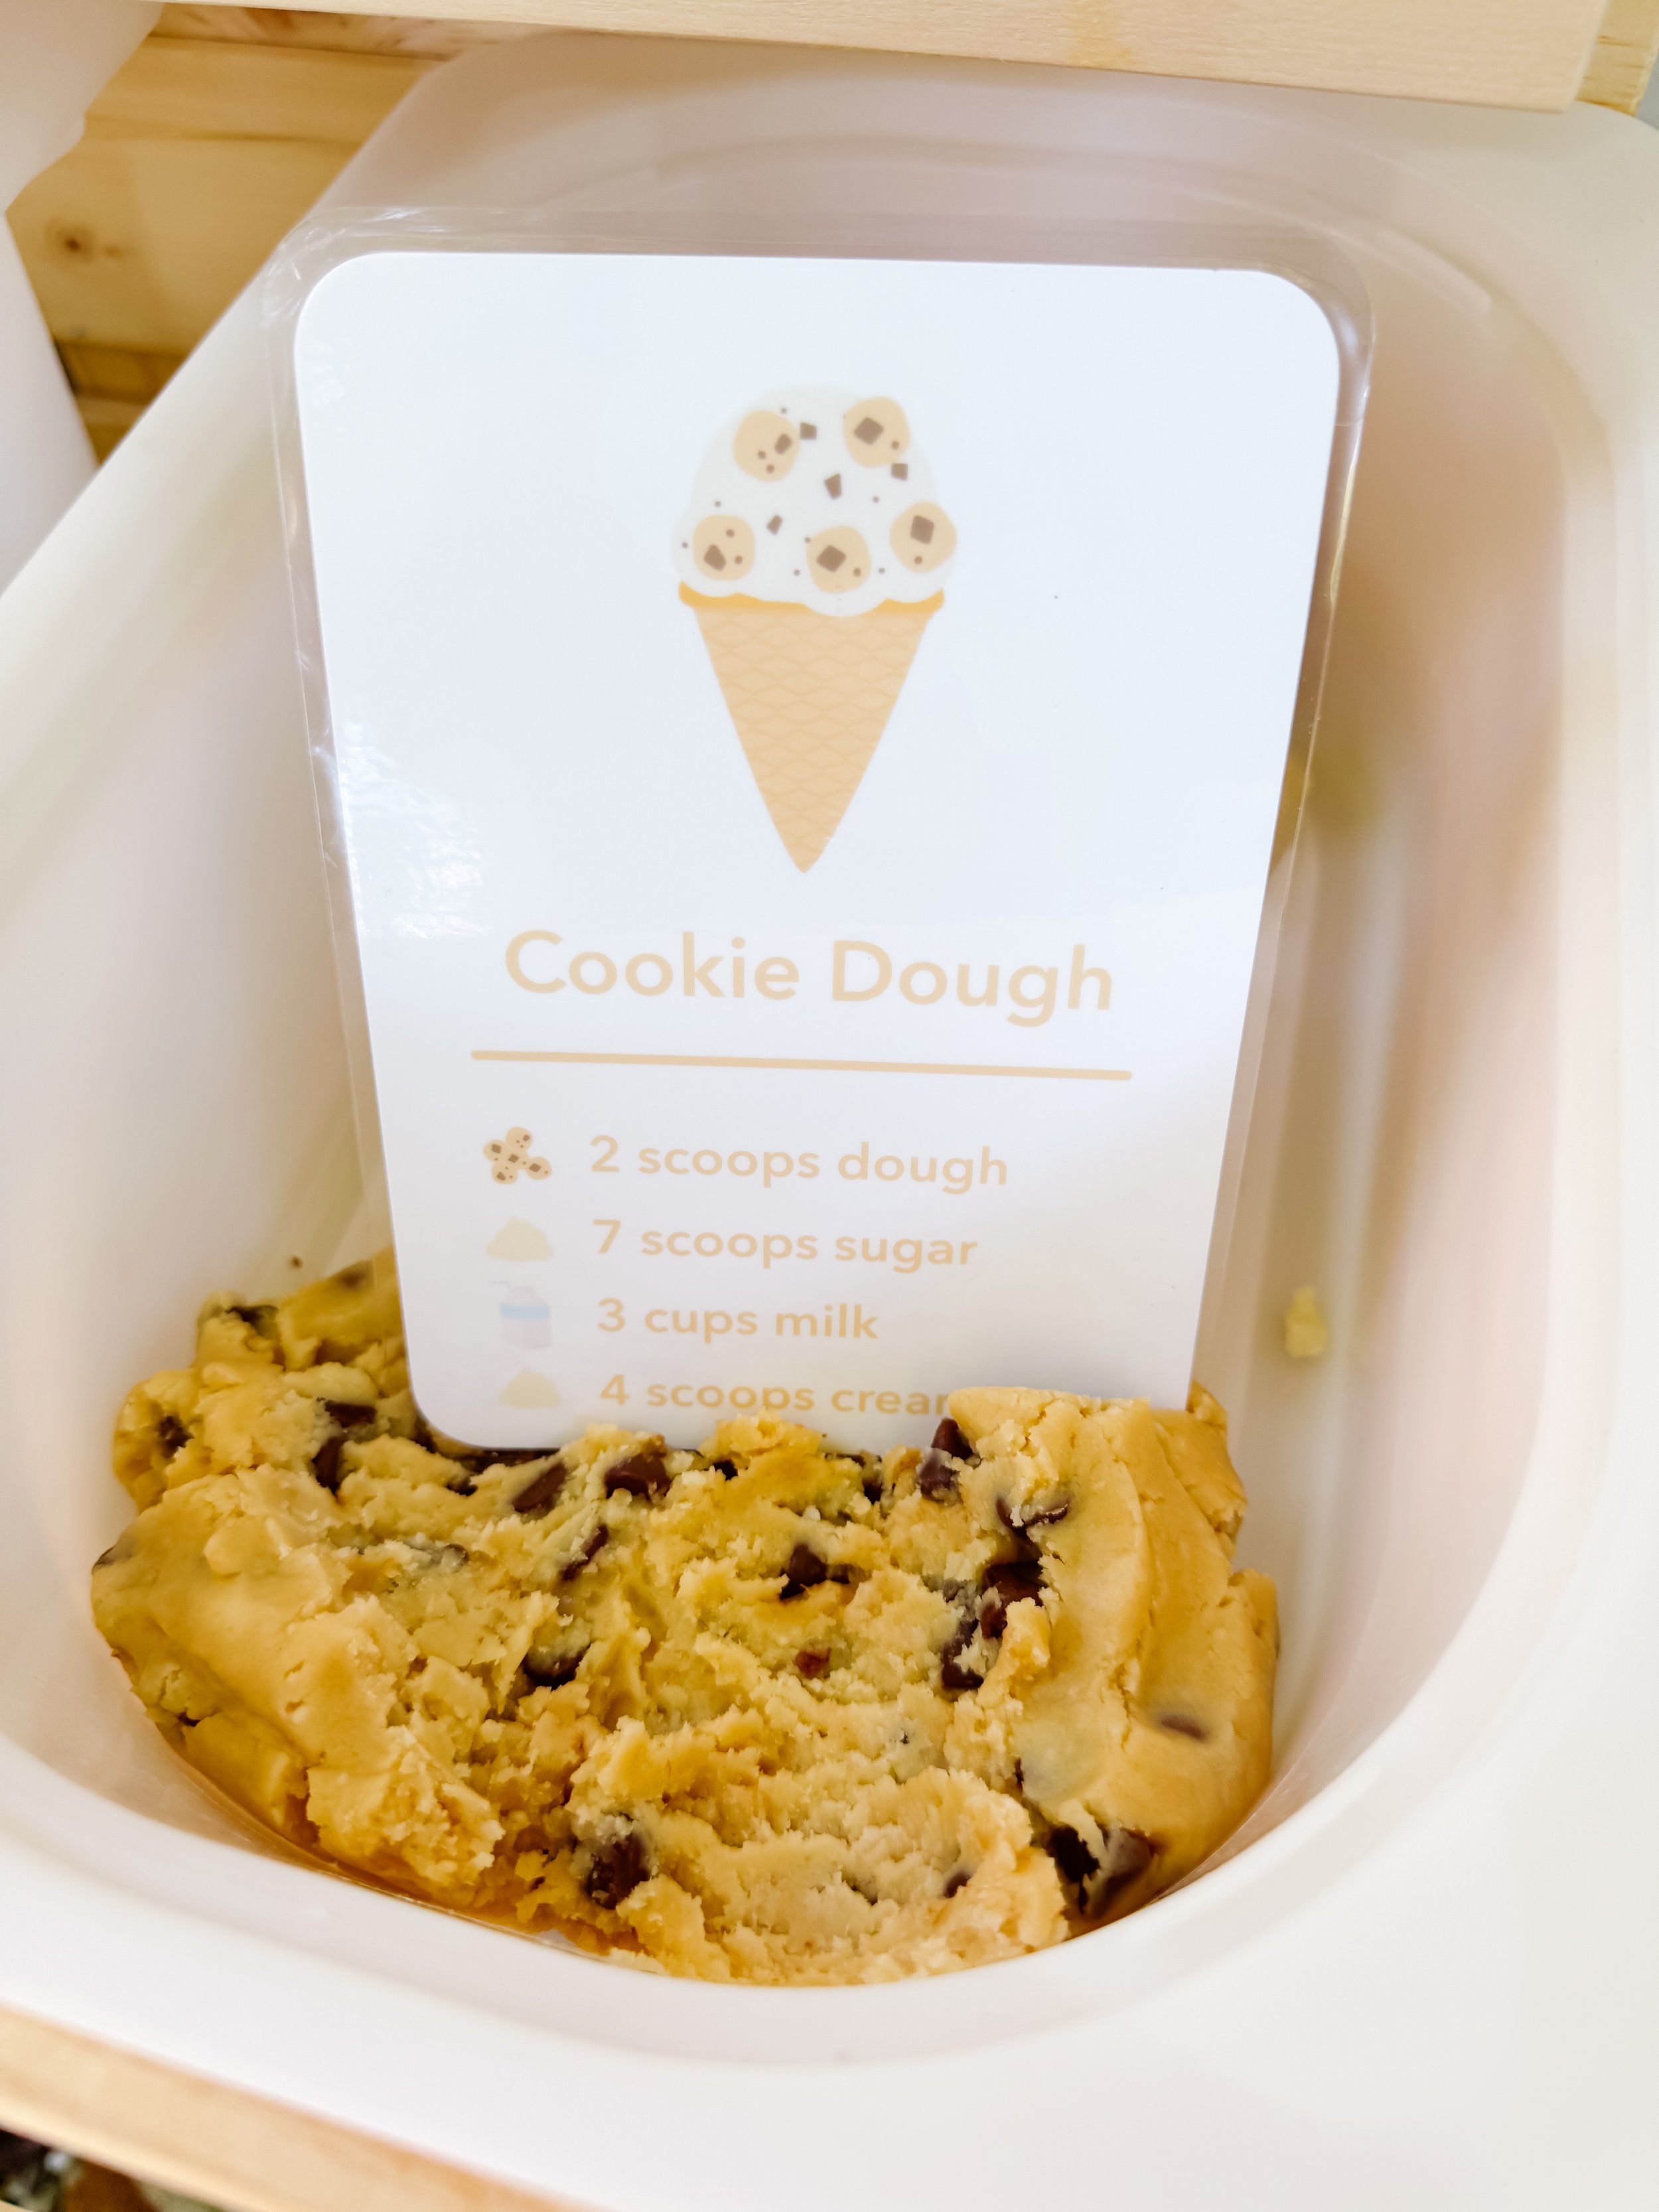
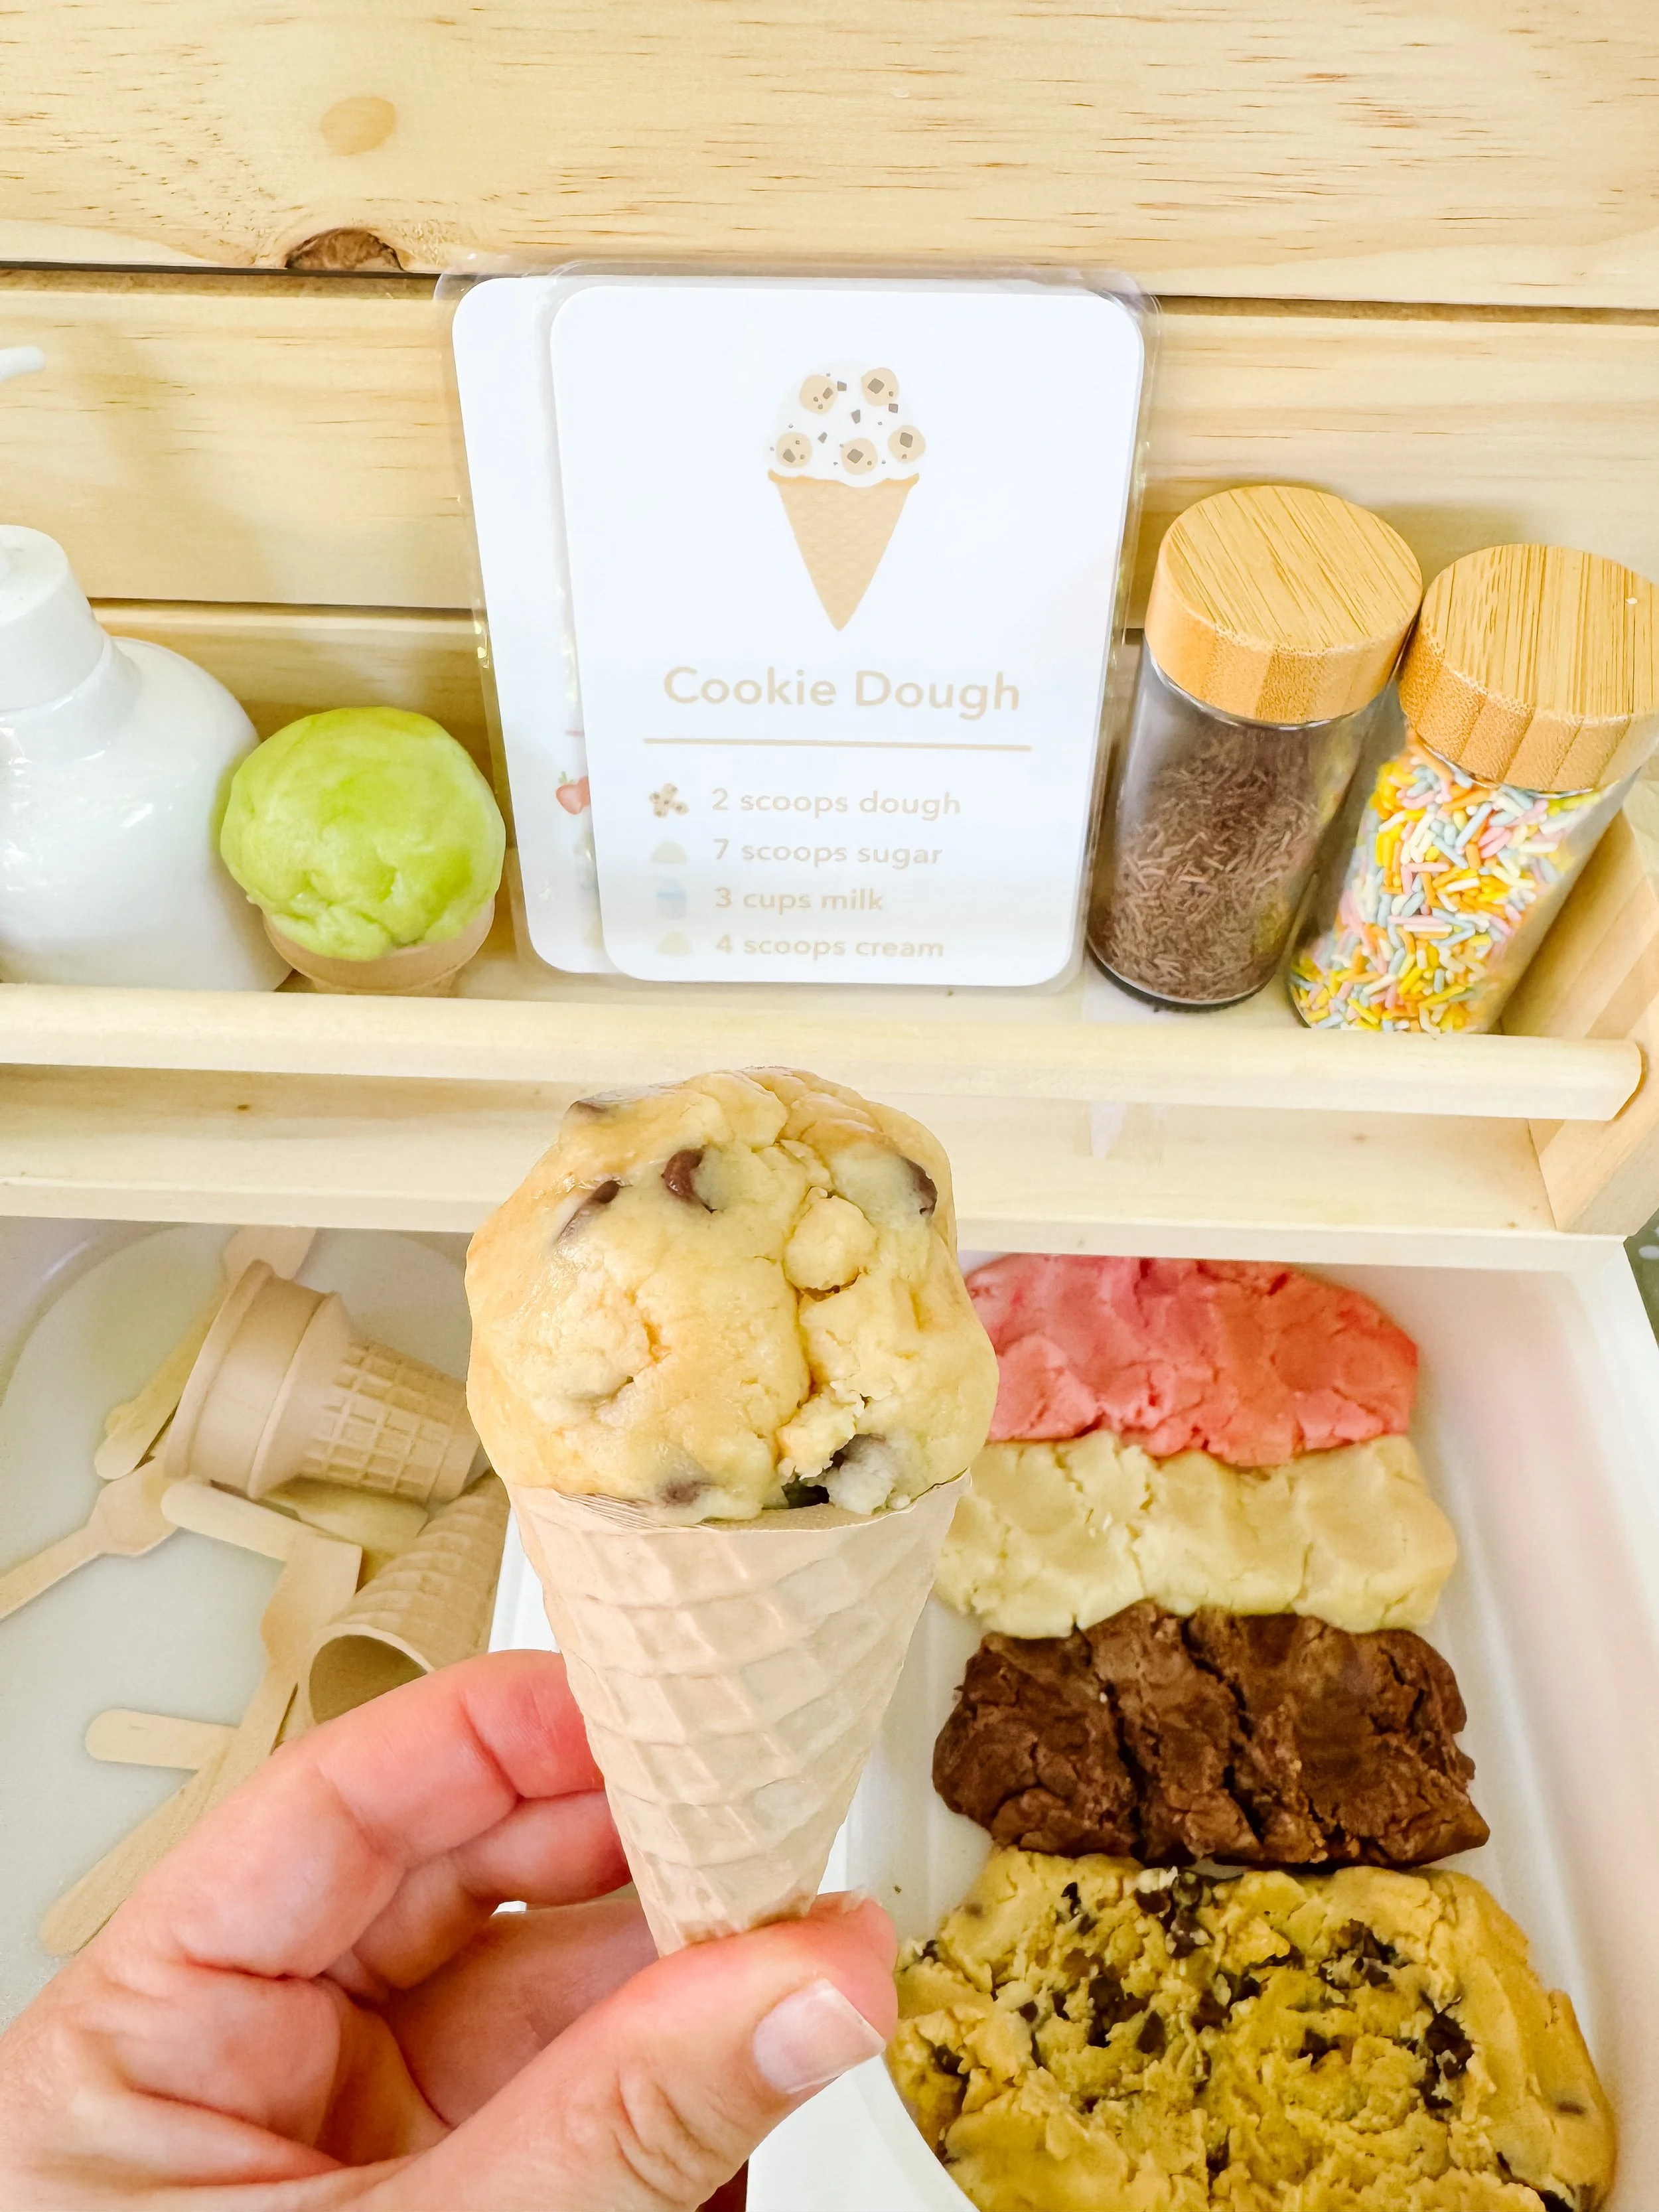
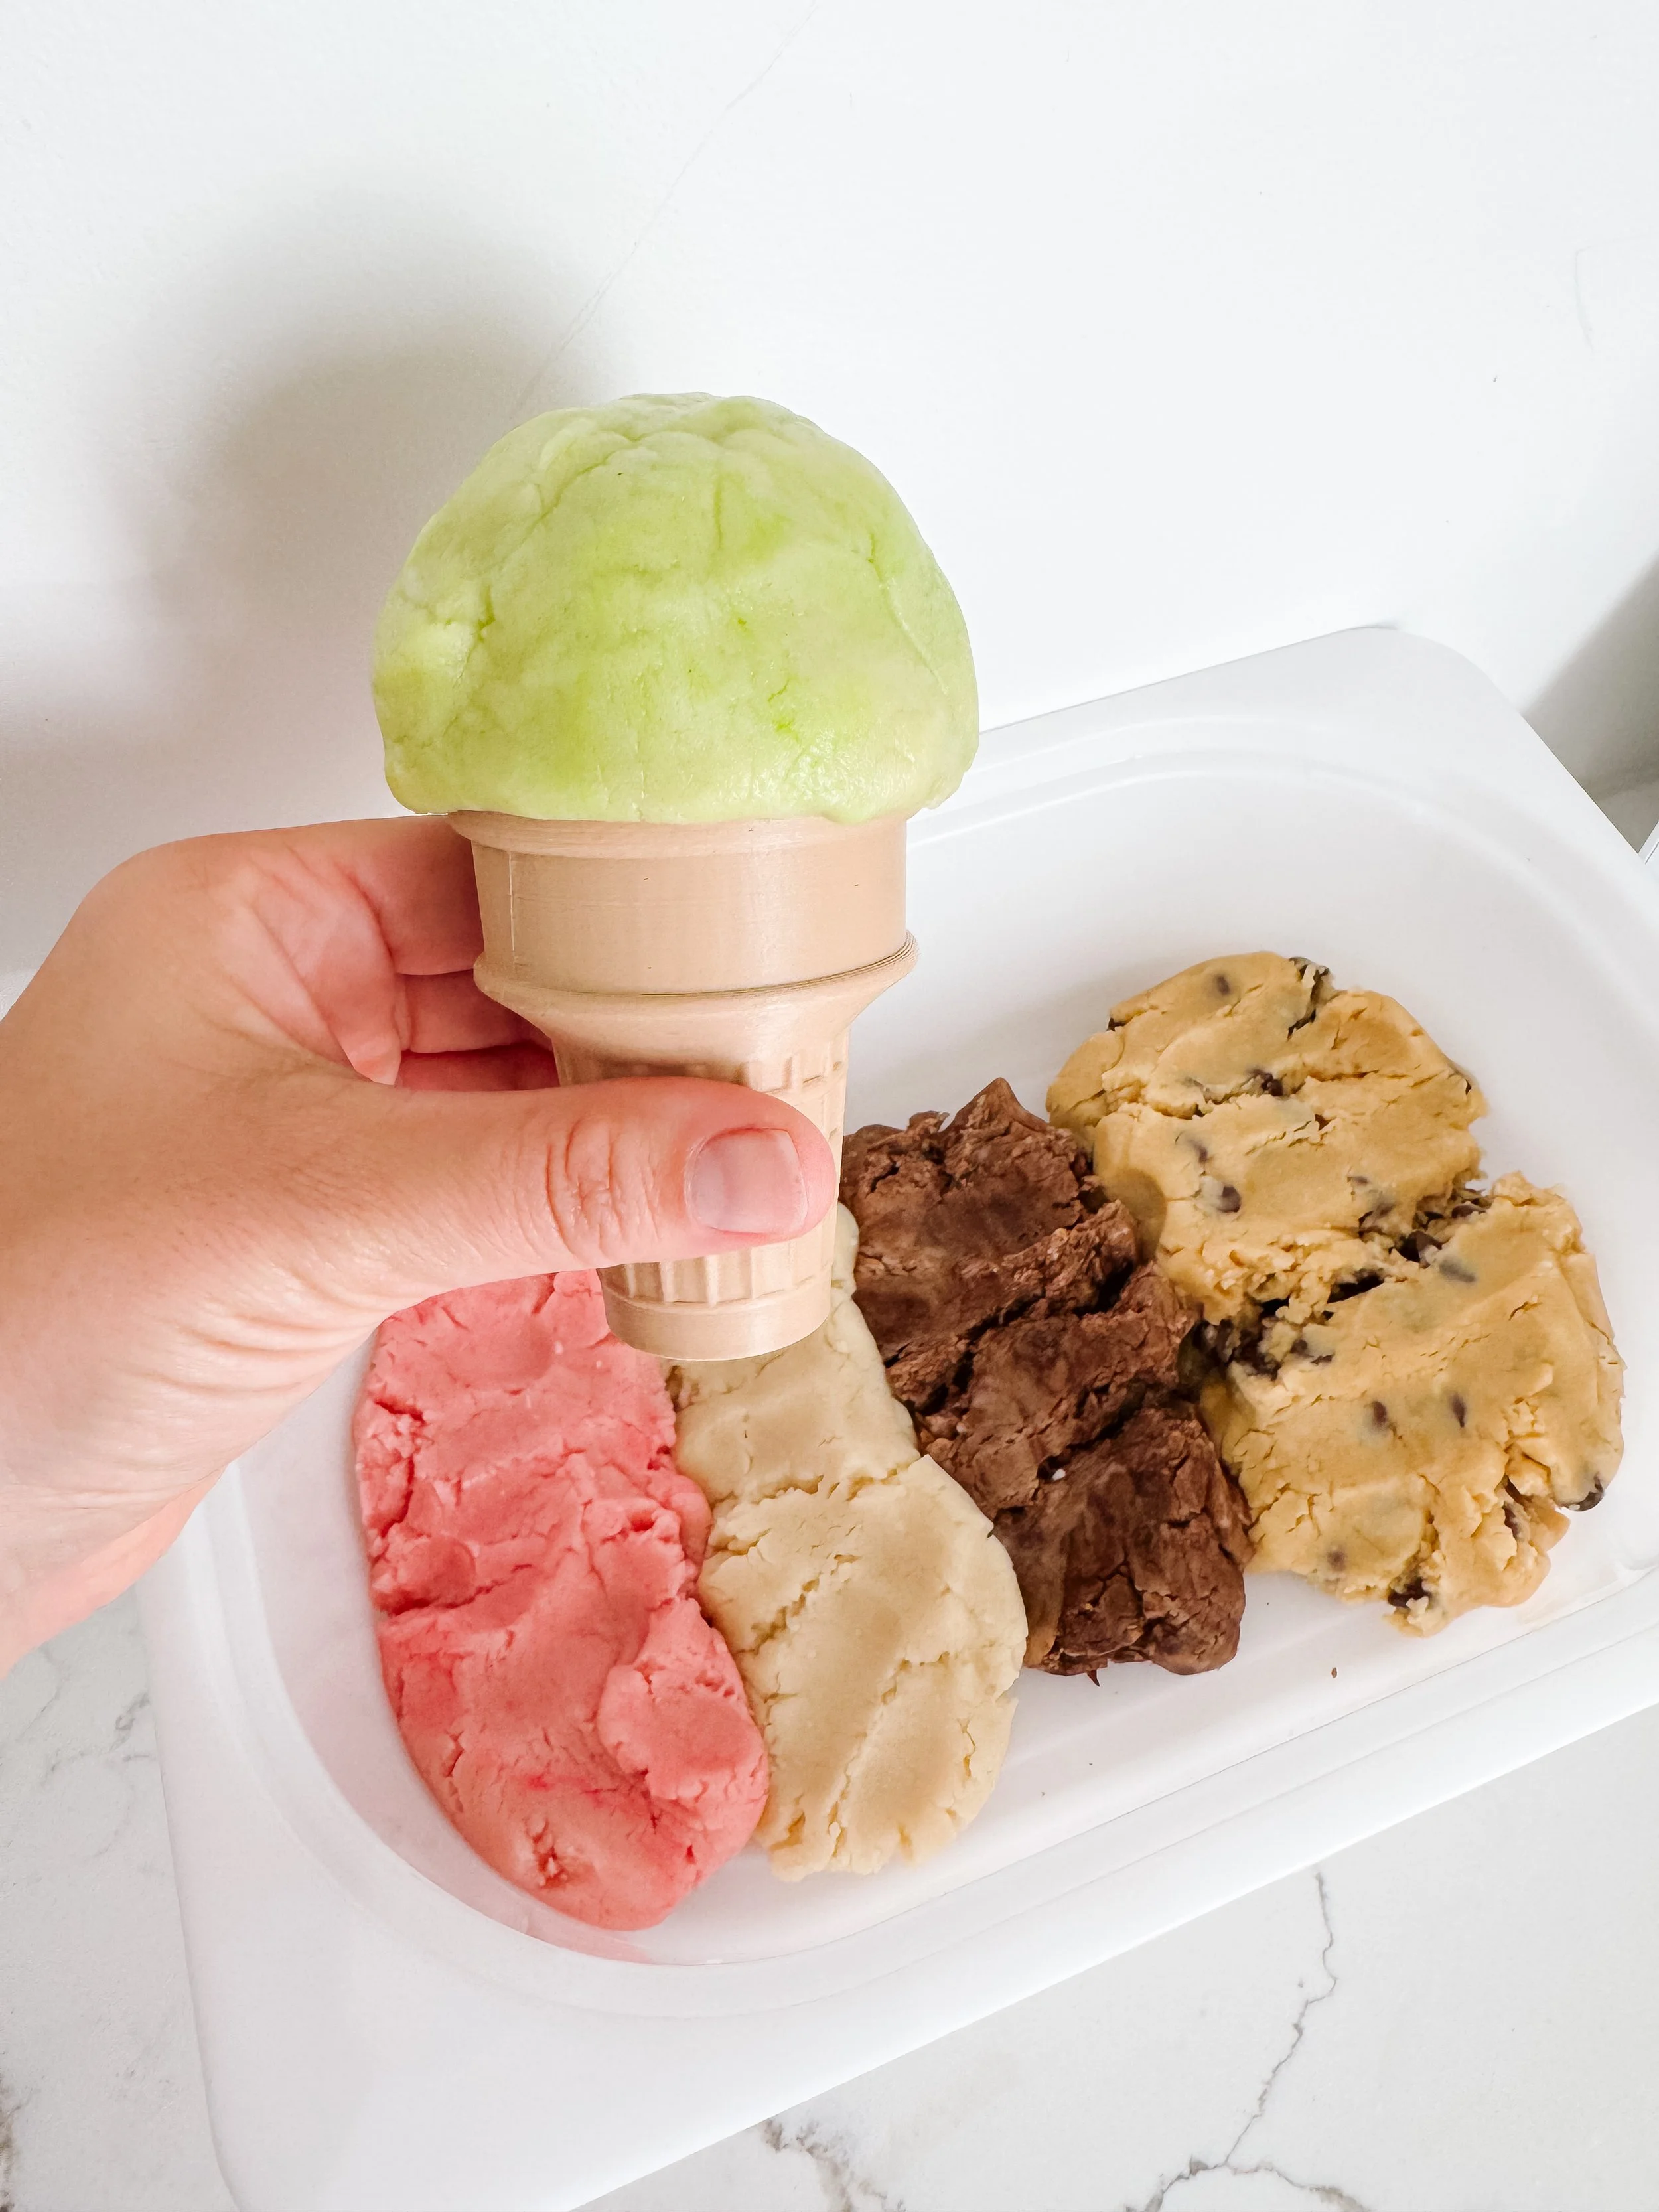
Start by preparing soft, scoopable ice cream play dough in a few different colors or flavors. We used cookie dough, chocolate, strawberry, vanilla, and mint-inspired colors.

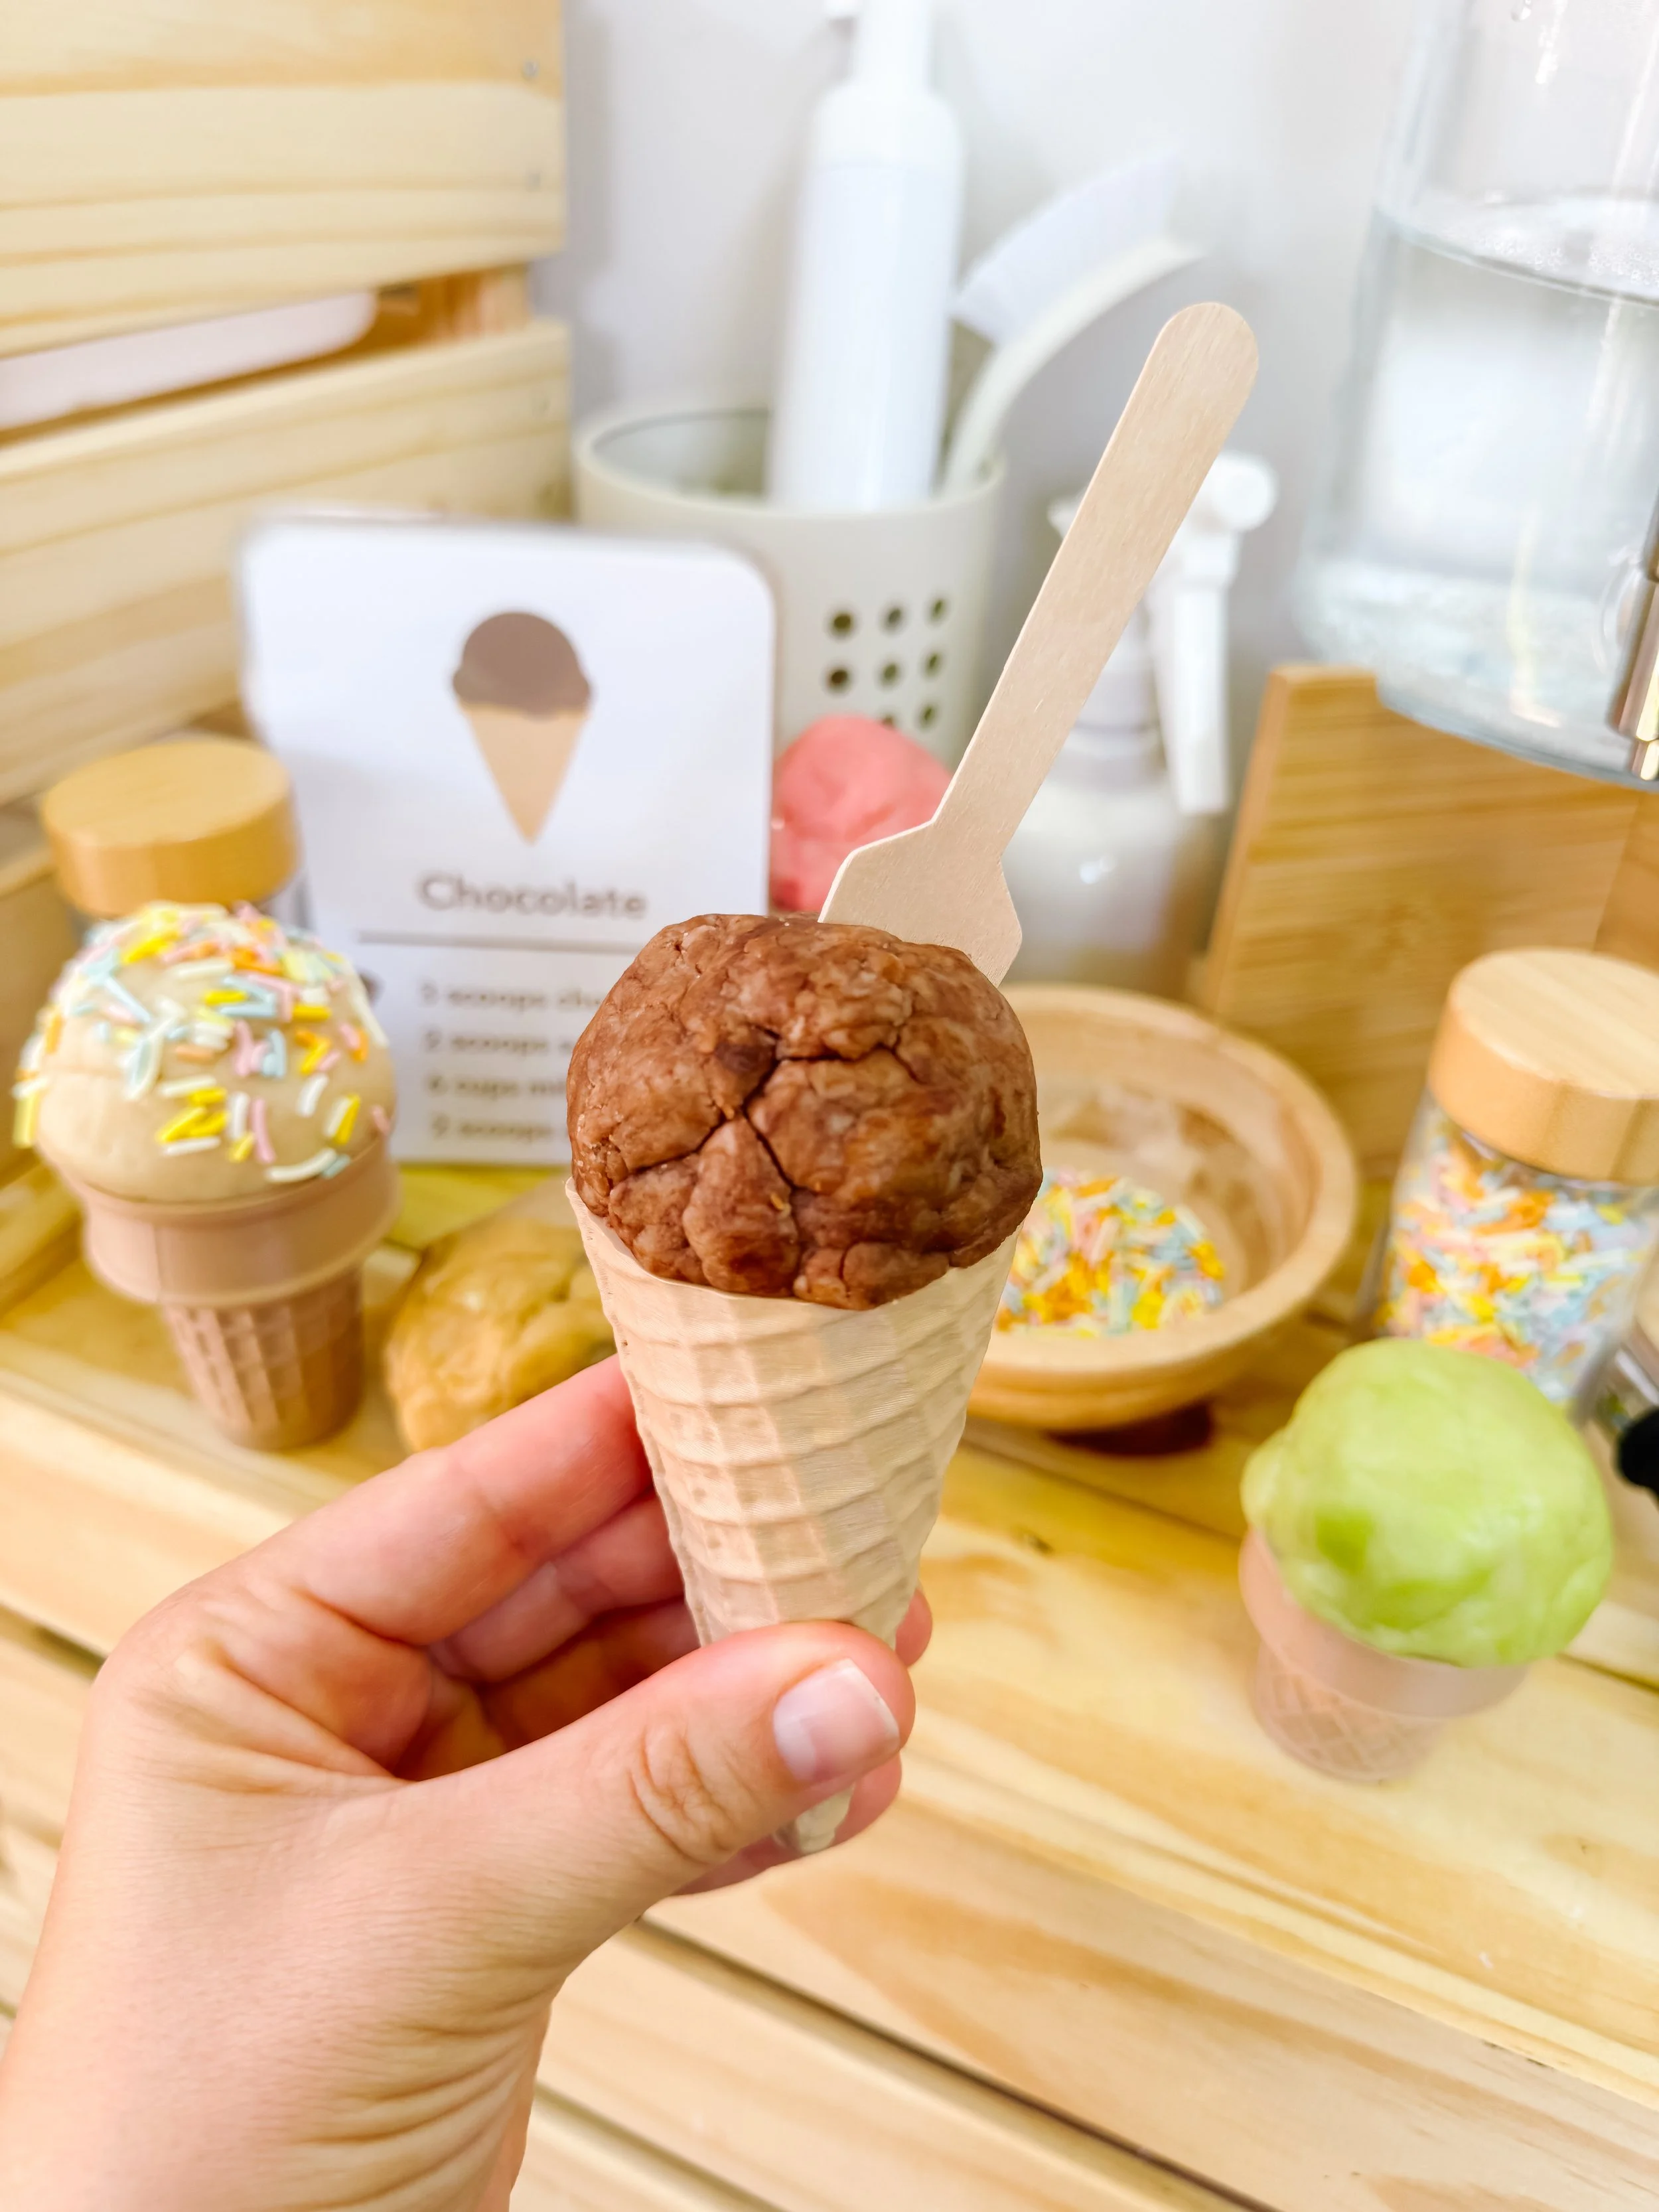
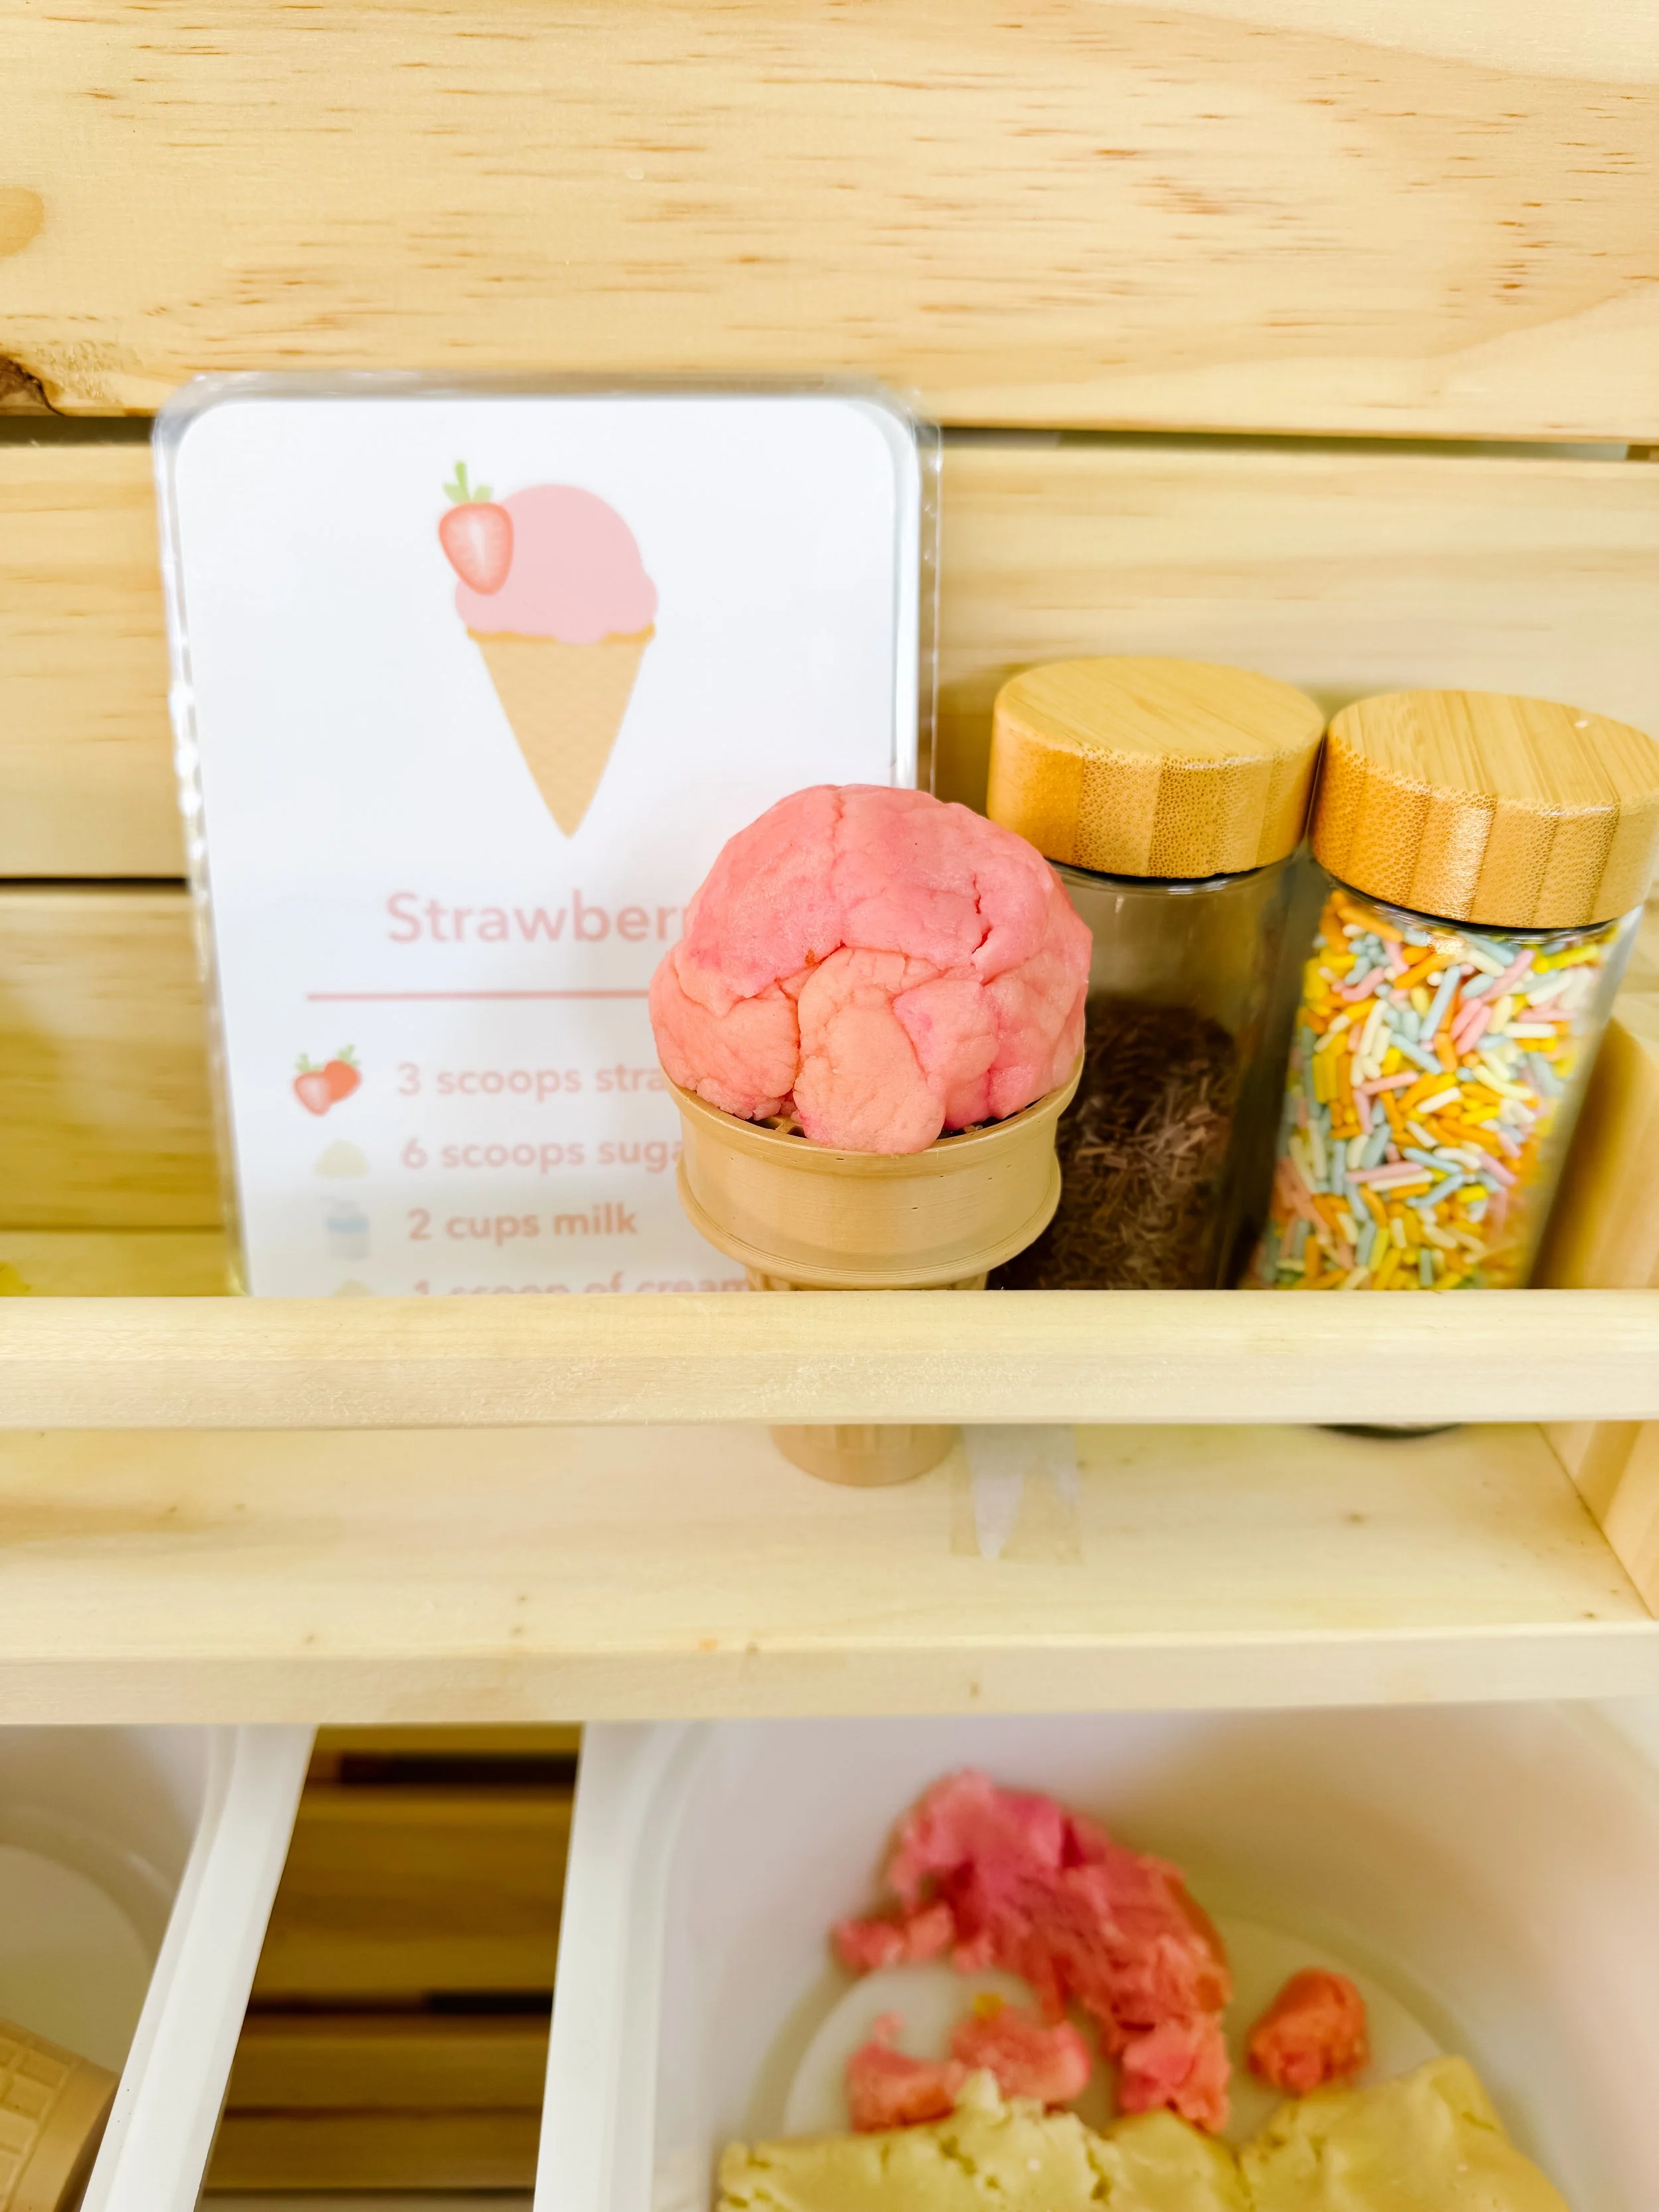
Pretend chocolate ice cream cone in a mud kitchen setup with recipe cards and play accessories.
Step 2

Add cones and scoops

Set out cones, bowls, small spoons, and scoops so kids can build their own pretend ice cream orders. This is great for fine motor practice and imaginative play.

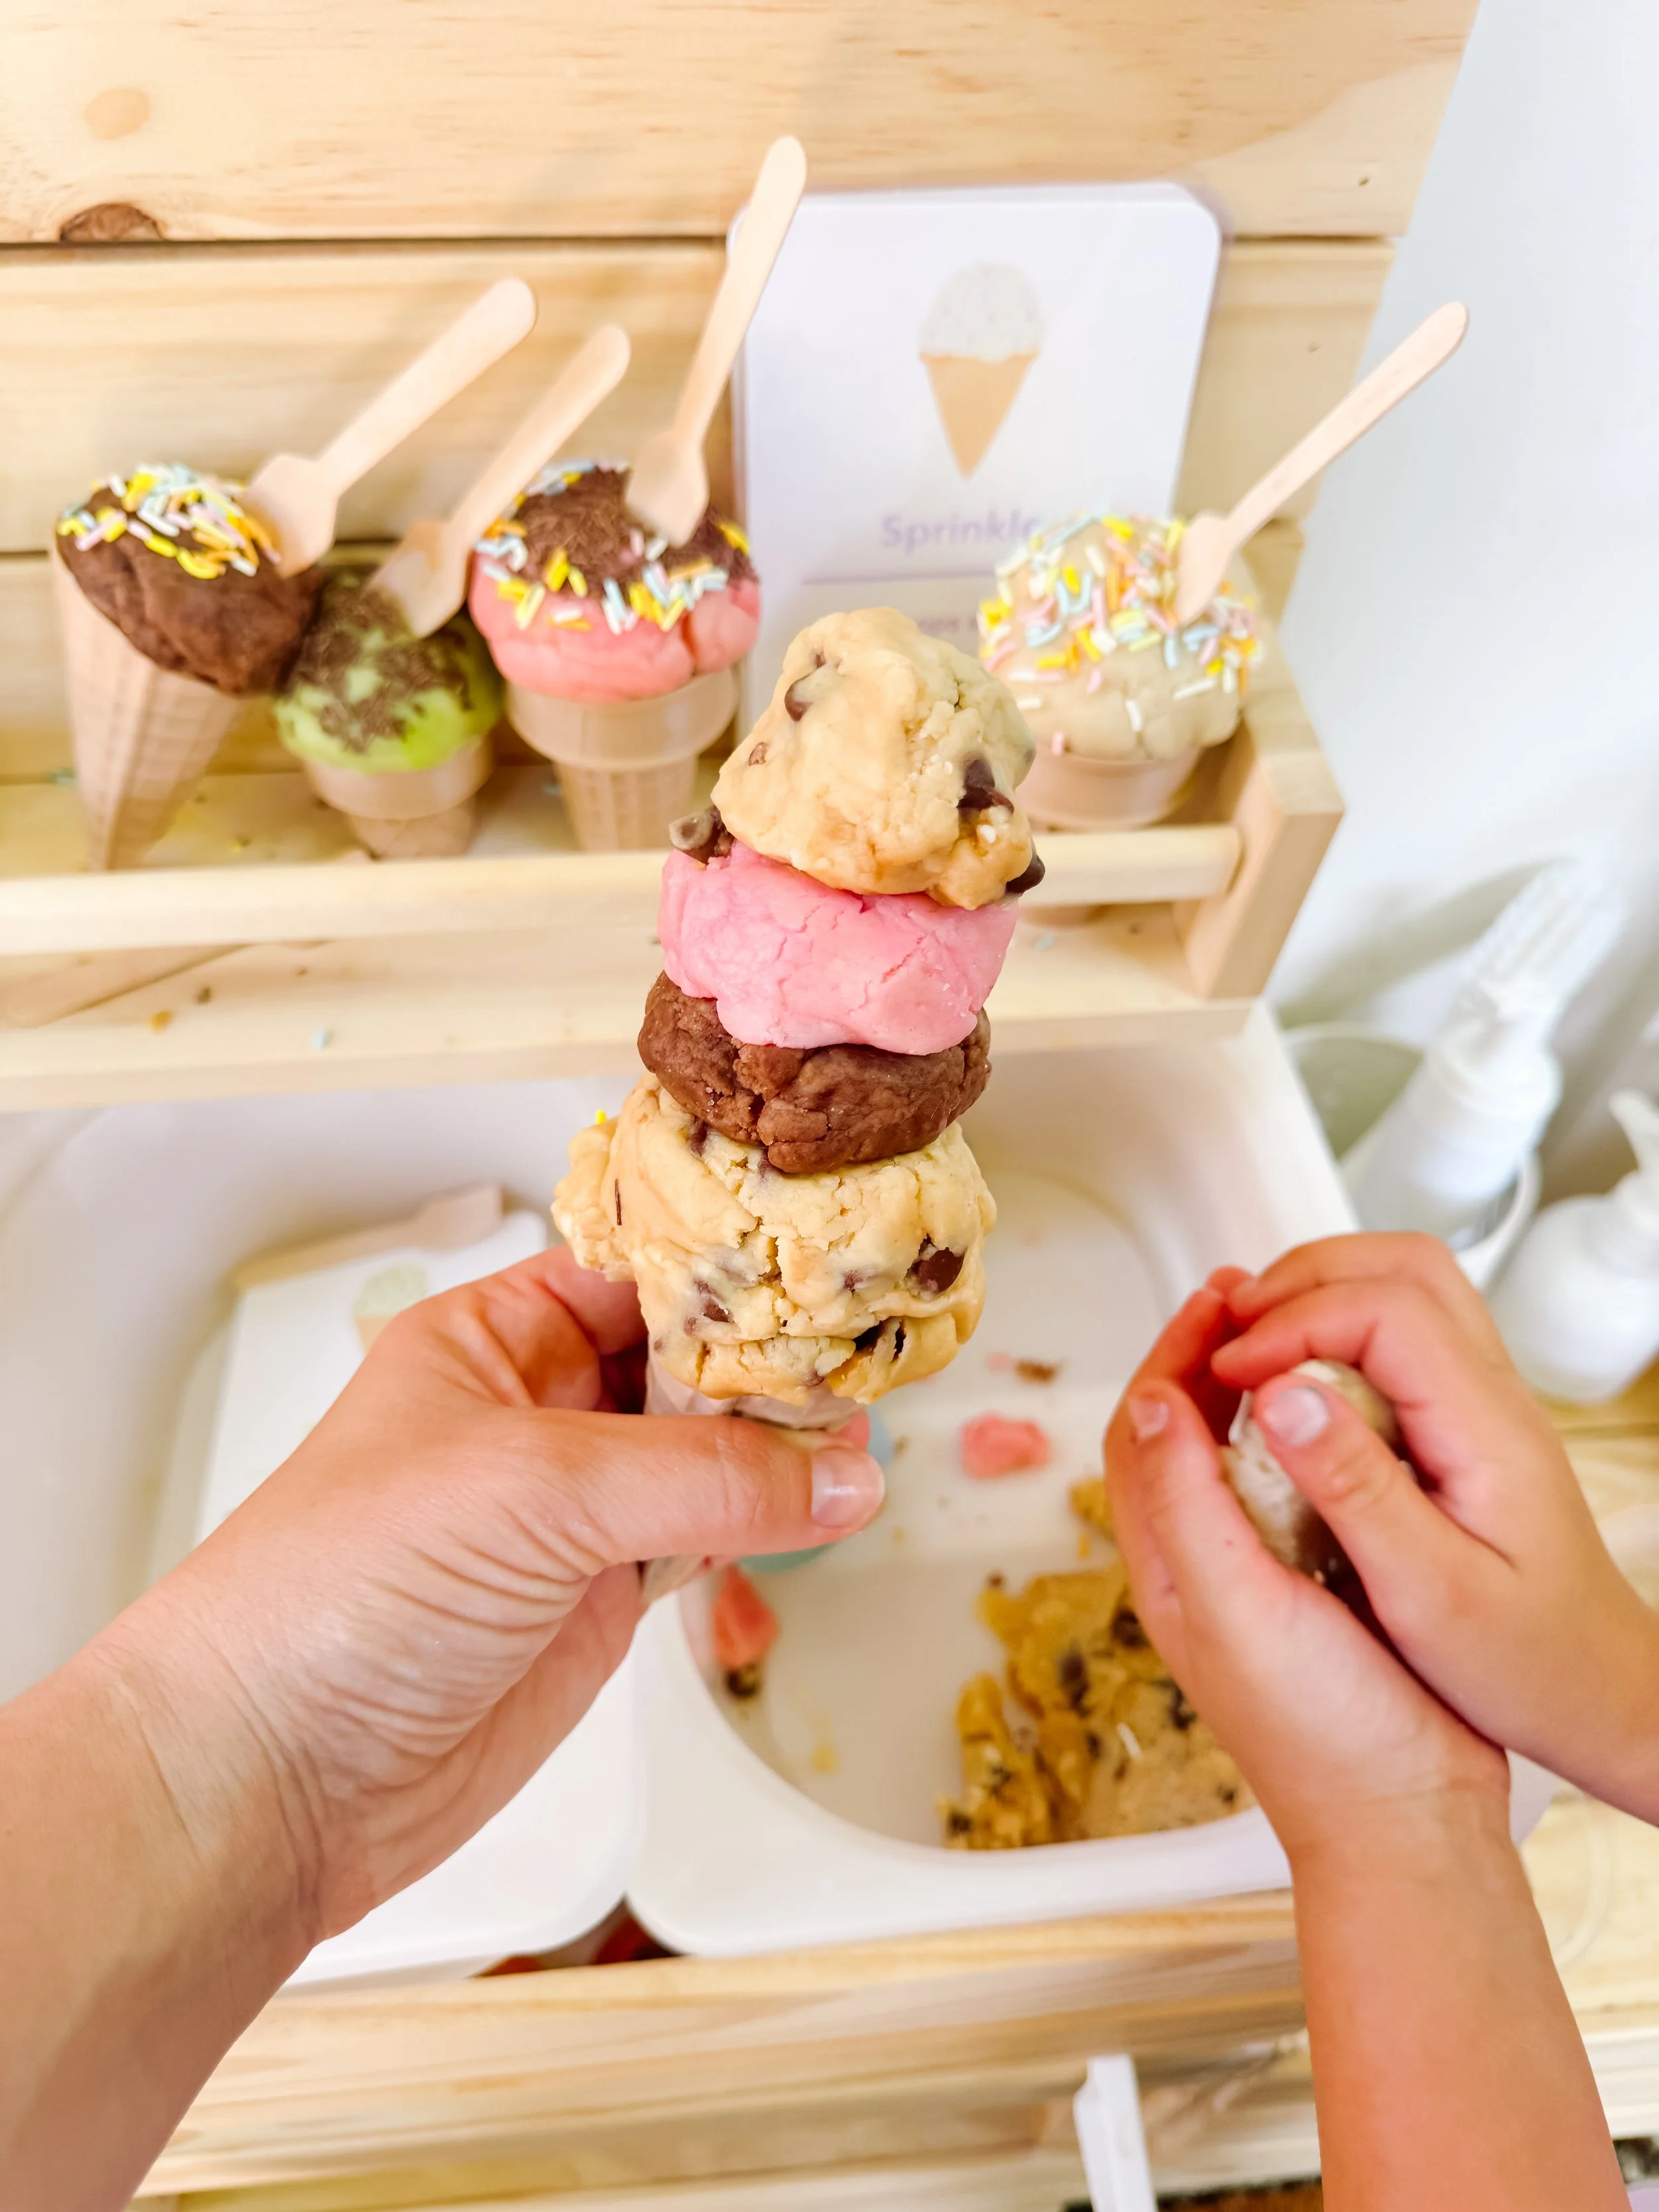
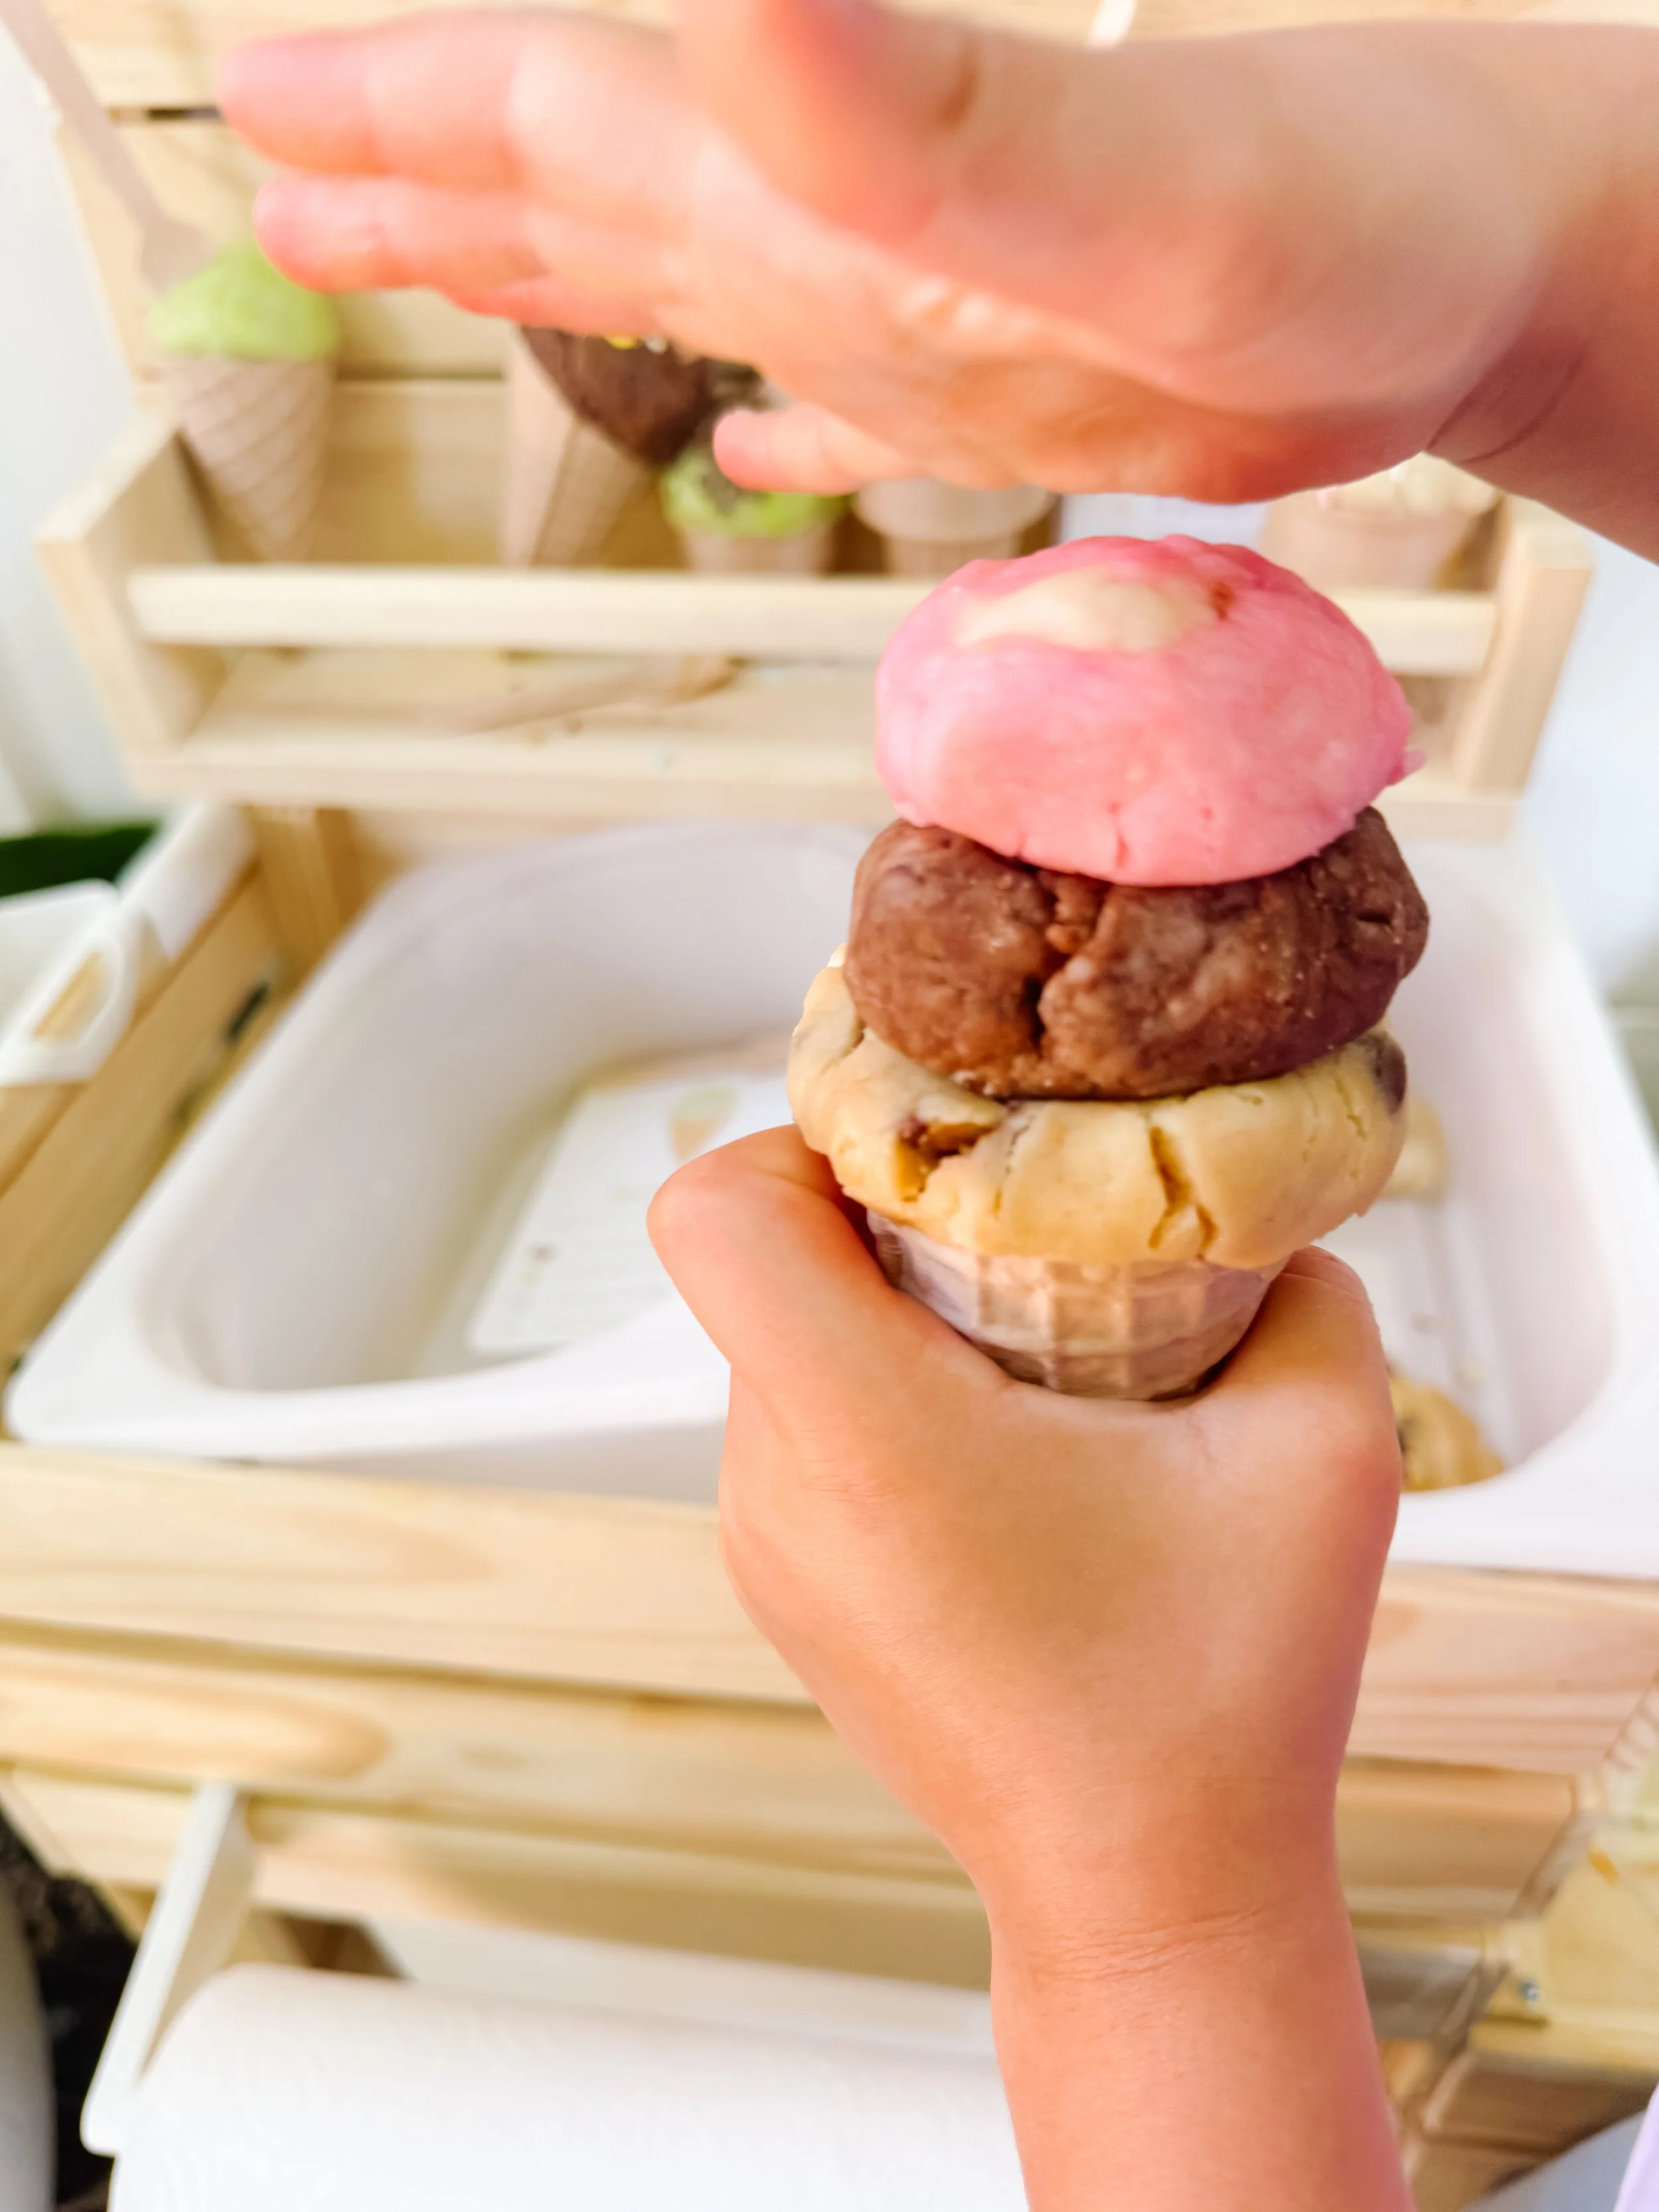
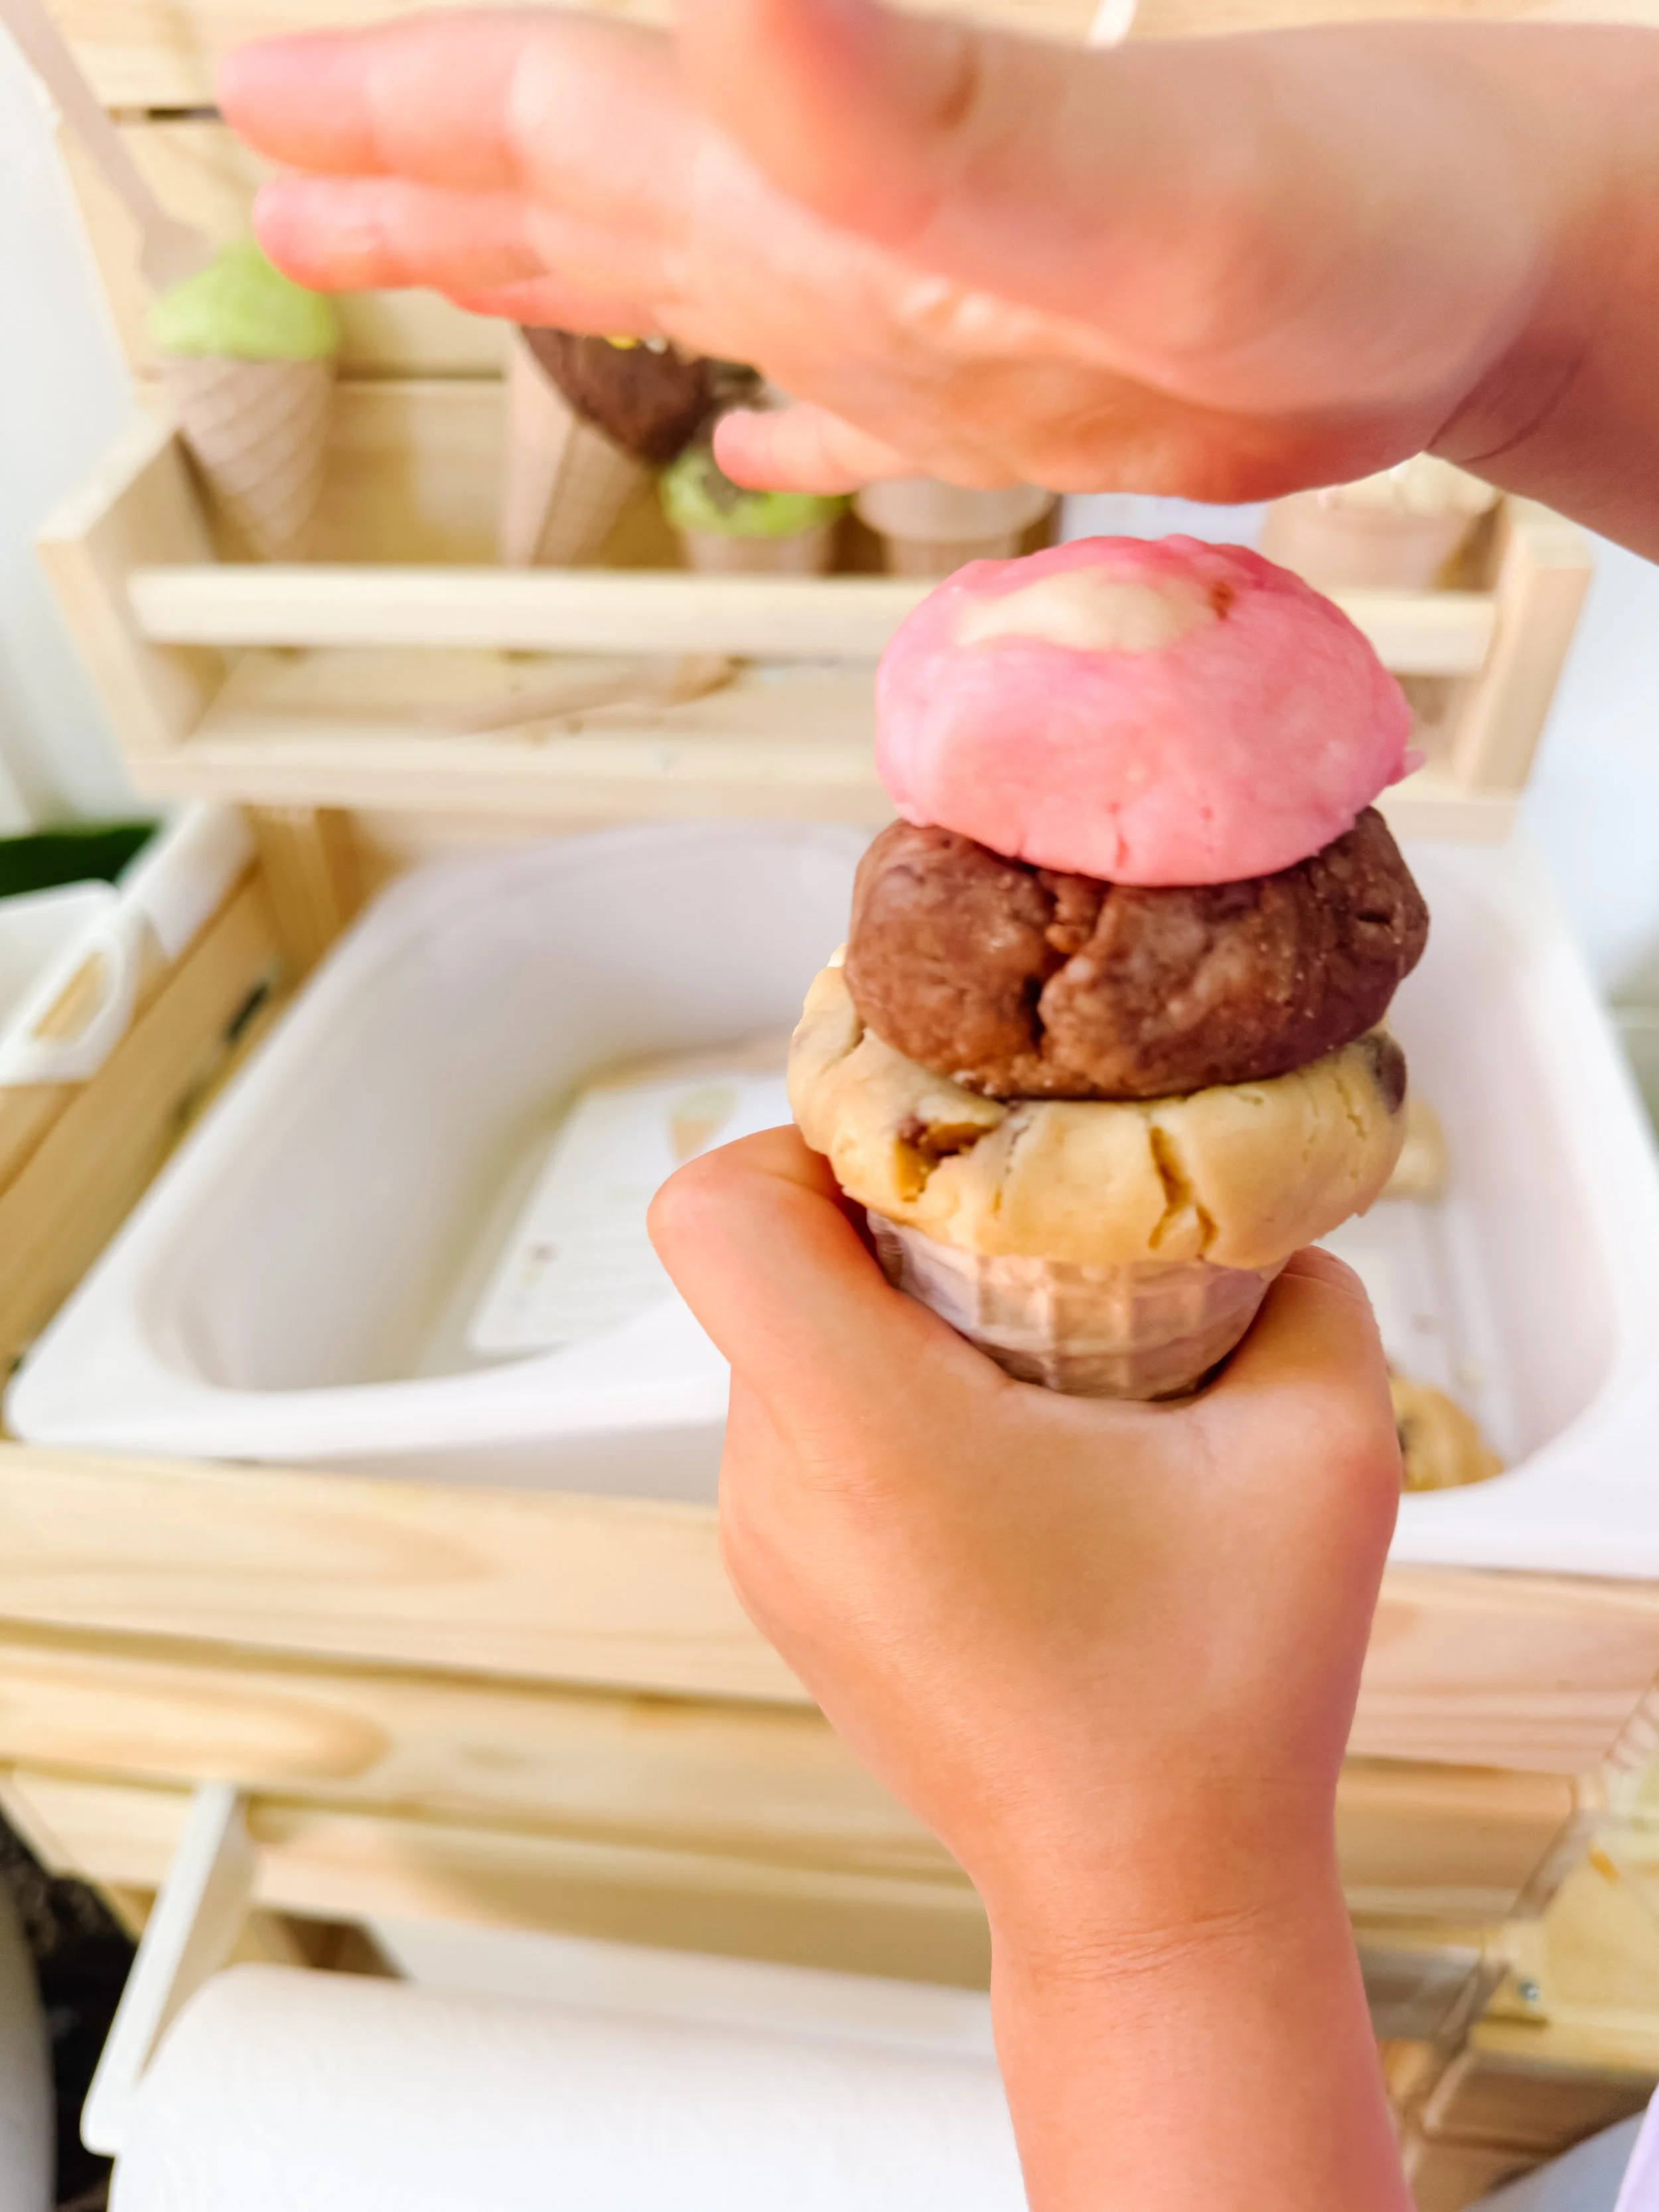
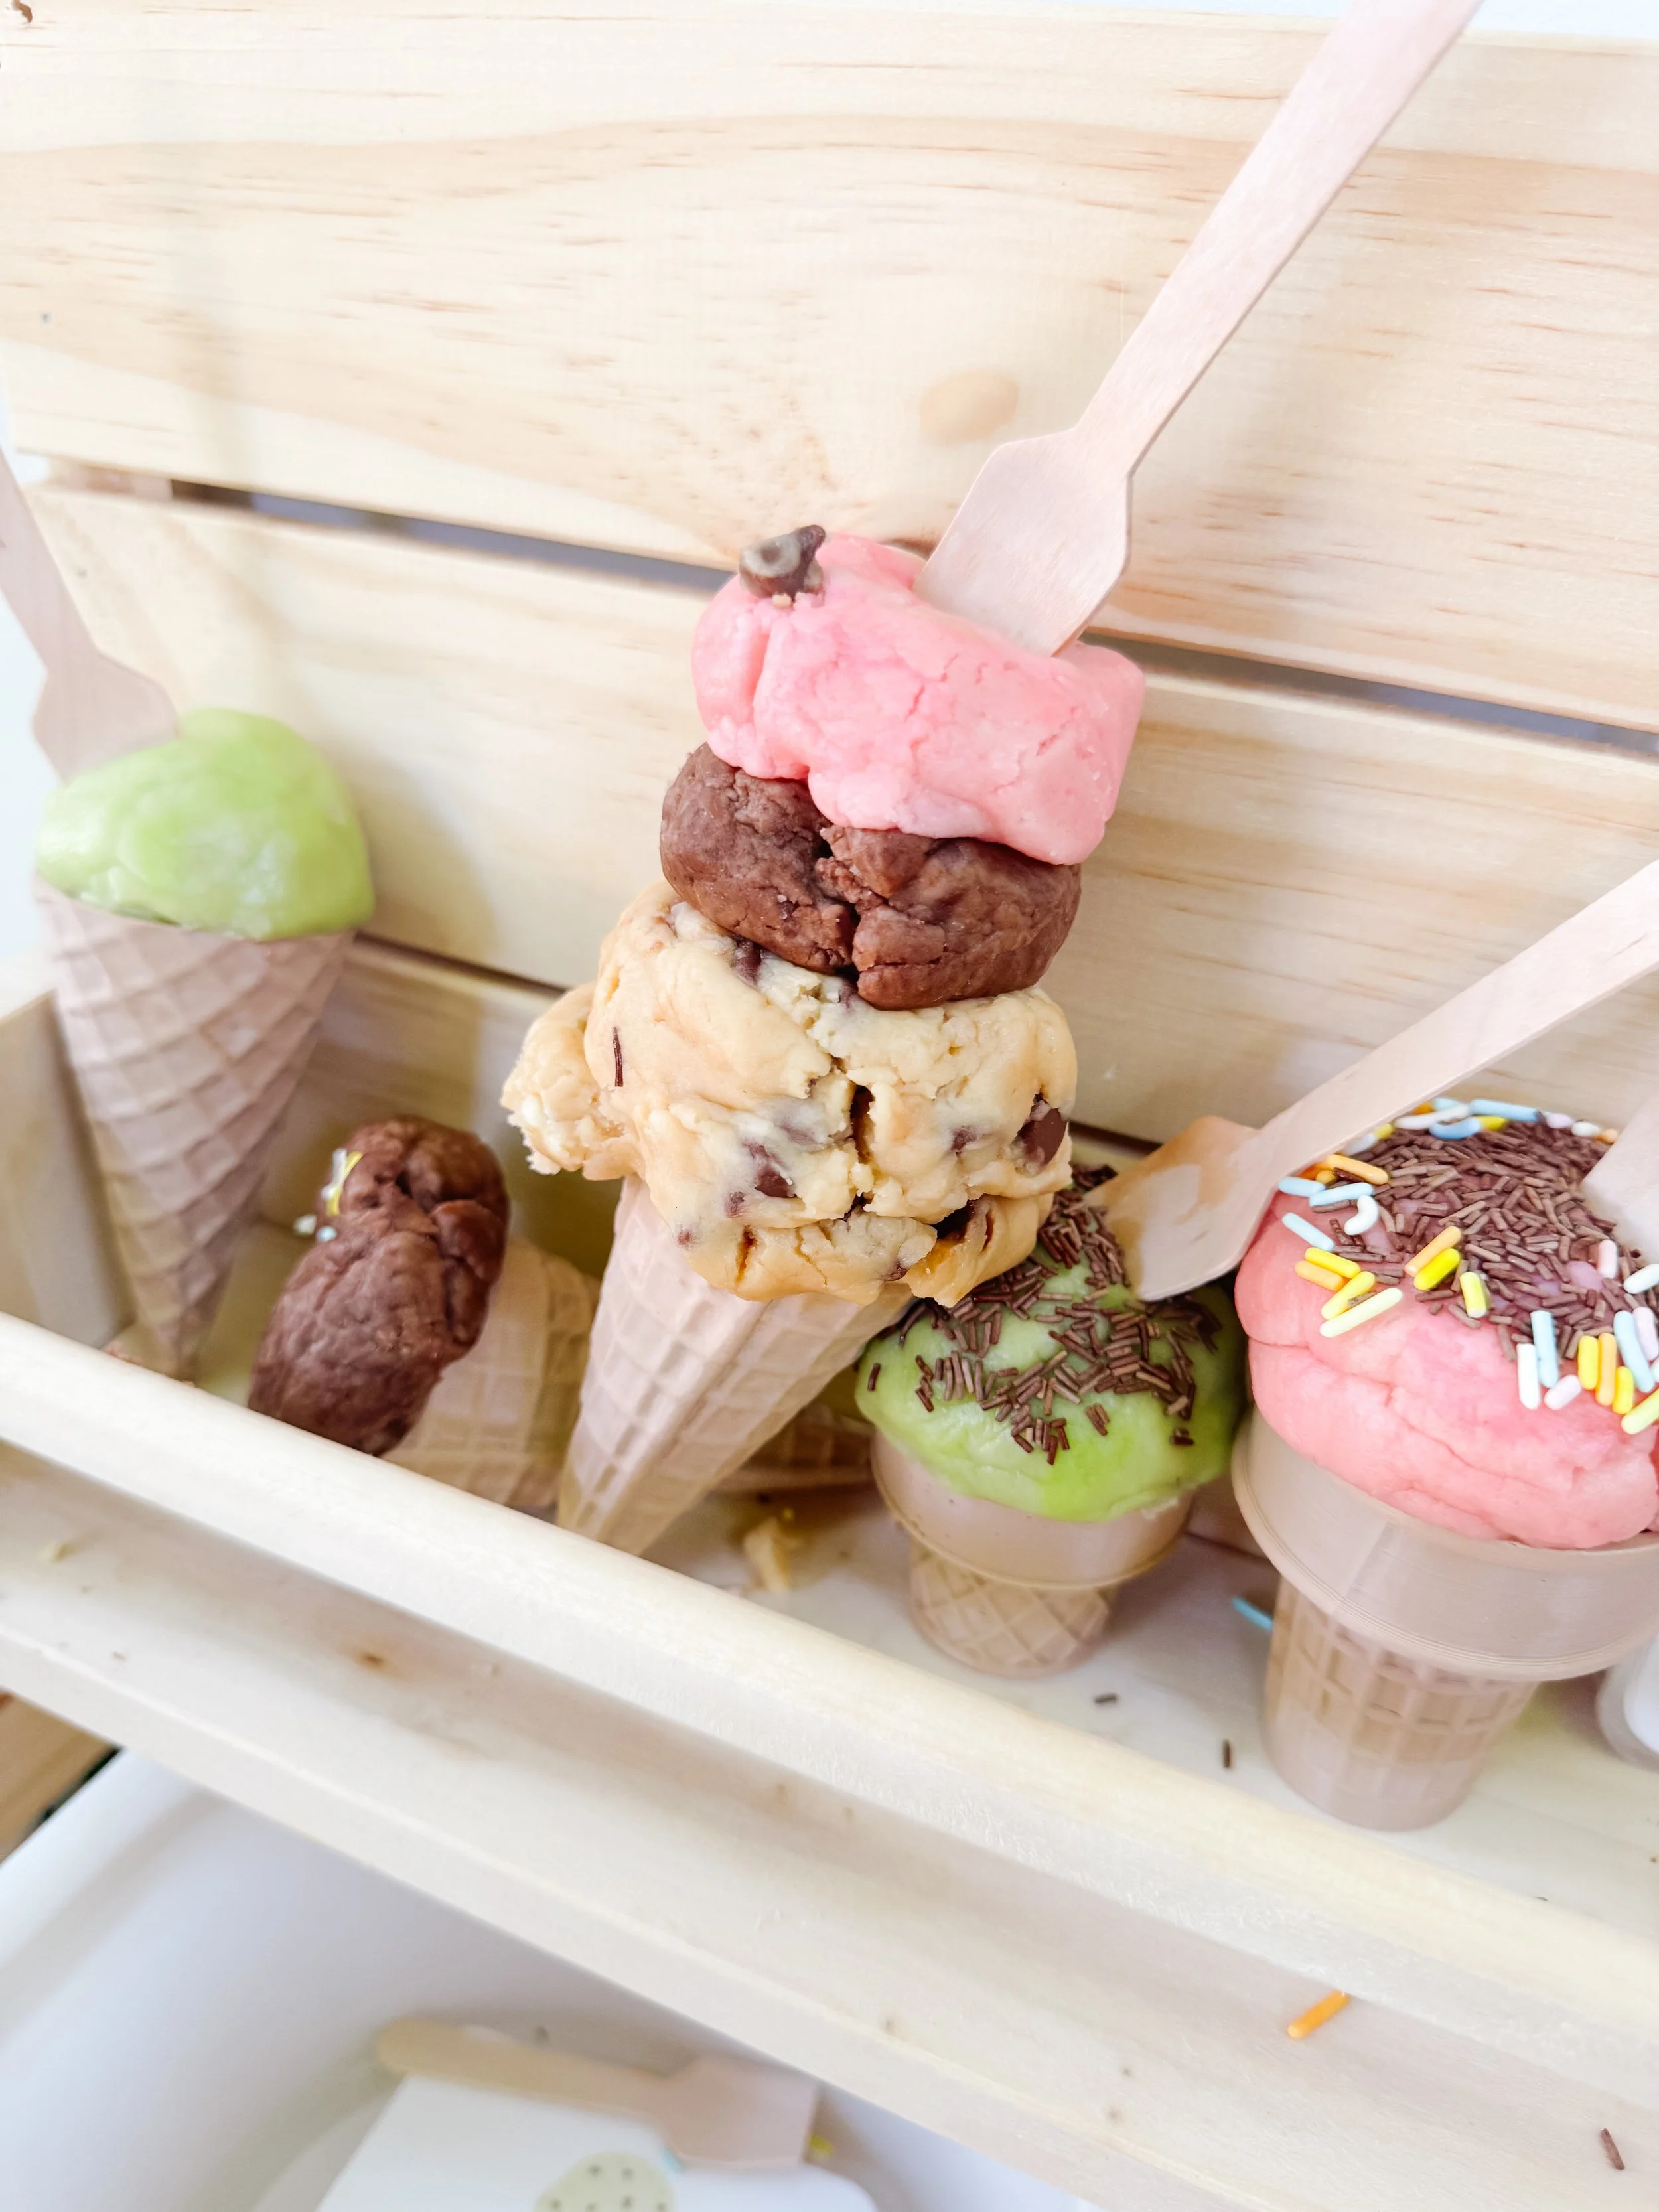
Tall pretend ice cream cone made with scoopable play dough in an ice cream mud kitchen.
Step 3

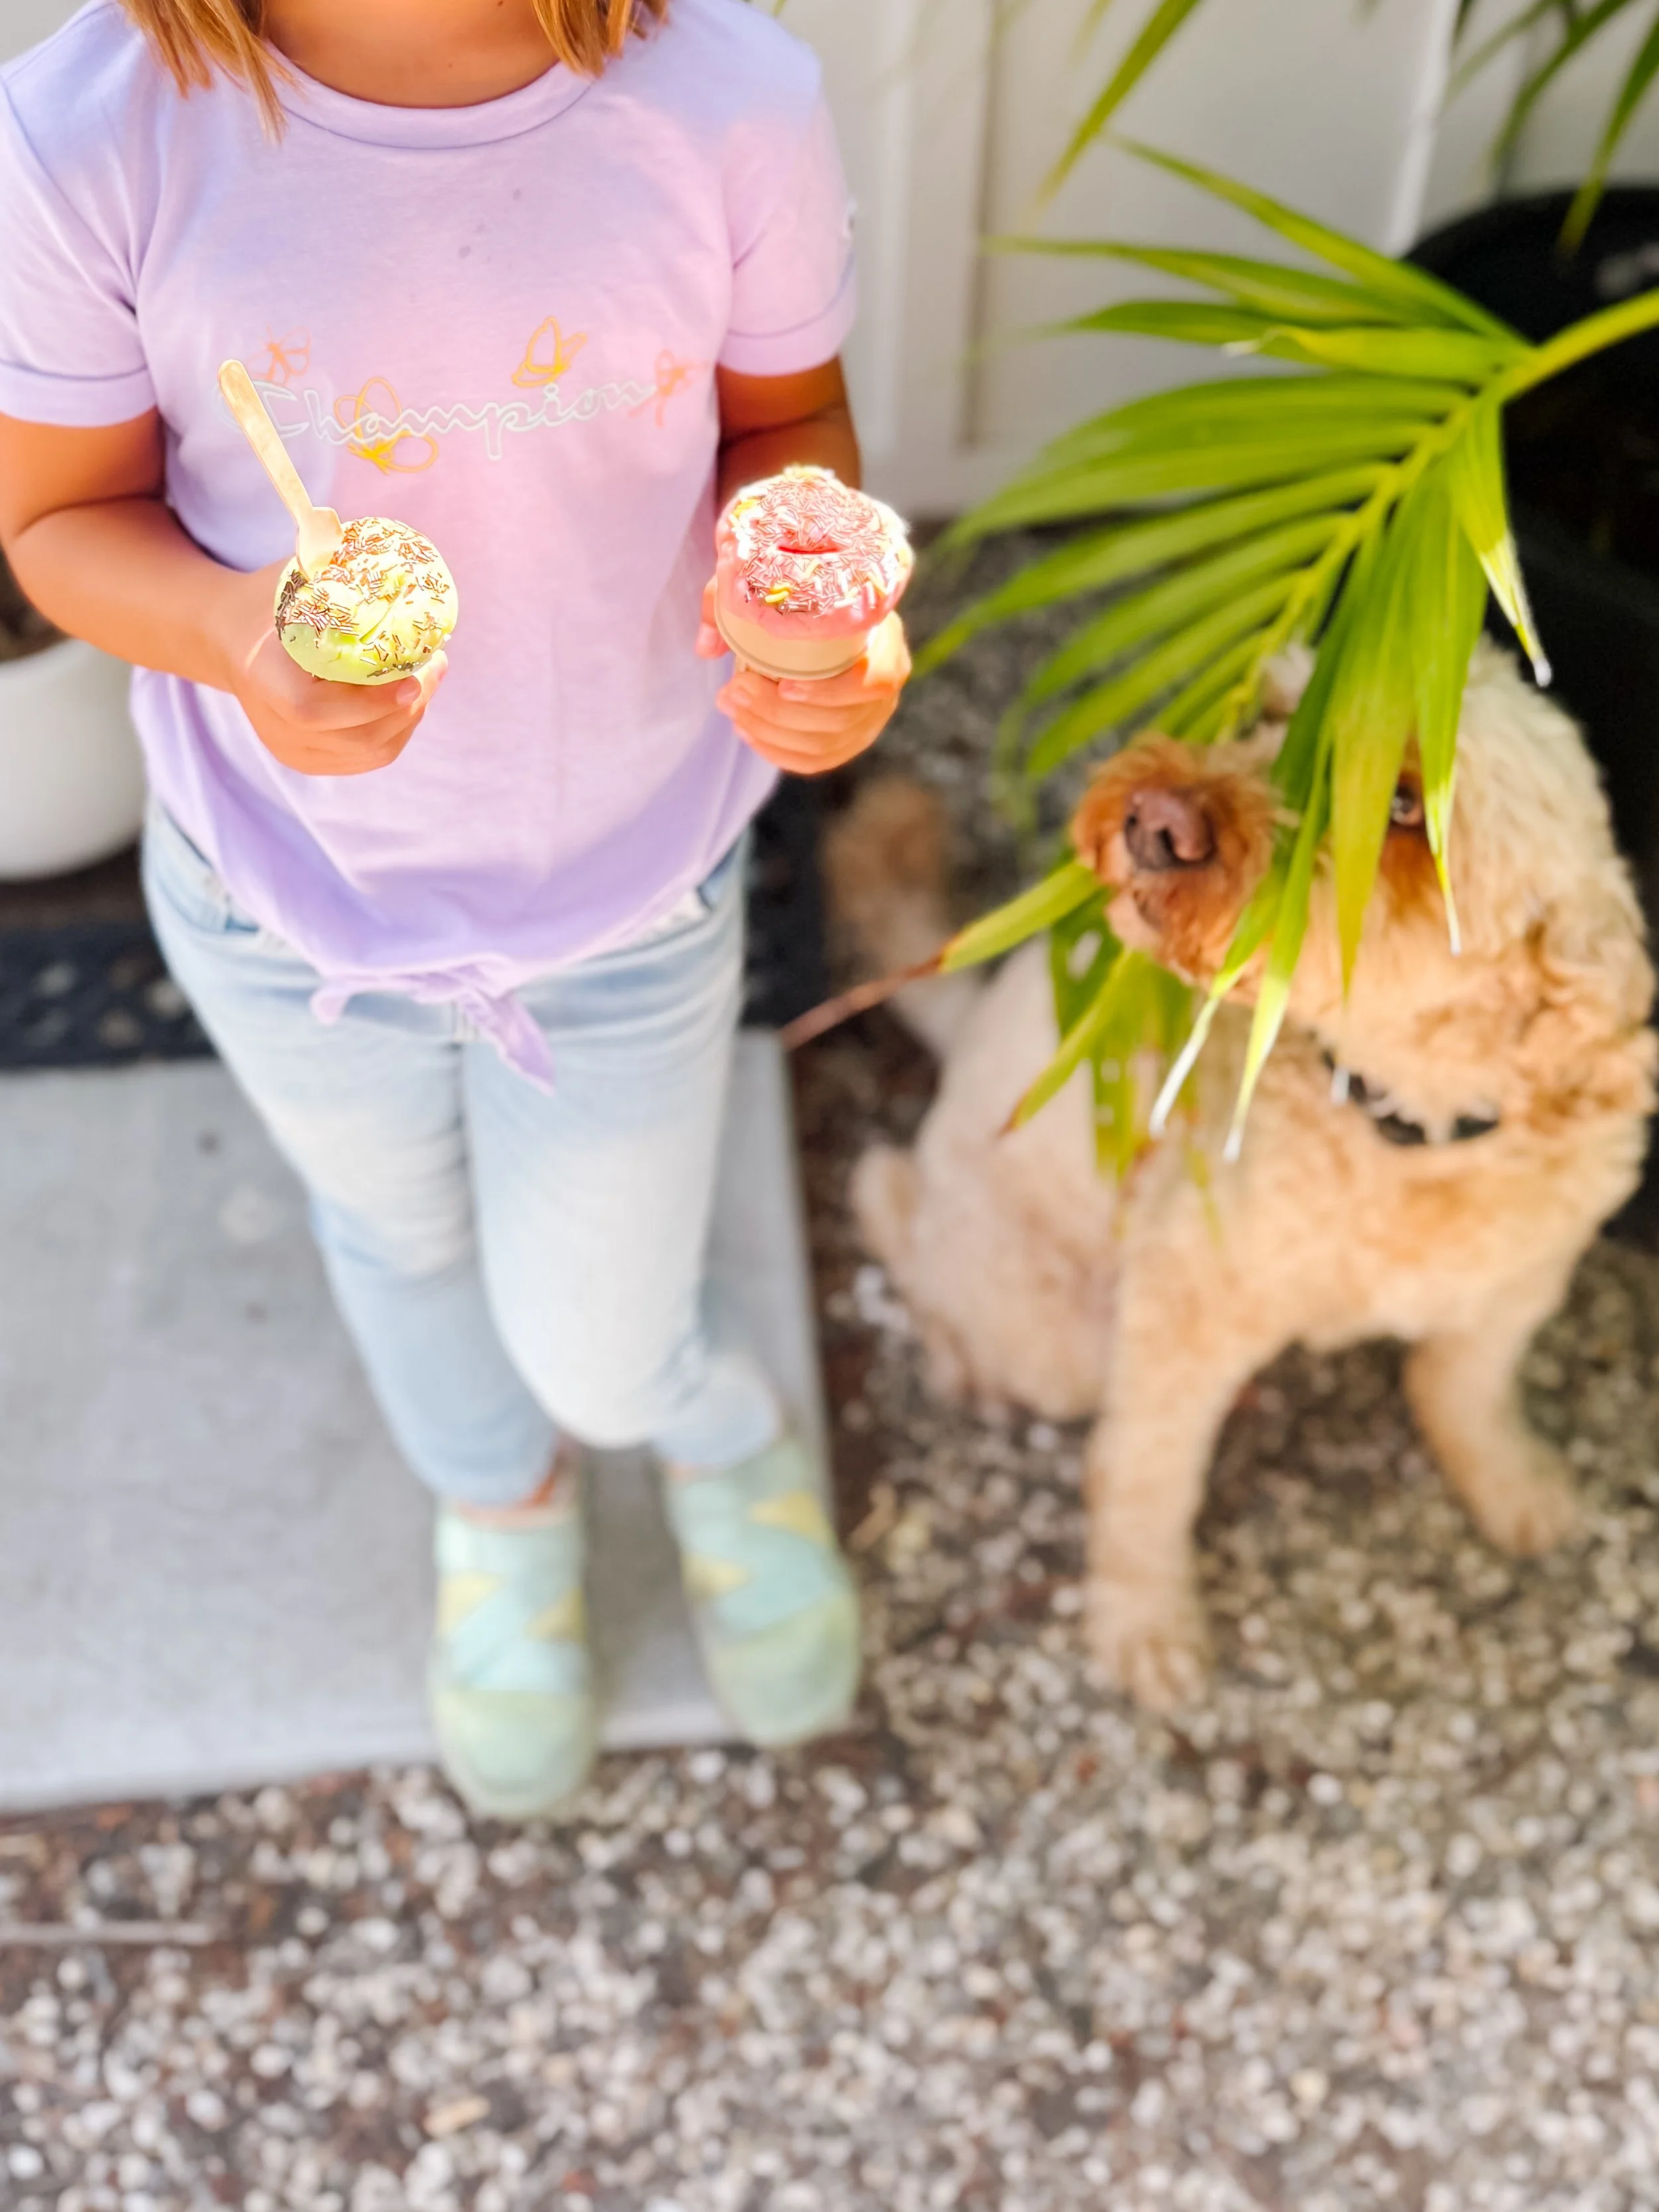
Build pretend ice cream cones

Invite kids to scoop, stack, decorate, and serve their creations. Challenge them to build the tallest cone or create a new flavor combination.

Parent tip

Set up the dough in small bins or bowls so kids can easily access each “flavor.” Add recipe cards or menus to turn simple sensory play into dramatic play.

Ice cream mud kitchen play ideas

Take orders

Have your child ask what flavor everyone wants, then build each order.

Count scoops

Practice counting one, two, three, or even four scoops on each cone.

Create a flavor of the day

Invite kids to invent a new flavor and describe what is inside.

Decorate with toppings

Use pretend sprinkles, mini chips, pom poms, beads, or small sensory fillers as toppings.

Why this activity is great for learning

Ice cream mud kitchen play looks simple, but it supports so many early learning skills.

Kids practice fine motor strength as they scoop, squeeze, roll, and stack the dough. They build language skills as they take orders and describe flavors. They practice early math as they count scoops, compare sizes, and sort toppings.

Because the activity is open-ended, children can also practice creativity, storytelling, problem solving, and cooperative play.

Learning skills

Fine motor skills Pretend play Counting Language development Sensory play Social skills Creative play Early math

Questions to ask kids

  • What flavor should we make today?
  • How many scoops are on this cone?
  • Which cone is tallest?
  • Can you take my order?
  • What toppings should we add?
  • How much does my ice cream cost?

More ice cream play ideas

Ice cream play dough recipe

Make the soft, fluffy, scoopable dough used in this setup.

Ice cream dough recipe

Ice cream sensory play

Create a sensory bin with scoops, cones, bowls, and pretend toppings.

Coming soon

Ice cream shop printable

Add signs, menus, and order forms to turn the setup into a full pretend play shop.

Get the printable

Ice cream mud kitchen FAQ

What do you put in an ice cream mud kitchen?

Use scoopable play dough, cones, bowls, spoons, pretend sprinkles, recipe cards, menus, and a simple play kitchen or mud kitchen setup.

How do you make pretend ice cream for a mud kitchen?

Use soft sensory dough that can be scooped and shaped like ice cream. Our favorite version uses cookie mix, cornstarch, coconut oil, and water.

What age is ice cream mud kitchen play best for?

This activity is best for ages three and up with adult supervision, especially if you are using small toppings or sensory fillers.

Is this activity taste-safe?

The dough can be made with food-based ingredients, but it is intended for play, not eating. Always supervise young children.

What can kids learn from pretend ice cream shop play?

Children can practice counting, fine motor skills, language, social skills, ordering, comparing sizes, sorting toppings, and creative storytelling.

Ice Cream Play Dough Recipe

Ice Cream Play Dough Recipe

A soft, fluffy, scoopable ice cream dough recipe that smells amazing, feels like real ice cream, and does not stick to your hands.

Ice cream play dough recipe for kids with soft colorful dough scooped like pretend ice cream.
Age3+
Prep10 minutes
Play Time45+ minutes
Mess★★☆☆☆
SkillsSensory + pretend play

Why we love this recipe

I have tried so many ice cream dough recipes, and a lot of them are either too sticky, too sugary, or too messy for real play.

This version is different. It uses cookie mix, cornstarch, melted coconut oil, and just enough water to bring everything together. The result is a soft, fluffy, scoopable dough that feels so much like ice cream but does not stick to your hands.

It also smells amazing because of the cookie mix, which makes it perfect for pretend ice cream shop play, mud kitchens, sensory bins, and summer-themed play trays.

Ice cream play dough recipe

Soft and fluffy ice cream dough

Ingredients:

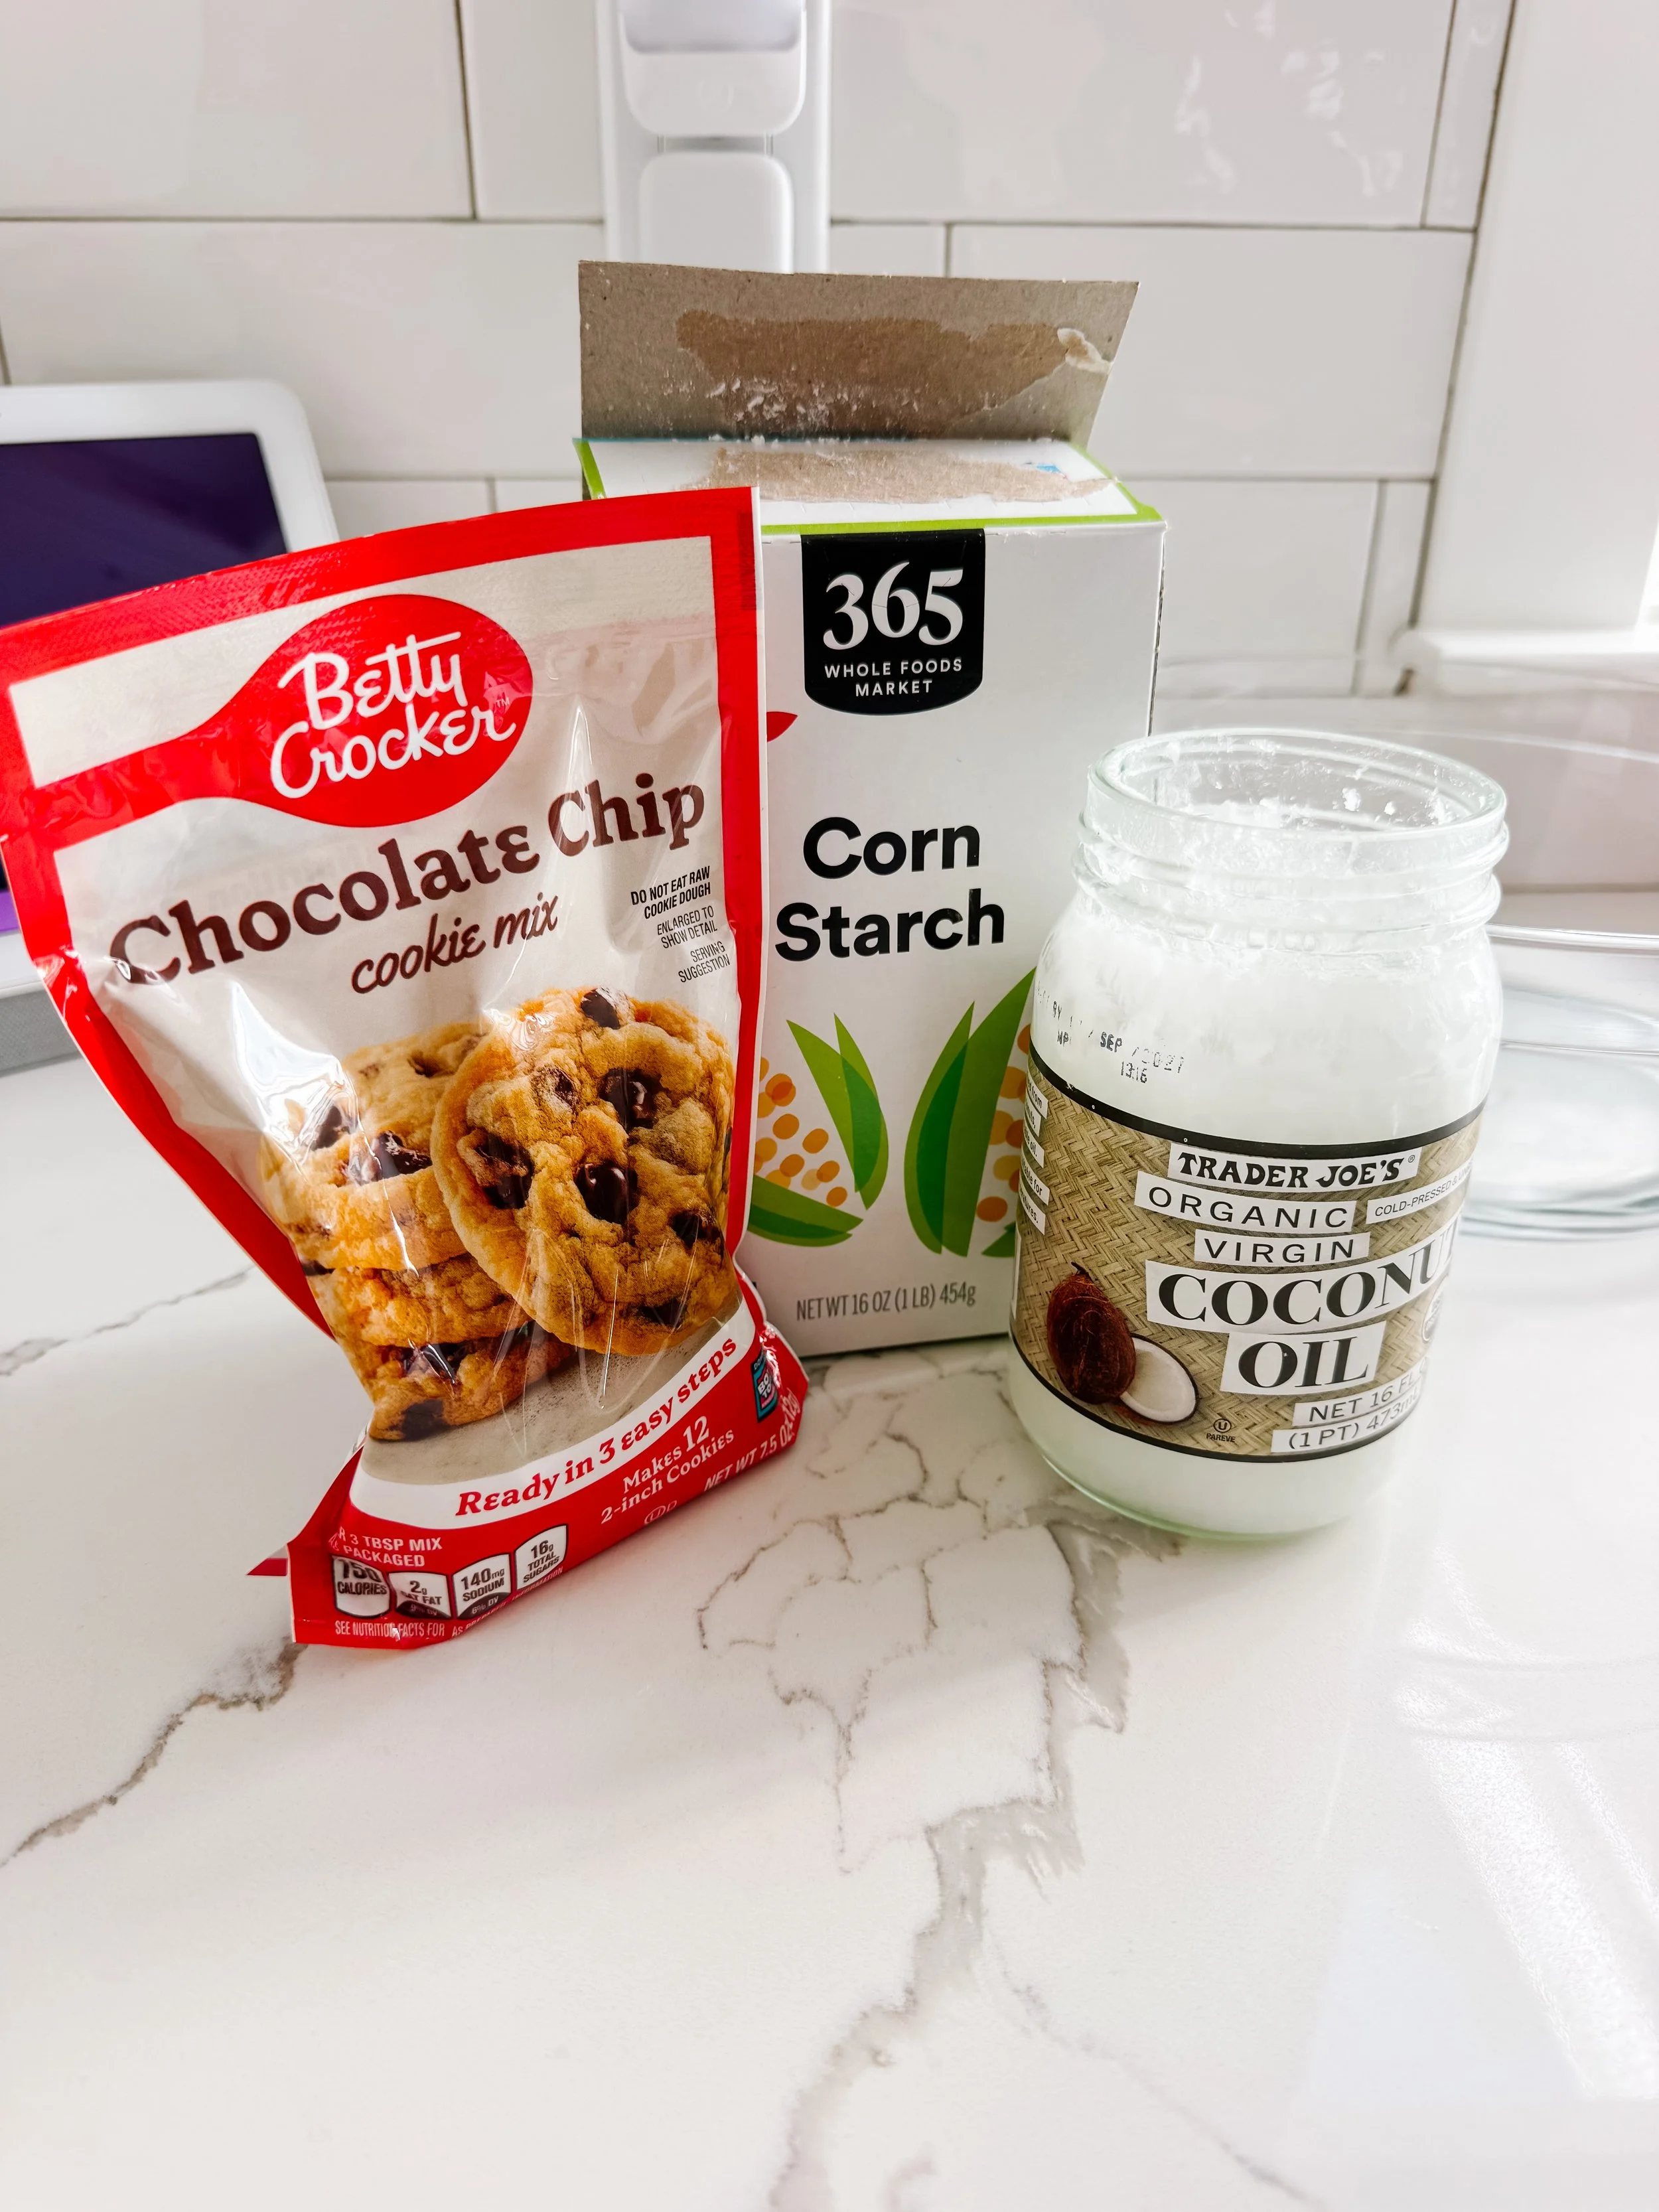
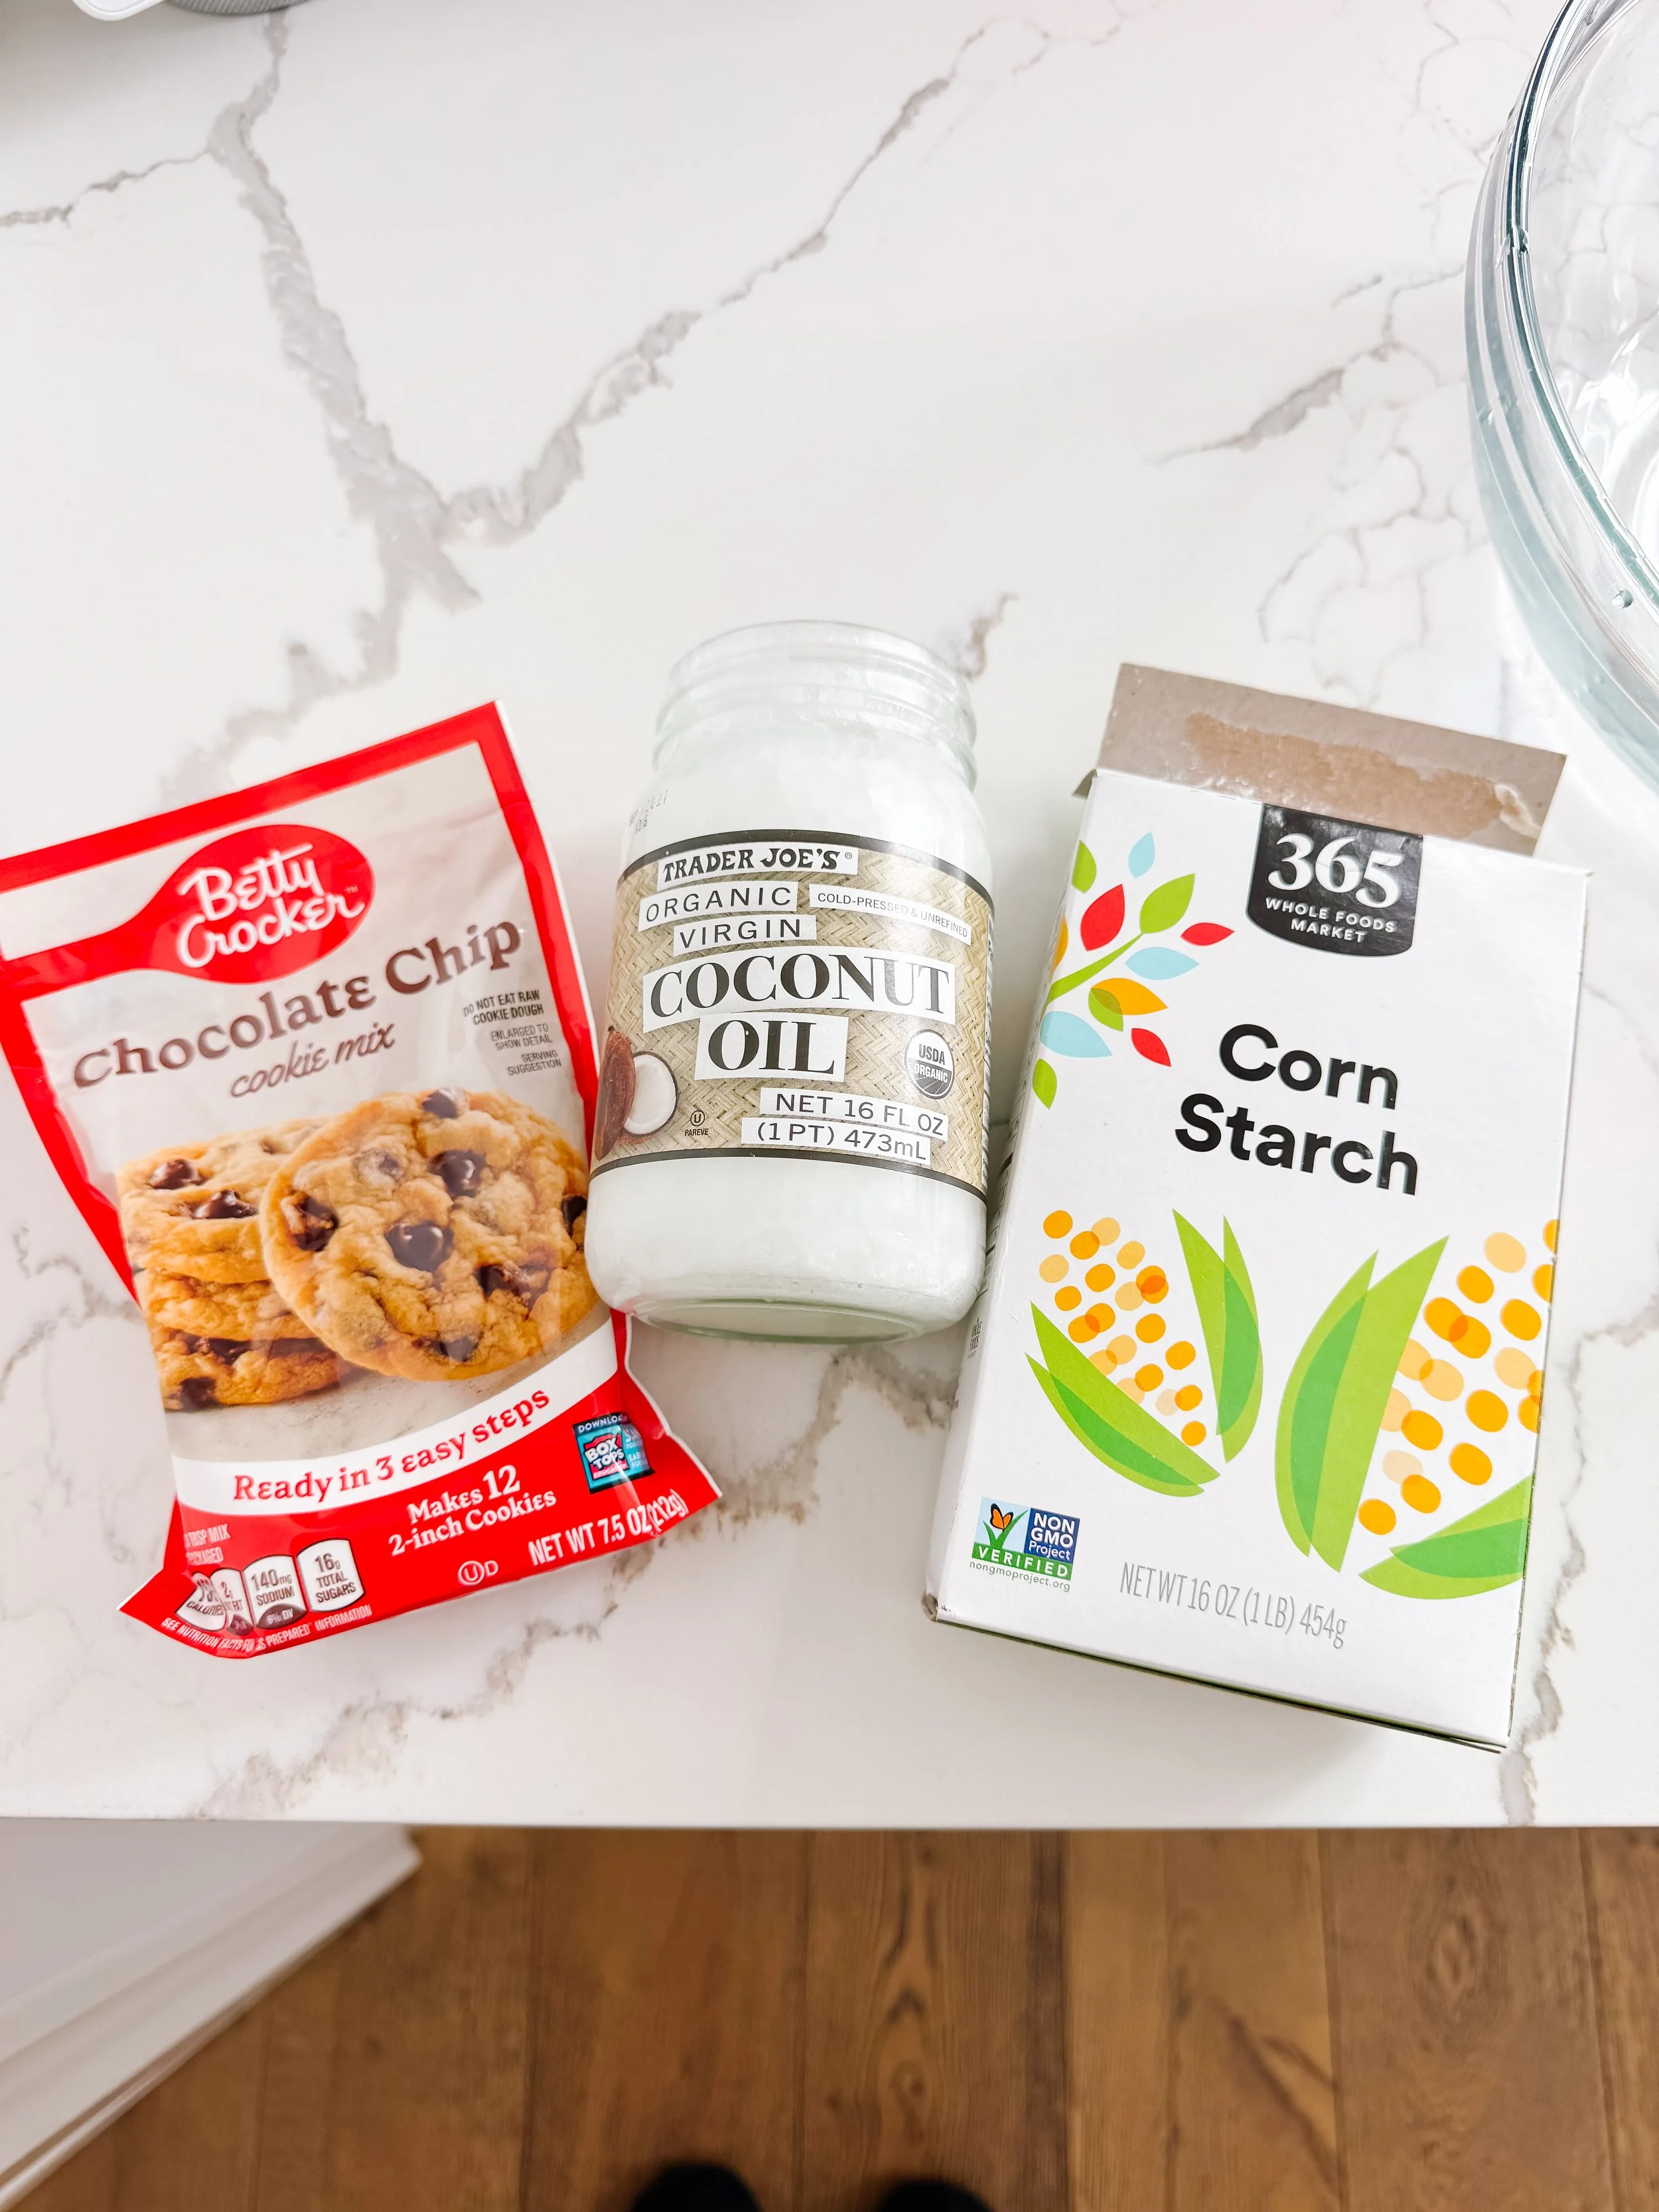
  • 1 packet of cookie mix
  • 1 cup cornstarch
  • 3 tablespoons melted coconut oil
  • Water as needed

Instructions:

  1. Add the cookie mix and cornstarch to a bowl.
  2. Pour in the melted coconut oil.
  3. Mix slowly, then add water a little at a time.
  4. Knead until the dough becomes soft, fluffy, and scoopable.
  5. Add more cornstarch if it feels too wet, or a tiny splash of water if it feels too dry.
Ingredients and supplies for making soft ice cream play dough for sensory play.

Why this recipe works so well

The cookie mix gives the dough a sweet bakery smell and a soft base. The cornstarch makes it fluffy and helps prevent stickiness. The coconut oil gives it that smooth, moldable texture that makes it easy to scoop, roll, and press into cones.

Unlike recipes made with icing and sugar, this dough does not feel sticky on your hands. It is soft enough for little hands to scoop but firm enough to hold its shape during pretend play.

How to make ice cream play dough

Cookie mix and cornstarch being combined for homemade ice cream play dough.
Step 1

Mix the dry ingredients

Pour one packet of cookie mix into a bowl, then add one cup of cornstarch. Stir the dry ingredients together first so the dough becomes smooth and even.

Adding melted coconut oil to cookie mix and cornstarch for ice cream dough.
Step 2

Add coconut oil

Add three tablespoons of melted coconut oil. This helps create the soft, scoopable texture that makes the dough feel like pretend ice cream.

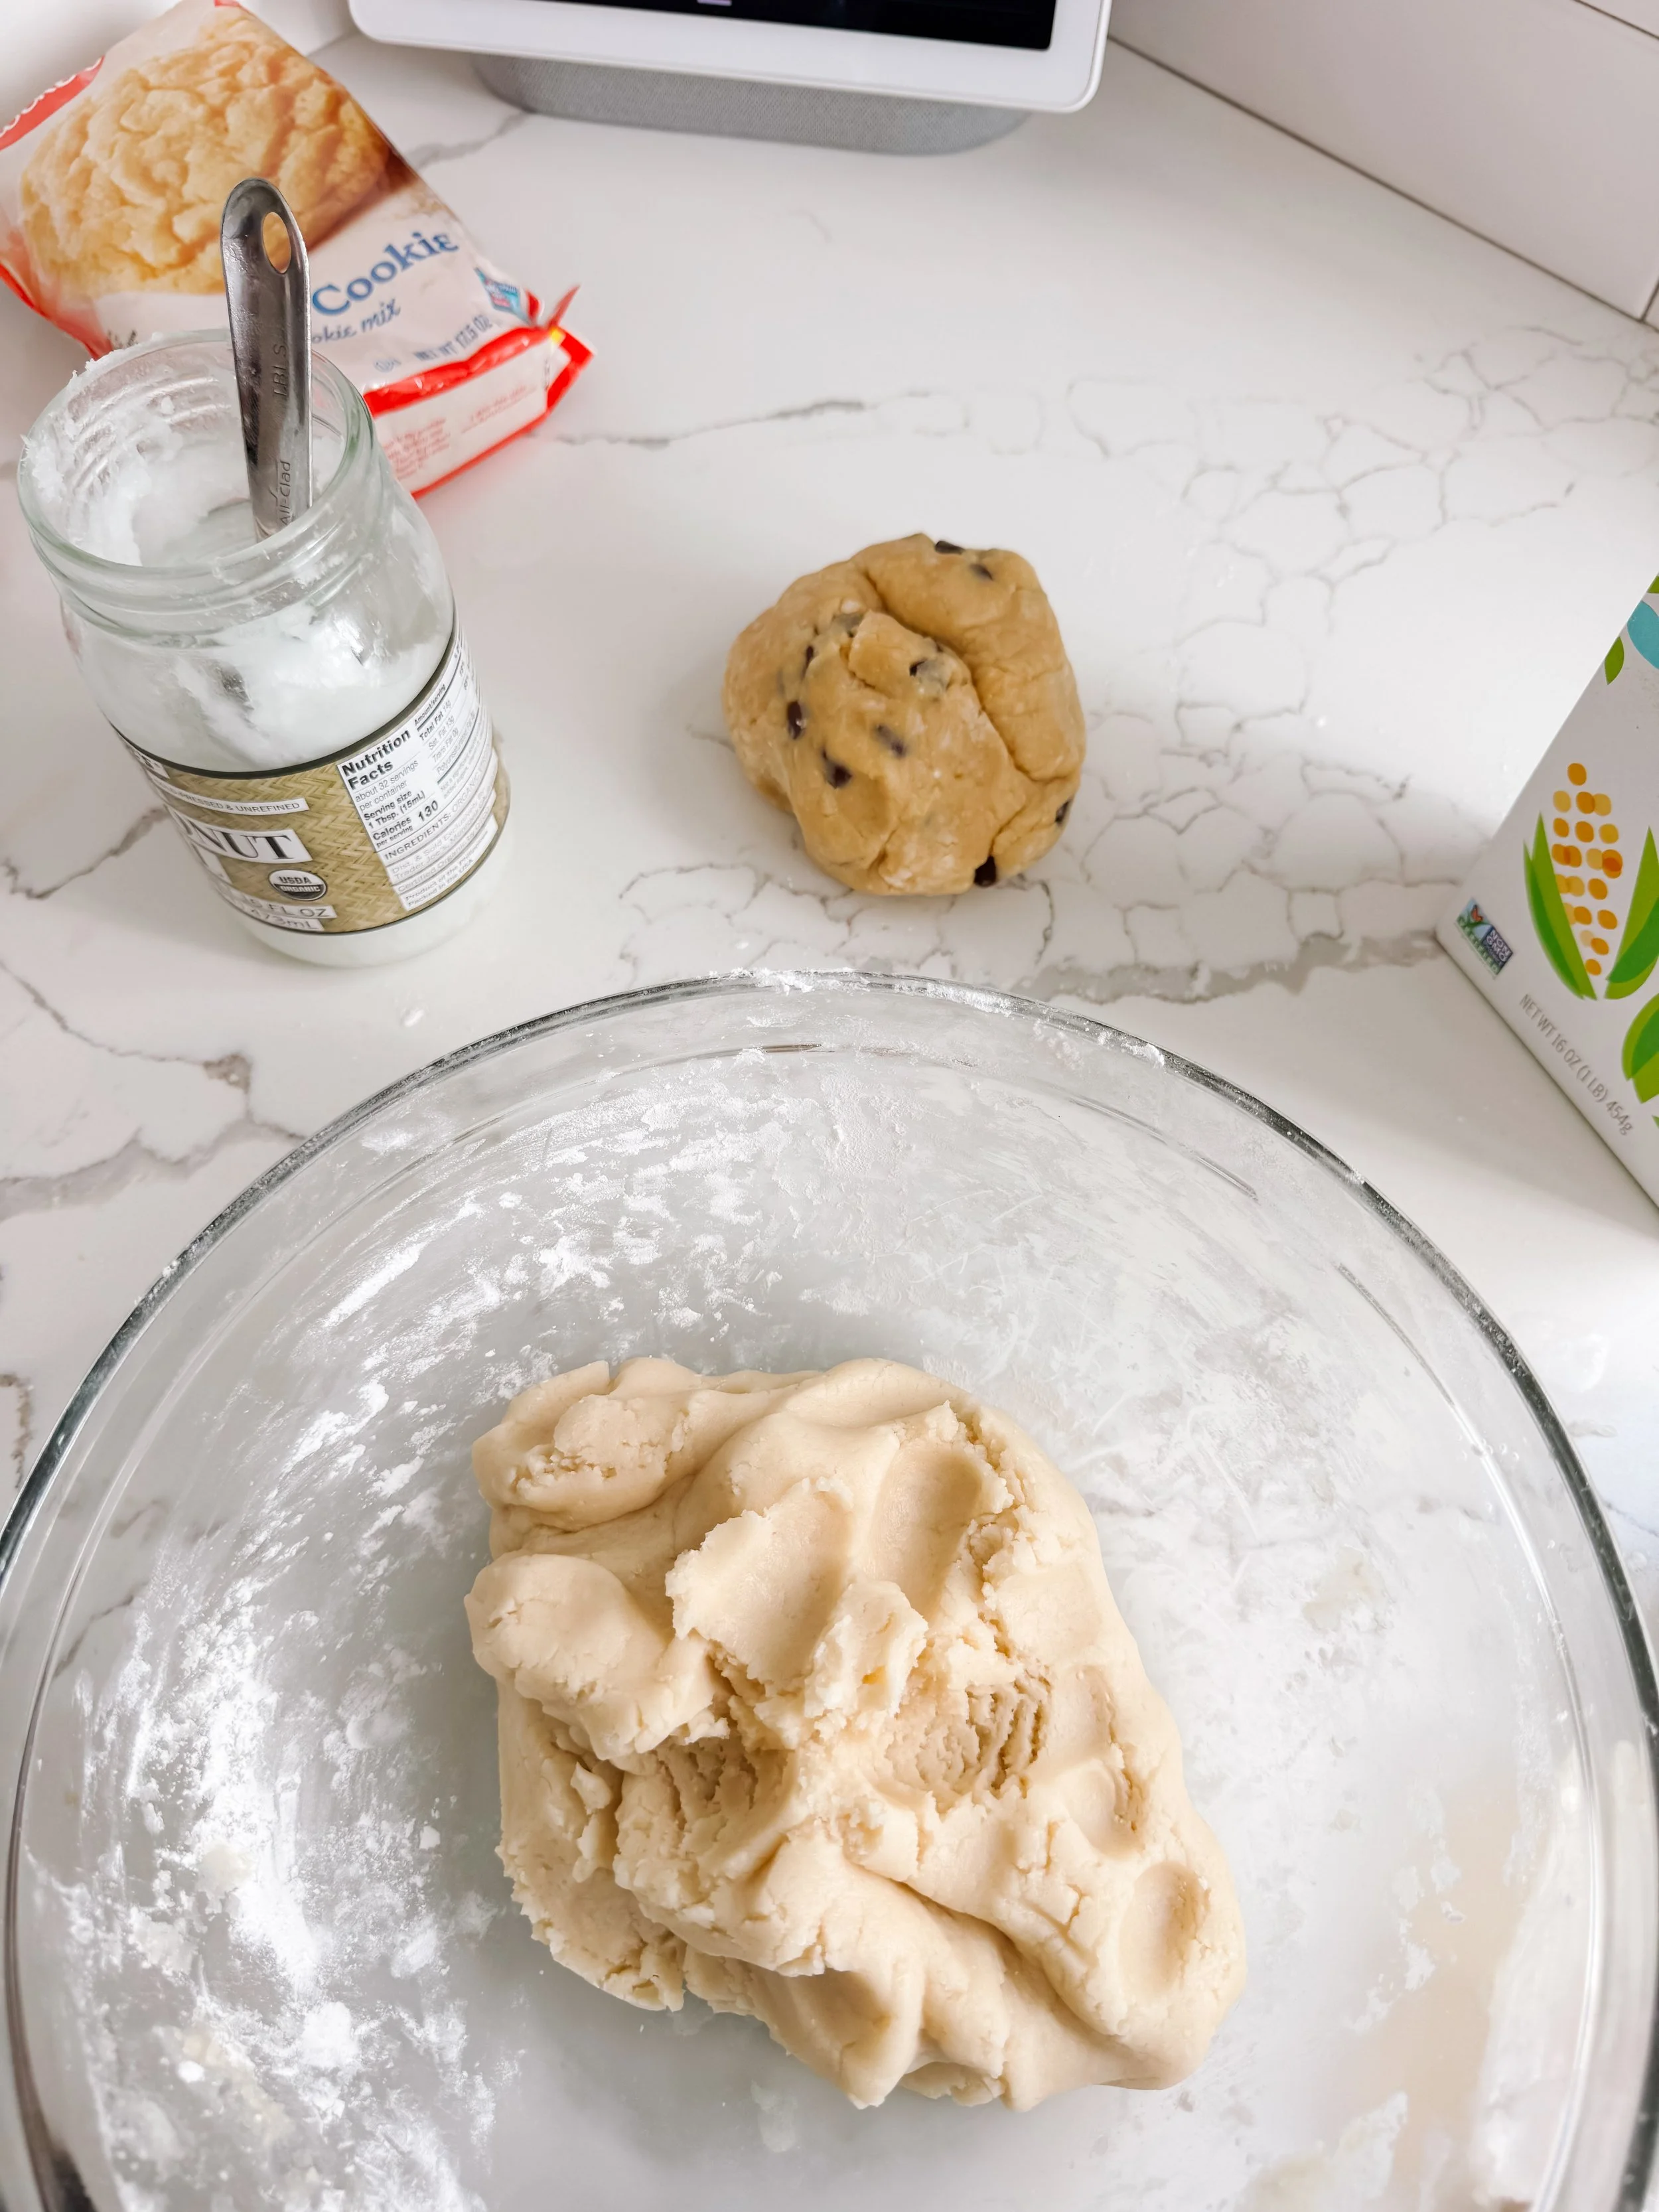
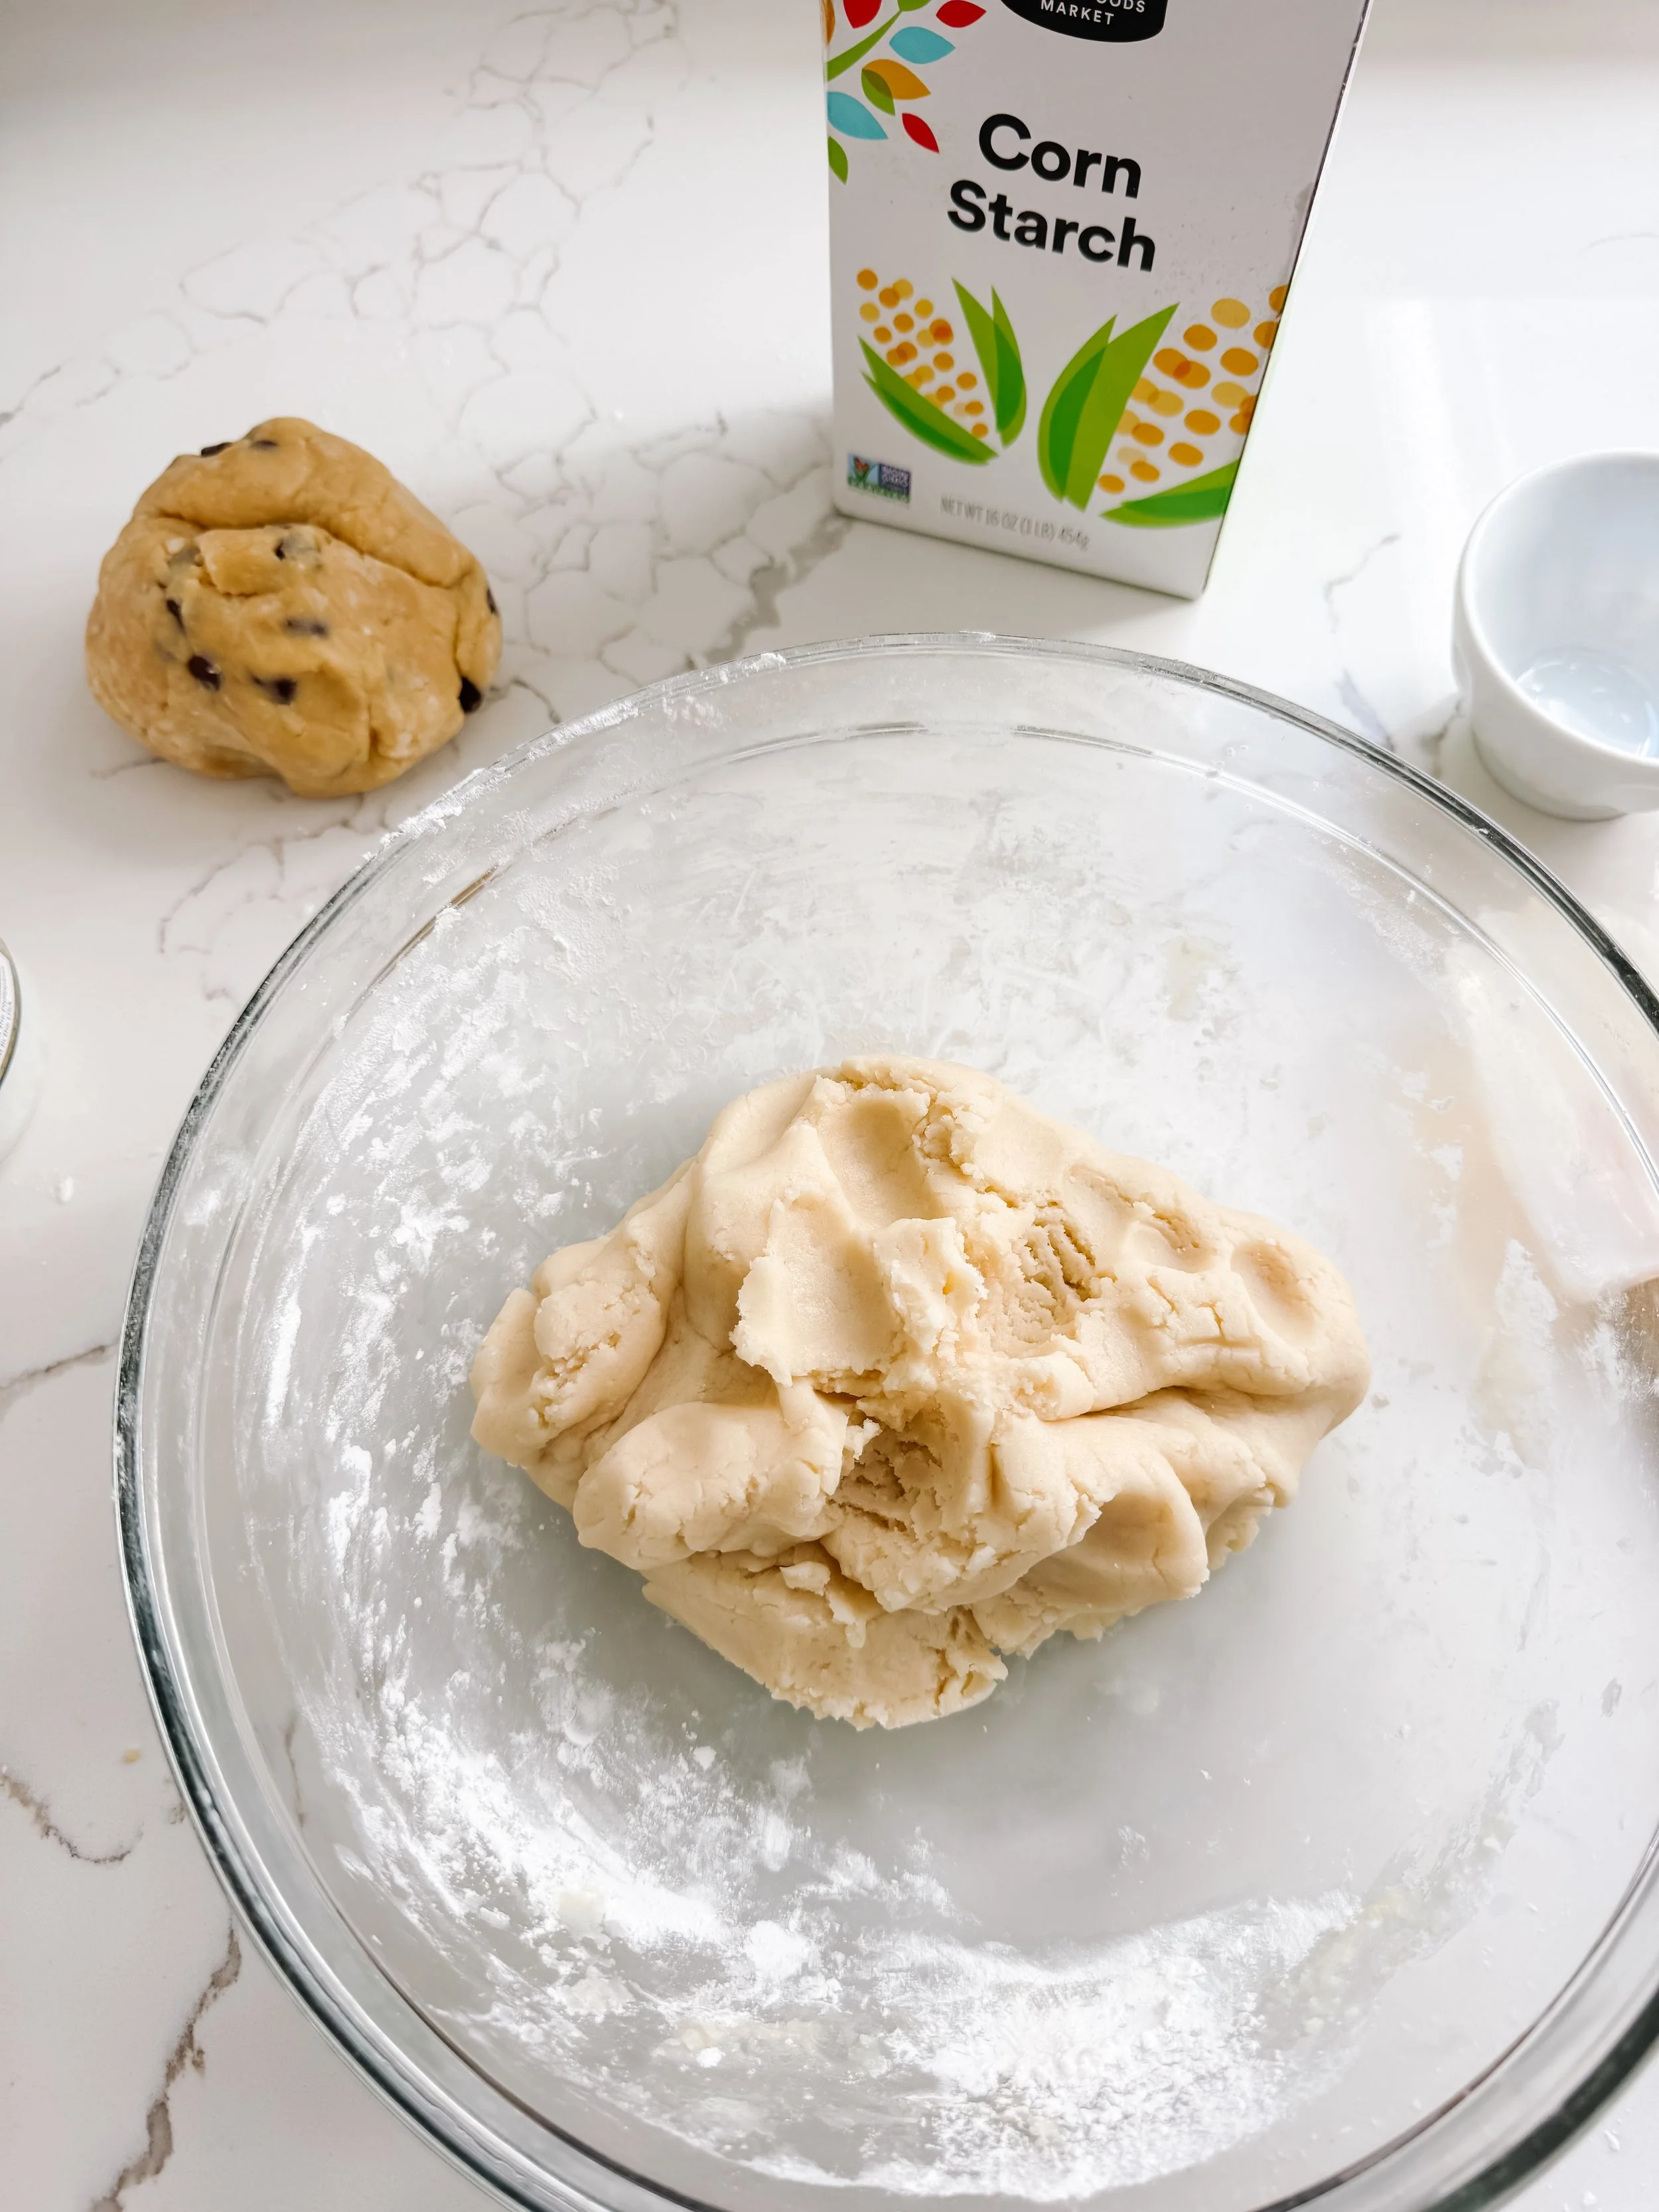
Mixing ice cream play dough until it becomes soft and fluffy.
Step 3

Add water slowly

Add water a tiny bit at a time. You want the dough to come together without becoming sticky. If it feels too wet, sprinkle in a little more cornstarch.

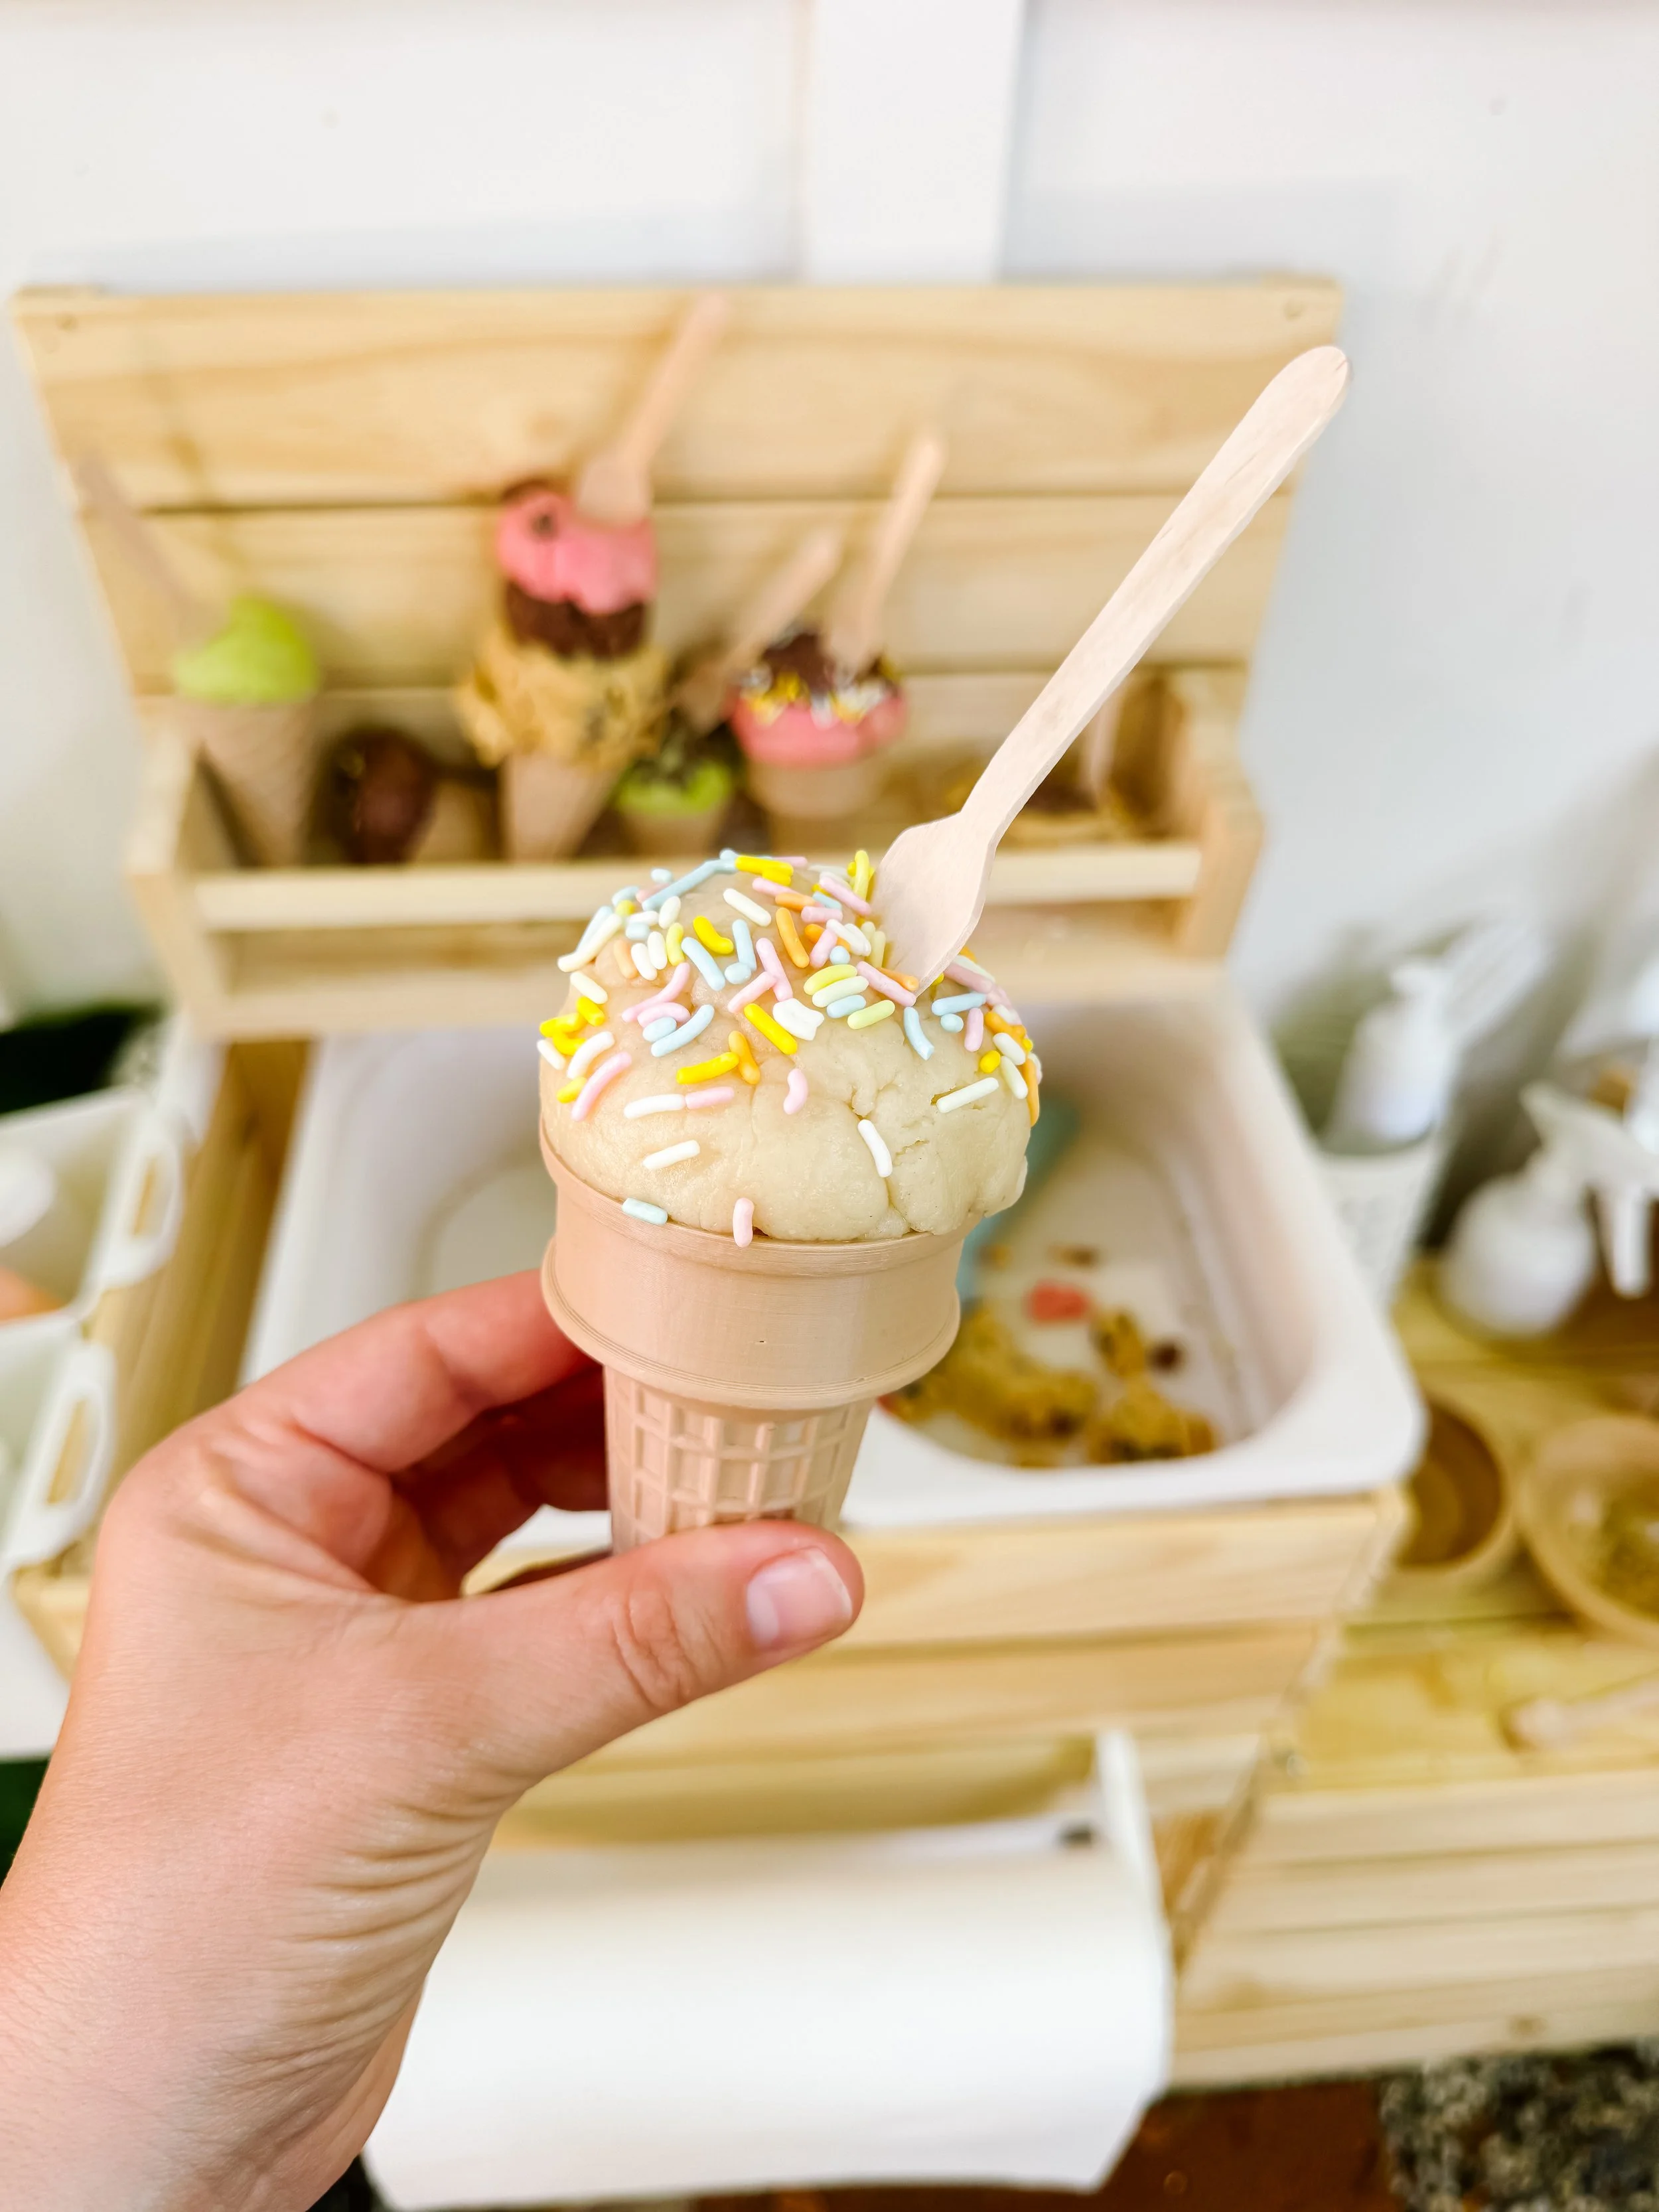
Soft homemade ice cream play dough being scooped like real ice cream.
Step 4

Scoop and play

Once the texture is soft, fluffy, and scoopable, set it out with cones, bowls, scoops, sprinkles, and pretend play menus.

Texture tip

If your dough is sticky, add more cornstarch one tablespoon at a time. If it is too crumbly, add a few drops of water and knead again.

Flavor and color ideas

Vanilla

Leave the dough plain for a soft vanilla ice cream look.

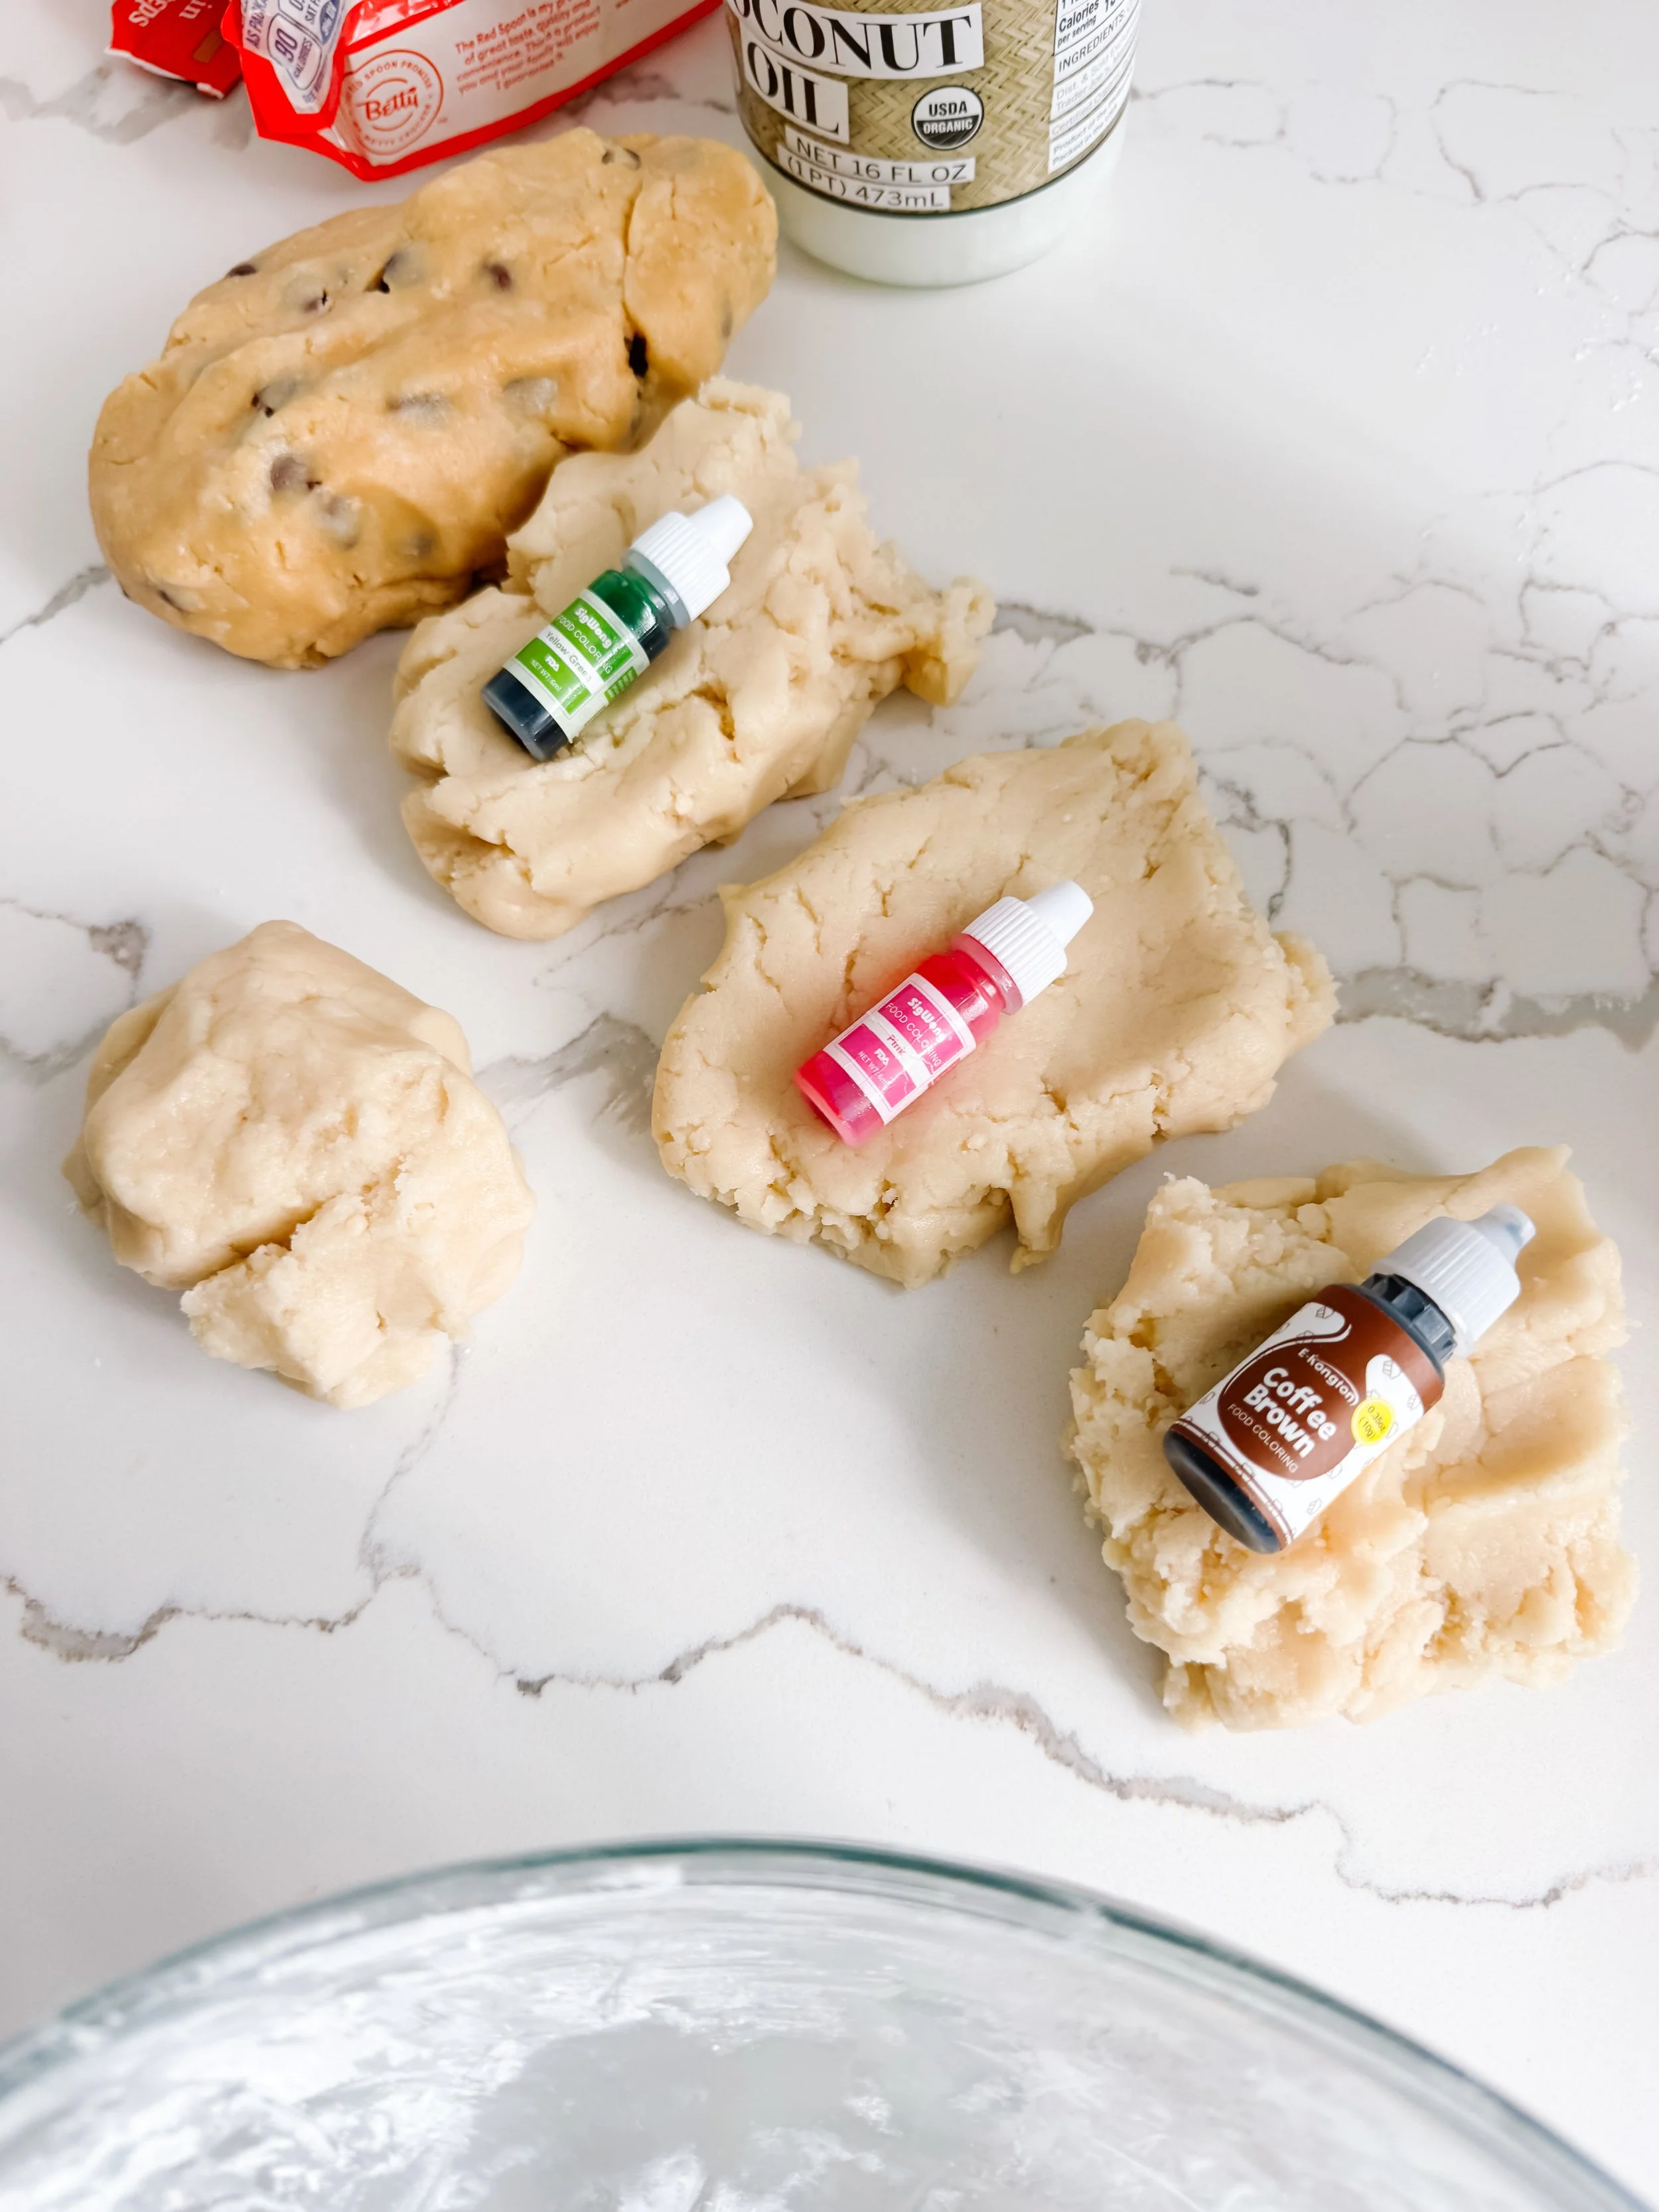
Strawberry

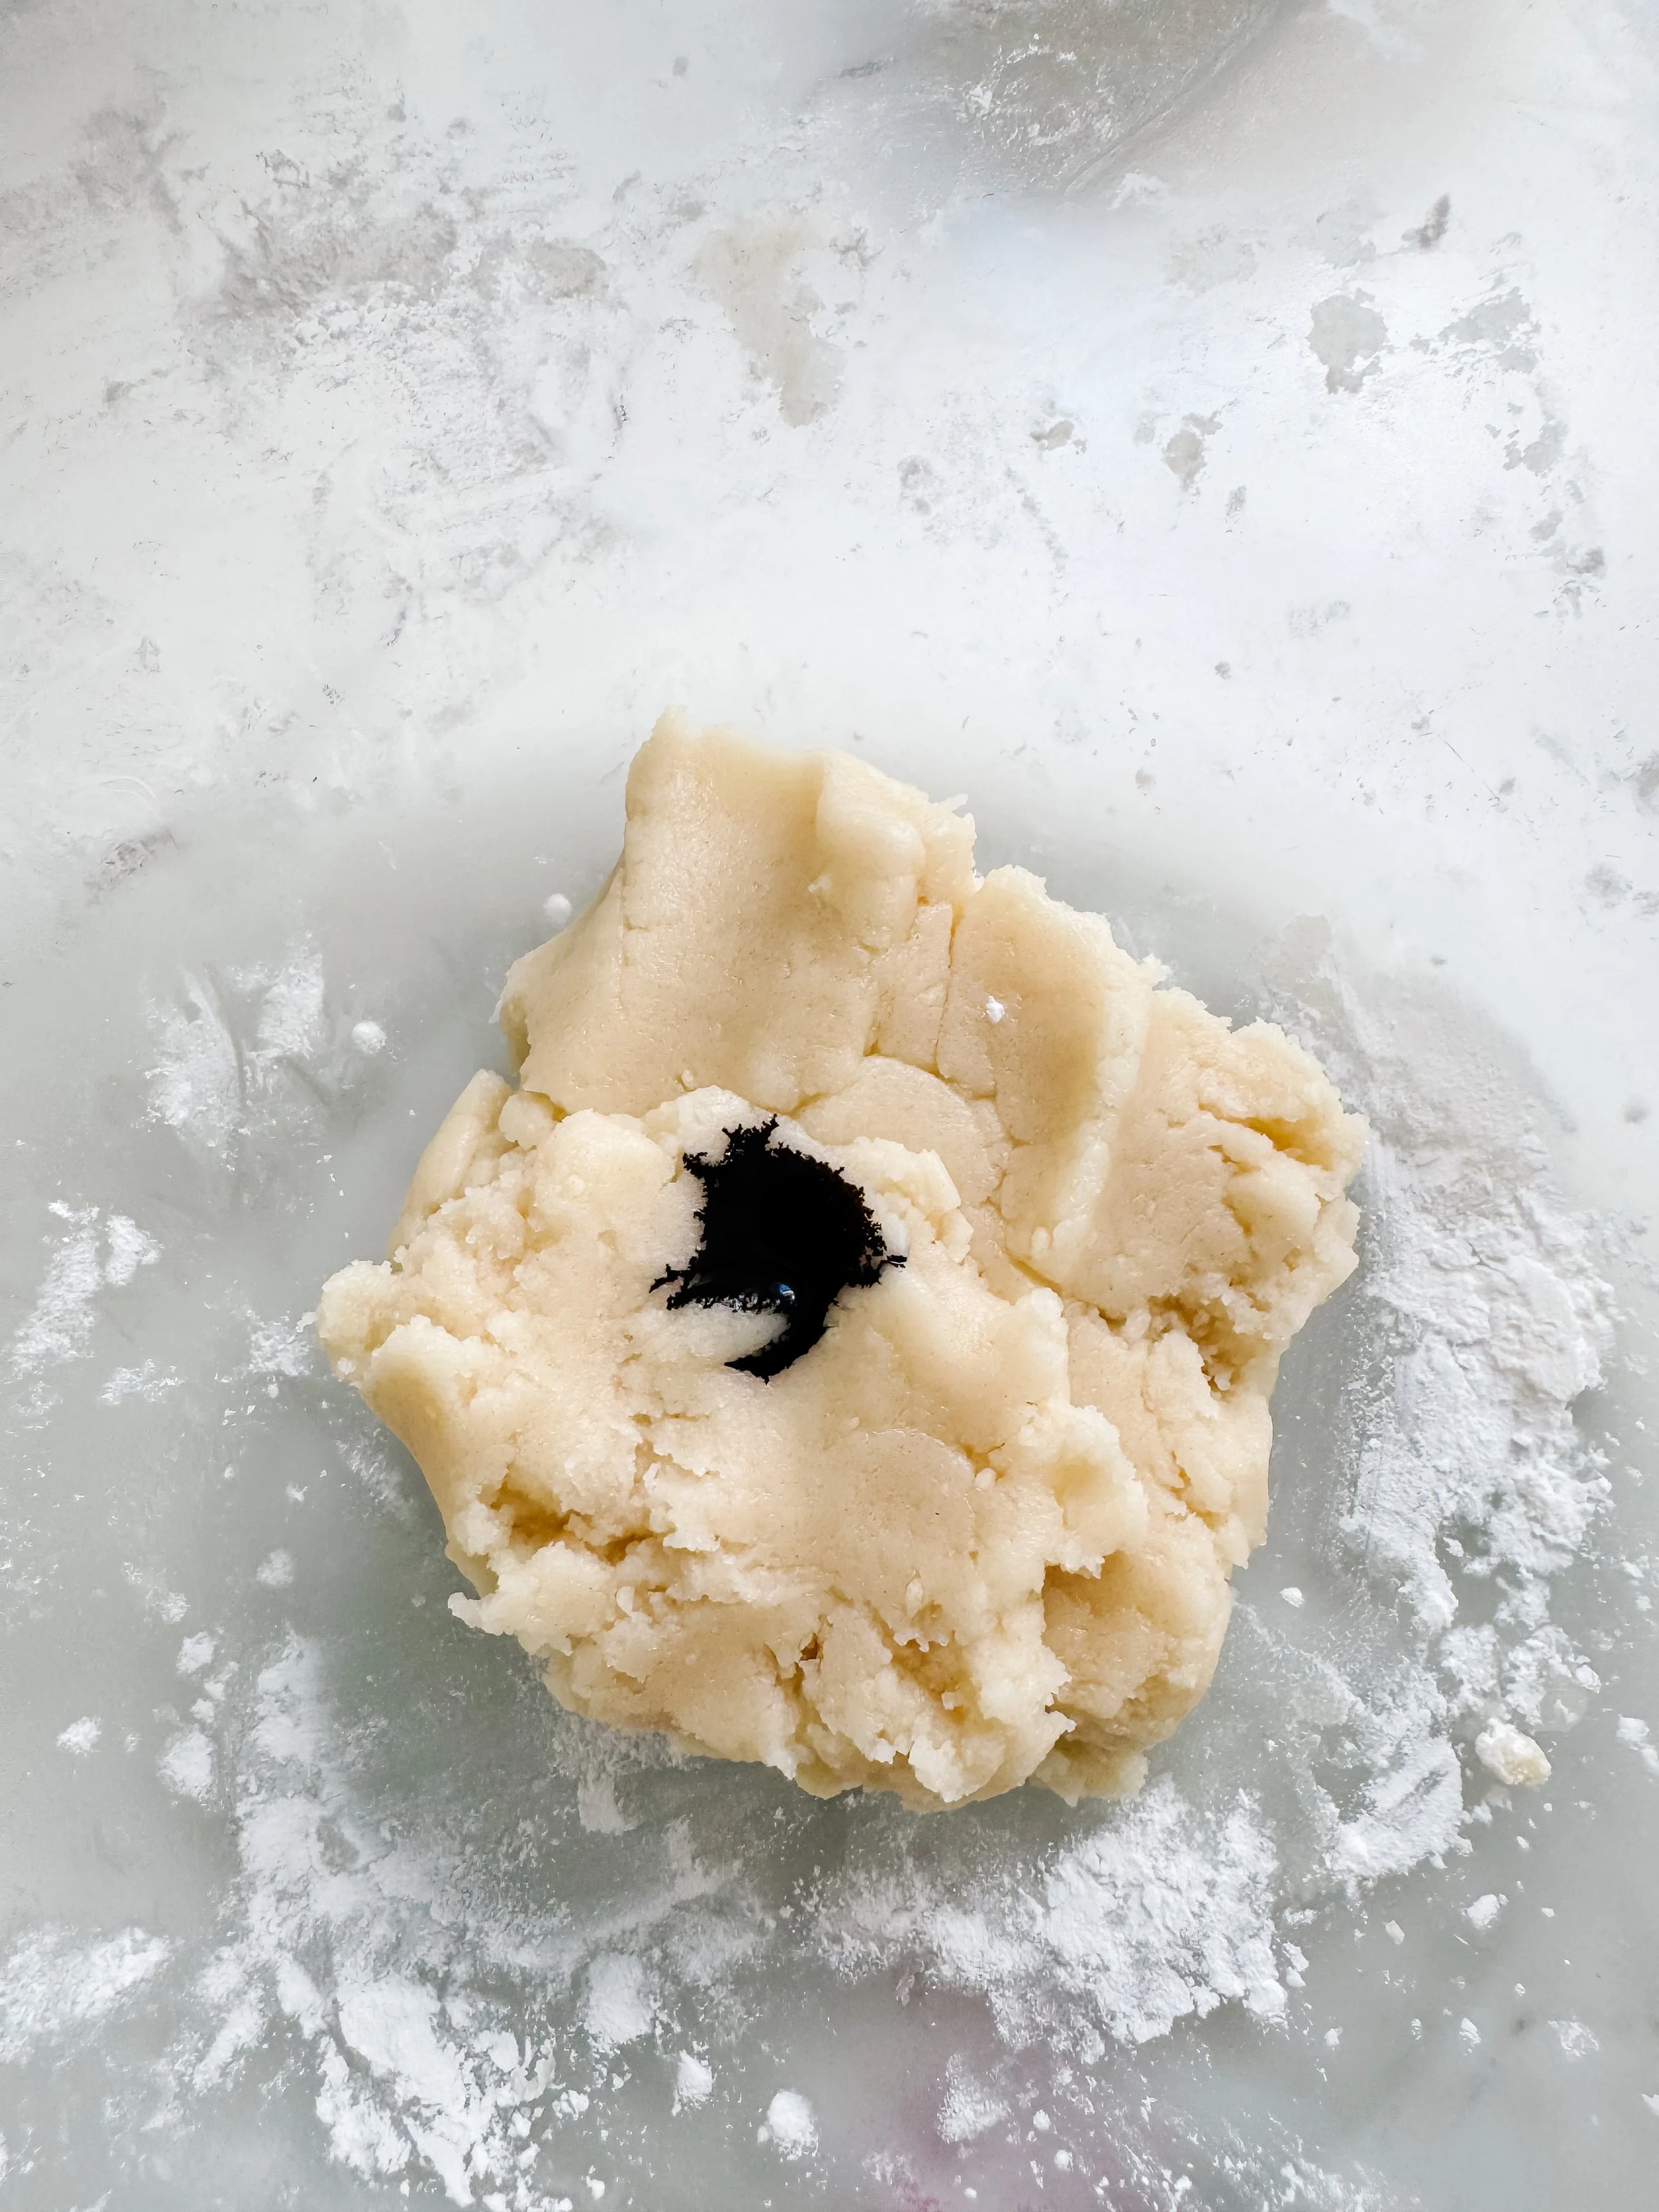
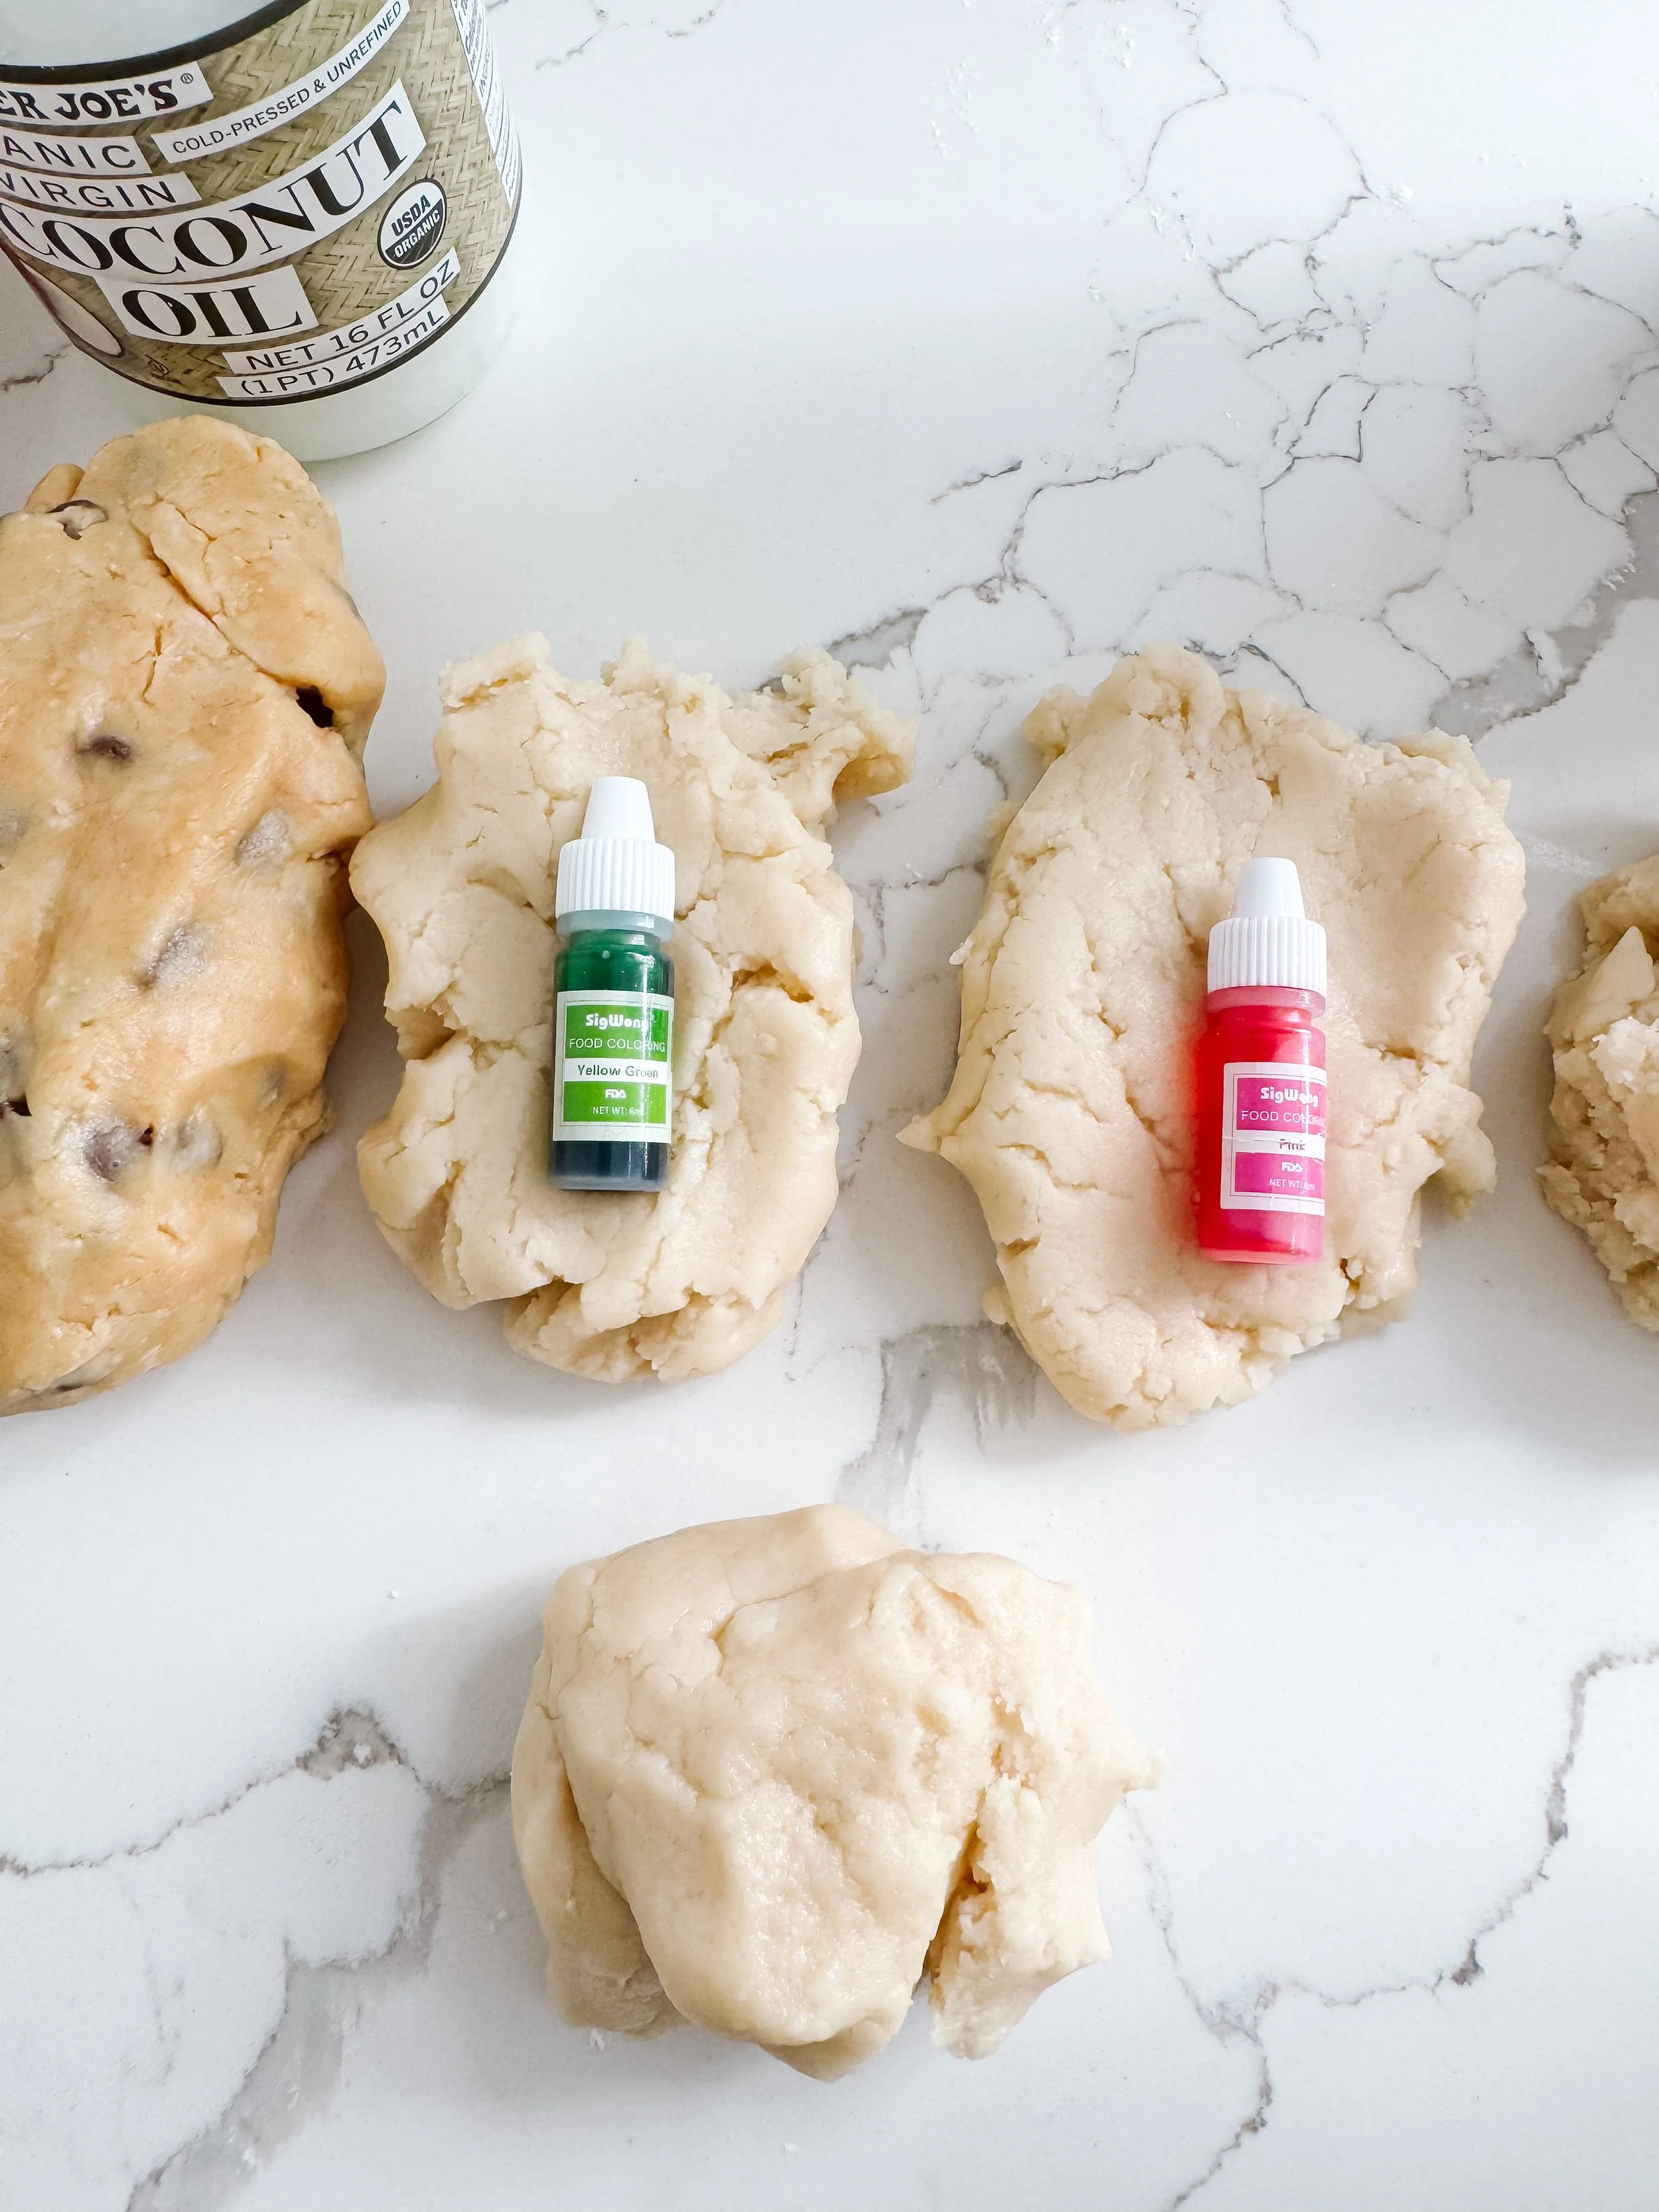
Add a tiny amount of pink food coloring for strawberry ice cream.

Mint chip

Add green food coloring and tiny dark mix-ins for a mint chip inspired dough.

Cookie dough

Use cookie mix as-is and add small pretend chocolate chips for a cookie dough flavor.

Different colors of homemade ice cream play dough for pretend ice cream shop play.

How to use it for pretend play

This dough is perfect for an ice cream shop setup. Add cones, bowls, spoons, scoops, pretend sprinkles, and recipe cards so kids can create their own flavors.

Children can take orders, count scoops, invent flavors, build tall cones, and practice social language through dramatic play.

Get the Ice Cream Shop Printable

Learning opportunities

Fine motor skills Pretend play Counting scoops Following directions Sensory exploration Vocabulary Creative play

Questions to ask kids

  • What flavor are you making?
  • How many scoops are on your cone?
  • Which dough feels the softest?
  • What toppings should we add?
  • Can you take my order?

More ice cream activities

Ice cream shop pretend play

Turn this dough into a full dramatic play setup with menus, signs, and order forms.

Ice cream sensory play

Create a sensory bin with scoops, cones, pom poms, and pretend toppings.

Ice cream mud kitchen

Take the recipe outside for scoopable mud kitchen pretend play.

Ice cream play dough FAQ

How do you make ice cream play dough?

Mix one packet of cookie mix with one cup of cornstarch, three tablespoons of melted coconut oil, and water as needed until the dough becomes soft, fluffy, and scoopable.

Is this ice cream dough sticky?

No, that is what makes this recipe so great. Unlike icing-based recipes, this version does not stick to your hands when the texture is balanced correctly.

How do I fix sticky play dough?

Add more cornstarch one tablespoon at a time and knead until the dough feels soft but no longer sticky.
How do I make play dough more scoopable?

Add a tiny bit more melted coconut oil or a few drops of water, then knead until the dough becomes smooth and easy to scoop.

Is this recipe taste-safe?

The ingredients are food-based, but this recipe is intended for sensory play, not eating. Always supervise young children during play.

How should I store homemade ice cream dough?

Store it in an airtight container or zip-top bag. If it dries out, add a few drops of water or coconut oil and knead again before playing.