Pineapple Coconut Smoothie Recipe Mud Kitchen Play

Pineapple Coconut Smoothie Mud Kitchen Play

A tropical pretend smoothie recipe activity for mud kitchens, play kitchens, and sensory tables that helps kids practice following directions, counting scoops, and imaginative play.
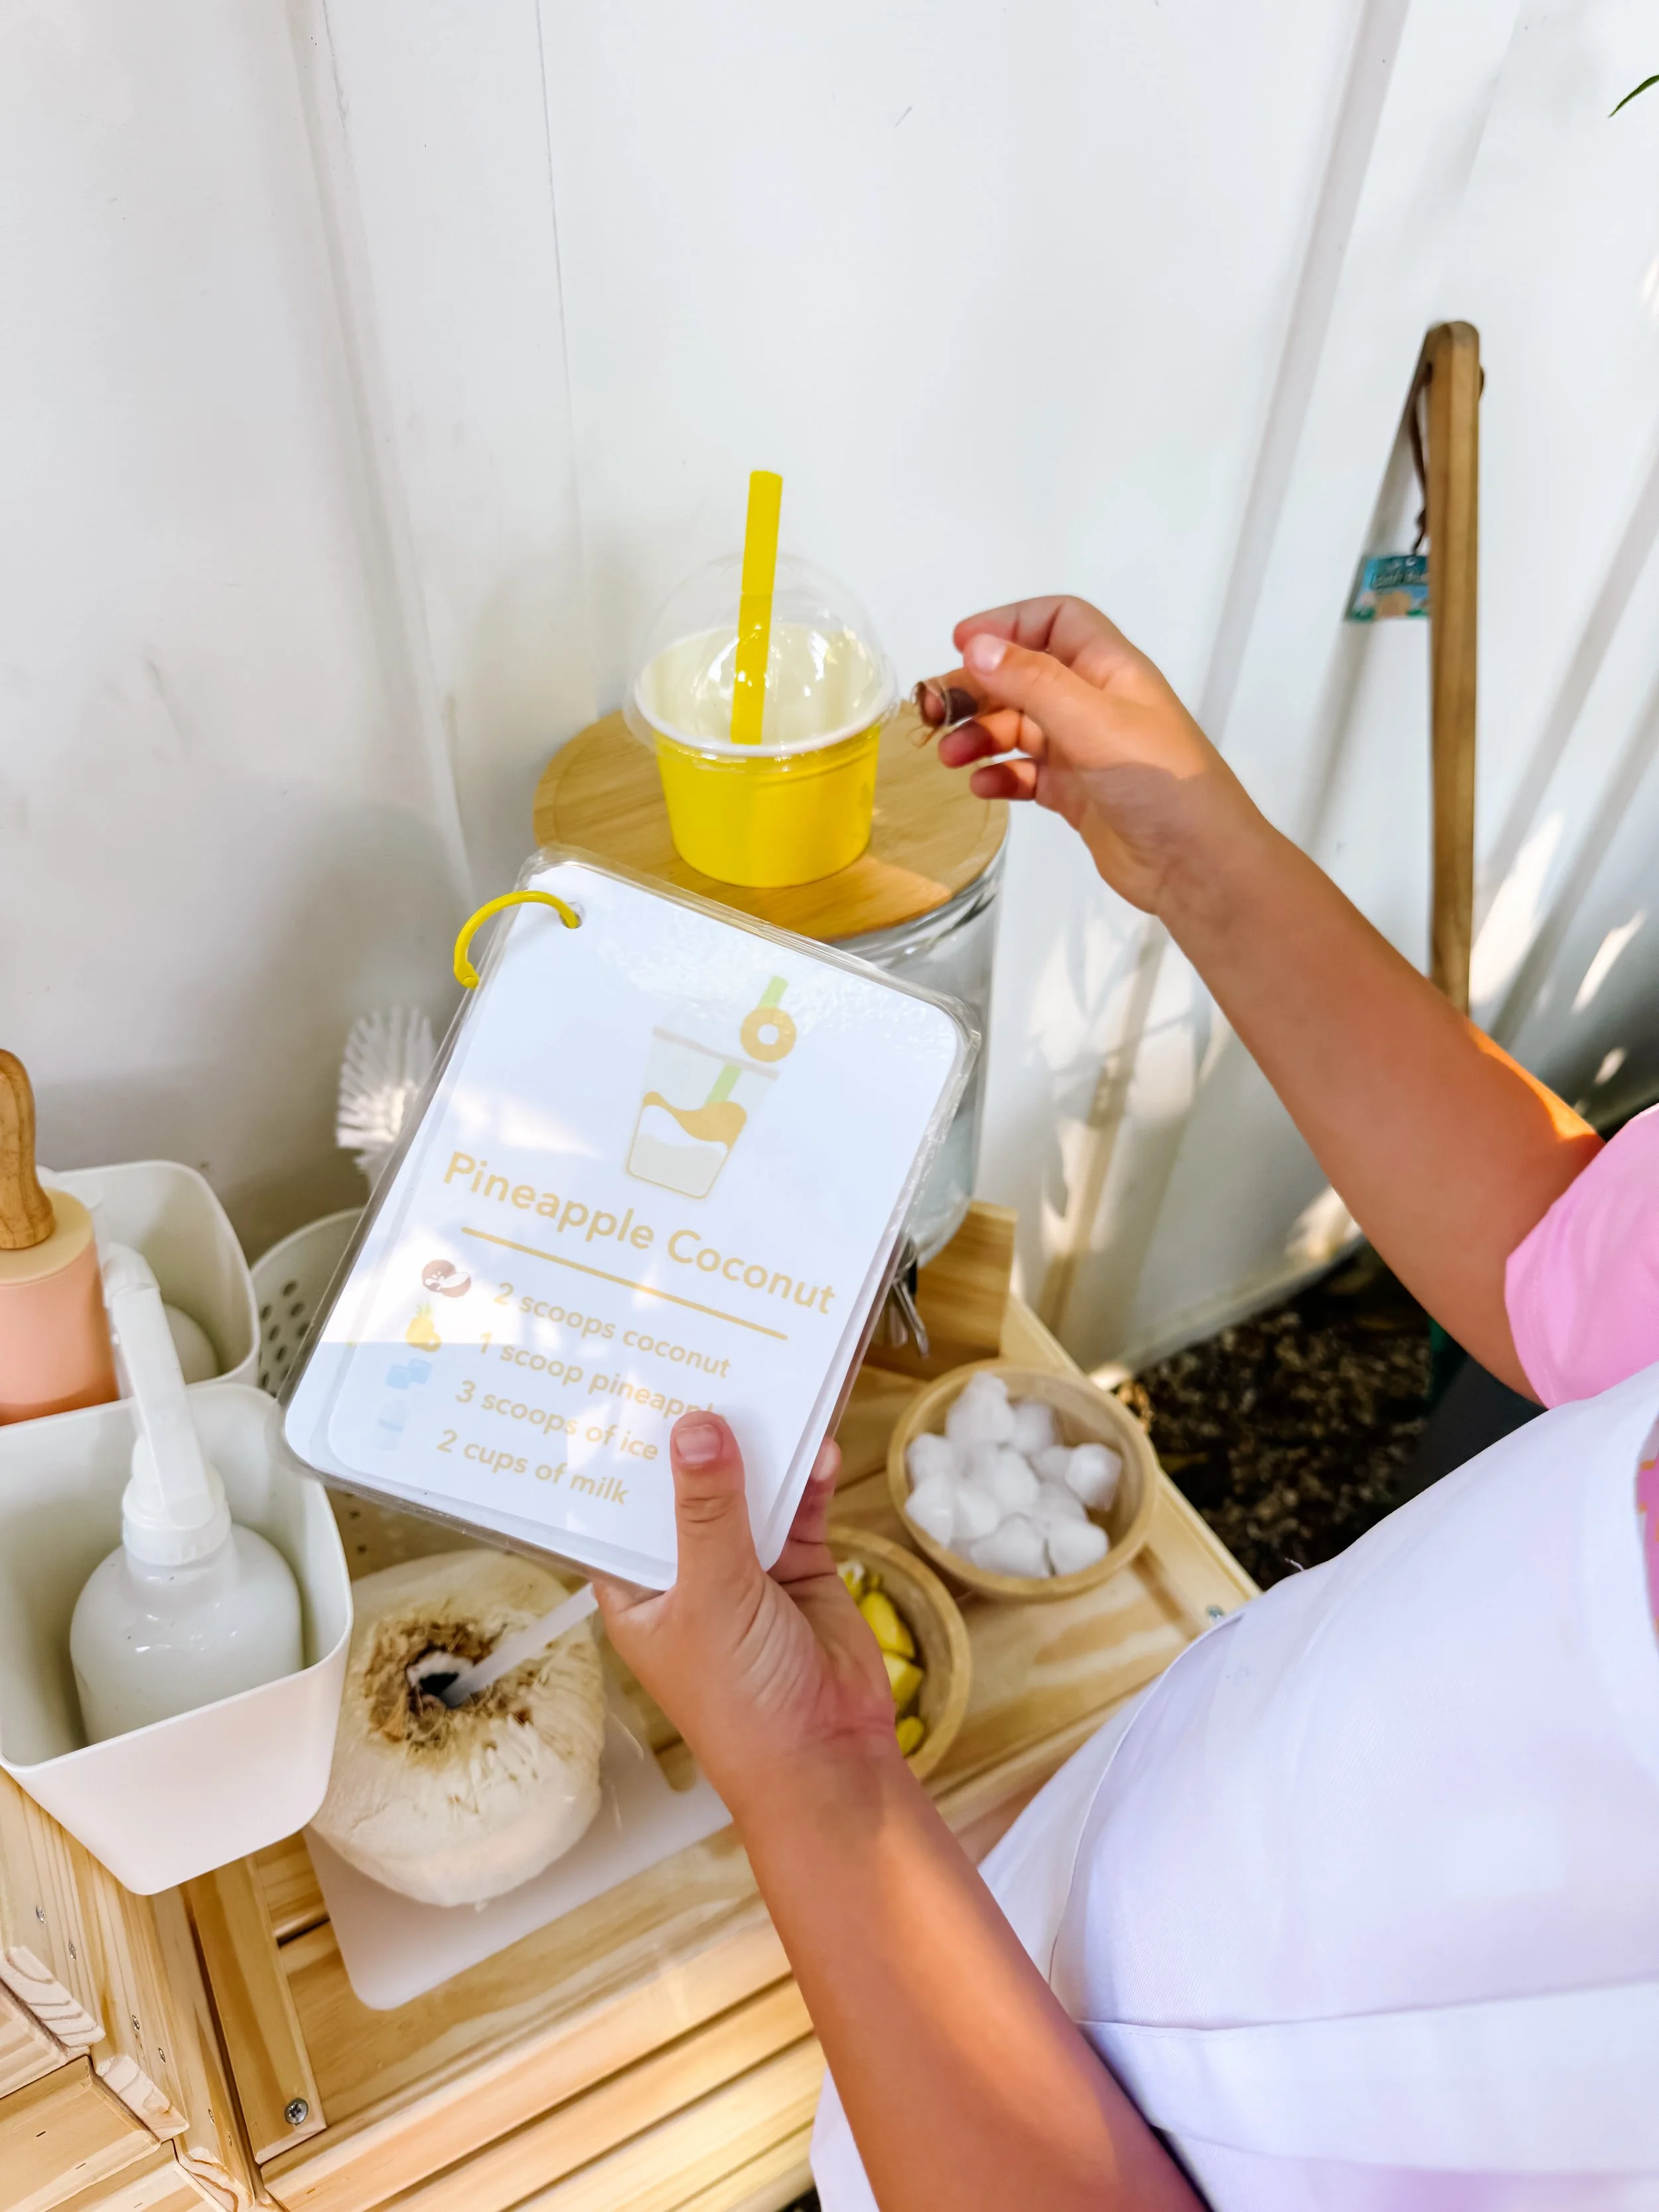
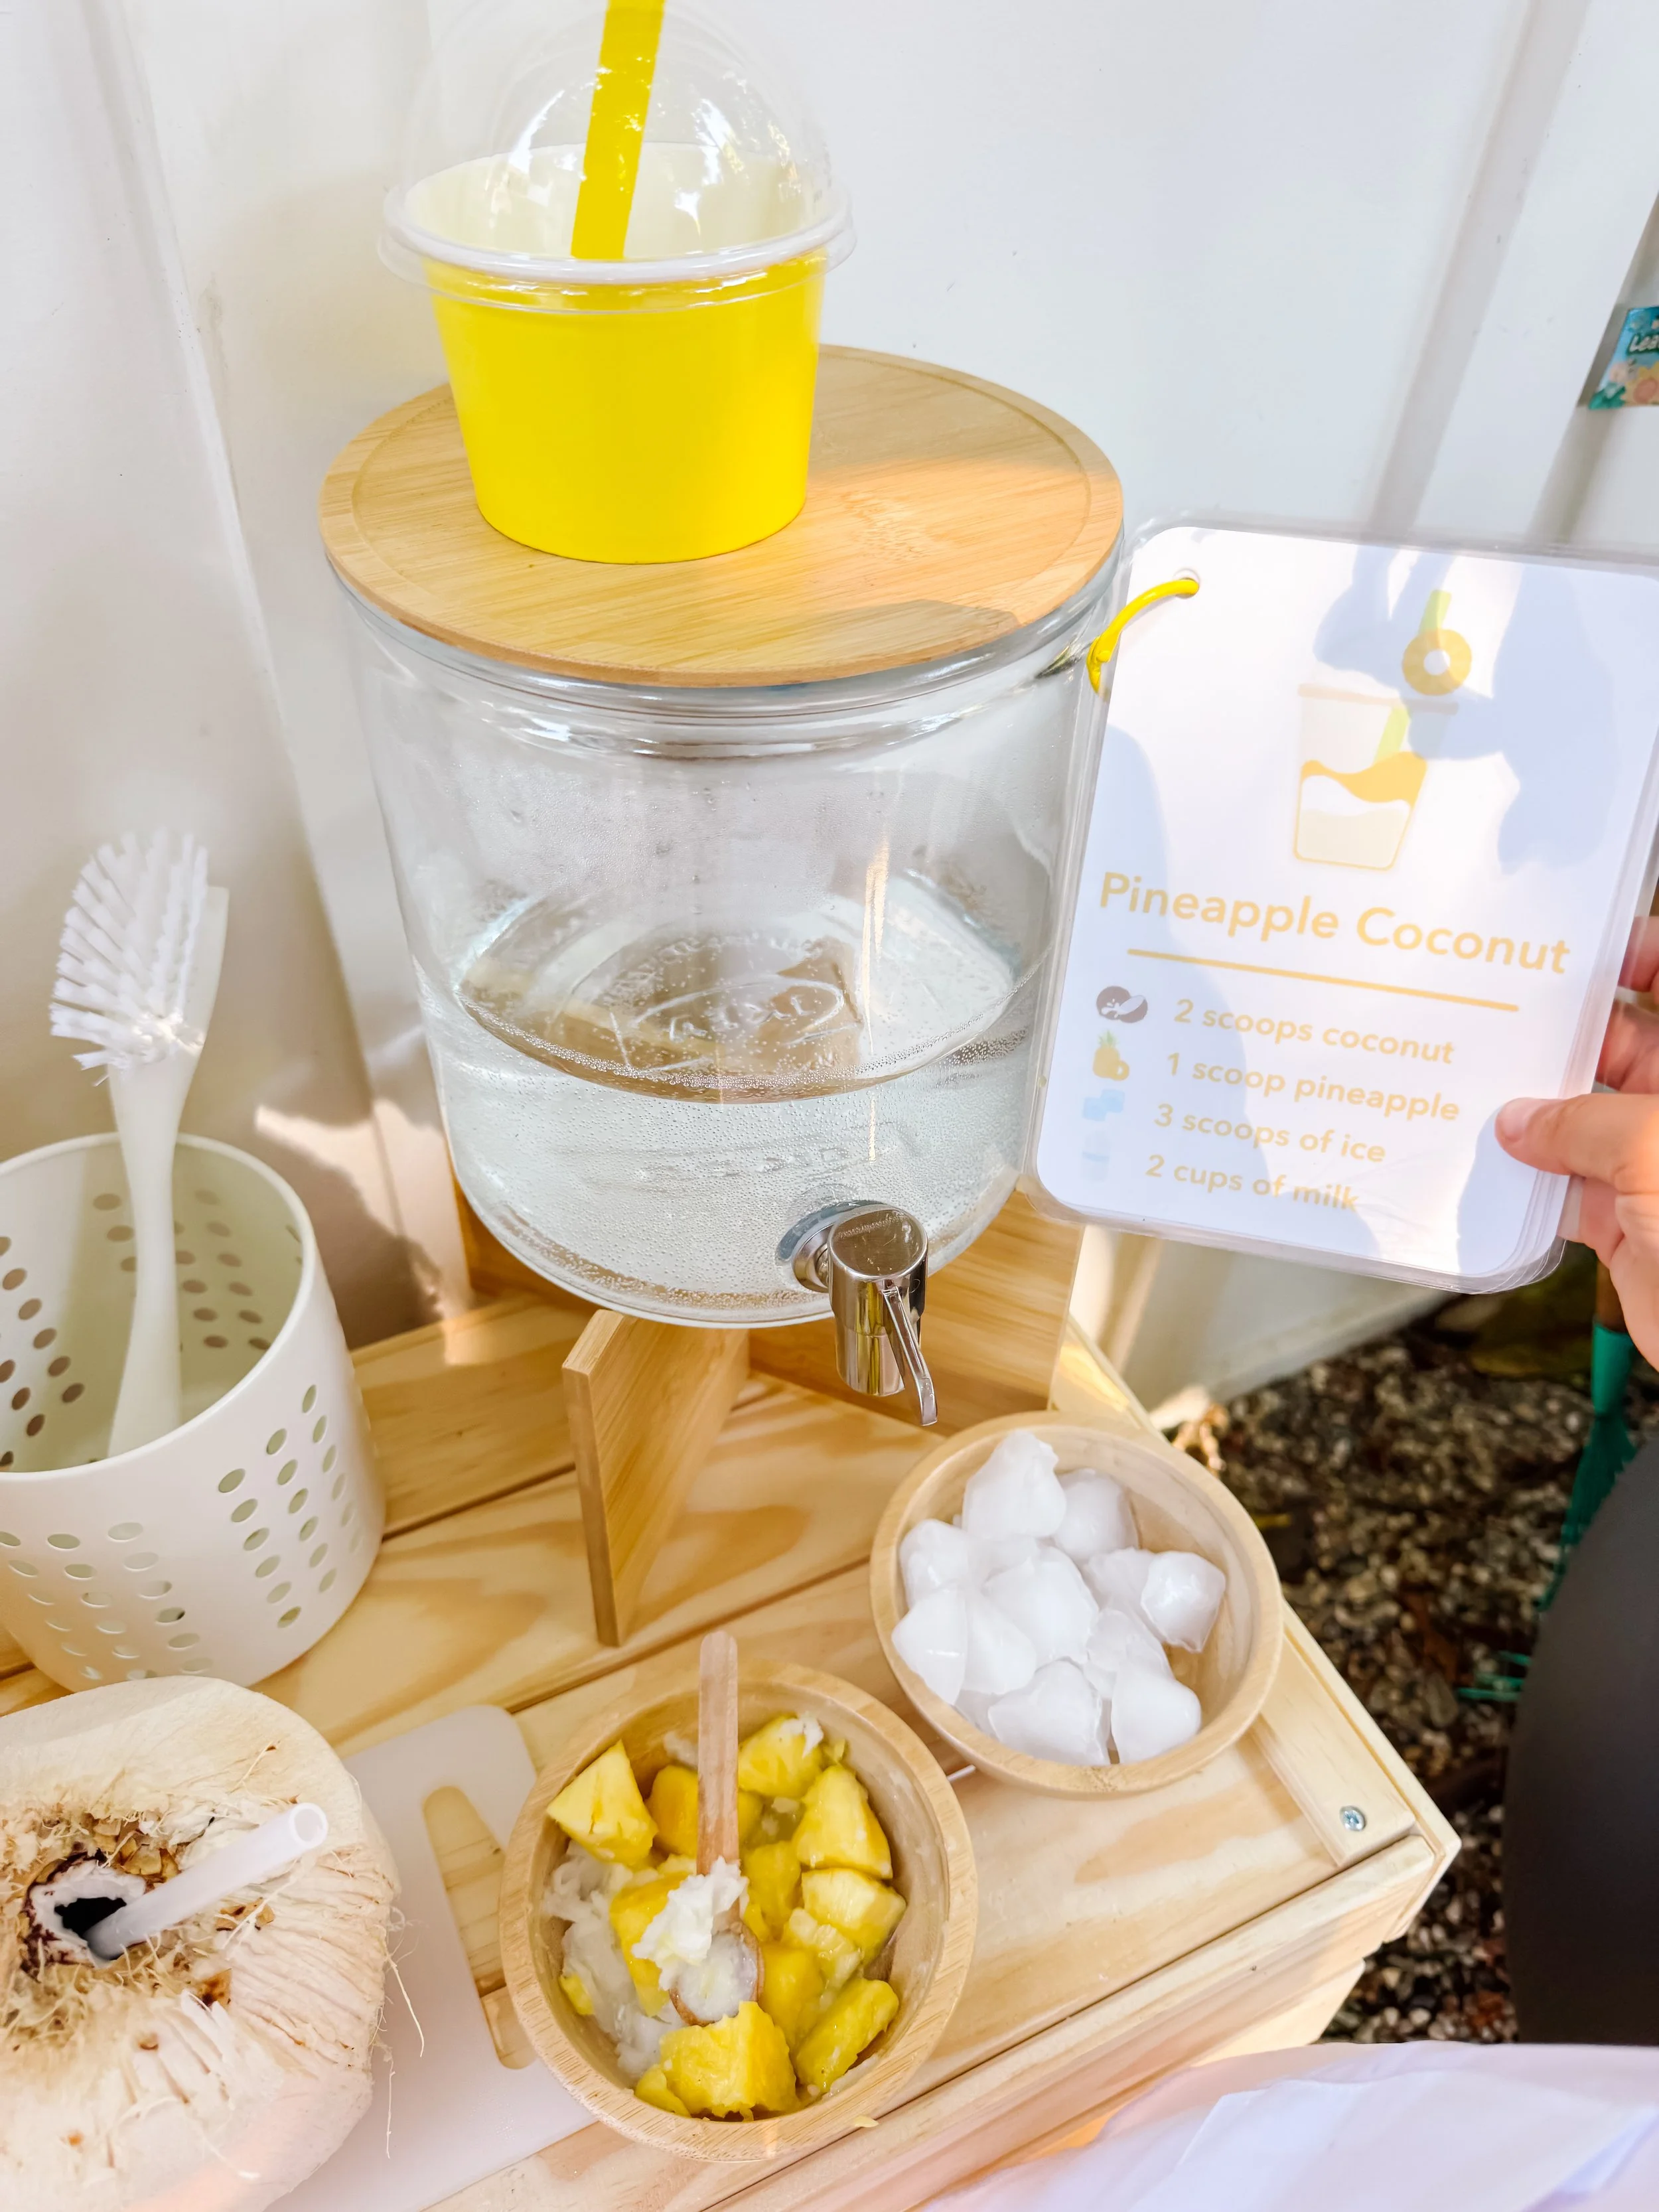
Child holding pineapple coconut smoothie recipe card during mud kitchen pretend play.
Age3+
Prep10 minutes
Play Time30+ minutes
Mess★★☆☆☆
SkillsCounting + directions

Why we love this activity

This pineapple coconut smoothie recipe activity turns a simple mud kitchen setup into a pretend smoothie shop.

Kids get to scoop, pour, stir, count, follow a recipe card, and serve their creation just like they are running a little tropical smoothie stand.

What I love most is that the recipe card gives the play just enough structure without taking away the imagination. Children still get to invent, mix, and pretend—but they also practice reading visual instructions, counting scoops, sequencing steps, and matching ingredients.

It is perfect for mud kitchens, play kitchens, sensory tables, outdoor play, summer themes, and tropical pretend play.

What you need

  • Smoothie recipe cards
  • Fresh or pretend pineapple pieces
  • Coconut pieces or coconut sensory filler
  • Ice cubes or pretend ice
  • Water or pretend milk
  • Small bowls
  • Spoons or scoops
  • Cups with lids and straws
  • Mud kitchen, play kitchen, or sensory table

Featured product

Use printable recipe cards to turn open-ended sensory play into a playful learning activity.
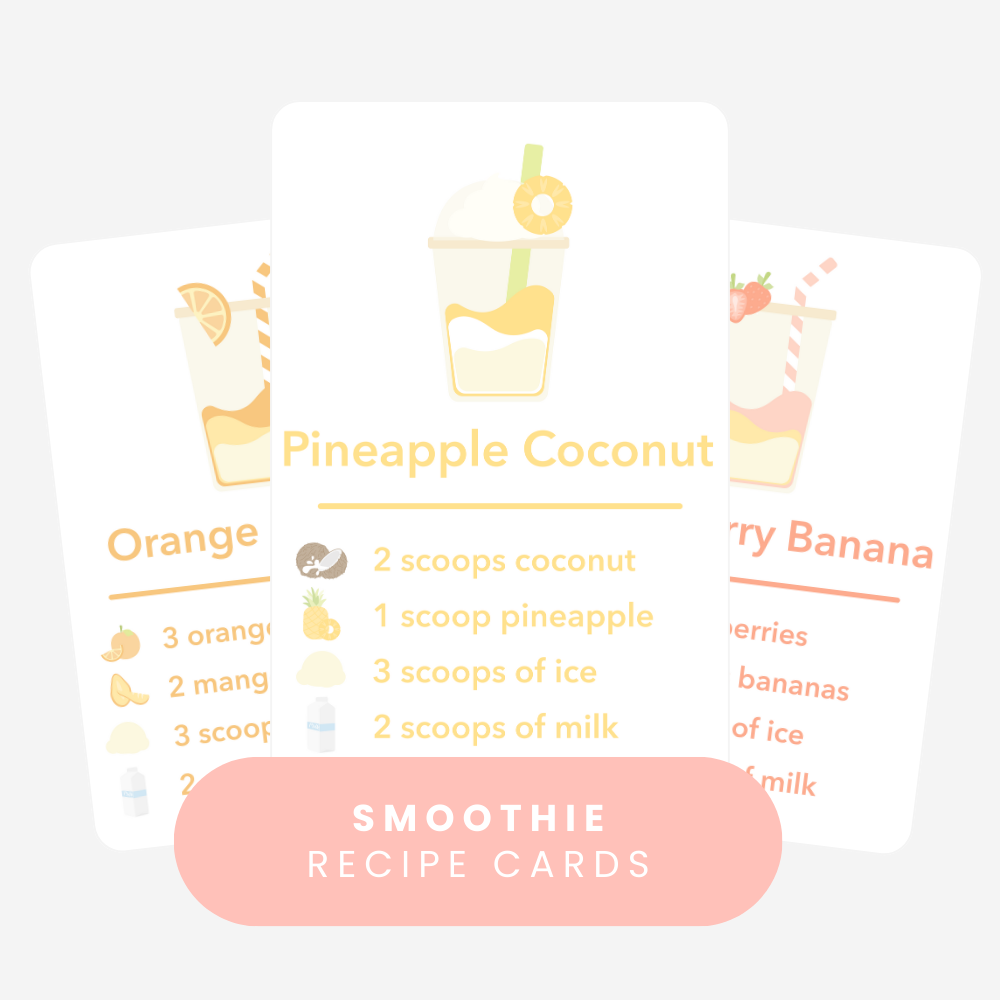
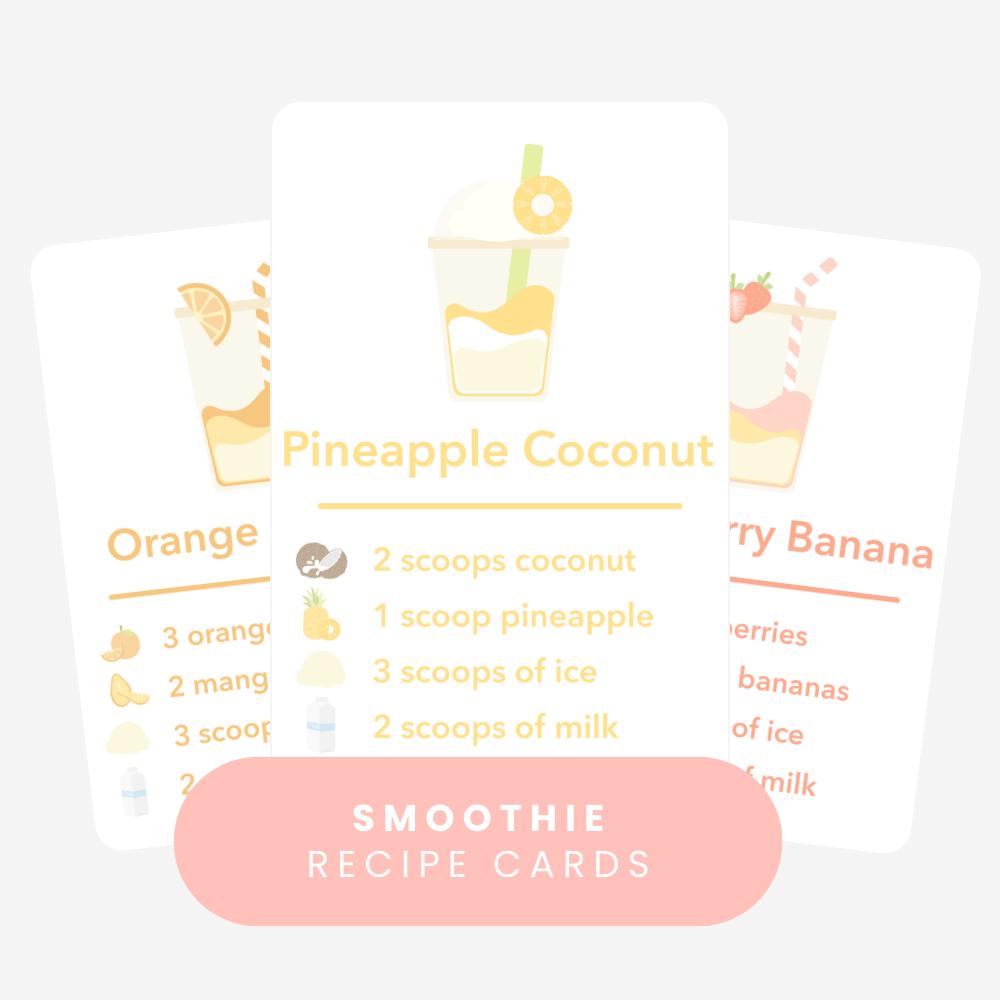
GoodnightFox smoothie recipe cards printable for mud kitchen and sensory play.

Smoothie recipe cards

Printable smoothie recipe cards for mud kitchens, play kitchens, sensory tables, and pretend smoothie shop play.

Shop smoothie cards
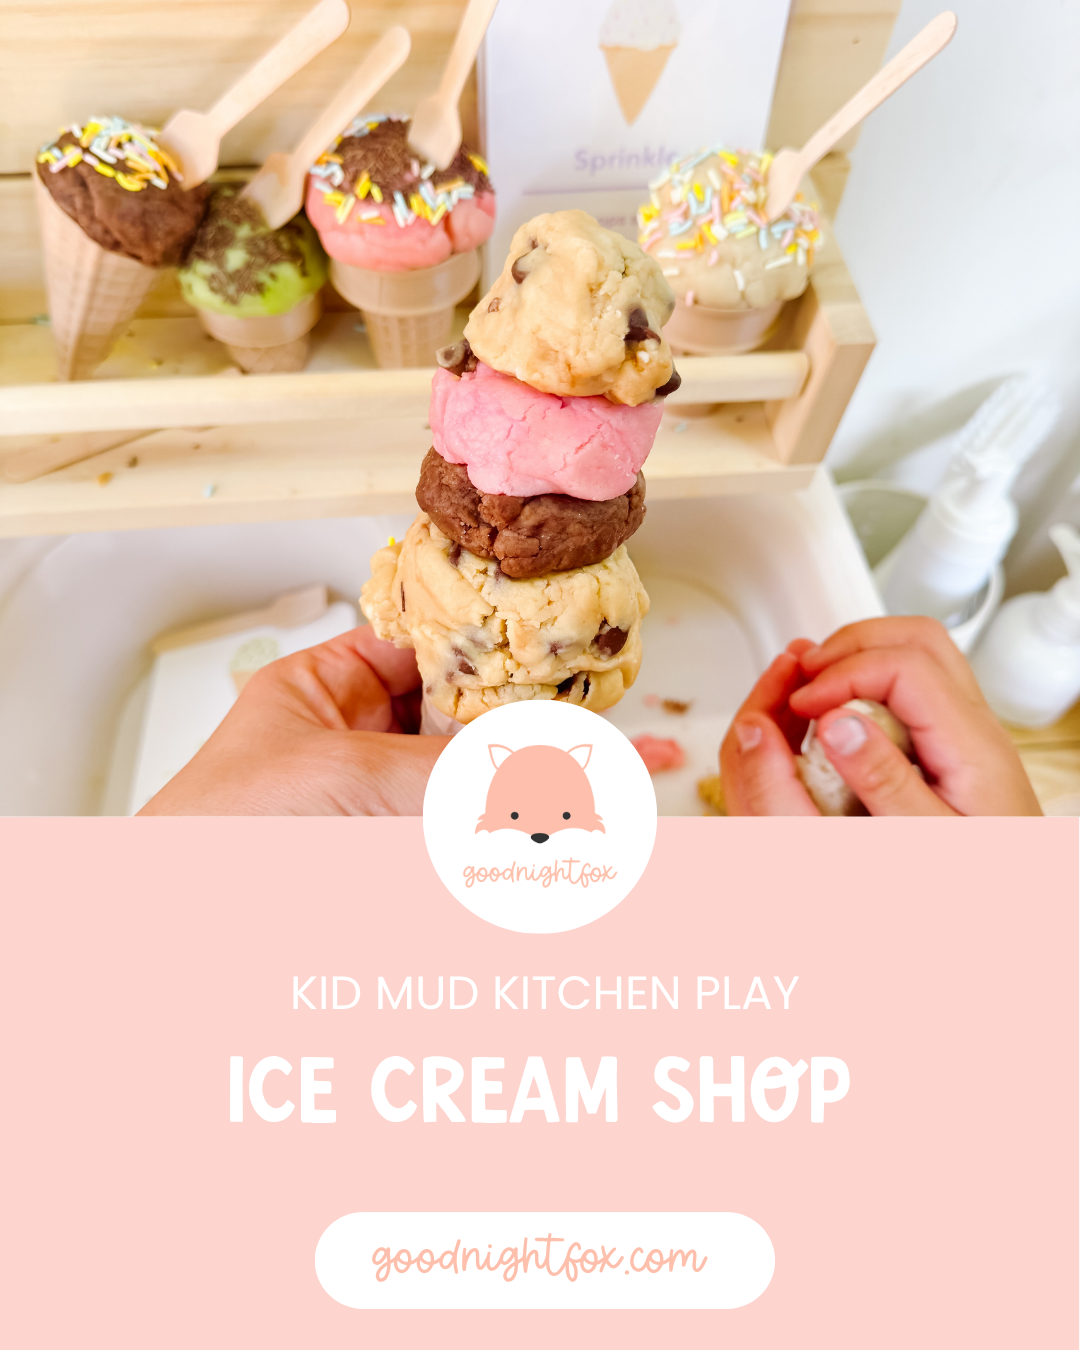
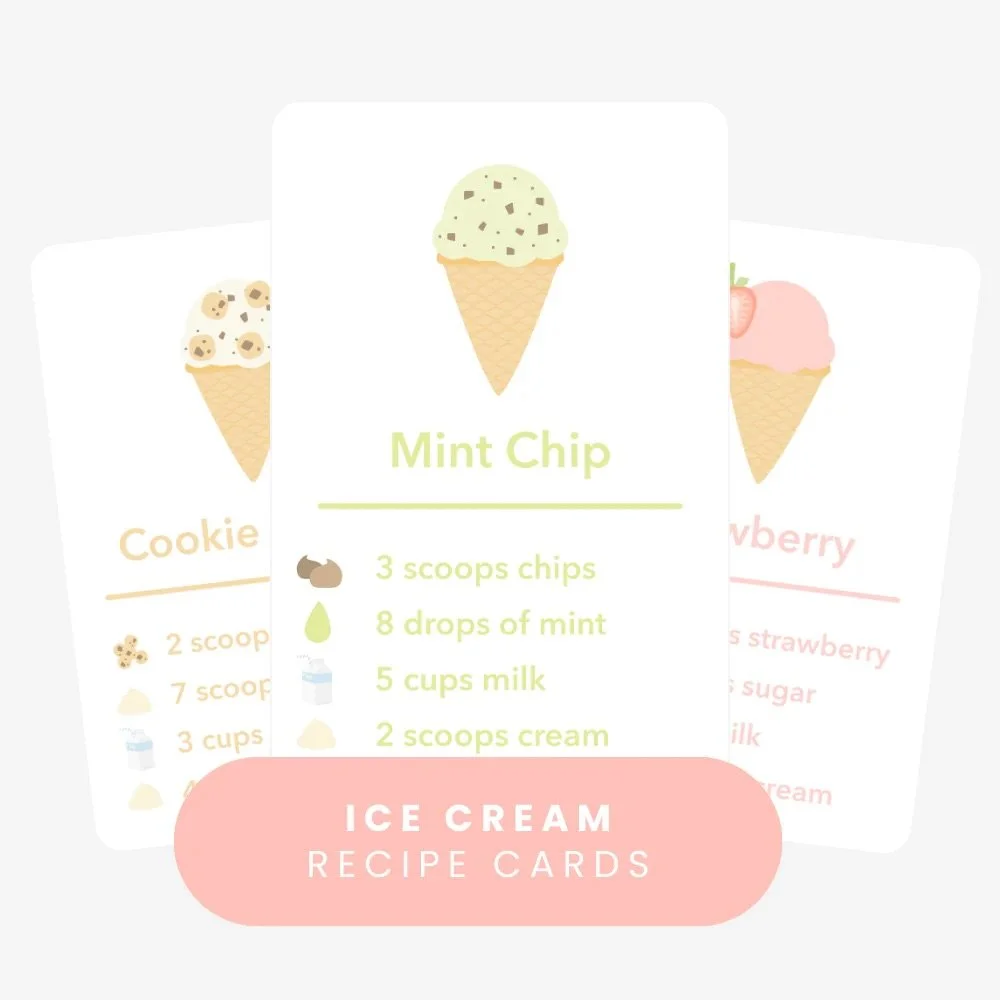
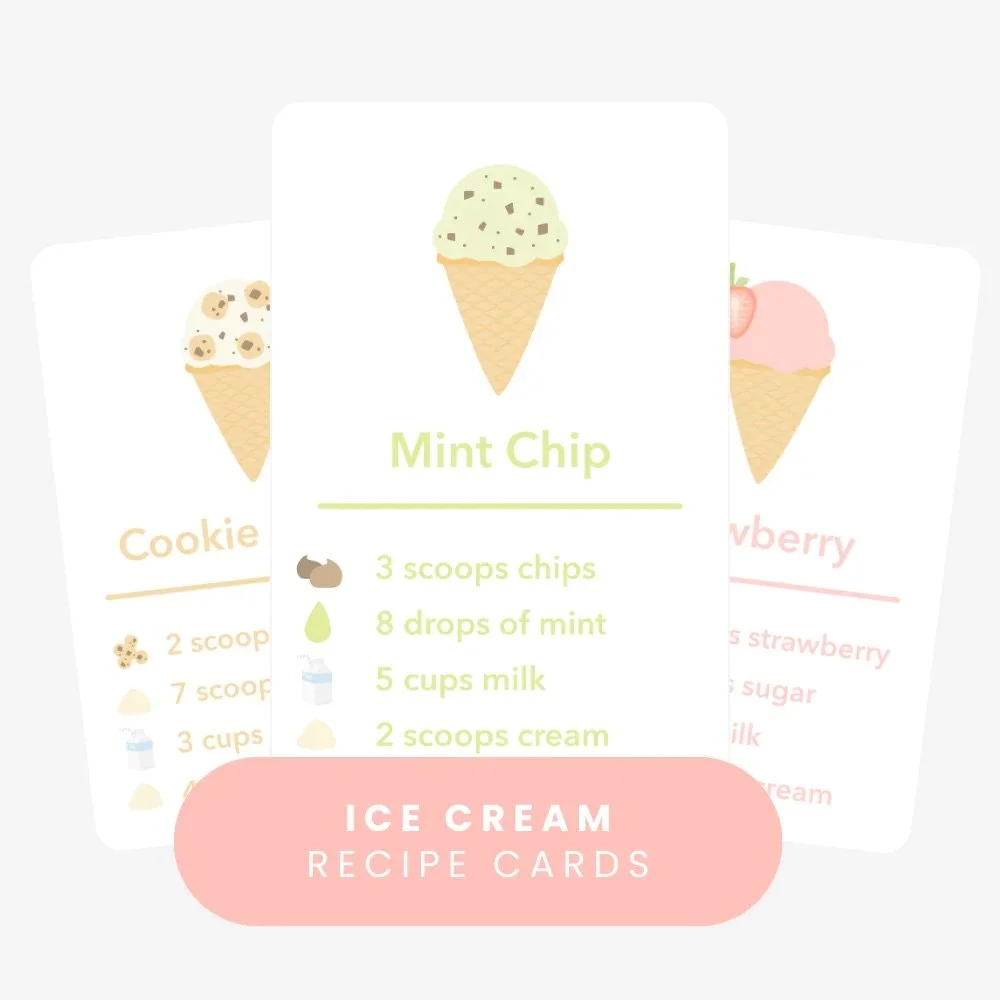
Free ice cream mud kitchen recipe cards for pretend play.

Free ice cream recipe cards

Try the free ice cream recipe cards to extend this same recipe-card learning format into pretend ice cream shop play.

Free ice cream cards

How to set up pineapple coconut smoothie play
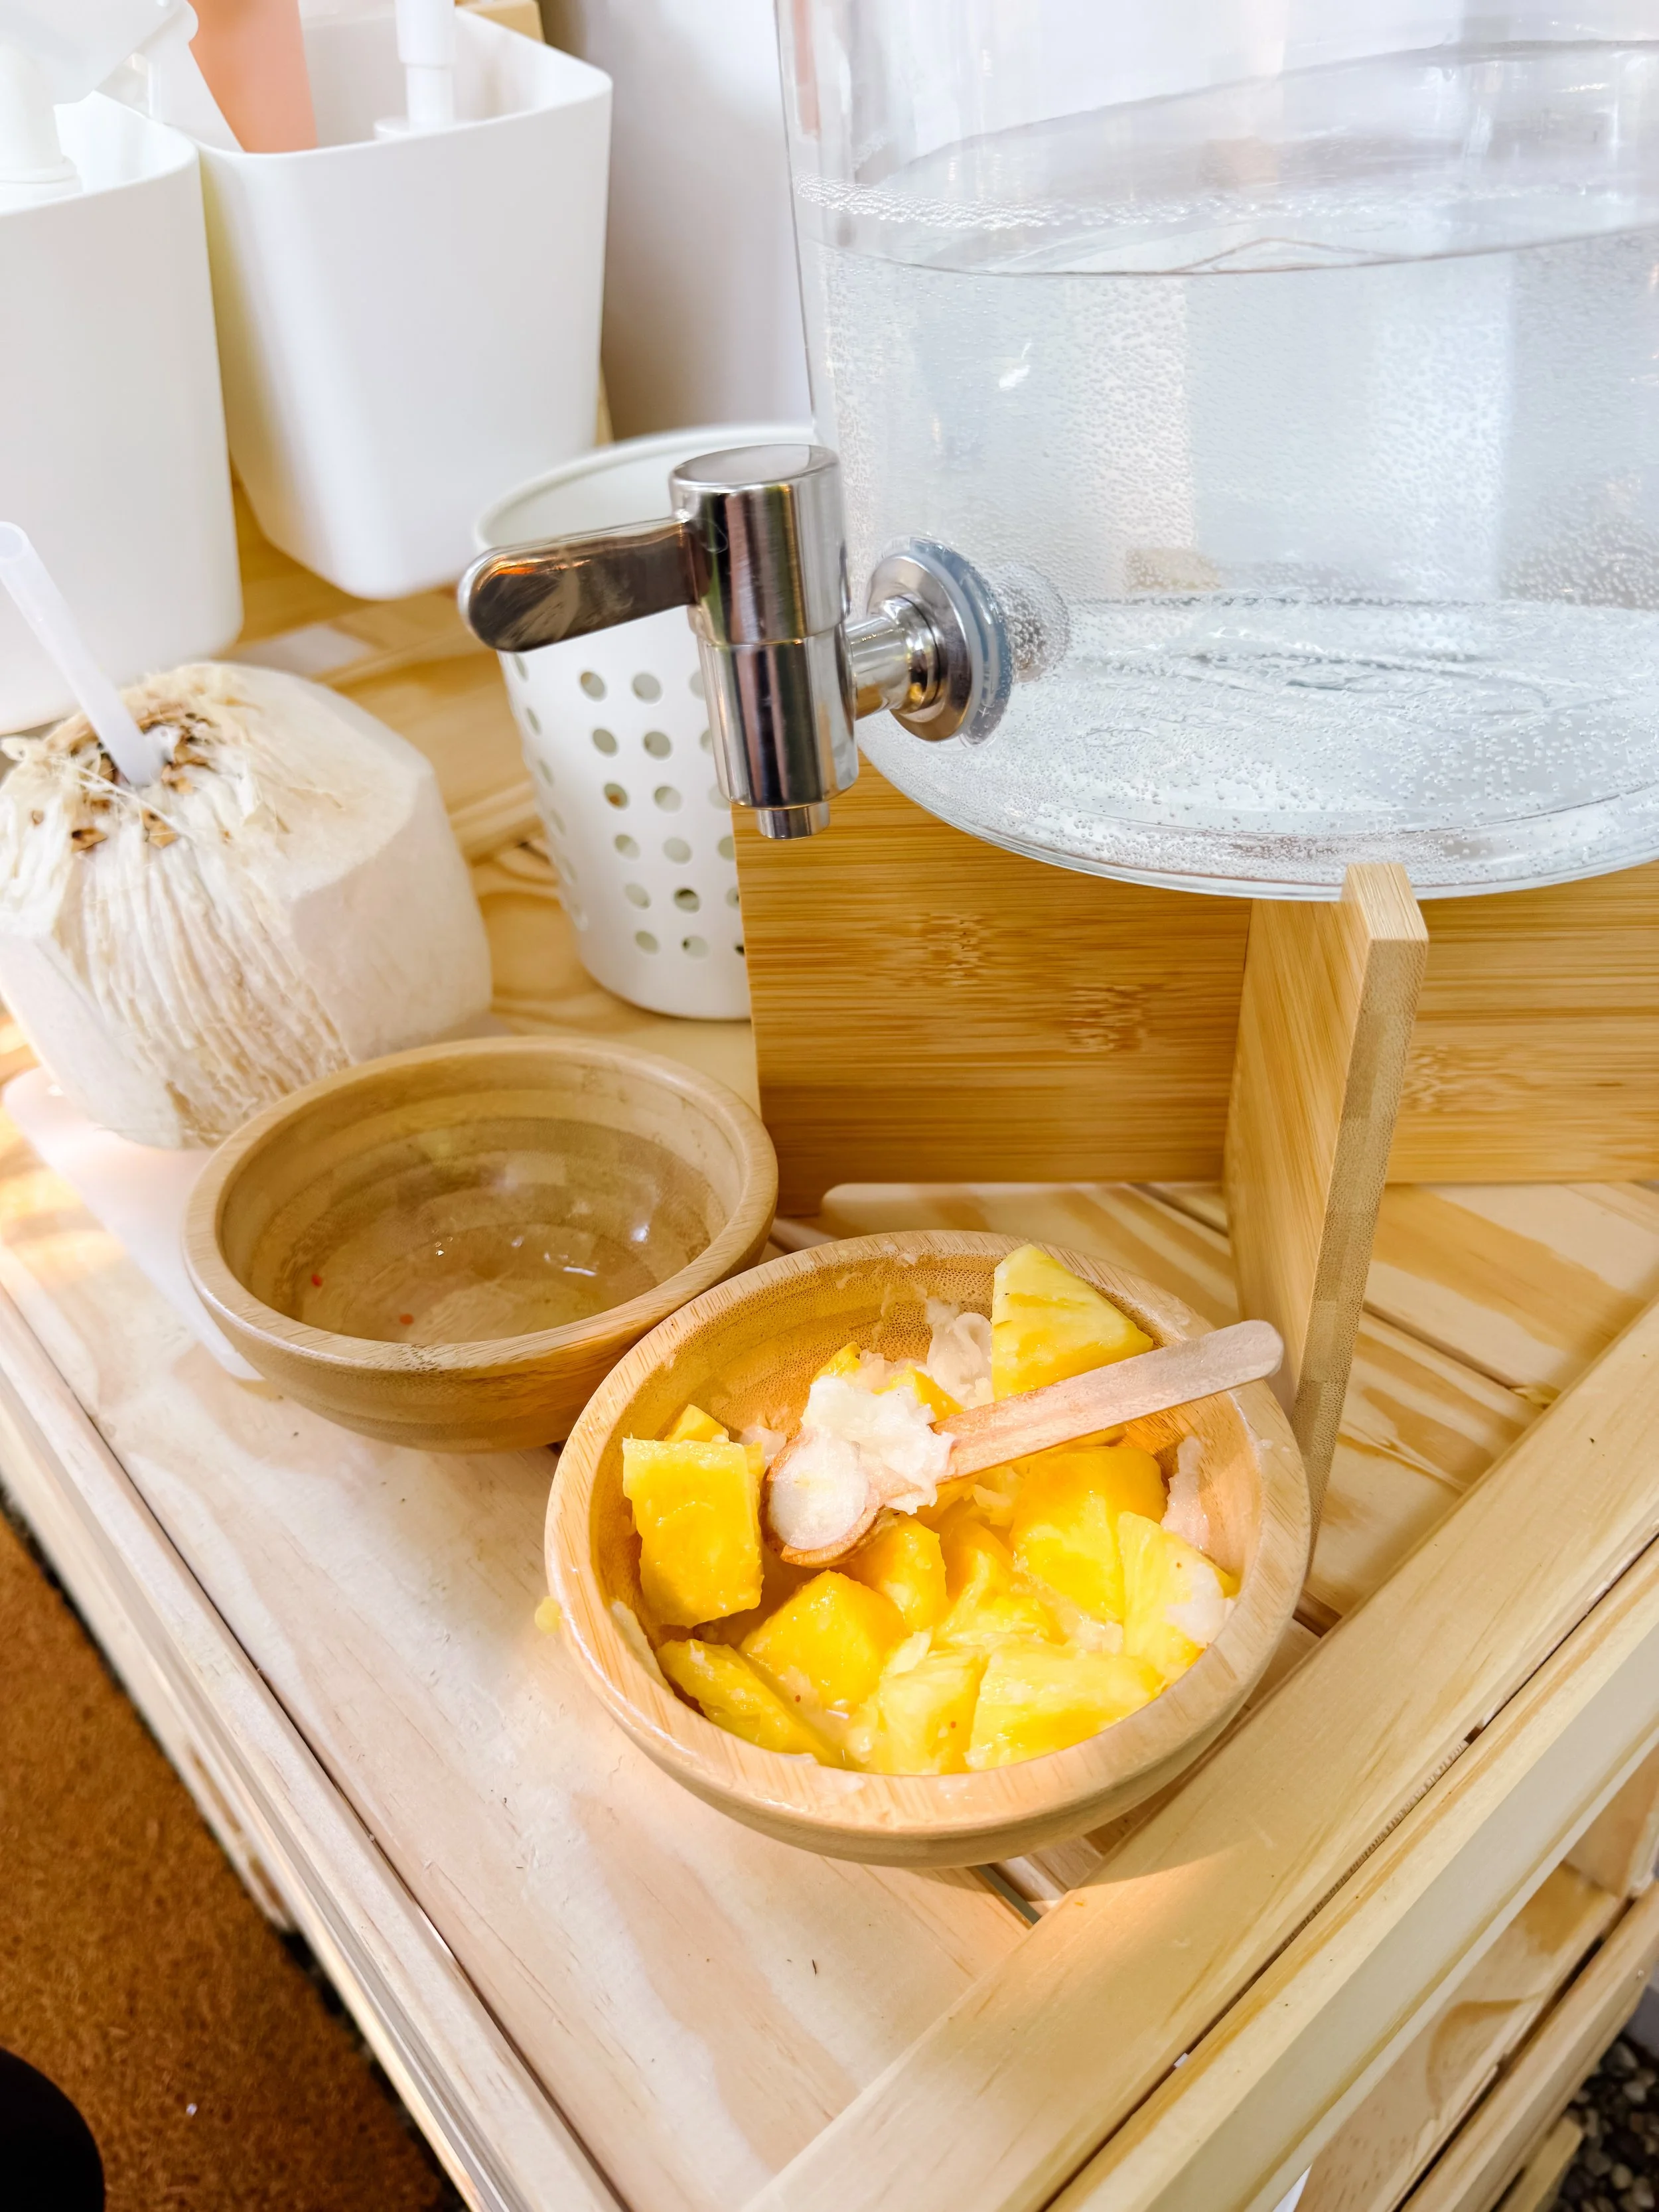
Pineapple and coconut ingredients in small bowls for smoothie mud kitchen play.
Step 1

Set out the ingredients

Place pineapple, coconut, ice, and pretend milk or water in small bowls or containers. Keep everything within reach so kids can independently scoop and pour.
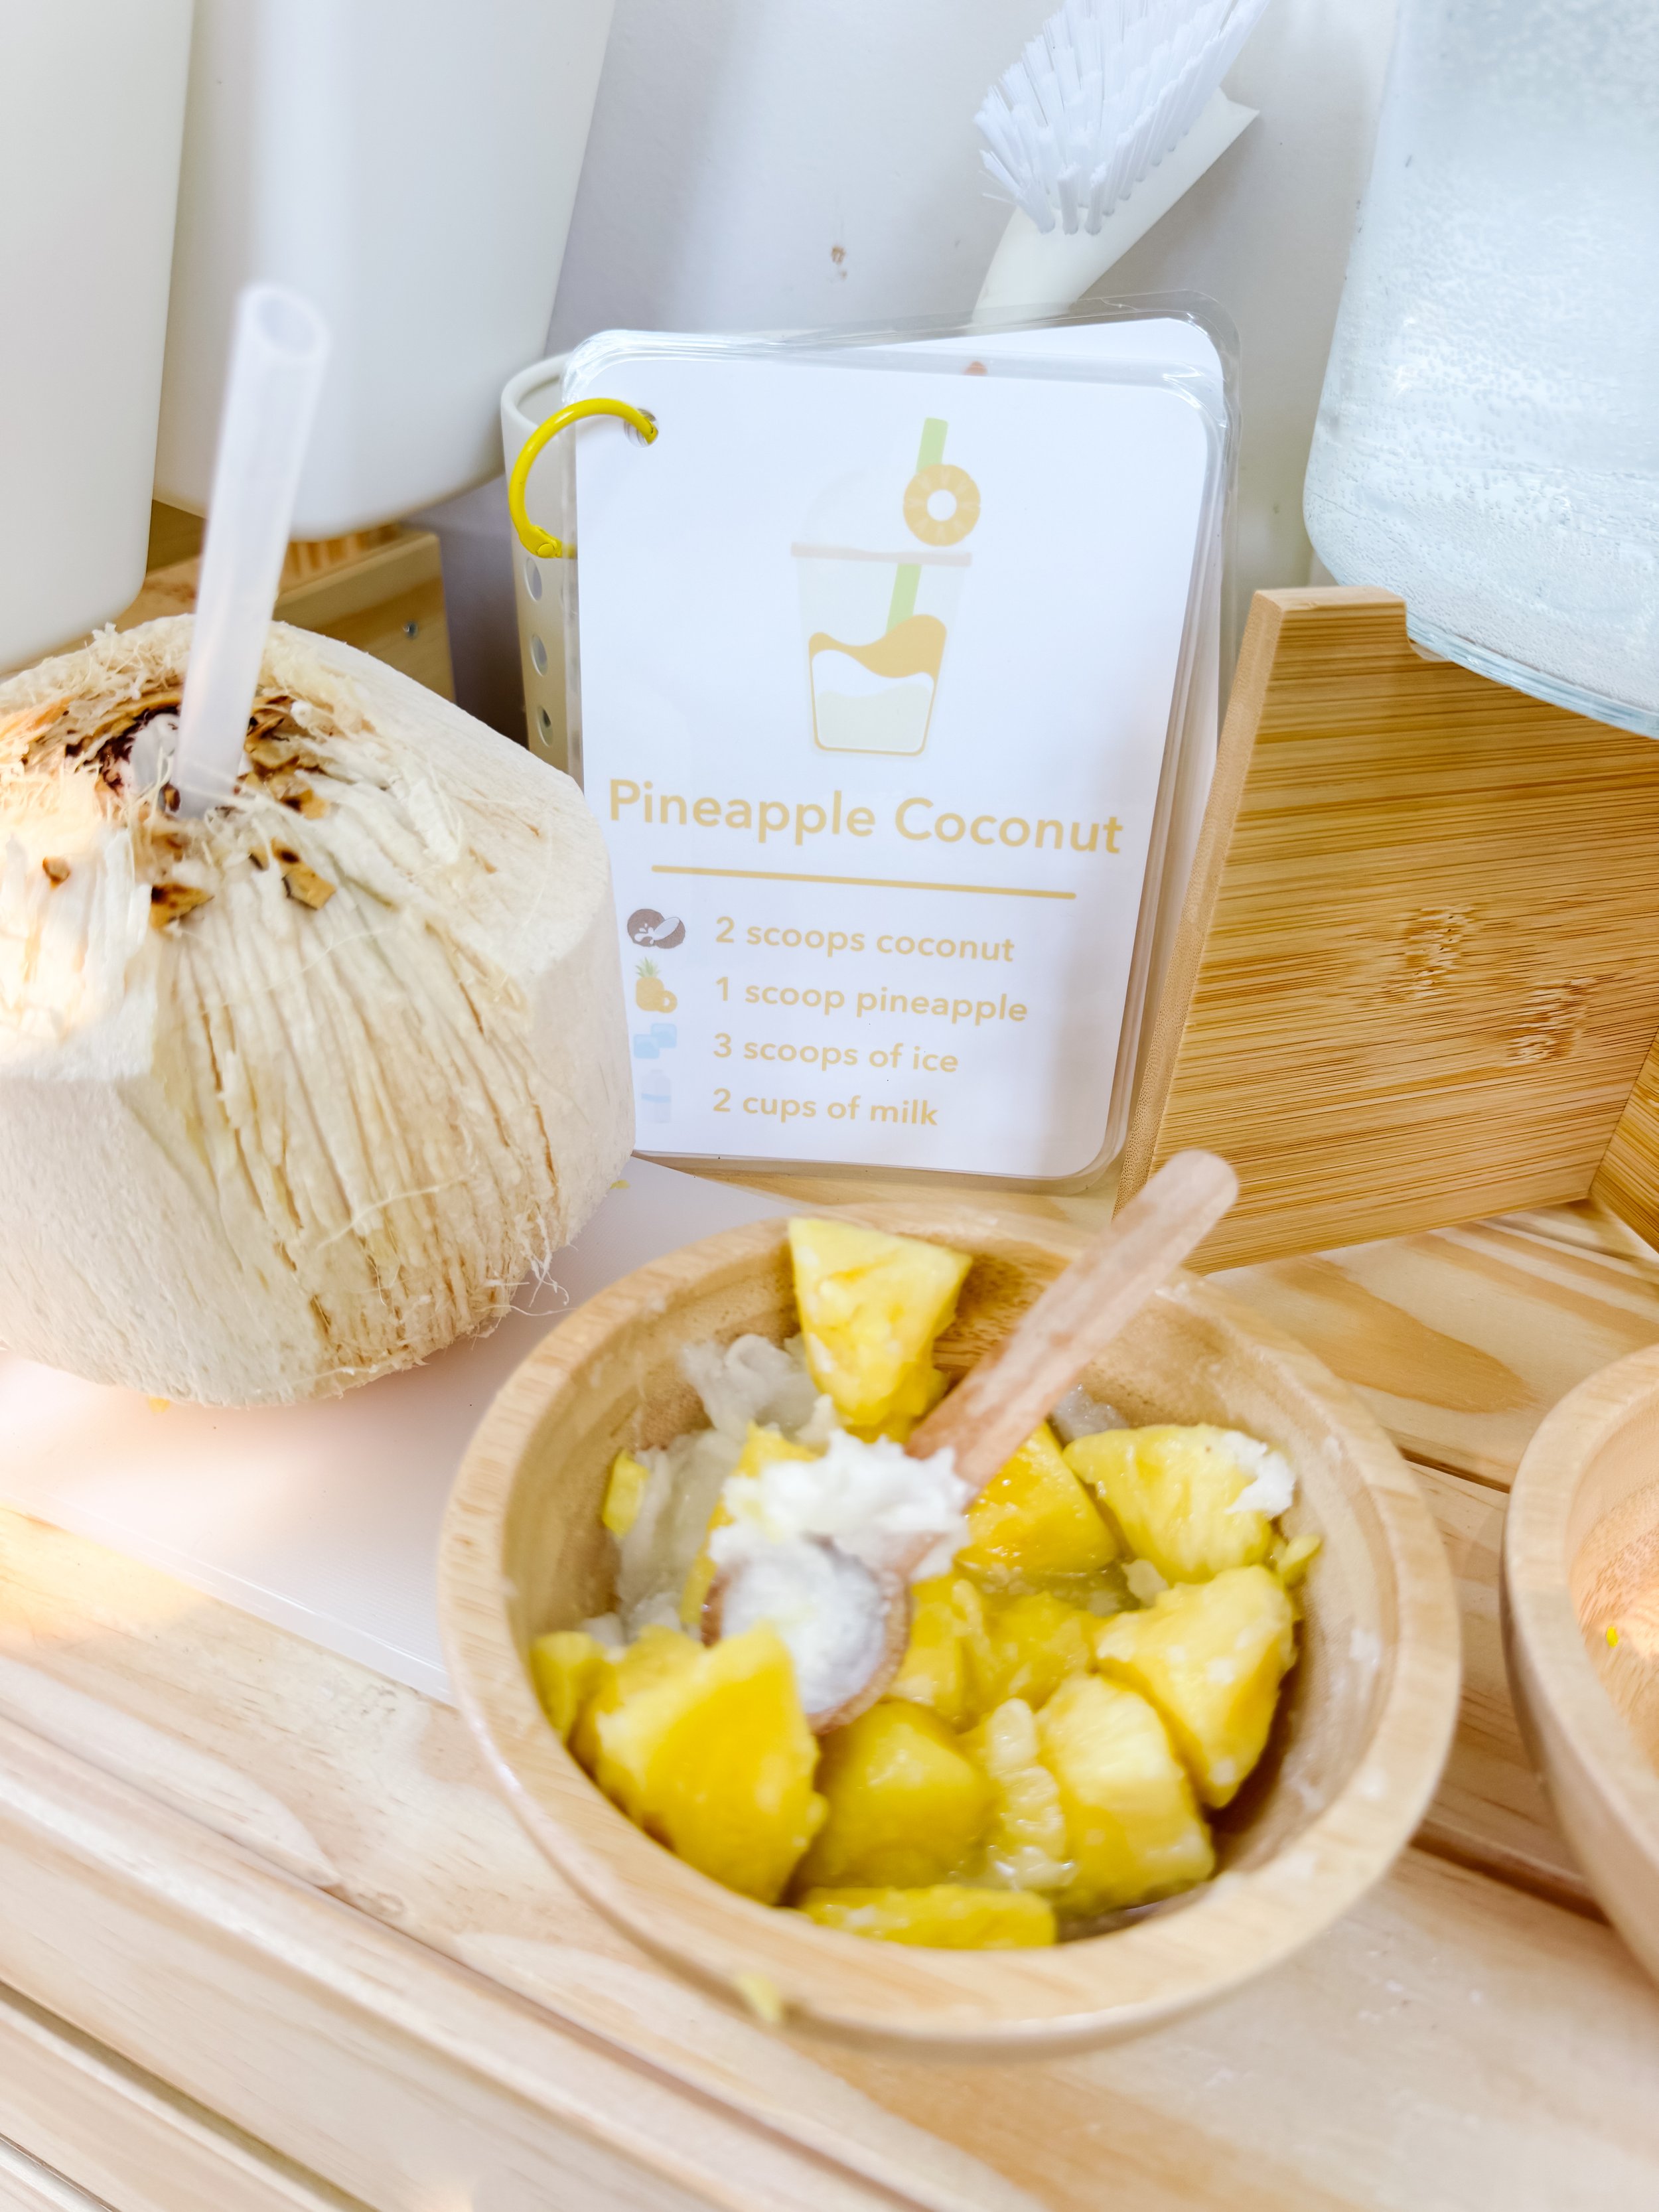
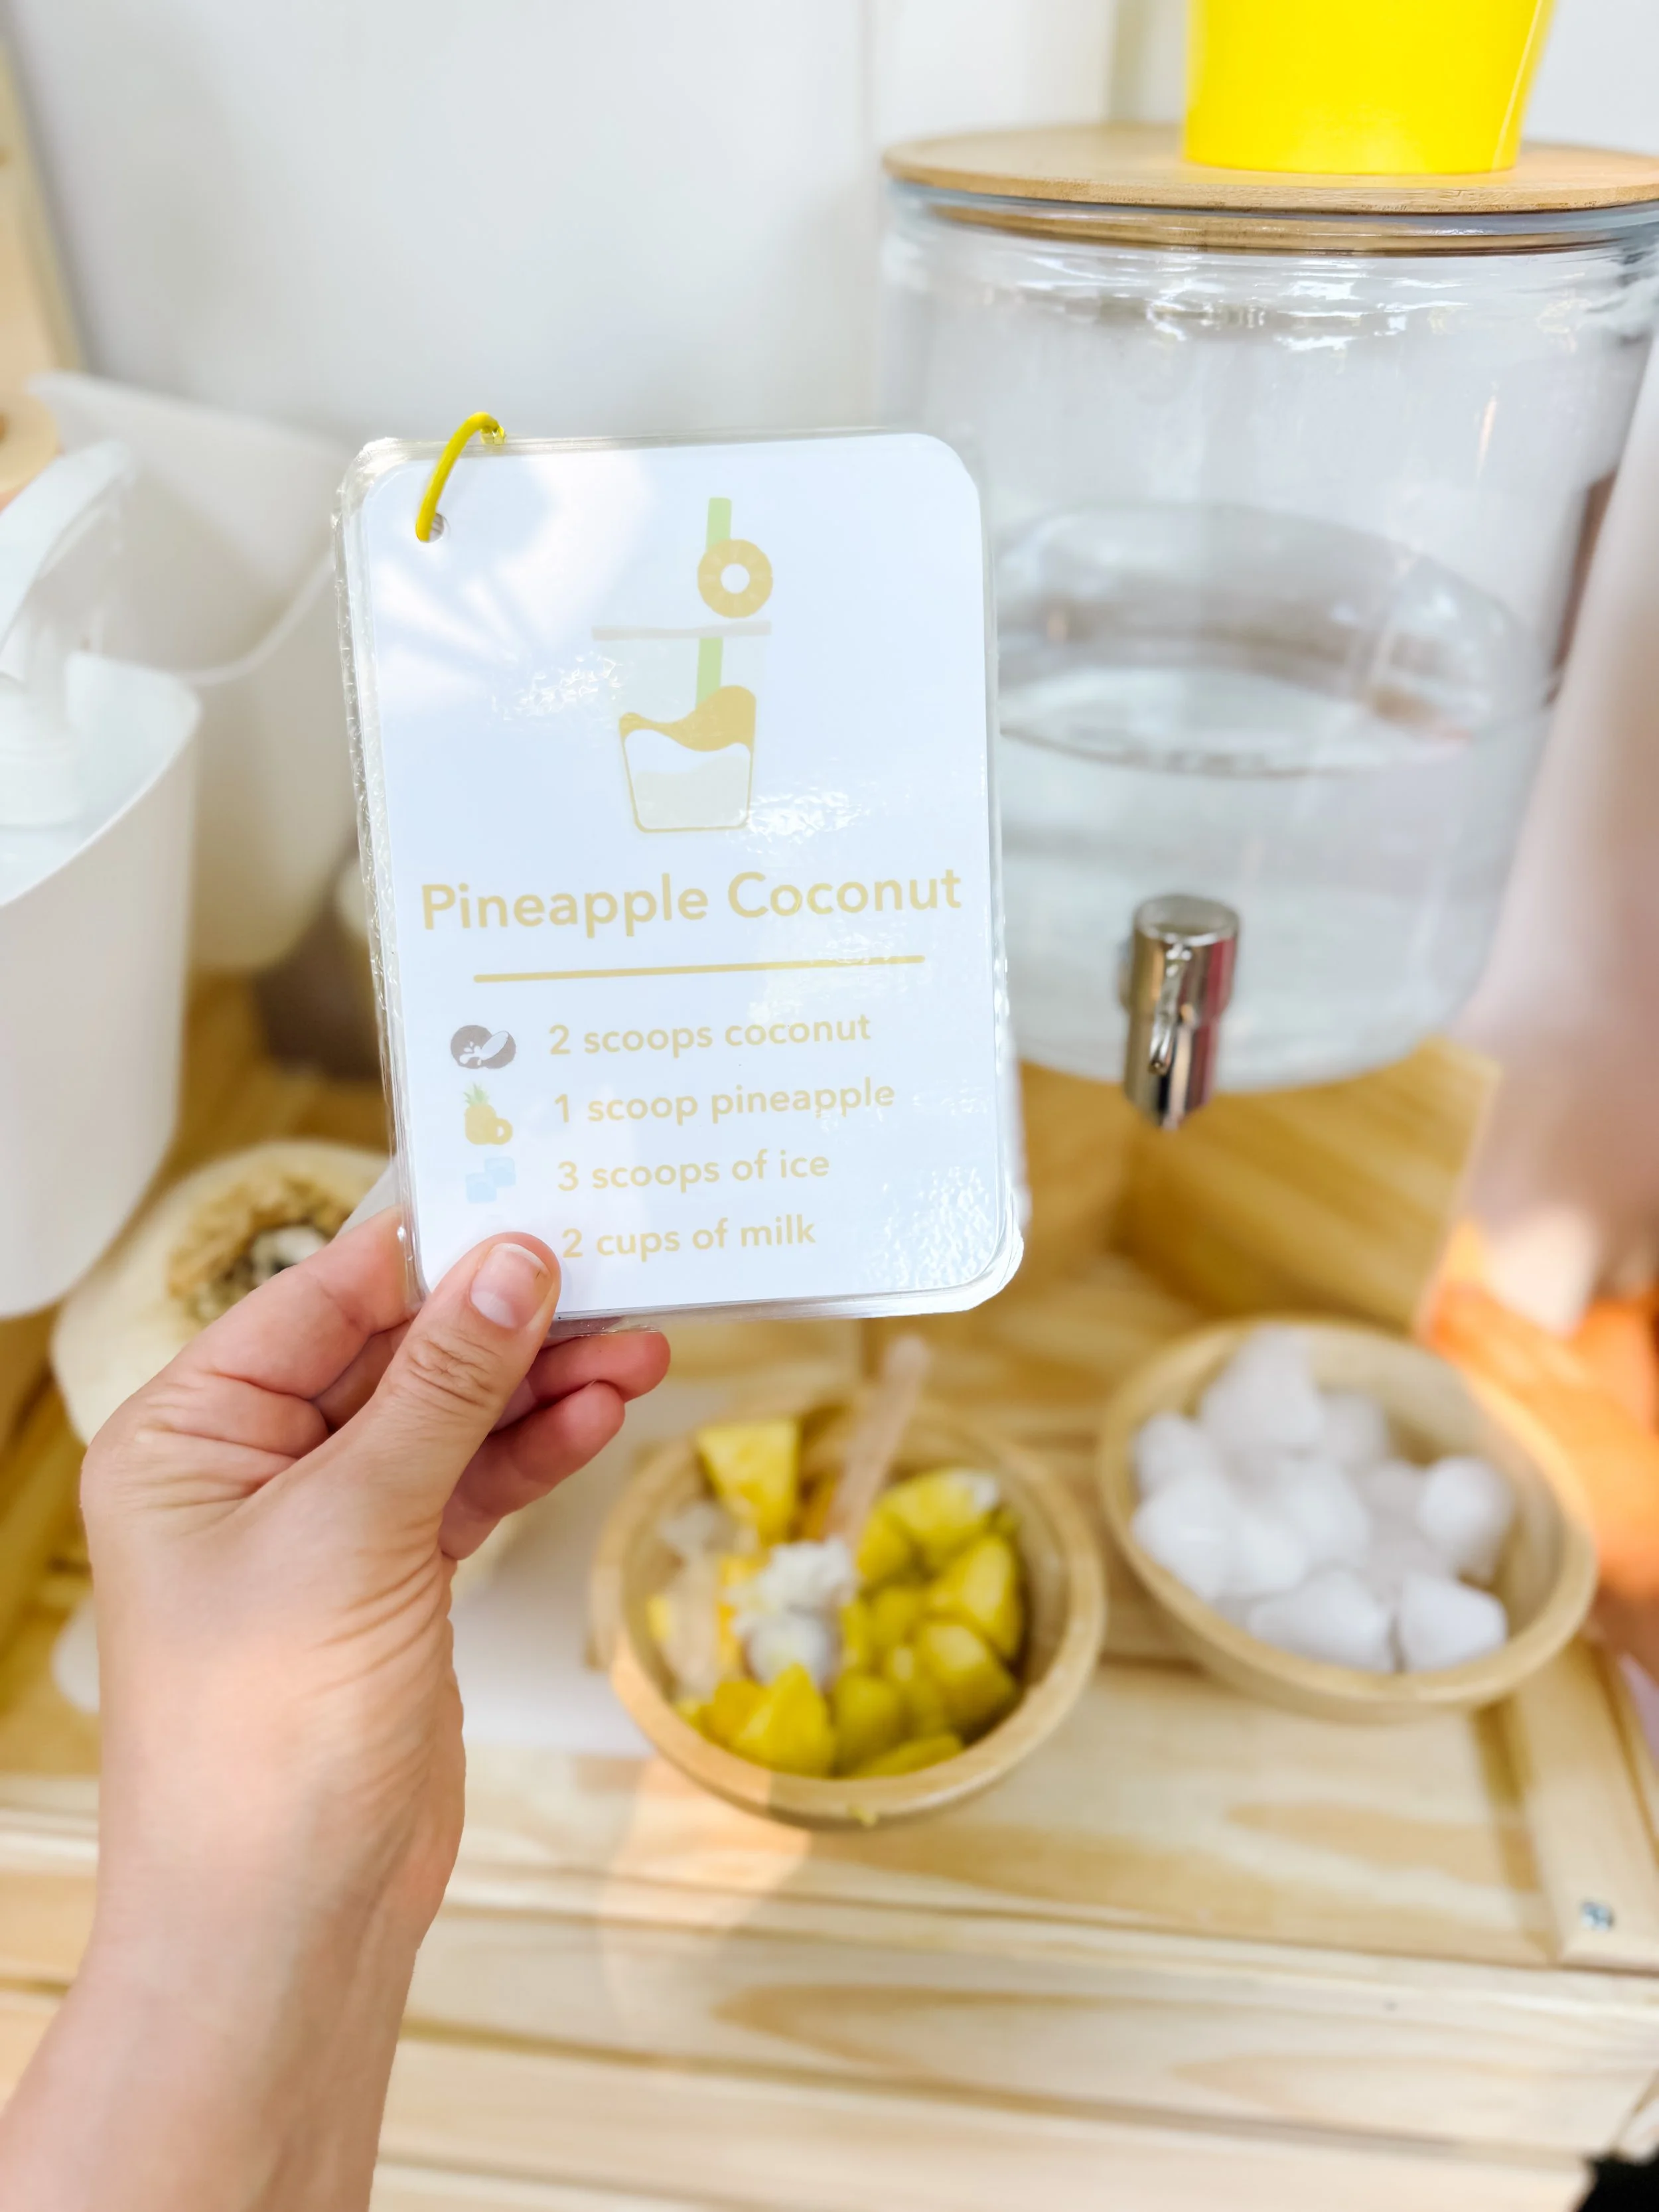
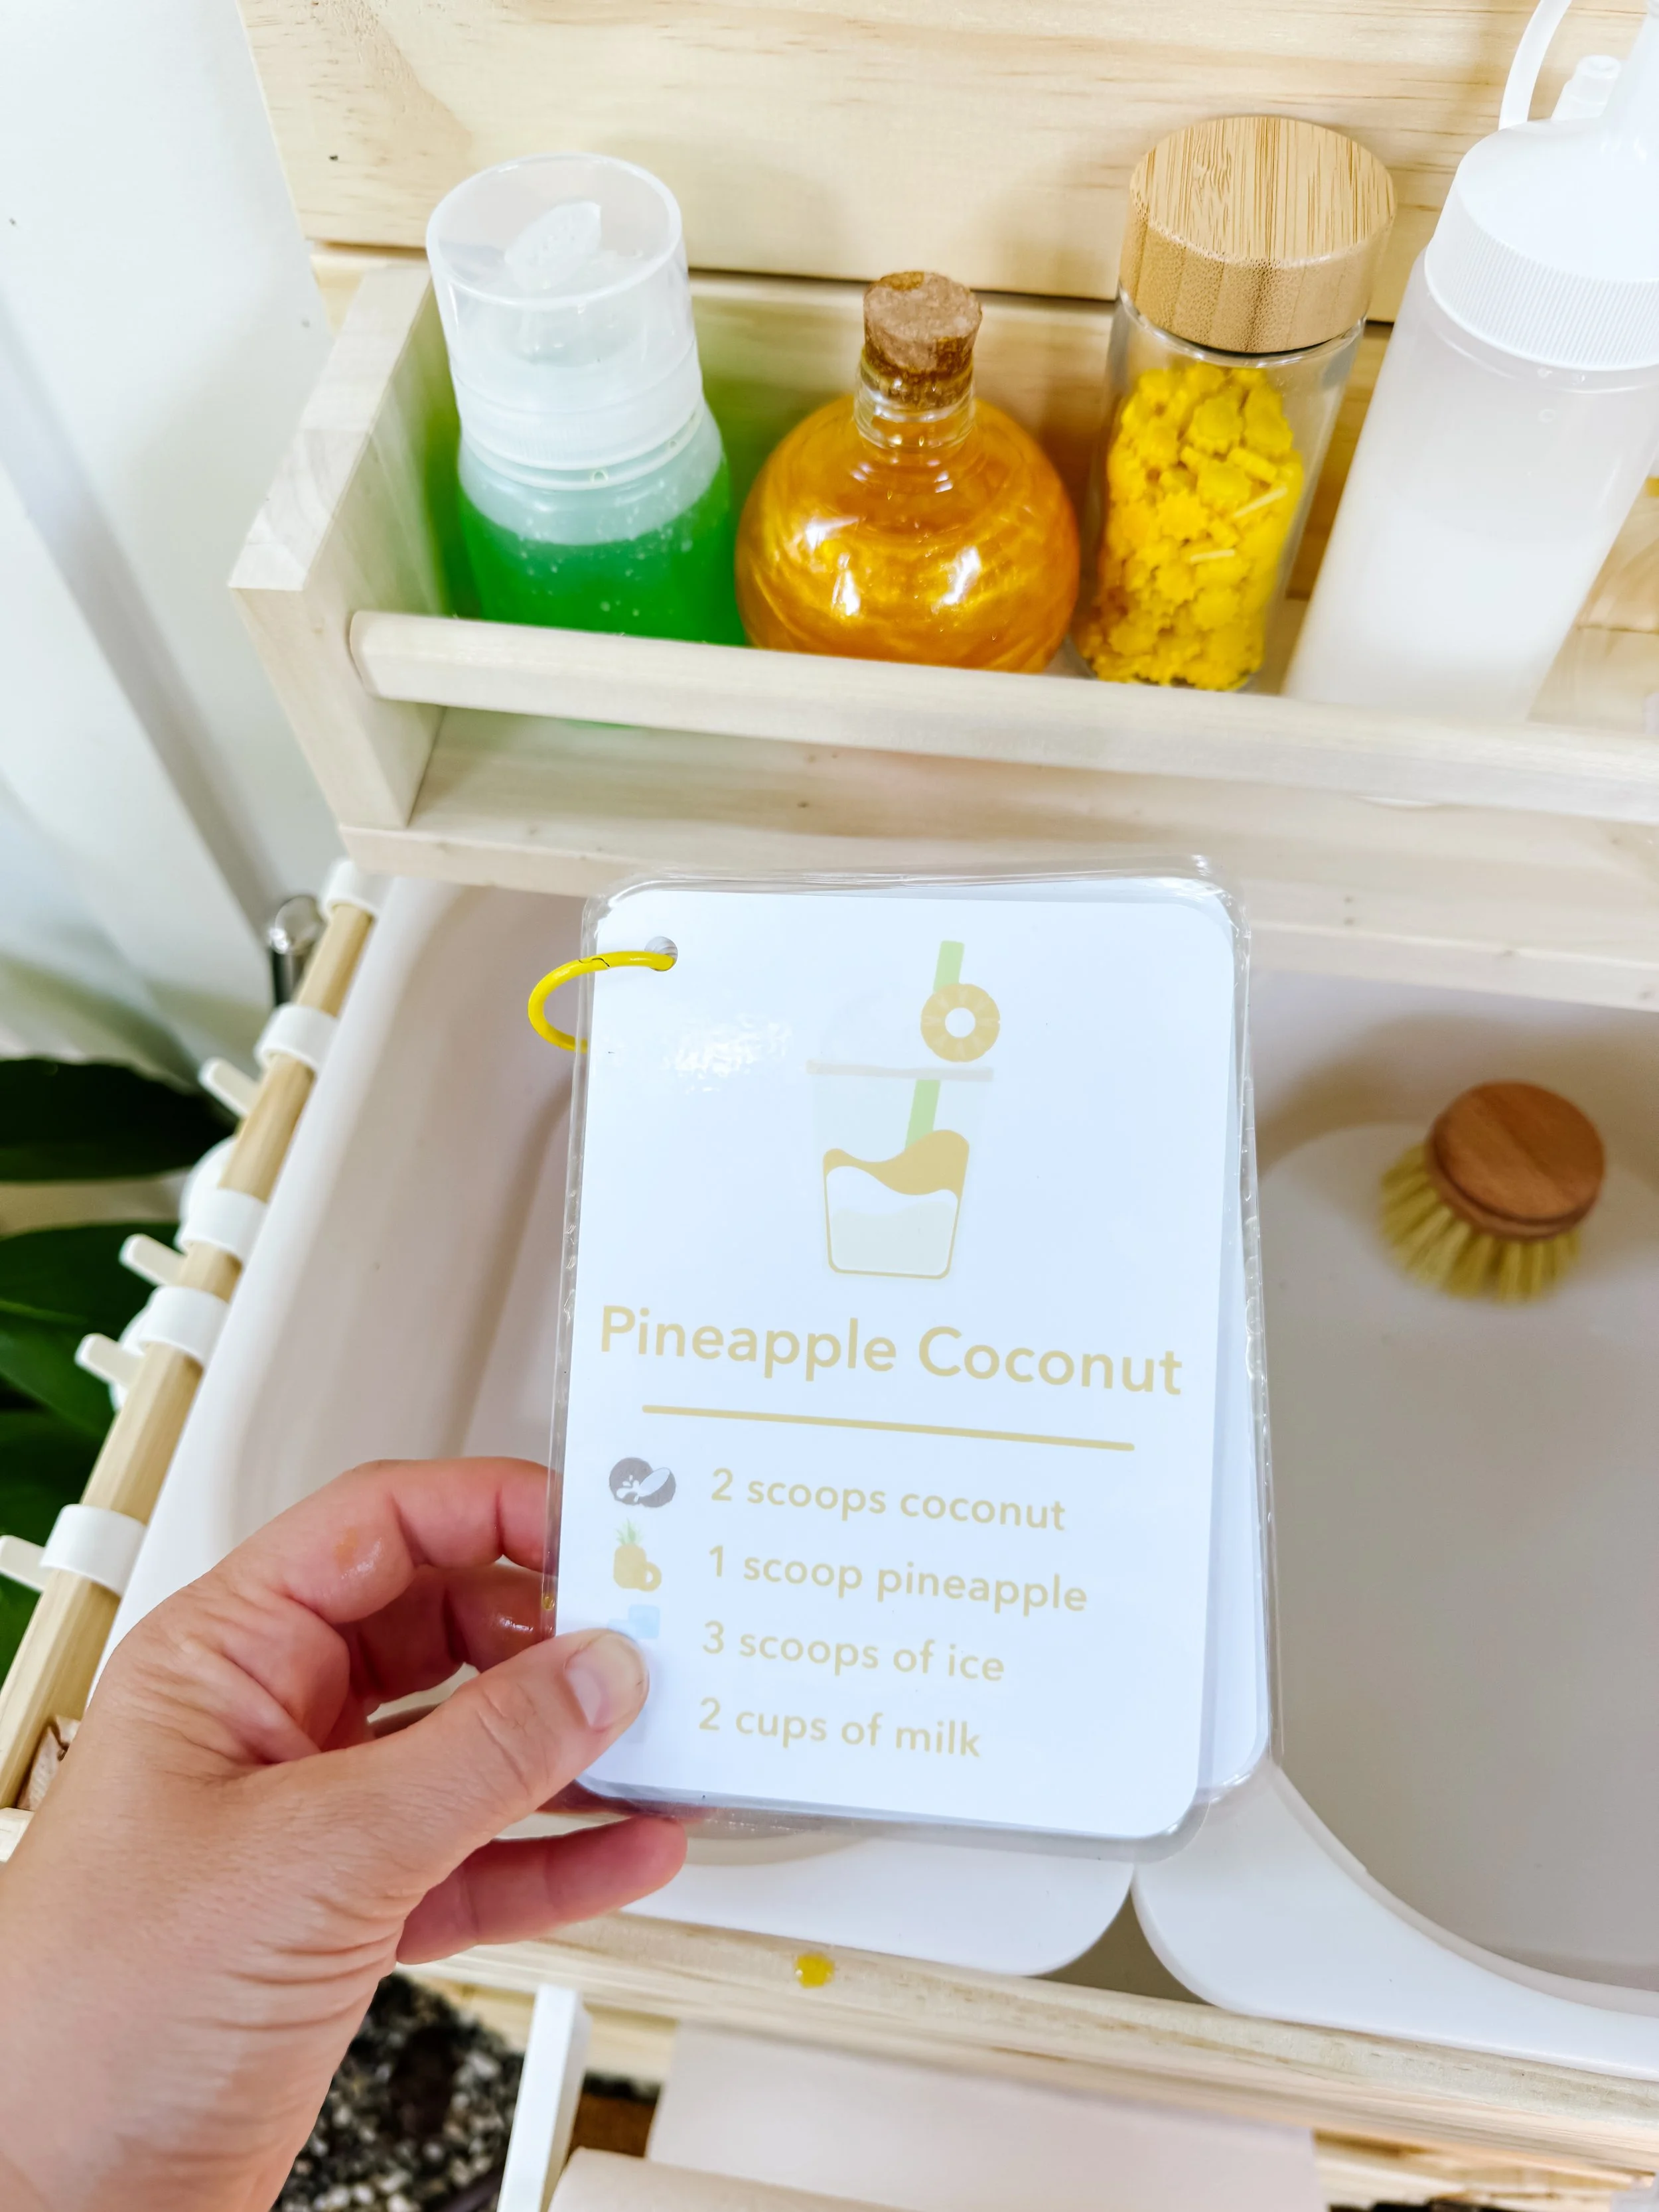
Pineapple coconut smoothie recipe card with ingredients for mud kitchen sensory play.
Step 2

Read the recipe card

Invite your child to look at the picture recipe card and identify each ingredient. The visual recipe helps kids practice following directions even before they can read independently.
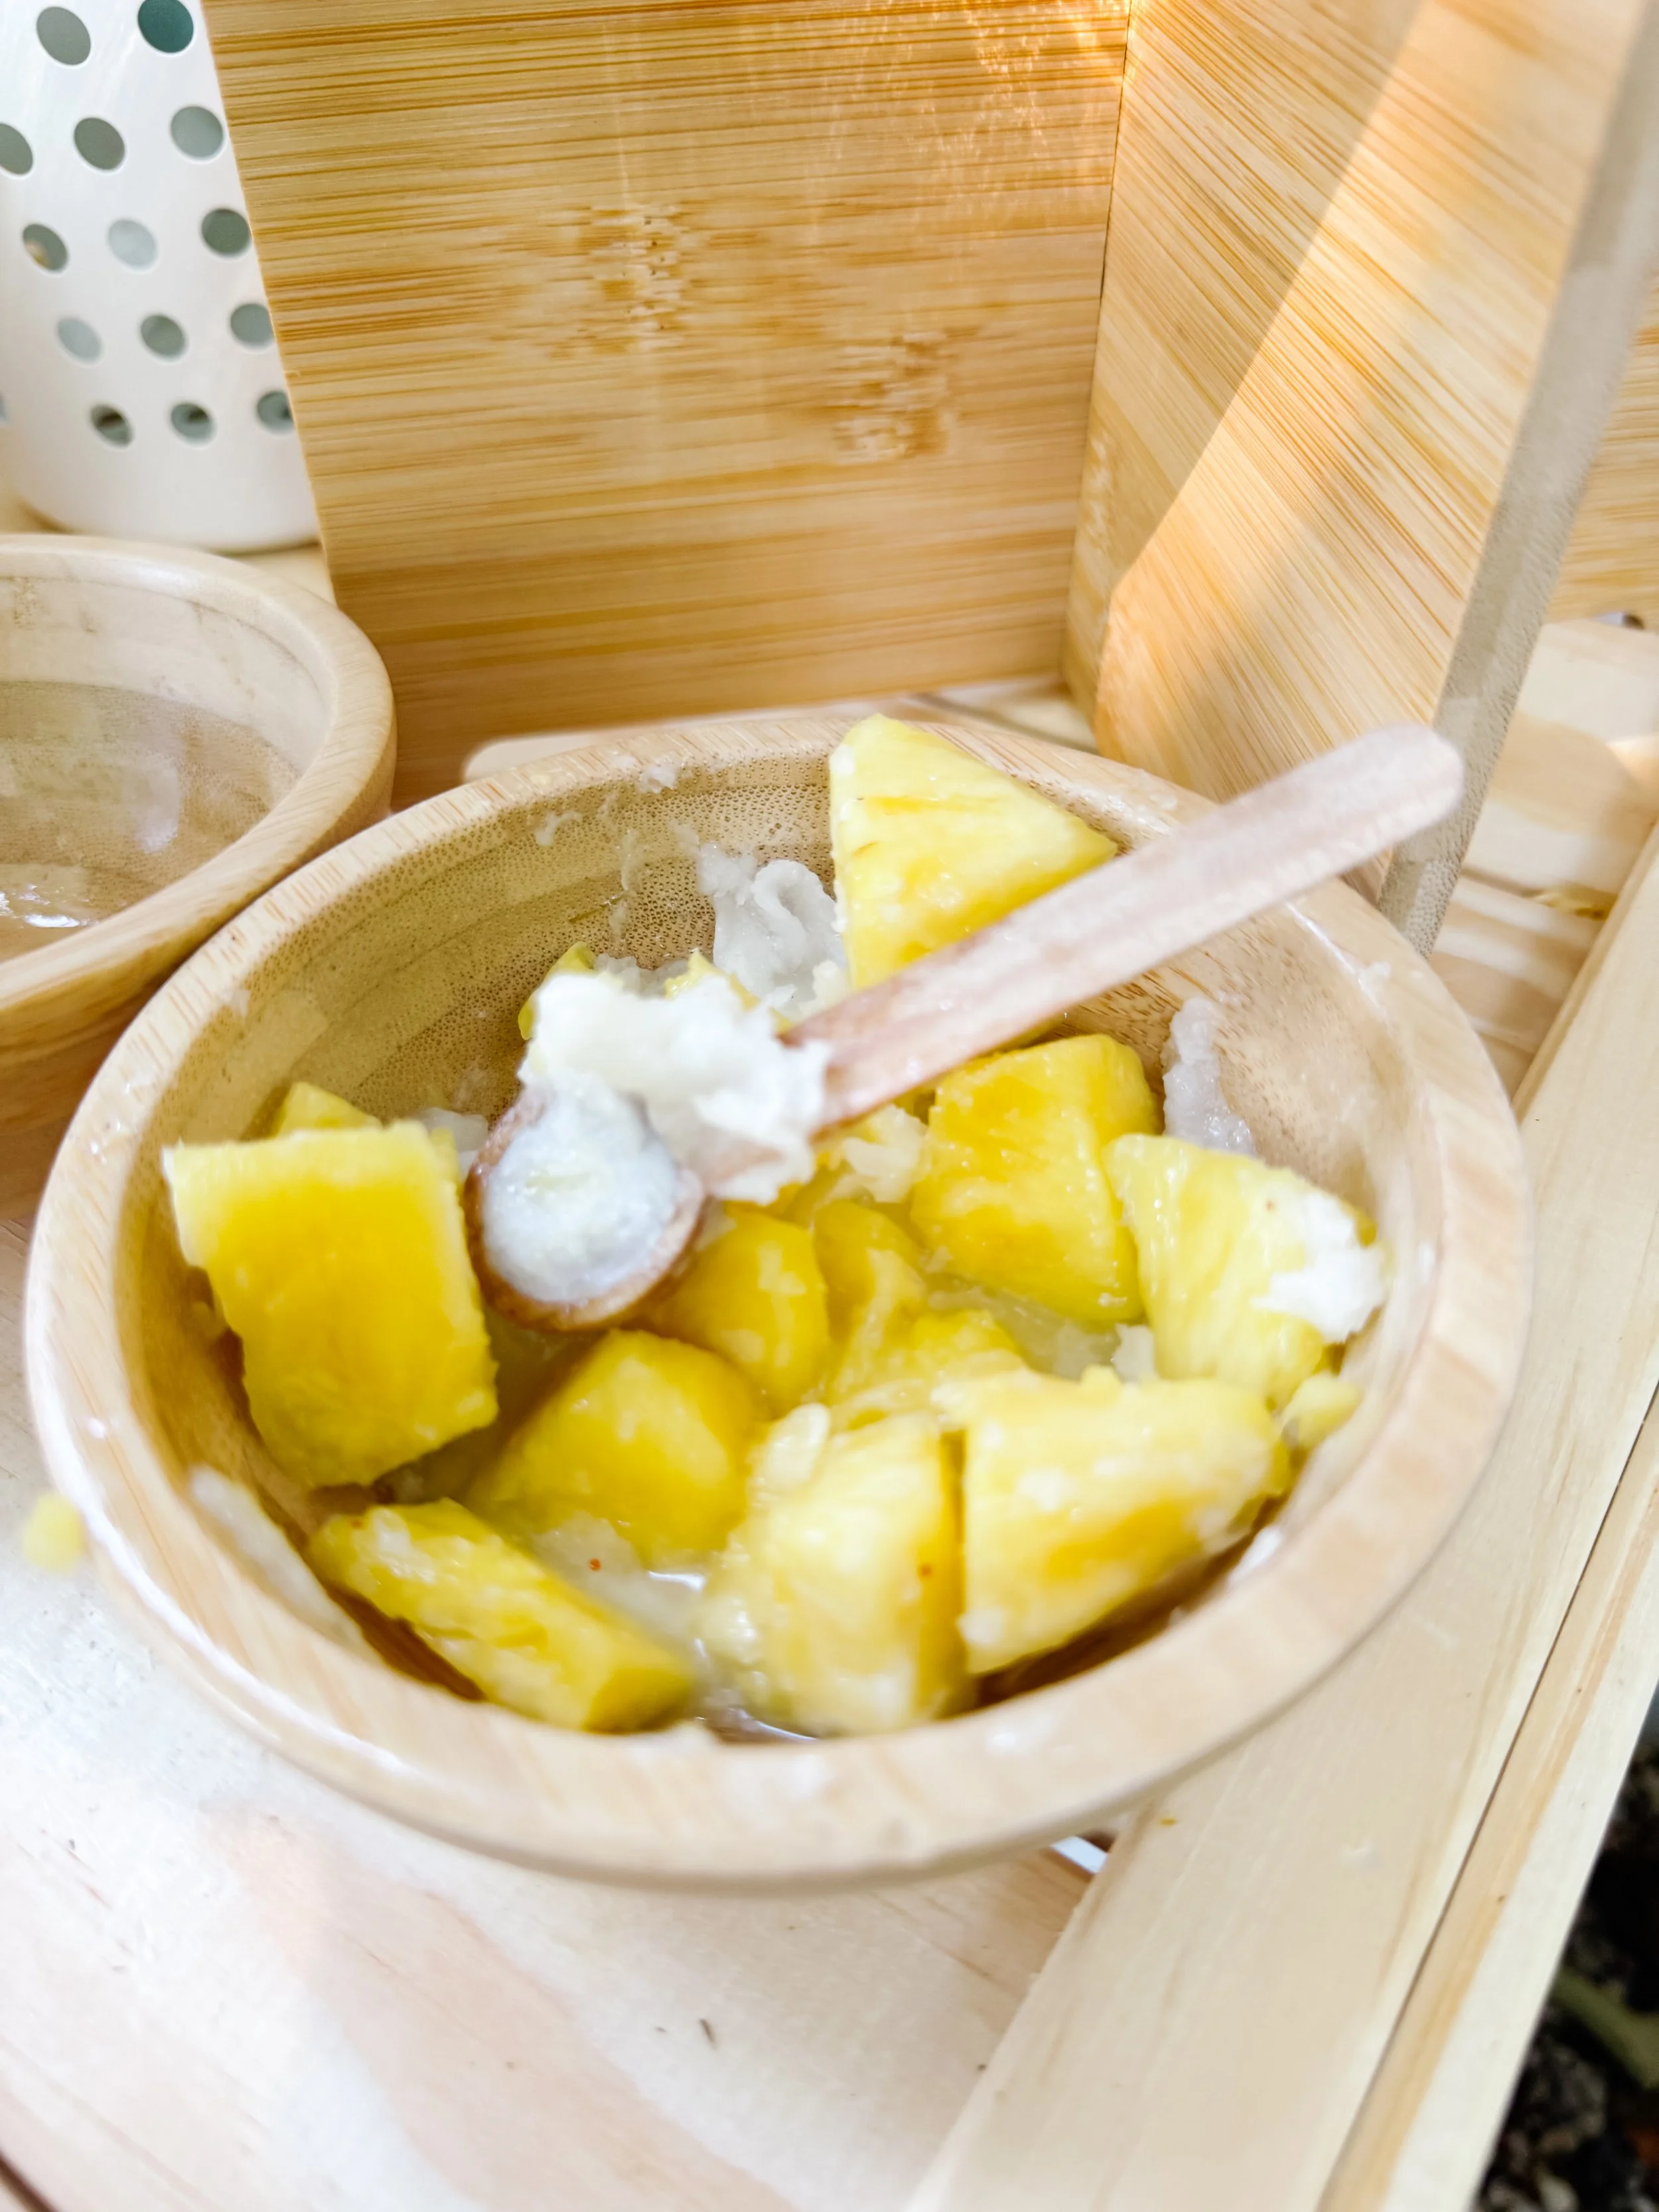
Child scooping pineapple and coconut into a wooden bowl for pretend smoothie play.
Step 3

Count and scoop

Use the recipe card to count scoops of coconut, pineapple, ice, and milk. This turns pretend play into meaningful early math practice.
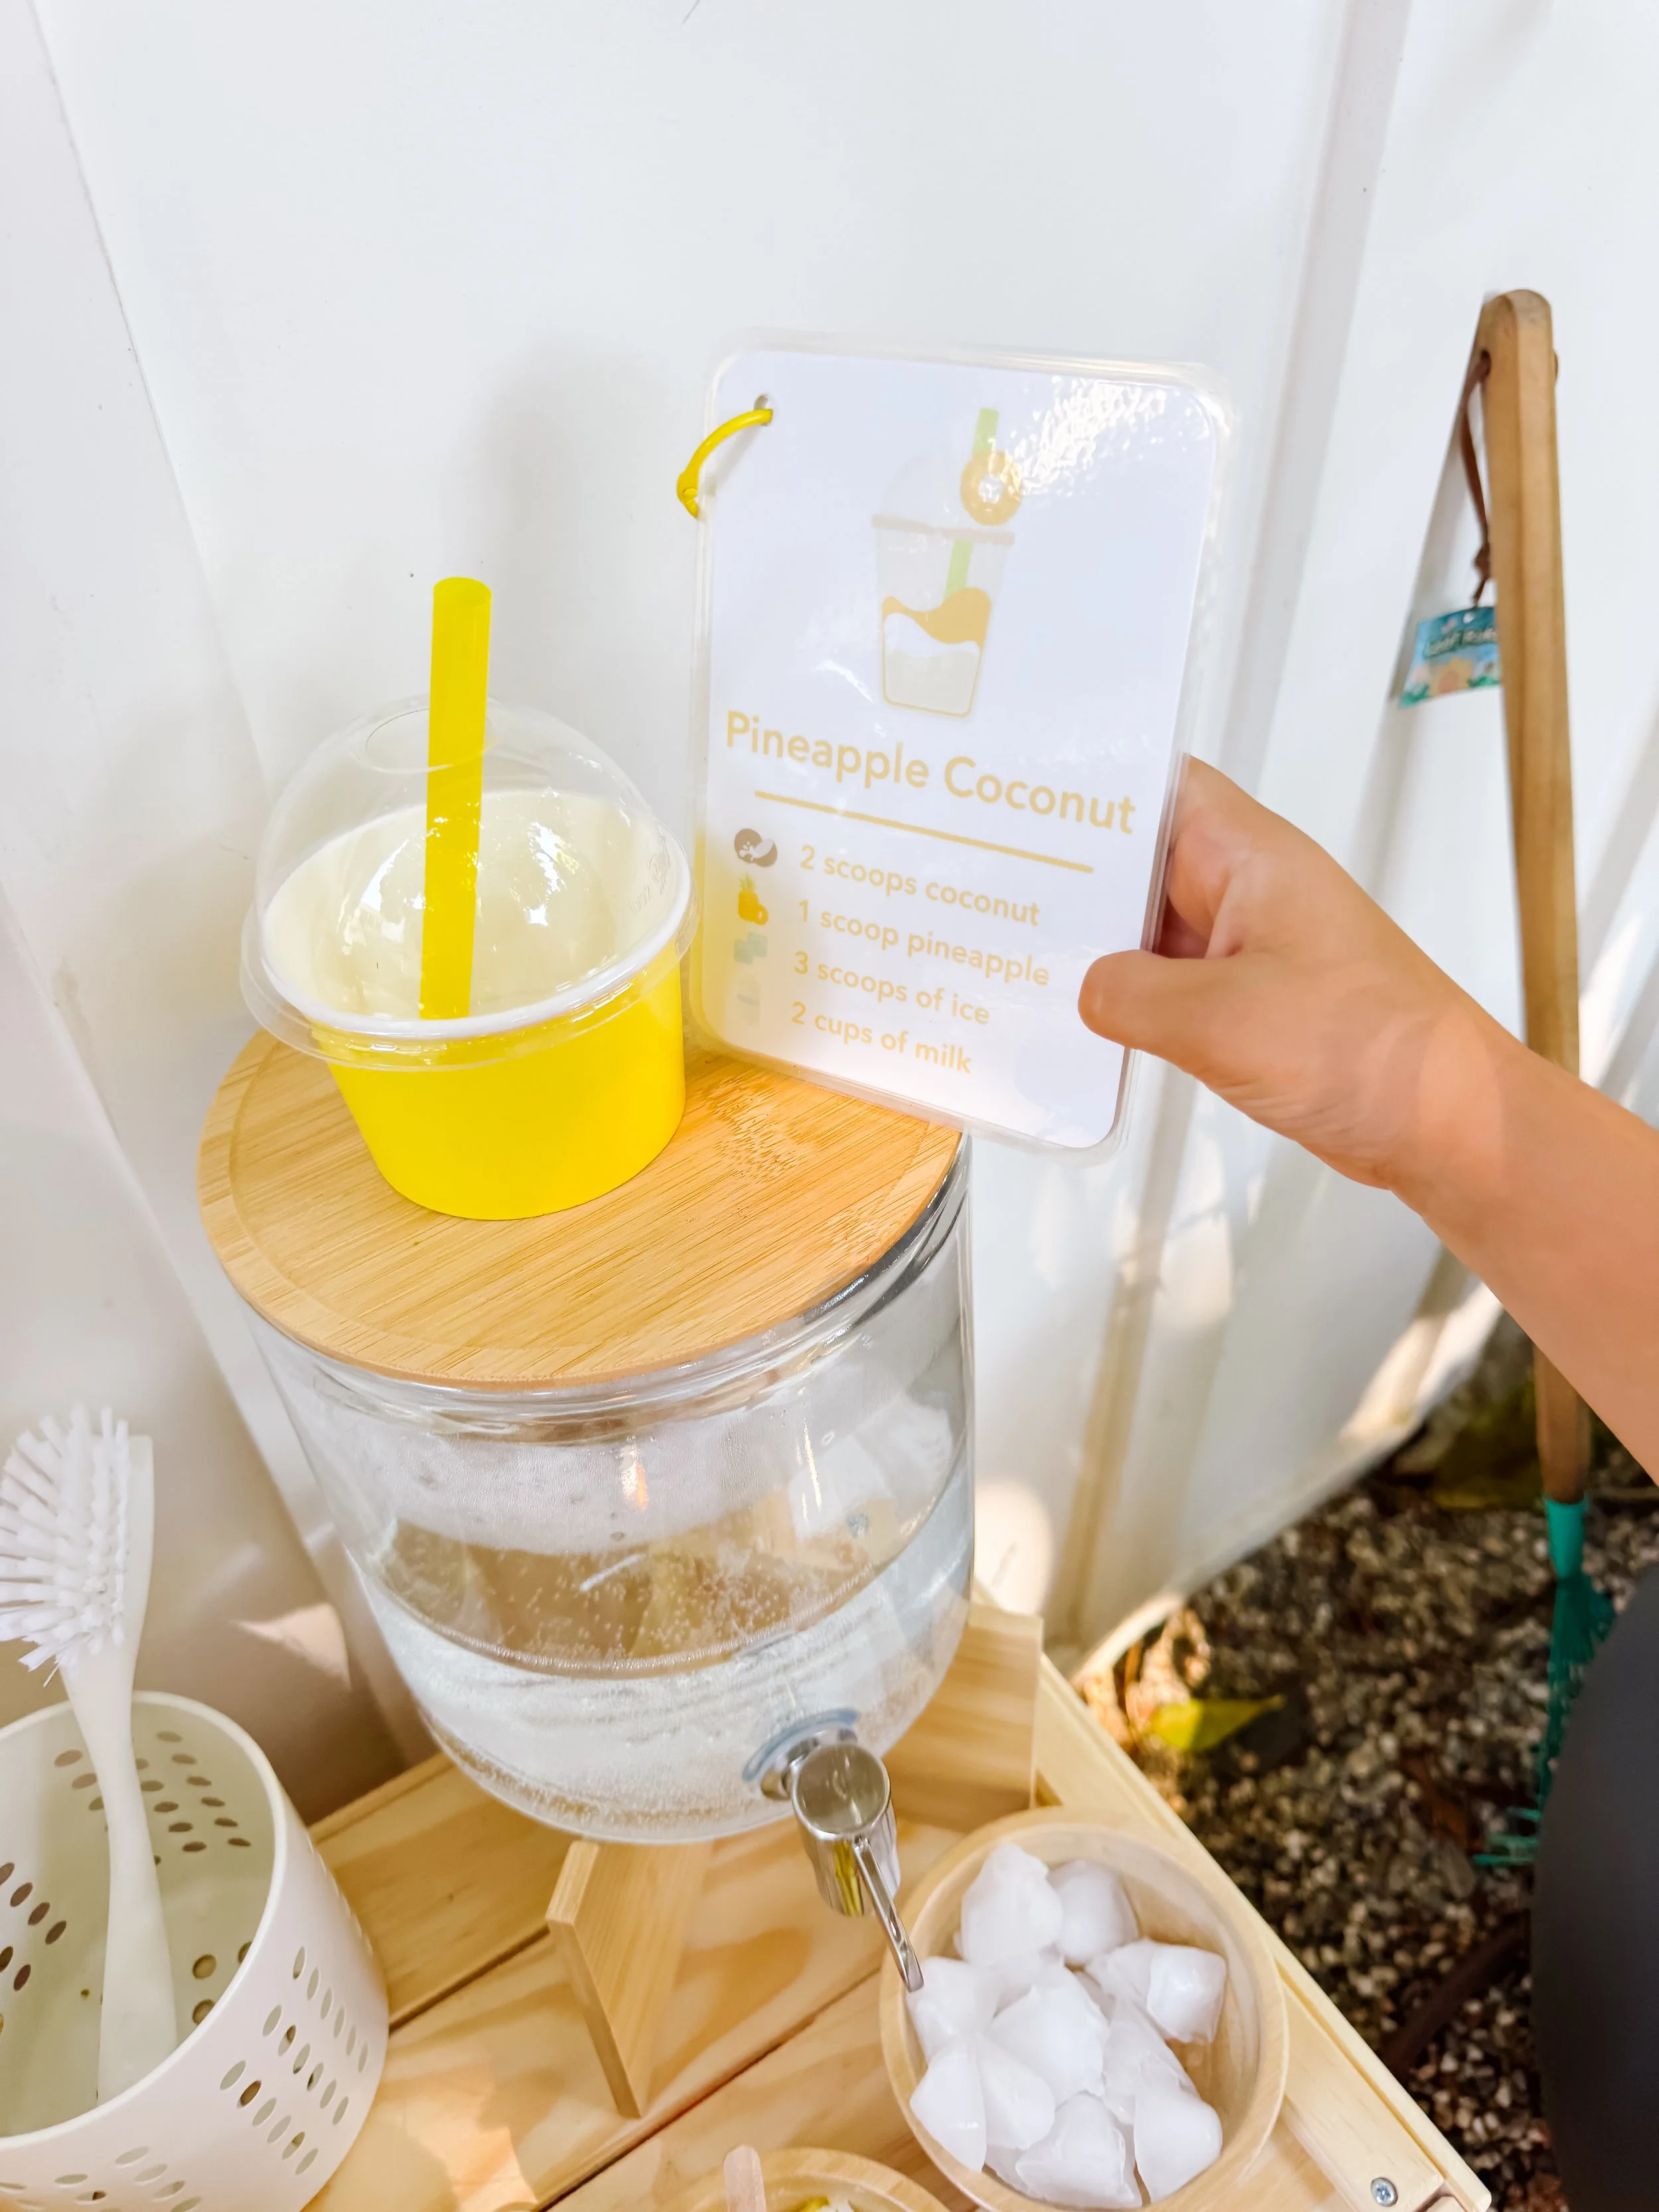
Pretend pineapple coconut smoothie served in a yellow cup with recipe card.
Step 4

Serve the smoothie

Once the smoothie is mixed, invite your child to pour or pretend-serve it in a cup with a straw. Add a recipe card nearby to complete the pretend smoothie shop setup.

Parent tip

Recipe cards are one of my favorite ways to extend sensory play because they add a clear goal. Kids still get open-ended play, but they also practice sequencing, counting, matching, and following instructions.

Why recipe cards are great for learning

Recipe cards help children turn pretend play into a structured learning experience. They give kids a visual sequence to follow, which supports early literacy, executive functioning, and independence.

When children follow a recipe card, they practice looking carefully, matching ingredients, counting scoops, remembering steps, and checking their work.

For mud kitchens and sensory tables, recipe cards also help extend attention span because children have a playful mission: make the smoothie, serve the order, and try another recipe.

Learning skills

Following directions Counting scoops Sequencing Fine motor skills Pretend play Early math Vocabulary Independent play Sensory exploration

Questions to ask kids

  • What ingredient comes first?
  • How many scoops of pineapple do we need?
  • What happens if we add more ice?
  • Can you take my smoothie order?
  • What should we name this smoothie flavor?
  • Which ingredient is your favorite to scoop?

More ways to play

Smoothie shop

Set up cups, straws, menus, and recipe cards so kids can take pretend orders.

Sensory table

Use bowls, scoops, and pretend ingredients in a sensory table for low-prep indoor play.

Play kitchen

Move the recipe cards indoors and use pretend fruit, pom poms, or play dough ingredients.

Try these next

Ice cream mud kitchen

Use free ice cream recipe cards to create a pretend ice cream shop outside.

Ice cream play

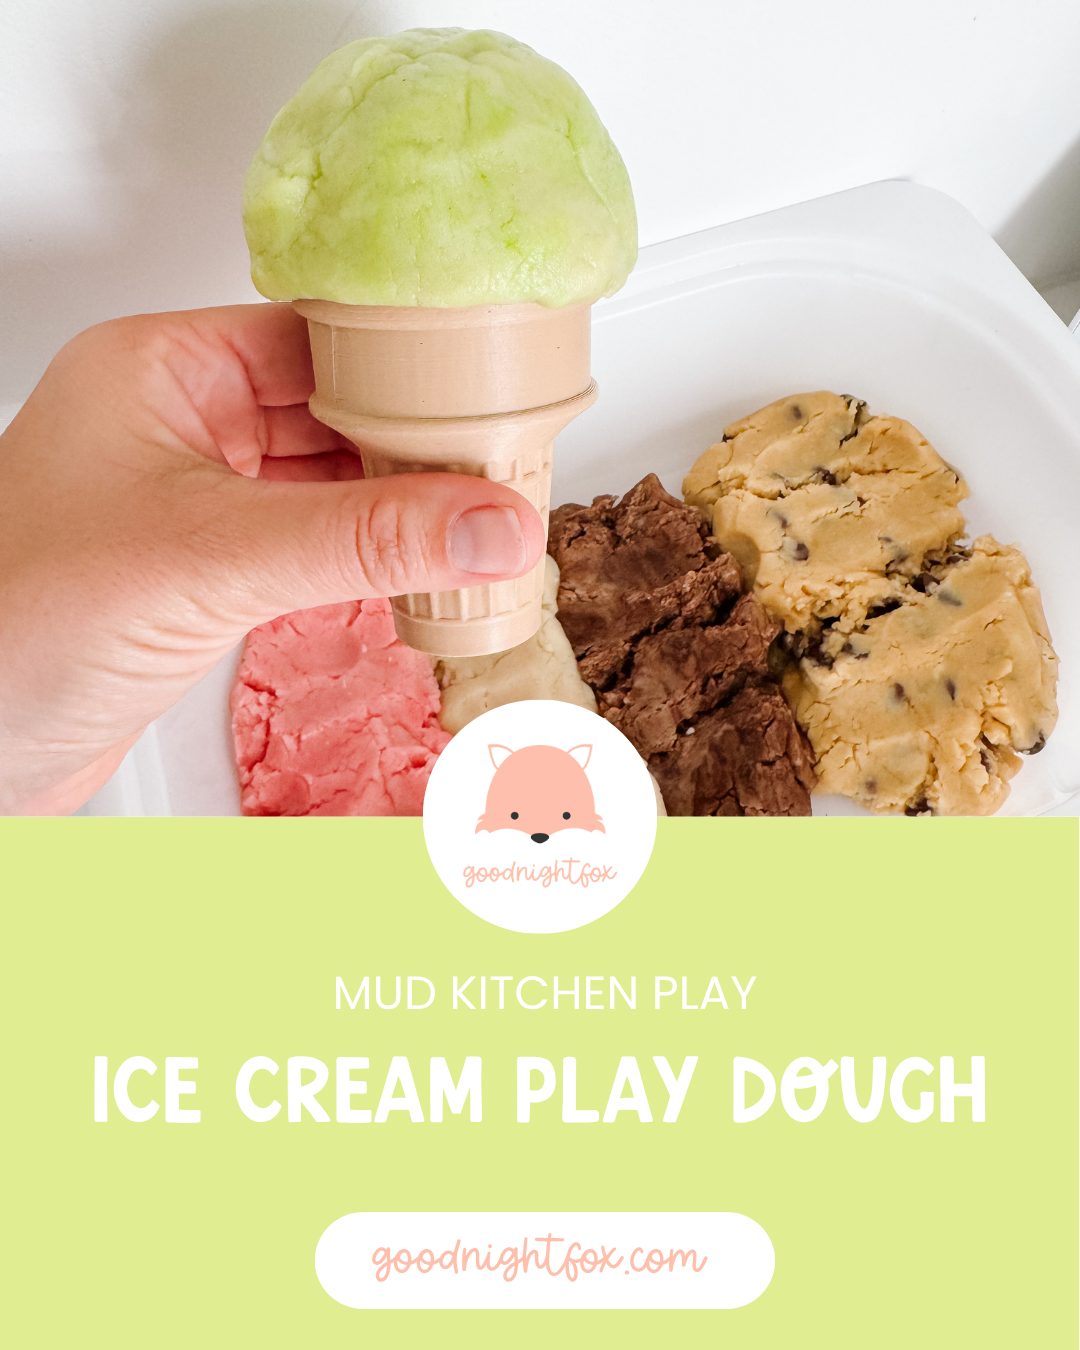
Ice cream play dough

Make soft scoopable ice cream dough for pretend play and sensory bins.

Ice cream dough

Smoothie recipe cards

Build a full smoothie recipe activity with printable visual recipe cards.

Shop cards

Pineapple coconut smoothie play FAQ

How do you set up smoothie mud kitchen play?

Set out pretend smoothie ingredients like pineapple, coconut, ice, and pretend milk with bowls, scoops, cups, and recipe cards. Invite kids to follow the recipe and serve pretend smoothies.

Why use recipe cards for mud kitchen play?

Recipe cards help children practice following instructions, counting, sequencing, matching ingredients, and completing a task during pretend play.

Can I use this activity indoors?

Yes. This activity works beautifully in a play kitchen or sensory table. Use pretend ingredients, pom poms, play dough, or taste-safe materials depending on your setup.

What age is this smoothie recipe activity best for?

This activity is best for ages three and up with adult supervision. Younger children can scoop and stir, while older preschoolers can follow the recipe card more independently.

What do kids learn from pretend smoothie shop play?

Kids practice early math, fine motor skills, sequencing, vocabulary, pretend play, social language, and independence as they follow the recipe and serve smoothies.
Ice Cream Mud Kitchen Play

Ice Cream Mud Kitchen Play

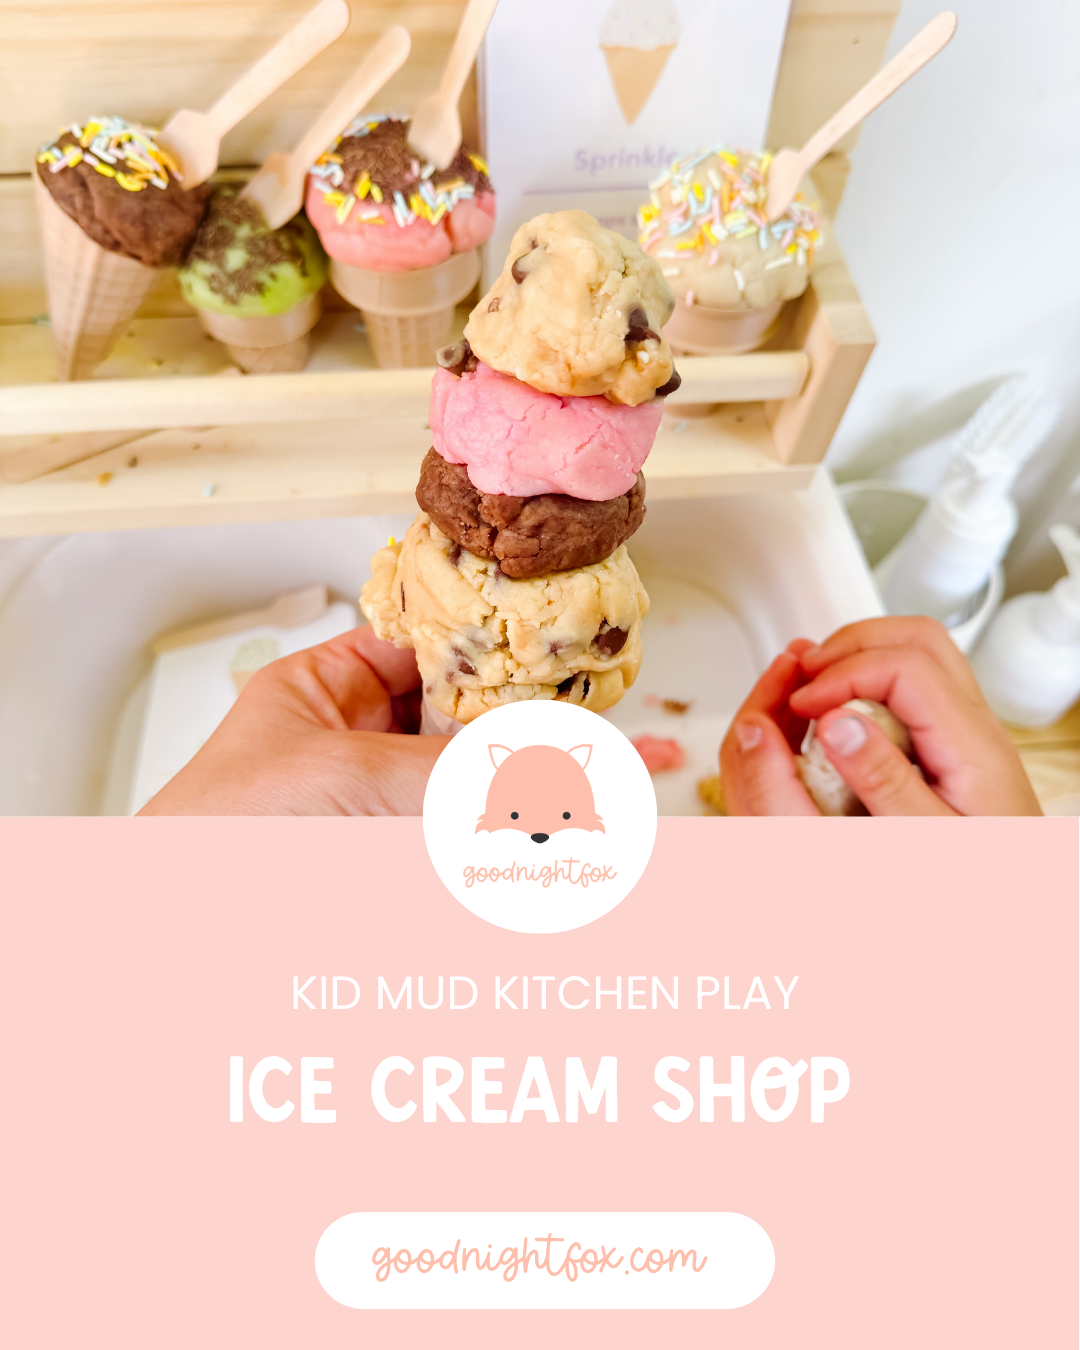
Turn soft, scoopable ice cream dough into a pretend ice cream shop for outdoor mud kitchen play, dramatic play, sensory exploration, and summer learning.

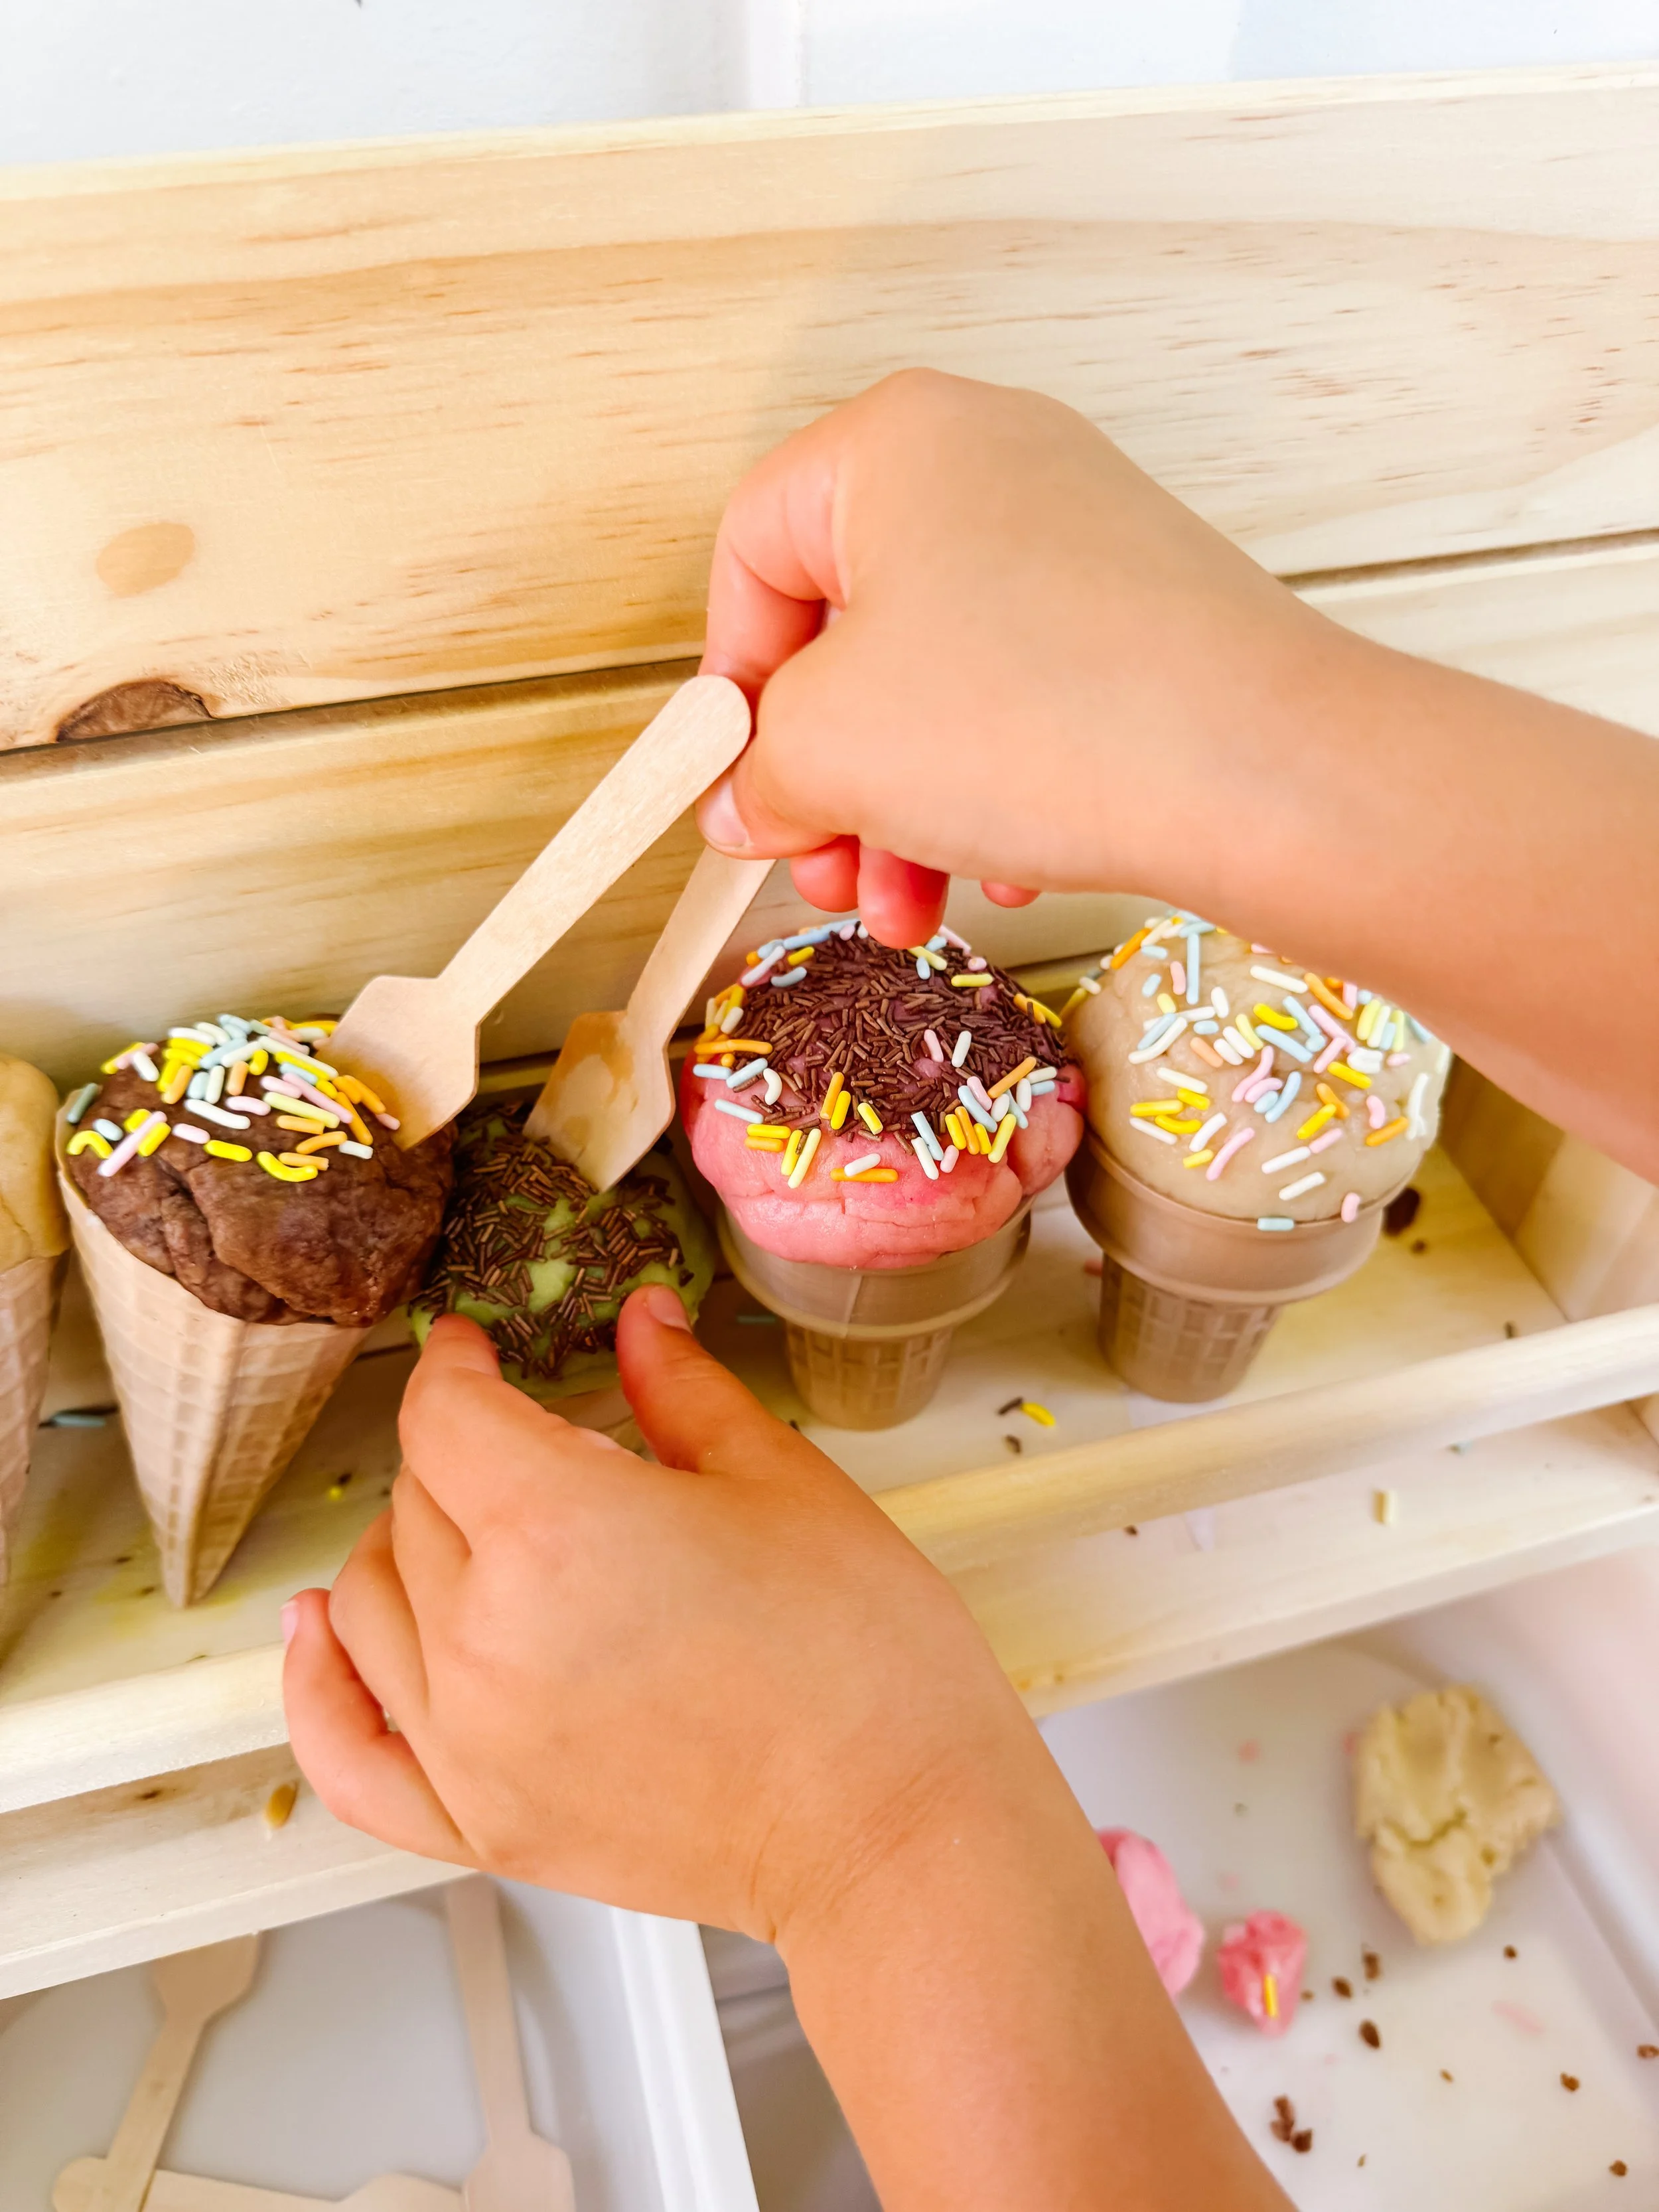
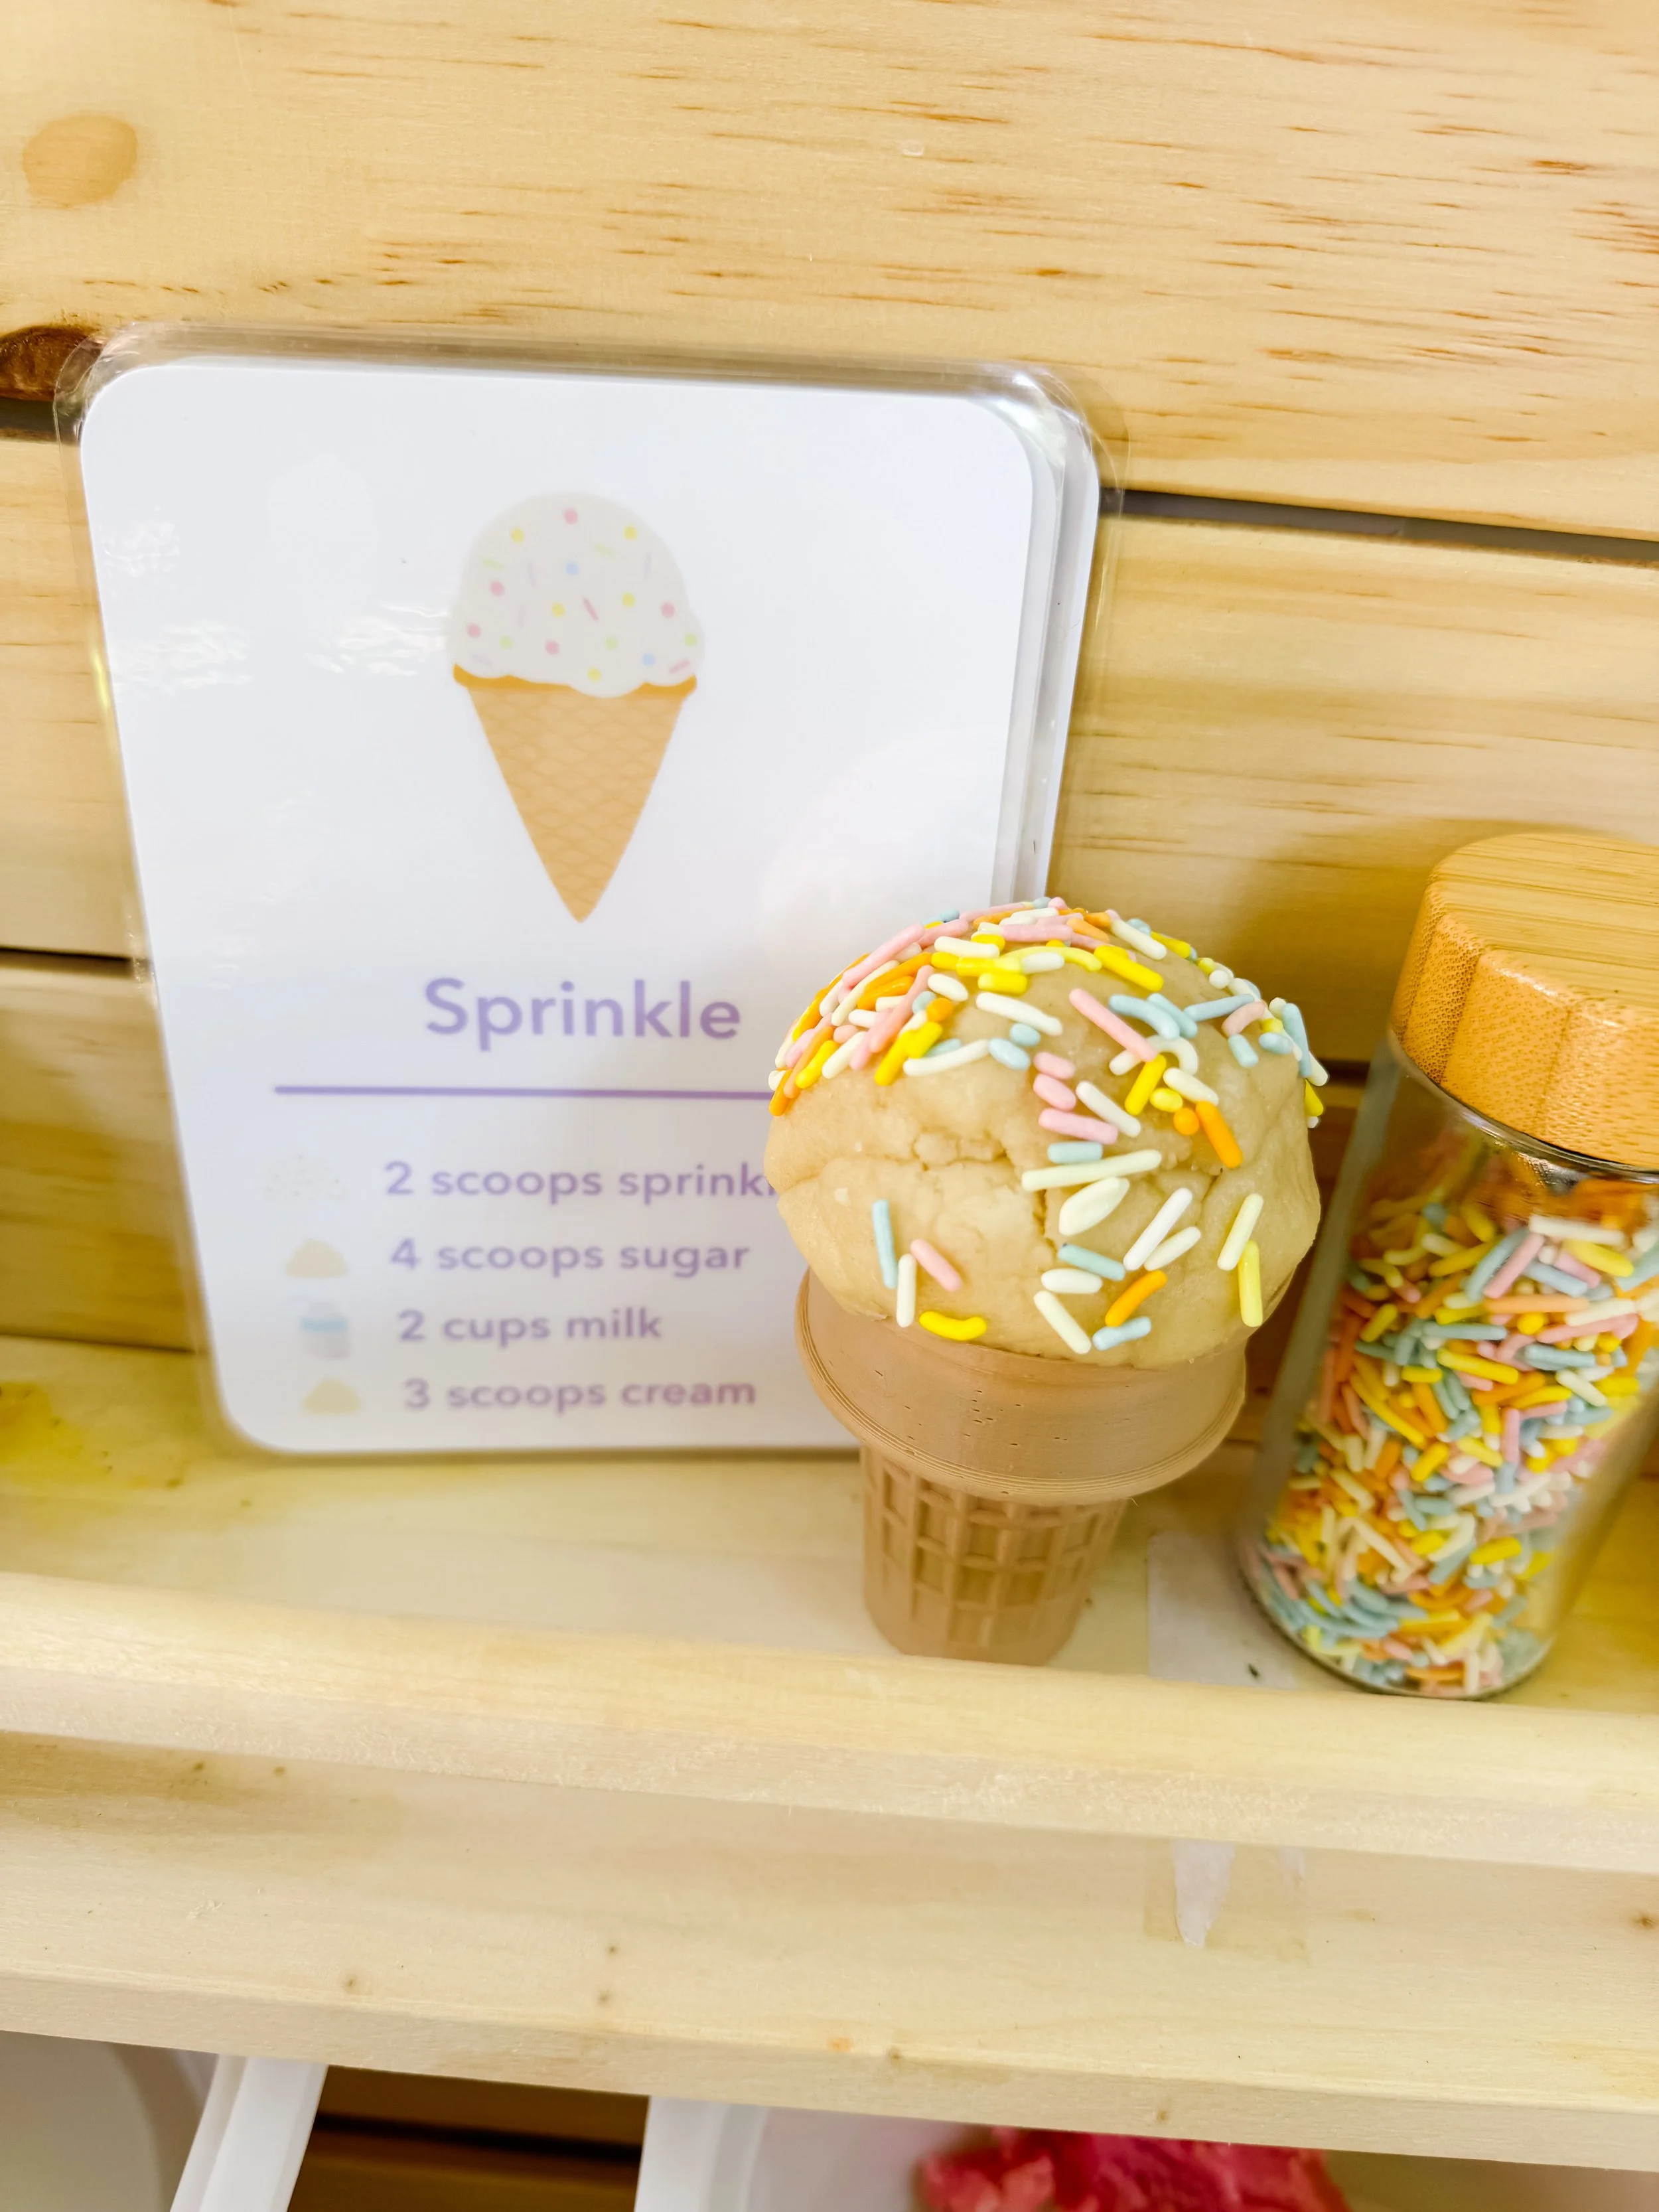
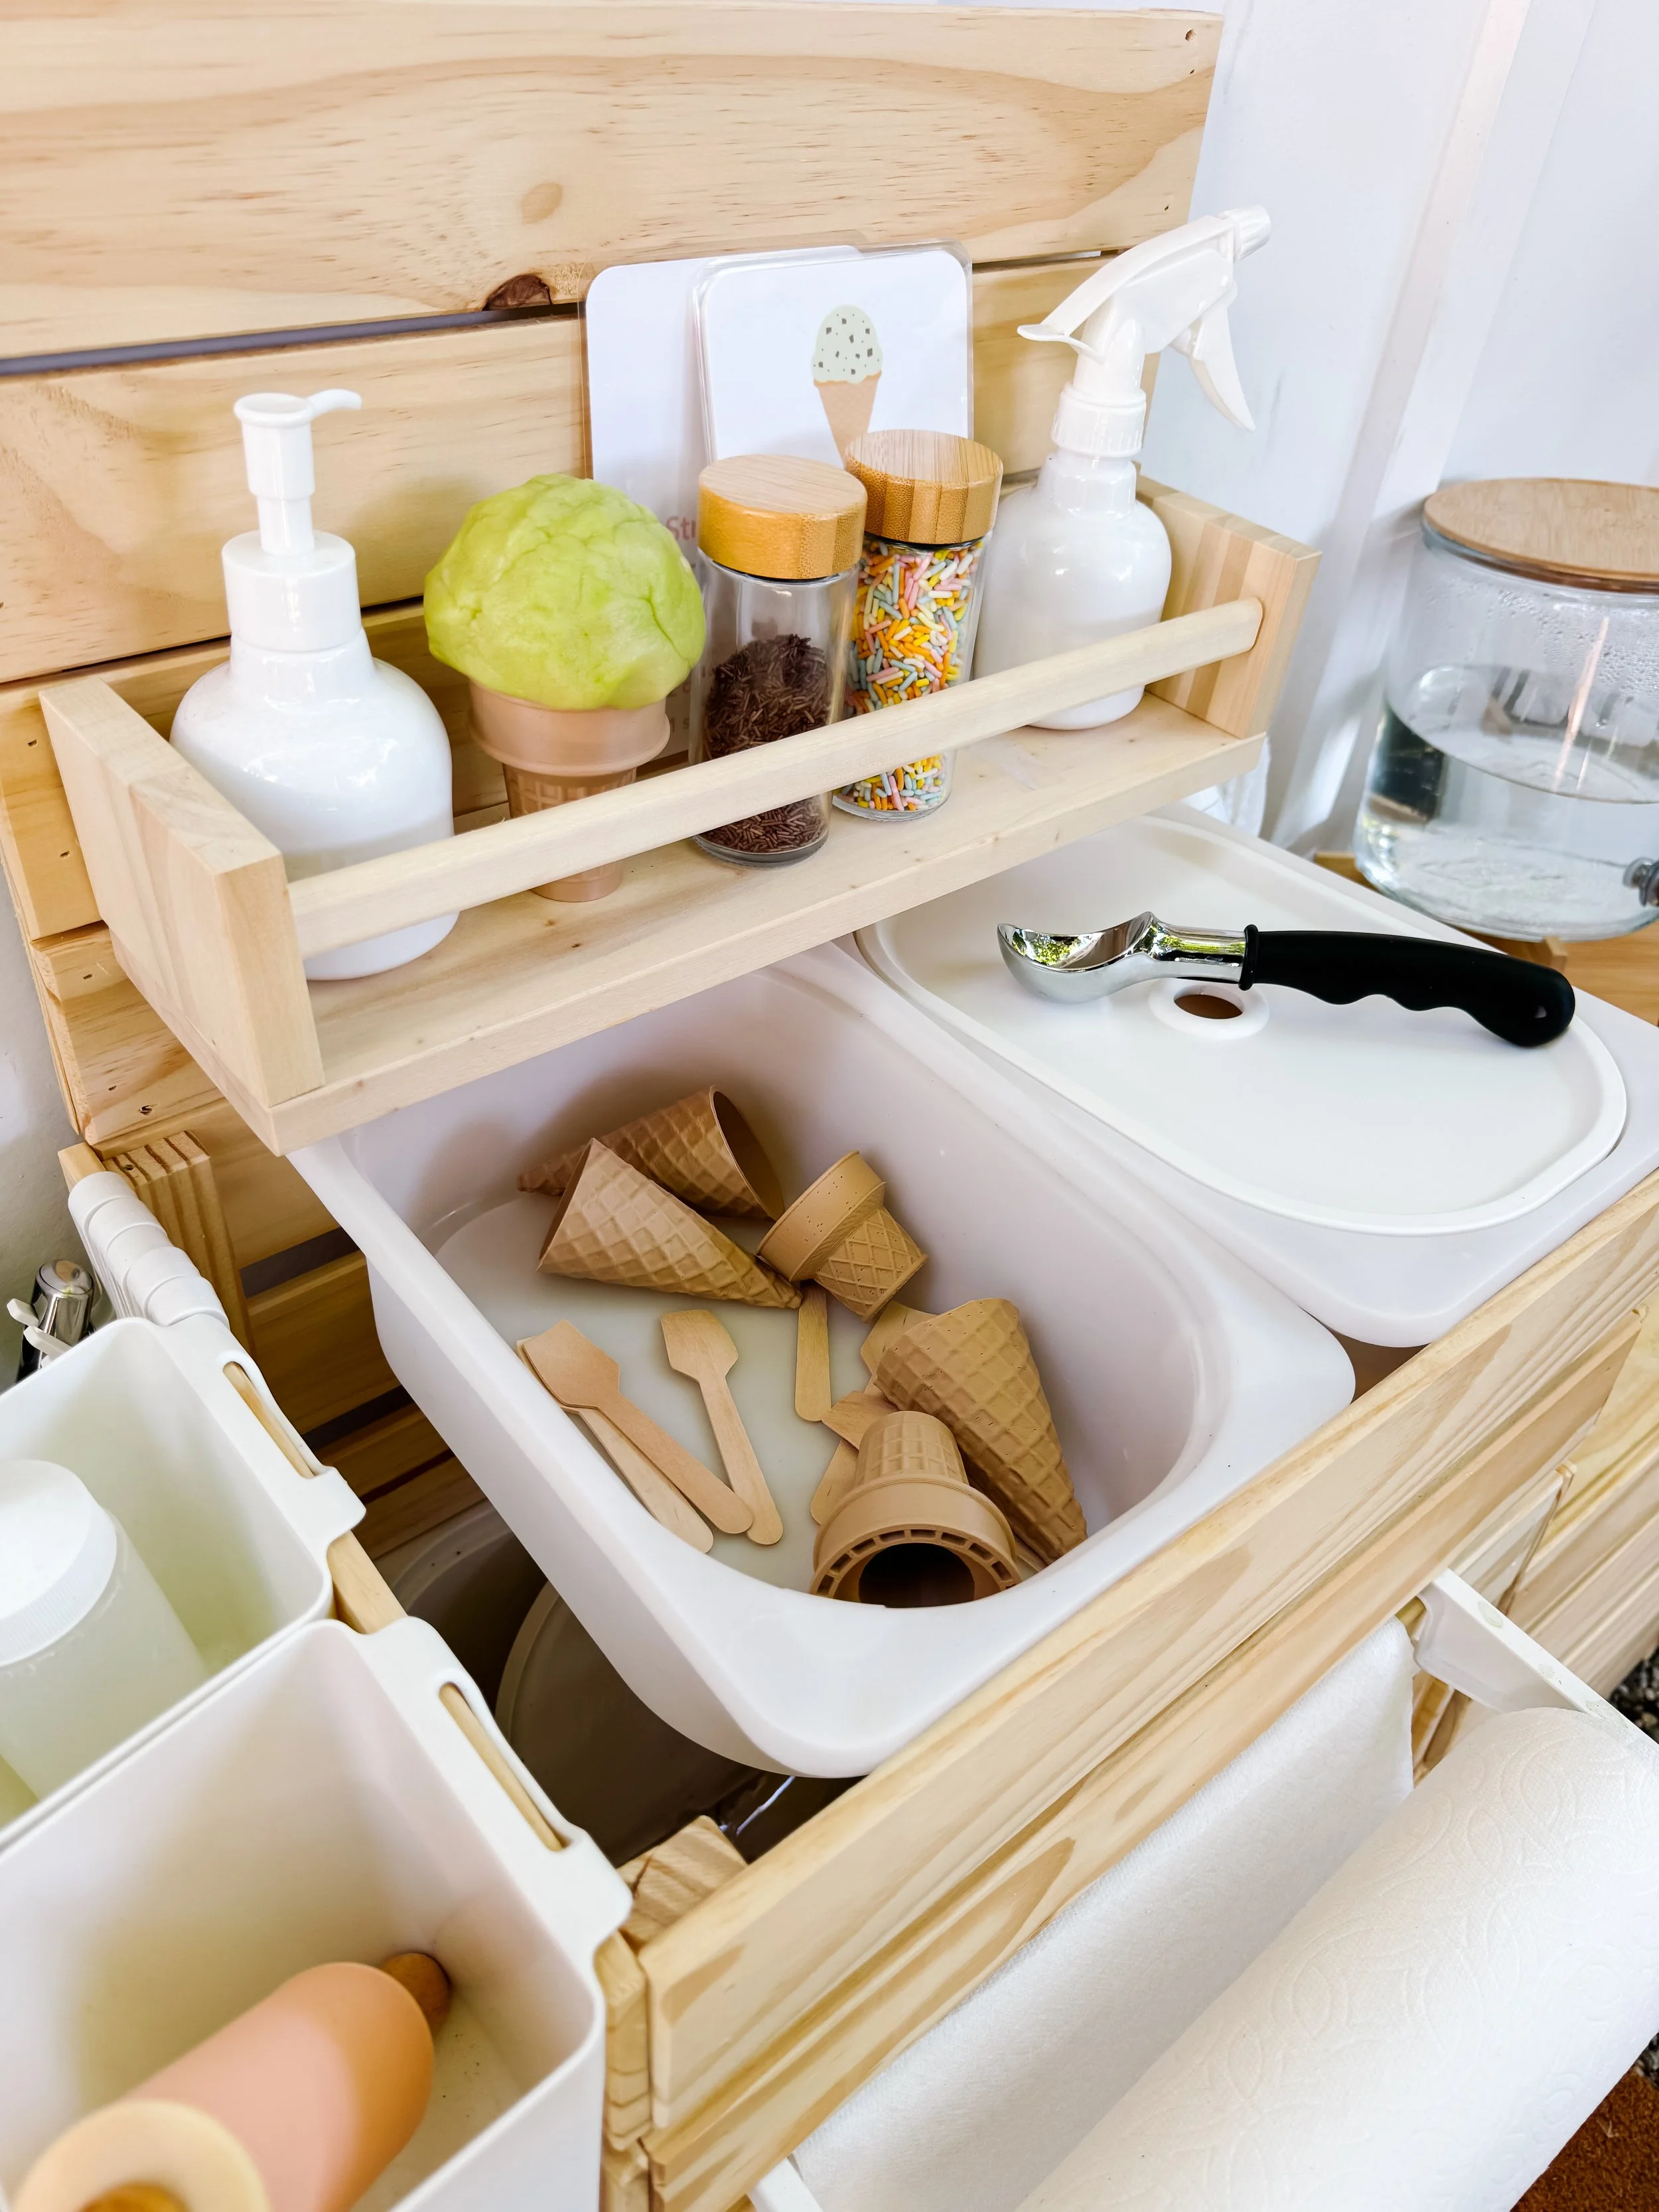
Ice cream mud kitchen play setup with pretend ice cream cones and GoodnightFox recipe cards.
Age3+
Prep15 minutes
Play Time45+ minutes
Mess★★☆☆☆
SkillsPretend play + sensory

Why we love this setup

This ice cream mud kitchen setup was one of those activities that instantly turned into a full pretend play world.

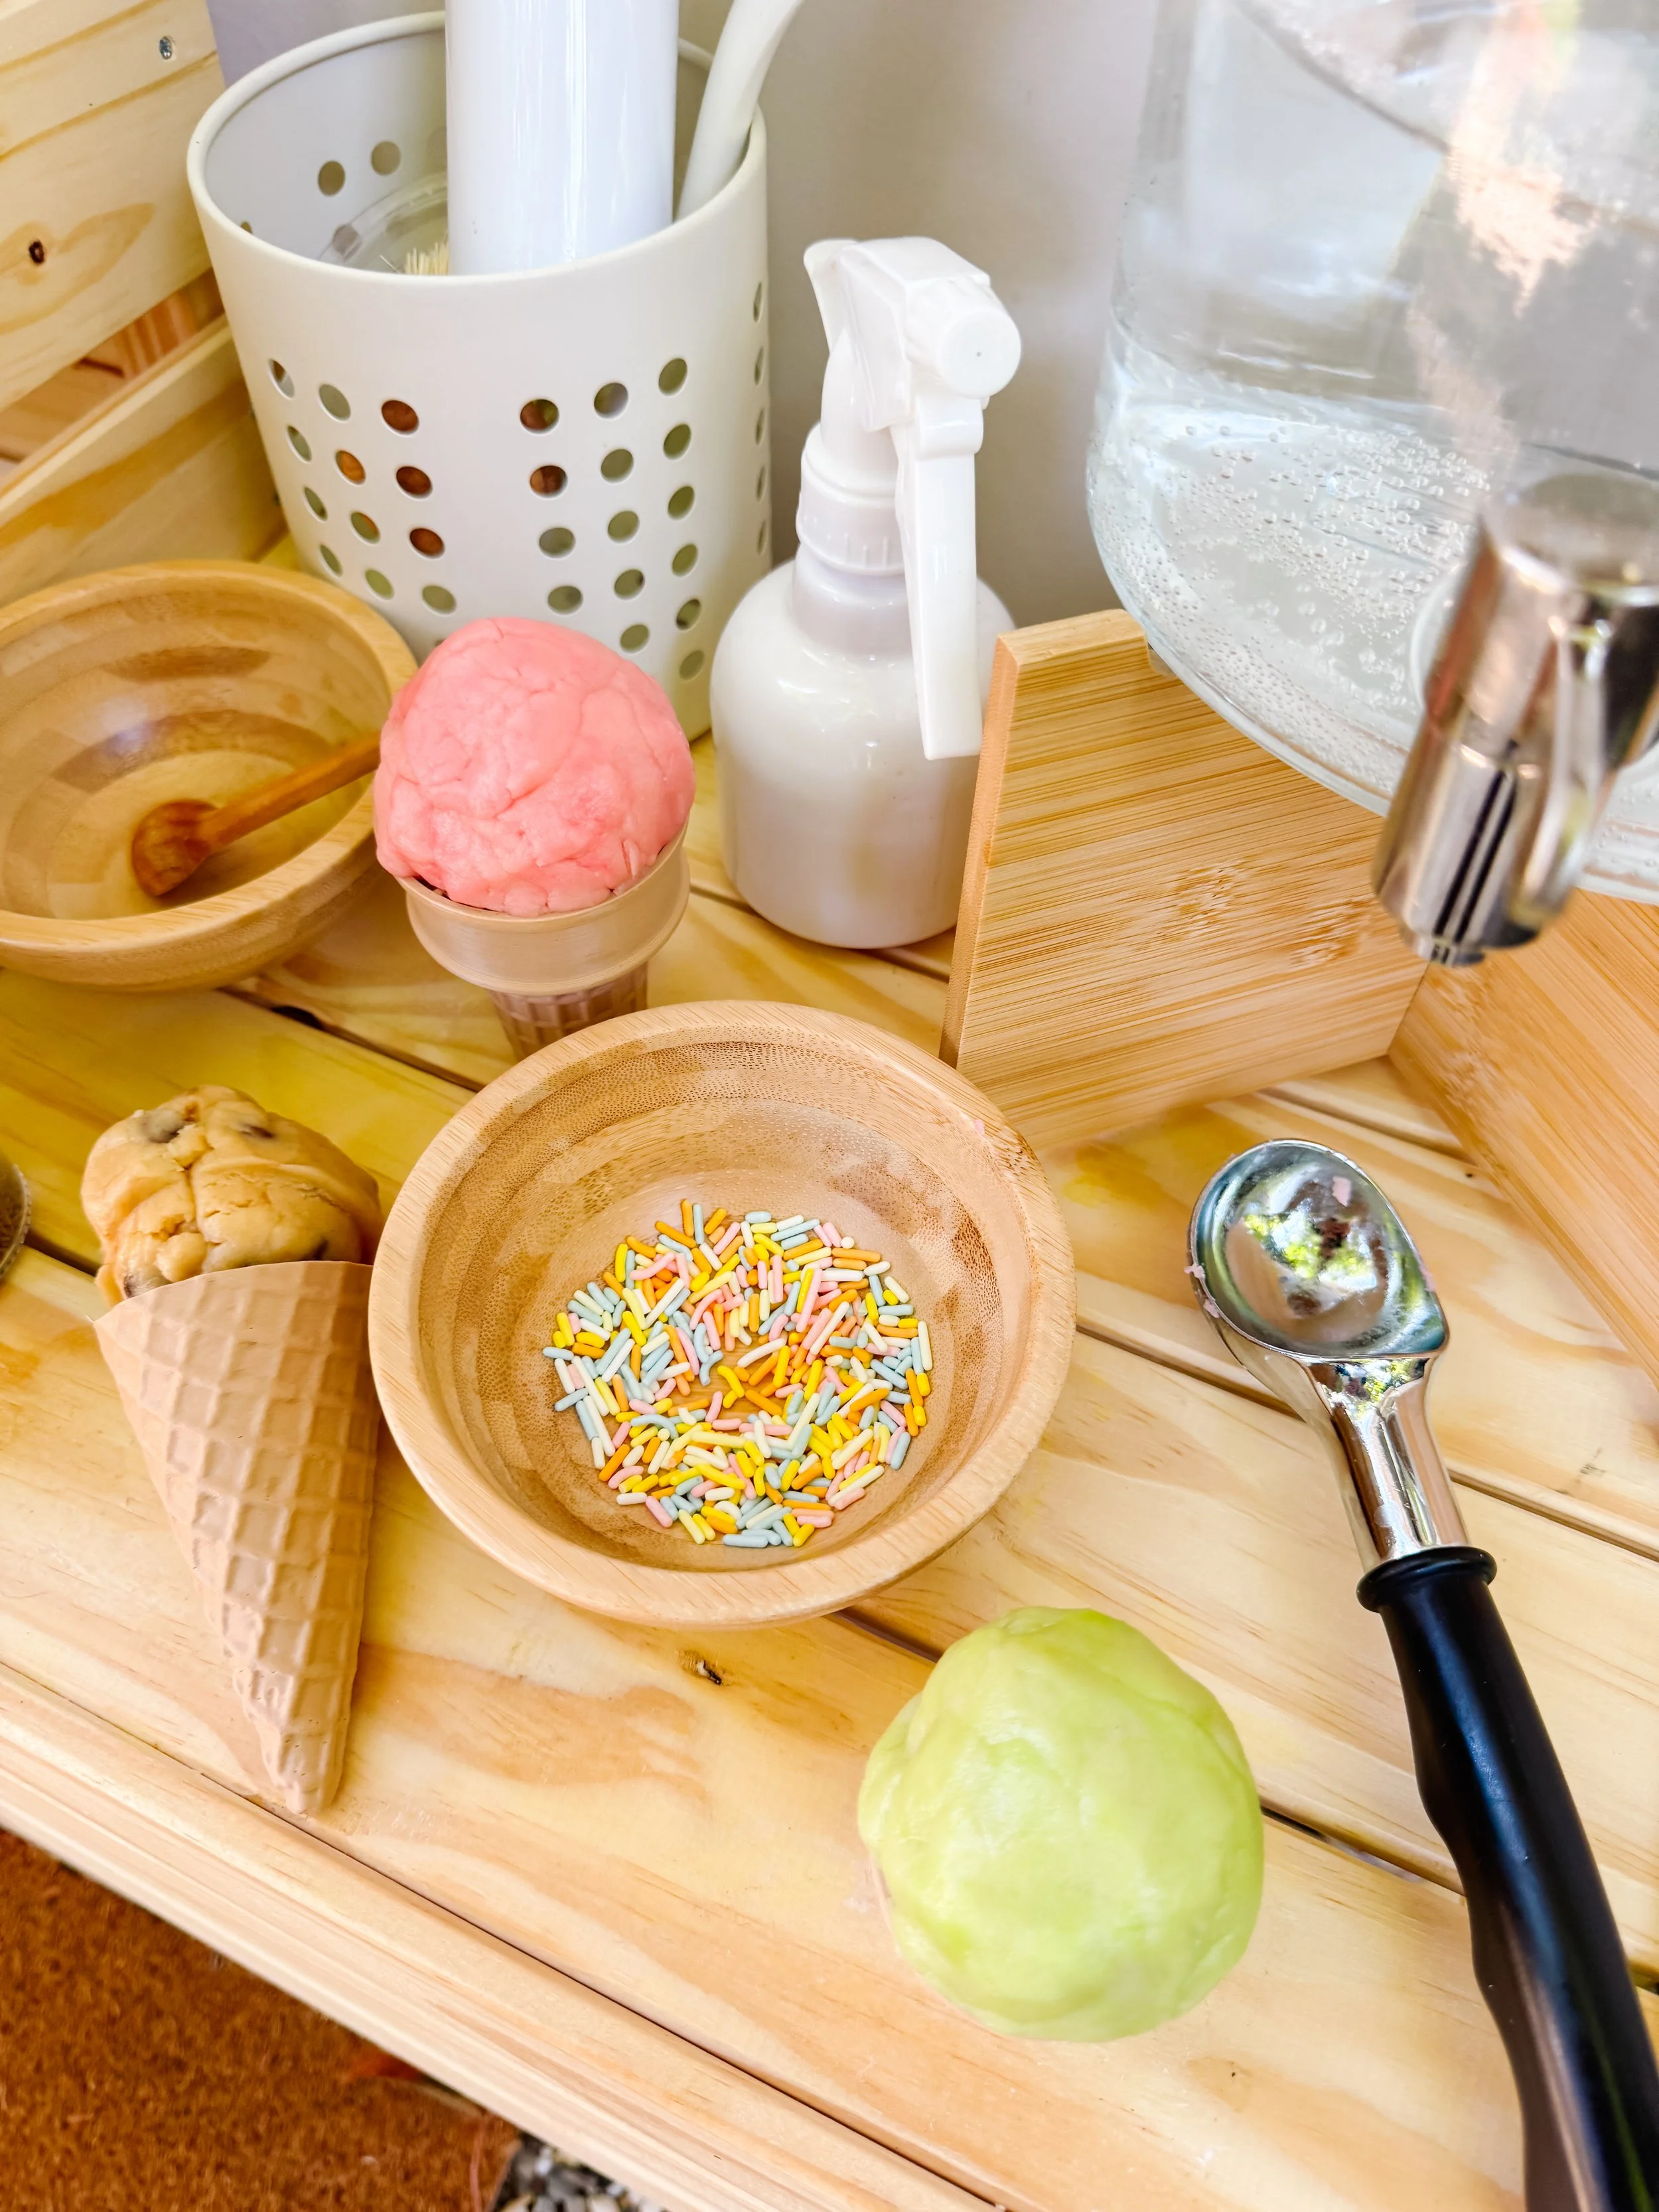
We used our soft, scoopable ice cream play dough as the “ice cream,” then added cones, wooden spoons, bowls, pretend sprinkles, and recipe cards to create a little outdoor ice cream shop.

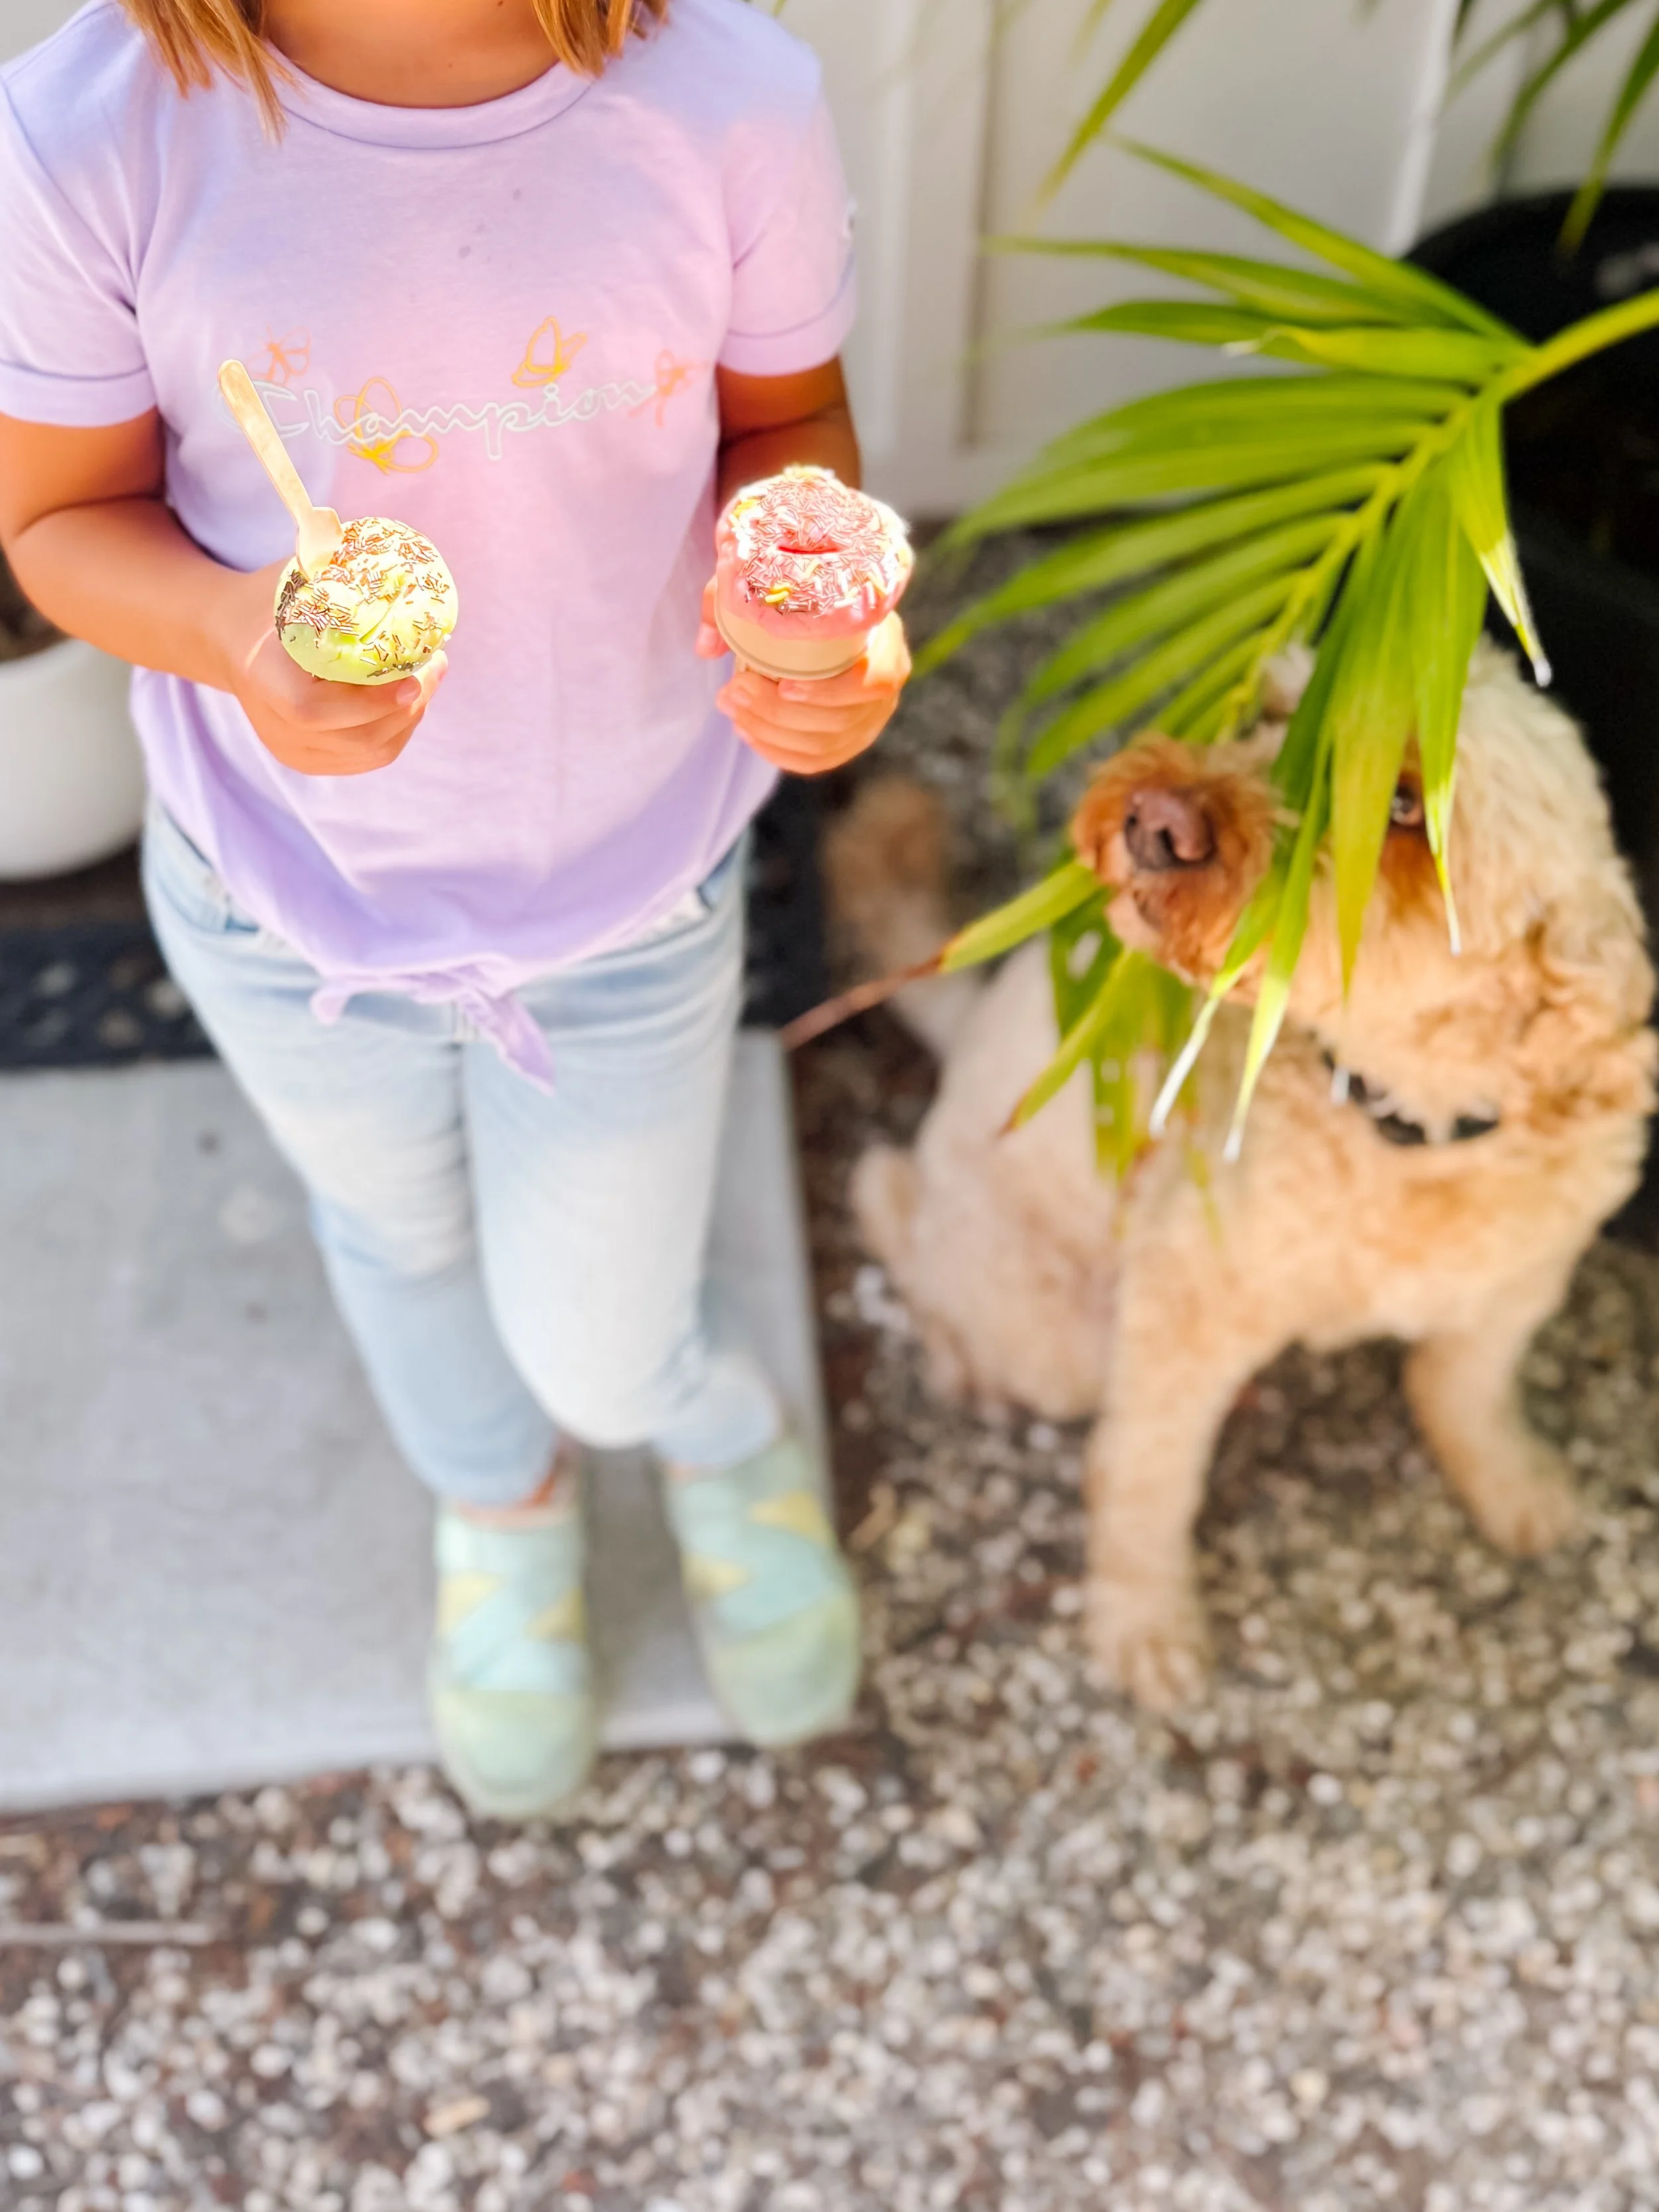
What I love most is that this activity feels playful and open-ended. Kids can scoop, stack, decorate, take orders, invent flavors, count scoops, and practice social language while playing.

It is the perfect blend of sensory play, dramatic play, fine motor work, and summer pretend play.

What you need

  • Ice cream play dough
  • Ice cream cones or pretend cones
  • Small bowls or cups
  • Wooden spoons or scoops
  • Pretend sprinkles
  • Recipe cards or menus
  • Play kitchen or mud kitchen
  • Water dispenser or spray bottle for pretend cleanup

How to set up an ice cream mud kitchen

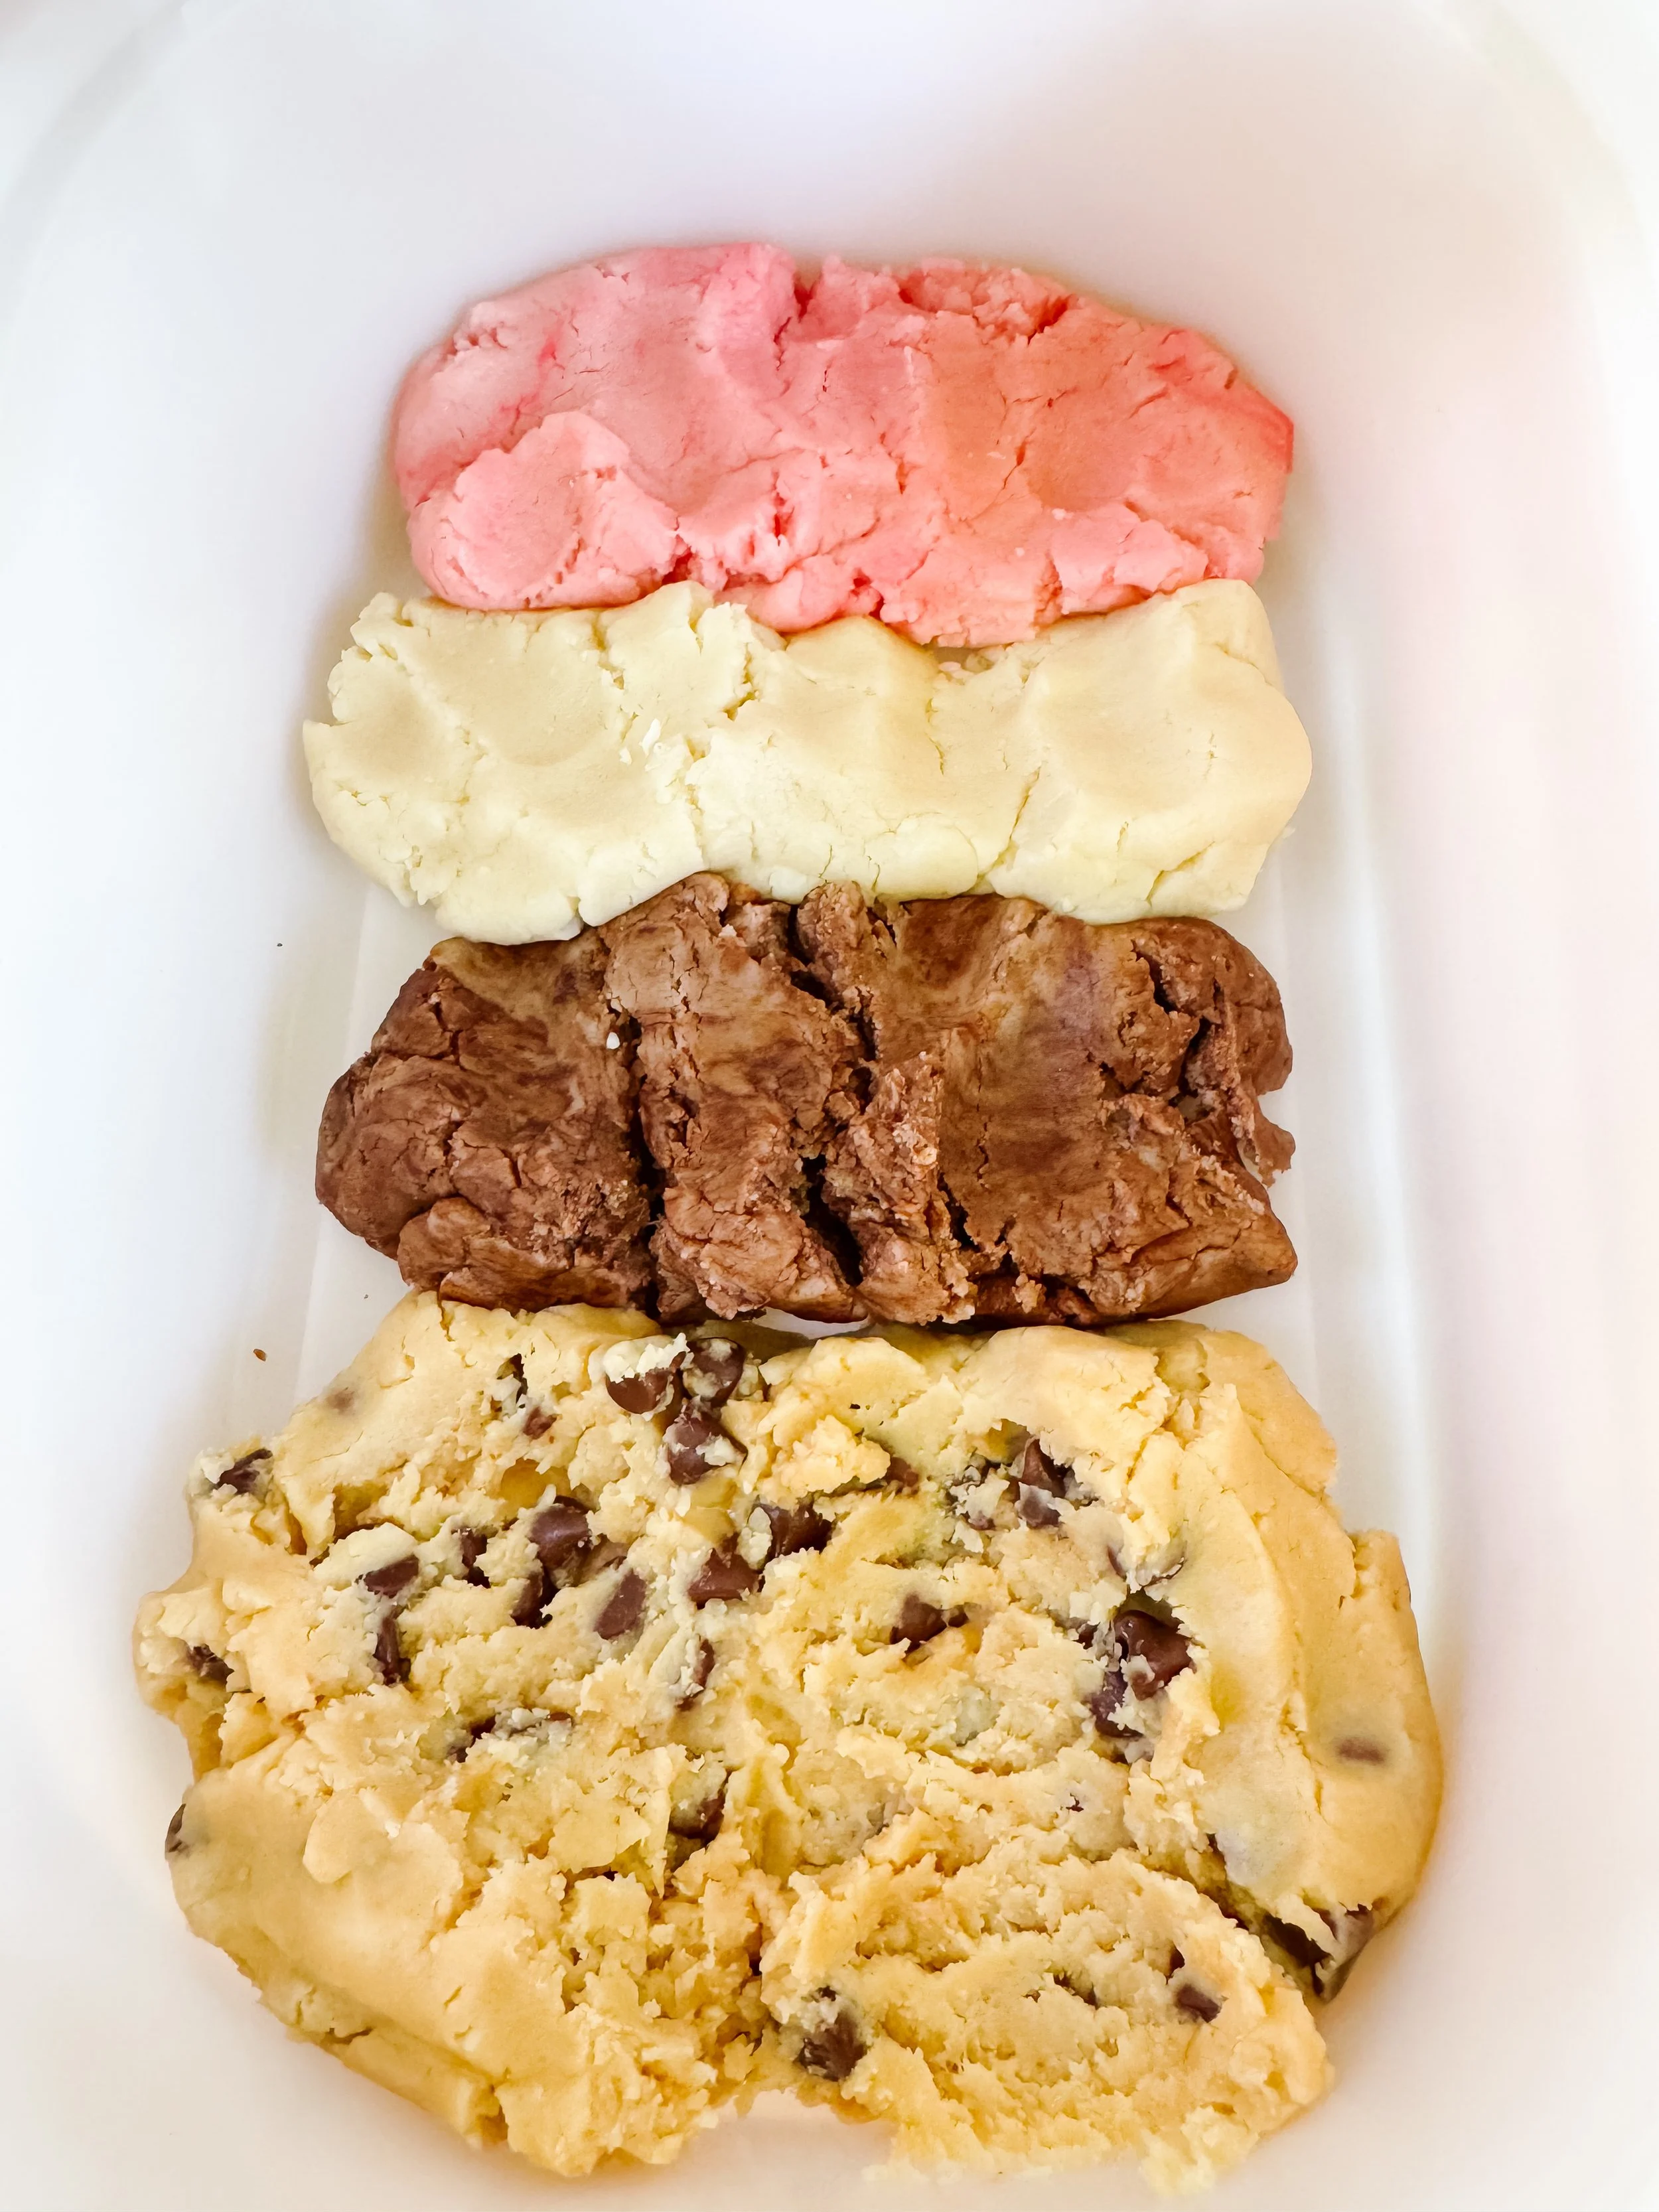
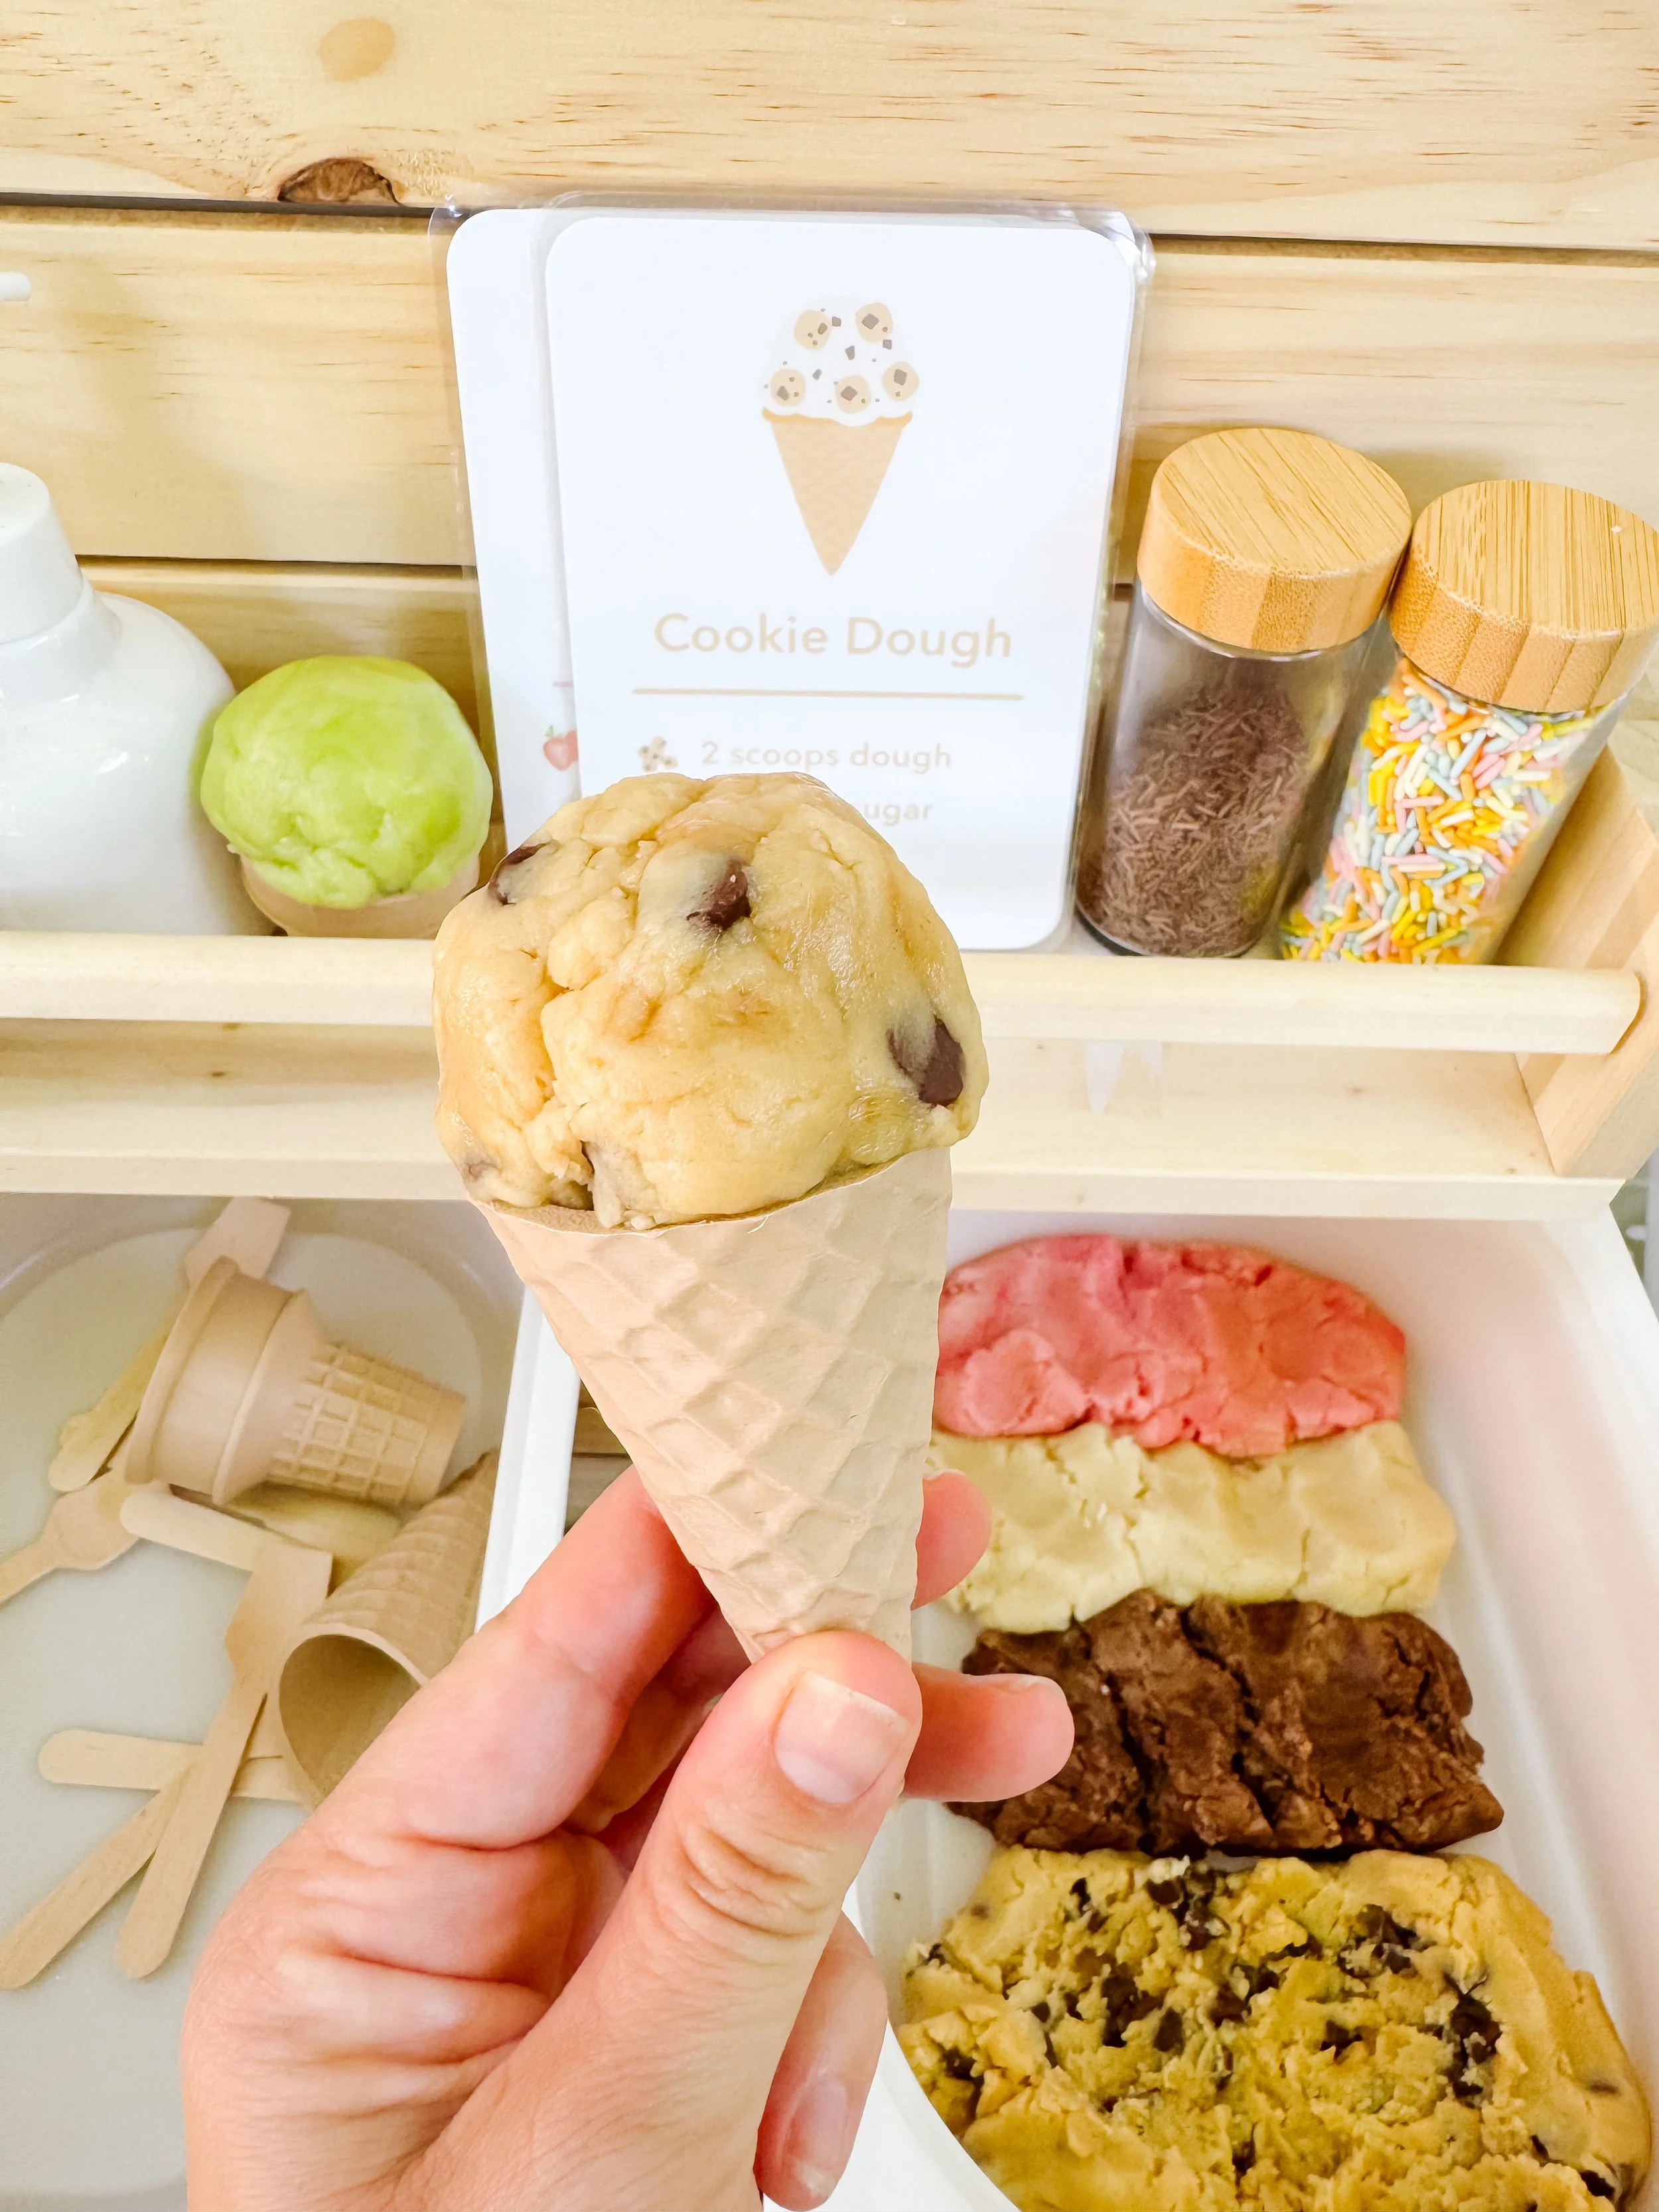
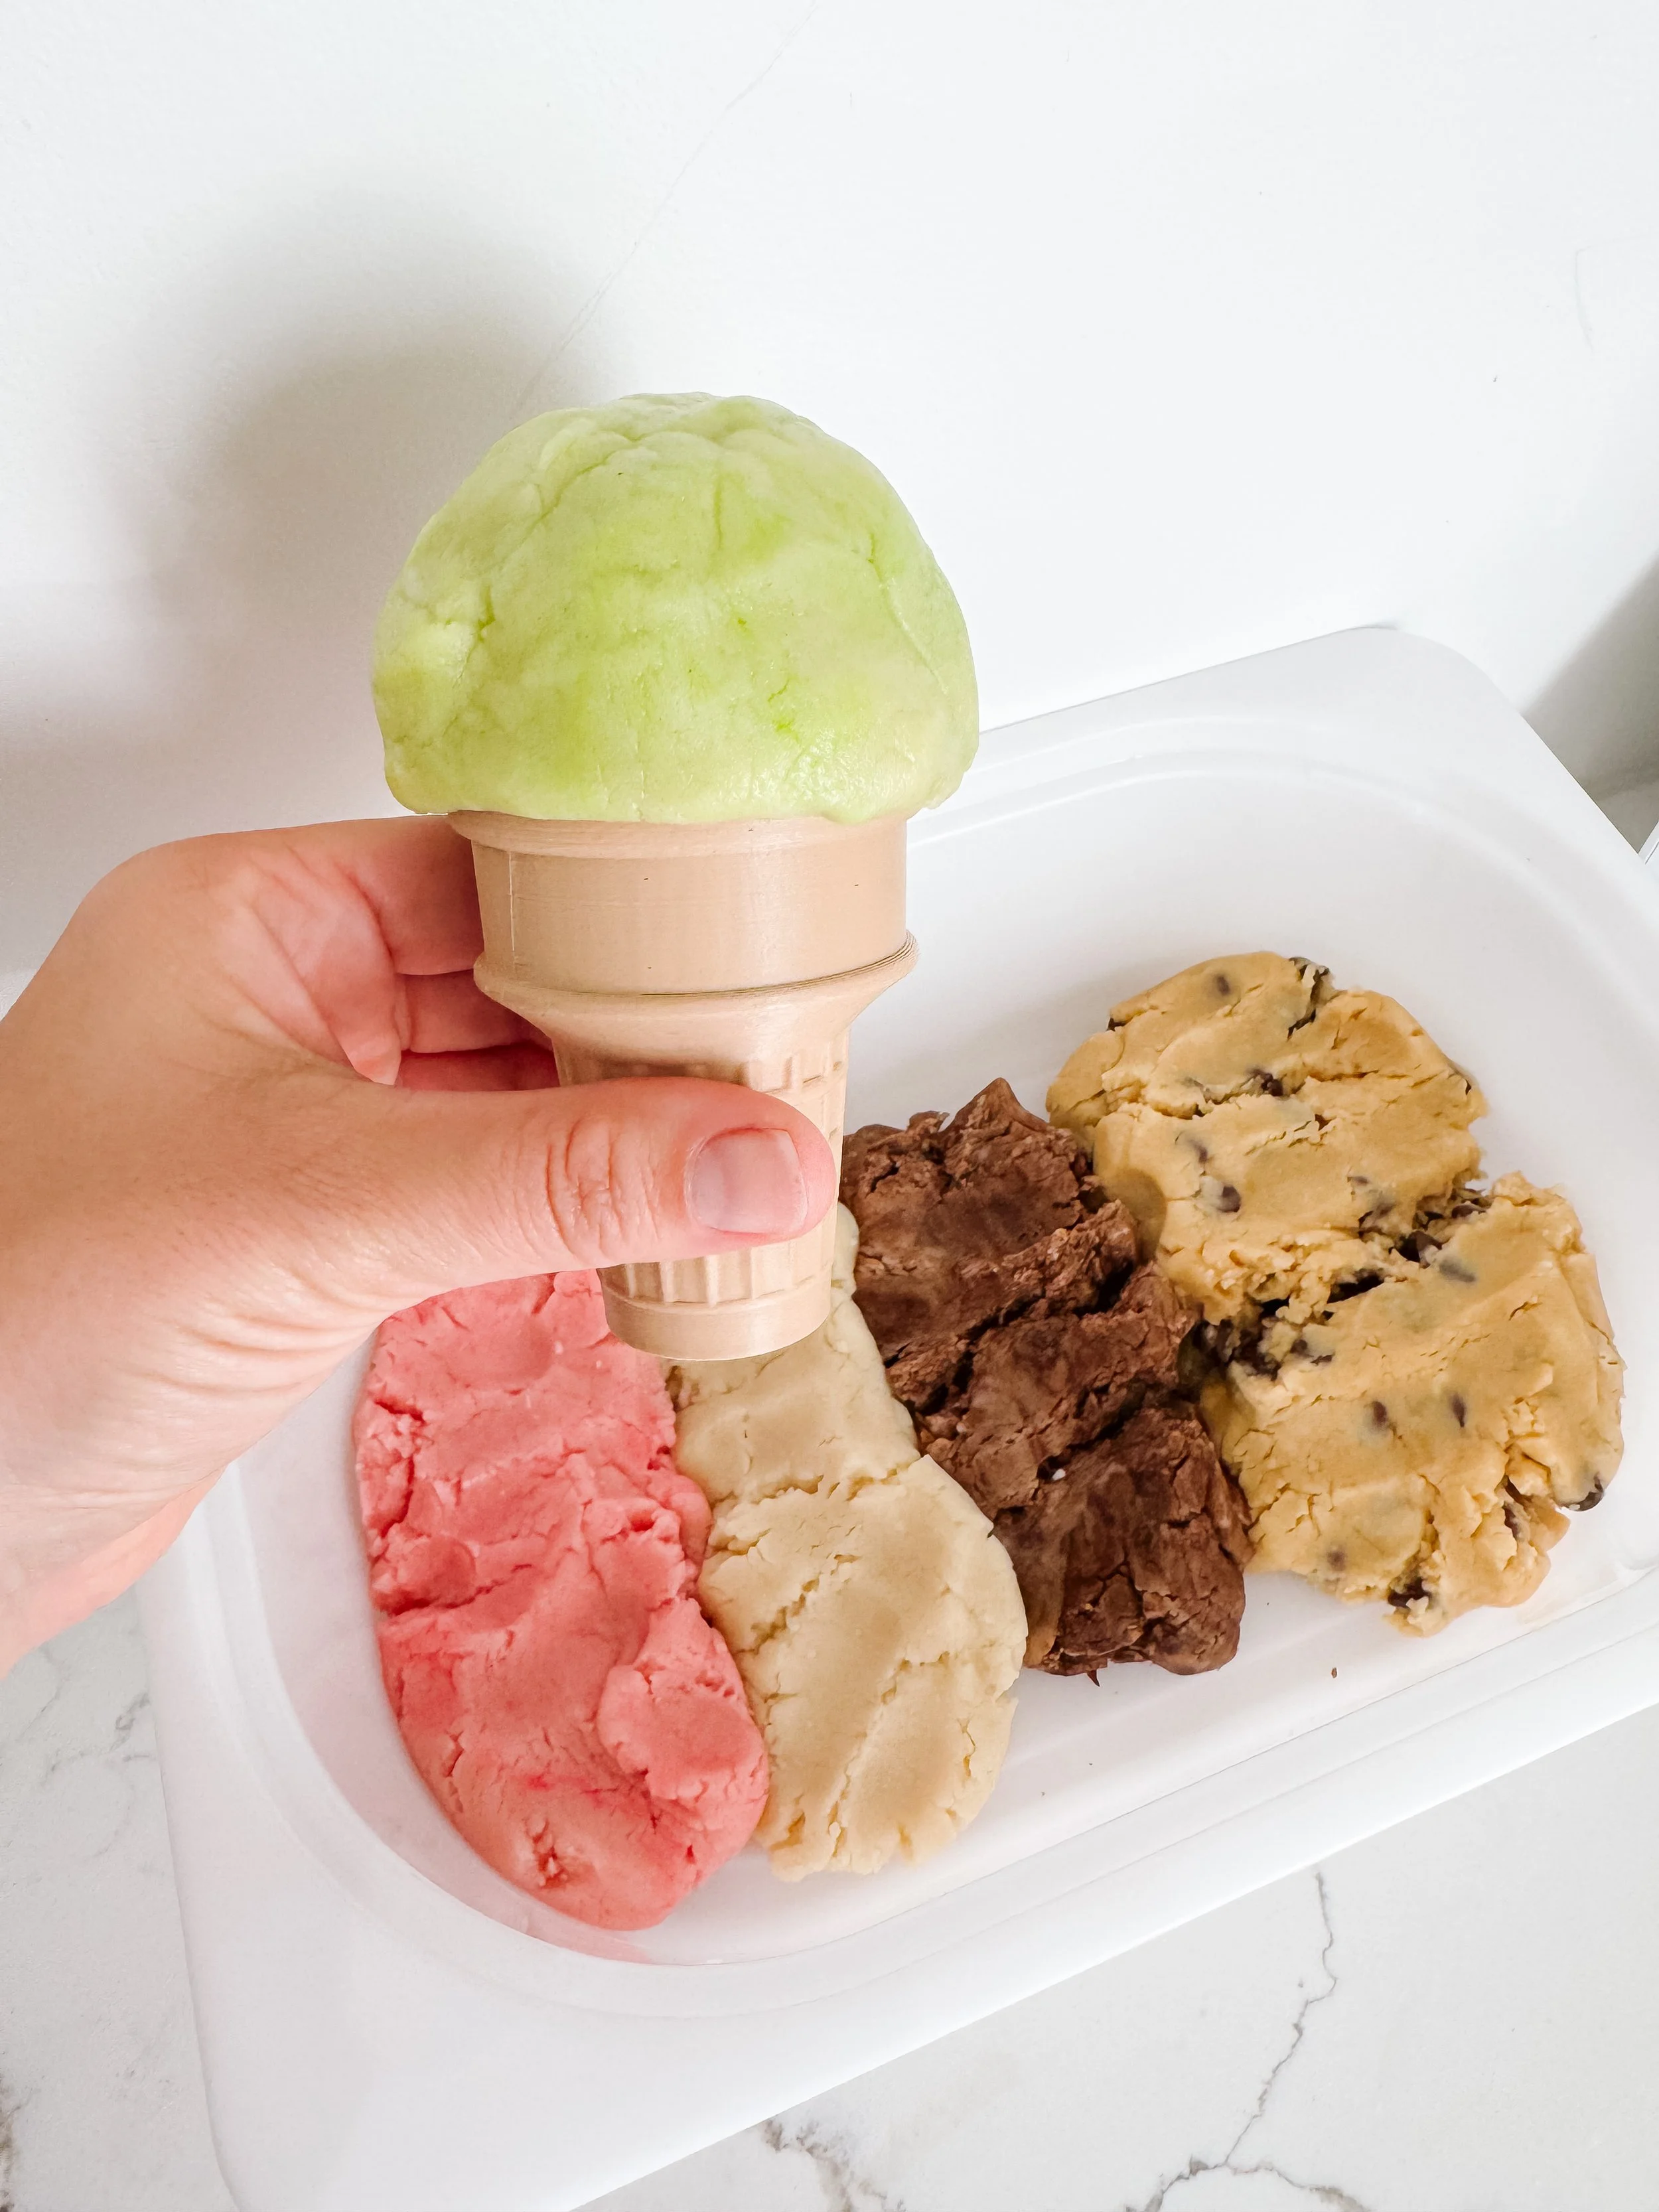
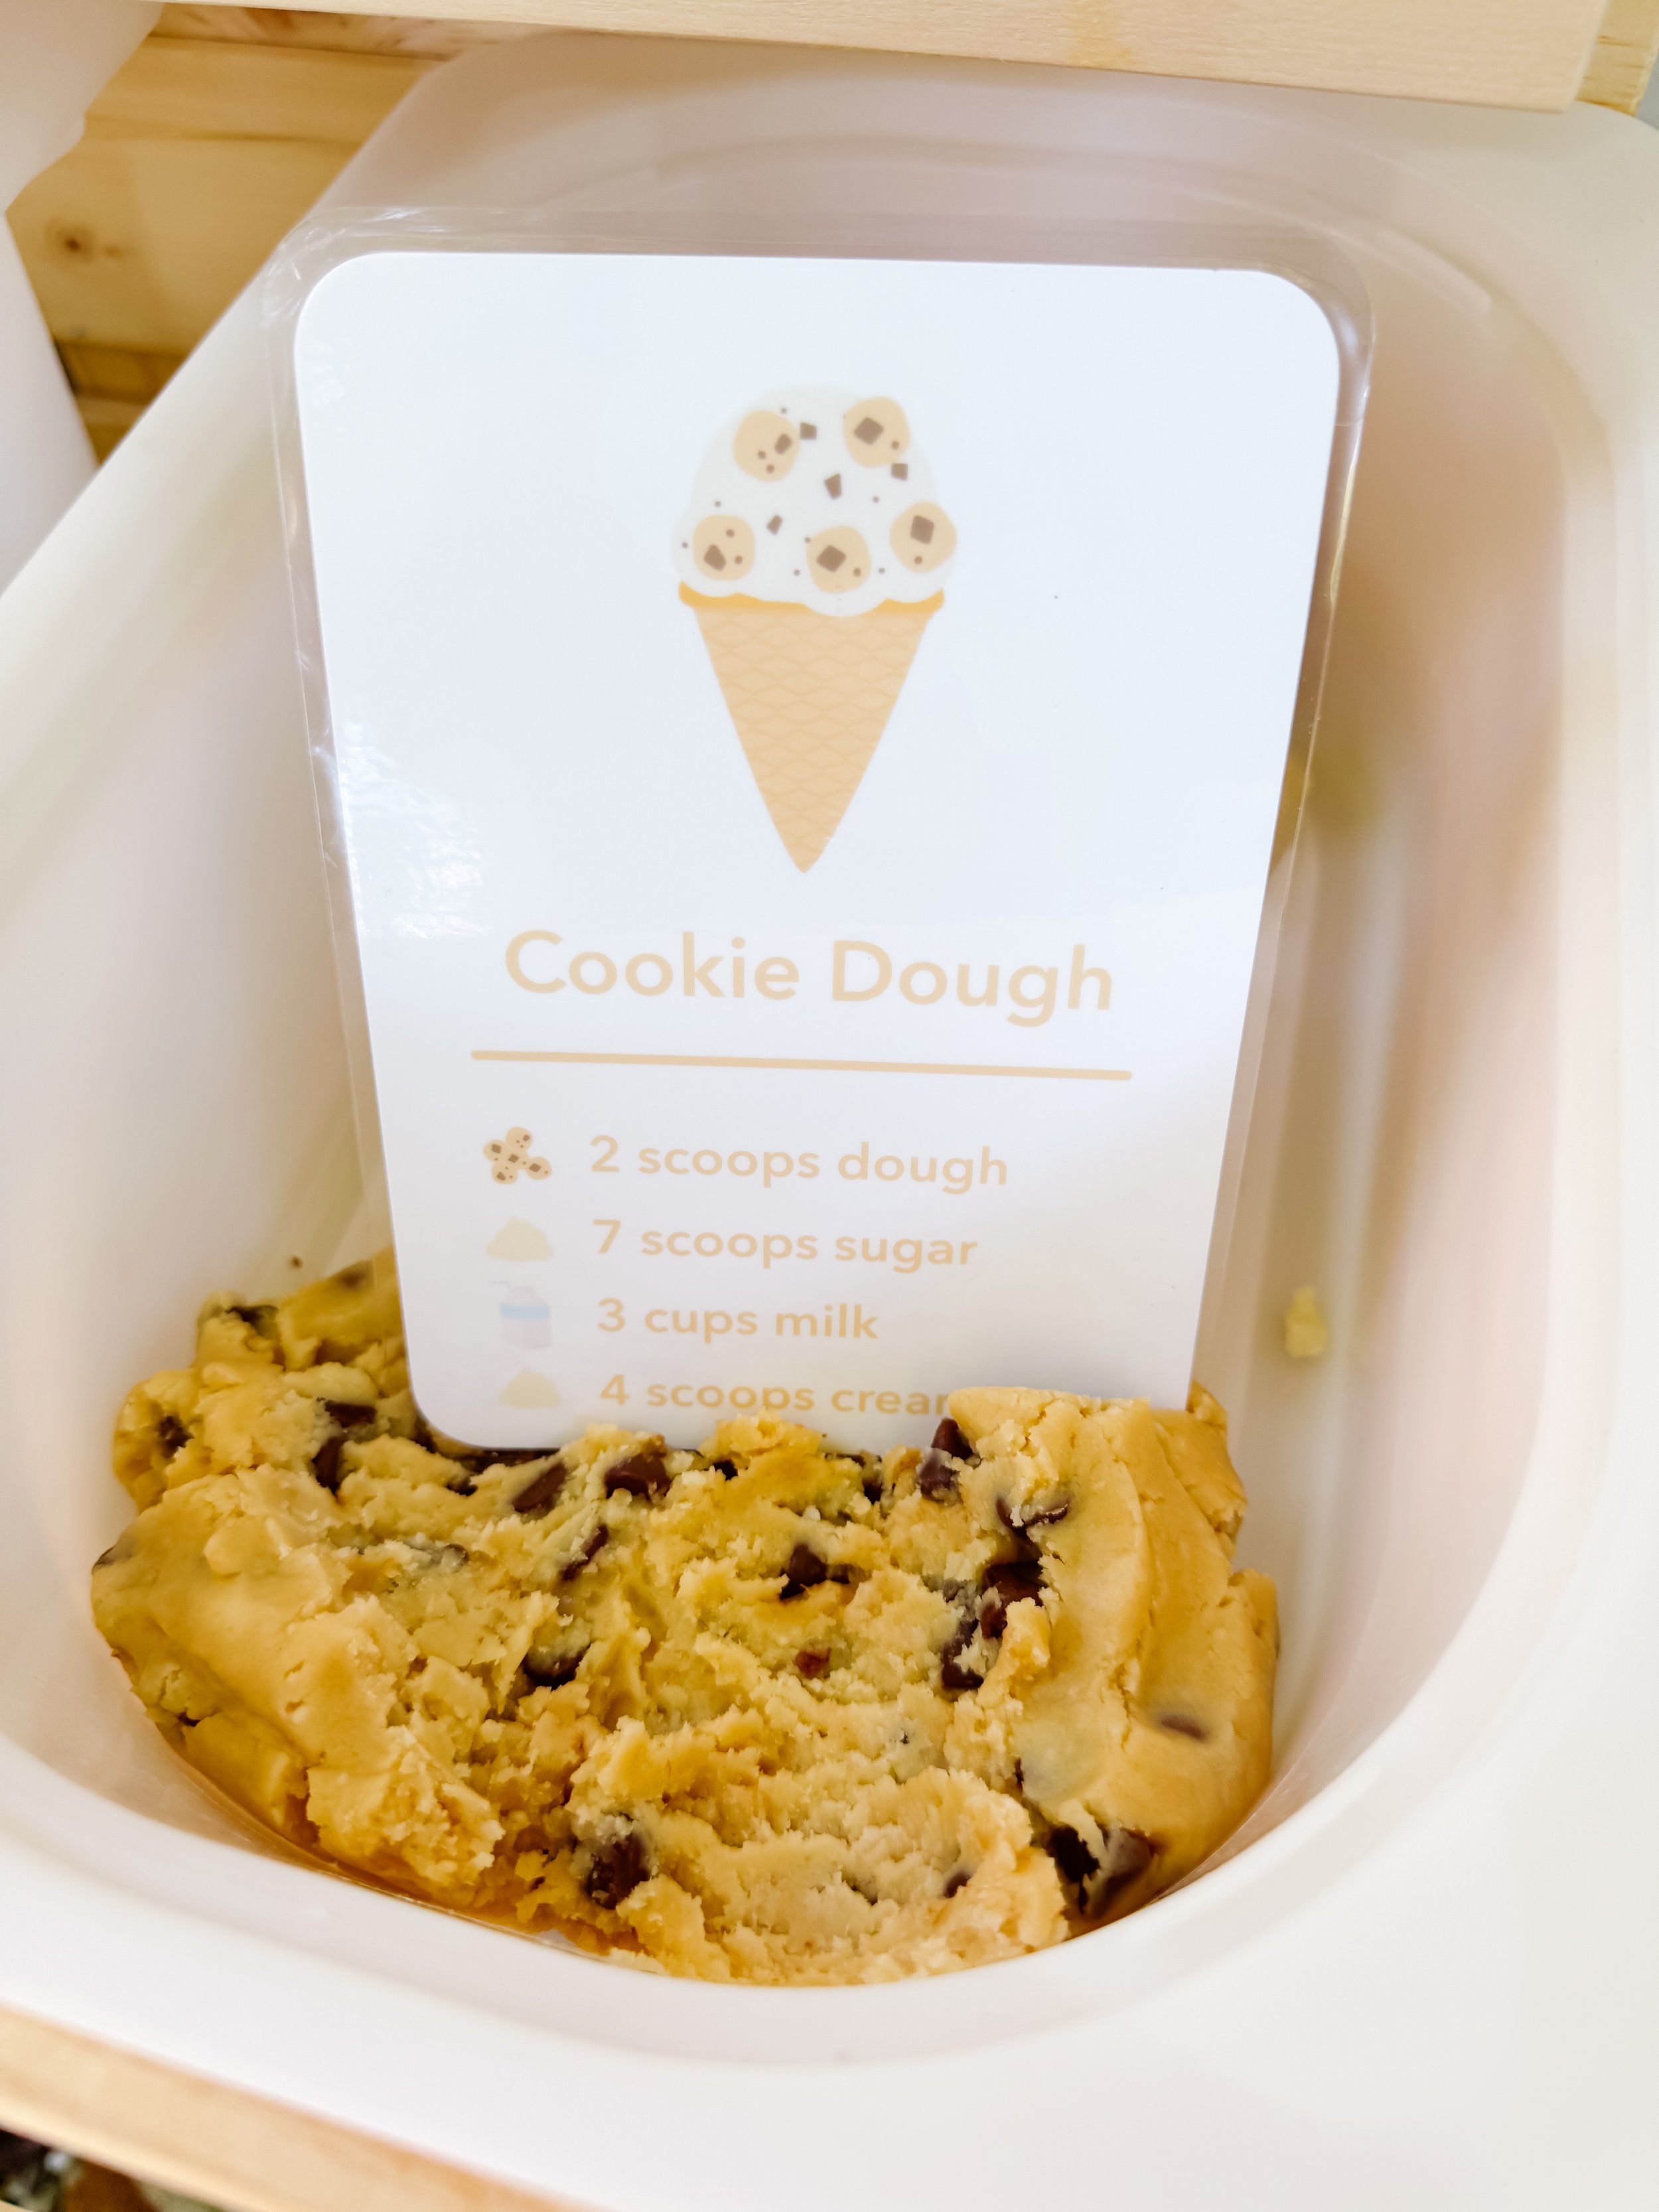
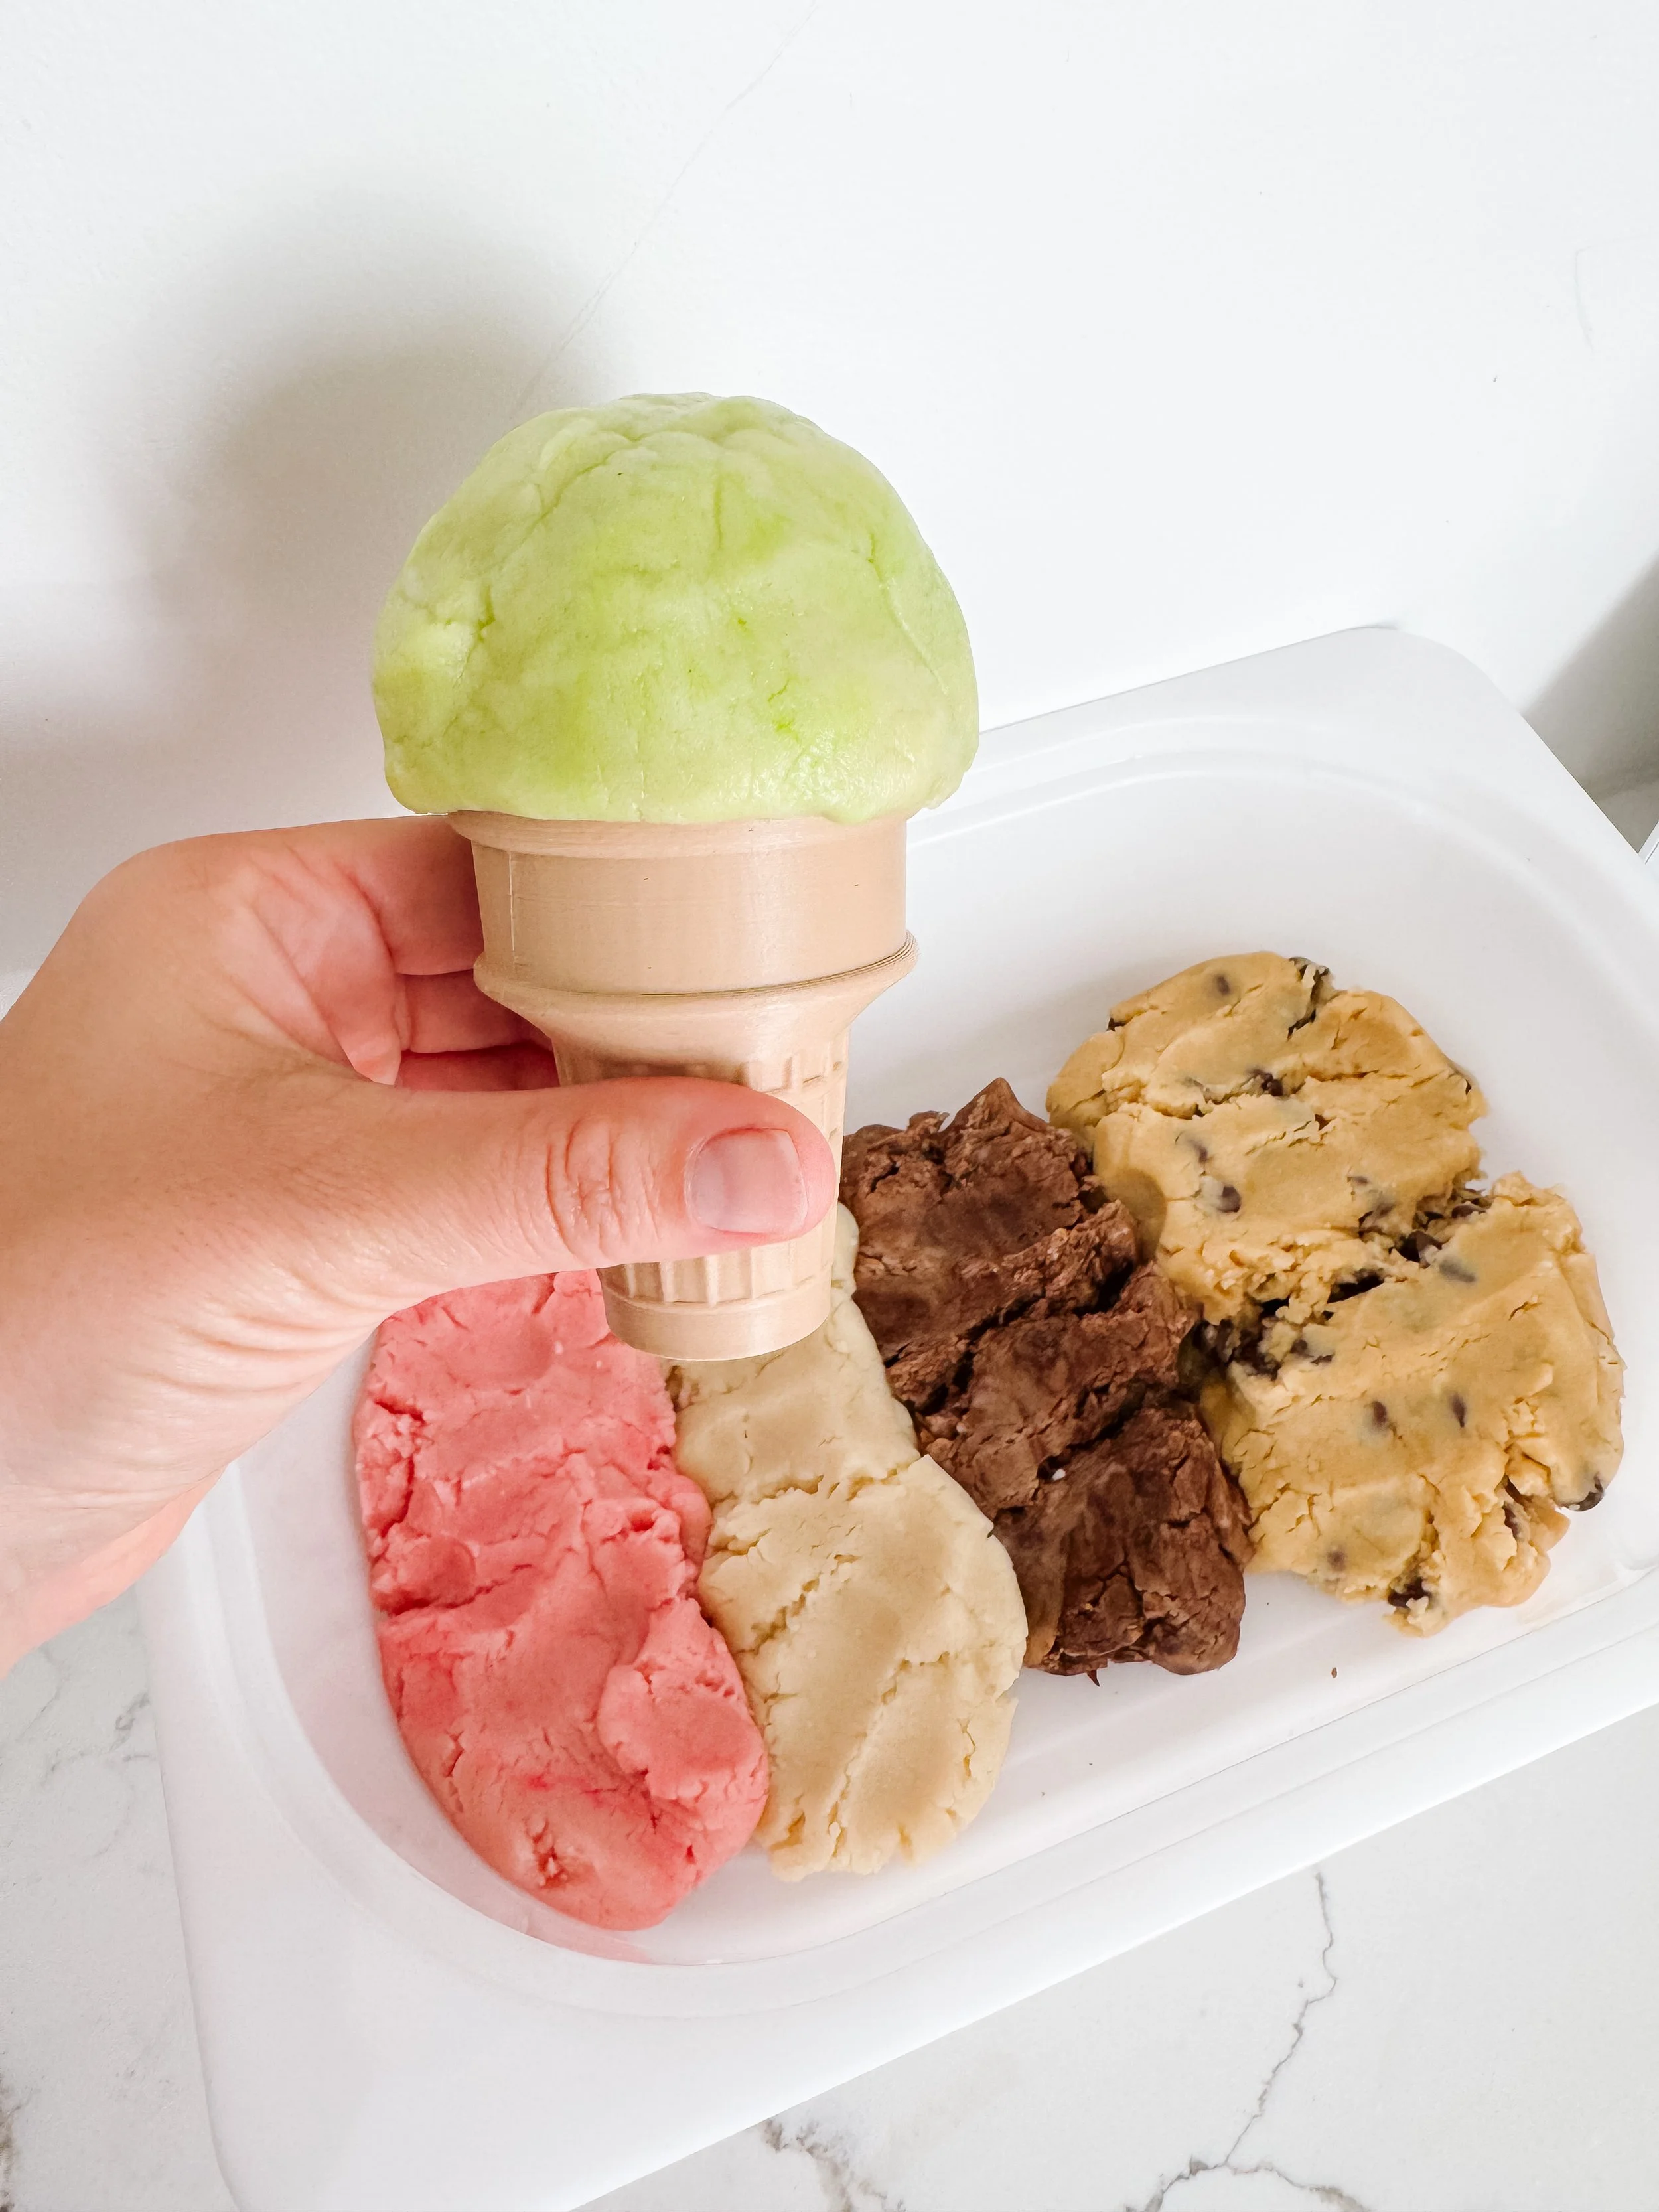
Colorful ice cream play dough flavors arranged in a bin for mud kitchen play.
Step 1

Make the ice cream dough

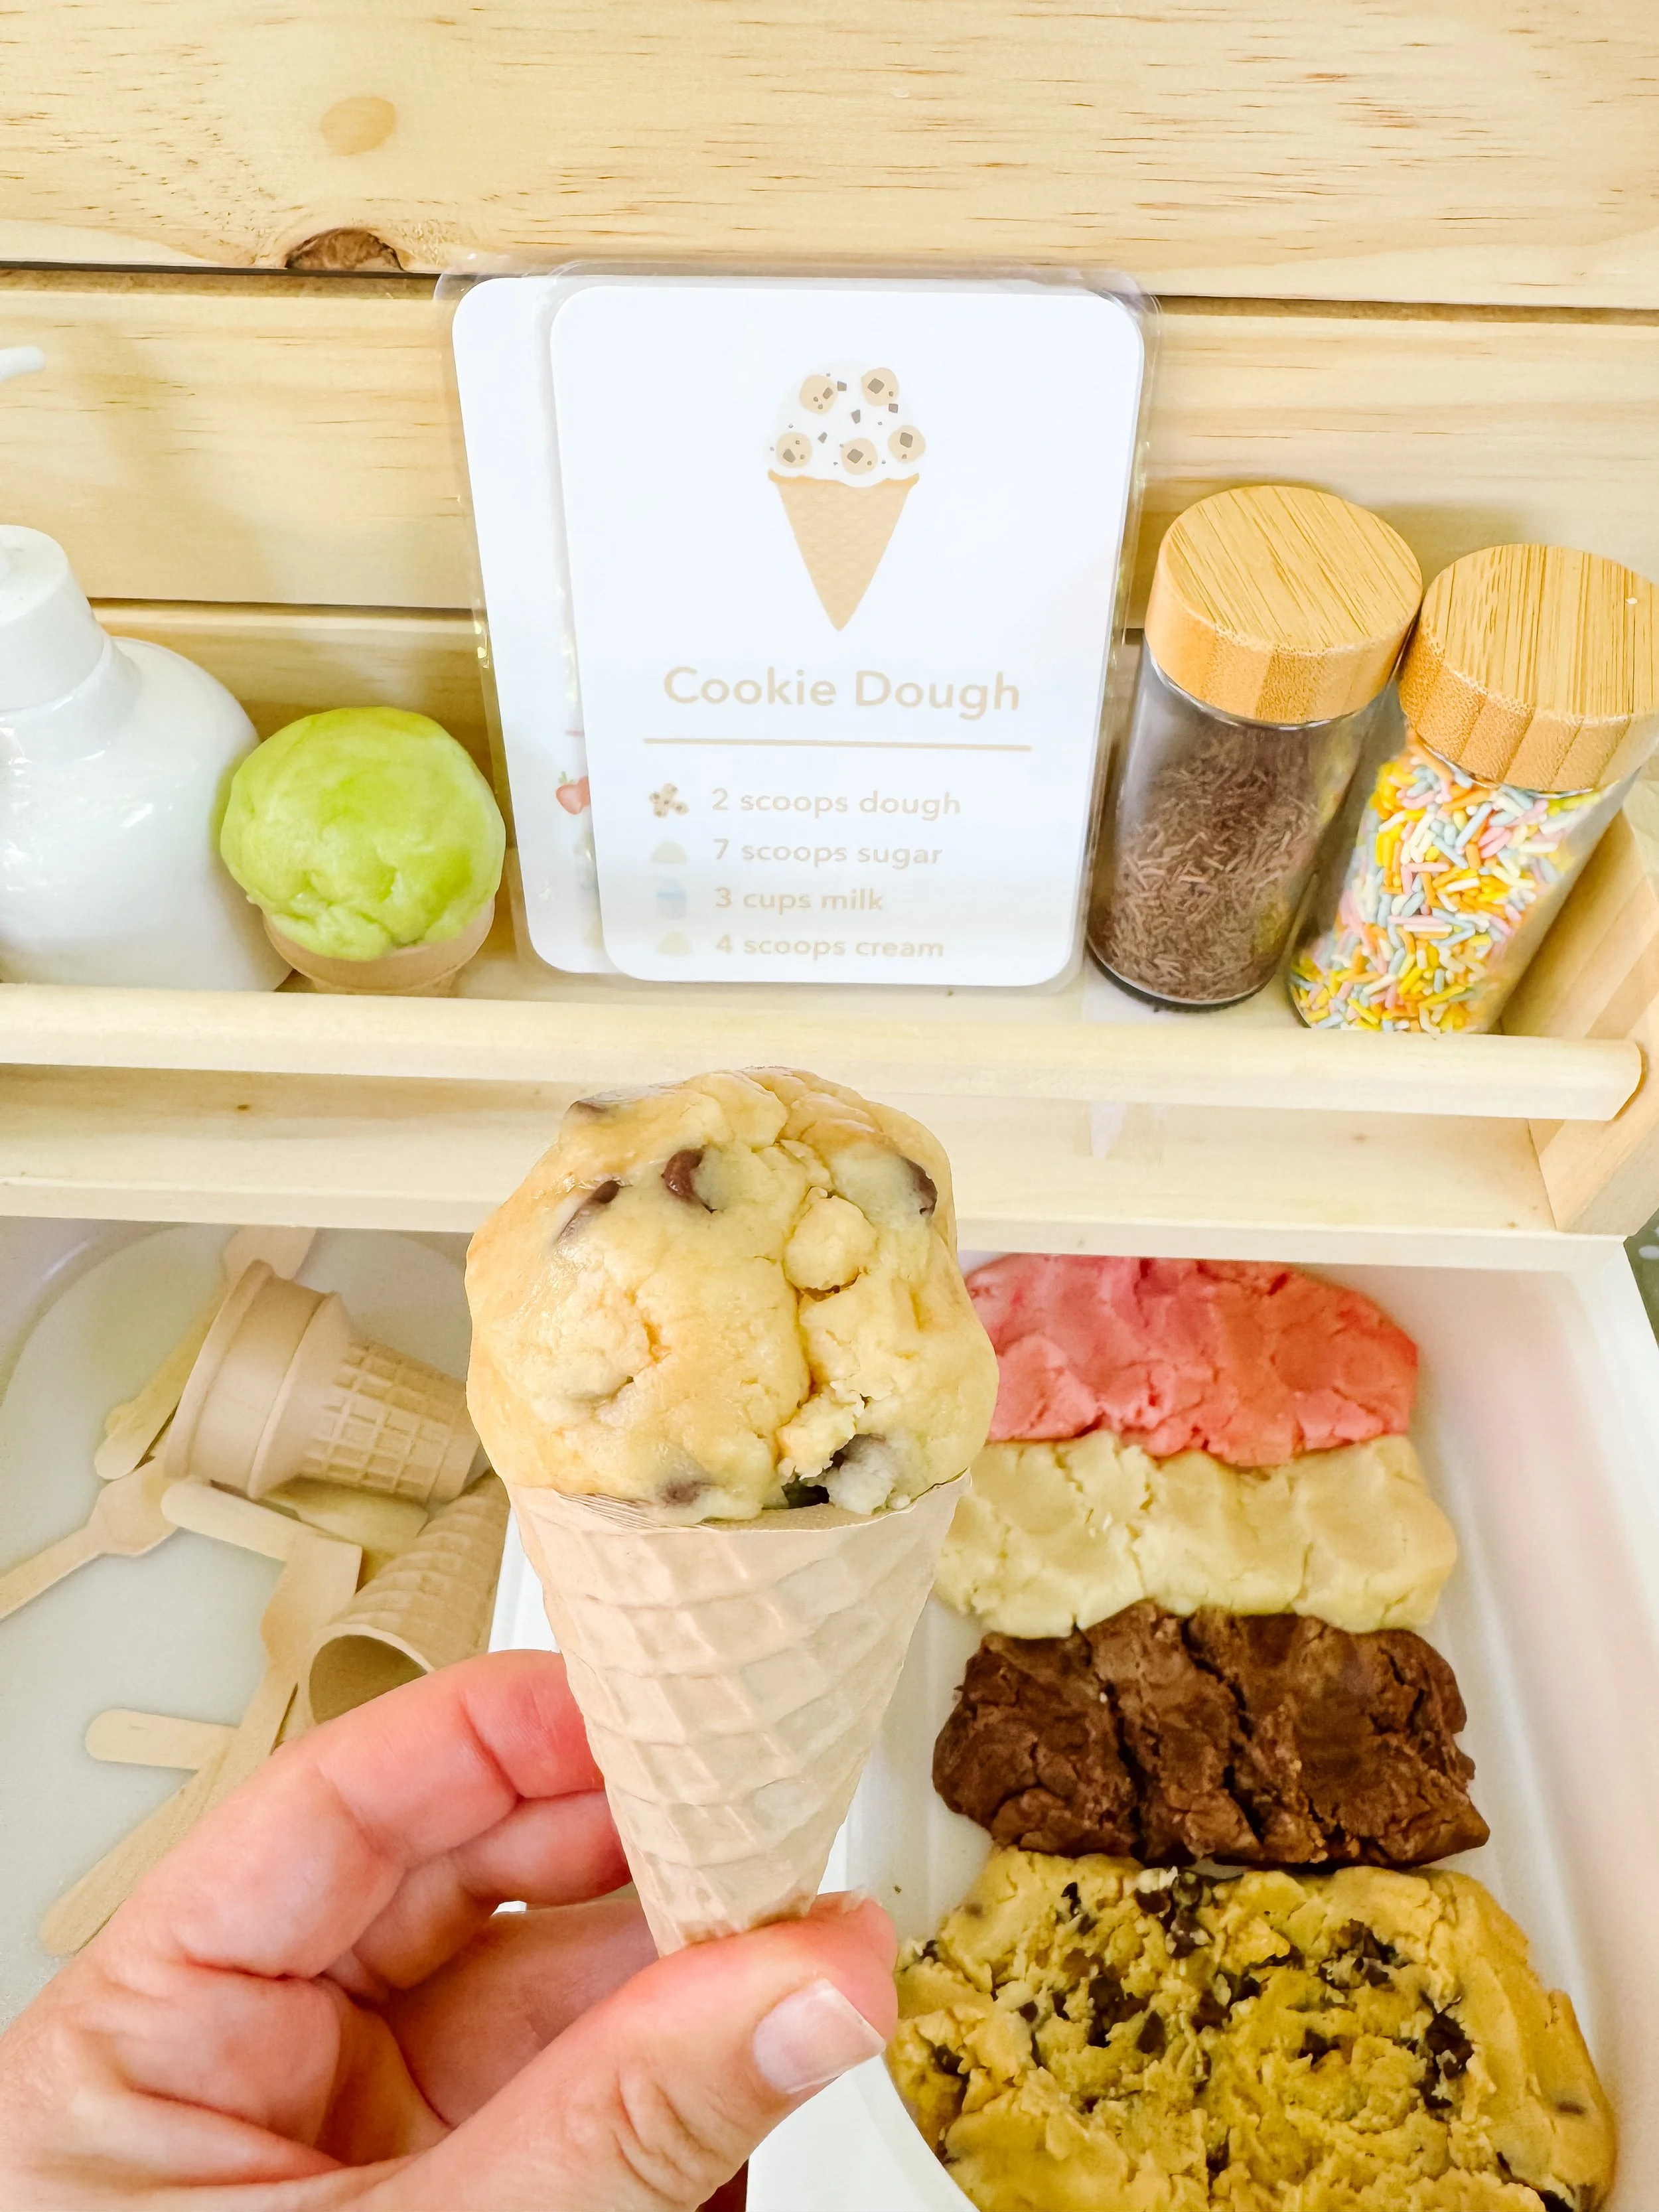
Start by preparing soft, scoopable ice cream play dough in a few different colors or flavors. We used cookie dough, chocolate, strawberry, vanilla, and mint-inspired colors.

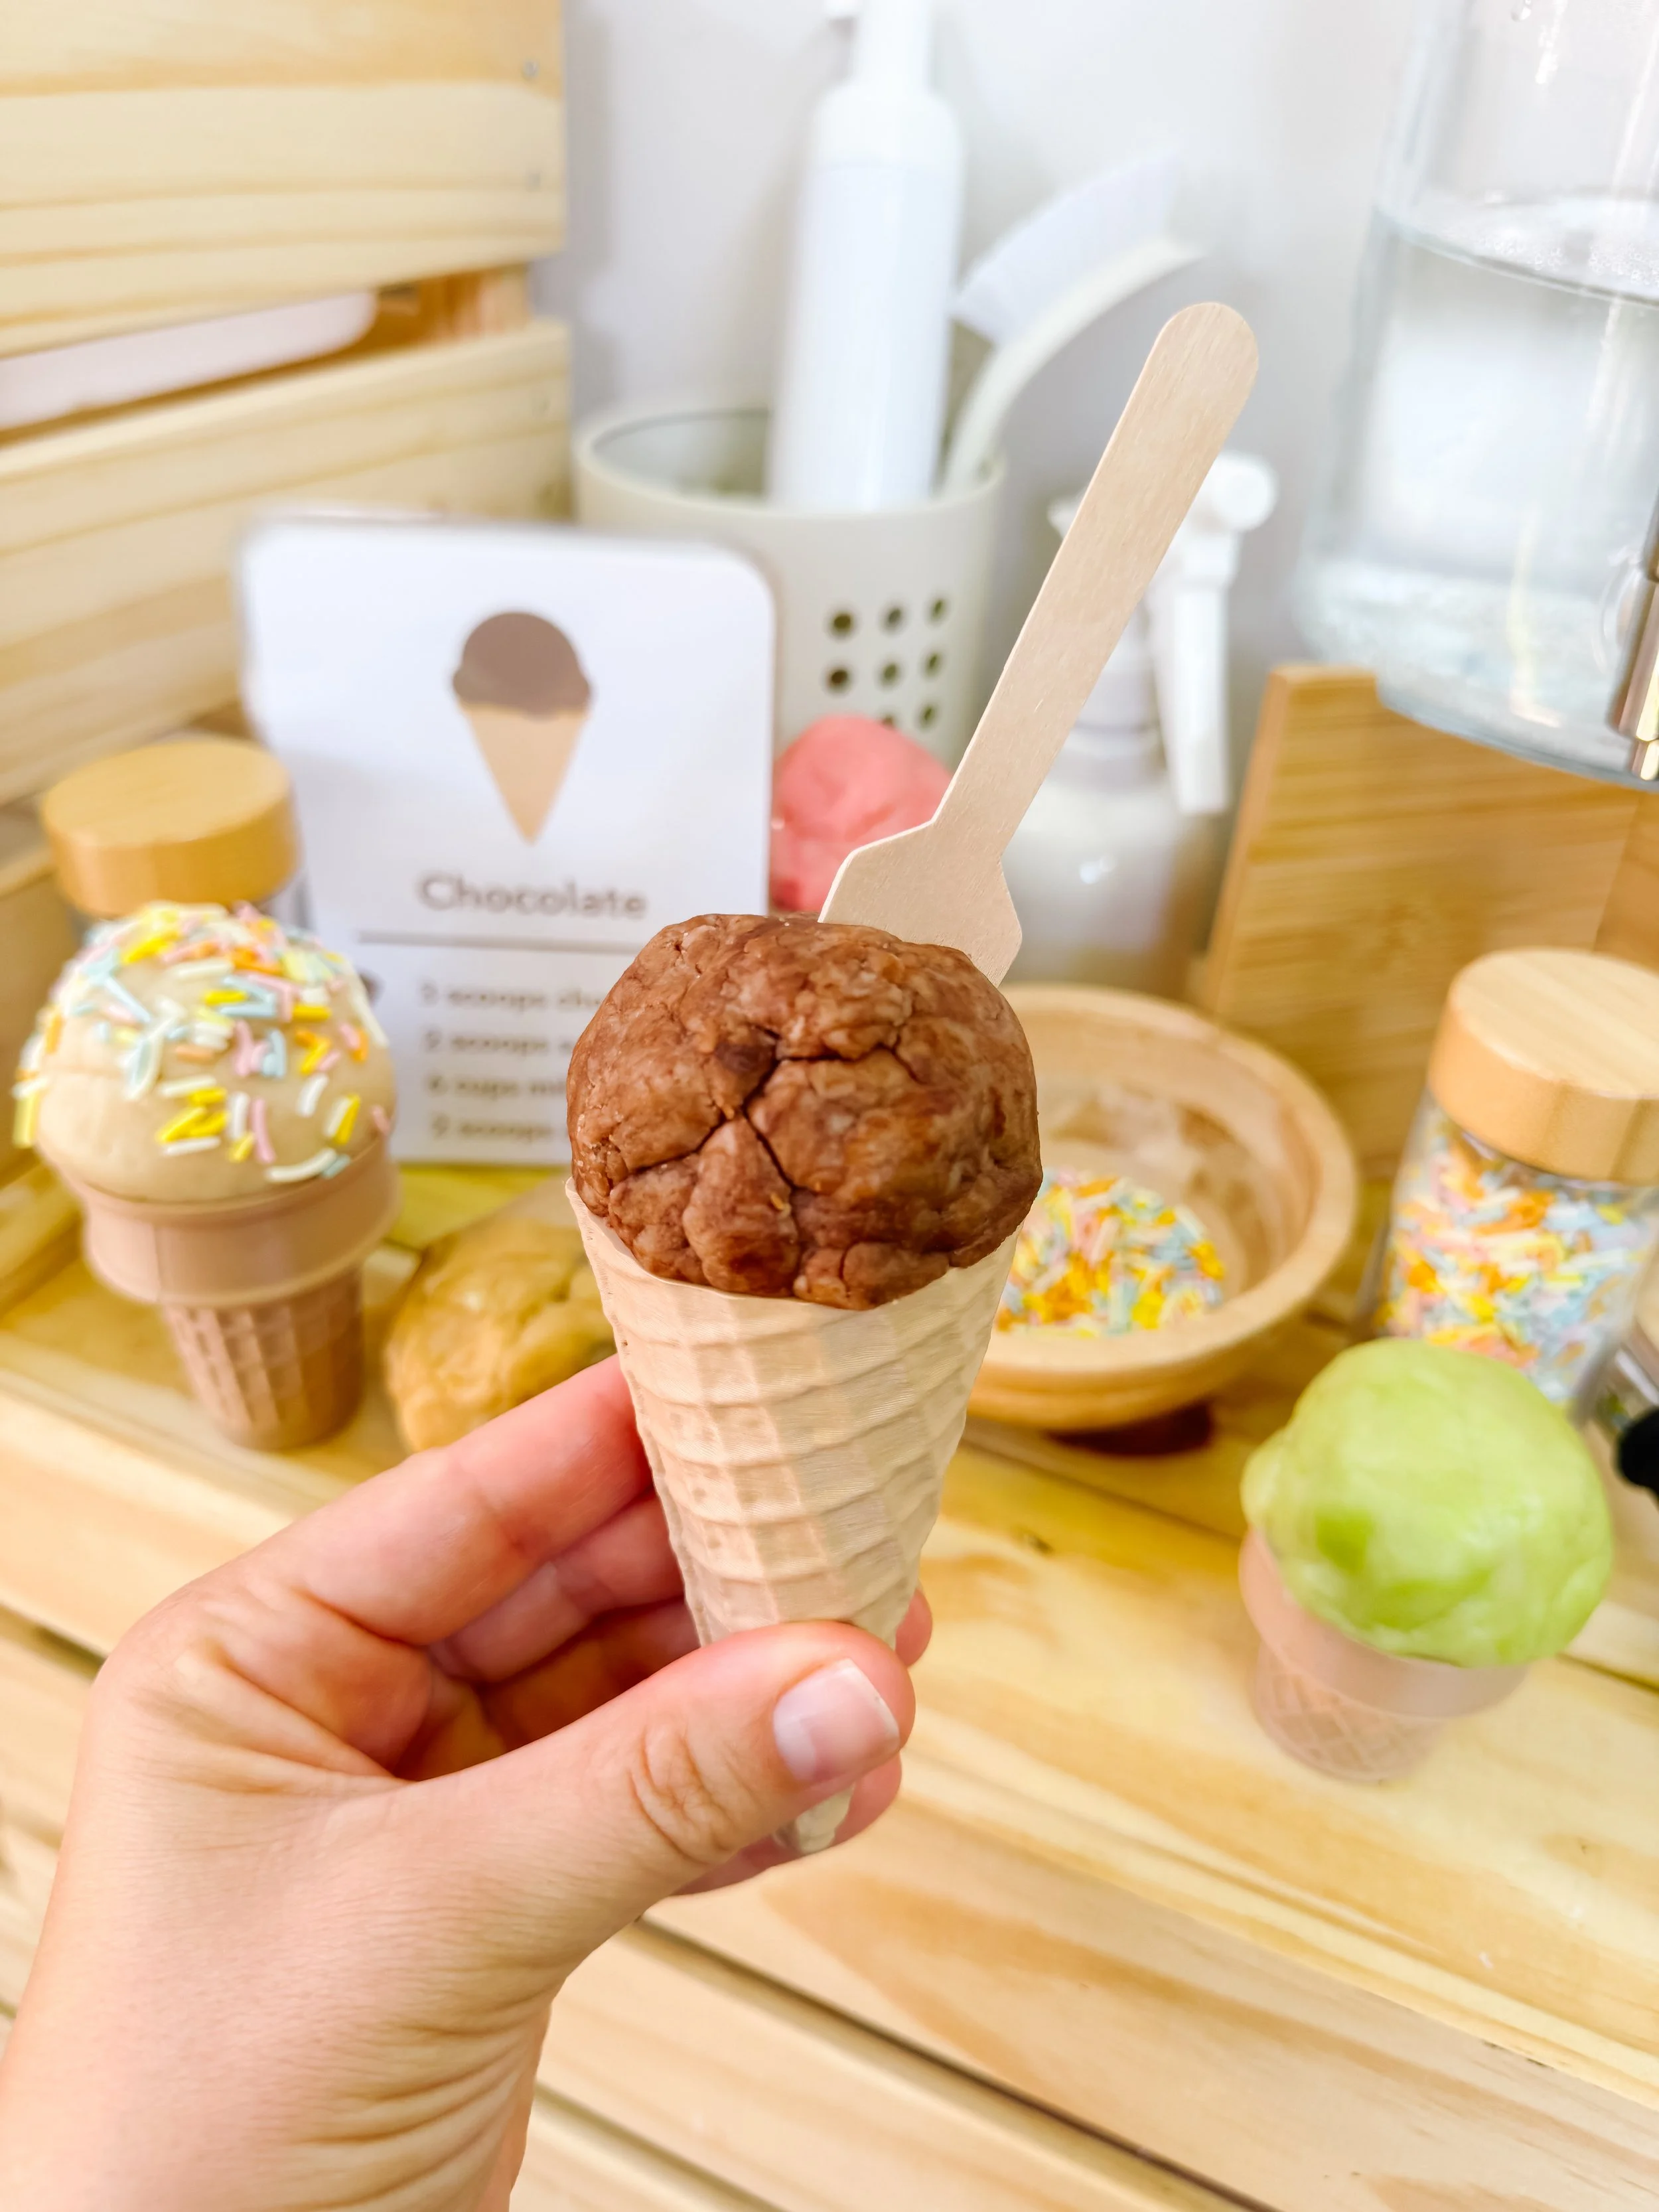
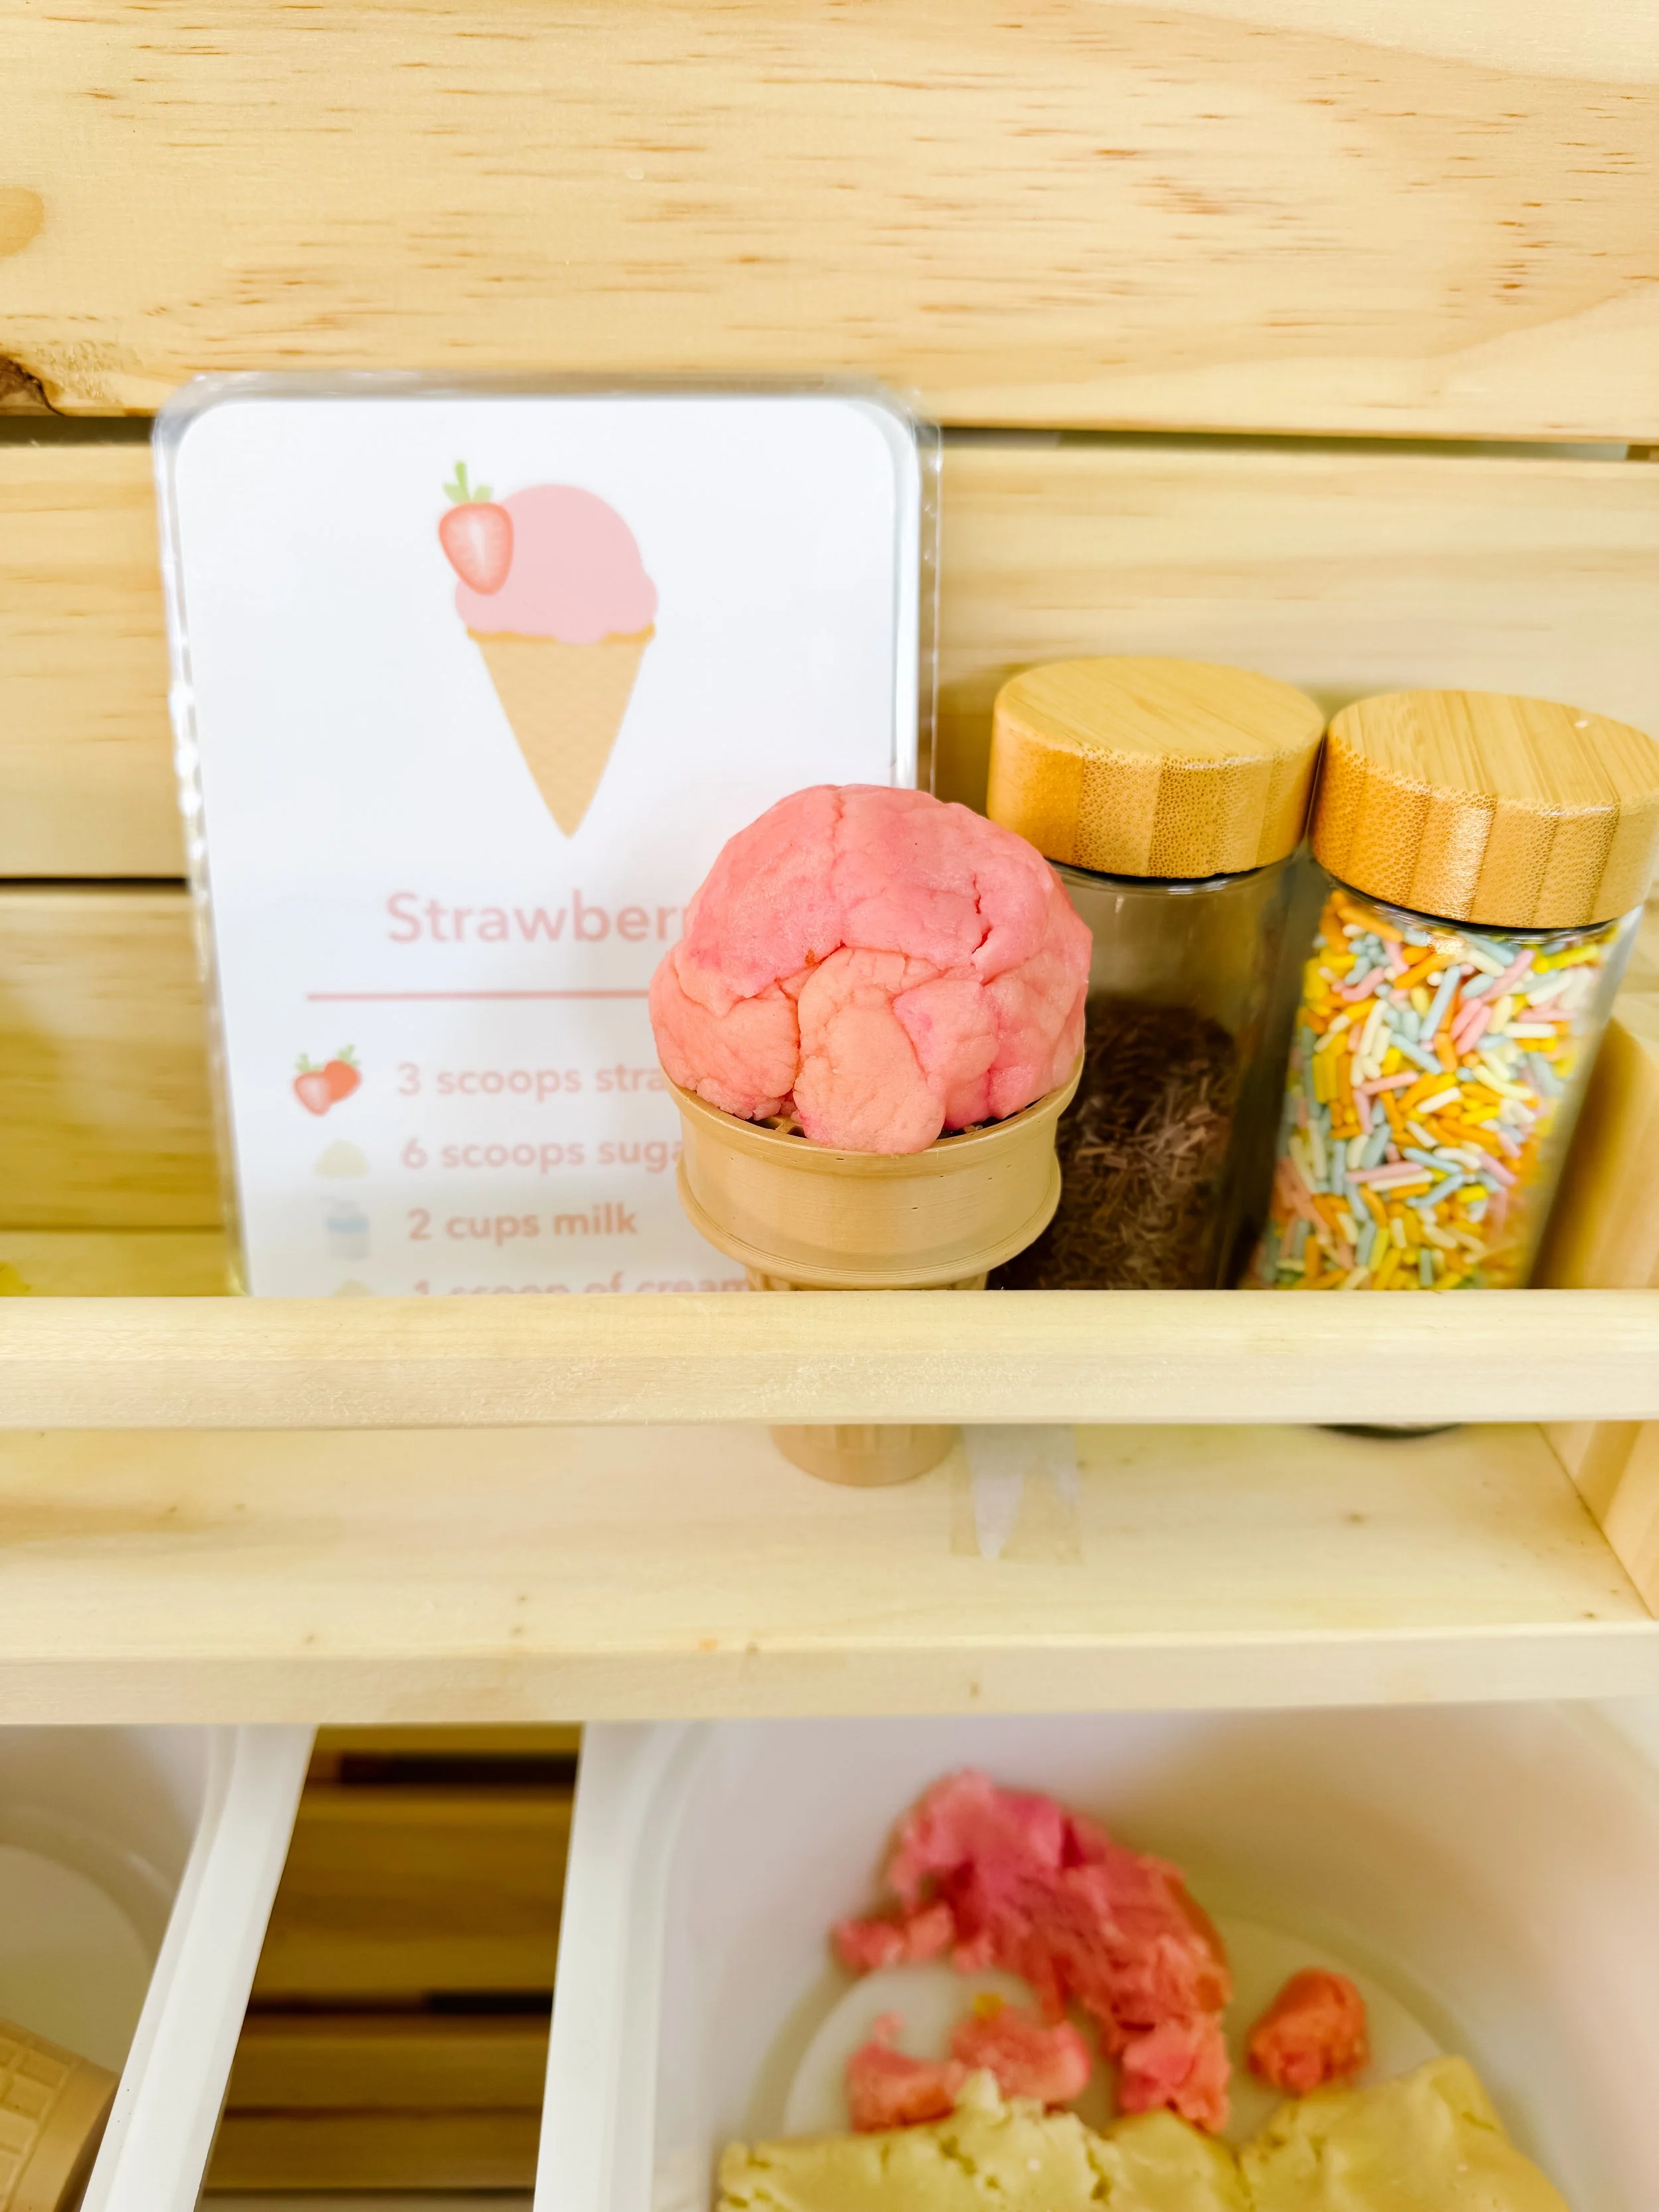
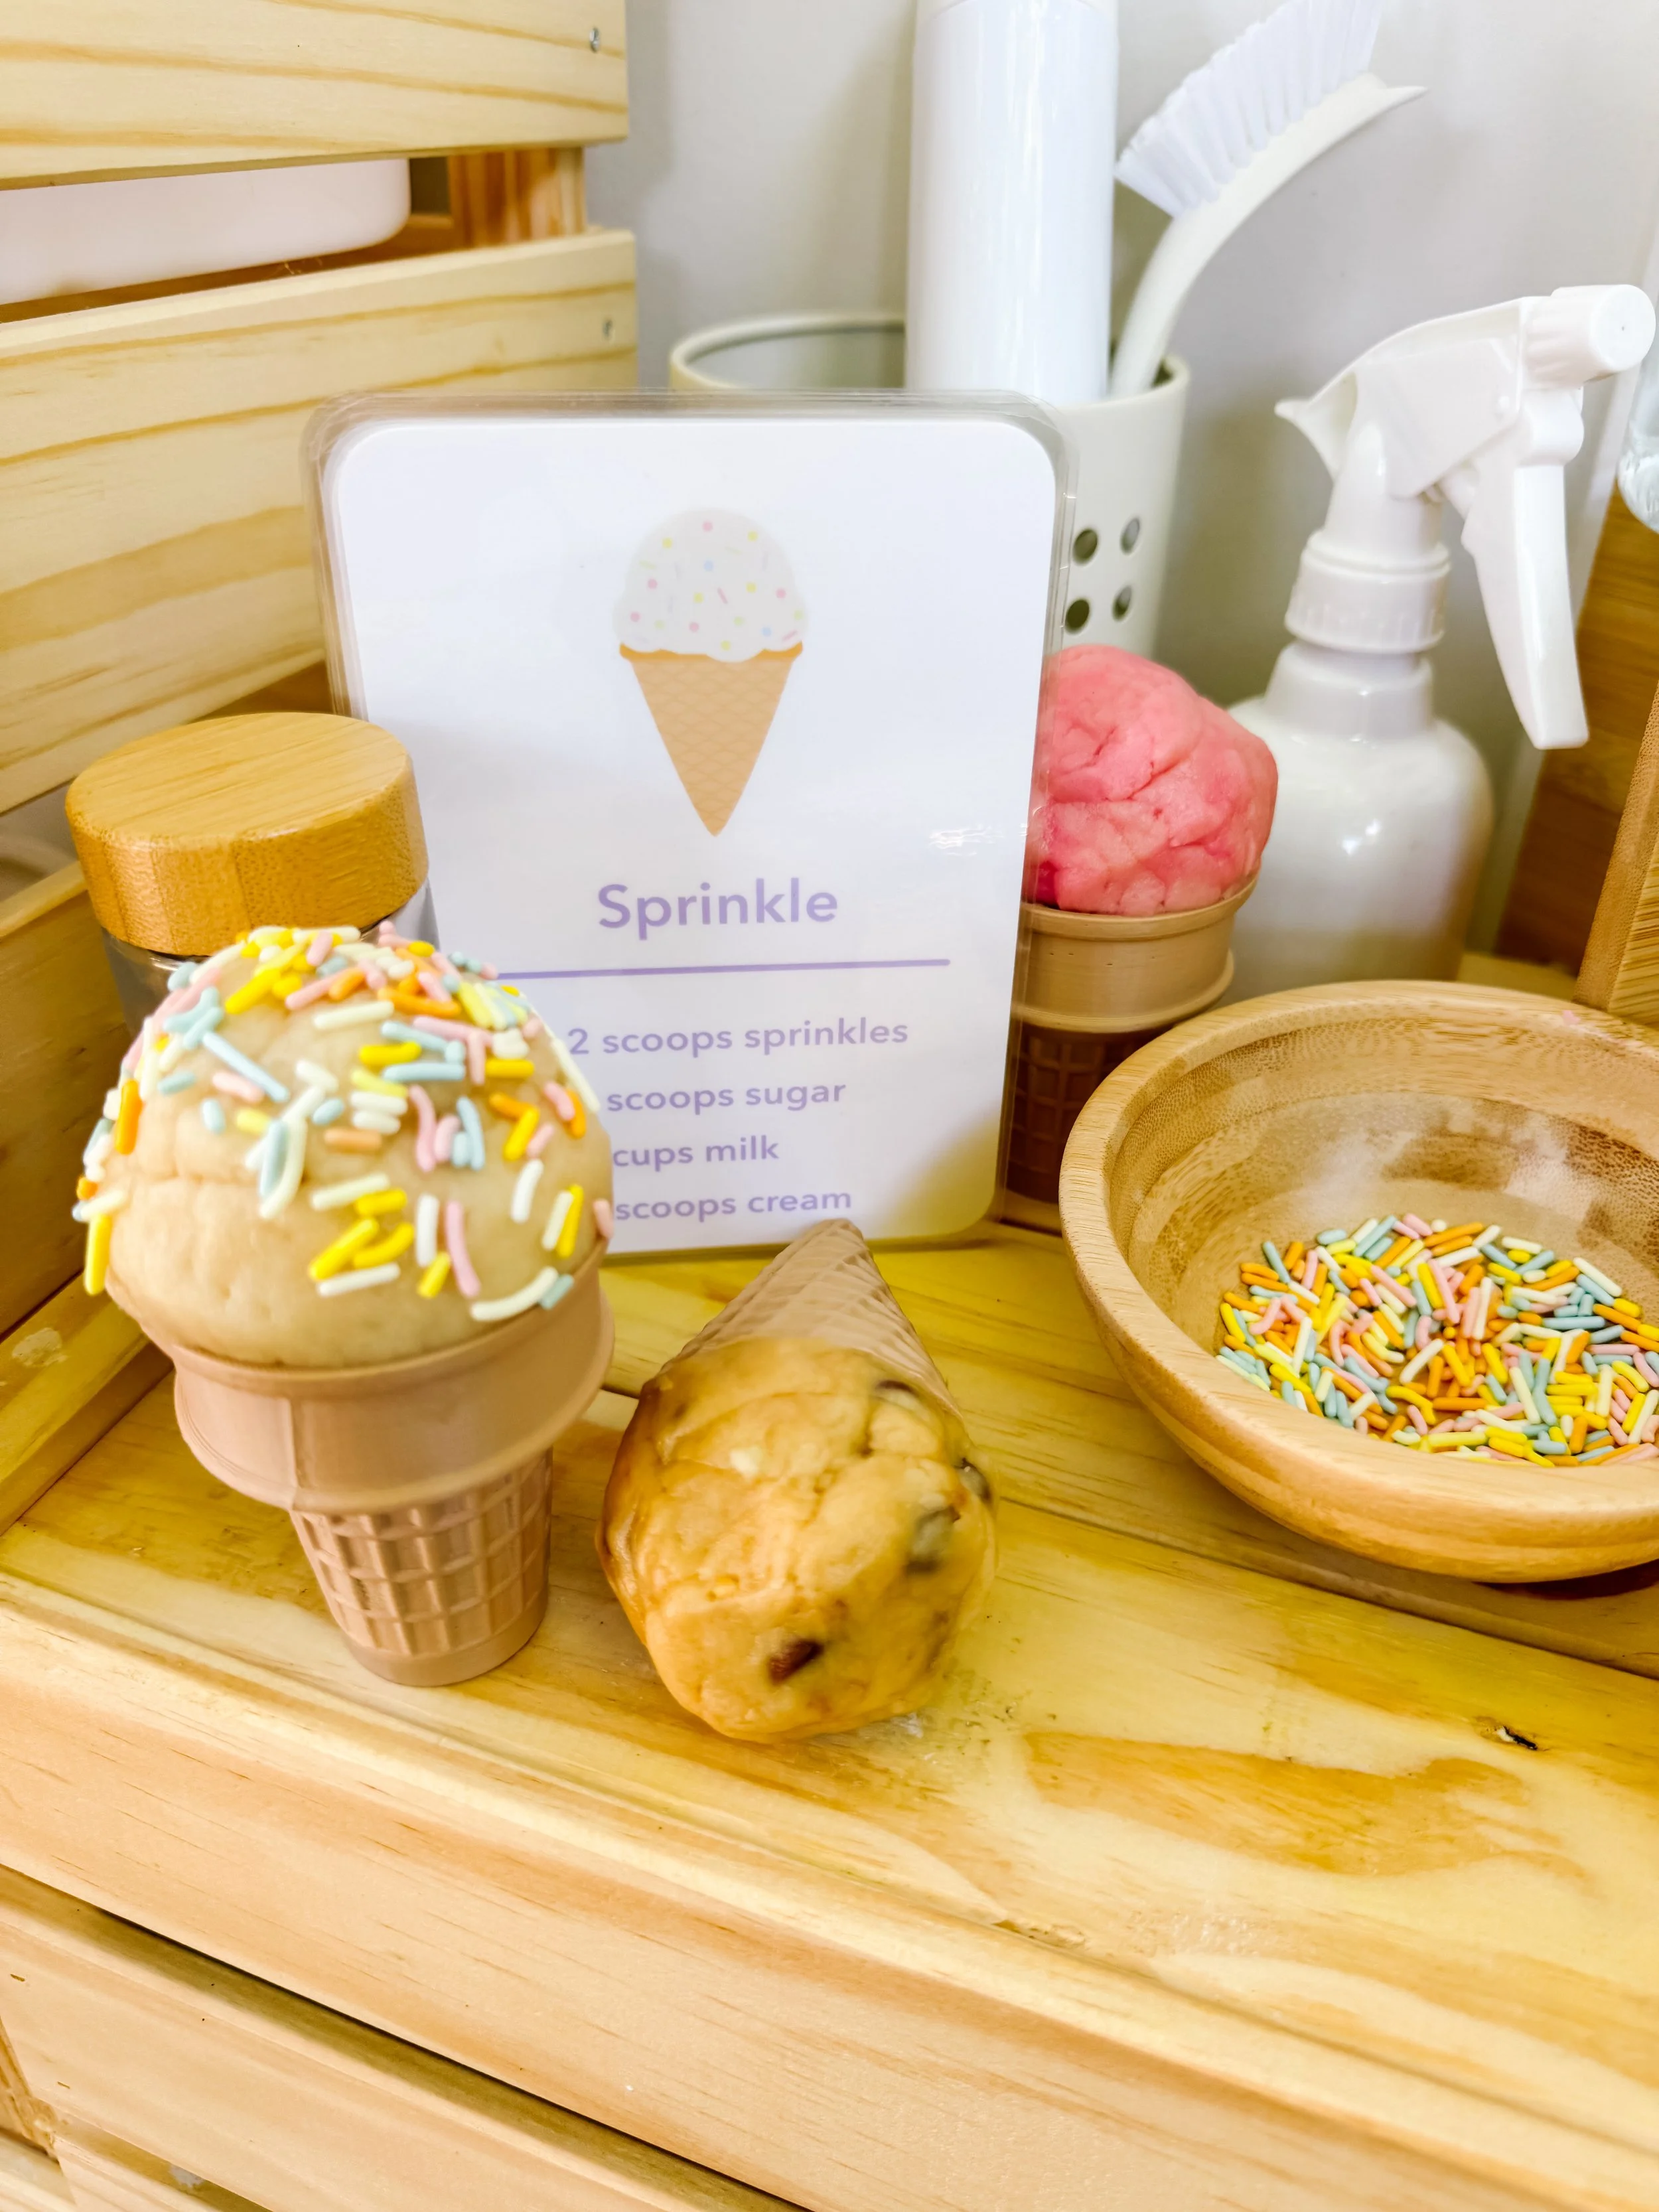
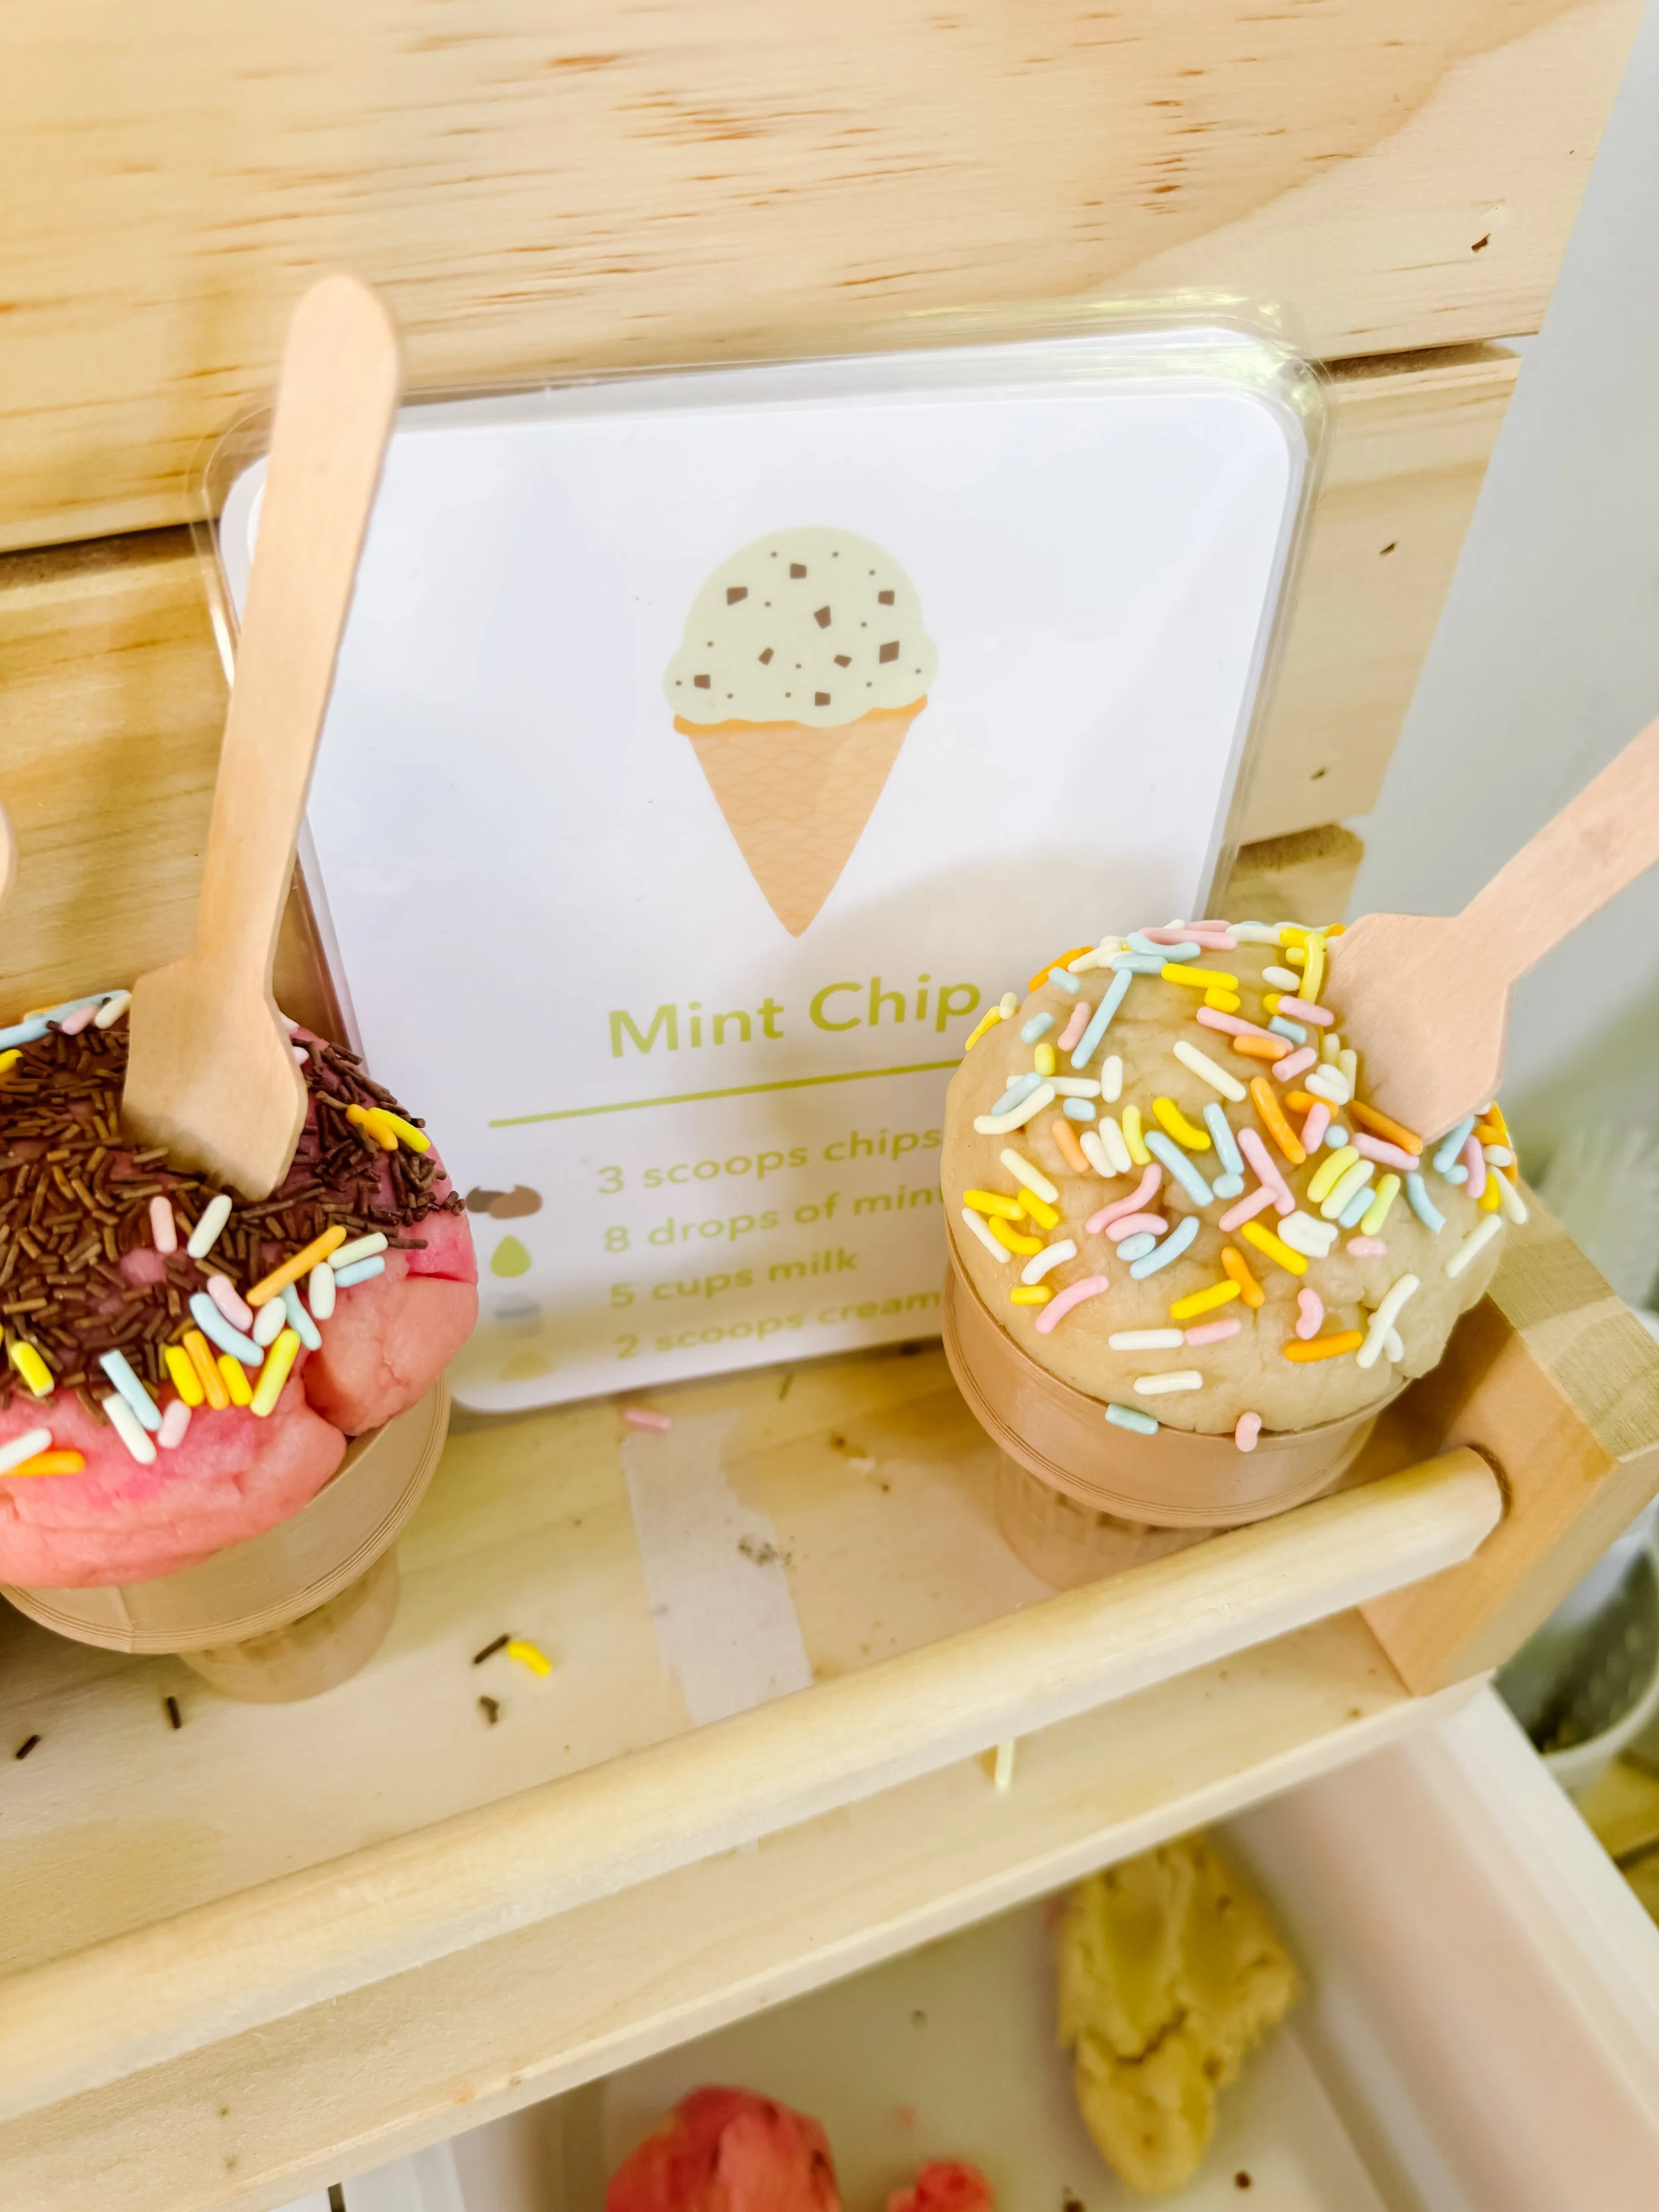
Pretend chocolate ice cream cone in a mud kitchen setup with recipe cards and play accessories.
Step 2

Add cones and scoops

Set out cones, bowls, small spoons, and scoops so kids can build their own pretend ice cream orders. This is great for fine motor practice and imaginative play.

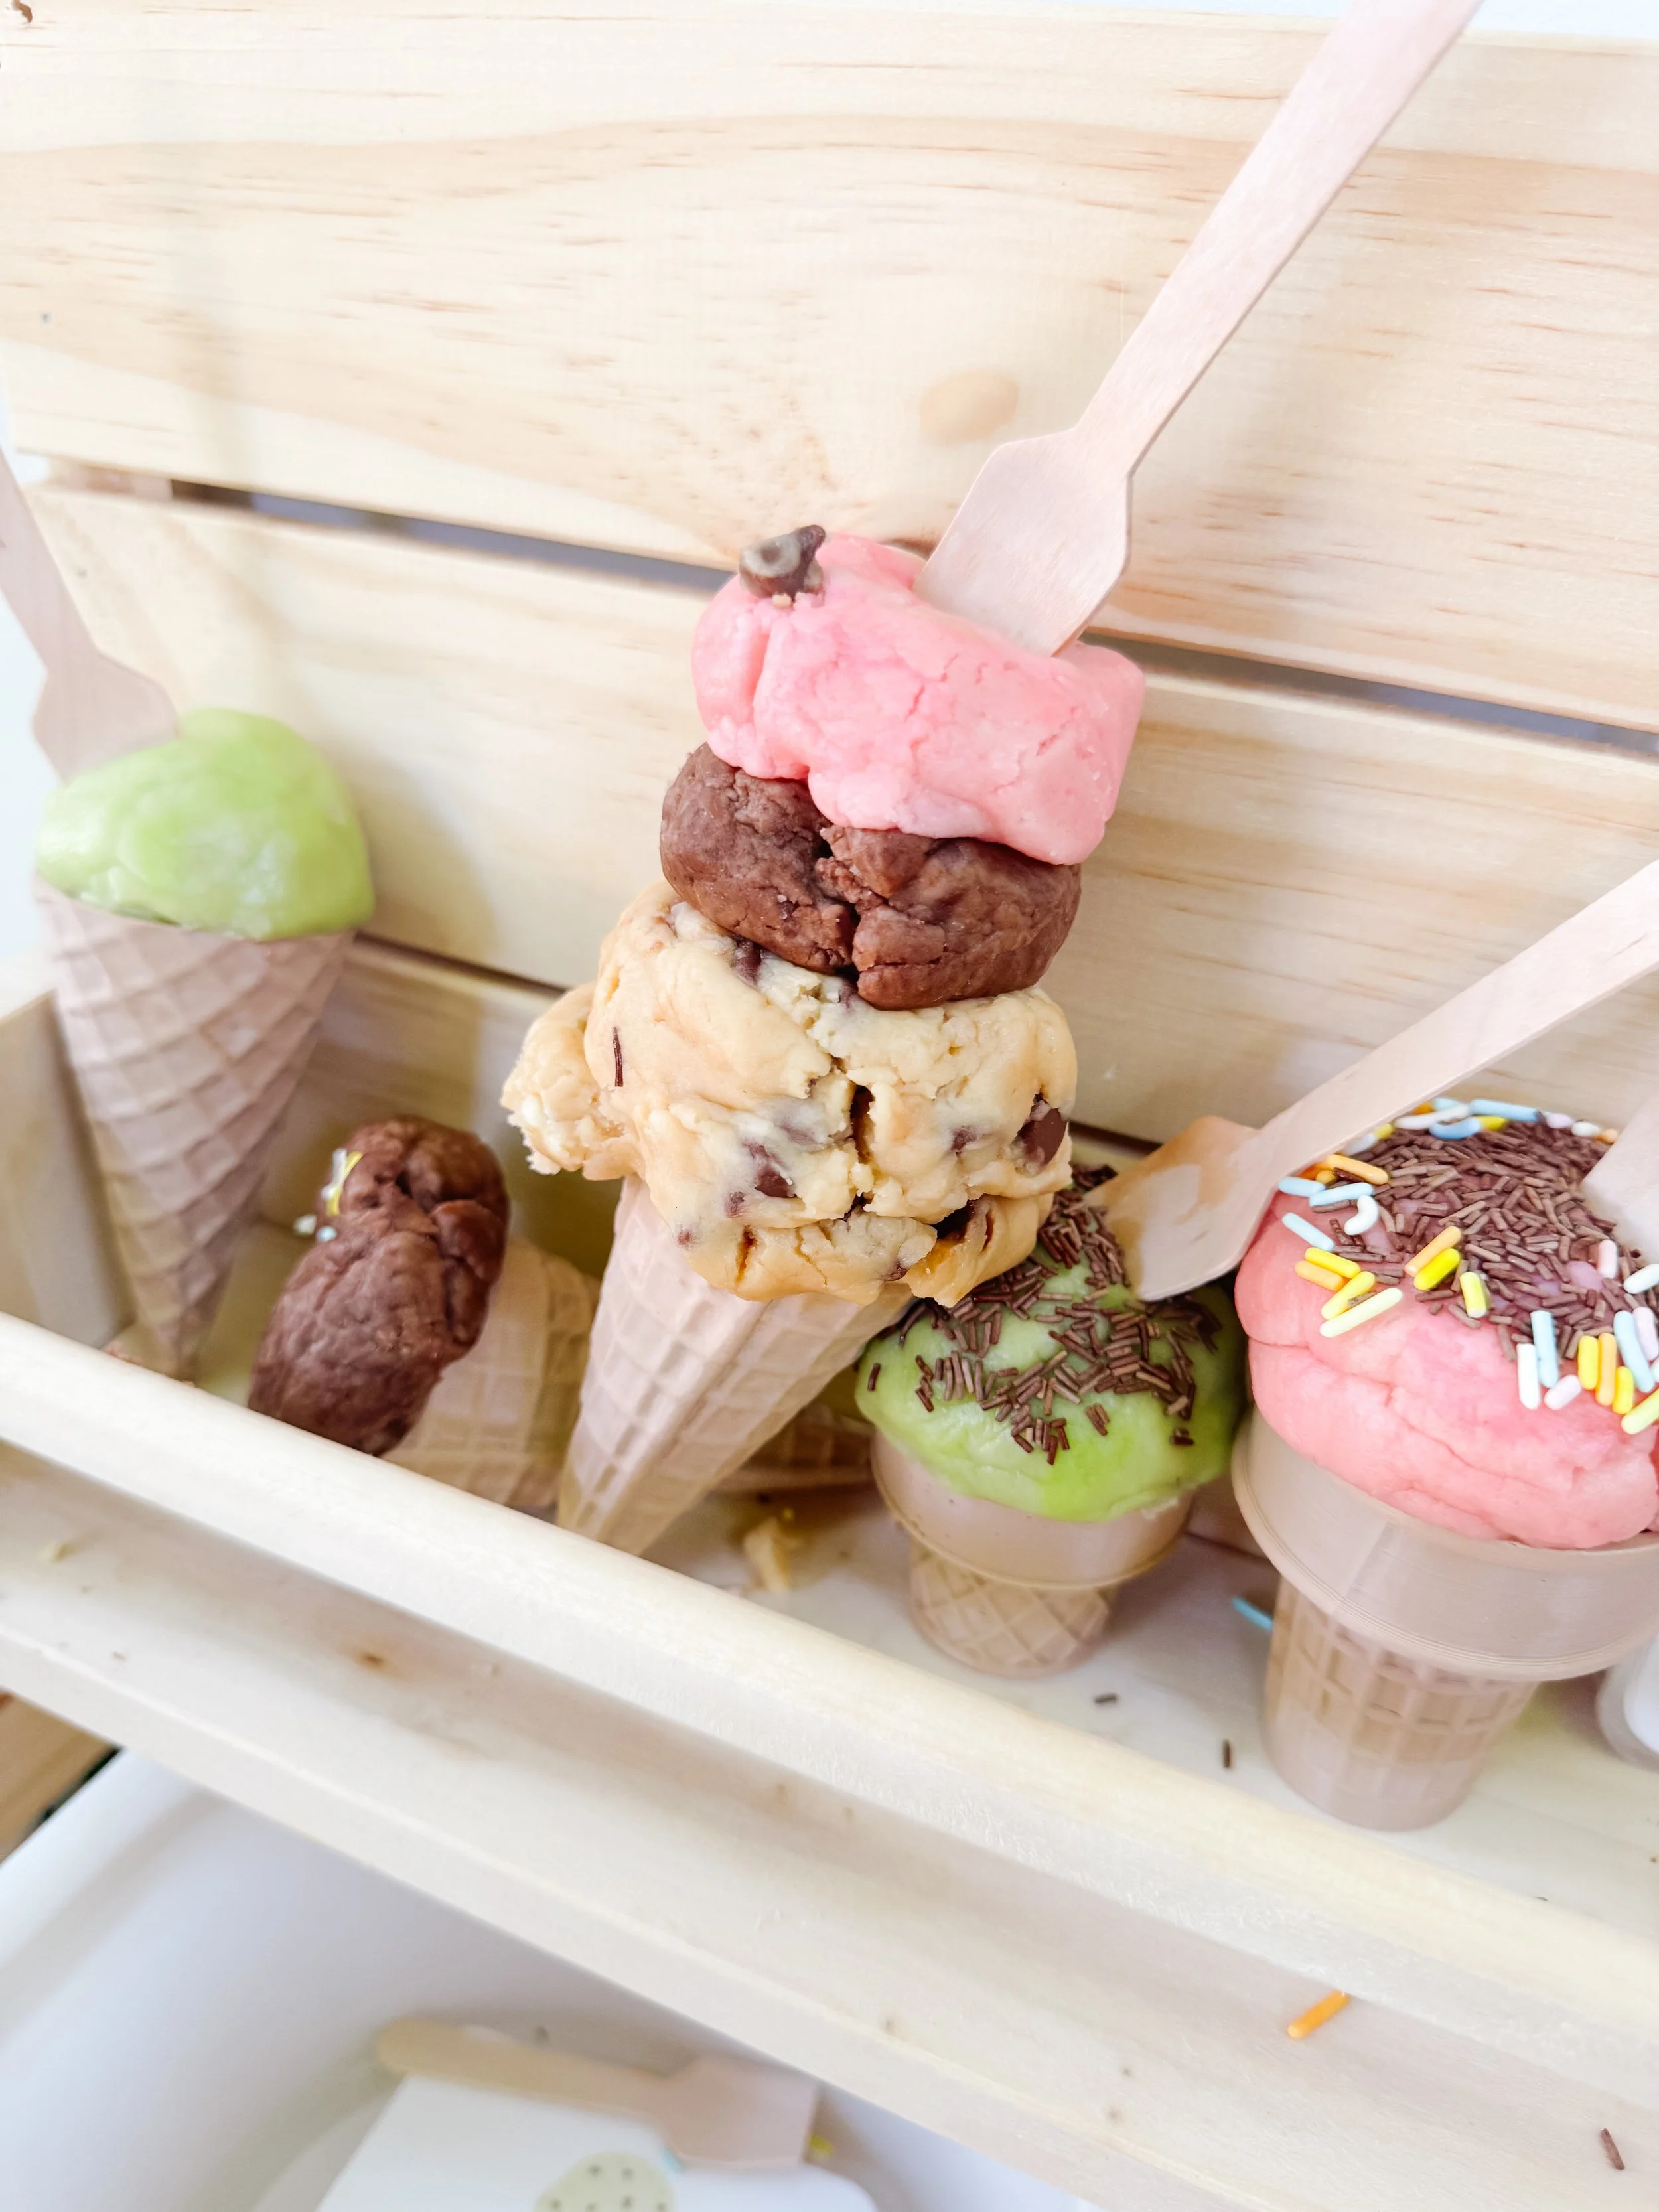
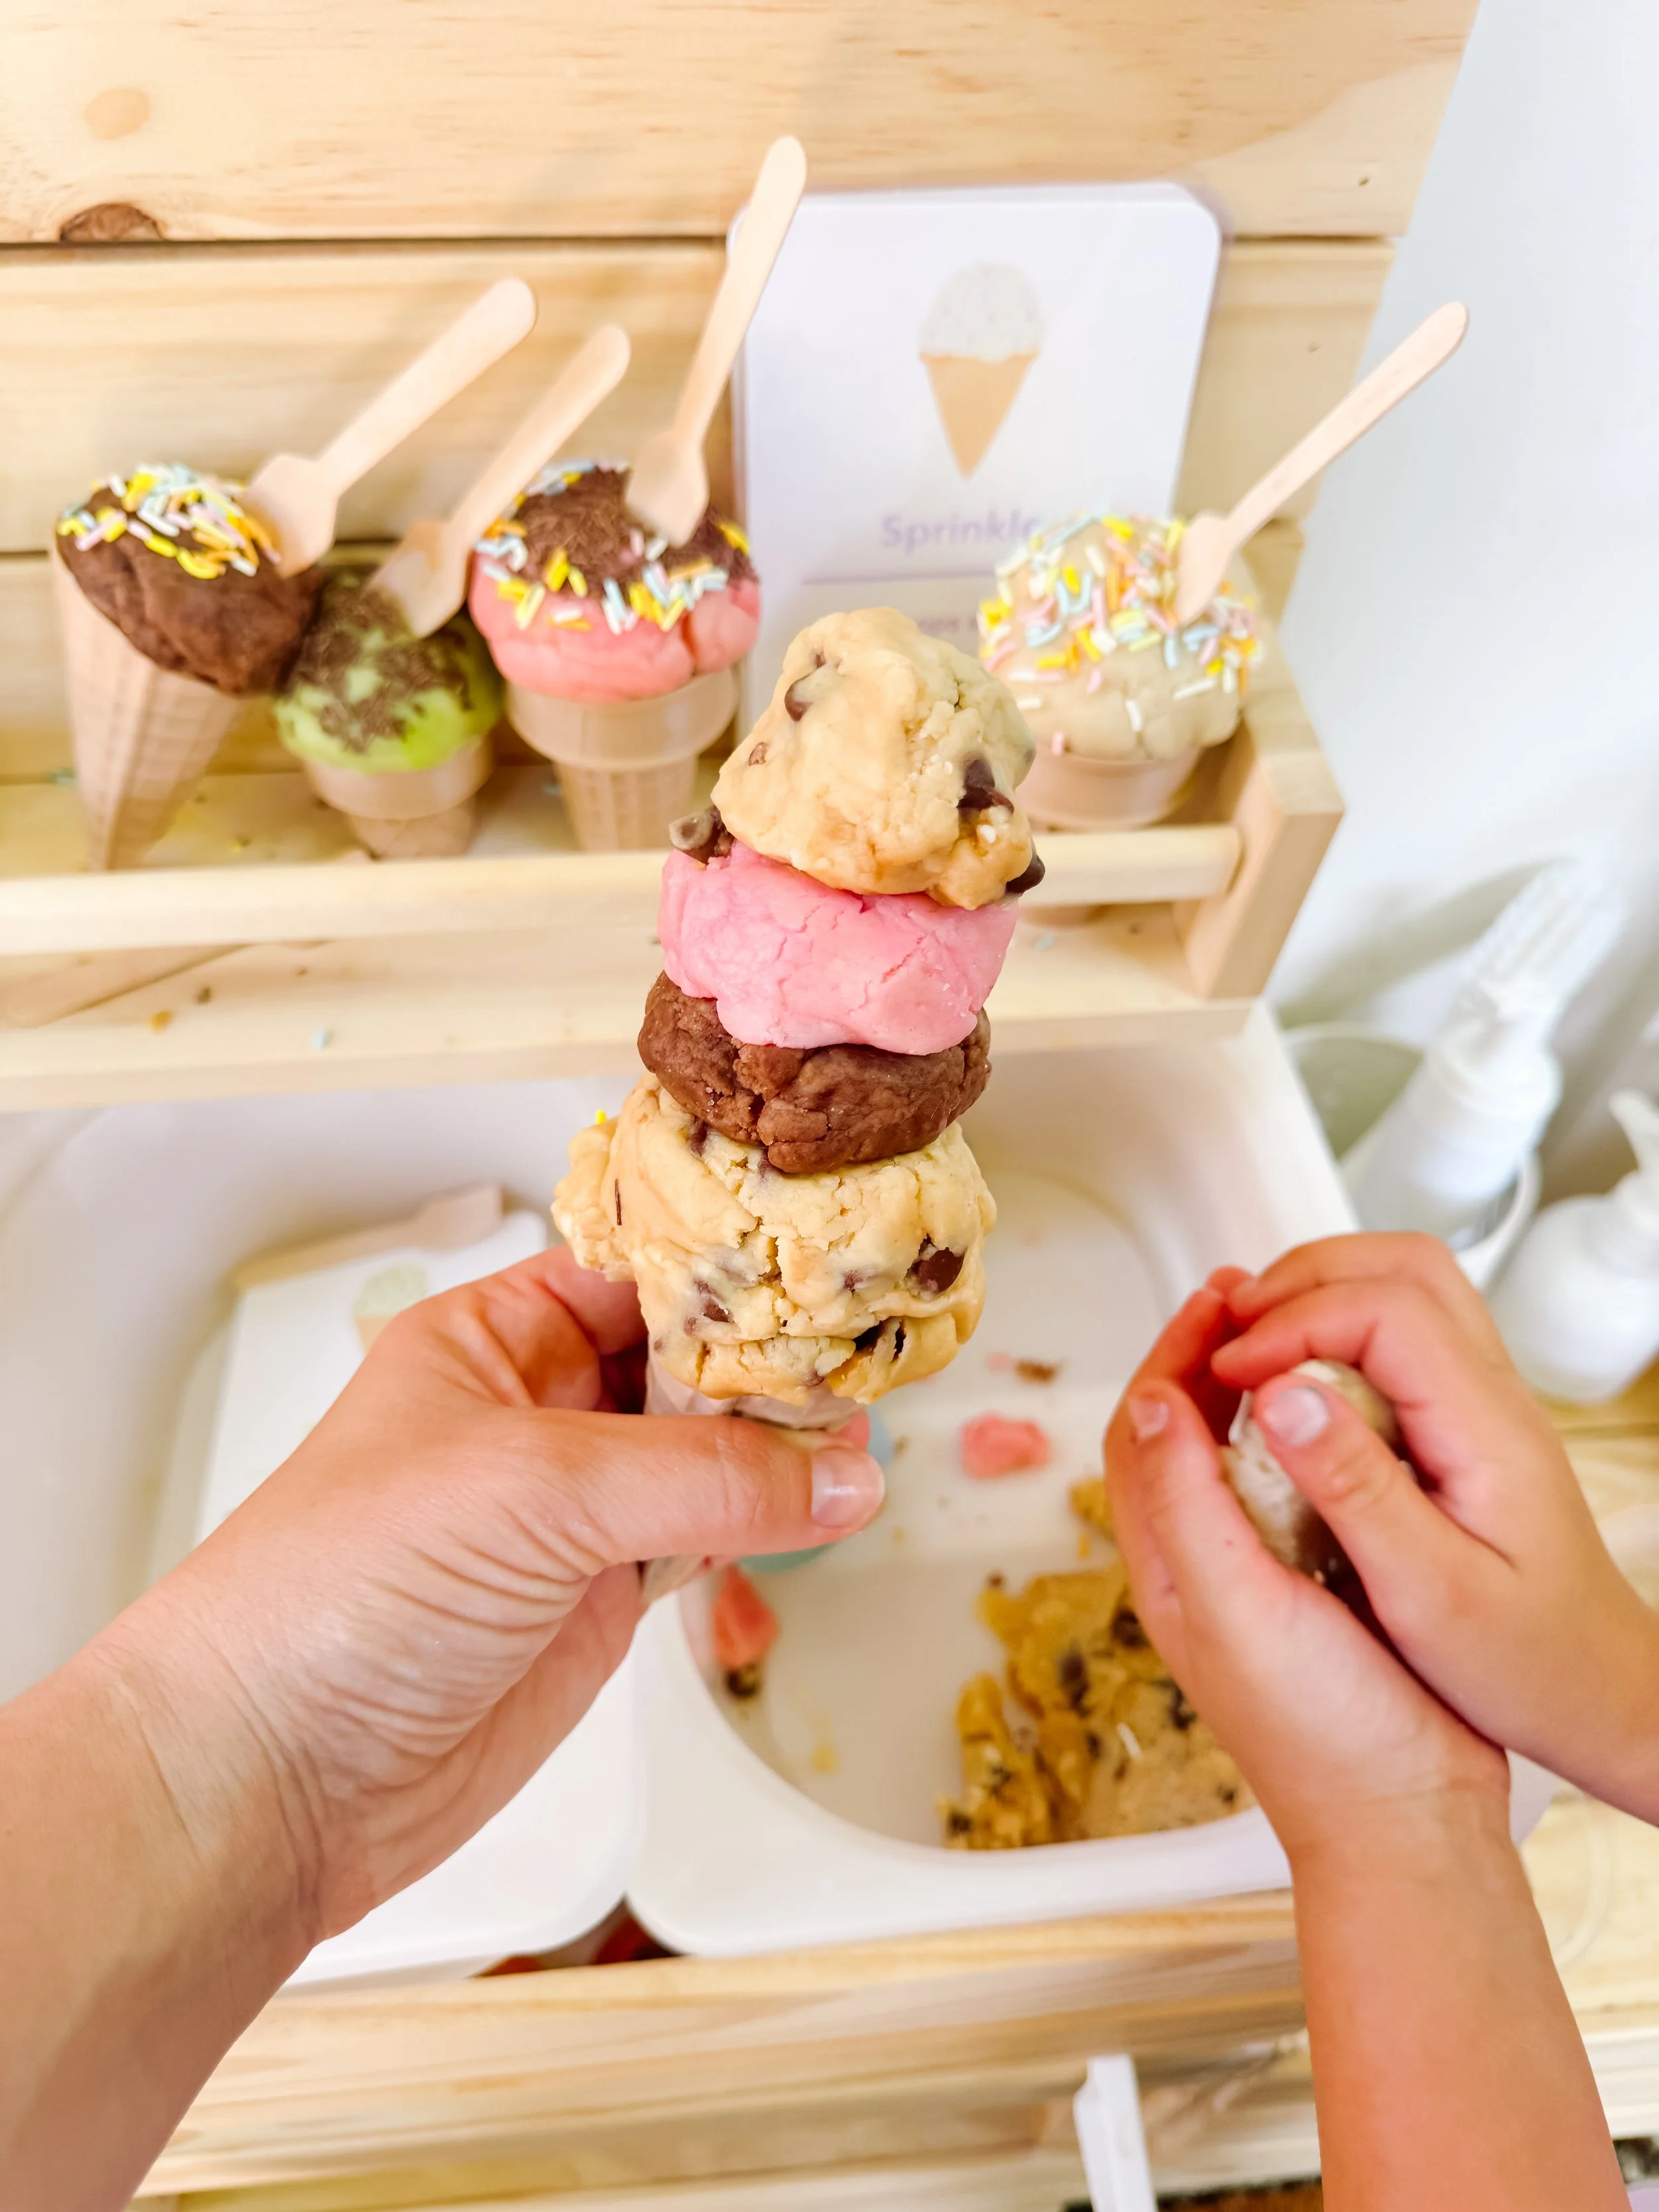
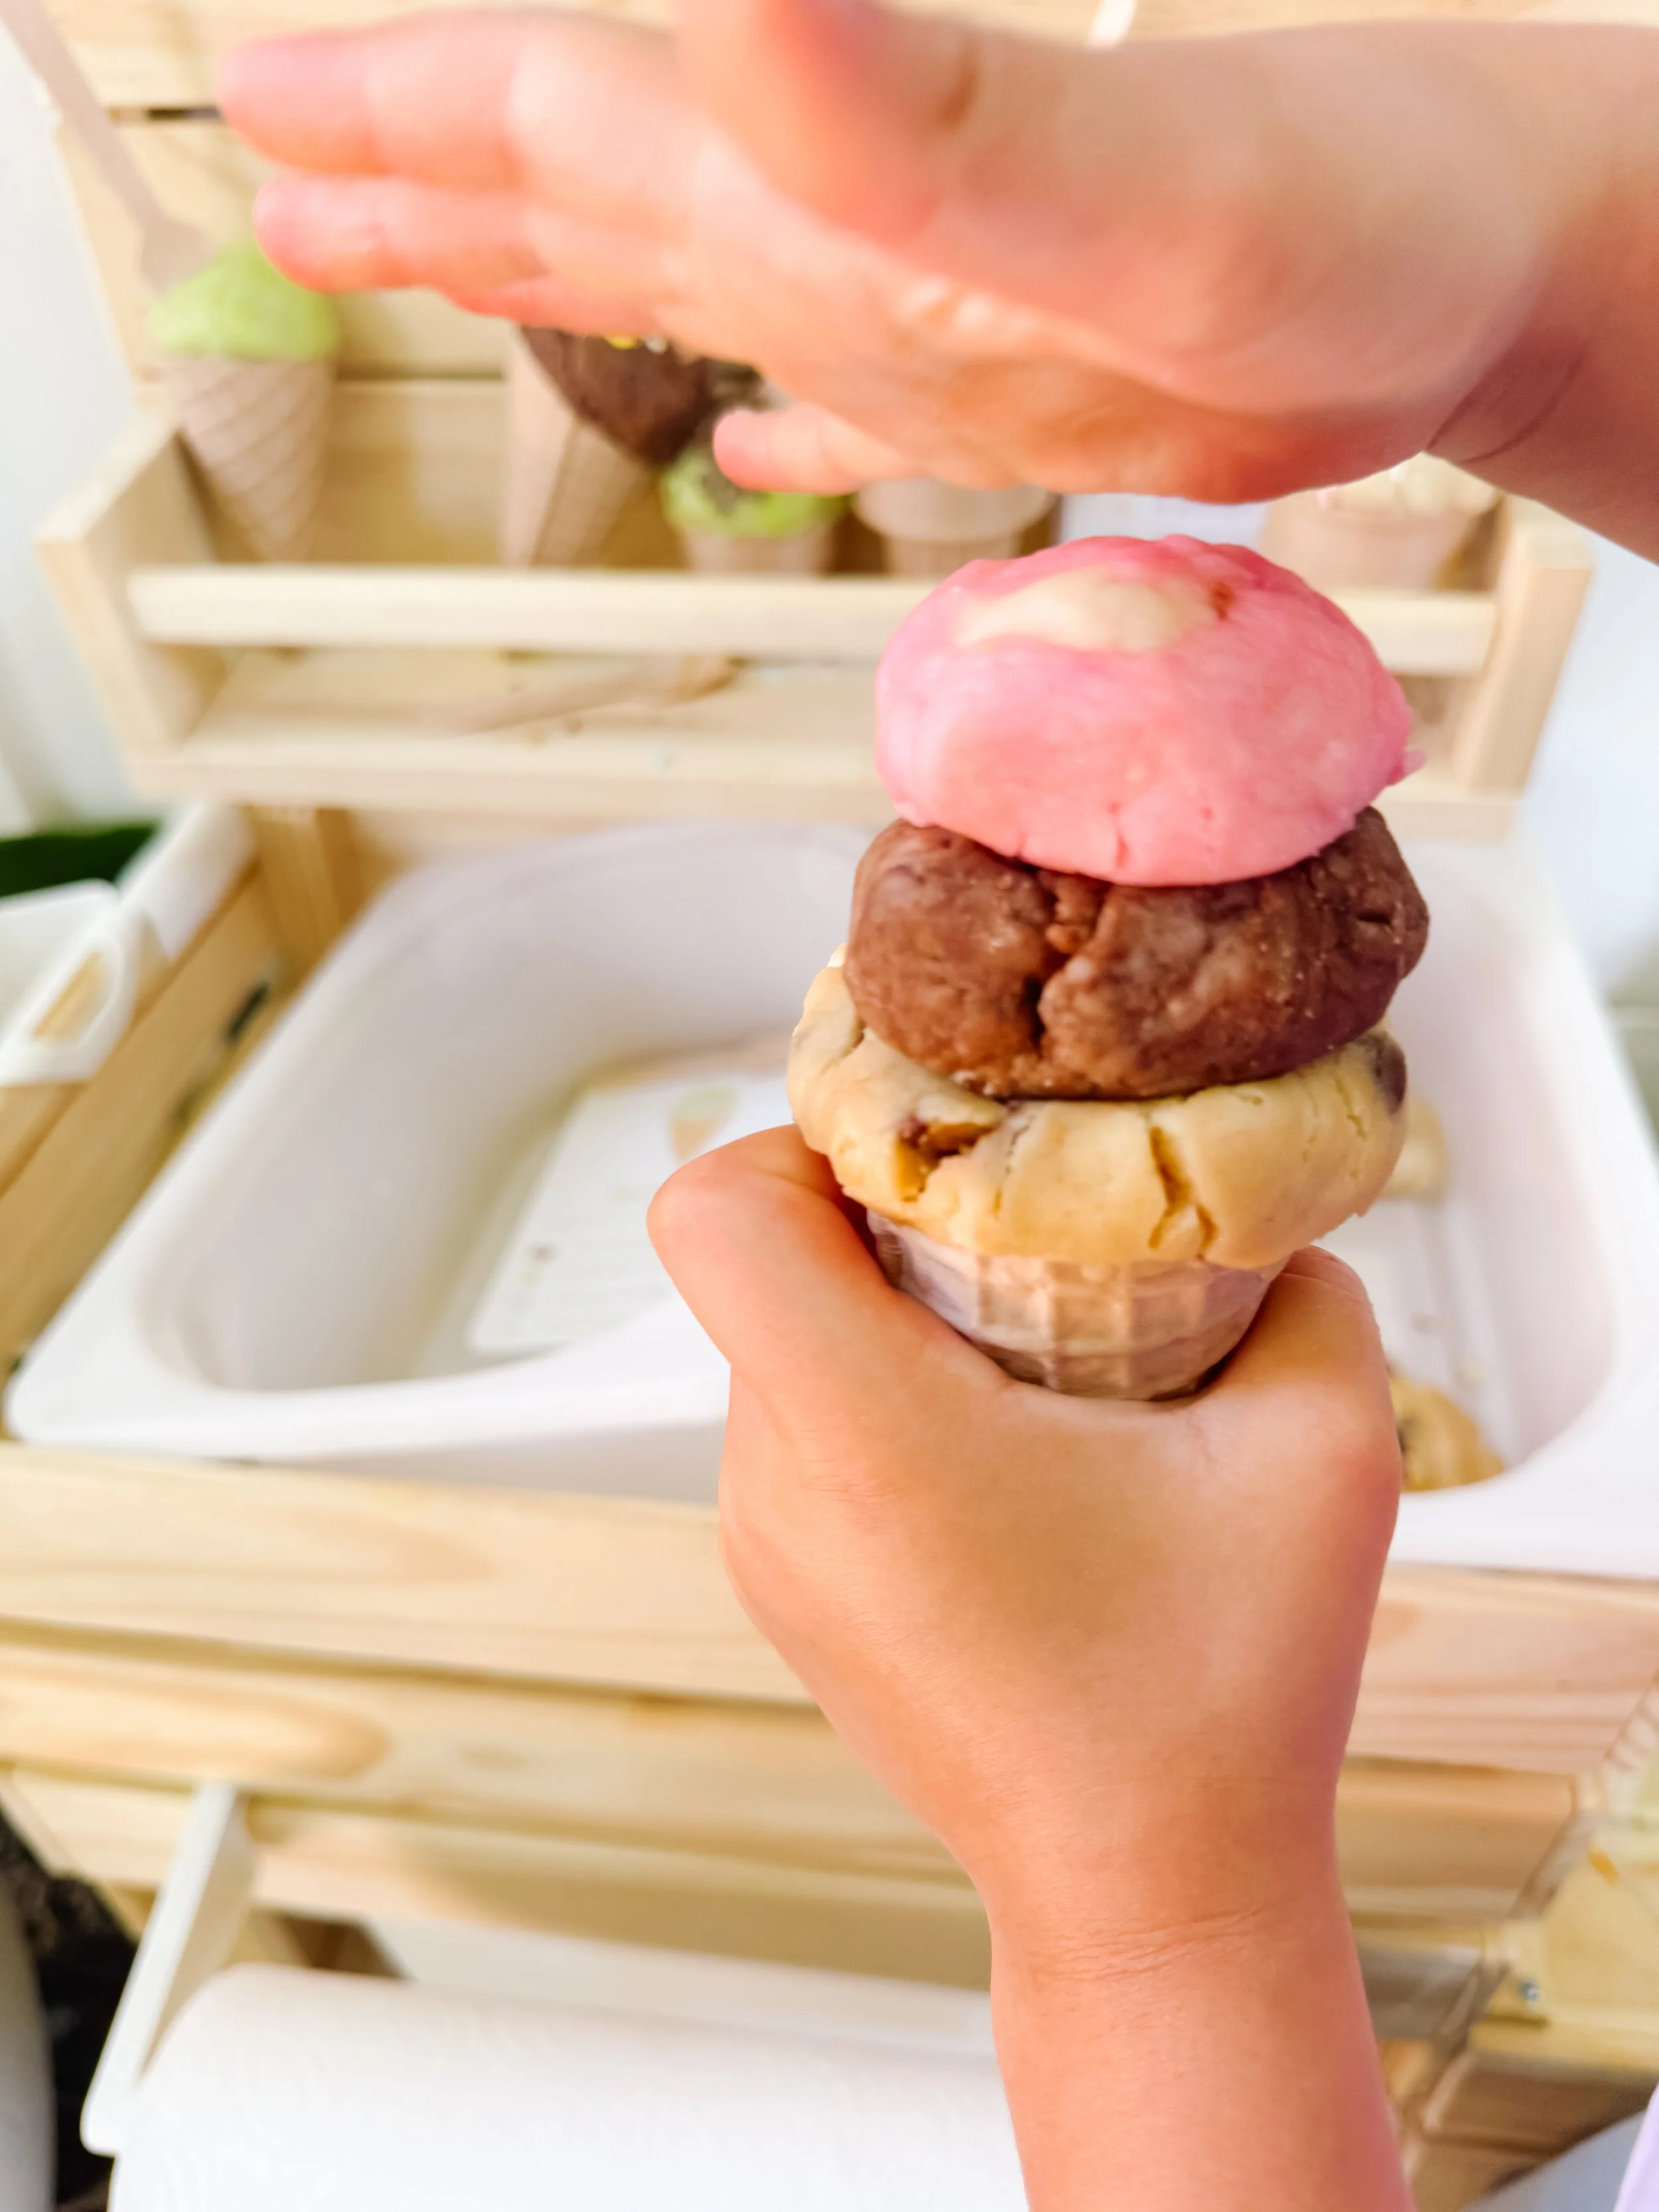
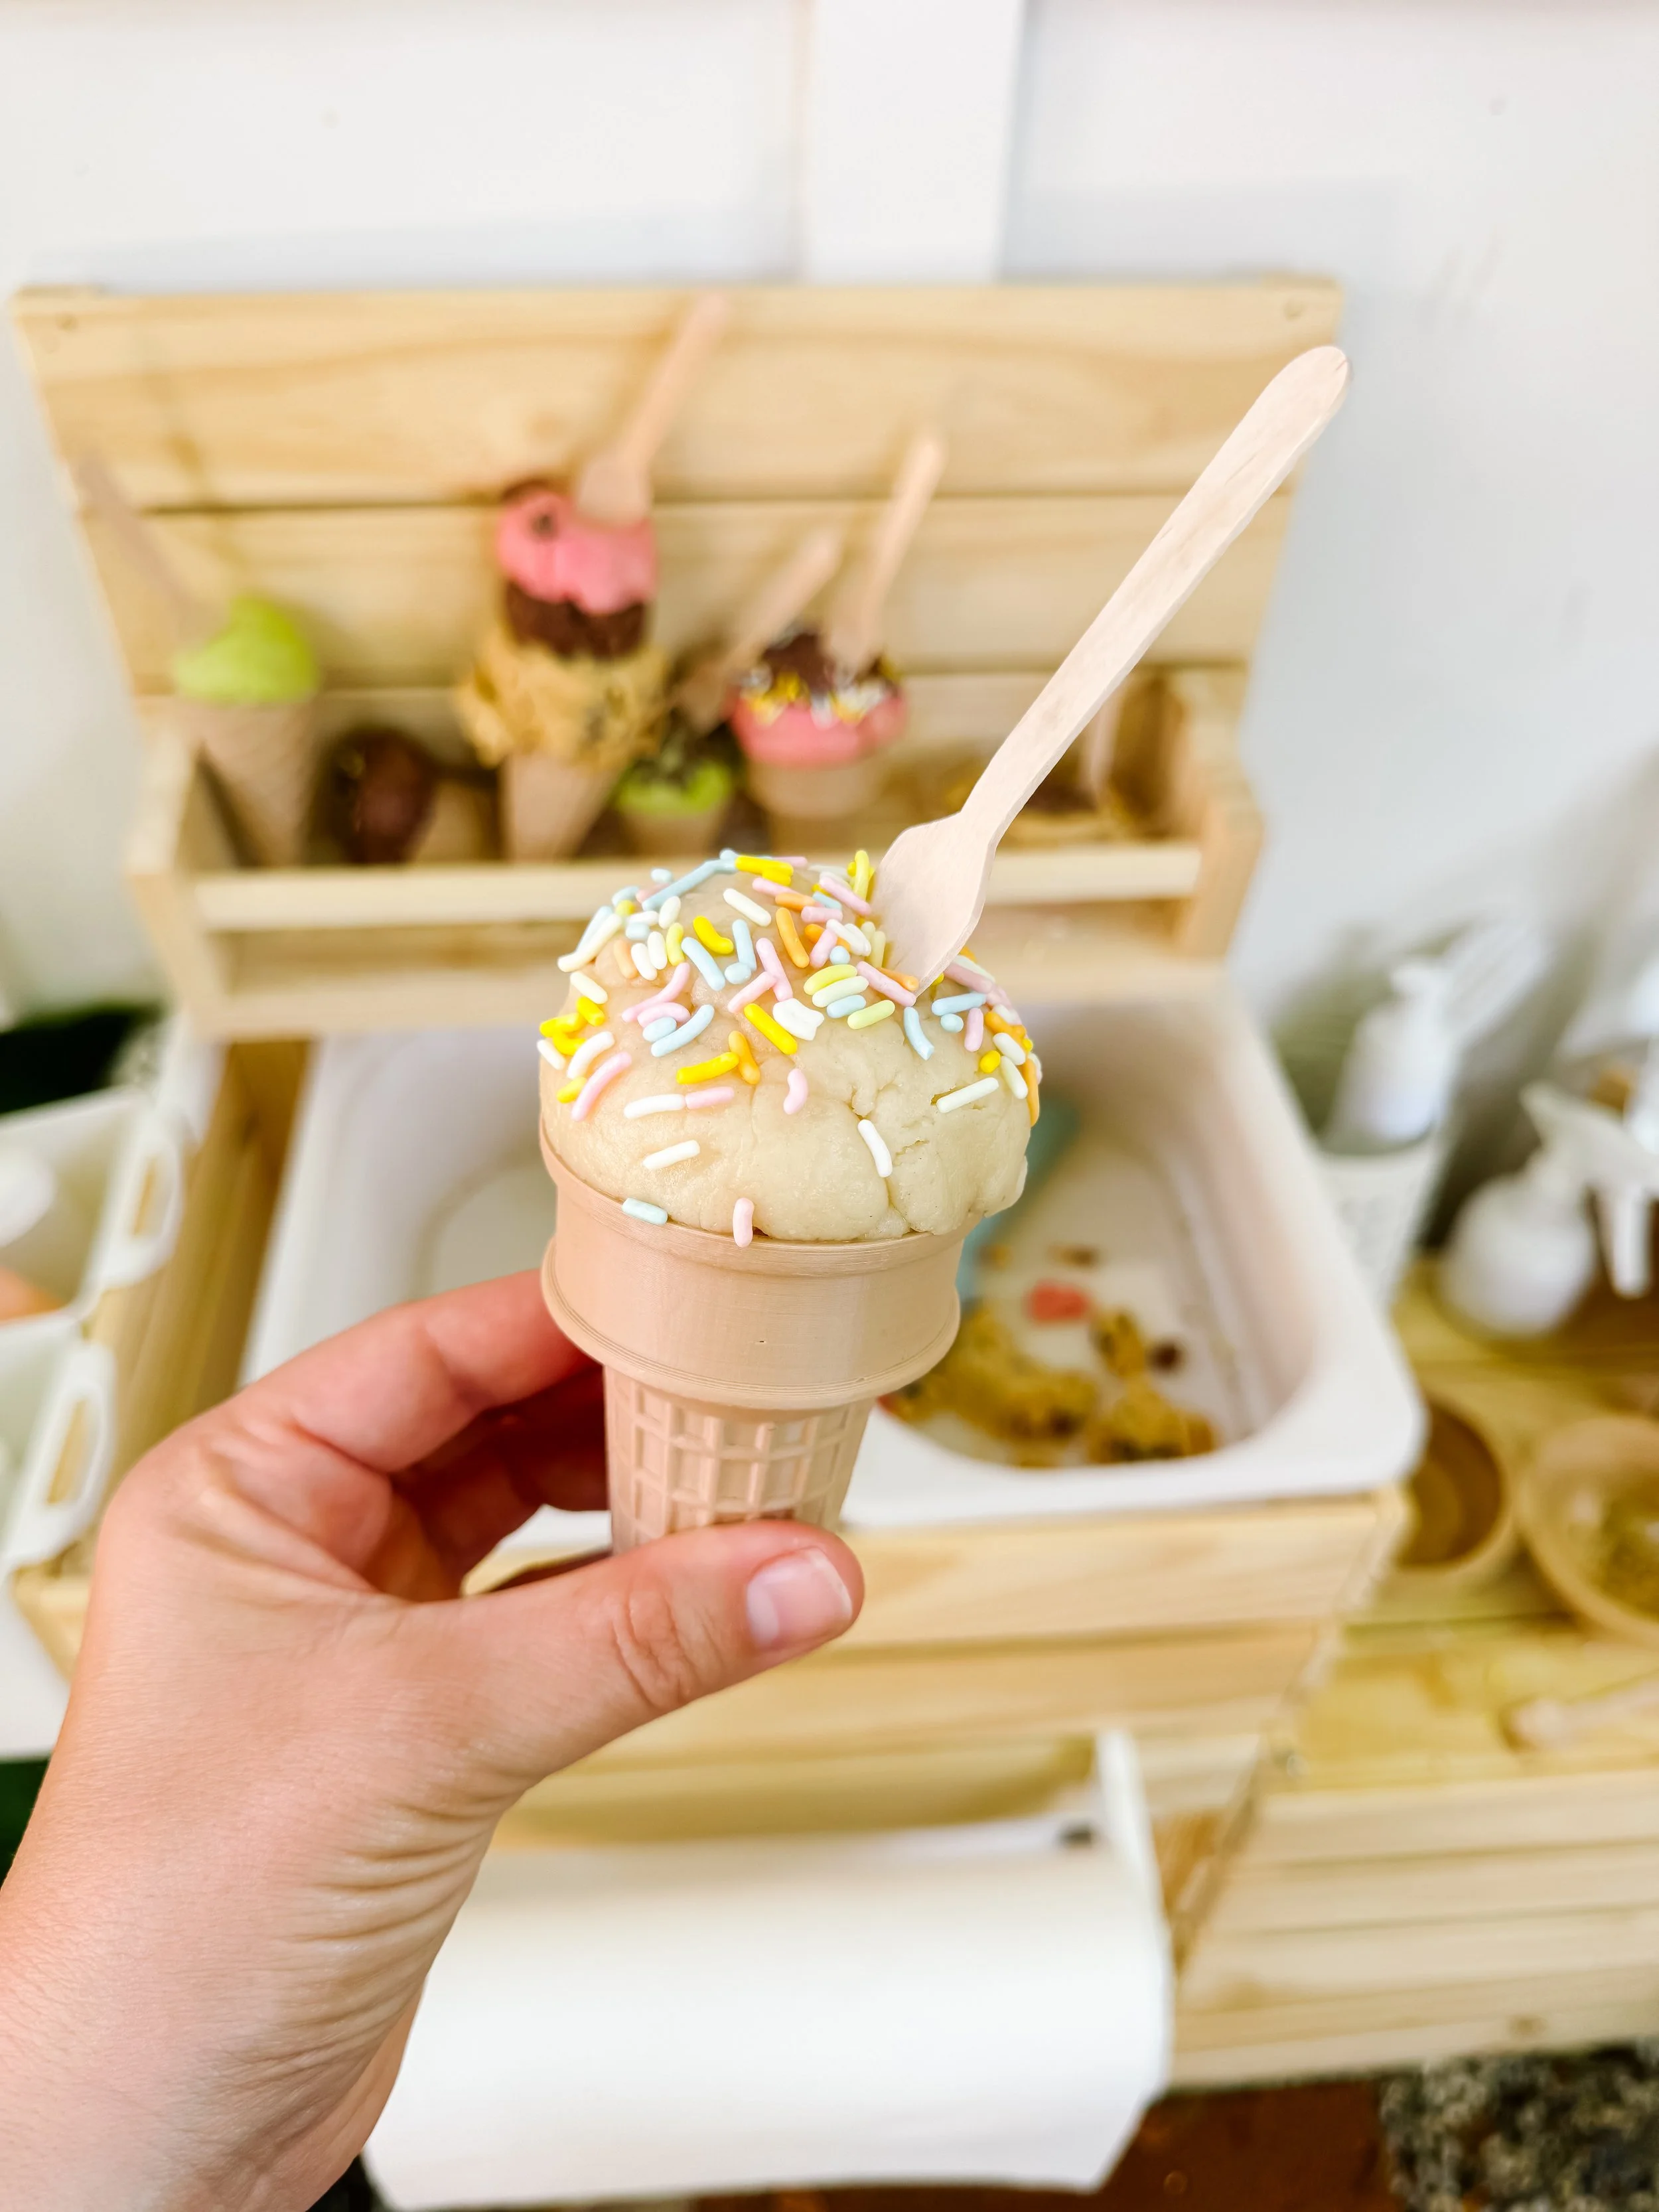
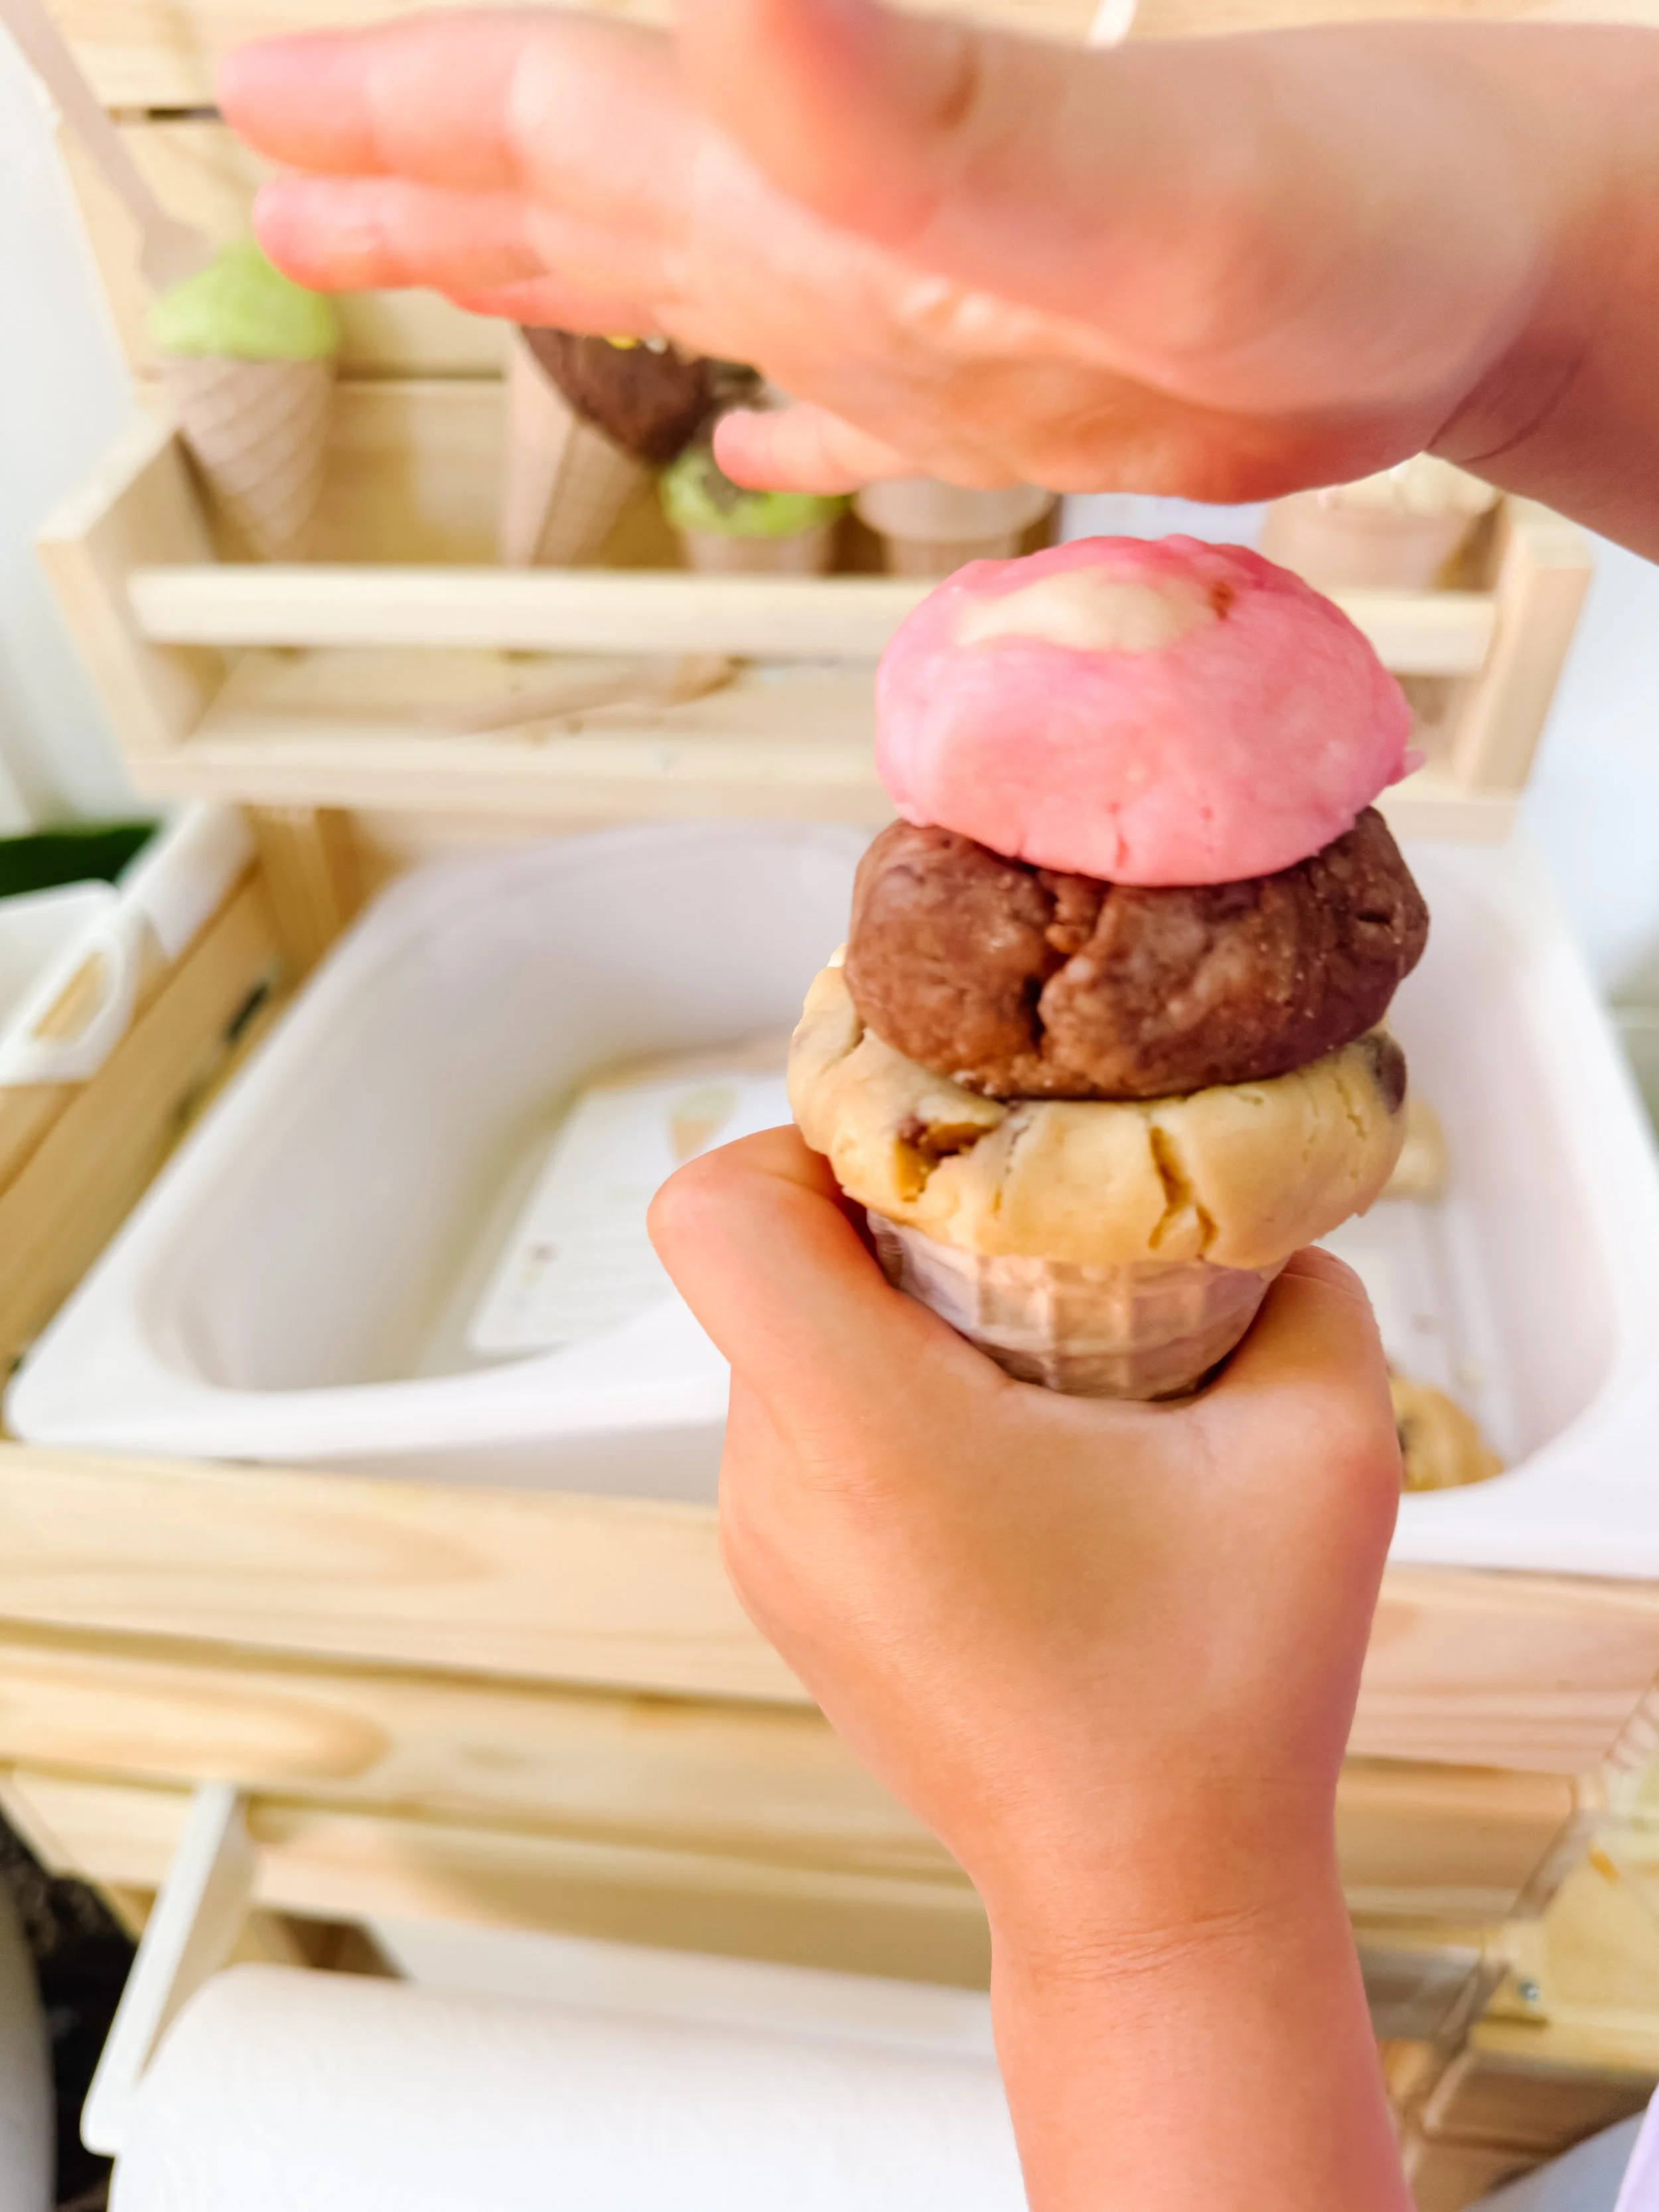
Tall pretend ice cream cone made with scoopable play dough in an ice cream mud kitchen.
Step 3

Build pretend ice cream cones

Invite kids to scoop, stack, decorate, and serve their creations. Challenge them to build the tallest cone or create a new flavor combination.

Parent tip

Set up the dough in small bins or bowls so kids can easily access each “flavor.” Add recipe cards or menus to turn simple sensory play into dramatic play.

Ice cream mud kitchen play ideas

Take orders

Have your child ask what flavor everyone wants, then build each order.

Count scoops

Practice counting one, two, three, or even four scoops on each cone.

Create a flavor of the day

Invite kids to invent a new flavor and describe what is inside.

Decorate with toppings

Use pretend sprinkles, mini chips, pom poms, beads, or small sensory fillers as toppings.

Why this activity is great for learning

Ice cream mud kitchen play looks simple, but it supports so many early learning skills.

Kids practice fine motor strength as they scoop, squeeze, roll, and stack the dough. They build language skills as they take orders and describe flavors. They practice early math as they count scoops, compare sizes, and sort toppings.

Because the activity is open-ended, children can also practice creativity, storytelling, problem solving, and cooperative play.

Learning skills

Fine motor skills Pretend play Counting Language development Sensory play Social skills Creative play Early math

Questions to ask kids

  • What flavor should we make today?
  • How many scoops are on this cone?
  • Which cone is tallest?
  • Can you take my order?
  • What toppings should we add?
  • How much does my ice cream cost?

More ice cream play ideas

Ice cream play dough recipe

Make the soft, fluffy, scoopable dough used in this setup.

Ice cream dough recipe

Ice cream sensory play

Create a sensory bin with scoops, cones, bowls, and pretend toppings.

Coming soon

Ice cream shop printable

Add signs, menus, and order forms to turn the setup into a full pretend play shop.

Get the printable

Ice cream mud kitchen FAQ

What do you put in an ice cream mud kitchen?

Use scoopable play dough, cones, bowls, spoons, pretend sprinkles, recipe cards, menus, and a simple play kitchen or mud kitchen setup.

How do you make pretend ice cream for a mud kitchen?

Use soft sensory dough that can be scooped and shaped like ice cream. Our favorite version uses cookie mix, cornstarch, coconut oil, and water.

What age is ice cream mud kitchen play best for?

This activity is best for ages three and up with adult supervision, especially if you are using small toppings or sensory fillers.

Is this activity taste-safe?

The dough can be made with food-based ingredients, but it is intended for play, not eating. Always supervise young children.

What can kids learn from pretend ice cream shop play?

Children can practice counting, fine motor skills, language, social skills, ordering, comparing sizes, sorting toppings, and creative storytelling.

Sunset Magic Milk

Sunset Milk Experiment

A warm-color magic milk science activity that blends art and STEM while teaching kids about surface tension, color mixing, and warm vs. cool colors.

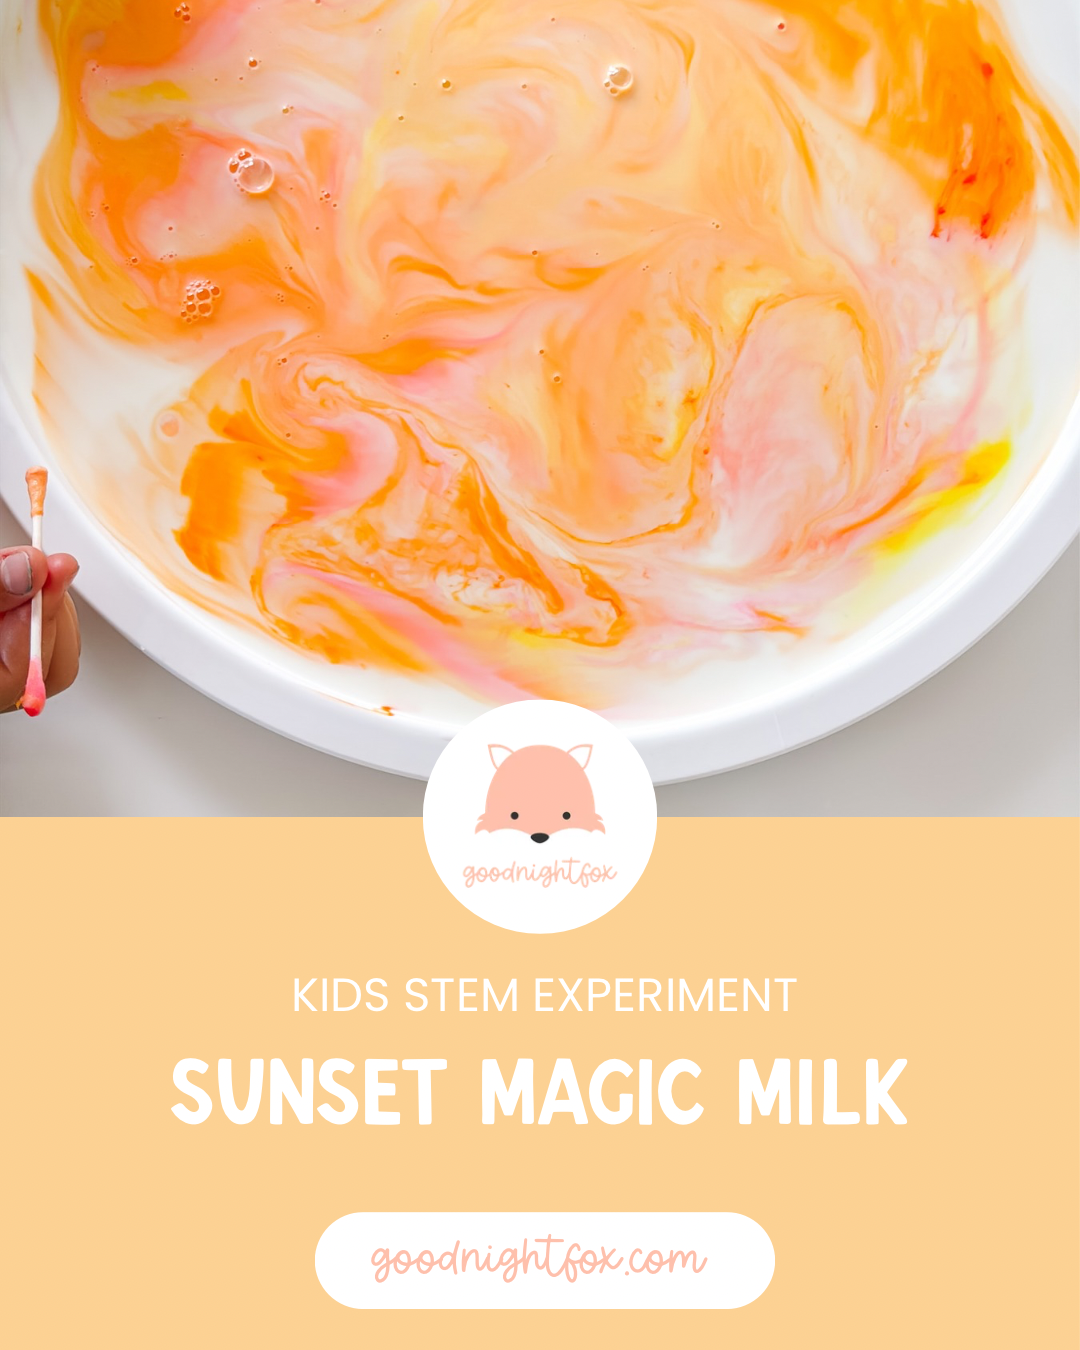
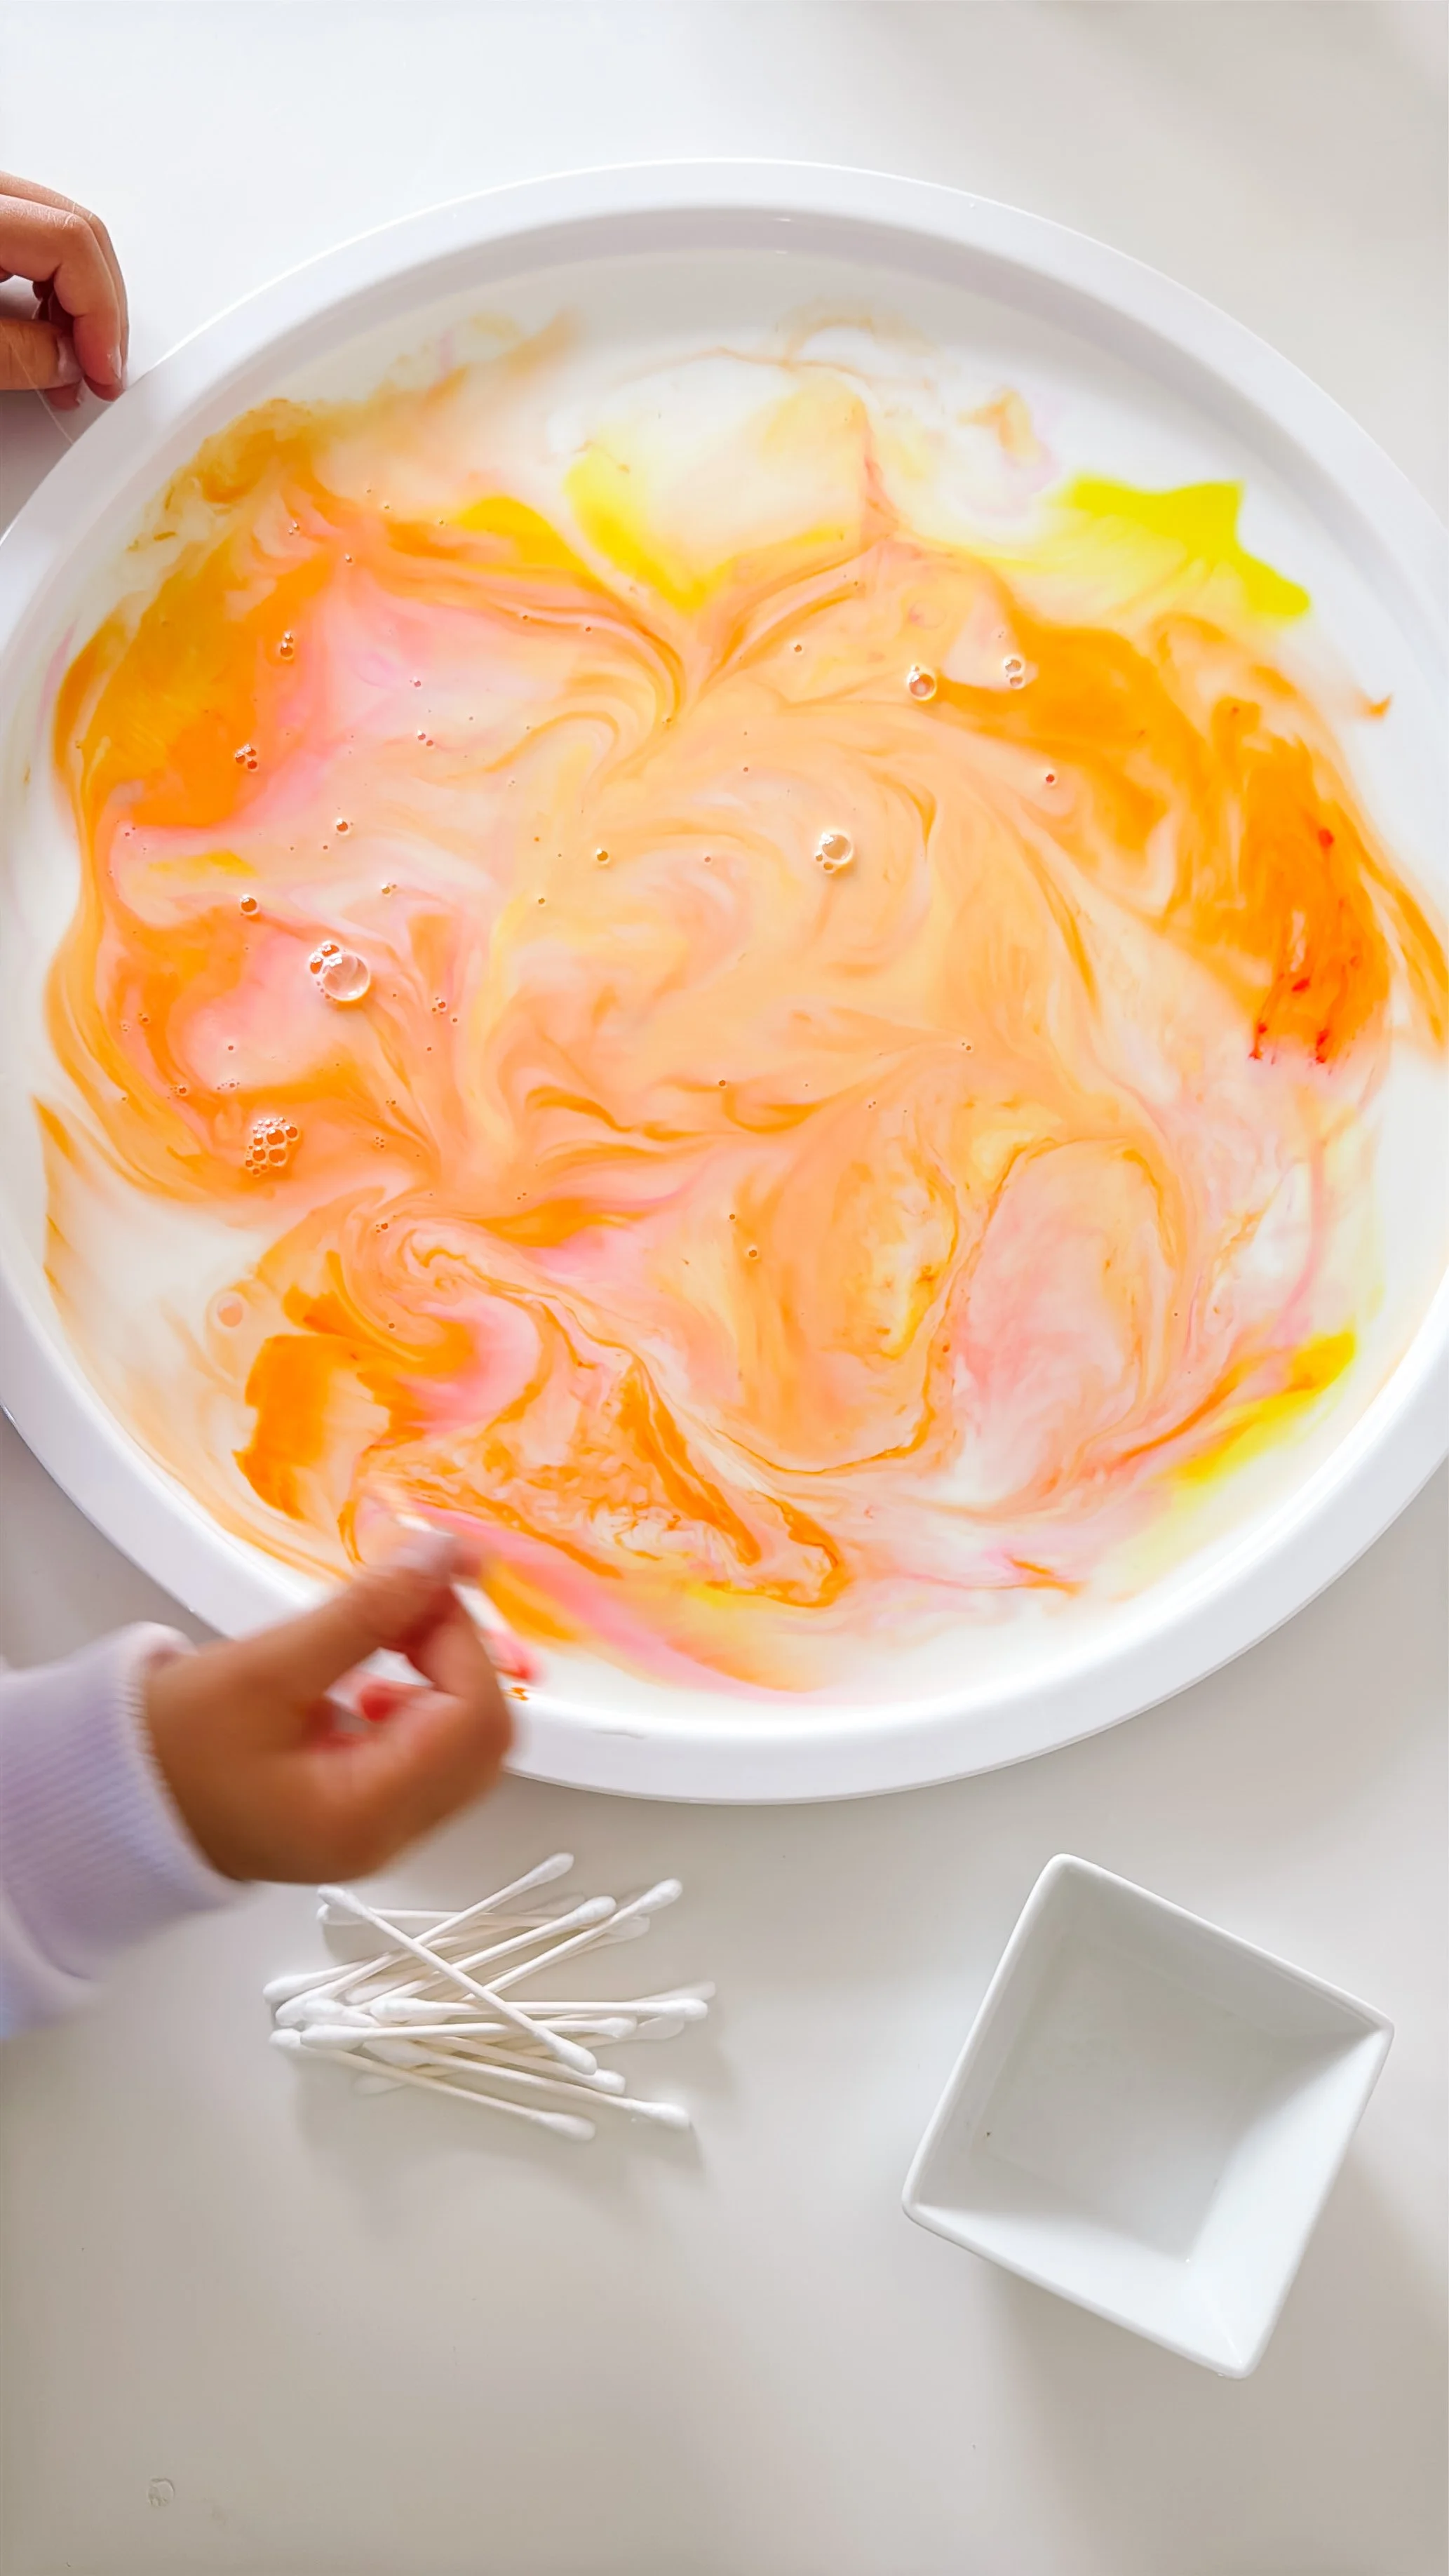
Sunset milk experiment for kids with warm red, orange, and yellow colors swirling in milk.
Age3+
Prep5 minutes
Activity20 minutes
Mess★☆☆☆☆
SkillsStem + color theory

Why we love this activity

After making our rainbow and fireworks versions of Magic Milk, we wanted to try a softer version inspired by the colors of a summer sunset.

Instead of using every color, we chose warm colors like red, orange, yellow, and pink. When the dish soap touched the milk, the colors slowly swirled together like the sky at golden hour.

This sunset milk experiment feels a little calmer than the rainbow version, which makes it a sweet art-and-science activity for winding down at the end of the day.

It is also a wonderful way to introduce preschoolers to warm vs. cool colors while still exploring the same STEM concepts of surface tension, molecules, observation, and cause and effect.

Materials needed

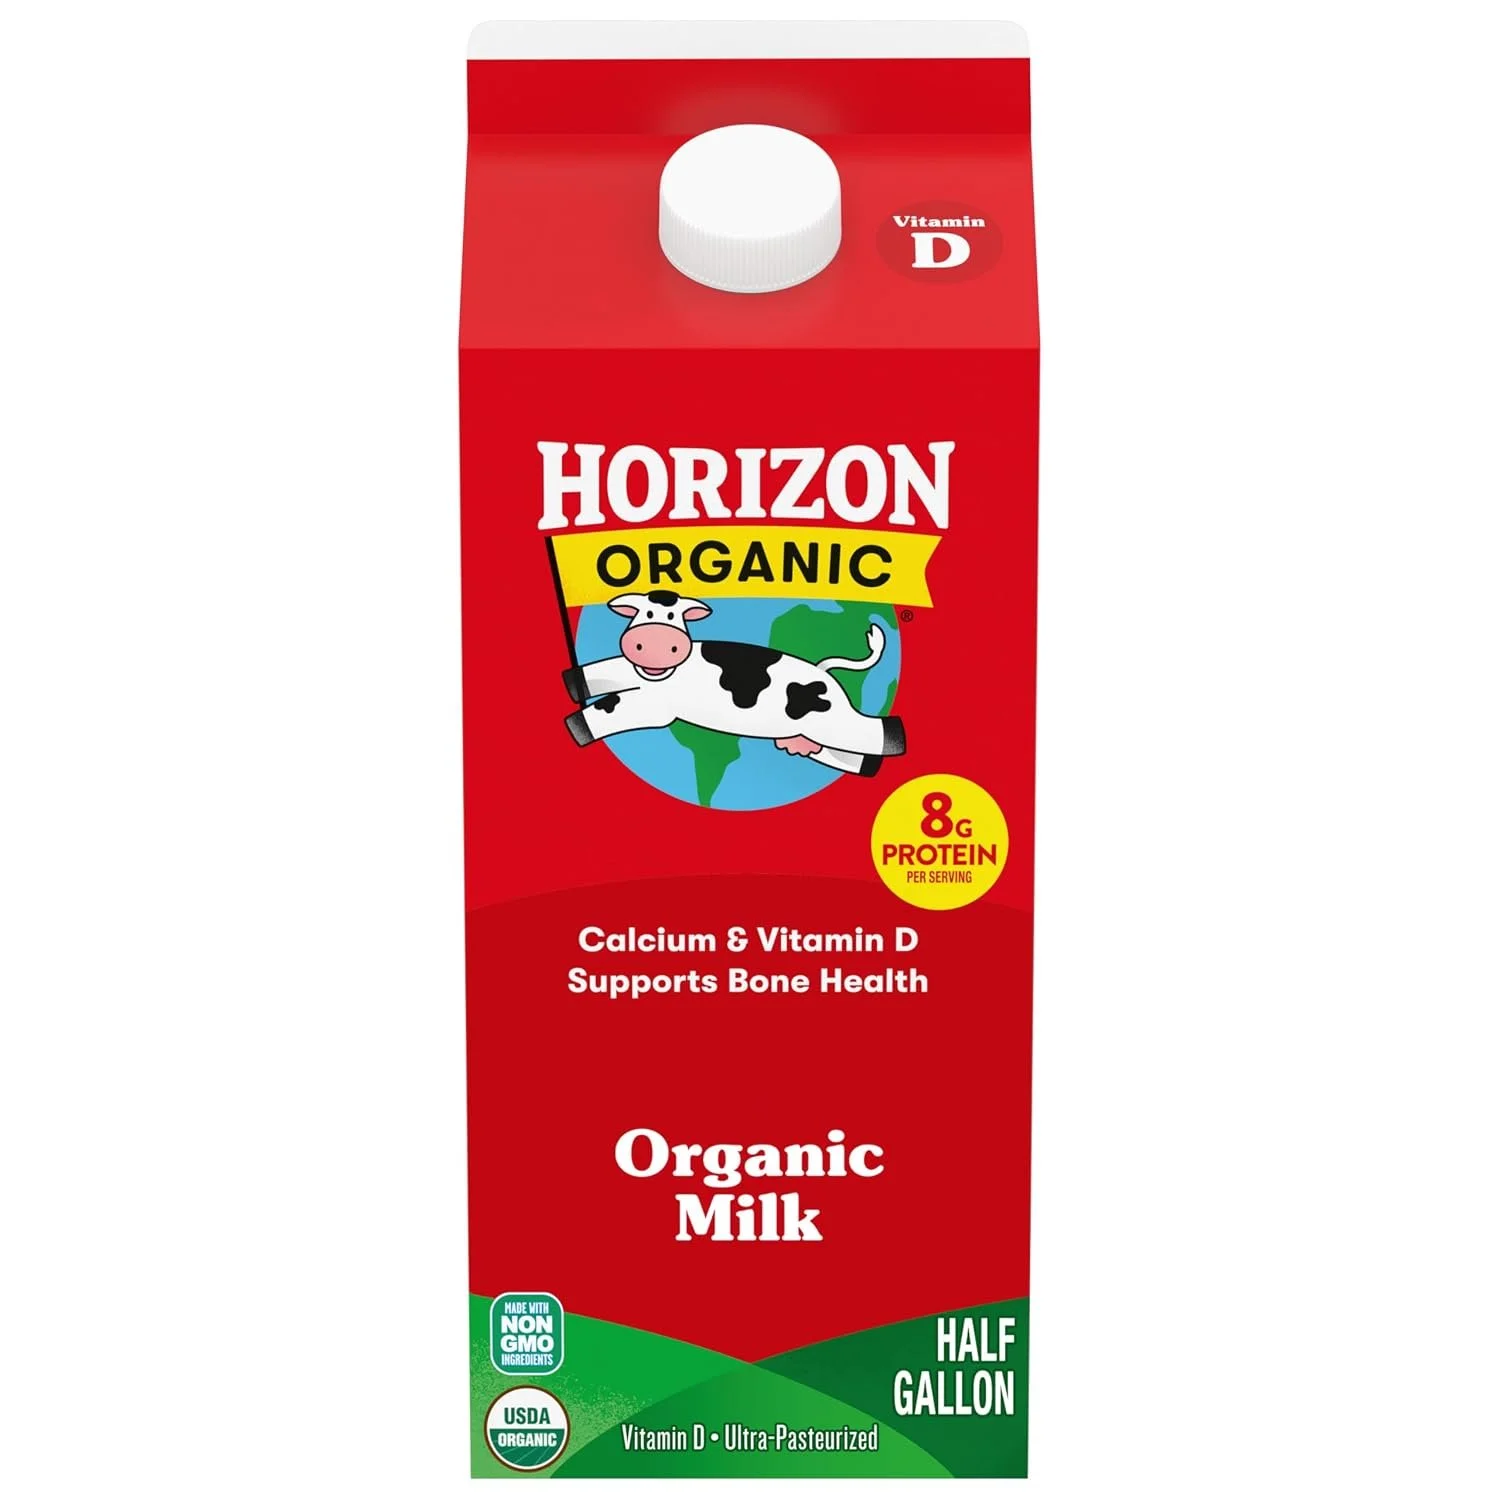
  • Whole milk
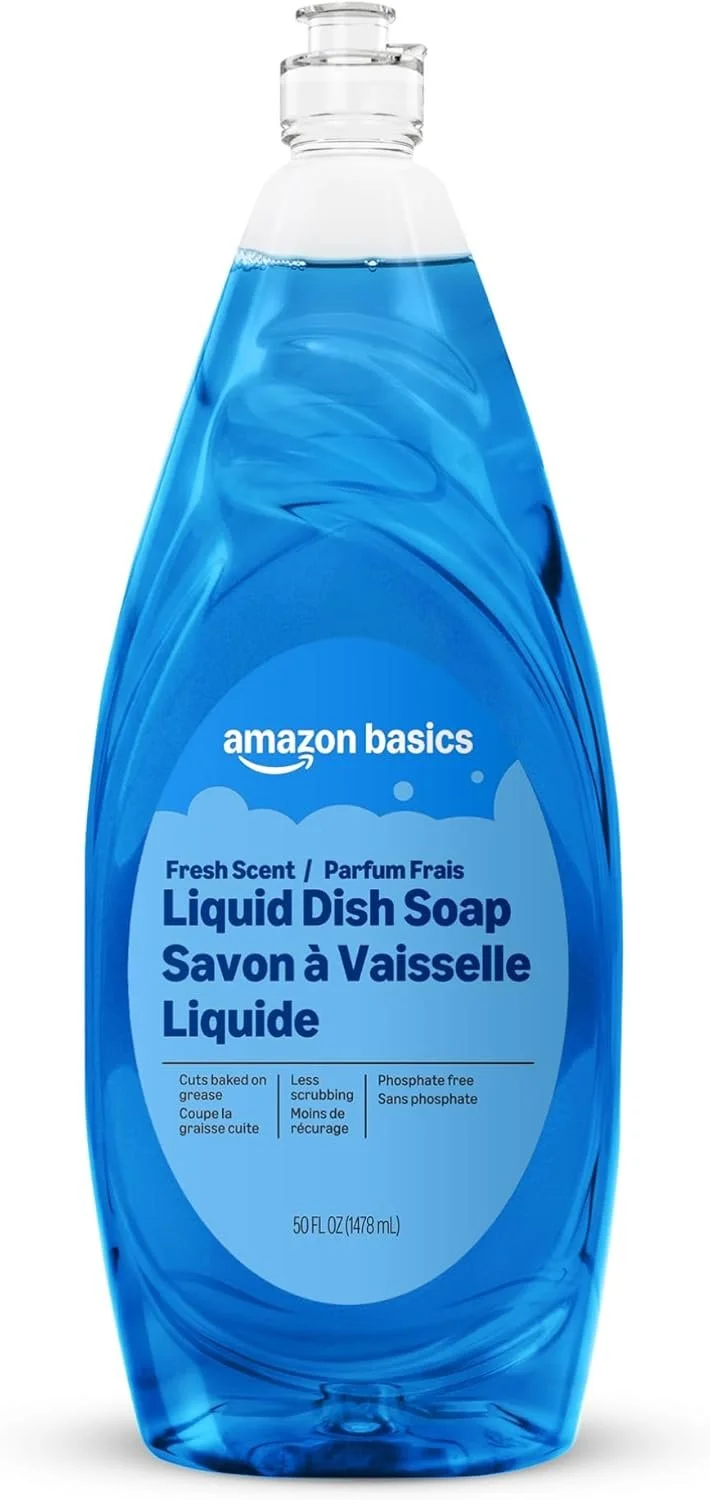
  • Liquid dish soap
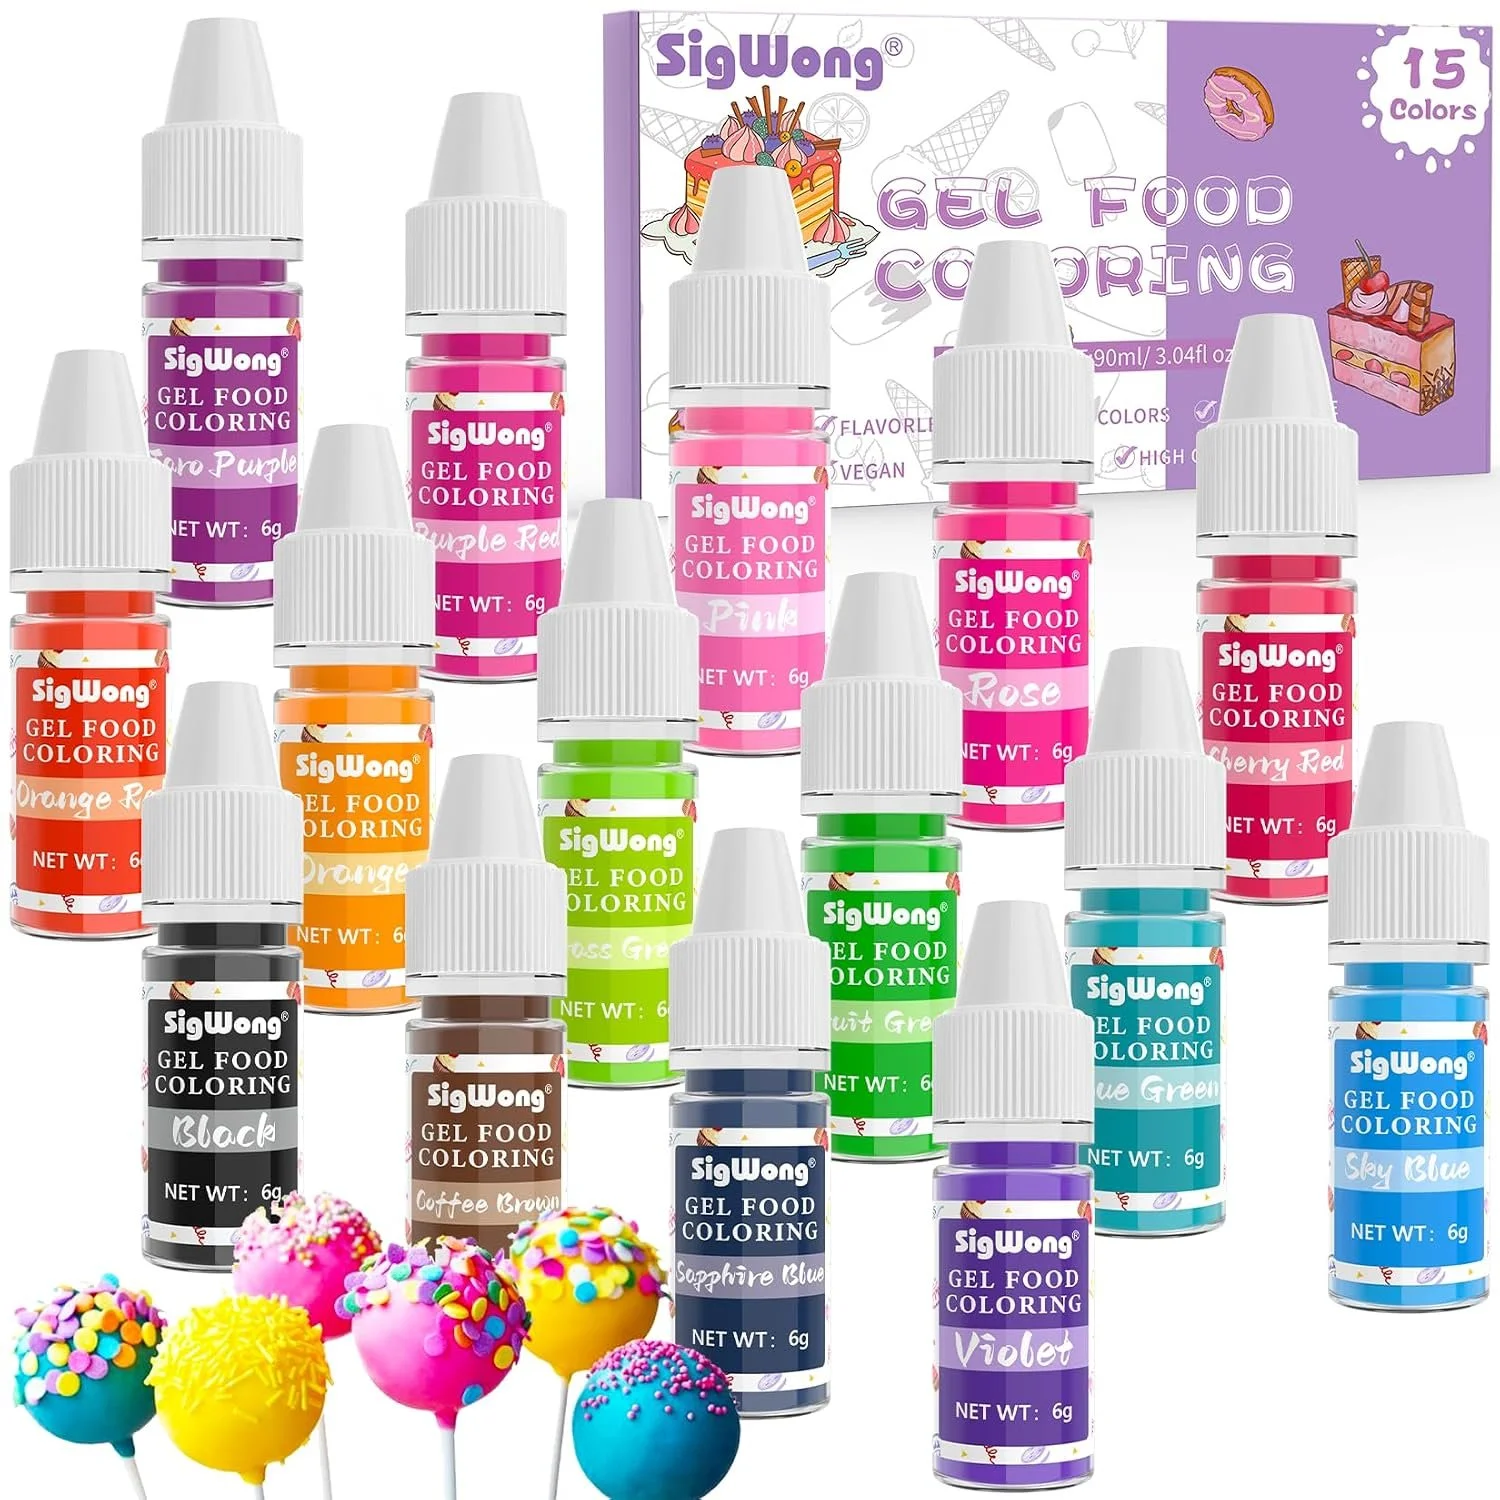
  • Red food coloring
  • Yellow food coloring
  • Orange or pink food coloring
  • Cotton swabs
  • Shallow plate or dish
  • Paper towels for cleanup

Shop this activity

These are the simple supplies we used for our magic milk science experiments.

Food coloring for sunset milk science experiment.

Food coloring

Use red, yellow, orange, and pink food coloring to create a warm sunset-inspired milk experiment.

View on Amazon
Whole milk for sunset milk STEM experiment.

Whole milk

Whole milk creates the strongest magic milk reaction because it has more fat.

View on Amazon
Dish soap for sunset milk color mixing experiment.

Dish soap

The magic ingredient that sends the sunset colors swirling across the milk.

View on Amazon

How to make sunset milk

Warm food coloring drops in milk for a sunset milk science experiment.
Step 1

Choose warm colors

Add drops of red, yellow, orange, and pink food coloring to a shallow dish of whole milk. Talk about how these colors remind us of sunsets, fire, sunshine, and warm summer evenings.

Sunset milk experiment with warm colors spreading through milk.
Step 2

Add dish soap

Dip a cotton swab into dish soap, then gently touch the milk. Watch the warm colors begin to move, swirl, and blend together.

Finished sunset milk experiment showing red, orange, and yellow colors swirling together.
Step 3

Observe the sunset swirl

Try touching the cotton swab in different areas of the milk. Ask your child which colors look like the sky, sunshine, or clouds at sunset.

Parent tip

Use this activity as both science and art. After the experiment, invite your child to paint or draw a sunset using the same warm colors they saw in the milk.

Warm vs. cool colors

This activity is a simple way to introduce warm colors and cool colors.

Warm colors include red, orange, yellow, and pink. They often remind us of sunshine, fire, warmth, and sunsets.

Cool colors include blue, green, and purple. They often remind us of water, grass, shade, and the night sky.

For this sunset version, we focused mostly on warm colors so the experiment looked like a glowing evening sky.

Why does the sunset milk experiment work?

Milk contains tiny fat molecules floating throughout the liquid. Dish soap is designed to break apart fats.

When the soap touches the milk, it starts pulling those fat molecules in different directions. The food coloring rides along with the moving milk, creating beautiful swirling patterns.

The science is the same as our rainbow milk and fireworks milk experiments, but the warm color palette makes this version feel more like an art project.

Stem concepts

Surface tension Molecules Color mixing Warm colors Cool colors Observation Prediction Cause & effect

Questions to ask kids

  • Which colors remind you of a sunset?
  • What do you think will happen when the soap touches the milk?
  • Do the colors move quickly or slowly?
  • What warm colors can you name?
  • What cool colors can you name?
  • How is this different from the rainbow milk experiment?

Vocabulary words

Experiment Observe Predict Reaction Surface tension Molecule Warm color Cool color Sunset Swirl Blend

Try another magic milk experiment

Rainbow milk

A colorful rainbow version that is perfect for color mixing and preschool science.

Rainbow milk

Fireworks milk

A red and blue version that looks like tiny fireworks bursting across the milk.

Fireworks milk

Magic milk experiments

See all three milk and soap STEM experiments in one place.

Coming soon

Sunset milk experiment FAQ

How do you make a sunset milk experiment?

Pour whole milk into a shallow dish, add warm-colored food coloring like red, yellow, orange, and pink, then touch the milk with a cotton swab dipped in dish soap.

What are warm colors for kids?

Warm colors are colors like red, orange, yellow, and pink. They often remind children of sunshine, fire, warmth, and sunsets.

What are cool colors for kids?

Cool colors include blue, green, and purple. They often remind children of water, grass, shade, and the night sky.

Why does dish soap make the colors move in milk?

Dish soap breaks apart the fat molecules in milk. As the molecules move, they carry the food coloring with them, creating colorful swirls.

Is this an art activity or a science experiment?

It is both. Children explore surface tension and molecules while also learning about warm colors, color mixing, and sunset-inspired art.

Ice Cream Play Dough Recipe

Ice Cream Play Dough Recipe

A soft, fluffy, scoopable ice cream dough recipe that smells amazing, feels like real ice cream, and does not stick to your hands.

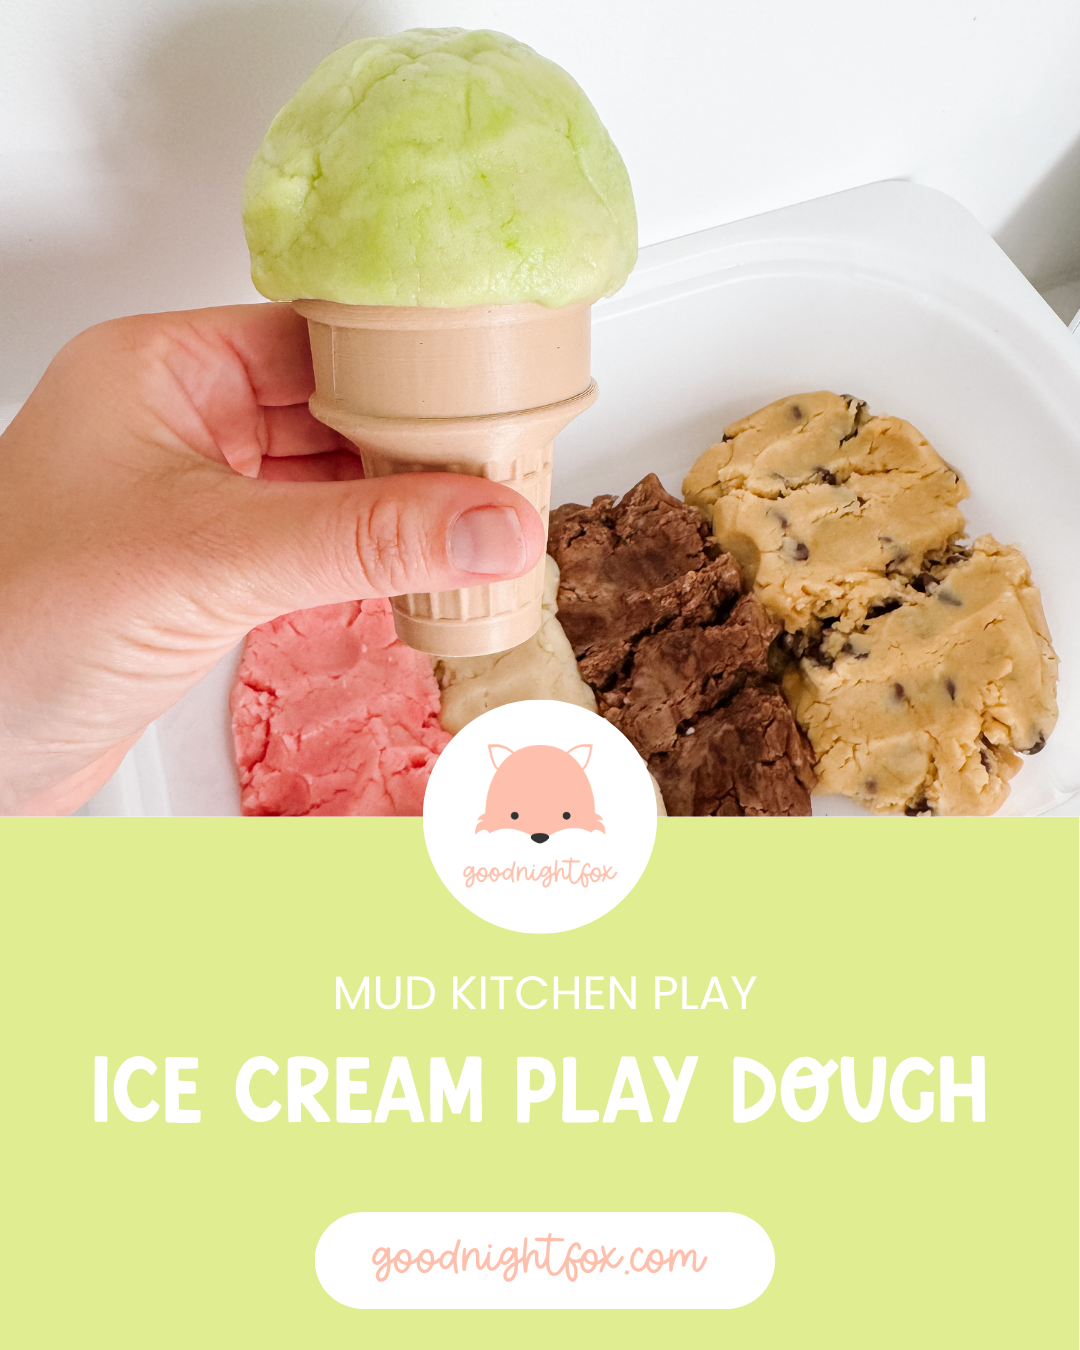
Ice cream play dough recipe for kids with soft colorful dough scooped like pretend ice cream.
Age3+
Prep10 minutes
Play Time45+ minutes
Mess★★☆☆☆
SkillsSensory + pretend play

Why we love this recipe

I have tried so many ice cream dough recipes, and a lot of them are either too sticky, too sugary, or too messy for real play.

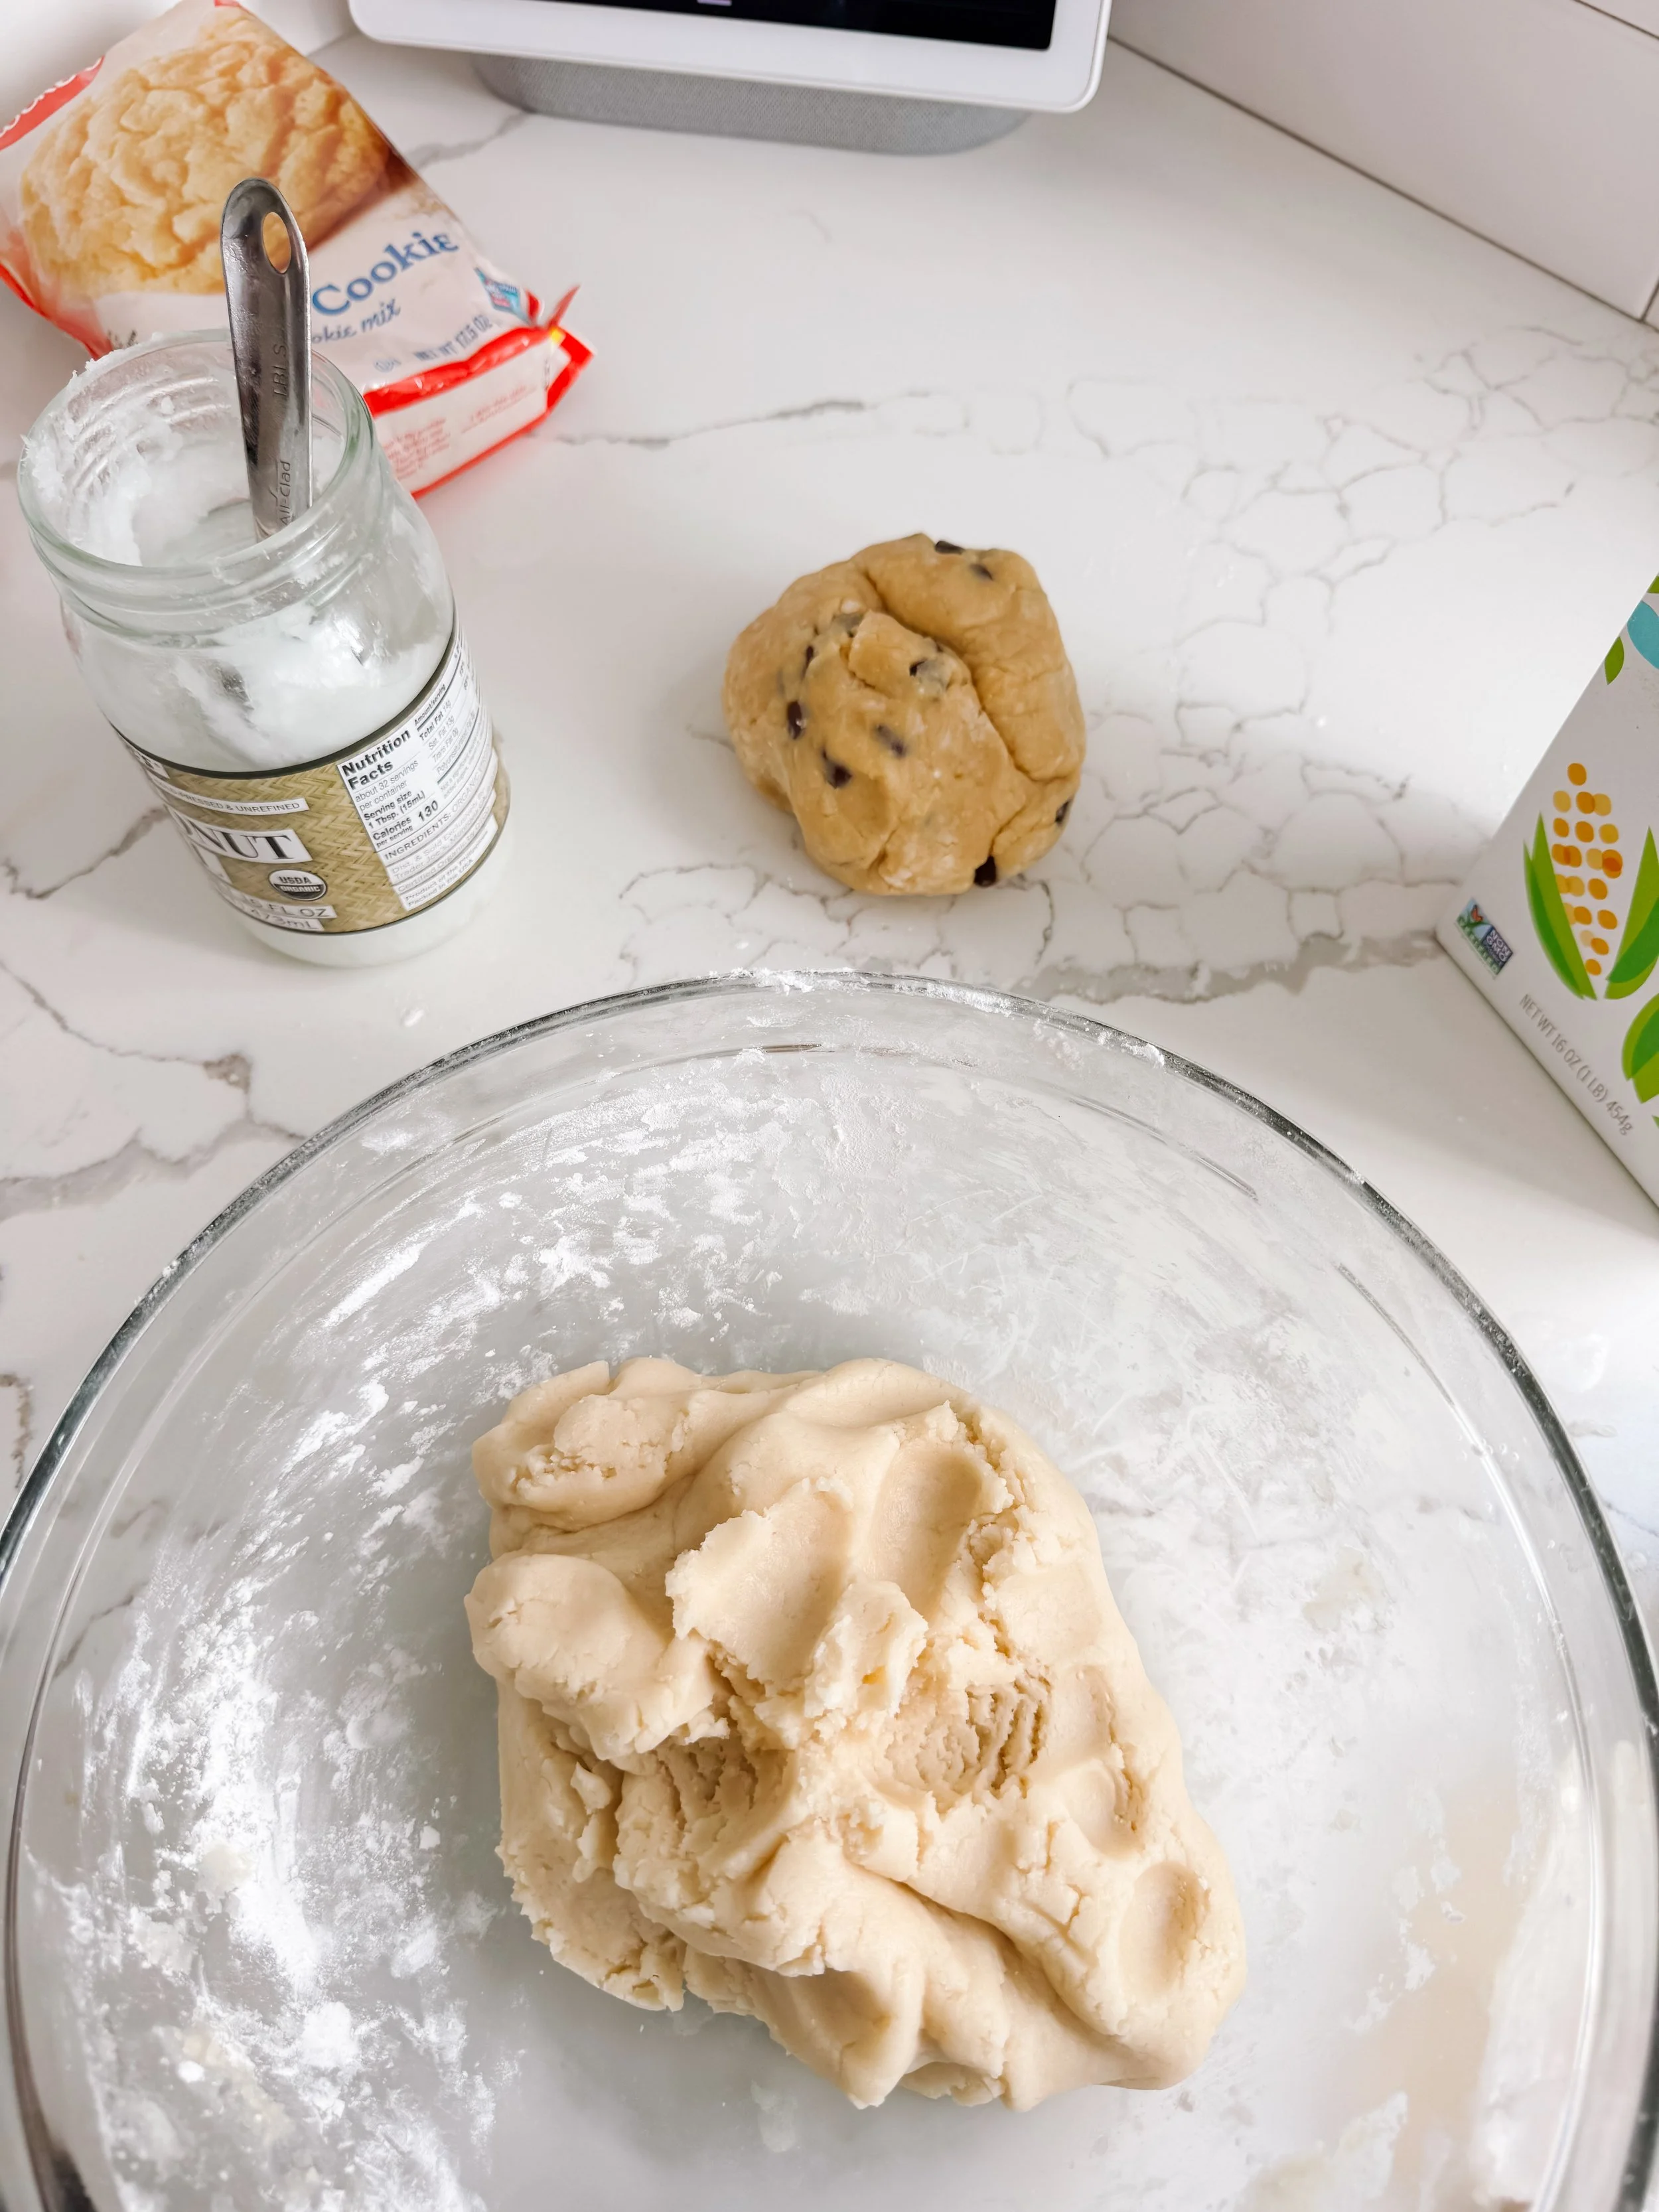
This version is different. It uses cookie mix, cornstarch, melted coconut oil, and just enough water to bring everything together. The result is a soft, fluffy, scoopable dough that feels so much like ice cream but does not stick to your hands.

It also smells amazing because of the cookie mix, which makes it perfect for pretend ice cream shop play, mud kitchens, sensory bins, and summer-themed play trays.

Ice cream play dough recipe

Soft and fluffy ice cream dough

Ingredients:

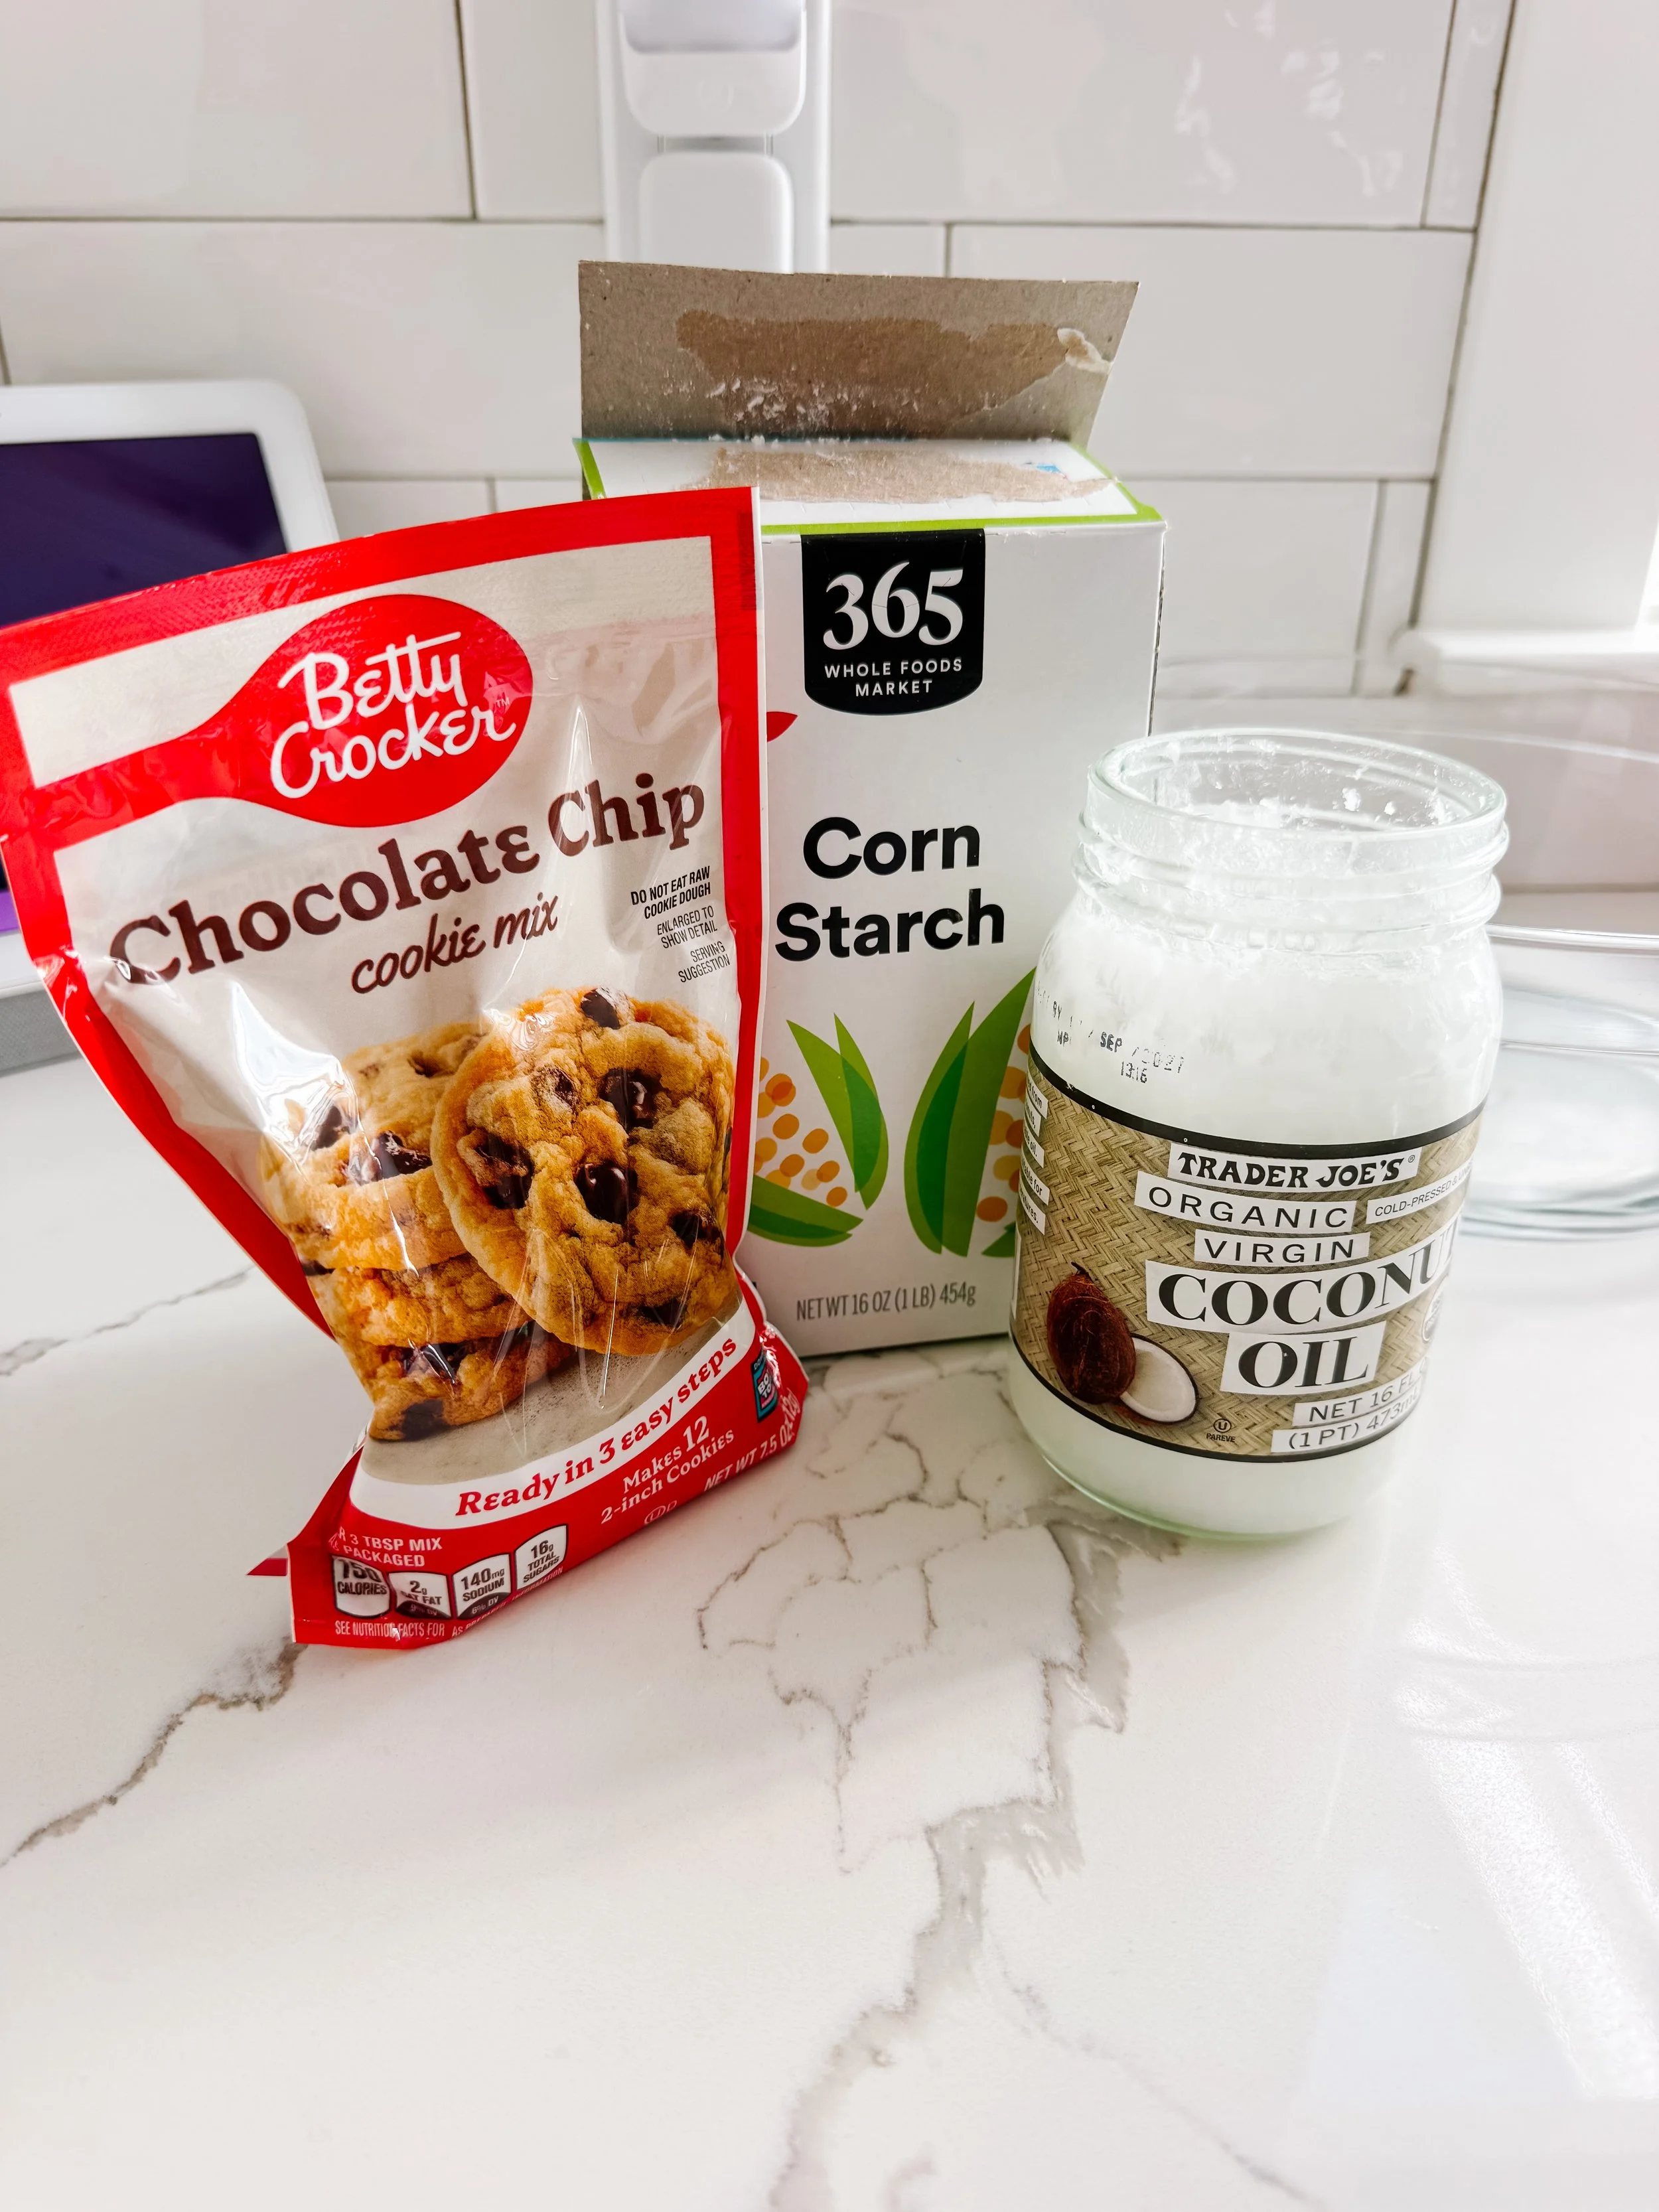
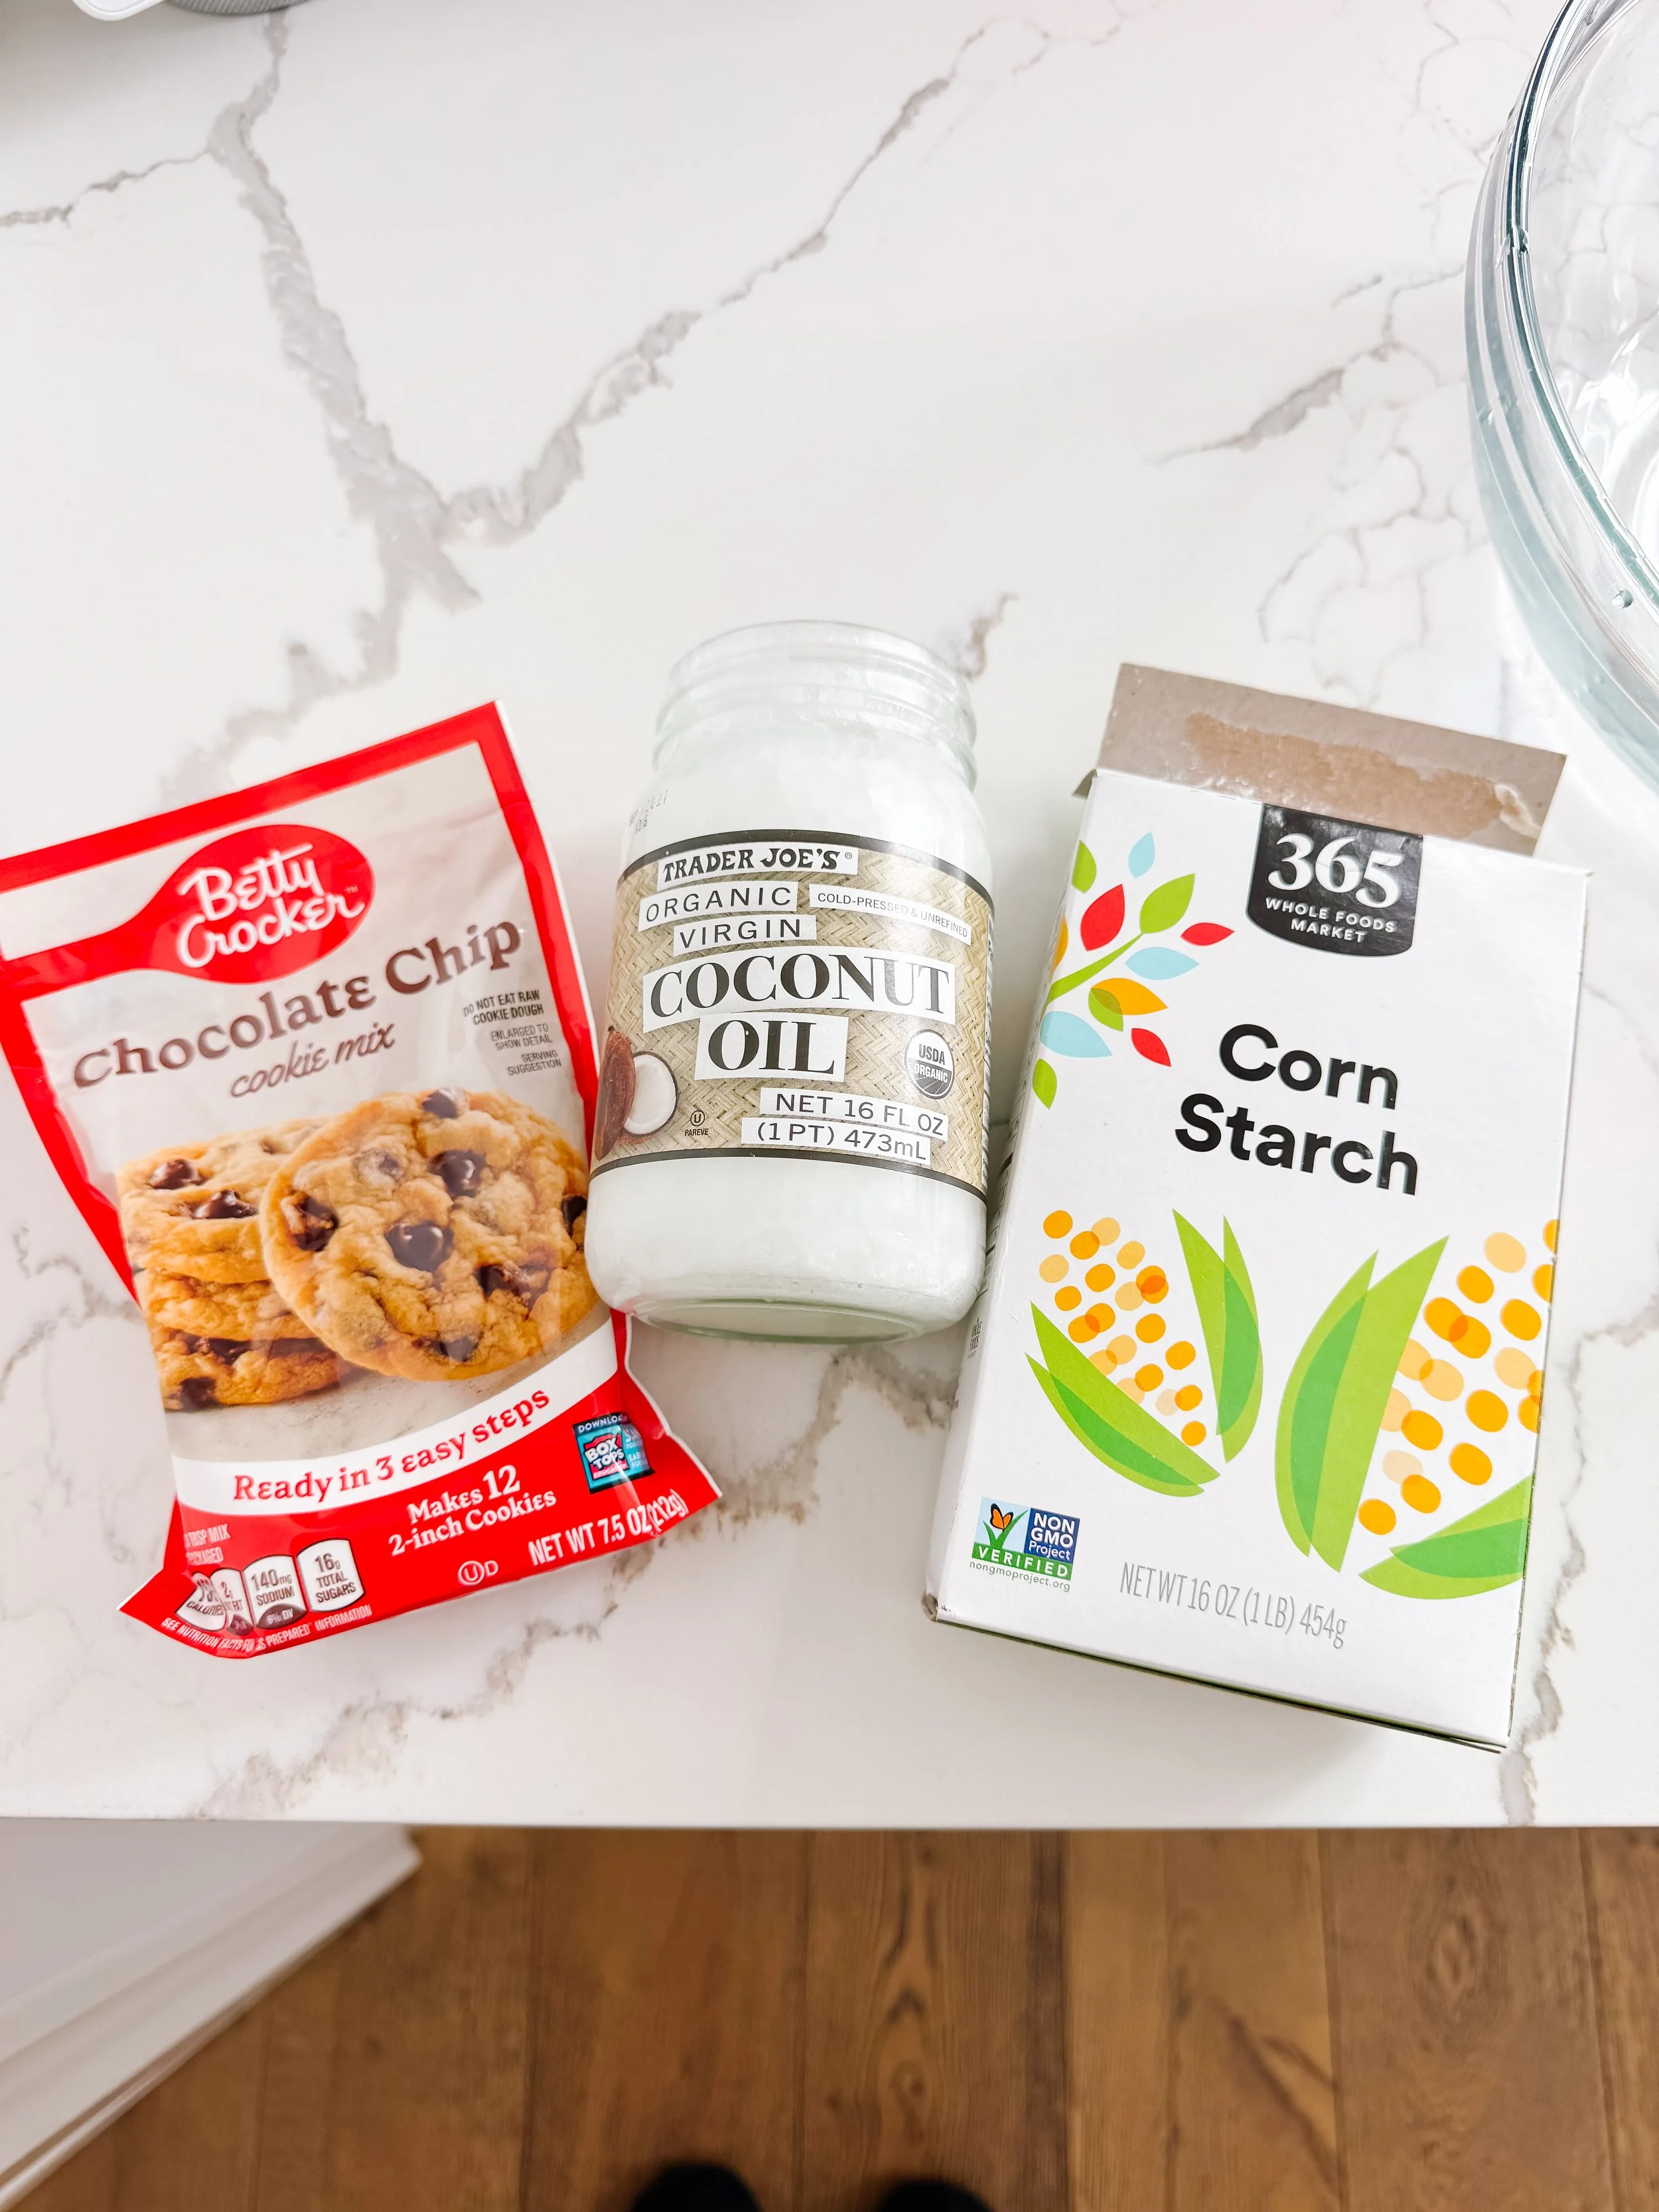
  • 1 packet of cookie mix
  • 1 cup cornstarch
  • 3 tablespoons melted coconut oil
  • Water as needed

Instructions:

  1. Add the cookie mix and cornstarch to a bowl.
  2. Pour in the melted coconut oil.
  3. Mix slowly, then add water a little at a time.
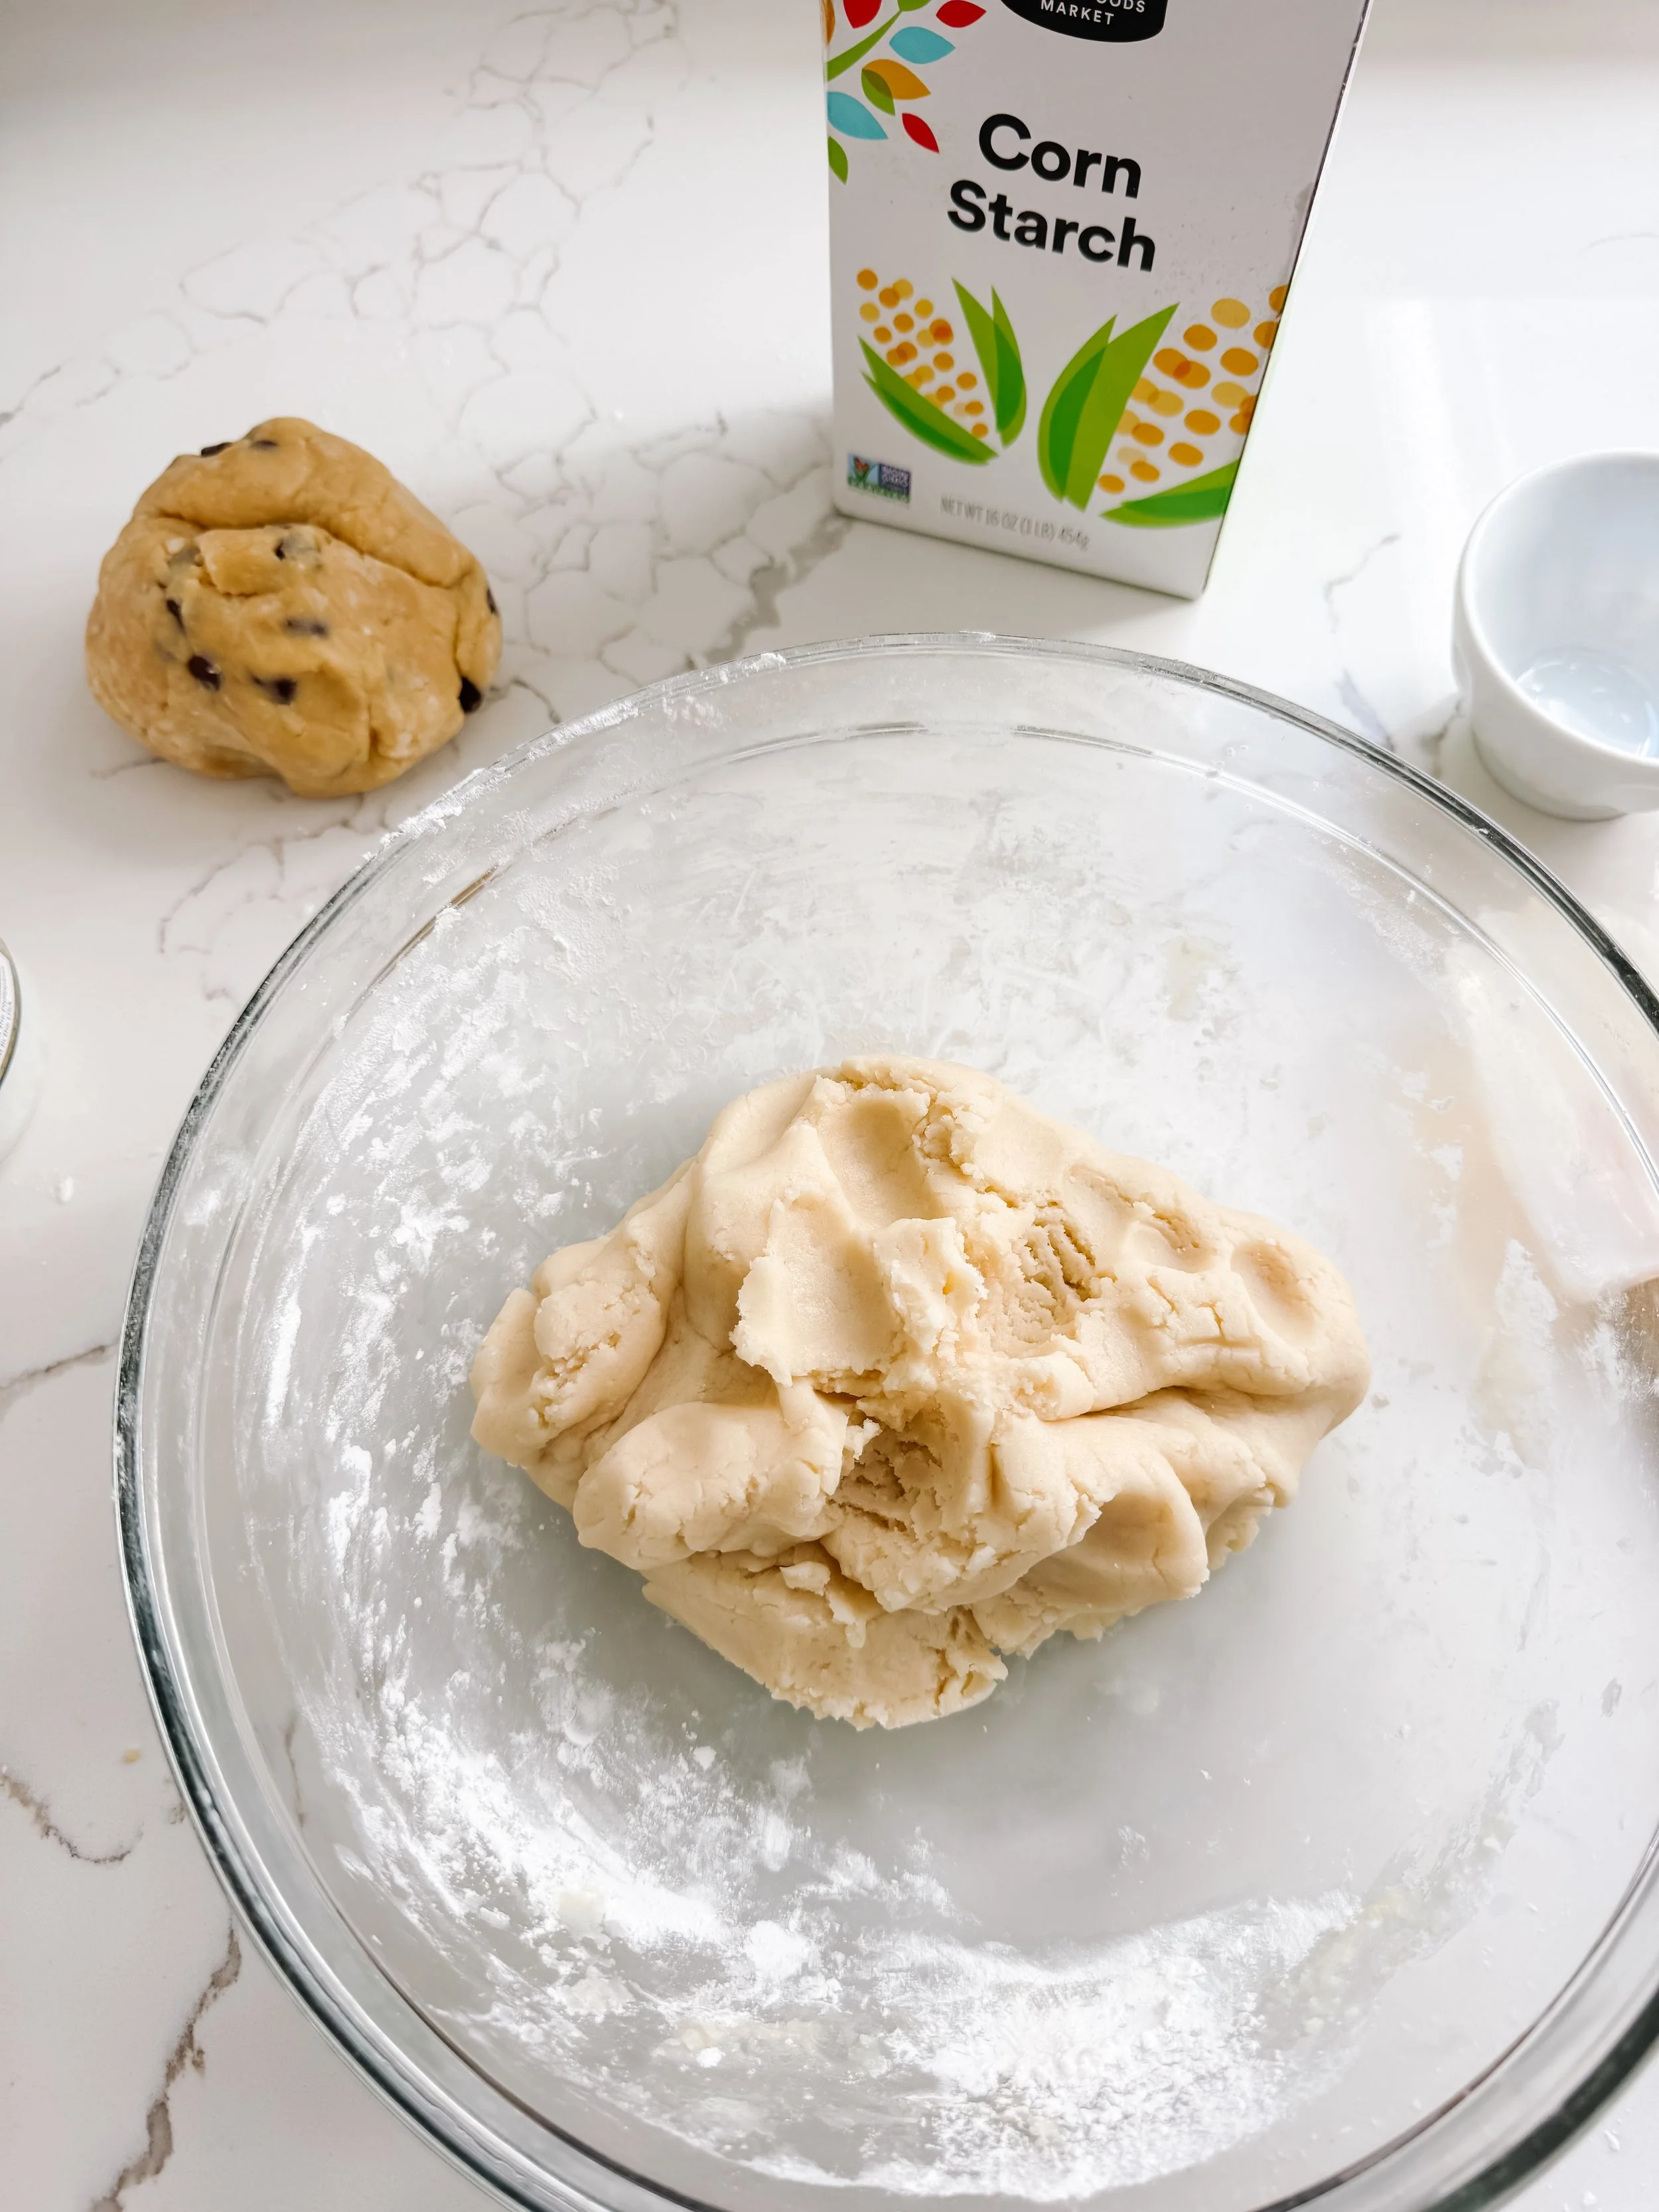
  4. Knead until the dough becomes soft, fluffy, and scoopable.
  5. Add more cornstarch if it feels too wet, or a tiny splash of water if it feels too dry.
Ingredients and supplies for making soft ice cream play dough for sensory play.

Why this recipe works so well

The cookie mix gives the dough a sweet bakery smell and a soft base. The cornstarch makes it fluffy and helps prevent stickiness. The coconut oil gives it that smooth, moldable texture that makes it easy to scoop, roll, and press into cones.
Unlike recipes made with icing and sugar, this dough does not feel sticky on your hands. It is soft enough for little hands to scoop but firm enough to hold its shape during pretend play.
How to make ice cream play dough

Cookie mix and cornstarch being combined for homemade ice cream play dough.
Step 1

Mix the dry ingredients

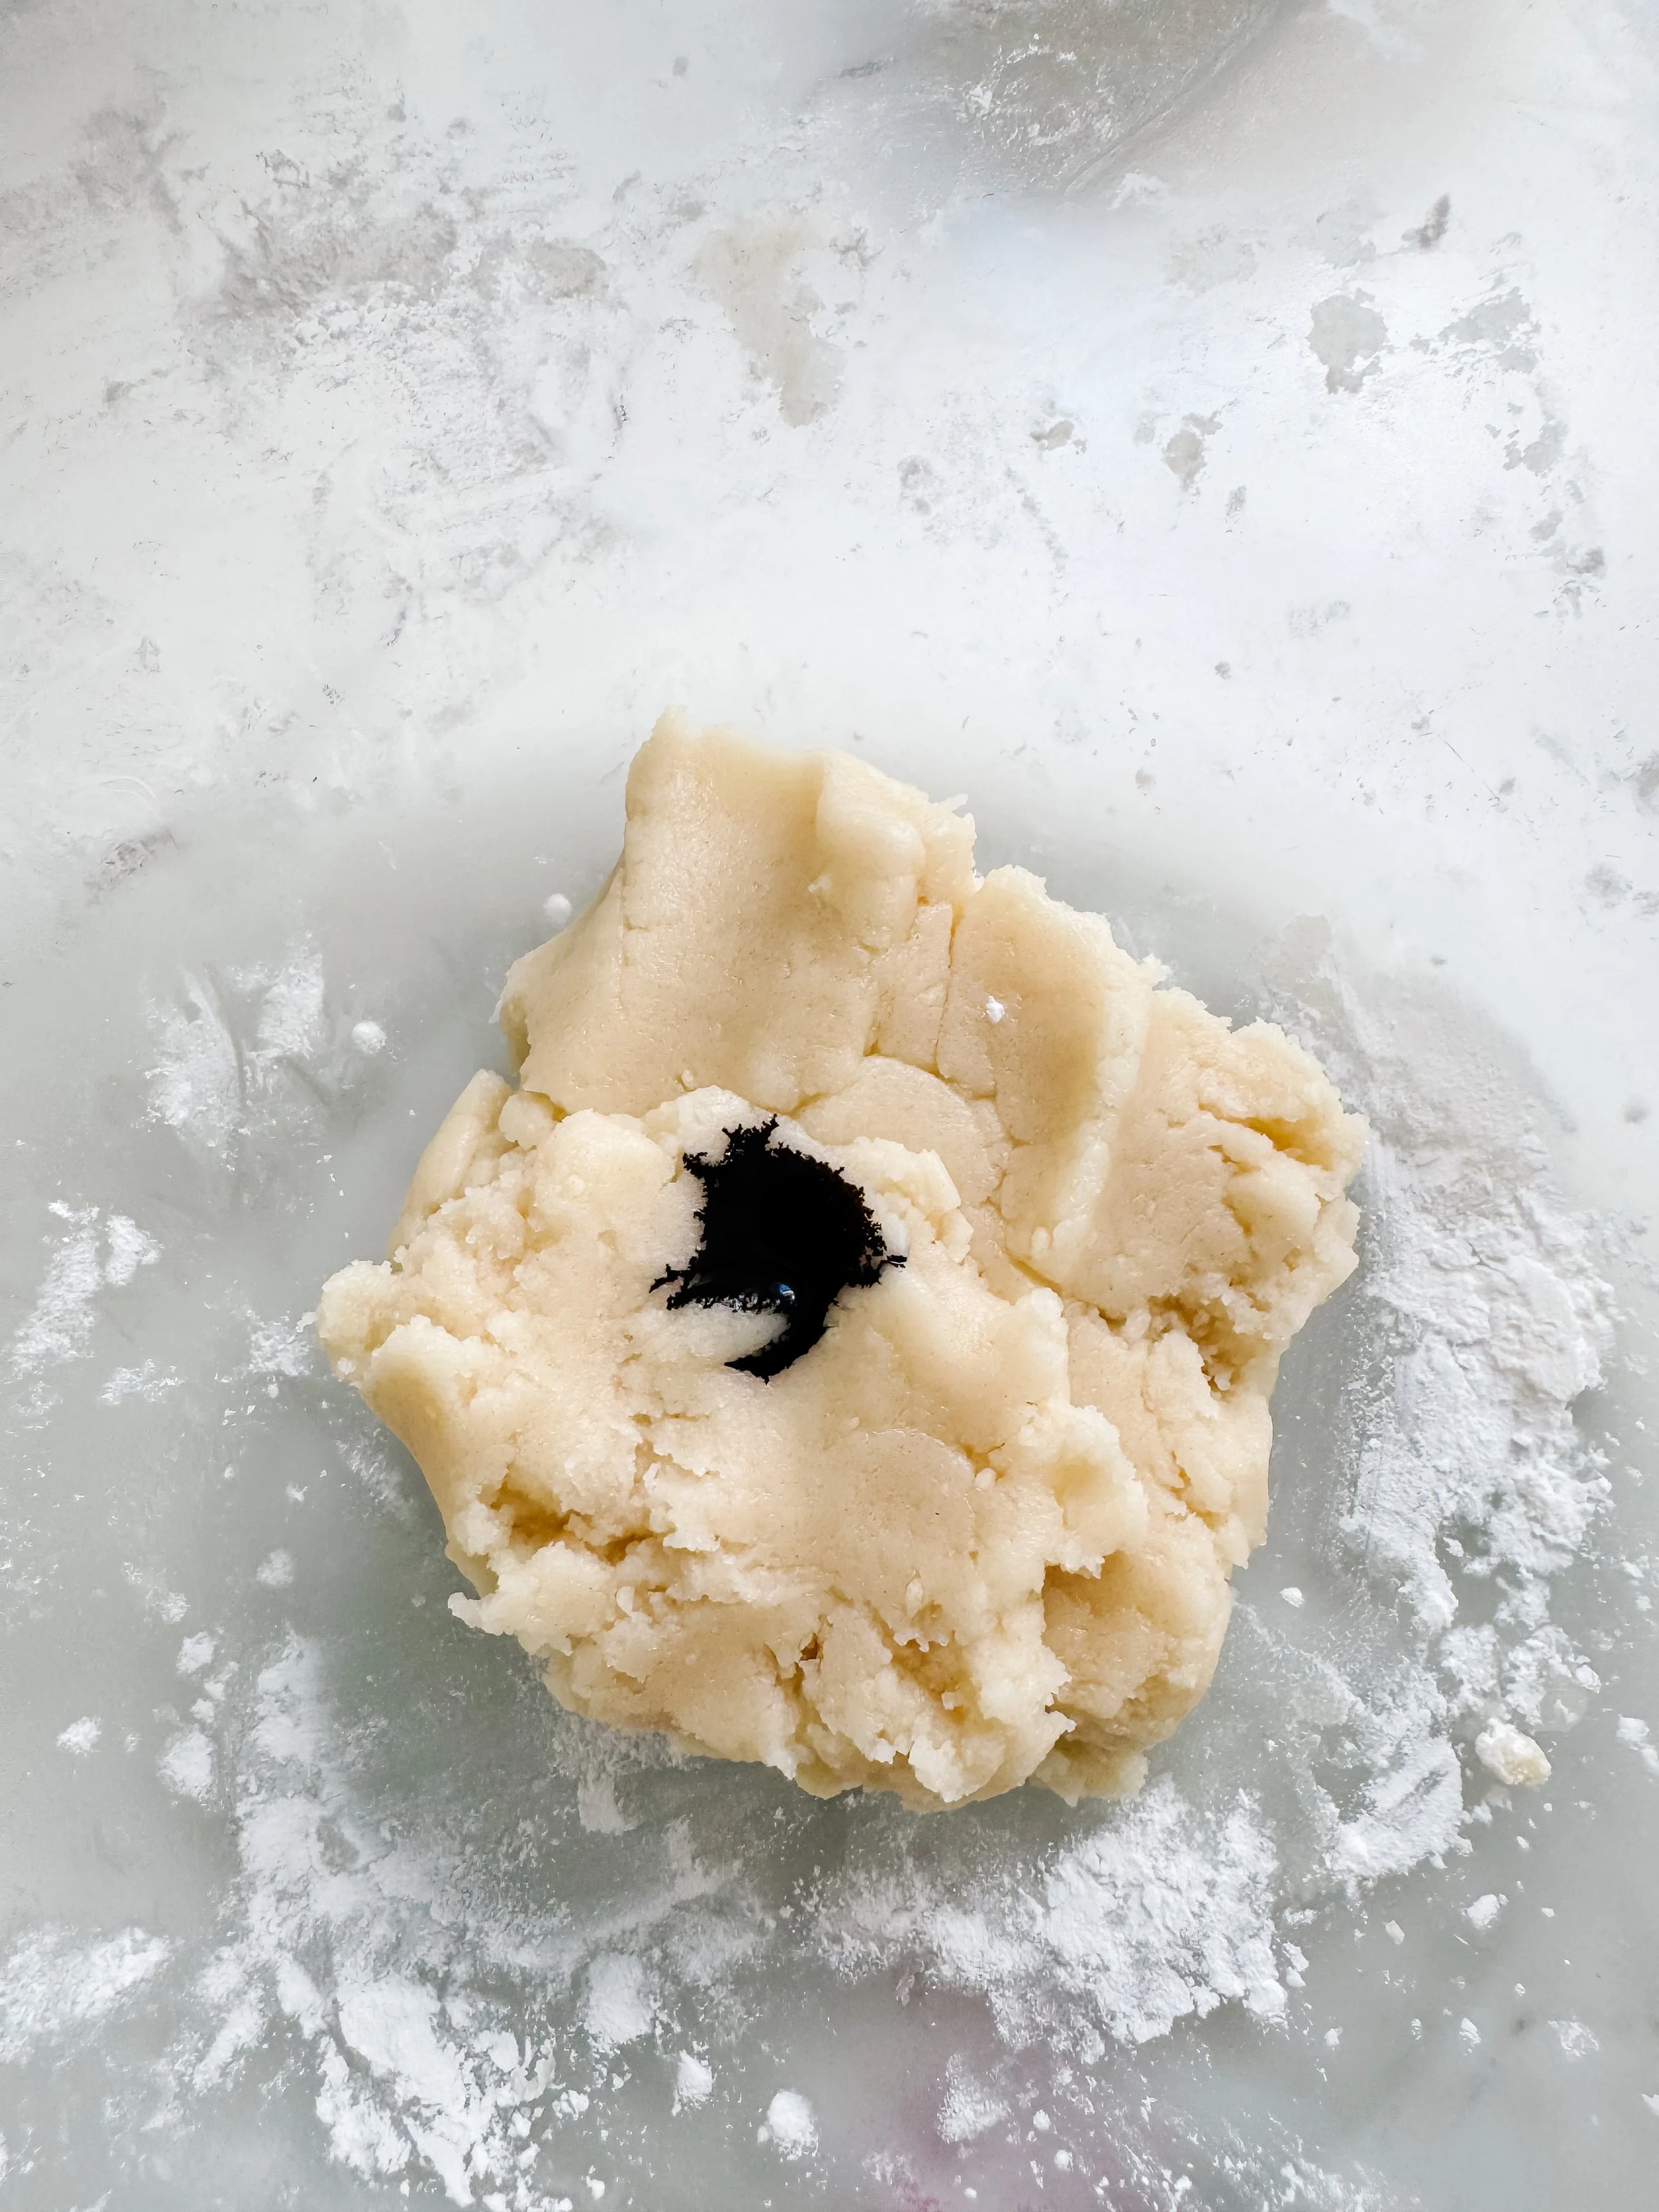
Pour one packet of cookie mix into a bowl, then add one cup of cornstarch. Stir the dry ingredients together first so the dough becomes smooth and even.

Adding melted coconut oil to cookie mix and cornstarch for ice cream dough.
Step 2

Add coconut oil

Add three tablespoons of melted coconut oil. This helps create the soft, scoopable texture that makes the dough feel like pretend ice cream.

Mixing ice cream play dough until it becomes soft and fluffy.
Step 3

Add water slowly

Add water a tiny bit at a time. You want the dough to come together without becoming sticky. If it feels too wet, sprinkle in a little more cornstarch.

Soft homemade ice cream play dough being scooped like real ice cream.
Step 4

Scoop and play

Once the texture is soft, fluffy, and scoopable, set it out with cones, bowls, scoops, sprinkles, and pretend play menus.

Texture tip

If your dough is sticky, add more cornstarch one tablespoon at a time. If it is too crumbly, add a few drops of water and knead again.

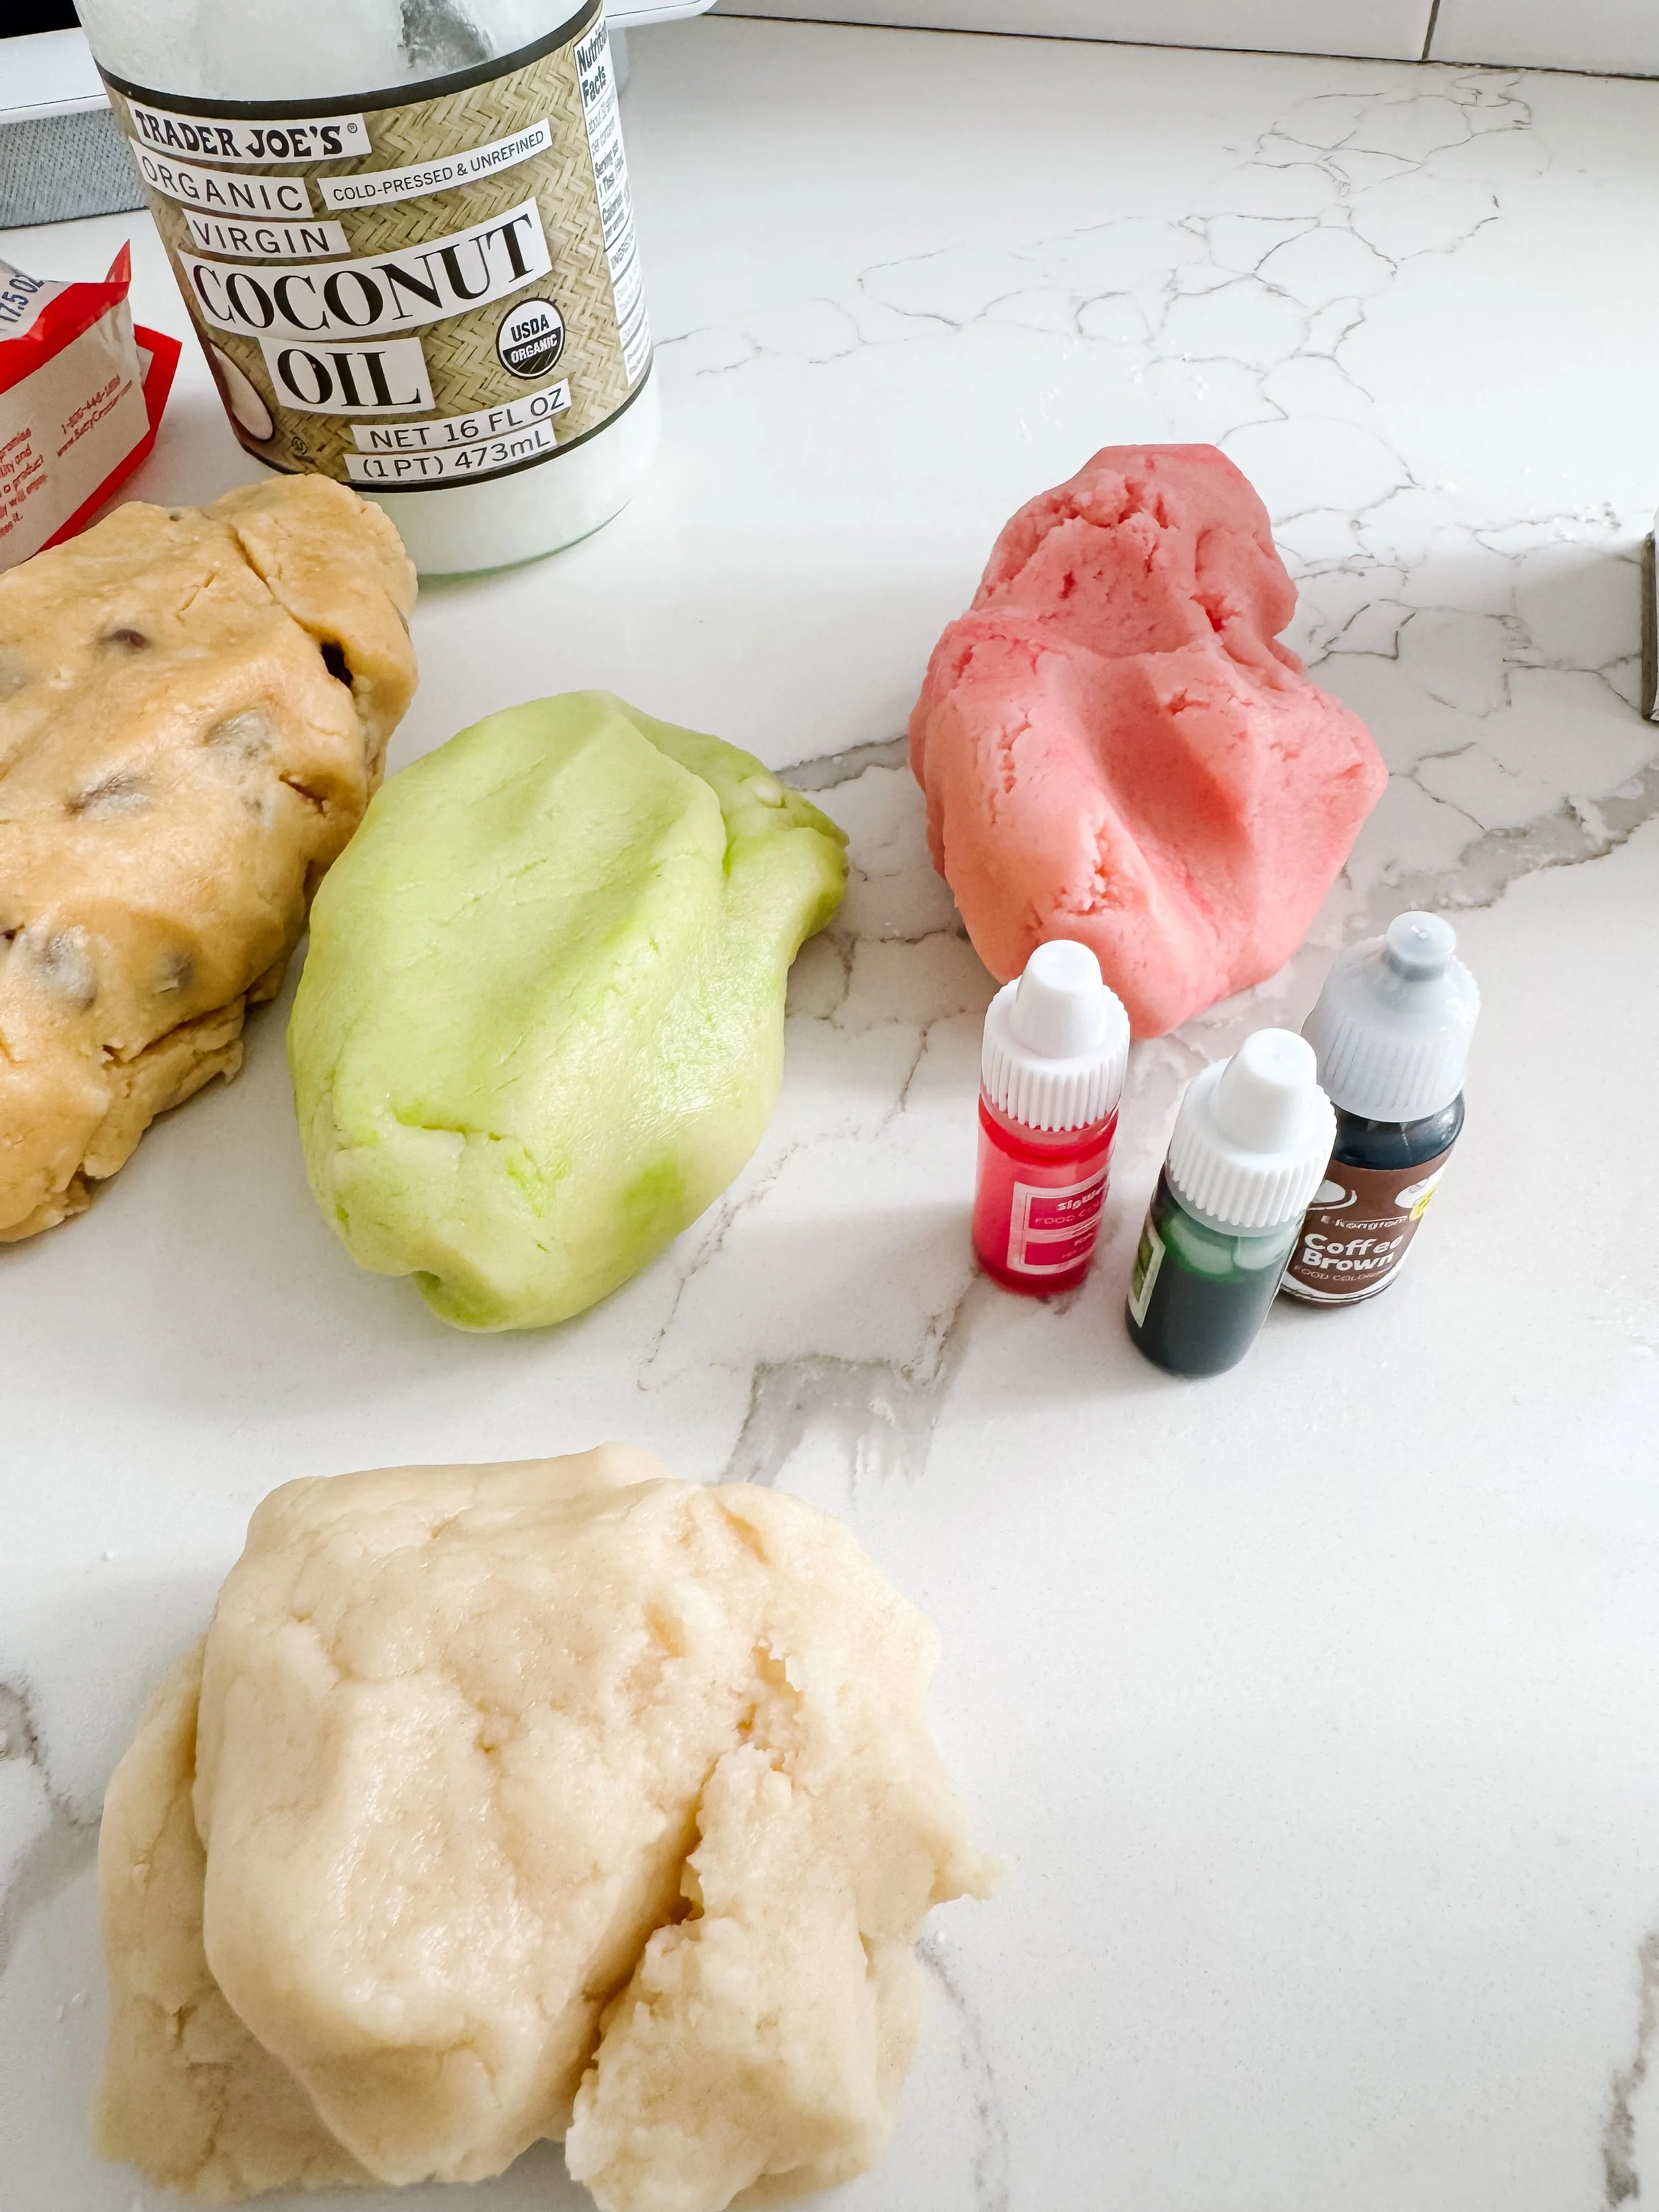
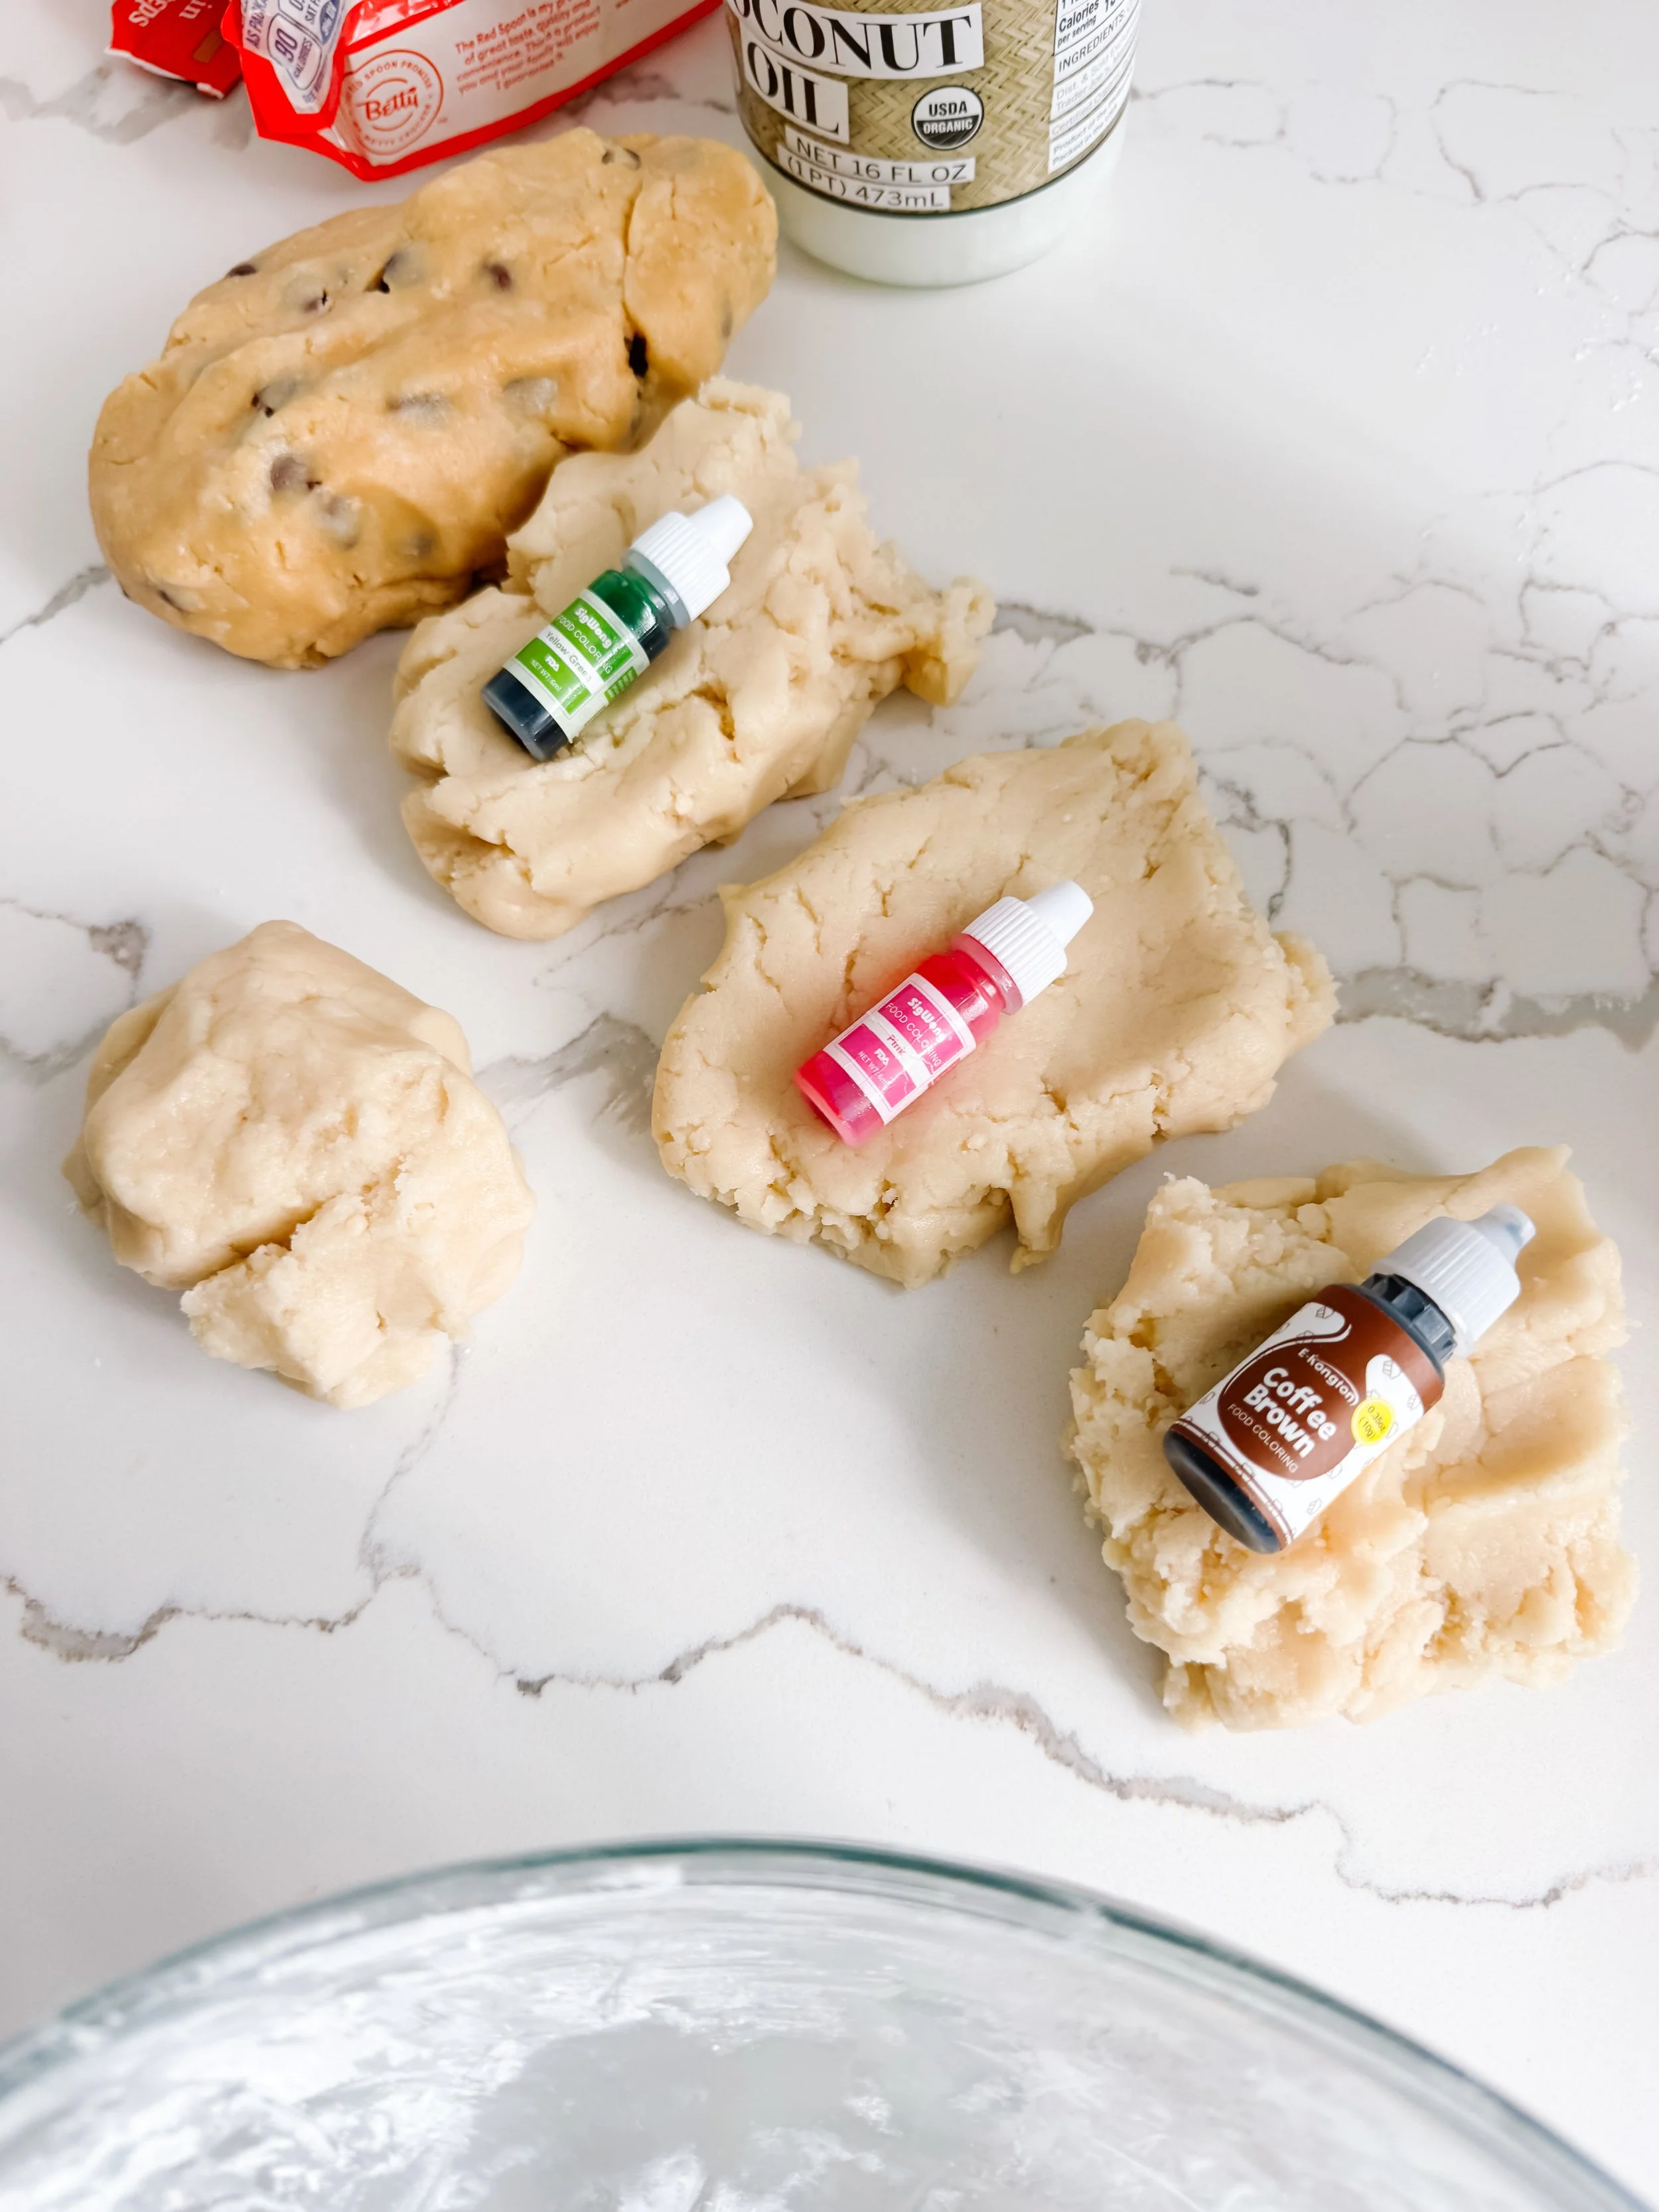
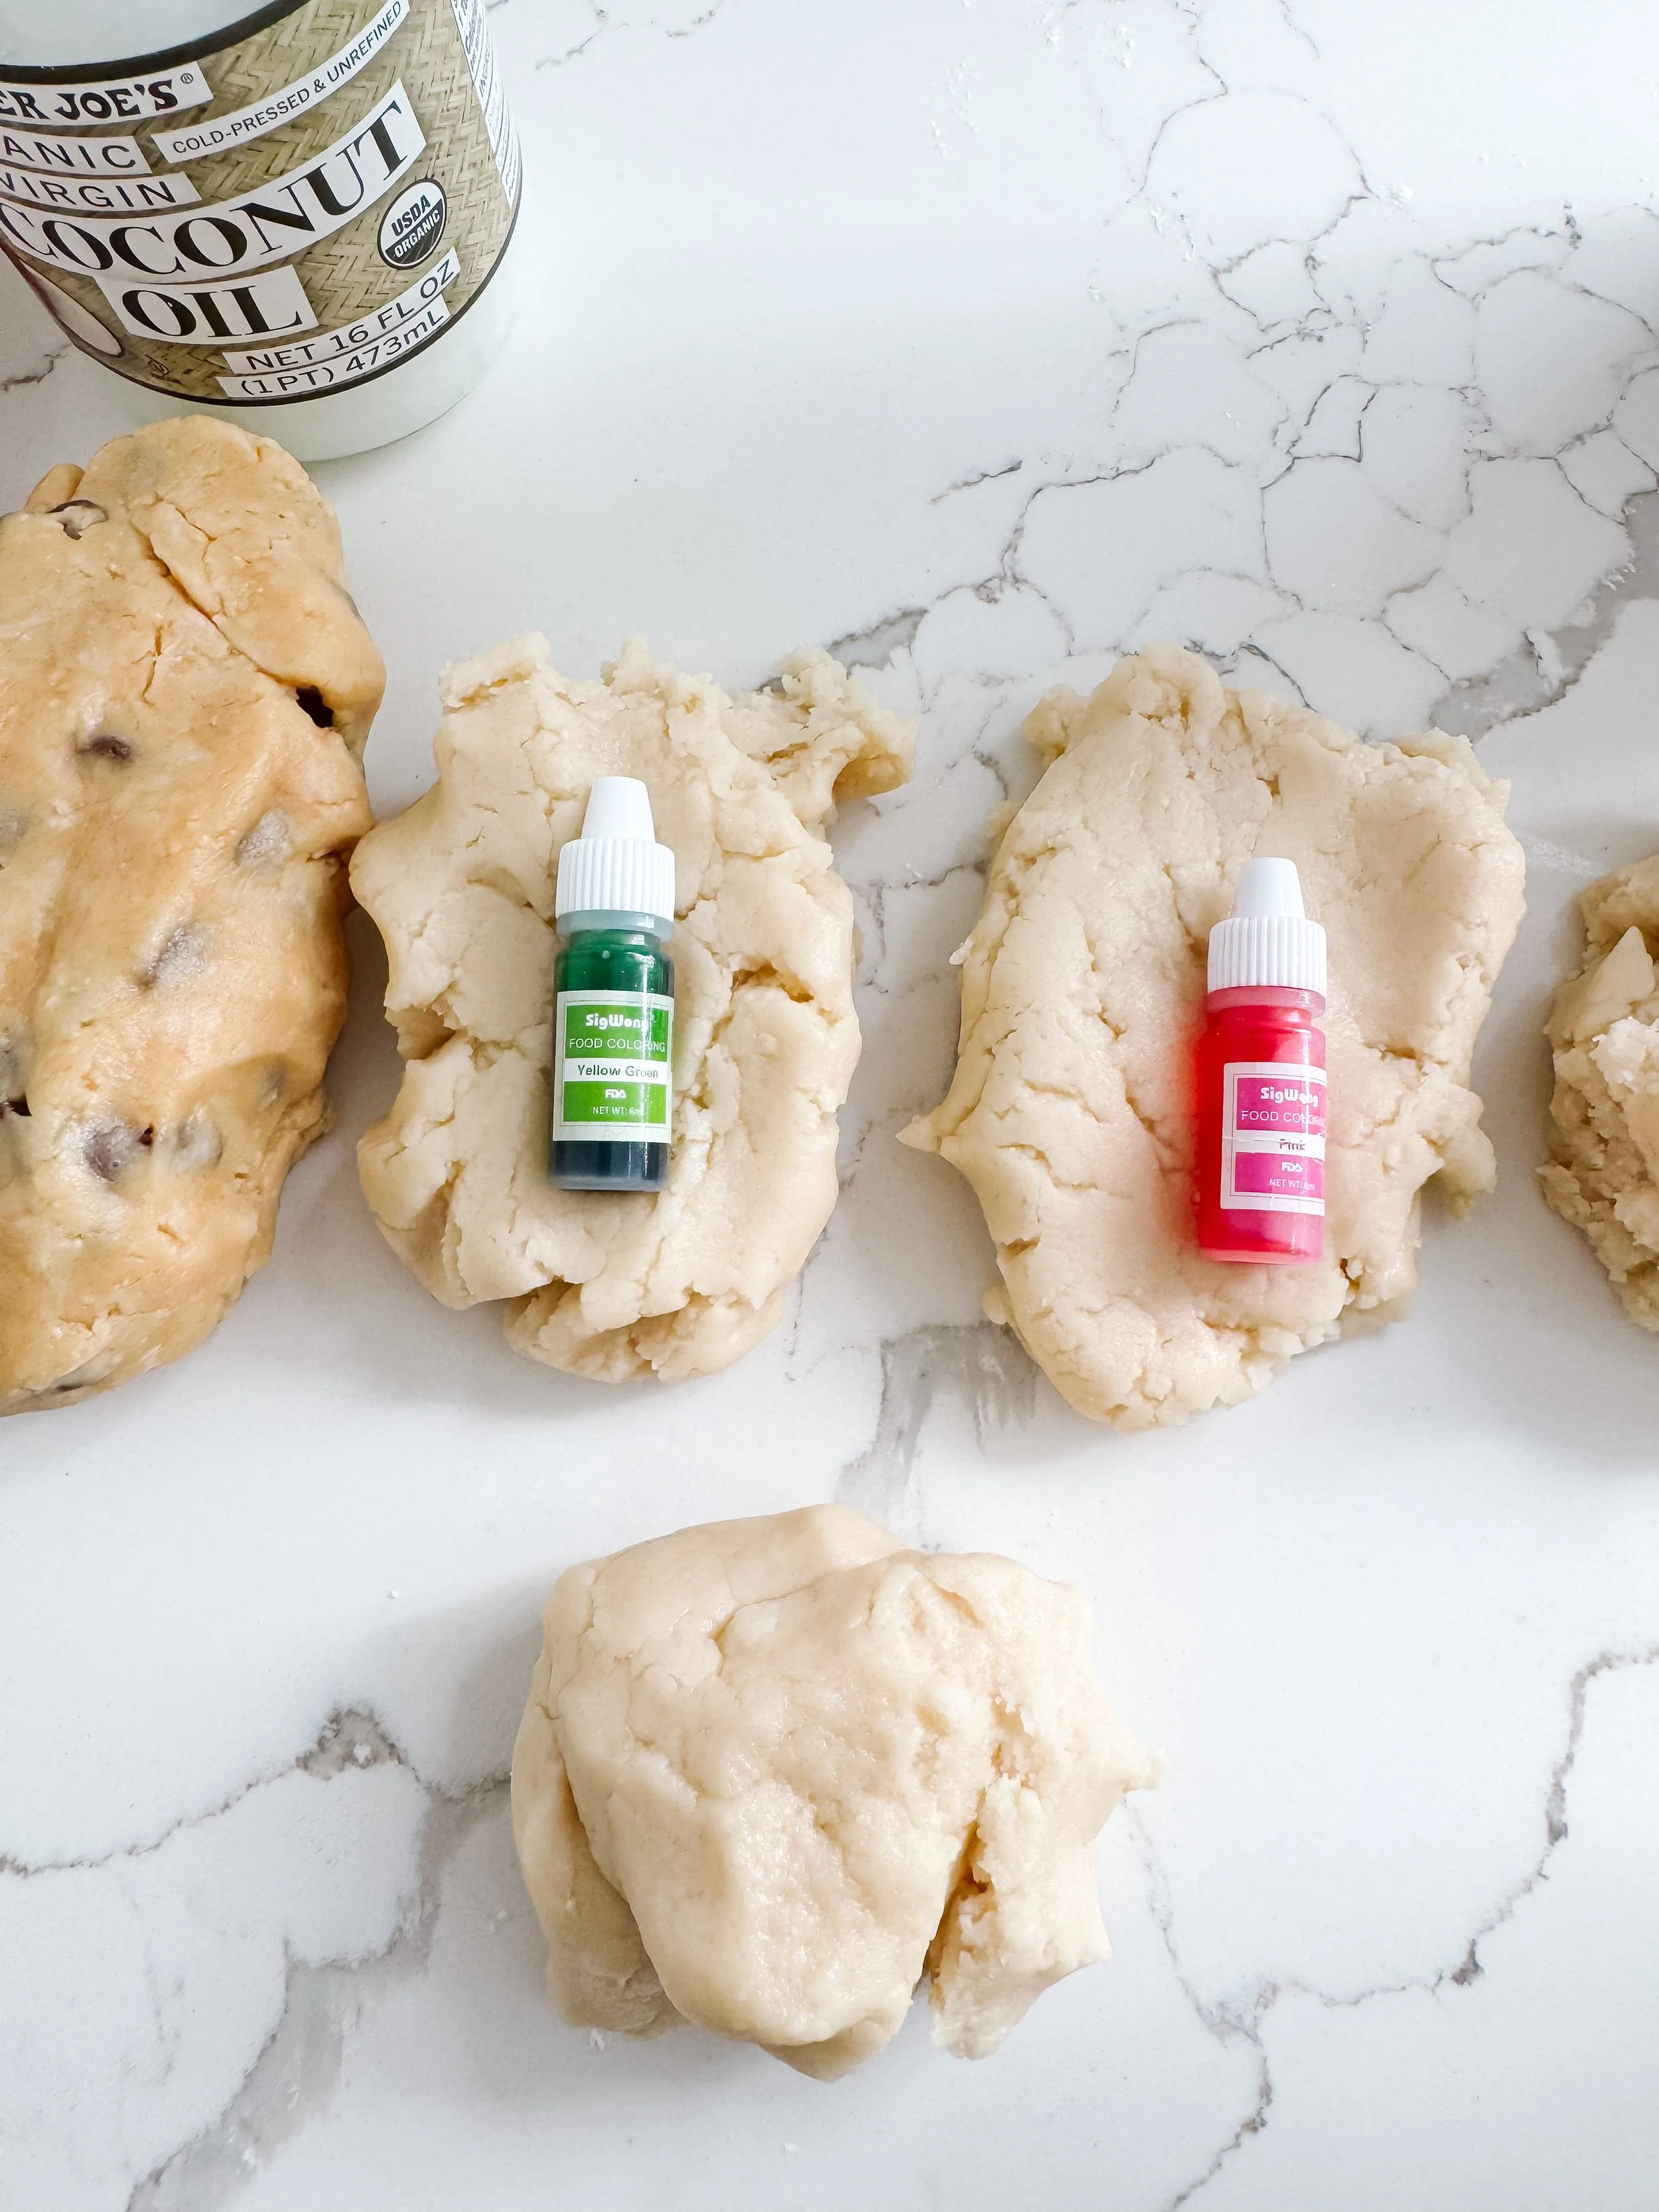
Flavor and color ideas

Vanilla

Leave the dough plain for a soft vanilla ice cream look.

Strawberry

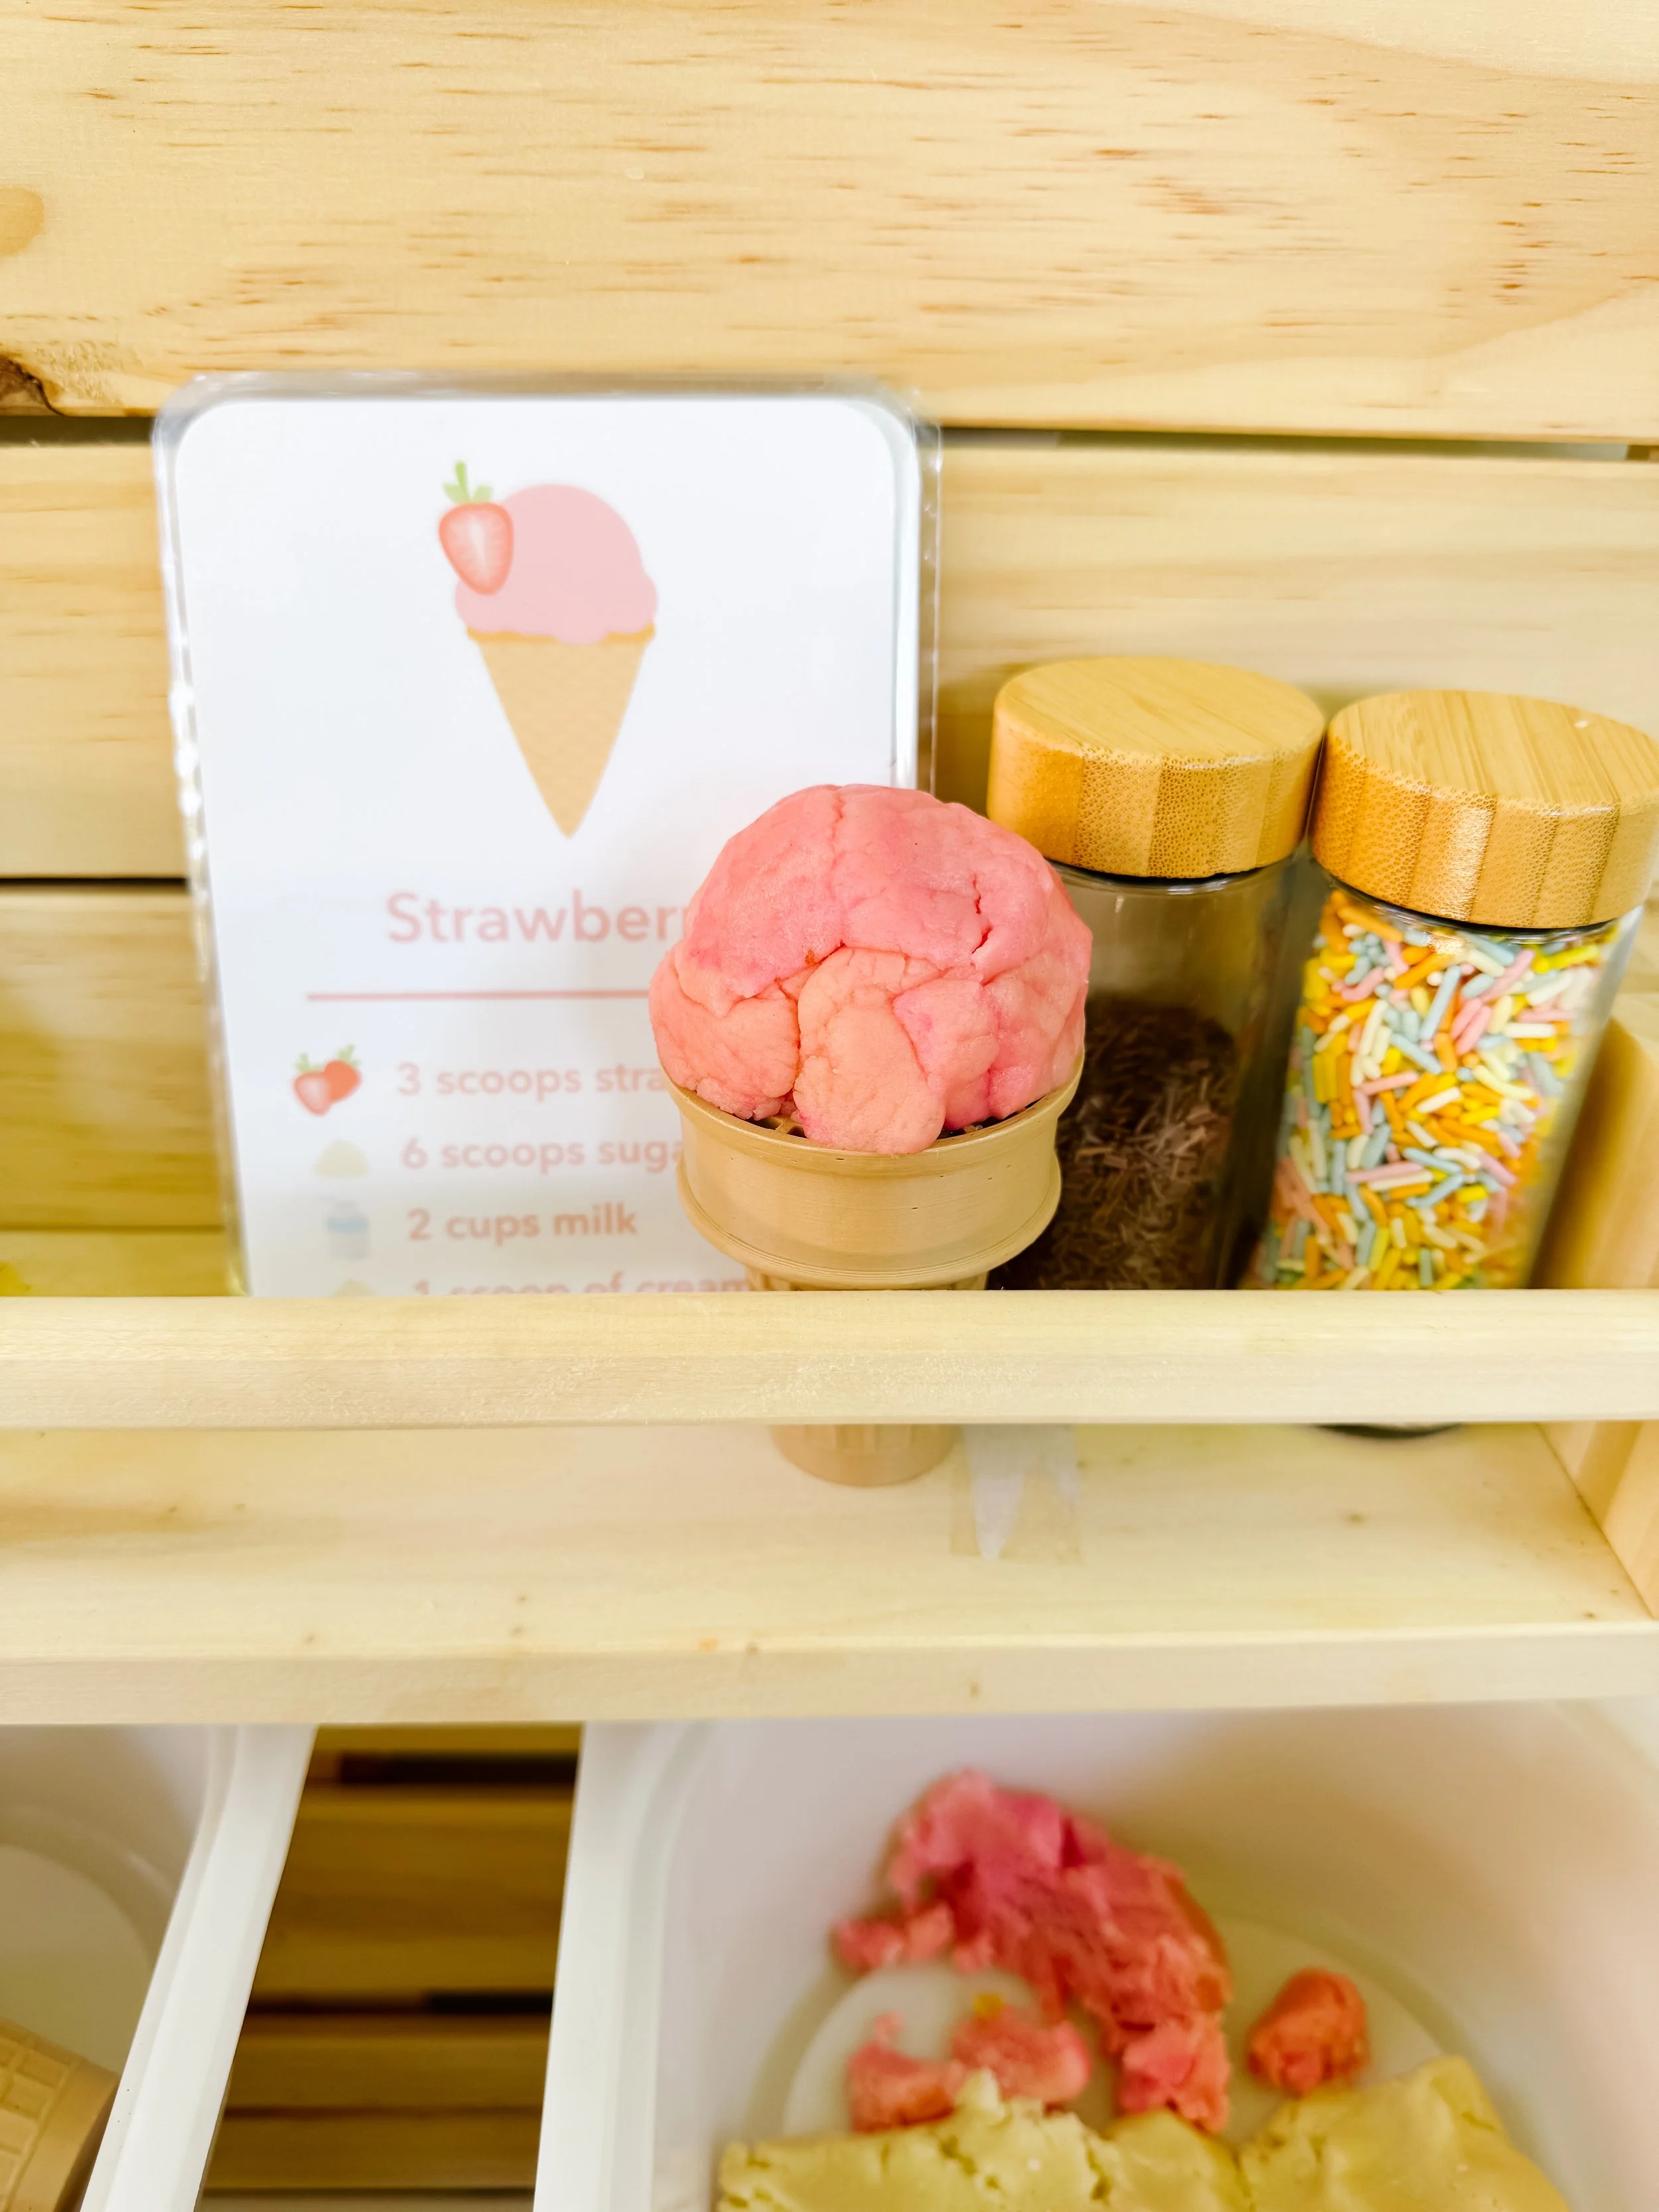
Add a tiny amount of pink food coloring for strawberry ice cream.

Mint chip

Add green food coloring and tiny dark mix-ins for a mint chip inspired dough.

Cookie dough

Use cookie mix as-is and add small pretend chocolate chips for a cookie dough flavor.

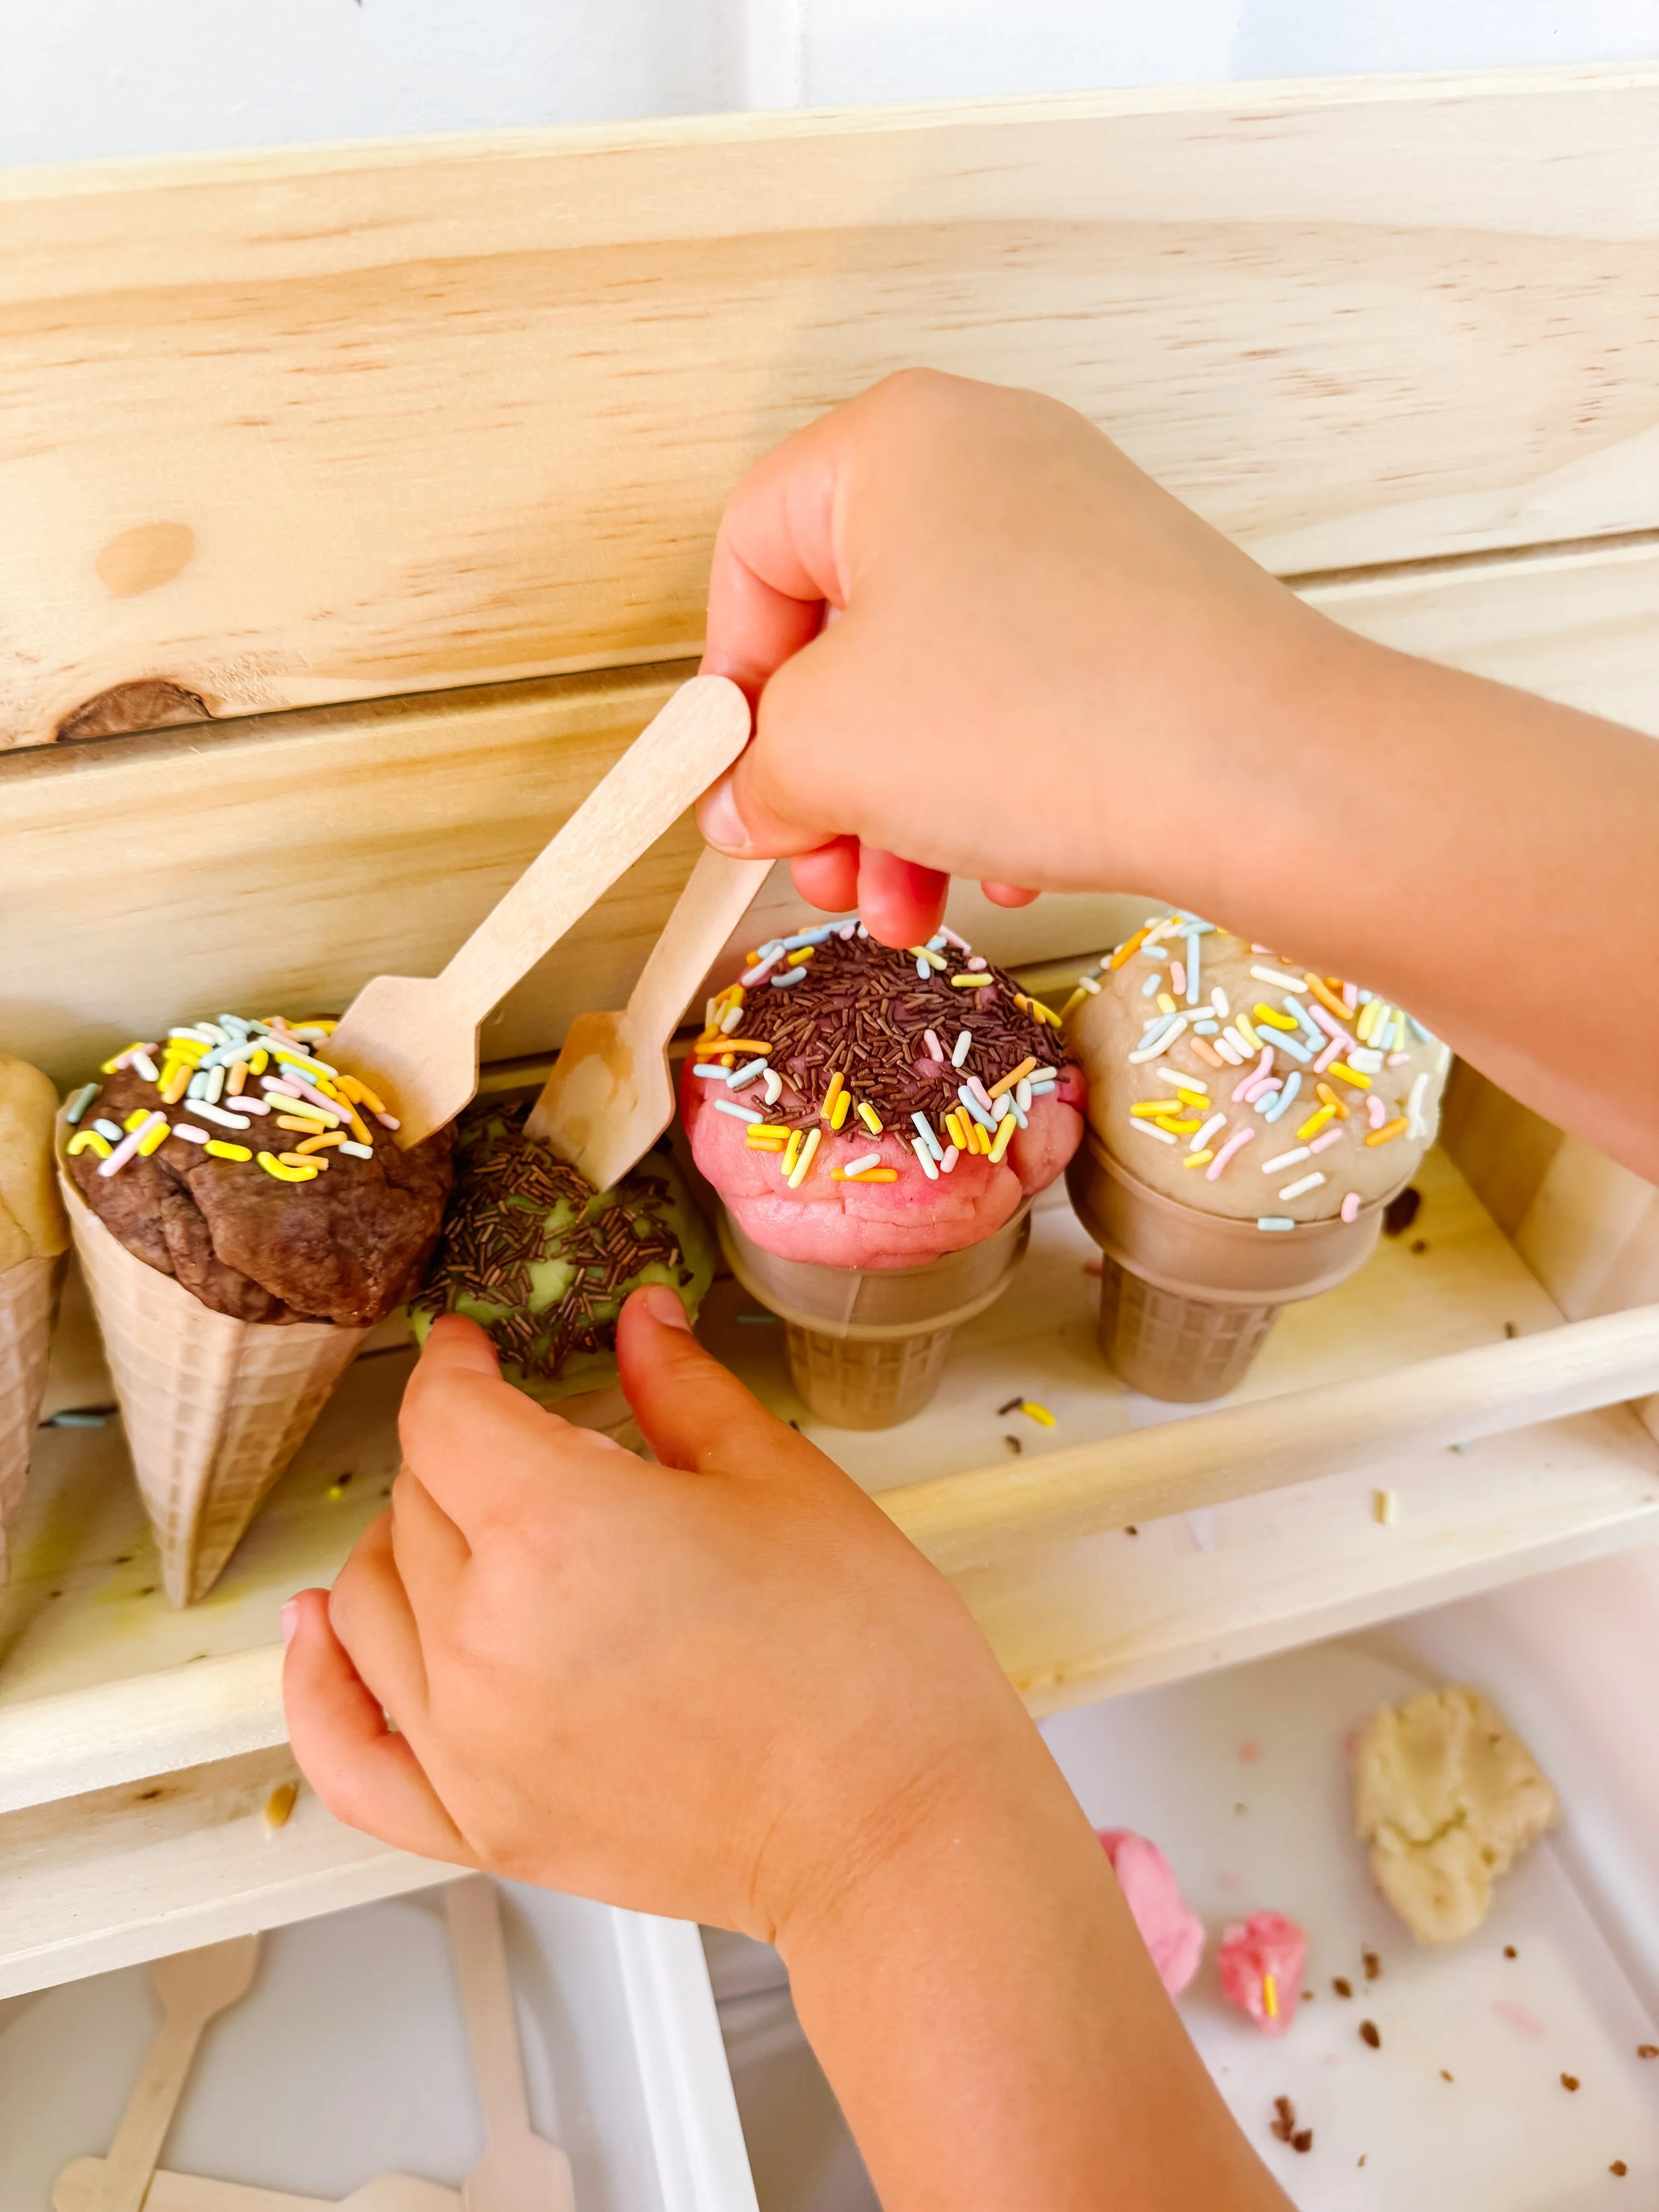
Different colors of homemade ice cream play dough for pretend ice cream shop play.

How to use it for pretend play

This dough is perfect for an ice cream shop setup. Add cones, bowls, spoons, scoops, pretend sprinkles, and recipe cards so kids can create their own flavors.

Children can take orders, count scoops, invent flavors, build tall cones, and practice social language through dramatic play.

Get the Ice Cream Shop Printable

Learning opportunities

Fine motor skills Pretend play Counting scoops Following directions Sensory exploration Vocabulary Creative play

Questions to ask kids

  • What flavor are you making?
  • How many scoops are on your cone?
  • Which dough feels the softest?
  • What toppings should we add?
  • Can you take my order?

More ice cream activities

Ice cream shop pretend play

Turn this dough into a full dramatic play setup with menus, signs, and order forms.

Ice cream sensory play

Create a sensory bin with scoops, cones, pom poms, and pretend toppings.

Ice cream mud kitchen

Take the recipe outside for scoopable mud kitchen pretend play.

Ice cream play dough FAQ

How do you make ice cream play dough?

Mix one packet of cookie mix with one cup of cornstarch, three tablespoons of melted coconut oil, and water as needed until the dough becomes soft, fluffy, and scoopable.

Is this ice cream dough sticky?

No, that is what makes this recipe so great. Unlike icing-based recipes, this version does not stick to your hands when the texture is balanced correctly.

How do I fix sticky play dough?

Add more cornstarch one tablespoon at a time and knead until the dough feels soft but no longer sticky.

How do I make play dough more scoopable?

Add a tiny bit more melted coconut oil or a few drops of water, then knead until the dough becomes smooth and easy to scoop.

Is this recipe taste-safe?

The ingredients are food-based, but this recipe is intended for sensory play, not eating. Always supervise young children during play.

How should I store homemade ice cream dough?

Store it in an airtight container or zip-top bag. If it dries out, add a few drops of water or coconut oil and knead again before playing.