Rainbow Waffles Toddler Activity

Ready for some more rainbow fun?! This week, Sofie and I made these fun rainbow waffles, and they were a hit from start to finish. This is the kind of activity that turns an ordinary breakfast into something a little magical — and the best part is that it is genuinely easy. No fancy skills required, just a little patience while you mix the colors and a piping bag to do the art.

It does take a little bit of time to mix all of the colors, so plan for that. While I got everything ready, I kept Sofie entertained with blueberries — a win-win, since she got a snack and I got a few uninterrupted minutes. Speaking of blueberries, they end up being the perfect topping, which you'll see in a minute.

What You Need

Waffle mix (a bag of the ready-made kind — I kept it simple!)

Water or milk (whichever you normally use with your mix)

Blueberries (for snacking and for topping)

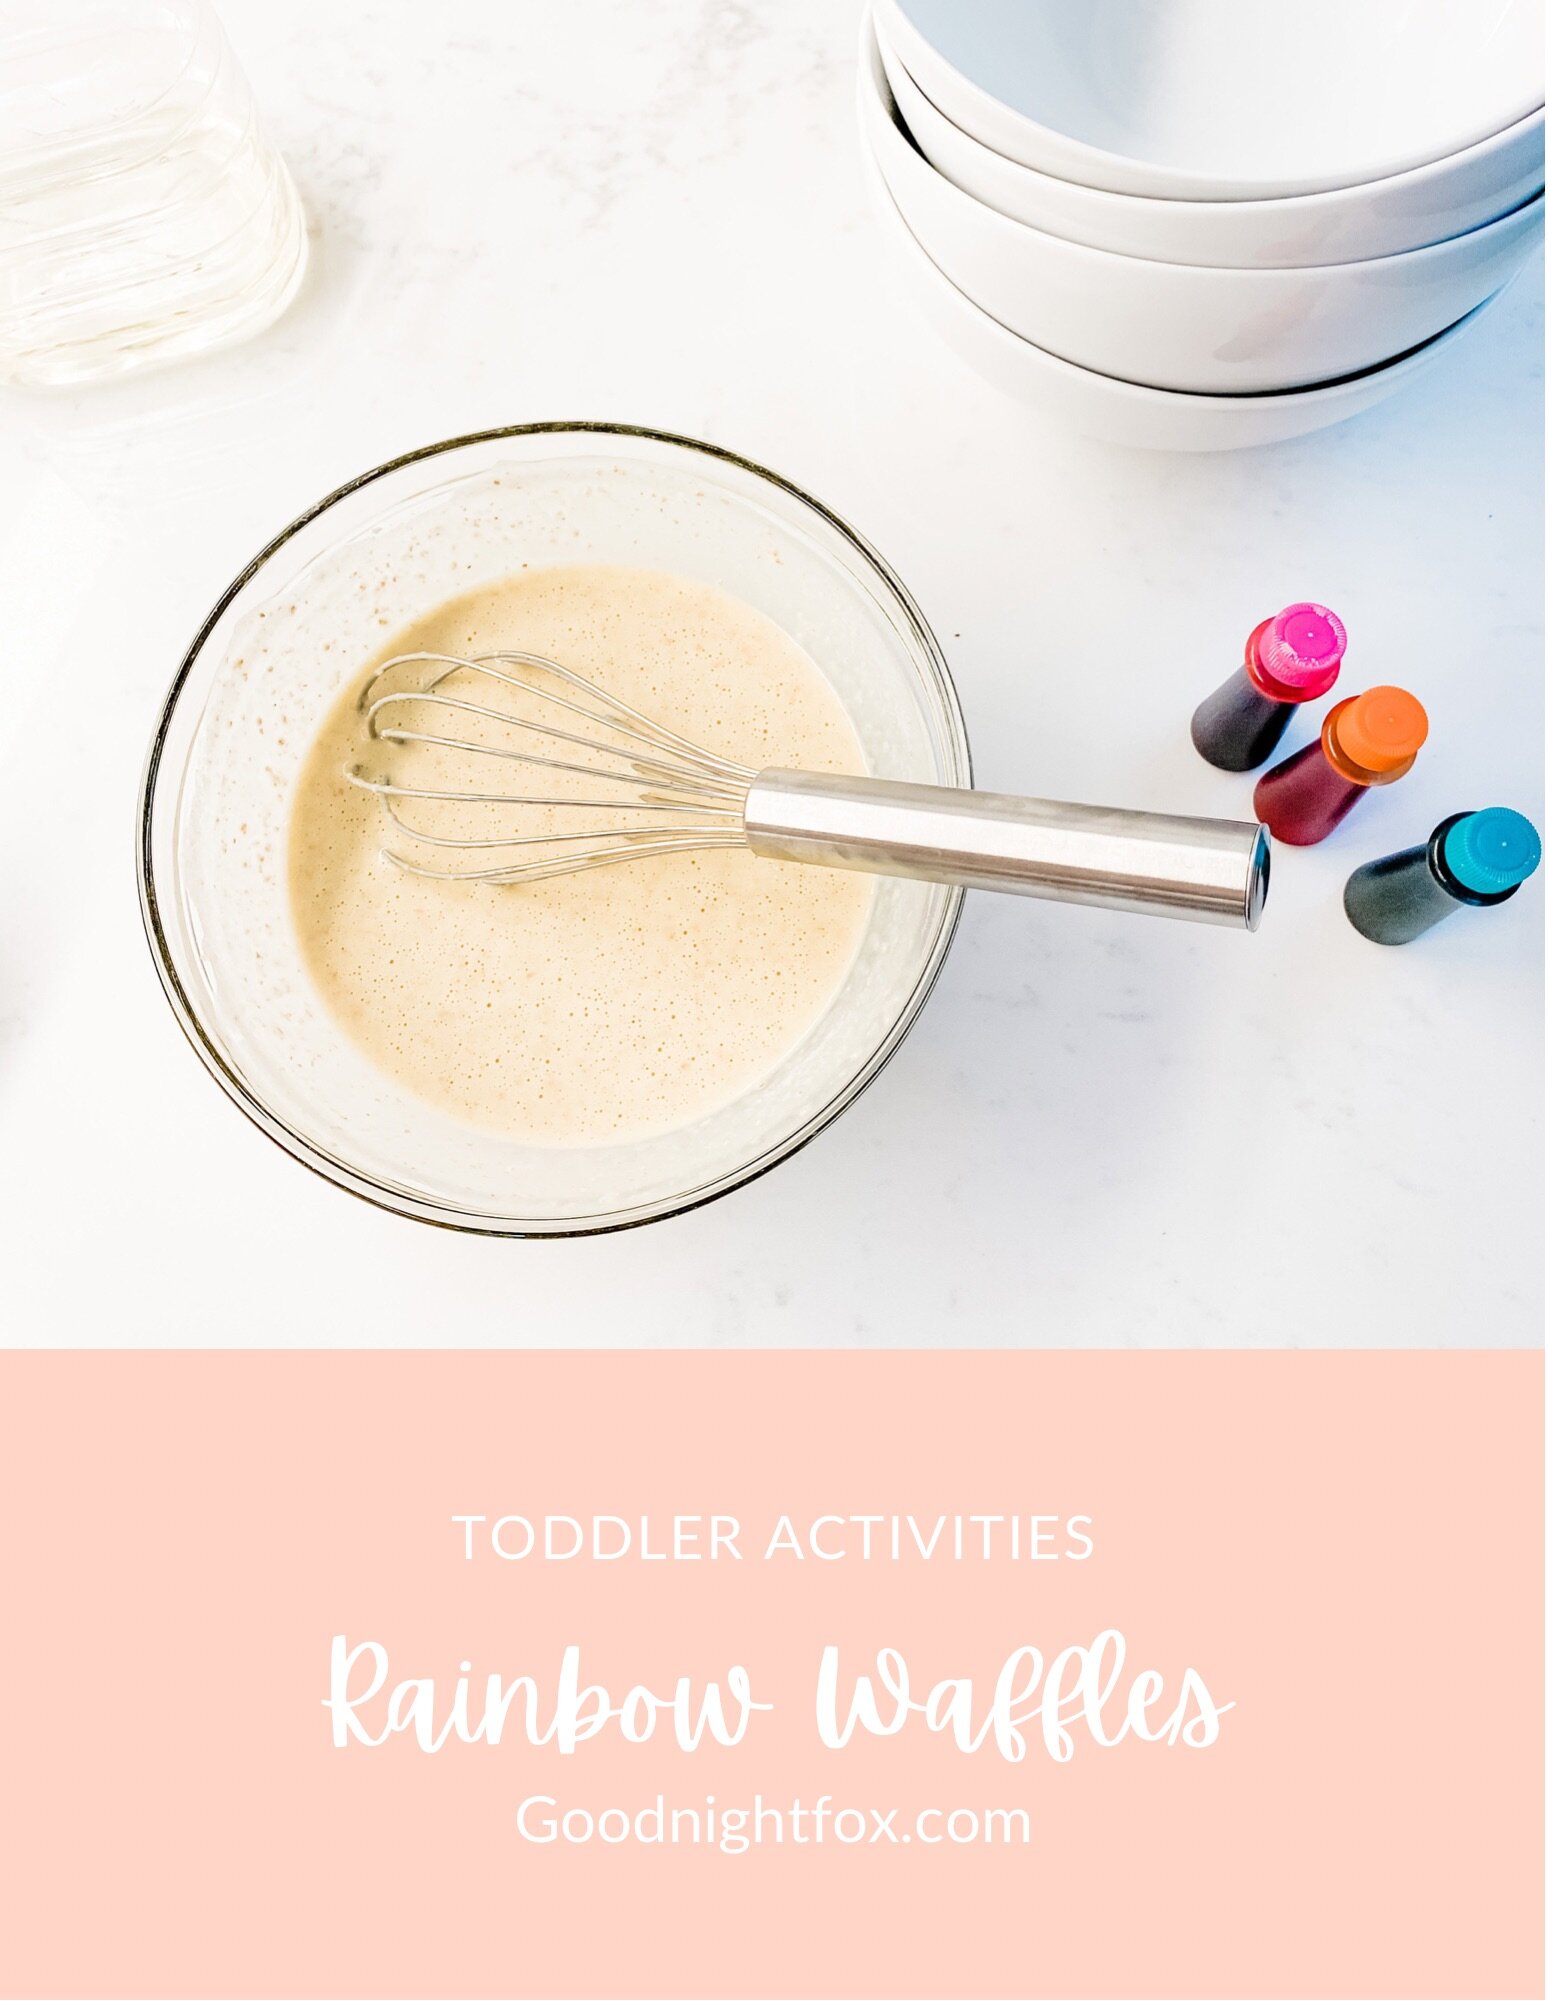
Pastel food colors — I used a lovely pastel food coloring set because I'm all about that modern pastel rainbow

Piping bags

A waffle iron

How to Make Them

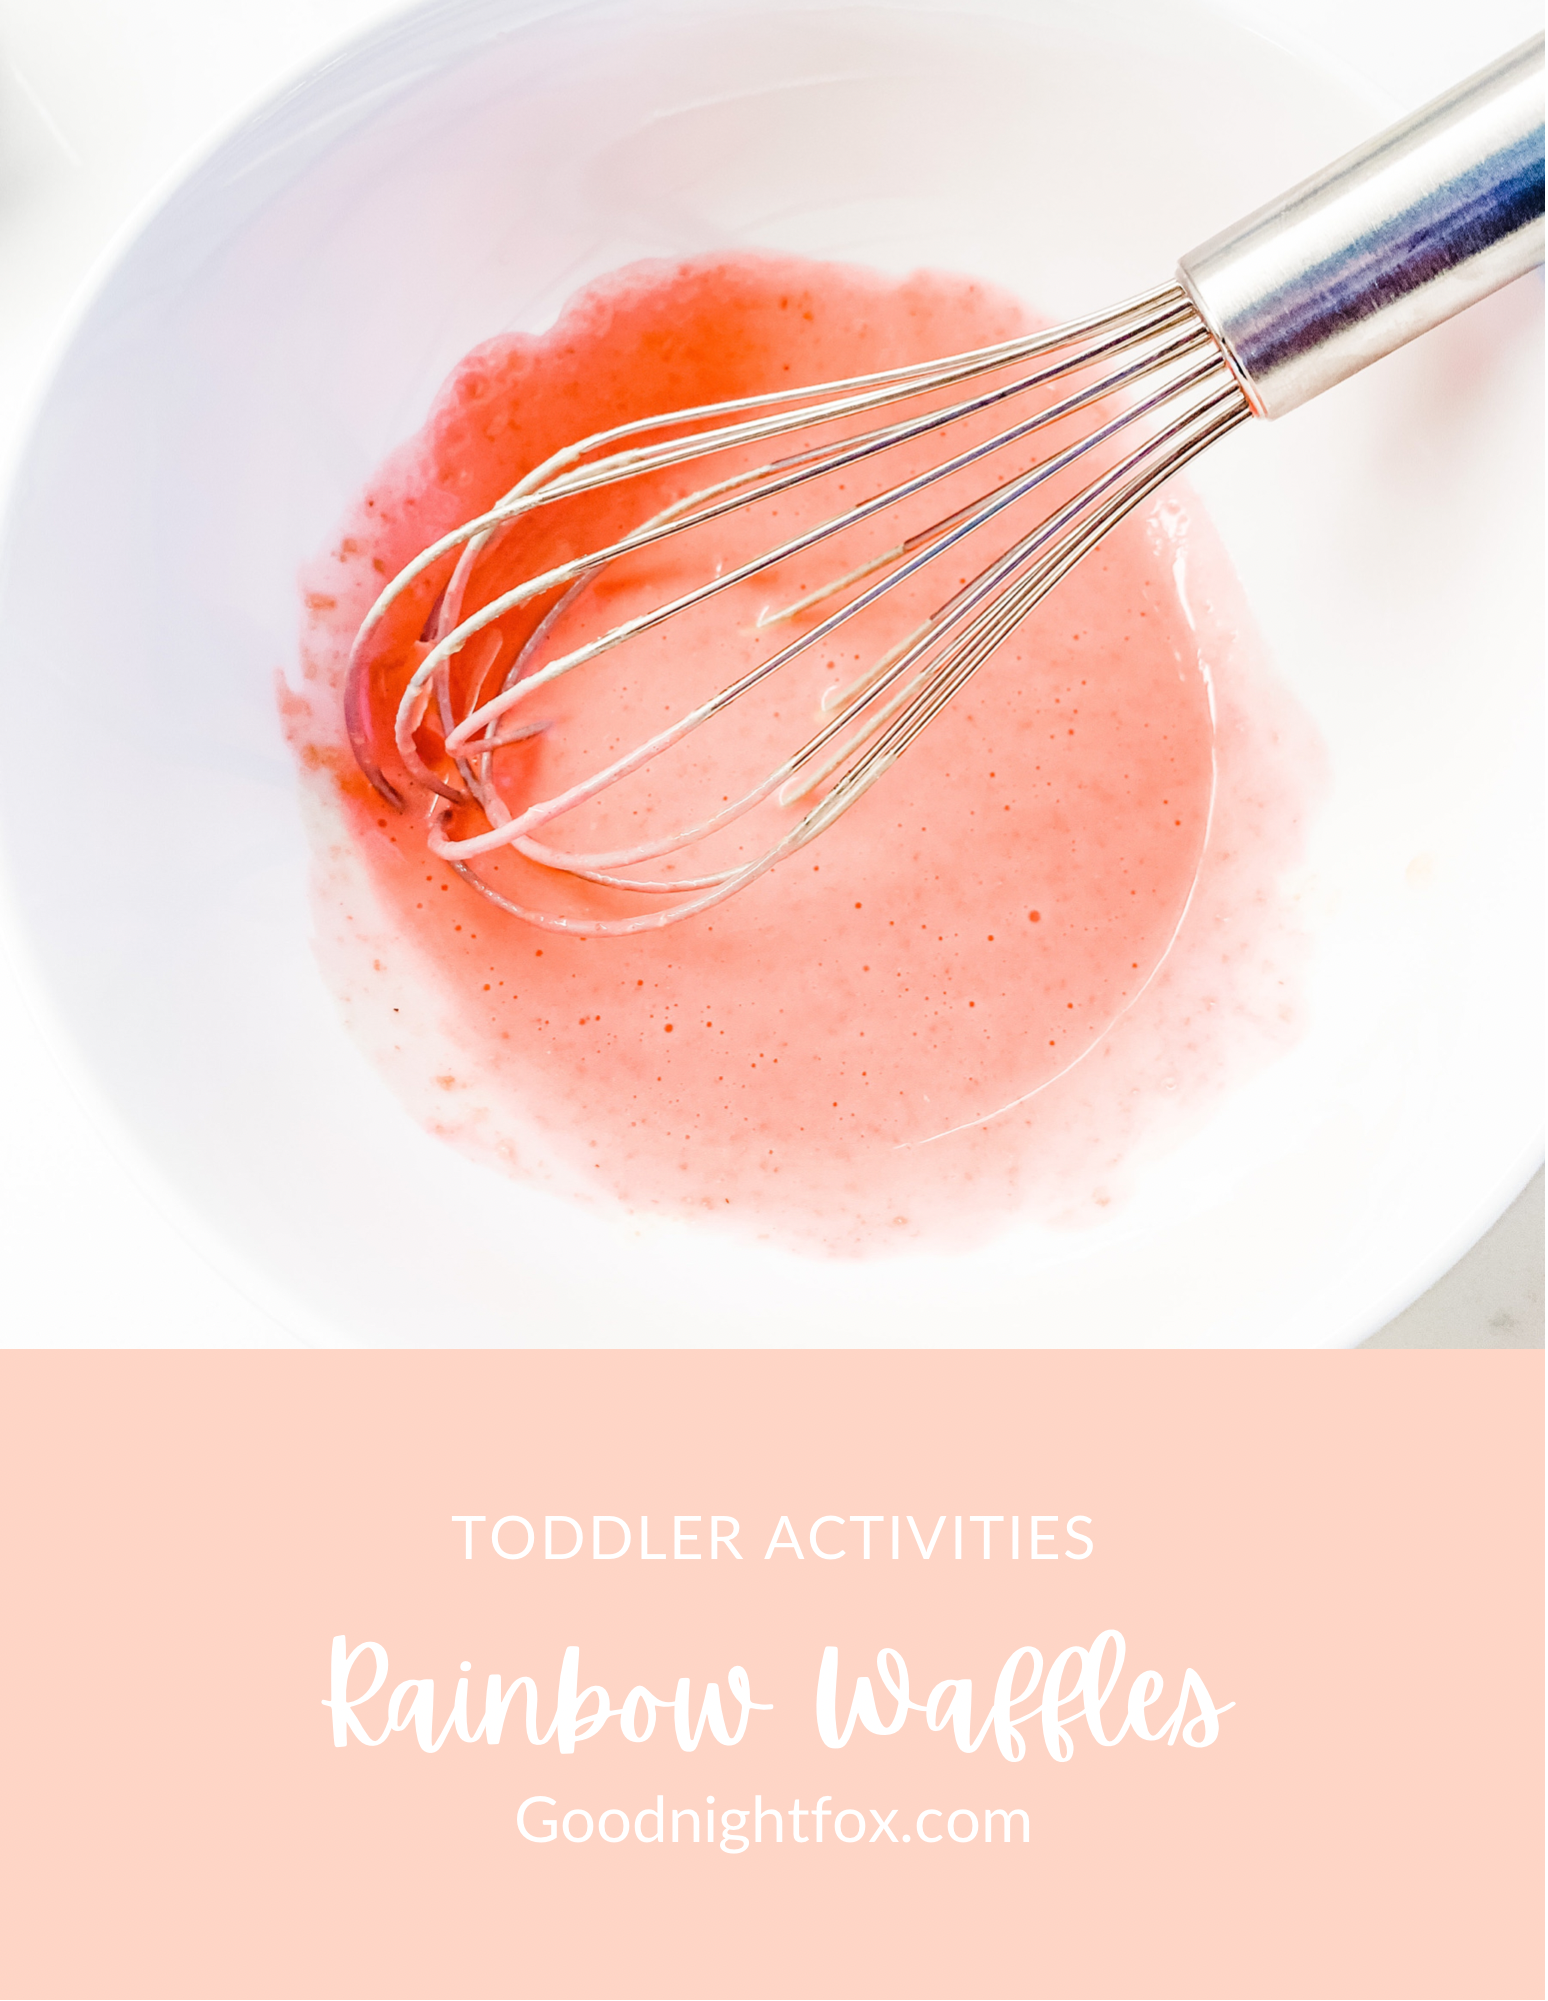
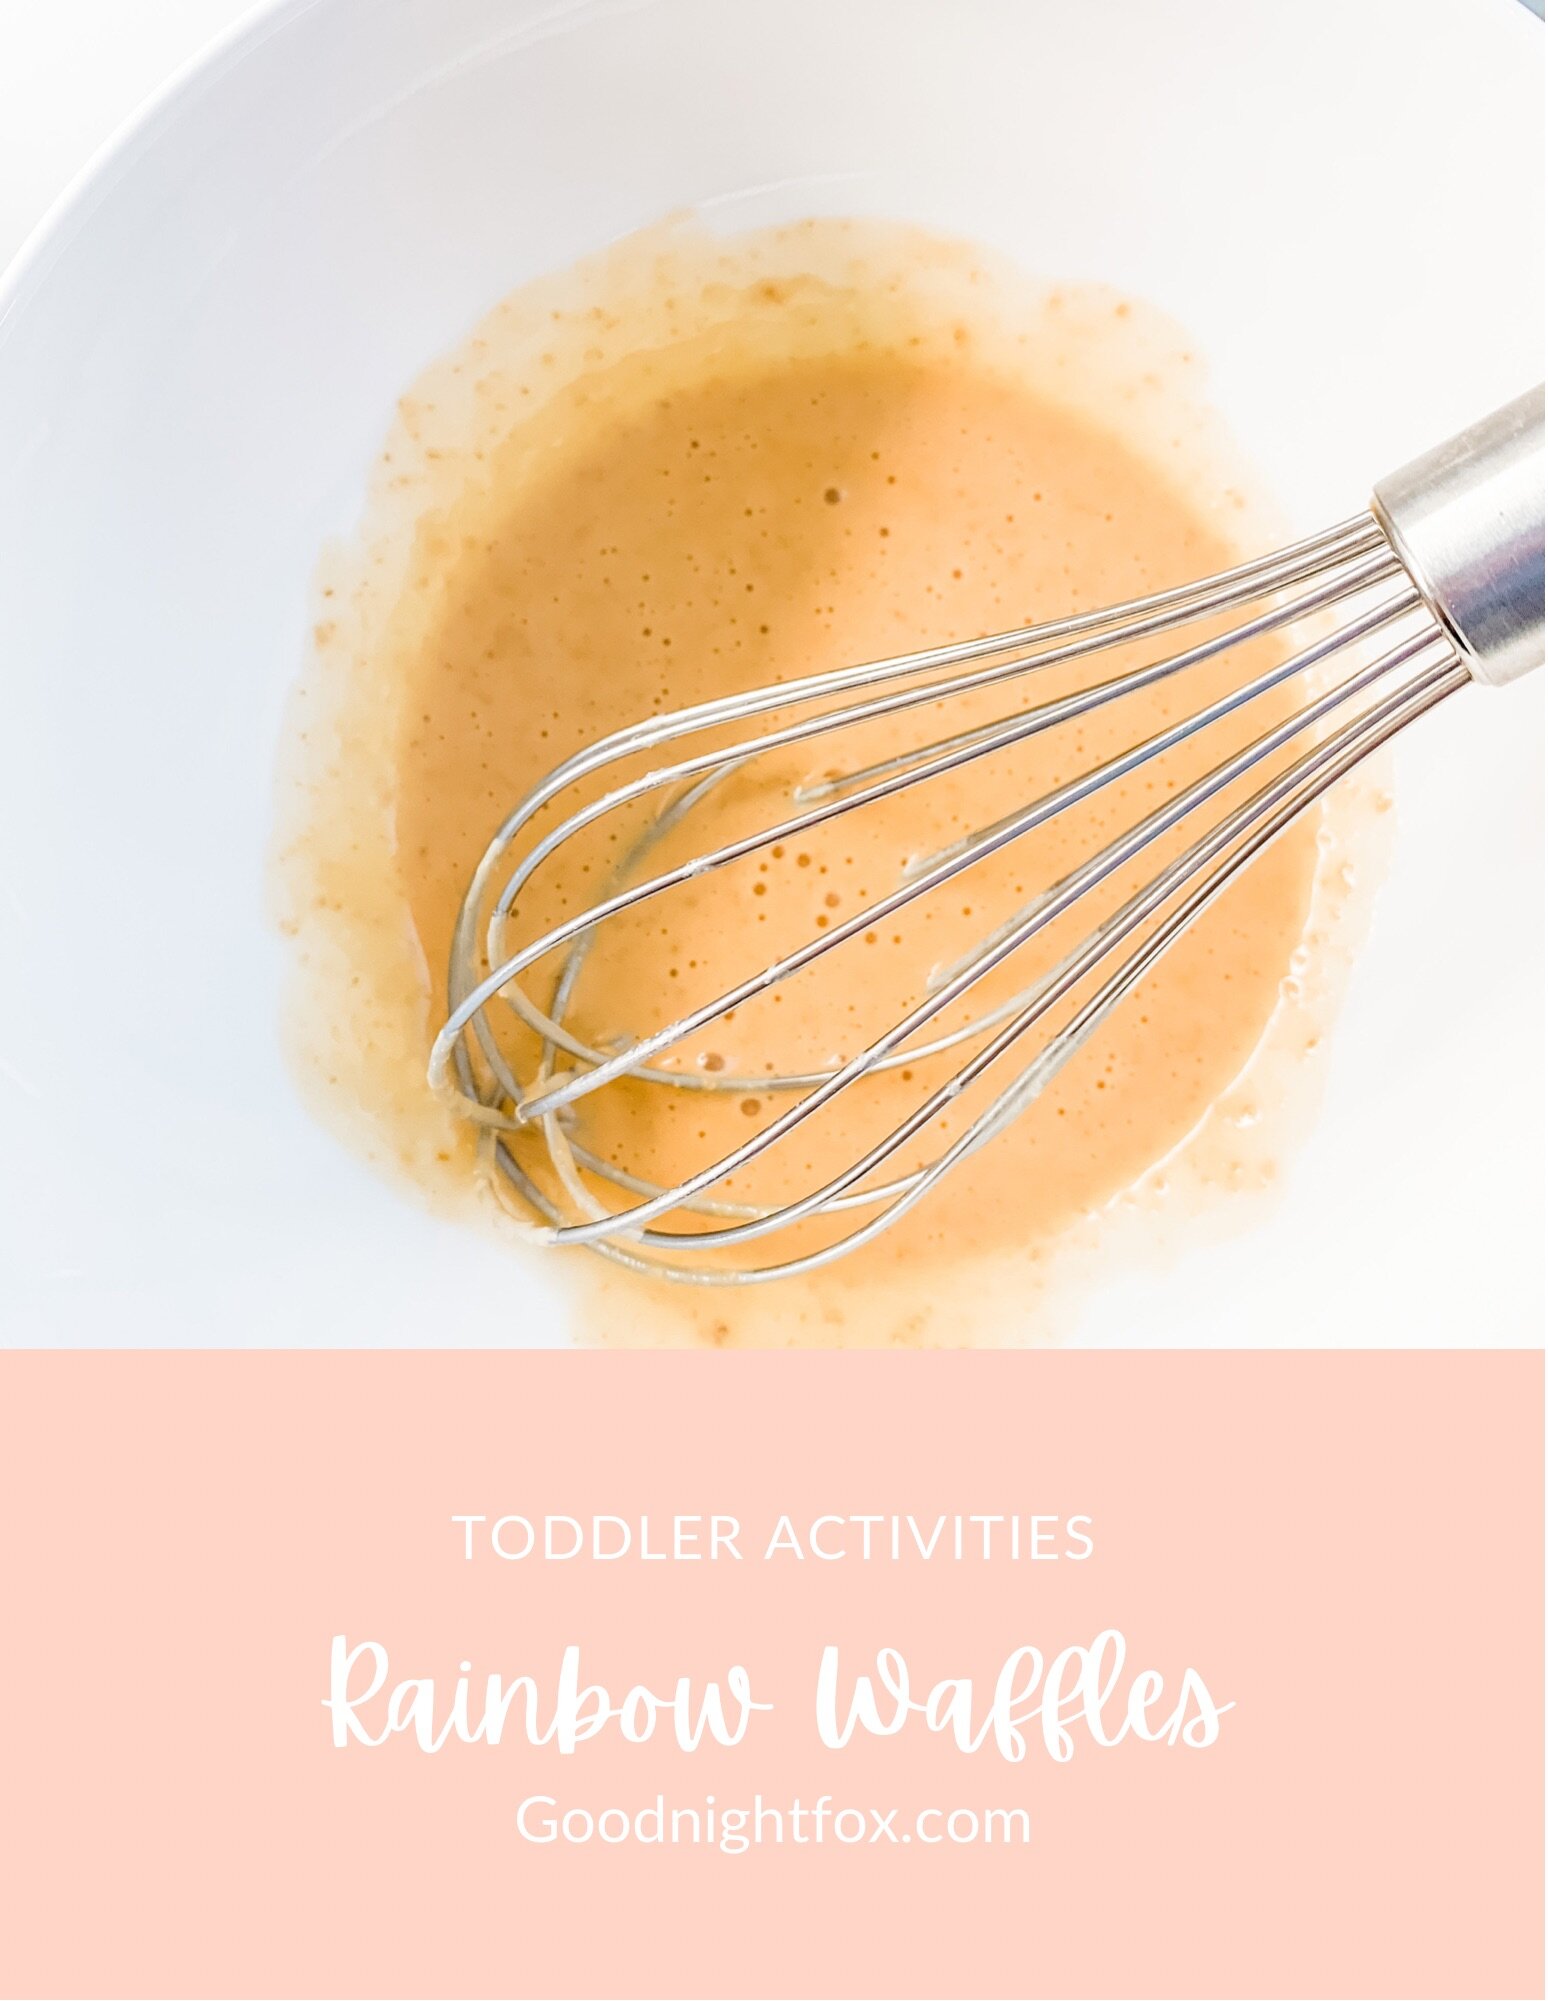
Step 1: Mix the batter. Prepare your bag of waffle mix with water or milk, following the package directions. Keeping it simple with the ready-made mix means the real fun — the colors — gets your full attention.

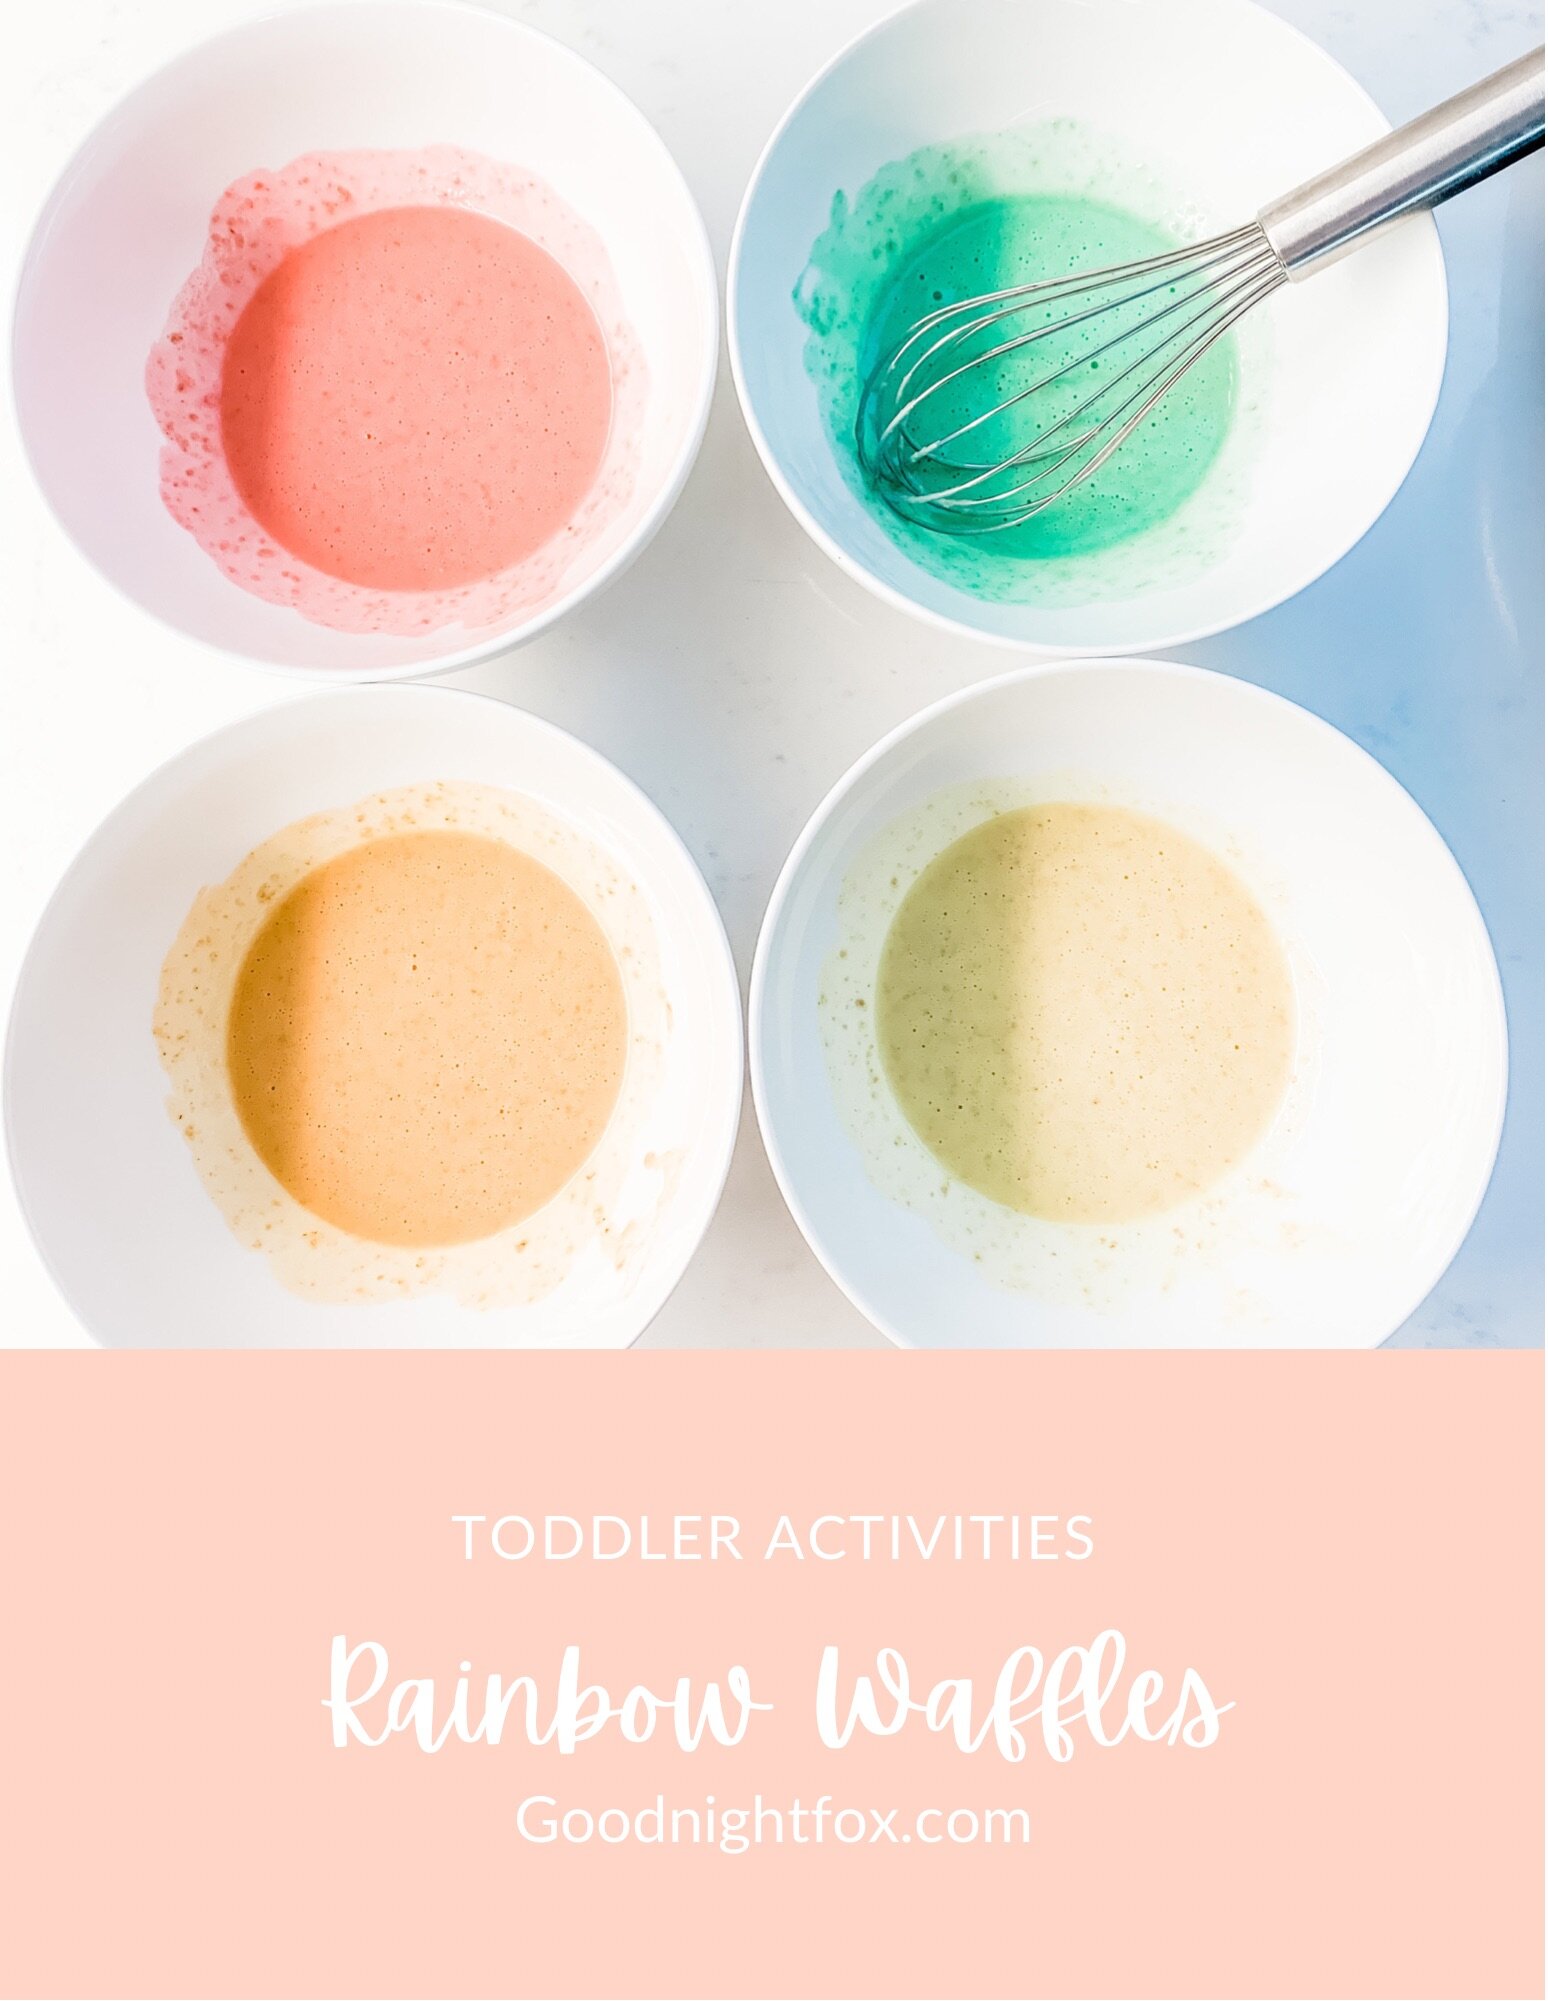
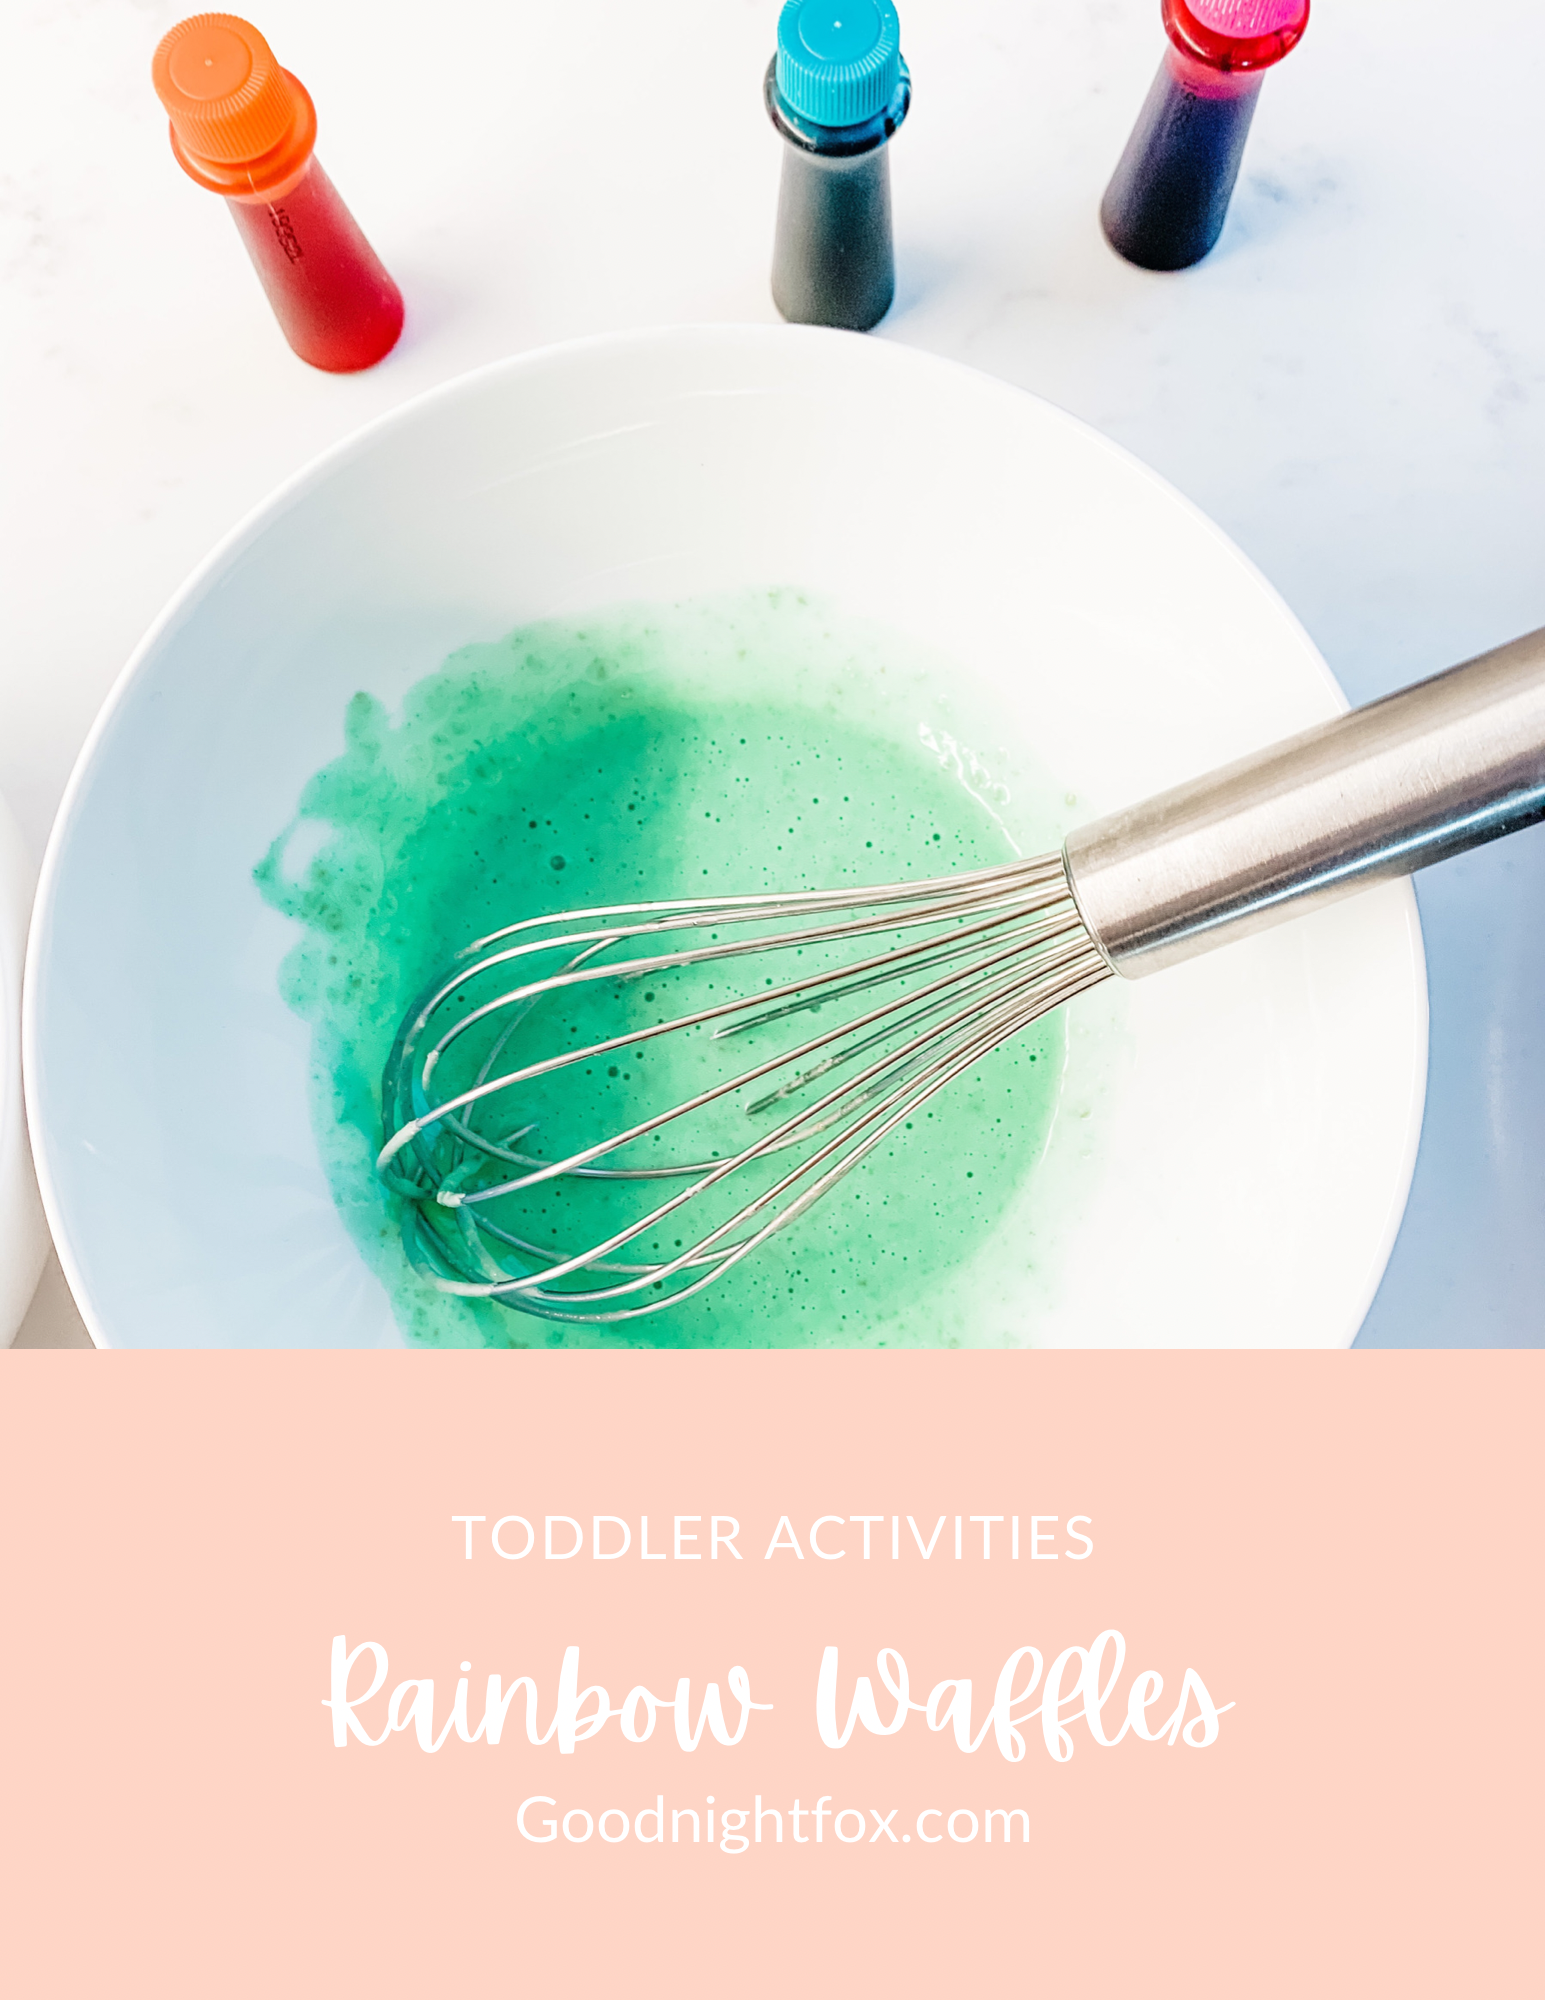
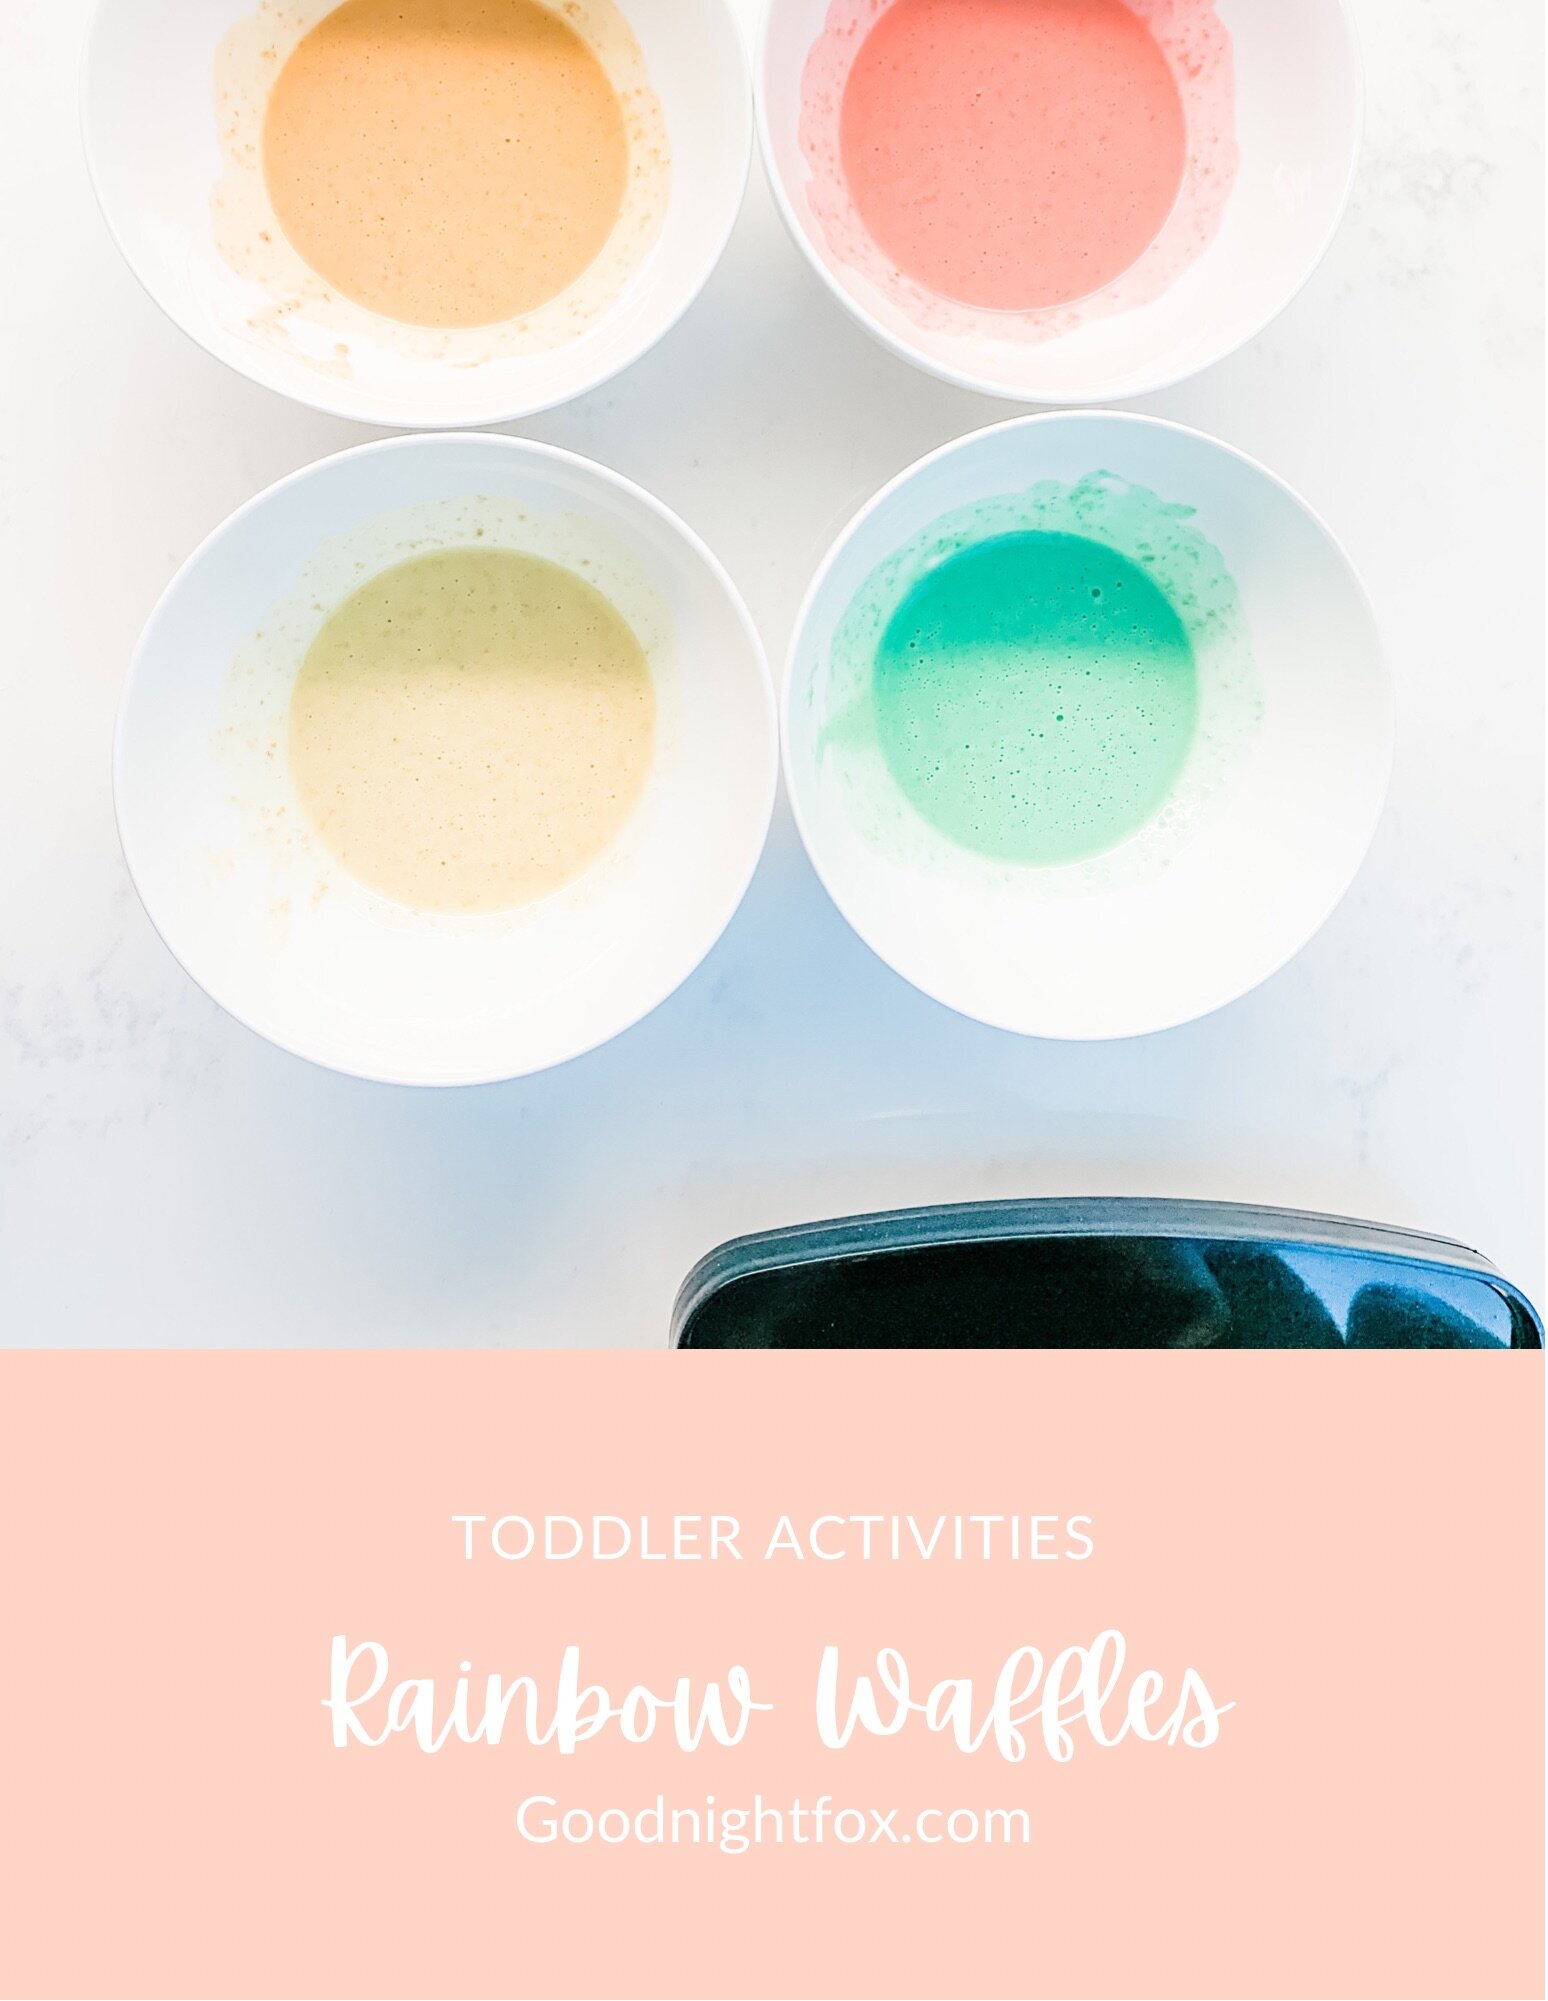
Step 2: Divide and color. Split the batter into a separate bowl for each rainbow color you're making. Add a drop or two of food coloring to each bowl and stir. I went with the modern pastel rainbow — soft pinks, oranges, yellows, greens, blues, and purples. This is the part that takes a little time, so set yourself up with everything in a row and work through the colors.

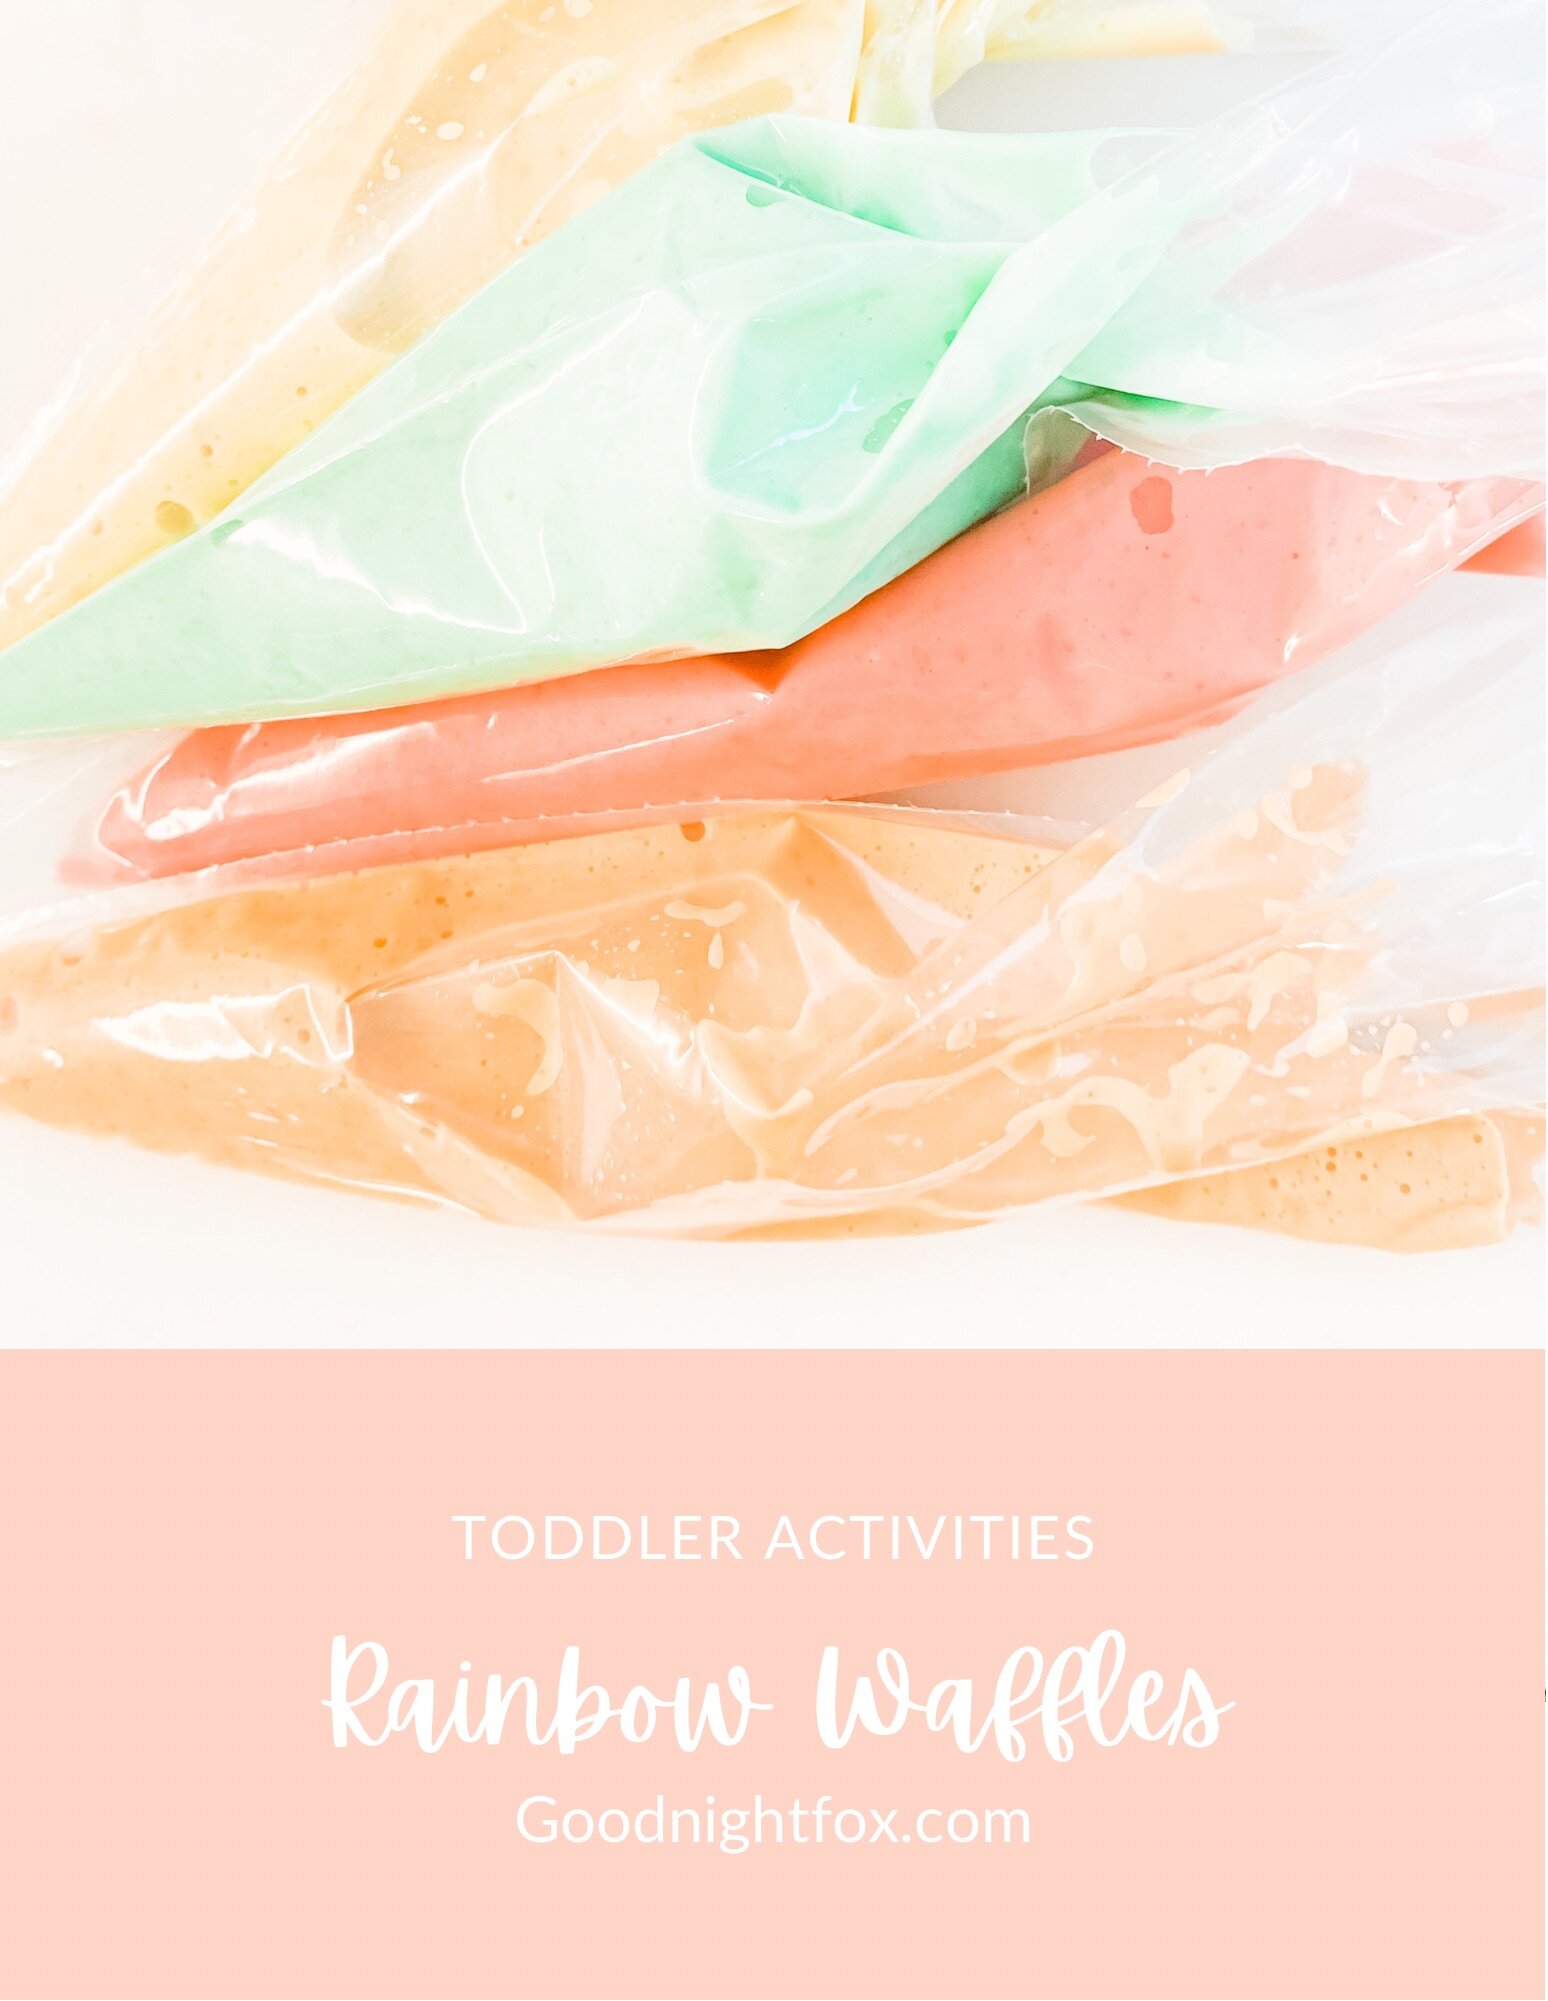
Step 3: Fill your piping bags. Pour each color into its own piping bag and cut the tips. Small cuts give you more control over the thin color lines.

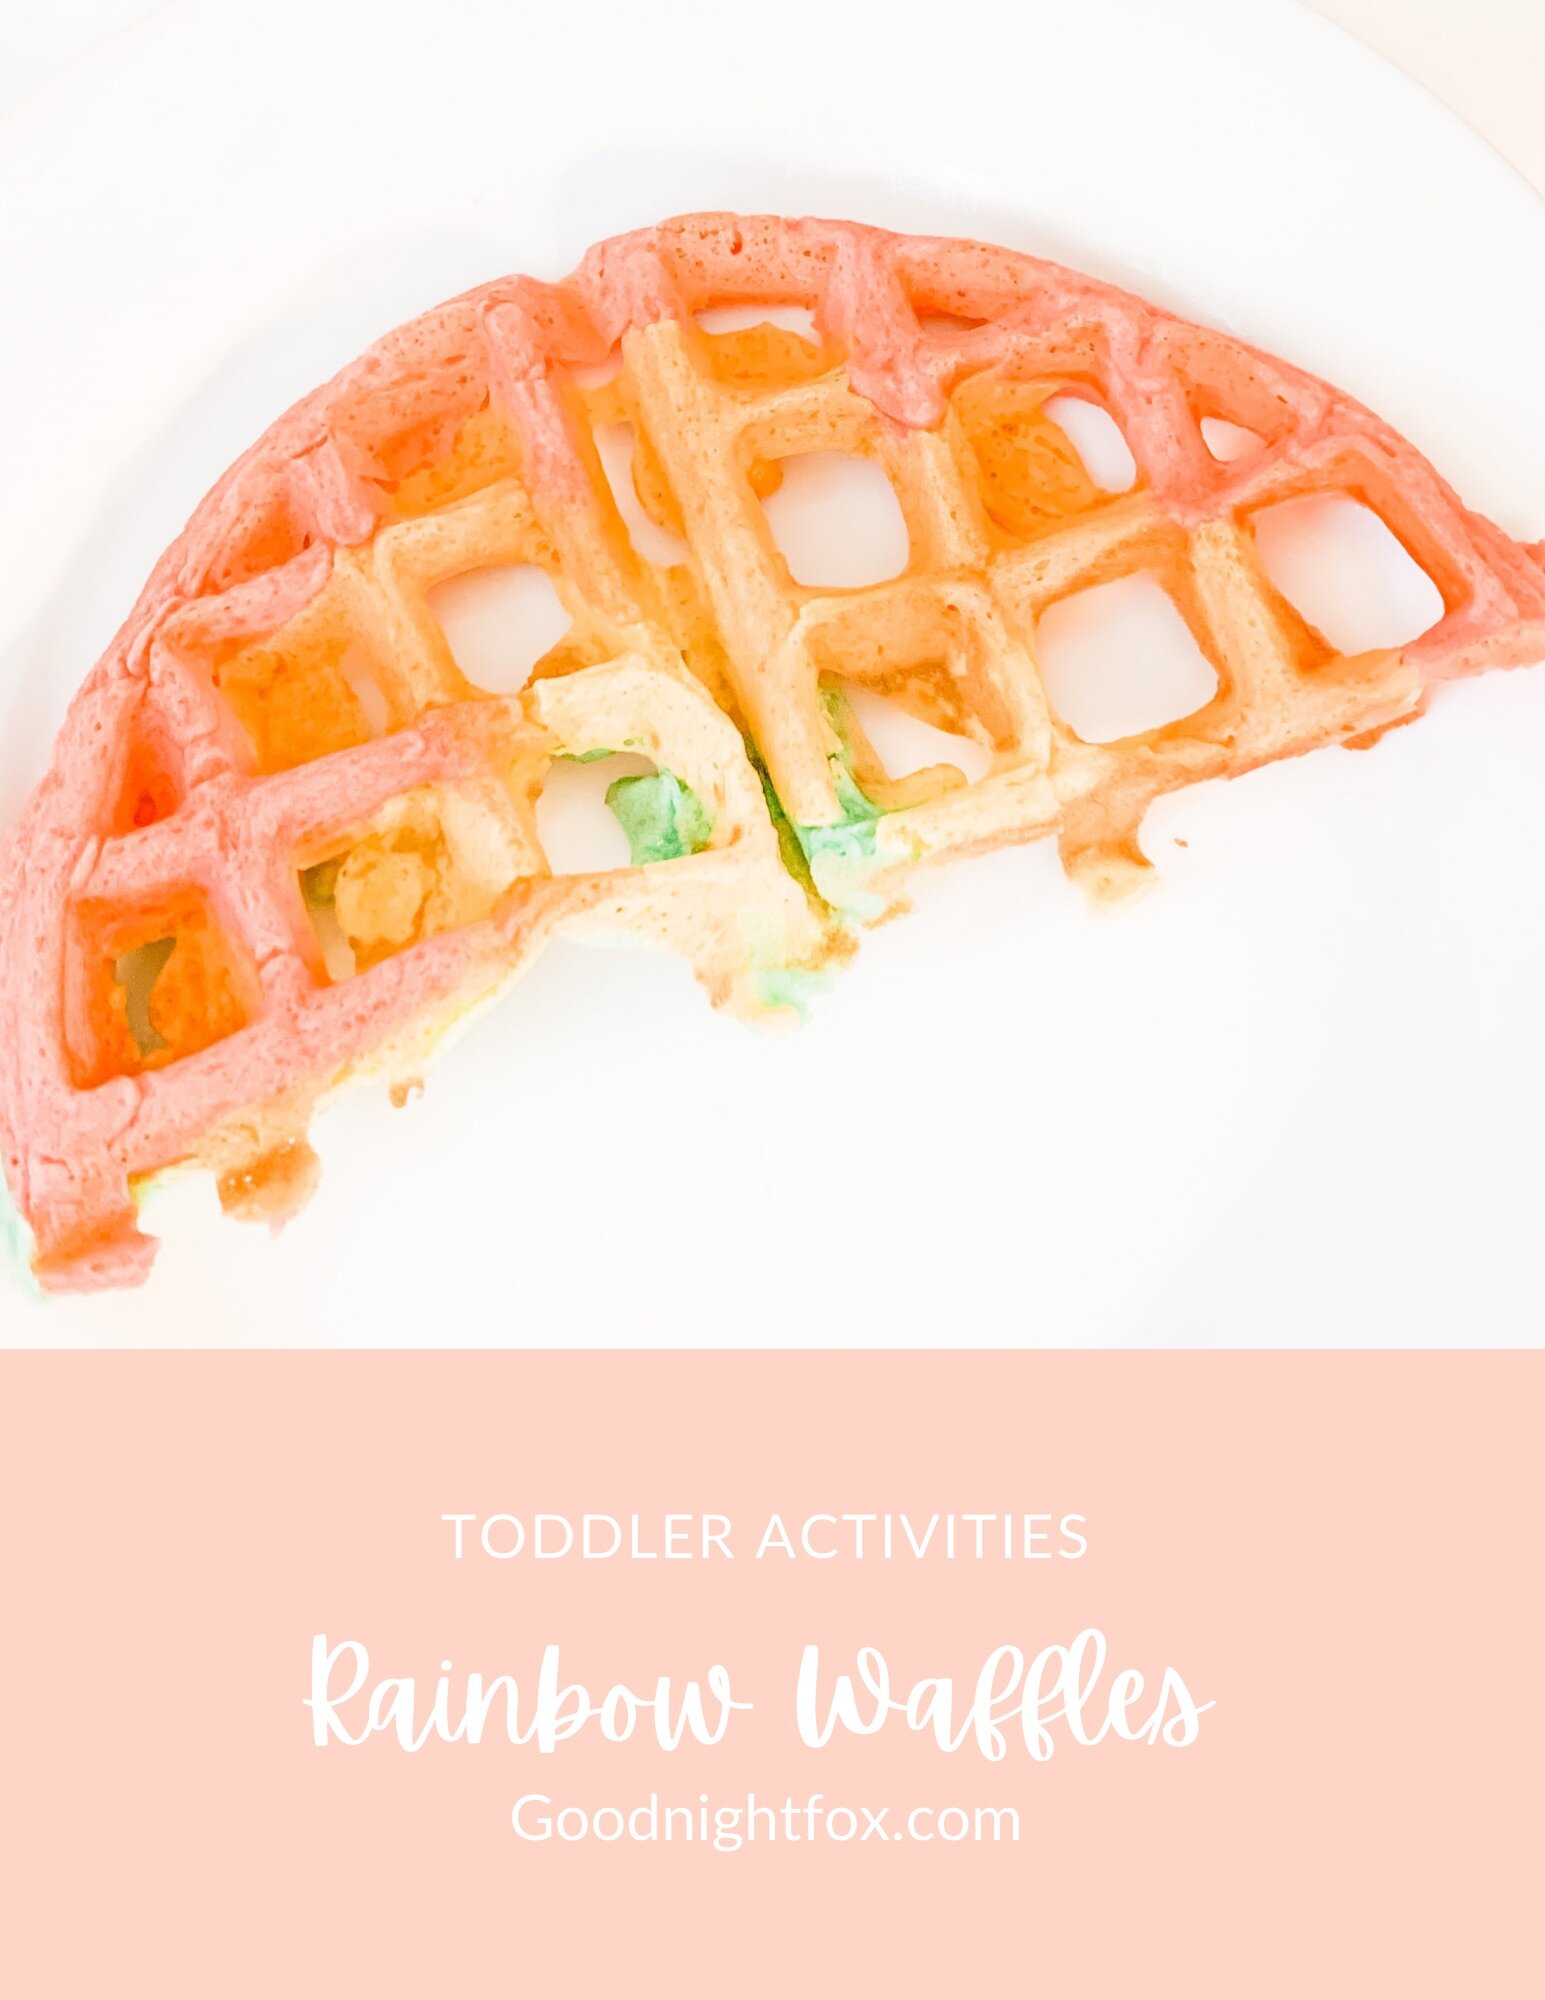
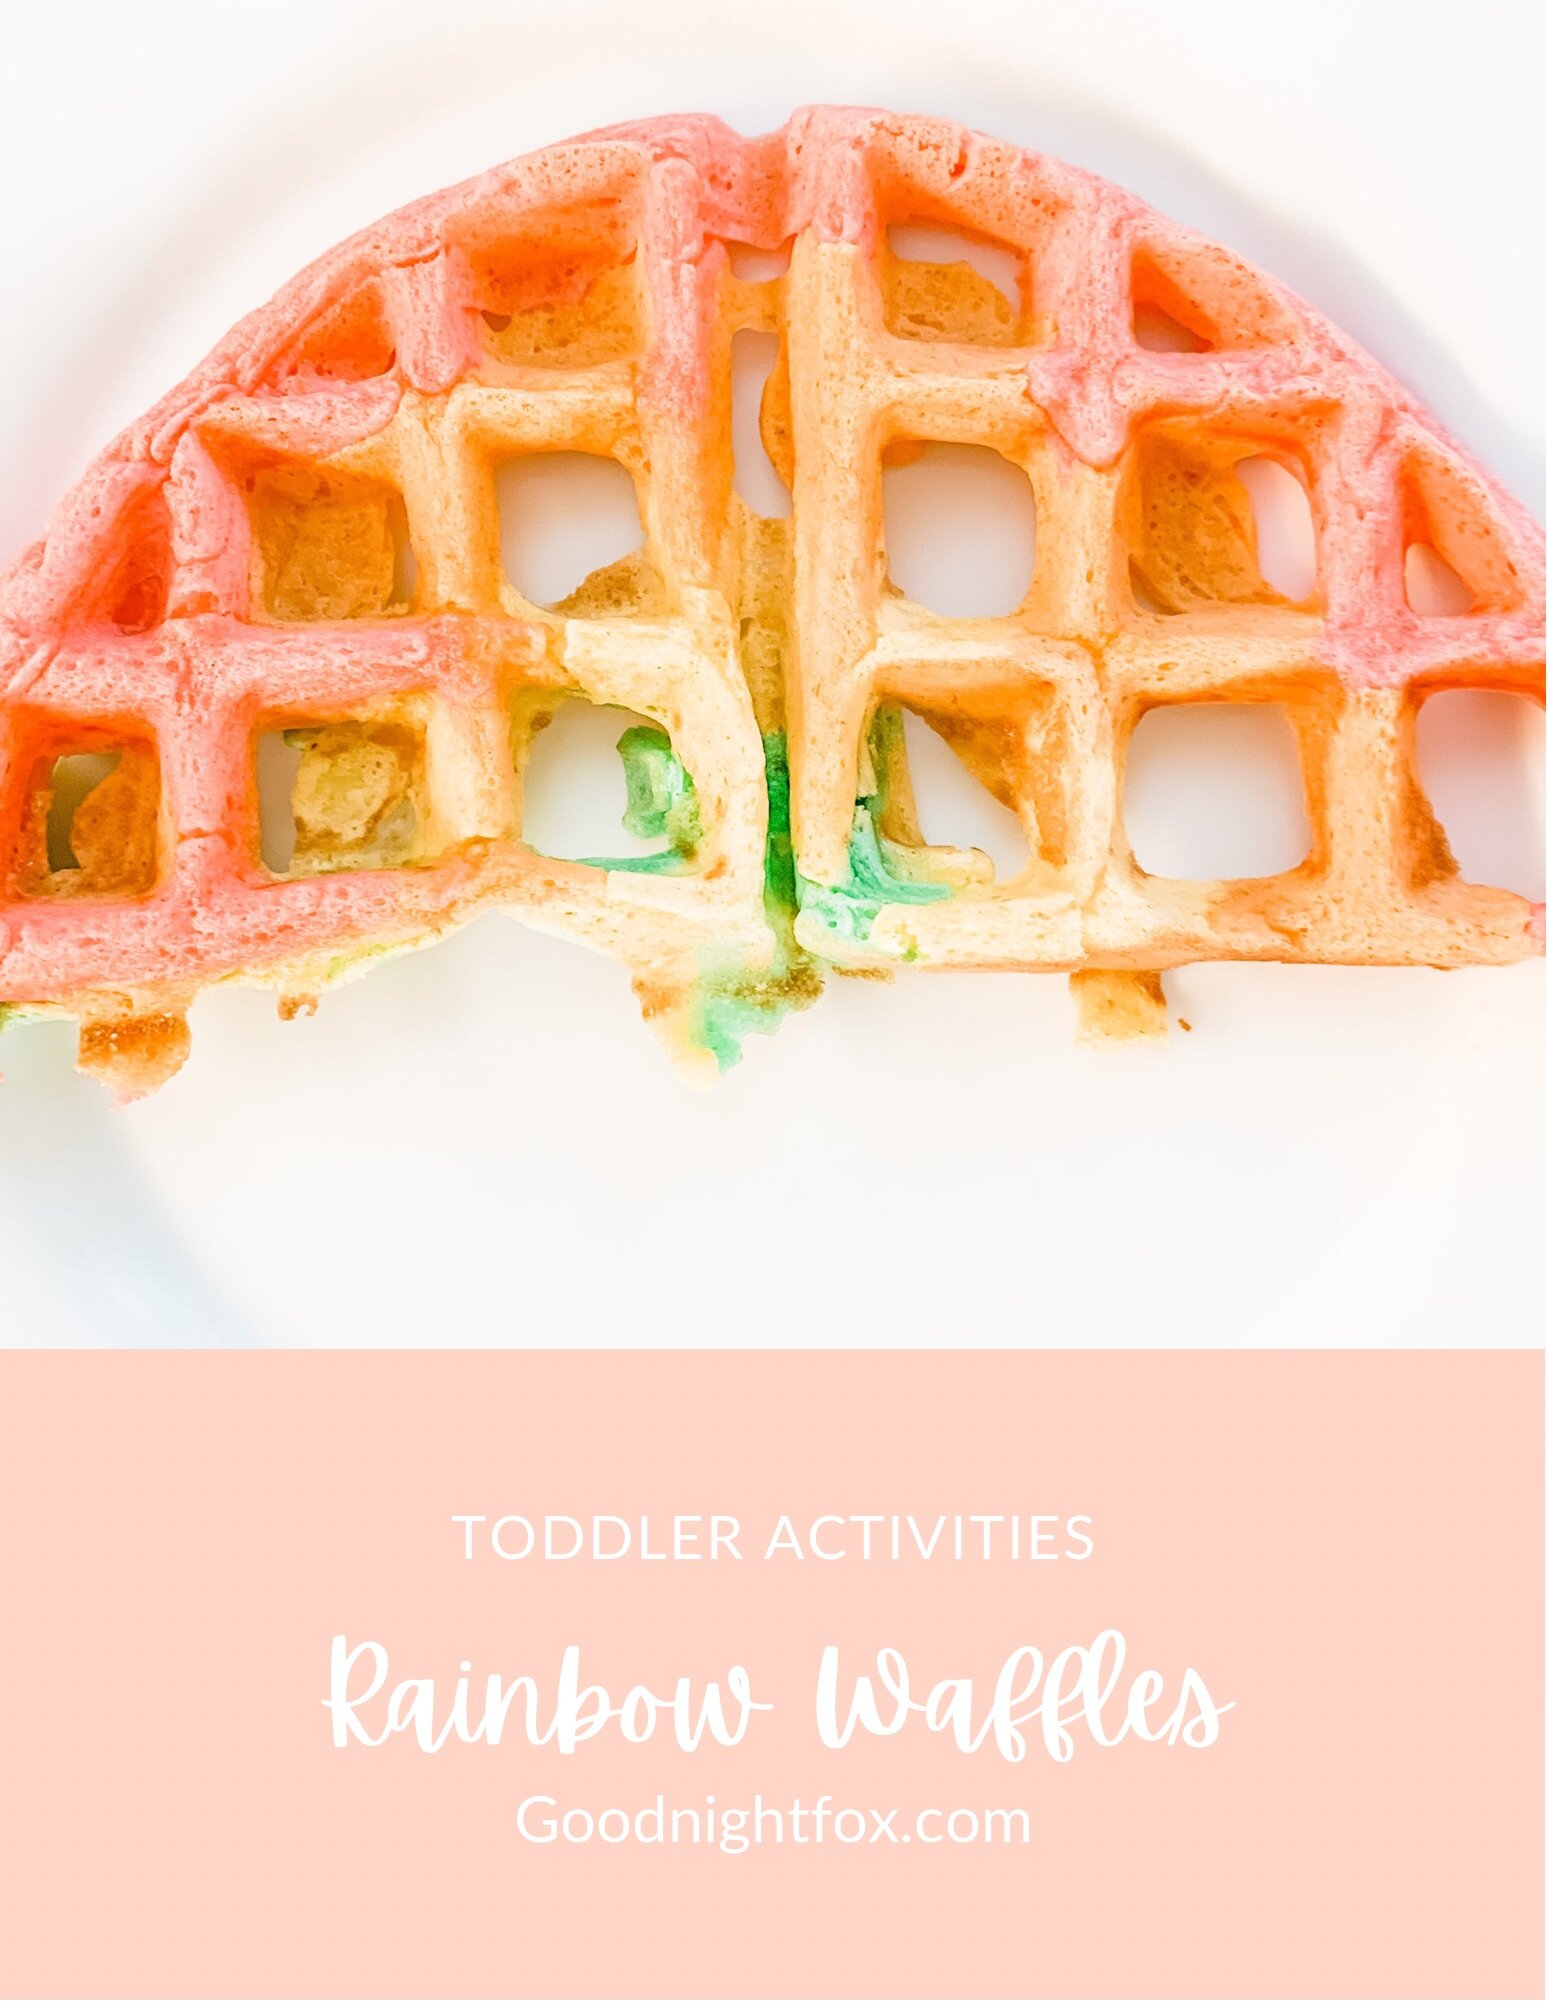
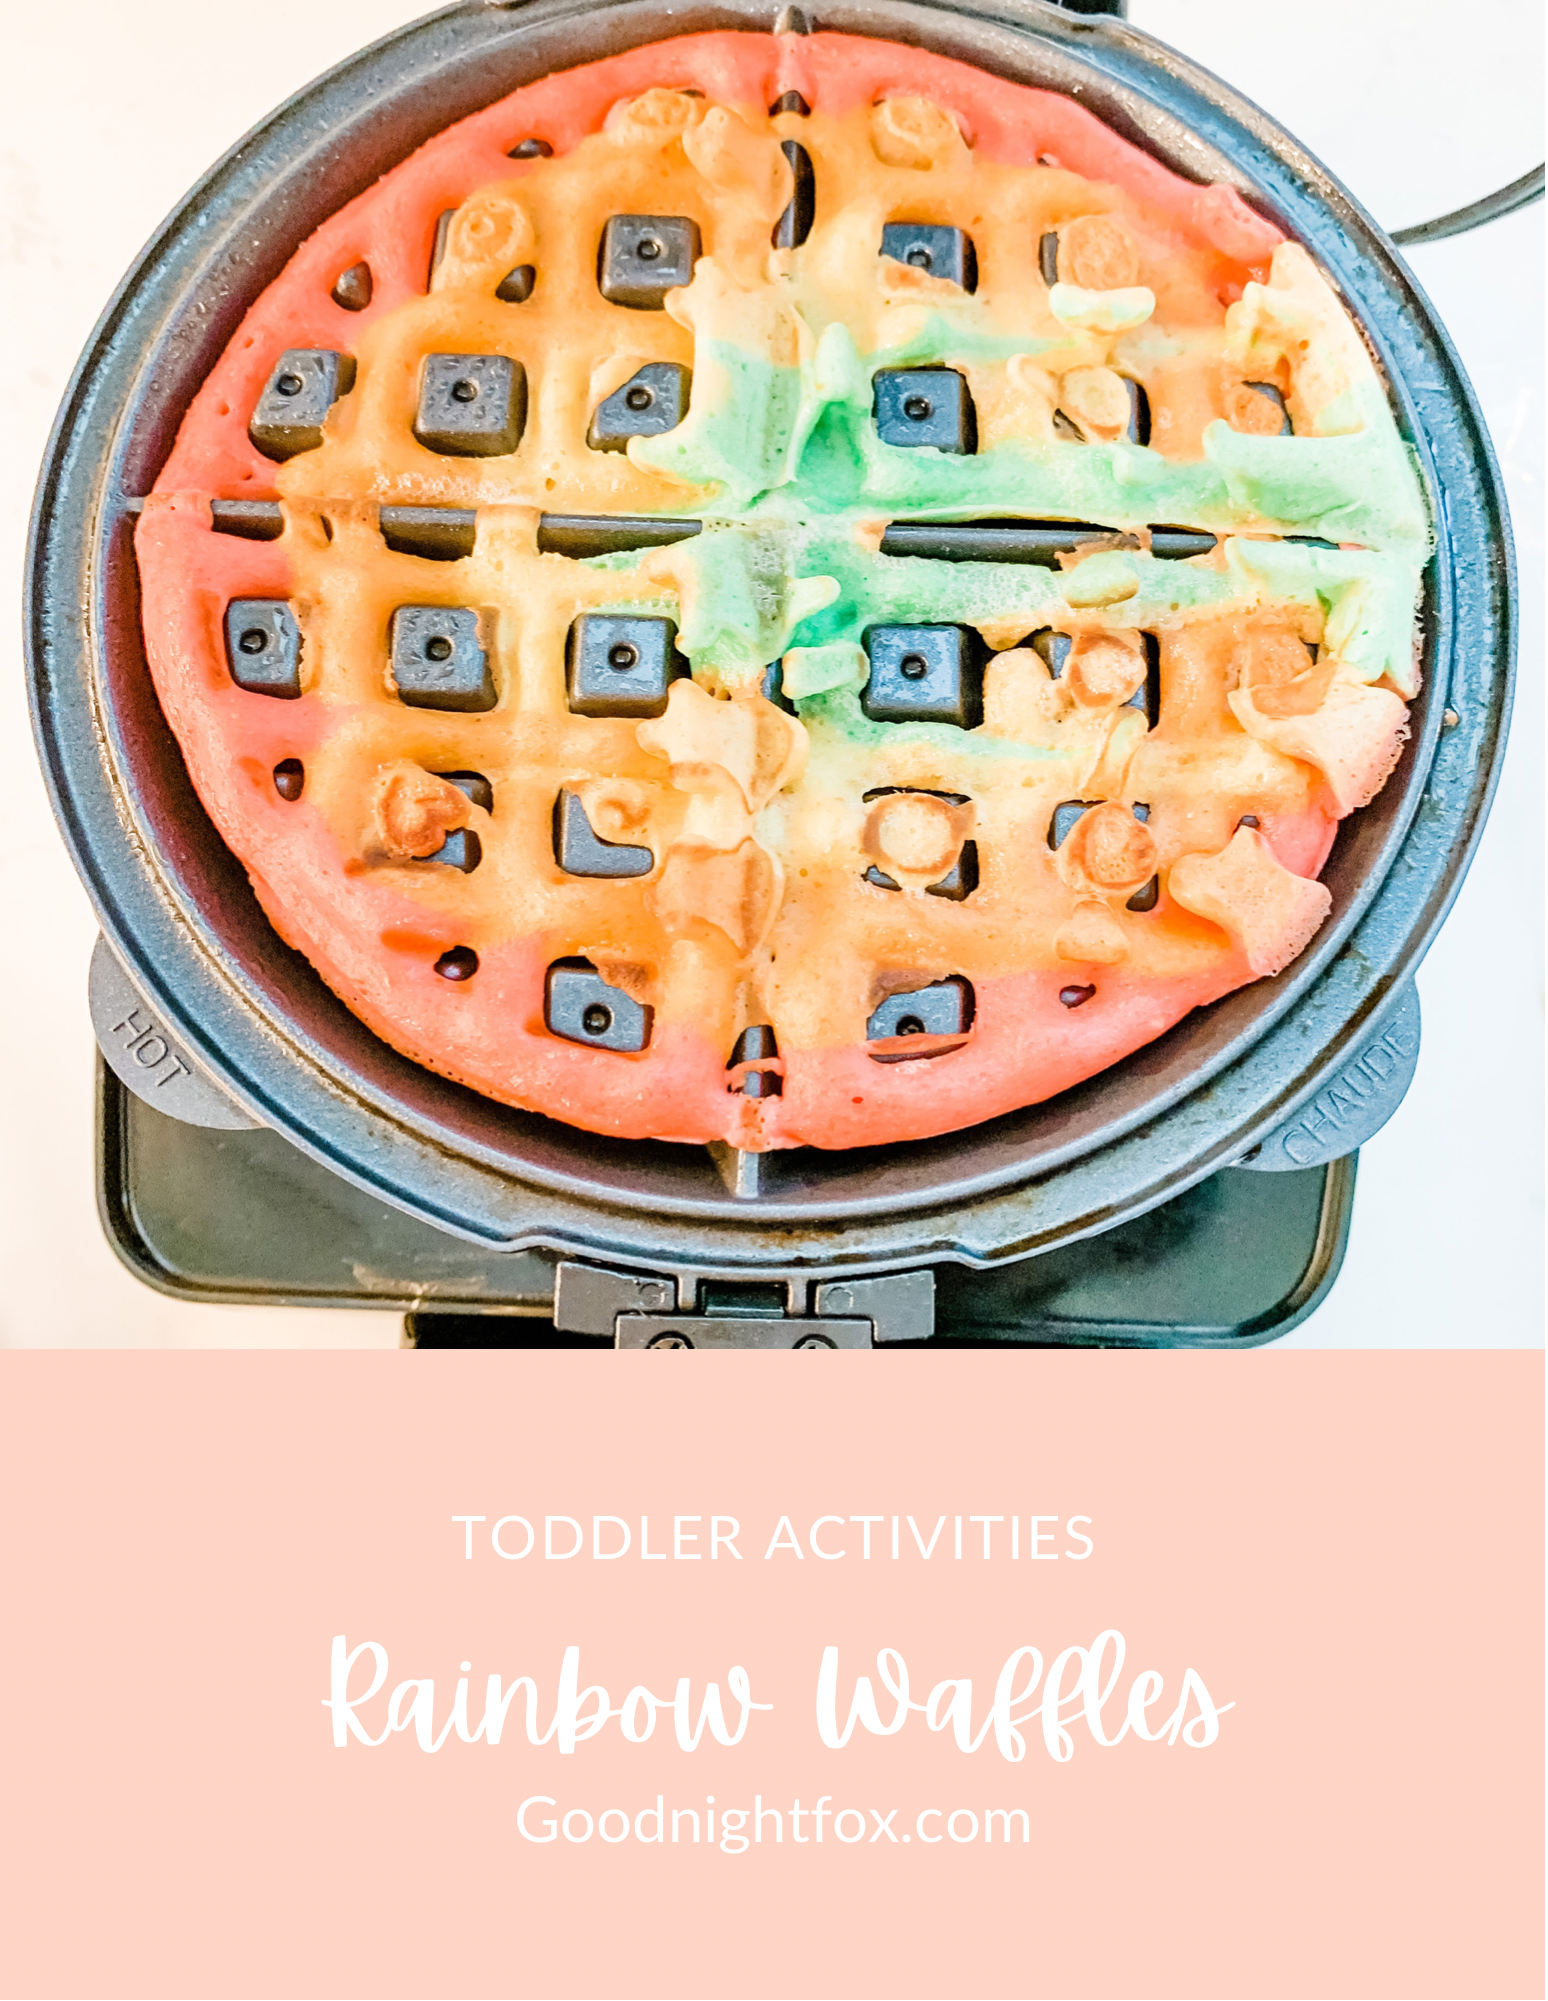
Step 4: Pipe the rainbow. Here's the technique: start on the outside of the waffle iron with the pink and pipe a circle around the edge. Then move onto the orange, piping the next circle inside the first, and so on — working your way inward until you get the perfect rainbow effect. You have to work pretty quickly here. Fill the iron generously — I can tell from my photos that I didn't quite fill it up enough, which is why my waffle had a few holes. Use enough batter to fill the whole iron, and work fast enough that the colors don't bleed together.

Step 5: Cook as directed. Close the lid and just use your waffle iron as directed. When it's done, pop the waffle out. Mine pretty much fell apart in half on its own, but if yours doesn't, just break or cut it down the middle.

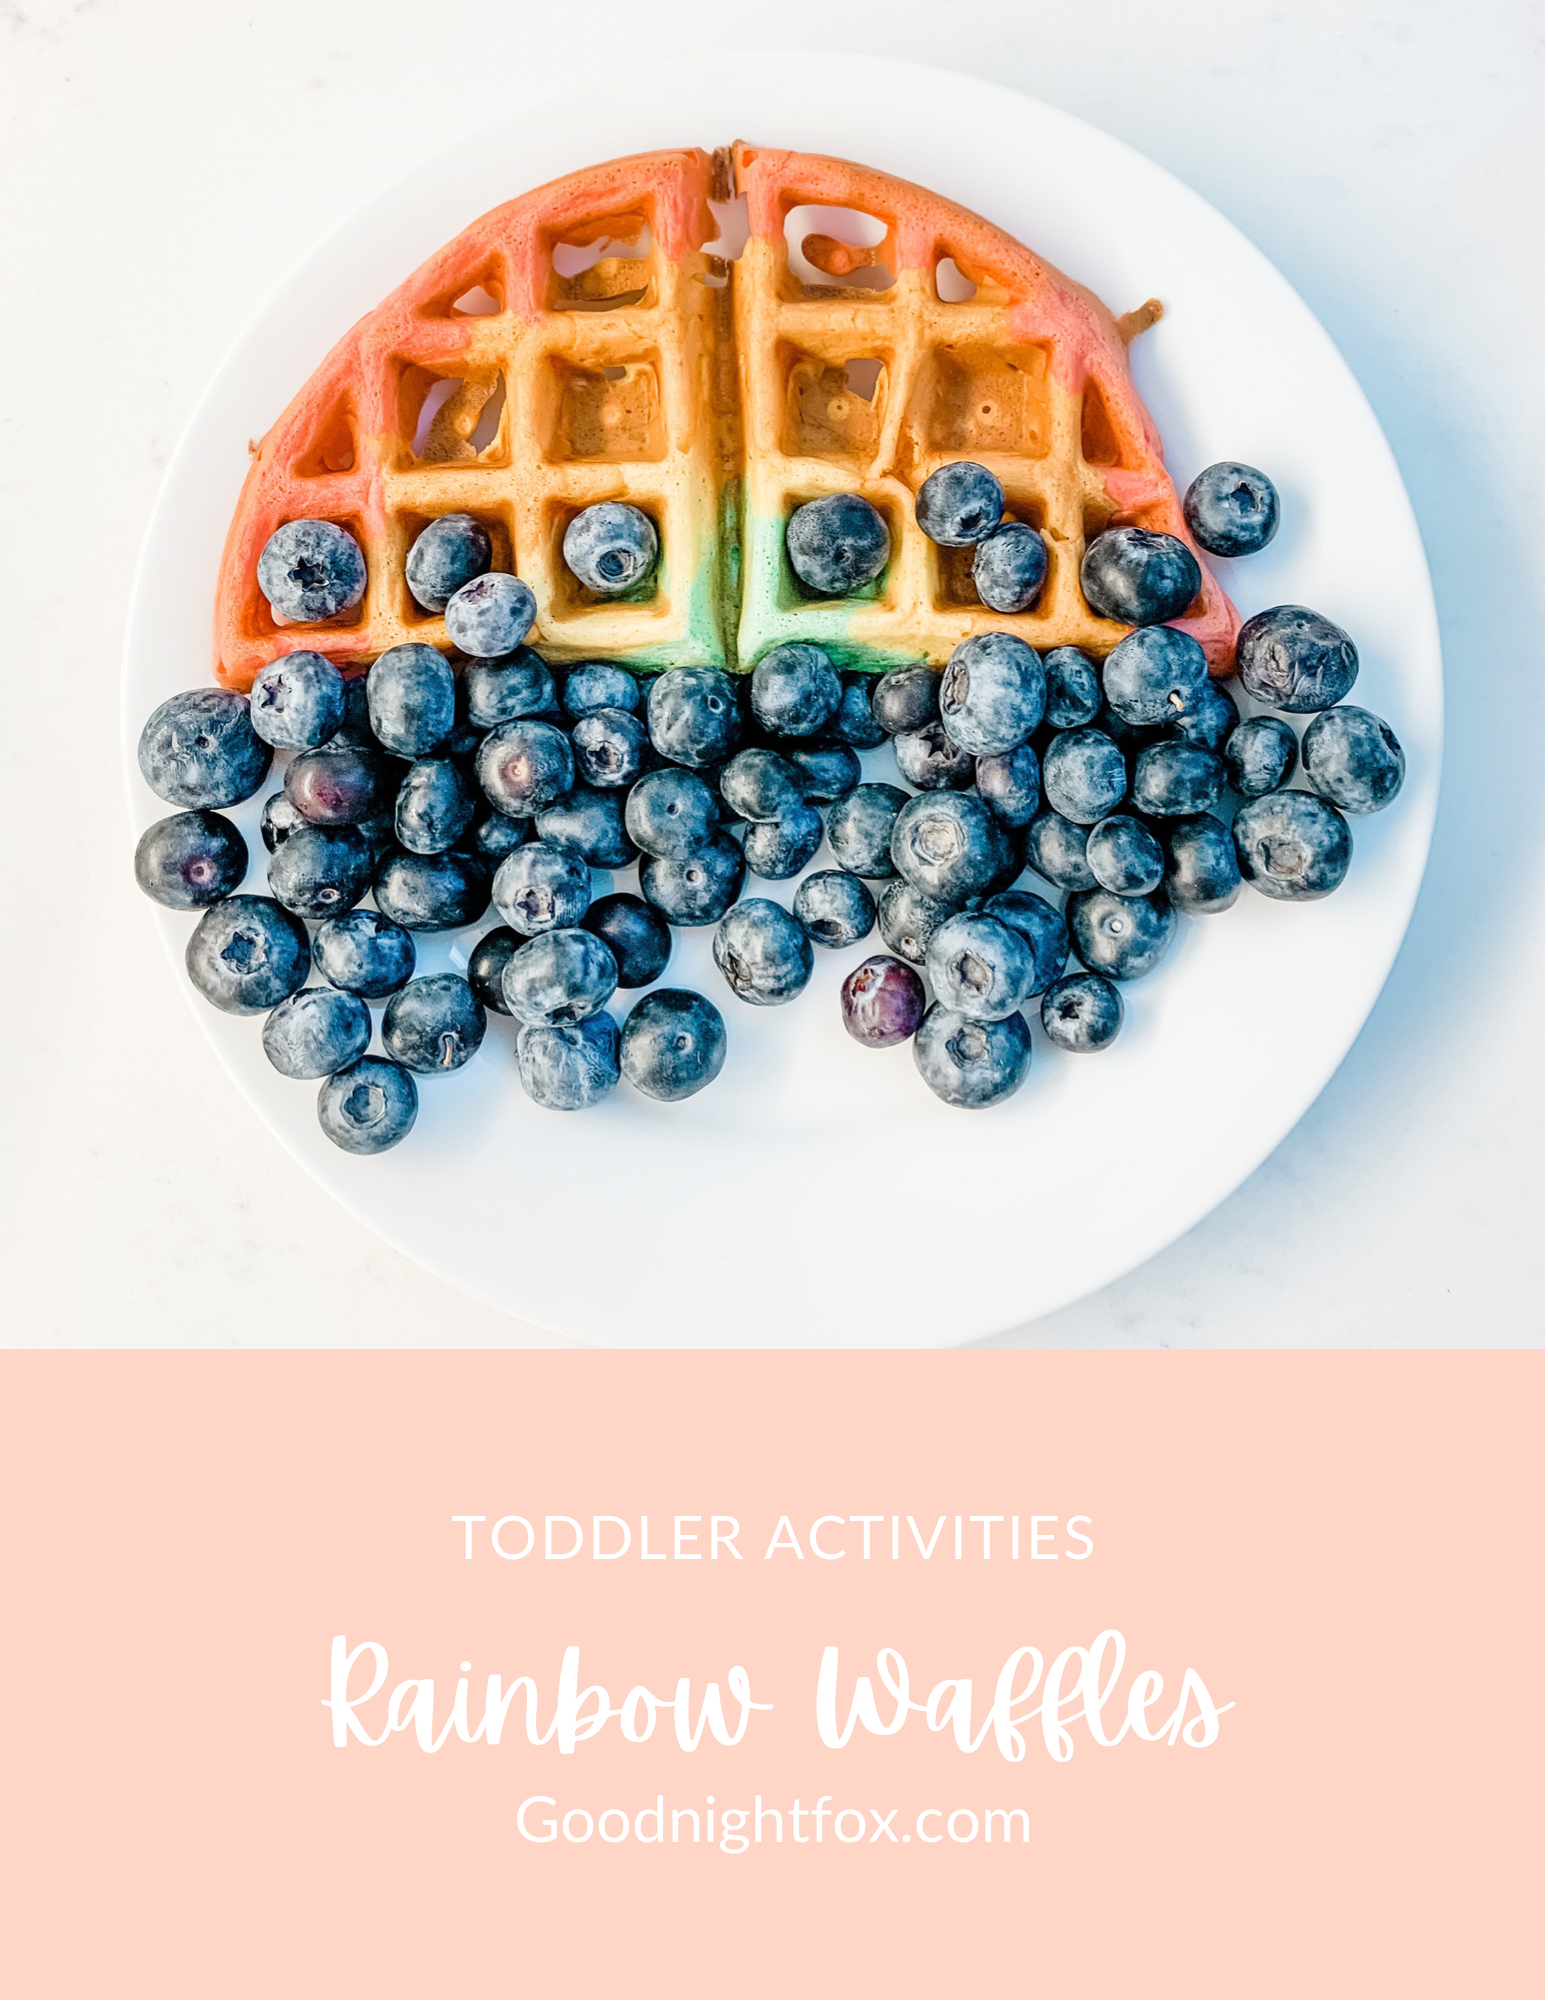
Step 6: Add the blueberry clouds. Sprinkle blueberries along the bottom (or the ends) of the rainbow to make fluffy clouds. Sofie loved this part, and the blueberries add sweetness to the breakfast without needing syrup at all — which means no sticky hands.

Tips

Prep like a production line. Line up your bowls in rainbow order before you start piping, and keep your piping bags nearby. The faster you work in Step 4, the cleaner your colors stay.

Be generous with the batter. My first attempt had holes because I didn't fill the iron enough. Use enough of each color to fully cover the waffle iron for a solid rainbow.

Work quickly to prevent bleeding. The colors will start to bleed together if they sit too long, so pipe steadily and close the iron as soon as you're done.

Blueberries are the secret weapon. They keep a busy toddler entertained while you mix colors, they make adorable clouds, and they add sweetness without syrup — which is my kind of easy cleanup. No sticky hands, no sticky table.

Let your toddler help where they can. Toddlers can stir the colors, snack on the blueberries, and (with help) sprinkle the blueberry clouds. The piping is a grown-up job, but there's plenty of fun for little hands.

And there you have it — the perfect toddler breakfast: rainbow waffles with blueberry clouds. Sofie loved these, and I loved how easy the whole thing was once the colors were mixed. If you try them, we'd love to see your rainbow! And for more rainbow fun, check out my rainbow sensory activities roundup: https://www.goodnightfox.com/blog/rainbow

AB0D2F50-990F-4A86-9636-6DFFFB040680.png

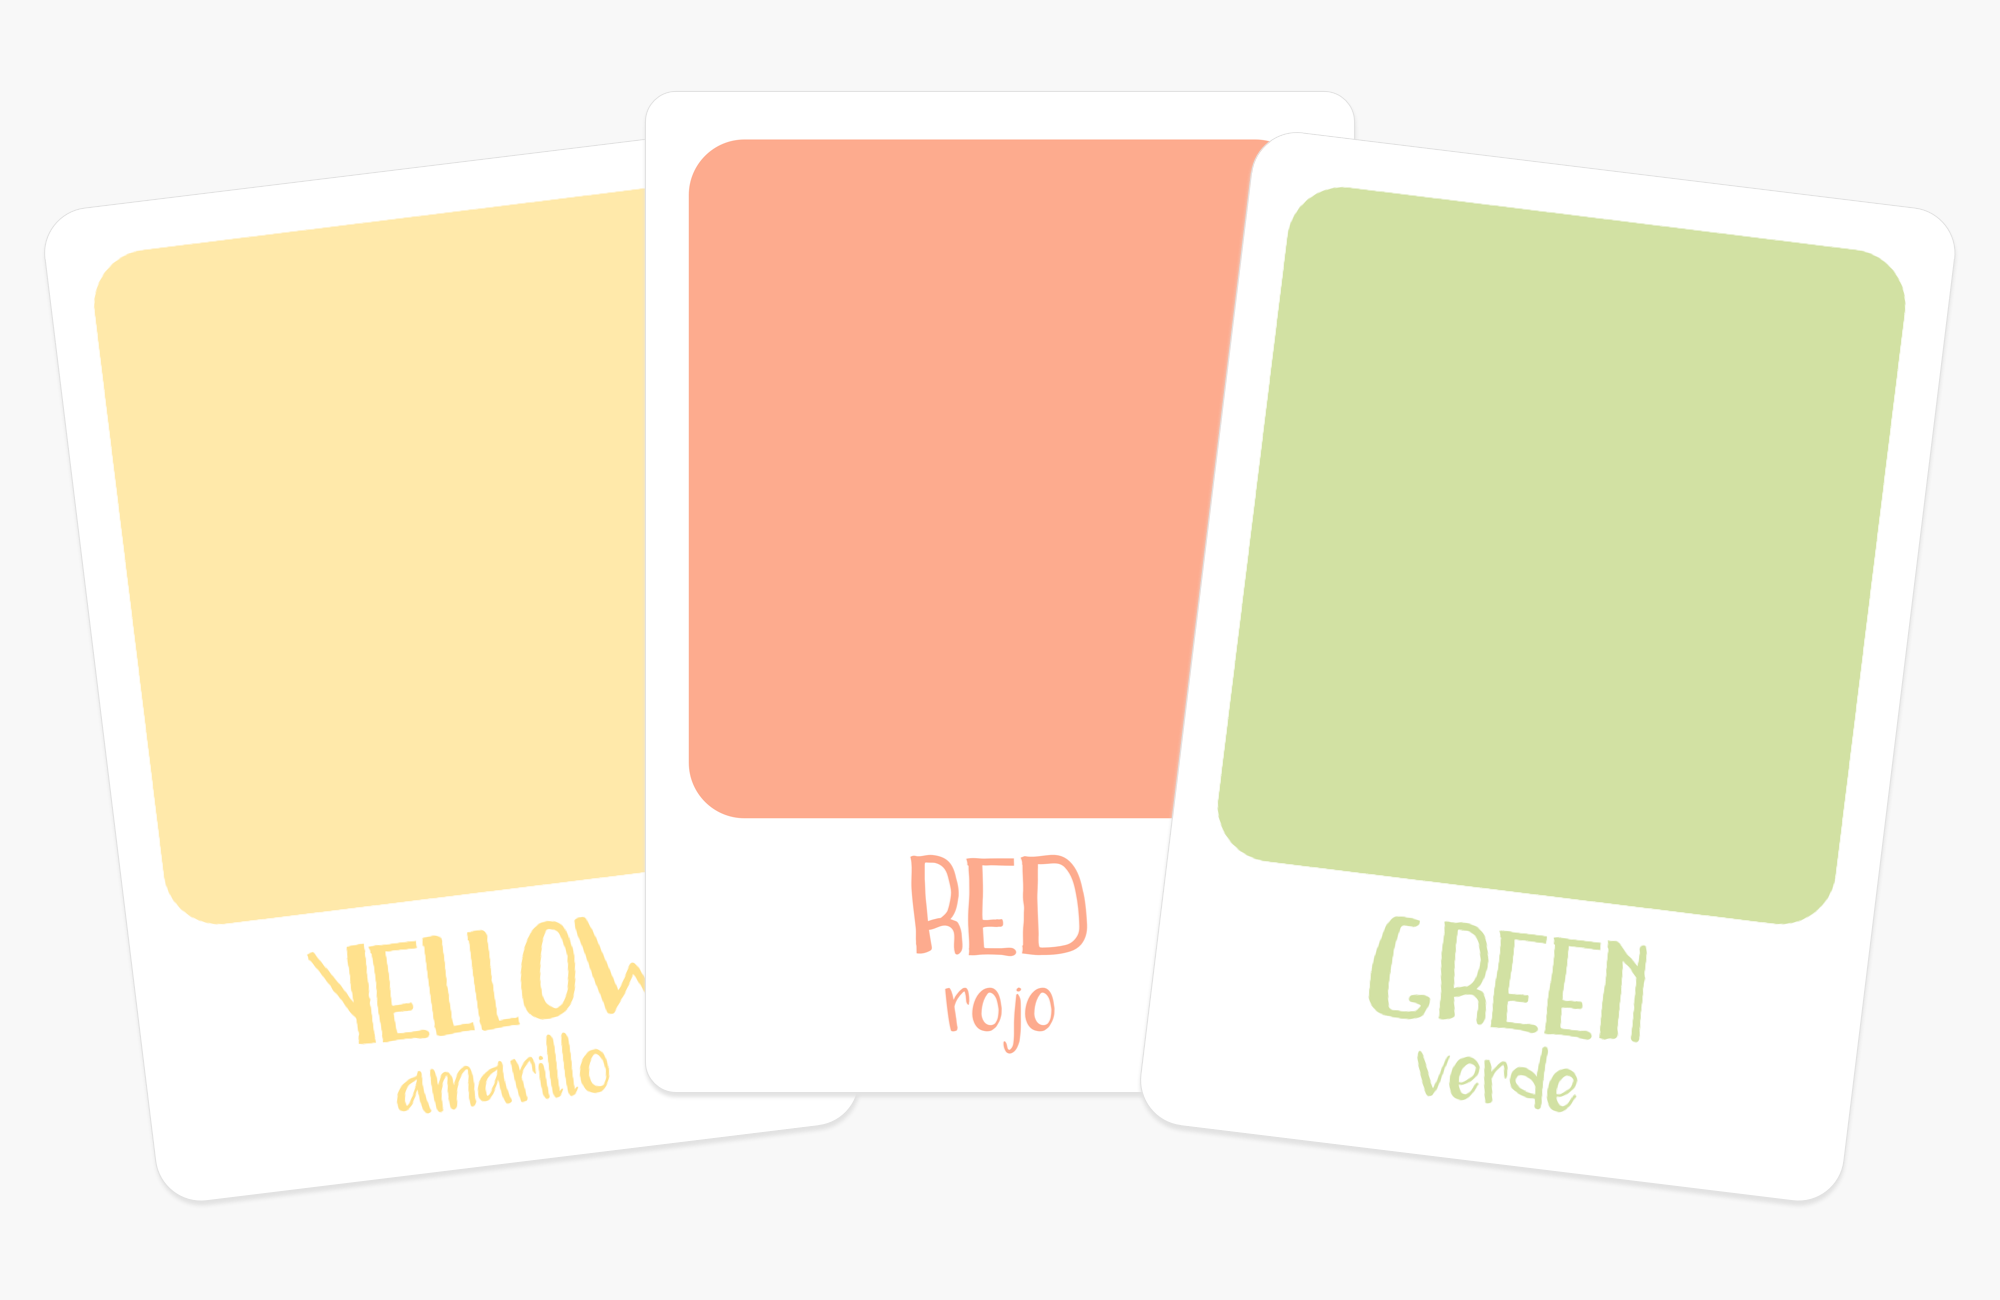
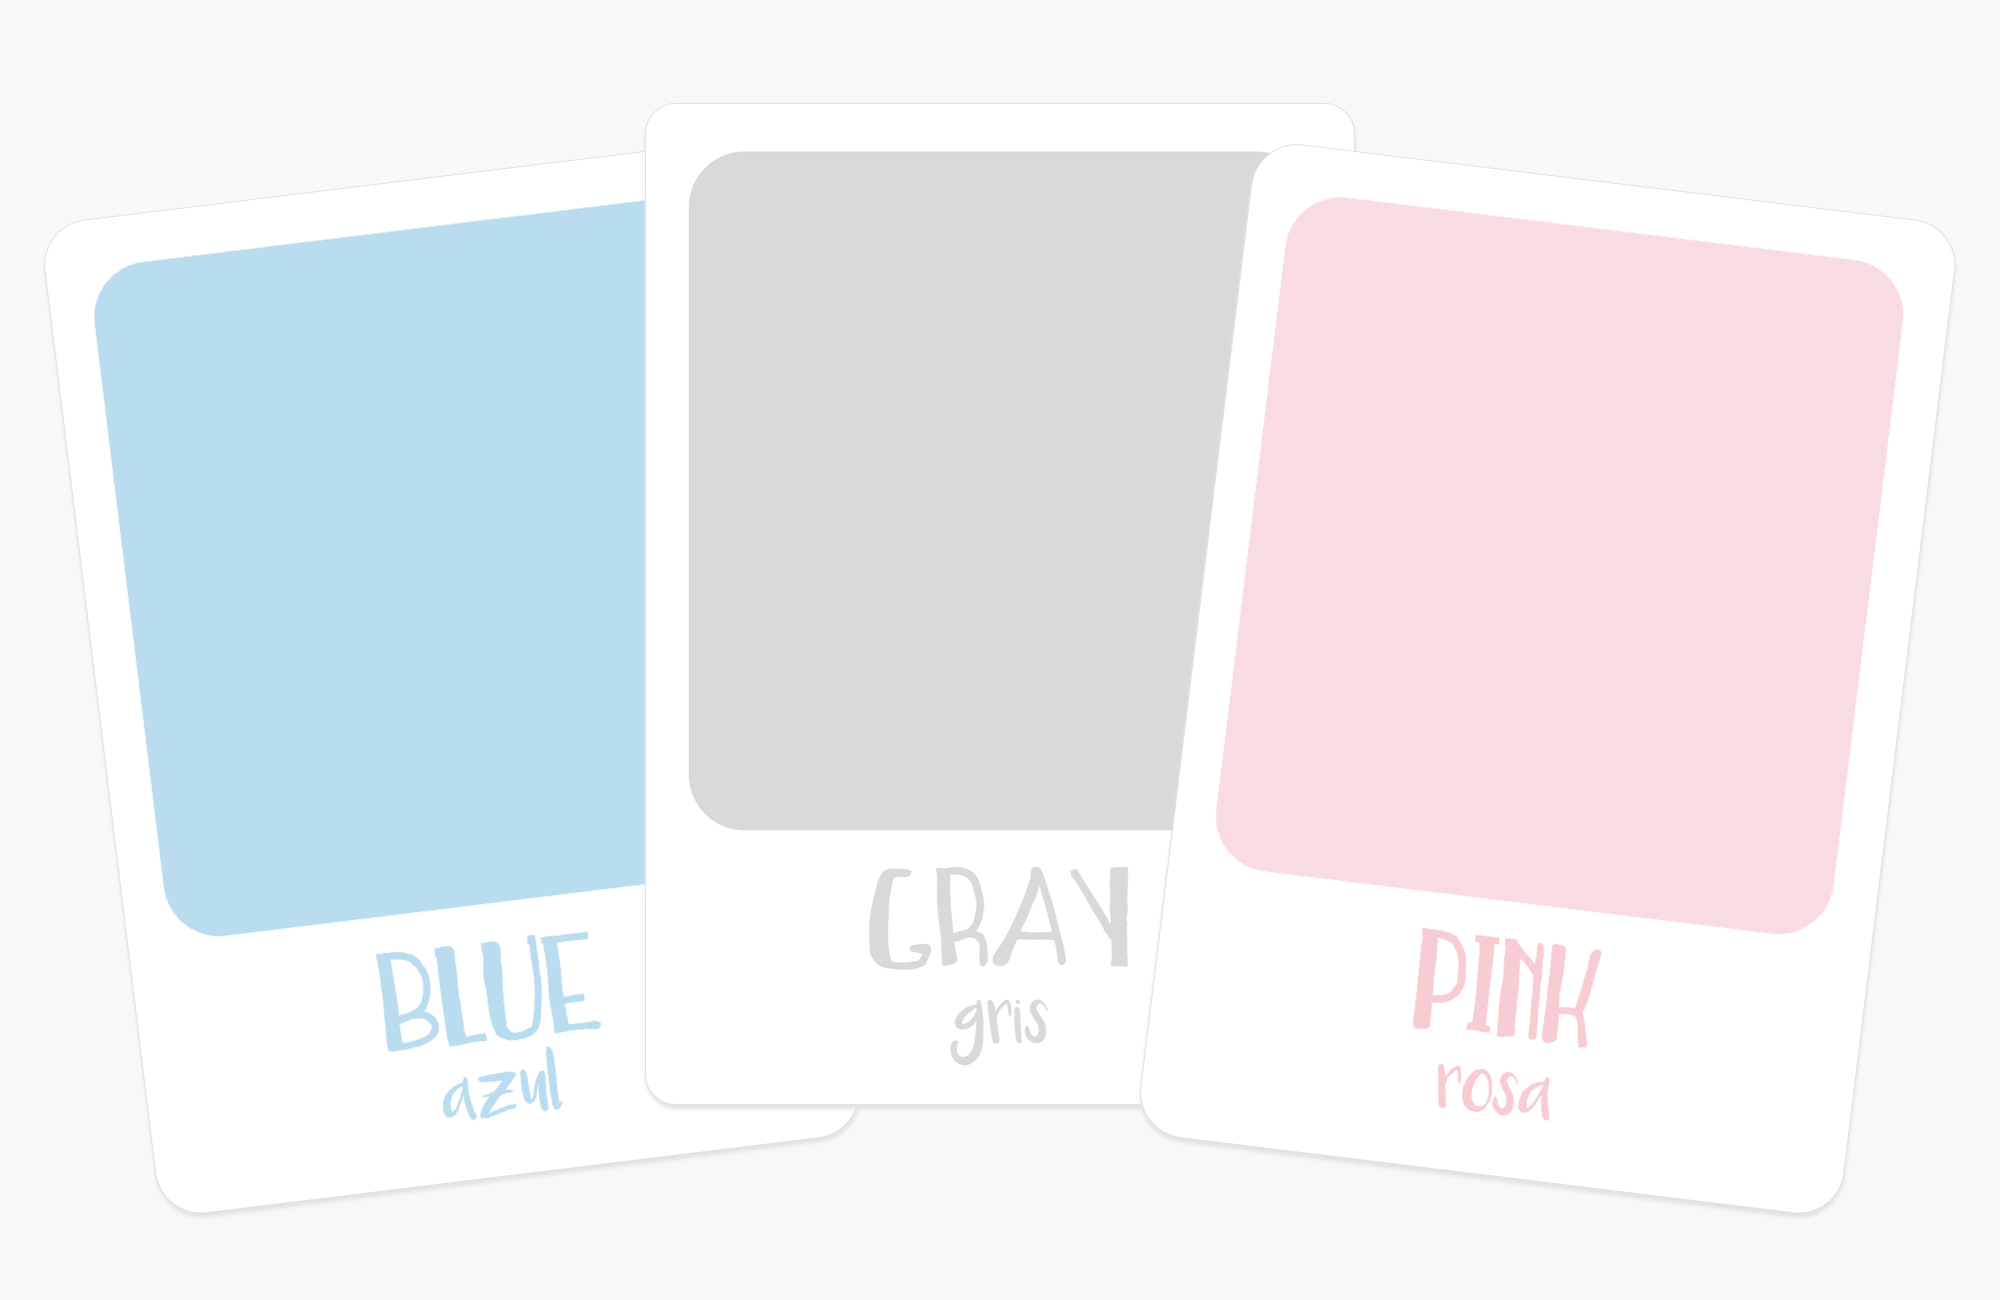
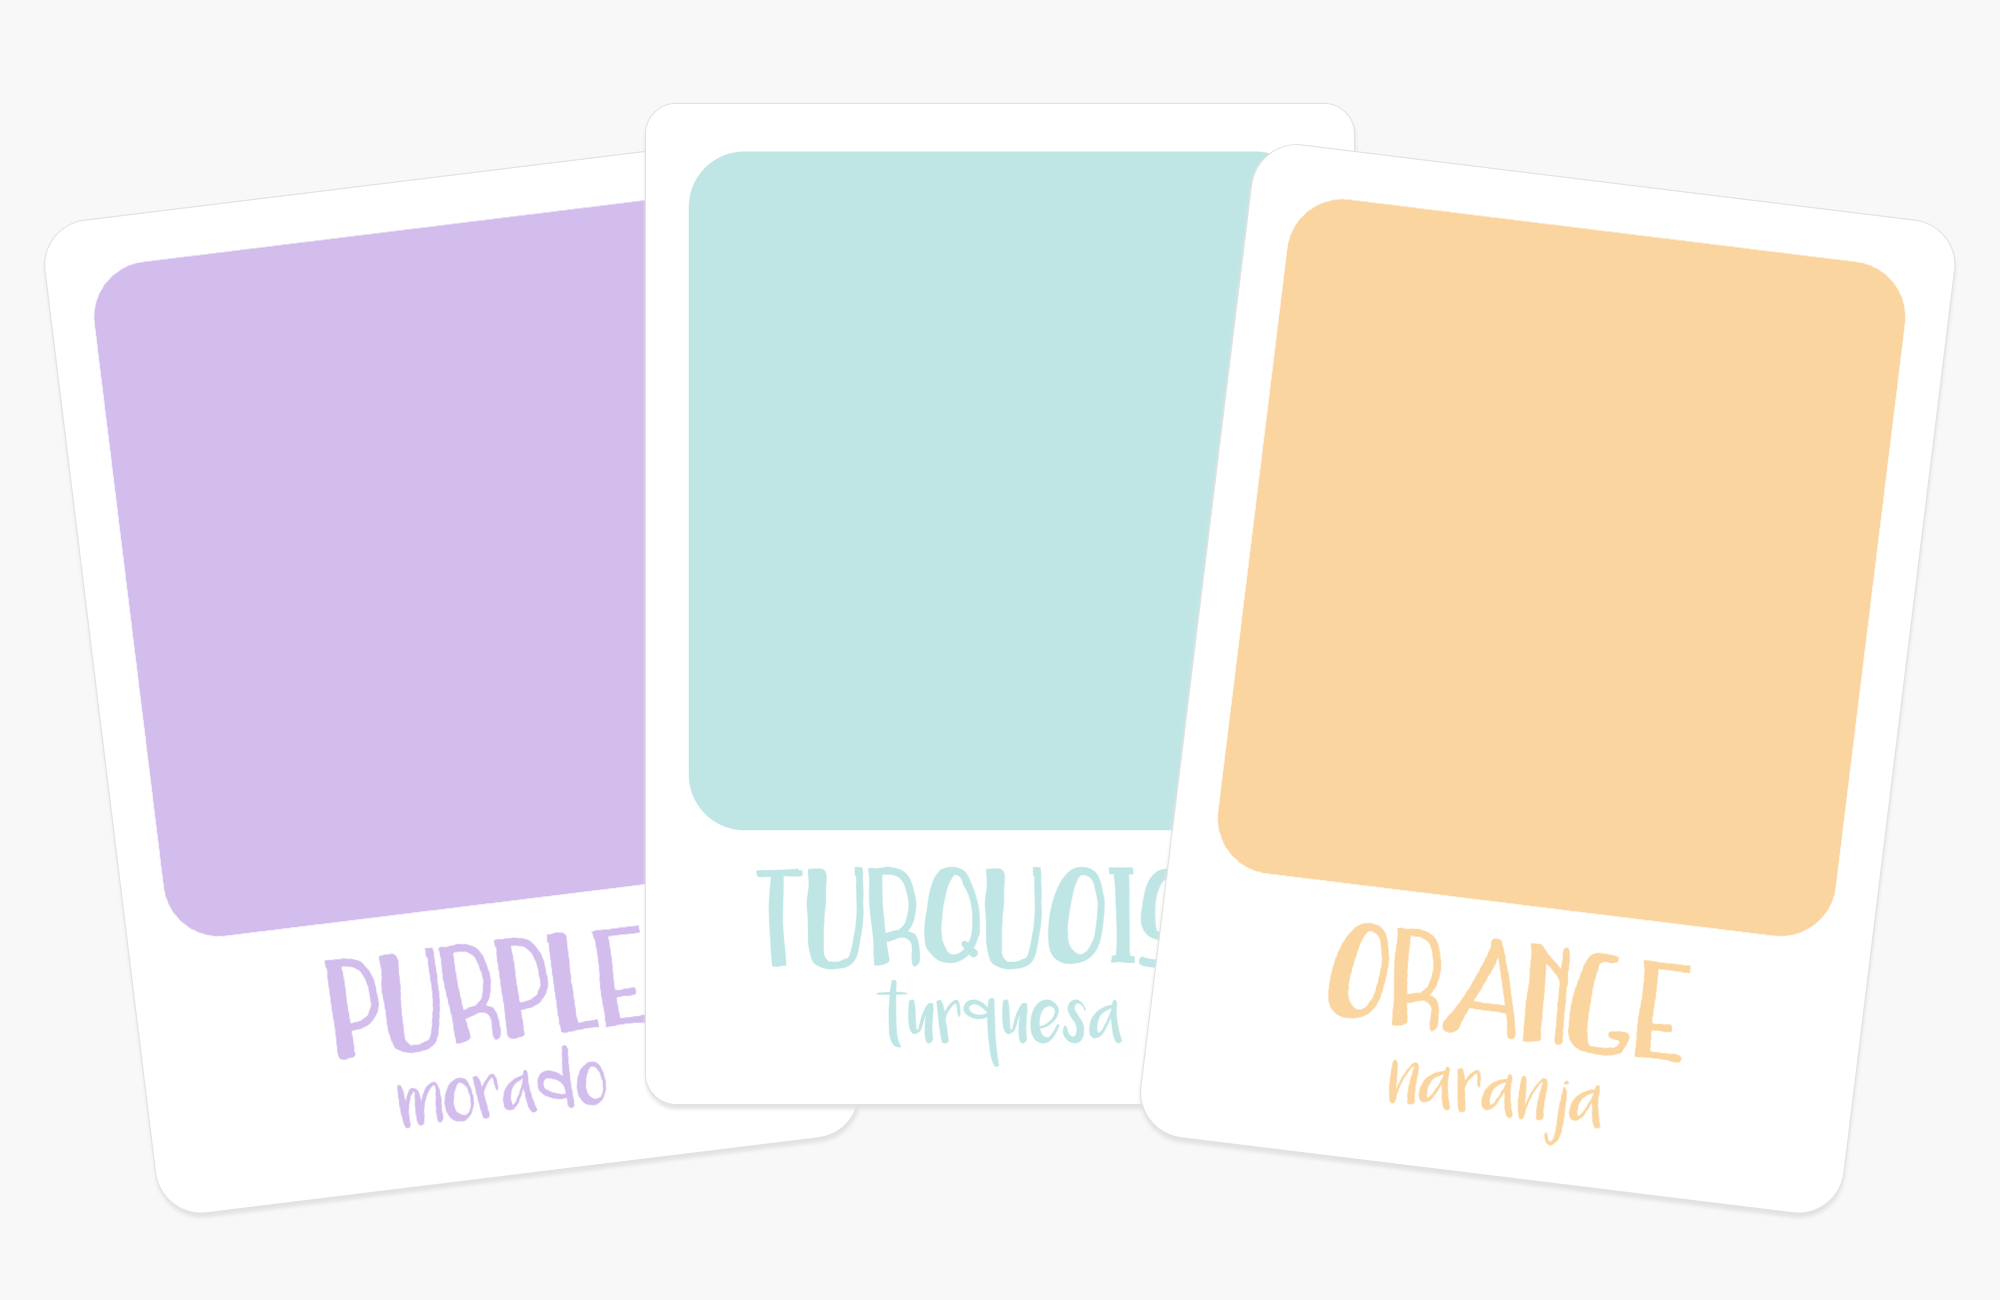
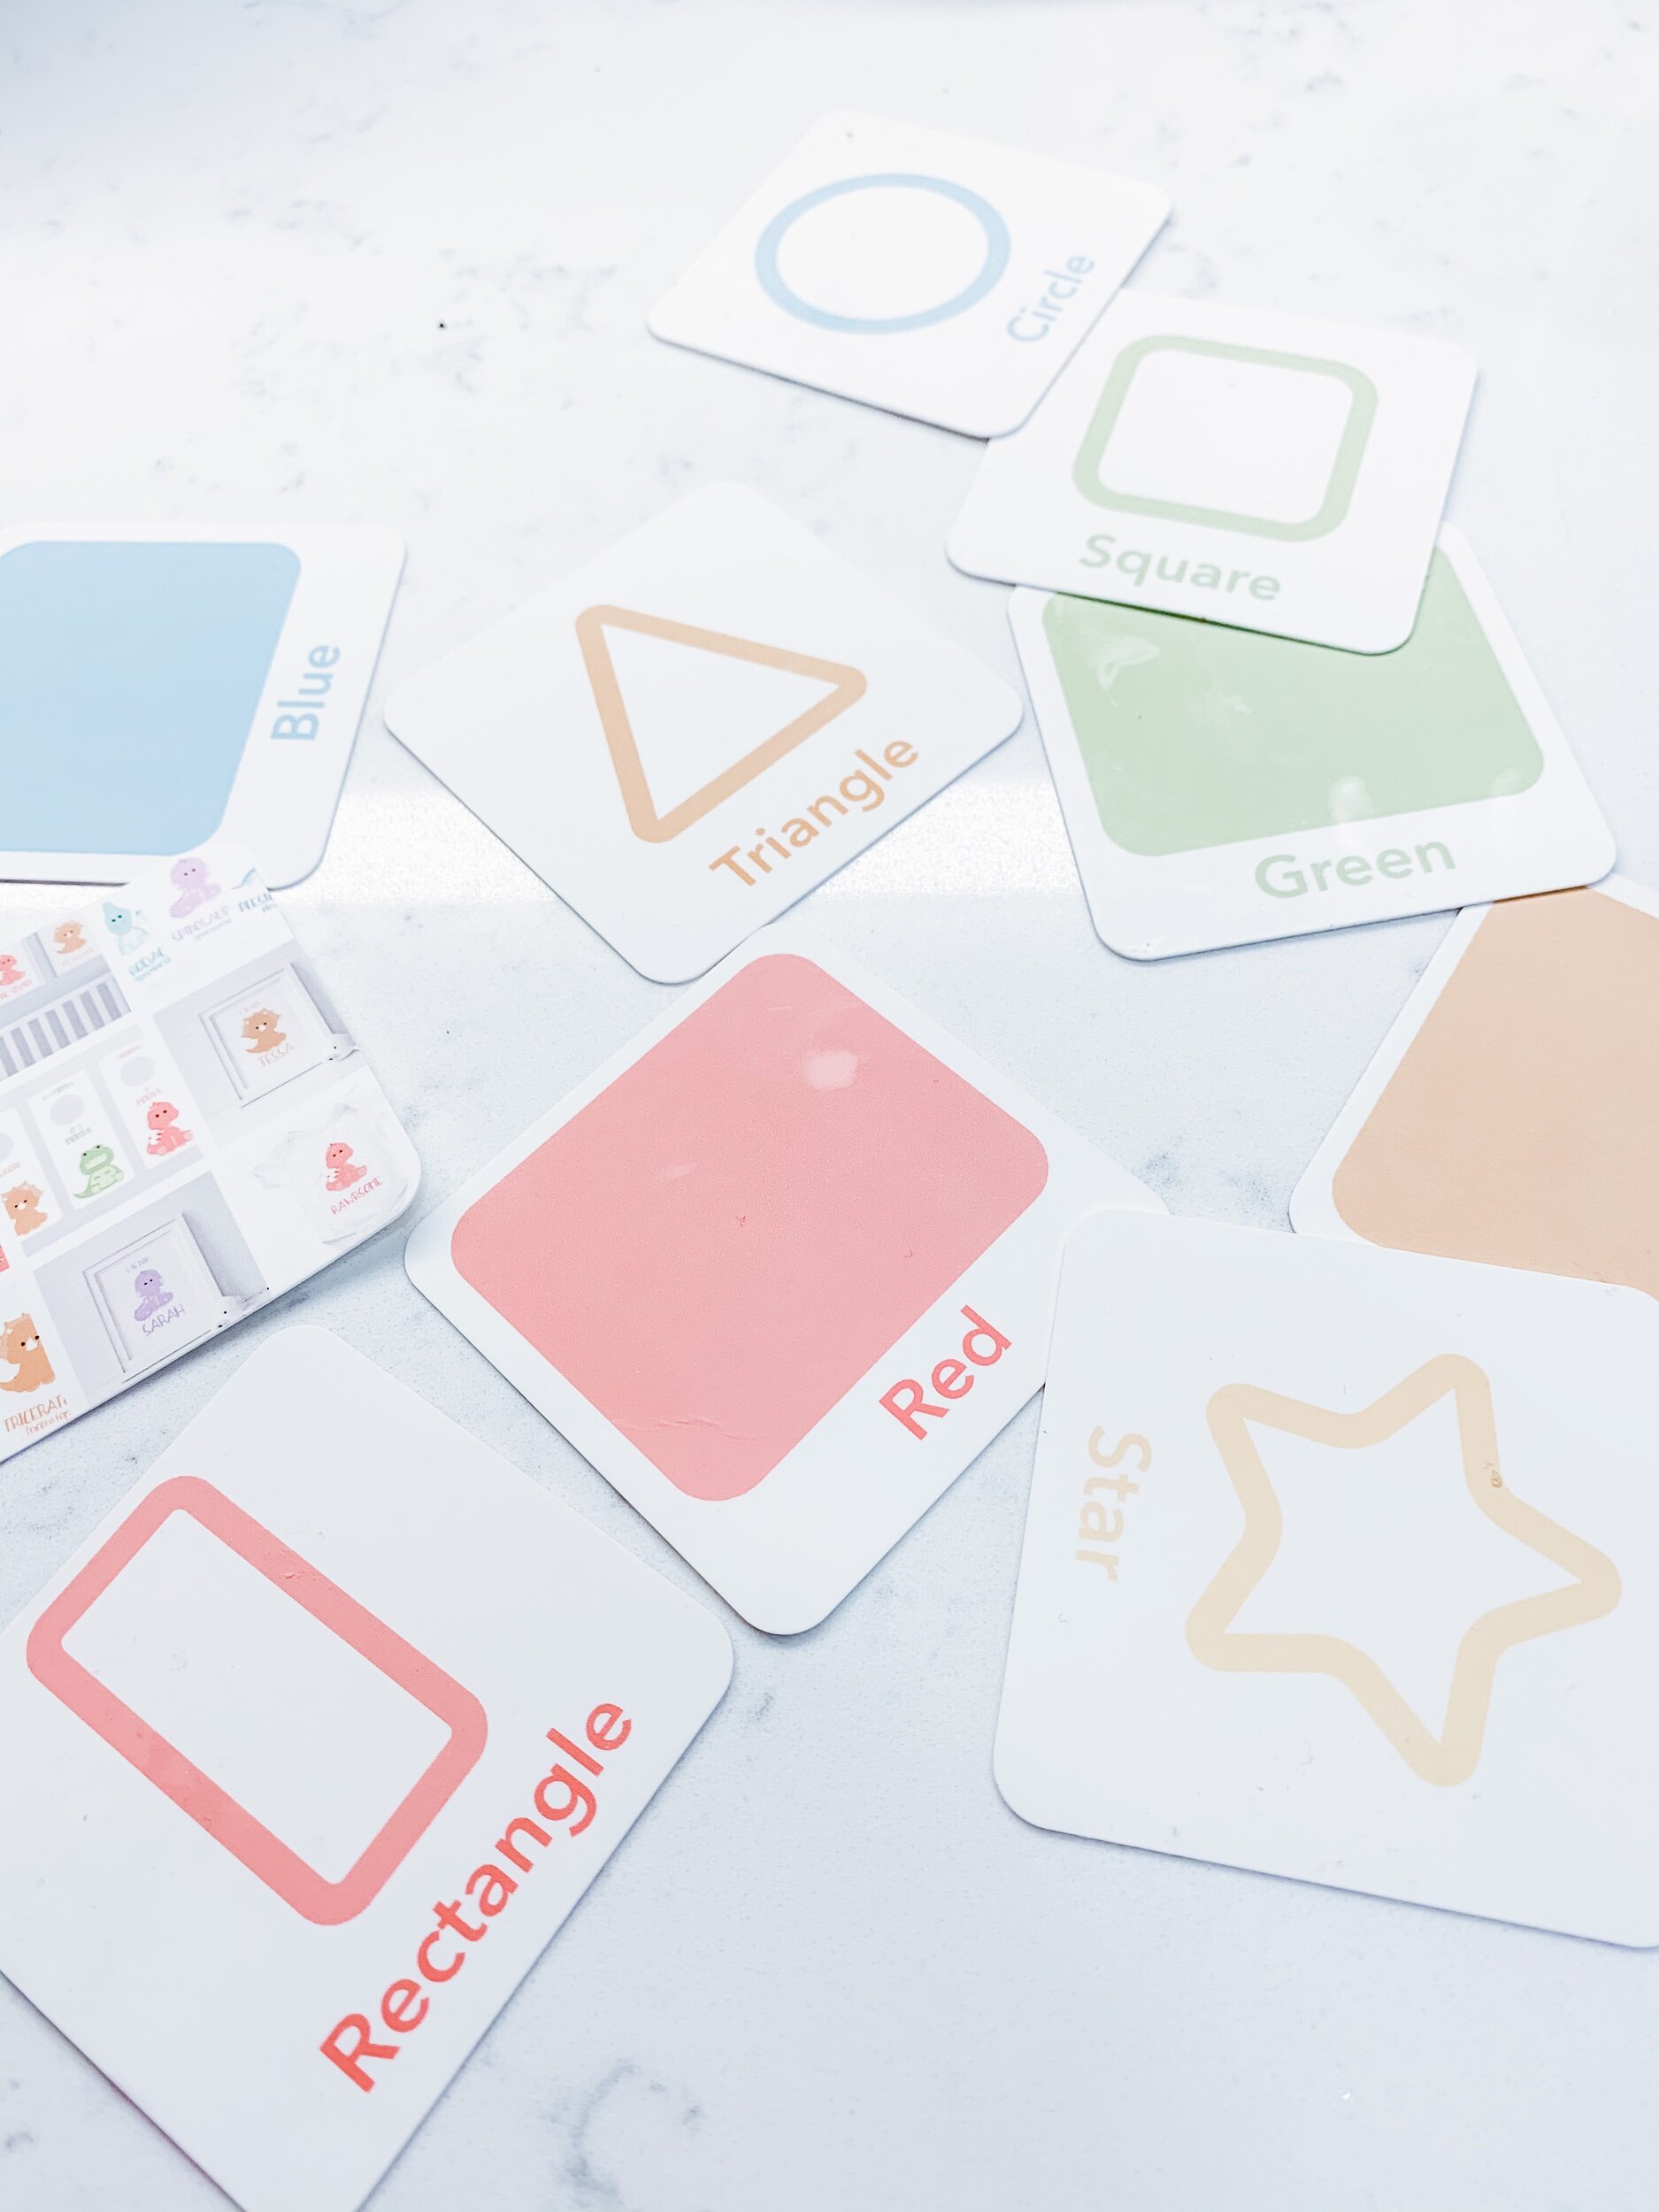
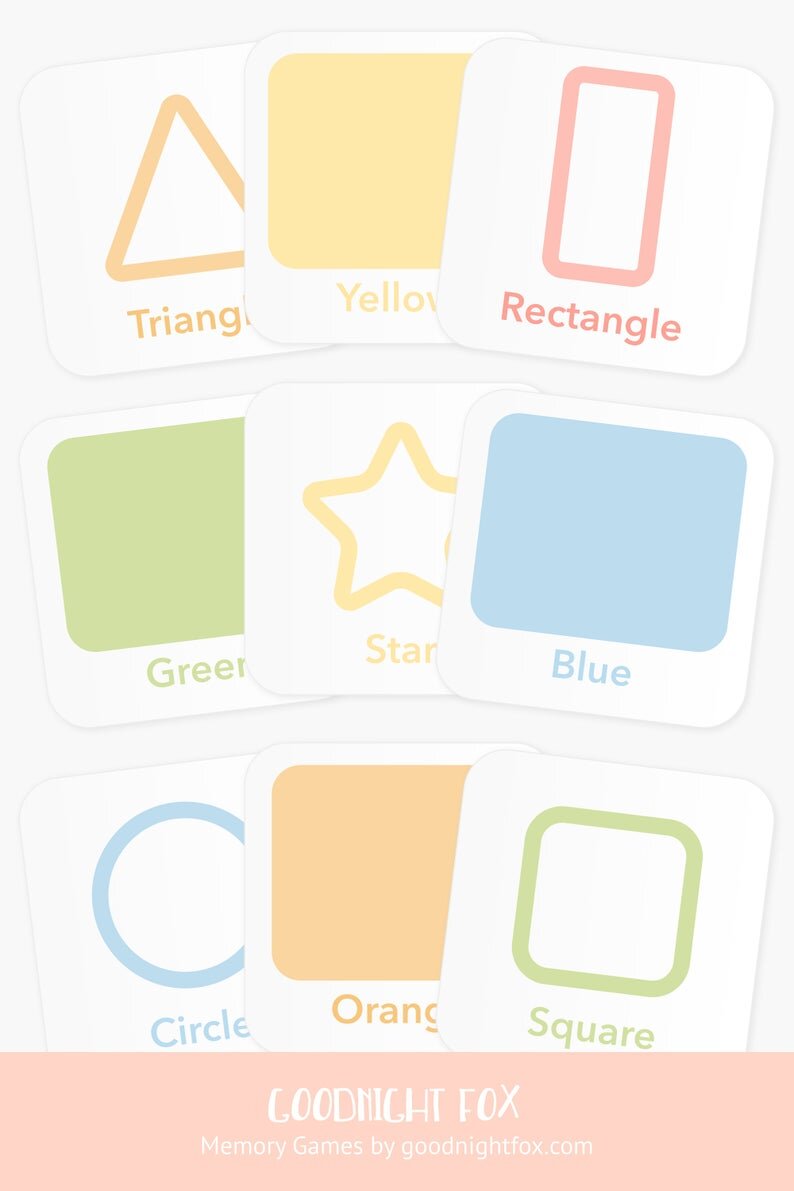
Looking for an awesome rainbow activity?

Check out these adorable rainbow colored flashcards from Goodnightfoxstudio.etsy.com

Valentine’s Day Waterbeads

Still looking for that last minute Valentine’s Day activity? Setting up these water beads was so fun and so simple! Inspired by @mama.jots I cut a heart out of card board and placed it on top of an old box. Then I filled a plastic ziploc freezer bag with water beads. Sofie loved scratching at and poking at the texture. She played with it for like 30min and then again while I was getting dinner ready. It was the perfect toddler Valentine’s Day activity. And it took maybe 10minutes to prep. We did go to the park while we waited for the water beads to expand.

  • Pink and red water beads

  • Old cardboard box

  • Tape

  • Plastic ziploc bag

  • Water

4DB5B6D1-1C8B-47AD-BAD0-8D0F48E8A449.png
2D5F9462-A16B-402F-B00C-940873EB90C0.png

Looking for more great Valentine’s Day Activities?

Check out GoodnightFox for these awesome Valentine’s Day toys & games.

Desert Animals Practice

Today we spent our morning with our Desert Animals Flashcard set from GoodnightFox. It was so much fun teaching Sofie about some animals that she doesn’t see regularly in her books or outside. She’s great at starting to mimic the sounds I make for each animal name. And she’s getting close to being able to recognize some of them as well. These flashcards are such a great little educational activity to pass the time, especially while I’m cooking or cleaning up around the house.

FD264F85-ED40-4B46-B7BC-3A63C166AEEE.jpeg

Check out these Desert Animal Flashcards!

Head on over to the shop to snag a set of these Desert Animal Flashcards for yourself!

Planets At The Park

Today we took our Planets Memory Game card set to the park — I was a little nervous about playing this game outside, but the cards were super durable and Sofie kept them all in on place. Luckily the park near our house has some nice fake grass, so it was easy to keep everything clean. Sofie loved taking the cards in and out of the bag. And we practiced each planet one at a time — sun, venus, mars, earth, uranus, neptune, saturn, jupiter, and pluto. It was so much fun to find all of the matches and pair the cards up. We love this little toddler activity!

99B40DD9-E206-4659-AAF0-31B72AE95358.png

Check out Planets Memory Game

Looking for an amazing toddler gift! This Planets Memory Game is so practical and can be played from ages 3-6.

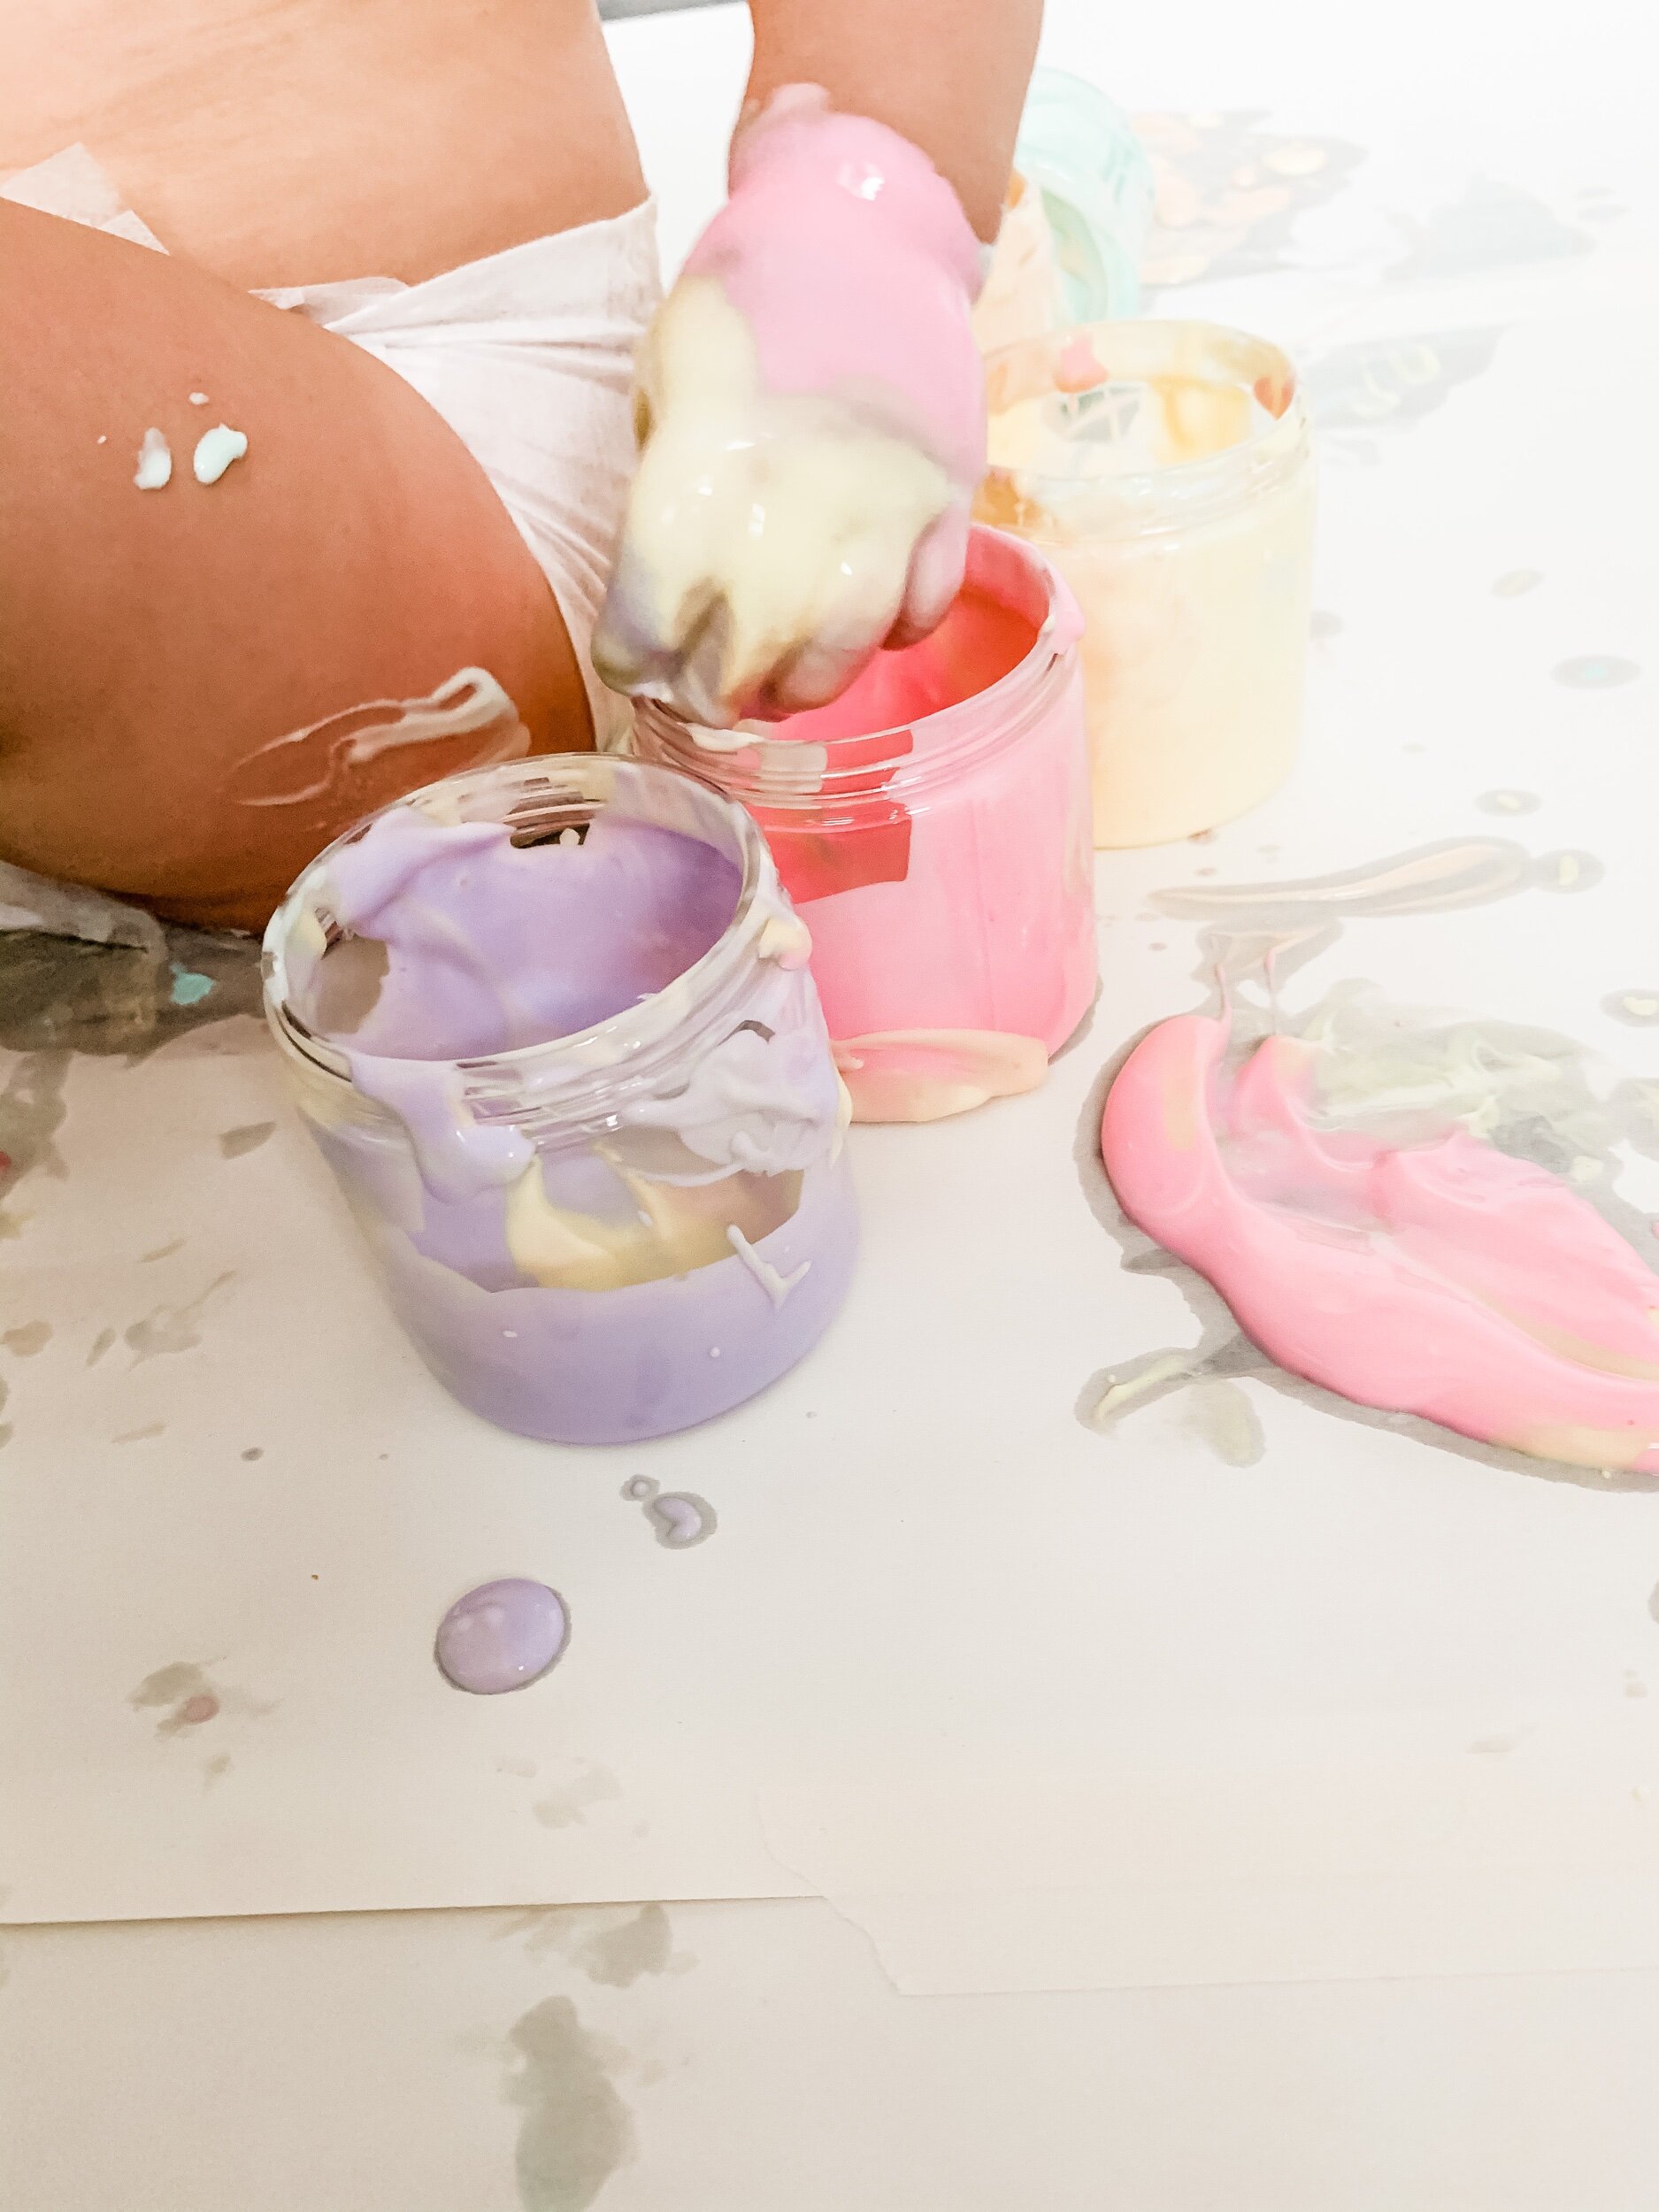
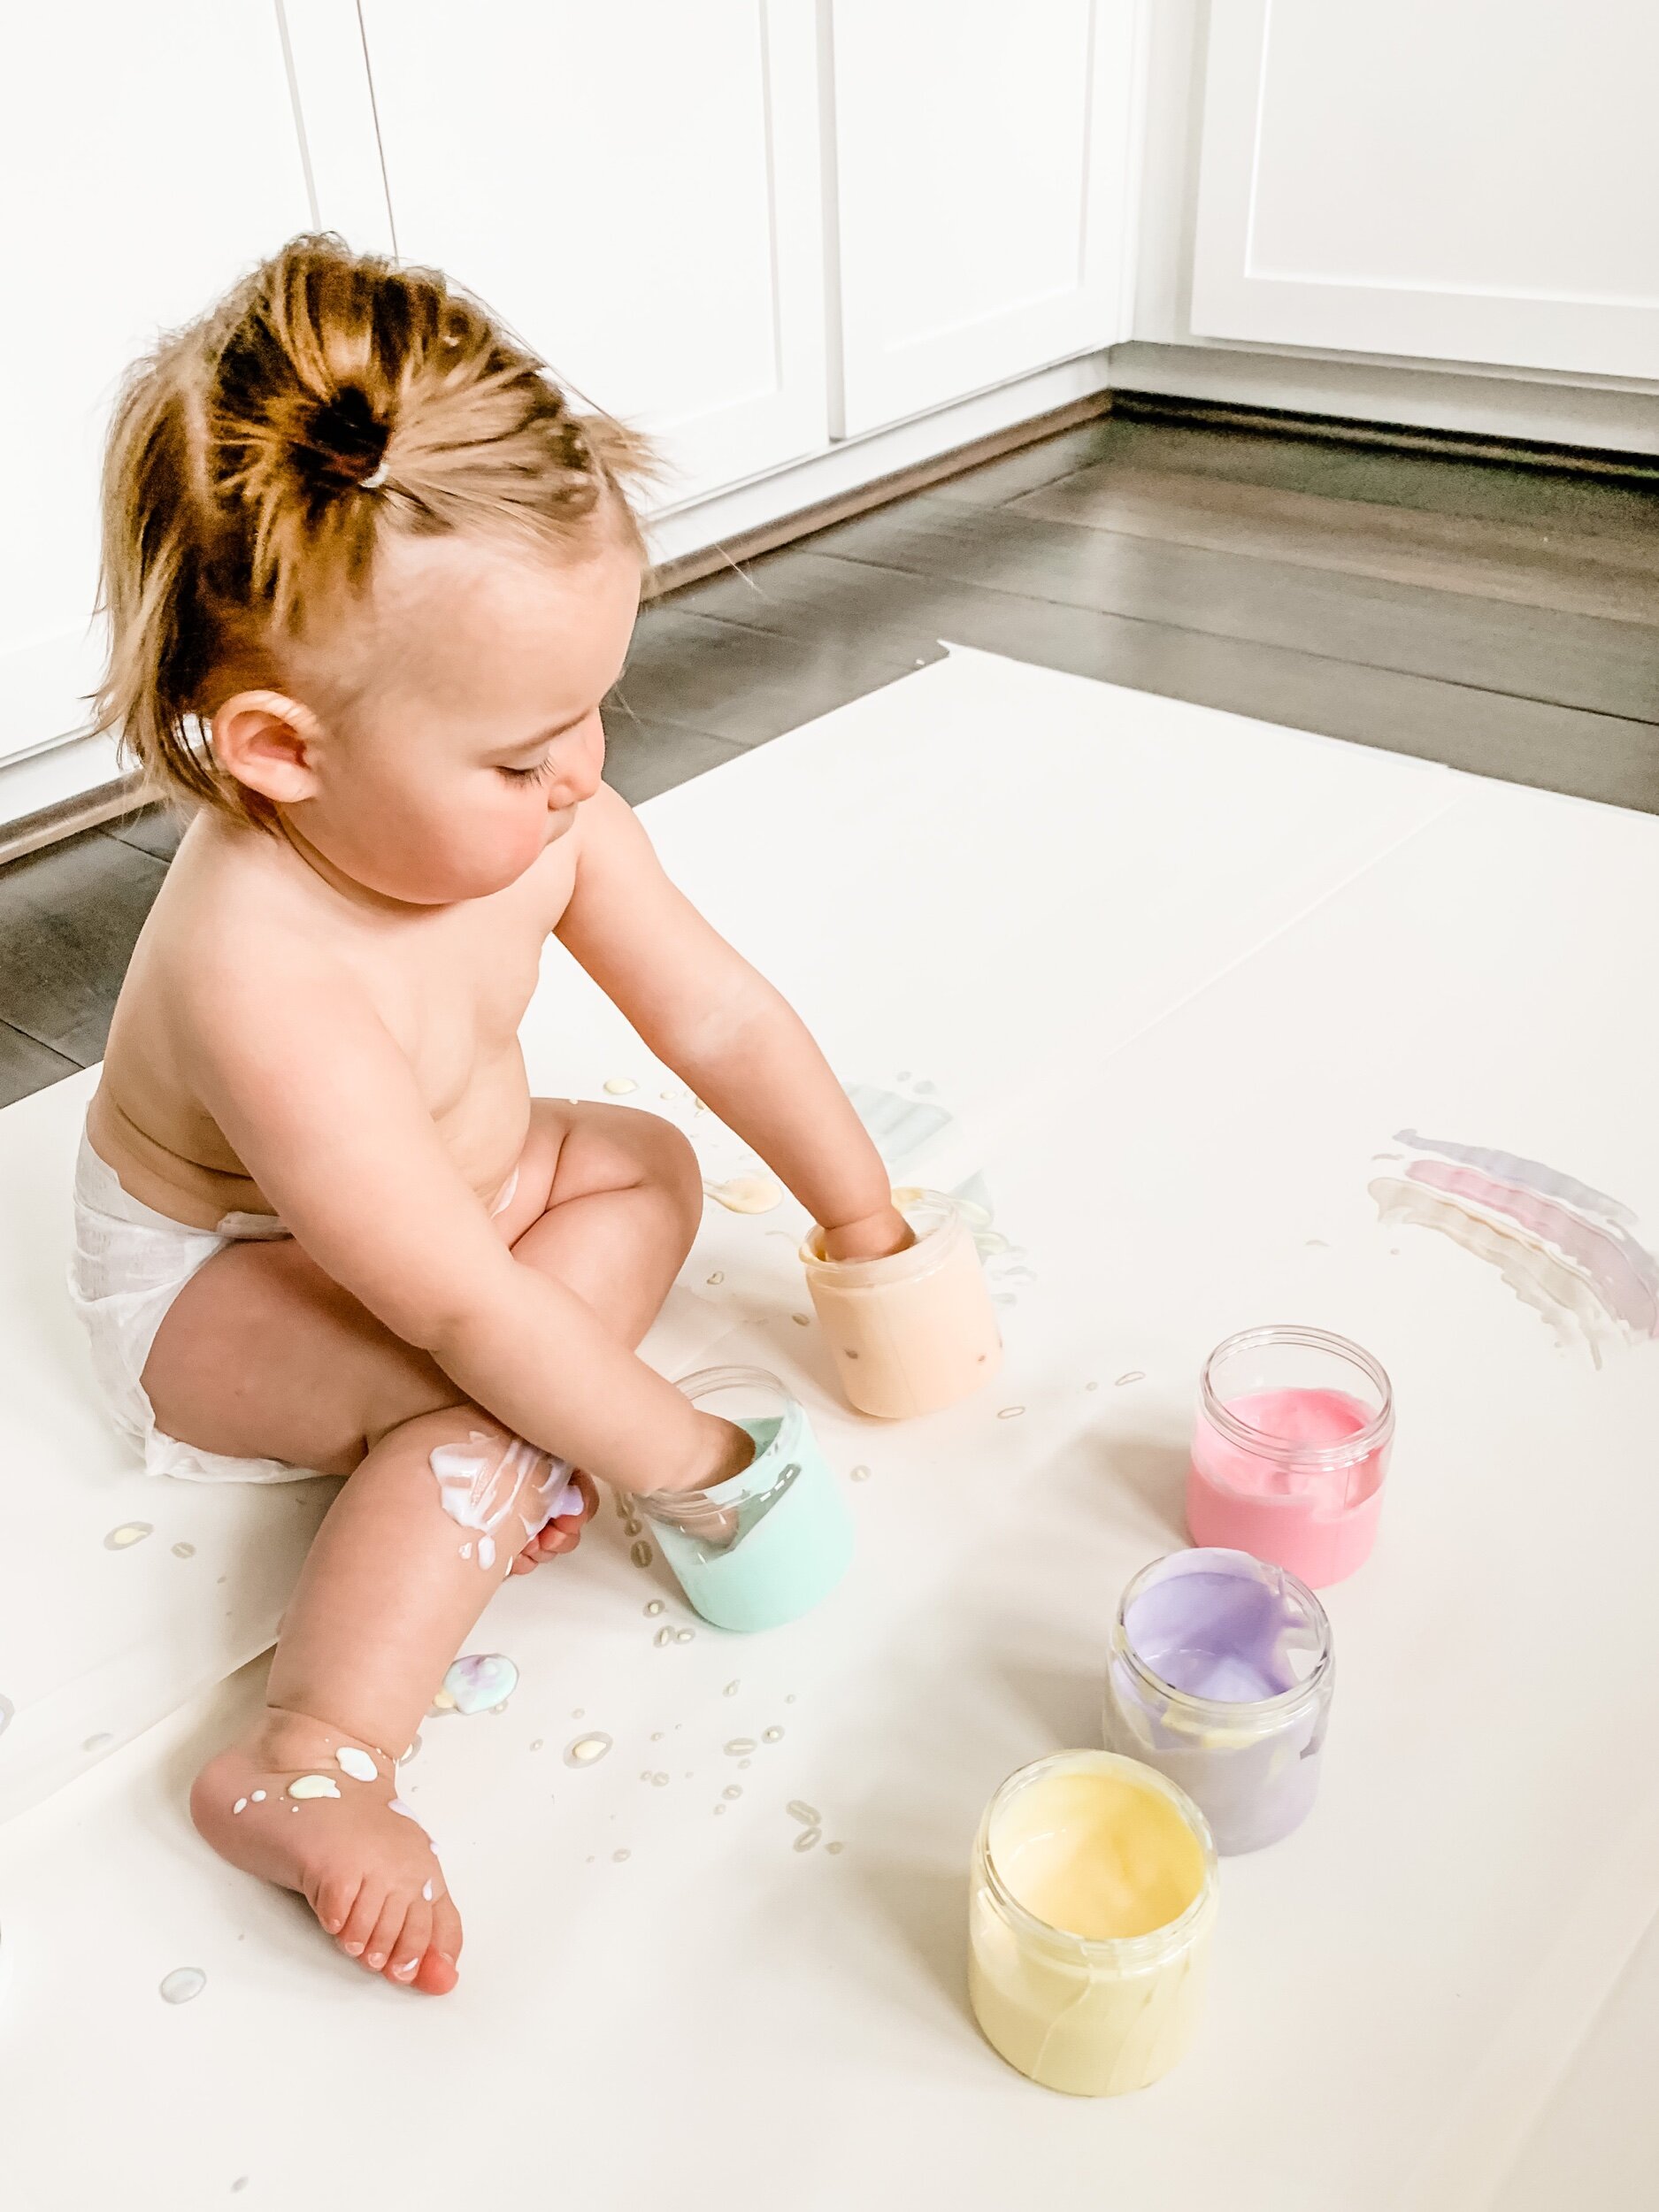
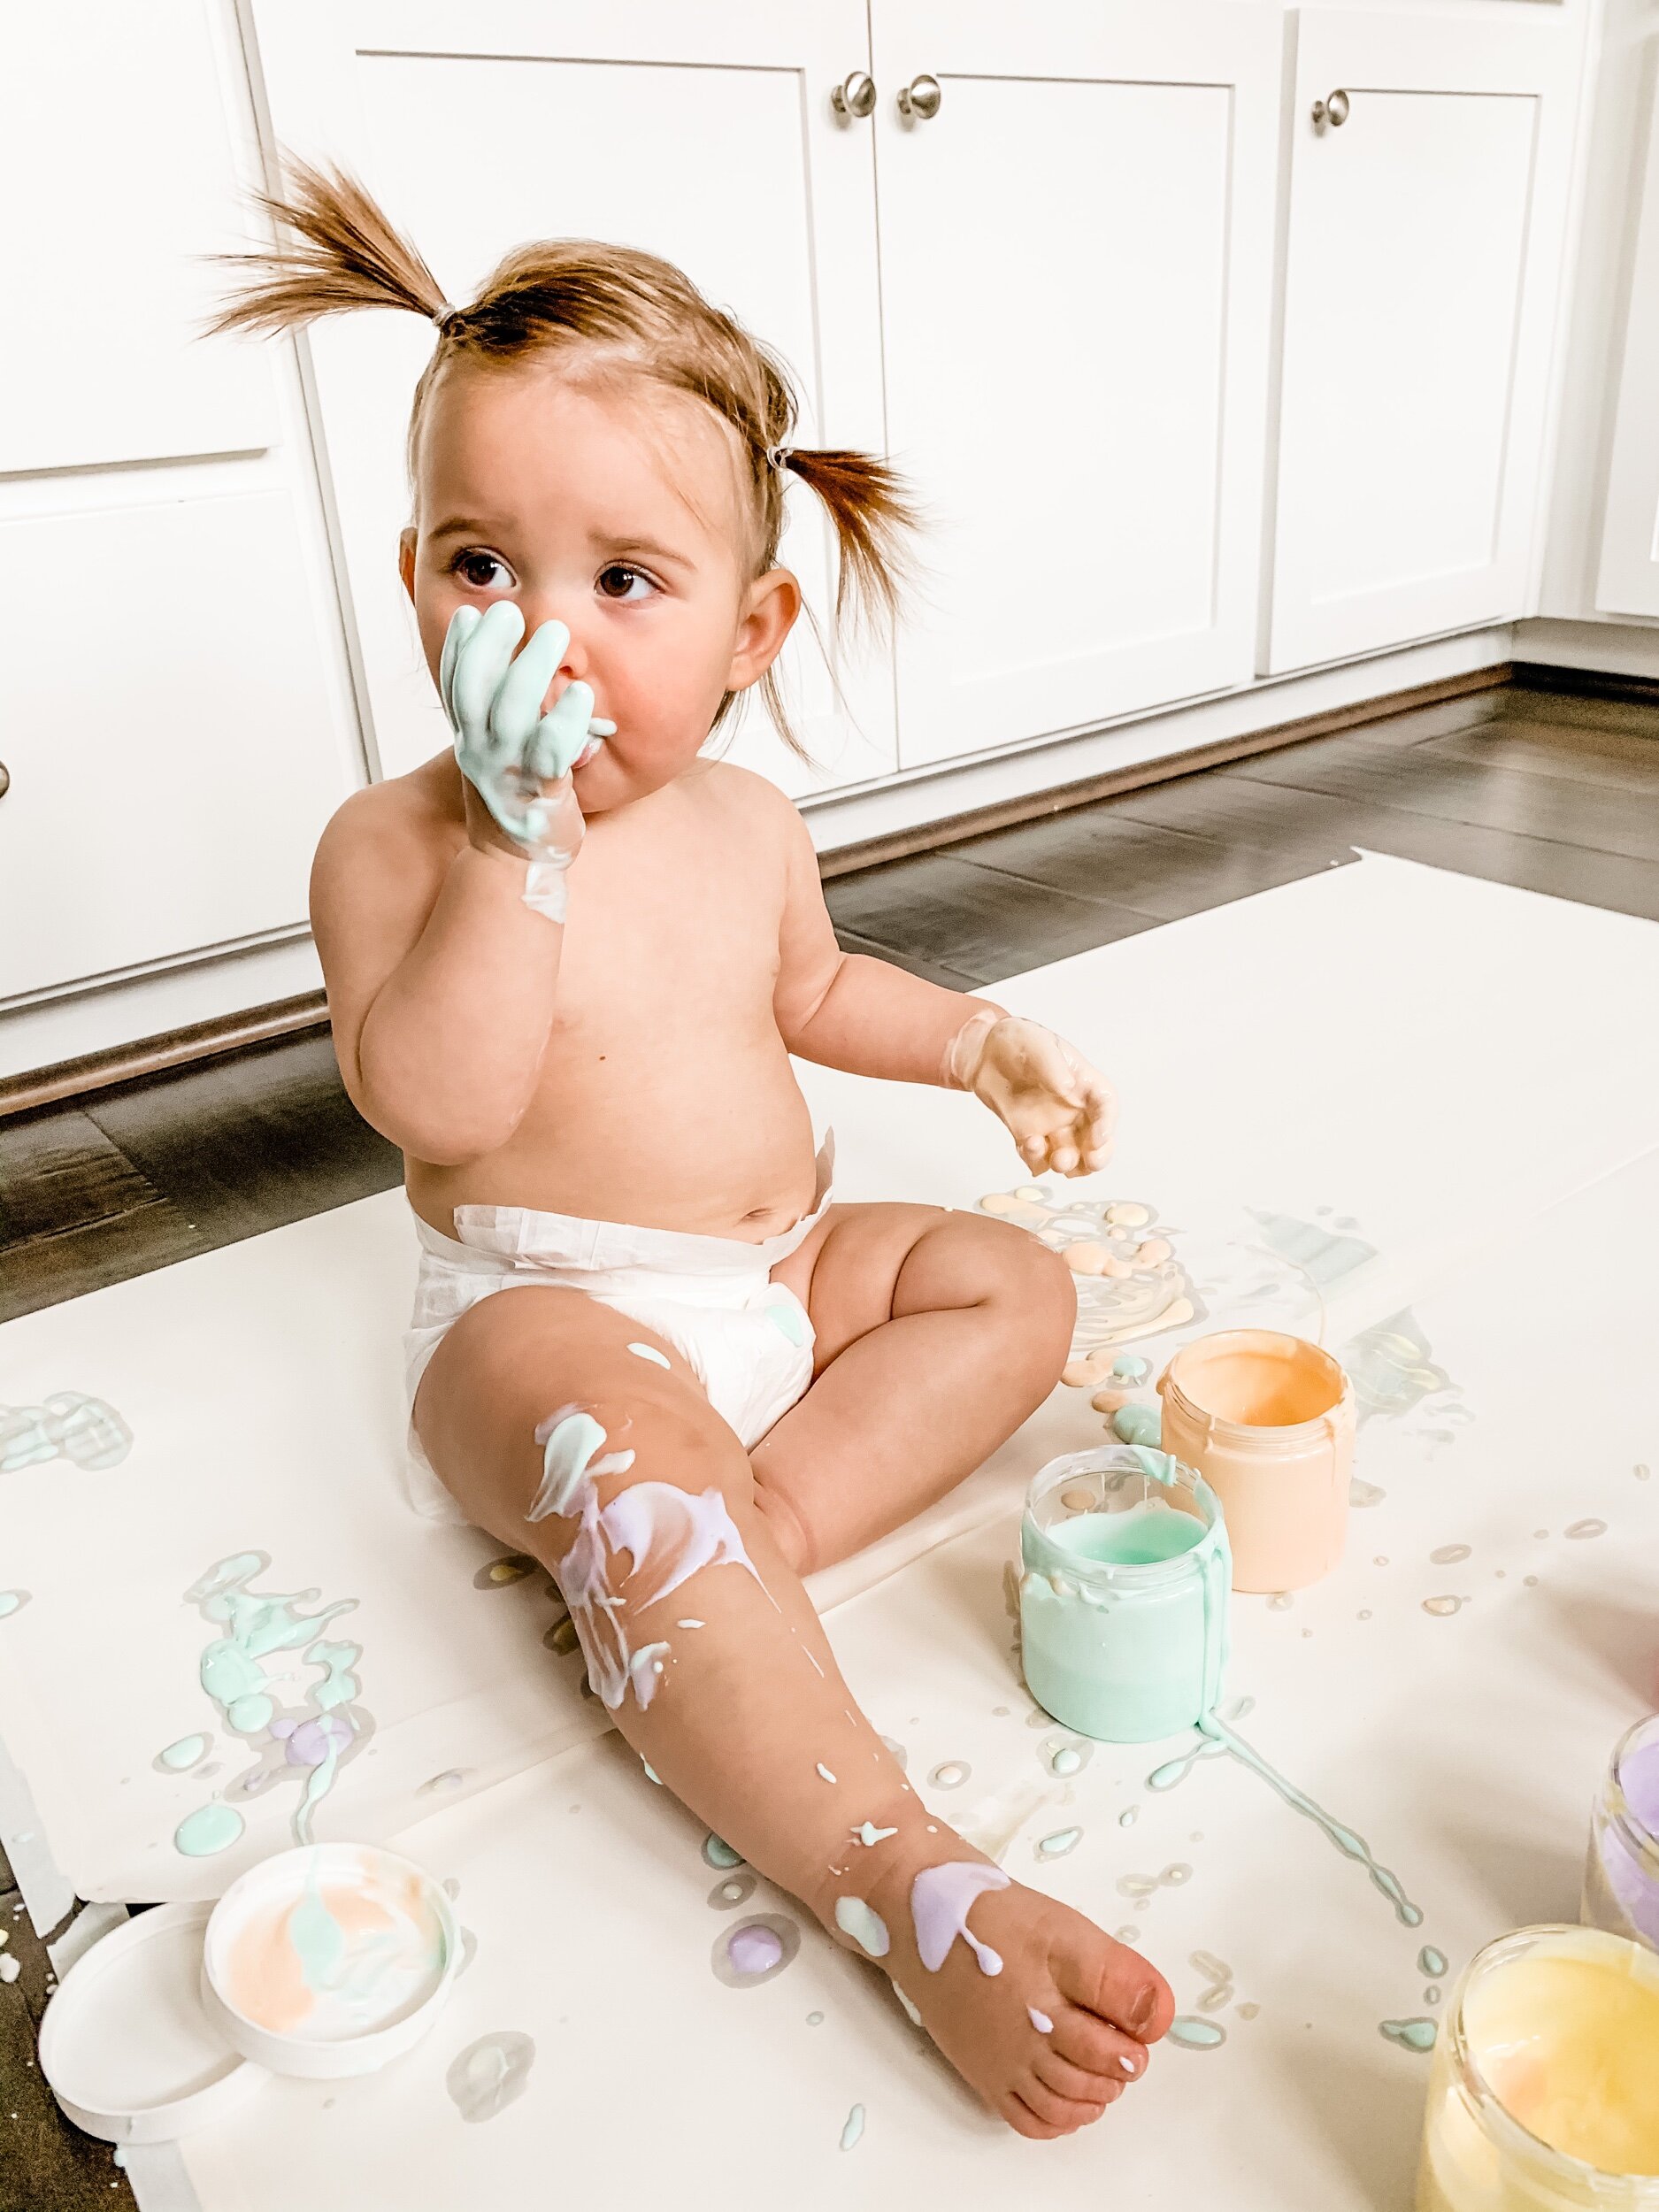
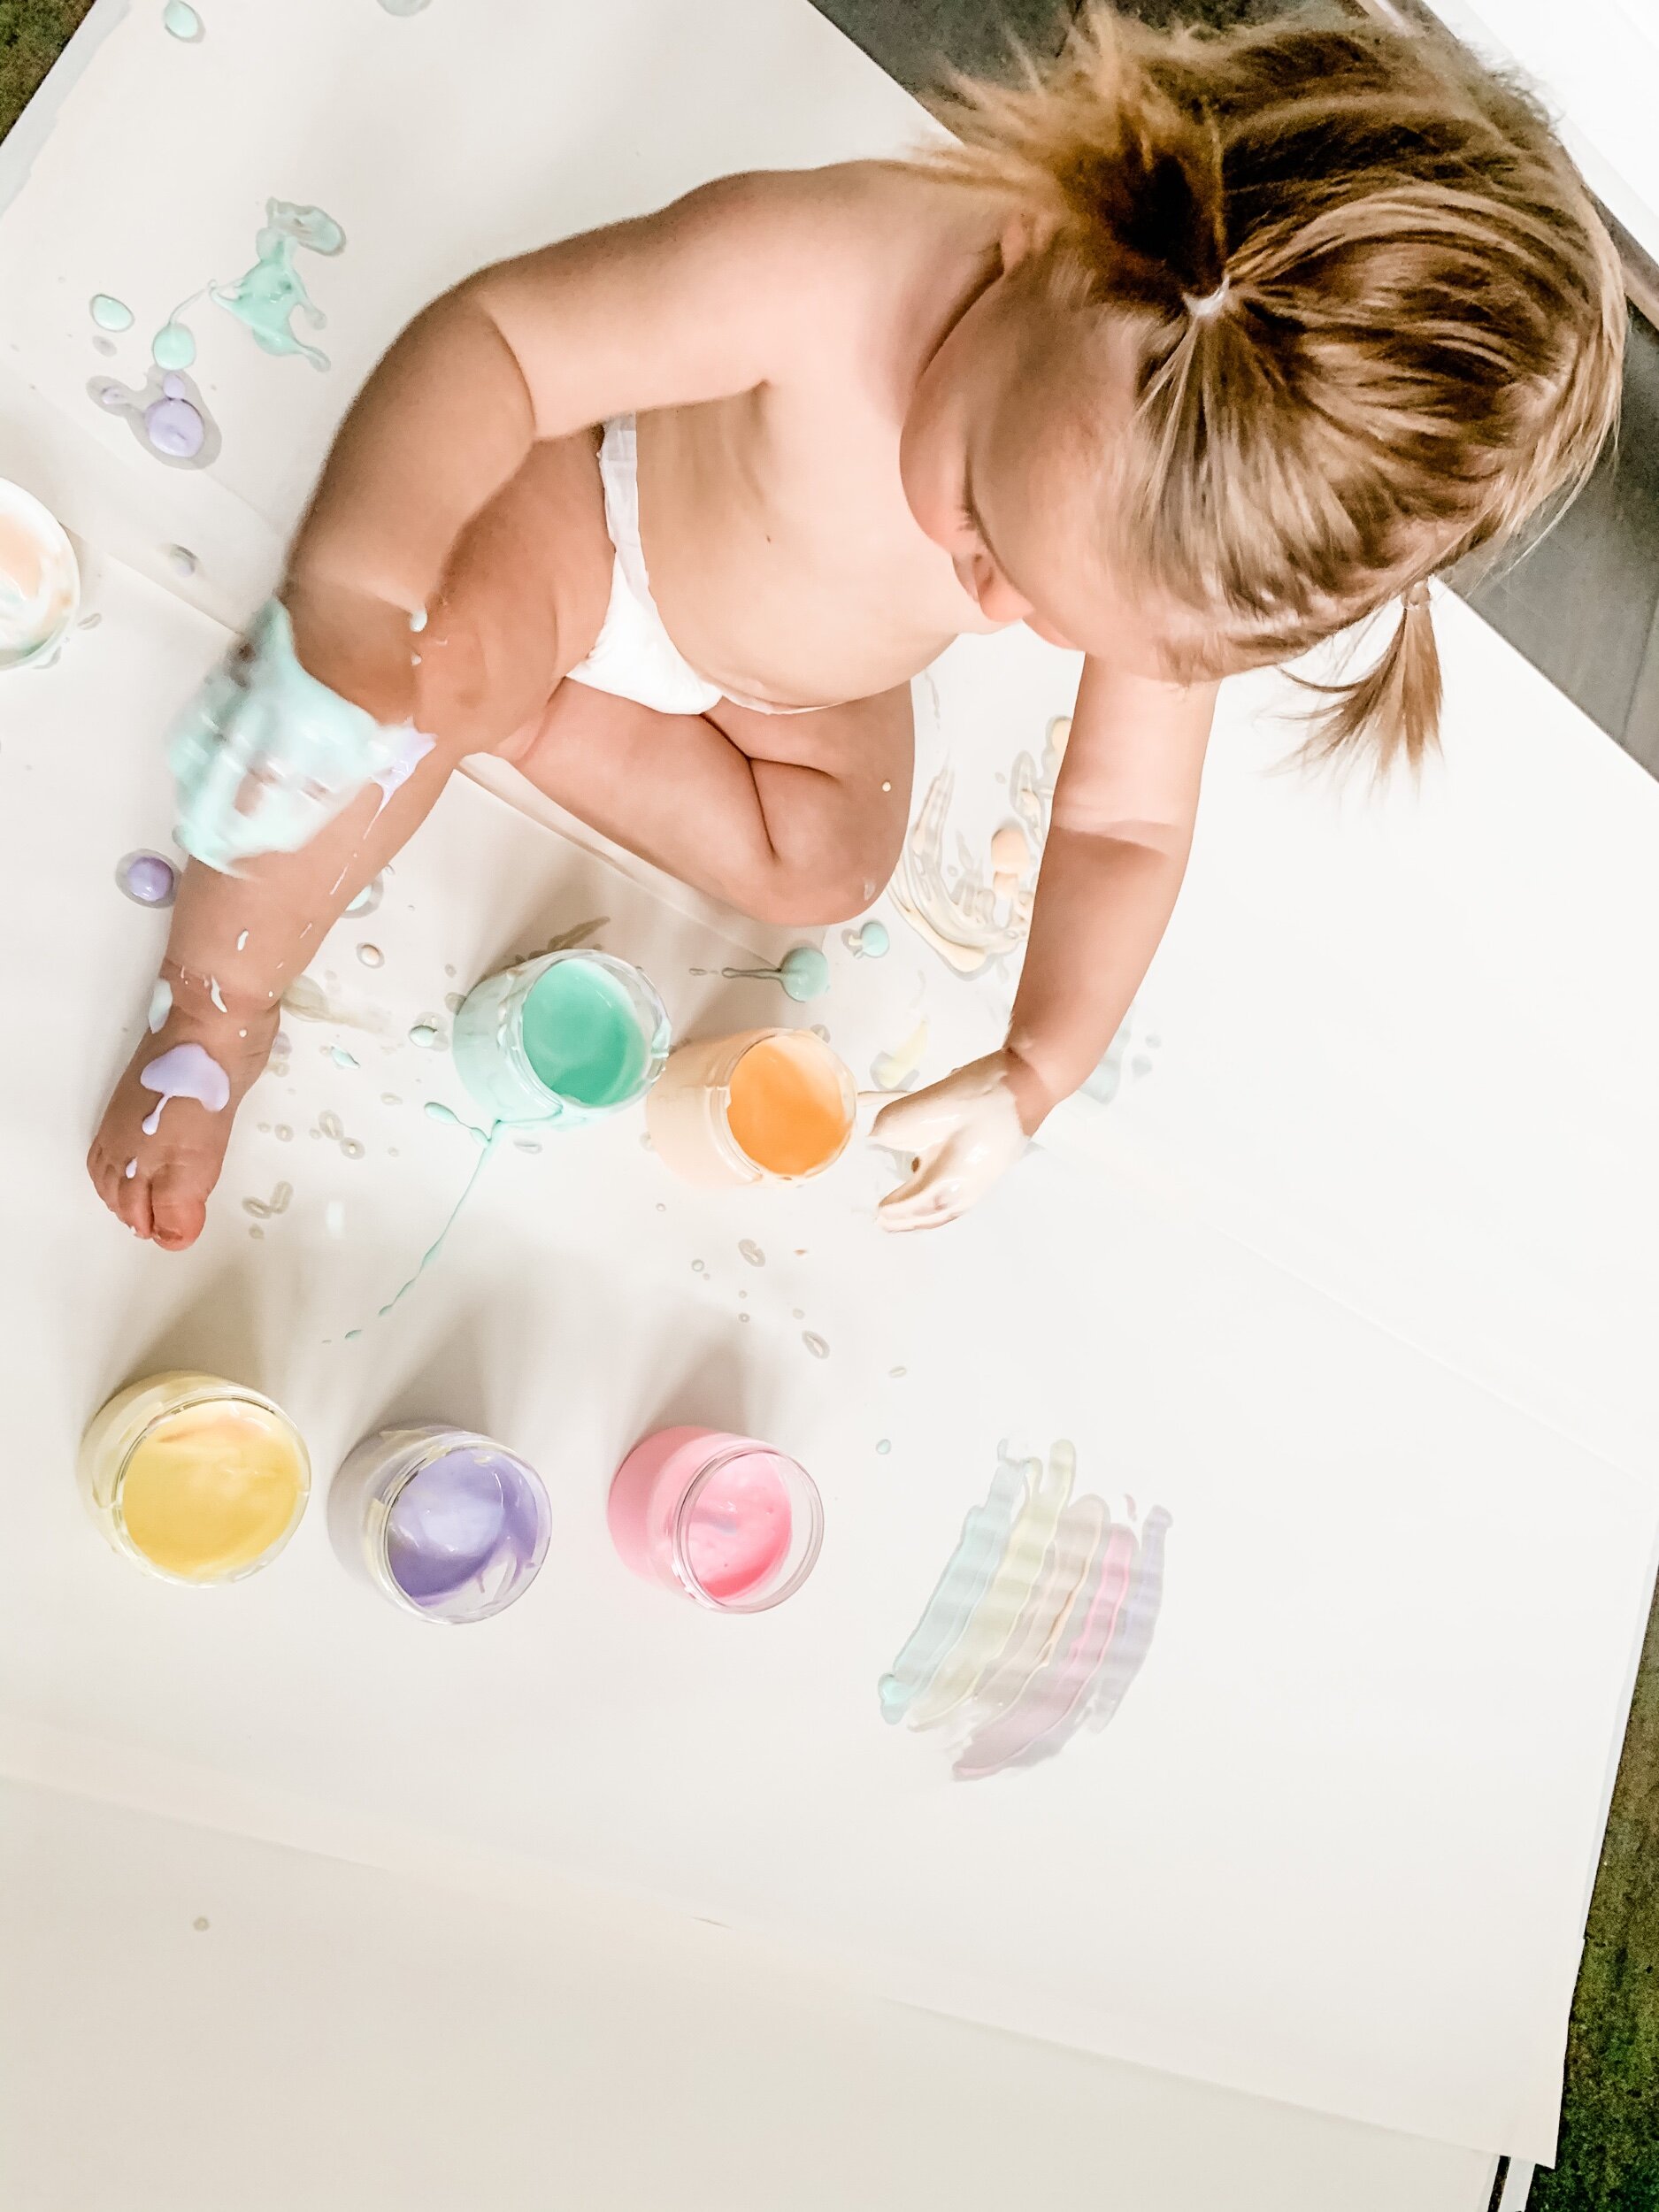
Rainbow Finger Paint for Babies & Toddlers (Food-Based Yogurt Paint)

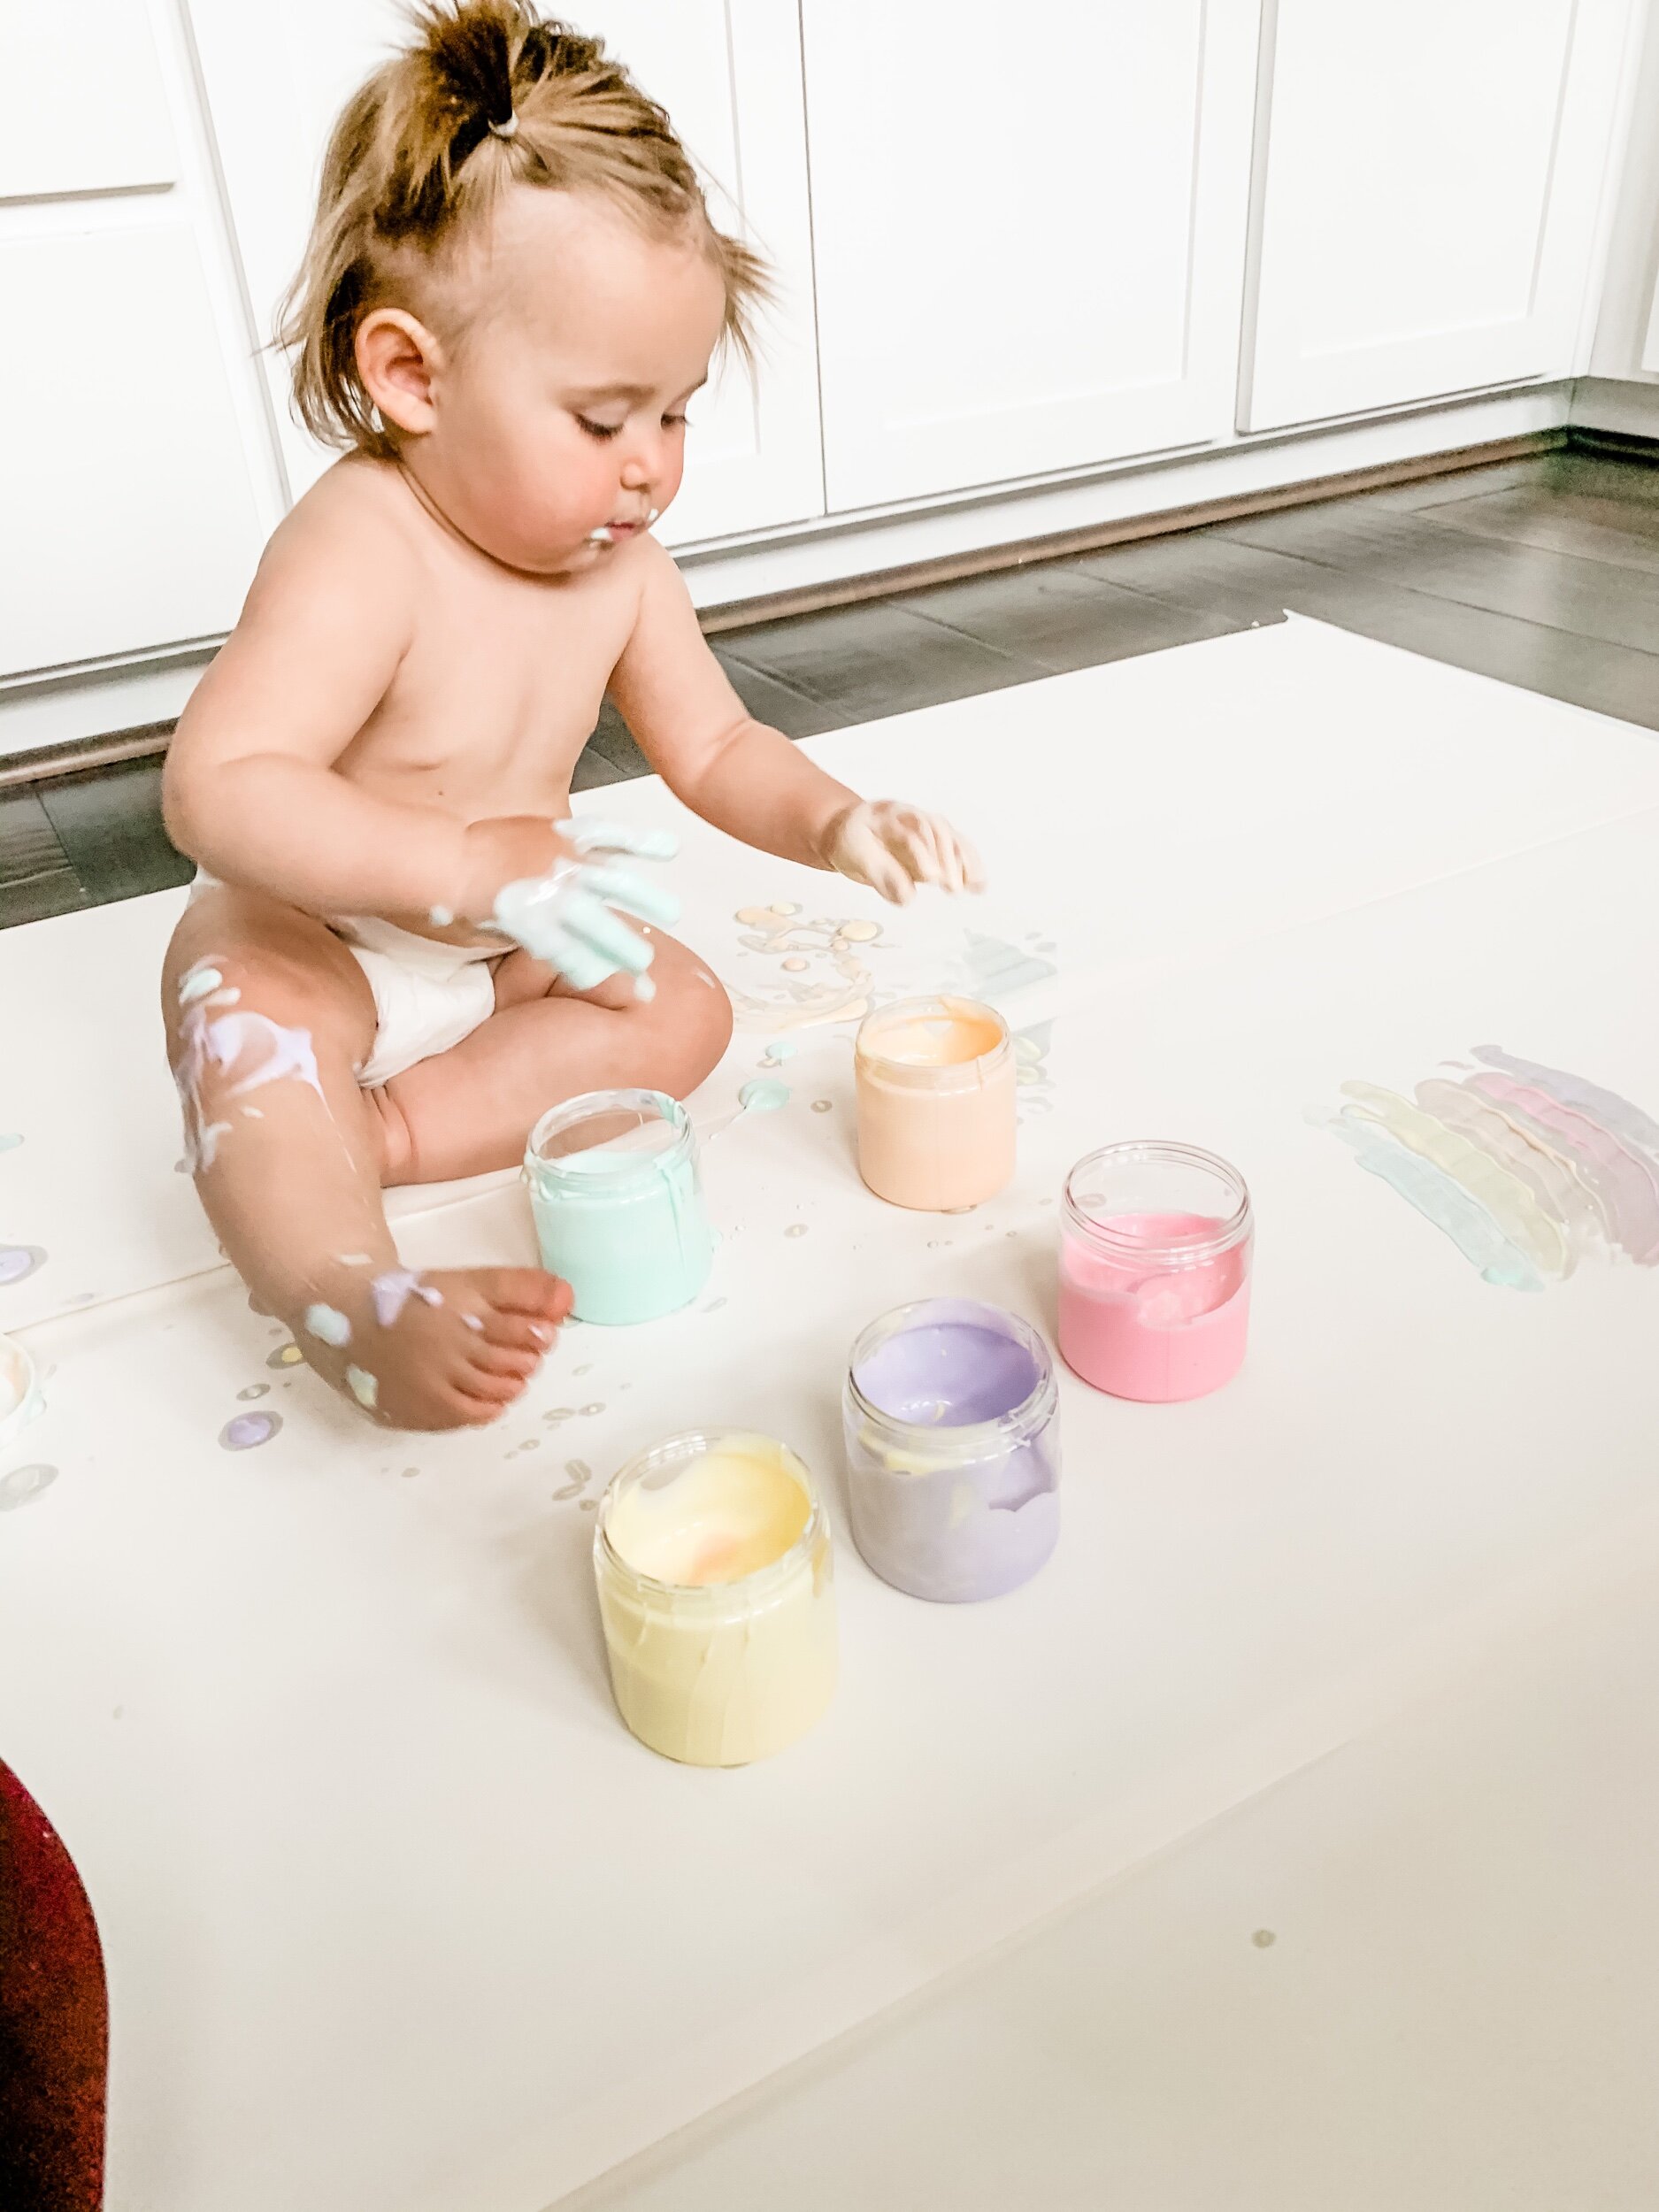
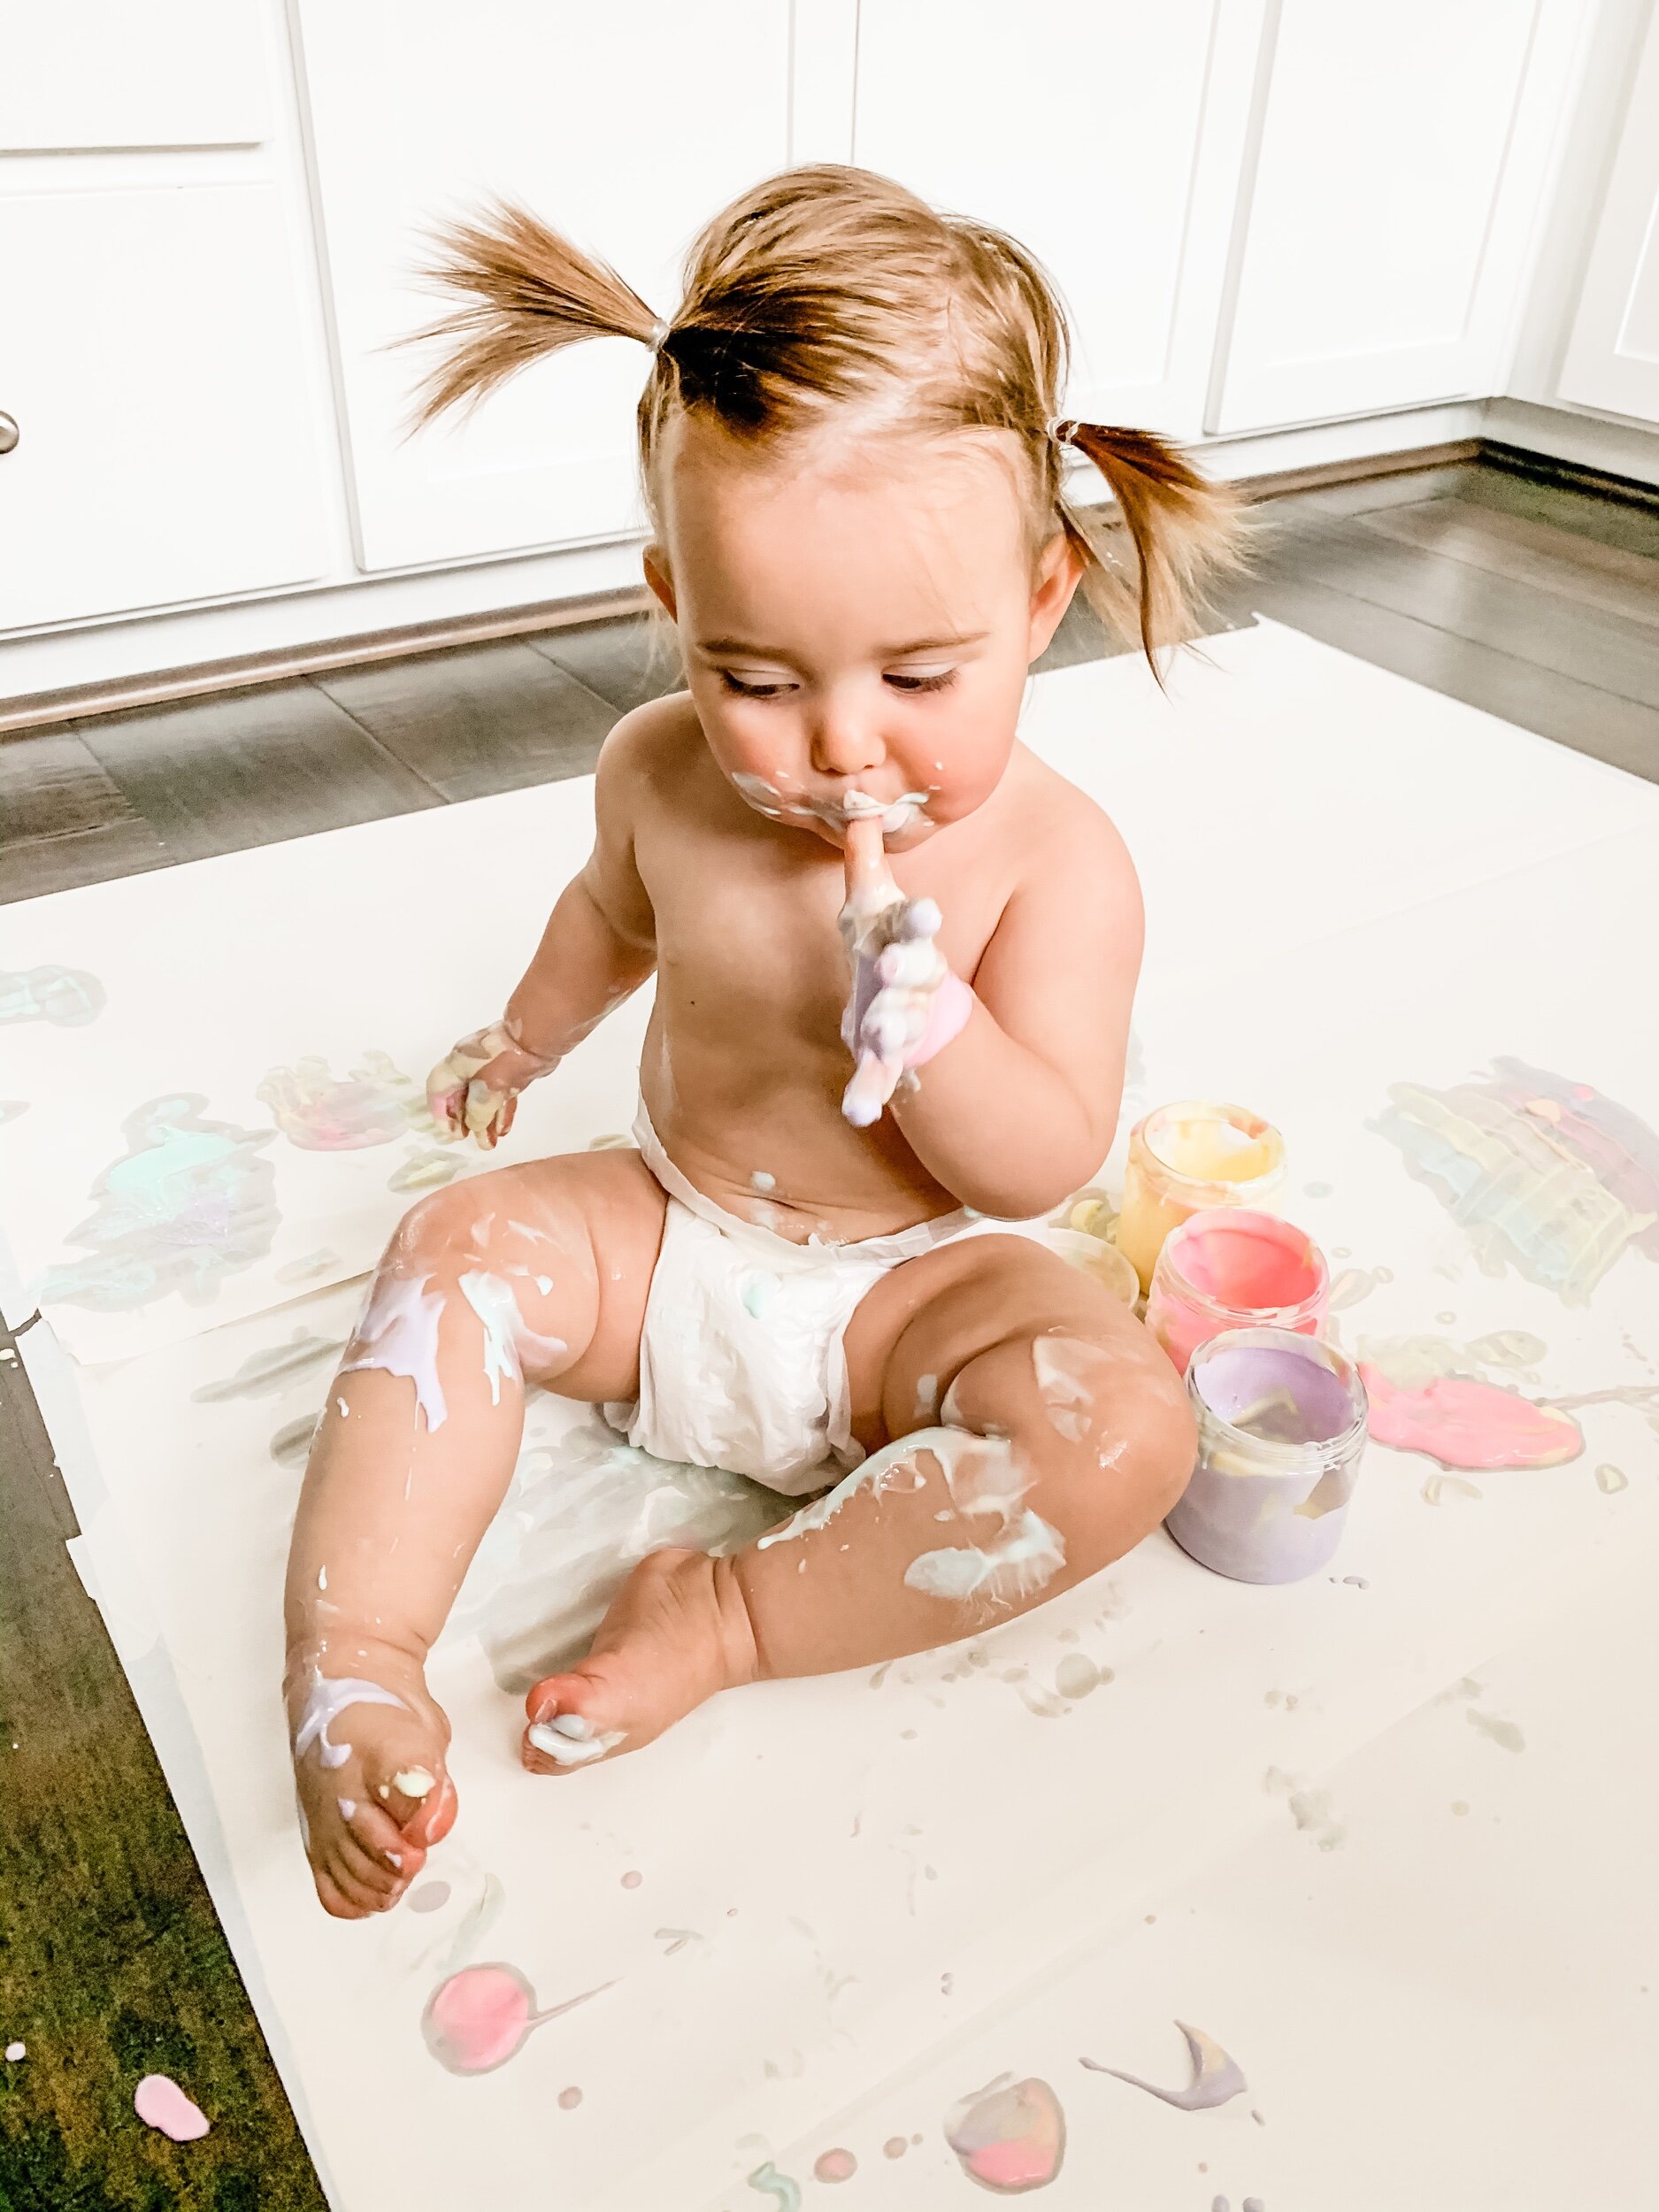
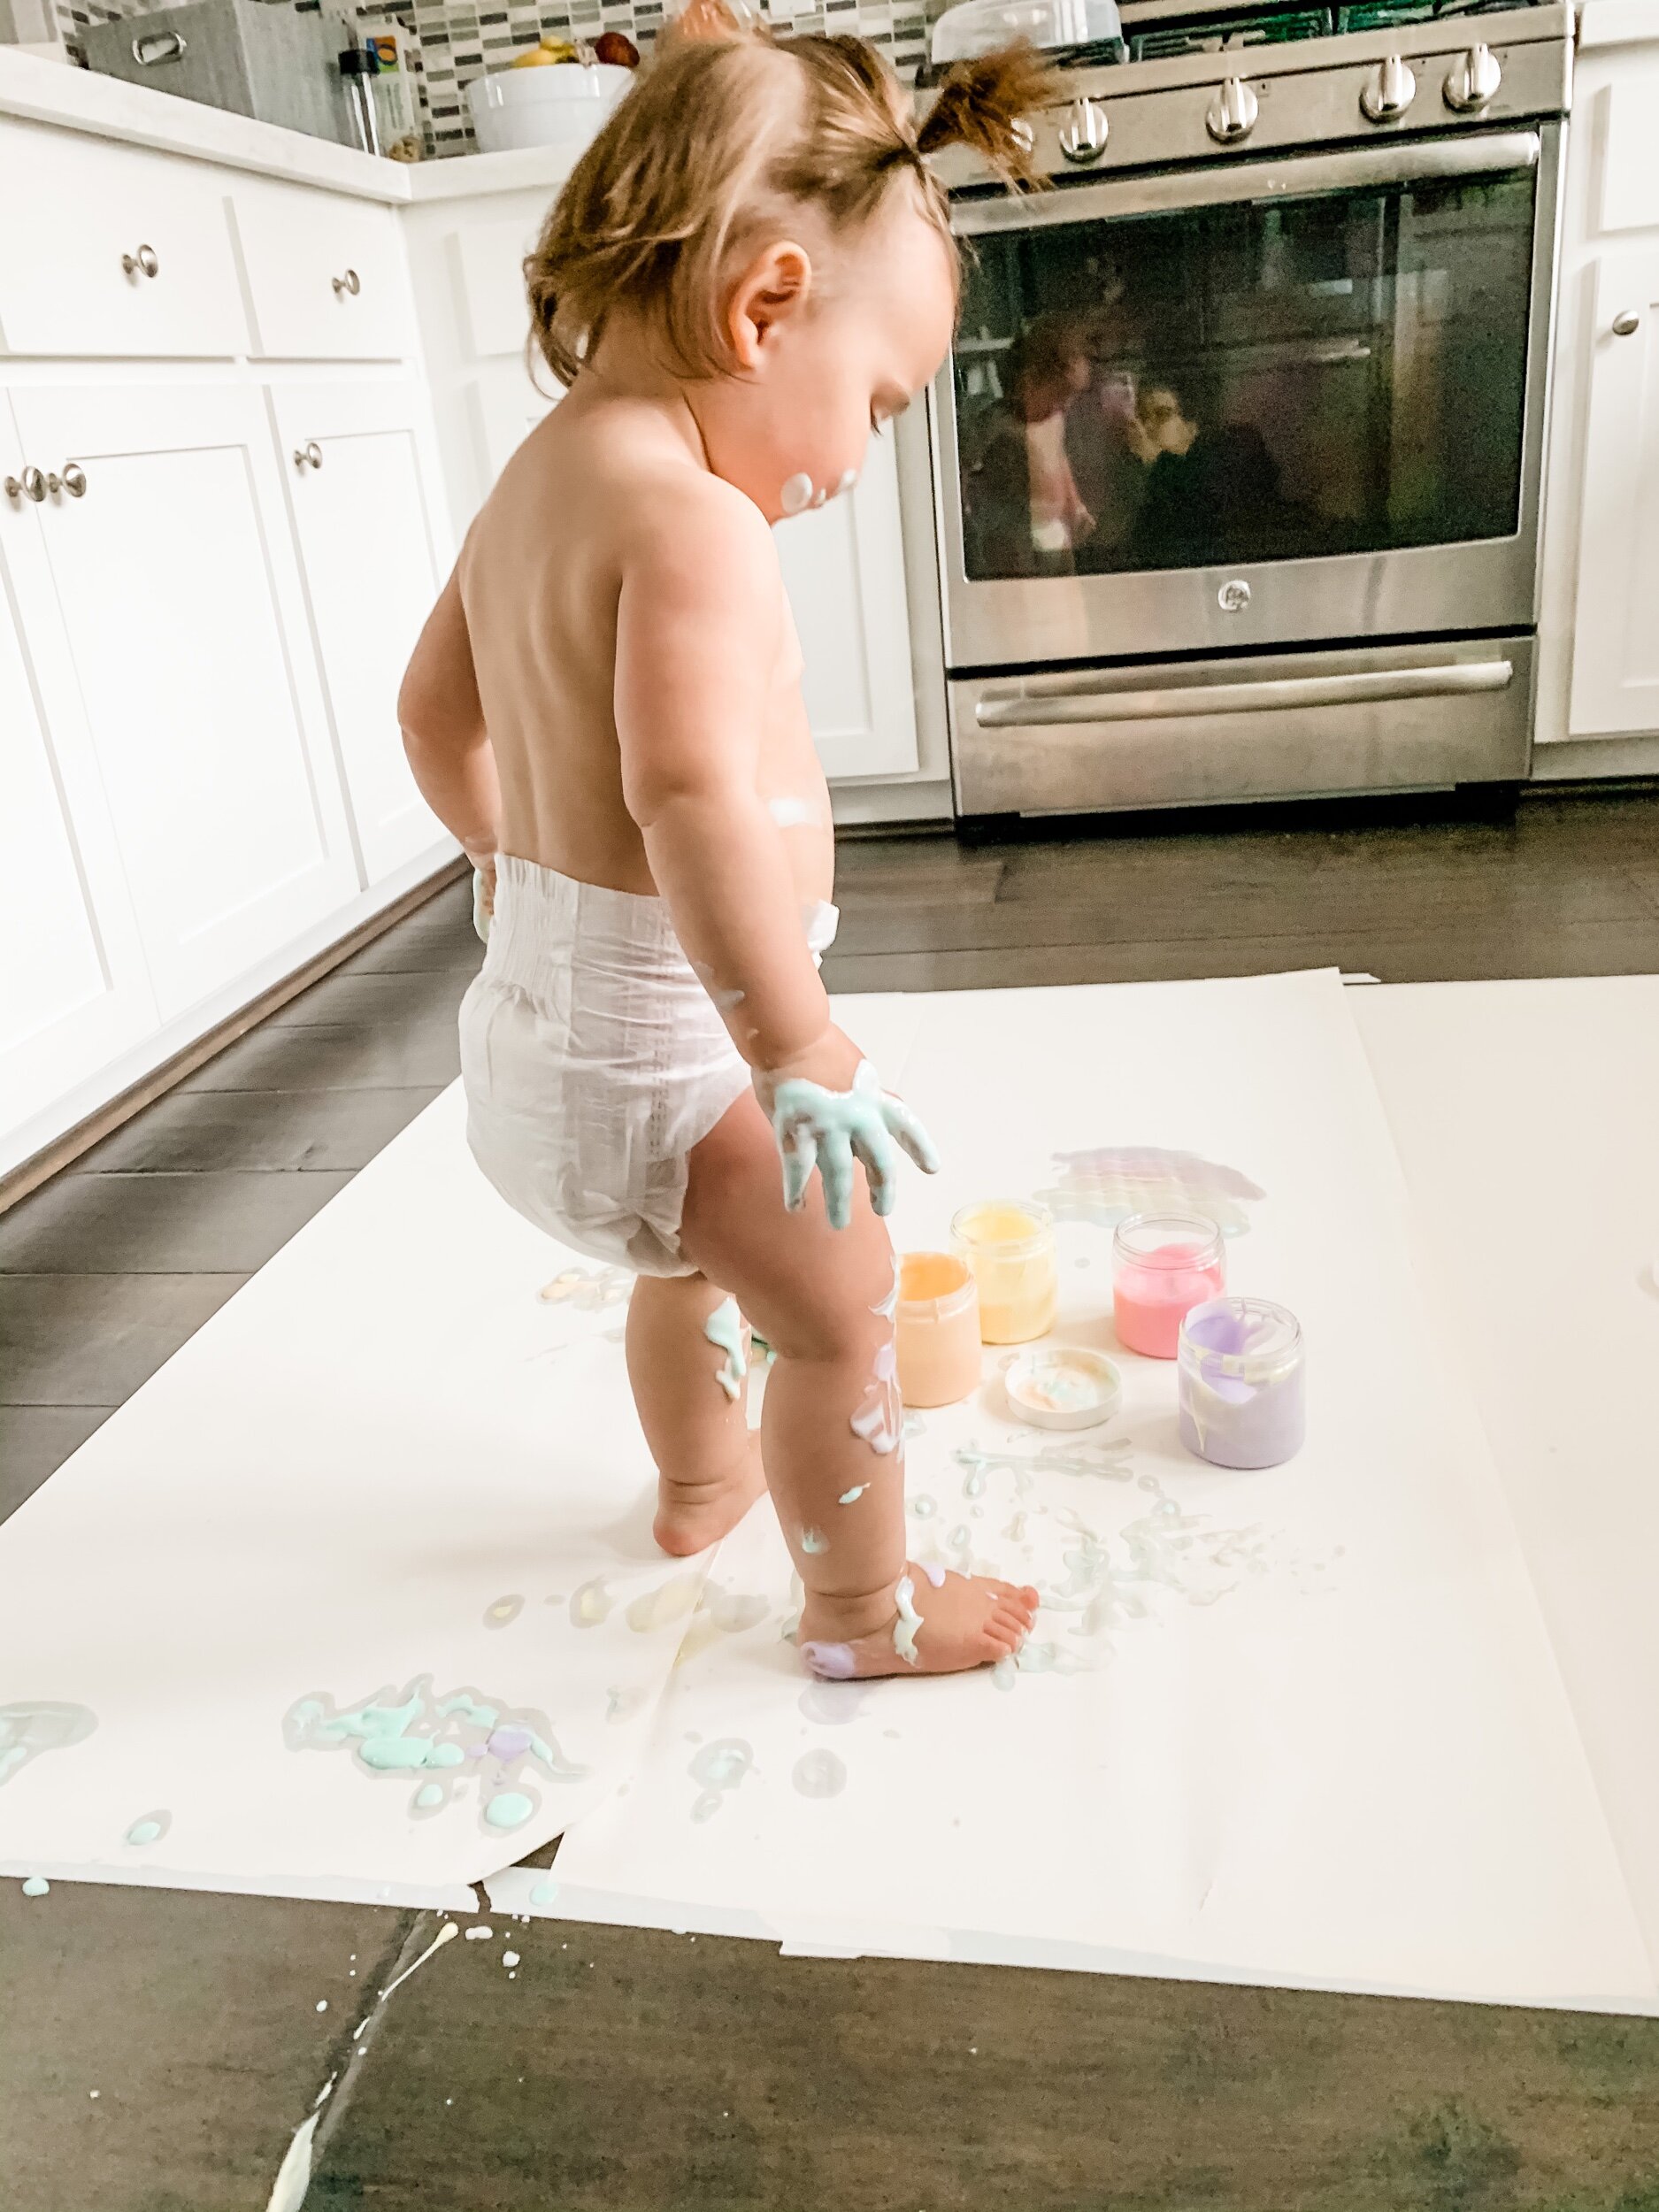
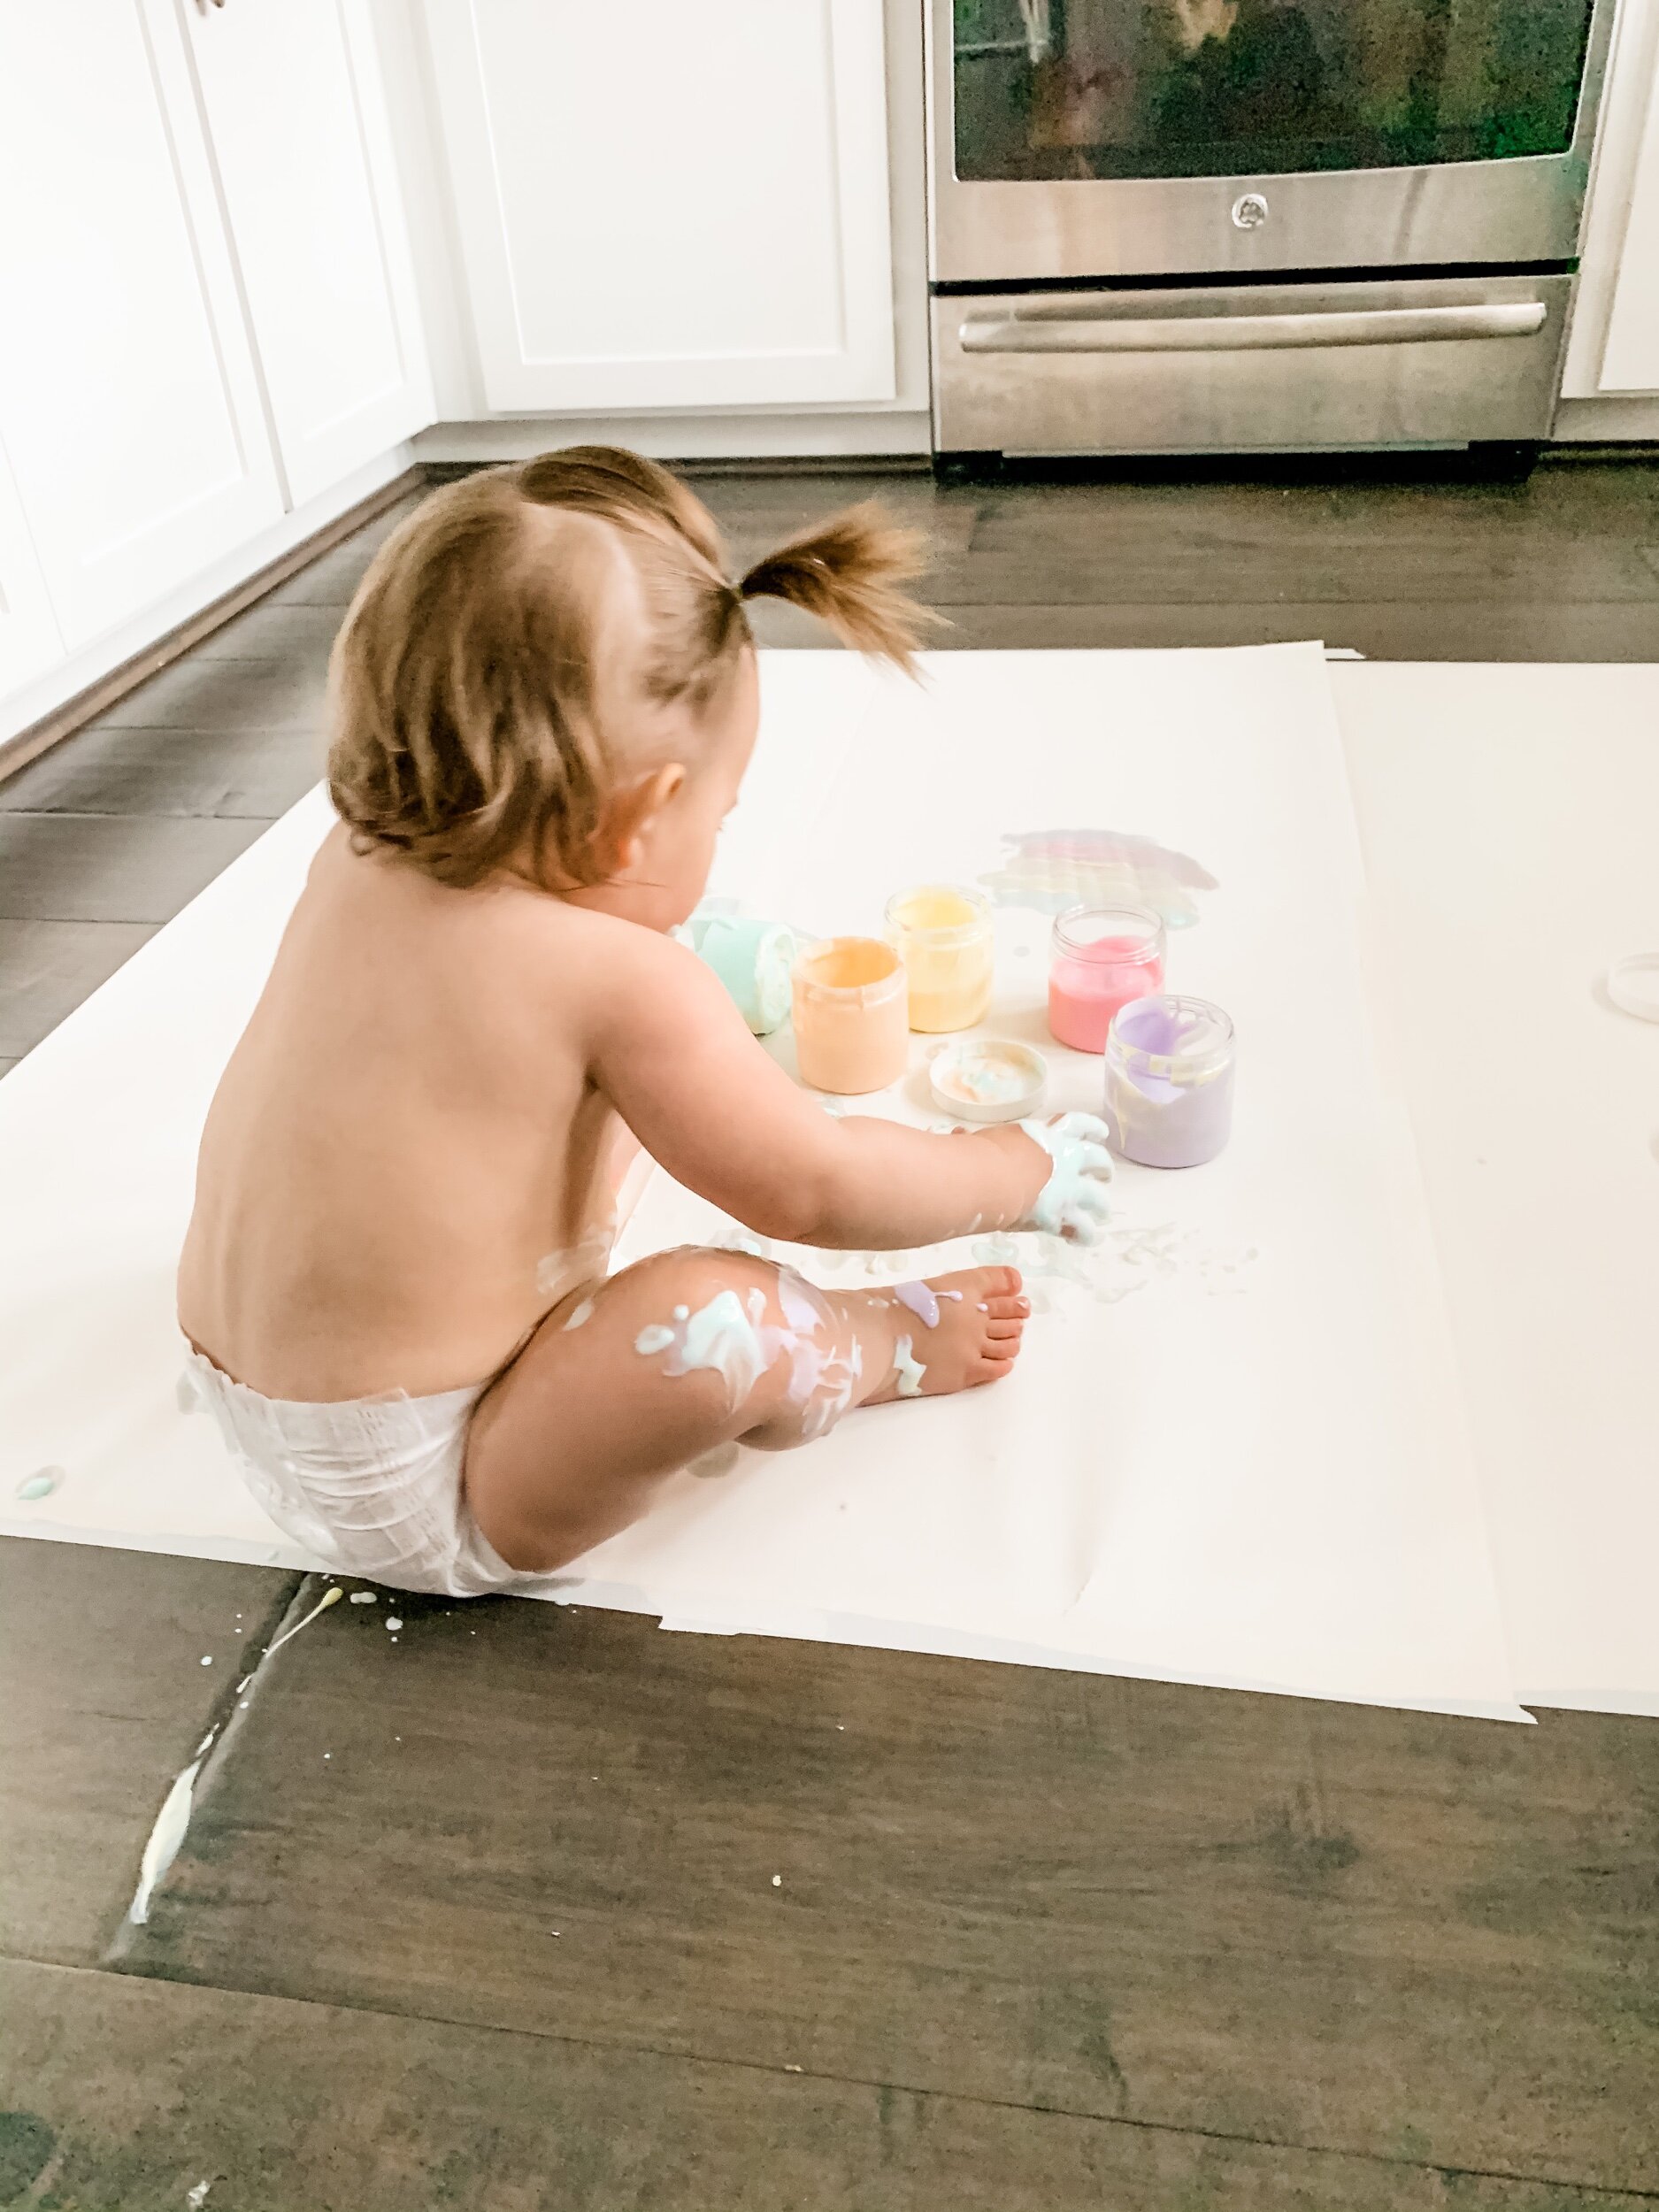
I finally found an amazing “recipe” for taste safe fingerprints. Sofie still points everything in her mouth, as I’m sure many one year olds do. So it’s no surprise that I’m constantly on the lookout for taste safe activities that can keep this busy toddler occupied for more than five minutes. She loves sensory activities so even though I knew this one would be messy, I figured I’d give it a go!

  • Yogurt

  • Food coloring

629DAB7B-49C1-4393-AA7B-8711804DA4A9.png

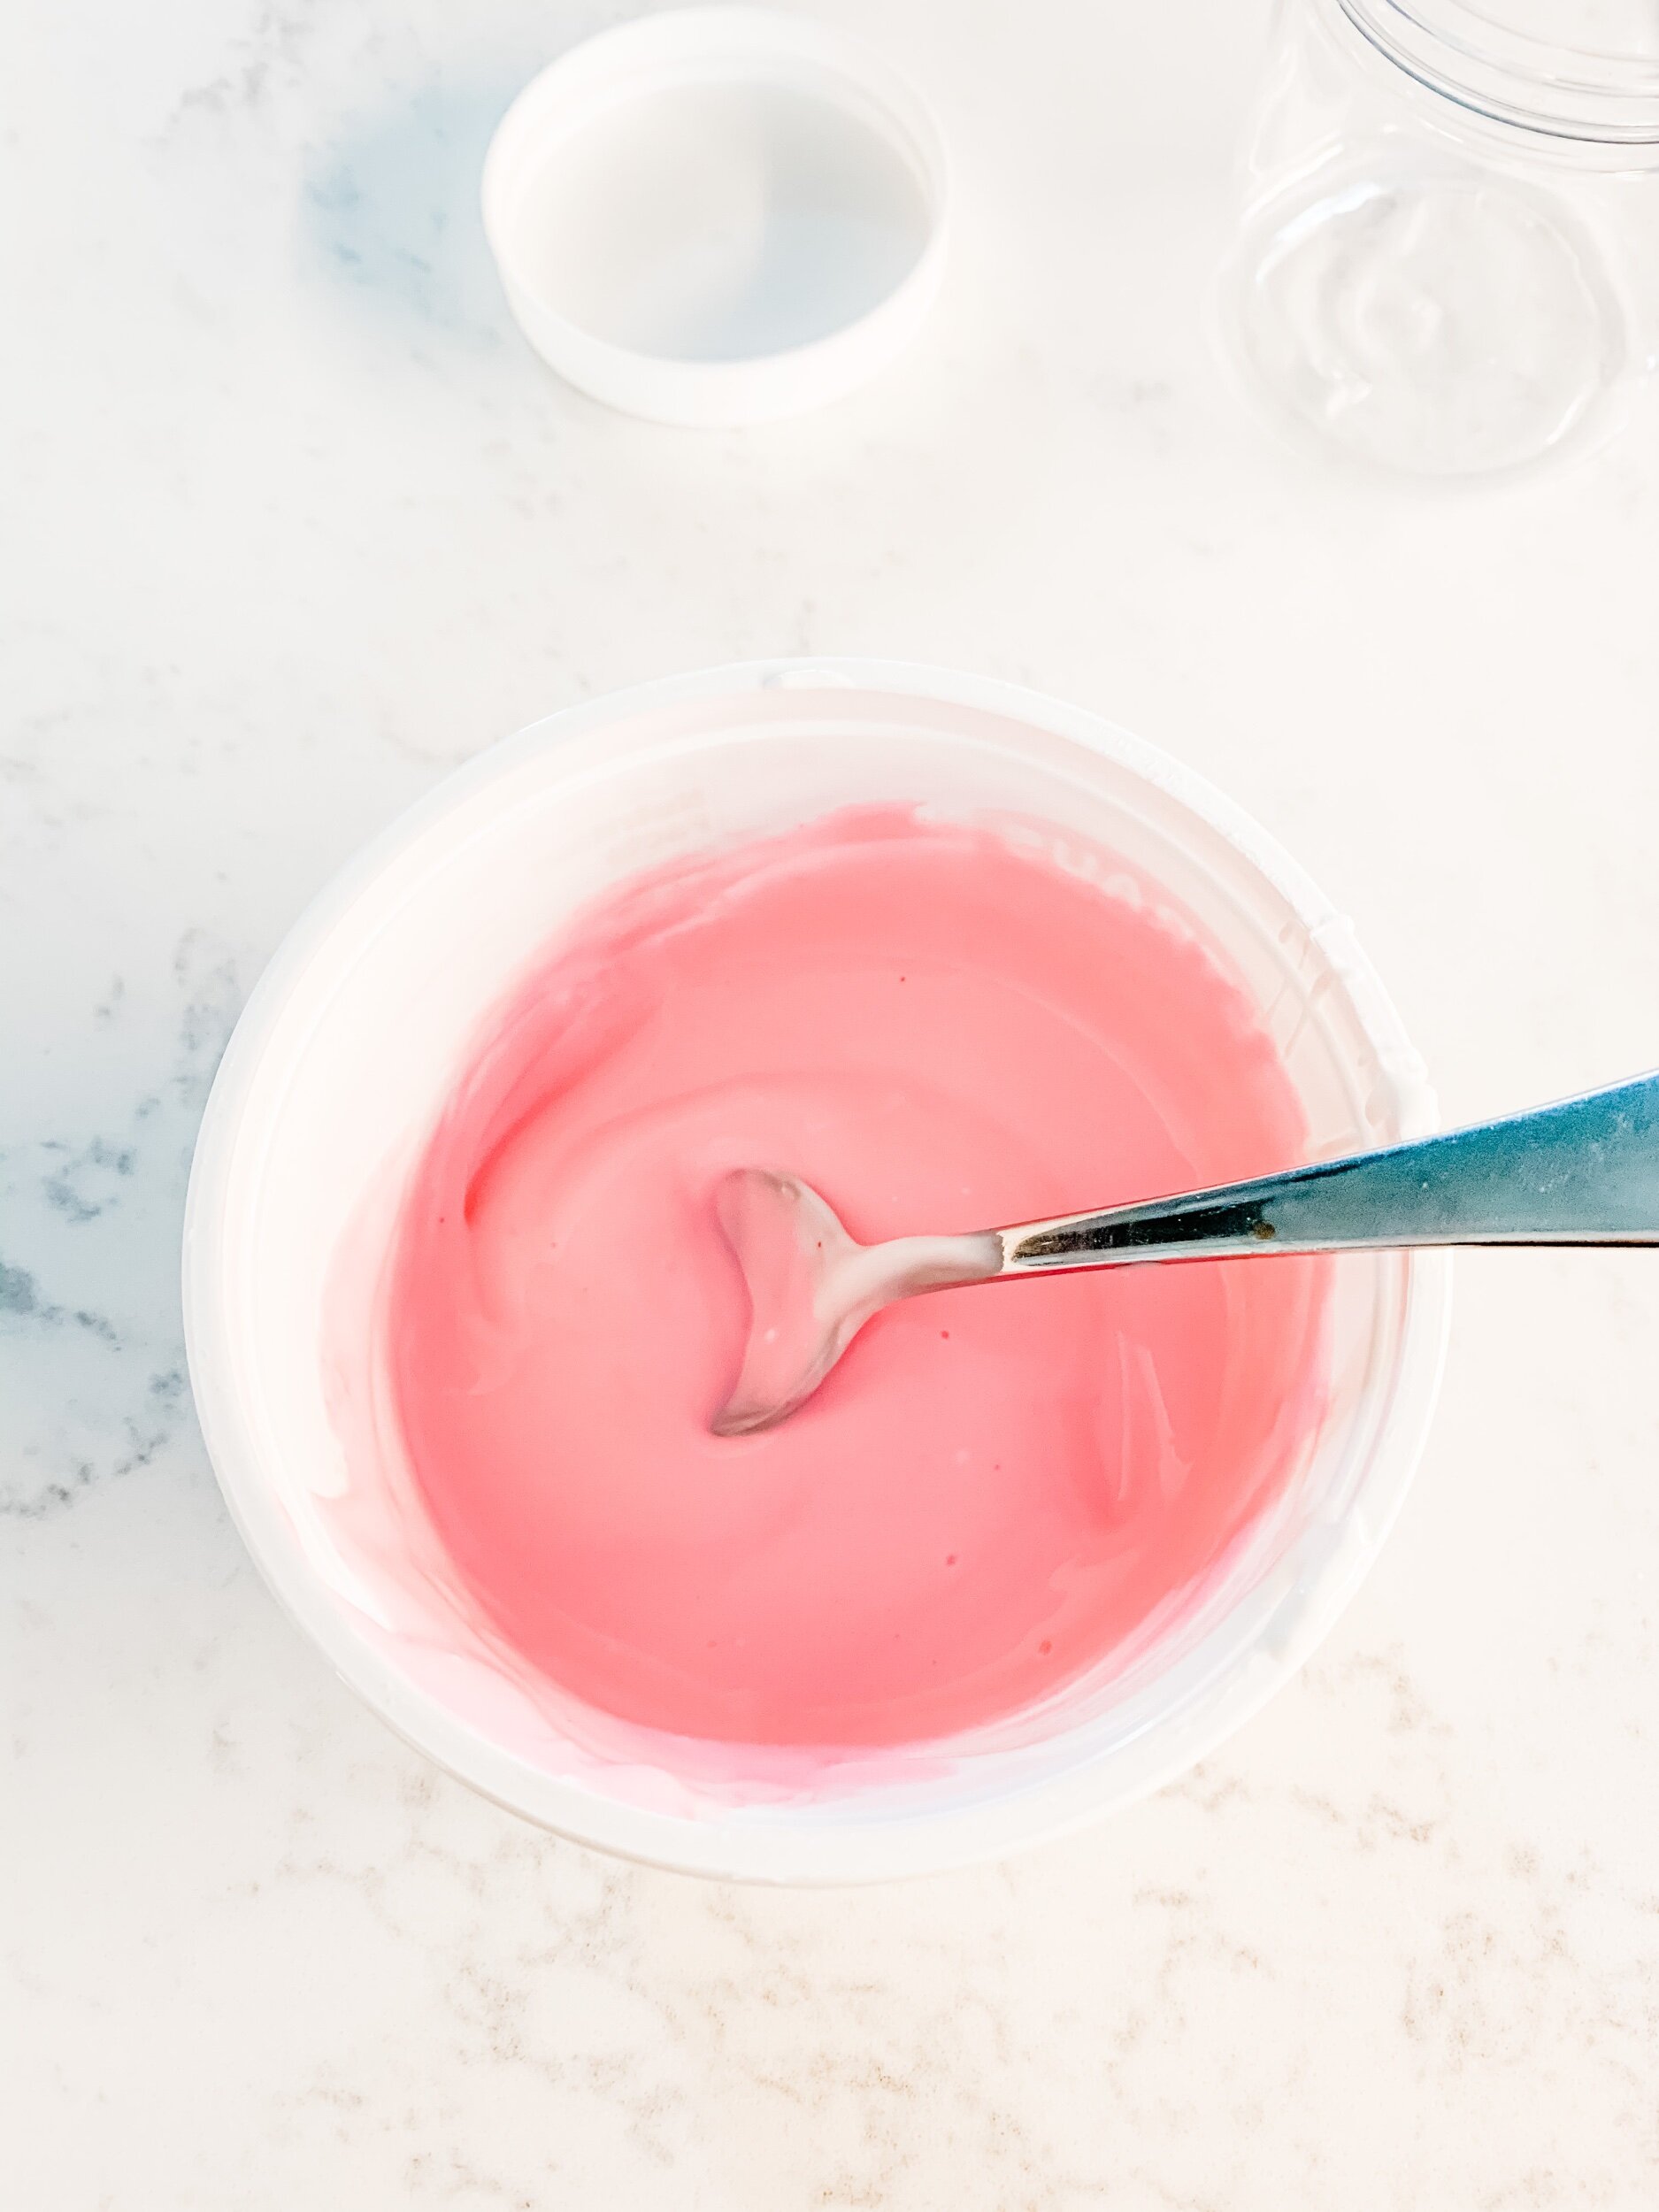
This one is so simple to make because all you need is a big tub of yogurt and some food coloring and voila you have a fun little activity! I will say I was skeptical about how yogurt would really paint on but her paper. And to be honest, I probably would have done it differently had I known.

CAC55B47-4221-470E-9FD2-D5107CA29327.png

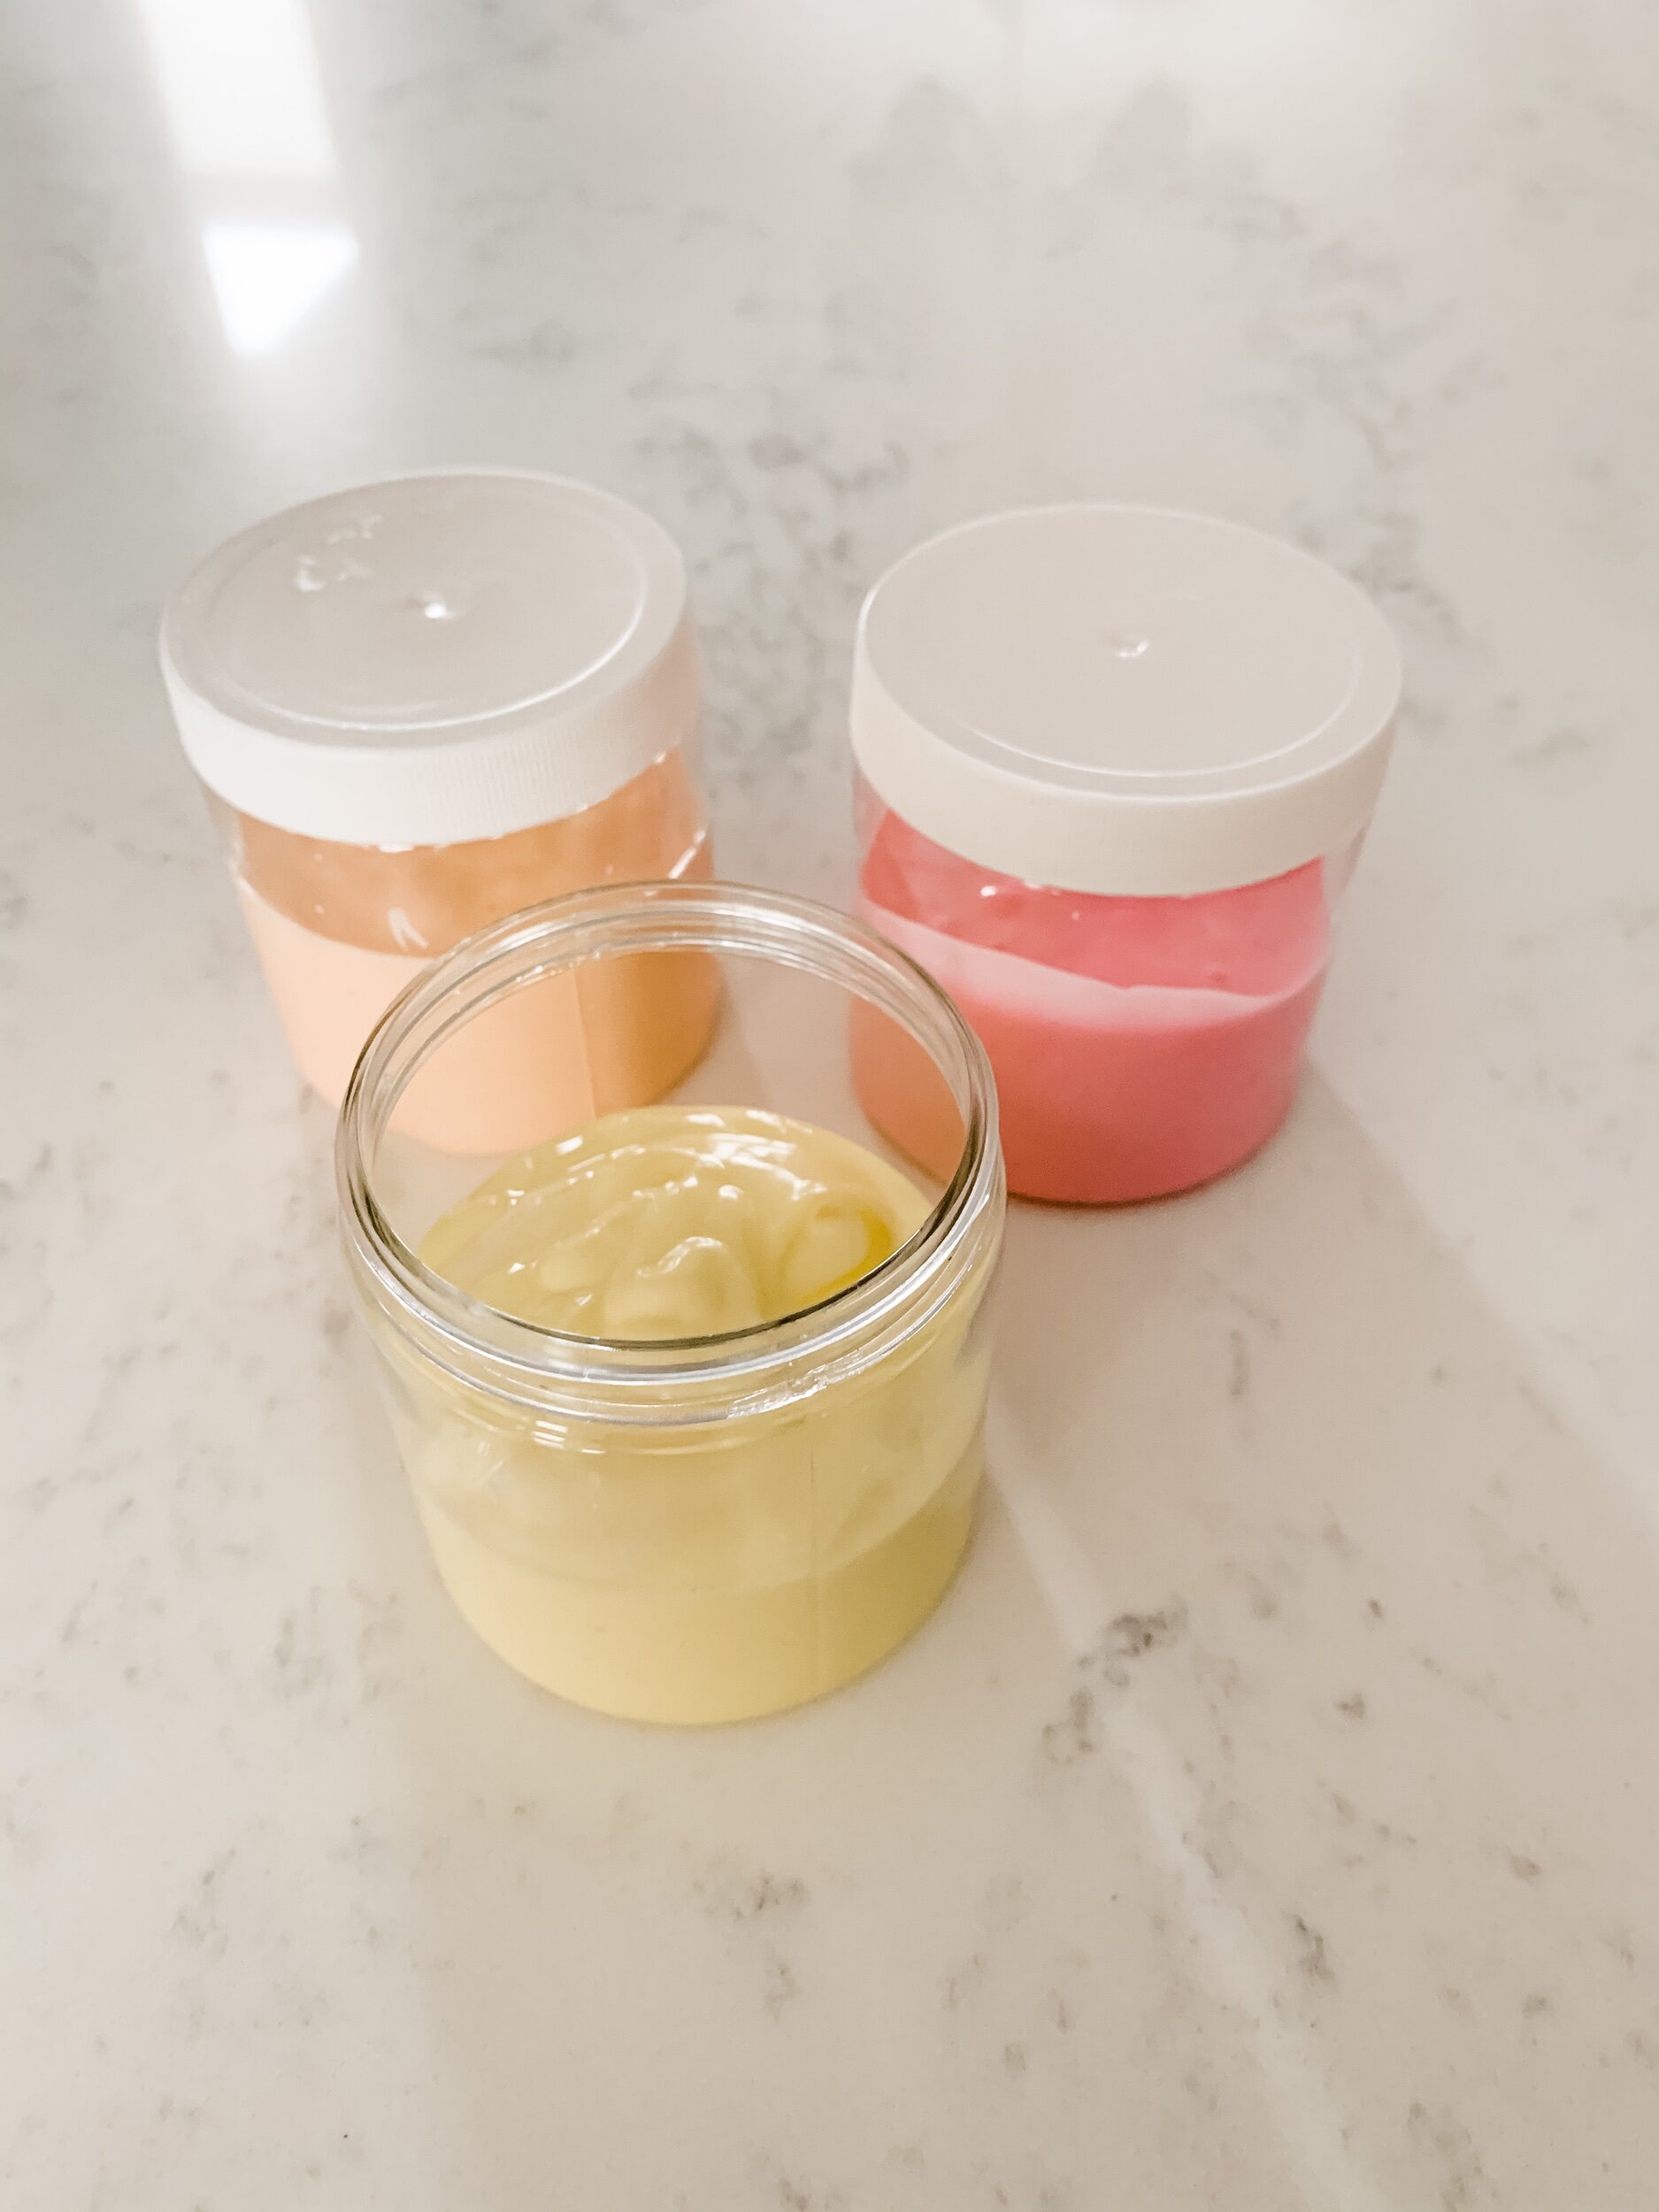
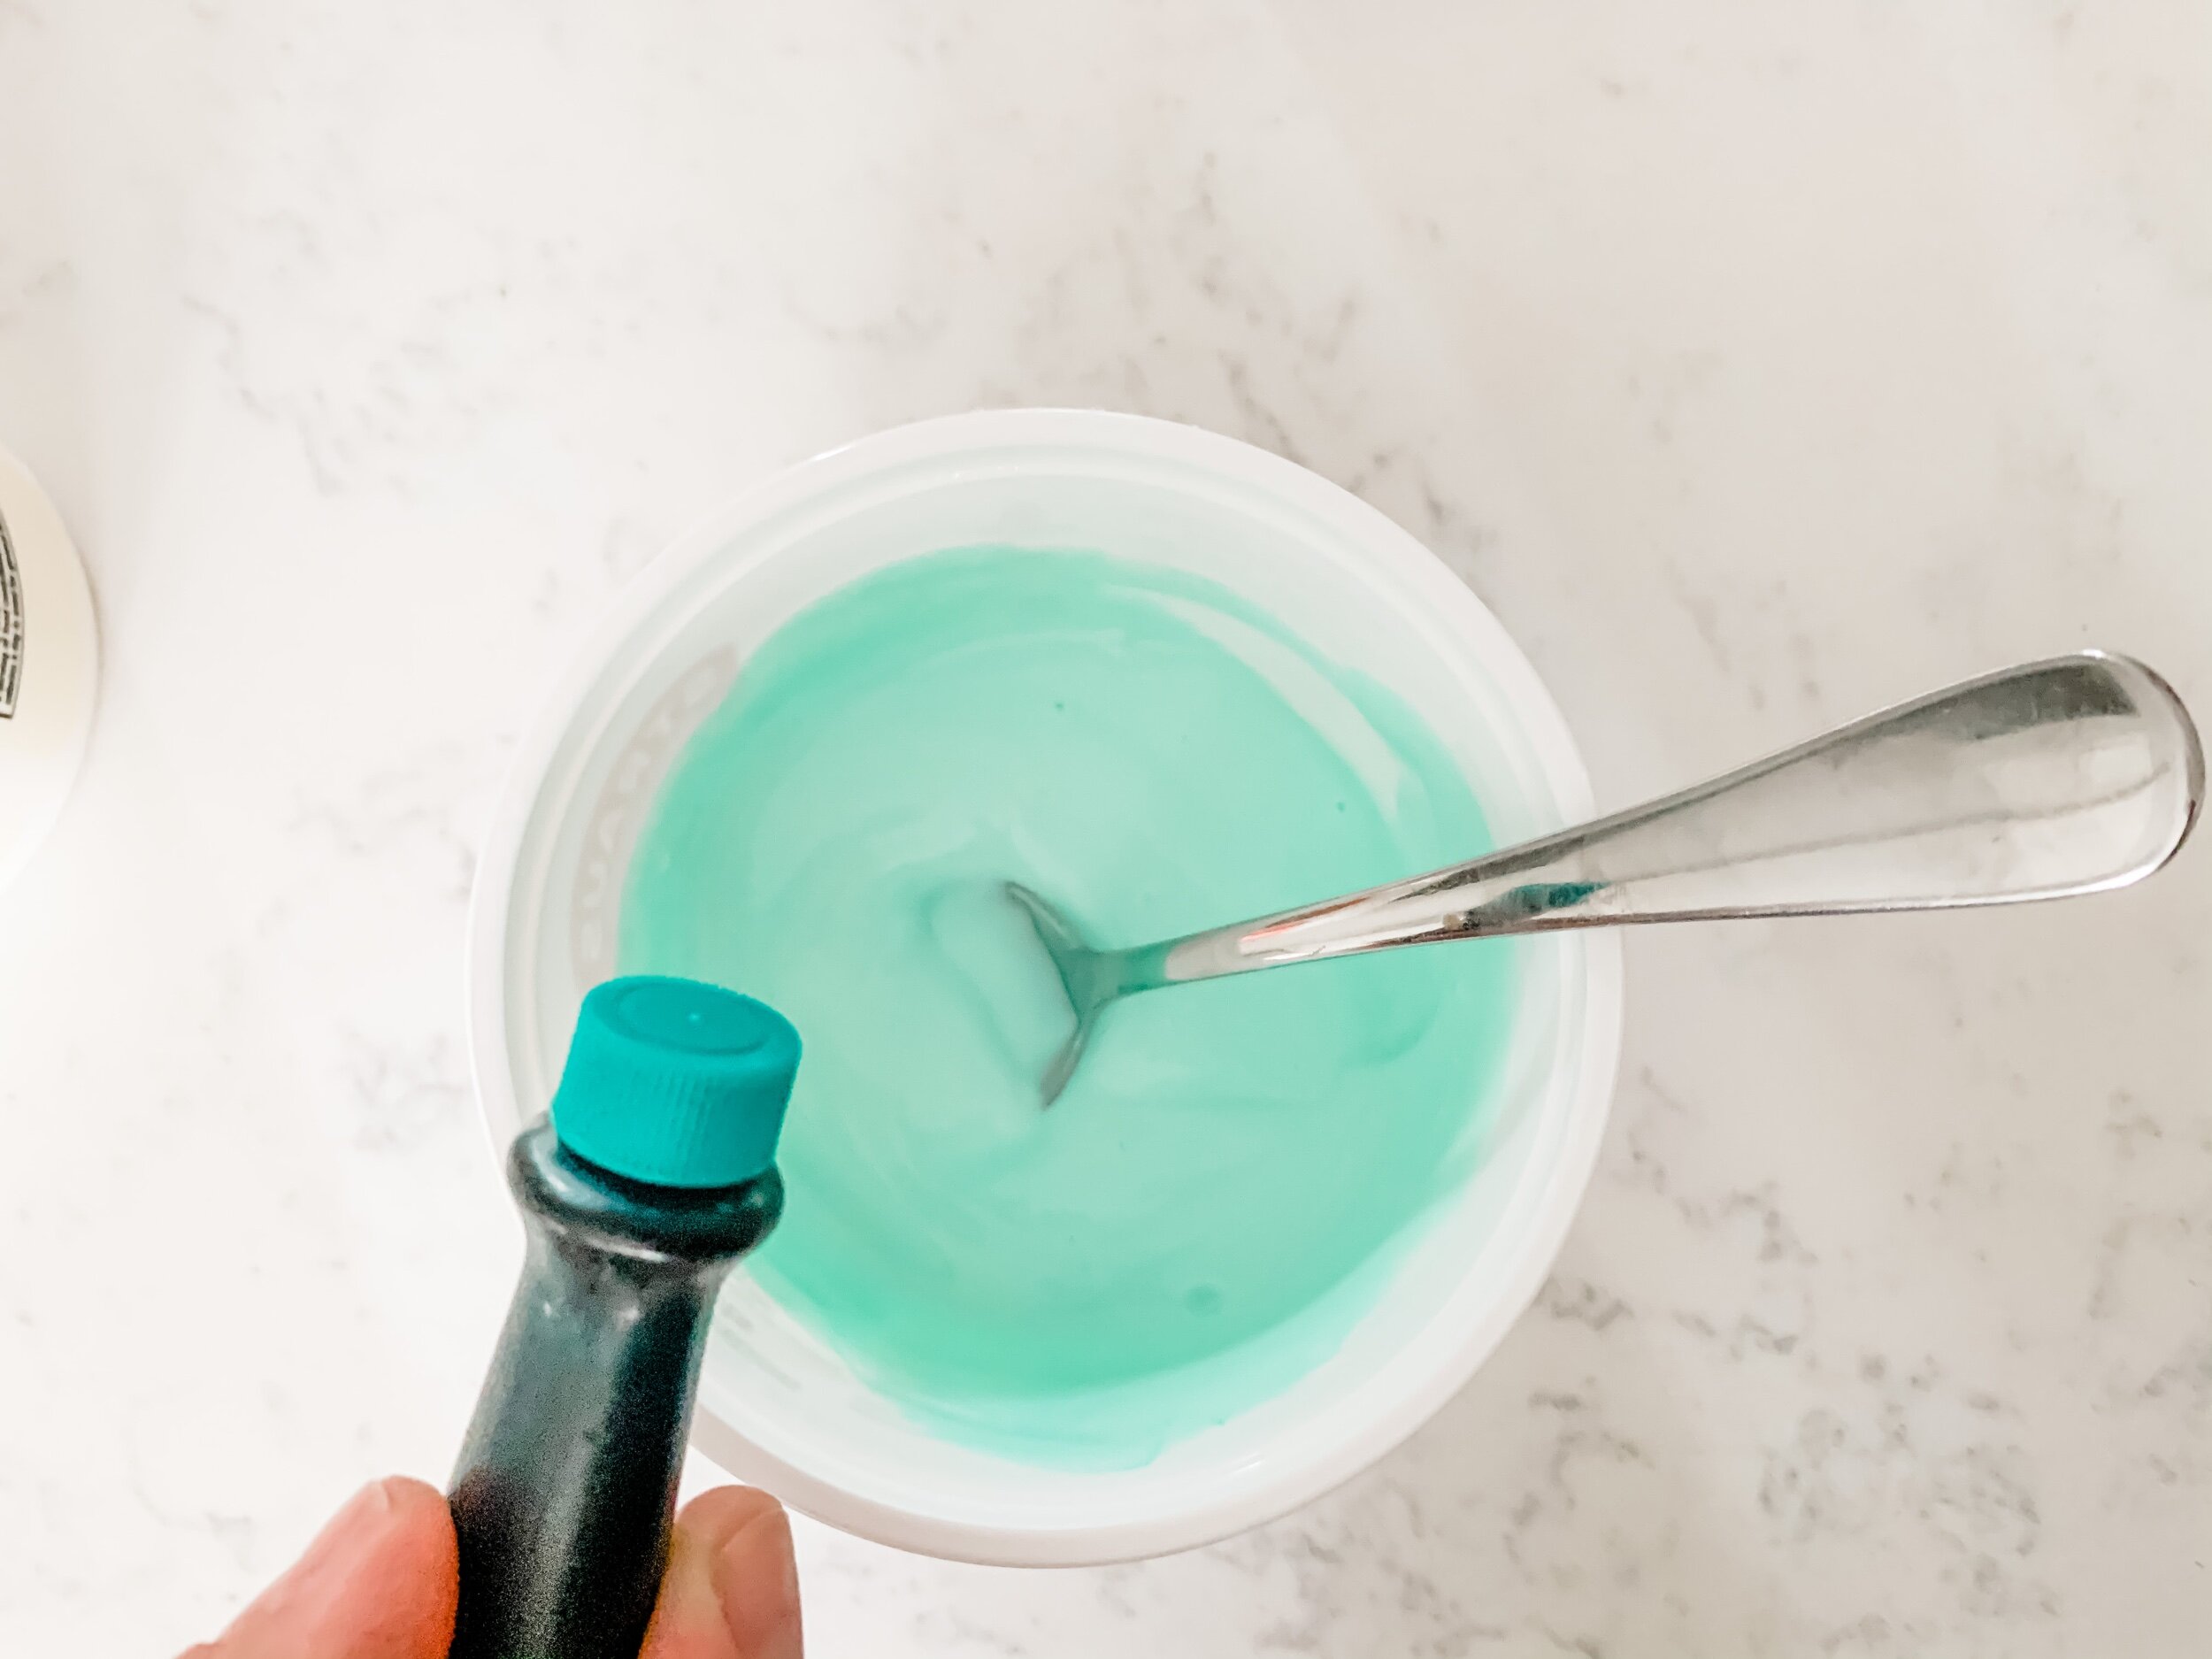
Here’s the yogurt being colored! Super simple and just one drop of coloring really turned it bright pink!

6B2736FA-D663-42CD-82AF-50BA377E02D2.png

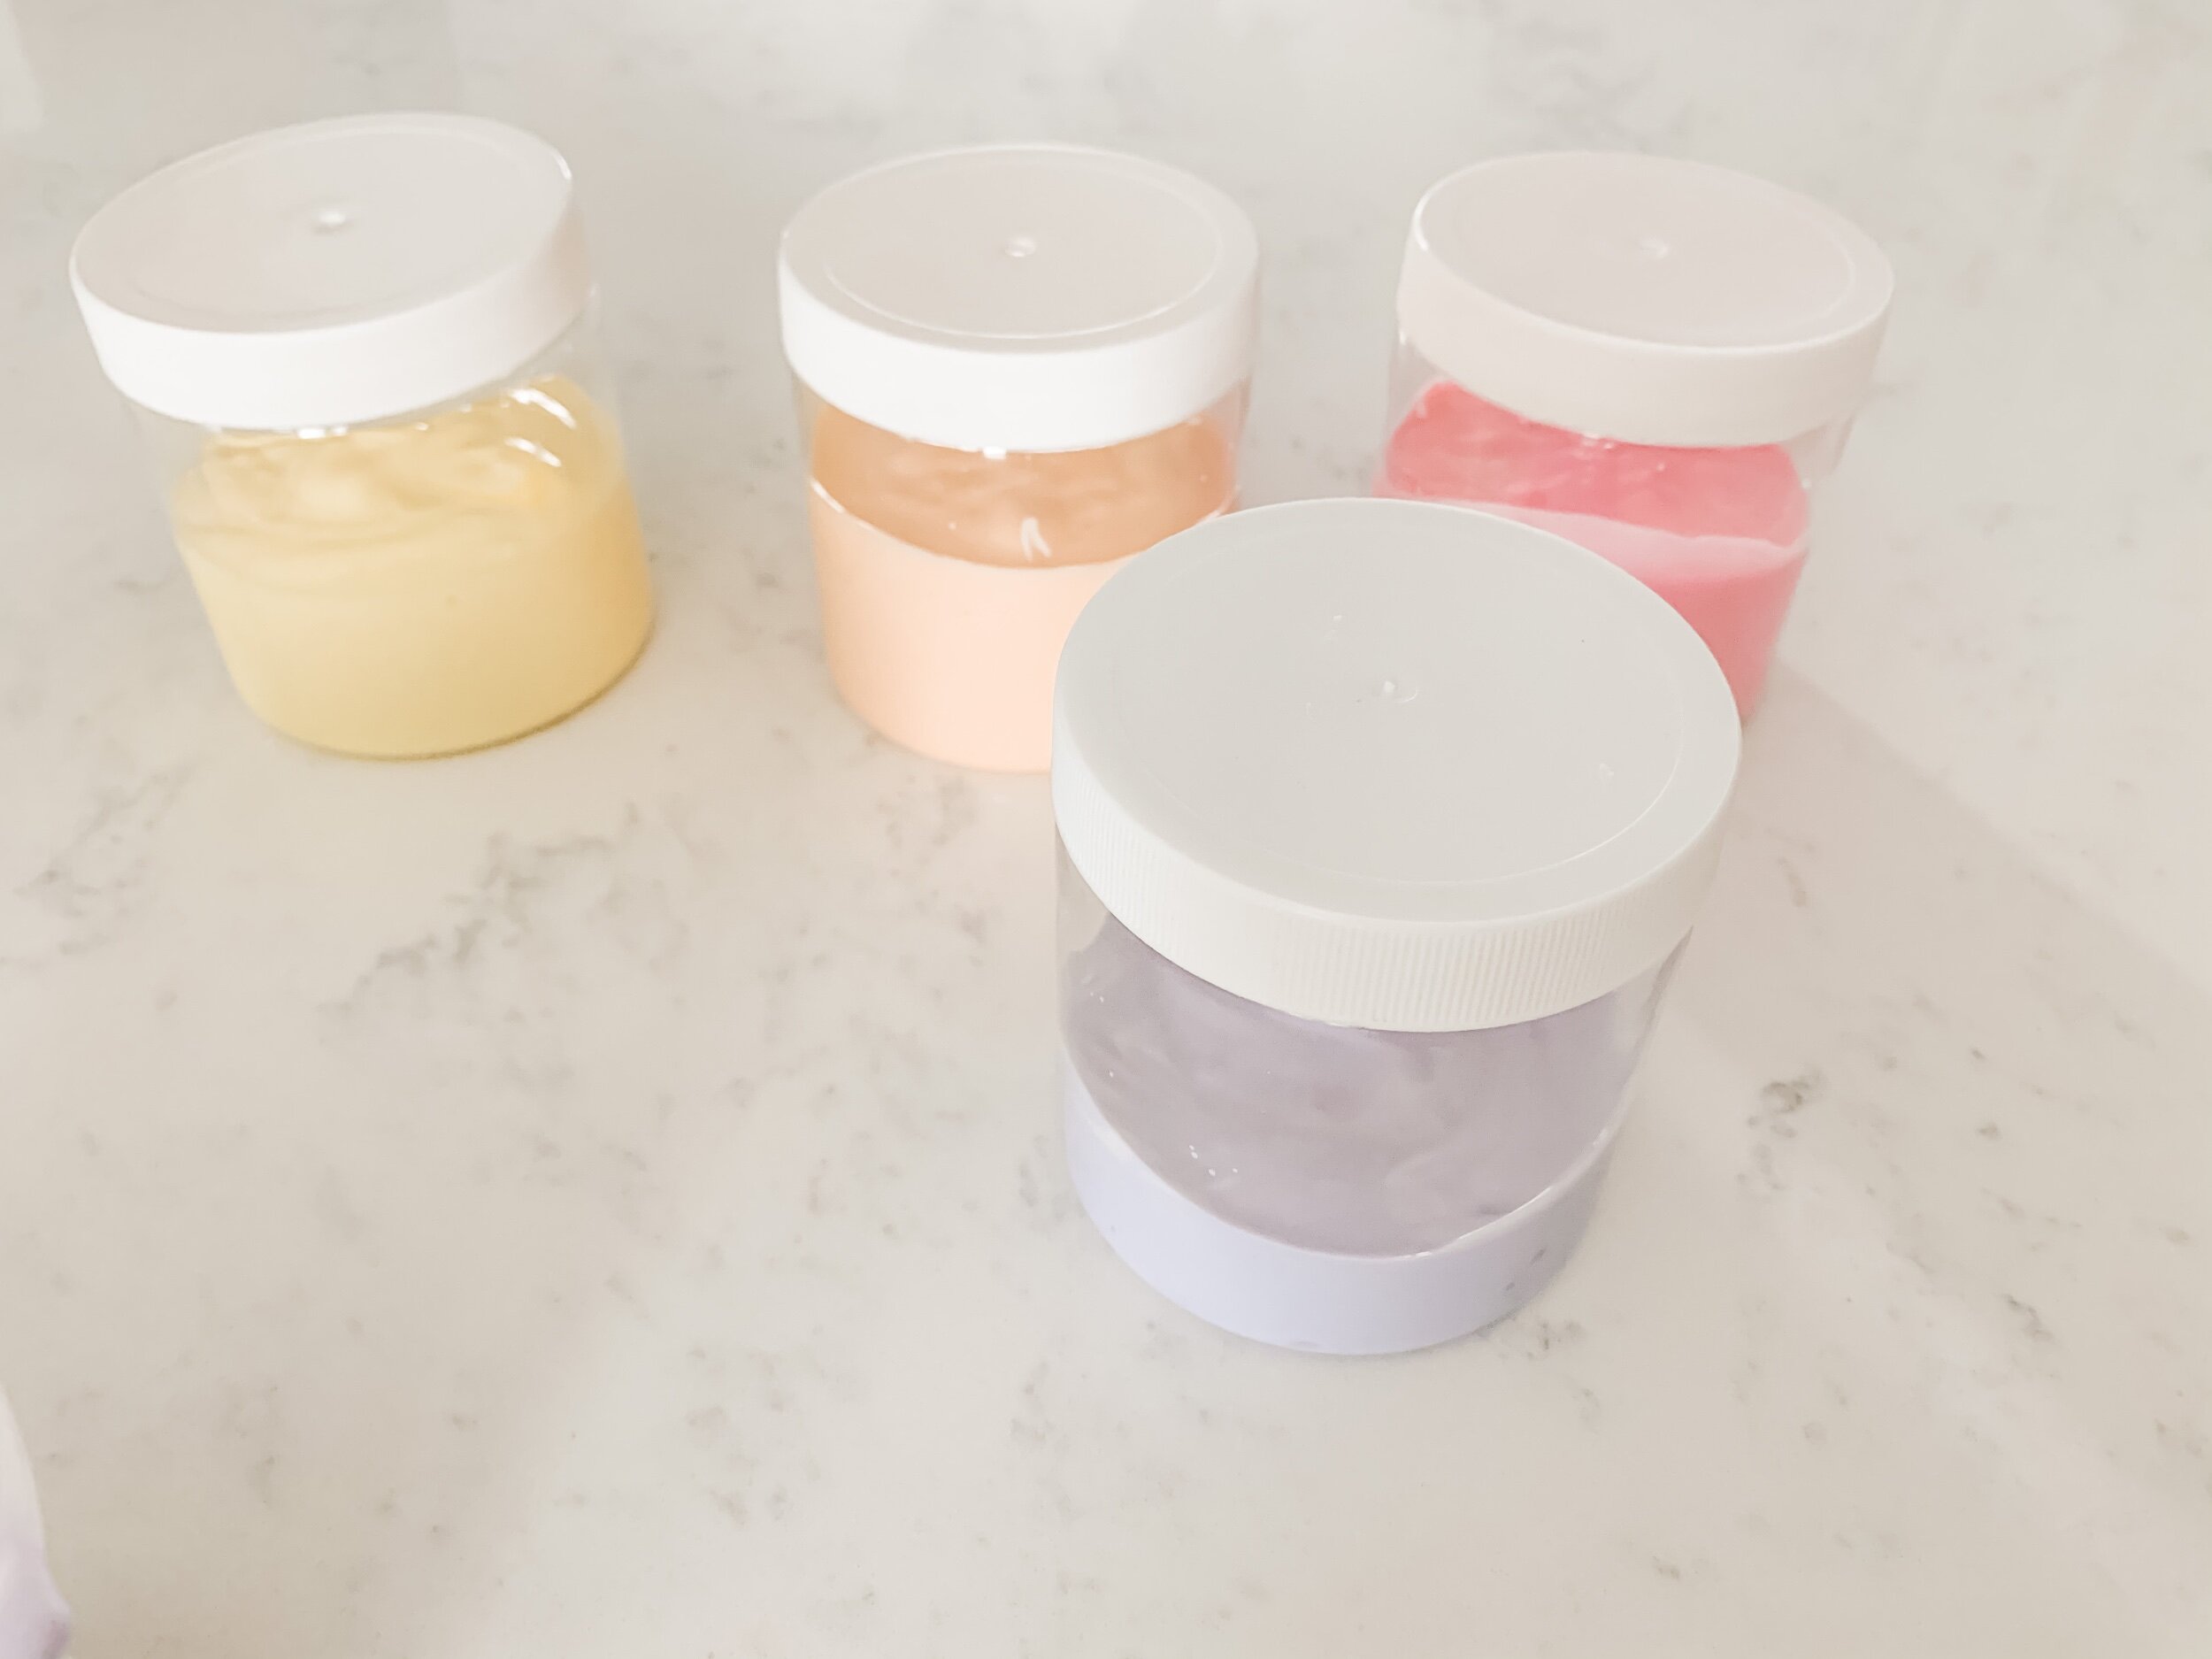
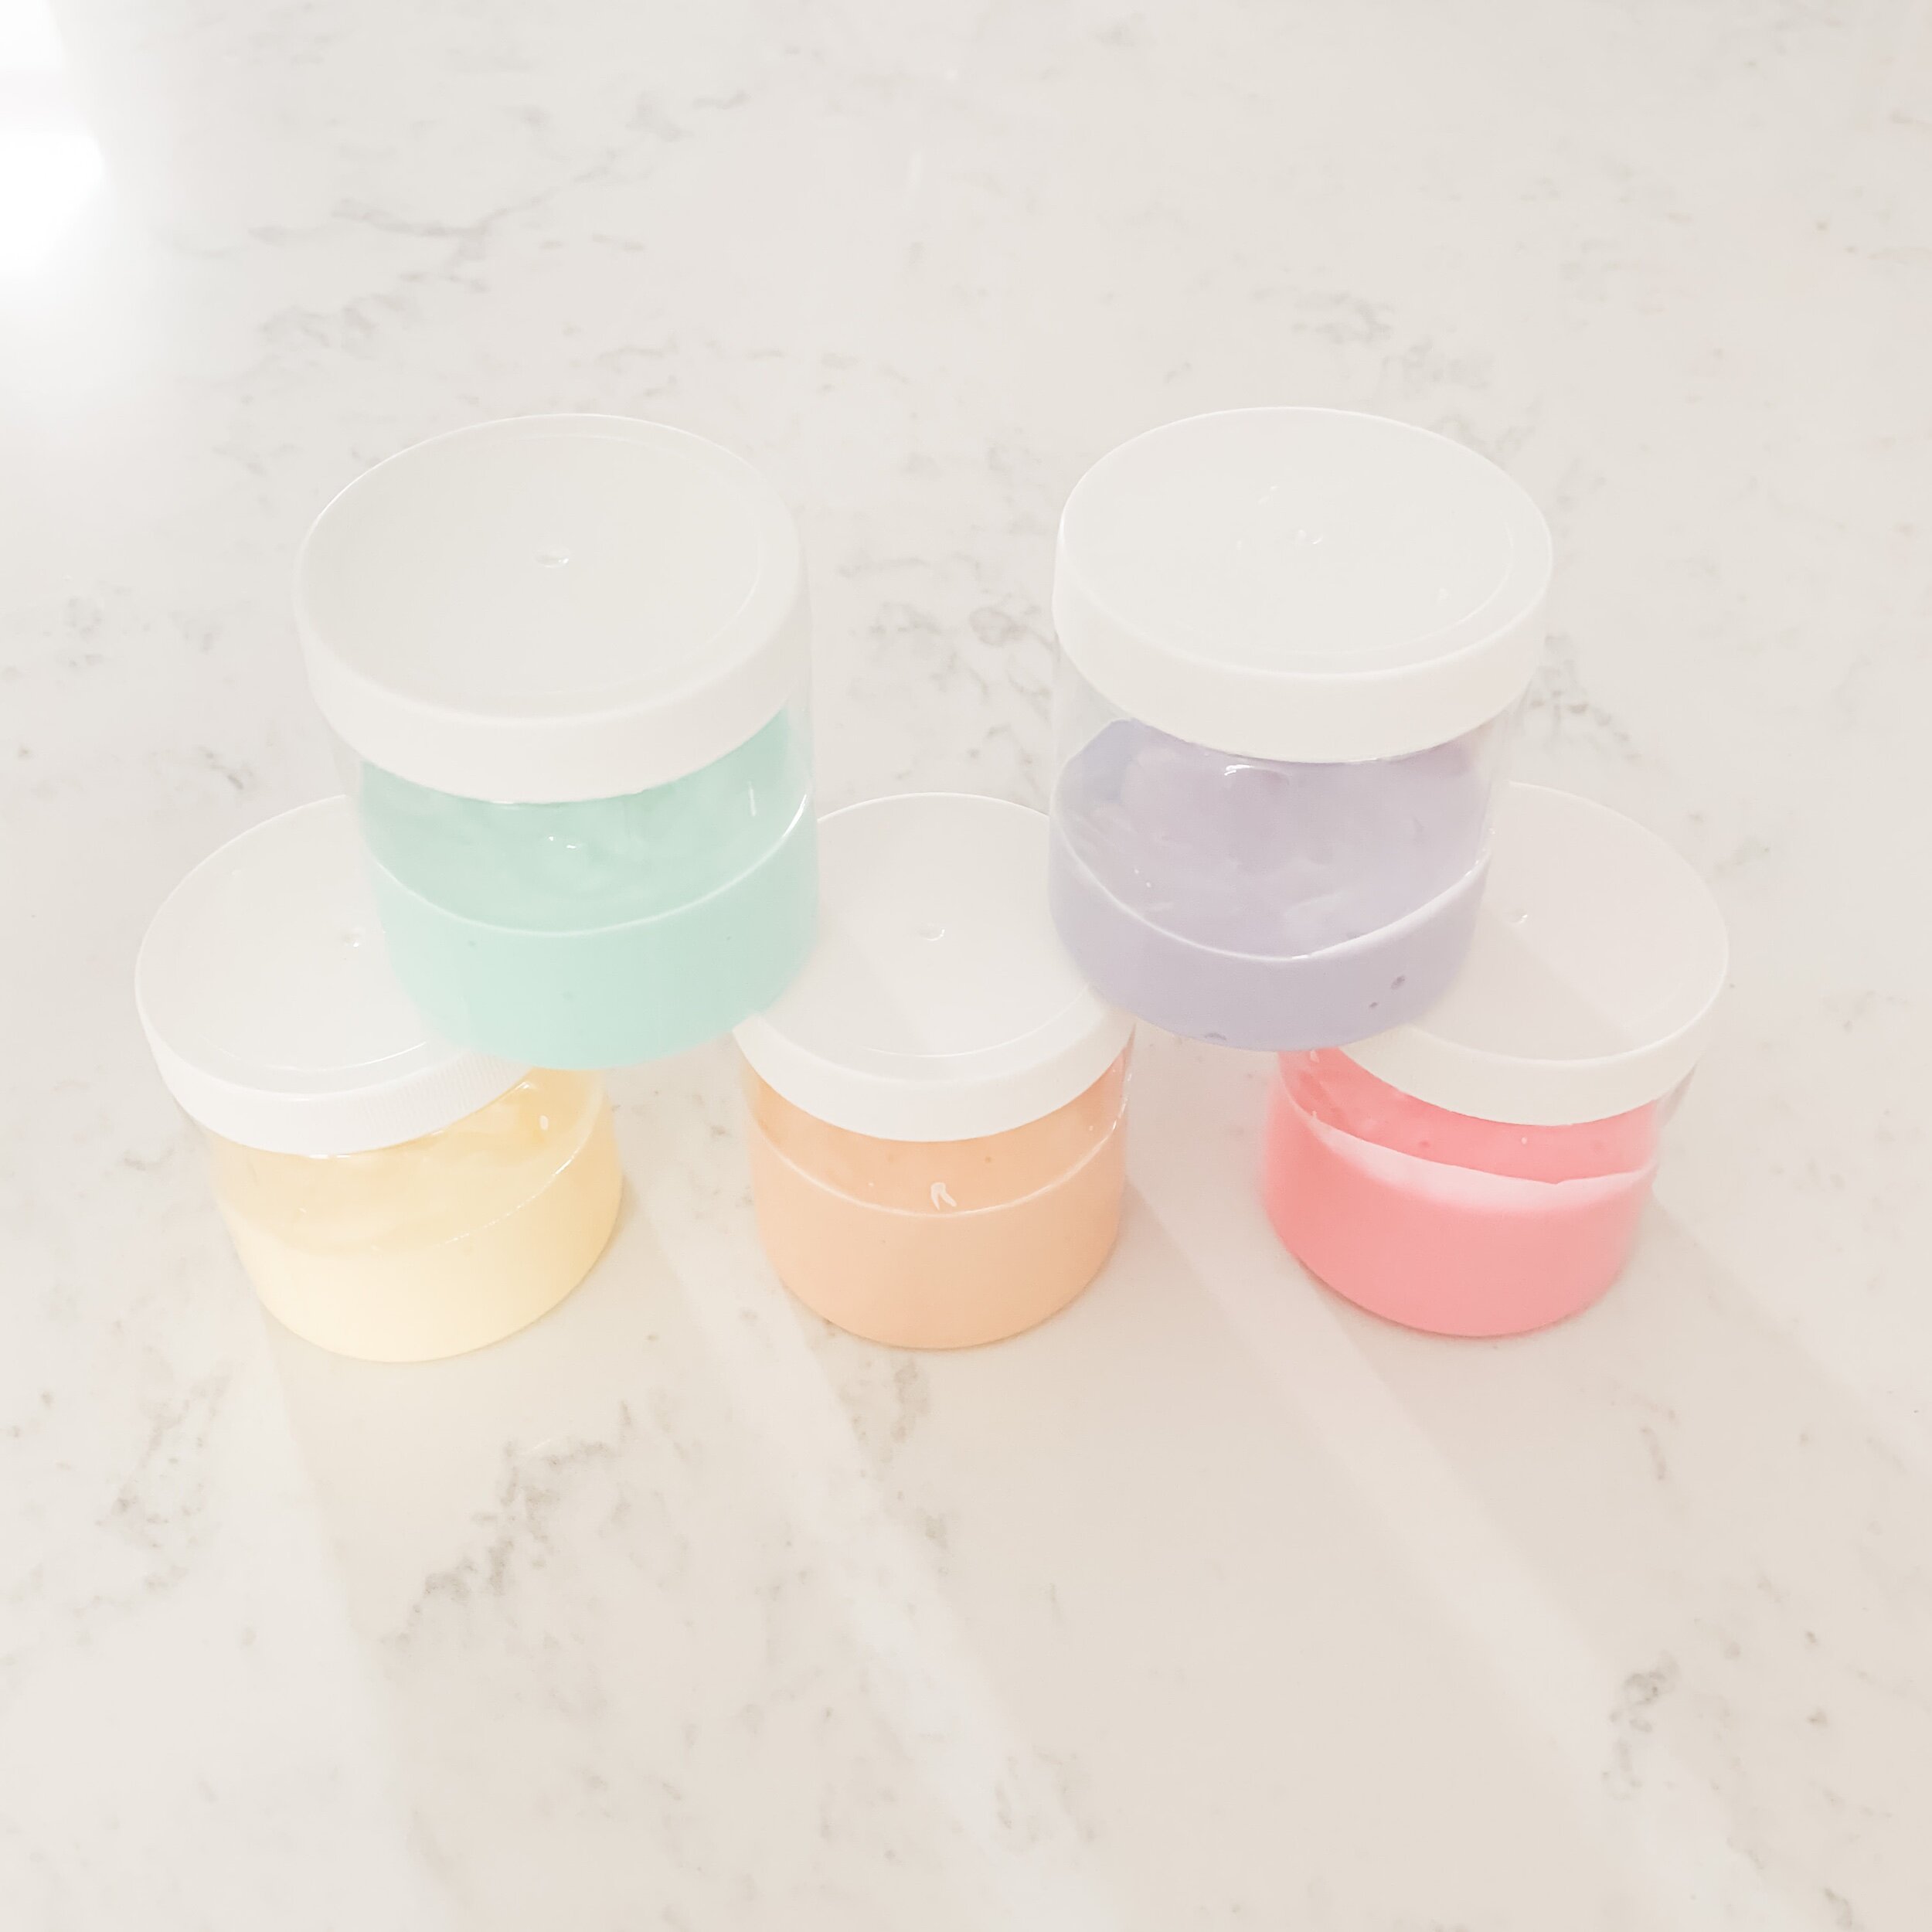
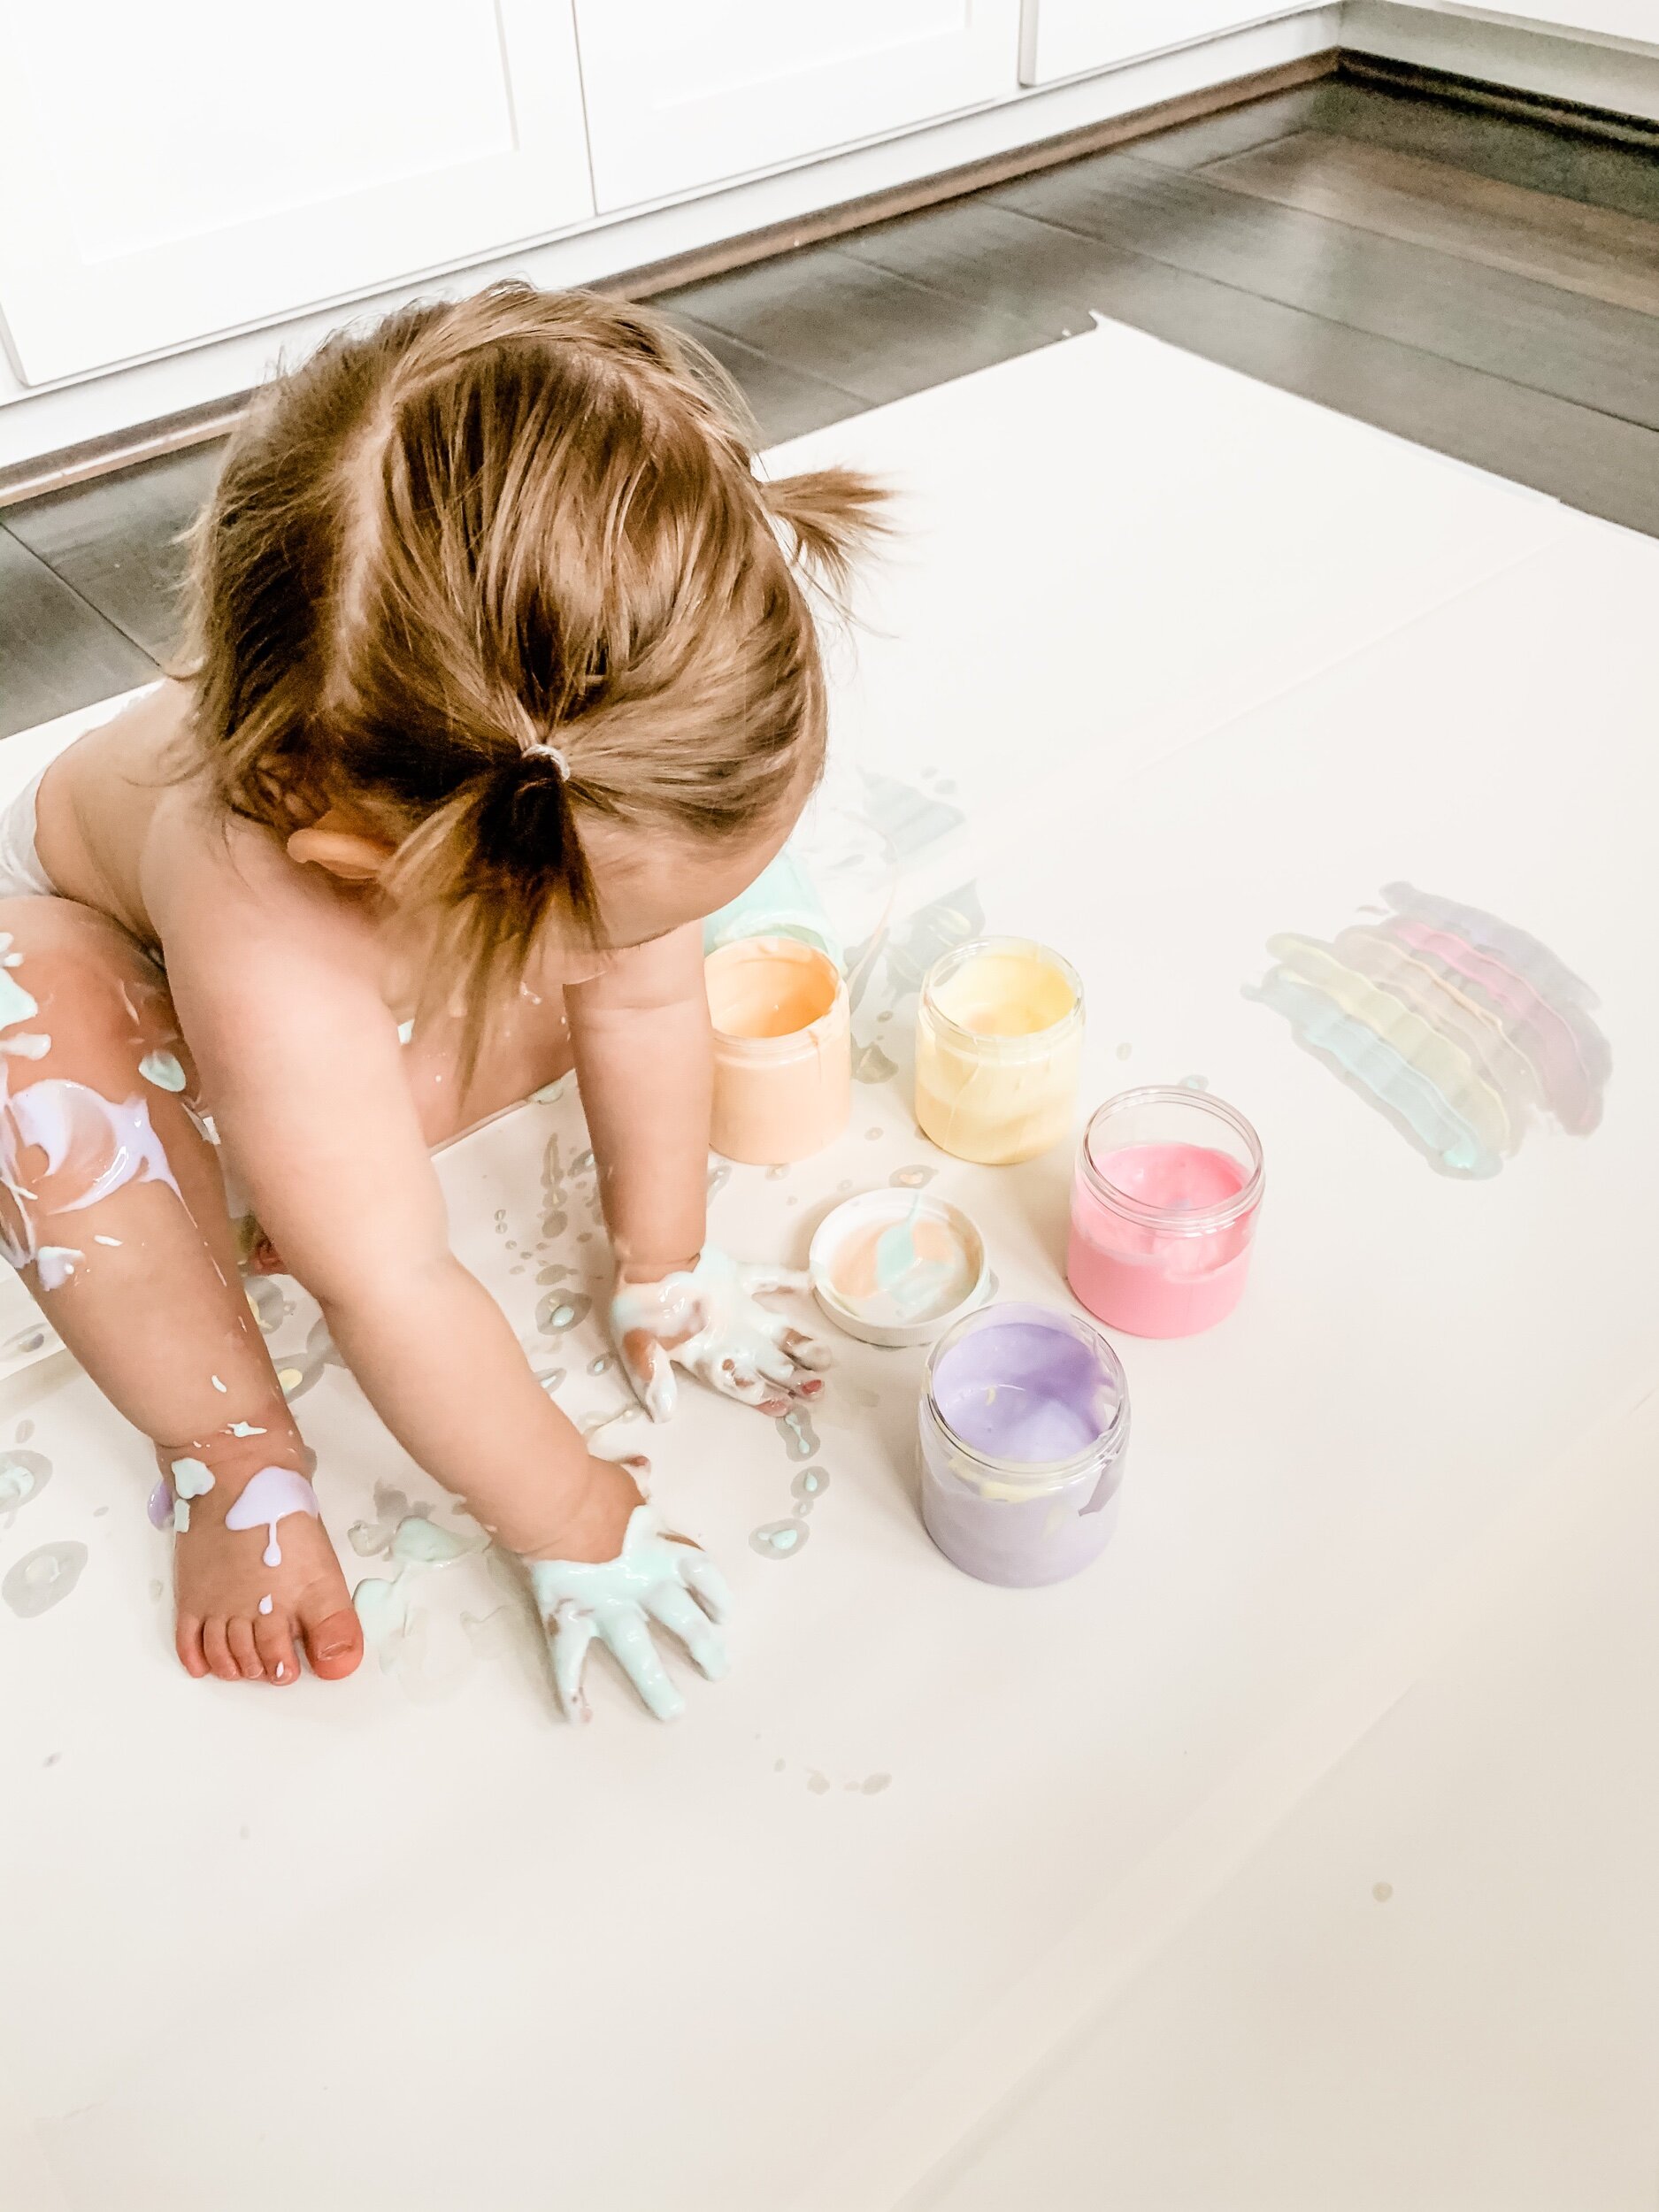
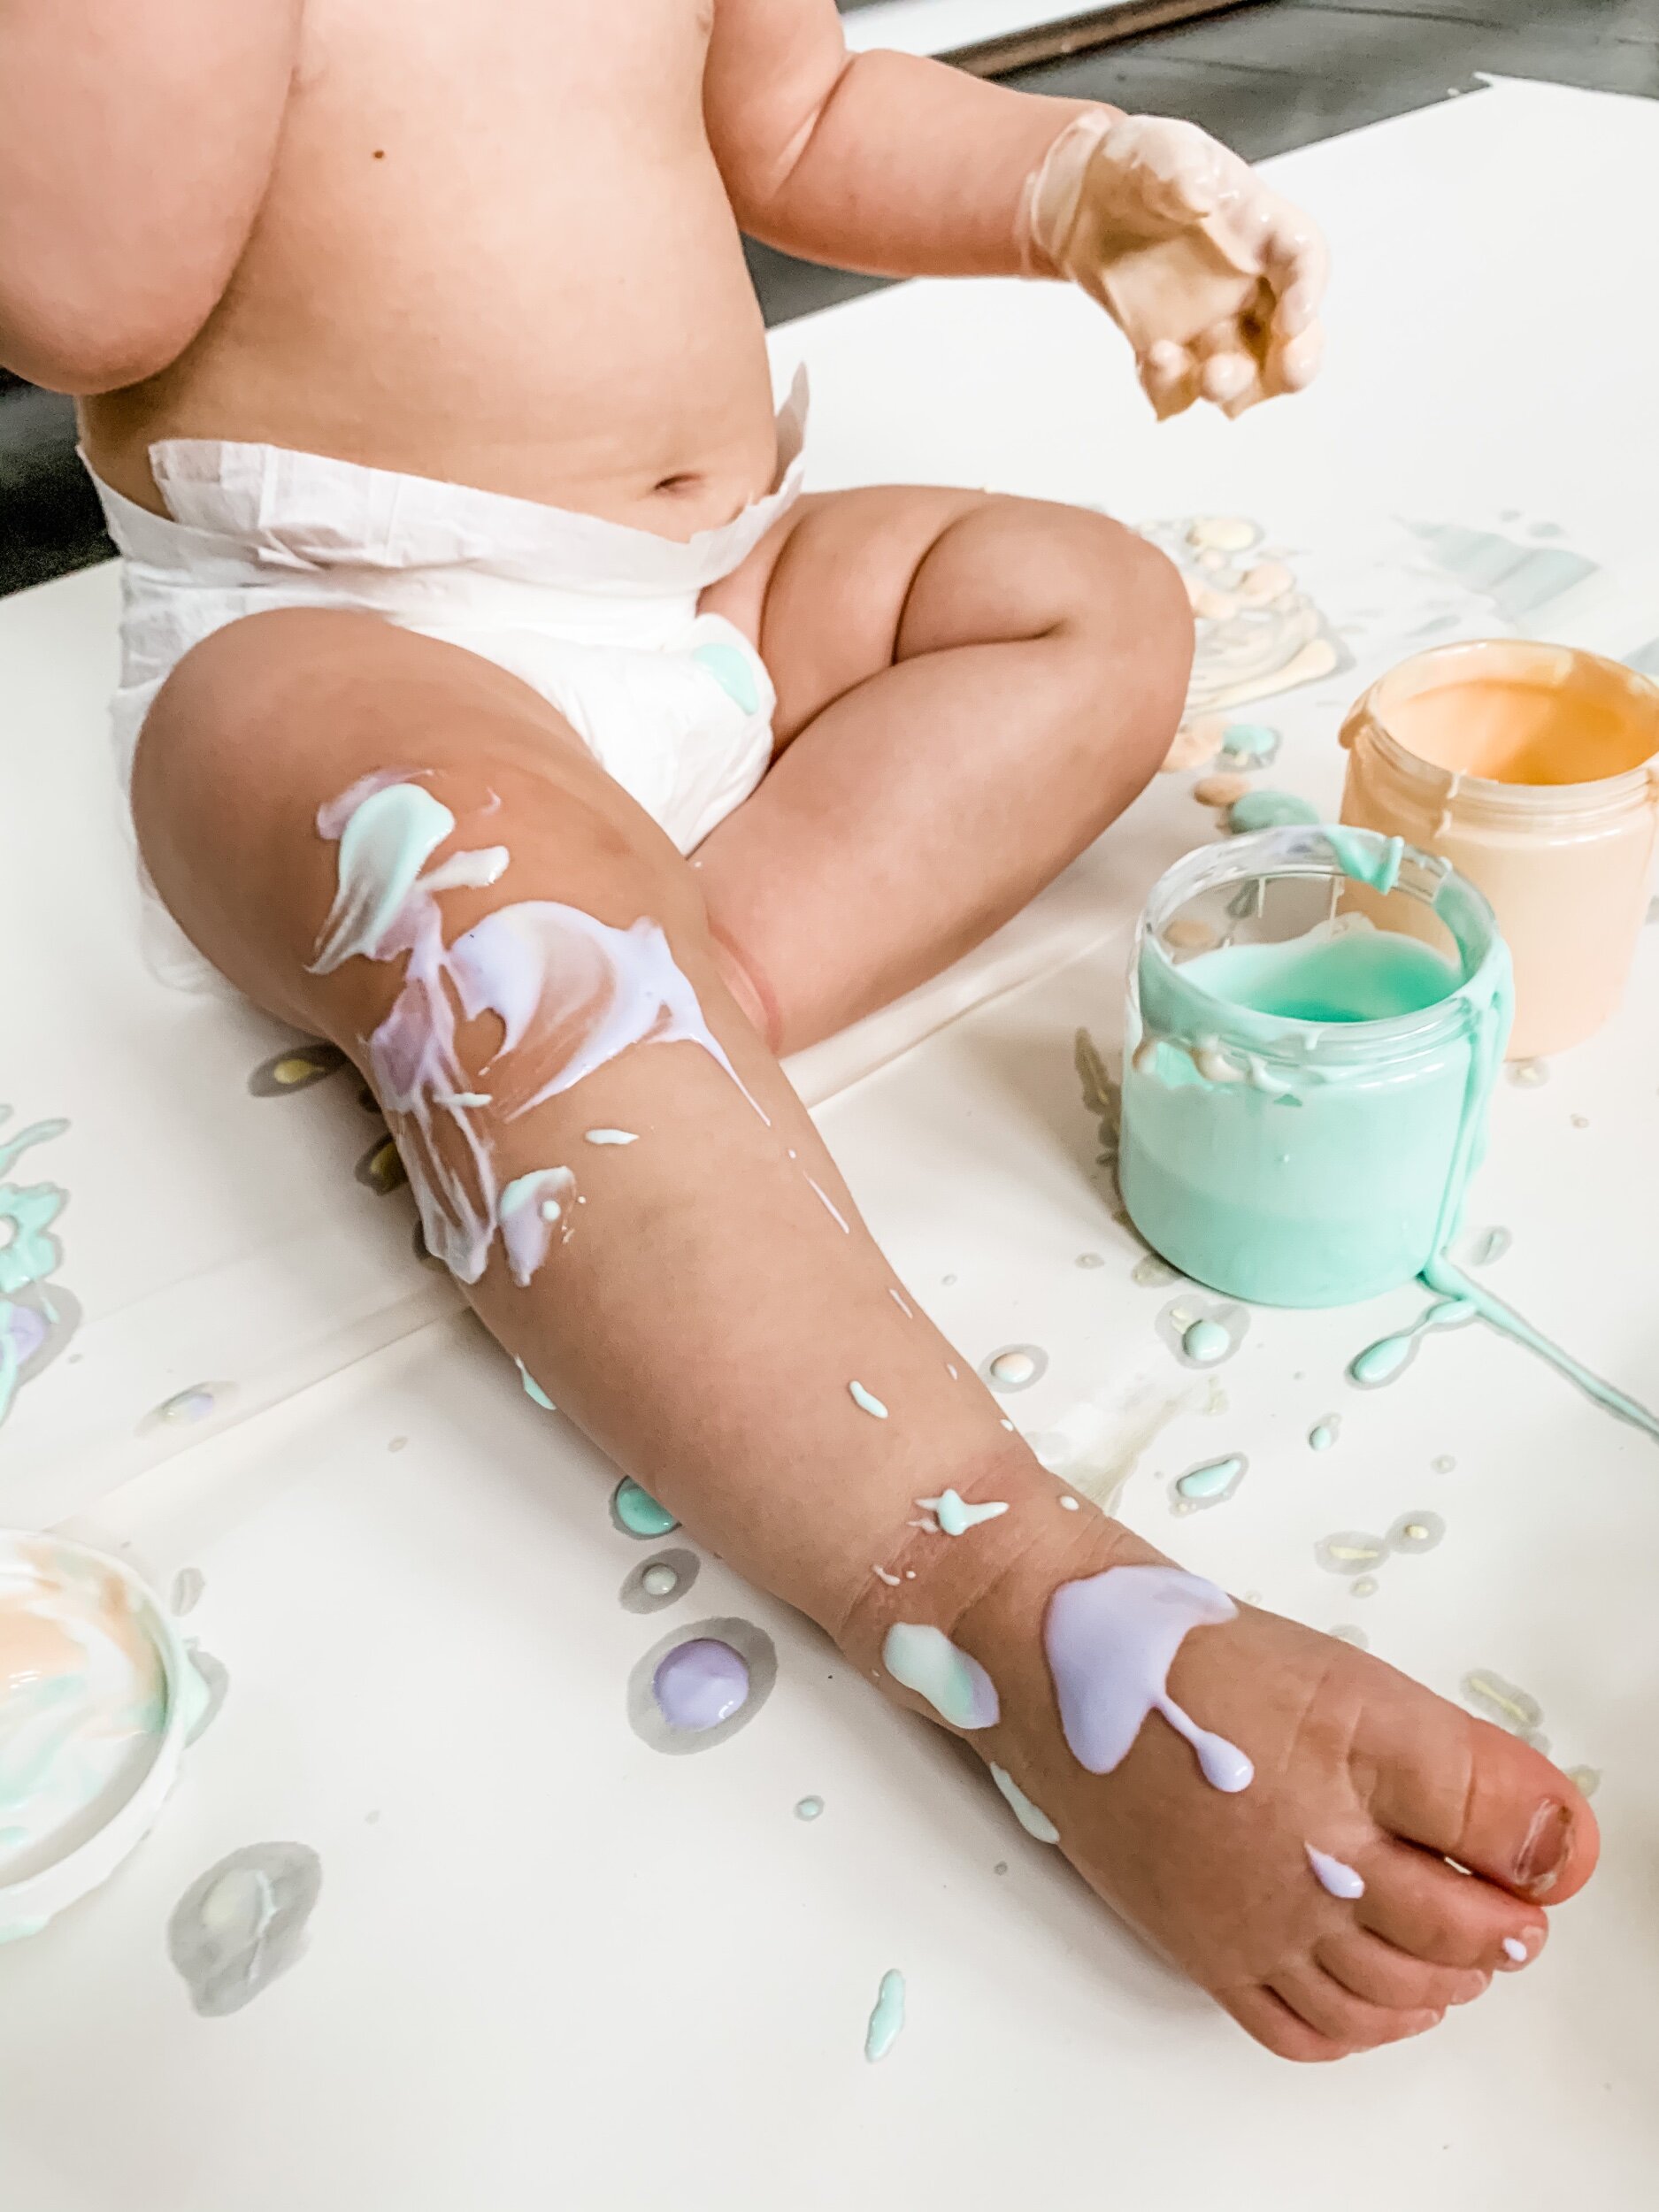
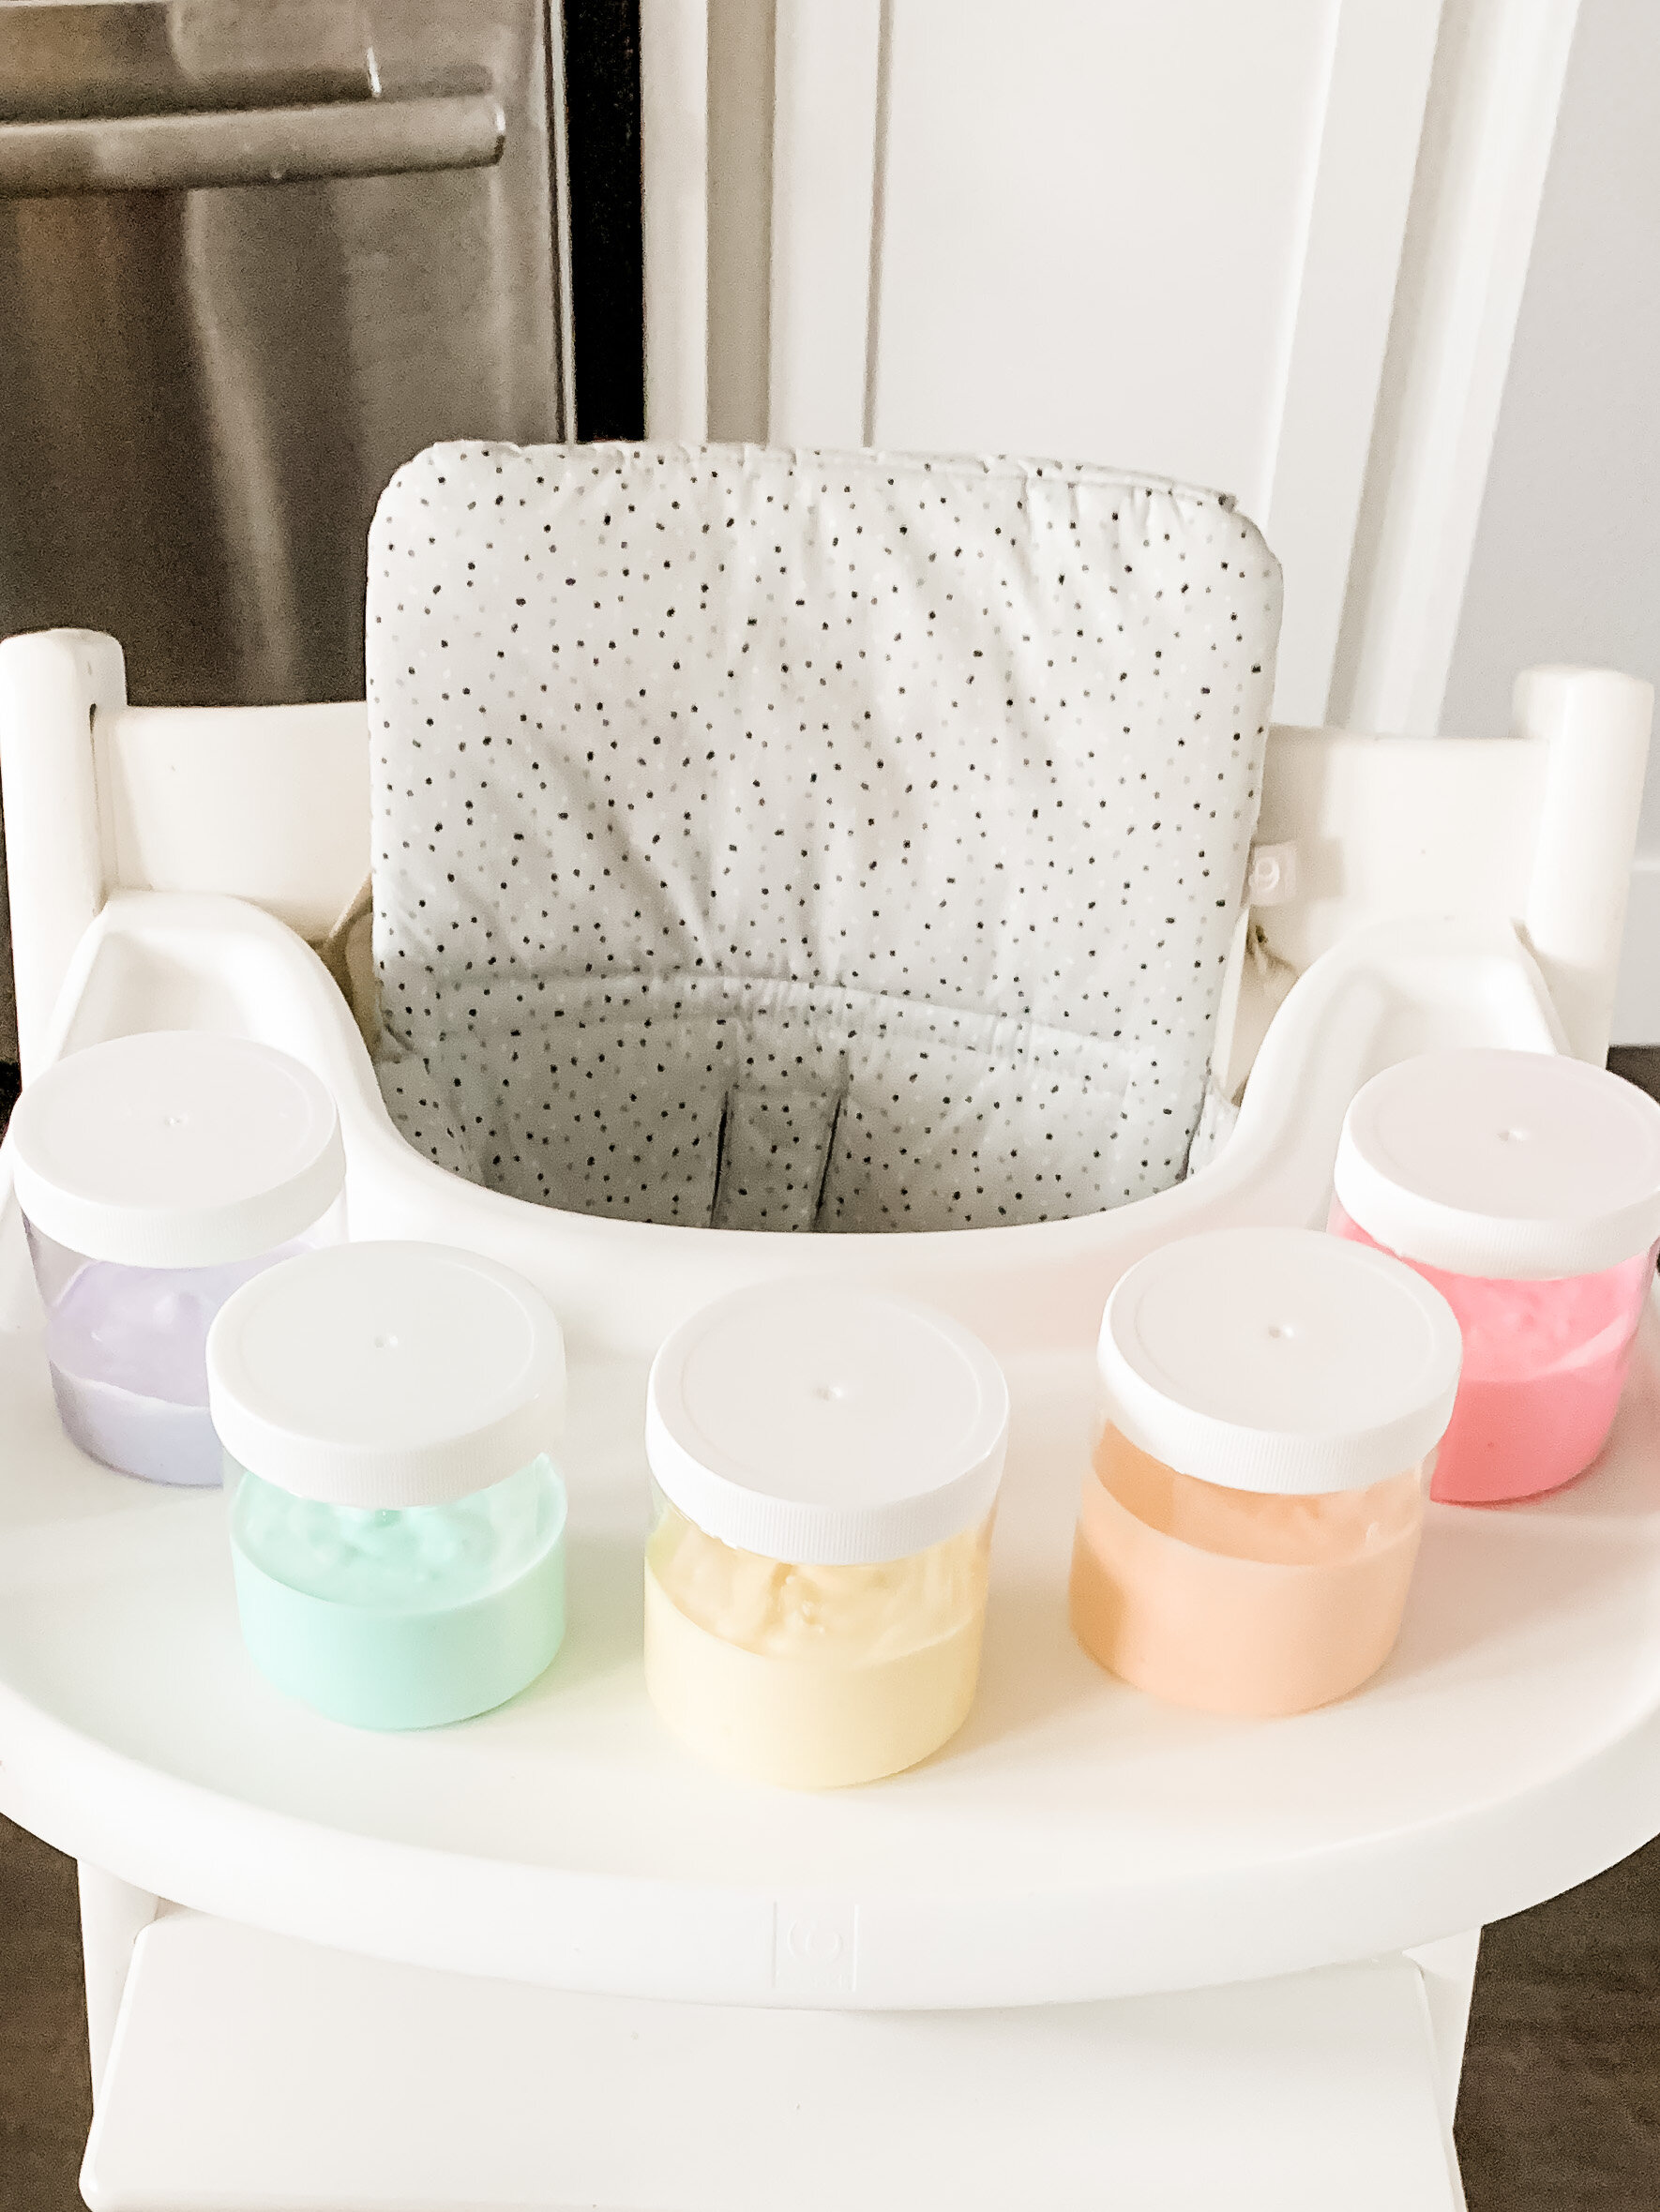
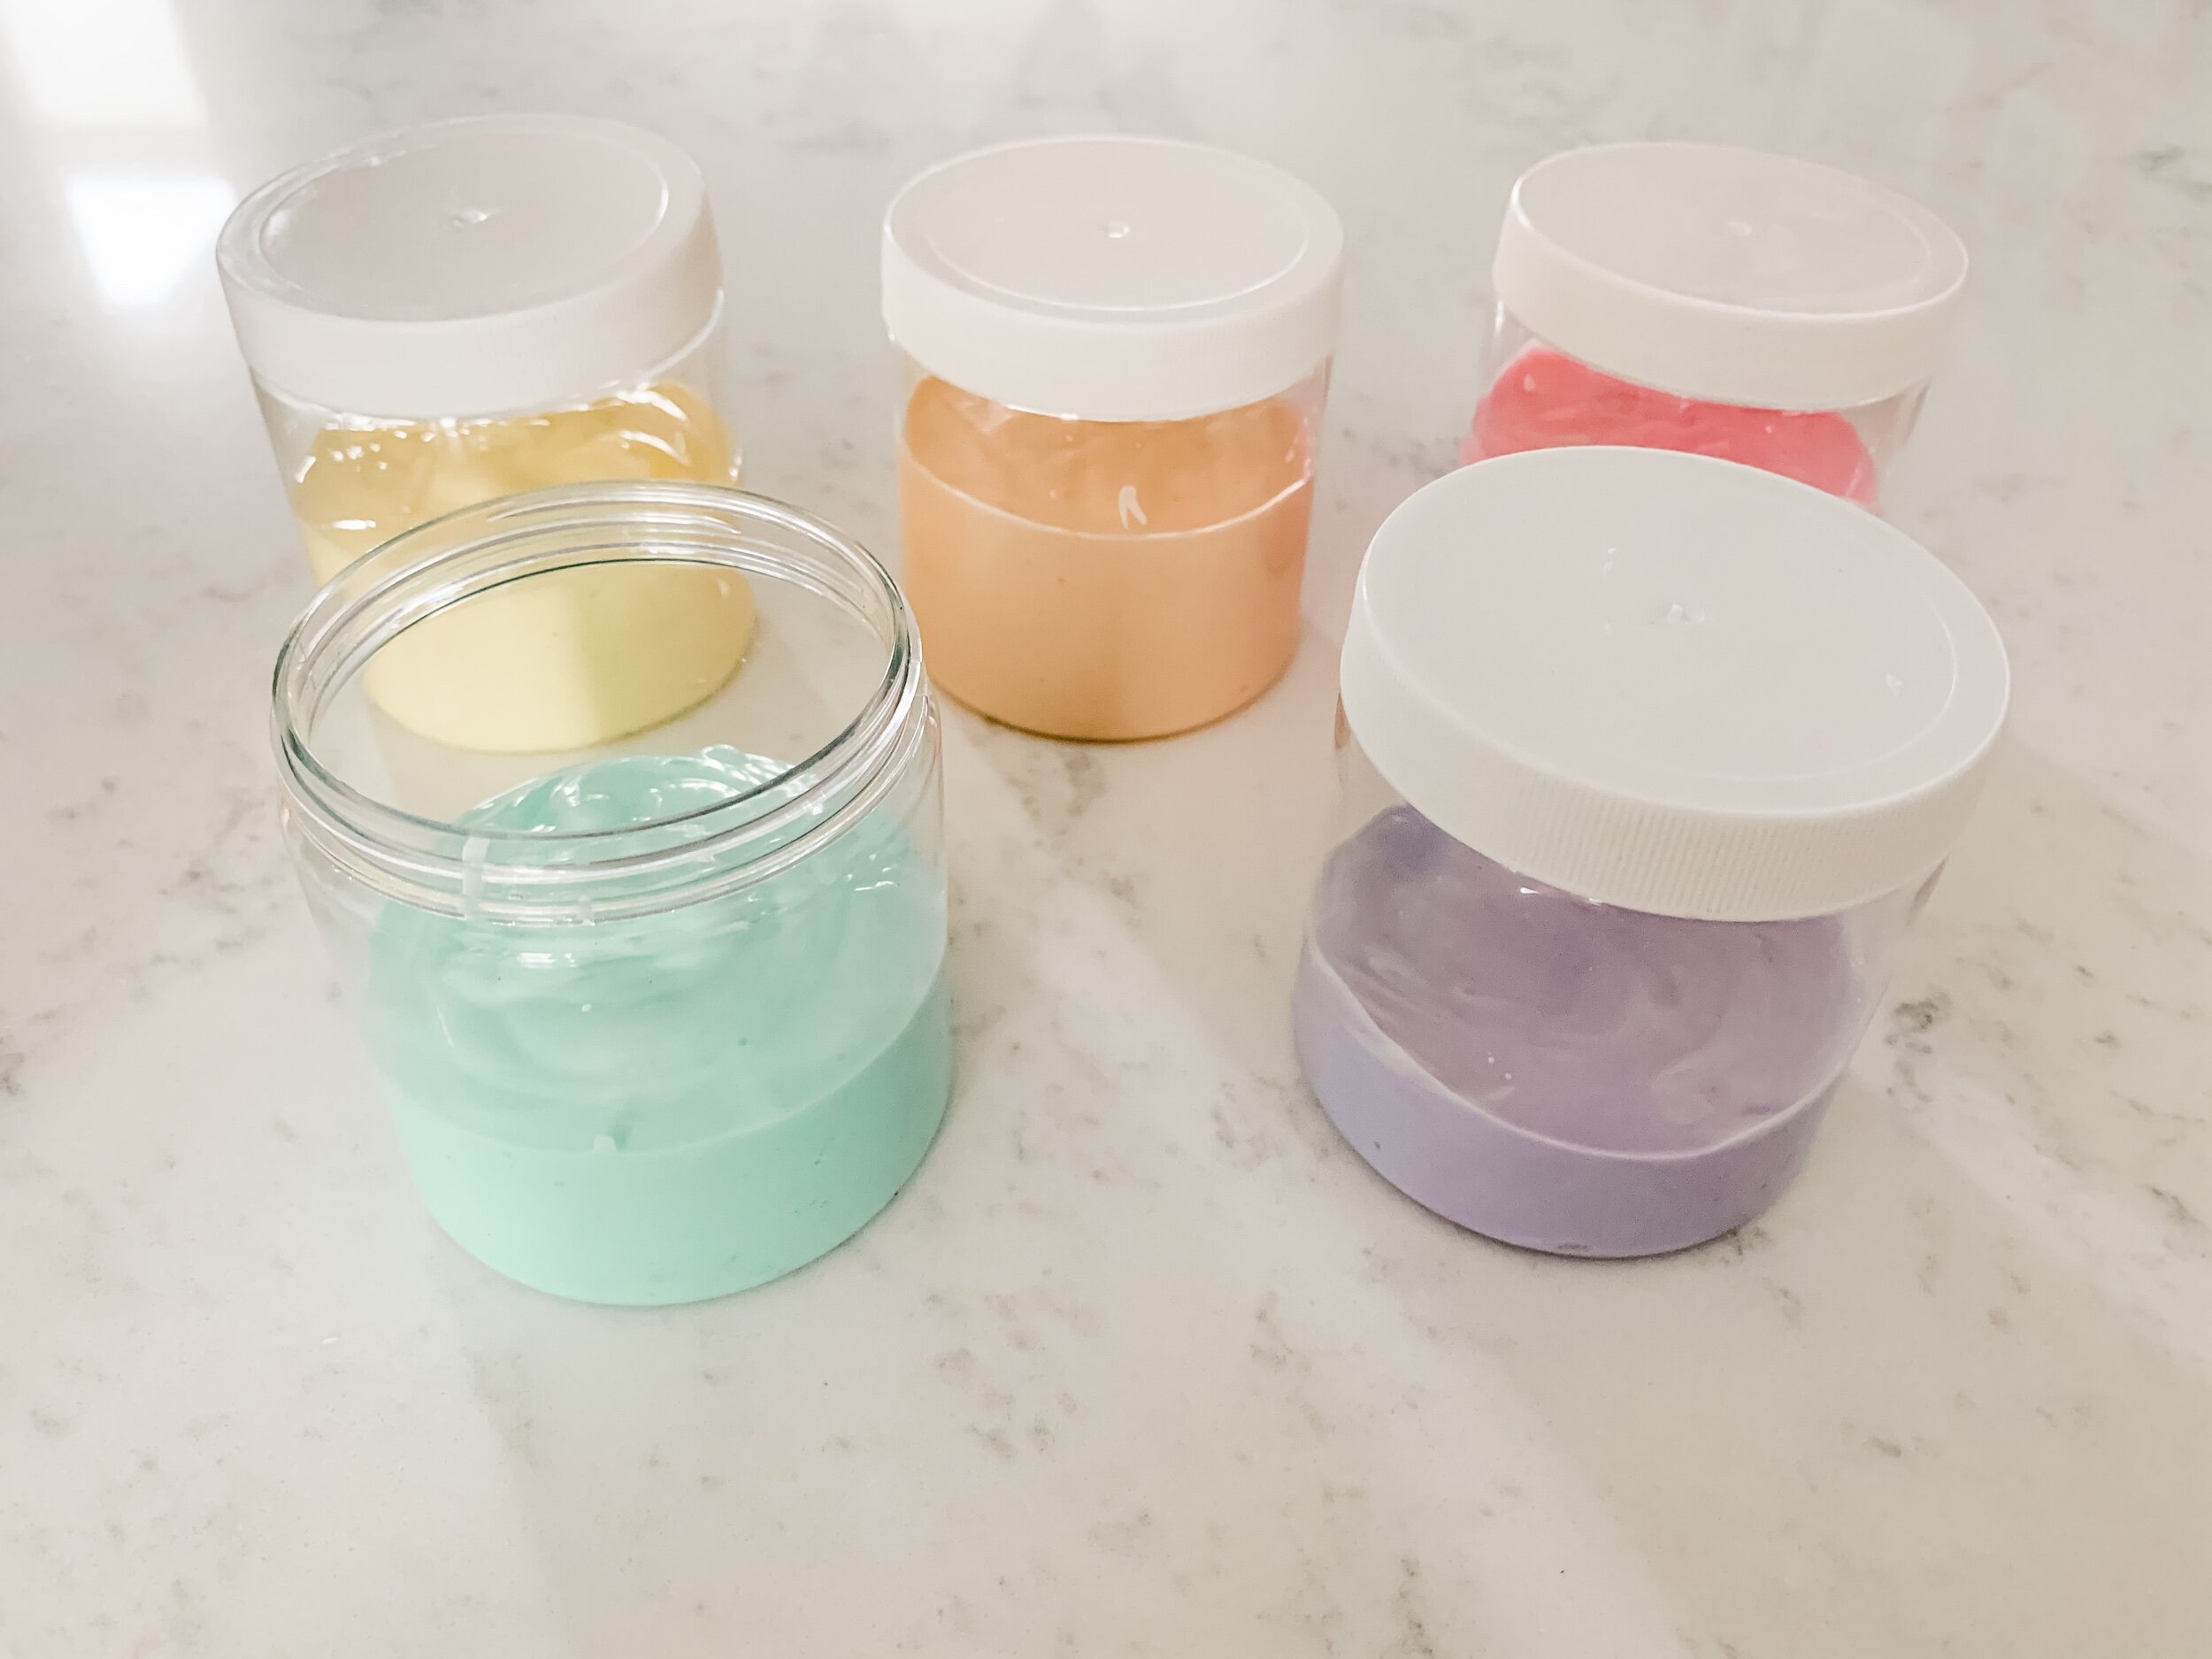
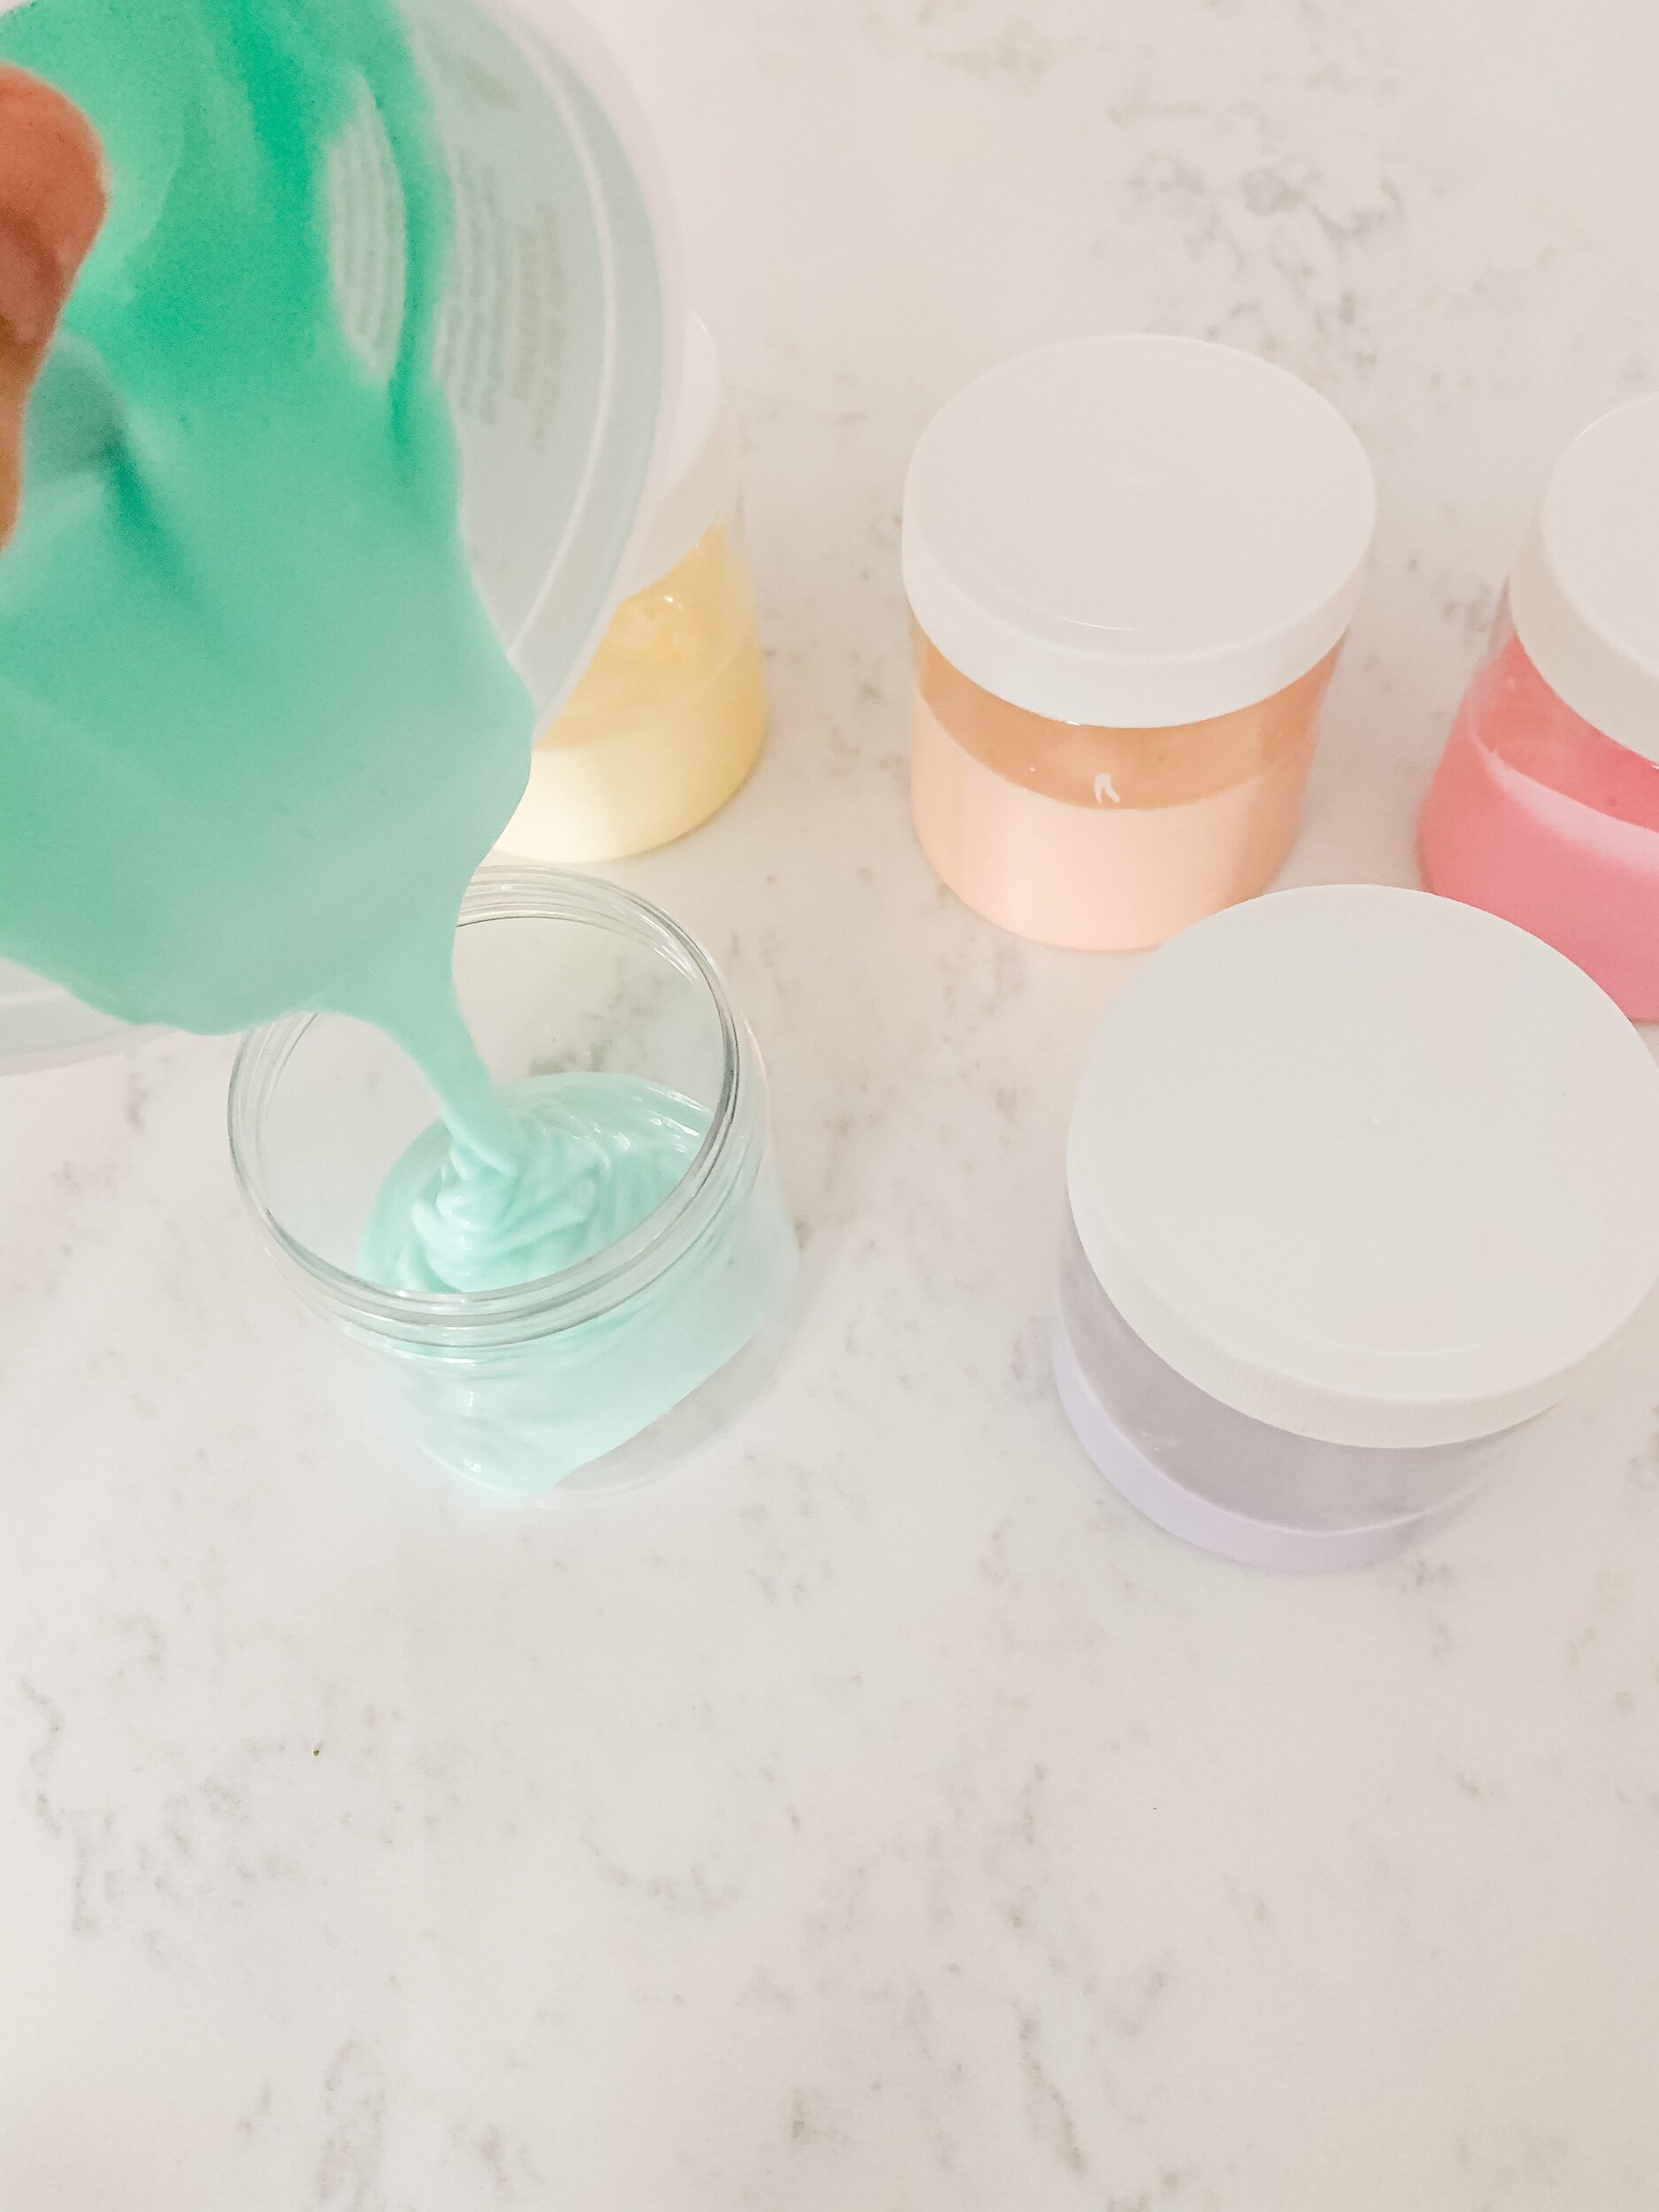
I wanted Sofie to be able to paint a little rainbow so I made these edible paints in rainbow colors. I made each one in the same tub to avoid doing dishes and just washed it as I went. Then I poured them into these plastic jars that I got at Michael’s for under a dollar!

A6EFB343-FD8E-496A-93CC-E0345D927E90.png

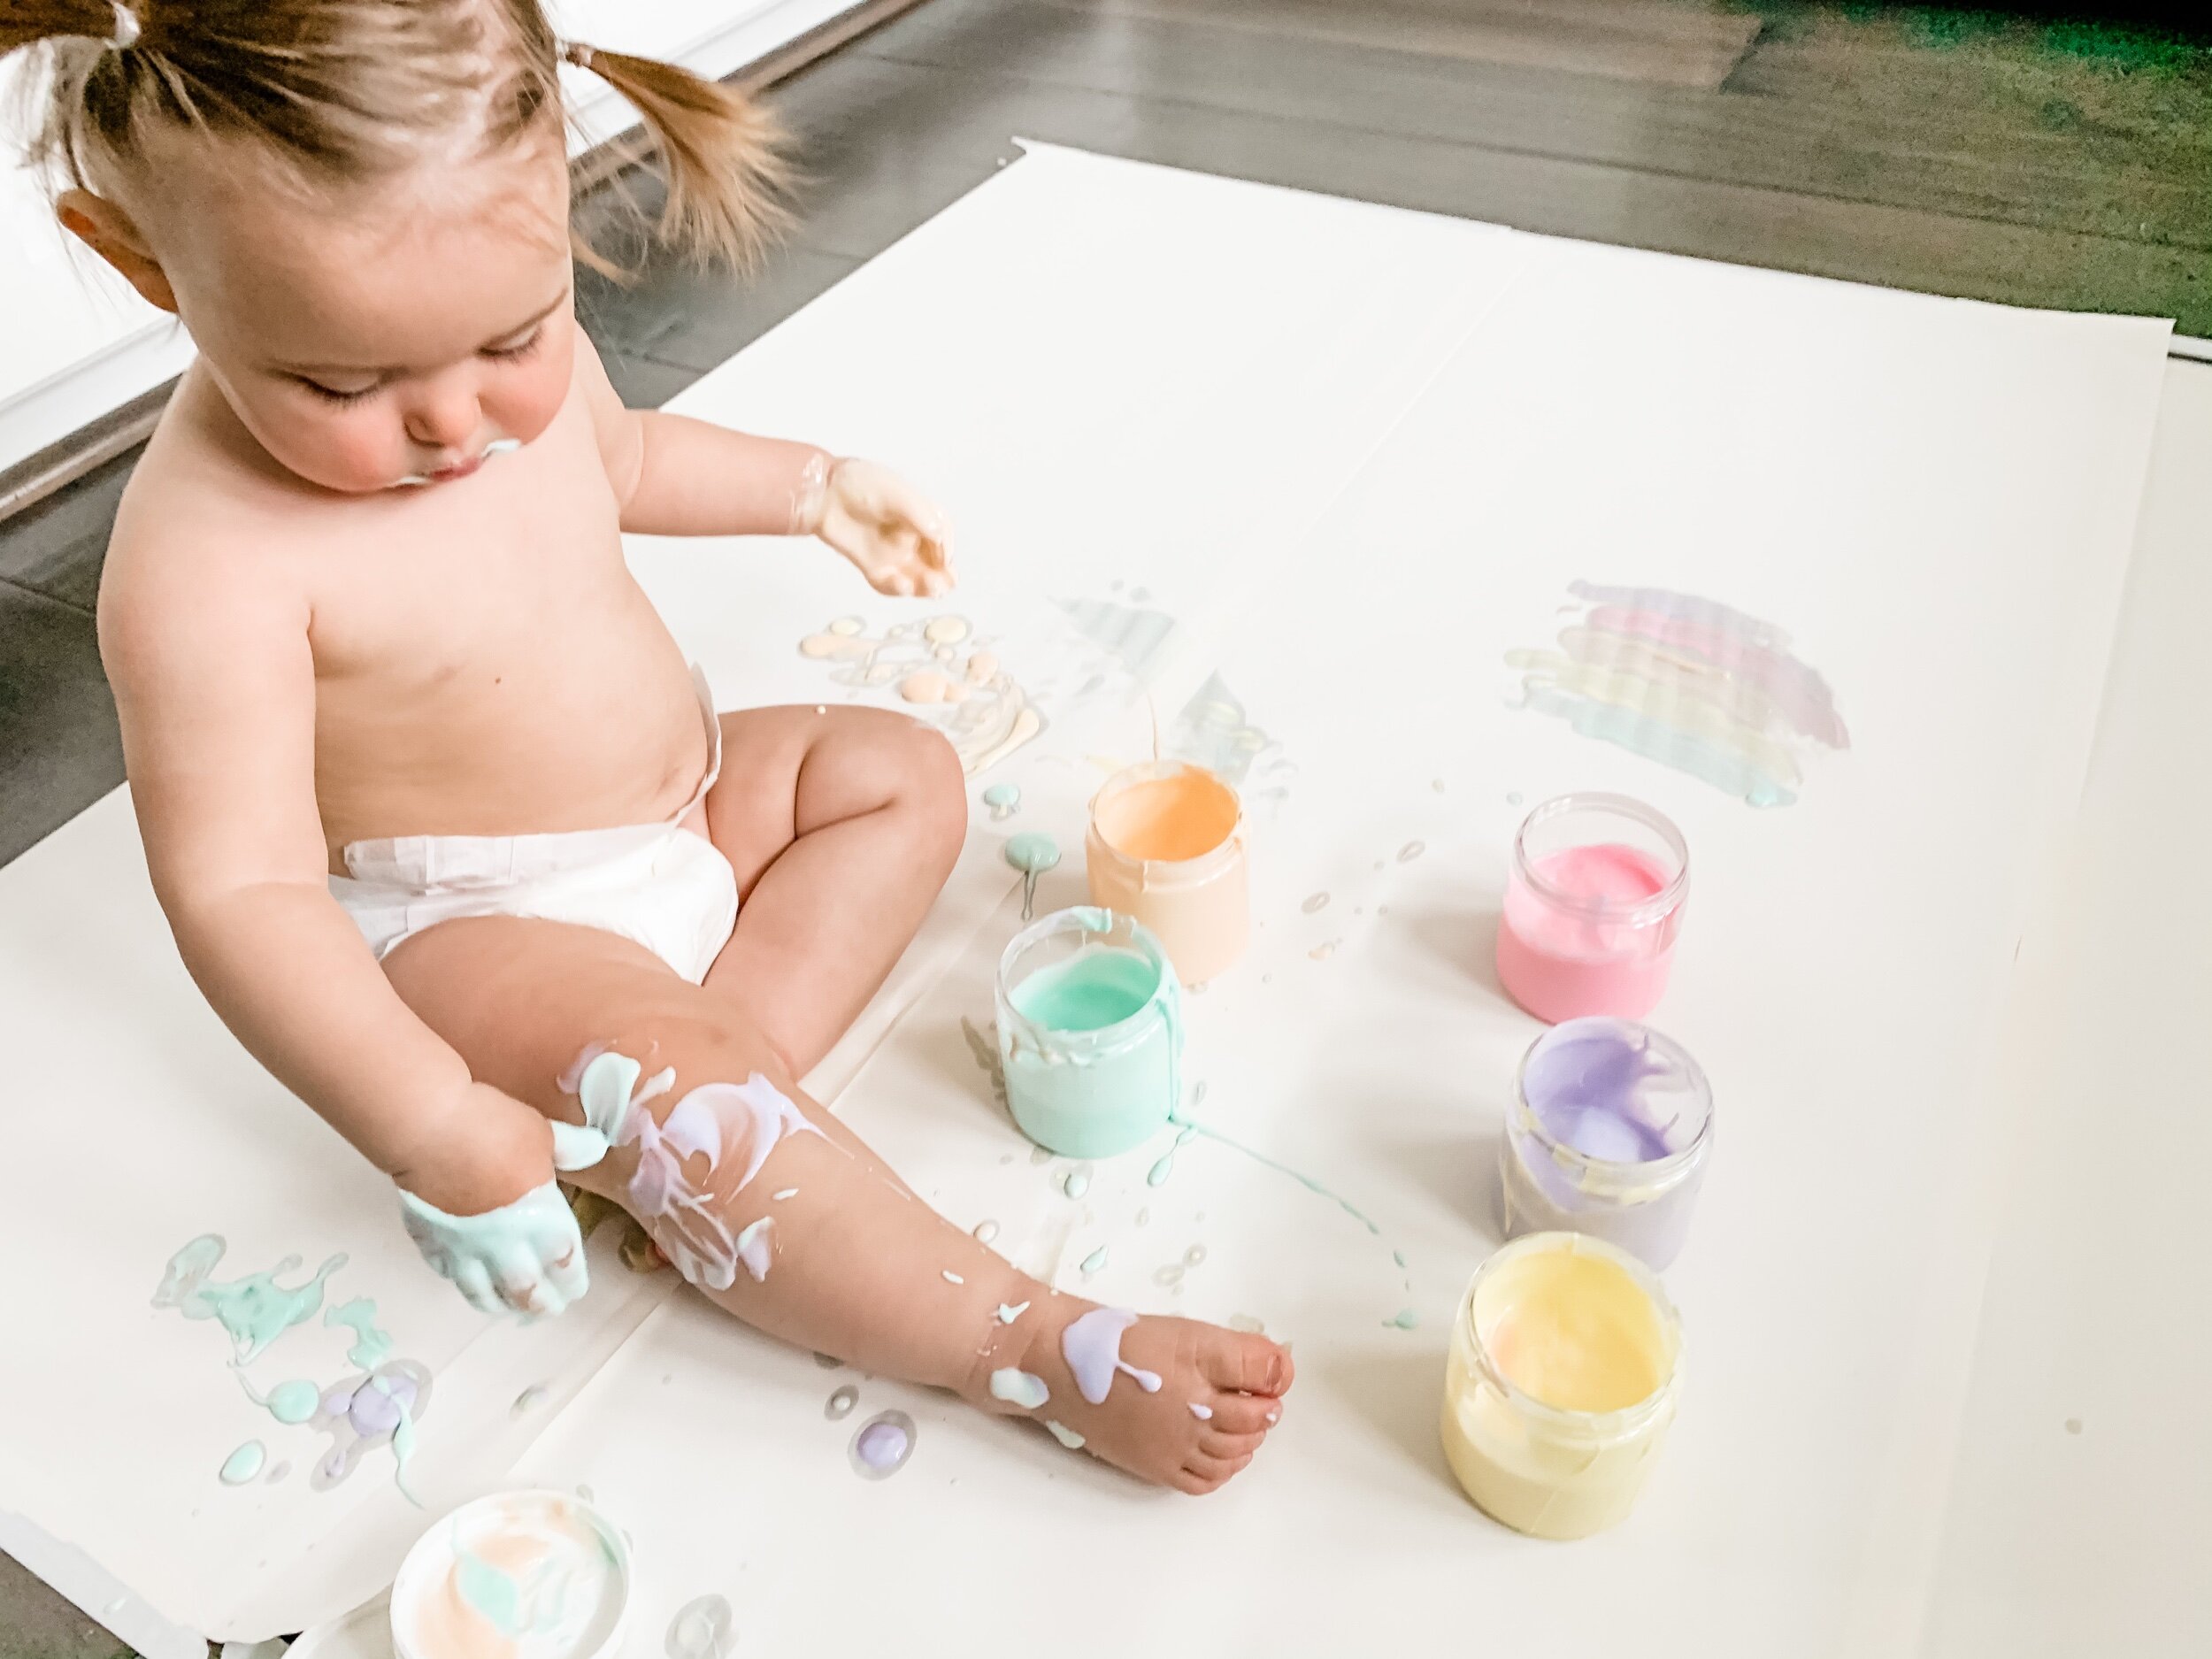
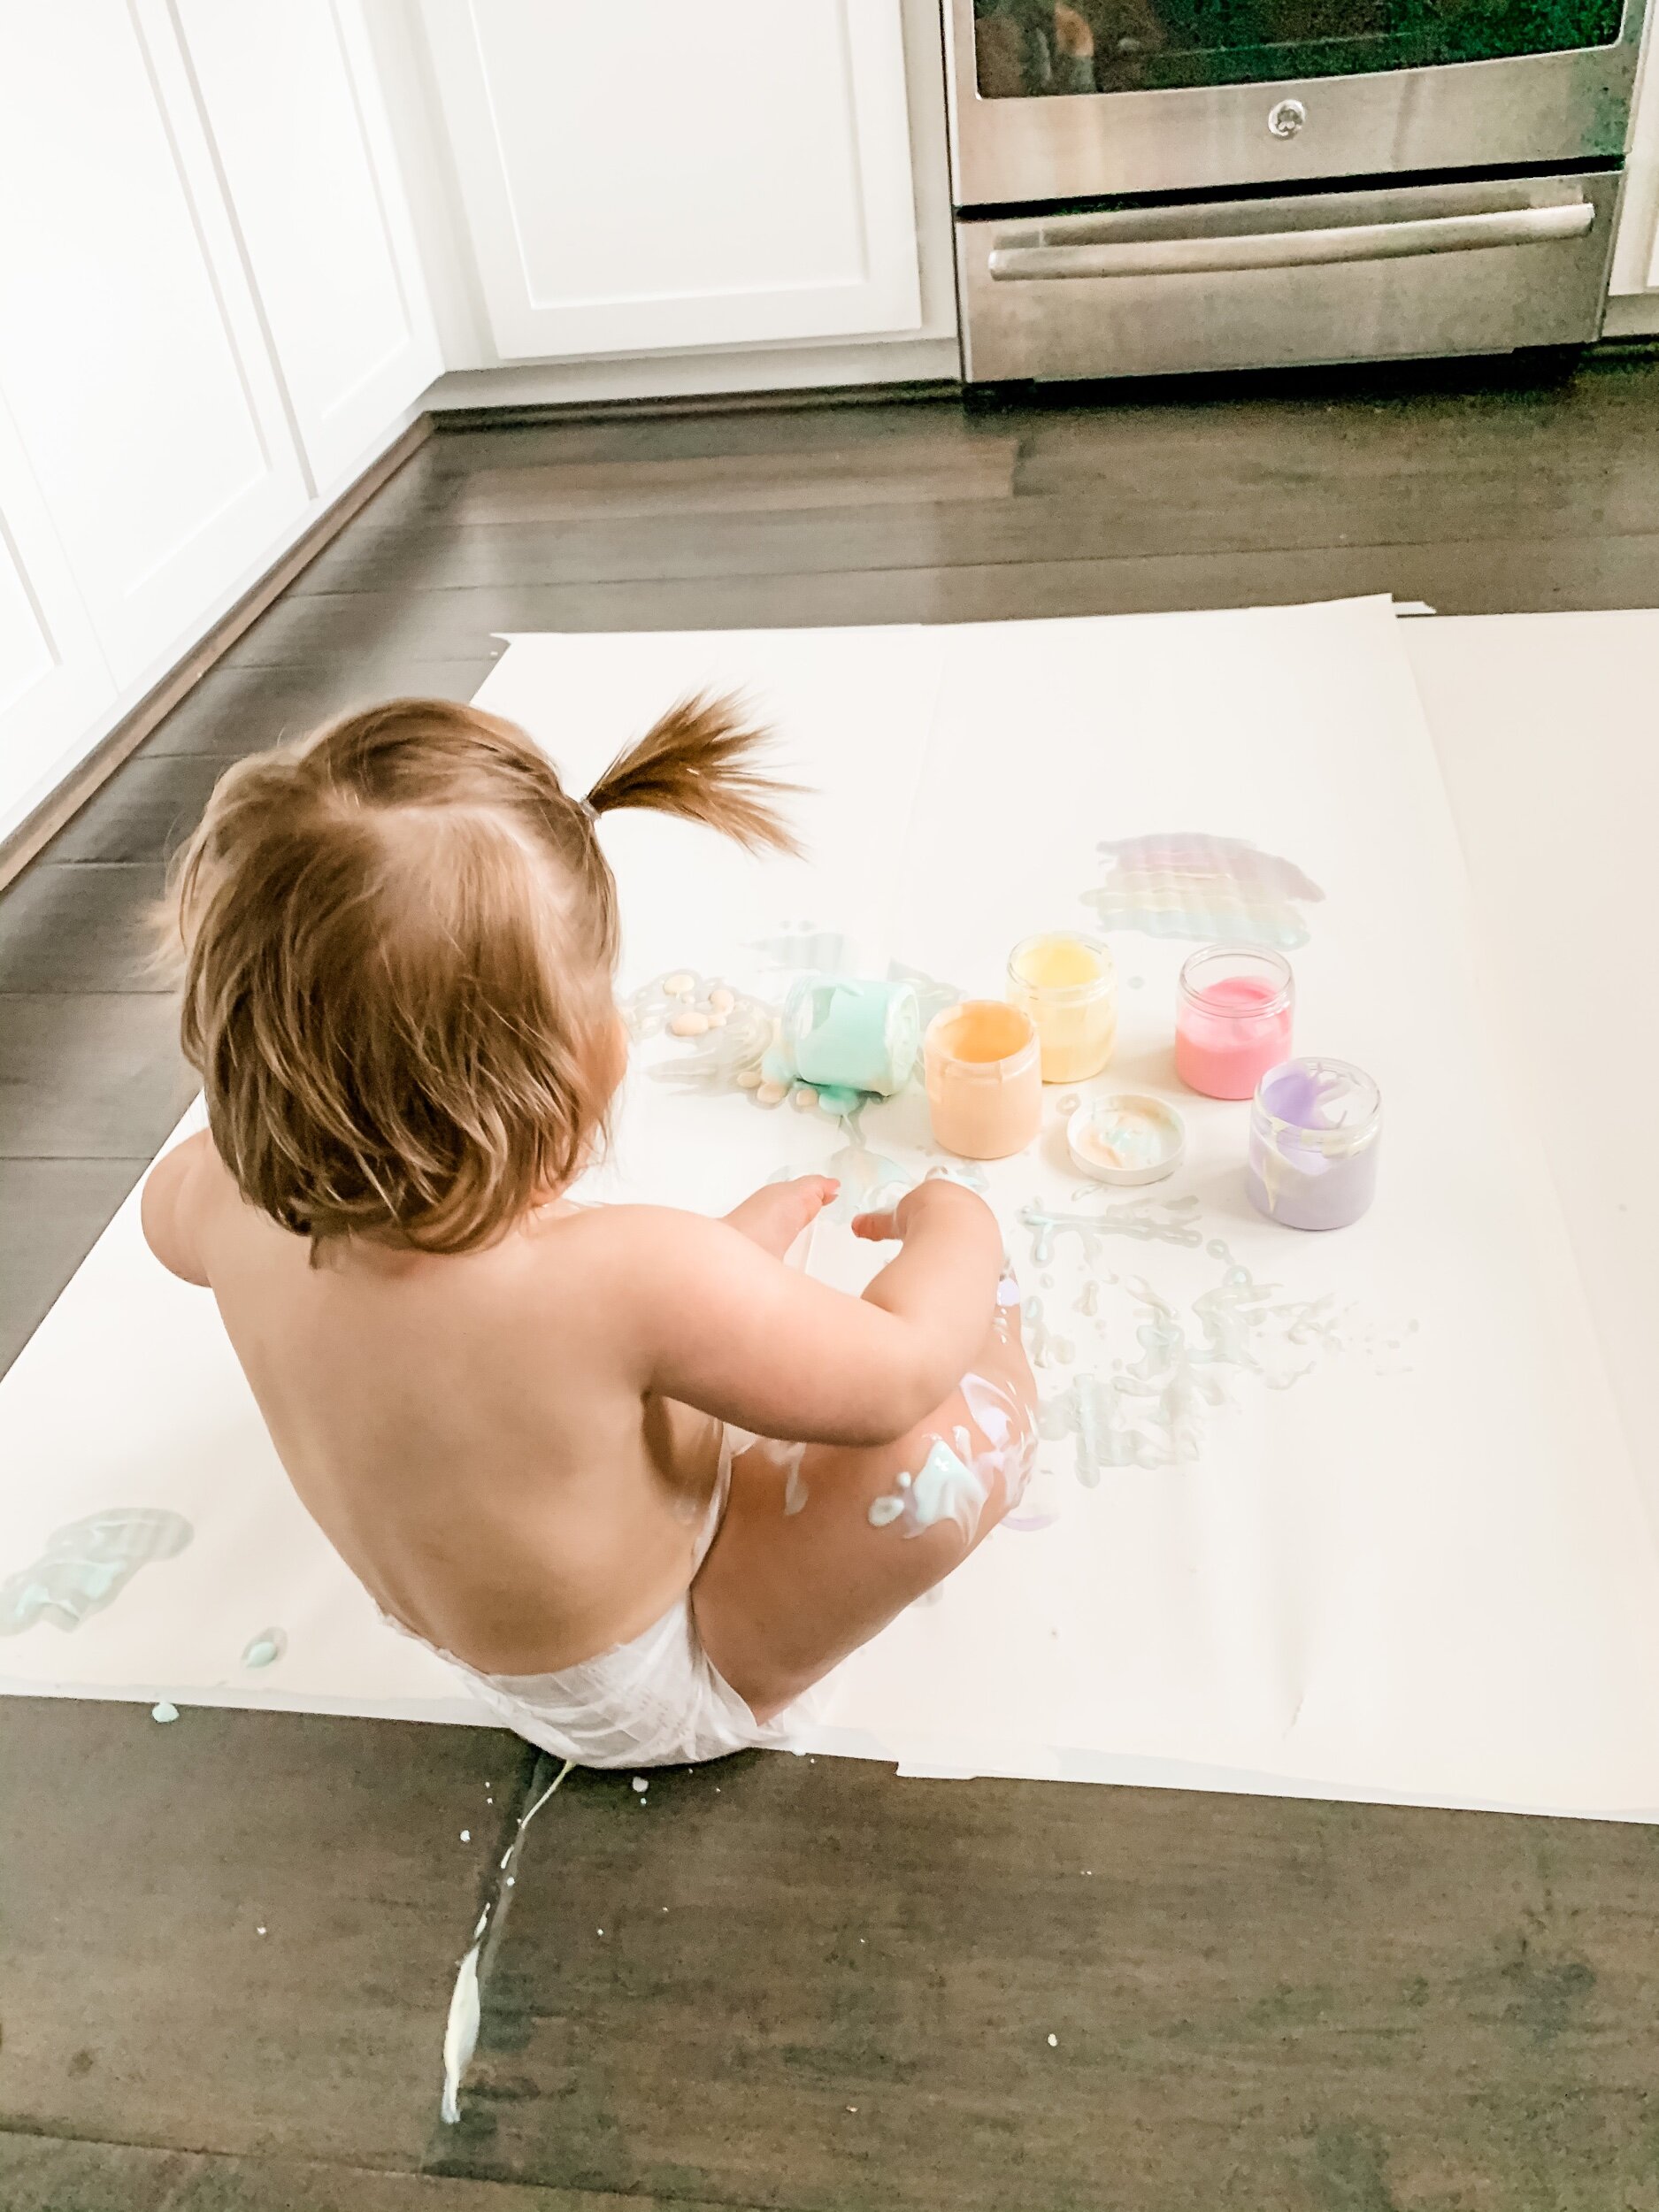
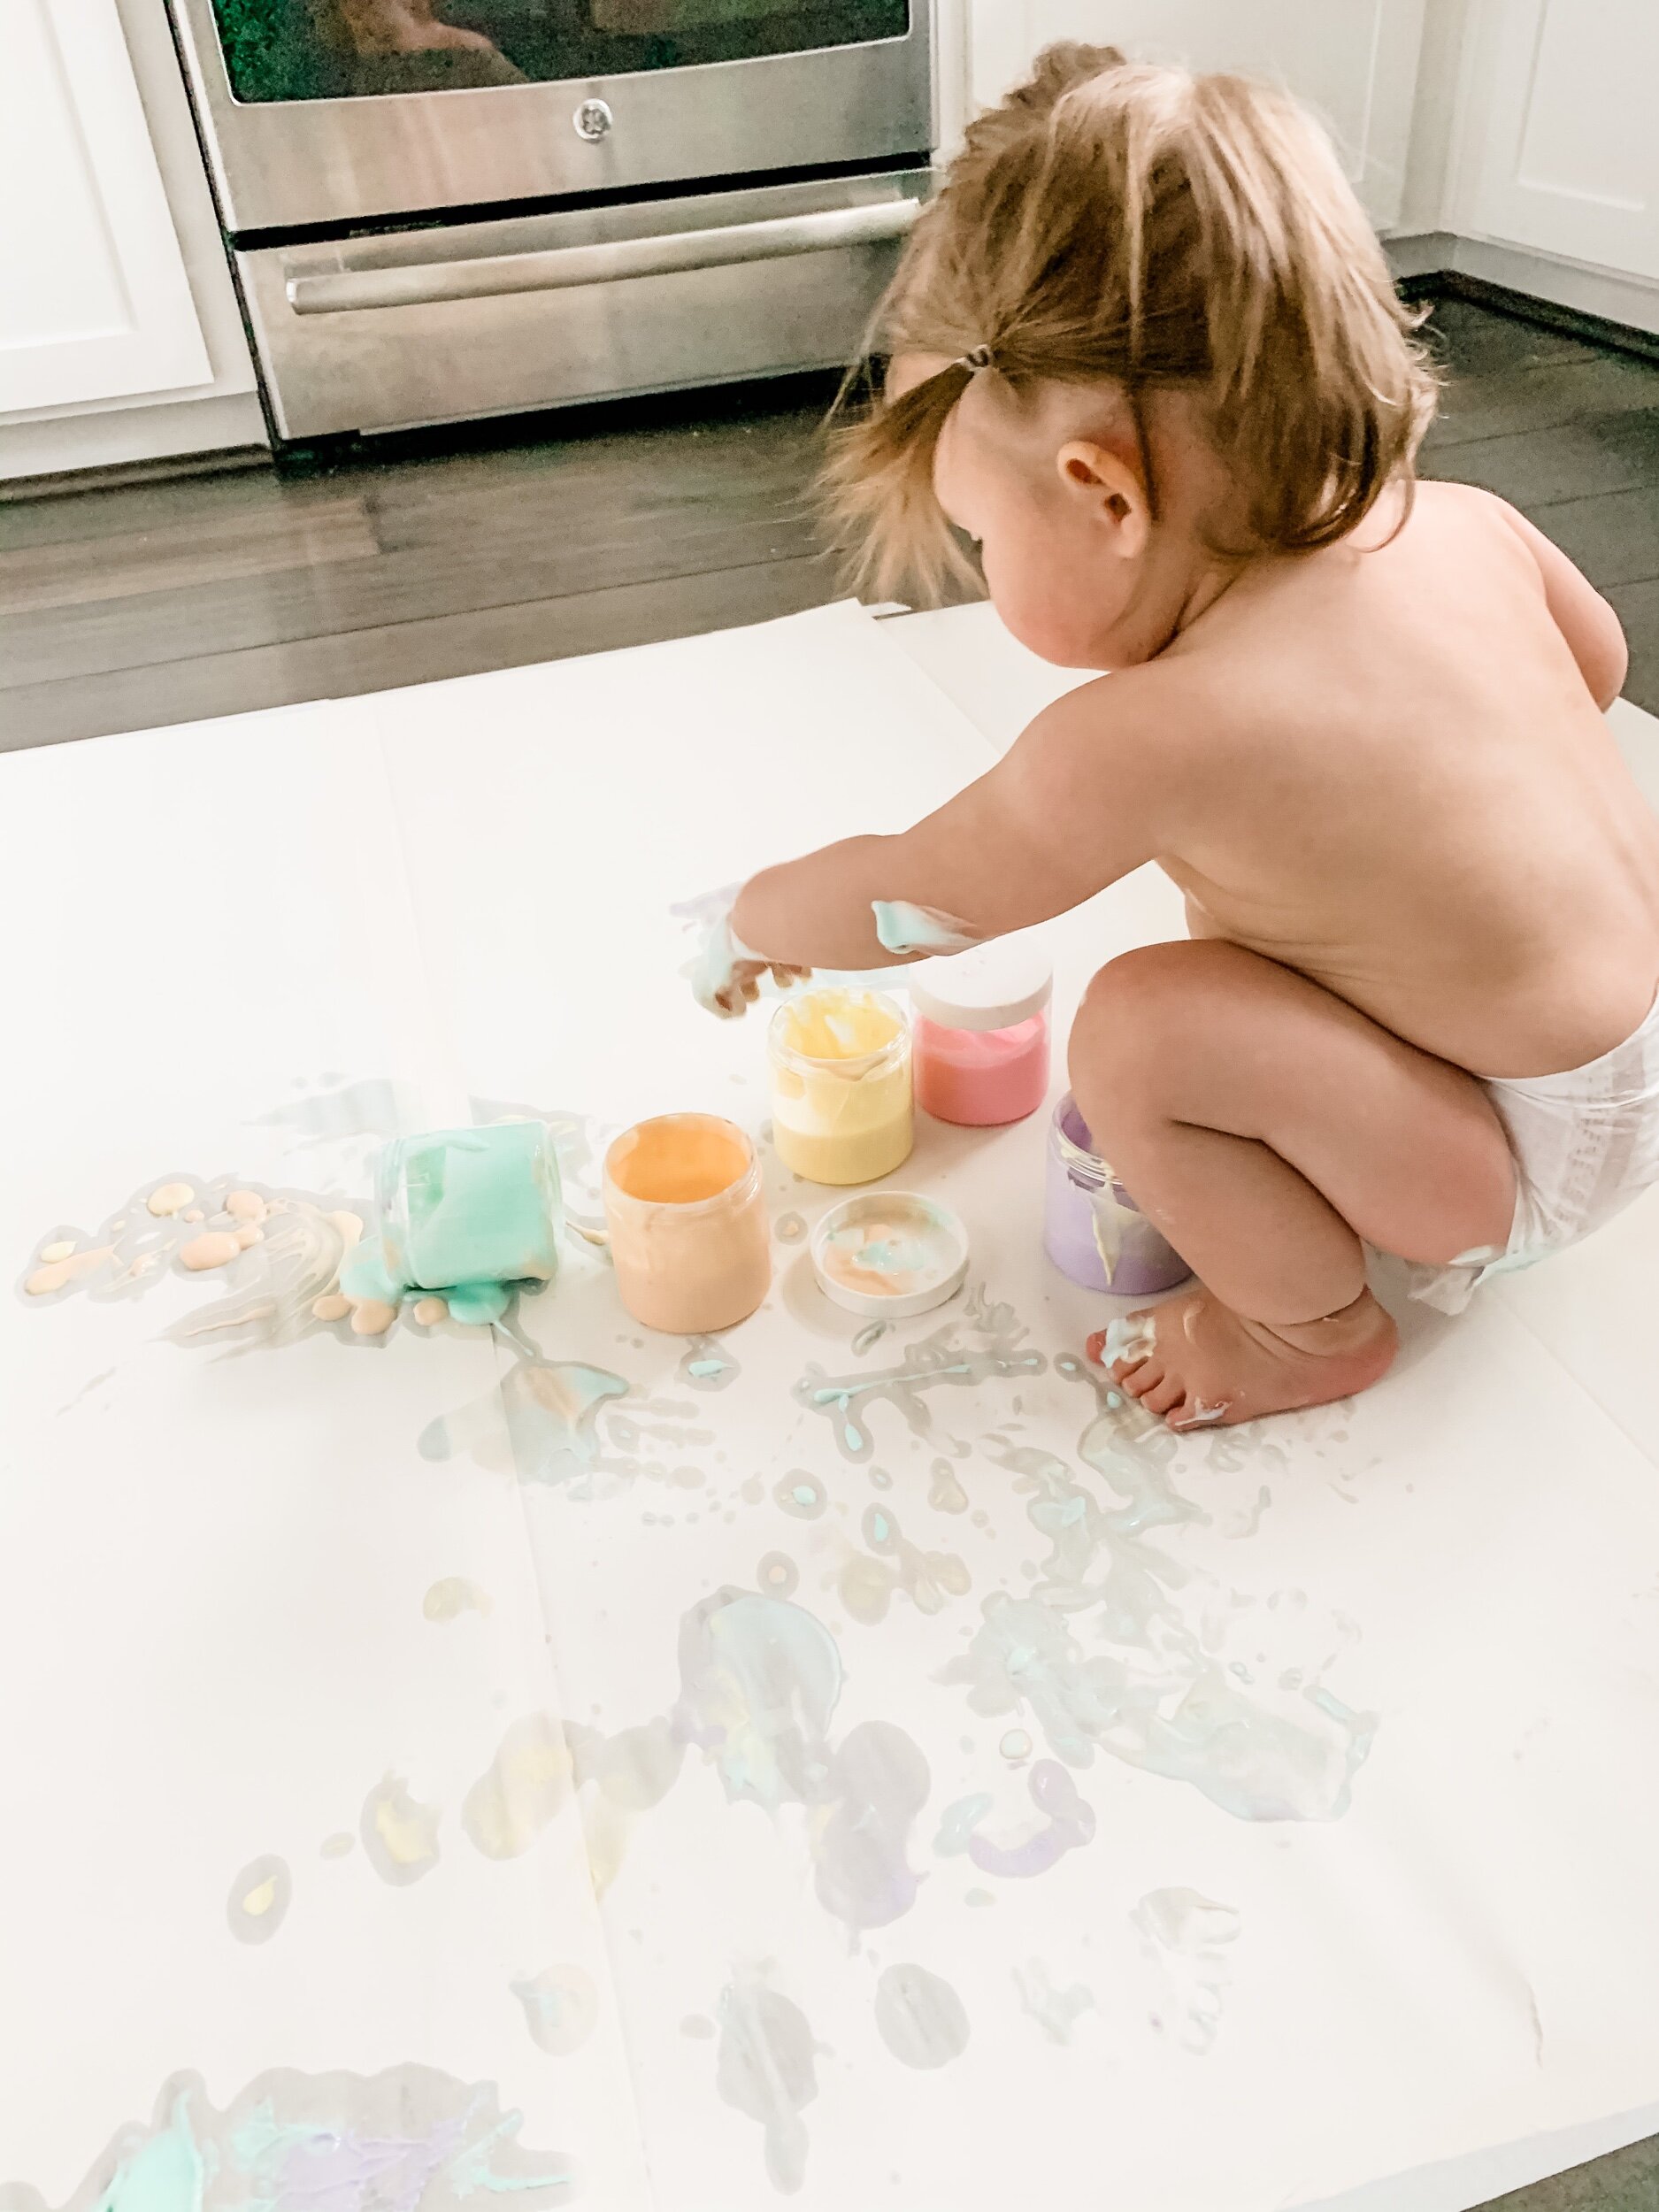
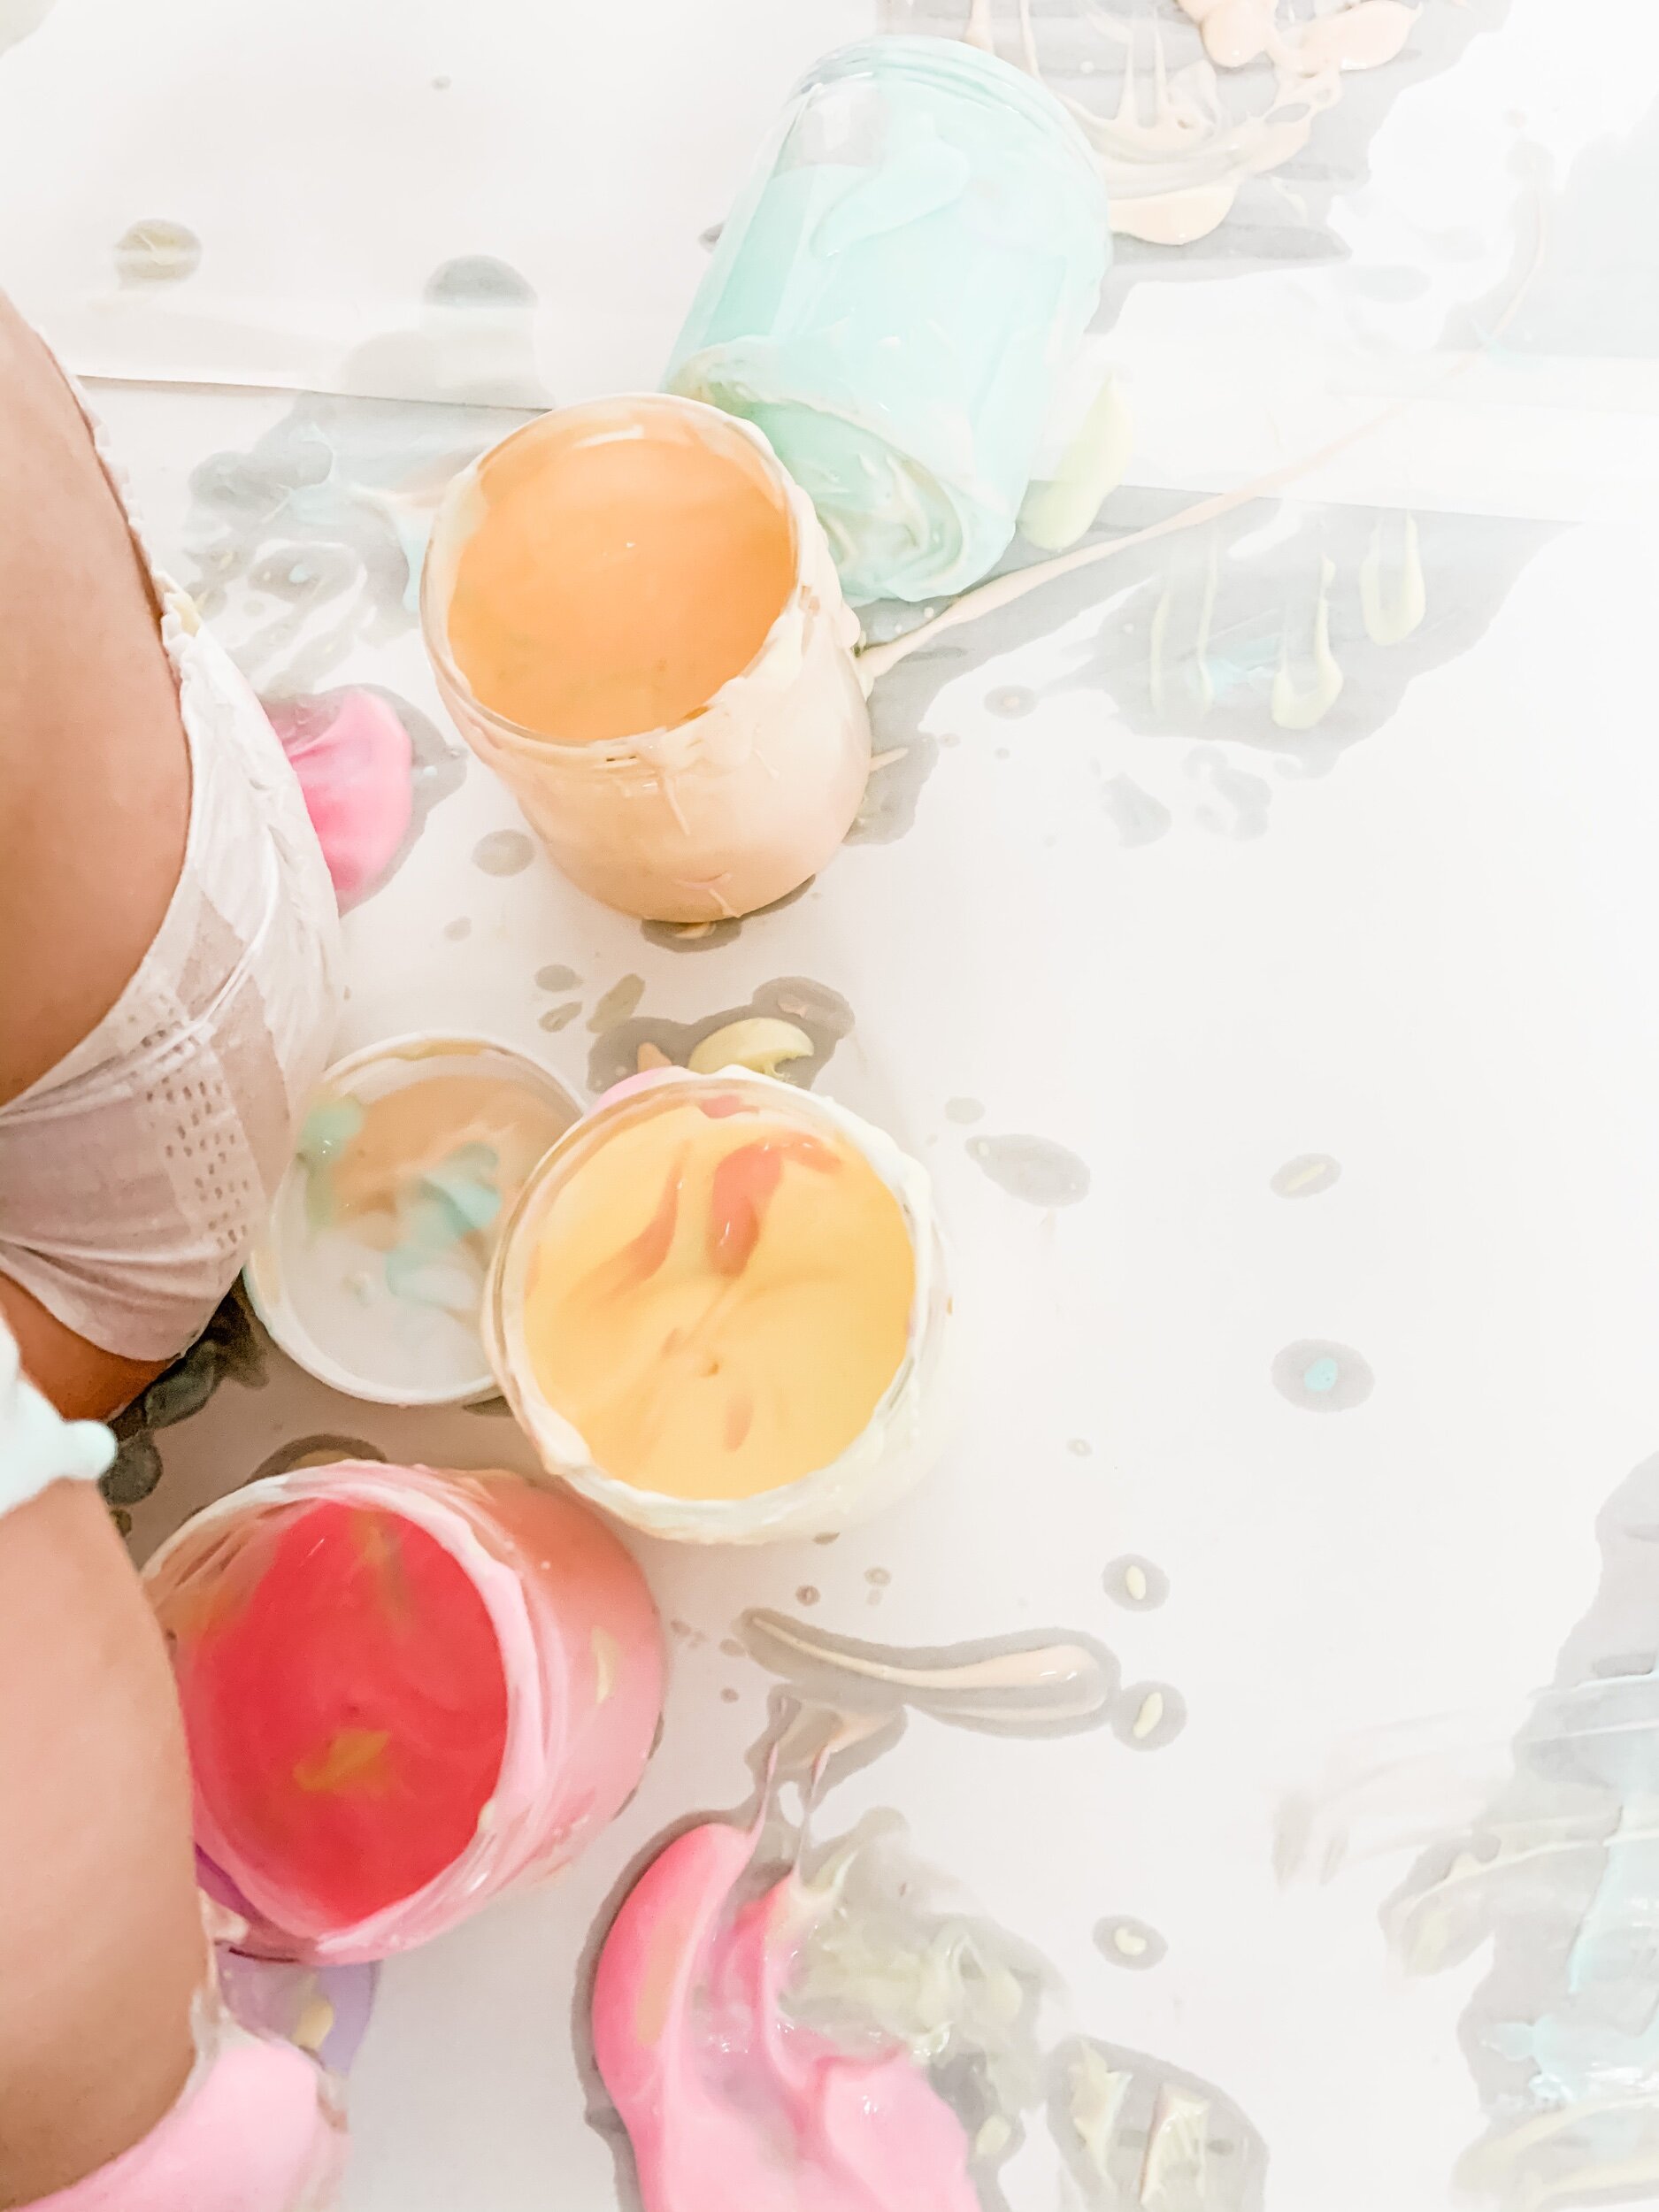
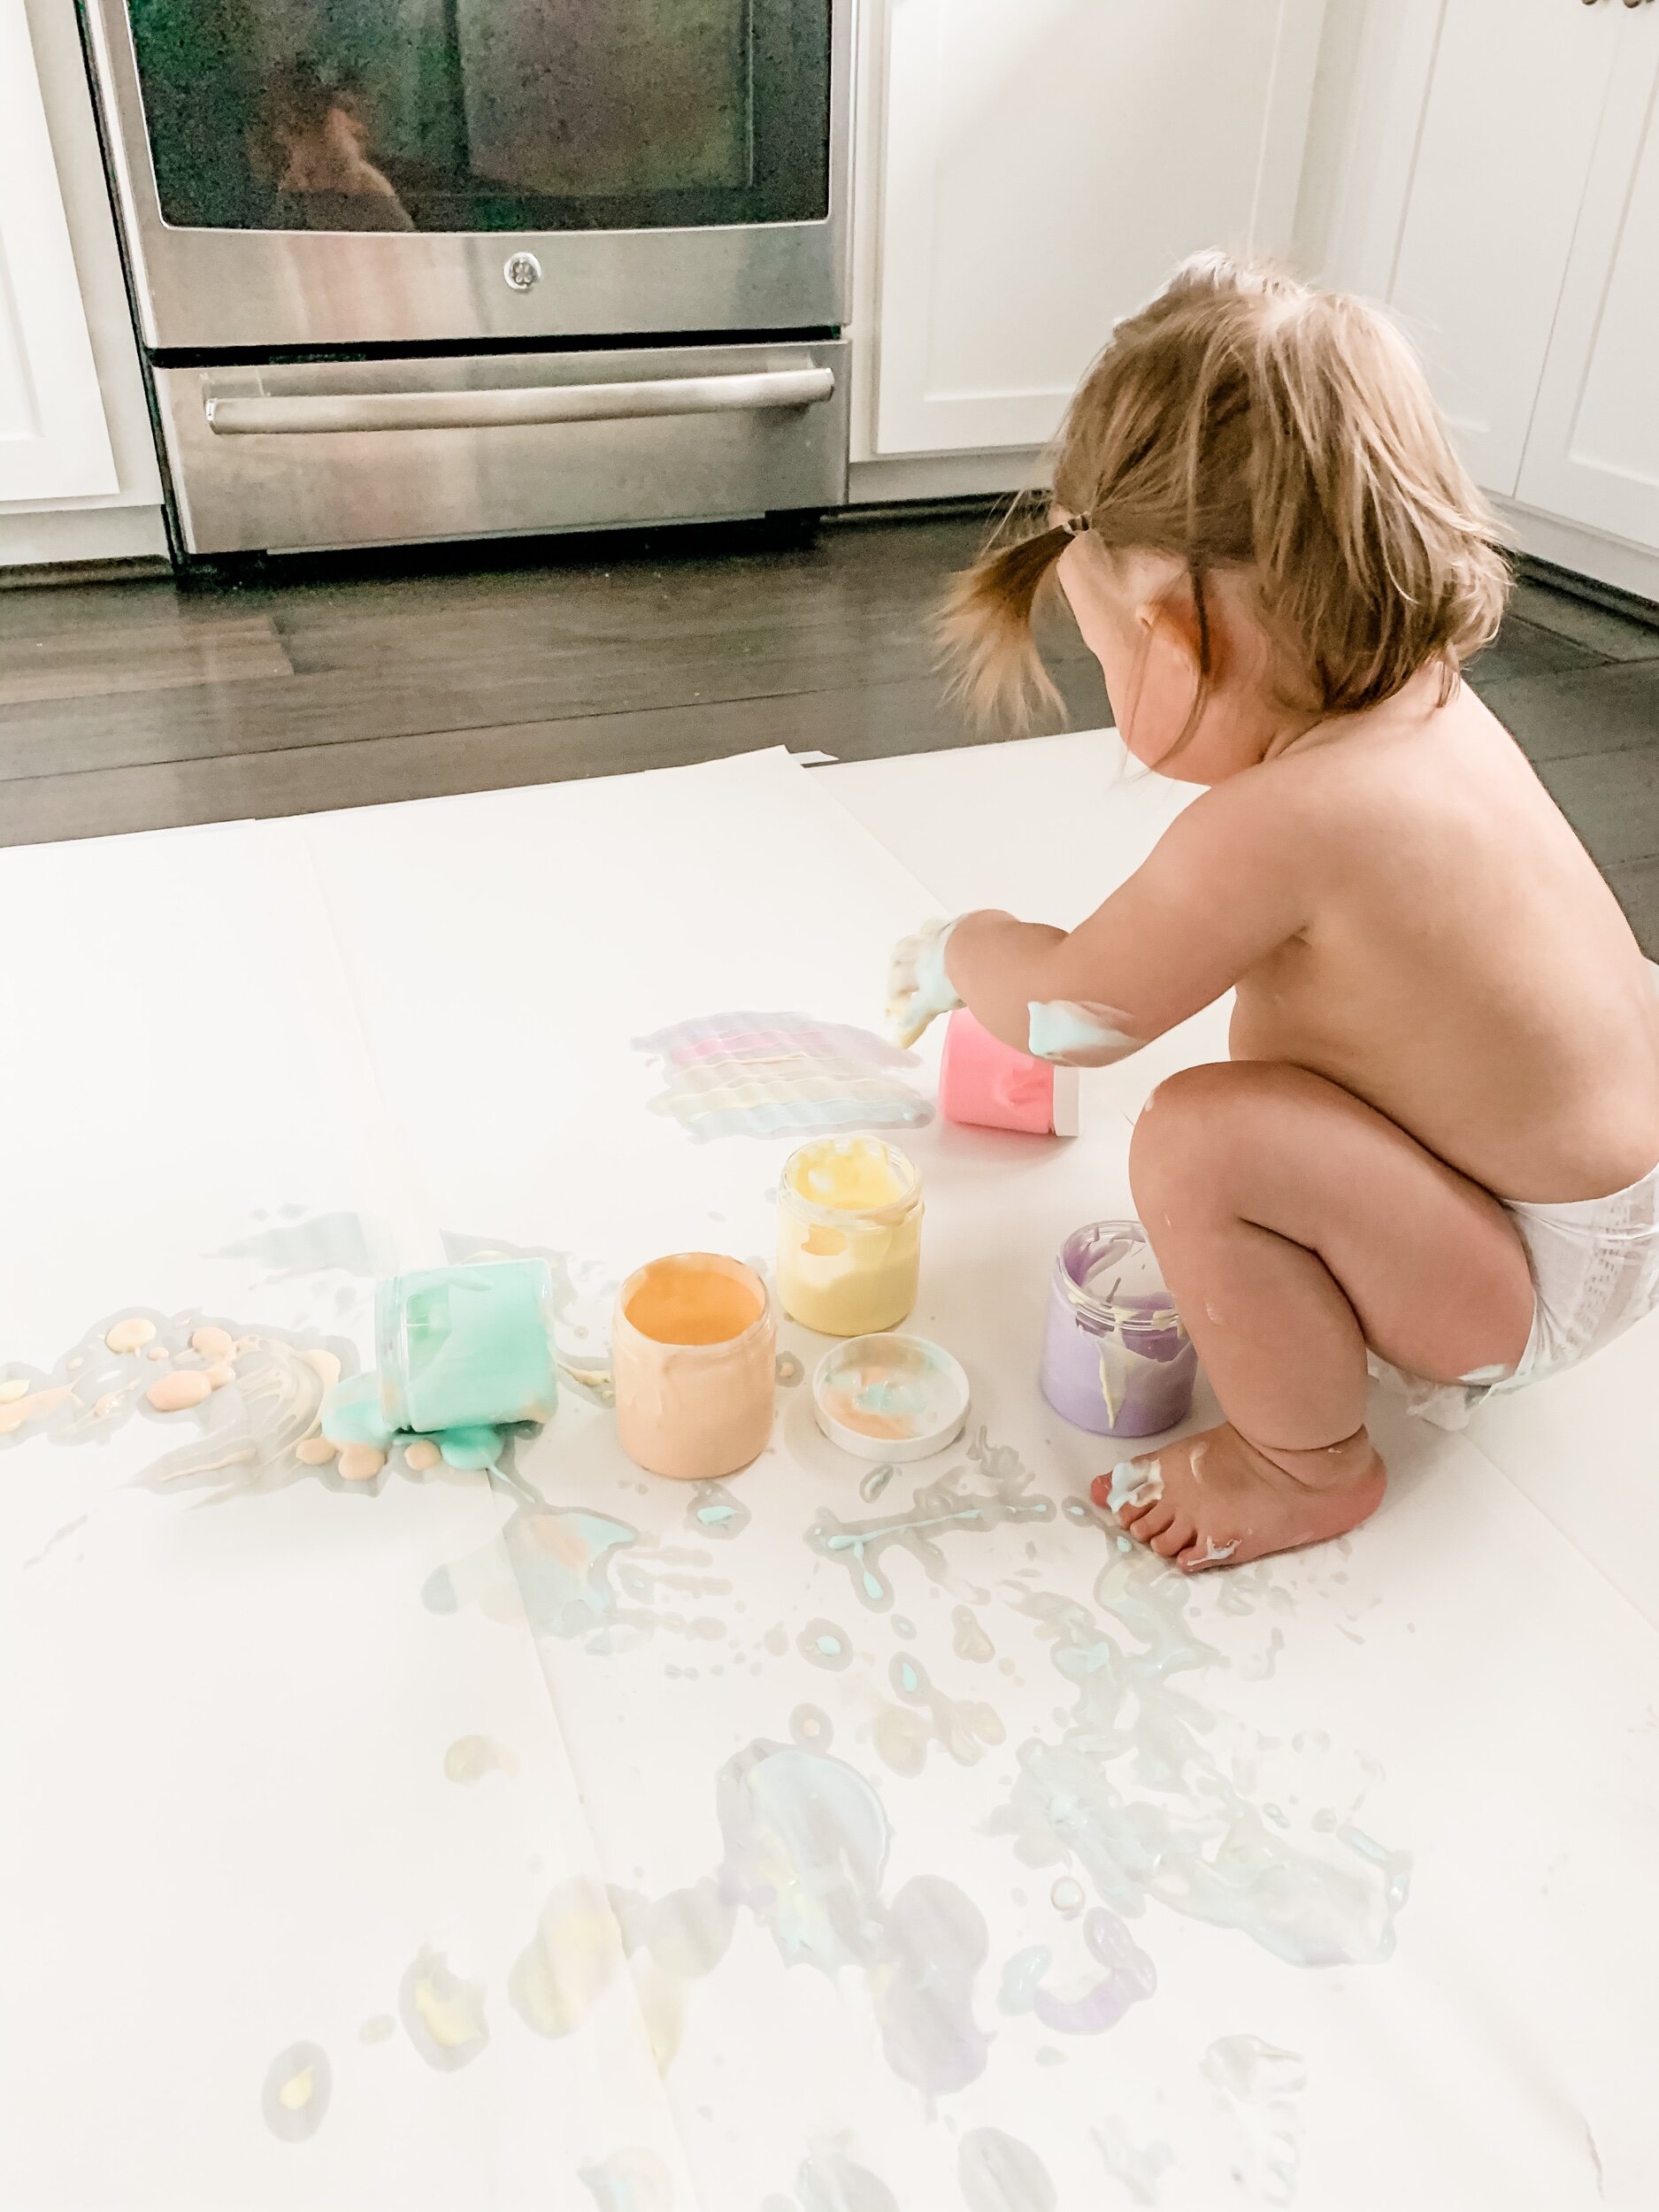
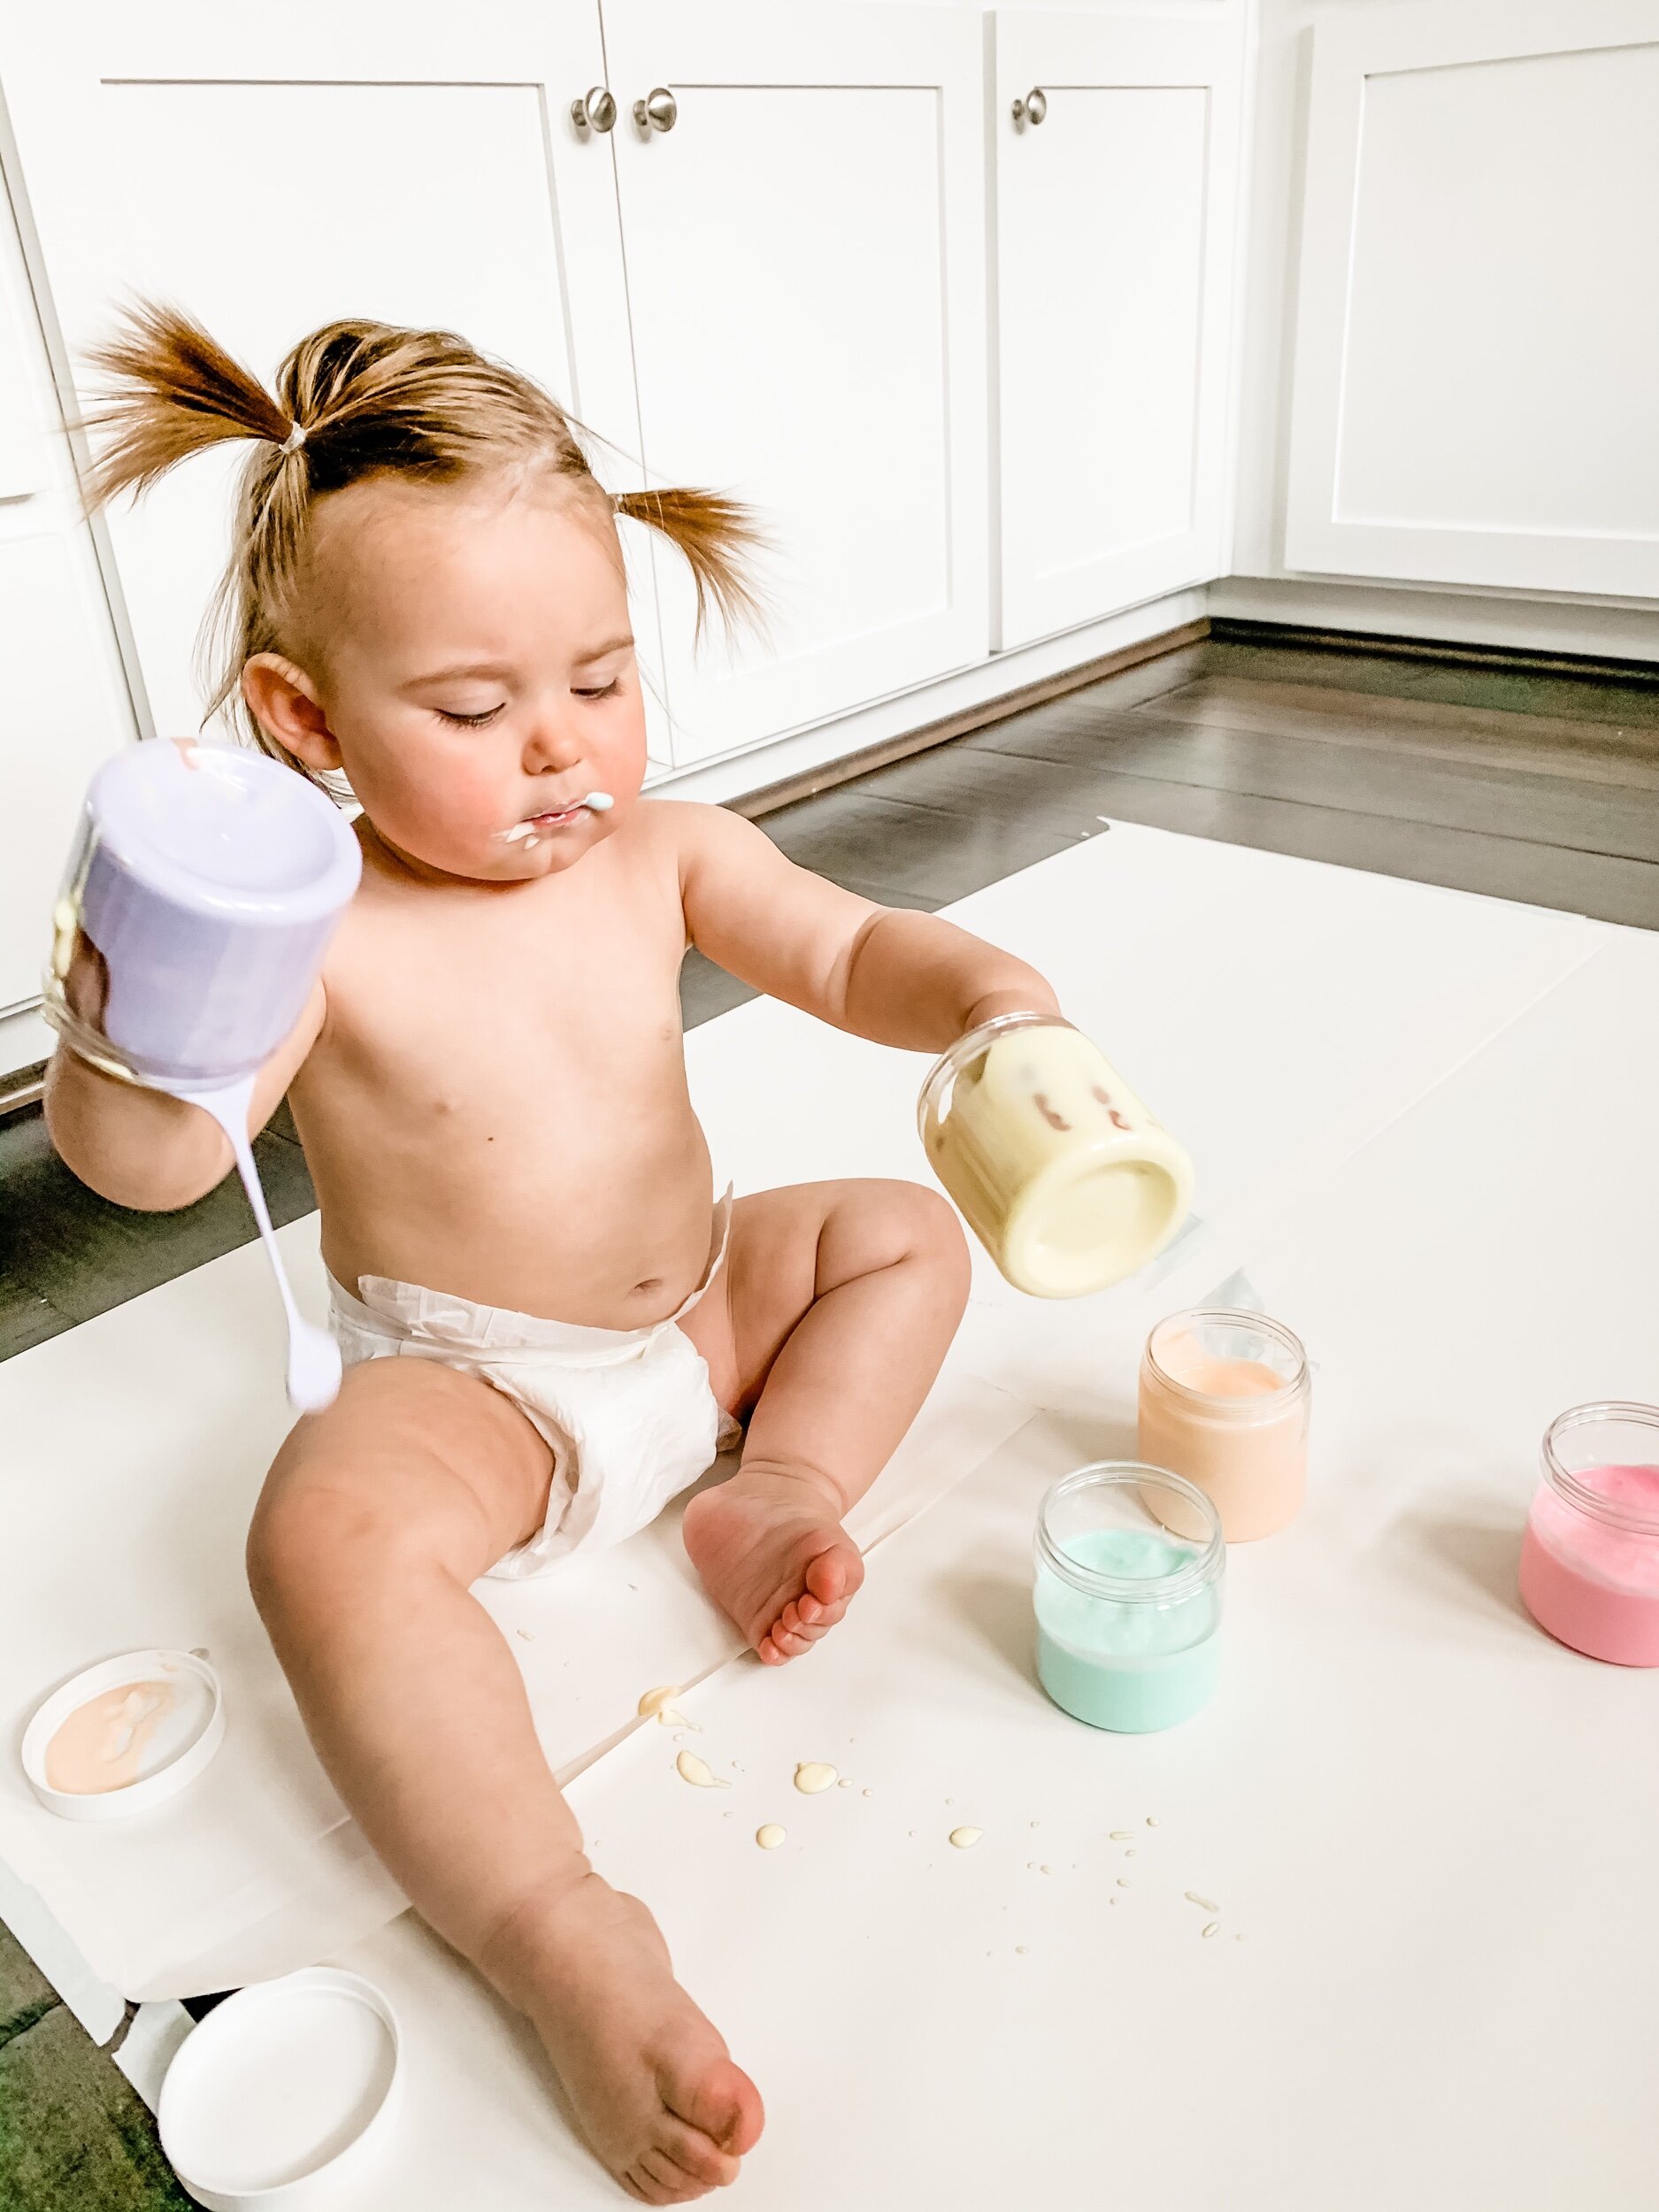
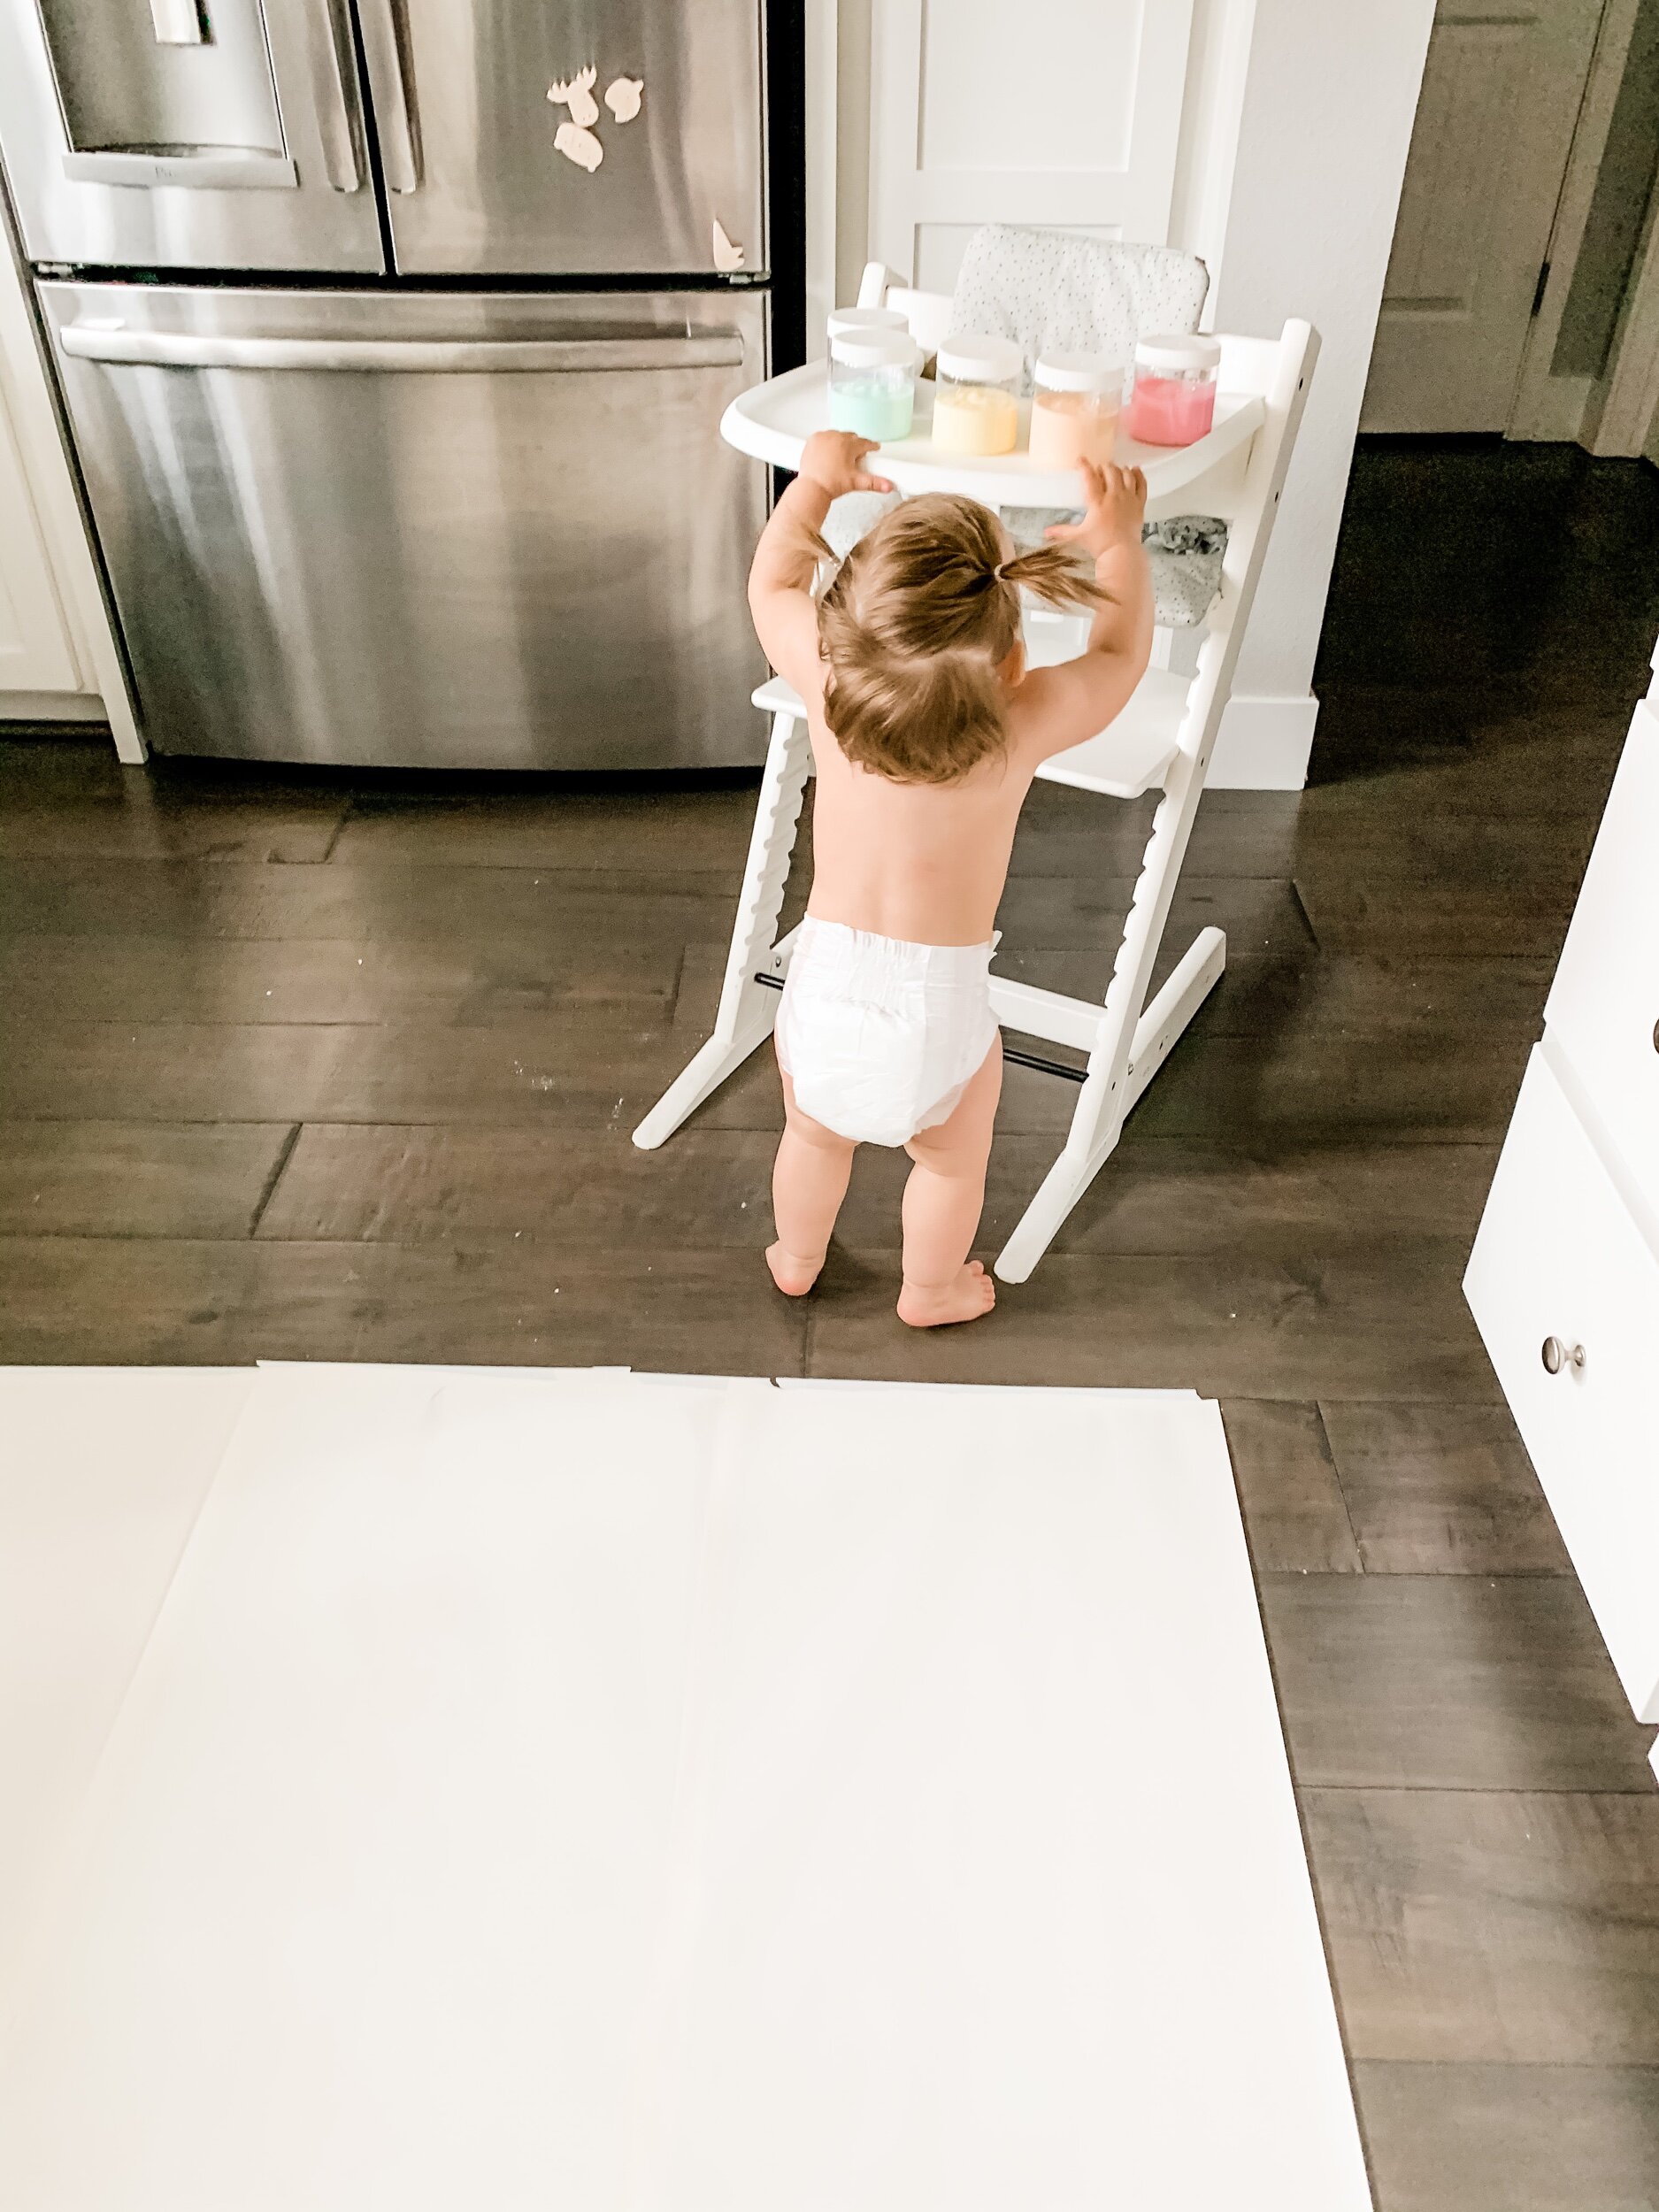
It was so much fun to make these rainbow colored paints that I almost didn’t want to let Sofie make a mess of them. But I went ahead and put some butcher paper down on the kitchen floor and taped it down with painters tape. In hindsight, I wish I had done it two layers thick because the yogurt was quite liquidy and it did deep through the paper. It was still pretty easy to clean up though.

6E5372DF-D993-49F1-82CC-BCD32D3C8039.png

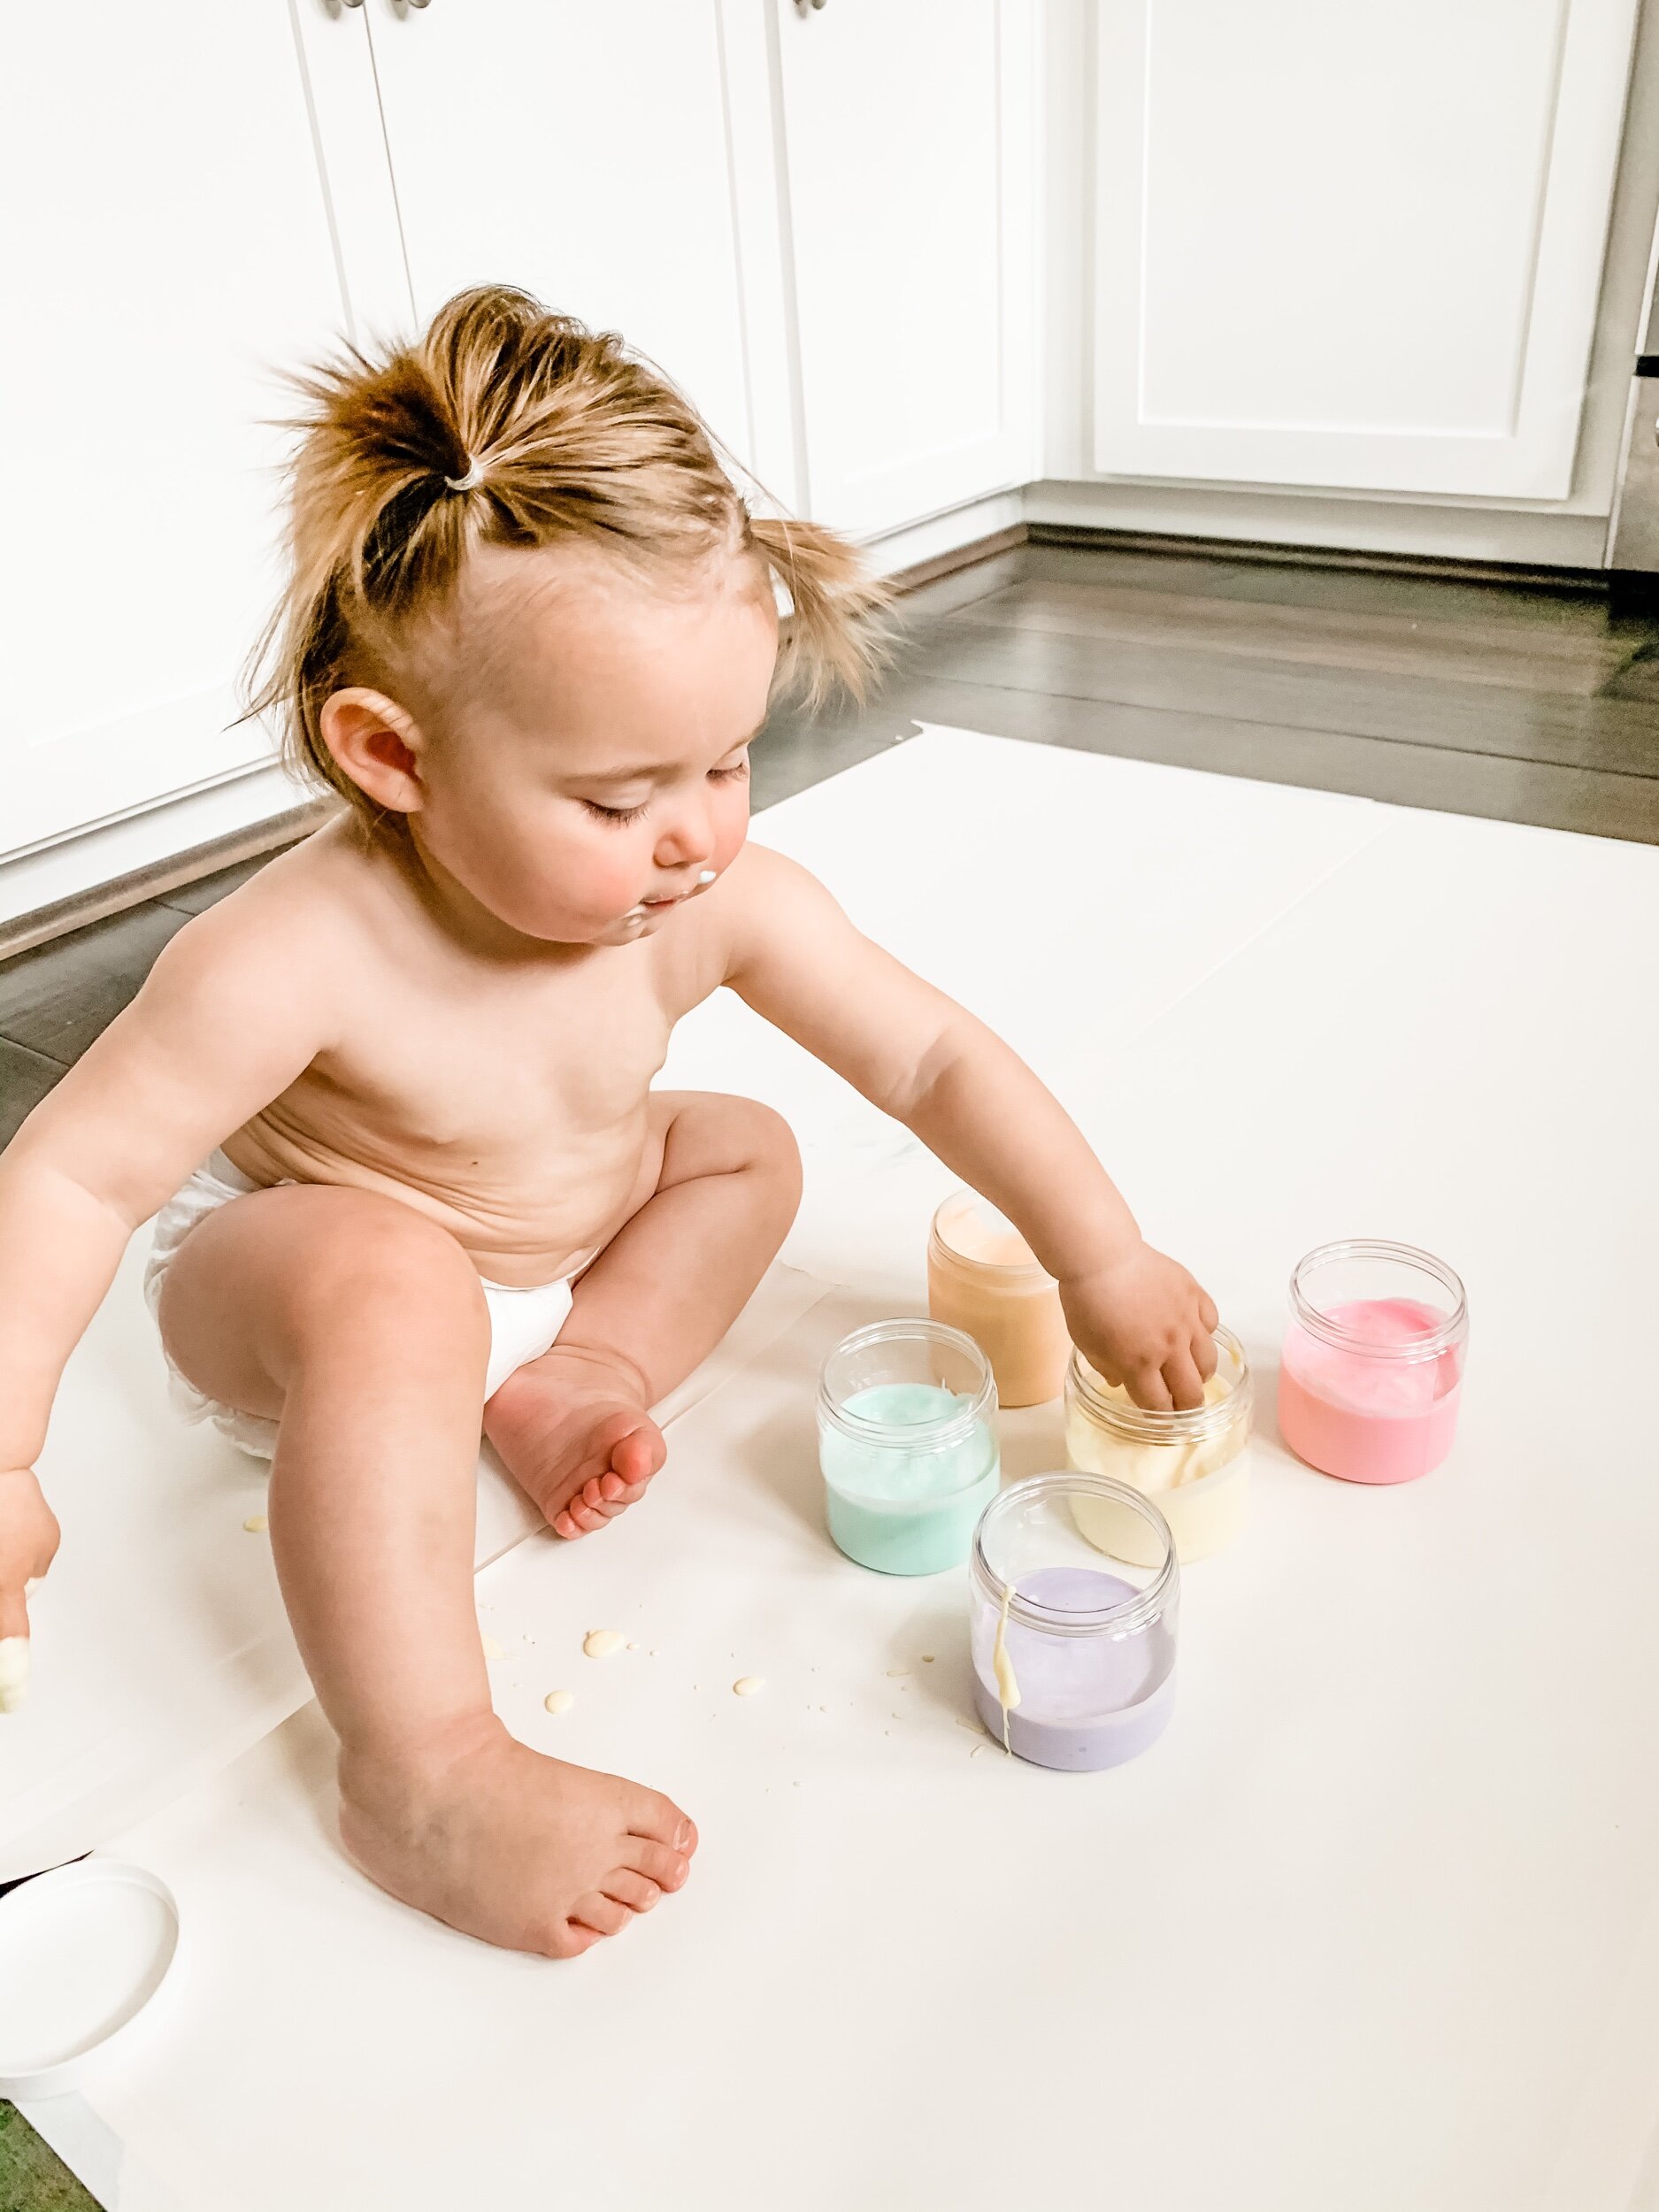
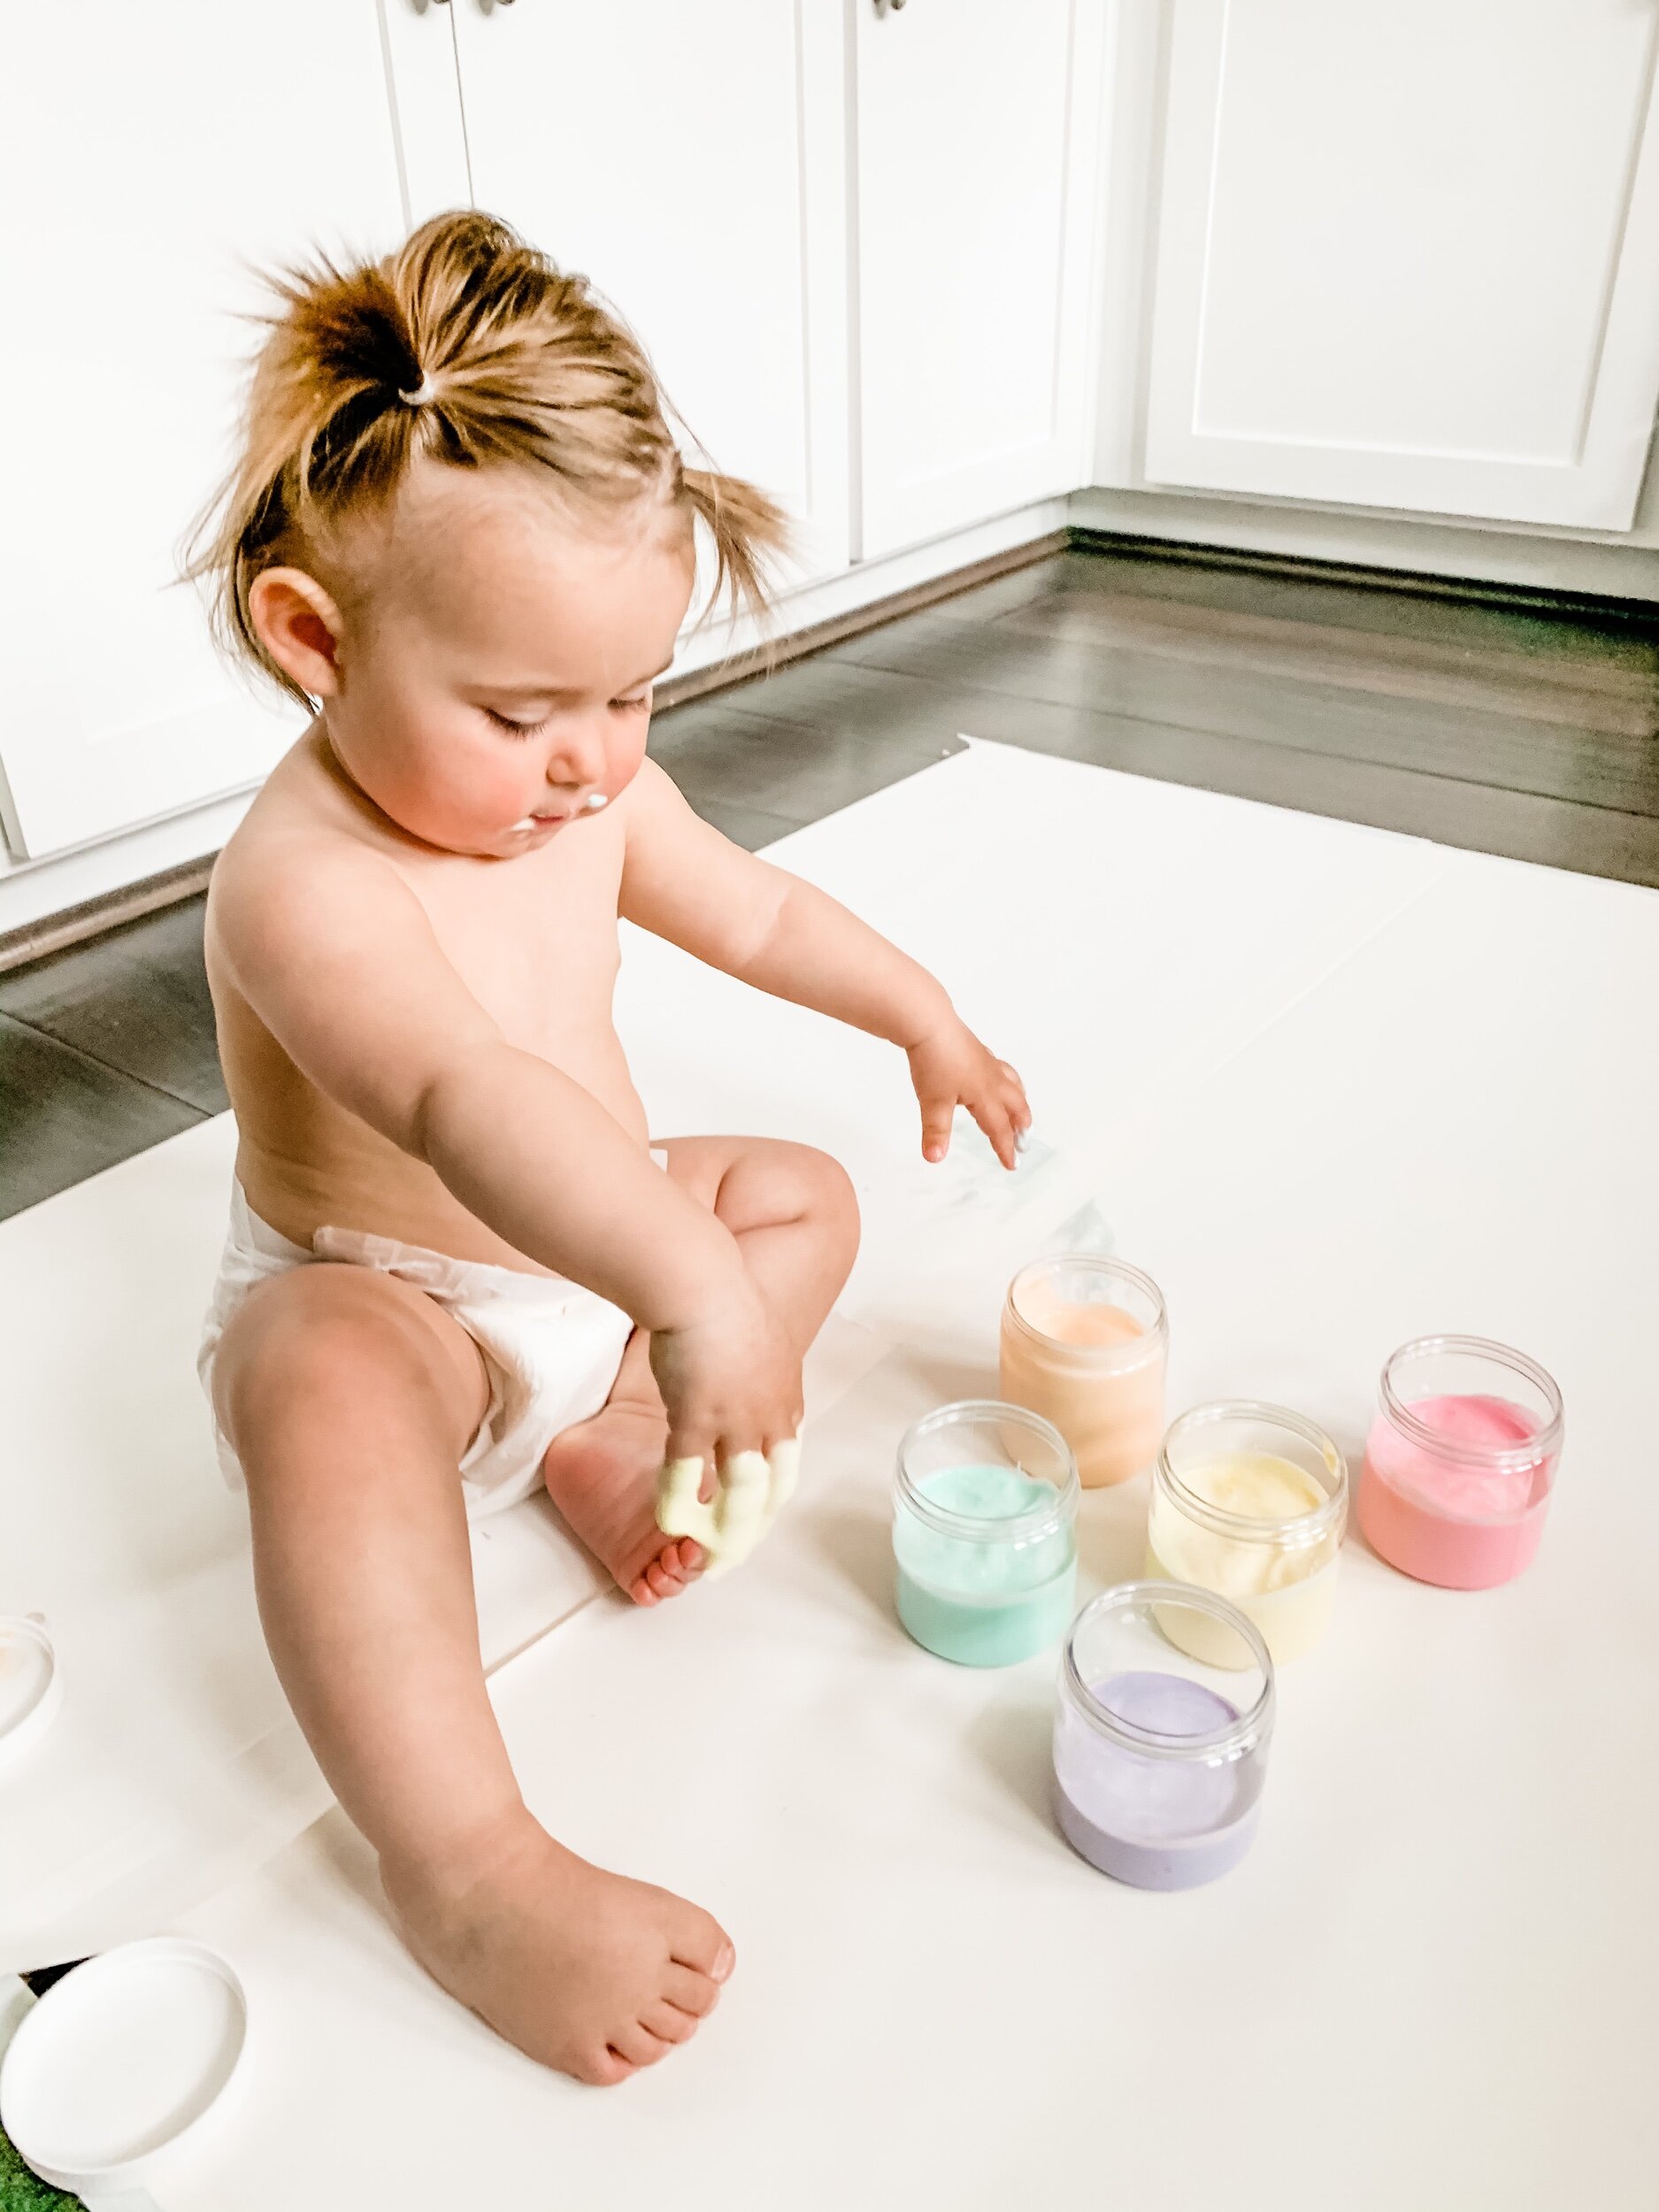
I put the paints up on her high chair for safe keeping while I got everything ready. But that didn’t last long — she was reaching for them as soon as she saw them. I stripped her down to her diaper so as not to get her clothes messy. Then I opened up one jar at a time and let her have at! Here’s the result:

D6584F57-2874-4B0B-908E-FD2C7C1AE4FF.png

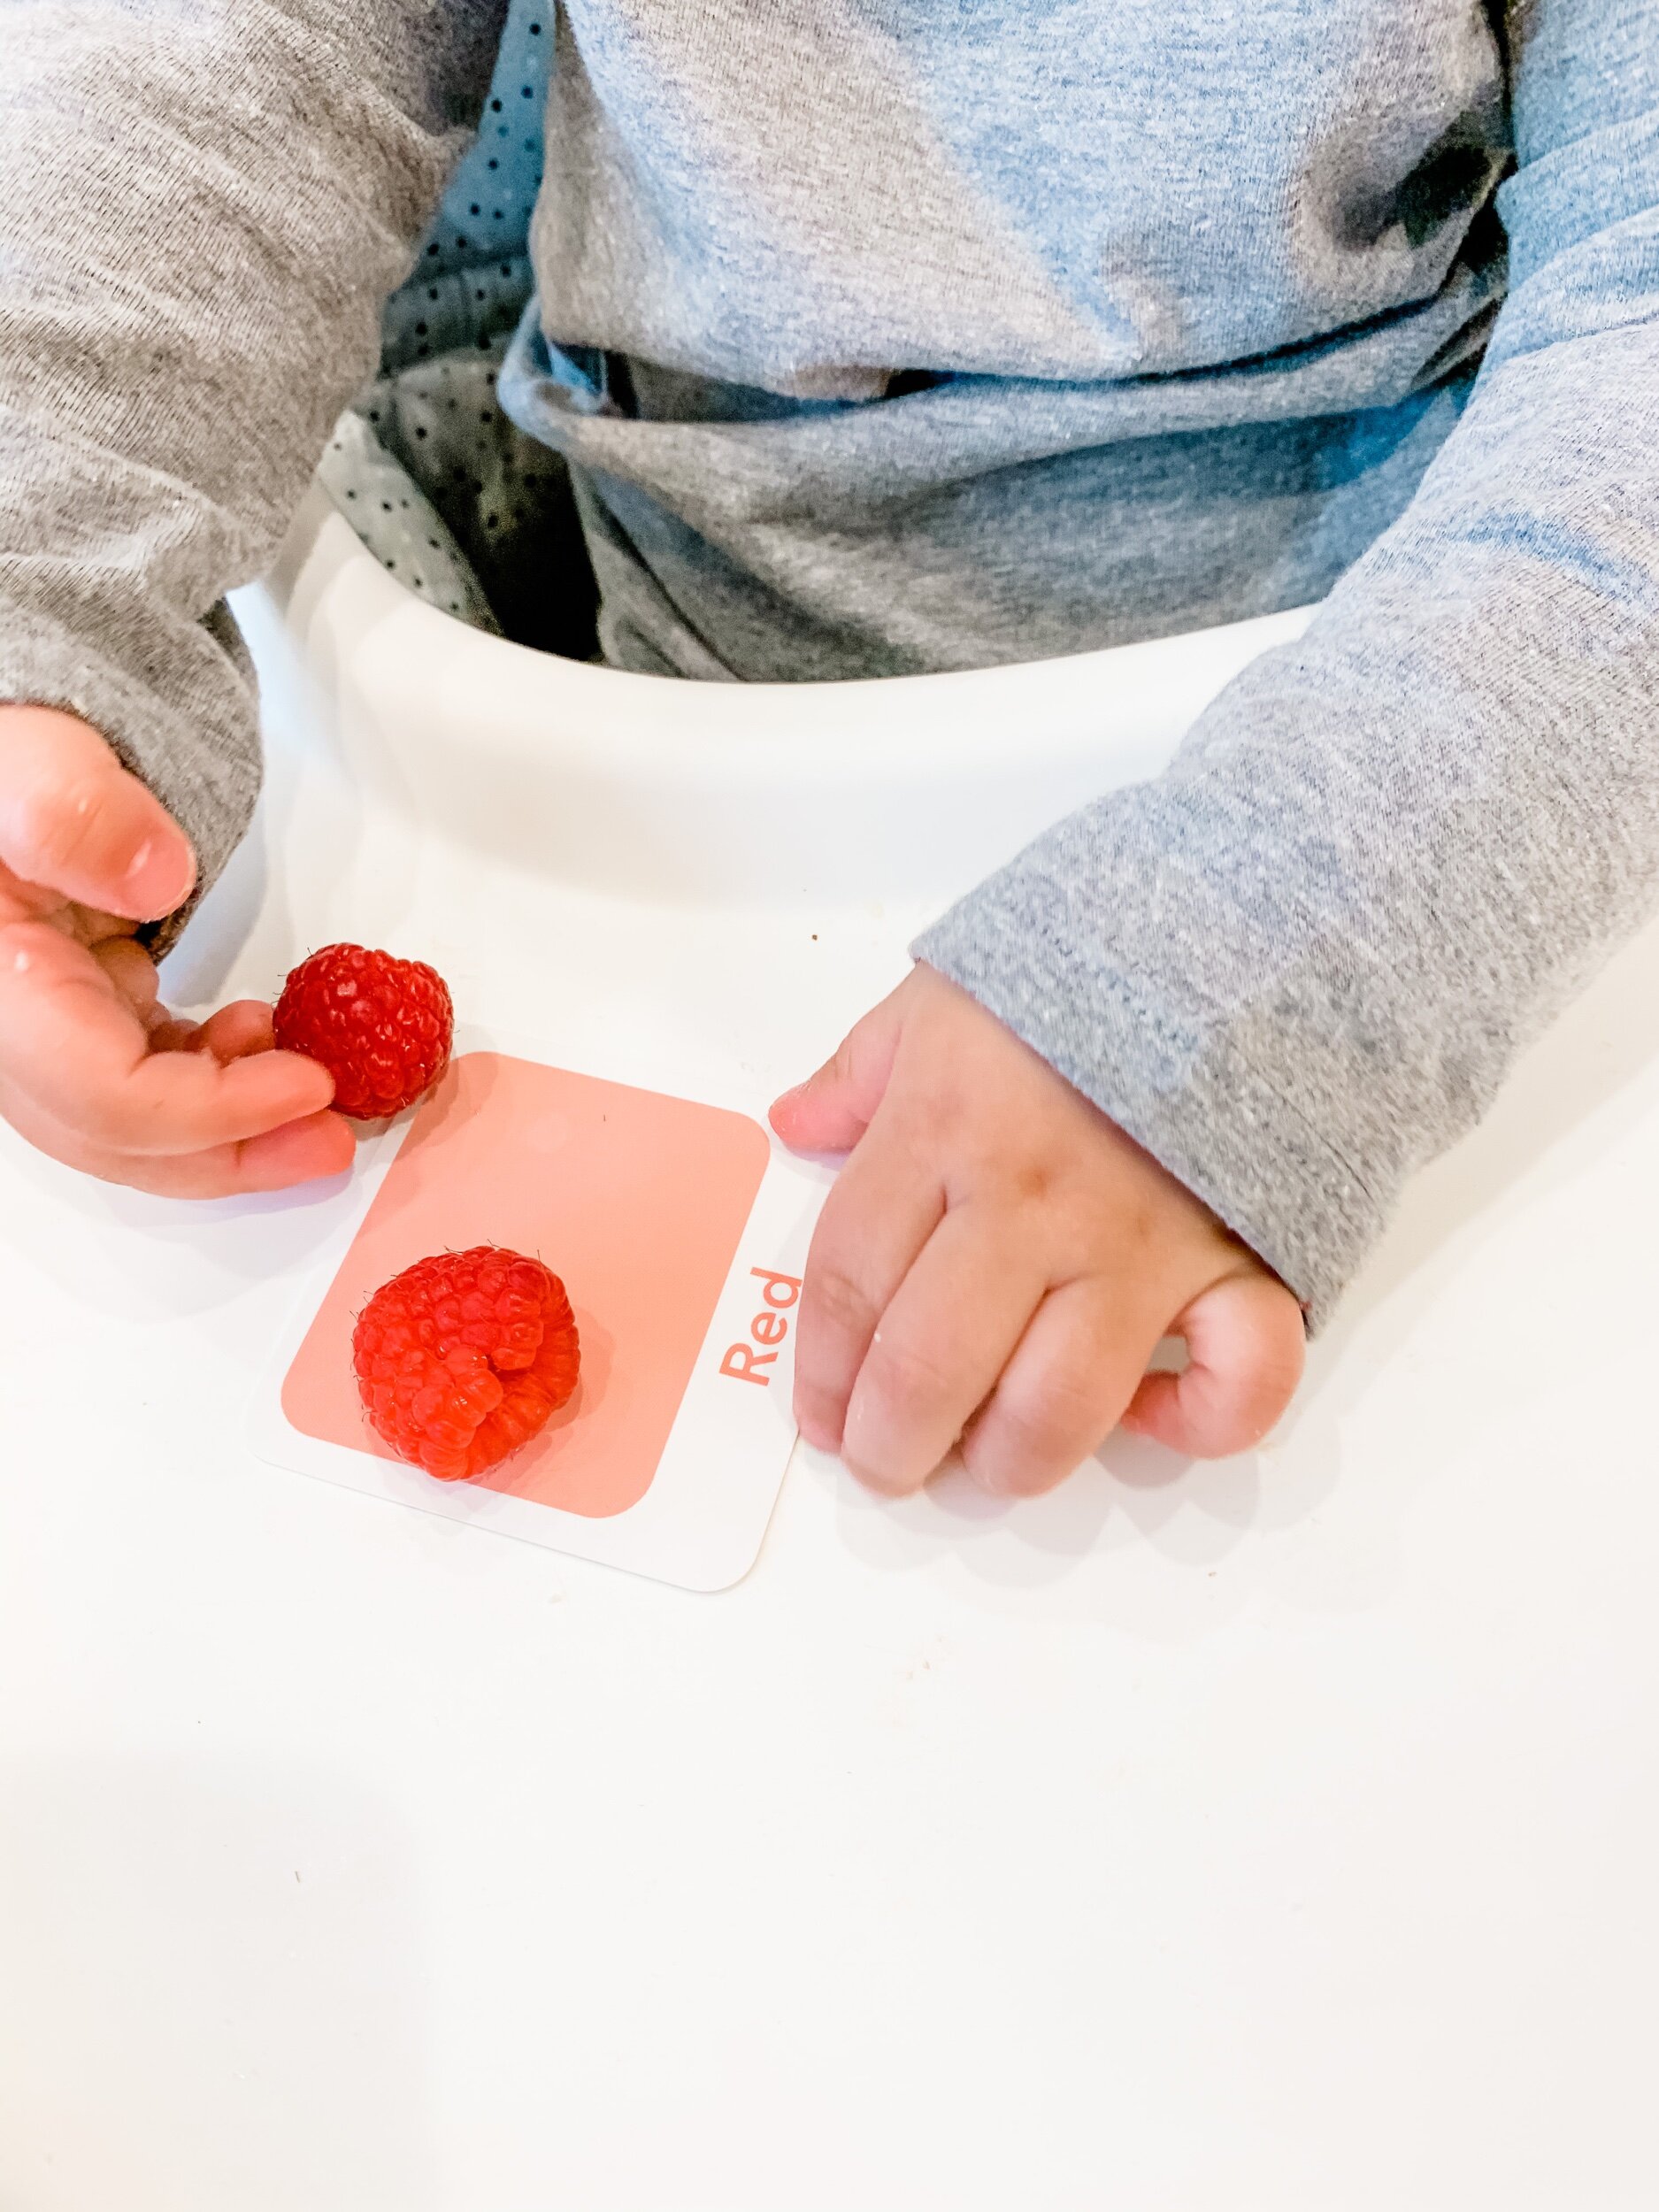
Looking for more great activities for learning colors?

Check out Goodnightfoxstudio.etsy.com Color Flashcards and use code FRIENDS15 to save!