Easter Deviled Eggs

Today we made Easter deviled eggs for our afternoon snack! We boiled up some hardboiled eggs, peeled them (which turned out to be more challenging than I thought!), and cut them up. We took a butter knife and aiming in toward the yolk at an angle, we made little peaks for the cracked egg look. Even though a few of the eggs didn’t turn out great, cutting them up this way hid a lot of the flaws! We took out the yolks and mashed them up with some mayo and paprika and salt.
I didn’t have a piping bag handy so I just went ahead and used a ziploc bag and cut the tip to squirt the filling into the little egg cups. I didn’t have anything legit handy to make the eyes, but I did happen to have a kiwi and the seeds worked perfectly for the eyes. Then we took little slices of cheese in triangles to make the chick’s beaks. And there you have it! A fun and simple little Easter egg activity perfect for an afternoon snack!

  • Eggs (hard boiled)

  • Mayo

  • Paprika & Salt (or other seasonings)

  • Cheese for beaks

  • Kiwi seeds for eyes!

949F1068-1194-4F91-9665-502B5F2D2DE1.png

Looking for more great Easter activities?

Check out Goodnightfoxstudio.etsy.com for these awesome Easter themed memory game card sets.

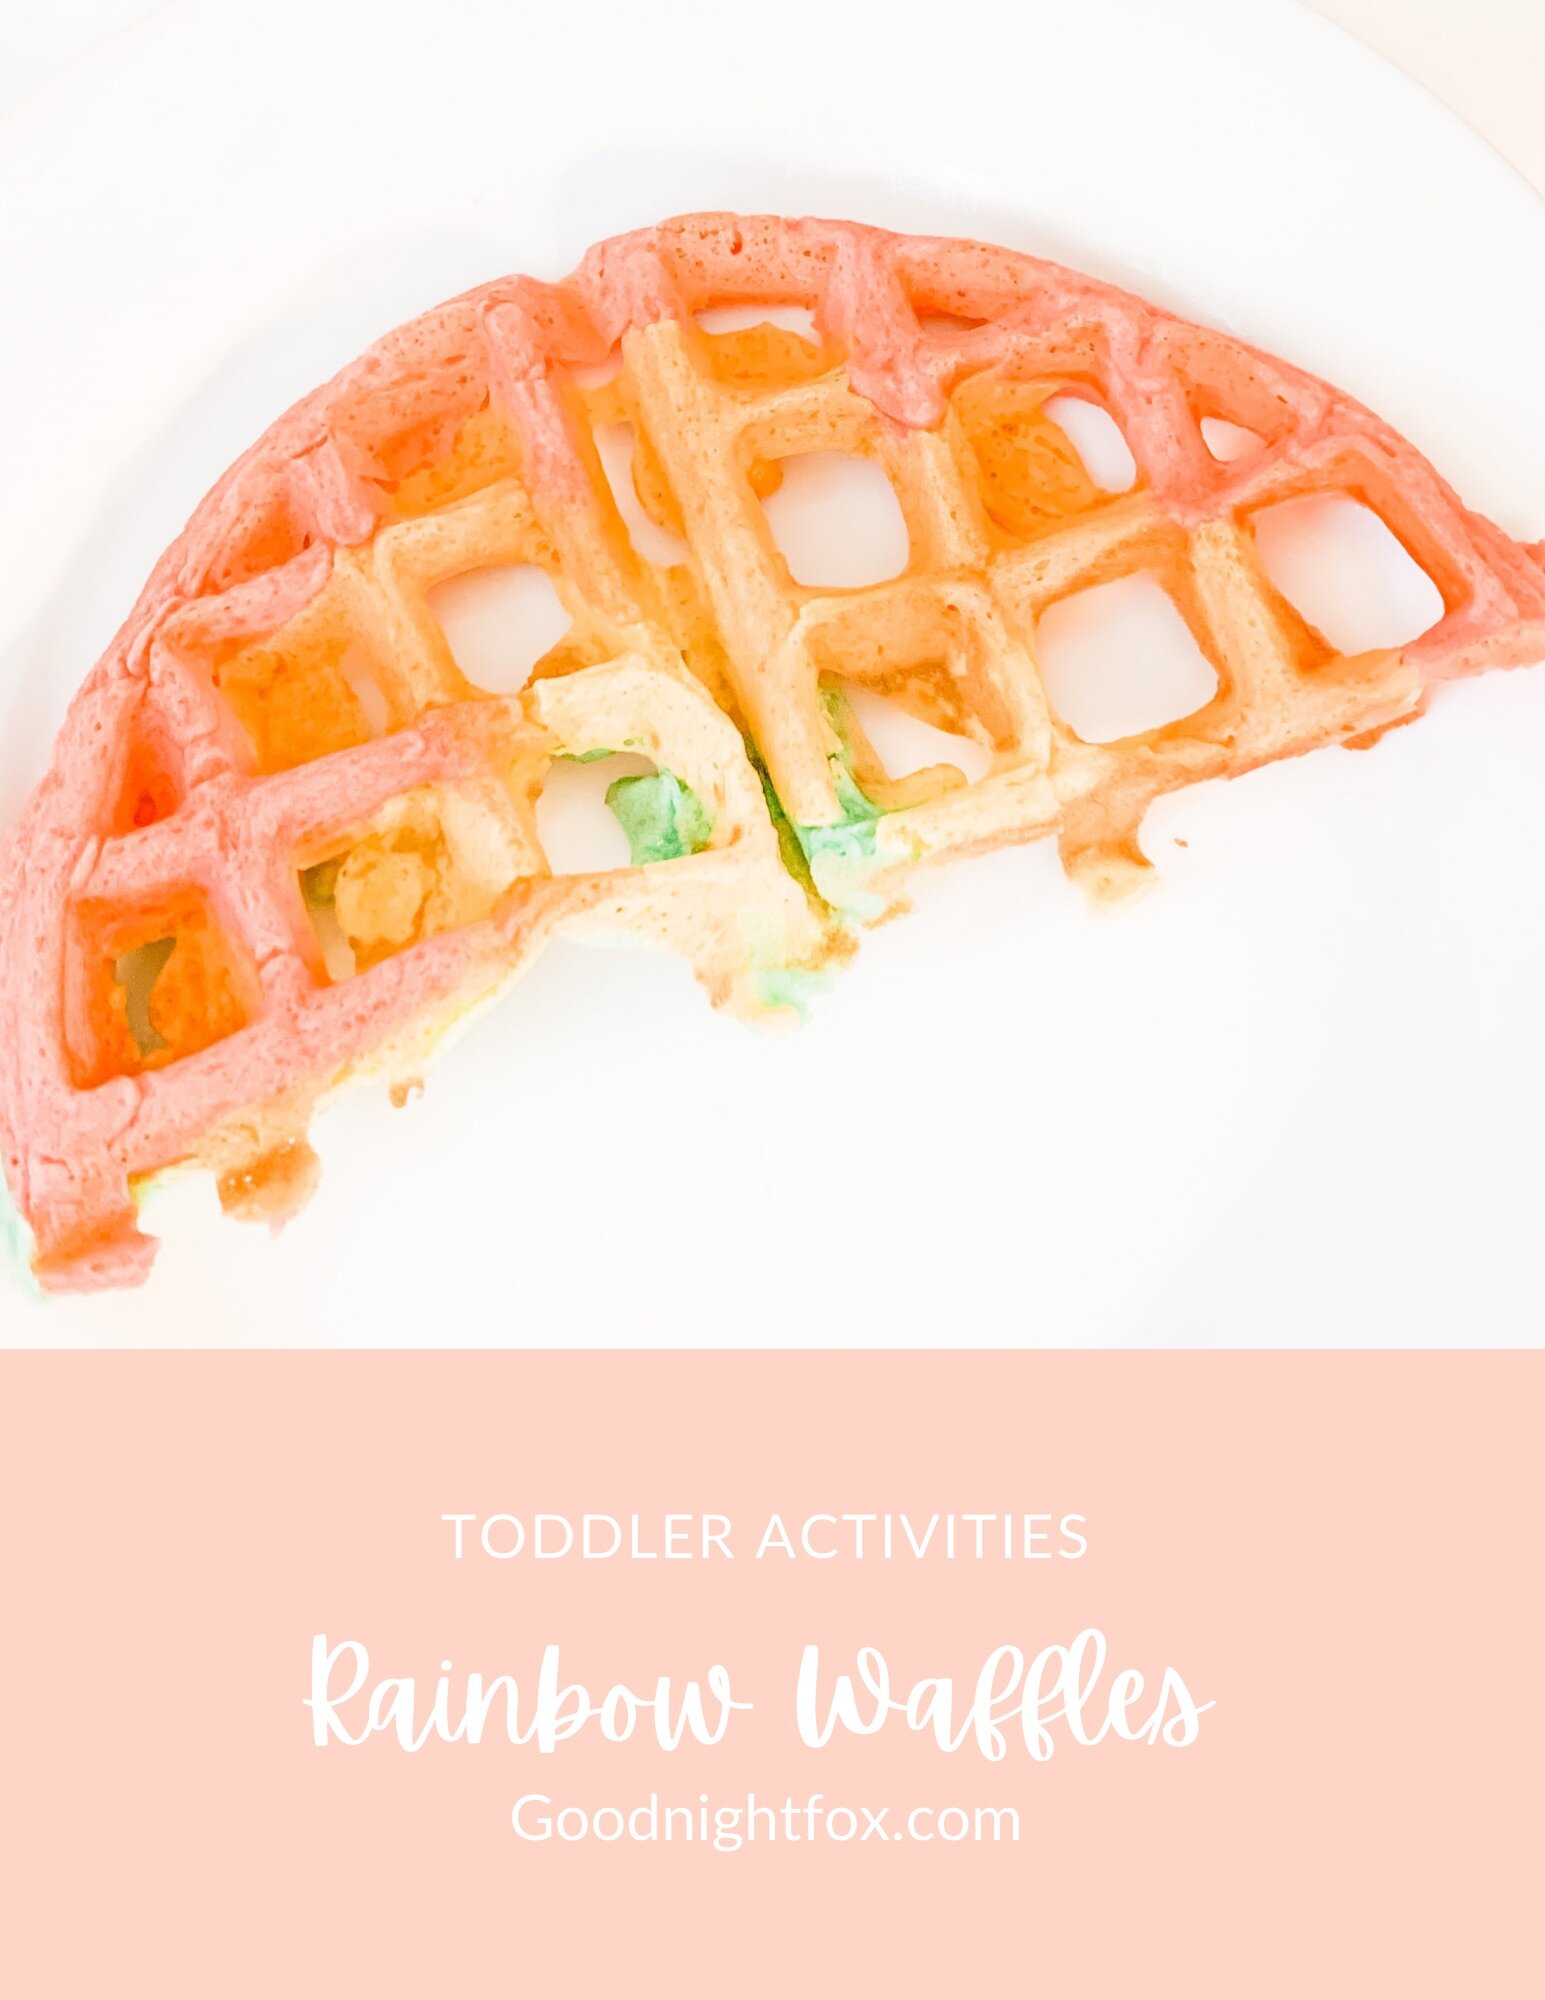
Rainbow Waffles Toddler Activity

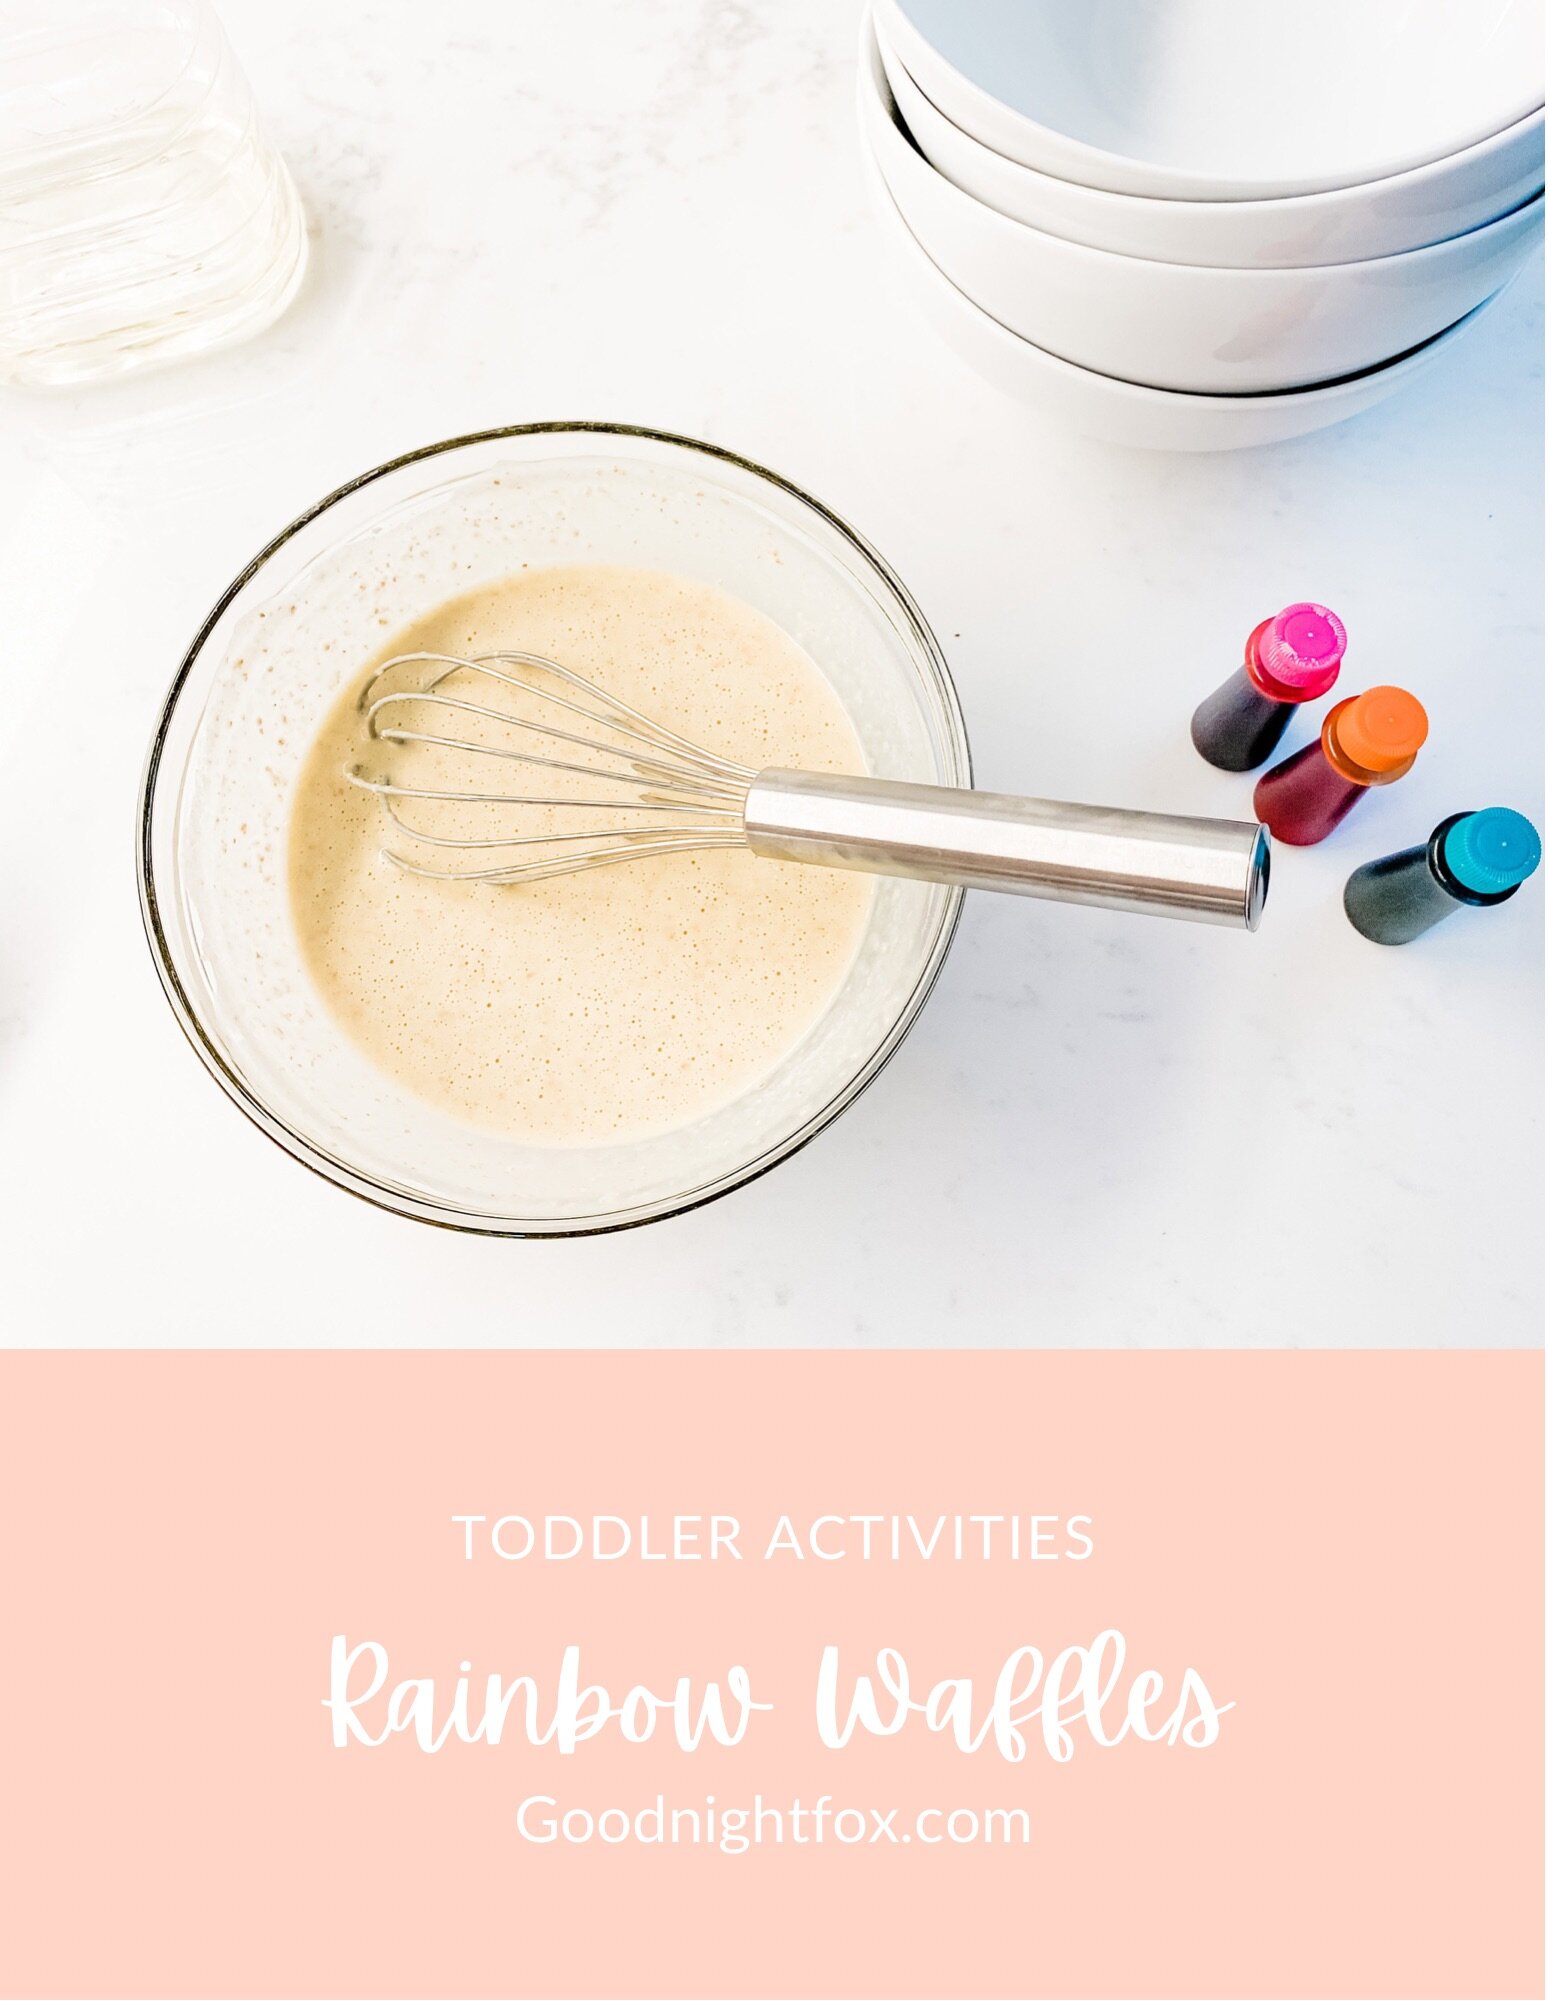
Ready for some more rainbow fun?! This week, Sofie and I made these fun rainbow waffles, and they were a hit from start to finish. This is the kind of activity that turns an ordinary breakfast into something a little magical — and the best part is that it is genuinely easy. No fancy skills required, just a little patience while you mix the colors and a piping bag to do the art.

It does take a little bit of time to mix all of the colors, so plan for that. While I got everything ready, I kept Sofie entertained with blueberries — a win-win, since she got a snack and I got a few uninterrupted minutes. Speaking of blueberries, they end up being the perfect topping, which you'll see in a minute.

What You Need

Waffle mix (a bag of the ready-made kind — I kept it simple!)

Water or milk (whichever you normally use with your mix)

Blueberries (for snacking and for topping)

Pastel food colors — I used a lovely pastel food coloring set because I'm all about that modern pastel rainbow

Piping bags

A waffle iron

How to Make Them

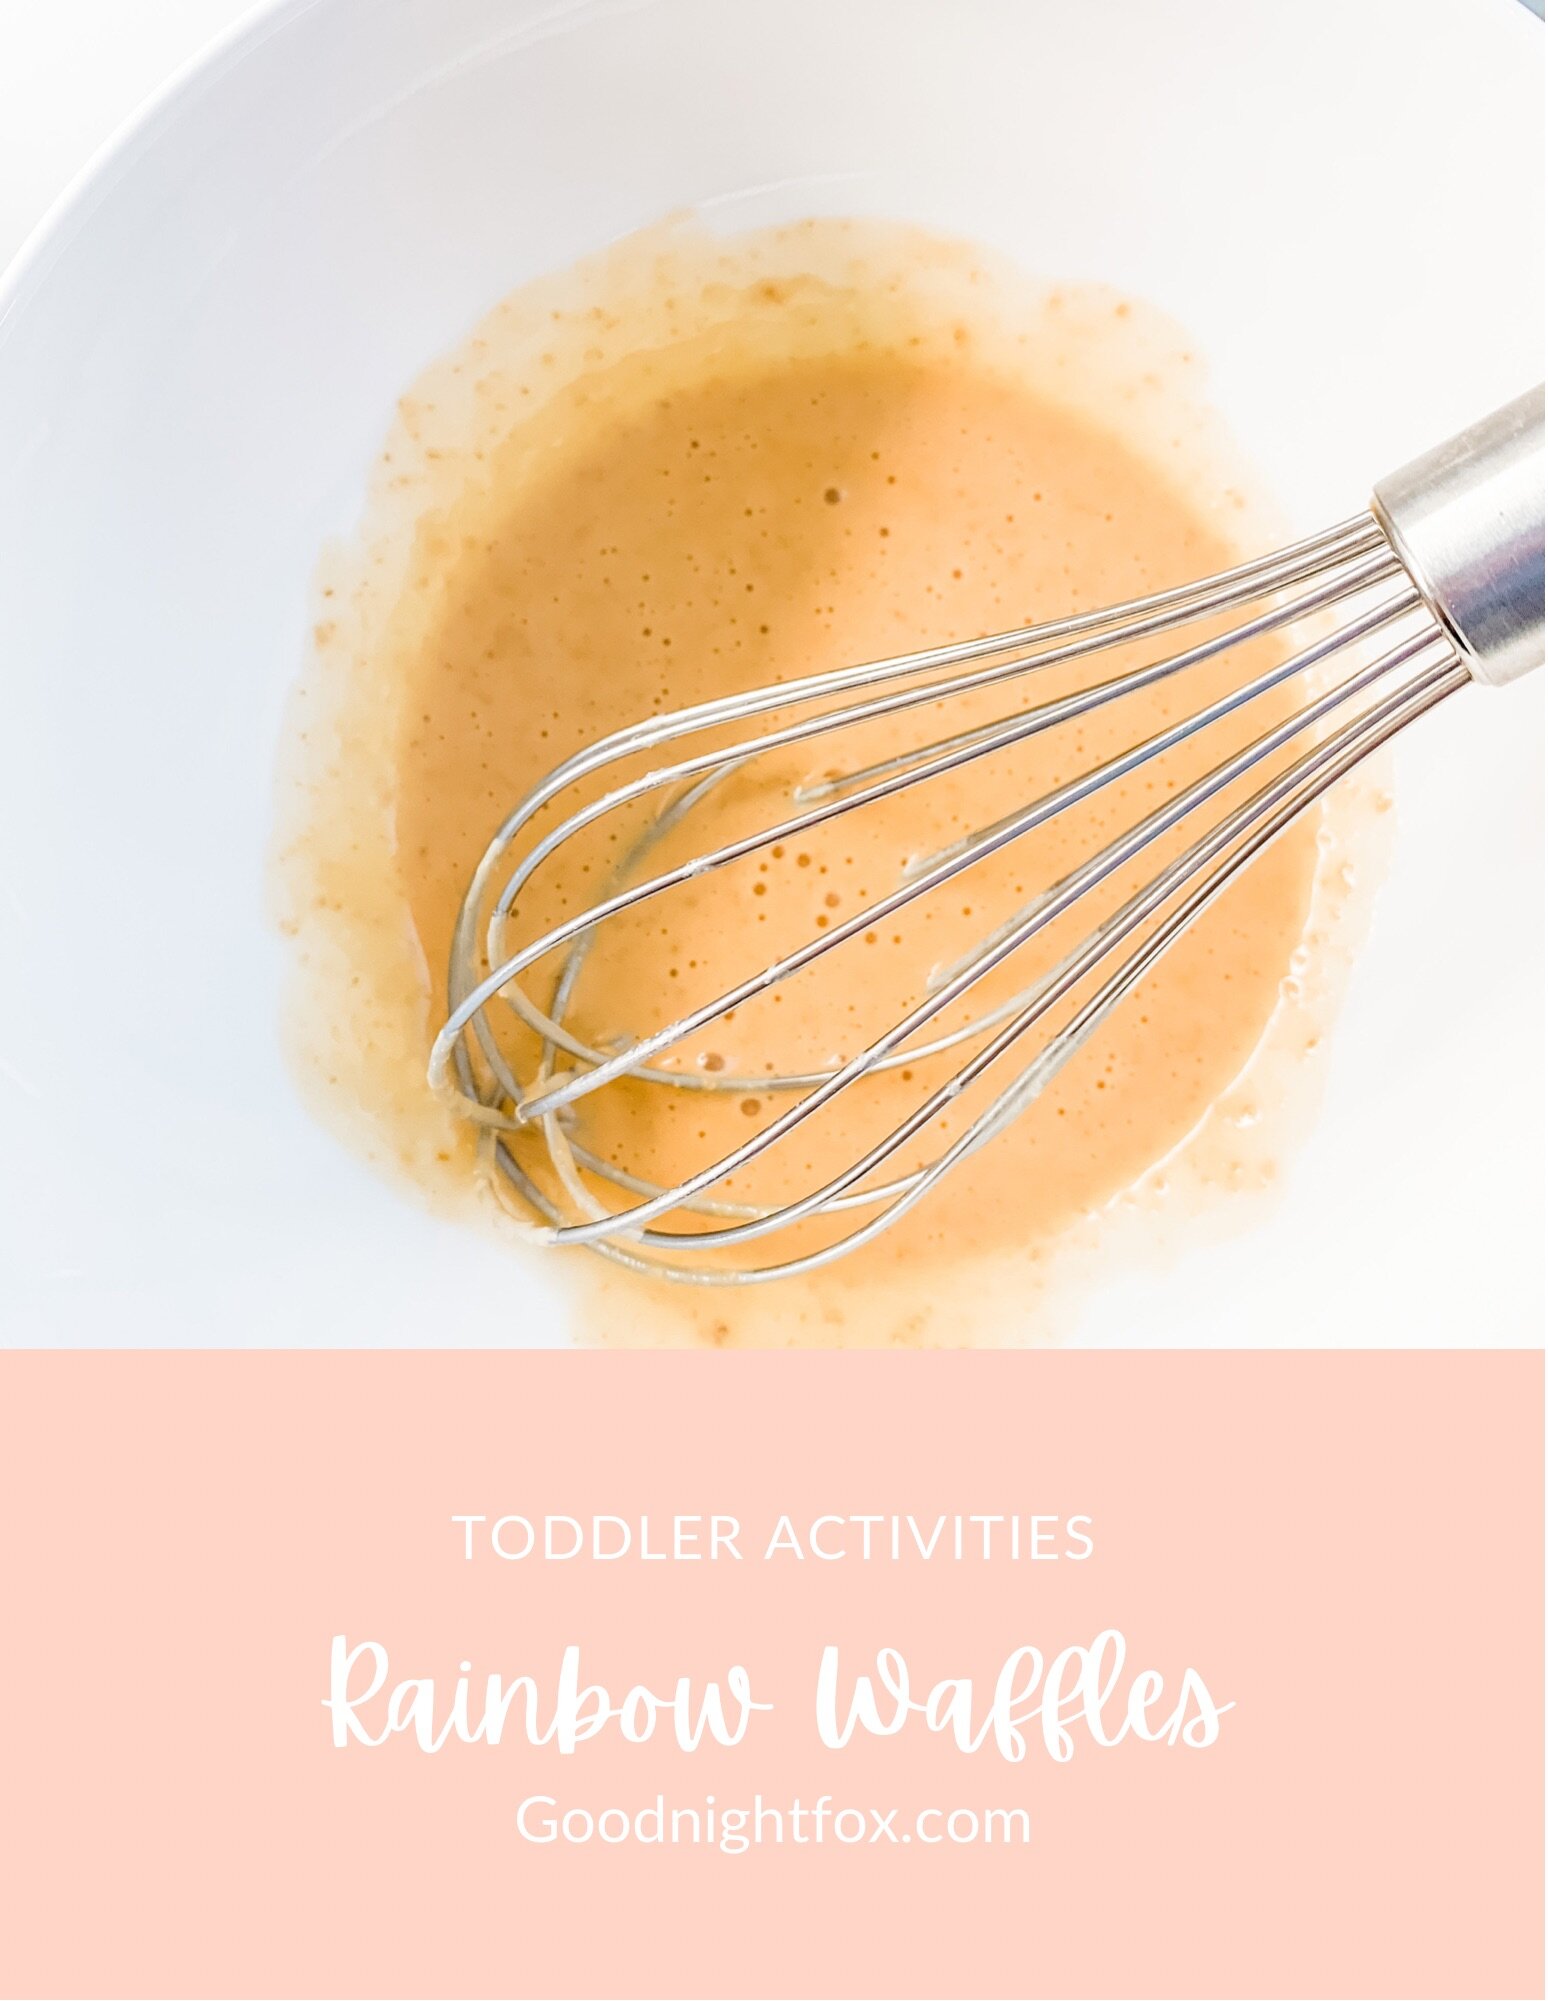
Step 1: Mix the batter. Prepare your bag of waffle mix with water or milk, following the package directions. Keeping it simple with the ready-made mix means the real fun — the colors — gets your full attention.

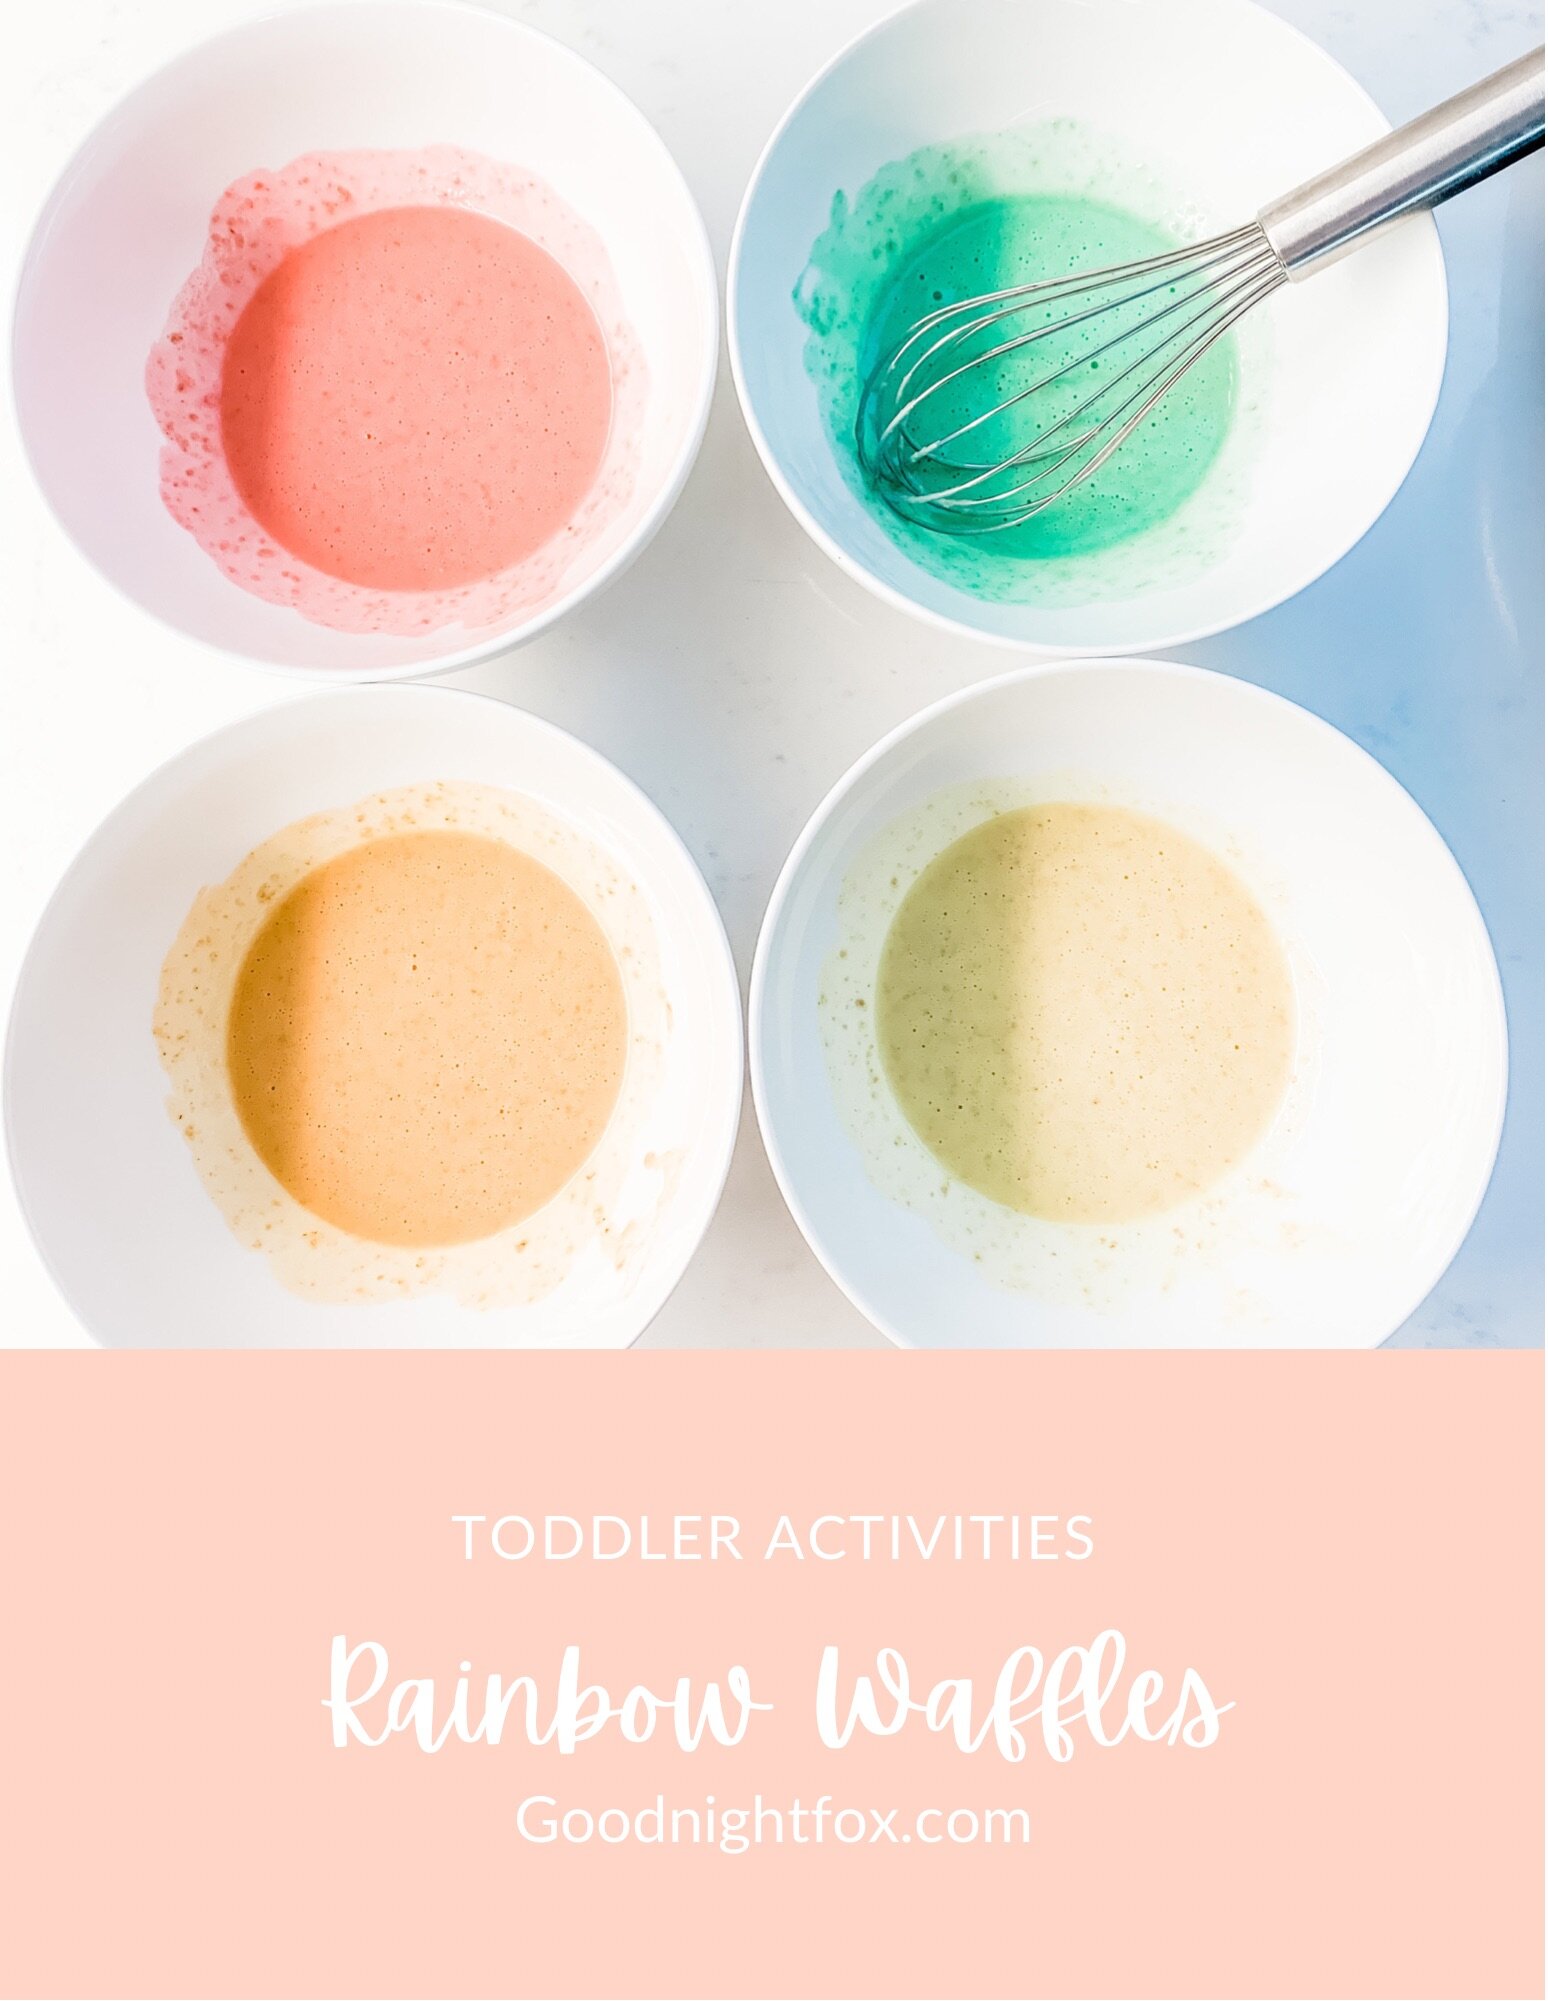
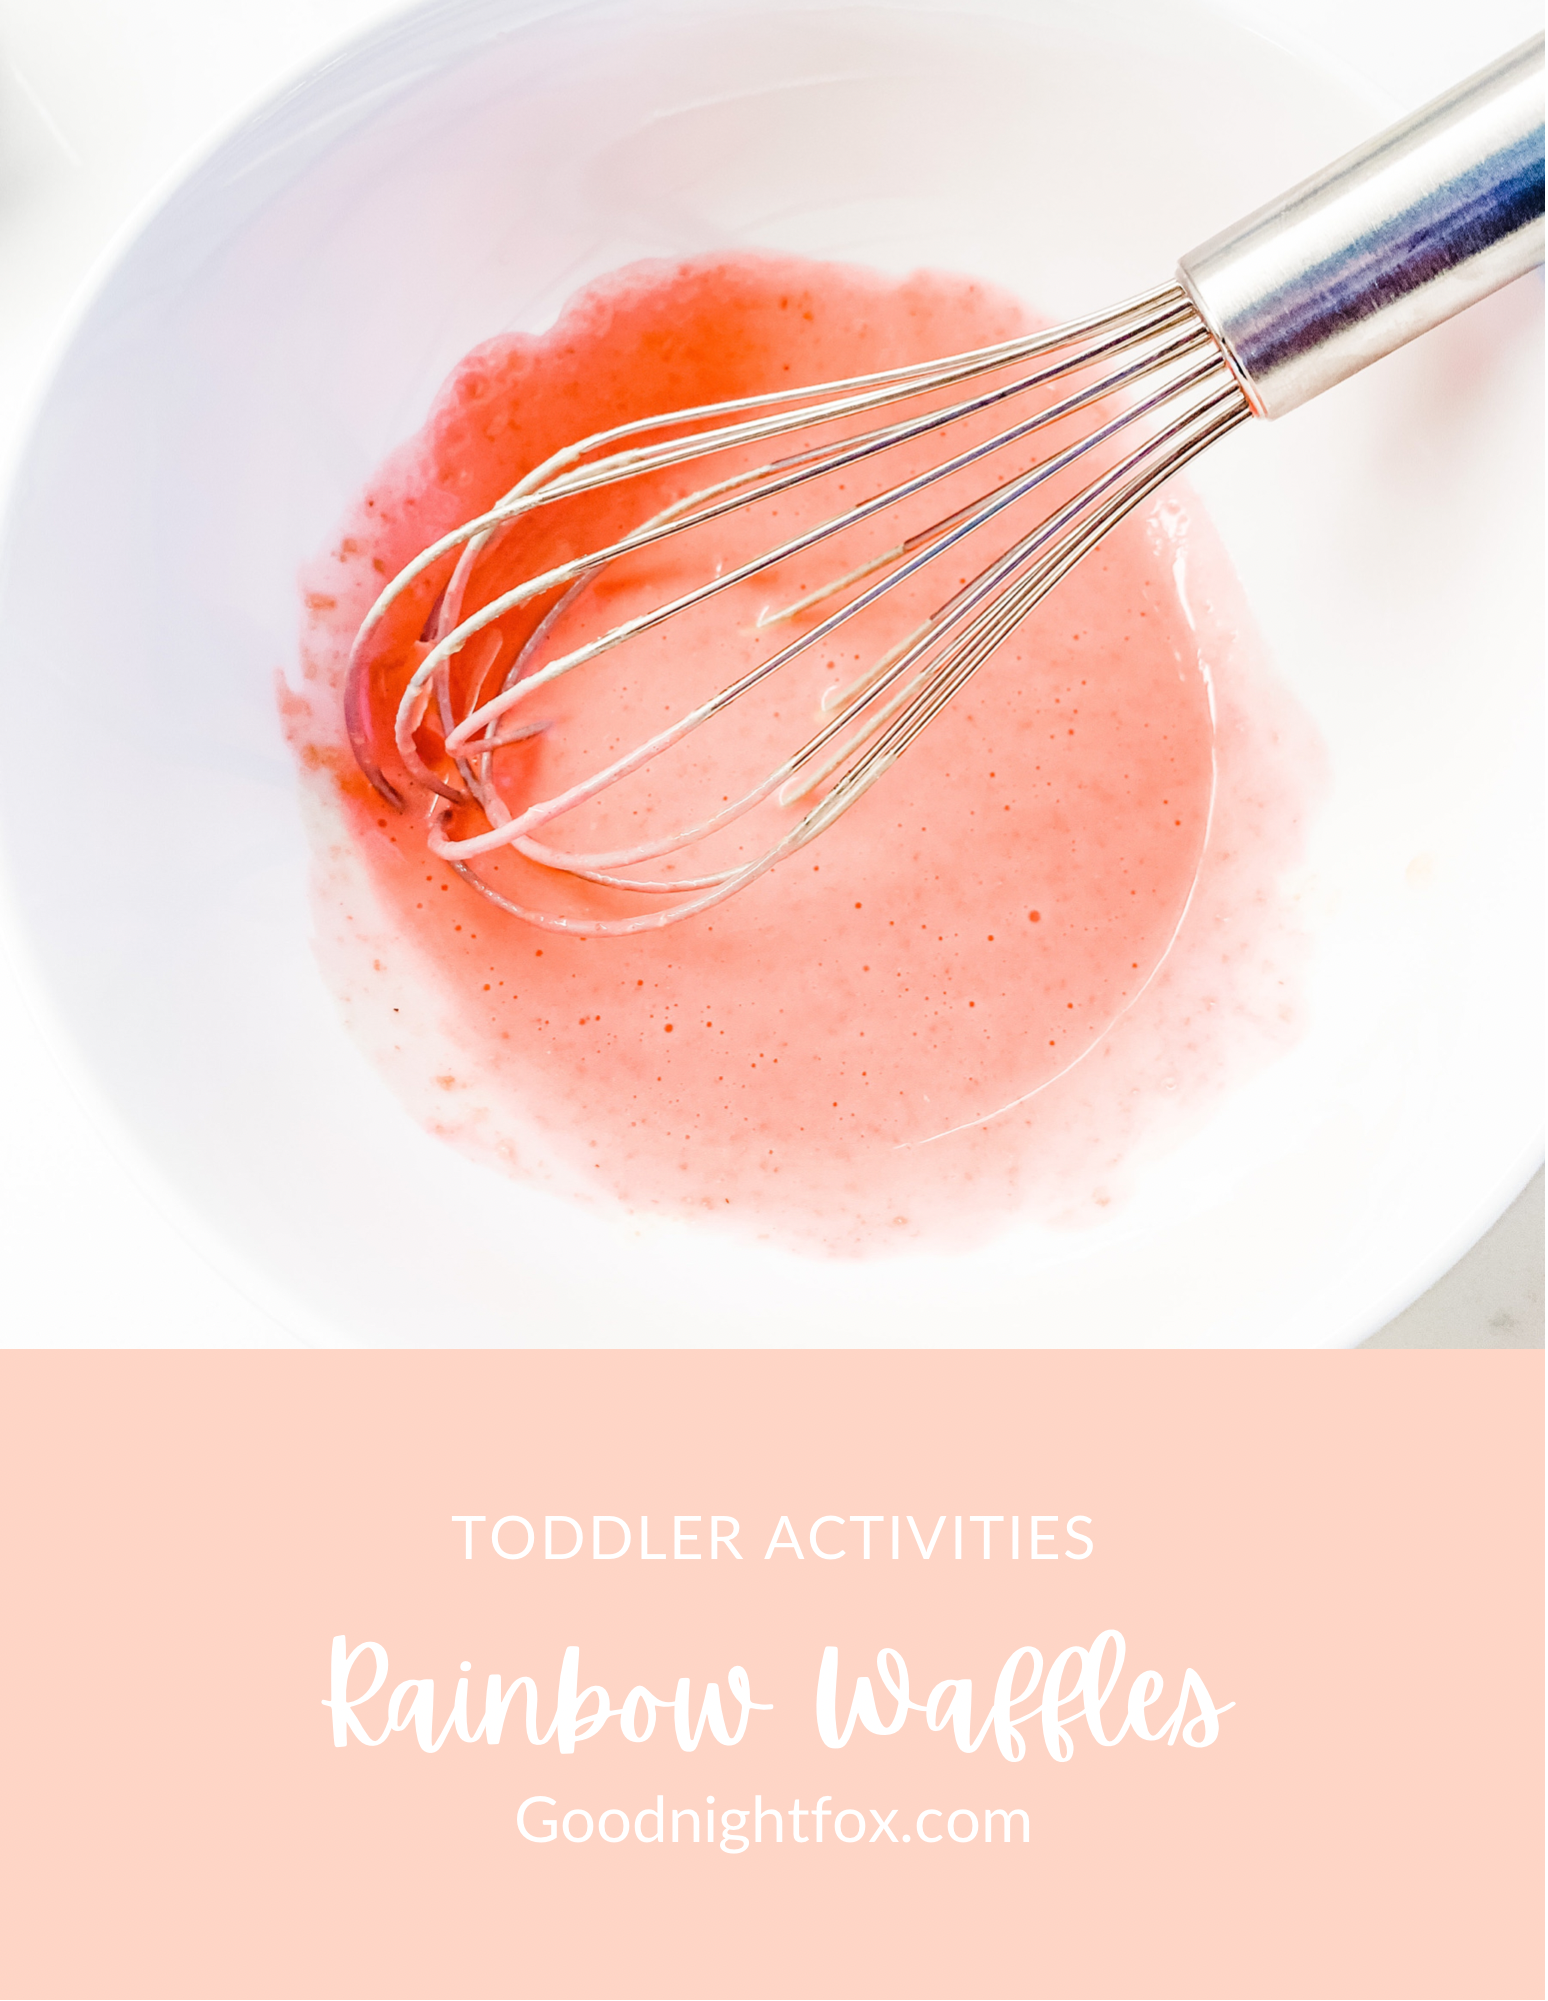
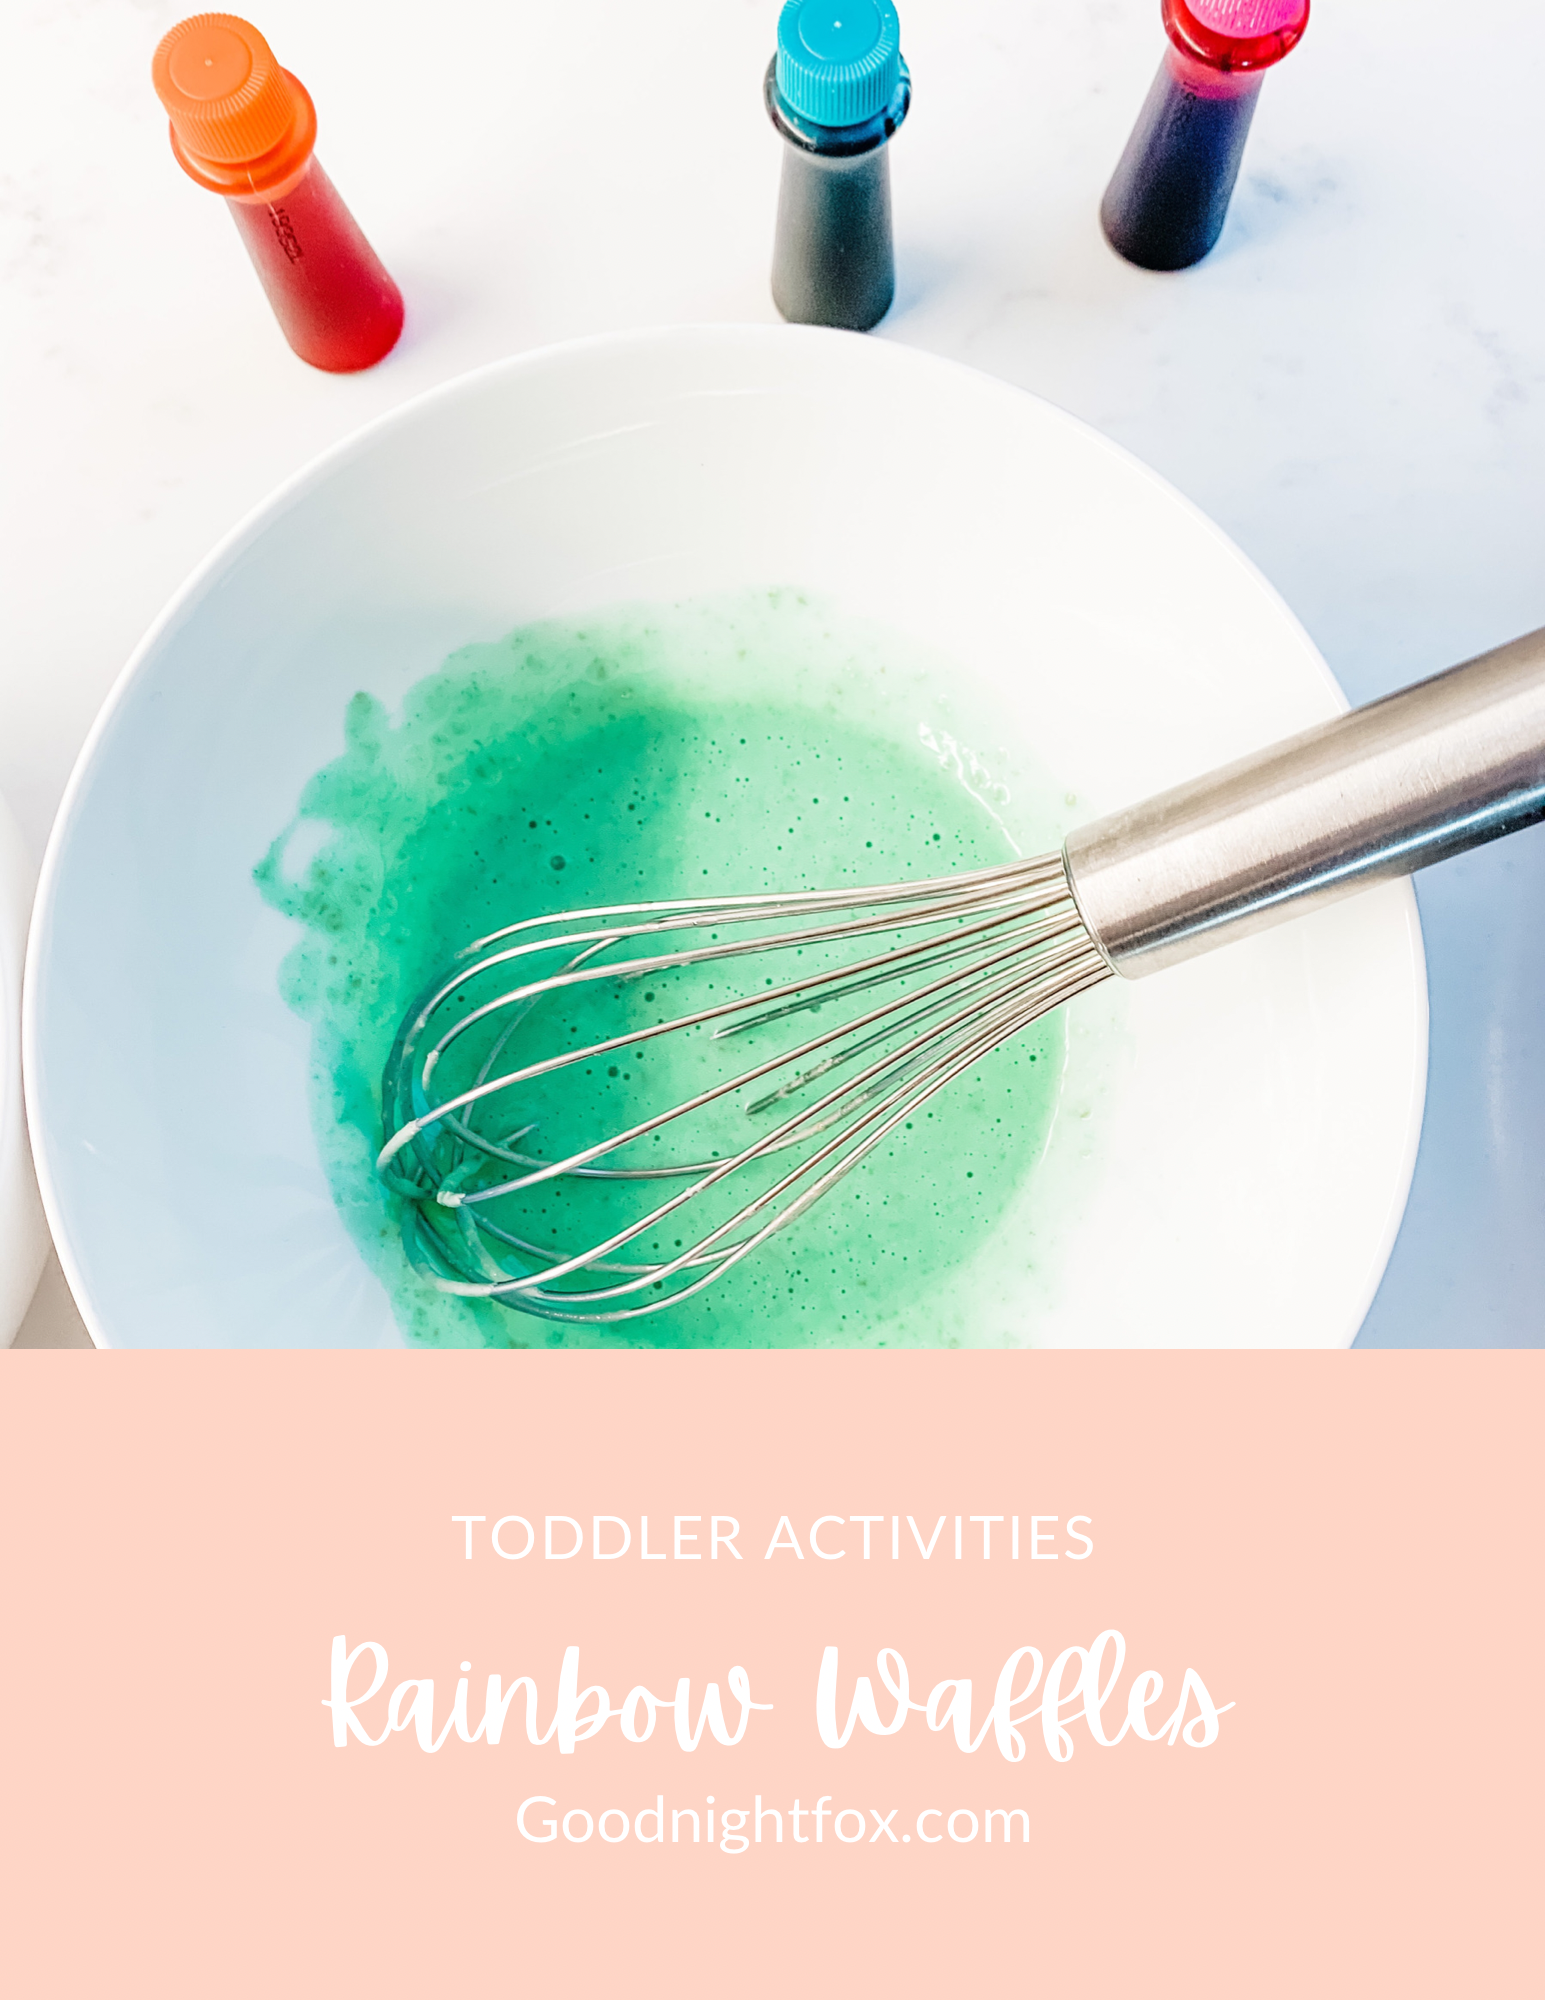
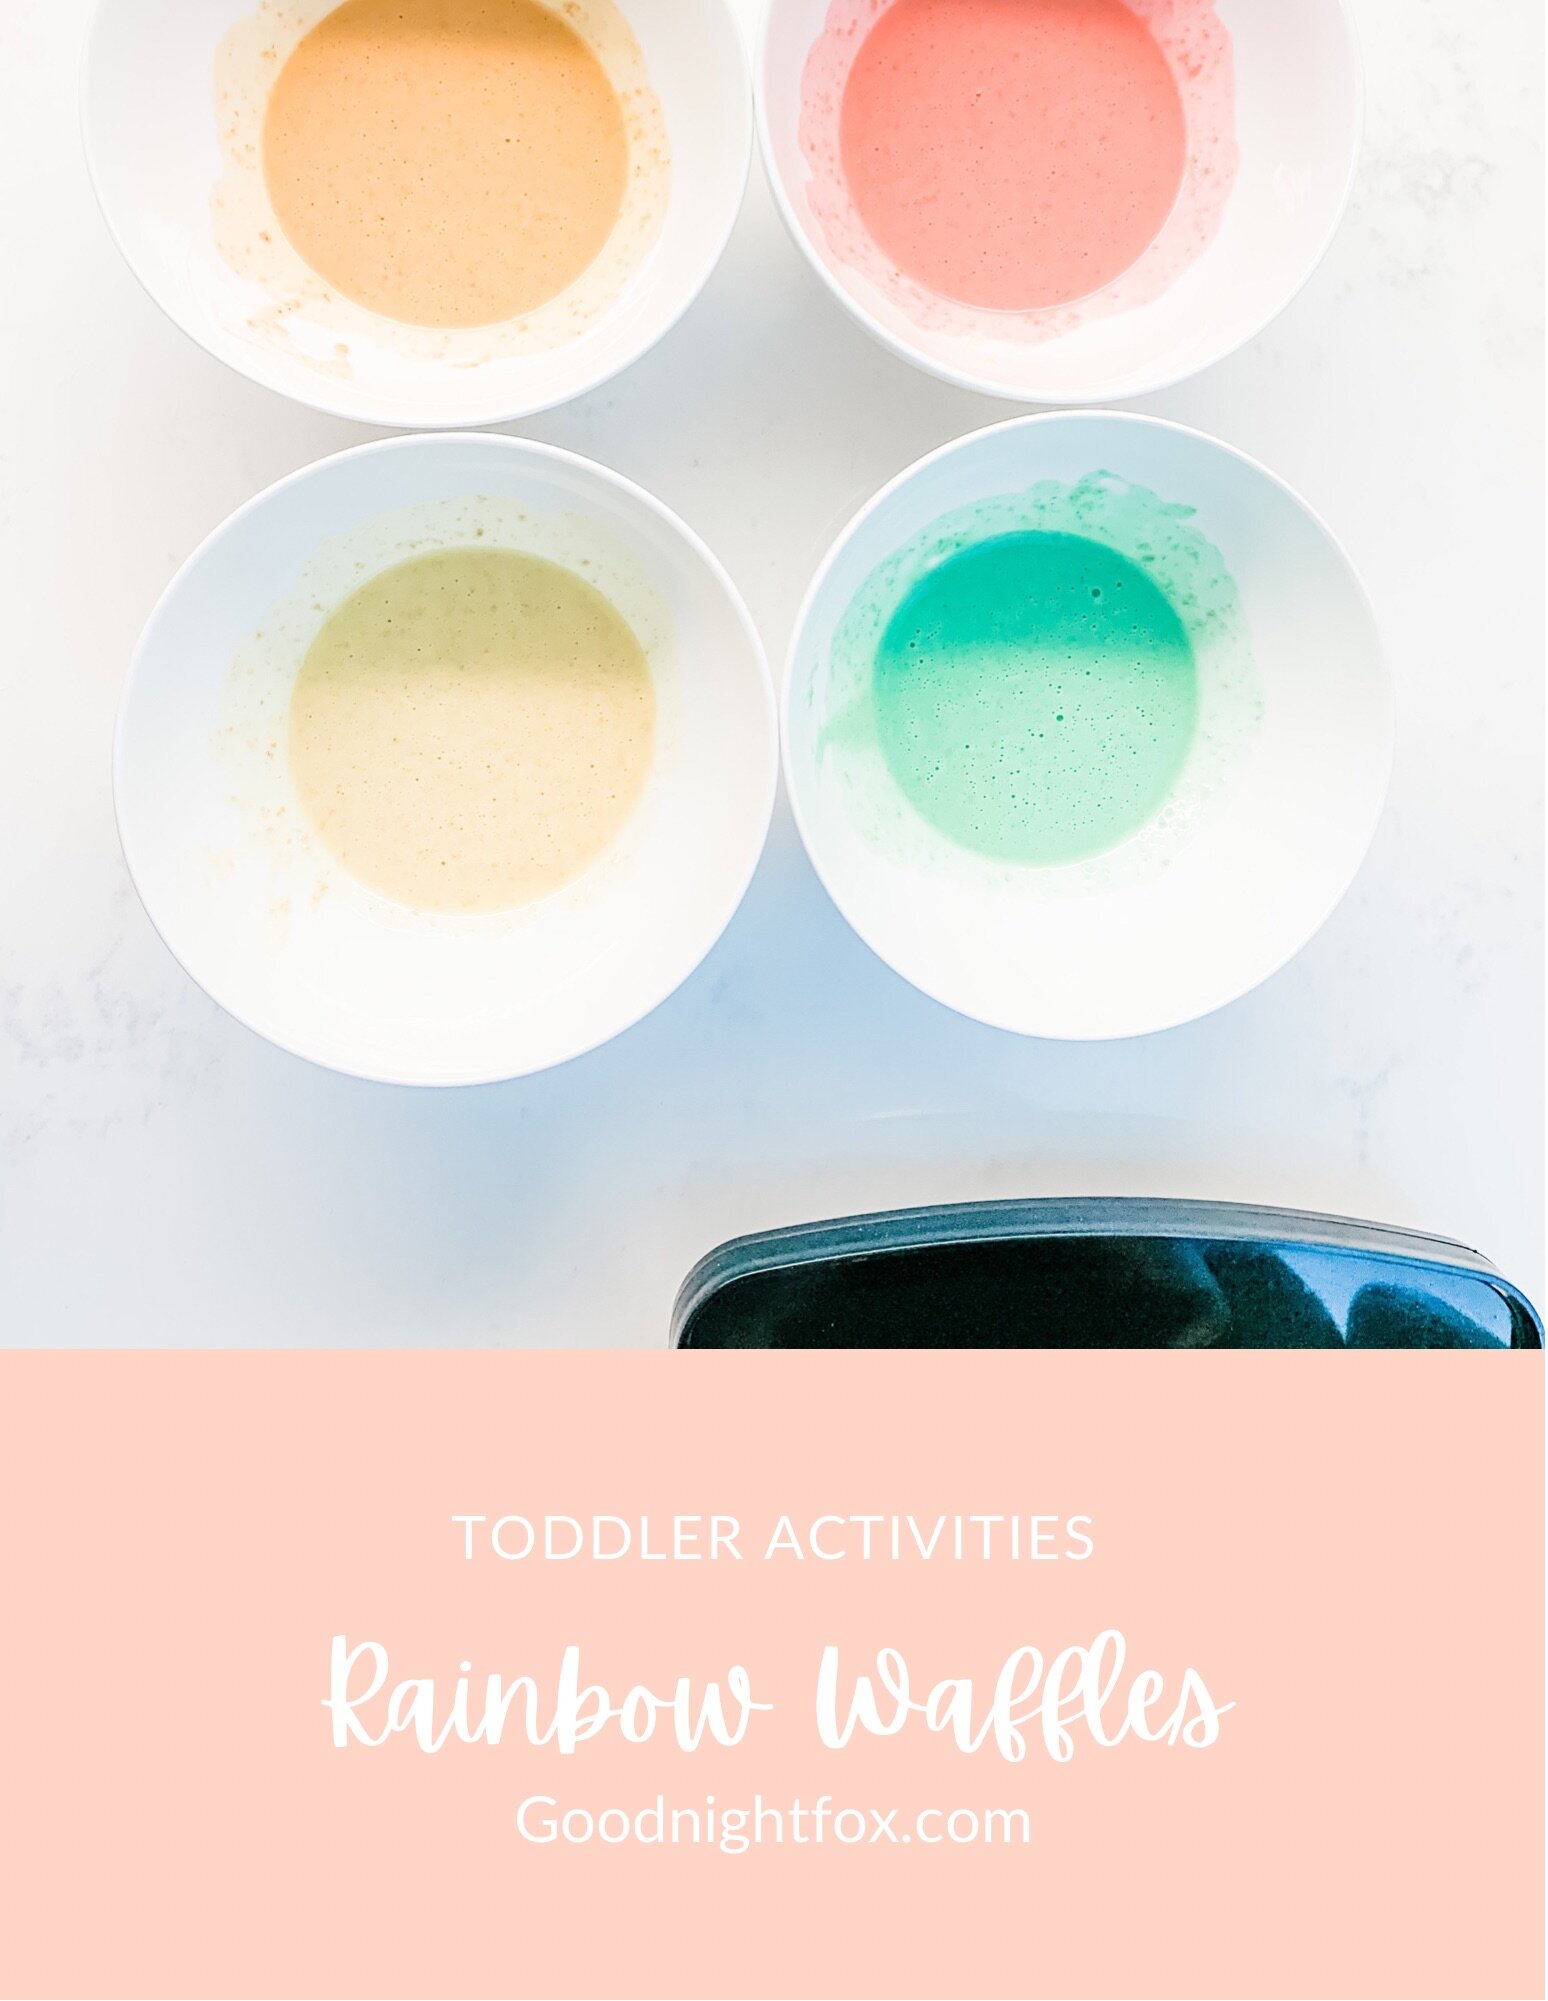
Step 2: Divide and color. Split the batter into a separate bowl for each rainbow color you're making. Add a drop or two of food coloring to each bowl and stir. I went with the modern pastel rainbow — soft pinks, oranges, yellows, greens, blues, and purples. This is the part that takes a little time, so set yourself up with everything in a row and work through the colors.

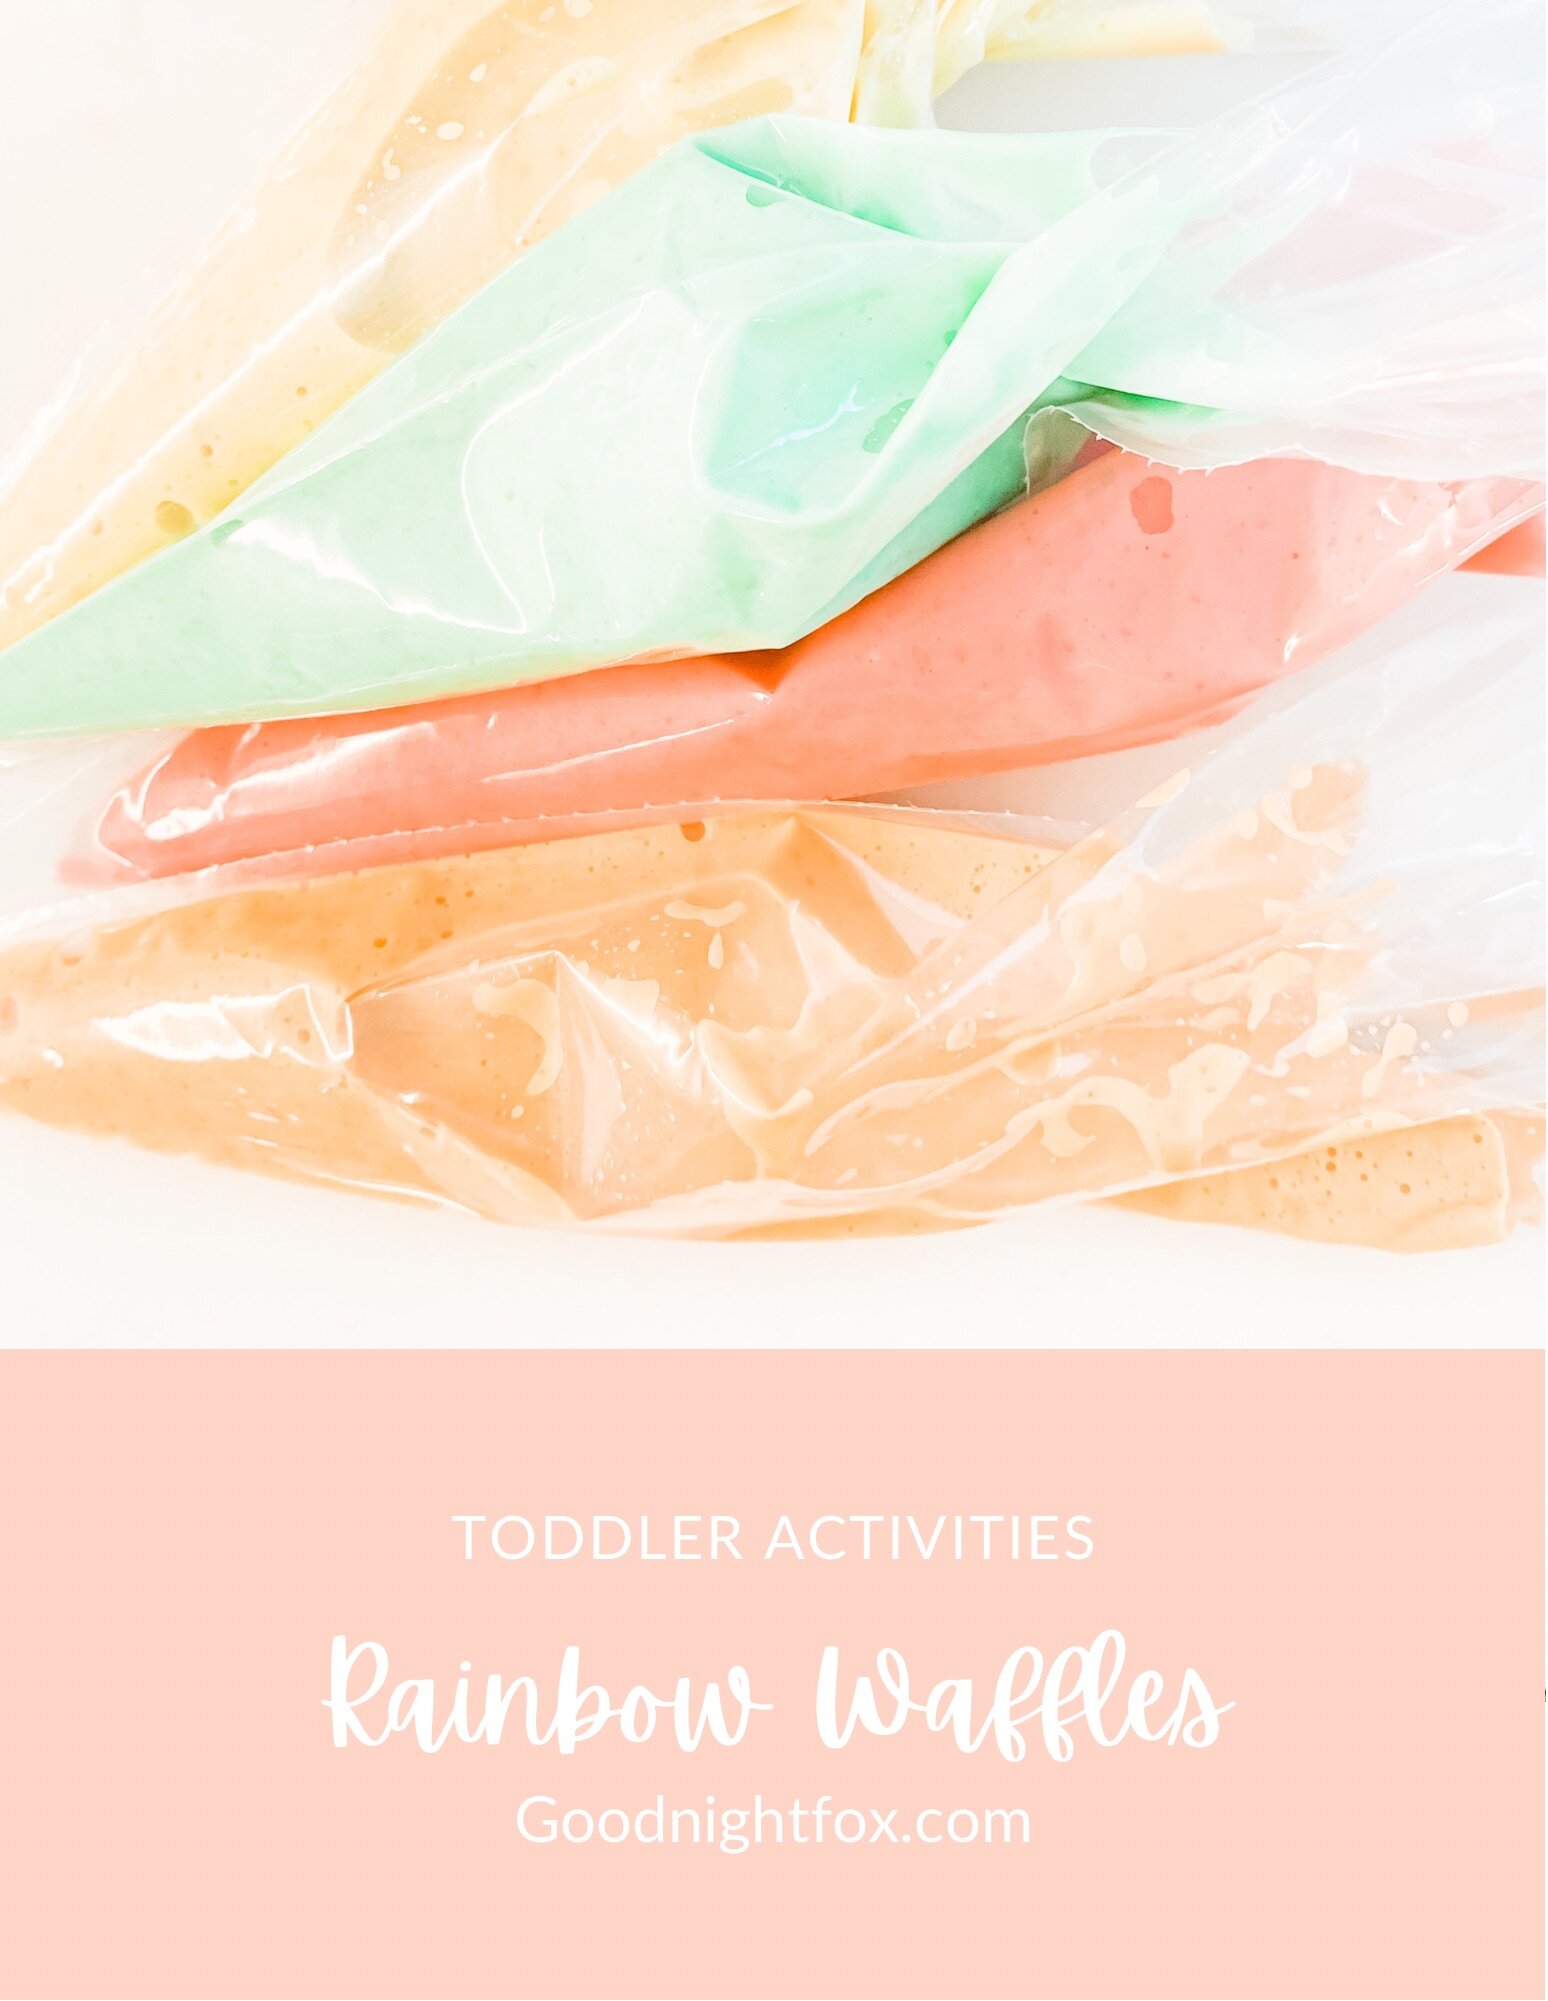
Step 3: Fill your piping bags. Pour each color into its own piping bag and cut the tips. Small cuts give you more control over the thin color lines.

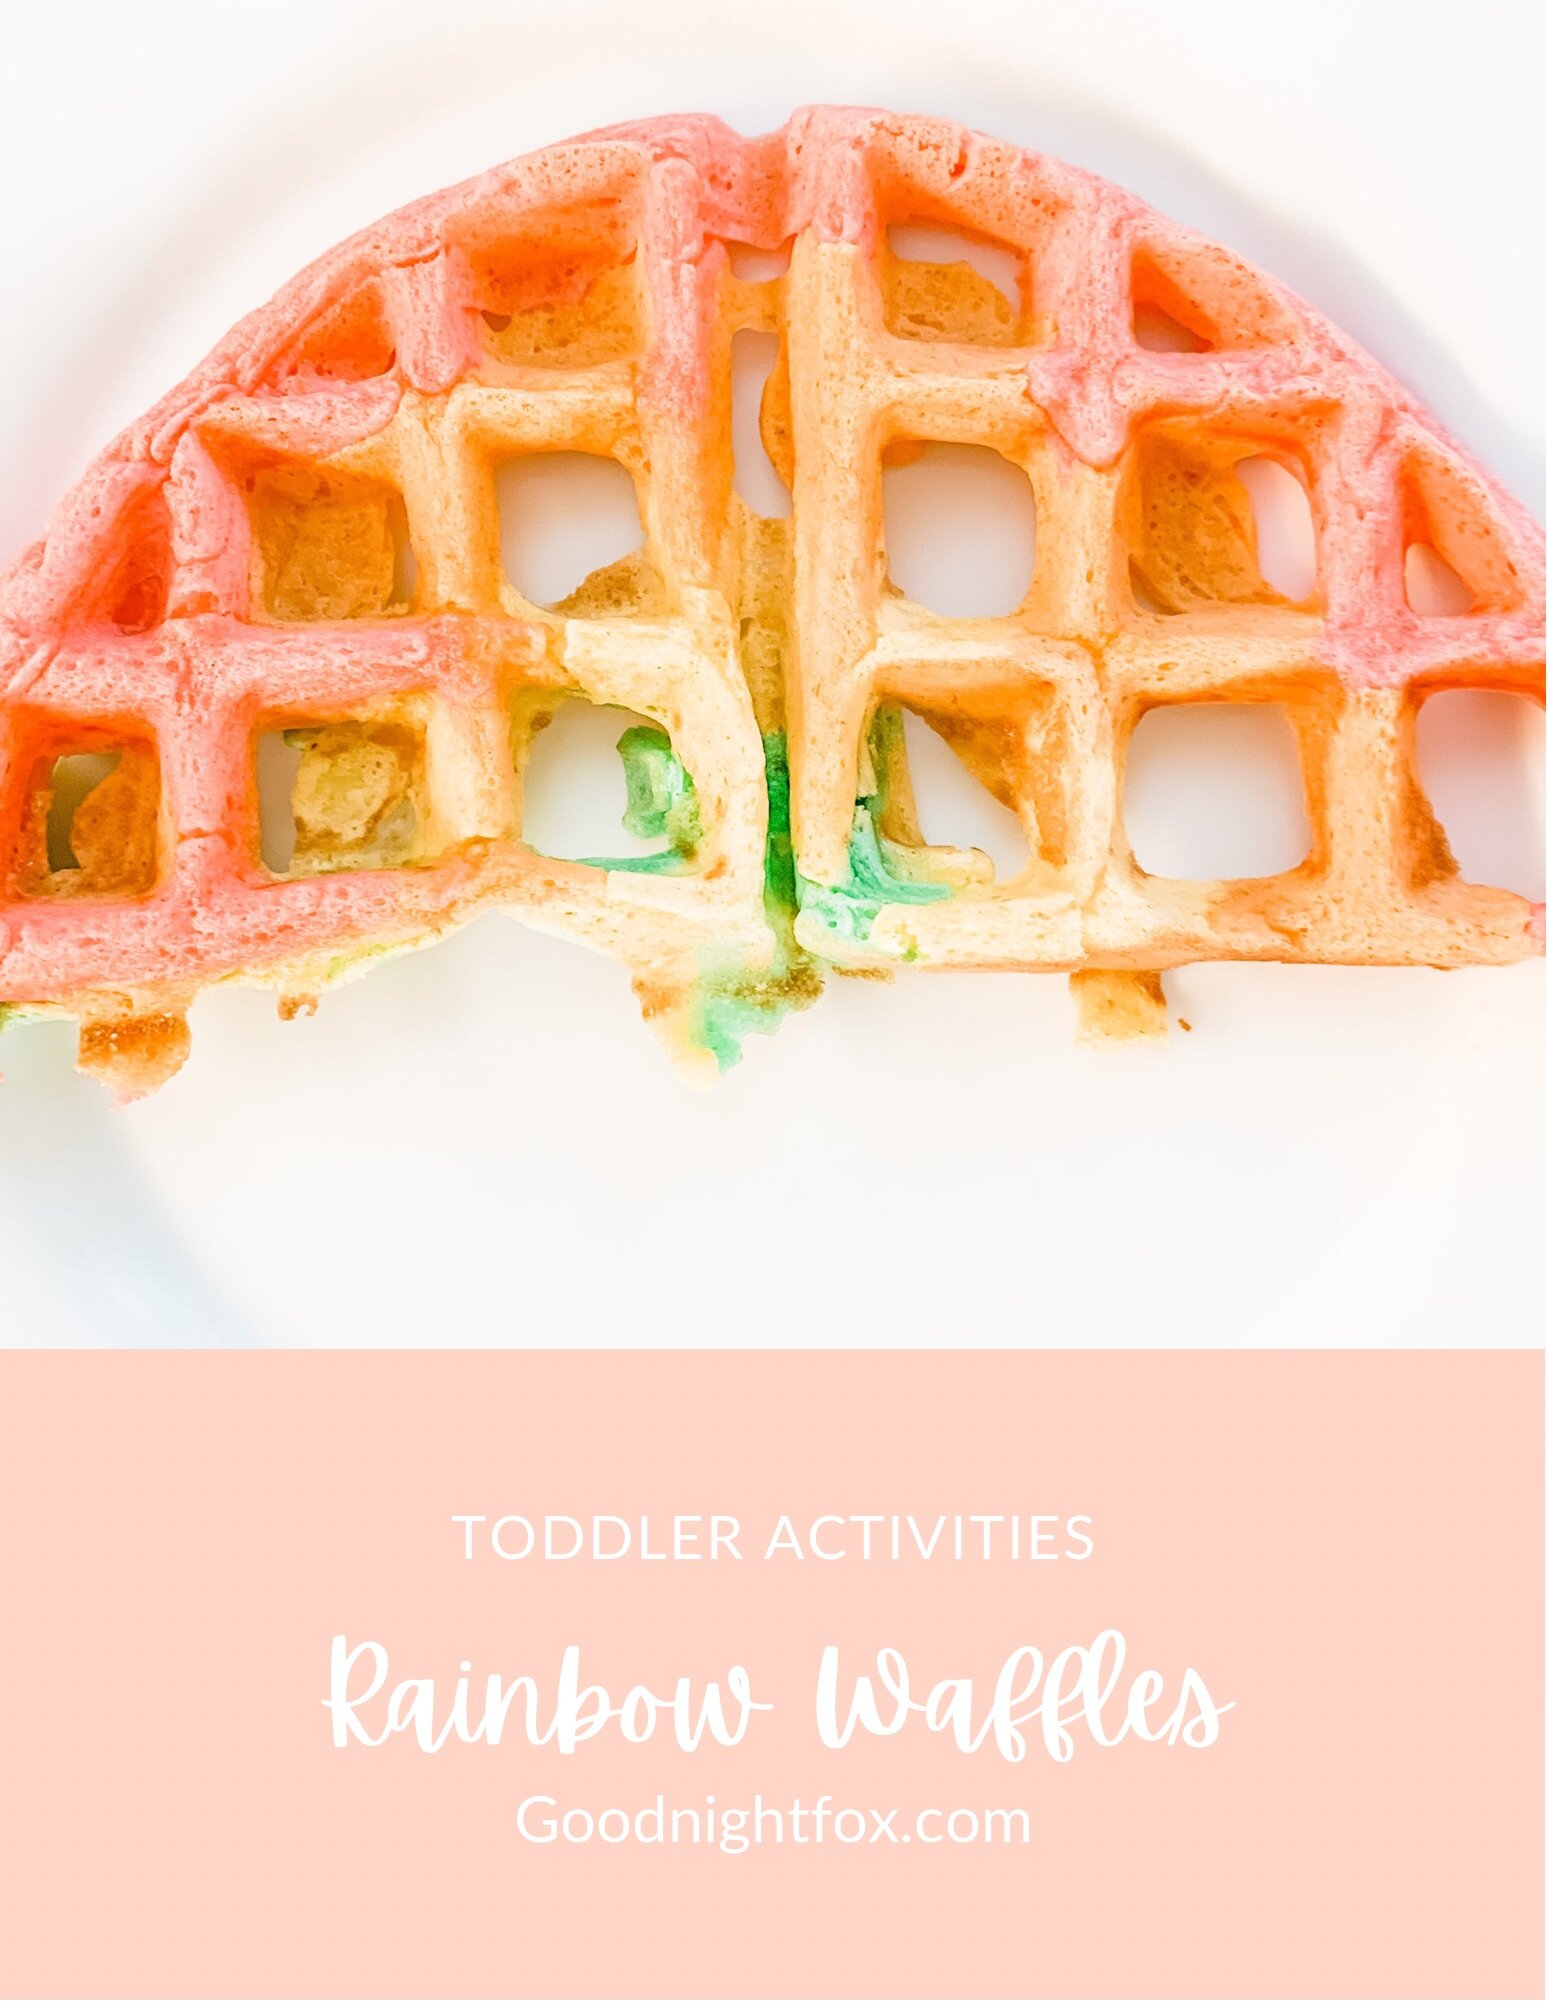
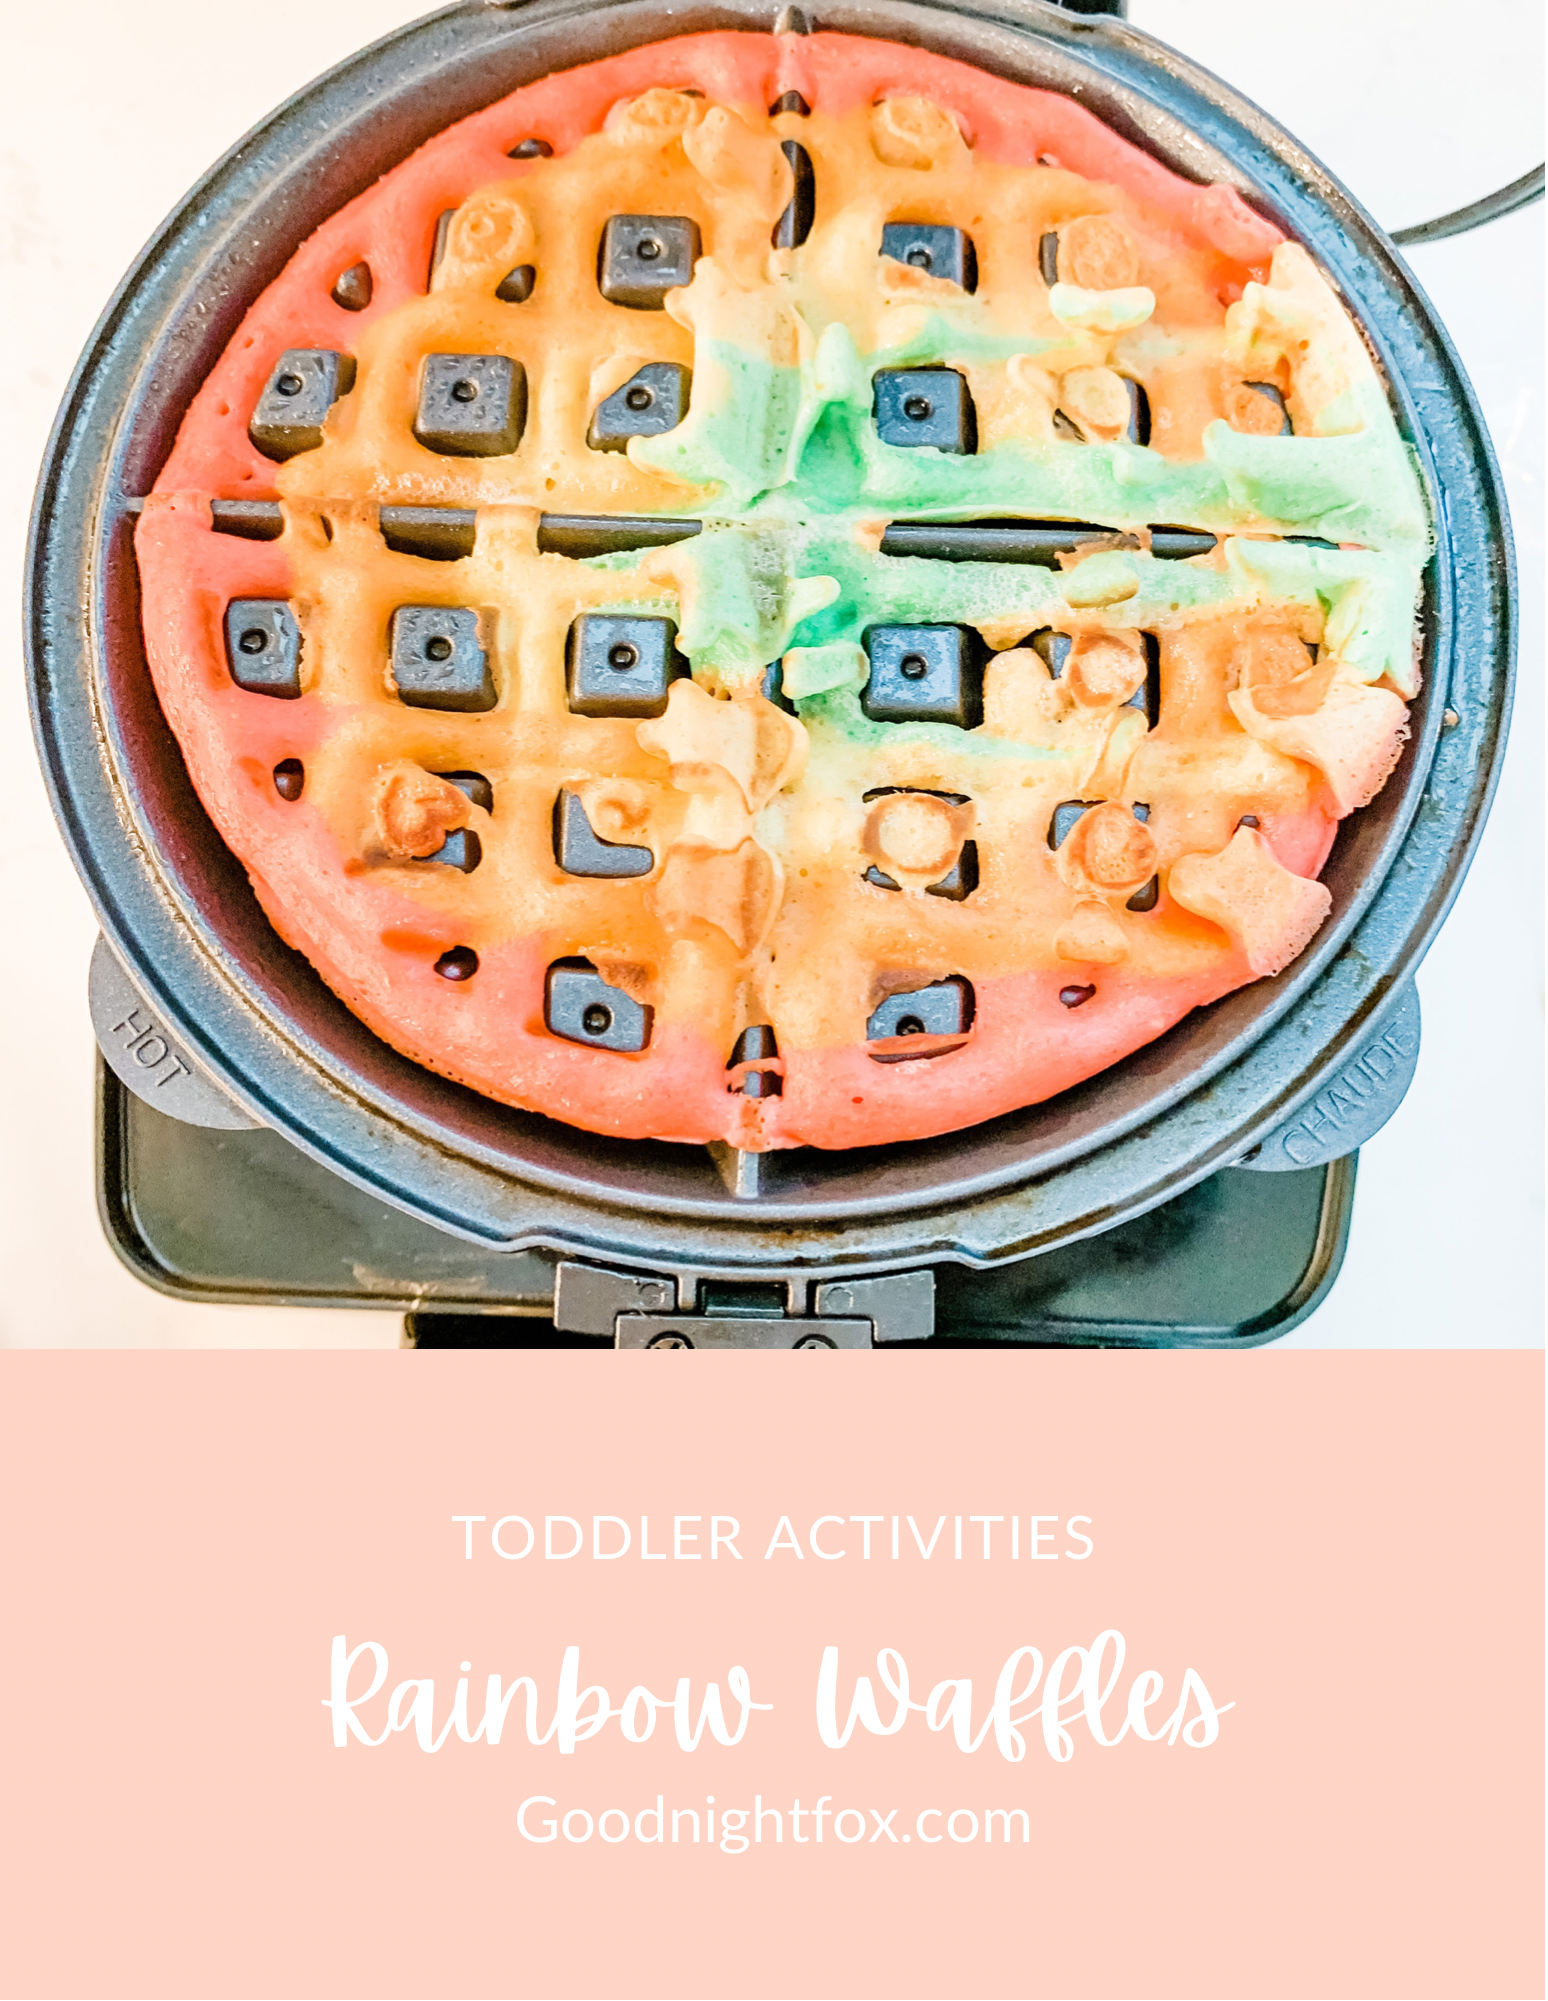
Step 4: Pipe the rainbow. Here's the technique: start on the outside of the waffle iron with the pink and pipe a circle around the edge. Then move onto the orange, piping the next circle inside the first, and so on — working your way inward until you get the perfect rainbow effect. You have to work pretty quickly here. Fill the iron generously — I can tell from my photos that I didn't quite fill it up enough, which is why my waffle had a few holes. Use enough batter to fill the whole iron, and work fast enough that the colors don't bleed together.

Step 5: Cook as directed. Close the lid and just use your waffle iron as directed. When it's done, pop the waffle out. Mine pretty much fell apart in half on its own, but if yours doesn't, just break or cut it down the middle.

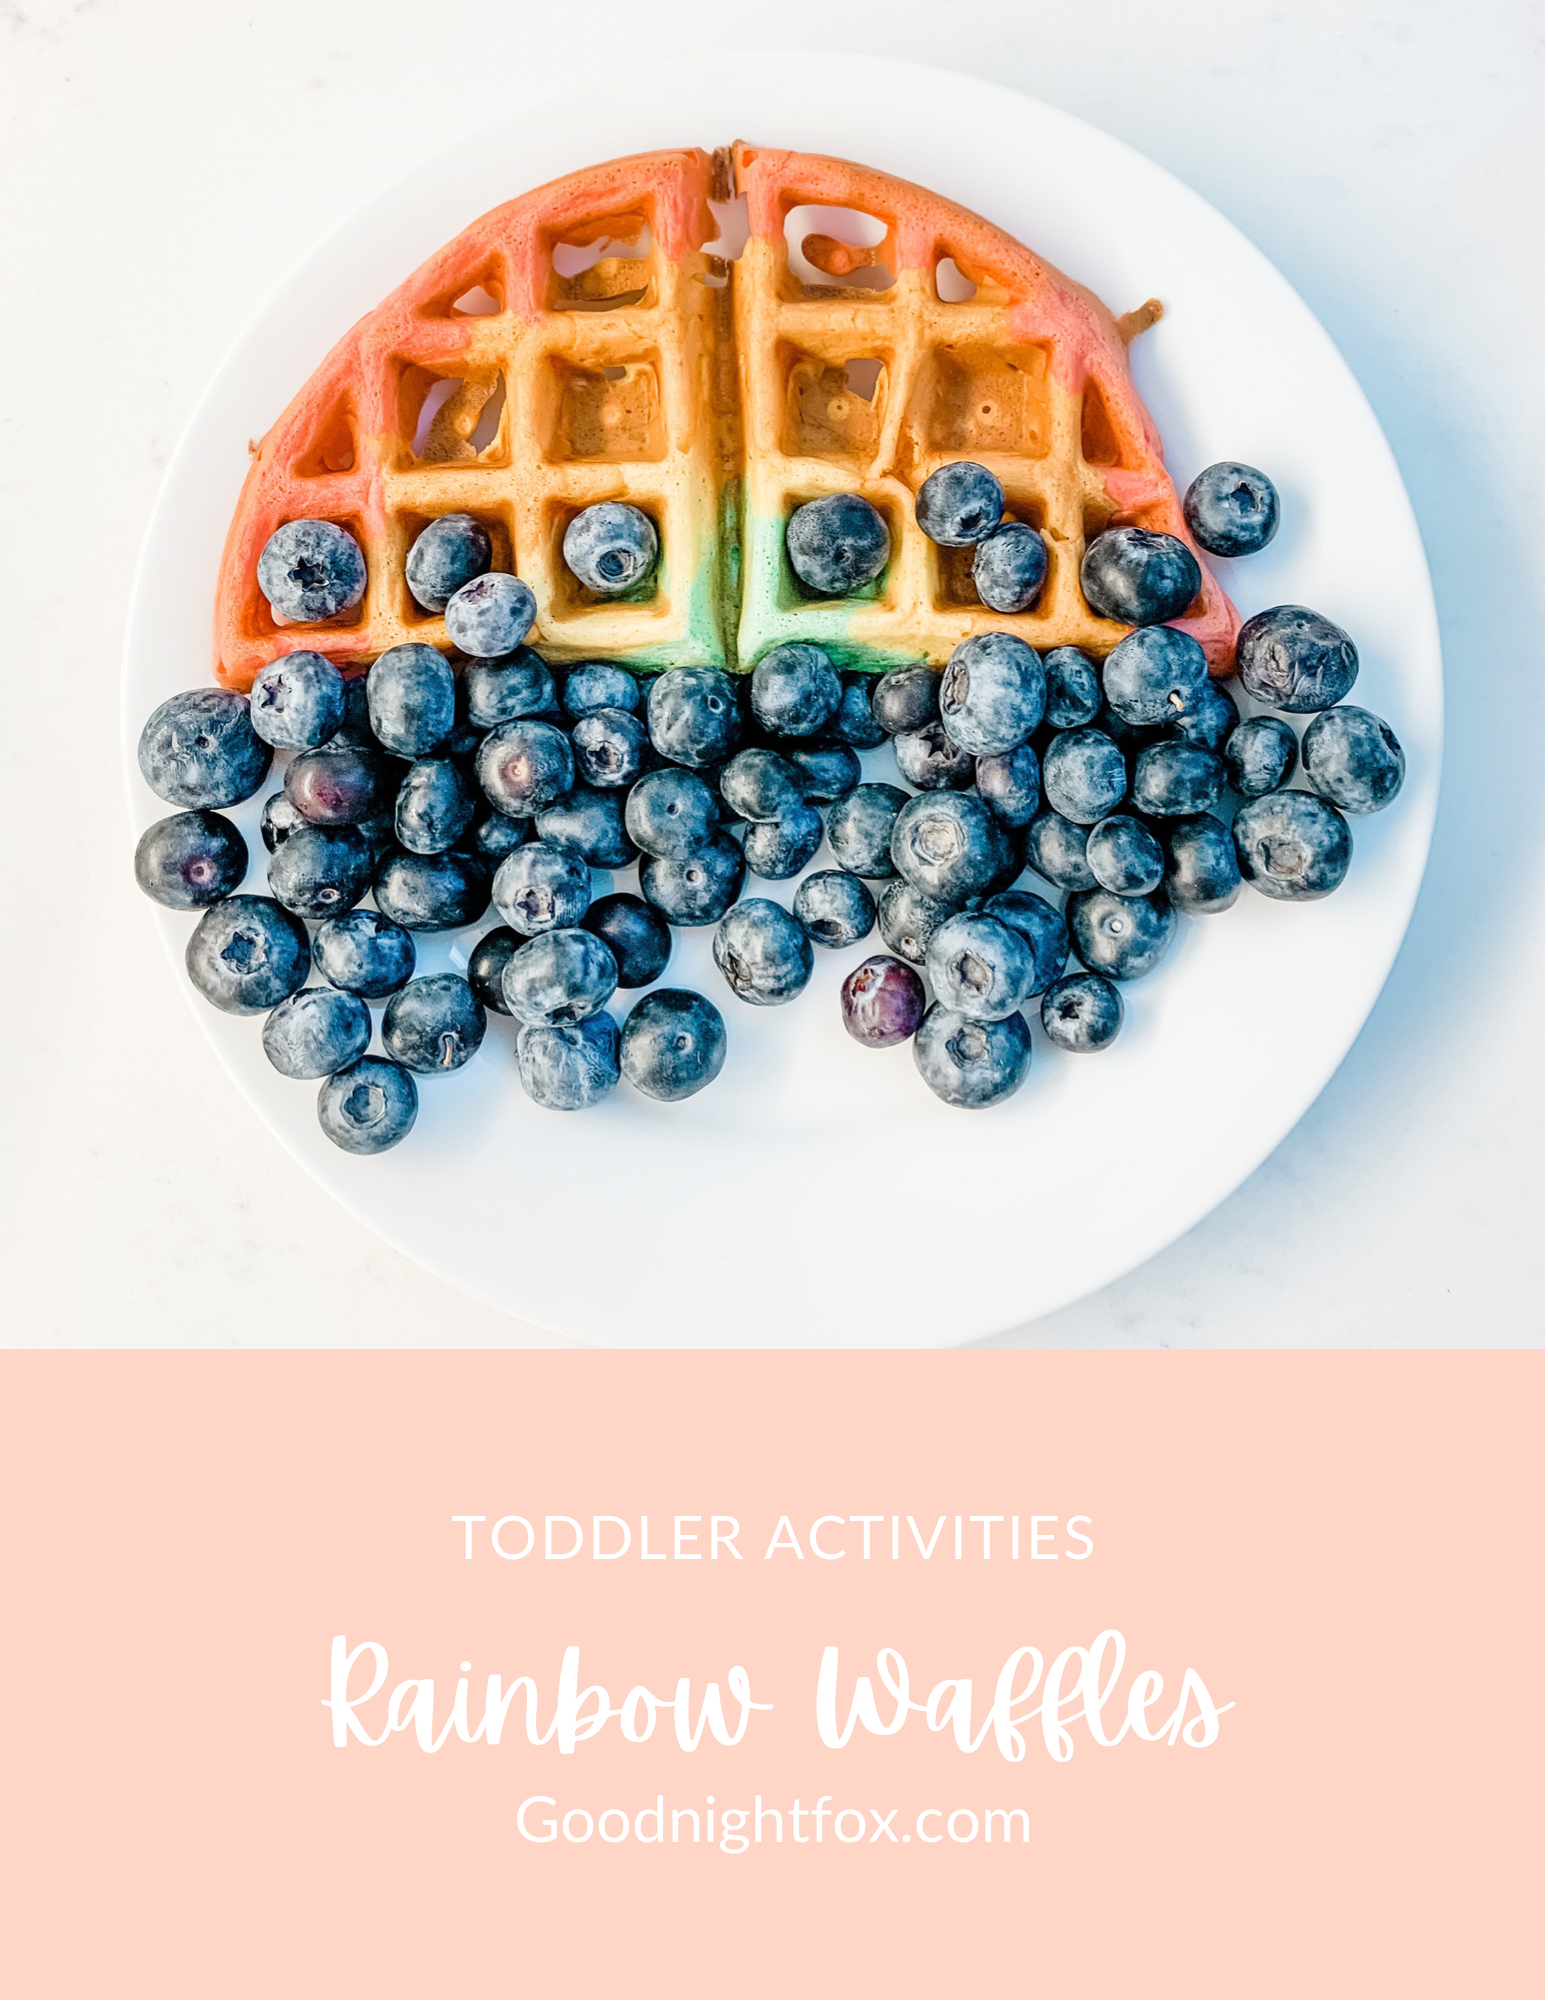
Step 6: Add the blueberry clouds. Sprinkle blueberries along the bottom (or the ends) of the rainbow to make fluffy clouds. Sofie loved this part, and the blueberries add sweetness to the breakfast without needing syrup at all — which means no sticky hands.

Tips

Prep like a production line. Line up your bowls in rainbow order before you start piping, and keep your piping bags nearby. The faster you work in Step 4, the cleaner your colors stay.

Be generous with the batter. My first attempt had holes because I didn't fill the iron enough. Use enough of each color to fully cover the waffle iron for a solid rainbow.

Work quickly to prevent bleeding. The colors will start to bleed together if they sit too long, so pipe steadily and close the iron as soon as you're done.

Blueberries are the secret weapon. They keep a busy toddler entertained while you mix colors, they make adorable clouds, and they add sweetness without syrup — which is my kind of easy cleanup. No sticky hands, no sticky table.

Let your toddler help where they can. Toddlers can stir the colors, snack on the blueberries, and (with help) sprinkle the blueberry clouds. The piping is a grown-up job, but there's plenty of fun for little hands.

And there you have it — the perfect toddler breakfast: rainbow waffles with blueberry clouds. Sofie loved these, and I loved how easy the whole thing was once the colors were mixed. If you try them, we'd love to see your rainbow! And for more rainbow fun, check out my rainbow sensory activities roundup: https://www.goodnightfox.com/blog/rainbow

AB0D2F50-990F-4A86-9636-6DFFFB040680.png

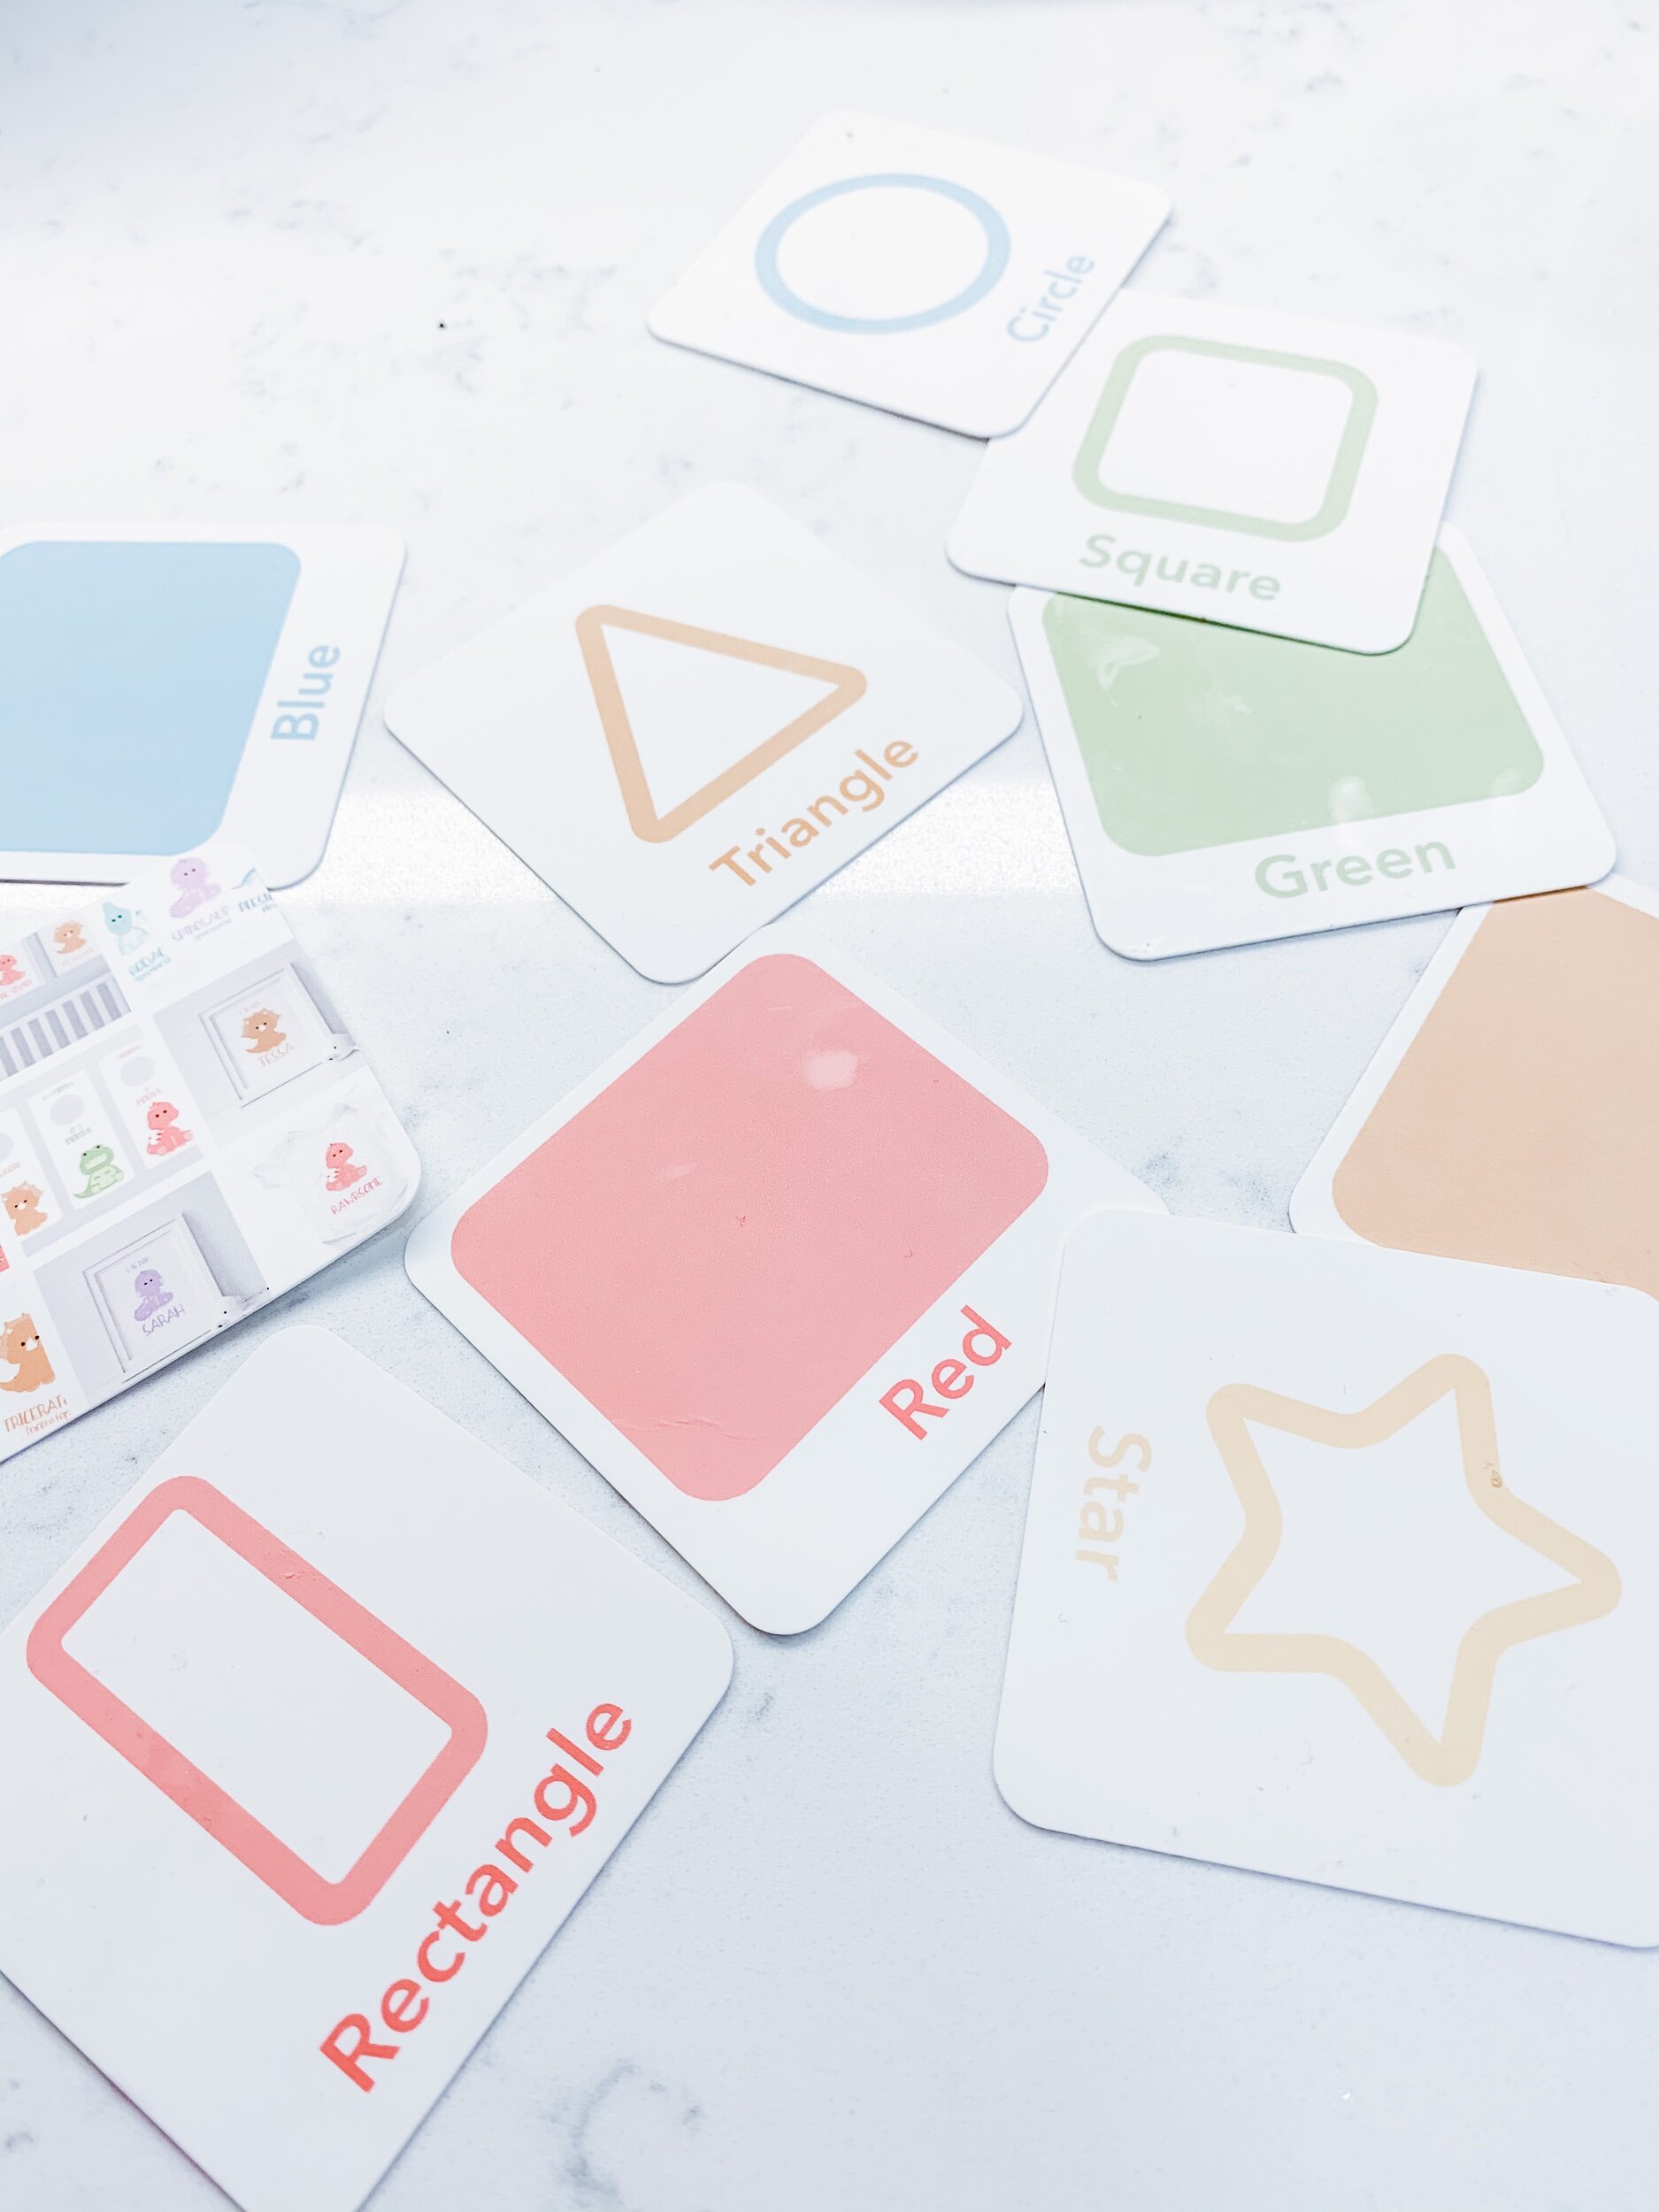
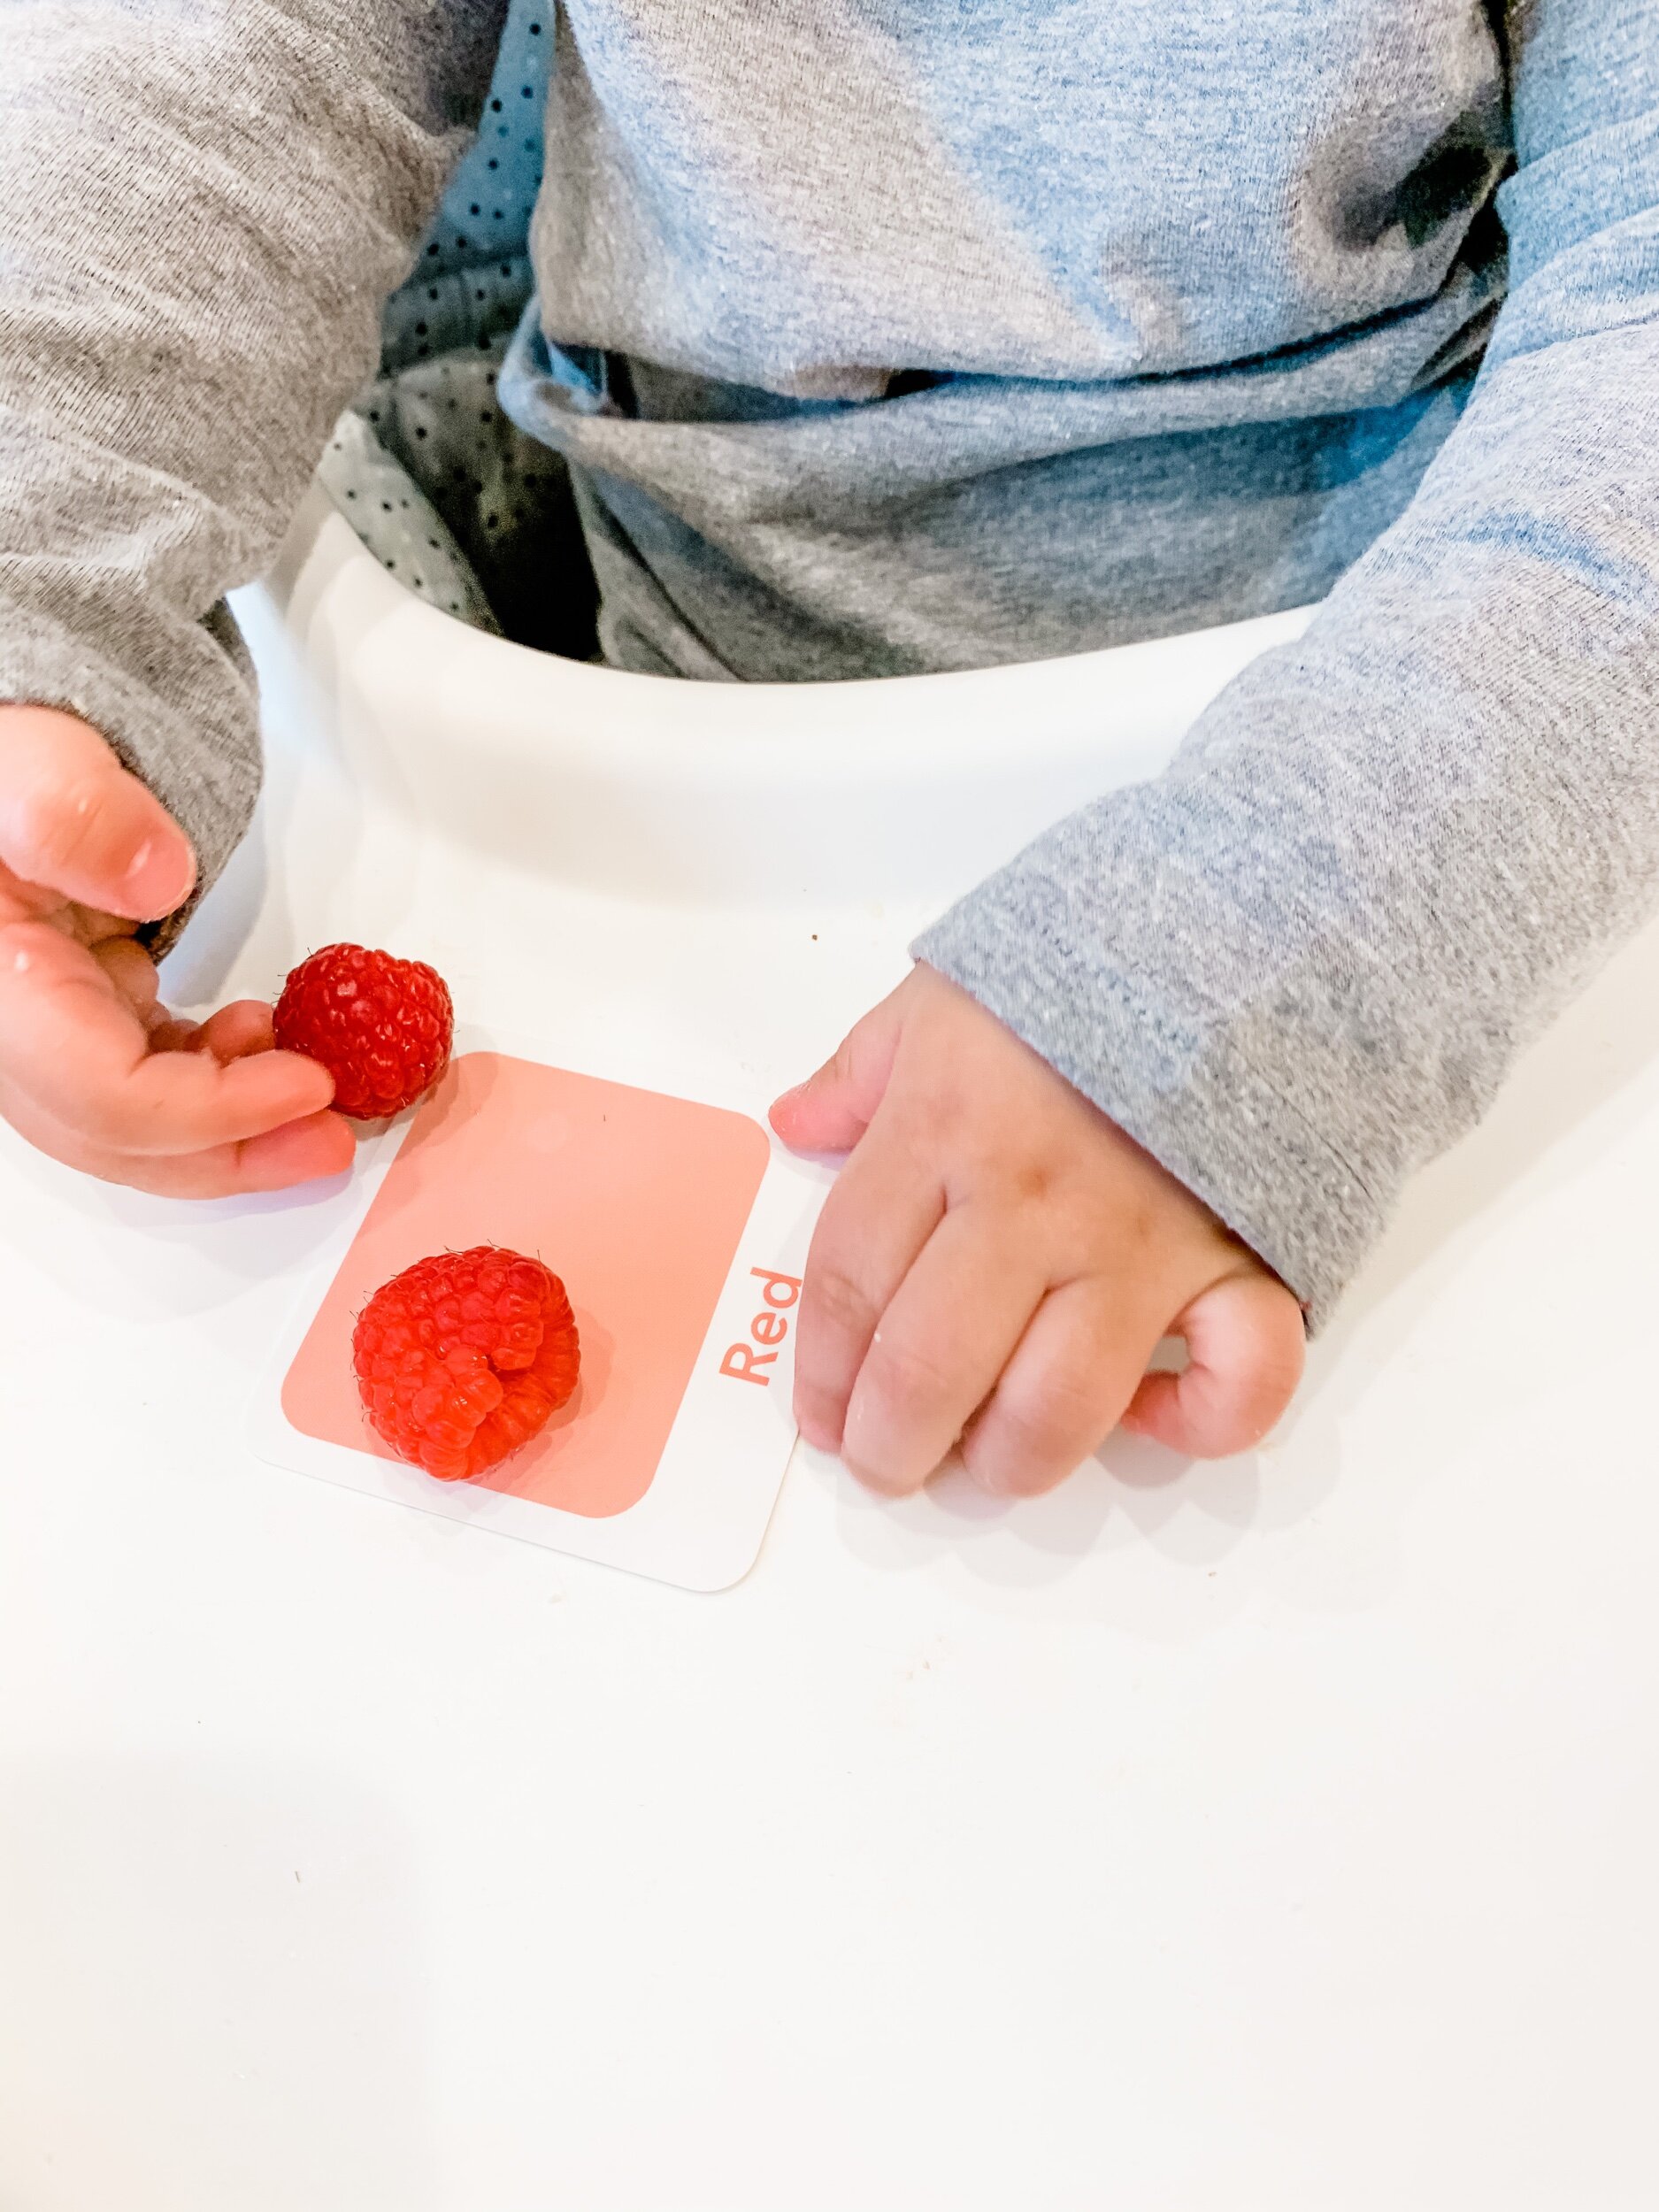
Looking for an awesome rainbow activity?

Check out these adorable rainbow colored flashcards from Goodnightfoxstudio.etsy.com

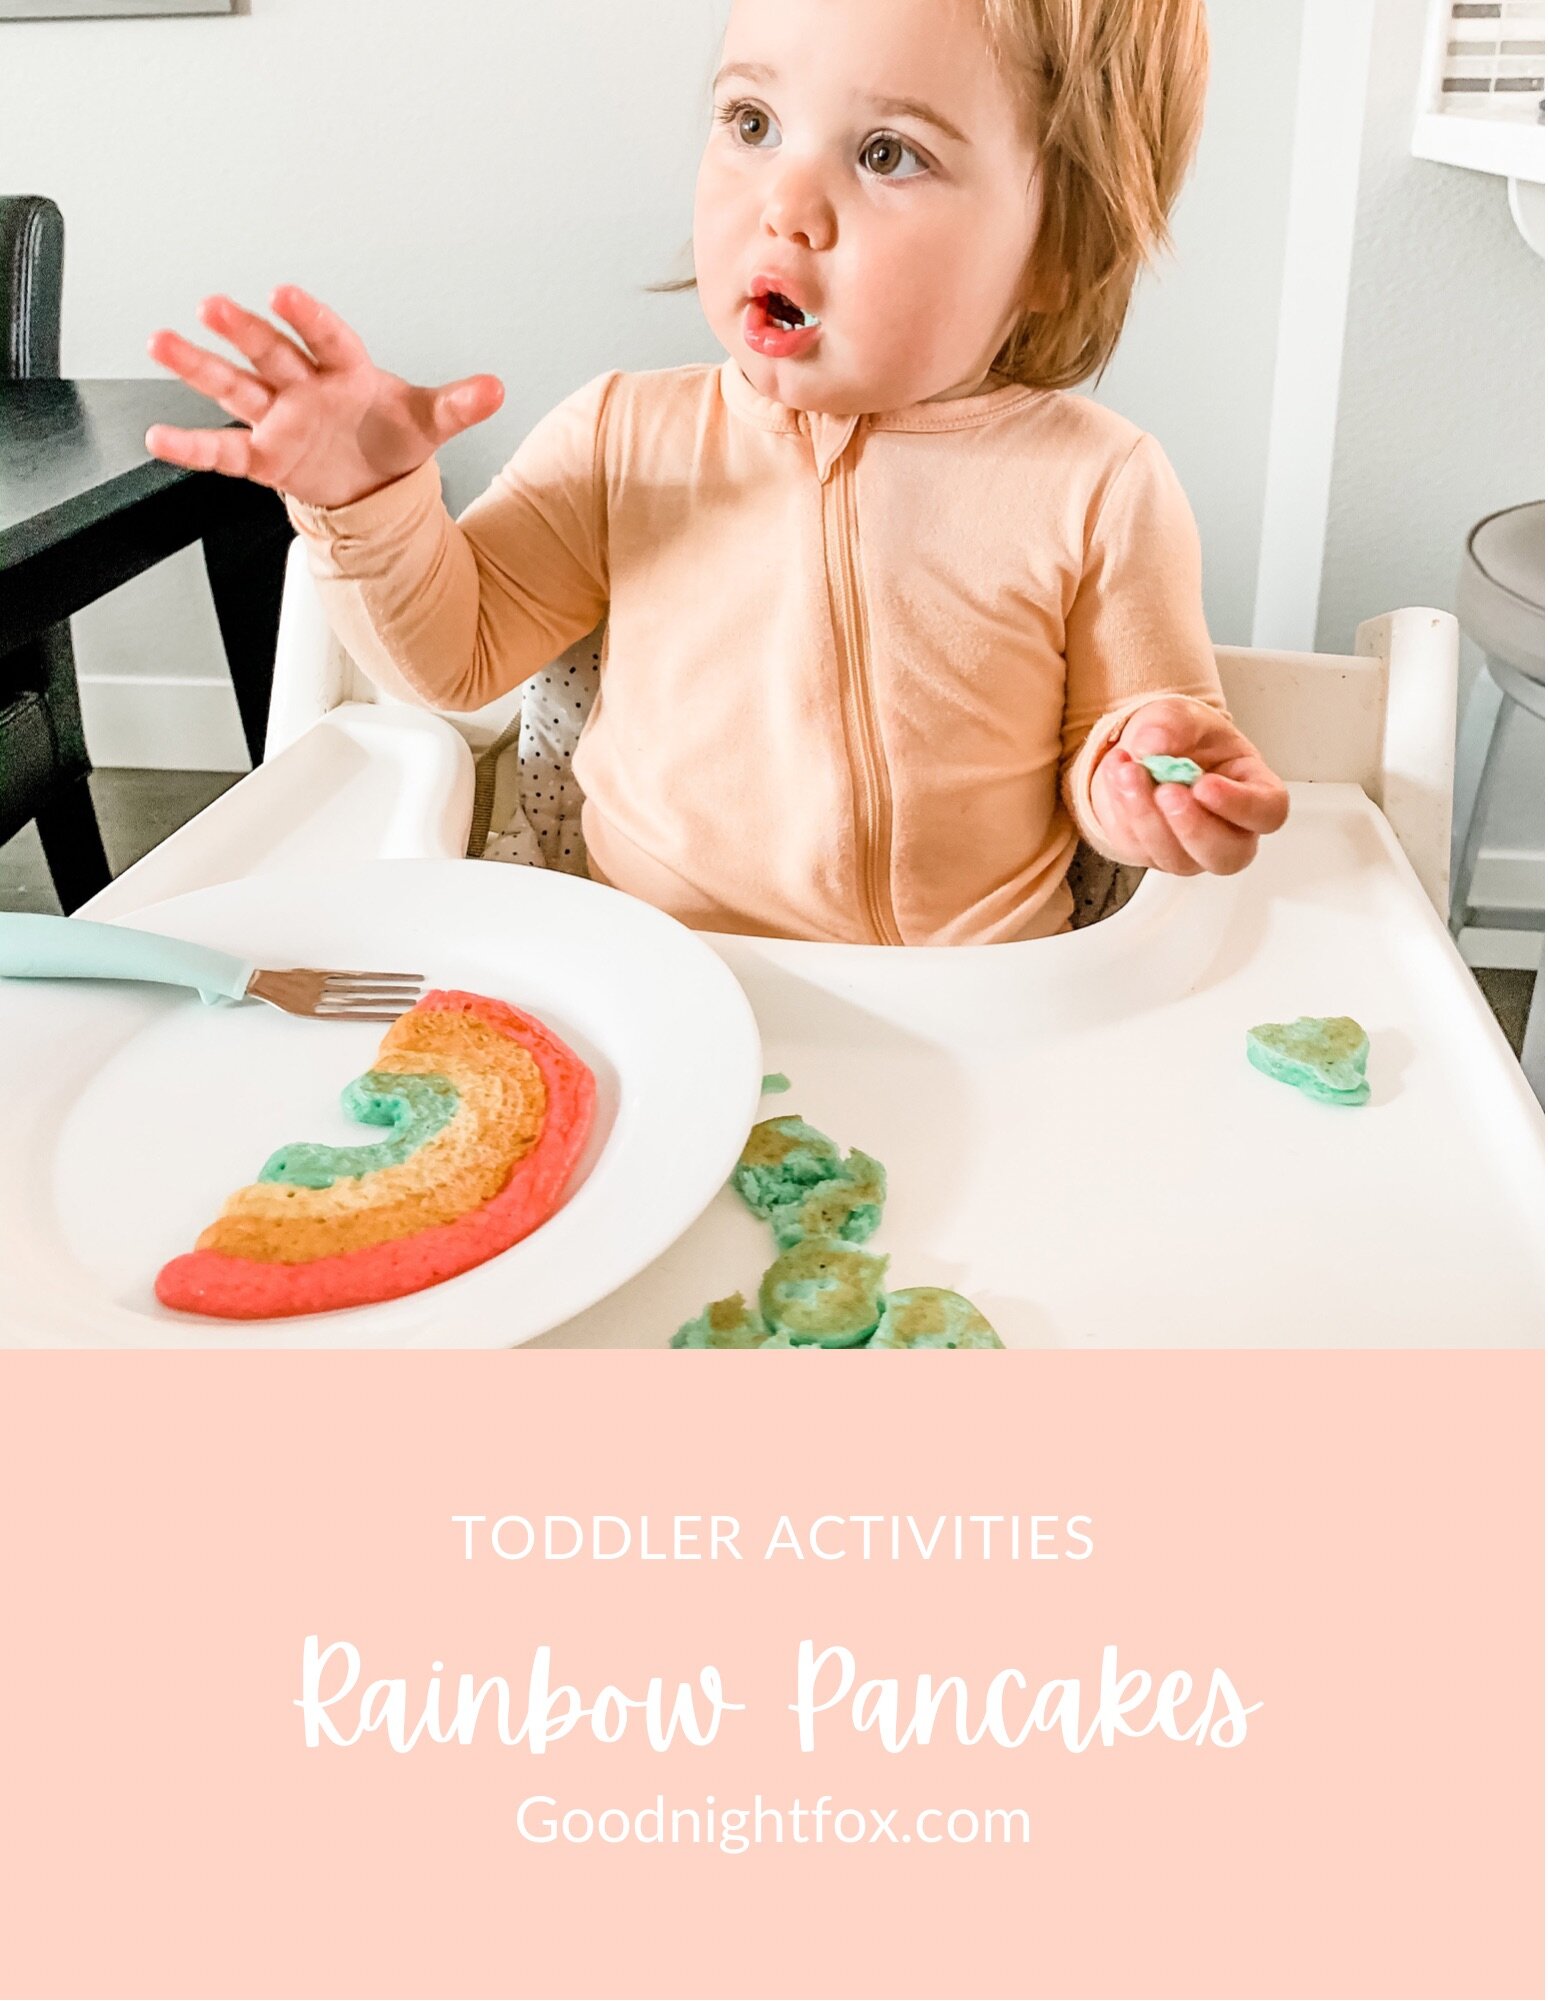
Rainbow Pancakes

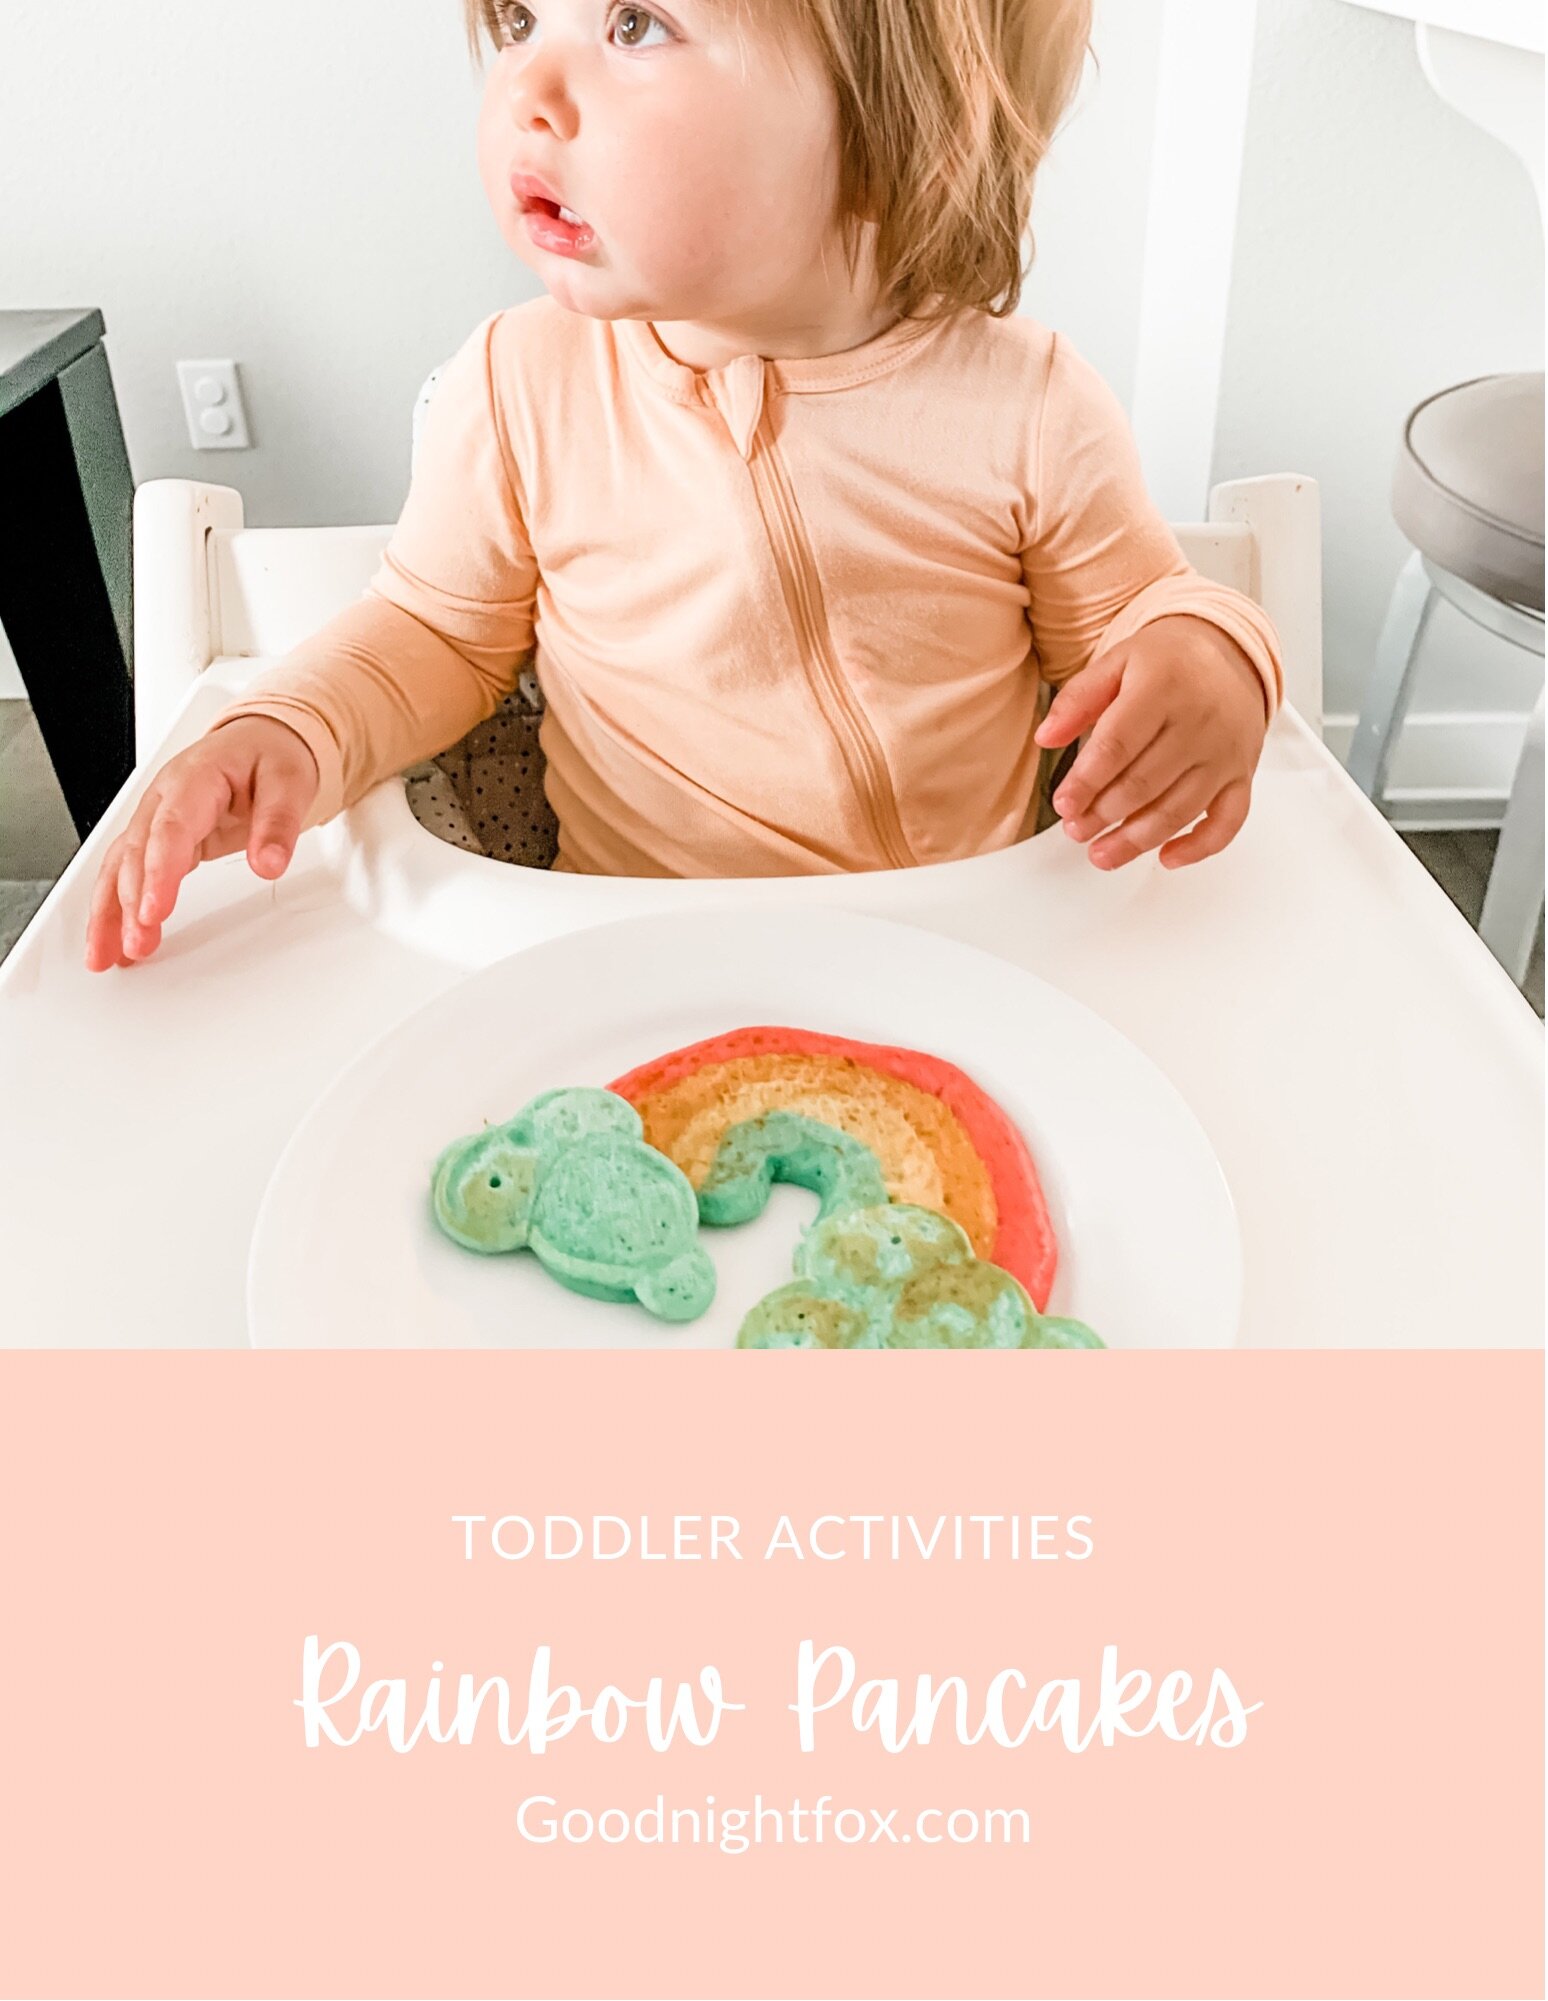
Some of the best ideas are the spontaneous ones. Some good friends of mine recommended I branch out from the usual eggs for breakfast — so on a whim, I decided to make rainbow pancakes that very morning. I literally decided to do it and whipped them up all within a matter of 30 minutes. And the outcome was so fun!

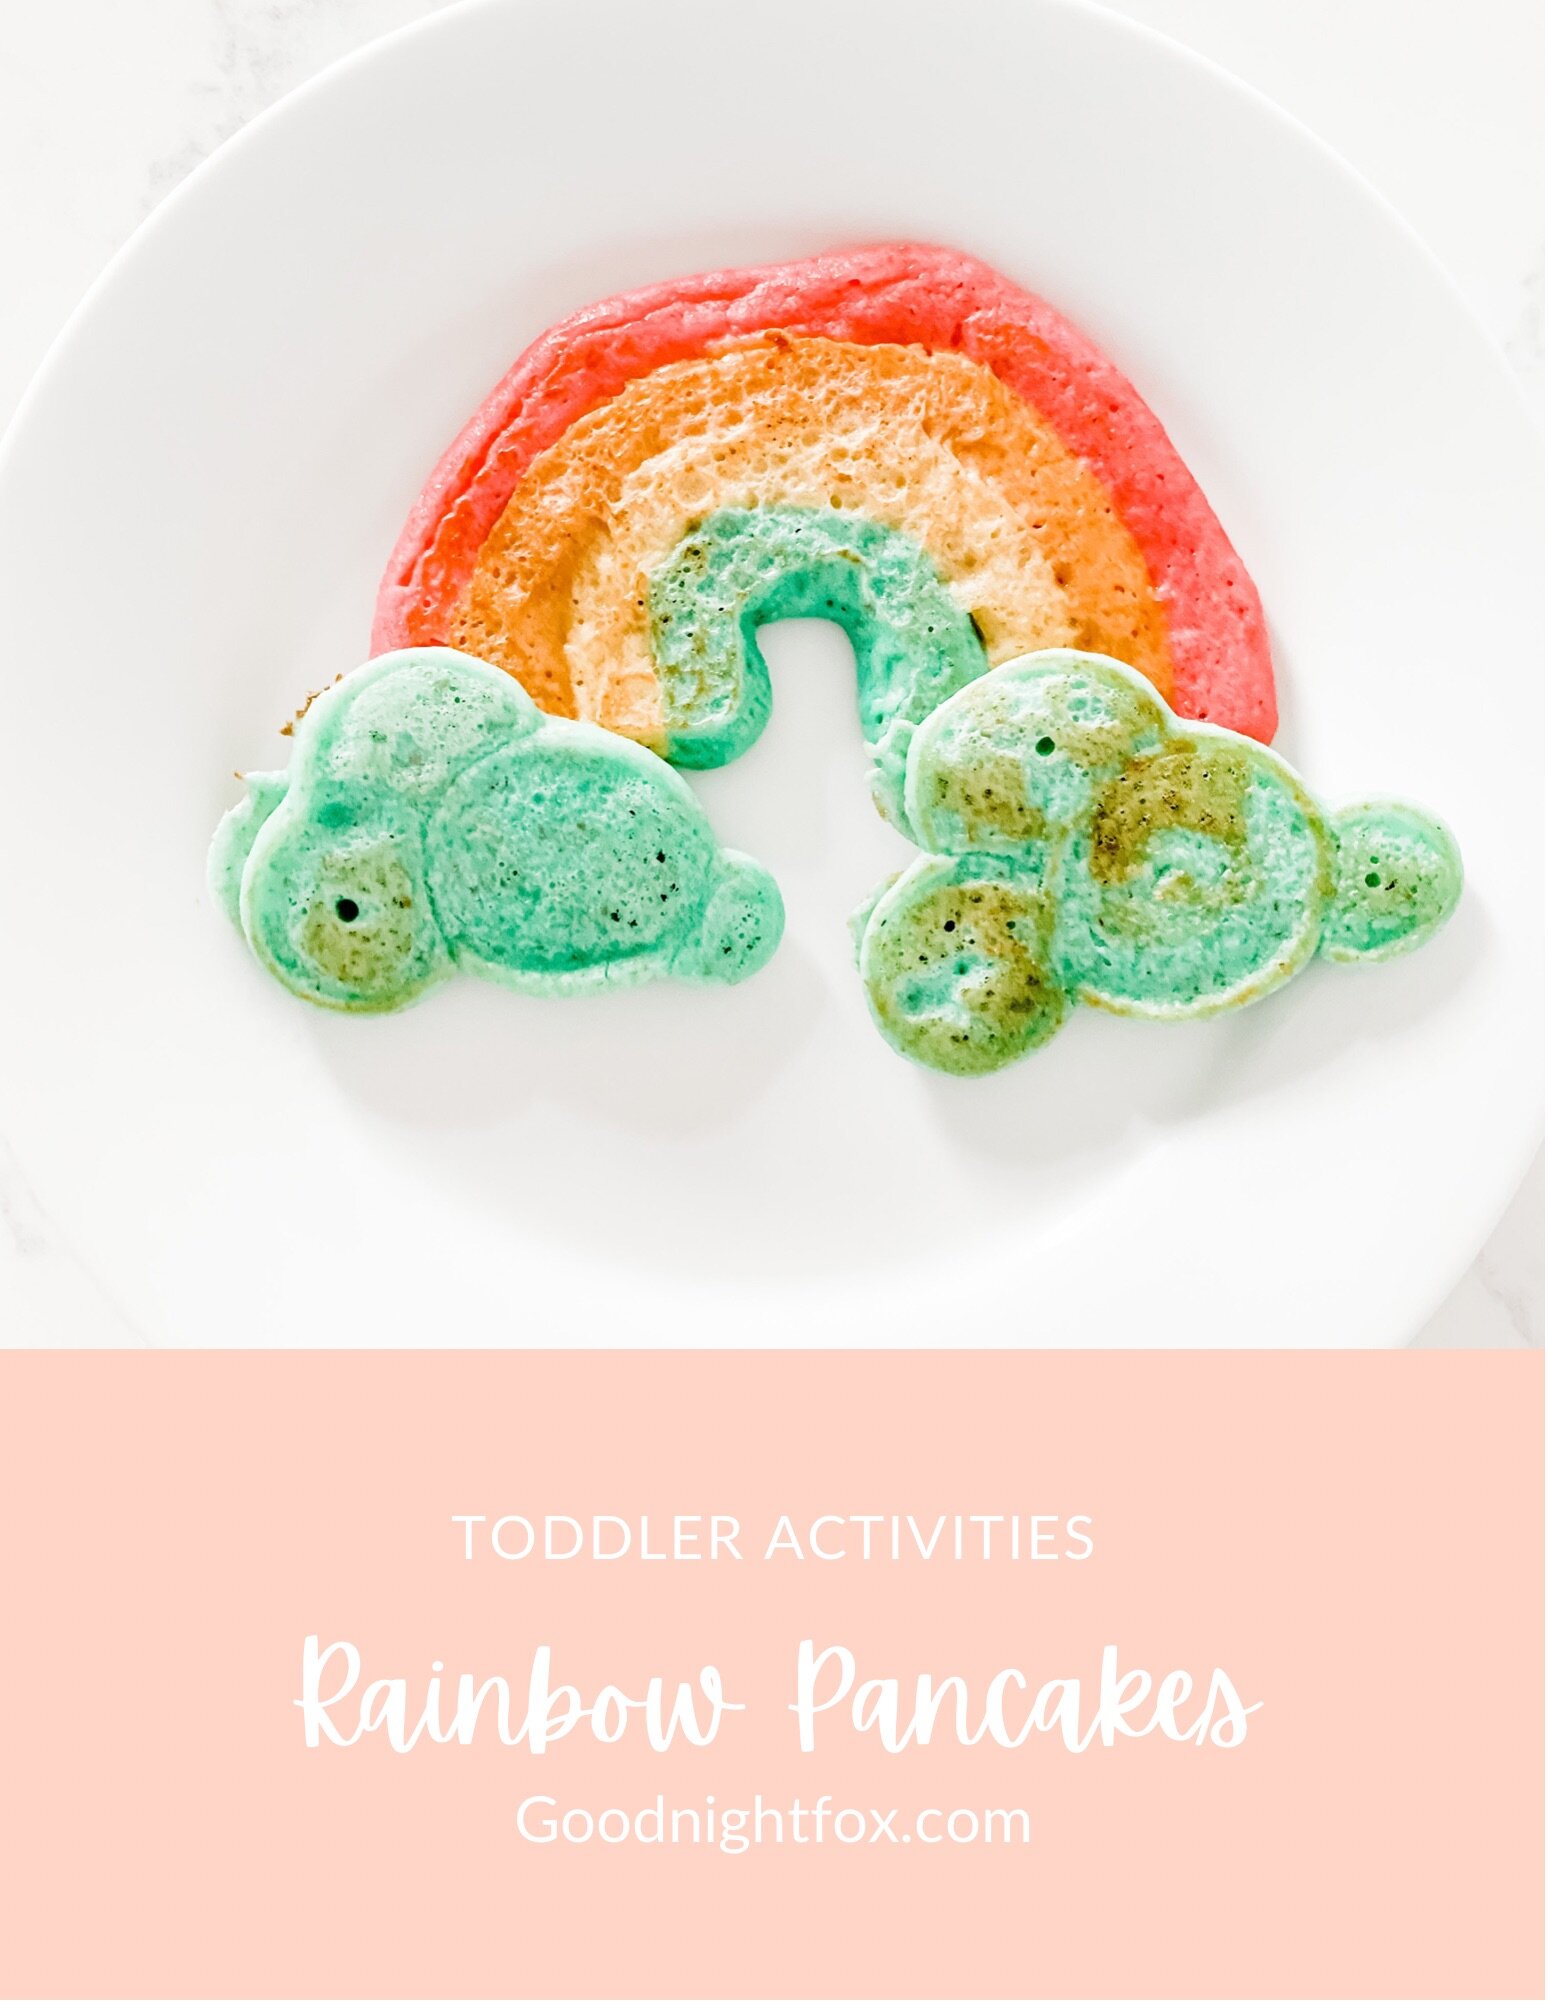
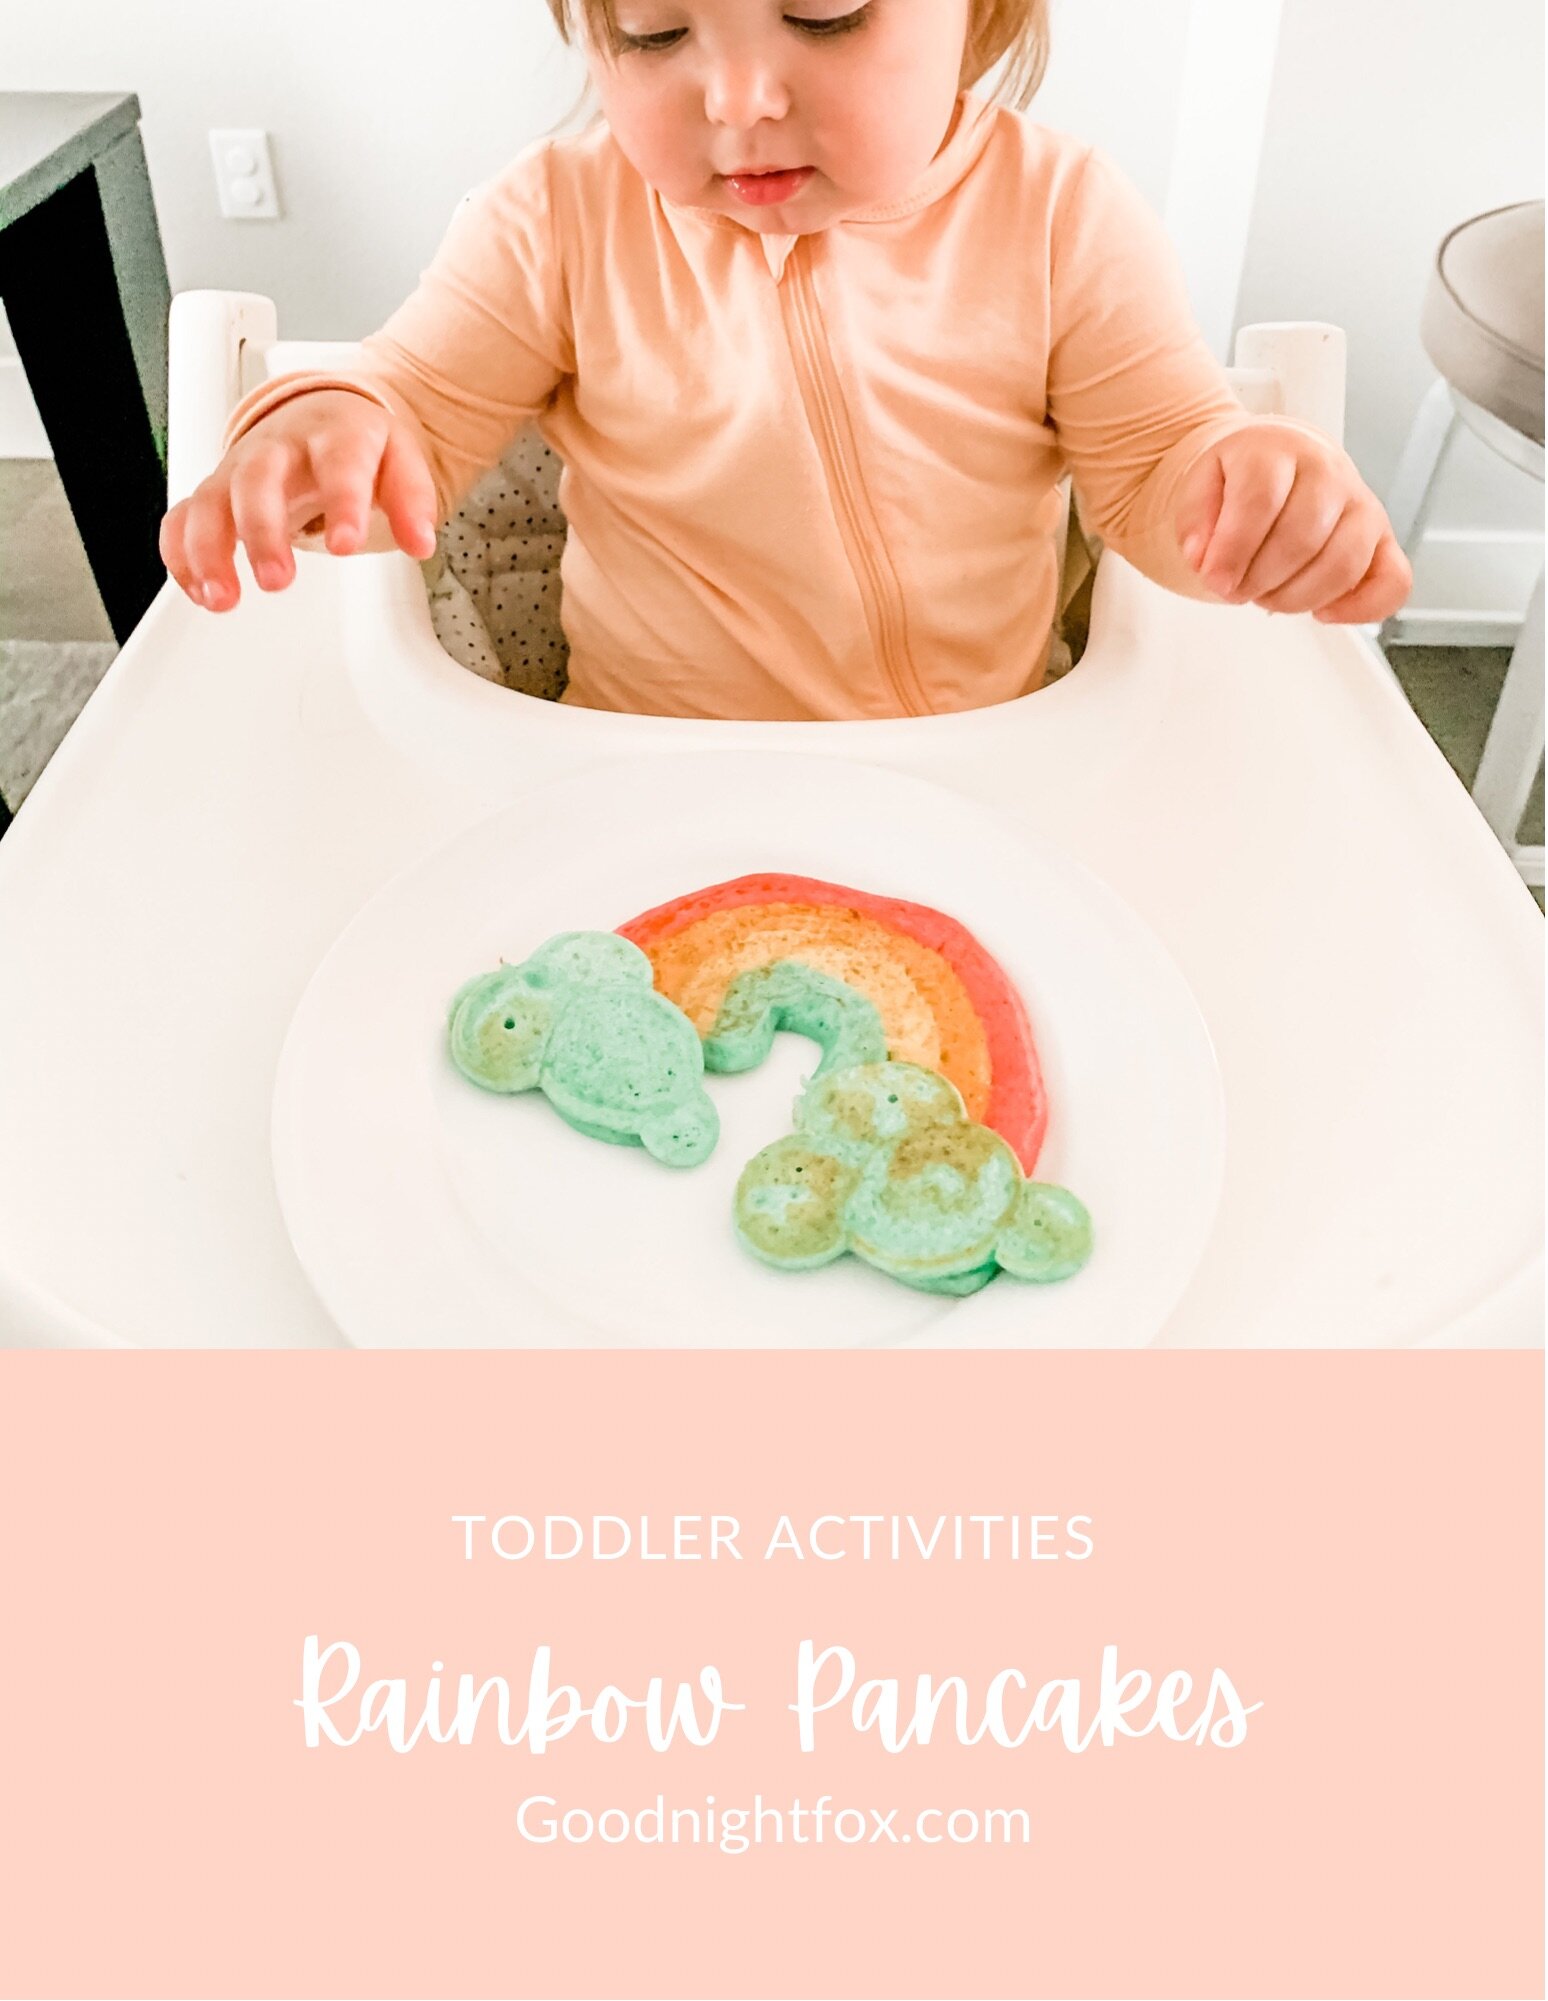
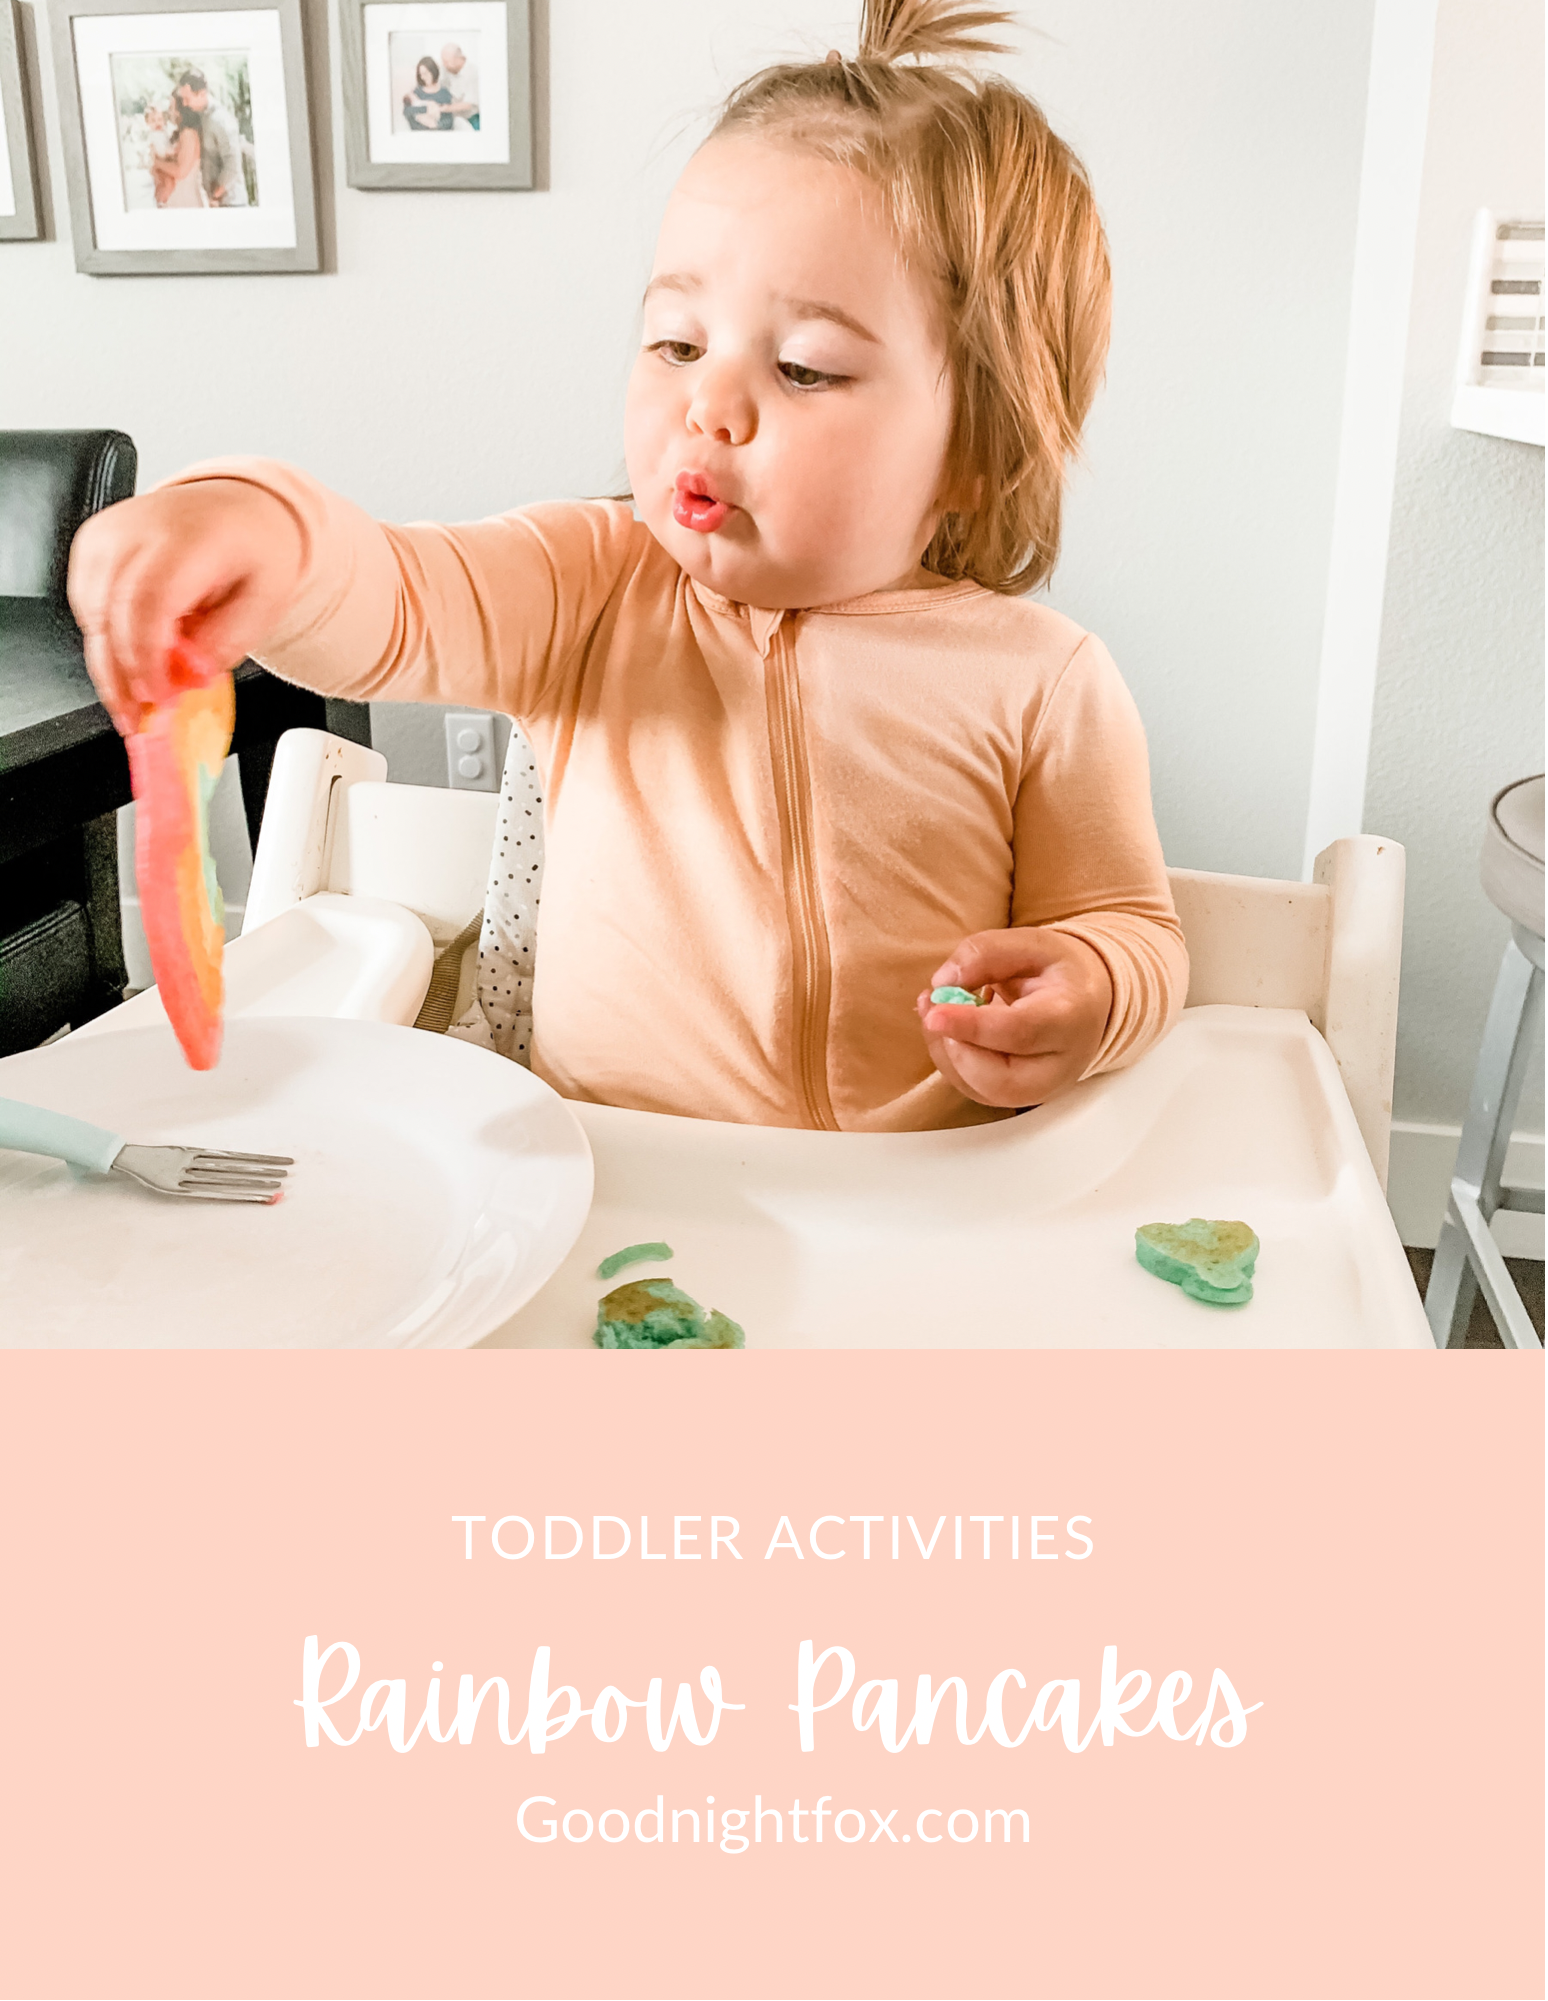
Rainbow pancakes are proof that you don't need a big plan or a lot of time to make breakfast feel special. I had never made pancakes as an activity before — eggs were our usual breakfast — and this one spontaneous morning completely changed that. If your morning routine could use a little color, this is the activity for you. And just look at these adorable rainbows and clouds — I will definitely be doing more pancakes in the future.

What You Need

Pancake mix

Water or milk

Canola oil

Food coloring

Piping bags

That's it! Nothing fancy, nothing you can't find in your kitchen right now.

How to Make Them

Step 1: Mix the batter. Prepare your pancake mix with water or milk according to the package directions, adding the canola oil as your mix calls for. Thirty minutes is all this takes from start to finish, so it's a true weekday-morning activity.

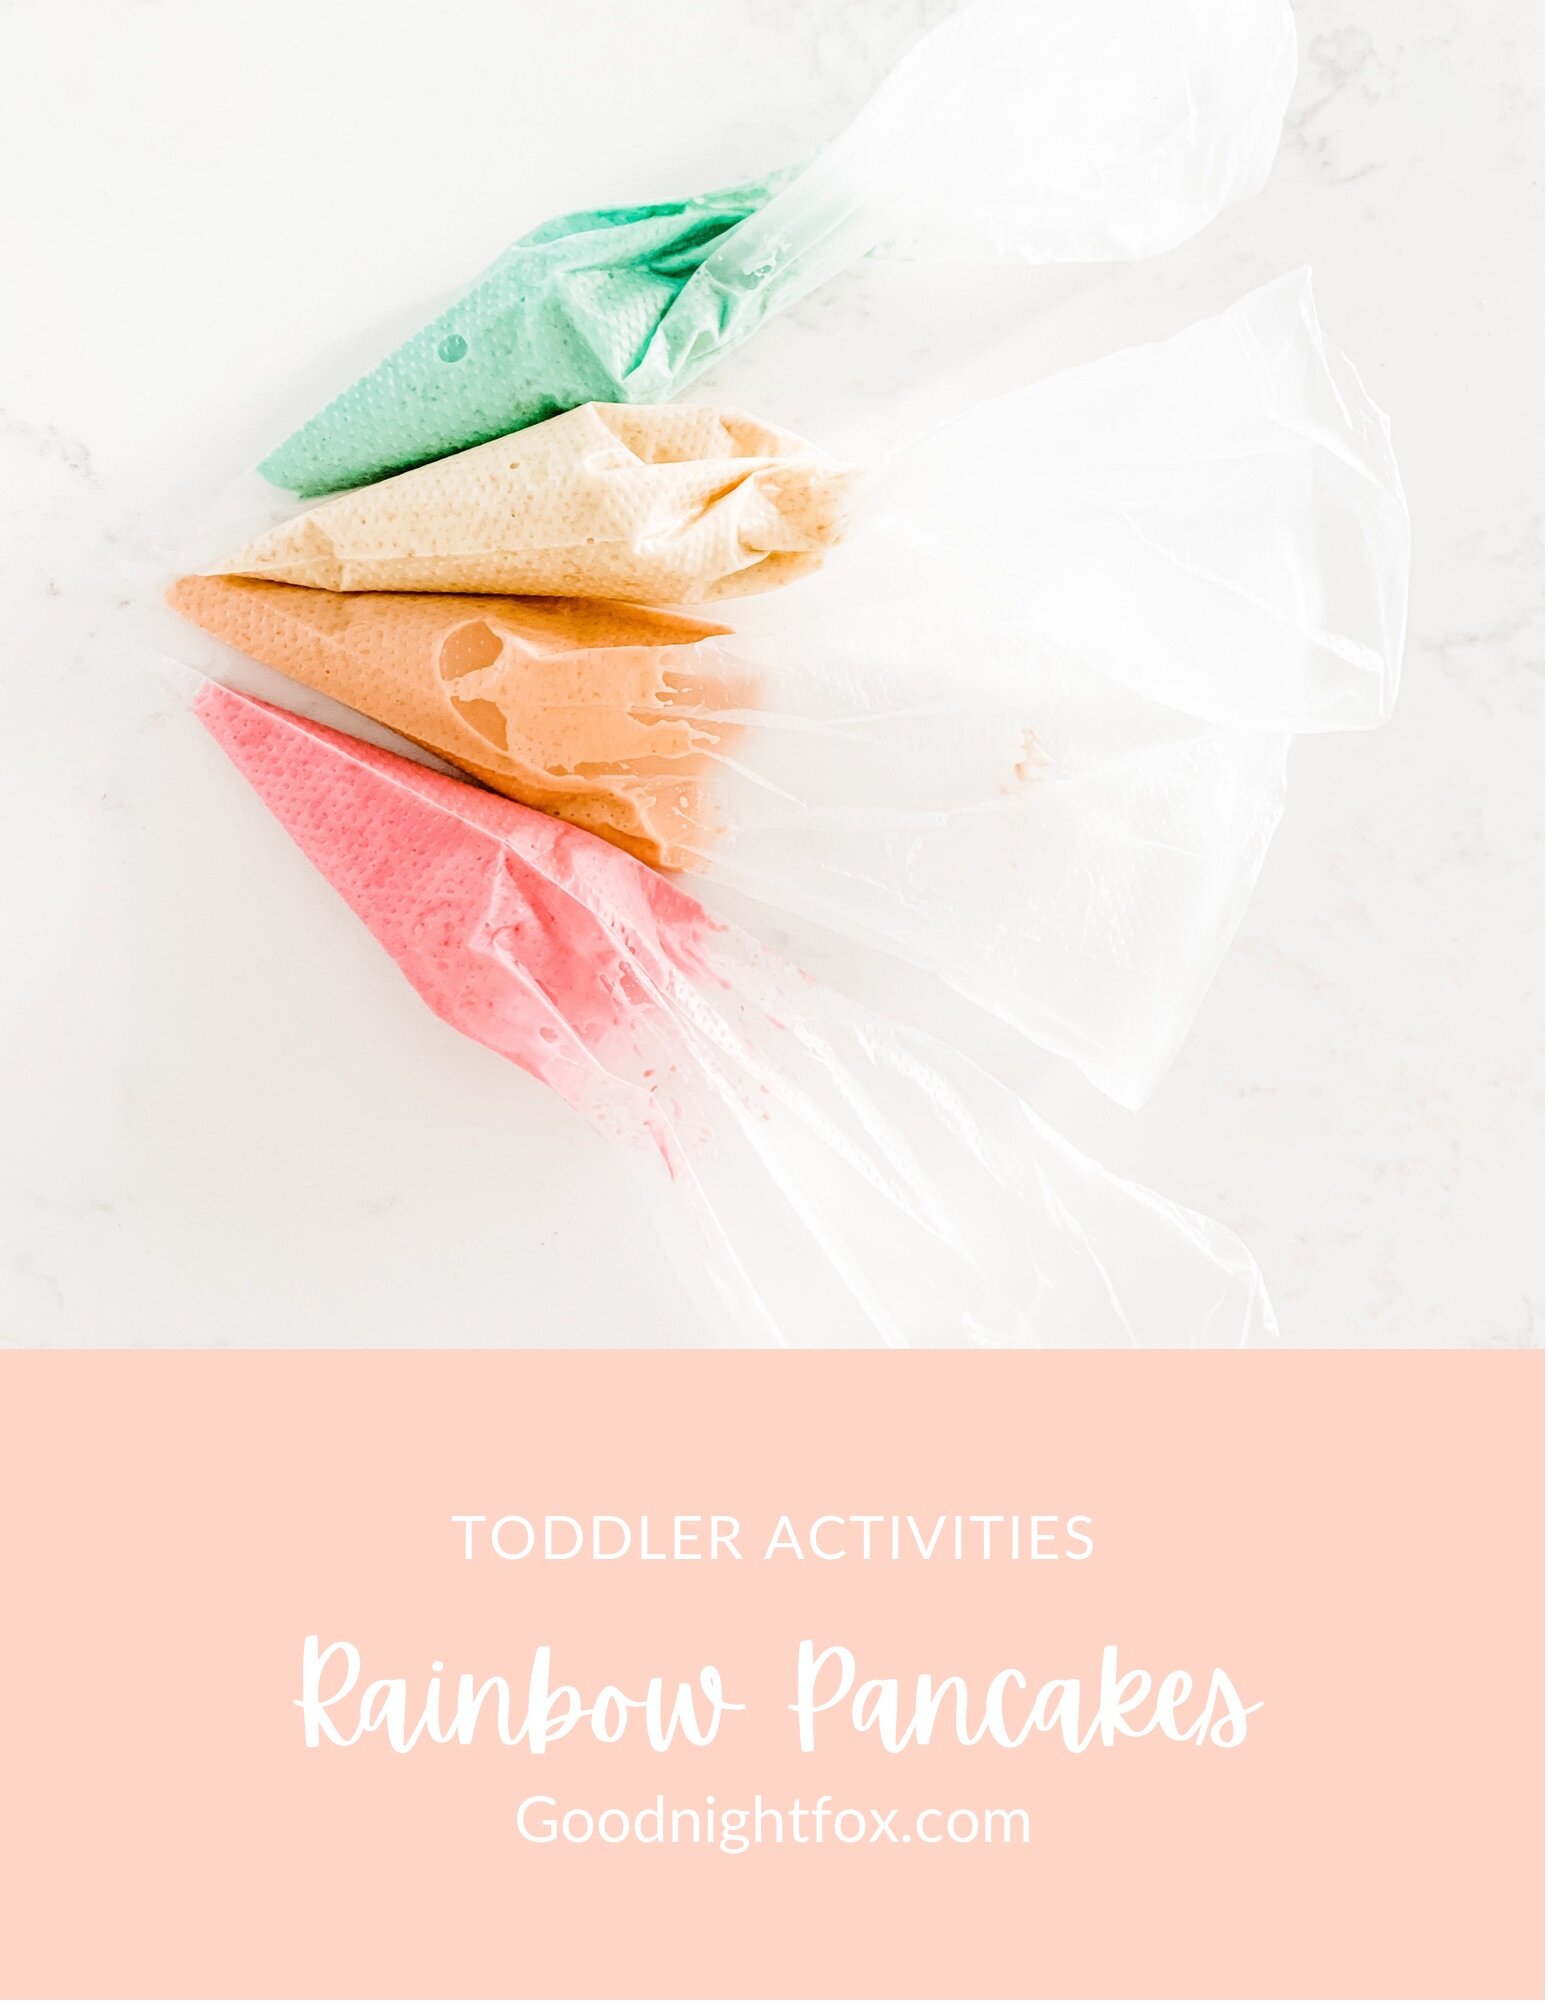
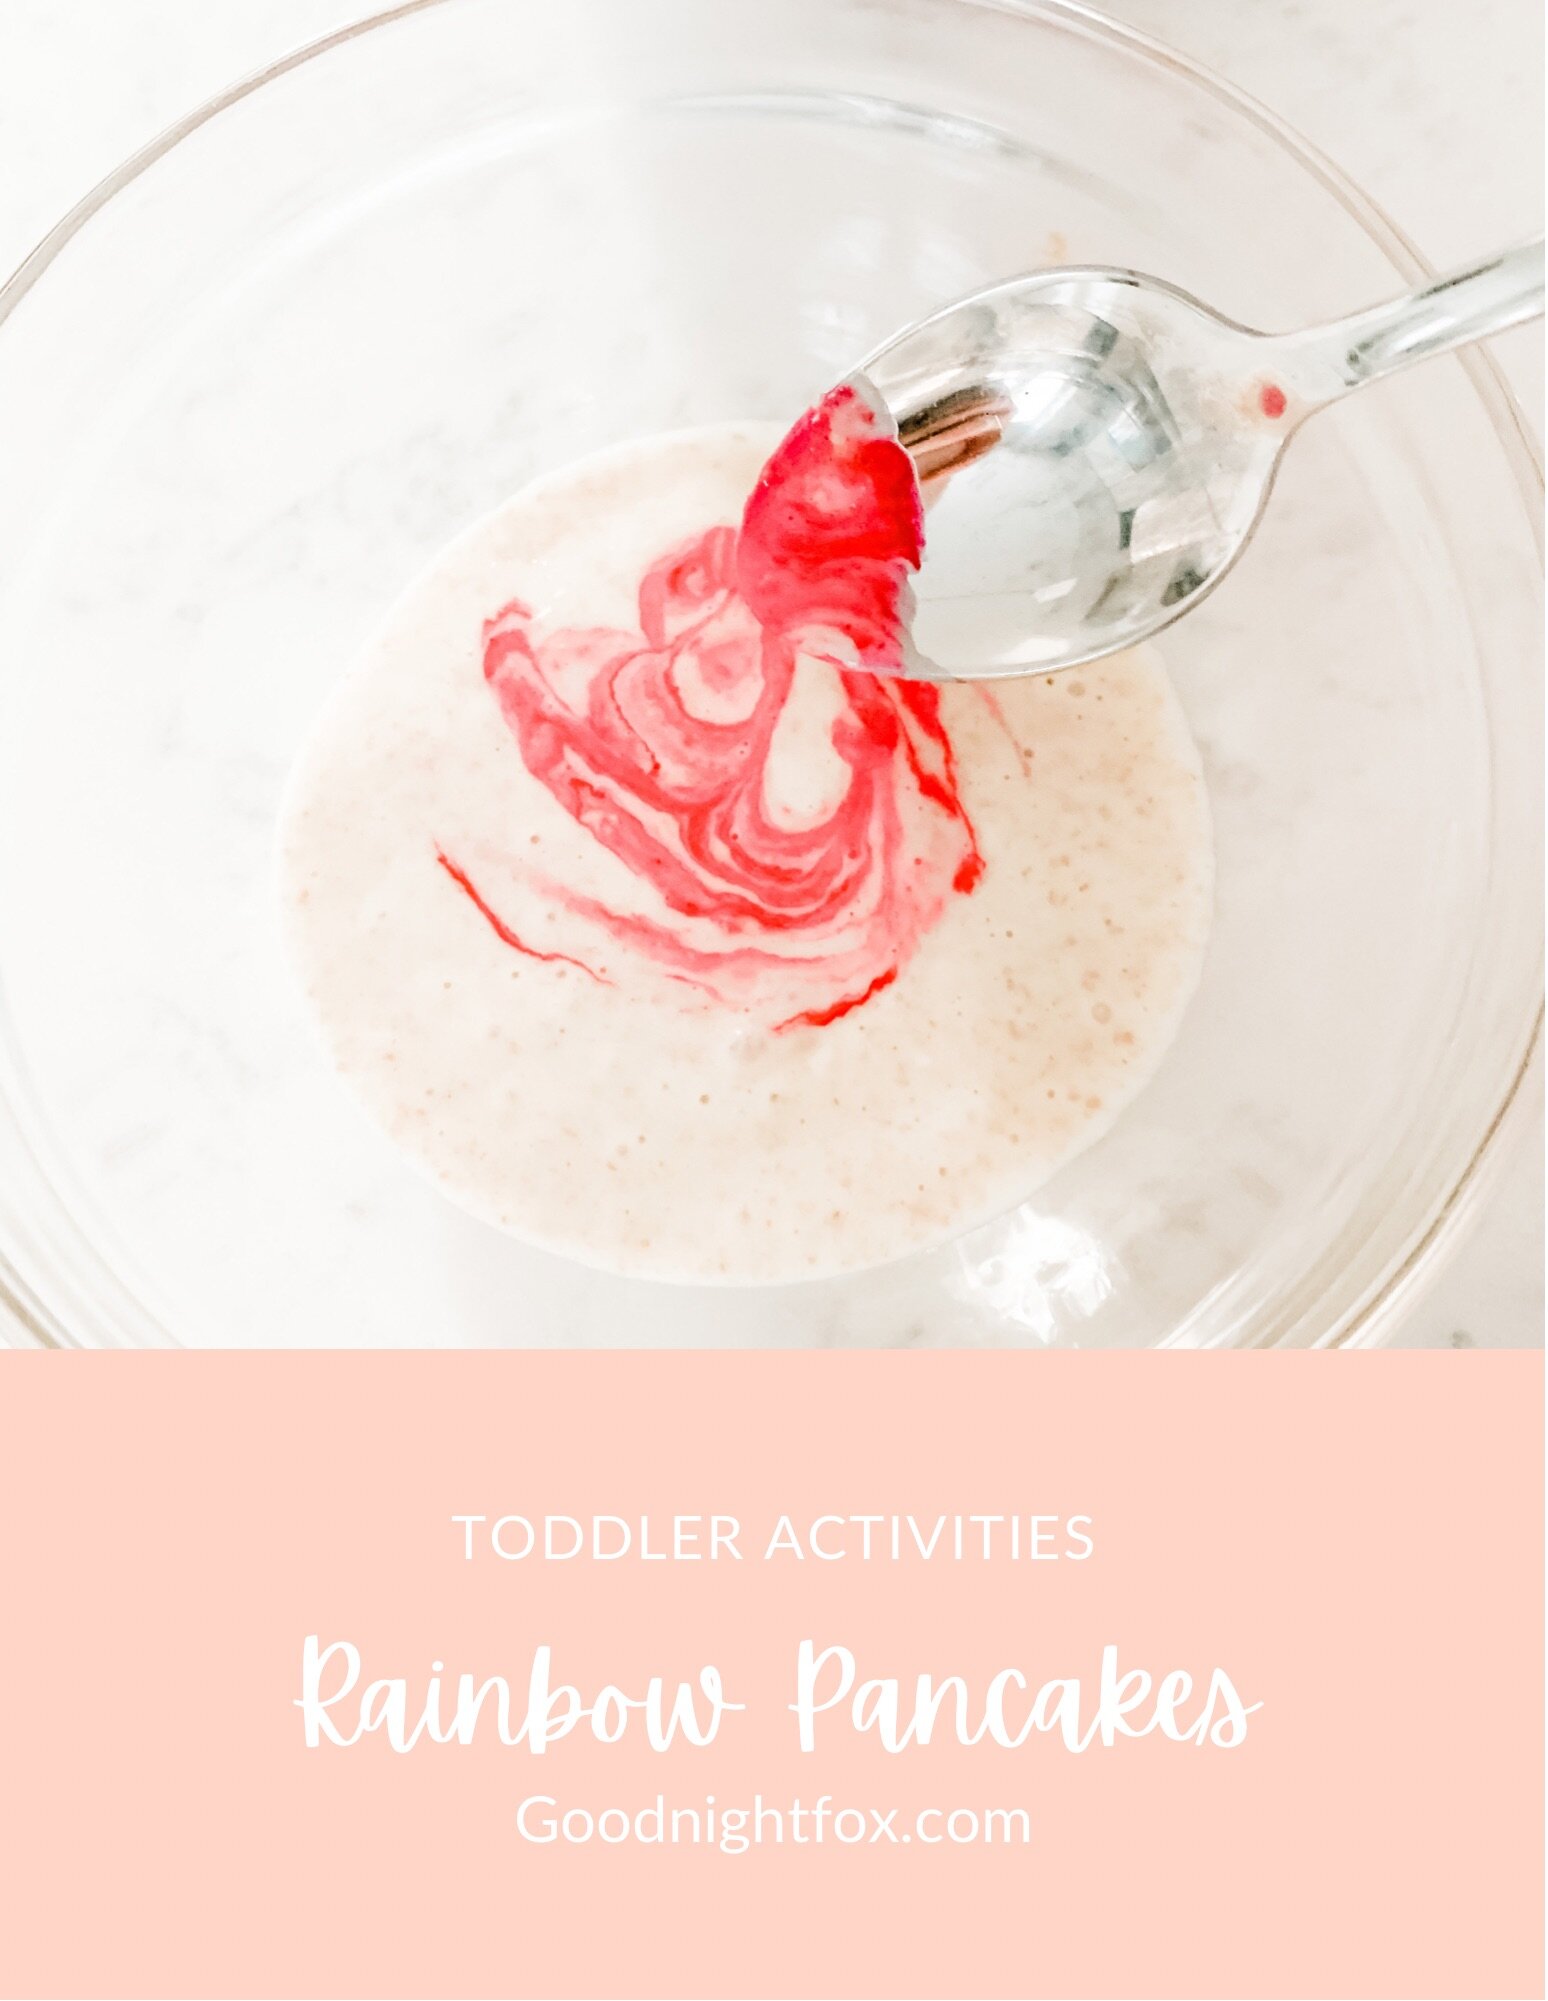
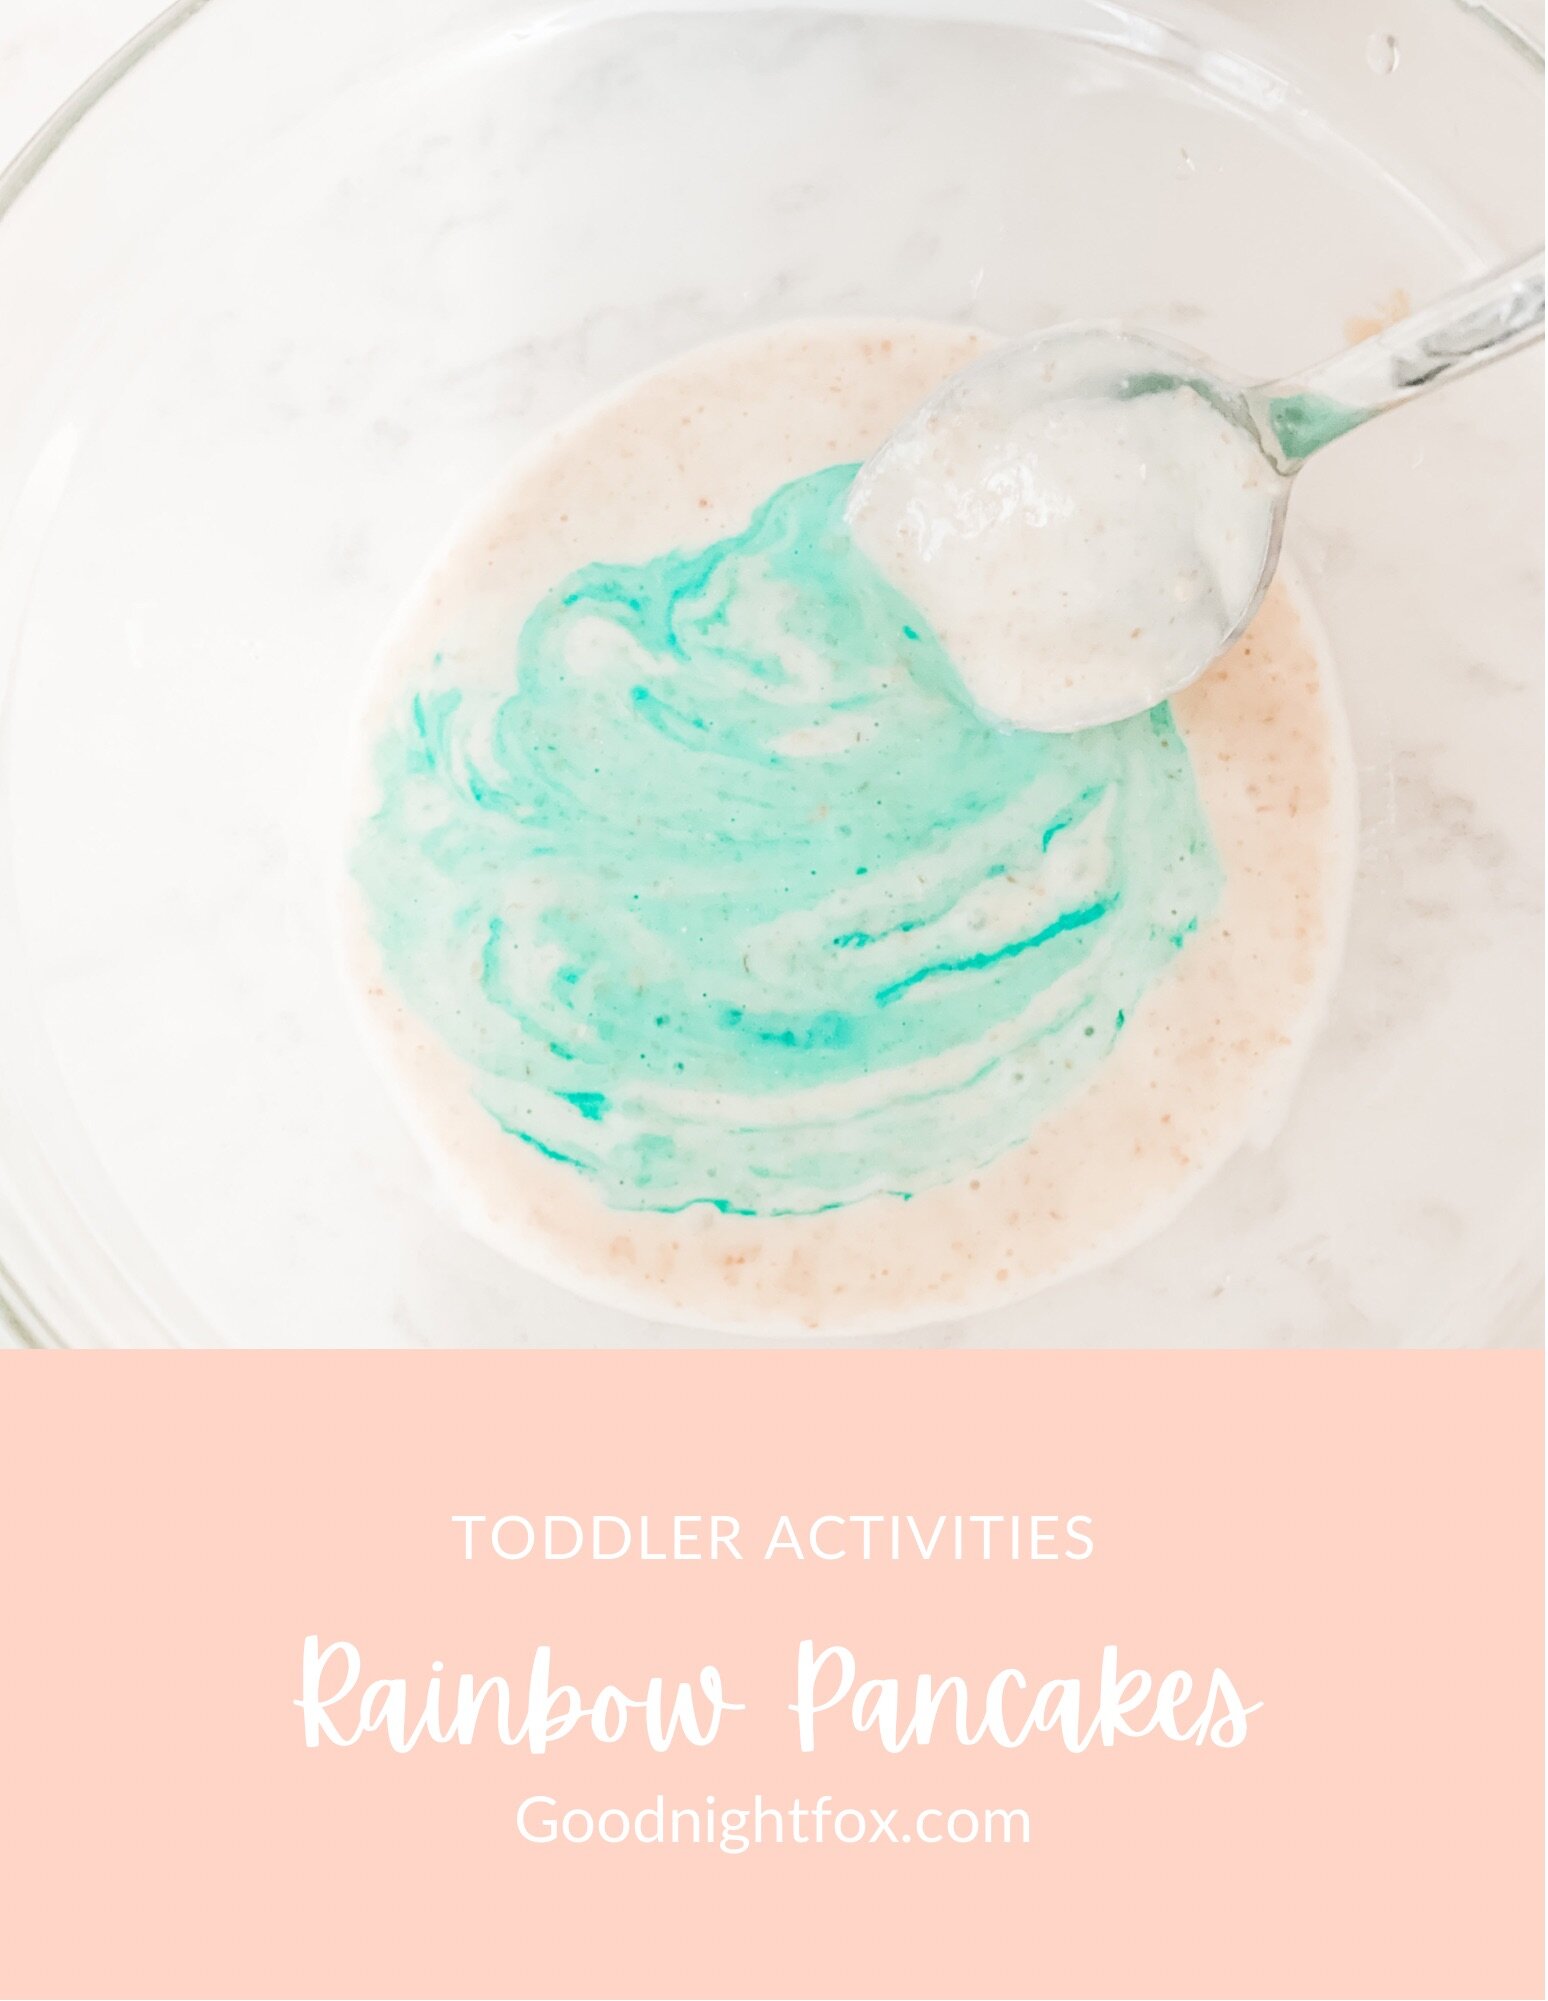
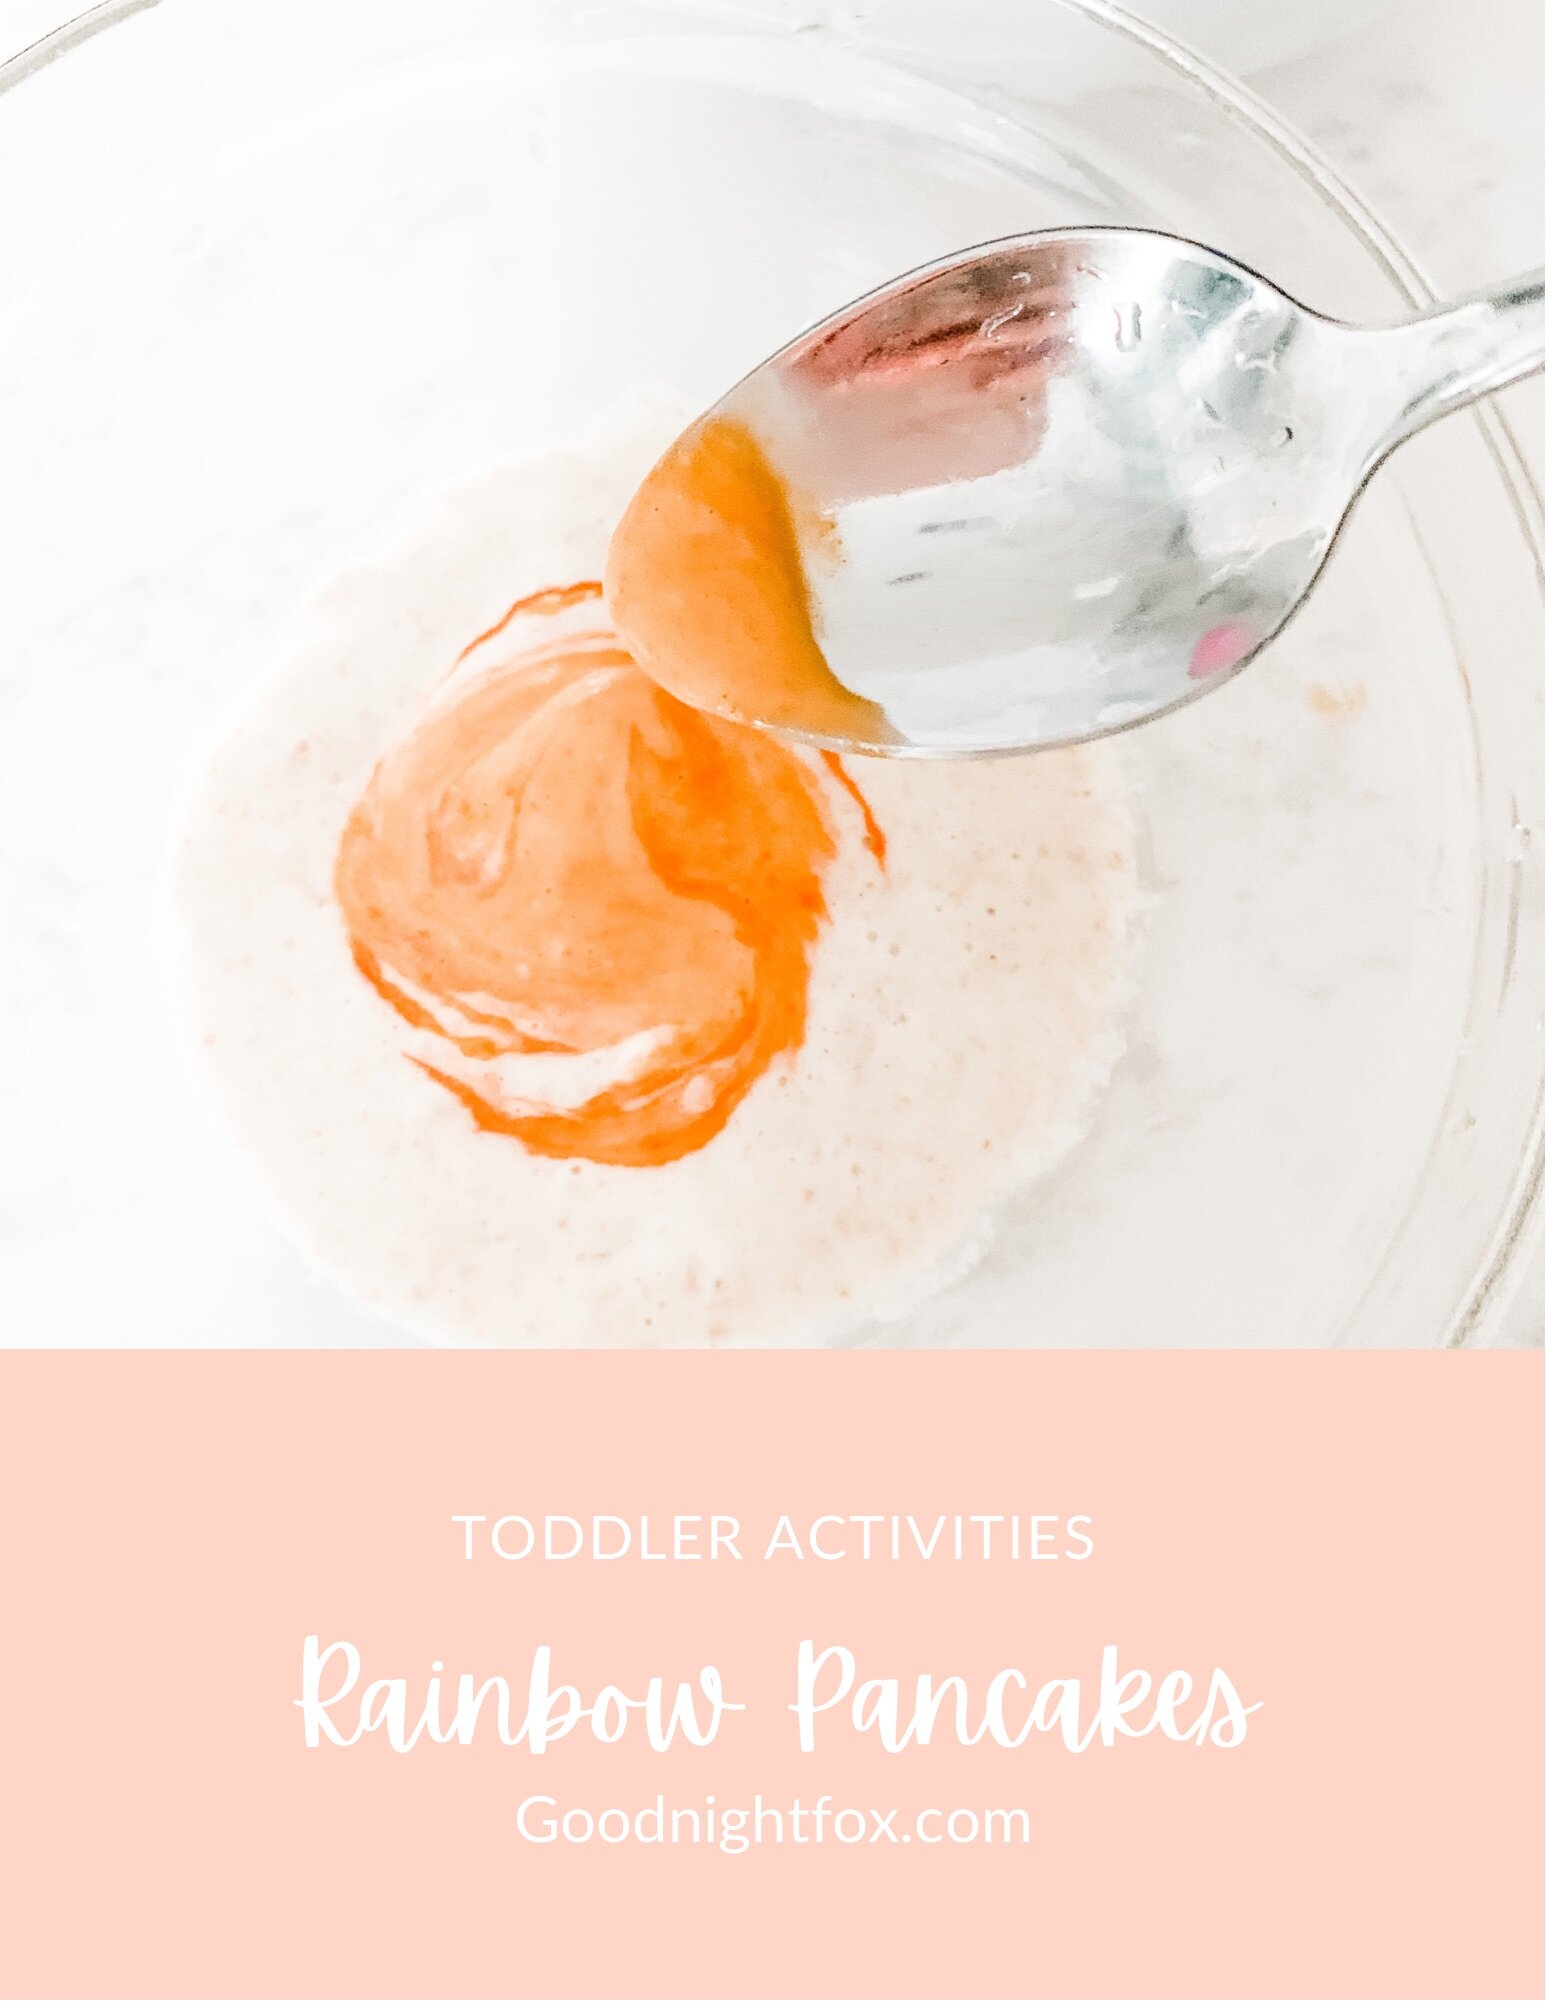
Step 2: Divide and color. Split the batter into a separate bowl or cup for each rainbow color. Add food coloring to each portion and stir until the colors are bright and even.

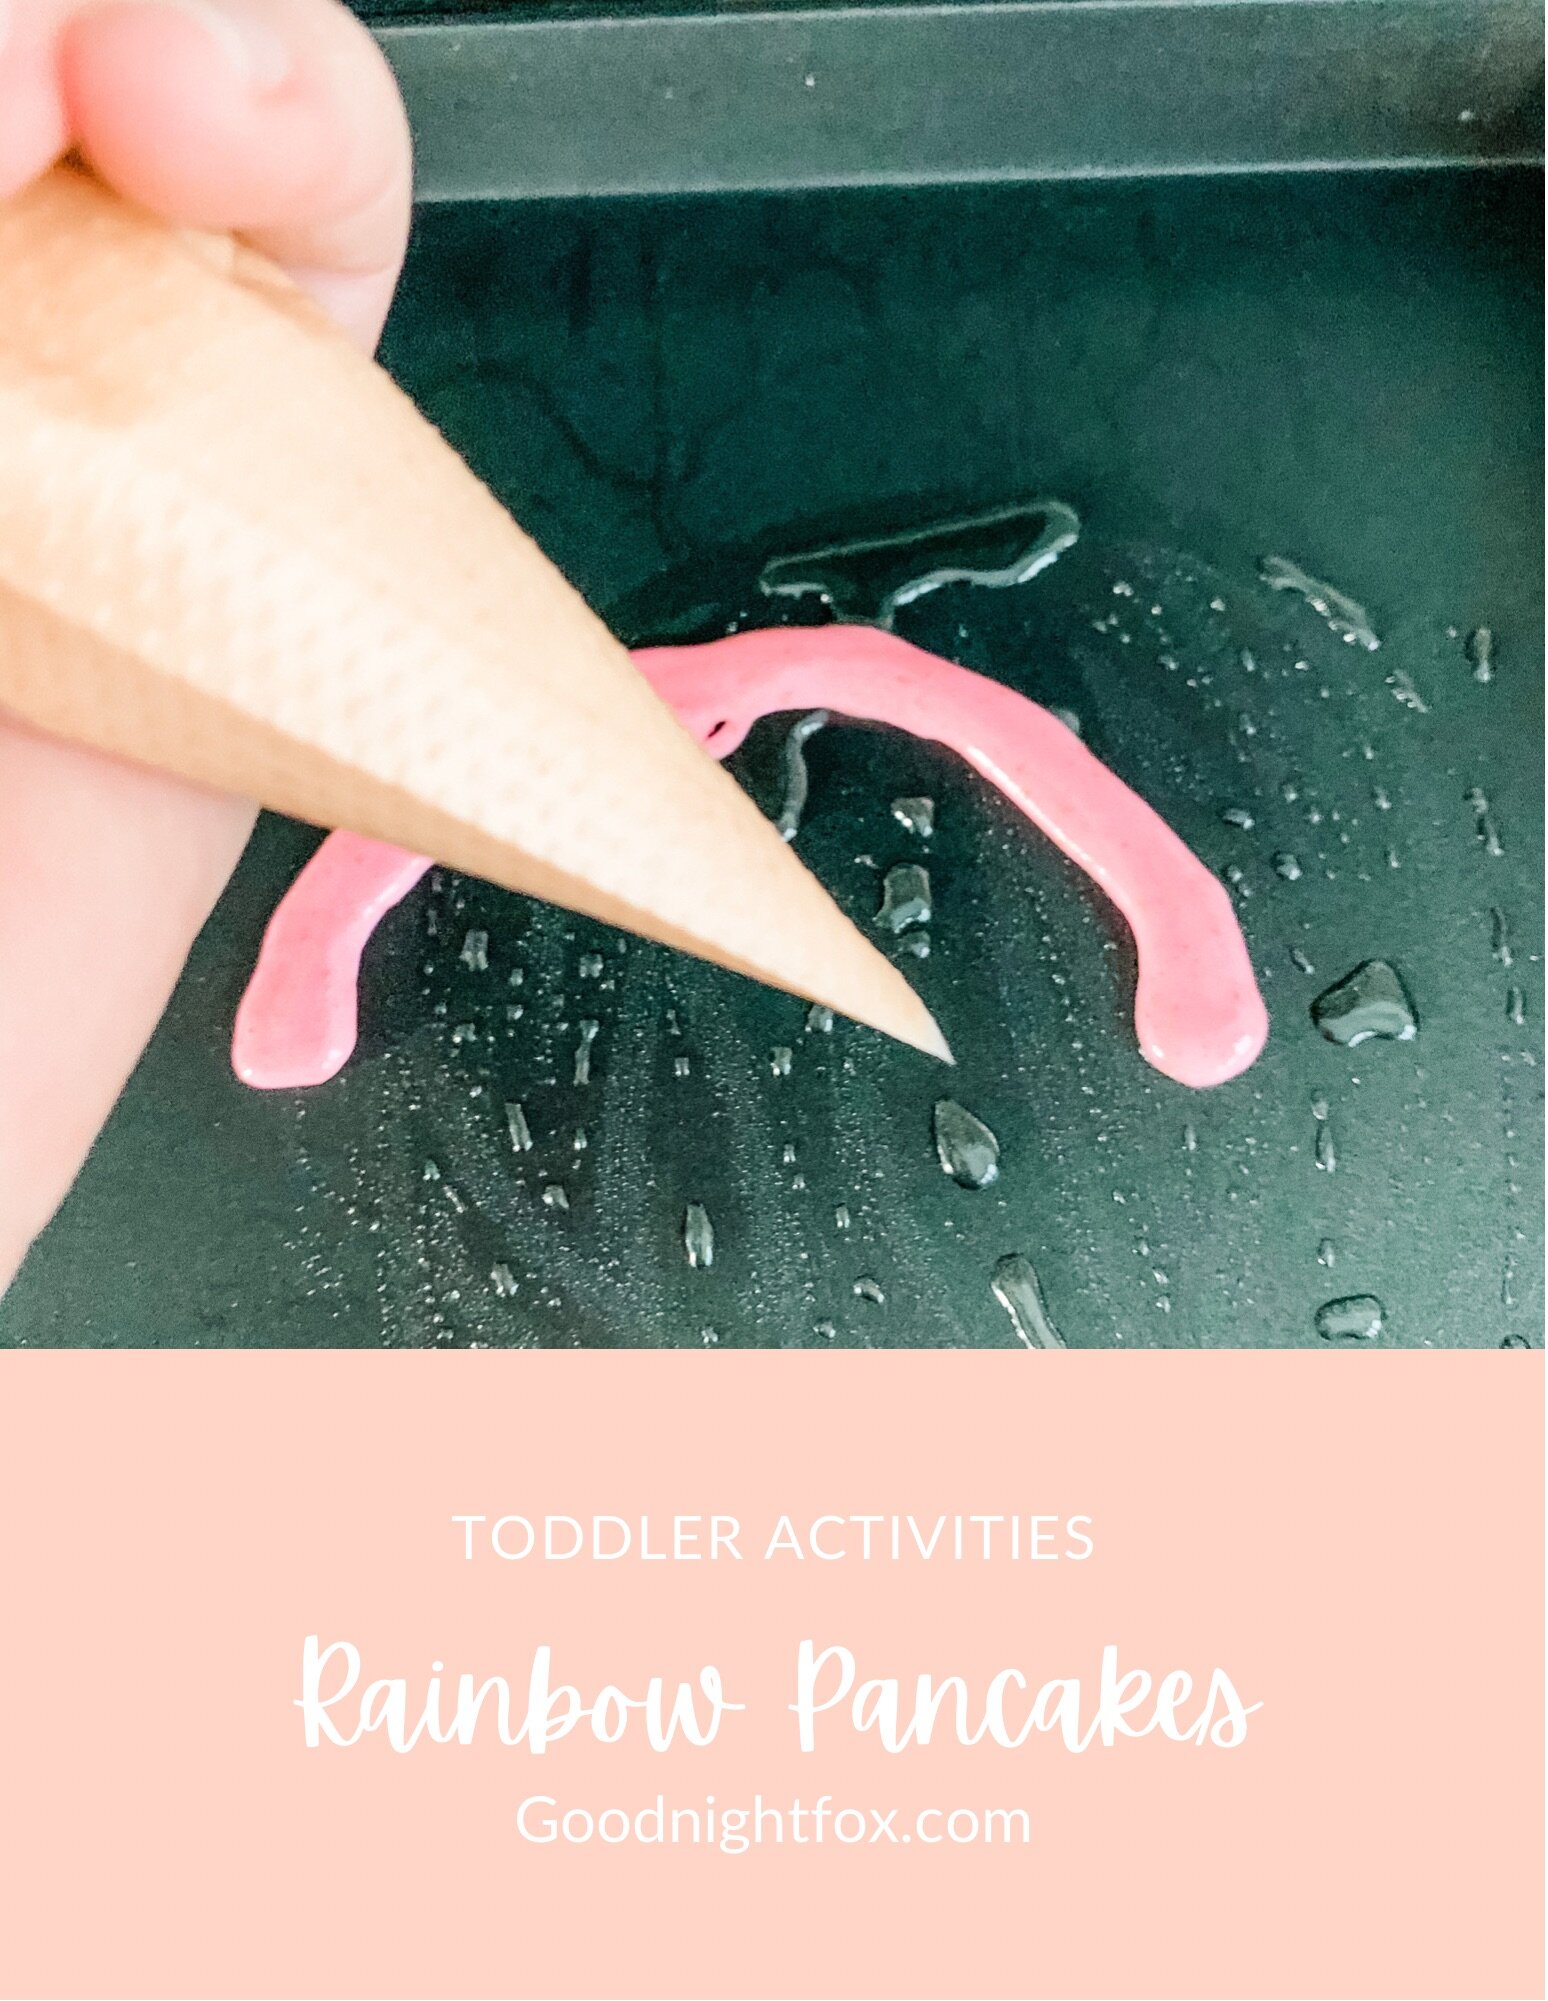
Step 3: Fill your piping bags. Pour each color into its own piping bag. Cut a small tip off each bag so you can draw thin, controlled lines of batter.

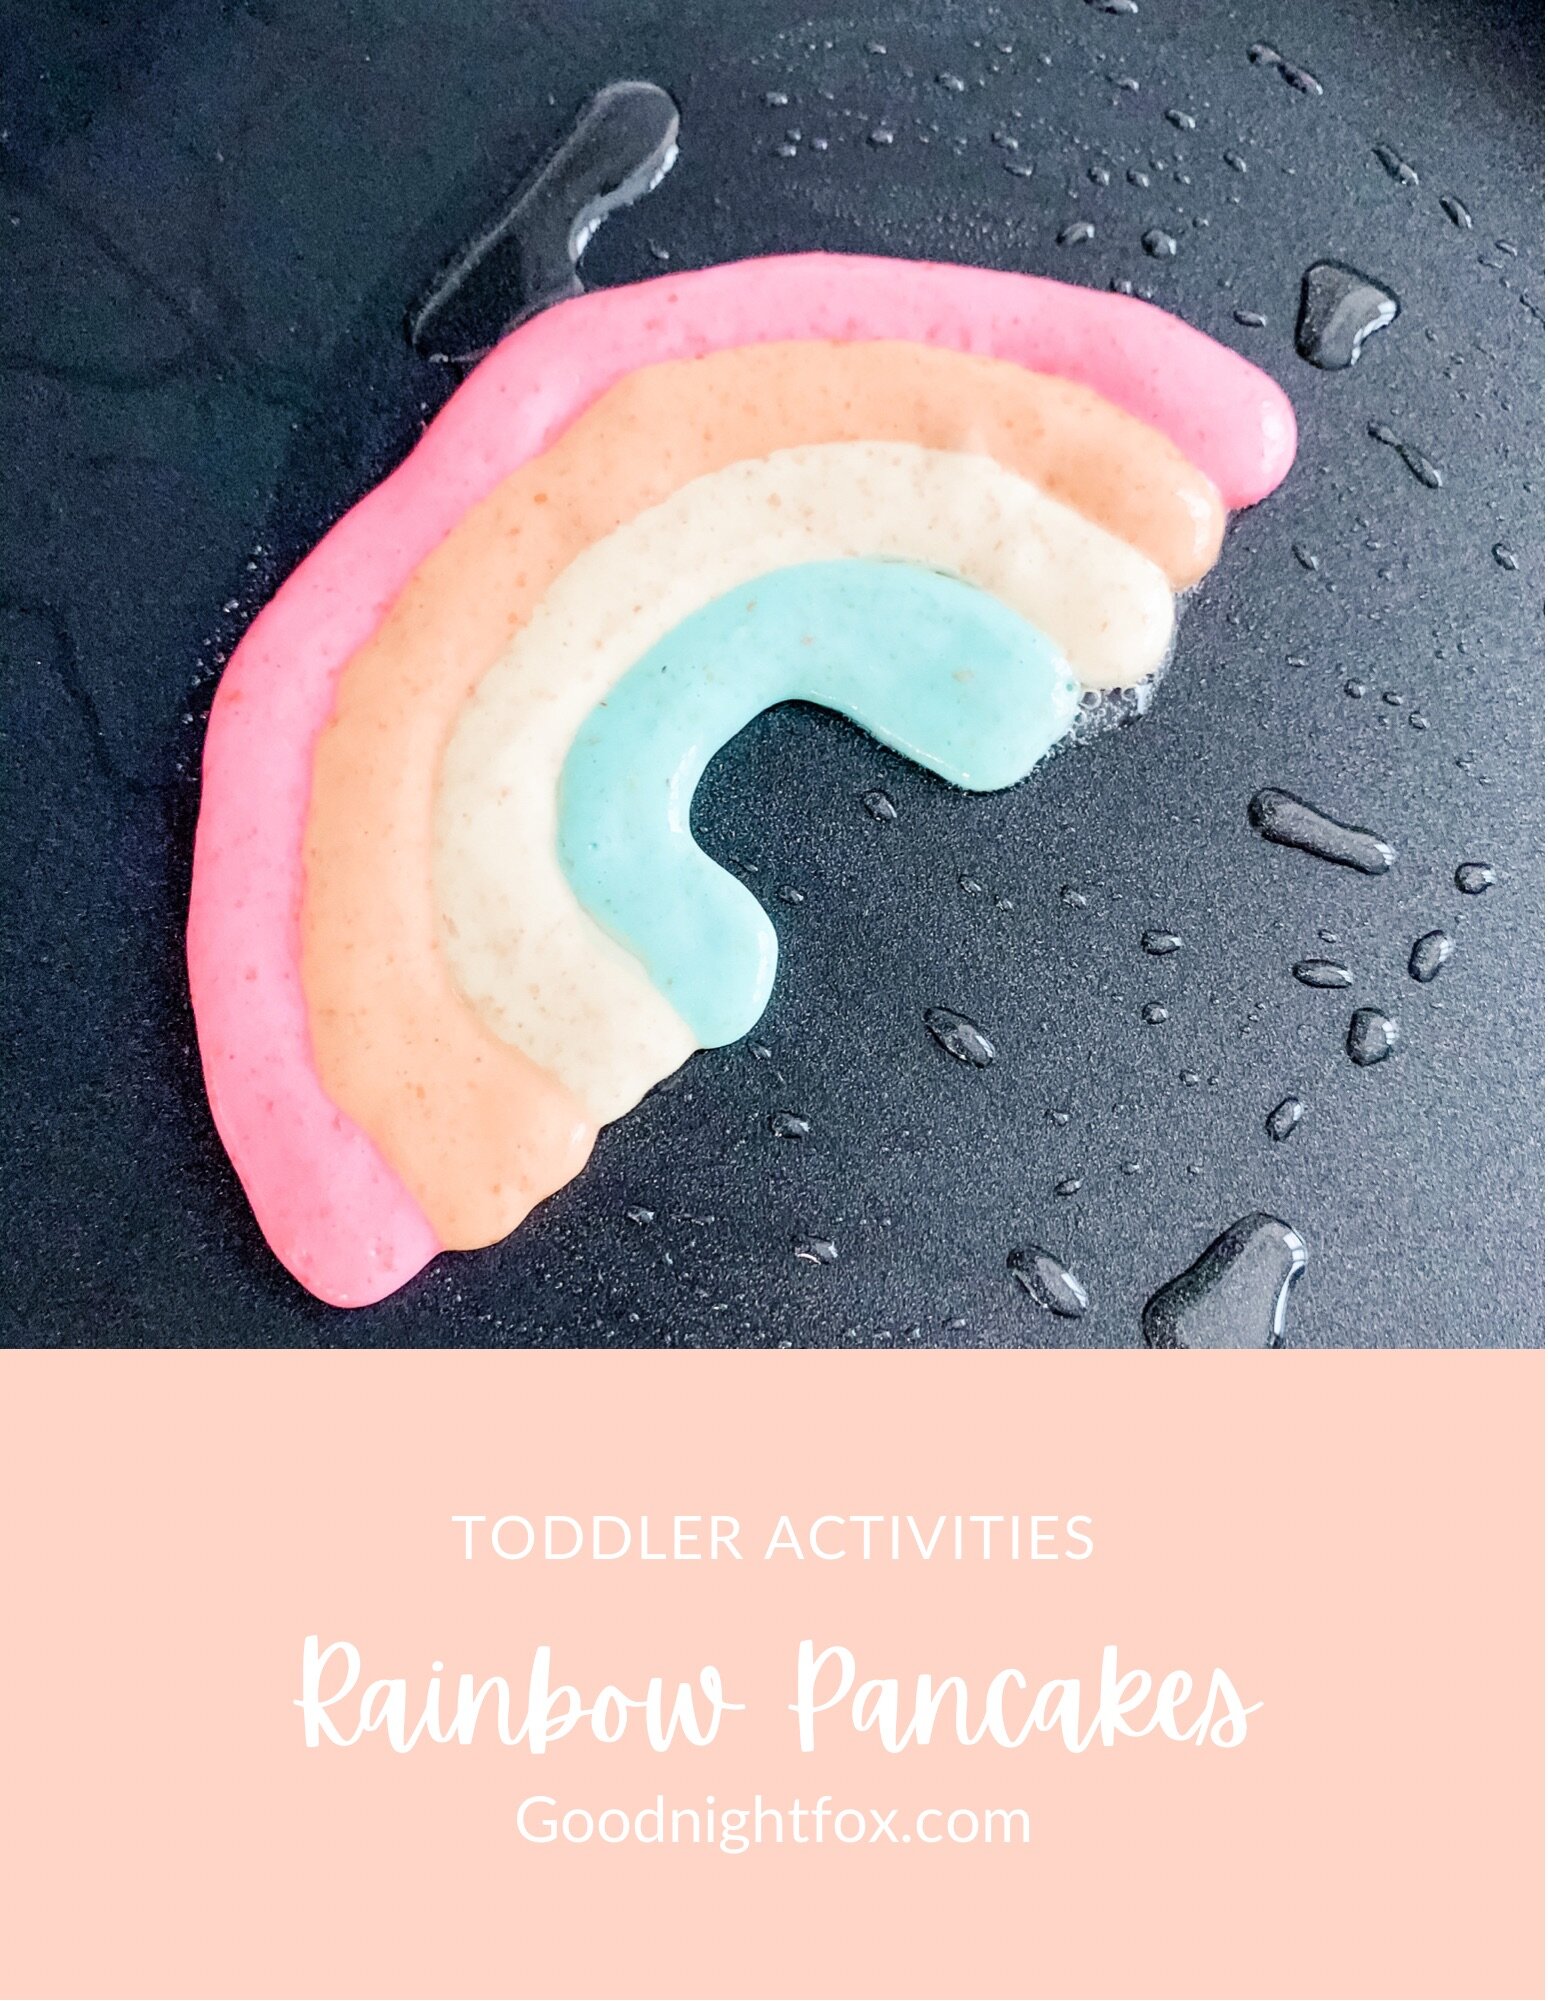
Step 4: Pipe your rainbow. On a hot griddle or skillet, pipe the colors in arcs — red on the outside, then each color inside the last — to form a rainbow. Finish with a dollop or small cloud shape at each end of the rainbow for the clouds.

Step 5: Cook and flip. Cook the pancakes until the surface is bubbly and the edges look set, then flip carefully and cook the other side until golden. Slide onto a plate and admire your work!

Step 6: Serve and enjoy. Serve the rainbow pancakes warm with your little one's favorite toppings. Then sit back and enjoy the smiles.

Tips

Keep the piping tip small. Thin lines give you the prettiest, most defined rainbow. You can always cut the tip bigger if the batter isn't flowing.

Work from the outside in. Starting with the largest arc and working inward keeps the rainbow shape tidy.

A warm (not screaming-hot) griddle is your friend. Too hot and the colors darken before you finish piping; medium heat gives you time to get the whole rainbow drawn.

Clouds make it. The little white clouds at the ends of the rainbow are what take this from "colored pancakes" to absolutely adorable. Don't skip them!

Let your toddler join in. Little ones can help stir the colors into the batter, name each color as you pipe it, and of course taste-test the clouds. It's a sneaky bit of color learning tucked into breakfast.

Thirty minutes, one bag of pancake mix, and a rainbow on a plate — breakfast doesn't get much more delightful than that. If you loved this, you might also enjoy our rainbow waffles activity for another colorful morning: https://www.goodnightfox.com/blog/2021/3/28/rainbow-waffles — and find even more rainbow ideas in my rainbow sensory activities roundup: https://www.goodnightfox.com/blog/rainbow

A459D7F8-5CE5-4A01-B65C-5C293CCB2B4C.jpeg

Sight Words For Breakfast

This morning we used breakfast as an opportunity to practice our sight words! I thought these would be really hard for Sofie to get, but surprisingly, she could repeat every single word! It was so fun to hold them up and have her say each word out loud. I paired it with a special eggs and heart shaped toast for breakfast. I love doing creative little ways to make breakfast a special time since we really get to bond over breakfast.

Lately Sofie has been more interested in whatever I’m eating than what I’ve made for her. But I guess that comes with the toddler mom territory. She really liked the toast today though and that kept her busy while I was making my own breakfast. Because the toast and her sight words flashcards, she was all set to for a whine-free meal!

B2087991-08FC-4C86-8F59-AD17DE987F41.png

Looking for more sight words exercises?

Check out GoodnightFox for some awesome sight words flashcards! Get your toddler started on the right foot with these sentence / sight words combination cards.