• Our Story
  • Blog
    • By Age Group
    • By Season
    • By Fillers/Materials
    • Getting Started
    • Taste Safe
  • Shop
  • Free Downloads
Menu

Goodnight Fox

Street Address
City, State, Zip
Phone Number
Dramatic & Sensory Play for Early Learners

Your Custom Text Here

Goodnight Fox

  • Our Story
  • Blog
  • Learn & Play
    • By Age Group
    • By Season
    • By Fillers/Materials
    • Getting Started
    • Taste Safe
  • Shop
  • Free Downloads

Rainbow Spaghetti

February 23, 2022 Kylie Tuosto

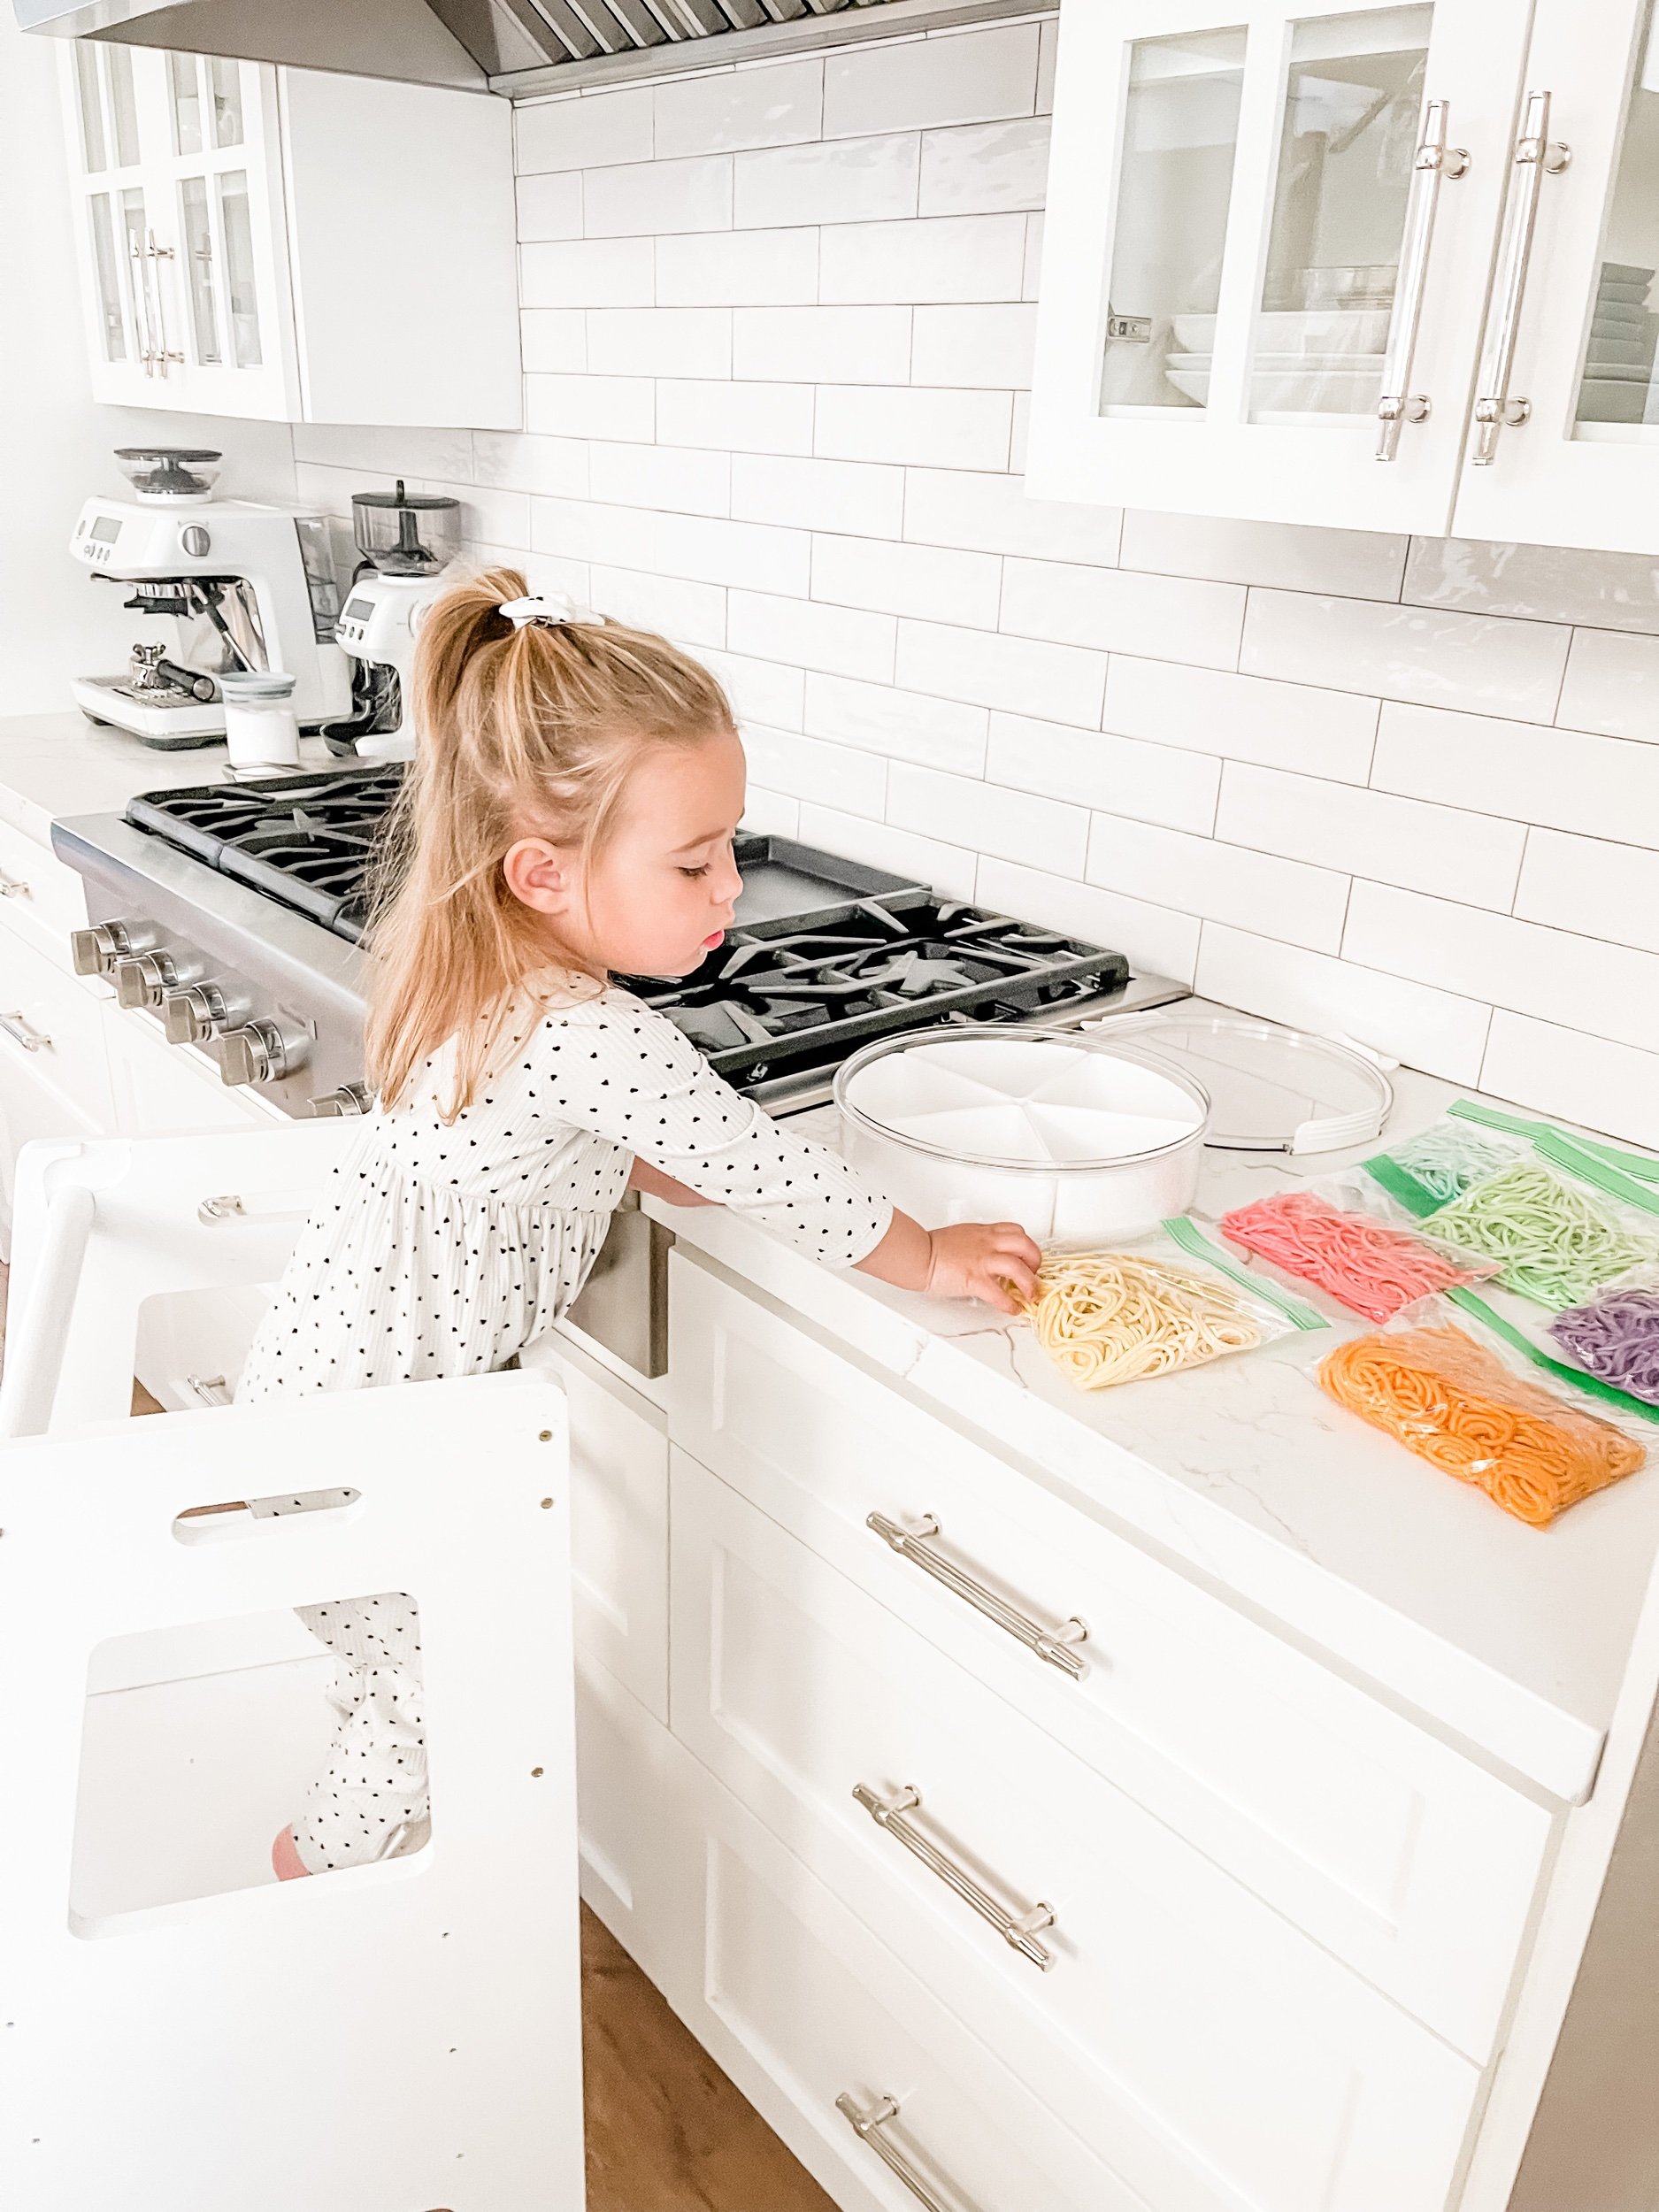
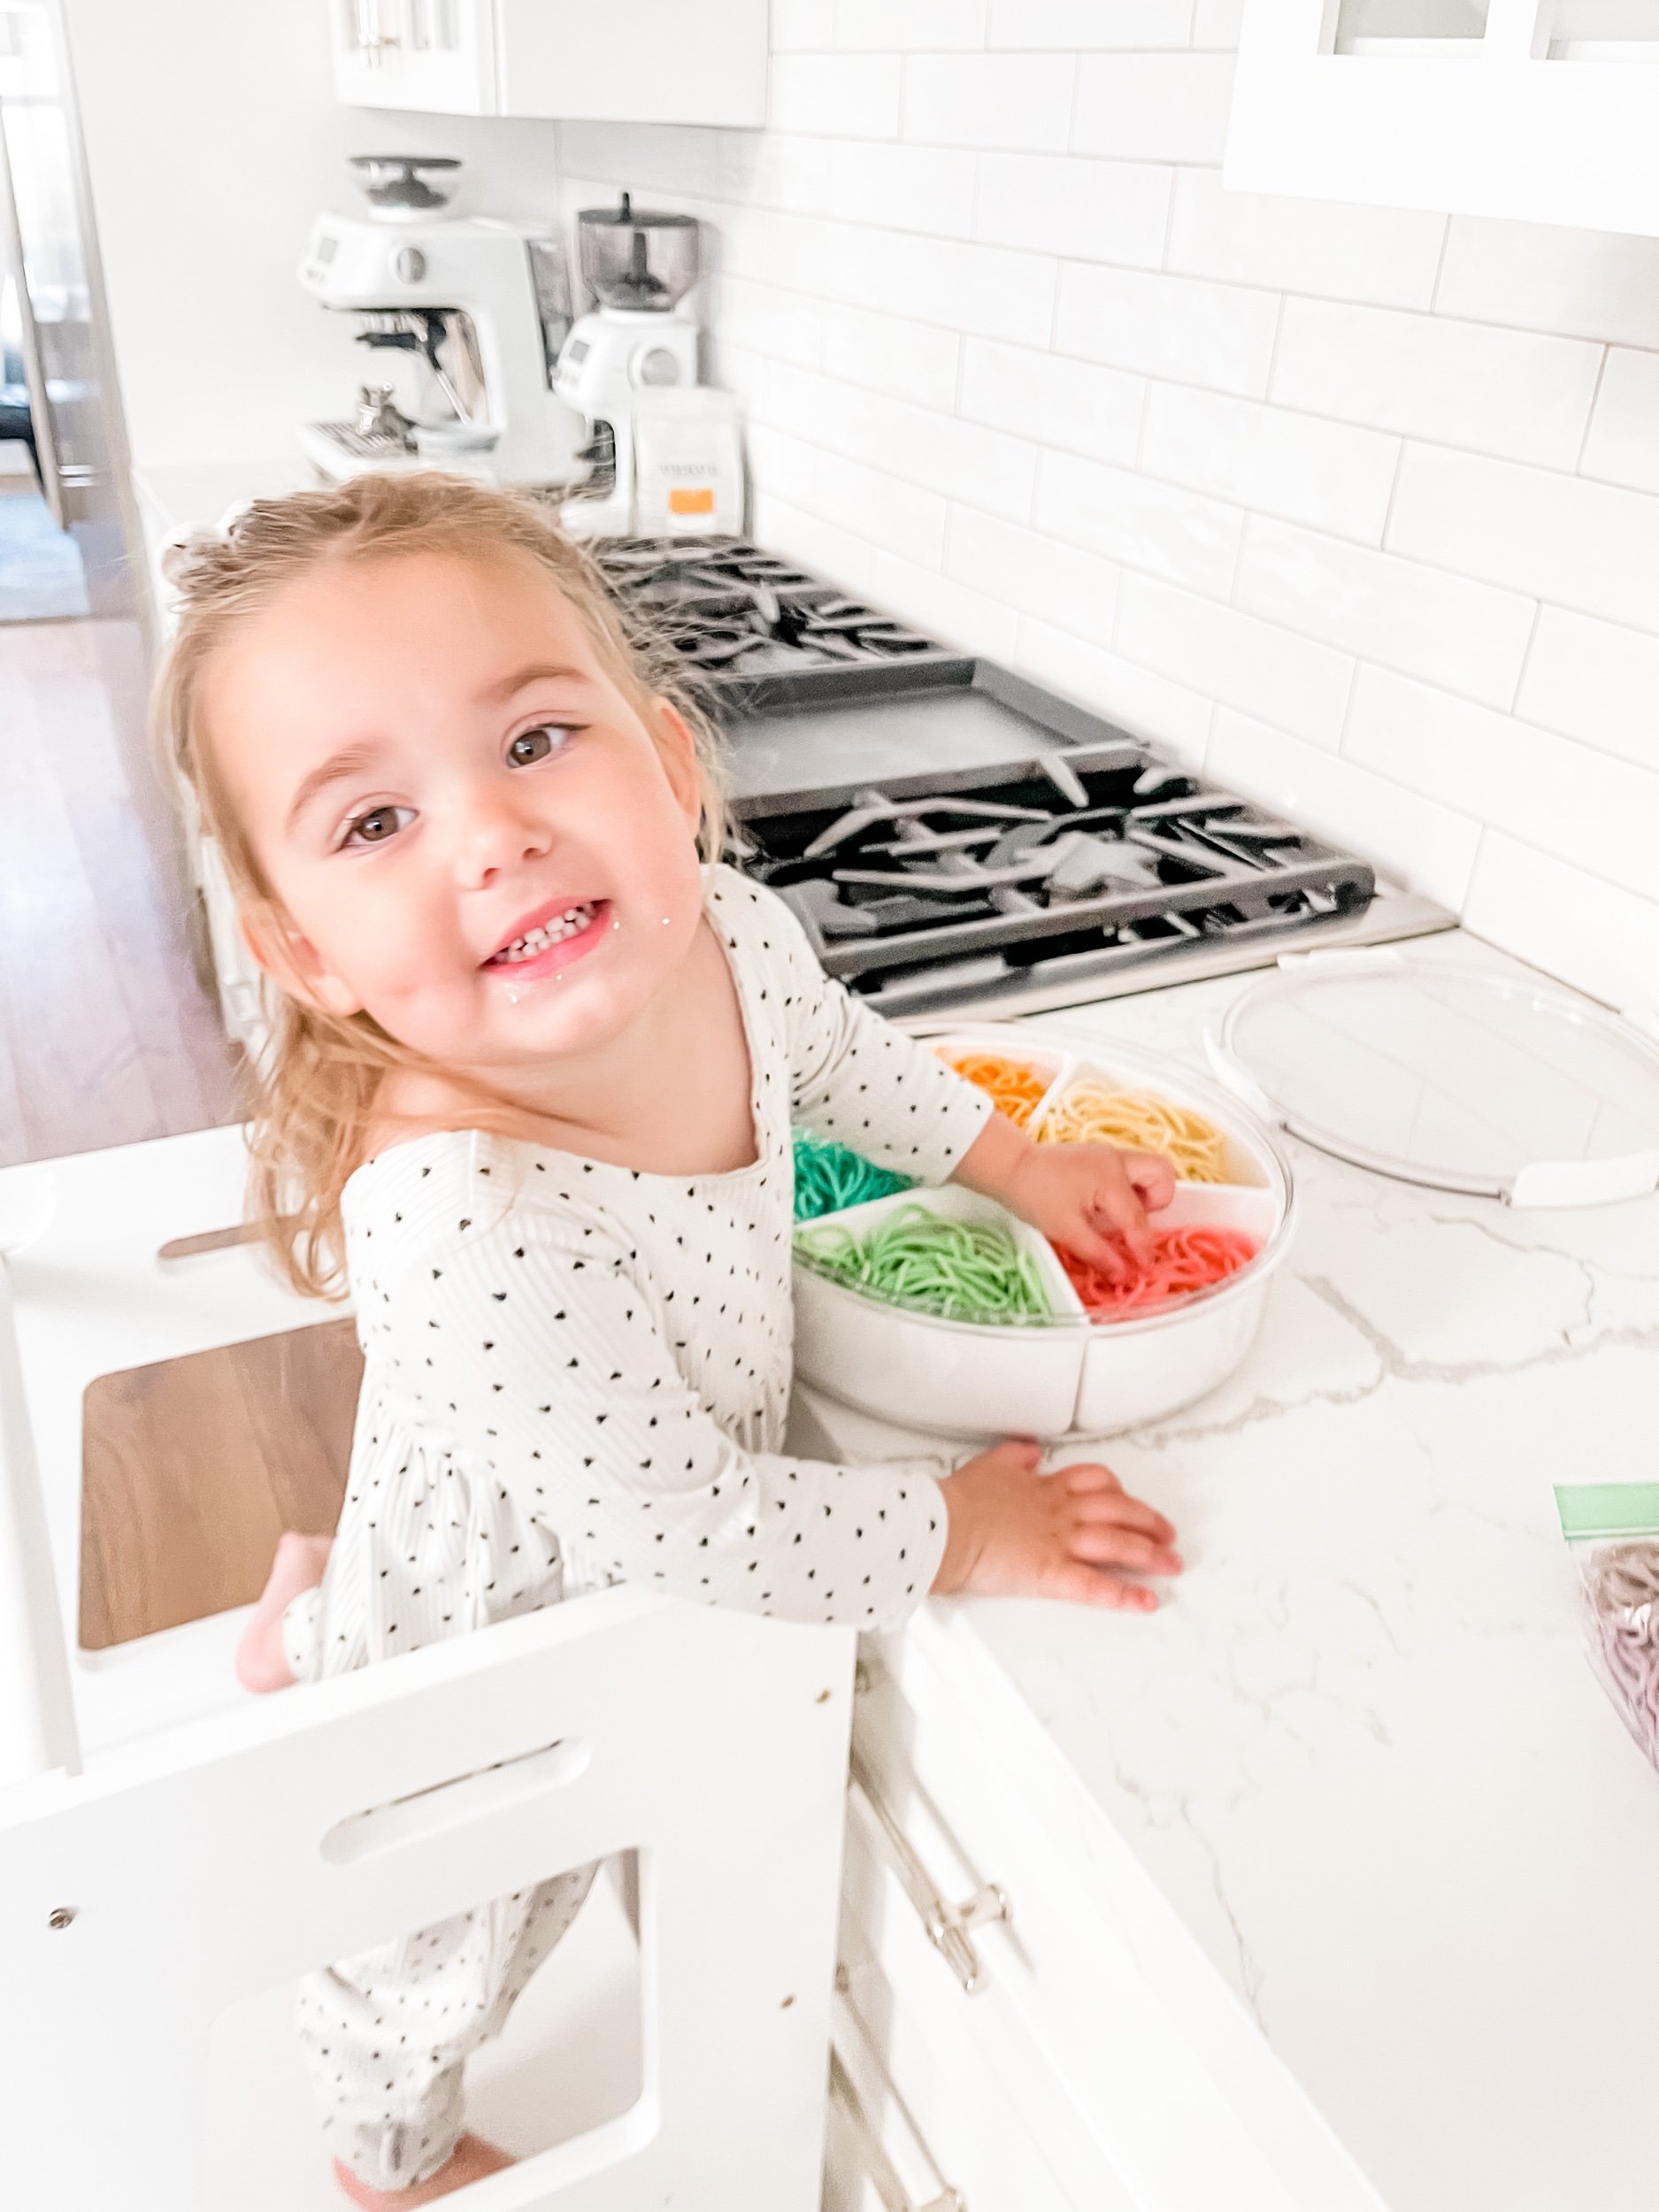
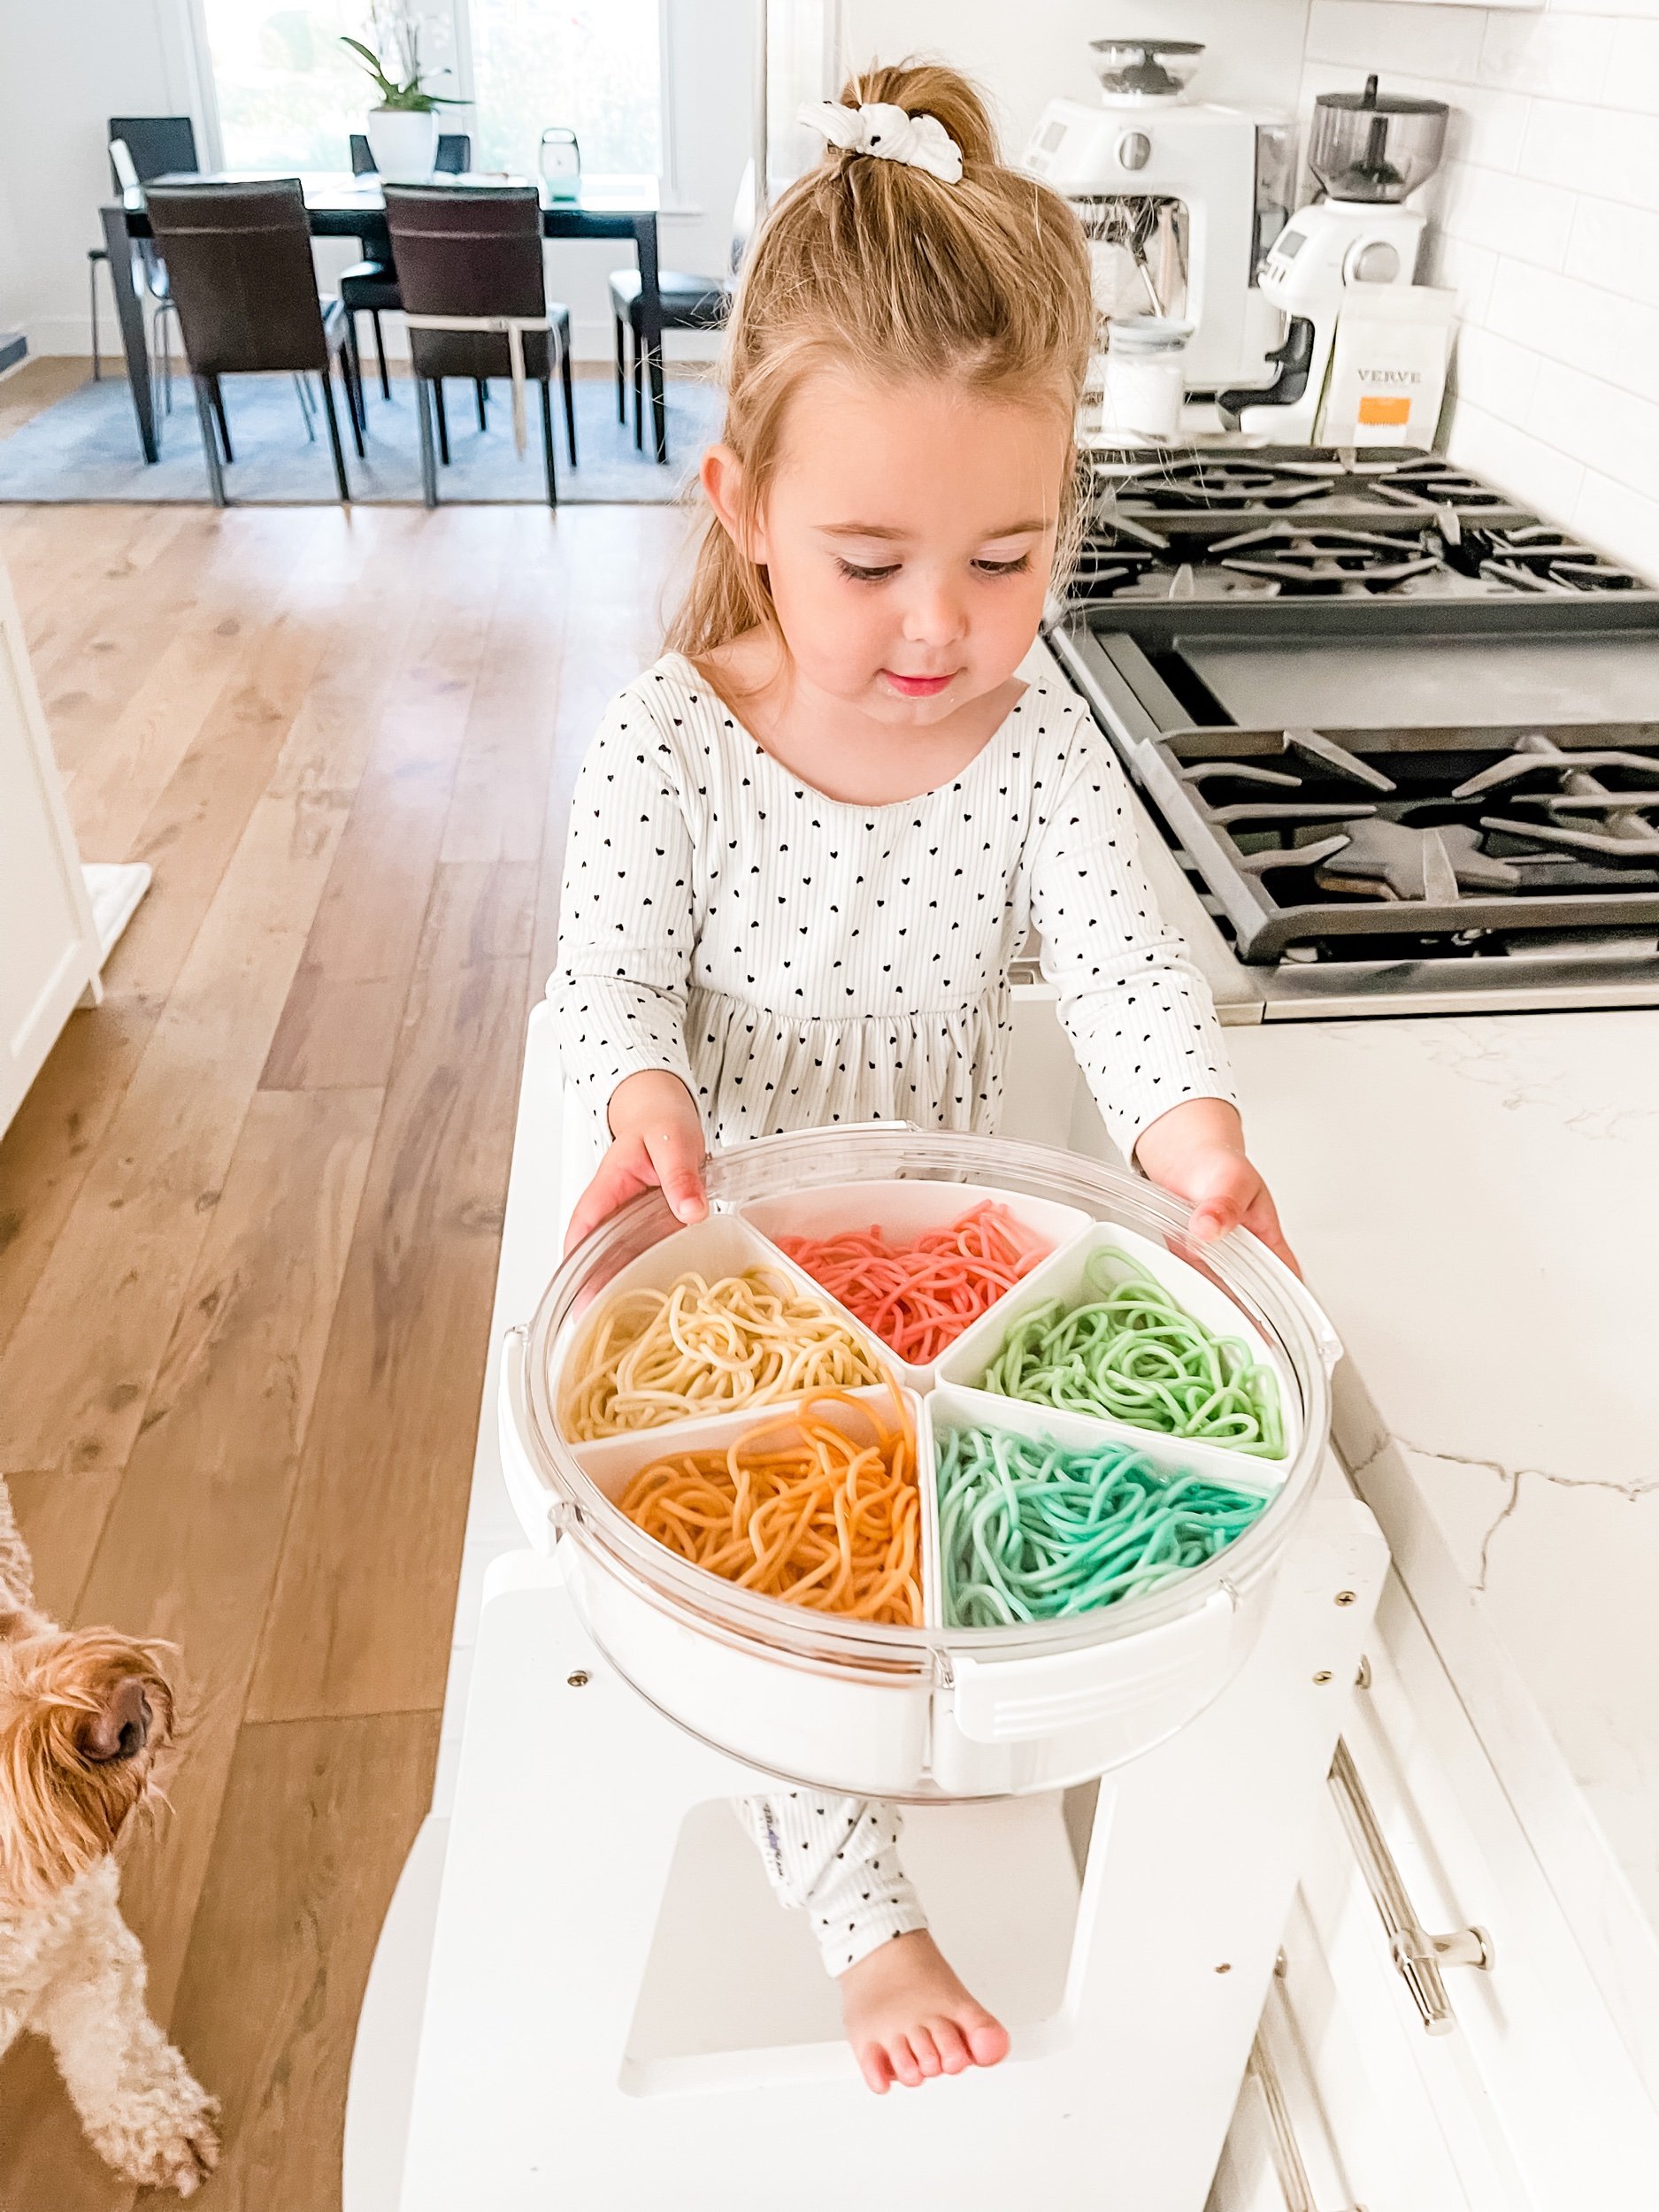
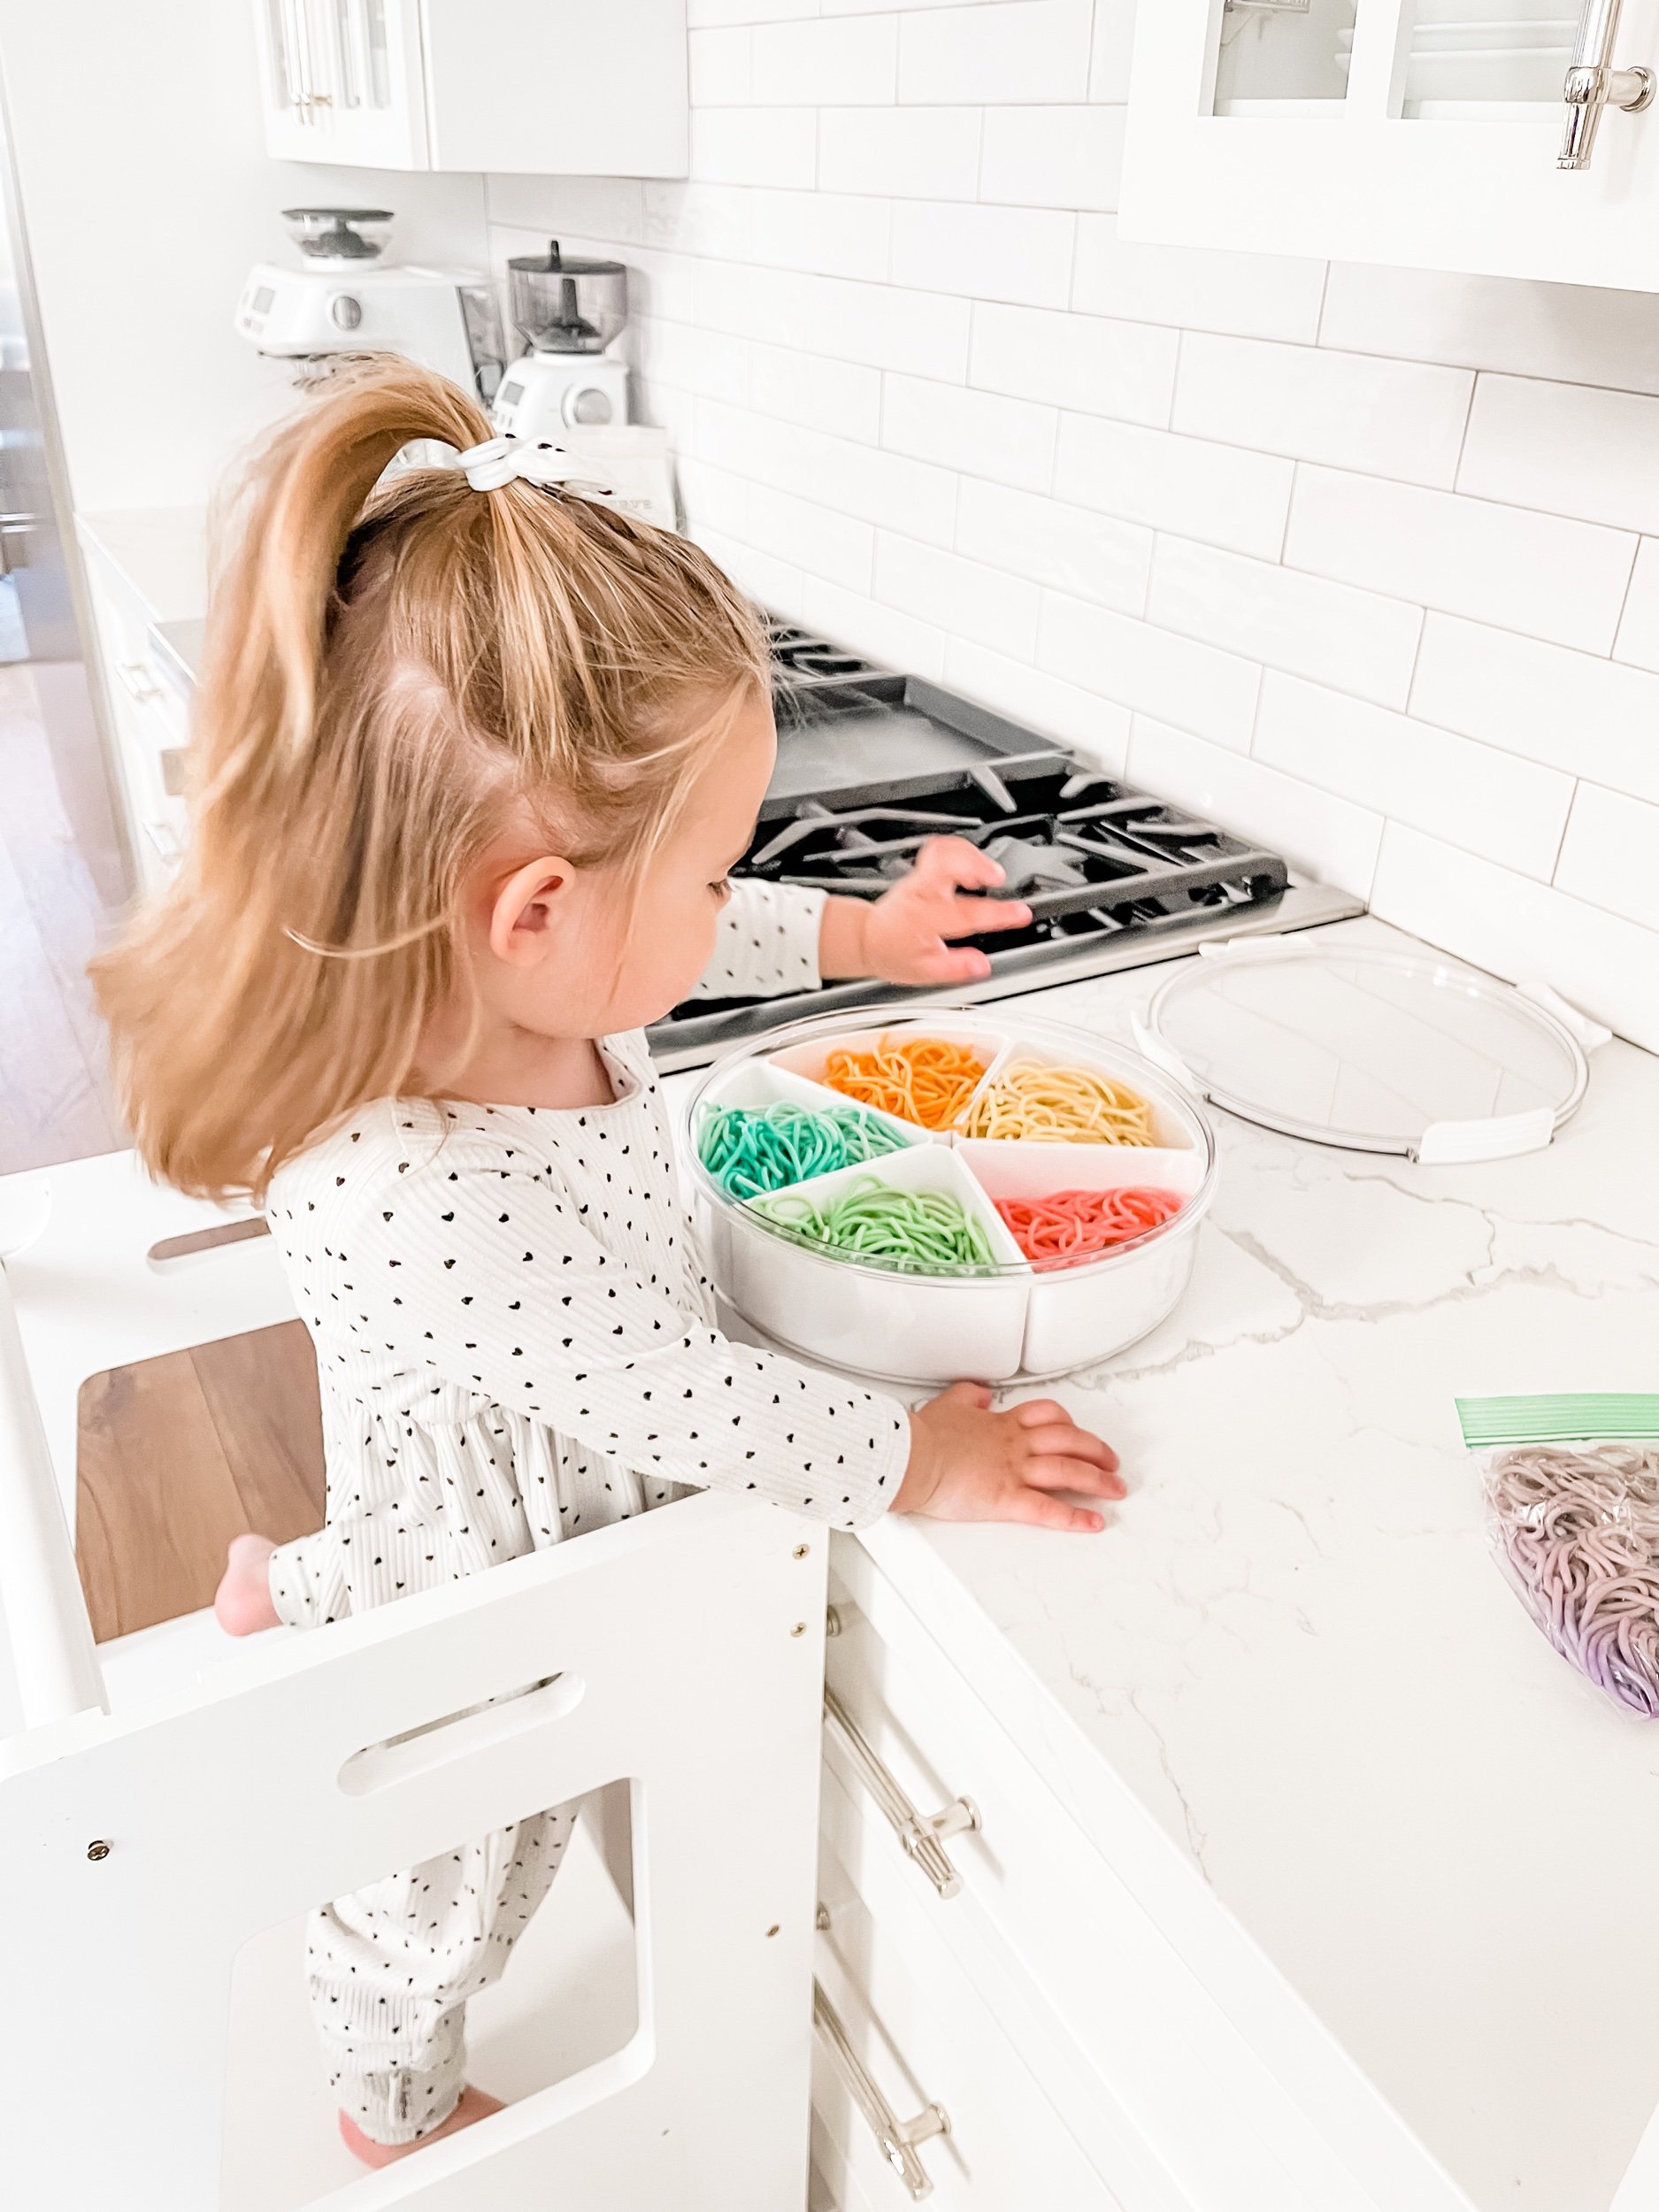
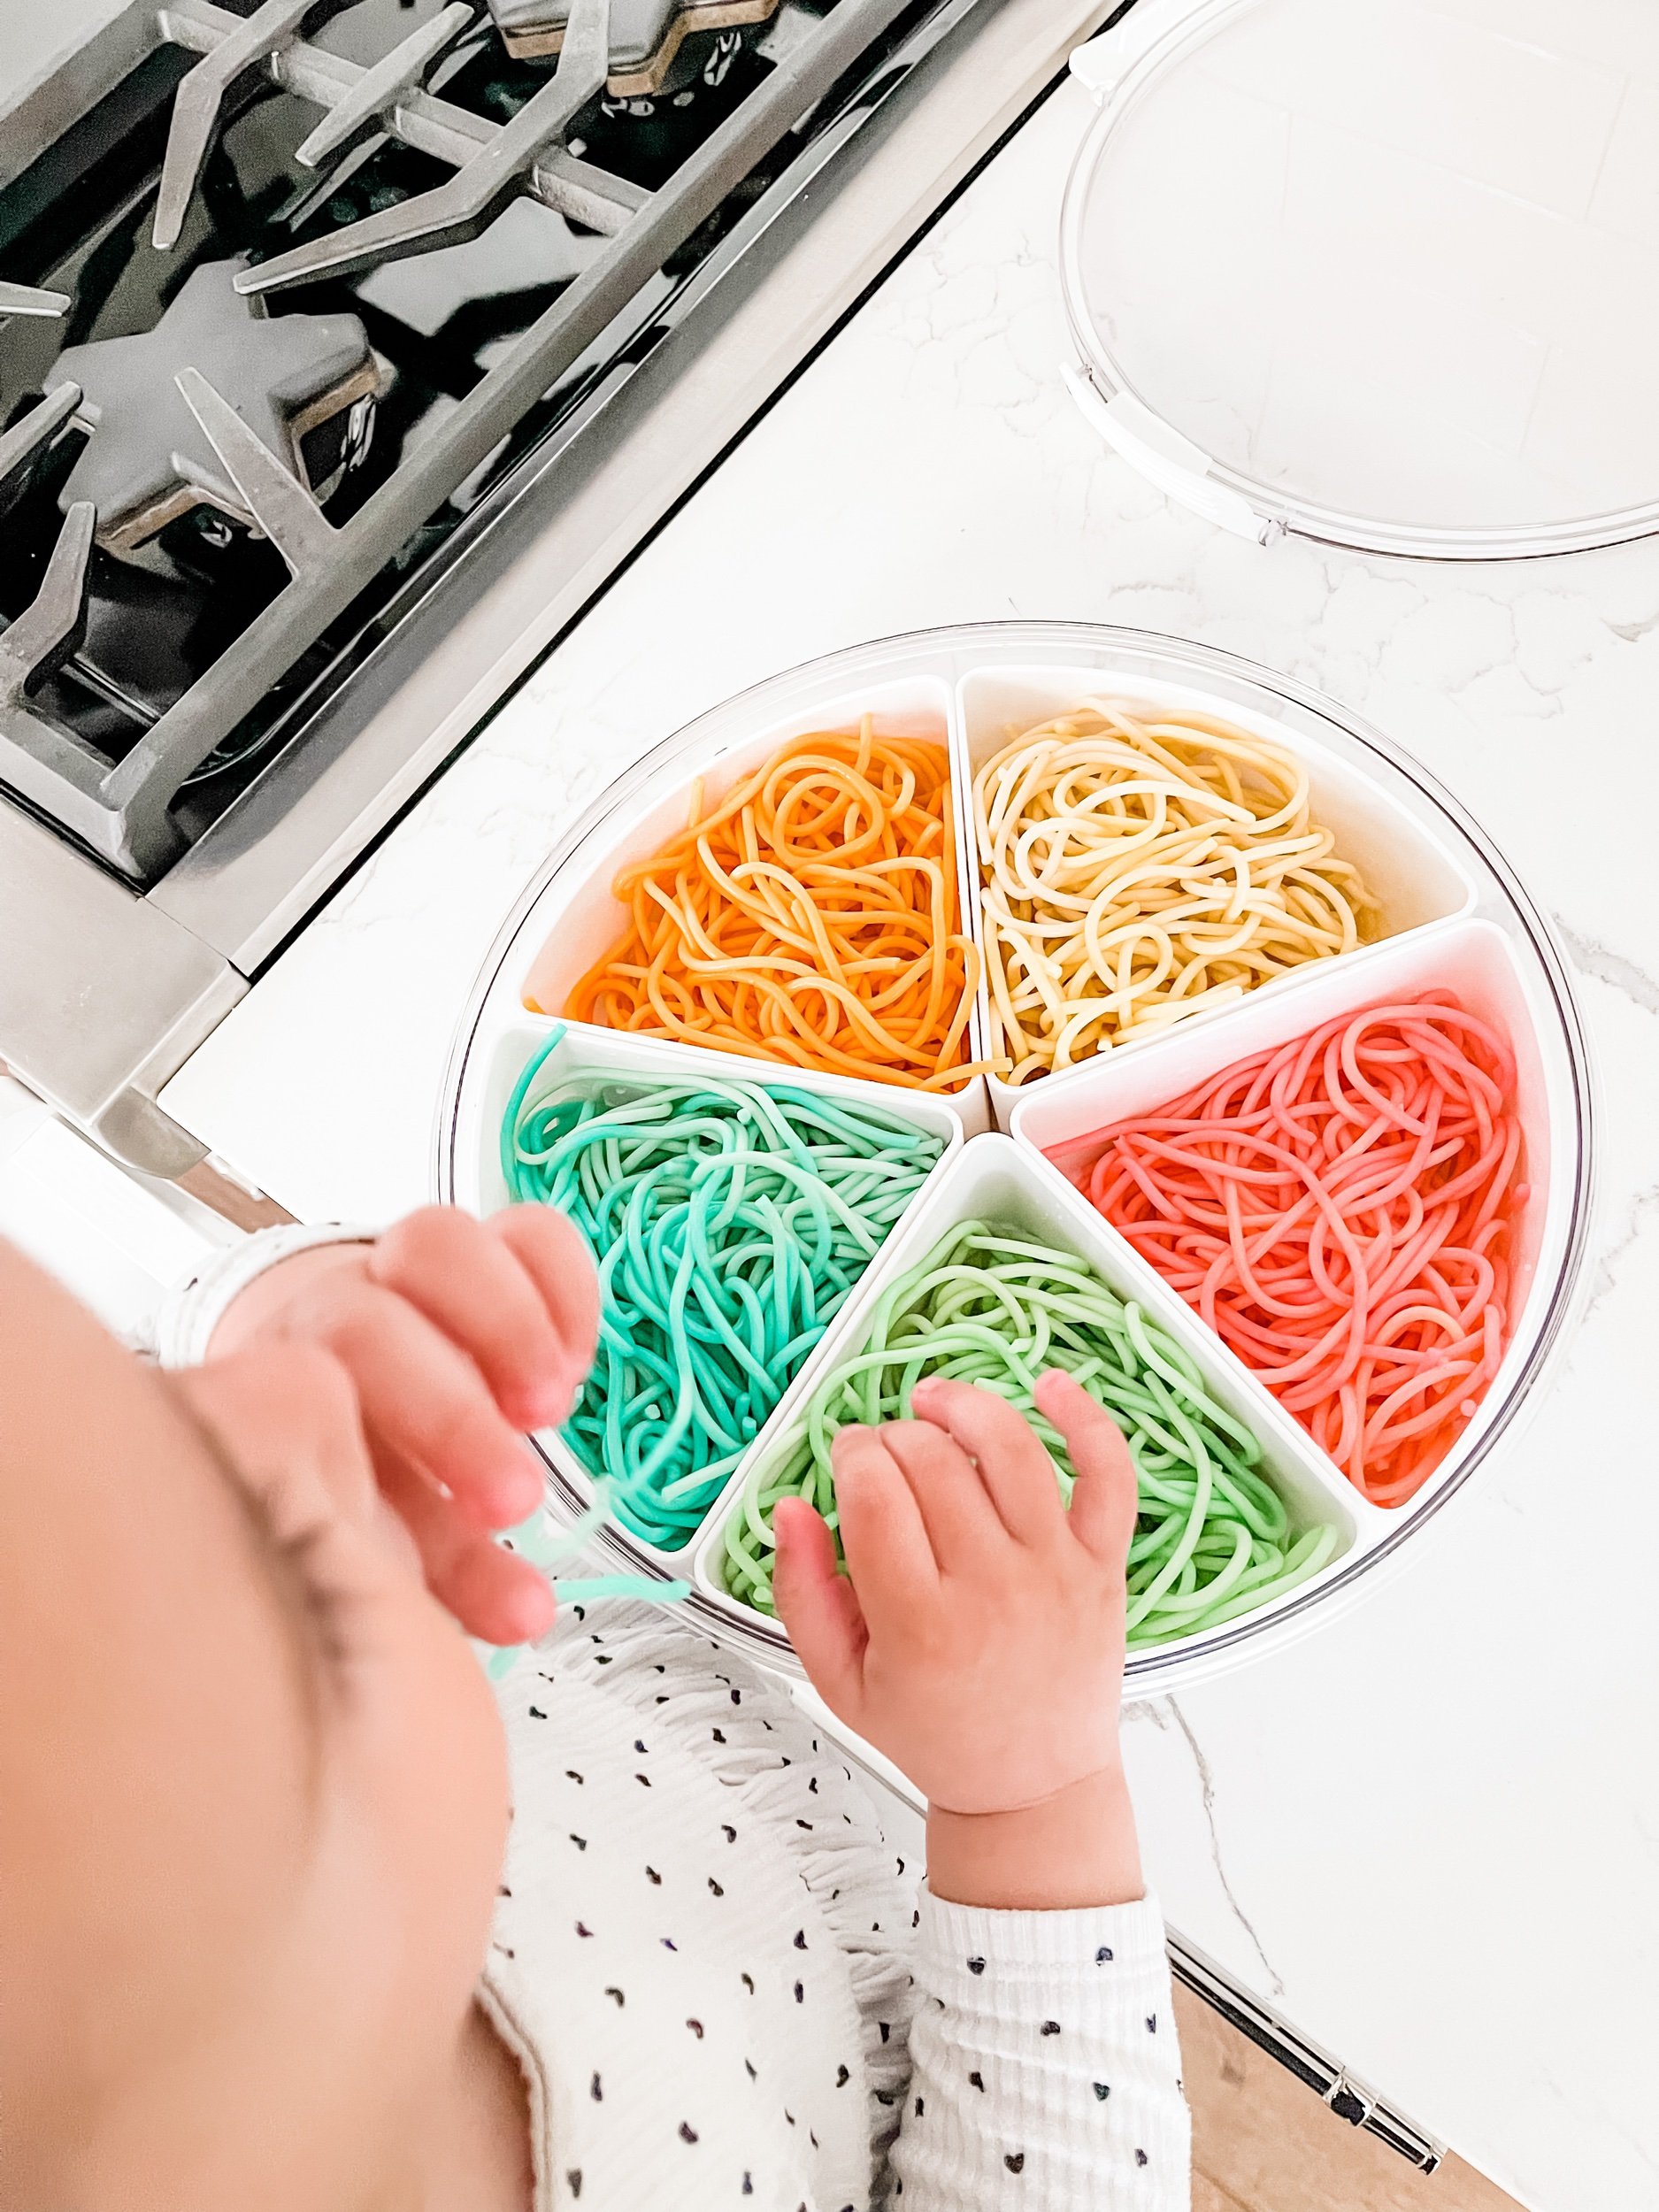
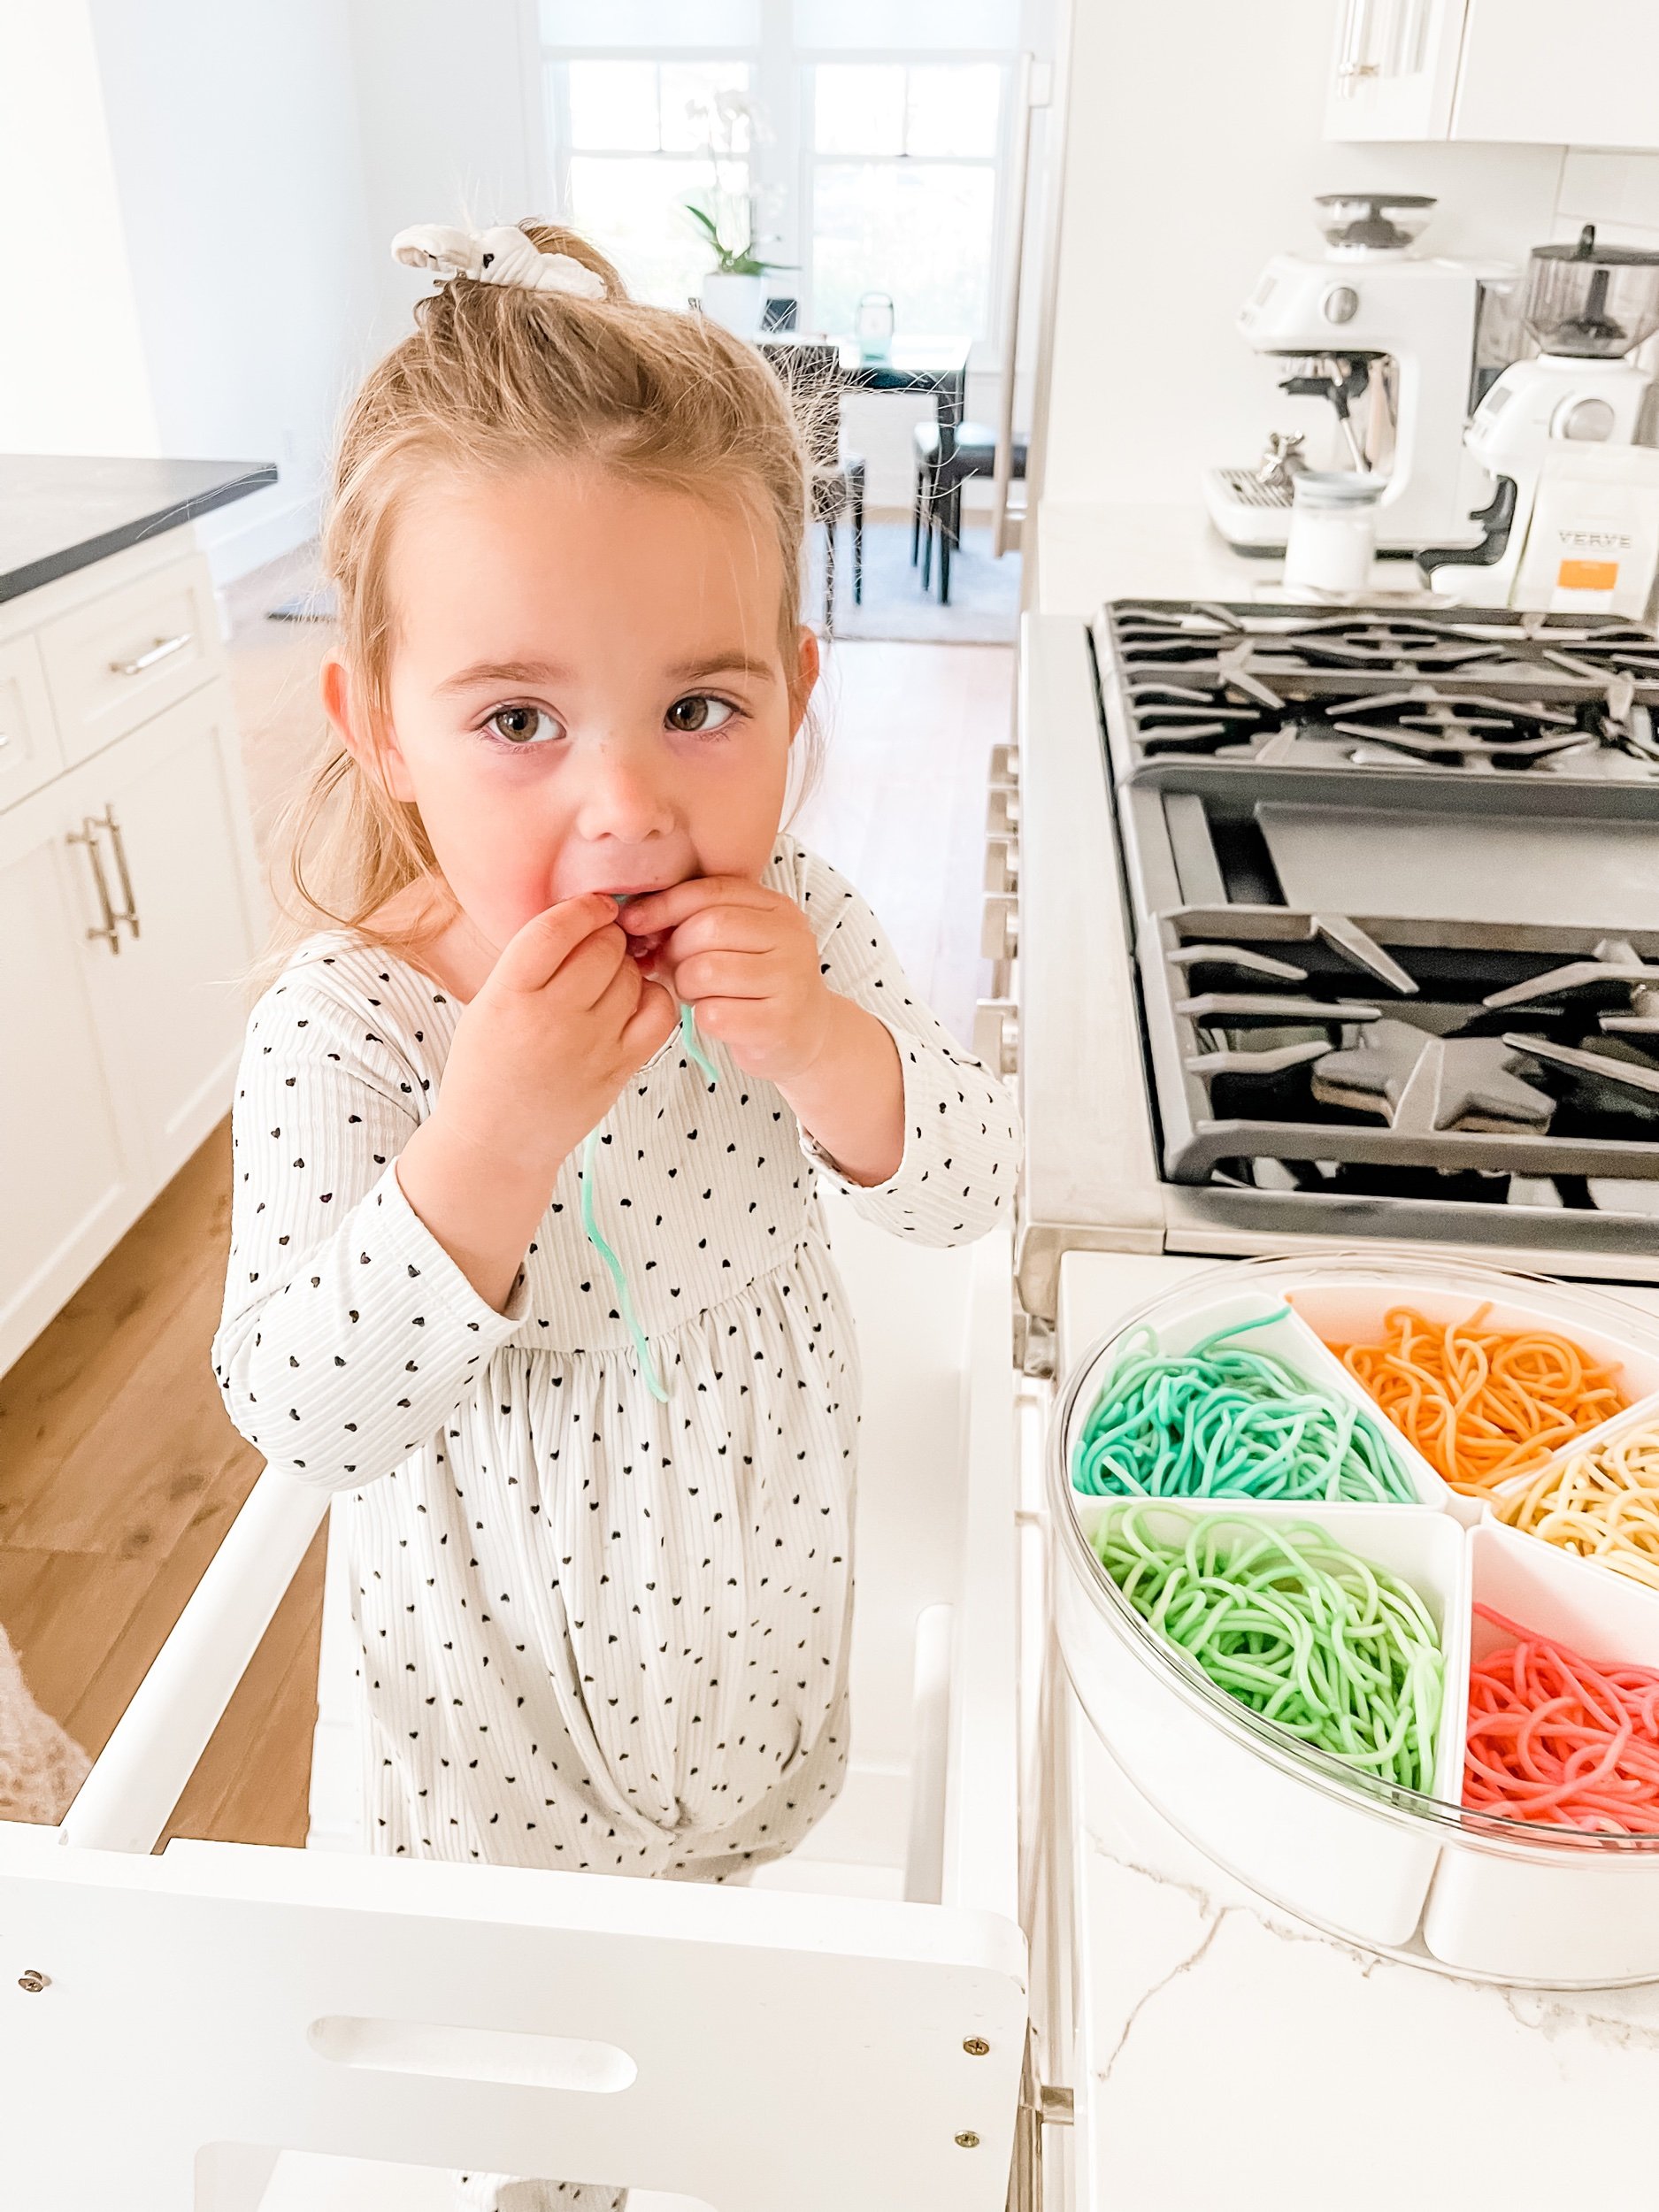
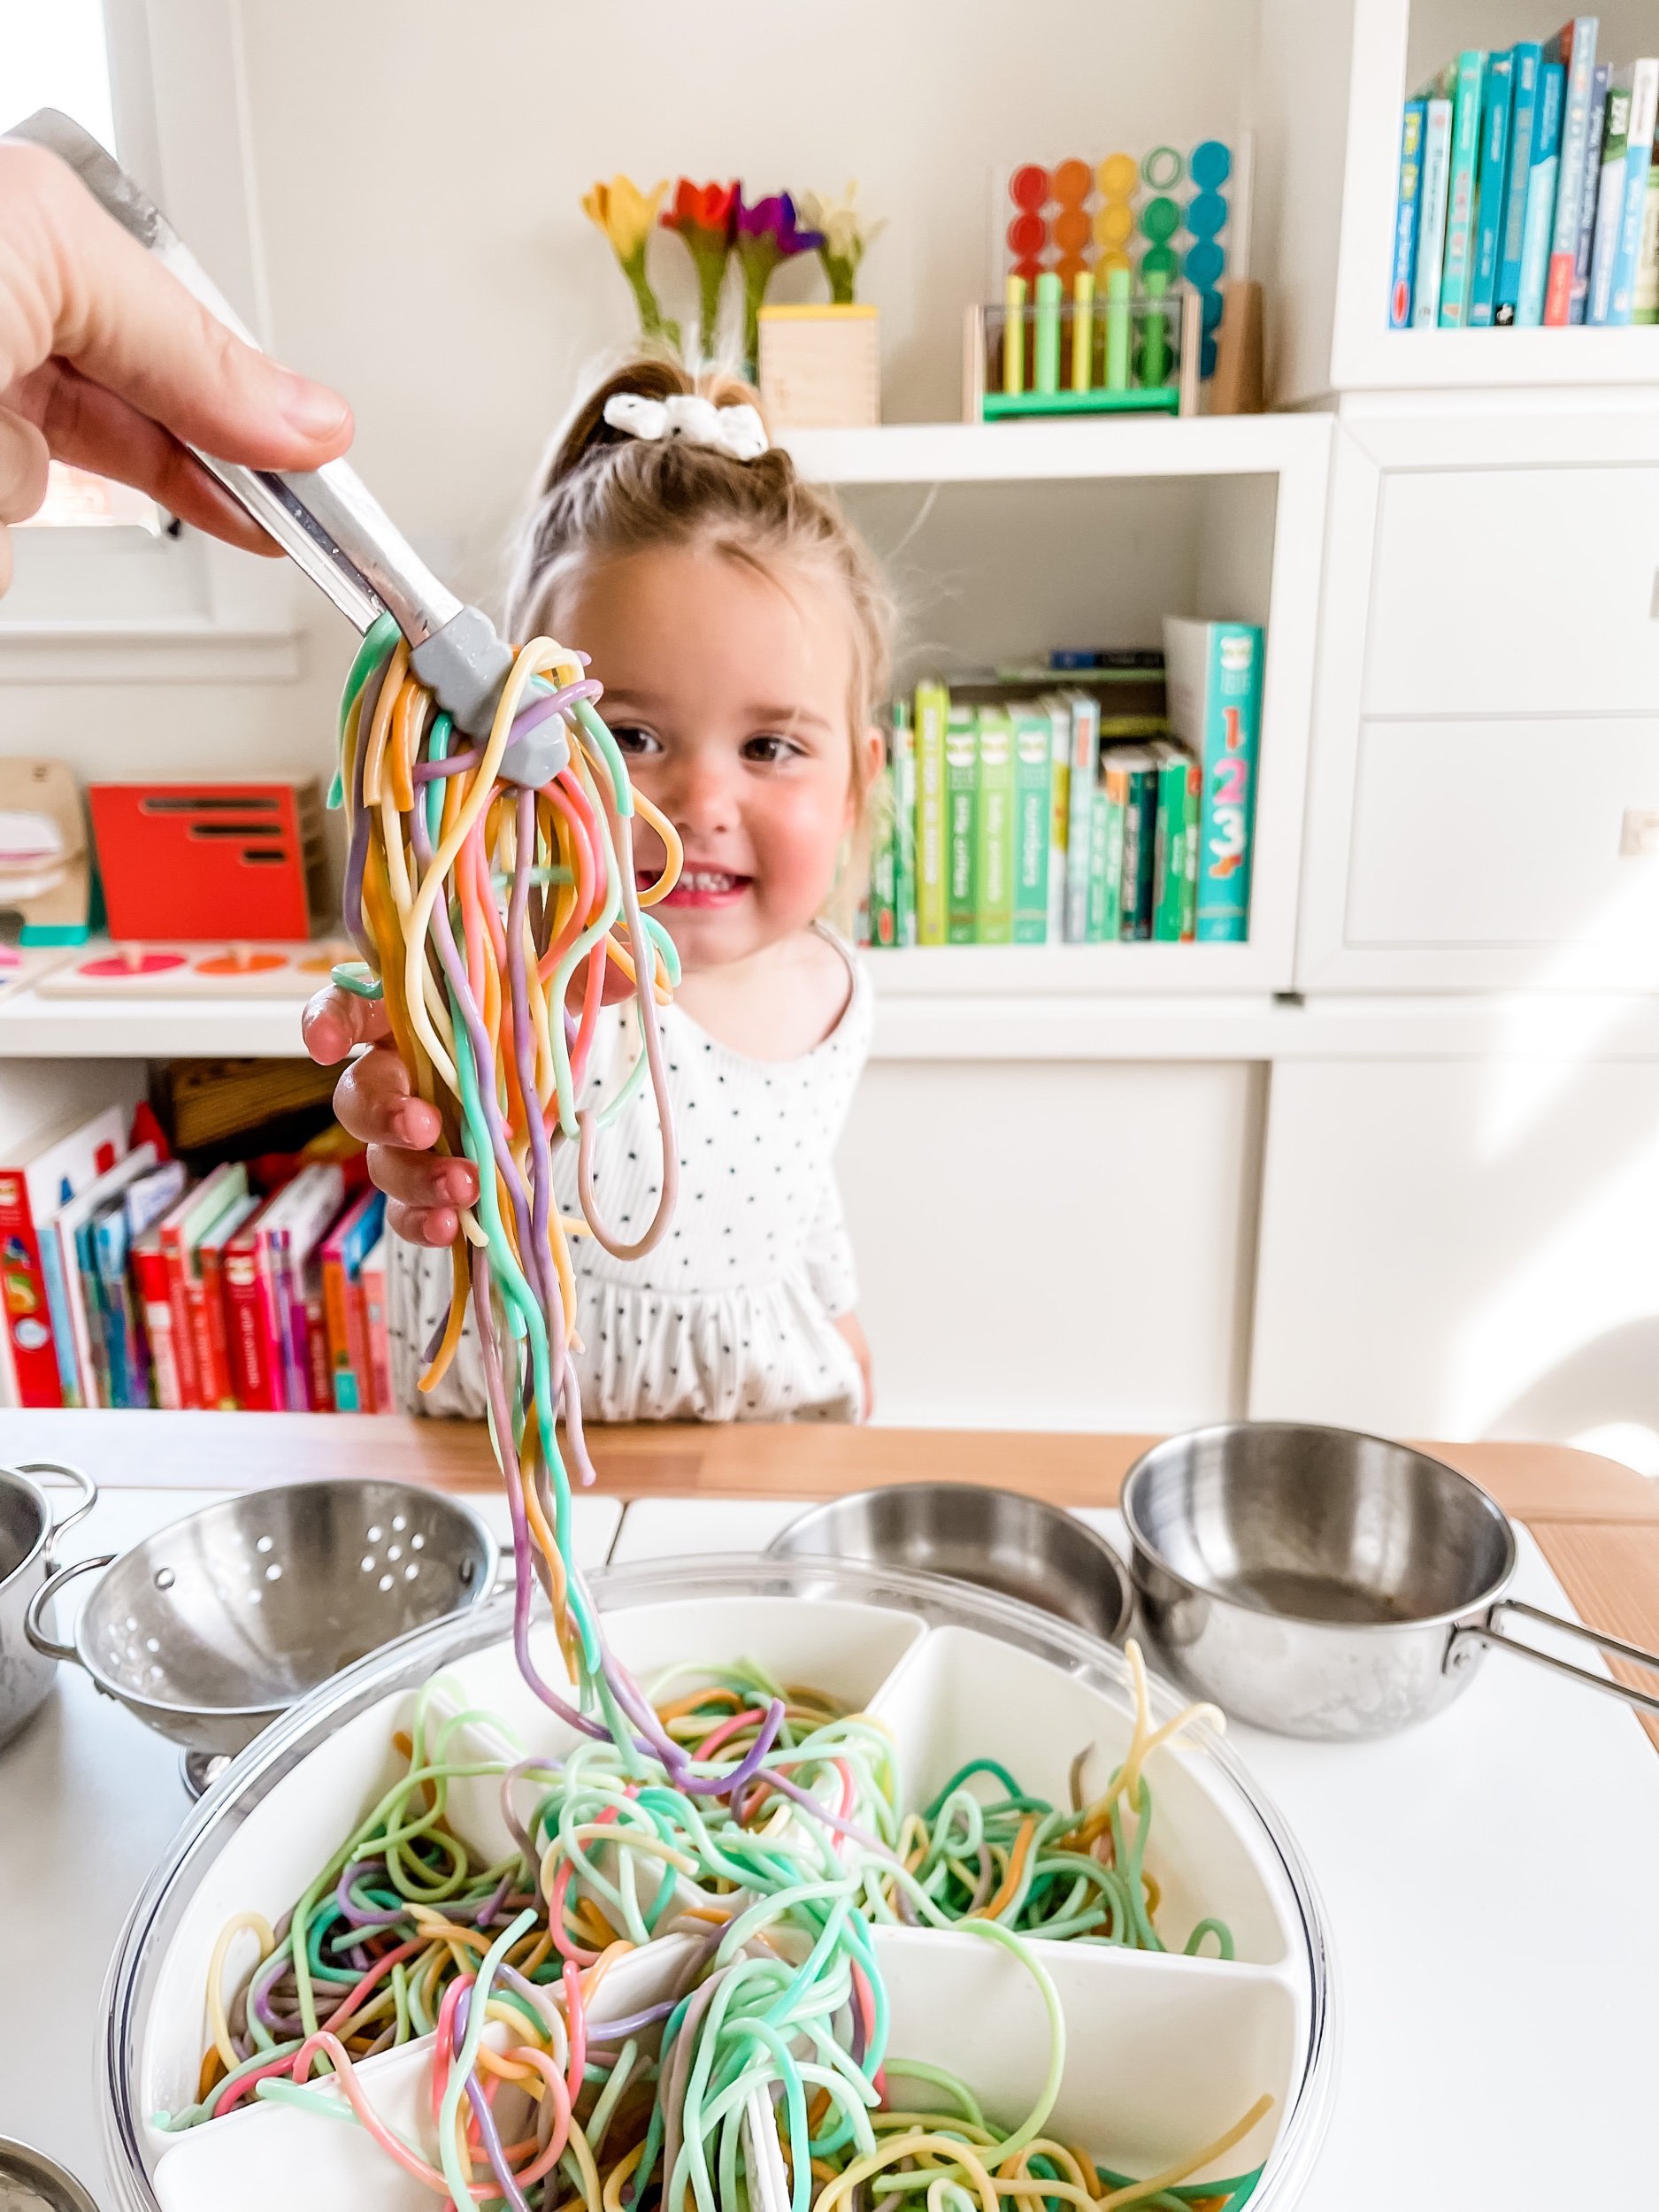
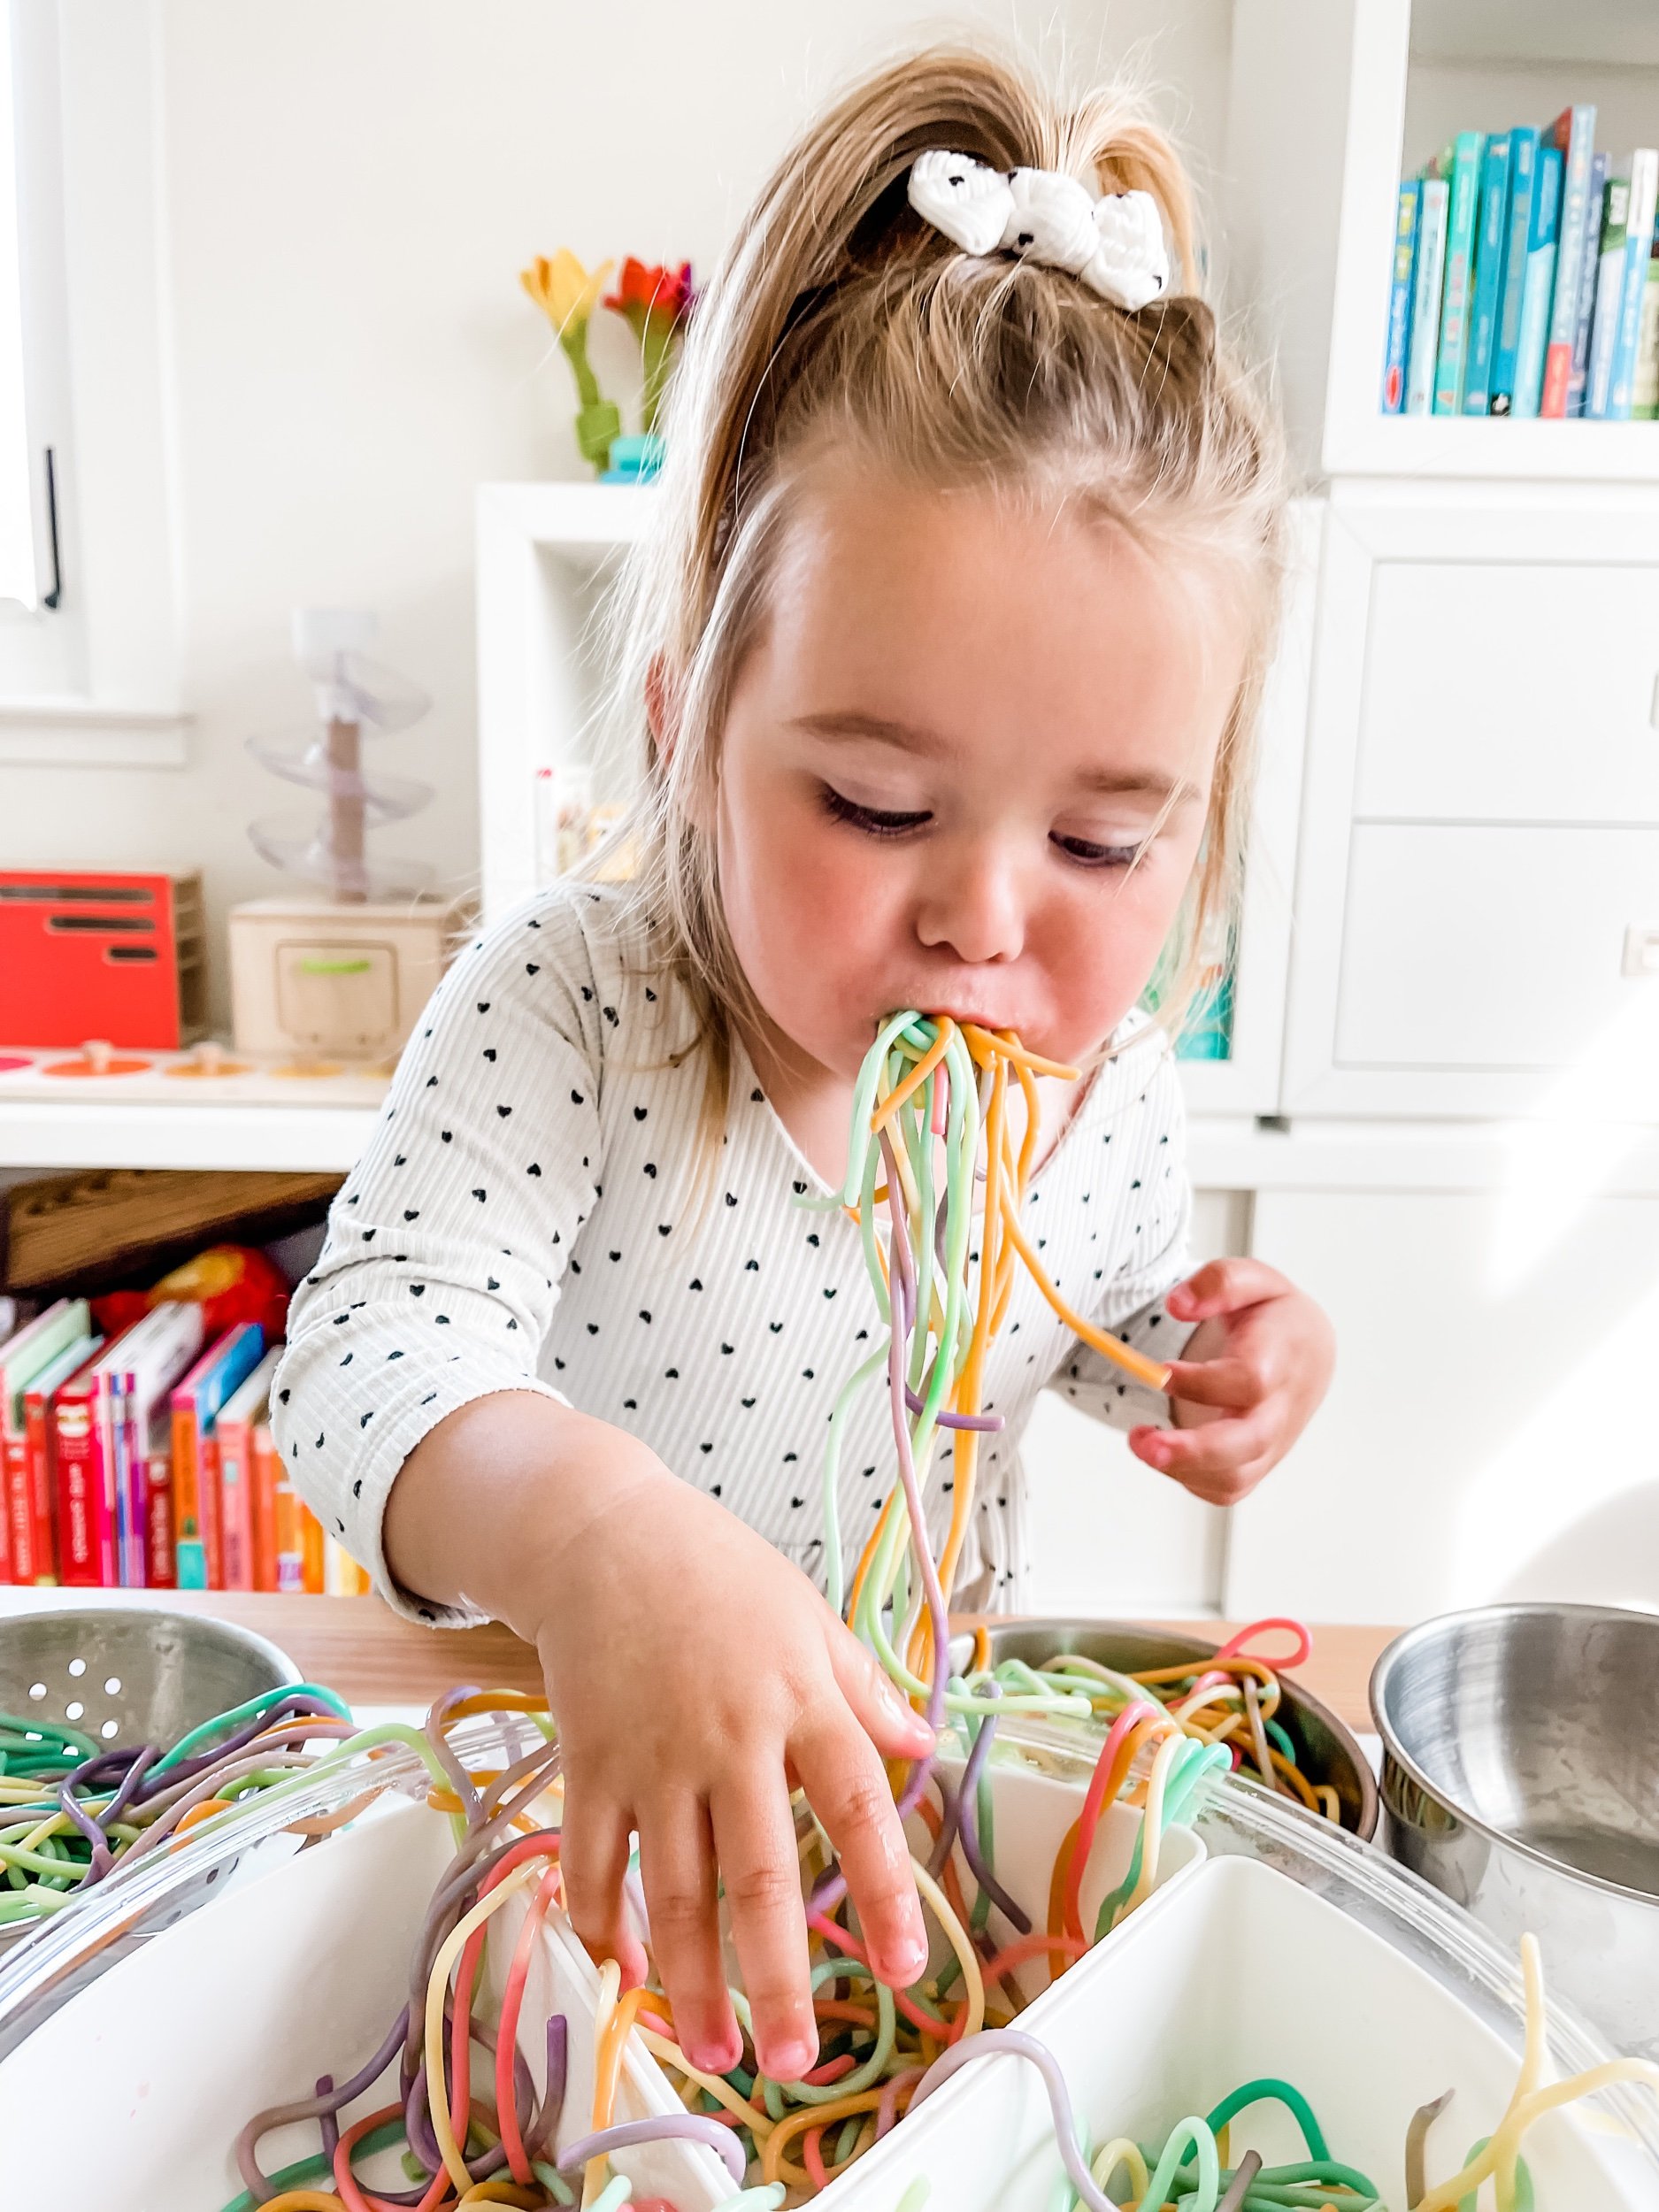
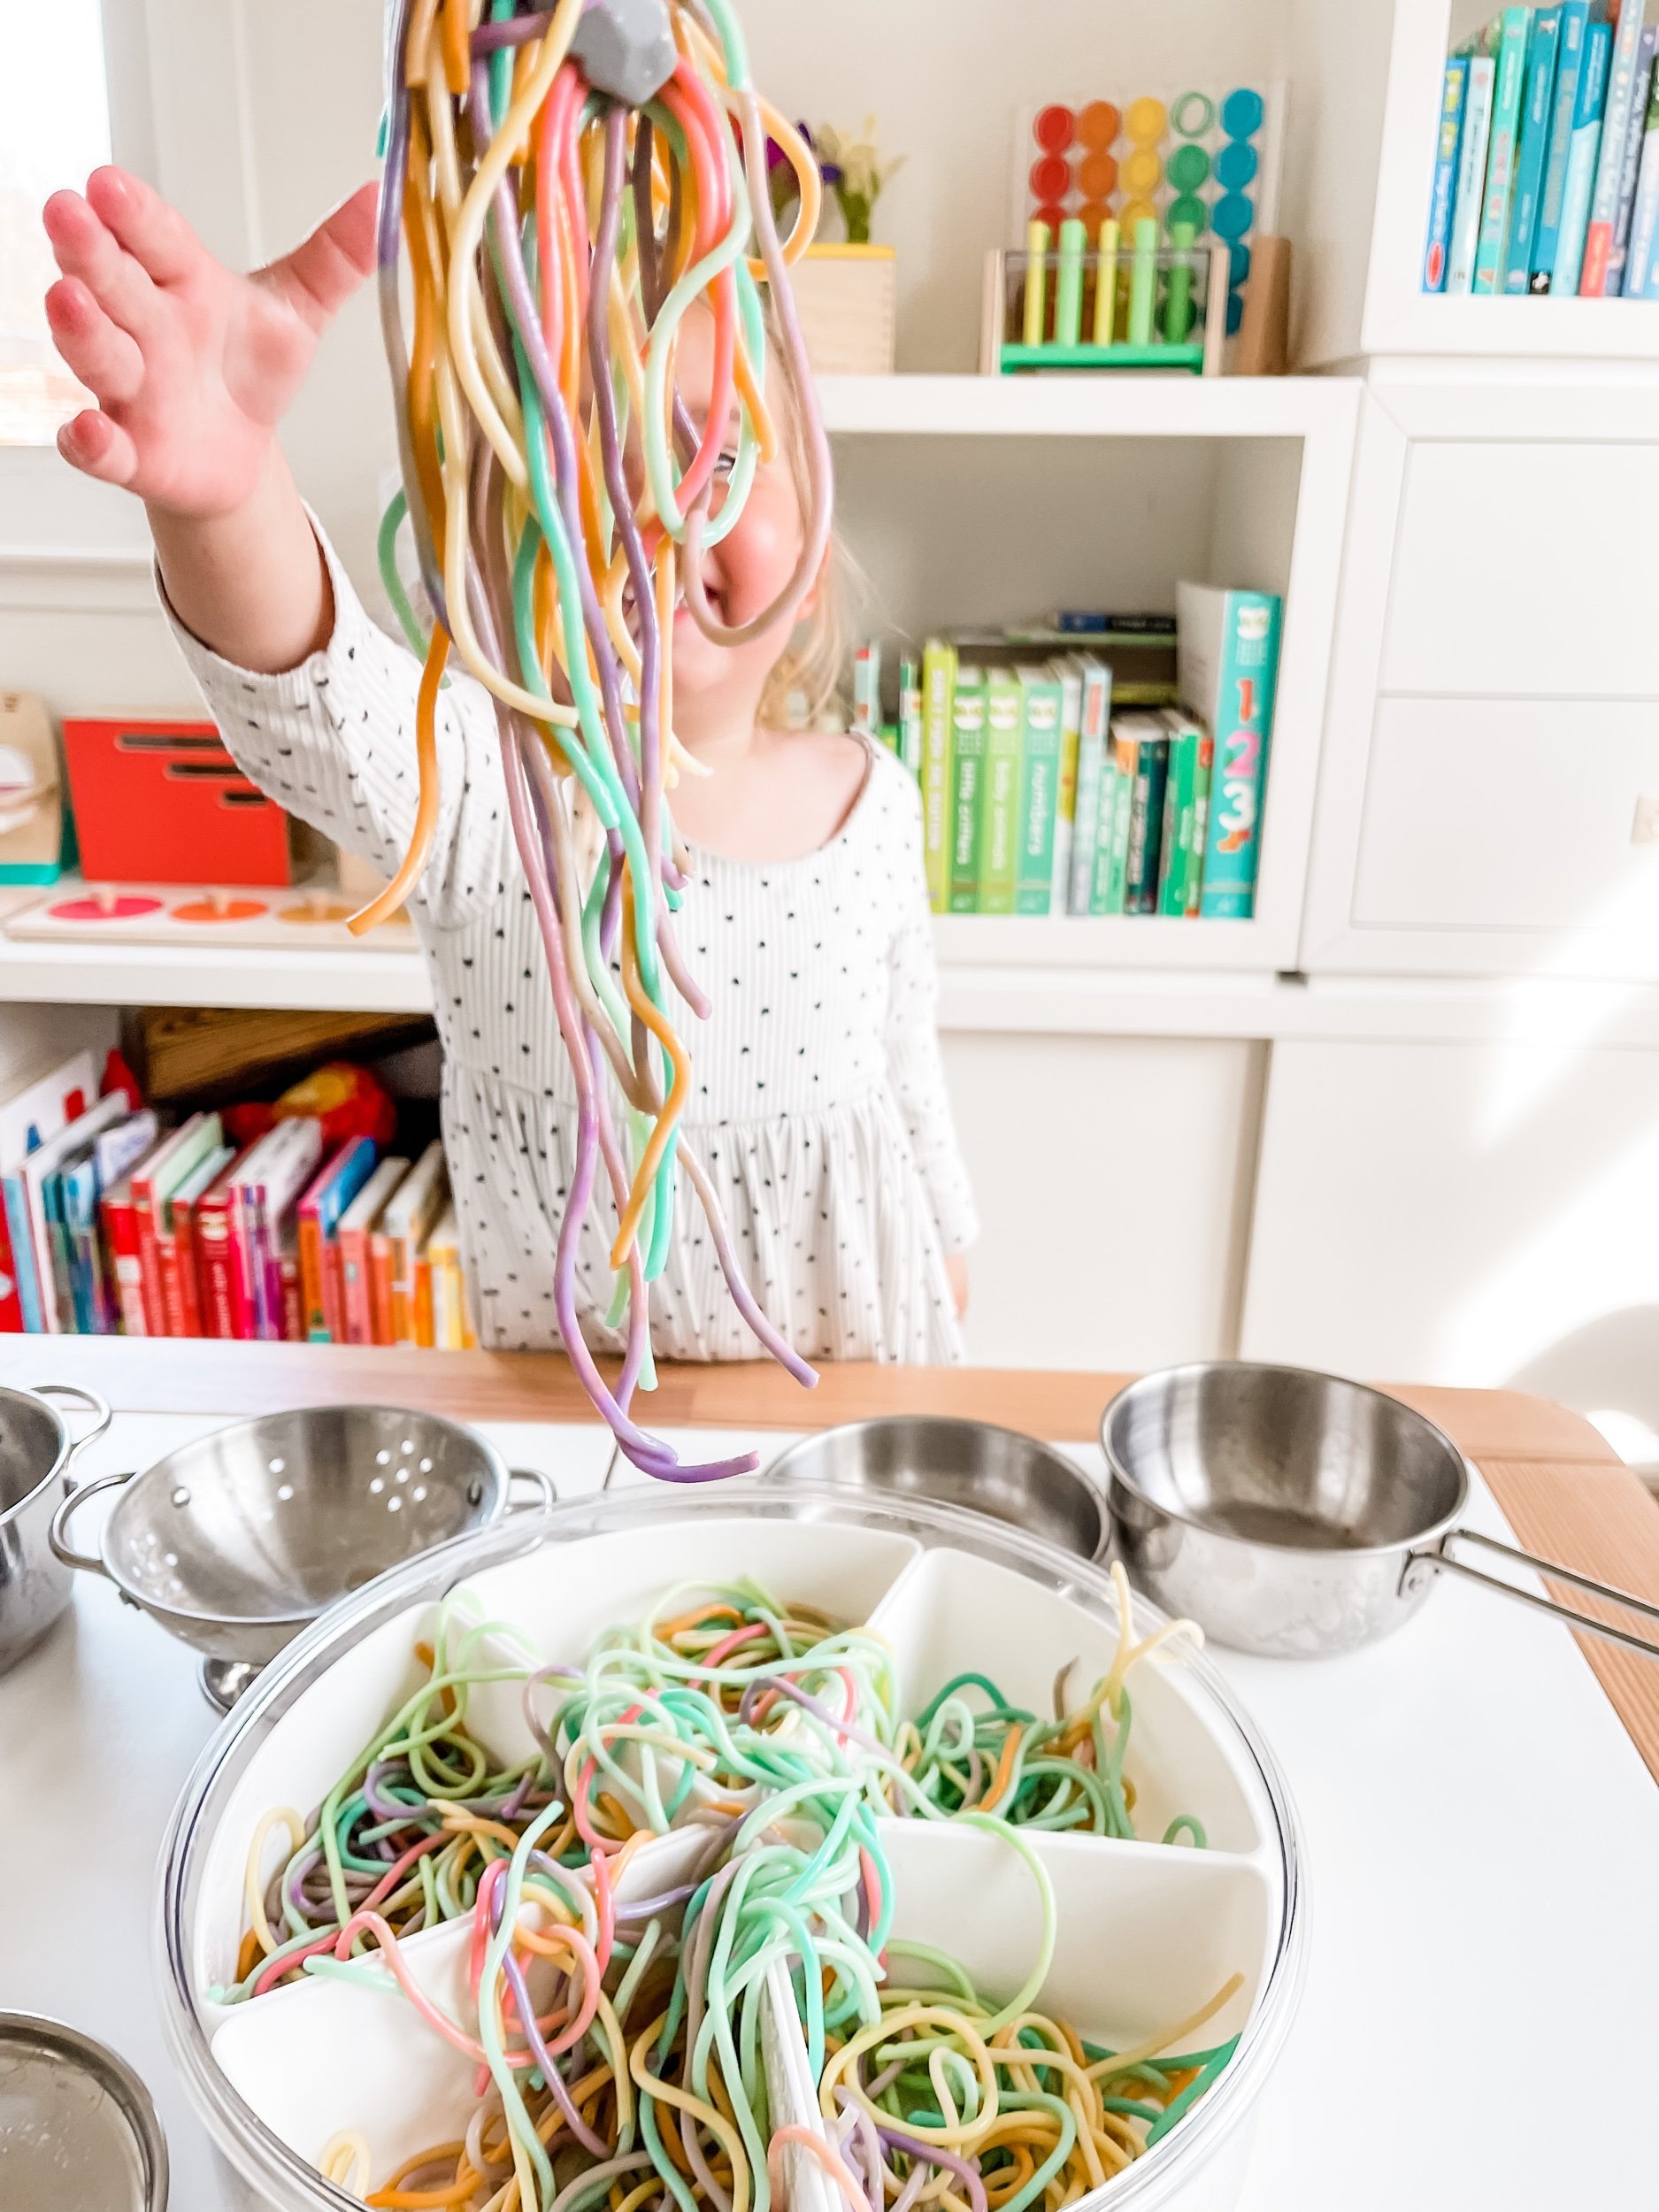
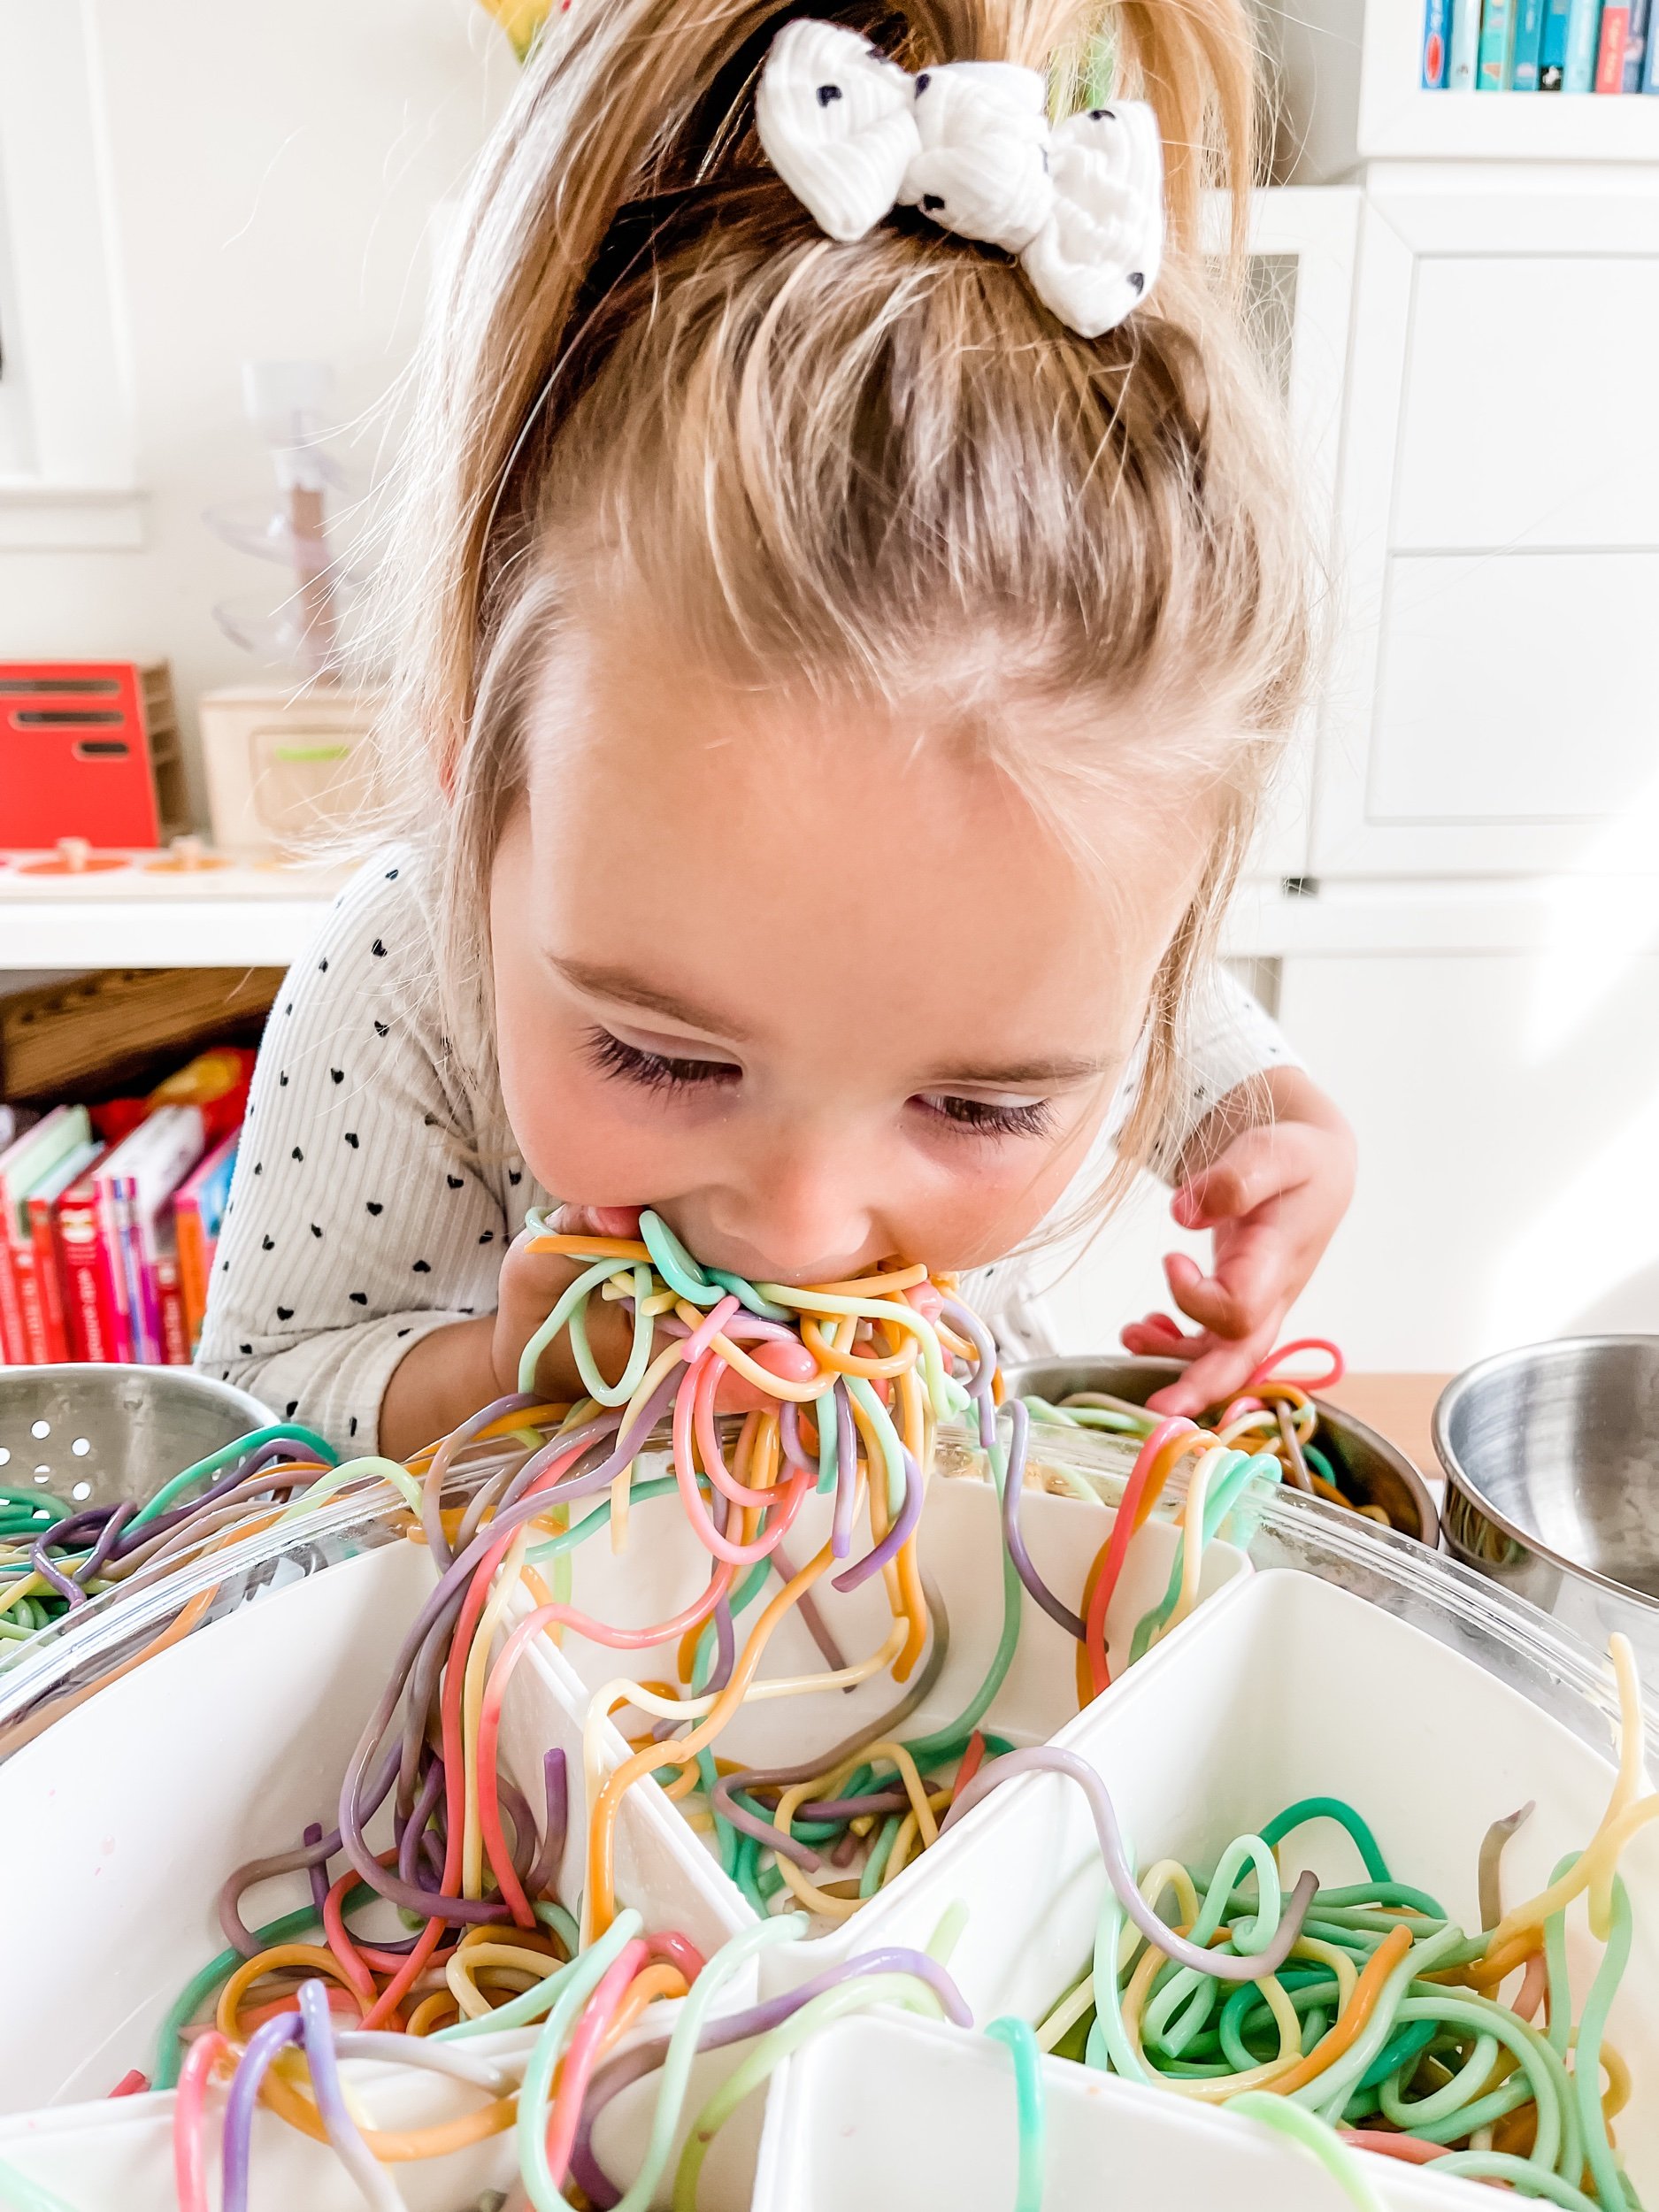
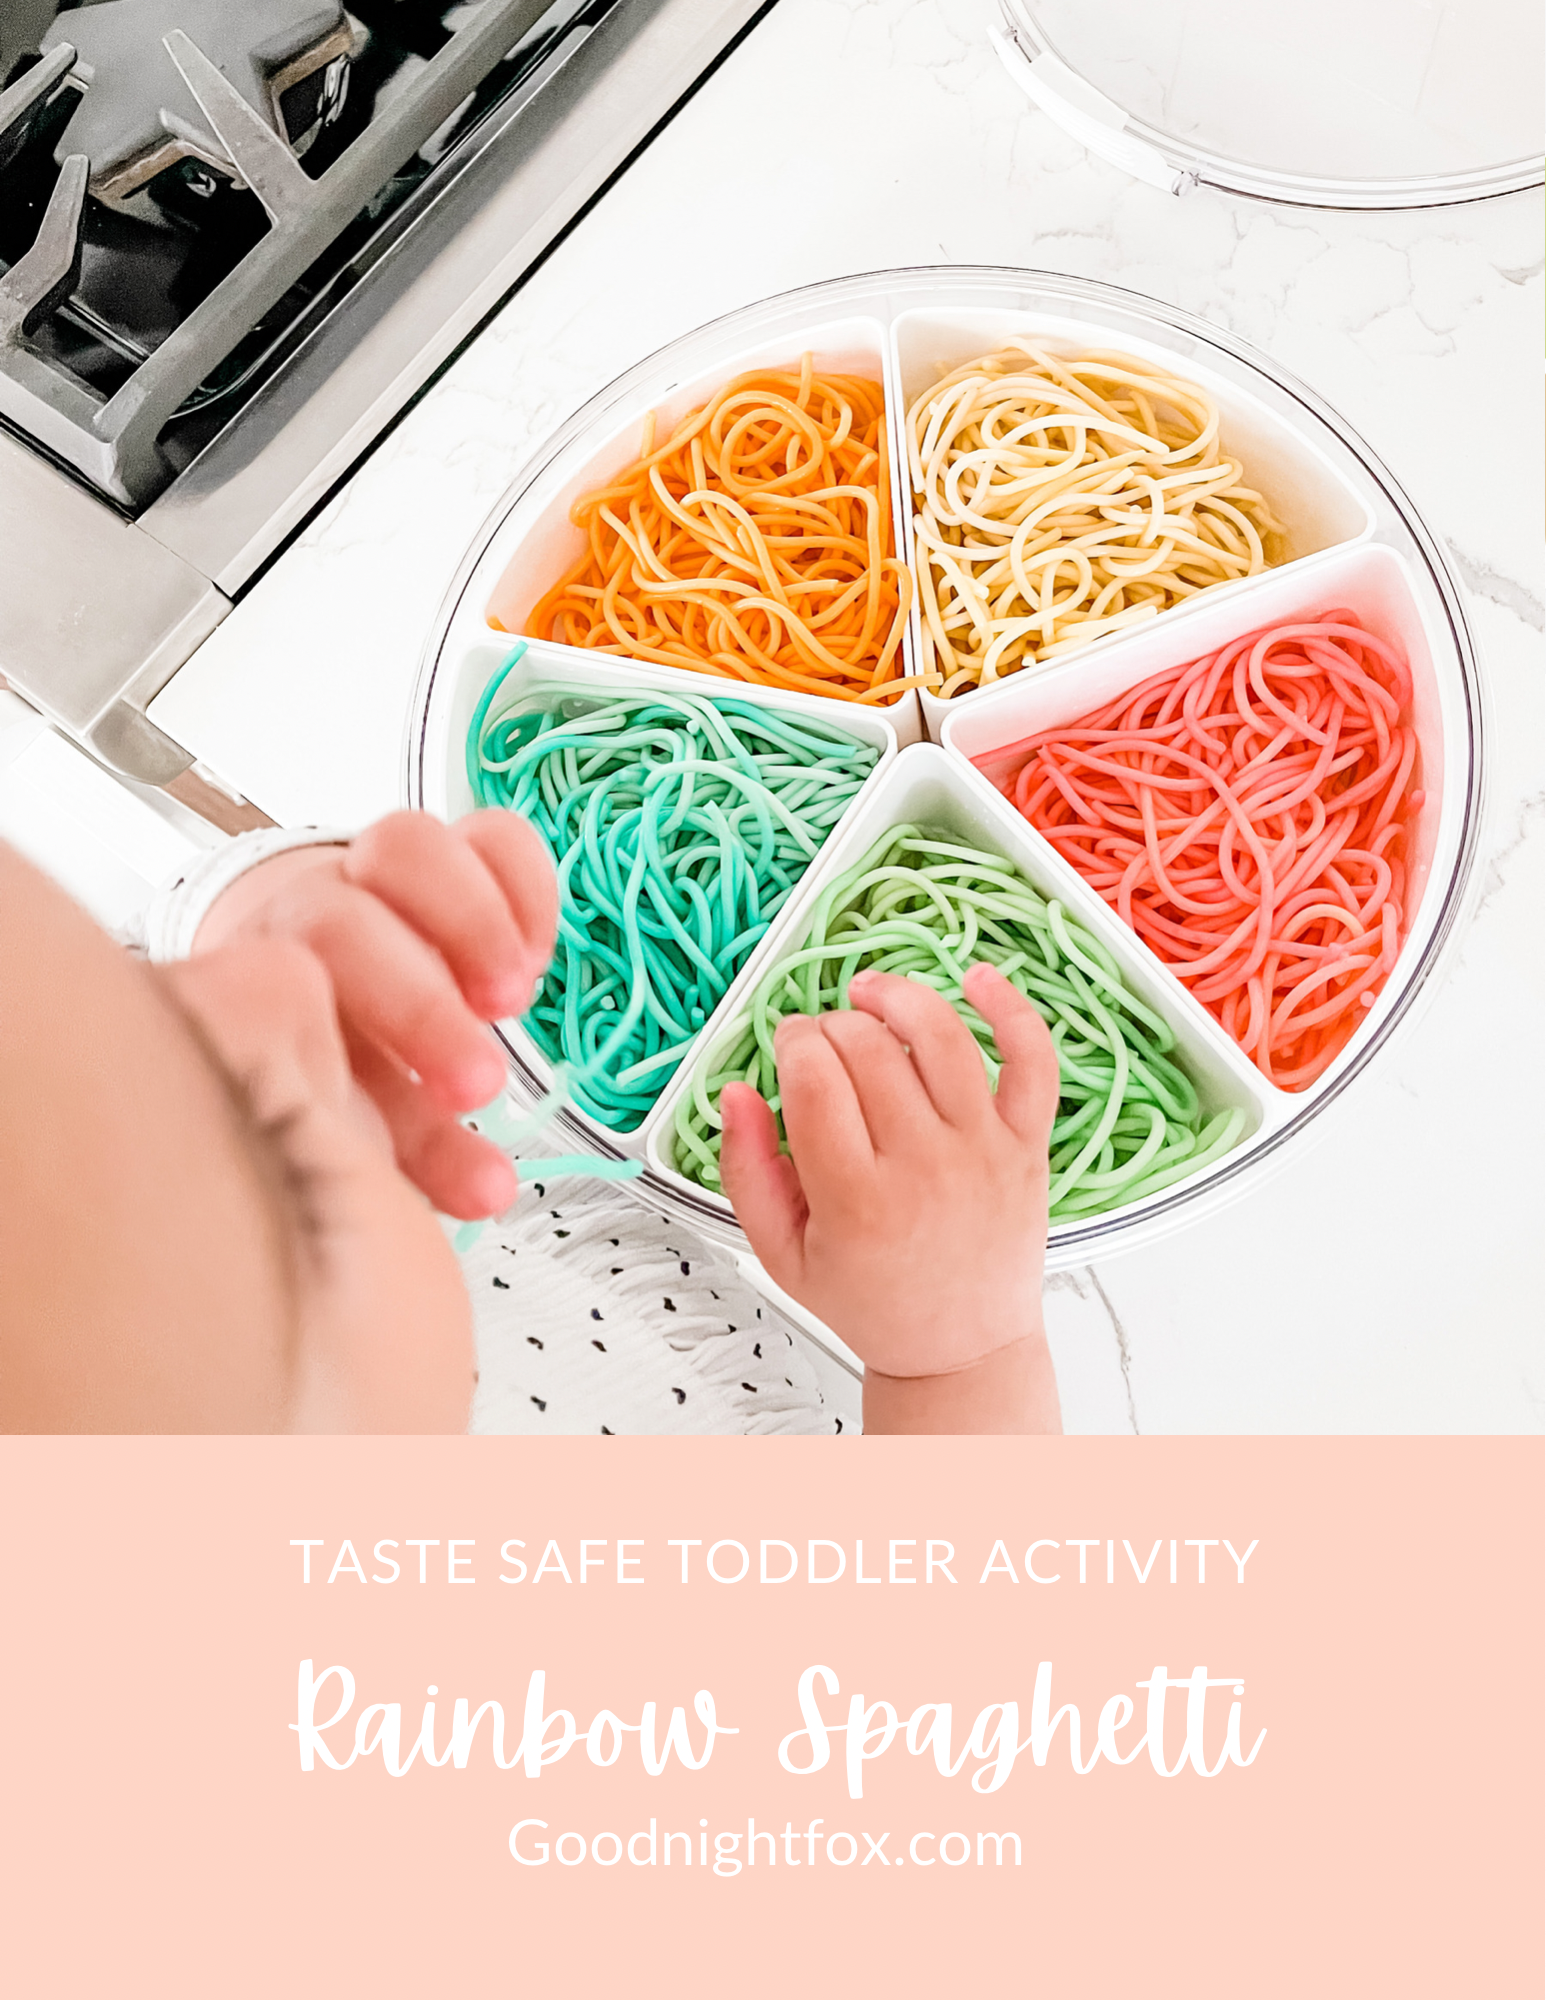
Everyone who knows me knows that I love spaghetti! And really just all things pasta in general. So it shouldn’t come as a surprise that Sofie loves this activity! But man I wasn’t expecting this to be such a big hit. Not only did the colors come out so bright and beautiful, but seeing them all mixed together in a box spaghetti mess was so much fun. Plus it worked out as a great post nap snack.

Heres how to do it:

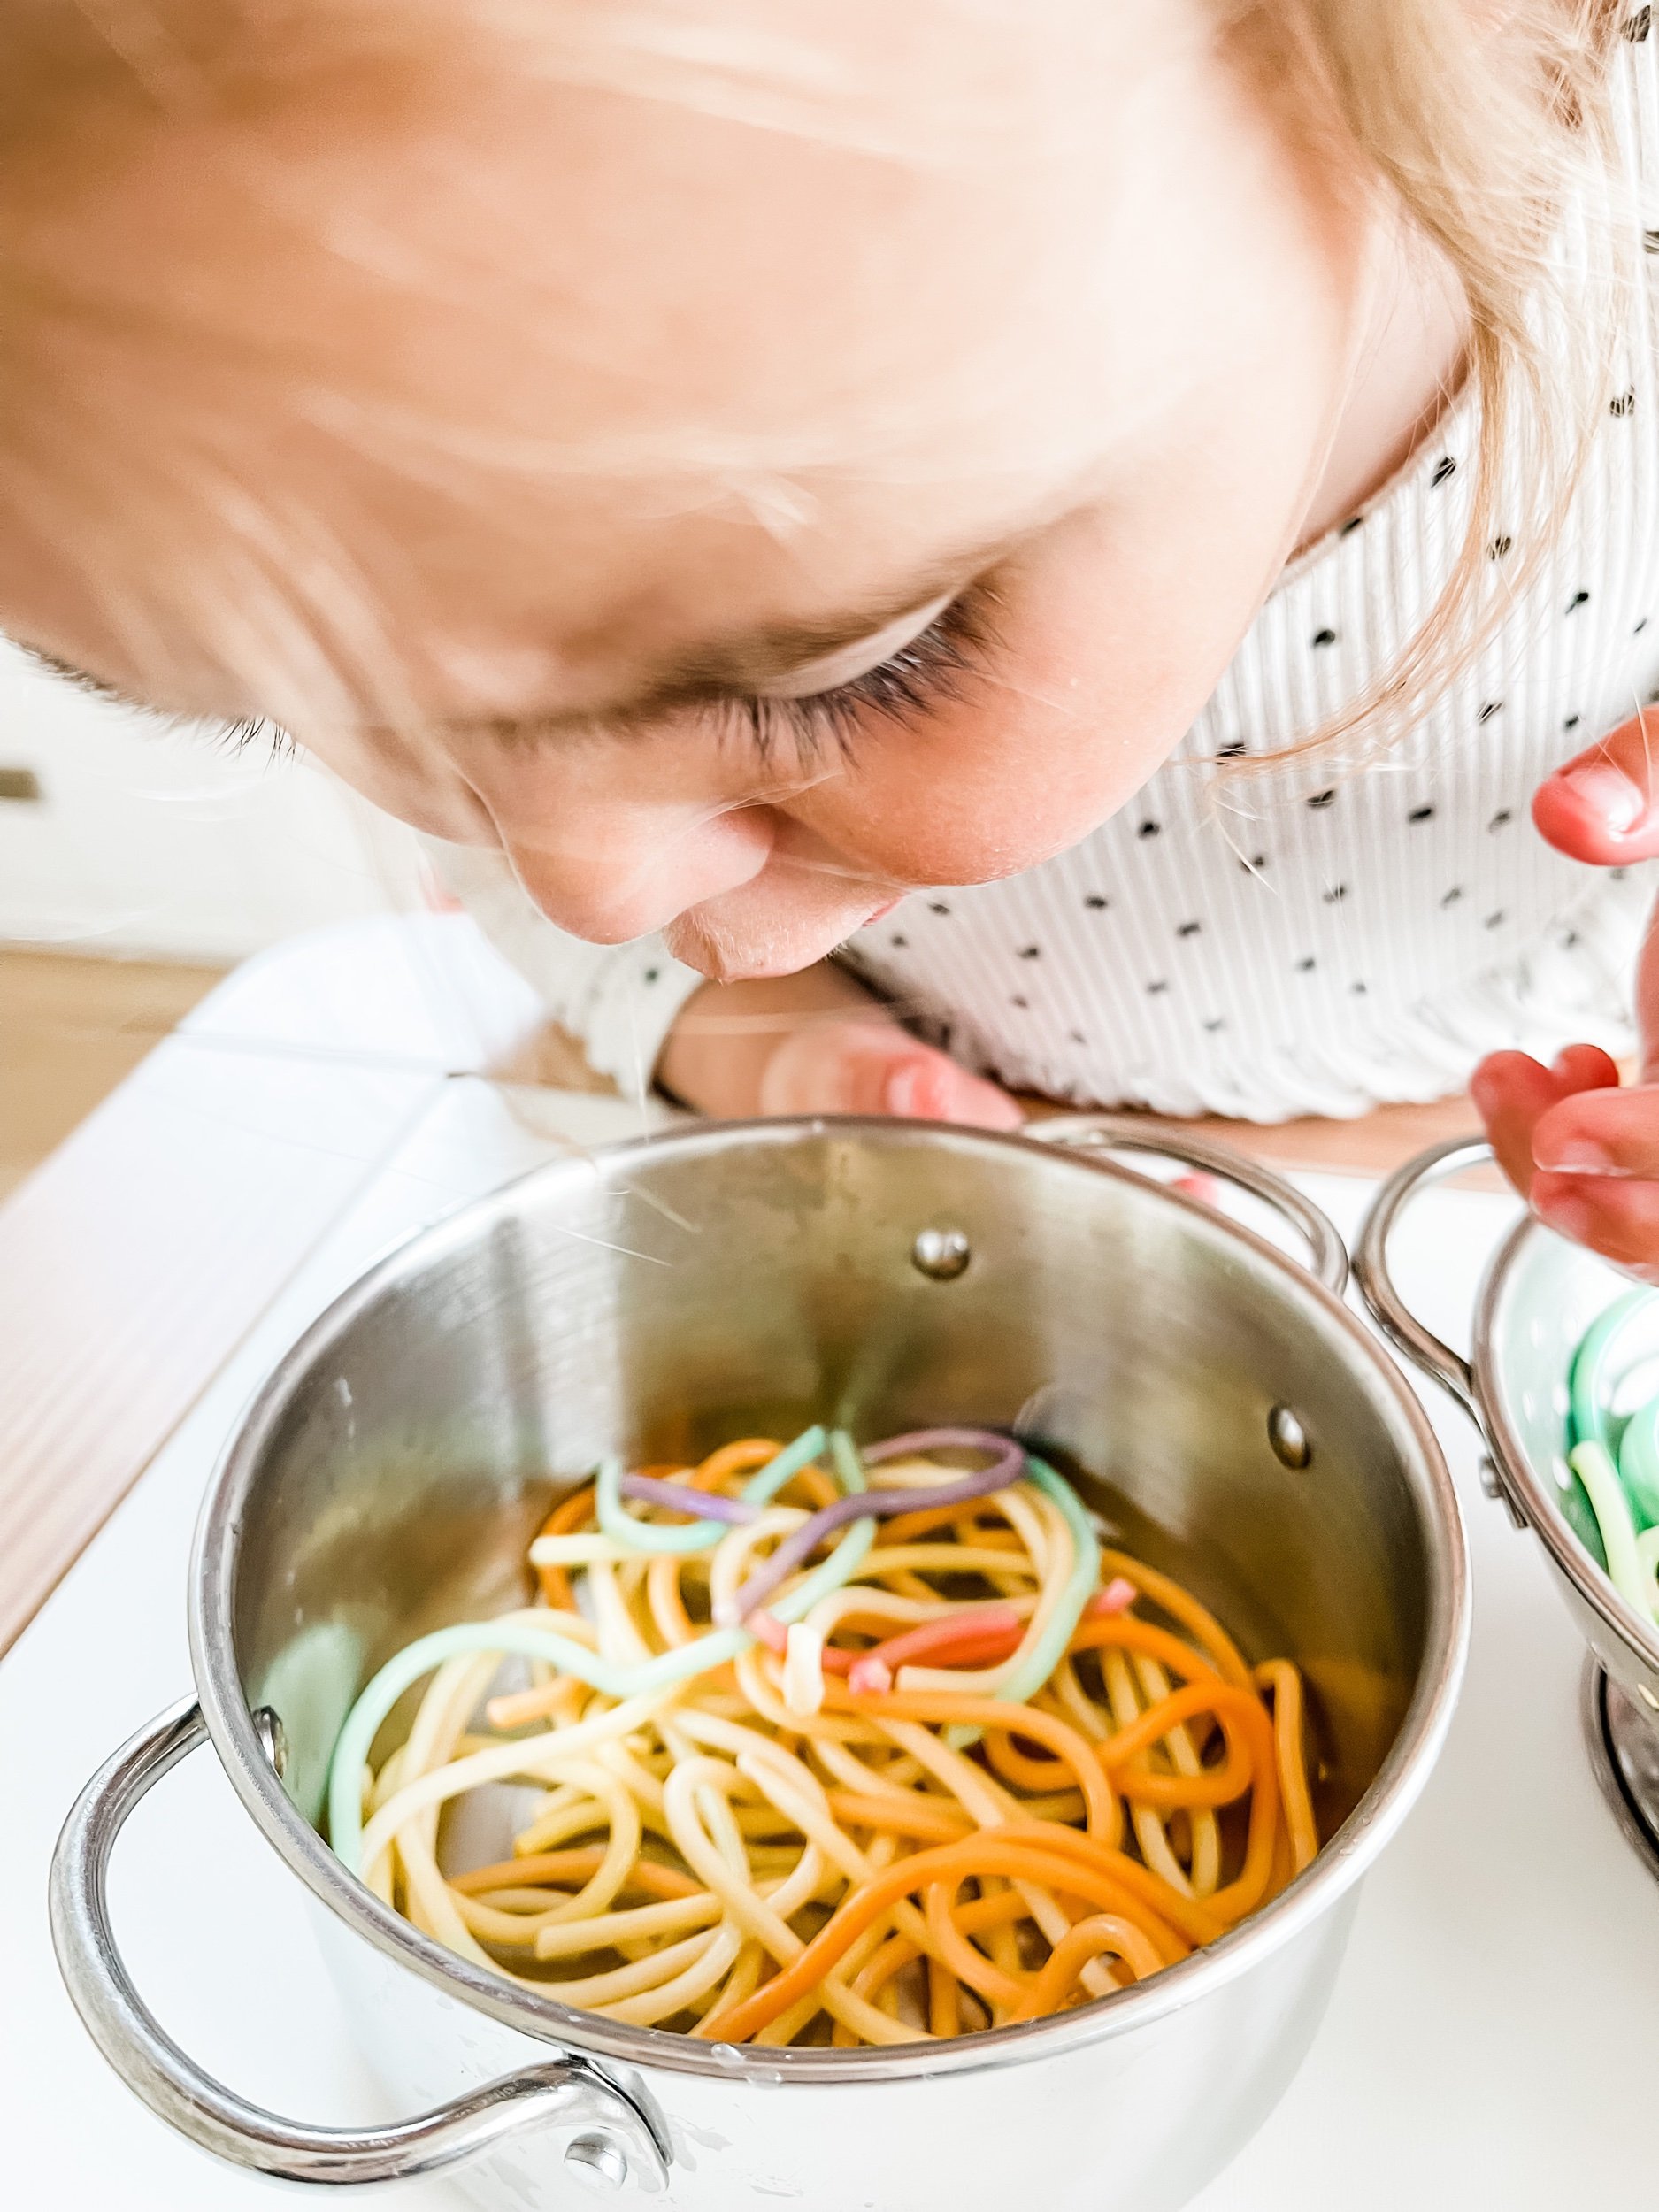
  • Cook spaghetti or any other noodles as you normally would (boil for 12minutes)

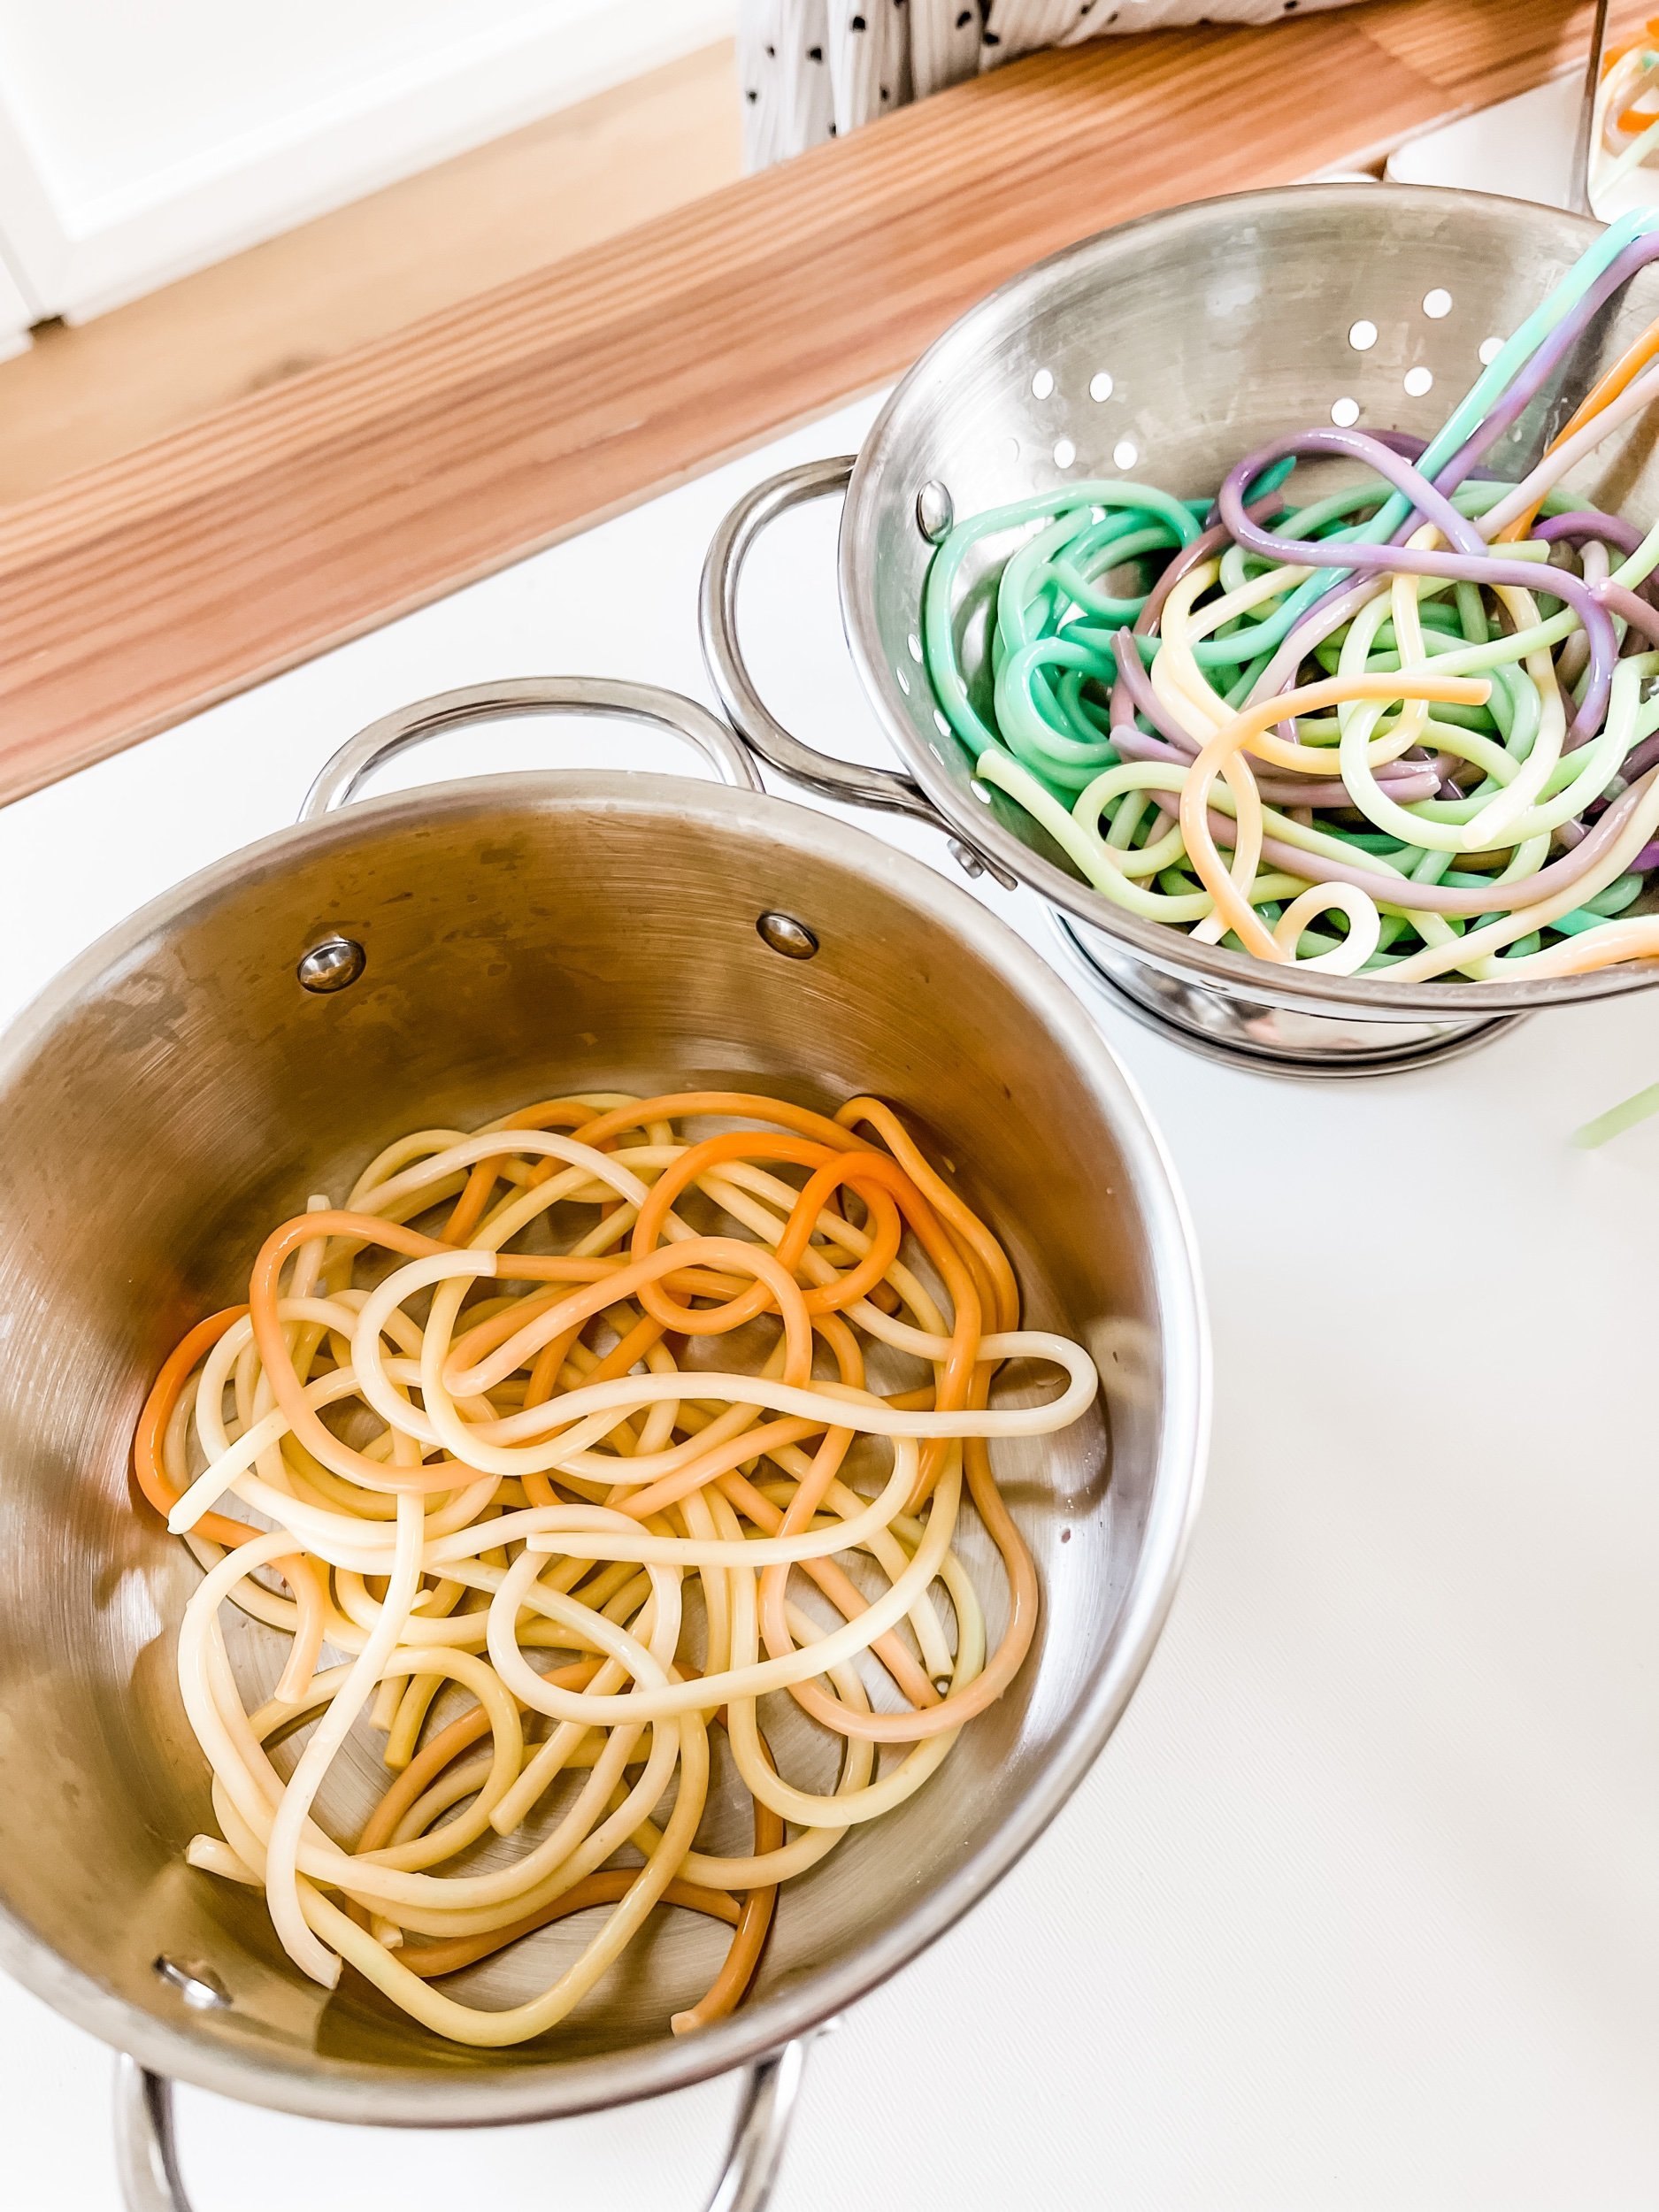
  • Drain the noodles in a colander and rinse with cool water (I picked them up with my hands to make sure they rinsed well so that they would be slippery and not sticky)

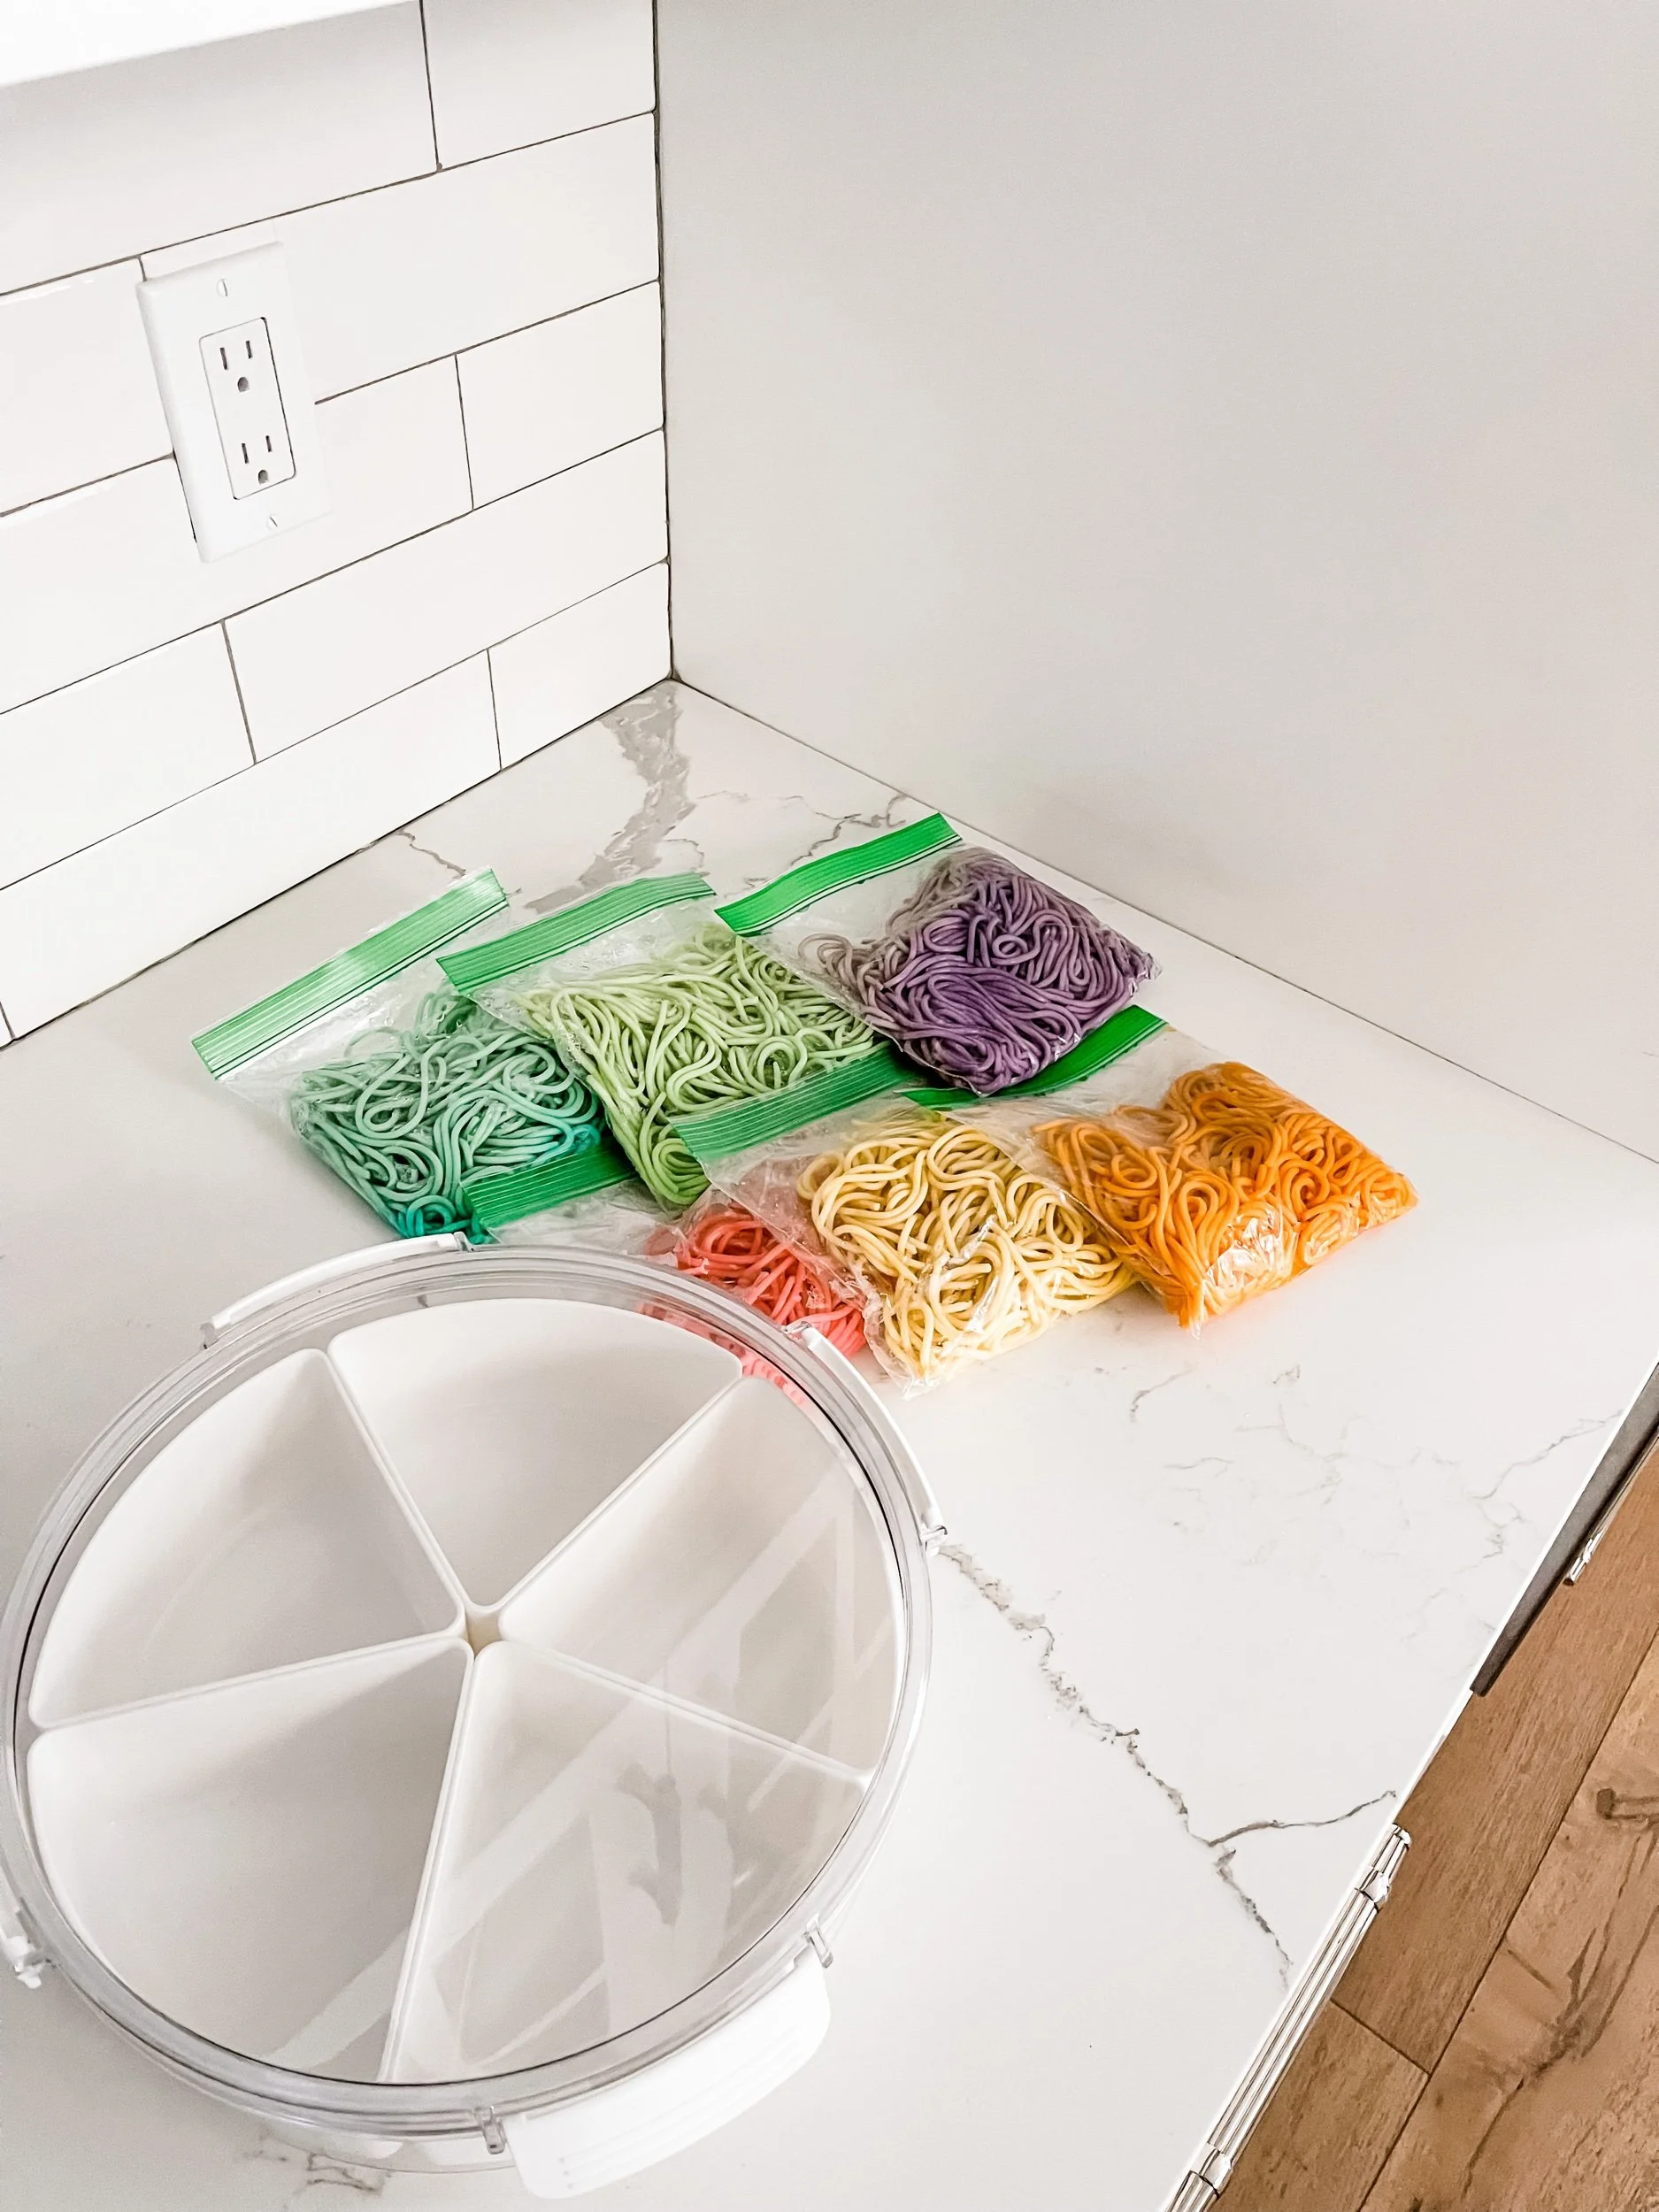
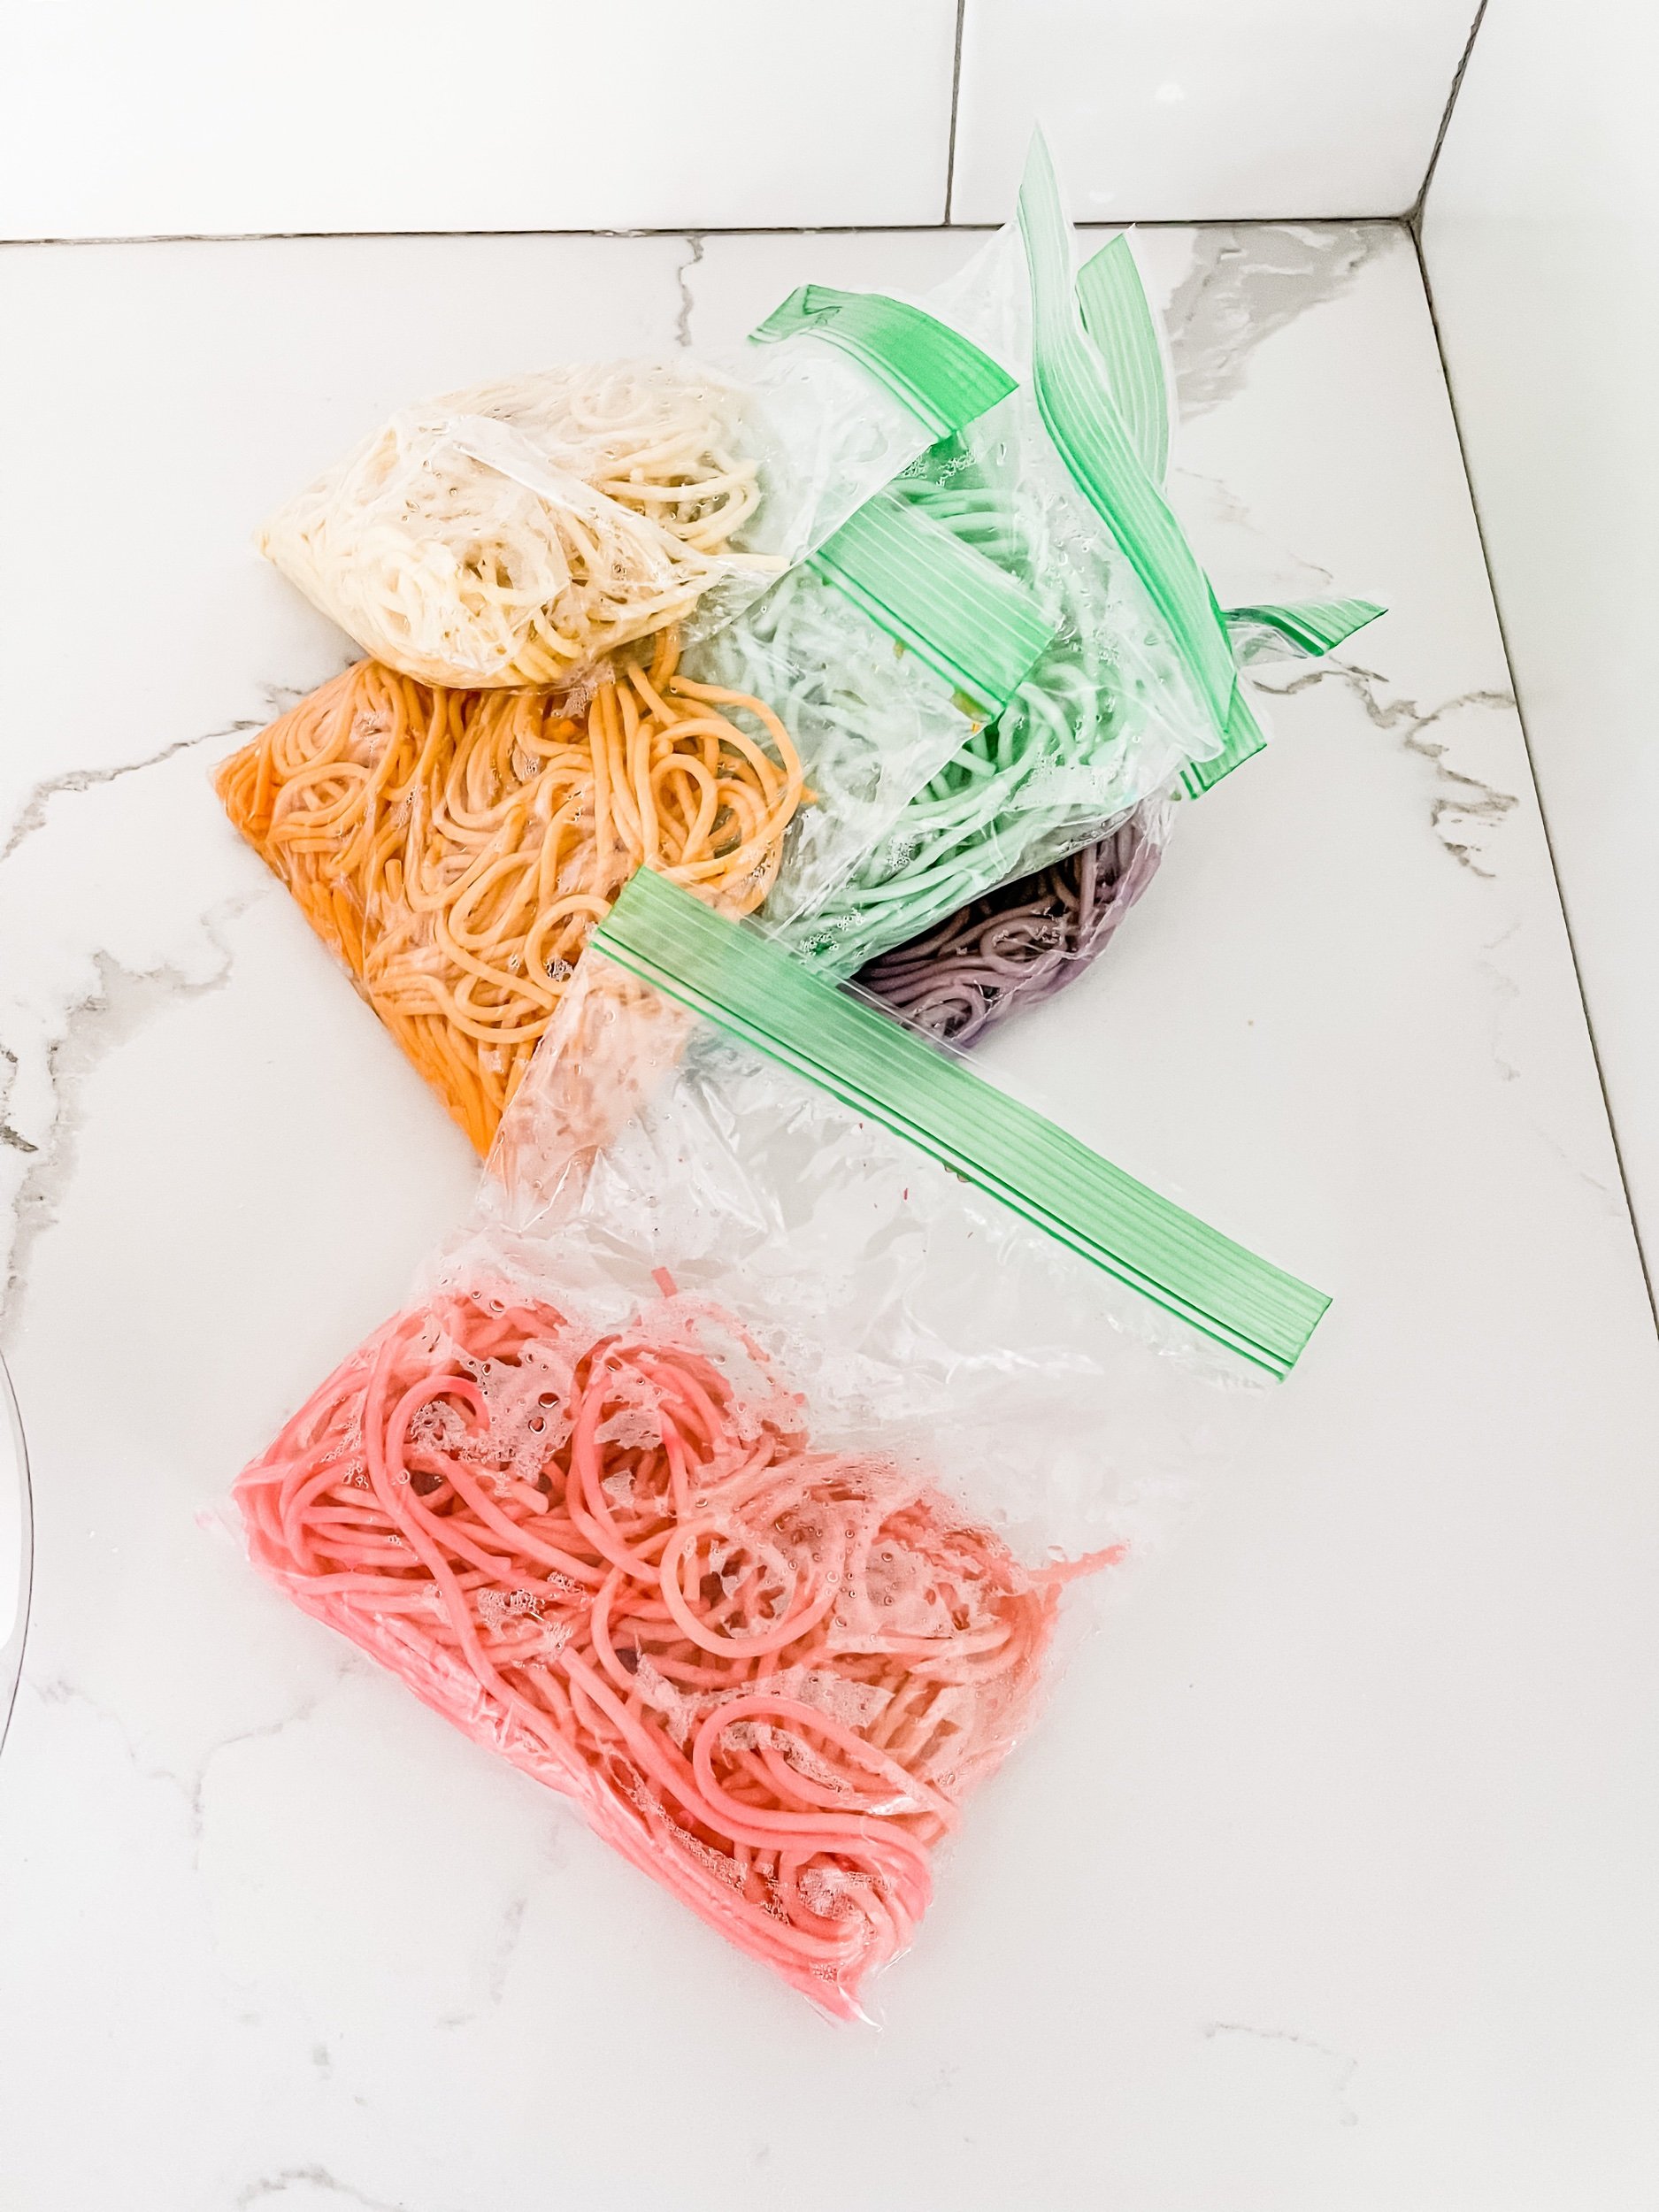
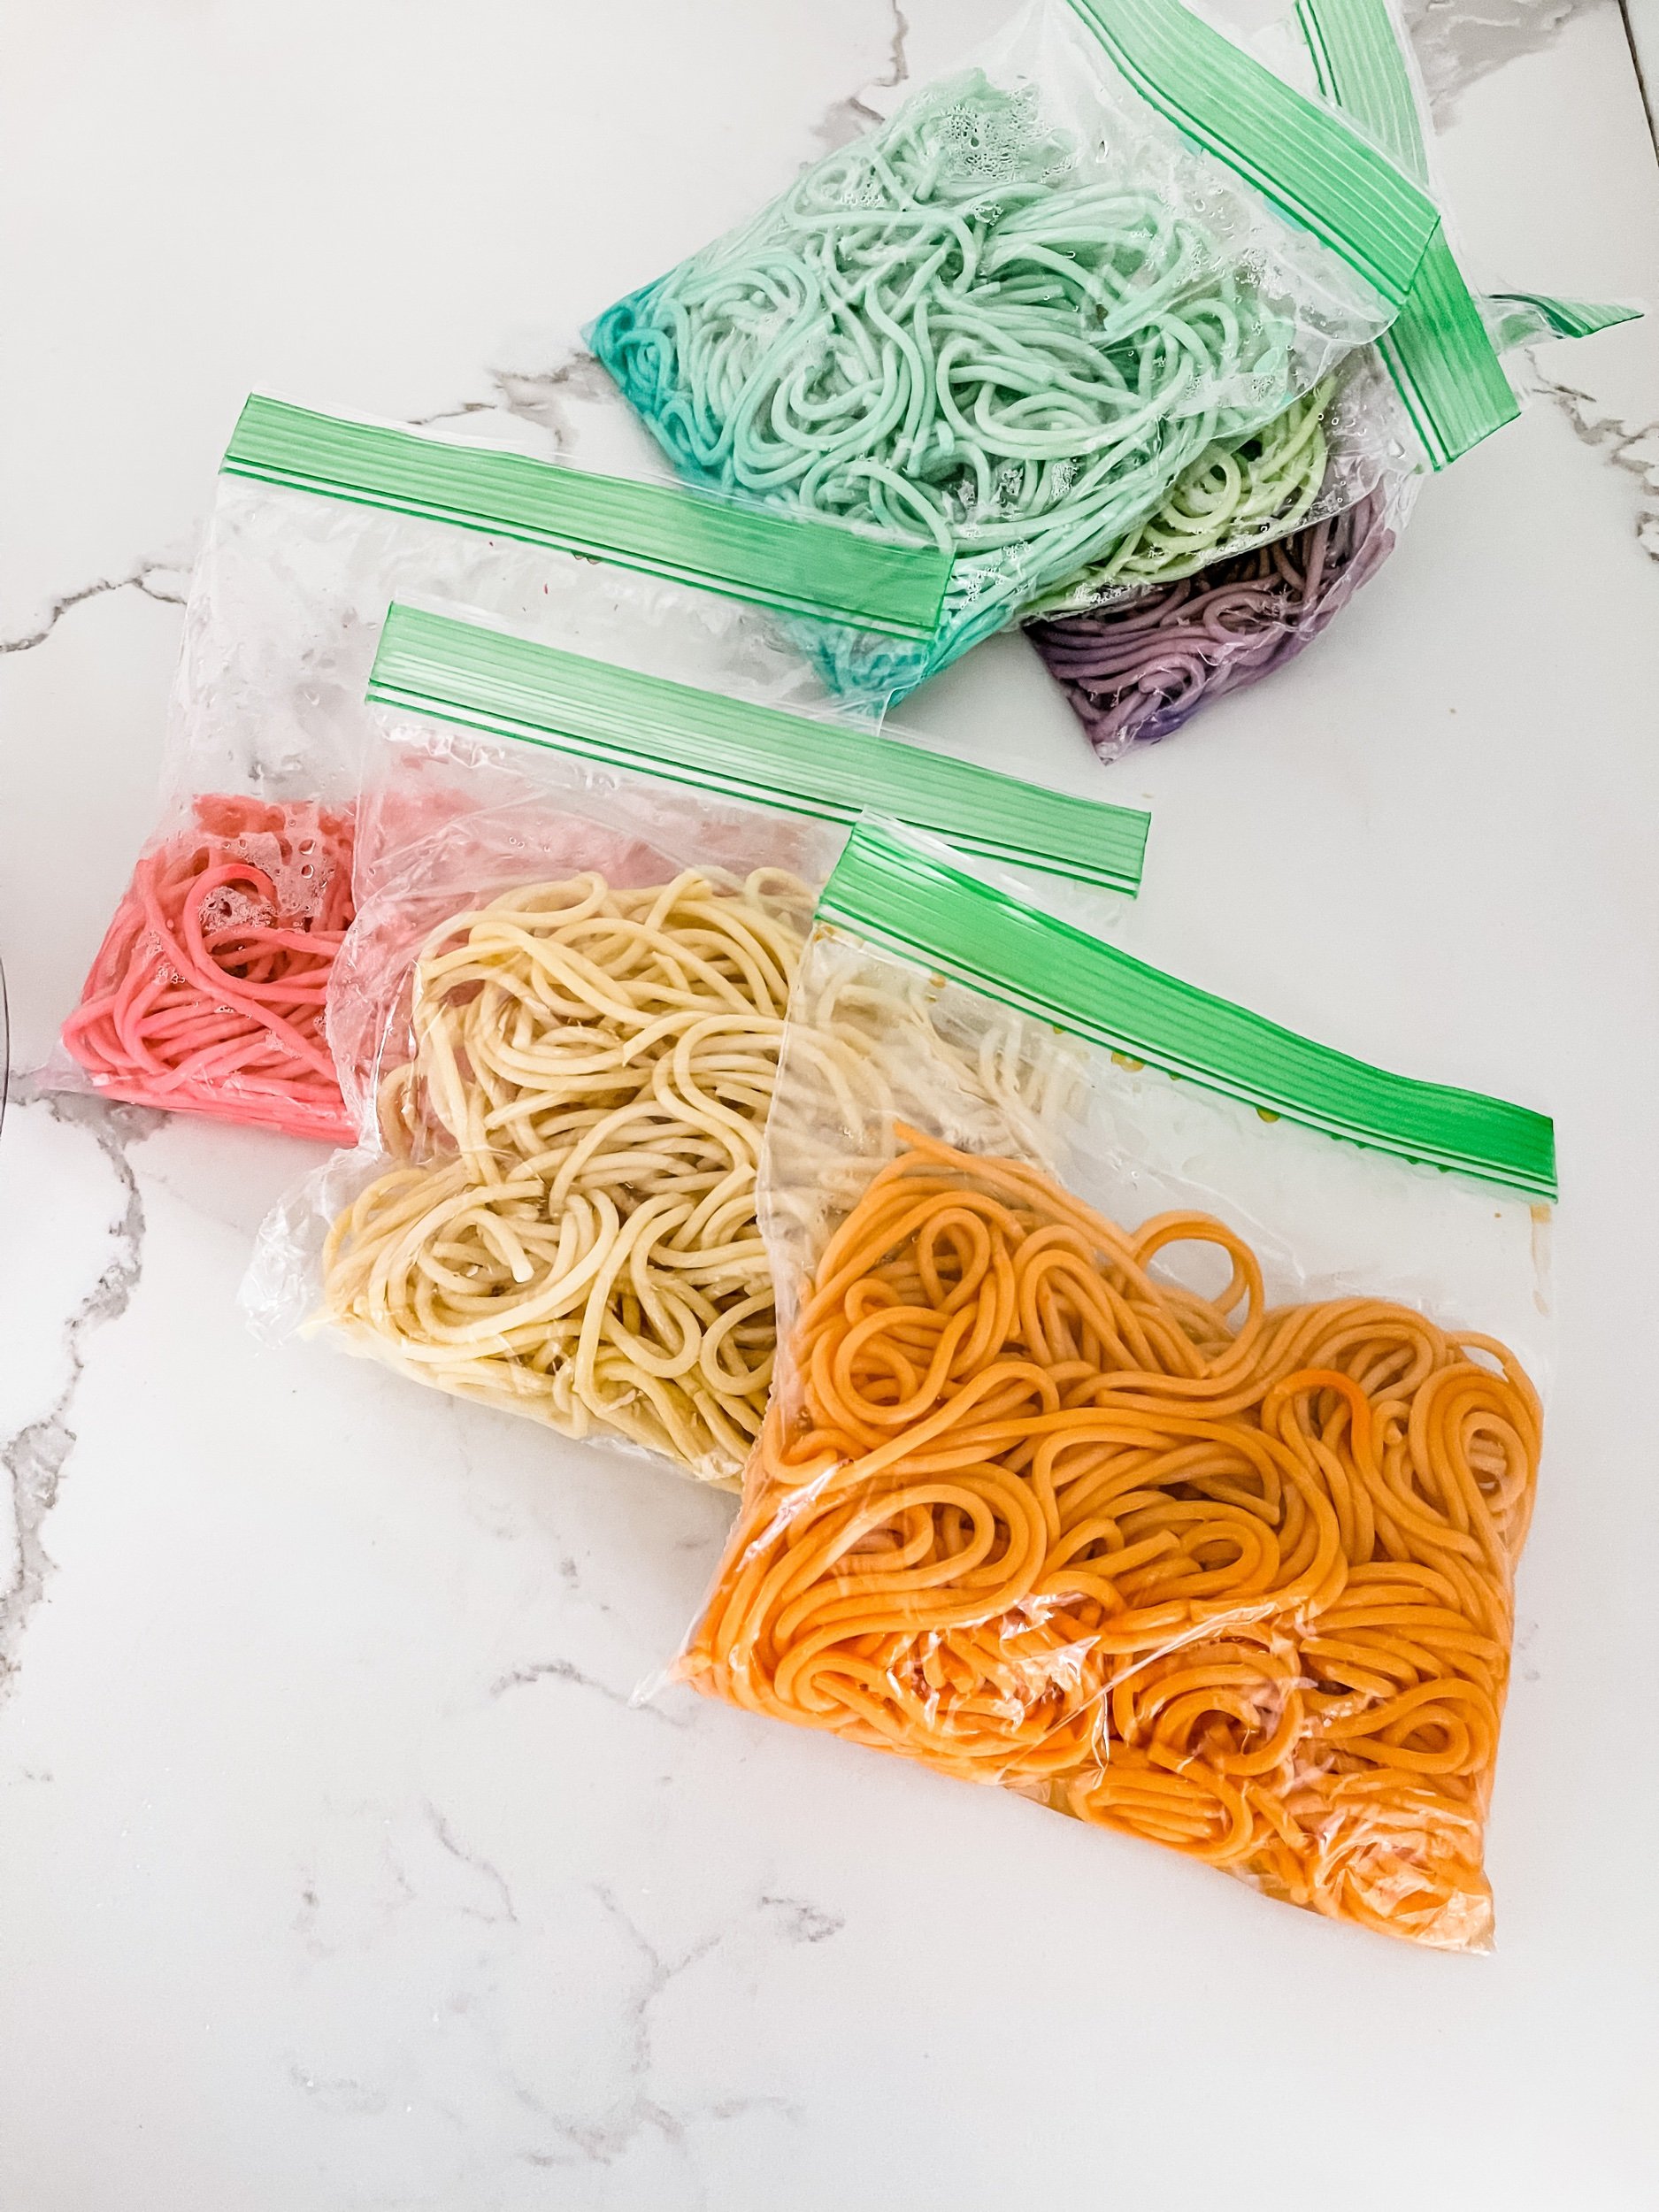
  • Fill 6 plastic ziploc bags with 2-3 tablespoons of water. I used and entire box of spaghetti divided into 6 bags / 6 colors so I used 2 tablespoons of water

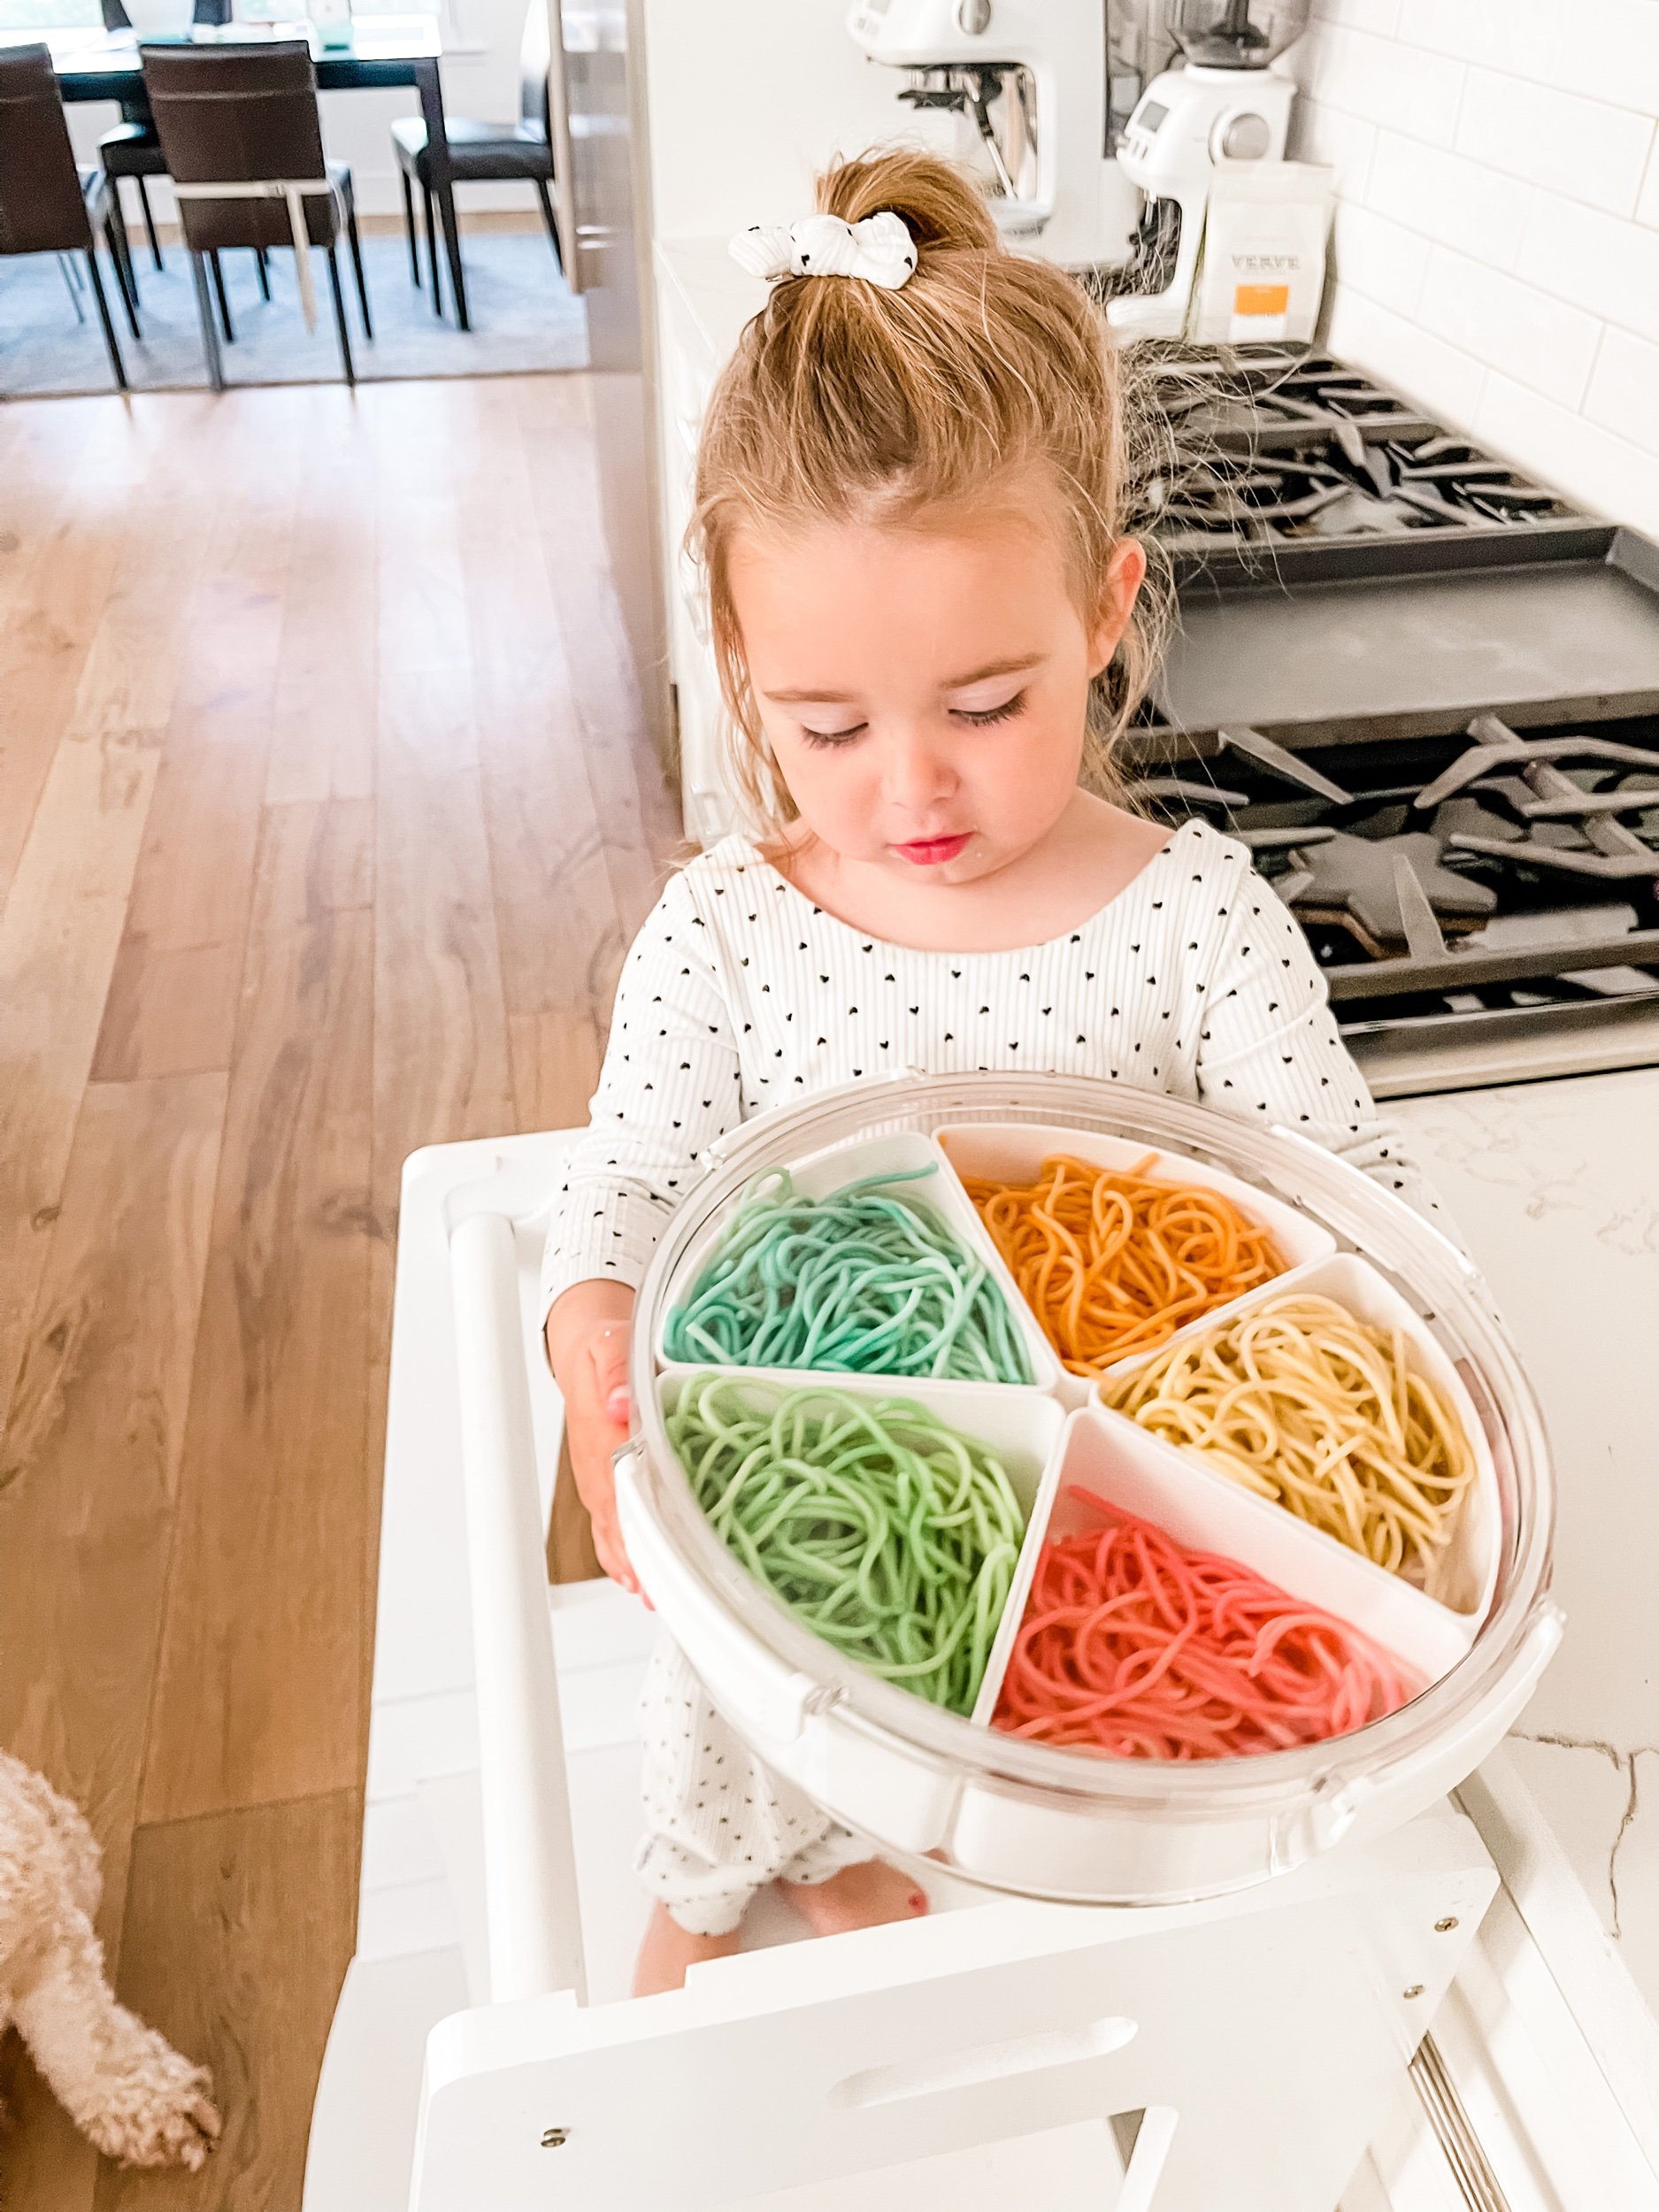
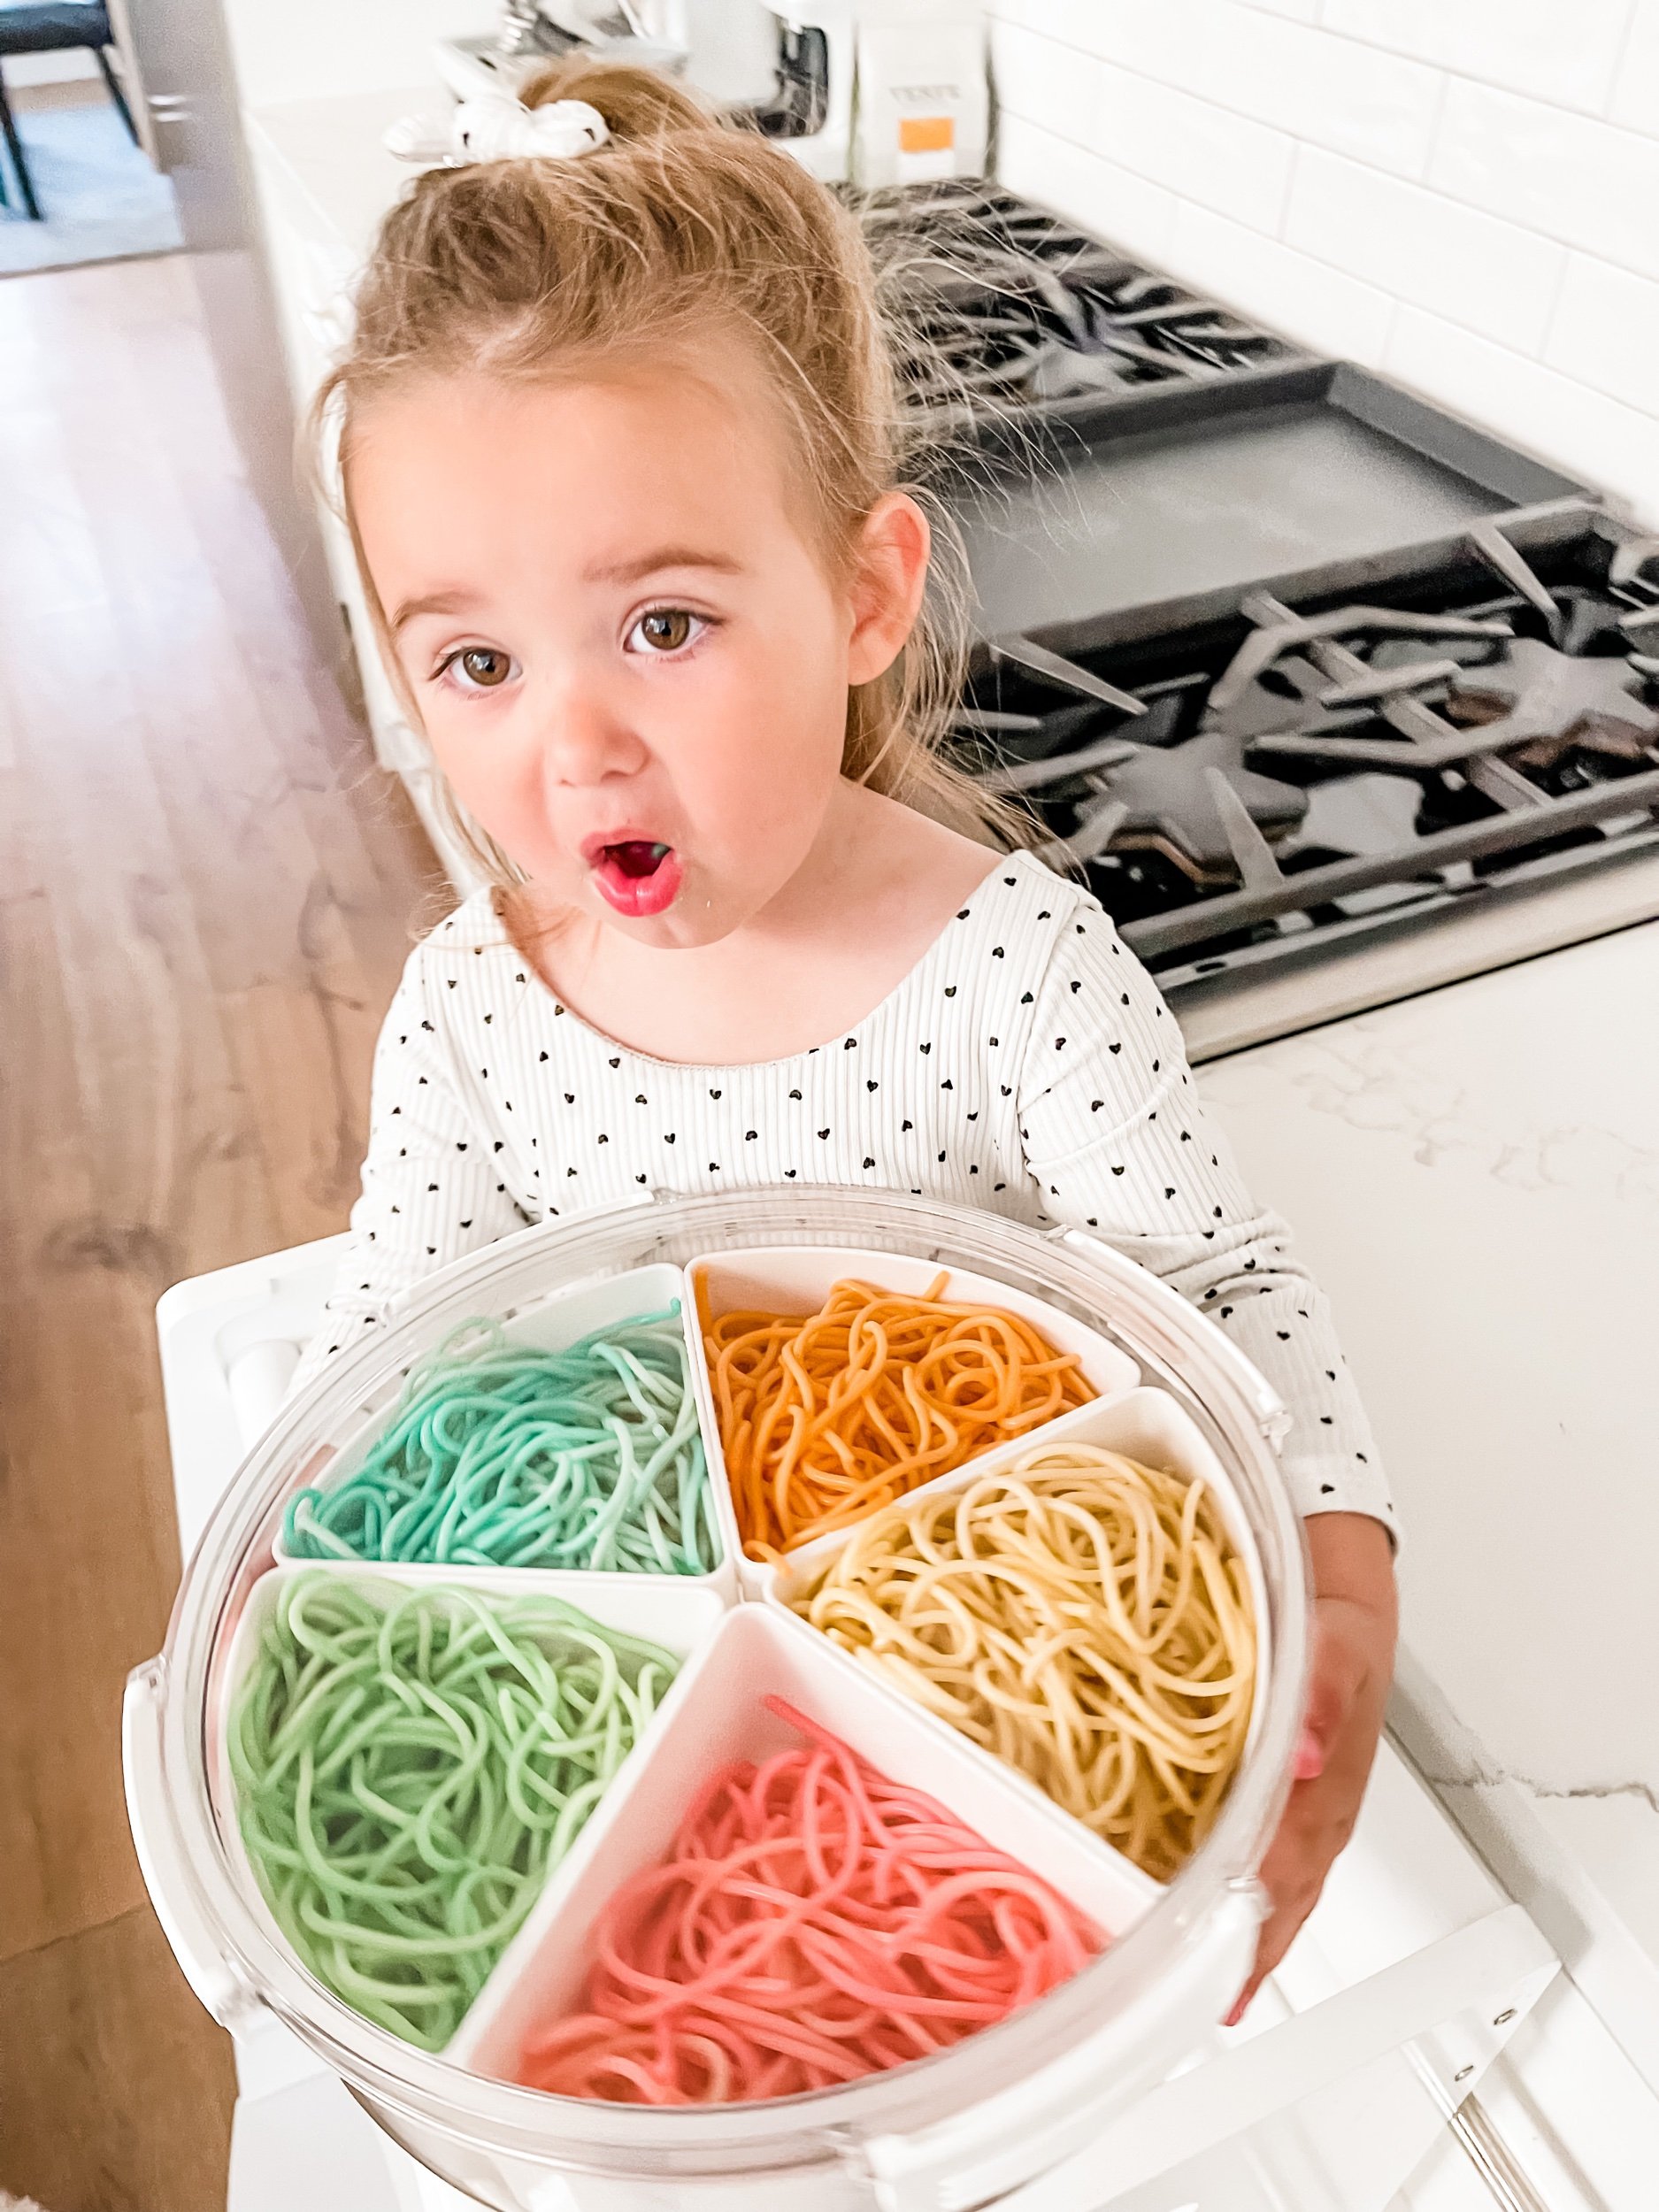
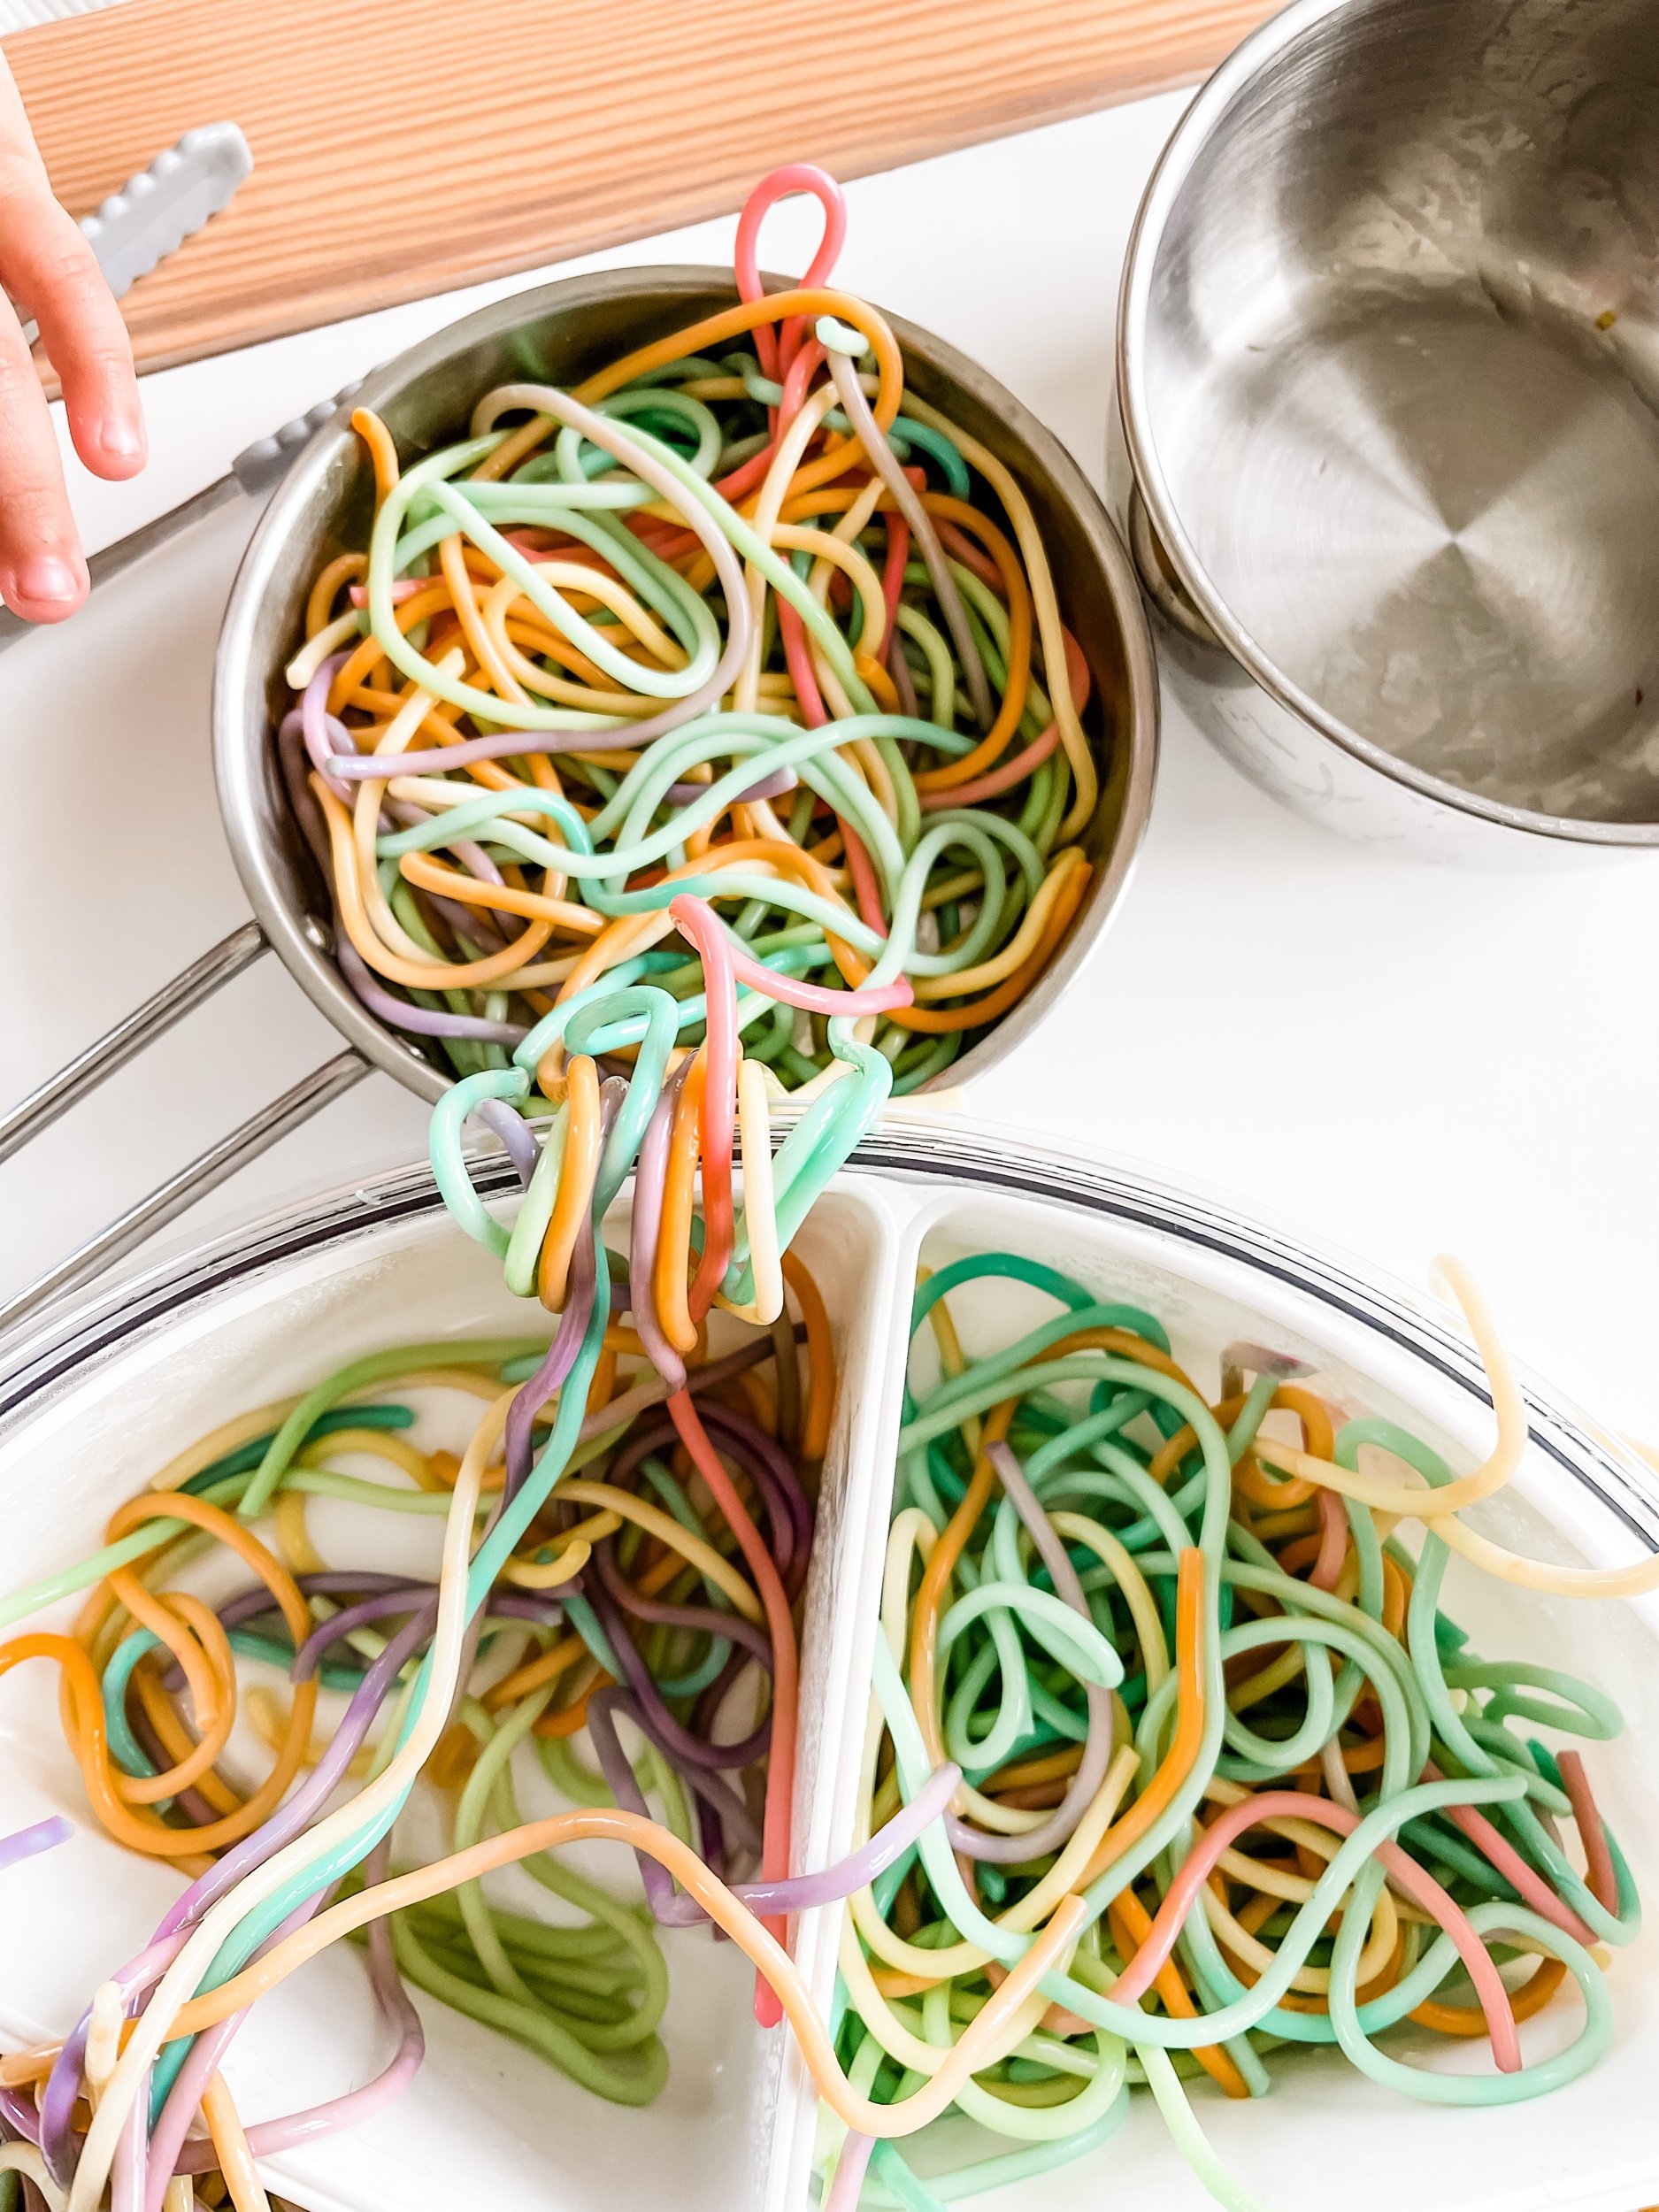
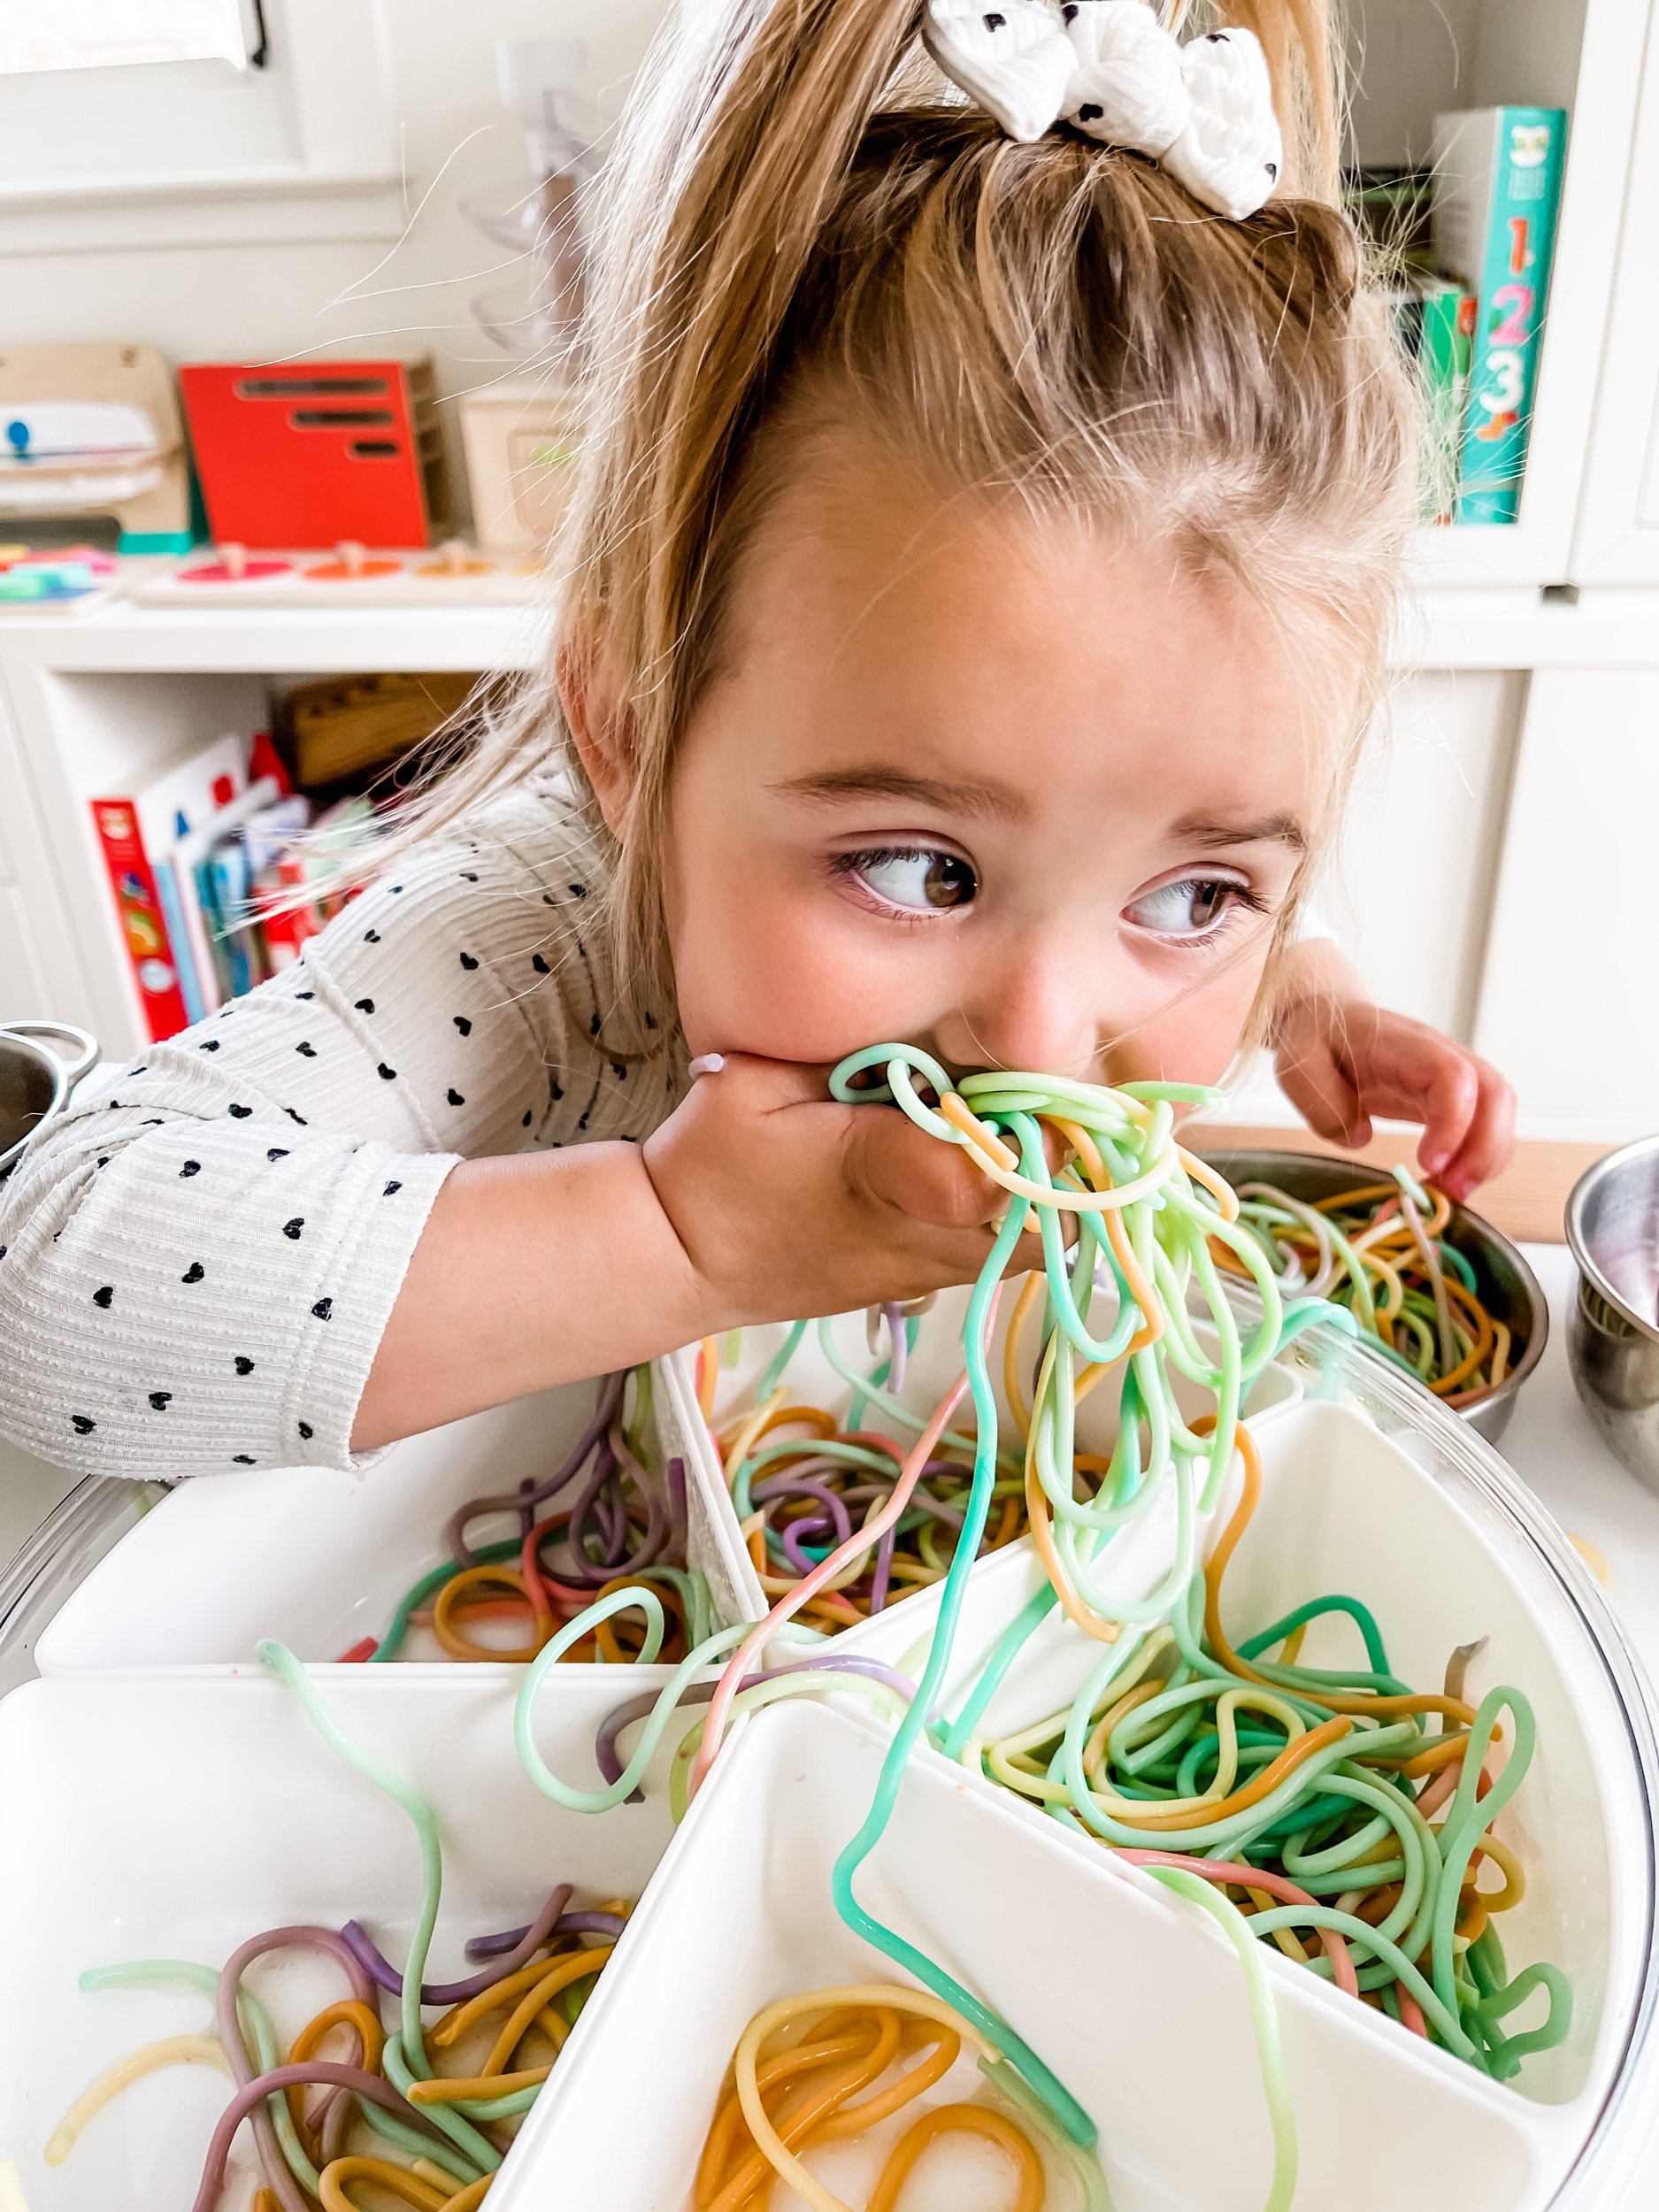
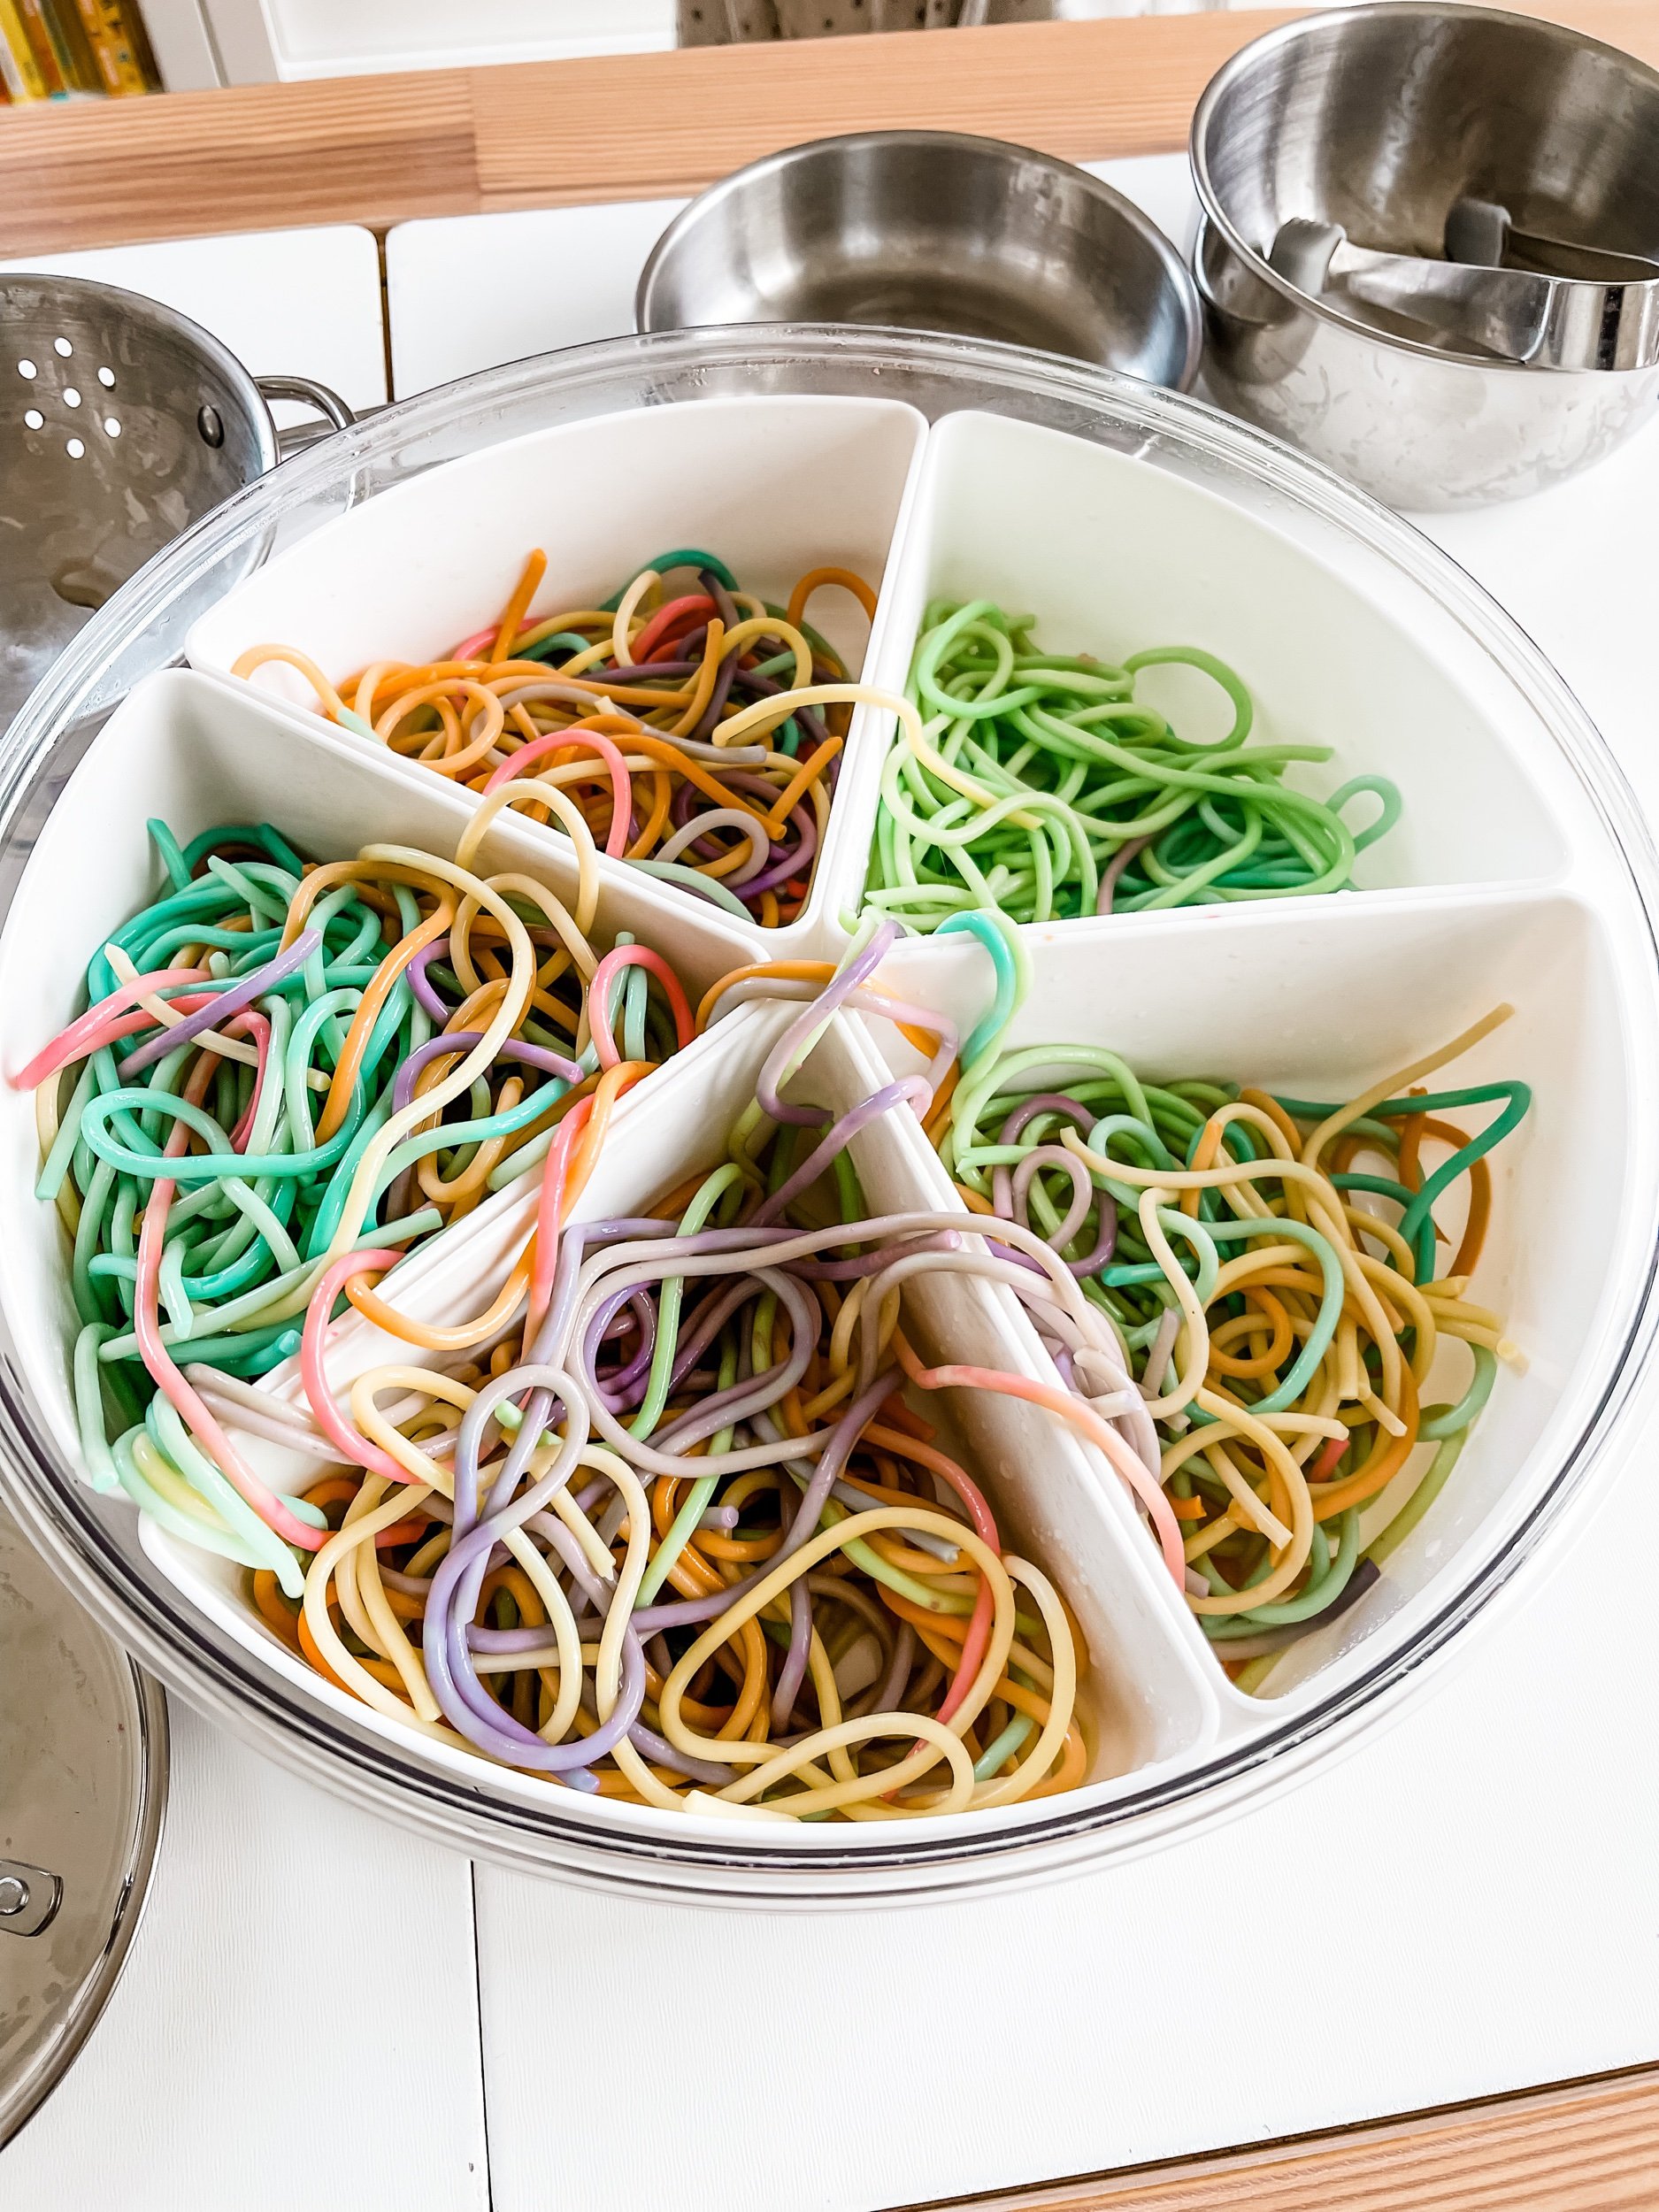
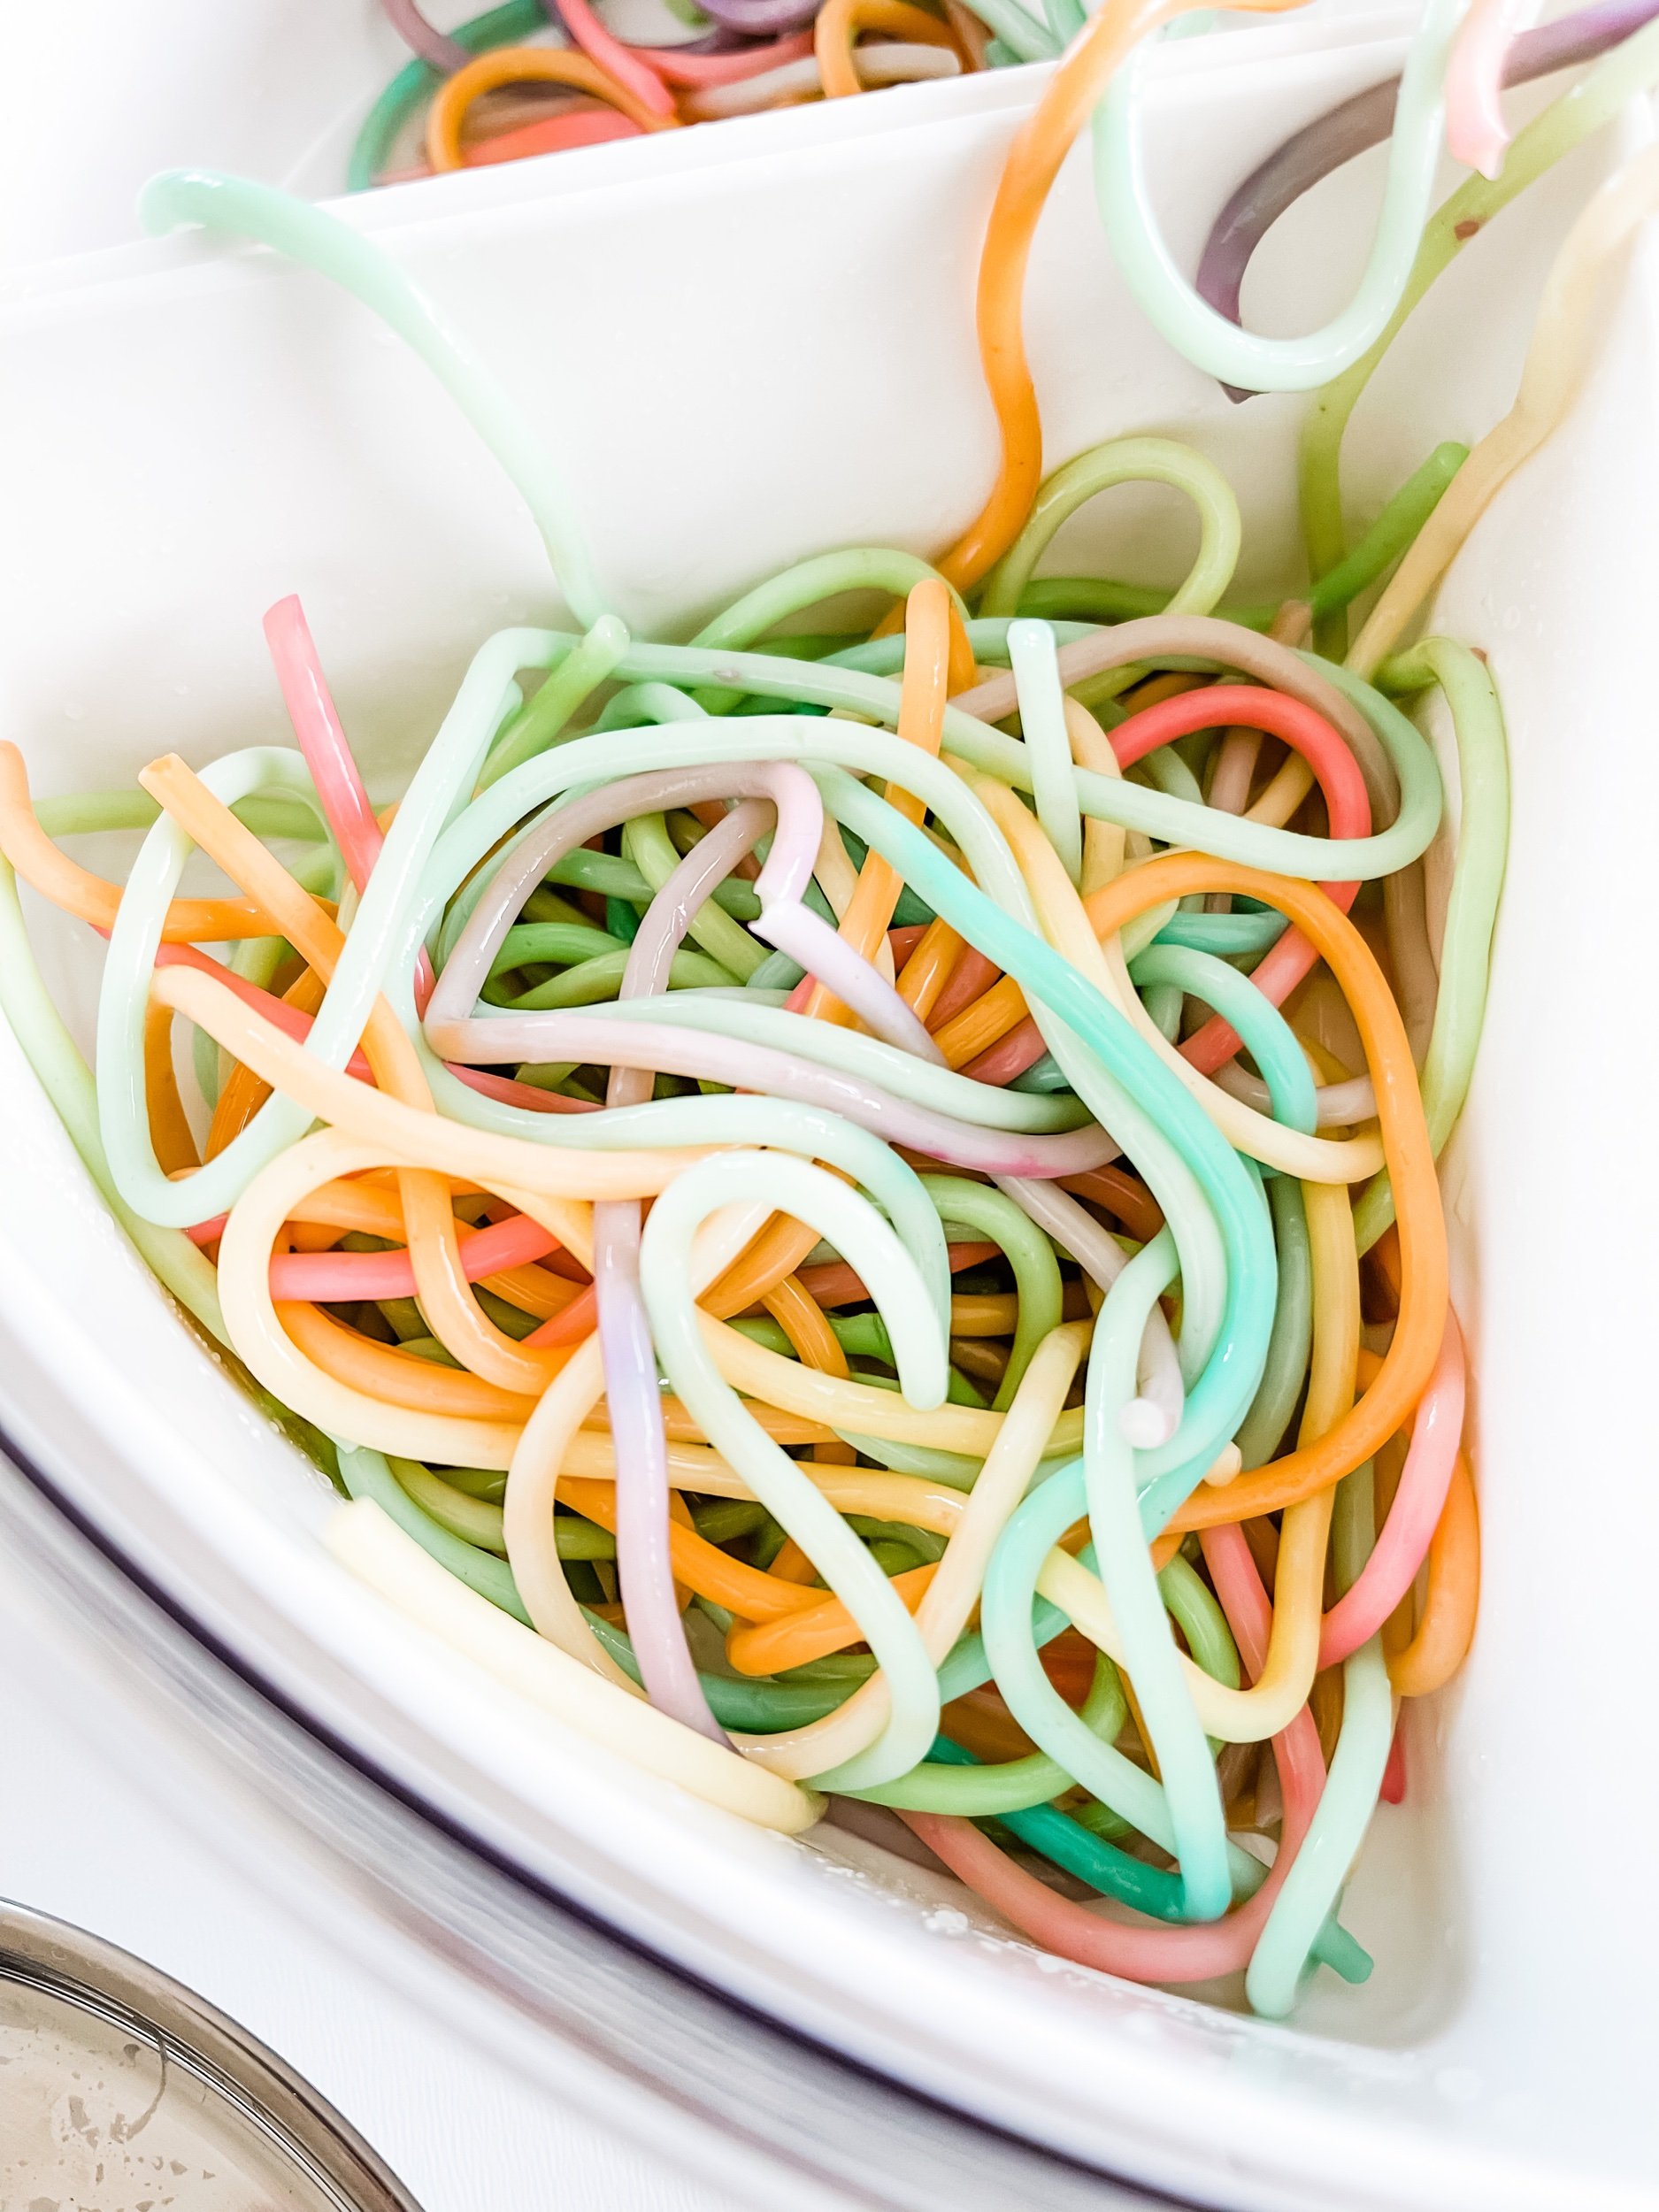
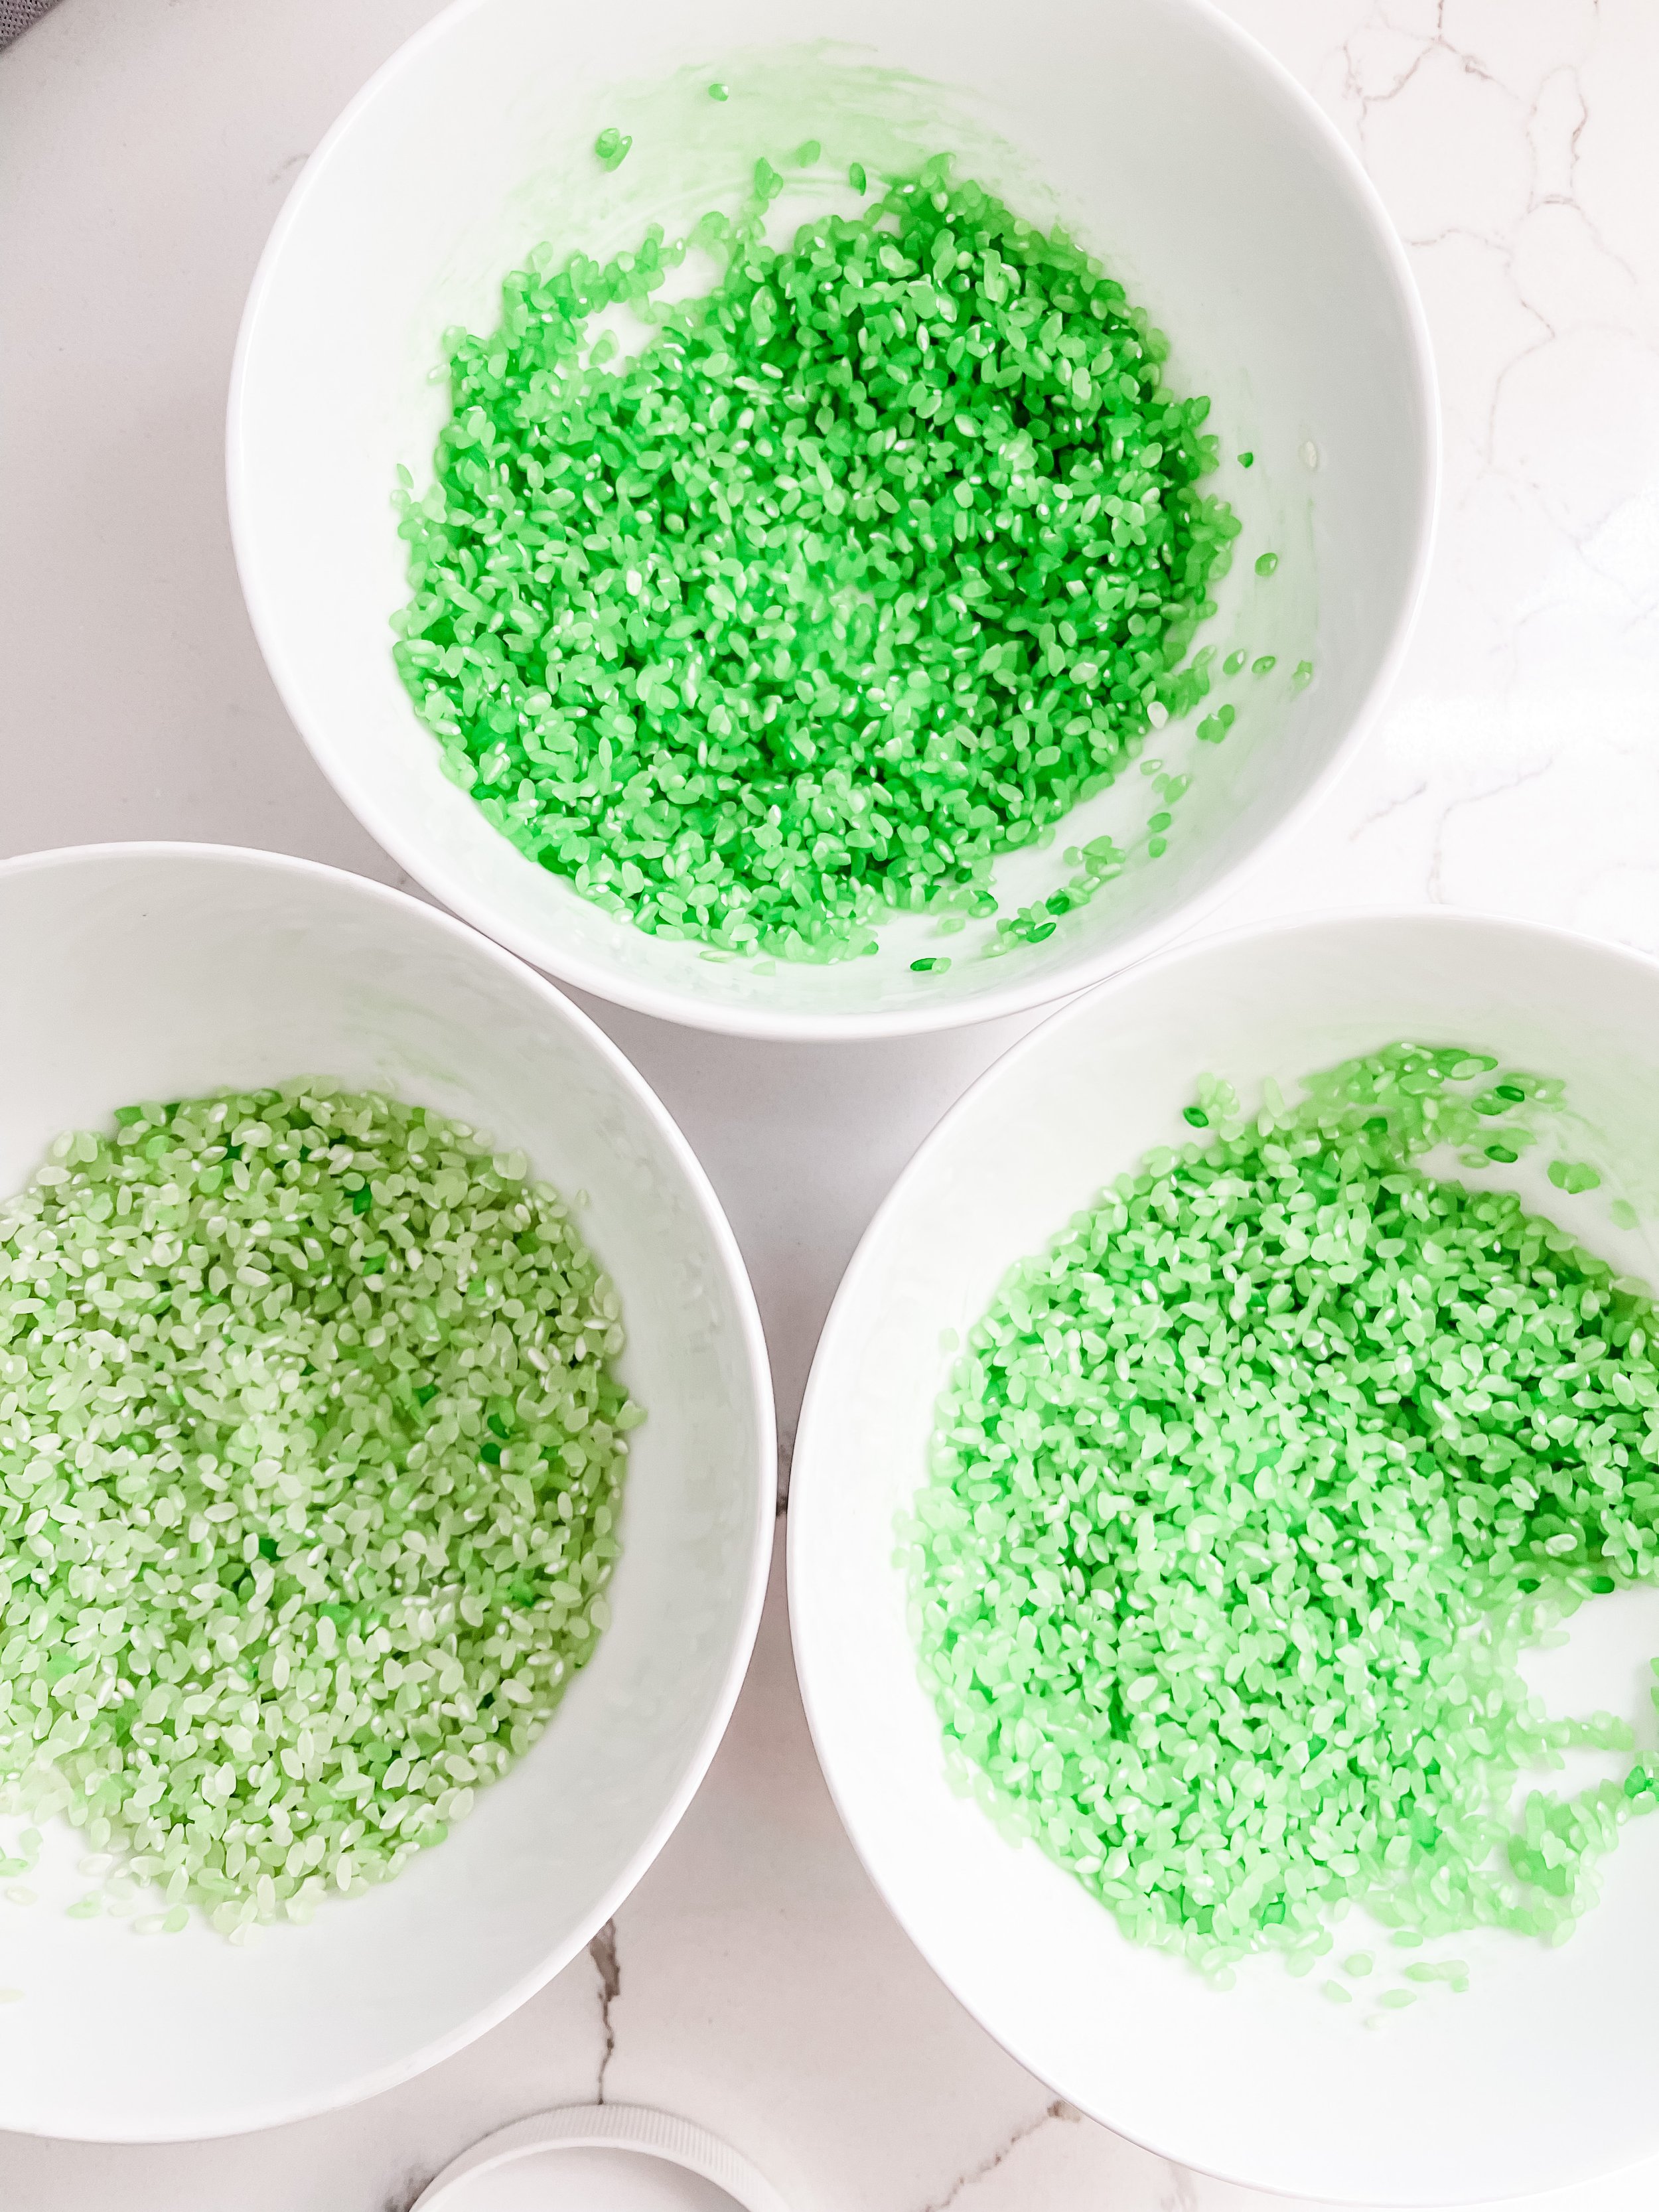
  • Add 3 drops of pastel food coloring into the bags and let it fully saturate the water. I recommend the pastel colors because they come out so bright and vibrant!

  • grab a handful of noodles and drop them in the bag. Mix them up until the noodles are coated with the dyed water.

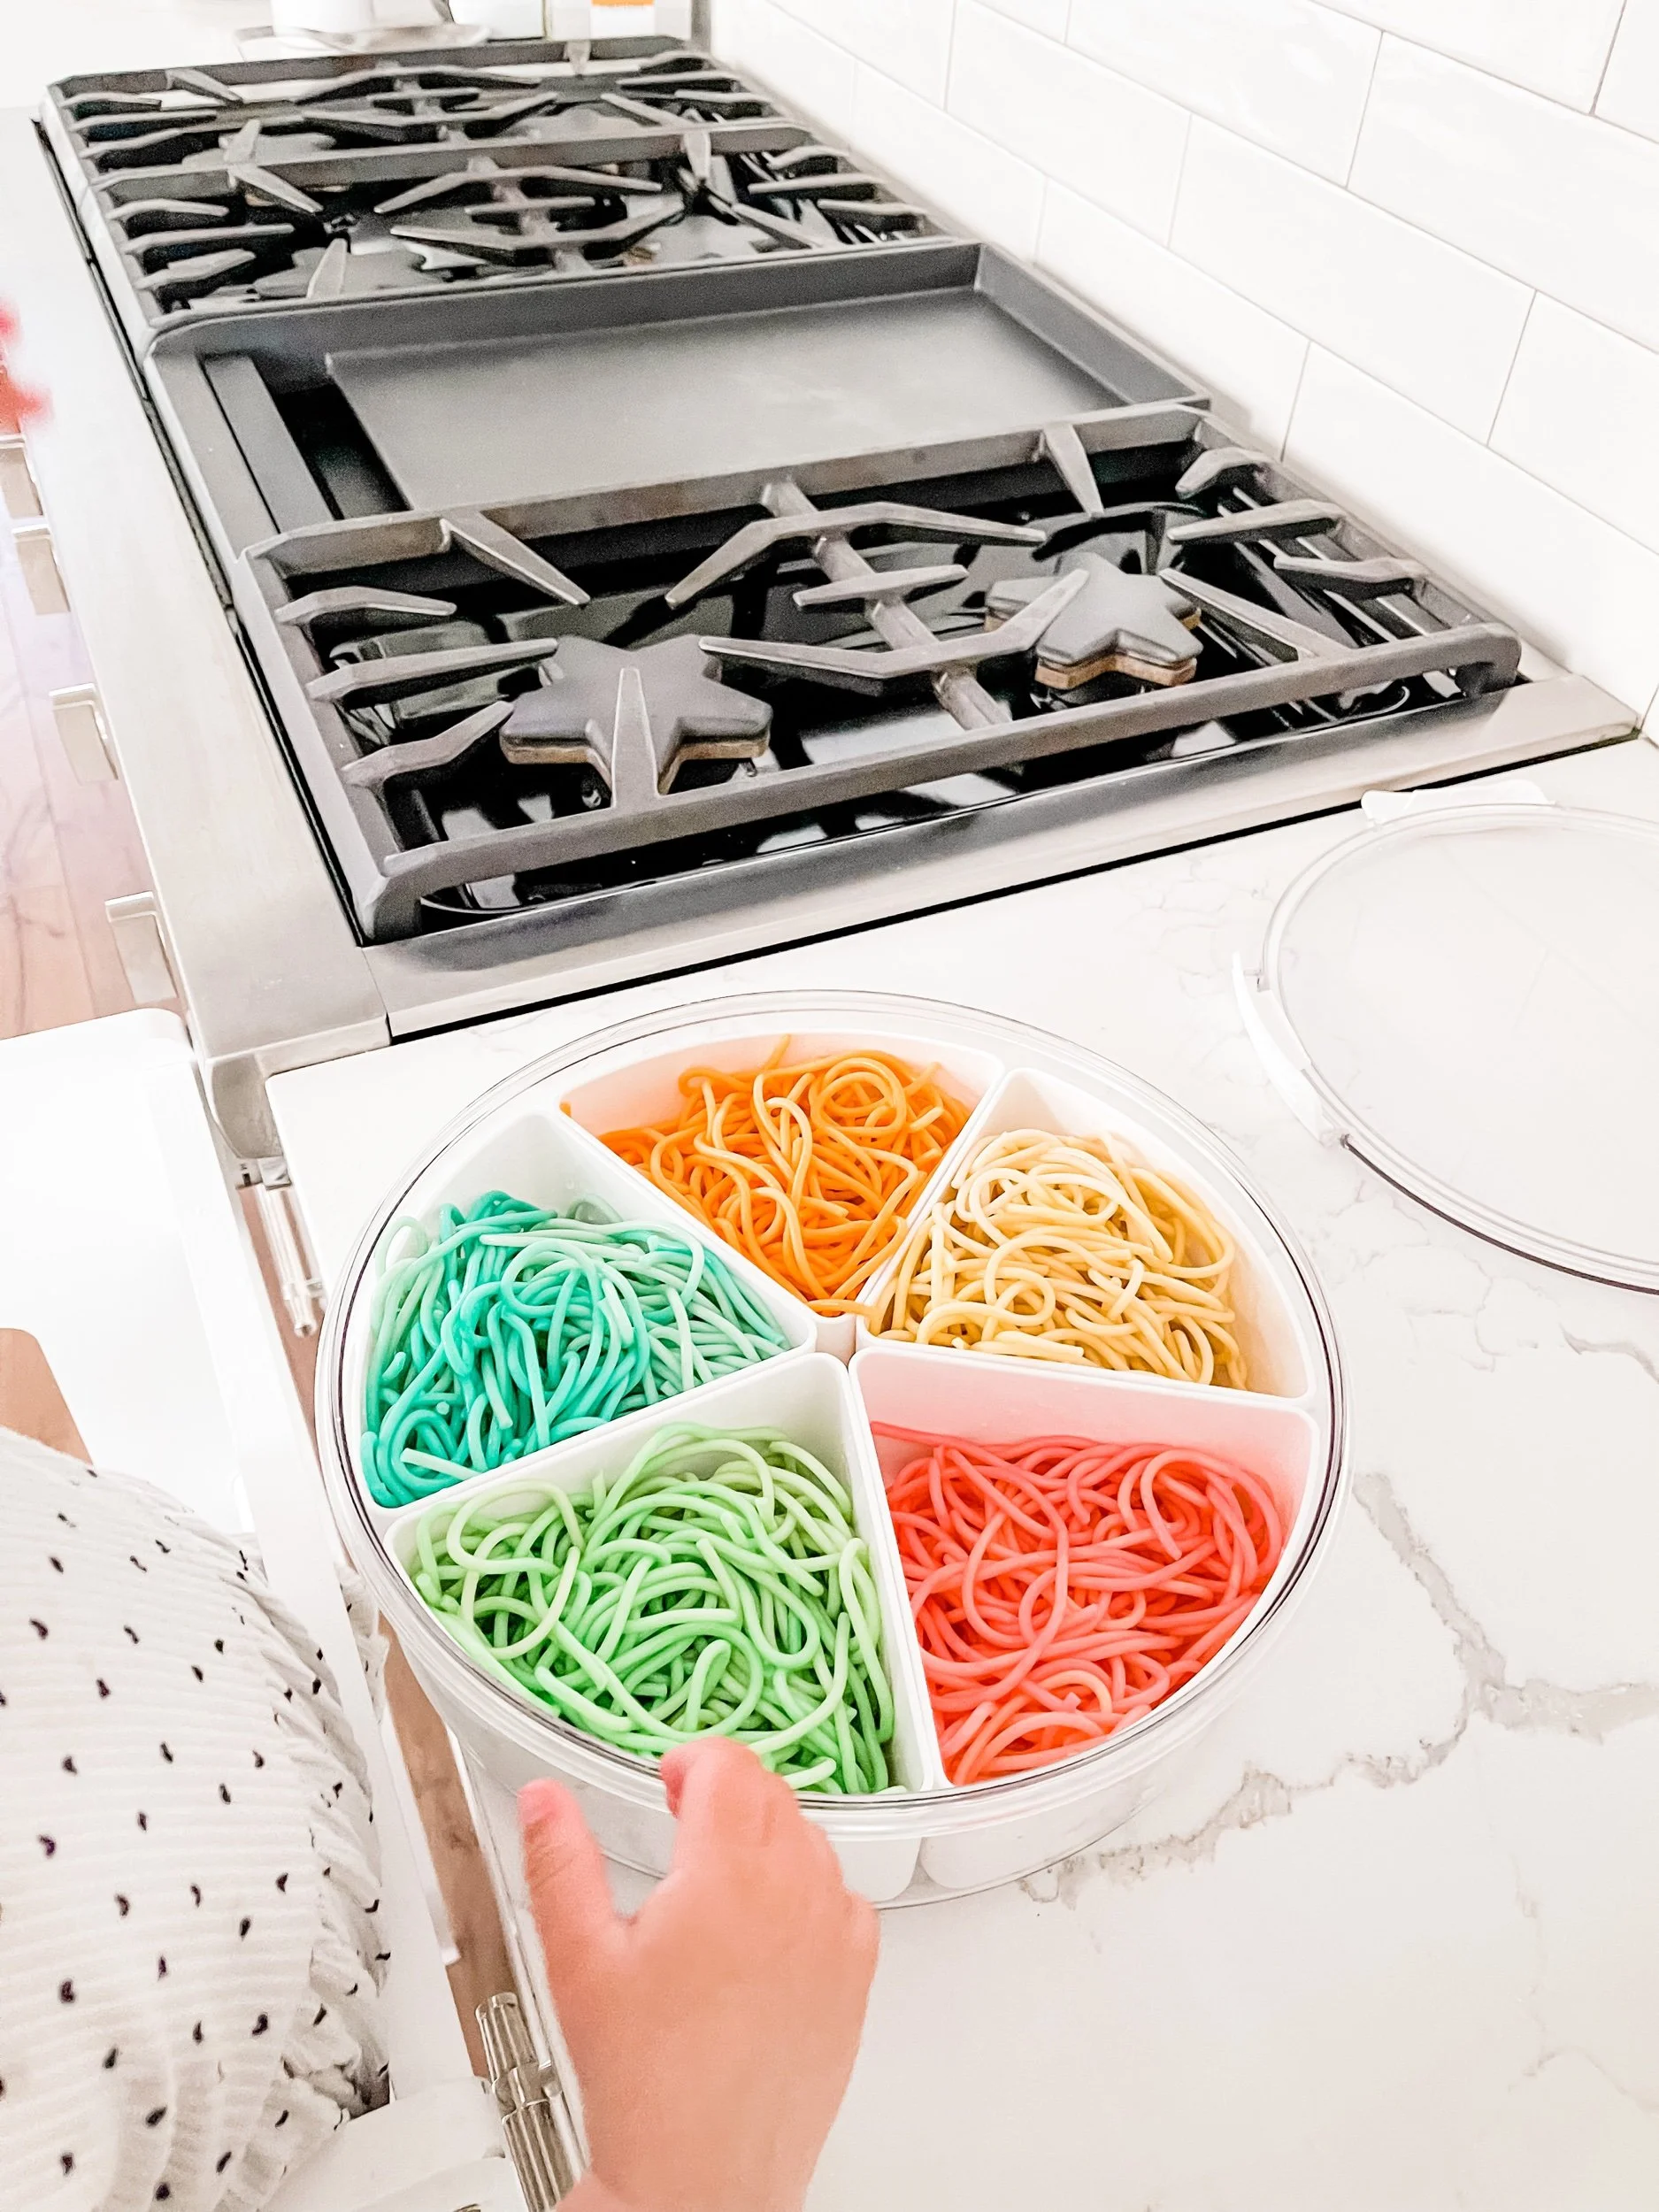
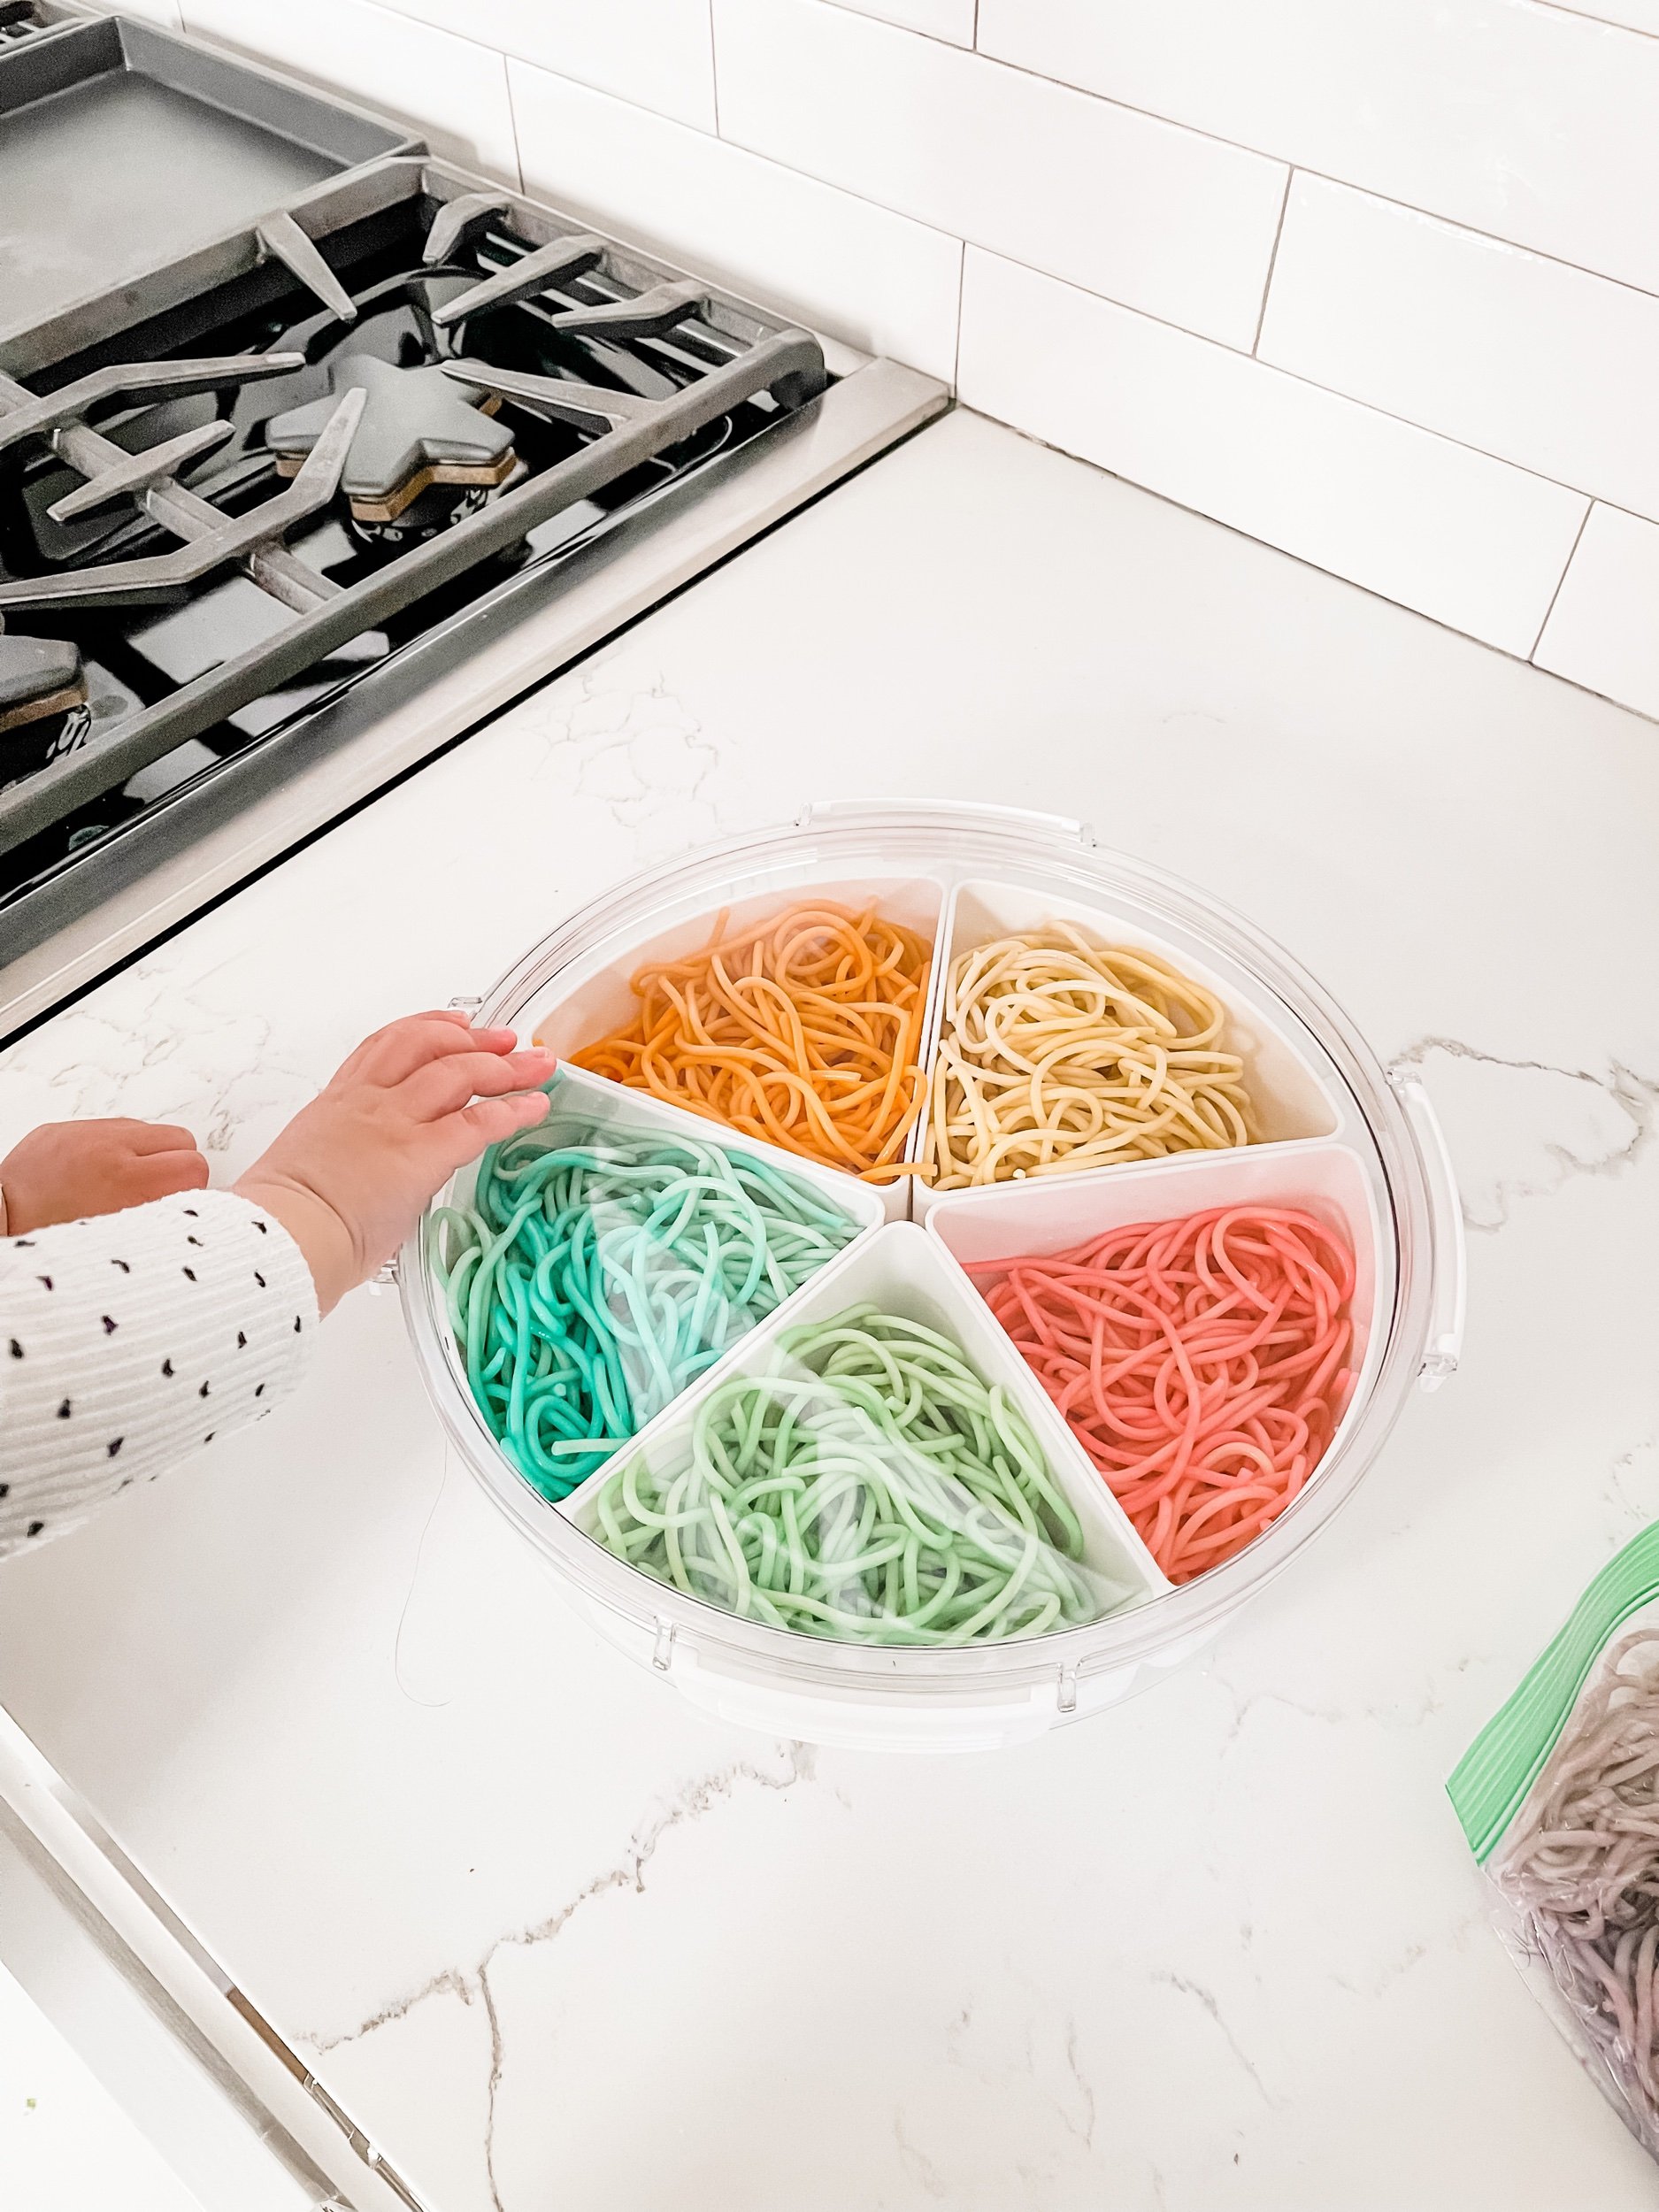
  • Place the bags in the refrigerator overnight. Depending on how well you mixed them, you might get an ombré effect if the bottom noodles are sitting in more saturated water. For the most part the noodles with absorb all of the water but if you want to avoid the ombré look, drain any excess water before you put them in the fridge.

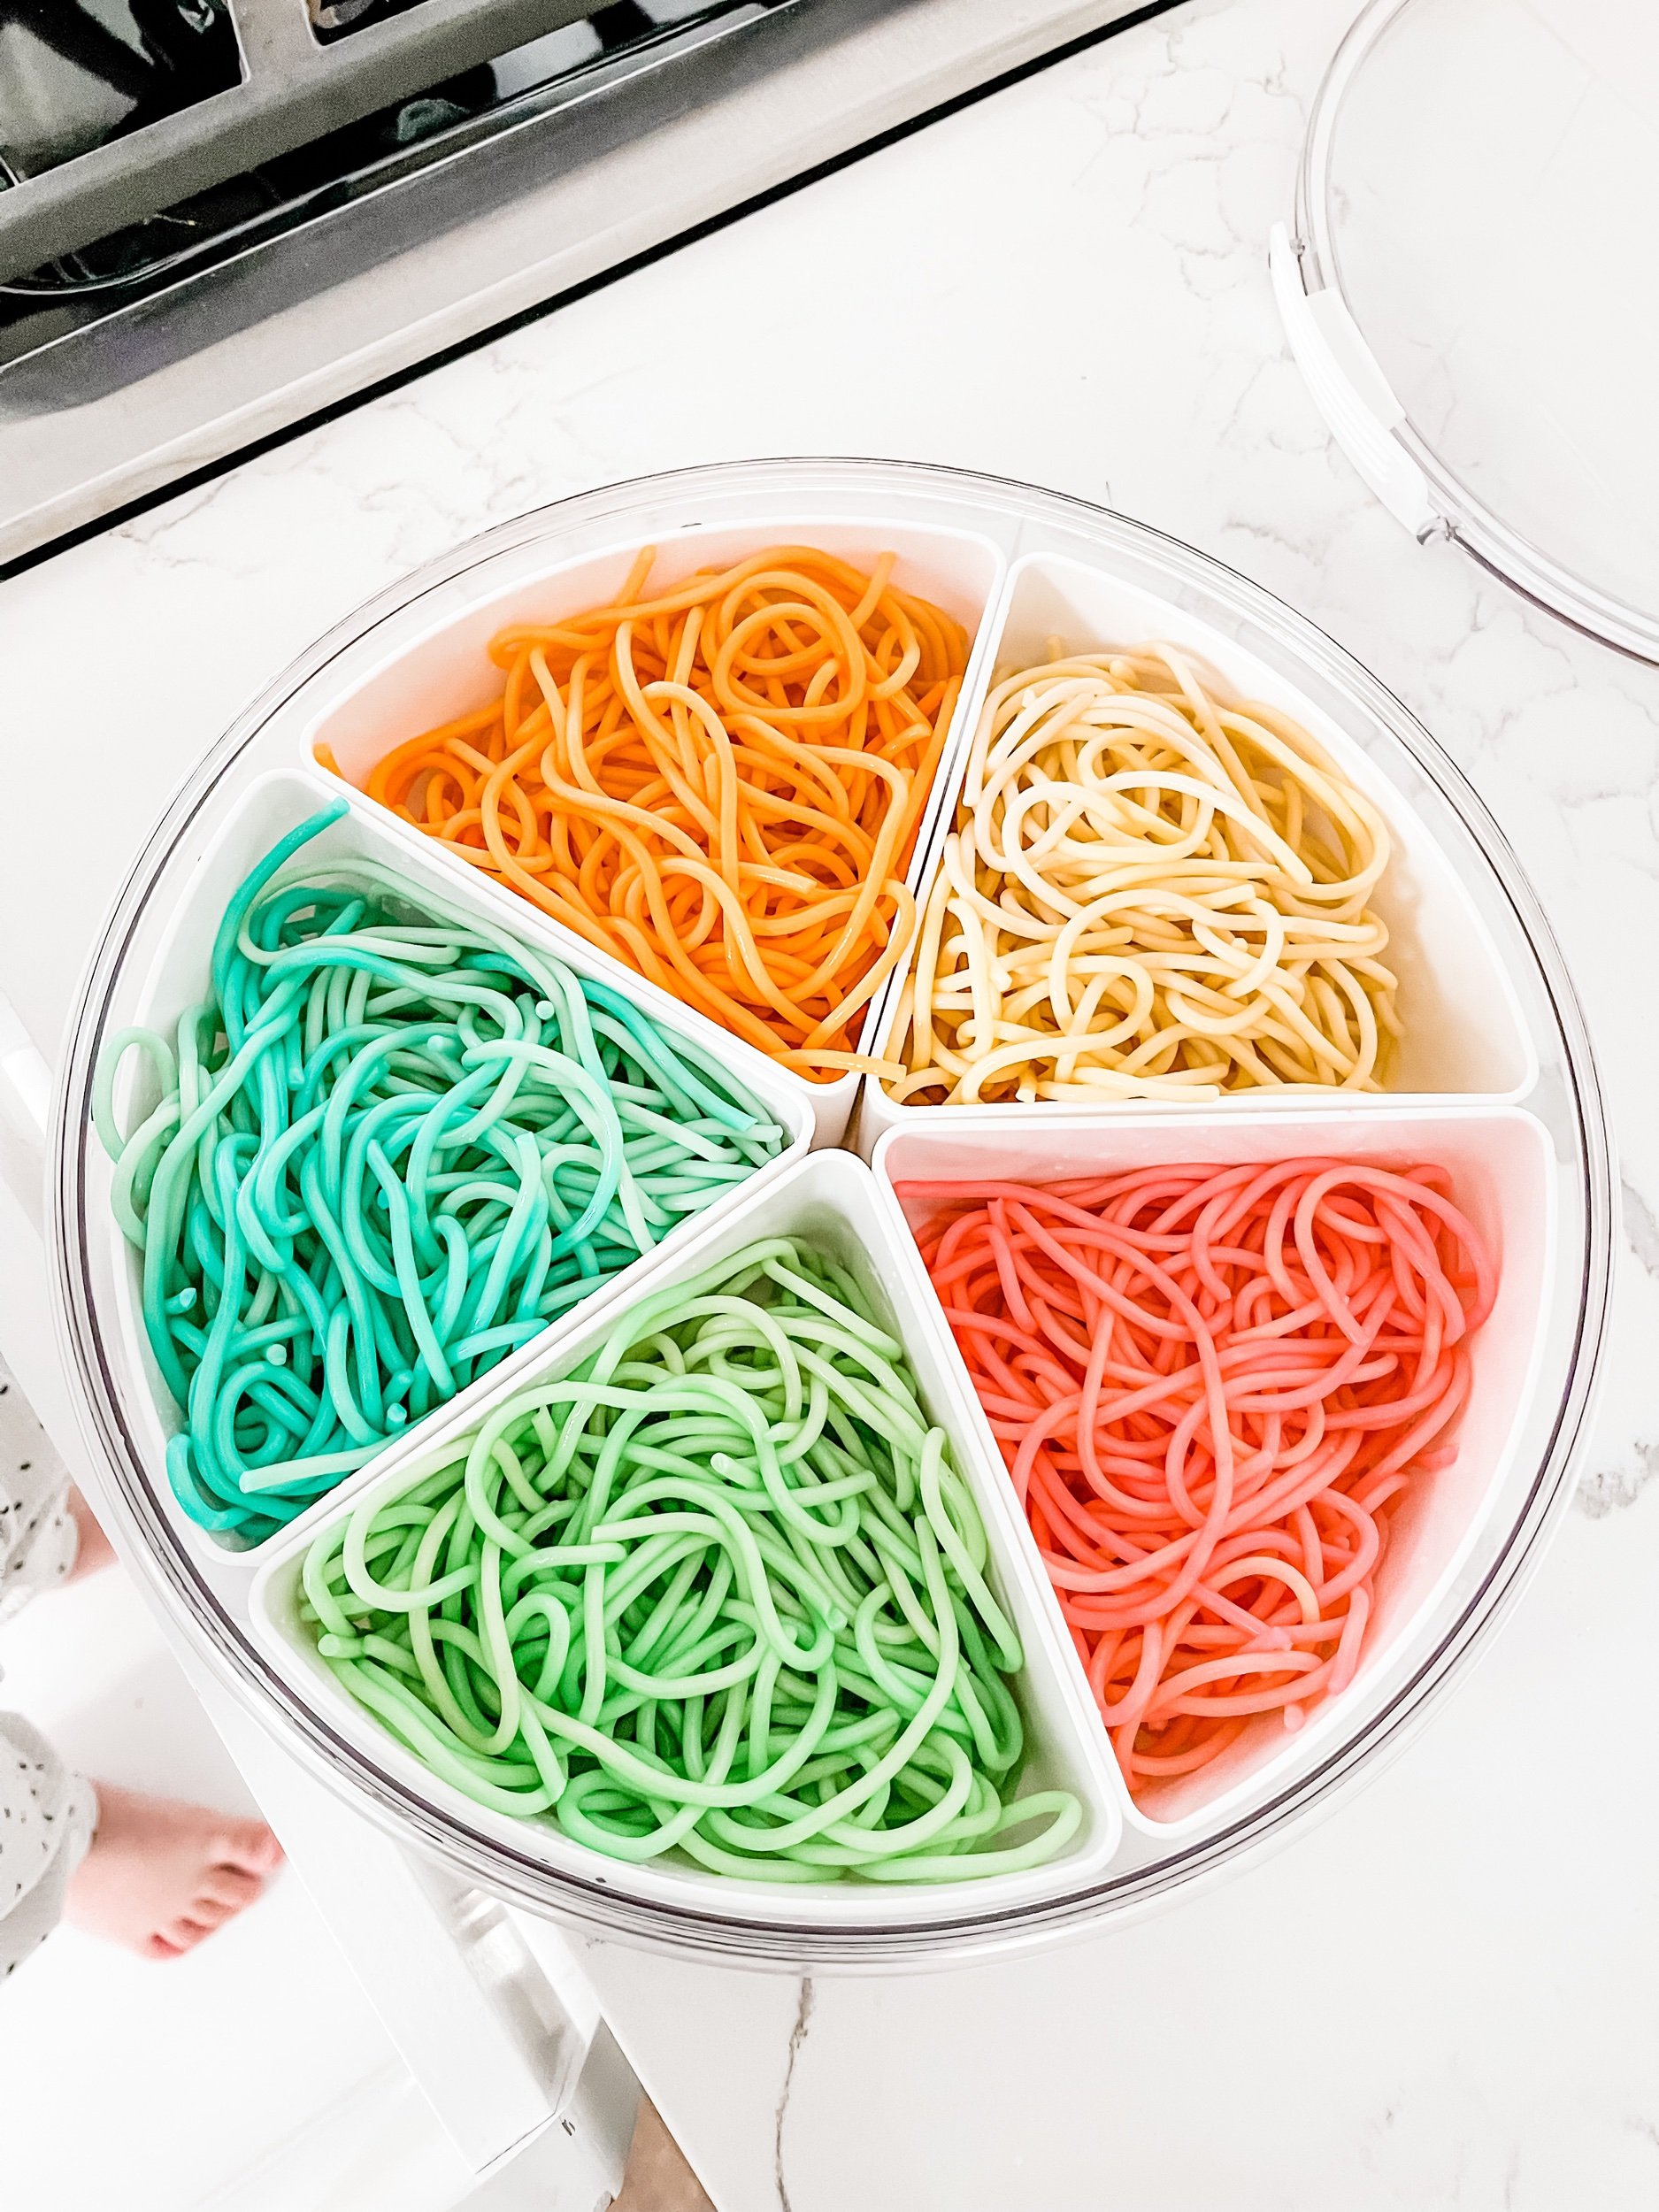
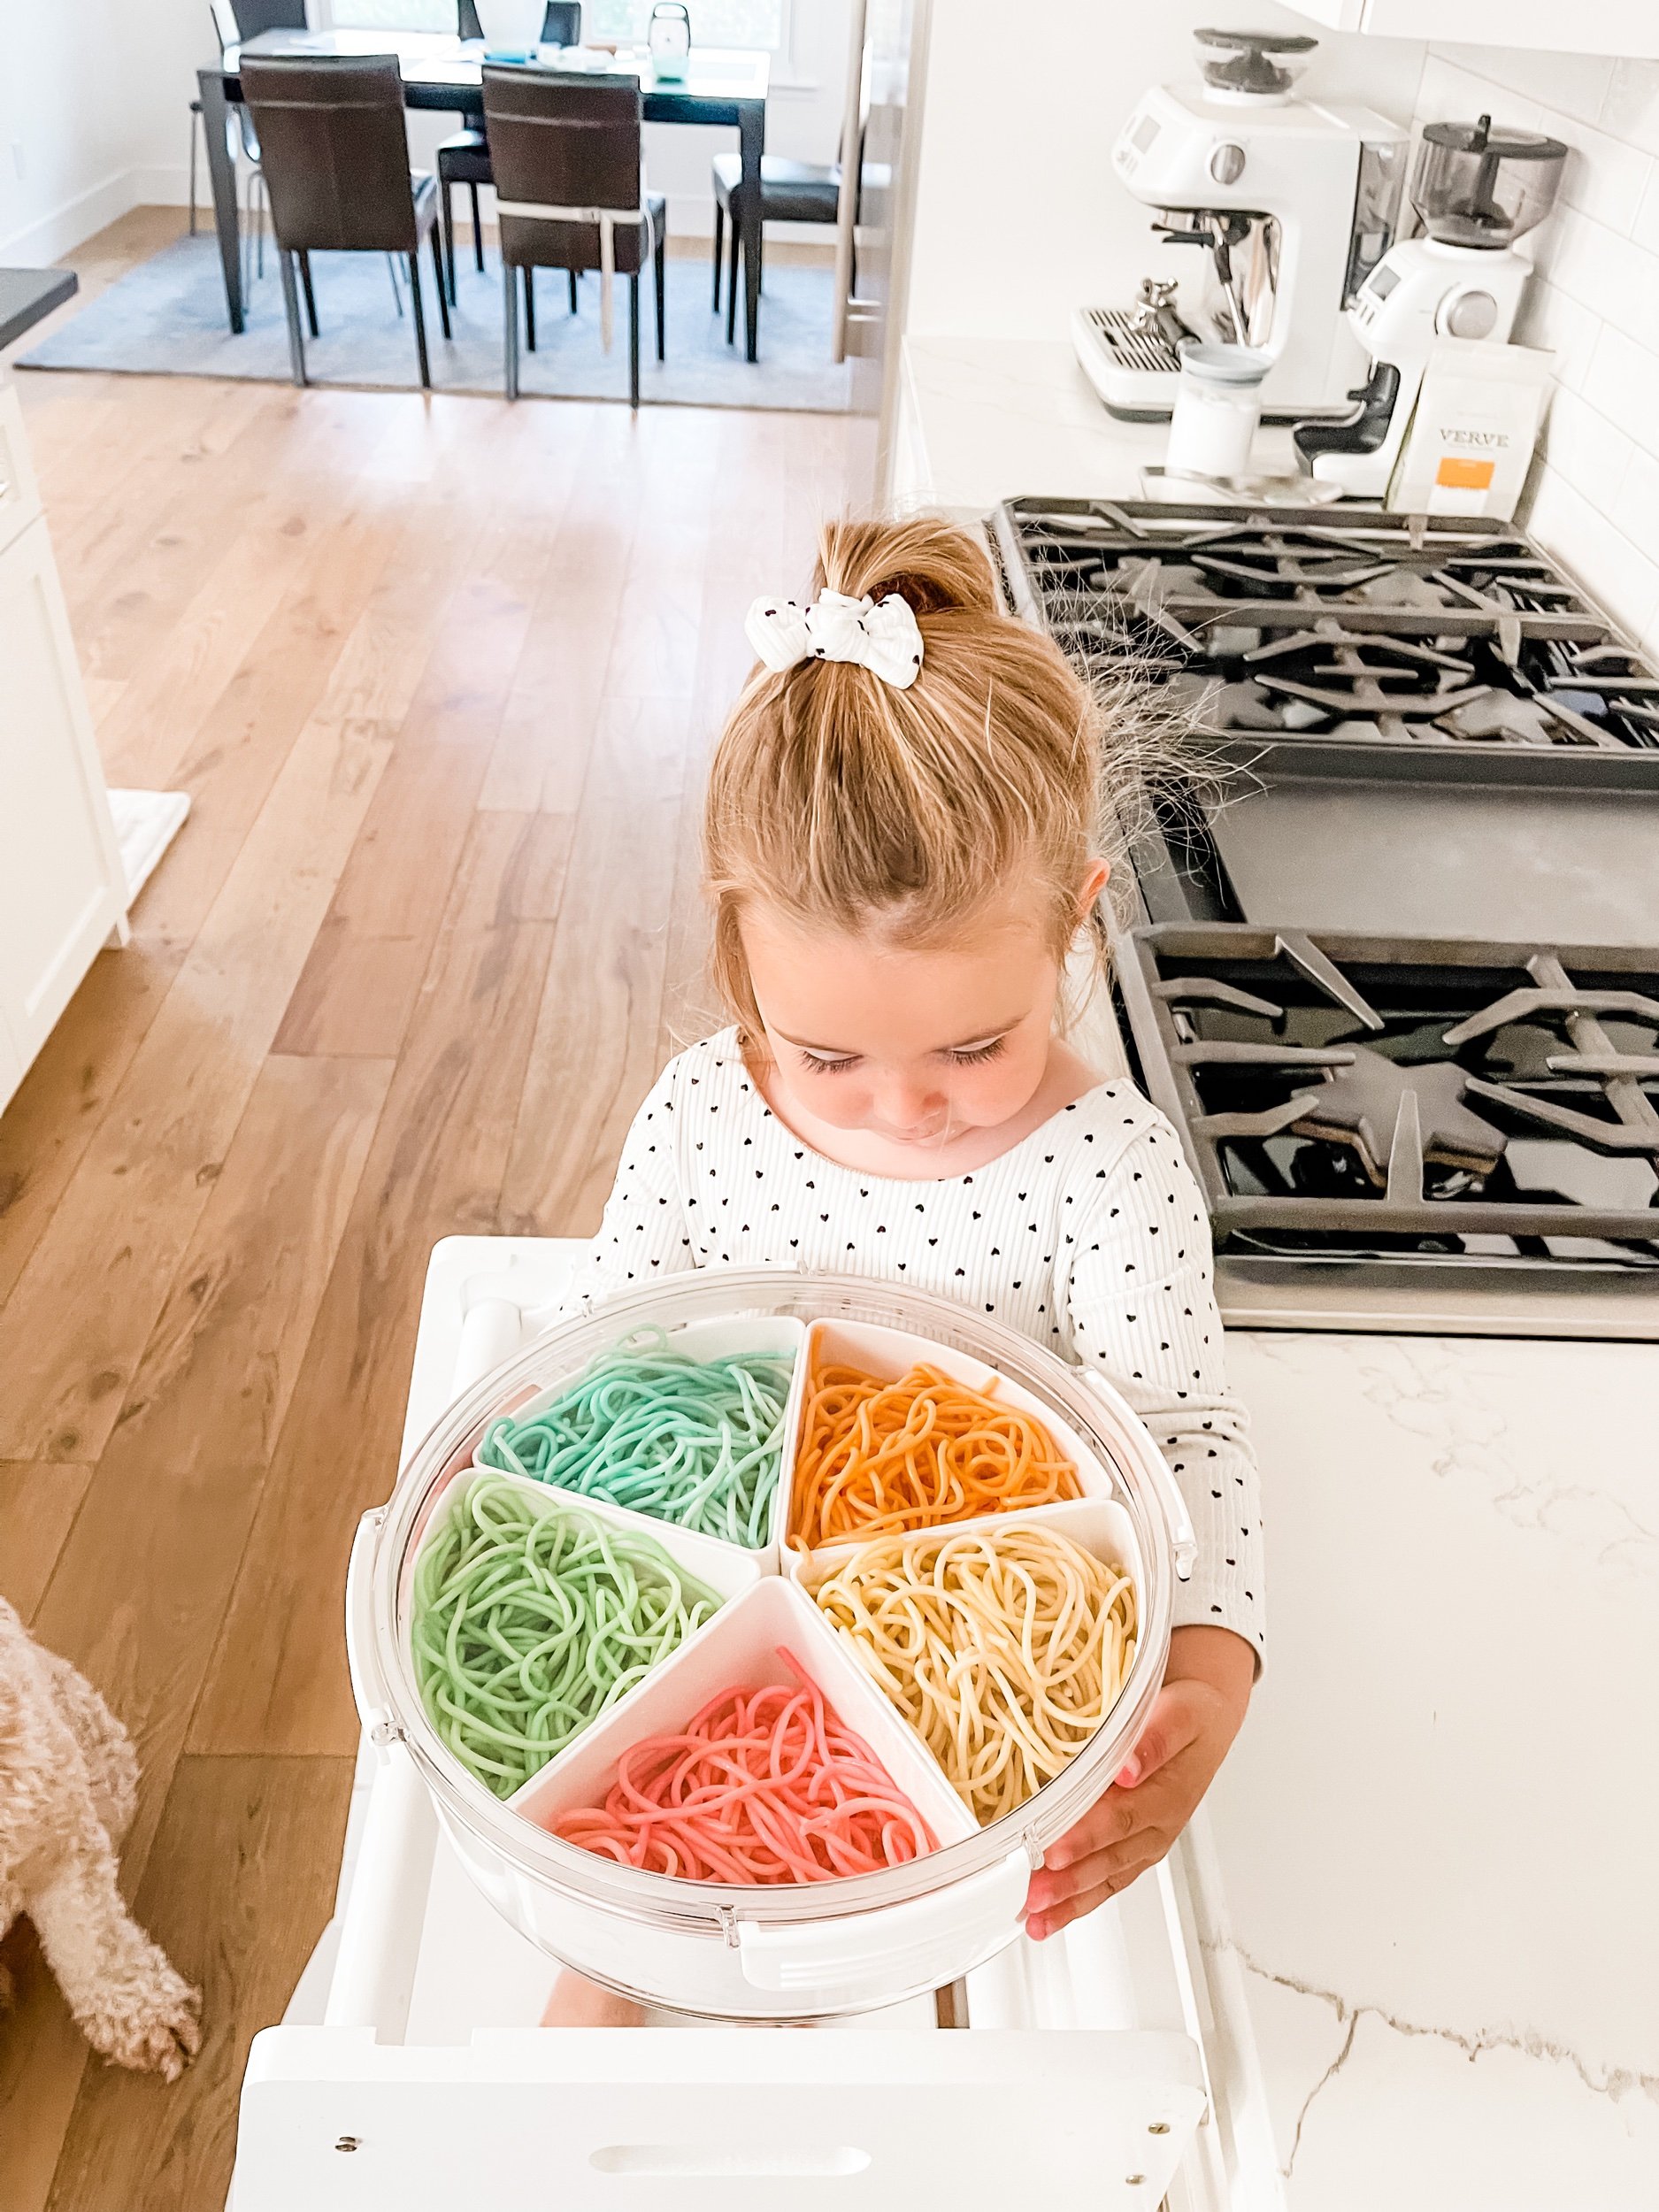
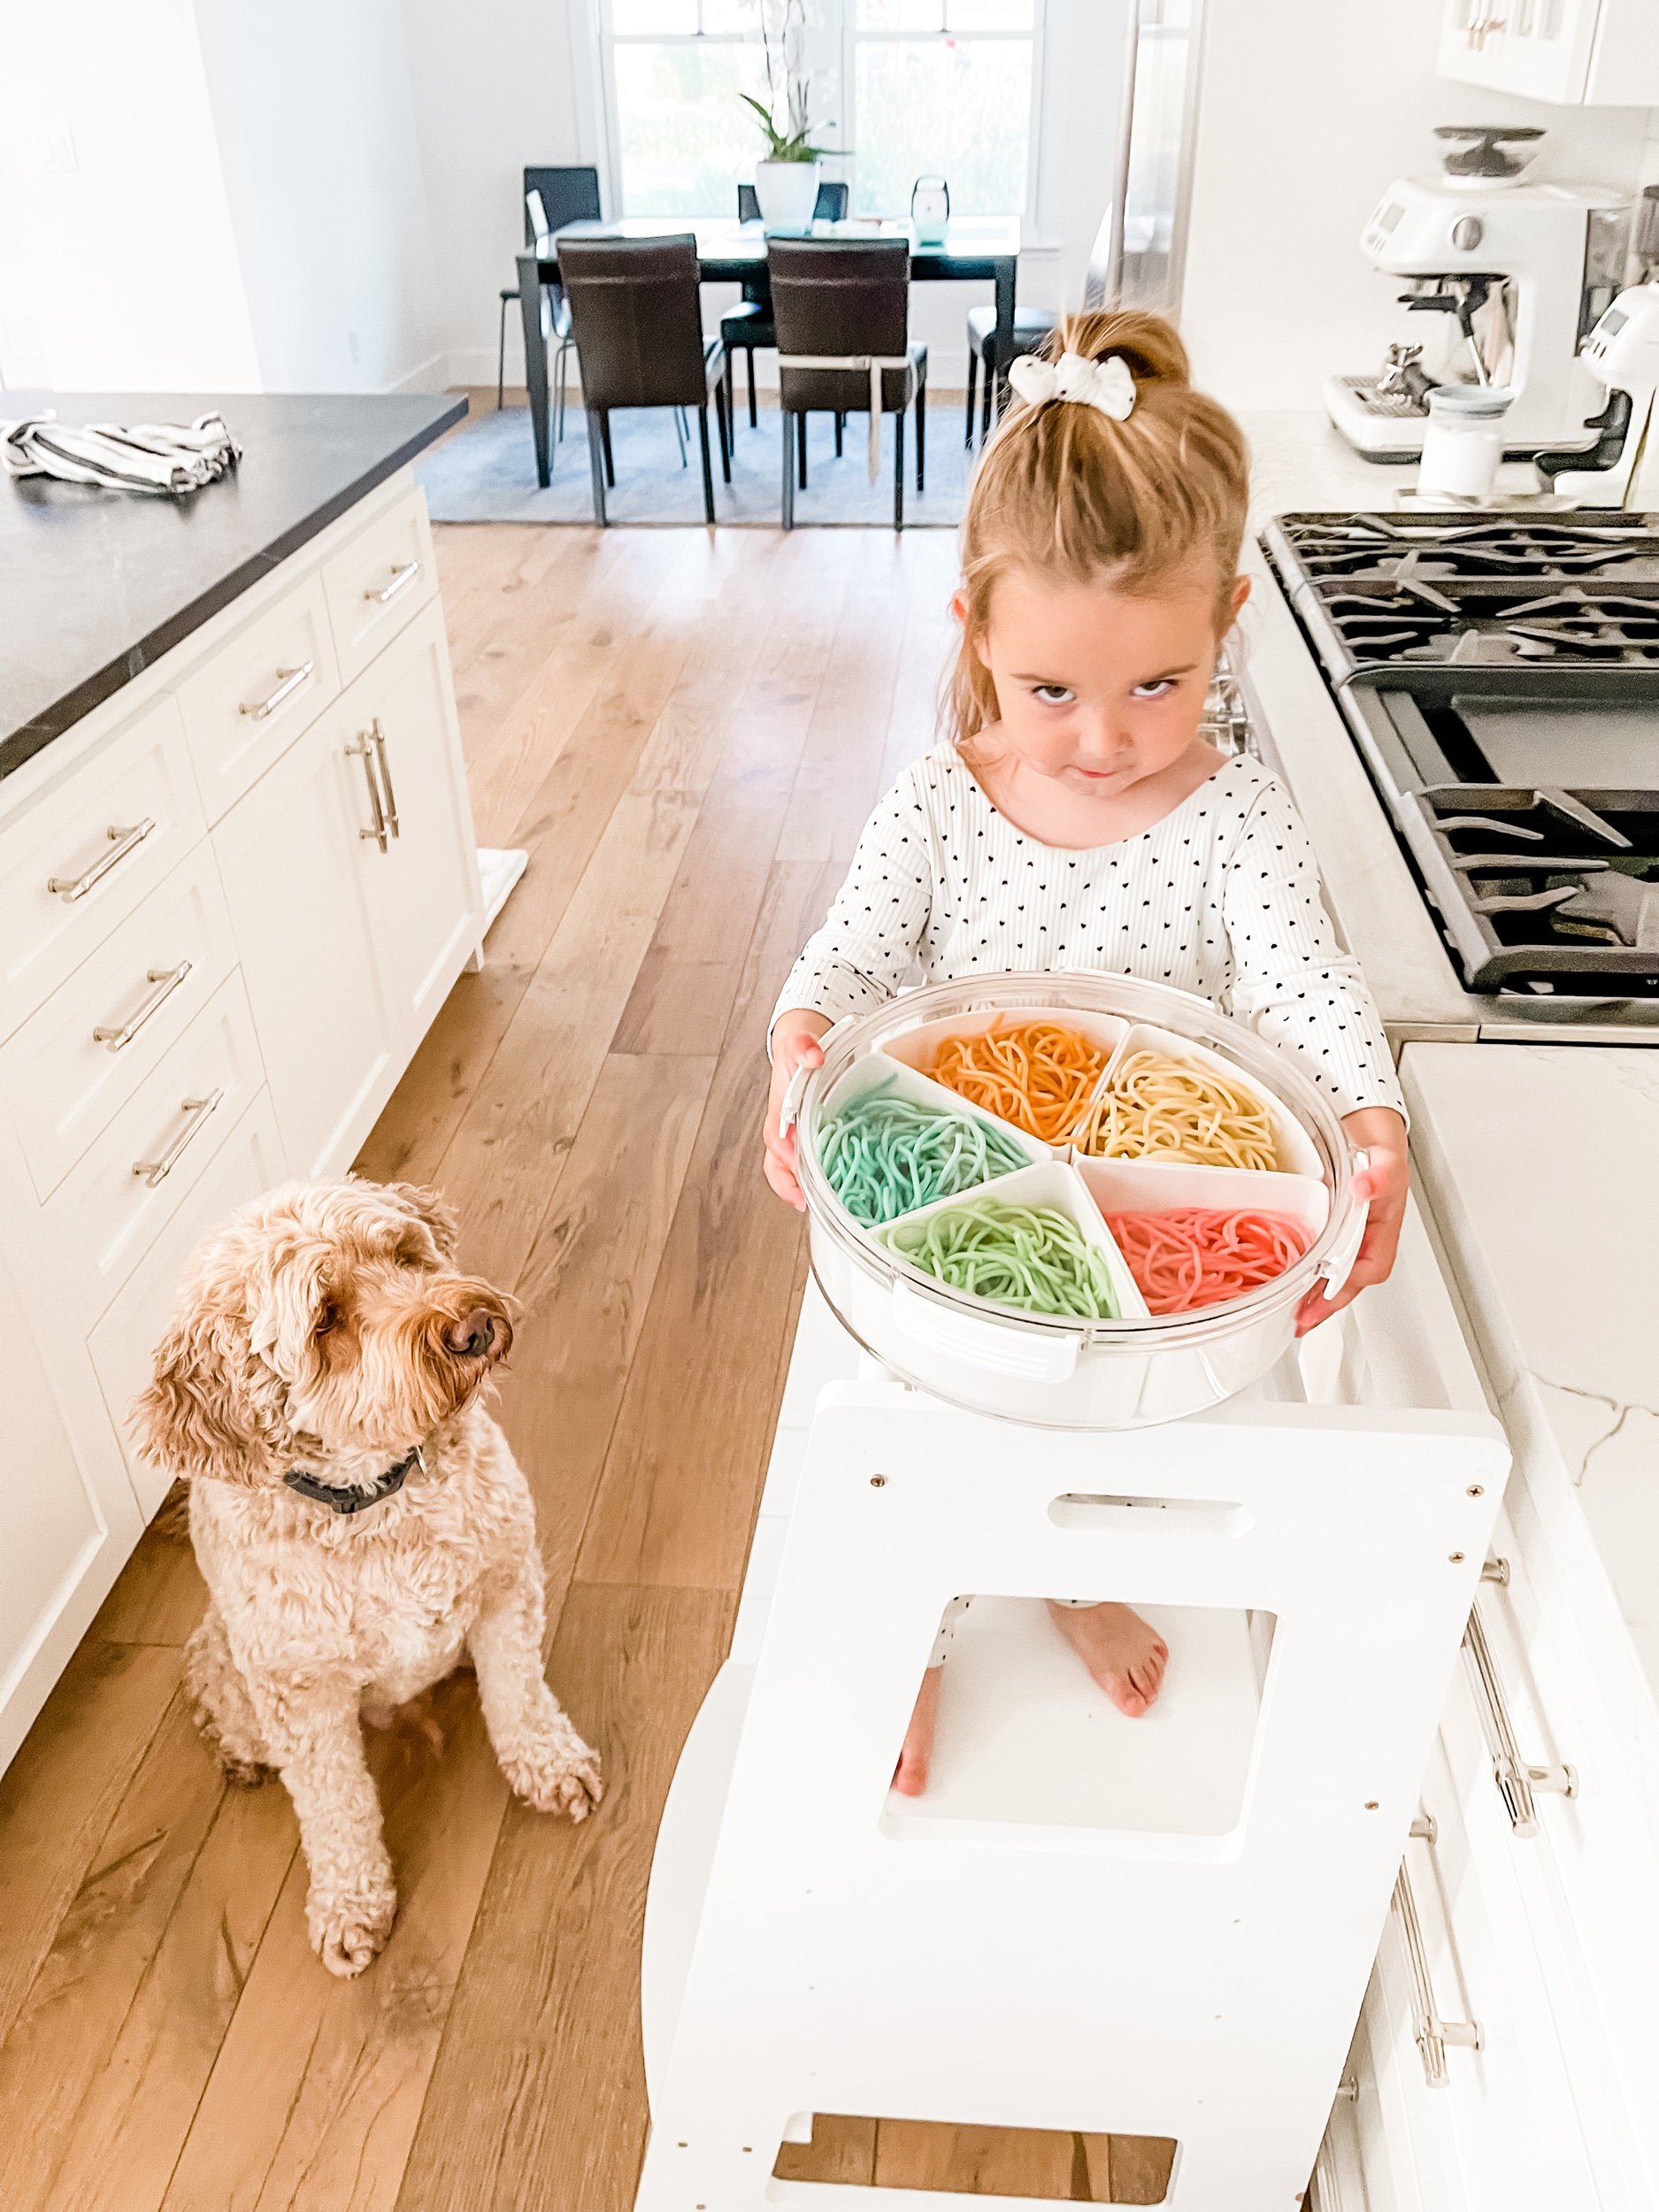
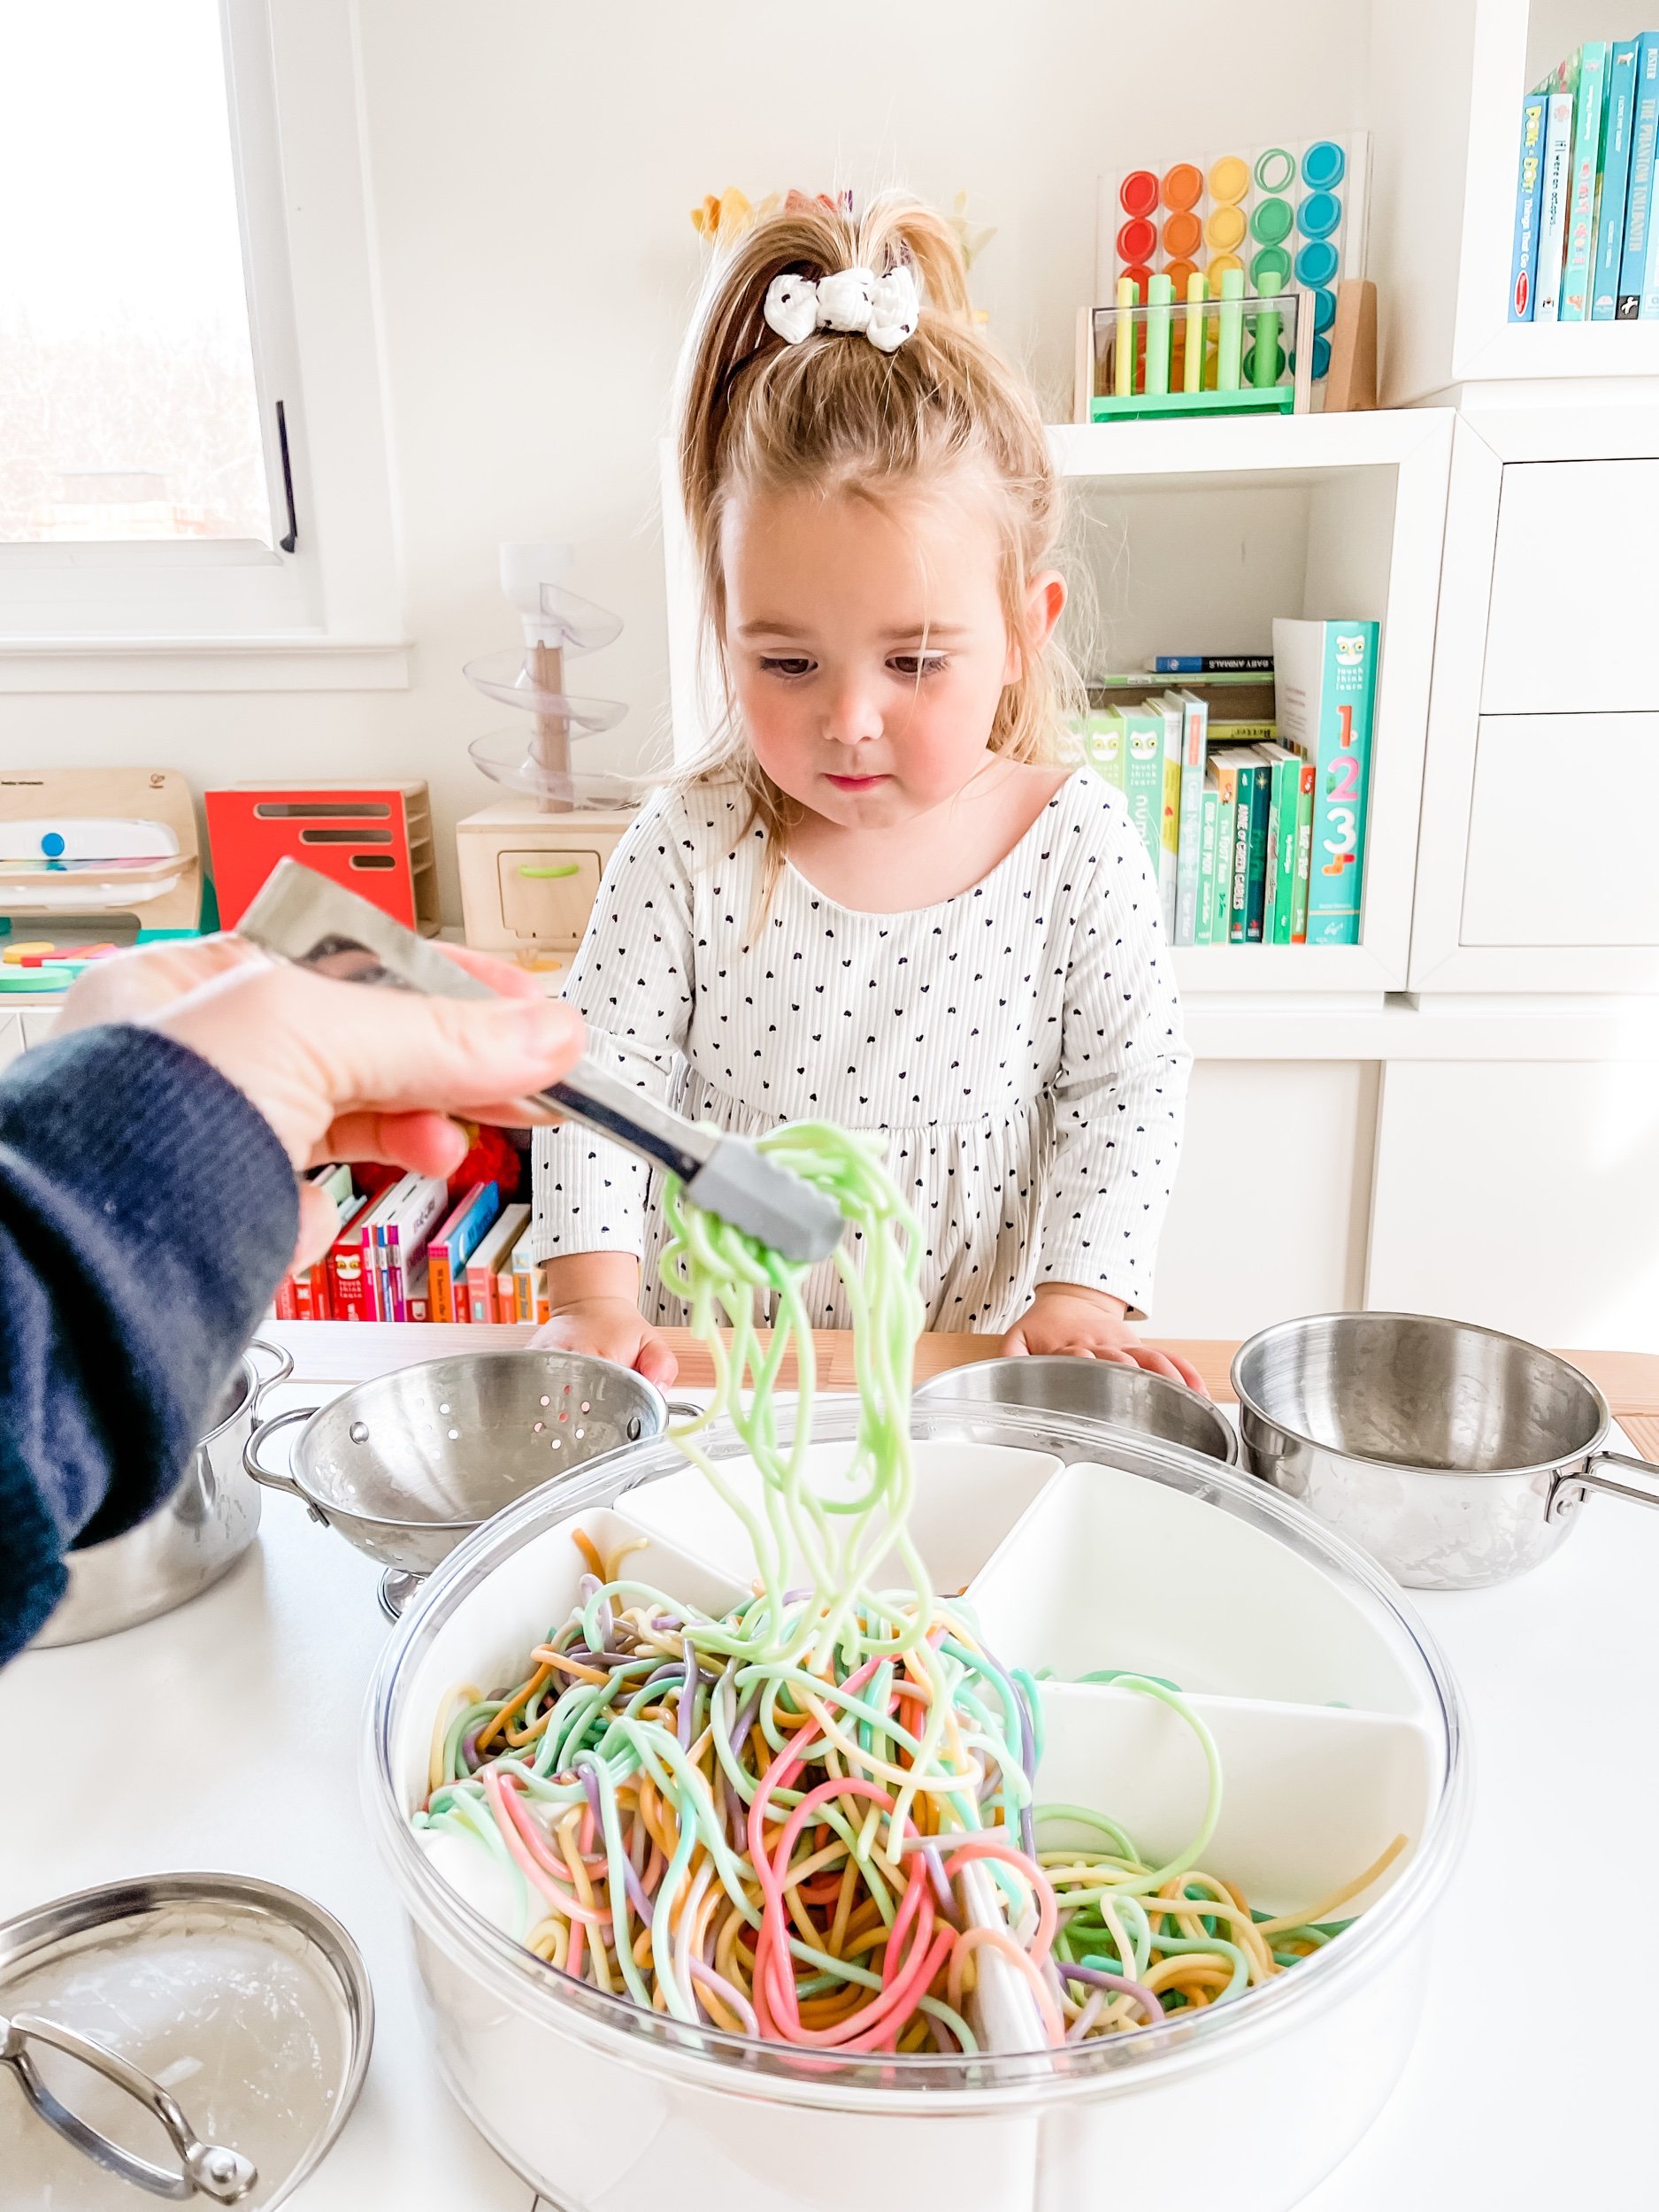
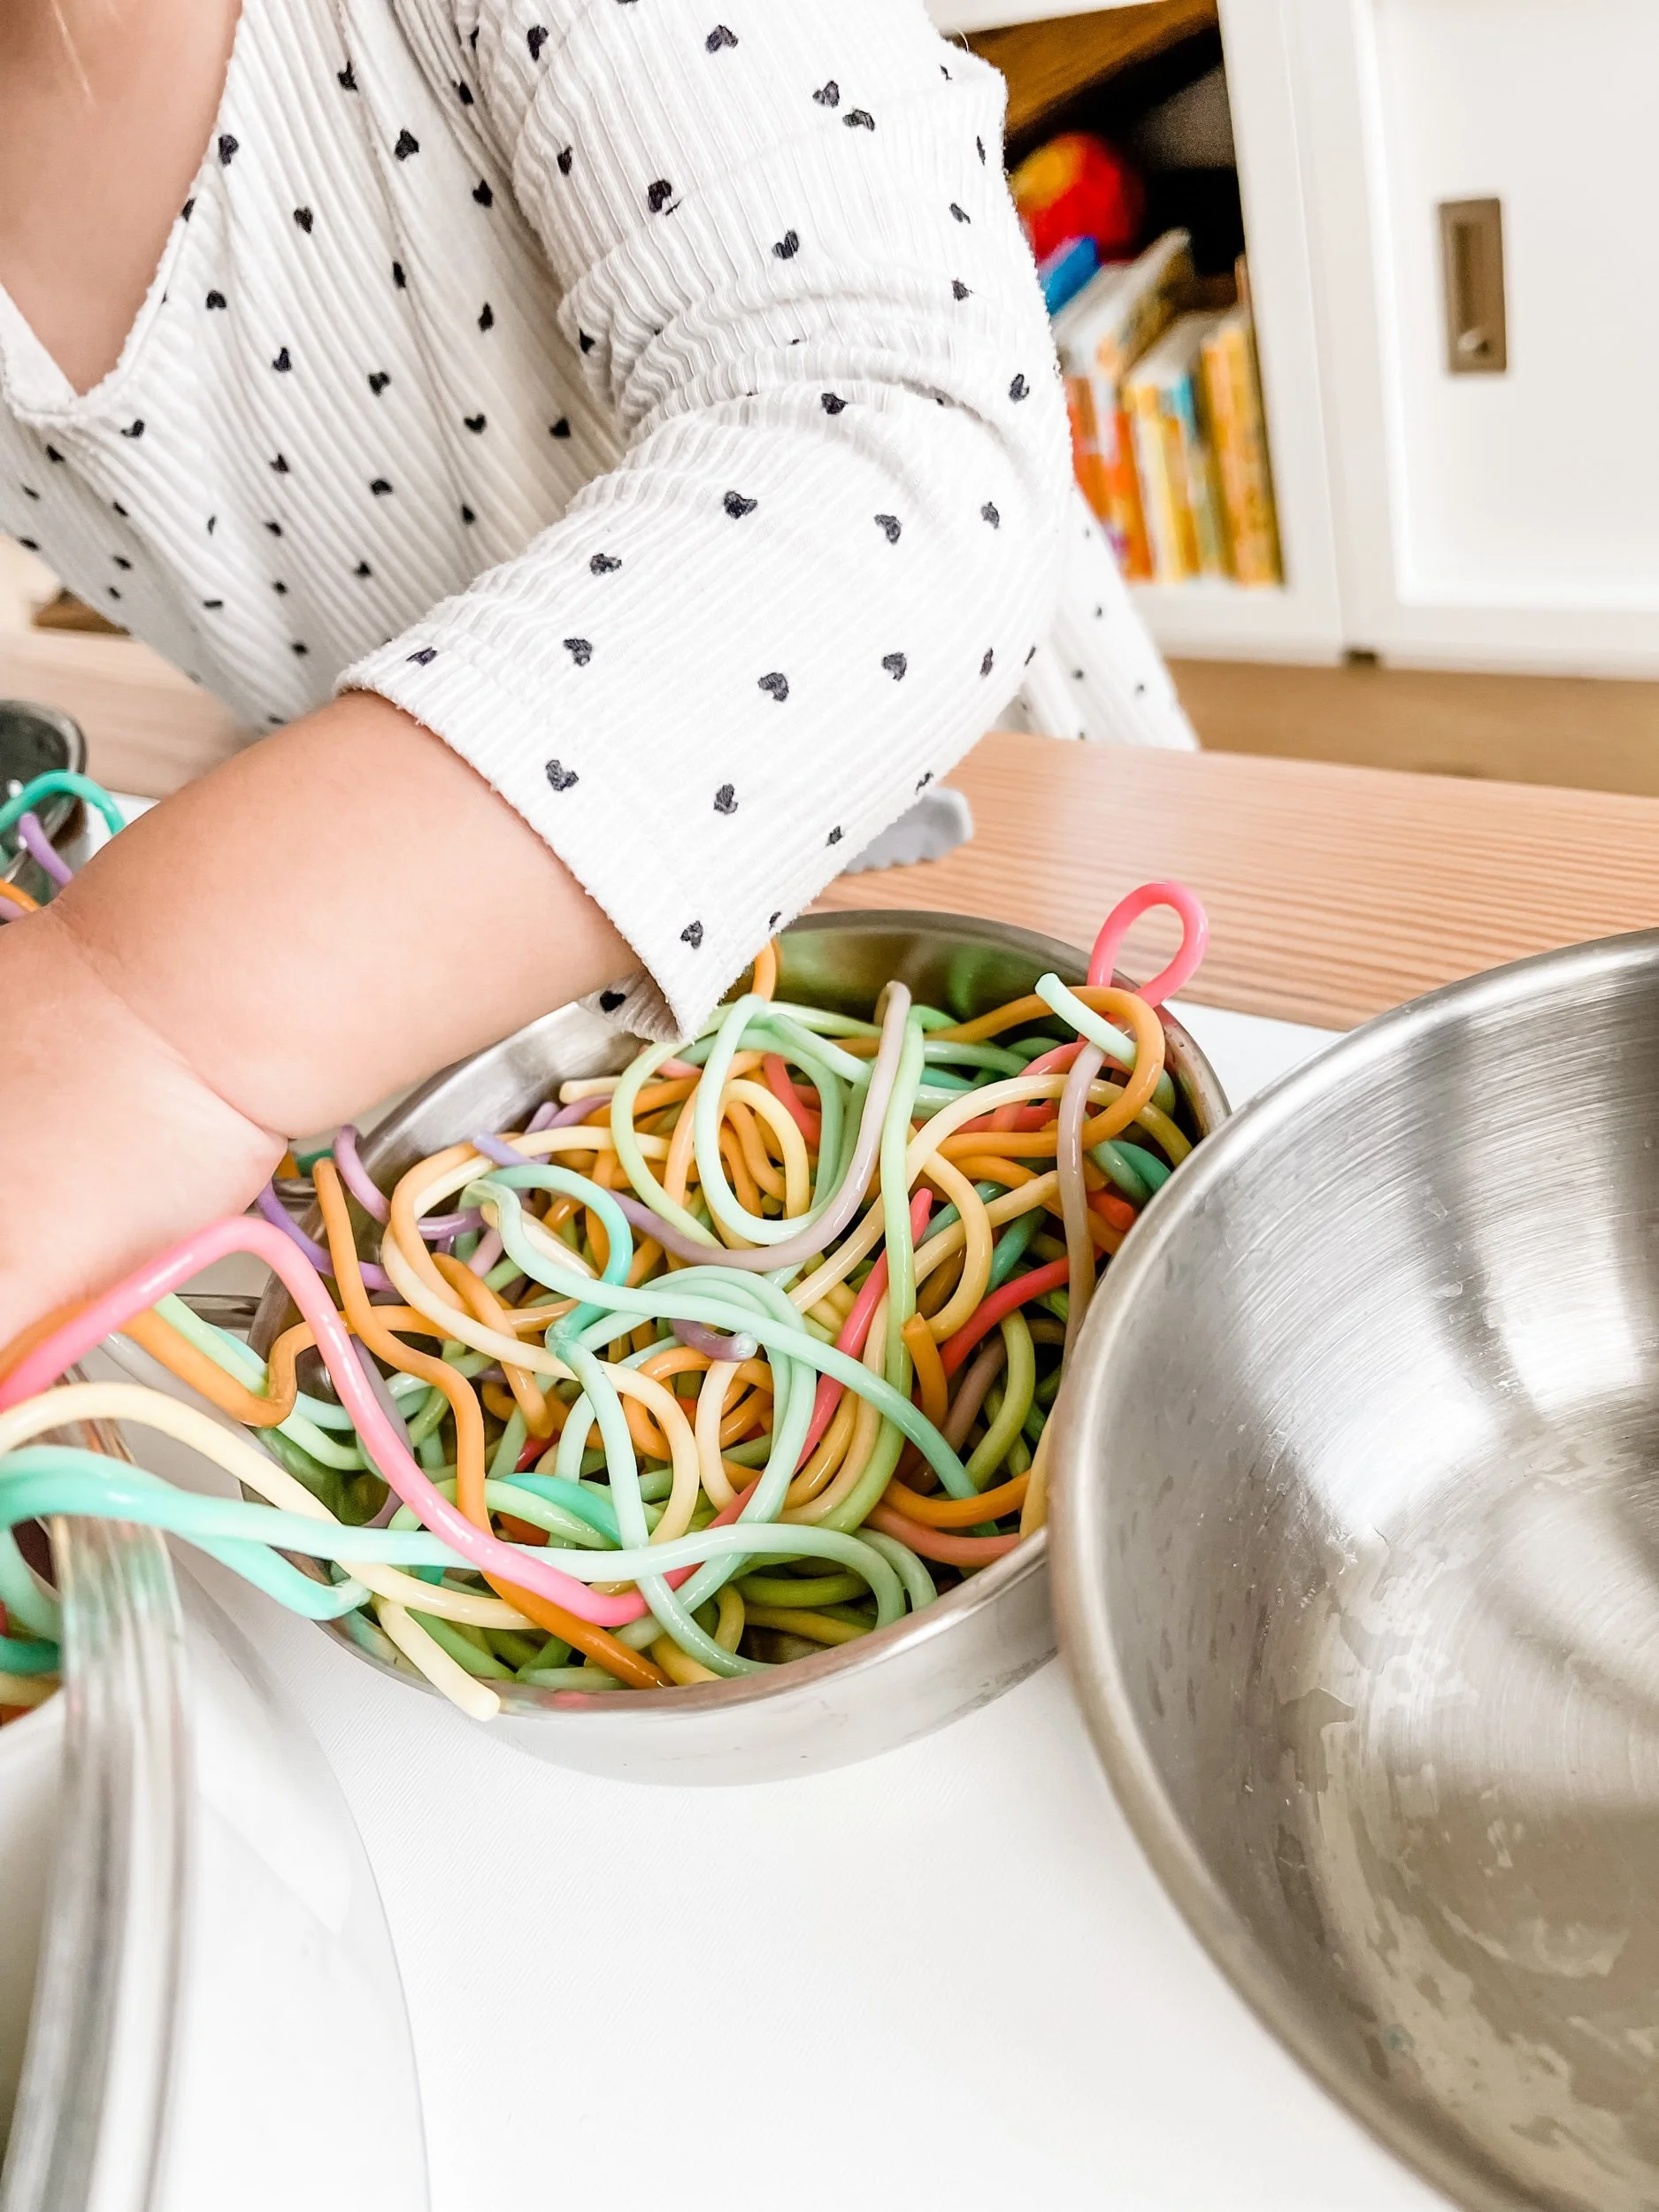
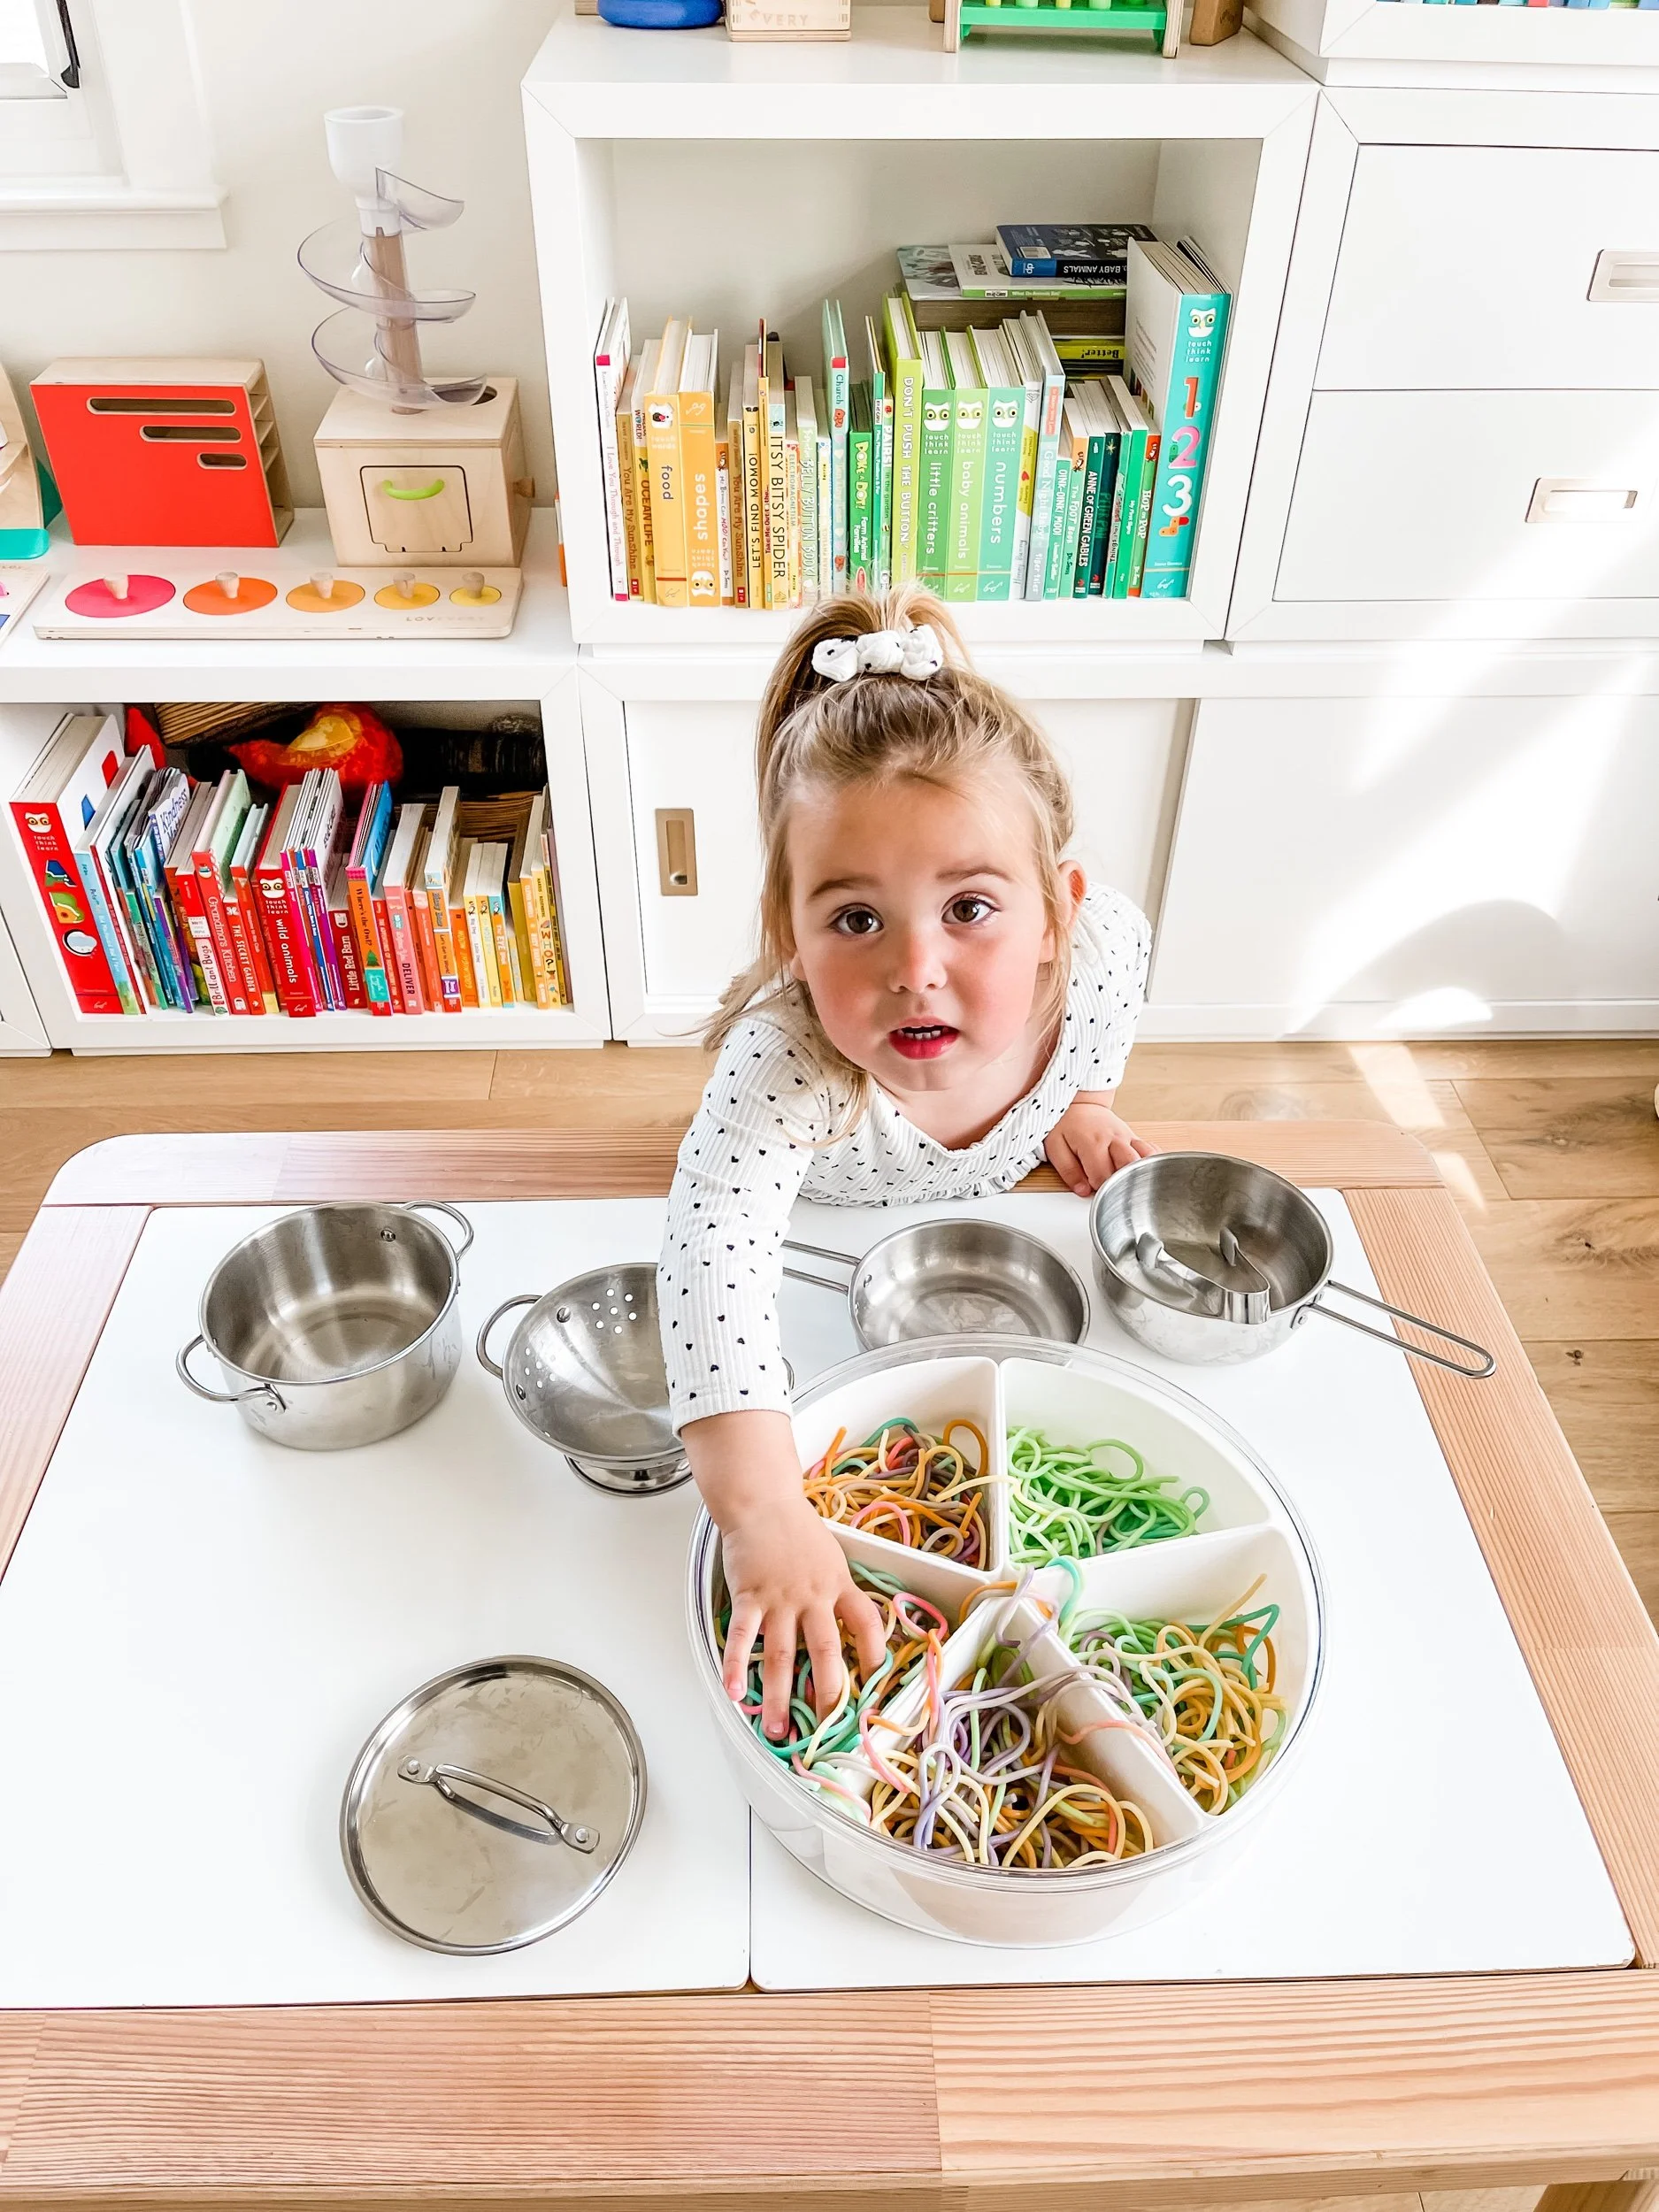
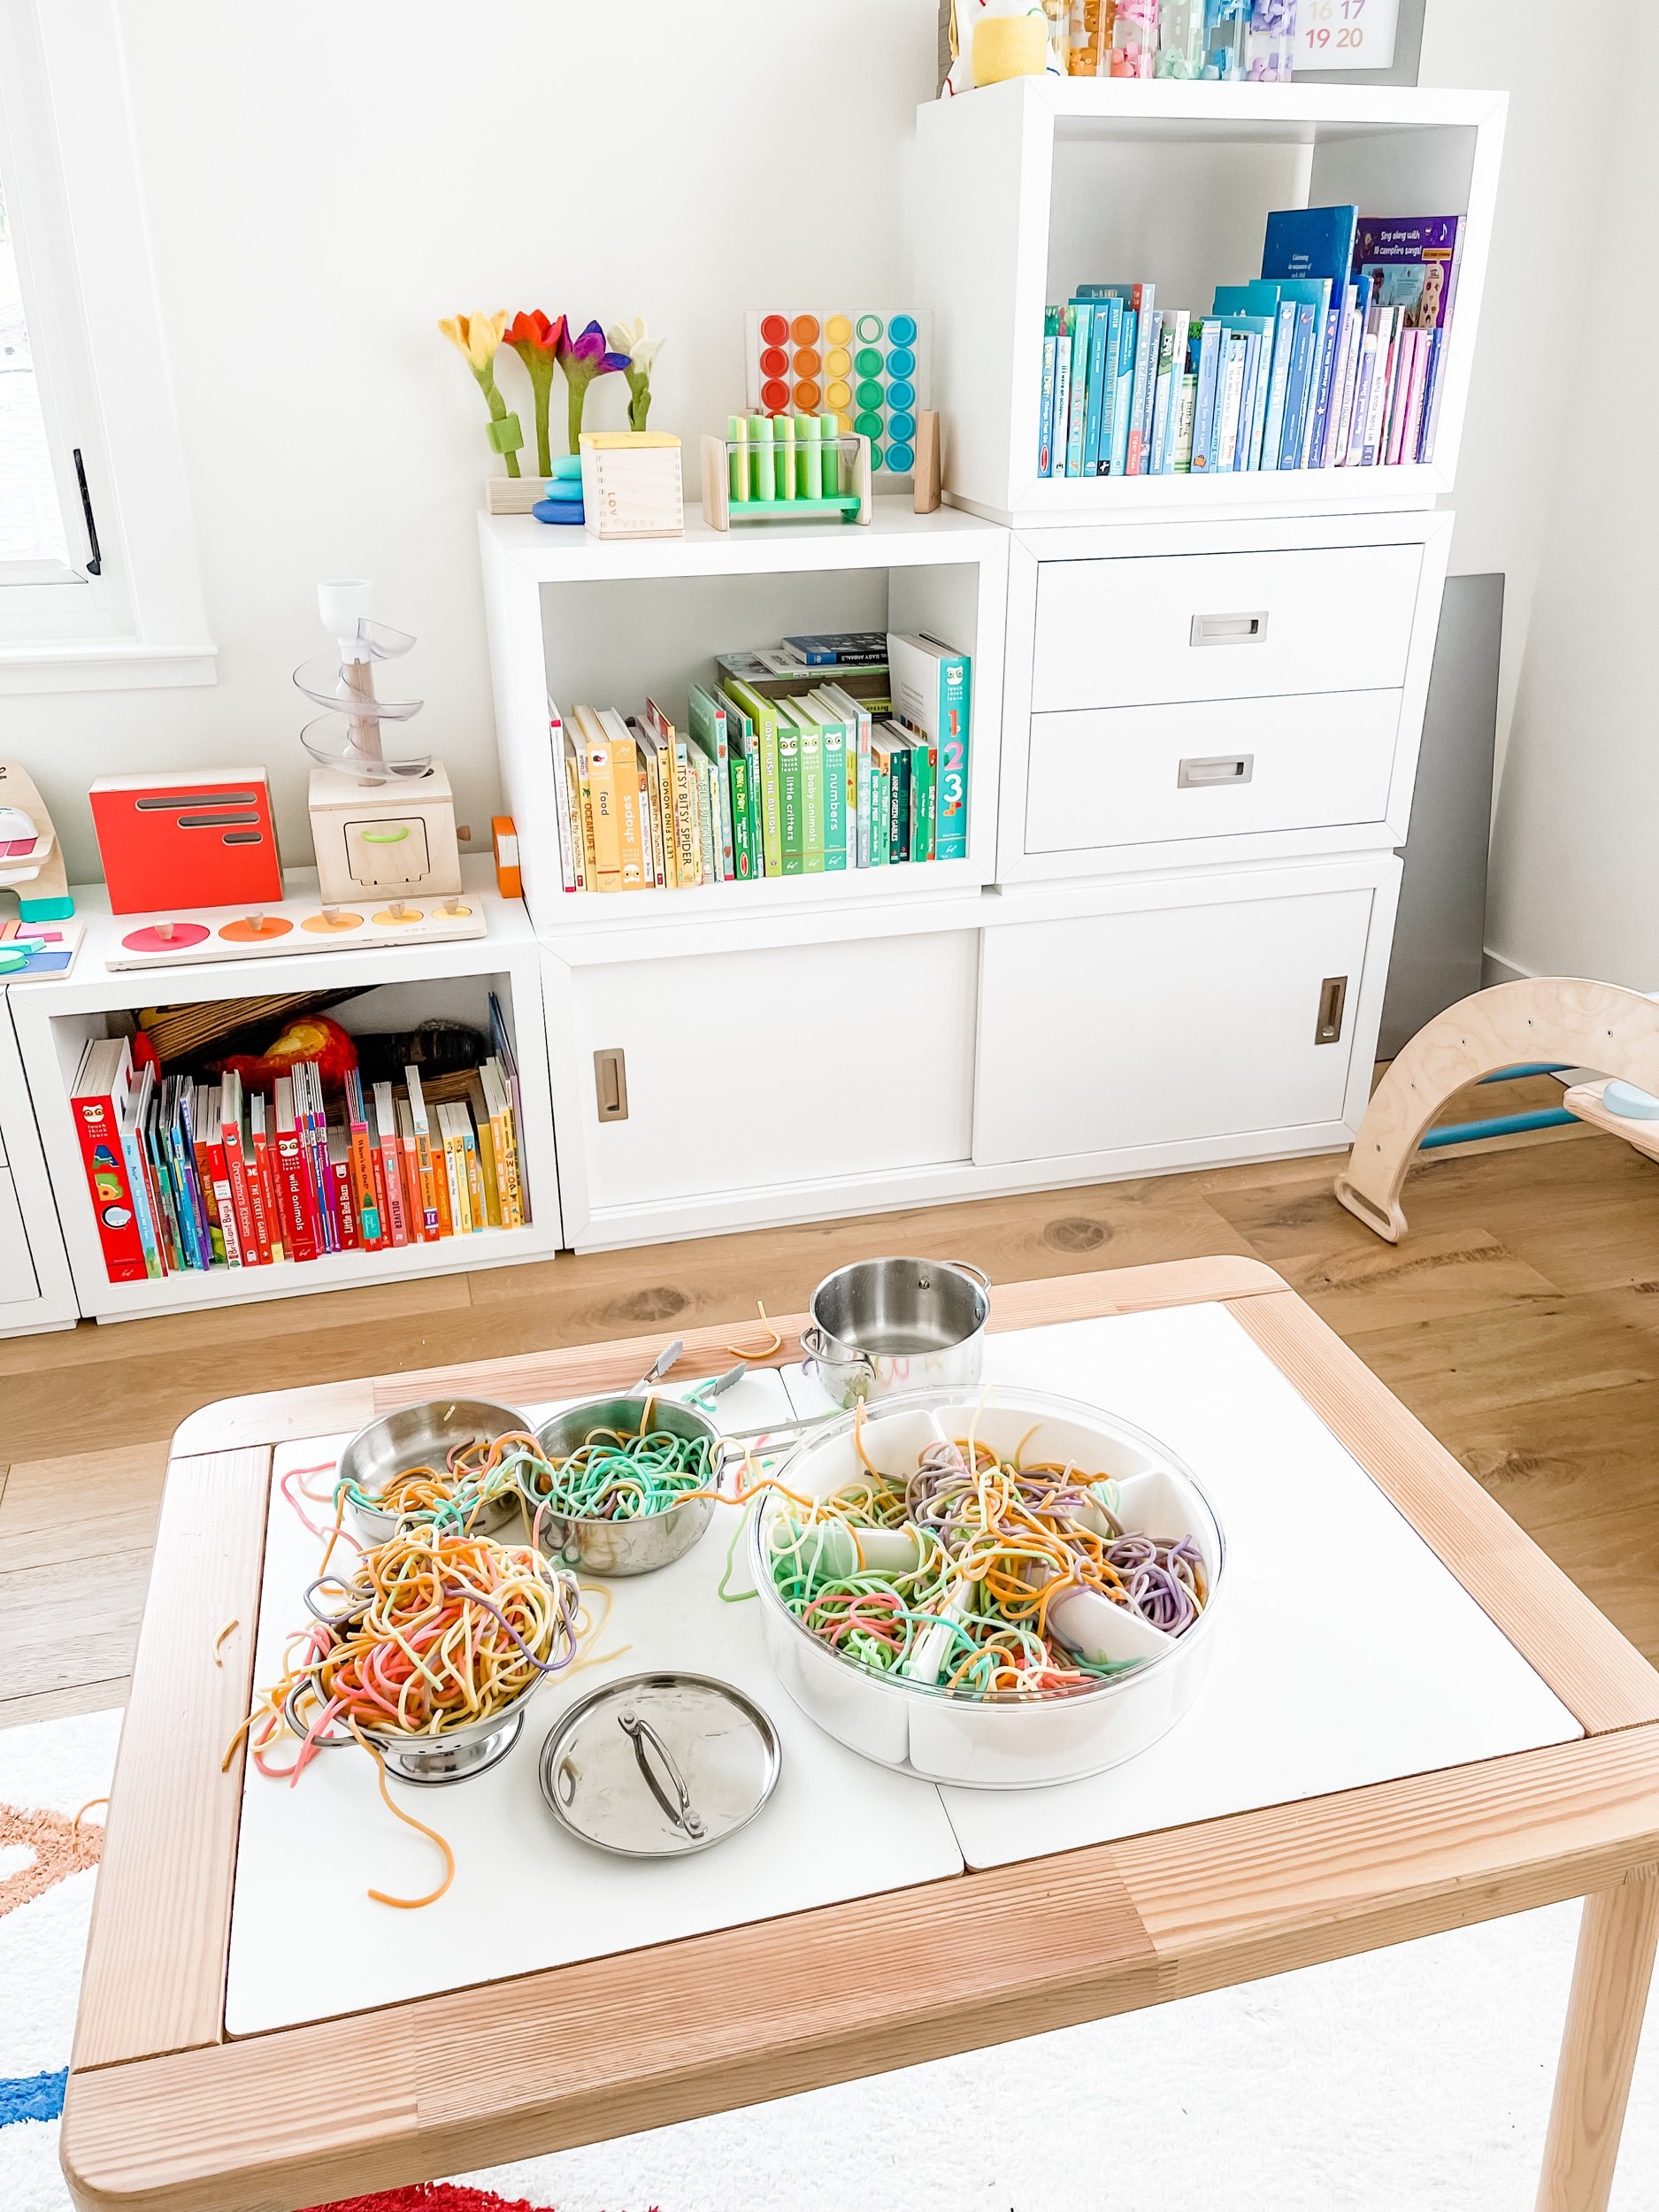
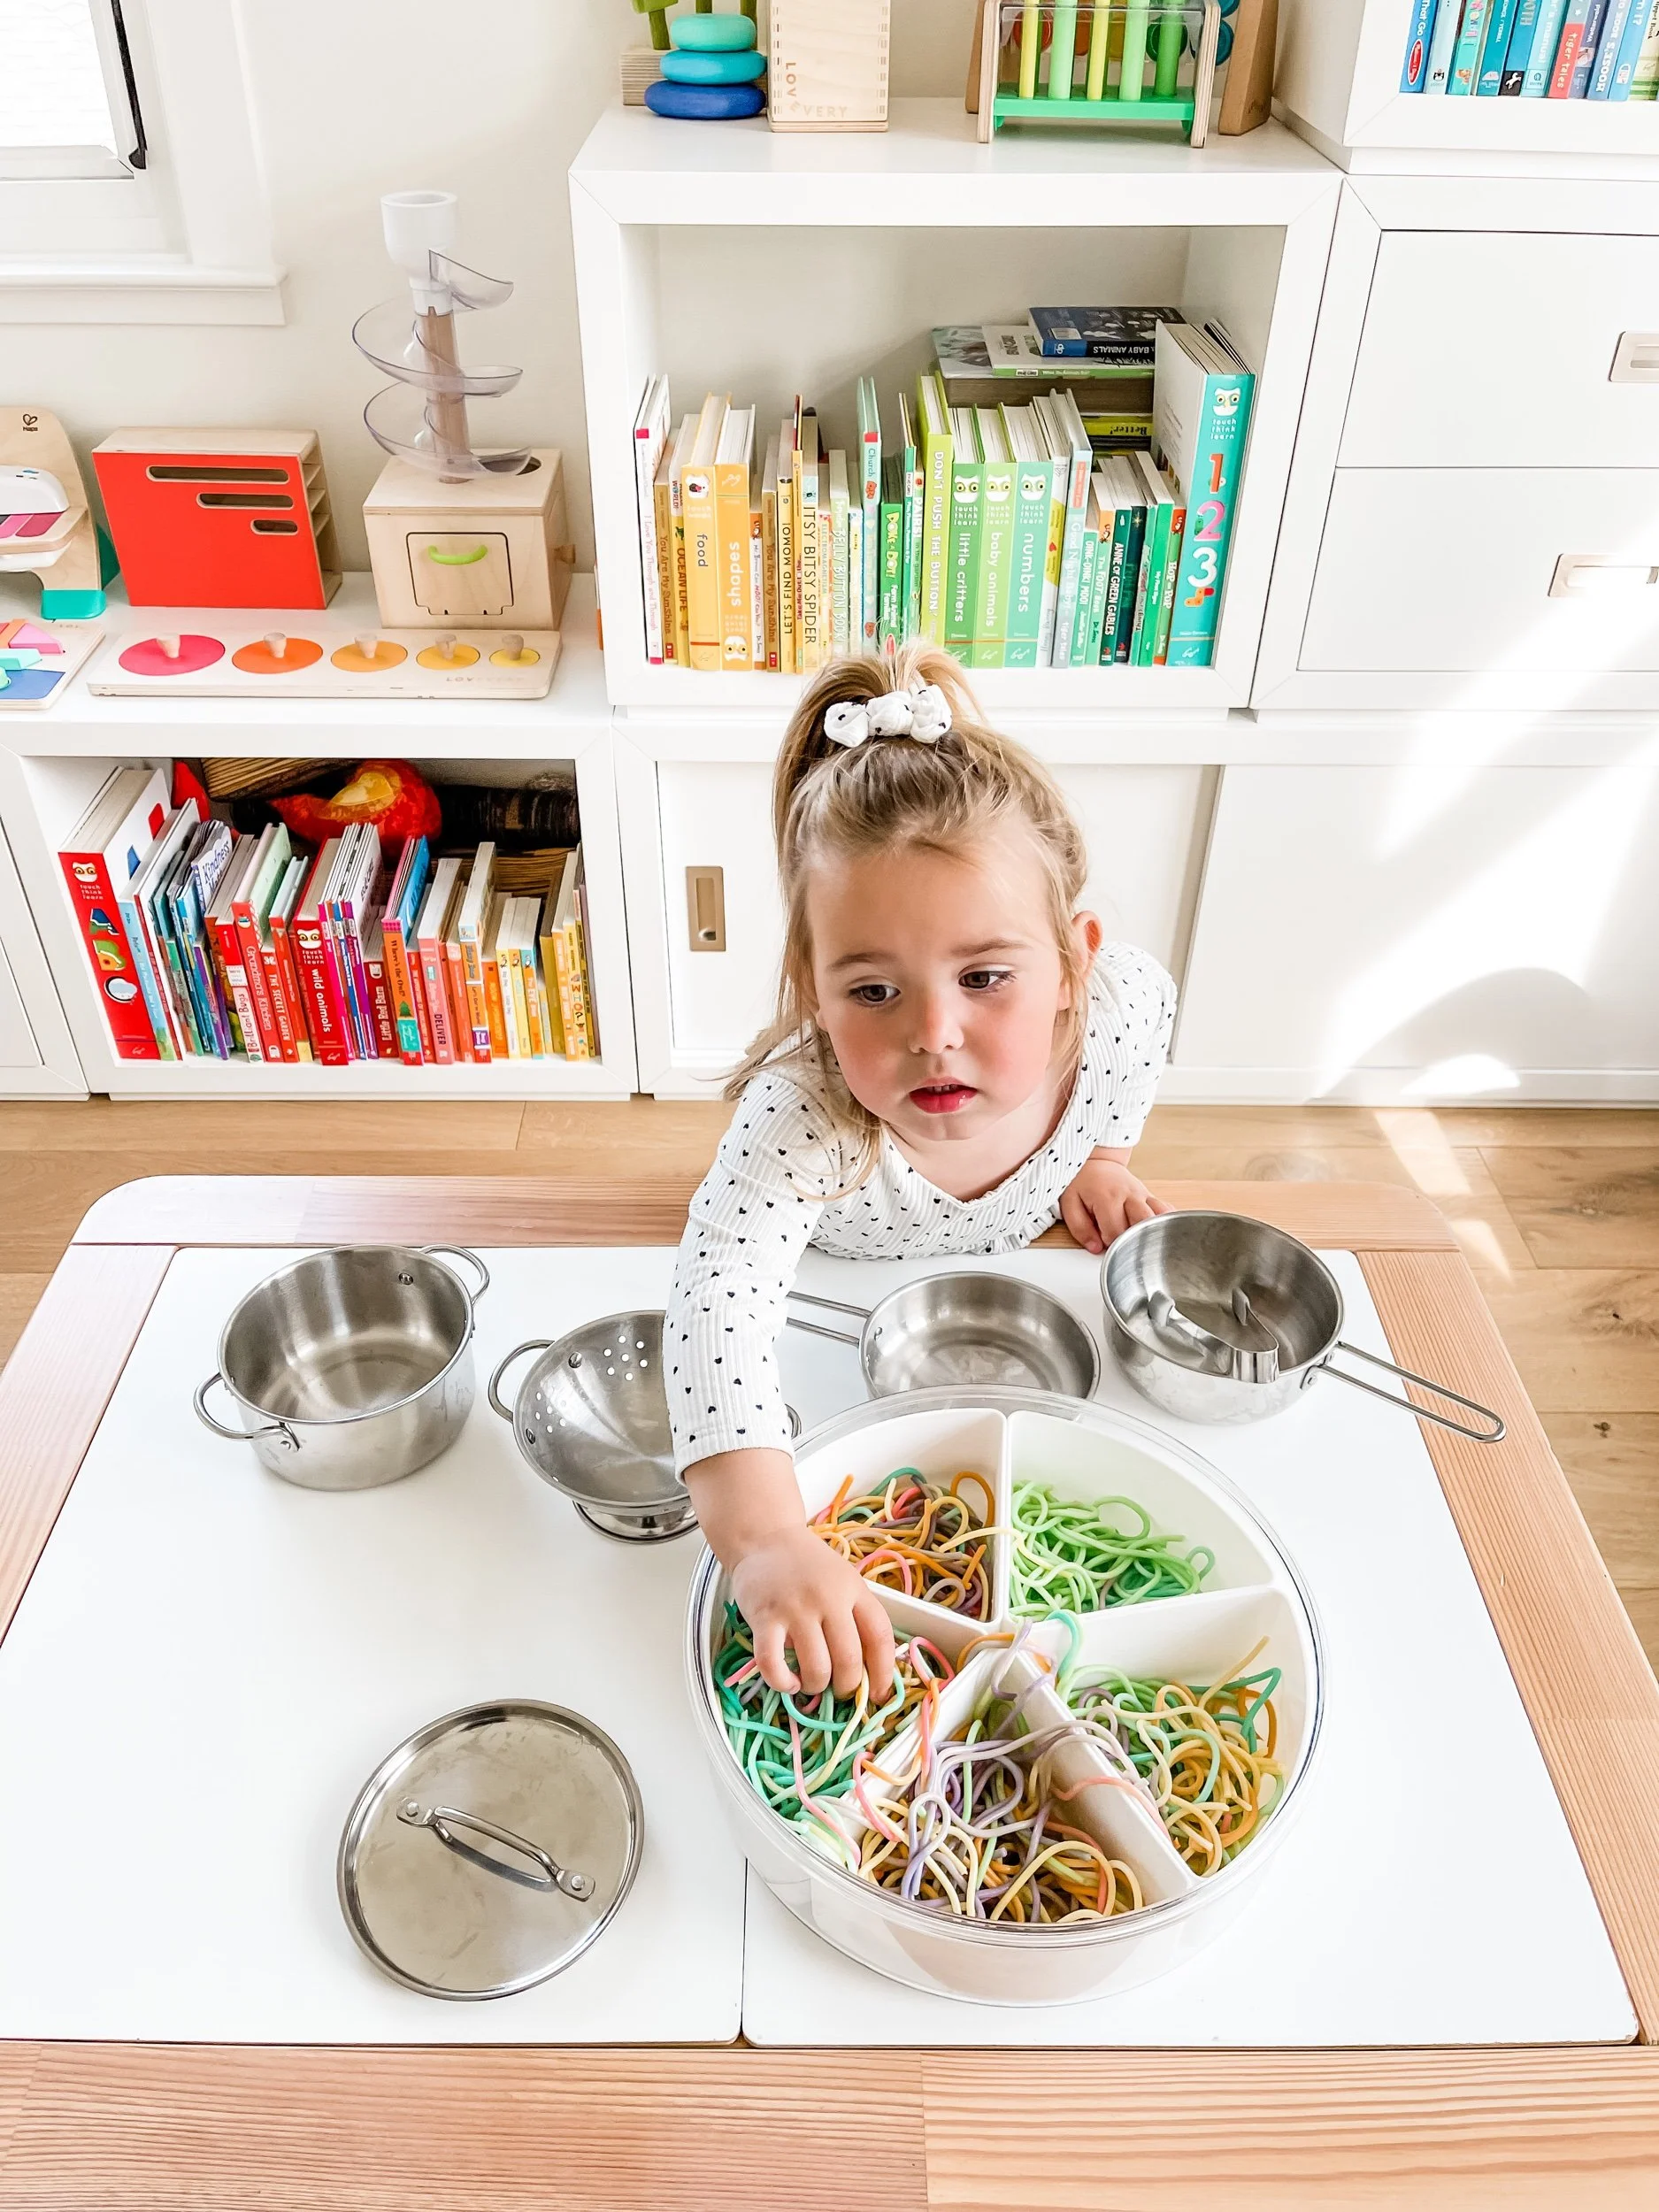
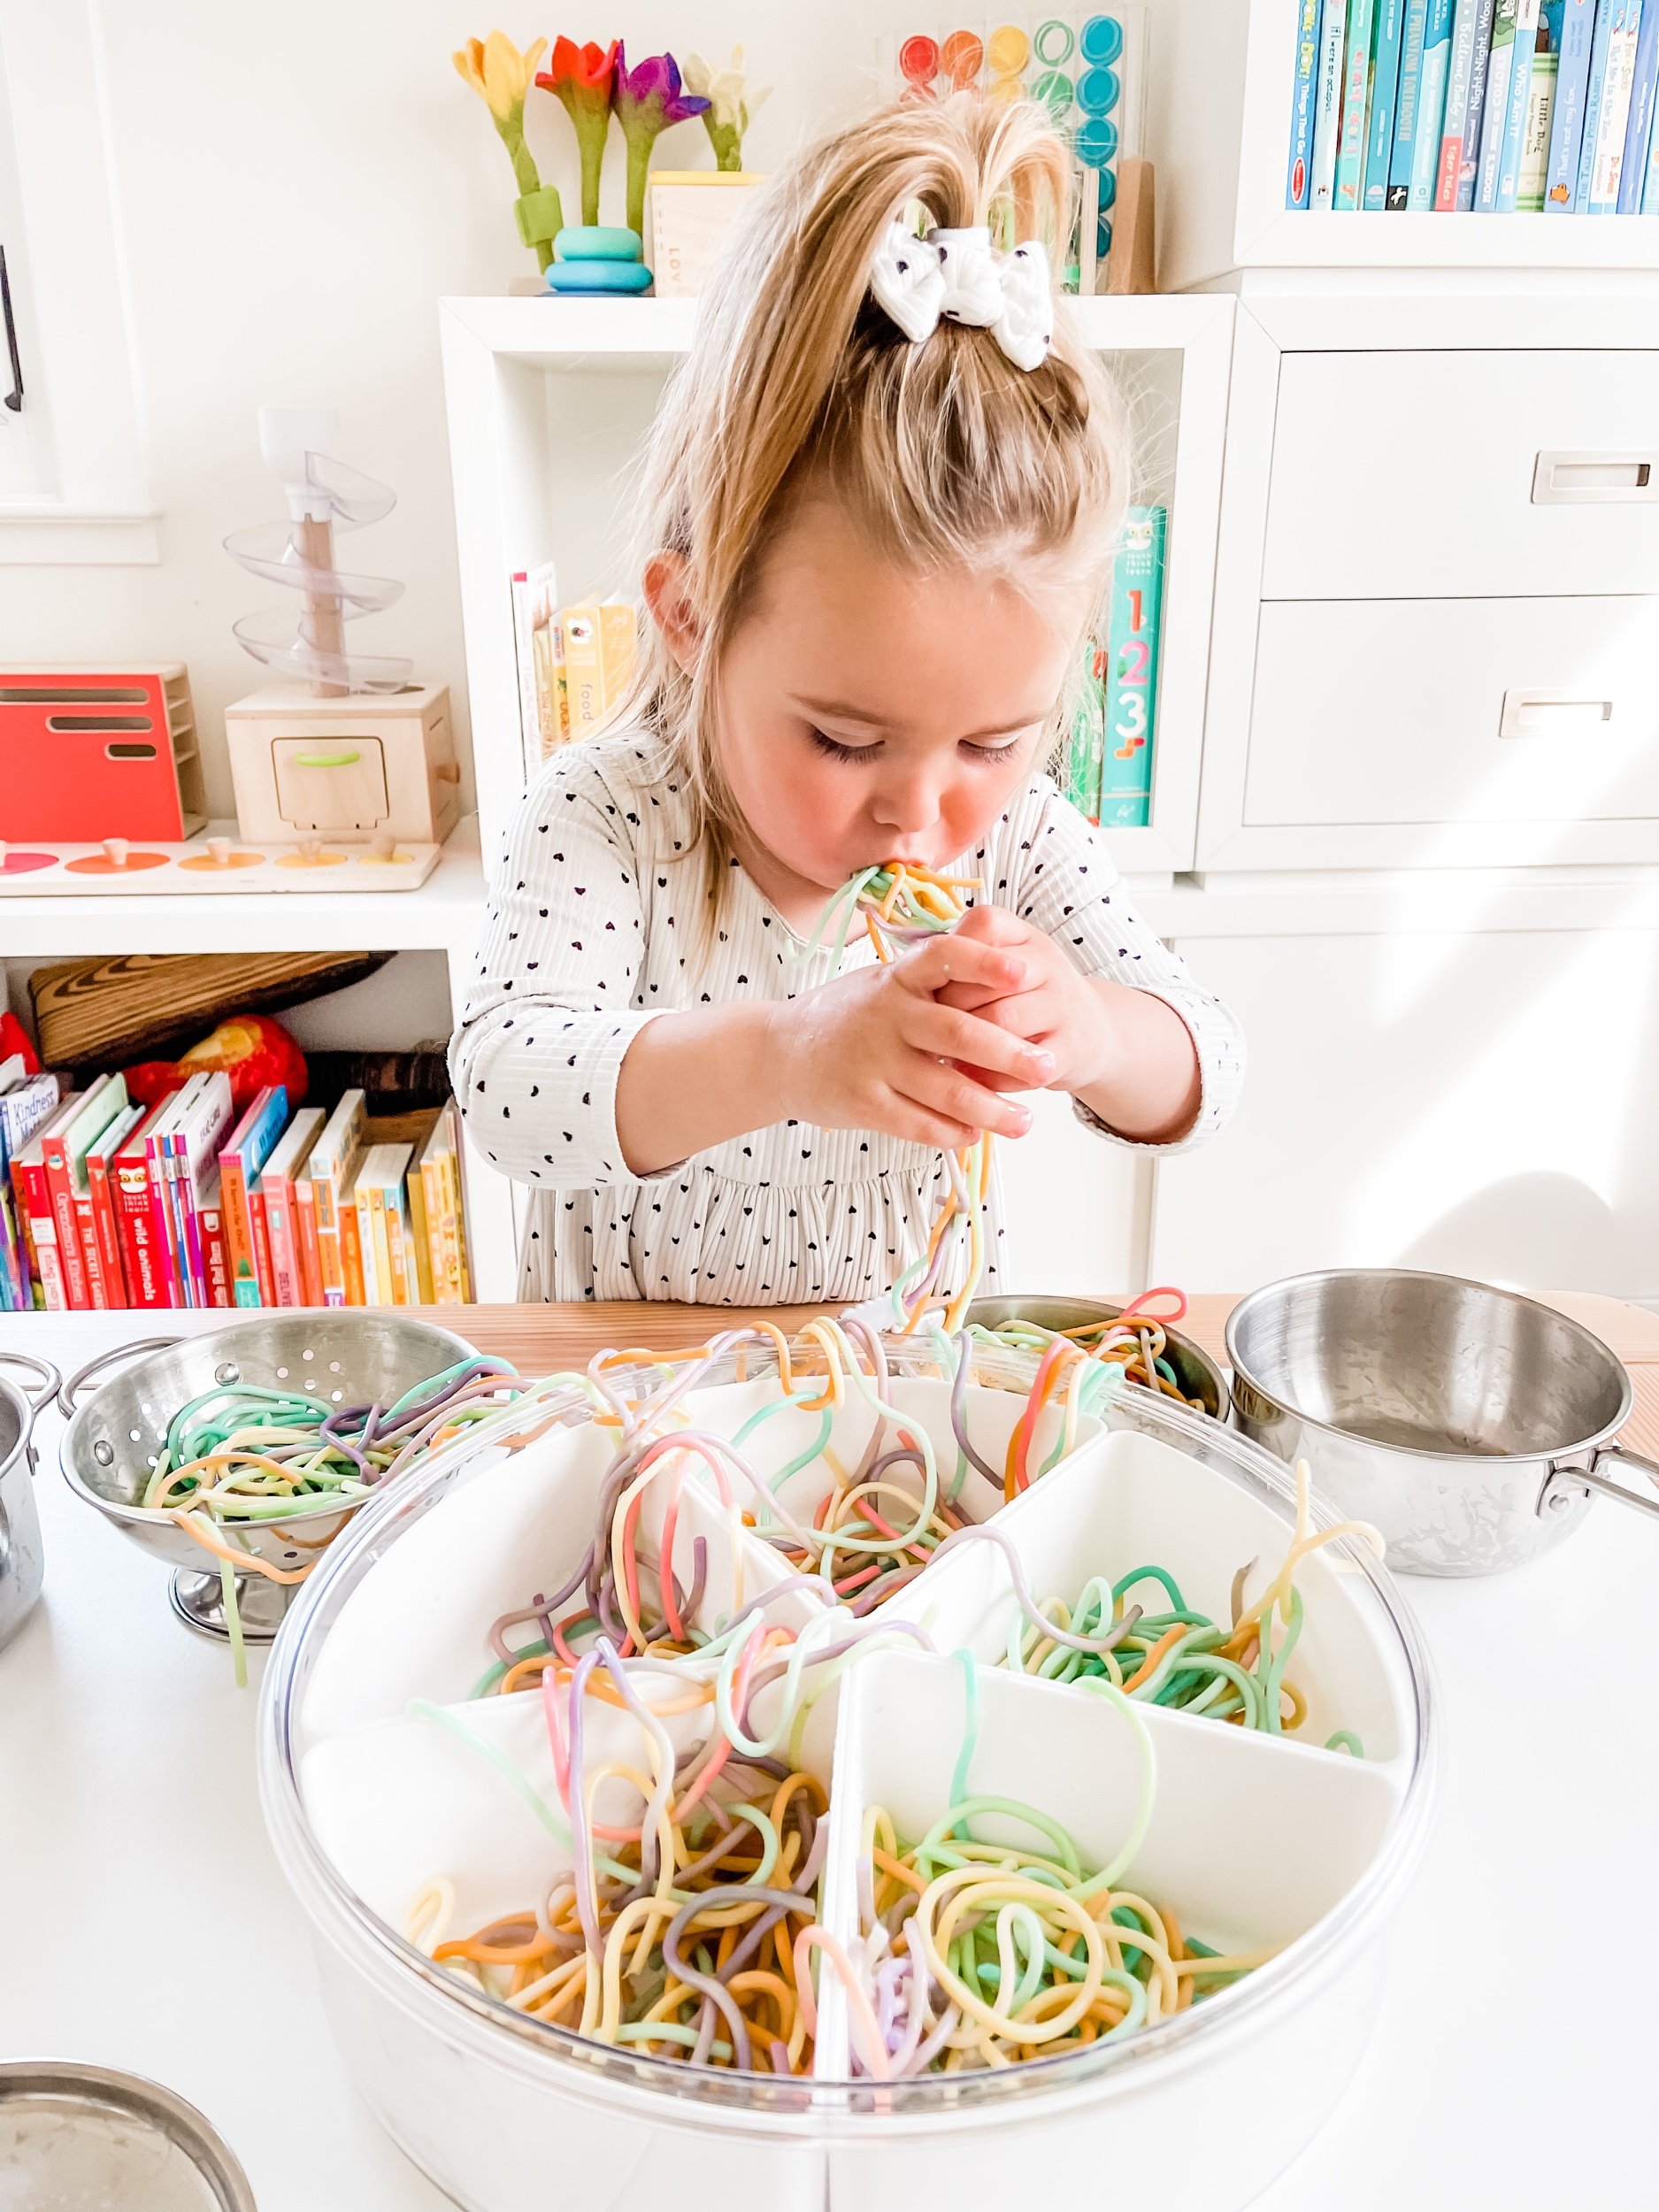
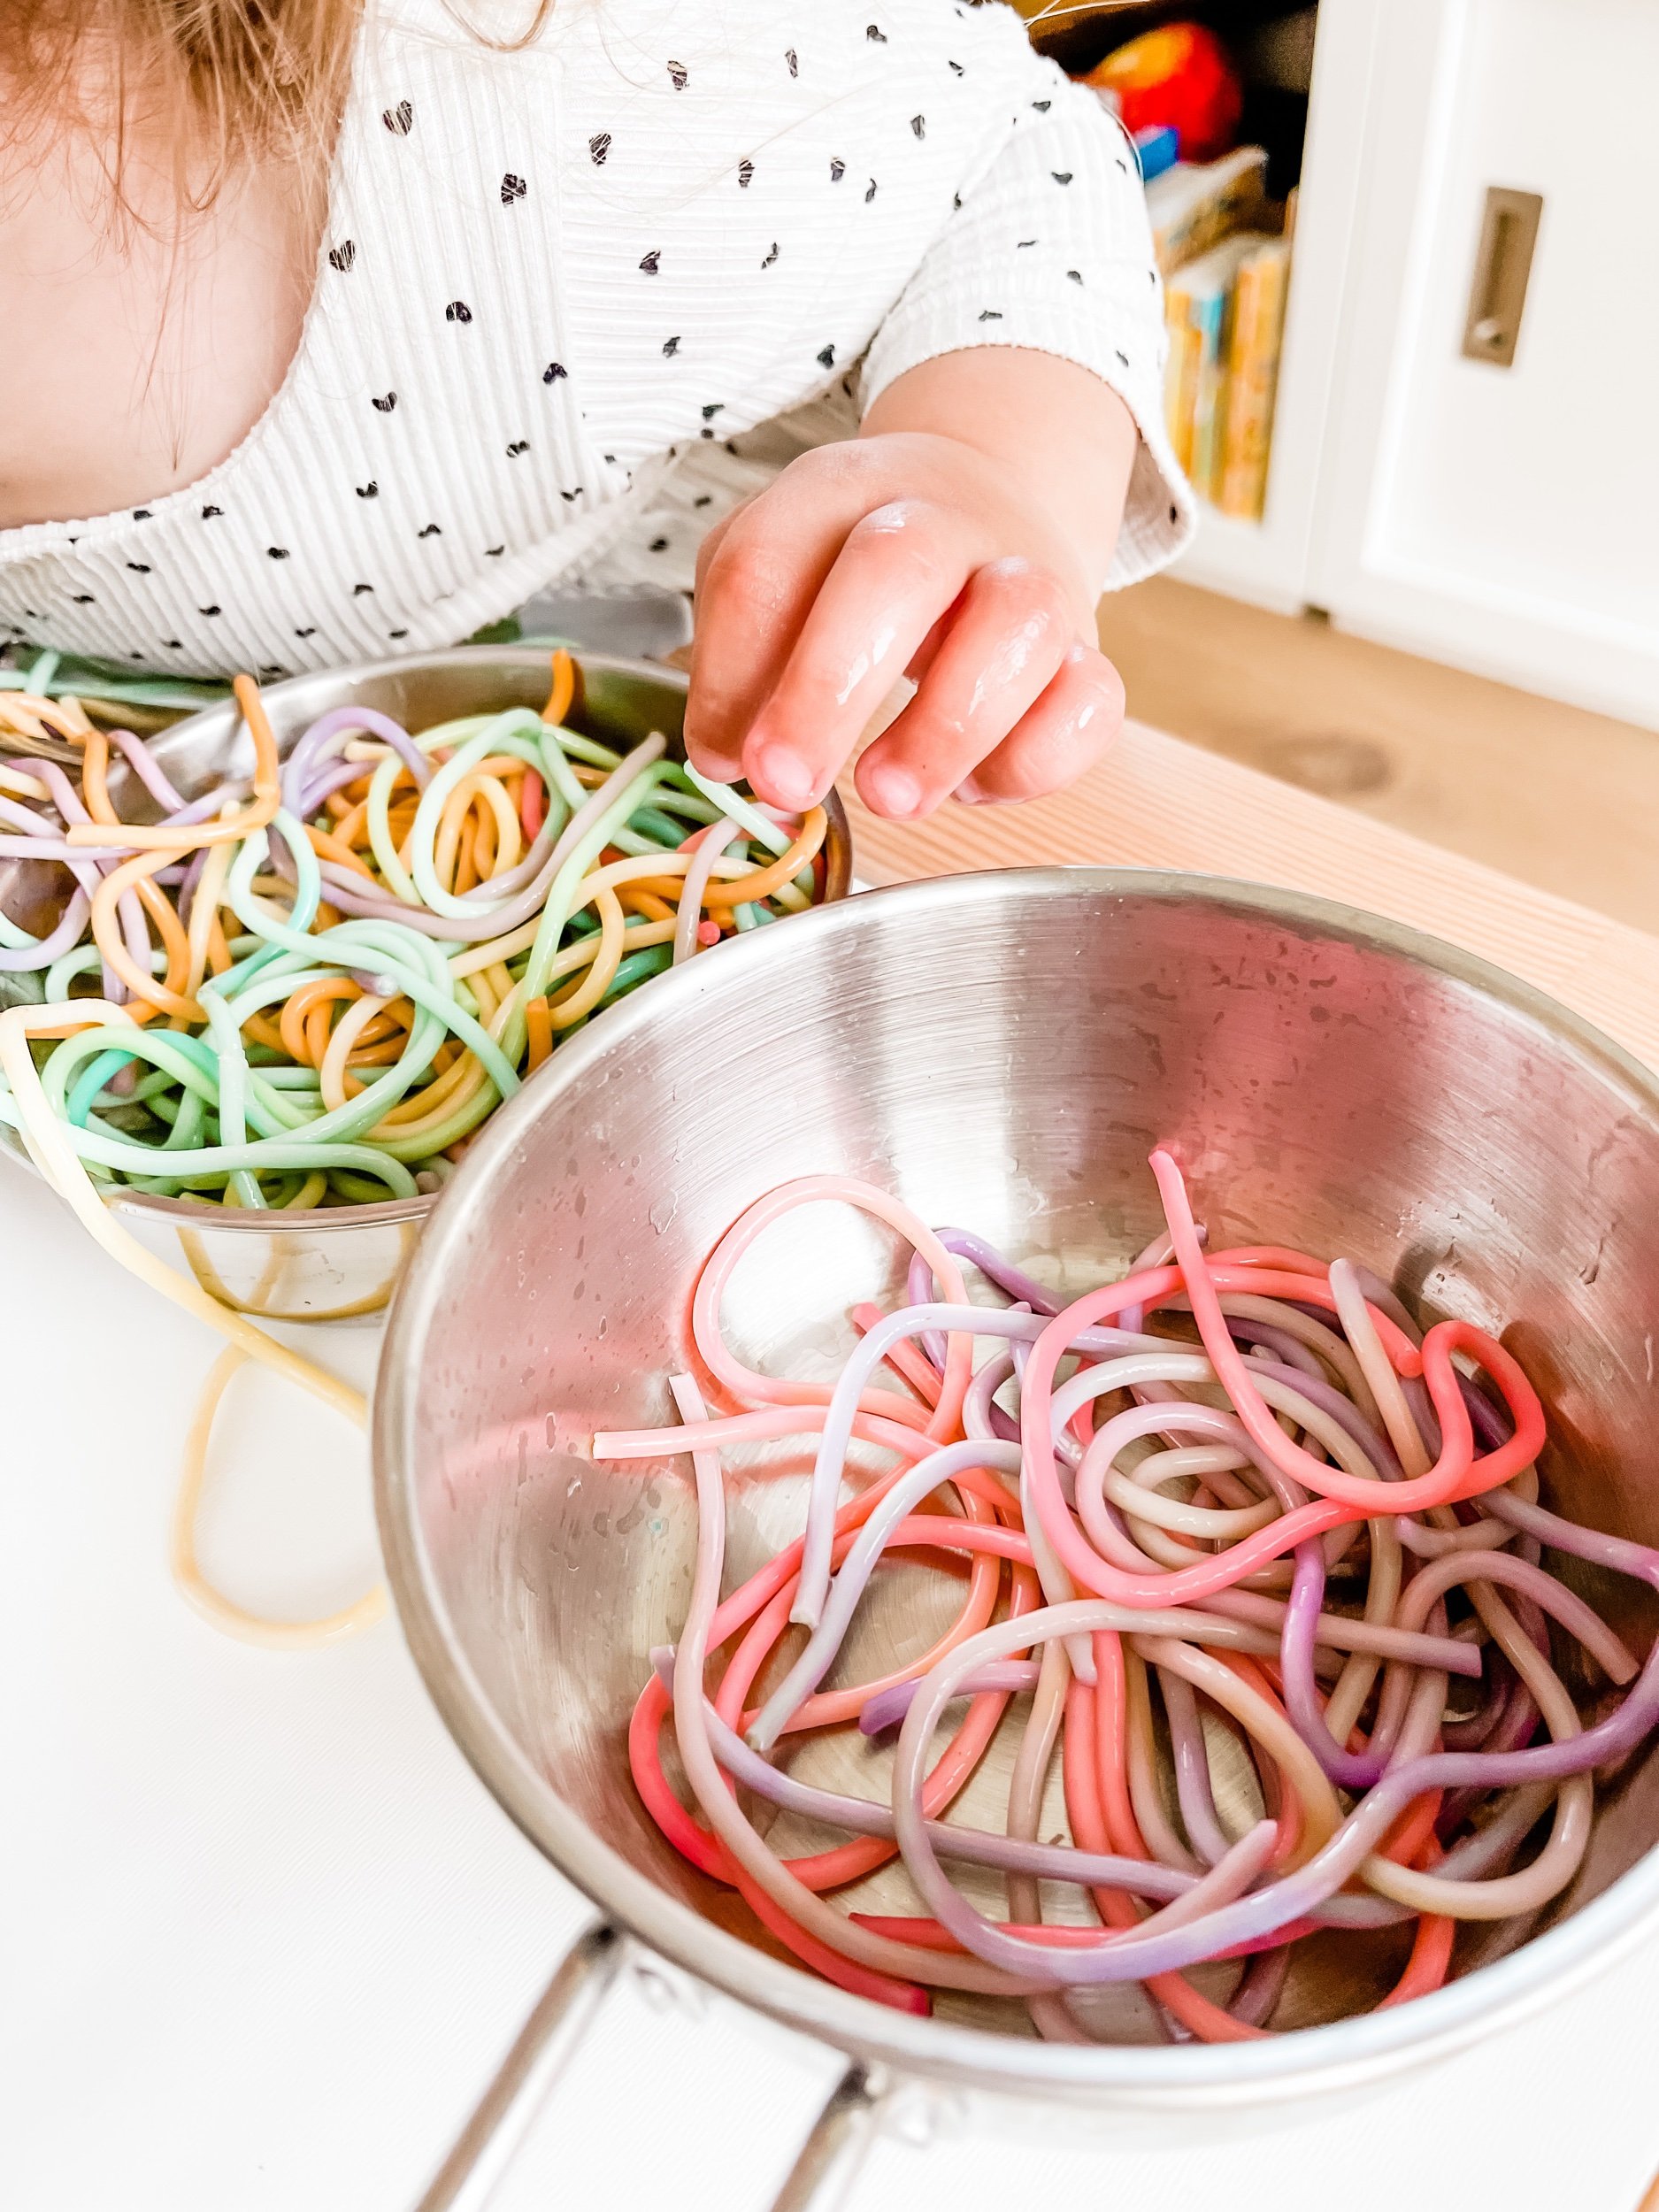
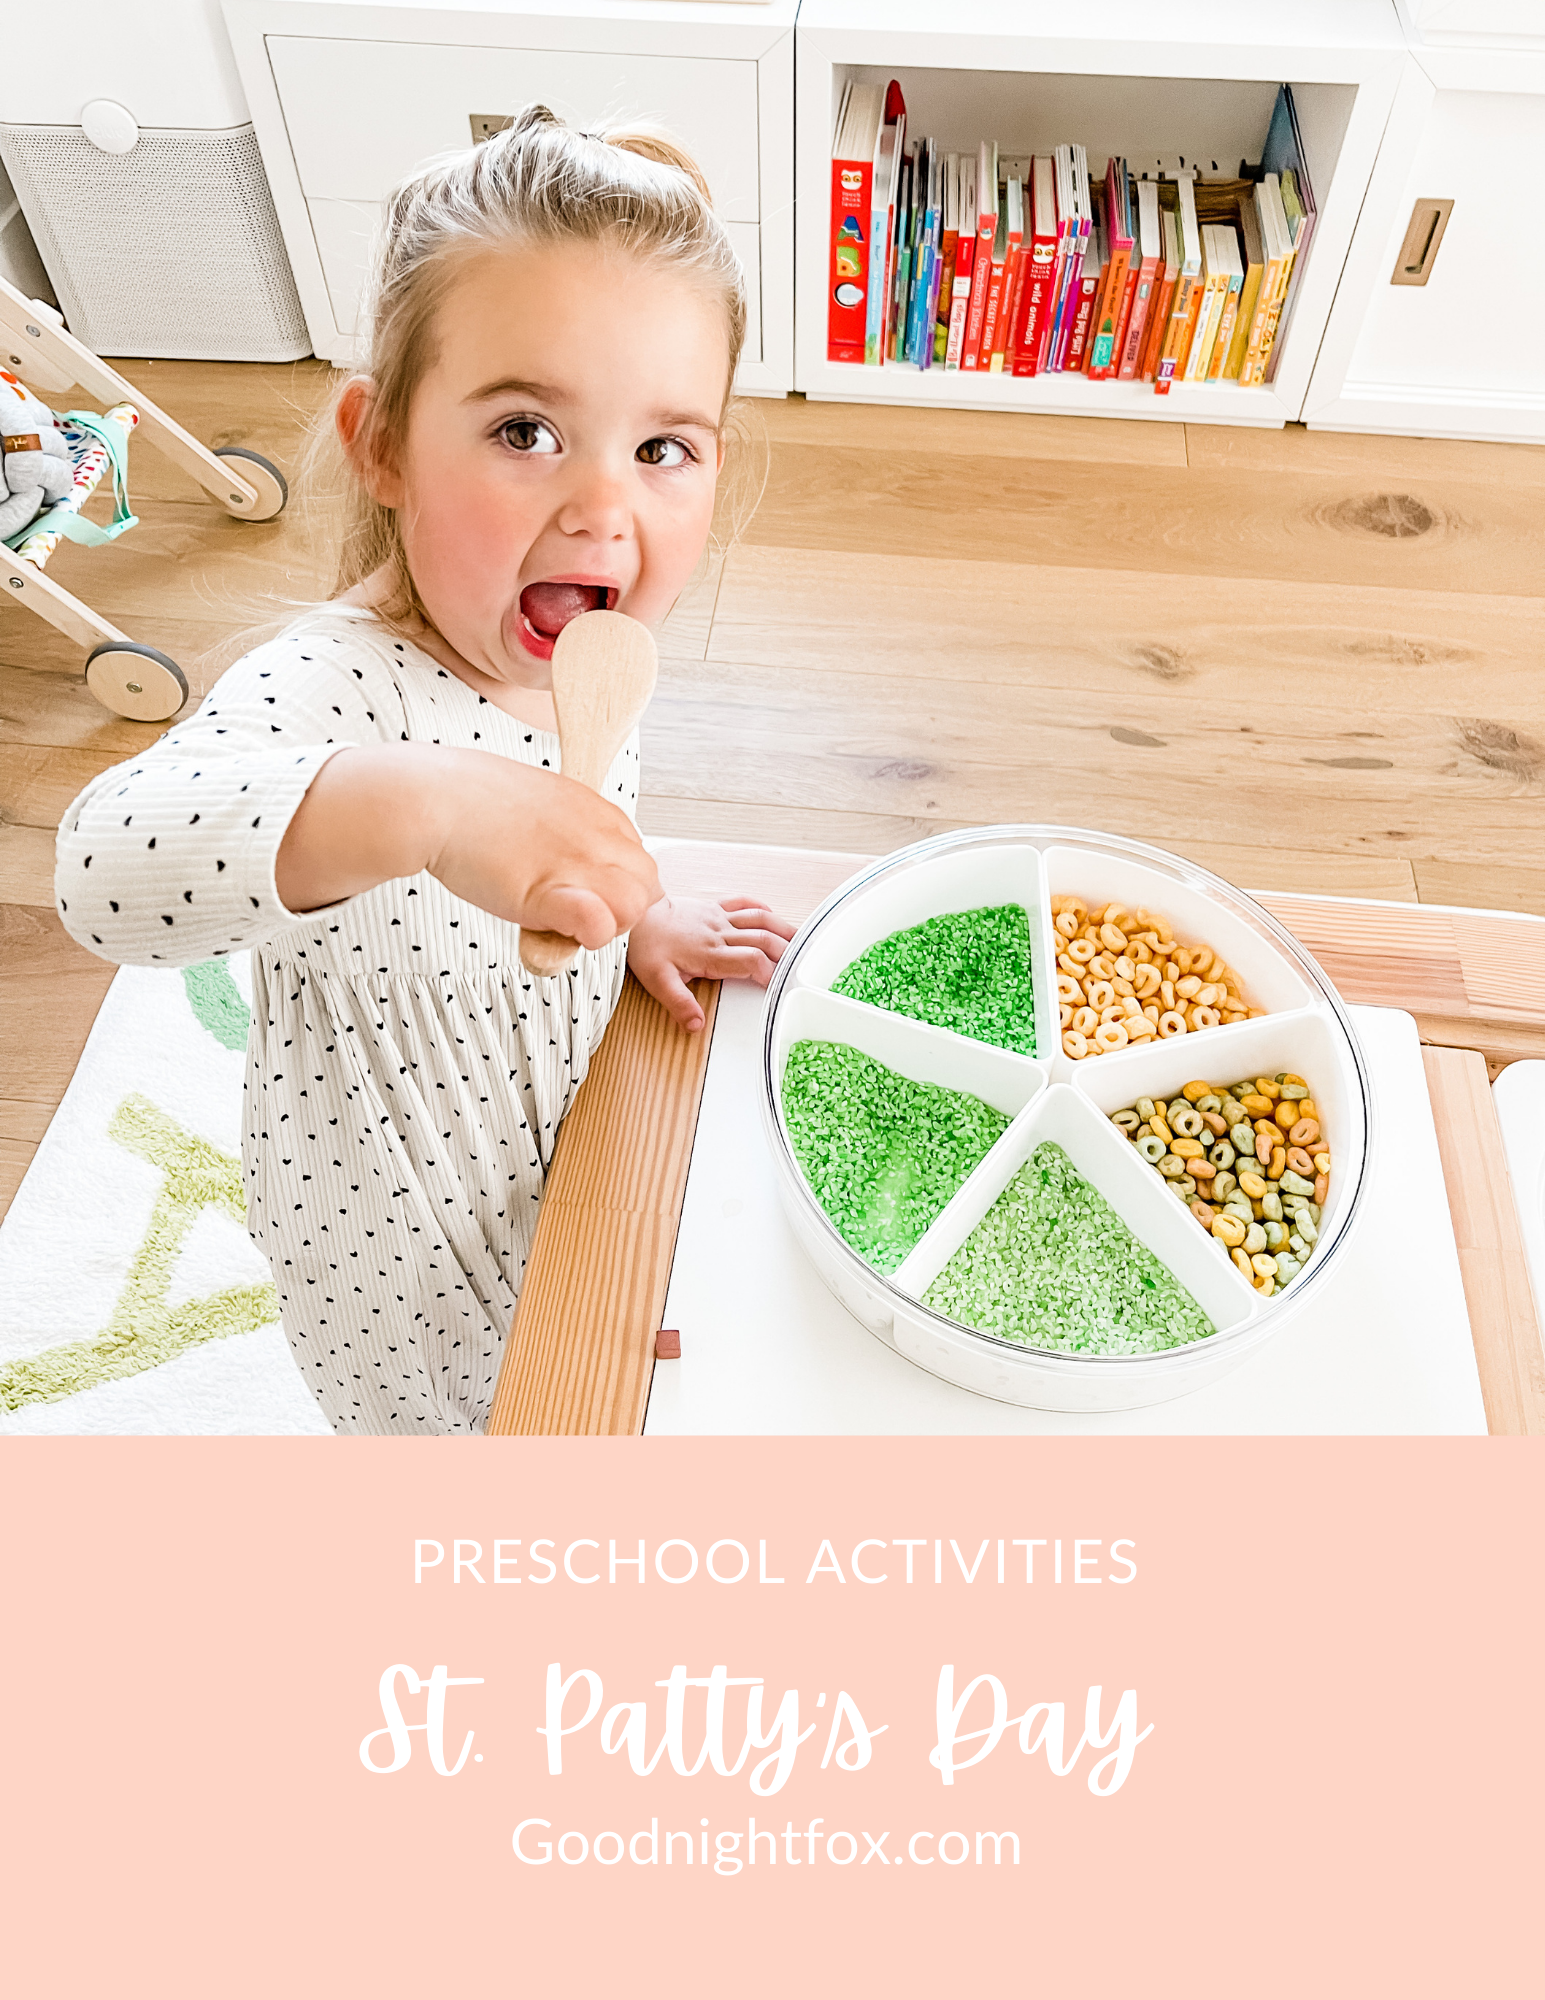
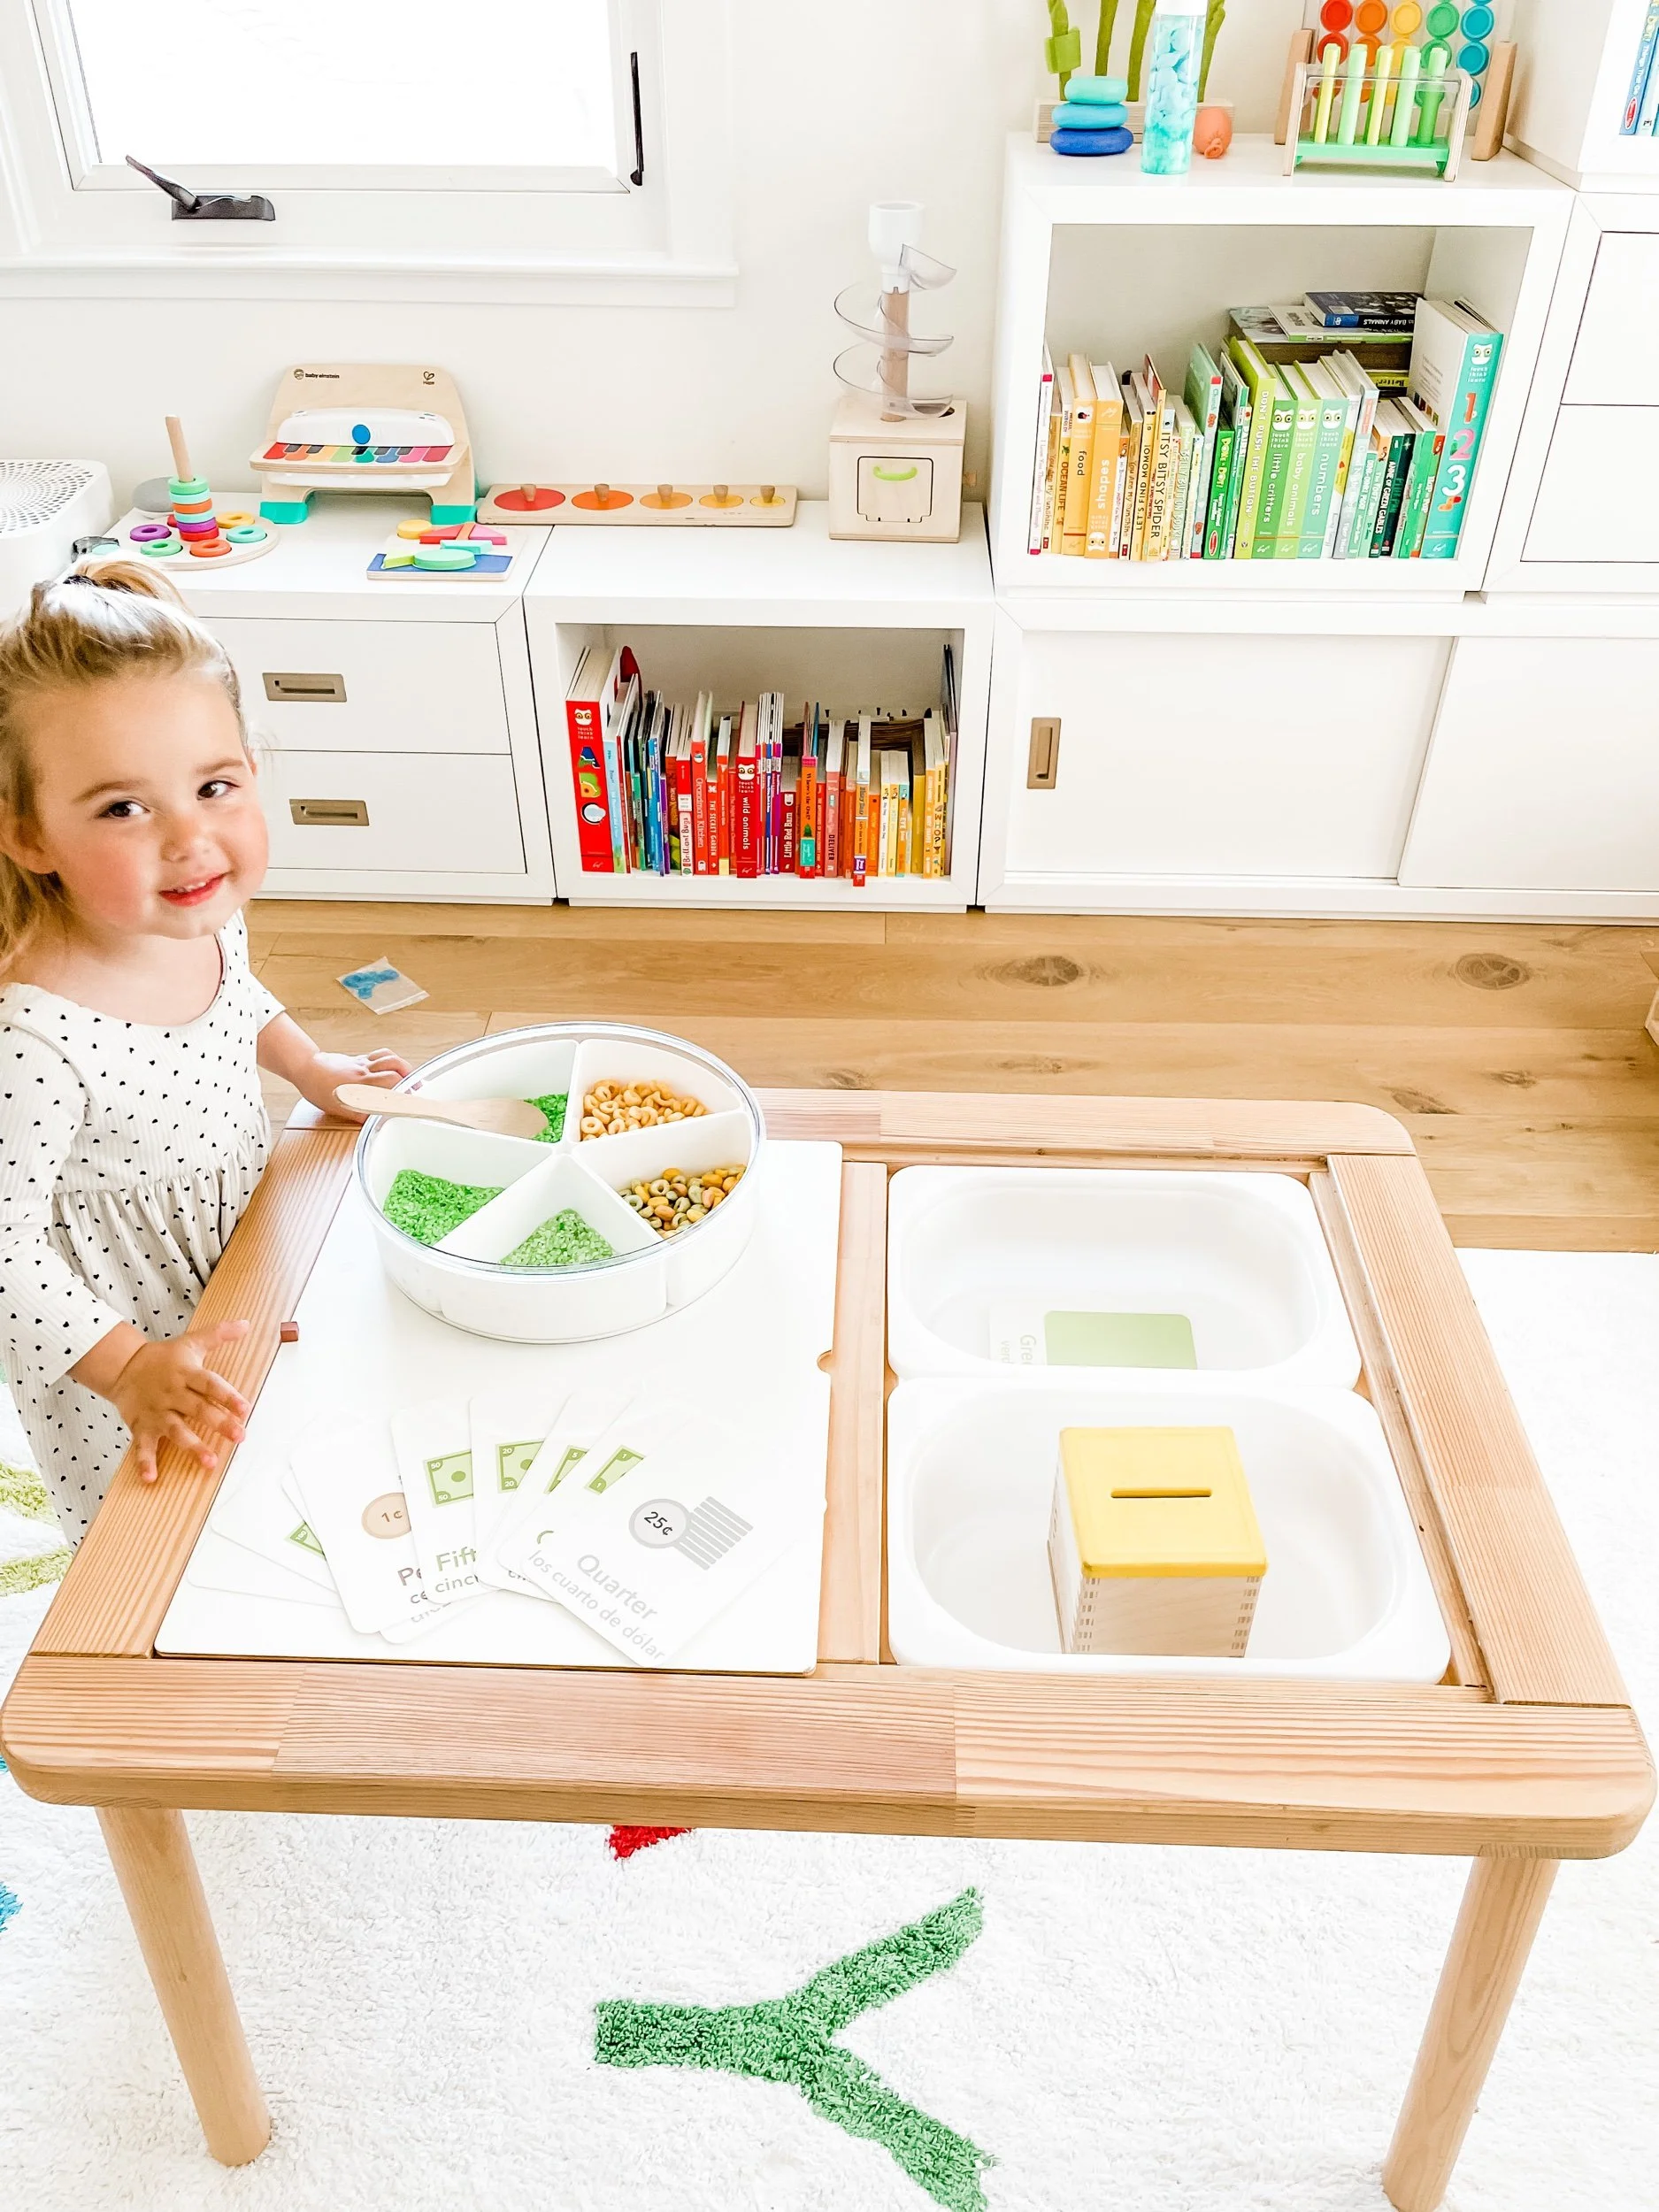
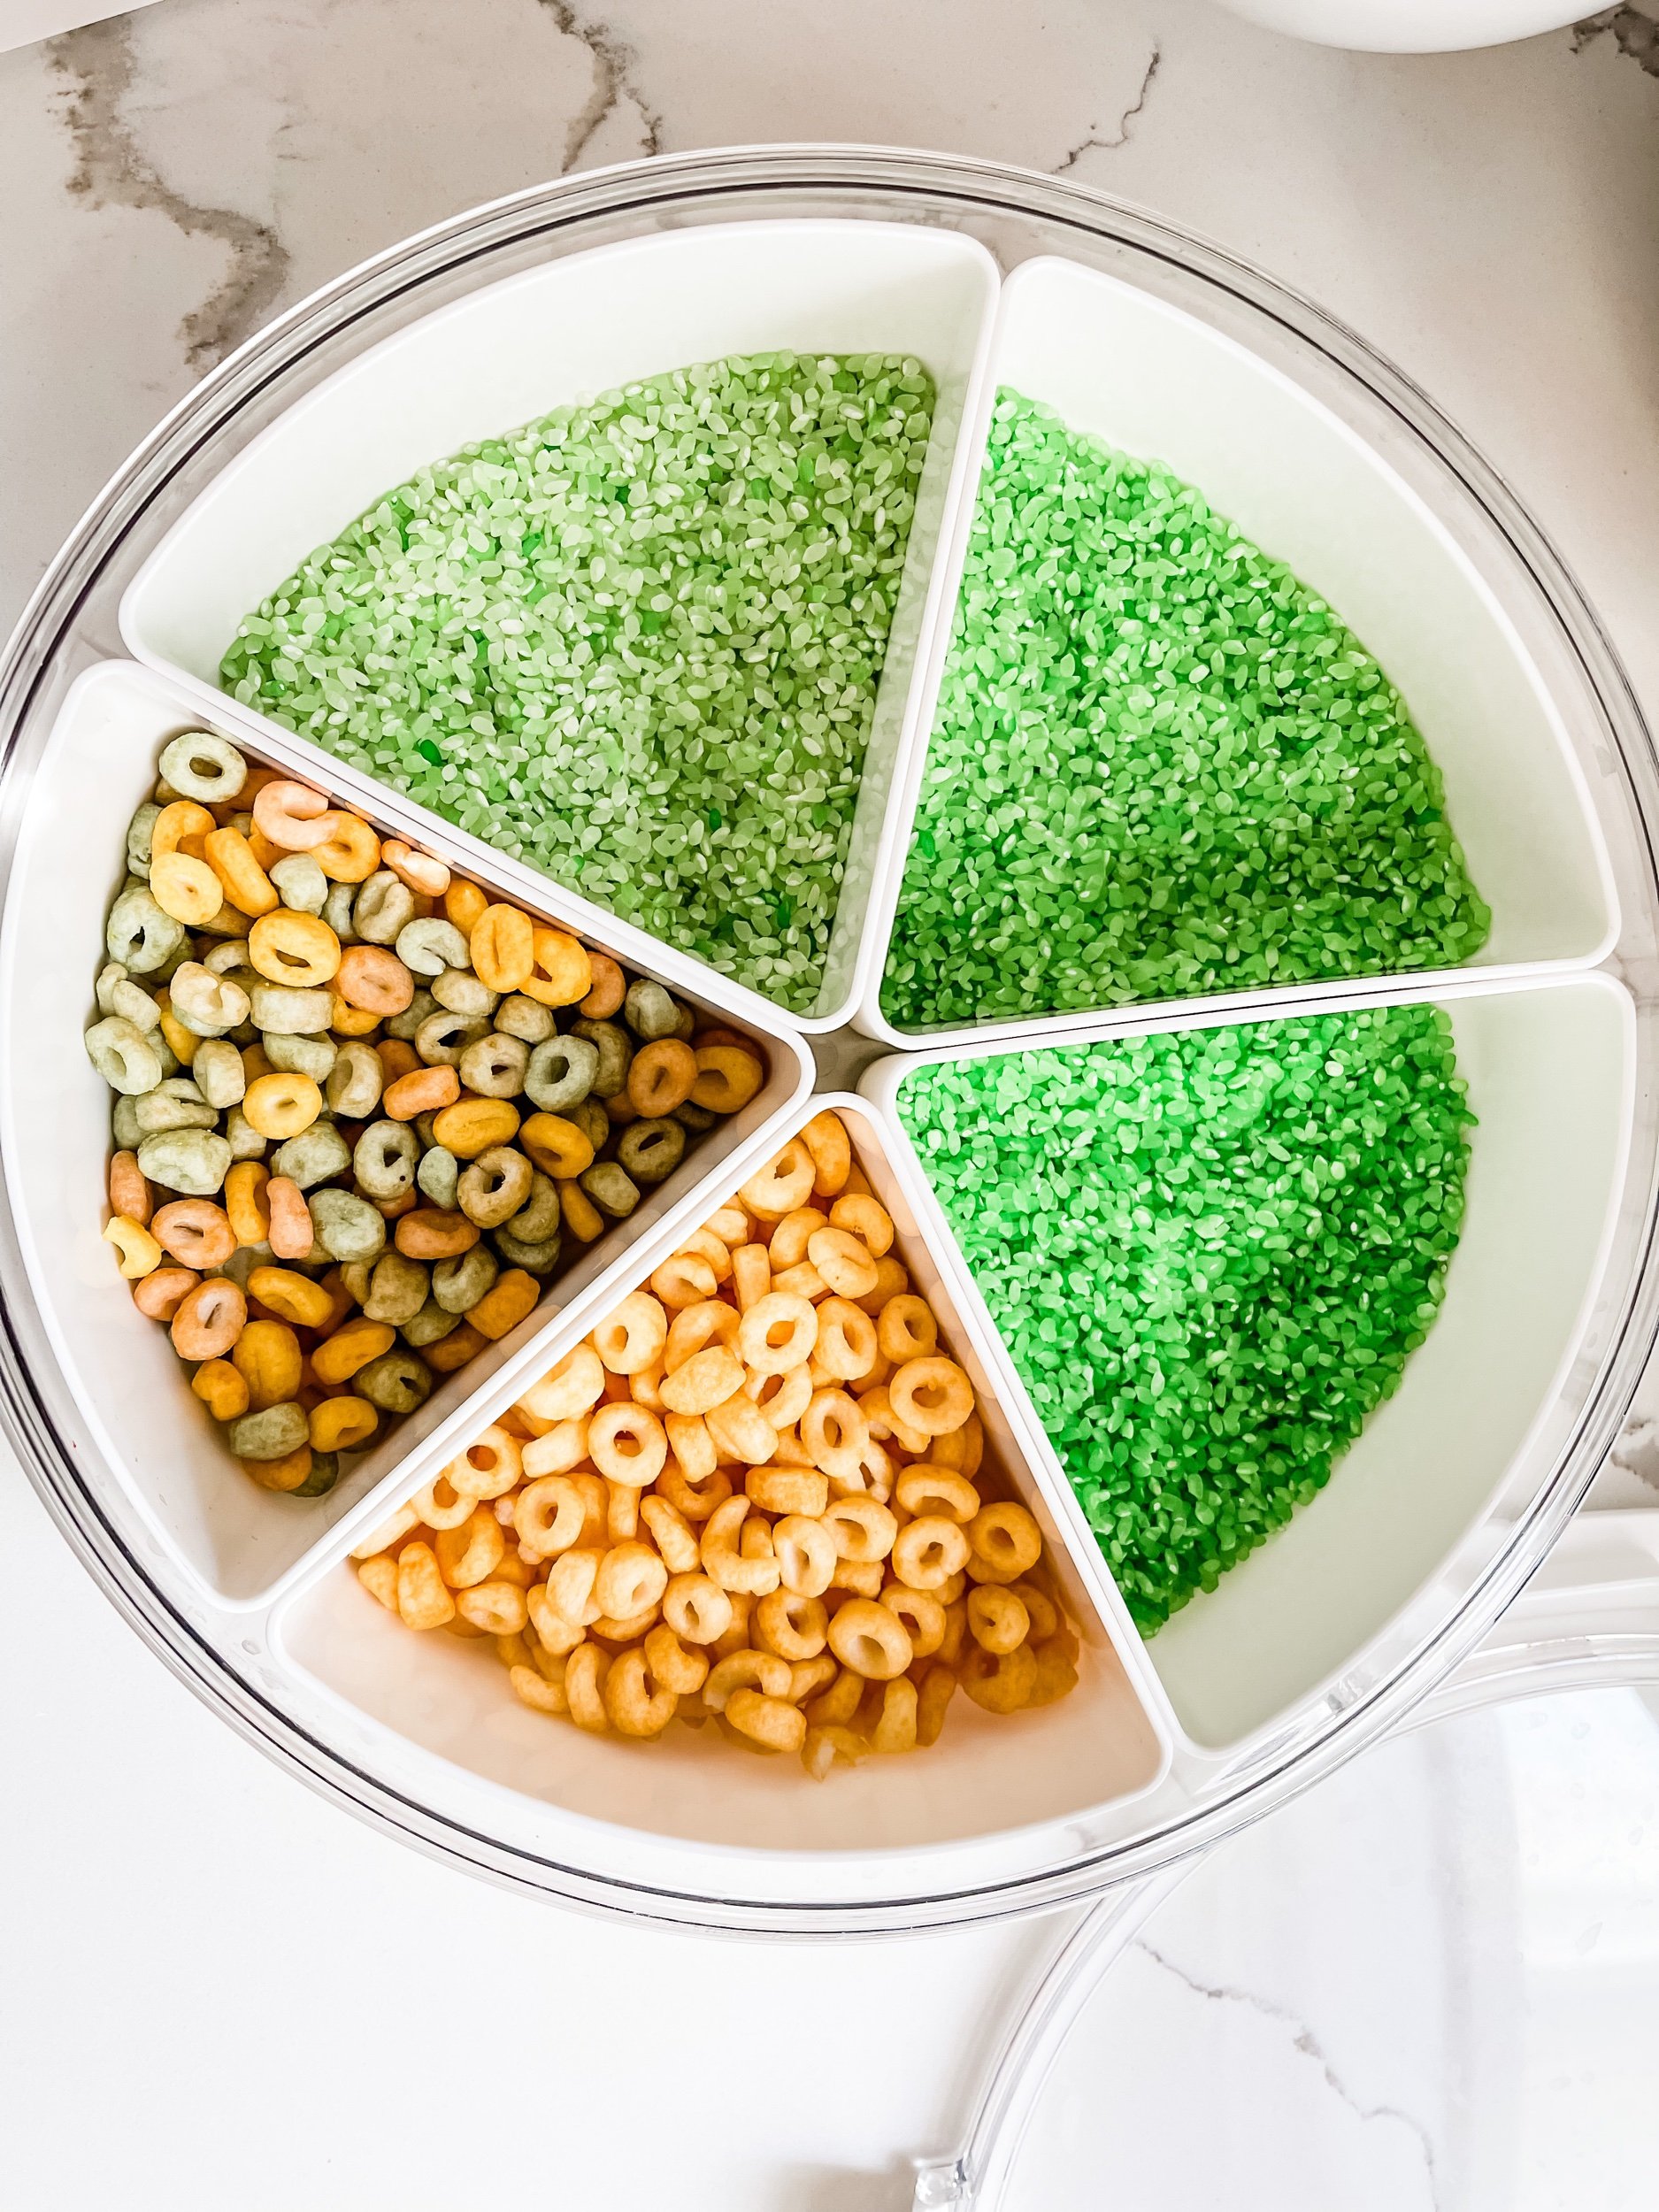
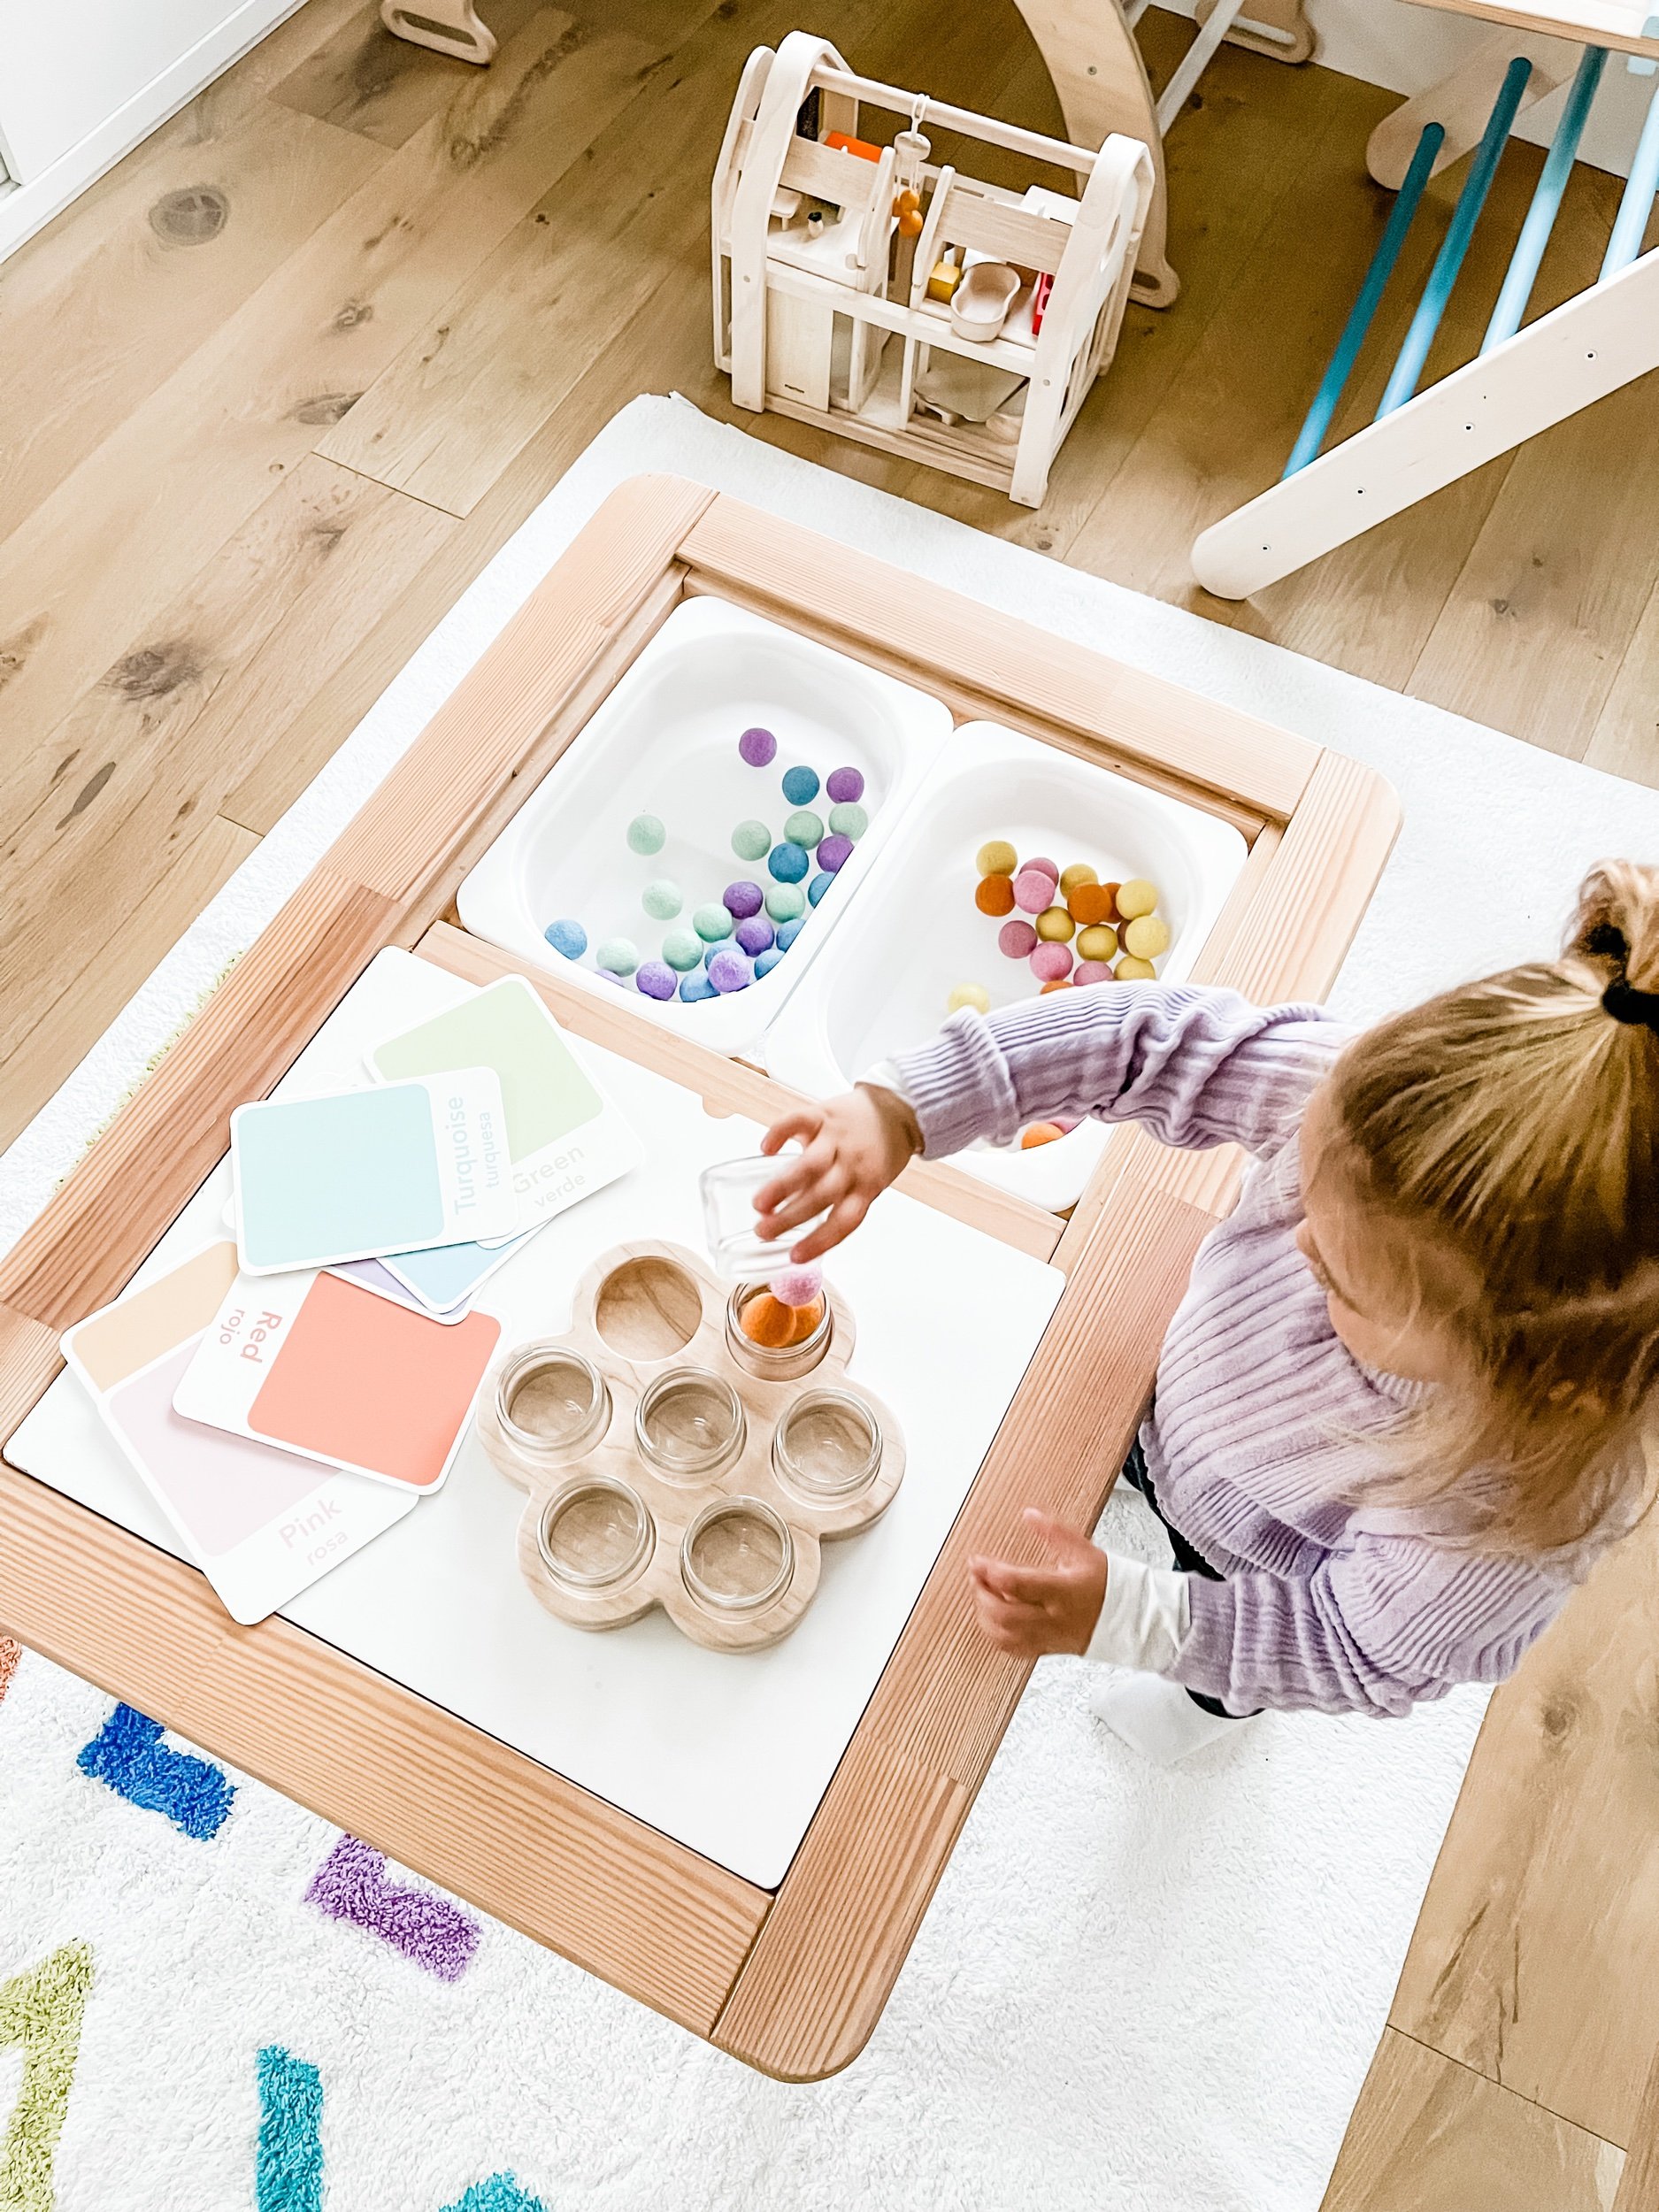
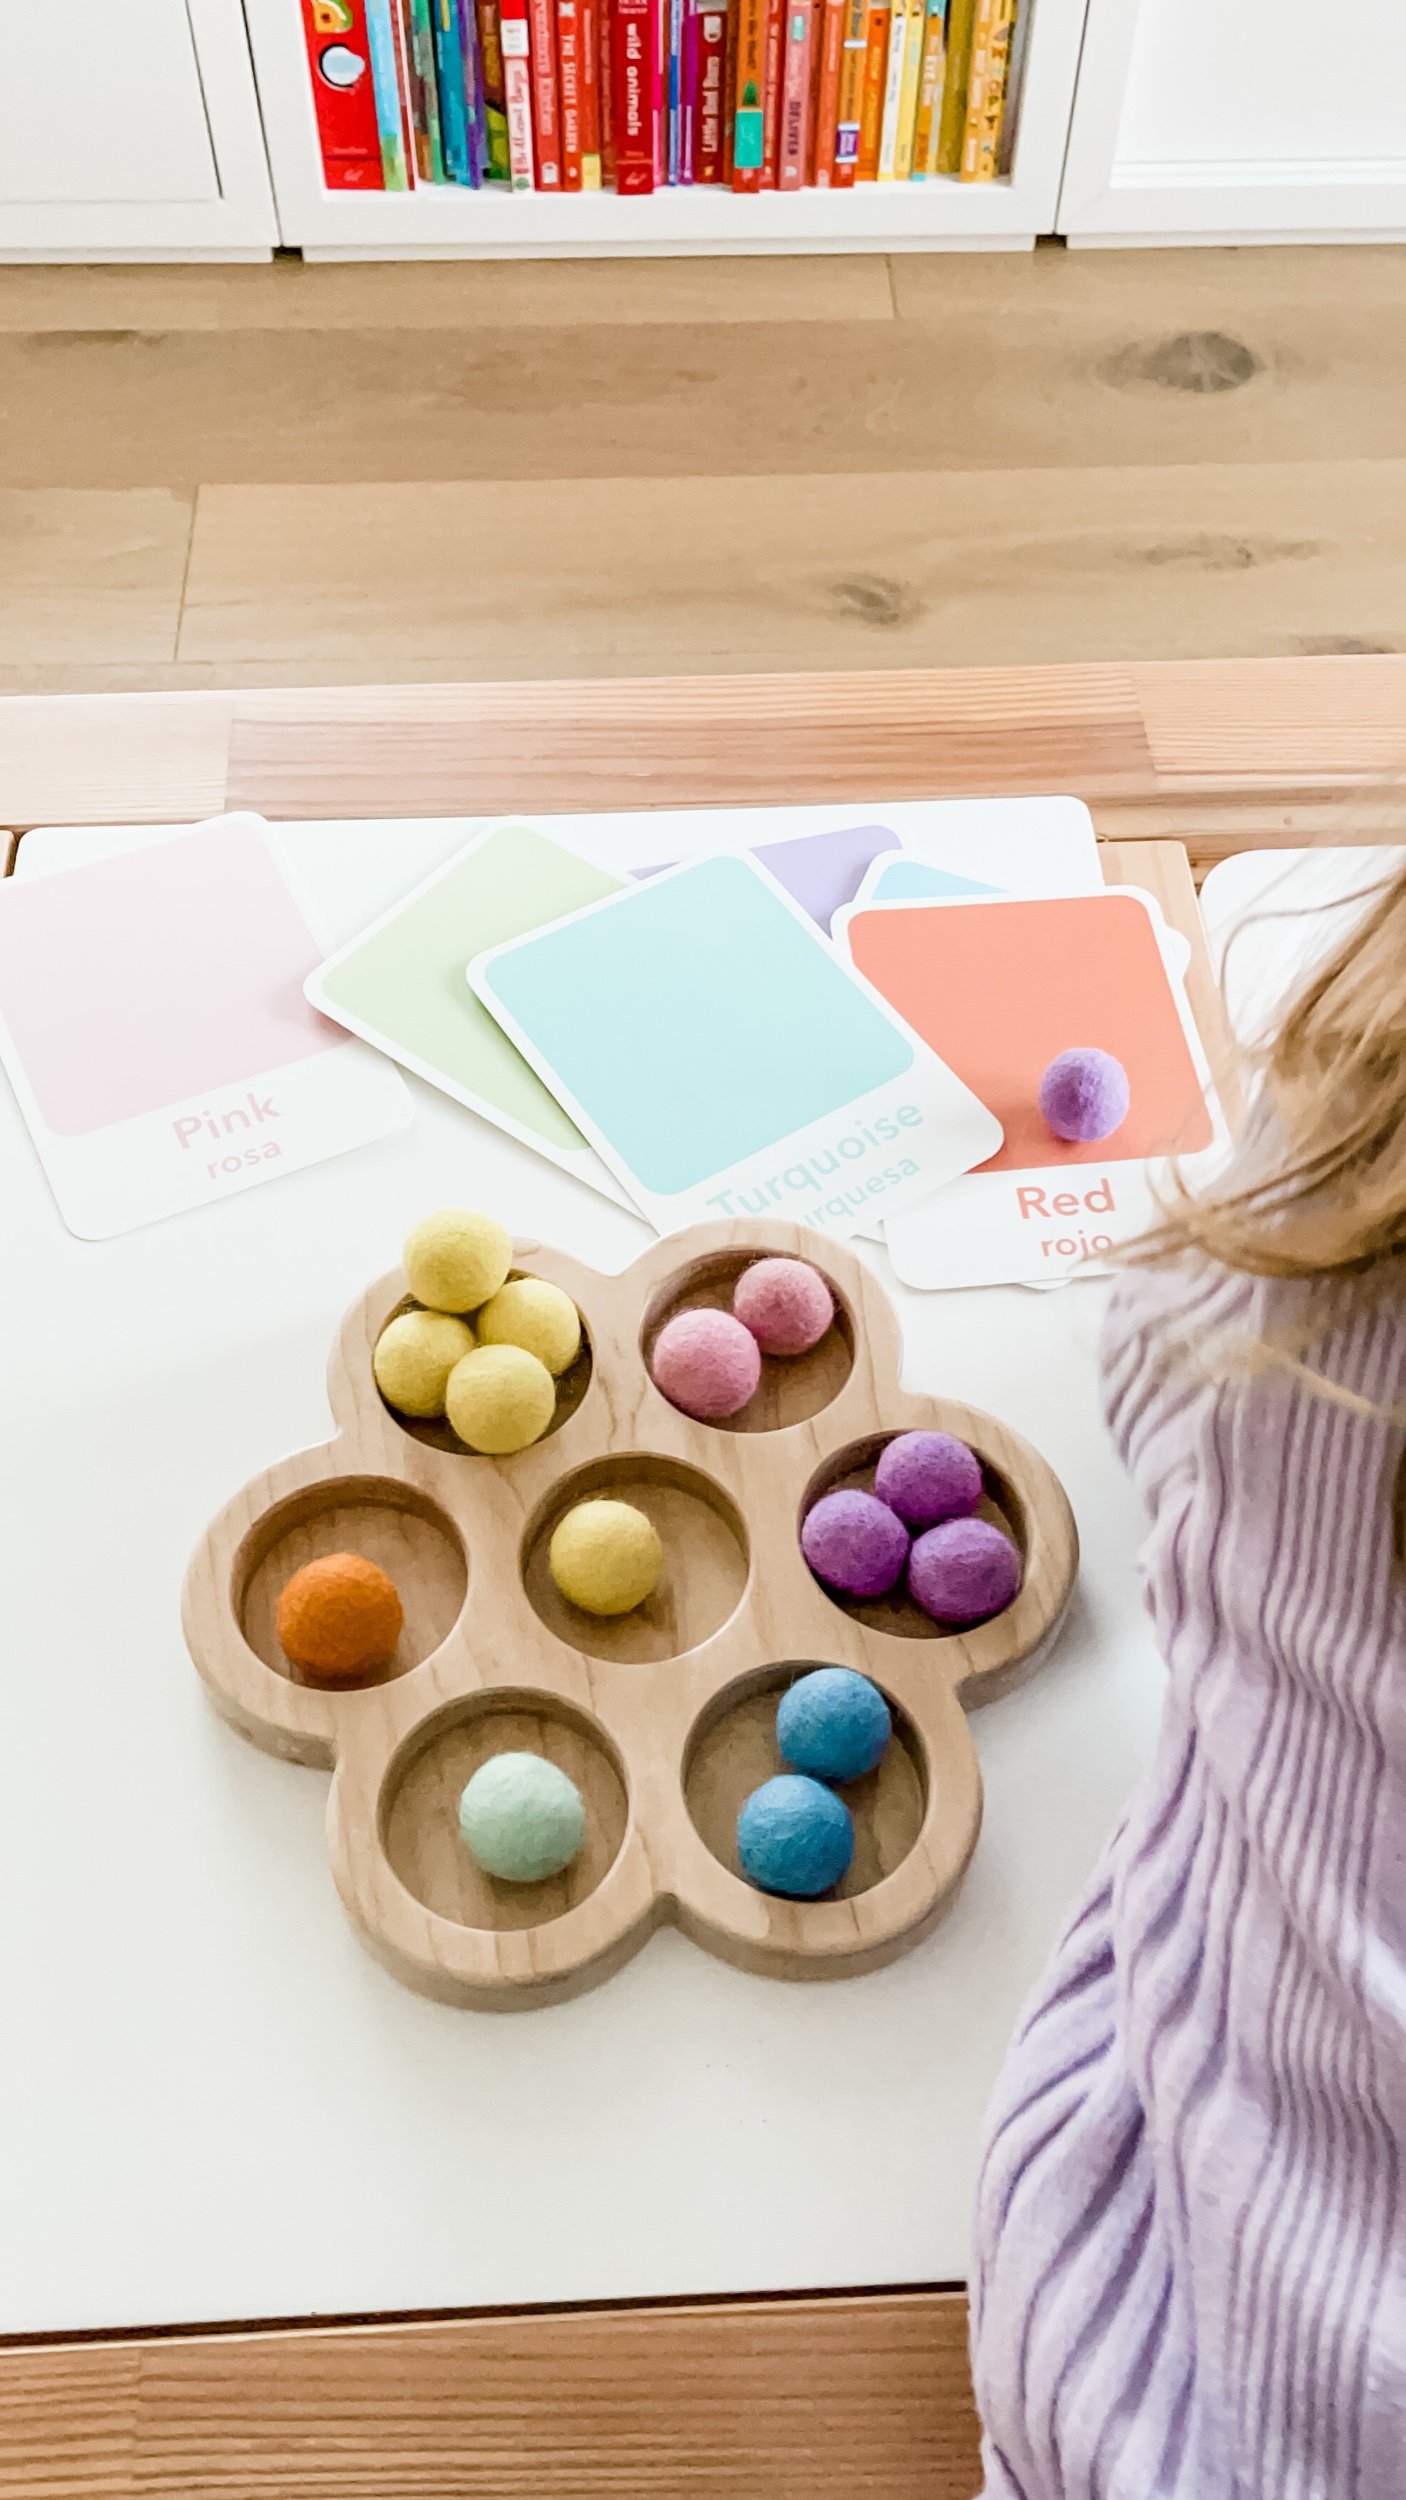
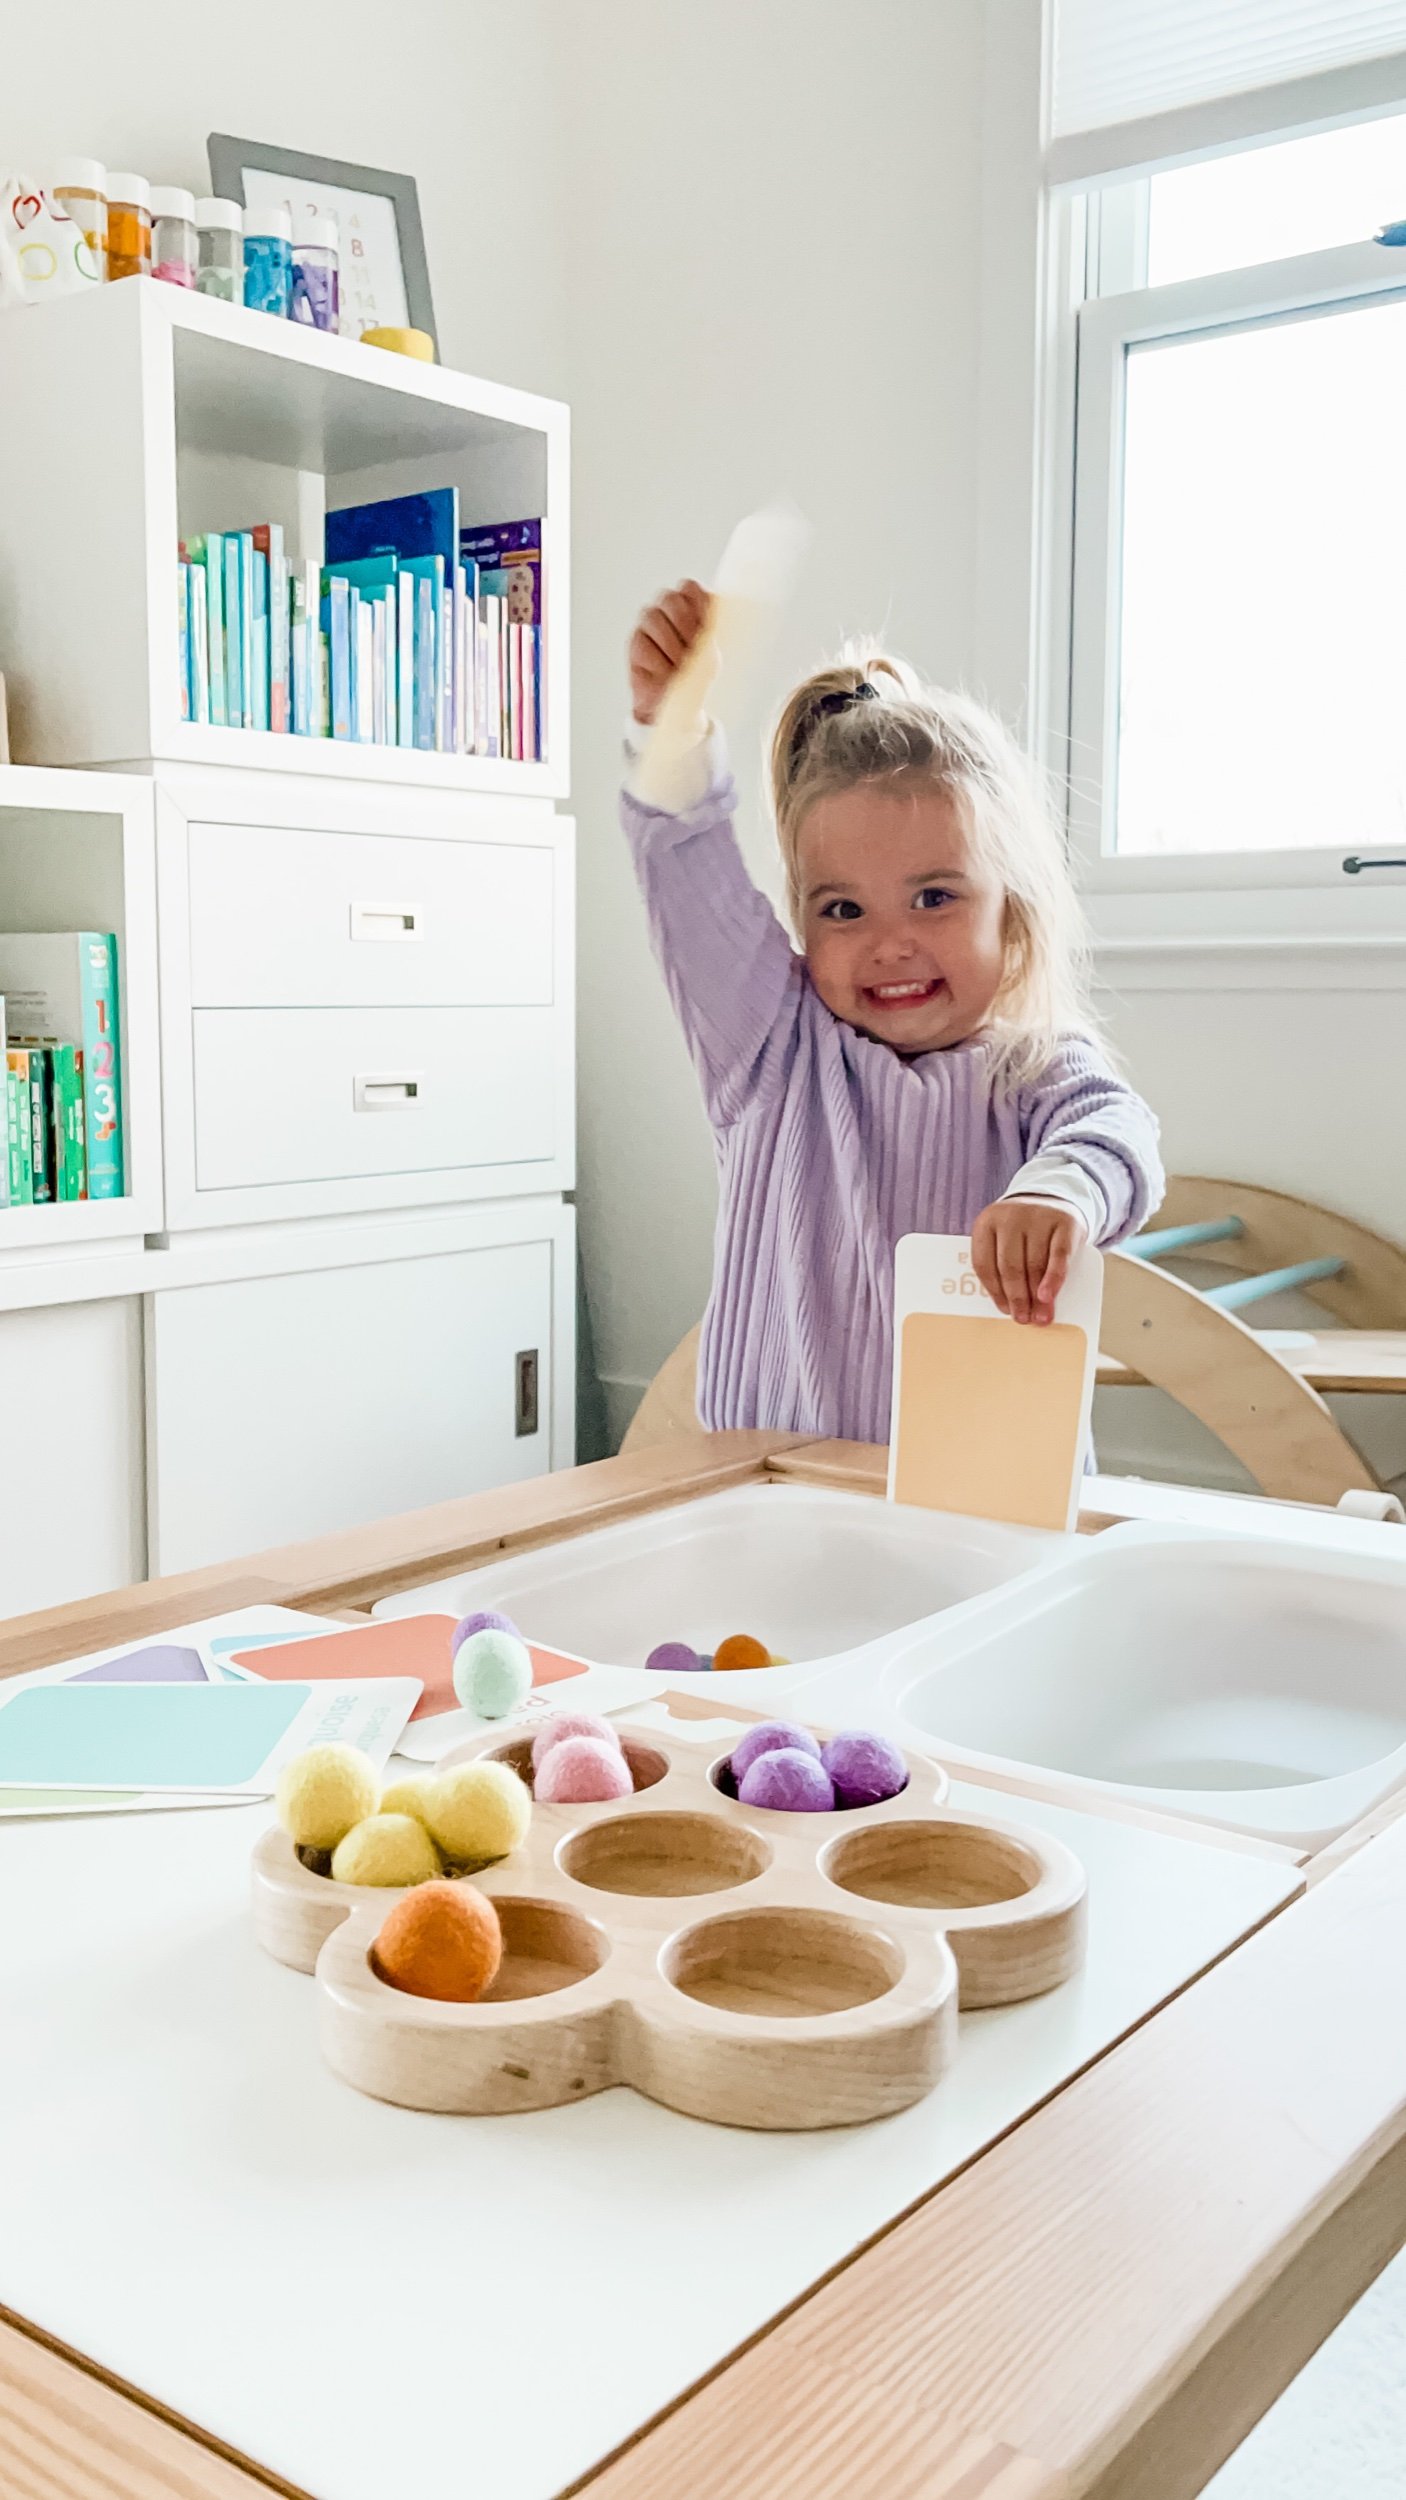
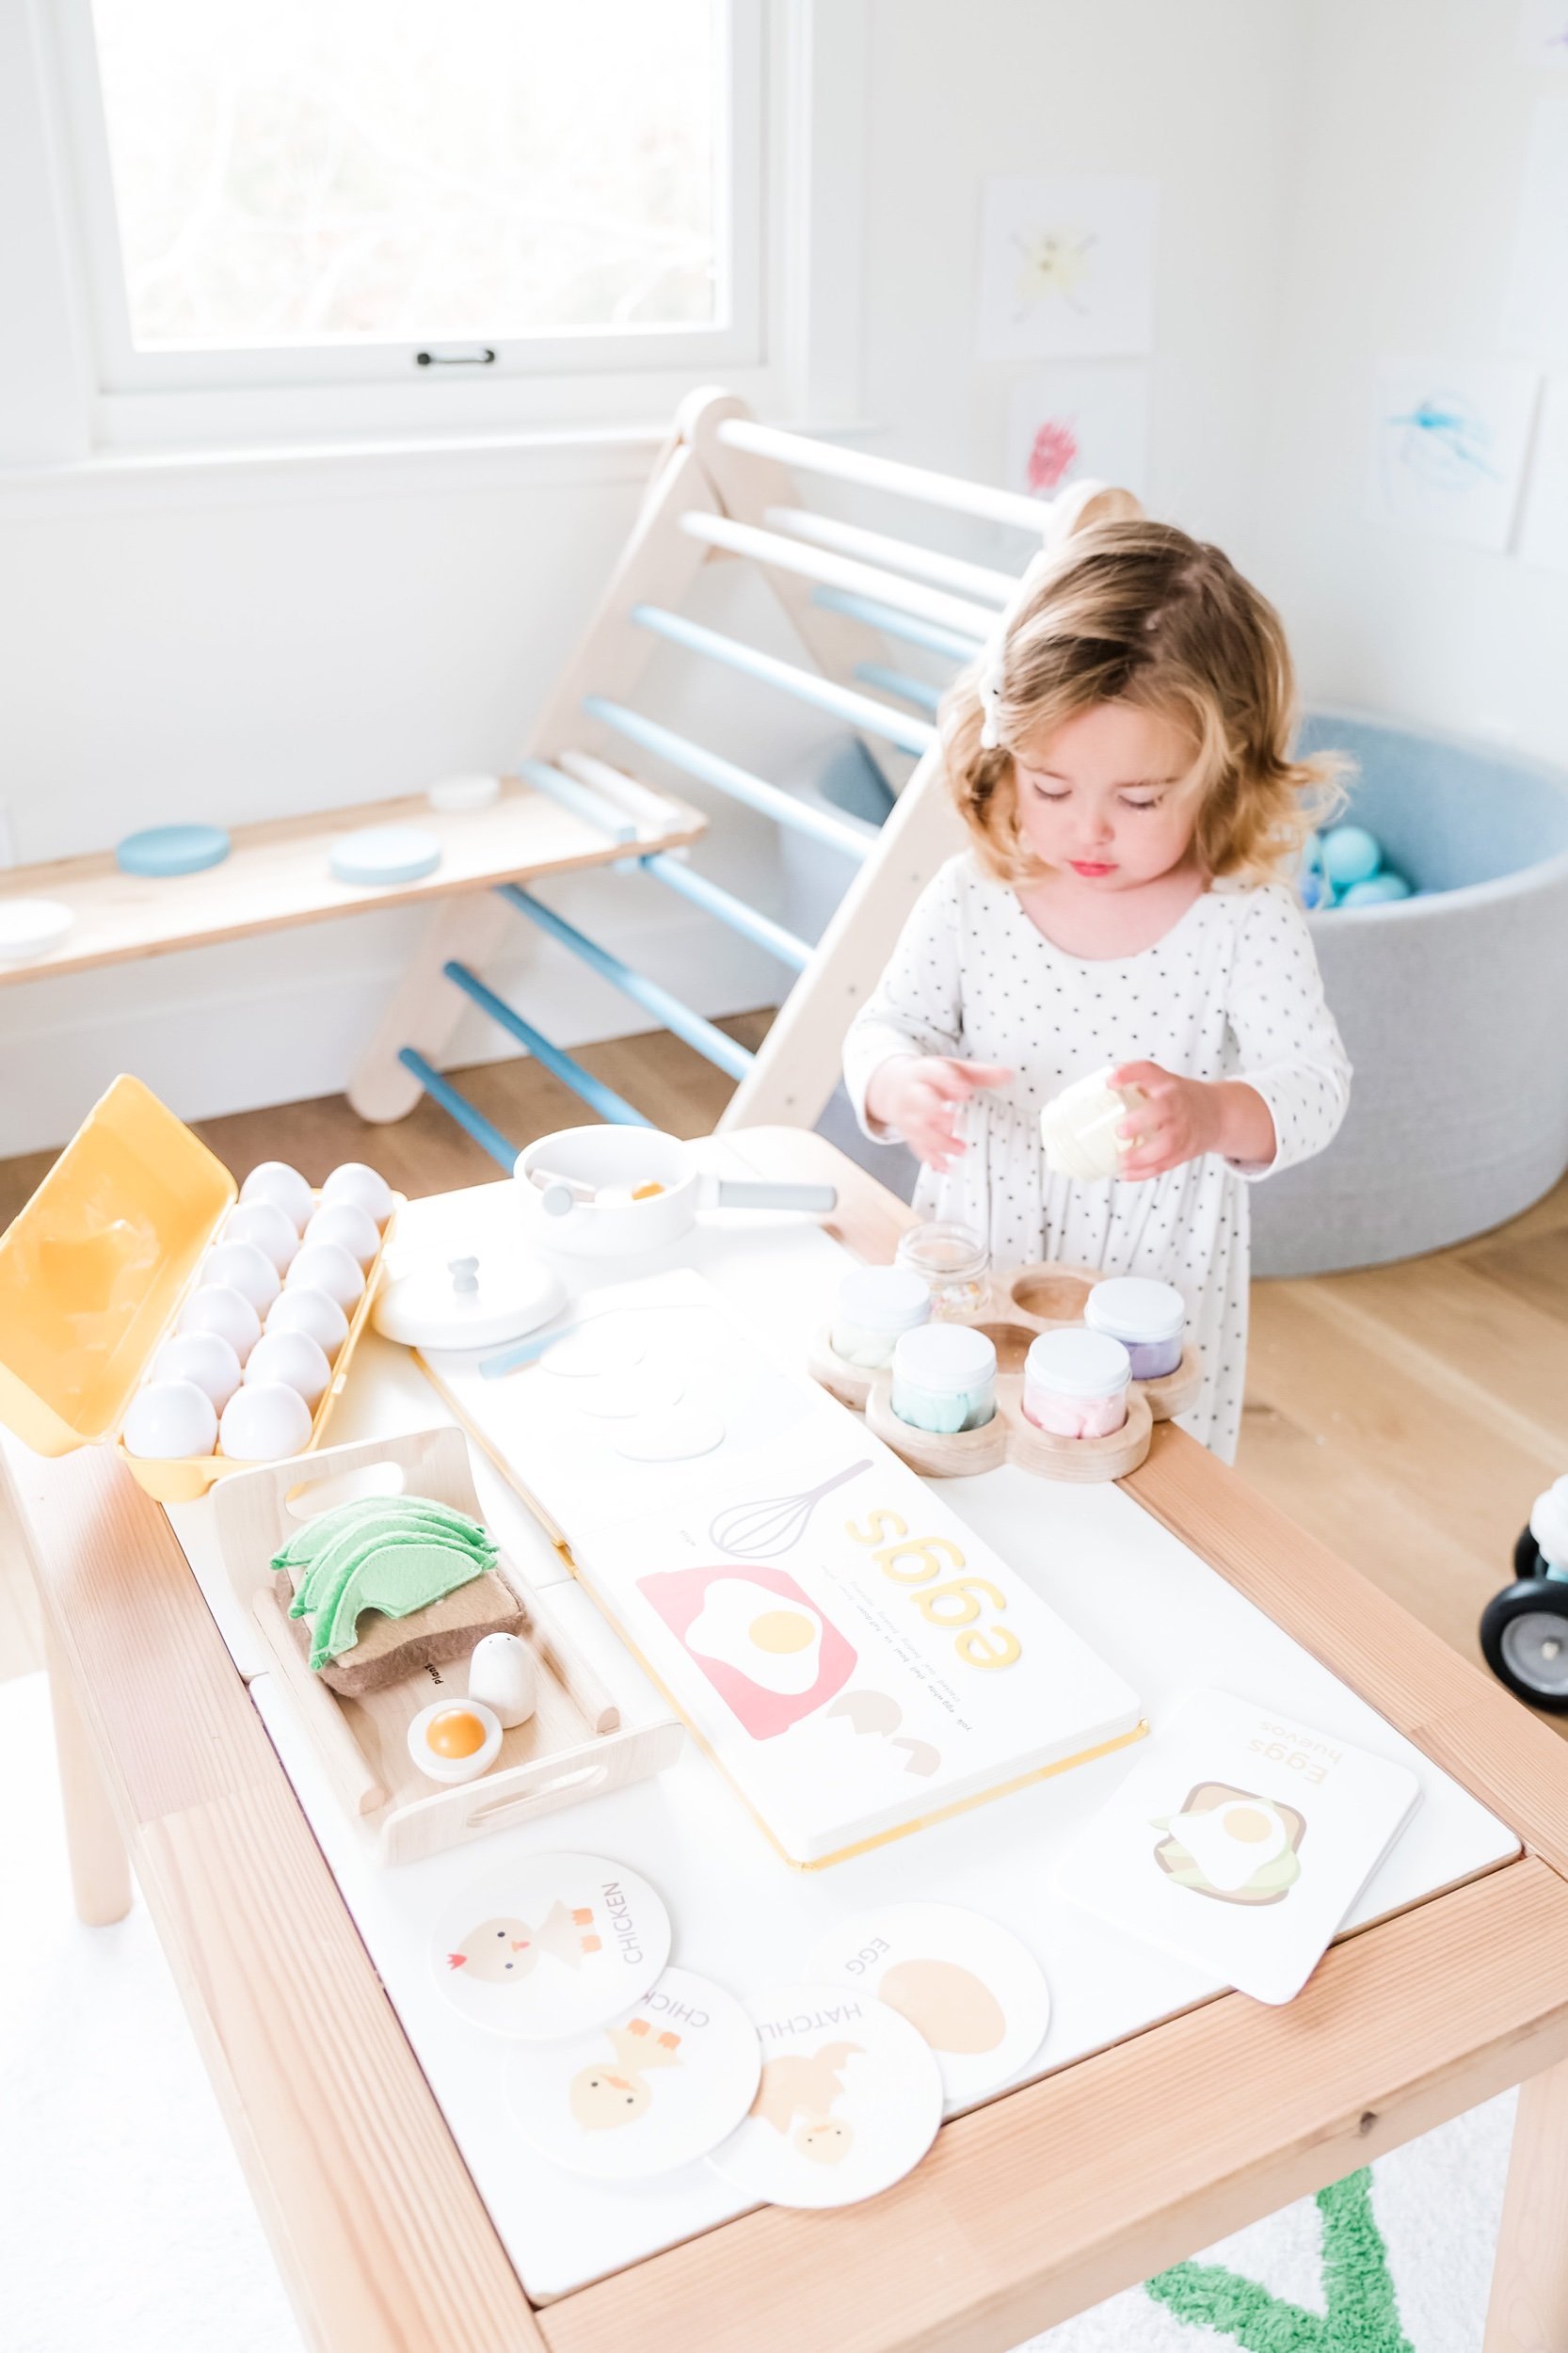
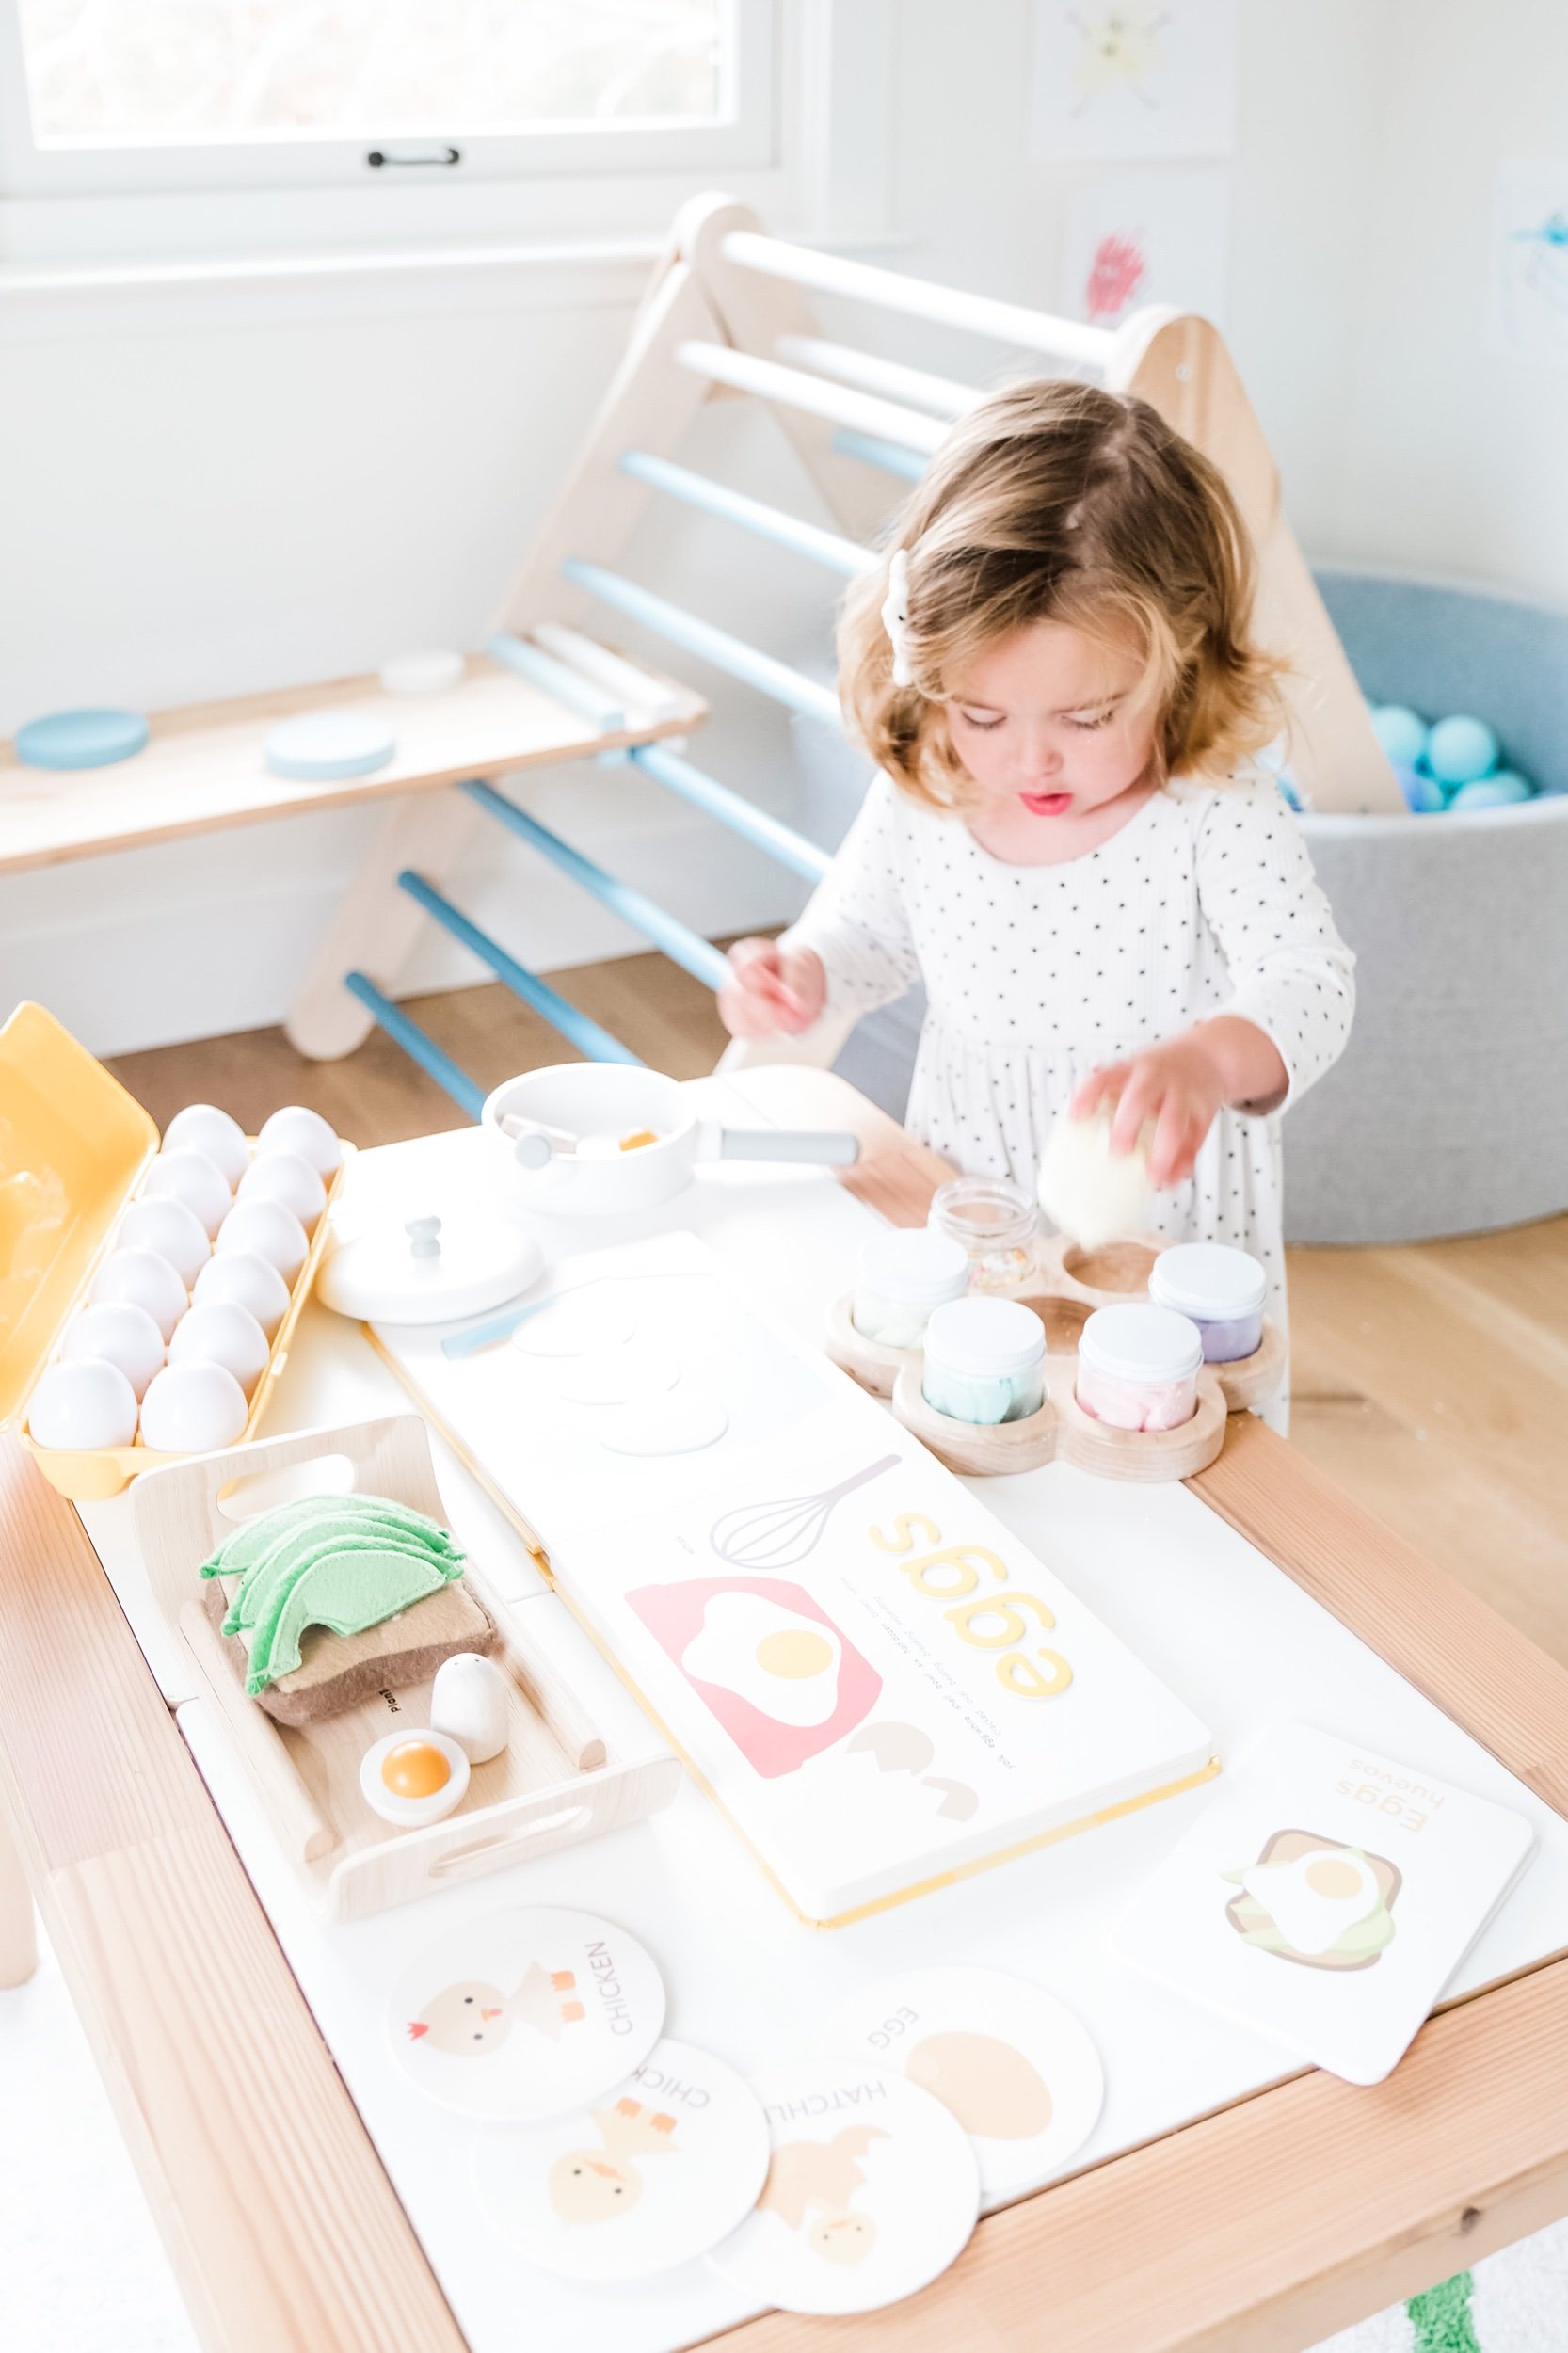
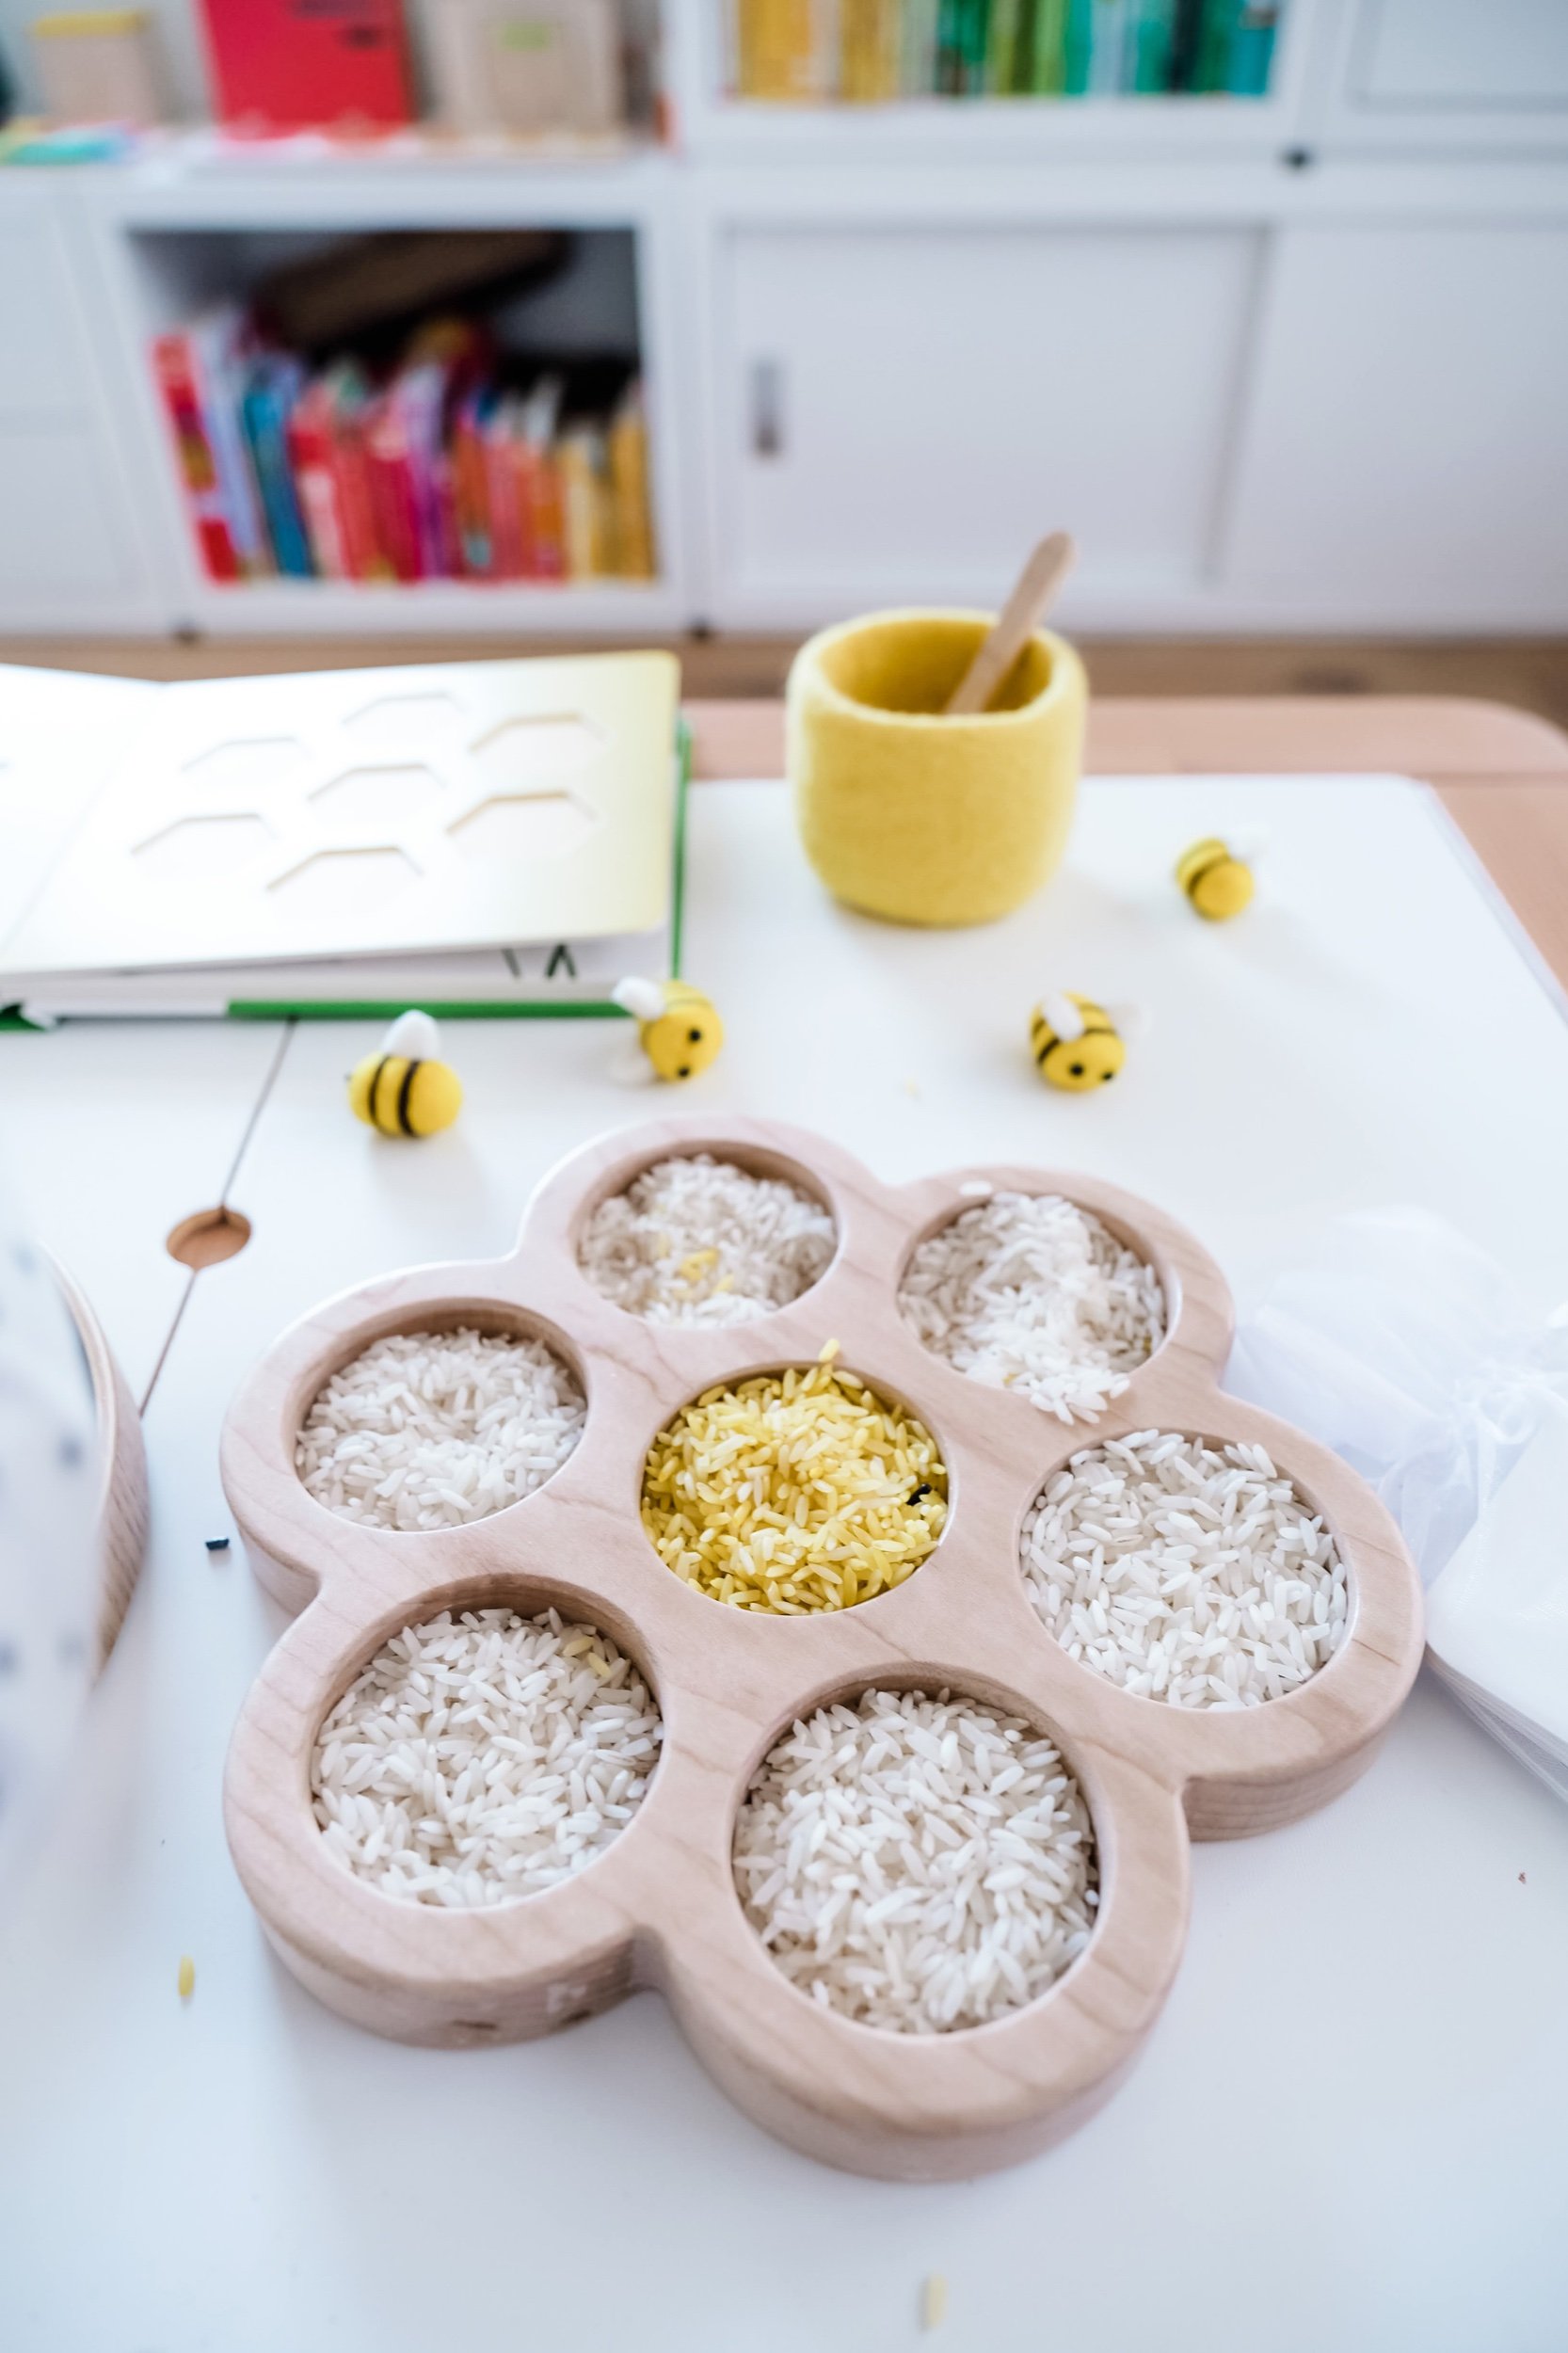
  • Take the bags out the next day and place them in this awesome compartment serving tray. This one is perfect because it comes with a lid so you can seal it up and save it to play again later. We used it two times in one day and then tossed the leftover spaghetti.

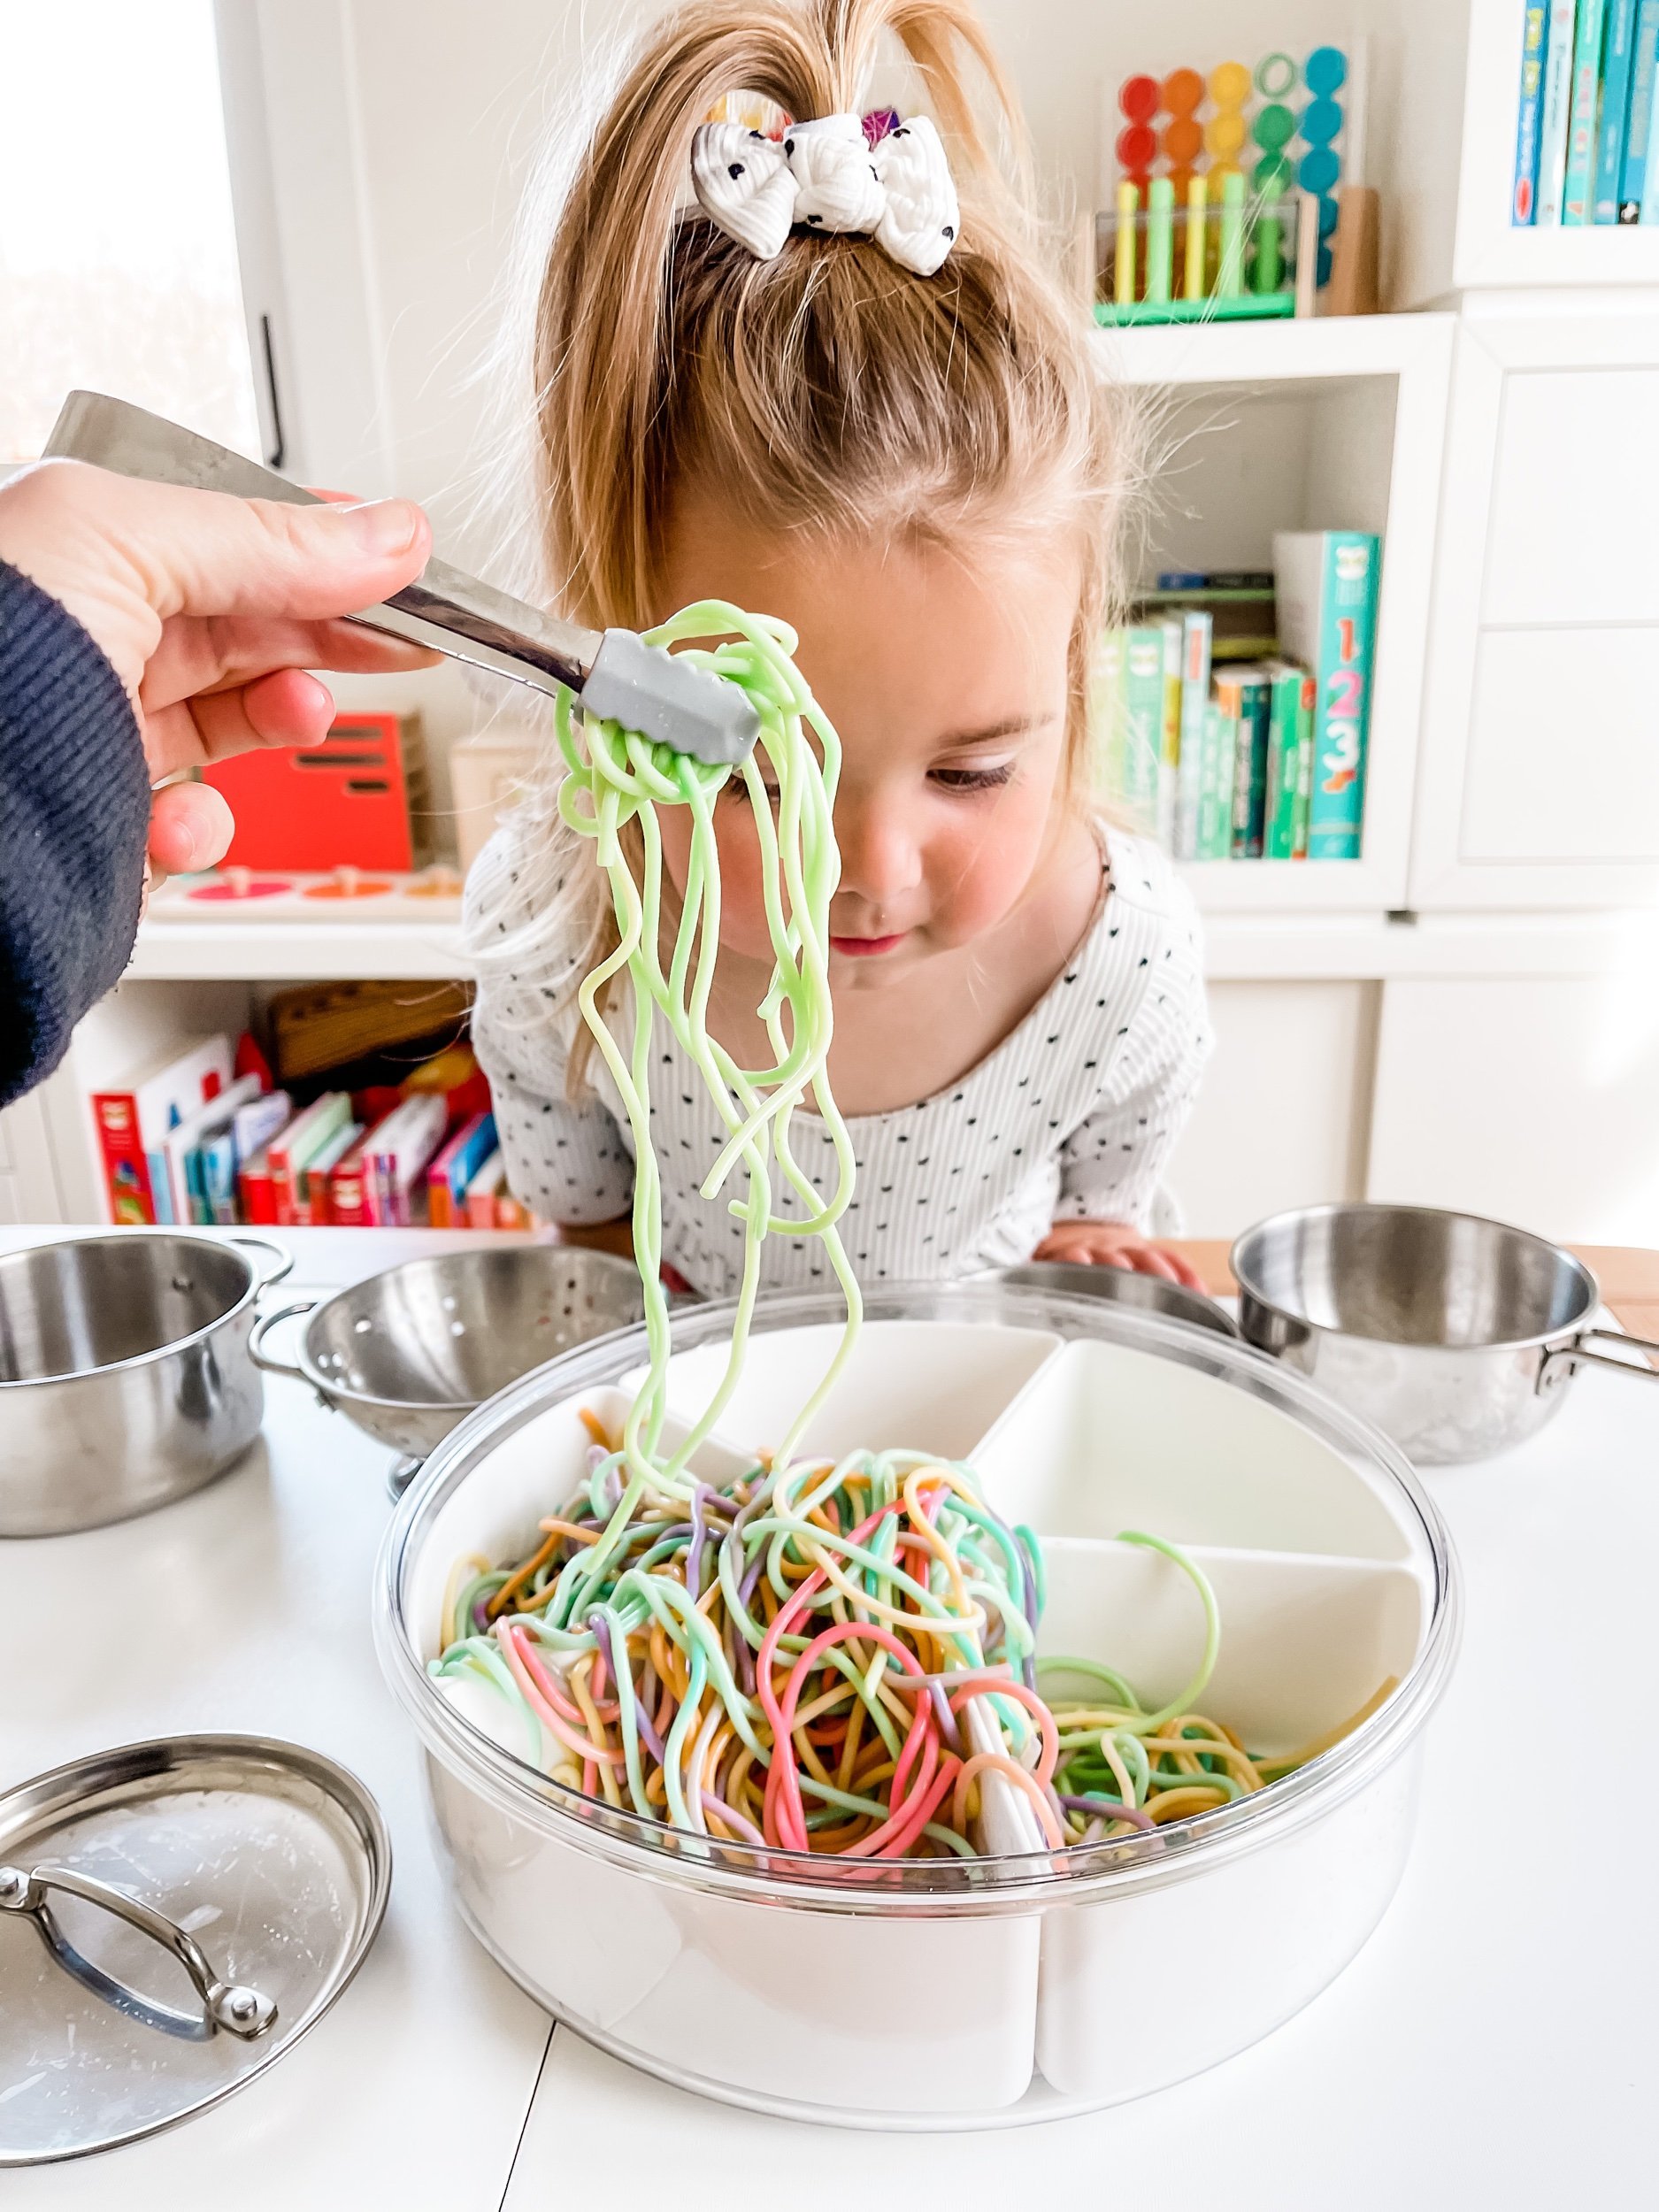
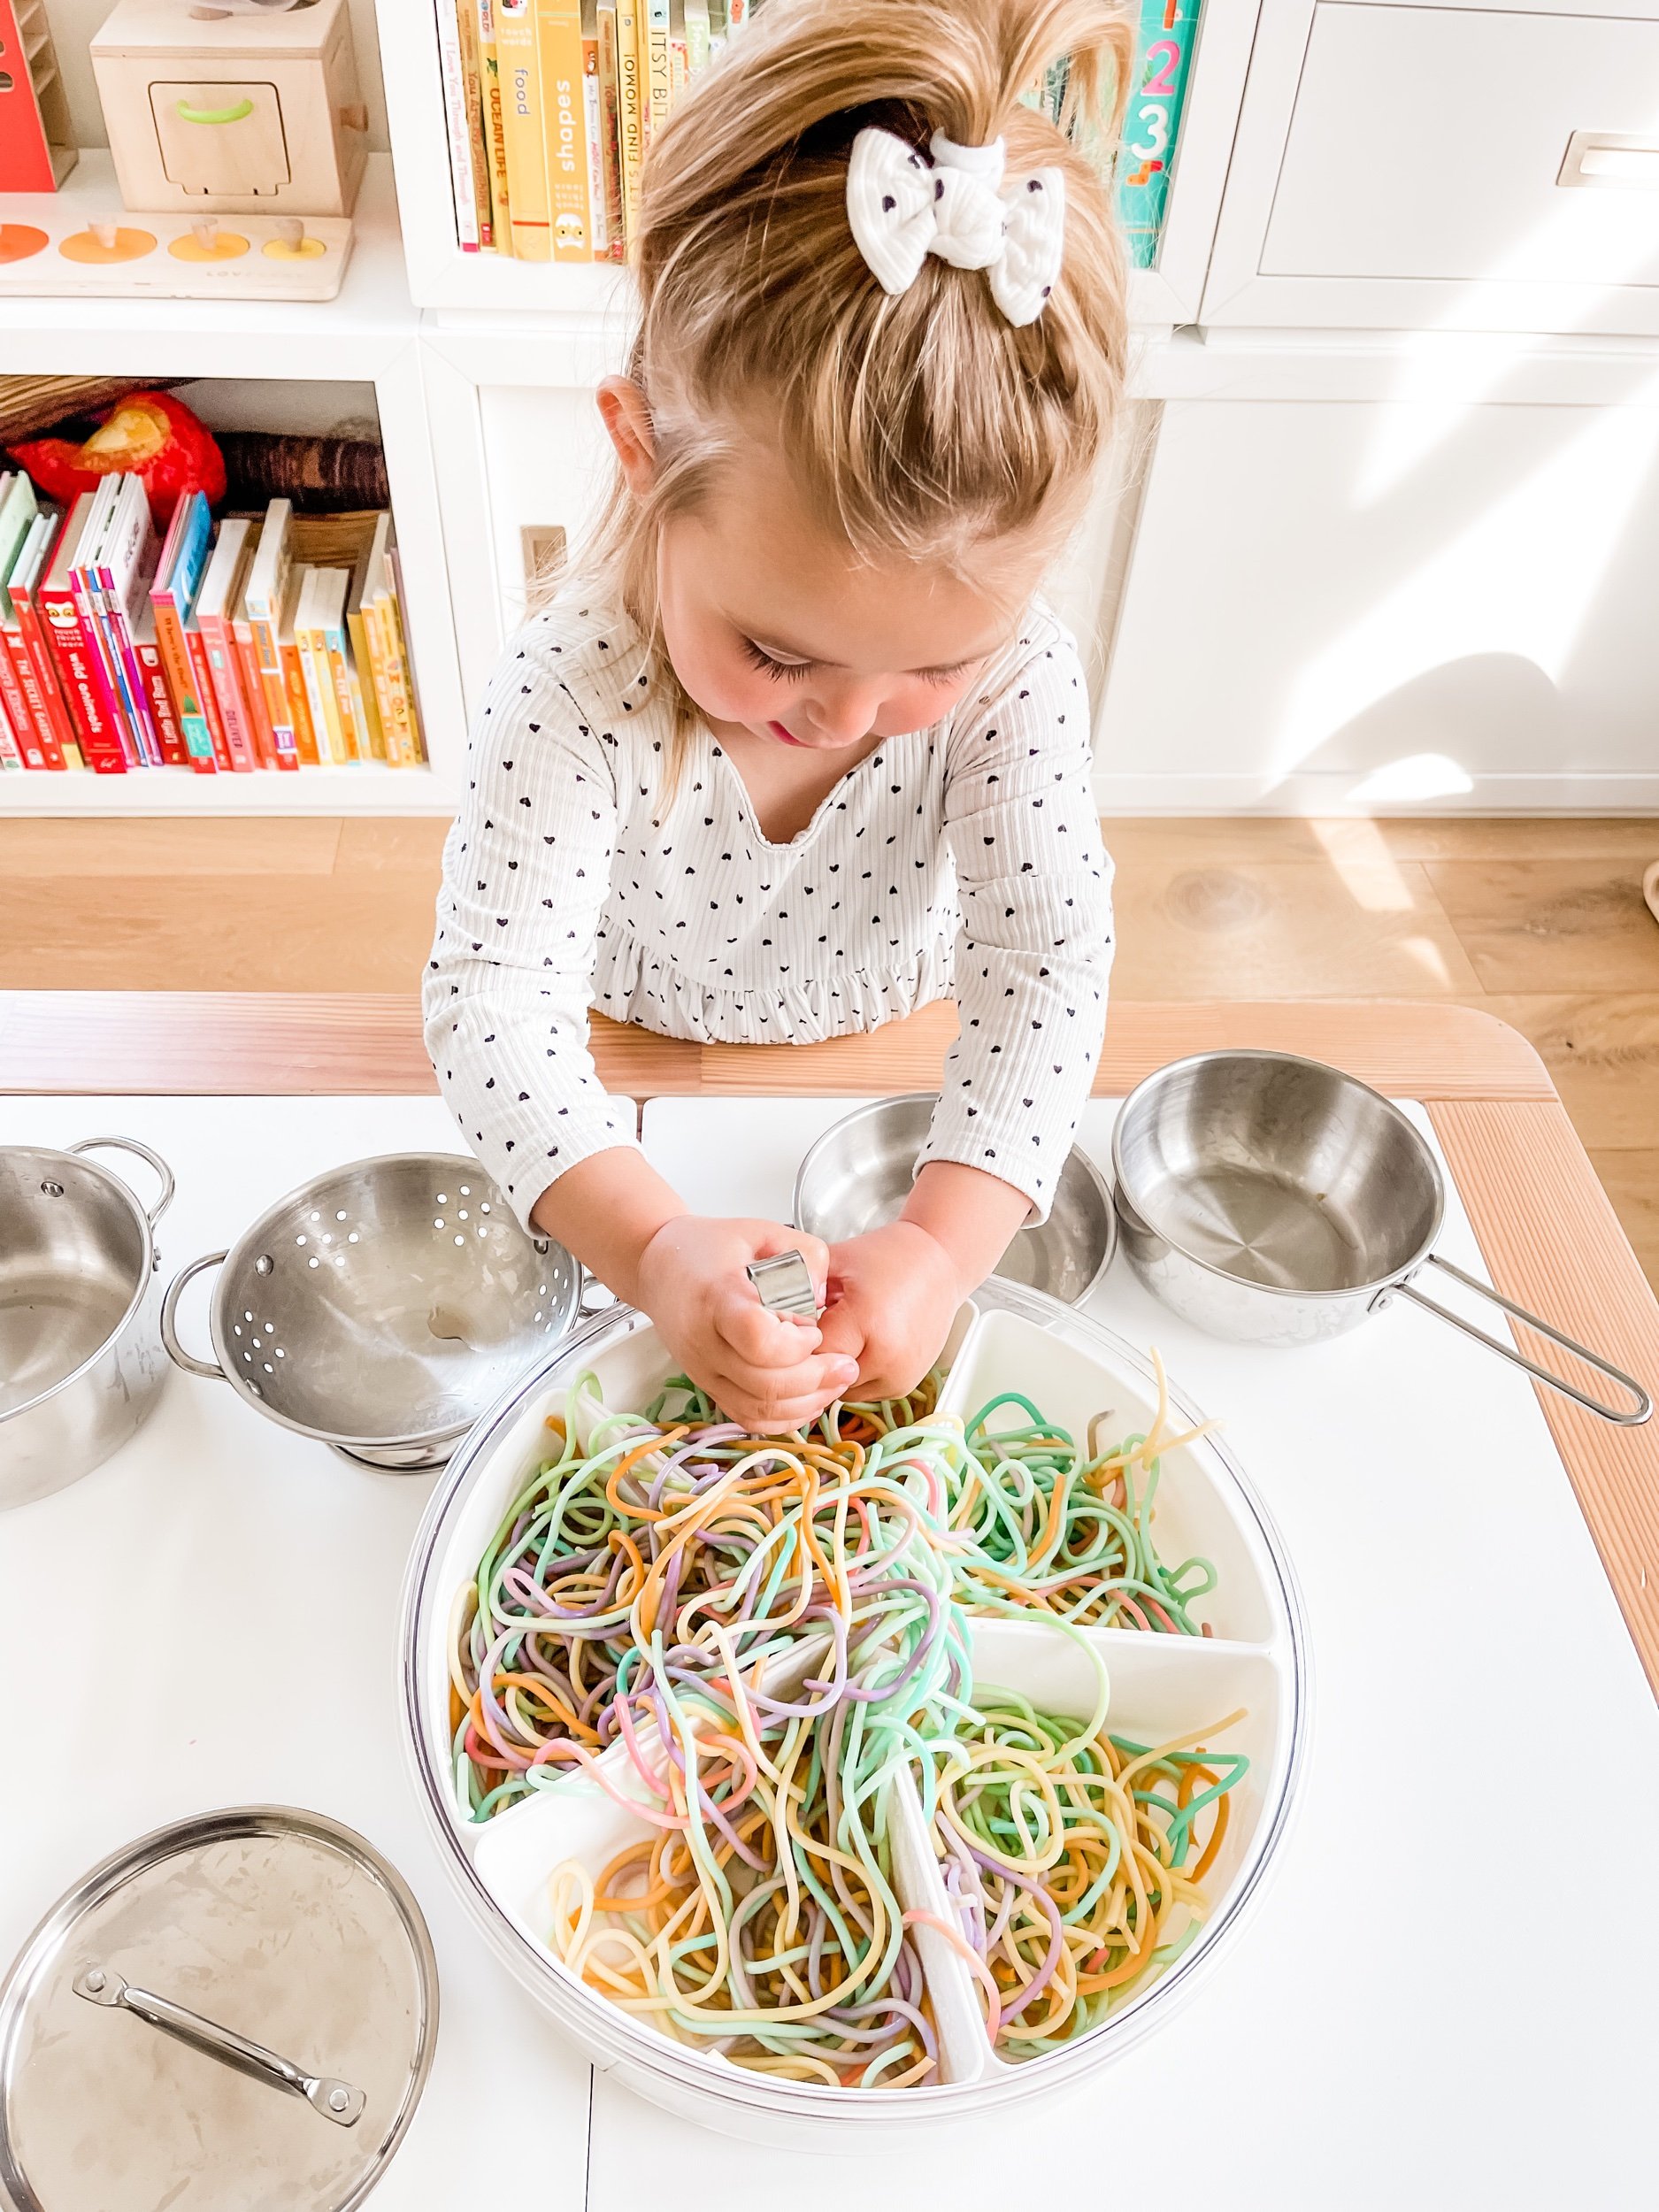
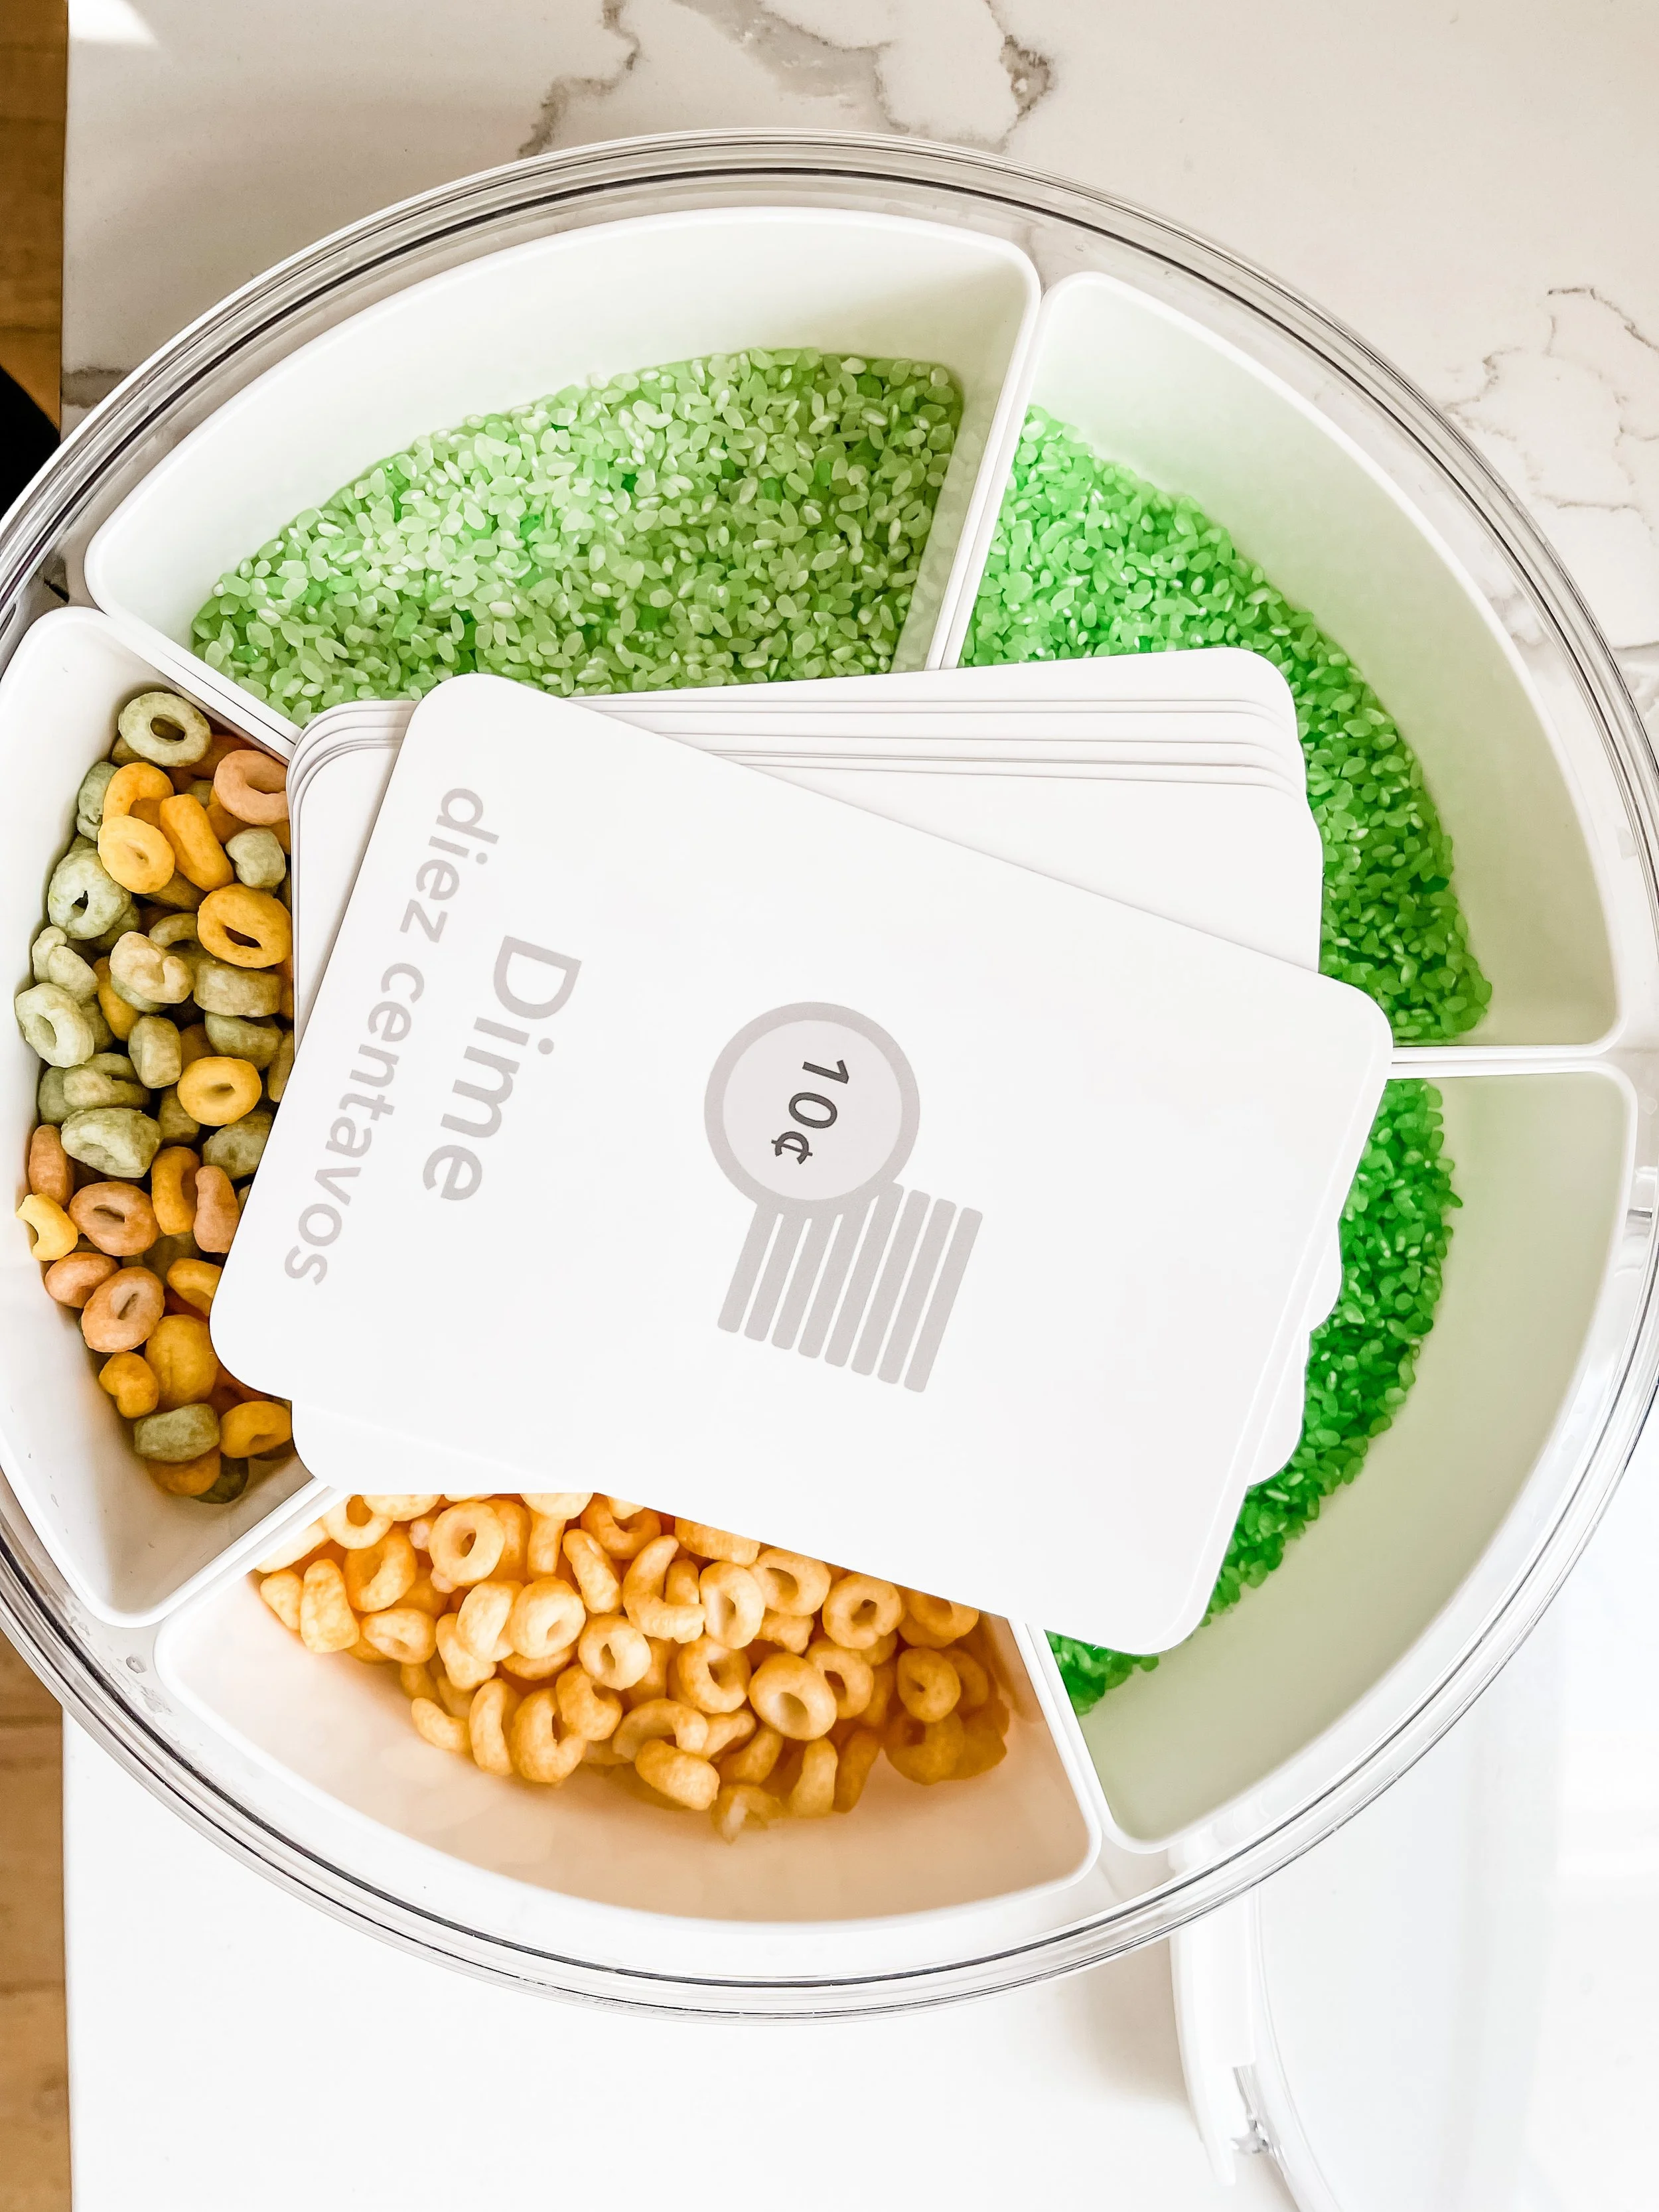
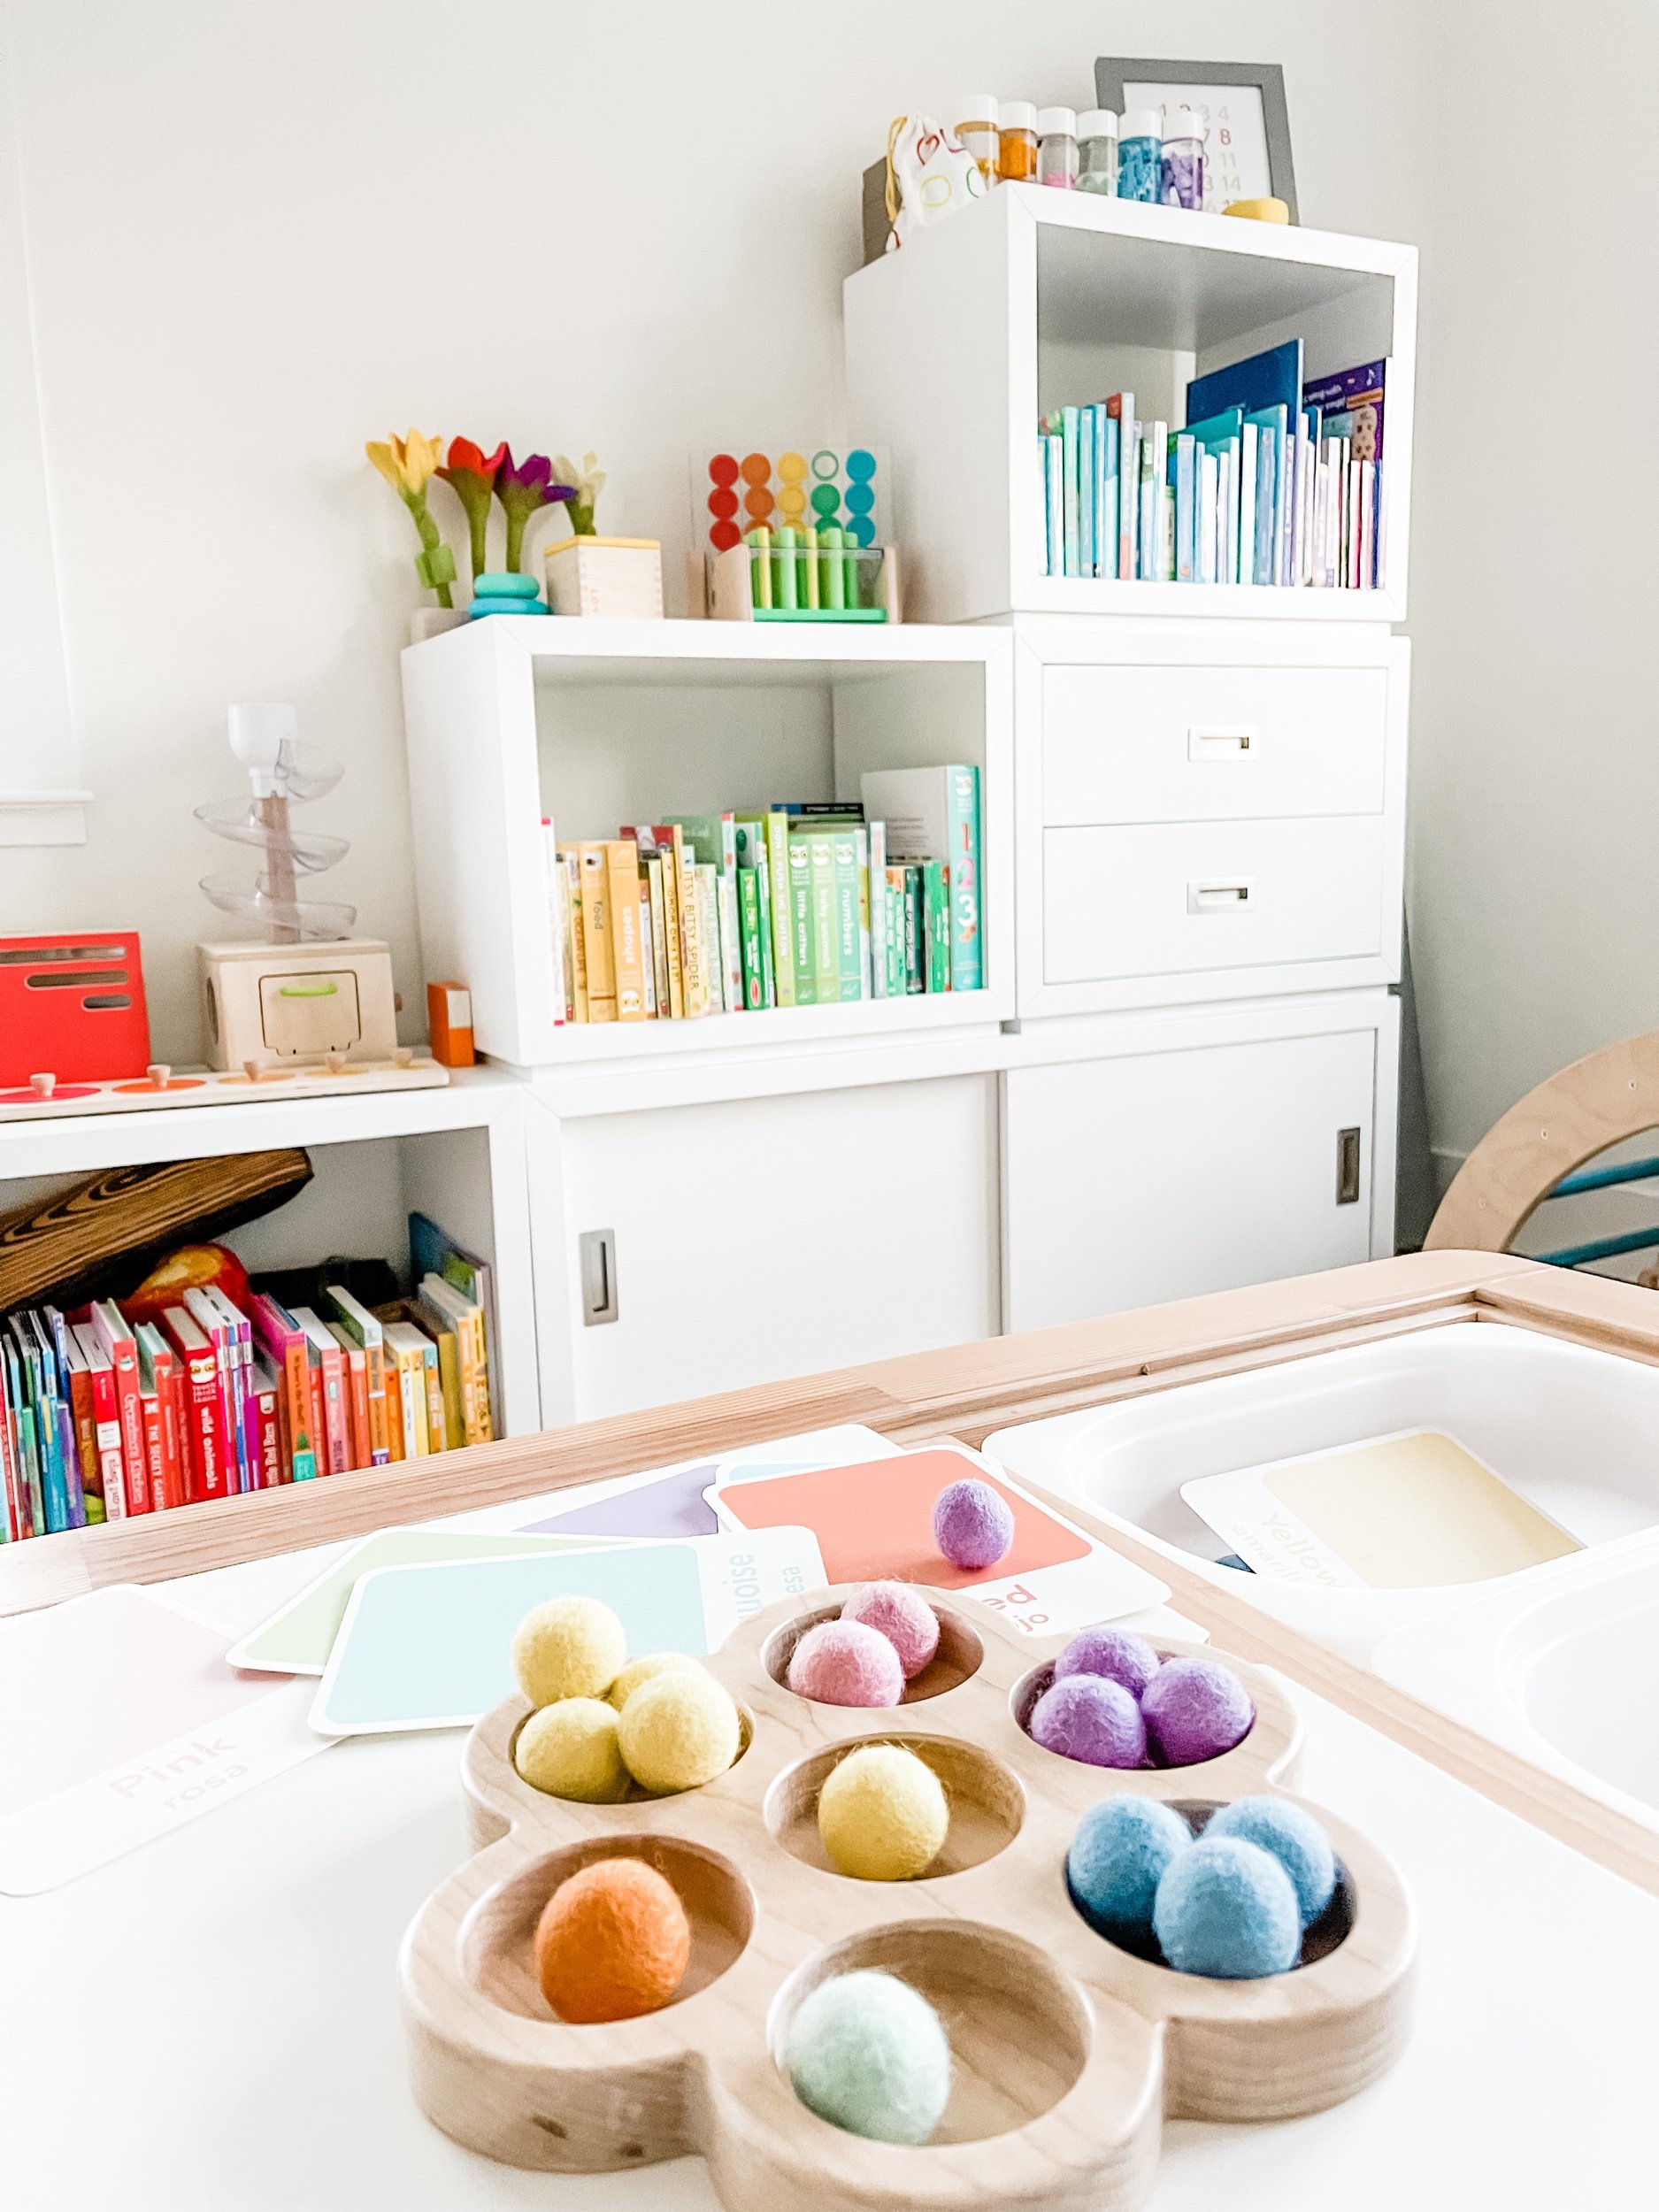
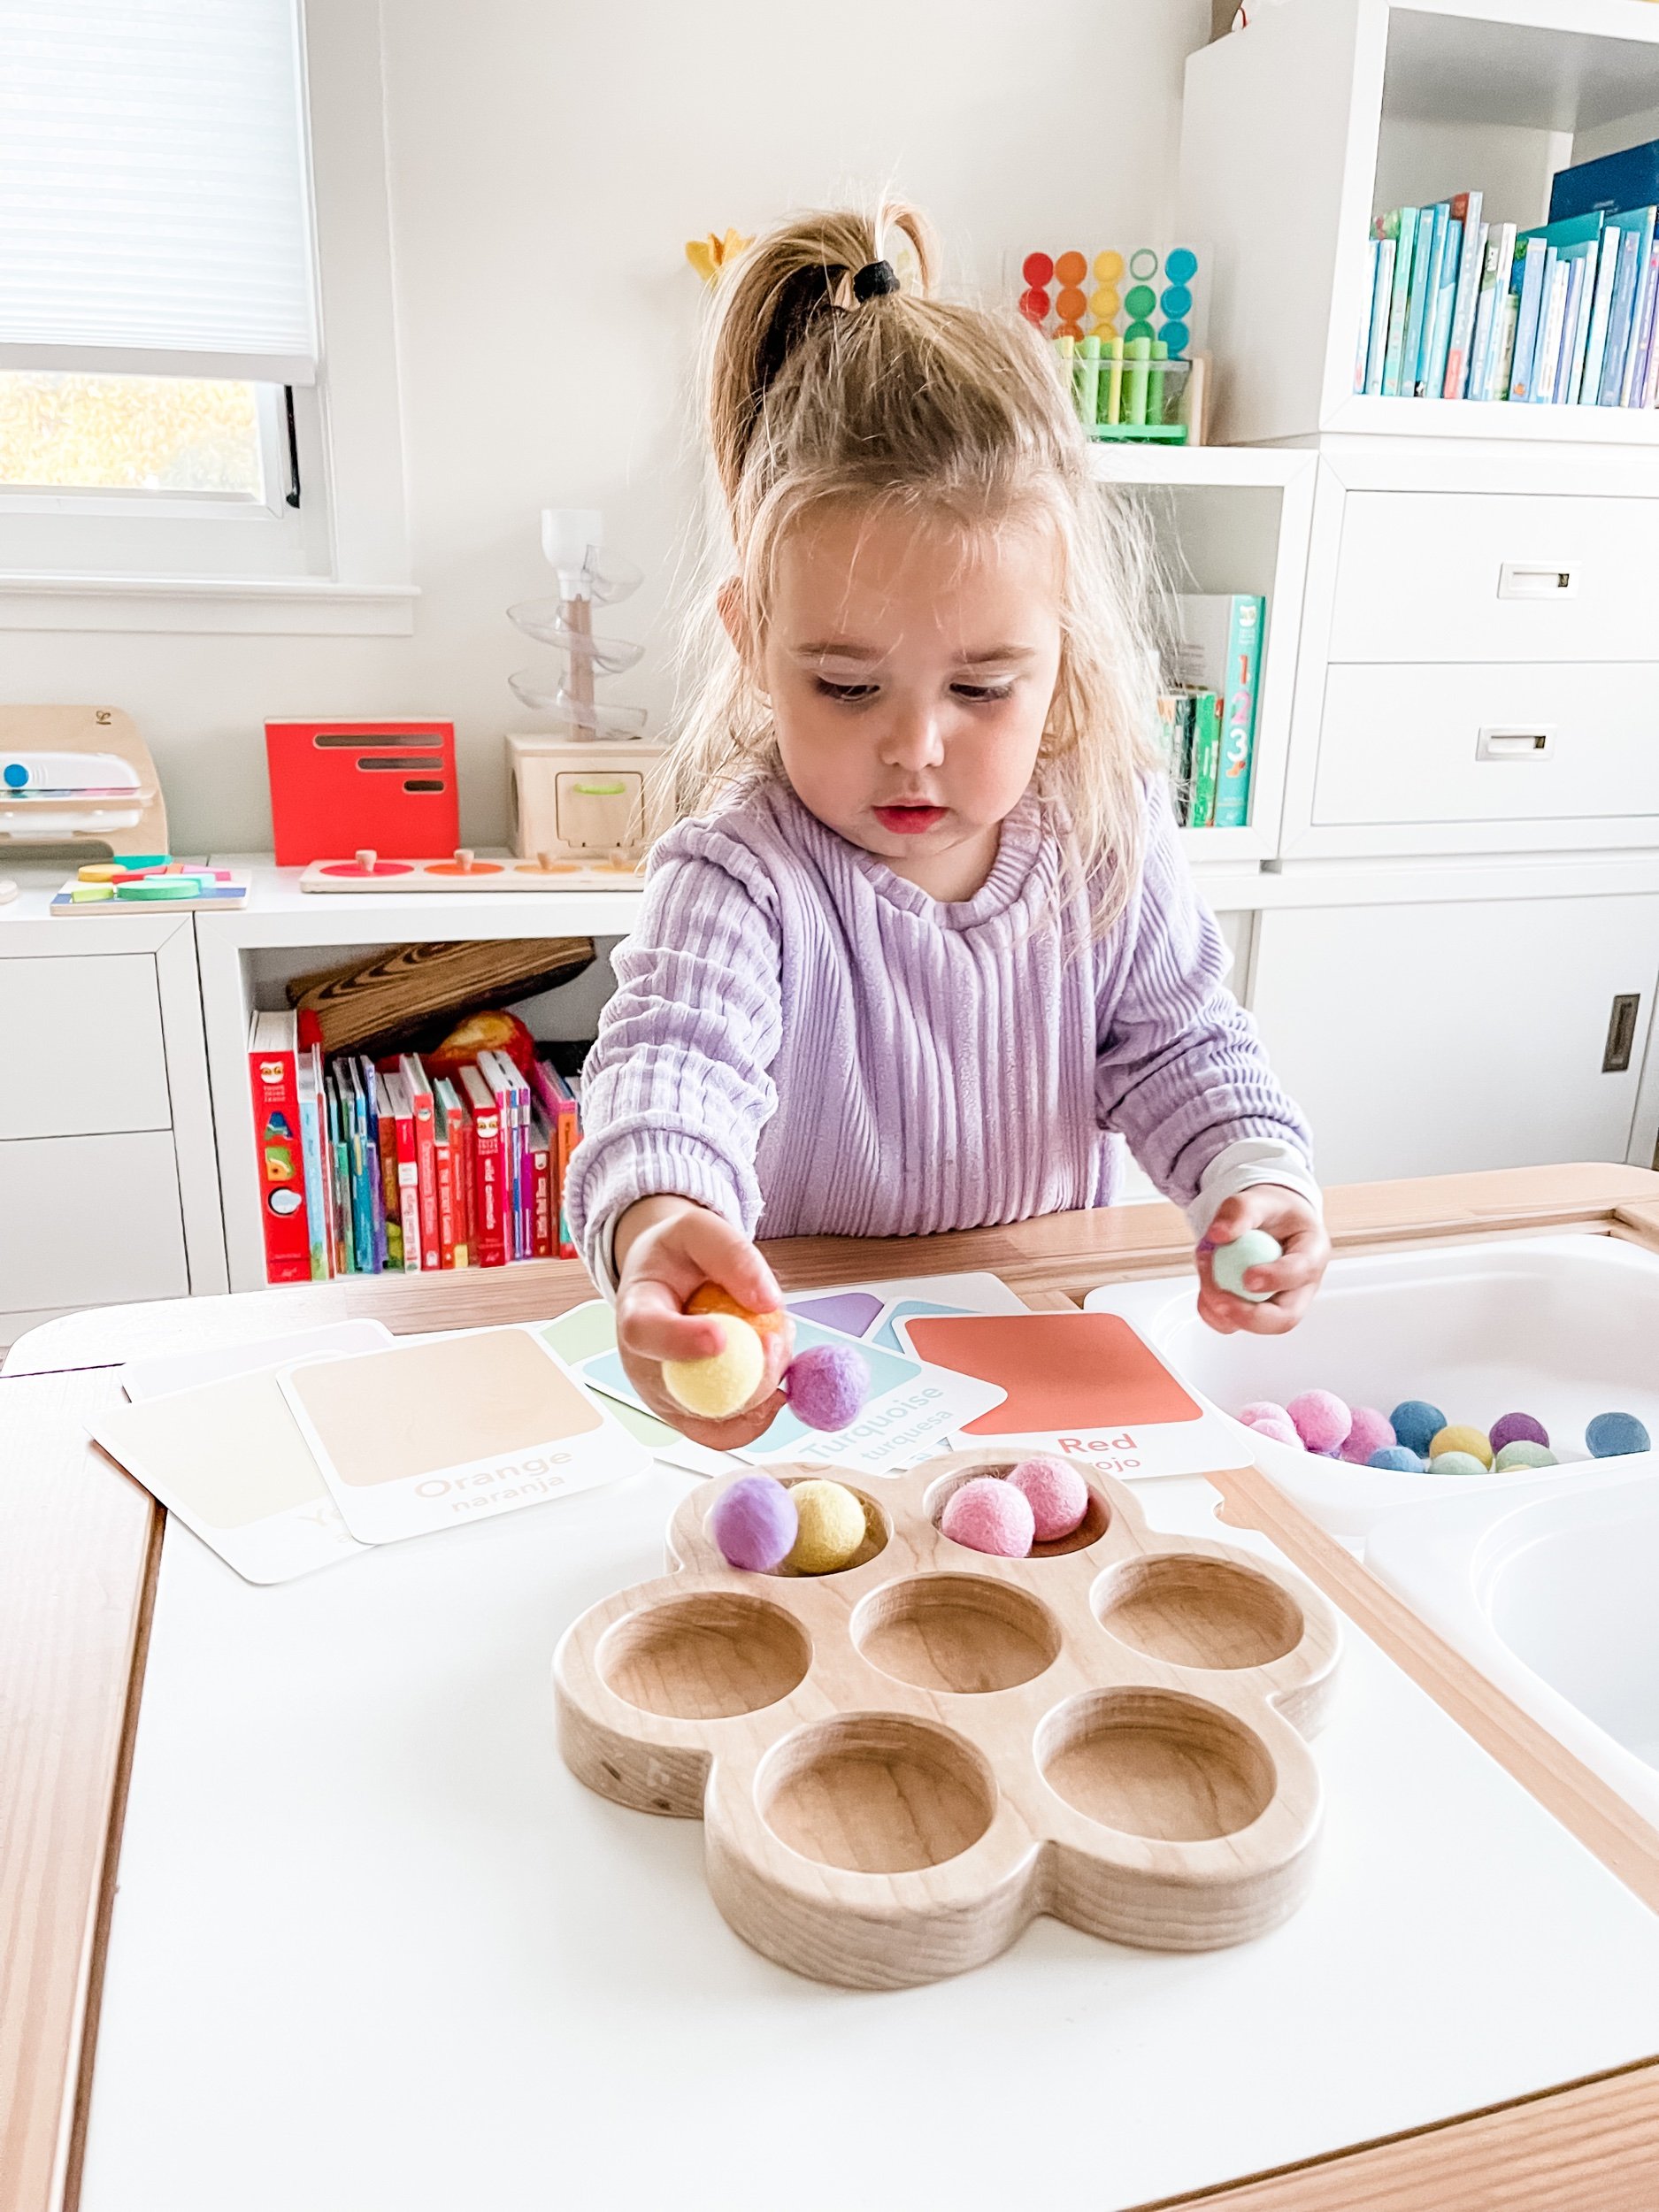
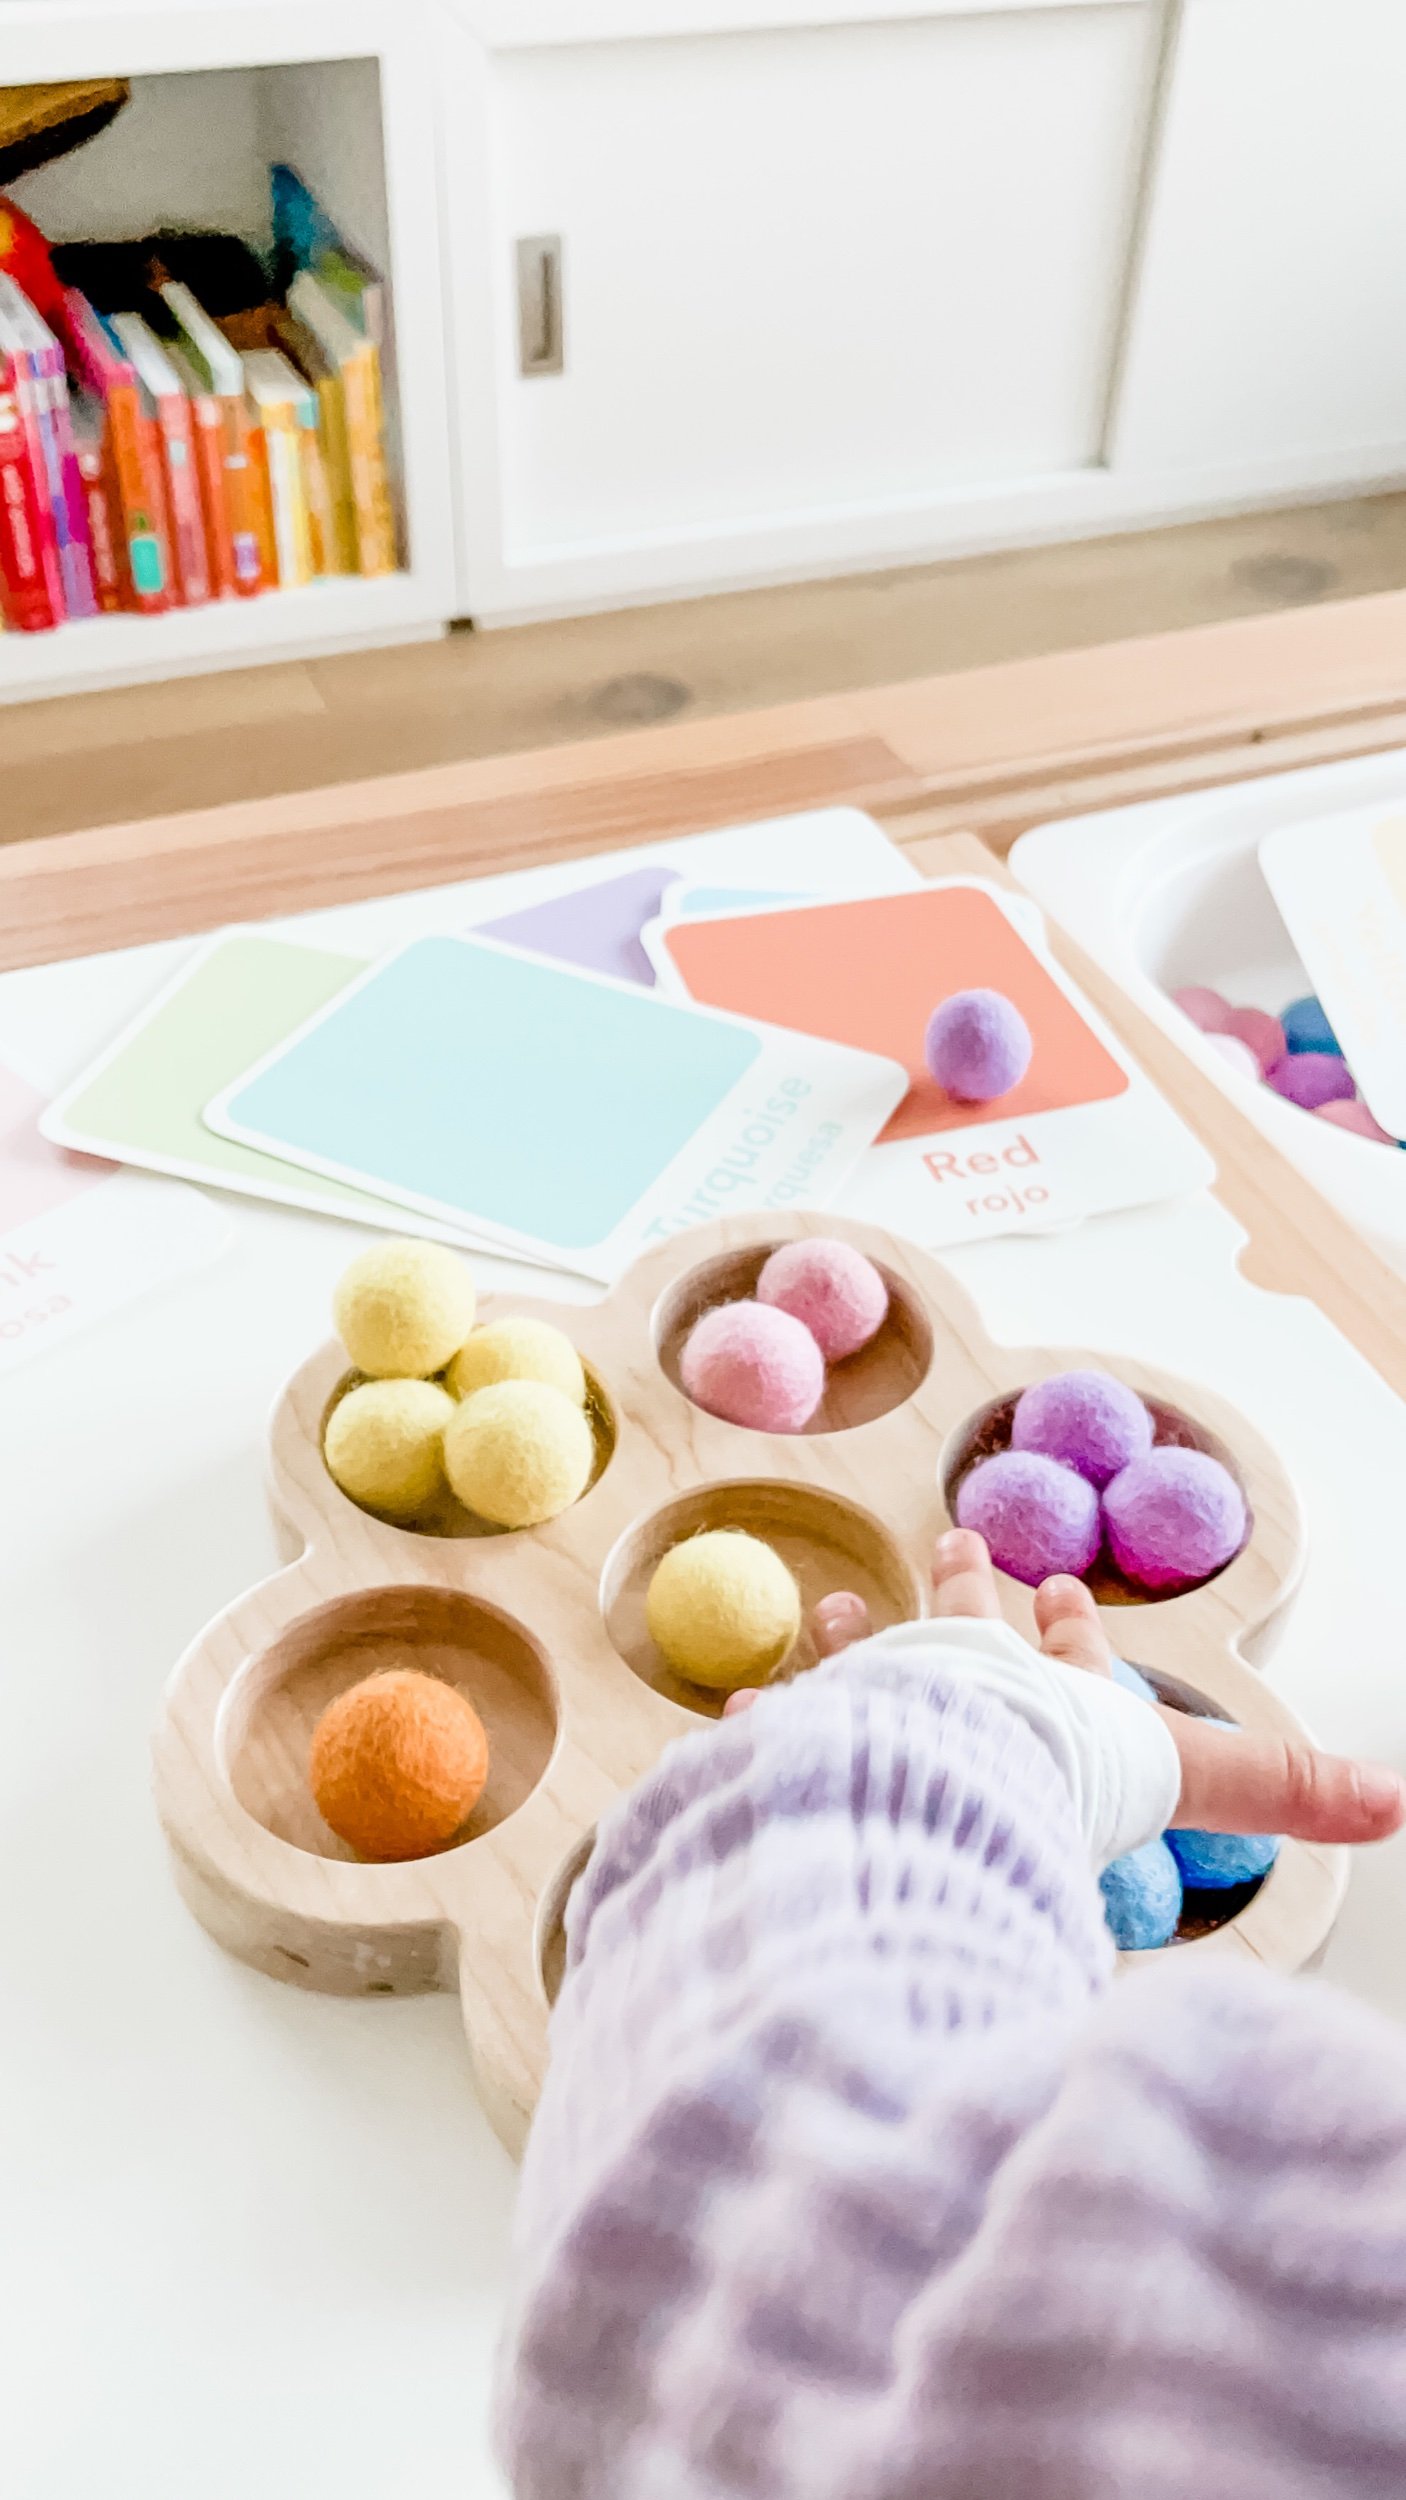
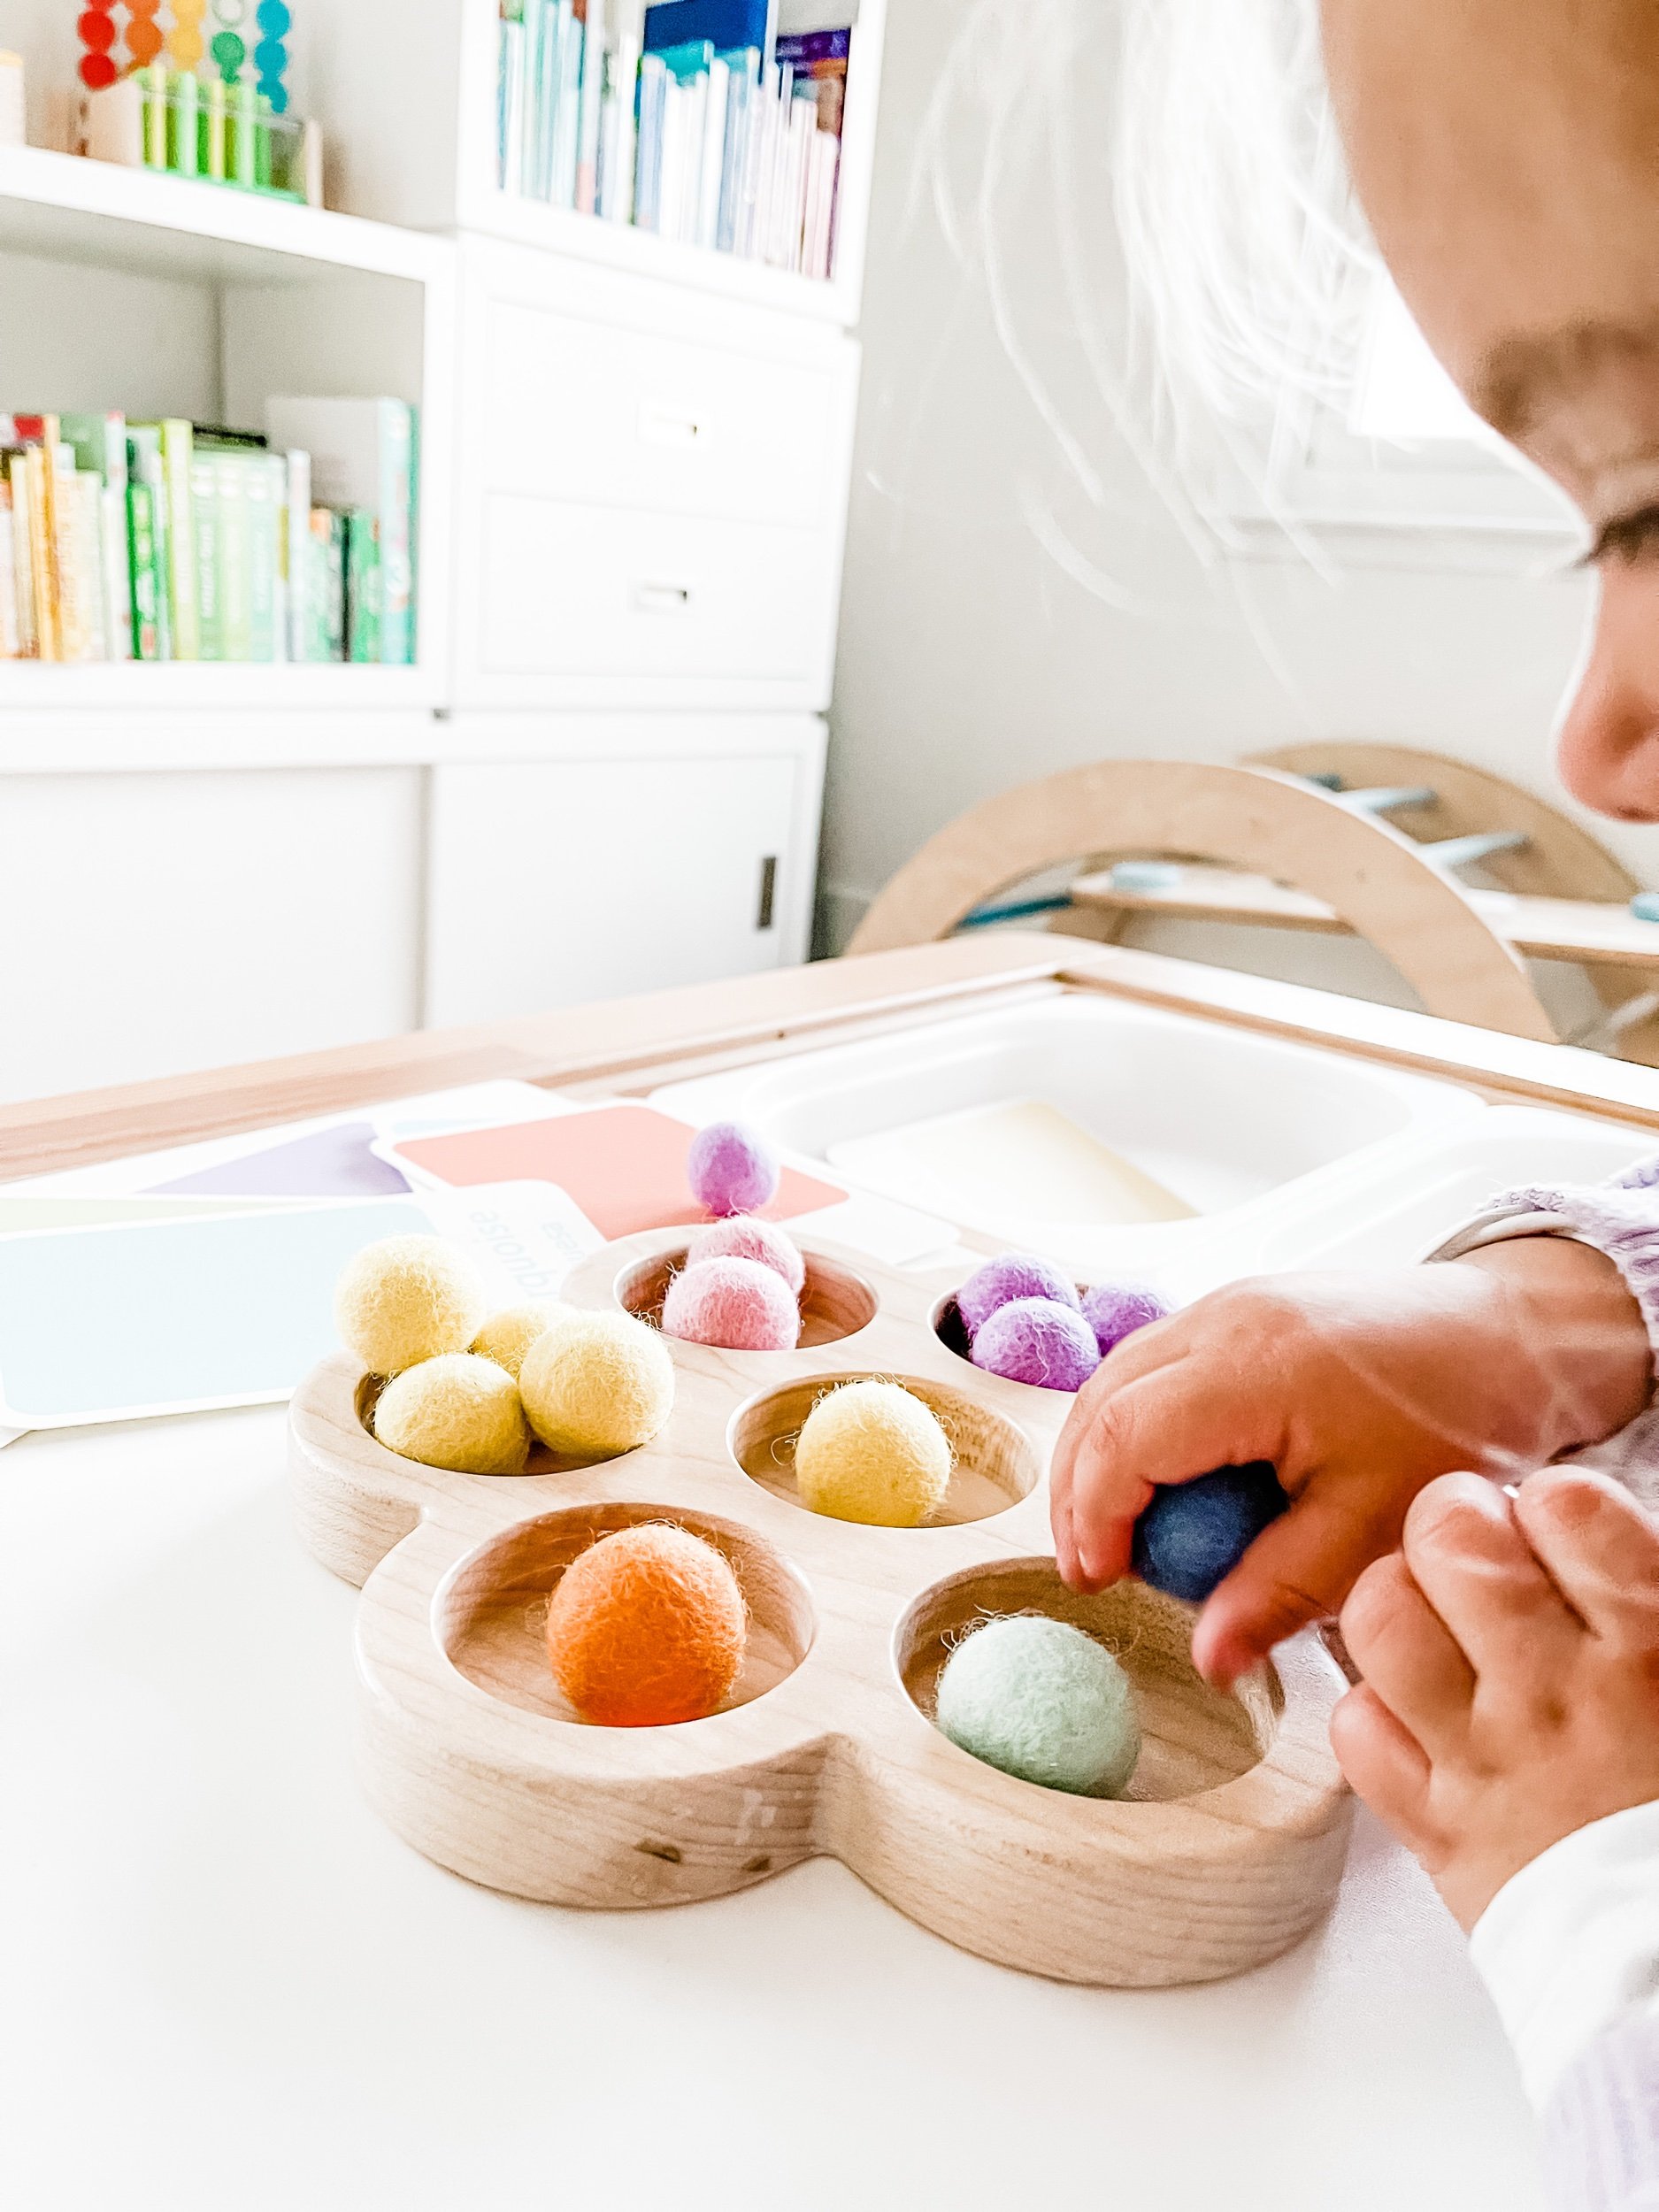
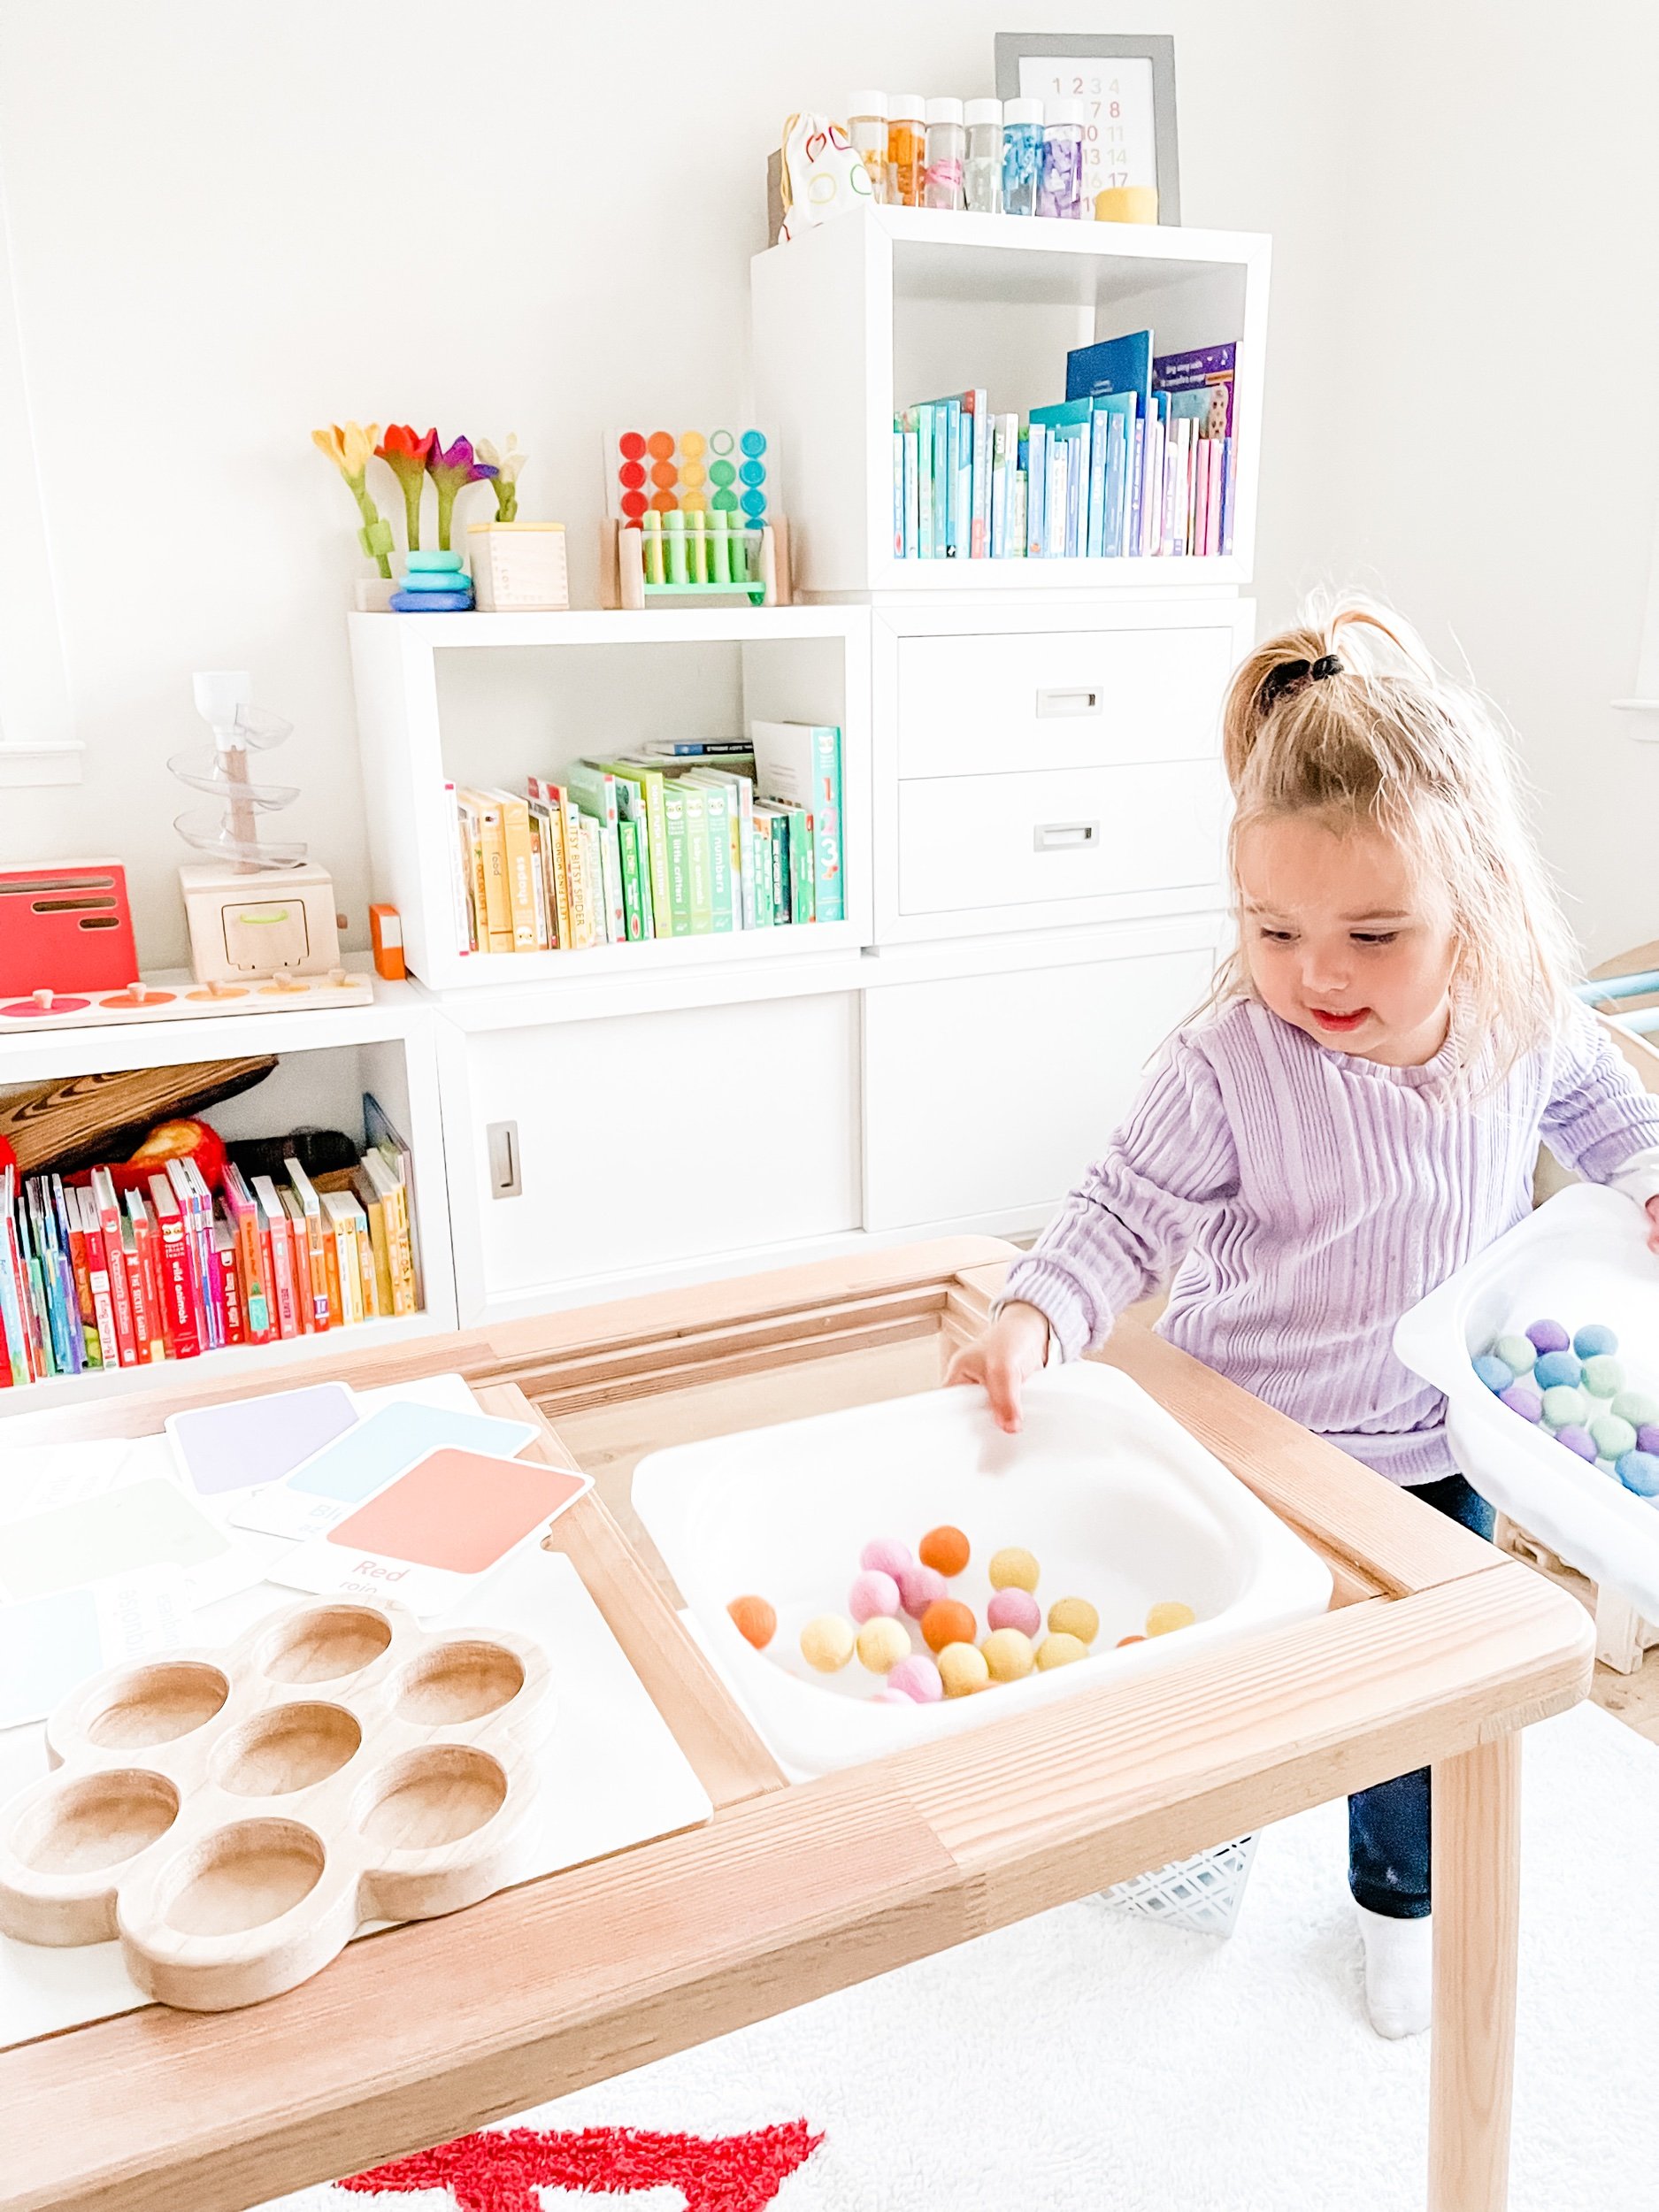
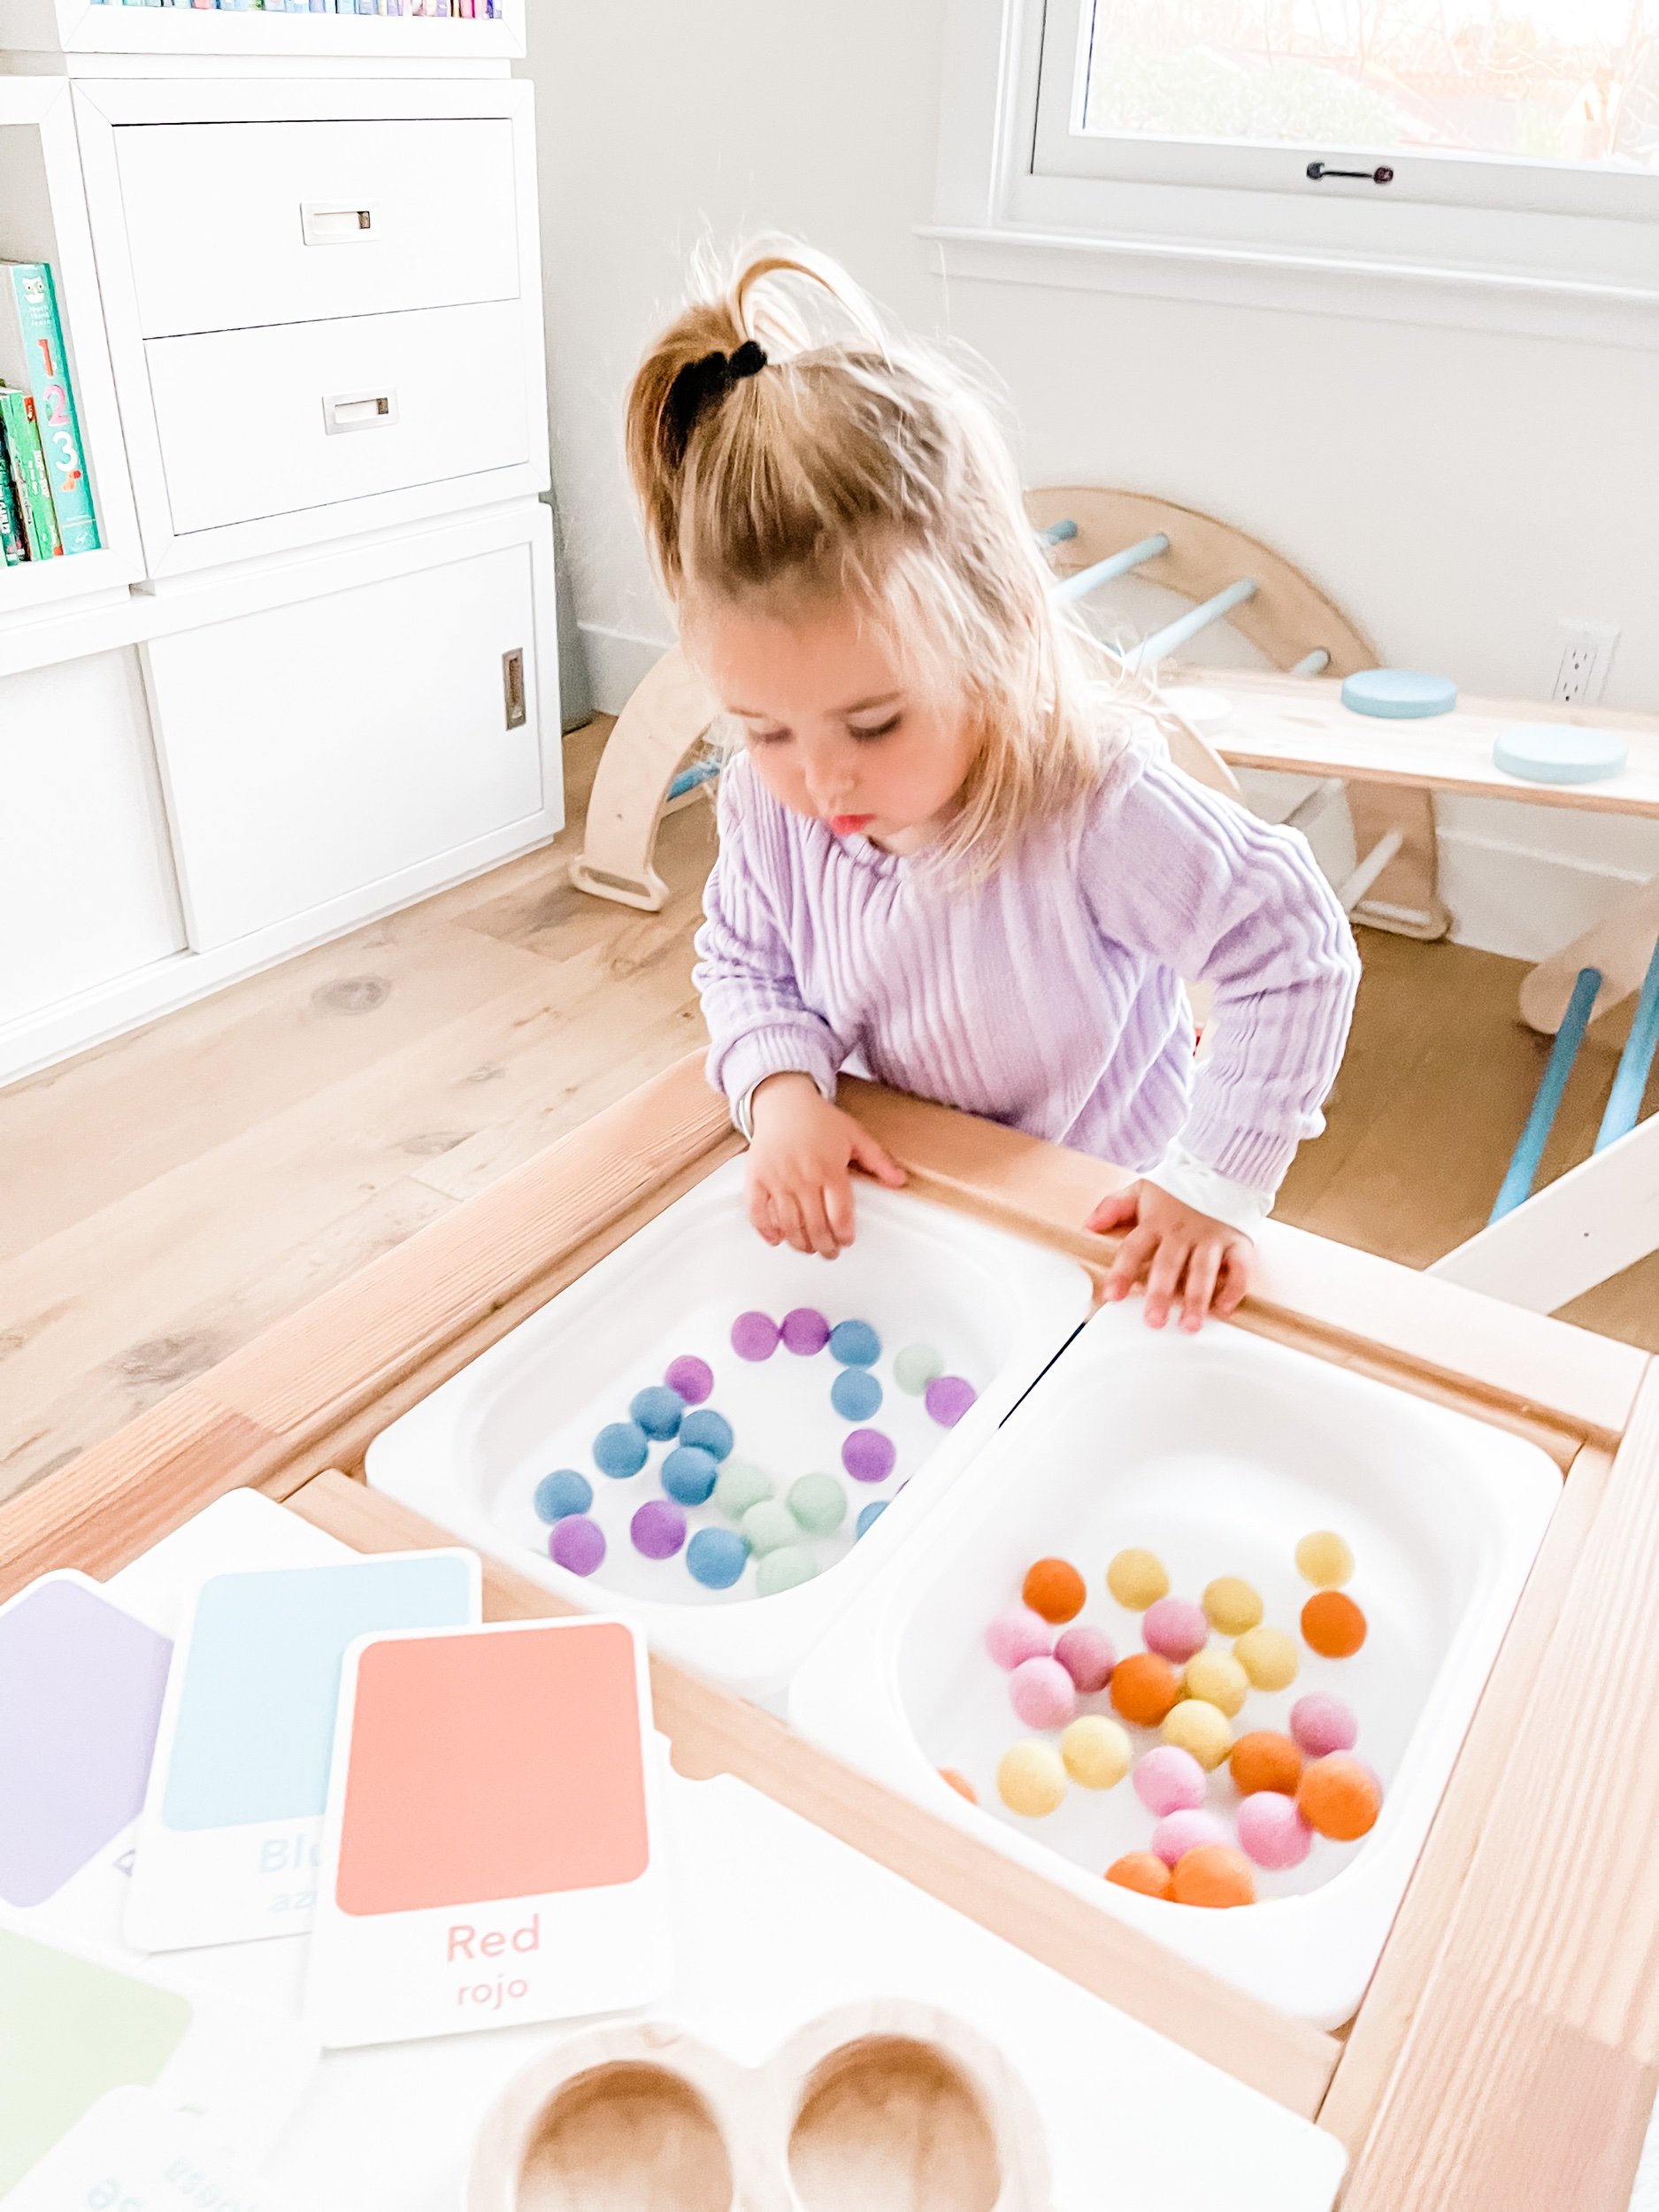
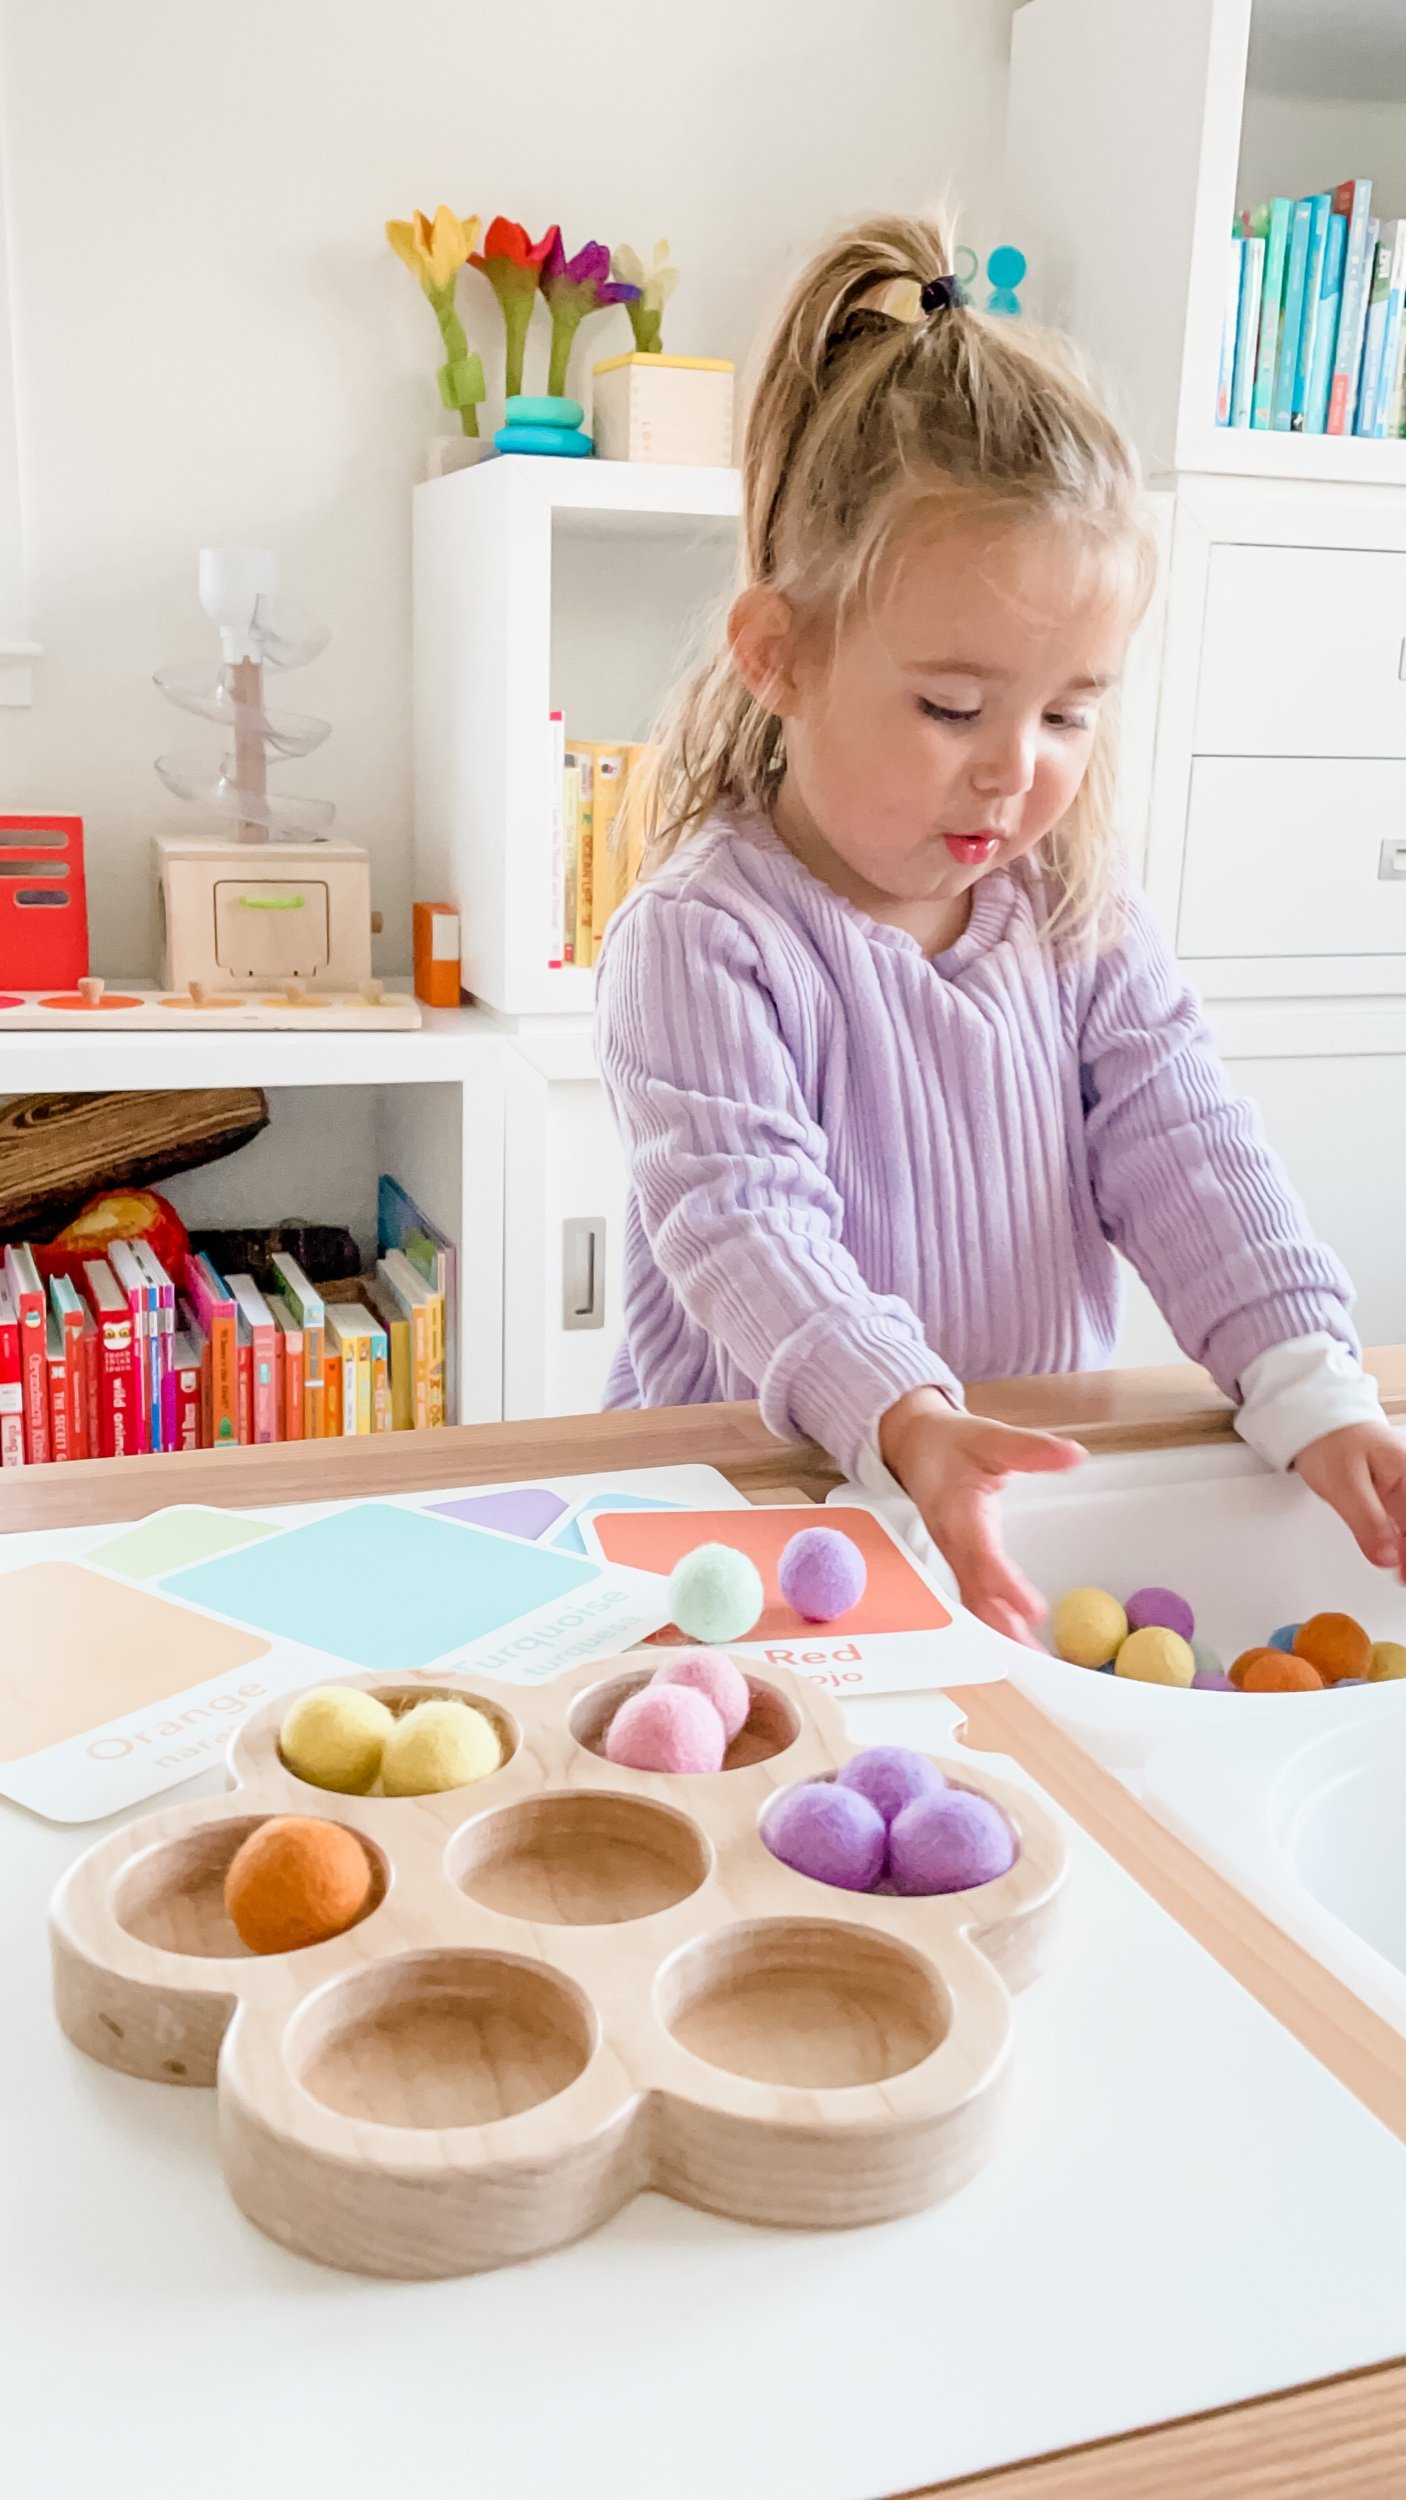
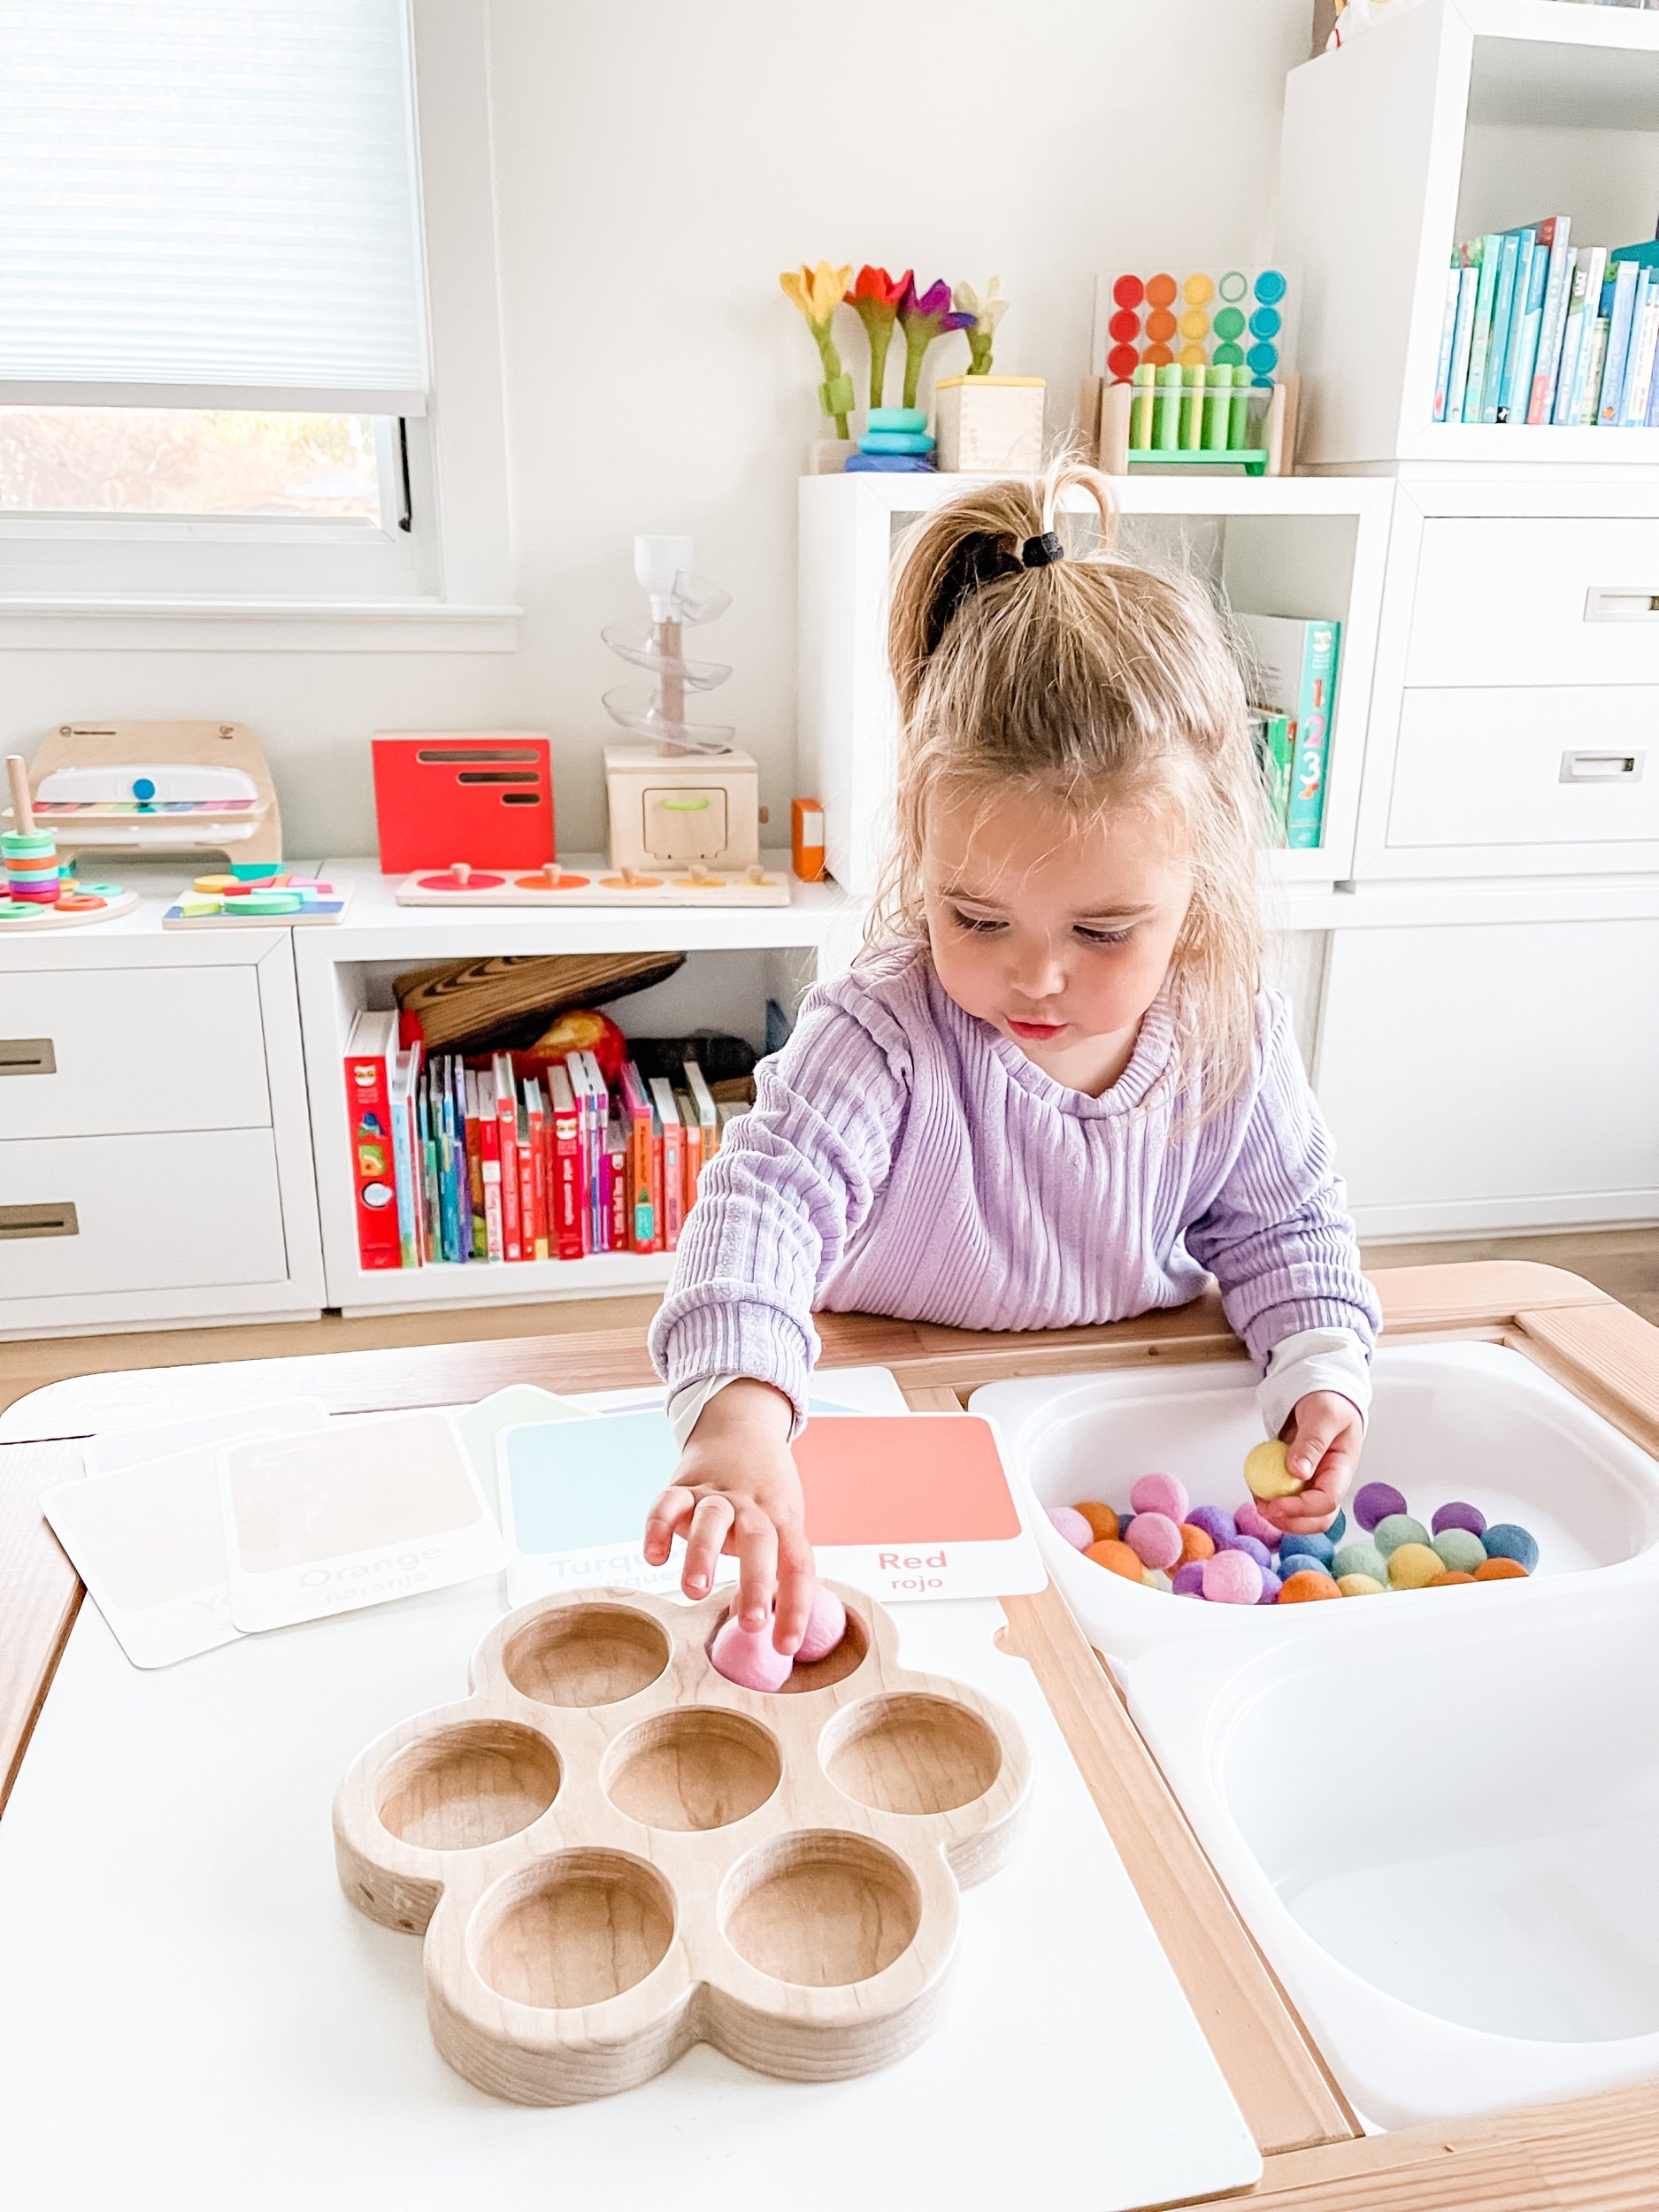
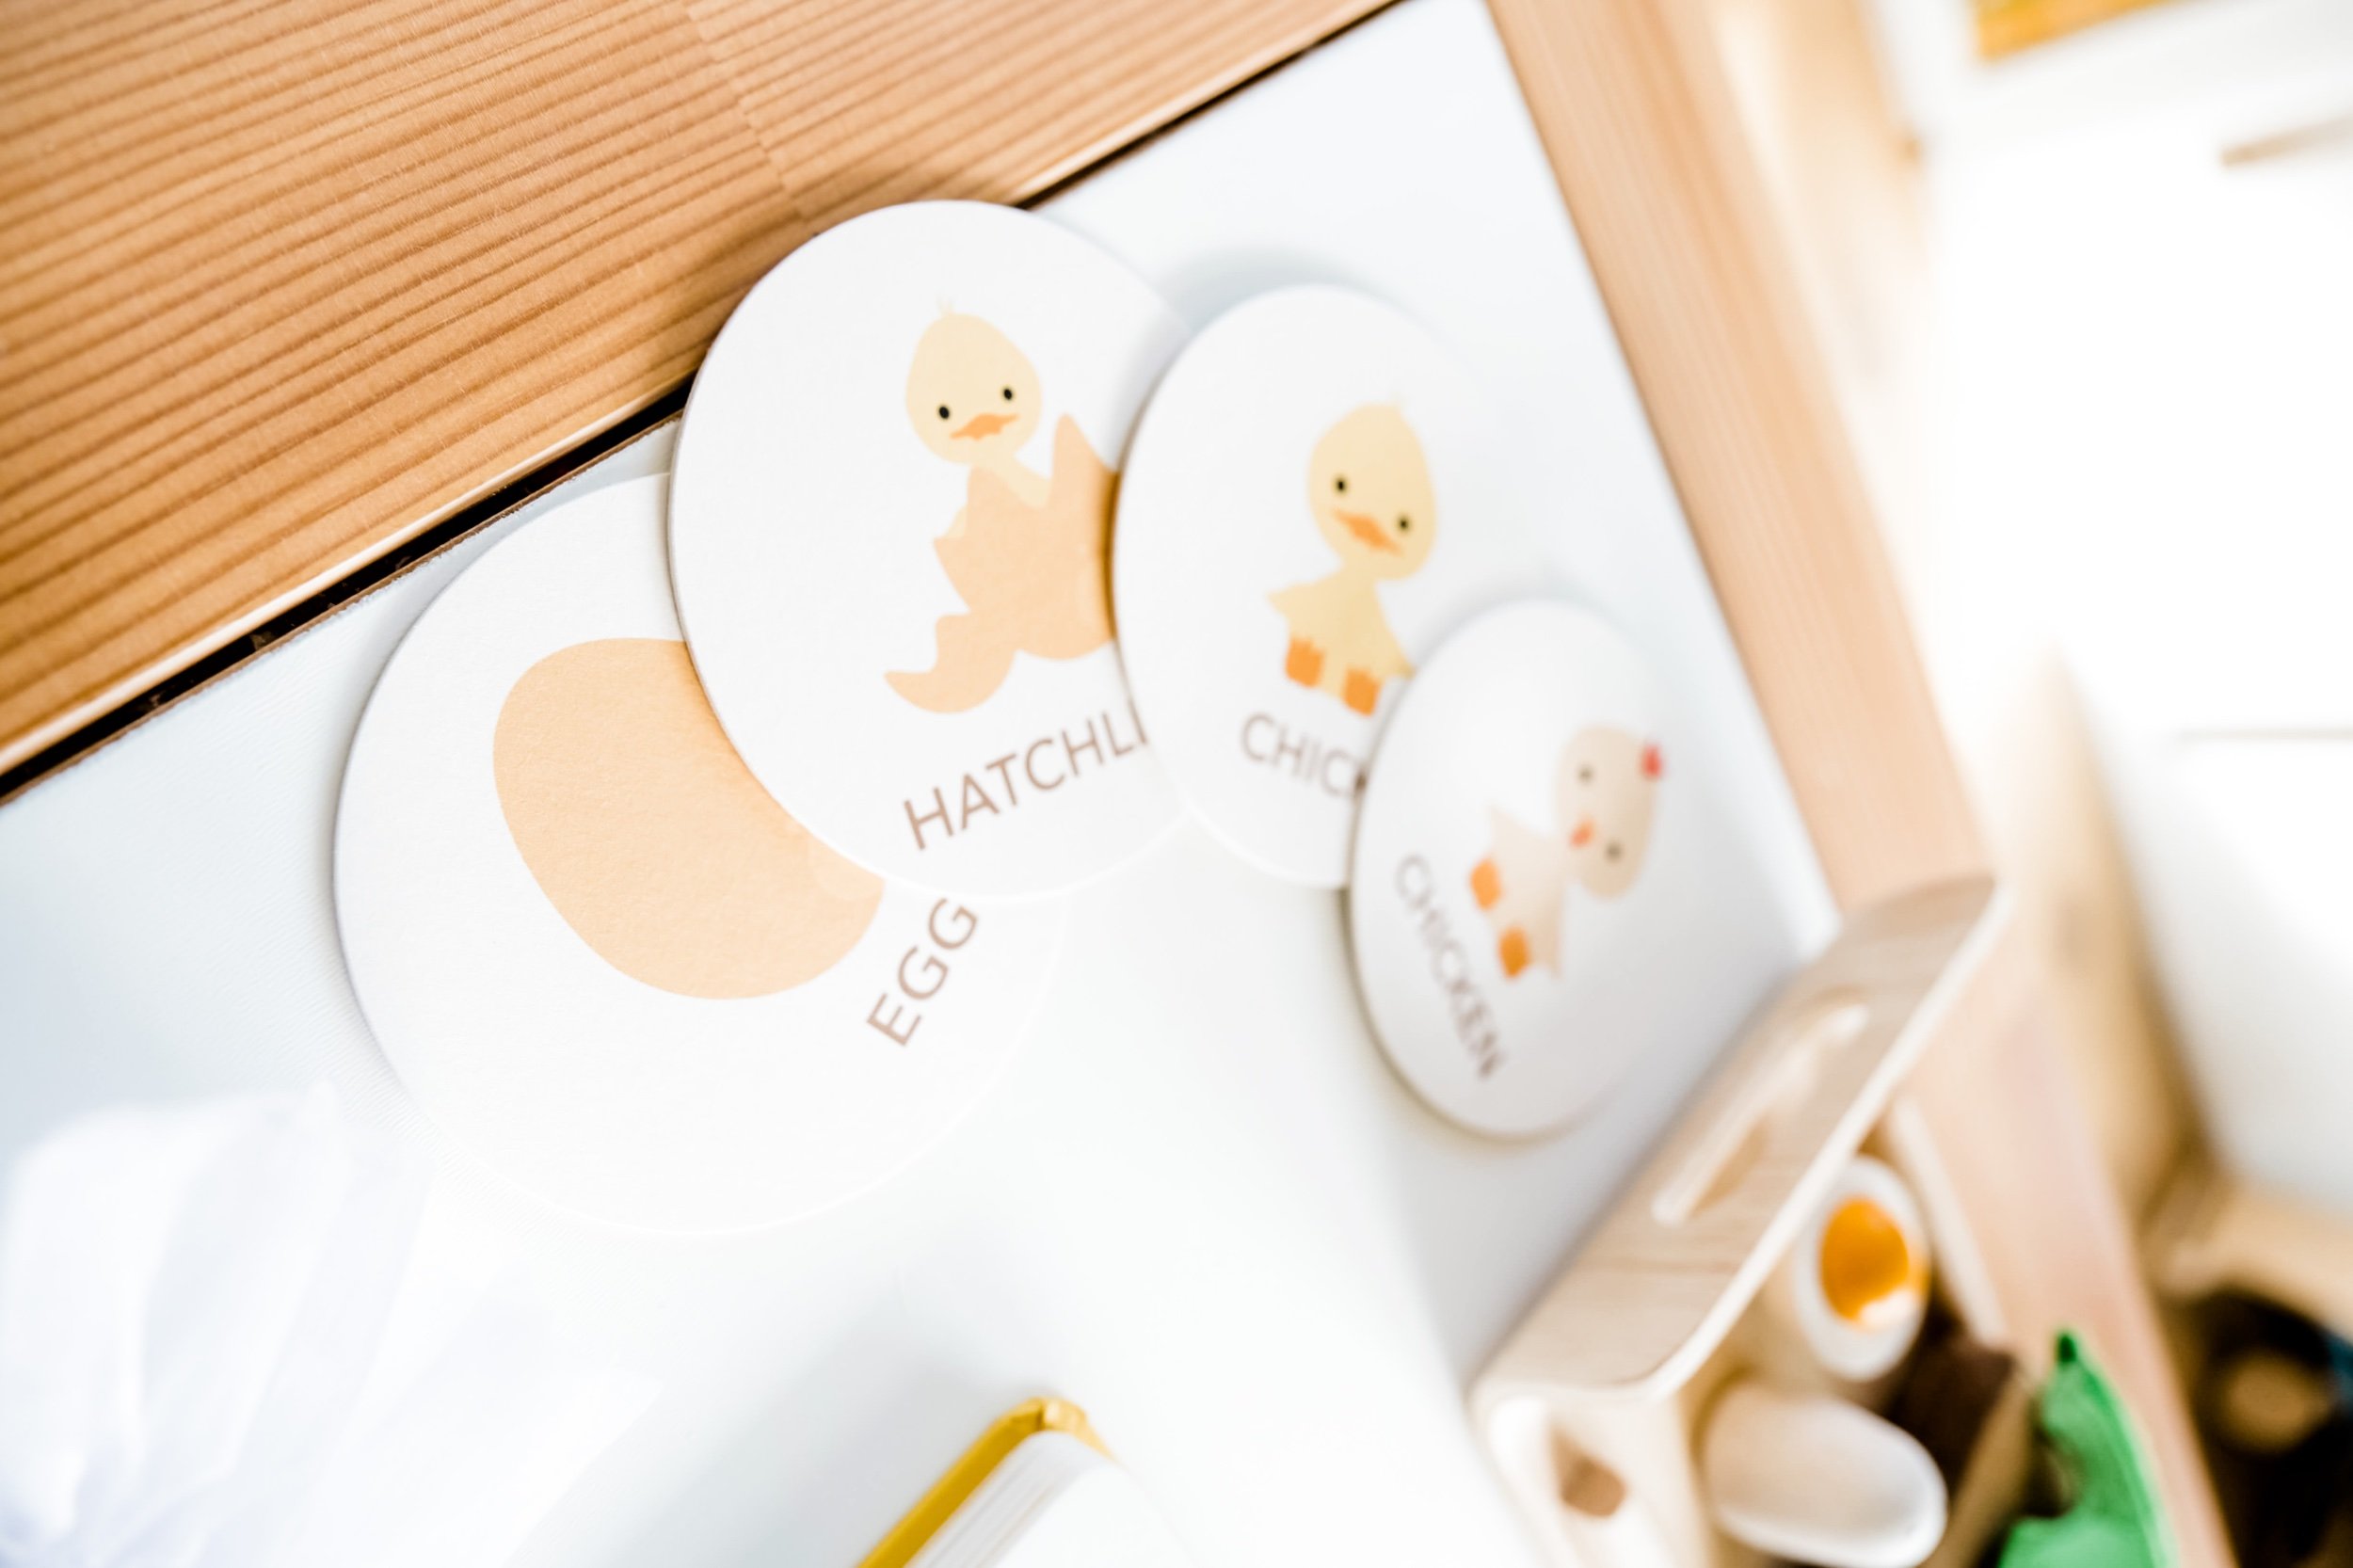
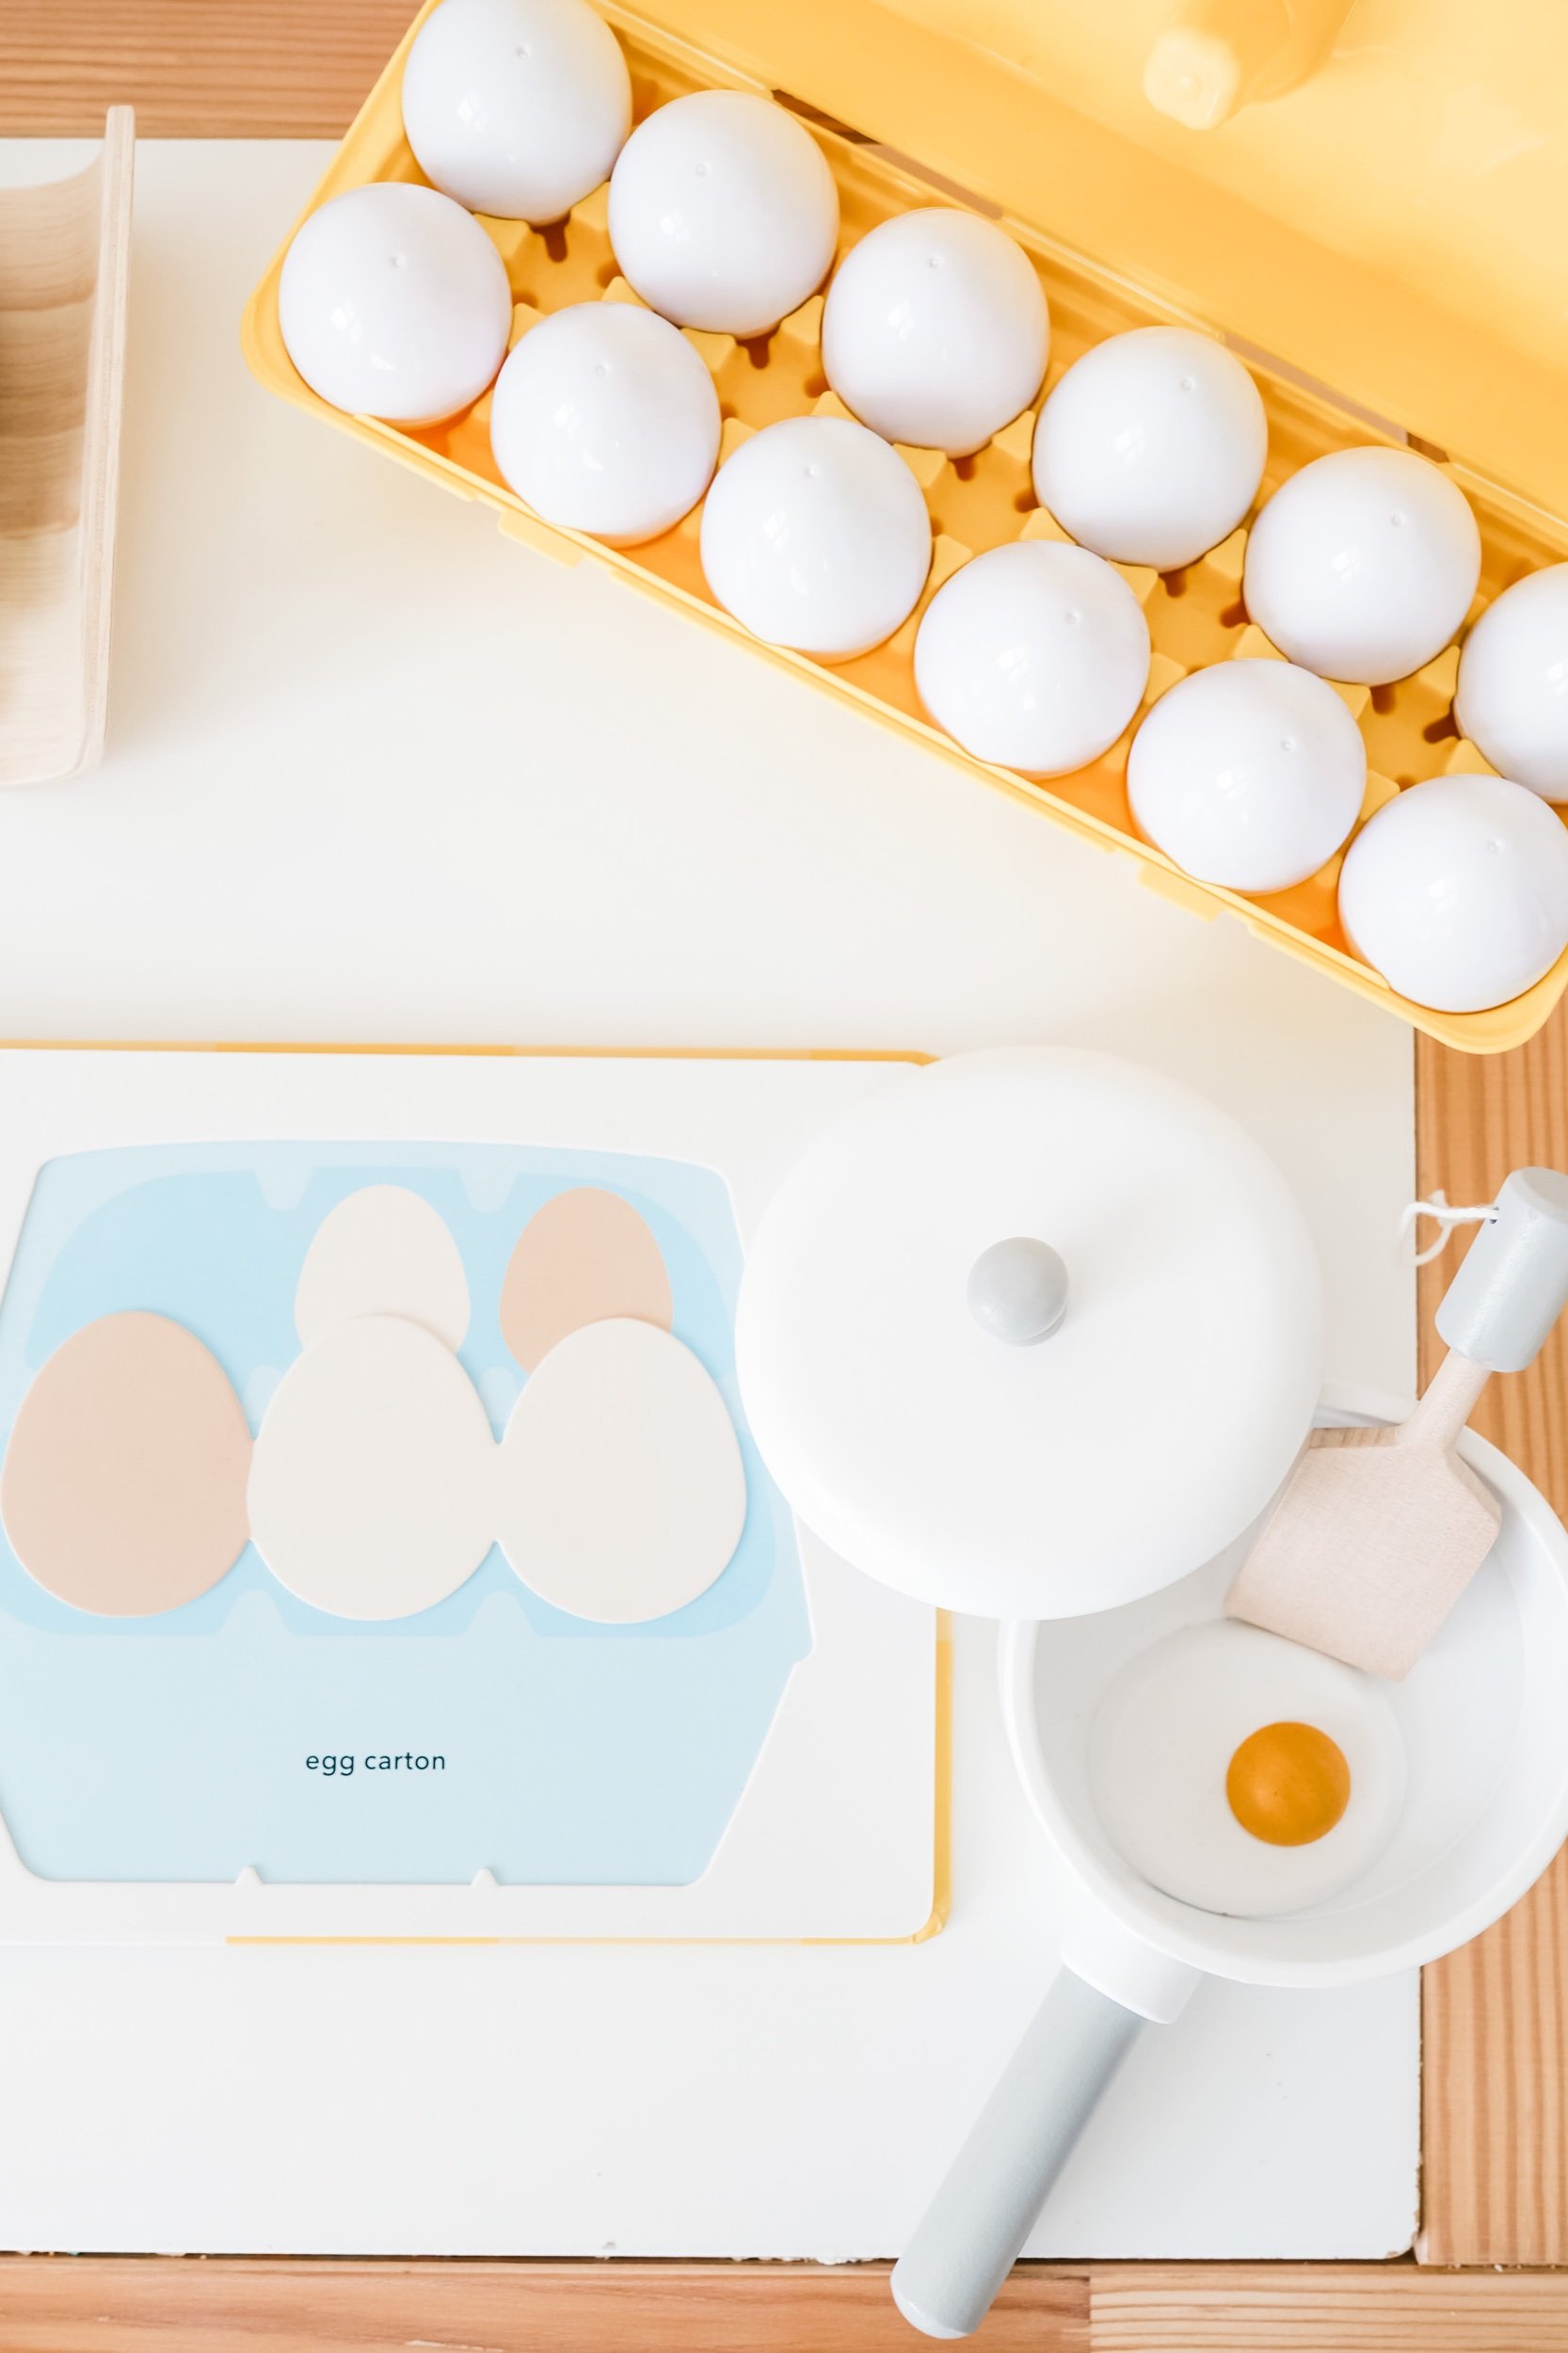
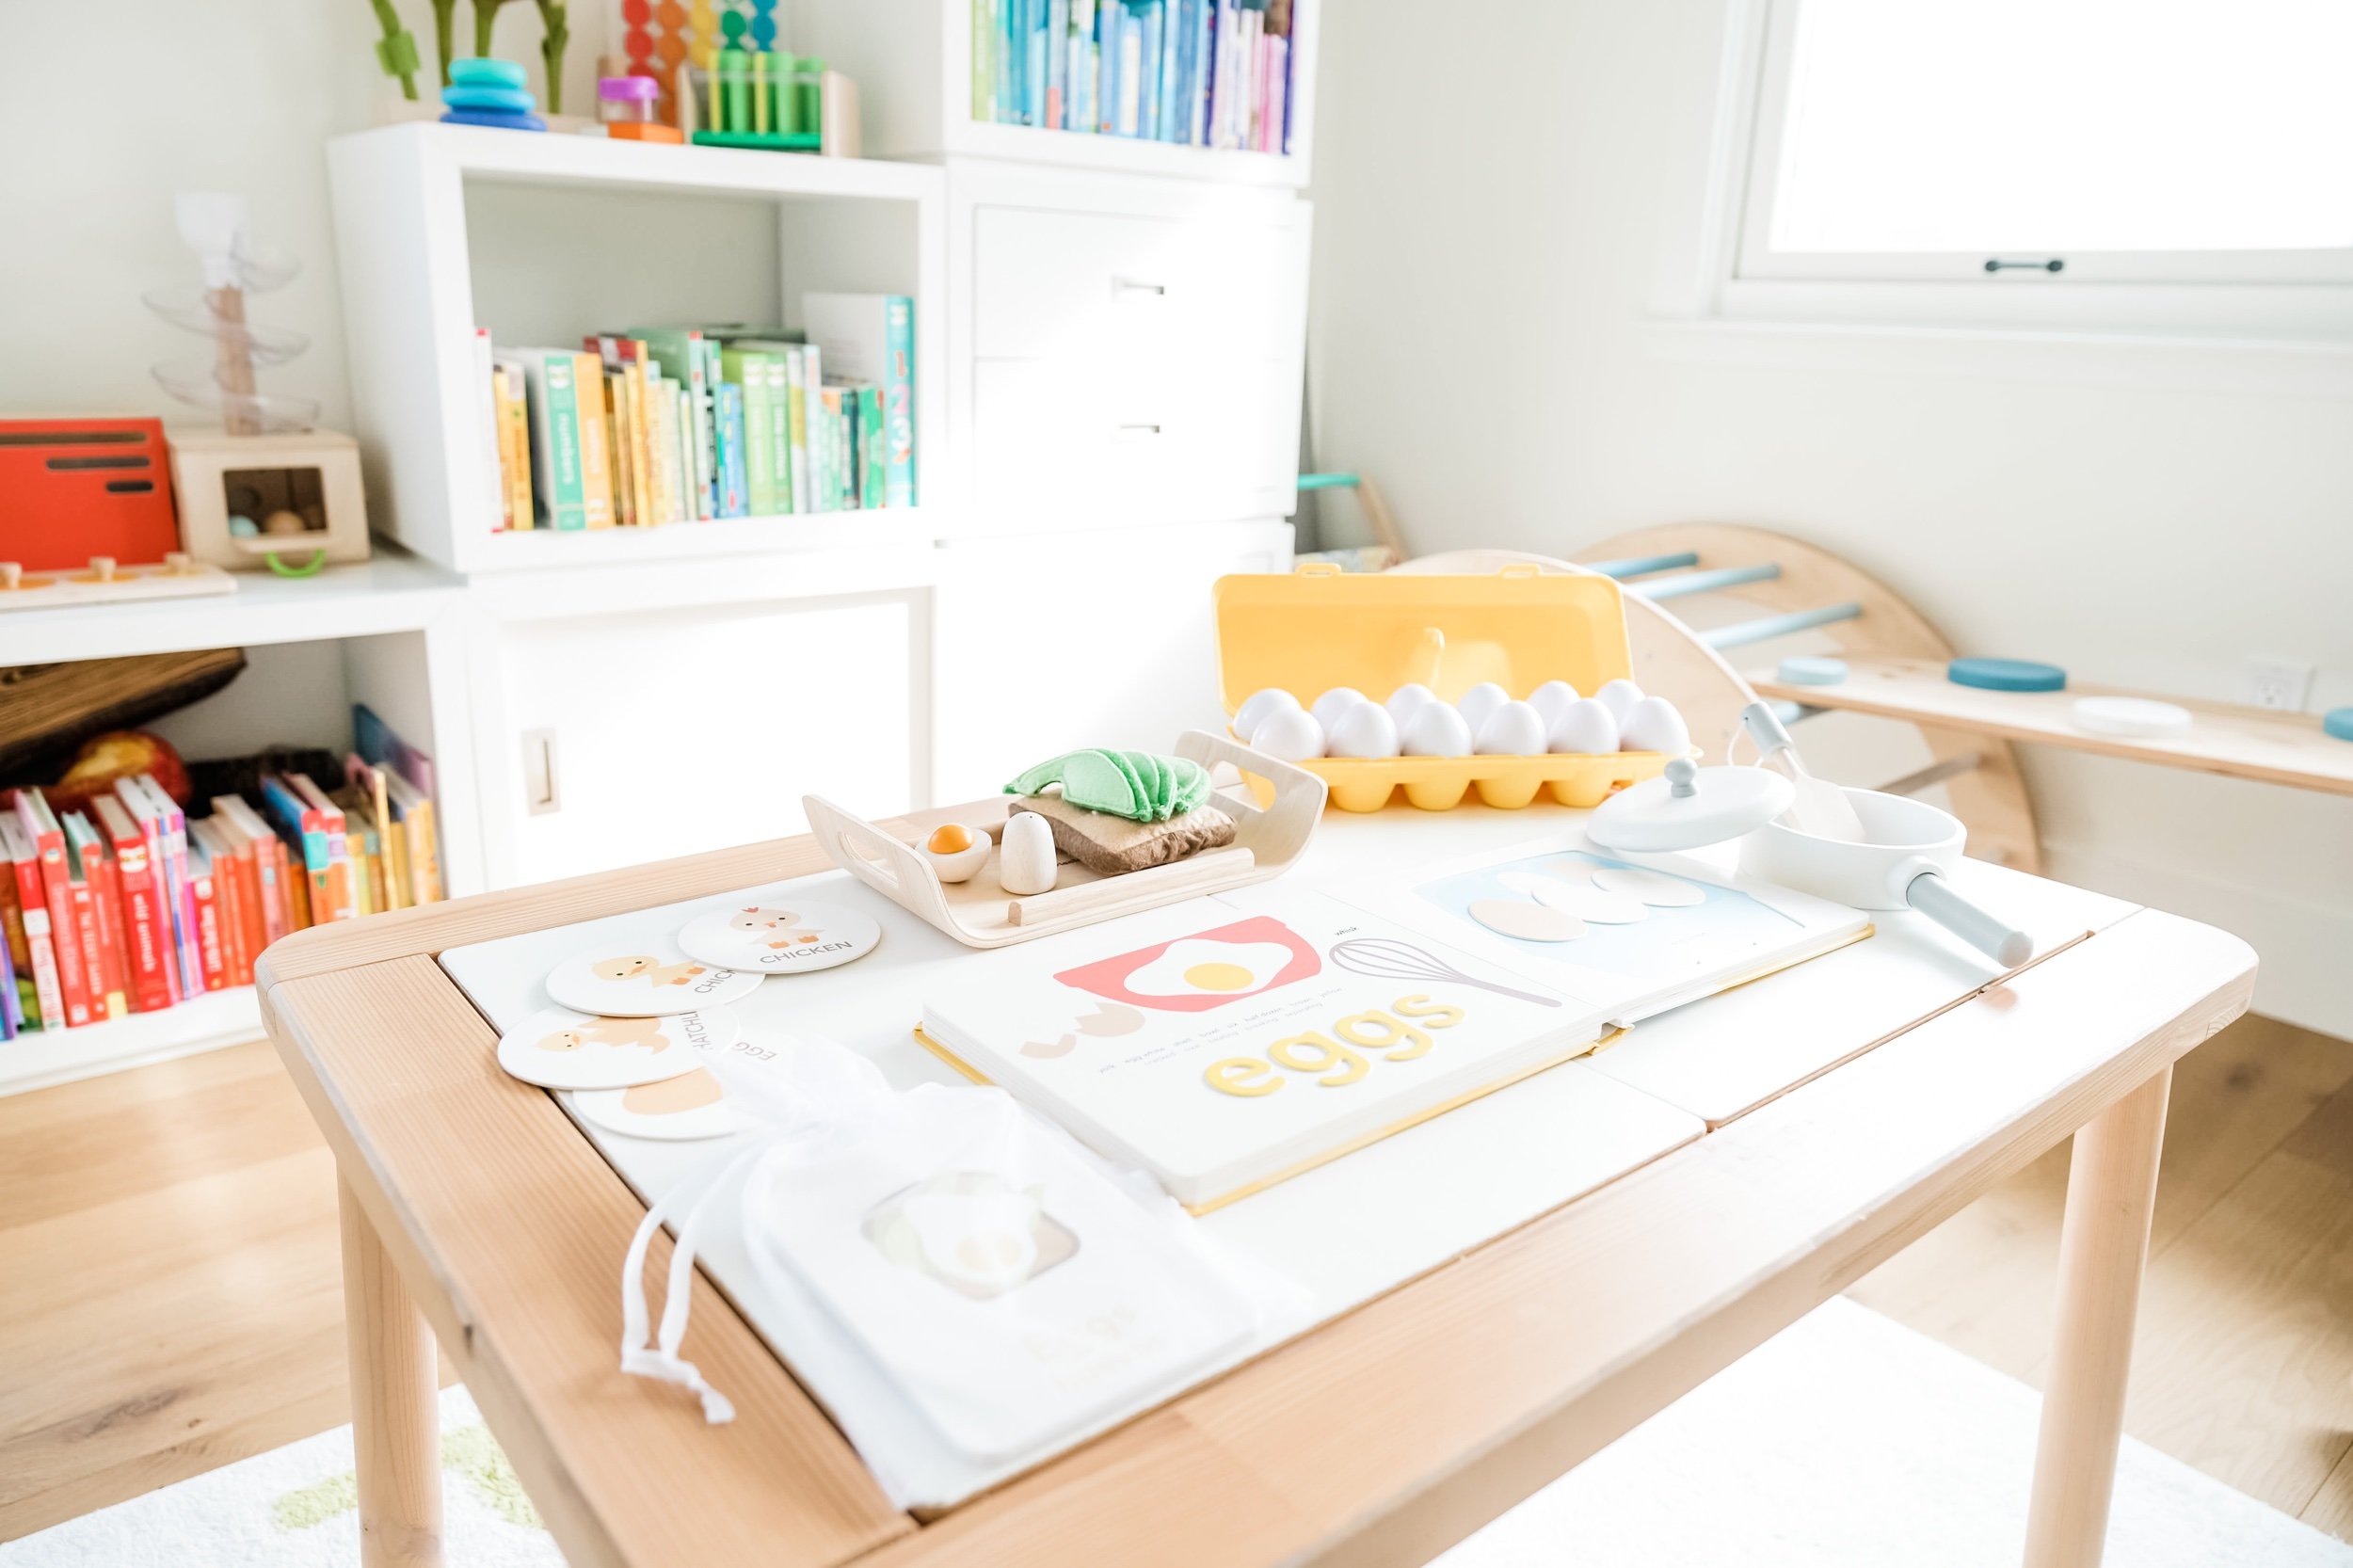
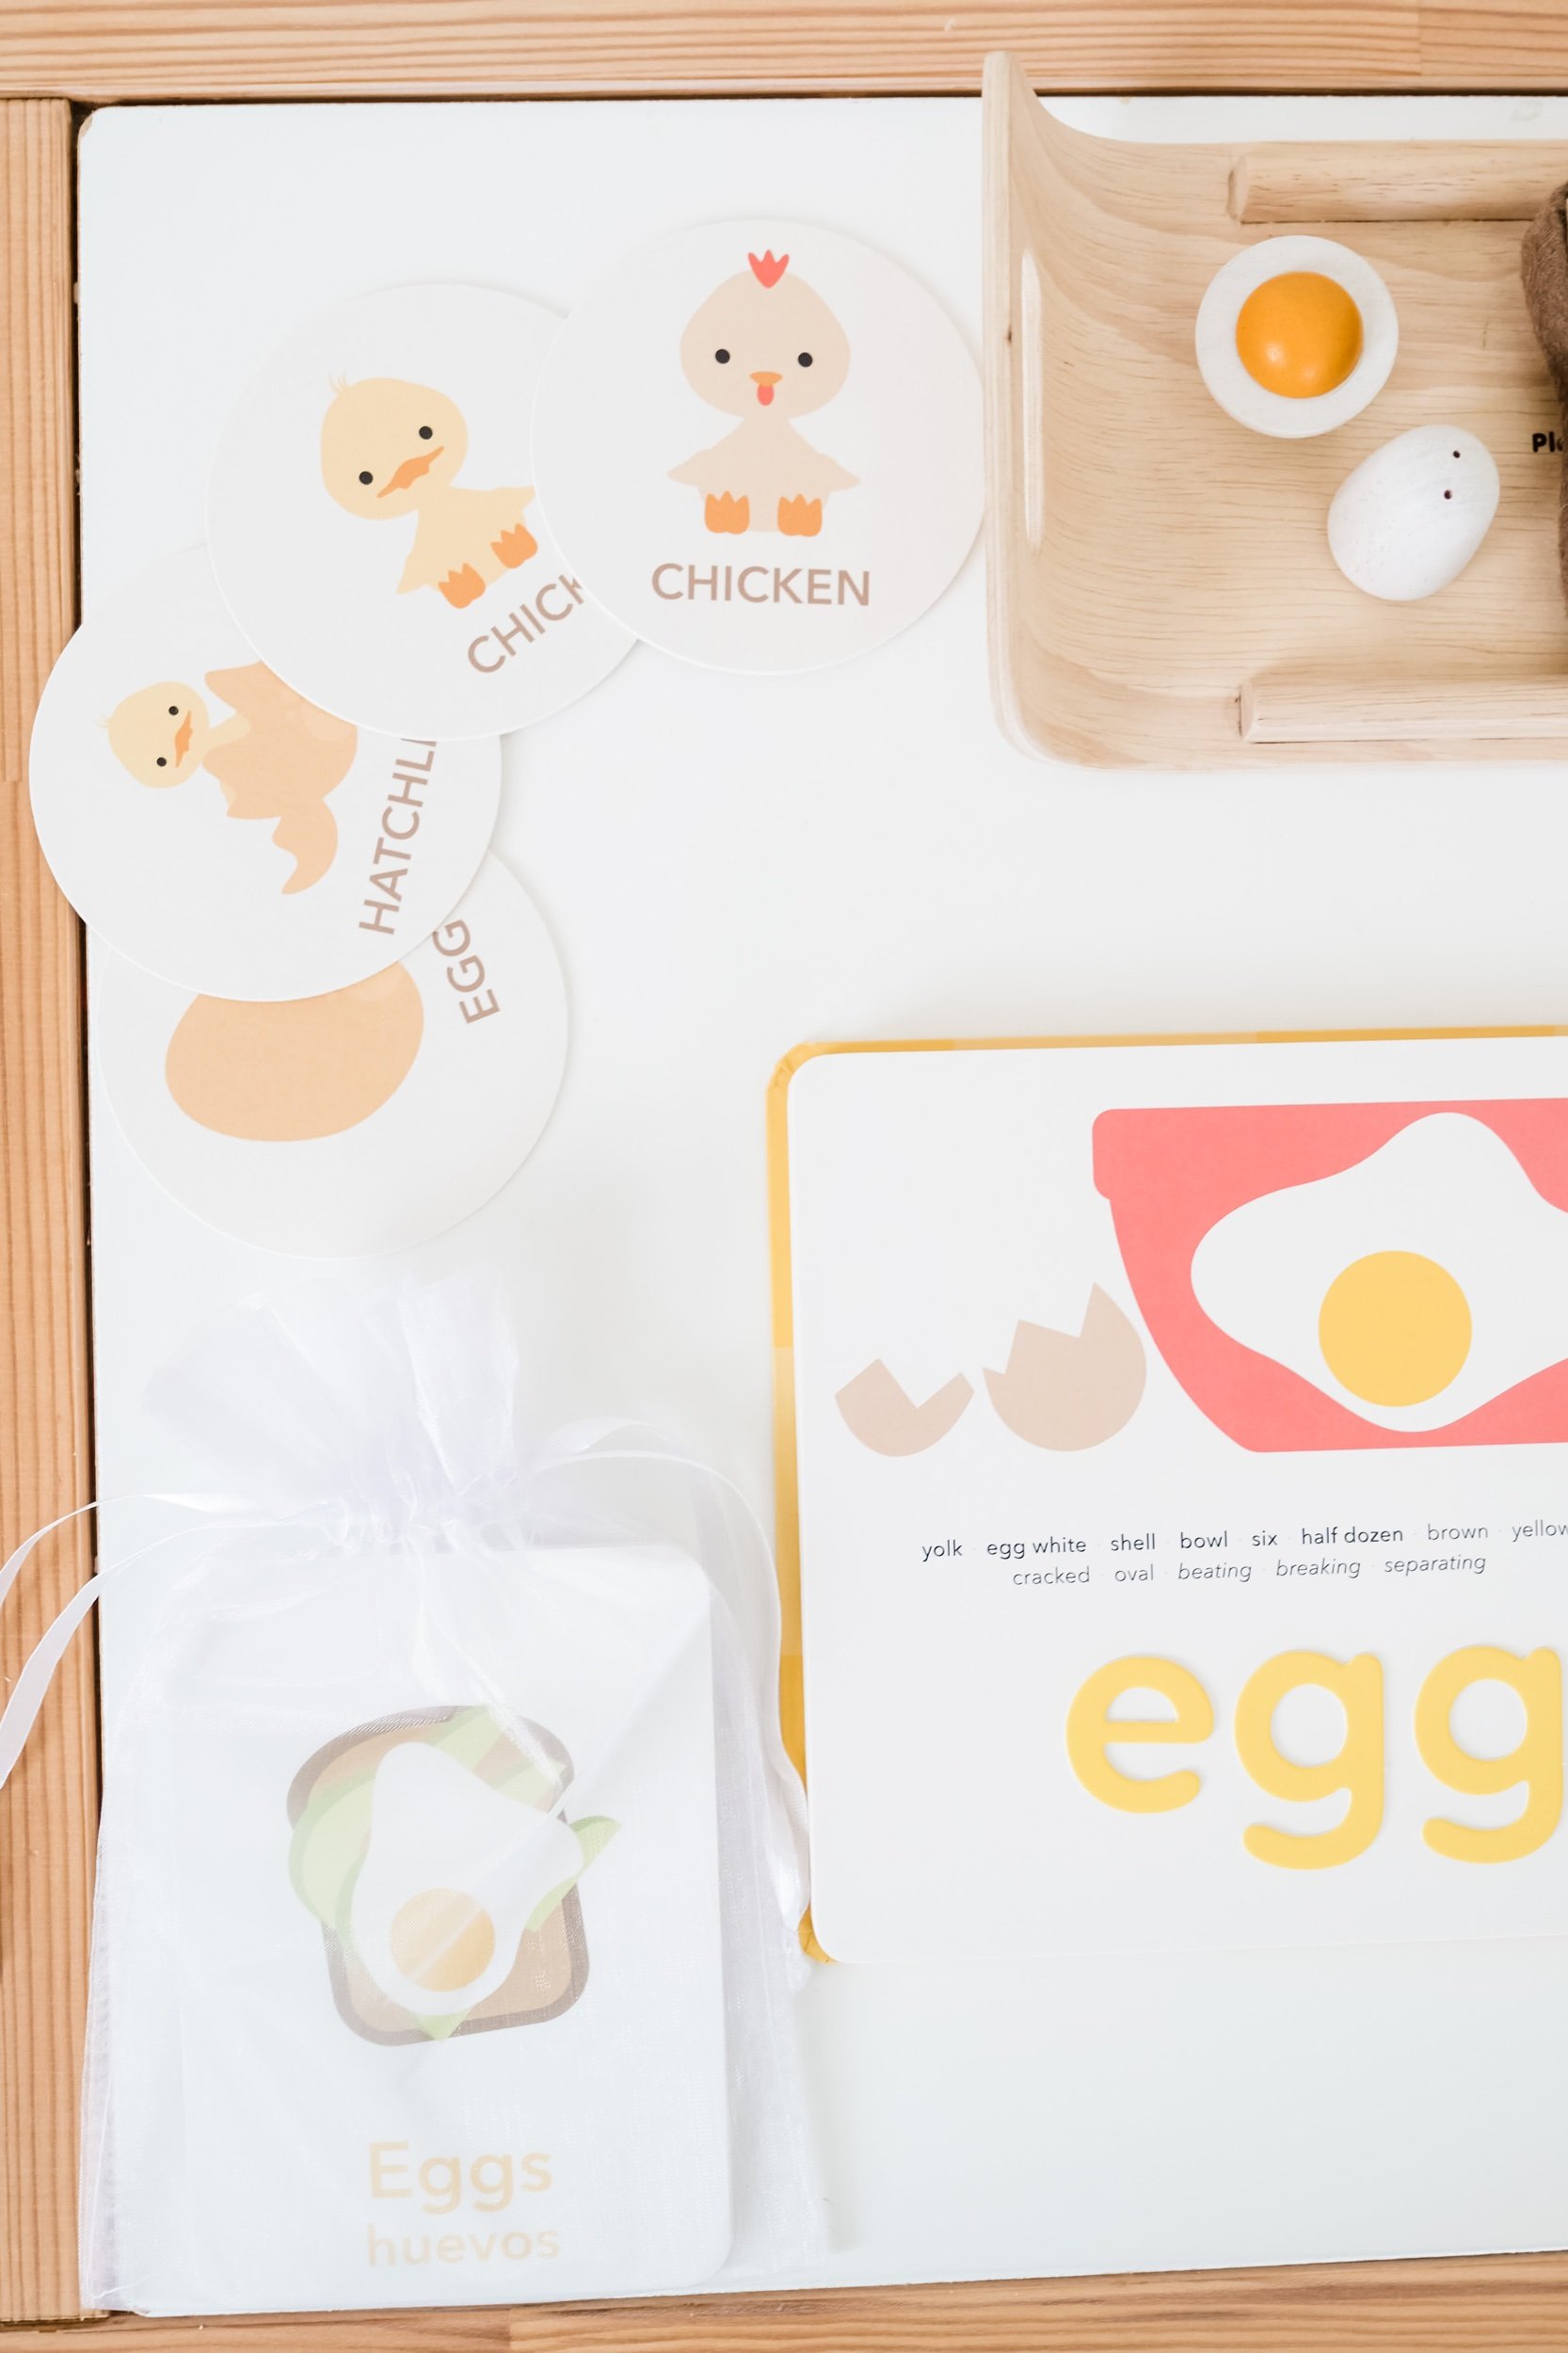
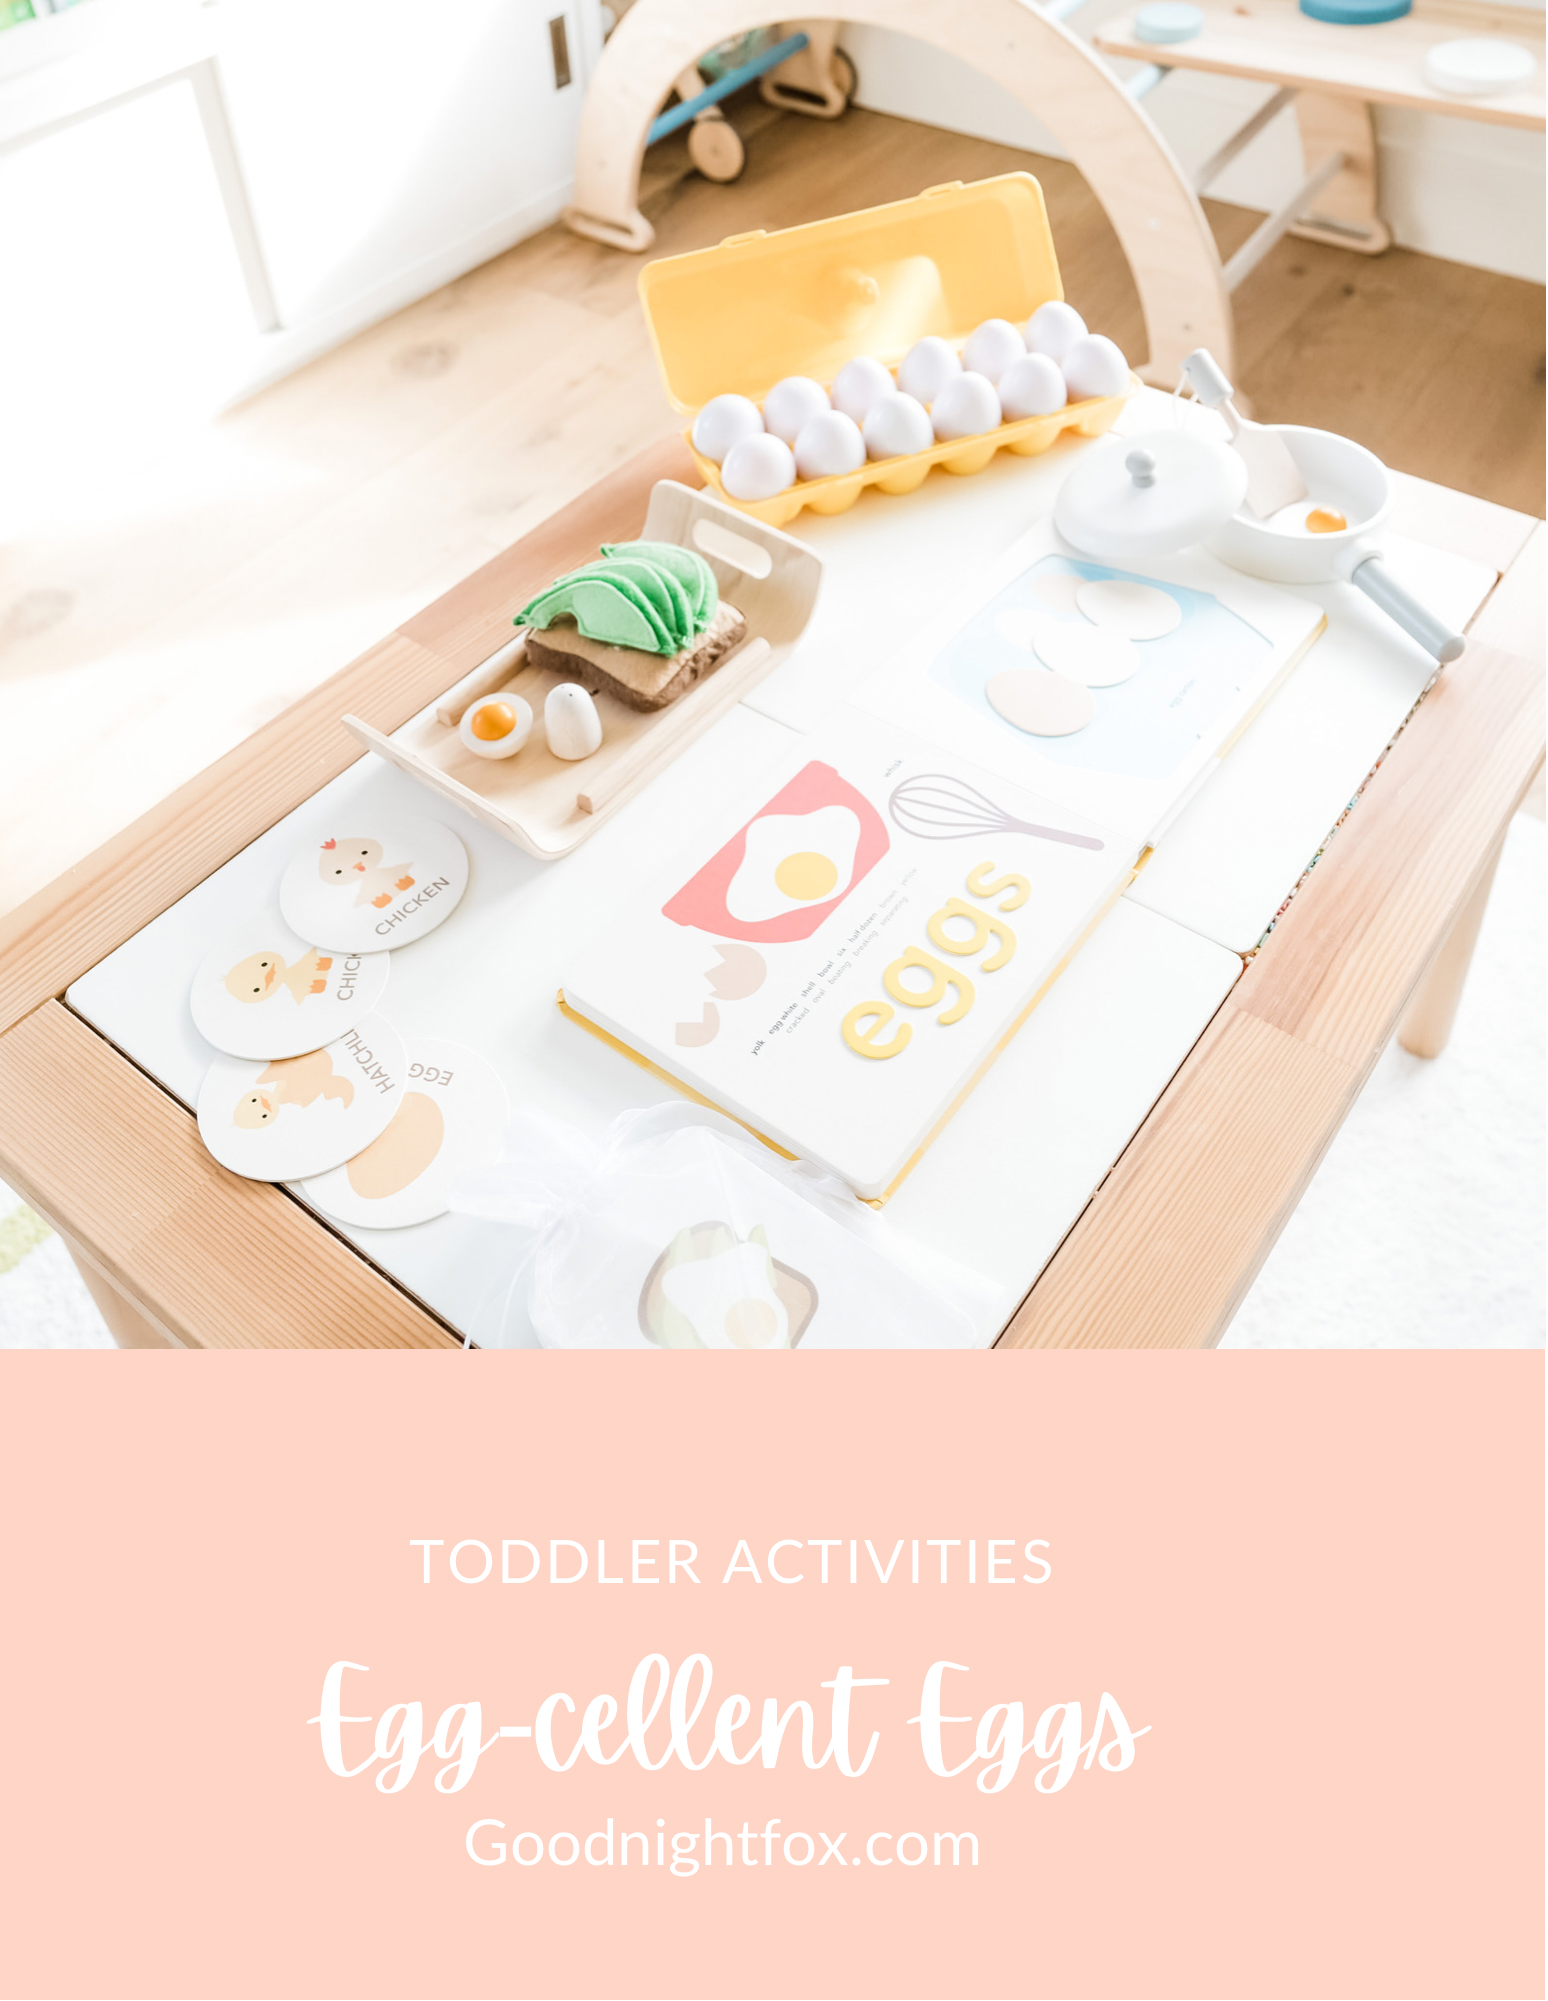
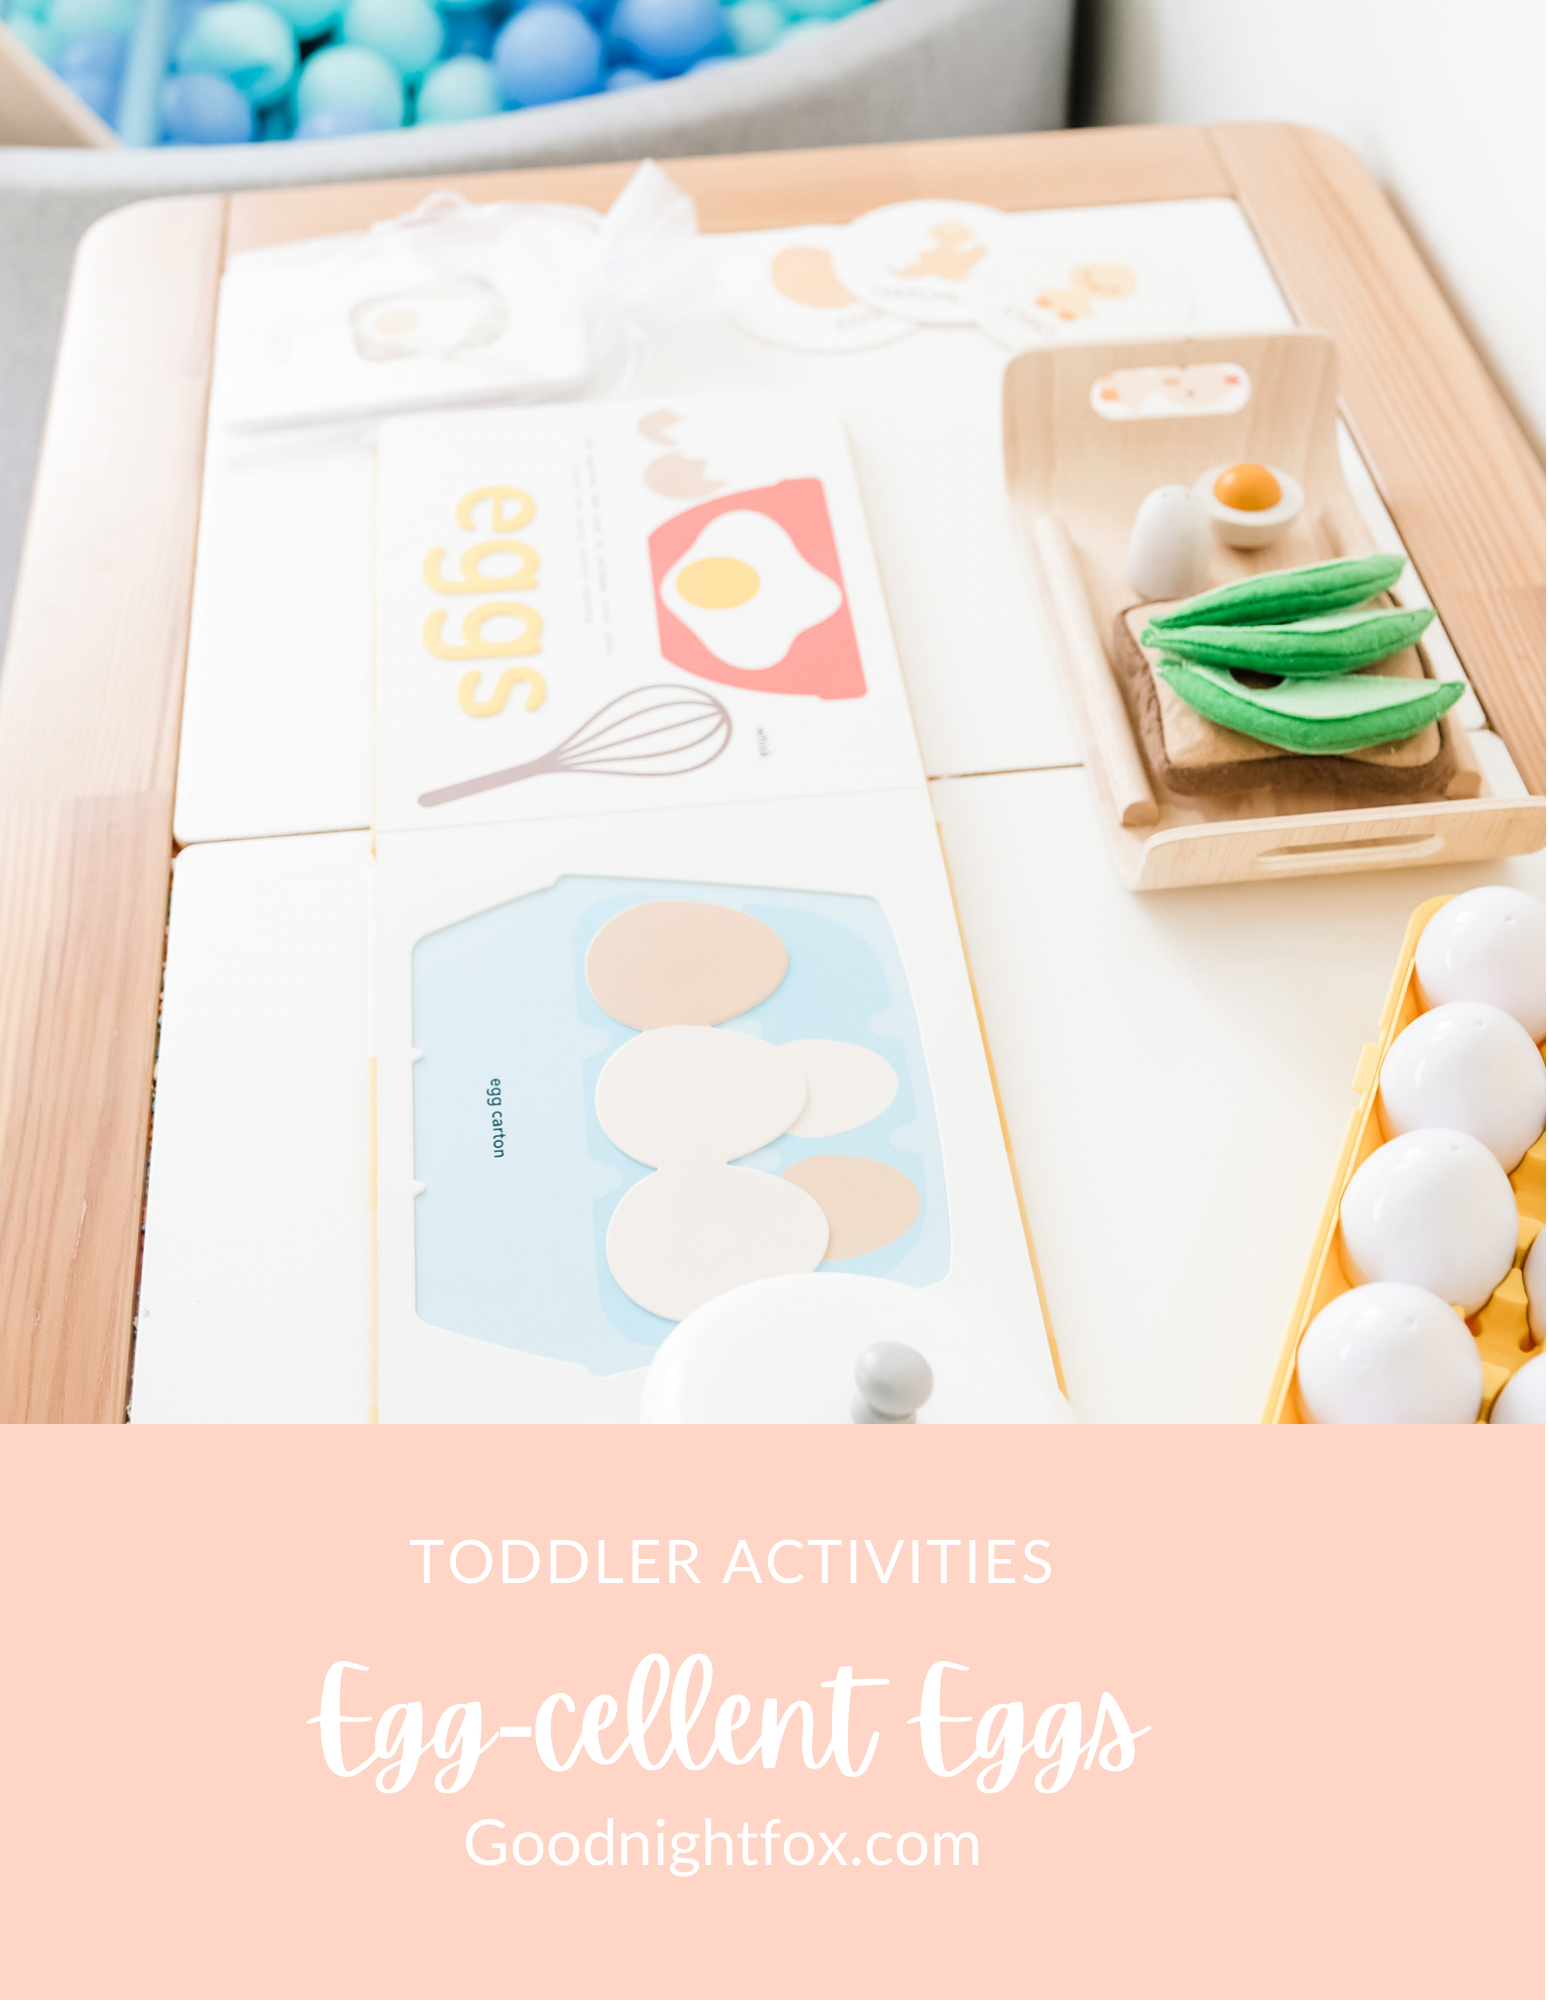
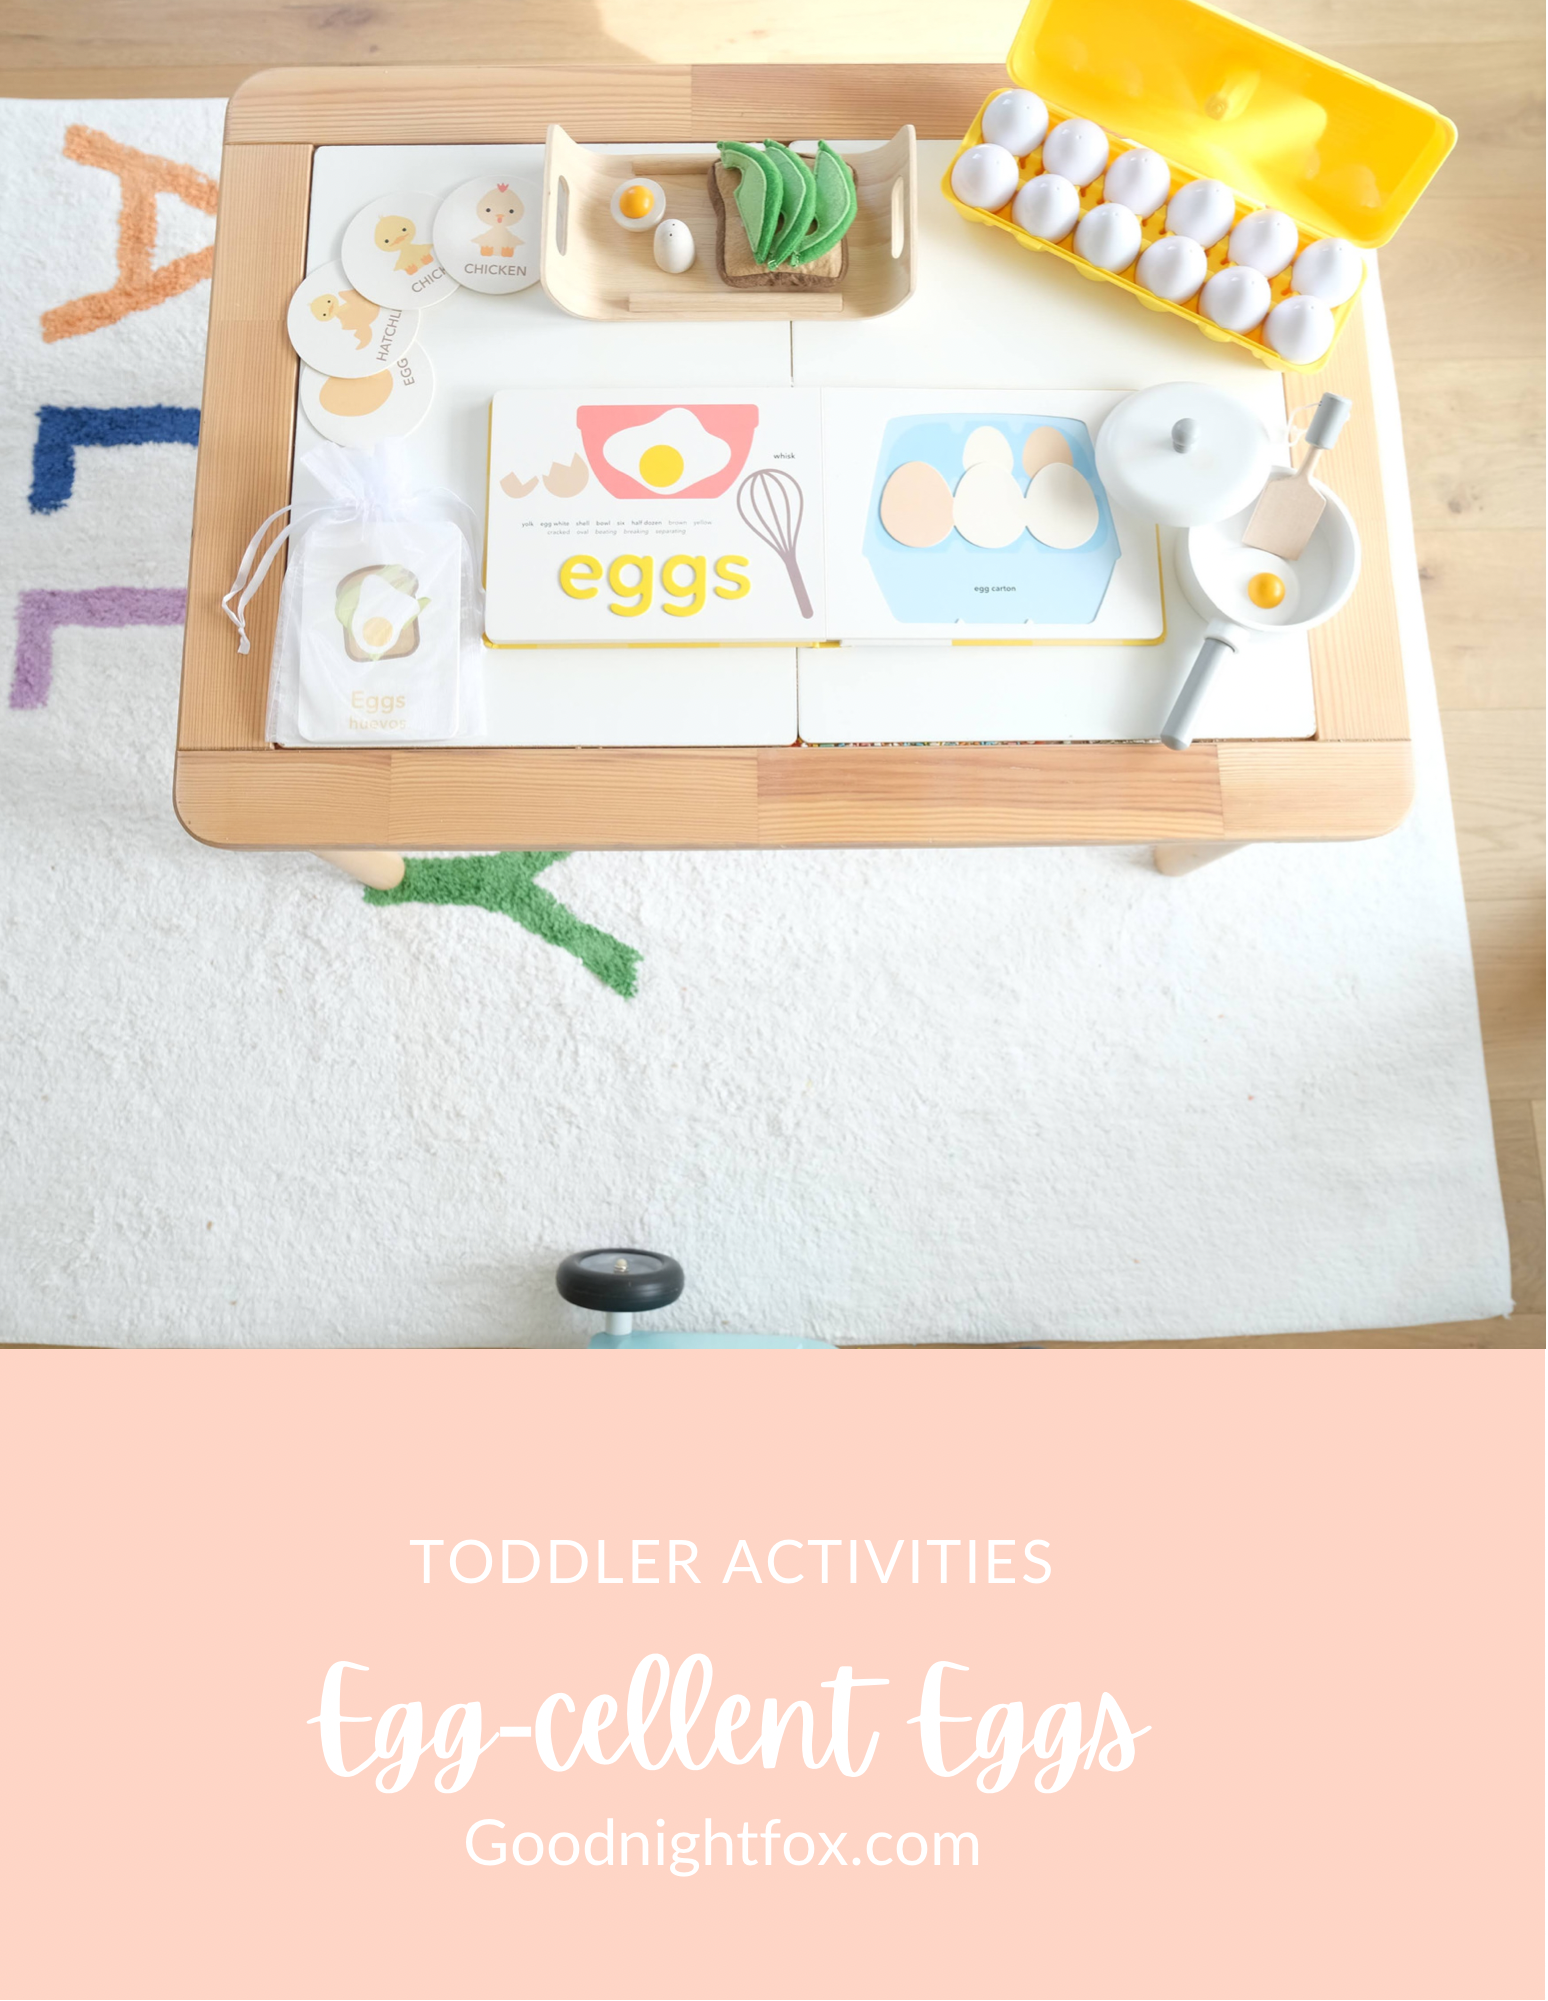
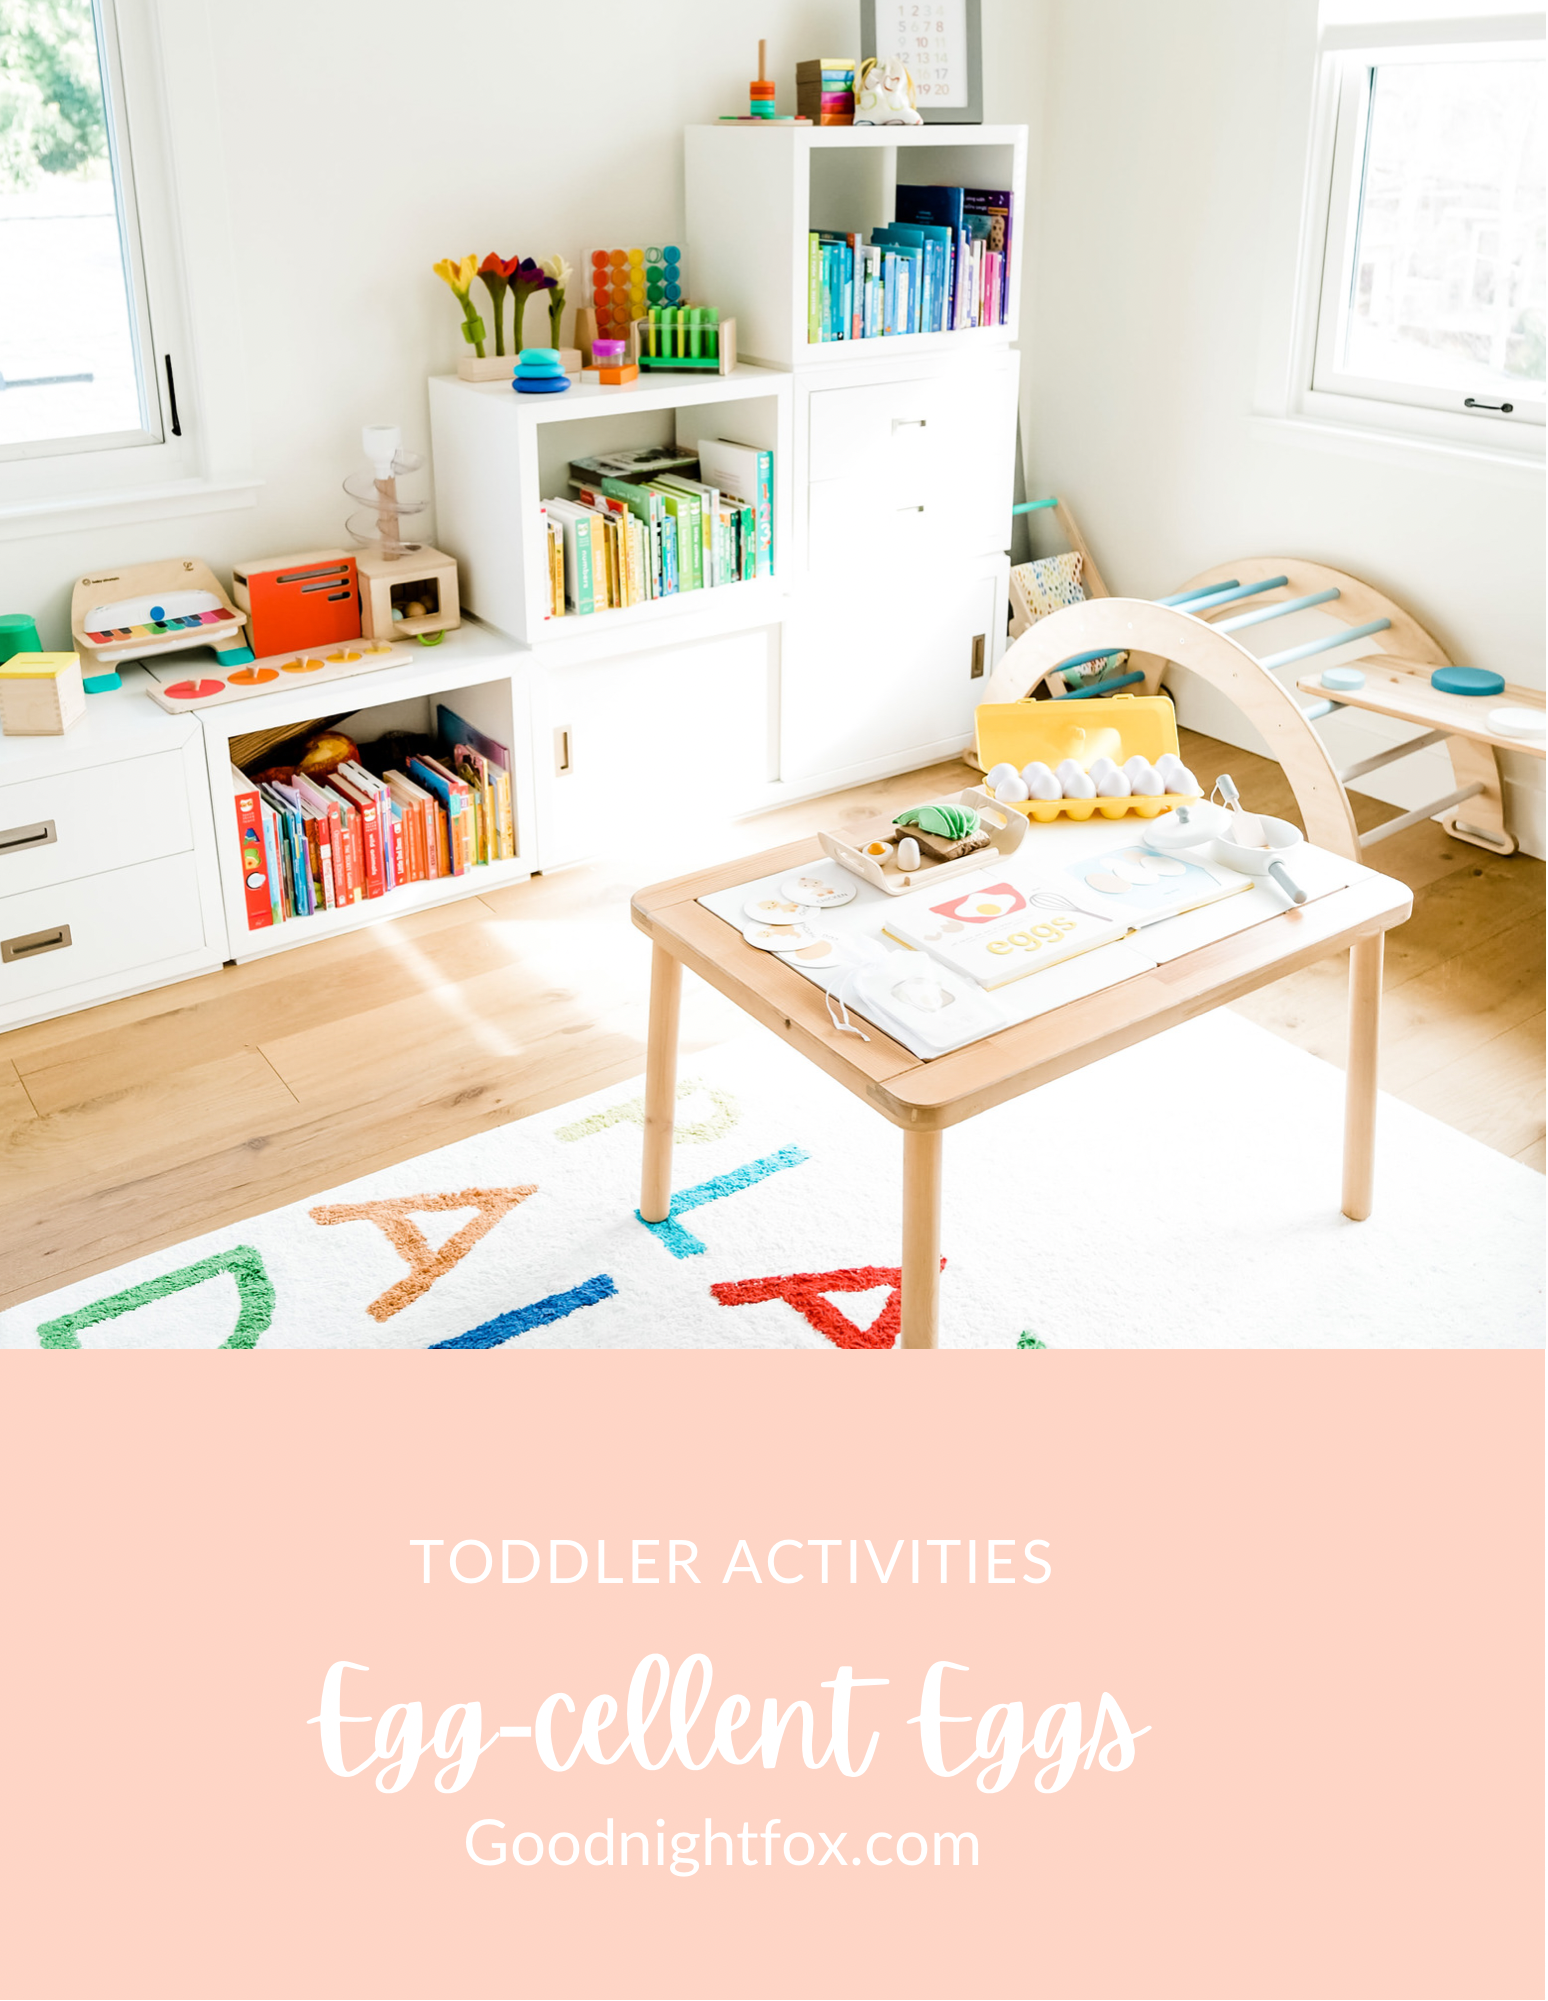
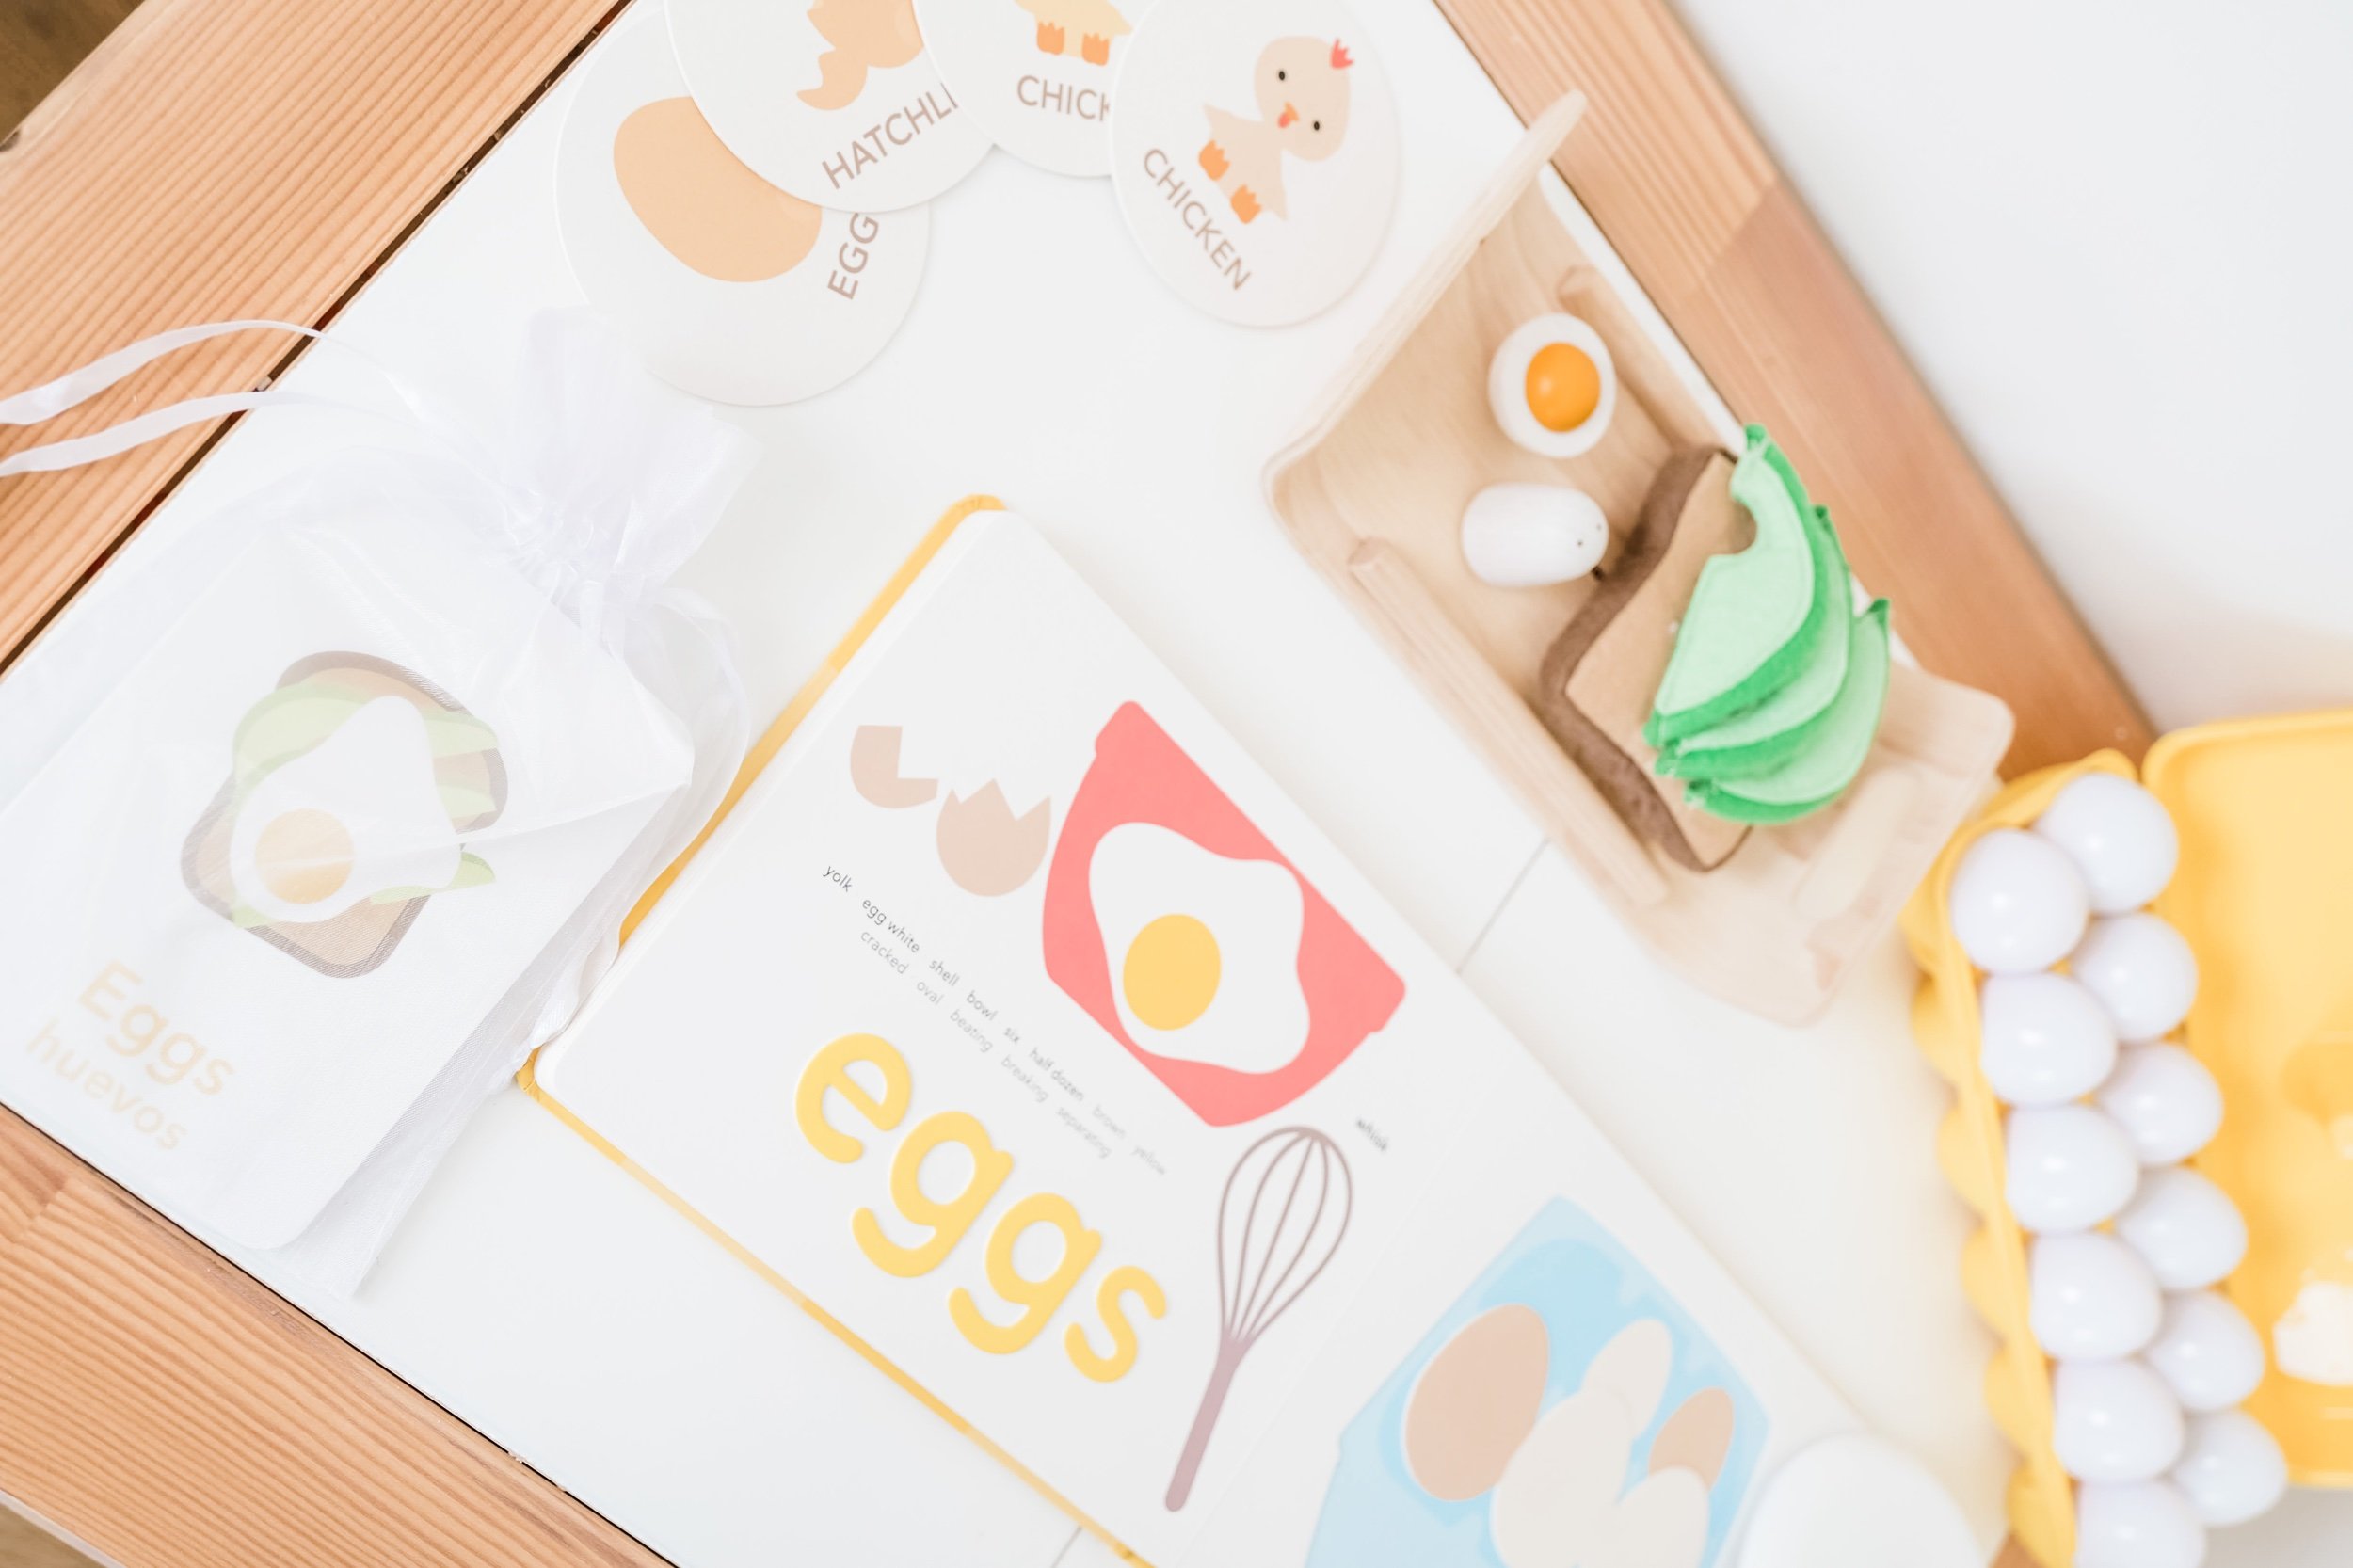
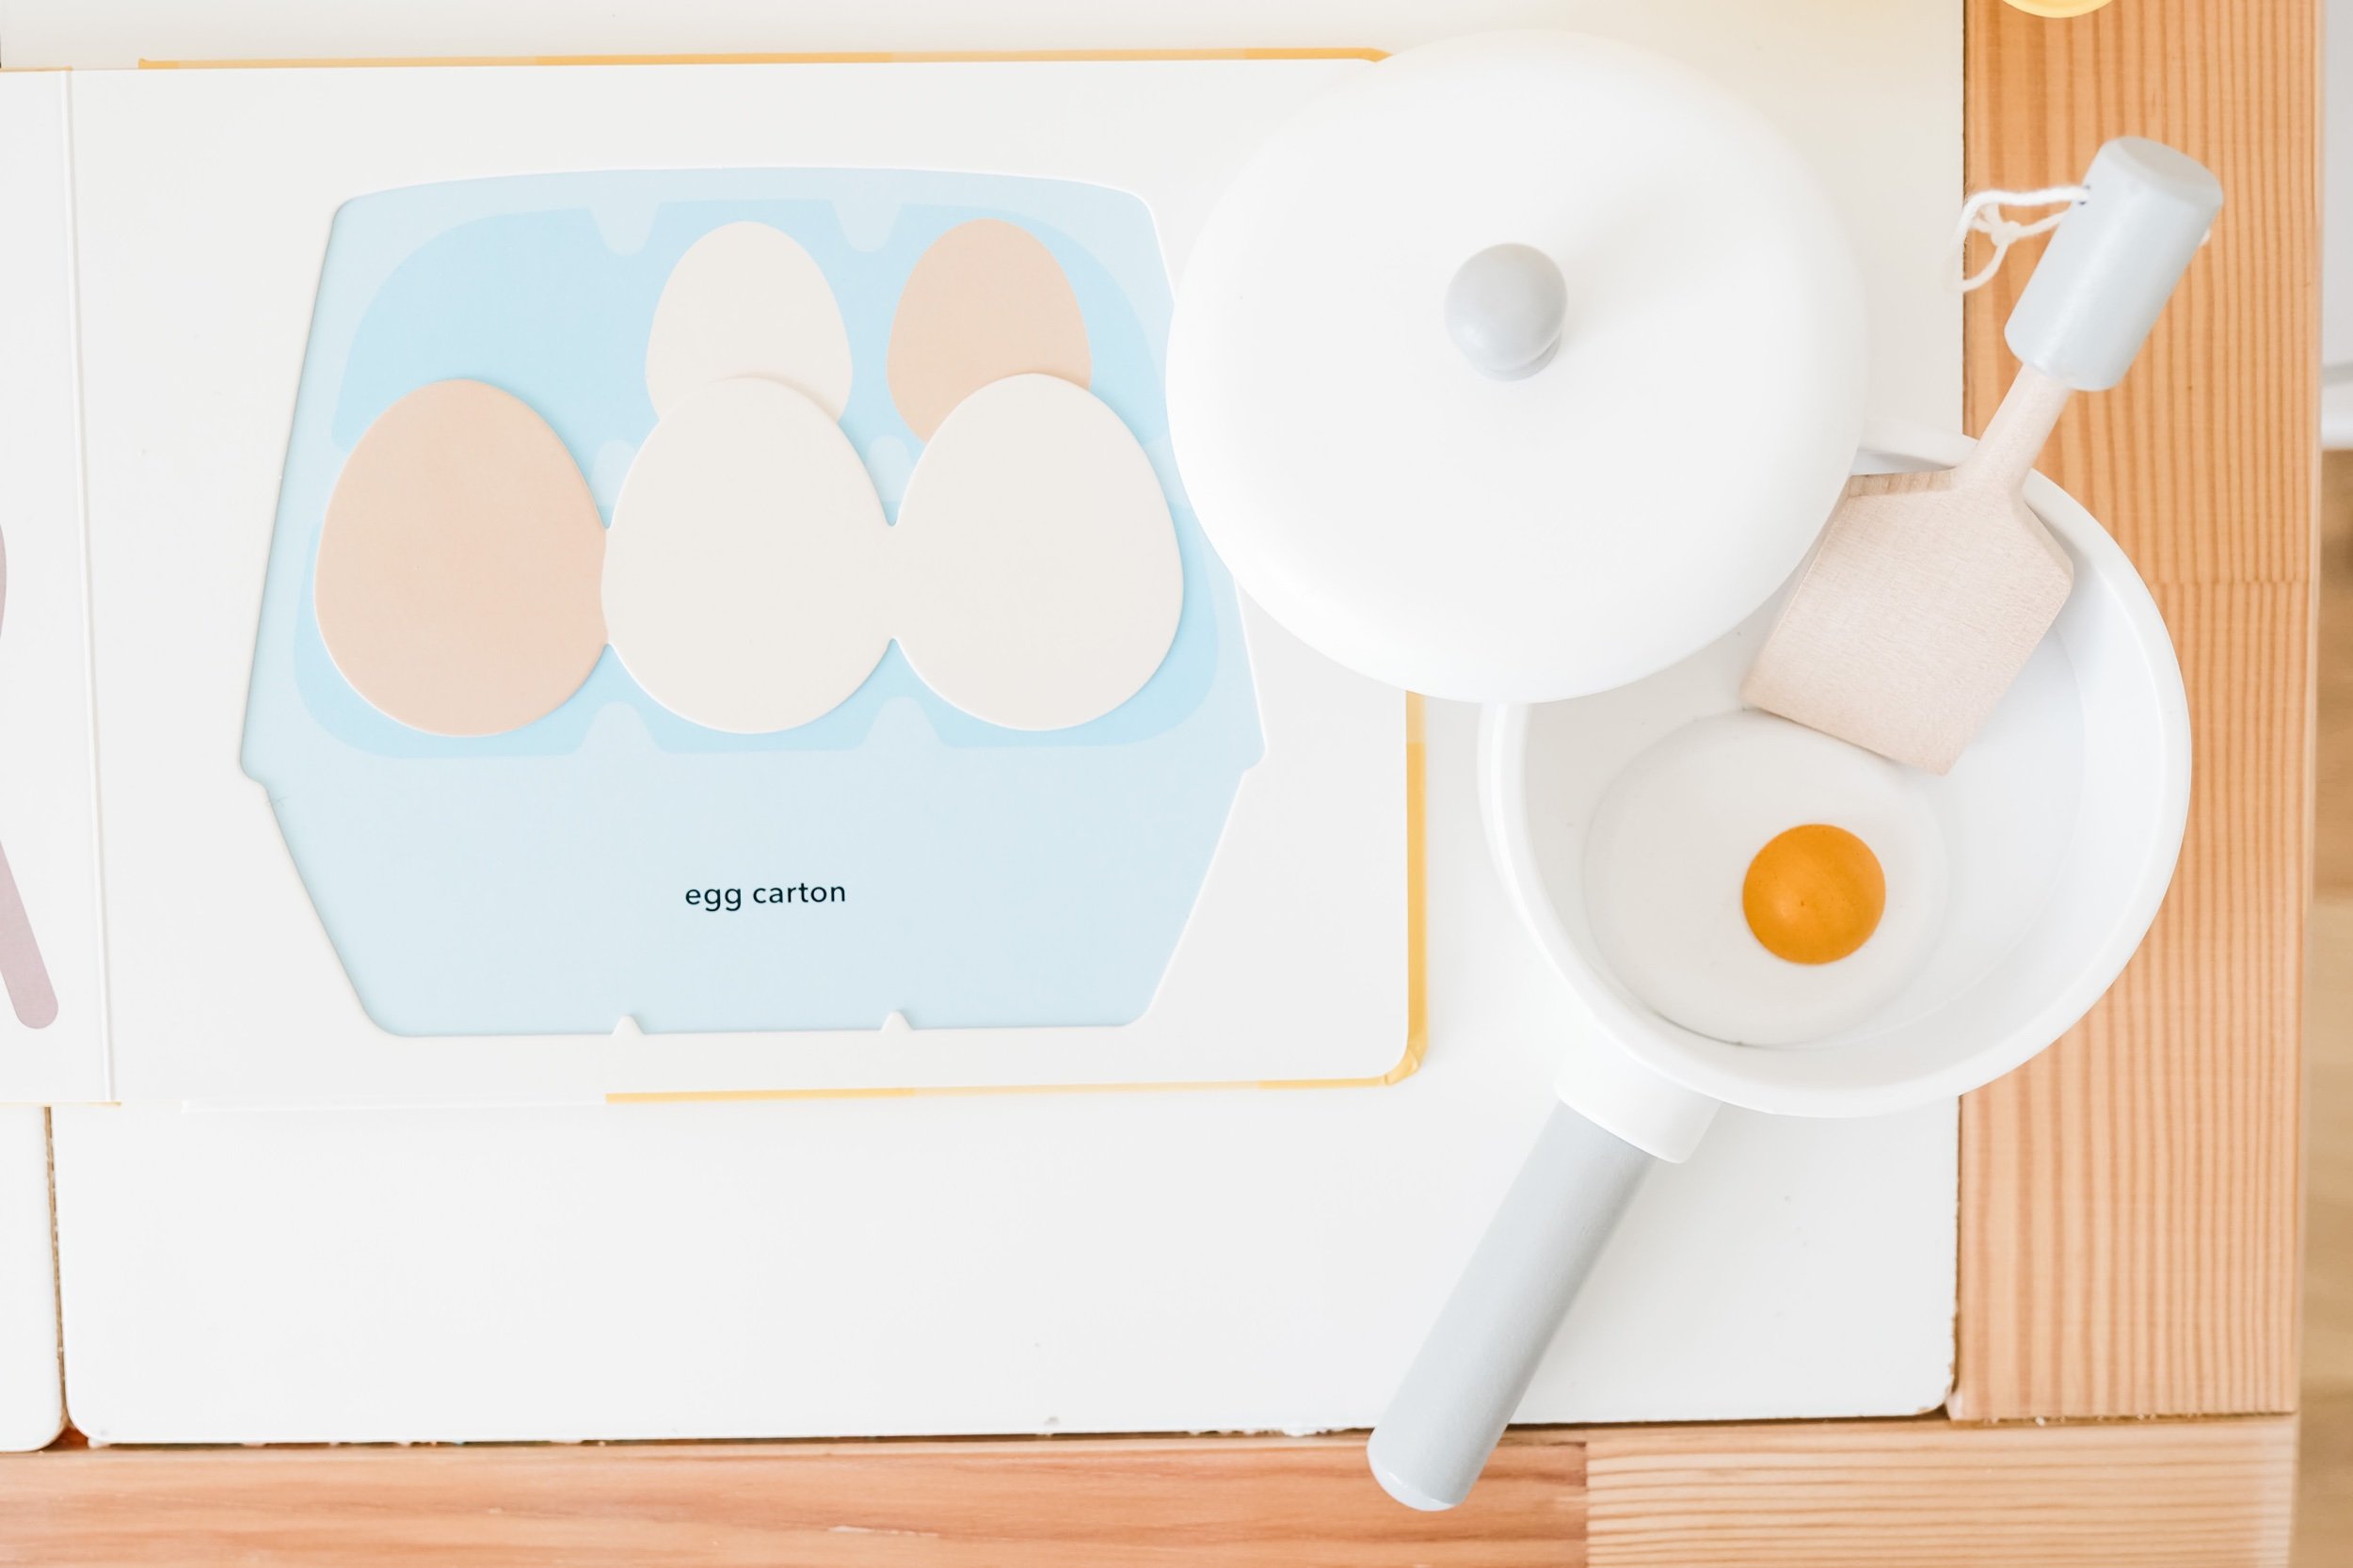
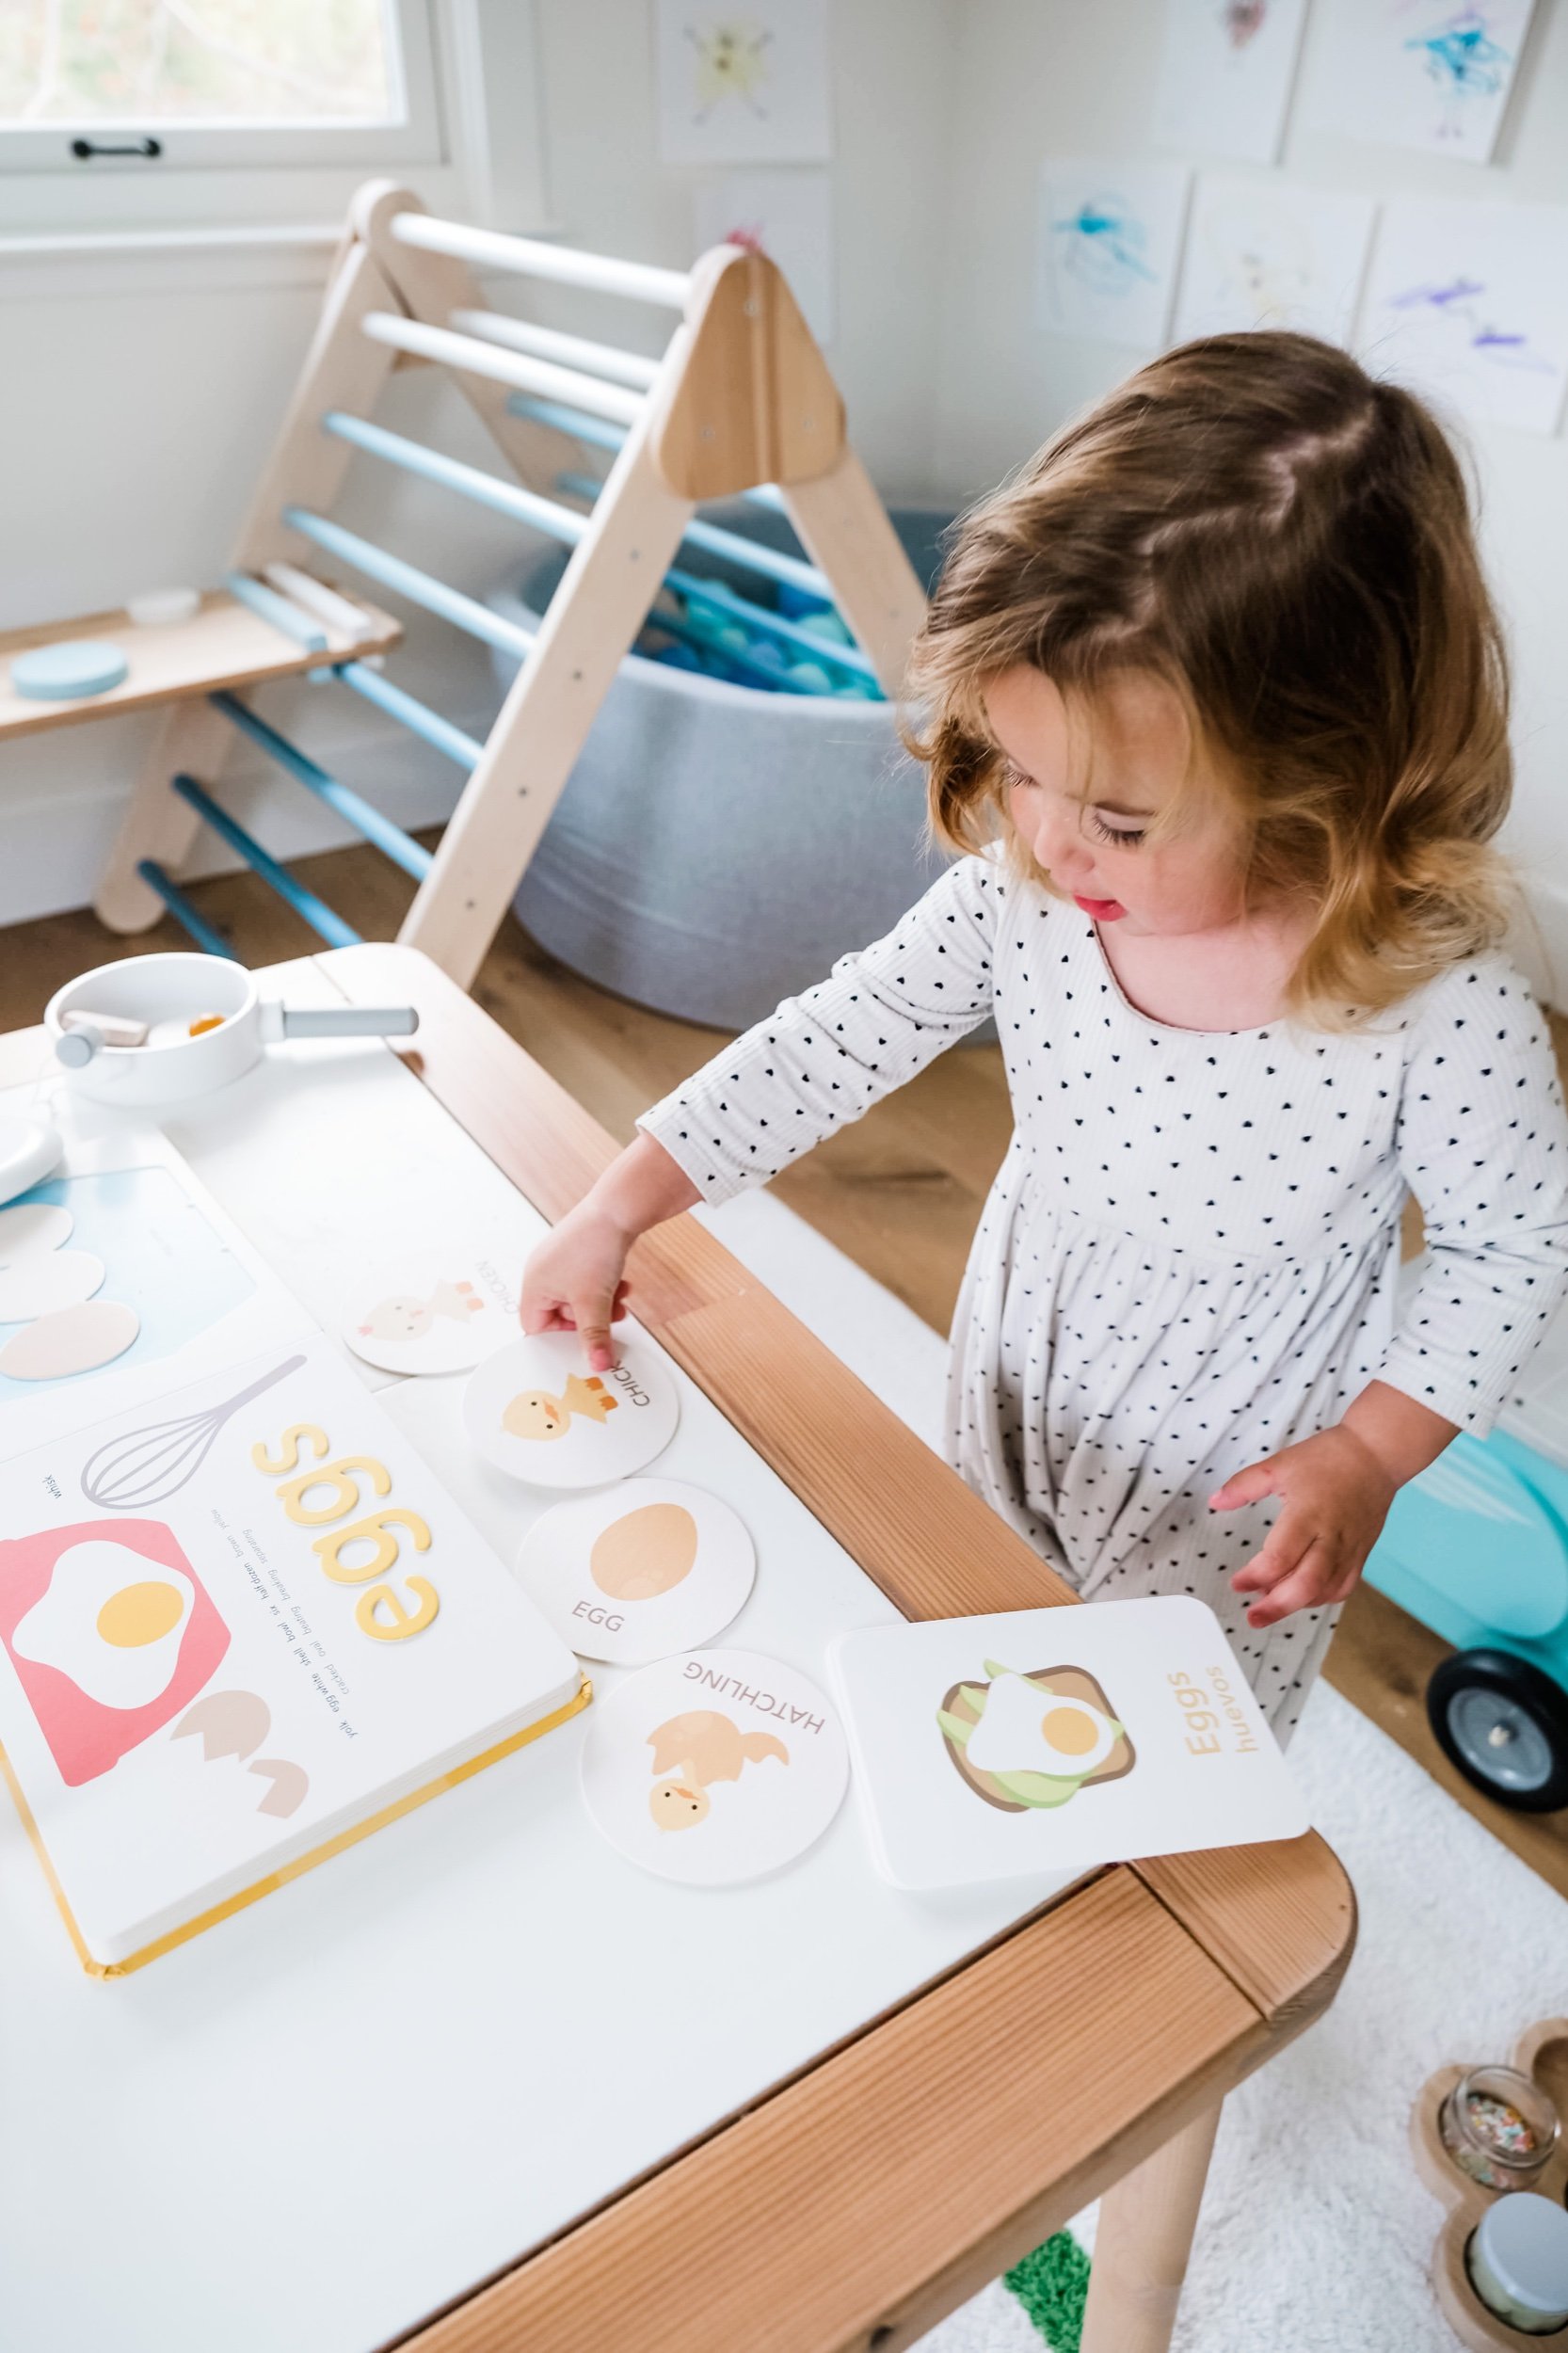
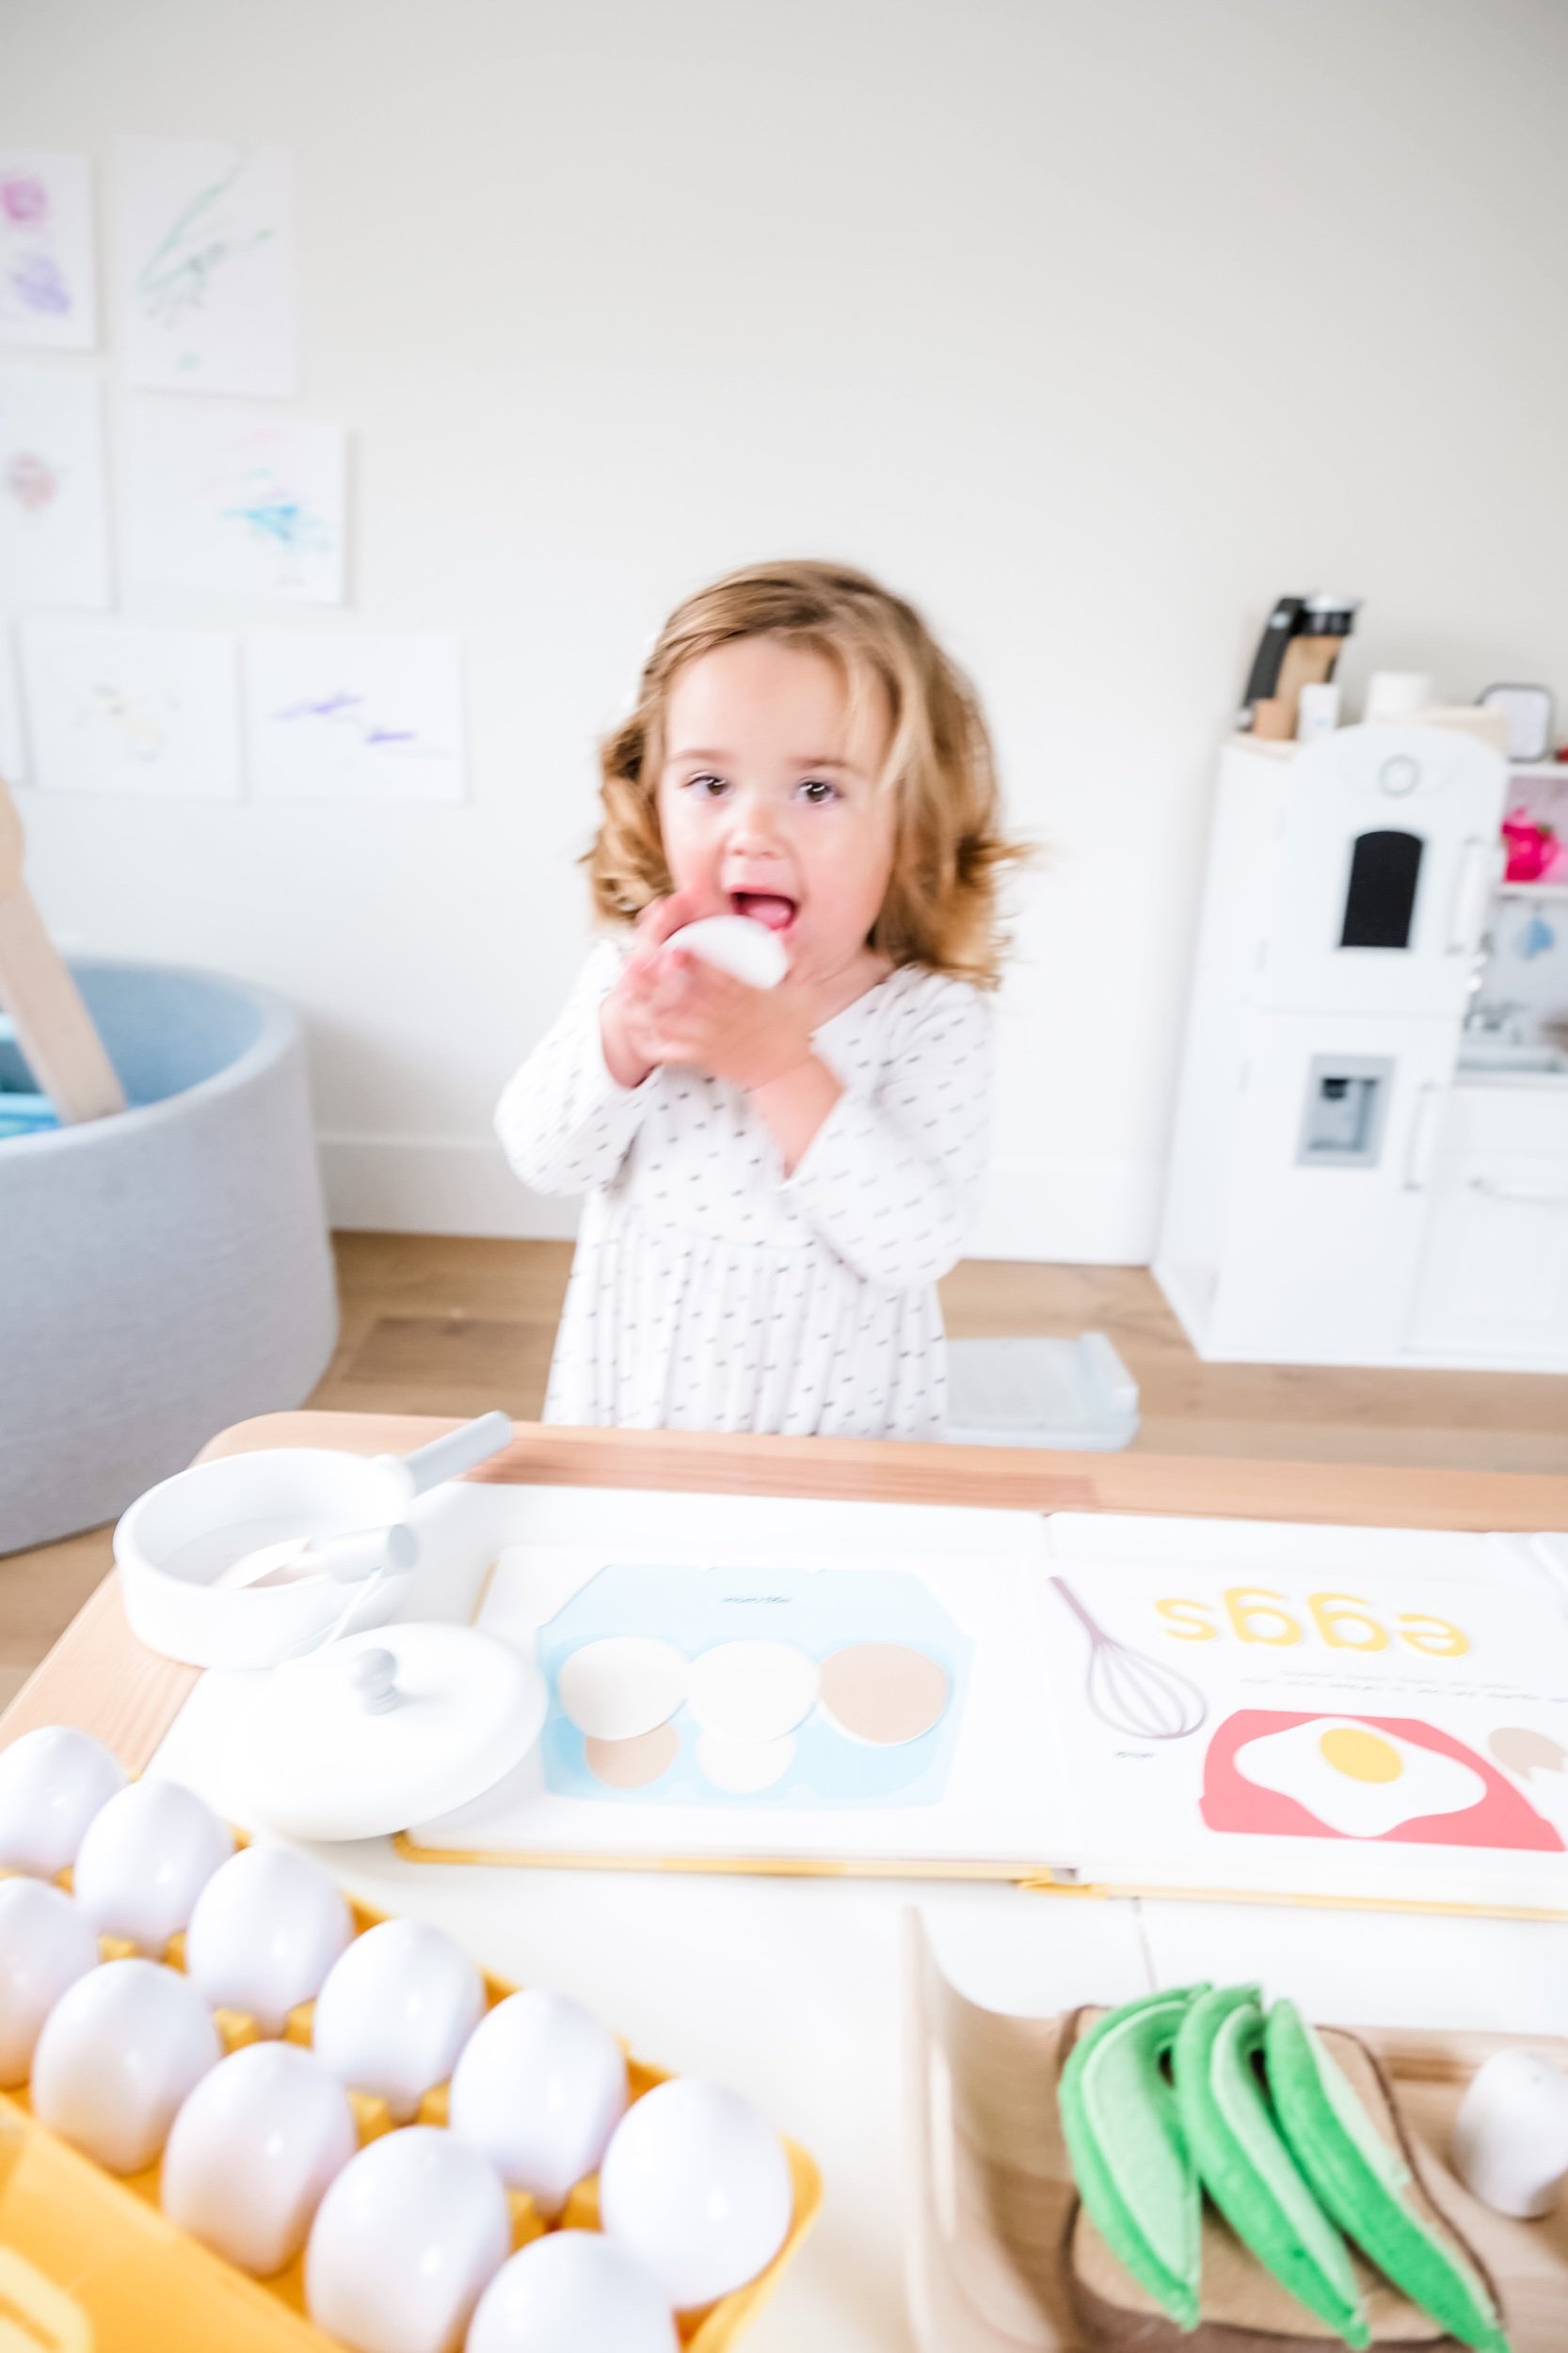
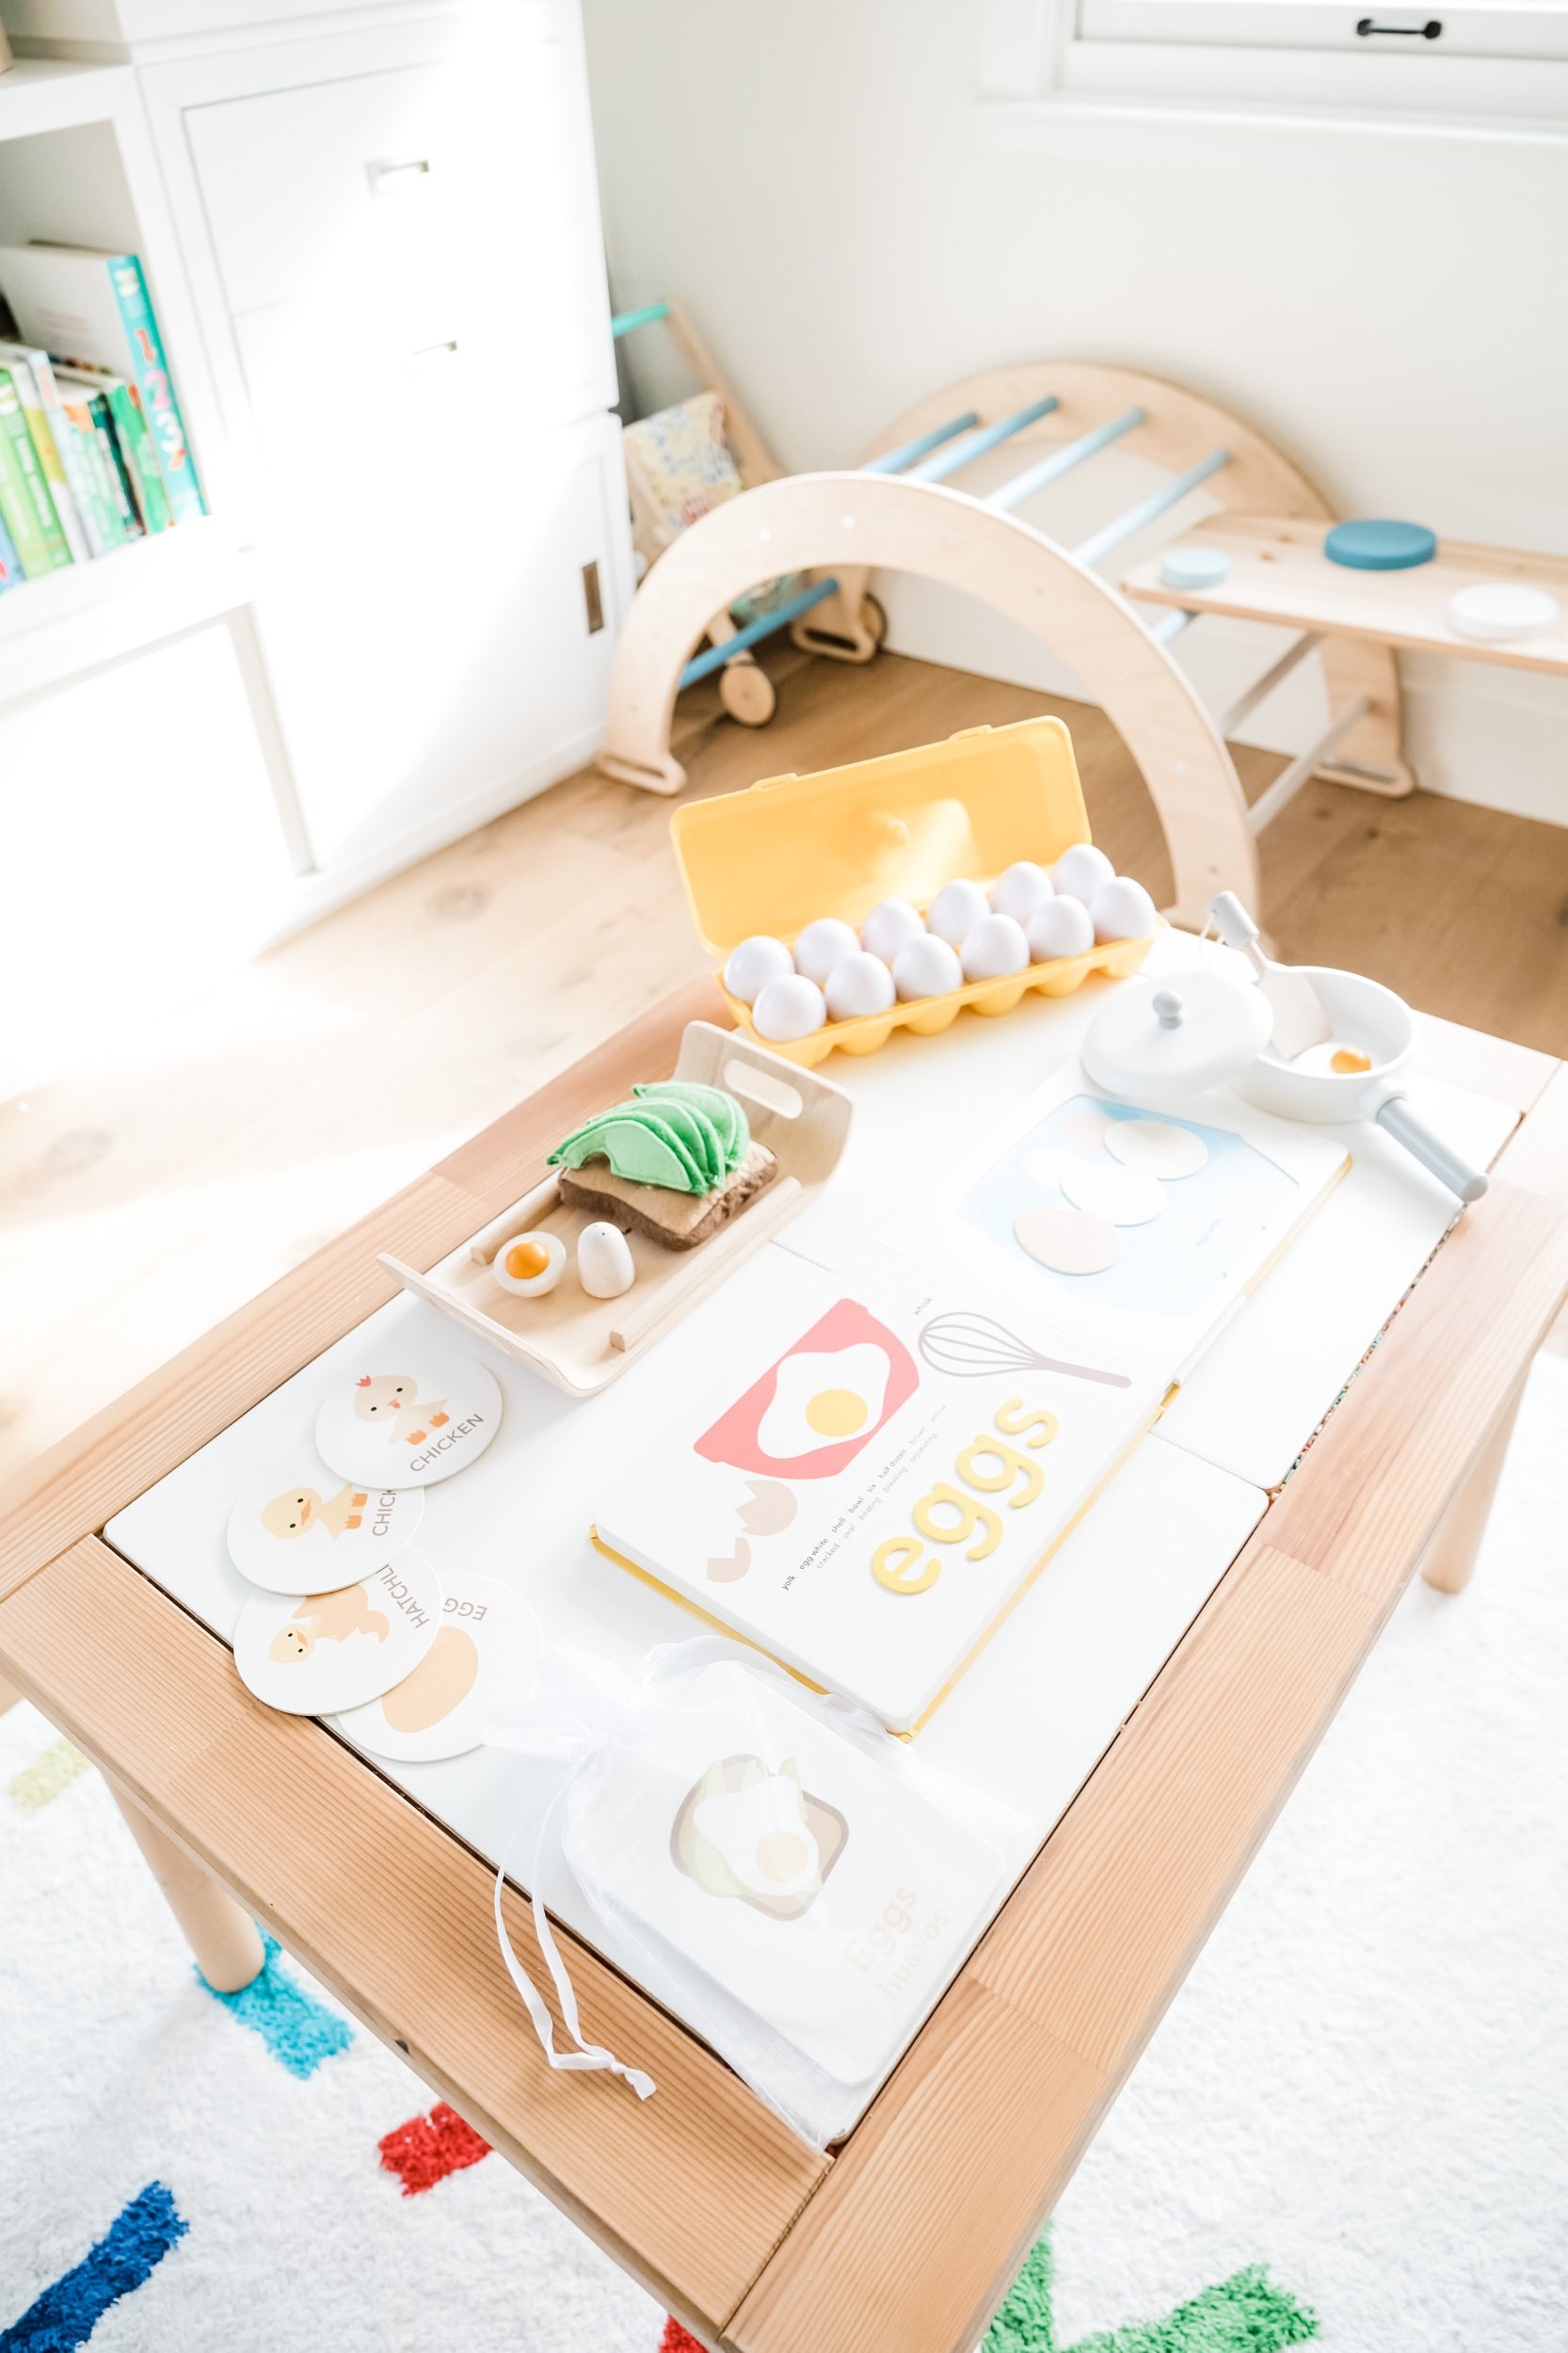
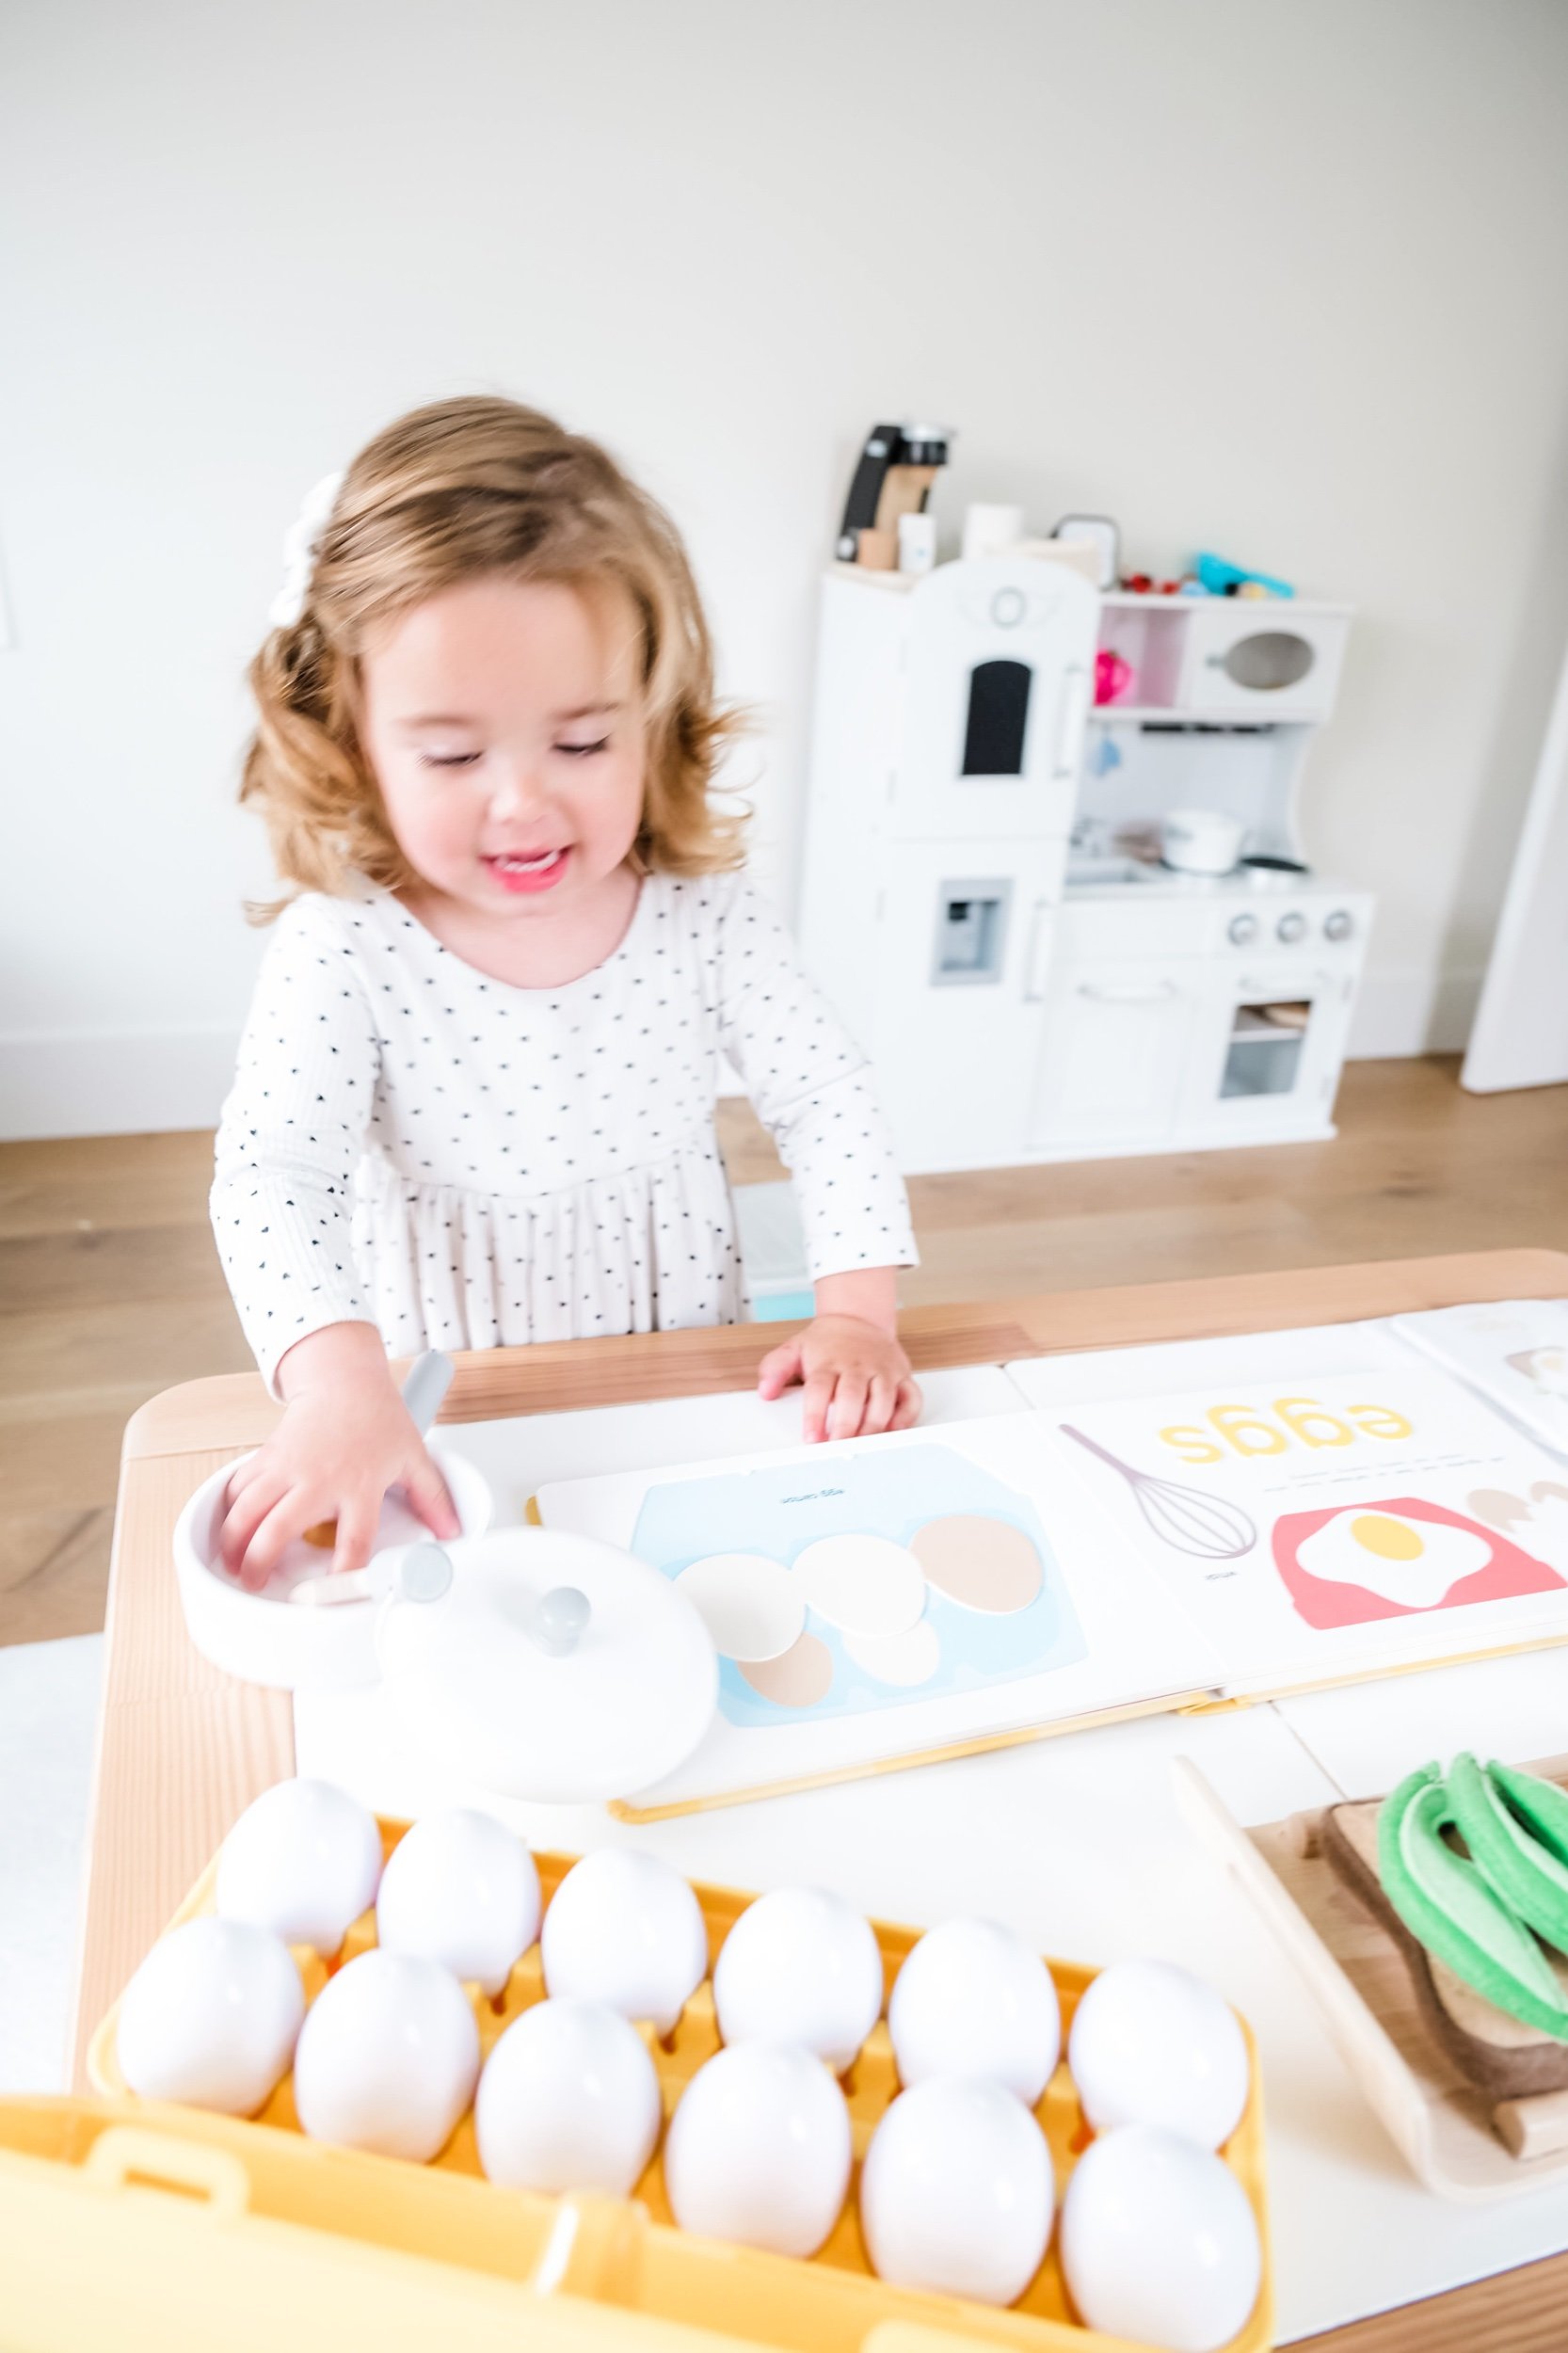
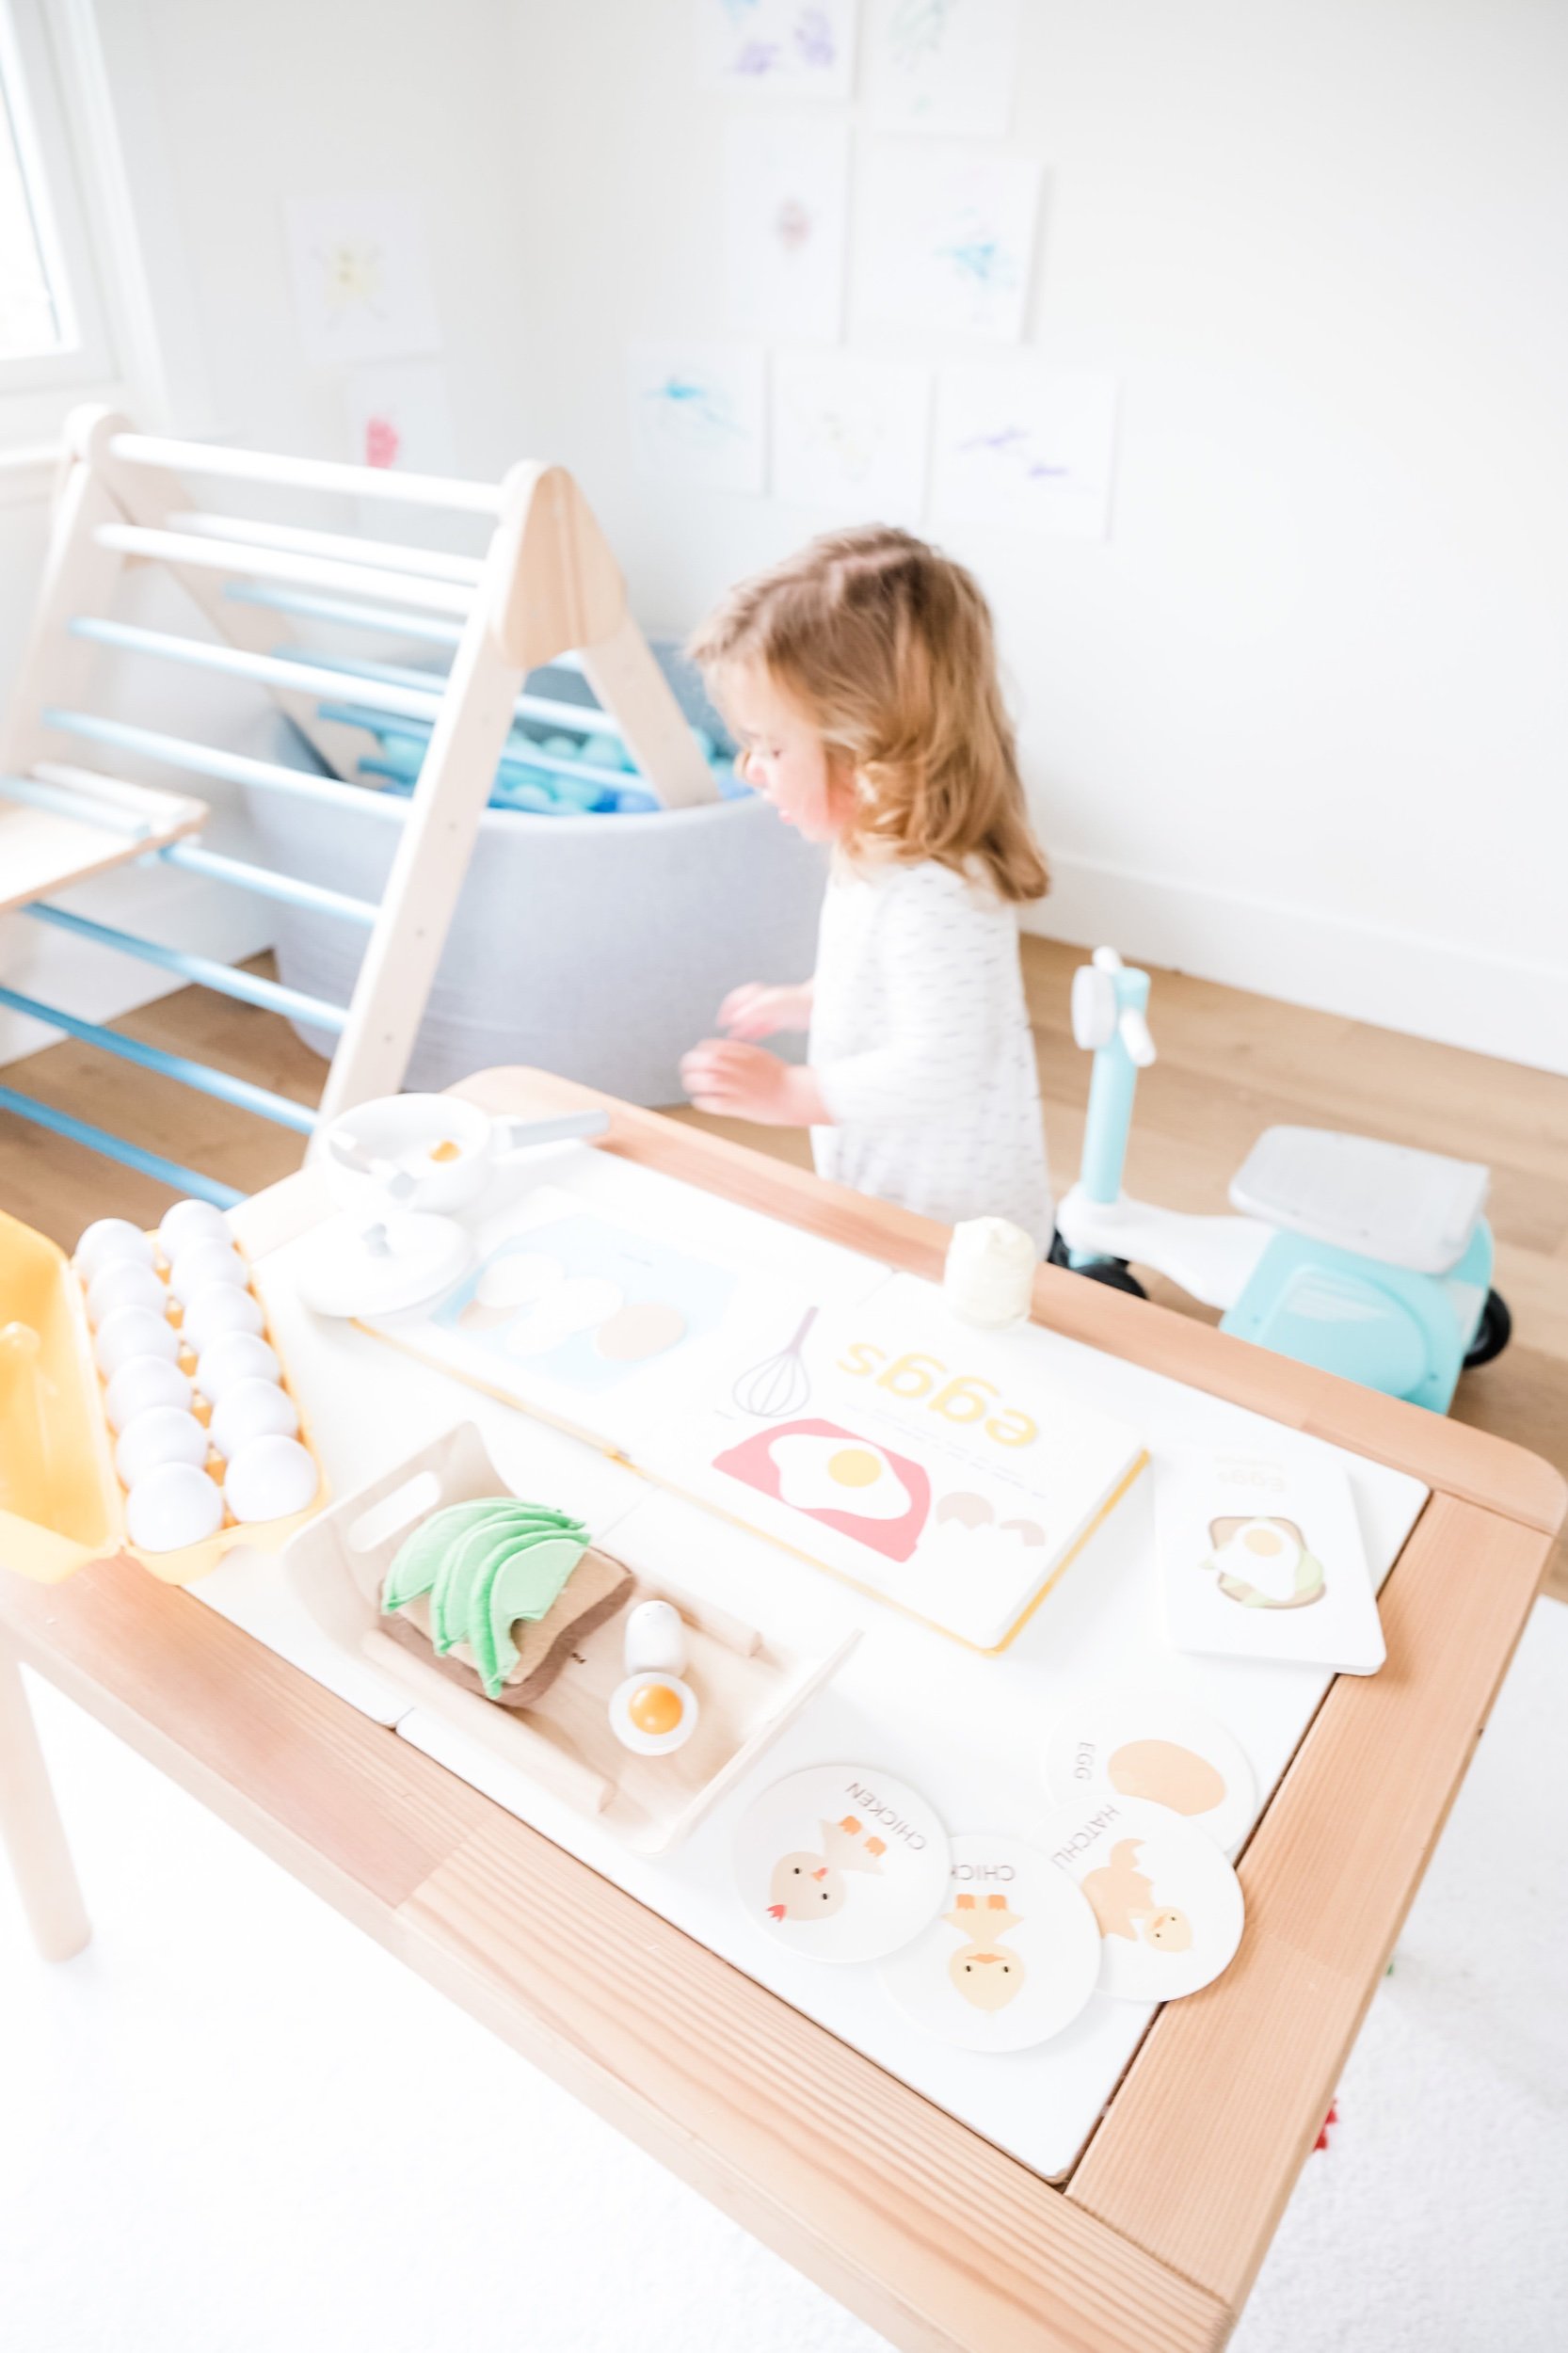
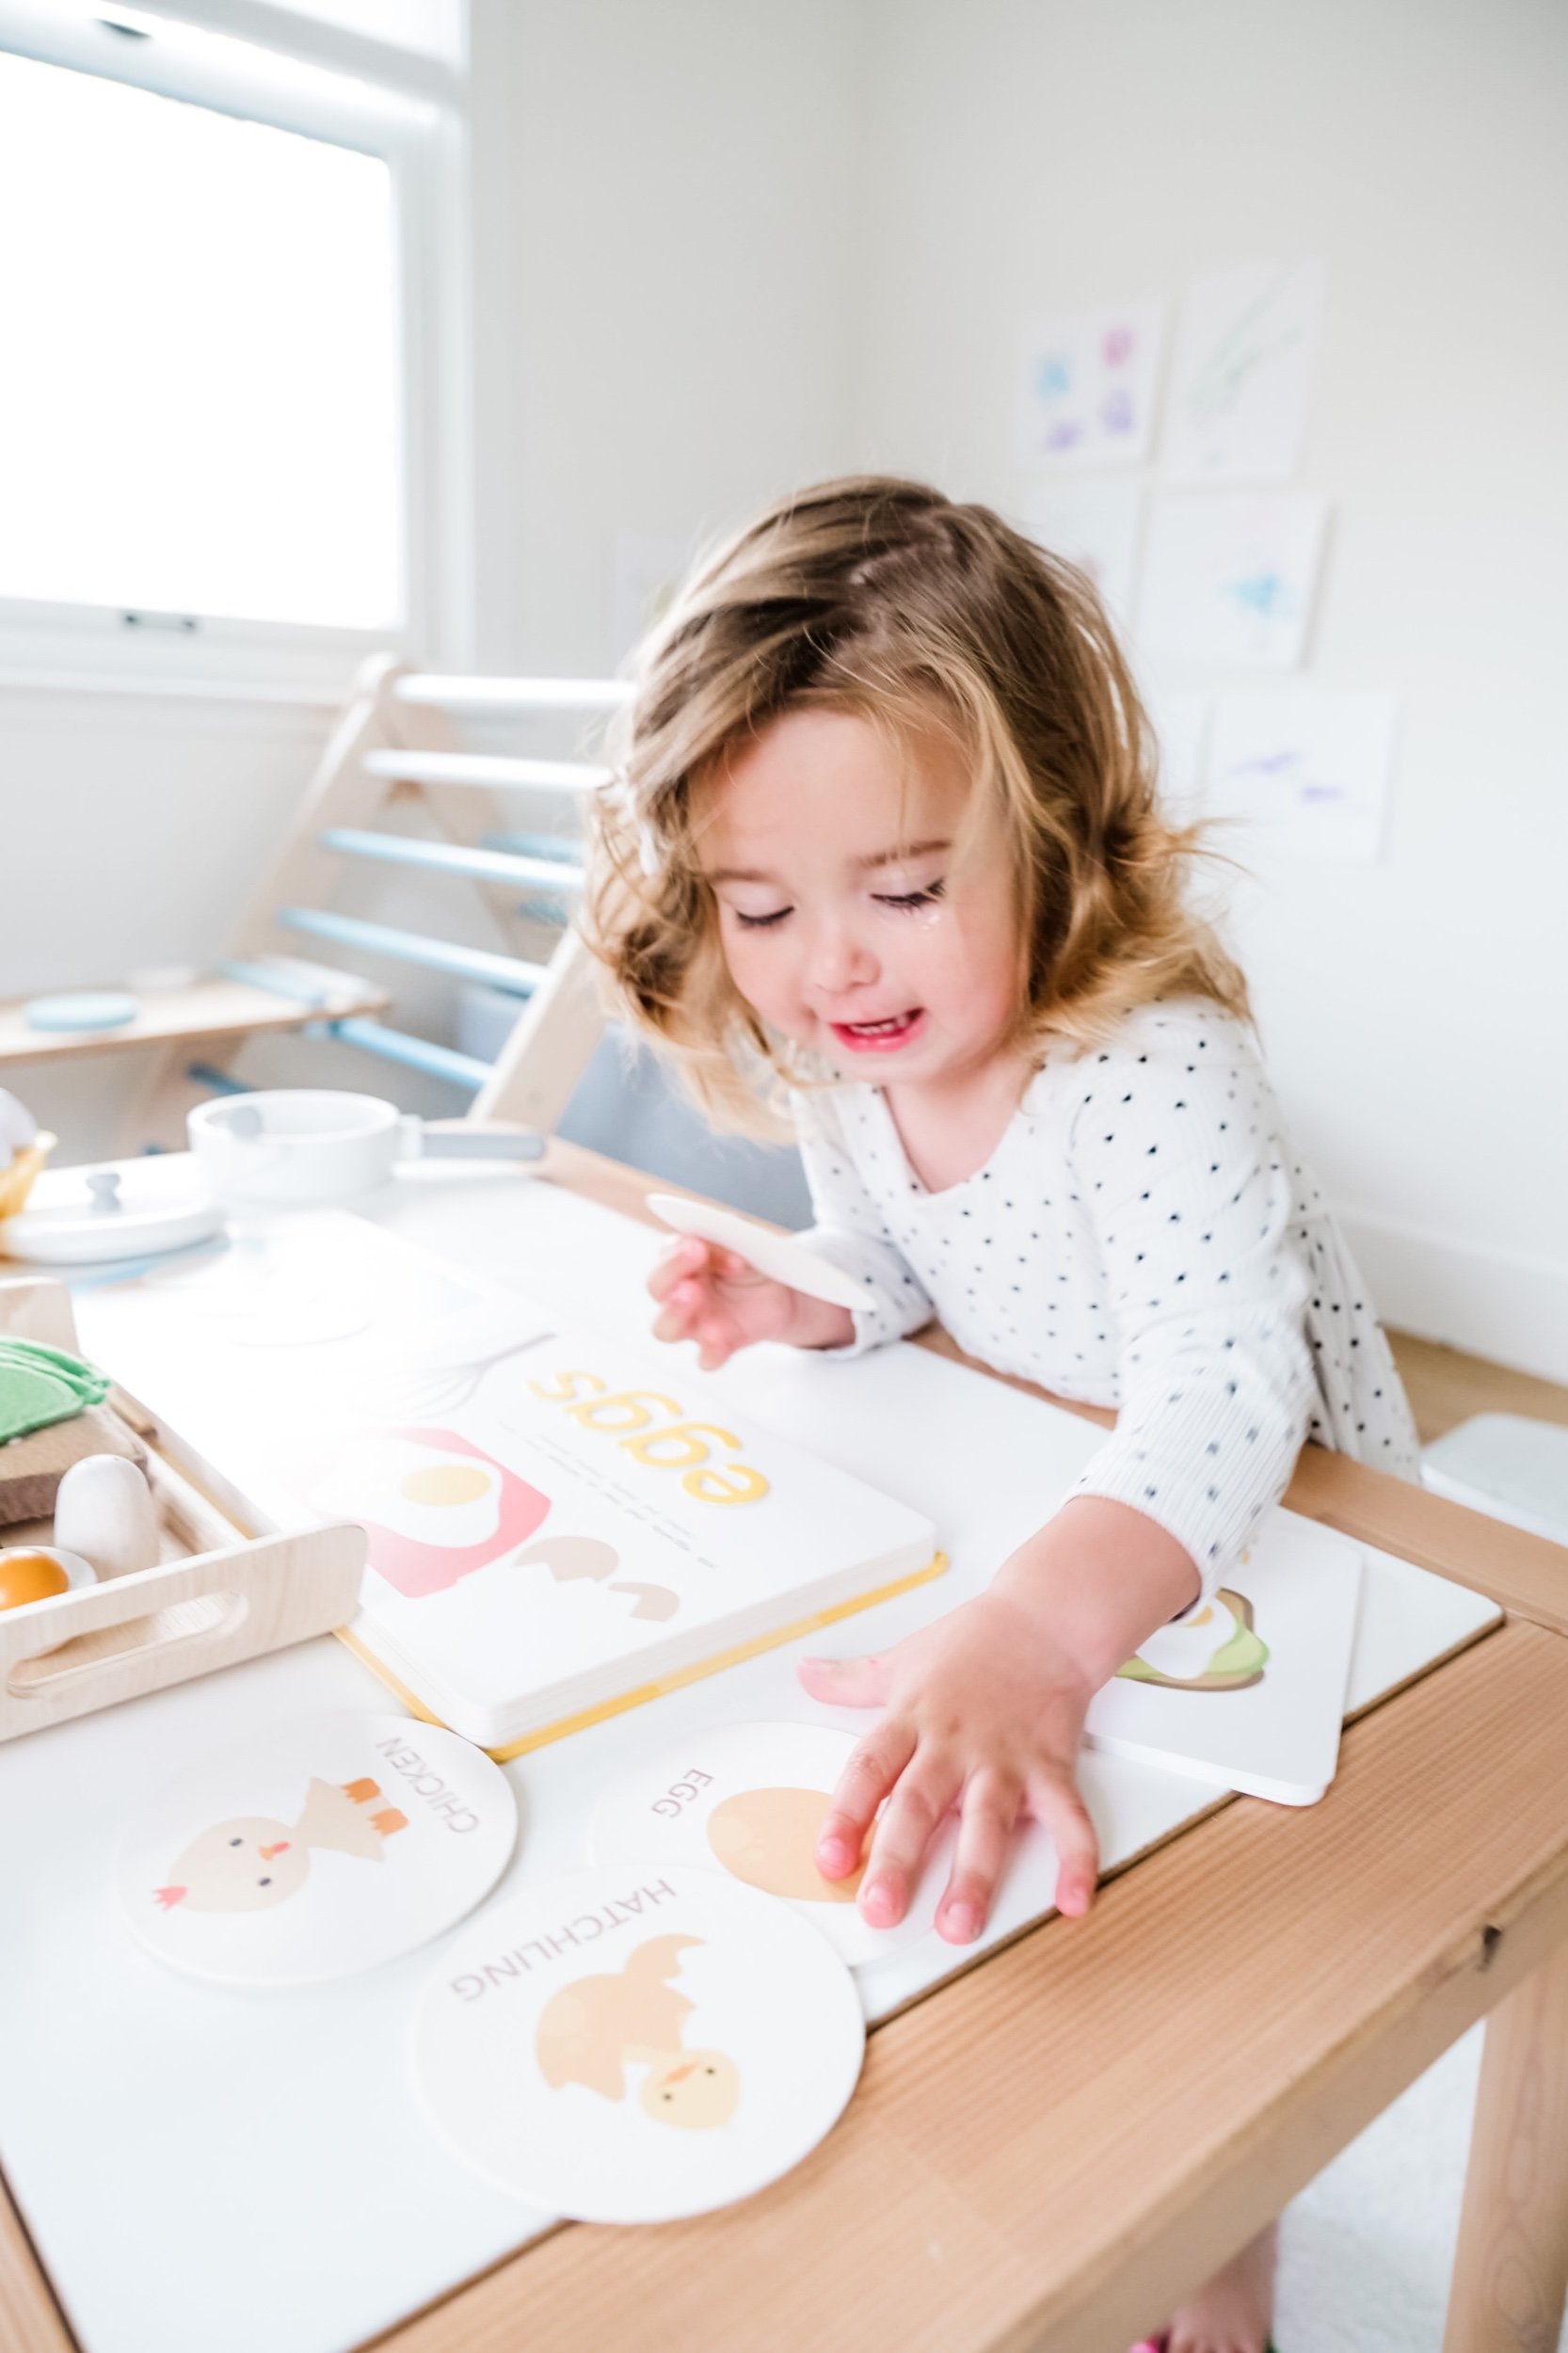
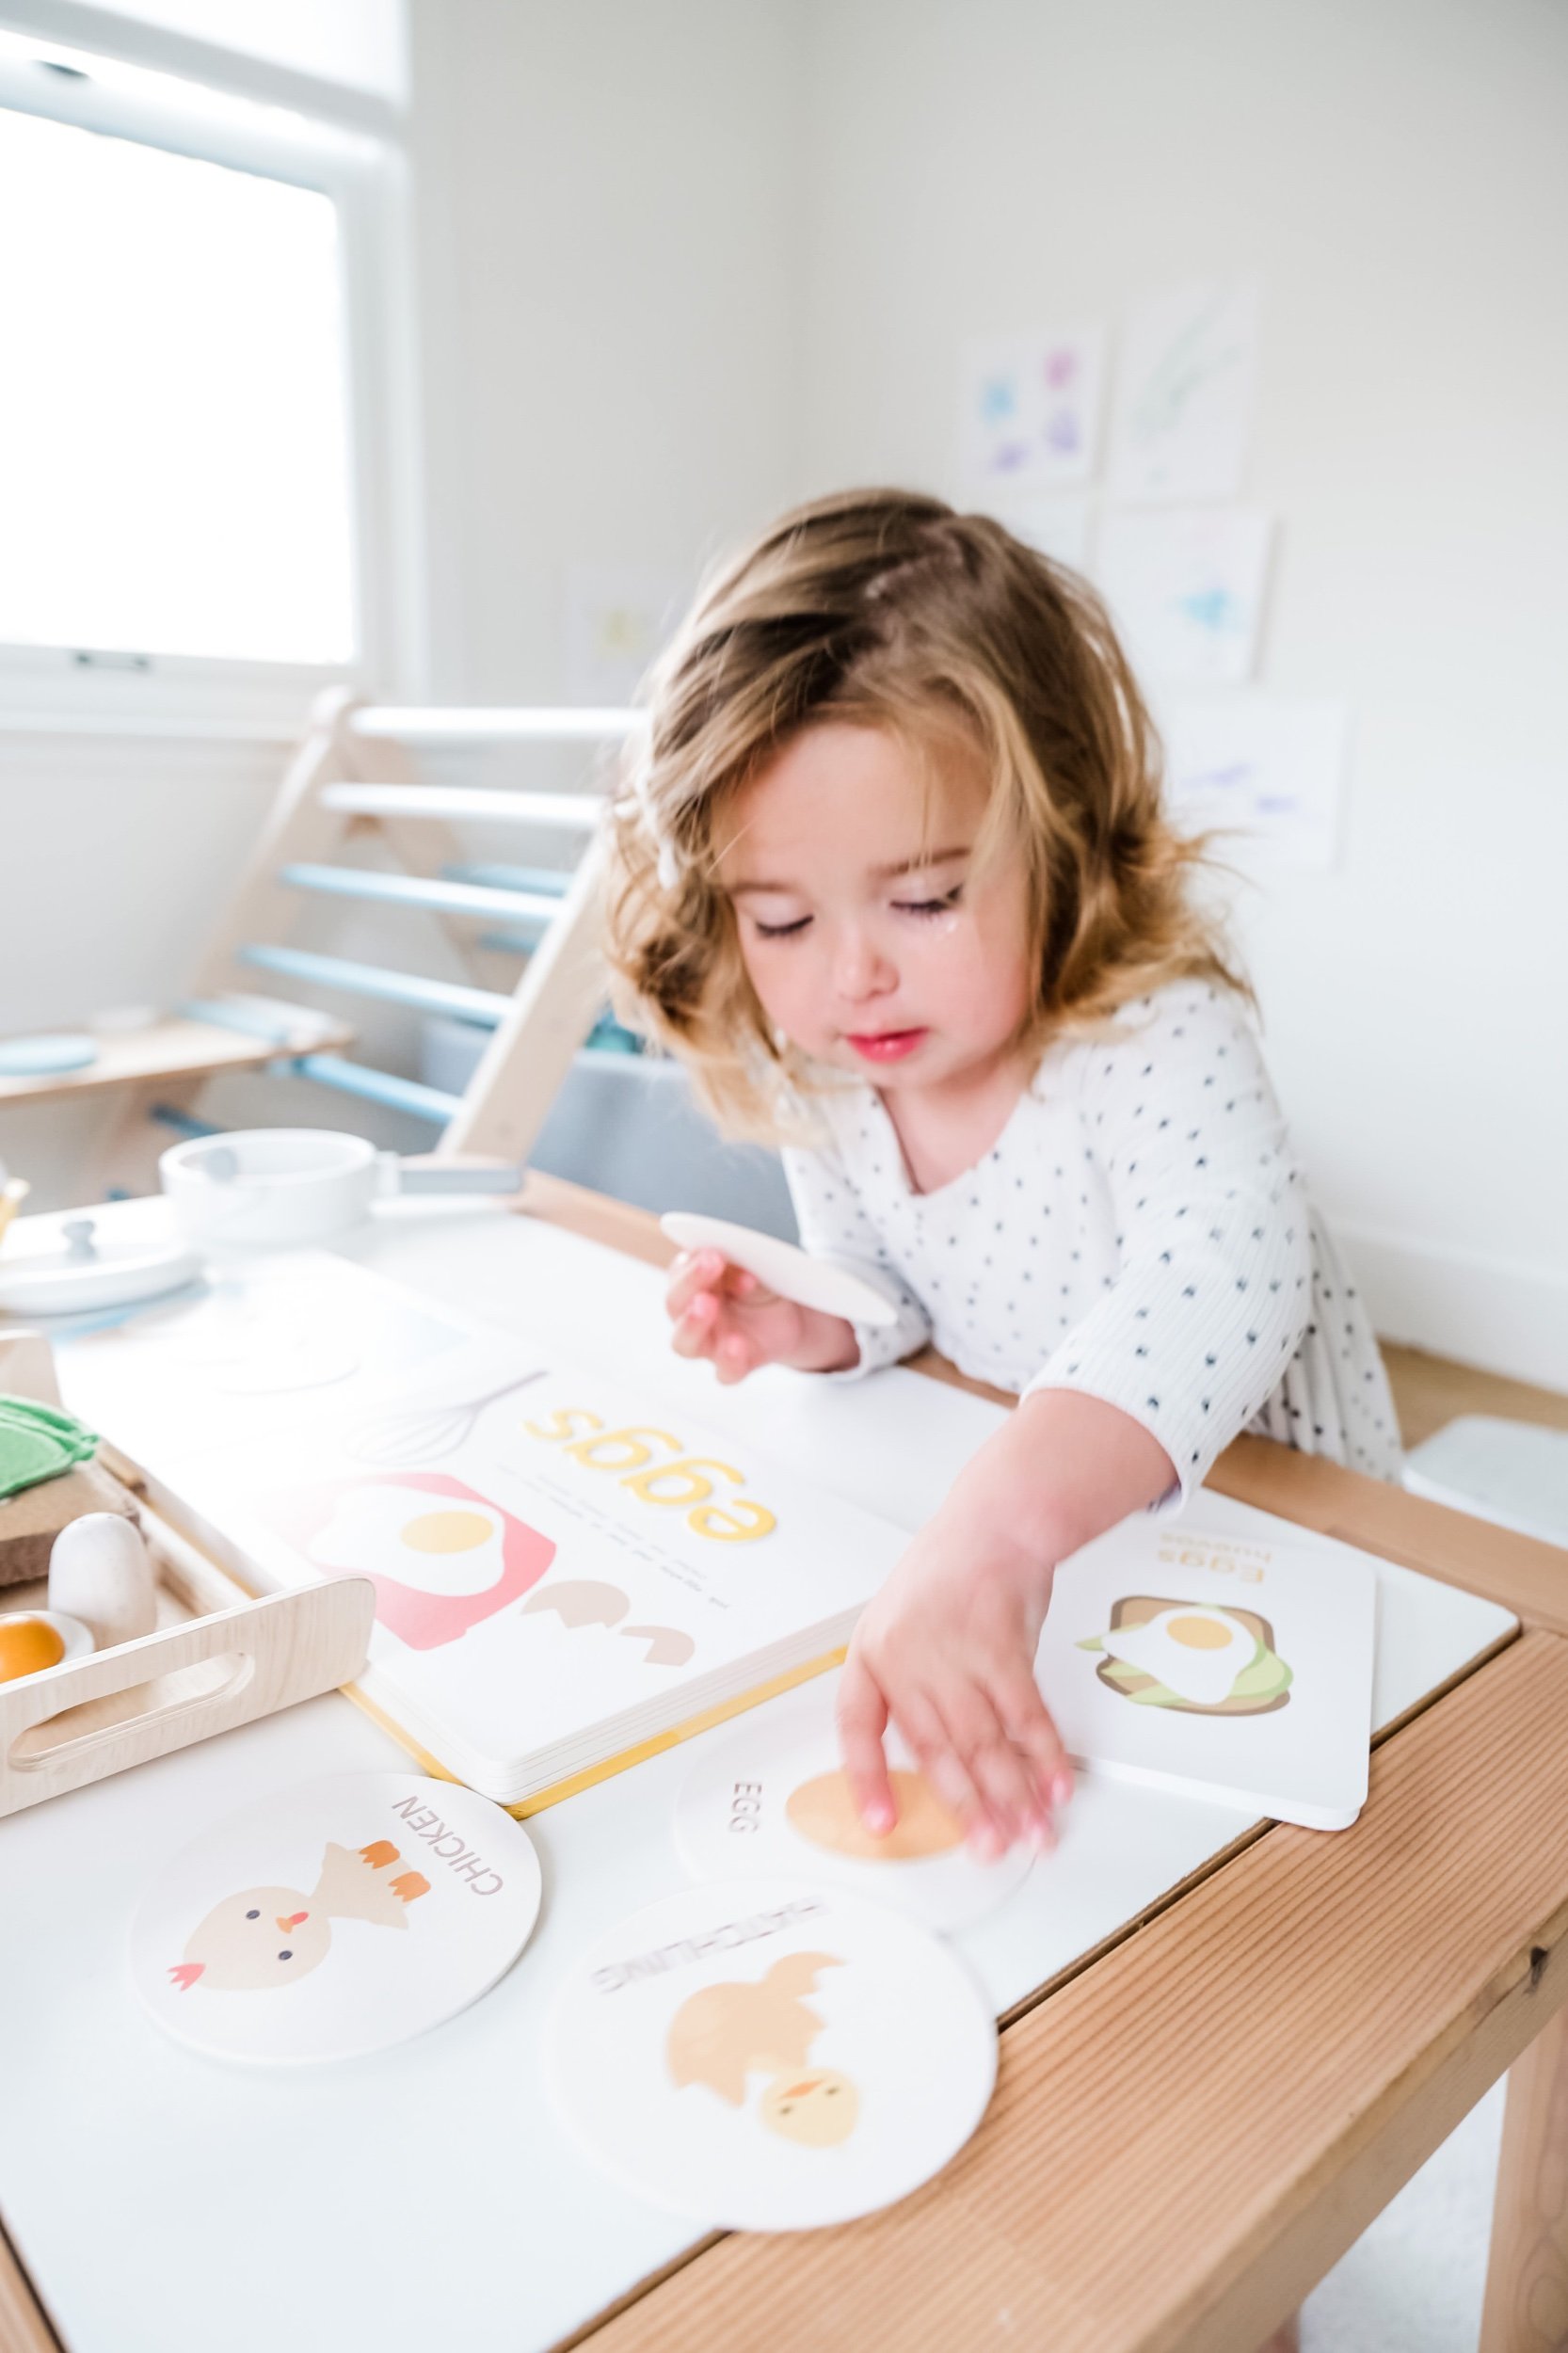
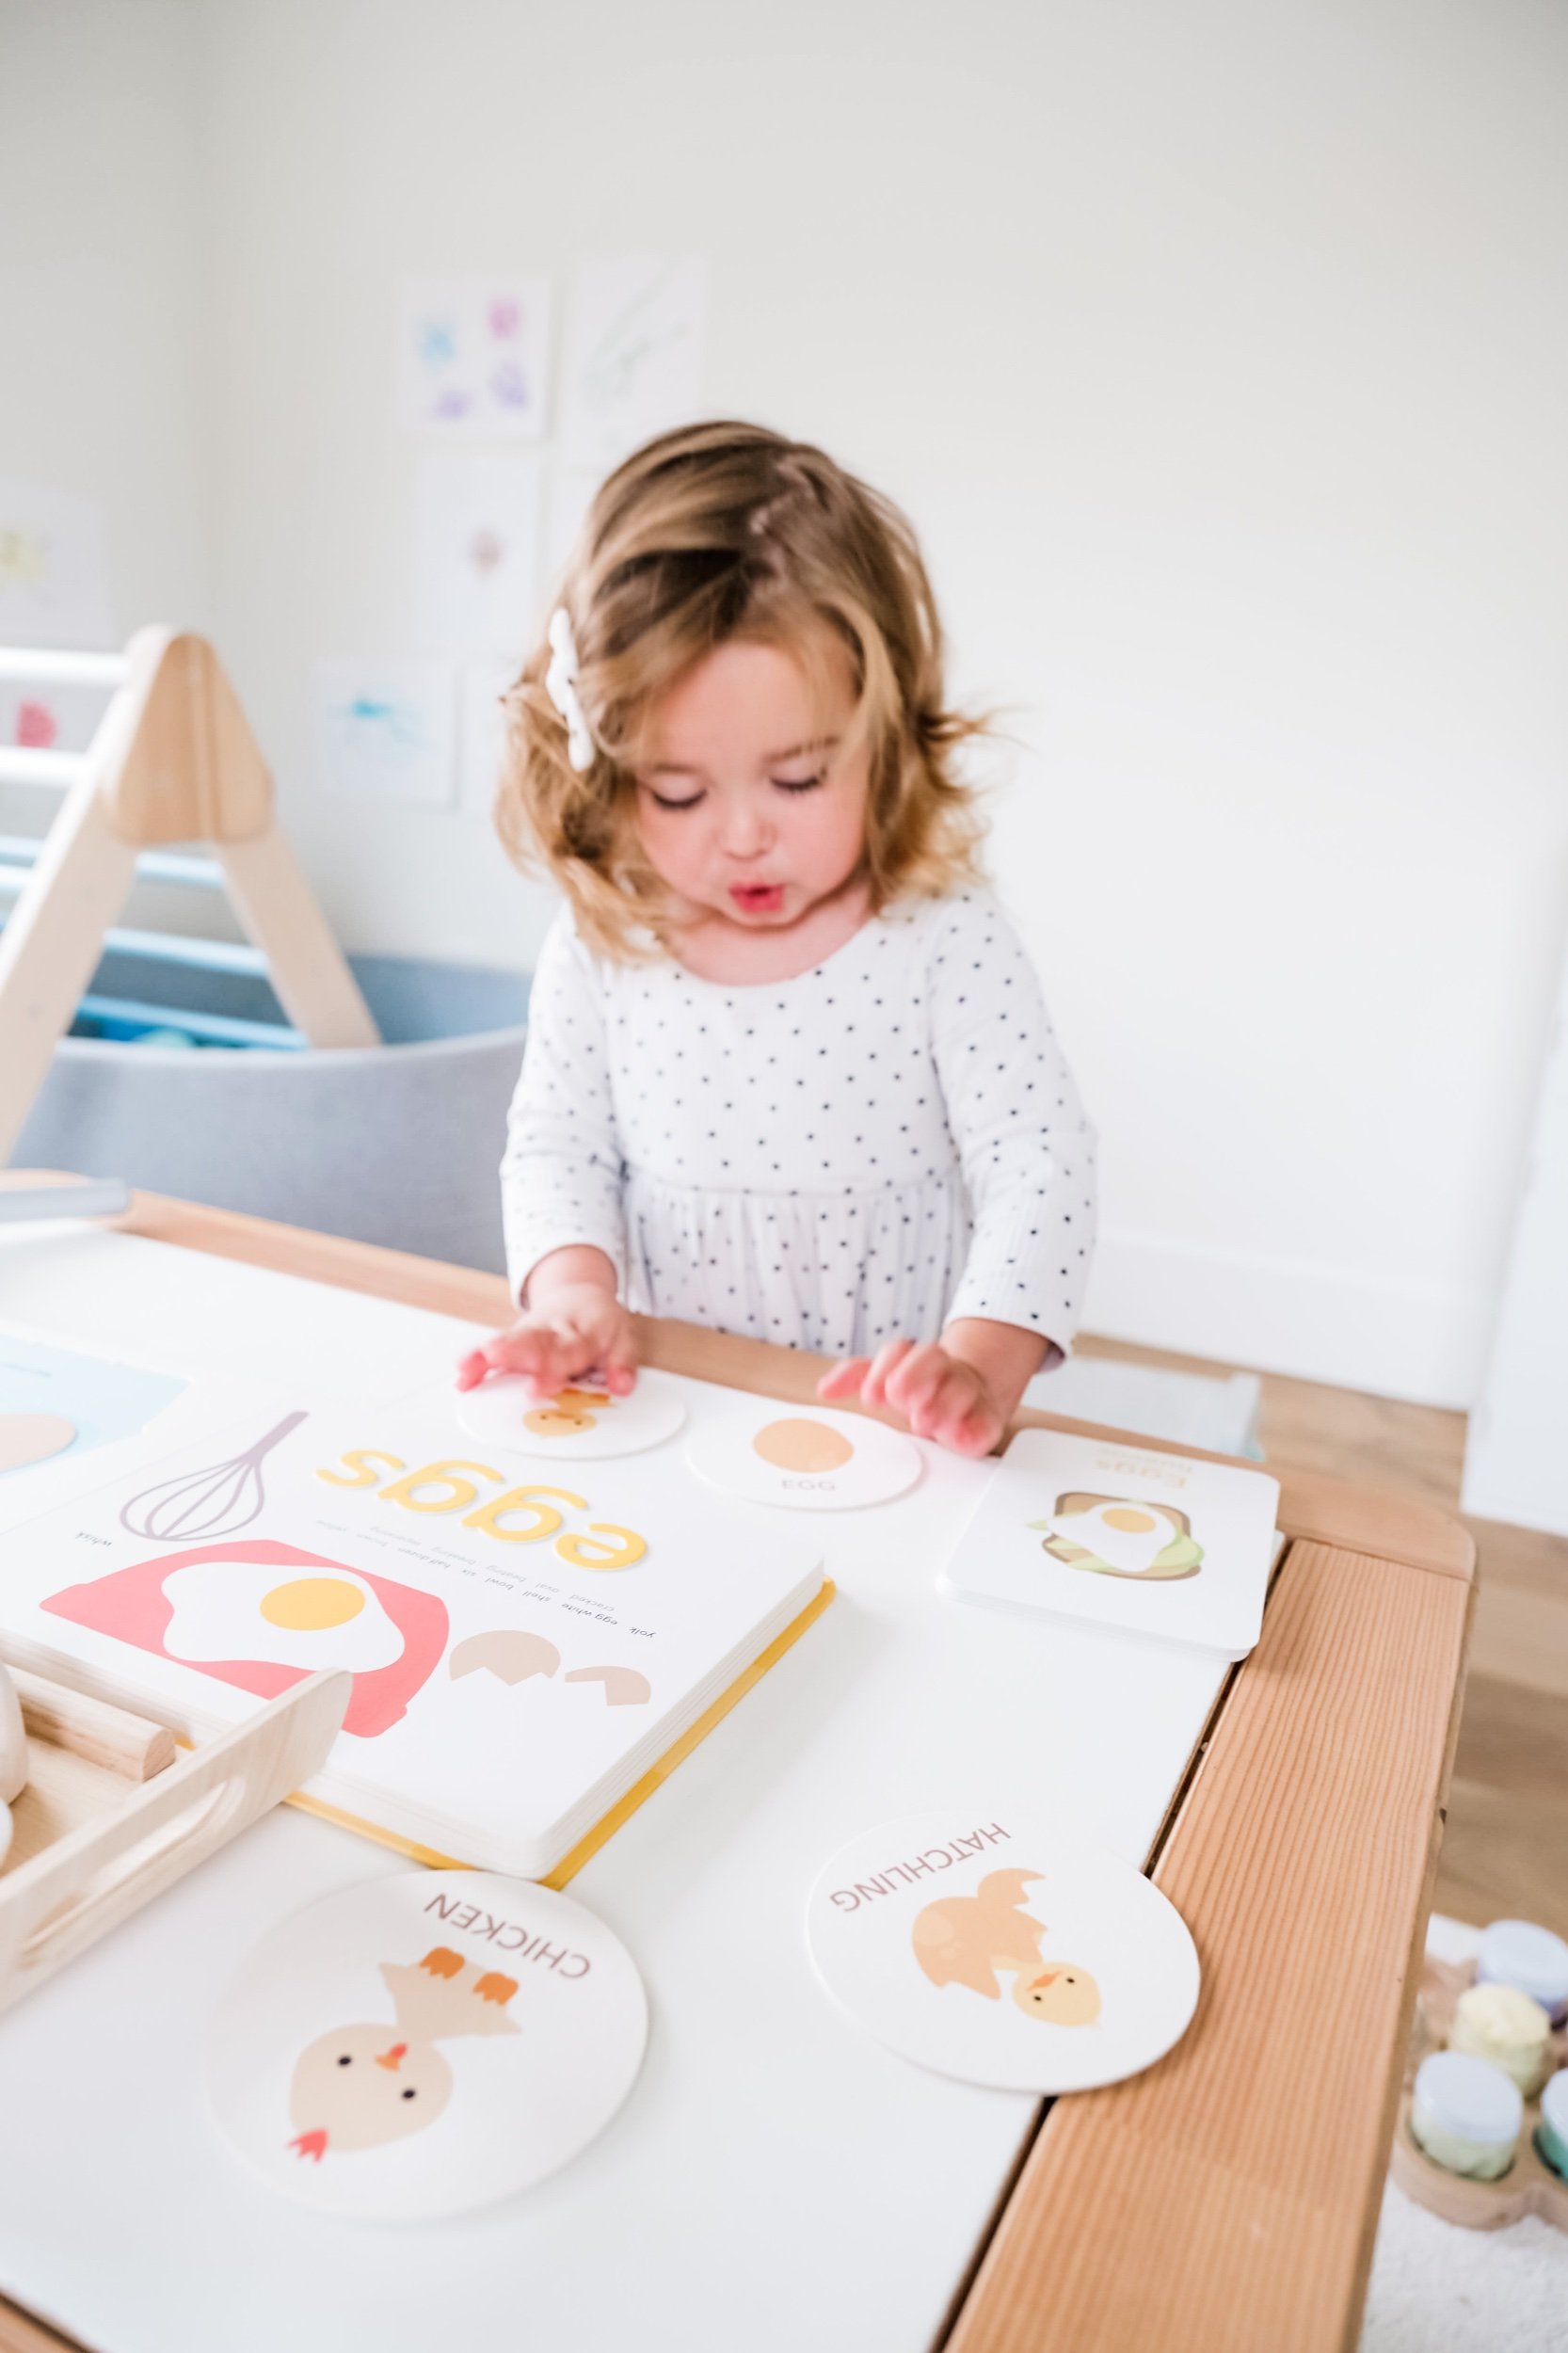
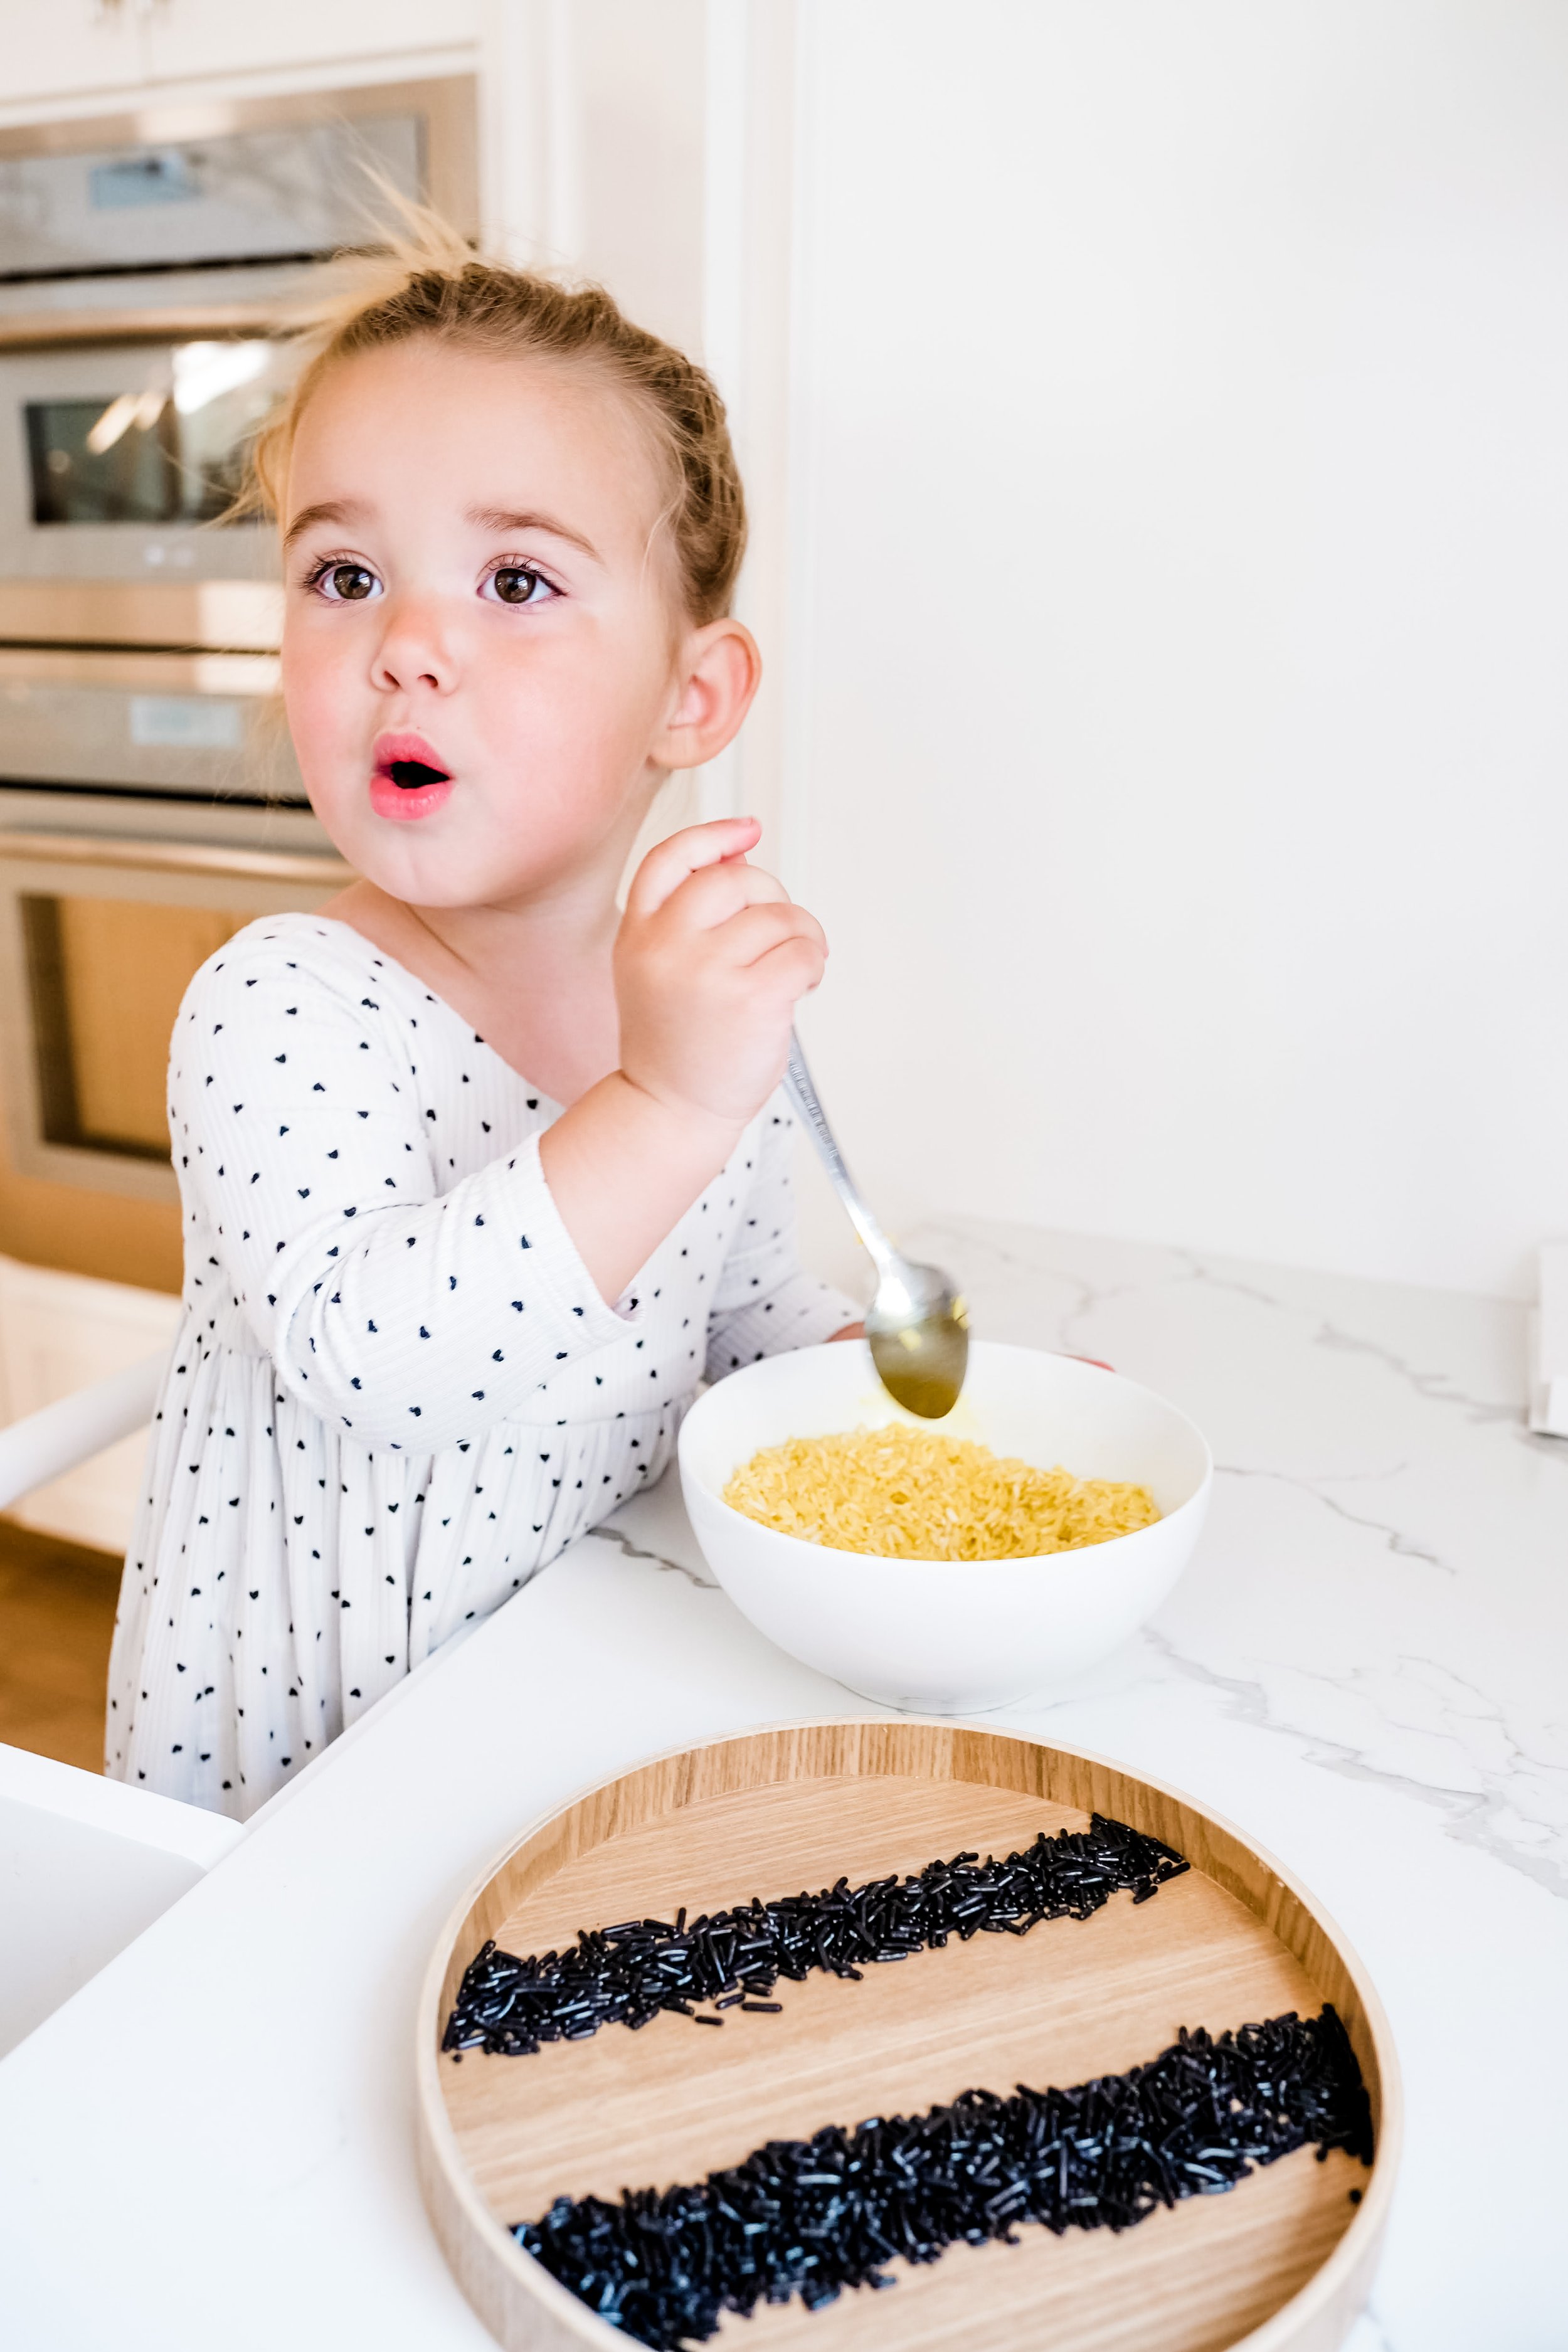
  • Set up your sensory play table with this Melissa & Doug pots and pans set and color flashcards from GoodnightFox. We practiced mixing and color matching and it was so much fun!

    Head over to Instagram.com/GoodnightFox to check out some adorable videos of this activity in action.

IMG_0344.jpeg
IMG_0376.jpeg
IMG_0375.jpeg
IMG_0361.jpeg
IMG_0358.jpeg
IMG_0340.jpeg
IMG_0371.jpeg
IMG_0382.jpeg
IMG_0369.jpeg
IMG_0377.jpeg
IMG_0395.jpeg
IMG_0338.jpeg
IMG_0383.jpeg
IMG_0339.jpeg
IMG_0360.jpeg
IMG_0364.jpeg
IMG_0365.jpeg
IMG_0367.jpeg
IMG_0379.jpeg
IMG_0380.jpeg
IMG_0535.jpeg
IMG_0540.jpeg
IMG_0531.jpeg
IMG_0549.jpeg
IMG_0543.jpeg
IMG_0552.jpeg
IMG_0556.jpeg
IMG_0517.jpeg
IMG_0395.jpeg
IMG_0534.jpeg
IMG_0551.jpeg
IMG_0518.jpeg
IMG_0521.jpeg
IMG_0533.jpeg
IMG_0537.jpeg
IMG_0547.jpeg
IMG_0550.jpeg
IMG_0554.jpeg
IMG_0565.jpeg
Comment

Pirate Play Time

February 21, 2022 Kylie Tuosto

It’s Pirate month over at My PreK Box and I’m so excited to share this amazing play kit. This box came with so many goodies, we still haven’t played with every activity yet. And Sofie keeps asking “Are we going to play with my Pirate activity?” Let me share a little more about what comes in this awesome box!

In the Box:

  • Foam Pirate Ship: Sofie loved building this one and playing with the stick for the sail. It took us a little while to figure out how to put it together properly since neither of us tend to read instructions, but once we got it set up, Sofie had so much fun sailing it around the room. She even took it to the bath with her to float in the water and use it for her lego friends to set sail!

  • Pirate Hat: Sofie thought the Pirate Hat was just hilarious and she enjoyed adding all of the stickers and putting it on me! She made such a cute little pirate don’t you think?

  • Treasure Chest: There’s an awesome card matching treasure chest game which helps kiddos learn counting by the absence of the gems in each box. I’m working so hard with Sofie on counting right now so this was the perfect way to make it more visual for her.

  • Kinetic Sand: This sand jar was definitely a big hit! Sofie loved finding the gems hidden inside and the sand is so fun to play with.

  • Cannon Balls: Sofie loved playing with the little blue tiles and counting them one by one.

  • Treasure Map: This kit comes with a blank treasure map and and entire page of stickers. OMG it was a total hit. Sofie loves stickers but this was even more fun because we got to create the map and identify all of the new words and objects as we went.

Head over to my instagram for more images and videos of this amazing play kit in action! And don’t forget to check out @myprekbox for these awesome monthly subscription kits — you can learn more about the owner Lindsey and her family here. She also has a ton of amazing free printables on her blog and you can learn more about subscription options here.

DSCF0150_Original.jpeg
DSCF0170_Original.jpeg
DSCF0066_Original.jpeg
DSCF0083_Original.jpeg
DSCF0035_Original.jpeg
DSCF0152_Original.jpeg
DSCF0031_Original.jpeg
DSCF0030_Original.jpeg
DSCF0032_Original.jpeg
DSCF0084_Original.jpeg
DSCF0069_Original.jpeg
IMG_1339.jpeg
DSCF0119_Original.jpeg
DSCF0124_Original.jpeg
DSCF0012_Original.jpeg
DSCF0026_Original.jpeg
DSCF0050_Original.jpeg
DSCF0072_Original.jpeg
DSCF0047_Original.jpeg
DSCF0080_Original.jpeg
DSCF0081_Original.jpeg
DSCF0092_Original.jpeg
DSCF0168_Original.jpeg

Farmers Market Play: Sensory Play Setup for Preschoolers

February 17, 2022 Kylie Tuosto

A farmers market themed sensory play setup is a delightful way to introduce preschoolers to the world of fresh produce, healthy eating, and local farming. Sensory play offers numerous benefits for young children, enhancing their cognitive, emotional, and physical development. In this post, we’ll explore the advantages of sensory play and provide detailed instructions for creating three farmers market themed sensory bins: a dried pasta filler bin, a fruits bin using colorful silicone fruits, and a vegetables bin using silicone veggies. These activities incorporate relevant learning topics and offer a fun, interactive experience for preschoolers.

Download & Print

Benefits of Sensory Play for Preschoolers

Sensory play is crucial for preschoolers as it:

  • Enhances cognitive development: Interacting with different textures and materials helps children understand their environment and enhances problem-solving skills.

  • Improves fine motor skills: Handling small objects and manipulating materials improves hand-eye coordination and dexterity.

  • Encourages language development: Describing sensory experiences helps expand vocabulary and communication skills.

  • Supports emotional regulation: Sensory play can be calming and helps children manage emotions and stress.

  • Promotes social interaction: Playing in sensory bins with peers or family members fosters cooperation, sharing, and social bonding.

Gallery Block
These are example images. Double-click here to replace these images with your own content. Learn more
Elit Condimentum
Aenean eu leo Quam
Cursus Amet
Pellentesque Risus Ridiculus
Porta
Etiam Ultricies
Vulputate Commodo Ligula
Elit Condimentum
Aenean eu leo Quam
Cursus Amet
Pellentesque Risus Ridiculus
Porta

3 Farmers Market Themed Sensory Bins for Preschoolers

1. Dried Pasta Filler Bin

Materials Needed:

  • Egg noodles (taste safe)

  • Small scoops and cups

  • Mini burlap sacks or cloth bags

  • Toy scales

  • Small baskets

Instructions:

1. Setup:

  • Fill a large bin with egg noodles to mimic grains.

  • Provide small scoops, cups, mini burlap sacks, and cloth bags for scooping and pouring.

  • Include toy scales and small baskets for added play.

2. Interactive Play:

  • Encourage children to scoop and pour the noodles, pretending they are grains.

  • Use the scales to weigh the grains and fill the sacks and baskets.

Learning Topics:

  • Discuss different types of grains and their uses.

  • Introduce basic concepts of measurement and weight.

  • Talk about the importance of grains in a healthy diet.

Gallery Block
These are example images. Double-click here to replace these images with your own content. Learn more
Vulputate Commodo Ligula
Elit Condimentum
Aenean eu leo Quam
Cursus Amet
Pellentesque Risus Ridiculus
Porta
Etiam Ultricies
Vulputate Commodo Ligula
Elit Condimentum
Aenean eu leo Quam
Cursus Amet
Pellentesque Risus Ridiculus

2. Fruits Bin Using Silicone Colorful Fruits

Materials Needed:

  • Silicone colorful fruits from @Nuggbutts

  • Small baskets and crates

  • Toy cash register

  • Play money

  • Small reusable shopping bags

Instructions:

1. Setup:

  • Fill a large bin with the silicone colorful fruits from @Nuggbutts

  • Provide small baskets and crates for sorting and displaying the fruits.

  • Include a toy cash register, play money, and small reusable shopping bags.

2. Interactive Play:

  • Encourage children to sort and organize the fruits in the baskets and crates.

  • Use the toy cash register and play money for pretend shopping.

  • Allow children to fill the reusable shopping bags with their chosen fruits.

Learning Topics:

  • Discuss different types of fruits and their nutritional benefits.

  • Introduce concepts of sorting and categorizing.

  • Talk about the process of shopping and exchanging money.

Gallery Block
These are example images. Double-click here to replace these images with your own content. Learn more
Cursus Amet
Pellentesque Risus Ridiculus
Porta
Etiam Ultricies
Vulputate Commodo Ligula
Elit Condimentum
Aenean eu leo Quam
Cursus Amet
Pellentesque Risus Ridiculus
Porta
Etiam Ultricies
Vulputate Commodo Ligula

3. Vegetables Bin Using Silicone Veggies

Materials Needed:

  • Silicone veggies from @Nuggbutts

  • Small gardening tools (toy spades, rakes)

  • Mini pots and trays

  • Small watering cans

  • Toy market stand (optional)

Instructions:

1. Setup:

  • Fill a large bin with the silicone veggies from @Nuggbutts.

  • Provide small gardening tools, mini pots, and trays for planting and organizing the veggies.

  • Include small watering cans for pretend watering.

  • Set up a toy market stand if available.

2. Interactive Play:

  • Encourage children to use the gardening tools to plant and organize the veggies in the pots and trays.

  • Use the watering cans for pretend watering of the plants.

  • Allow children to set up a market stand and "sell" their veggies.

Learning Topics:

  • Discuss different types of vegetables and their health benefits.

  • Introduce concepts of planting and gardening.

  • Talk about the farm-to-table process and the importance of fresh produce.

A farmers market themed sensory play setup is a perfect way to engage preschoolers in a fun and educational activity. These themed sensory bins not only provide endless entertainment but also promote important developmental skills. By creating these sensory bins, you can introduce young children to the fundamentals of healthy eating, farming, and local markets. These hands-on experiences will help foster a love of fresh produce and create lasting memories.

Gallery Block
These are example images. Double-click here to replace these images with your own content. Learn more
Etiam Ultricies
Vulputate Commodo Ligula
Elit Condimentum
Aenean eu leo Quam
Cursus Amet
Pellentesque Risus Ridiculus
Porta
Etiam Ultricies
Vulputate Commodo Ligula
Elit Condimentum
Aenean eu leo Quam
Cursus Amet

25 Farmer’s Market Vocabulary Words for Preschoolers

  1. 1. Farmers Market

  2. 2. Grains

  3. 3. Egg Noodles

  4. 4. Scooping

  5. 5. Pouring

  6. 6. Weighing

  7. 7. Fruits

  8. 8. Vegetables

  9. 9. Sorting

  10. 10. Categorizing

  11. 11. Shopping

  12. 12. Cash Register

  13. 13. Play Money

  14. 14. Baskets

  15. 15. Crates

  16. 16. Gardening

  17. 17. Planting

  18. 18. Watering

  19. 19. Market Stand

  20. 20. Nutritional Benefits

  21. 21. Farm-to-Table

  22. 22. Fresh Produce

  23. 23. Healthy Eating

  24. 24. Local Farming

  25. 25. Preschool Activities

Engage your preschoolers in these exciting farmers market play activities and watch them learn and grow while having fun! Also featured in this playroom setup are of course the fabulous IKEA Flisat Table including the IKEA Skadis Peg Board Attachment, IKEA Felt Food, and the awesome little Wooden Cash Register.

IMG_1874.jpeg
IMG_1916.jpeg
IMG_1873.jpeg
IMG_1866.jpeg
IMG_1910.jpeg
IMG_1900.jpeg
IMG_1847.jpeg
IMG_1896.jpeg
IMG_1844.jpeg
IMG_1904.jpeg
IMG_1892.jpeg
IMG_1878.jpeg
IMG_1846.jpeg
IMG_1850.jpeg
IMG_1855.jpeg
IMG_1860.jpeg
IMG_1863.jpeg
IMG_1886.jpeg
IMG_1894.jpeg
IMG_1897.jpeg
IMG_1898.jpeg
IMG_1901.jpeg
IMG_1902.jpeg
IMG_1903.jpeg
IMG_1906.jpeg
IMG_1907.jpeg
IMG_1909.jpeg
IMG_1908.jpeg
IMG_1918.jpeg
IMG_1919.jpeg
IMG_6654.jpeg
CF7B3618-06E8-4C8C-BCE7-97A3D346D805.jpeg
589C548C-45AF-4114-9E6B-EB641517B762.jpeg
95658114-64F8-437E-9295-6A3C2F25BDC5.jpeg
DSCF9280.jpeg
IMG_6655.jpeg
1CE05498-470B-4770-99DB-4BEDD9B41B4B.jpeg
Order List Copy 8.jpeg
Order List Copy 7.jpeg
Order List Copy 9.jpeg
Order List Copy 4.jpeg
Order List Copy 11.jpeg

St. Patrick's Day Sensory Bin

February 15, 2022 Kylie Tuosto

With St. Patty’s Day coming up, I thought it would be the perfect time to create this little ombre green rice & cereal activity bin! My sister in law recommended this awesome cereal called Magic Spoon which has healthy versions of all your old school favorites (like Fruit Loops and Cheerios) which I used for this sensory bin. Sofie loves this cereal so they made the perfect little “coins” to go with our green money rice! I also designed these adorable little Money Flash Cards to start teaching her about money, coins, and currency. She loves using her cash register and her little Lovevery Coin Box and loves to put the coins in the box so this made for the perfect St. Patrick’s Day themed activity. Also, if you haven’t check out this amazing little compartment tray, it’s so perfect for toddler sensory play and color sorting.

IMG_1644.jpeg
IMG_1658.jpeg
IMG_1654.jpeg
IMG_1645.jpeg
IMG_1642.jpeg
IMG_1605.jpeg
IMG_1666.jpeg
IMG_1607.jpeg
IMG_1606.jpeg
IMG_1665.jpeg
IMG_1659.jpeg
IMG_1655.jpeg
IMG_1657.jpeg
IMG_1650.jpeg
IMG_1649.jpeg
IMG_1662.jpeg
IMG_1640.jpeg
IMG_1651.jpeg
IMG_1652.jpeg
IMG_1653.jpeg

Felt wool ball color sorting

February 9, 2022 Kylie Tuosto
Child playing with wool balls sorting with color cards

Color sorting activities are a great way to introduce young children to the world of colors and shapes. These activities not only provide a fun and engaging way for toddlers to learn, but they also offer a variety of benefits to their early education.

One of the main benefits of color sorting activities is that they help to develop a child's fine motor skills. Sorting and matching small objects requires the use of small muscle movements, which helps to improve hand-eye coordination and dexterity. This can be especially beneficial for children who are just learning how to use a pencil or scissors.

Another benefit of color sorting activities is that they help to improve a child's cognitive development. Sorting and matching objects by color requires children to use their problem-solving skills and think logically. This type of activity helps to develop a child's ability to categorize, compare and contrast, and make predictions.

Color sorting activities are also a great way to teach children about the different colors and their names. By sorting and matching objects by color, children can learn to identify and name different colors, which is an important foundation for learning in other areas such as reading and math.

In addition, our Color Sorting Flashcards are specially designed to make the learning experience more fun and engaging for your toddler. These cards are made of durable and thick cardstock, coated with a matte slobber-resistant coating that makes it easy to wipe and clean. These cards are built to last and will provide countless hours of learning and fun for your child.

In conclusion, color sorting activities are a great way to introduce your toddler to the world of colors and shapes, helping to improve their fine motor skills, cognitive development, problem-solving skills and color recognition. Our Color Sorting Flashcards are the perfect tool for this type of activity, providing a fun and engaging learning experience for your child. Order your set today and give your toddler the gift of learning!

Shop Color Flashcards
IMG_1078.jpeg
IMG_1060.jpeg
IMG_1074.jpeg
IMG_1092.jpeg
IMG_1076.jpeg
IMG_1071.jpeg
IMG_1087.jpeg
IMG_1083.jpeg
IMG_1067.jpeg
IMG_1061.jpeg
IMG_1056.jpeg
Child playing with wool balls sorting with color cards

Lesson Plan: Colors of the Rainbow

Duration: 1 week (5 days)

Age: Preschoolers (3-5 years old)

Objective:

  • Students will be able to identify and name the colors of the rainbow.

  • Students will be able to sort objects by color.

Day 1: Introduction to the Colors of the Rainbow

  • Introduce the colors of the rainbow (red, orange, yellow, green, blue, indigo, violet) to the students using flashcards or pictures.

  • Have students repeat the names of the colors and point to the corresponding color on the flashcards or pictures.

  • Introduce the color sorting activity and explain that the students will be sorting objects by color throughout the week.

Day 2: Sorting Red Objects

  • Provide the students with a variety of red objects (examples: red apples, red crayons, red balls, etc.).

  • Have the students sort the objects by color and place them in a red bin or container.

  • Review the name of the color and have the students repeat it.

Day 3: Sorting Orange Objects

  • Provide the students with a variety of orange objects (examples: orange slices, orange crayons, orange balls, etc.).

  • Have the students sort the objects by color and place them in an orange bin or container.

  • Review the name of the color and have the students repeat it.

Day 4: Sorting Yellow Objects

  • Provide the students with a variety of yellow objects (examples: yellow lemons, yellow crayons, yellow balls, etc.).

  • Have the students sort the objects by color and place them in a yellow bin or container.

  • Review the name of the color and have the students repeat it.

Day 5: Review and Assessment

  • Review the colors of the rainbow by having the students point to the corresponding color on flashcards or pictures.

  • Have the students sort a mixed bag of objects by color and place them in the correct bin or container.

  • Assess the students' understanding of the colors of the rainbow and their ability to sort objects by color.

Note: Repeat the above steps for the rest of the colors of the rainbow (green, blue, indigo, and violet) in the next week or as per the schedule.

Note: The above lesson plan is a general guide and can be modified to suit the needs and abilities of your students. It is also important to keep in mind that preschoolers learn best through hands-on activities, so make sure to provide plenty of opportunities for them to explore and manipulate materials.

Tags color sorting, color balls, felt ball sorting, wool balls, montessori toddler, education, preschool, toddler activities, toddler play, preschool resources, preschool fun, preschool activities

Rainbow Playroom

February 6, 2022 Kylie Tuosto

If you’re on the hunt for inspiration for your Pinterest perfect playroom you’ve come to the right place! I’ve spent countless hours scouring the web for the perfect playroom inspiration and I’ve finally noted it all down here so that hopefully I can save you some time in designing your own playroom. This rainbow themed playroom is Montessori inspired, design for fun and play, and organized so that you can always find the toys you need. Now let’s just into some tips and tricks!

And if you just want links to everything here scroll to the bottom!

Tip 1: start with the storage

If you’re already a mom you know that toys get out of control fast. Between gifts from friends, toy subscriptions (Lovevery parents over where!) and holidays and birthdays, the collection grows faster than you likely have space for. So first and foremost, I recommend starting your room design with storage you can use to organize the bits and bobs and loose pieces that will otherwise end up scattered everywhere. I started with these amazing shelving units from Crate and Barrel called Aspect Modular. They don’t make them anymore, but I’m sure you can find some on Facebook Marketplace or in outlet stores. I love these because they combine open and closed storage. This allows toys and books to be accessible to kiddos, but also give your room to hide things away in drawers and cabinets.

I get compliments on these shelves all of the time and the main difference between these and shelves from IKEA for example are that the closed units provide a reprieve of what space which makes the overall aesthetic less cluttered feeling bright and white and clean.

Tip 2: Find your centerpiece

Once you’ve designed your storage wall, it’s important to find the centerpiece of focal point of the play space. It could be a couch, a jungle gym, or a sensory play table. If you have hard wood floors like me, grounding the focal point with a rug is super helpful and provides a nice clean look. I love this “Play All Day” rug from West Elm because it’s mostly white (again remember white space!) but it brings a nice pop of rainbow color. Even after messy sensory play, this rug always washes bright clean white and looks so good.

Focal point ideas:

  • Light rug or play mat: I love this West Elm Play All Day Rug! A rug or soft play mat can make a hardwood floor so much nicer for a play space. This rug is a little on the thinner side so I’d definitely recommend a rug mat.

  • Sensory Table: I’m lucky to live in California where there’s an IKEA right nearby so snagging a Flisat Table was a must! I also got a few White Trofast bins to go with it because I’ve heard they may stop selling them. Anyway, we’ve already gotten so much use out of this table when she was just learning to stand and obsessed with water play (outdoors) and now sensory play indoors. I use this table for pretty much all of my setups and it’s the perfect height for her. They also have matching stools if you have a toddler who can sit still :)

  • Pikkler Triangle: I will admit that at first I was super skeptical. But I actually bought this set when Sofie was about 10 months that old and I’m so glad I did. She’s such a little monkey and loves to climb on everything. This Pikkler triangle plus rock bridge plus arch set was perfect for our play room setup and helps her get all of her climbing energy out.

  • Ball Pit: We were gifted this amazing ball pit from Crate and Barrel and it’s such a nice way to end the Pikkler Triangle bridge and Rainbow setup that we have. I also love that the whole set is ombré shades of blue and white. This again gives the space a break from too much color and adds a cool calming effect. Use this link at Crate & Kids to get a discount: https://www.talkable.com/x/GQOH8h

  • Circular Play Table: I love this table from Crate and Kids because not only is it compact, but it’s got room for book storage and Sofia has sooooo many books from her Literati Subscription. Use this link at Crate & Kids to get a discount: https://www.talkable.com/x/GQOH8h

Links to items!

  1. Play All Day Rug - West Elm

  2. Aspect Modular Shelves - Crate and Barrel (Get 15% off with this link)

  3. Toys & games - Lovevery

  4. Books - Literati

  5. Pikkler Triangle - Etsy

  6. Nesting White Play Table - Crate and Kids (Get 15% off with this link)

  7. IKEA Skadis Peg Boards

  8. Sloan Book Rack - West Elm

toddler-pop-up-ball-pit.jpeg
machine-washable-play-all-day-rug-o.jpeg
modular-white-storage-units.jpeg
Lovevery-VKS-Playkit-TheHelper-ISO-30nov20212021_web.png
nesting-white-and-natural-play-table-and-chairs-set.jpeg
Screen Shot 2022-07-09 at 8.50.49 PM.png
Screen Shot 2022-07-09 at 8.51.49 PM.png
Screen Shot 2022-07-09 at 8.52.25 PM.png

Tip 3: Decorate the walls

There’s nothing quite like an open white wall to get your creative juices flowing! Two of the walls in Sofie’s play space have windows but one wall is completely wide open! I can’t wait to get these shelves / book bins on the walls to add more book storage and keep the clutter off the floor. But until then, I’ve added these awesome IKEA Peg Boards to this narrow wall space in order to organize all of Sofie’s sensory bin fillers. Of course they’re rainbow themed, I couldn’t help it. But it just looks so nice to have all of the fillers stored and organized out of her reach for daily play but accessible if I want to whip something up in a hurry. Because the peg boards have some many container options, they’re perfect for small parts storage and playroom organization.

Montessori Approach to Designing a Playroom: Unlocking Your Child's Potential

Creating a playroom that nurtures a child's natural curiosity and creativity is vital for their overall development. A Montessori approach to designing a playroom can provide children with the freedom to explore and learn at their own pace.

According to Lovevery, an expert in child development, “The Montessori method of education is based on the idea that children learn best through self-directed play and exploration.” This approach emphasizes open-ended materials and a child-centered environment that encourages children to learn through hands-on experiences.

One of the benefits of a Montessori playroom is that it allows children to develop their autonomy and independence. Lovevery states that “Montessori classrooms are designed to be free of adult interference, allowing children to explore and learn at their own pace.” This encourages children to take control of their own learning and develop their decision-making skills.

Another benefit of a Montessori playroom is that it fosters creativity and imagination. Lovevery states that “Montessori classrooms are designed to be open-ended, providing children with the freedom to explore and create.” The use of natural materials and open-ended toys encourages children to think critically and come up with their own solutions.

Montessori playrooms also promote social and emotional development. Lovevery states that “Montessori classrooms are designed to be inclusive, allowing children to learn and grow together.” The social interactions that occur in a Montessori playroom encourage children to develop empathy, respect, and communication skills.

In conclusion, a Montessori approach to designing a playroom can provide children with the freedom to explore and learn at their own pace. It fosters autonomy, creativity, and social and emotional development. Lovevery states that “Montessori classrooms are designed to be open-ended, providing children with the freedom to explore and create.” It is an effective way to support children's cognitive, physical and emotional development.

Flisat Sensory Play: Egg-Cellent Eggs

February 5, 2022 Kylie Tuosto

This morning Sofie was sick with a runny nose so during her nap I threw together this egg-themed invitation to play. With Easter coming up, it felt like the perfect theme. Sofie loves eating eggs everyday for breakfast so this gave us the perfect excuse to learn more about eggs and where they come from.

Egg-centric Activity Ideas:

  1. Make some eggs: Okay this one is super obvious but if your toddler has a play kitchen then I’m sure they’ll love whipping you up something that you usually make for them. Sofie typically likes her eggs hard boiled but will occasionally request the scramble or fried like her momma. And if you don’t have the play setup, nothing is a substitute for the real thing. So jump in the kitchen and scramble away!

  2. Lifecycle of a chicken: Sofie has just started to learn about lifecycles and how animals go through phases and change throughout their lives. For Easter I made her this adorable lifecycle of a Chicken Card Set so that she could learn more phases. Paired with this amazing Lifecycle Board from Kinderspiel, she’s learning and connecting so many dots it’s amazing. I also love these wooden eggs and this Plan Toys wooden breakfast set.

  3. Egg shape & color matching: Sofie got this awesome gift last Christmas and she just loves it! I crack open all of the eggs one by one and lay them out on the floor. Then I pick one up and ask Sofie to find the match. She gets a total kick out of its awesome!

  4. Breakfast felt food & flashcard matching: I’m a total sucker for felt food and this avocado toast set up was no exception. Sofie has pretty much all of the breakfast foods in felt so we started matching her Breakfast Flashcards with her felt toy collection. And she loves laying them all out on the floor side by side. Hae Handmade makes the cutest felt toys so I highly recommend checking out her shop.

  5. Play Kitchen Cooking Play: Sofie loves her new play kitchen and having wooden food play on hand has been awesome. She loves going into her kitchen to cook. I also love these wooden eggs and this Plan Toys wooden breakfast set. I paired this setup with this amazing book Touch Think Learn Food book.

DSCF9057_Original.jpeg
1EB2DFCE-6847-4515-AC37-5AA9184E5A01.png
C6931698-D34B-4925-898A-B642046829F4.png
DSCF9072_Original.jpeg
DSCF9053_Original.jpeg
DSCF9065_Original.jpeg
DSCF9062_Original.jpeg
DSCF9068_Original.jpeg
FA5DAE8C-5880-4765-A65E-B85D47C57292.png
DSCF9069_Original.jpeg
DSCF9070_Original.jpeg
DSCF9055_Original.jpeg
DSCF9067_Original.jpeg
DSCF9058_Original.jpeg
5C9B743C-243C-4675-9E29-48A2D7A54769.png
3508F53F-4A4A-42B8-94DA-B1225DF0BB51.png
52F7C169-0A58-45F0-AE6F-E8BDDD19D101.png
E4DF9224-E74D-4546-BFE3-CDE12FC4C341.png
DFC8A865-0BBB-448D-8705-A4481865CA92.png
73A016B3-6CE7-4EAC-BF12-4AEAA14B4502.png
DSCF9051_Original.jpeg
DSCF9052_Original.jpeg
DSCF9054_Original.jpeg
DSCF9056_Original.jpeg
DSCF9060_Original.jpeg
DSCF9061_Original.jpeg
DSCF9063_Original.jpeg
DSCF9064_Original.jpeg
DSCF9066_Original.jpeg
DSCF9071_Original.jpeg
DSCF9090_Original.jpeg
DSCF9093_Original.jpeg
DSCF9131_Original.jpeg
DSCF9083_Original.jpeg
DSCF9074_Original.jpeg
DSCF9085_Original.jpeg
DSCF9097_Original.jpeg
DSCF9130_Original.jpeg
DSCF9104_Original.jpeg
DSCF9127_Original.jpeg
DSCF9117_Original.jpeg
DSCF9087_Original.jpeg
DSCF9143_Original.jpeg
DSCF9147_Original.jpeg
DSCF9134_Original.jpeg
DSCF9082_Original.jpeg
DSCF9075_Original.jpeg
DSCF9080_Original.jpeg
DSCF9092_Original.jpeg
DSCF9094_Original.jpeg
DSCF9095_Original.jpeg
DSCF9096_Original.jpeg
DSCF9098_Original.jpeg
DSCF9099_Original.jpeg
DSCF9106_Original.jpeg
DSCF9113_Original.jpeg
DSCF9128_Original.jpeg
DSCF9129_Original.jpeg
DSCF9135_Original.jpeg
Tags easter, easter egg stuffers, easter for kids, easter toys, easter games, easter activities, flisat table, flisat play, flisat inspiration, montessori toddler, playroom, fun, lifecycle of a chicken

Bumblebee Sensory Table

January 29, 2022 Kylie Tuosto
Download Printables

I’m so ready for spring! The flowers are blooming, the birds are chirping. And Sofie and I have been talking about bumblebees. Especially this weekend because she caught a little cold and for the first time ever, she got to taste a little honey to help coat her sore throat. To celebrate spring, we set up this fun little bumblebee sensory play table. This was so much fun we did a few different activities:

  • Colored Rice & Sprinkle Sensory: We used this little wooden tray, some simple black jimmies sprinkles and we used the yellow pastel food coloring for the rice. We used our little wooden scoop from Busy Littles to scoop and pour.

  • Flower Petal Rice Sorting: We used this amazing flower petal tray from Kinderspiel to sort white and yellow rice between the two trays.

  • Reading about Bees: Sofie loves these ThinkTouchLearn books, so we used this Little Critters Book to match the bees and talk about how bees make honey, honeycomb, and bee hives.

  • Button Sorting: I recently bought all of these amazing rainbow colored buttons for sensory tables and we used the Lovevery felt bowl and pinchers to pick out buttons and sort them by size. We also used the bumblebee antenna pipe cleaners to practice threading the buttons.

  • Bumblebee Flying: We used these amazing little felt bumblebees to fly them around the room, land them in the rice, and buttons. We also paired them with our Bugs Flashcards to talk about all of the little critters in the bumblebee world.

And of course we used our amazing little IKEA Flisat play table to hold the whole setup. Sofie’s best friend Bear Bear (Slumberkins Honey Bear) joined us for the fun because after all, bears love honey!

Download Printables
DSCF9777_Original.jpeg
DSCF9805_Original.jpeg
DSCF9785_Original.jpeg
DSCF9829_Original.jpeg
DSCF9804_Original.jpeg
DSCF9783_Original.jpeg
DSCF9822_Original.jpeg
DSCF9811_Original.jpeg
DSCF9769_Original.jpeg
DSCF9792_Original.jpeg
DSCF9761_Original.jpeg
DSCF9763_Original.jpeg
DSCF9771_Original.jpeg
DSCF9778_Original.jpeg
DSCF9787_Original.jpeg
DSCF9790_Original.jpeg
DSCF9794_Original.jpeg
DSCF9797_Original.jpeg
DSCF9800_Original.jpeg
DSCF9818_Original.jpeg
DSCF9825_Original.jpeg
DSCF9831_Original.jpeg
Order List Copy 46.jpeg
Order List Copy 43.jpeg
Order List Copy 42.jpeg
Order List Copy 45.jpeg
Order List Copy 44.jpeg
DSCF2708.jpeg
DSCF2750.jpeg
IMG_7732.jpeg
DSCF2783.jpeg
Download Printables
Tags bumblebee, sensory play, sensory bin, bees, honey, bee, honeycomb

5 Tips for Consistent Baby Milestone Photos (with your iPhone)

January 27, 2022 Kylie Tuosto

Ahh yes, baby milestone photos! If you’re here it’s because like me you aspired to have the most coveted Pinterest-worthy baby milestone photos for your new little one. But you’re just a super exhausted mom to a newborn (and maybe older kiddos too) and you don’t have time to lug out your expensive DSLR to snag those monthly milestone photos. I knew before I even had my first baby that there was no way I was going to be able to keep up with the milestone photos with my real camera and that I was going to have to find a way to get great photos with just my iPhone. Of course, they’re not perfect, but I think they turned out well considering they took me less than 5 min per session!

5 Tips for Consistent Milestone Photos

Tip 1: photograph at the same time & place each day

This is tip number one for a reason. Consistent lighting and placement of the baby or so critical to ensuring it looks like the only thing changing in the photo is your babe. For my photos, I laid Sofie at the bottom of my bed on a blanket because my bedroom got the best morning light in front of the window. Light changes quite a lot season to season and throughout the day. And while you can’t change a gloomy day outside, you can at least limit the other factors. I recommend natural light (no inside lights turned on) and taking photos in a brightly lit room in front of a window. Morning light is great, you want is void any harsh shadows that might look strange or inconsistent day to day. And if the lighting doesn’t look great that day or you’re too tired to set up the scene, see tip 5!

tip 2: use a consistent background or object

once you’ve chosen a color palette, you’ll want to choose a consistent object, setting, or look that you know you can replicate over and over again. It’s easy to solve for baby laying flat but as baby grows and can sit up on her own, she might not be so cooperative with the laying down pose. So if you want to accommodate sitting up, think about what you’ll need to make that set up work.
for example, if you want to use baby milestone cards in your photos, you’ll need something to prop them against (or ask a teddy bear friend to hold them up for you). If you want to go for laying down photos, then a consistent blanket works great. Pro tip on the blanket front — make sure the blanket is big enough for when baby gets bigger so that they still fit on the blanket and you can stand over them and fit the blanket in the photo. Or using a. Layered effect works great too — swoop a blanket over top the bed spread and lay the baby overlapping both for a nice layered look.

Here are some of my favorite props ideas:

  • A blanket or swaddle: there’s nothing sweeter or simpler than seeing how baby grows with her special blanket. I used a super fluffy pink fur blanket that I found on Amazon. With the lighting and presets that I used it' really looks like a very soft almost off-white peach color. So I definitely recommend practicing ahead of time to make sure you get the look that you want.

  • Baby milestone cards: these are so great for tagging photos so that you don’t lose track month over month. You can also find milestone stickers, pennant flags, or wooden milestone cards. I don’t love the milestone blankets just because I find them too busy and distracting and they look funny as baby’s size changes over the months.

  • Teddy bear: how cute is it to watch baby grow up next to her super special lovey! I did Sofia’s half birthday theme all around her Slumberkin’s Honey Bear / Bumblebee Theme and we took our newborn photos with him as well. But bear bear didn’t make it into our milestones photos because it was too distracting for Sofie and she kept covering her face.

  • Letter board: If you can find a cute sign board that matches your aesthetic, it can be the perfect way to capture more details about each milestone. You can add baby’s favorite things, likes and dislikes, height and weight, month and year. The possibilities with the letter board are endless!

  • Unique clothes or simple white onesies: My biggest tip here is just to plan in advance the outfits you want for each photo. I chose a simply white onesie because I knew I could quickly and easily find it in her size as she grew. And it wouldn’t be too expensive to have the same one in every size. But remember babies age don’t always align to size so even if you buy in advance, you don’t know which ones will fit at which months. So just plan ahead and make sure you have outfits you love in each size range.

  • High chair or laundry basket: You’ll see in some of the photos below that momma used a cute little basket & high chair. Once baby is standing or walking and no longer wants to participate in a lay-down style photo, using something to hold baby propped up can be great! We had this Stokke TrippTrapp High Chair which would have been perfect because it’s got a clean white design that would fit with pretty much any aesthetic. I also love photos of baby’s in water tubs, and we did a couple of shoots in these awesome white drink tubs. Or a soft woven laundry basket like this one can be perfect for getting that super cute and dreamy photo of your little babe as he/she goes from lying to sitting to standing!

  • Favorite object / theme: I’ve seen some really great photo inspiration over the years with rainbow colored toys, slices of pizza, you name it! As long as you know you can consistently execute and the object will look similar each month, go for it! But also know that if you go with something super unique, you might run the risk of it being too trendy and you not loving the look later on. So when in doubt, keep it classy, simple works best in my opinion!

tip 3: choose a color palette up front

So I definitely recommend doing some research up front to find a look that you love before diving in. It will be easy to want to change midway through because maybe you’ve gotten better at taking photos or your taste or style has changed, or now you hate the blanket that grandma gave you. So find a look you love that you know you can stick to. It helps to draw inspiration from your nursery since hopefully you chose a look that you adore that baby is in all of the time.

If you’re stuck, a neutral black and white or grey and white can be a great way to go. You know you’ll always have a white onesie on hand in baby’s size so you won’t be scrambling each month to choose the perfect outfit. If you have a bouncer or high chair that you plan to use on a regular basis, consider finding a color scheme to match. Don’t you just love boho milestone color scheme in these photos?

tip 4: use a Lightroom filter

I resisted this for the longest time because I thought it would be extra work, it wouldn’t look the same in all my photos and I figured if I had natural lighting that would be good enough. But after trying Lightroom filters for my iPhone photos, I can safely say that I won’t be going back. You still have to consider lighting and time of day, but the boost you get with a filter is pretty awesome. My favorite is called “Add to Cart” by Six Little Babes Presets but you can find a ton of others out there depending on your style and mood. You can find light and airy photography filters, moody and boho, etc. And they’re usually between $2-$8 and the Lightroom app is free!

tip 5: be flexible with the dates

when you have a newborn life is exhausting. And there two month milestone might fall in the middle of a work week or while you’re baby is sick and you’re super stressed out. It can be easy to just say forget it and snap a quick photo or not even take on at all. Give yourself a break and some flexibility — if you have time a week or so before or after the actual milestone take the photo then, don’t worry about it being on the exact date. Trust me you won’t look back and go “Hmm that wasn’t exactly 3 months was it?” Plus if baby is fussy one day, there’s nothing you’ll hate more than looking back at a sad pouty little face.


So there you have it! 5 Tips for amazing and consistent baby milestone photos. And one little bonus tip in case you missed it — Practice Practice Practice! If you practice your set up before baby arrives at different times of day, you’ll know exactly what you’re going to get and how your filter will look so you won’t be caught off guard when you go to take your first photo.

Check out Black & White and Grey & White Baby Milestone cards at Goodnightfoxstudio.etsy.com

7181BA68-CC96-4A9C-BF18-4A64B2ECF3BA.png
B85D15F8-E407-44DC-9CC2-853575D76A6E.png
70091FF7-BFF6-4C76-91B8-66F483B33B41.png
B677BEFB-ED3F-4C6C-A3C1-24623261BAE7.png
528A12CD-0AD9-462F-86E6-093BD85A8E46.png
92BD5366-711C-4671-82E8-197F8BD672C4.png
5D7D61B8-6FA9-4108-AD63-249978CEDBD1.png
0159F12F-D835-4A77-A246-ECBA3A880249.png
3BD39CC3-E8FE-479C-A920-01128550DA1C.png
C4A106AE-132F-42FC-85AD-44414F2ECEC4.png
4671A391-98BB-4DC9-887D-4ED69043E22D.png
267CD13C-8A4E-44FF-860F-44977E6B4C14.png
1CCC0592-0ECE-4C21-9FF3-BDA482BA6634.png
Tags baby milestone photos, baby milestones, newborn photography, toddler photography, iphone photography, baby photography, toddler milestones, toddler mom, camera, lighting, photo, presets, photo aesthetics, how to

Valentine's Day Kissing Booth Dramatic Play Kit

January 25, 2022 Kylie Tuosto

This year for Valentine’s Day we decided to put together this fun and unique sensory activity. I got out the lipstick and some white paper and let Sofie make kisses all over the paper. She absolutely loved it! Usually sensory play is with her hands, but this was such a great way to engage new senses and let her play with her mouth — normally I have to find taste safe activities because she still likes to put things in her mouth. But this was so much fun and she enjoyed it when daddy and I stopped by for some kisses. And even our labradoodle Milo joined in for the fun! He manned the kissing booth for a bit while Sofie went to gather more supplies.

Here’s what you’ll need to bring this together:

  • Valentine’s Kissing Booth Kit - $7 - This kit is so adorable and it includes the Pennant Flag, Bunting Banner, Paper Letters, Paper Mailbox, Cut out hearts, and more!

  • Flisat Table - $185 - We do all of our sensory play and kits on our table. It’s the perfect height for her size and the bins help us contain the mess and keep everything organized.

  • Wooden Toy Cash Register - $36 - Sofie loves to play with this! It gives us a good excuse to talk about money and how it’s use and what it’s for.

  • Pink Ribbon

  • Hole punch

  • Scissors

  • Tape

931B9ADD-2C64-4319-B2BF-5BD7CFF06167.jpeg
14CD641A-FBB8-4A7F-AEC1-DE9EEF3484AF.jpeg
D66C46BC-22D1-4CCA-B01E-E33A13DE1645.jpeg
DSCF9409_Original.jpeg
DSCF9408_Original.jpeg
DSCF9329_Original.jpeg
DSCF9325_Original.jpeg
D466E074-C963-459B-AD59-26F1CEE2F2E5.jpeg
18DB8AC0-94FD-4B07-A743-95724B18D6B3.png
DSCF9371_Original.jpeg
DSCF9391_Original.jpeg
E1B24536-DCC1-49F9-8D80-F0F7EF765006.jpeg
406FE75F-C9F9-44CF-9F1D-2F41C089F683.jpeg
0D804285-866C-4333-A142-2C246135D867.jpeg
0F4A3EA0-8BE3-40EF-83D1-33292B3B0F1E.jpeg
FD6A8225-A113-4AC2-ABDE-E4C46E934975.jpeg
084939C2-5618-4466-AE8A-DF79C3E2A893.jpeg
62B156E2-D37A-4874-9E8A-D0CC1B9CA80C.jpeg
0F7542A1-0A6B-4714-AC0B-833629188876.jpeg
9990D3E7-6311-4A0B-9CC5-C8FBD973A902.jpeg
458B1C6D-CD35-4AF5-90F0-272F8144DC58.jpeg
2A3D6067-B65A-4134-B703-5C14D7101072.png
DSCF9331_Original.jpeg
DSCF9362_Original.jpeg
DSCF9412_Original.jpeg
Tags valentines gifts for kids, valentines day, valentines activities, valentines kids, valentines basket, valentines sensory bin, valentines postcards, valentines for toddlers, valentines activity, love basket
← Newer Posts Older Posts →

Get Featured

Have a shop that specializes in baby gifts? I'd love to feature your shop and products in one of my weekly roundups. Email me at goodnightfoxstudio@gmail.com.

Have a small shop?

Check out GoodnightFox wholesale we’d love to have you carry the GoodnightFox brand.

Free Letter of the Week Guide

Sign up with your email address to get a weekly Letter Guide A-Z for 26 weeks of sensory play inspiration.

You’ll also get access to free printables, new products and promotions.

Thank you! Check your email for your free 26-Letter of the Week activity guide printable poster.


Free Printable Activities

Check out our free printable library of resources. From activity books, dramatic play kits, memory games, flashcards and more, you can try the entire goodnightFox collection free.

Download & Print

PLAY BY SEASON

  • WINTER

  • Spring

  • Summer

  • Fall

  • Wholesale

  • Favorite ShOPs

  • Newsletter

  • BLOG

  • Shop