Happy Easter from GoodnightFox! This year, Sofia (my curious five‑year‑old) and I dove into one of our favorite spring traditions—Easter egg dying—turning our kitchen table into a pastel playground of color, creativity, and learning. Whether you’re a busy mom looking for a mess‑managed activity or a homeschooler seeking hands‑on science and art lessons, these beautiful and creative Easter egg dying tips and tricks will inspire you to make memories (and gorgeous eggs!) with your little ones.

Materials Needed
Eggs (hard‑boiled, cooled)
Protective table cover (plastic or craft paper)
Three dye stations (“Sensory Bins”)—choose one or rotate between methods:
Store‑bought kit (tablets, cups, stickers)
Food coloring (vinegar, liquid food dye)
Natural dyes (onion skins, turmeric, red cabbage, vinegar)
Cups or ramekins (one per color)
Spoons or tongs (for dipping)
Small dot stickers (for polka‑dot eggs)
Paper towels (for drying)
Rubber gloves (optional, for little hands)
Bunny‑shaped plates and pastel buckets for display
Overview of Learning Objectives by Age Group
0–6 months: Color and texture exploration (parent‑led peek and touch)
6–12 months: Sensory discovery—feeling warm cups, spotting bright hues
12 months–2 years: Hand‑eye coordination—using spoons/tongs to dip eggs
3 years–4 years: Fine motor skills—placing stickers, swirling eggs for ombré
4 years–6 years: Pattern recognition—creating polka‑dot and gradient designs, counting dots
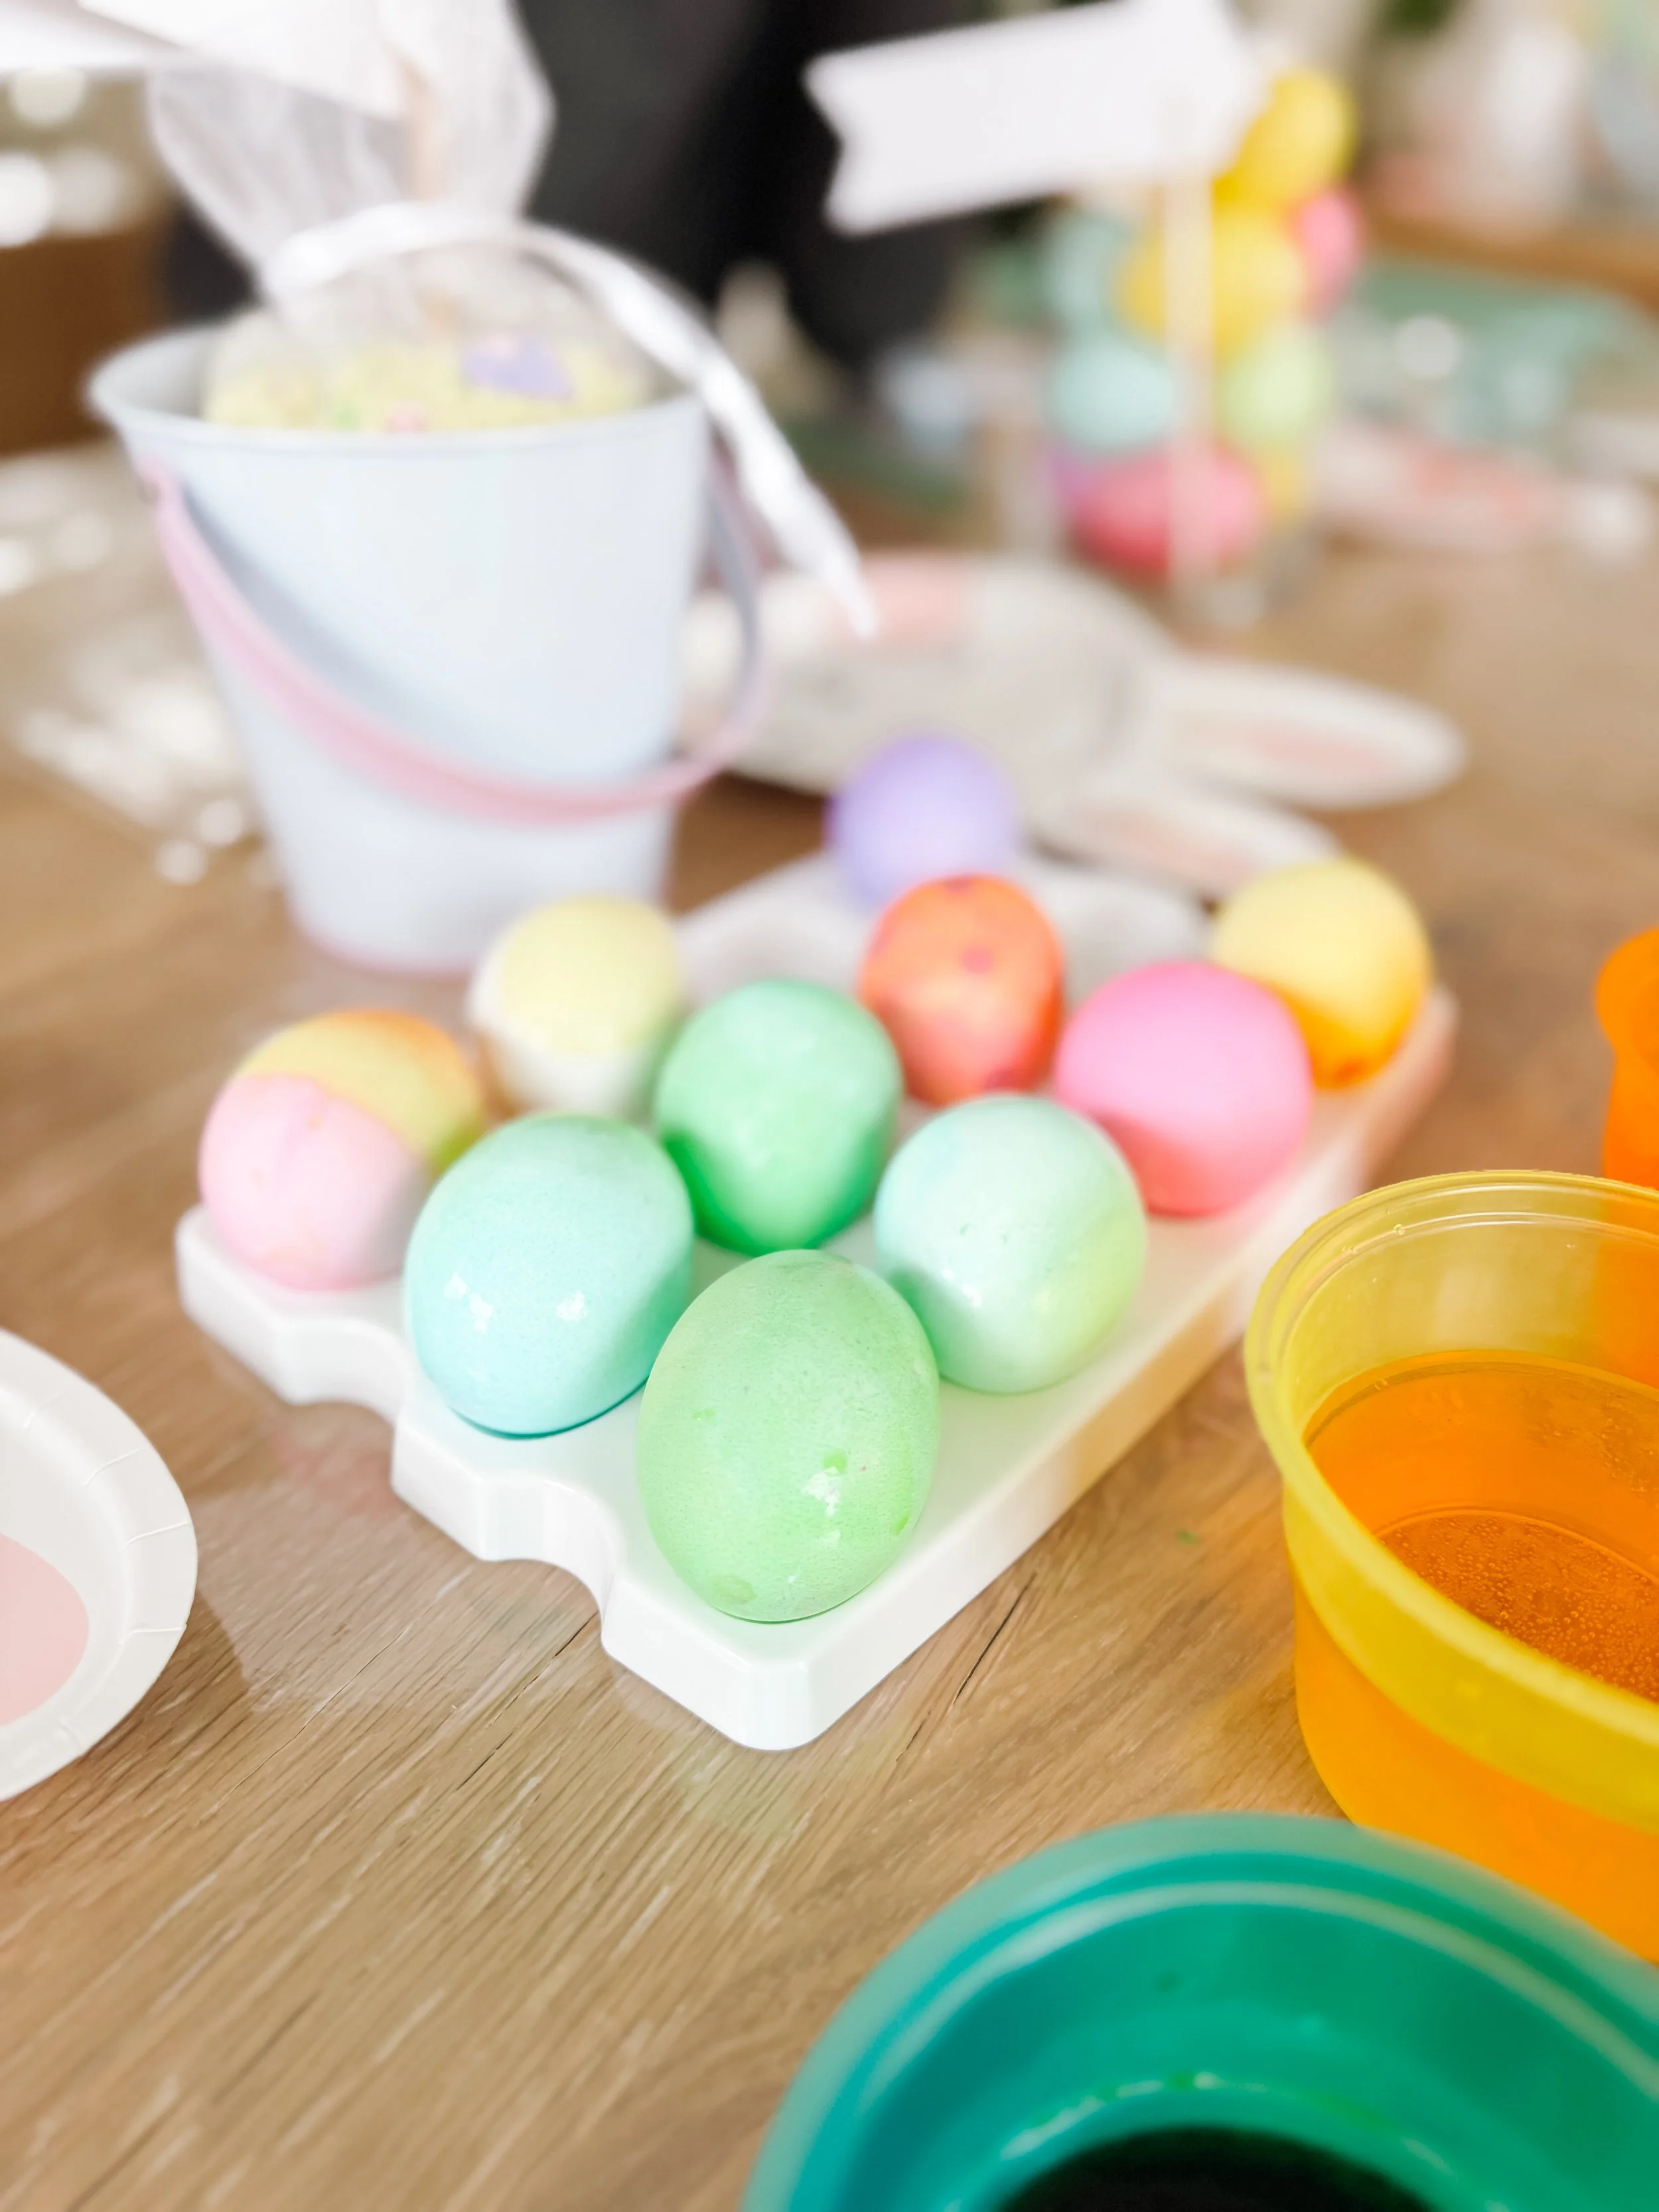
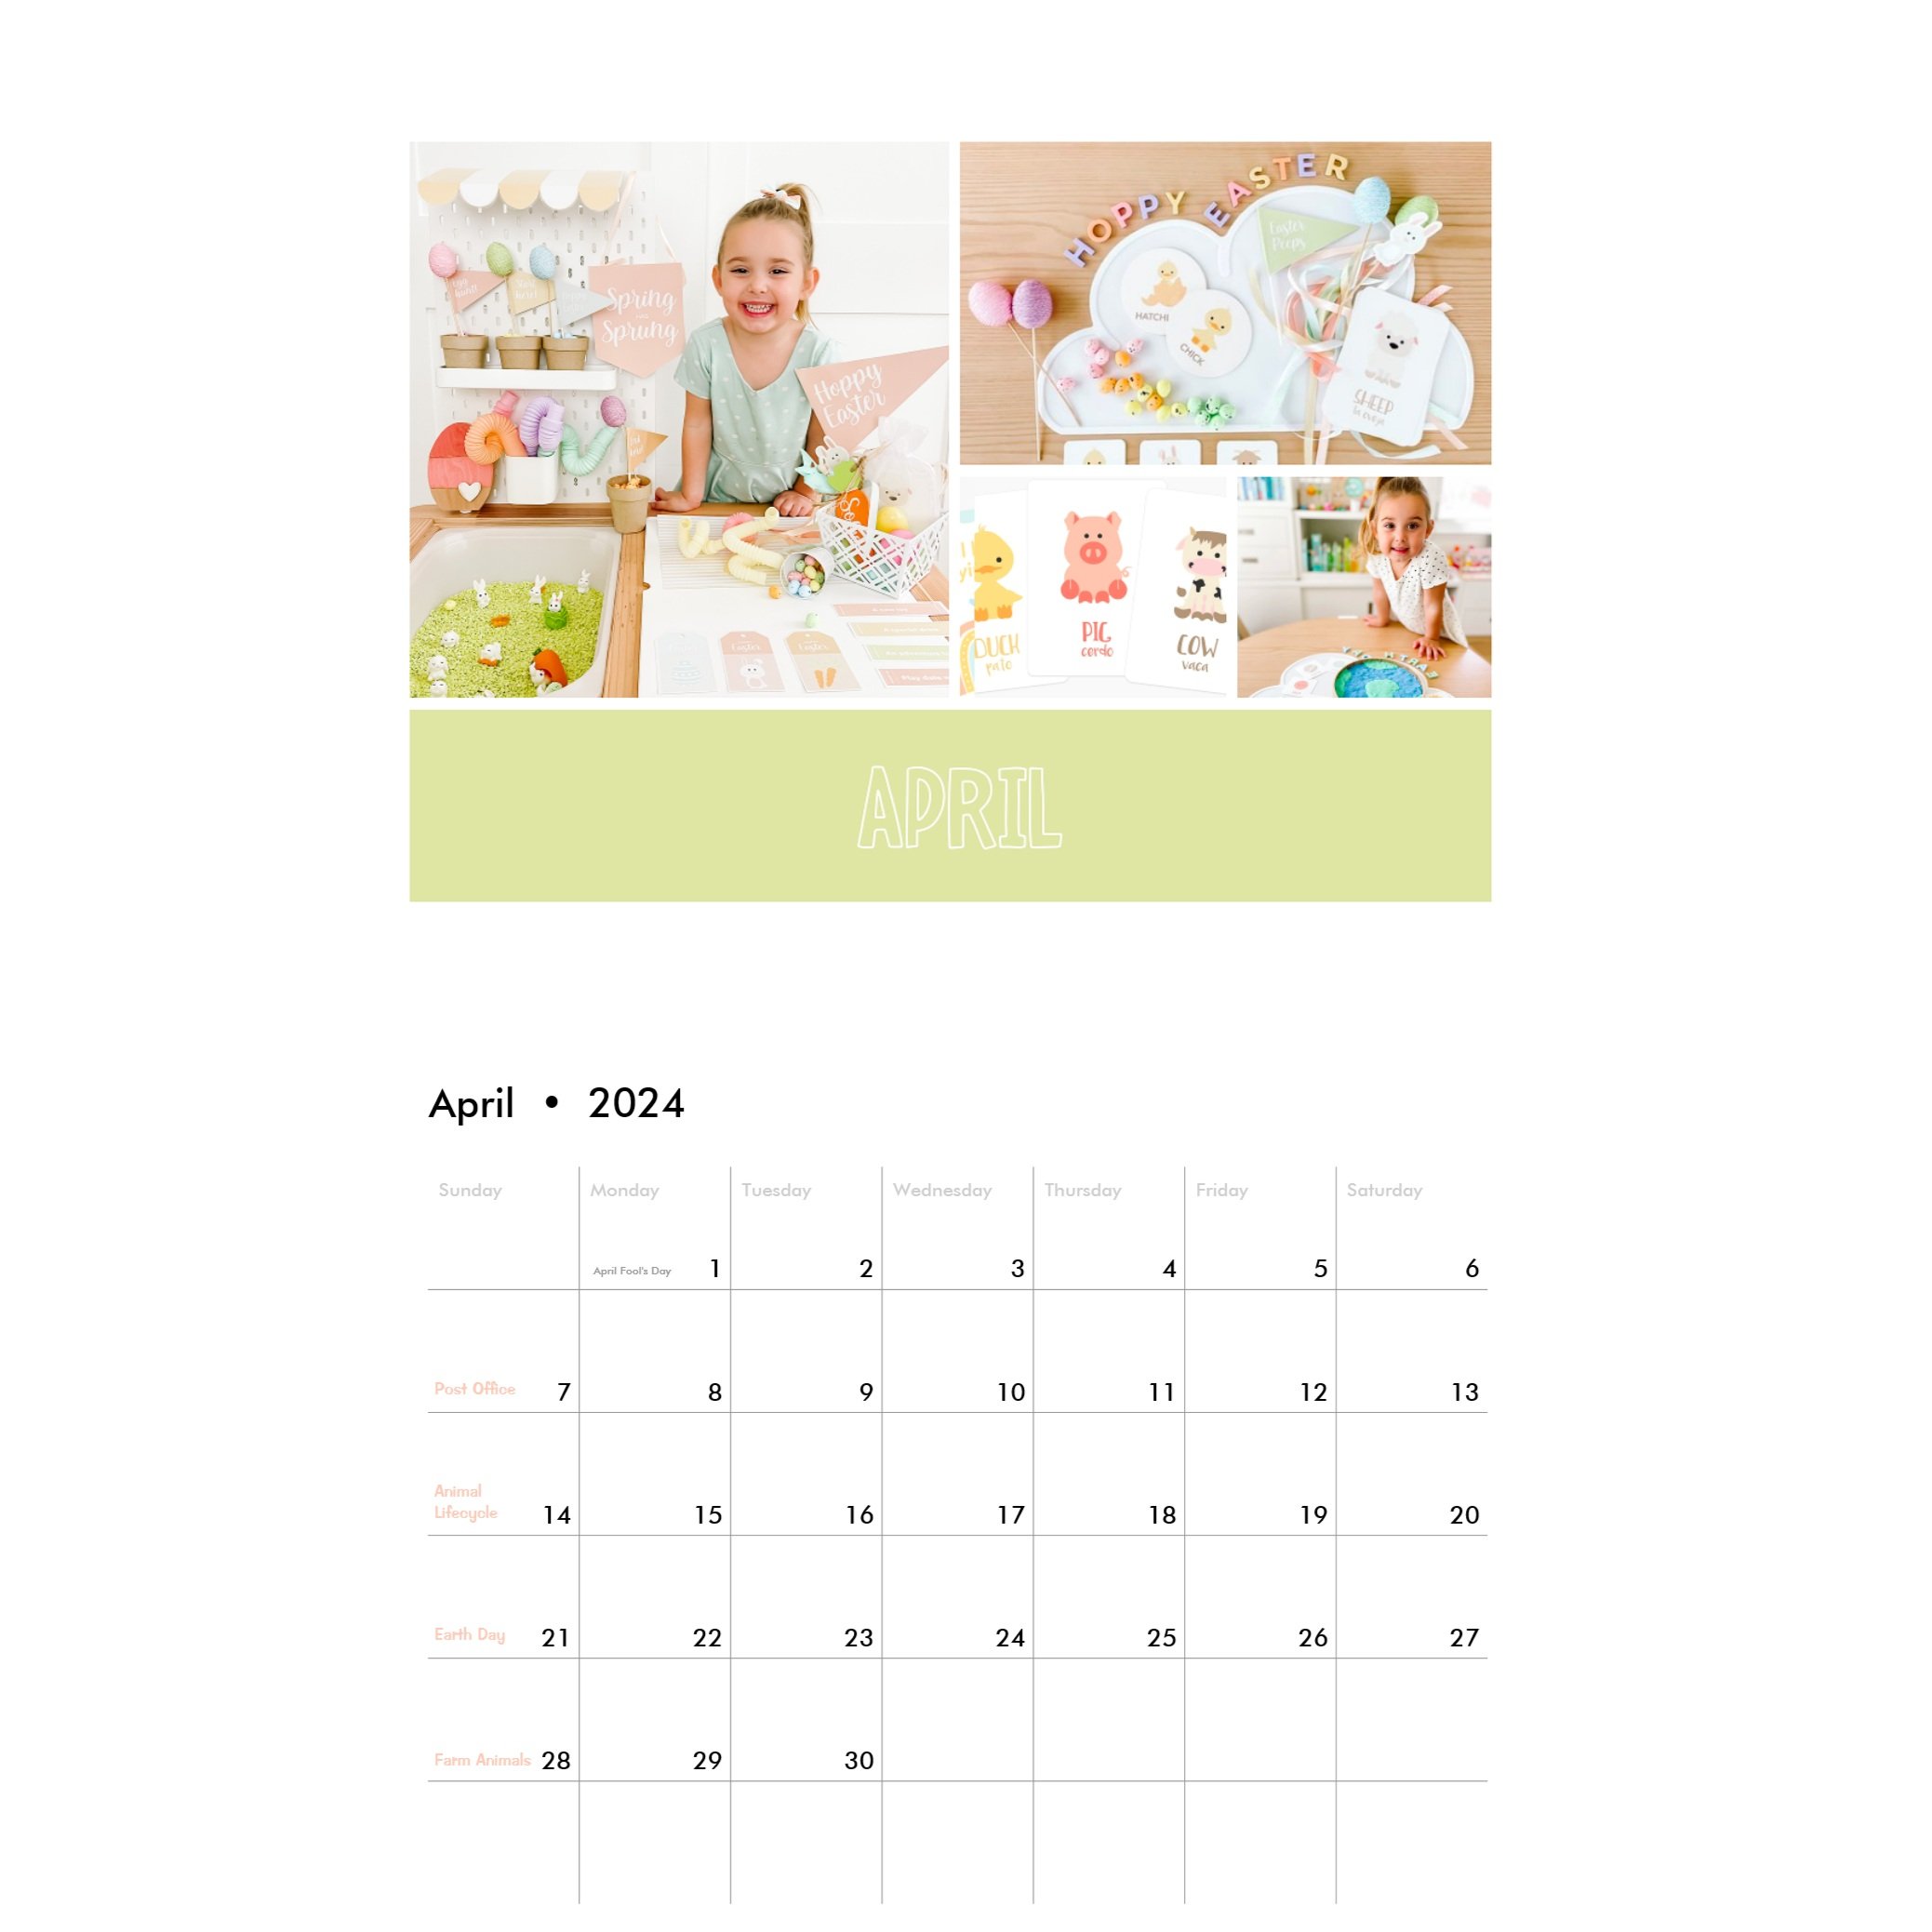
Decor & Theme
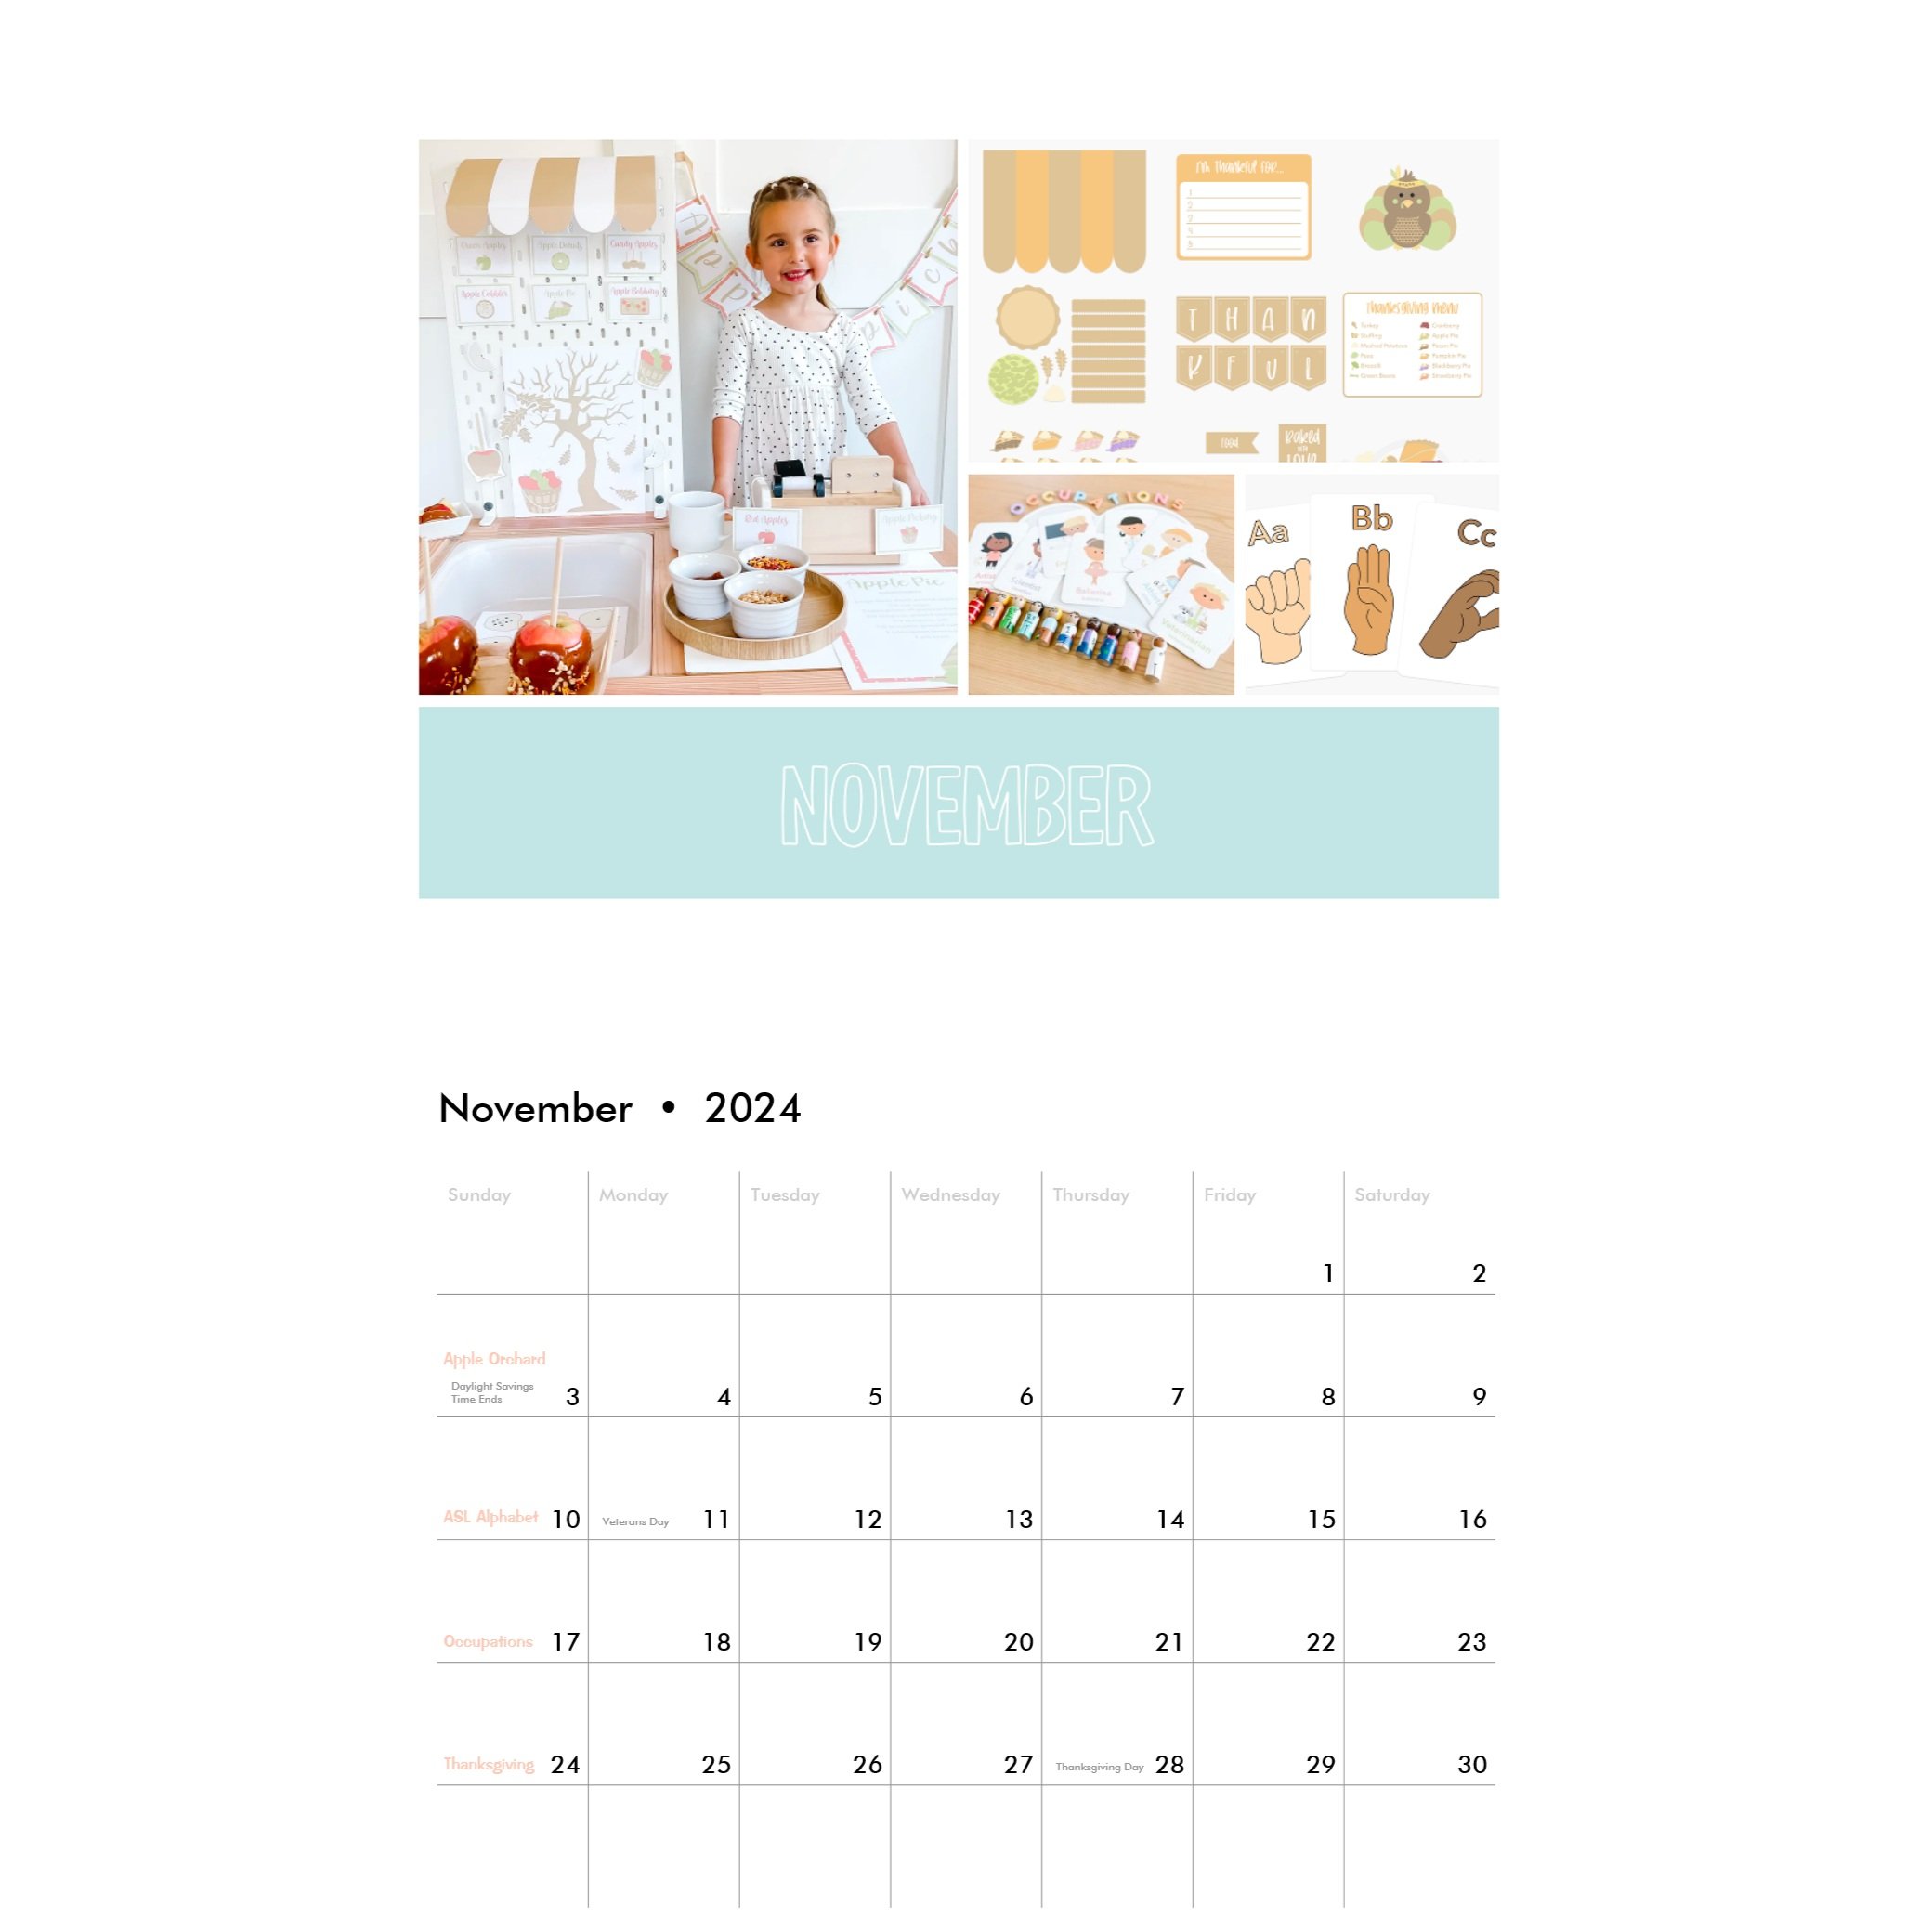
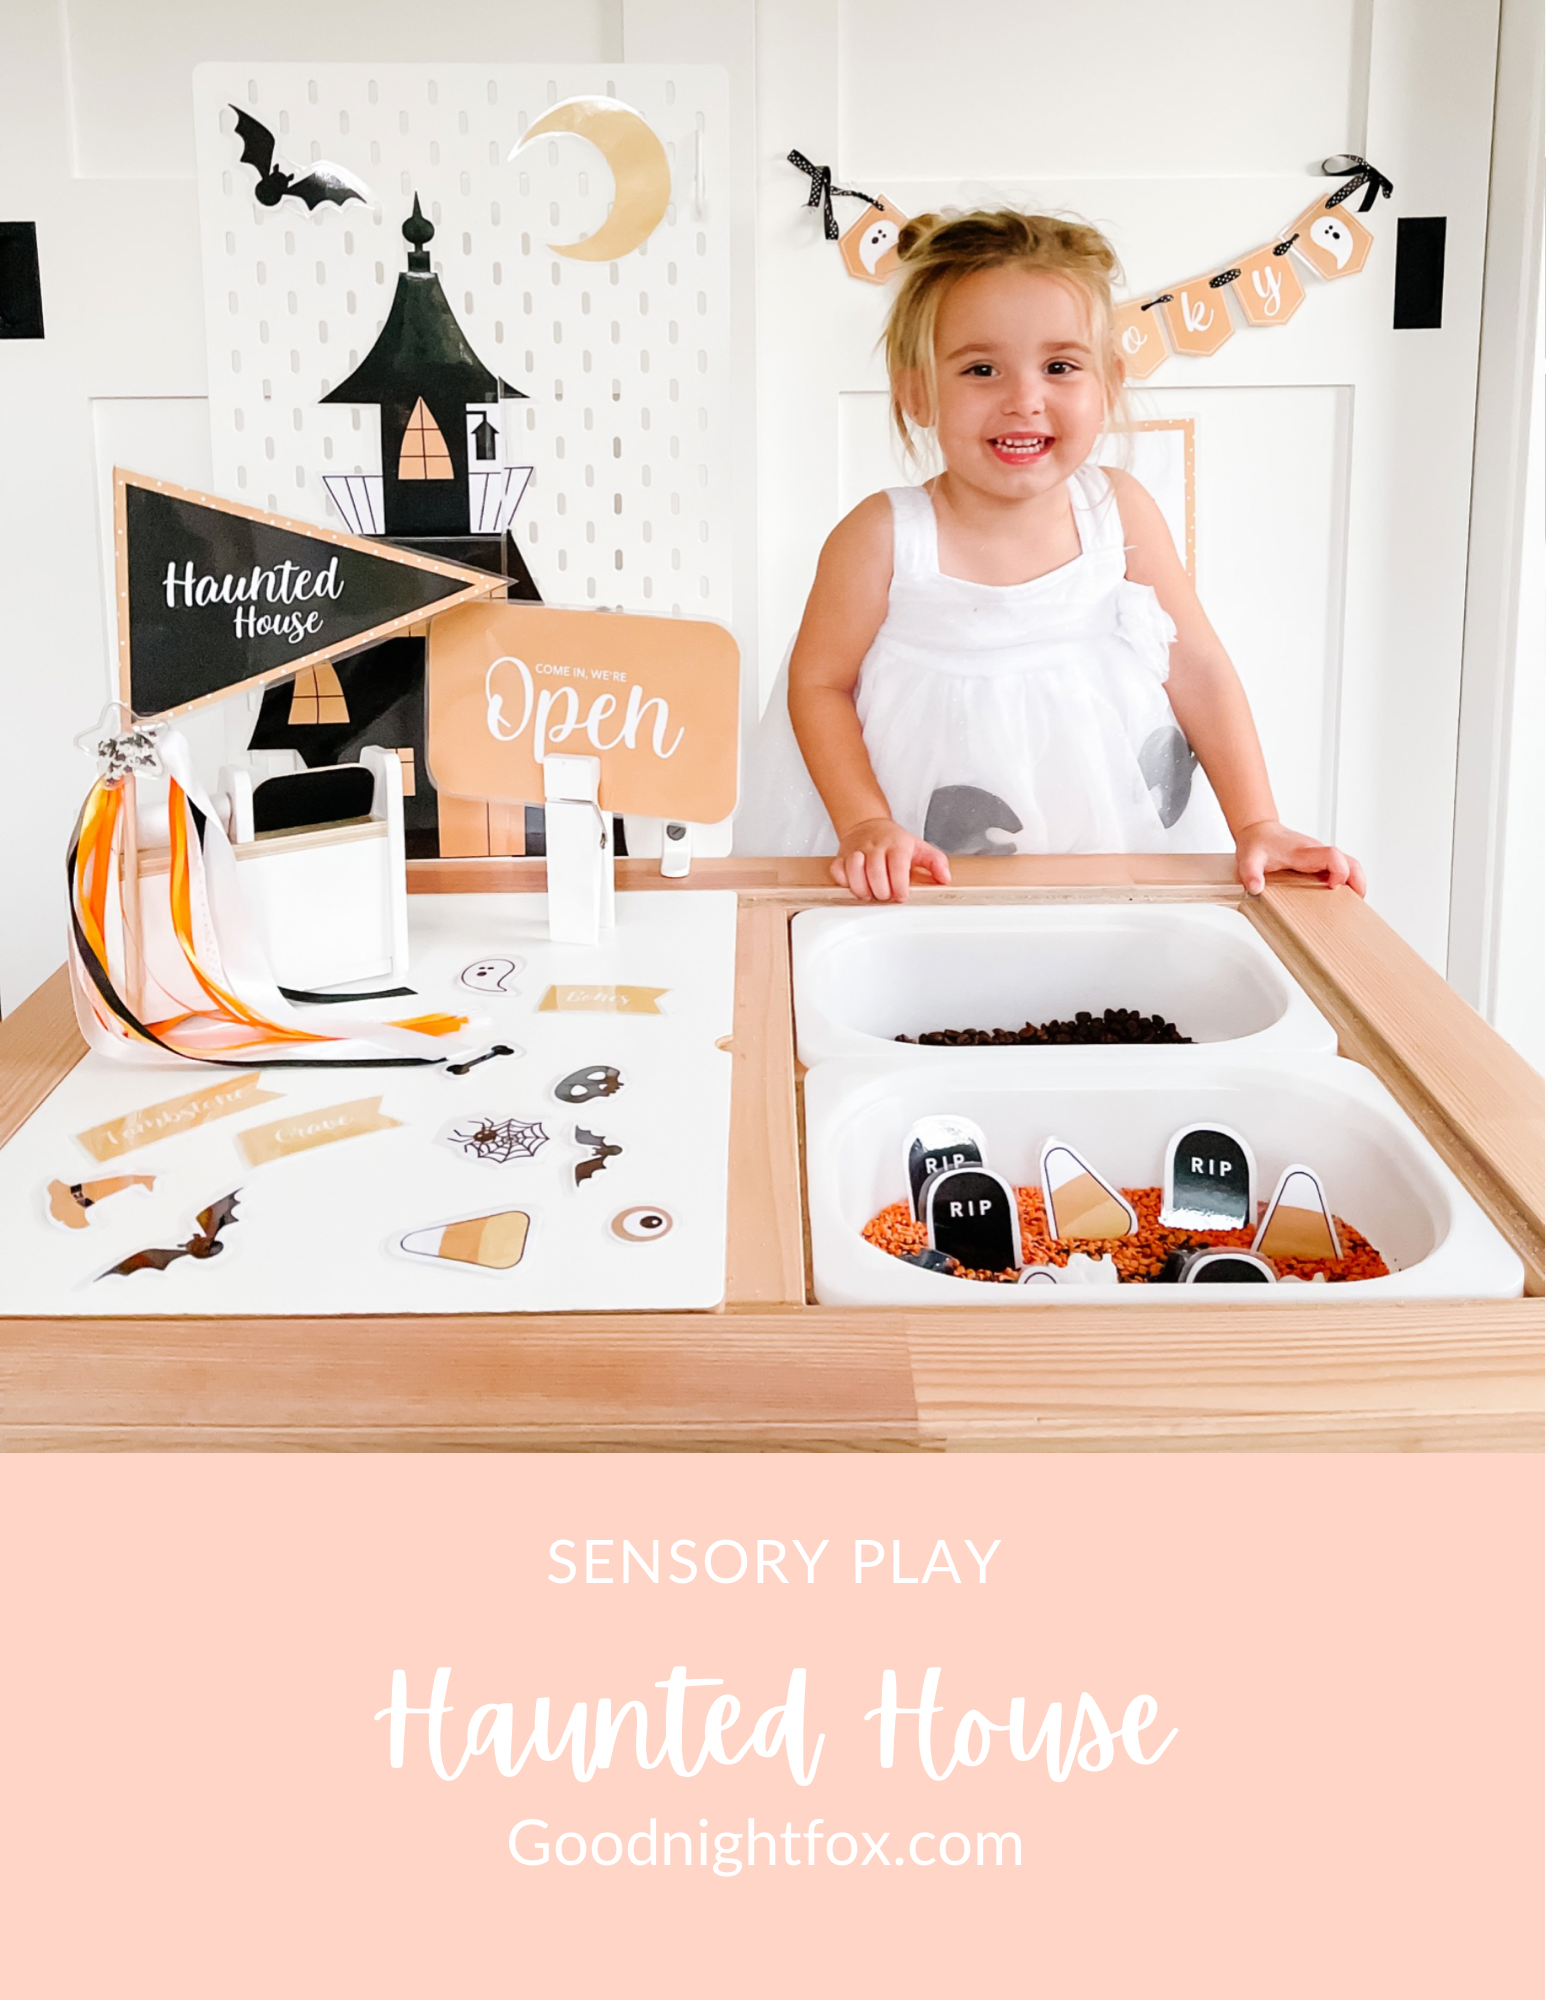
We styled our table with soft pastel linens, bunny‑face plates, and a little bucket of dyed rice for an extra sensory bin on the side. Sofia chose lavender, mint, peach, and butter‑yellow to match our GoodnightFox spring collection, and we added little flags for an Easter brunch centerpiece.

Sensory Bin 1: Store‑Bought Kit Method
Materials List
Pre‑measured dye tablets and plastic cups (included)
Dot sticker sheet
White vinegar (if not pre‑mixed)
Plastic spoons/tongs
Activity Instructions
Fill cups with warm water + vinegar (or follow kit instructions).
Drop in dye tablet; stir until dissolved.
Dip egg partially and hold for 10–20 seconds; lift slightly to create an ombré gradient—immerse further for darker tones.
Remove egg, pat dry, then press dot stickers on warm egg to create crisp polka‑dots.
Let eggs fully dry on paper towels before peeling off stickers to reveal bright white circles.
Sensory Bin 2: Food Coloring Method
Materials List
Liquid food coloring (red, blue, yellow)
White vinegar
½ cup warm water per color
Plastic cups + spoons
Activity Instructions
In each cup, mix ½ cup warm water + 1 tsp vinegar + 5–10 drops food coloring.
Use spoons or tongs to lower eggs in for 30 seconds–1 minute, depending on desired intensity.
For layered effects, rinse lightly and redip in a second color.
Dry eggs on a rack and use dot stickers for polka designs once cool.
Sensory Bin 3: Natural Dye Method (Vegetables & Spices)
Materials List
Yellow onion skins (brown outer layers)
1 tsp turmeric powder
1 small head red cabbage (shredded)
2 cups water + 2 Tbsp vinegar per batch
Saucepan + strainer
Activity Instructions
Onion dye (orange): Simmer skins in 2 cups water + 2 Tbsp vinegar for 15 min; strain.
Turmeric dye (golden yellow): Whisk 1 tsp turmeric into hot vinegar water; strain if gritty.
Cabbage dye (teal purple): Simmer cabbage 10 min; strain.
Cool dyes, then dip eggs for 5–10 minutes (longer for richer color).
Dry and decorate with dot stickers or try dipping only the top half for an ombré swirl.


Benefits of Sensory Play
Fine motor development: Dipping, peeling stickers, and painting patterns
Cognitive skills: Predicting color mixing and observing chemical reactions (vinegar + dye)
Language development: Naming colors, patterns, and shapes
Emotional self‑regulation: Focused, calming activity that builds patience

25 Easter Egg Vocabulary Words
Egg
Dye
Ombré
Polka dot
Pastel
Hue
Gradient
Pigment
Saturation
Vinegar
Immersion
Soak
Strain
Turmeric
Onion skin
Cabbage
Pattern
Fine motor
Sensory play
Creativity
Experiment
Reaction
Washing
Drying
Decorate
With these DIY sensory play stations, engaging learning objectives, and step‑by‑step recipes, you’re all set to create a colorful Easter tradition that’s equal parts art, science, and family bonding. Happy dying, and may your eggs—and creativity—shine bright this spring!