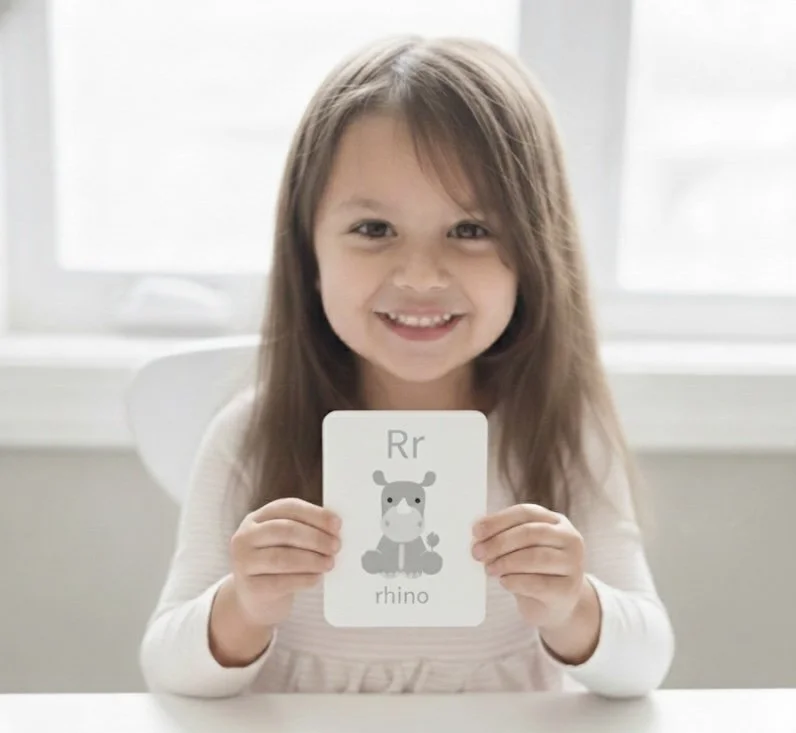
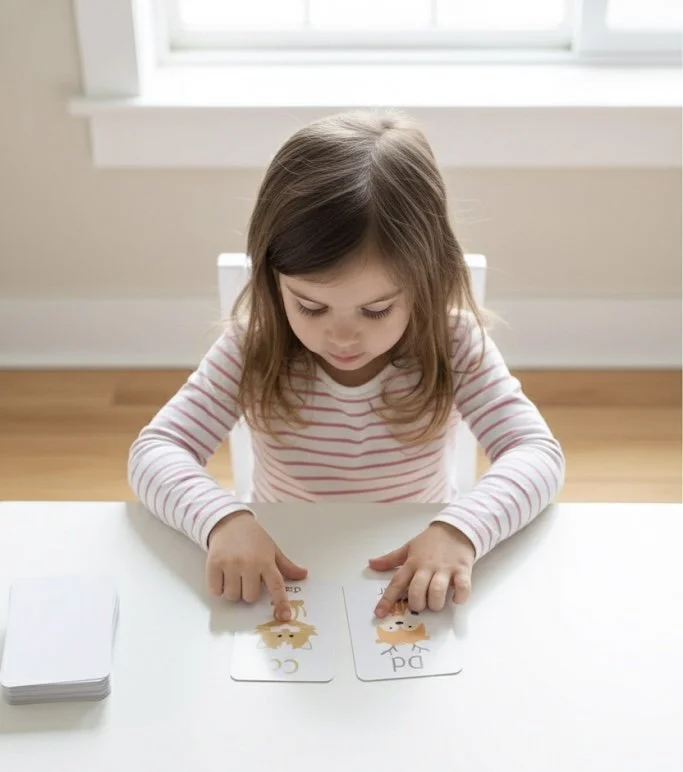
As parents, we’ve all seen how quickly our children light up when learning feels playful and visual — whether it’s spotting animals in a book or pointing out letters on a sign. But did you know that pairing letters with pictures actually helps the brain learn faster?
Research from Carnegie Mellon University found that children who learned the alphabet with picture cues — such as A for Apple or B for Bear — recognized letter sounds 37% faster than children who learned with plain letters alone.
The difference wasn’t just motivation or interest. It was neurological.

🧠 The Brain Learns Through Connection — Not Memorization
When a child sees the letter B next to a bear, something special happens in their brain. According to the Carnegie Mellon professor who led the study, “This isn’t decoration. It’s a neurophysiological anchor.”
Here’s what that means:
The visual cortex processes the letter shape.
The hippocampus (the brain’s memory center) connects it to meaning.
The fusiform gyrus, which helps recognize faces and familiar patterns, links the picture to emotion and recall.
This three-part activation helps children remember not just what a letter looks like — but what it means and how it sounds.
🎨 Why Pictures Turn Letters Into Meaningful Symbols
Without visual context, letters can feel like random marks on a page. To a toddler, “B” is just a line and two bumps. But when that “B” becomes a bear, the brain suddenly has something real to hold onto. One child in the Carnegie Mellon experiment even said, “B is bear, he growls.” That tiny growl is a big deal — it shows the brain transforming abstract symbols into meaningful associations involving action, sound, and emotion. This is what cognitive scientists call dual coding theory — when the brain links information through both visual and verbal pathways, it doubles the memory trace. In other words, when kids see it and say it, they remember it twice as fast.
🔠 How This Applies to Early Literacy
Studies on embedded picture mnemonics (letters that include an image within their shape) show that children recall letter-sound connections faster and retain them longer. The visual context acts like training wheels for reading — helping children:
Recognize letters sooner
Build stronger sound-to-symbol associations
Develop phonemic awareness naturally through play
This is why educators increasingly emphasize multi-sensory learning — combining sight, sound, and story to make literacy stick.
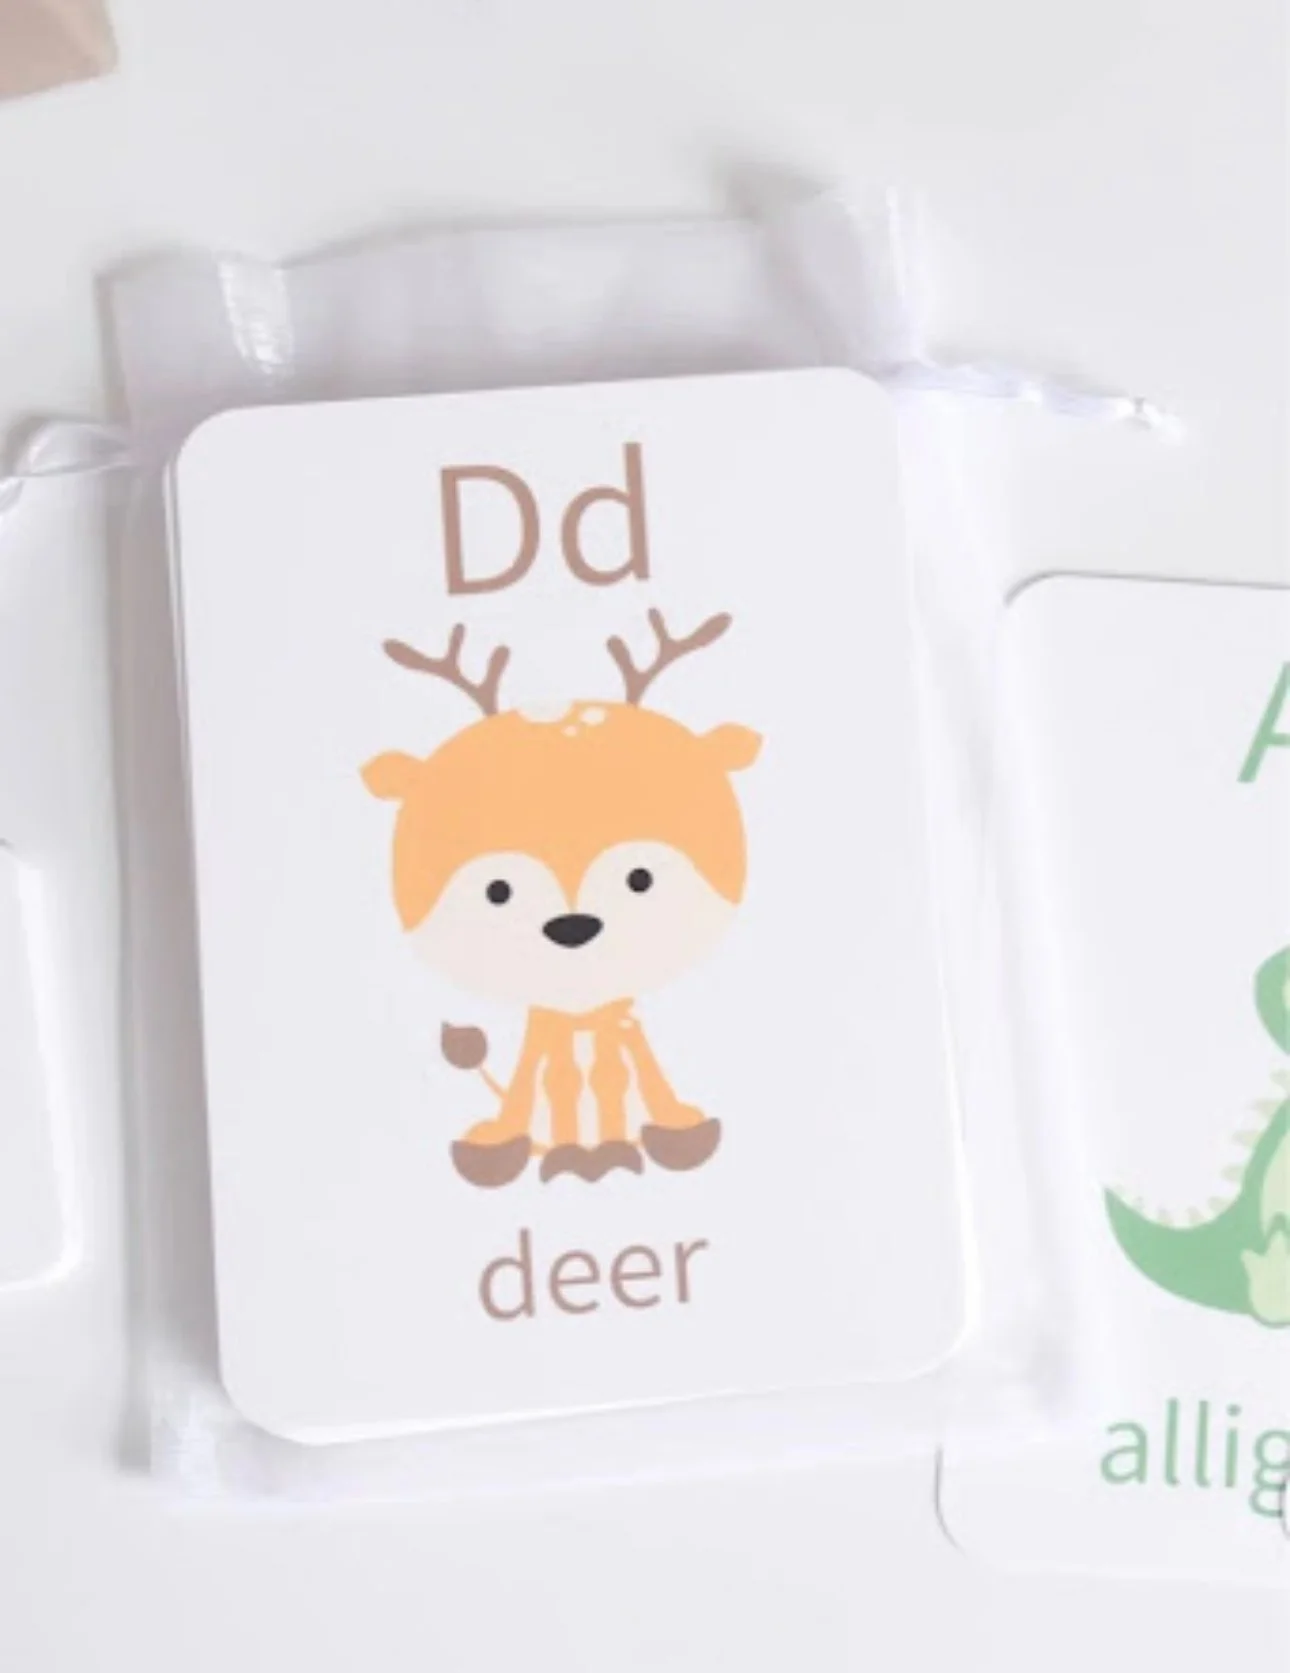
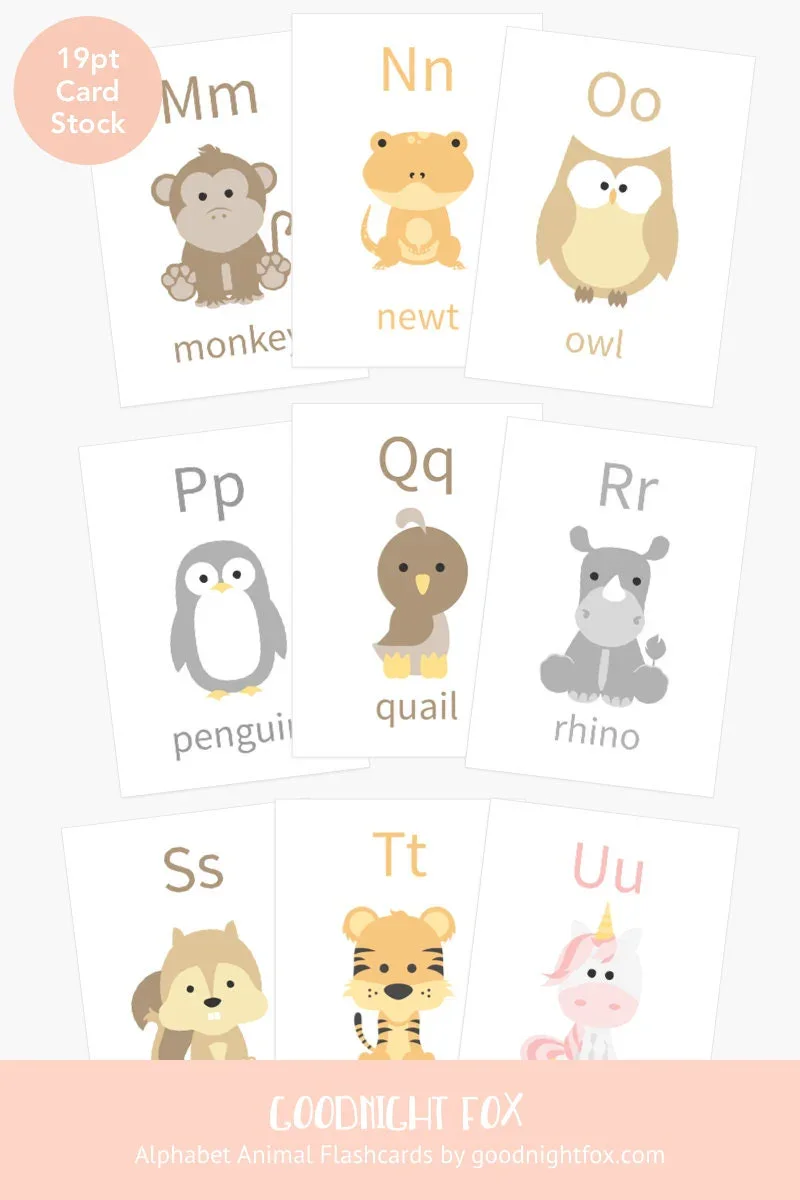
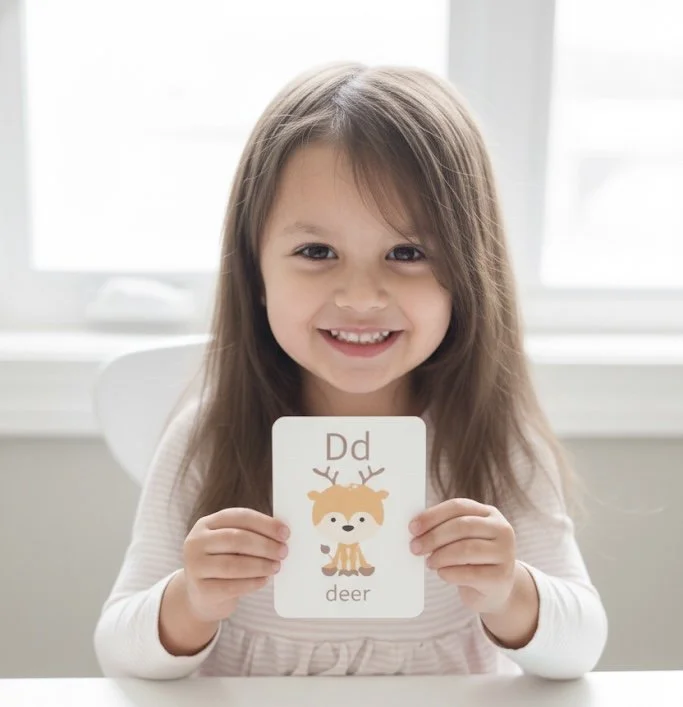
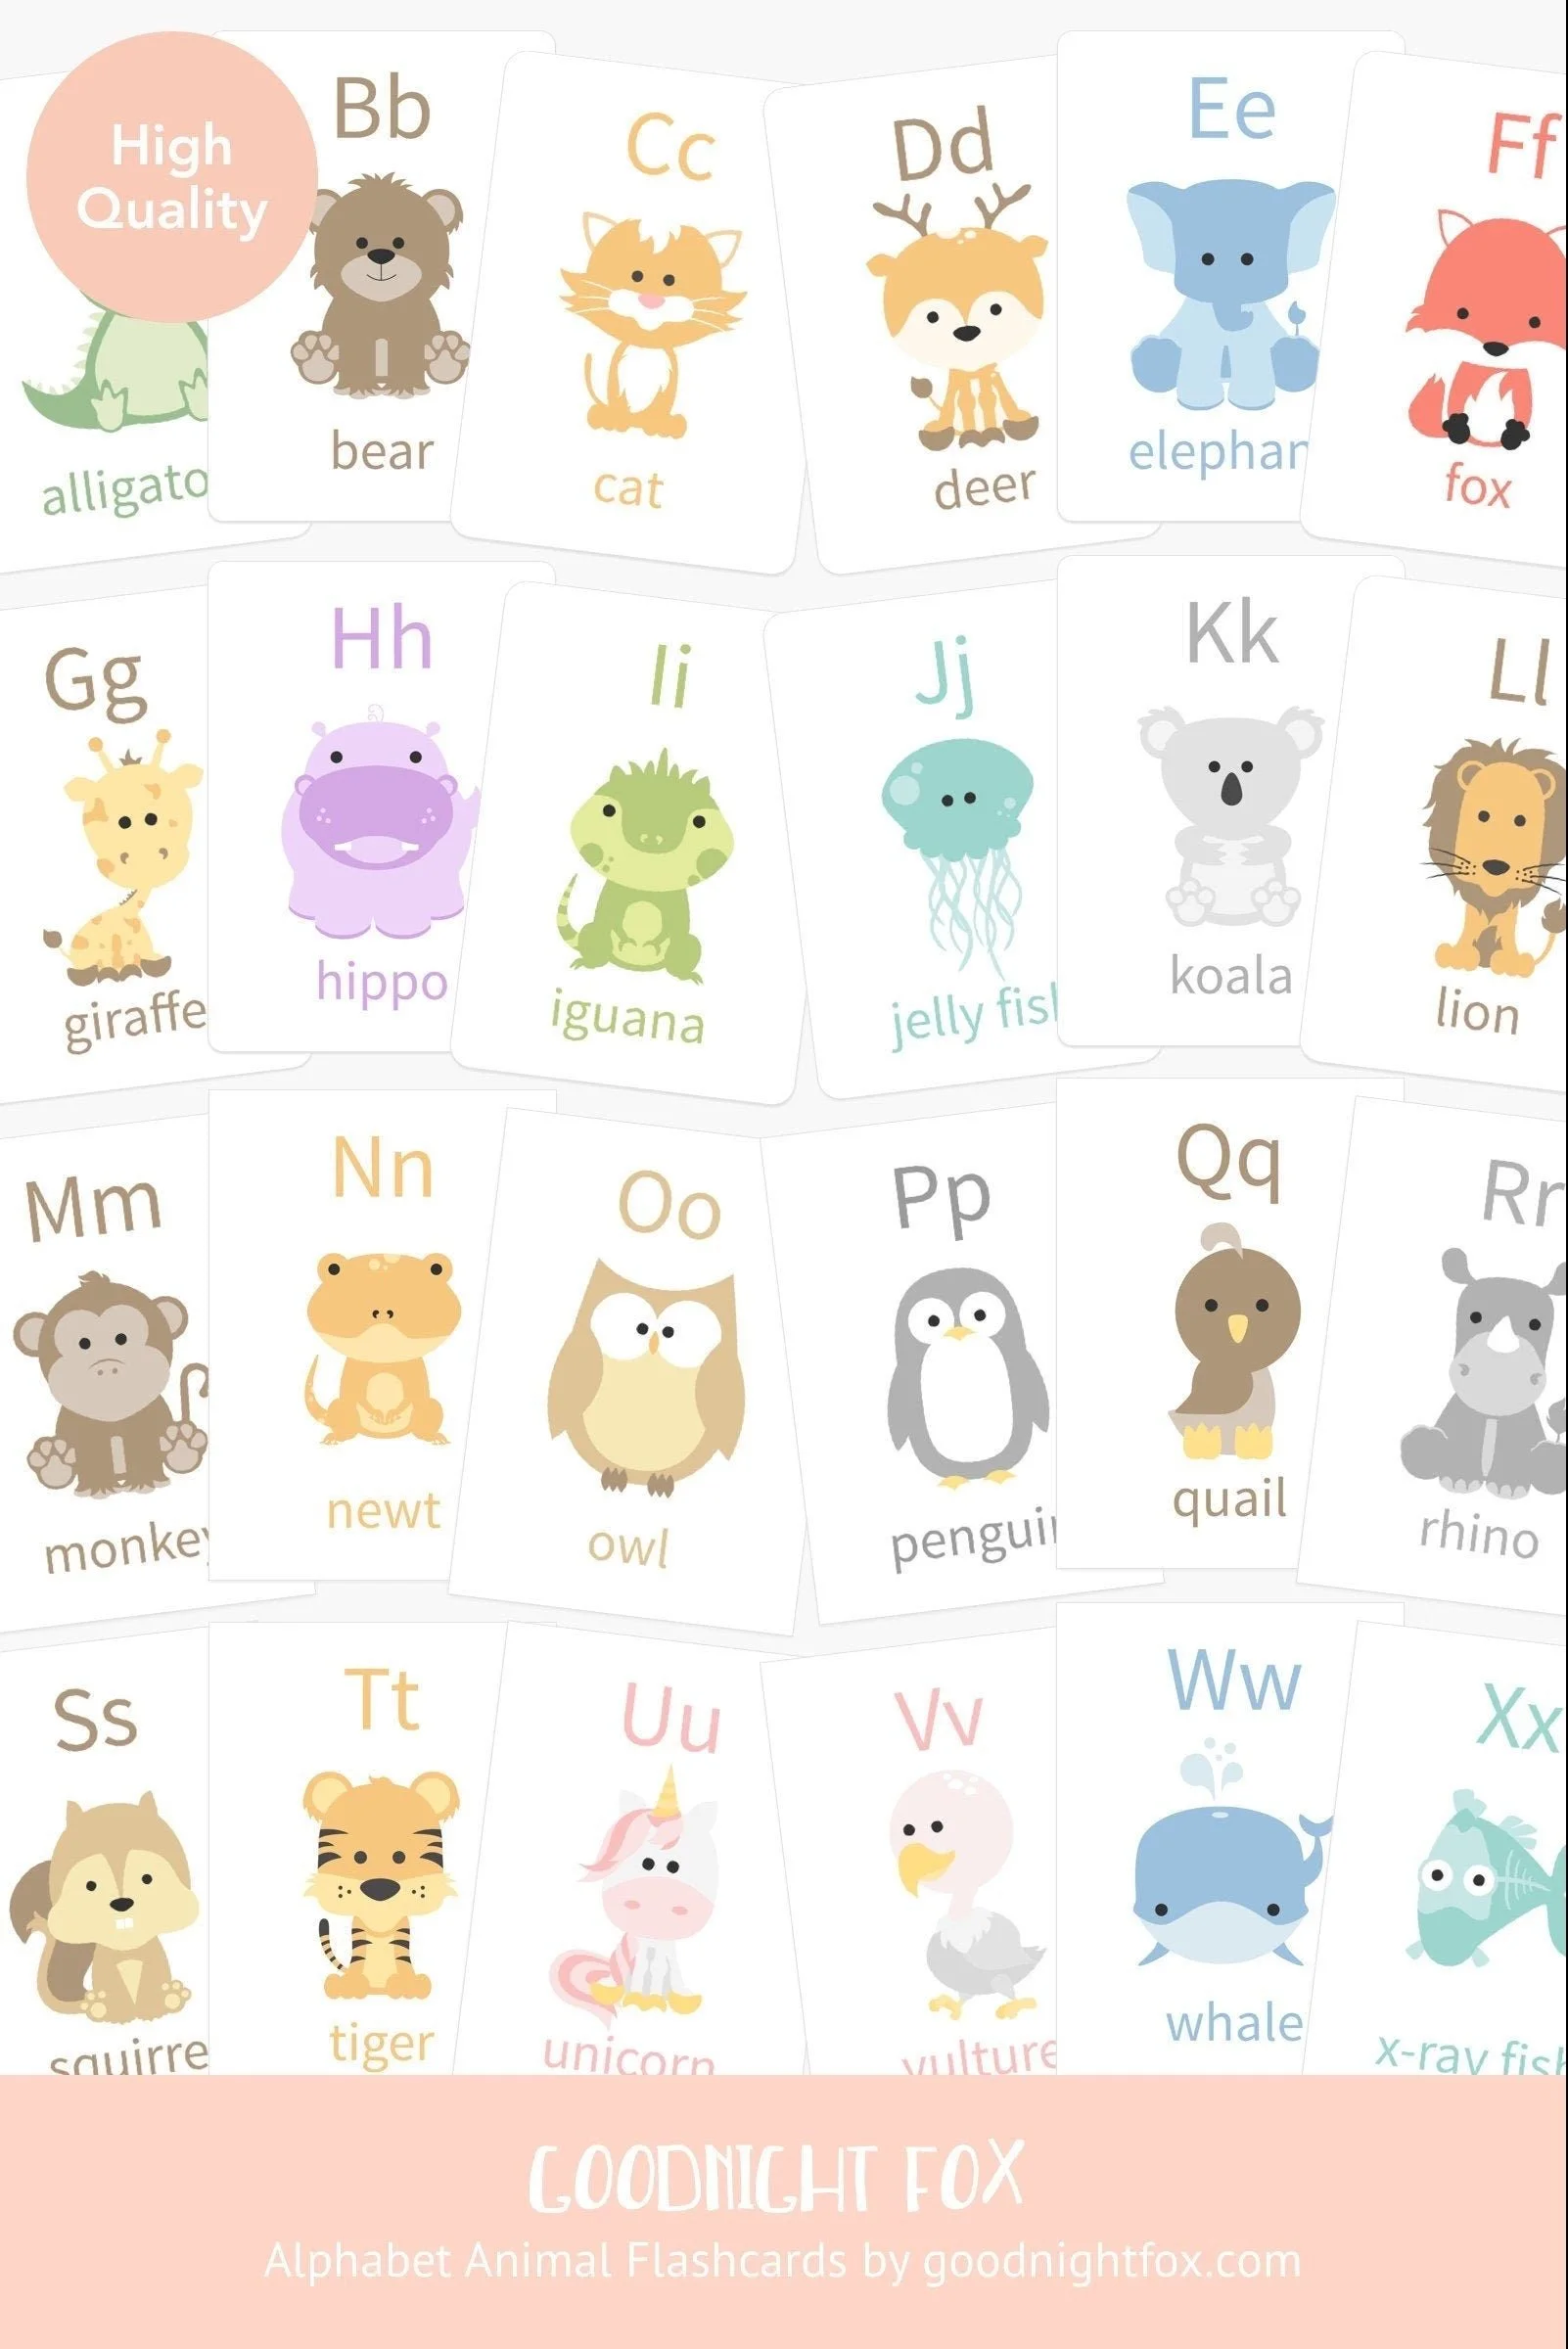
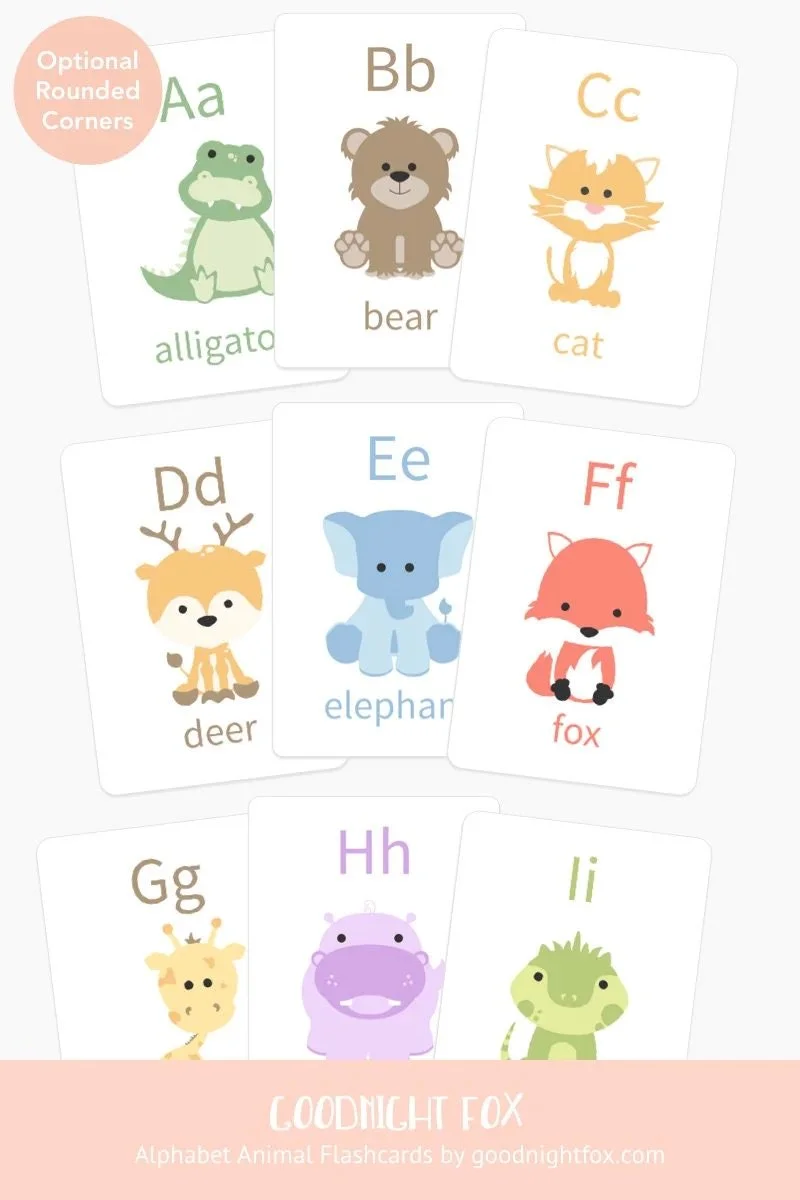
🦊 Designed With This Research in Mind
At Goodnight Fox, we created our Alphabet Animals Flashcards to give each letter a living, memorable anchor. Every animal is hand-drawn in soft, pastel tones — designed to capture attention without overwhelming the senses. Each letter and illustration pairing connects sight, sound, and emotion:
A for Alligator — snaps its jaws
B for Bear — growls
C for Cat — purrs softly
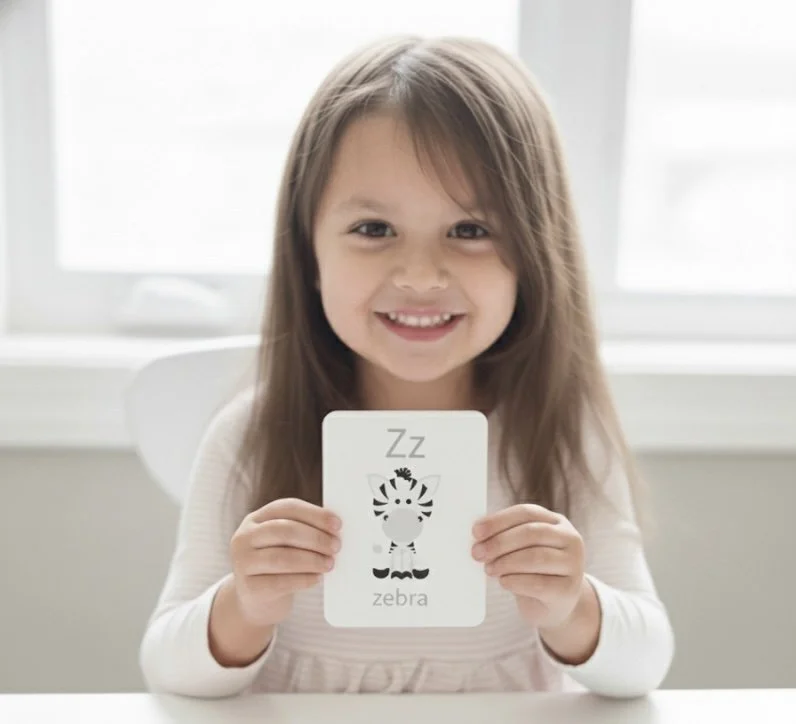
By turning each letter into a friendly face and story, we’re helping children’s brains store letters as experiences, not just symbols.
💬 The Takeaway for Parents
If your child is just beginning their alphabet journey, look for tools that connect letters to meaning — not just rote repetition. Whether it’s singing, storytelling, or our Alphabet Animals Flashcards, the goal is the same: to help your child’s brain see, say, and feel each letter. Because learning should be as joyful — and memorable — as childhood itself. ✨
🌿 References & Further Reading
Carnegie Mellon University (2019). Alphabet learning and neurophysiological anchoring in preschoolers.
Roberts, T., Vadasy, P. & Sanders, E. (2018). Preschoolers’ Alphabet Learning: Letter Name and Sound Instruction, Cognitive Processes, and English Proficiency.
Ehri, L. C. (2014). Orthographic mapping in the acquisition of sight word reading, spelling memory, and vocabulary learning. Scientific Studies of Reading.
Practice Makes Permanent (2022). Scaffold and Accelerate Letter-Sound Learning with Mnemonic Letters.