
Pre-Writing Activities for Preschoolers: Playful Ways to Build Handwriting Readiness (Before Any Letters)
If your preschooler scribbles happily for thirty seconds and then wanders off — or grips a crayon in a full fist and presses so hard the tip snaps — you are not behind. Writing does not start with letters. It starts with strong hands, playful strokes, and a lot of gloriously messy marks. These pre-writing activities build exactly that foundation, no worksheets required.
First, a deep breath: what "pre-writing" actually means
Here's the thing nobody tells you when the preschool writing worry kicks in: letters are near the end of a long, playful runway. Before a child can form an A, their hands and eyes practice a predictable set of simpler strokes. Occupational therapists describe that progression in roughly this order: vertical lines and horizontal lines first, then circles, then a cross, then a square, diagonals and an X, and finally triangles — with each step typically emerging somewhere between about ages 2½ and 5½ (see the stroke-by-stroke breakdown from North Valley Pediatric Therapy).
That order matters more than any single age. A 3-year-old who can copy a circle is right on track, even if a square is still wobbly — squares usually come later. And the grip evolves too: a whole-fist hold in the toddler years gradually gives way to fingers doing more of the work around ages 3–4. So if your child is scribbling, zipping lines top to bottom, and zooming them side to side, they are not "not writing yet." They are doing the exact work writing is built on.
When she was little, our pre-writing practice never looked like handwriting lessons. It looked like chalk that was bigger than she was, playdough snakes, and drawing in trays of salt while dinner cooked. That's the spirit of everything below: seven playful ways to build hand strength and early strokes, in the order little hands actually learn them.
7 pre-writing activities that build the foundation first
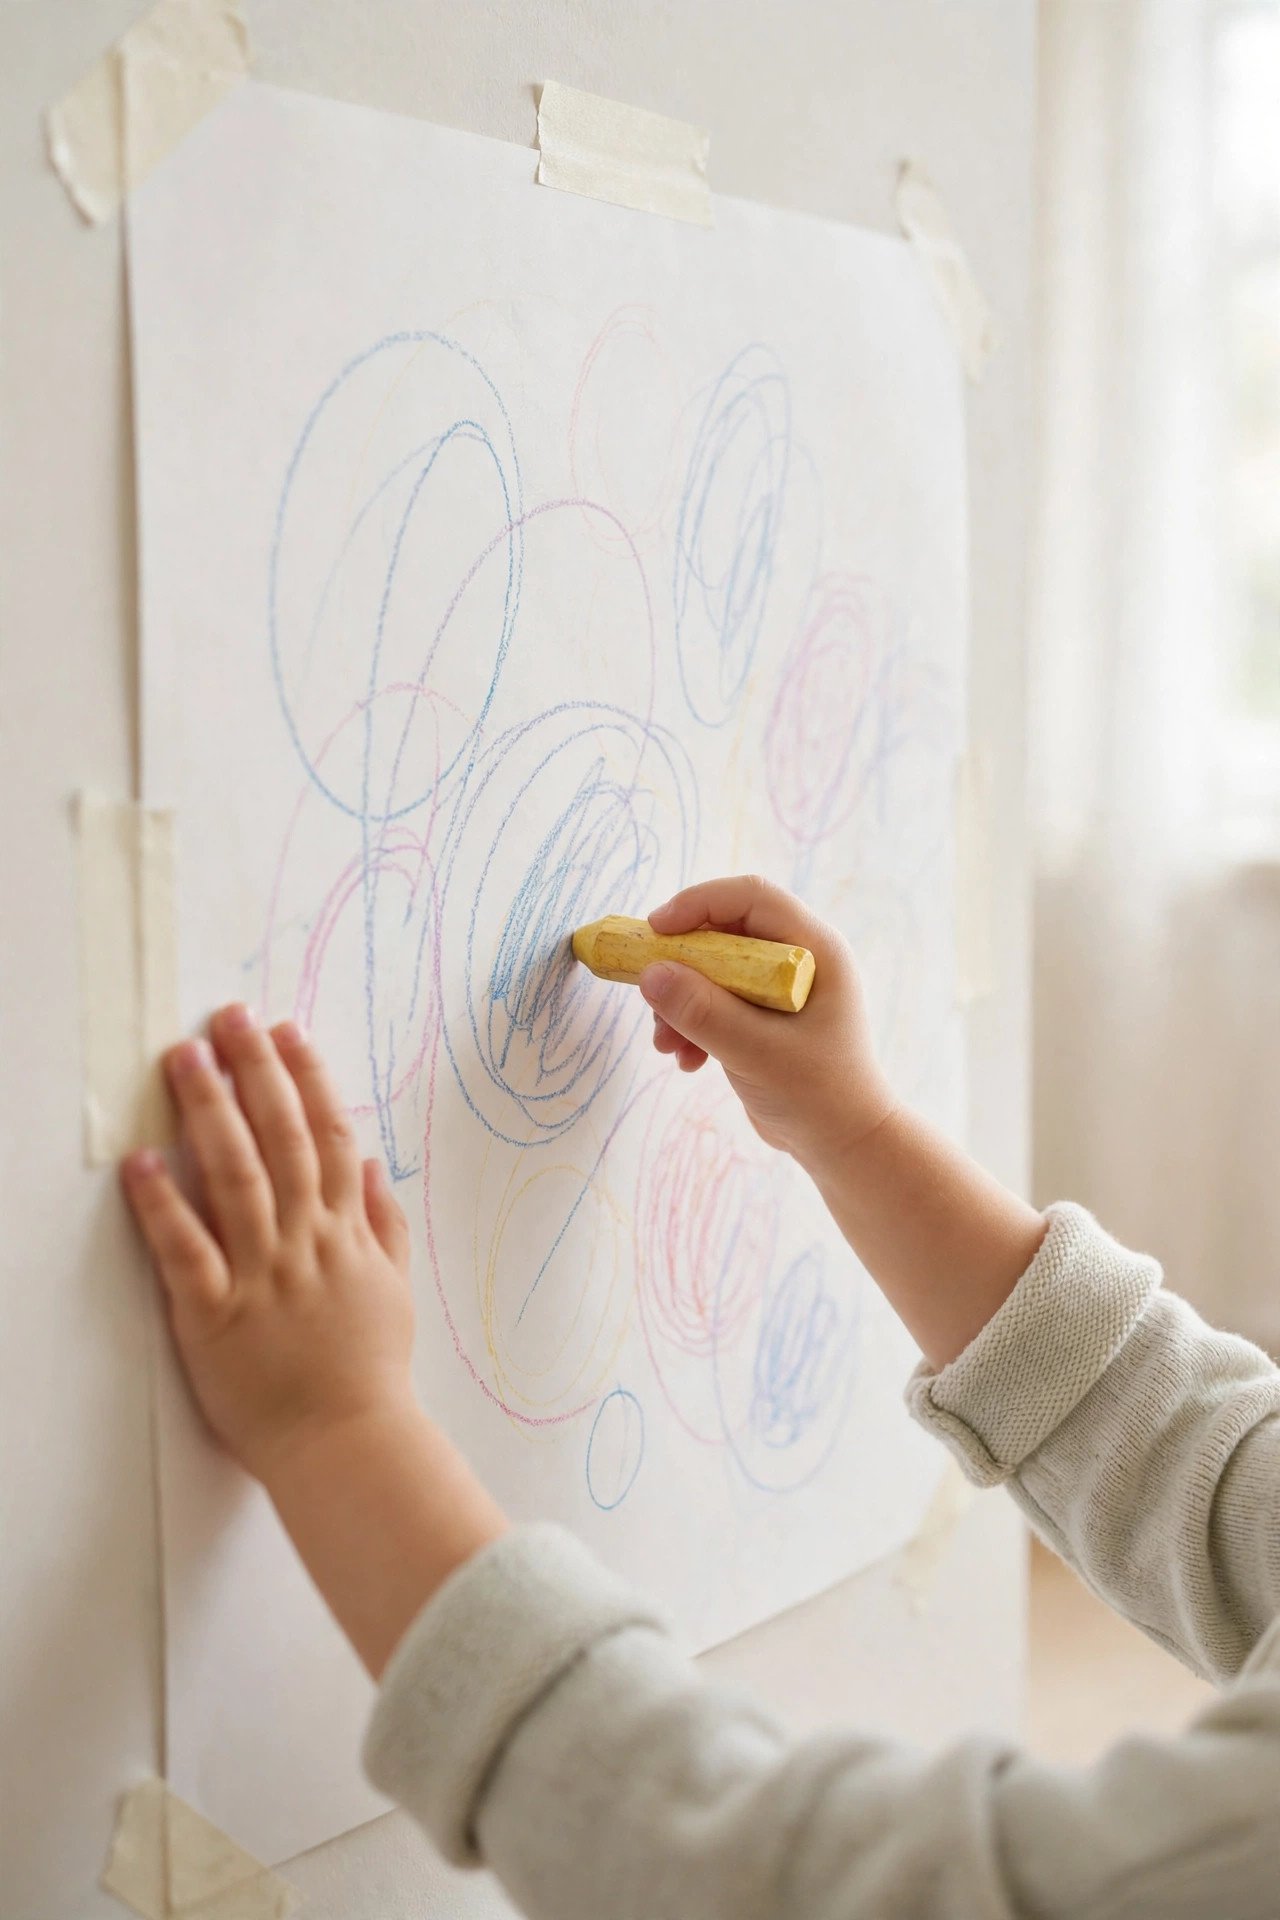
1. Big vertical-surface drawing (the shoulder builder)
Start bigger than paper. Tape a large sheet to a wall or easel, hand over chunky chalk or a thick marker, and let your child draw standing up. Working on a vertical surface naturally lifts the wrist into a better position and recruits the shoulder and core muscles that later keep a pencil steady on a desk. When she was little, painting with water on our fence was a summer staple — giant strokes, zero mess to clean, and she never once thought of it as practice.
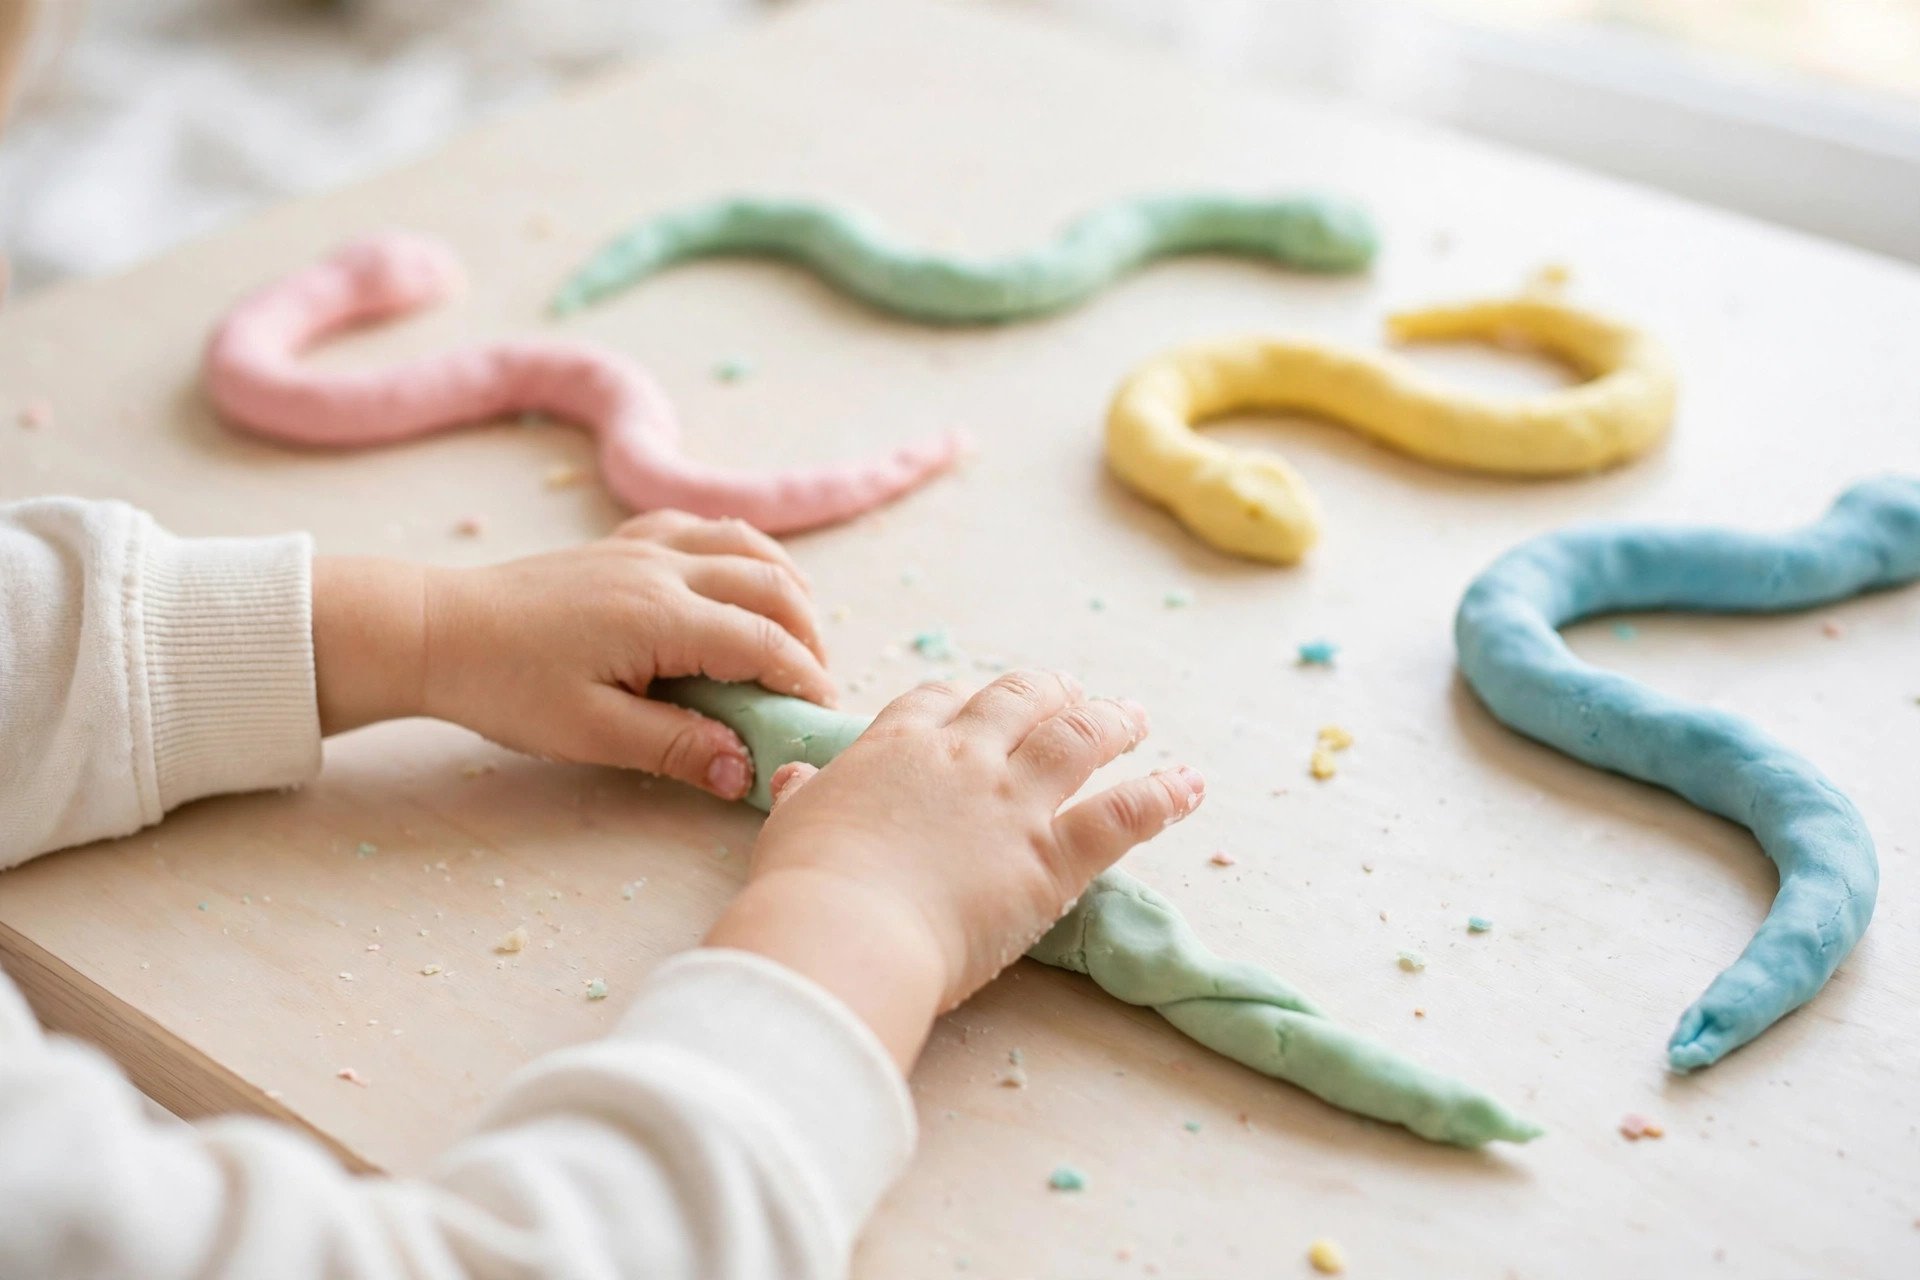
2. Playdough snakes, snips, and pinch pots (the hand builder)
Strong writing starts with strong hands, and playdough is the friendliest gym there is. Roll long snakes, pinch them flat, squeeze balls, and — once scissor skills are emerging — snip the snakes into "noodles." Every squeeze and pinch builds the small hand muscles that later control a pencil without fatigue. Our scissor skills guide has the staged cutting progression that pairs perfectly with this.
3. Zip and zoom lines (vertical + horizontal strokes)
The first copyable strokes are the simplest: a vertical line drawn top to bottom, and a horizontal line drawn left to right. Make them a game, not a lesson. Draw a tall "rain shower" and invite your child to add the rain; draw a road across the page and let them zoom a line along it. Short, fat crayons and markers are easier for little hands to control here than long pencils. Two minutes of zips and zooms beats a page of tracing dotted lines they didn't choose.
4. Circles everywhere (the first closed shape)
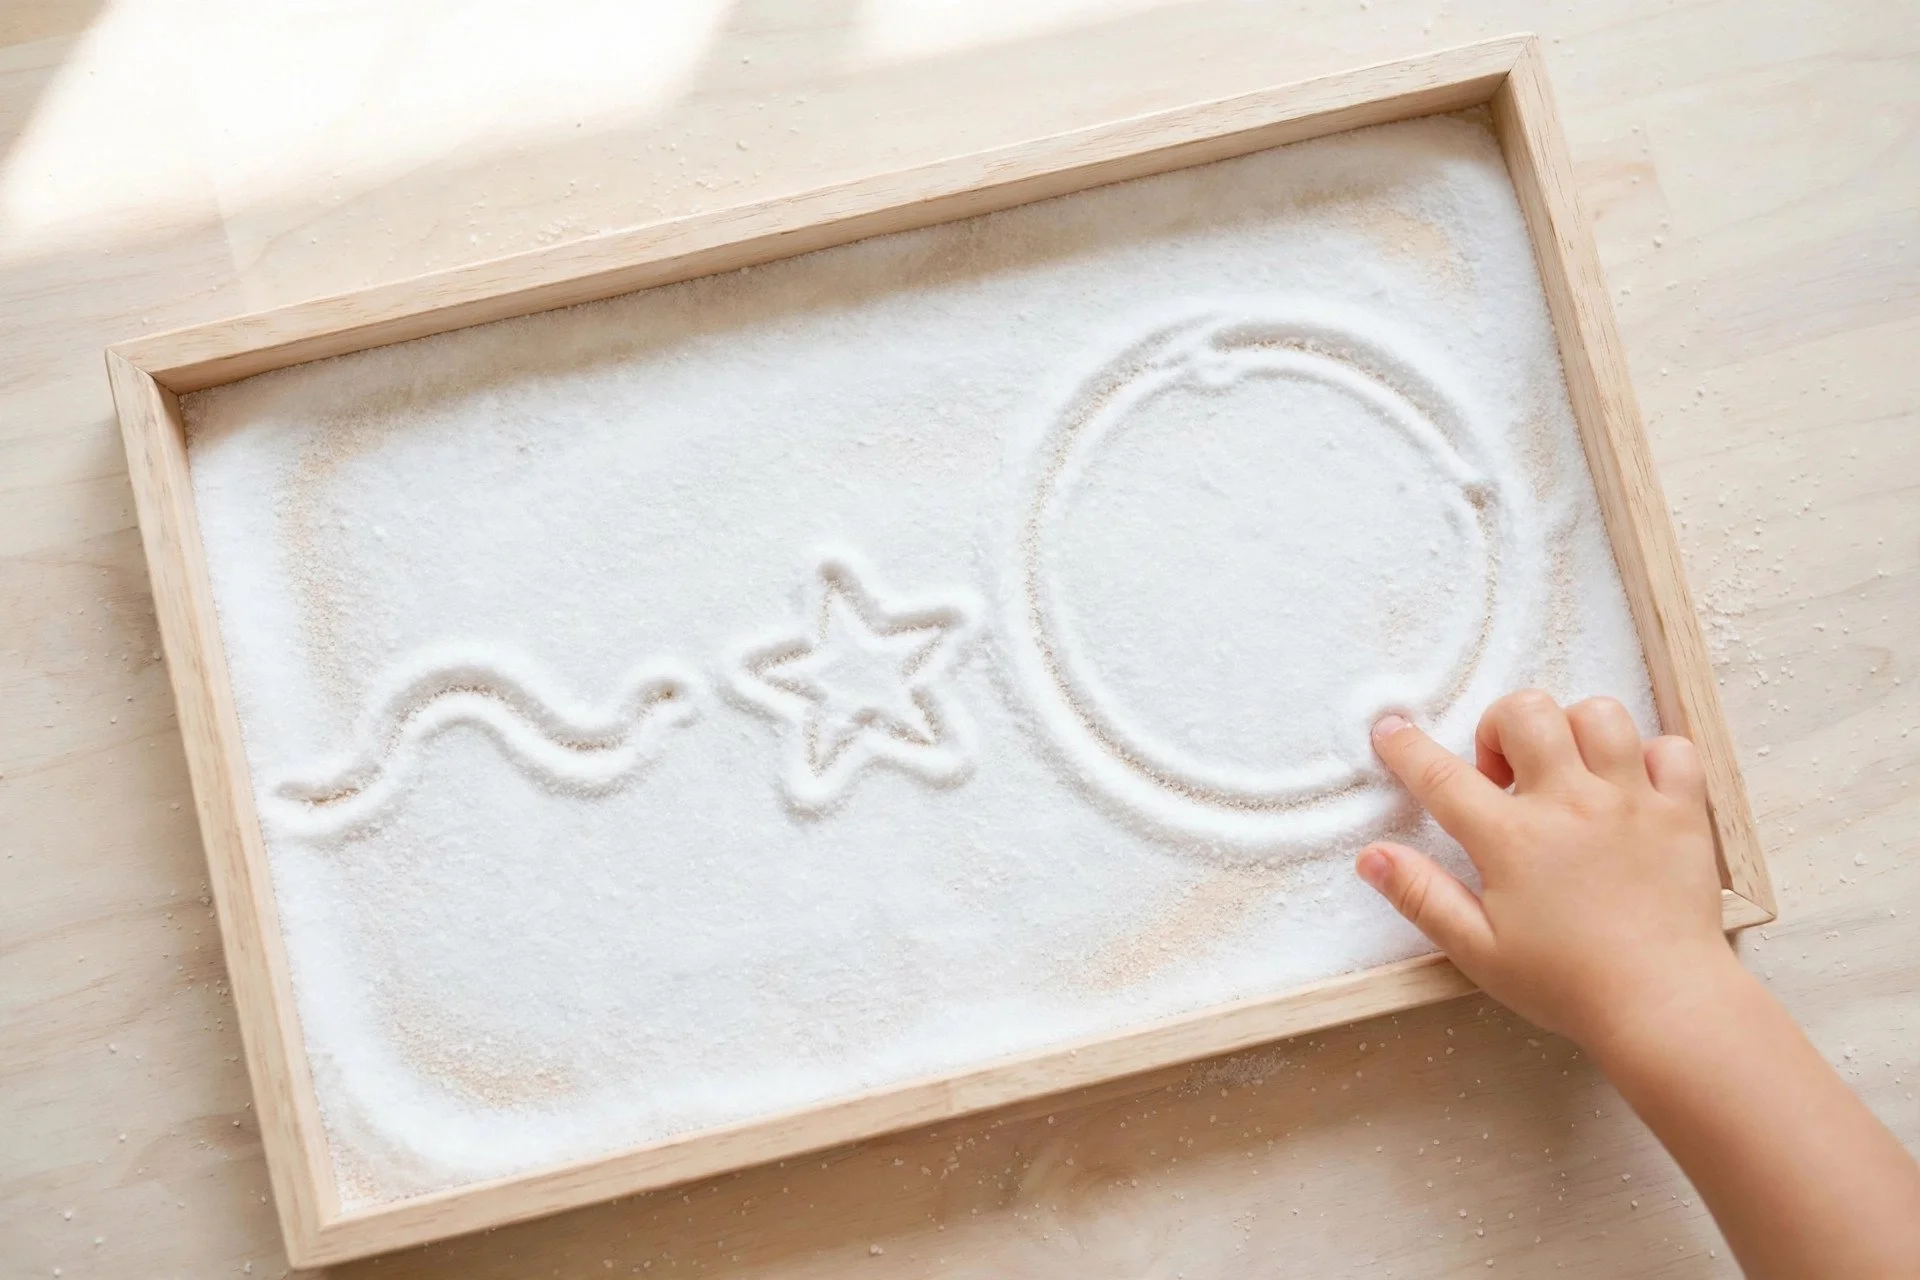
Circles usually come next, and they are sneakily important — so many letters are built from curved strokes. Draw bubbles, wheels, faces, and suns together. A lovely no-paper version: swirl a circle with a fingertip in a shallow tray of salt, flour, or sand, shake gently to erase, and go again. The sensory feedback helps the hand remember the movement, and the instant-erase tray makes "mistakes" disappear, which keeps reluctant drawers trying.
5. Crosses, squares, and simple shape copying
Once circles feel easy, add a cross (+), then a square, copying one stroke at a time while you narrate the steps out loud: "down… across… down… across." Keep it to one shape per session, draw yours big beside theirs, and celebrate wobbly corners — wobble is information for their eyes and hands, not failure. If a square is still frustrating, that's useful information too: it usually just means "not yet," and the earlier strokes deserve more play time first.
6. Mazes, paths, and "drive the car home" pages
Draw a wide, simple path — two curved lines with a start and a finish — and let a crayon "car" drive home without crashing into the grass. Wide paths first, narrower as control grows. This builds the eye-hand tracking and pencil control that letters demand, wrapped in a story your child controls. We made these on scrap paper constantly when she was little; the sillier the destination (the ice-cream shop, grandma's house), the more laps she wanted to drive.
7. Name and letter play — only when the strokes are ready
Letters come last, and the kindest first letter is the one in your child's own name. Try it big before small: formed with playdough ropes, traced with a fingertip in that salt tray, or written with chalk outside. If they can copy lines, circles, and a cross comfortably, early letters will feel like a fun new shape game. If not, more stroke play is the right move — there is no prize for letters at 3, and confidence built now pays off all through kindergarten. Our kindergarten readiness checklist shows how this fits into the bigger readiness picture.
What you can stop stressing about
- A "perfect" tripod grip at 3. Grips mature gradually. Short, chunky tools and lots of hand play help more than grip-correcting gadgets or constant reminders.
- Staying inside the lines. Coloring neatly is a different (and later) skill than making strokes. Big, free drawing builds control first.
- Writing their name before preschool ends. Recognizing their name and playing with its first letter is a strong, age-appropriate launchpad.
- Worksheets as proof of progress. Five playful minutes with chalk, dough, or a salt tray is doing the same foundational work — and kids actually ask to repeat it.
Simple setup rules that make every activity work better
- Short tools for little hands. Broken crayons, short markers, and stubby chalk encourage fingers — not a fist — to do the work.
- Big first, then smaller. Whole-arm strokes on walls and fences come before fingertip strokes on paper.
- Quit while it's fun. Five happy minutes, repeated often, beats one long session that ends in tears.
- Follow the stroke order loosely. Lines, then circles, then crosses and squares — if a step is frustrating, play longer at the step before it.
- Keep supplies where waiting happens. A small tray and dough by the kitchen kept our practice alive in two-minute pockets of the day.
When to check in with a teacher or OT
Every child develops at their own pace, and one wobbly shape is not a red flag. It's worth a conversation with your child's preschool teacher, pediatrician, or an occupational therapist if, over time, you're noticing things like: a fist grip that persists well past age 4, pressing so hard (or so lightly) that marks are hard to control, quick hand fatigue or avoiding drawing and cutting altogether, or frustration that is growing rather than shrinking with playful practice. Asking early is never the wrong move — and an OT can tell you quickly whether it's a "keep playing" situation or something worth targeted support.
What are pre-writing skills?
They're the foundation strokes and hand skills children build before forming letters: vertical and horizontal lines, circles, crosses, squares, and diagonals, plus the hand strength, grip, and eye-hand control to make those marks on purpose. Letters are built from these strokes, which is why playing with the strokes first makes handwriting easier later.
What age should my child start pre-writing activities?
Scribbling often starts in the toddler years, and most children begin copying simple lines and circles somewhere around ages 2½–3. There's no start-line to miss — any age is a good age to offer chalk, dough, and big drawing surfaces and let your child play at their current stroke level.
My preschooler hates drawing. What should I do?
Take the paper away — not the practice. Draw with water on a fence, swirl strokes in a salt tray, roll playdough snakes, or chalk giant lines outside. "Pre-writing without a pencil" builds the same muscles and movements, and many reluctant drawers happily do all four. Keep sessions tiny and let them stop while it's still enjoyable.
Does my child need to write their name before kindergarten?
It's a nice-to-have, not a requirement. Recognizing their name, and playing with its first letter once they can copy lines and circles comfortably, is a solid start. Kindergarten is where most children build real letter-writing fluency, especially when they arrive with strong hands and stroke confidence.
Are tracing worksheets good pre-writing practice?
They can be one small tool, but they're not the foundation. Free drawing, big vertical-surface work, sensory trays, and playdough build broader strength and control — and hold a preschooler's interest far longer. If you use tracing pages, keep them short, optional, and after plenty of free play.