
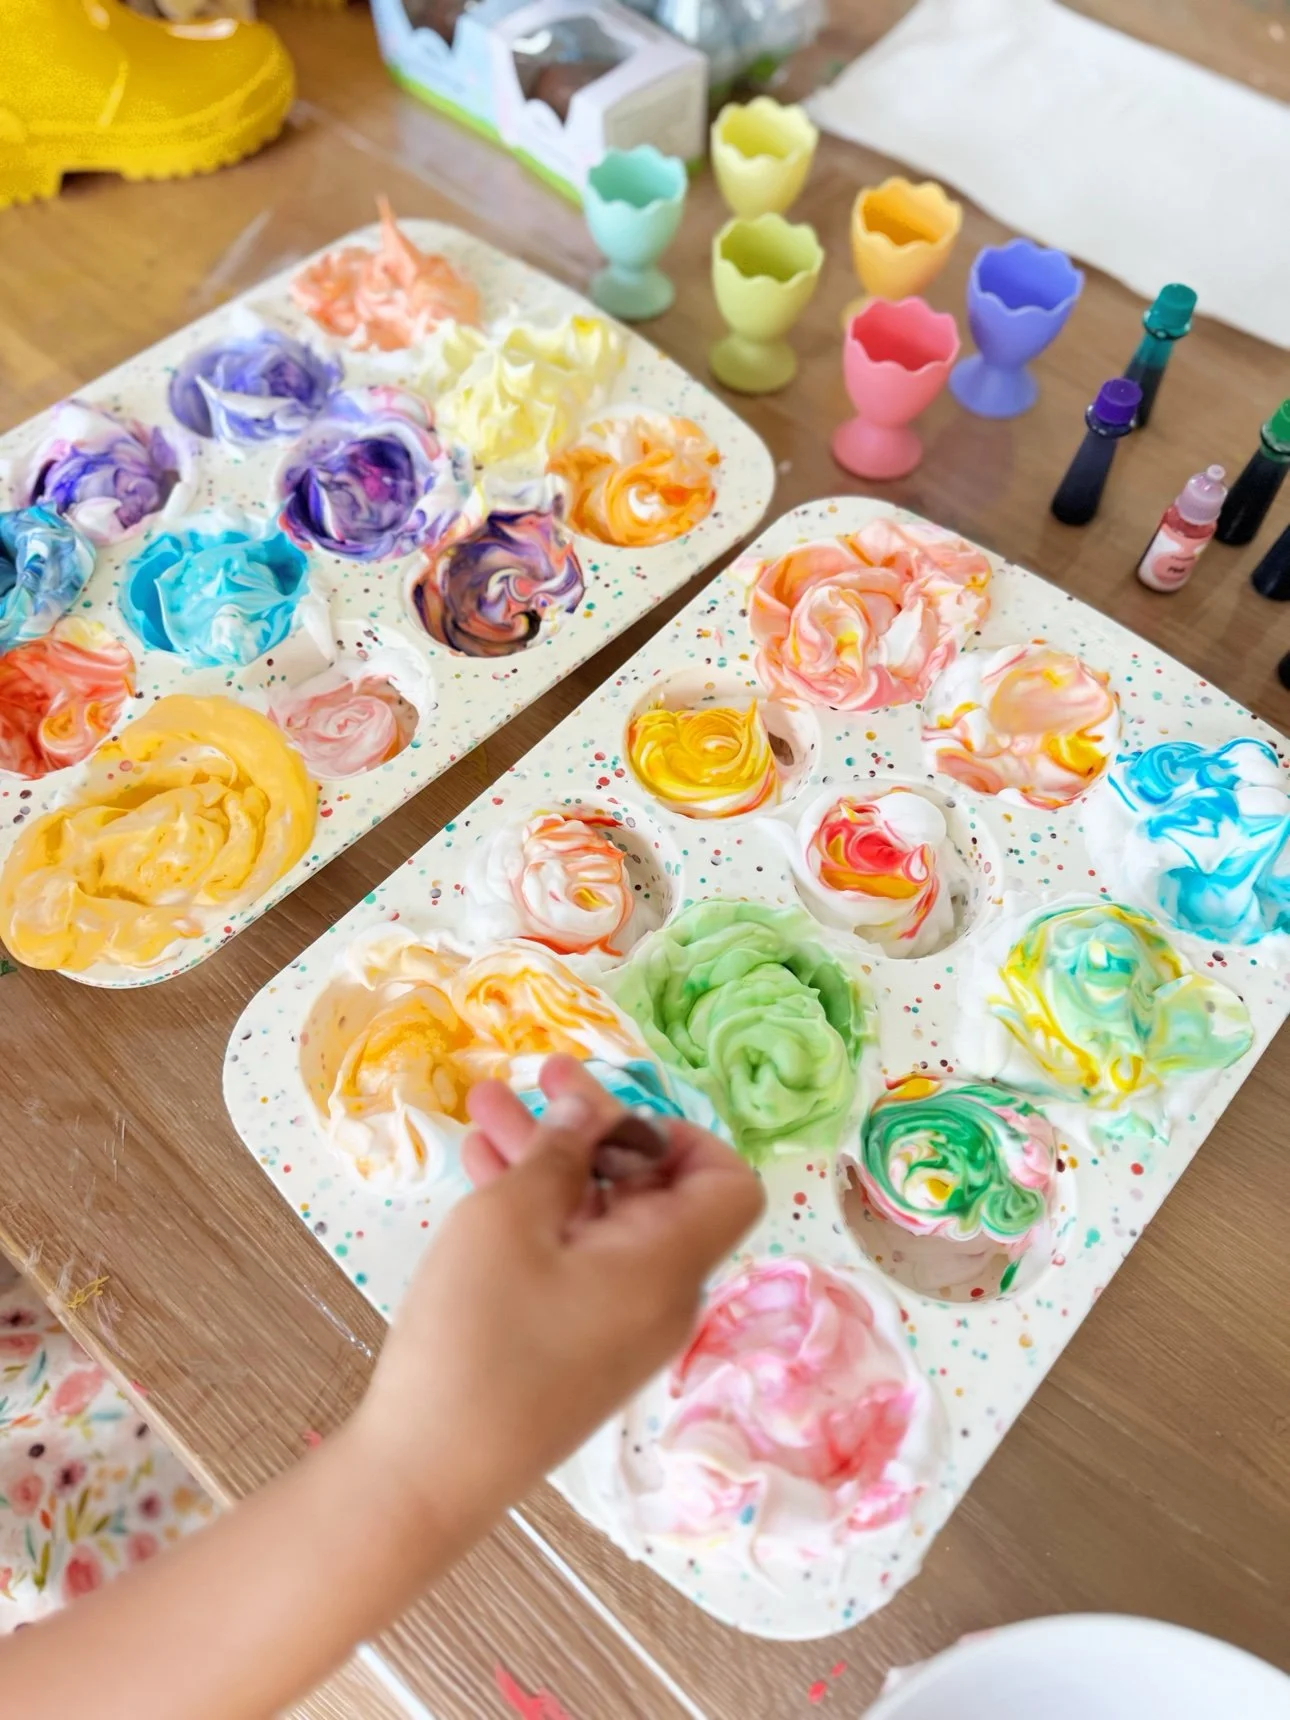
Shaving Cream Easter Eggs: Marbled Eggs with Shaving Foam
These shaving cream Easter eggs are the prettiest eggs we've ever dyed — swirly, marbled, watercolor-soft, and every single one is different. The secret is a muffin tin, a can of shaving foam, and a few drops of food coloring. It takes about ten minutes of hands-on time, and the reveal never gets old.
If you've never tried the shaving foam method, this is the year. It's the easiest "wow" Easter craft we know, and toddlers can do most of it themselves.
What You'll Need
- Hard-boiled eggs (cooled completely)
- White shaving foam — not gel, not menthol. Plain foam works best.
- Liquid food coloring
- A muffin tin (or a baking dish)
- Toothpicks or a skewer for swirling
- Paper towels and gloves or an apron
Safety note: shaving cream isn't food-safe, so treat these as decoration eggs — don't eat them. Grown-ups should handle the can, and little hands should be washed well afterward. If you want to eat your eggs, blow them out first and dye just the shells.
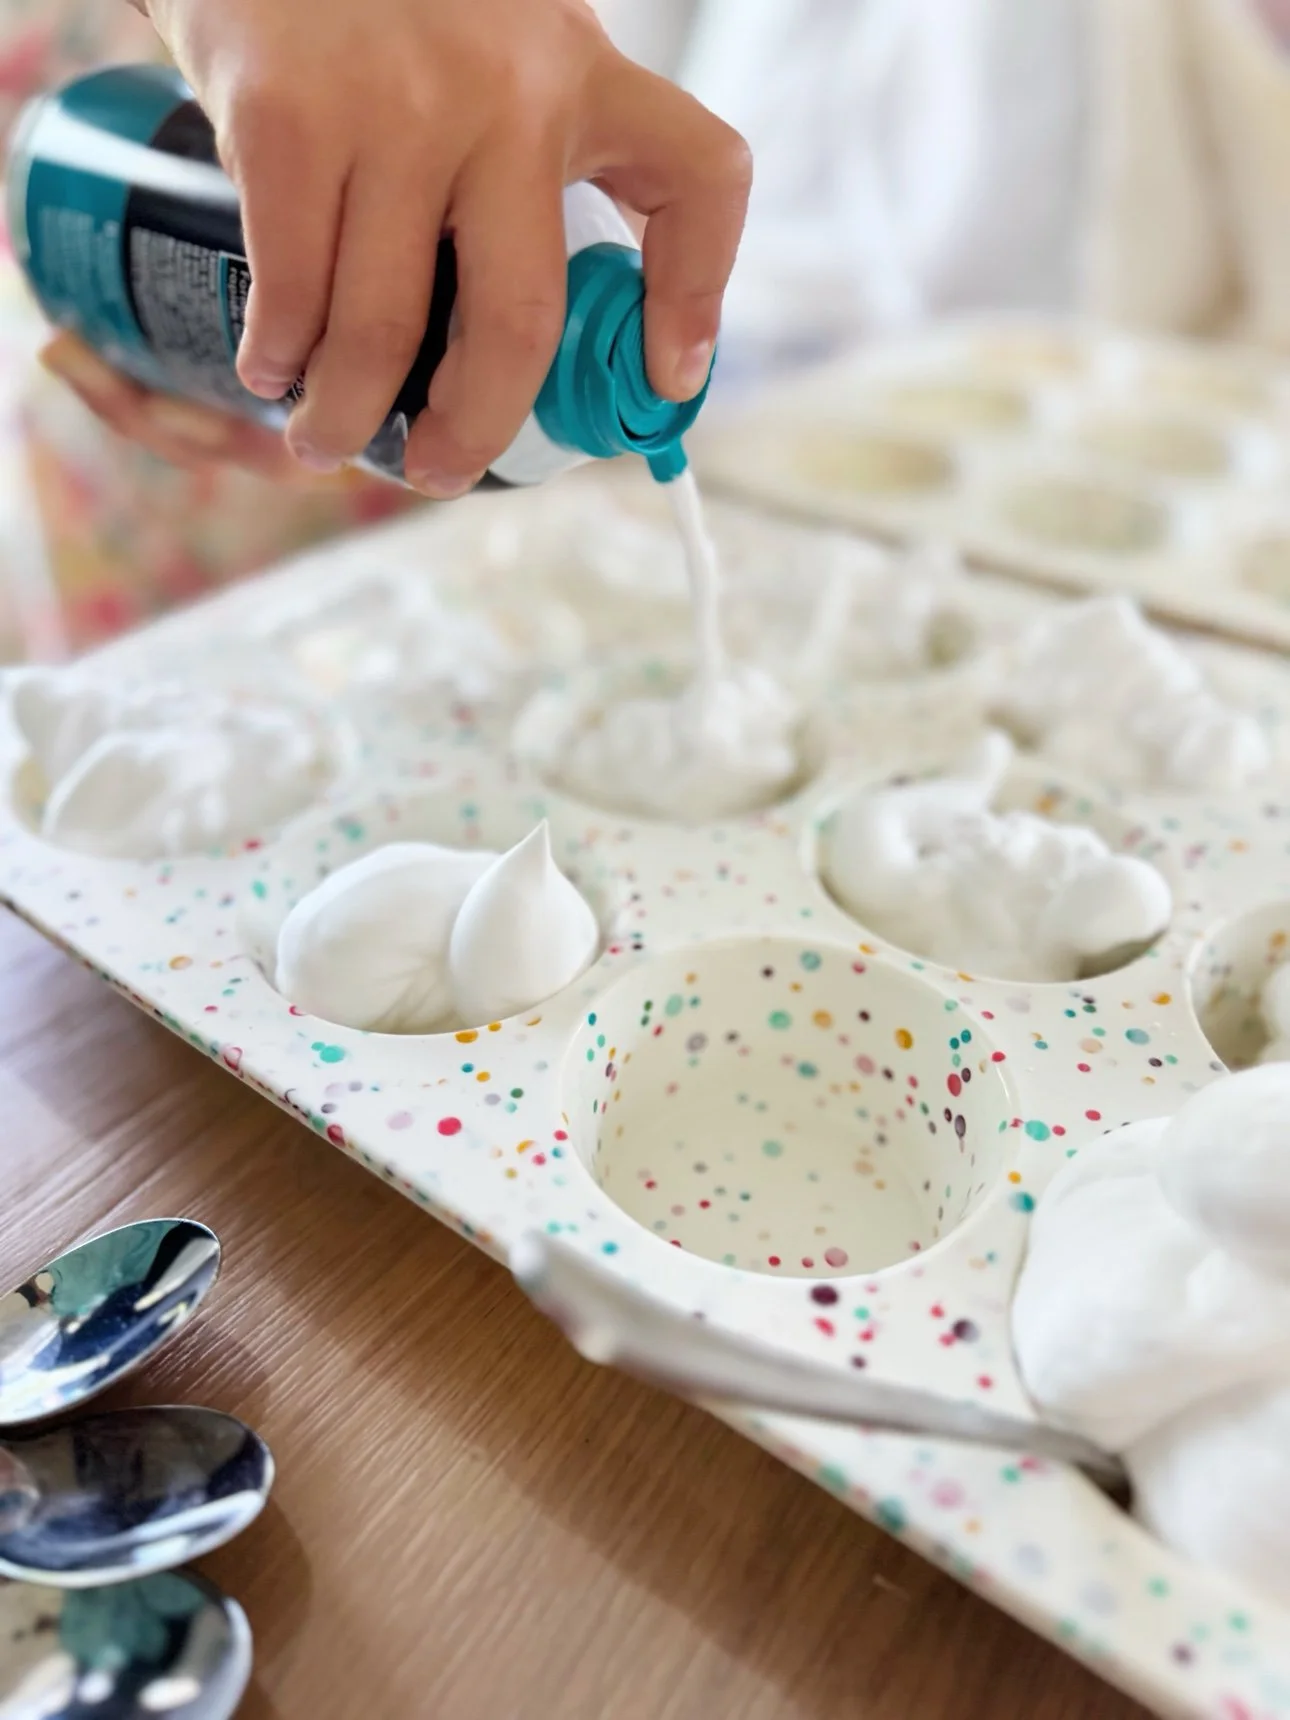
Step 1: Fill the Muffin Tin with Shaving Foam
Spray a generous dollop of shaving foam into each cup of the muffin tin — enough to nestle an egg into. Smooth the tops lightly with the back of a spoon. This is the part kids love most, so let them go for it.
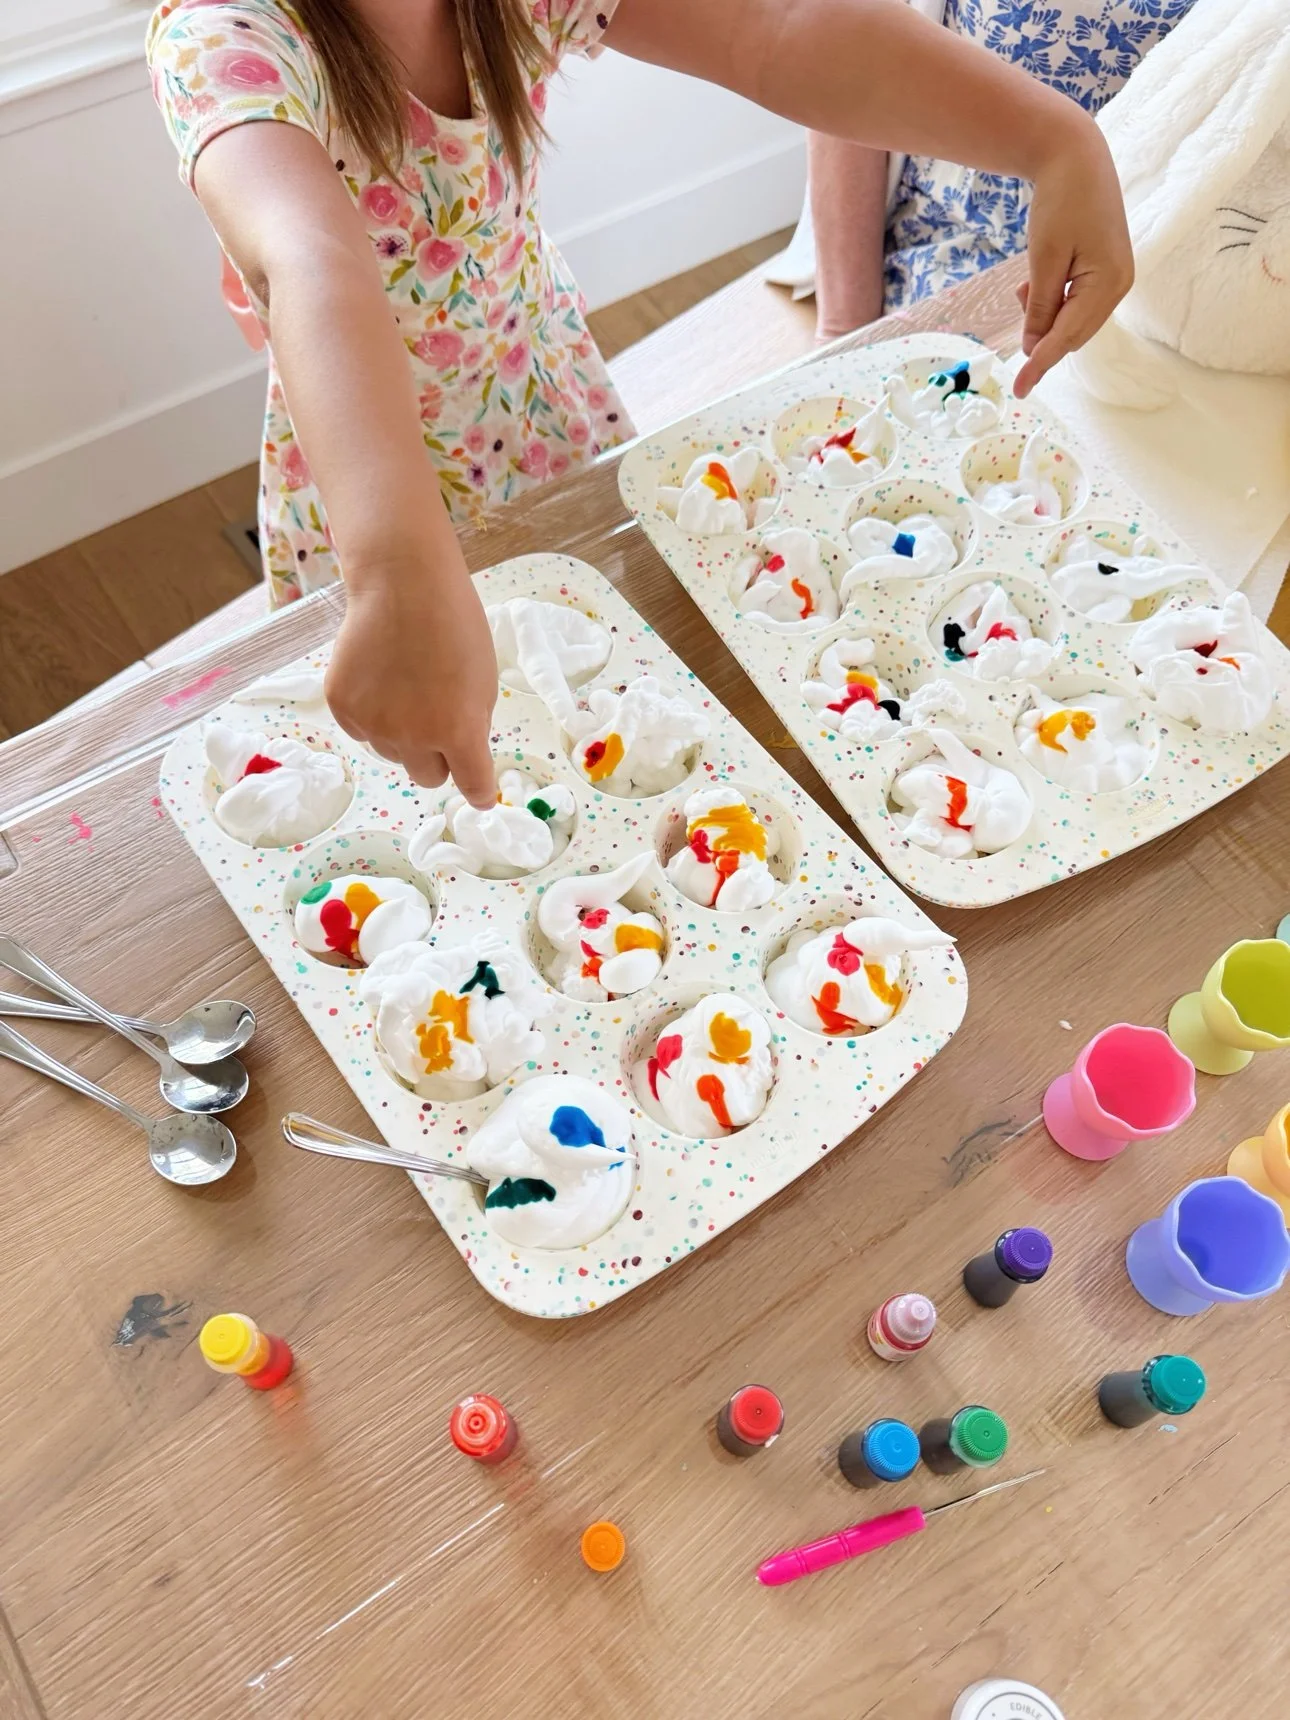
Step 2: Add Drops of Food Coloring
Add 3–5 drops of food coloring to each cup. Use 2–3 colors per cup for the prettiest marbling — pastels turn out dreamy, brights turn out bold. Don't overthink the color combos; they all work.
Step 3: Swirl — But Not Too Much
Drag a toothpick through the foam in lazy S-curves, just a few passes per cup. The magic rule: less swirling = more marbling. If you stir too much, the colors blend into one muddy shade. Stop while you can still see distinct ribbons of color.
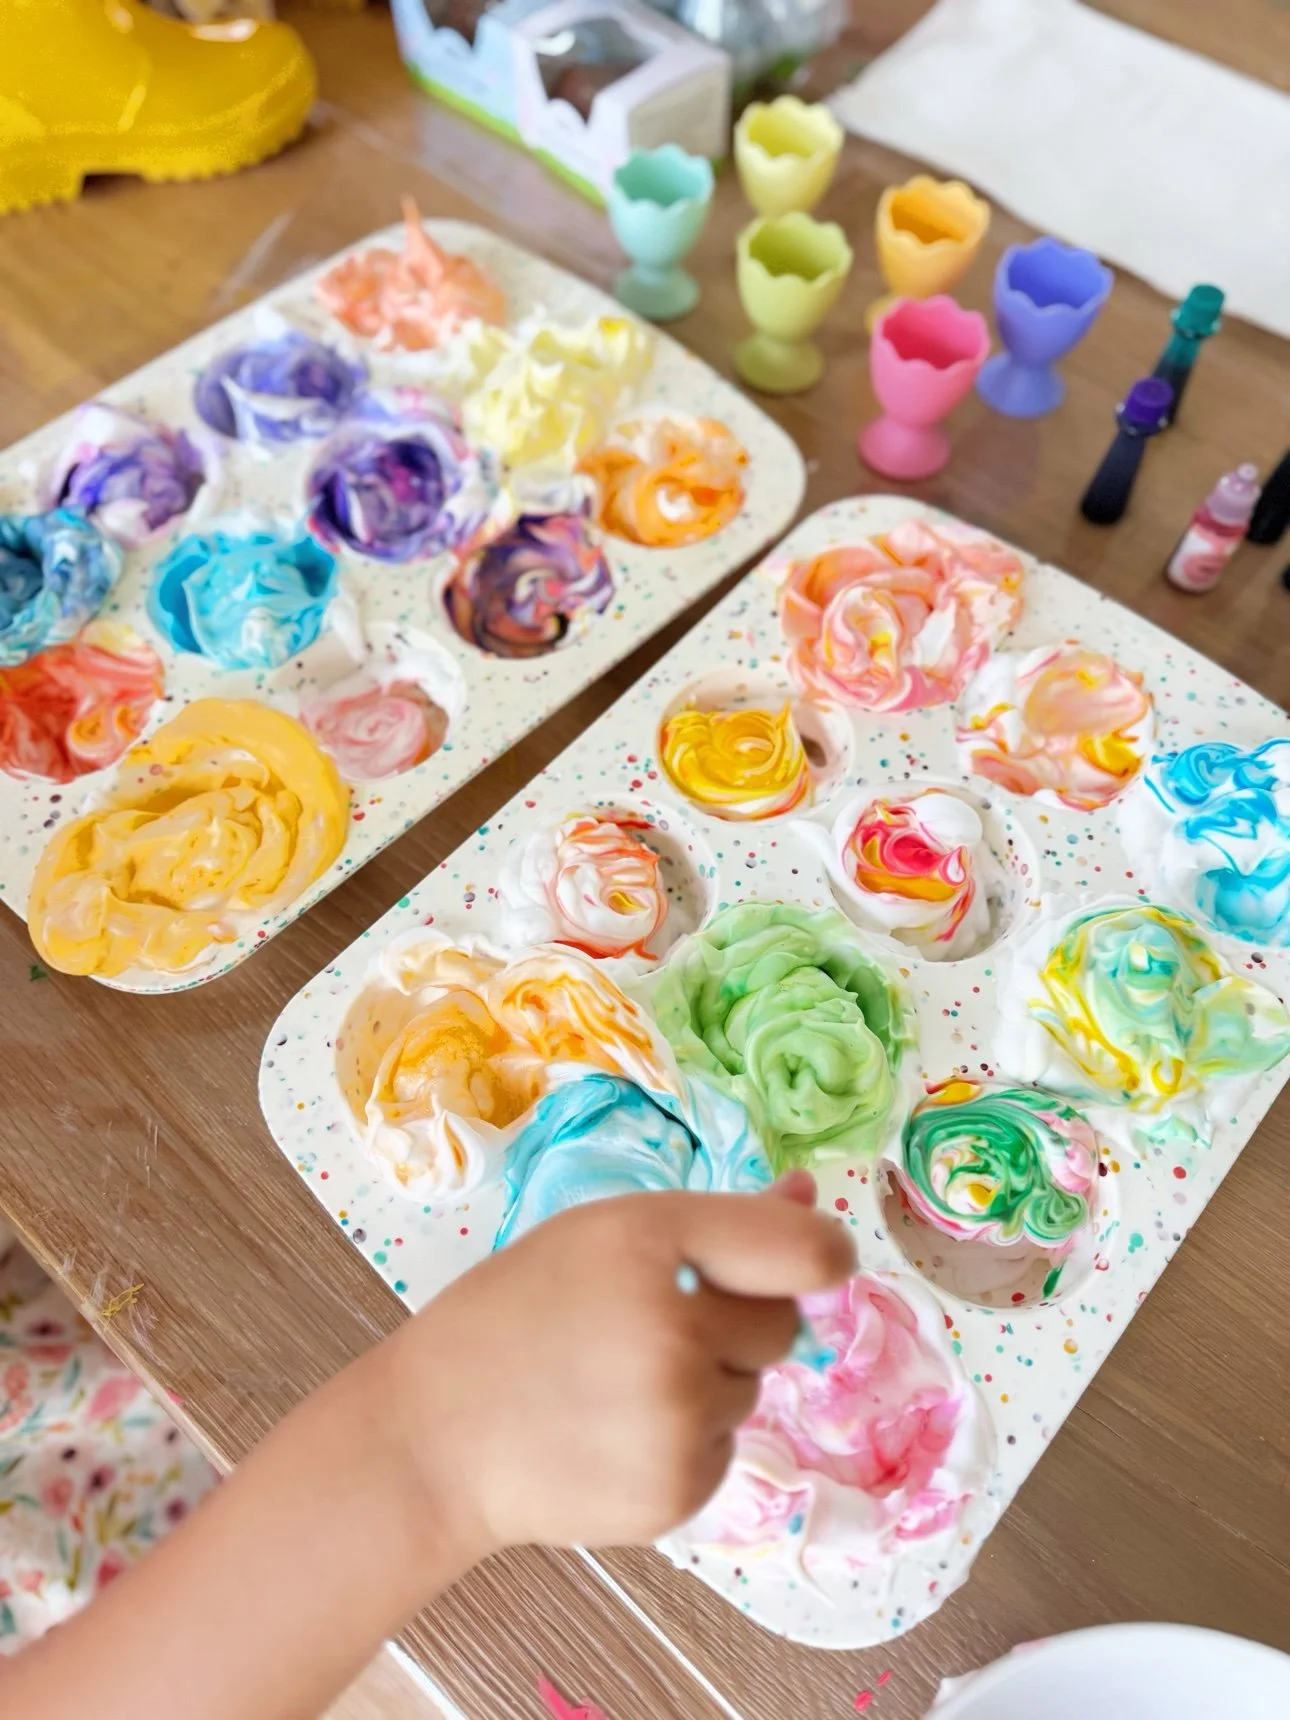
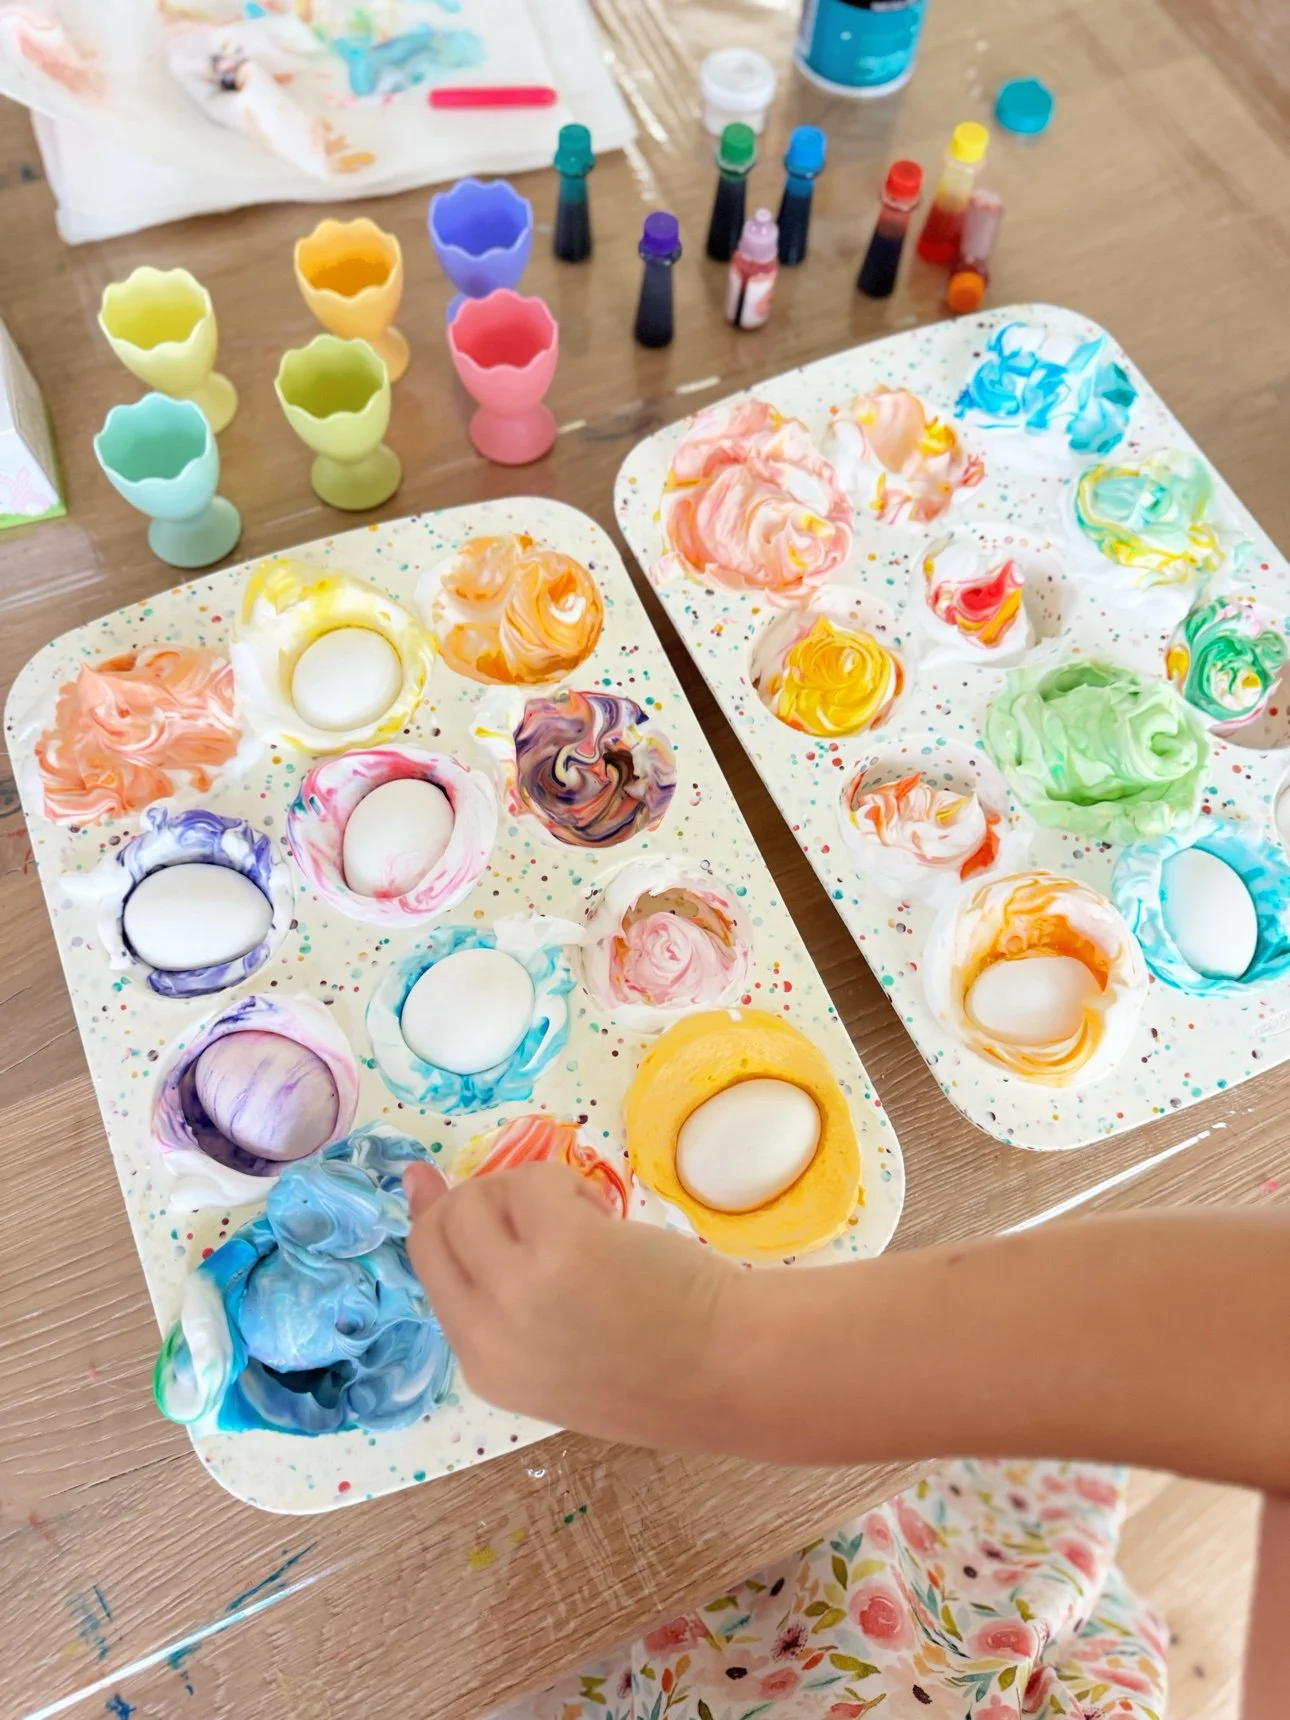
Step 4: Roll the Eggs in the Foam
Set a cooled hard-boiled egg into each cup and roll it gently through the colored foam until it's coated all over. Gloves help here — the food coloring will stain little fingers for a day or two otherwise (ask me how I know).
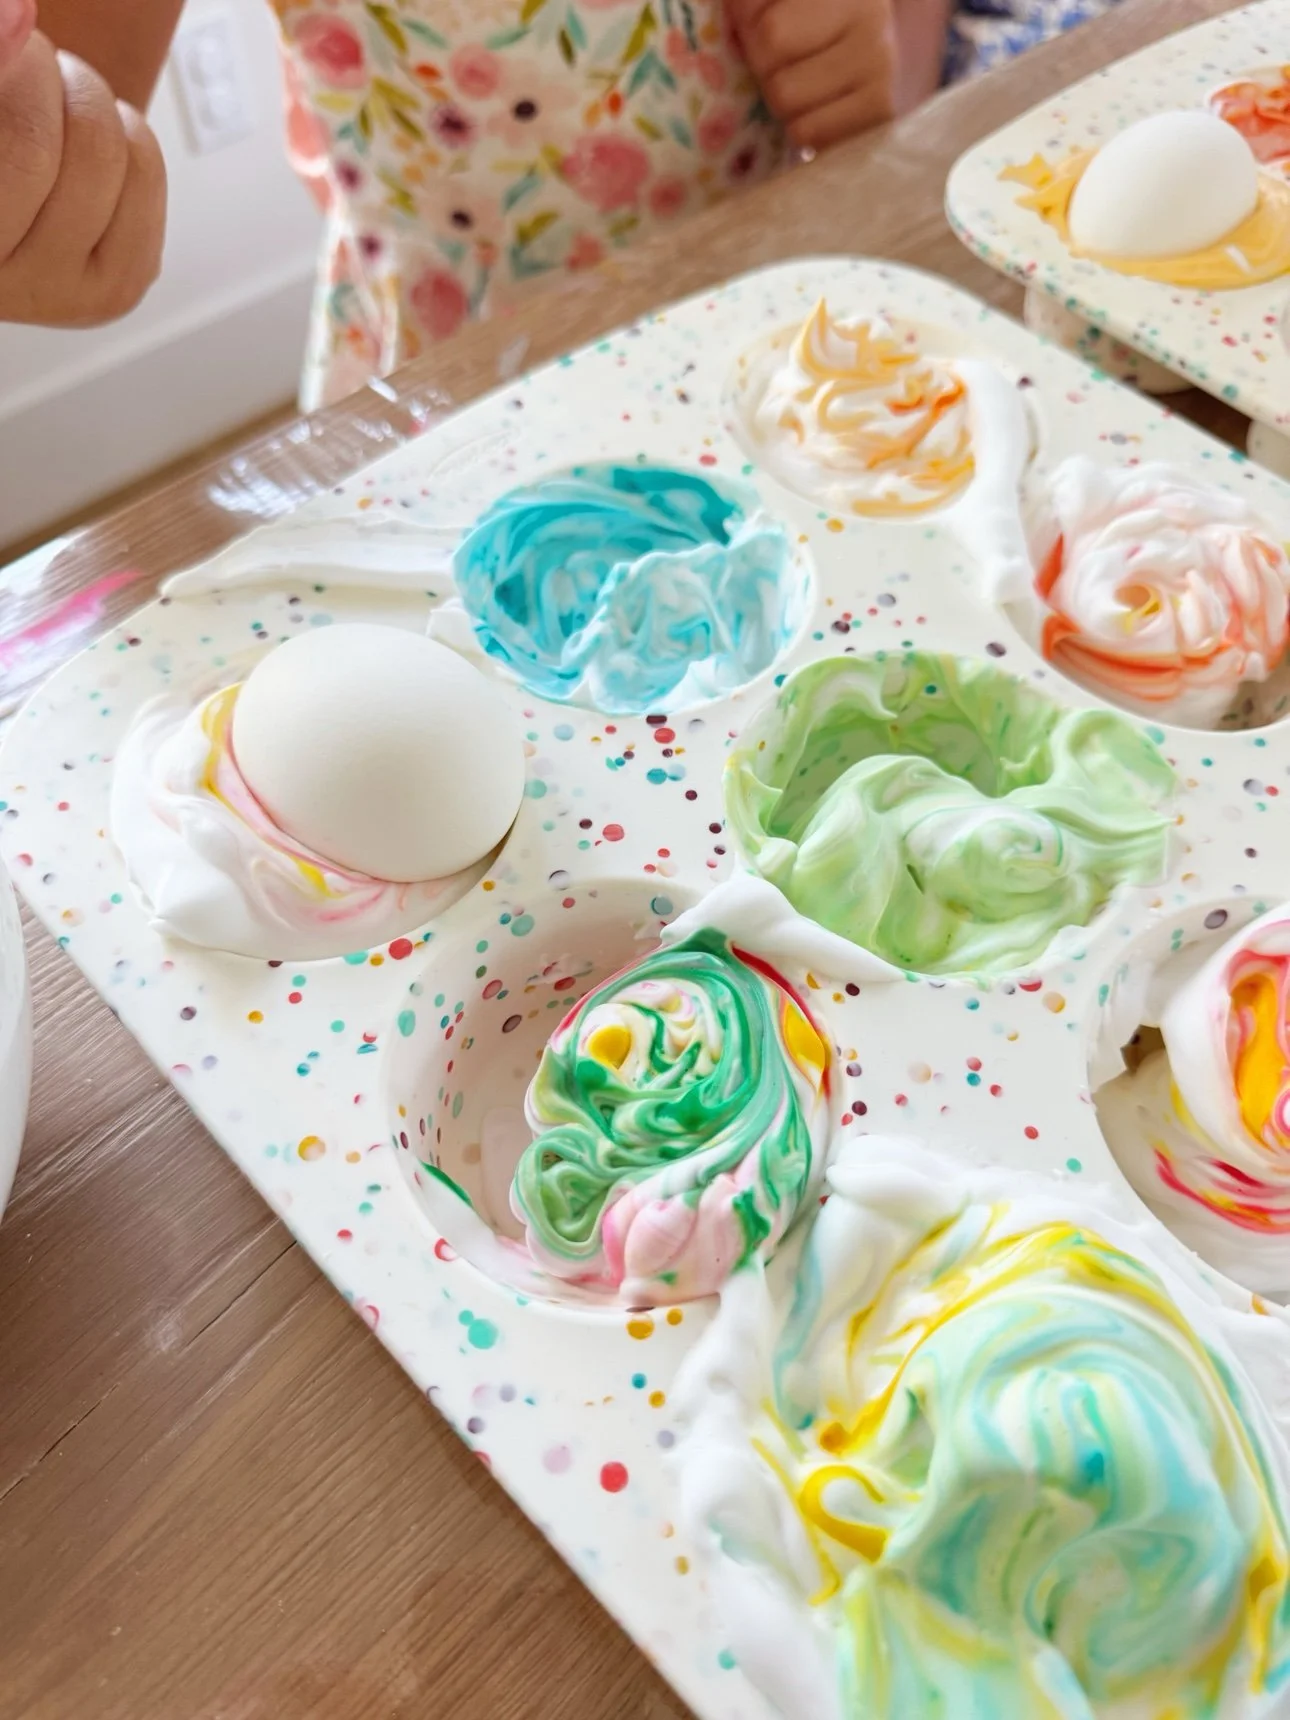
Step 5: Let Them Sit, Then Wipe Clean
Let the eggs sit in the foam for 10–15 minutes — the longer they sit, the deeper the color. Then lift each egg out and wipe the foam off with a paper towel. Don't rinse under water; wiping keeps the marbled pattern crisp.
Set the finished eggs on a rack or in egg cups to dry completely.
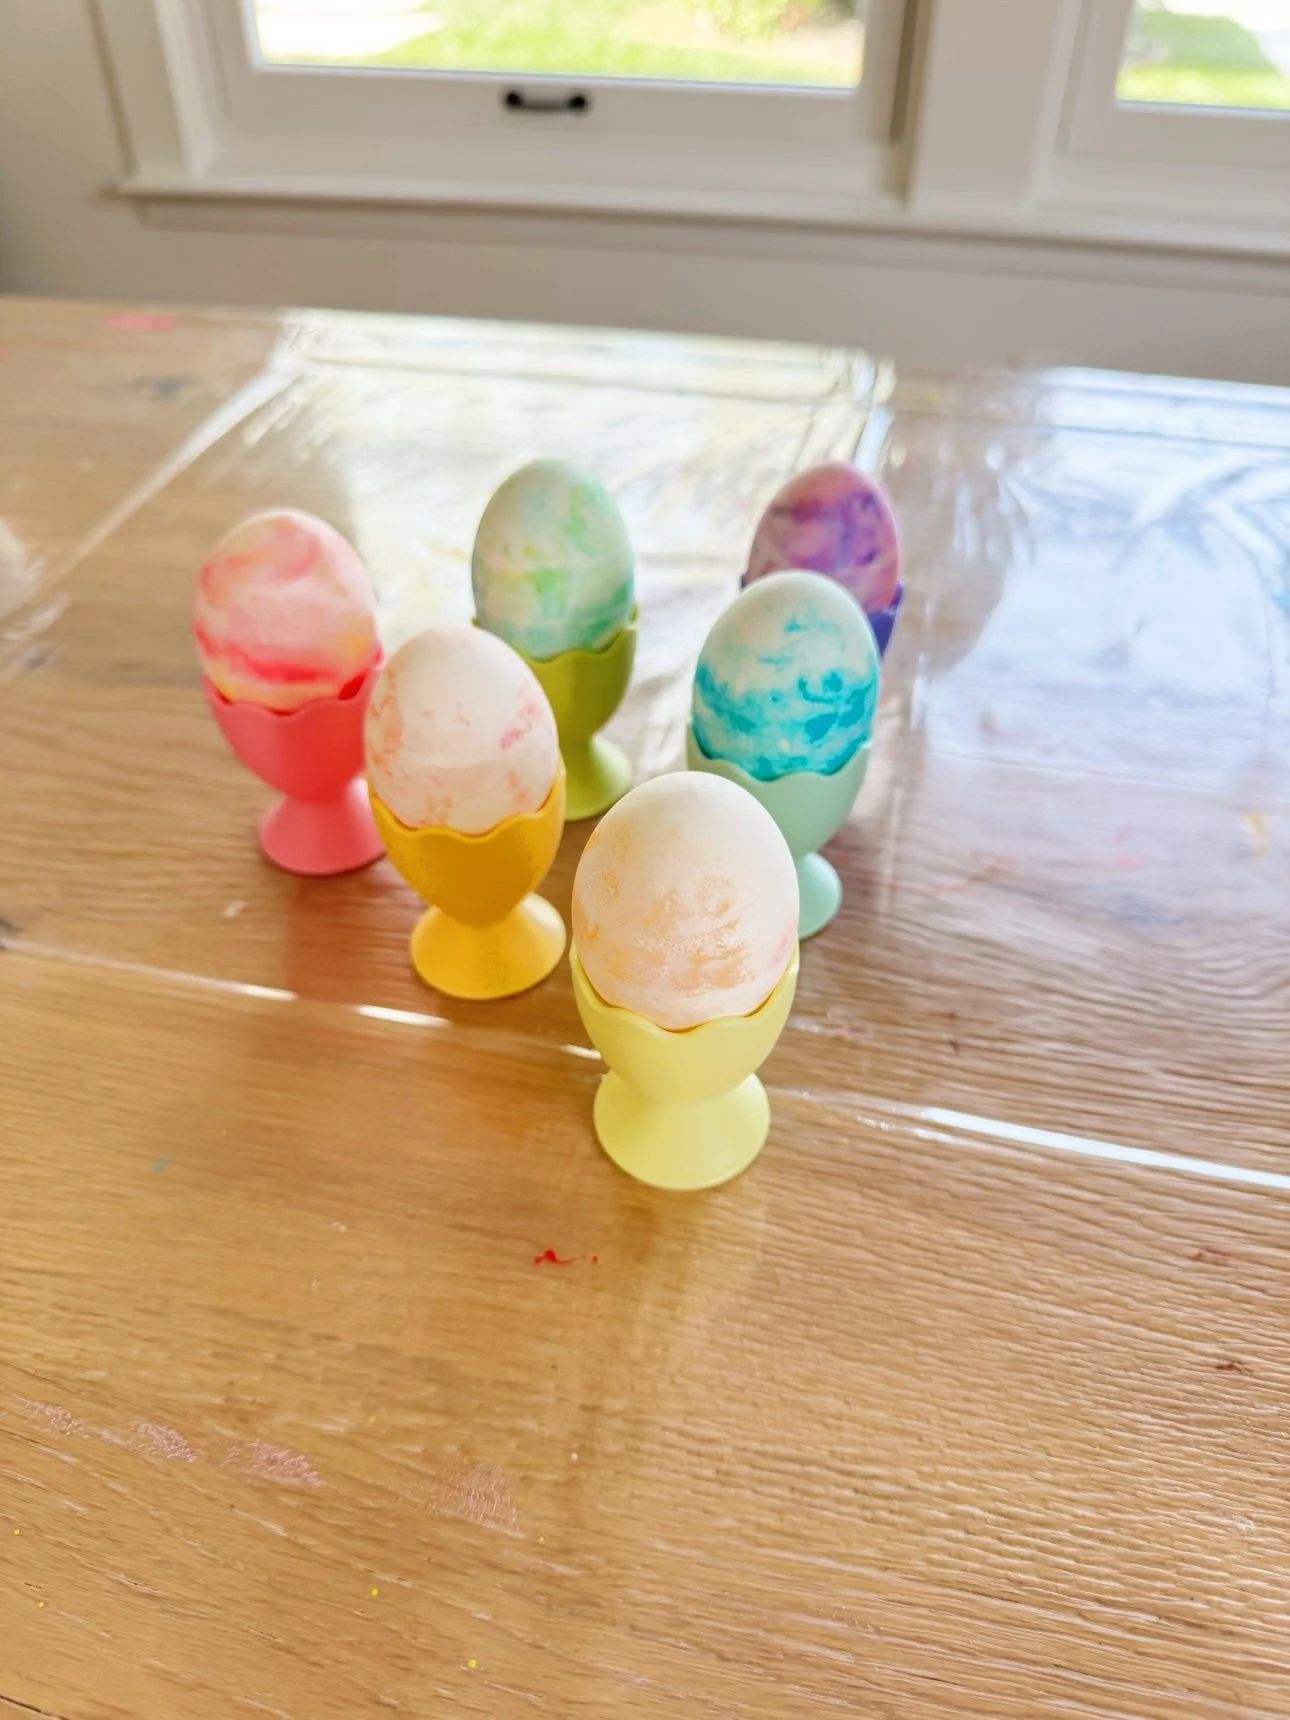
The Reveal
This is the best part. Every egg comes out completely different — soft watercolor swirls in pink, mint, sky blue, and lavender. No two alike, and somehow all of them gorgeous. We lined ours up in these little pastel egg cups and they looked like a candy shop.
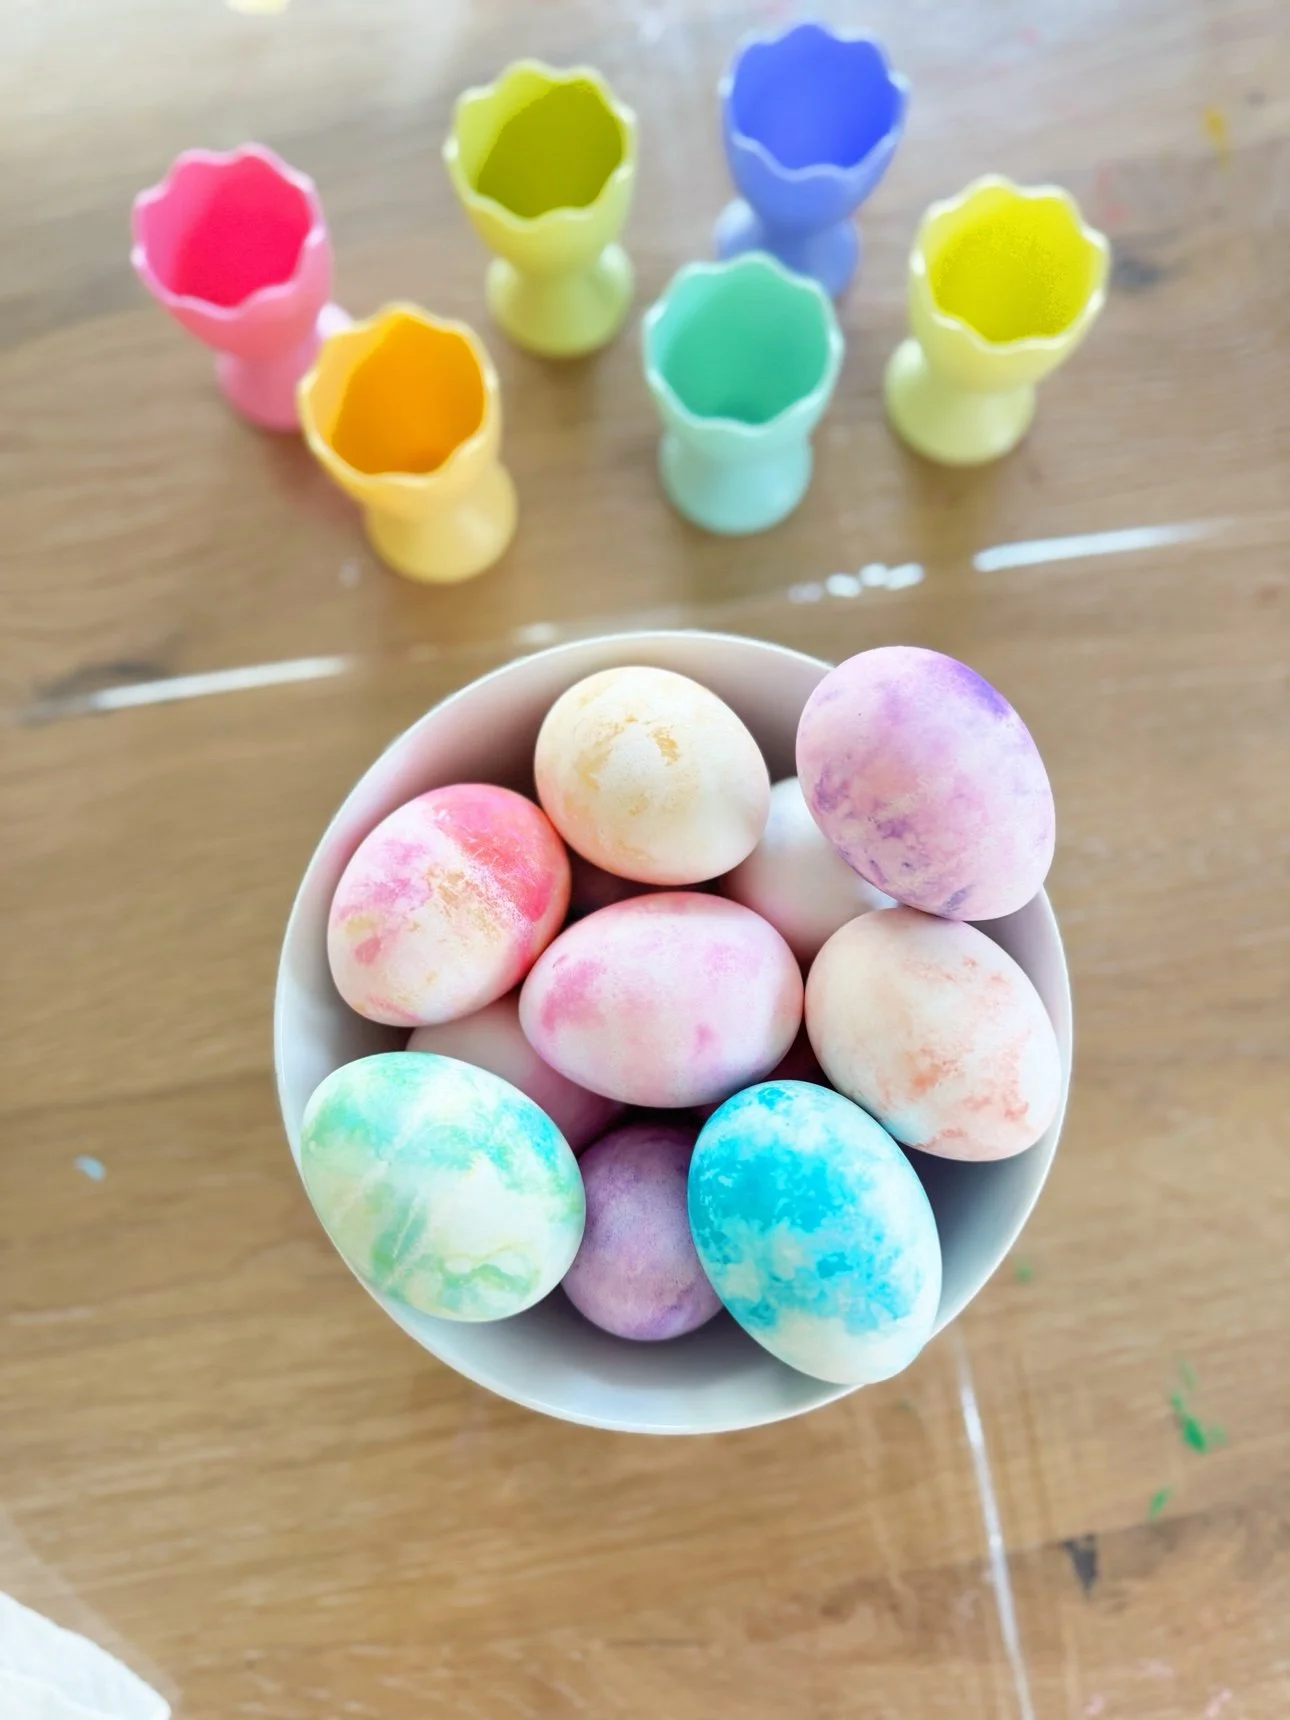
Tips for the Prettiest Eggs
- White eggs only. Brown eggs mute the colors.
- Cool eggs completely before dyeing — warm eggs melt the foam.
- Use foam, not gel. Gel shaving cream won't hold the swirls.
- Under-swirl. Two or three lazy passes with the toothpick is plenty.
- Wipe, don't rinse. Water washes the marbling away.
- Work fast-ish. The foam starts to deflate after about 30 minutes, so dye in batches if you're doing a lot of eggs.
Cleanup
The foam rinses right out of the muffin tin with hot water — it's actually easier cleanup than traditional dye cups. Wipe the table with a damp cloth before the food coloring sets, and toss stained paper towels. Hands wash clean with soap; any lingering color fades in a day.
Happy Easter, friends — tag us if you try these! We'd love to see your marbled masterpieces.