
DIY Ghost Wreath: A Light-Up Tissue Ghost Craft for Halloween
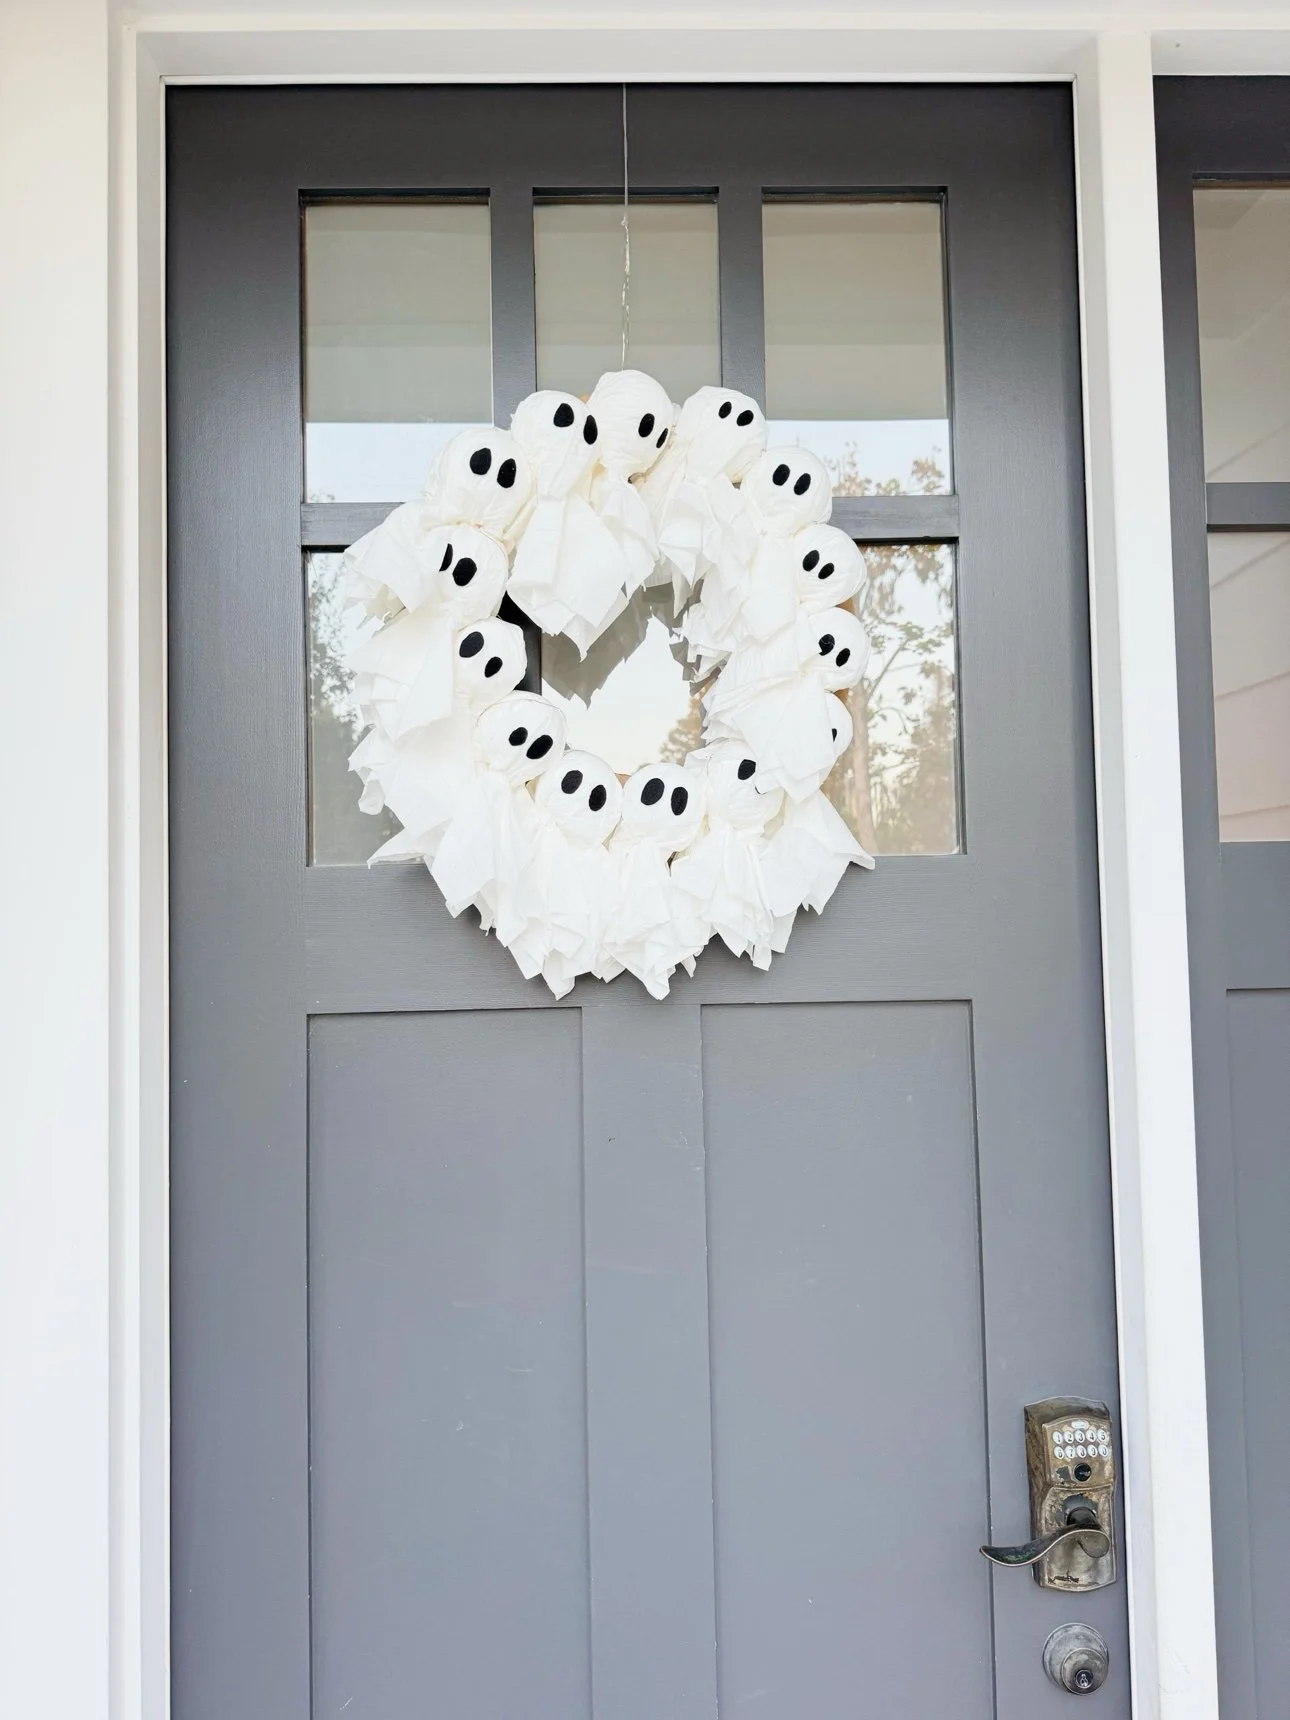
A crowd of little tissue ghosts, a string of fairy lights, and one very happy front door. This light-up ghost wreath is a sweet not-so-spooky Halloween craft — and it genuinely glows at night.
This DIY ghost wreath is made from the simplest supplies — white tissues, foam balls, a cardboard ring, and a strand of battery fairy lights — and when the sun goes down, the little ghosts light up from the inside. Most of the time goes to happily making ghost after ghost.
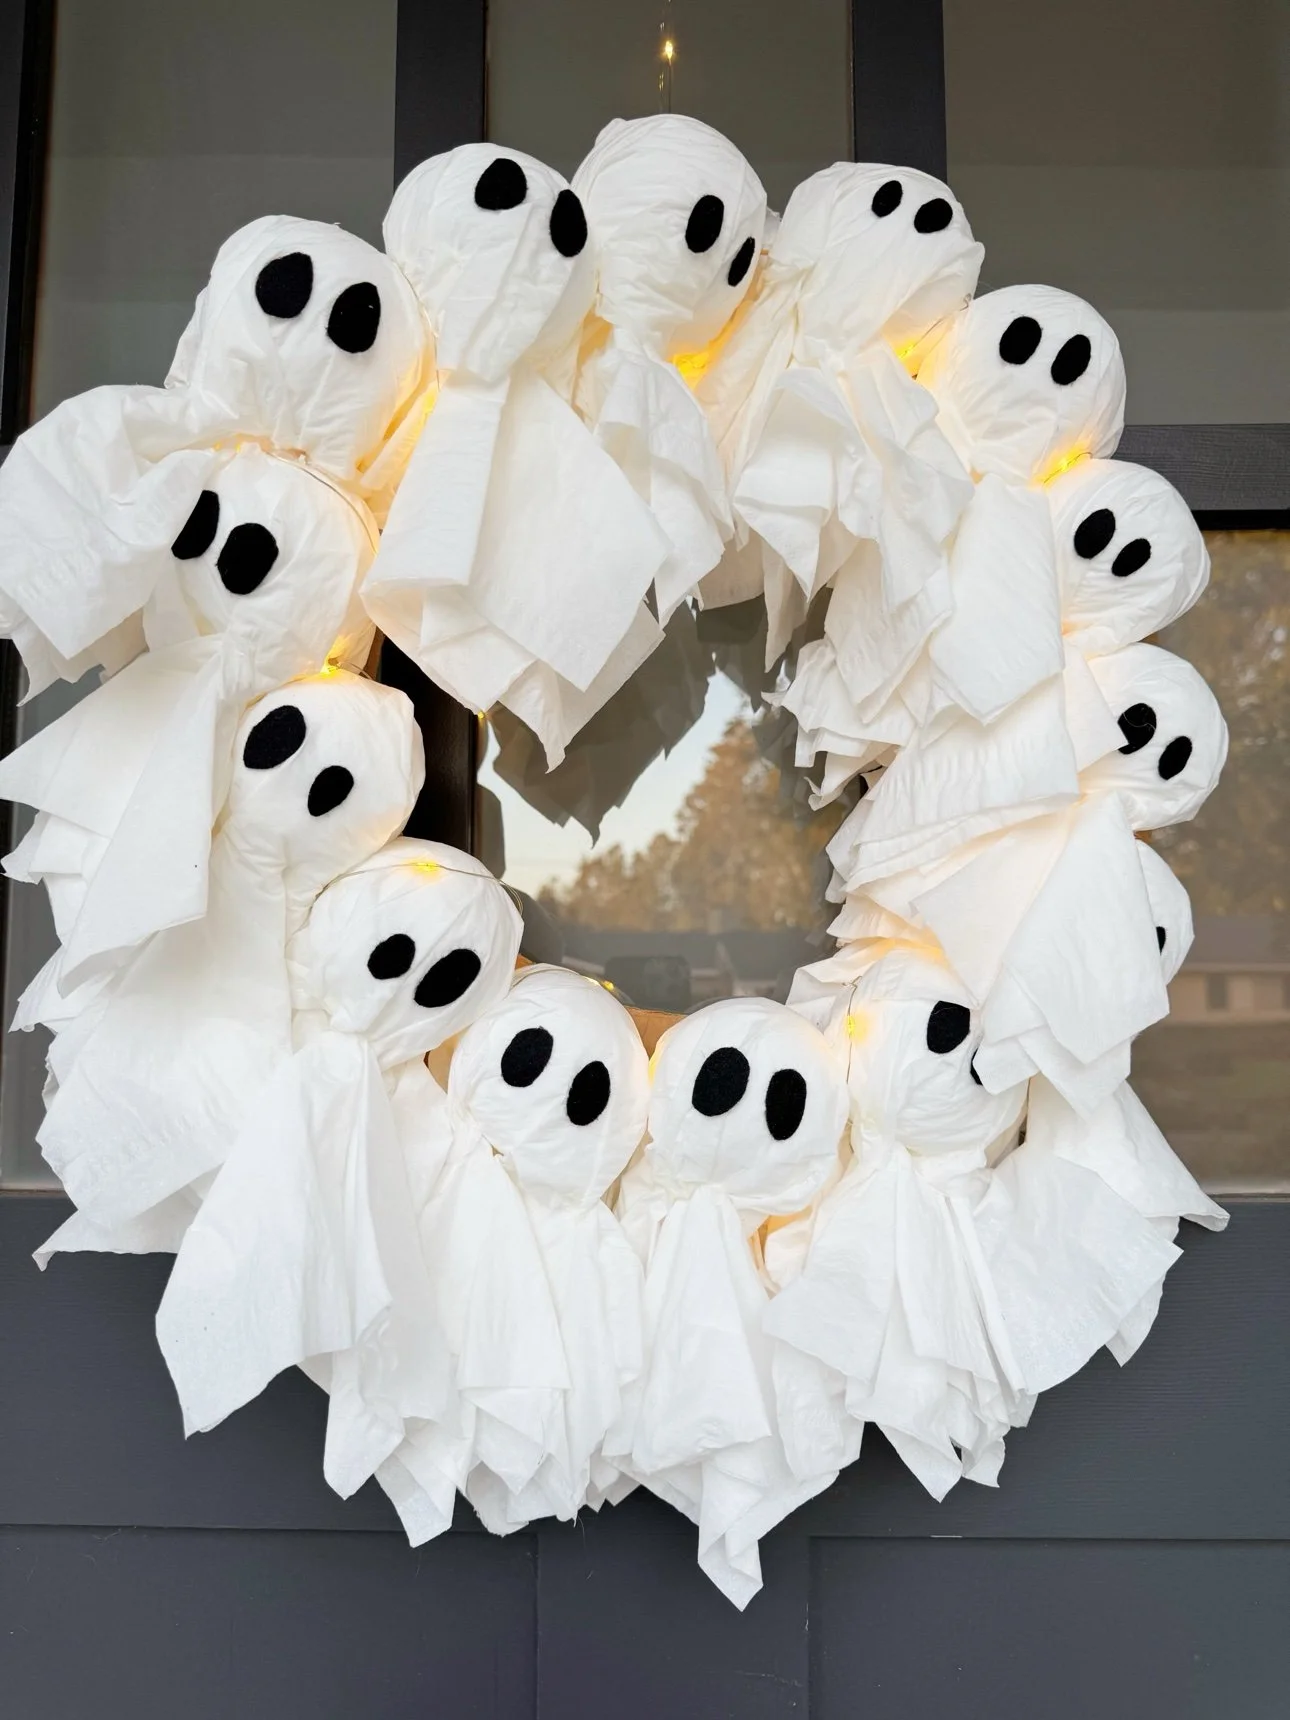
What you need
- White tissues — one per ghost (a dozen or so covers a dinner-plate ring)
- Foam balls — about 2 inches, one per ghost
- Cardboard — cut into a wreath ring for the base
- Craft sticks — to anchor each ghost to the ring
- Black felt — cut into little ovals for eyes
- Battery-operated fairy lights — warm white, one short strand
- Scissors, glue (hot glue for adults), string or ribbon for hanging
How to make the ghost wreath
Step 1: Cut the cardboard ring
Cut a large ring from sturdy cardboard — a dinner plate and a salad plate make good tracing templates. This is the base everything attaches to, so keep it wide enough to glue or poke the craft sticks into.
Step 2: Make the ghosts
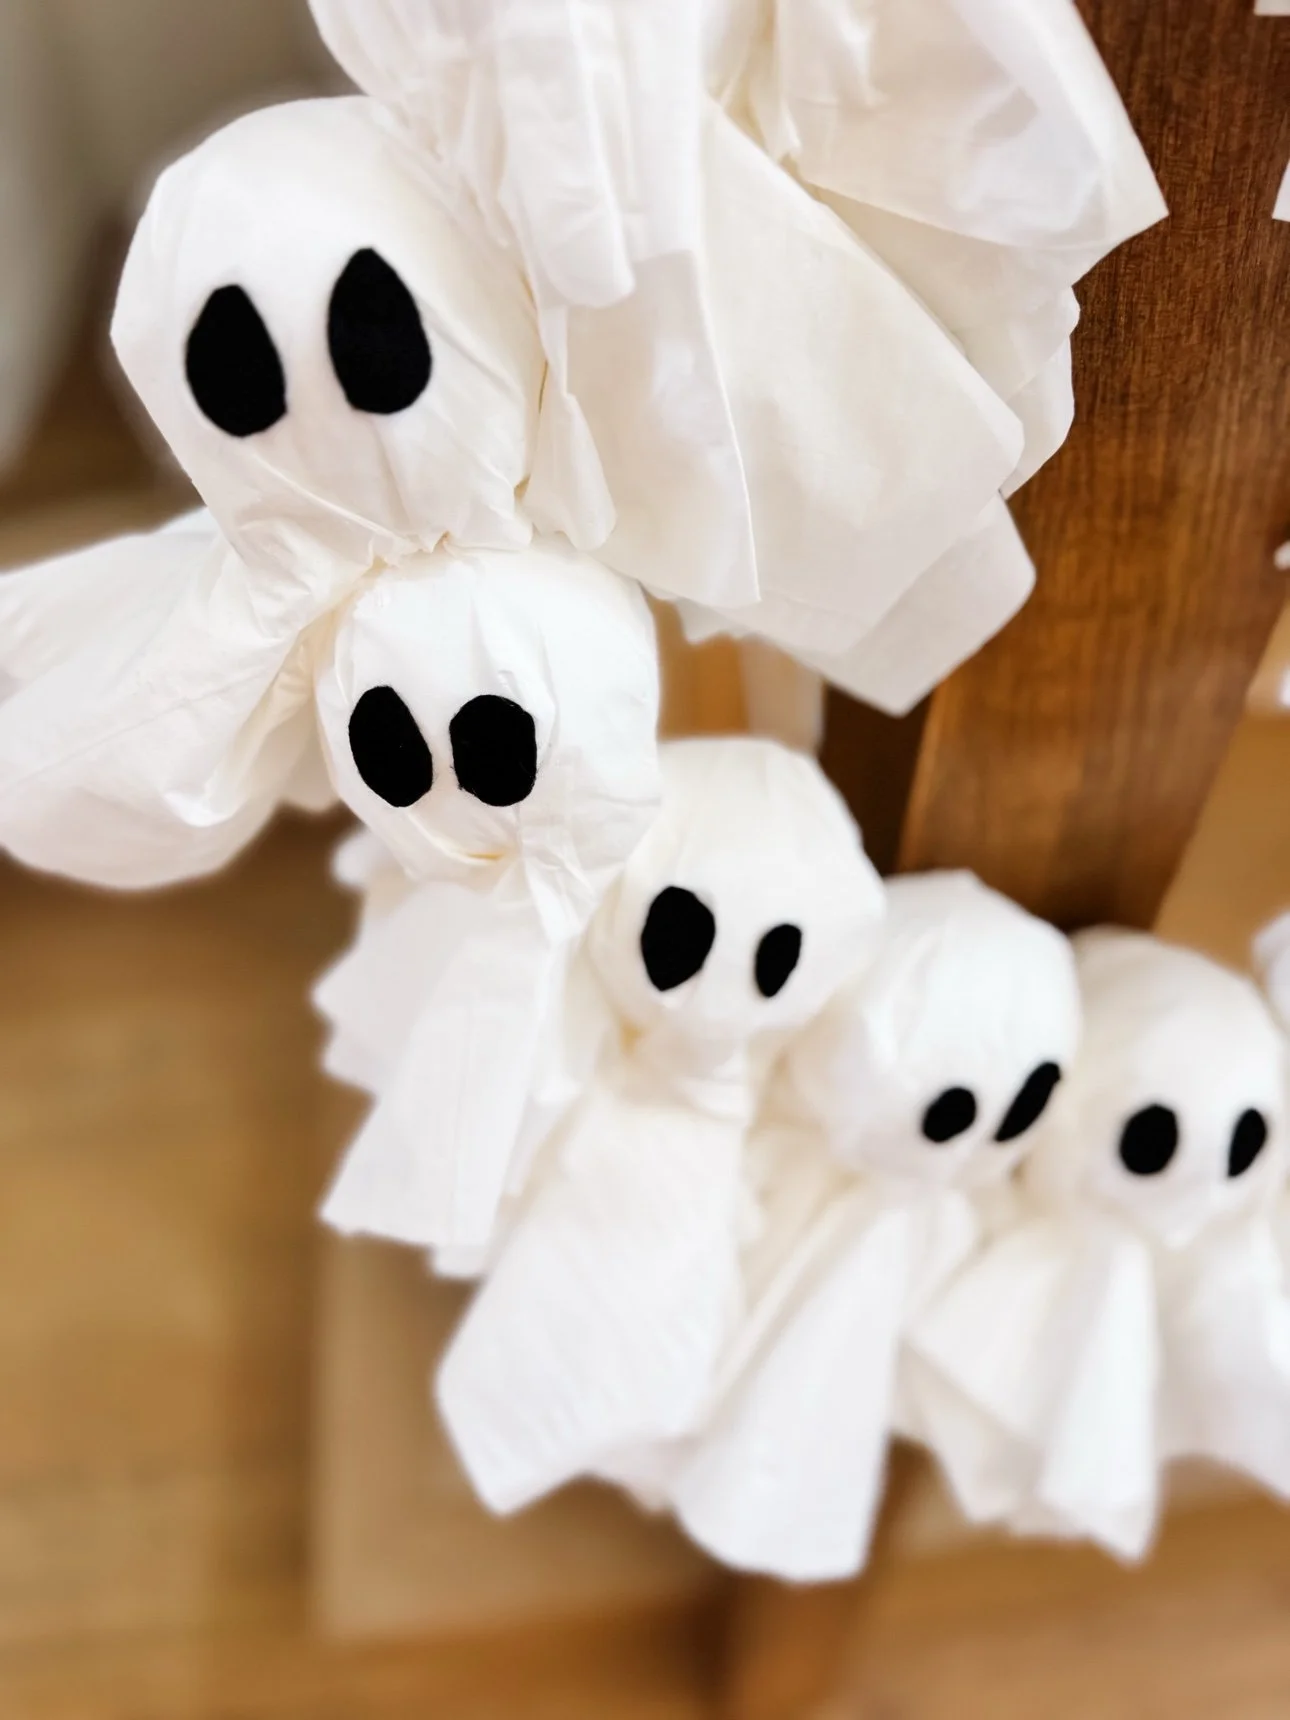
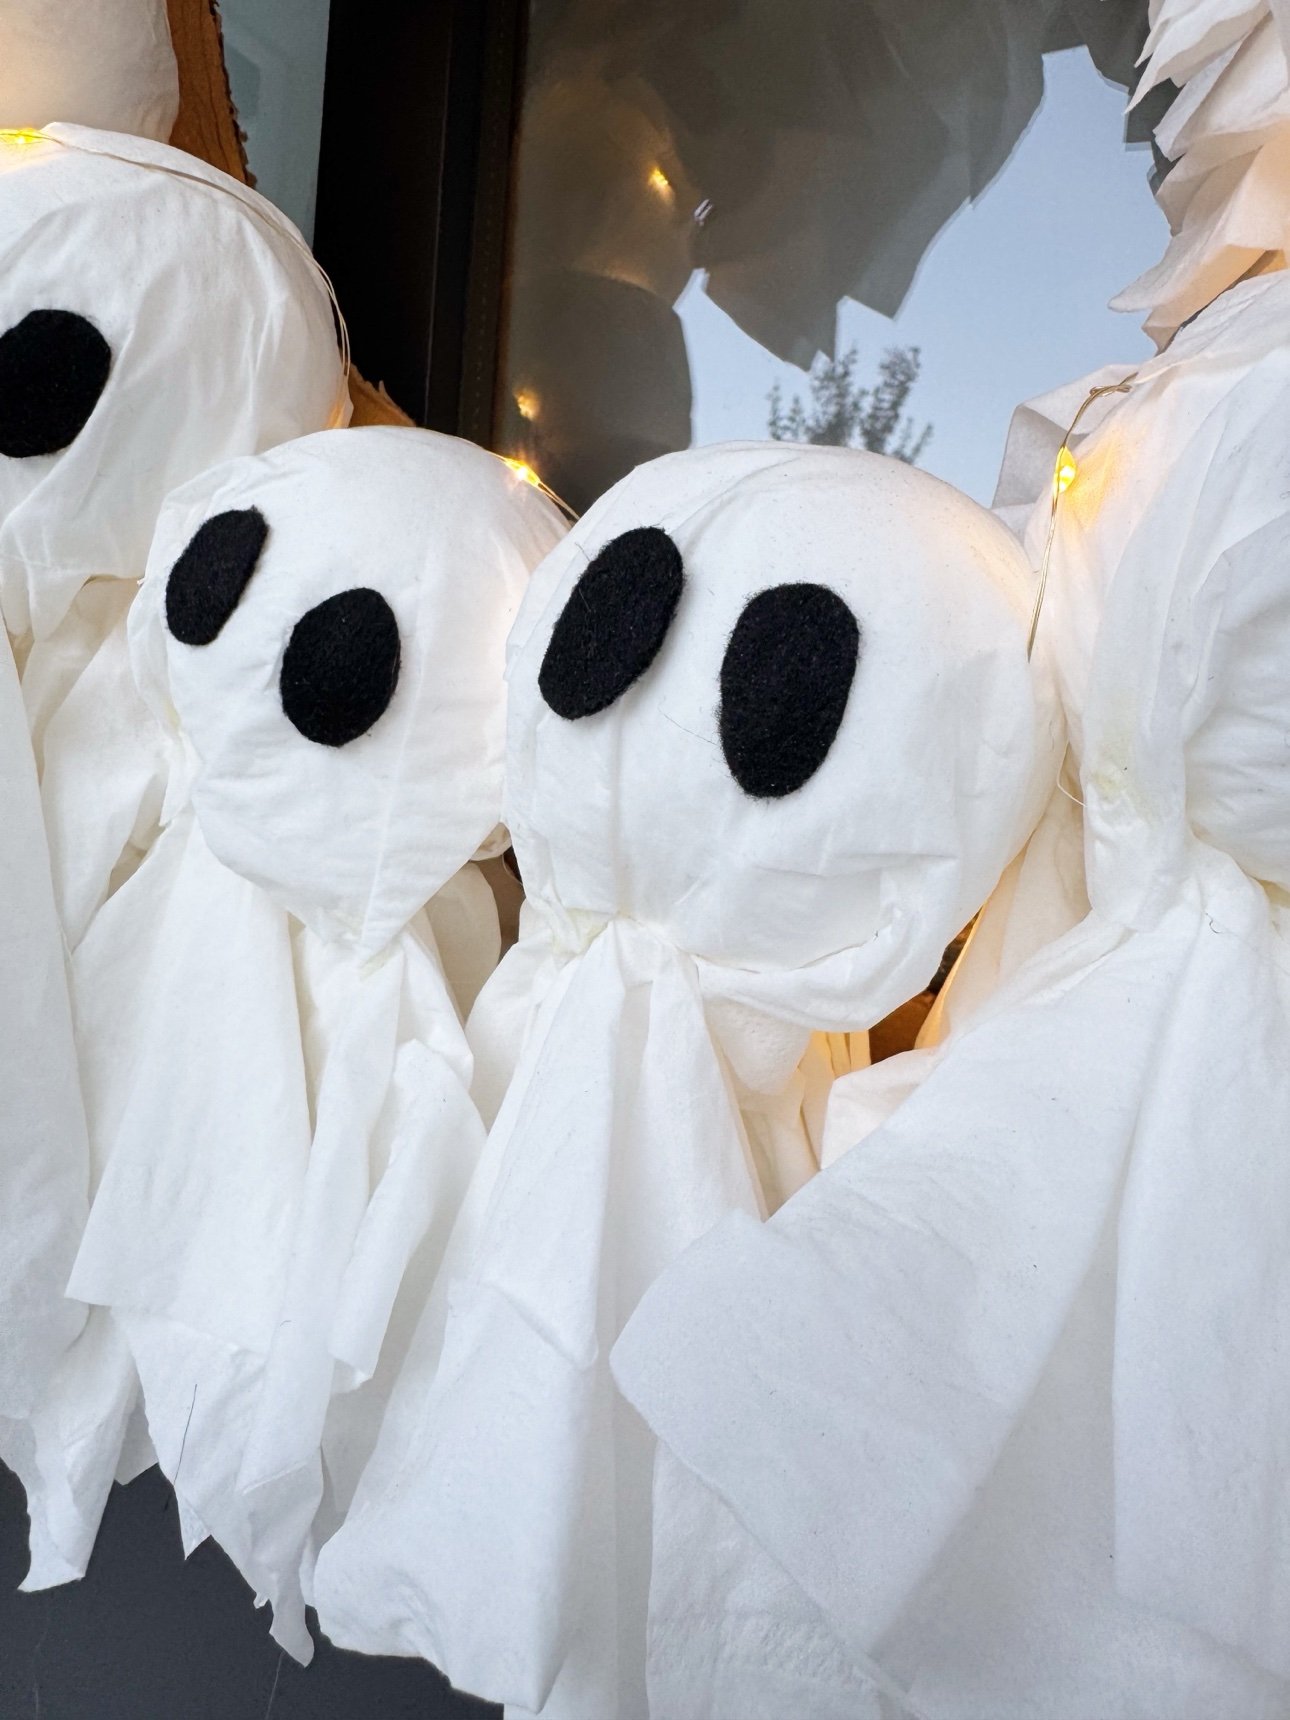
Center a foam ball on a tissue, gather the tissue up around it, and twist gently to form the ghost's head. Poke a craft stick up through the bottom into the foam ball so each ghost has a little handle — this is what you'll use to attach it to the ring. Glue on two black felt ovals for eyes. That is the whole ghost: tissue, ball, stick, eyes.
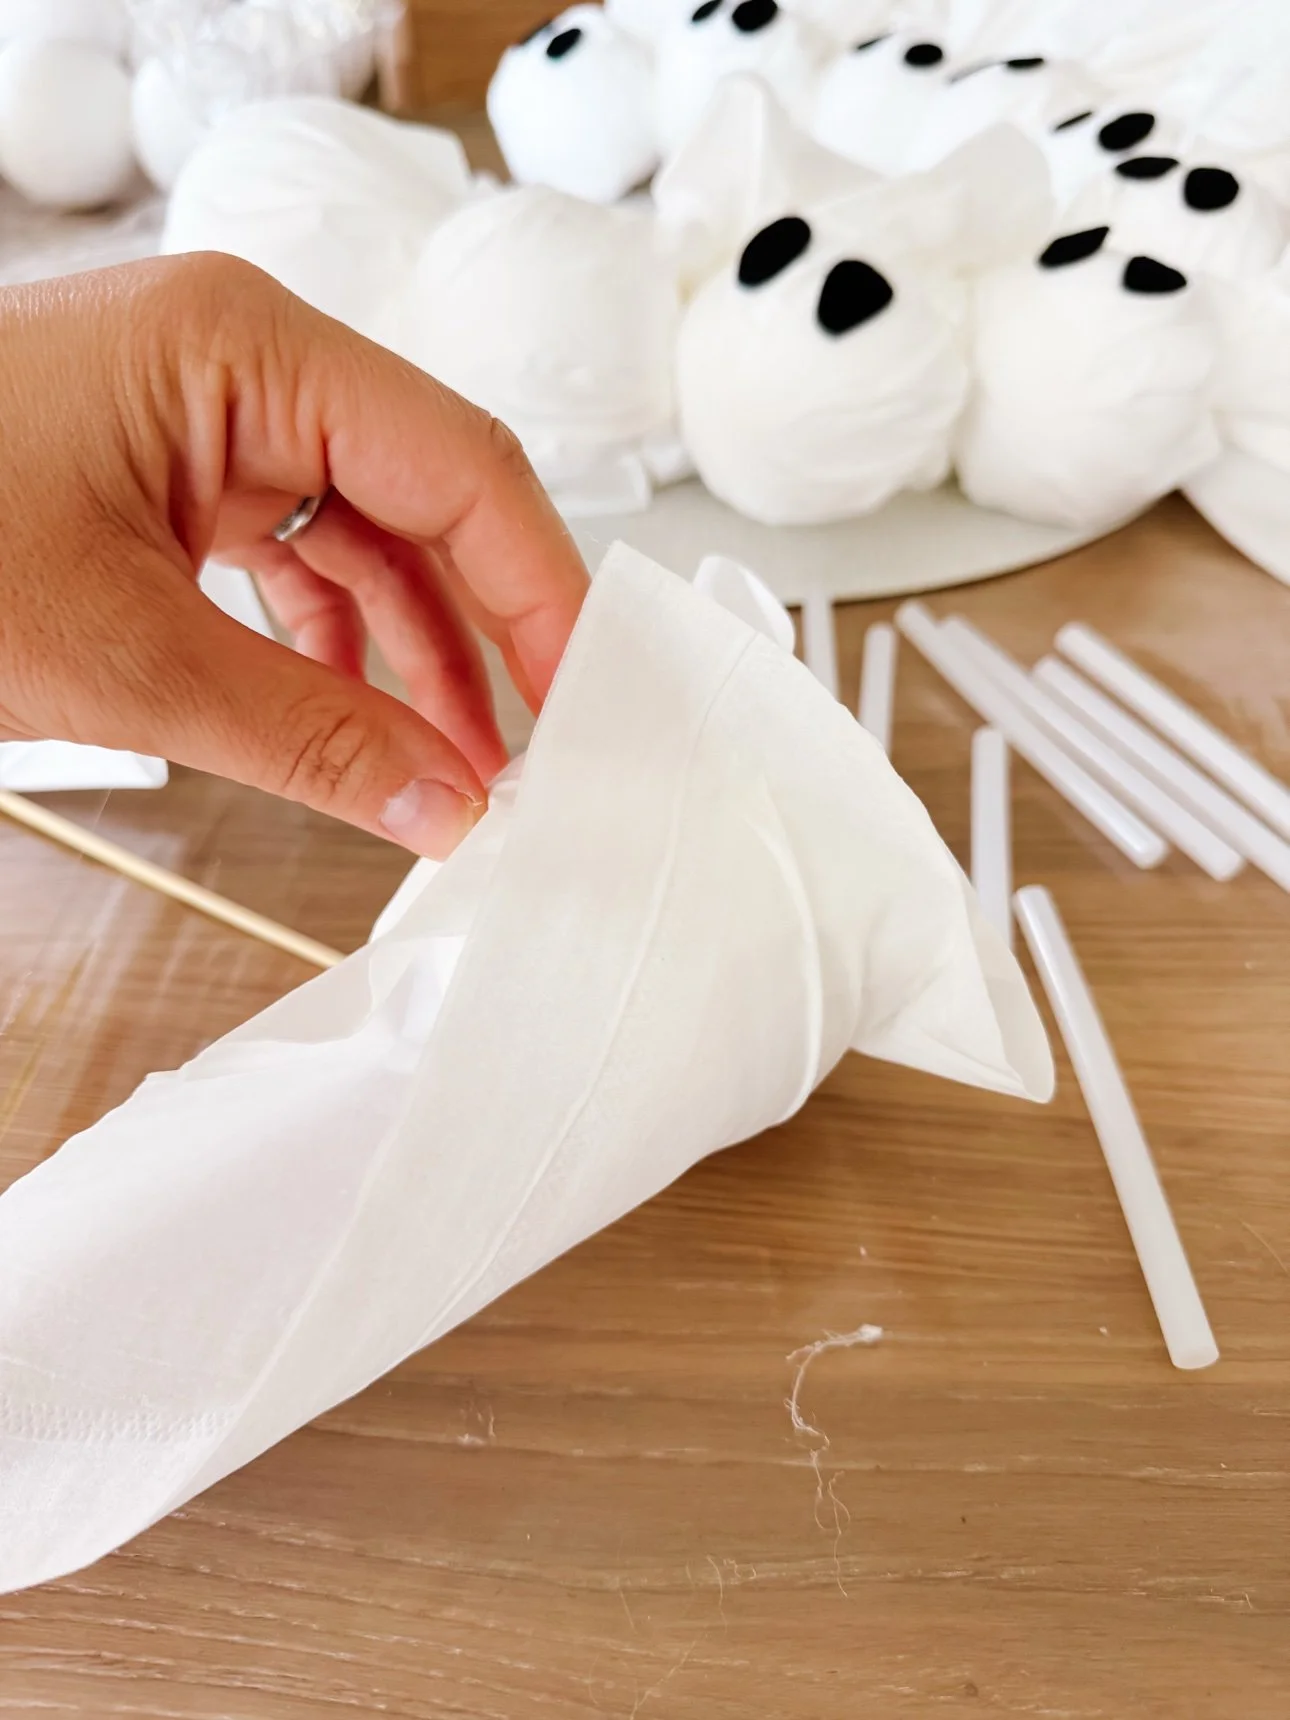
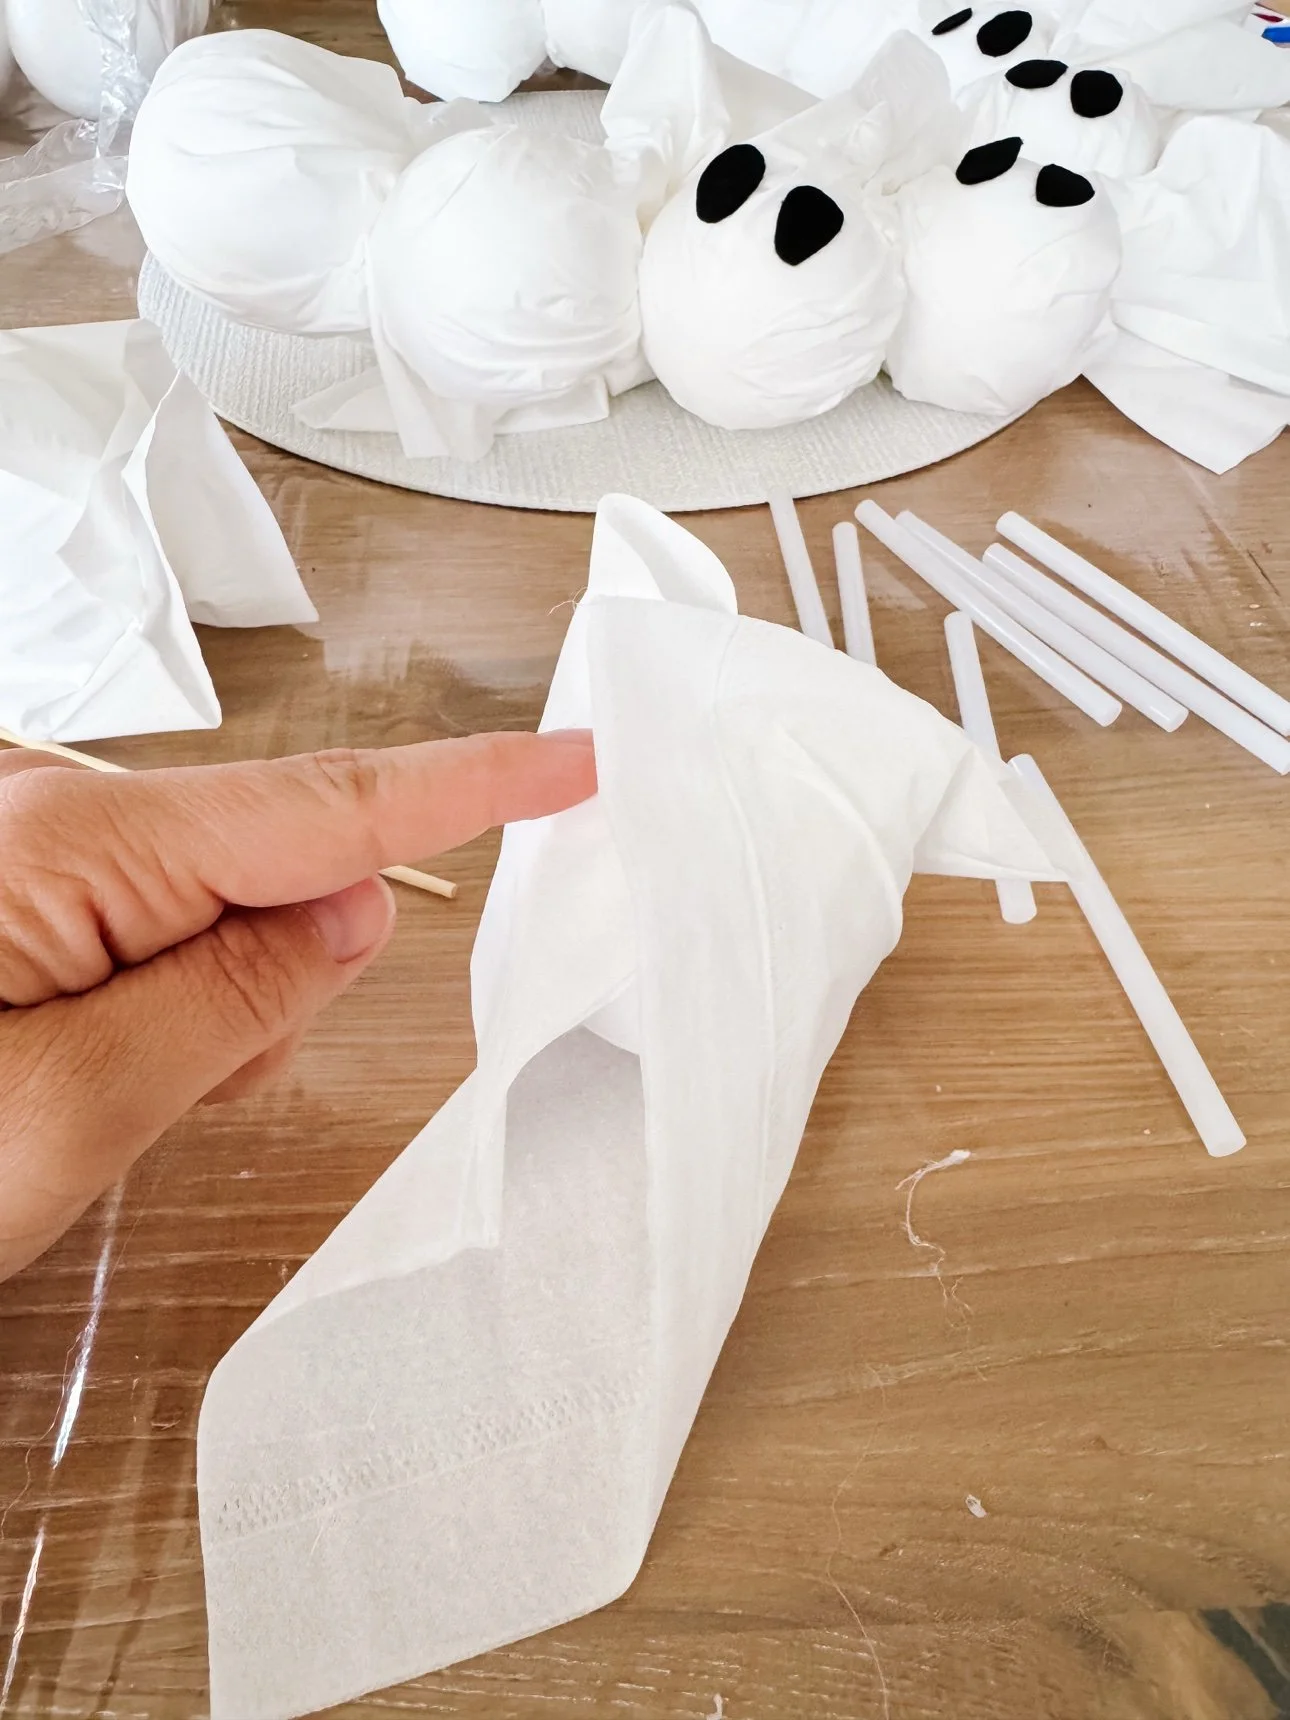
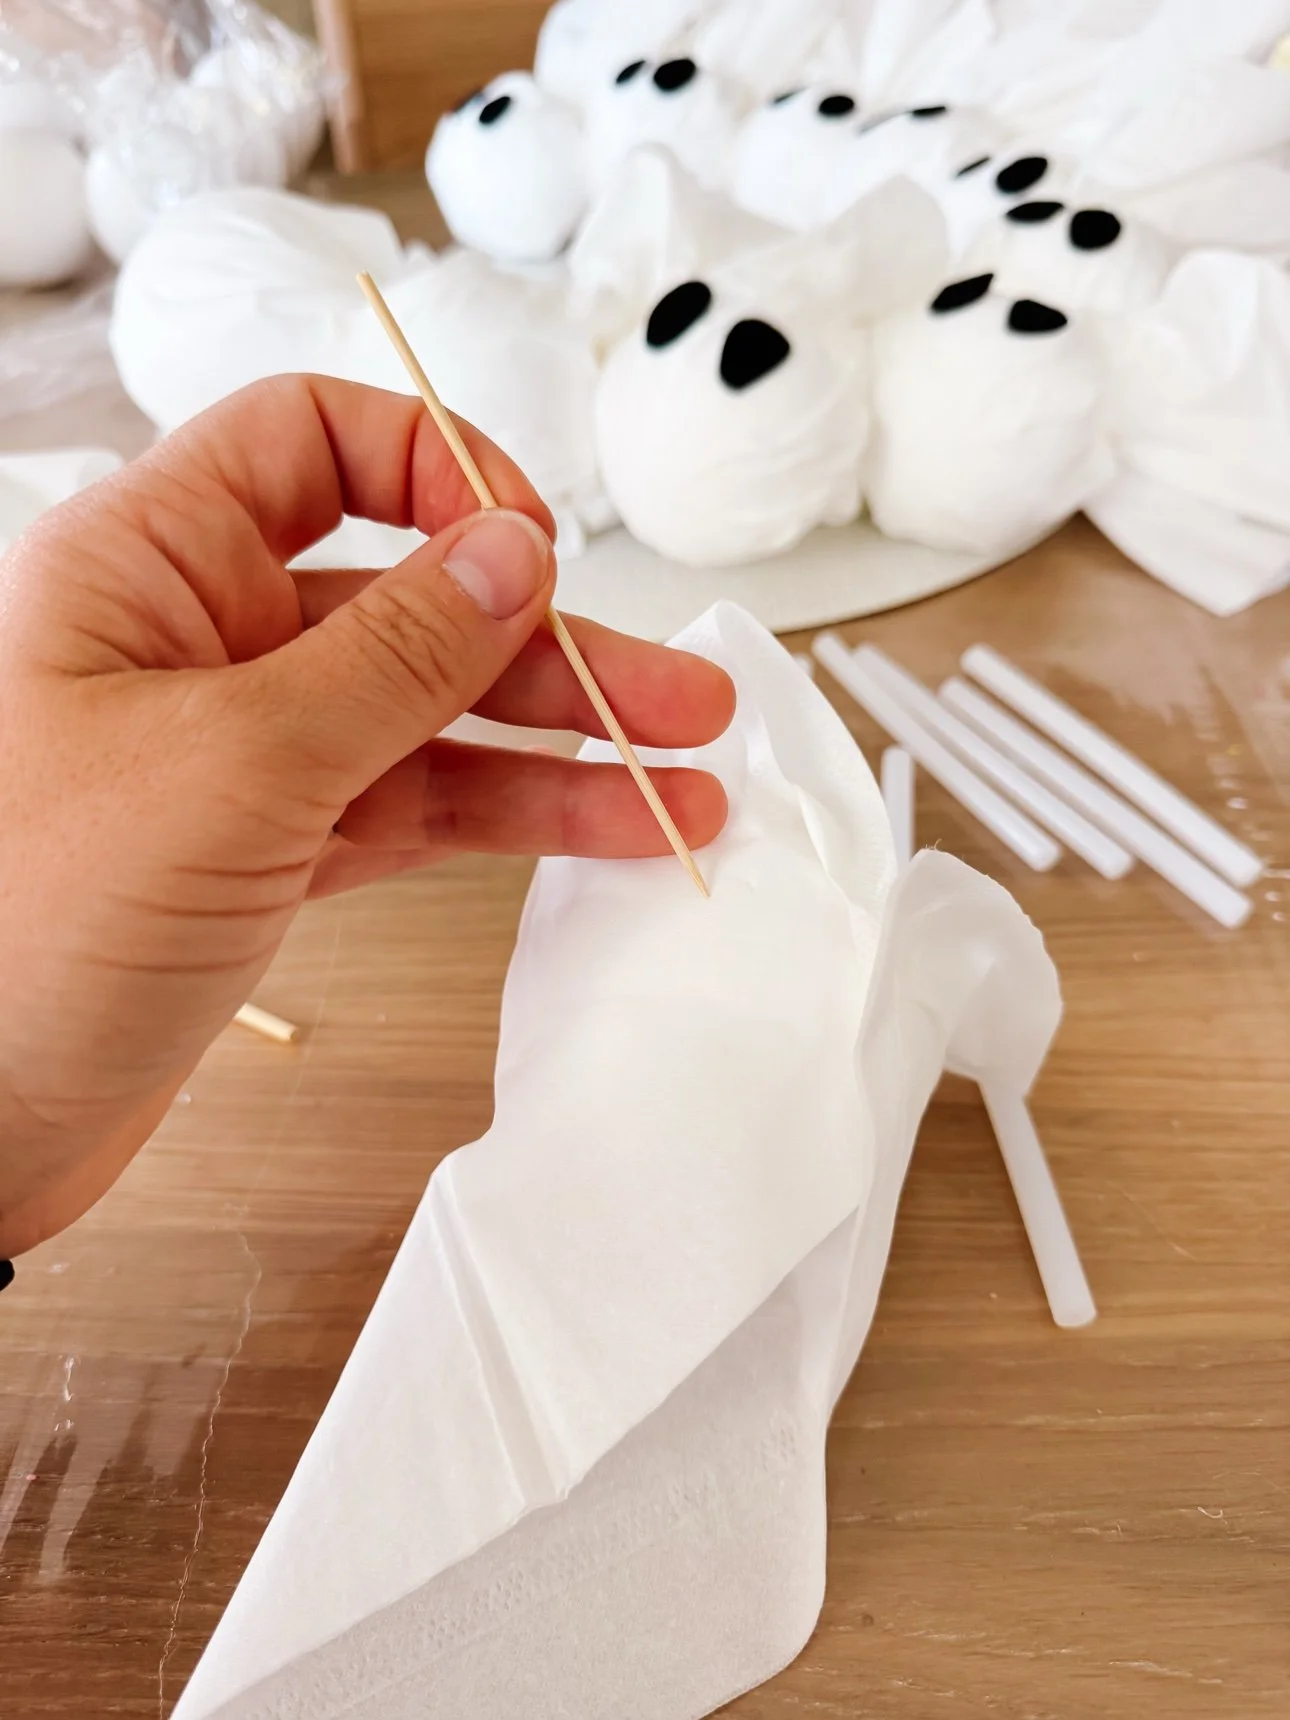
Step 3: Build the wreath
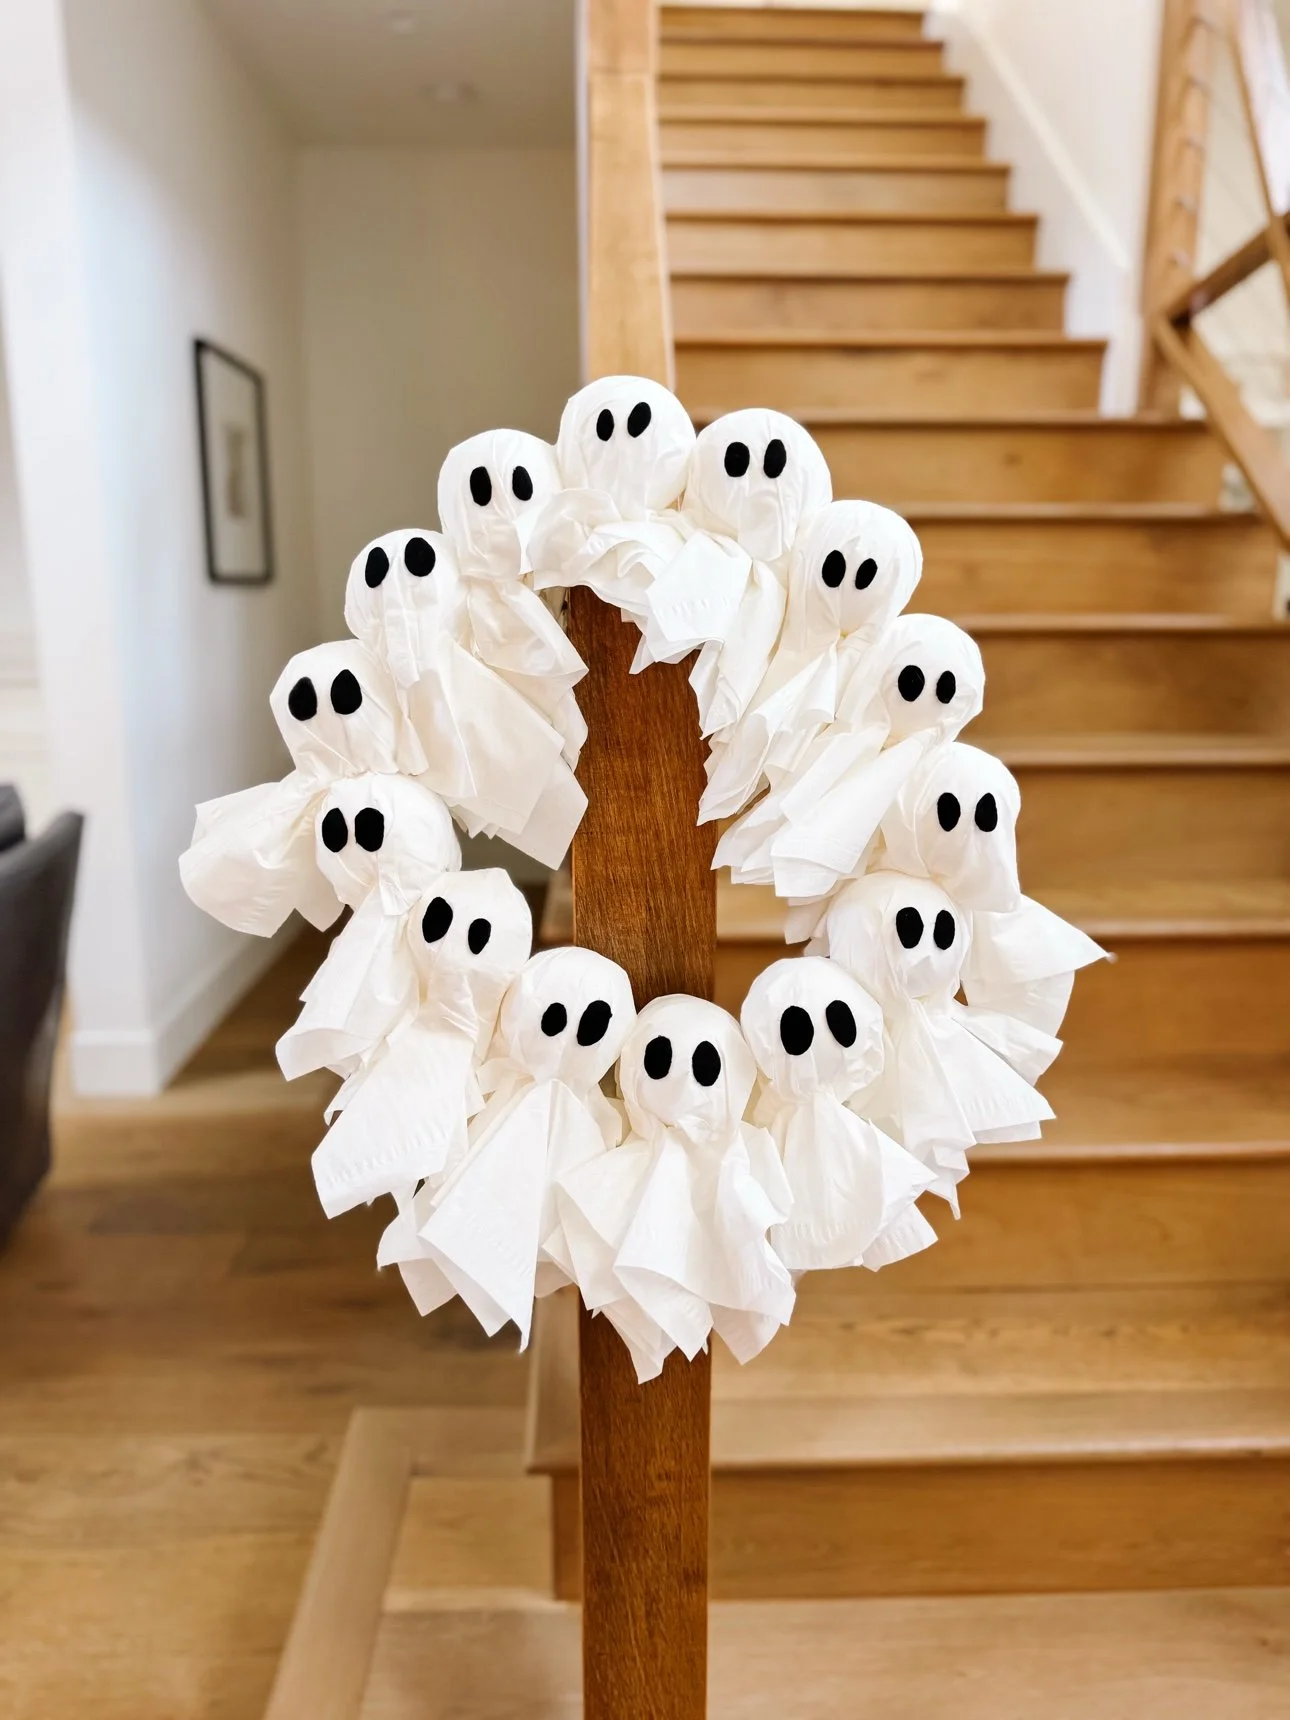
Work your way around the cardboard ring, attaching the ghosts close together so the cardboard barely shows — push the craft sticks through or hot-glue them in place (adults handle the hot glue). Slightly overlapping the tissue skirts gives the wreath that full, fluffy look.
Step 4: Weave in the fairy lights
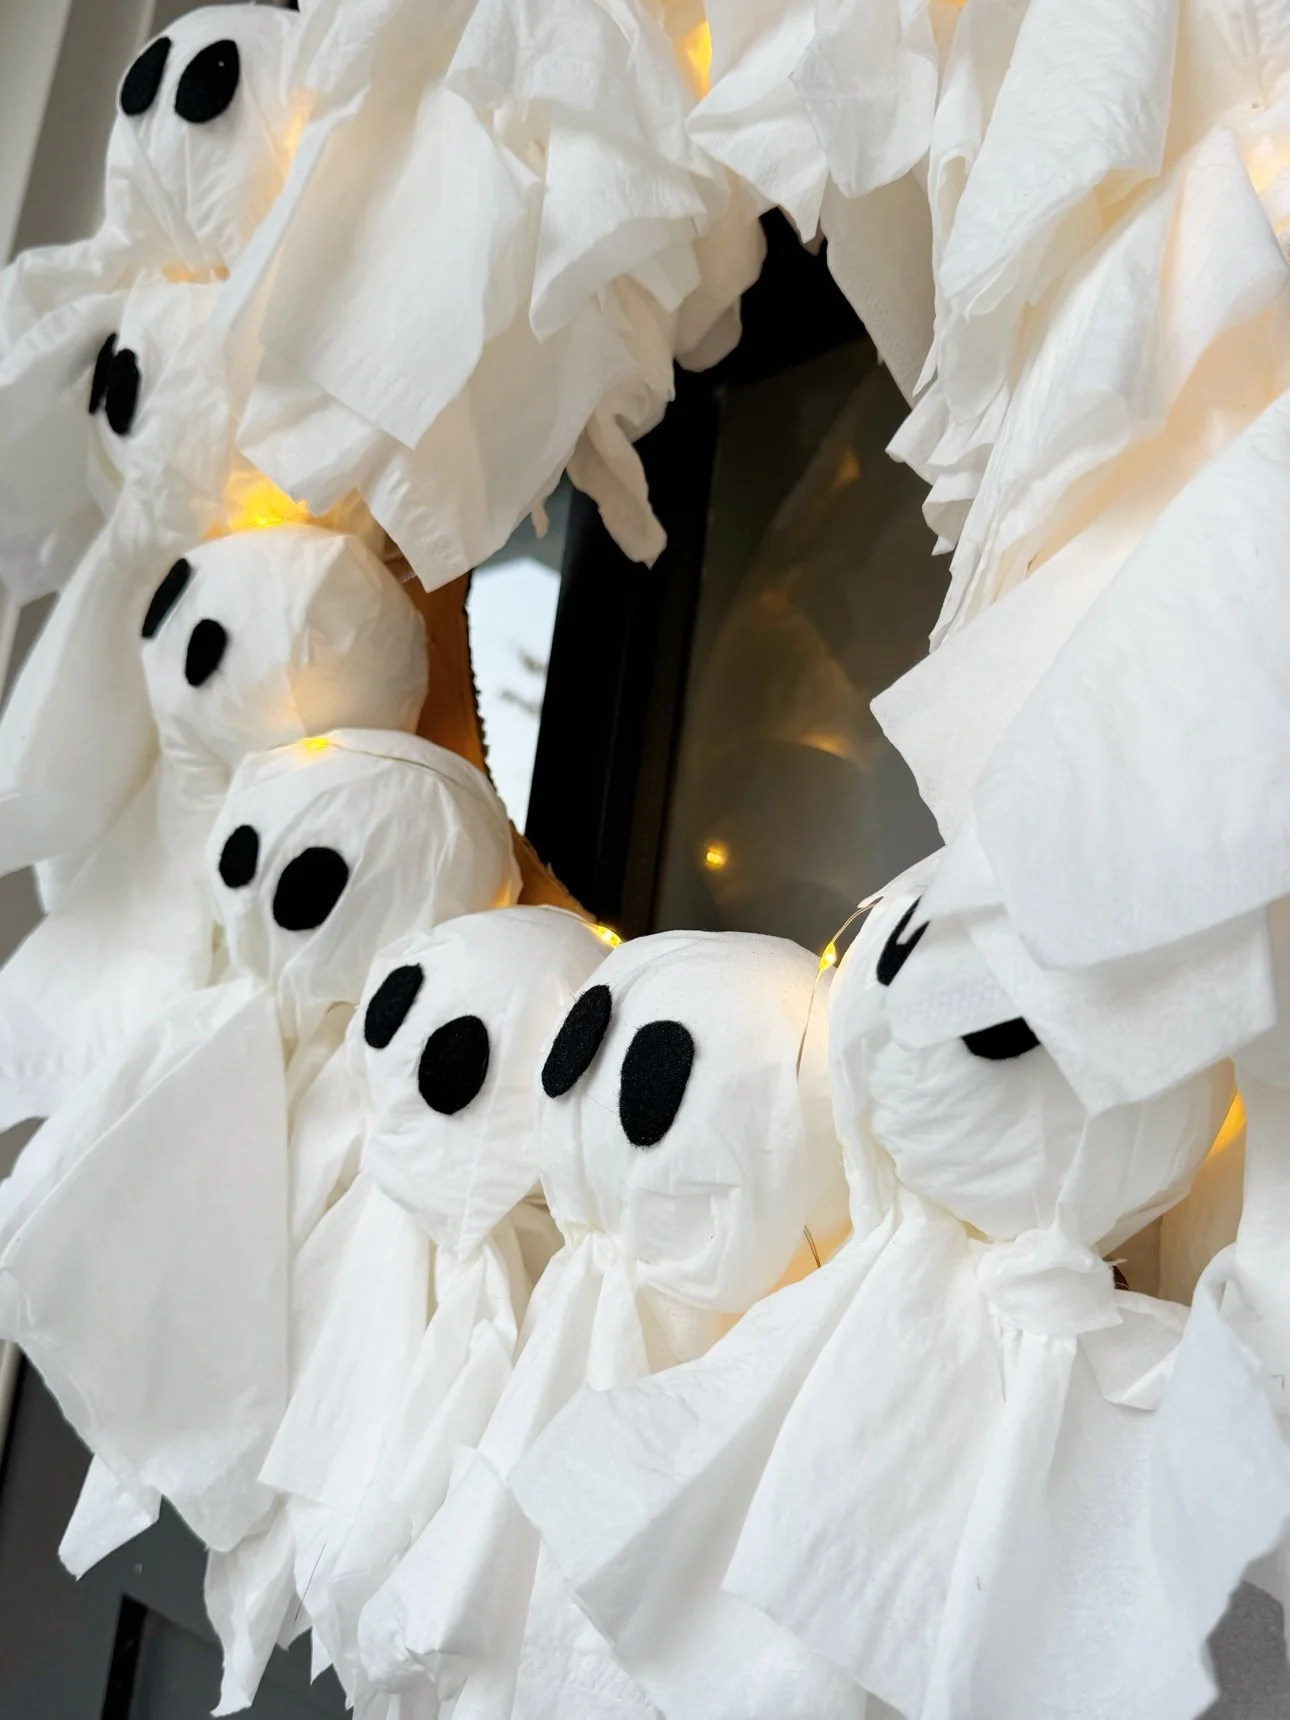
Wind the battery fairy lights through the ghosts, tucking the little bulbs between them so the glow comes from inside the crowd. Tape the battery pack to the back of the cardboard ring where it hides. Flip the switch and step back — this is the best part.
Step 5: Hang it up
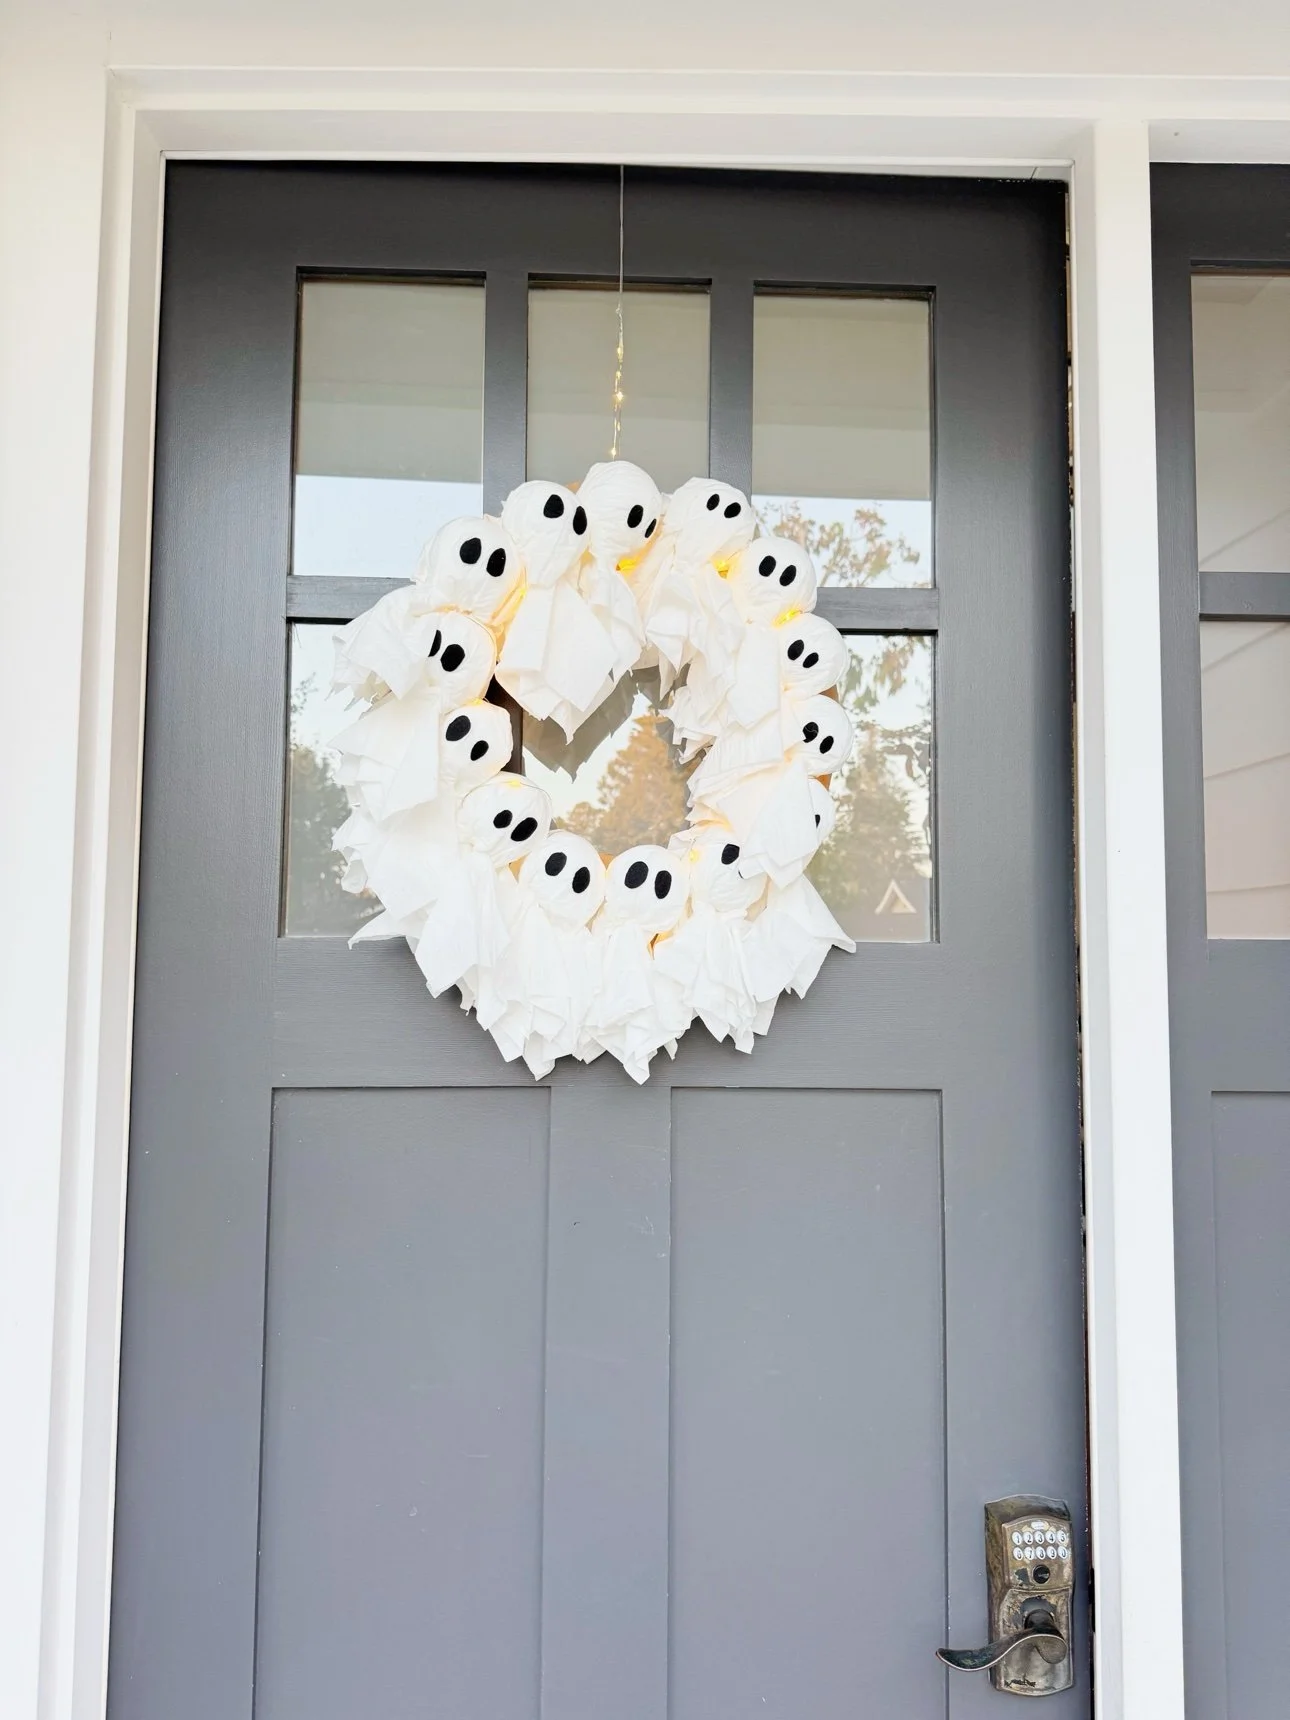
Tie string or ribbon through the top of the cardboard ring and hang the wreath on the door — it is made to be seen by trick-or-treaters. It also looks adorable hung on a stair newel post indoors.
Tips for making it with kids
- Give kids the ghost-making station. Wrapping the tissue, twisting, and gluing on the felt eyes are all perfect kid jobs. Adults handle the hot glue and the cardboard cutting.
- Cut all the felt eyes first. A little pile of black ovals keeps the assembly line moving.
- Hide the battery pack. Tape it flat to the back of the ring so the front stays all ghosts.
- Porch, not rainstorm. Tissues and fairy lights are happiest under a covered porch or indoors.
Shop the materials
Some links are affiliate links. We only share things we actually use.
Free printable: Pin the Bone on the Skeleton
Keep the Halloween afternoon going after the wreath is hung — our free Pin the Bone on the Skeleton printable party game is perfect for a classroom party, a playdate, or family game night. Print it, blindfold the players, and see who gets the bone closest.
How many ghosts do I need?
It depends on your ring size — twelve 2-inch ghosts filled a dinner-plate-sized ring with the tissue skirts overlapping. Make a few extra; they are quick once you get the rhythm.
Can the wreath go outside?
A covered porch is fine. Tissues do not love direct rain, so bring it in during storms.
What age is this craft best for?
Kids around 4 and up can make the ghosts with a little help. Adults should handle the hot glue and cutting the cardboard ring.
How long do the fairy lights last?
A fresh set of batteries in a short LED strand usually runs several evenings. Switch it on at dusk for trick-or-treat season and off before bed.