The Importance of Learning about Emotions in Early Toddlerhood

Teaching Emotions to Toddlers: 7 Simple Activities

The meltdown over the wrong color cup isn't really about the cup. It's about a feeling with no words attached. Toddlers feel everything at full volume and own almost none of the vocabulary — so the fastest way to fewer, shorter meltdowns is teaching emotions through play, one face at a time.

Best forAges 1–4
Time5–15 min each
CostFree to ~$15
SkillsEmotional vocabulary + empathy

Why play works better than explaining

A lecture on feelings goes in one ear and out the other at age two. But make a playdough face with an angry mouth, and your toddler will remember "angry" for weeks. Play gives emotions a shape, a face, and a name — and naming a feeling is the first step to managing it. These seven activities build that vocabulary one game at a time.

1. Playdough faces

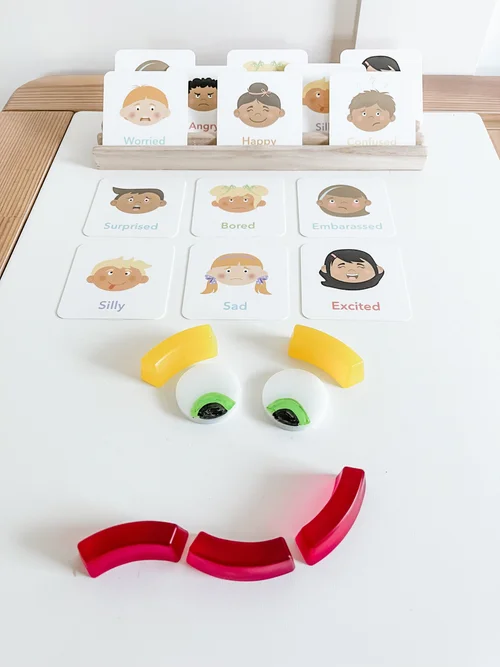
Roll out a ball of playdough, flatten it into a face shape, and build expressions together: googly eyes or dough balls for eyes, a smile or frown for the mouth. "This face is happy — can you make a sad one?" It’s part fine motor work, part feelings lesson, and toddlers will happily make twenty faces in a row. No playdough handy? Translucent face-building pieces on a light table or white tray work the same way — mix-and-match eyes, brows, and mouths to build any feeling.

Emotions flashcards with mix-and-match translucent face pieces for building expressions
Build-a-face pieces + emotion cards — every combination is a new feeling to name.

2. Mirror faces

Sit in front of a mirror together and take turns making faces: happy, sad, angry, surprised, silly. Name each one out loud as you make it, then let your toddler "teach" you. Seeing their own face do the feeling wires the word to the sensation — and the silliness keeps them coming back.

3. Emotions card match

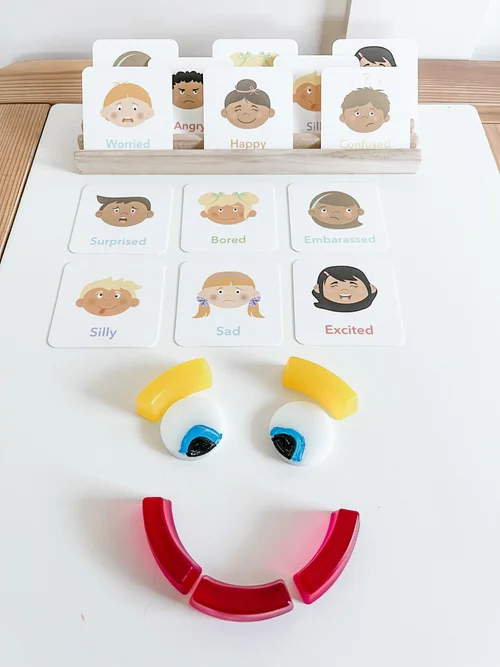
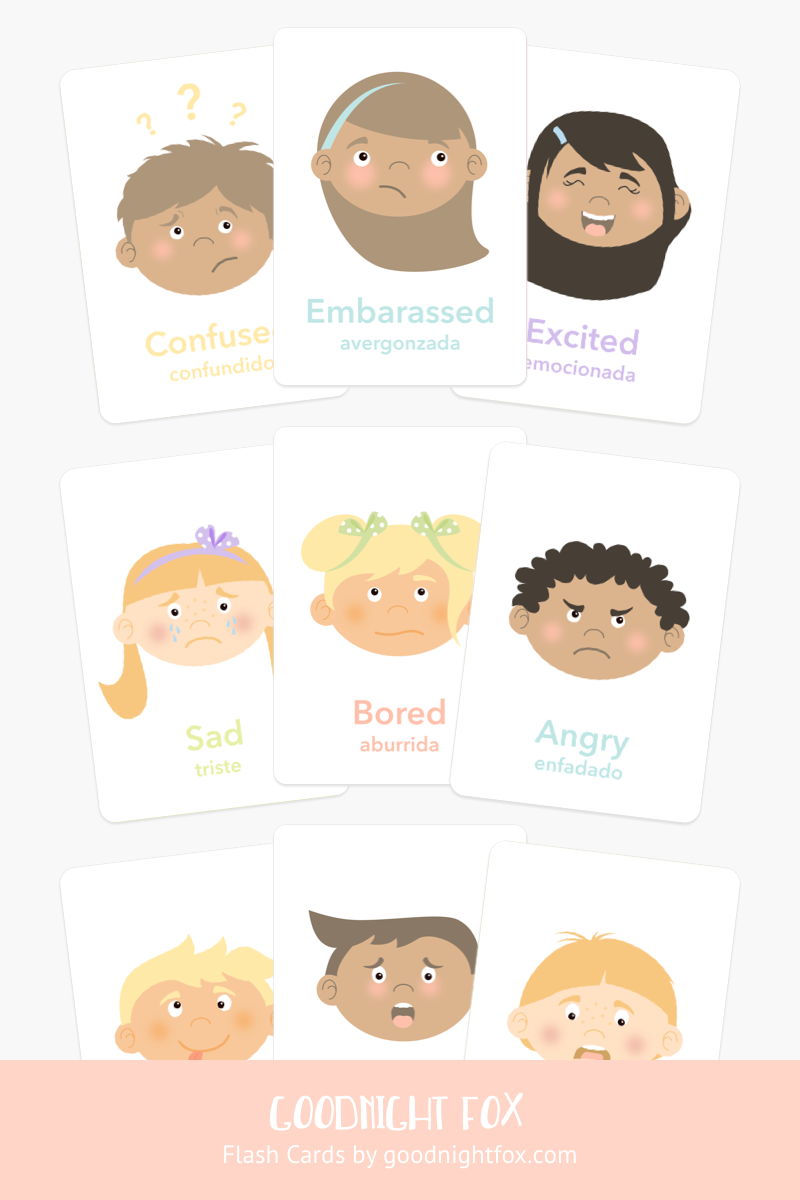
Lay out a few emotion cards face-up and take turns: "Find the worried face." "Which one is excited?" Start with three or four contrasting emotions (happy/sad/angry) and add more as they master them. Our Emotions Flashcards were made for this — expressive faces with English and Spanish emotion words, sized for little hands.

Goodnight Fox emotions flashcards displayed in a stand and laid out with face-building pieces
The emotions cards laid out and ready — start with three or four, then add more.
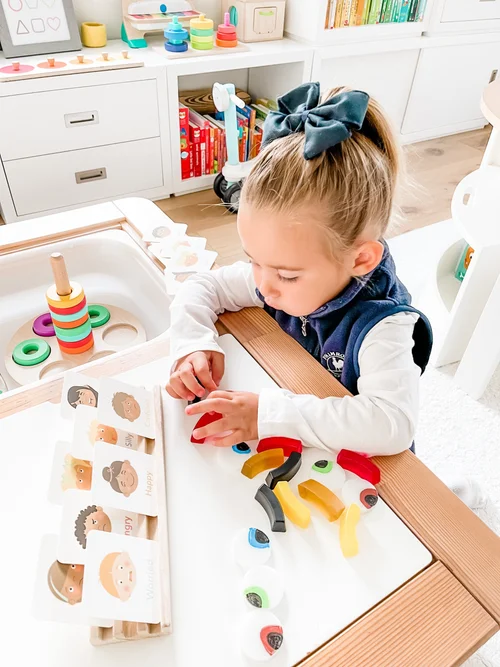
Toddler playing with emotions flashcards at a table
Matching game in action — "find the worried face."

4. Morning feelings check-in

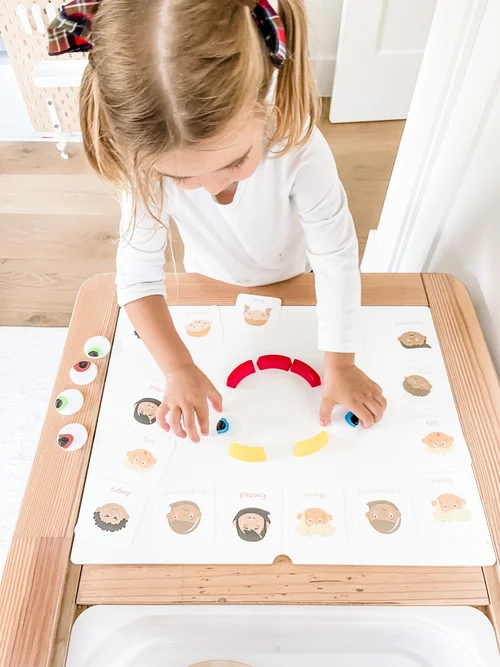
Hang an emotions chart where your toddler can reach it and make it a morning ritual: "How are you feeling today? Point to your face." No wrong answers, no fixing — just naming. Our Emotions Posters (Set of 3) include a check-in visual made for exactly this. The daily repetition is what turns vocabulary into a habit they can reach for mid-meltdown.

Toddler building a face on an emotions activity mat
Morning check-in: build the face that matches the feeling.

5. Emotion story time

When you read together, pause at the characters' faces: "How do you think the bear feels right now? What does his face tell you?" Picture books are a low-stakes rehearsal space — your toddler practices reading emotions on someone else's face before they have to manage their own.

6. "What would you feel?" scenarios

During calm moments, play out tiny scenarios with toys: "The bunny's block tower fell down. How does bunny feel?" Let your toddler answer, act it out, and suggest what bunny could do. You're building the cause-and-effect map of emotions — this happened, so I feel this, so I can do that — without a single real tear.

7. Practice calming down, not just naming

Vocabulary is half the equation; the other half is what to do with the feeling. Once your toddler can name "angry," teach the exit ramp: three slow breaths, squeezing a stress ball, or hugging a stuffed animal. Our Toddler Mindfulness Flashcards pair each calming strategy with an illustration they can copy. For the full setup, see our calming corner guide.

When should I start teaching emotions to my toddler?

You can start as early as 12–18 months by simply naming feelings out loud ("you're frustrated"). Structured activities like these land best from about age 2, when toddlers start connecting words to experiences.

What if my toddler only knows "happy" and "sad"?

That's the perfect starting point. Add one new emotion at a time — "angry" and "scared" are usually next — through the activities above. Depth beats breadth: three well-understood feelings do more than twelve memorized labels.

Should I correct my toddler when they name the wrong emotion?

Gently, and rarely. If they point to "angry" when they're clearly sad, reflect what you see: "Hmm, your face looks a little droopy — could that be sad?" Modeling beats correcting.

Do emotions activities actually reduce tantrums?

They shorten them. A toddler who can say "I'm mad" doesn't need to be mad as loudly or as long. The feeling still comes — the vocabulary just gives it an exit.

The tools for teaching feelings

These activities run on good visuals. Our Emotions Flashcards ($15) give toddlers the faces and words — English and Spanish labels, sized for little hands. Our Emotions Posters (Set of 3) ($9) put the check-in on the wall. And our Toddler Mindfulness Flashcards ($12) teach what to do with the big ones.

Shop Emotions Flashcards

Exploring the Benefits of Outdoor Chalk Art for Kids: A Colorful Journey

Introduction:

Chalk art is a marvelous way to encourage creativity and imagination in children while allowing them to connect with the great outdoors. In this blog post, we'll dive into the world of outdoor chalk art and explore the numerous benefits it offers for children. We'll also showcase some impressive chalk murals created by an incredibly talented young artist – my daughter.

1. Mosaic Design:

One particular masterpiece my daughter crafted was a stunning mosaic design. Using painters tape to section off different spaces, she skillfully filled them with an array of vibrant chalk colors. This technique not only allows children to experiment with shapes and patterns but also enhances their focus and attention to detail. Through the process of creating a mosaic design, children can develop their fine motor skills while expressing their artistic flair.

2. Balloons:

Another delightful creation by my daughter was a whimsical balloon mural. By lying down with the balloons and capturing a photo from above, it appears as though she's soaring through the sky. This unique perspective not only adds an element of fun but also encourages children to think outside the box and explore different angles. Moreover, such interactive art pieces can spark imagination and storytelling, allowing children to envision themselves in exciting scenarios.

3. Ladder to the Moon:

For my daughter's next work of art, she created a captivating mural featuring a ladder reaching towards the moon. By having the child lay face down, it creates an illusion of them reaching for the stars. This mural not only ignites children's fascination with space and astronomy but also encourages them to dream big. By engaging in such imaginative play, kids can develop their cognitive and problem-solving skills while exercising their physical coordination.

4. Umbrella and Rainboots:

Last but not least, my daughter crafted a delightful mural showcasing an umbrella and rainboots. By having the child lay on the ground and hold the umbrella, it creates an illusion of them splashing through water. This particular artwork not only encourages children to experiment with perspective but also allows them to connect with nature. By incorporating elements from their surroundings, kids can develop an appreciation for the environment while enhancing their artistic abilities.

Benefits of Chalk Art Outdoors for Kids:

Beyond the remarkable murals created by my daughter, outdoor chalk art provides several noteworthy benefits for children.

  • Enhanced Creativity: Chalk art offers endless possibilities for children to explore their imagination and unleash their creativity. With the freedom to experiment and express themselves, kids can develop their own unique artistic style.

  • Motor Skills Development: Engaging in chalk art outdoors requires children to engage their fine motor skills and hand-eye coordination. Through using different strokes, blending colors, and filling in large spaces, children develop their dexterity and motor control.

  • Physical Activity: By actively engaging in chalk art outdoors, kids have the opportunity to combine artistic expression with physical activity. From drawing on the ground to positioning their bodies for unique perspectives, children can enjoy the benefits of both art and exercise.

  • Connection with Nature: Outdoor chalk art extends the child's learning beyond paper and screens. Being surrounded by nature can inspire their creativity and foster a deeper connection with the natural world.

Conclusion:

Outdoor chalk art offers a multitude of benefits for children, ranging from creativity and imagination enhancement to motor skills development and physical activity. The murals crafted by my daughter, including the mosaic design, floating balloons, ladder to the moon, and umbrella and rainboots, exemplify the endless possibilities and captivating experiences awaiting children through outdoor chalk art. So go ahead, grab some chalk, step outside, and embark on a vibrant journey of creativity and growth!

Unleash Your Child's Imagination: A Sensory Play Calendar for Moms All Year Round

As a parent, you know that fostering creativity and imagination in your child is essential for their development. What better way to achieve this than through sensory play? To make it easier for moms like you to engage your little ones in imaginative sensory activities, we've created a Sensory Play Calendar that covers every week of the year. Get ready to embark on a journey of discovery, learning, and endless fun with your child.

Before you begin, and if you’re new to sensory play, I’d highly recommend checking out this Beginner’s Guide to Flisat Table Sensory Play.


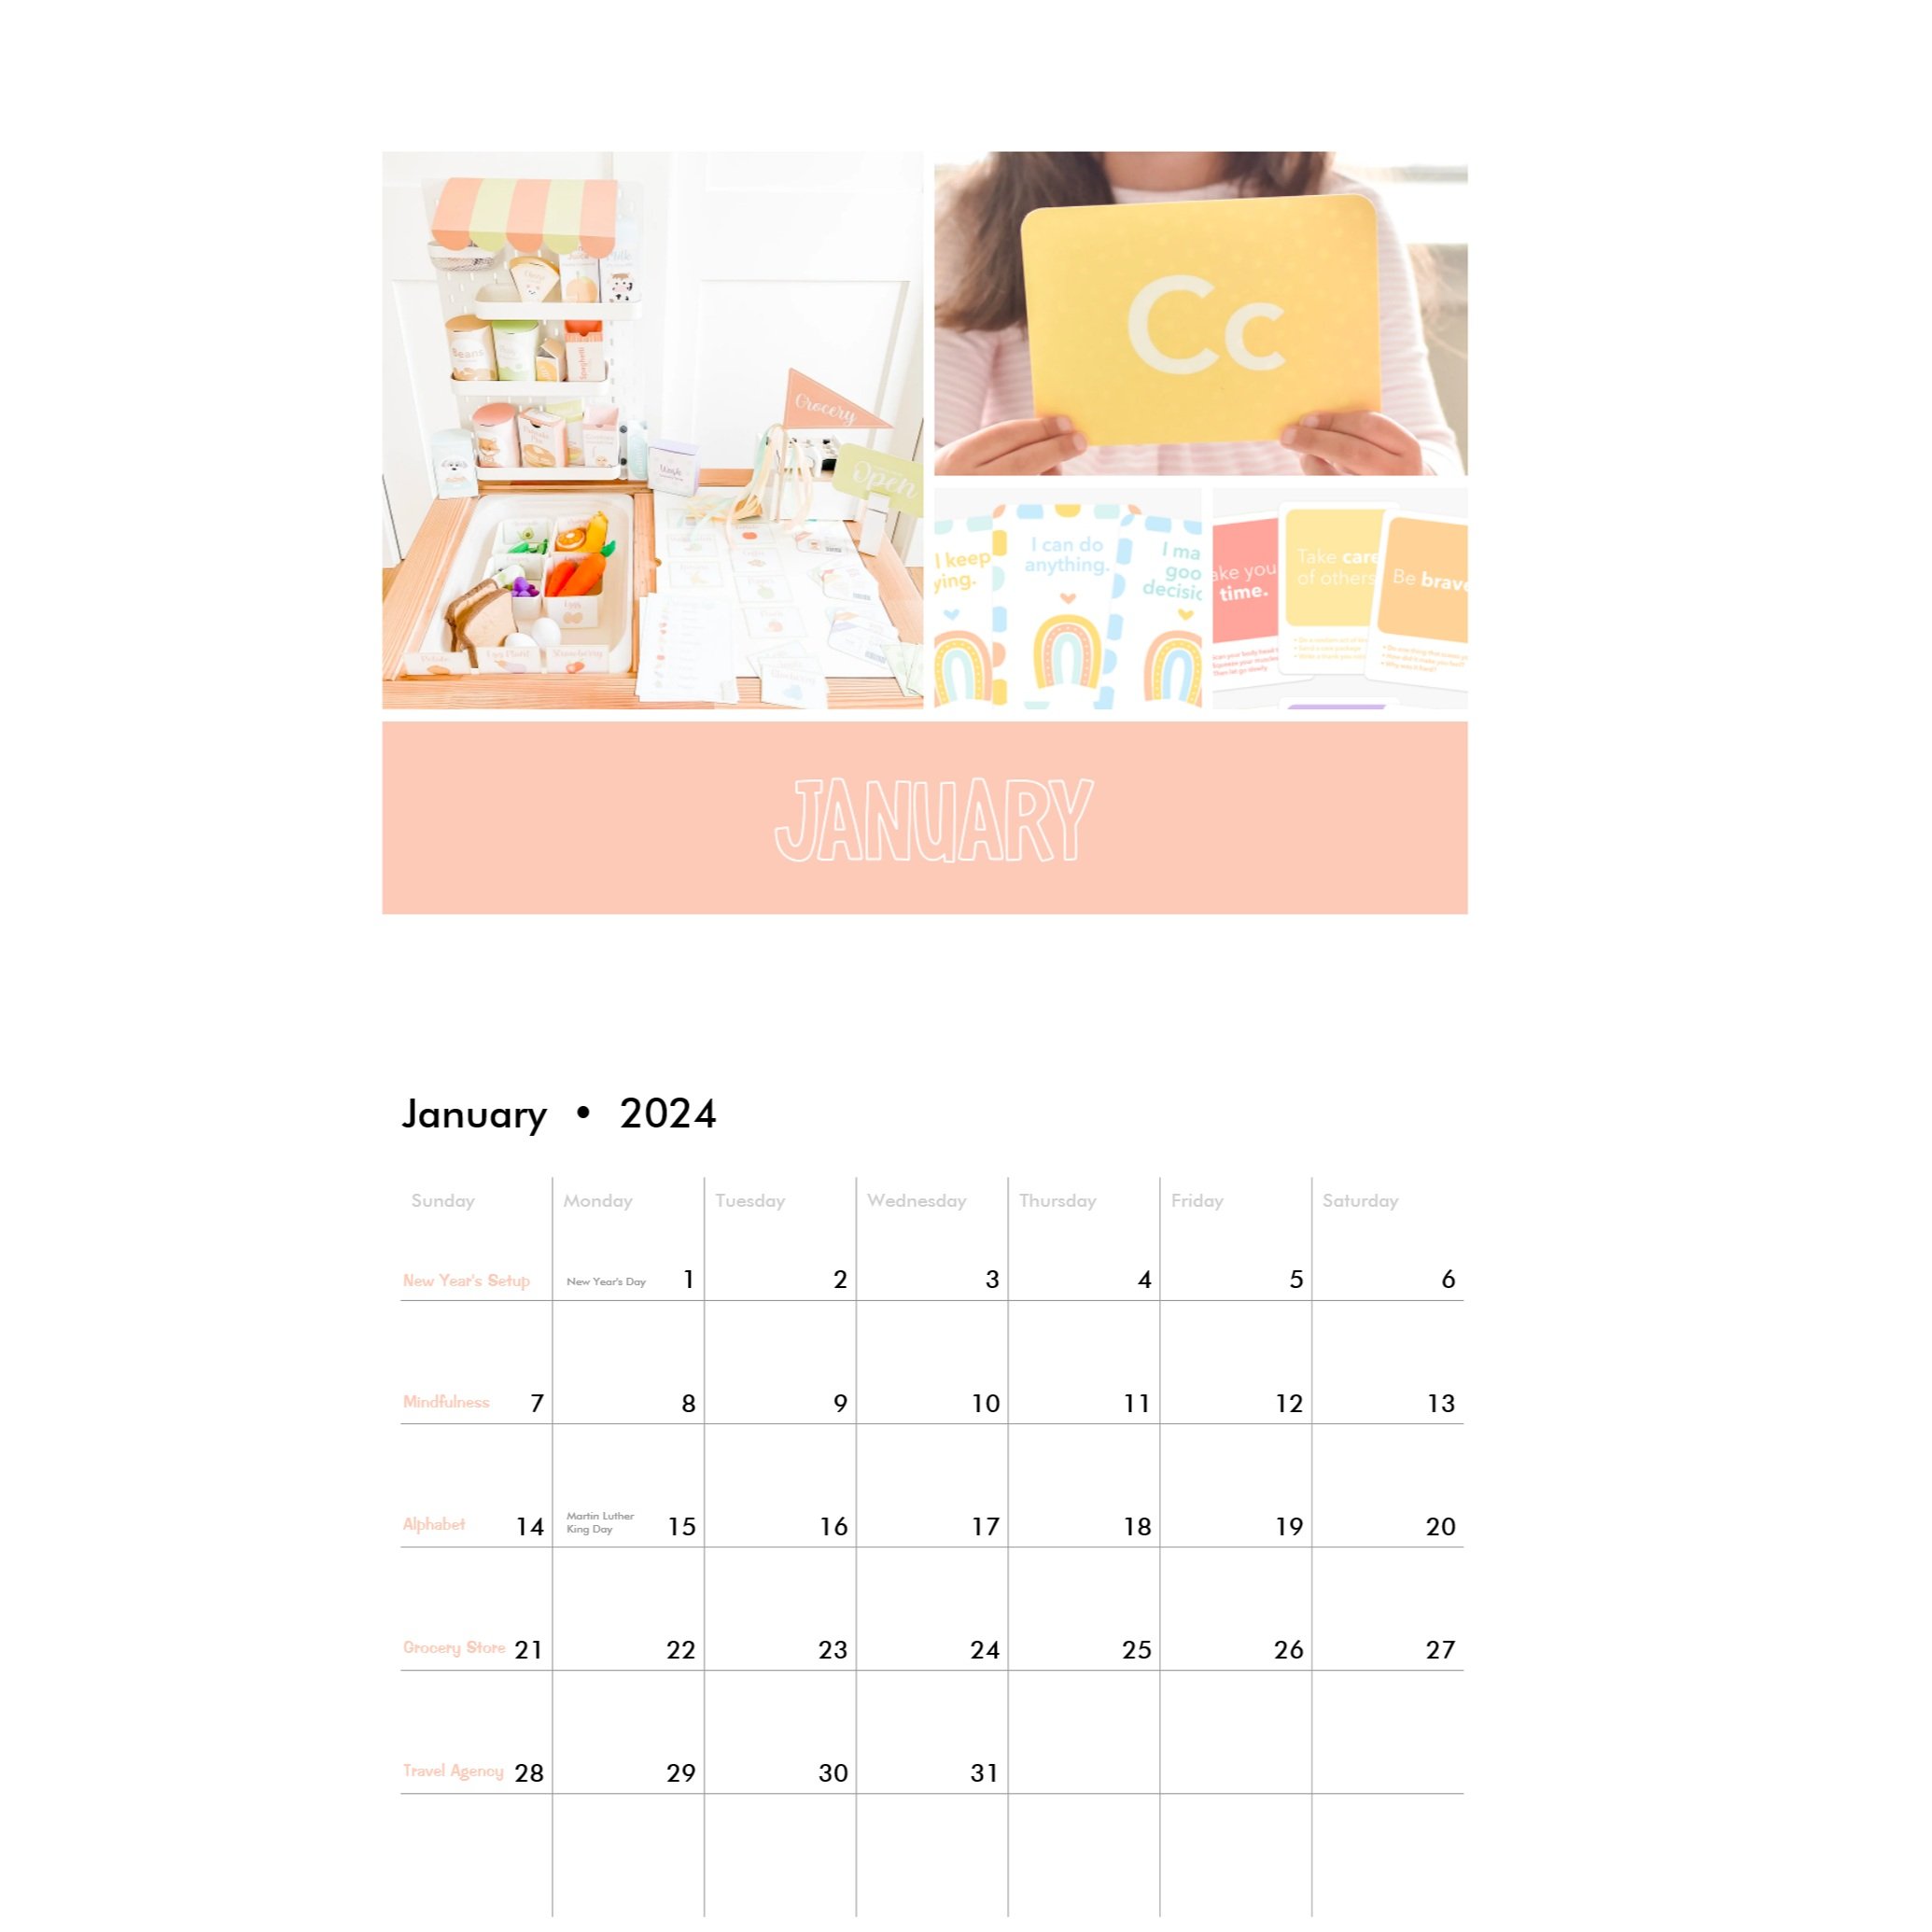
January SENSORY PLAY

We’ll kick the year off right by setting up our goals for the year, reflecting on the last year, and grounding ourselves in mindfulness practices. We’ll further our knowledge of the alphabet, build a grocery store, and create a travel agency!

New Year's Day:

Kick off the year off with the Happy New Year play setup. Use mirrors to discuss the importance of reflection and plan ahead for the goals your kiddo wants to accomplish for the year. Use the clock to discuss time and countdown on New Year’s Even.

  • Bin 1: Disco Mirror Balls

  • Bin 2: Mirrors & Reflection

  • Bin 3: Shiny Silver Tinsel

Download the Printables | Activity Details

Mindfulness:

Help your child develop mindfulness through sensory meditation. In this activity, we’ll use our Mindfulness Flashcards and our Affirmations Flashcards. We’ll complete each mindfulness activity, read and recite our affirmations, and create a calming sensory bin with zen garden sand.

  • Bin 1: Zen Garden

  • Bin 2: Foam Party

  • Bin 3: Calming Corner

Purchase the Flashcards | Activity Details

Alphabet:

Practice upper and lowercase letters, letter recognition, letter sequencing and letter sounds. For more advanced learners, we’ll practice letter sequences (this is excellent prep for STAR Reading Assessments). We’ll create an alphabet sensory bin using resin letters and use our cards & letter mat to build letter sequences.

  • Activity 1: Letter Search & Alphabet Letter Noodles

  • Activity 2: Letter Clips & Match

  • Activity 3: Letter Cookie Word Building

Purchase the Flaschards | Activity Details

Grocery Store Dramatic Play setup for Flisat Table

Grocery Store:

Pretend play with common household chores, like grocery shopping, instills a great sense of responsibility and contribution. In this activity, we’ll venture to the grocery store, shop for regular household supplies, and use the cash register & pretend play money to check out.

  • Activity 1: Grocery Store Owner

  • Activity 2: Cooking a Meal

  • Activity 3: Cleaning up the shop

Download the Printables | Activity Details

Travel Agency Dramatic Play for preschoolers flisat table sensory play

Travel Agency:

We’ll wrap January with a fun adventure around the world. We’ll setup a Travel Agency where your little learner can pretend to help customers book their next trip. Then they can take the plane tickets and travel to Paris and London to see popular sights.

  • Activity 1: Wool ball continent color matching

  • Activity 2: Rubber band stretch & play

  • Activity 3: Travel agency shop owner dramatic play

Download the Printables | Activity Details


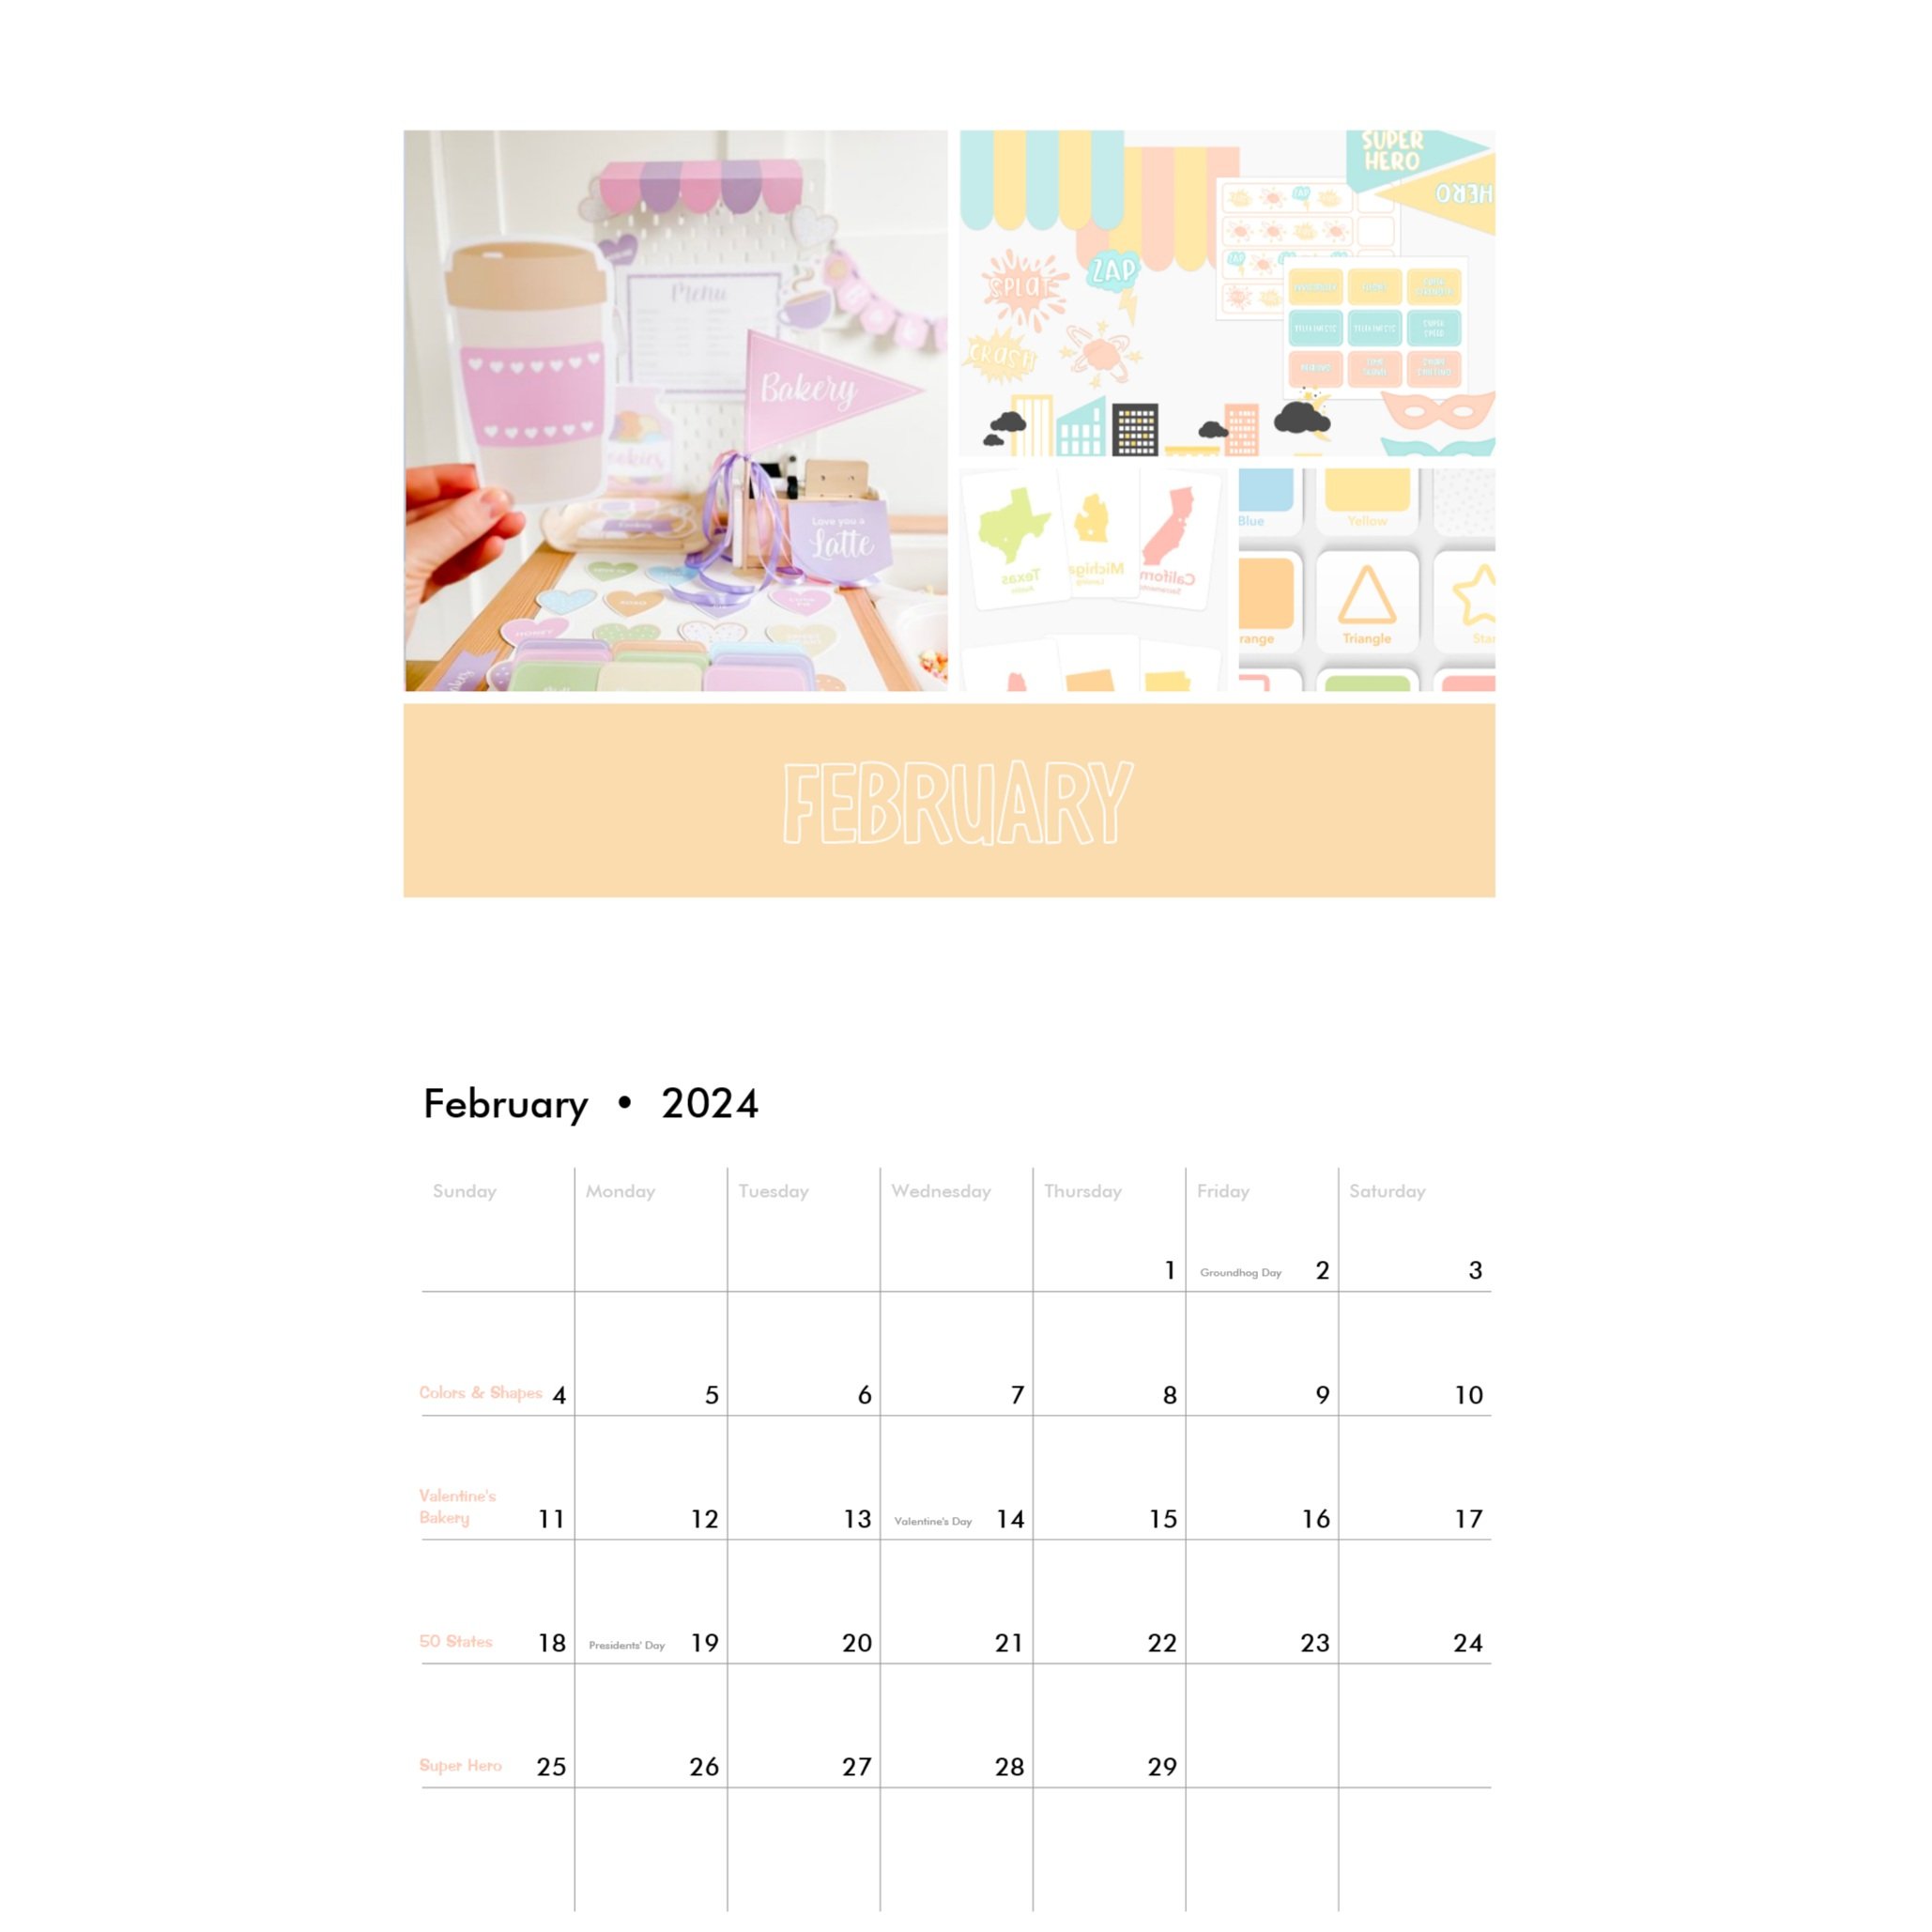
February SENSORY PLAY

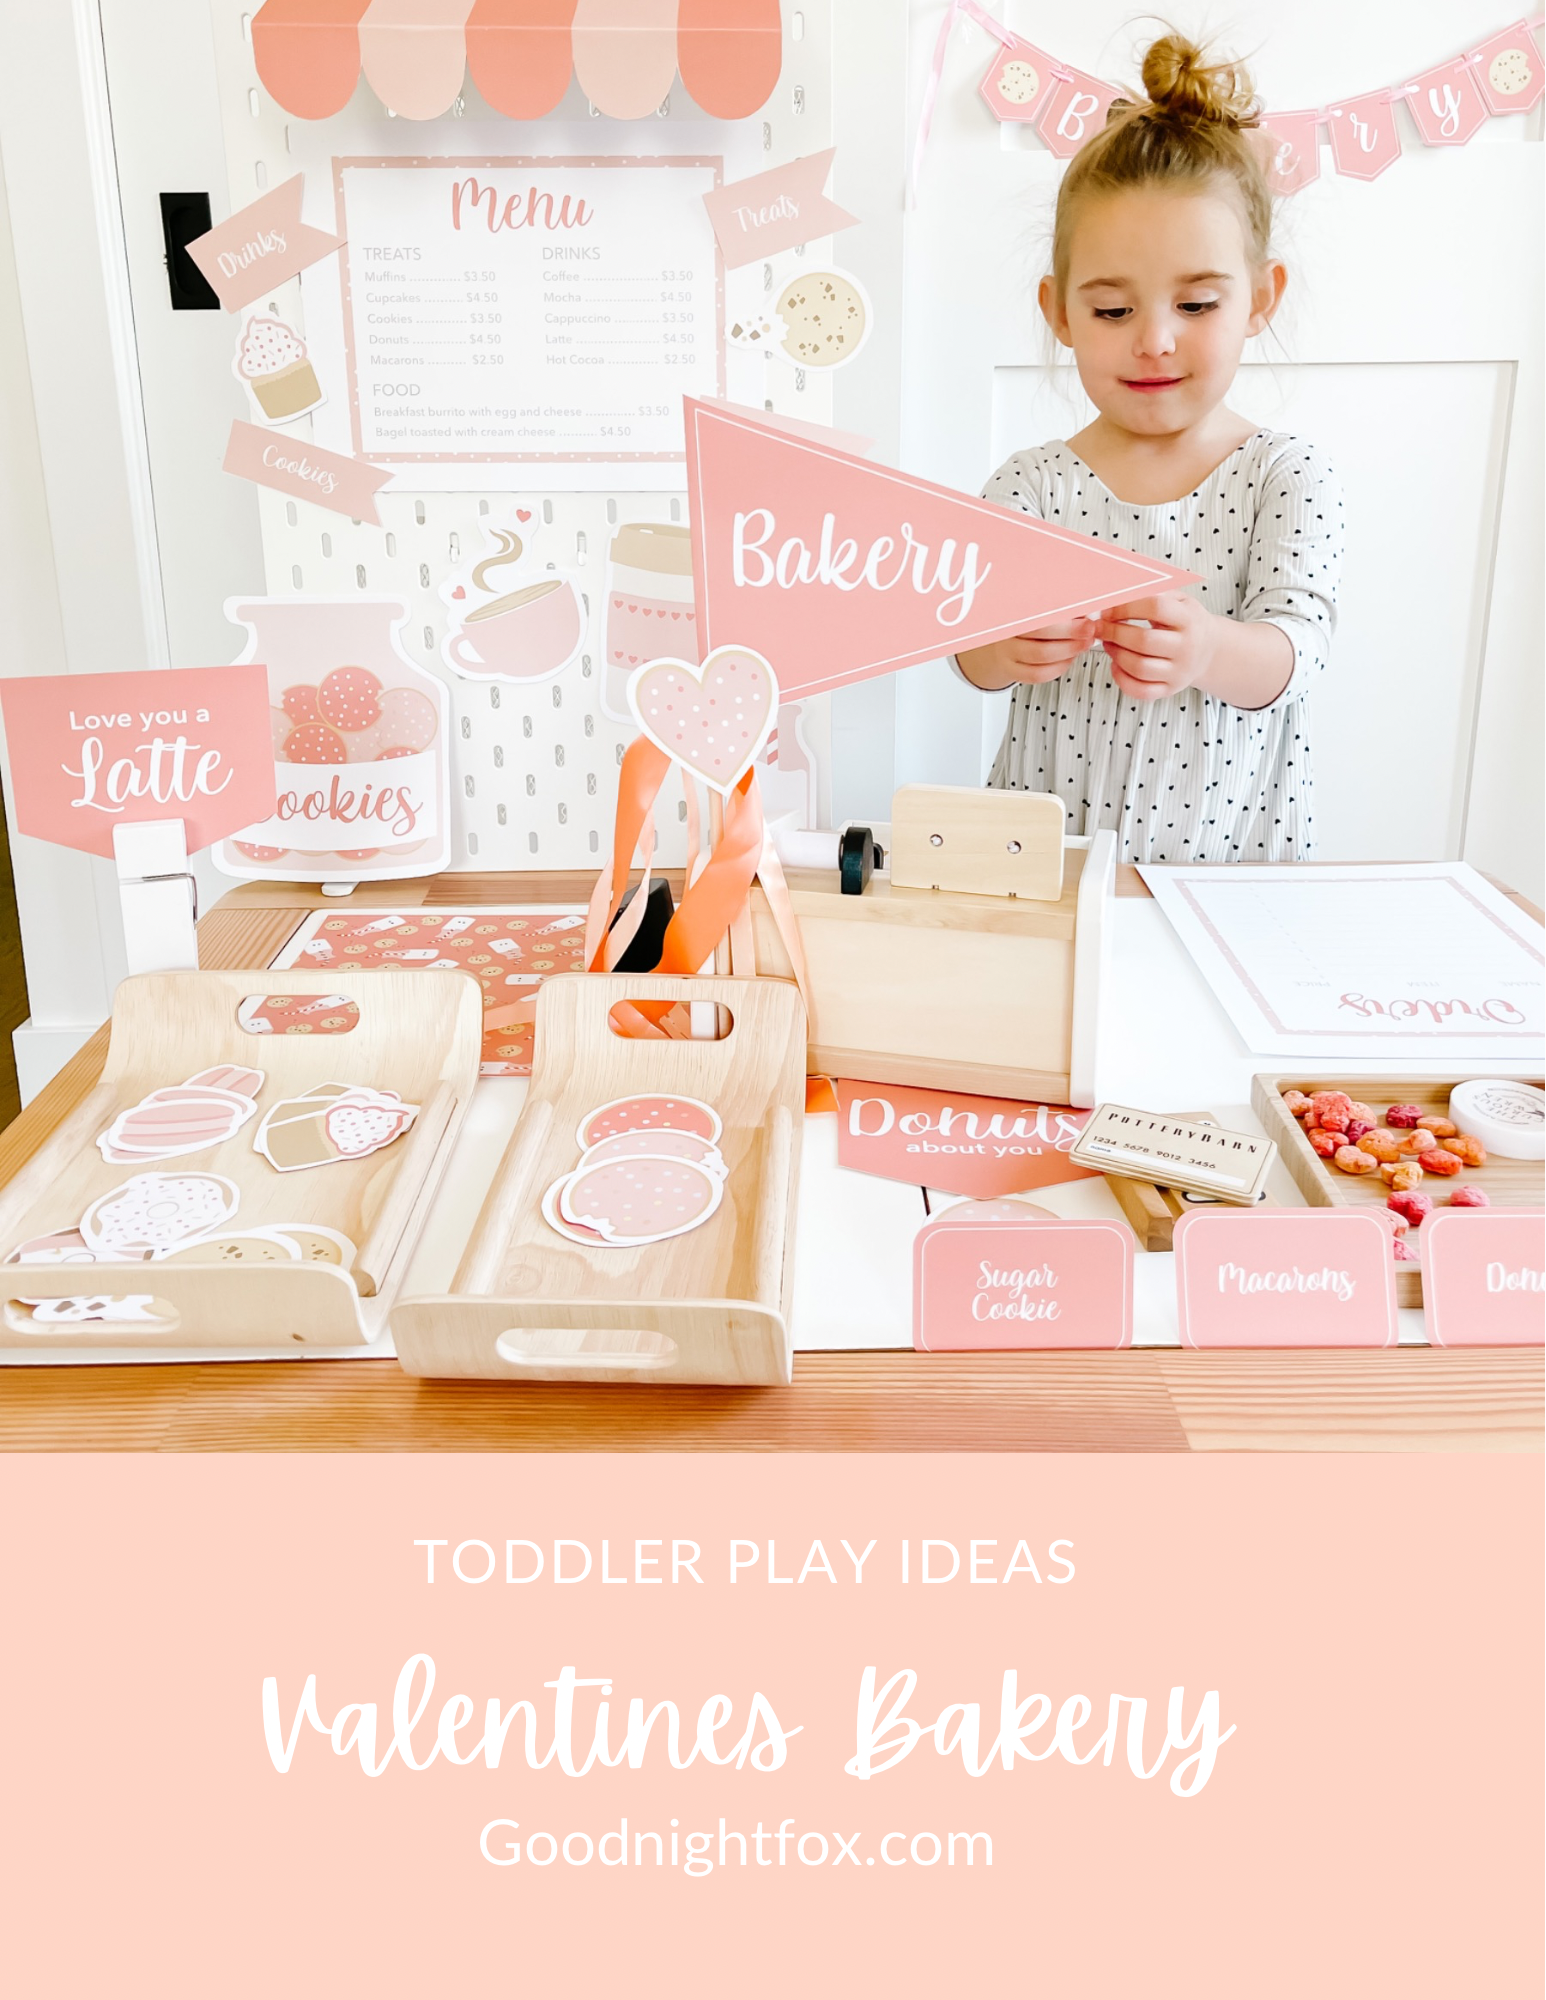
February is shaping up to be fabulous starting with a yummy Valentine’s Day Bakery. We’ll make a pit stop to learn about shapes and colors, then on to learning about the 50 states, and wrapping the month with Super Hero play.

Kids sensory play Valentine's Day Bakery

Valentine's Day:

In this activity, we’ll practice interactive skills while your little one gets to pretend to own their own bakery. At the bakery, they’ll get to take orders, serve customers, bake cookies, and take money or make change.

  • Activity 1: Heart-shaped cereal scooping

  • Activity 2: Bakery dramatic play with felt donuts & cookies

  • Activity 3: Sweetheart search and find with popcorn

Download the Printables | Activity Details

Colors & Shapes

In this activity, we’ll explore shapes and colors. We’ll use our Shapes & Colors memory game to practice matching shapes and colors. We’ll use our printable color wheels to spin for a color or shape and find the matching object in our sensory bin fill with colorful wooden shaped blocks.

  • Activity 1: Color matching with learning wheel

  • Activity 2: Color sorting with balls & cupcake cups

  • Activity 3: Color arranging by shades

  • Plus 4 bonus activity ideas!

Download the Printables | Activity Details

50 States:

Discover the USA through a printable United States map. Practice learning each of the 50 states and their capitols with a fun matching game. Cut out individual states and practice matching them to the map! We’ll use colorful wool/felt balls to practice color matching.

  • Activity 1: State Treasure Hunt

  • Activity 2: Capitals Match up

  • Activity 3: United States Puzzle

Download the Printables | Activity Details

Super Hero Play:

In this activity, we’ll put on super hero masks and fly around the city fighting crime with our super hero powers like invisibility and telekinesis. This dramatic play is not only fun, but a great way to practice concepts like crime and public service. We’ll use a colorful chickpea sensory filler to hide and uncover super powers.

  • Activity 1: Chickpea scoop and uncover super powers

  • Activity 2: Role play super hero missions

  • Activity 3: Pattern matching activity

Download the Printables | Activity Details


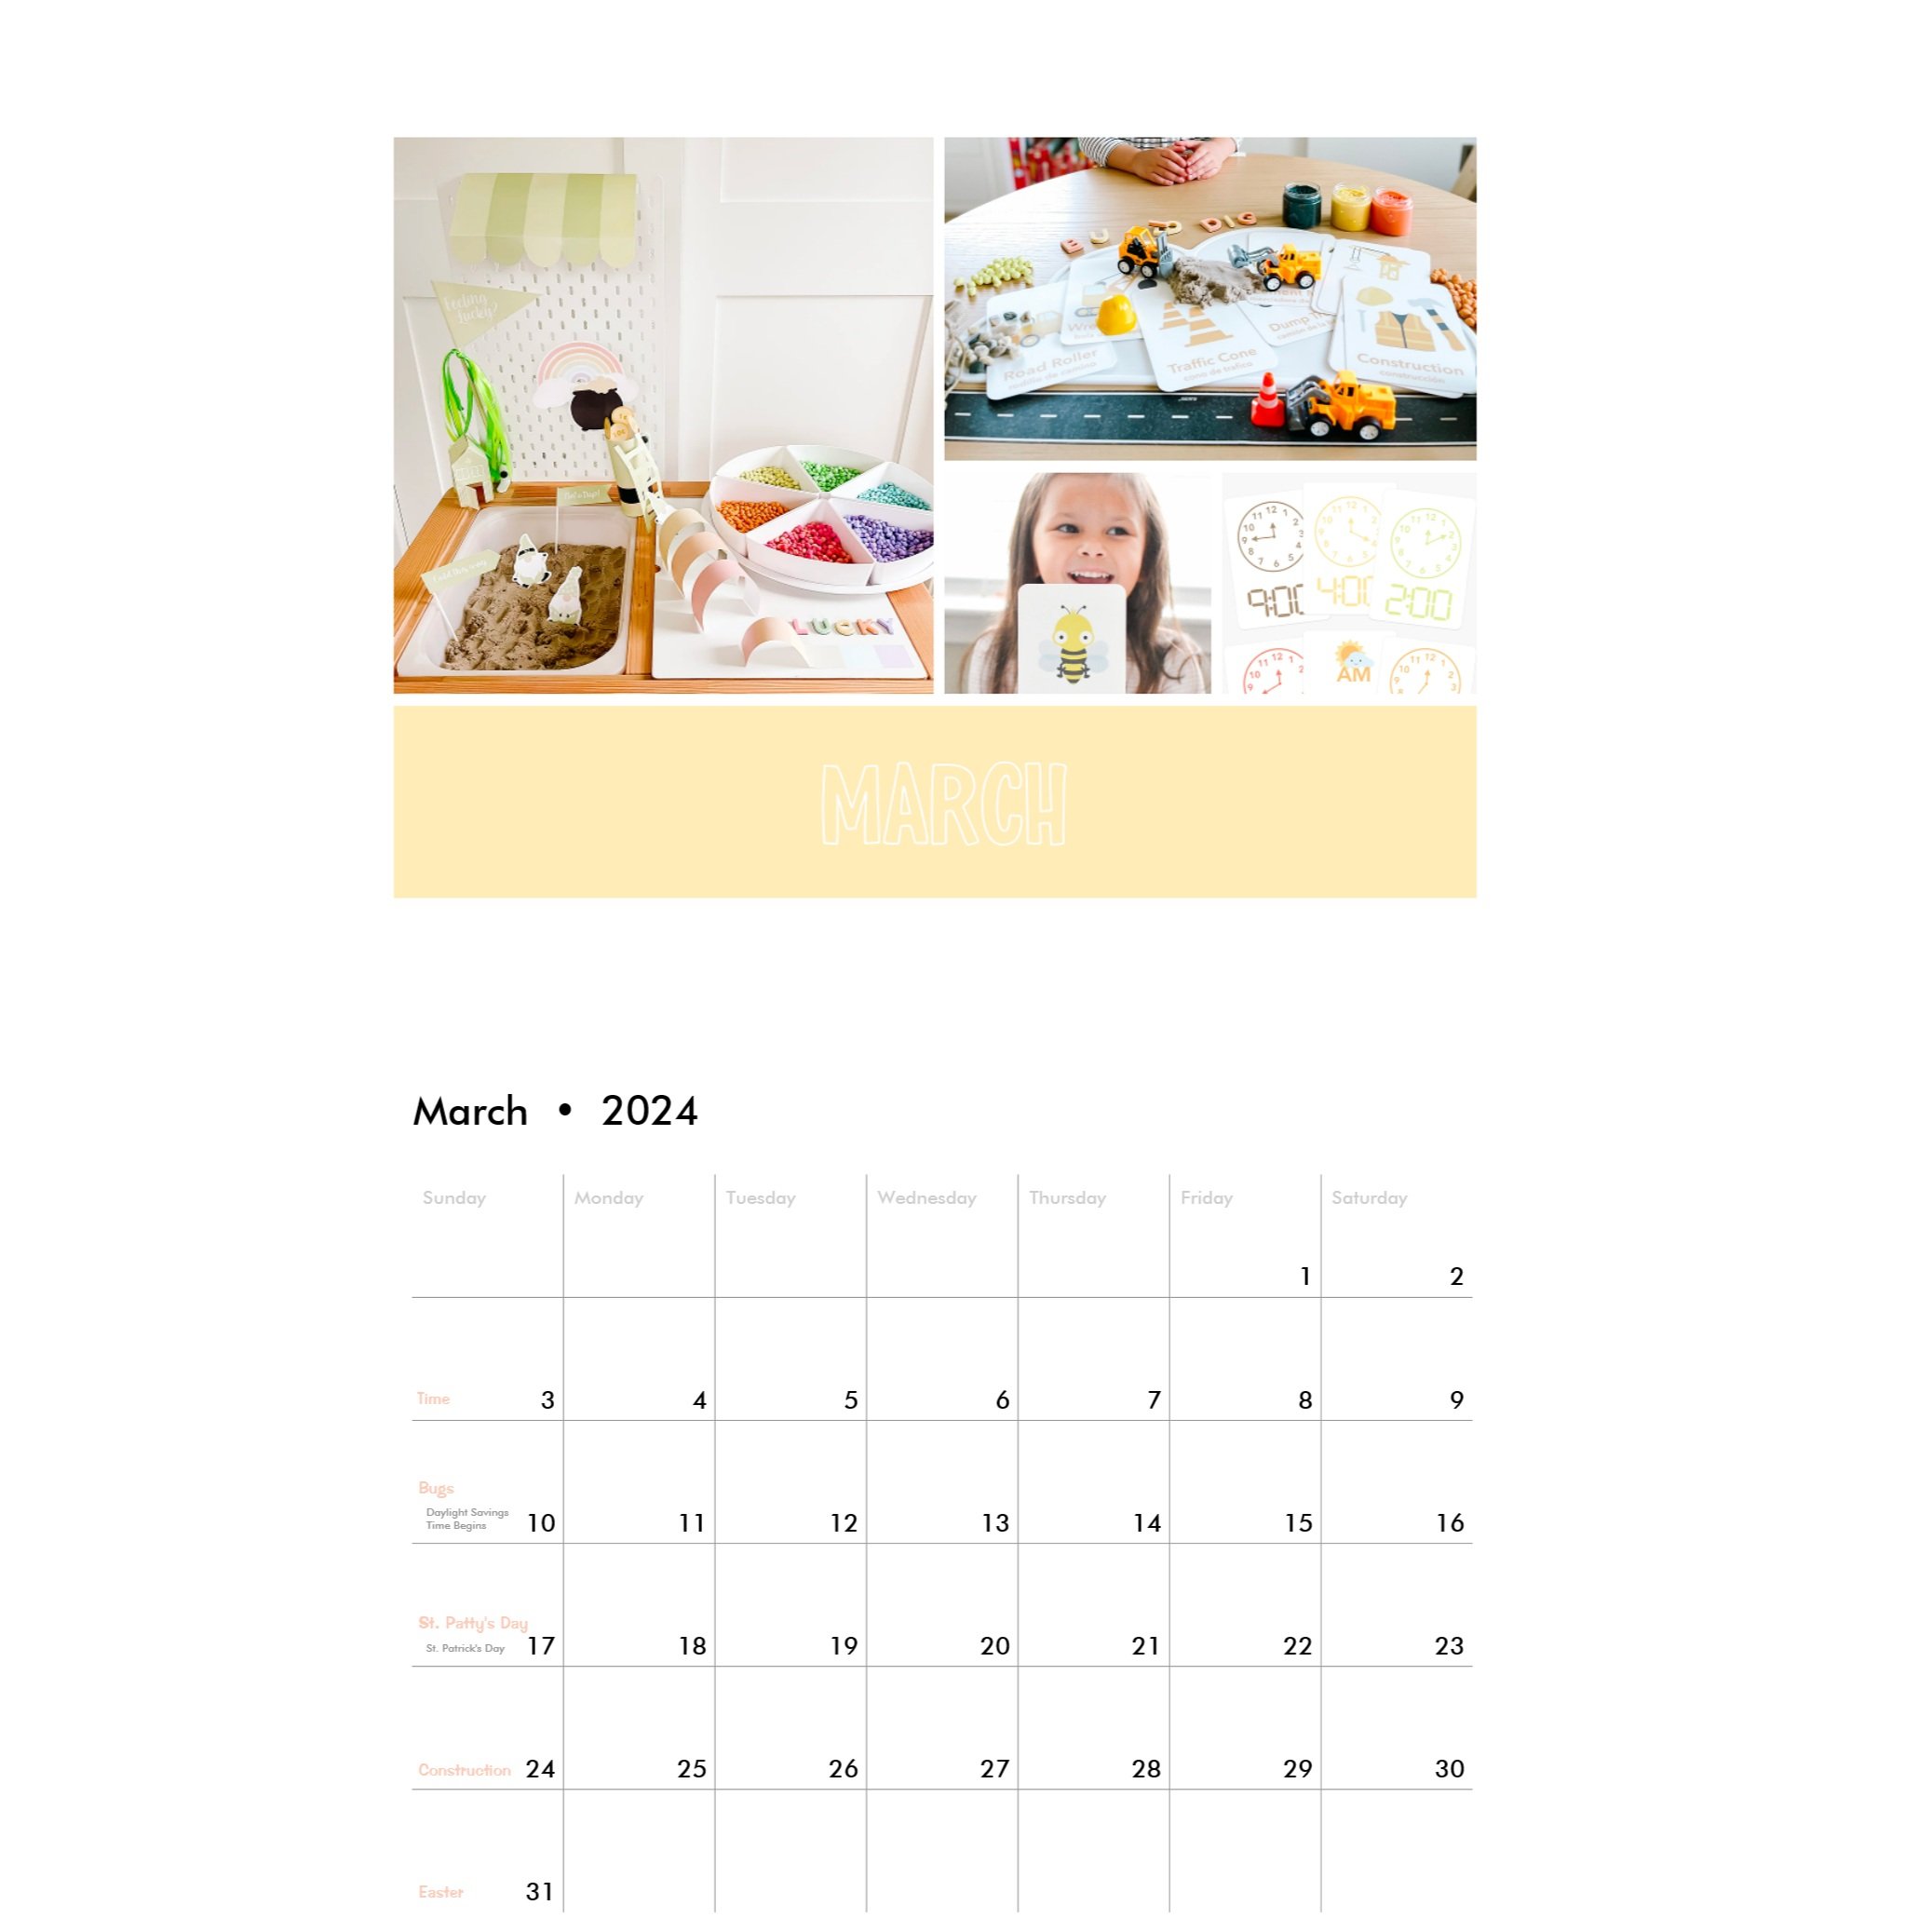
March SENSORY PLAY

March is going to be the best yet! We’ll start by learning about time and clocks, dive into the backyard to inspect some bugs, make a leprechaun trap for St. Patty’s Day, build a construction site, and of course celebrate Easter with a mini egg hunt.

Time:

In this activity, we’ll practice learning how to tell time, use a timer, or read a clock. Learning the concept of time and sequencing is essential to toddler learning and this lesson will help kiddos conceptualize time.

  • Activity 1: Water, Sand, & Chia seeds Funnel

  • Activity 2: Learning cards clock matching

  • Activity 3: Timers & hourglasses

Purchase the Flaschards | Activity Details

Bugs:

Explore the world of insects with a sensory bug hunt in 3 fabulous sensory materials: Pluffle, Chickpeas, and a pretend play dirt. A great way to practice insect names and explore natural habitats of some of the smallest creatures.

  • Activity 1: Pinch bugs in grass

  • Activity 2: Bugs in dirt search and find

  • Activity 3: Bee alphabet, ladybug counting, & pattern worksheets

Download the Printables | Activity Details

St. Patty's Day:

Craft a sensory rainbow and pot of gold for St. Patrick's Day. This fun leprechaun trap setup includes a rainbow bridge, ladder, hat, pot of gold and rainbow and a foldable leprechaun cottage. Setup on the Flisat table along with sensory fillers like rainbow chickpeas and magnetic sand.

  • Activity 1: Leprechaun Trap

  • Activity 2: Color sorting Chickpeas (or cereal)

  • Activity 3: Learning money/coins

Download the Printables | Activity Details

Construction:

Building, bulldozing, digging and excavating are great ways to explore sensory play materials like kinetic sand, play doh, rocks, and sensory play mud. This activity kit includes everything you need to create the perfect construction zone for your little one to enjoy.

  • Activity 1: Construction Water Play or Large Rocks

  • Activity 2: Taste Safe Construction with Cheerio Sand and Cocoa Dirt

  • Activity 3: Magnetic Sand & Chickpeas

Download the Printables | Activity Details

Easter:

Easter is the perfect opportunity to celebrate spring flowers and baby animals. This printable activity kit includes everything you need to make a sensory bin egg-hunt. Paired with a green rock-grass bin full of bunnies and carrots is the perfect small world play setup.

  • Activity 1: Foam egg chutes w/ Fidget tubes

  • Activity 2: Small world bunny play

  • Activity 3: Miniature Easter egg hunt

  • Activity 4: Jello Easter Eggs

Download the Printables | Activity Details


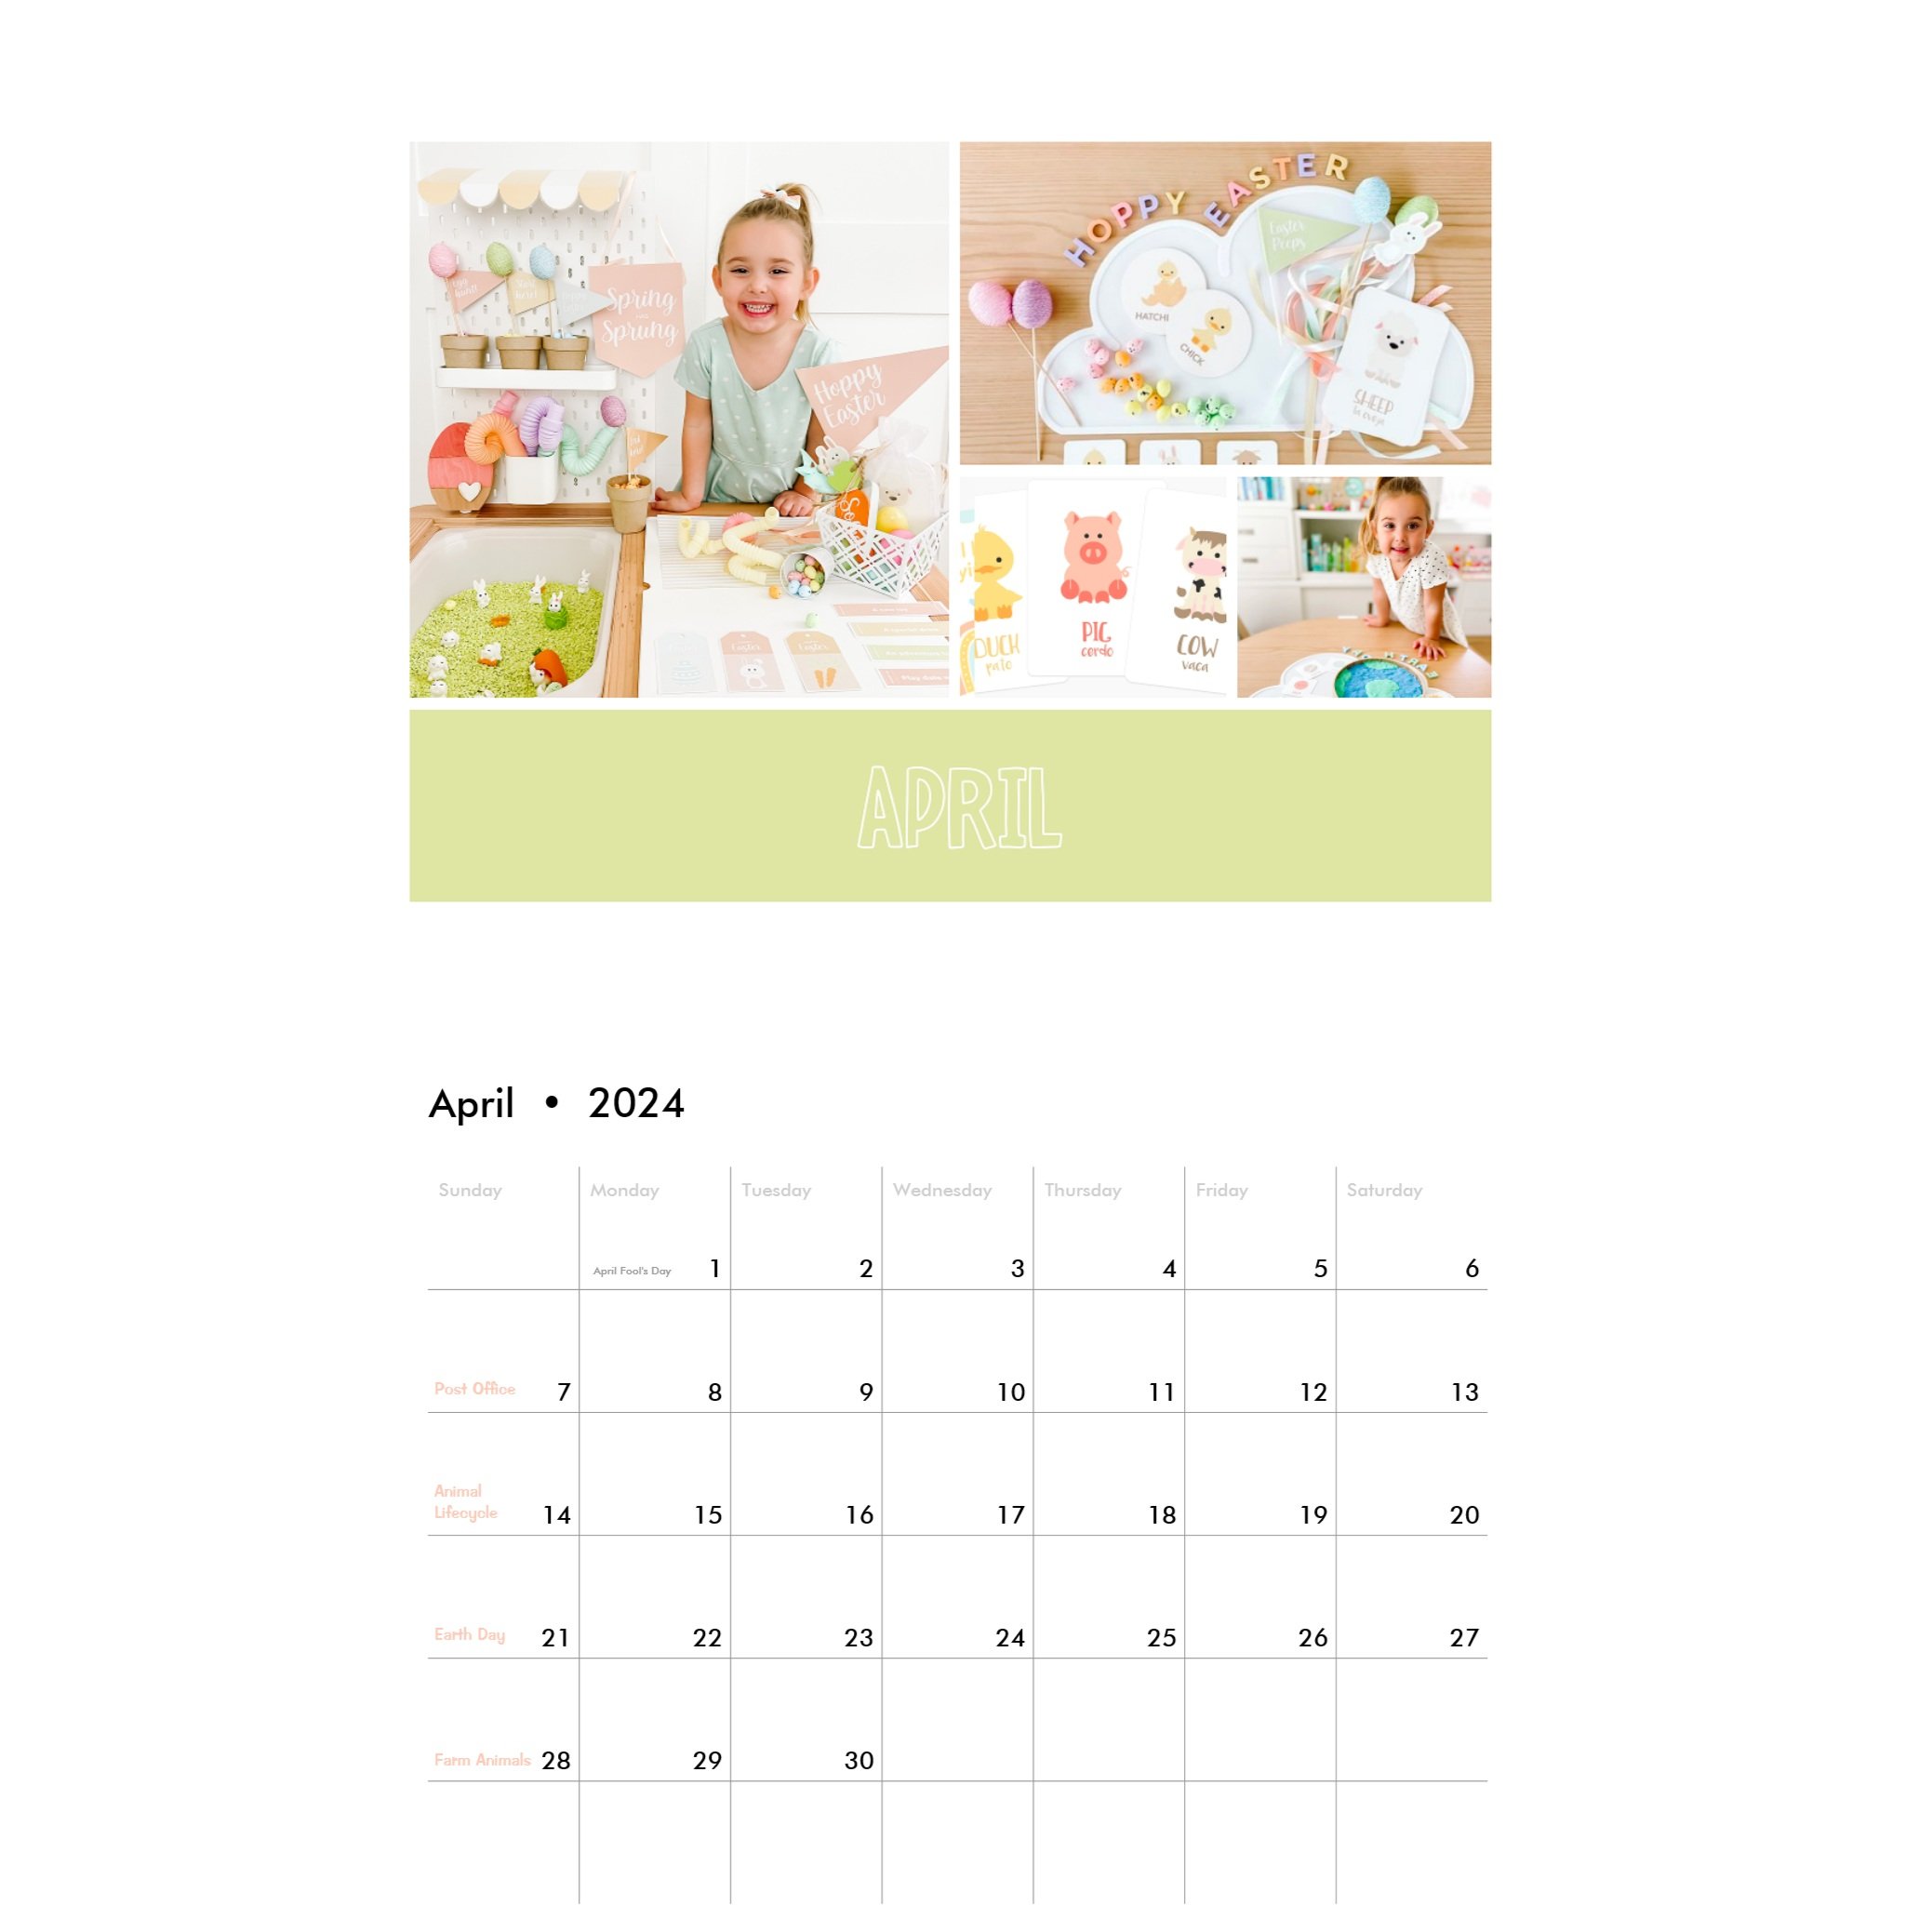
April SENSORY PLAY

Let’s celebrate spring with some amazing new activity setups. We’ll start with a trip to the post office, we’ll learn about the various lifecycles of animals and plants, travel to the farm to meet some chicks and cows, and wrap up with an Earth Day celebration.

Post Office

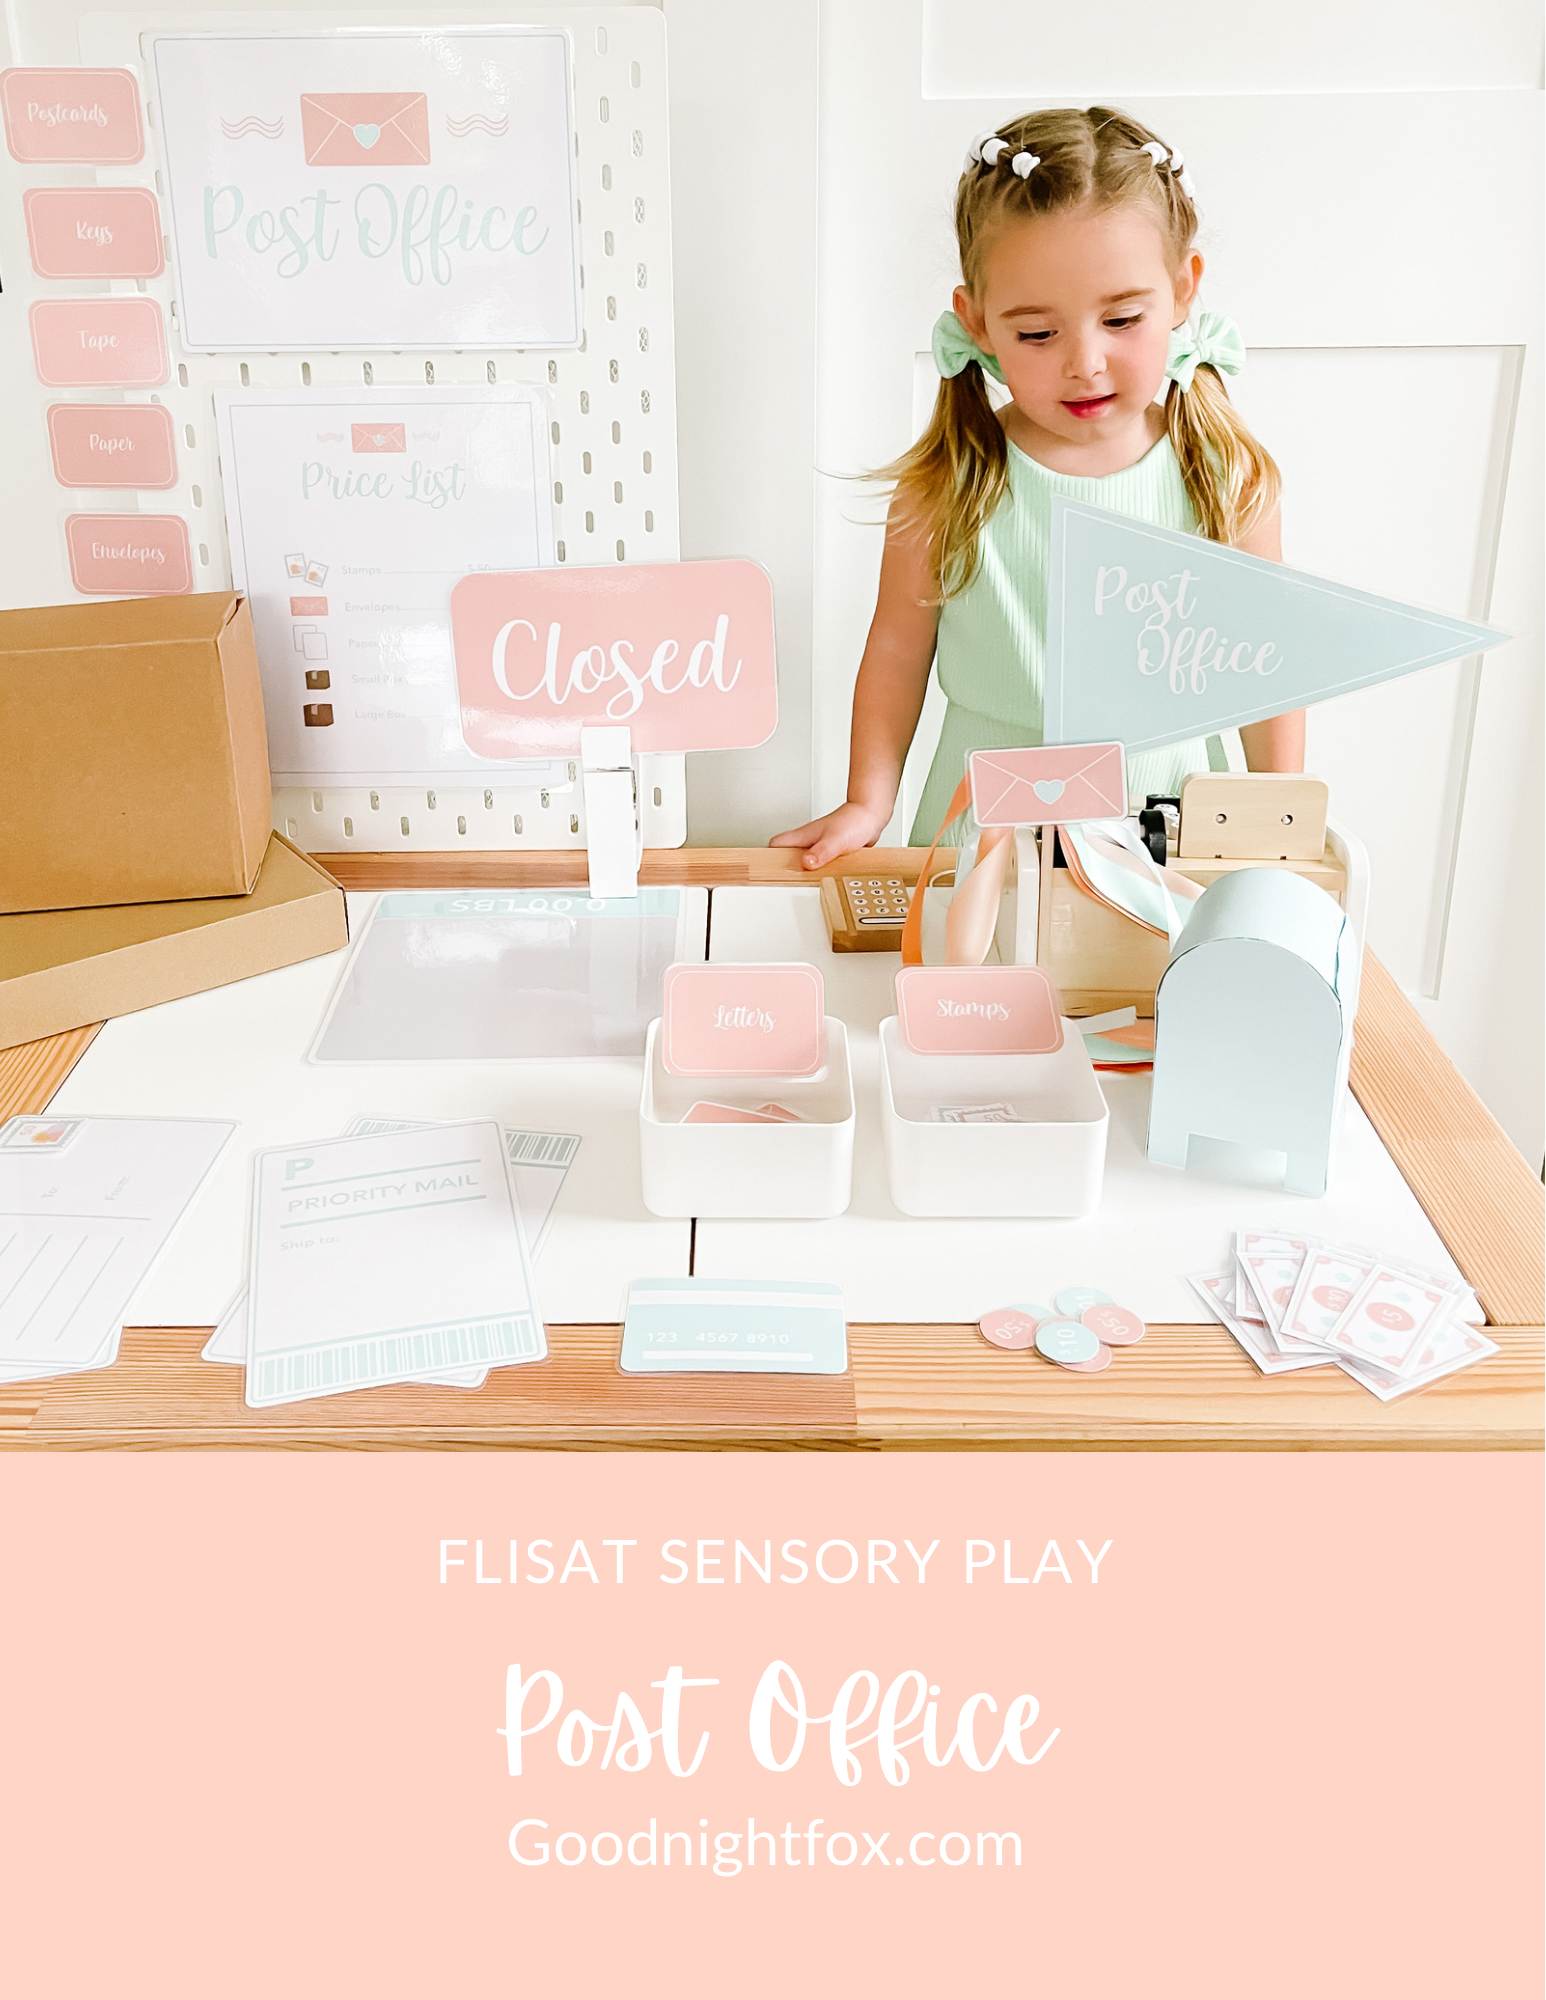
Head to the post office for this practical real world dramatic play. Take packages at the check out counter, sell boxes and stamps. Discuss the concept of the mail and post office and teach basic concepts of shipping and packaging.

  • Activity 1: Weighing & Measuring Boxes

  • Activity 2: Packing Boxes with Foam Balls

  • Activity 3: Stamping & Mailing Letters

Download the Printables | Activity Details

Animal Lifecycles:

Animal & plant lifecycles are a great way to explore how things grow and change over time. Using our circular lifecycle cards, we’ll use lifecycle of chicken, lifecycle of a flower, and lifecycle of a butterfly to explore how animals change over the course of time.

Download the Printables | Activity Details

Farm Animals

In this activity, we’ll explore the farm with sensory bins filled with toy farm animals, oatmeal and corn kernels. This activity kit comes with writing exercises, matching activities, along with a foldable barn and animals to play with.

  • Bin 1: Peas & Steel Cut Oatmeal Corn Field

  • Bin 2: Chocolate pudding & Rolled Oatmeal Pig Pen

  • Bin 3: Scooping & Feeding Corn Kernels

Download the Printables | Activity Details

Earth Day:

We’ll use Earth Day to practice sorting recyclable materials into their appropriate bins. We’ll discuss how the Earth is our precious home and we have to take care of it by using renewable energy, cleaning up trash, and using sustainable practices.

  • Activity 1: Trash Sorting

  • Activity 2: Ocean Clean Up

  • Activity 3: Land Form Identification

Download the Printables | Activity Details


May SENSORY PLAY

There’s so much to celebrate in May from Cinco De Mayo to Mother’s Day and with spring in full season, it’s time for our senses to bloom.

Cinco de Mayo: (Coming SOON)

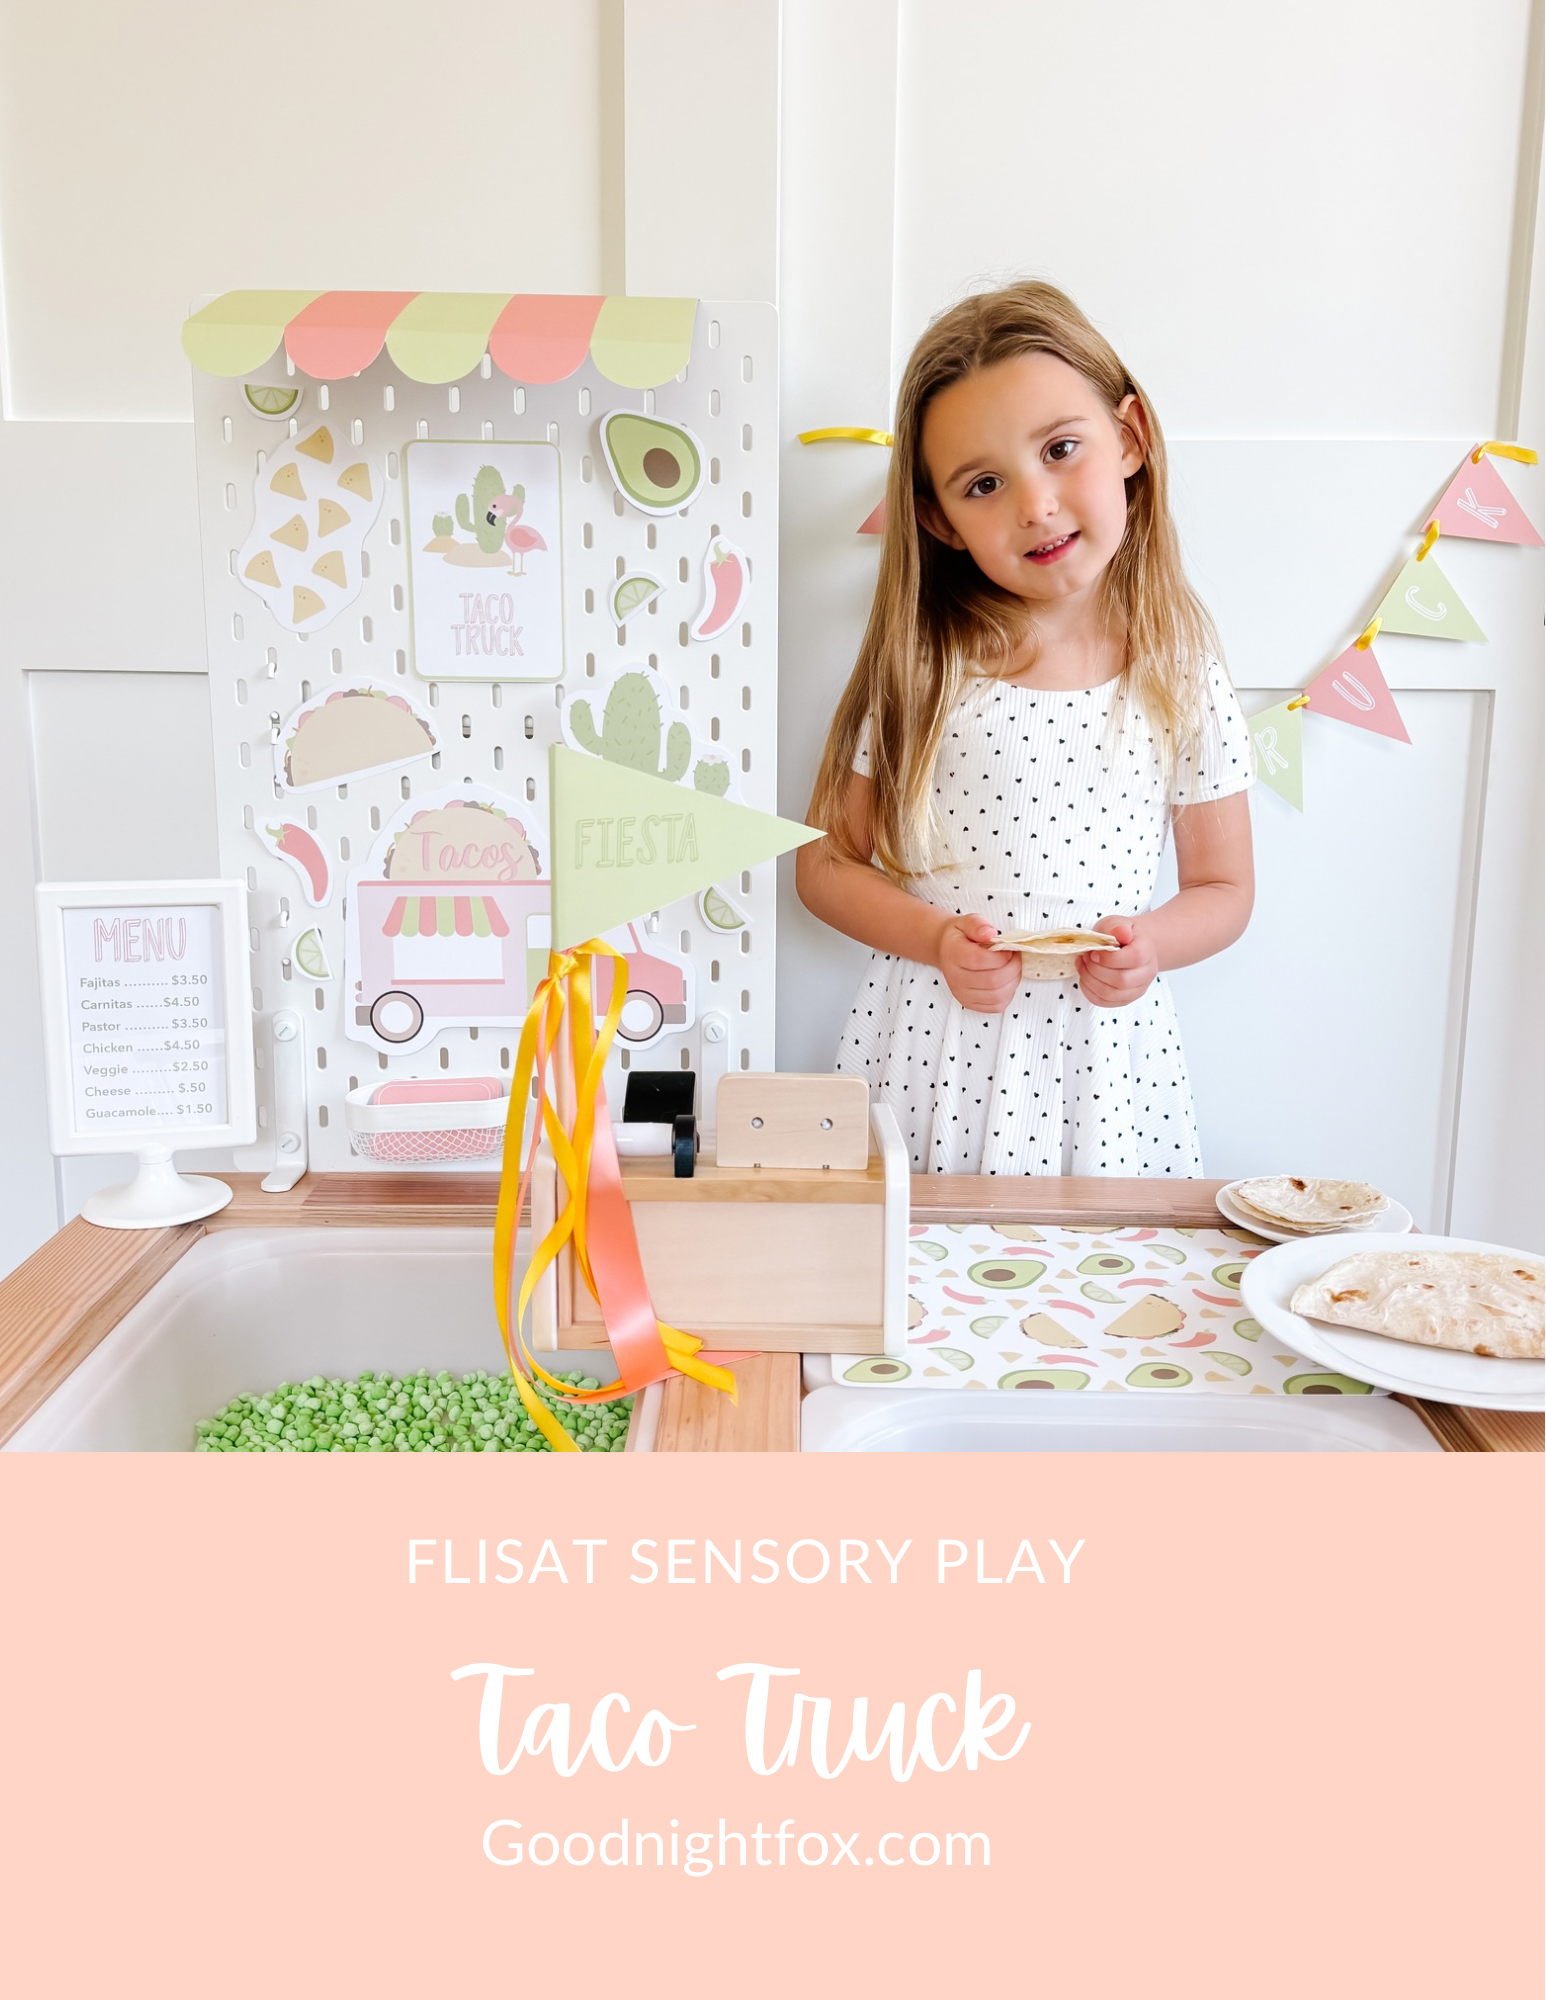
Celebrate with a sensory fiesta and build a taco truck play setup to learn Mexican cuisine. We’ll use black beans and rice as our sensory fillers for this fun play setup. You can even add chips for an extra tasty snack!

  • Activity 1: Building Tacos

  • Activity 2: Scooping Chips (taste safe)

  • Activity 3: Taco Stand

Download the Printables | Activity Details

Flower Garden:

For our Flower Garden & Flower Market activity, we’ll bring to life the beautiful colors and scents of the nature around us. We’ll use brown chickpeas as our sensory filler and scoop and fill pots with play dirt while we plant printable flowers. We’ll do a petal counting activity along with pretend seed packets, checkout counter, and more!

  • Activity 1: Scooping Cereal Dirt (Taste safe)

  • Activity 2: Planting and Watering Seedlings

  • Activity 3: Flower Petal Puzzle

Download the Printables | Activity Details

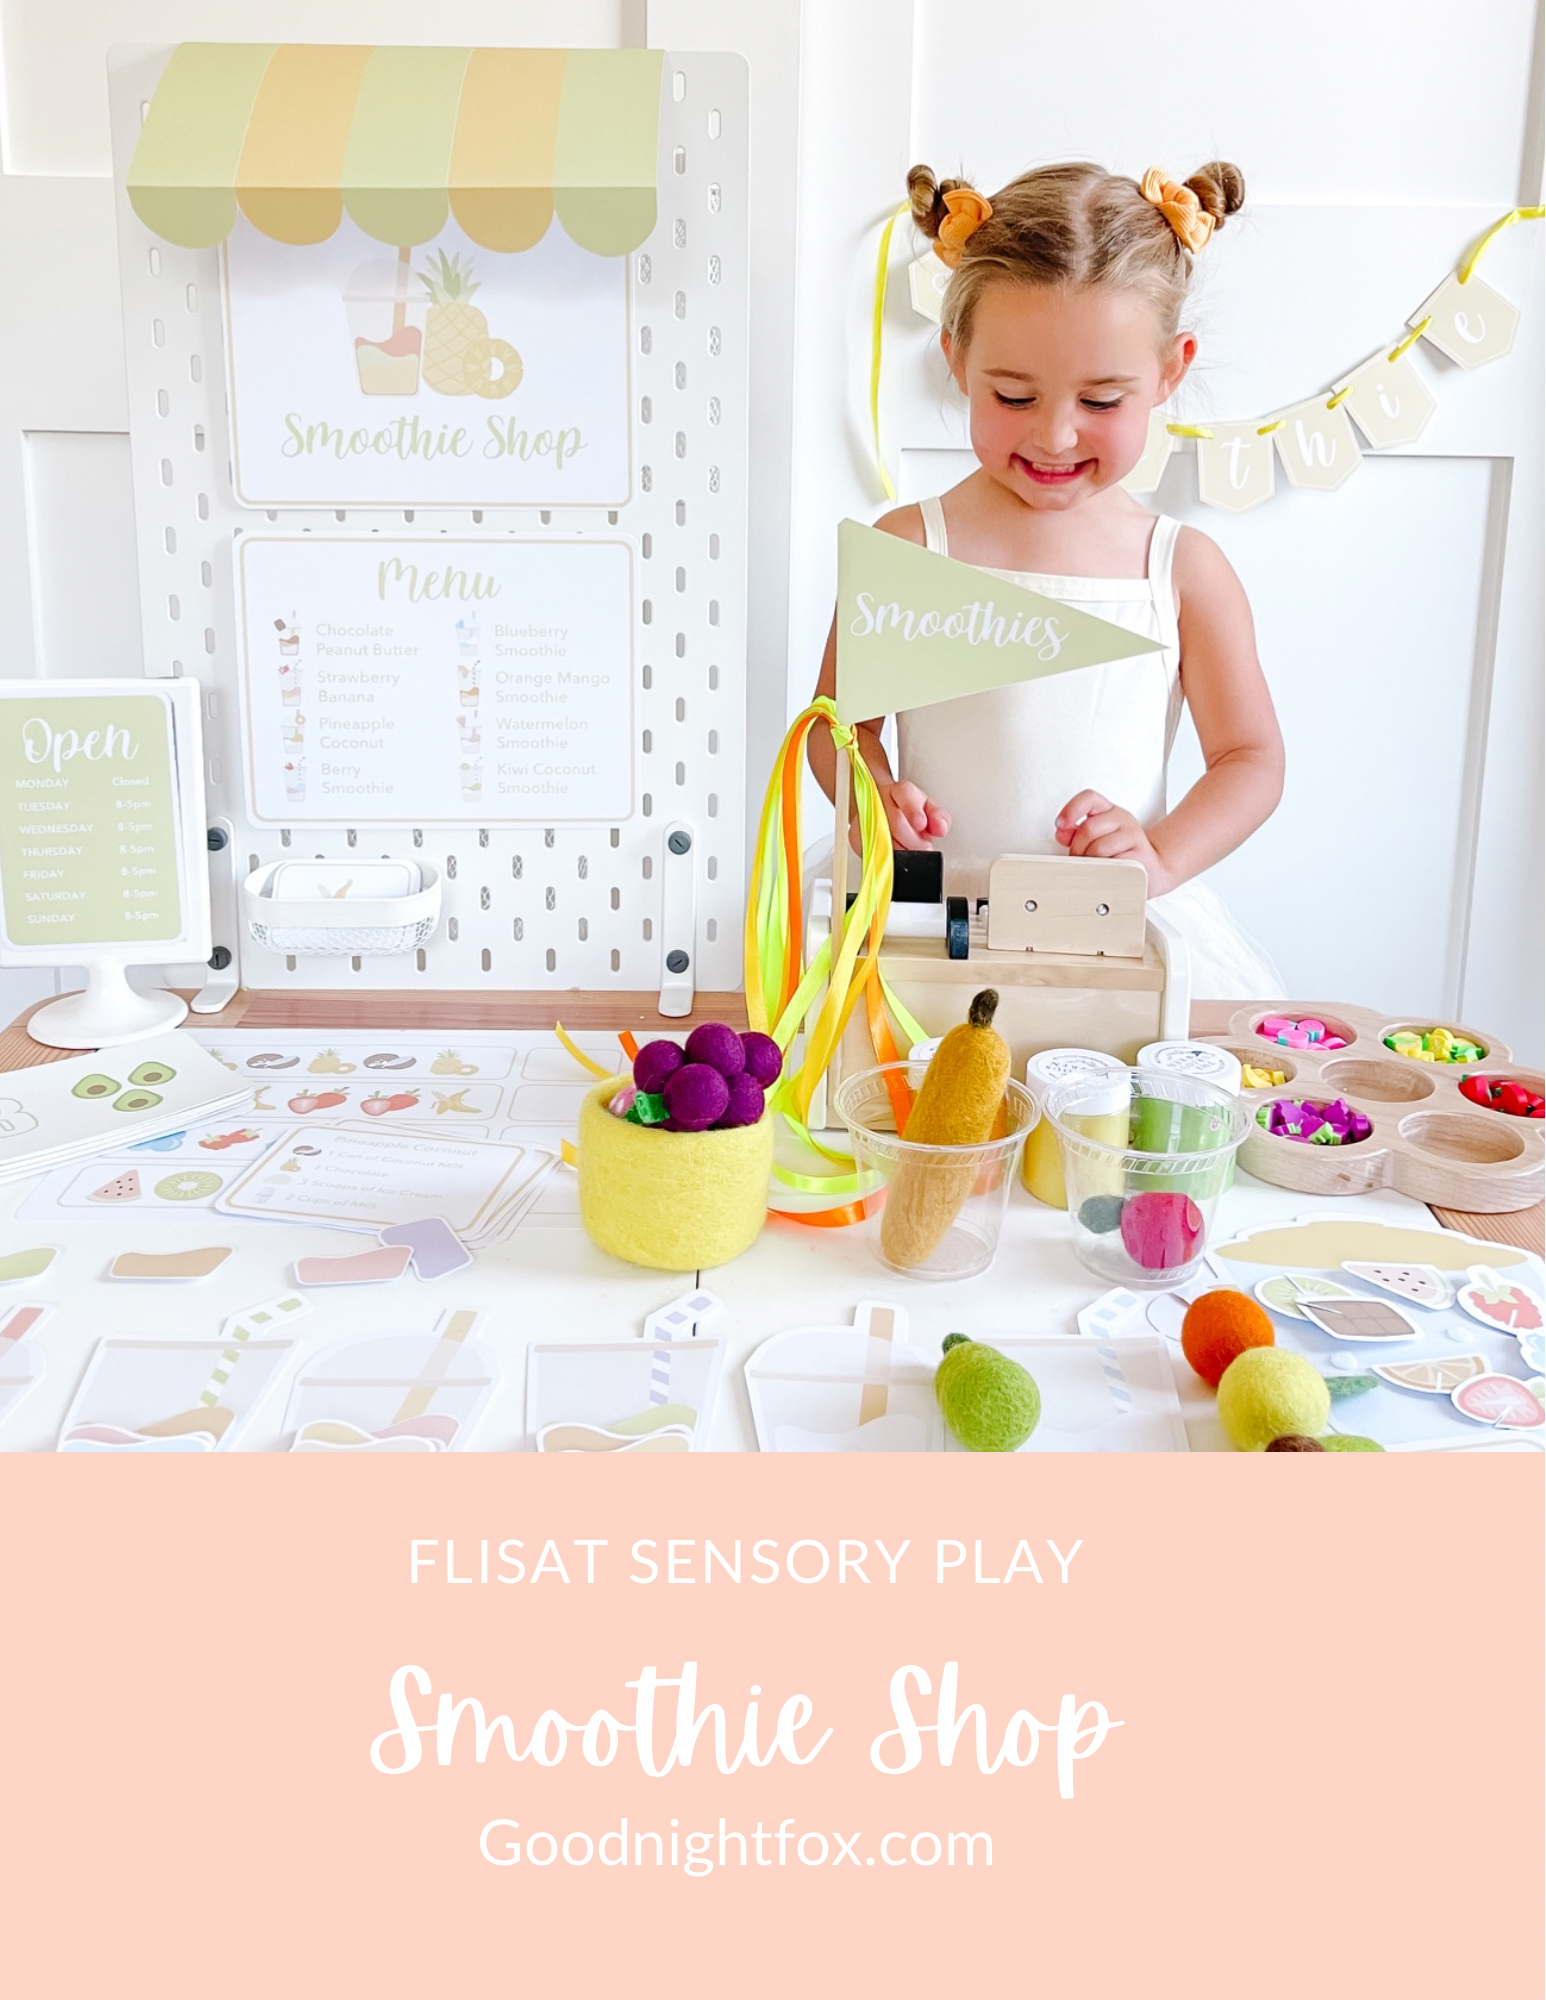
Fruits & SMOOTHIE SHOP:

For this activity, we’ll use fruit scented doh, fruit cards and build a smoothie shop to learn mixing flavors and fruits. For a taste-safe alternative, you can use real fruits to mix and mash together!

  • Bin 1: Fill the cups

  • Bin 2: Mix fruit flavored playdohs

  • Bin 3: Counting fruit erasers/felt fruit

Download the Printables | Activity Details

Weather:

For our weather station activity, we’ll be learning about weather patterns, temperature, and how weather changes during the seasons.

  • Bin 1: Weather Sensory Bottles

  • Bin 2: Cloud Shaped Packing Peanuts

  • Bin 3: Rainbow Playdoh

Download the Printables | Activity Details


June SENSORY PLAY

I’m so excited for June because we’ll be playing with pets! We’ll do a sports sensory play setup to celebrate Father’s Day, and learn about the continents and forms of transportation. We’ll wrap up our June sensory play ideas with a fun little Farmer’s Market.

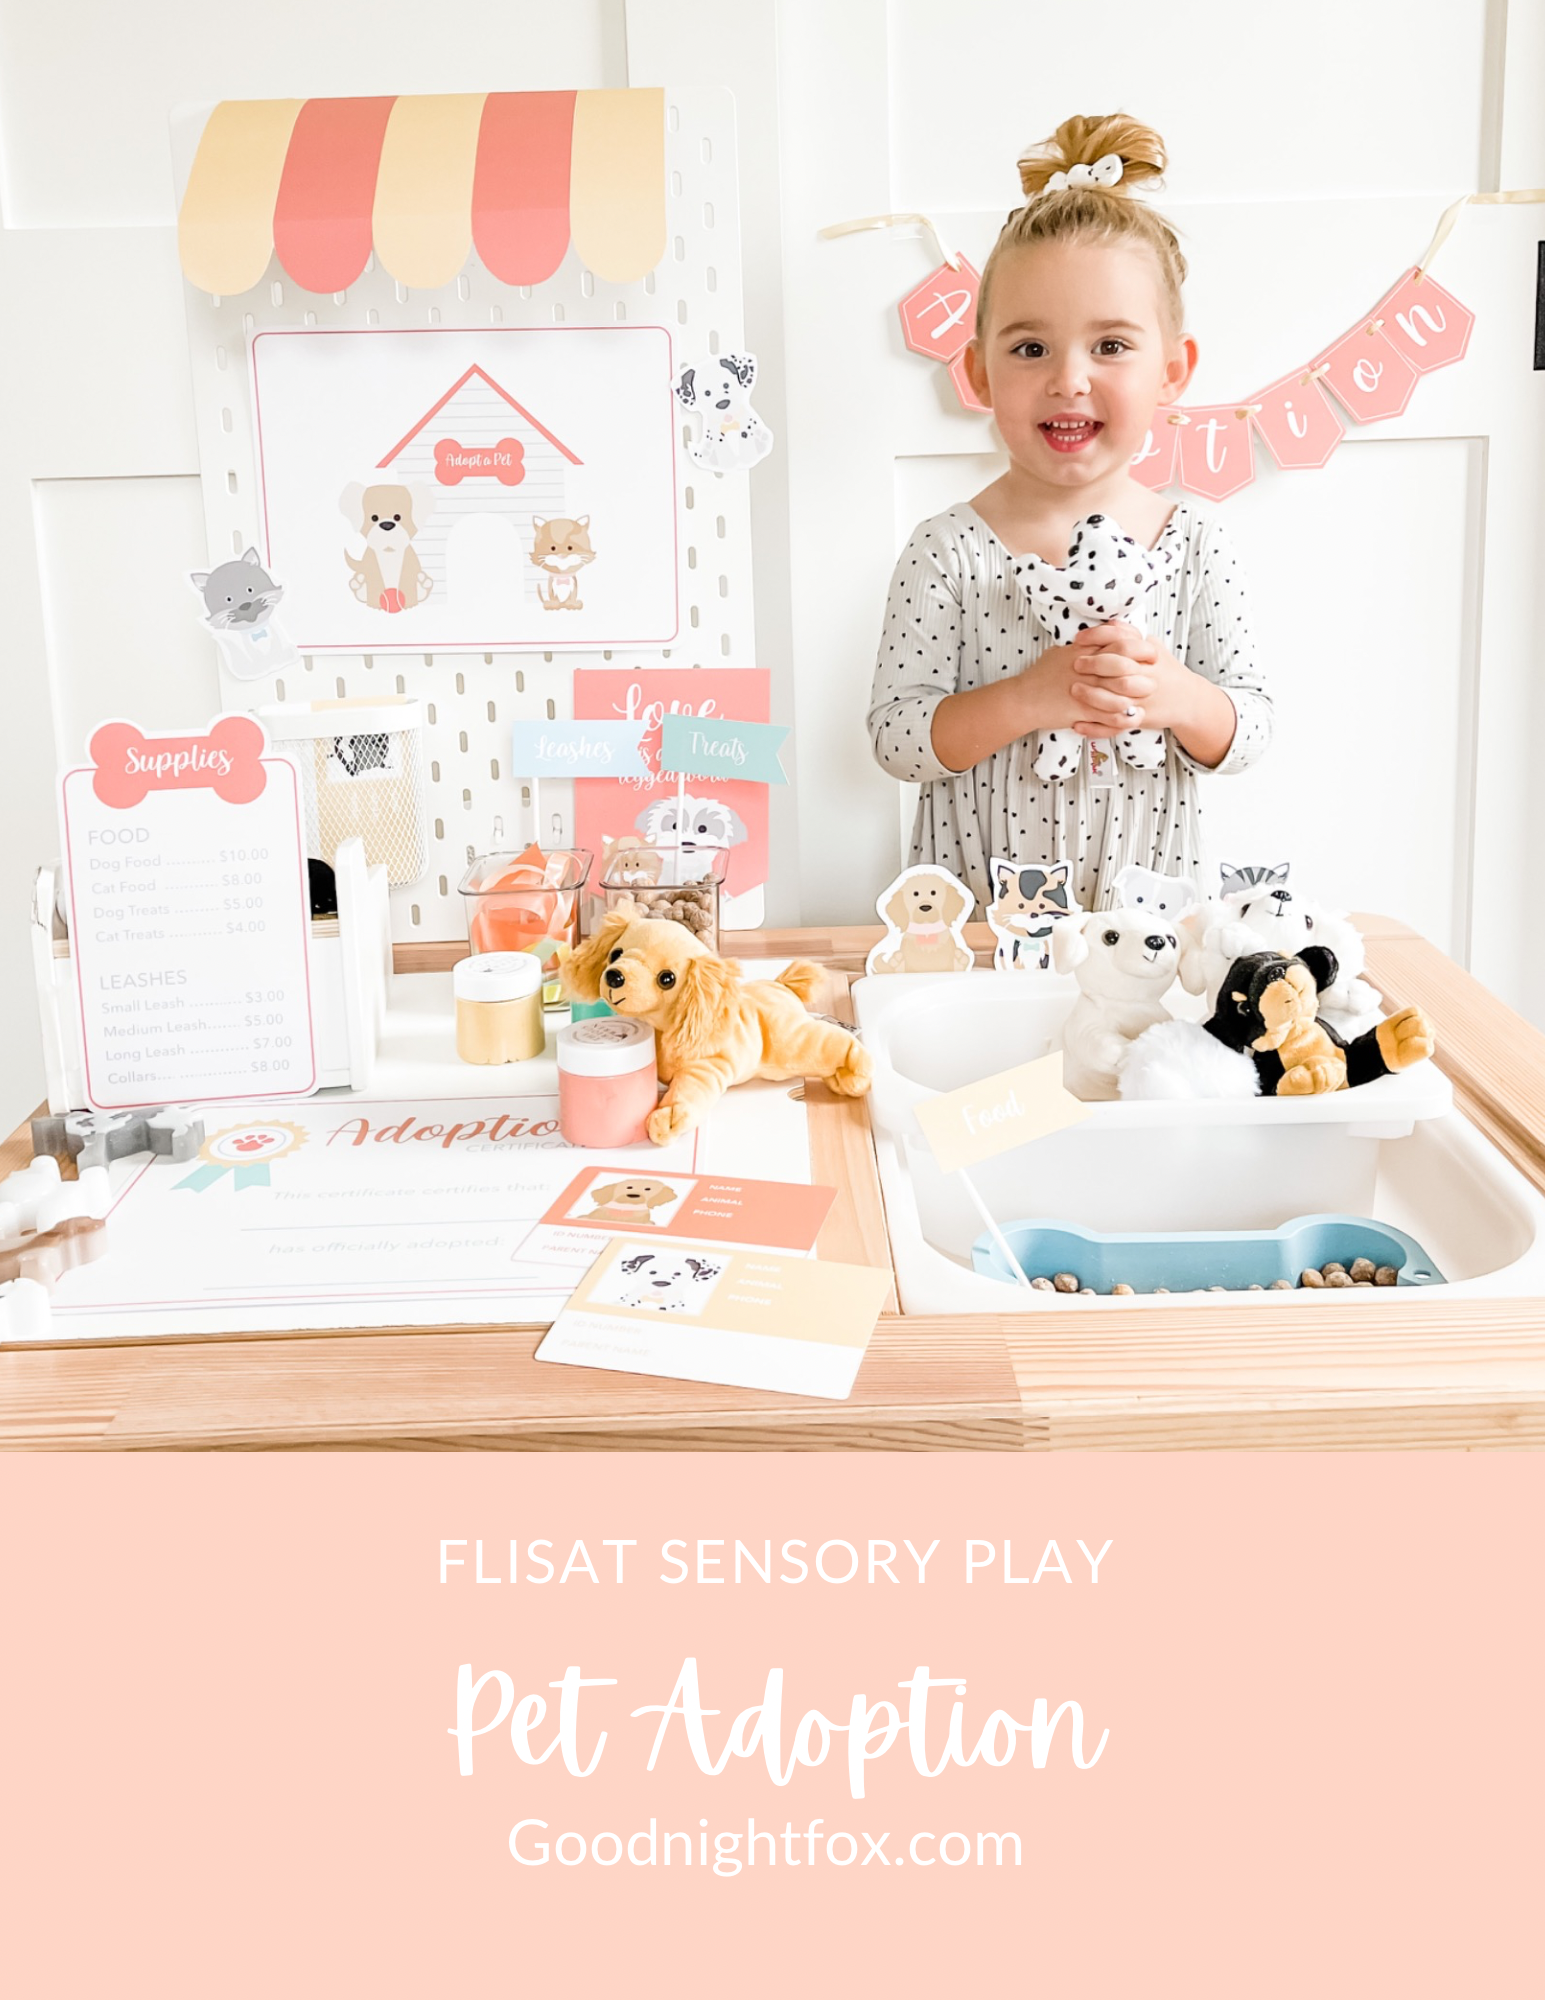
Pets:

We’ll use our adoption clinic to explore the world of pets and pet care. We’ll use peanut butter cocoa puff balls cereal as our sensory filler to practice scooping and counting as we feed our pups out of their bone-shaped bowl.

Download the Printables | Activity Details

Sports:

For this activity, we’ll enjoy a sensory sports day with textured balls and sports-themed play. We’ll use our sports flashcards and matching erasers to do a matching activity.

Purchase Flashcards | Activity Details

Continents:

For this activity, we’ll explore the world, all 7 continents, as well as passports for global travel.

  • Bin 1: Fruit Loops Bin Sorting (Taste safe)

  • Bin 2: Wool Ball Sorting & Matching

  • Bin 3: Colorful Rubber Bands Creative Play

Purchase Flaschards | Activity Details

Farmer's Market:

We’ll set up a sensory farmer's market with felt play fruits and vegetables to sell. Complete with play money and signage, we’ll bring to life the world’s cutest little farmer’s market.

  • Bin 1: Silicone Fruits & Veggies

  • Bin 2: Pasta & Grains Bin

  • Bin 3: Cash Register & Play Money

Download the Printables | Activity Details


July SENSORY PLAY

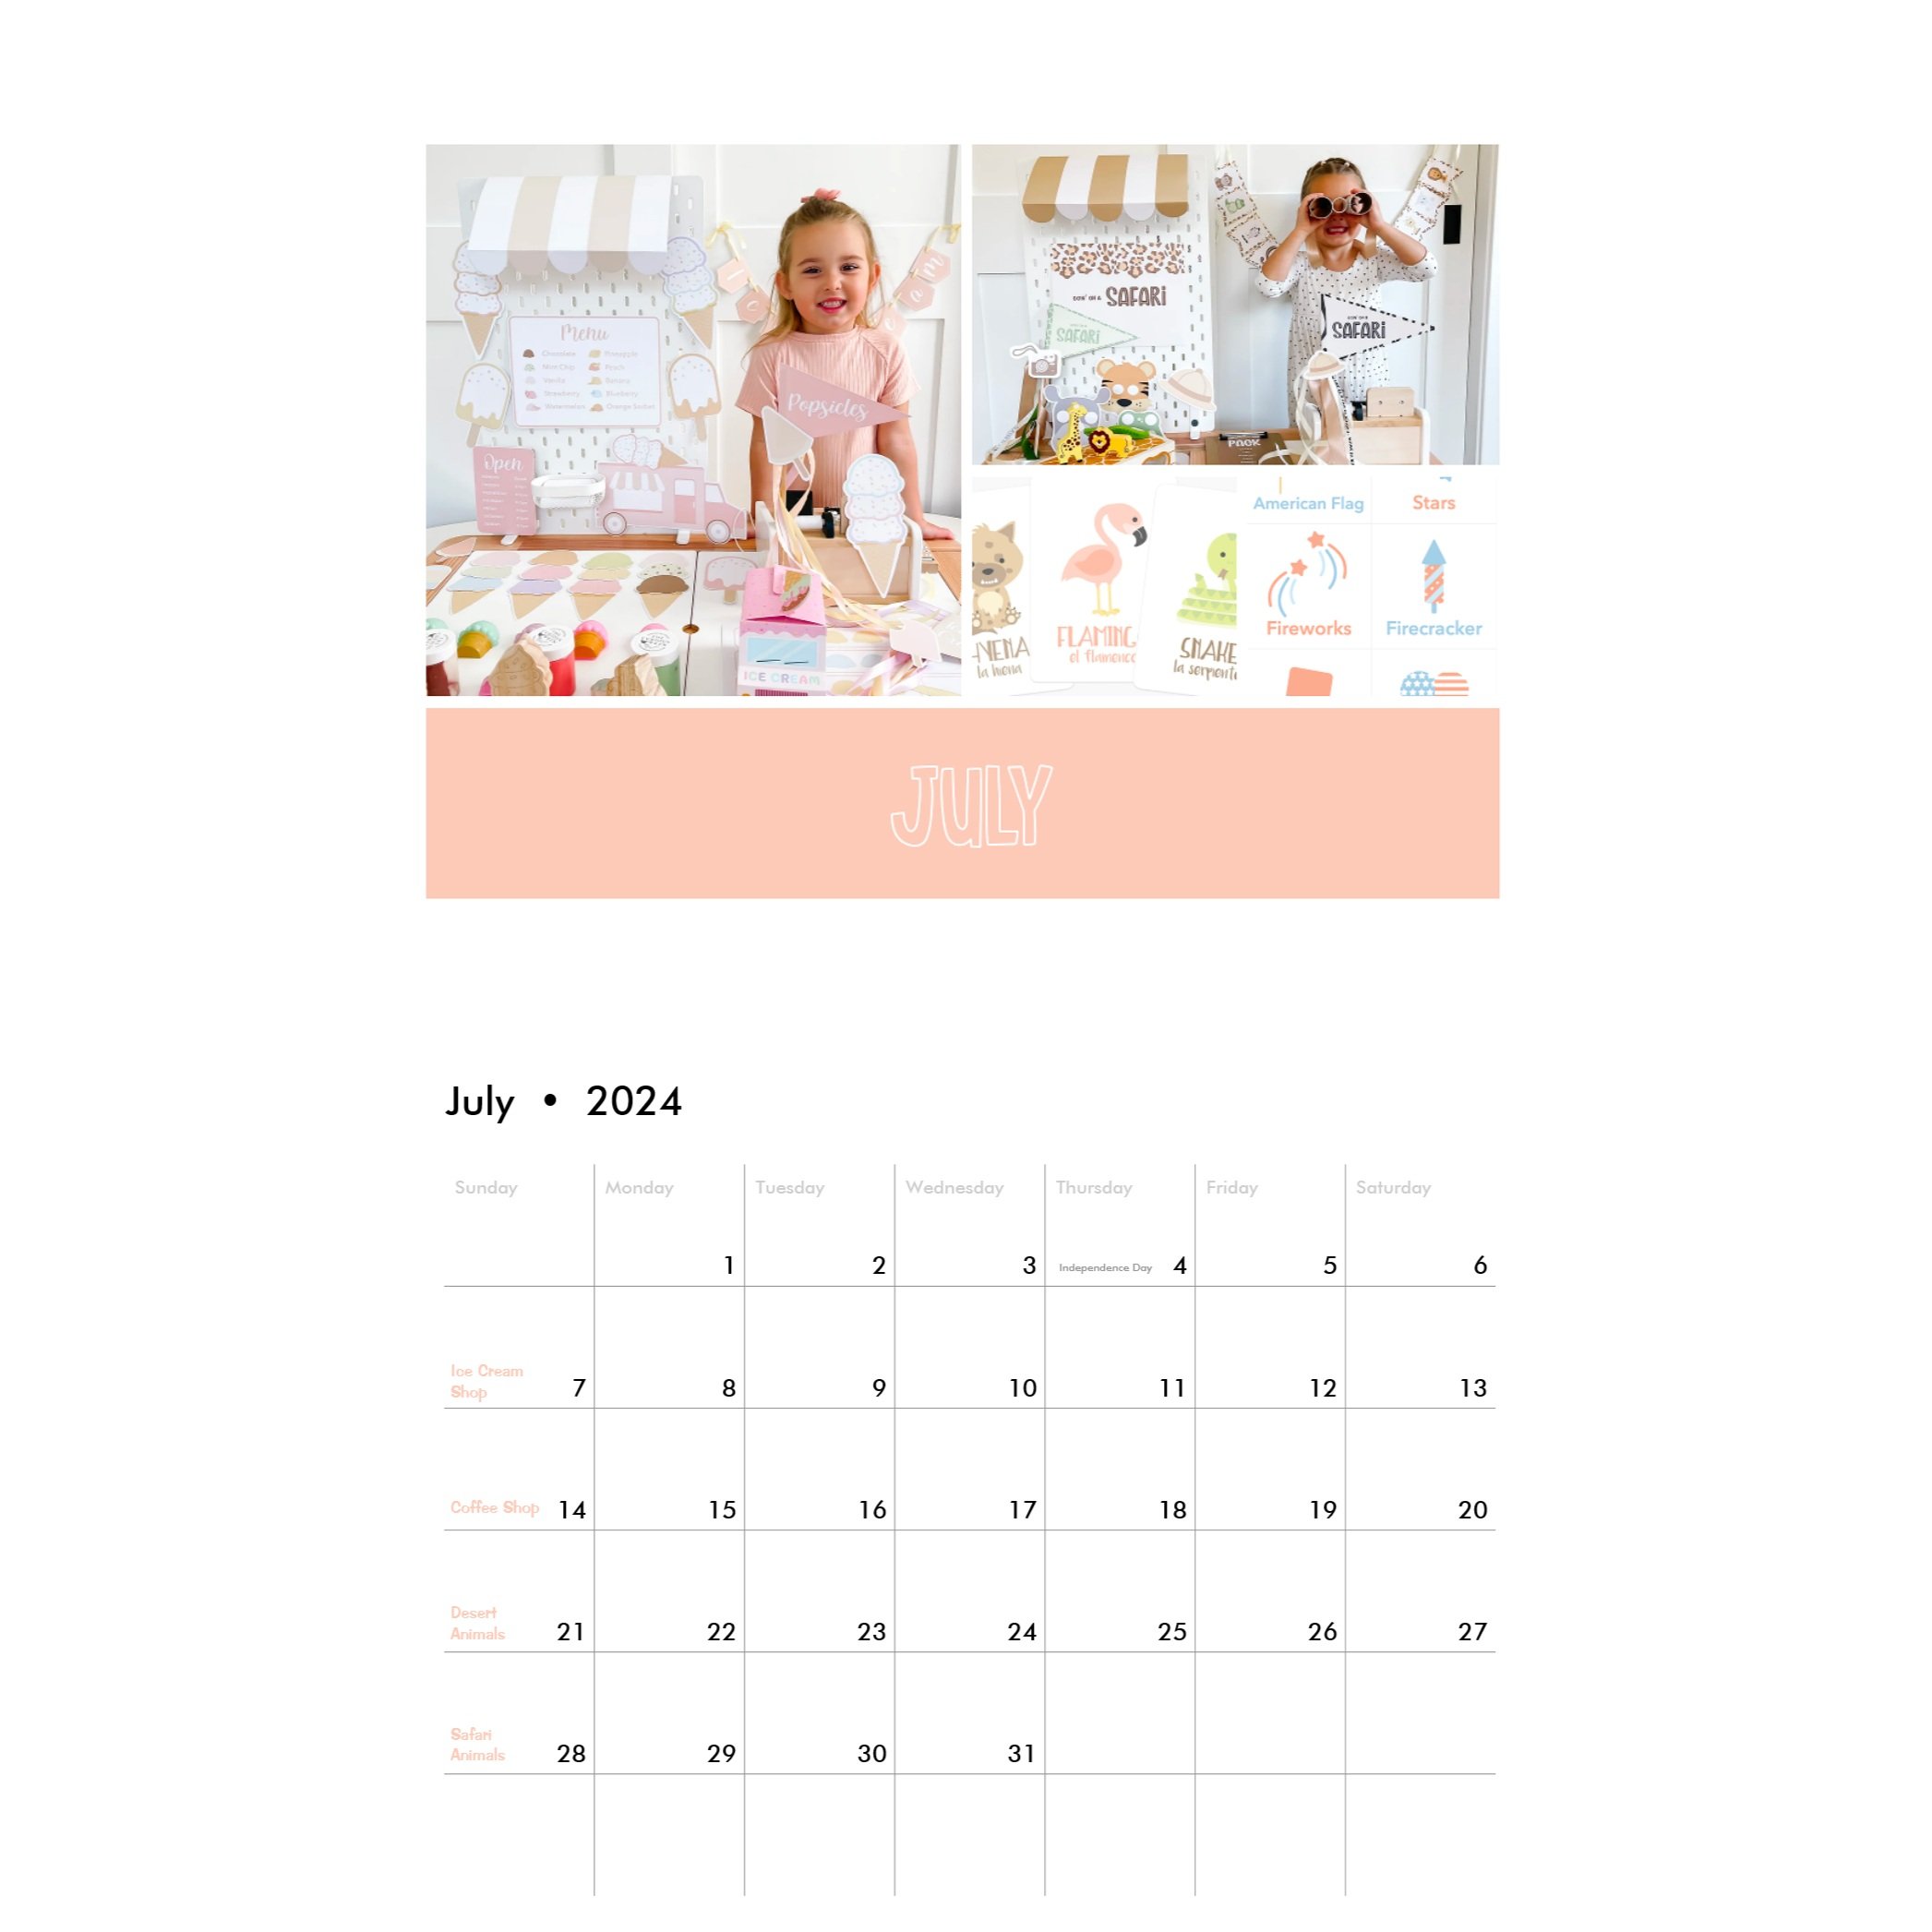
Summer is the perfect seasons for sensory play. We’ll celebrate Independence Day with a bbq cookout, build an ice cream truck, sip some cool summer coffee, visit our desert animal friends in the sweltering heat, and make a trek out to the safari to learn about some new animals.

4th of July:

In this activity we’ll have a pretend cook out, celebrate the stars & stripes of the American flag, and we’ll practice learning our 50 states on a map of the United States.

  • Bin 1: American Flag Fruit Bin (Taste safe)

  • Bin 2: Red, White, and Blue Sushi Rice

  • Bin 3: Pretend Play BBQ Setup

Download the Printables | Activity Details

Ice Cream Play:

In this activity, we’ll make a taste-safe ice cream sensory play doh. Each colored scoop will bring joy to tiny faces while we’re practice owning an ice cream shop and putting smiles on customer’s faces. We’ll use this opportunity to practice all kinds of flavors!

Download the Printables | Activity Details

Coffee Shop:

Create a world of coffee, tea, and pastries with this beautiful coffee shop cafe setup. We’ll practice social skills like greeting new customers as well as customer service, counting change and more!

Download the Printables | Activity Details

Desert Animals: (Coming soon)

Discover desert life with sensory sand and toy animals. We’ll create a small world desert animal play scene, learn new vocabulary words, a search and find matching activity and letter discovery.

  • Activity 1: Desert Animal Pattern Completion

  • Activity 2: Pasta Noodle Cactus Building

  • Activity 3: Kinetic sand hide & seek

Download the Printables | Activity Details

Safari Animals:

For this activity we’ll go on a safari adventure to learn about safari animals and their natural habitats. We’ll even make a pair of toilet paper roll binoculars!

Download the Printables | Activity Details


August SENSORY PLAY

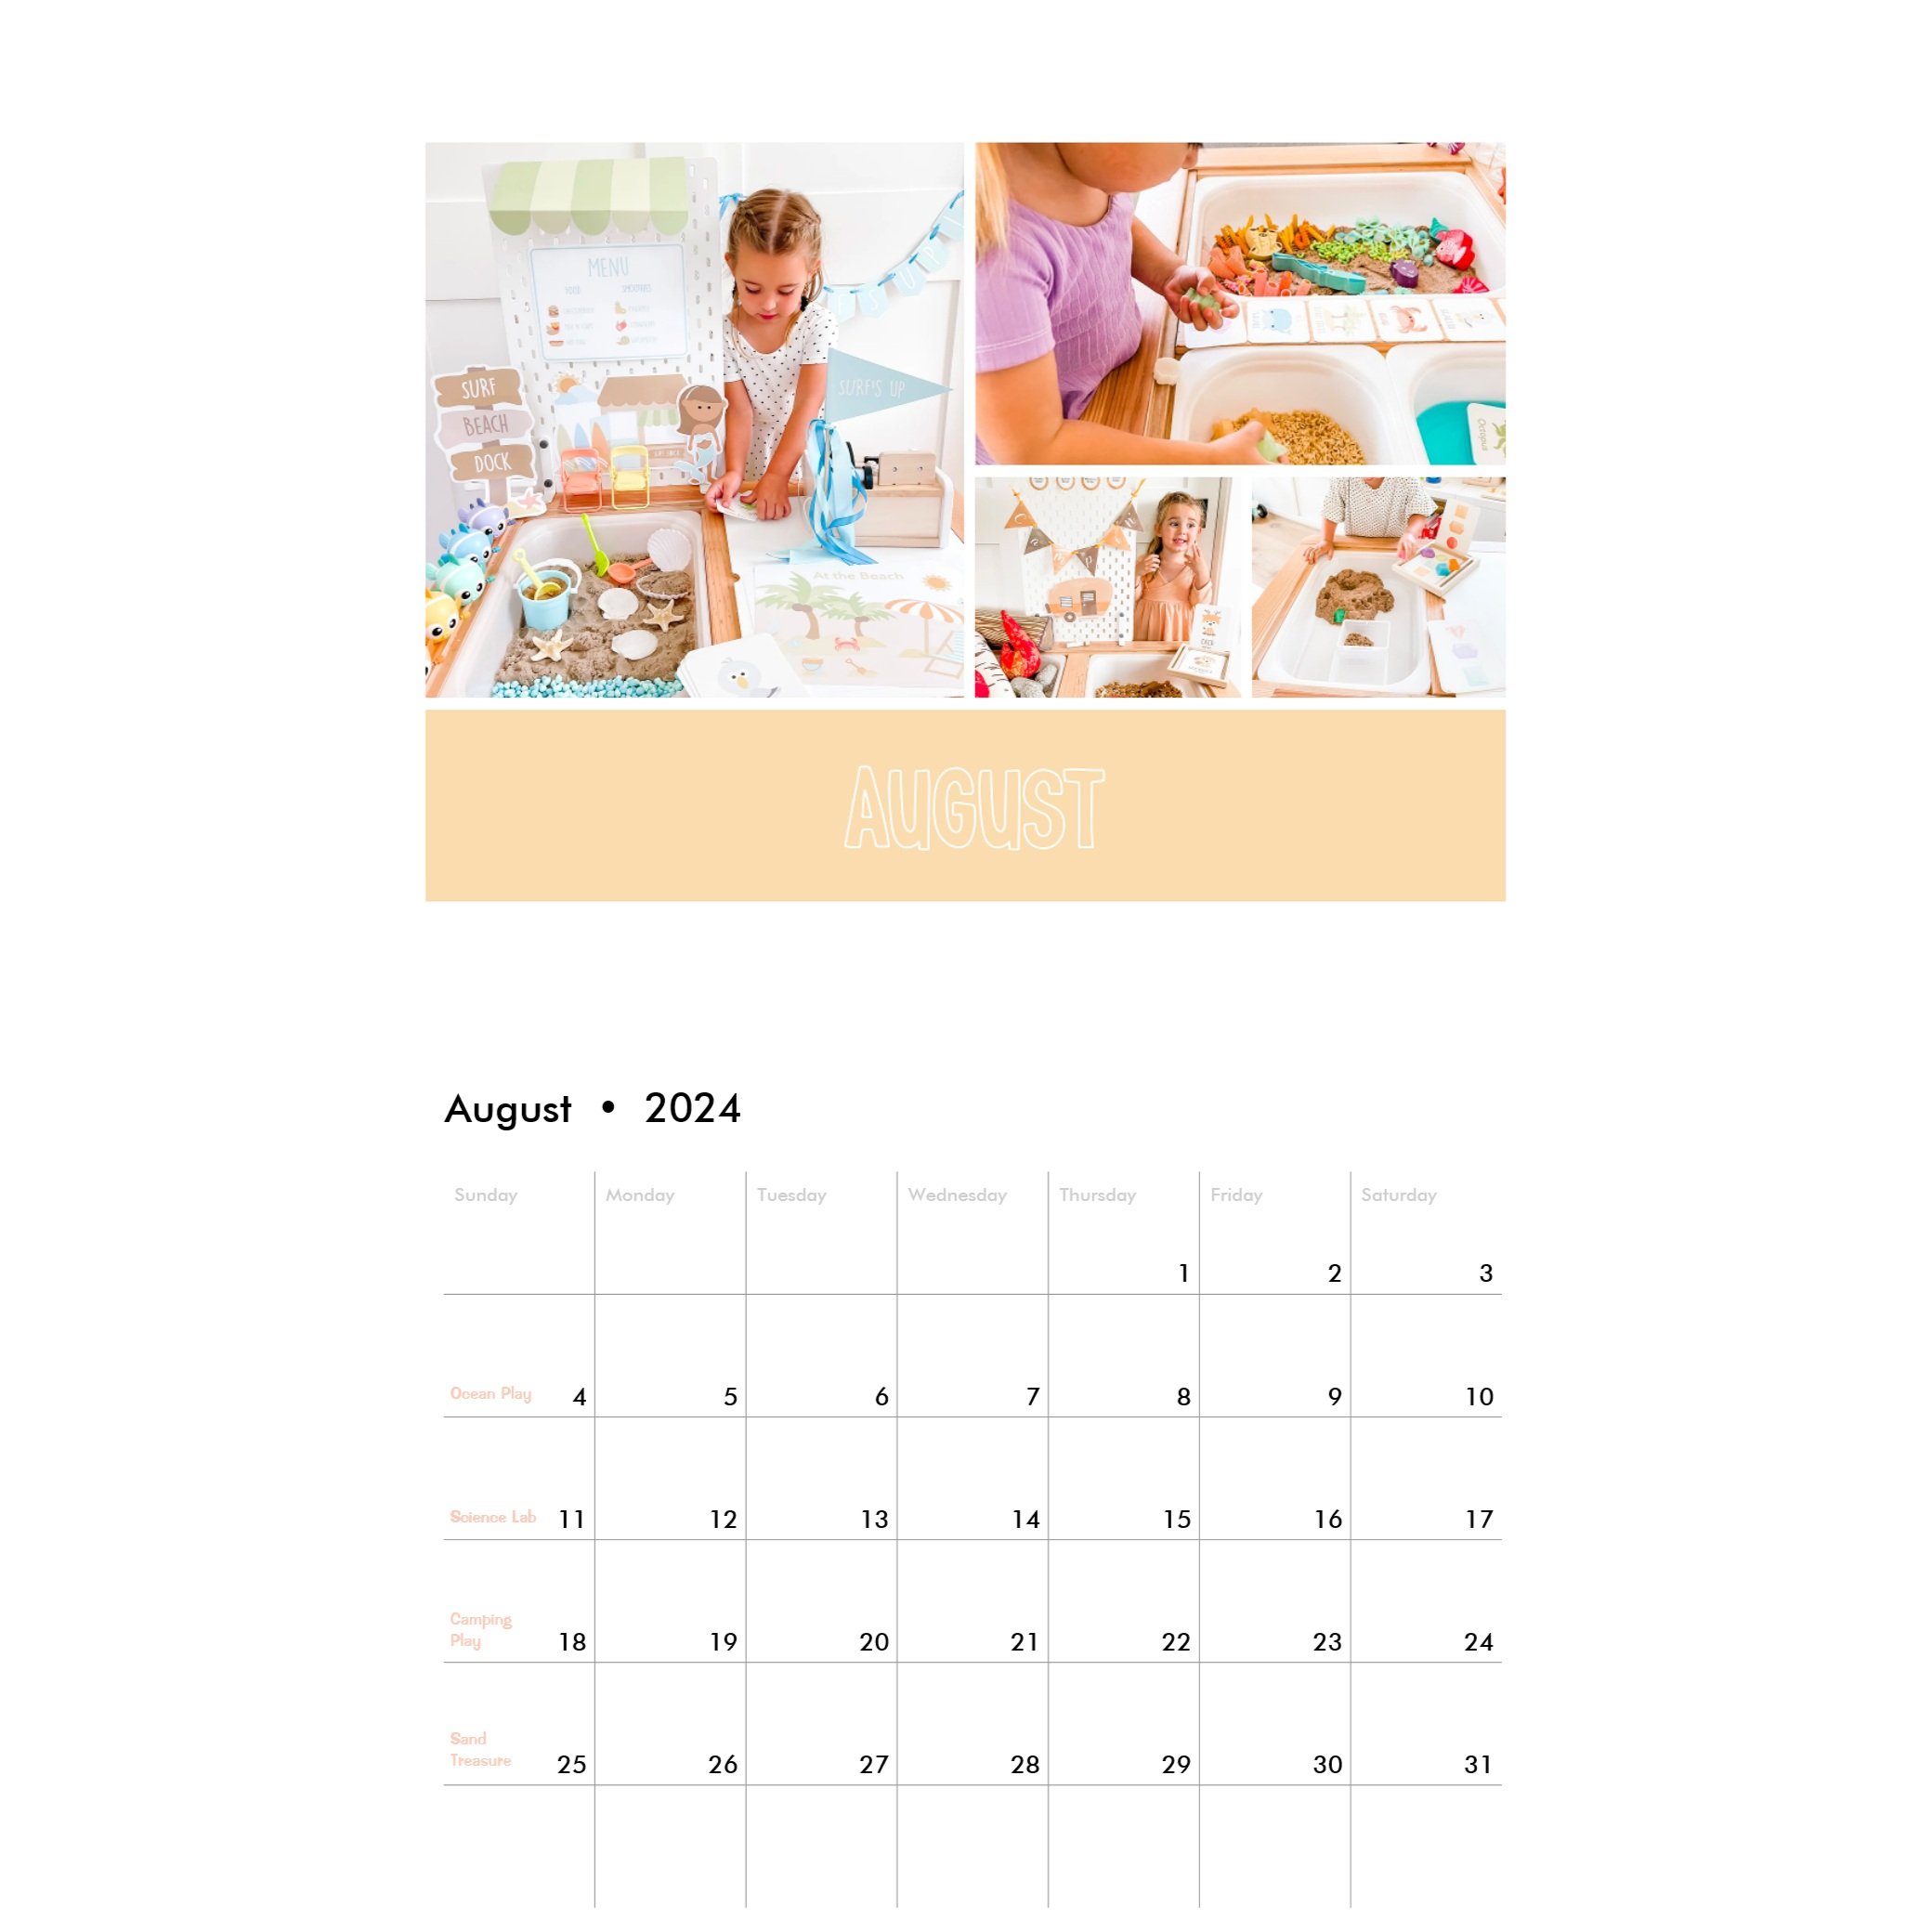
Let’s dive into summer with ocean themed sensory play that’ll have you wanting a trip to the beach! We’ll celebrate back to school season with a science lab setup, go camping, and dig for treasure.

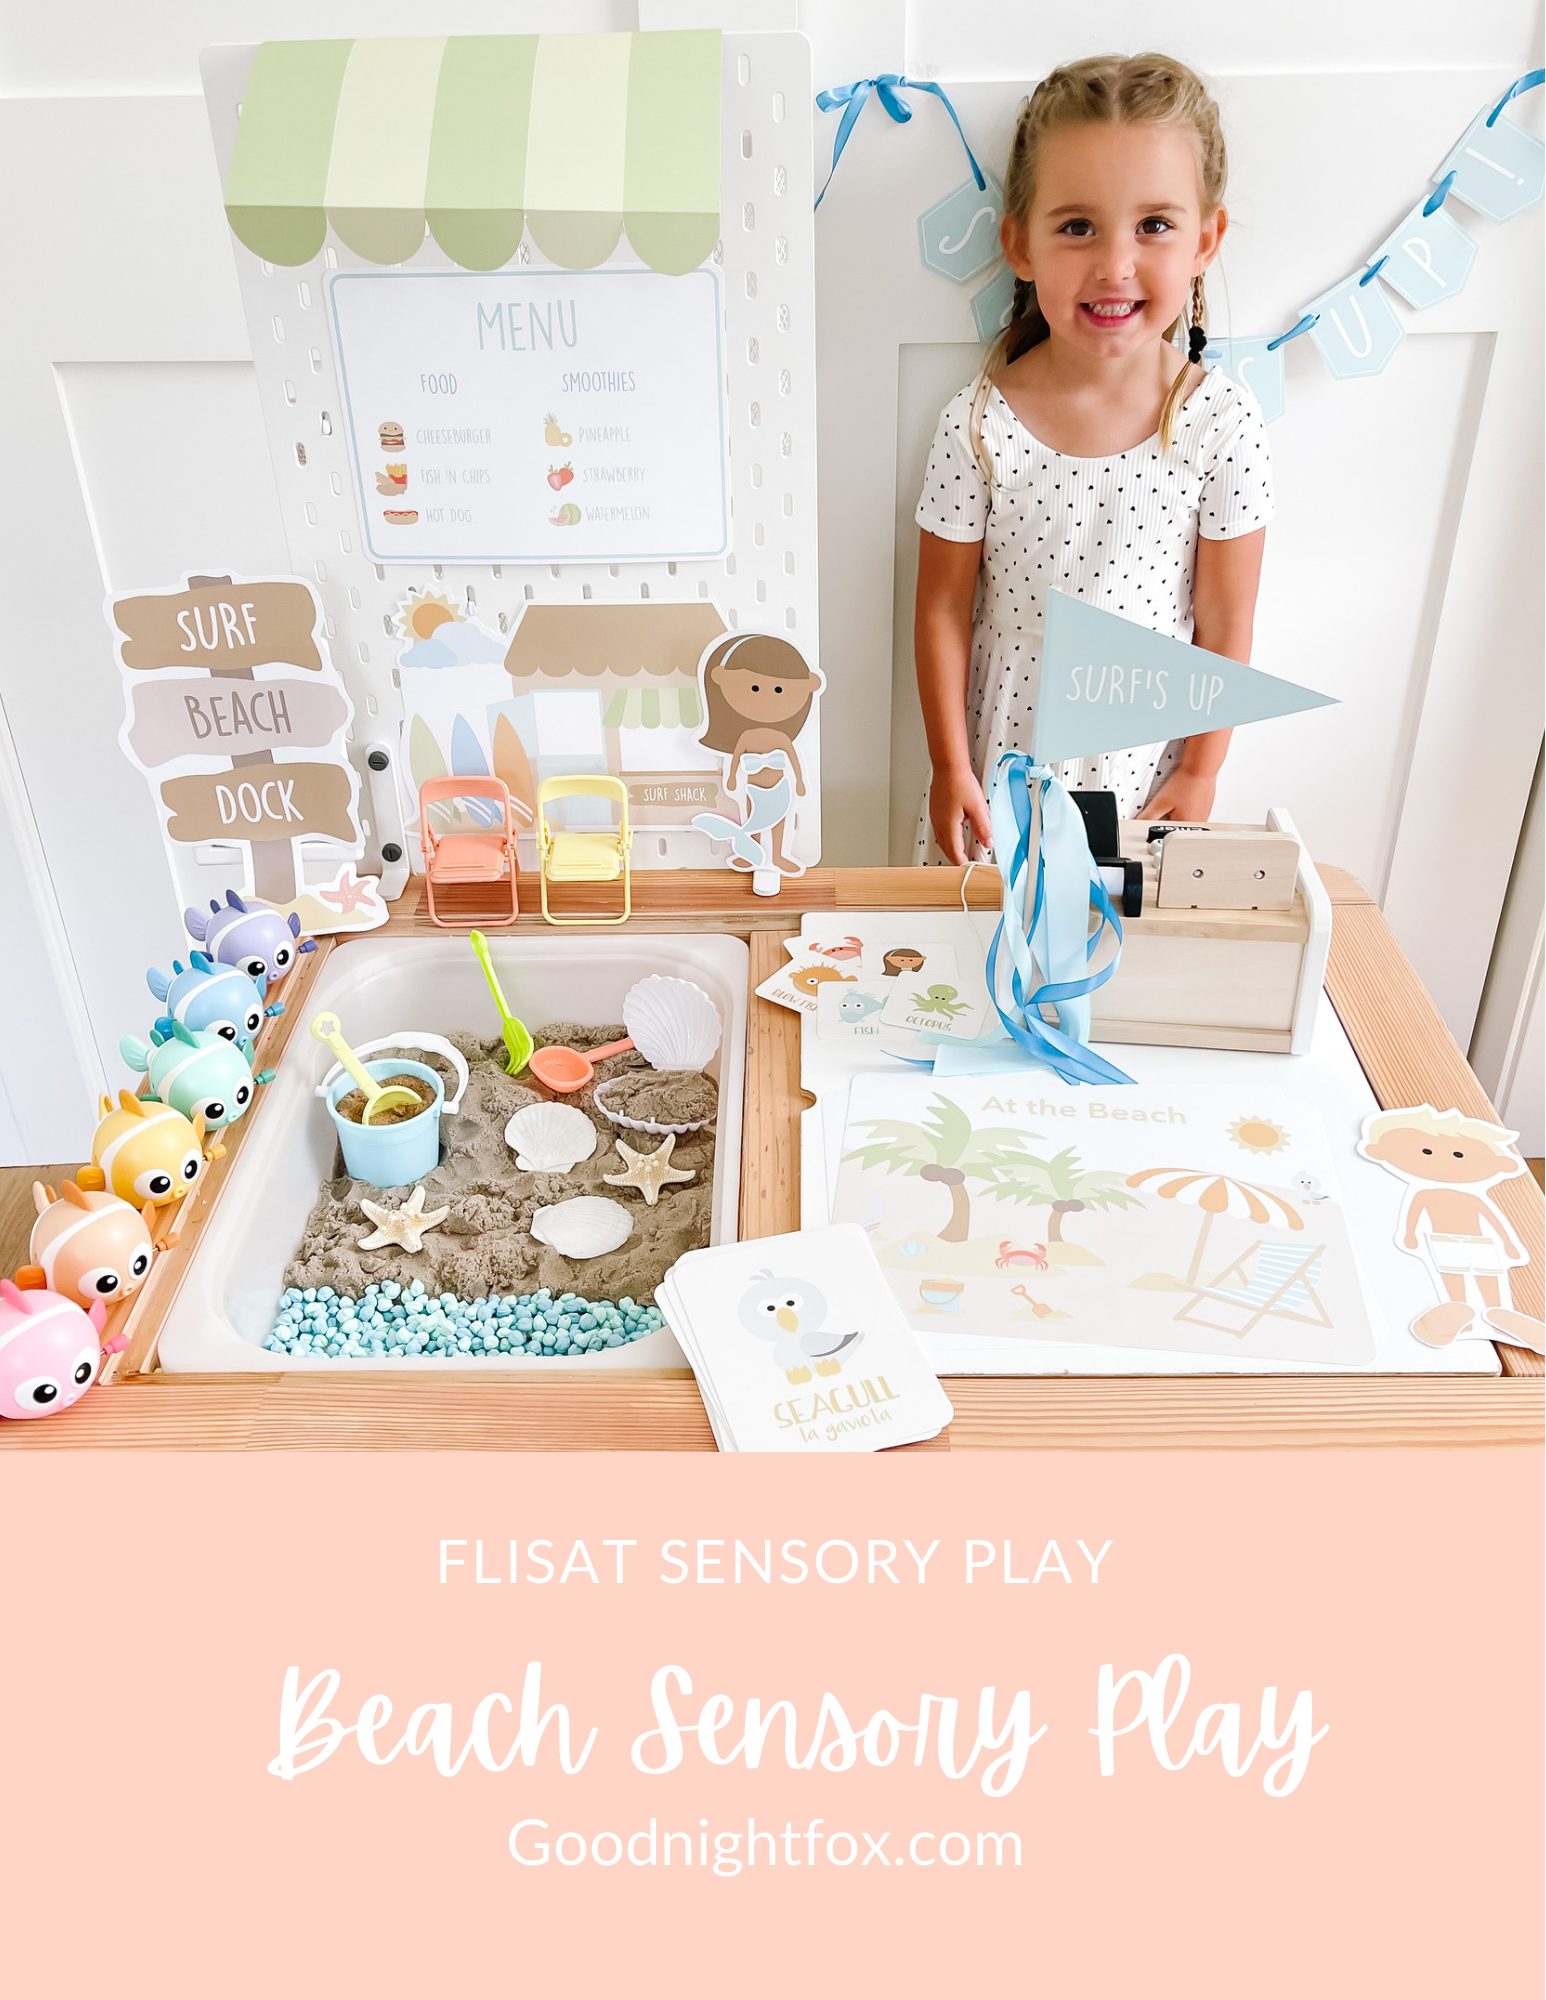
Ocean Play:

For this activity, we’ll explore ocean life with a few sensory explorations. We’ll create a magnetic sand base coral reef to explore the ocean floor. We’ll create a jello-based ocean water to float our sensory fish in.

  • Activity 1: Kinetic Sand Beach & Blue Chickpeas

  • Activity 2: Painted Pasta Coral reef ocean floor

  • Activity 3: Swimming fish in water

Download the Printables | Activity Details

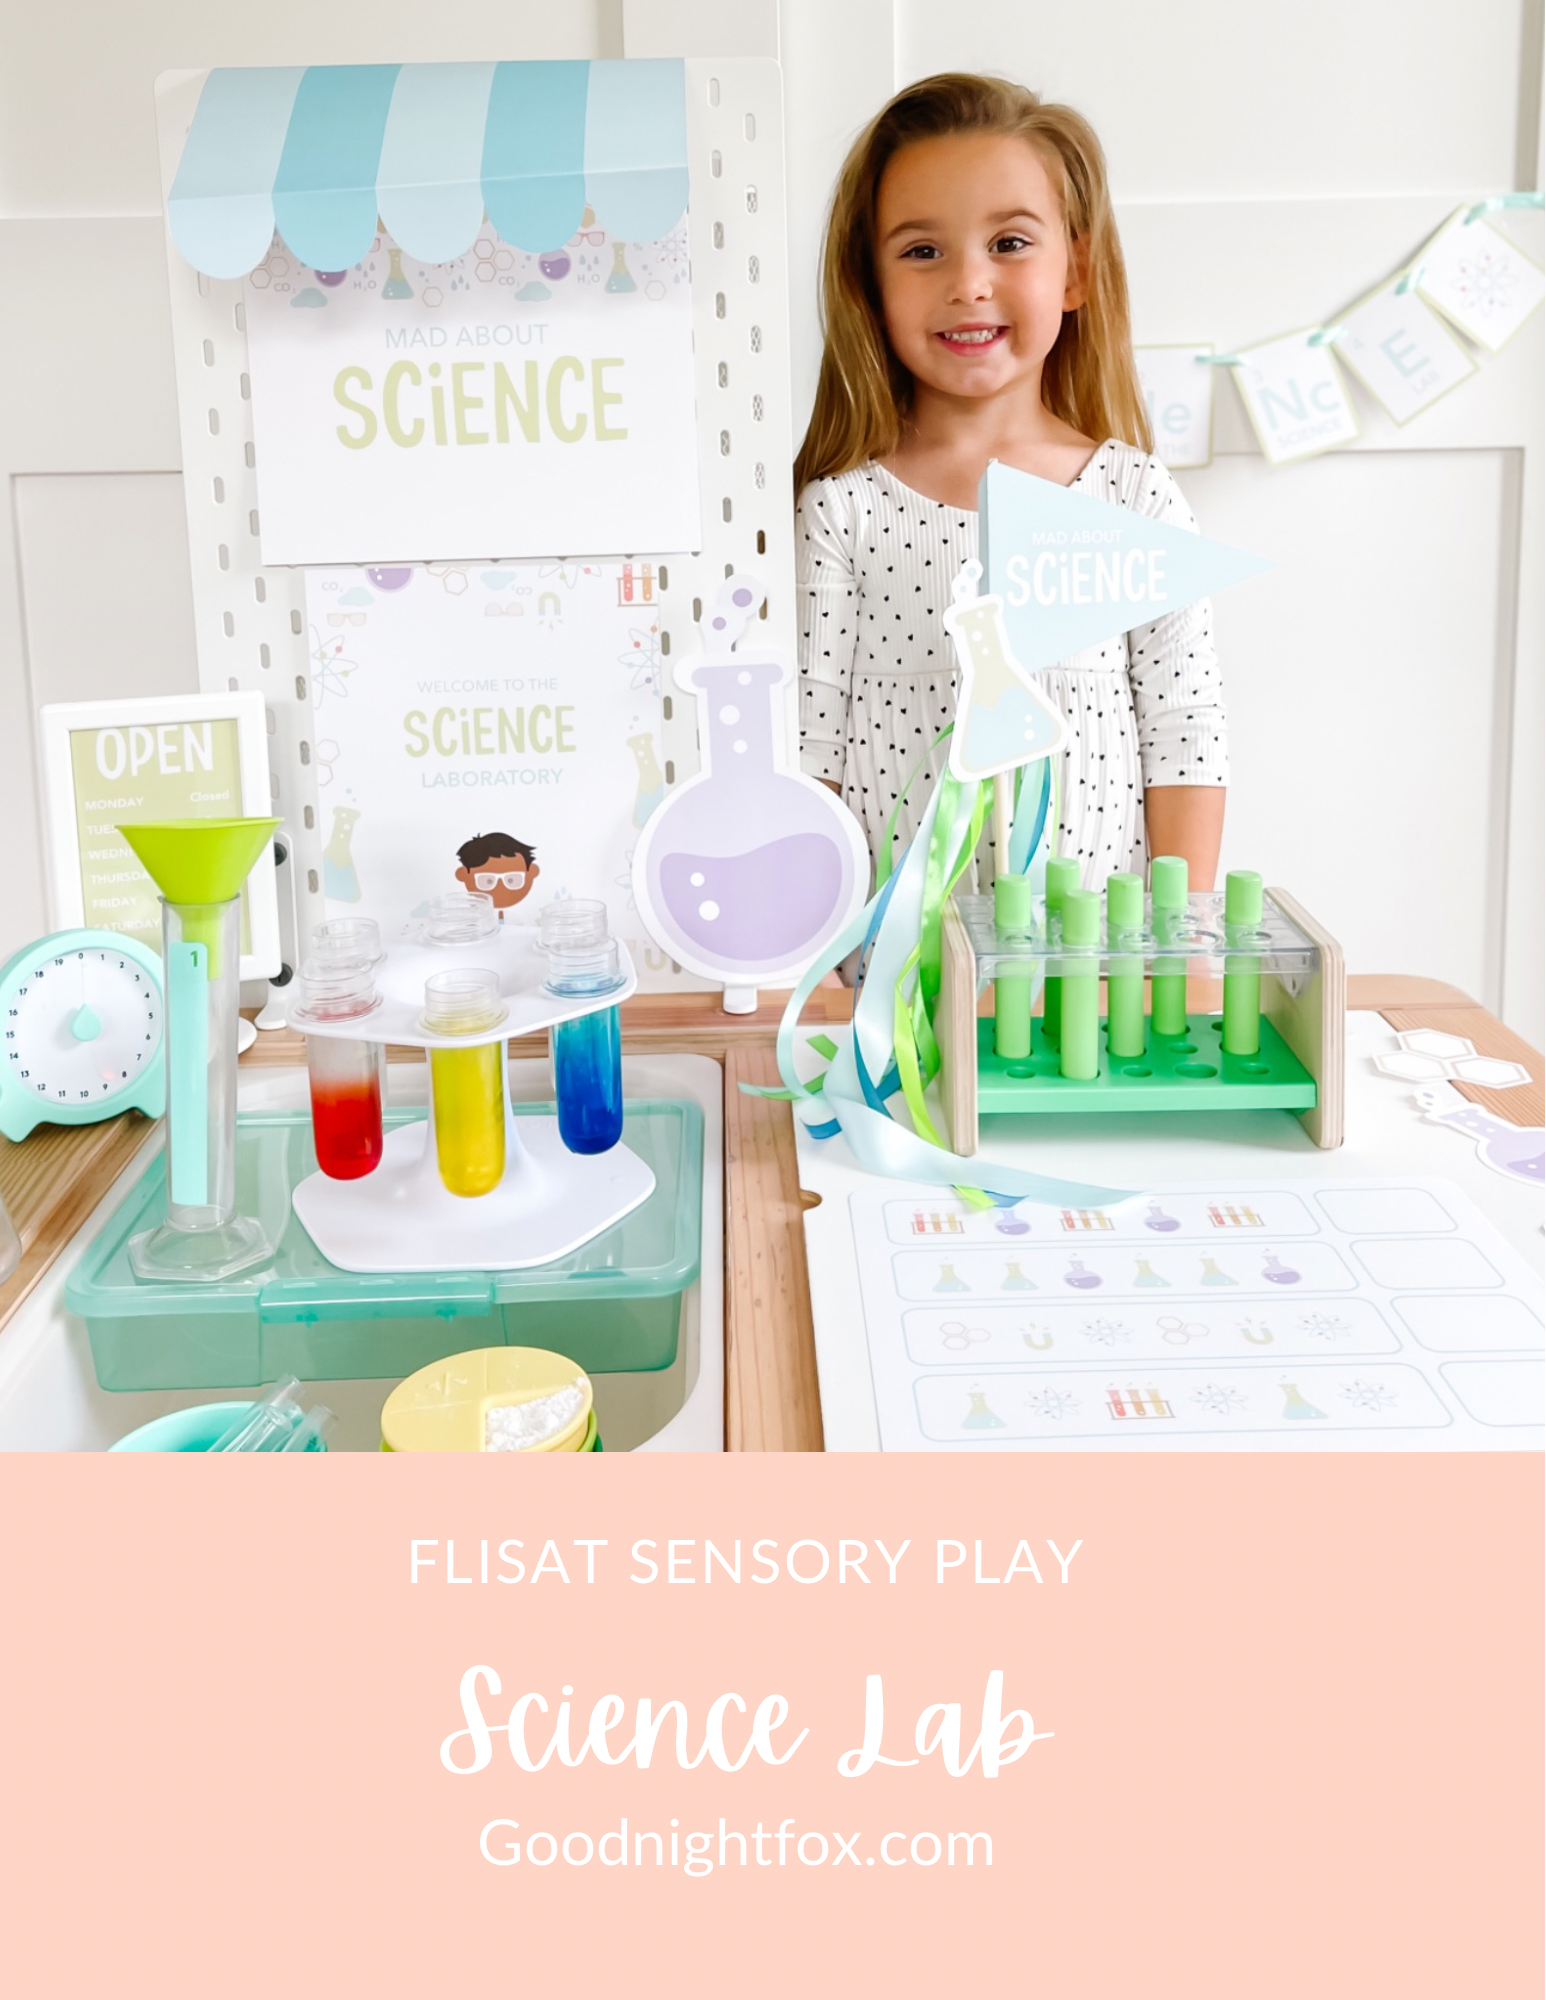
Science Lab:

We’ll bring to life the science laboratory with our science themed printable play setup. We’ll use the Lovevery Beaker set to practice pouring and mixing various colors to practice learning about primary and secondary colors.

  • Activity 1: Primary Color Mixing

  • Activity 2: Water, Baby Oil, & Alkaseltzer Lava Lamps

  • Activity 3: Pouring & Mixing with Bath Salts

Download the Printables | Activity Details

Camping Play:

We’ll use one of my all time favorite sensory fillers — S’mores Granola — to build a forrest floor for our woodland animals to go camping. We’ll use a camp site map, camper, badges, and s’mores to explore the great outdoors.

  • Activity 1: Build a Campfire

  • Activity 2: S’mores Granola search & find woodland animals (taste safe)

  • Activity 3: Pretend Camping w/ Lovevery Camper Van

Download the Printables | Activity Details

Sand Treasure:

For this activity, we’ll pretend to be pirates and go on a treasure hunt! We’ll use our resin gems and matching gem flashcards to go digging in our sensory play magnetic sand. We’ll do pattern practice matching each of the gems to the cards.

Purchase the Flashcards | Activity Details


September SENSORY PLAY

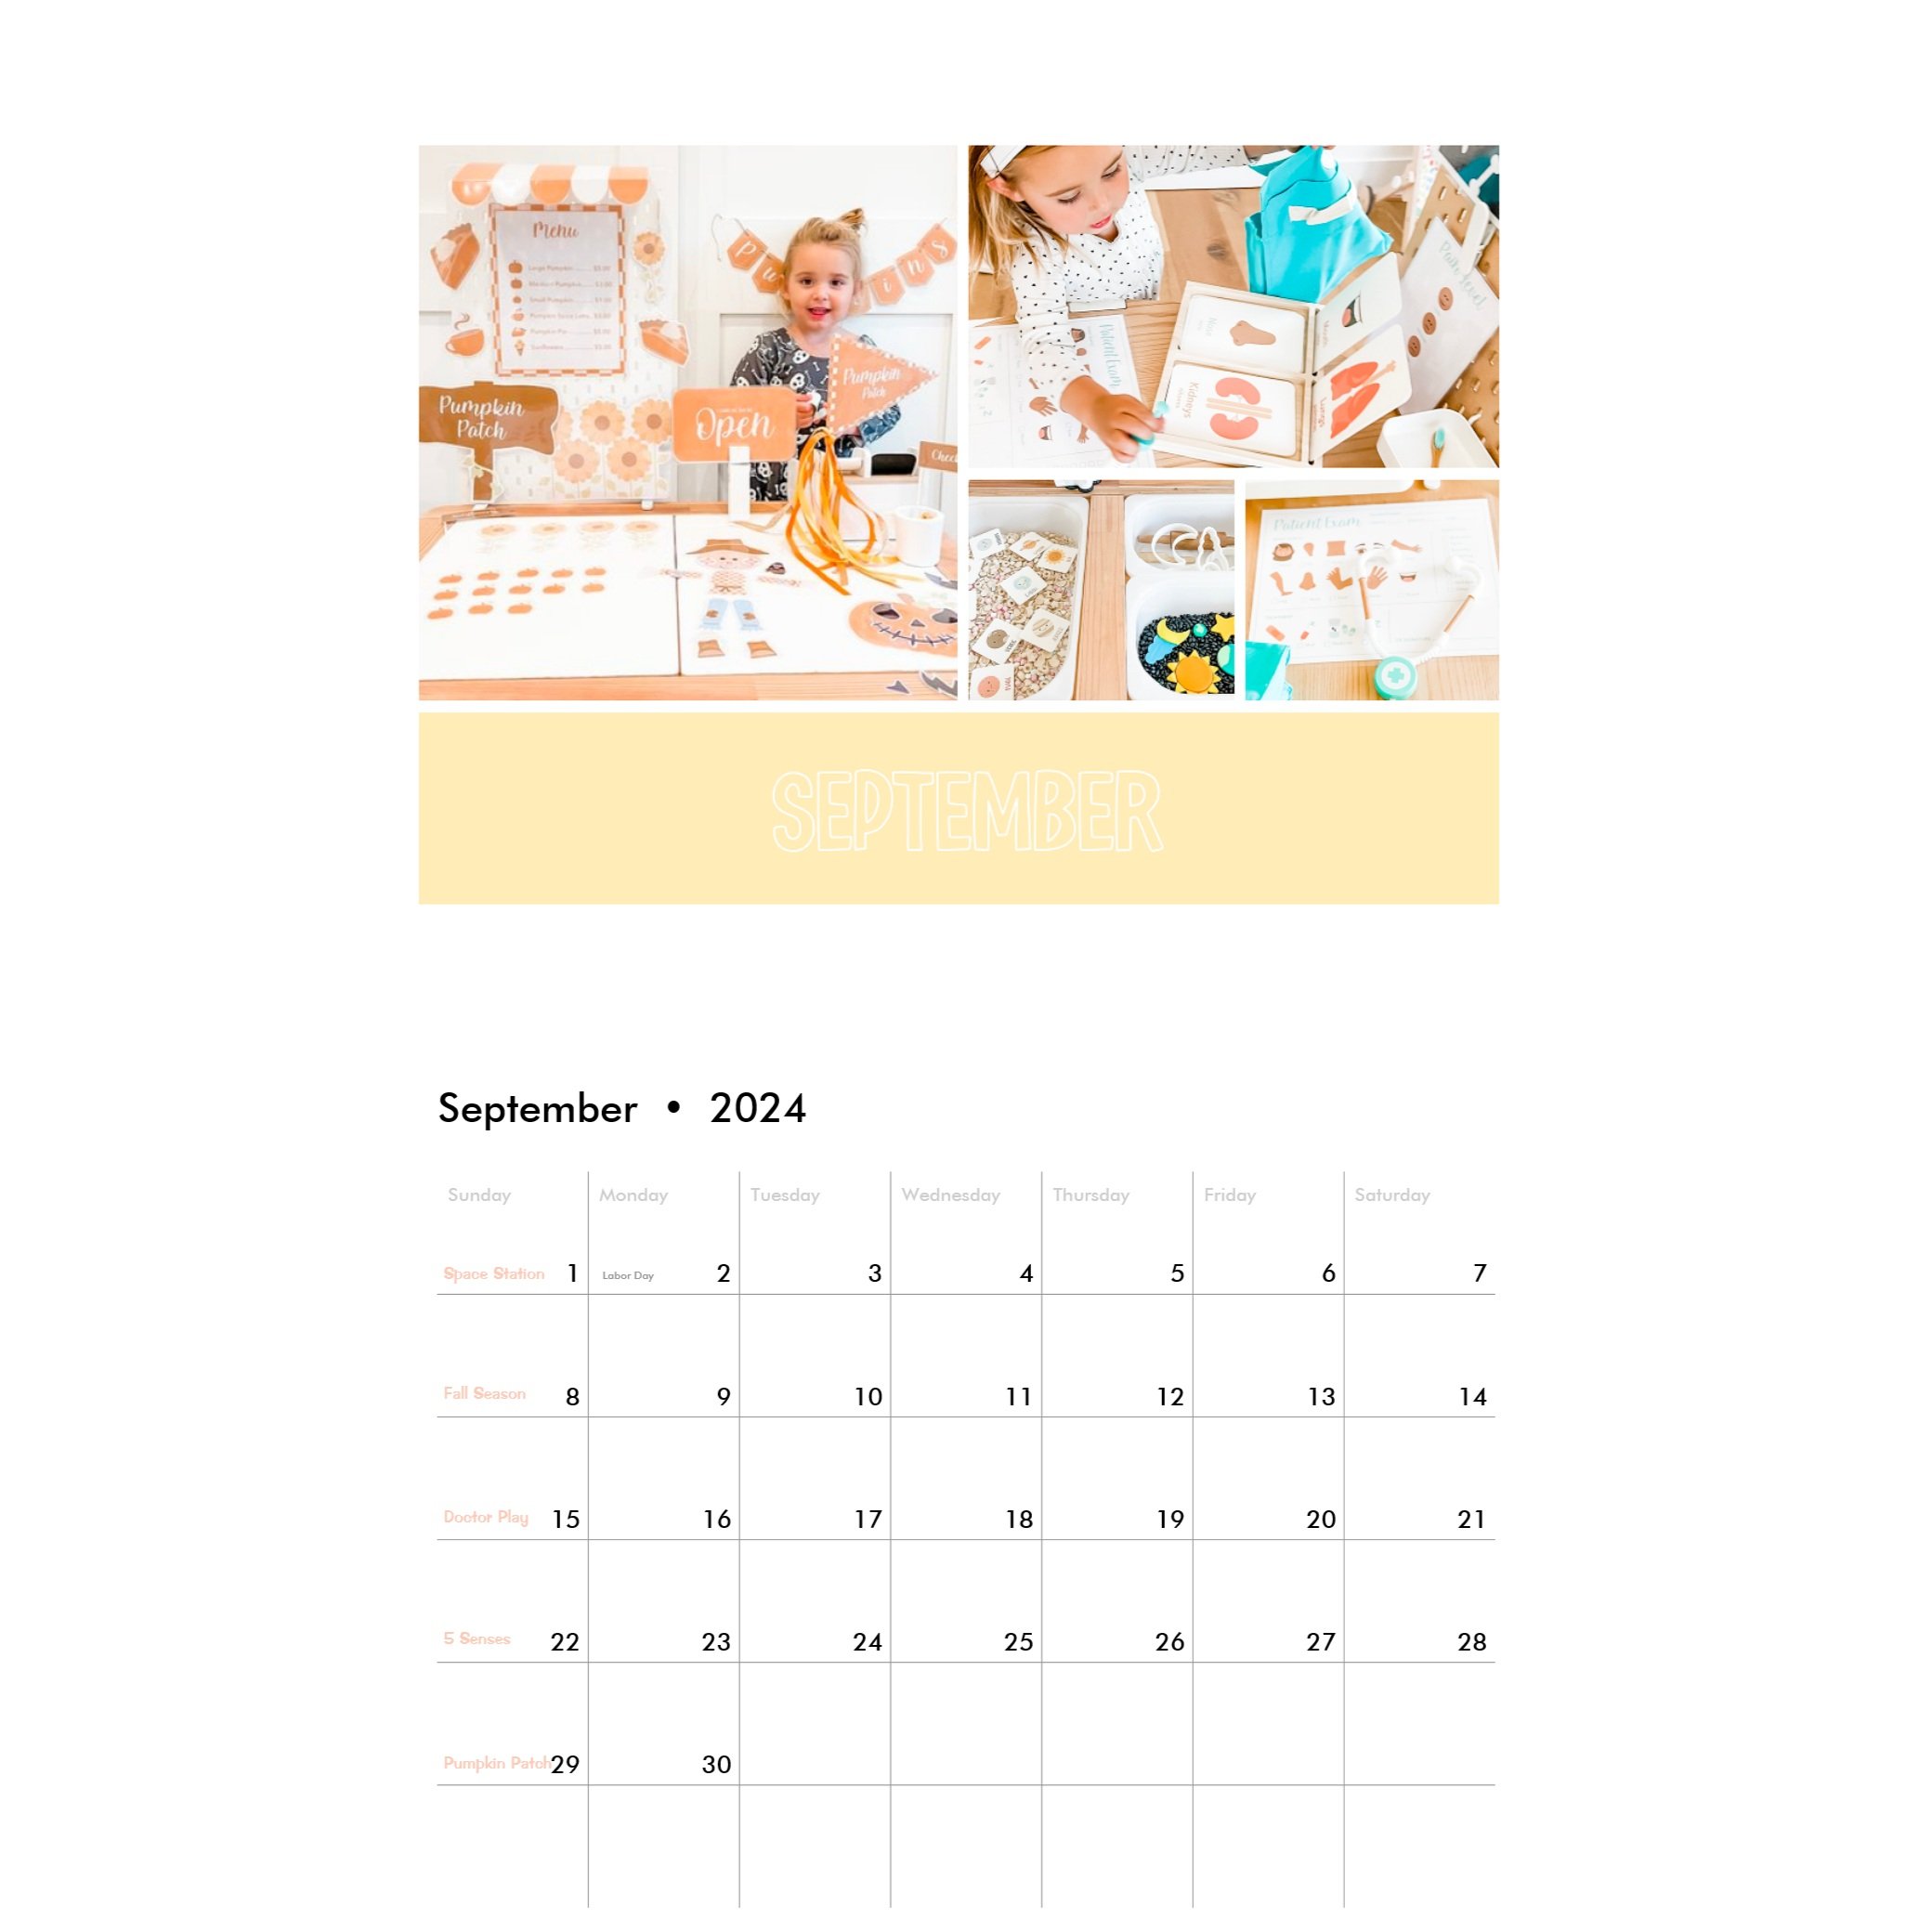
Septemeber has some of my all time favorite sensory play setups. From the amazing space station to woodland animals and everything in between, your kiddos will have a blast as the seasons change from summer to fall.

Space Station:

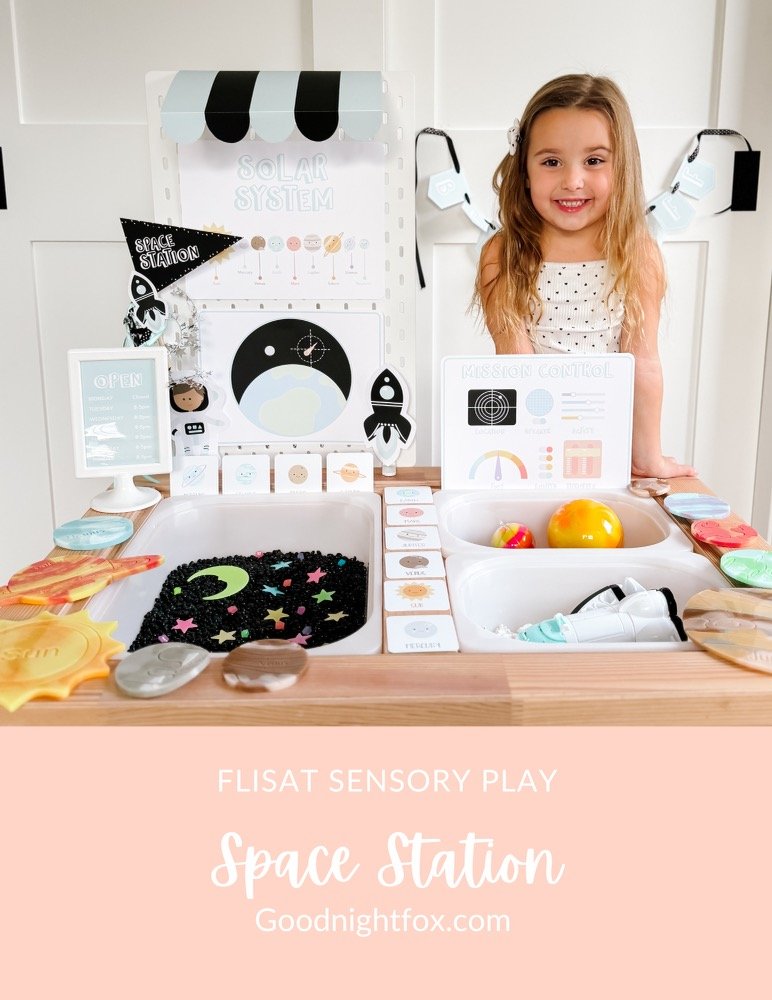
In this activity, we’ll explore the cosmos with 3 different space-themed sensory play bins. With our dramatic play, we’ll create a space station, command control board, and windows into outer space. Then we’ll make a moon landing bin, a galaxy bin, and a galaxy sensory bottle.

  • Activity 1: Moon landing taste-safe icing playdoh

  • Activity 2: Black bean & glow in the dark stars night sky

  • Activity 3: Space-themed bath bomb color explosion

  • Activity 4: Planet play doh balls

Download the Printables | See Activity Details

Fall Season WOODLAND ANIMALS: (Coming SOON)

To celebrate the changing of the seasons, we’ll create a fall themed sensory bin with leaves, pine cones, pumpkins and other elements of nature. We’ll use granola sensory filler for taste safe sensory play!

Purchase Woodland Flashcards | See Activity Details

Doctor Play:

With our doctor play kit, we’ll encourage nurturing skills — pretending to be a doctor and taking care of patients in need. We’ll take X-Rays, apply bandages, fill out prescriptions cards and more!

Download the Printables | See Activity Details

5 Senses:

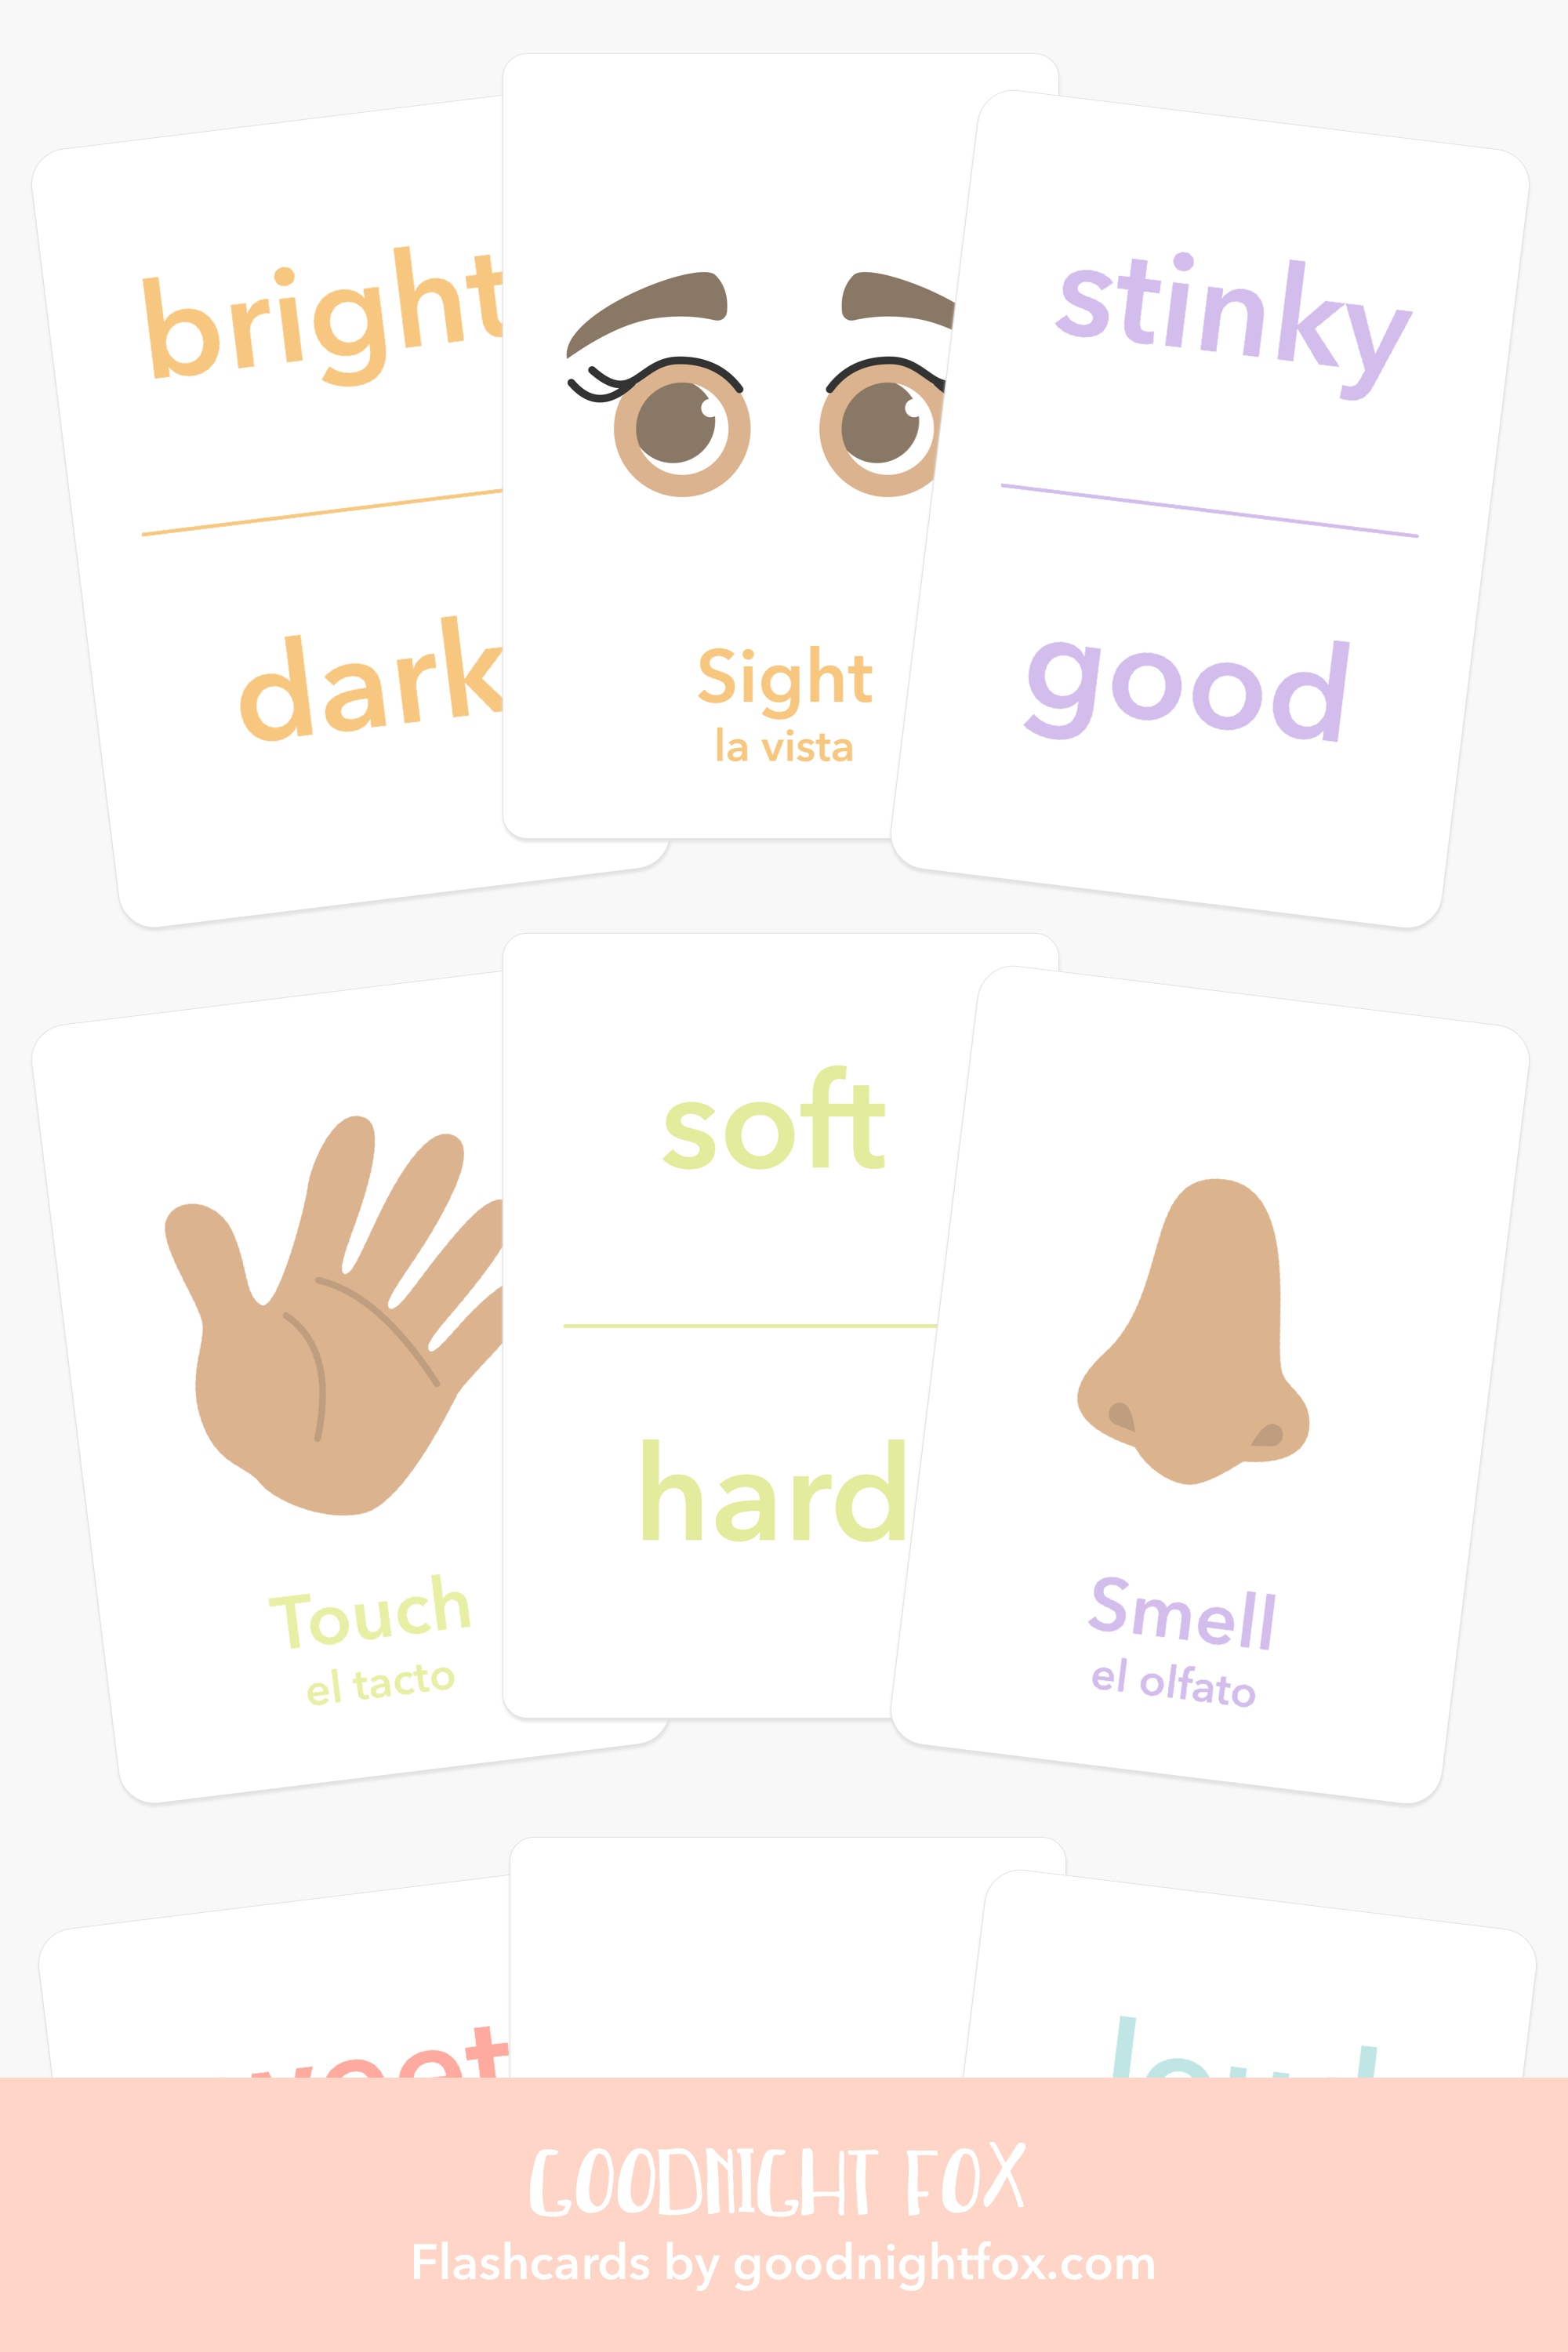
Learning about the 5 senses is a great way to bring awareness to the body and senses. We’ll use our 5 senses learning cards to mix and match and practice opposites like “light” and “dark”. We’ll great 10 sensory jars to learn about opposites on the spectrum of our 5 senses.

Purchase the Flashcards | See Activity Details

Pumpkin Patch:

Let’s explore the pumpkin patch! From hay rides on tractors to sunflower patches. From scarecrows and wagons to pumpkins and pie. We’ll use our pumpkin patch dramatic play to create a world of fall. We’ll build a scarecrow, pick sunflowers and measure pumpkins!

Download the Printables | See Activity Details


OctobeR SENSORY PLAY

The perfect way to kick off fall with vegetable, dinosaur, and fun Halloween-themed activities.

Vegetables: (Coming soon)

To celebrate the fall season, we’ll kick off with a celebration of vegetables. We’ll use our vegetable toy erasers and a play dirt sensory filler to plant some vegetables and use our flashcards to match and dig up vegetables.

Purchase the Flashcards | Activity Details

Dinosaur Dig:

Join us on a paleontology adventure with our dinosaur dig! We’ll use 3 different sensory play activities together to explore dinosaurs including fossils, bone digging site, and a ice dinosaur eggs.

  • Activity 1: Plaster Volcano and Dinosaur Pasta Filler

  • Activity 2: Salt Dough Fossils

  • Activity 3: Paleontologist Plaster Dig Site

Download the Printables | Activity Details

Potion Play:

In celebration of Halloween season, we’ll pretend to be witches making magical potions and brews. We’ll use our potion mixing play setup to make combinations of various Halloween ghouls.

Download the Printables | Activity Details

Halloween:

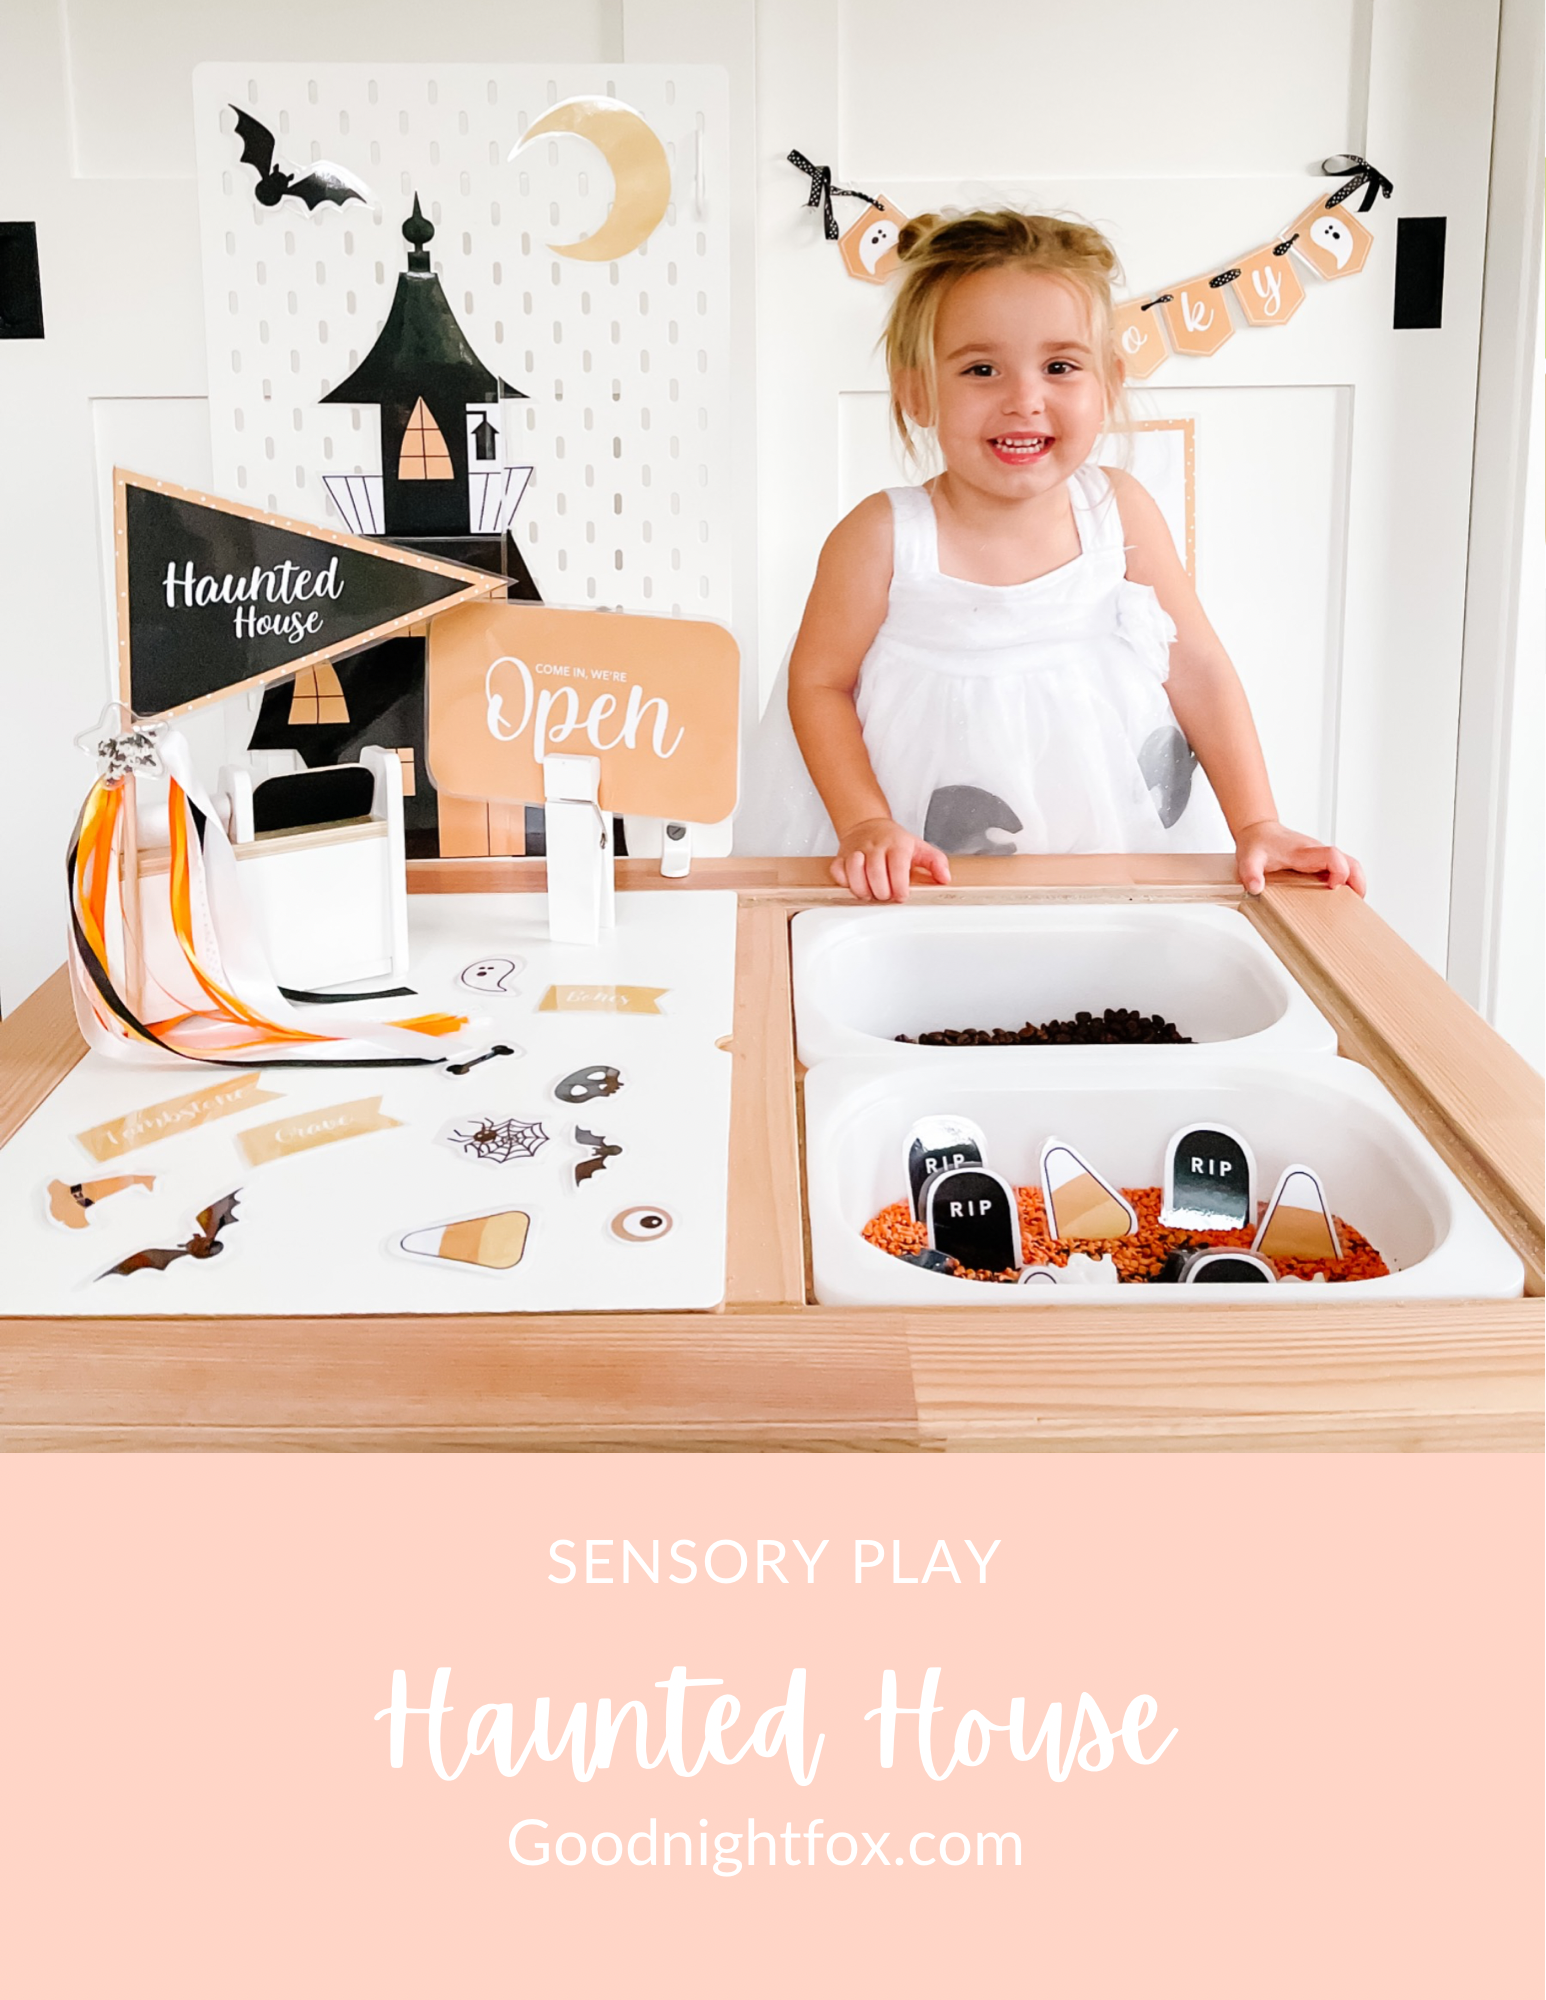
We’ll create spooky sensory Halloween decorations to build our haunted house and graveyard digging adventure with black & orange dyed quinoa.

Download the Printables | Activity Details


November SENSORY PLAY

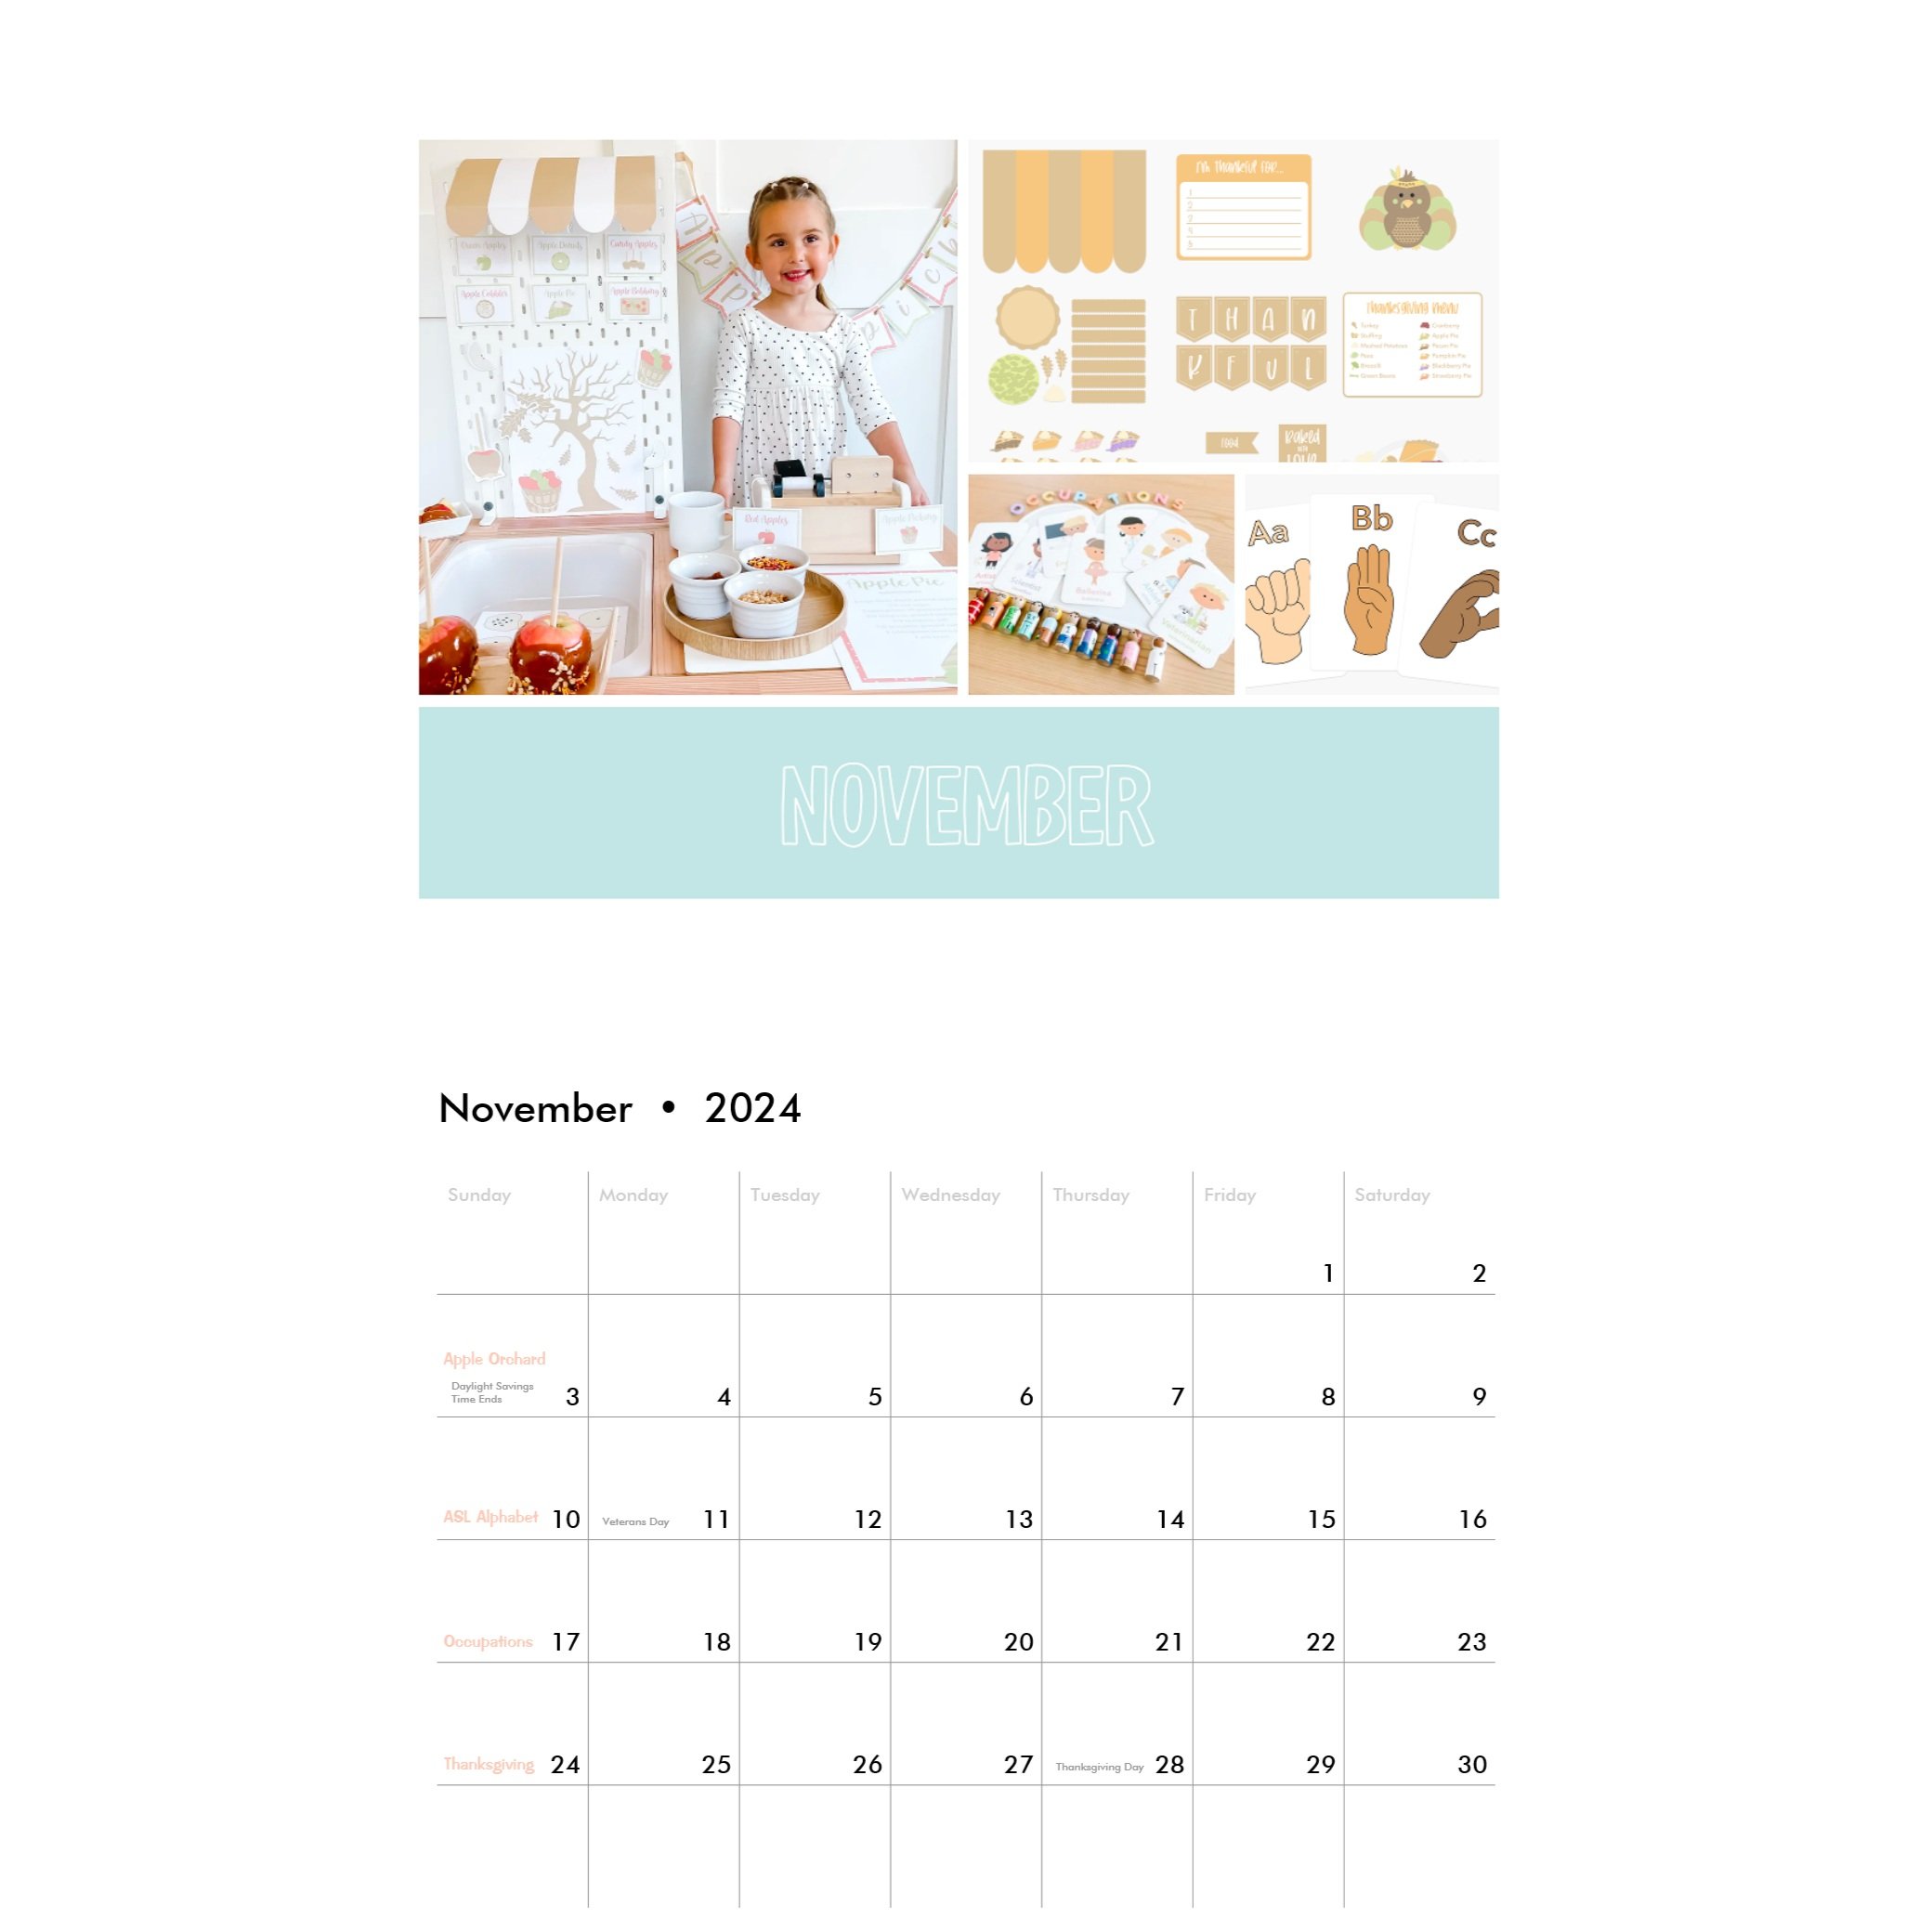
It’s time to give thanks for all we’ve been given this year and celebrate the fall harvest season.

Thanksgiving:

Practice fun skills and textures with this Thanksgiving meal, glue the feathers to the turkey, and writing down what we’re thankful for.

  • Activity 1: Build a Turkey Dinner

  • Activity 2: Bake a pie

  • Activity 3: Add feathers (tissue paper) to a turkey

Download the Printables | See Activity Details

Apple Orchard:

Learn all about apples with this apple picking, bobbing, leaf gluing, cider making activity. Pretend to own your own orchard and practice selling your goods.

  • Activity 1: Apple Seed Counting

  • Activity 2: Candy Apple Making (Taste safe)

  • Activity 3: Apple Pie Building

Download the Printables | See Activity Details

ASL Alphabet: (Coming soon)

Practice speaking with your hands learning the American Sign Language Alphabet. In this activity kit, kiddos will learn to spell their names, sign the ABCs, and use basic signs like “More” and “Thank You”.

Get the Flashcards | See Activity Details

Occupations: (COMING SOON)

This week we’ll be exploring careers of all kinds through our Occupations flashcards. We’ll leverage books and other tools to explore the world of possibilities.

Get the Flashcards | See Activity Details


December SENSORY PLAY

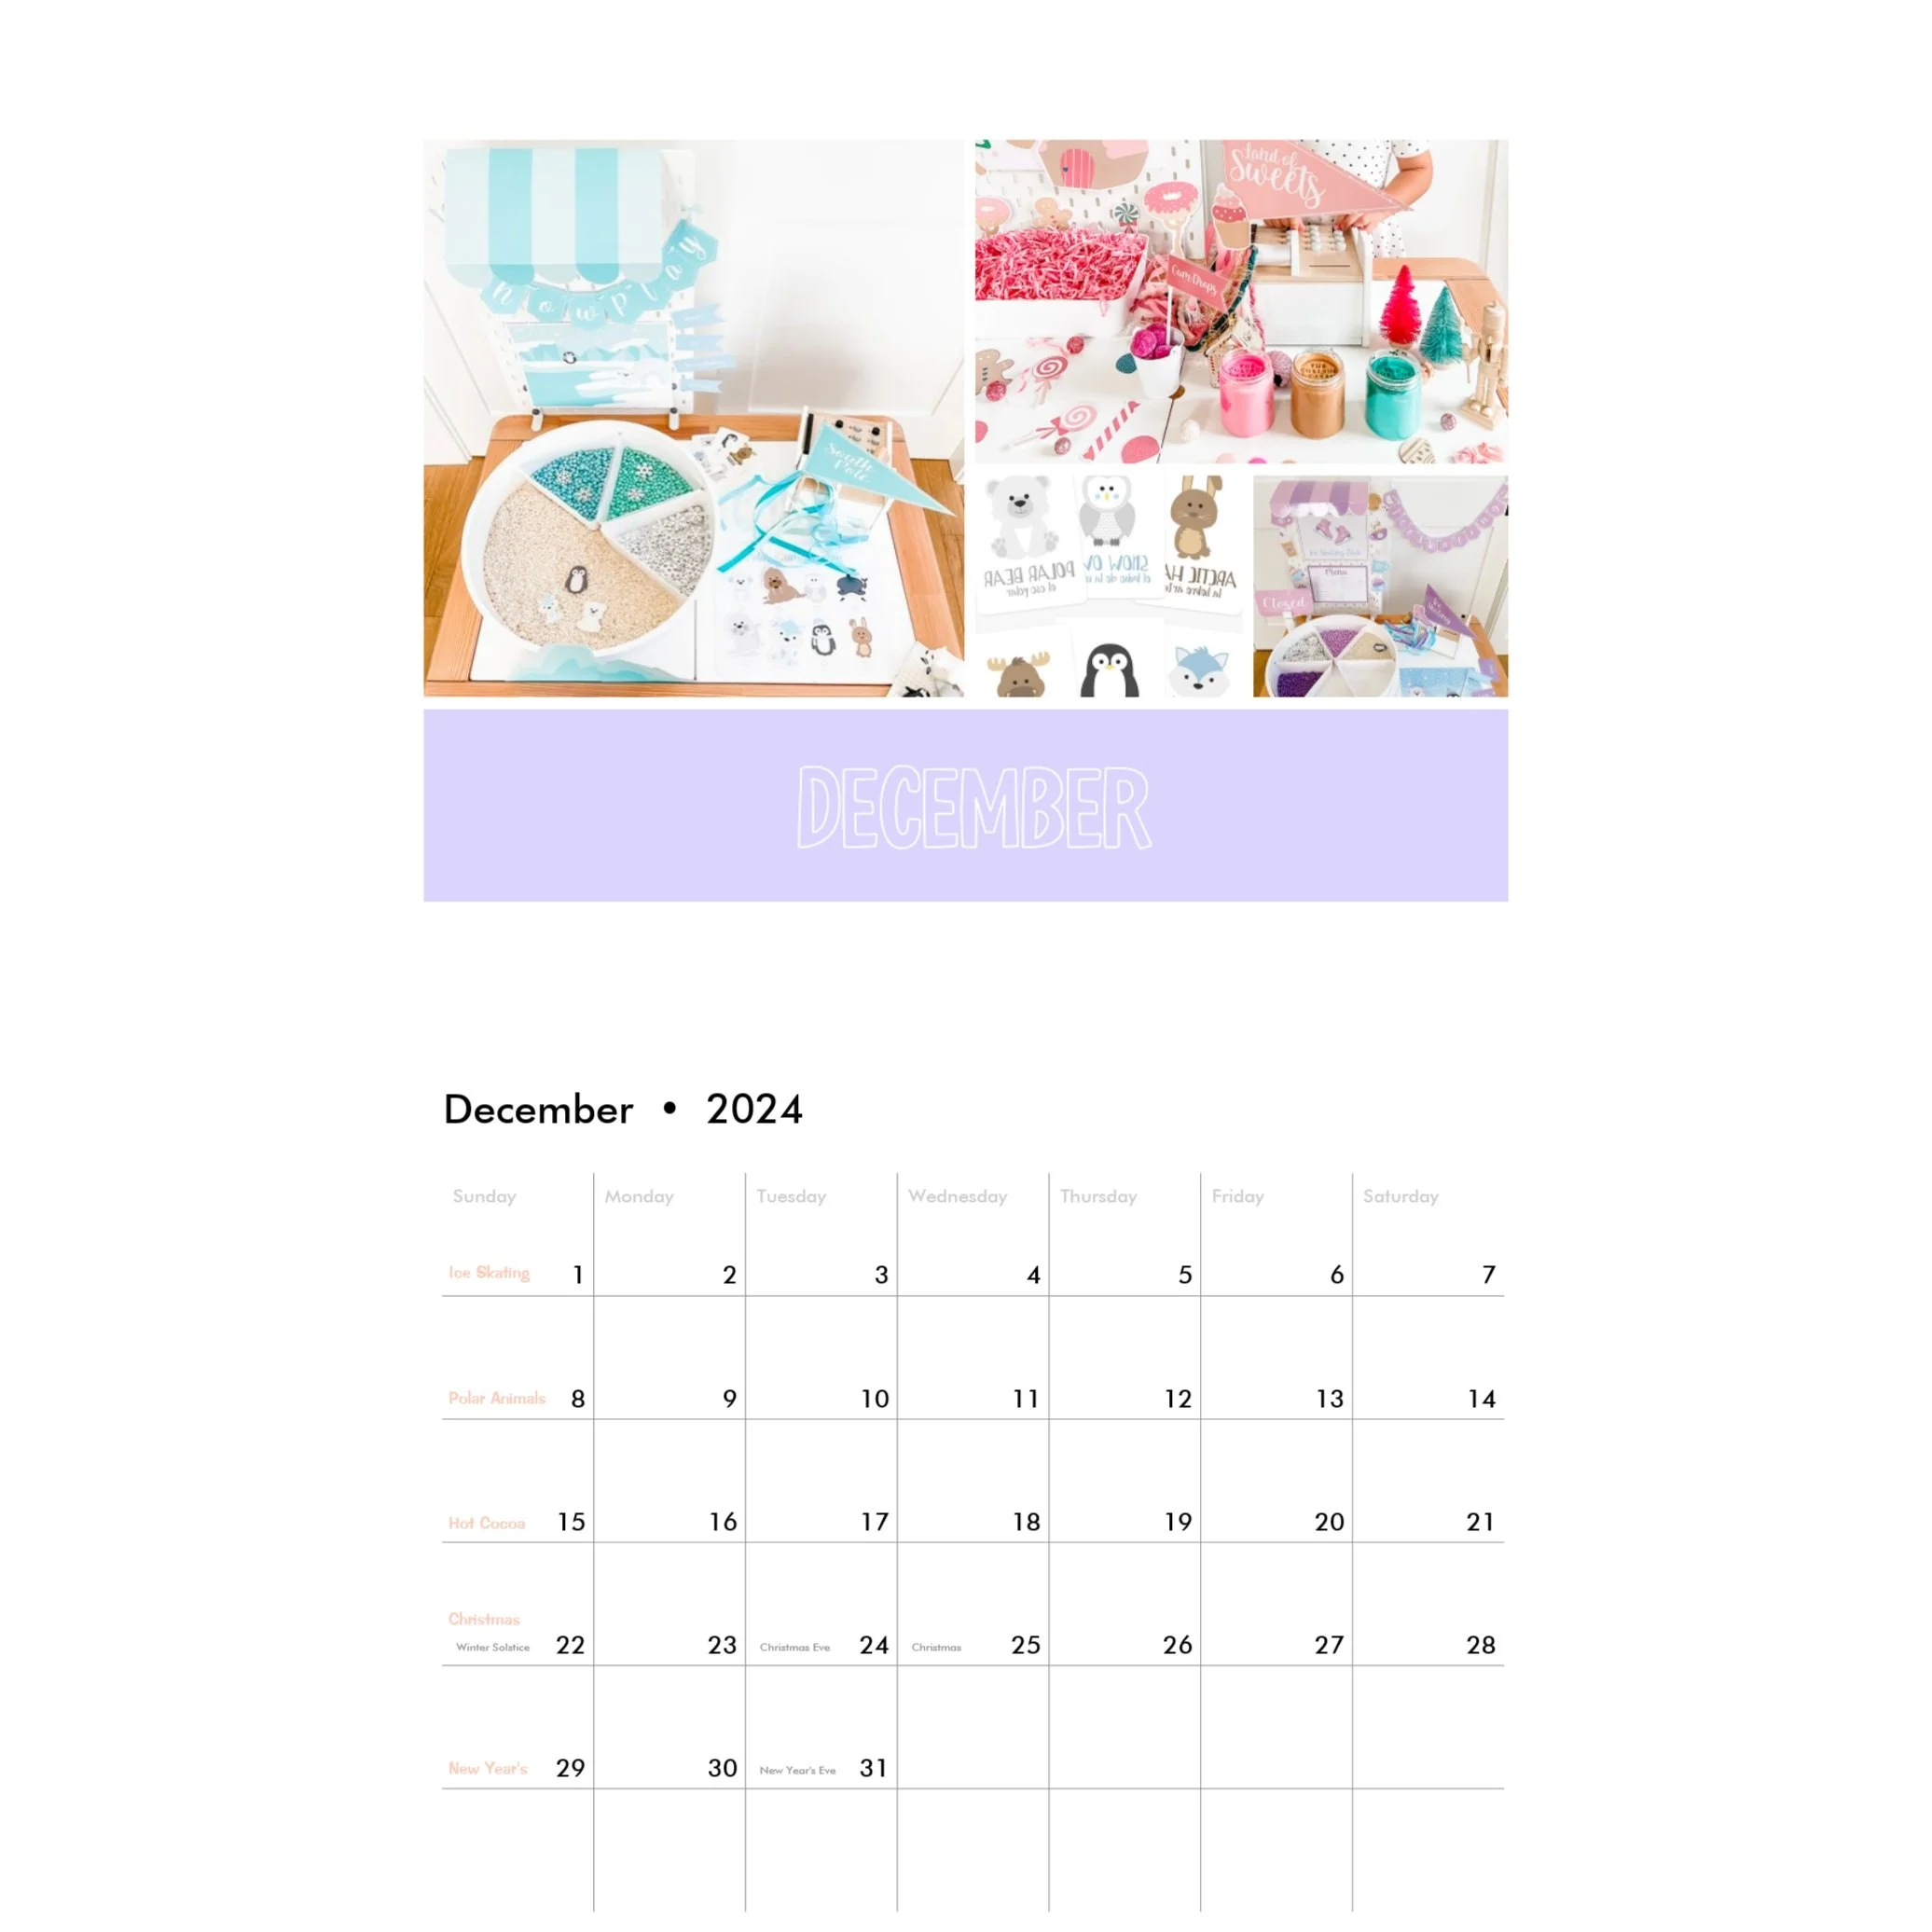
With the winter season upon us, it’s the perfect time to stay indoors and cuddle up with some cozy sensory play. Nothing could be more fun that celebrating the cold weather in the polar arctic in stark contrast with the cozy warm hot chocolate by the fire and baking in the oven.

Christmas Tree

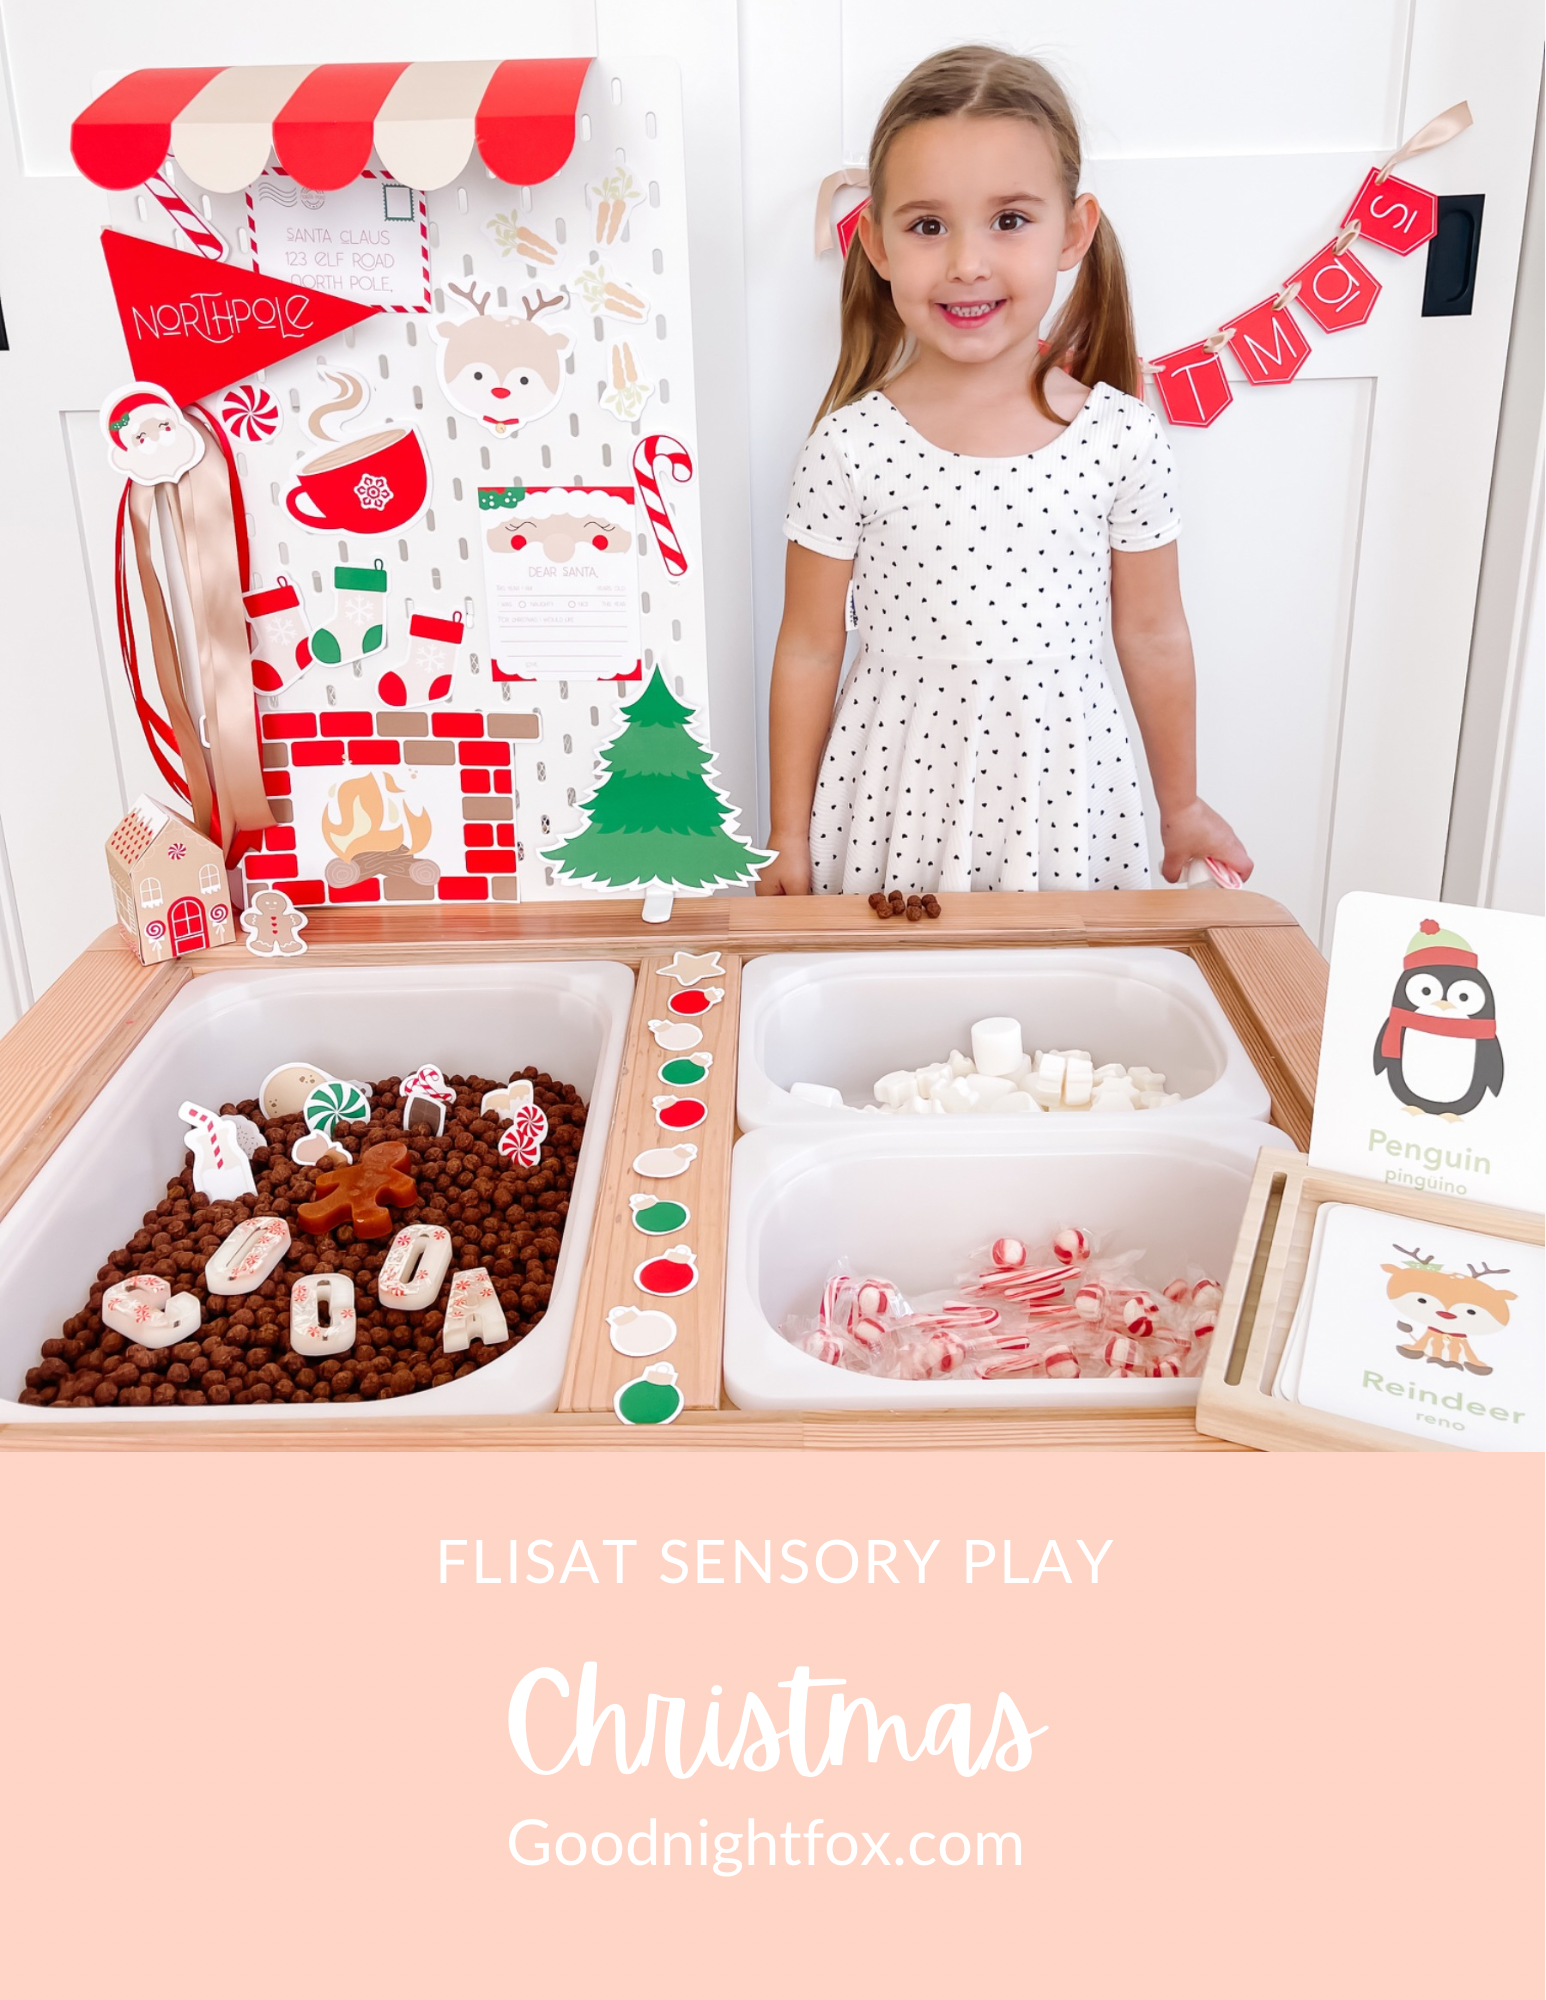
Decorate a Christmas Tree, build a snowman, feed the reindeer and hang stockings over the fireplace with this fun play setup.

  • Bin 1: Hot cocoa

  • Bin 2: Build-a-snowman

  • Bin 3: Peppermint crush

Plus more great activities like feed the reindeer, decorate the Christmas tree, hang the stockings, and play gingerbread house.

Download the Printables | See Activity Details

Polar Animals:

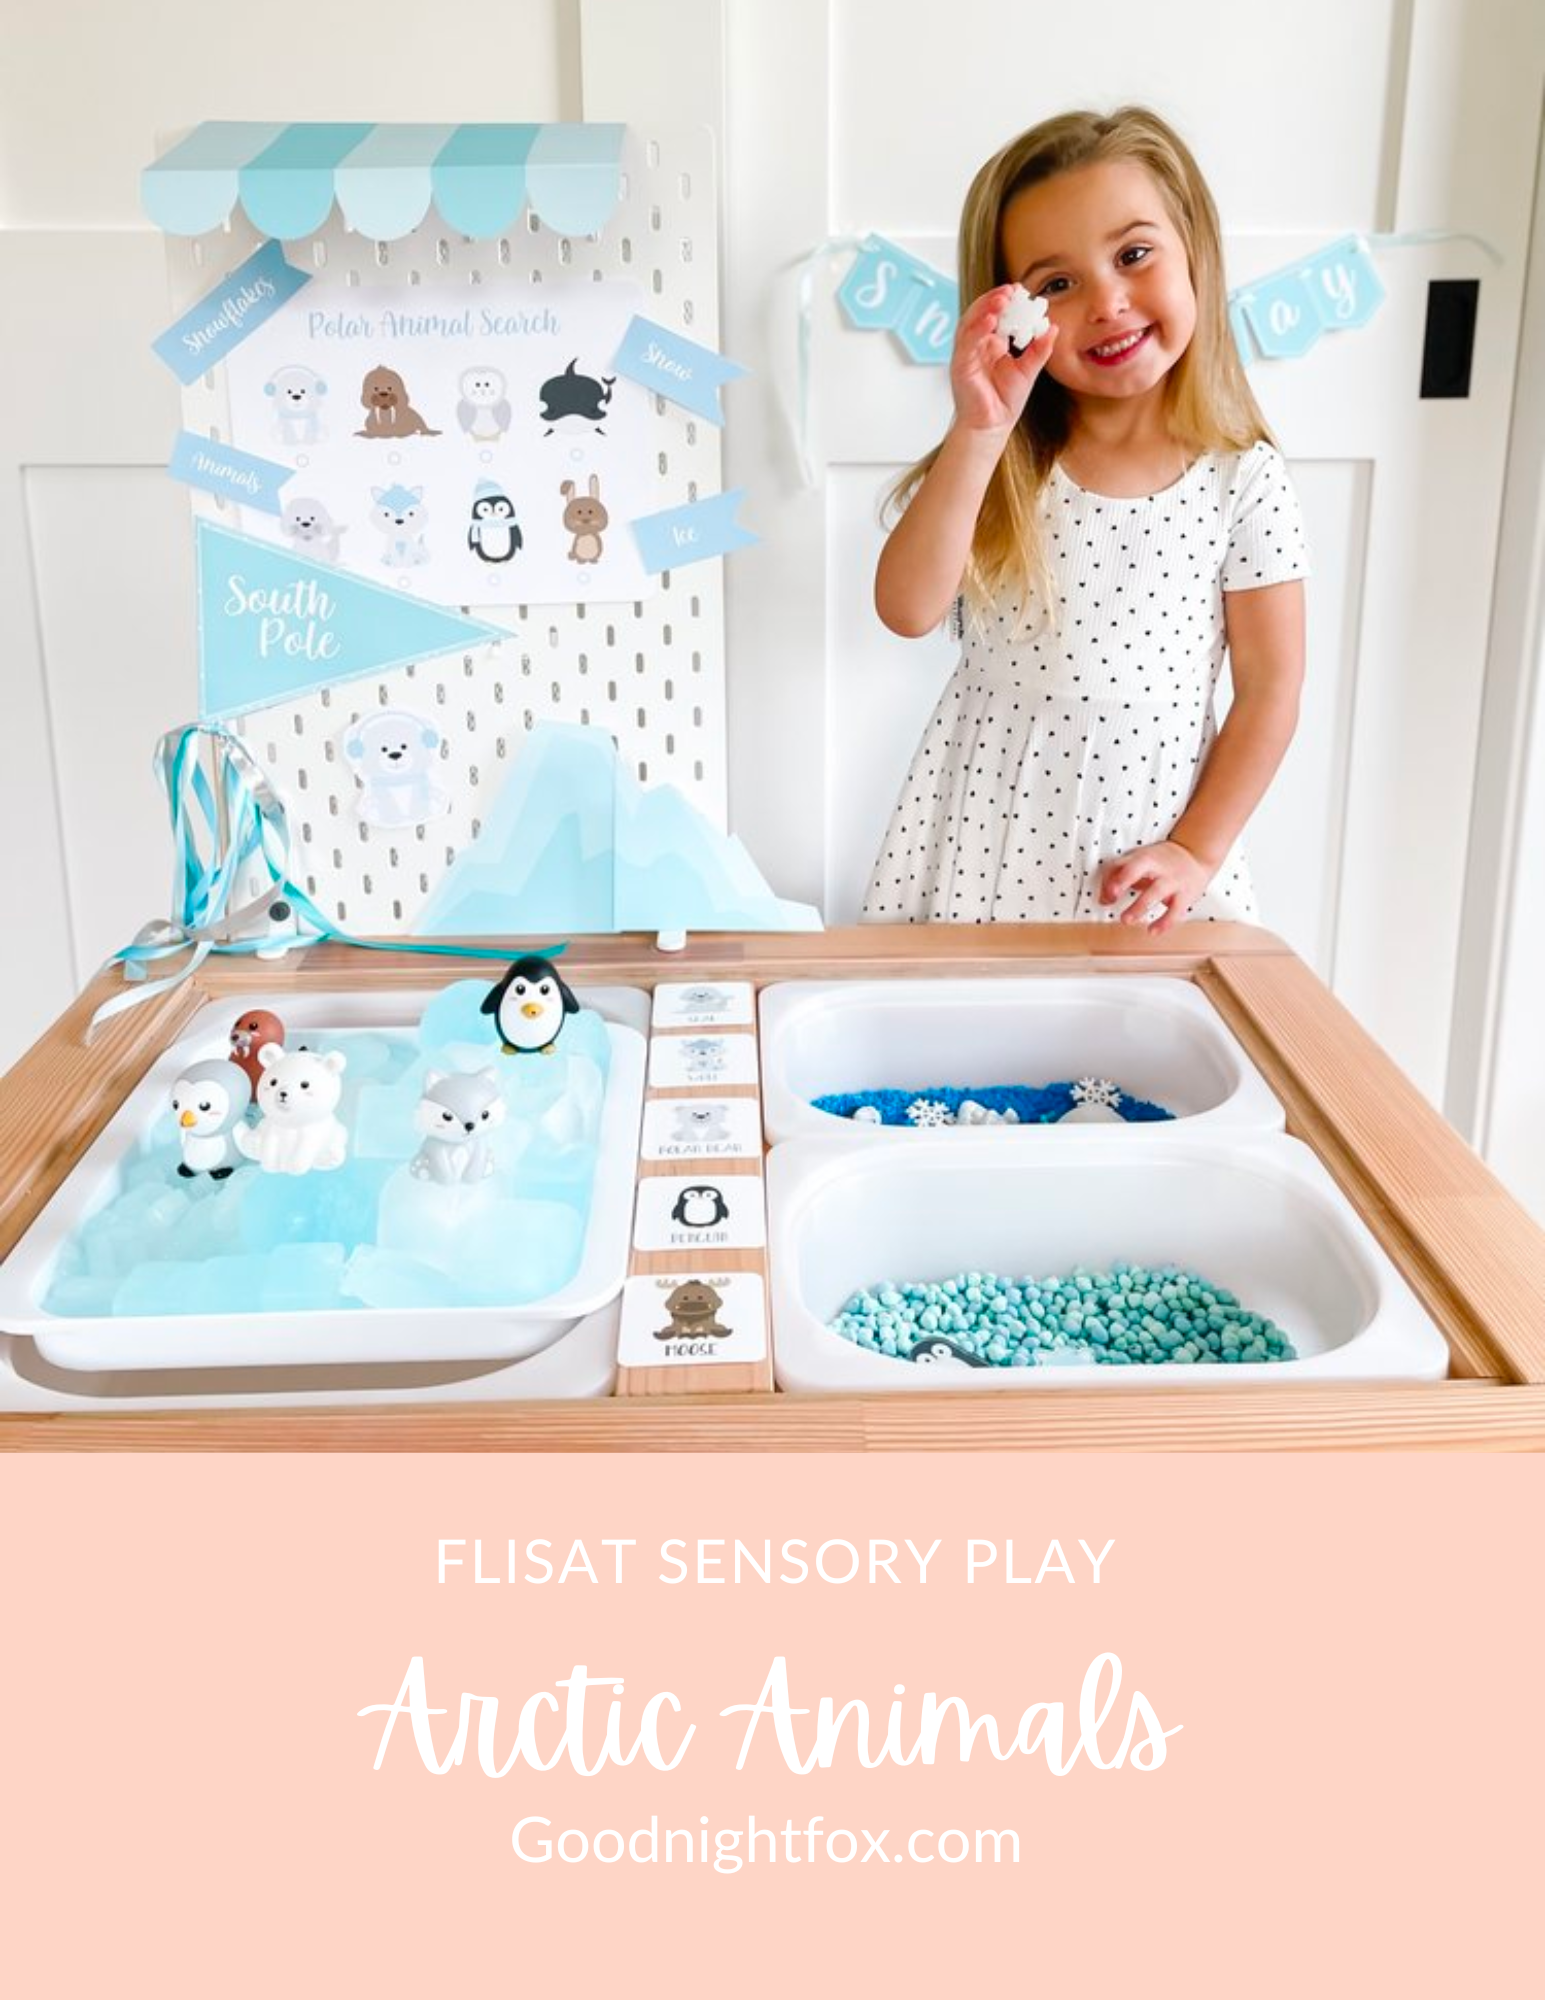
Learn about the arctic with sensory ice and polar animal figures. As we hop from bin to bin, we’ll enjoy blue pluffle and teal chickpeas, practicing scooping and playing in different textures.

  • Activity 1: Snowflake Ice Cube Tray with Bath Toys

  • Activity 2: Blue Pluffle and Snowflake Dig

  • Activity 3: Acrylic Polar Animal Charms and Teal Chickpeas

Download the Printables | See Activity Details

Hot Cocoa:

Make hot chocolate set up with edible cocoa puff cereal perfect for scooping and pouring. Practice counting with marshmallow and sprinkle toppings.

Download the Printables | See Activity Details

Ice Skating:

This winter holiday inspired Ice Skating Rink will be a playful way to celebrate the season and wrap up our year of sensory play. Filled with wooden snow flakes, arctic animals, and colorful chickpeas, this setup is sure to delight the senses.

  • Activity 1: Frozen snowflake ice skating (taste safe)

  • Activity 2: Shredded coconut snow search and find (taste safe)

  • Activity 3: Fake snow scooping and molding bin

Download the Printables | See Activity Details


Even more year round play activities

Year Round PLAY TOPICS:

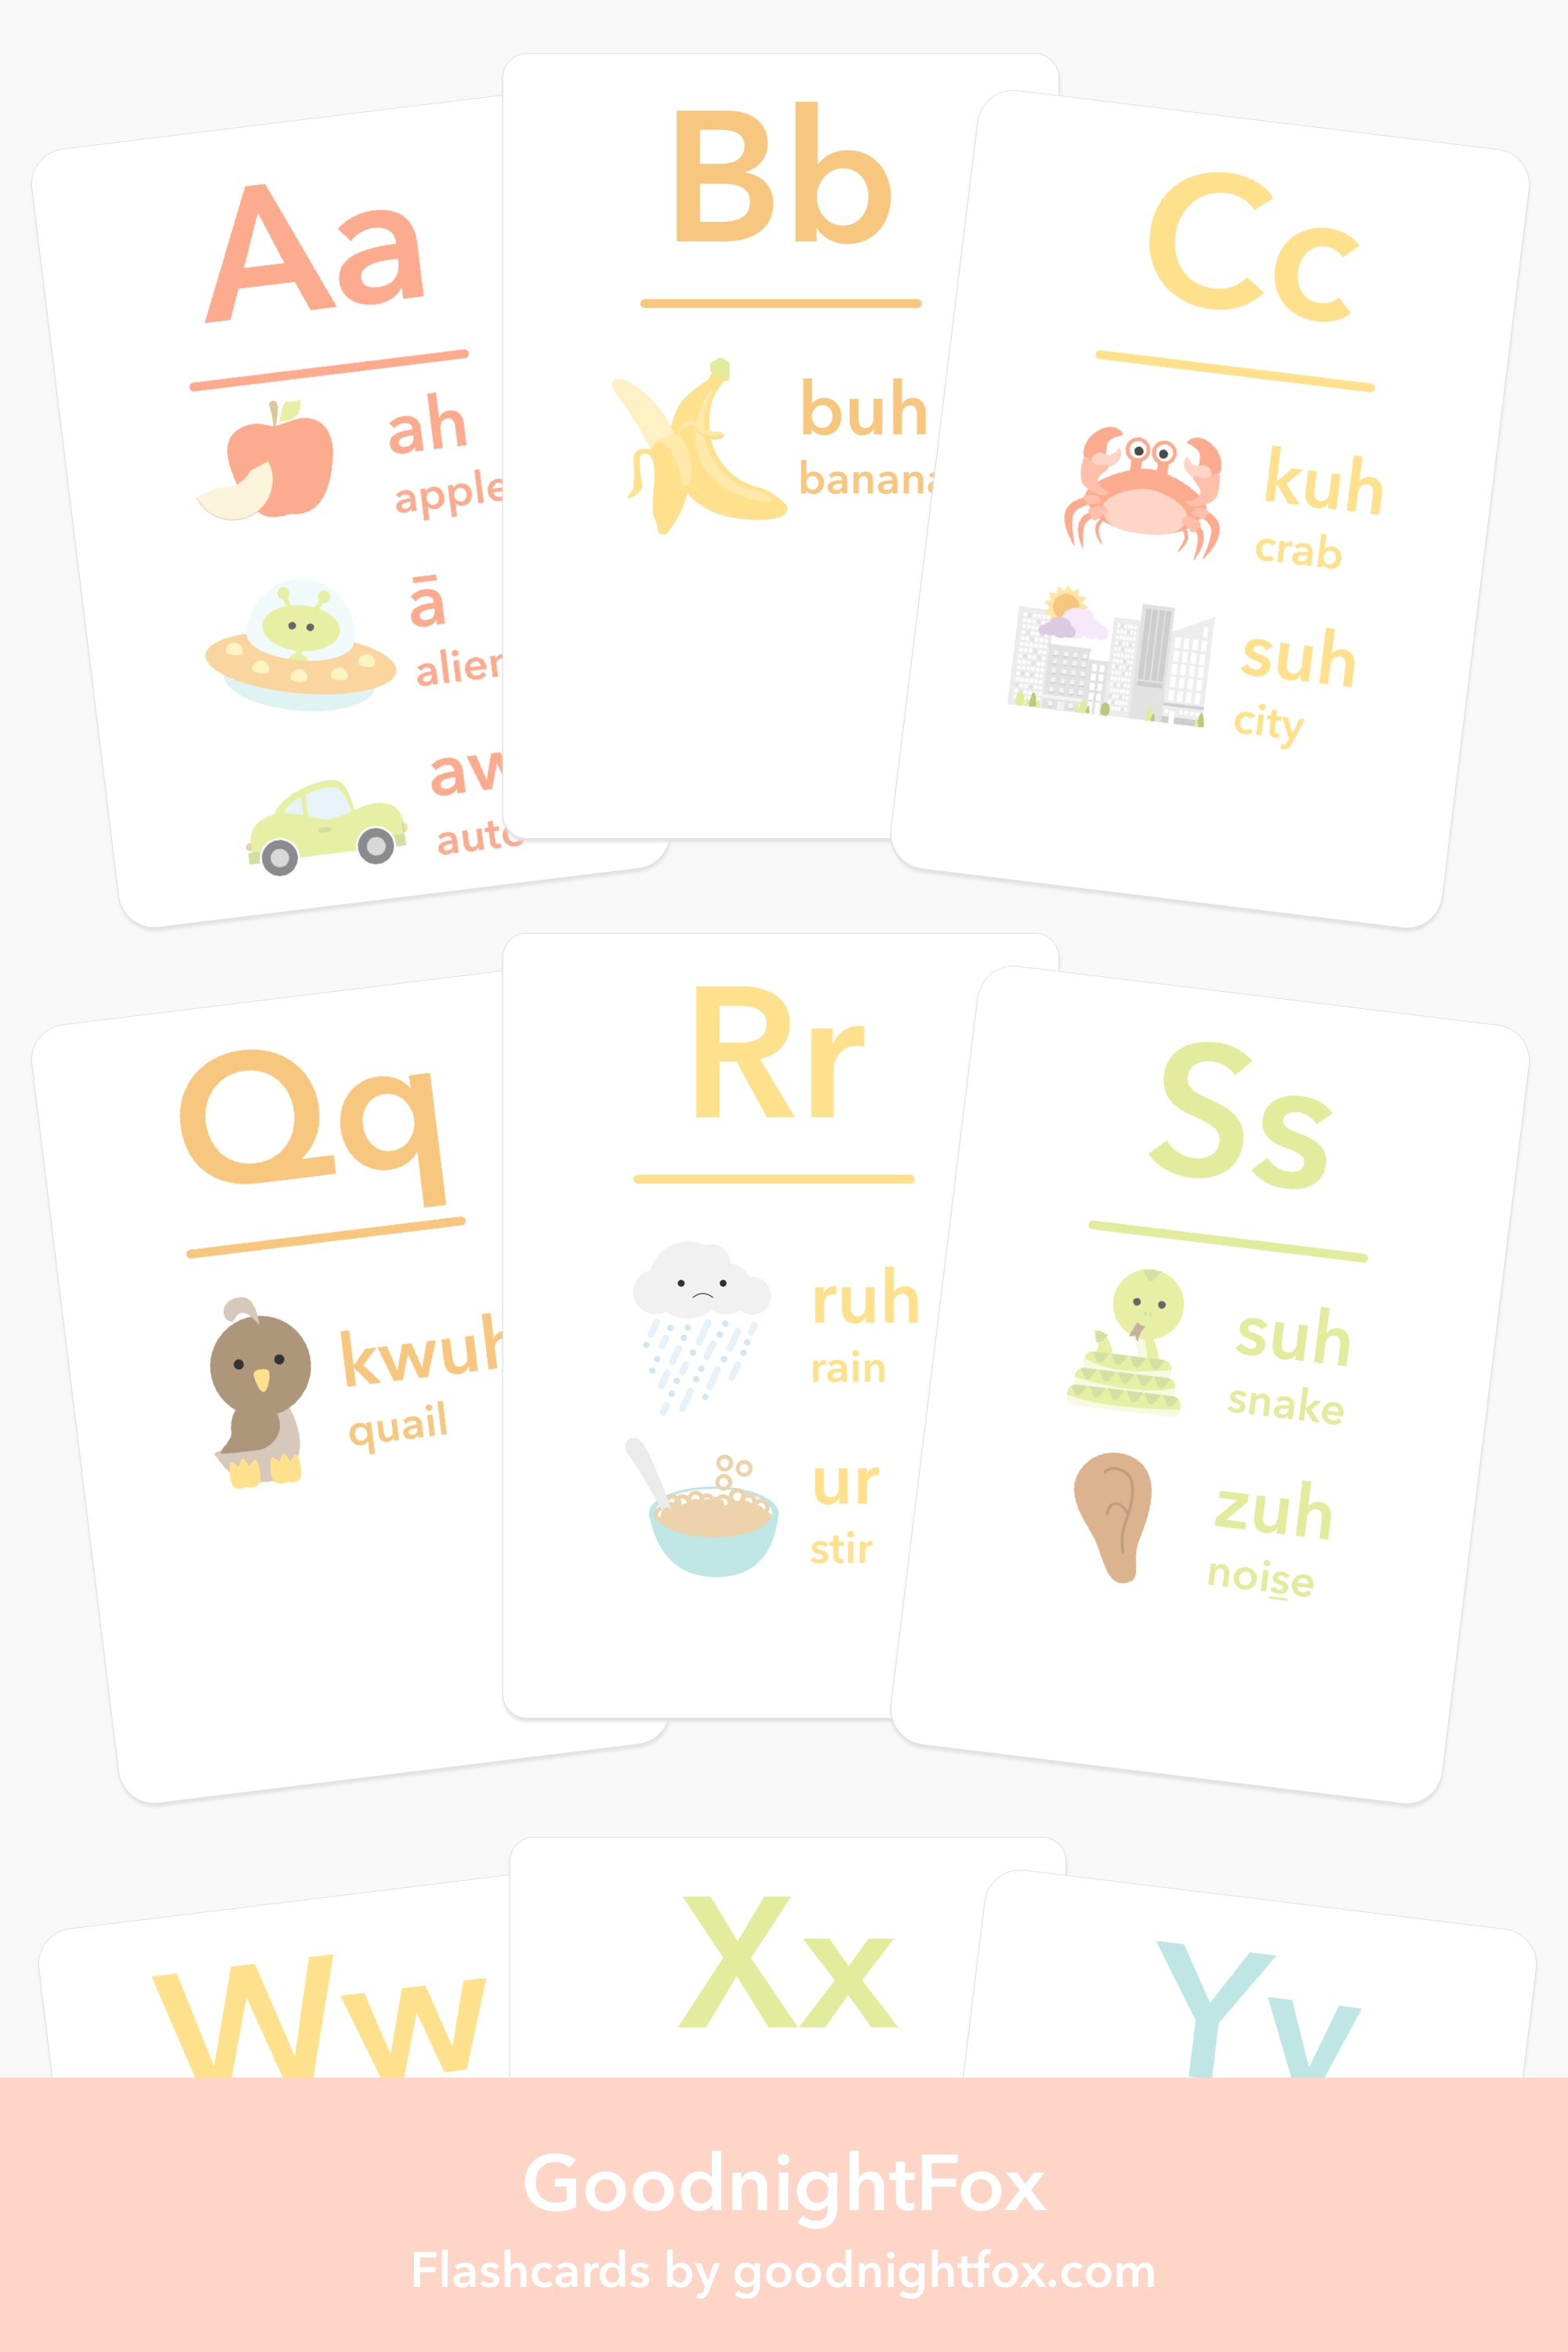
  • Alphabet: Use Letters flashcards and a bin of resin letters or a magnetic letter board to match the letters.

  • Letter Sounds: Use Letter Sounds flashcards and felt letters to practice the sounds each letter makes.

  • 5 Senses: Create jars of foods and objects that invigorate the senses and practice smell, taste, sound, sight and touch.

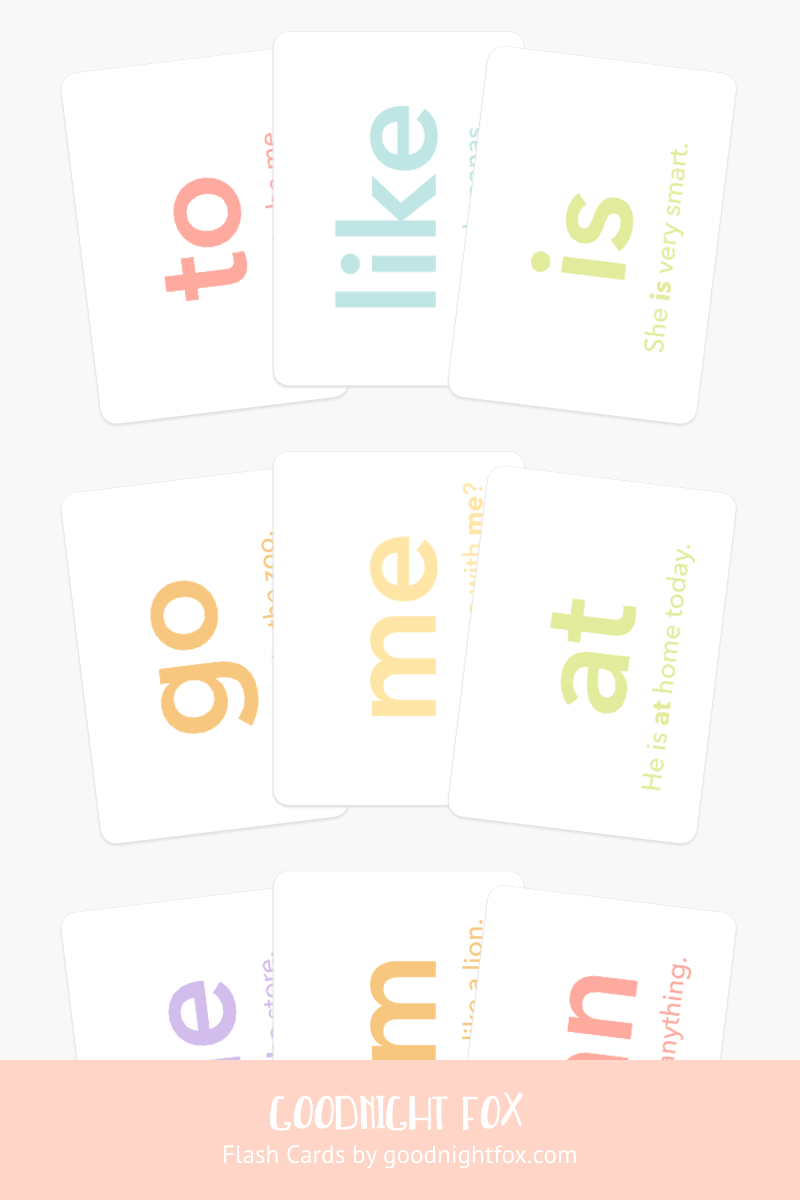
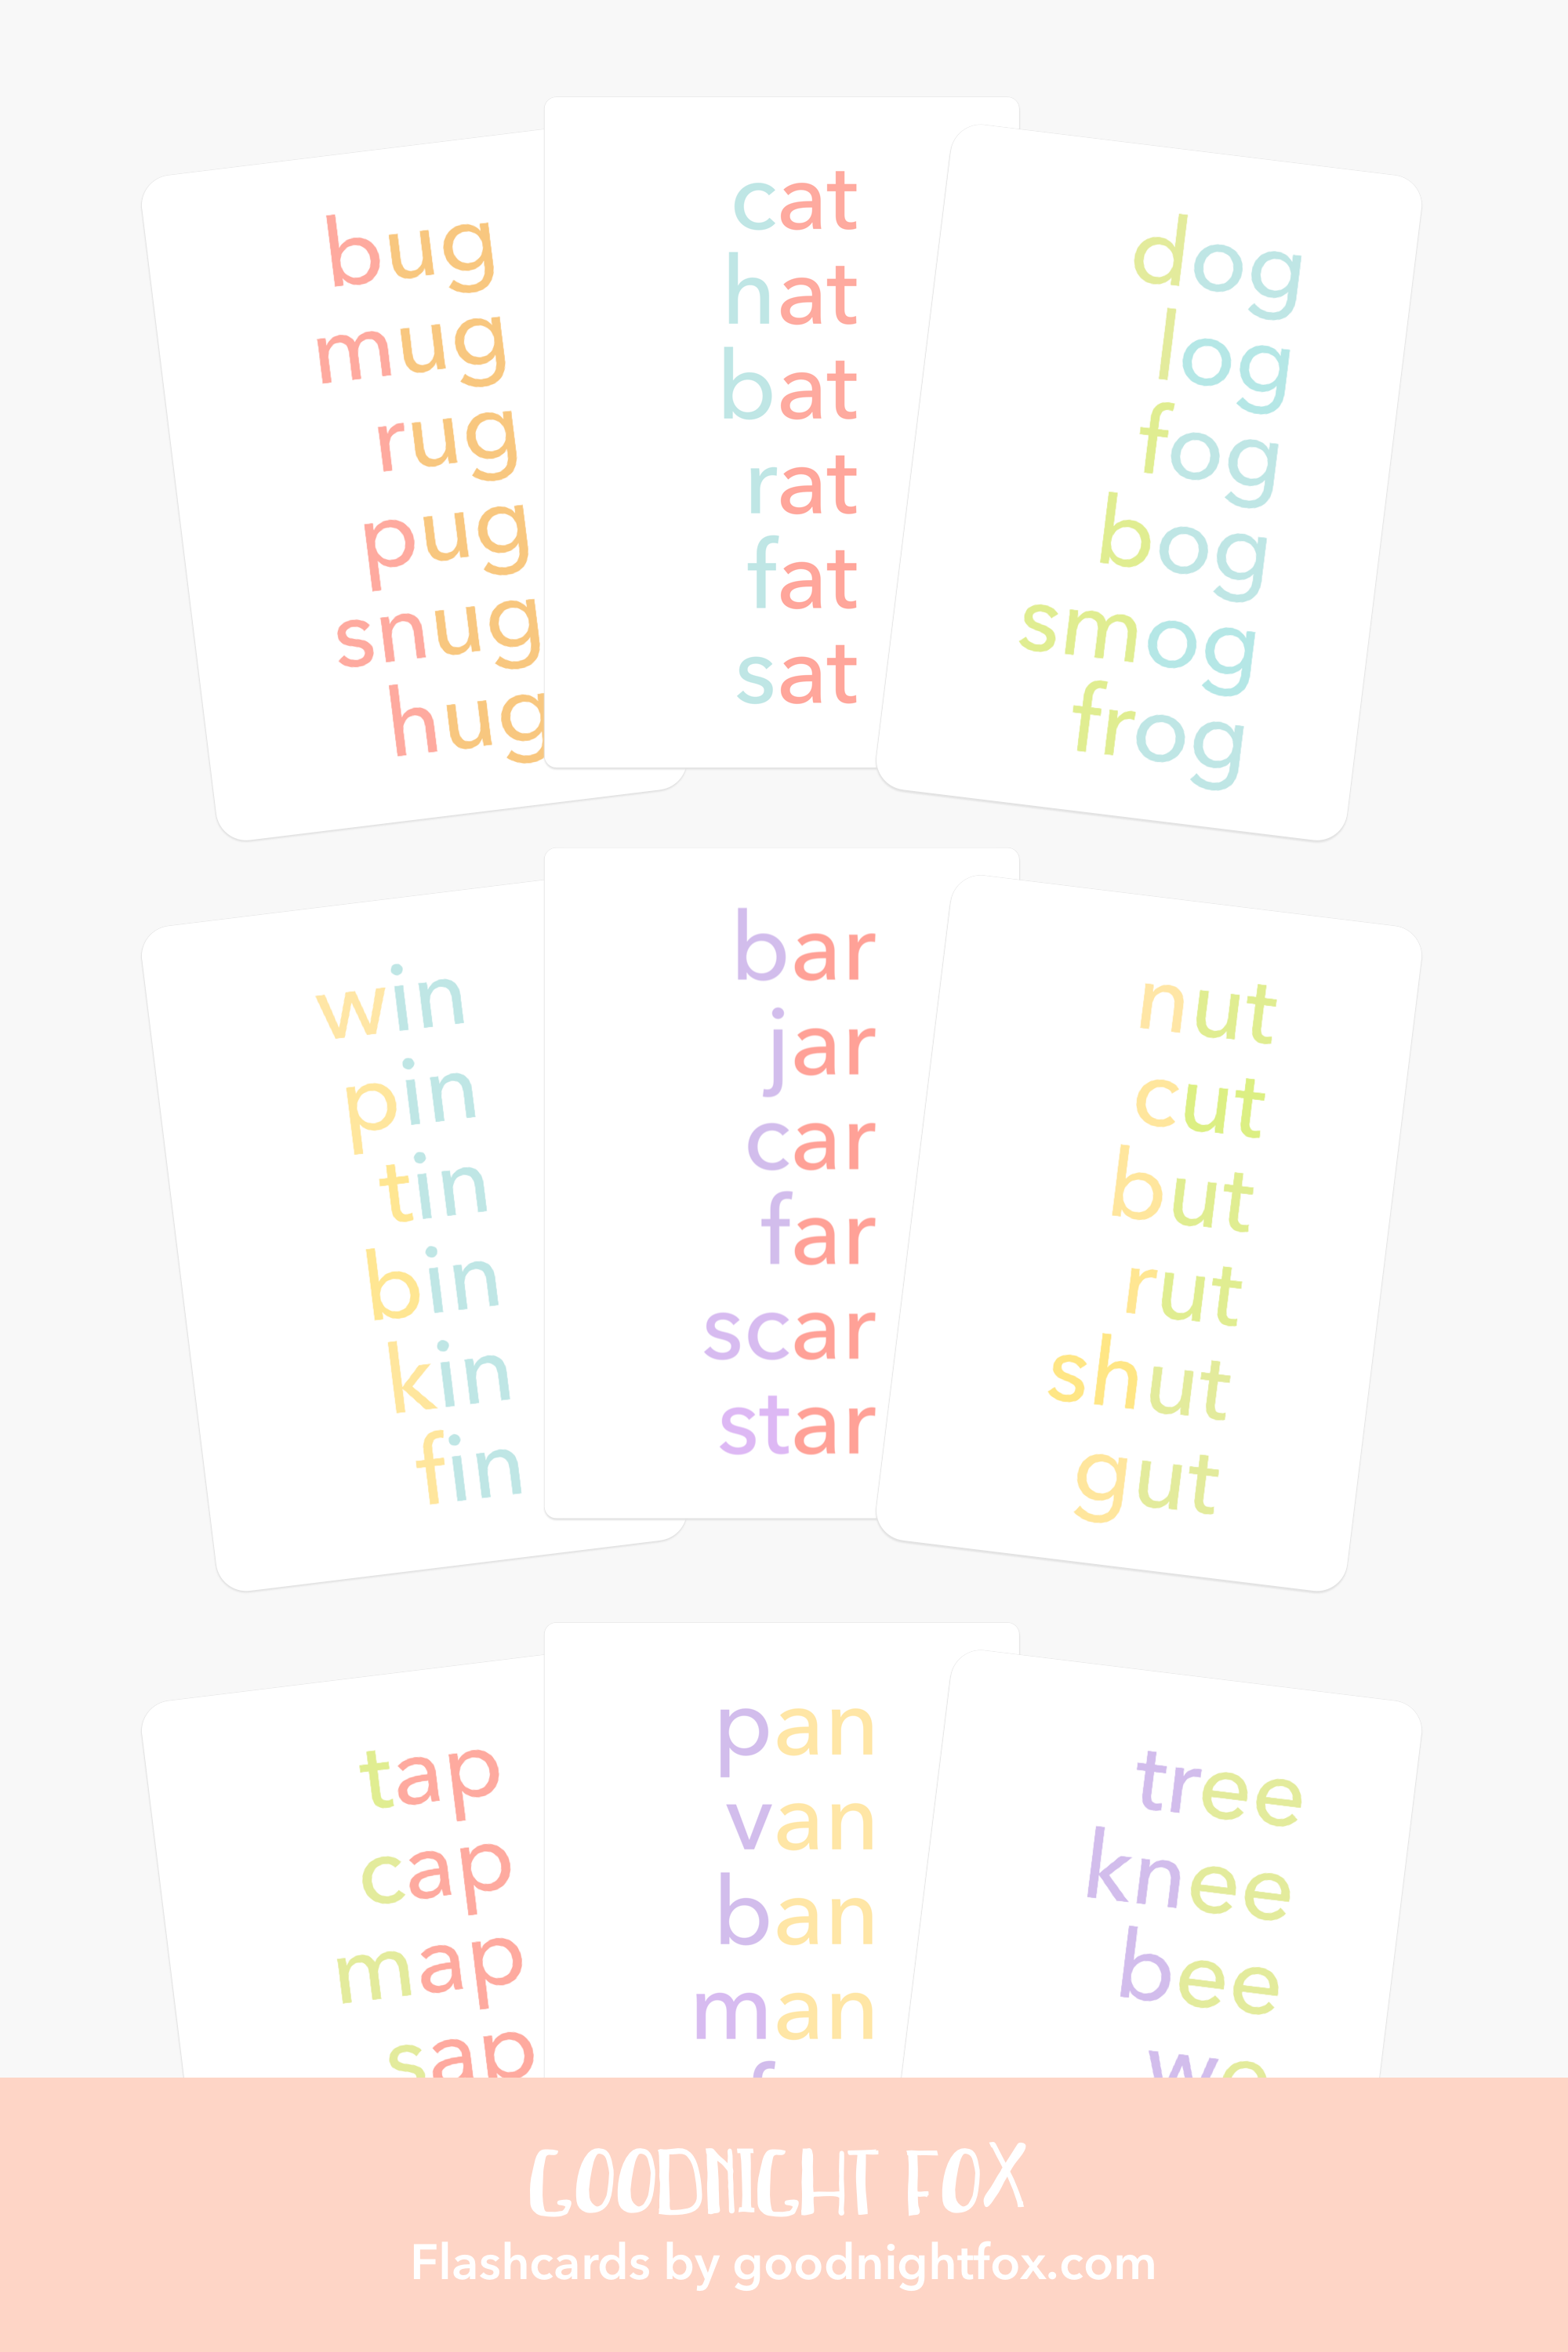
  • Sight Words: Practice common words, phonics, and basic short sentences for pre-reading fun.

  • Color Matching: Use color cards and a bin of different colored objects and toys and practice matching and sorting.

  • Counting: Pair counting cards with wool balls to gather the number of balls in one bin to match the number on the card.

  • Pattern Matching: Using a 12 frame or color ball insert, build the patterns from each of the cards.

  • Addition & Subtraction: Practice basic addition and subtraction with 10 math problems


Anytime Play TOPICS:

  • Sign Language: Choose the cards for each letter in the child’s name and practice building the signs for each letter.

  • Emotions: Learn to identify emotions and build calming habits around big feelings

  • Rhyming Words: Practice word sounds and rhyming

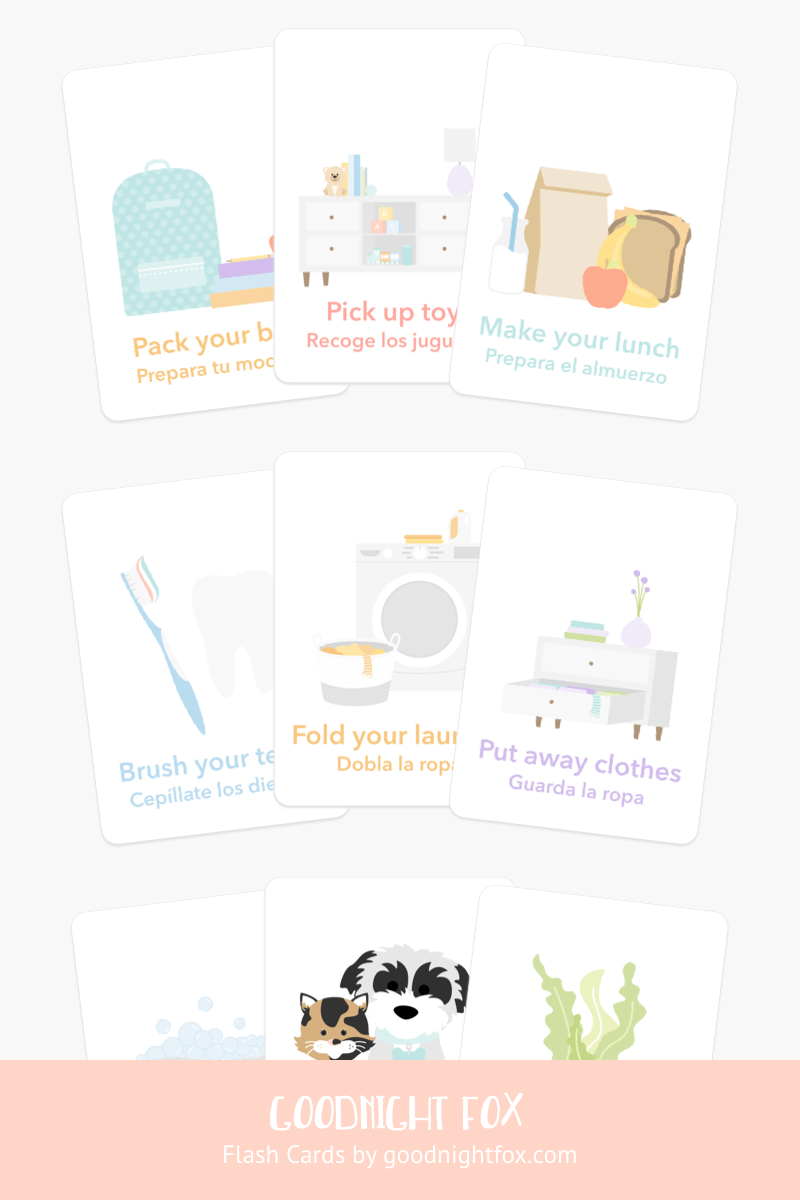
  • Routines: Learn about healthy morning and evening routines and self care

  • Chores: Practice contributing to the household with toddler friendly chores

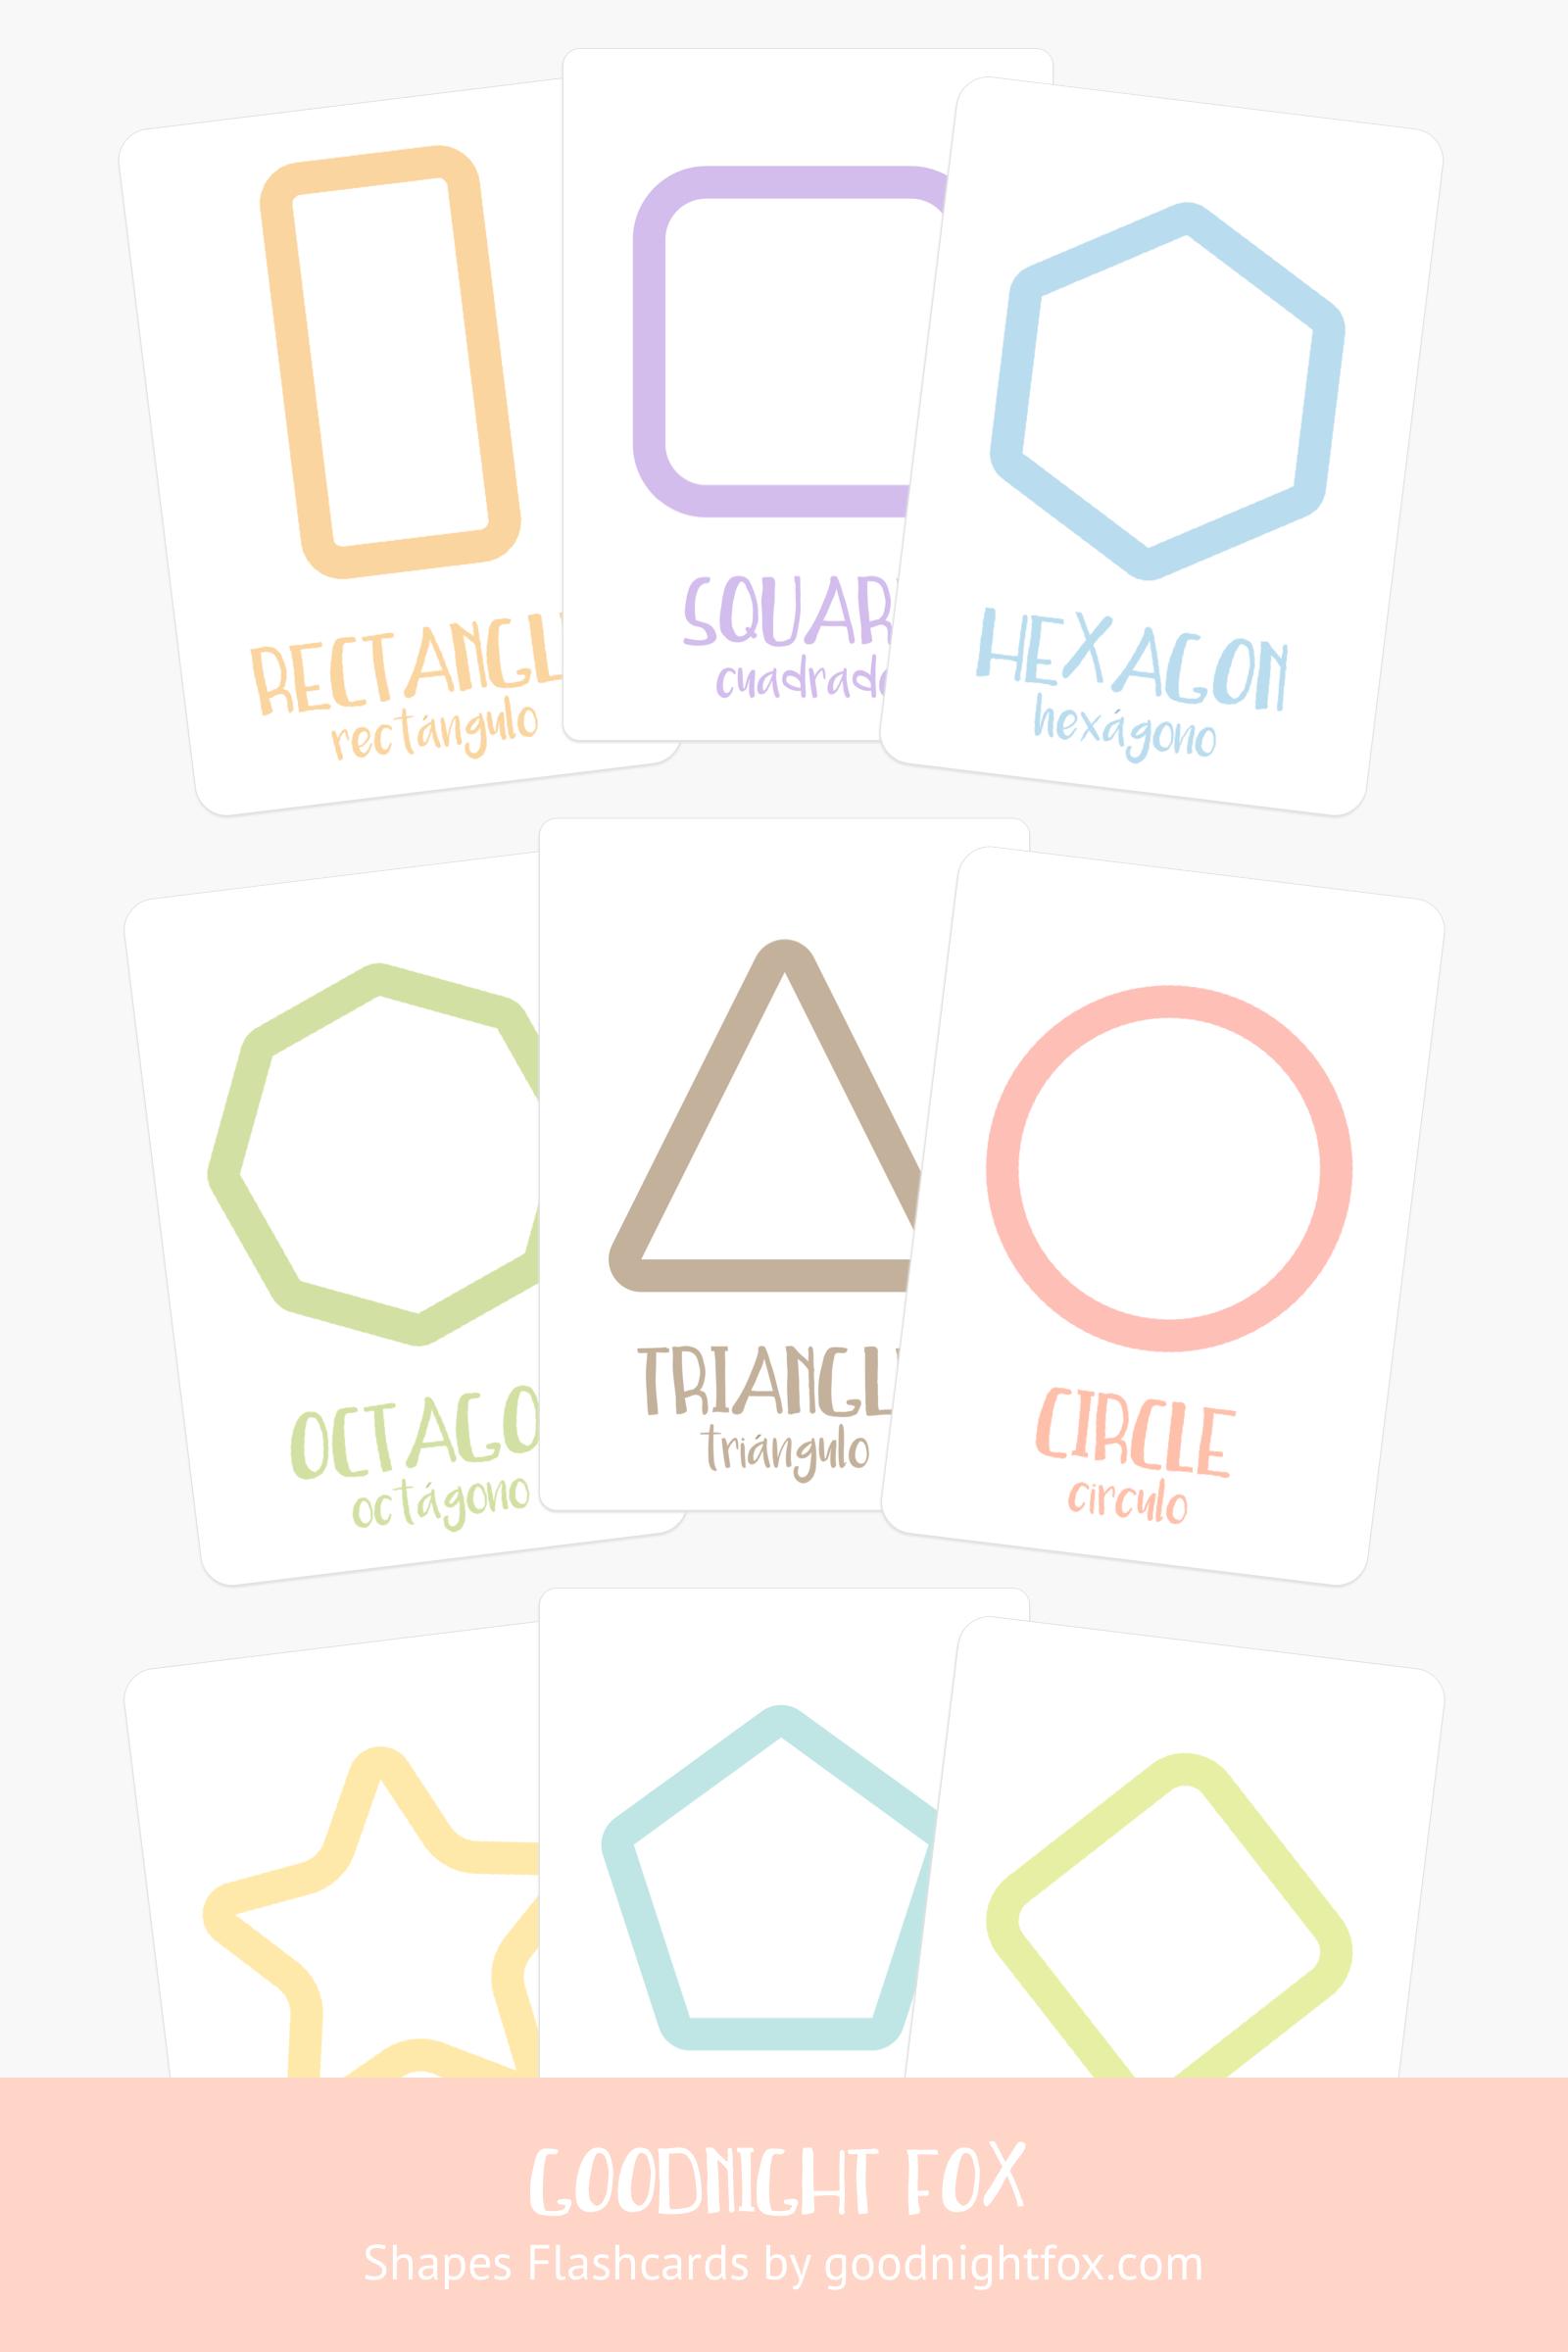
  • Shapes: Learn basic and advanced shapes

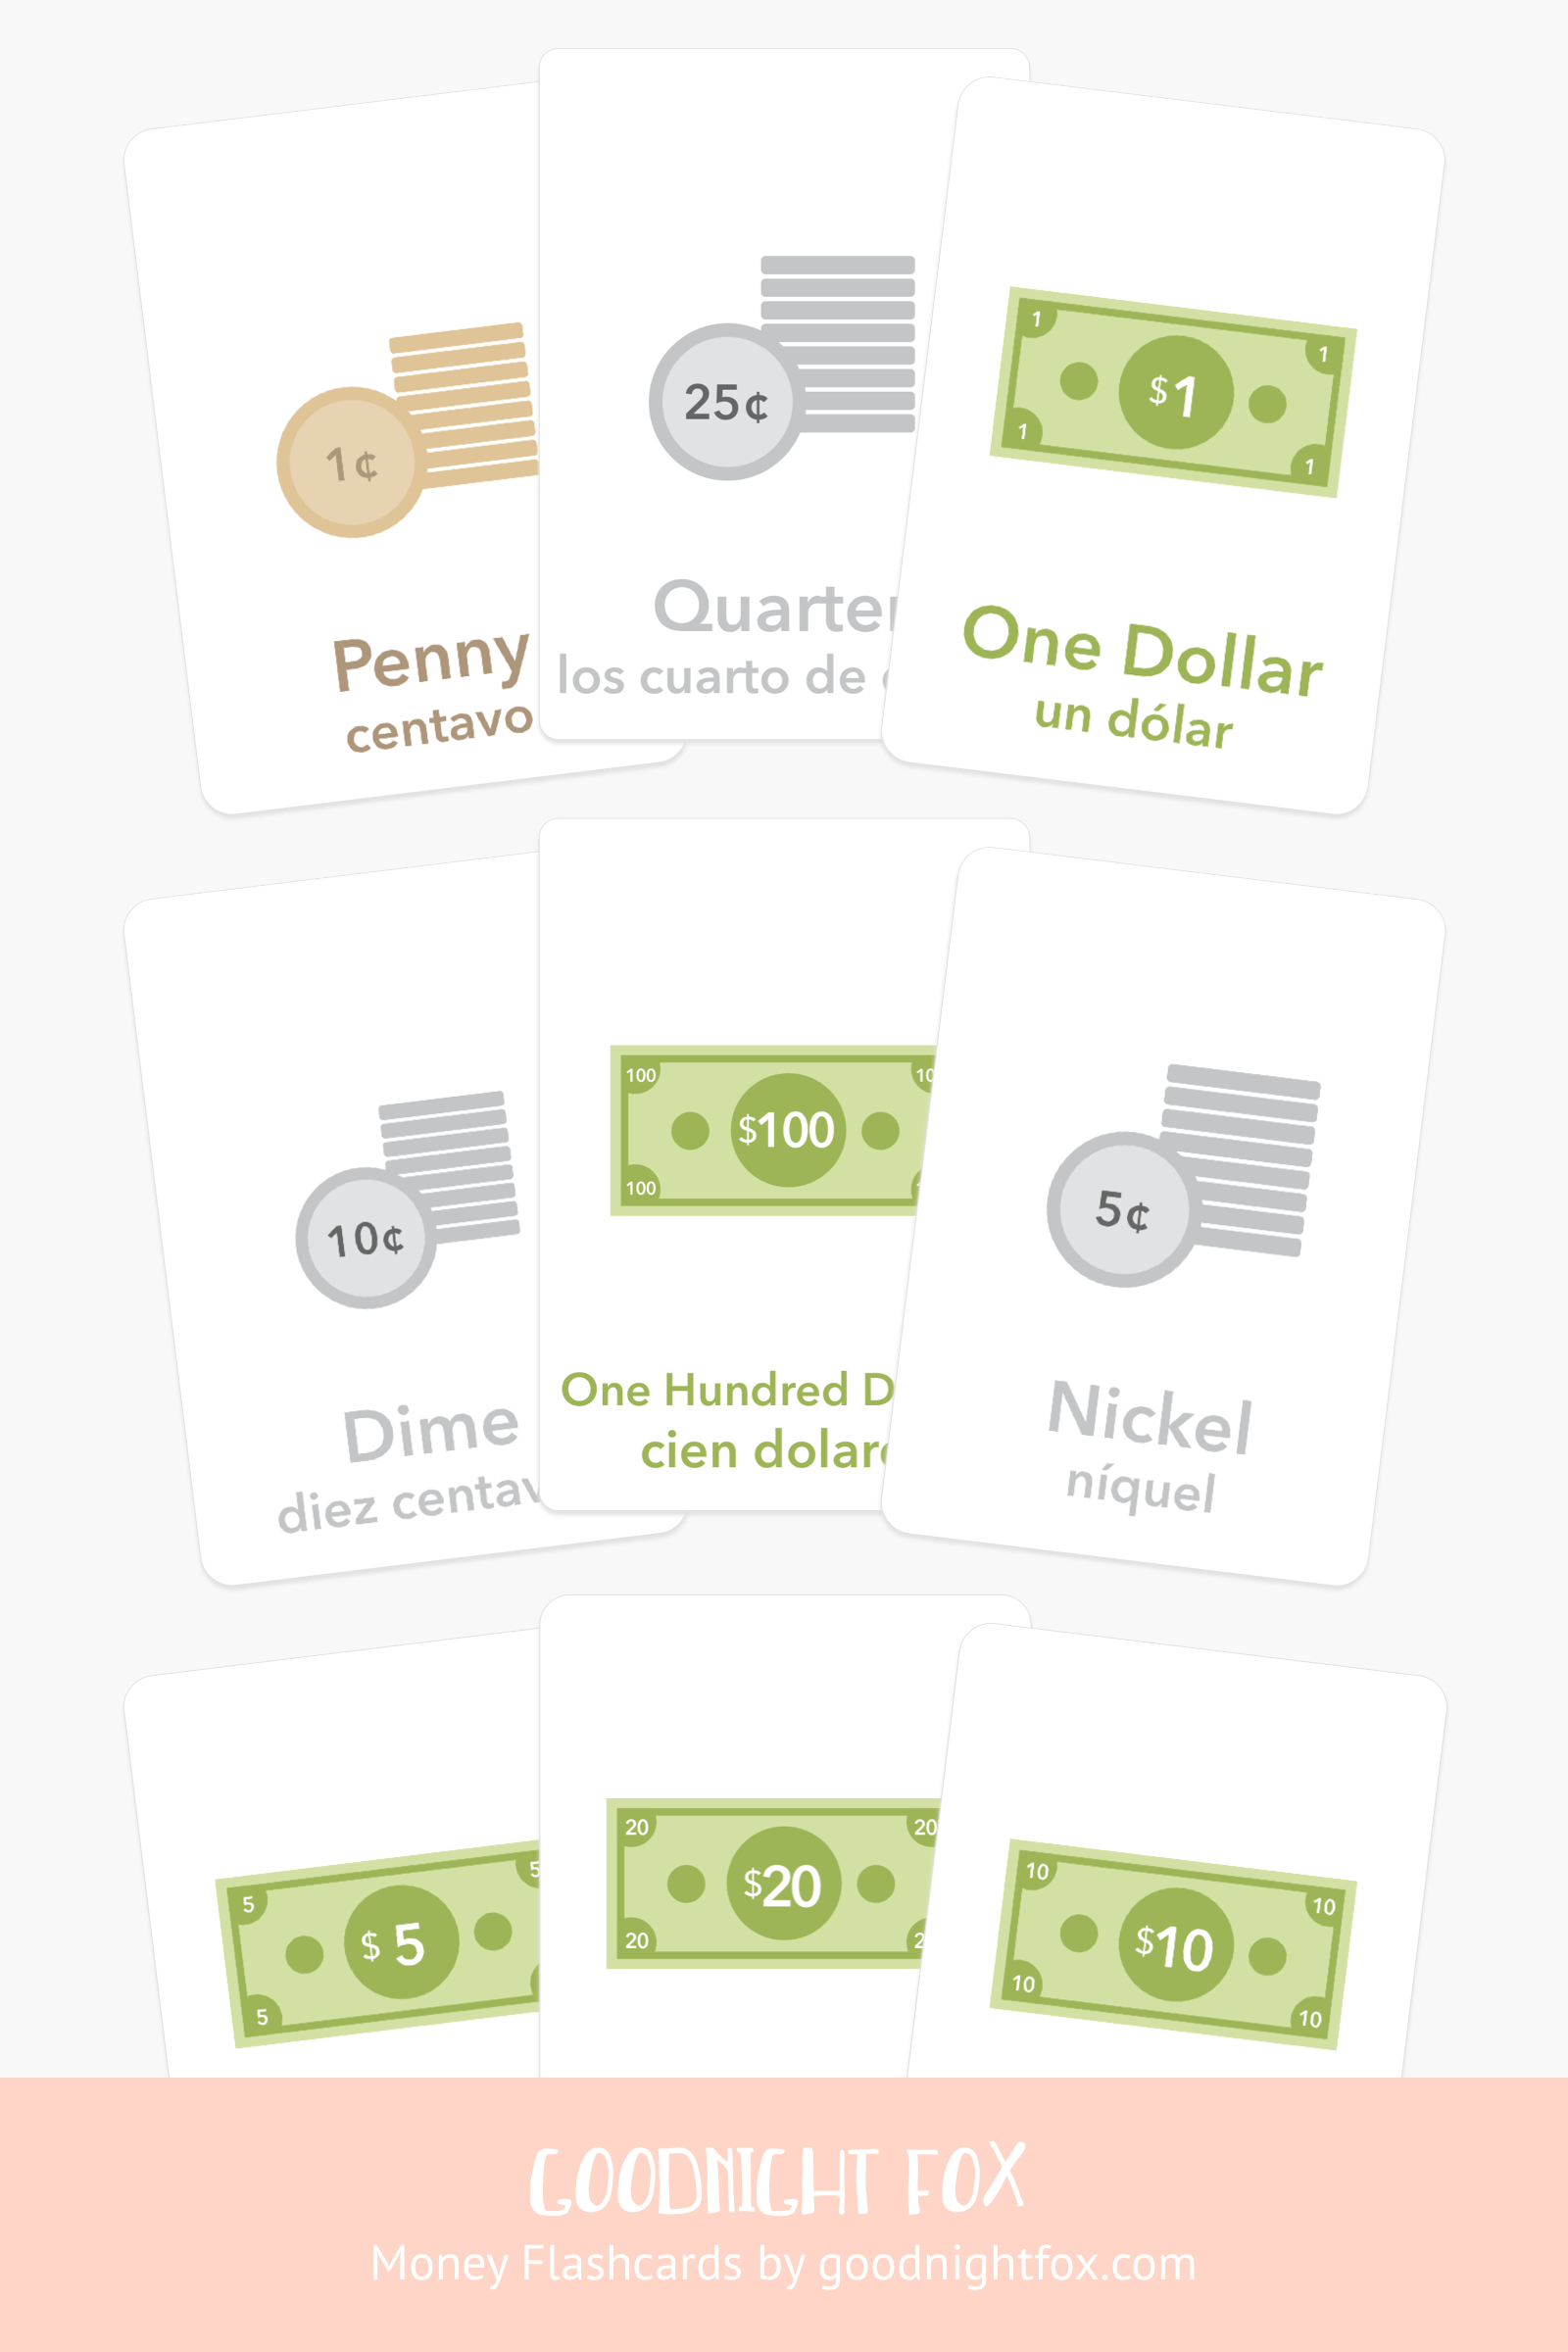
  • Money: Practice identifying coins and bills and adding multiple coin types together

  • Tangrams: Stretch your brain by building images with tangram shapes

Promote communication, emotional intelligence, and life skills through sensory experiences.


With our Sensory Play Calendar, you can provide your child with a year full of enriching, imaginative, and educational sensory experiences. Each activity is carefully designed to engage their senses and inspire creativity. To get started, explore our sensory play products at GoodnightFox.myshopify.com and let the sensory adventures begin! Happy playing, moms!

Printing Recommendations

If you’ve decided to purchase the download and print kit, here are a few recommendations on how to make the most of your printables.

  1. Print on 80lb cardstock: I recommend printing on a thicker card stock paper for durability. If you have a printer at home you can purchase 80lb cardstock on Amazon. If you’re printing at a store I recommend FedEx Kinkos.

  2. Print on regular paper and laminate: If you don’t want to print on cardstock, laminating regular paper is a great alternative and keeps your prints water proof in case there are spills. You can get a laminator from Amazon and lamination sheets like these.

  3. Print Flashcards 2 per page: When printing flashcards I recommend changing your printer setting to 2 per page so that they’re a reasonable size. You can laminate these as well or use cardstock for durability.

  4. Tools on hand: if you’re doing all of the setups, it can take time to do the cutouts. If you have a Cricut you can use the print & cut feature. If you’re doing it by hand I recommend having a paper cutter like this on hand and a corner rounder. You’ll also need a hole punch for the banner. And if you want to create the pennant flags, having wooden dowels and ribbon on hand is a must!

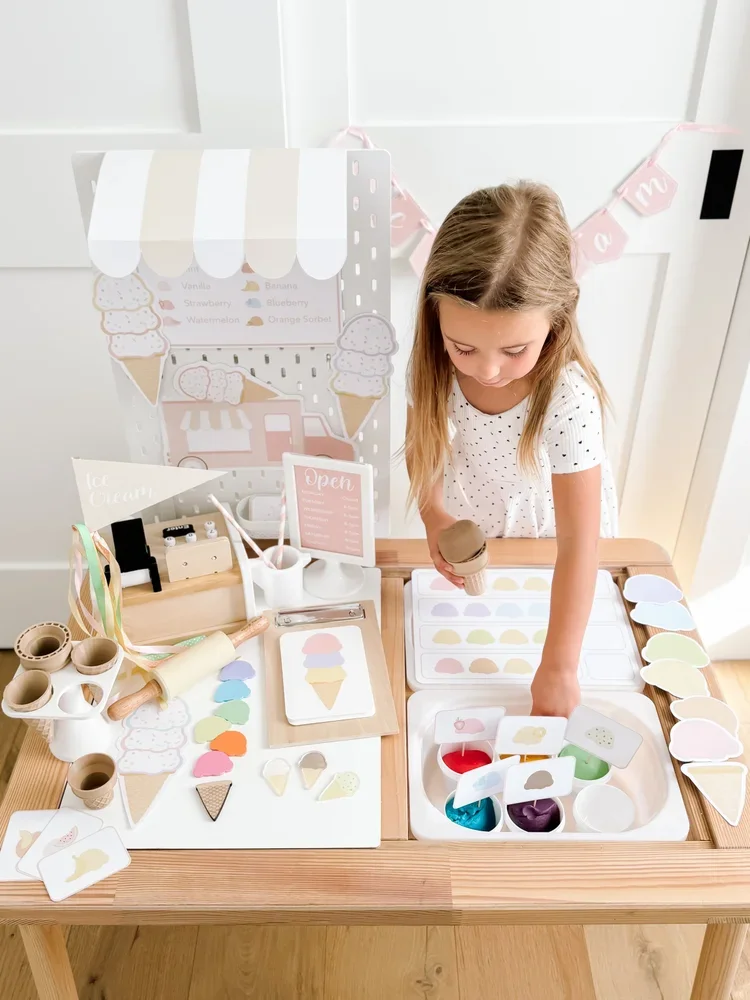
  5. Awning setup: To create the look of the awning, simply fold the paper 1 inch from the straight end. Fold the rounded edge near where the rounds meet. Then use packing tape to secure the straight edge over the back of the pegboard.

  6. Securing things: I use packing tape to secure most decorative elements to the pegboard. It’s also helpful to have on hand a roll of regular tape. I also like to use the IKEA phot frame stand for open/closed signs.

FILLER Recommendations & Shopping List

Here’s the complete list of all of the sensory fillers you might want to have on hand and many of the alternatives available to swap for taste safe options. Keep in mind that I did 3 bins each week to demonstrate multiple options, but you can choose 1 or 2 or just play with the decor!

  • January Shopping List

    • Week 1: Disco balls, mirrors, shiny tinsel (taste safe alternative: sprinkles)

    • Week 2: Play foam, sand, oil/water/sensory bottles (taste safe alternatives: tapioca balls, chia seeds, salt)

    • Week 3: Resin/wool letters, letter clips, letter cookies (taste safe alternatives: pasta letters)

    • Week 4: Felt play food, playdoh, rags/spray bottle (taste safe alternative: real cereal, fruits, veggies, juice box)

    • Week 5: Wool balls, rubber bands (taste safe alternative: fruit loops)

  • February Shopping List

    • Week 6: Heart cereal, felt bakery food, sweethearts candy (taste safe alternative: popcorn)

    • Week 7: Color balls/blocks, silicone cupcake wrappers (taste safe alternative: rainbow cereal)

    • Week 8: Wool balls (taste safe alternative: rainbow cereal)

    • Week 9: Colored chickpeas (taste safe alternative: food colored oatmeal)

  • March Shopping List

    • Week 10: Funnel, play sand, water, chia seeds (taste safe alternative: blended cheerio sand)

    • Week 11: Crushed oreo dirt, green pluffle, green chickpeas (taste safe alternative: dried green peas)

    • Week 12: Kinetic sand, rainbow colored chickpeas (taste safe alternative: lucky charms cereal)

    • Week 13: Kinetic sand, rocks/gravel, nuts & bolts erasers (taste safe alternatives: cheerios, chex mix, icing playdoh)

    • Week 14: Green vase filler, foam eggs, coffee beans (taste safe alternatives: dried green peas, malted egg candy, cocoa puffs cereal)

IKEA FLISAT Table Guide: Setup, Bins & Sensory Play Ideas

IKEA FLISAT Table Guide: Setup, Bins & Sensory Play Ideas

Everything a beginner actually needs to know about the IKEA FLISAT sensory table — which TROFAST bins to buy, how the pegboard setup works, and the ways we really use ours — from years of GoodnightFox setups.

The tableFLISAT, 32⅝ × 22⅞ in
The binsTROFAST, 16½ × 11¾ in footprint
Core setupTable + bins. That's it.
Everything elseOptional, added gradually
IKEA FLISAT table guide — sensory table setup with TROFAST bins, SKADIS pegboard and accessories
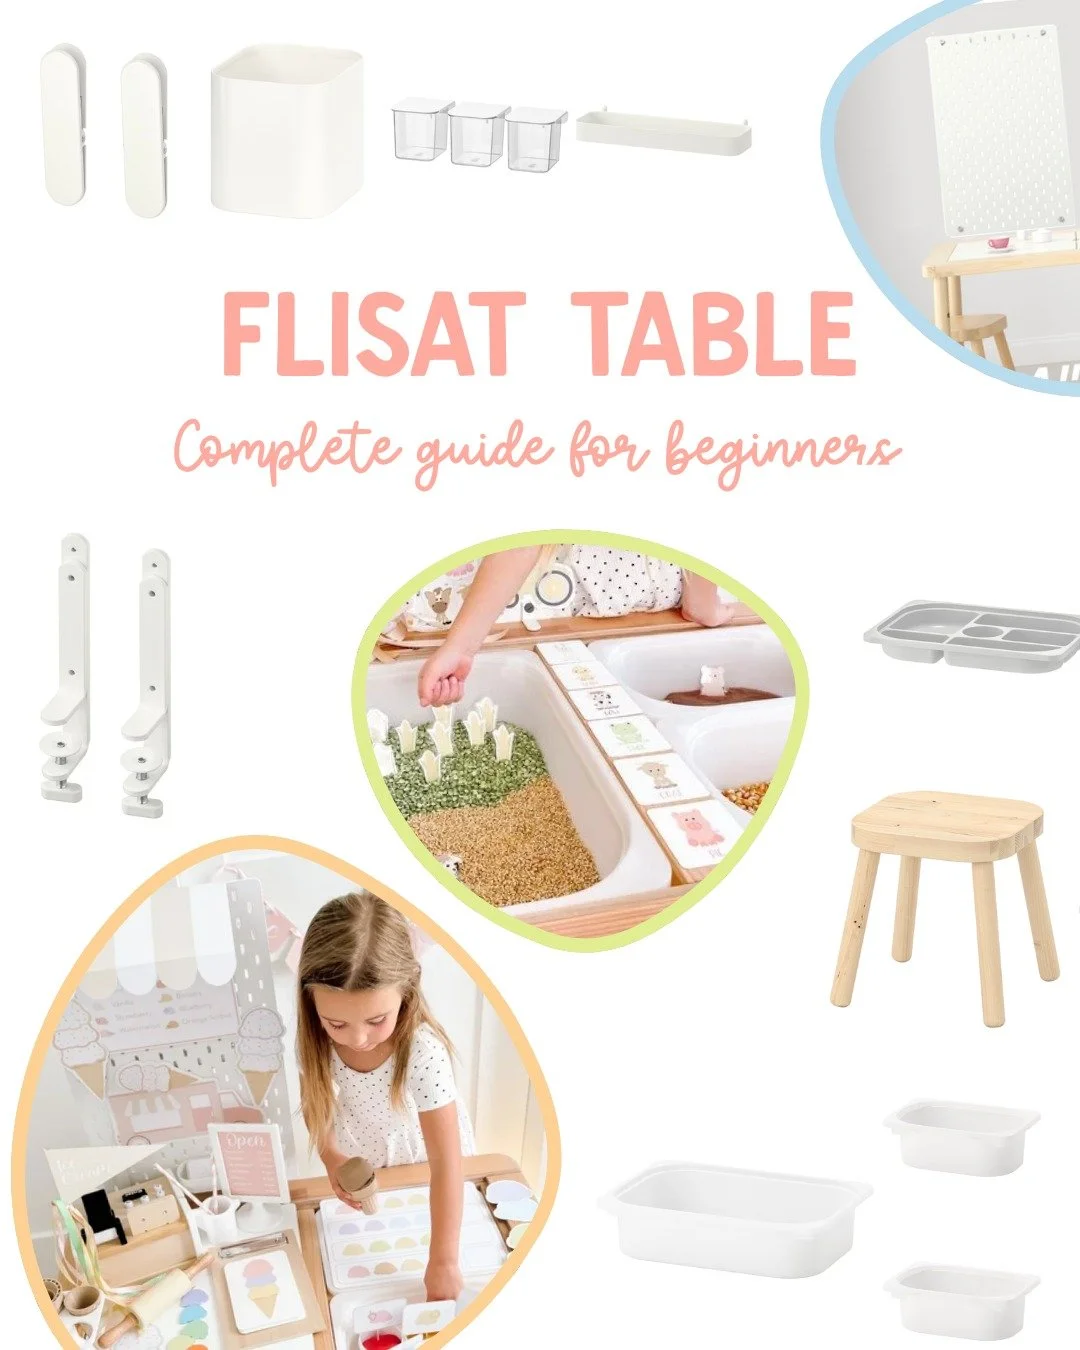
The complete FLISAT setup: table, TROFAST bins, SKADIS pegboard, and the accessories that turn it into a play shop.

If you keep seeing this little wooden table all over your feed and wondering what you'd actually need to buy, this is the guide I wish someone had handed me. We've used our IKEA FLISAT table for years of GoodnightFox sensory and pretend-play setups — it has been a sensory bin, a bakery, a vet clinic, and an ordinary craft table, sometimes all in the same week.

Here's the short answer first: the core setup is the FLISAT table plus compatible TROFAST bins. Everything else in this article — the pegboard, the trays, the tools — can be added gradually, once you know how your child actually plays. You do not need an elaborate setup to start.

In this guide: What you need · TROFAST bins · FLISAT setup · SKÅDIS pegboard · Accessories · Favorite FLISAT themes · Storage · FLISAT printables · FAQ

What is the IKEA FLISAT table?

The FLISAT is a wooden children's table (32⅝ × 22⅞ inches) whose top is made of two removable lids. Lift the lids and there are two openings underneath, sized to hold TROFAST storage boxes — that's what turns it into a sensory table. Drop the bins in and you have two contained play spaces; put the lids back on and it's a normal children's table for crafts, puzzles, and snacks. That open-and-close design is the whole reason parents use it for sensory play: the mess lives in the bins, and when play is over, the lids go on and the room is a room again.

The table is sold on its own at IKEA (around $99.99 in the US) and the bins are sold separately. Prices change, so check IKEA for current pricing before you go.

What do you actually need to get started?

Less than the internet suggests. Here's how I'd sort the shopping list if I were starting over:

Essential

  • The FLISAT table — the table itself, lids included.
  • TROFAST bins that fit it — see the next section for exactly which ones, because this is where beginners get stuck.

Helpful (add in the first few weeks)

  • Scoops, tongs, and a wide-mouth funnel
  • Small containers and cups for pouring and sorting
  • A sifter, if you'll mix fillers like rice and beans
  • Tape and scissors — for printables, backdrops, and quick fixes

Optional (only if they'll serve your play)

  • A SKÅDIS pegboard with connectors/clamps, for backdrops and storage
  • Printable awnings, signs, and decor for pretend-play setups
  • Extra trays and specialty tools
  • A TROFAST frame for storing whole setups (more on that in the storage section)

When I first put our everyday basics together — table, bins, pegboard, and connectors — the total came to about $120, and it's something we've used at least weekly, if not daily, ever since. But the table and bins alone would have been a complete start.

Which TROFAST bins should I buy?

This is the section that saves you a second trip to IKEA. The FLISAT's two openings each fit a TROFAST box with a 16½ × 11¾ inch footprint. That footprint comes in two depths, and there's a half-size box too:

BinSizeBest for
Large, deep16½ × 11¾ × 9 inOne big sensory bin — water play, lots of filler, burying and digging
Large, shallow16½ × 11¾ × 4 inThe same footprint with less filler to buy and shallower reach for little arms
Small7¾ × 11¾ × 4 inTwo sit side by side in one opening — separate materials, tools, or activity parts

Three combinations cover almost everything:

  • Two large bins — one per opening. The simplest setup: two different fillers, or filler on one side and tools on the other.
  • One large + two small (my basics pick) — if you're going for the basics, I recommend two small bins on one side of the table and one large bin on the other. That enables setups with three different parts. The smaller bins are nice because they don't require as much sensory filler, which can be expensive and messy.
  • Mixed depths — a deep bin for the main filler and a shallow one where you want everything visible at a glance.

If you just want the basics and don't have room to store extra supplies, get one large bin and two small ones and you're done. If you want to use the bins for extra playroom storage too, get two or more large ones — they stack and swap easily.

How I set up my FLISAT table

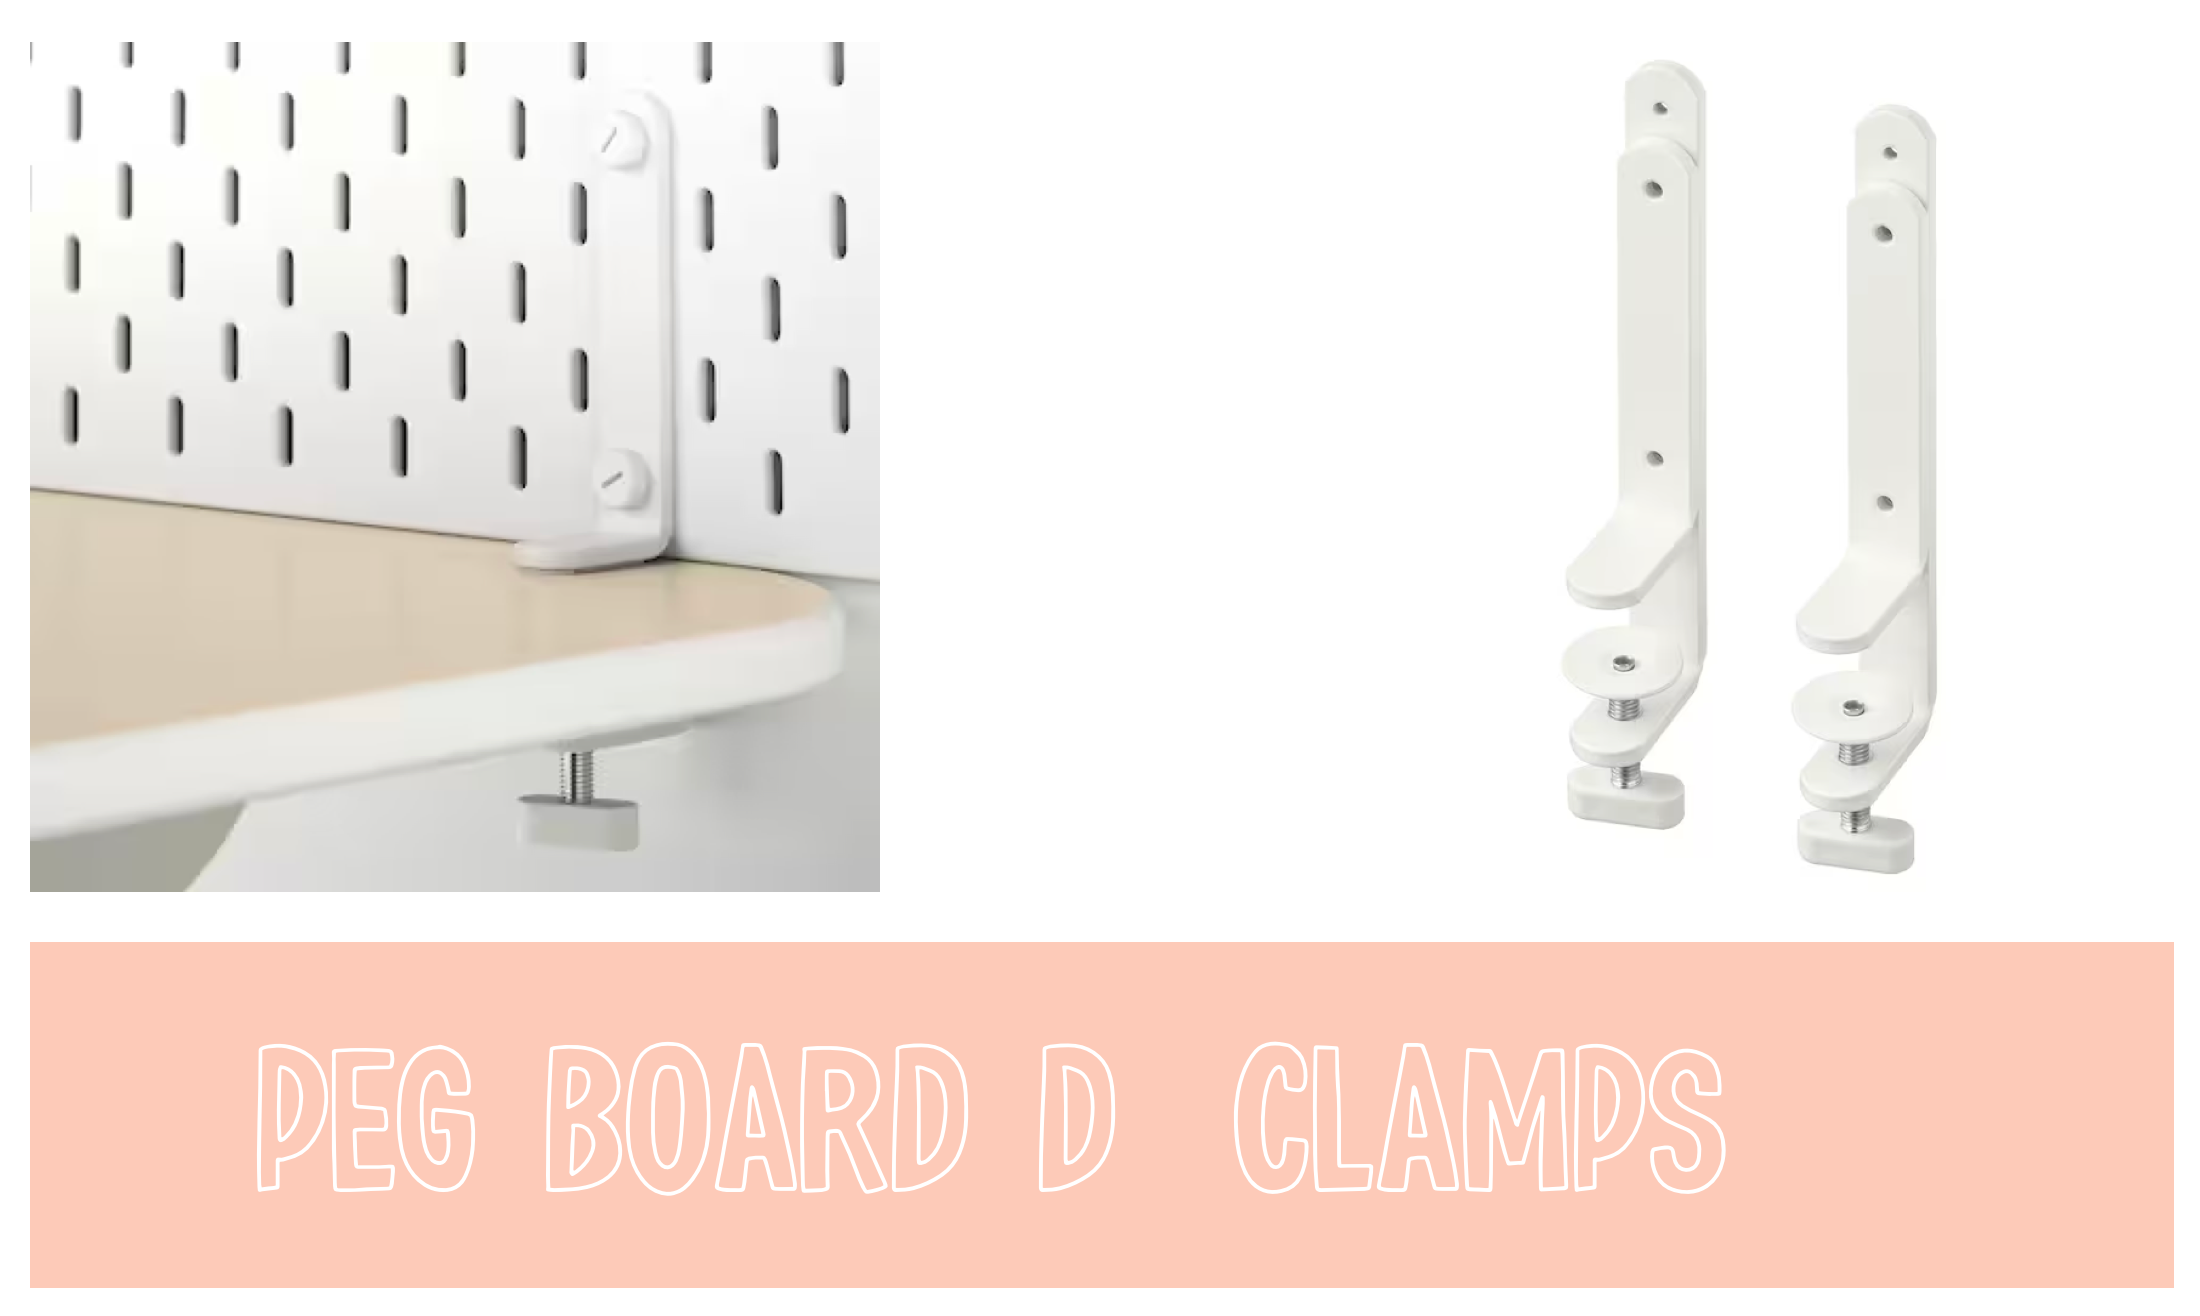
My everyday setup is the table, the one-large-and-two-small bin combination, and the smaller pegboard clamped to the back. Assembly is just IKEA's instructions for the table itself. The pegboard is my own addition: the SKÅDIS connectors (the screw-on D-clamps) secure first to the pegboard and then clamp down onto the table by tightening a screw, which keeps the board upright and secure as a backdrop for displaying sensory table materials.

IKEA TROFAST storage boxes that fit the FLISAT table — one large box and two small boxes
The TROFAST boxes that fit the FLISAT: the large box fills one opening; two small boxes sit side by side in the other.
IKEA SKÅDIS pegboard accessories — containers, clear boxes, shelf, and clips
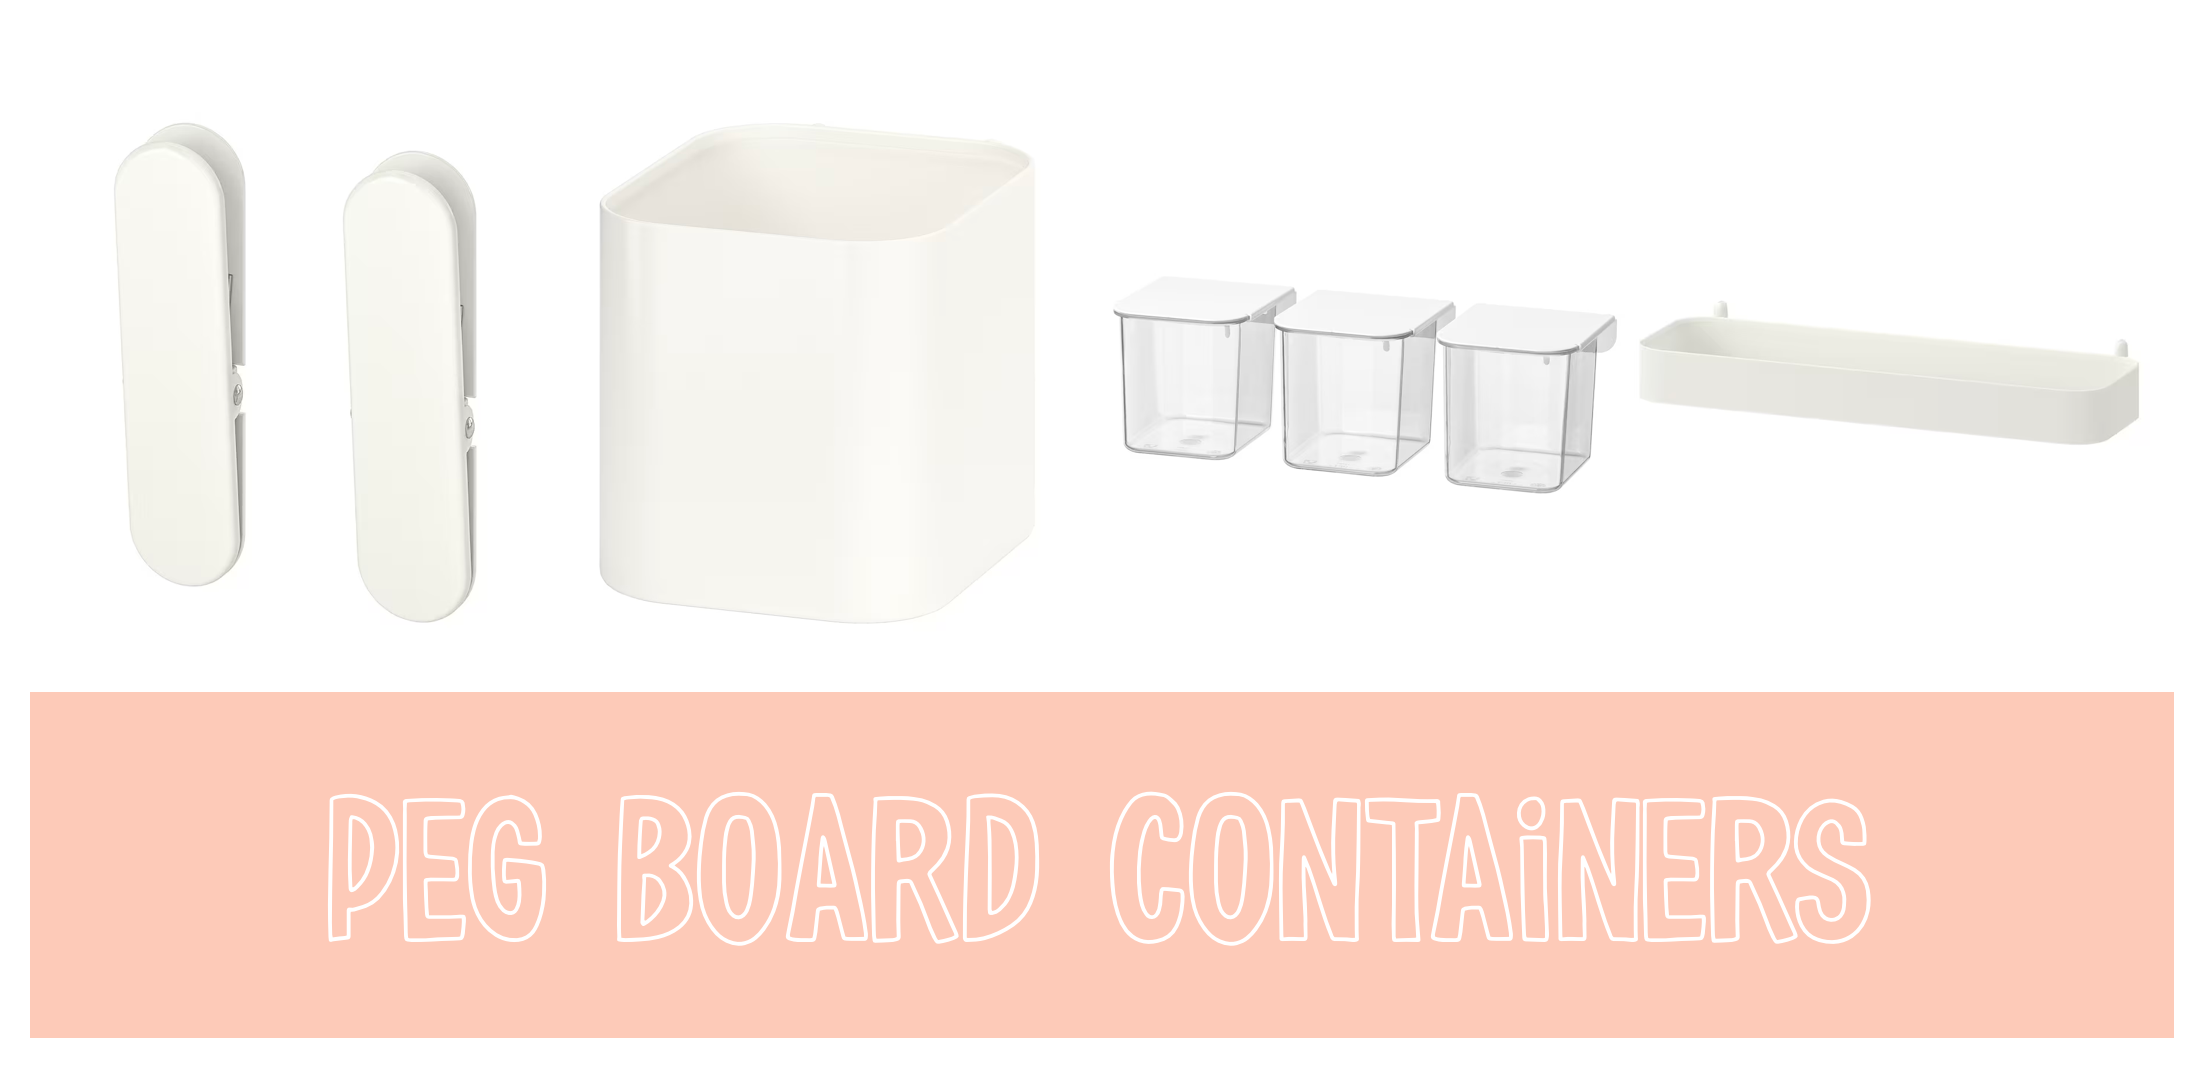
SKADIS pegboard containers and clips — where the small supplies and sensory tools live.

Should I add a SKÅDIS pegboard?

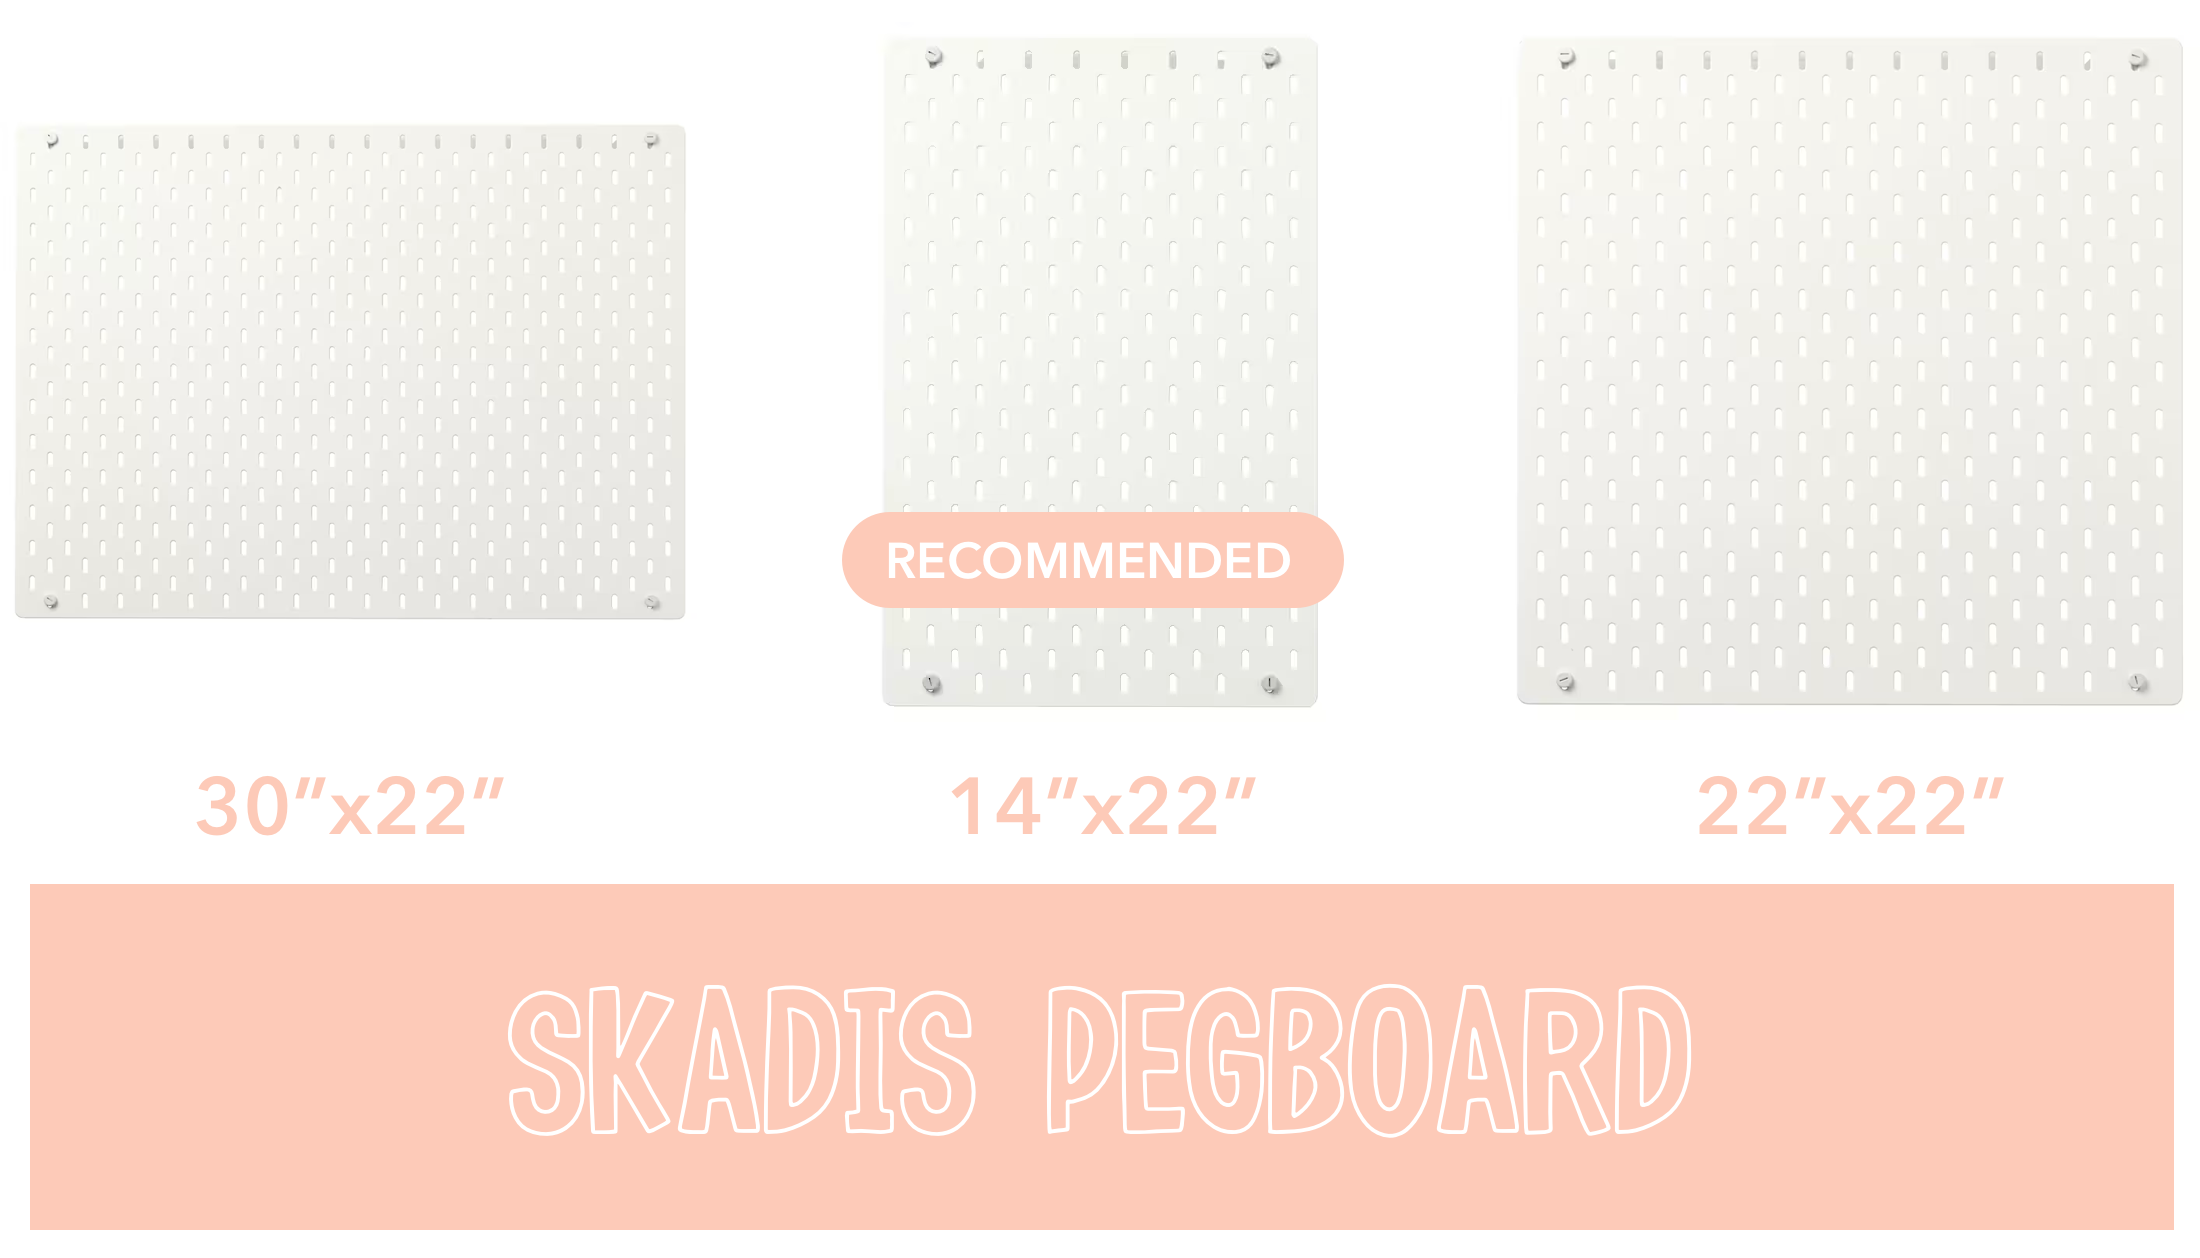
Short answer: not at first — but it's the add-on I get asked about most, so here's my honest comparison of the sizes. One important note: attaching a SKÅDIS to a FLISAT is my own setup, not something IKEA officially recommends. It's a modification plenty of parents make, and it works well for us — just know you're improvising, not following an IKEA pairing.

SKÅDIS pegboard D-clamp connectors attaching the board to the FLISAT table
The D-clamp connectors that hold the pegboard to the back of the table.
SKADIS pegboard sizes compared on the IKEA FLISAT table
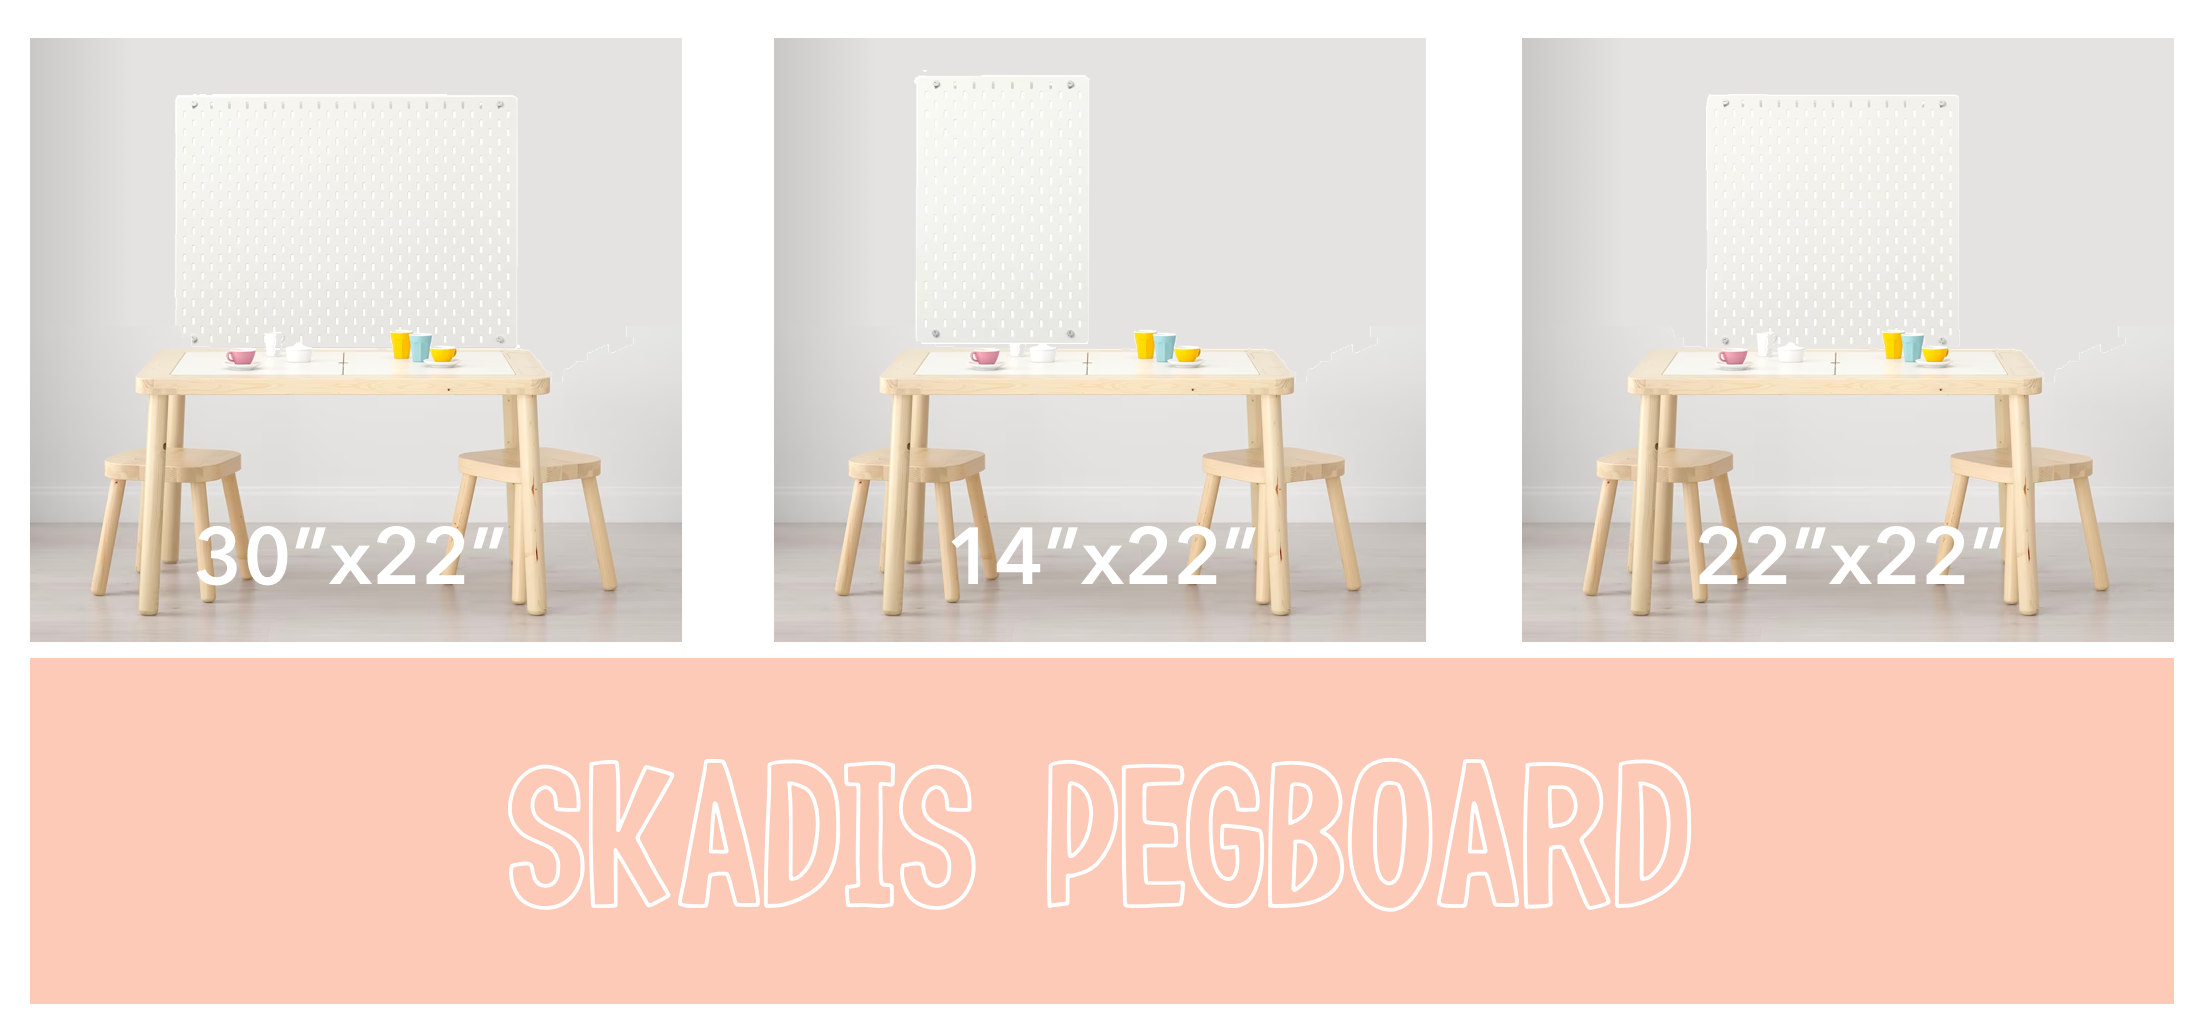
The three SKADIS sizes on the FLISAT — the small 14¾ × 22 in board is the one we use for pretend play.
  • 14¾ × 22 in (my pick) — I love the smaller pegboard because it can be used upright and allows the child to see around the other side, which matters for dramatic play setups where I'm playing the customer on the opposite side of the "shop."
  • 30 × 22 in — the full-sized board is popular if you want your child to sit at the table and play against a full-sized backdrop. More display space, but it walls off the far side.
  • 22 × 22 in — the square board, in my opinion, works best on walls for sensory storage materials. This size won't match the length of the table, nor will it give the child much room to see around it.

Why the pegboard earns its place in our house: for most of my GoodnightFox printable play setups, I tape a paper awning to the pegboard to create the look of entering a shop. That one trick — a printed awning, a sign, a backdrop — is what turns a sensory bin into a bakery, a post office, or a vet clinic. The board also holds the small containers and clips in the storage section below.

Is it necessary? No. Plenty of families never add one. Add it when you find yourself wanting backdrops for pretend play, not before.

Best FLISAT accessories (the ones I actually use)

Everything here is something that's earned its space in our playroom — not a shopping list for its own sake. The pattern to notice: most of these are what I think of as activity extenders. When a child starts losing interest in a setup, you don't always need a new setup — you need a new goal inside the old one. A scoop becomes a delivery tool; tongs turn filler into a rescue mission; an empty container invites filling, carrying, and "cooking." Extenders are how one bin of rice lasts three days instead of twenty minutes.

Three IKEA SKÅDIS pegboard sizes compared — 30 by 22 inches, 14 by 22 inches, and 22 by 22 inches
SKÅDIS pegboards come in three sizes — the smaller upright board (center) is my pick, because kids can play on both sides of the table.
  • Sifter — if you plan to work with a mix of textures (rice, beans, chickpeas, sand), this specific tool earns its keep: it sorts small grains from large grains, so you can mix two fillers for play and sort them back out at the end. It's also deeply satisfying to use.
  • Wide-mouth funnel — get a pretty wide one for typical fillers like beans and chickpeas. Your kids will get extra use out of funnels in the bathtub too, so it doesn't hurt to have a few extras.
  • Scoops and cups — my favorite little cups and sifter are the stackable ones from Inspire My Play, because they save space and match the scoop set. I love silicone scoops because they're soft and flexible.
  • Tongs — the classic extender: suddenly everything in the bin needs rescuing, sorting, or serving.
  • Tape and scissors — stock up on tape especially if you'll be doing a lot of add-on materials. I use regular Scotch tape for hanging most printables and Scotch packing tape for securing the awning to the pegboard. Keep a pair of kid scissors handy too — little ones love to help, and it's great fine-motor practice.
  • TROFAST storage tray — not a must, but a nice-to-have if you like setups neat and orderly. It organizes scoops and spoons, and fits nicely on top of the bins while the fillers sit underneath.
  • A wooden serving tray — the little wooden tray from our Plan Toys food set gets used constantly to tote "orders" around in restaurant scenes.
  • Inspire My Play tray — I love having this tray for small world play: the dividers create spaces for each part of the setup, and it's very deep, which allows for liquids and other materials.
  • Cloud silicone placemat — great for sticky or messy play: slime days, playdough, anything wet. Just note that magnetic sand sticks to this surface and has to be washed off.
  • Felt food and a toy cash register — for farmers market, grocery store, and play kitchen setups, felt food adds realistic magic. If you're already making the IKEA trip, their felt sets (vegetables, shopping basket, pizza, cinnamon rolls) are hard to beat on price. And since most of my setups pretend my daughter owns a shop in the real world, a cash register is super handy — we've had one from Crate & Barrel and one from Pottery Barn and loved them both. (Setting up a play kitchen instead? Start with my IKEA play kitchen ideas.)

An easy first FLISAT setup

Don't overthink your first one. Here's the beginner setup I'd hand any new FLISAT owner:

  1. Put the large bin in one side and the two small bins in the other.
  2. Fill the large bin with one simple dry filler — rice, dried pasta, or oats.
  3. Put scoops and cups in one small bin; leave the other small bin empty.
  4. That's it. Scoop, pour, fill the empty bin, empty it back.

An empty container is a surprisingly powerful invitation — filling and emptying is the whole game at this age. When interest dips, add one extender (tongs, a funnel, a few puzzle pieces to bury and find) before you reach for a whole new theme. And before you choose any setup, know your own non-negotiables: some parents refuse rice or sand in the house, some prefer no sticky or doughy materials, some keep water play outside only. Knowing your limits narrows the search for inspiration in a good way.

FLISAT table ideas from our real setups

Every example below is a real GoodnightFox setup from our own table — these are the posts I send friends when they ask what to do with the table next.

Sensory bins

Pretend and dramatic play

  • Cat adoption sensory play setup — the FLISAT as a pet adoption center, pegboard backdrop and all.
  • Our bakery setup, built around the book The Smart Cookie — proof that a favorite picture book can become a whole shop.

Small-world play

Seasonal play

IKEA FLISAT stool, TROFAST insert tray, and TROFAST storage frame
Nice-to-have extras: the FLISAT stool, the TROFAST insert tray that sits on top of a bin, and the TROFAST frame for storing whole setups.

Where does my inspiration come from? Holidays and seasons first. Books, constantly — children's books are a theme factory. Learning concepts (alphabet, counting, shapes, phonics) make easy, purposeful themes. Real-world scenarios — shops and workplaces my daughter can step into — are where she learns the most, playing the part of a shop owner or astronaut, a baker or even a farm animal. And interesting materials: when I found Pluffle, I started hunting for new textures — we've built tables with ace bandages, glow-in-the-dark rocks, and hydrophobic water. Whenever you come across a fun material, even aluminum foil or wax paper, it's worth asking how it could become a setup.

If you don't know where to start, my Sensory Play Calendar is built for exactly this problem: a weekly bin with an associated learning goal, so the planning is done for you.

Pretend play with the FLISAT table

This is where GoodnightFox setups differ from a basic sensory bin. The formula is simple: pegboard or backdrop + printable awning and signs + themed materials in the bins. The awning taped to the pegboard creates the shopfront; menus, signs, and learning cards tell the story; the bins hold the "goods." One week the table is a bakery, the next it's a cat adoption center — the structure stays the same and only the printables change.

IKEA felt food sets — shopping basket, vegetables, pizza, and cinnamon rolls
The IKEA felt food sets we reach for most — the shopping basket, vegetables, pizza, and cinnamon rolls stock most of our pretend shops.

If pretend play is your main goal, the printable library is where to dig in — see the printables section below for the full FLISAT collection.

Our most-loved FLISAT themes

Not sure which theme to try first? Start where our readers and customers start. These are the setups that get played, saved, and bought the most — the Ice Cream Shop kit is the best-selling product in our whole shop, and the vet clinic and bakery are among our most-read pretend play posts. Each one is a $5 printable kit that pairs with the blog post showing our real setup.

Ice cream shop pretend play setup on the FLISAT table

Ice Cream Shop

Signs, menus, order slips, mix-and-match scoops, and pretend money — the table becomes a working ice cream parlor. This is the kit that outsells everything else we make, and the setup our readers ask about most.

Get the Ice Cream Shop Kit

See our ice cream shop afternoon, step by step

Pretend play vet clinic setup on the FLISAT sensory table

Vet Clinic

A teal-and-coral animal clinic with a striped awning, patient intake forms, an X-ray board, and a waiting room sign. Stuffed animals check in, get examined in the bins, and recover in style. Our vet clinic post is one of the most-saved setups on the blog.

Get the Vet Clinic Kit

See our vet clinic sensory setup

Bakery dramatic play setup on the FLISAT sensory table

Bakery

The natural first shop: an awning on the pegboard, cakes and cookies in the display case, an order form at the register. It's the setup I built around my daughter's favorite picture book, The Smart Cookie — and bakery themes are perennial best sellers in the shop.

Get the Bakery Kit

See our bakery sensory table setup

Hot cocoa stand pretend play setup on the FLISAT table

Hot Cocoa Stand

Our winter anchor: a cozy cocoa stand with menus, toppings, a fractions cup for pouring practice, and paper money. It comes back every winter in our FLISAT rotation, in classic red-and-green or peppermint red-and-white.

Get the Hot Cocoa Stand Kit

See the hot cocoa setup in our winter FLISAT ideas

FLISAT ideas by age

The table doesn't change as kids grow — the complexity inside it does. Babies and young toddlers start with one filler and big scoops; preschoolers are ready for multi-part setups, sorting and counting goals, and full pretend-play worlds with menus and money. Age is only a rough guide, though: what matters is choosing materials appropriate for your child and supervising actively, especially with anything small enough to be a choking hazard. For a fuller breakdown, see the sensory play by age guide on Sprout.

Sensory materials and safety

A quick word on filler safety, because the internet is loose with this. Some sensory-play resources describe food-based fillers as "taste-safe," but food-based materials can still present choking, allergy, and other risks — "it's food" is not the same as "it's safe unsupervised." What I actually did when my daughter was in the mouthing-everything phase: I chose food-based sensory materials, like cooked rice and beans, dry pasta, dry baking ingredients, and homemade playdough — and I stayed right there while she played. Keep materials age-appropriate, check for allergies before using food fillers, pull anything that's a choking hazard for your child's stage, and treat supervision as part of the activity, not an extra.

How I store FLISAT and sensory play supplies

Storage is what decides whether sensory play happens weekly or never. Taking down and putting up new setups takes time, and you'll end up wondering where it all goes. Here's the system that survived years of weekly rotations:

Sensory play supplies stored in labeled bins
Themed bins, flashcards at the front as labels — no label maker required.
  • Plastic stackable bins (Target) — I put GoodnightFox flashcards at the front of each bin so I can remember what theme is inside without creating labels.
  • Photo storage bins — amazing for sorting flashcards plus one simple sensory supply. I use them for weather acrylics, bees, wool balls, fruit erasers, and all the little wooden bits and bobs you'll end up acquiring; each small box fits neatly into the large box so you can see and access everything. I keep a set of activities stored in my car at all times — super handy for a restaurant solution or something to keep attention in line at the doctor's office.
  • SKÅDIS pegboard containers — you'll want containers you can grab quickly for smaller supplies and fillers. I love the SKÅDIS drawer containers because they're so accessible. The little white containers are super handy too, especially if the table does double duty for art supplies (markers, pens, stamps). The white shelf can come in handy but doesn't hold much, so have a clear purpose in mind — for me it's just a catch-all. The white clips are handy for hanging flashcards and reference materials, but if I'm being honest, I just prefer to tape things directly to the board because it saves space.
  • TROFAST frame — if you're going all out, I highly recommend this storage unit. The fastest, most convenient sensory play storage option is hands down throwing everything for a setup into a TROFAST bin and sliding it into the frame. Take it from me: I did this for years with containers in a closet, and I wish I'd had the shelf option sooner.

Where to find FLISAT printables

This blog is the editorial side of GoodnightFox — my experience, my setups, my honest recommendations. Sprout is the structured play library: the printable setups themselves, organized so you can find one by theme and print it today. If you're looking for printable awnings, signs, menus, and full pretend-play setups sized for this table, start with the FLISAT printables and sensory table ideas guide on Sprout — it's the collection that pairs with everything in this article.

And if you already know your child will want the next shop, and the next: the four themes above — plus more than 70 others — are all inside the Ultimate Pretend Play Bundle, our complete library of printable play kits.

Frequently asked questions

What bins fit the IKEA FLISAT table?

TROFAST storage boxes with a 16½ × 11¾ inch footprint — in either the shallow (4 in) or deep (9 in) version. Two small TROFAST boxes (7¾ × 11¾ in) also fit side by side in one opening.

Can you use the FLISAT table without TROFAST bins?

Yes. With the lids on, it's a regular children's table for crafts, puzzles, and play trays. The bins are what make it a sensory table — they drop into the openings to hold fillers — but nothing about the table requires them day to day.

What do I need for a FLISAT sensory table?

The table, TROFAST bins that fit, one filler (rice, pasta, oats, water), and a few tools like scoops and cups. Everything else — pegboard, trays, printables — is optional and can come later.

Is a pegboard necessary for a FLISAT table?

No. It's my favorite optional add-on because it holds backdrops and awnings for pretend play, but the table works completely without one. Add it when you start wanting shop-style setups.

How often should I change a sensory table setup?

I change ours up about once a week — but if an activity is inspiring a lot of play, I'll leave it up for a few weeks. Let's face it, we all get busy, and sometimes there isn't time to cycle weekly. Some parents who homeschool set up a new activity every day; find the rhythm you'll actually keep.

What can I put in a FLISAT sensory table?

Dry fillers (rice, beans, chickpeas, pasta, oats), water, playdough, kinetic sand, and themed materials — plus tools like scoops, tongs, and funnels. For younger toddlers, food-based fillers with close supervision are the usual starting point.

Can the FLISAT be used for pretend play?

Absolutely — it's our main pretend-play stage. Add a backdrop or pegboard with a printable awning, put themed materials and felt food in the bins, and the table becomes a bakery, a market, a vet clinic, or an adoption center.

Where can I find FLISAT printables?

On Sprout, our structured play library — the FLISAT printables and sensory table ideas guide collects the printable setups that pair with this table.

The FLISAT is not magic furniture. It's a simple, sturdy table that makes sensory and pretend play easy to start and easy to clean up — which, in a real house with a real toddler, is what decides whether play happens at all. Start with the table and bins. Add the rest when the play asks for it. And if you build a setup you love, I genuinely want to hear about it.