The Importance of Learning about Emotions in Early Toddlerhood

Teaching Emotions to Toddlers: 7 Simple Activities

The meltdown over the wrong color cup isn't really about the cup. It's about a feeling with no words attached. Toddlers feel everything at full volume and own almost none of the vocabulary — so the fastest way to fewer, shorter meltdowns is teaching emotions through play, one face at a time.

Best forAges 1–4
Time5–15 min each
CostFree to ~$15
SkillsEmotional vocabulary + empathy

Why play works better than explaining

A lecture on feelings goes in one ear and out the other at age two. But make a playdough face with an angry mouth, and your toddler will remember "angry" for weeks. Play gives emotions a shape, a face, and a name — and naming a feeling is the first step to managing it. These seven activities build that vocabulary one game at a time.

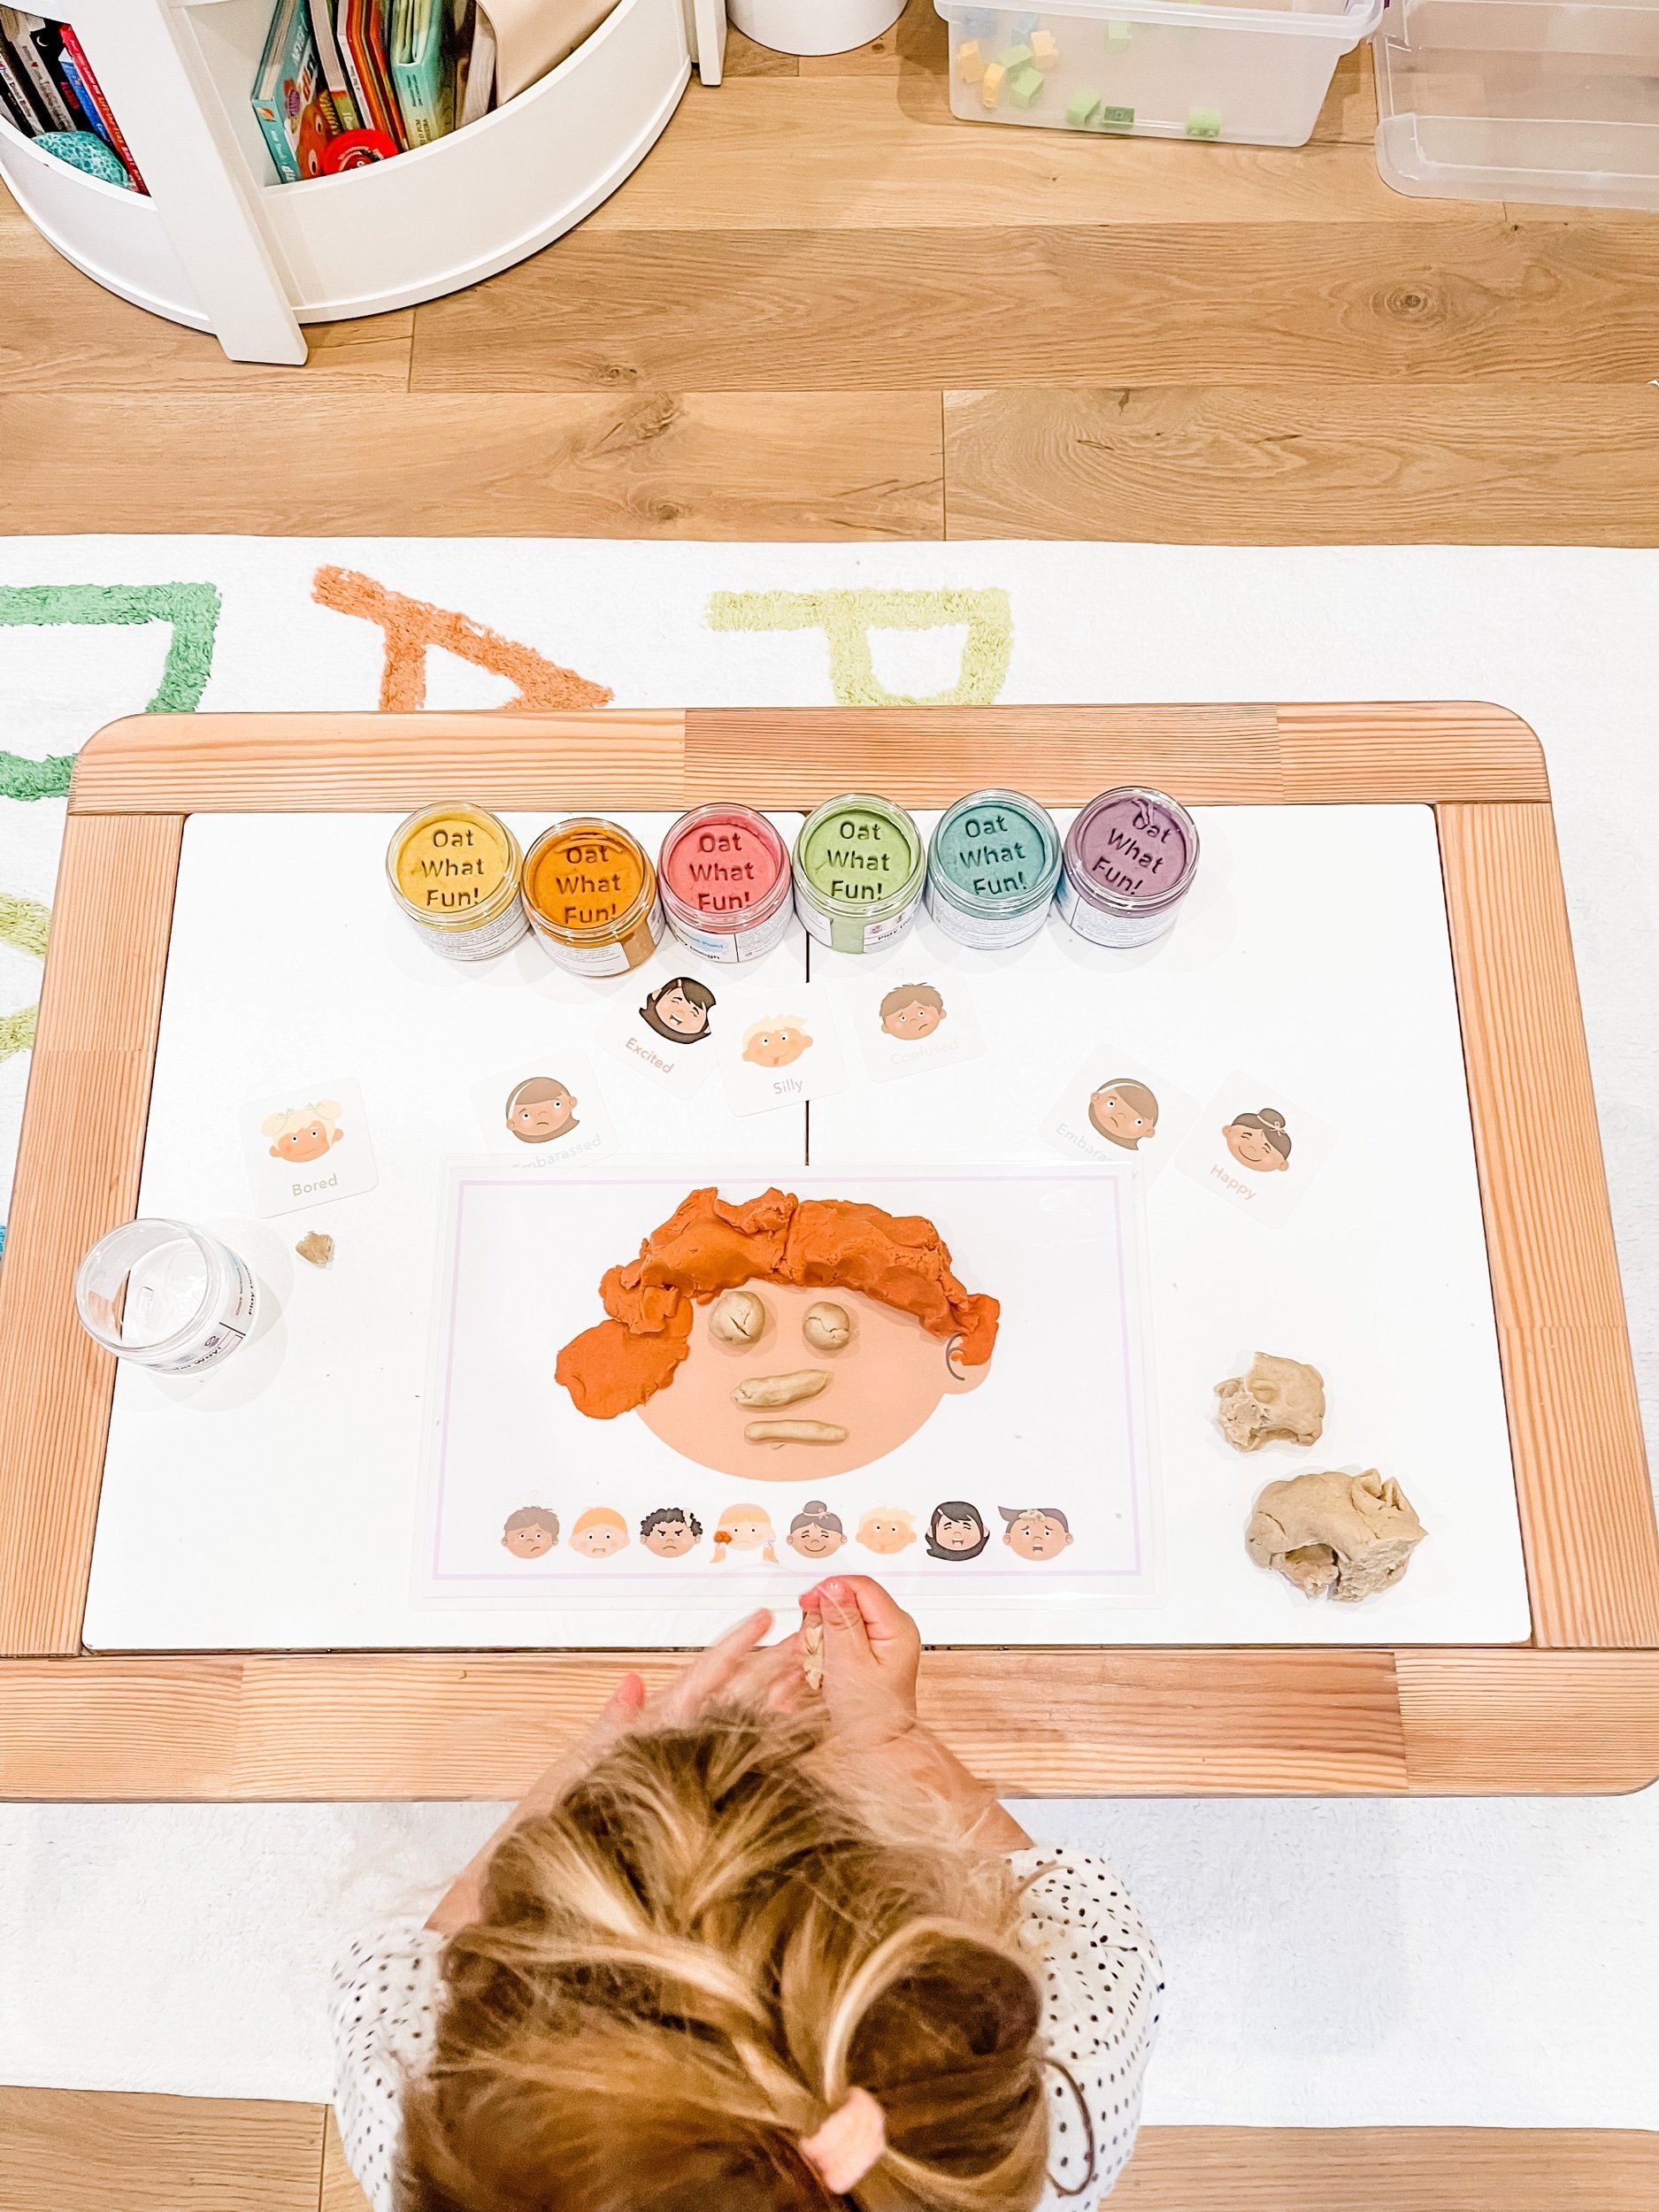
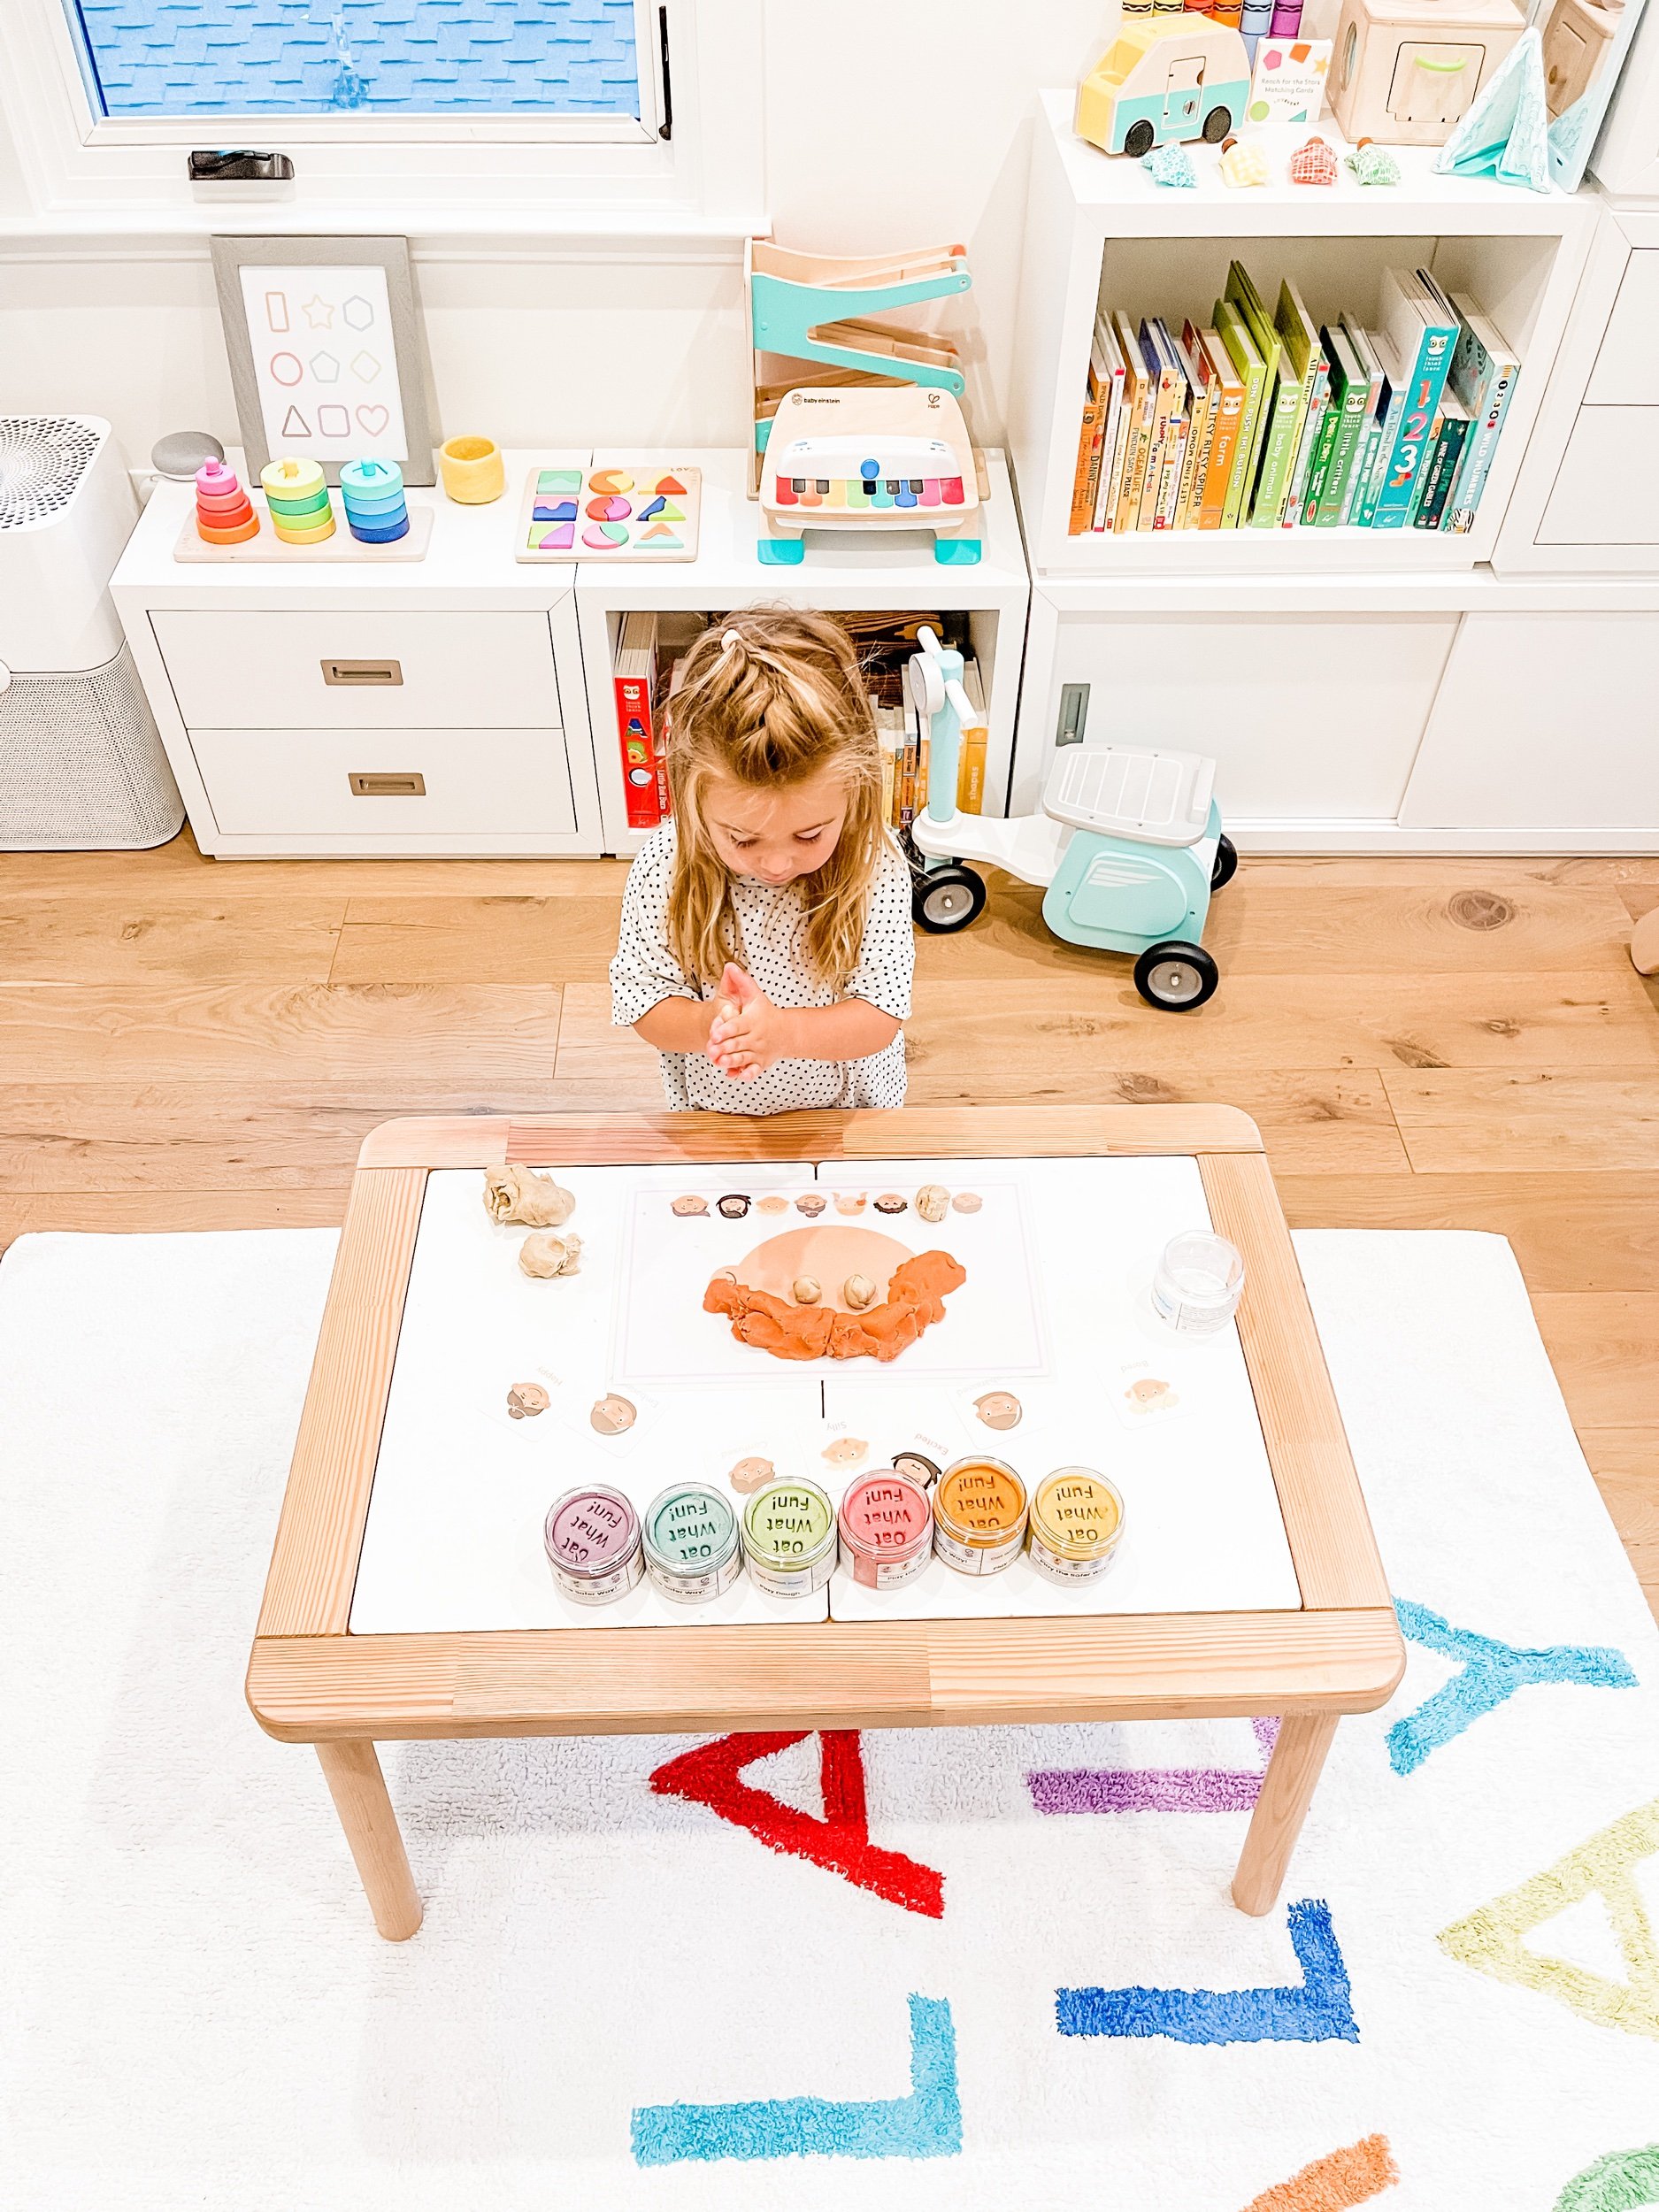
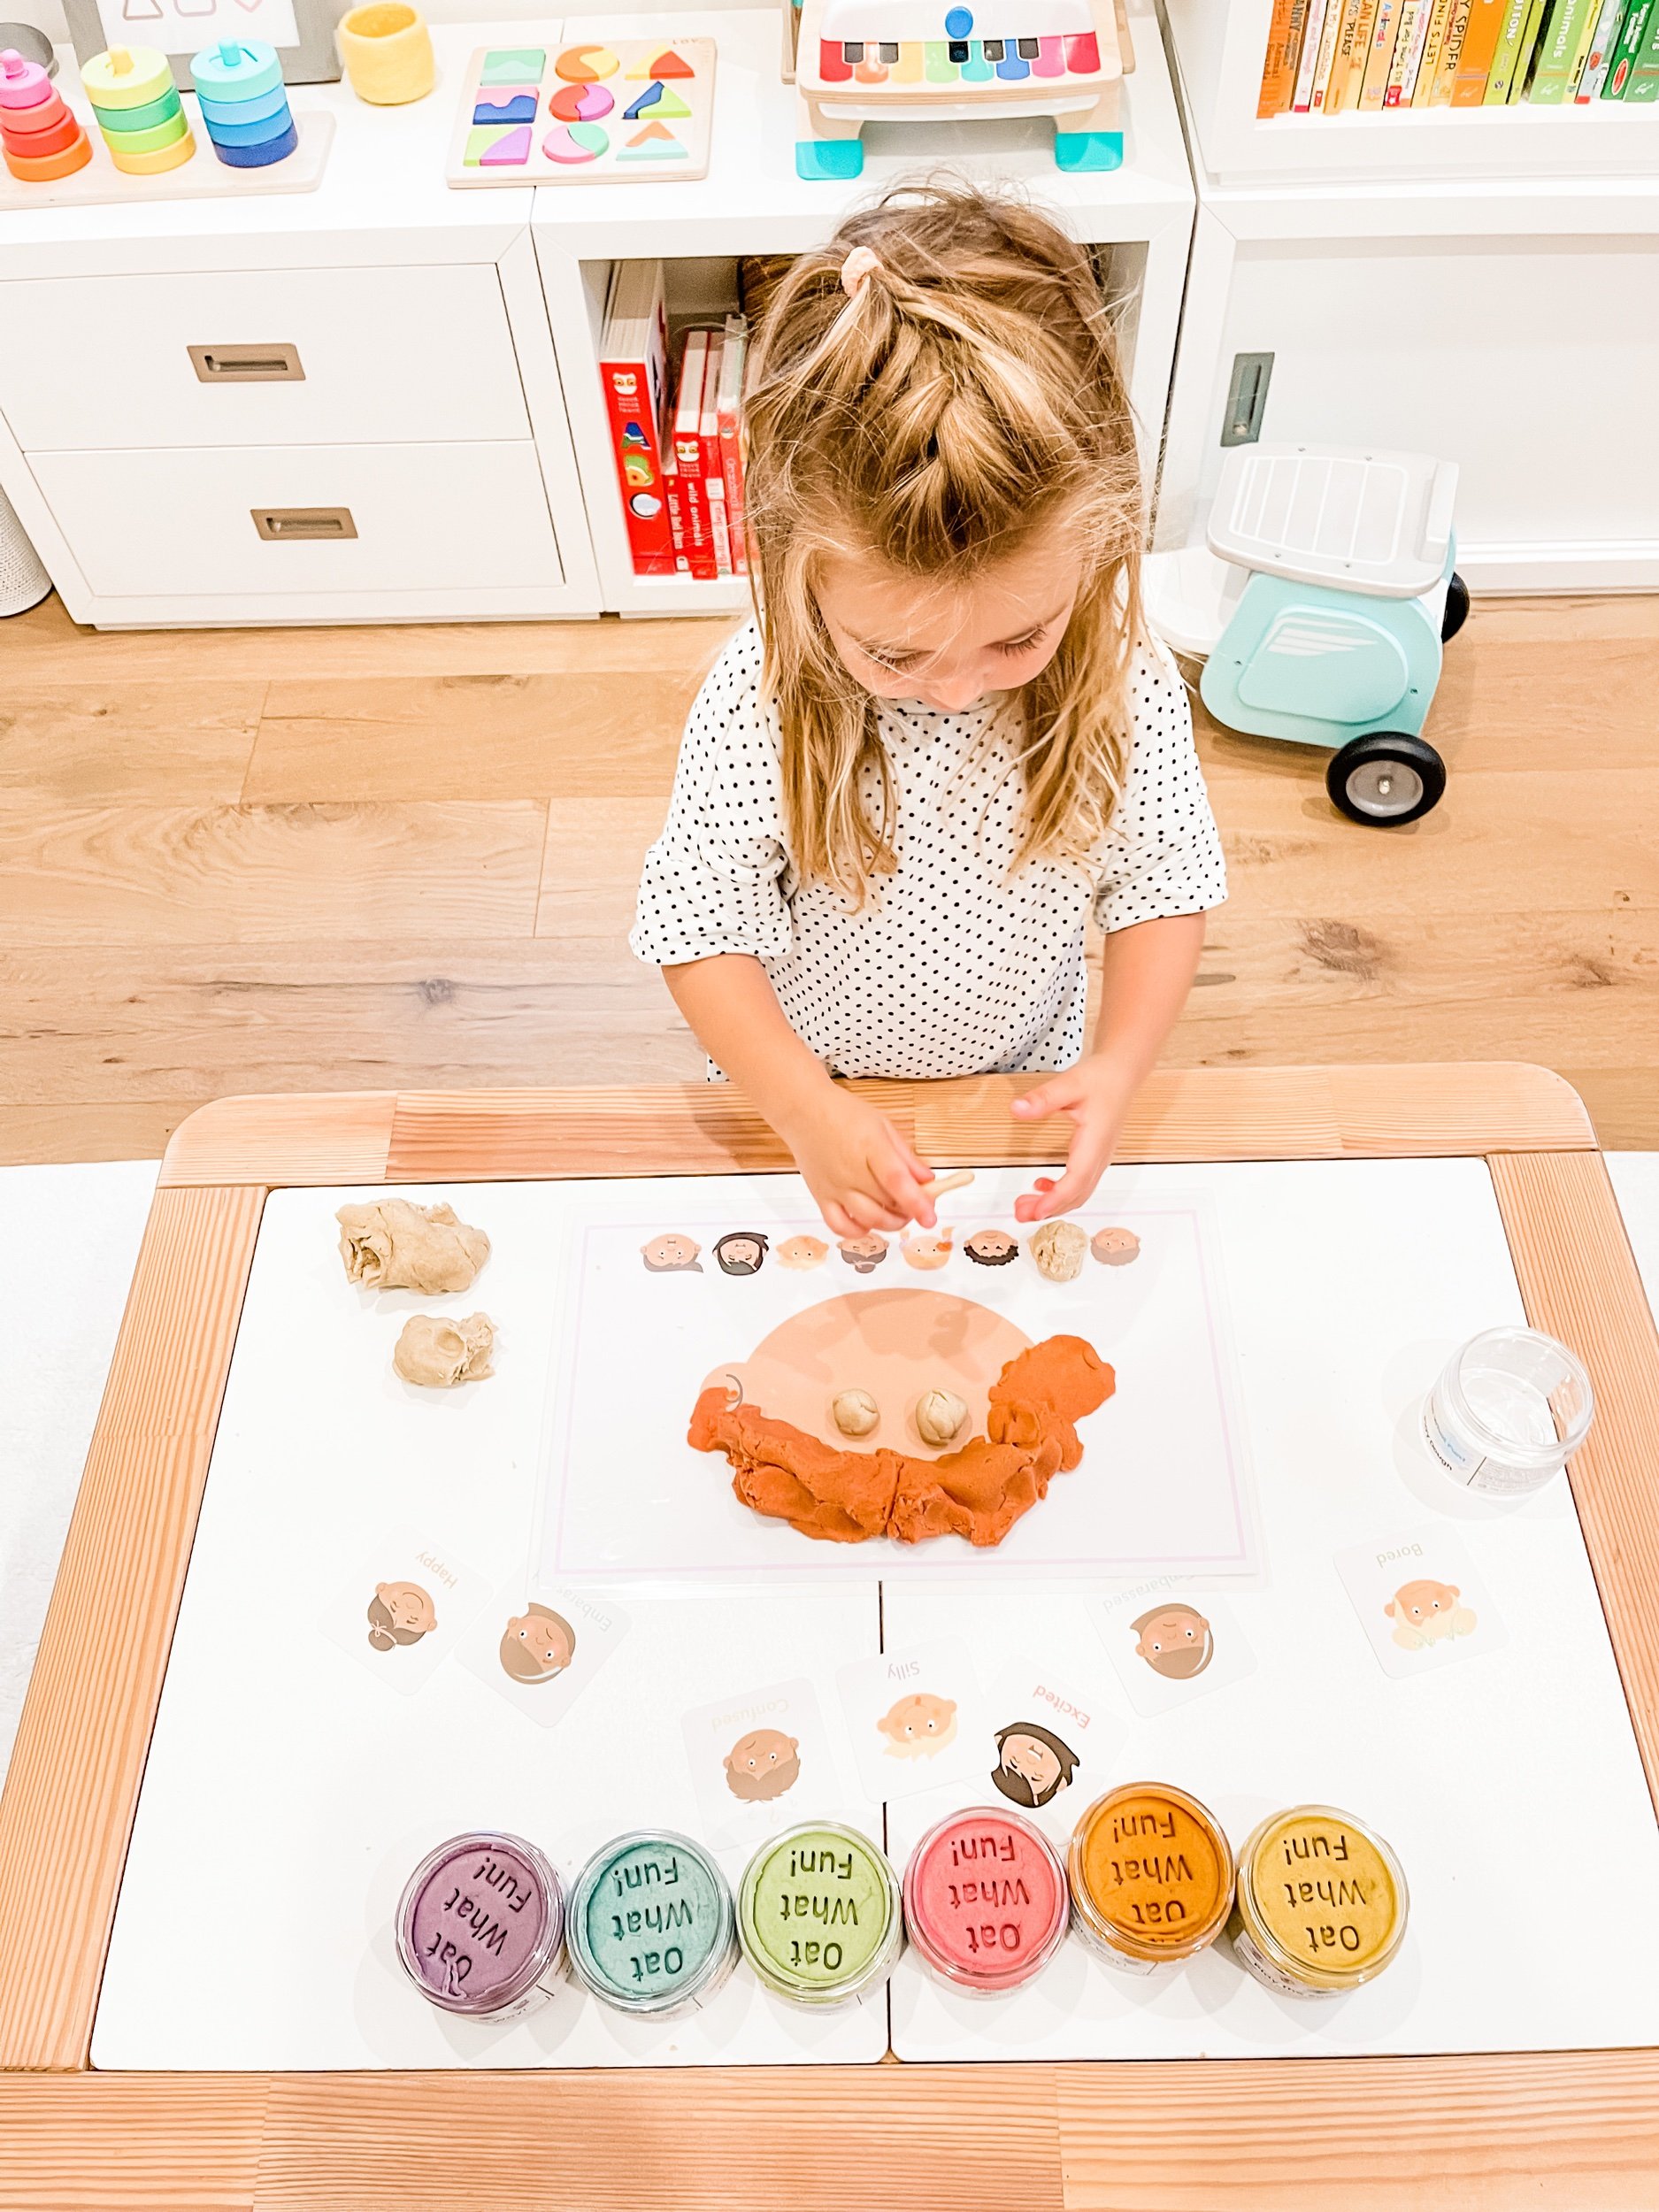
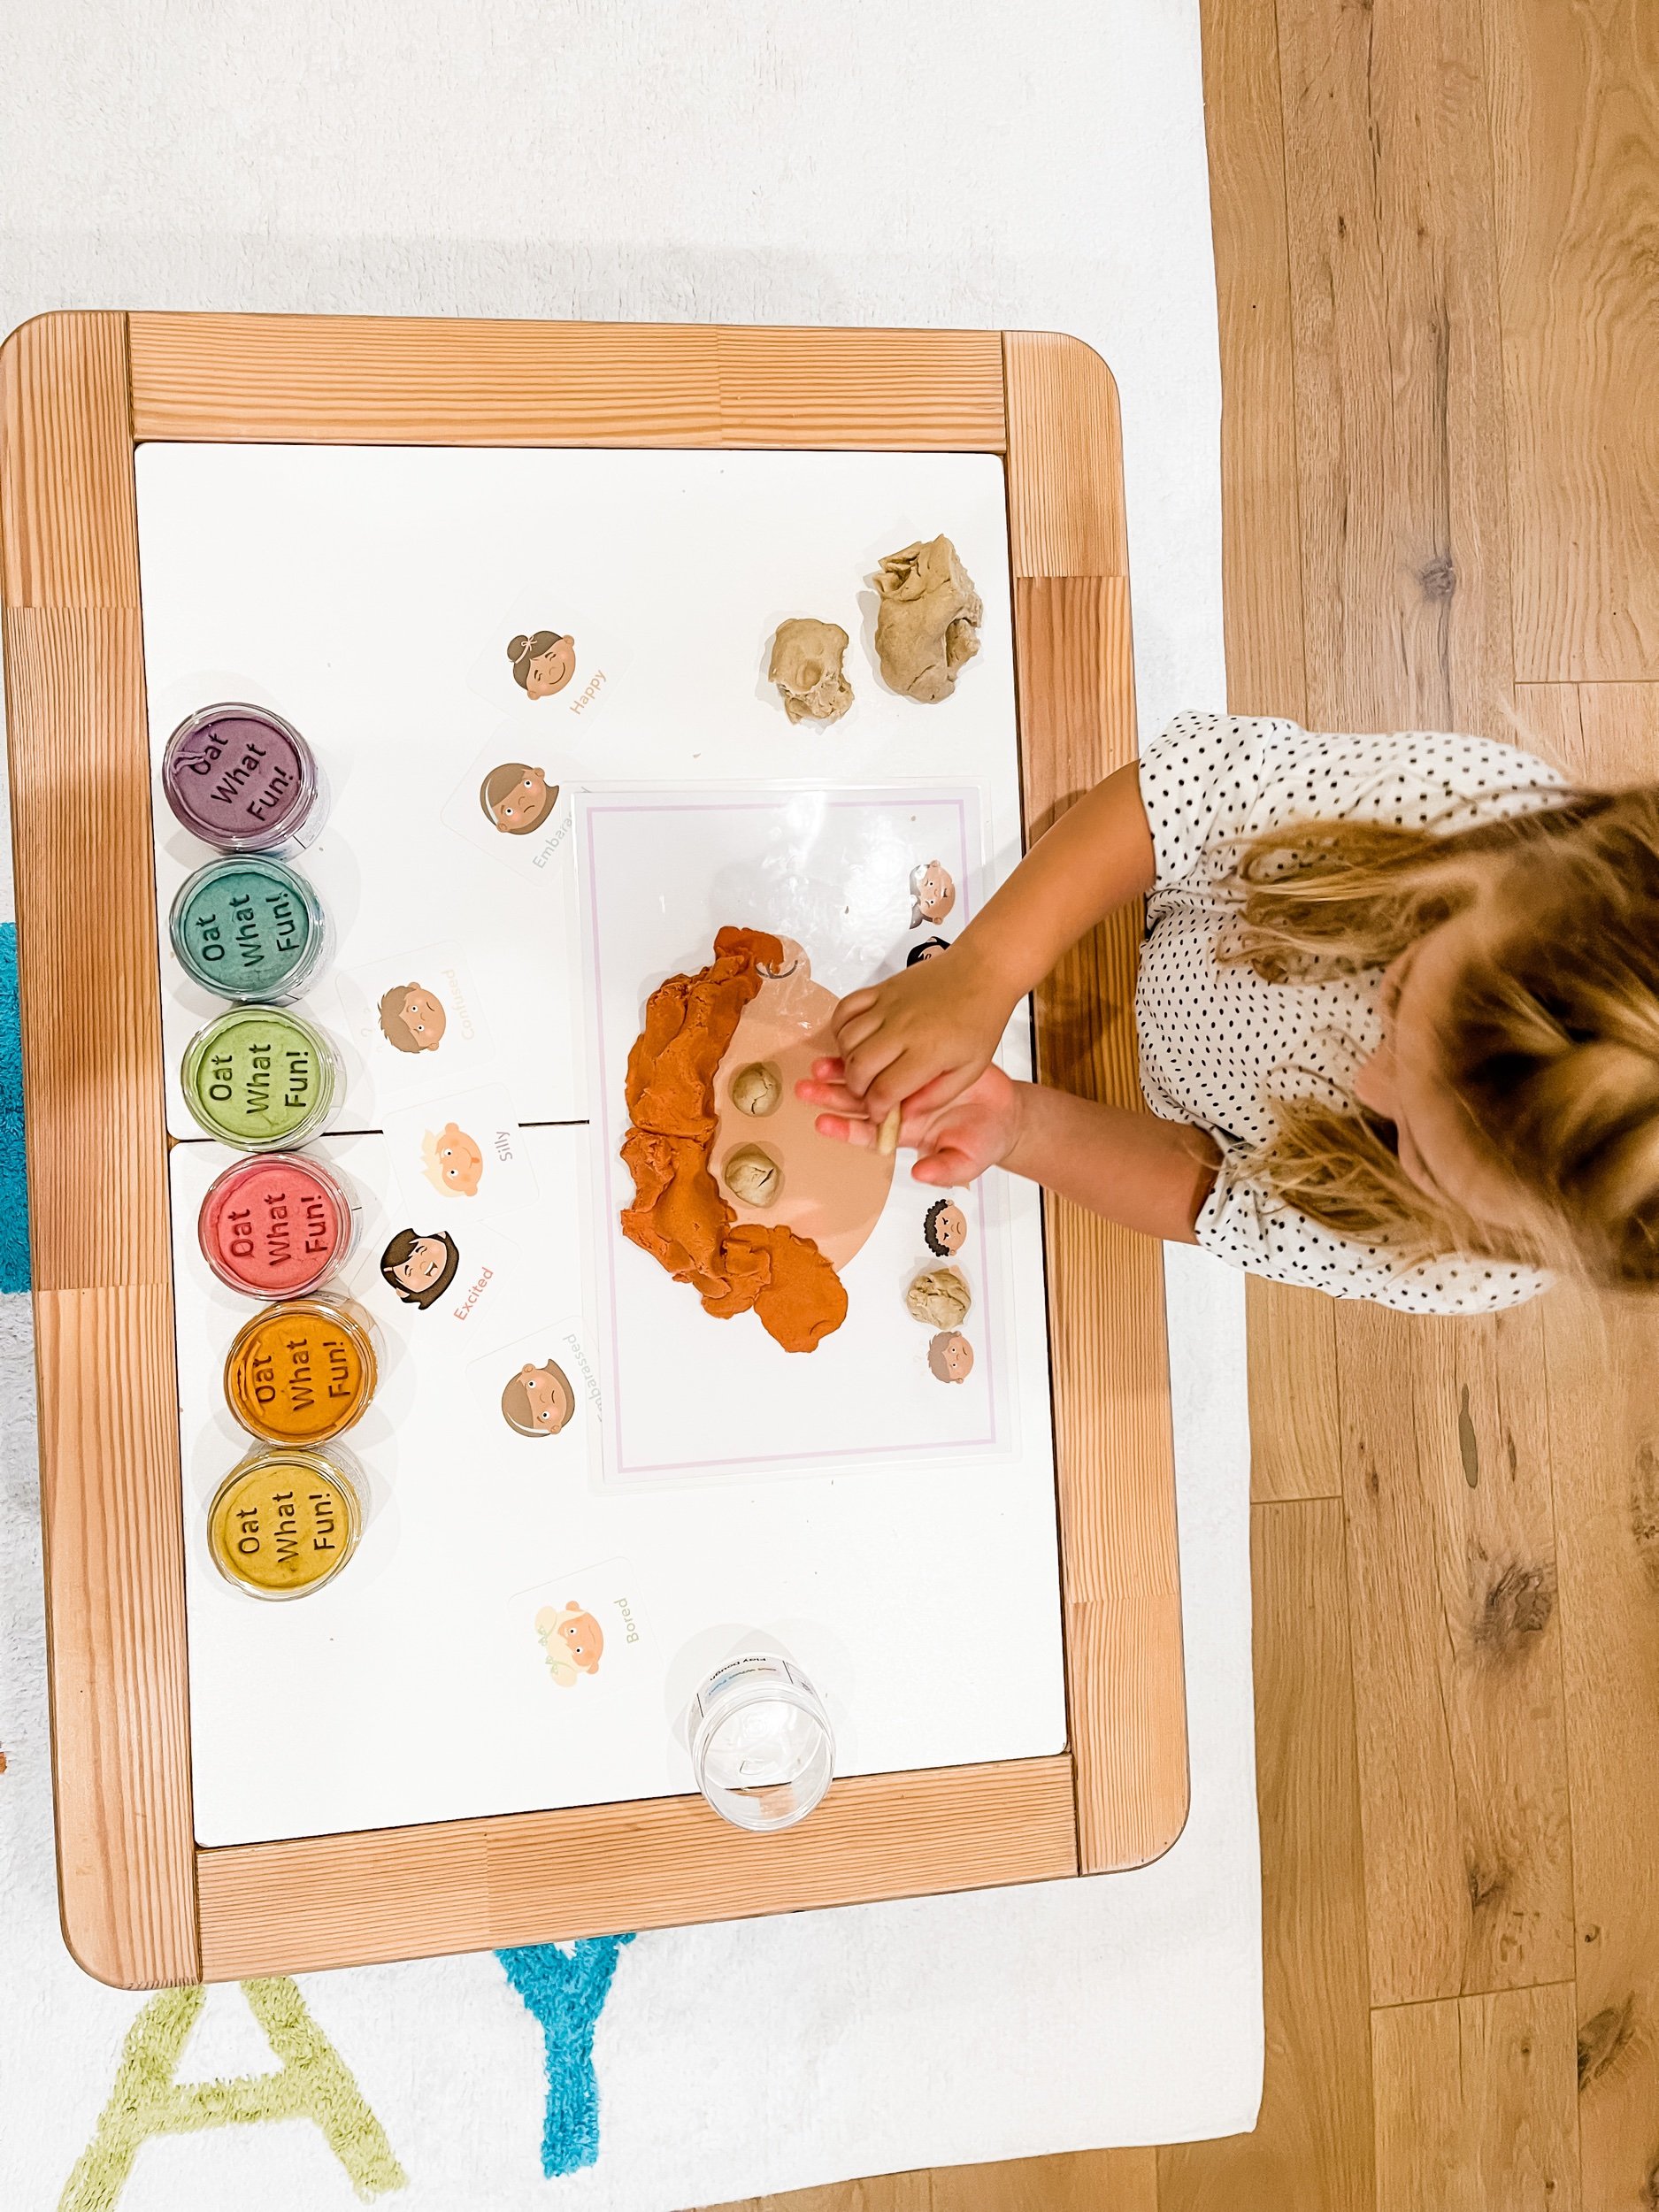
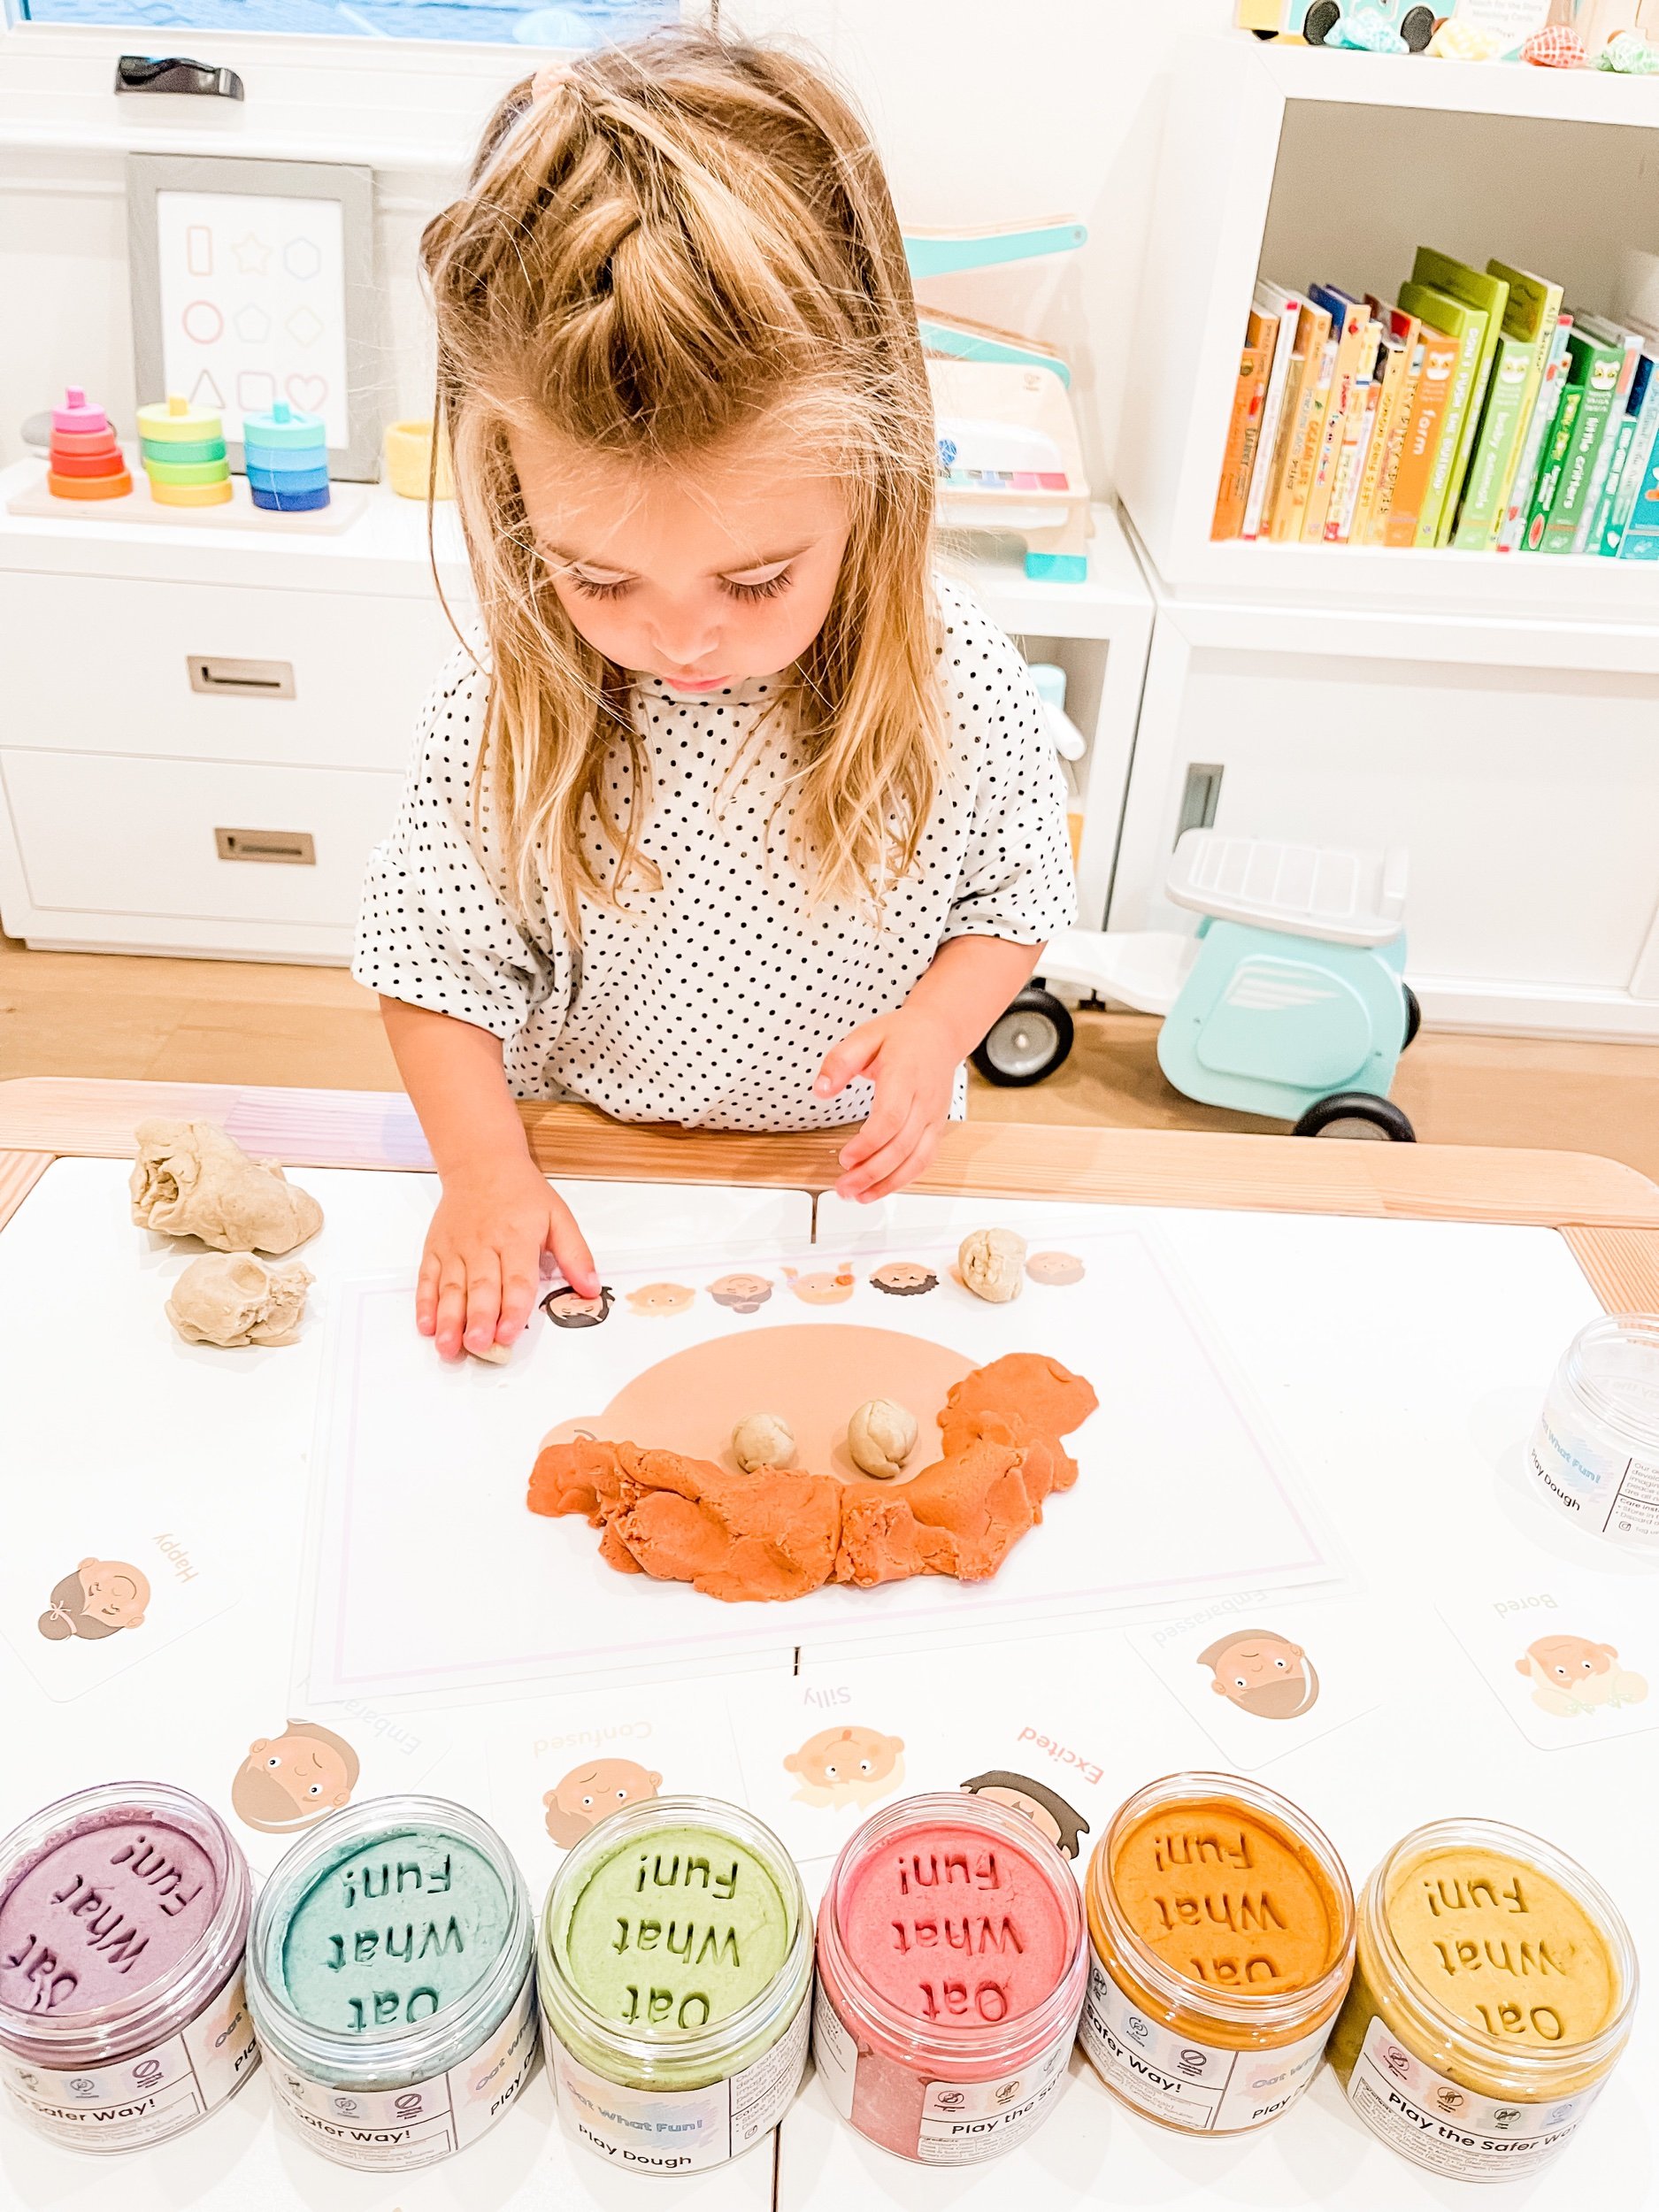
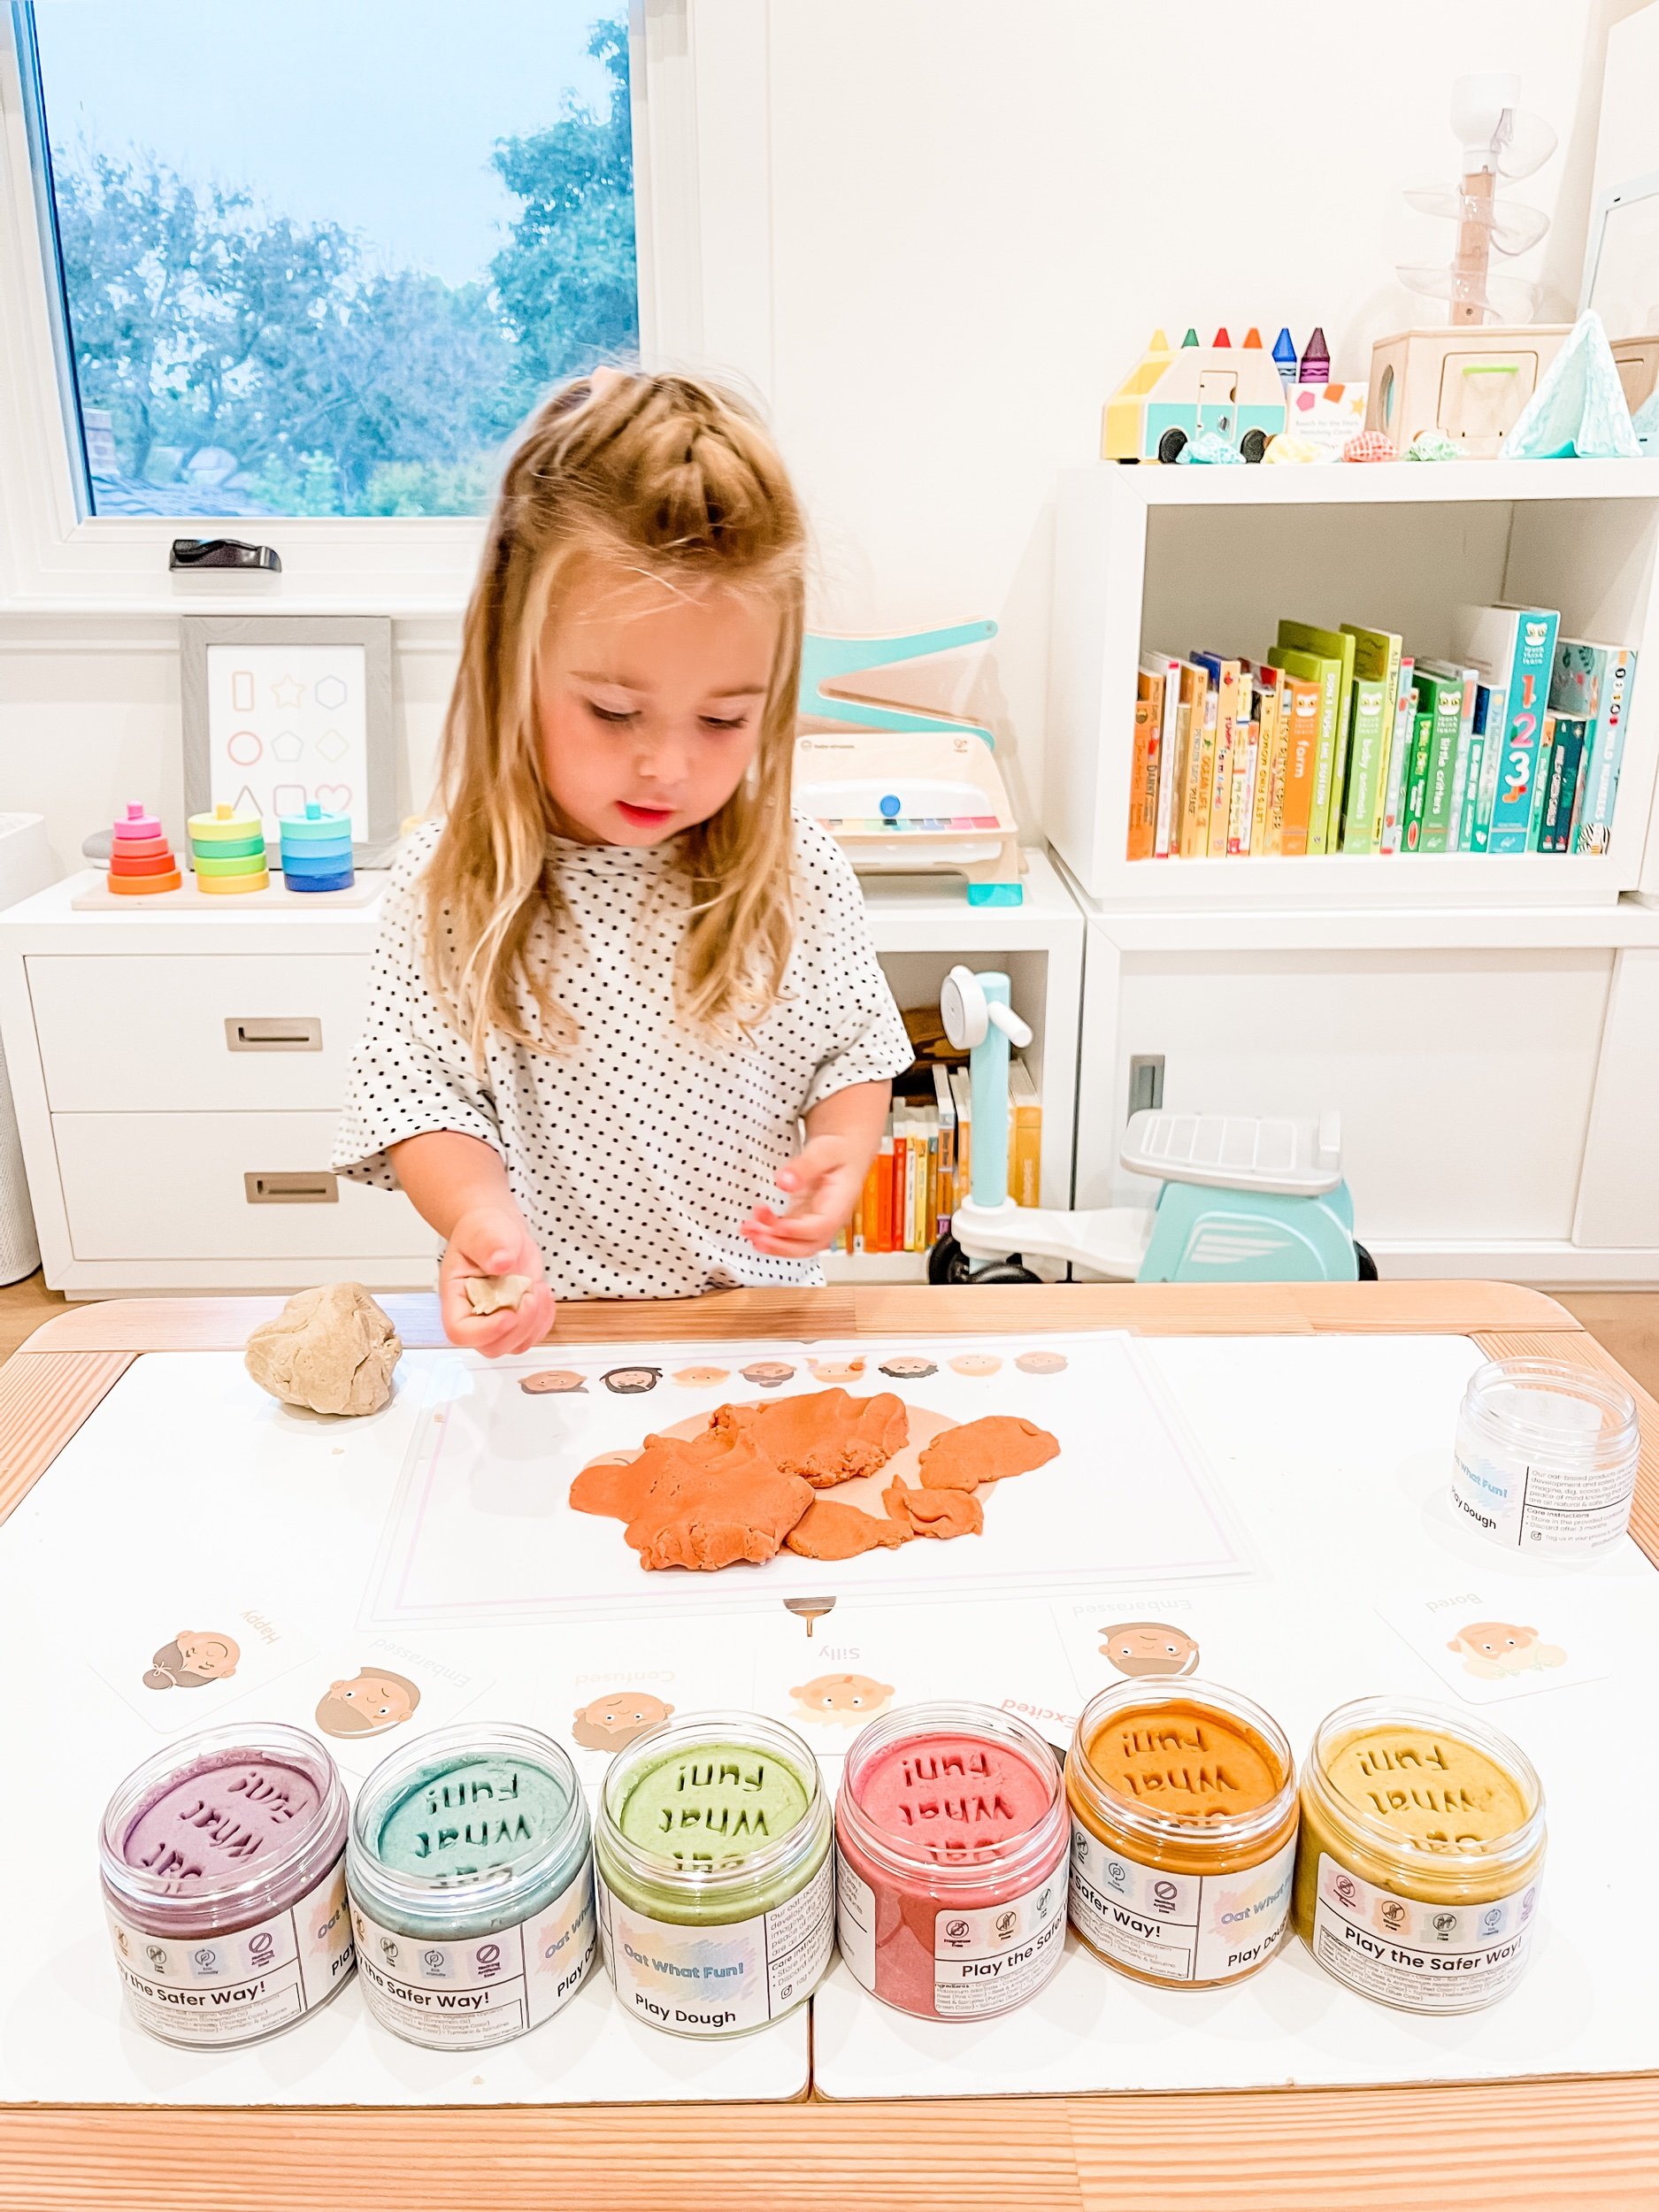
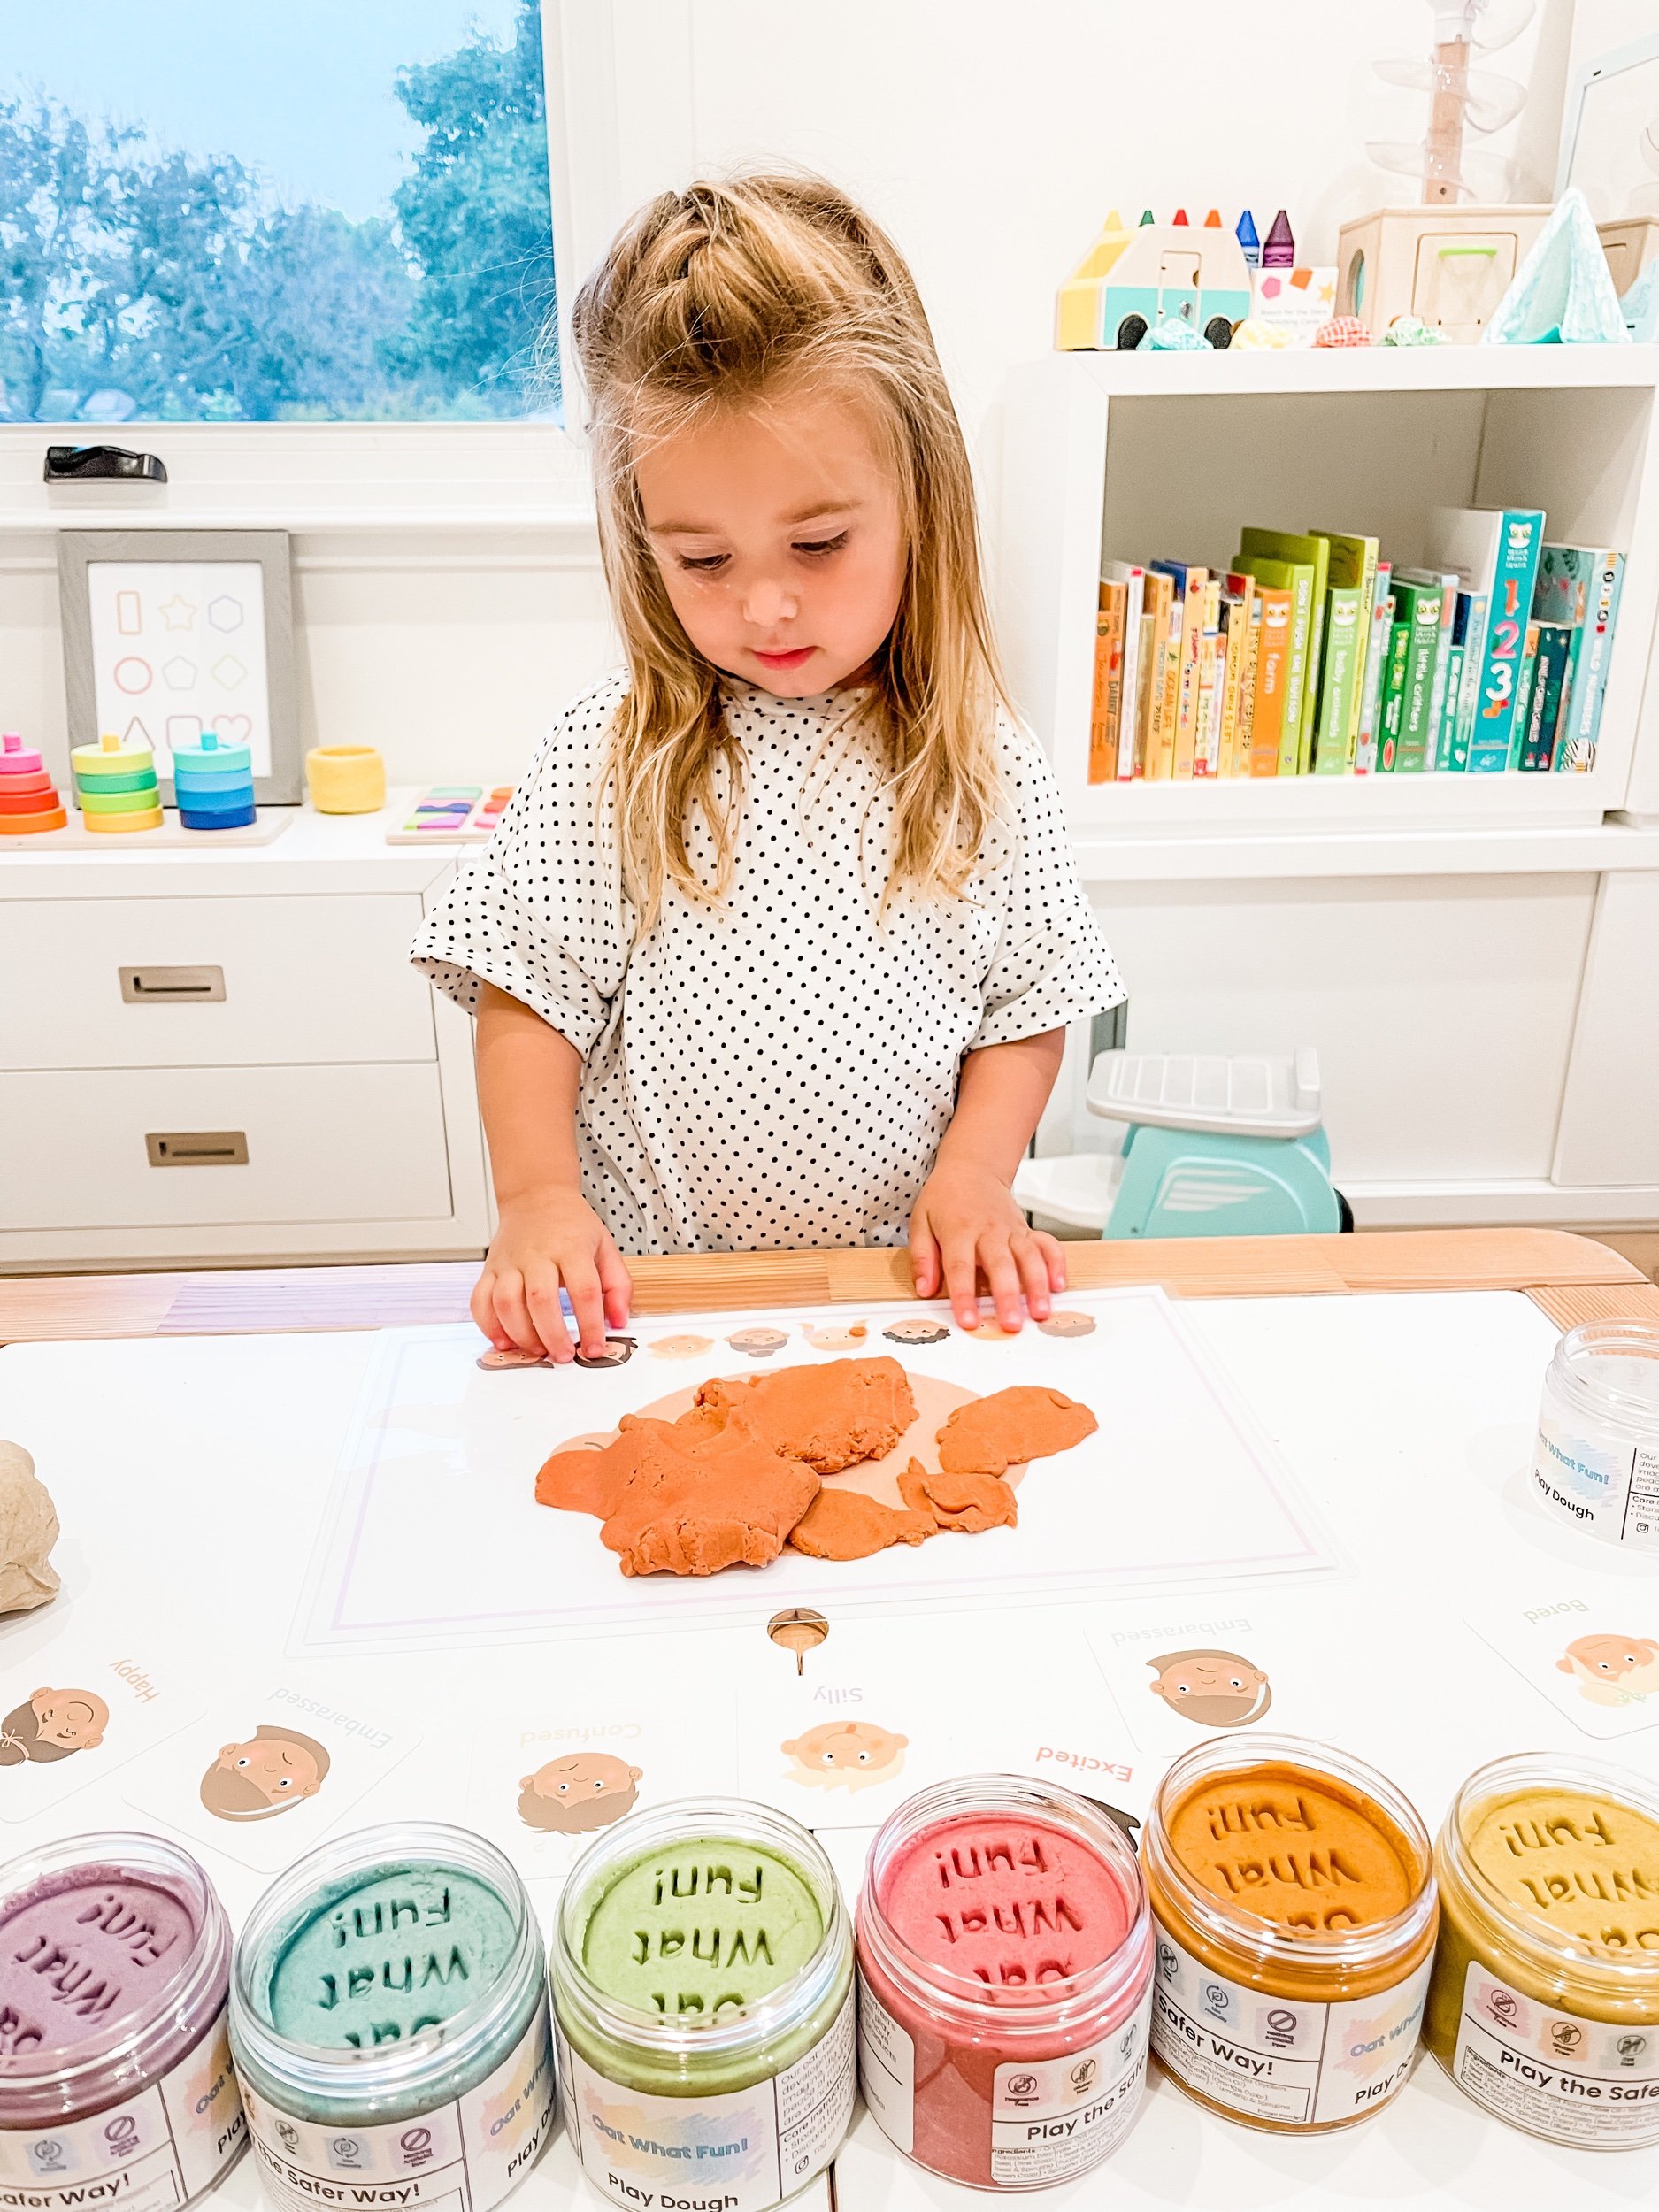
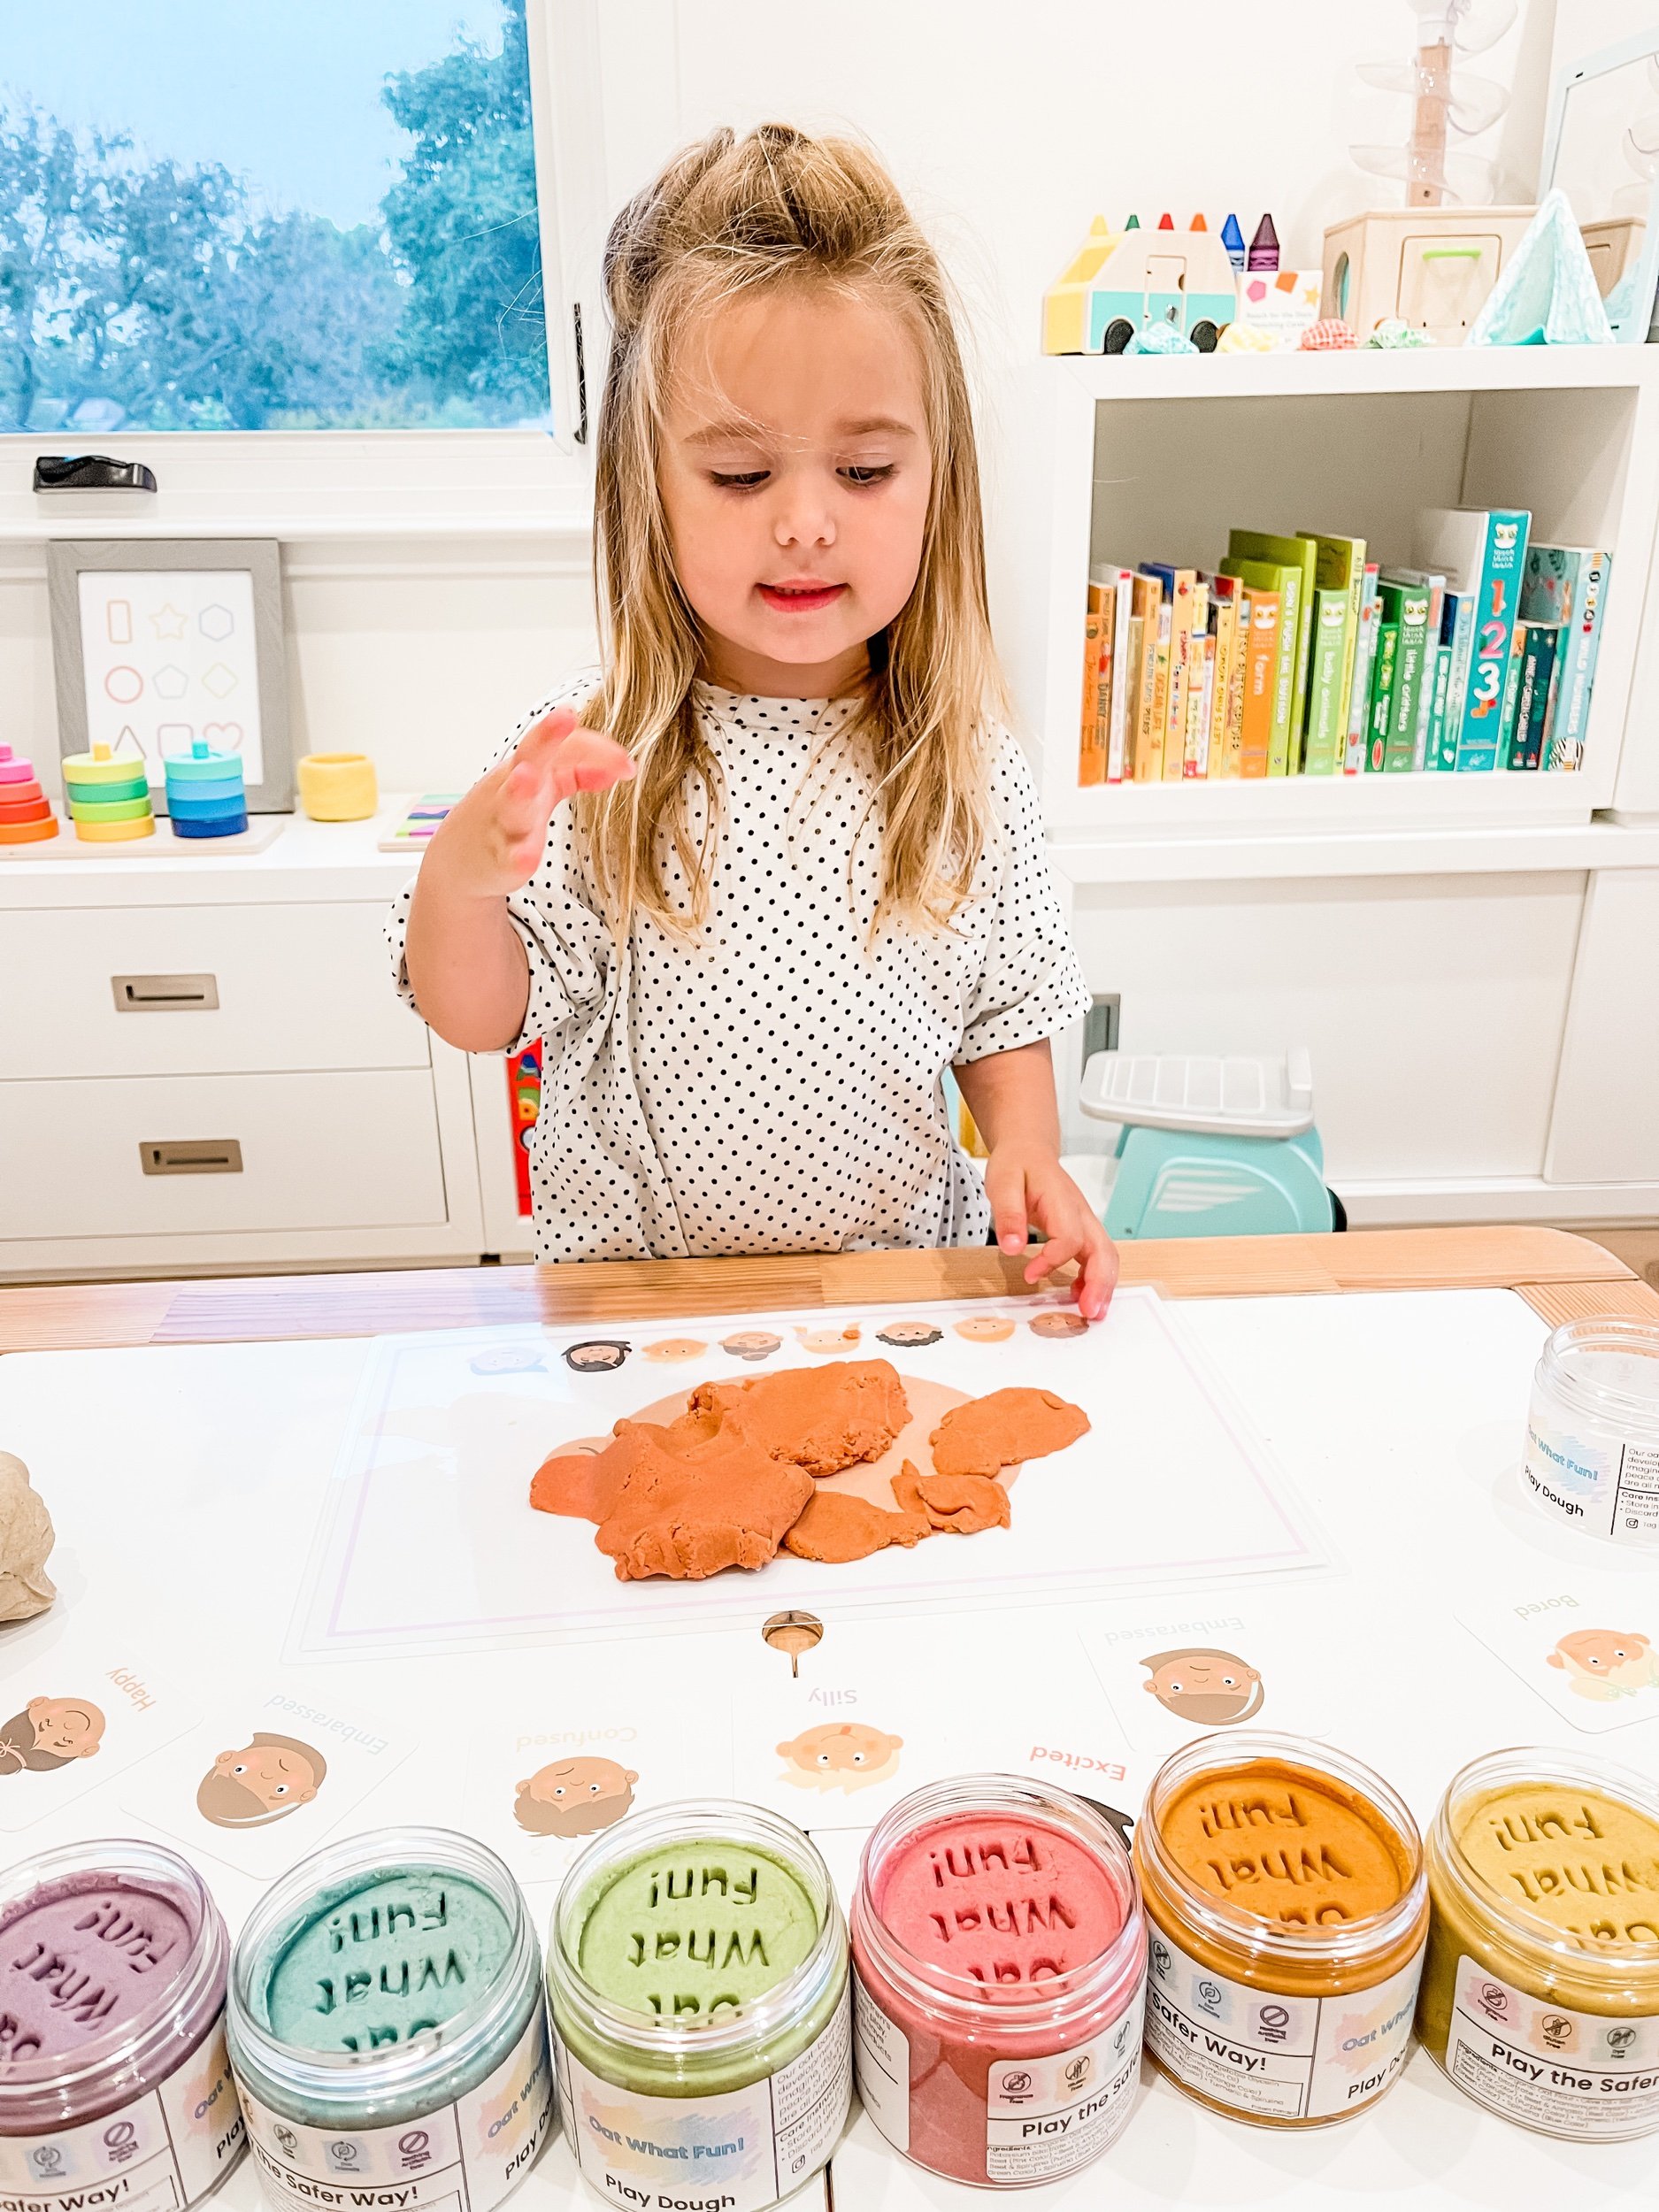
1. Playdough faces

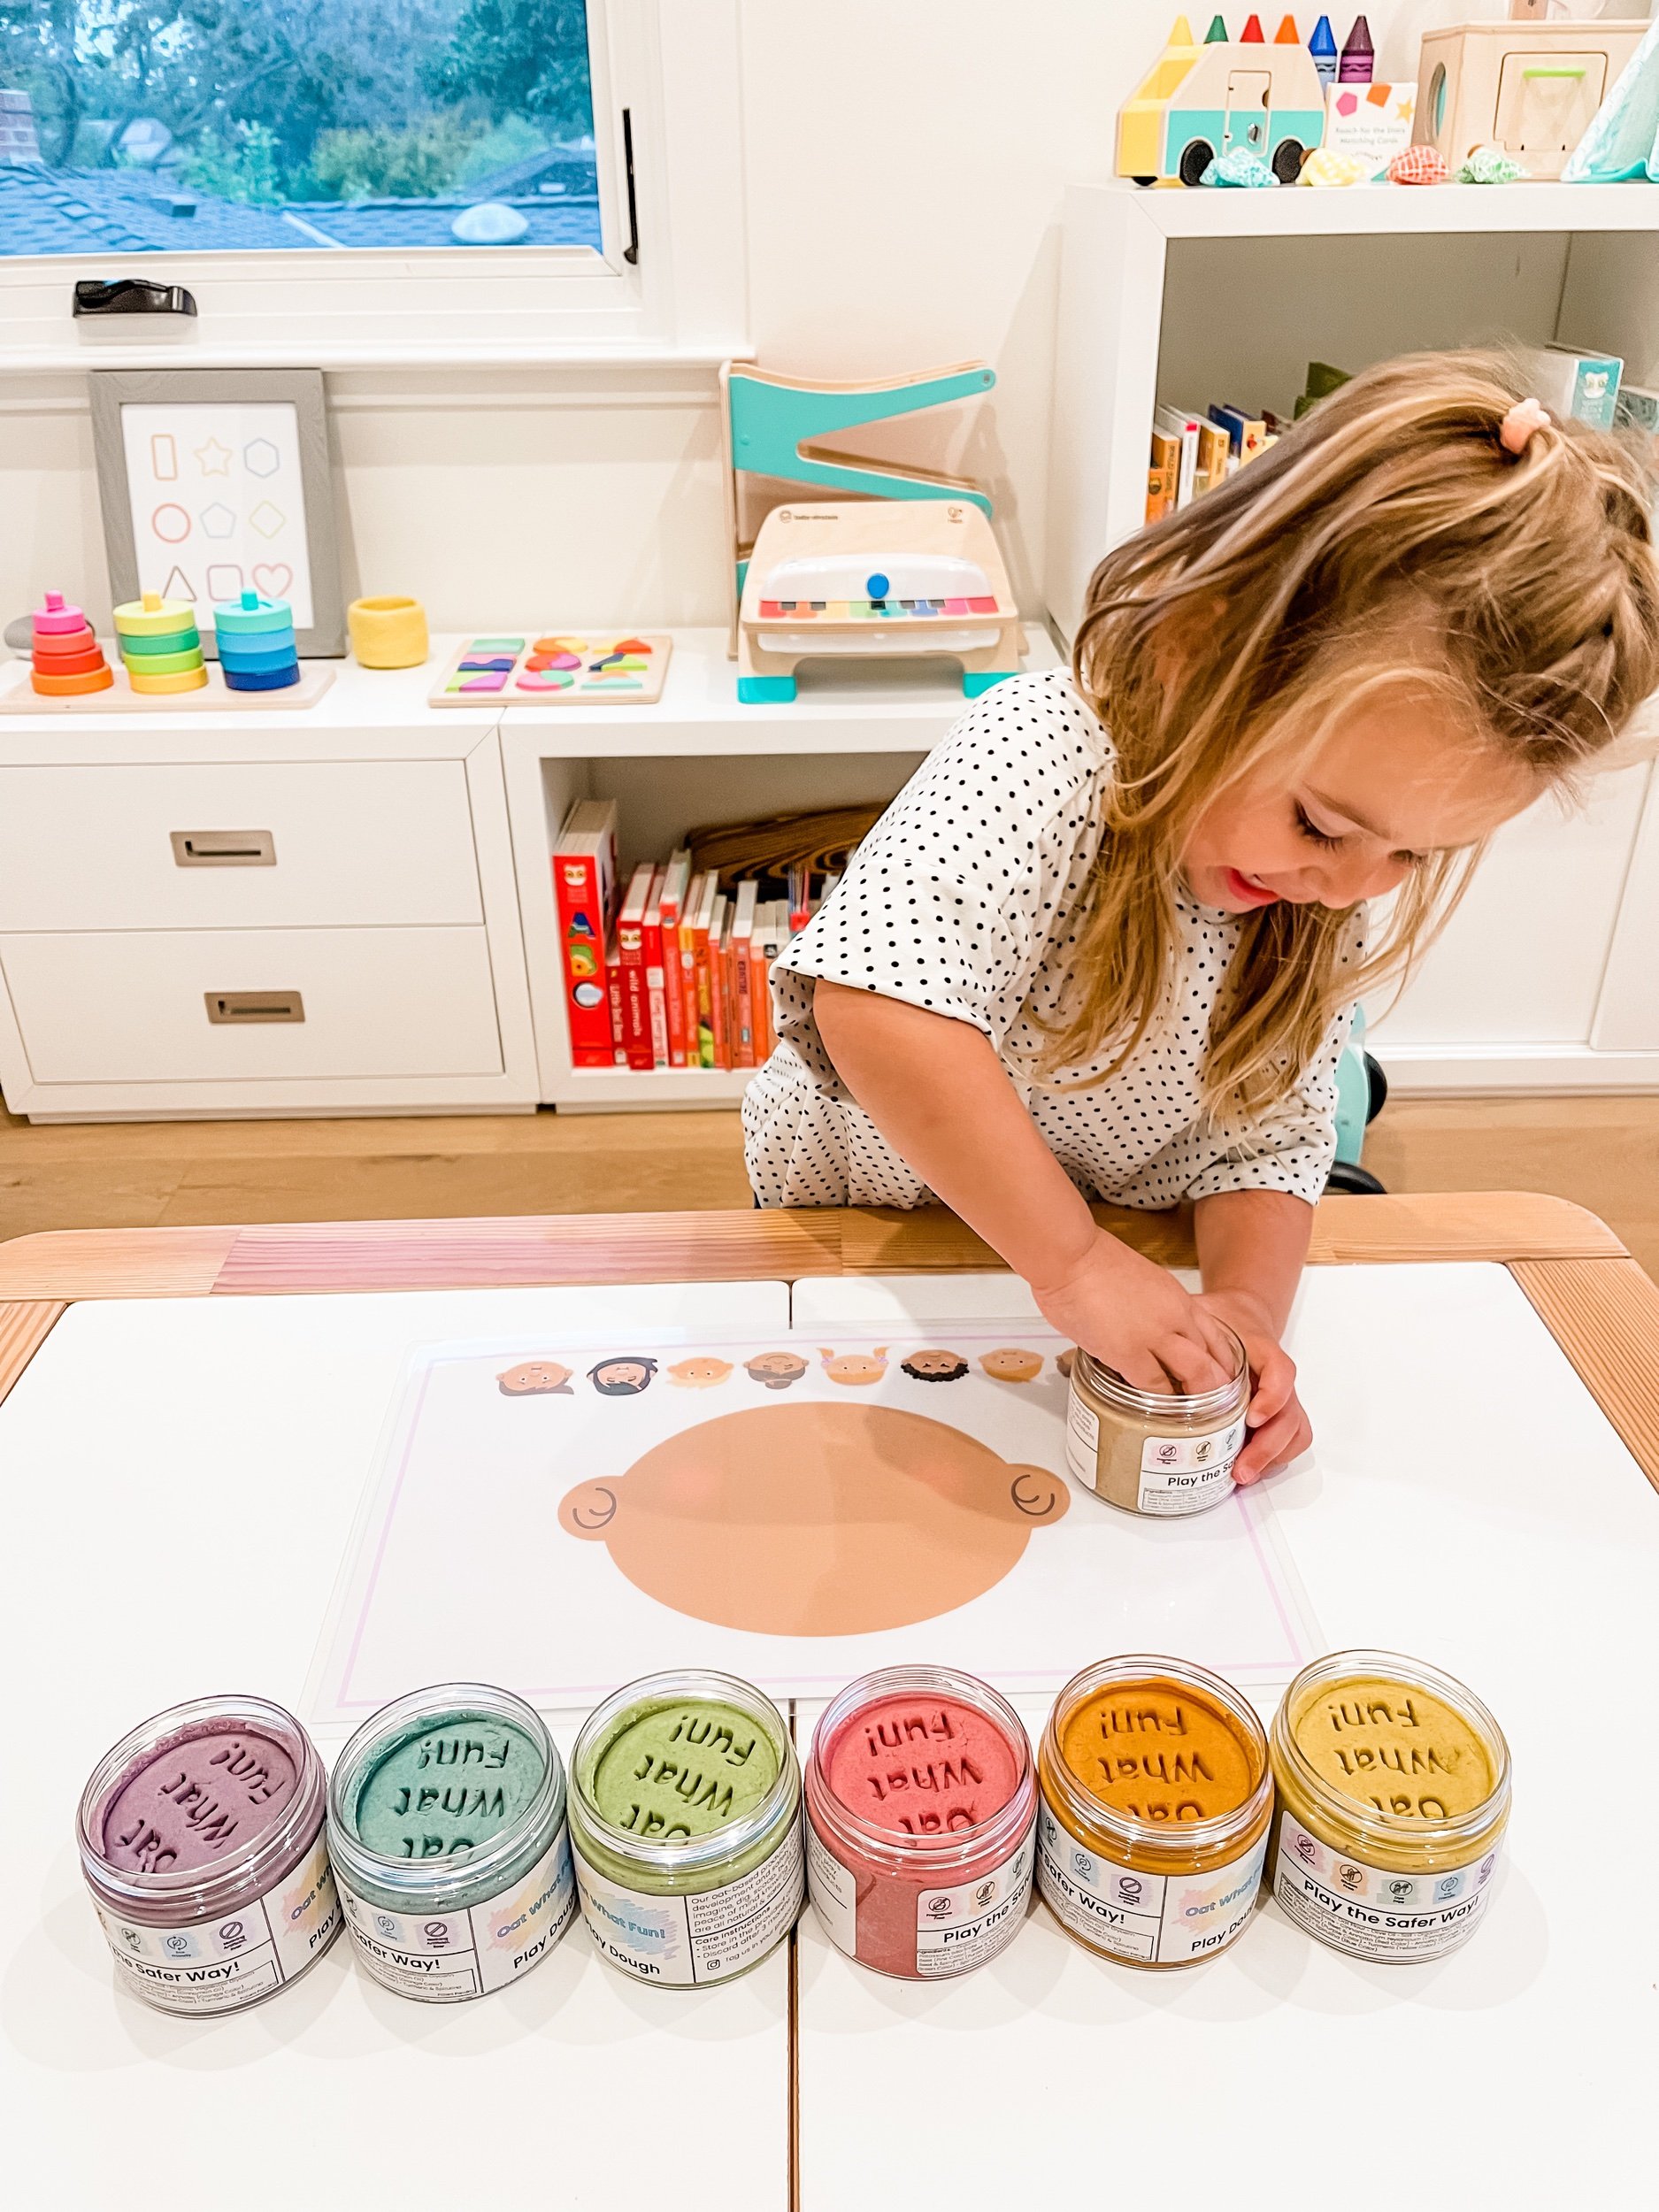
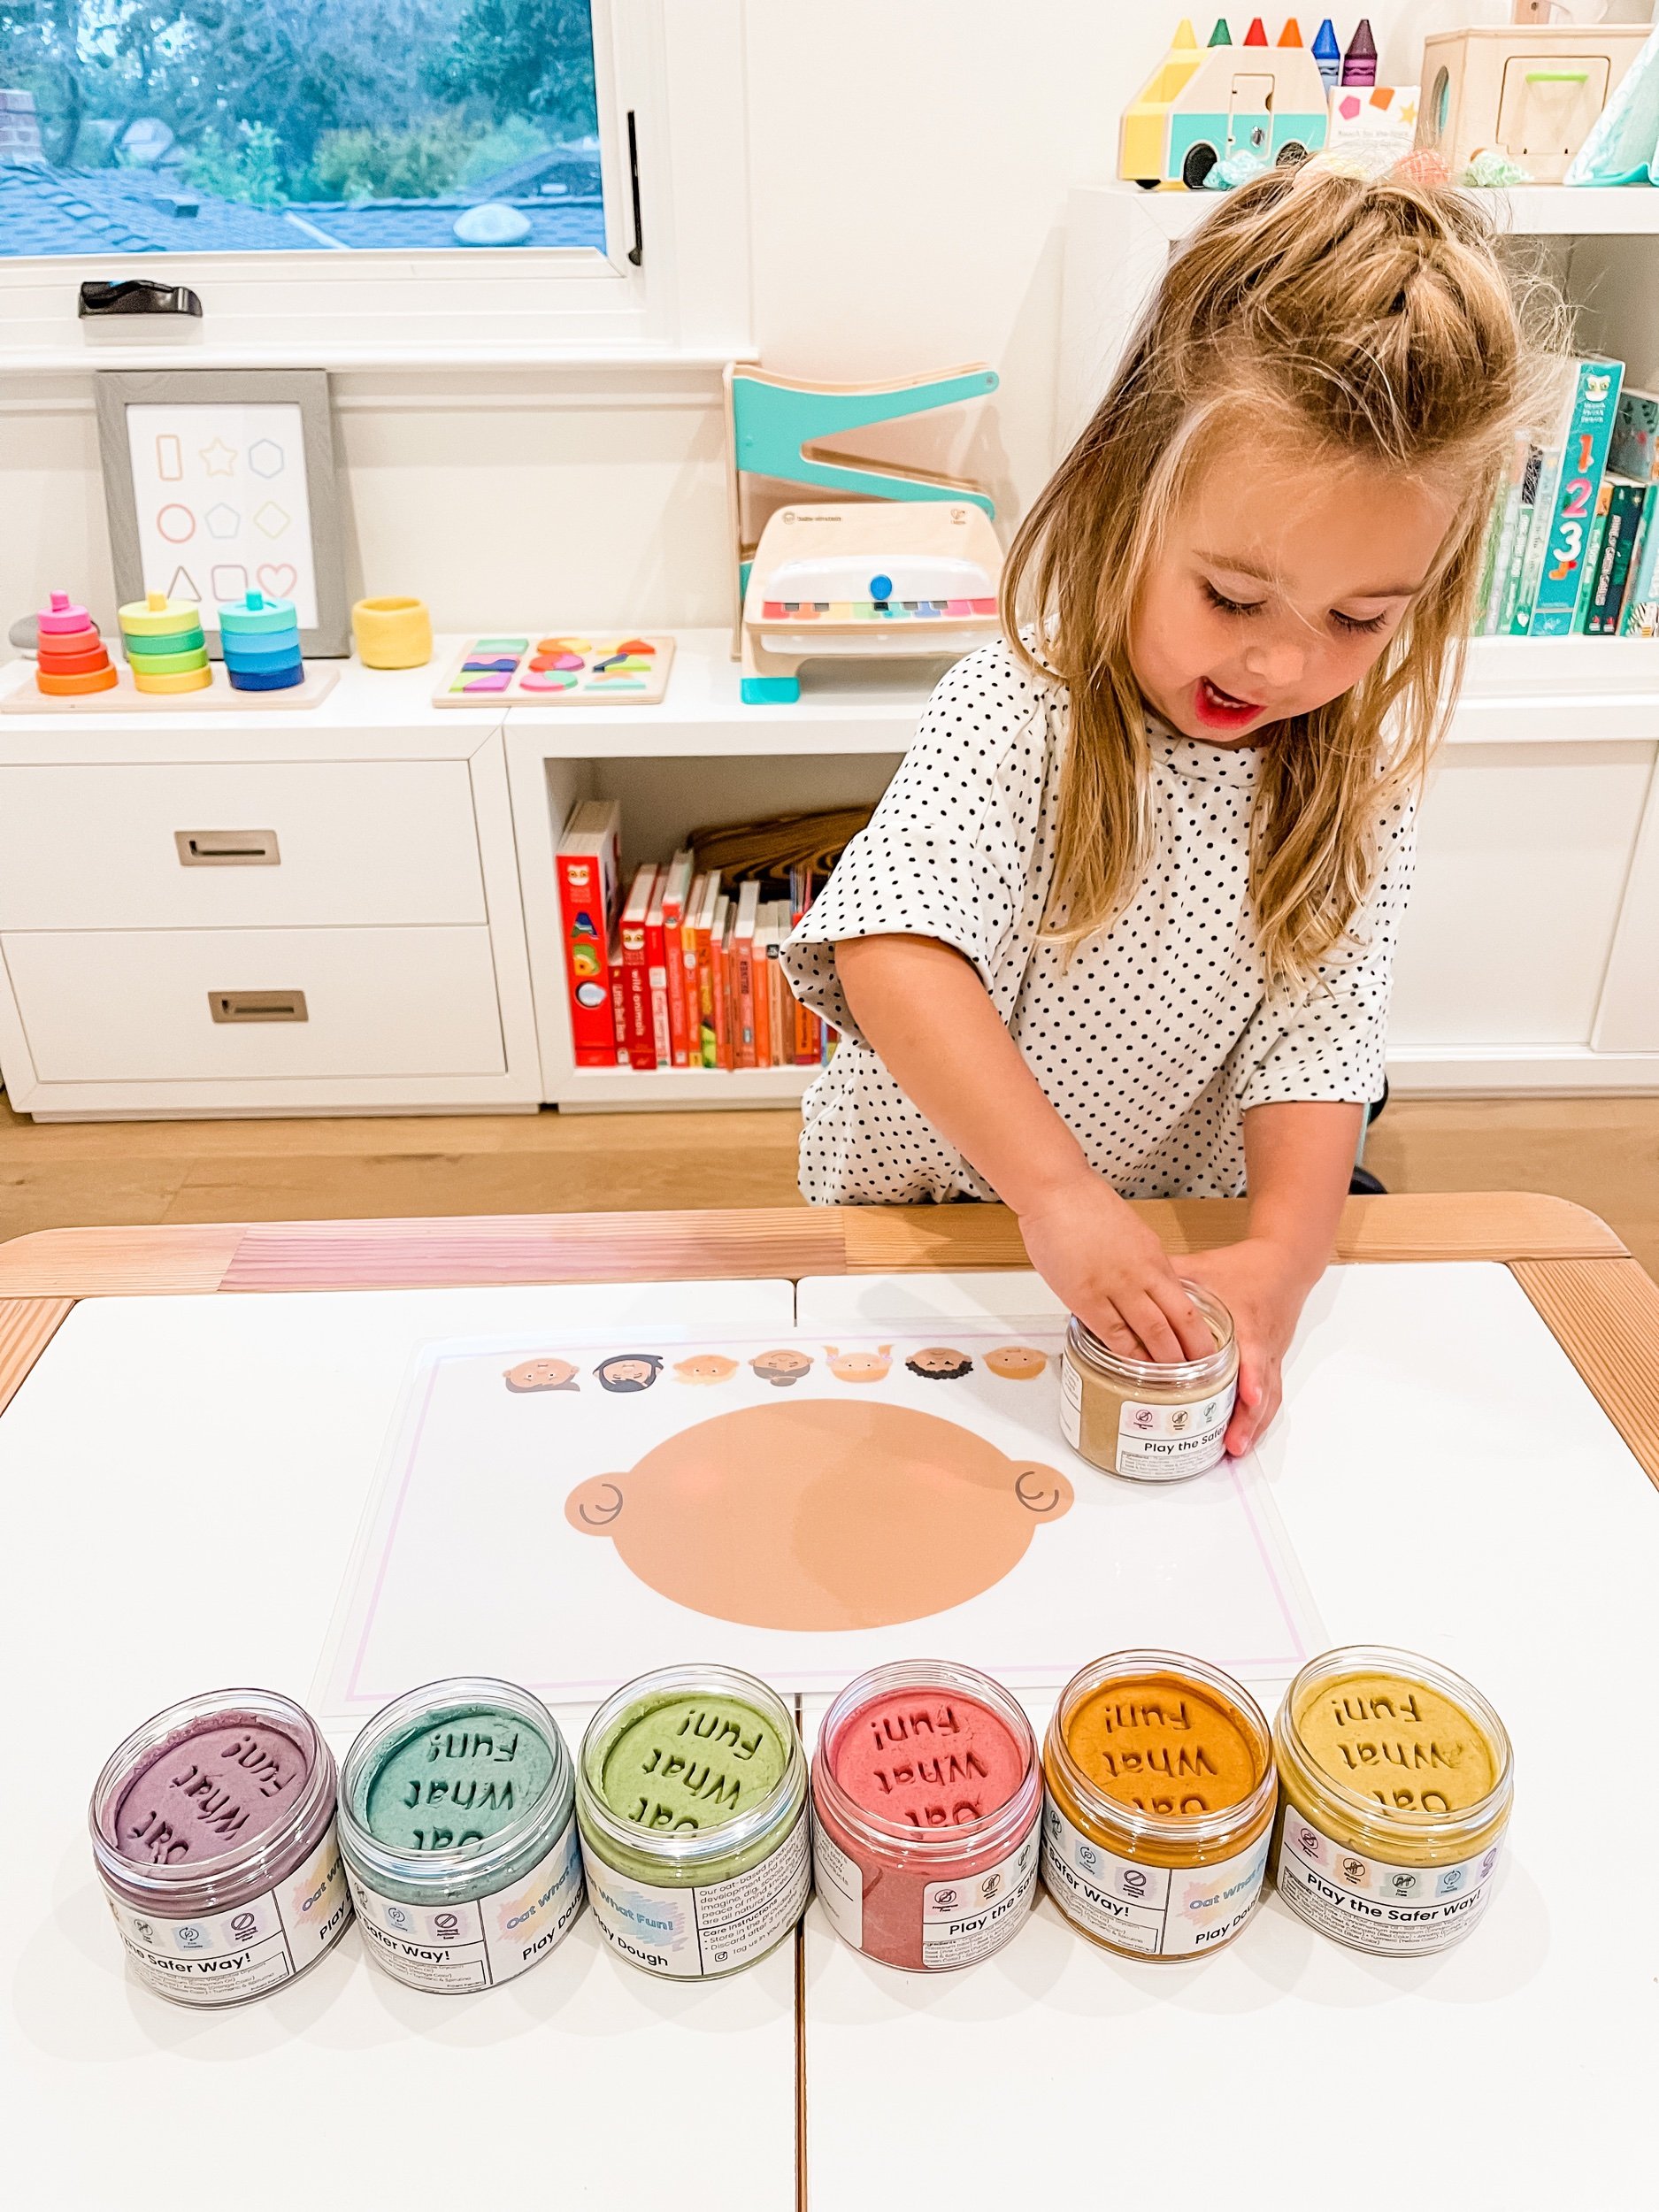
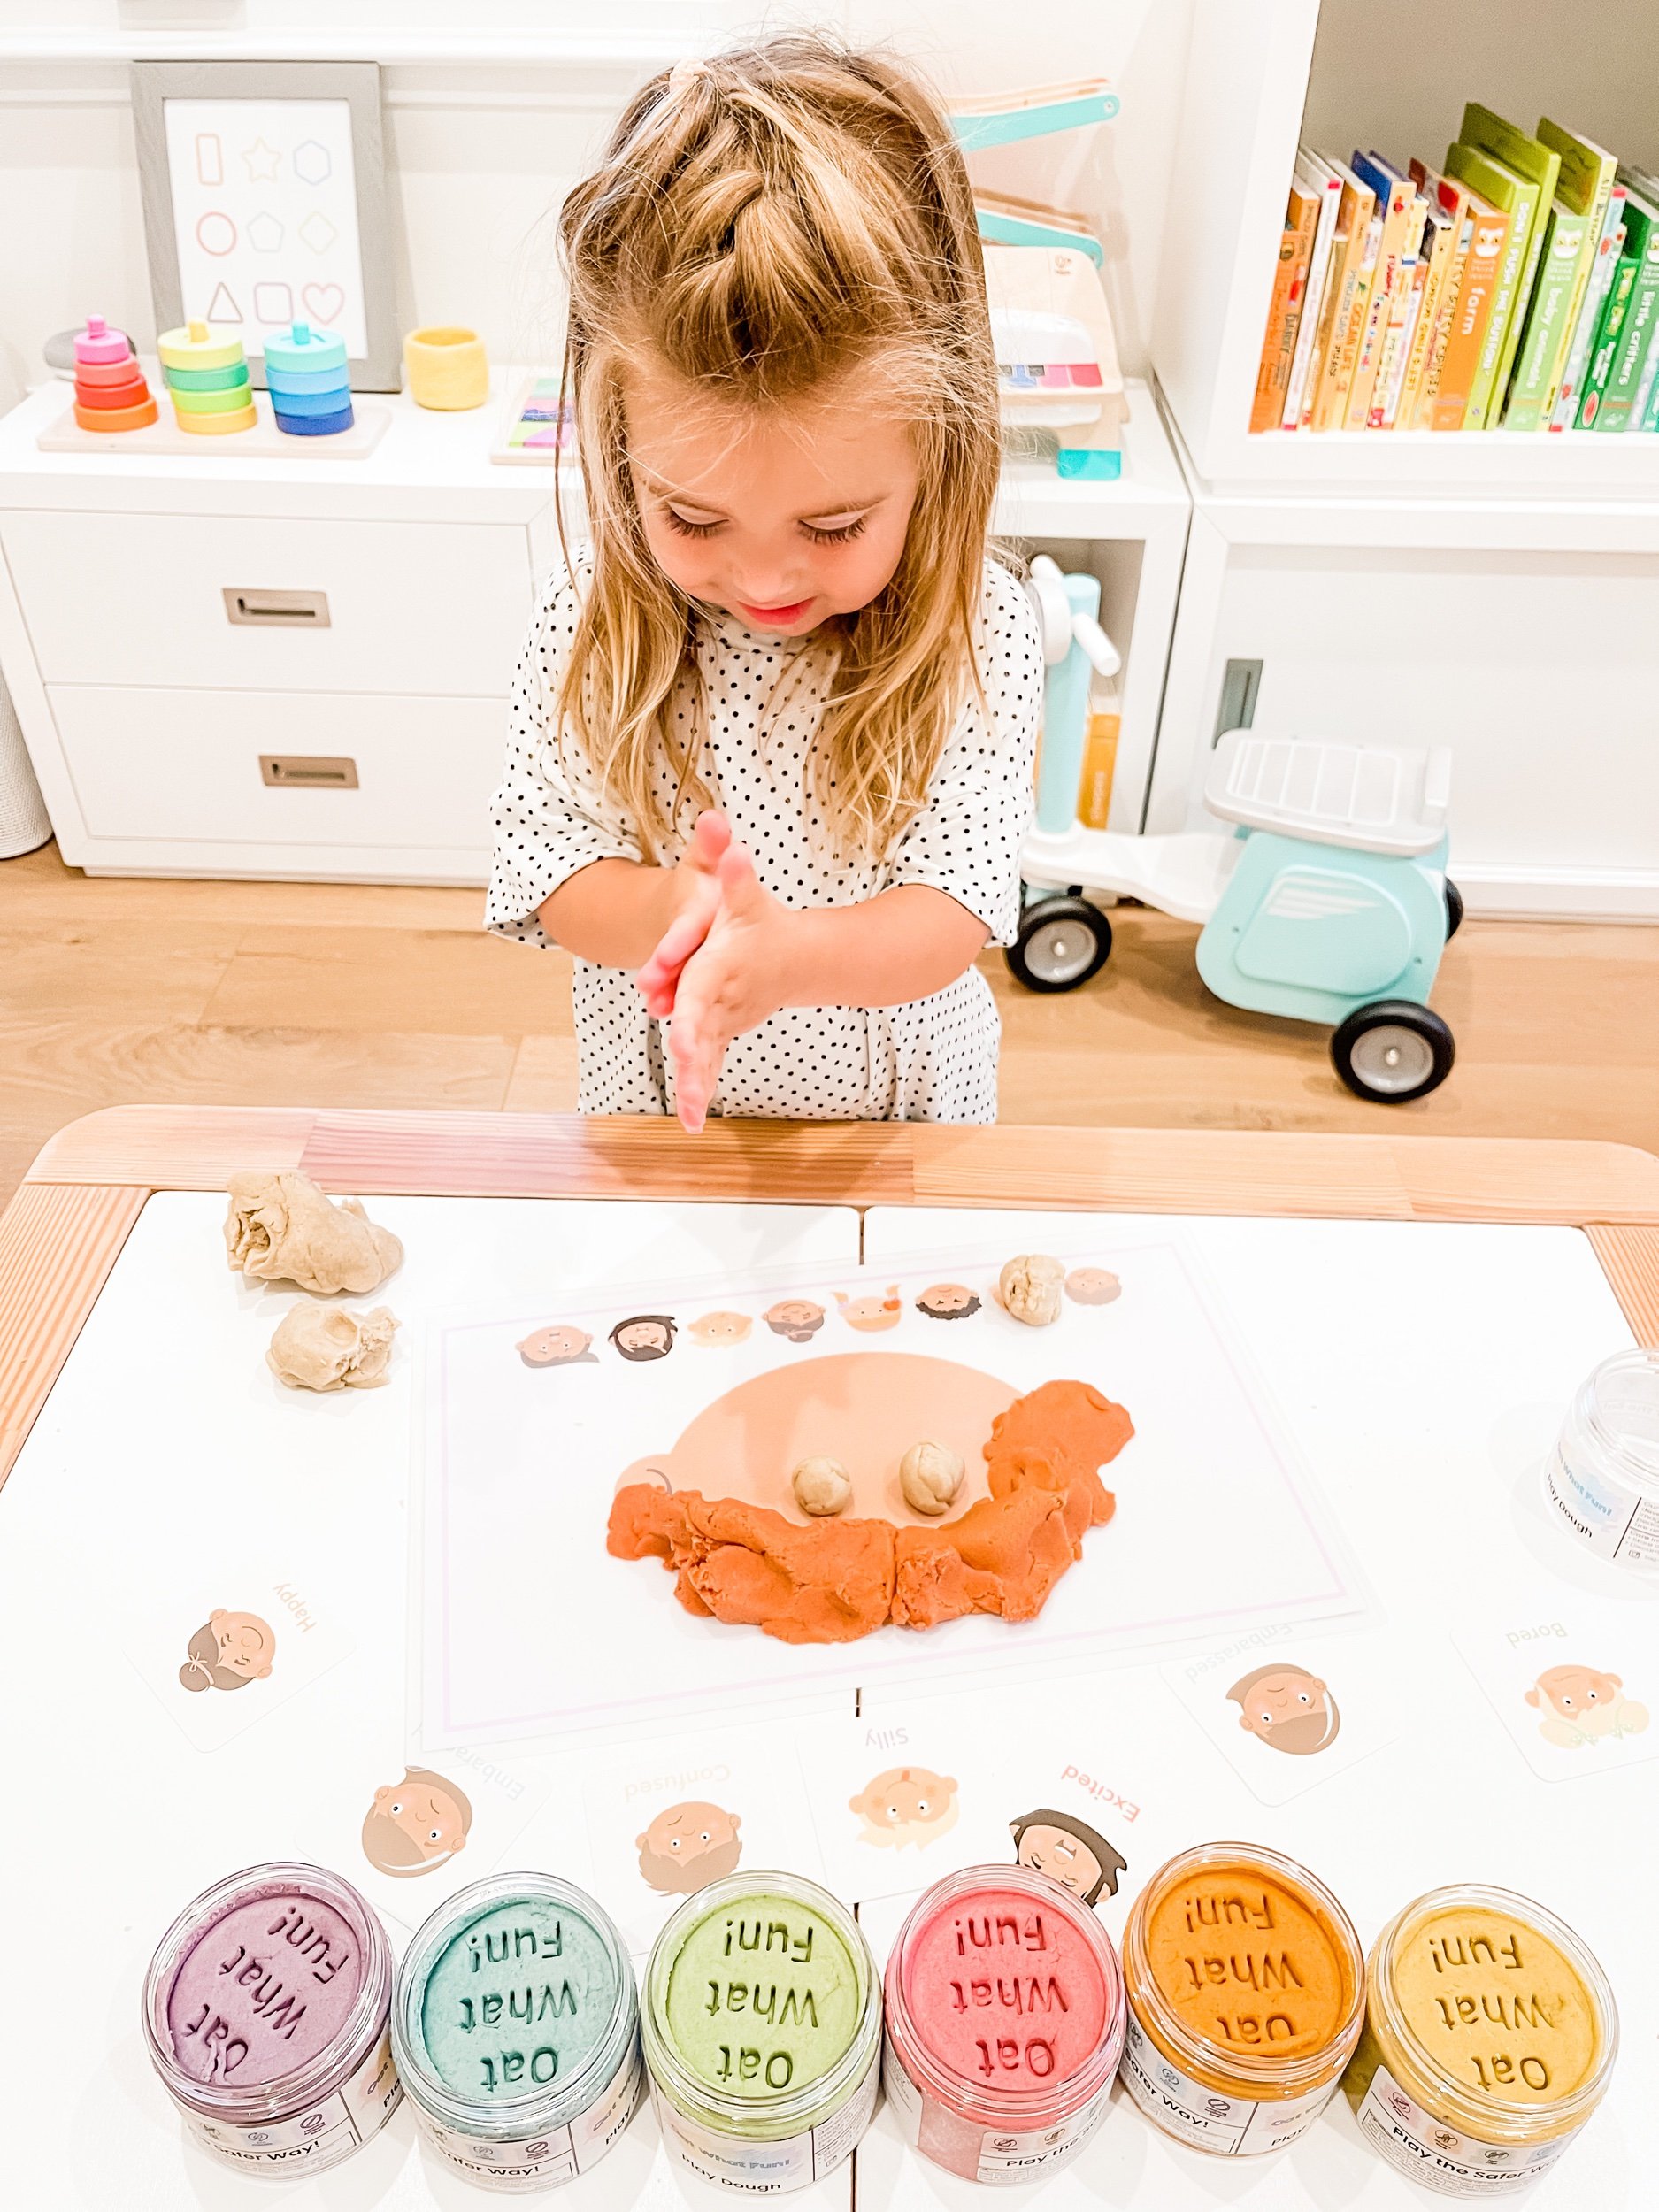
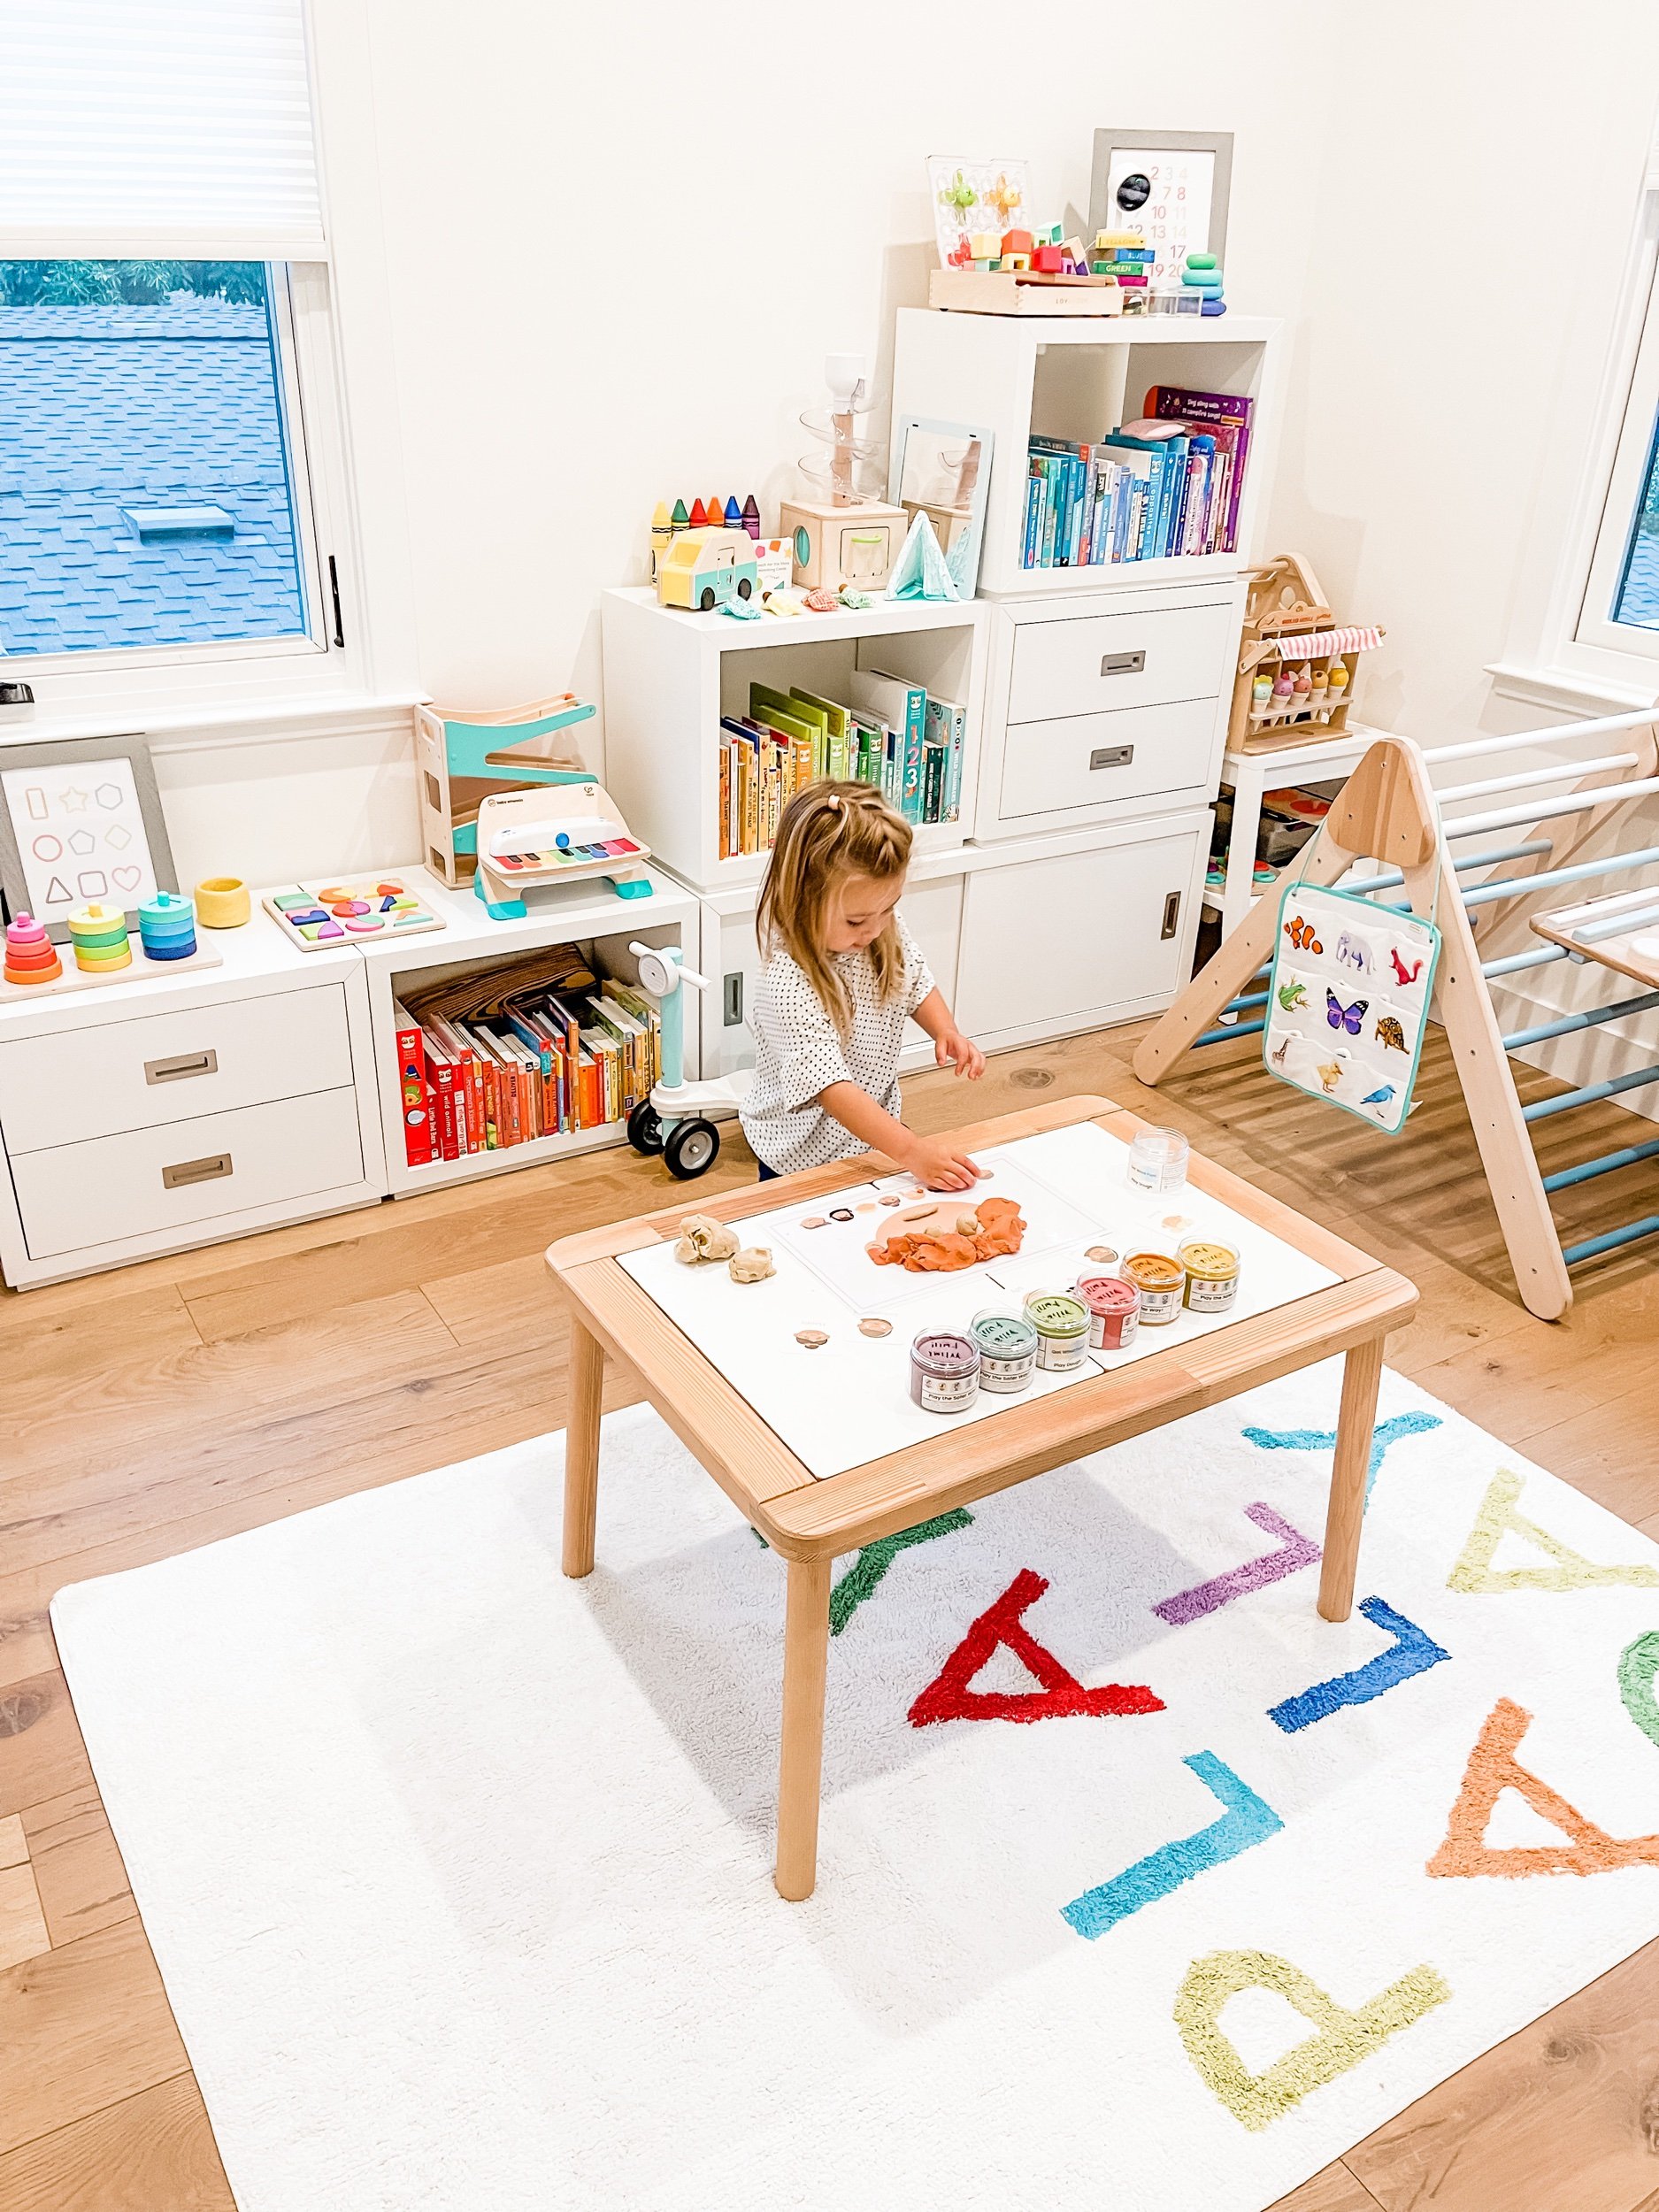
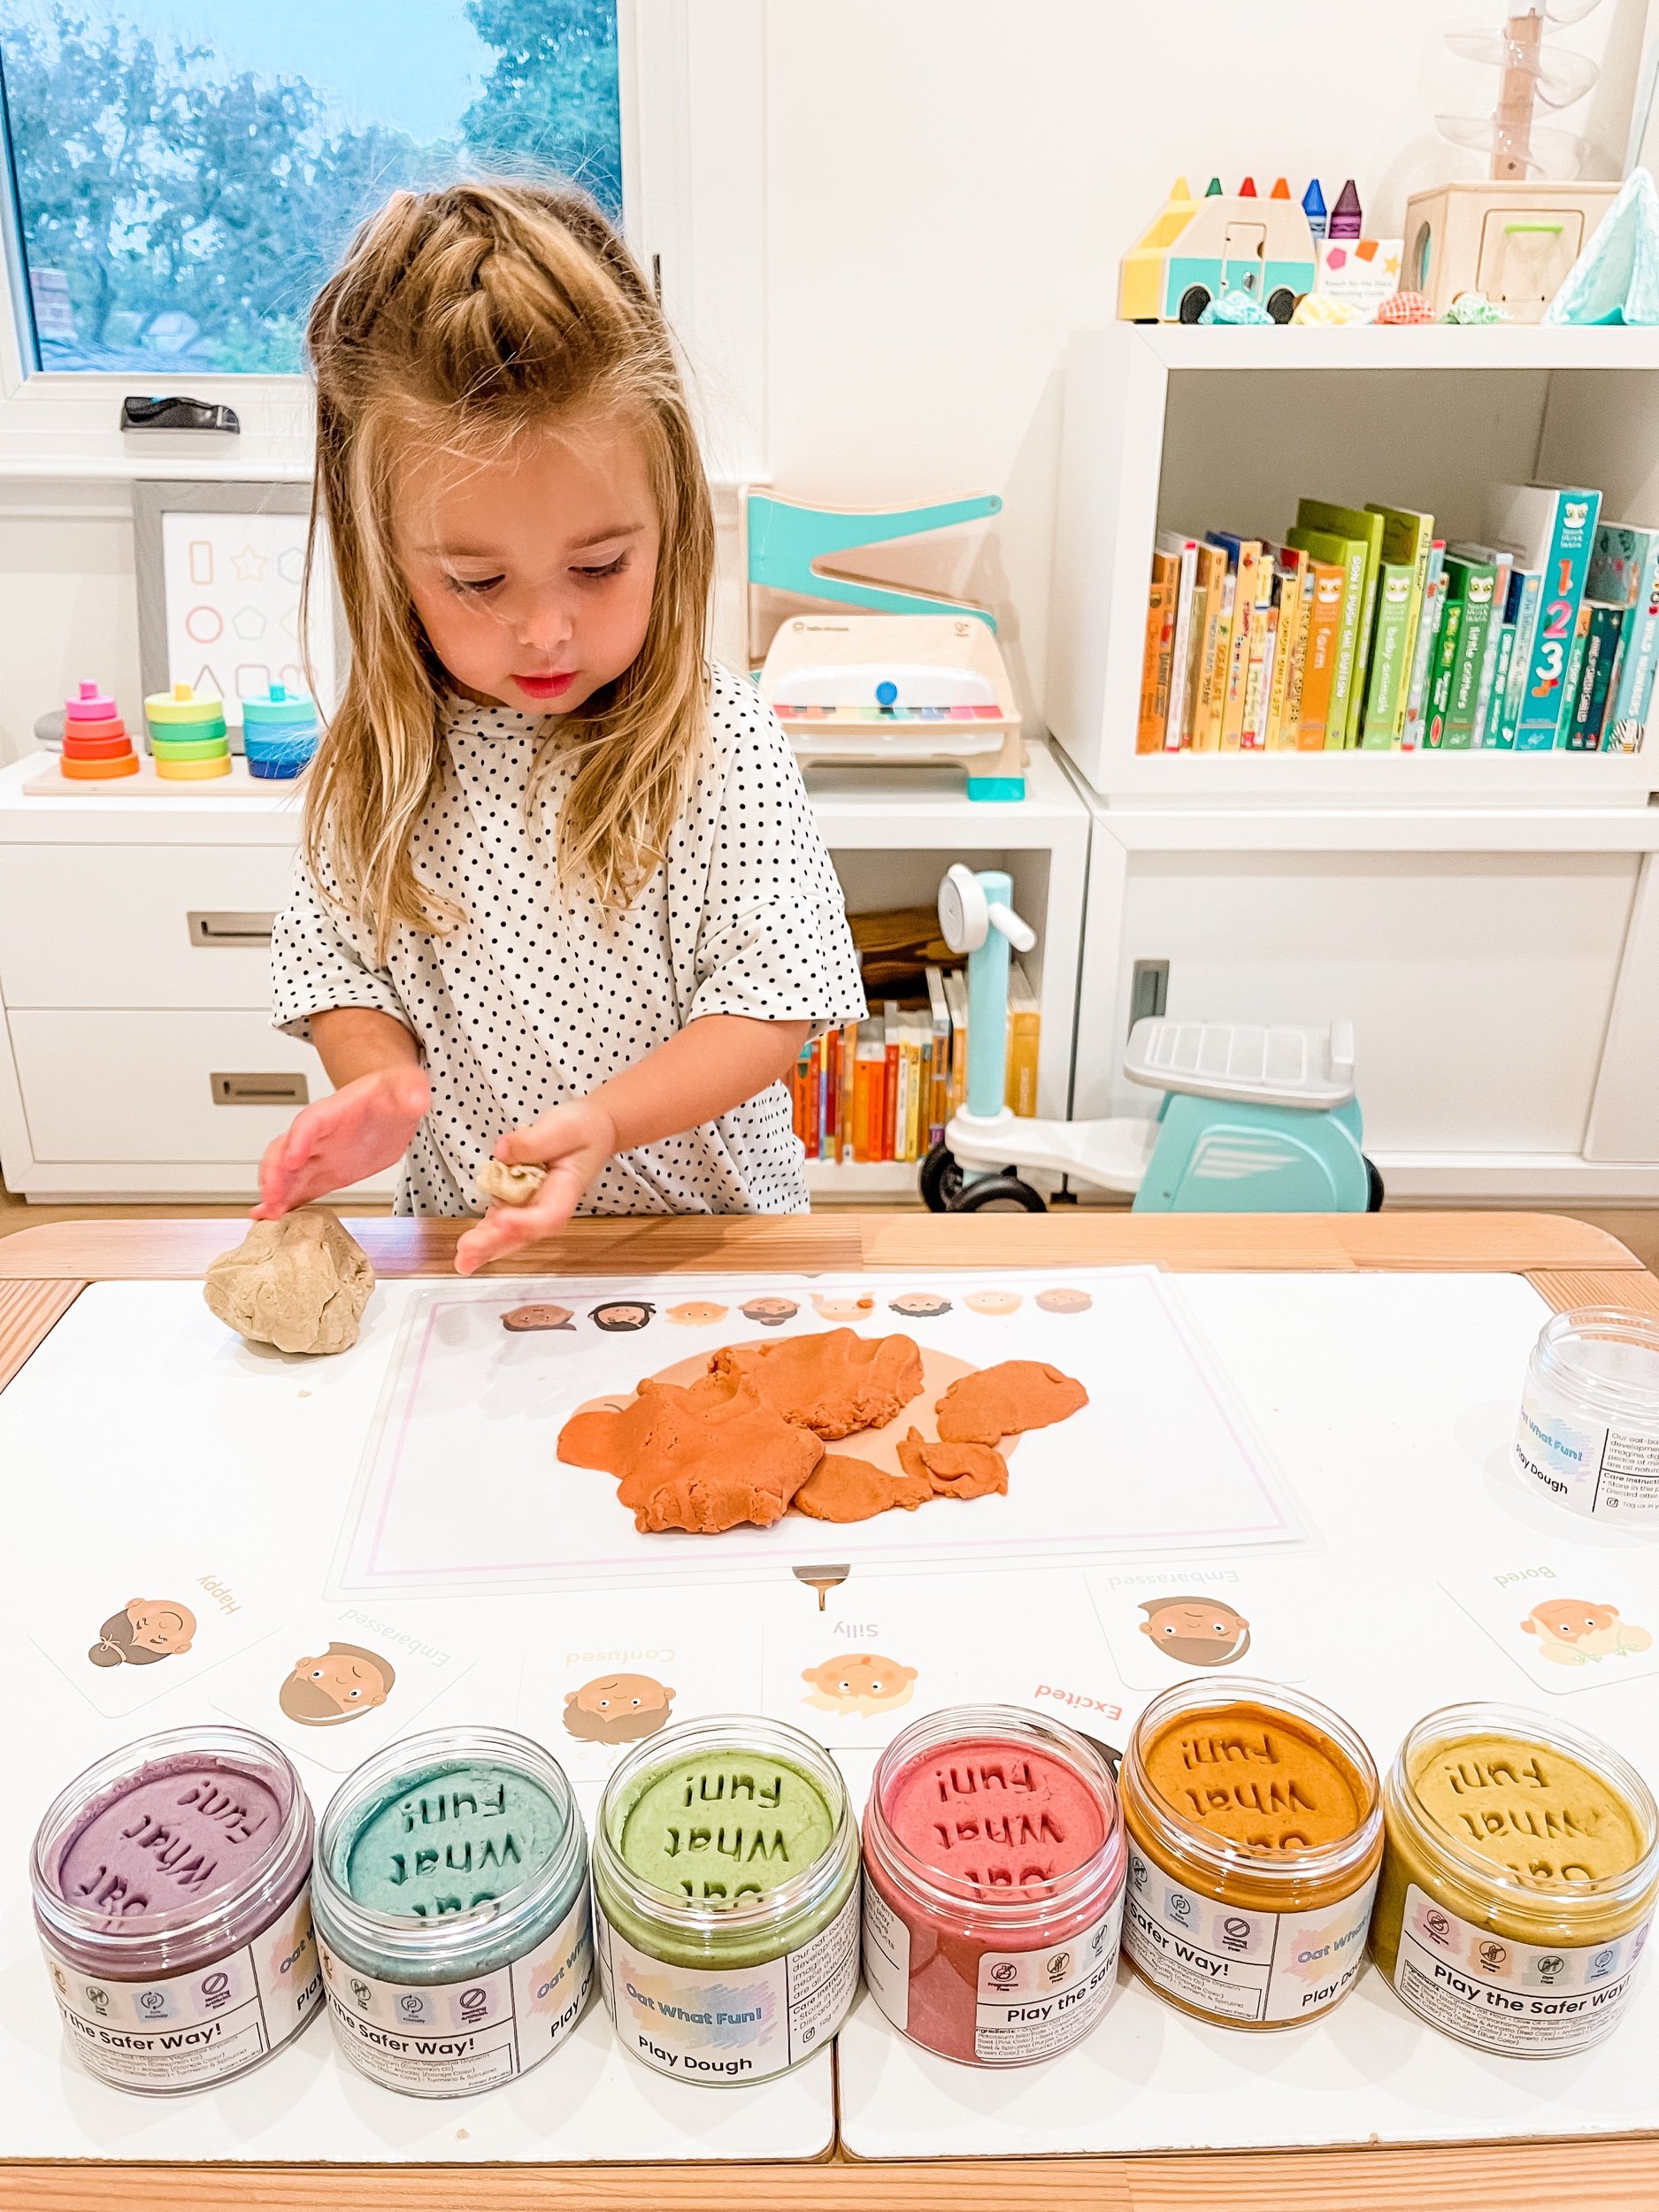
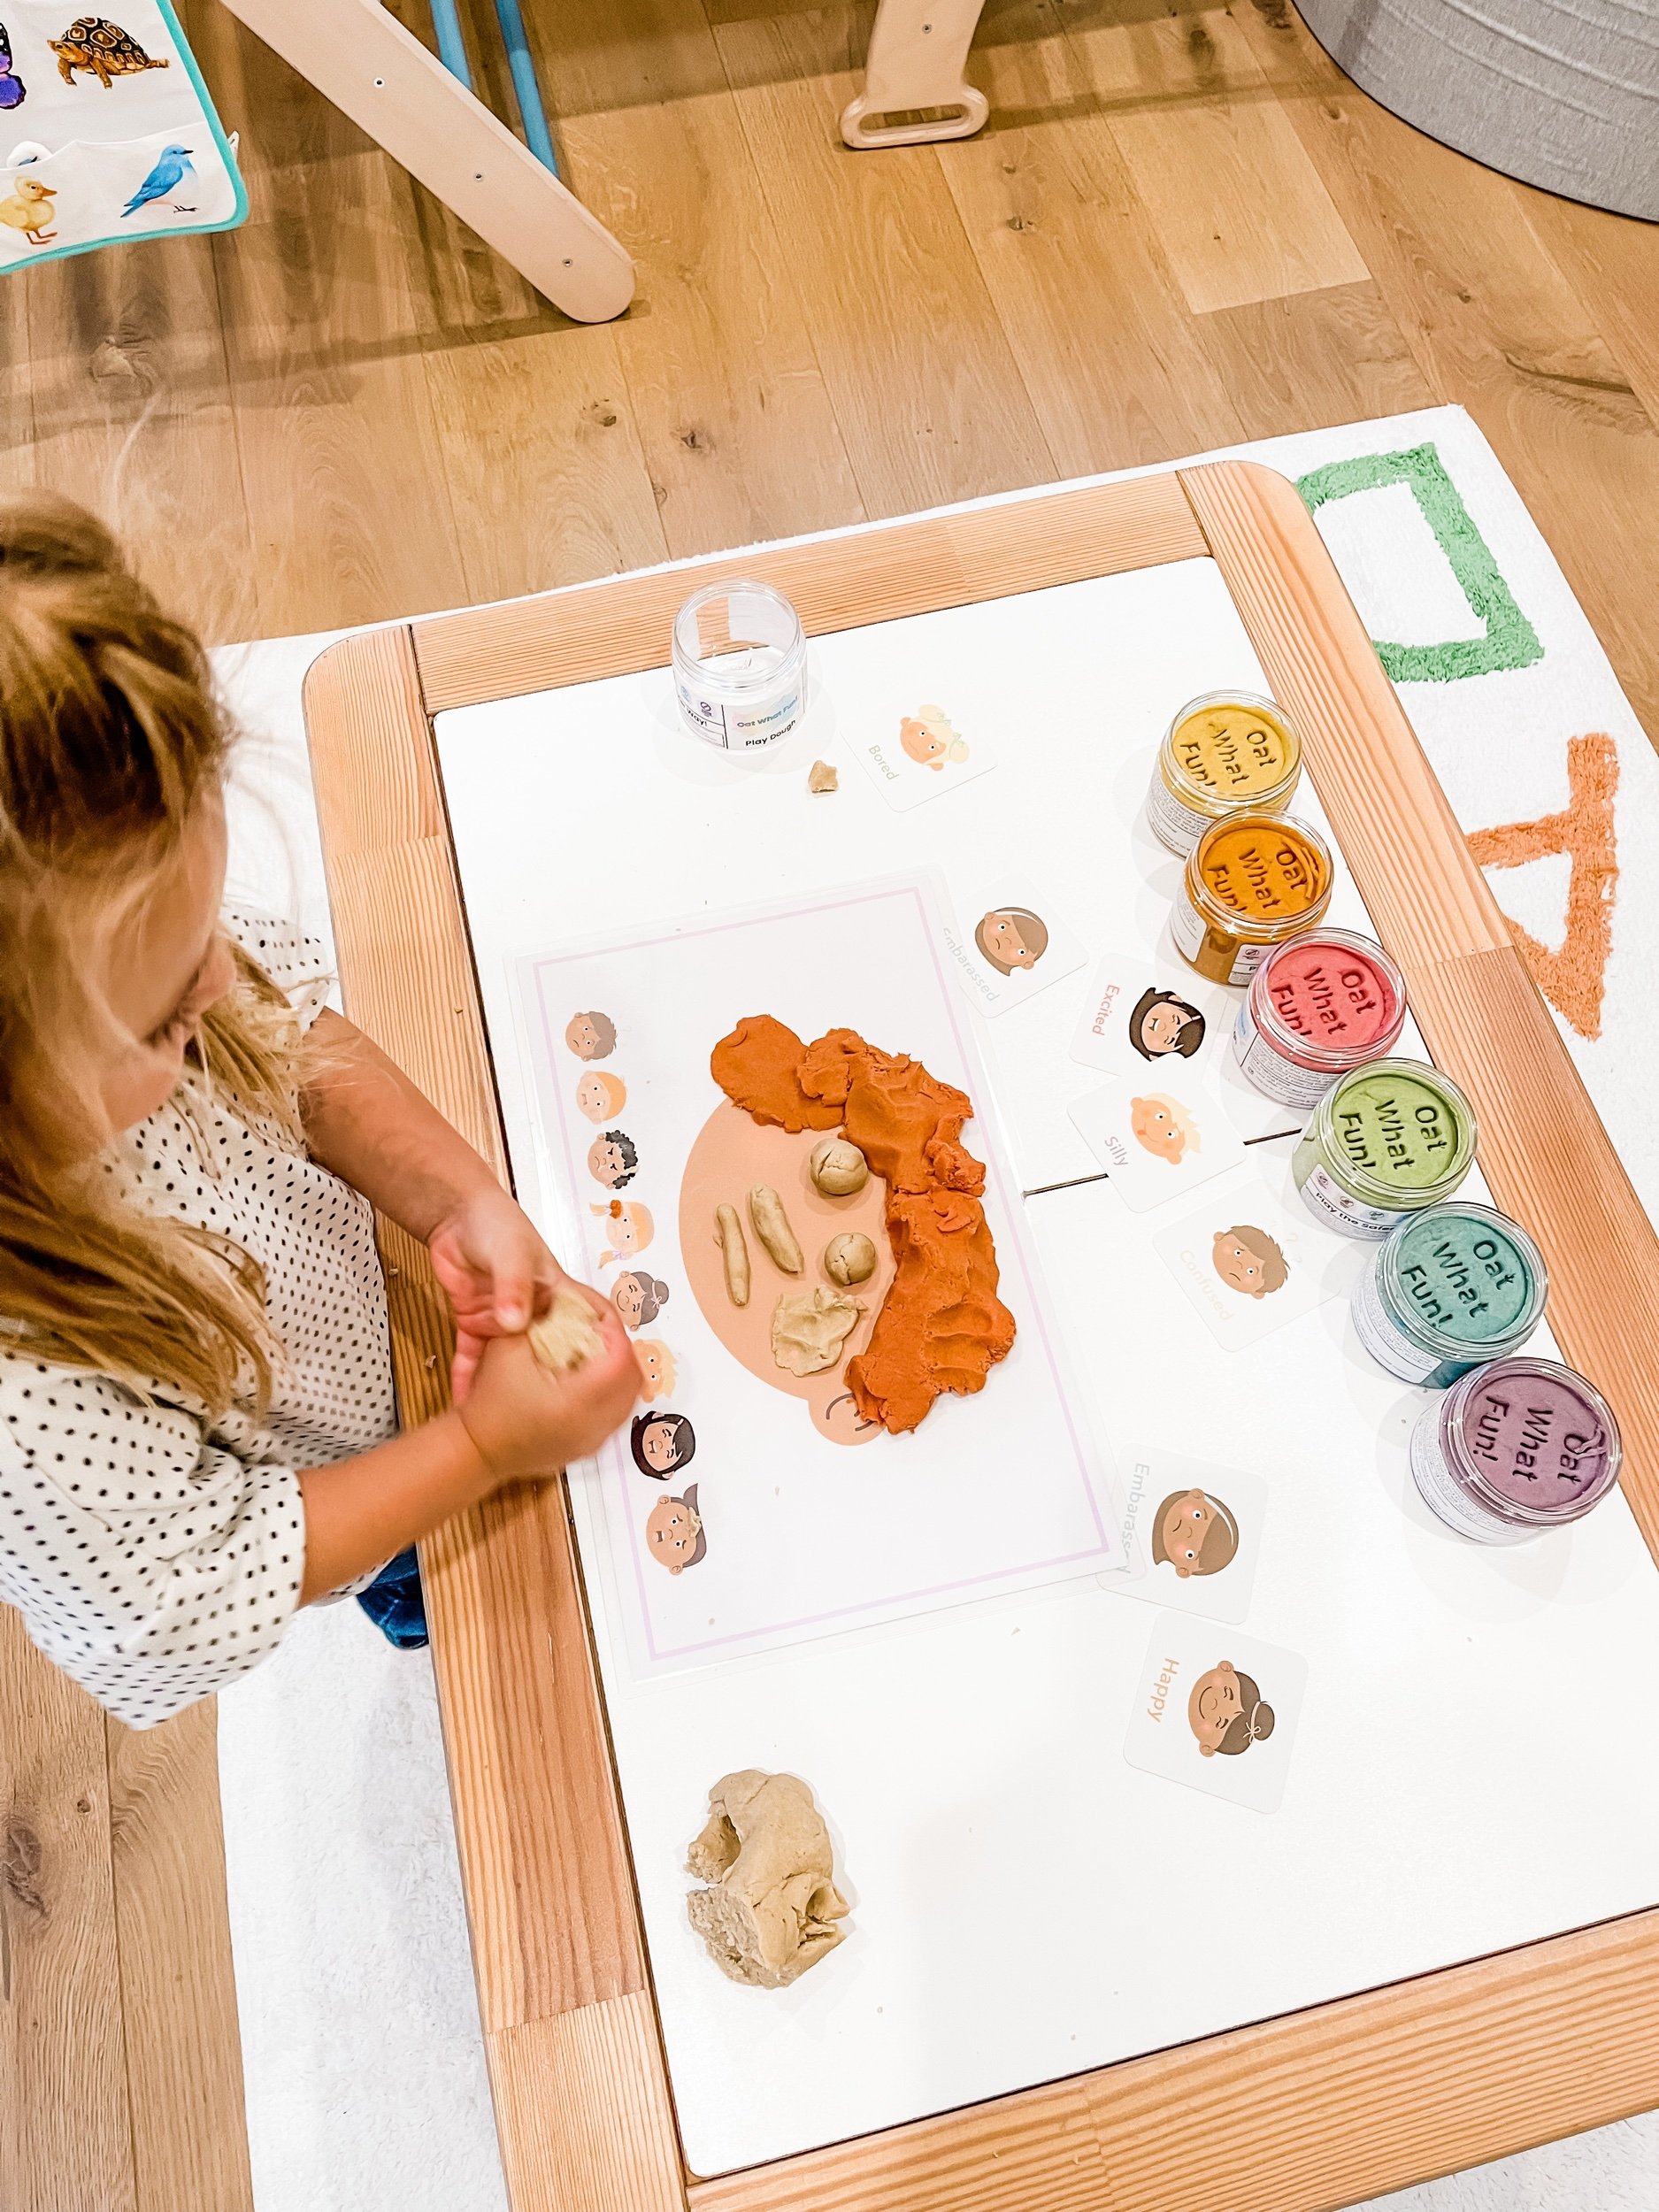
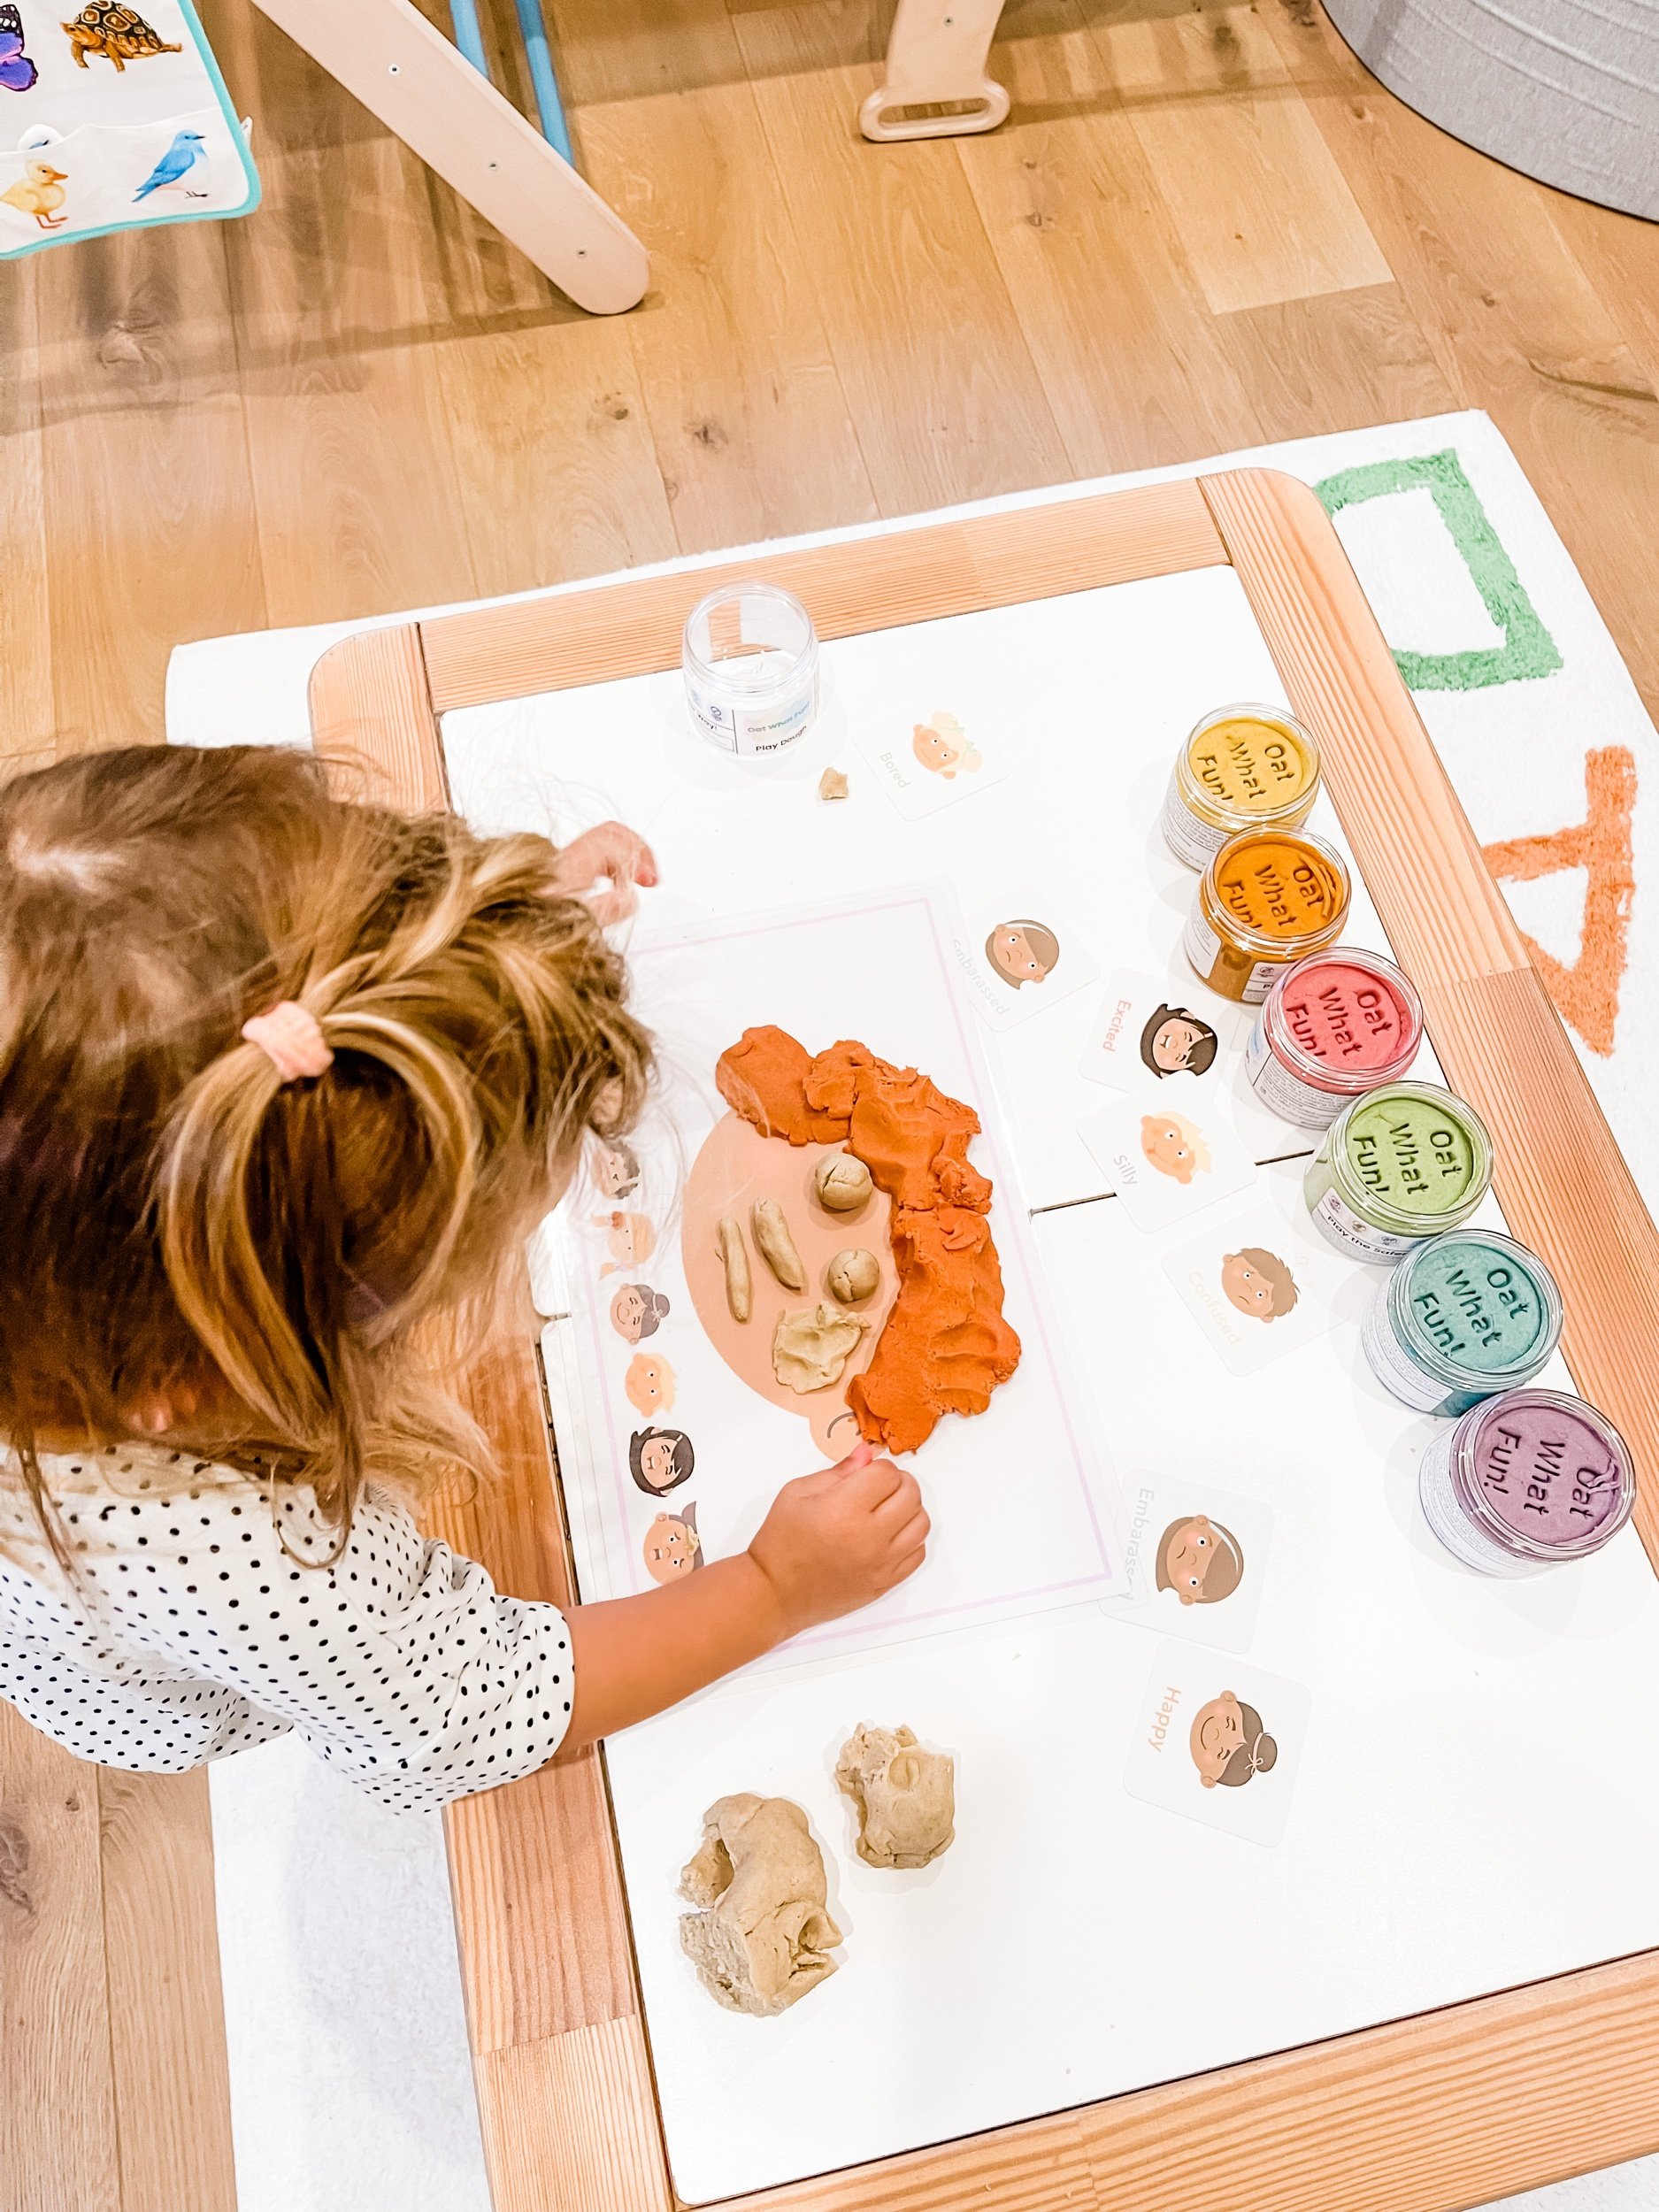
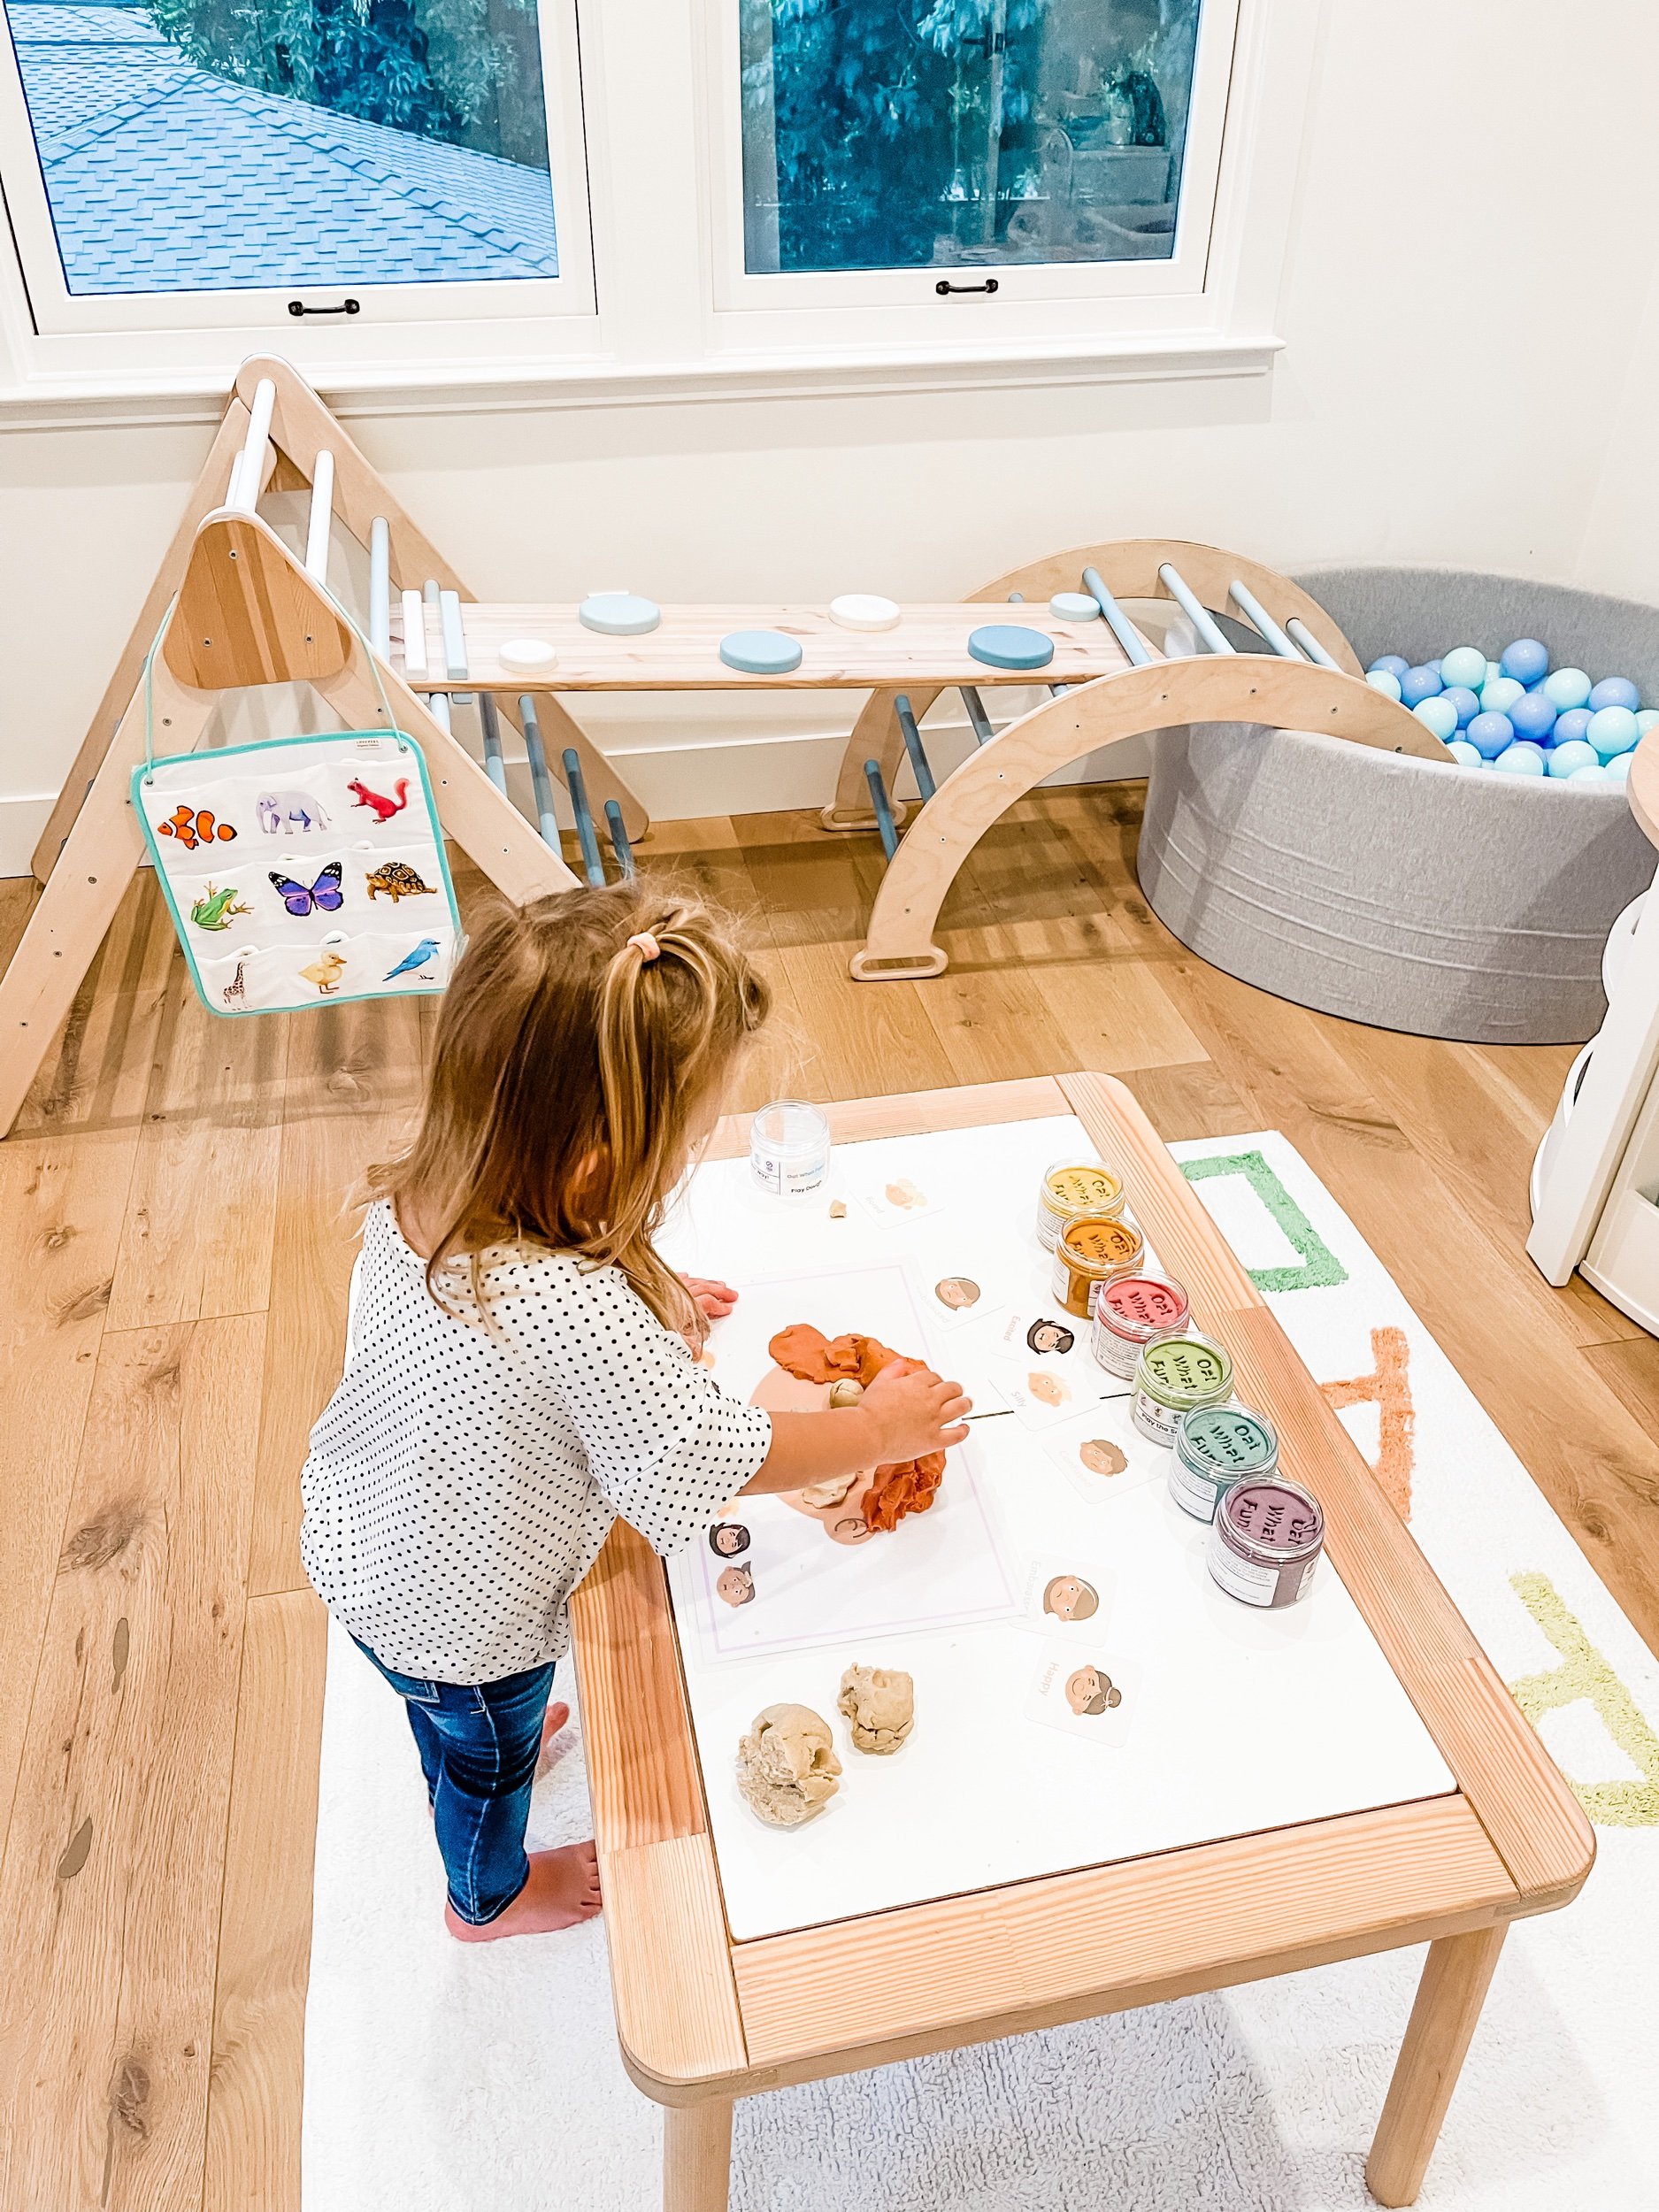
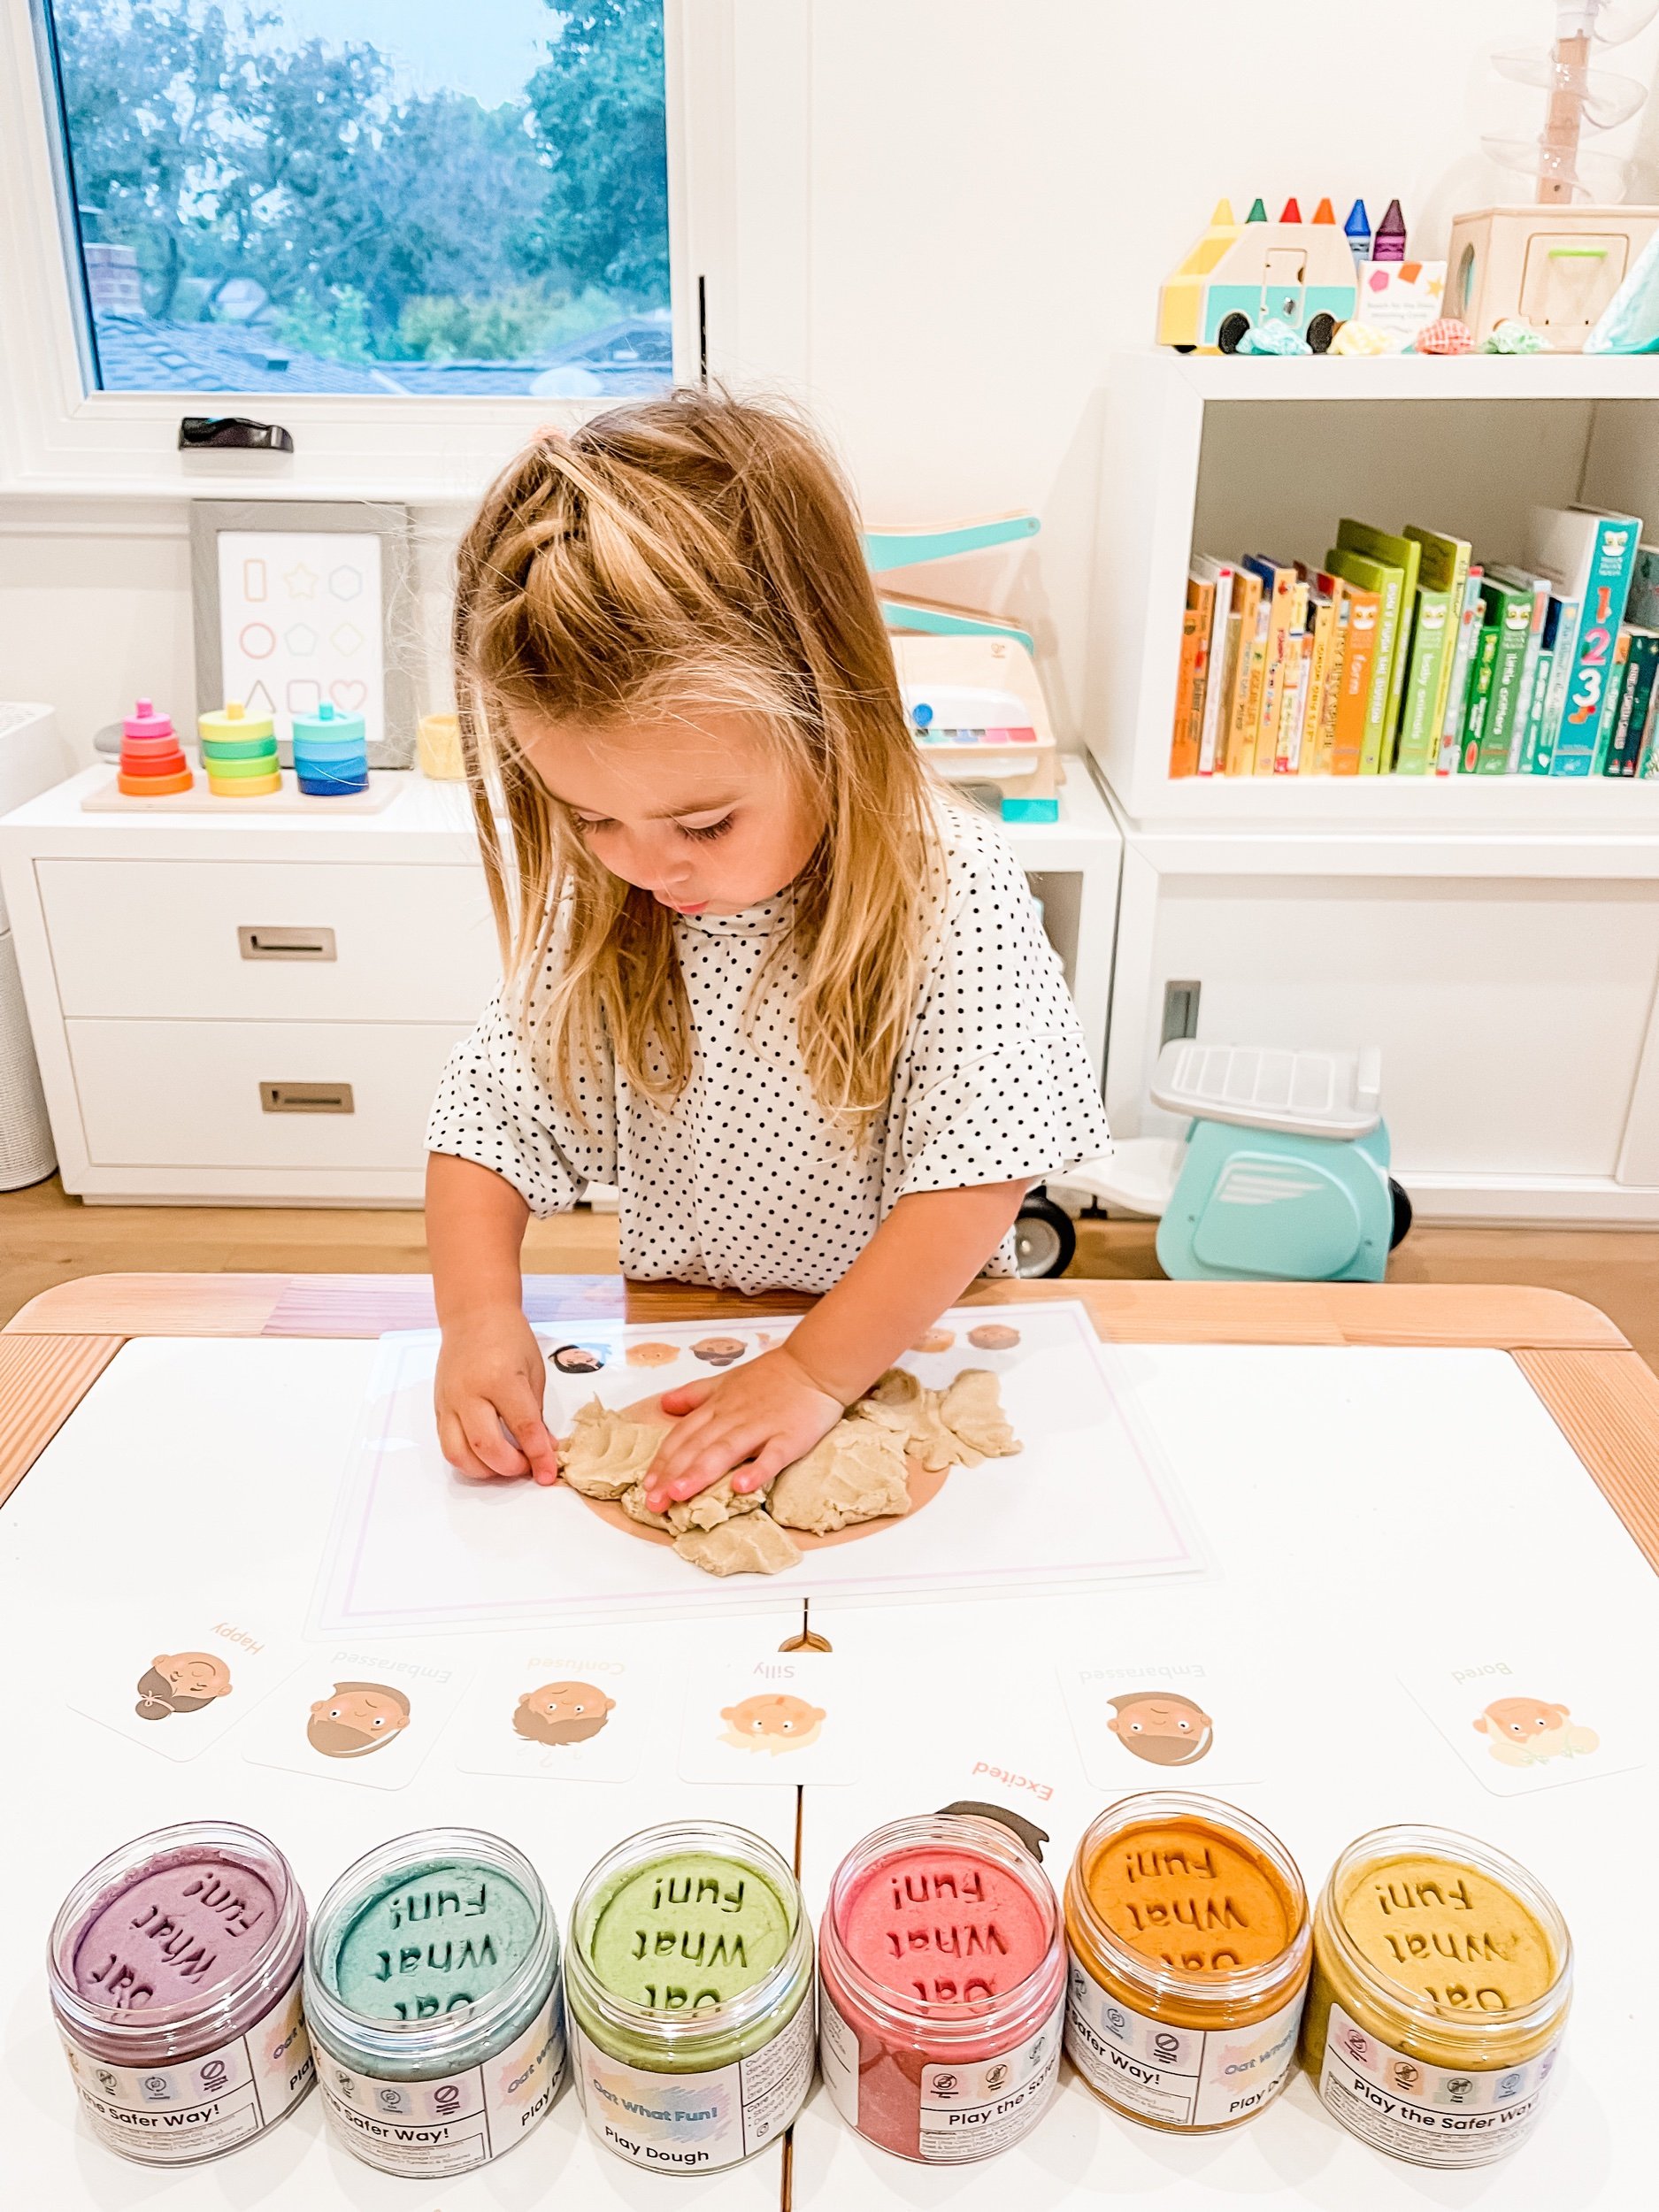
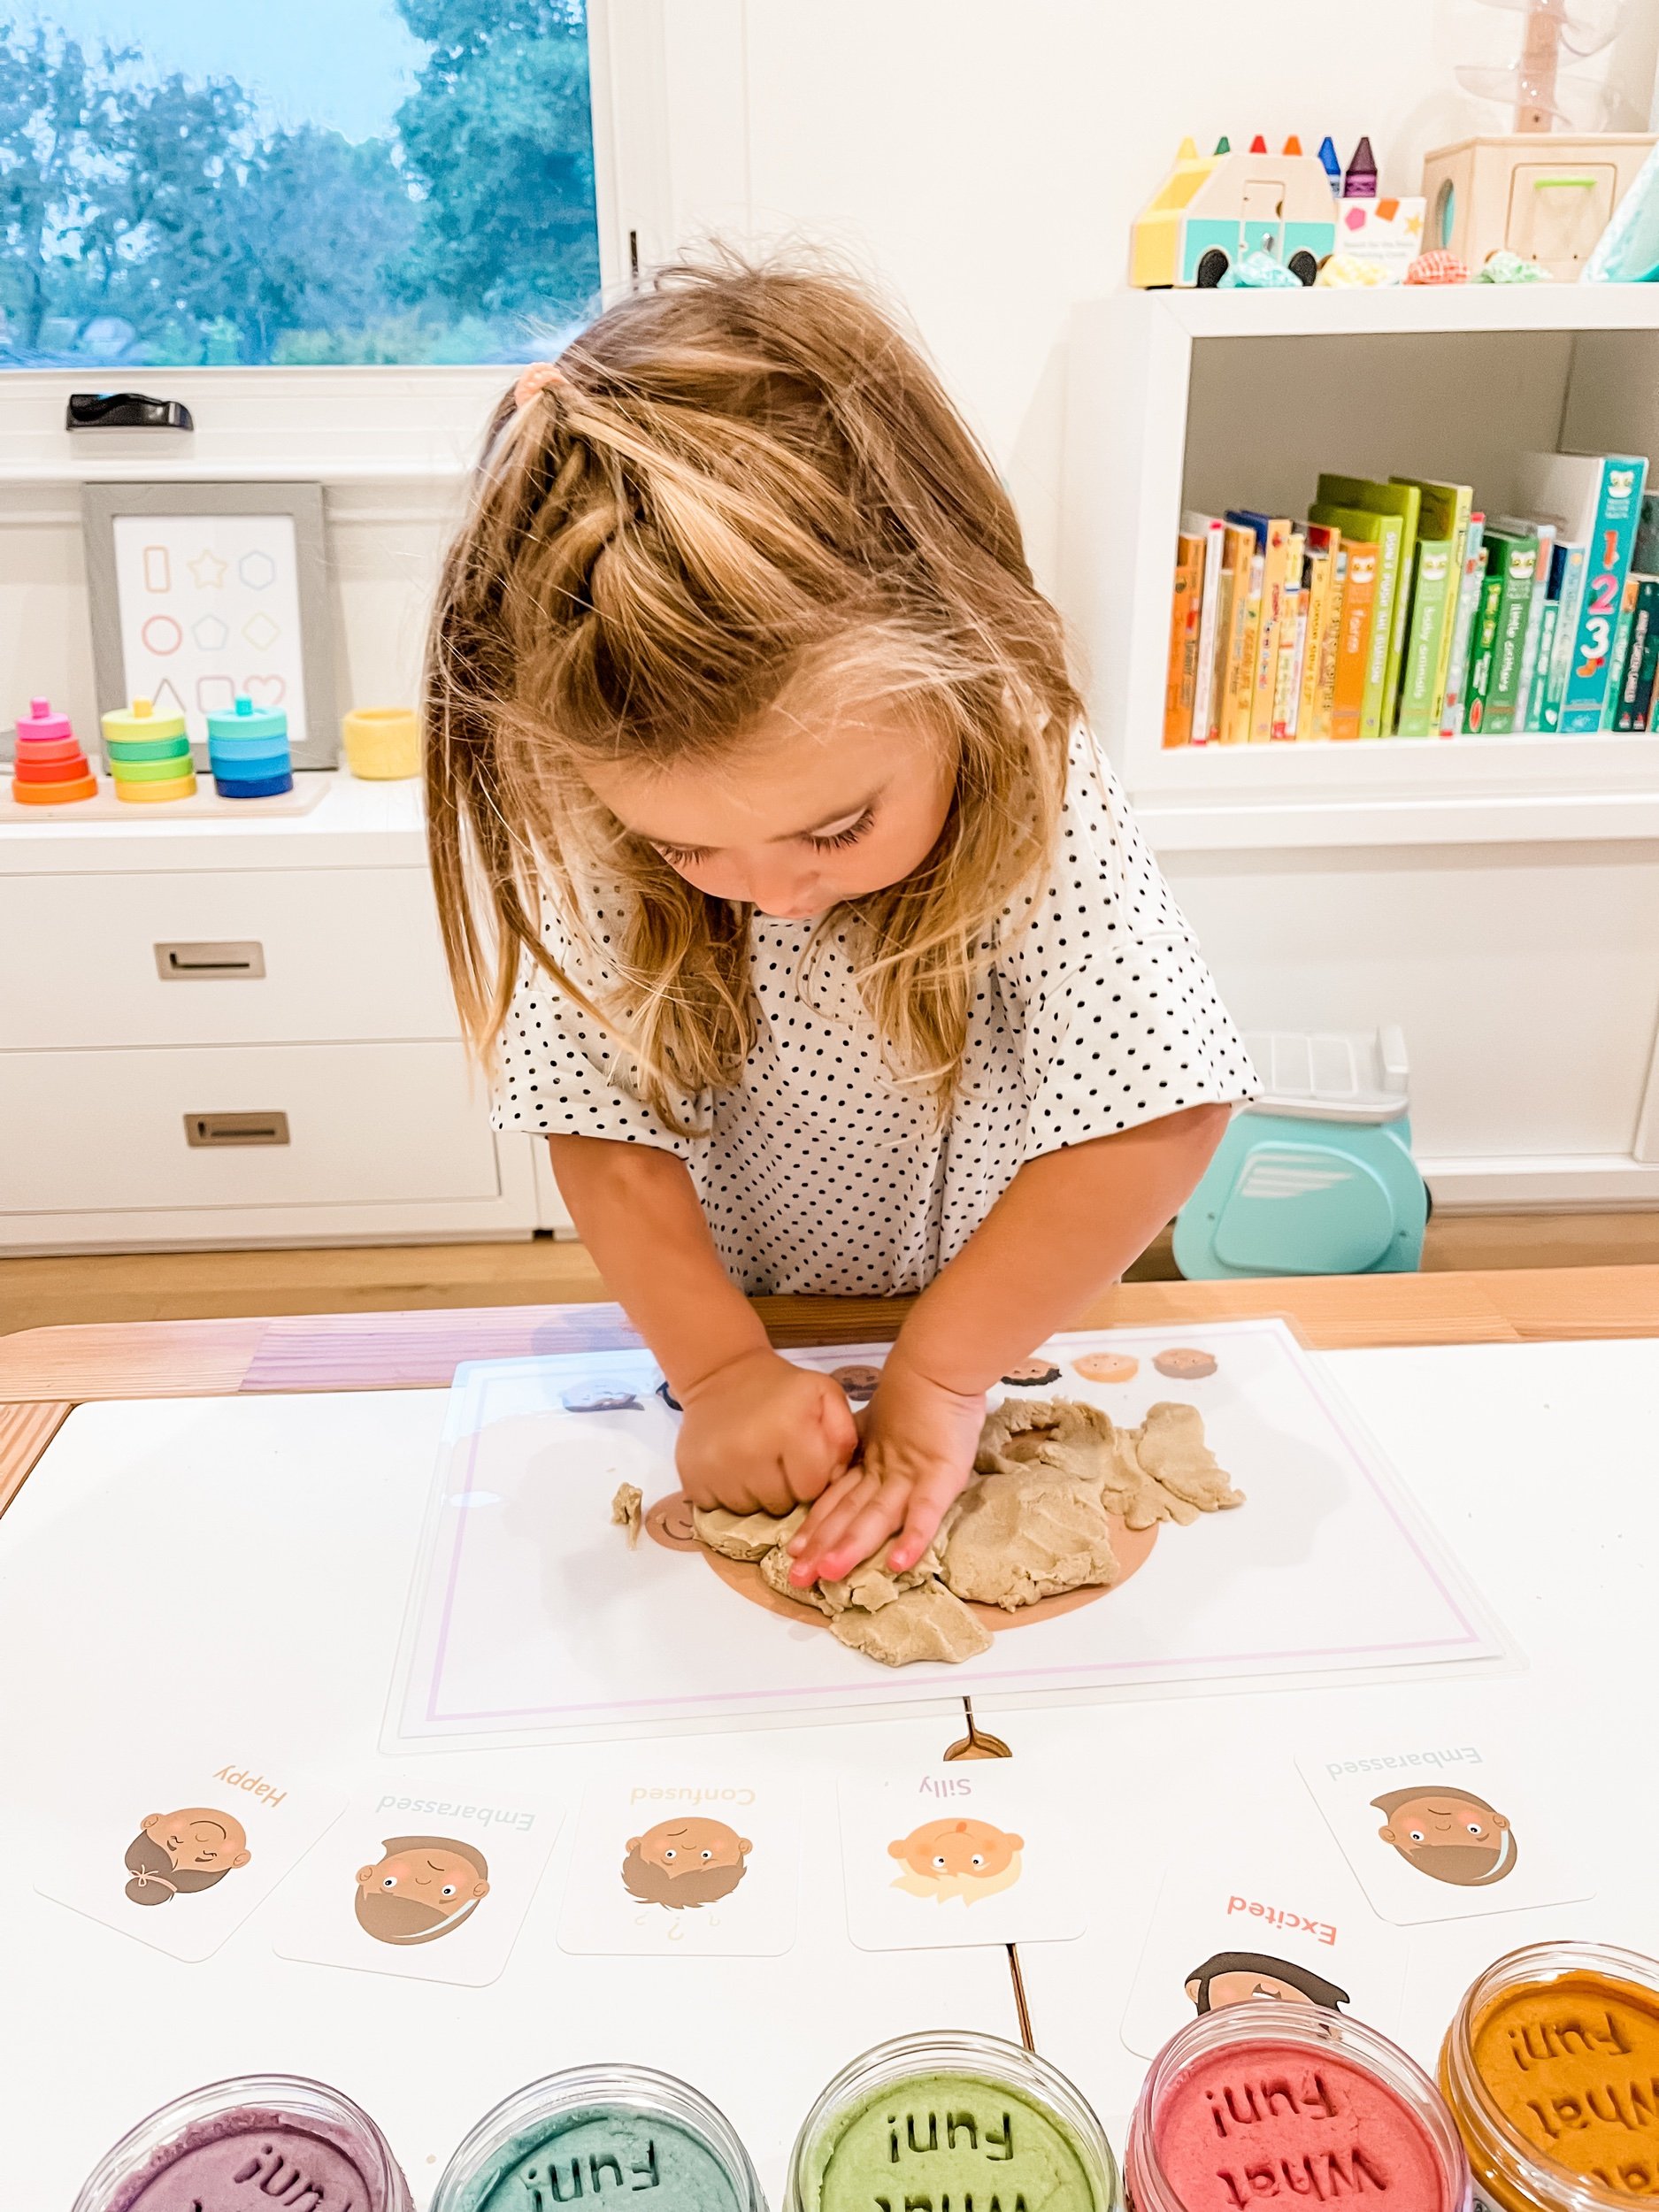
Roll out a ball of playdough, flatten it into a face shape, and build expressions together: googly eyes or dough balls for eyes, a smile or frown for the mouth. "This face is happy — can you make a sad one?" It’s part fine motor work, part feelings lesson, and toddlers will happily make twenty faces in a row. No playdough handy? Translucent face-building pieces on a light table or white tray work the same way — mix-and-match eyes, brows, and mouths to build any feeling.
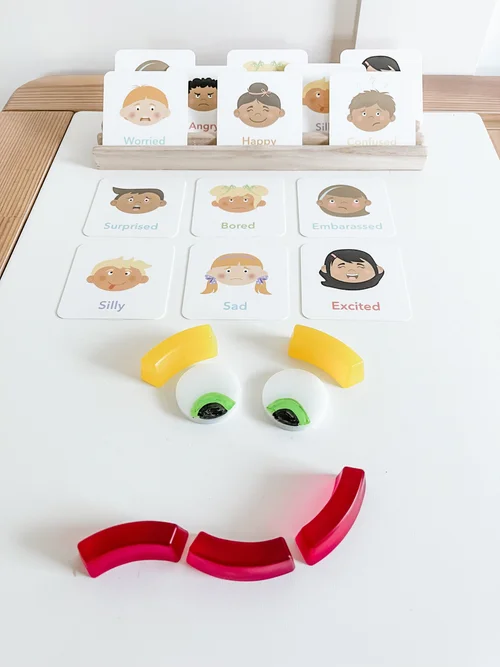
Emotions flashcards with mix-and-match translucent face pieces for building expressions
Build-a-face pieces + emotion cards — every combination is a new feeling to name.

2. Mirror faces

Sit in front of a mirror together and take turns making faces: happy, sad, angry, surprised, silly. Name each one out loud as you make it, then let your toddler "teach" you. Seeing their own face do the feeling wires the word to the sensation — and the silliness keeps them coming back.

3. Emotions card match

Lay out a few emotion cards face-up and take turns: "Find the worried face." "Which one is excited?" Start with three or four contrasting emotions (happy/sad/angry) and add more as they master them. Our Emotions Flashcards were made for this — expressive faces with English and Spanish emotion words, sized for little hands.
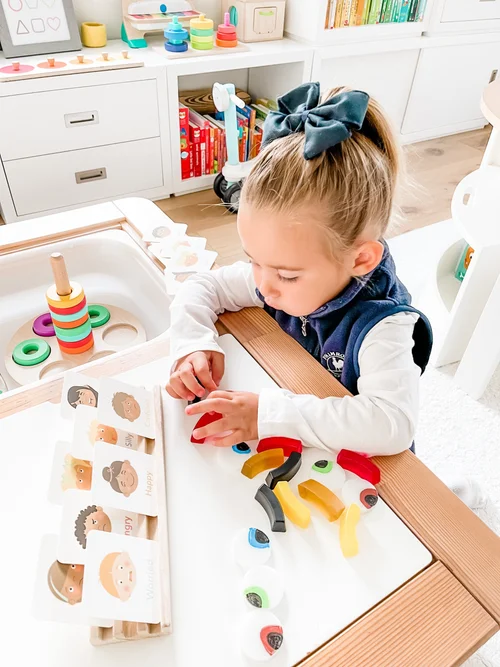
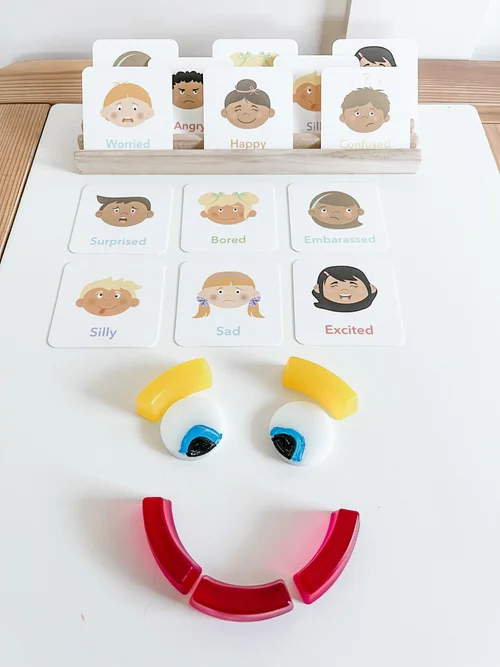
Goodnight Fox emotions flashcards displayed in a stand and laid out with face-building pieces
The emotions cards laid out and ready — start with three or four, then add more.
Toddler playing with emotions flashcards at a table
Matching game in action — "find the worried face."

4. Morning feelings check-in

Hang an emotions chart where your toddler can reach it and make it a morning ritual: "How are you feeling today? Point to your face." No wrong answers, no fixing — just naming. Our Emotions Posters (Set of 3) include a check-in visual made for exactly this. The daily repetition is what turns vocabulary into a habit they can reach for mid-meltdown.
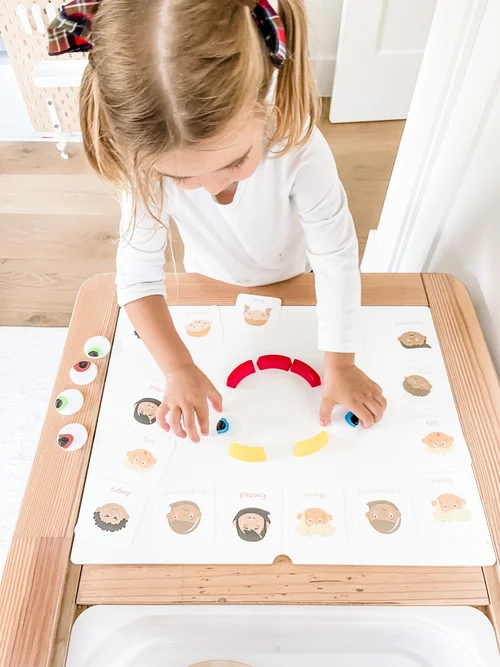
Toddler building a face on an emotions activity mat
Morning check-in: build the face that matches the feeling.

5. Emotion story time

When you read together, pause at the characters' faces: "How do you think the bear feels right now? What does his face tell you?" Picture books are a low-stakes rehearsal space — your toddler practices reading emotions on someone else's face before they have to manage their own.

6. "What would you feel?" scenarios

During calm moments, play out tiny scenarios with toys: "The bunny's block tower fell down. How does bunny feel?" Let your toddler answer, act it out, and suggest what bunny could do. You're building the cause-and-effect map of emotions — this happened, so I feel this, so I can do that — without a single real tear.

7. Practice calming down, not just naming

Vocabulary is half the equation; the other half is what to do with the feeling. Once your toddler can name "angry," teach the exit ramp: three slow breaths, squeezing a stress ball, or hugging a stuffed animal. Our Toddler Mindfulness Flashcards pair each calming strategy with an illustration they can copy. For the full setup, see our calming corner guide.

When should I start teaching emotions to my toddler?

You can start as early as 12–18 months by simply naming feelings out loud ("you're frustrated"). Structured activities like these land best from about age 2, when toddlers start connecting words to experiences.

What if my toddler only knows "happy" and "sad"?

That's the perfect starting point. Add one new emotion at a time — "angry" and "scared" are usually next — through the activities above. Depth beats breadth: three well-understood feelings do more than twelve memorized labels.

Should I correct my toddler when they name the wrong emotion?

Gently, and rarely. If they point to "angry" when they're clearly sad, reflect what you see: "Hmm, your face looks a little droopy — could that be sad?" Modeling beats correcting.

Do emotions activities actually reduce tantrums?

They shorten them. A toddler who can say "I'm mad" doesn't need to be mad as loudly or as long. The feeling still comes — the vocabulary just gives it an exit.

The tools for teaching feelings

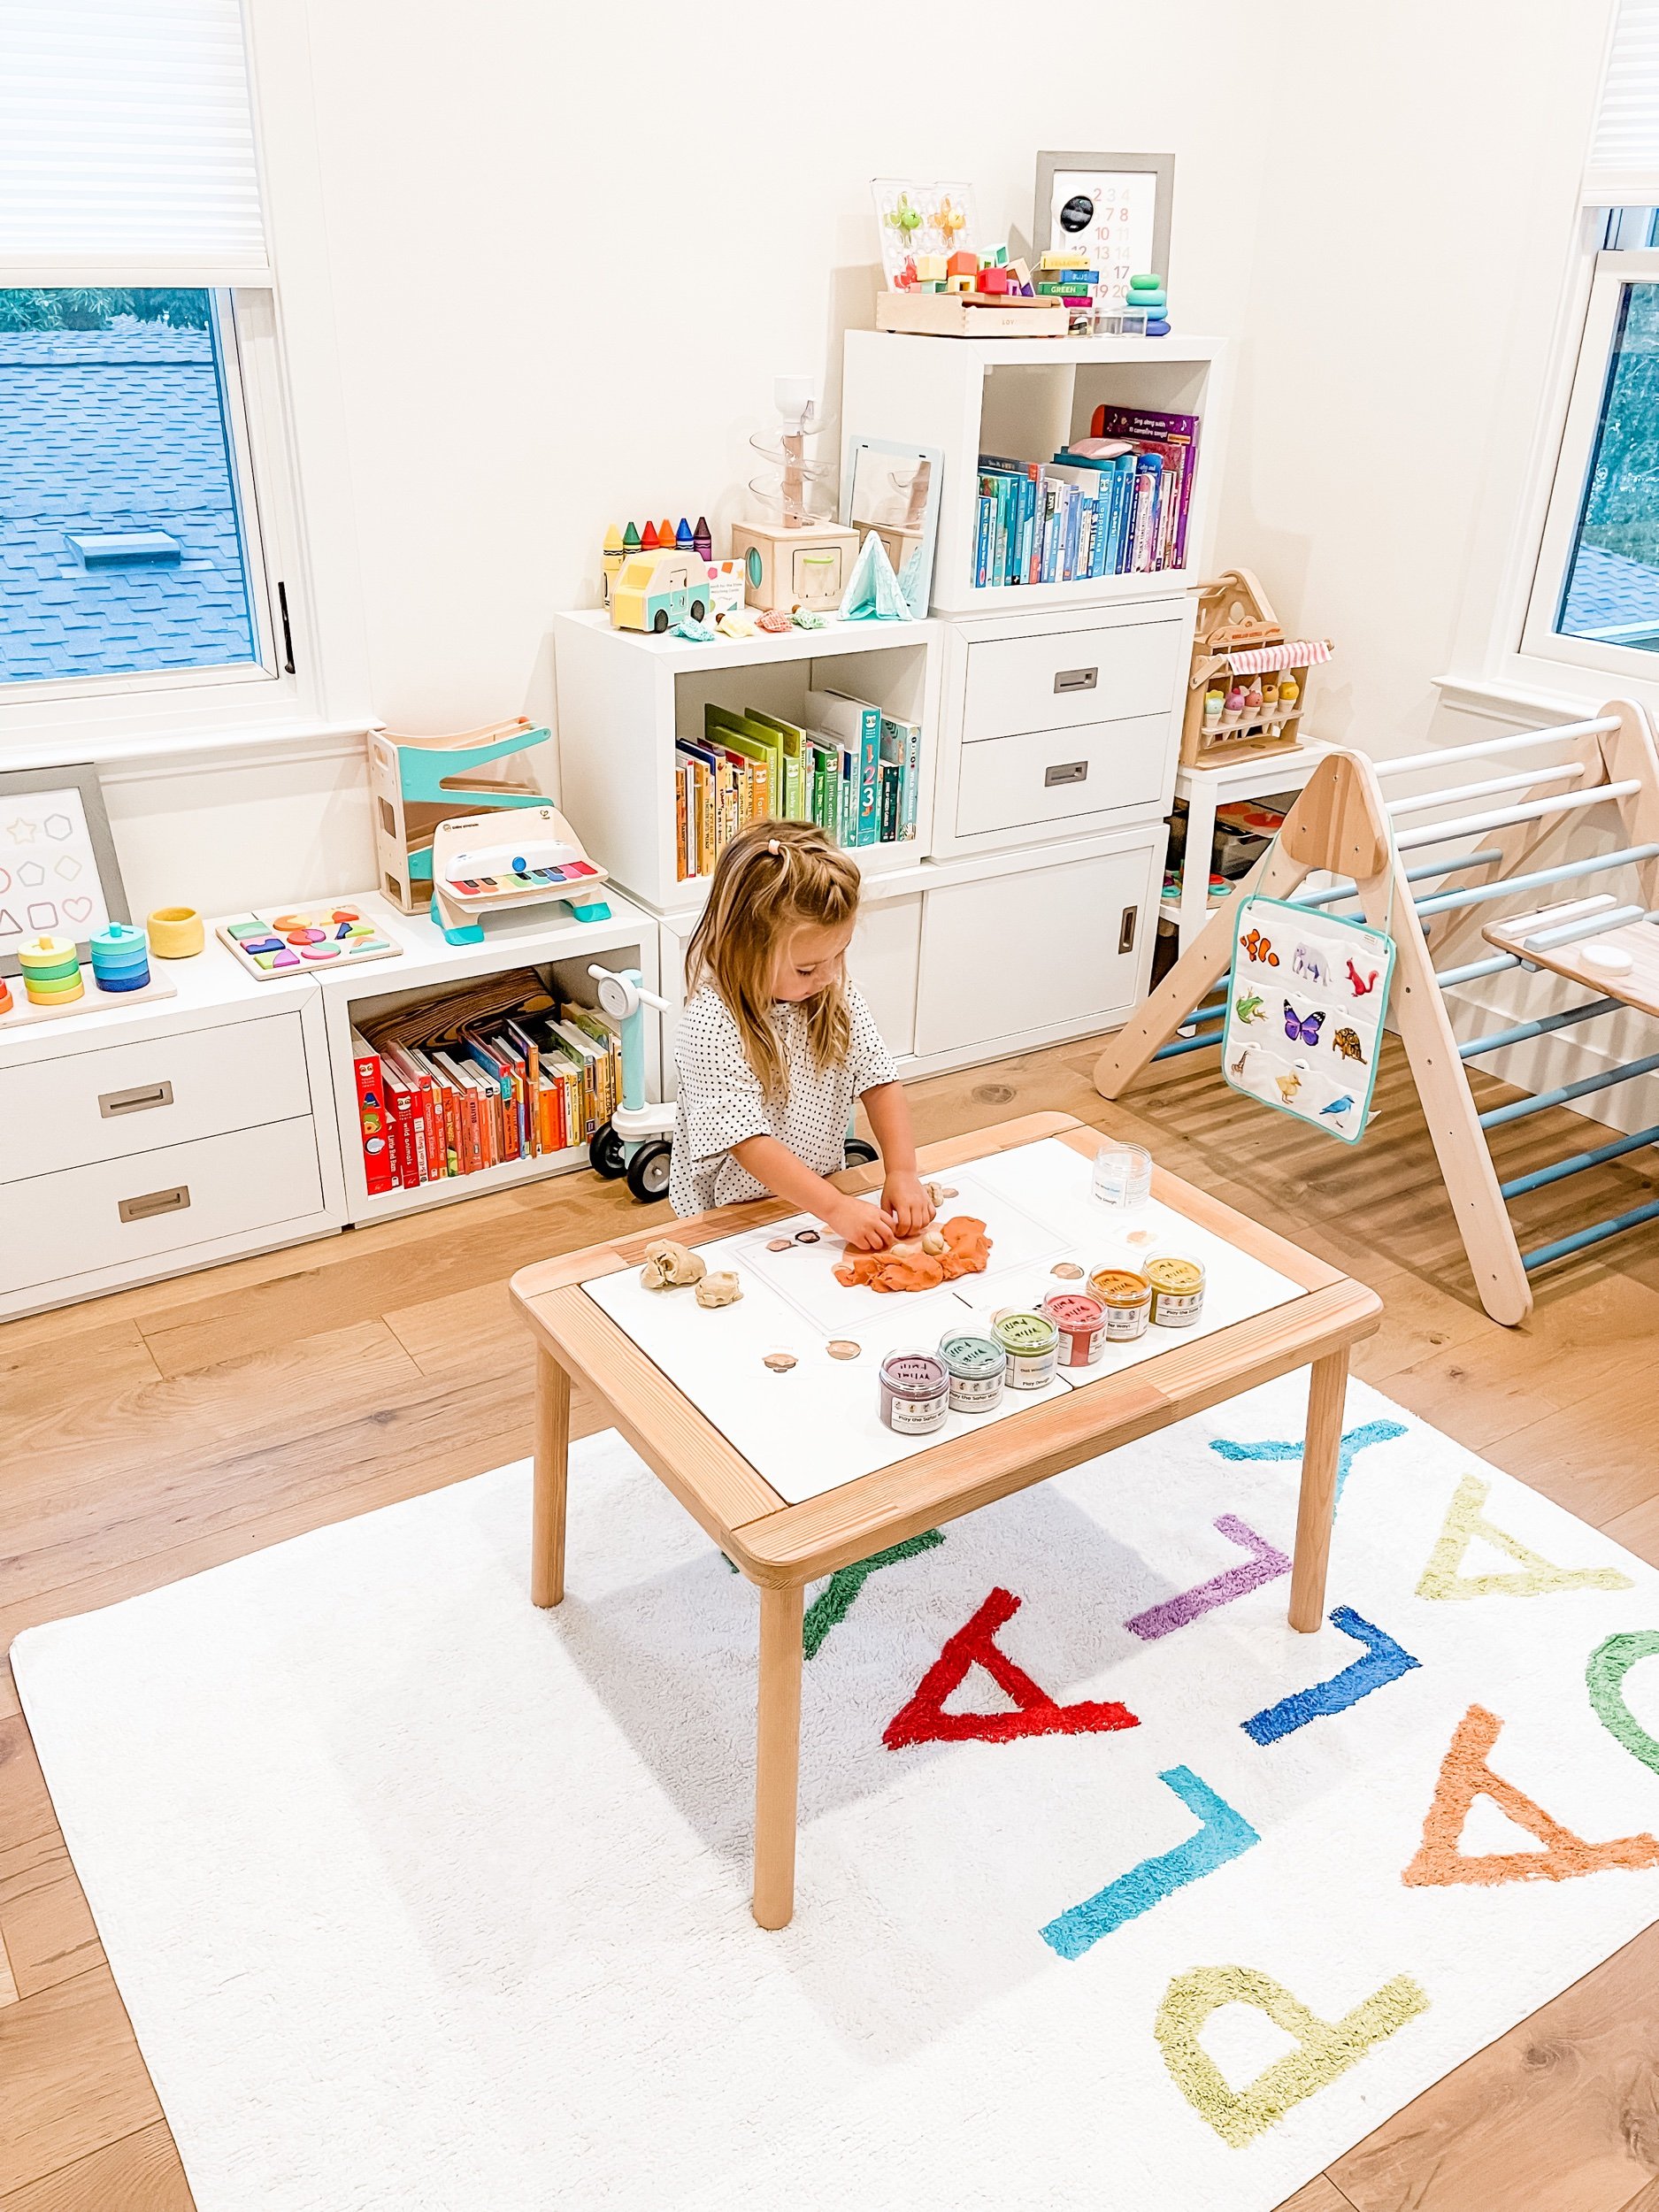
These activities run on good visuals. Our Emotions Flashcards ($15) give toddlers the faces and words — English and Spanish labels, sized for little hands. Our Emotions Posters (Set of 3) ($9) put the check-in on the wall. And our Toddler Mindfulness Flashcards ($12) teach what to do with the big ones.

Shop Emotions Flashcards

Calm and Soothe: The Magic of Sensory Bottles for Kids

DIY Sensory Bottles: How to Make Sensory Bottles for Toddlers

A clear bottle, some water, and a handful of treasures — sensory bottles are the easiest calm-down tool you'll ever make, and kids are mesmerized by them.

Best forAges 1–6
Time15 minutes per bottle
CostA few dollars each
SkillsCalm-down tool + visual tracking

A sensory bottle is exactly what it sounds like: a sealed bottle filled with things to watch. Shake it, flip it, roll it — beads swirl, glitter drifts, little charms tumble slowly to the bottom. They are wonderful for car rides, waiting rooms, quiet time, and the top of a calming corner, because they give busy hands and busy minds one slow, beautiful thing to follow.

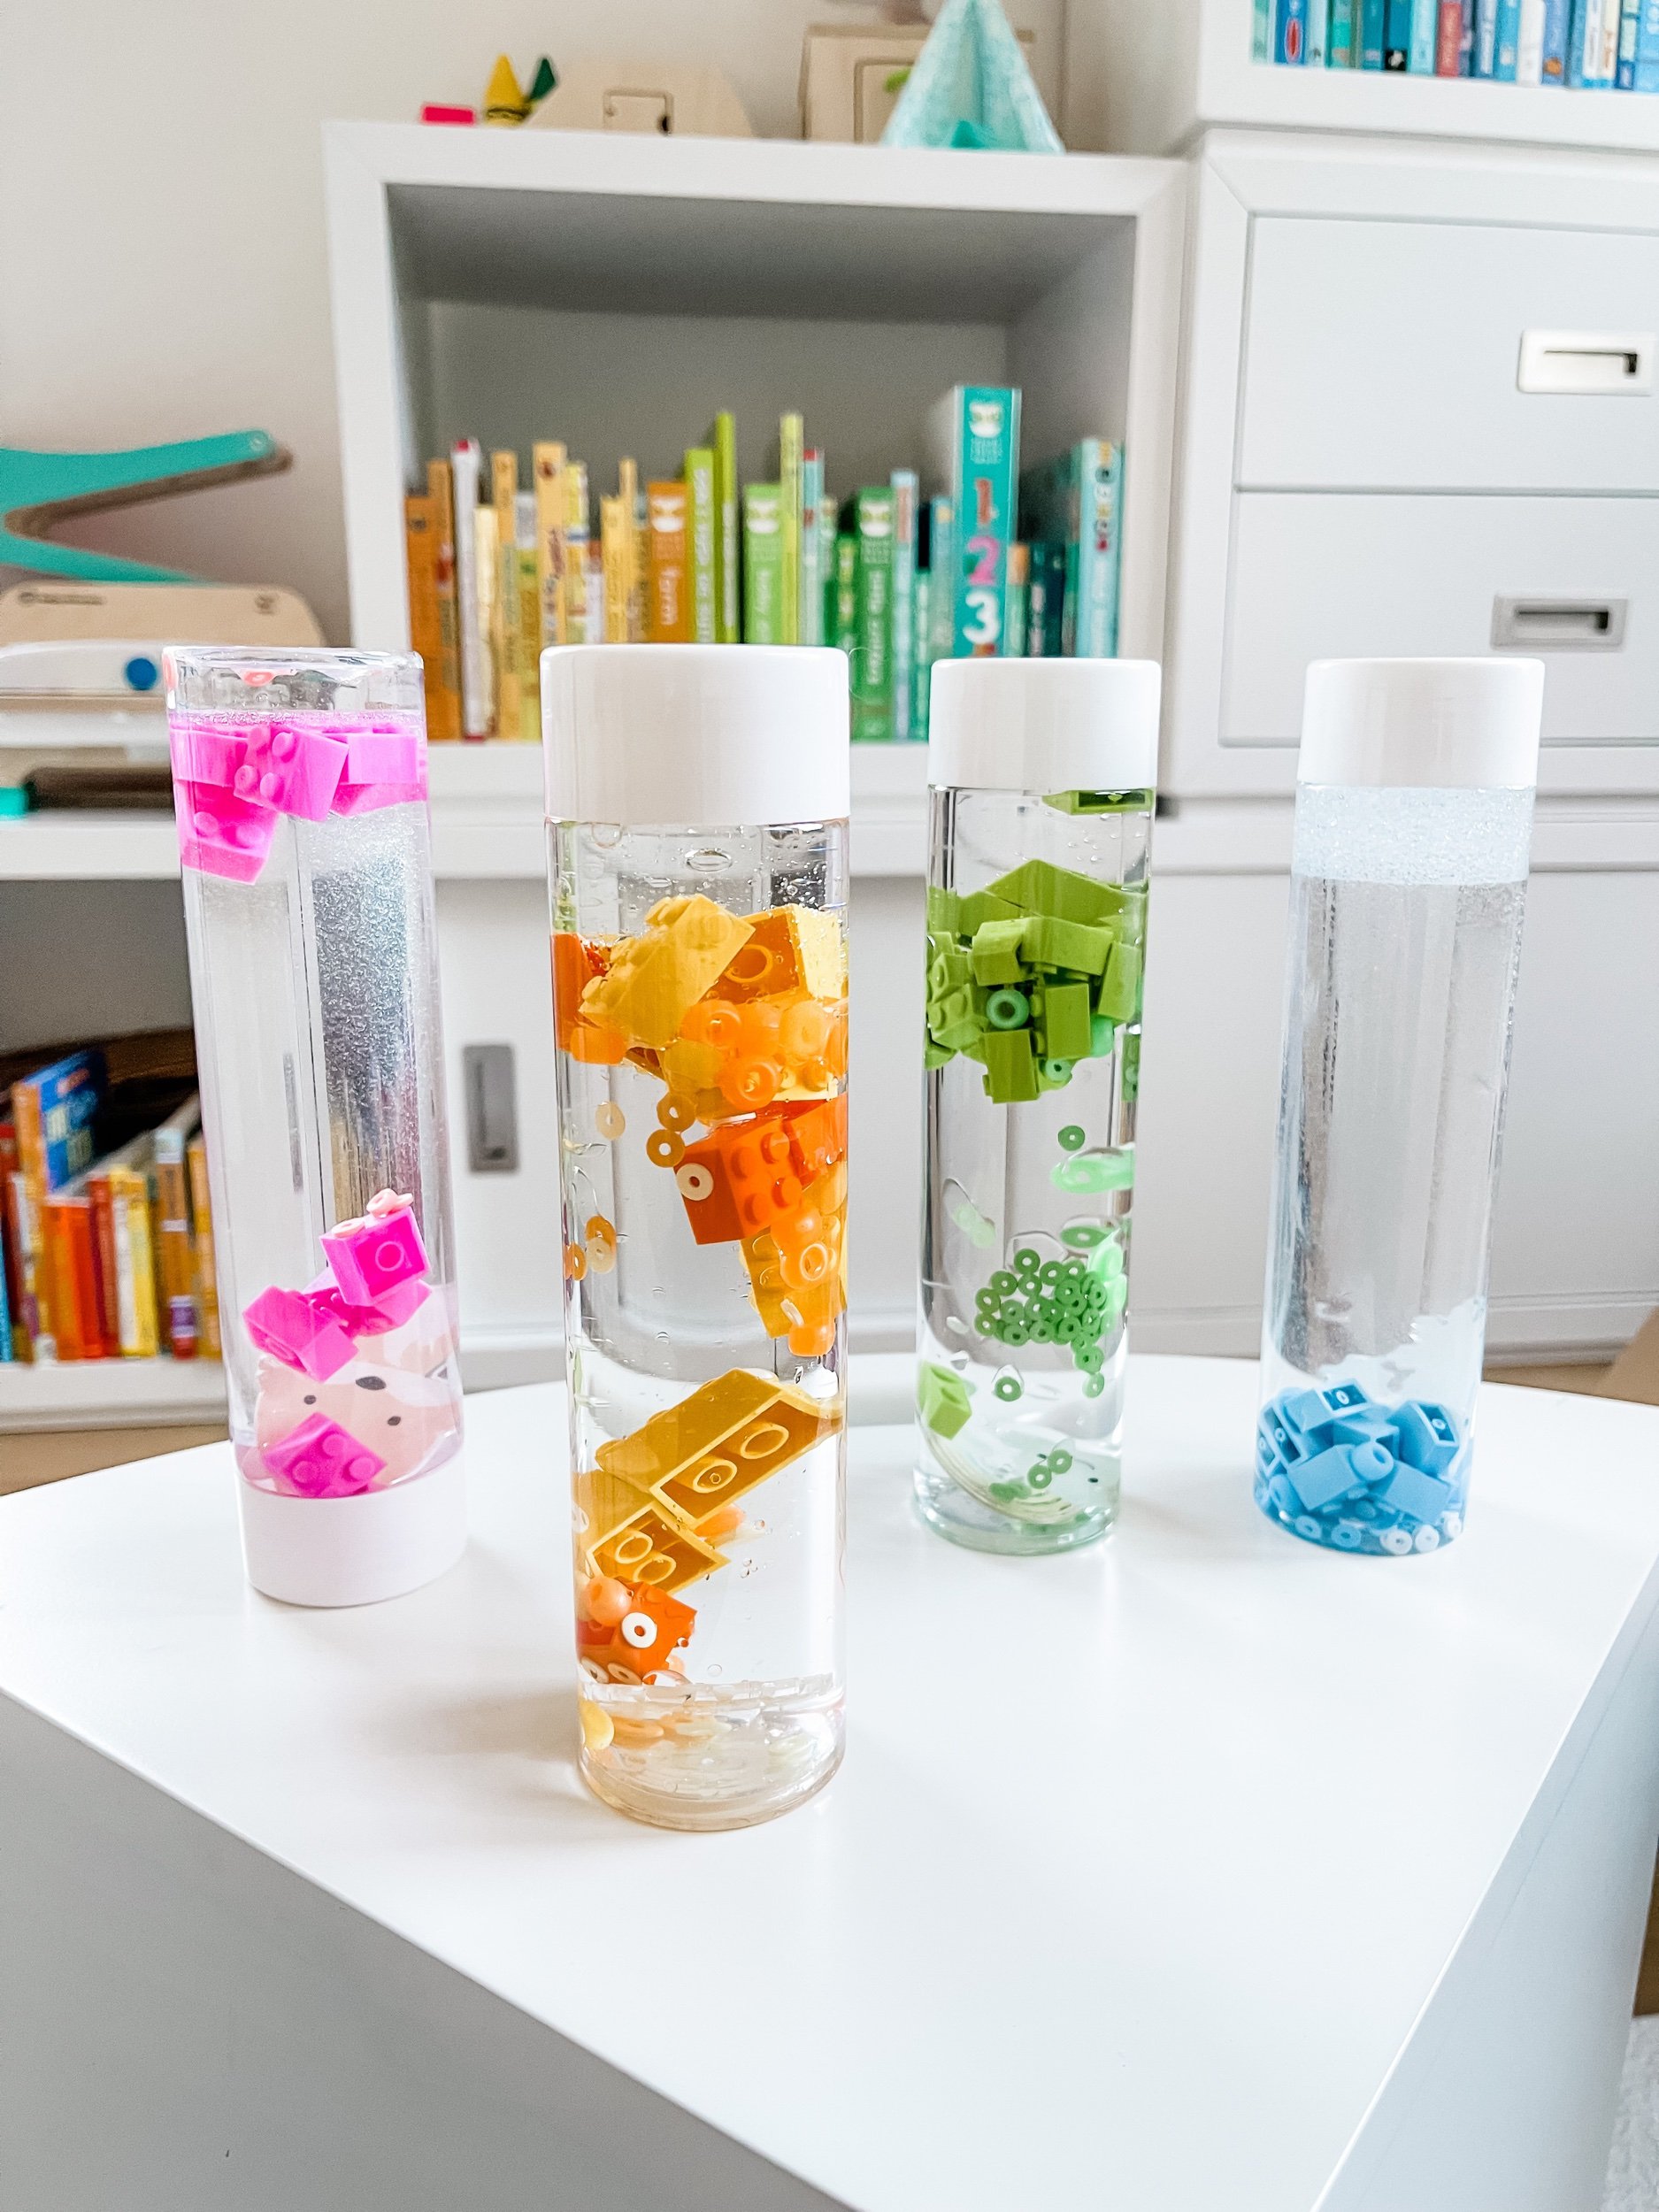
Four finished DIY sensory bottles in pink, yellow, green, and blue with beads and charms
Four bottles, four color themes — pink, sunshine yellow, green, and blue.

What you need

  • Clear plastic bottles with caps — tall, slim bottles show off the swirl best
  • Water — fill nearly to the top
  • Clear glue or glitter glue — thickens the water so everything drifts slowly
  • Small treasures: pony beads, LEGO bricks, acrylic charms, sequins
  • Food coloring (optional, for tinted water)
  • Hot glue or super glue — to seal the cap (adults only)
Sensory bottle materials spread on a table: bead organizer, bags of LEGO bricks, acrylic charms, and empty bottles
The whole materials spread — everything gets sorted by color first.

How to make a sensory bottle

Step 1: Pick a theme and a color

One color per bottle keeps it beautiful instead of muddy. We did pink, sunshine yellow, green, and blue — each with matching beads, bricks, and charms. Let your child pick their color; choosing is half the fun.

Top-down view of sorted sensory bottle fillers: rainbow bead organizer, LEGO bags, and acrylic charms
Sorted and ready: beads, bricks, and charms in every color.

Step 2: Add the glue

Squeeze a generous ribbon of clear glue into the empty bottle — about a quarter of the bottle. More glue means slower, dreamier movement. Then fill almost to the top with warm water and shake gently to mix.

Step 3: Drop in the treasures

Add a small handful of beads, a few LEGO bricks, and one or two acrylic charms. Less is more — you want to watch each piece drift, not a traffic jam. Our favorites were the little fox, sun, rainbow, and snow-cloud charms.

Close-up of sensory bottle fillers: rainbow bead bags and smiling cloud and rainbow acrylic charms
The treasures: rainbow beads and the sweetest little acrylic charms.
Pink LEGO bricks, fox acrylic charm, and green beads beside an empty sensory bottle
Pink bottle ingredients: bricks, beads, and one fox charm.

Step 4: Seal it tight

Top off with water, leaving just a finger of air at the top. Run a ring of hot glue around the inside of the cap (adults only), screw it on tight, and let it set. This is the step that keeps the bottle a toy instead of a spill.

Four sealed sensory bottles with matching charms and bead bags in front
Sealed and ready — shake, flip, and watch everything drift.

Four seasons sensory bottles

One of our favorite versions of this craft: a set of four bottles, one for each season. Same method, different treasures — and a lovely way to talk about the seasons with toddlers.

  • Spring: pastel beads, flower sequins, a butterfly or bunny charm
  • Summer: blue water, shell beads, a sun charm, extra glitter for sparkle
  • Fall: orange and red beads, tiny leaf shapes, a fox charm
  • Winter: white and silver beads, snowflake sequins, a snow-cloud charm
Four seasons sensory bottles: spring, summer, fall, and winter themed discovery bottles
Spring, summer, fall, winter — one bottle per season.

More theme ideas

  • Rainbow bottle: a pinch of beads in every color, no glue — everything falls fast and bright
  • Weather bottle: cloud, sun, and rainbow charms with blue beads for rain
  • LEGO bottle: bricks in one color plus matching beads — great for little builders
  • Calm-down bottle: extra glue, fine glitter, and one charm to follow with sleepy eyes
  • Find-it bottle: hide one tiny charm among plain filler and make a game of spotting it
Yellow sensory bottle with sun charm, yellow LEGO bricks, and beads
The sunshine bottle: yellow bricks, beads, and a smiling sun.
Close-up of finished sensory bottles: an orange bottle with LEGO bricks lying beside a green bottle
Finished bottles up close: orange and green, packed with LEGO bricks.

How do you keep sensory bottles from leaking?

Hot-glue the cap on — run glue around the inside rim, screw it tight, and let it cure. Check the seal every few months with heavy use.

What liquid goes in a sensory bottle?

Warm water plus clear glue. More glue = slower movement. A drop of dish soap can help glitter spread instead of clumping.

Are sensory bottles safe for toddlers?

Yes once sealed — there are no small parts accessible. Always supervise, and retire any bottle with a cracked cap or cloudy seal.

How long do they last?

Months. If the water gets cloudy, unscrew, rinse, and refill — the treasures can be reused.