
DIY Sensory Bottles: How to Make Sensory Bottles for Toddlers
A clear bottle, some water, and a handful of treasures — sensory bottles are the easiest calm-down tool you'll ever make, and kids are mesmerized by them.
A sensory bottle is exactly what it sounds like: a sealed bottle filled with things to watch. Shake it, flip it, roll it — beads swirl, glitter drifts, little charms tumble slowly to the bottom. They are wonderful for car rides, waiting rooms, quiet time, and the top of a calming corner, because they give busy hands and busy minds one slow, beautiful thing to follow.

What you need
- Clear plastic bottles with caps — tall, slim bottles show off the swirl best
- Water — fill nearly to the top
- Clear glue or glitter glue — thickens the water so everything drifts slowly
- Small treasures: pony beads, LEGO bricks, acrylic charms, sequins
- Food coloring (optional, for tinted water)
- Hot glue or super glue — to seal the cap (adults only)

How to make a sensory bottle
Step 1: Pick a theme and a color
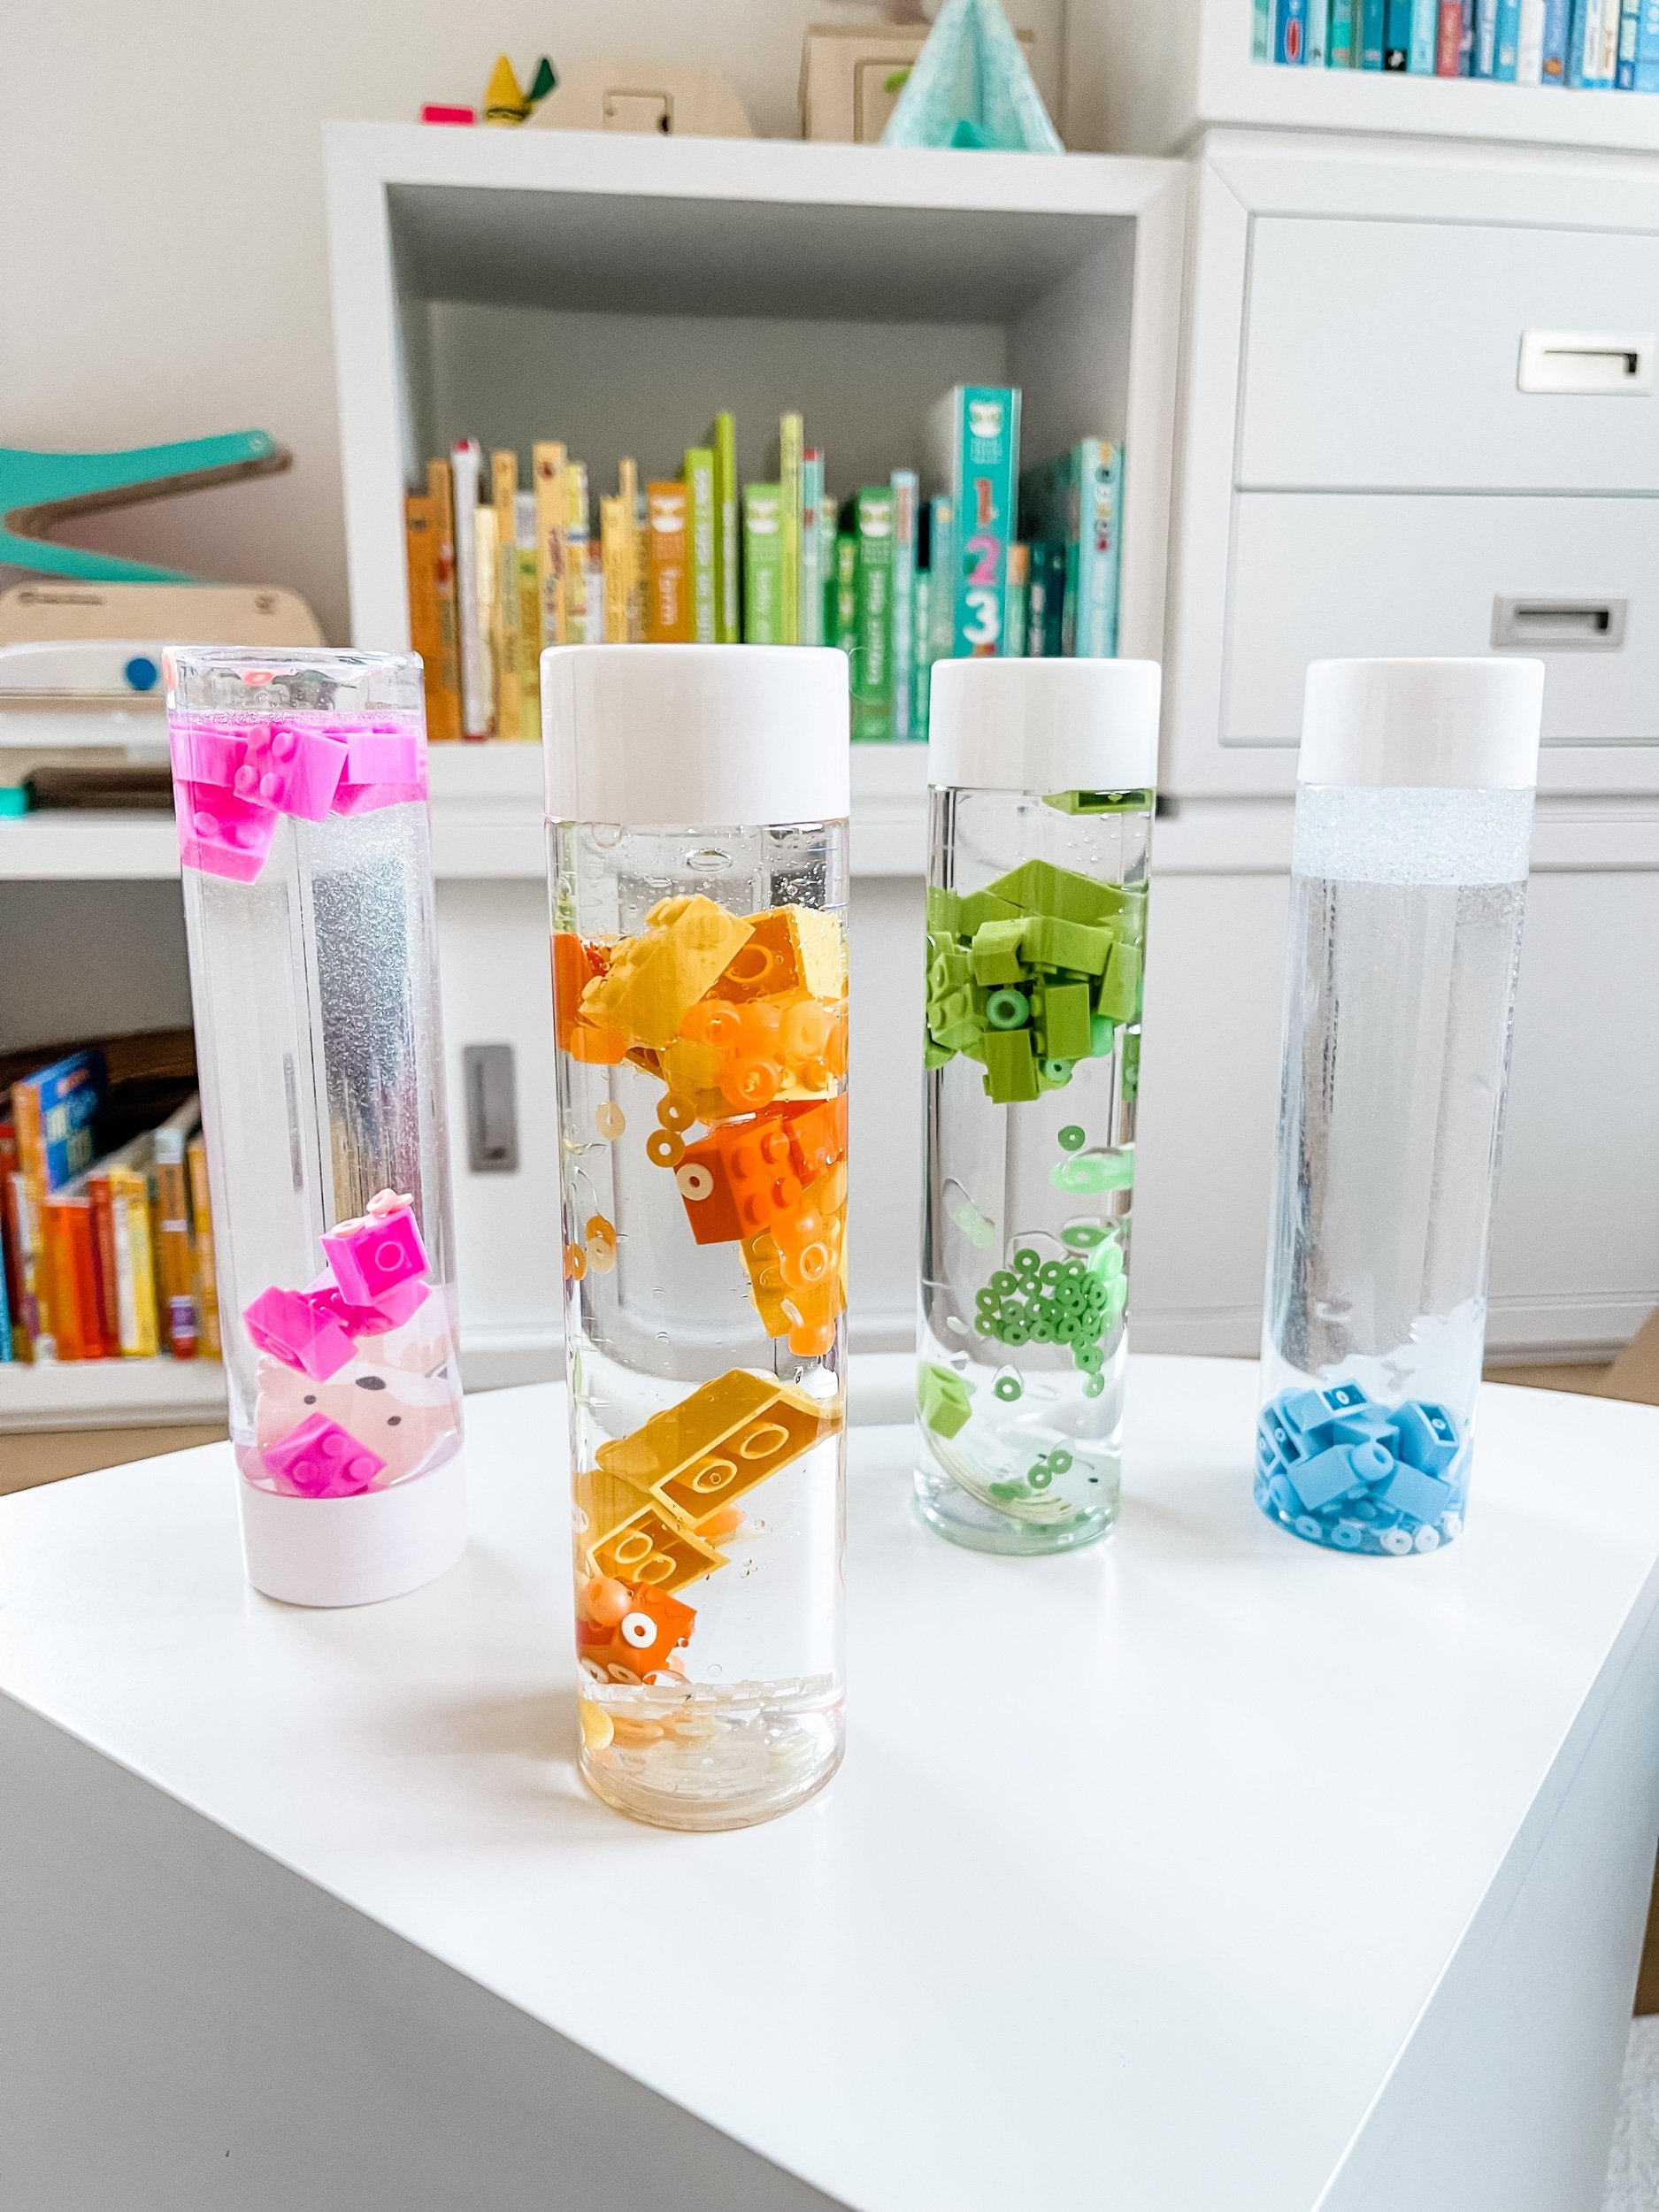
One color per bottle keeps it beautiful instead of muddy. We did pink, sunshine yellow, green, and blue — each with matching beads, bricks, and charms. Let your child pick their color; choosing is half the fun.

Step 2: Add the glue
Squeeze a generous ribbon of clear glue into the empty bottle — about a quarter of the bottle. More glue means slower, dreamier movement. Then fill almost to the top with warm water and shake gently to mix.
Step 3: Drop in the treasures
Add a small handful of beads, a few LEGO bricks, and one or two acrylic charms. Less is more — you want to watch each piece drift, not a traffic jam. Our favorites were the little fox, sun, rainbow, and snow-cloud charms.


Step 4: Seal it tight
Top off with water, leaving just a finger of air at the top. Run a ring of hot glue around the inside of the cap (adults only), screw it on tight, and let it set. This is the step that keeps the bottle a toy instead of a spill.

Four seasons sensory bottles
One of our favorite versions of this craft: a set of four bottles, one for each season. Same method, different treasures — and a lovely way to talk about the seasons with toddlers.
- Spring: pastel beads, flower sequins, a butterfly or bunny charm
- Summer: blue water, shell beads, a sun charm, extra glitter for sparkle
- Fall: orange and red beads, tiny leaf shapes, a fox charm
- Winter: white and silver beads, snowflake sequins, a snow-cloud charm
More theme ideas
- Rainbow bottle: a pinch of beads in every color, no glue — everything falls fast and bright
- Weather bottle: cloud, sun, and rainbow charms with blue beads for rain
- LEGO bottle: bricks in one color plus matching beads — great for little builders
- Calm-down bottle: extra glue, fine glitter, and one charm to follow with sleepy eyes
- Find-it bottle: hide one tiny charm among plain filler and make a game of spotting it


How do you keep sensory bottles from leaking?
Hot-glue the cap on — run glue around the inside rim, screw it tight, and let it cure. Check the seal every few months with heavy use.
What liquid goes in a sensory bottle?
Warm water plus clear glue. More glue = slower movement. A drop of dish soap can help glitter spread instead of clumping.
Are sensory bottles safe for toddlers?
Yes once sealed — there are no small parts accessible. Always supervise, and retire any bottle with a cracked cap or cloudy seal.
How long do they last?
Months. If the water gets cloudy, unscrew, rinse, and refill — the treasures can be reused.