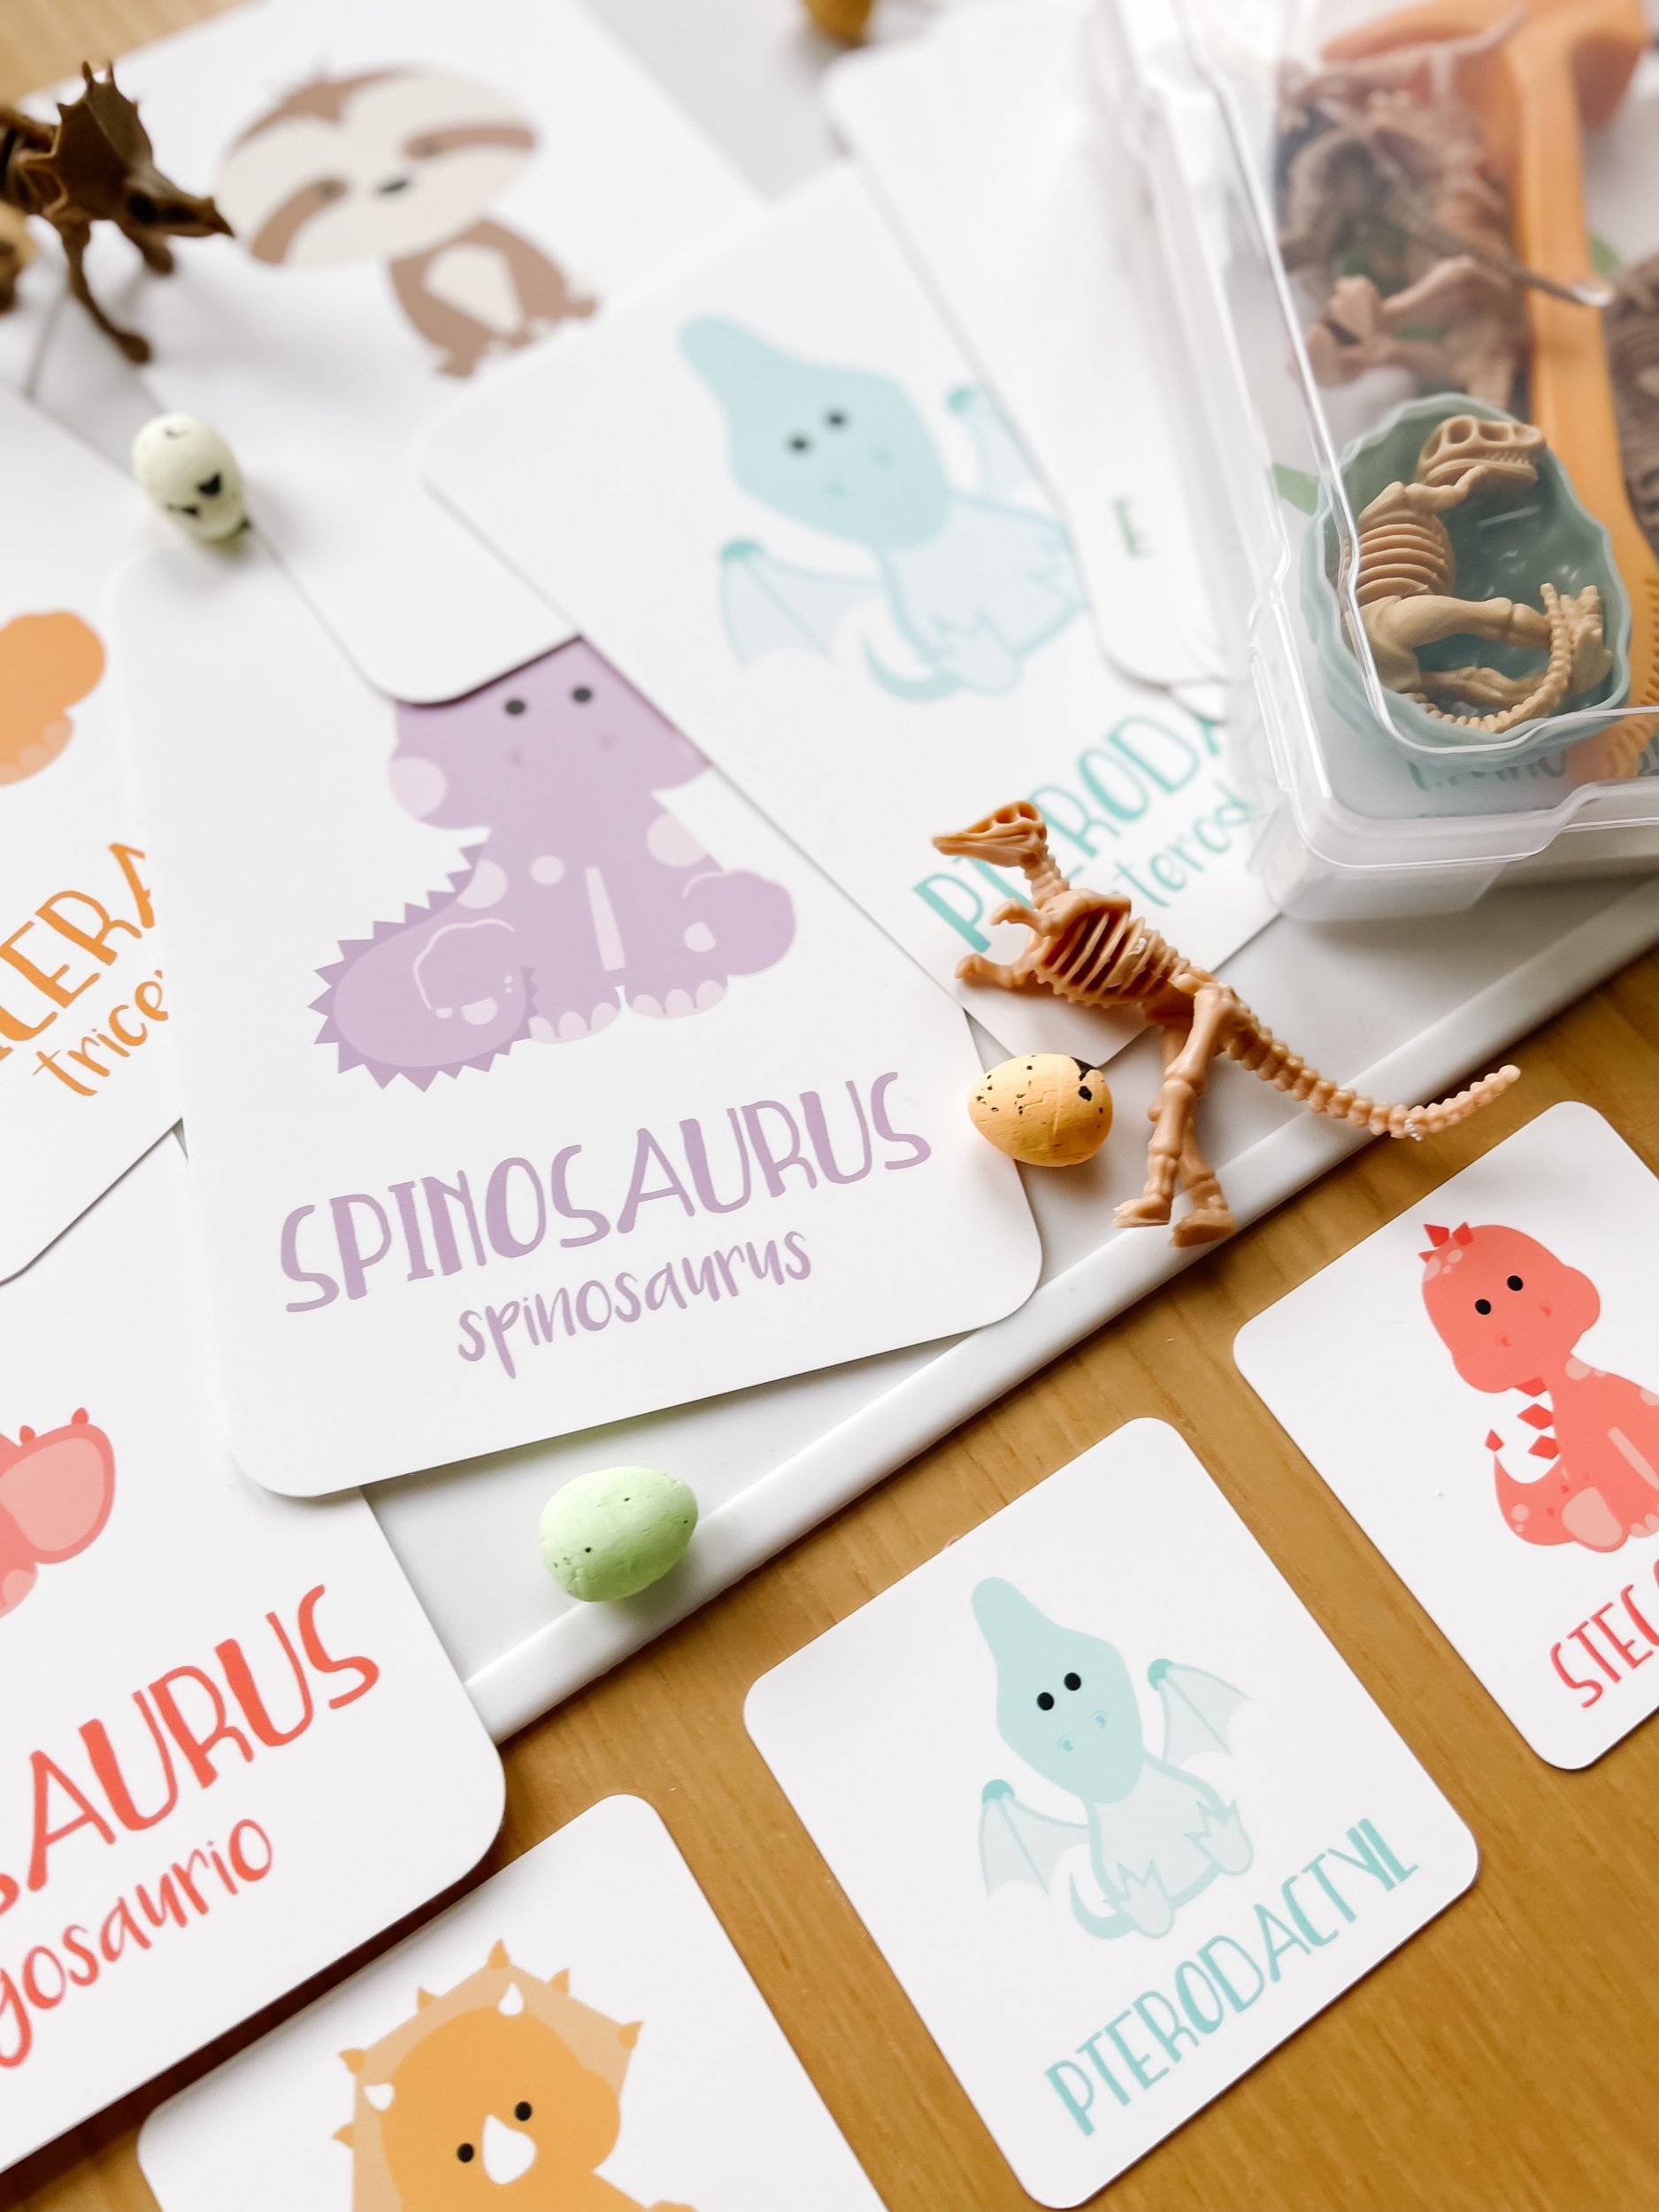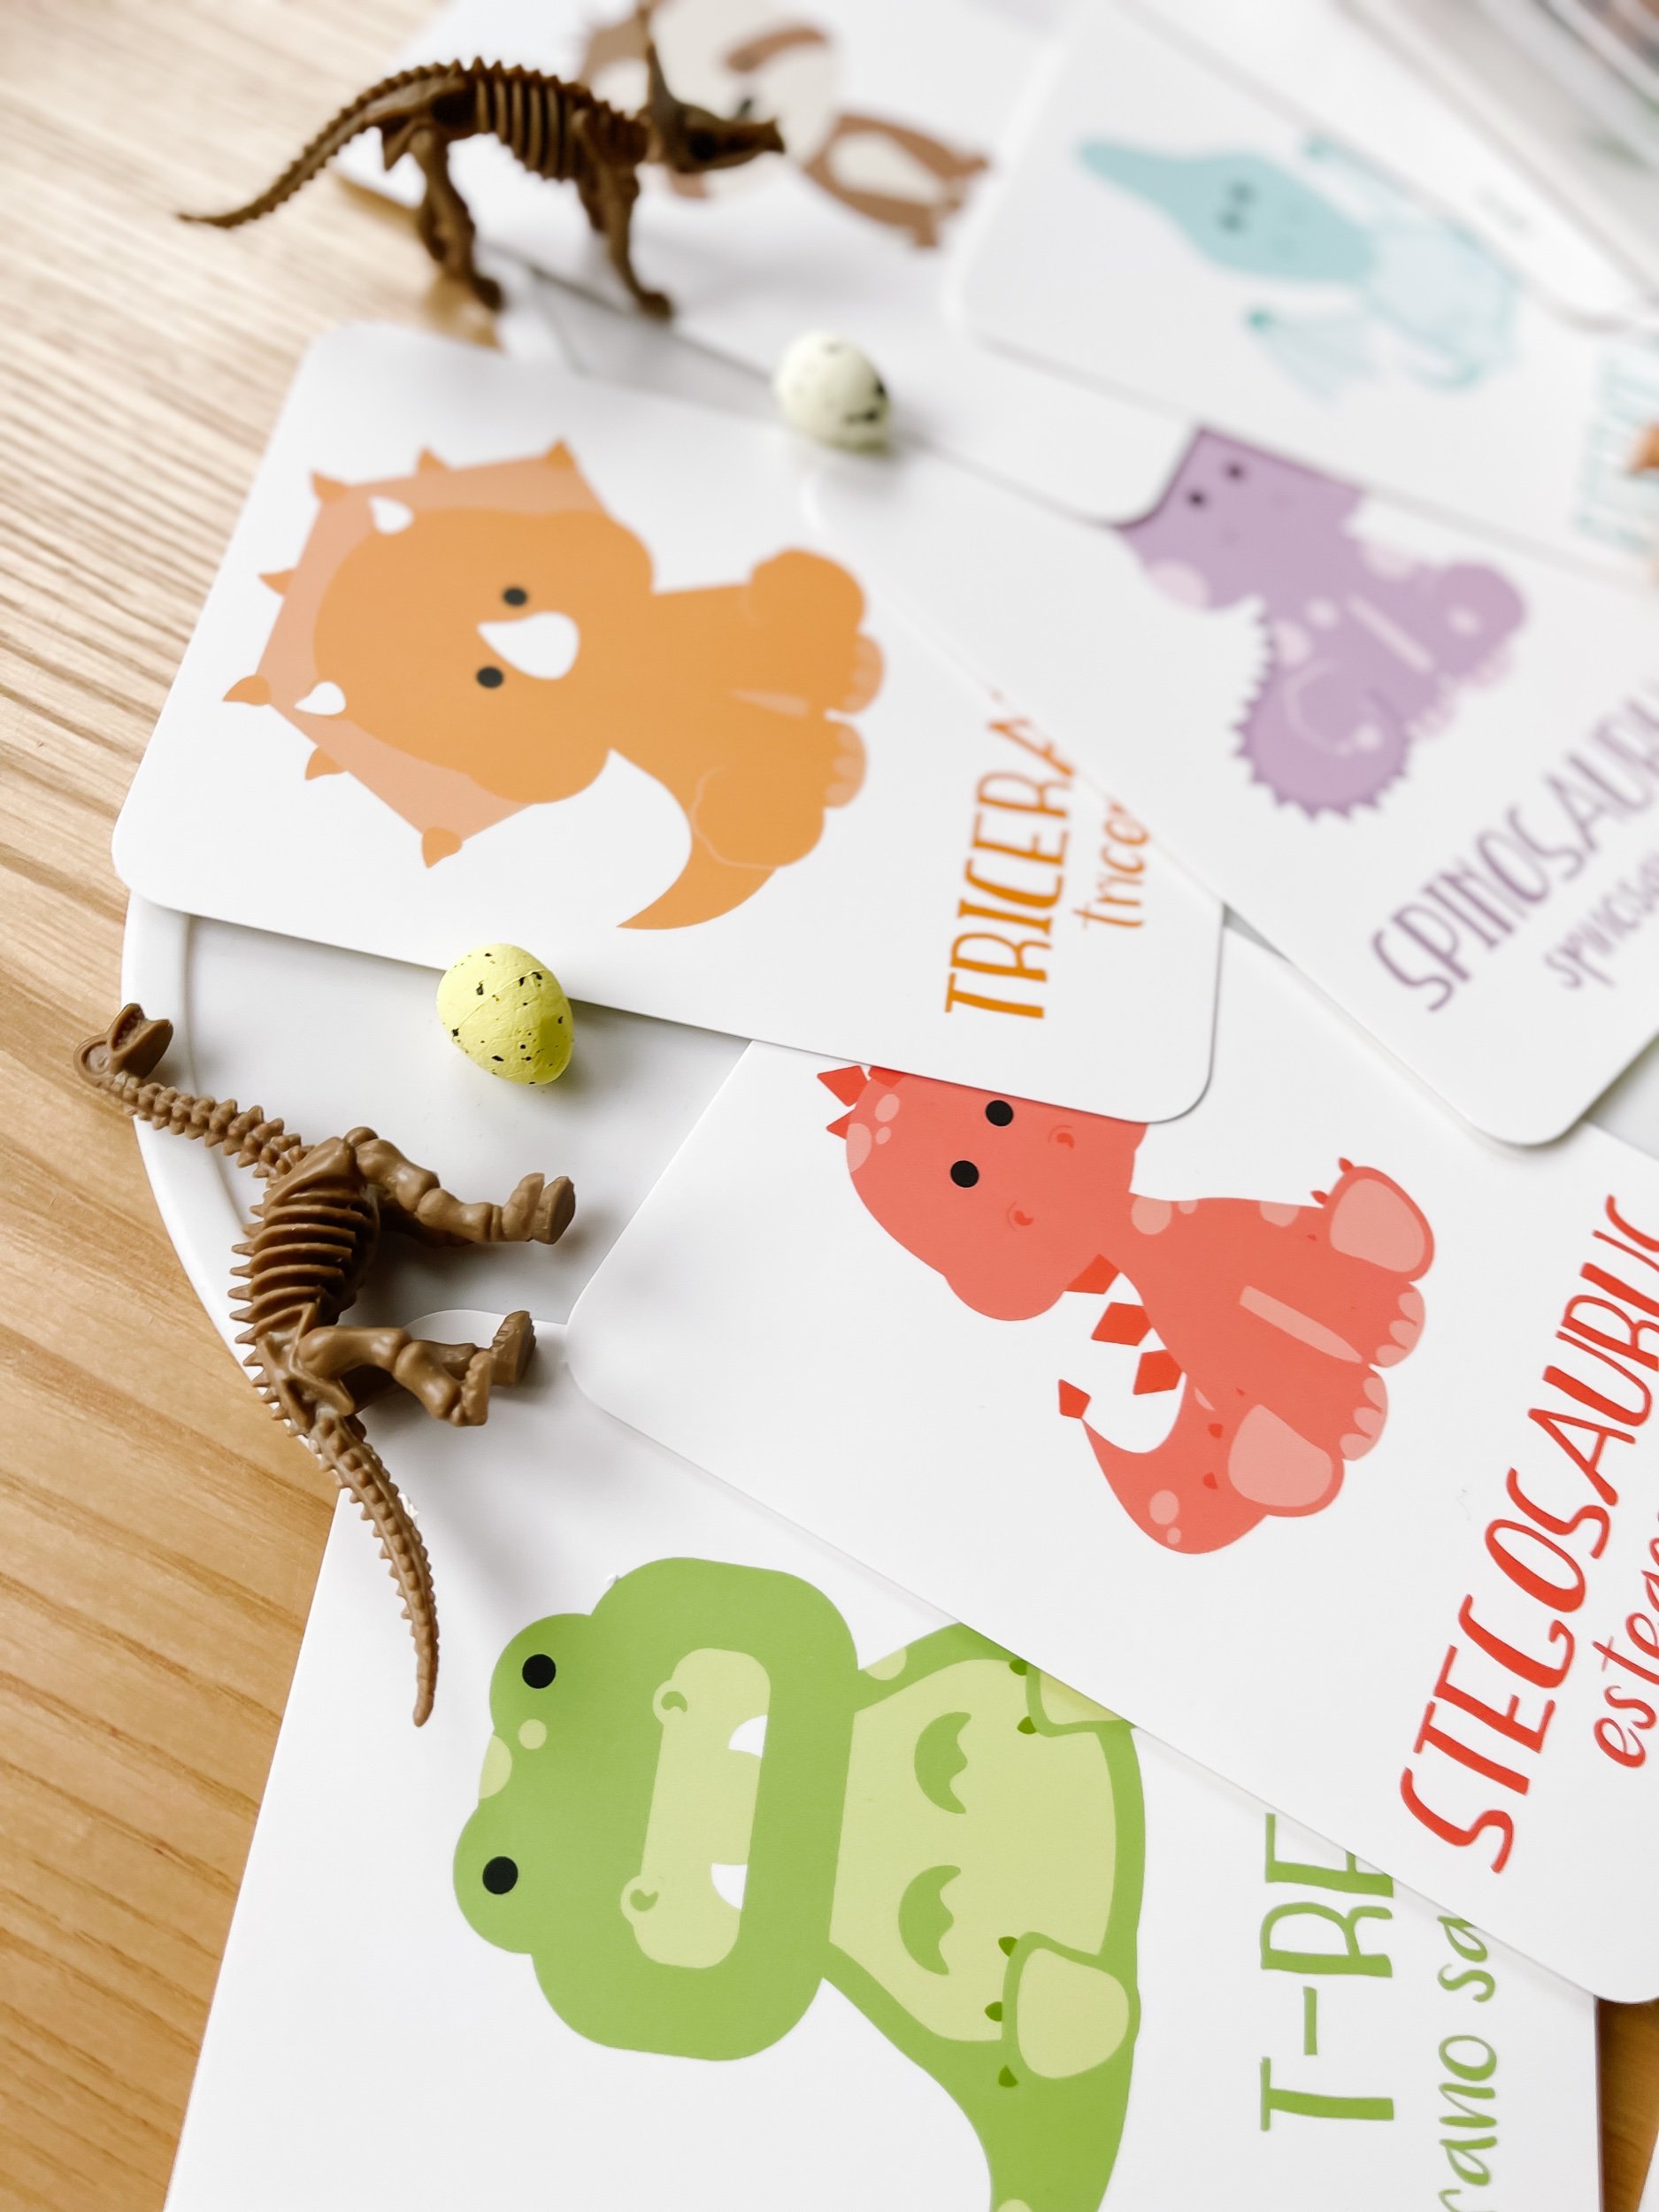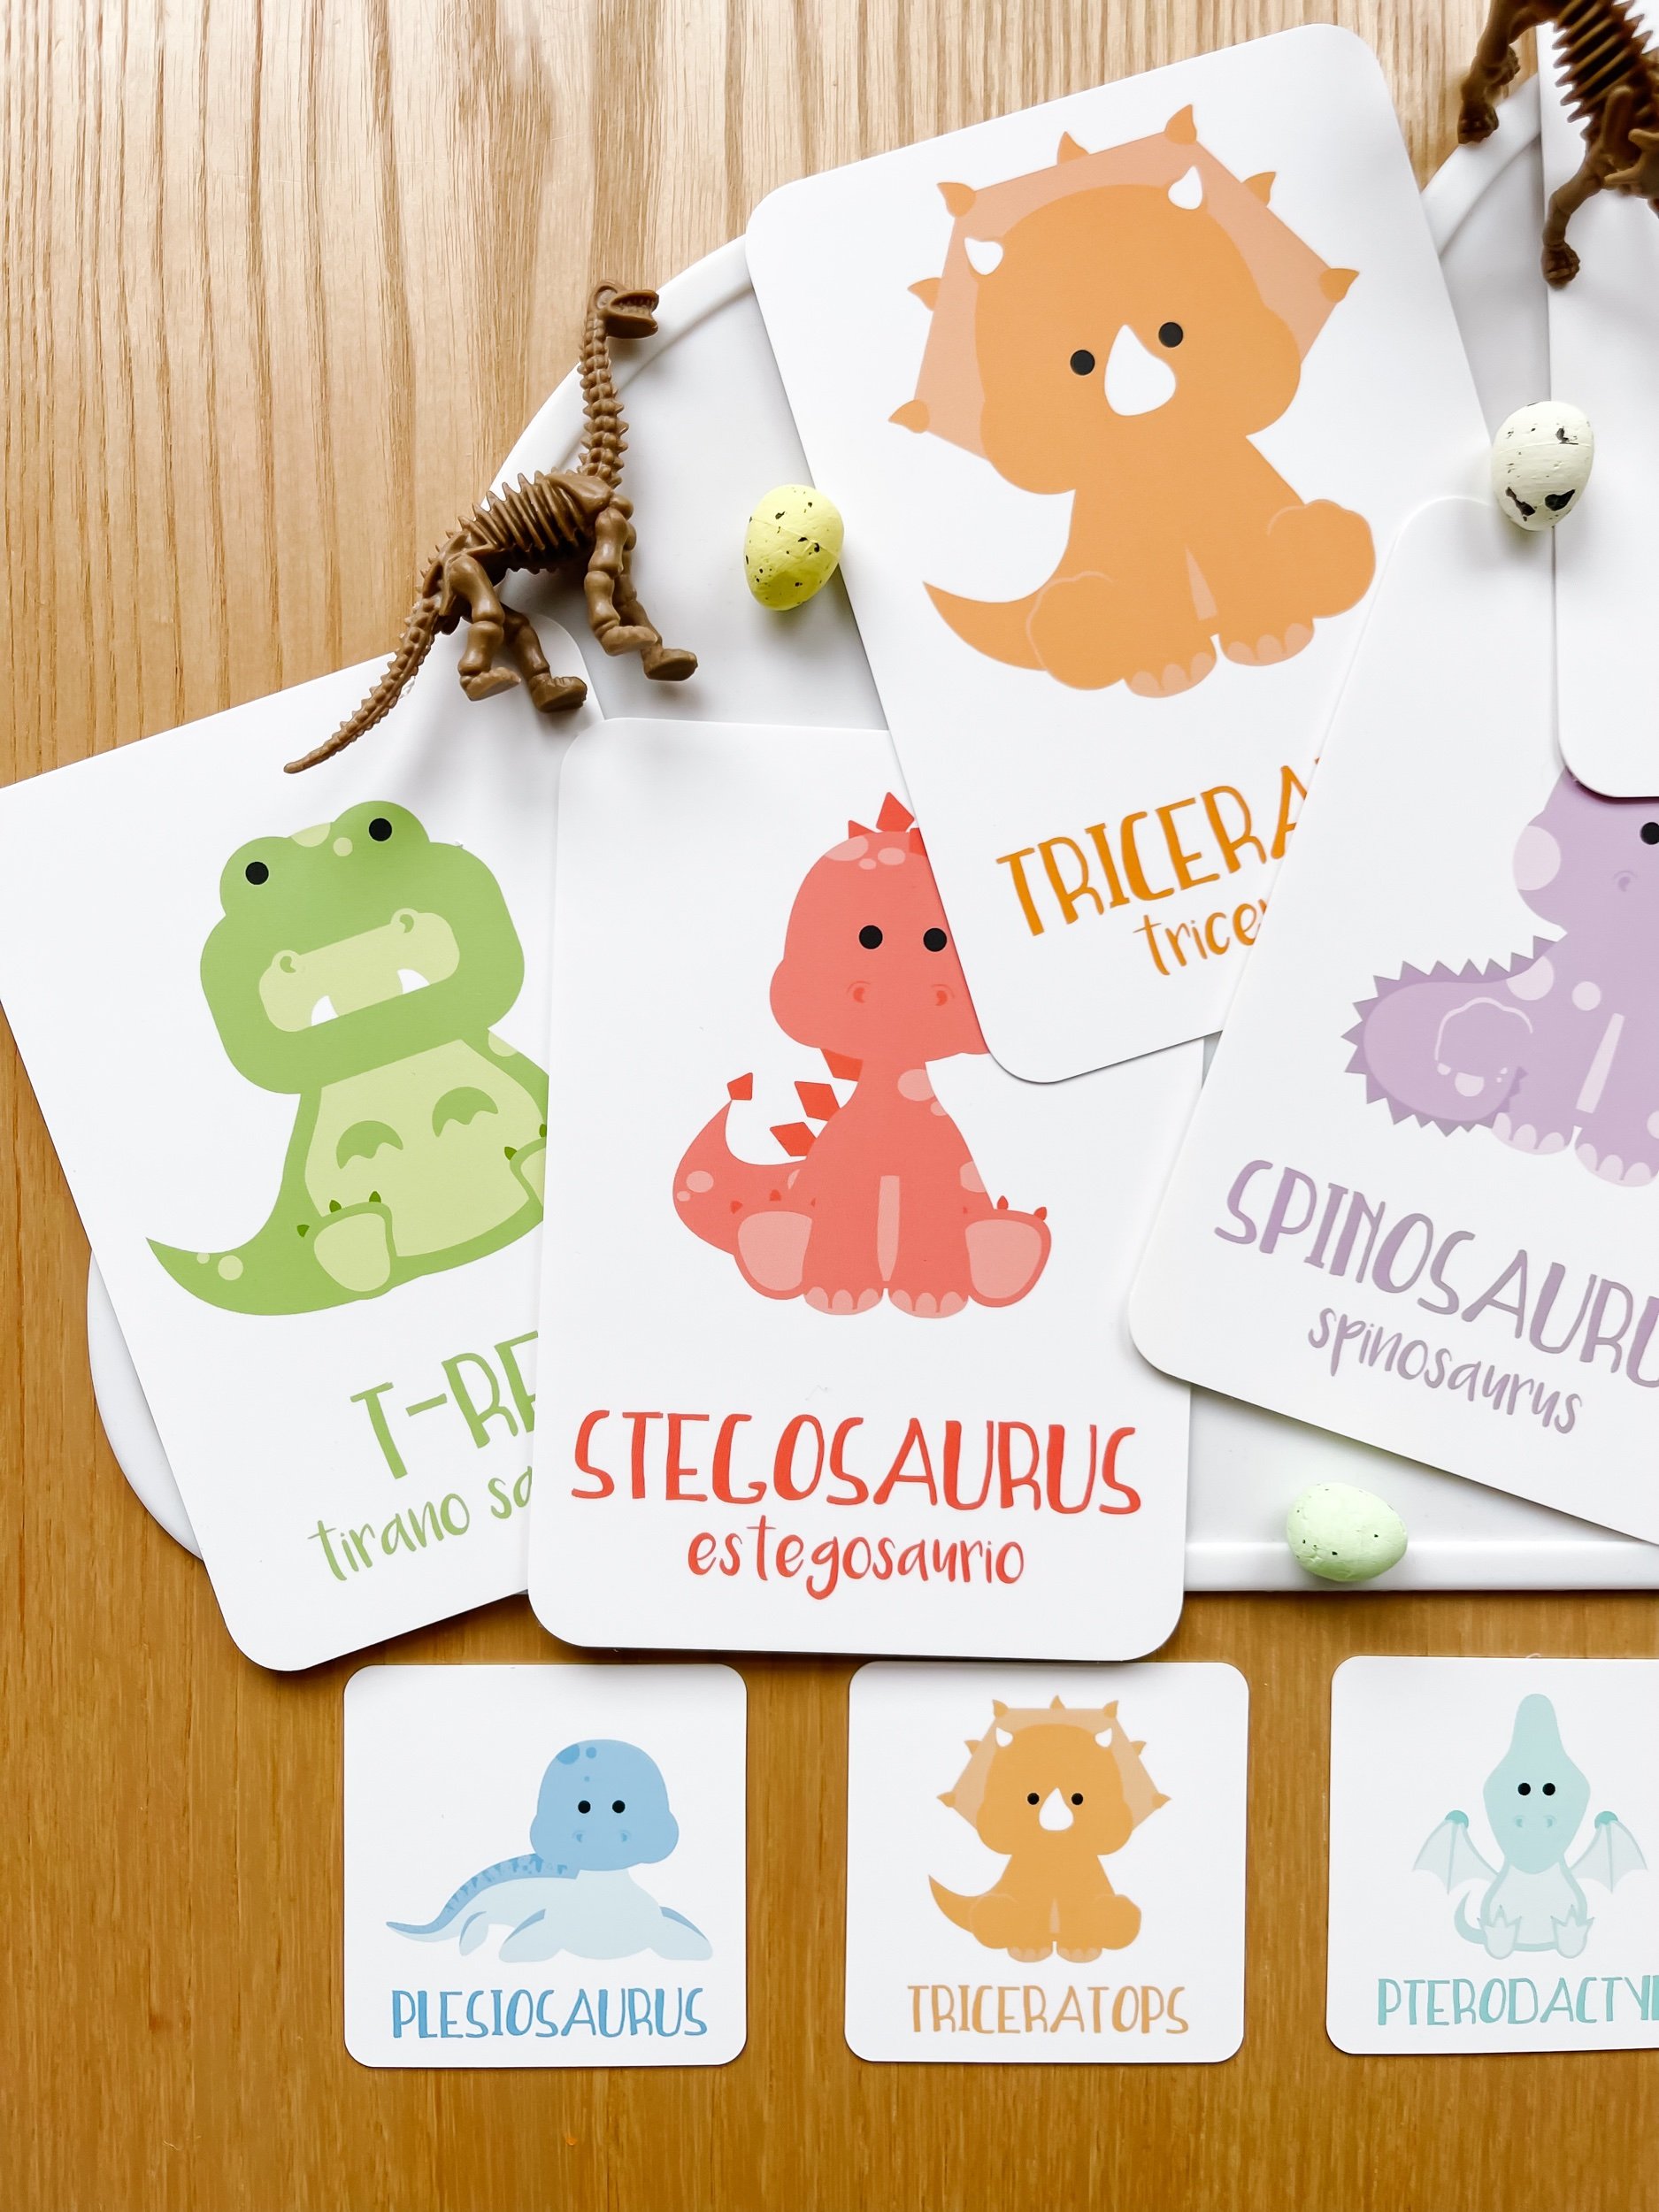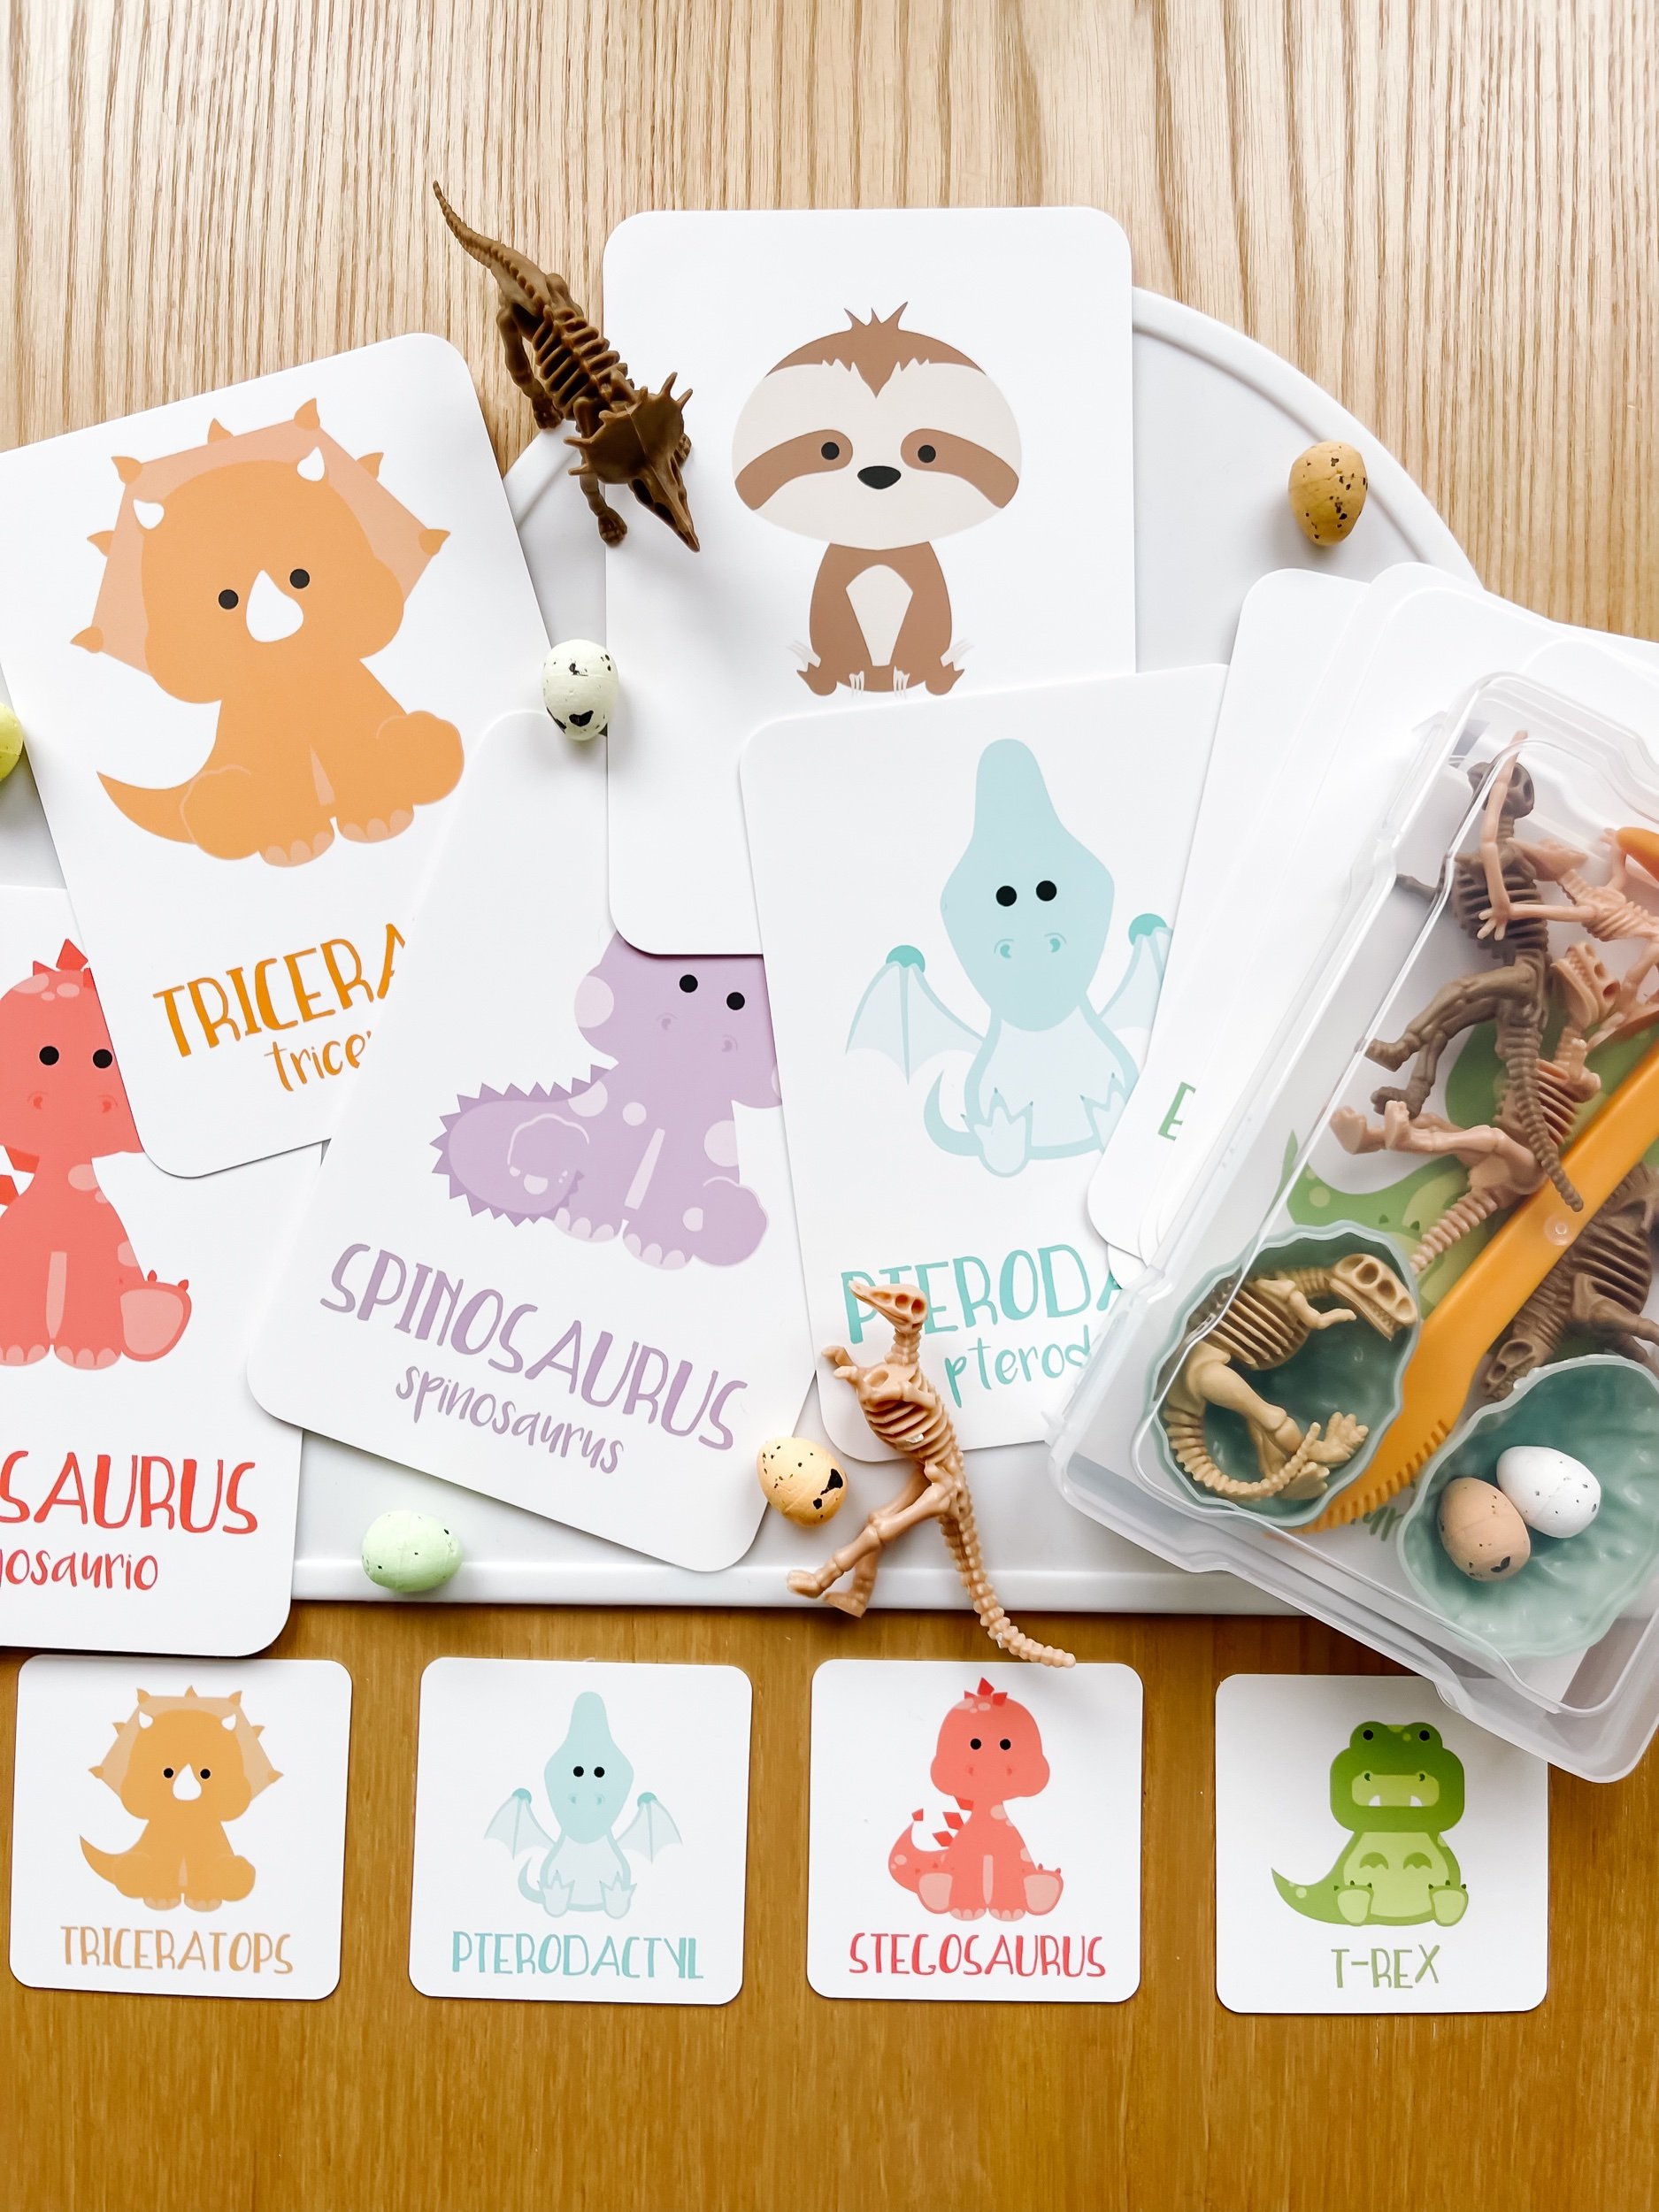
• Activity ideas by age
    • Seasonal activities
    • Materials & fillers
    • Getting Started
    • Taste Safe
    • All activity ideas
  • Shop
  • Freebies
  • About
Menu

Goodnight Fox

1974 San Luis Ave
Mountain View
16502243796
Dramatic & Sensory Play for Early Learners

Your Custom Text Here

Goodnight Fox

  • Activities
    • Activity ideas by age
    • Seasonal activities
    • Materials & fillers
    • Getting Started
    • Taste Safe
    • All activity ideas
  • Shop
  • Freebies
  • About

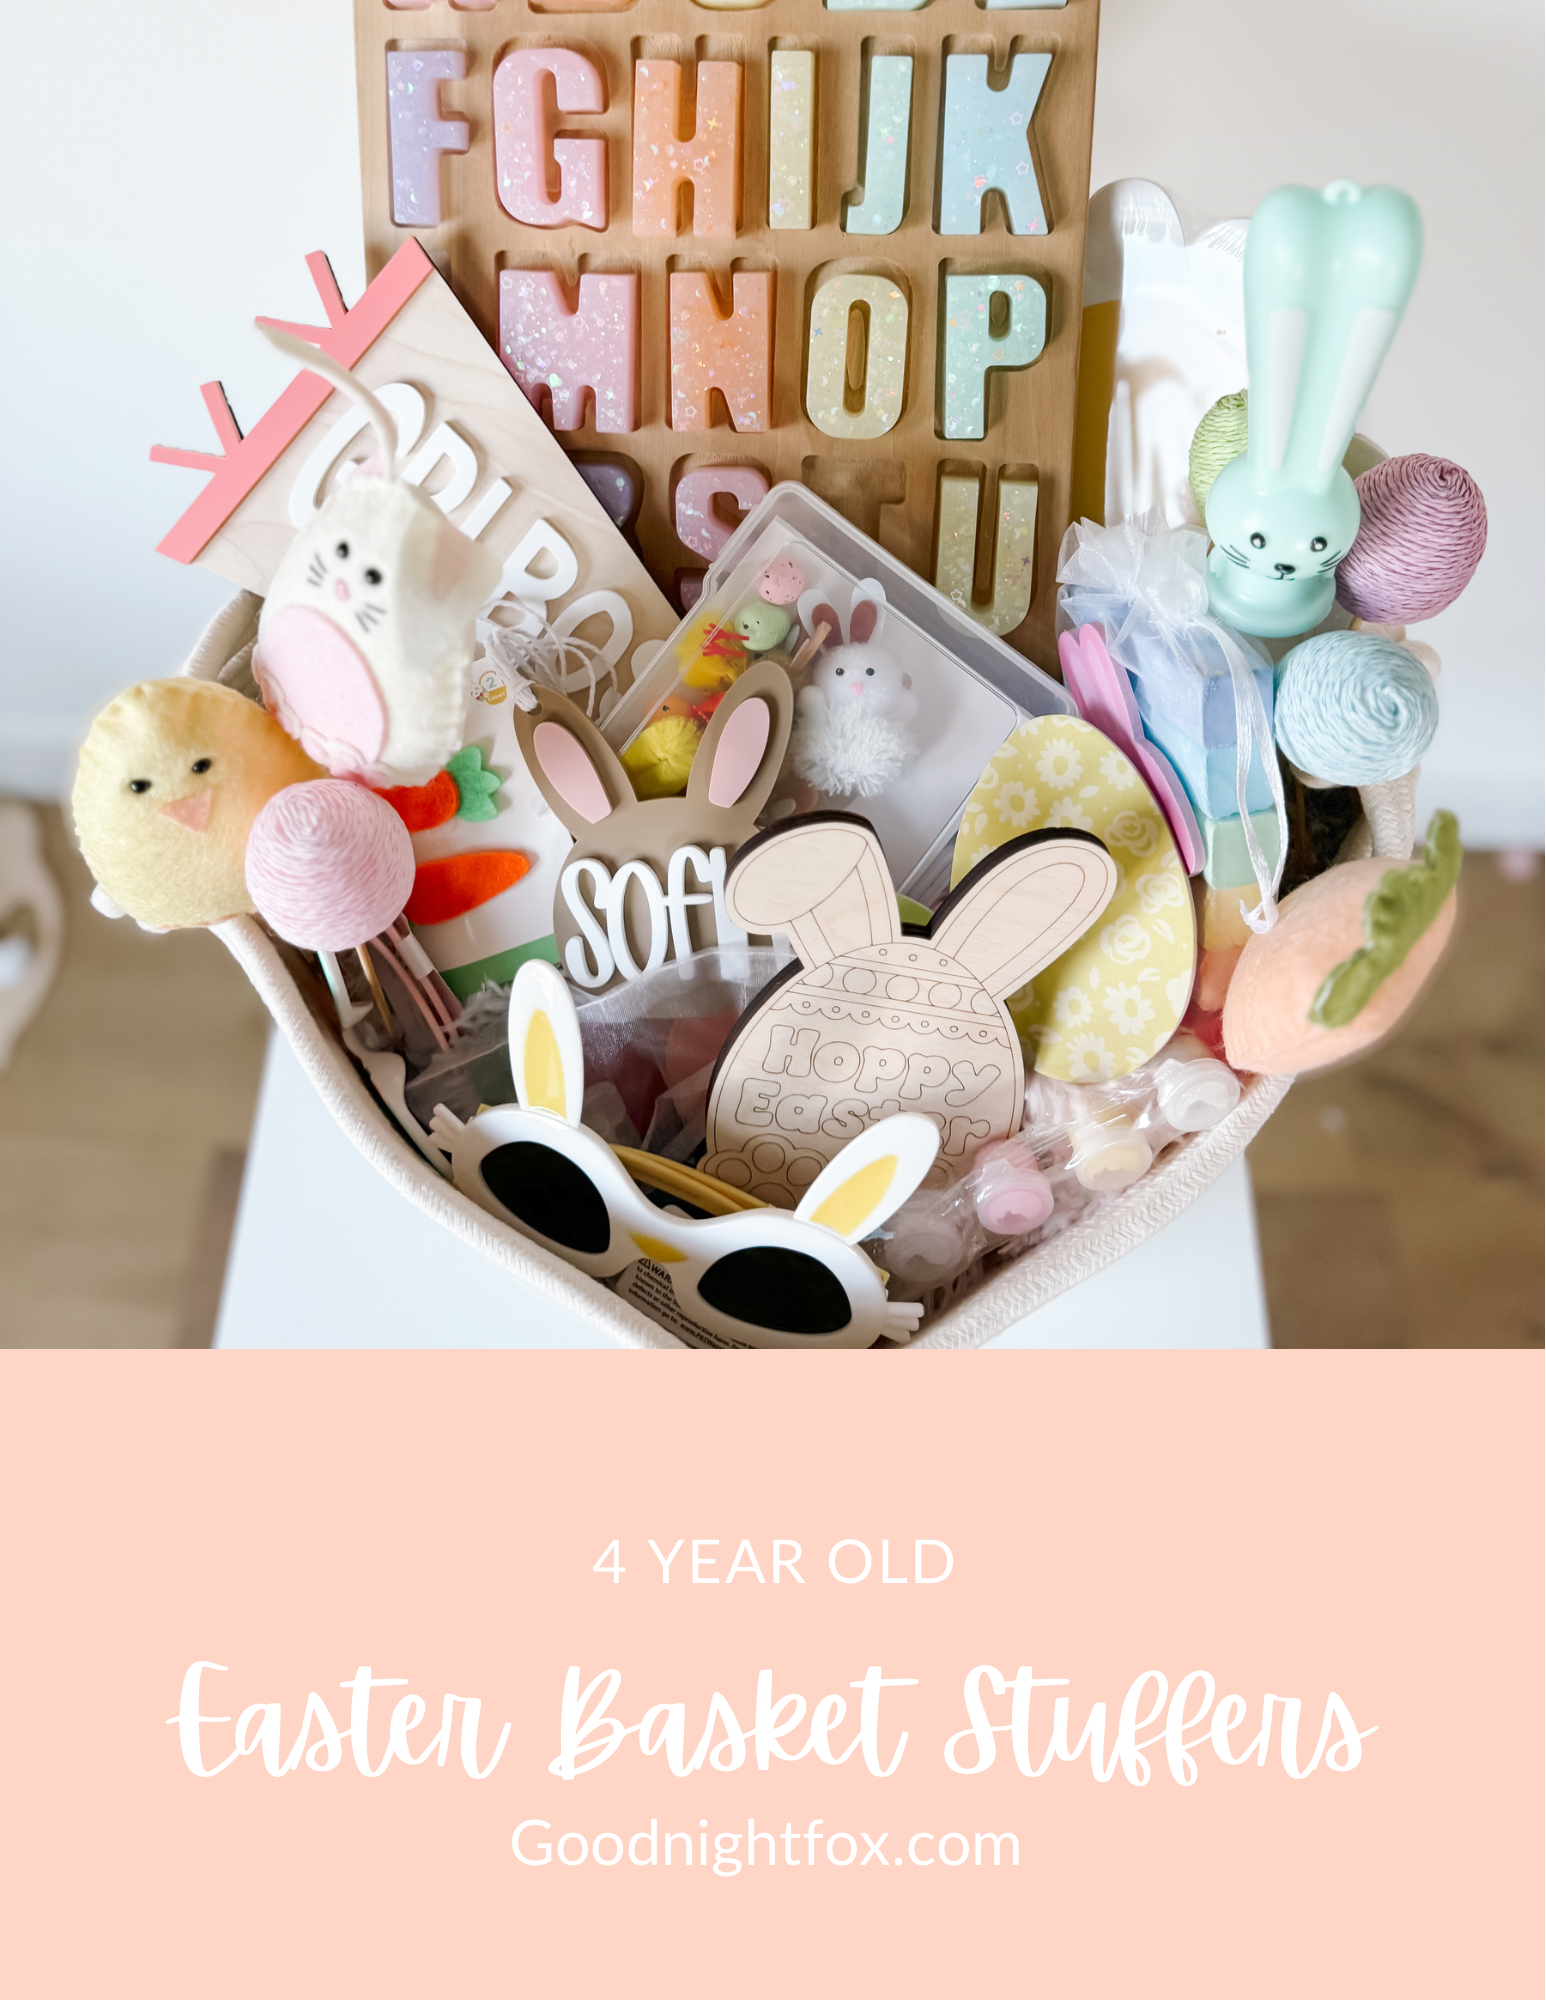
15 Non-Candy Easter Basket Stuffers for Four-Year-Olds

March 14, 2024 Kylie Tuosto

Easter is just around the corner, and if you're looking for a creative and candy-free alternative for your little one's Easter basket, you're in the right place! While candy is a traditional Easter treat, opting for non-candy fillers not only promotes healthier habits but also opens up a world of fun and educational possibilities for your child. In this post, I’ll share 15 delightful Easter basket stuffers perfect for four-year-olds, guaranteed to bring joy and excitement on Easter morning.

1. Easter Sensory Kit by GoodnightFox:

Encourage sensory exploration and cognitive development with GoodnightFox's Easter Sensory Kit. Packed with engaging activities like an Easter memory game, farm animal cards, foam Easter eggs, and adorable mini bunnies and chicks, this kit promises hours of entertainment while stimulating your child's senses.

2. Easter Bunny Name Tag by Frankie & Betty:

Add a personalized touch to your child's Easter basket with Frankie & Betty's charming brown bunny-shaped acrylic name tag. Customizable with your little one's name, this tag is not only adorable but also serves as a memorable keepsake.

3. Girl Boss Wood & Acrylic Flag by Frankie & Betty:

Empower your little girl with Frankie & Betty's "Girl Boss" wood & acrylic flag. Perfect for instilling confidence and celebrating girl power, this flag is a stylish addition to any Easter basket.

4. Blue Bunny Bubble Wand from Target Dollar Spot:

Take the Easter fun outdoors with this delightful blue bunny bubble wand from Target Dollar Spot. Let your child's imagination soar as they create bubbles galore with this whimsical wand.

5. Carrot Hair Clips from Target Dollar Spot:

Accessorize your little one's Easter outfit with these adorable carrot hair clips from Target Dollar Spot. Not only are they cute and festive, but they also add a touch of Easter charm to any hairstyle.

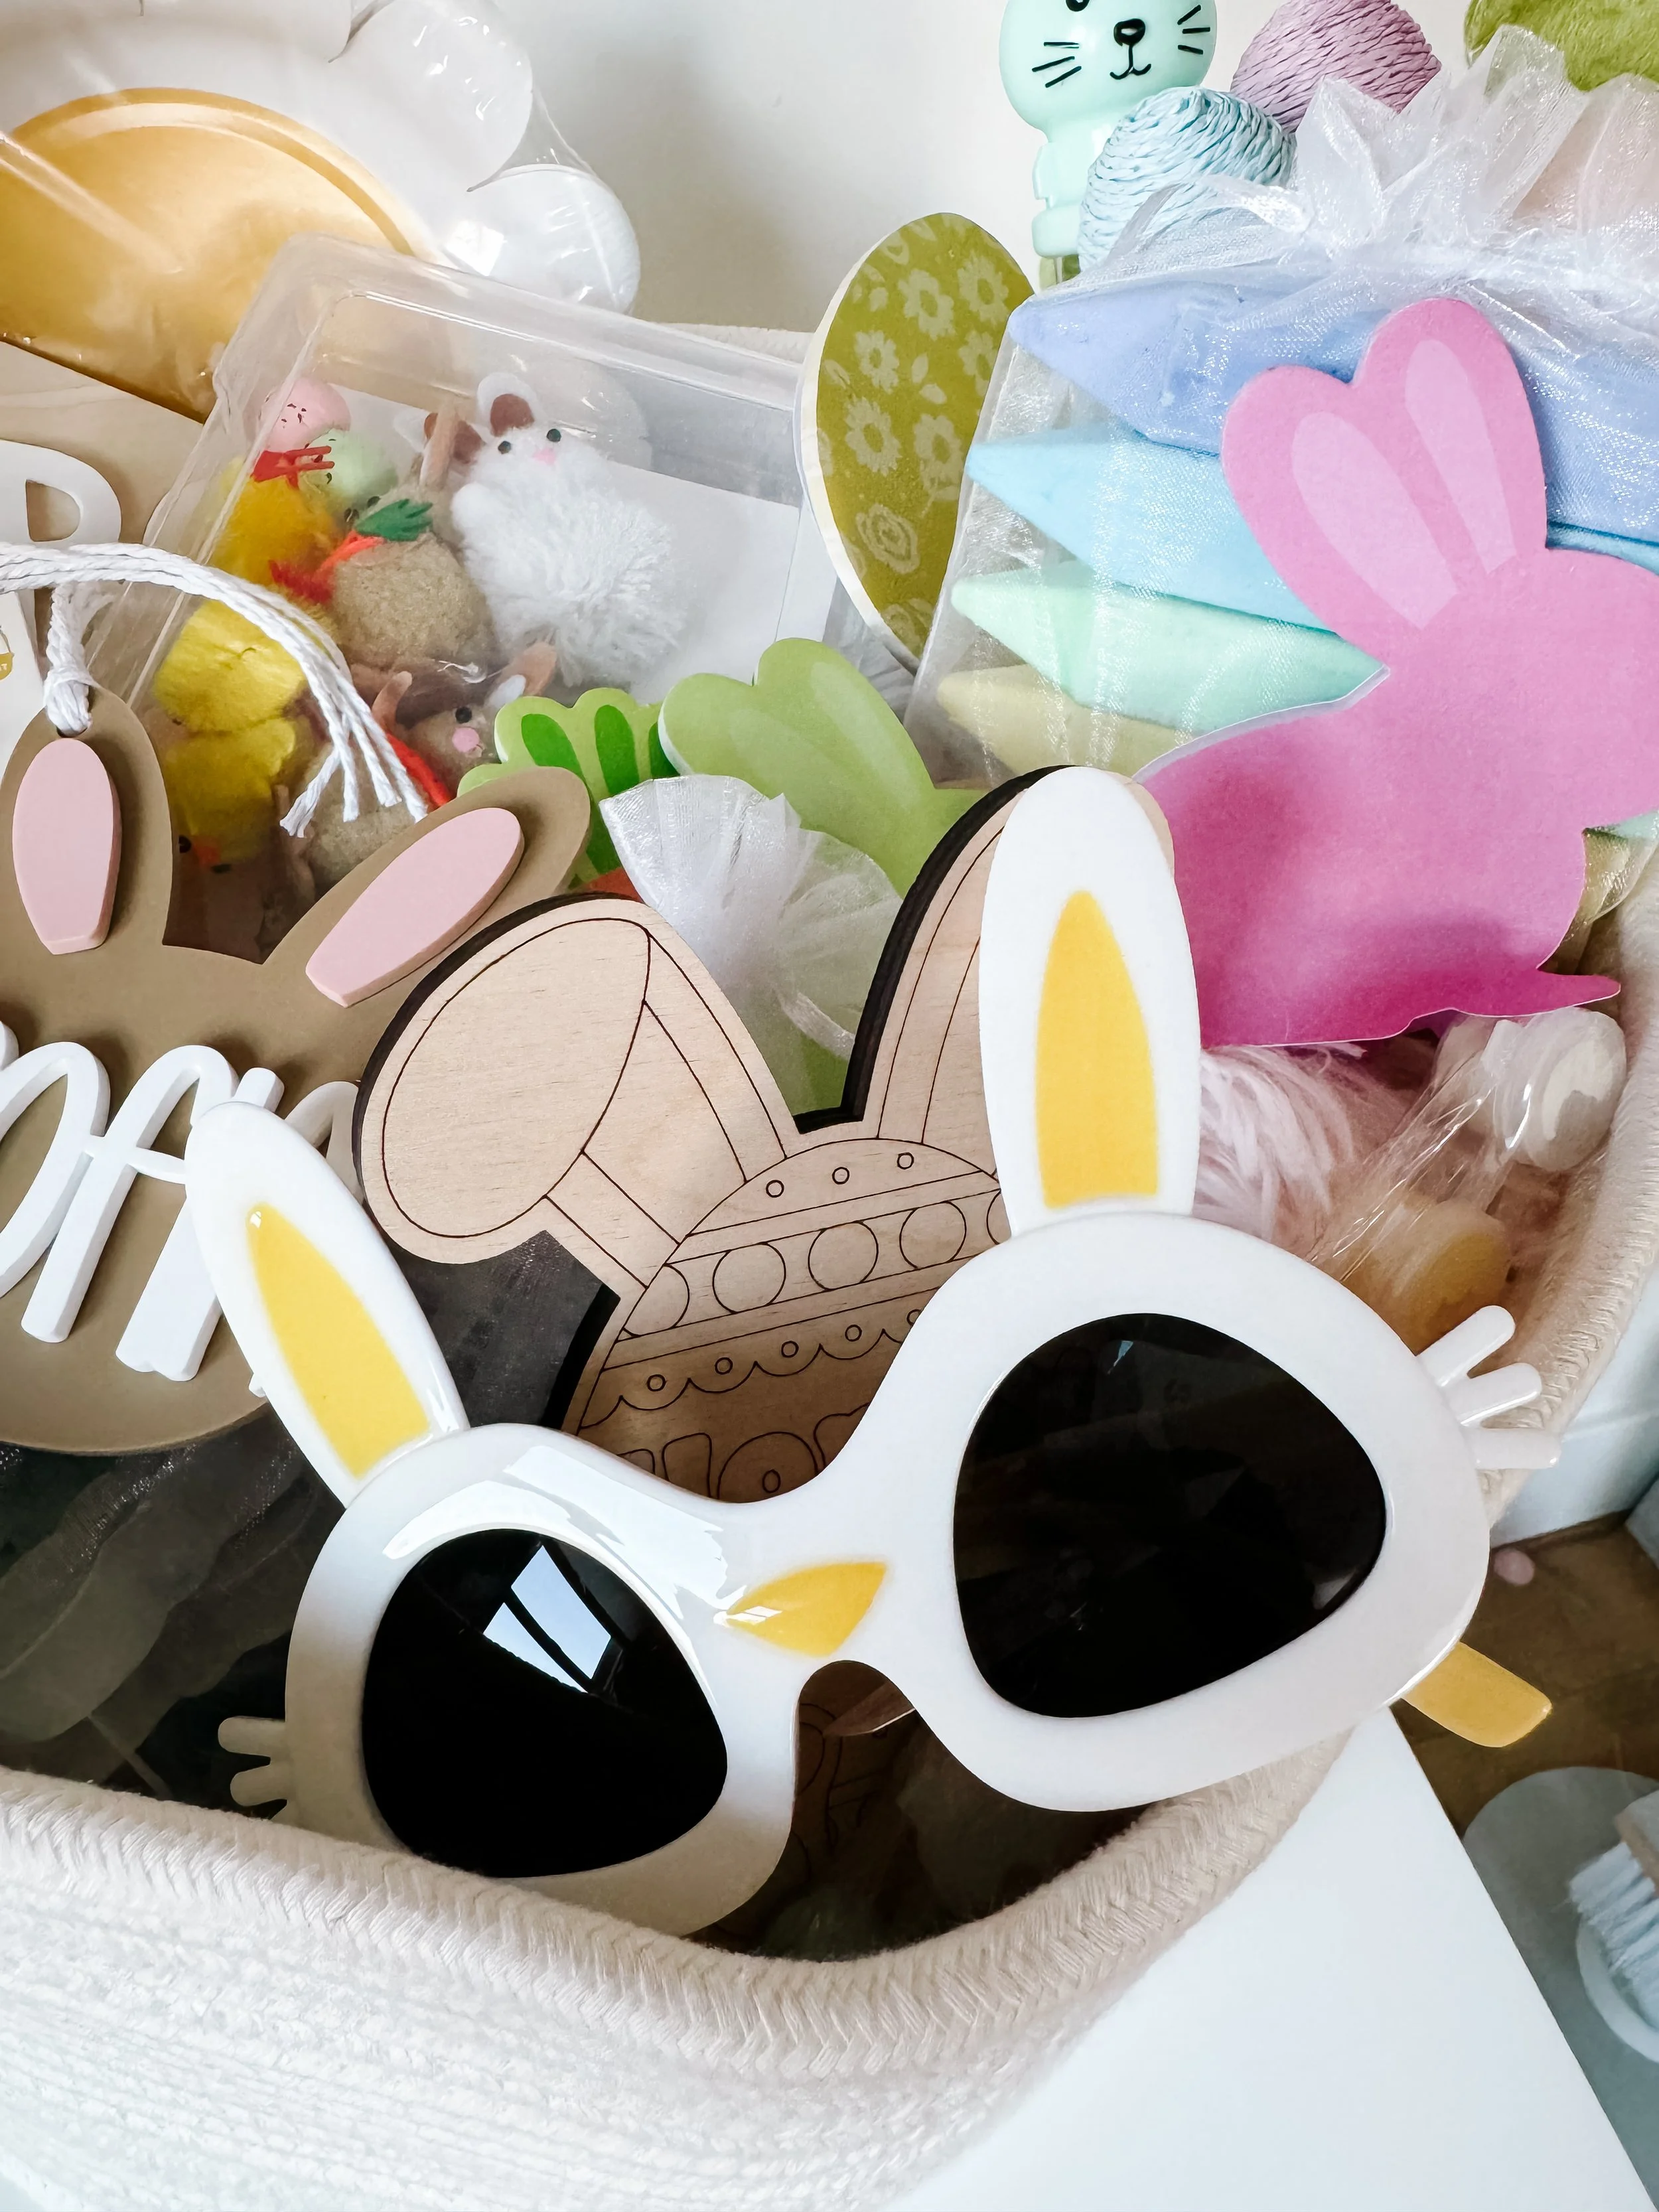
6. Bunny-Shaped Sunglasses from Target Dollar Spot:

Shield your child's eyes from the spring sun with these trendy bunny-shaped sunglasses from Target Dollar Spot. Stylish and functional, these sunglasses are a must-have accessory for Easter outings.

7. Egg-Shaped Wooden Paint Kit by WildThingsCo:

Unleash your child's creativity with WildThingsCo's egg-shaped wooden paint kit. Perfect for little artists, this kit provides everything needed to create colorful Easter masterpieces.
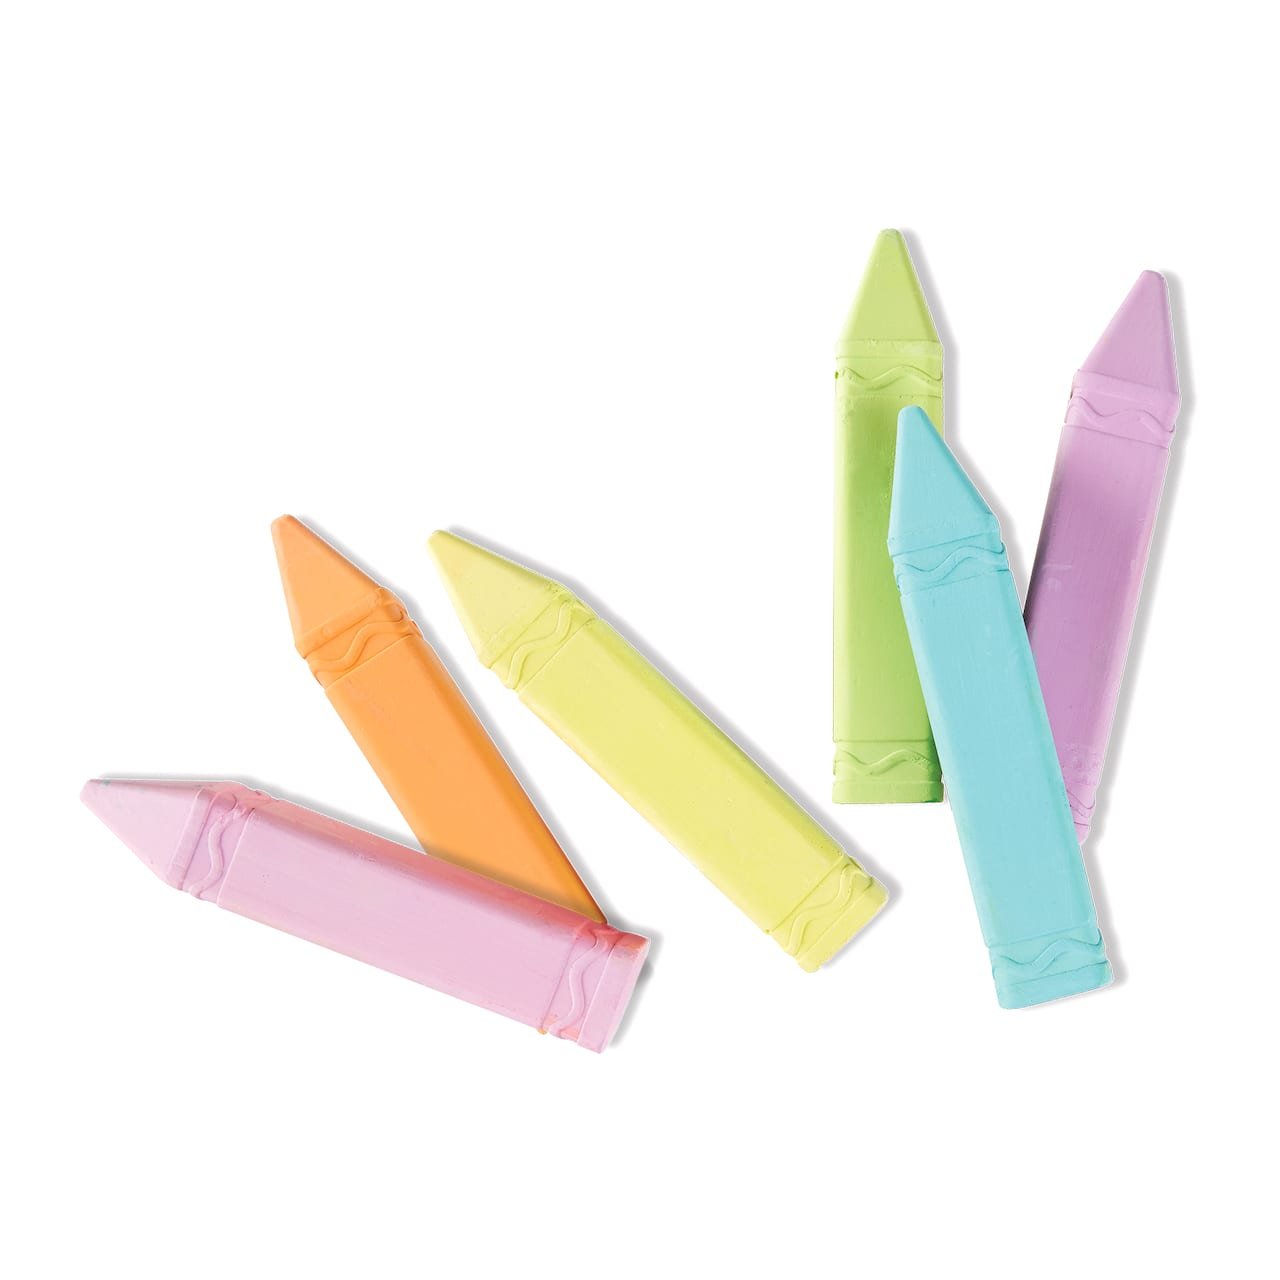
8. Pastel Rainbow Chalk from Michael’s:

Encourage outdoor creativity and exploration with Michael’s pastel rainbow chalk. Let your child's imagination run wild as they create vibrant sidewalk masterpieces perfect for Easter celebrations.

9. Acrylic Peeps by Creating Adventures Co:

Add a sweet touch to your child's Easter basket with these adorable acrylic peeps by Creating Adventures Co. These charming peeps make for delightful Easter-themed decorations or imaginative play.
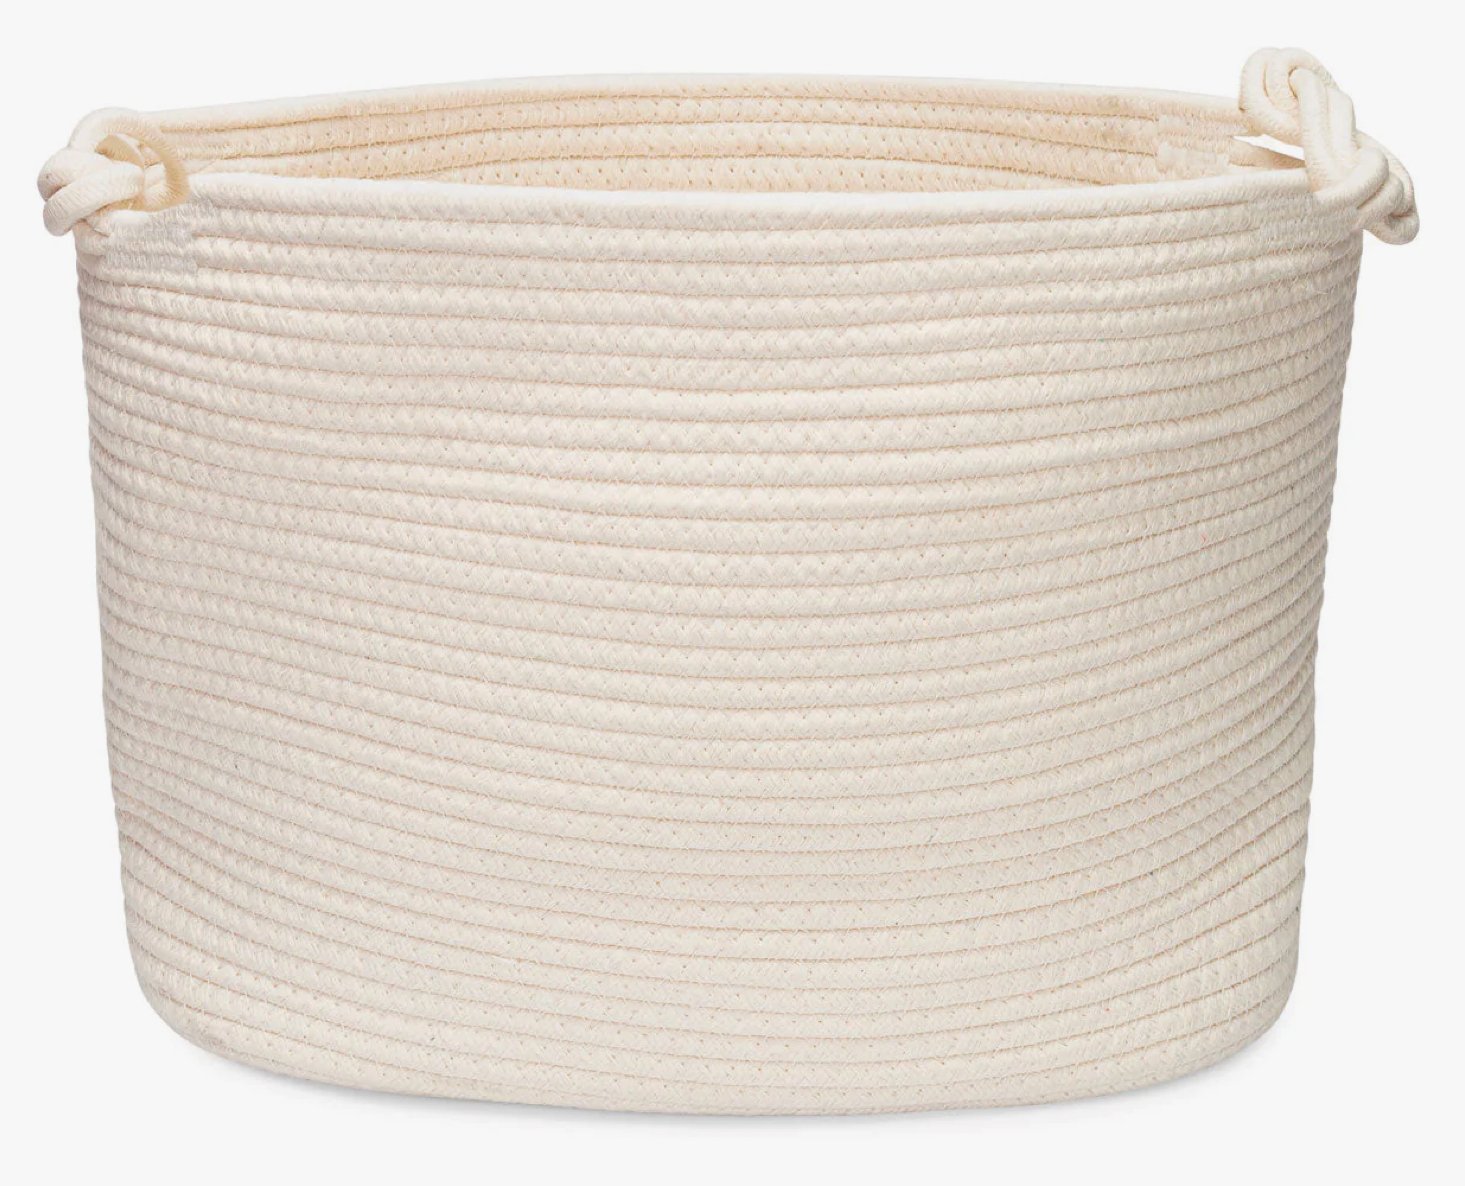
10. Woven Basket by Parker Baby Co:

Complete your Easter basket ensemble with a stylish woven basket from Parker Baby Co. Durable and versatile, this basket is perfect for holding all of your child's Easter goodies and doubles as a functional storage solution. This Easter basket is perfect for the minimalist mom who doesn’t want to store themed baskets for each holiday. This basket looks great for regular playroom storage or as a decorative living room basket to hold a cozy blanket.

11. Pastel Silicone Alphabet Letters by NuggButts:

Make learning fun with NuggButts' pastel silicone alphabet letters. Ideal for teaching letter recognition and spelling, these soft and squishy letters are a playful addition to any Easter basket.

12. Easter-Shaped Sticky Notes by Michaels:

Add a pop of color and whimsy to your child's Easter basket with Michaels' Easter-shaped sticky notes. Perfect for jotting down Easter wishes or doodling Easter-themed designs, these sticky notes are both practical and adorable.

13. Felt Wands by Felt Happy Sewing:

Ignite your child's imagination with Felt Happy Sewing's enchanting felt wands. Whether they're casting spells or embarking on magical adventures, these wands are sure to spark creativity and wonder.

14. Daisy-Shaped Activity Plates from Target Dollar Spot:

Make mealtime more fun with these charming daisy-shaped activity plates from Target Dollar Spot. Featuring interactive designs, these plates encourage imaginative play and healthy eating habits.


This Easter, treat your four-year-old to a basket filled with creativity, imagination, and fun with these delightful non-candy Easter basket stuffers. From sensory exploration to personalized keepsakes, there's something for every child to enjoy. So skip the candy aisle and opt for these wholesome alternatives that will make this Easter one to remember!

Tags Easter basket, easter stuffers, easter four year old, unique Easter, non candy Easter basket, cutest Easter basket
5 Comments

Exploring the Amazing World of Bugs: An Exciting Bug and Insect Themed Sensory Bin Activity for Toddlers

February 29, 2024 Kylie Tuosto

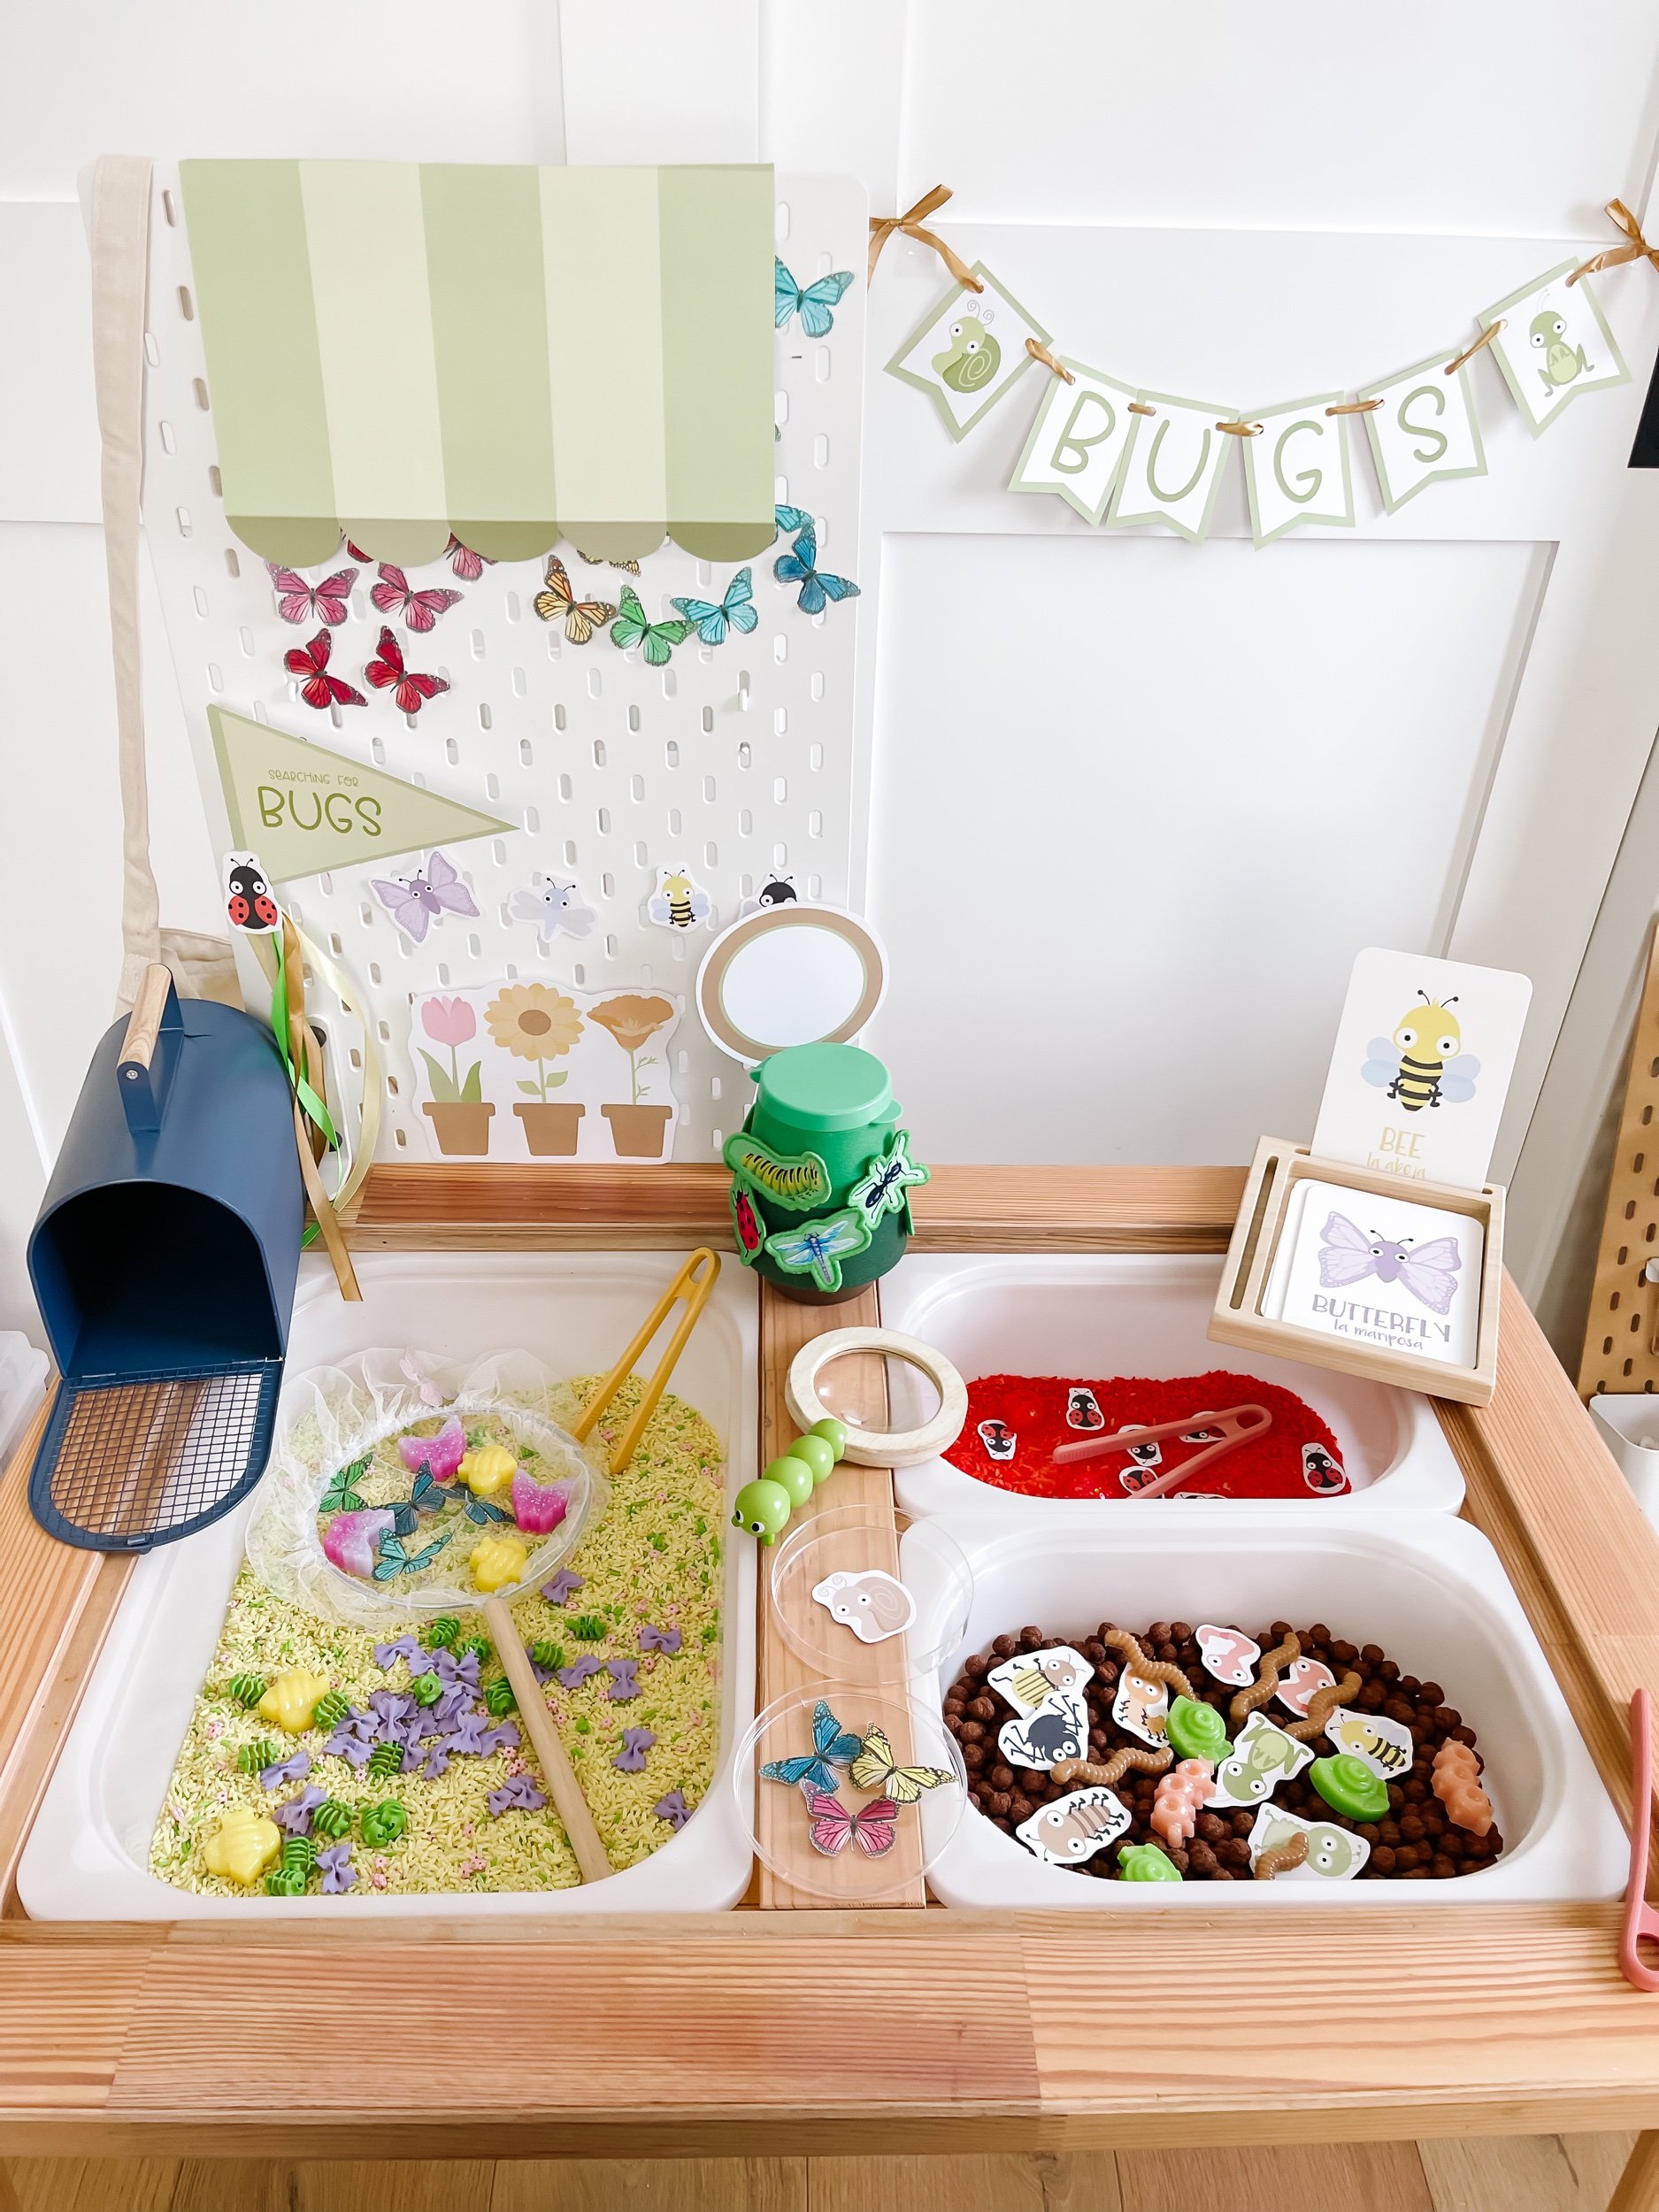
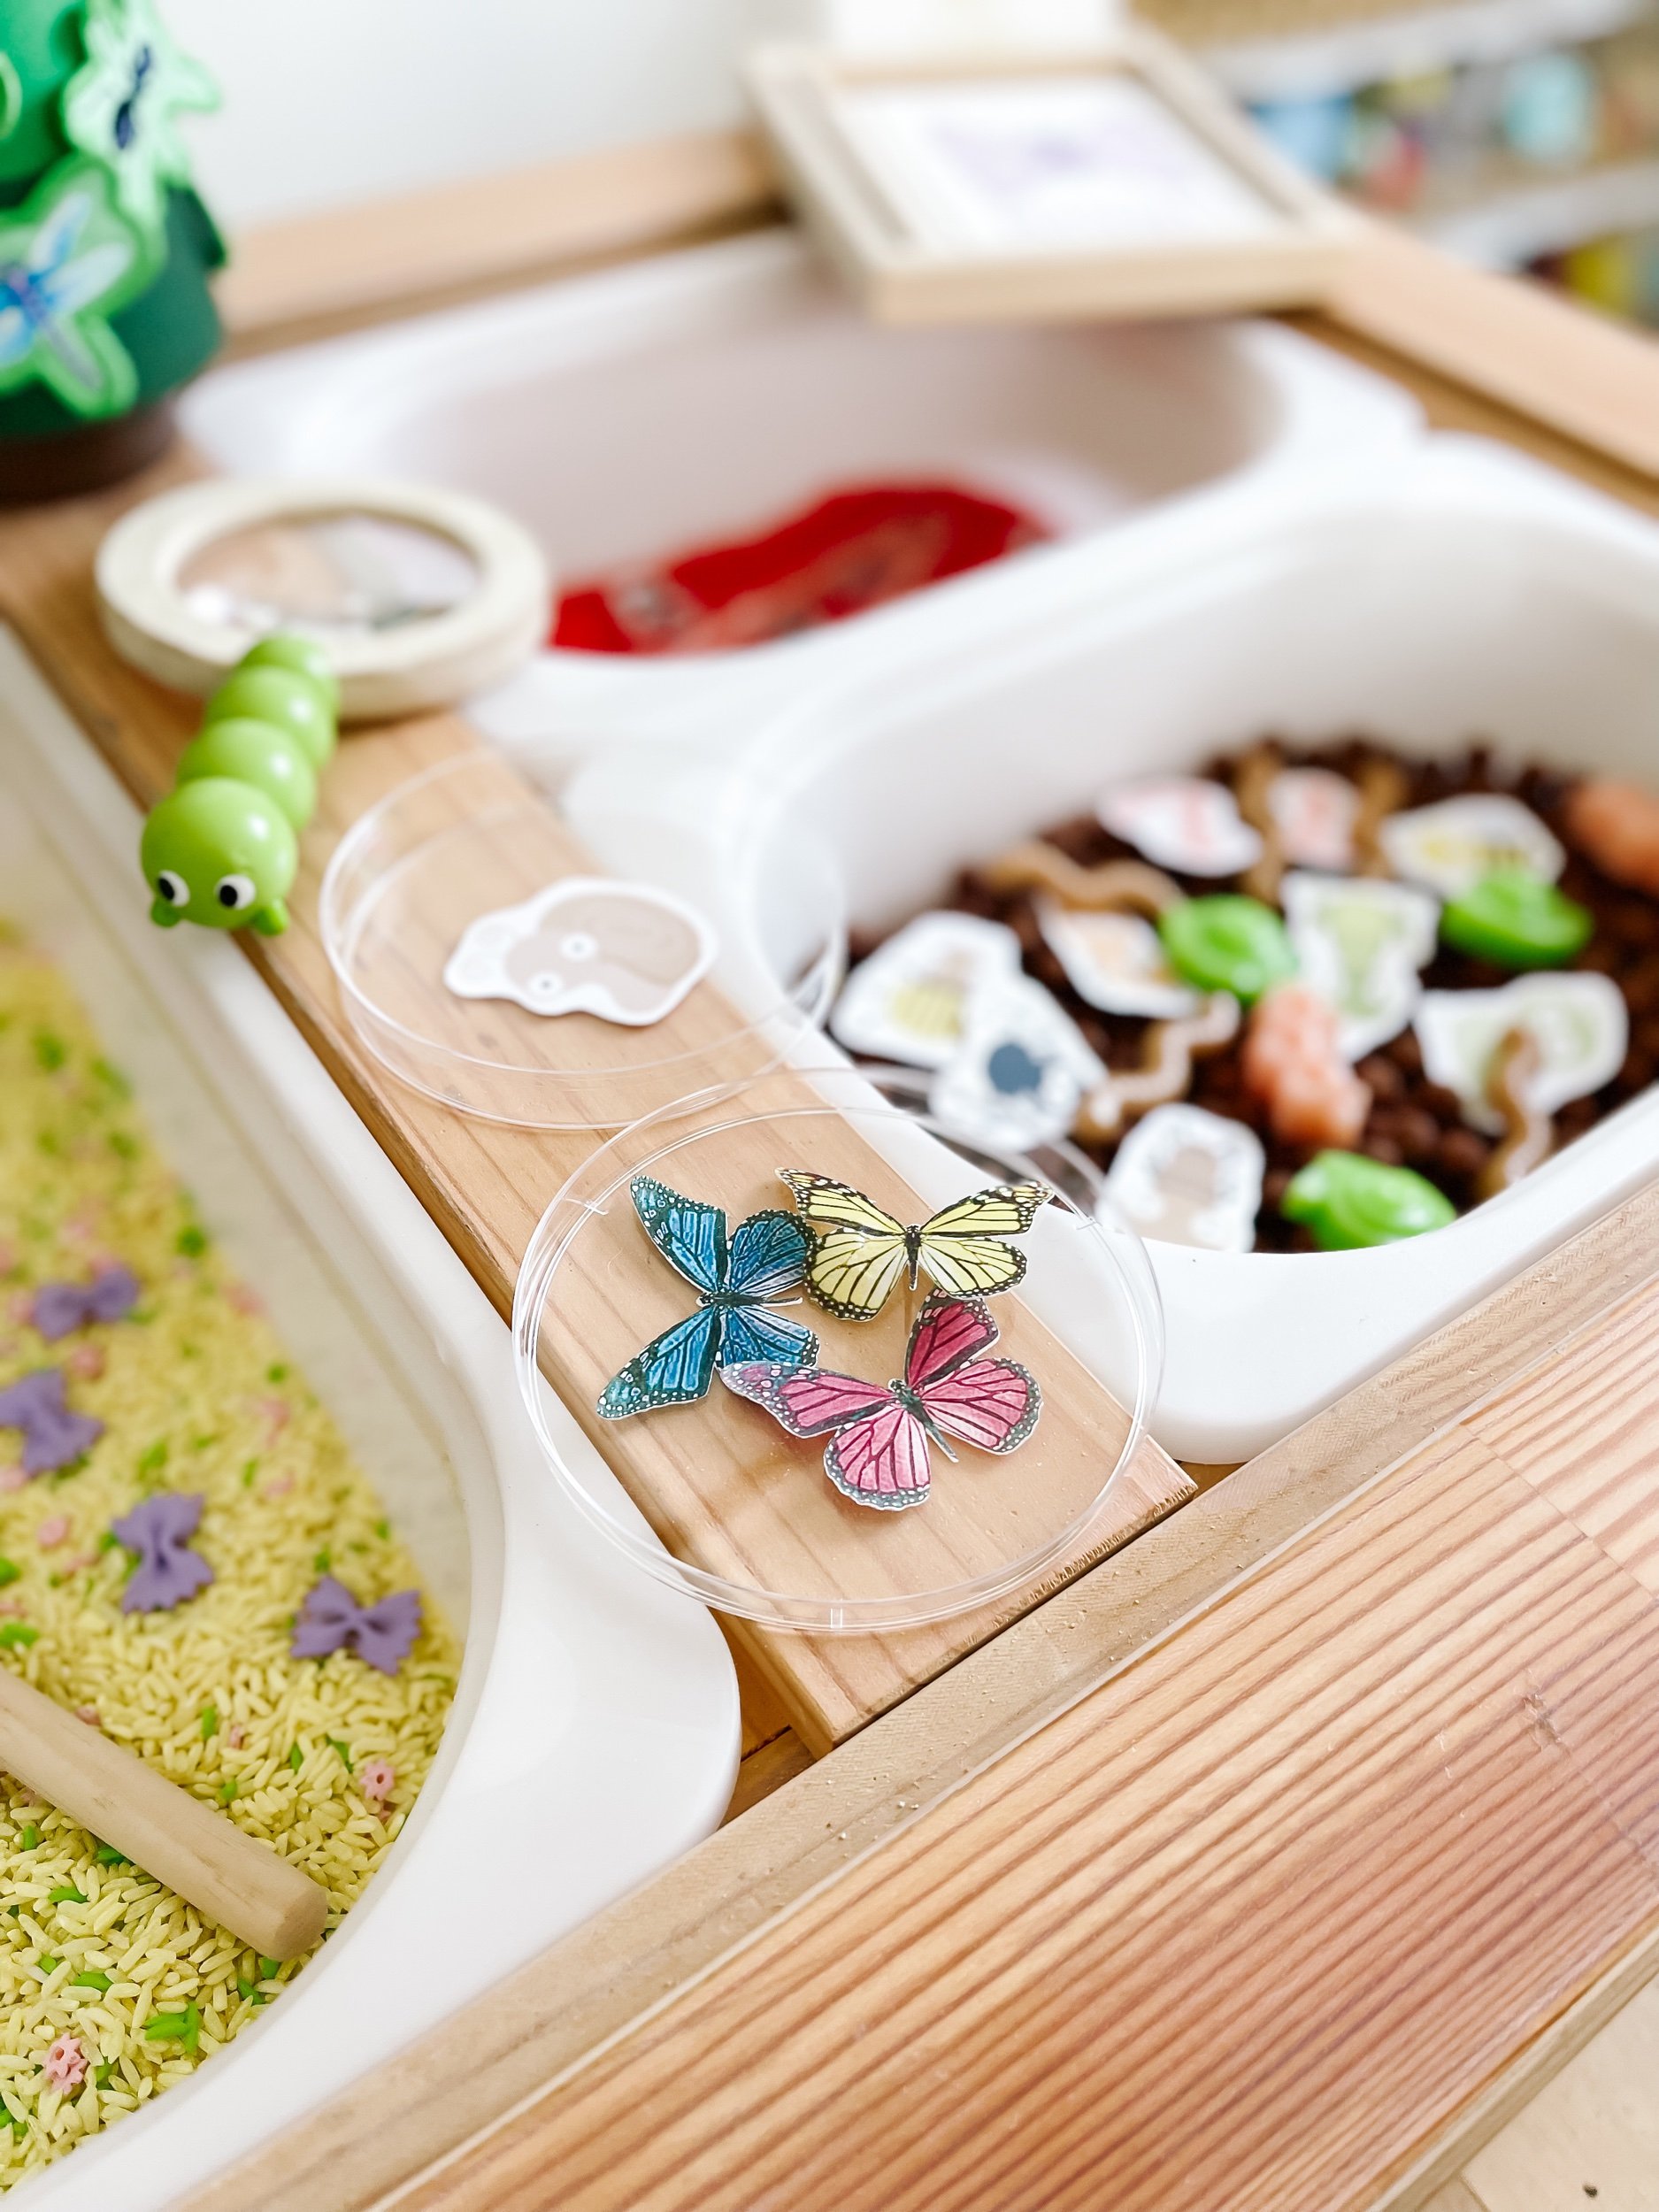
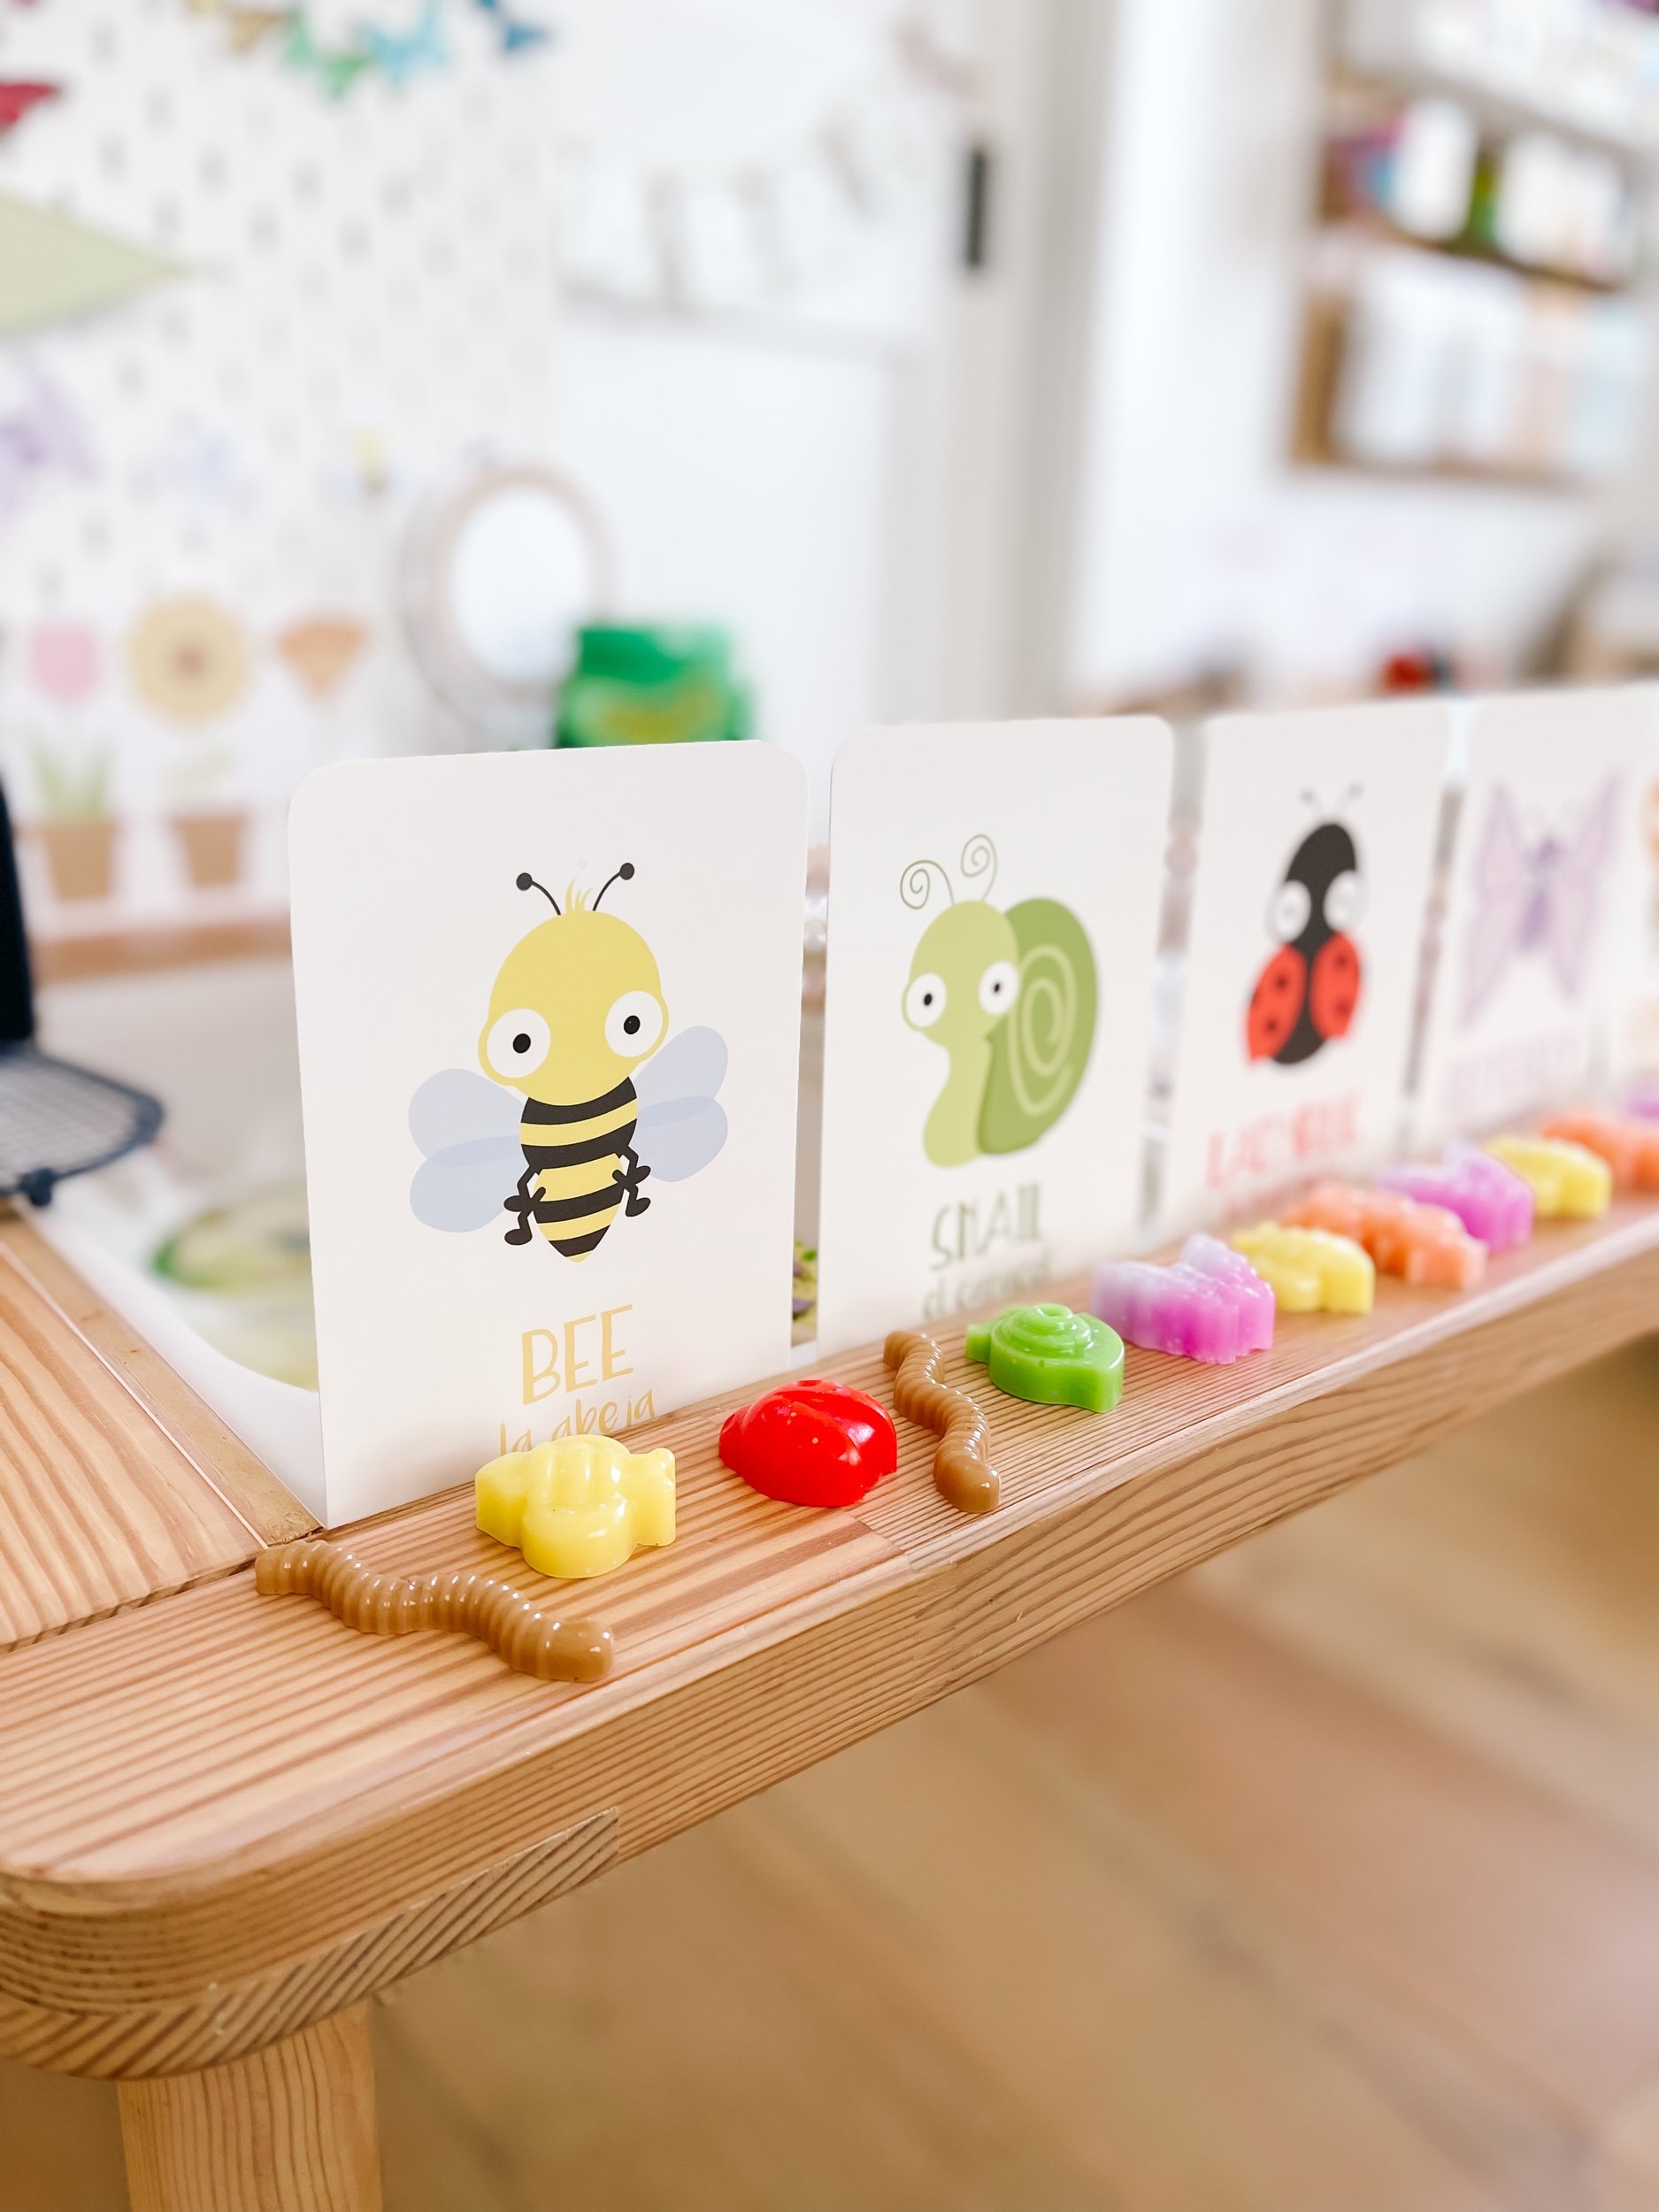
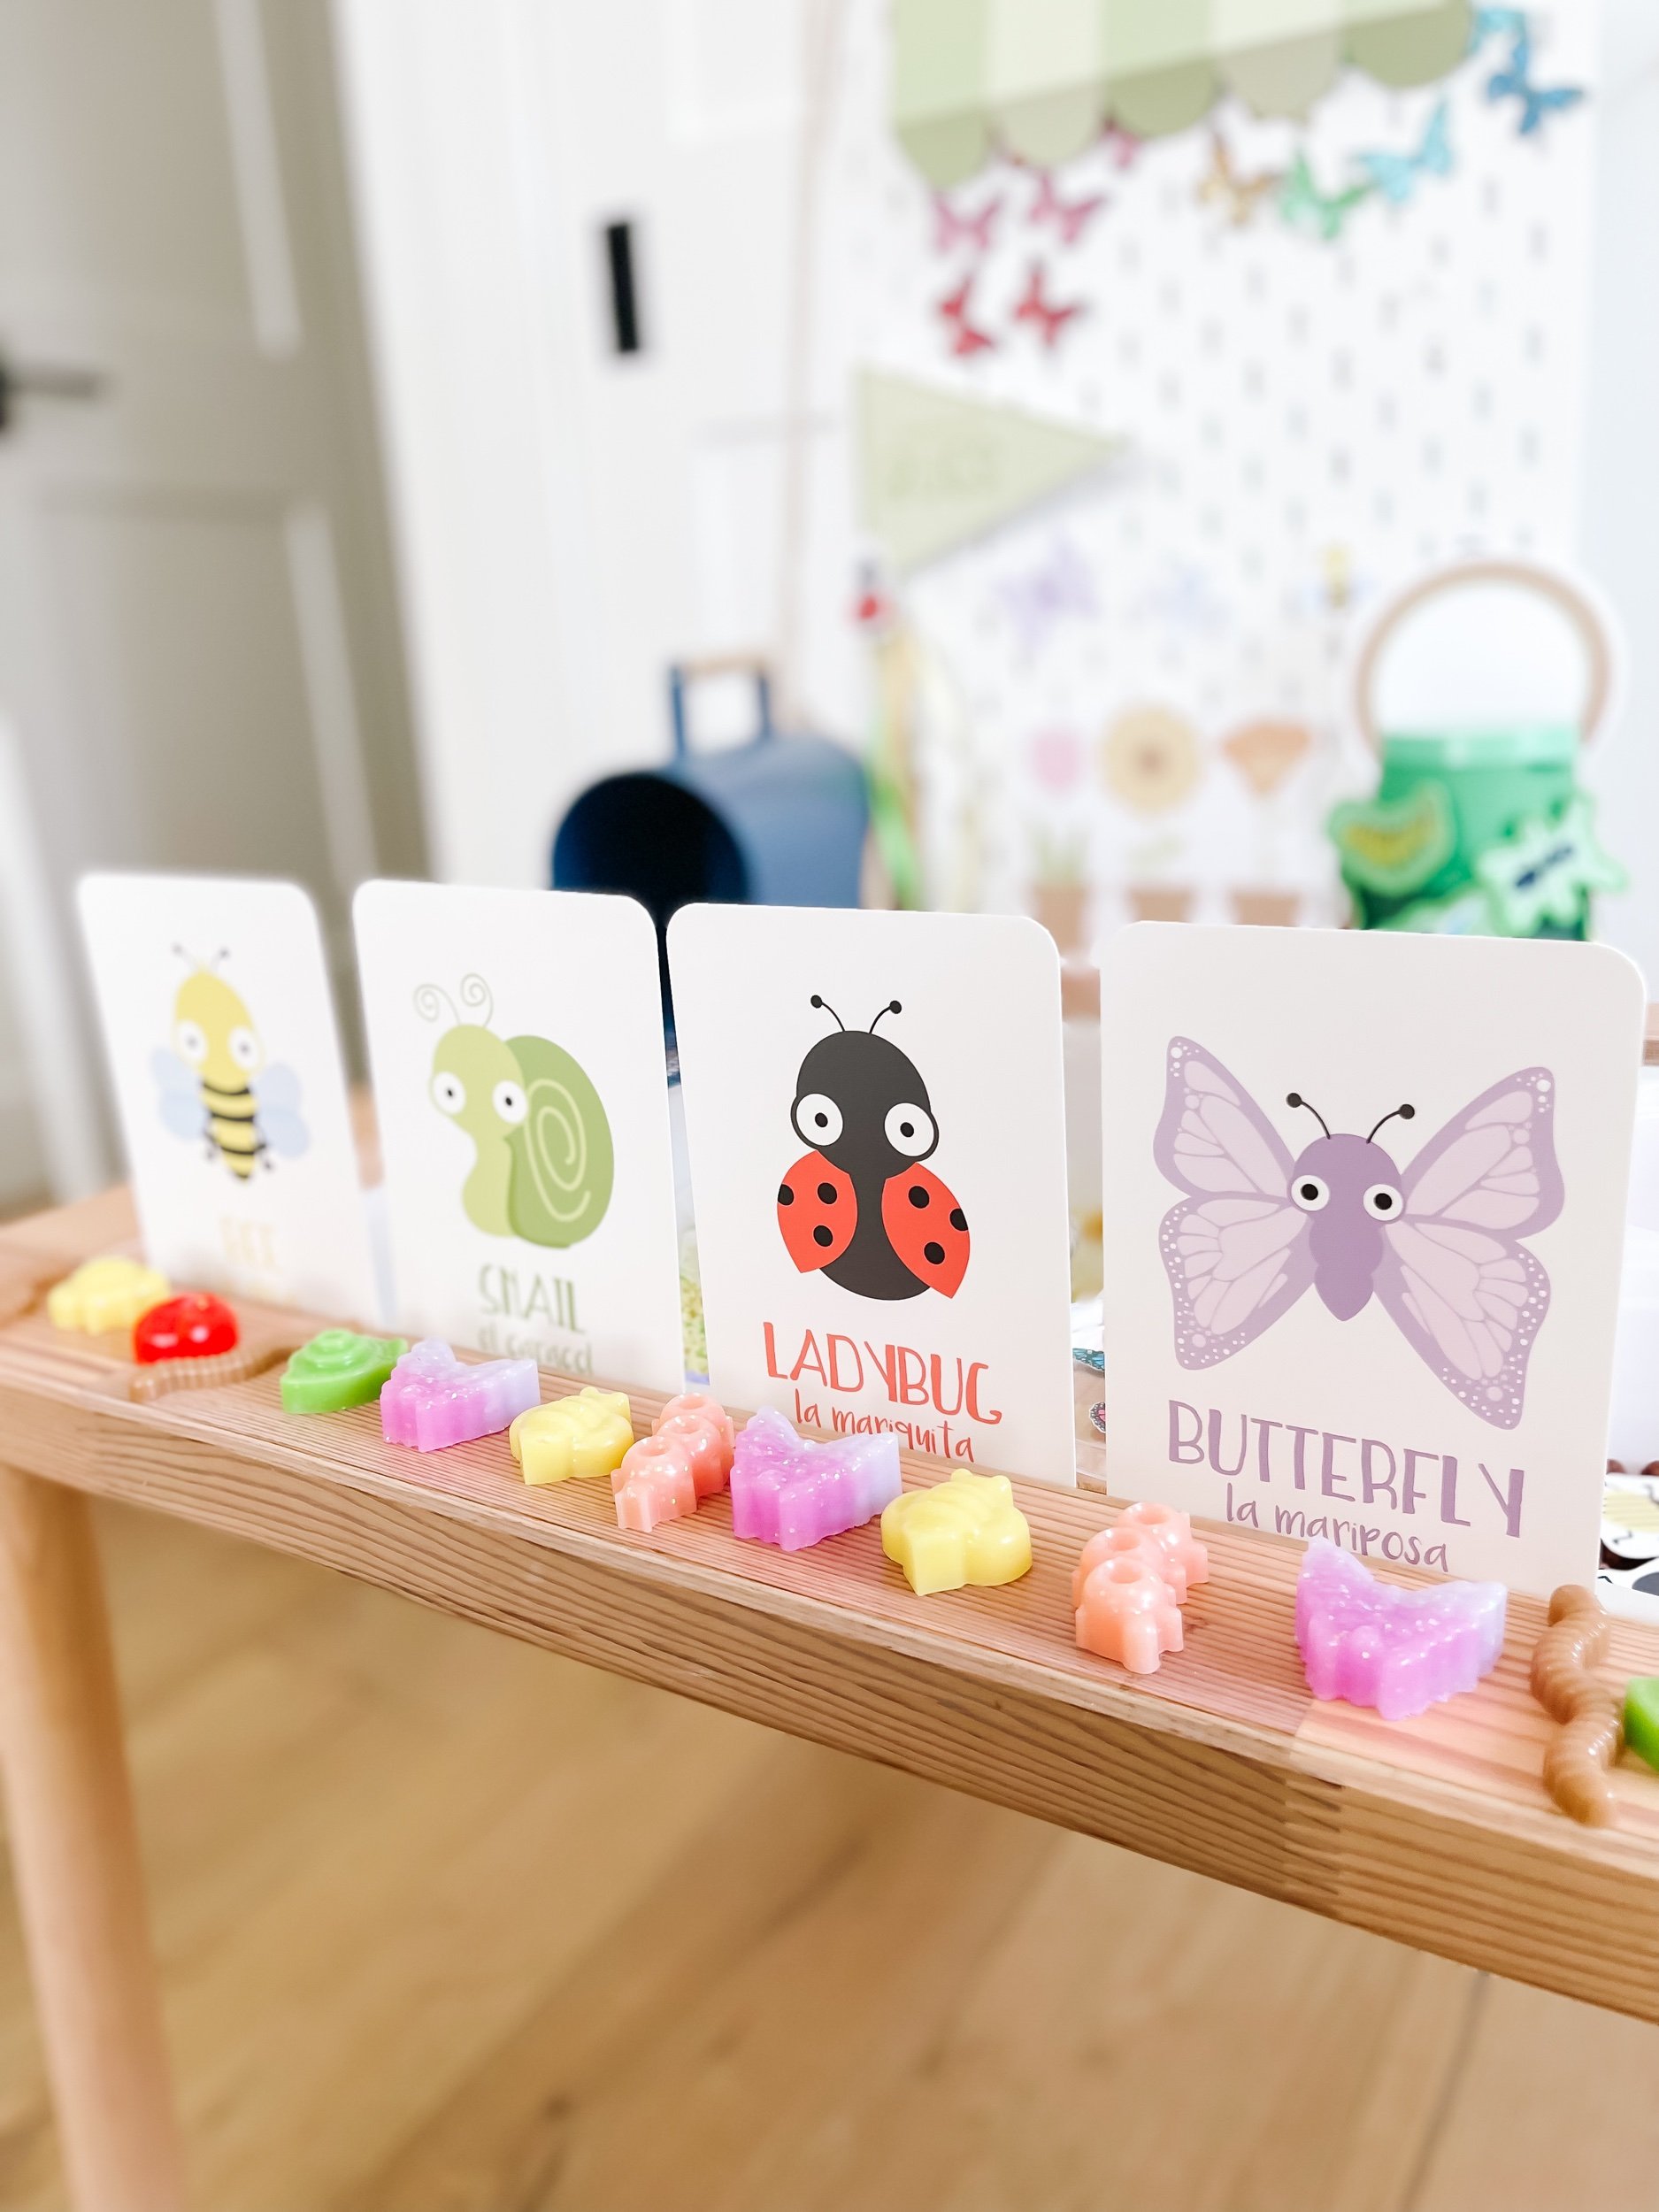
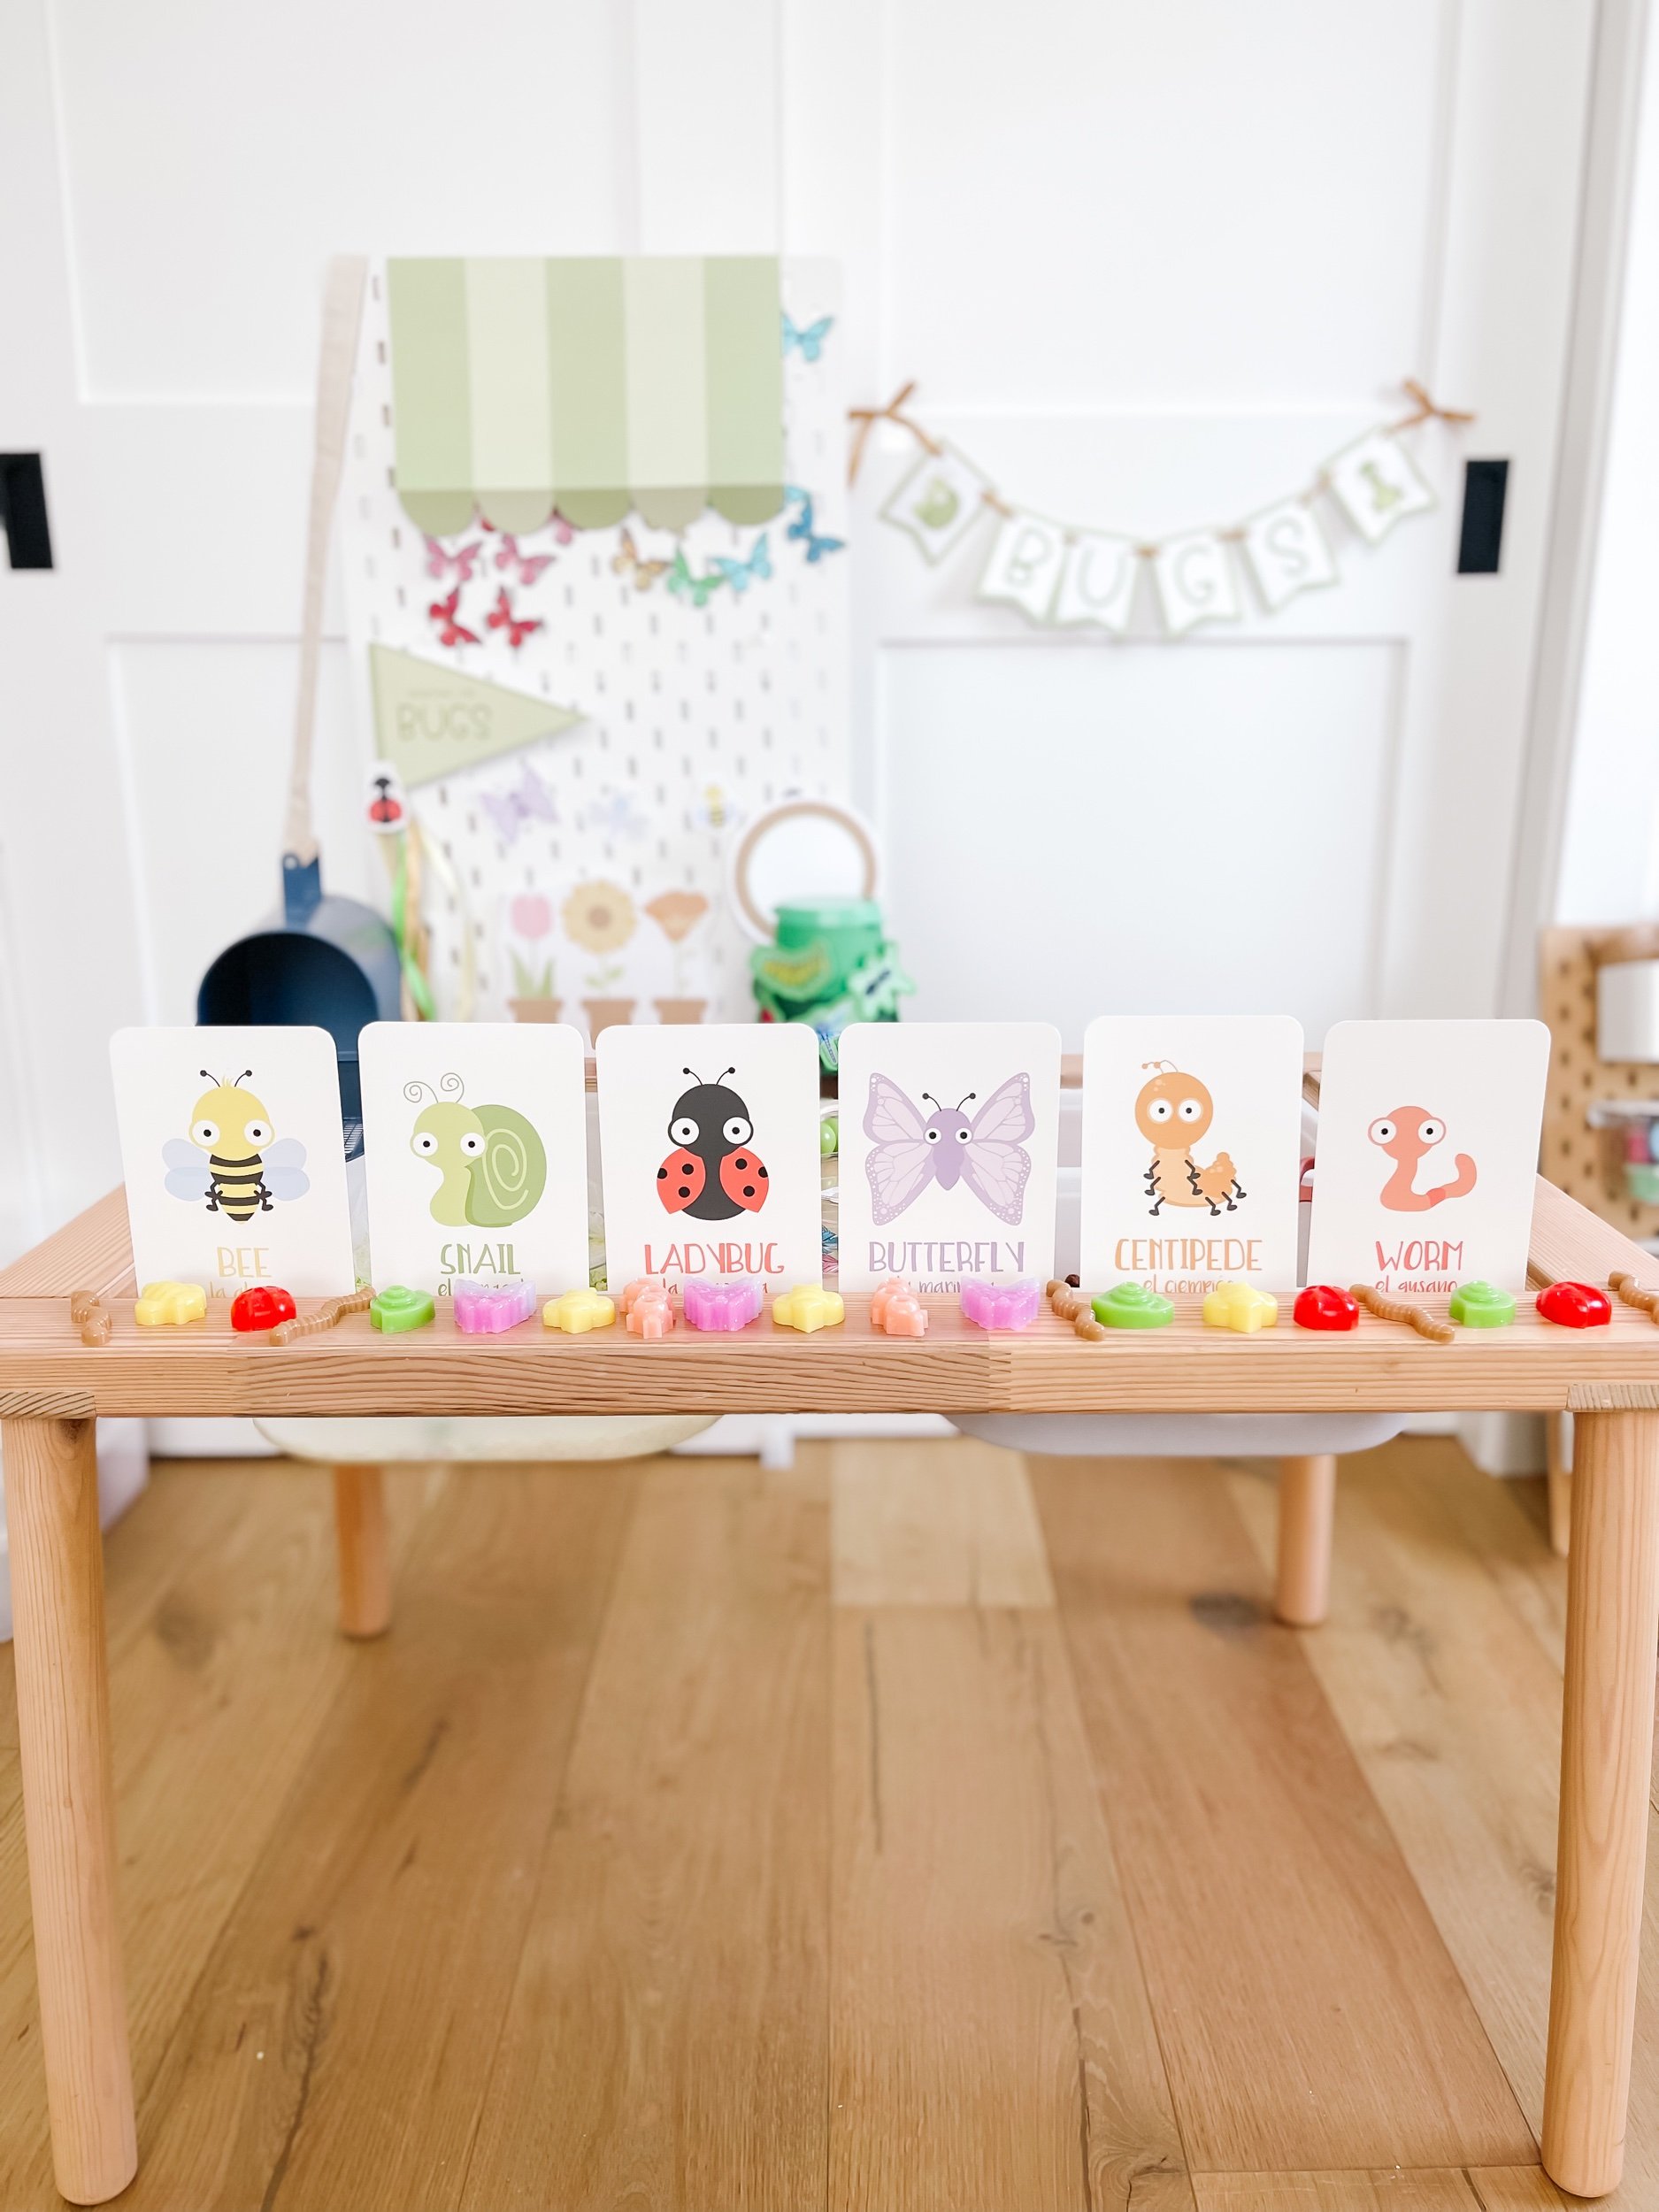
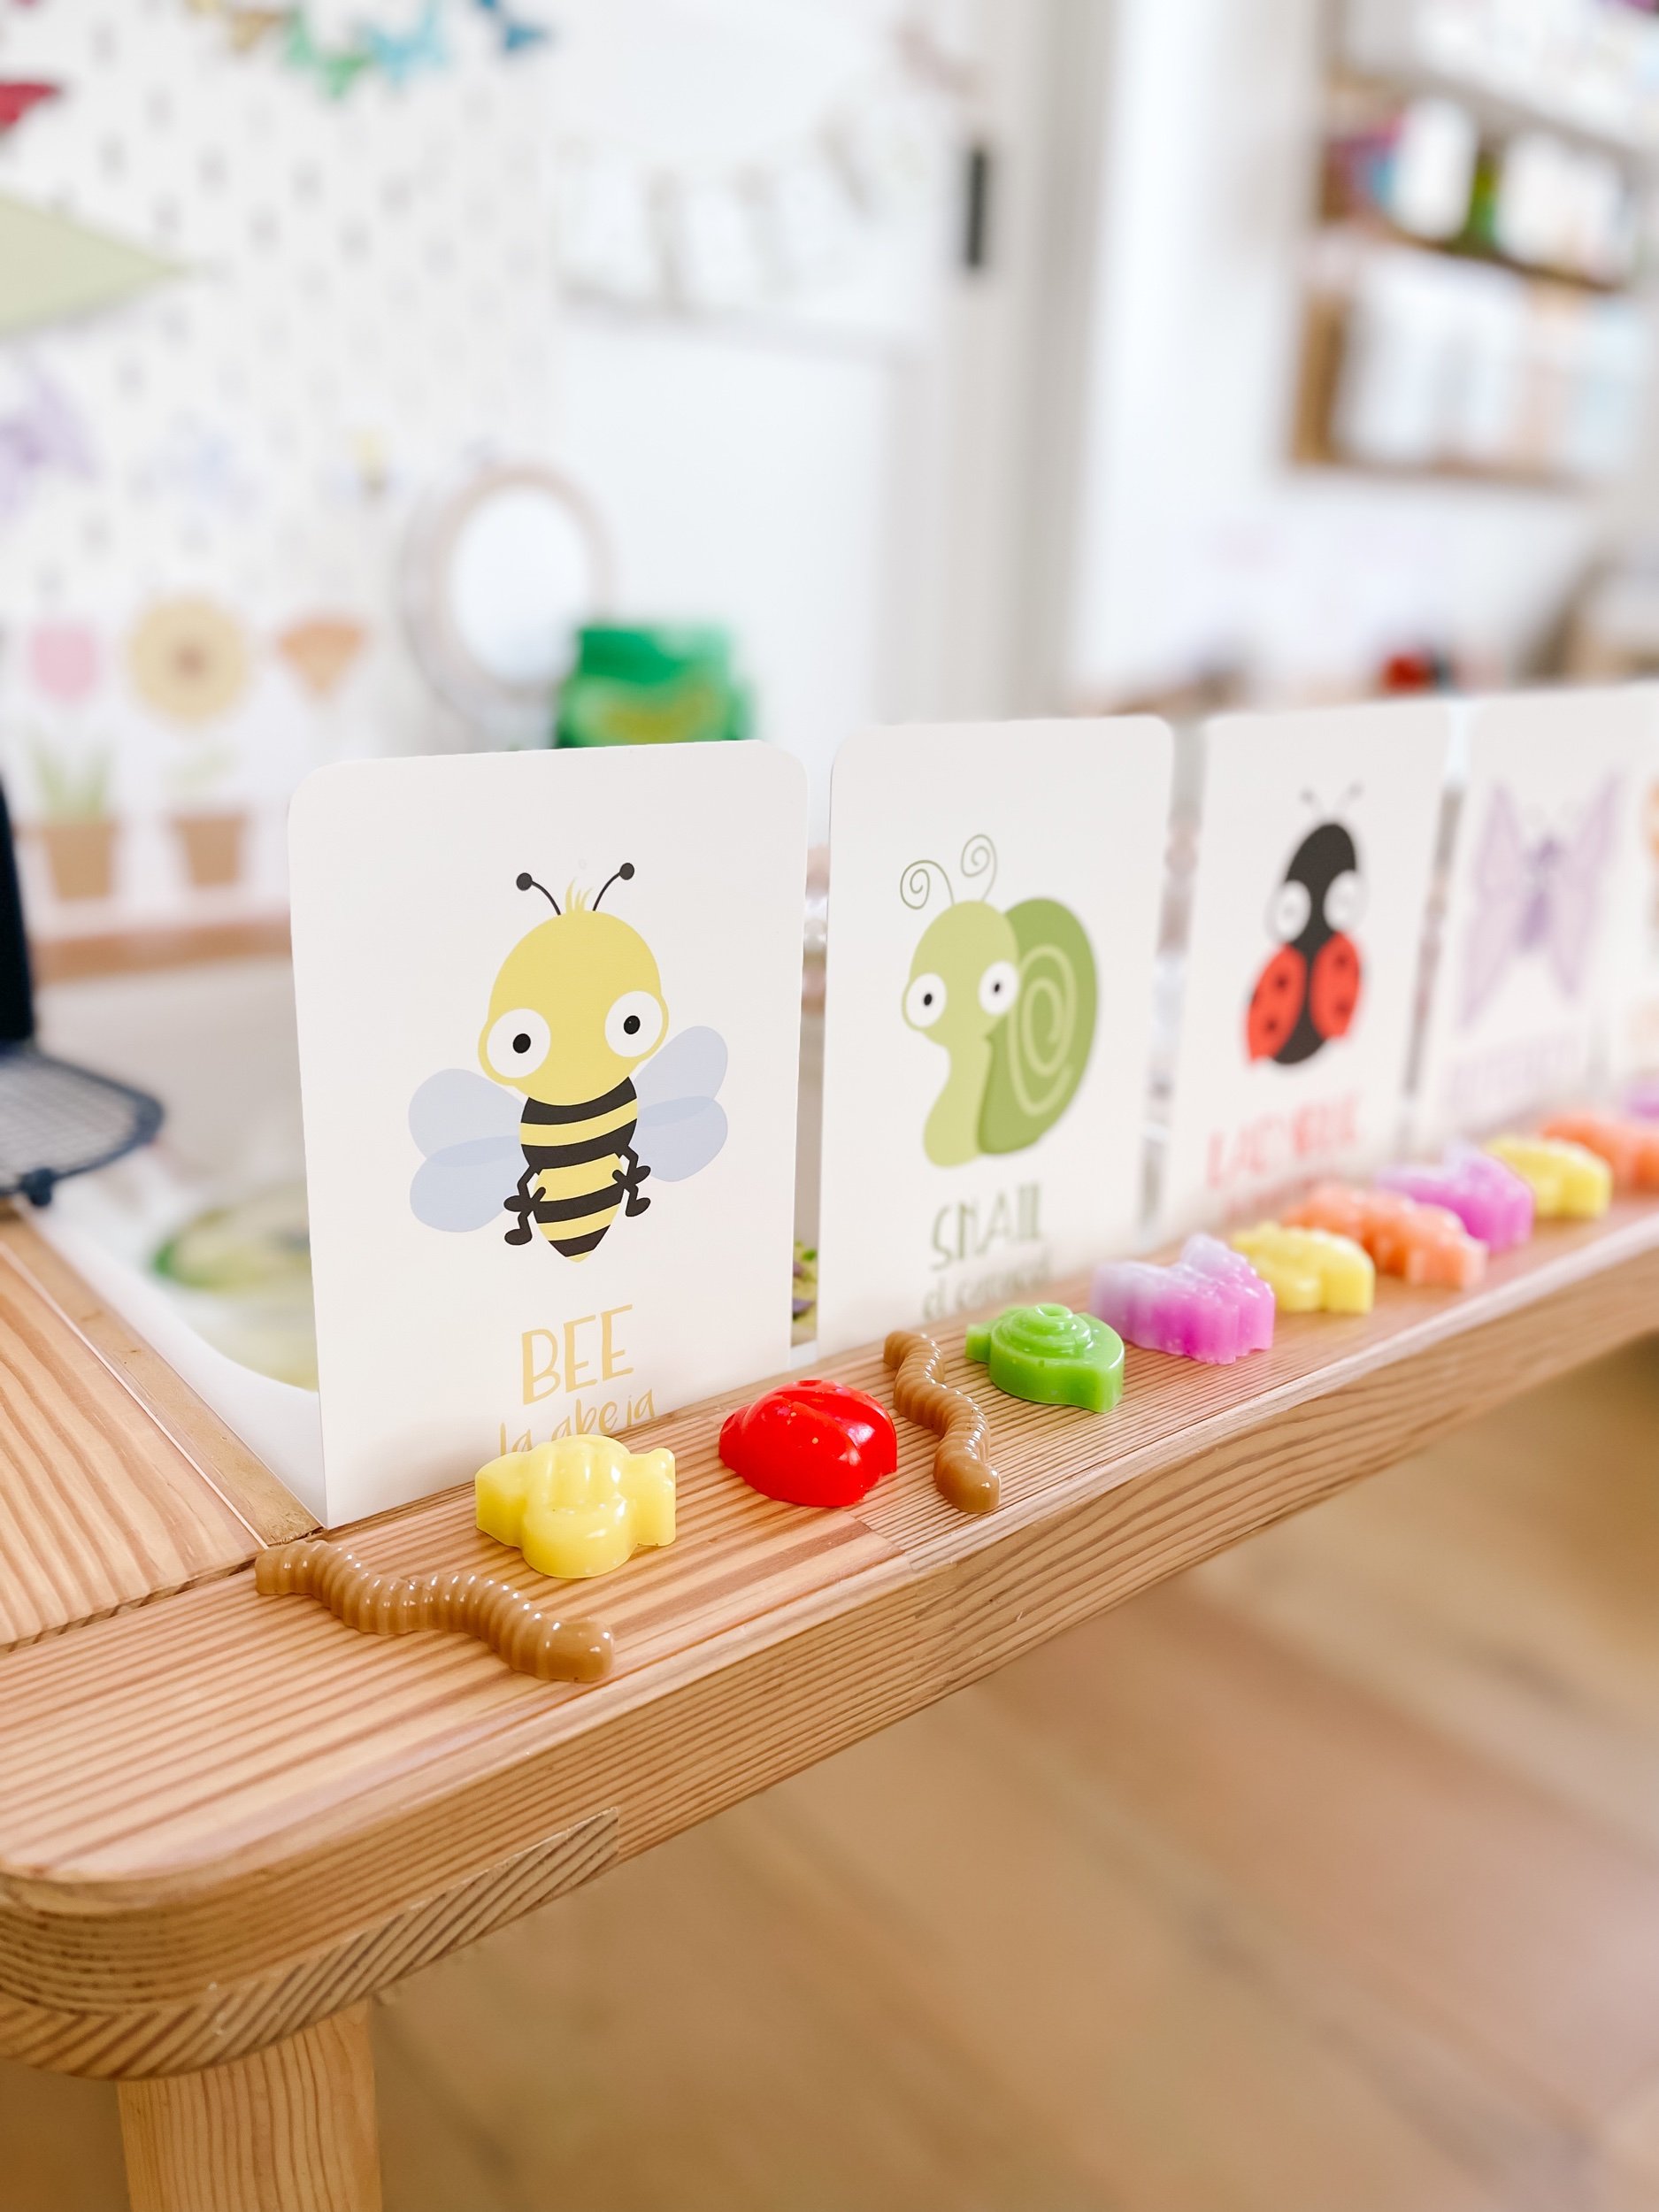
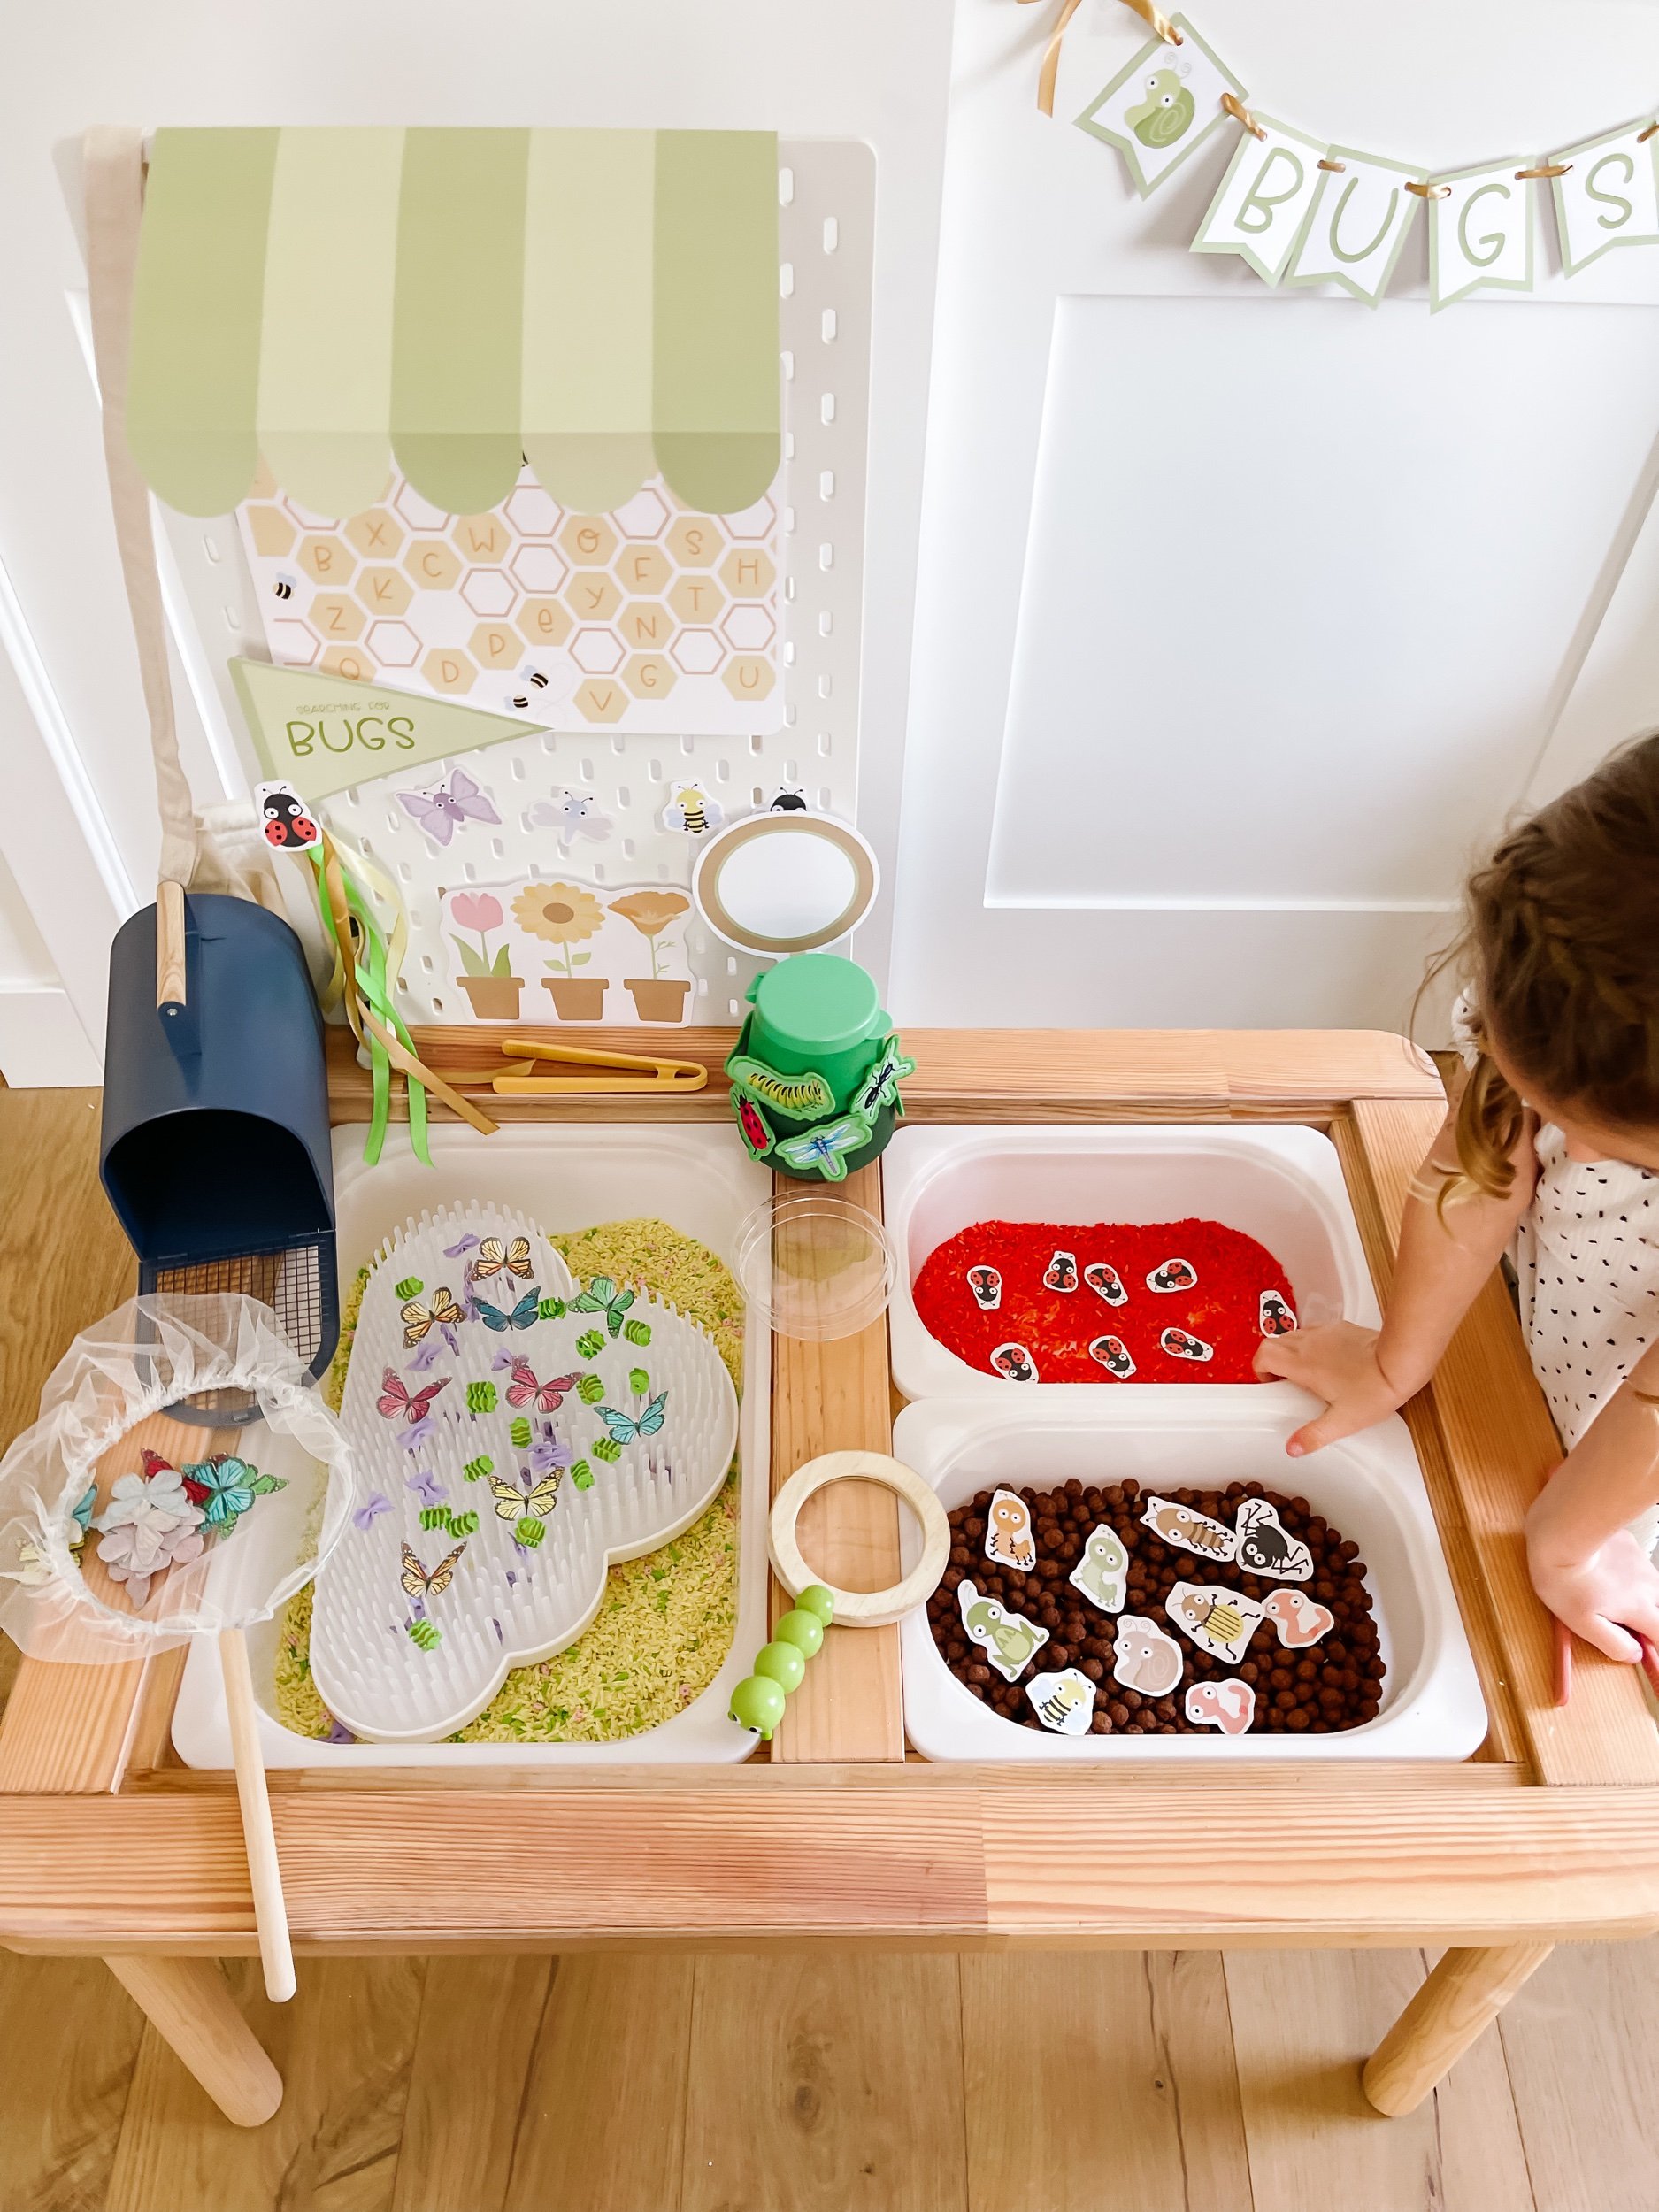
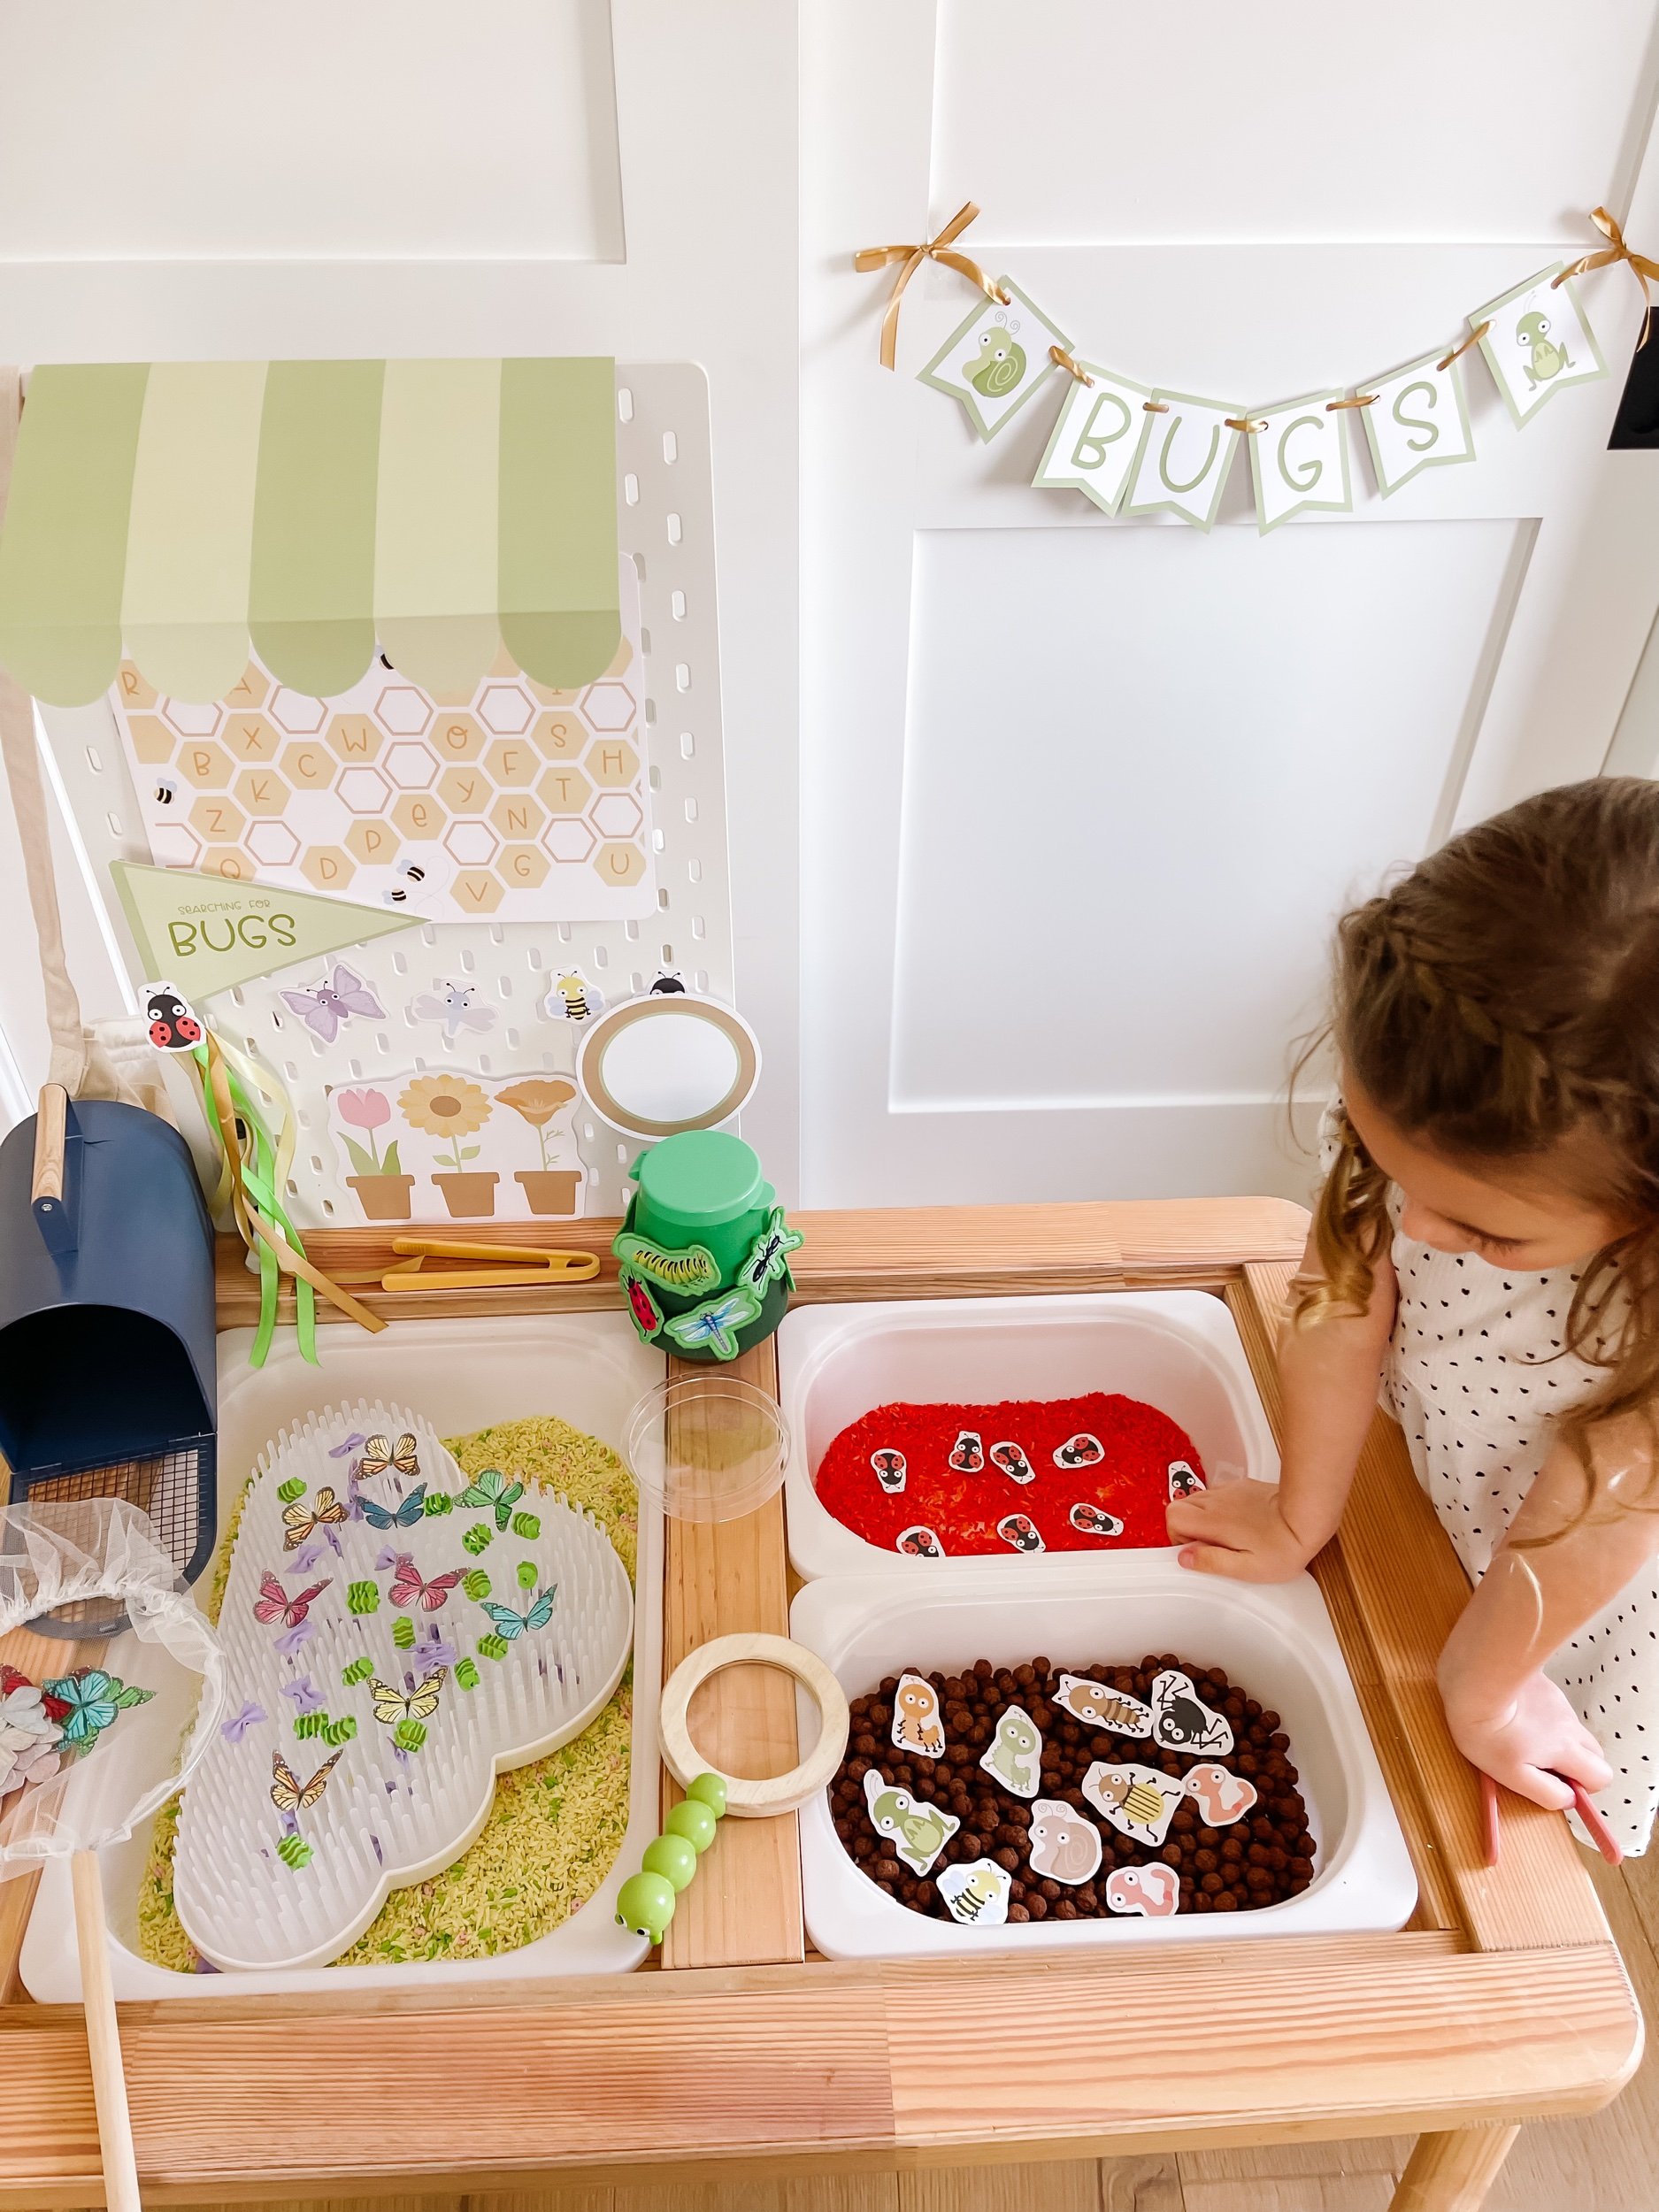
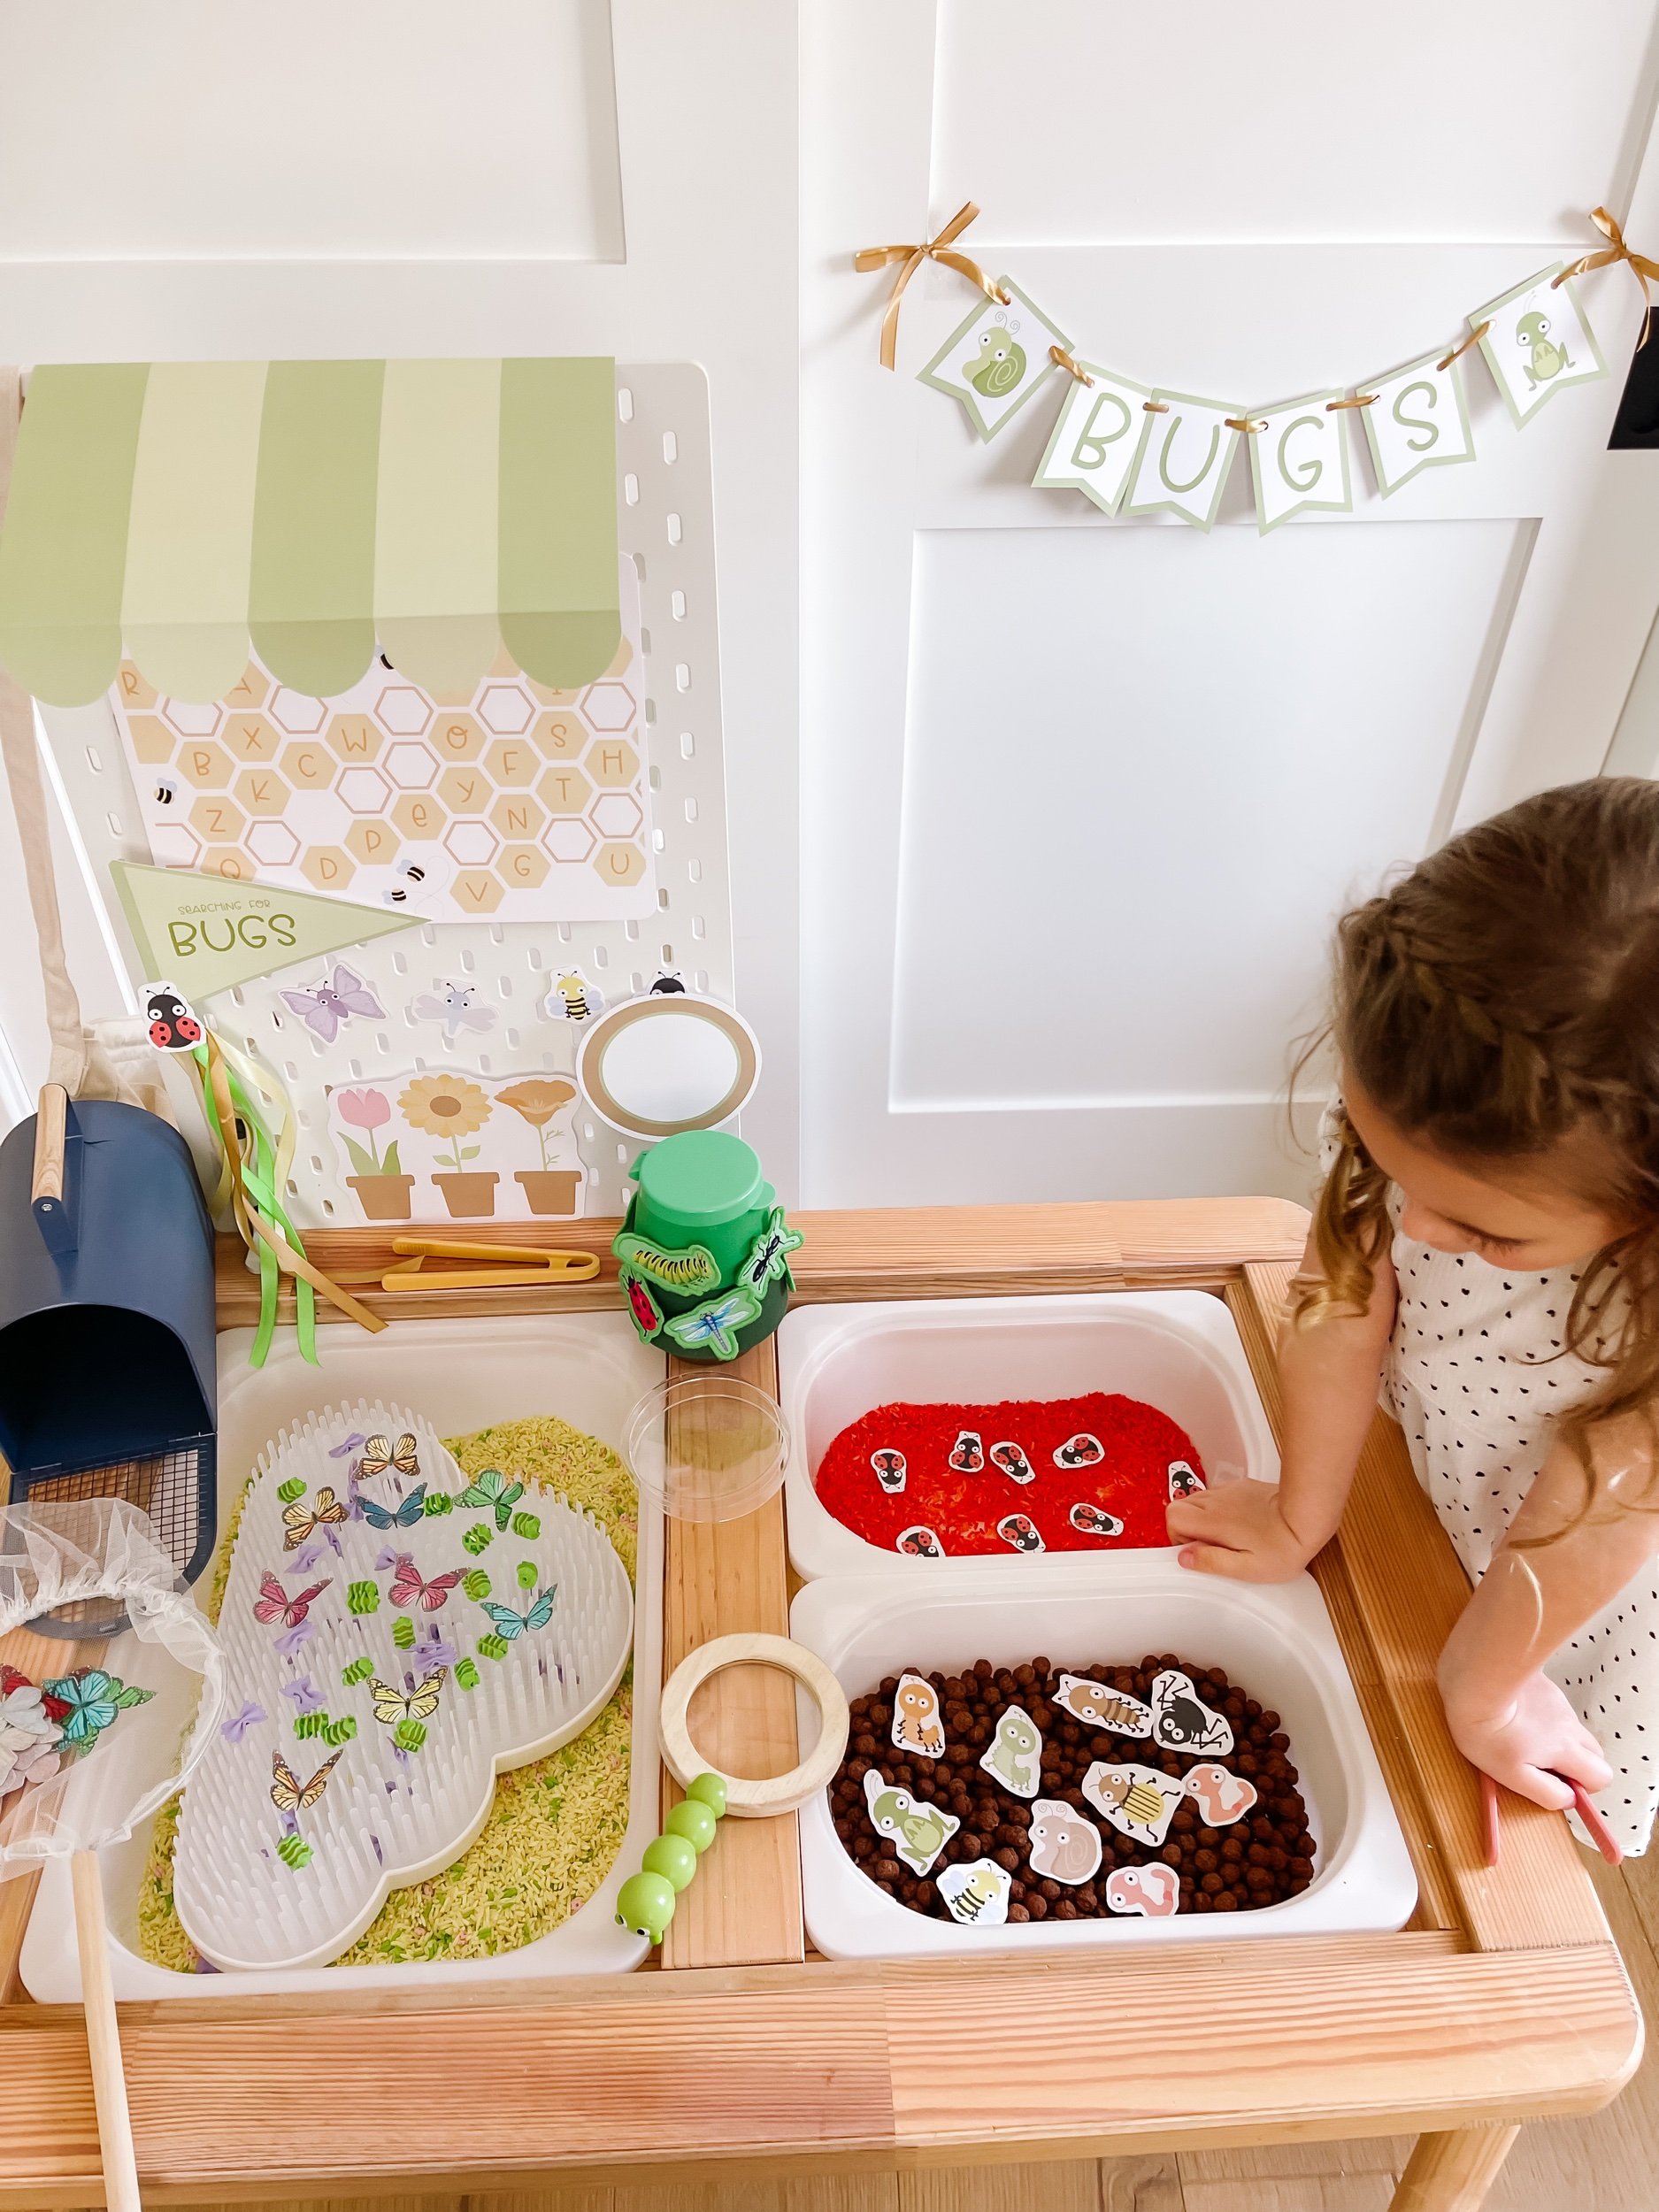
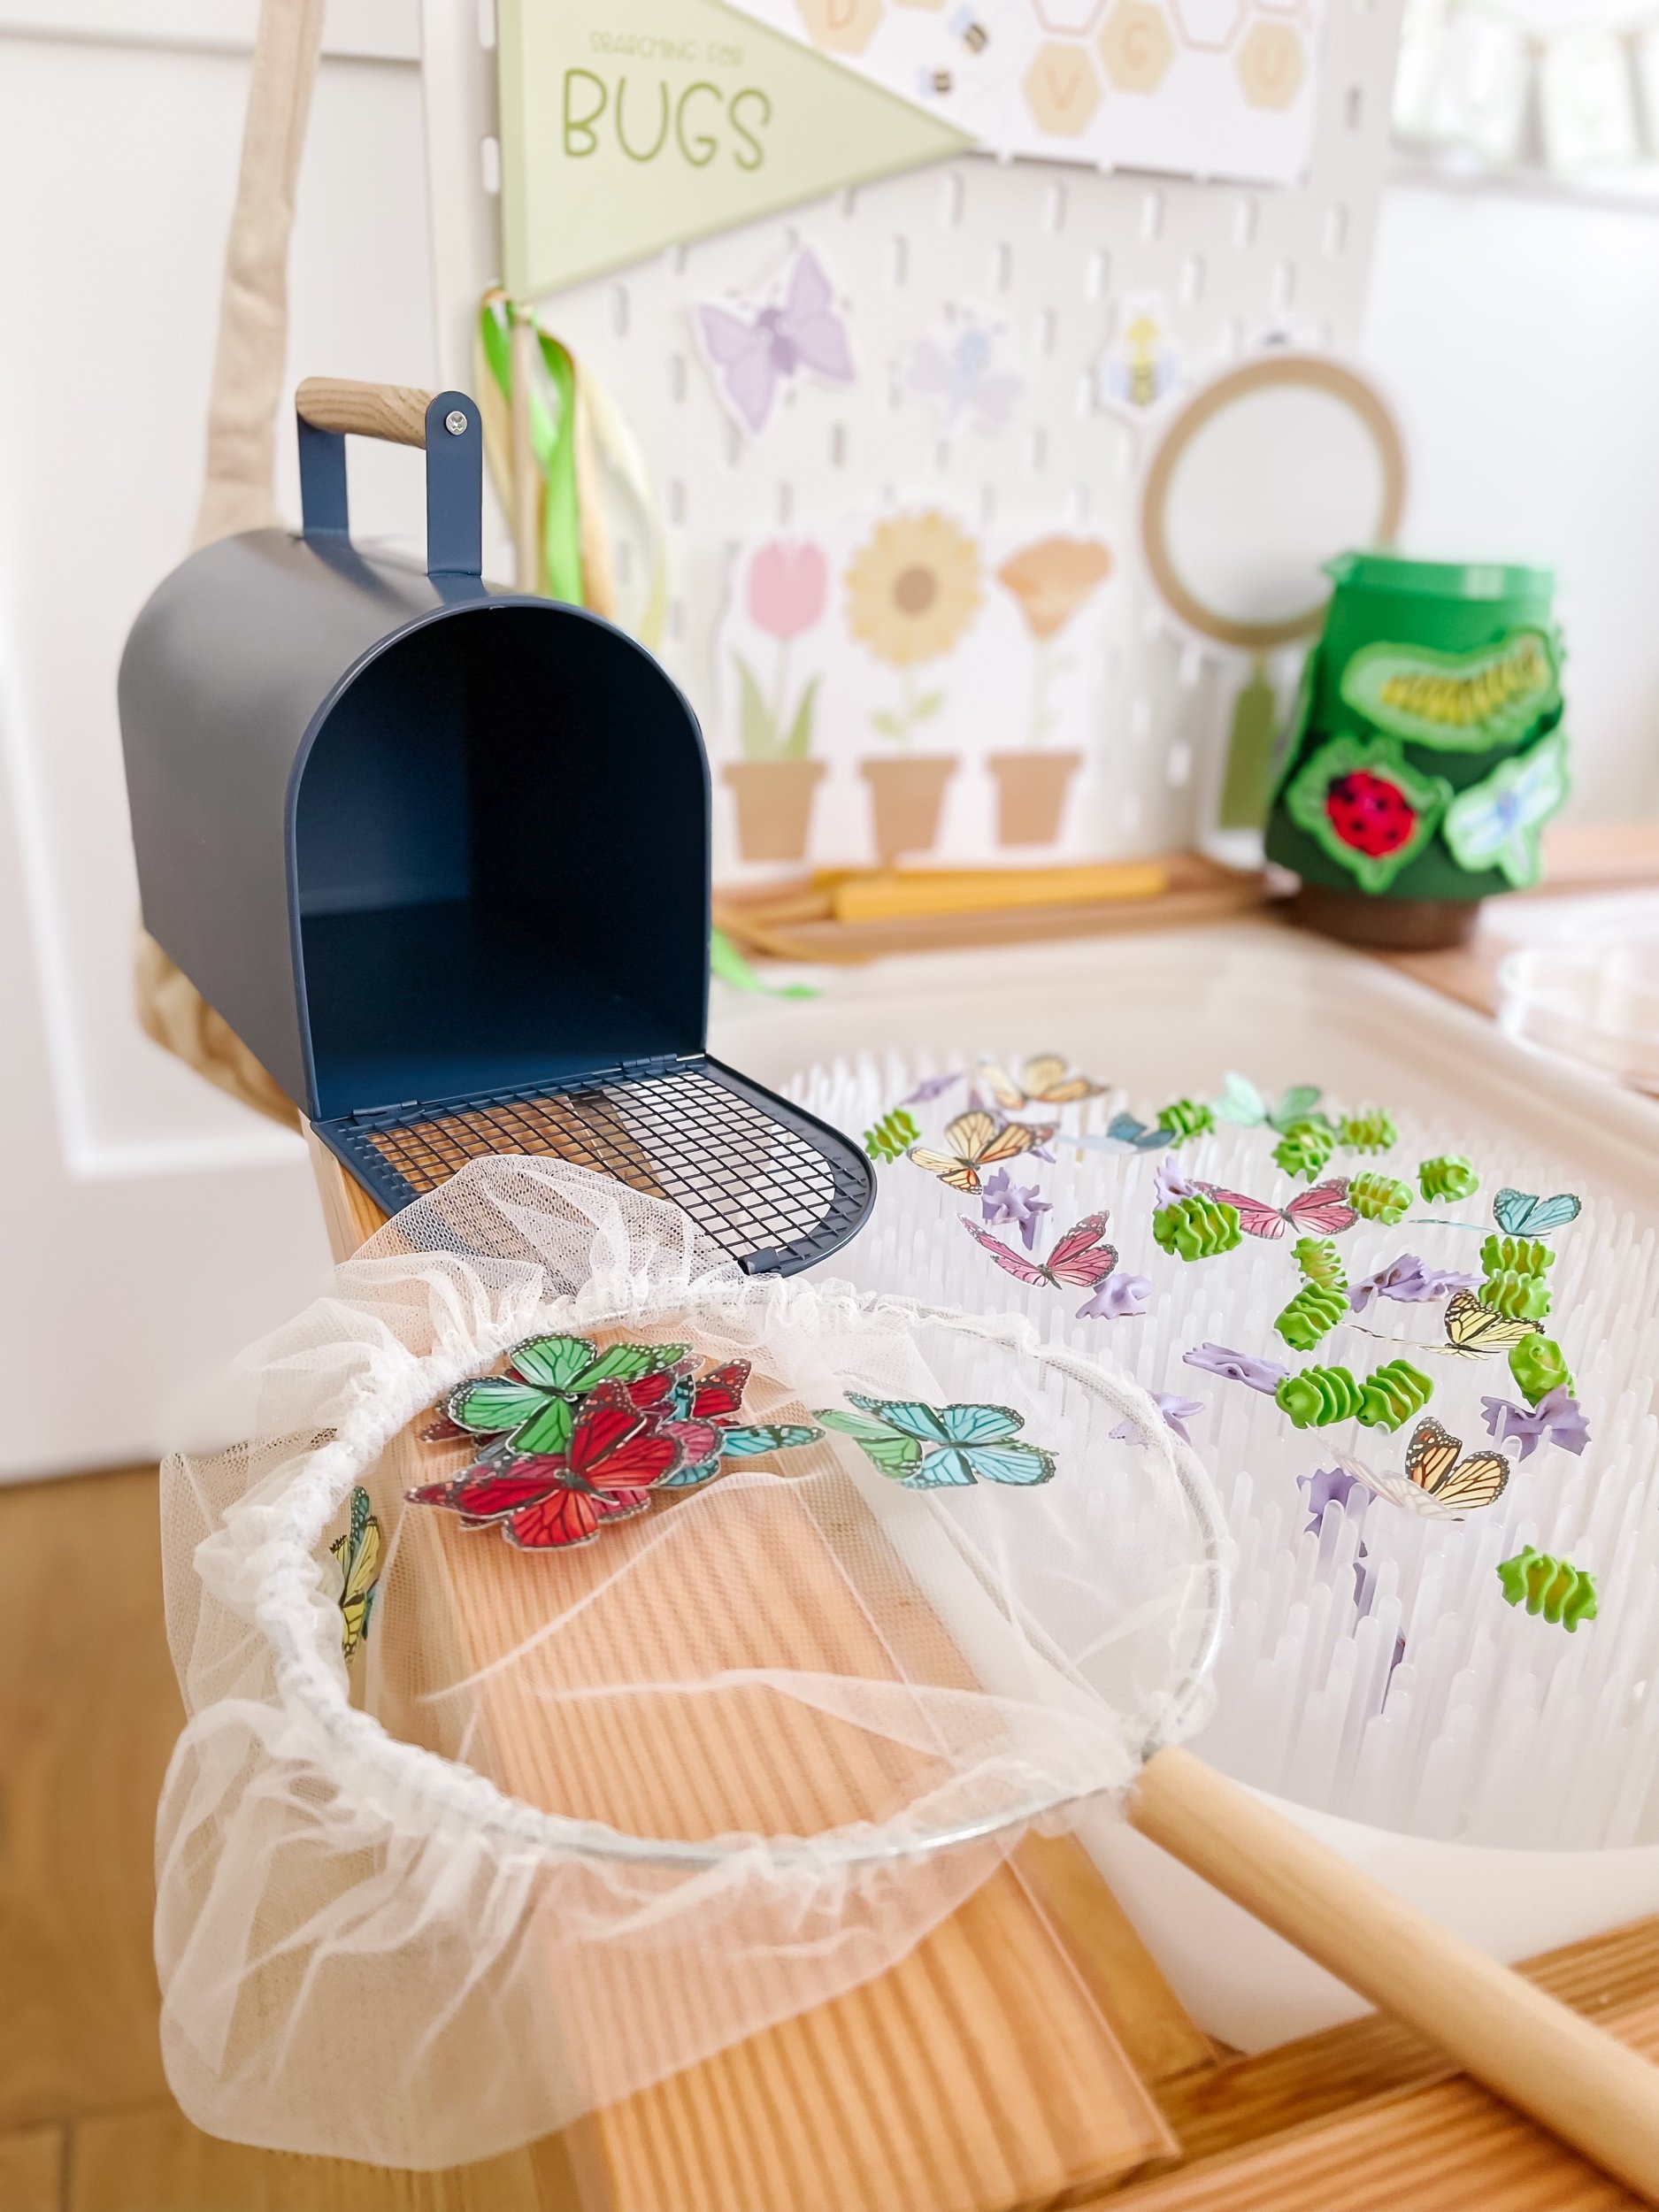
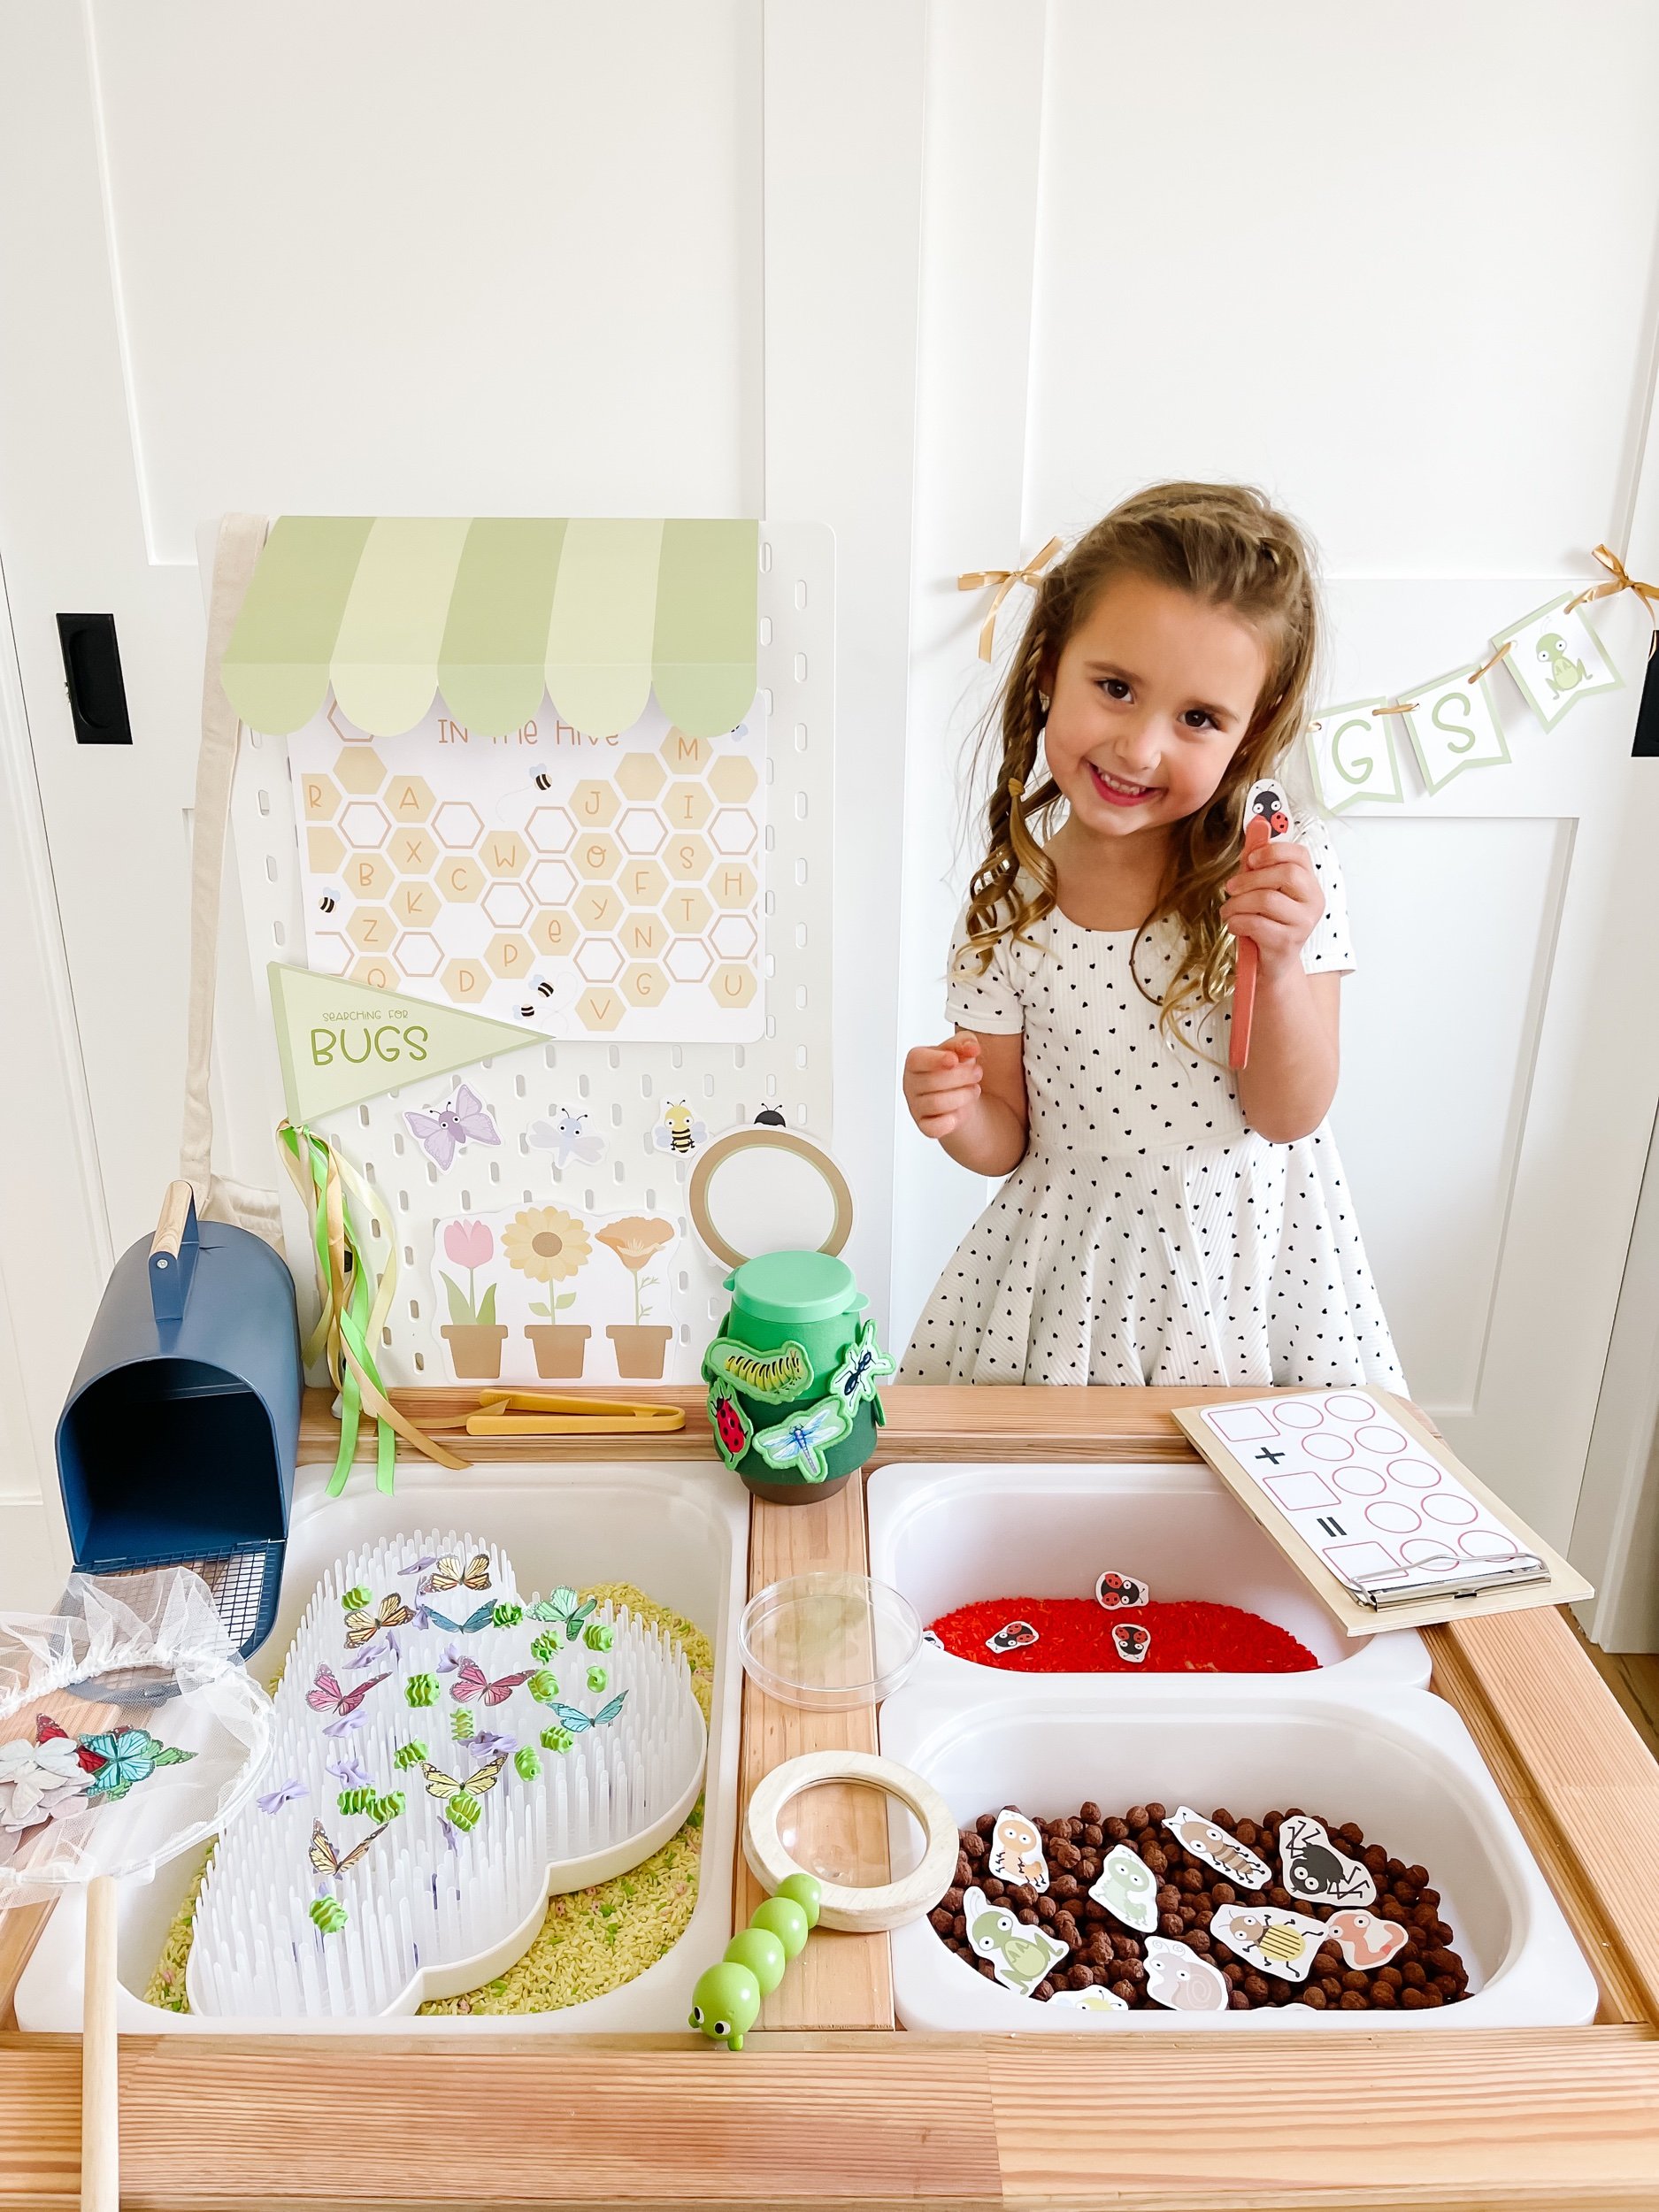
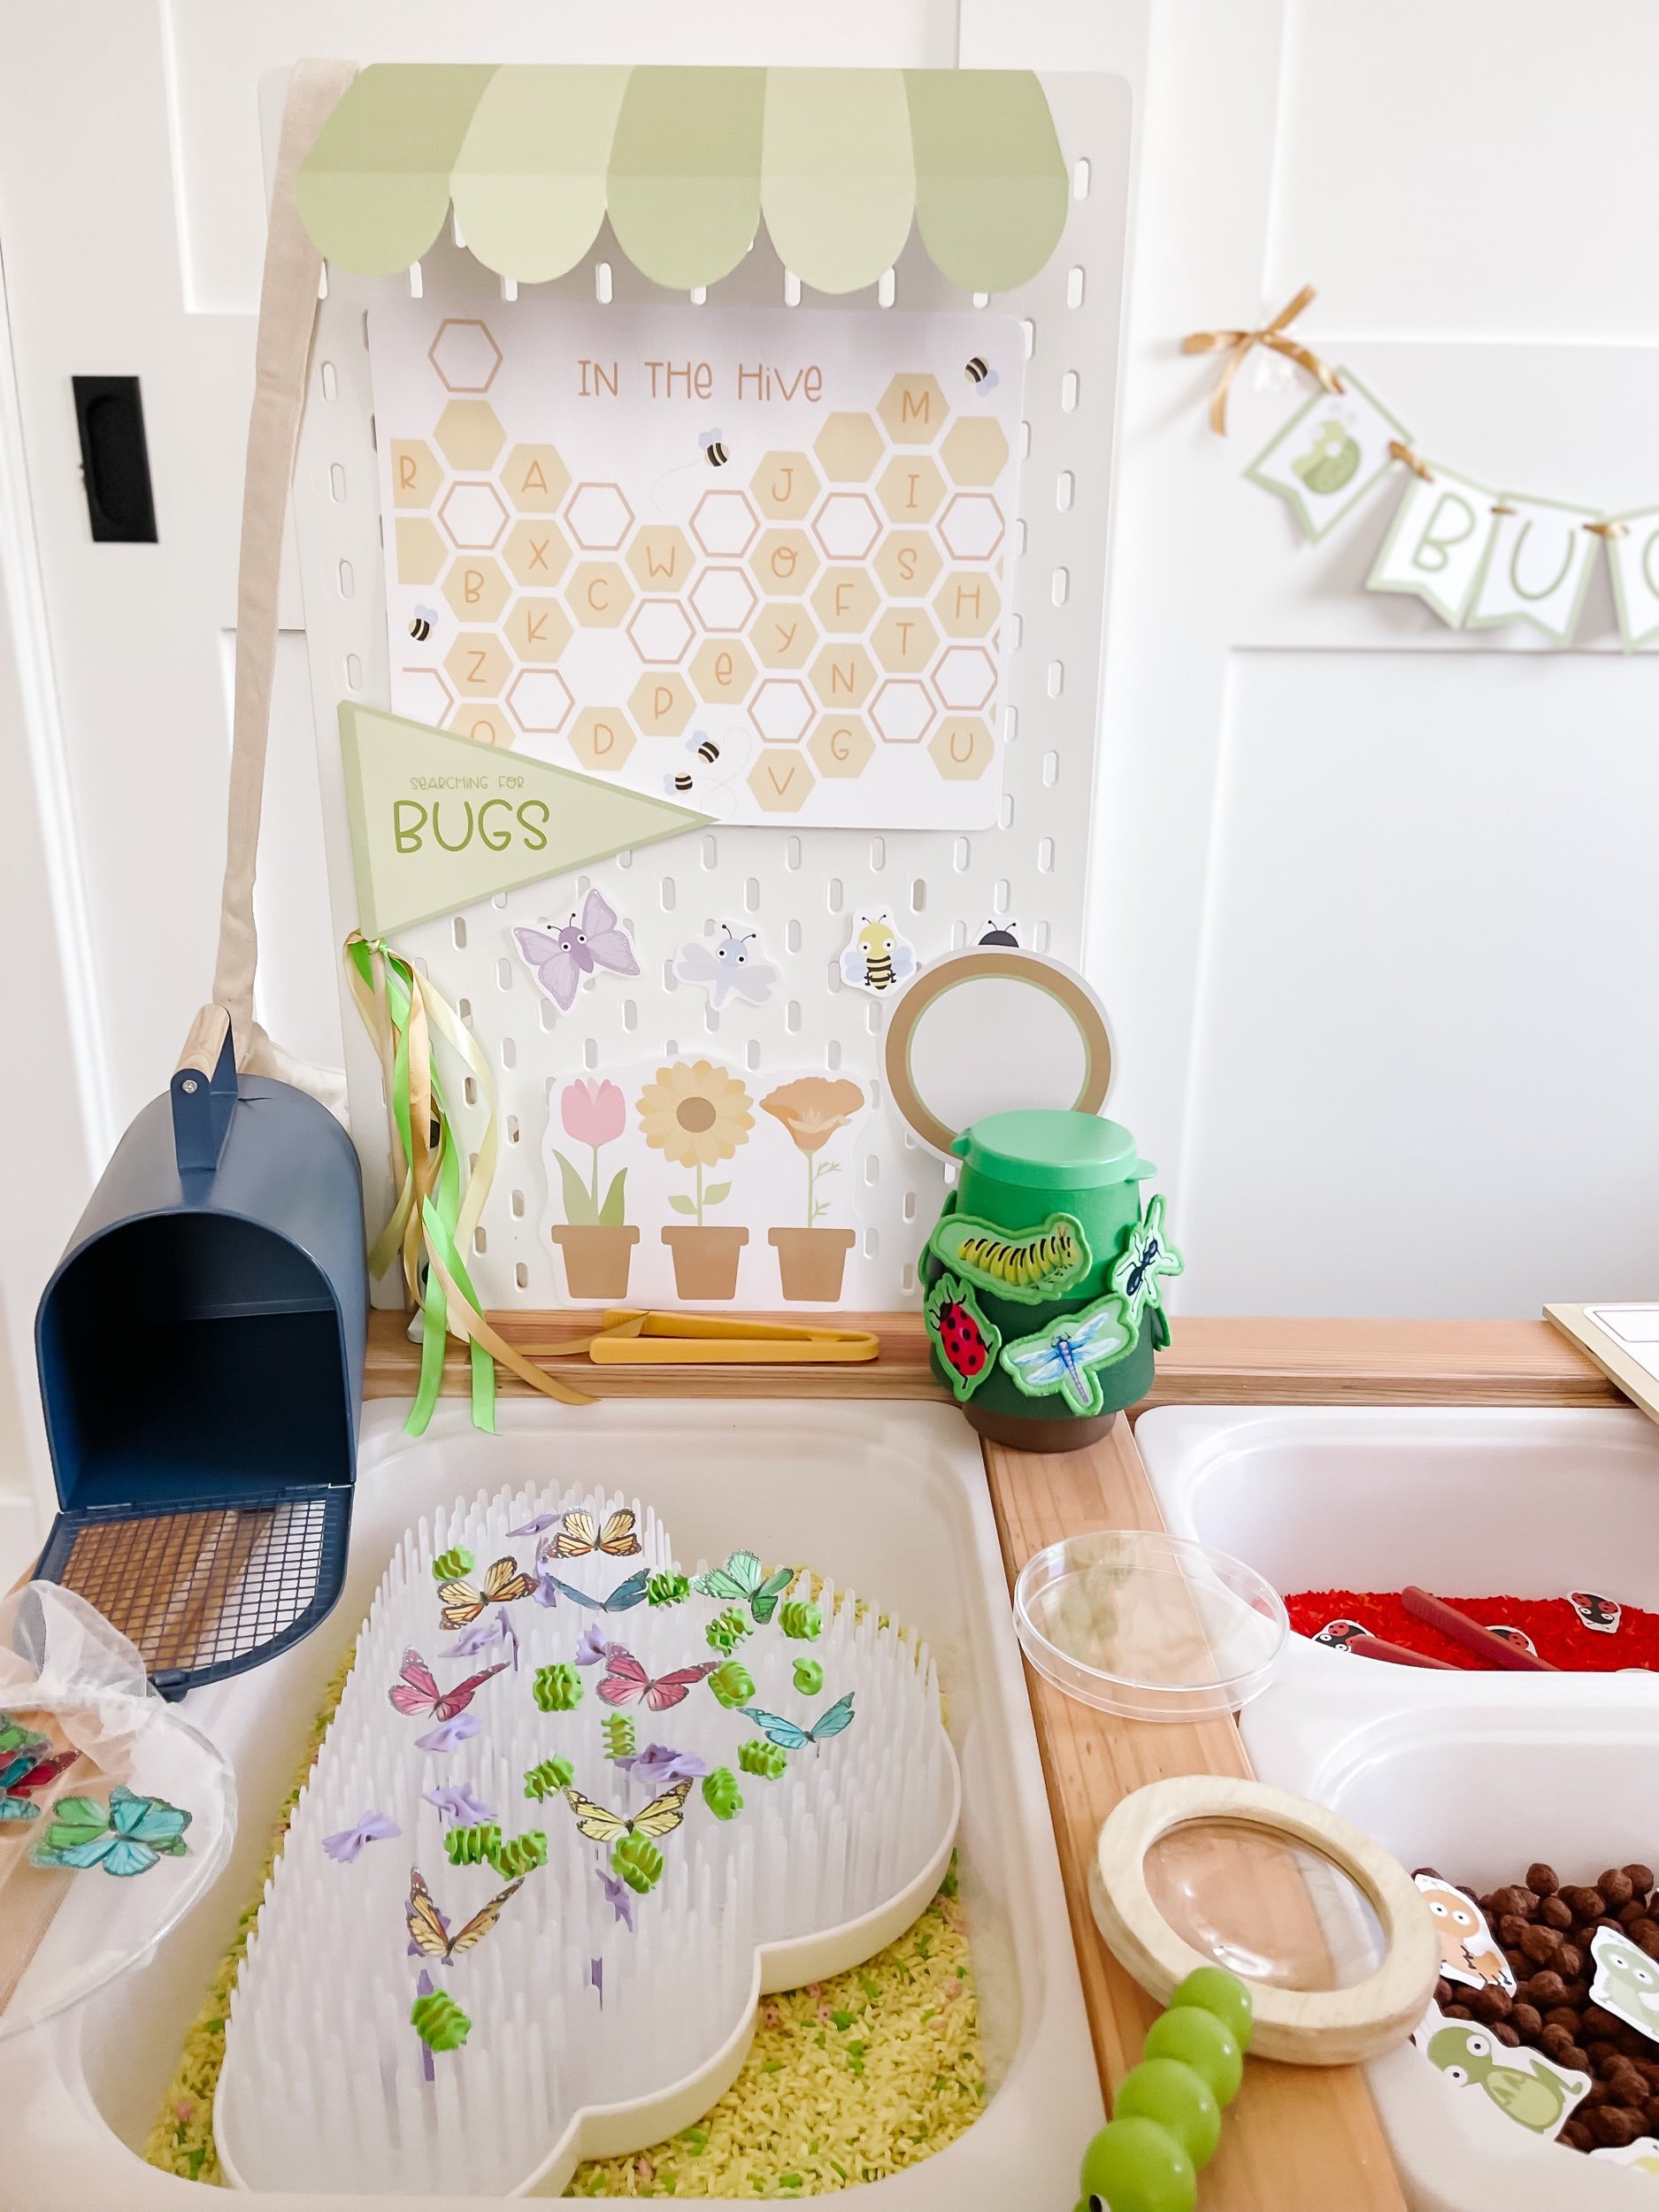
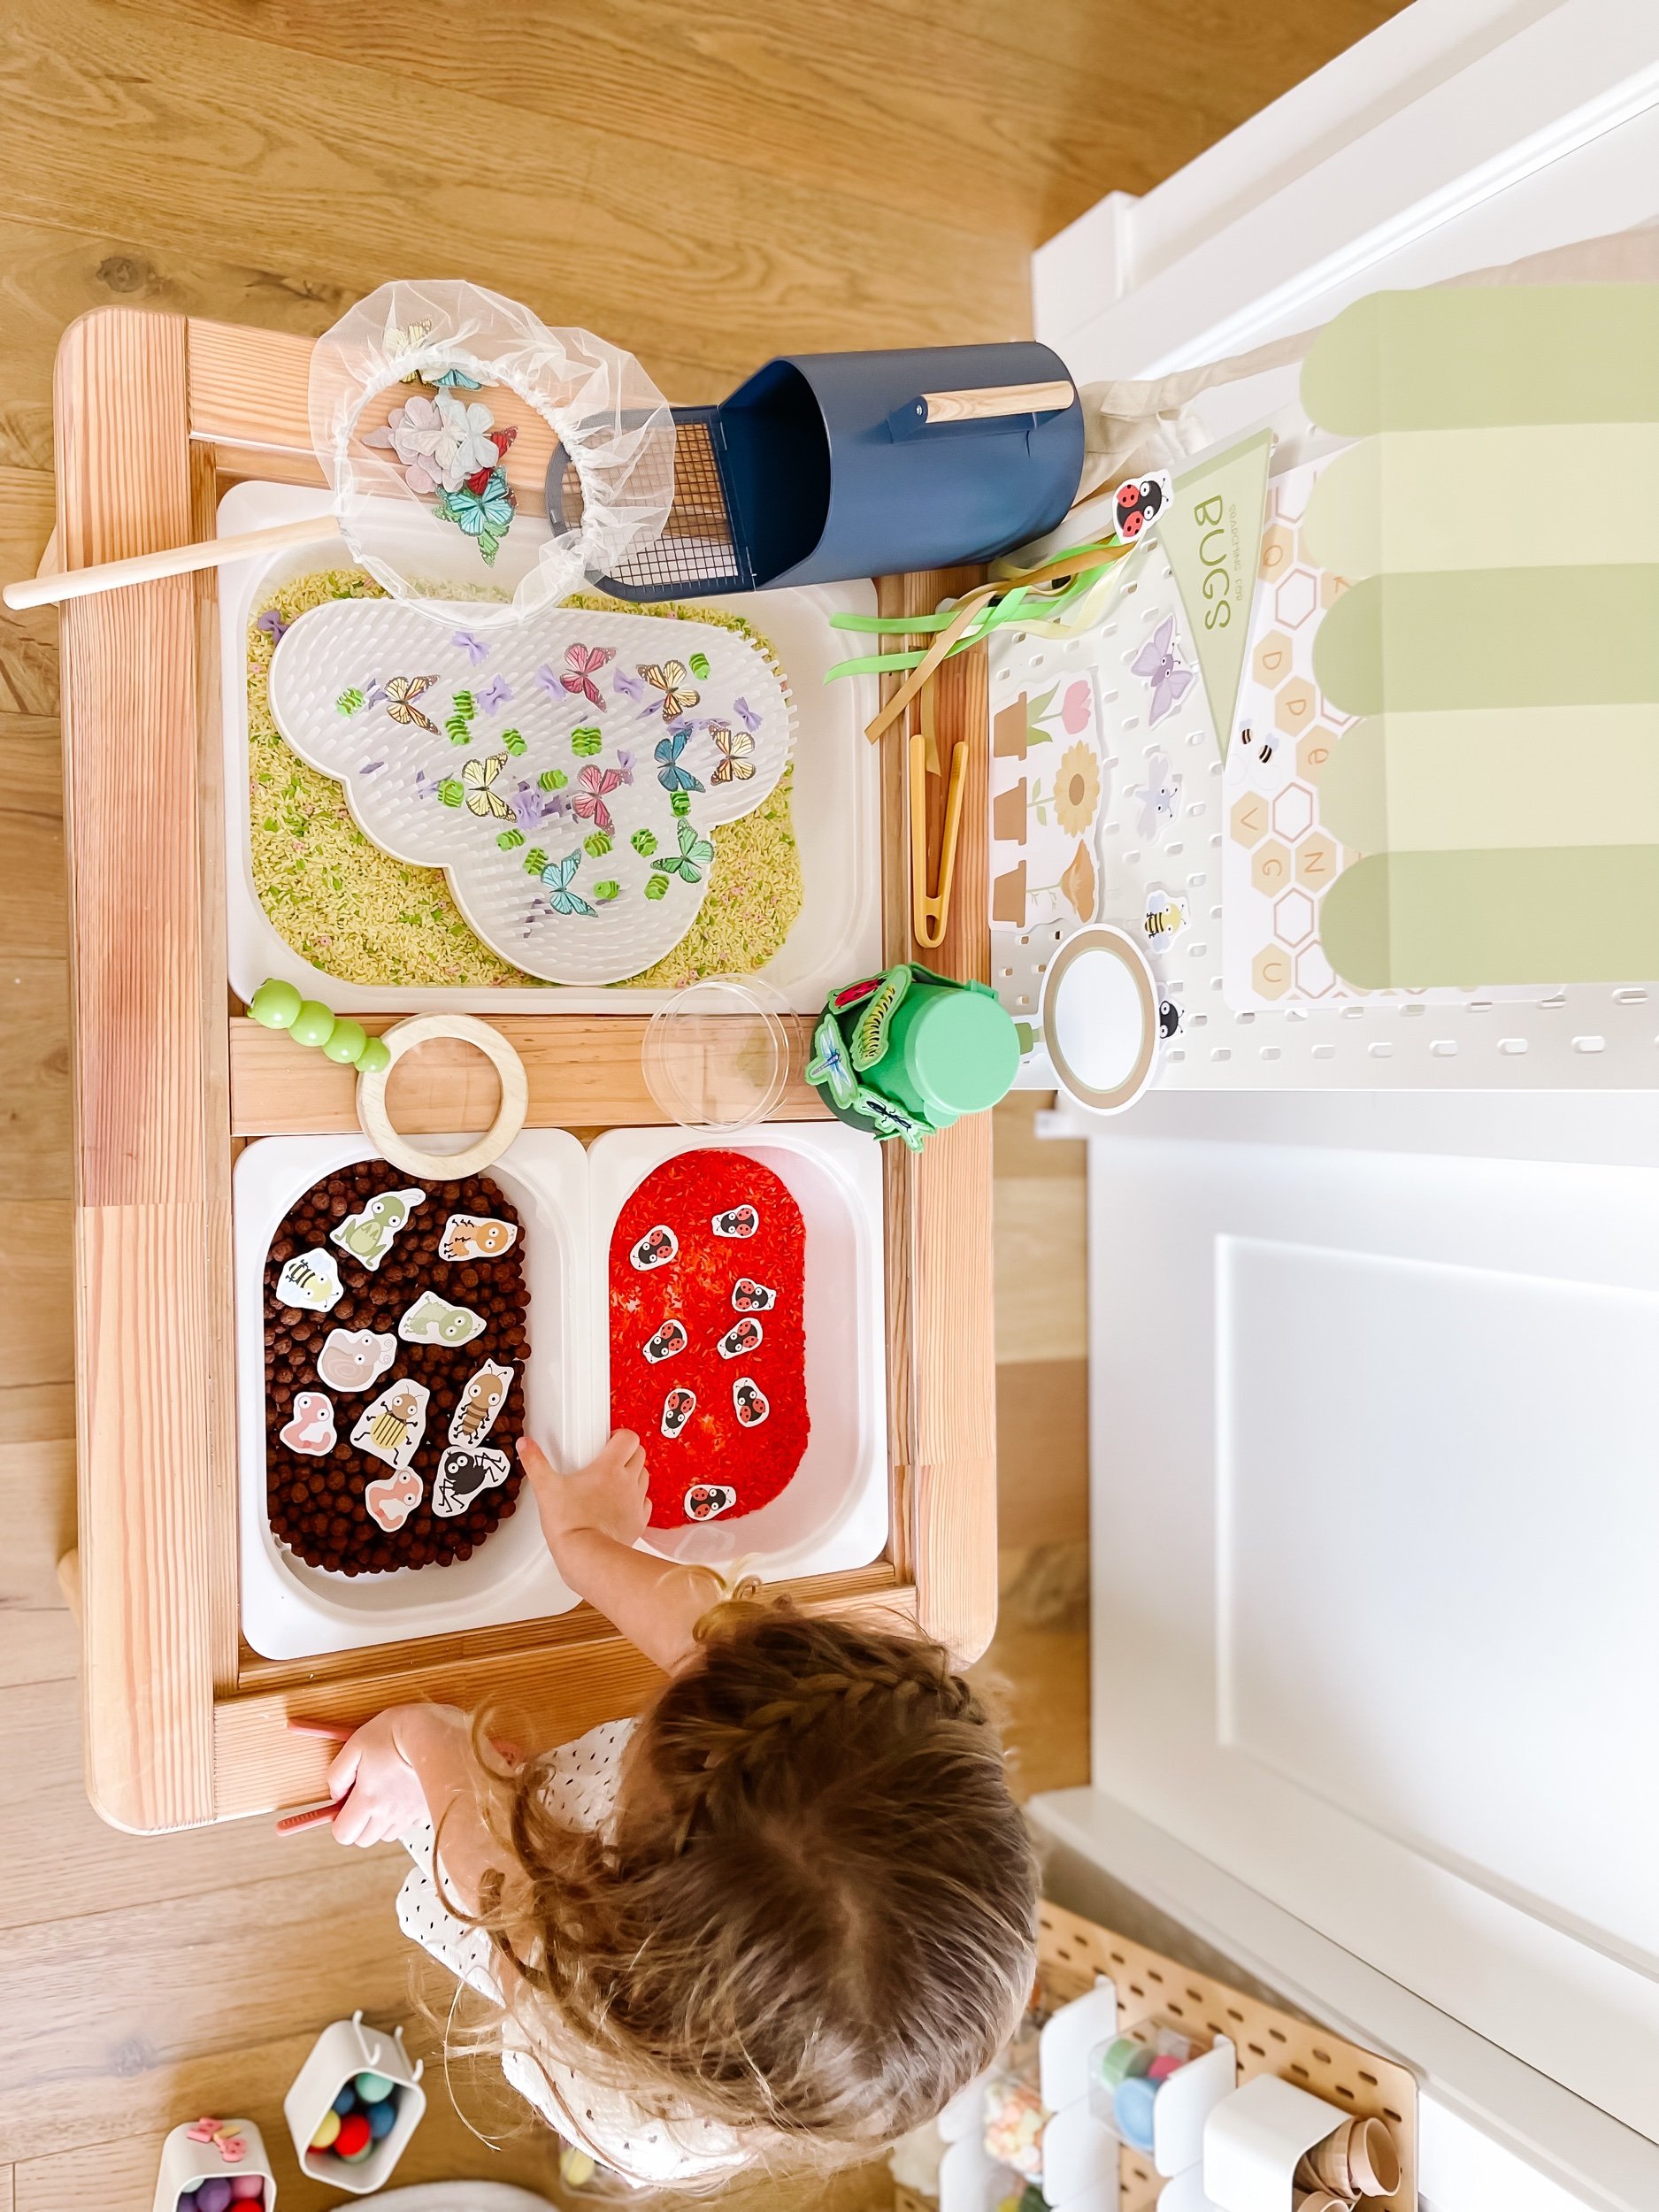
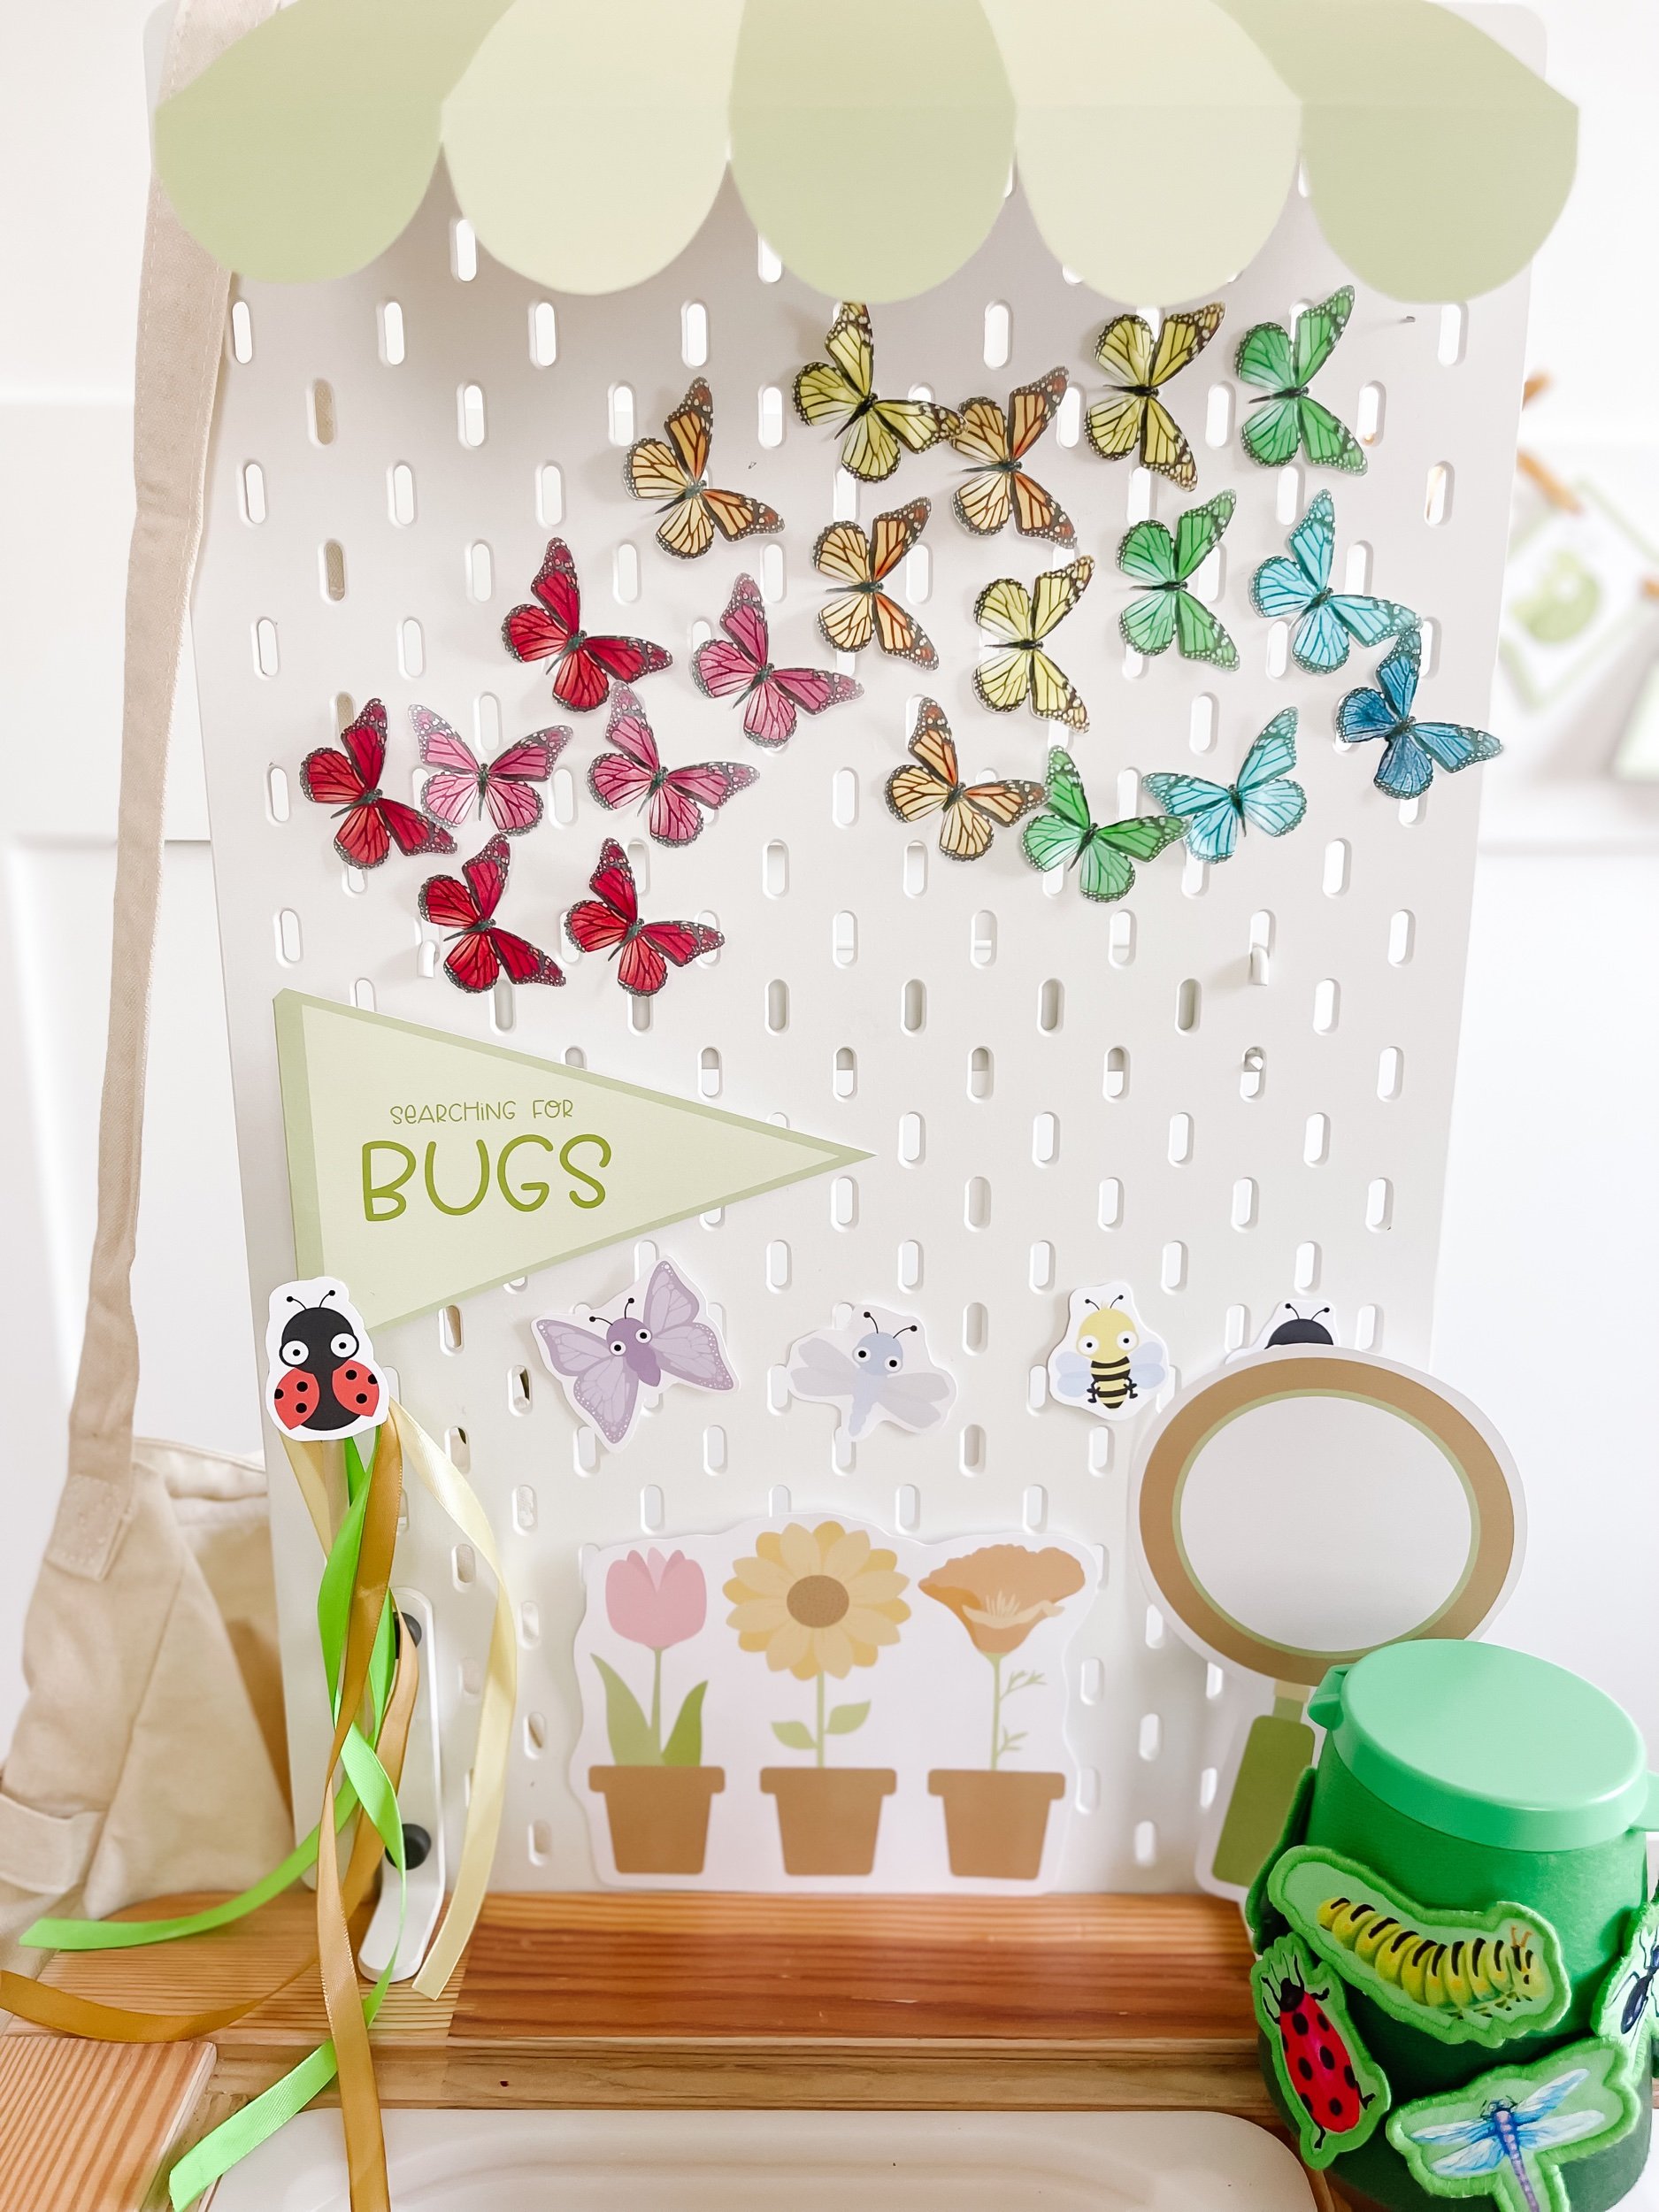
Engaging preschoolers in sensory play activities not only provides them with endless fun but also fosters their cognitive, sensory, and social development. In this blog post, we will explore an awesome bug and insect themed sensory bin activity that will captivate your little one's imagination while enhancing their vocabulary, fine motor skills, and problem-solving abilities. Here are the supplies you’ll need for this activity:

  • Sensory filler by The Hermesch House

  • Bugs Printable by GoodnightFox

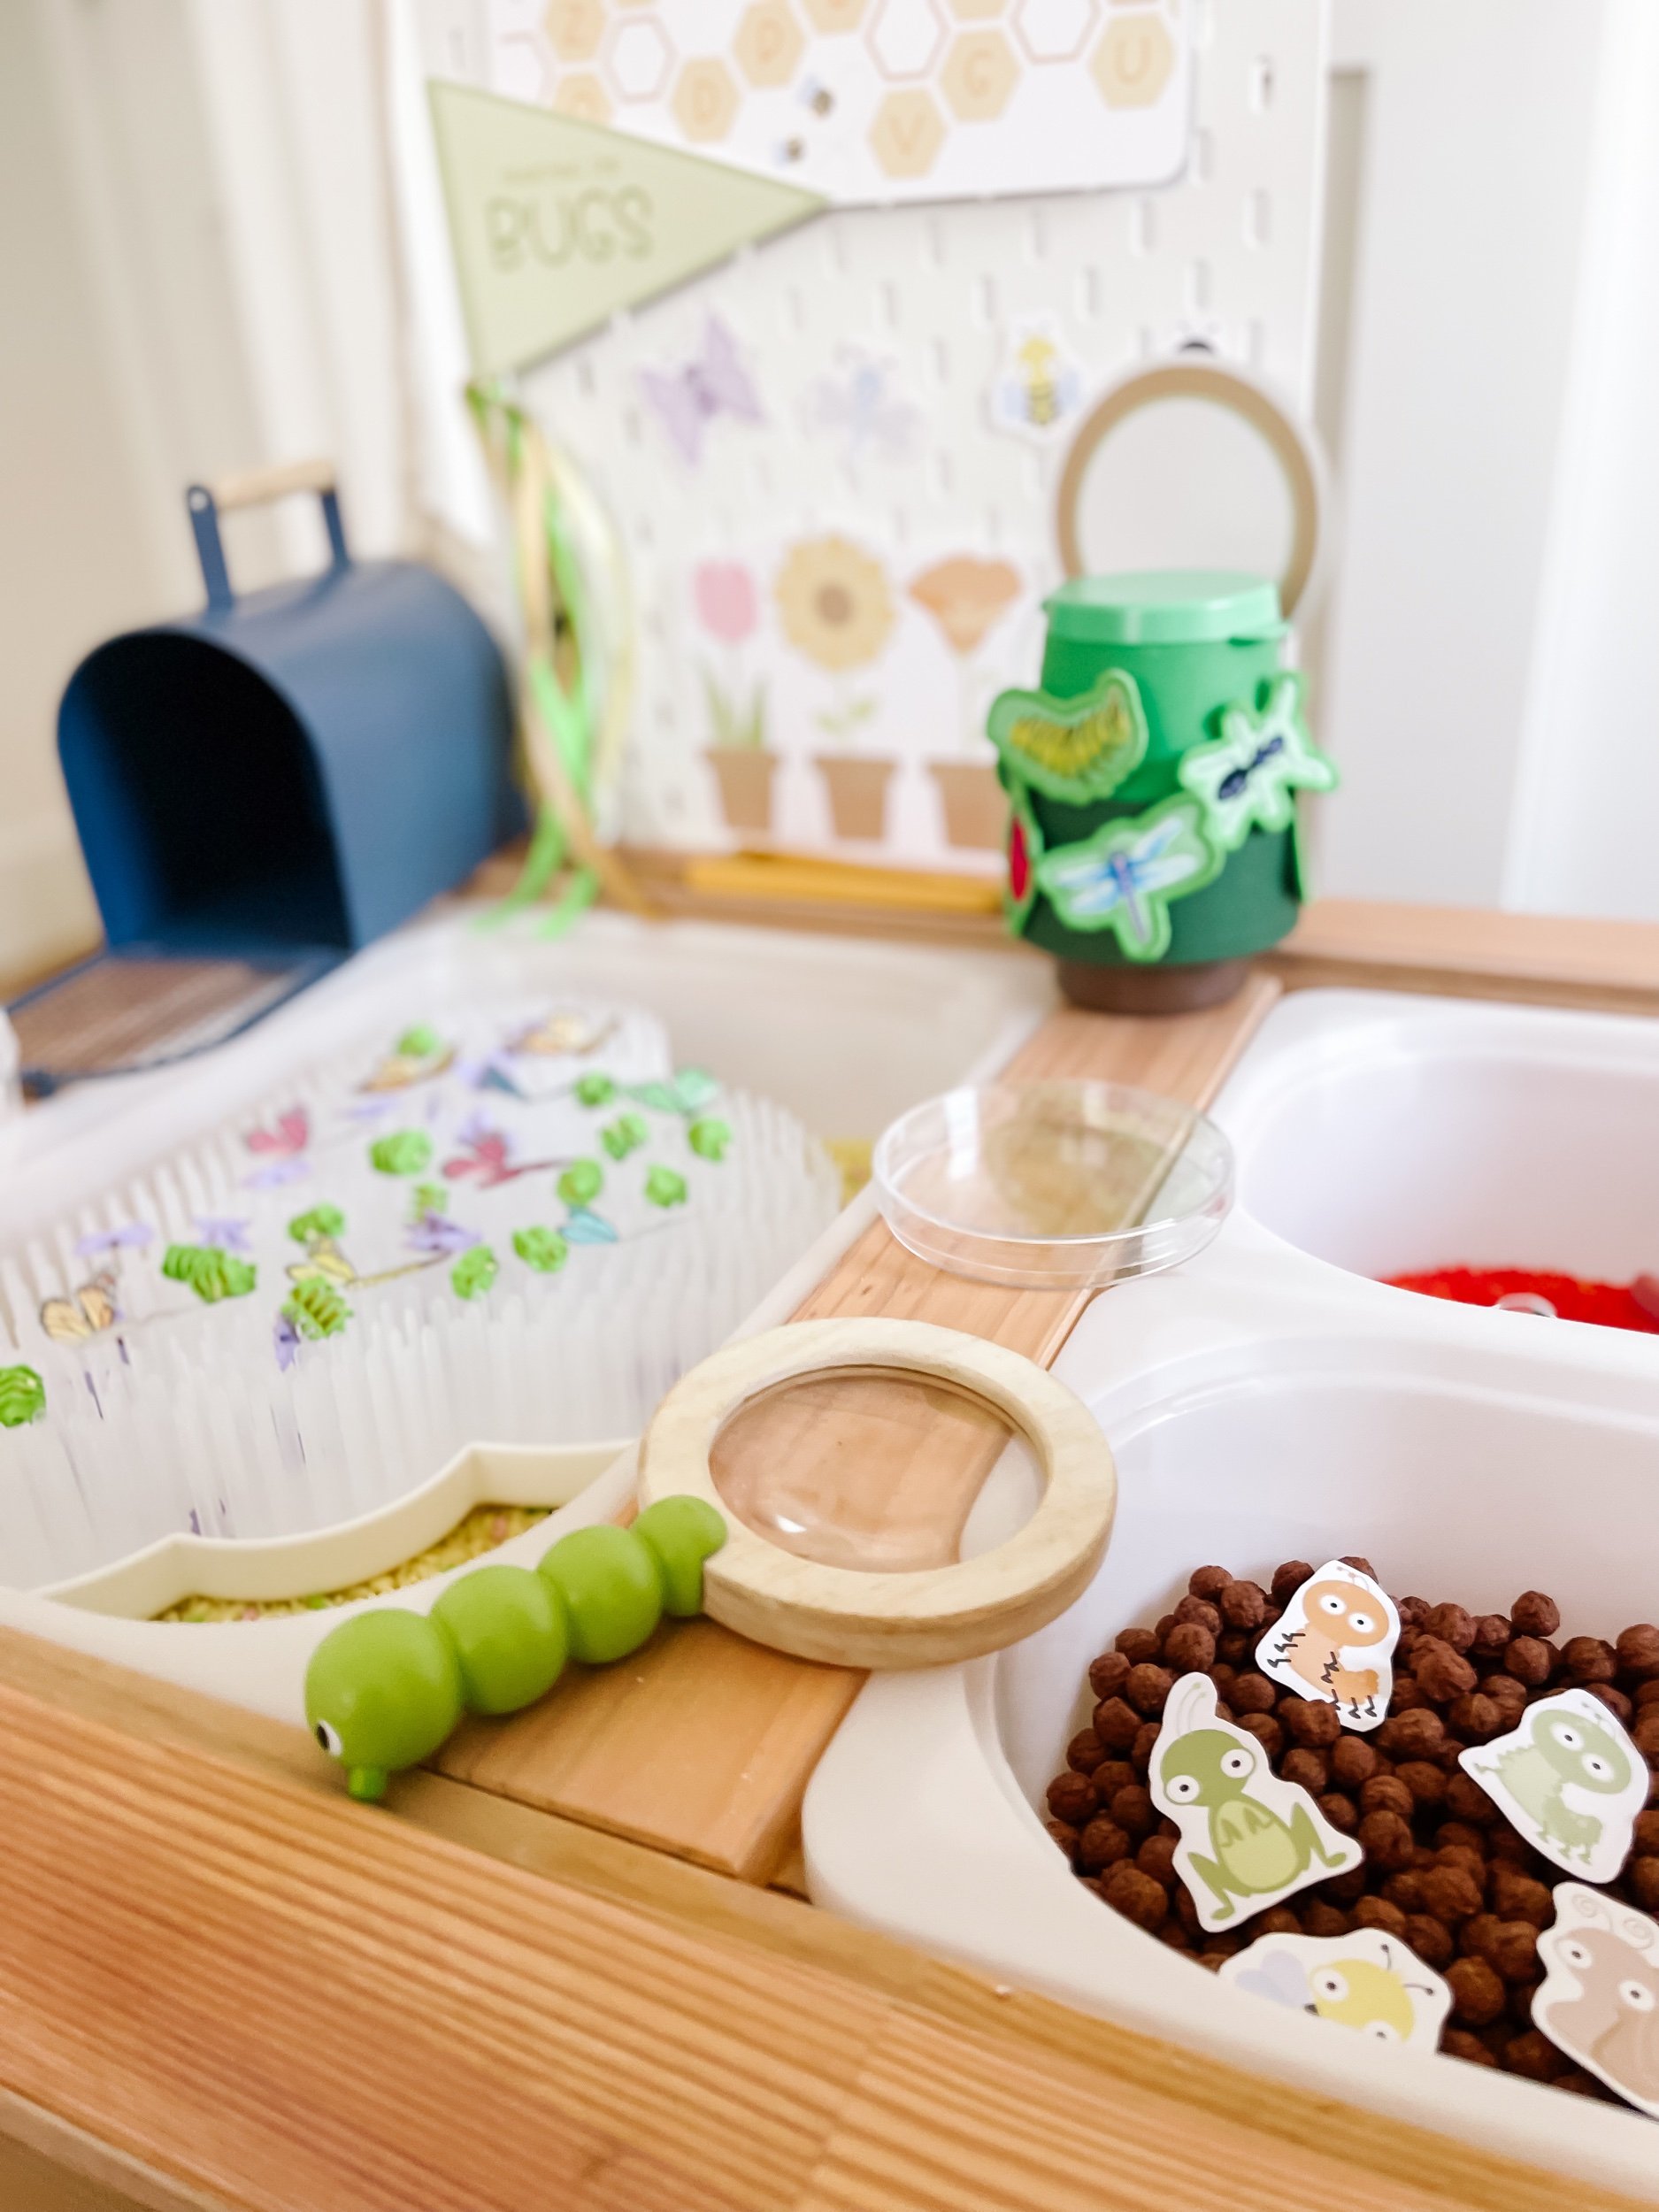
  • Bug Kit by Hearth & Hand

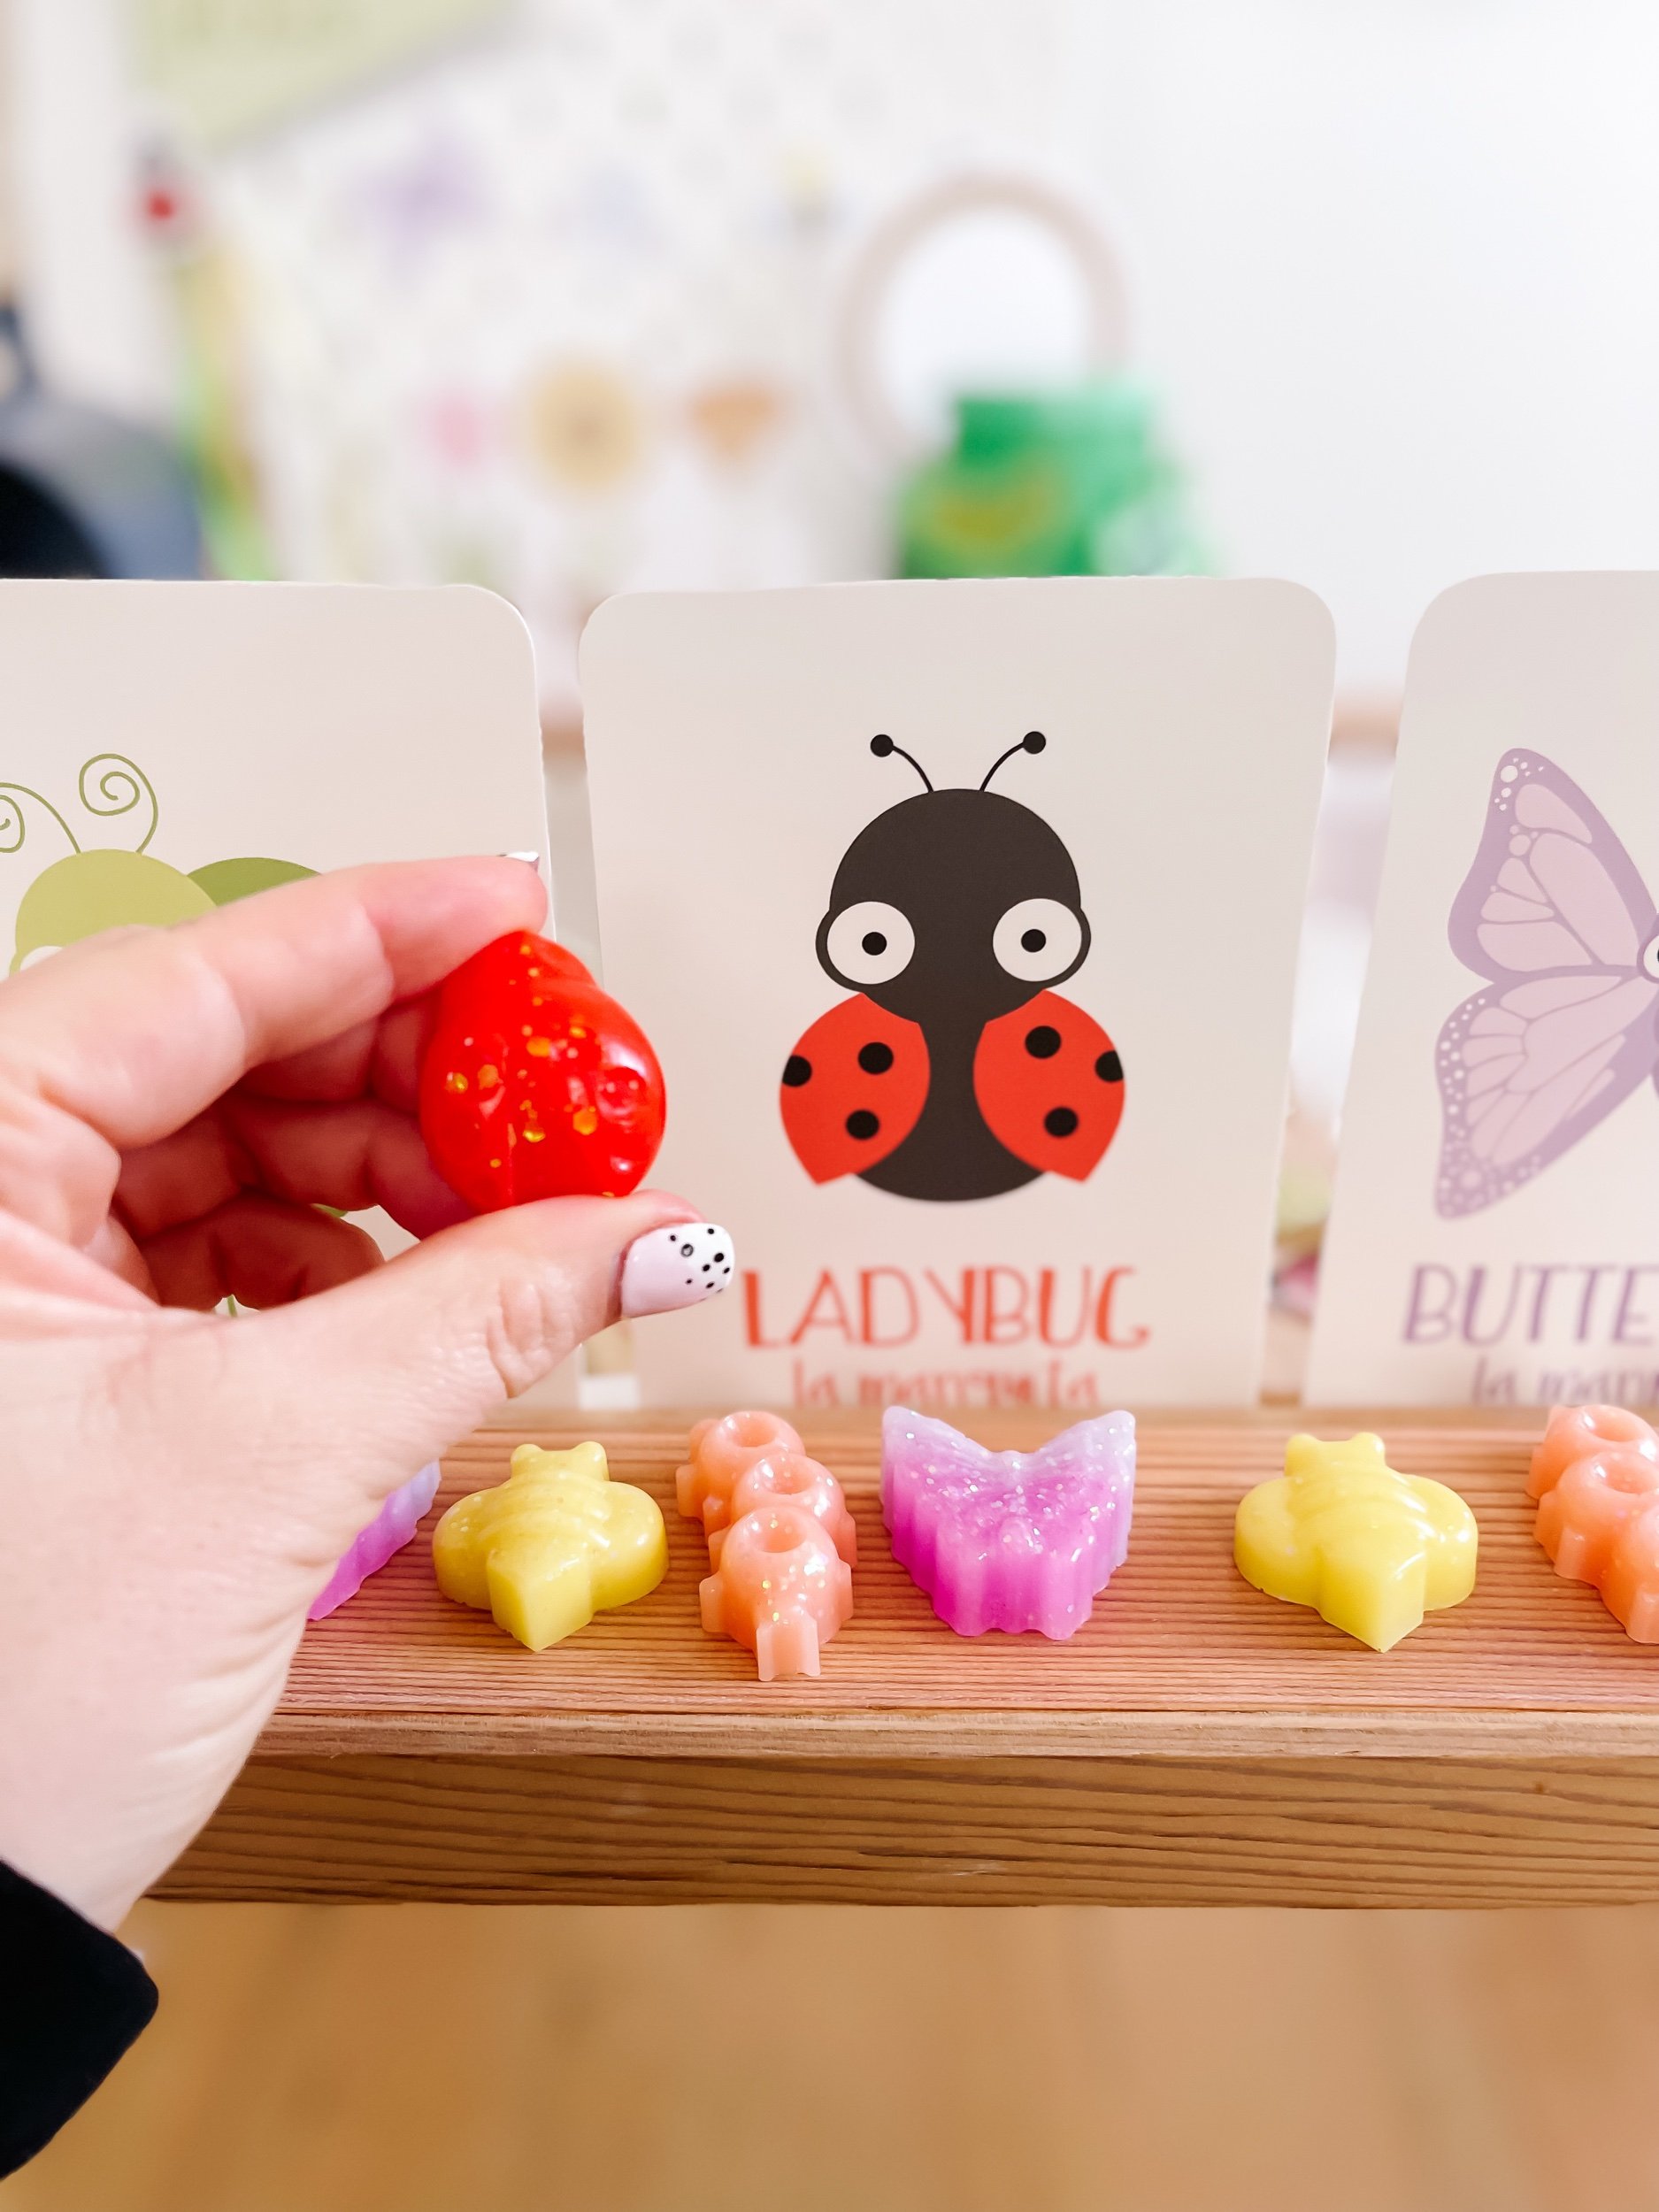
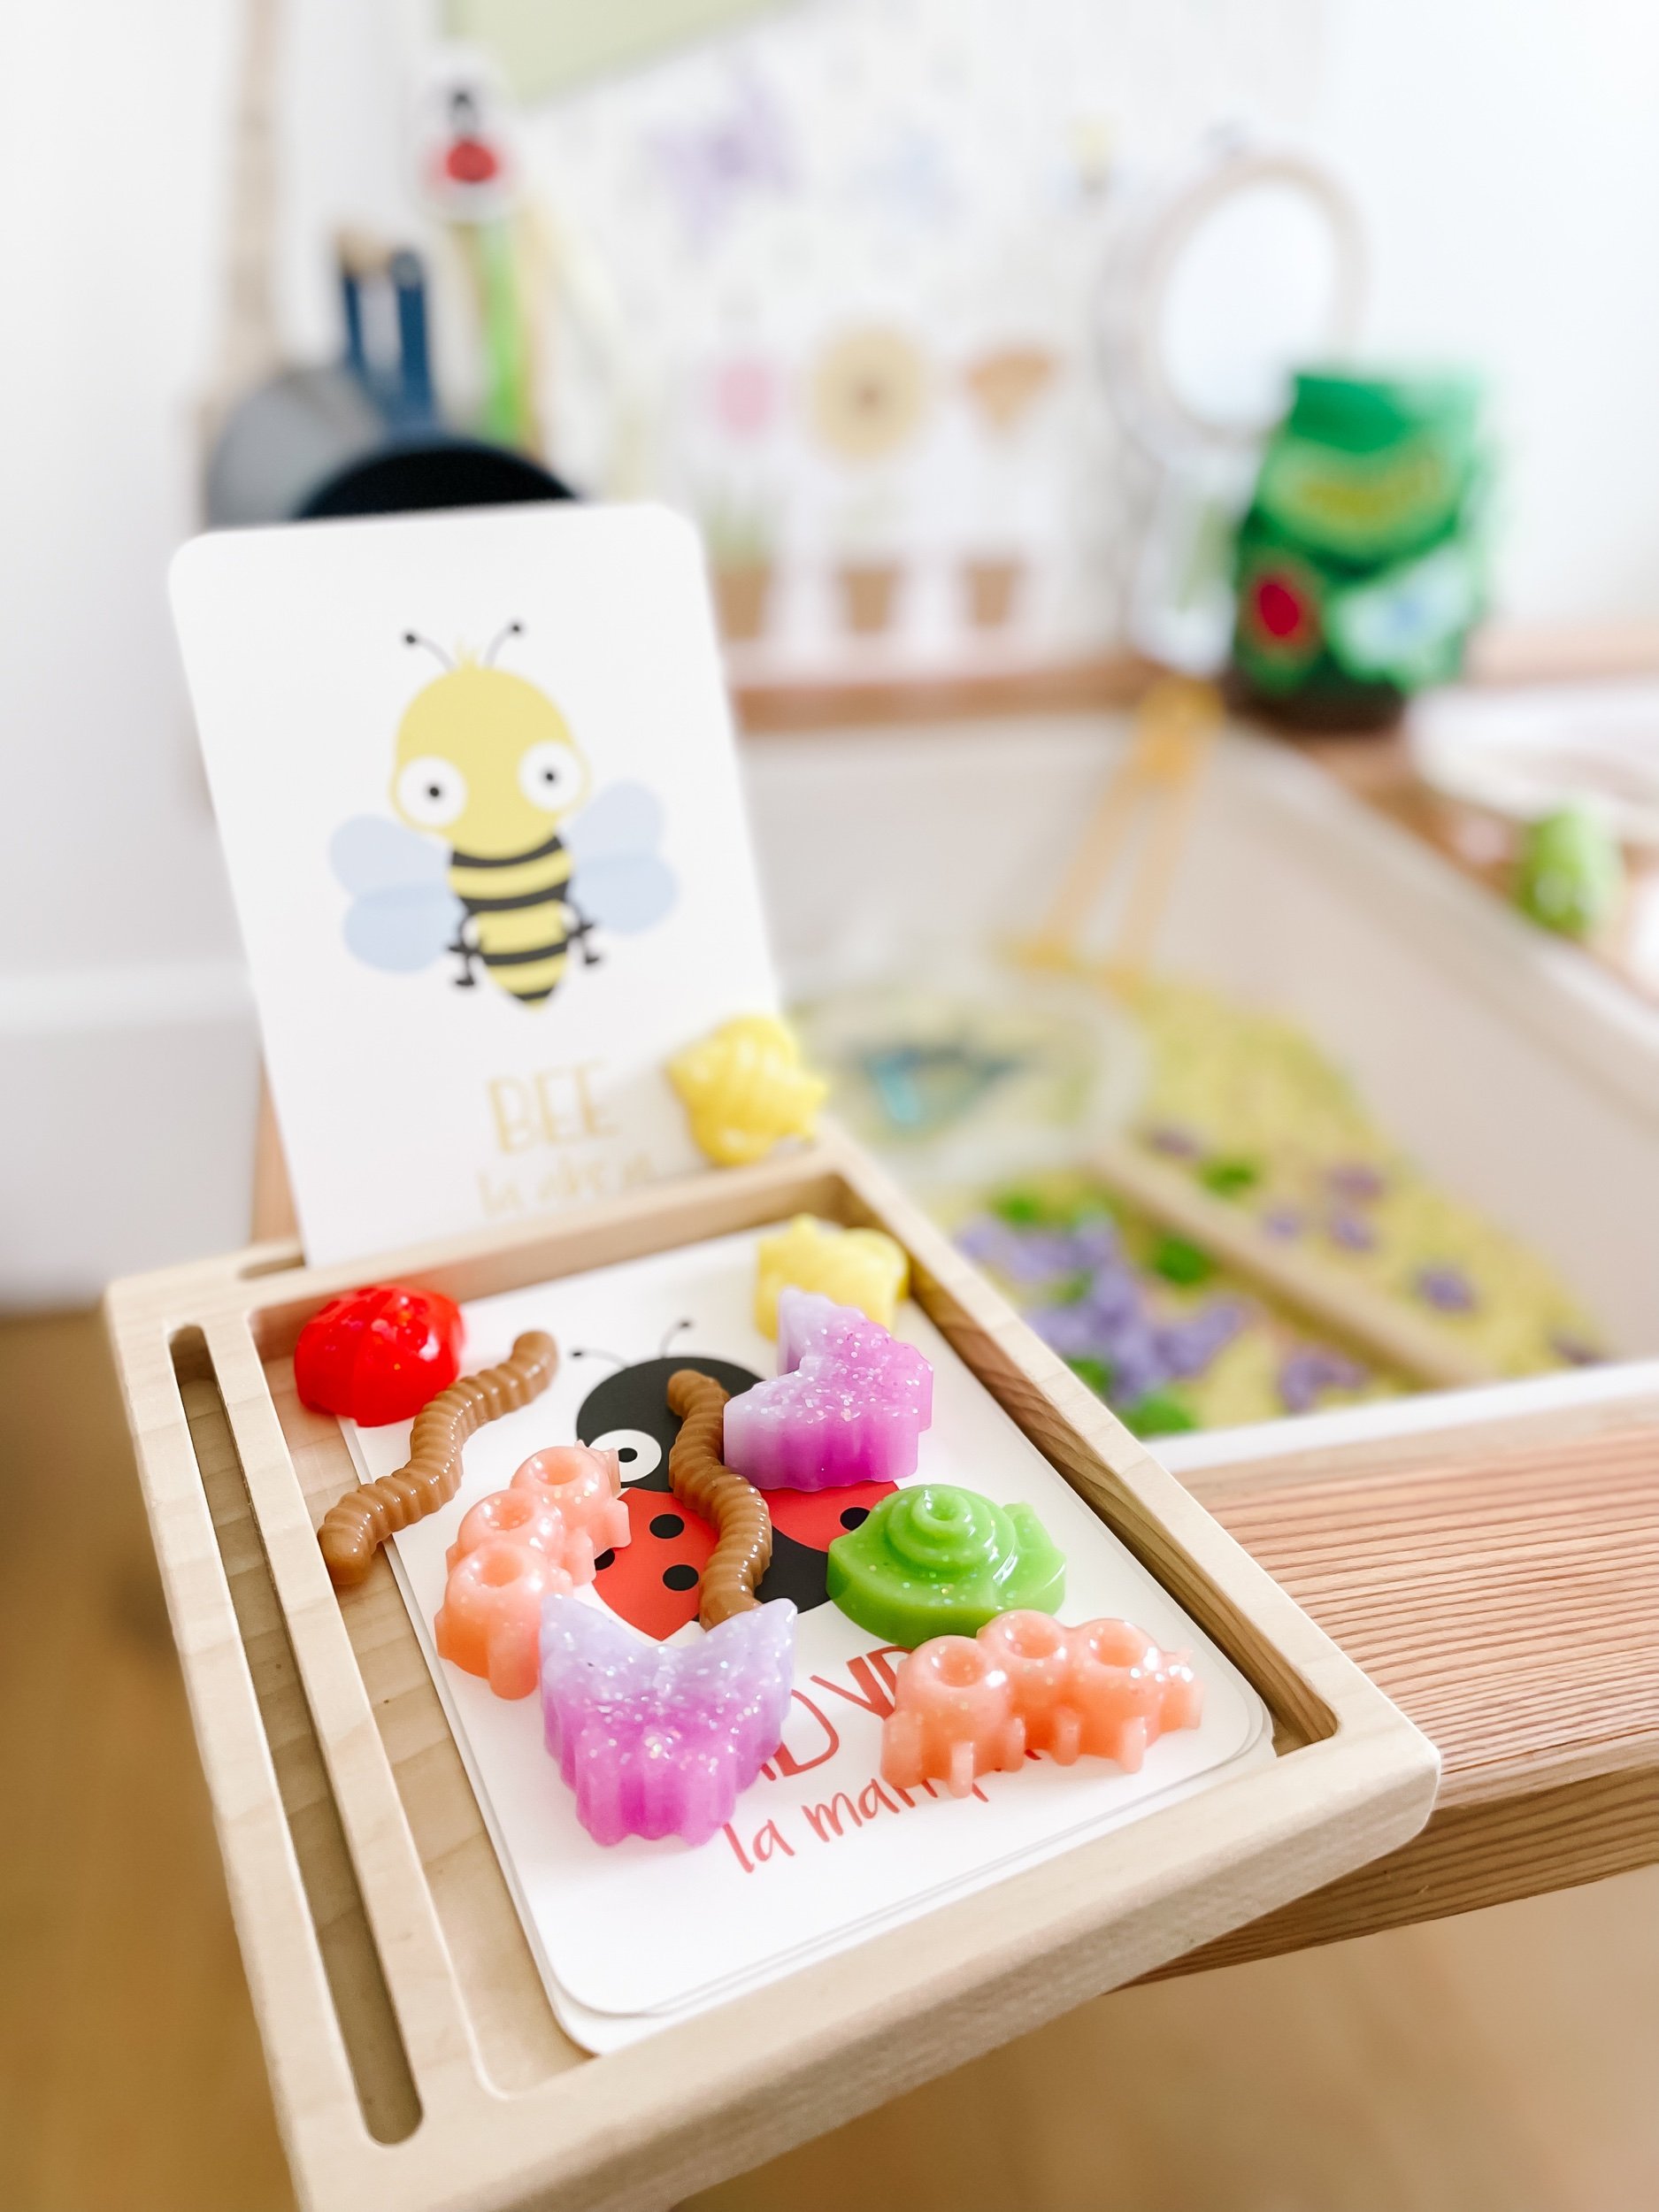
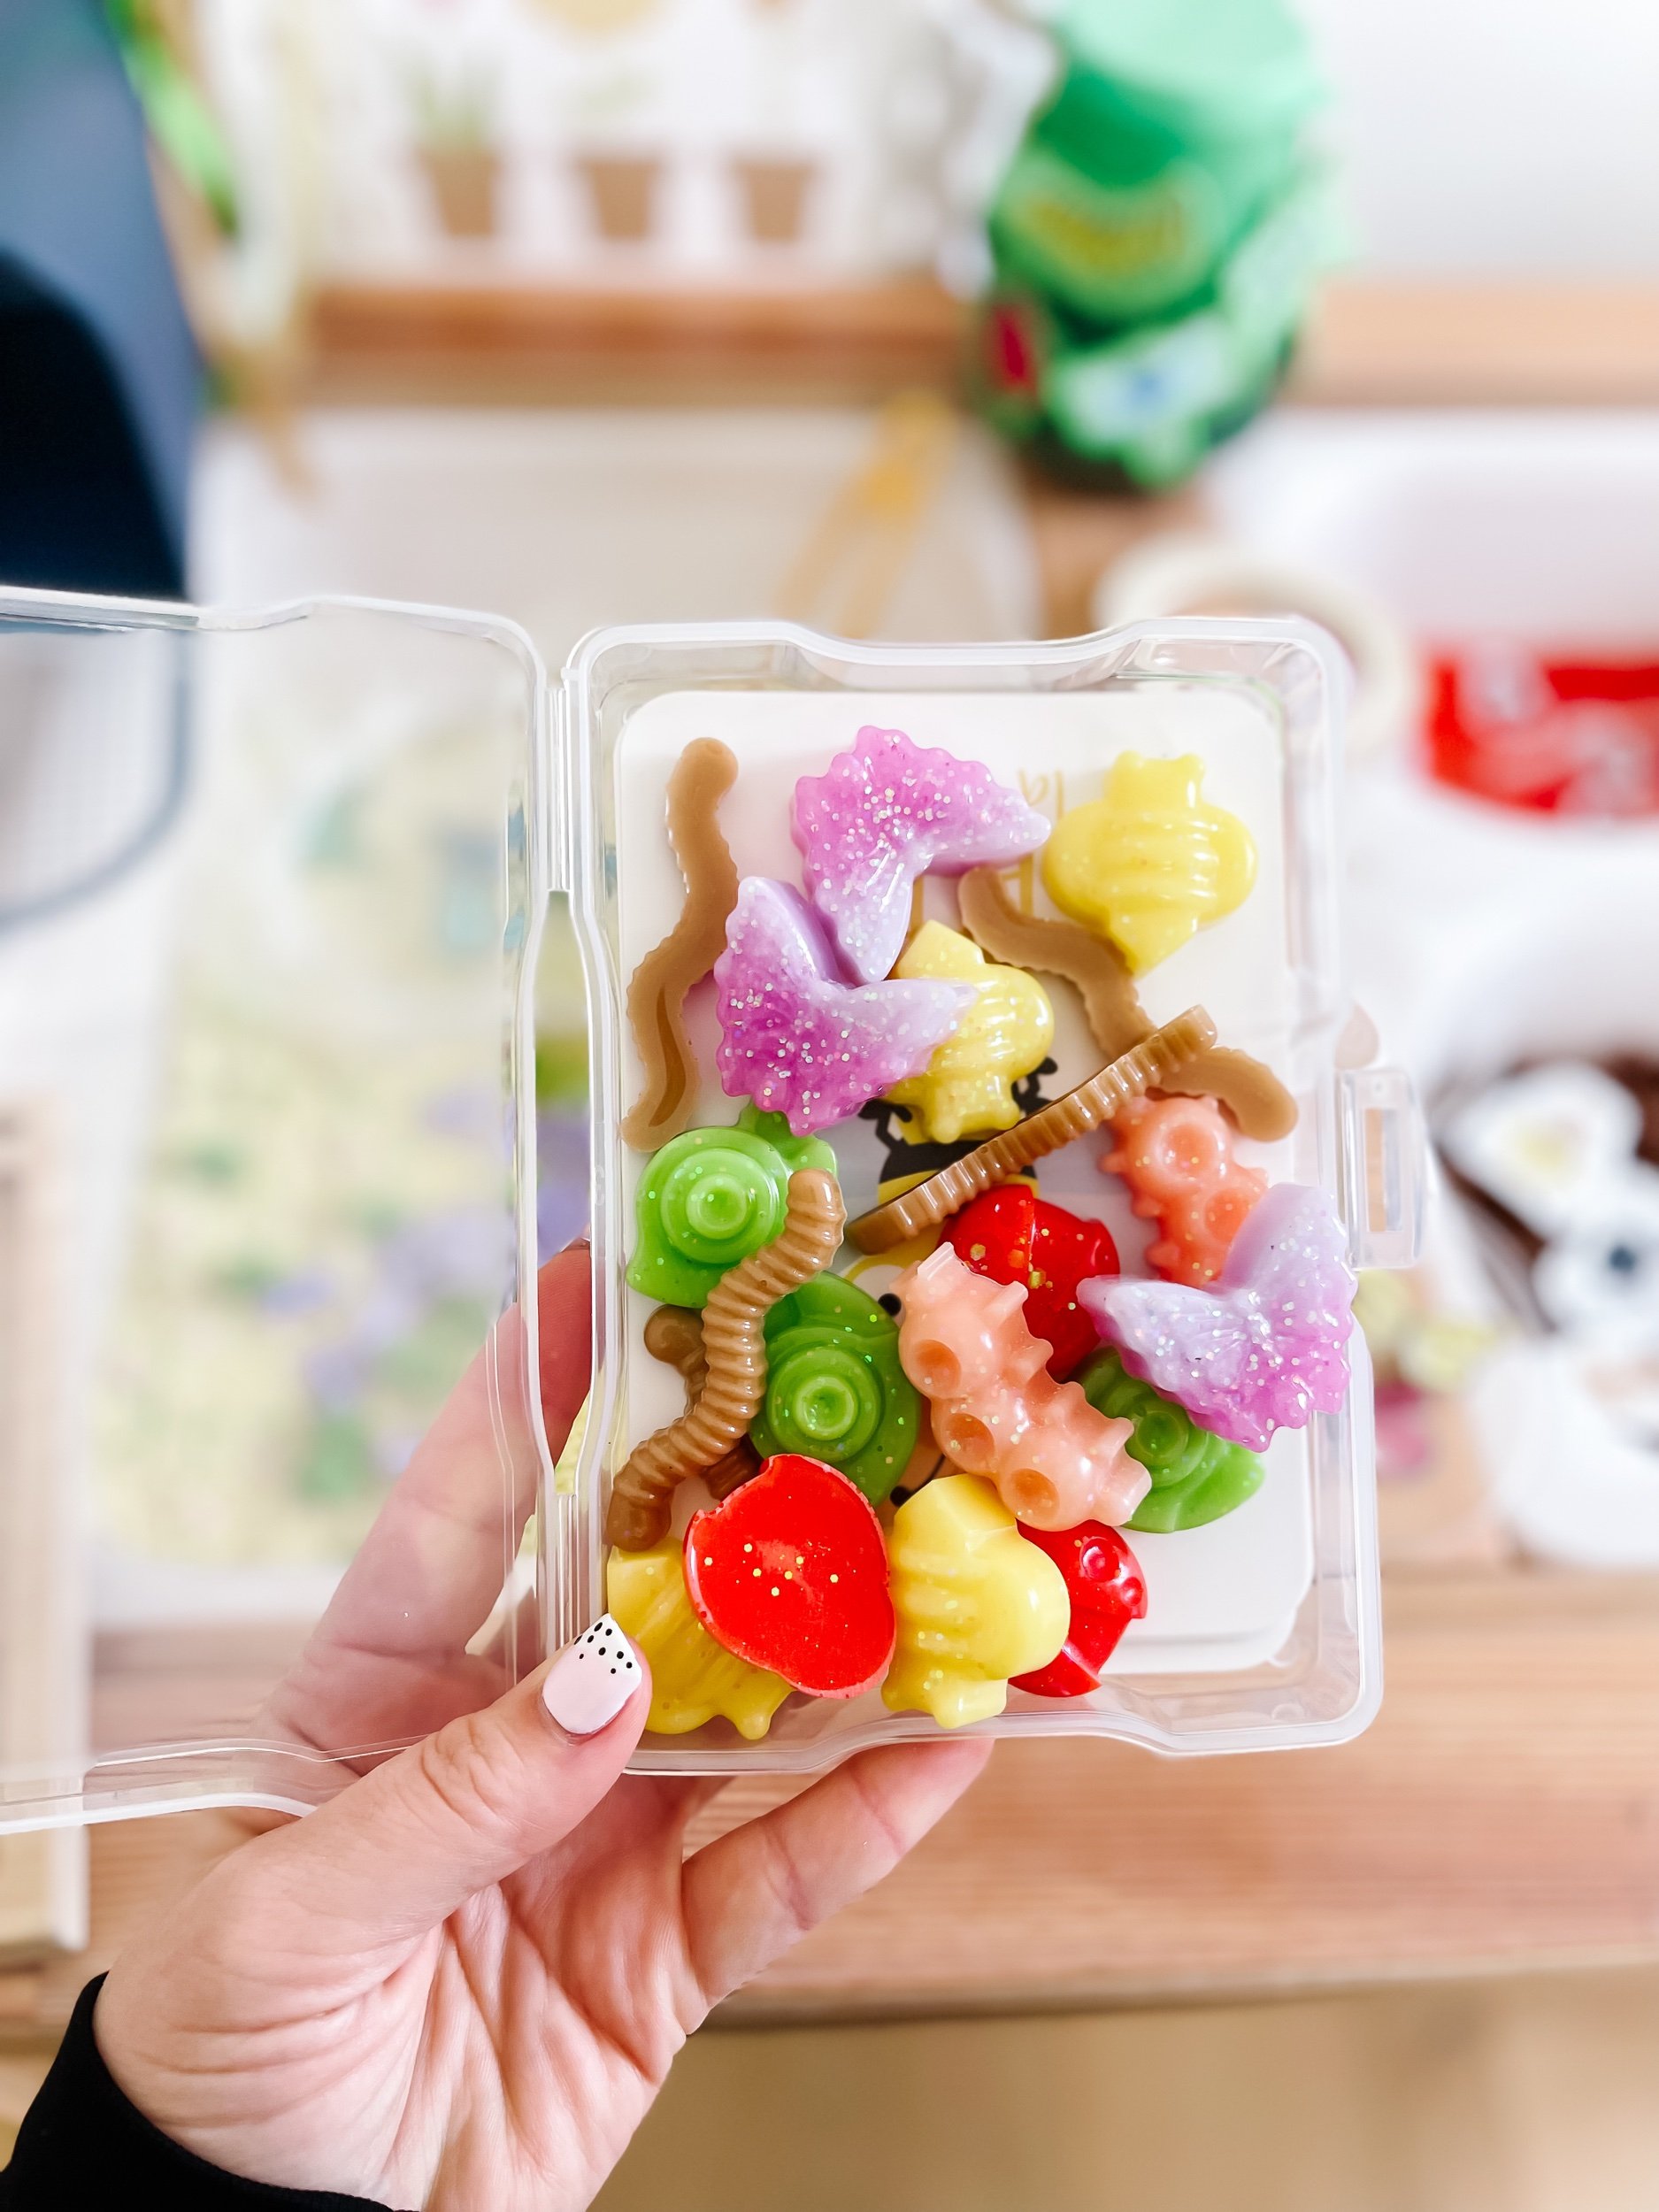
  • Resin bugs by Busy Littles and Little October House.

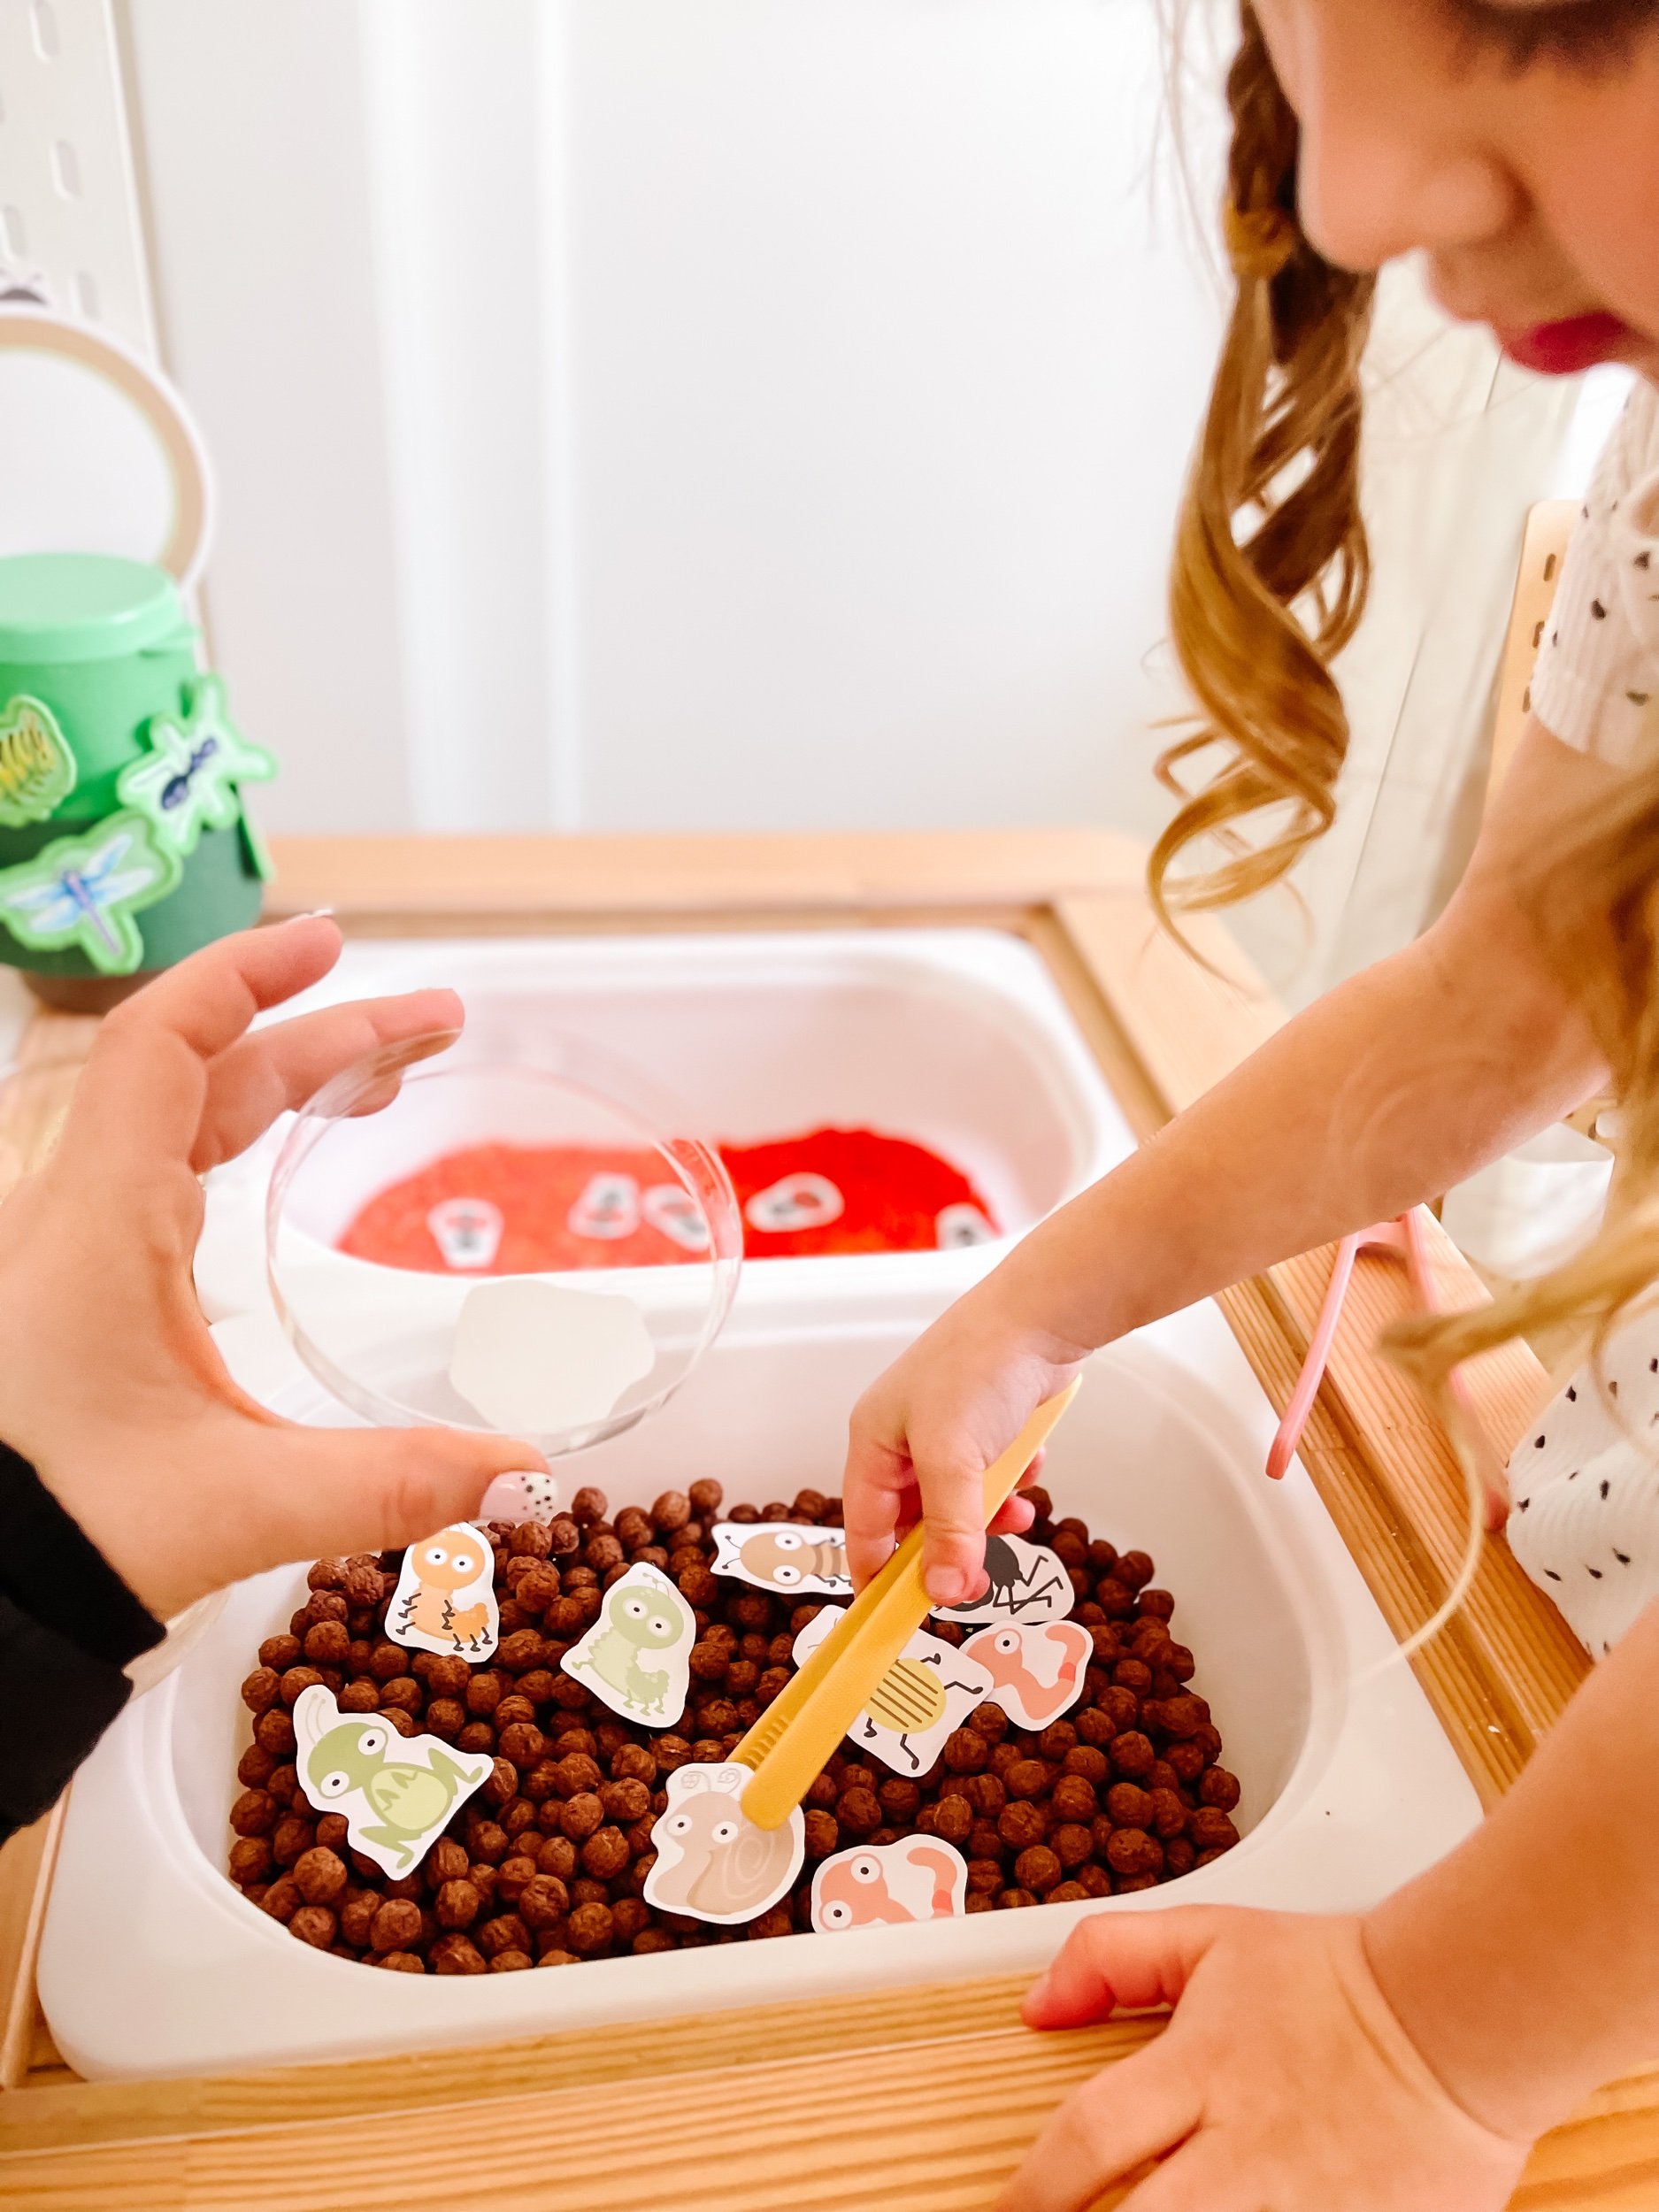
  • Tongs by Inspire My Play

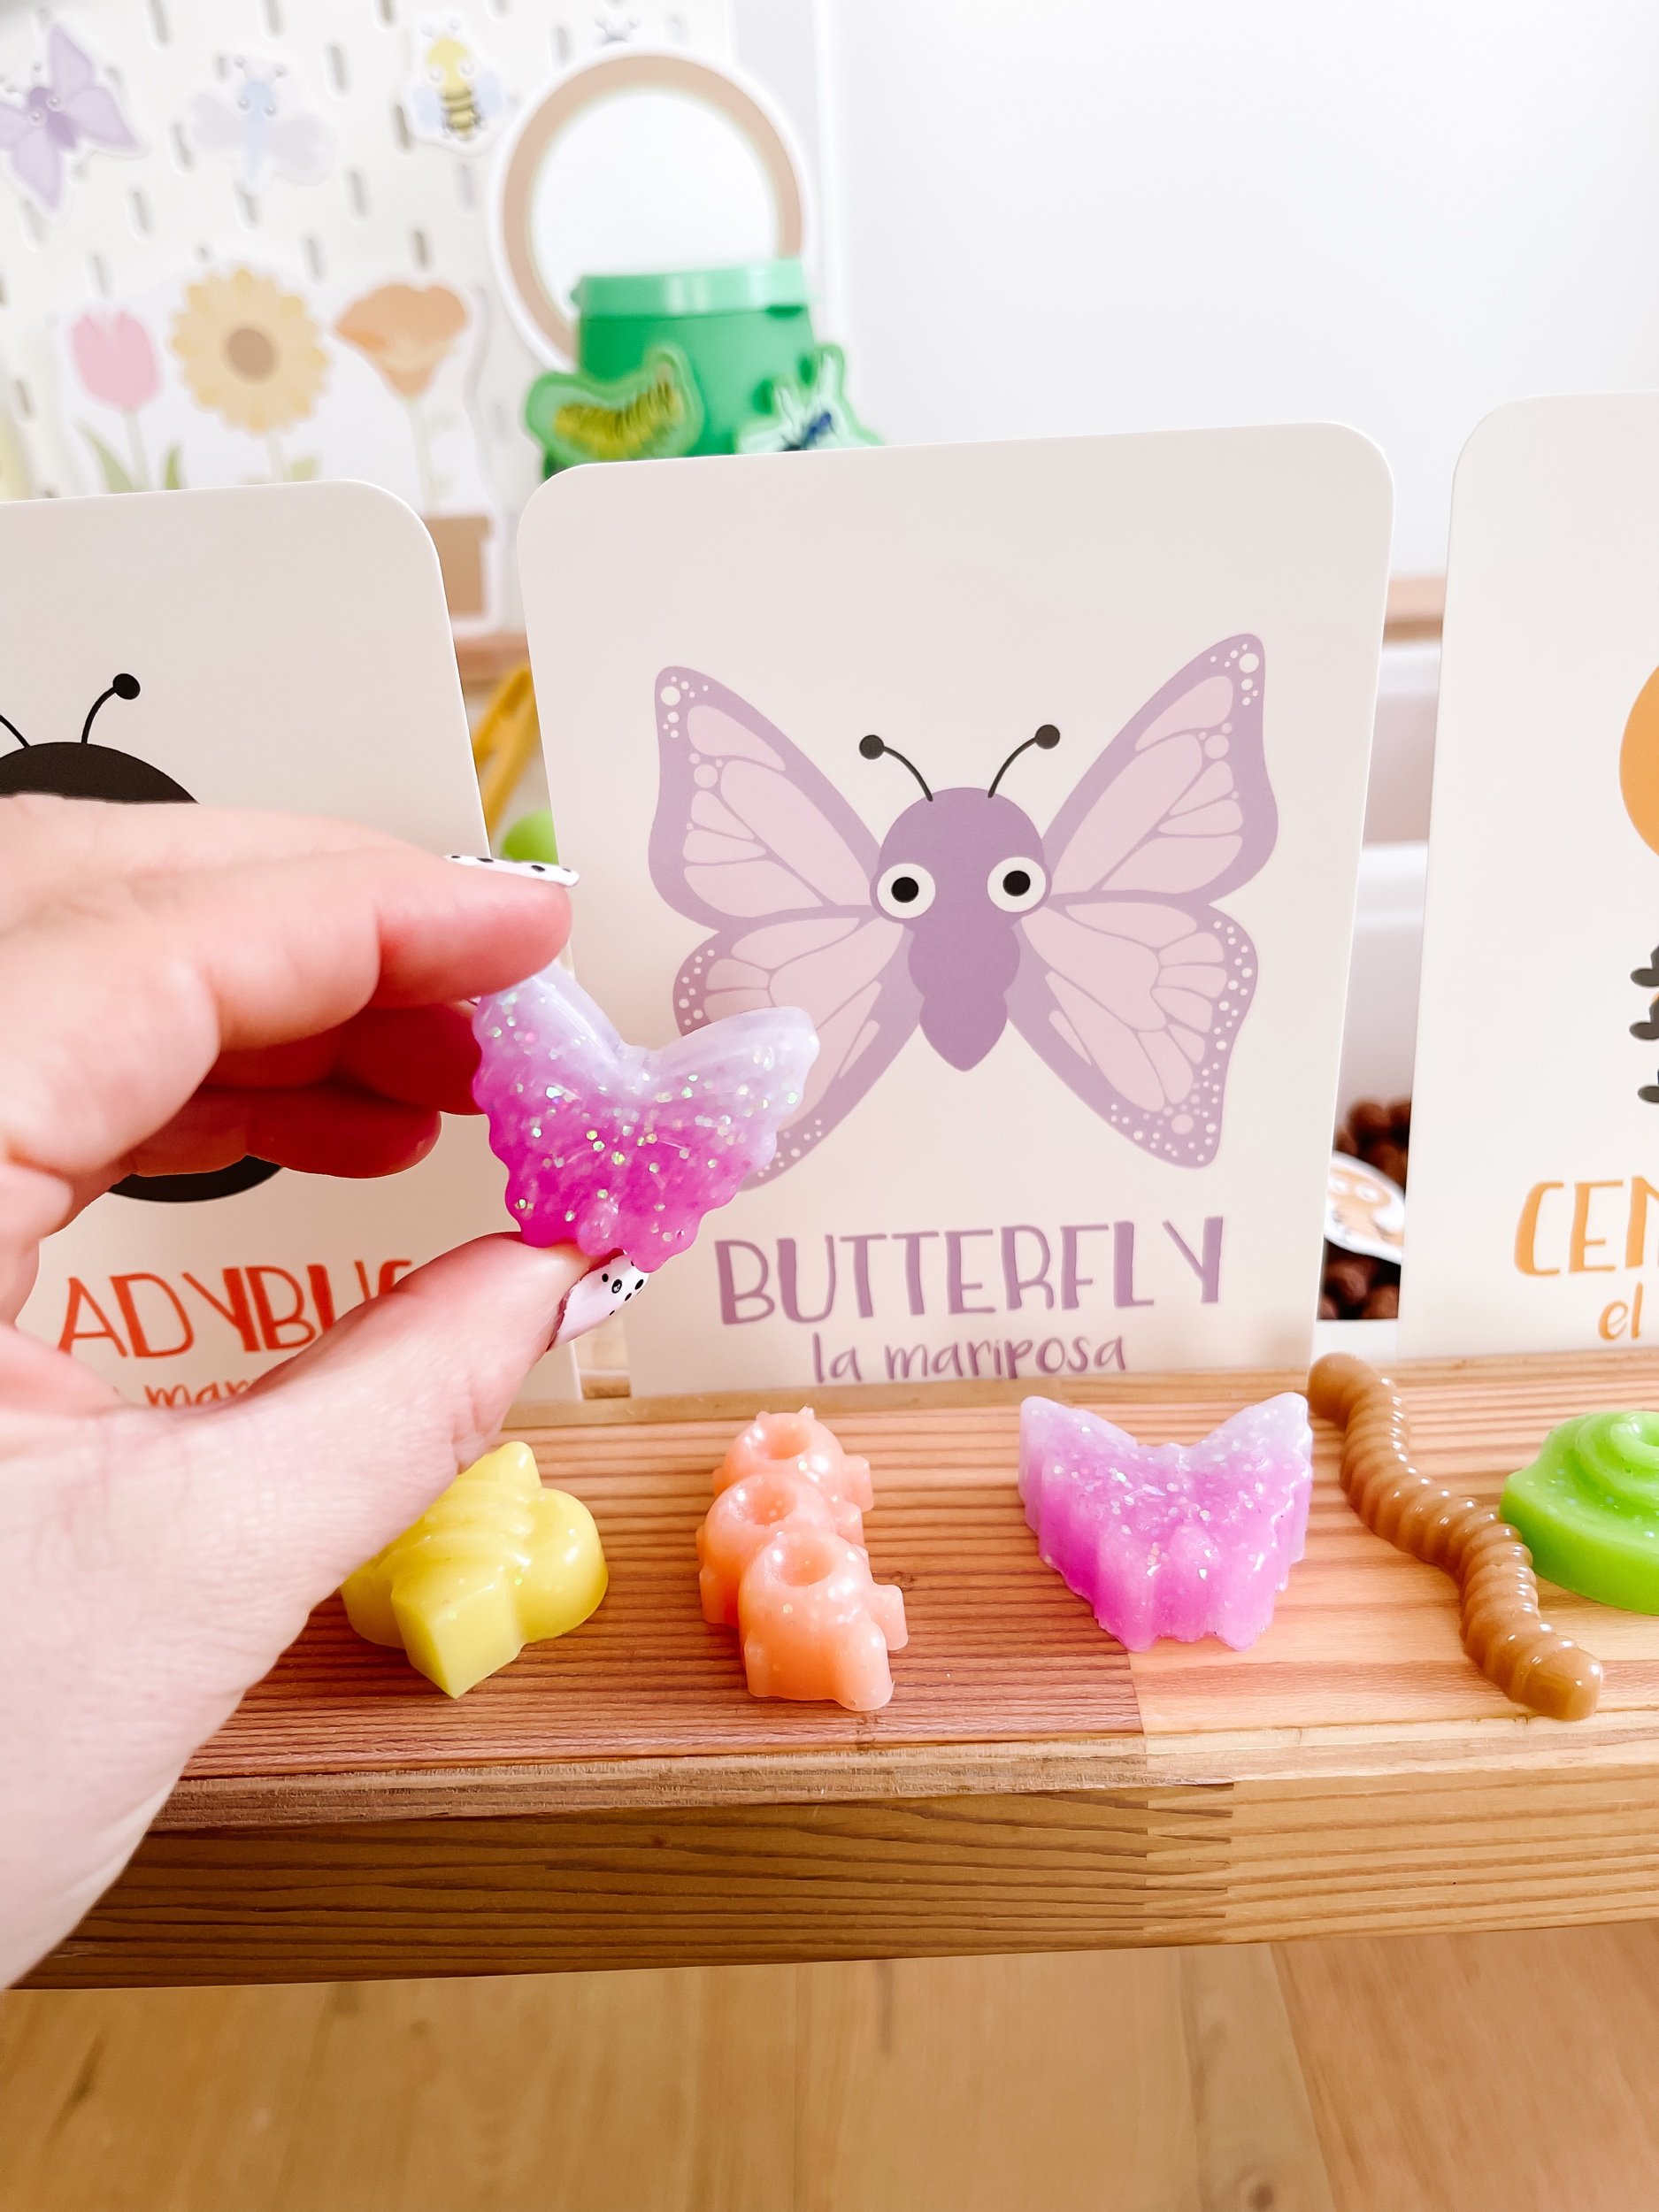
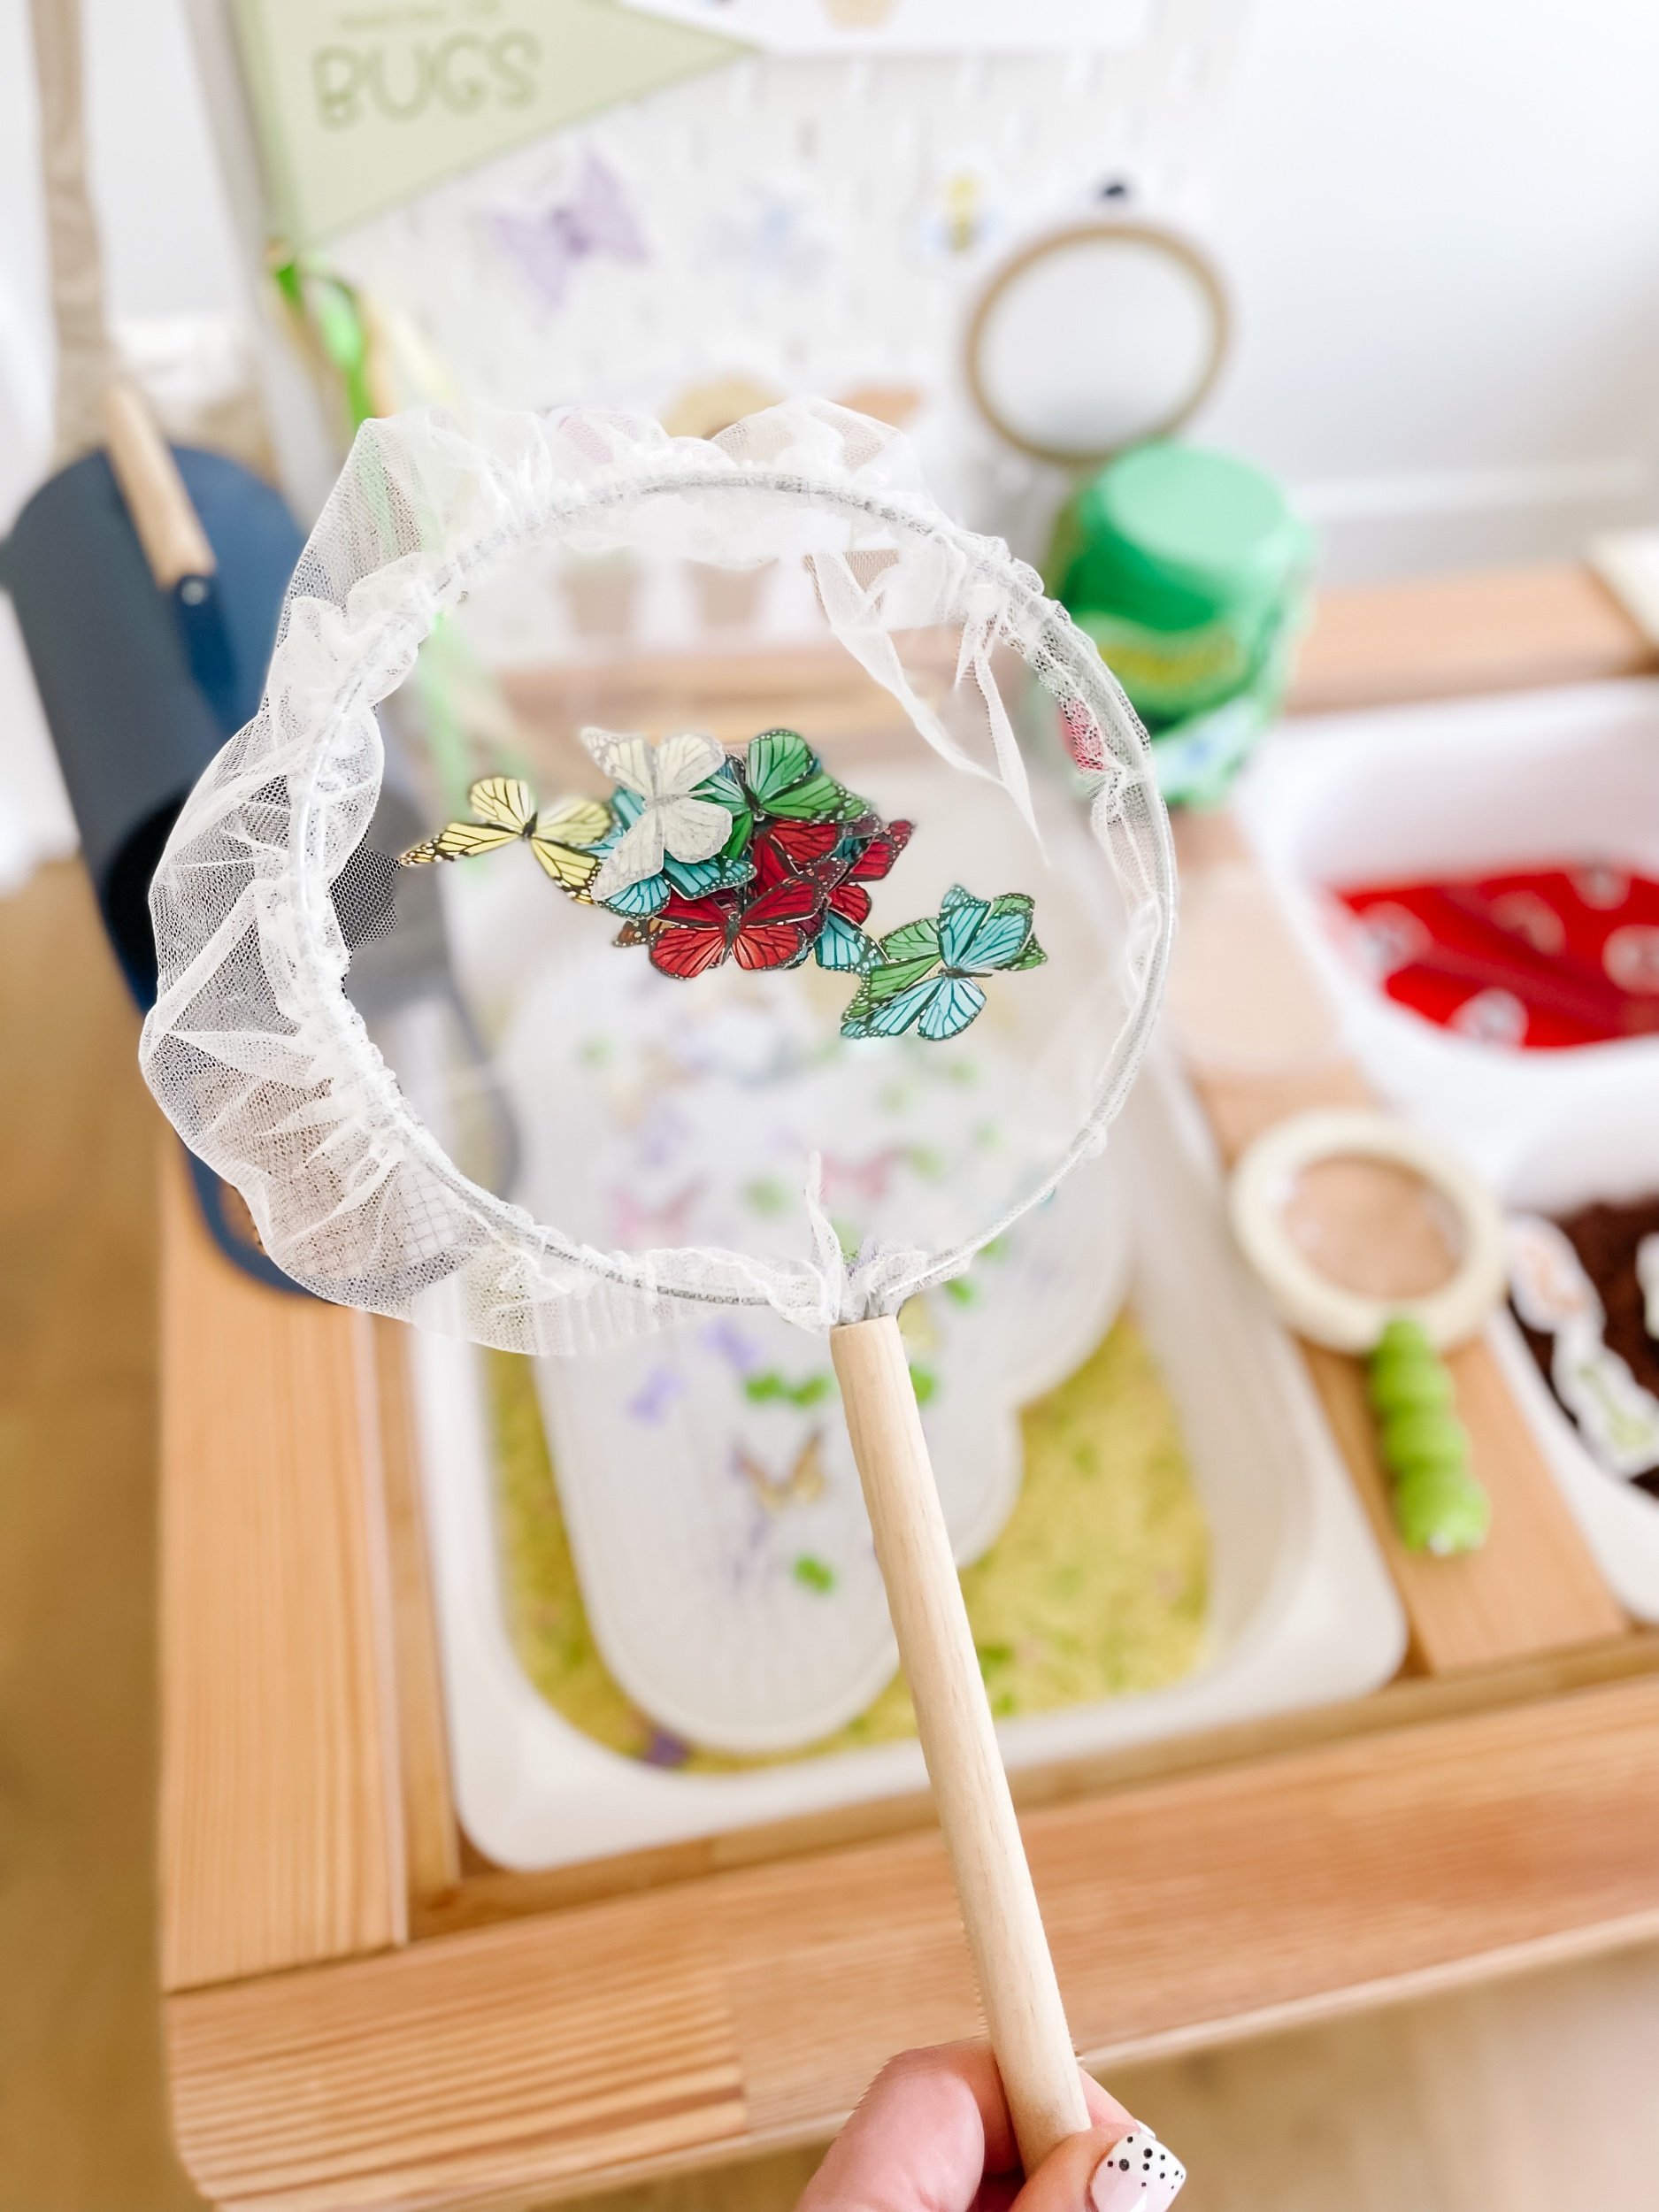
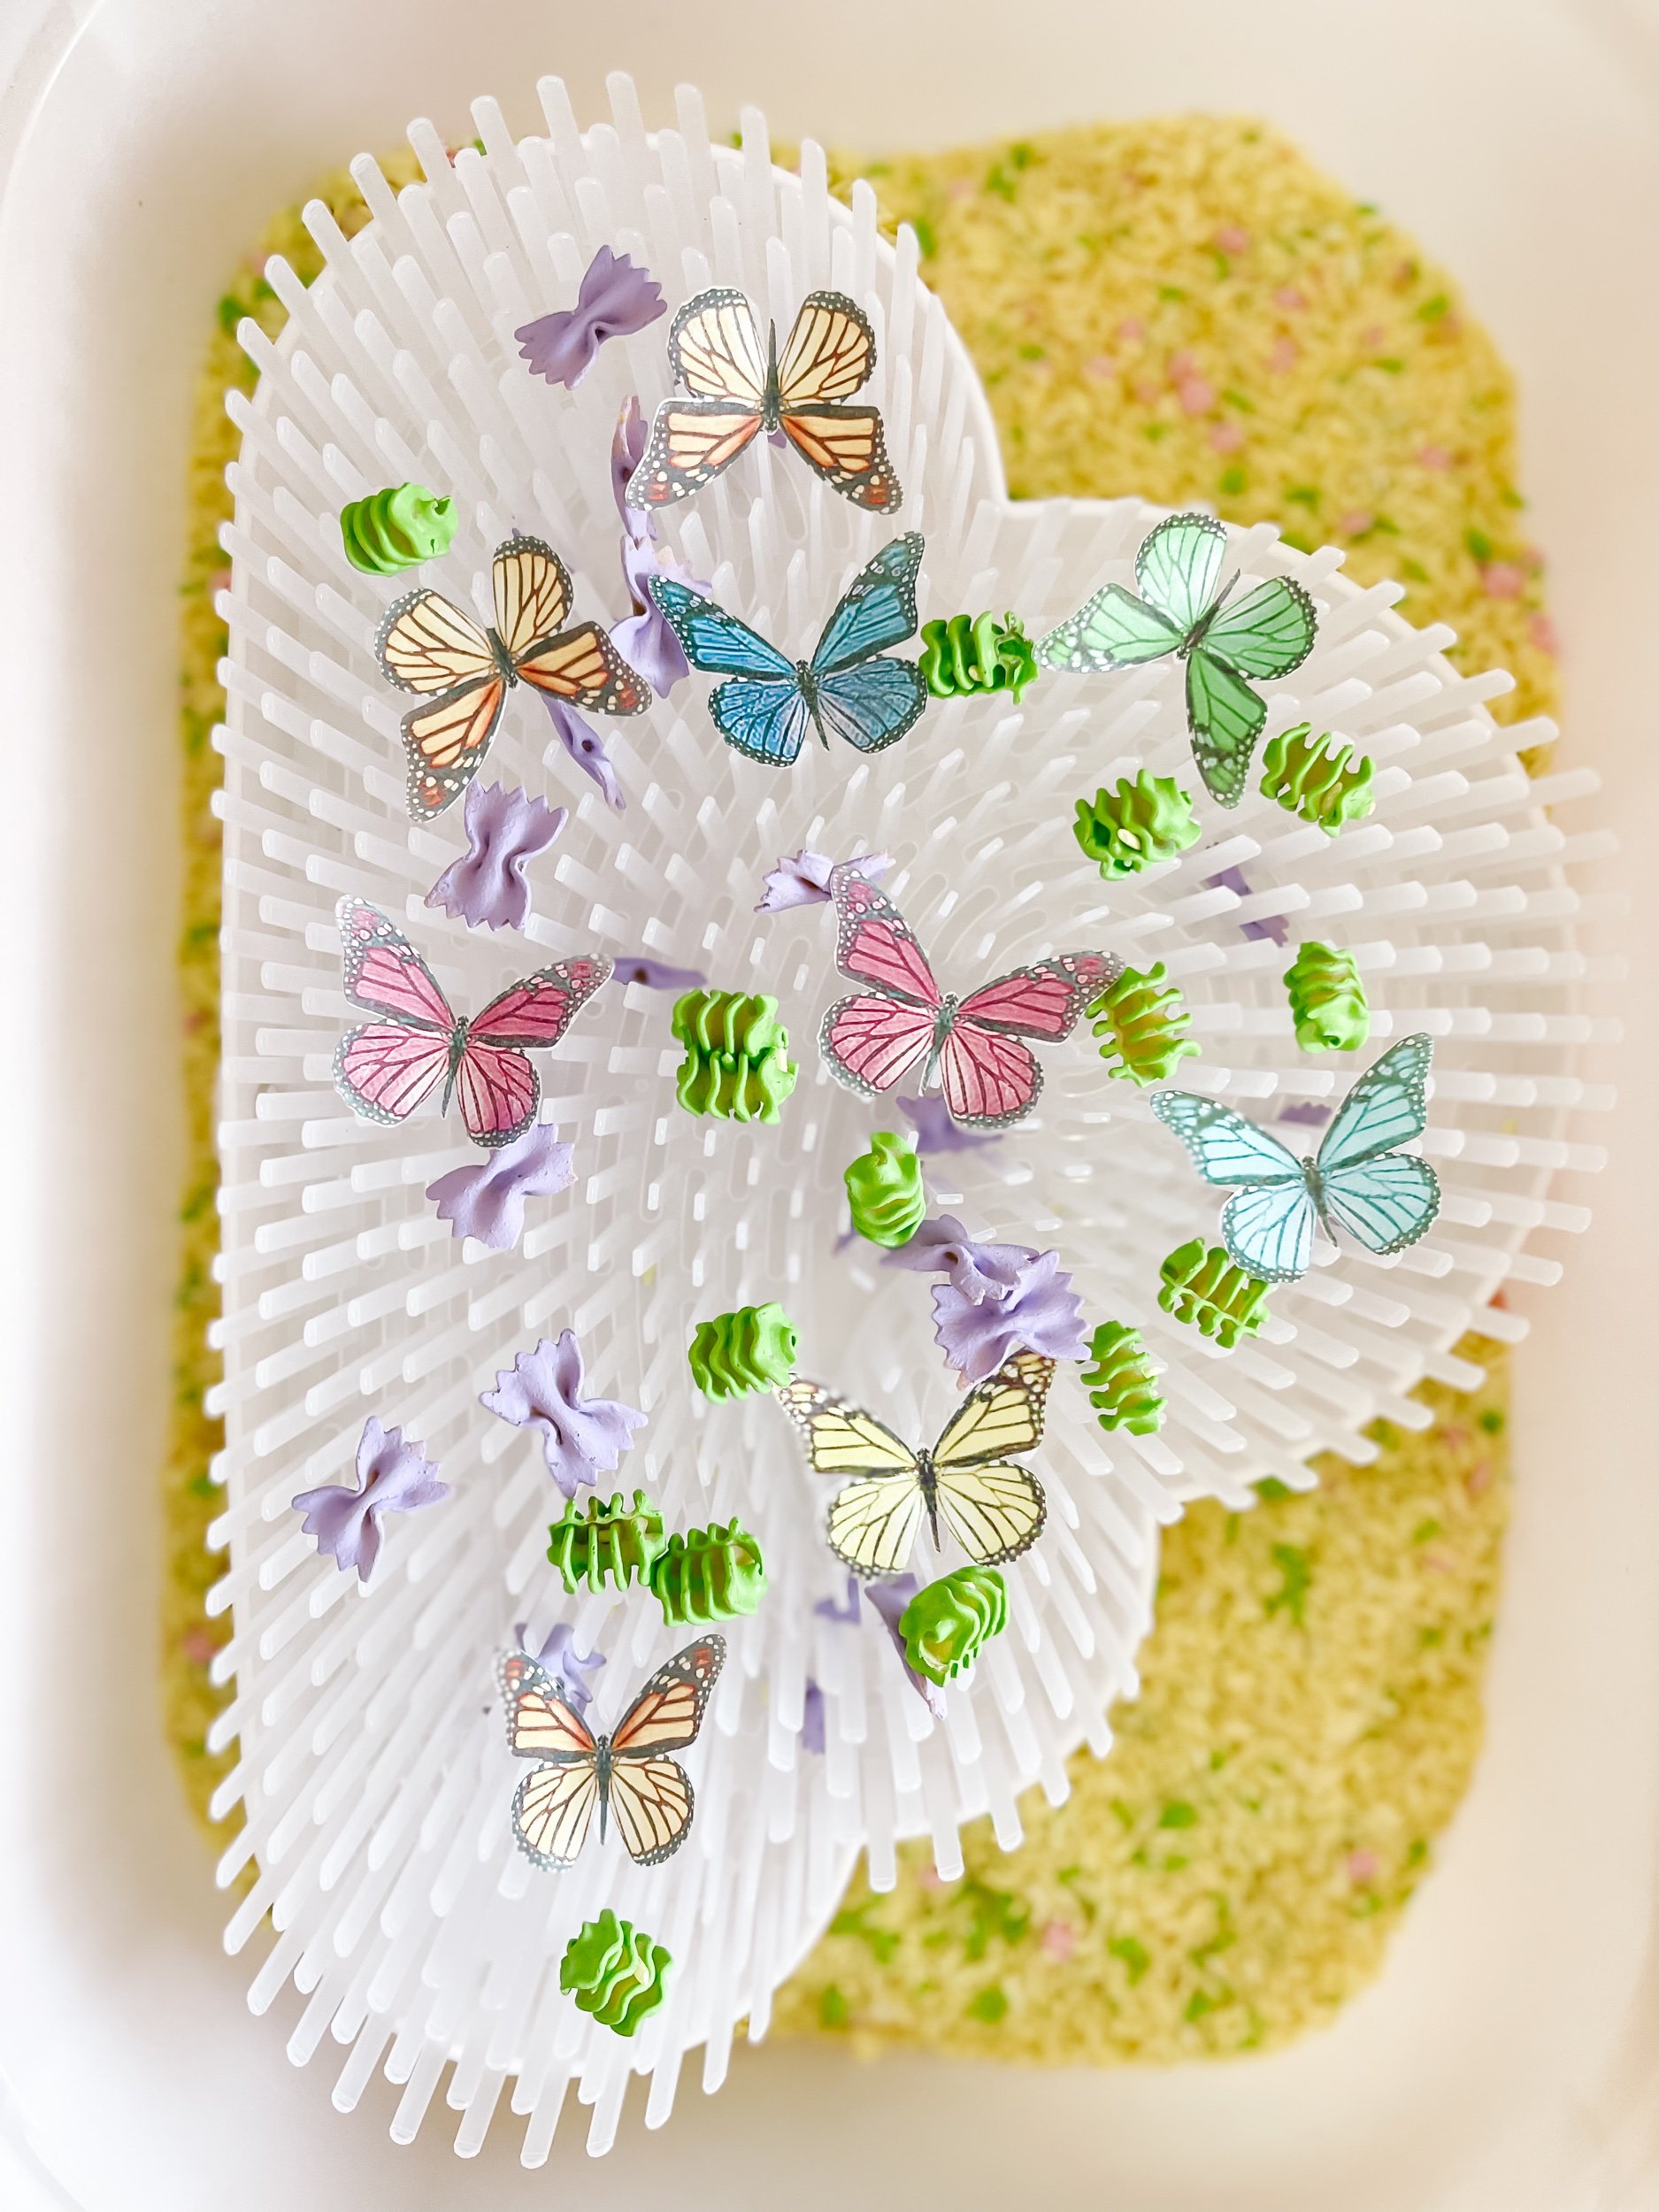
  • Edible paper butterflies

Download & Print

IMG_6699.jpeg
IMG_6703.jpeg
IMG_6704.jpeg
IMG_6702_jpg.jpeg
IMG_6701_jpg.jpeg
IMG_6700_jpg.jpeg
IMG_6698_jpg.jpeg
IMG_6690_jpg.jpeg

Benefits of Sensory Play for Toddlers

Sensory play offers numerous benefits for toddlers, helping them to develop essential skills and grasp important concepts. It encourages exploration, curiosity, and creativity while enhancing their cognitive, emotional, and physical abilities. Some key benefits of sensory play for toddlers include:

  • Cognitive Development: Sensory play stimulates critical thinking, problem-solving, and decision-making skills.

  • Sensory Stimulation: Engaging their senses through hands-on experiences encourages sensory processing, supporting their overall sensory development.

  • Fine Motor Skills: Activities involving manipulating objects in sensory bins enhance toddlers' hand-eye coordination and fine motor skills.

  • Language Development: Sensory play provides an excellent opportunity for vocabulary development as children describe their experiences and learn new words.

  • Social Interaction: Sensory play can be enjoyed independently or with others, promoting social skills and encouraging cooperation and communication.

    Now, let's dive into the fascinating bug and insect themed sensory bin activity!

IMG_6691_jpg.jpeg IMG_6689_jpg.jpeg IMG_6690_jpg.jpeg IMG_6692.jpeg IMG_6693.jpeg IMG_6694_jpg.jpeg IMG_6695_jpg.jpeg IMG_6696_jpg.jpeg IMG_6697_jpg.jpeg IMG_6687_jpg.jpeg

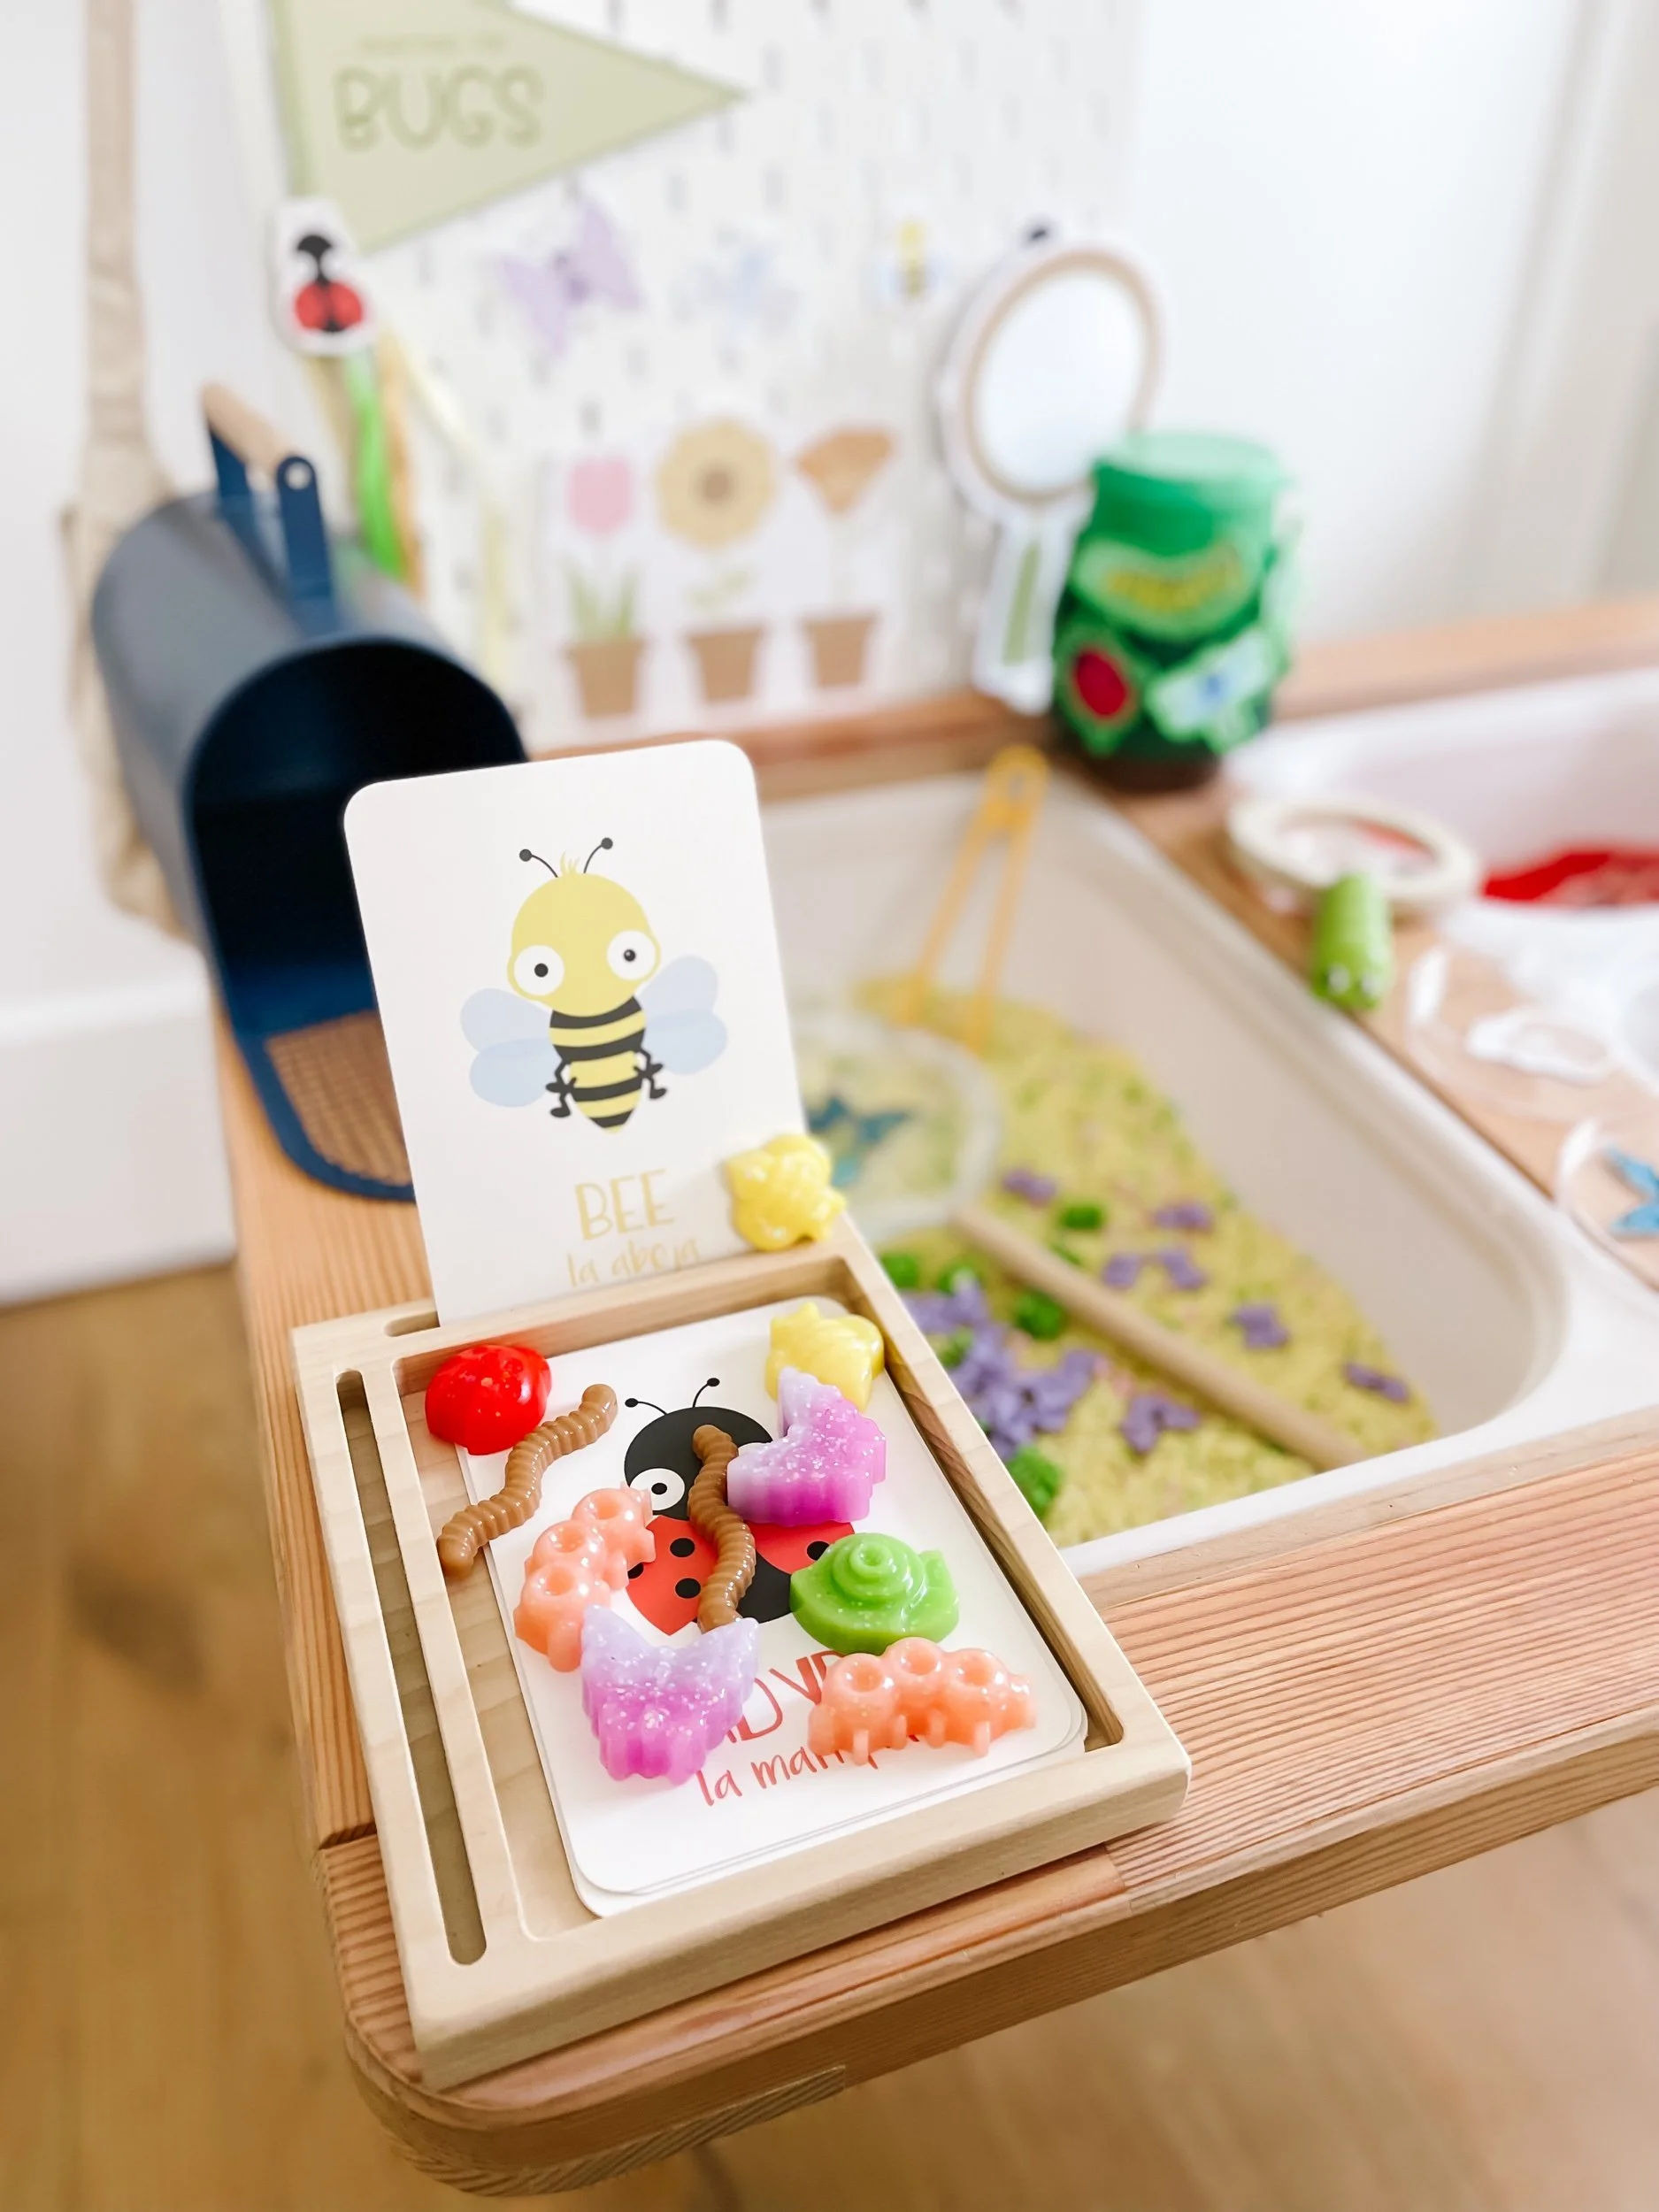
The Awesome Bug and Insect Themed PRINTABLE PLAY

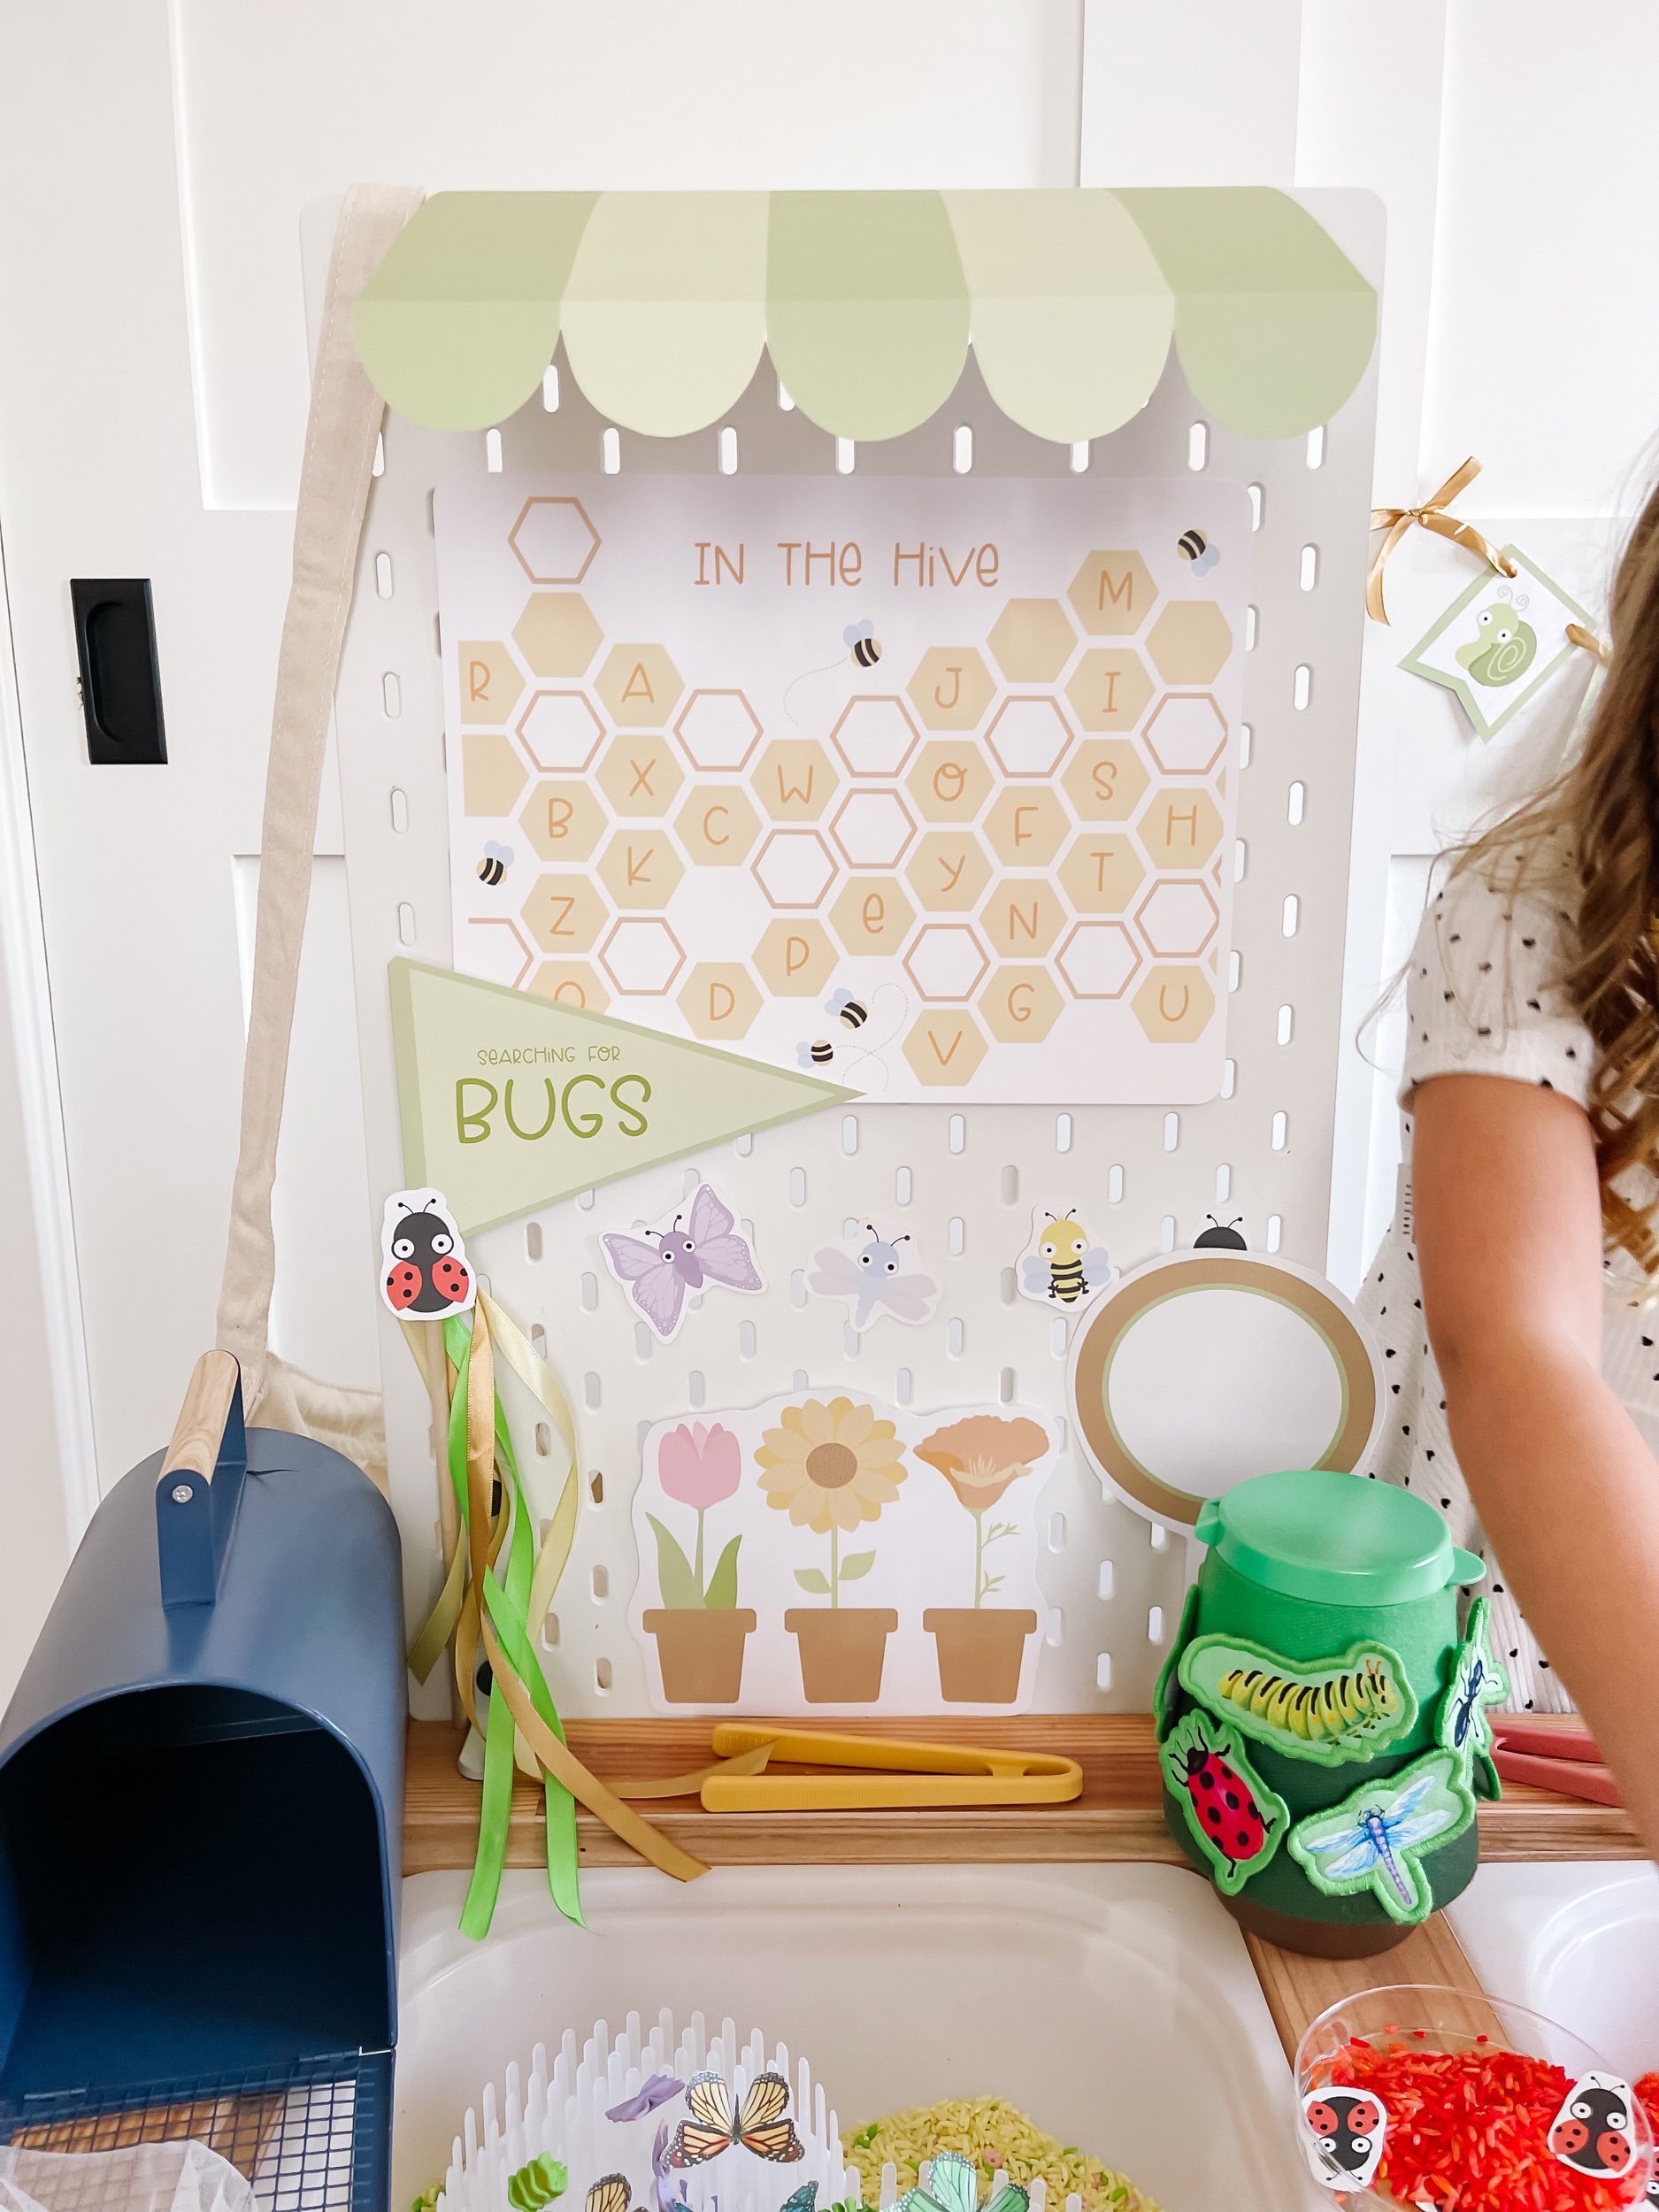
Our bug and insect themed sensory bin activity is designed to immerse your child in the captivating world of bugs while promoting learning in a fun and interactive way. This printable activity kit includes:

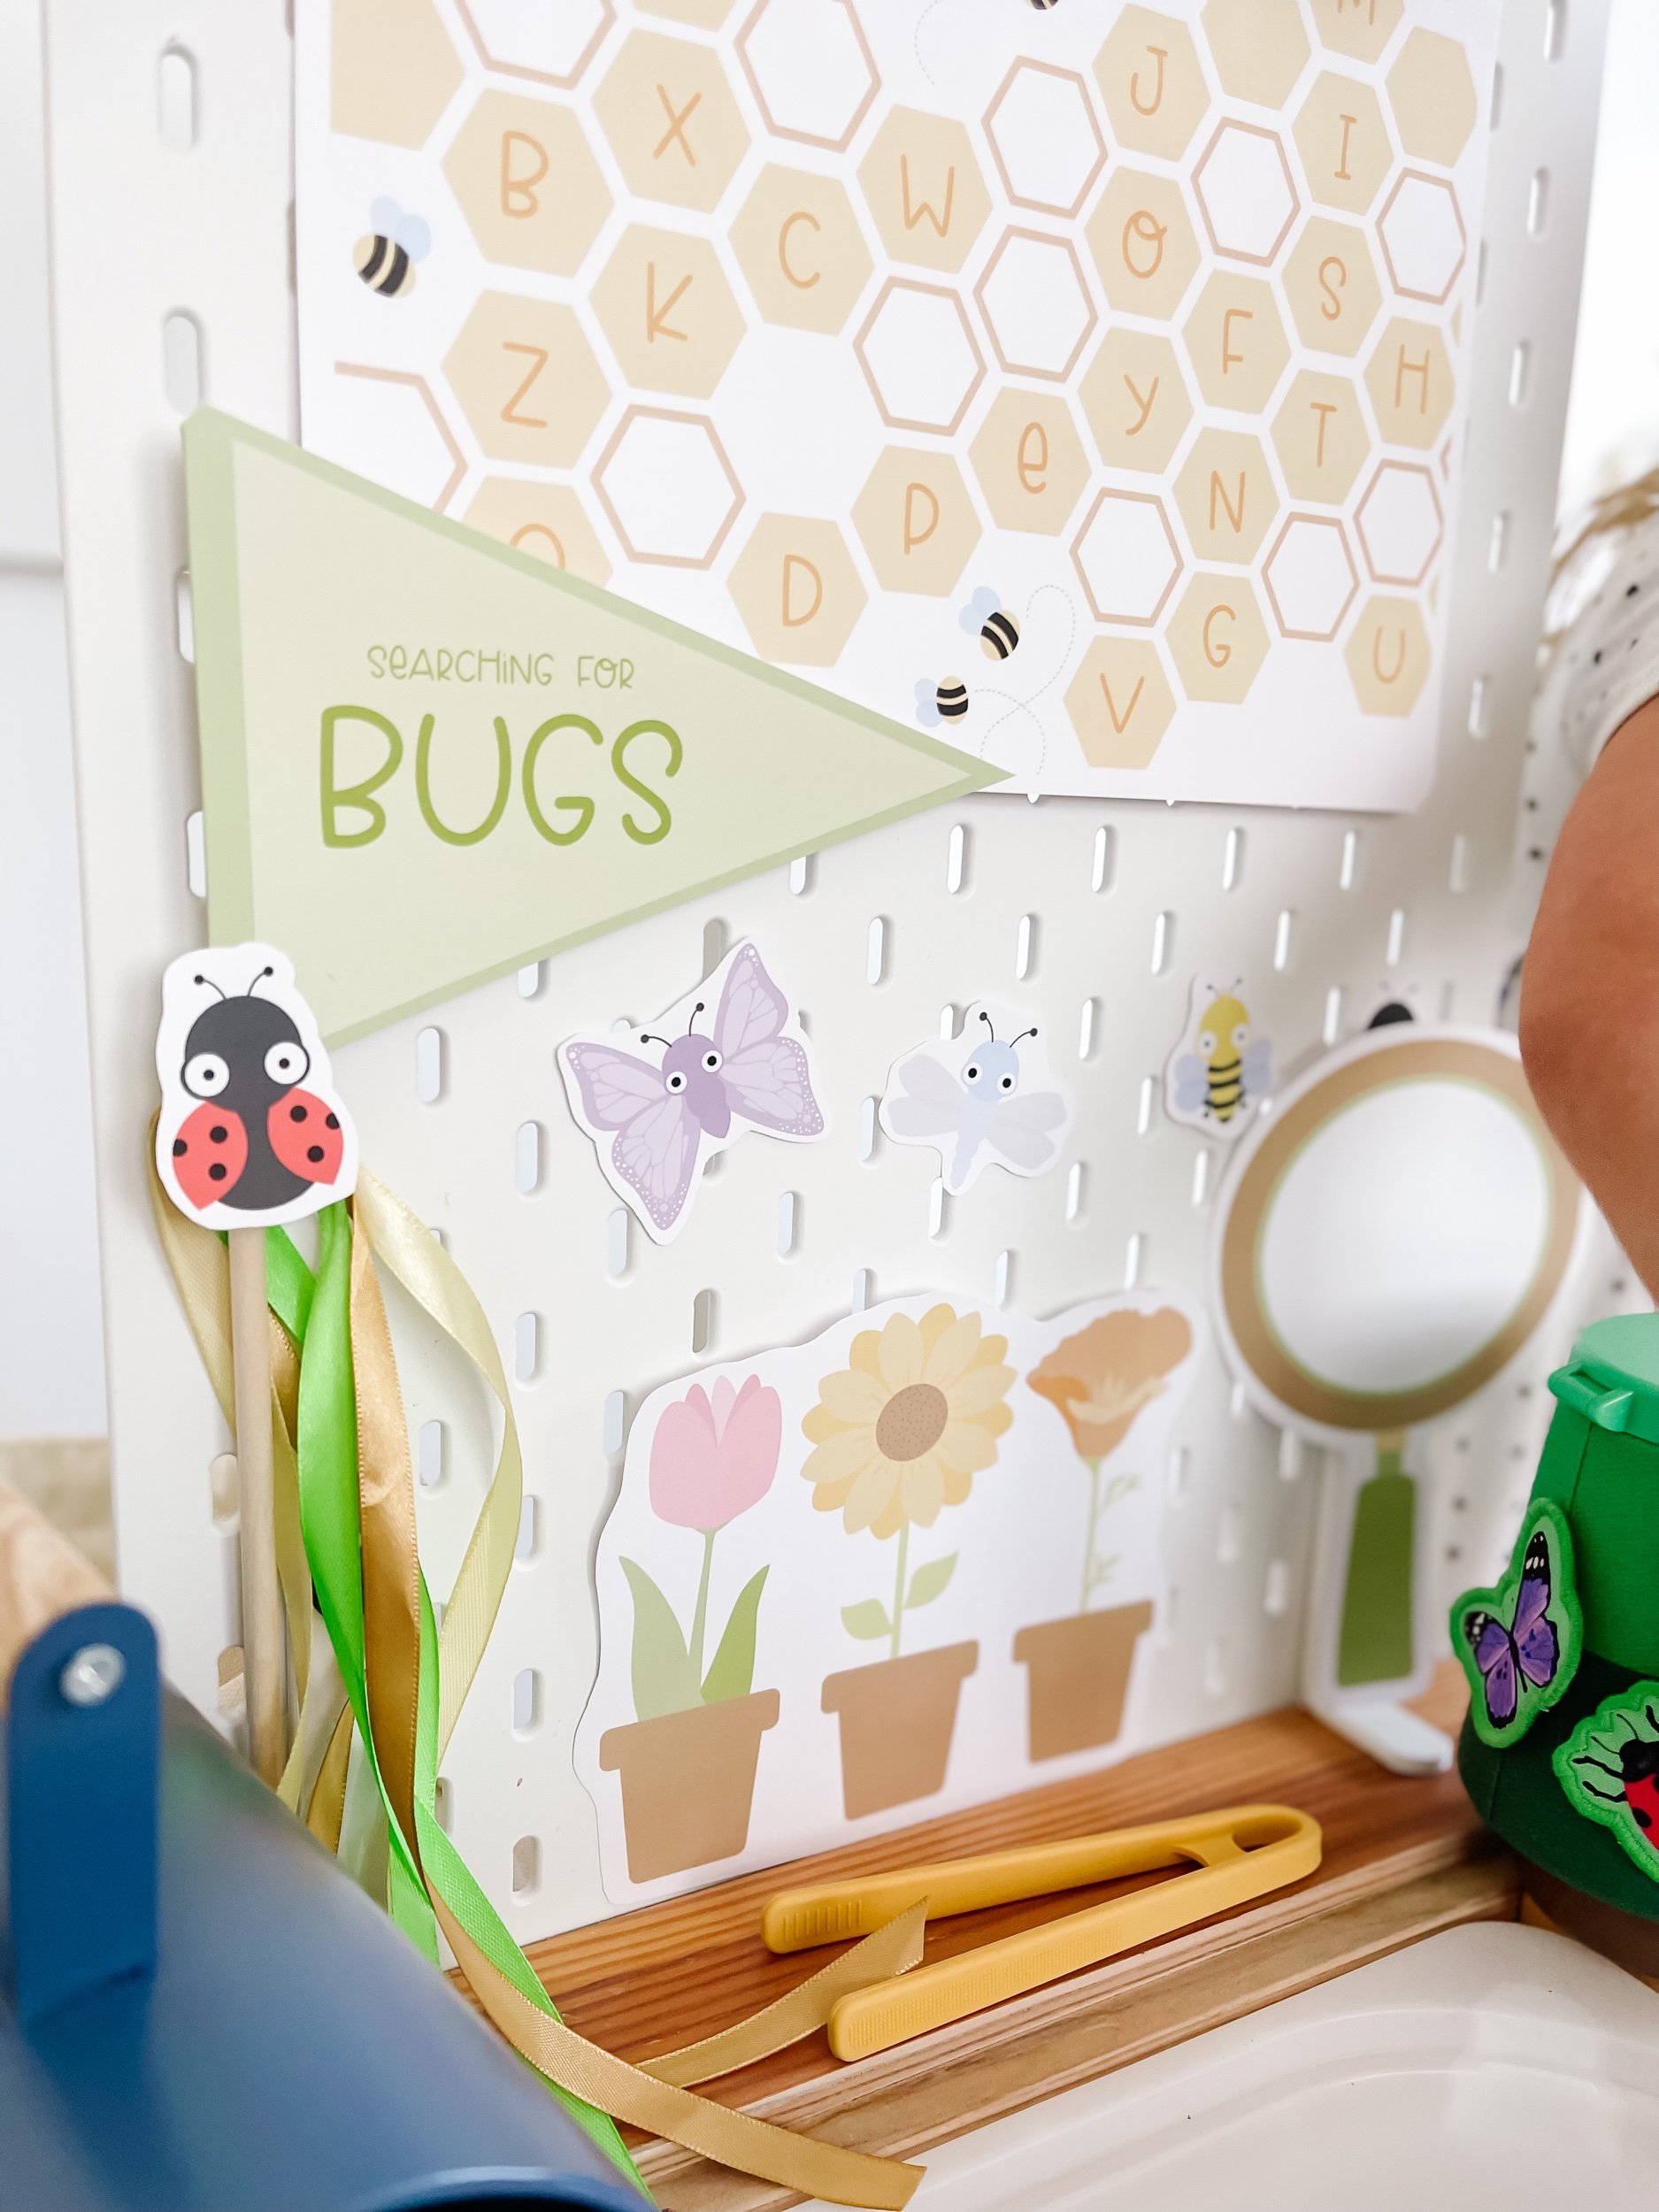
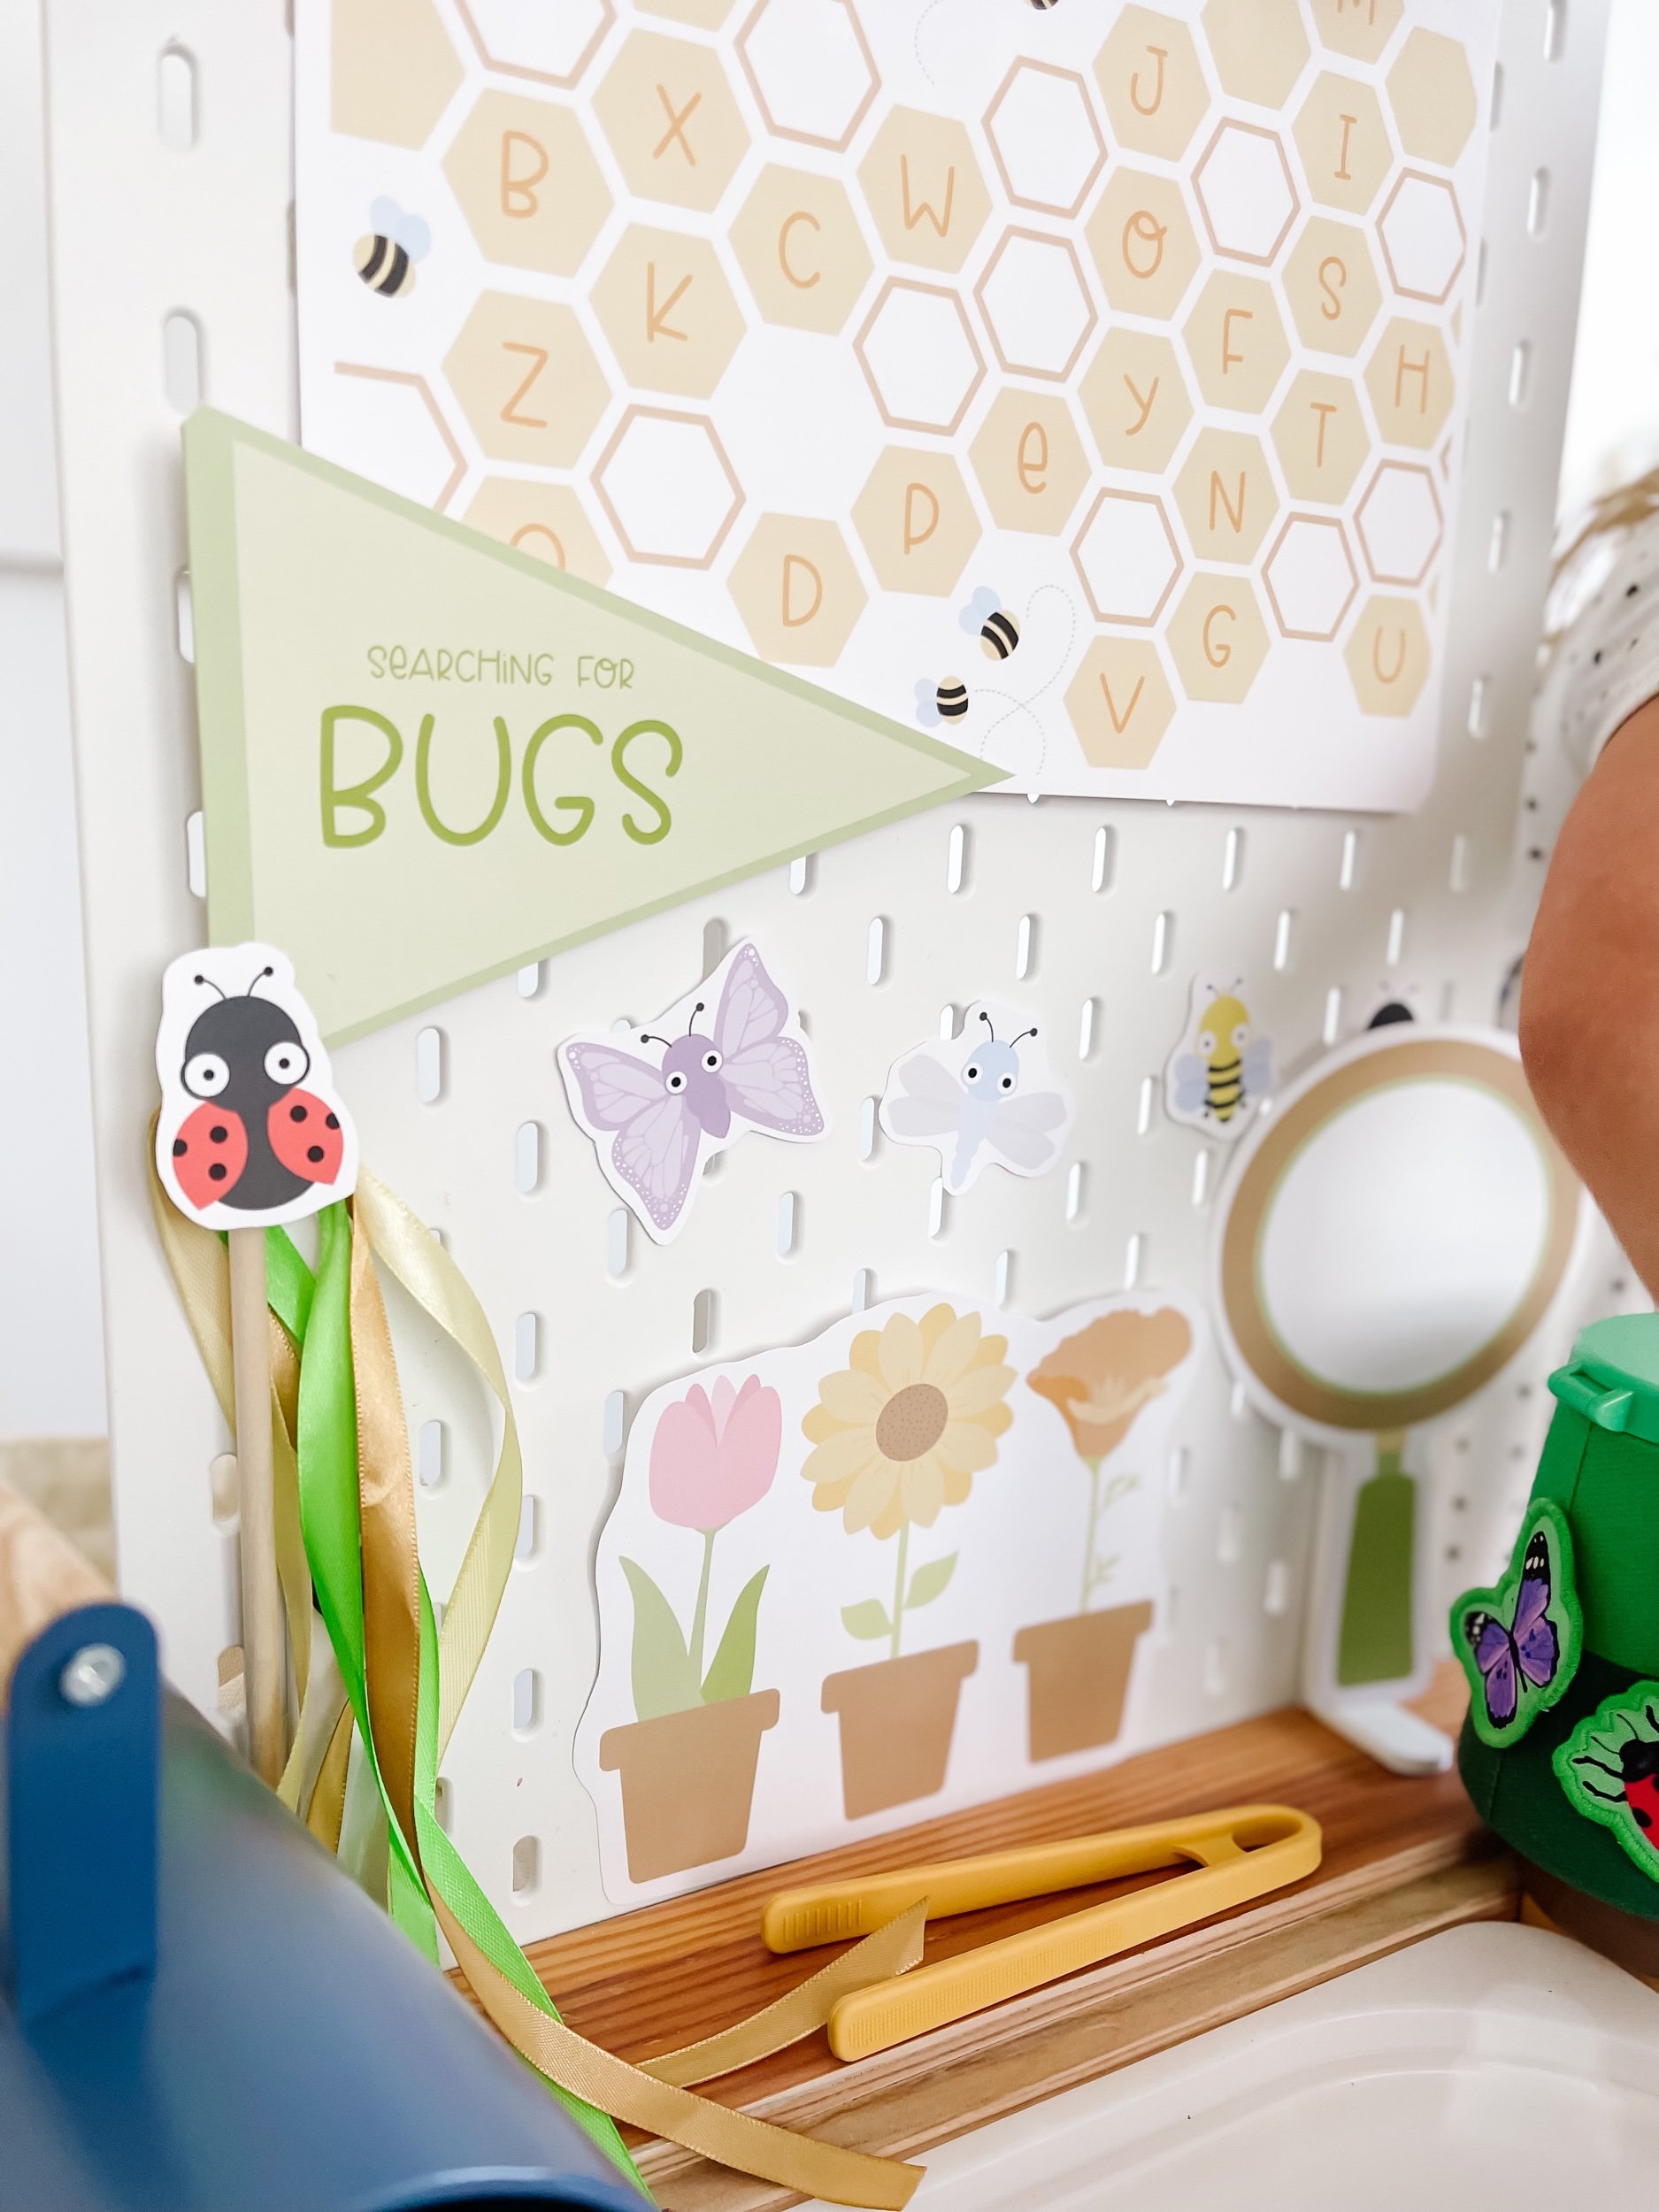
  • Magnifying Glass: Encourage your child to explore and examine different bugs up close, enhancing their observation skills.

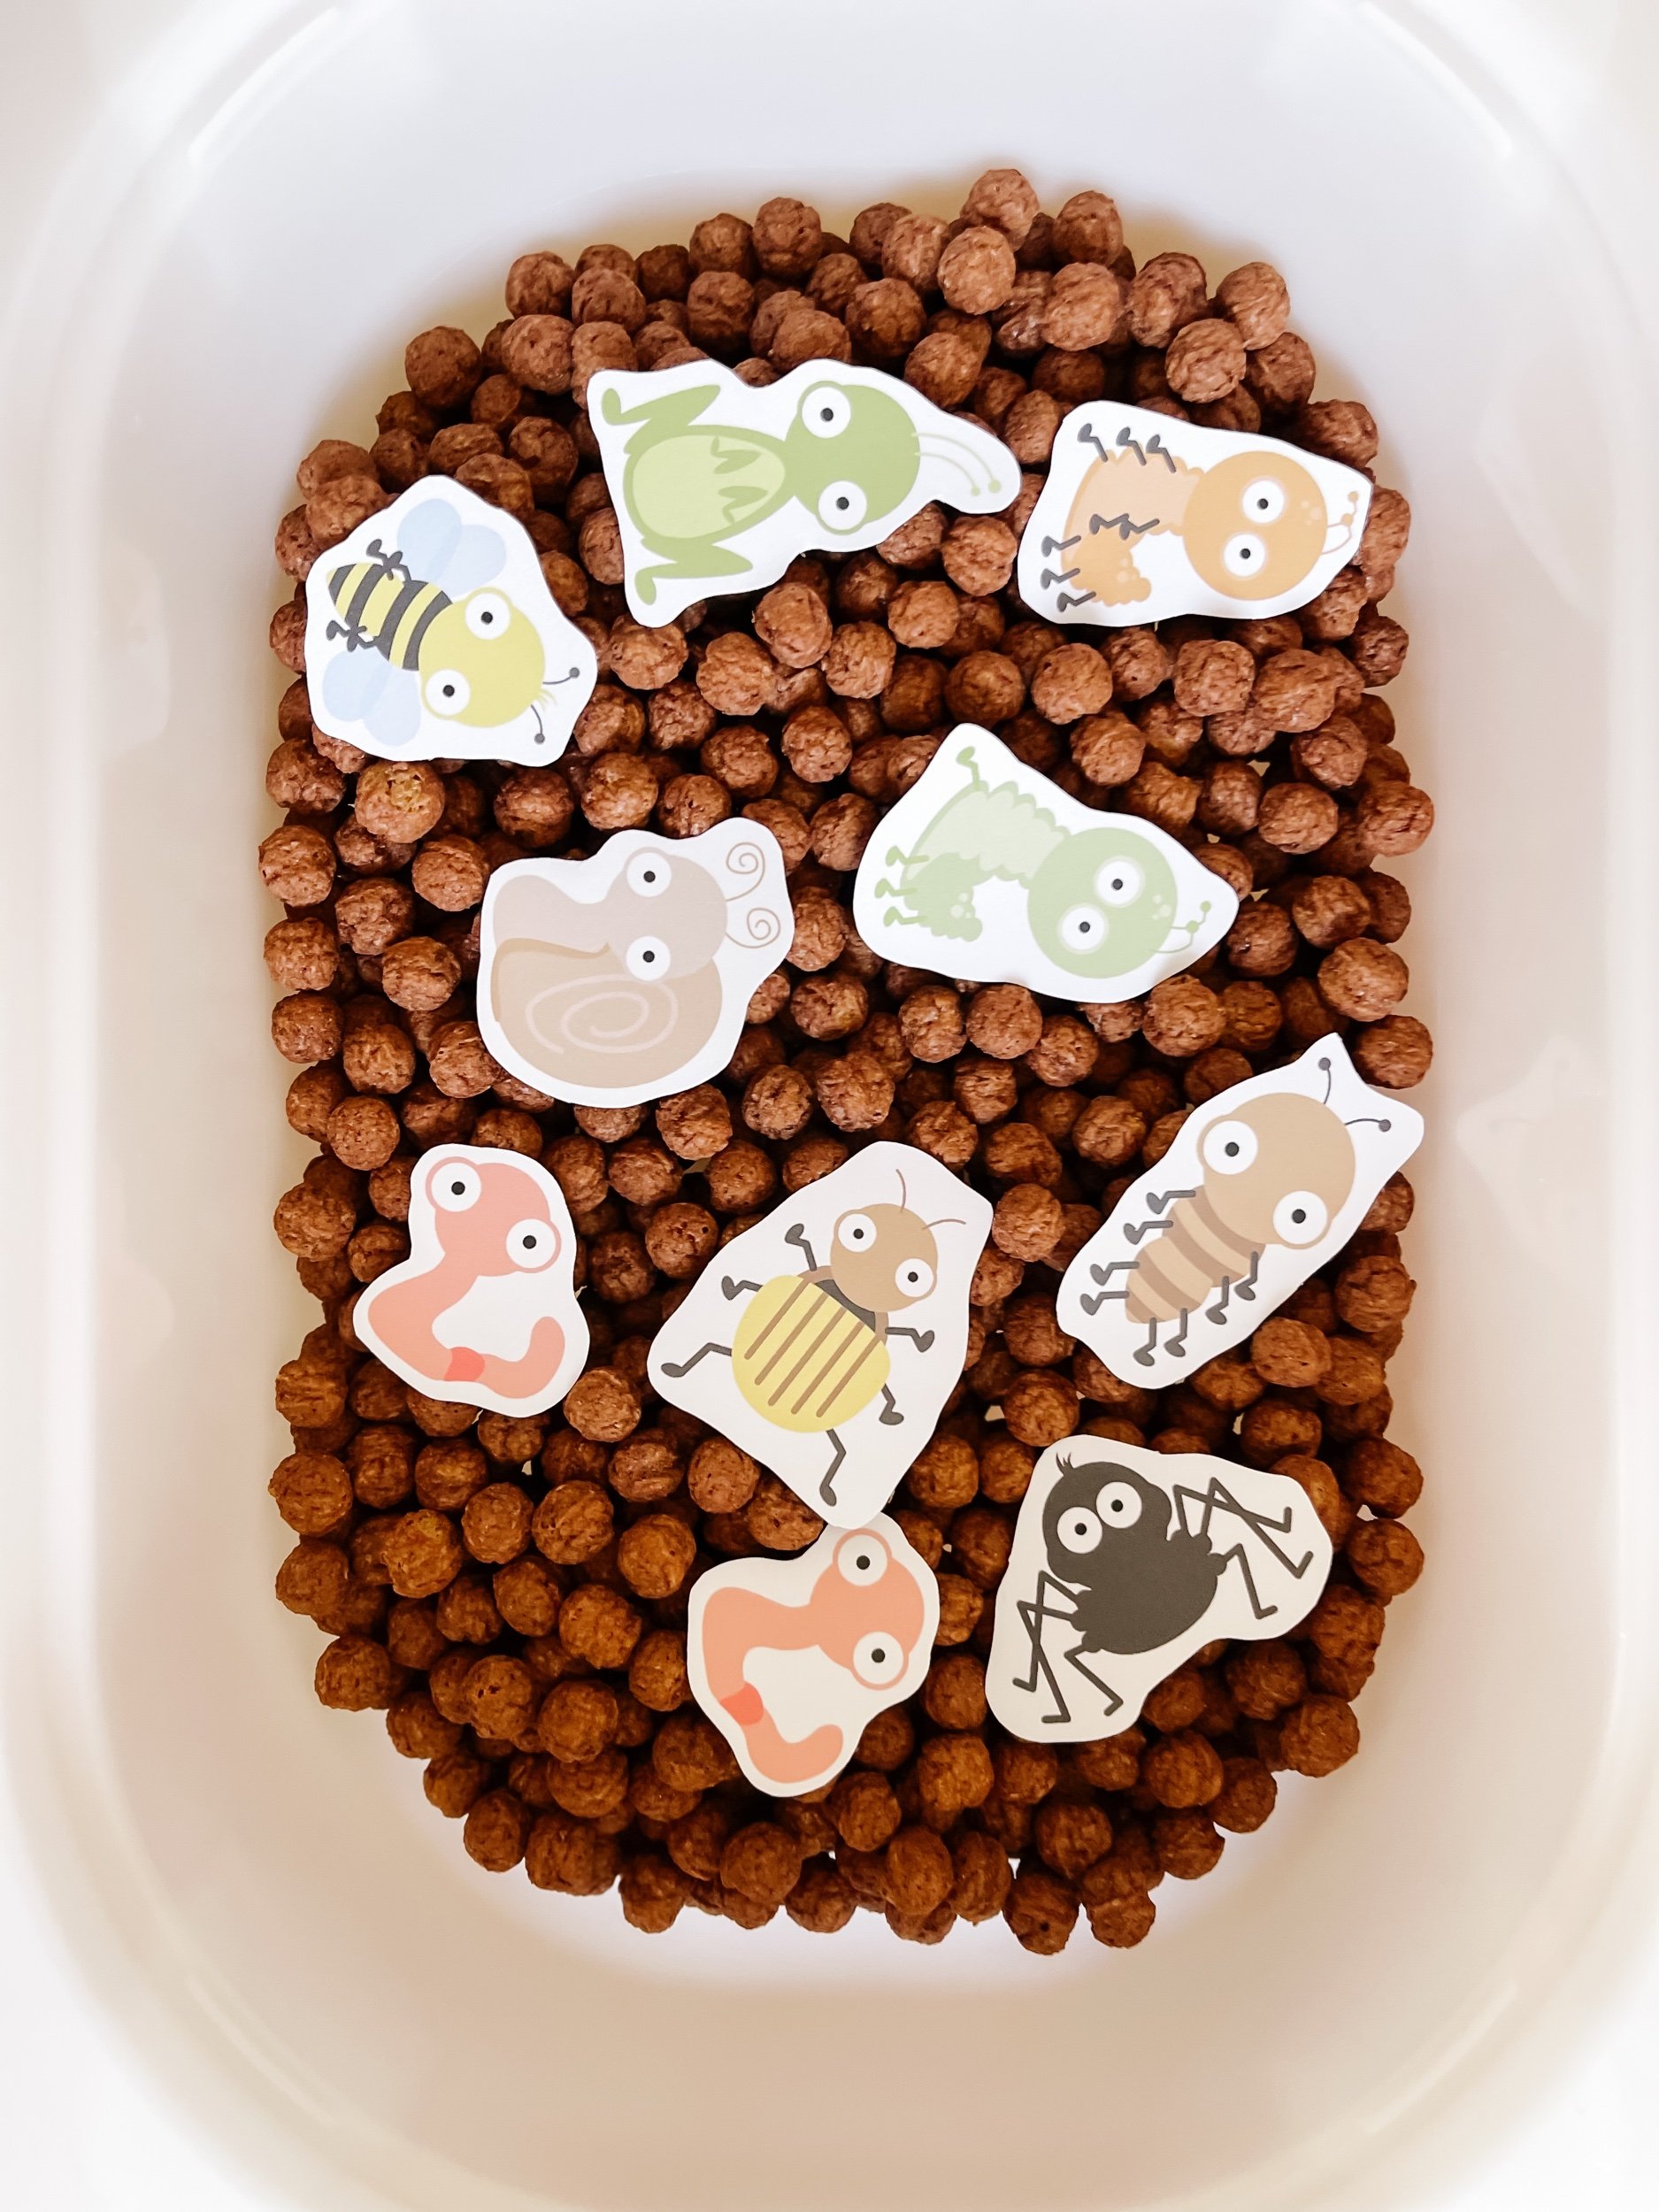
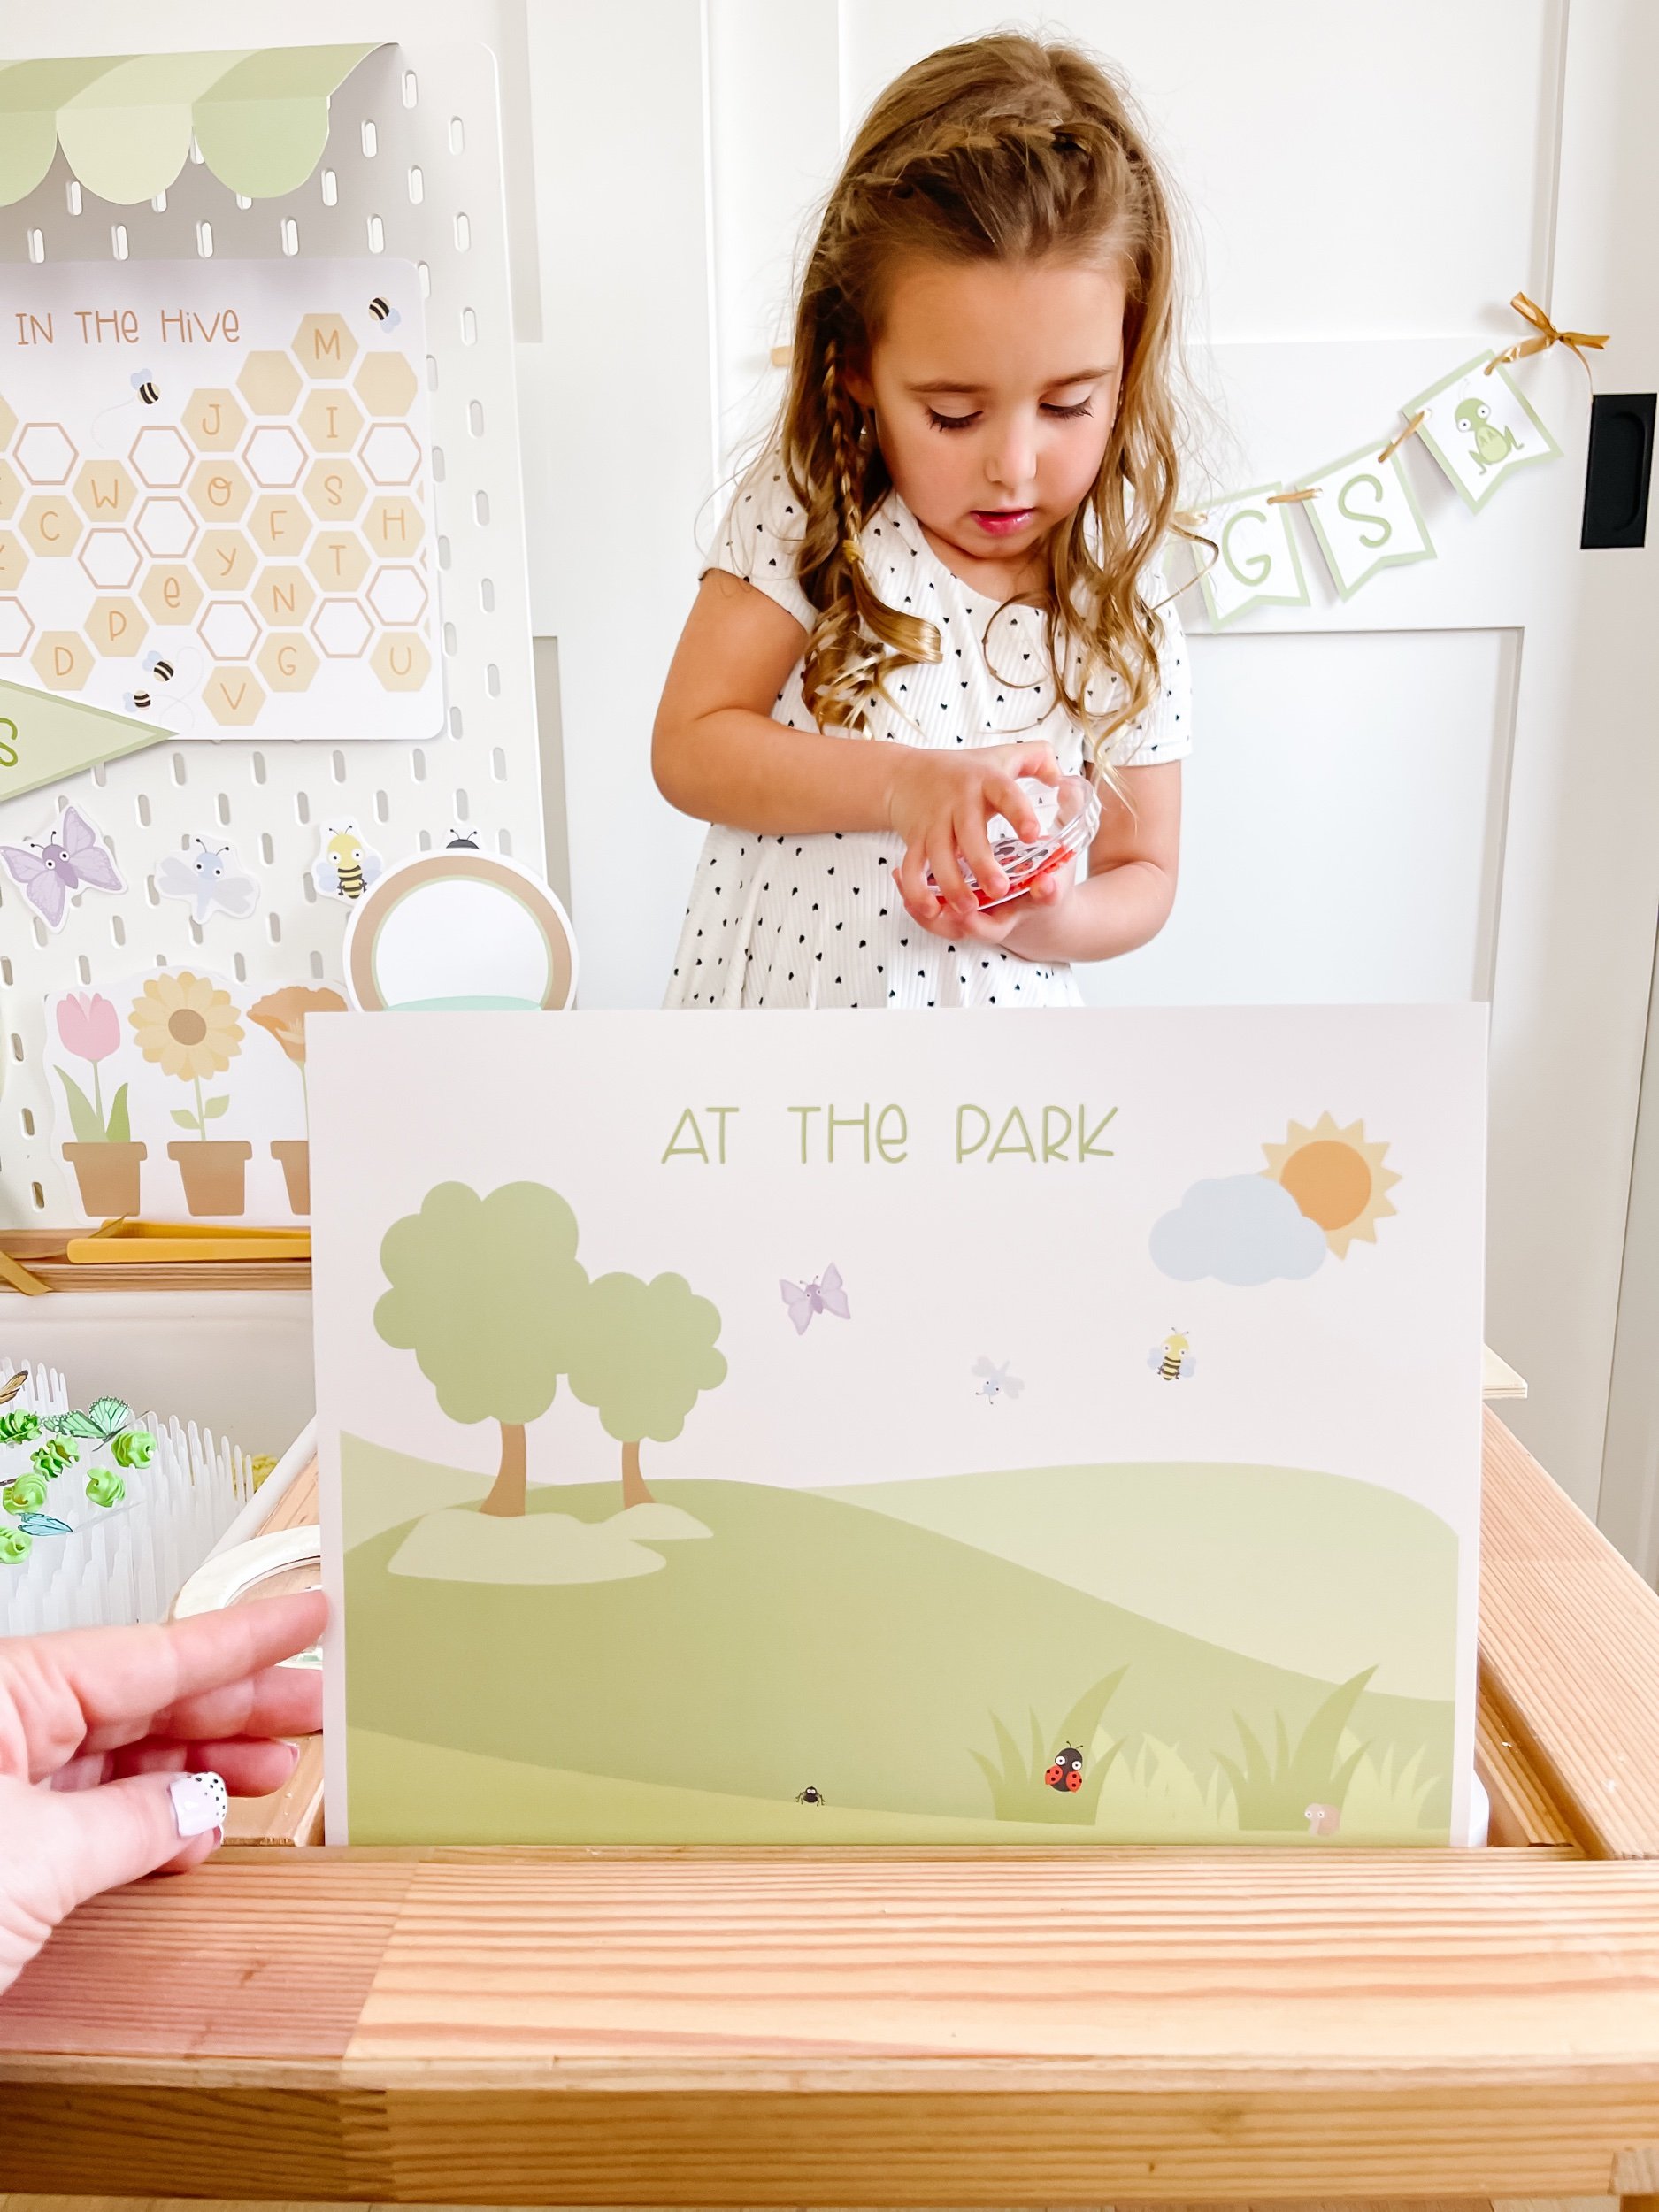
  • Printable Bugs for Hiding: Hide printable bugs within the sensory bin and challenge your child to find them, improving their visual discrimination and problem-solving abilities.

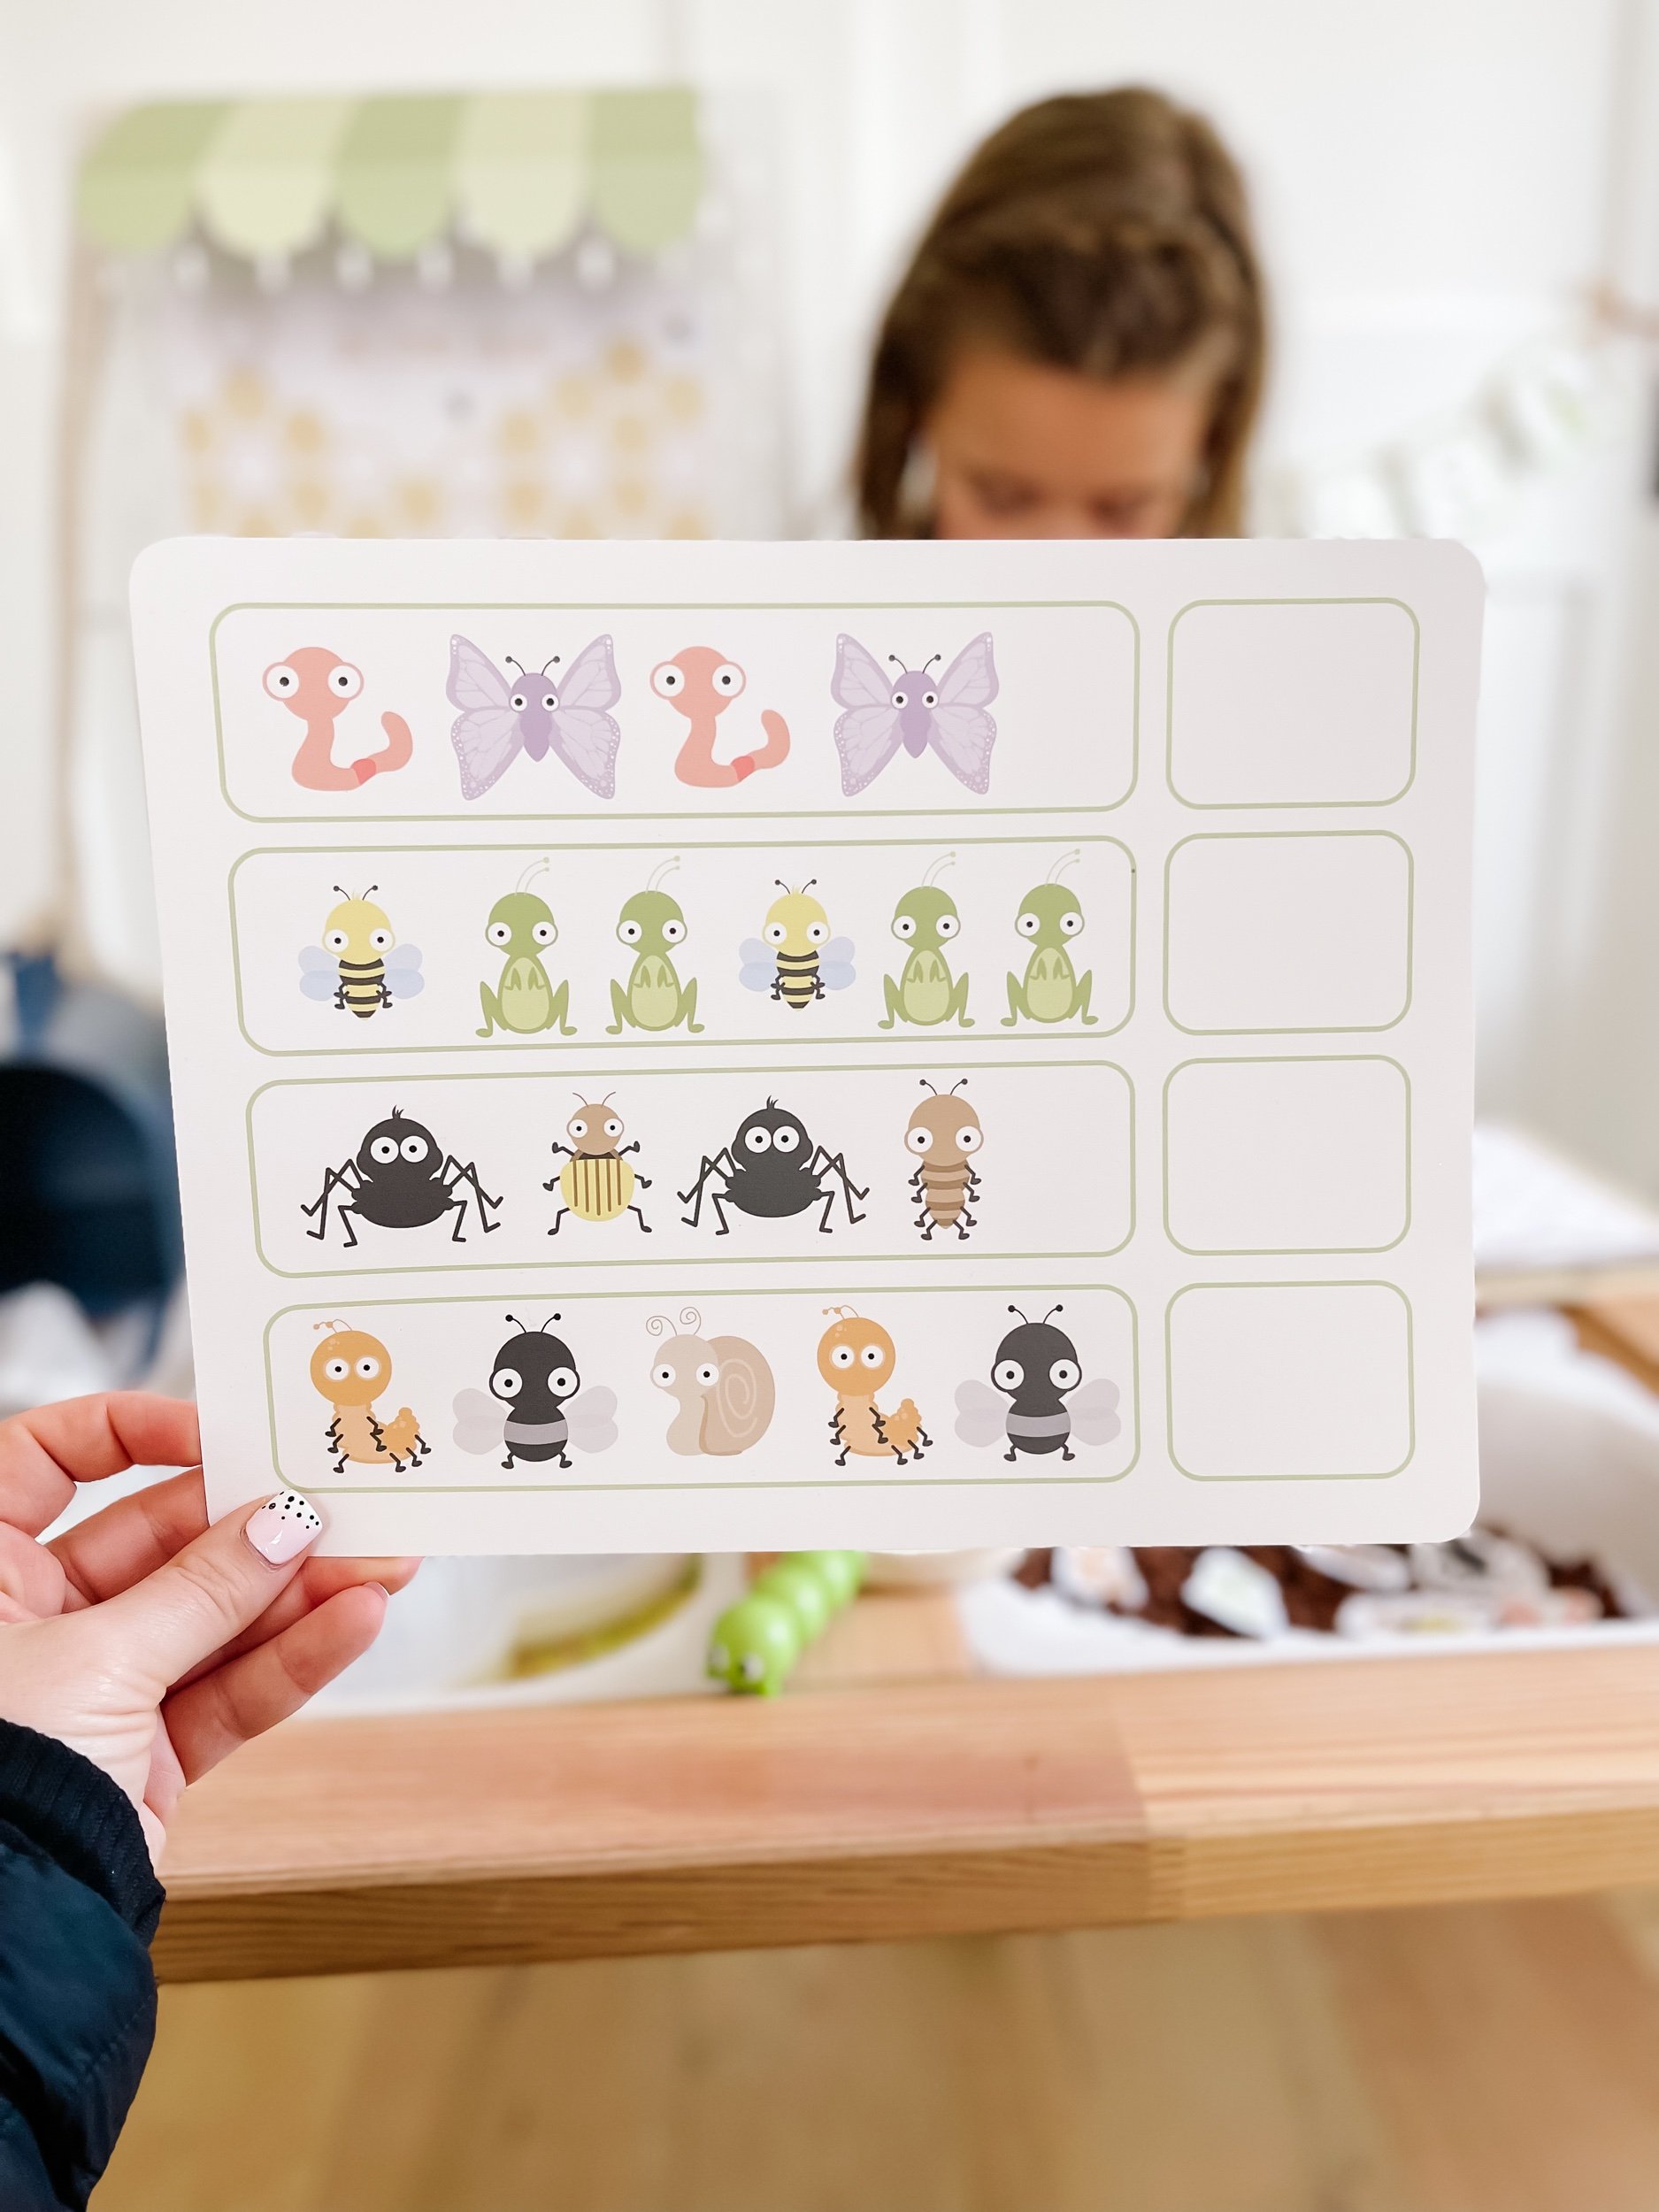
  • Sequence Practice: Use the printable sequence practice sheets to help your child understand the life cycle of various bugs and insects, fostering their understanding of biology and sequencing skills.

  • Bee Hive Letter Recognition: Seek out various letters of the Alphabet using our bee hive seek and find.

Download & Print

IMG_6470_jpg.jpeg IMG_6521.jpeg IMG_6520_jpg.jpeg IMG_6479_jpg.jpeg IMG_6523.jpeg IMG_6528_jpg.jpeg

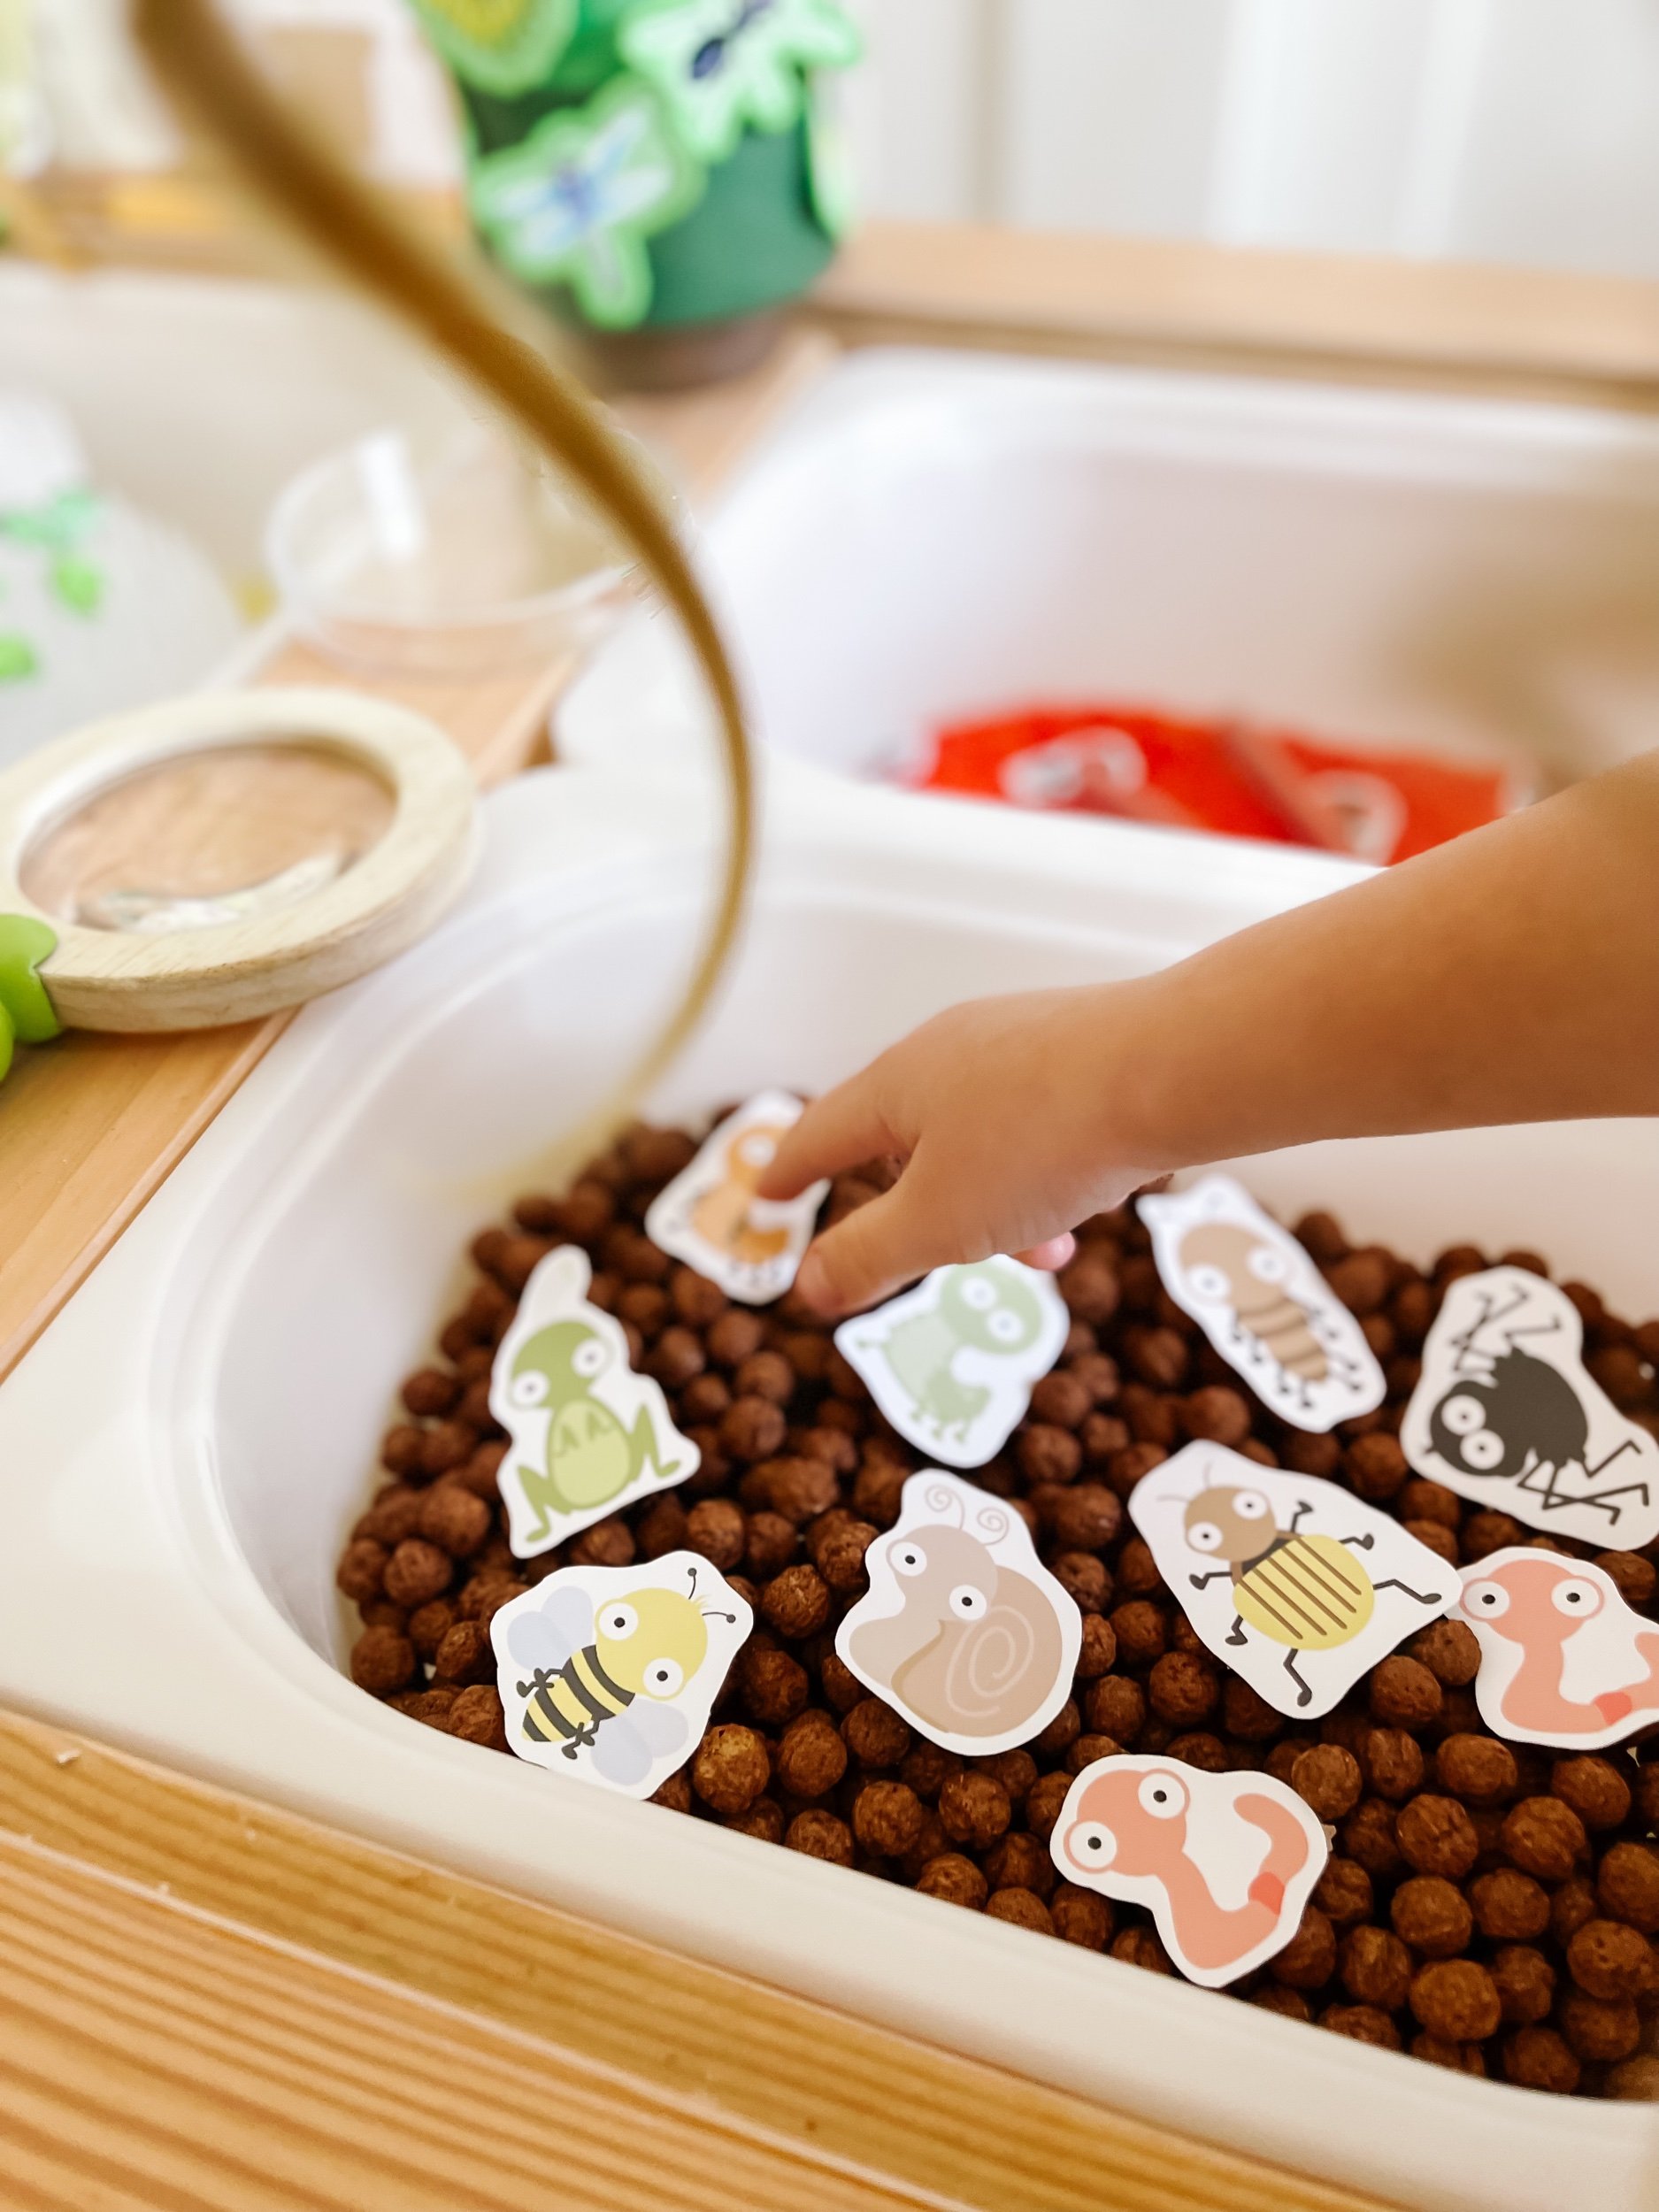
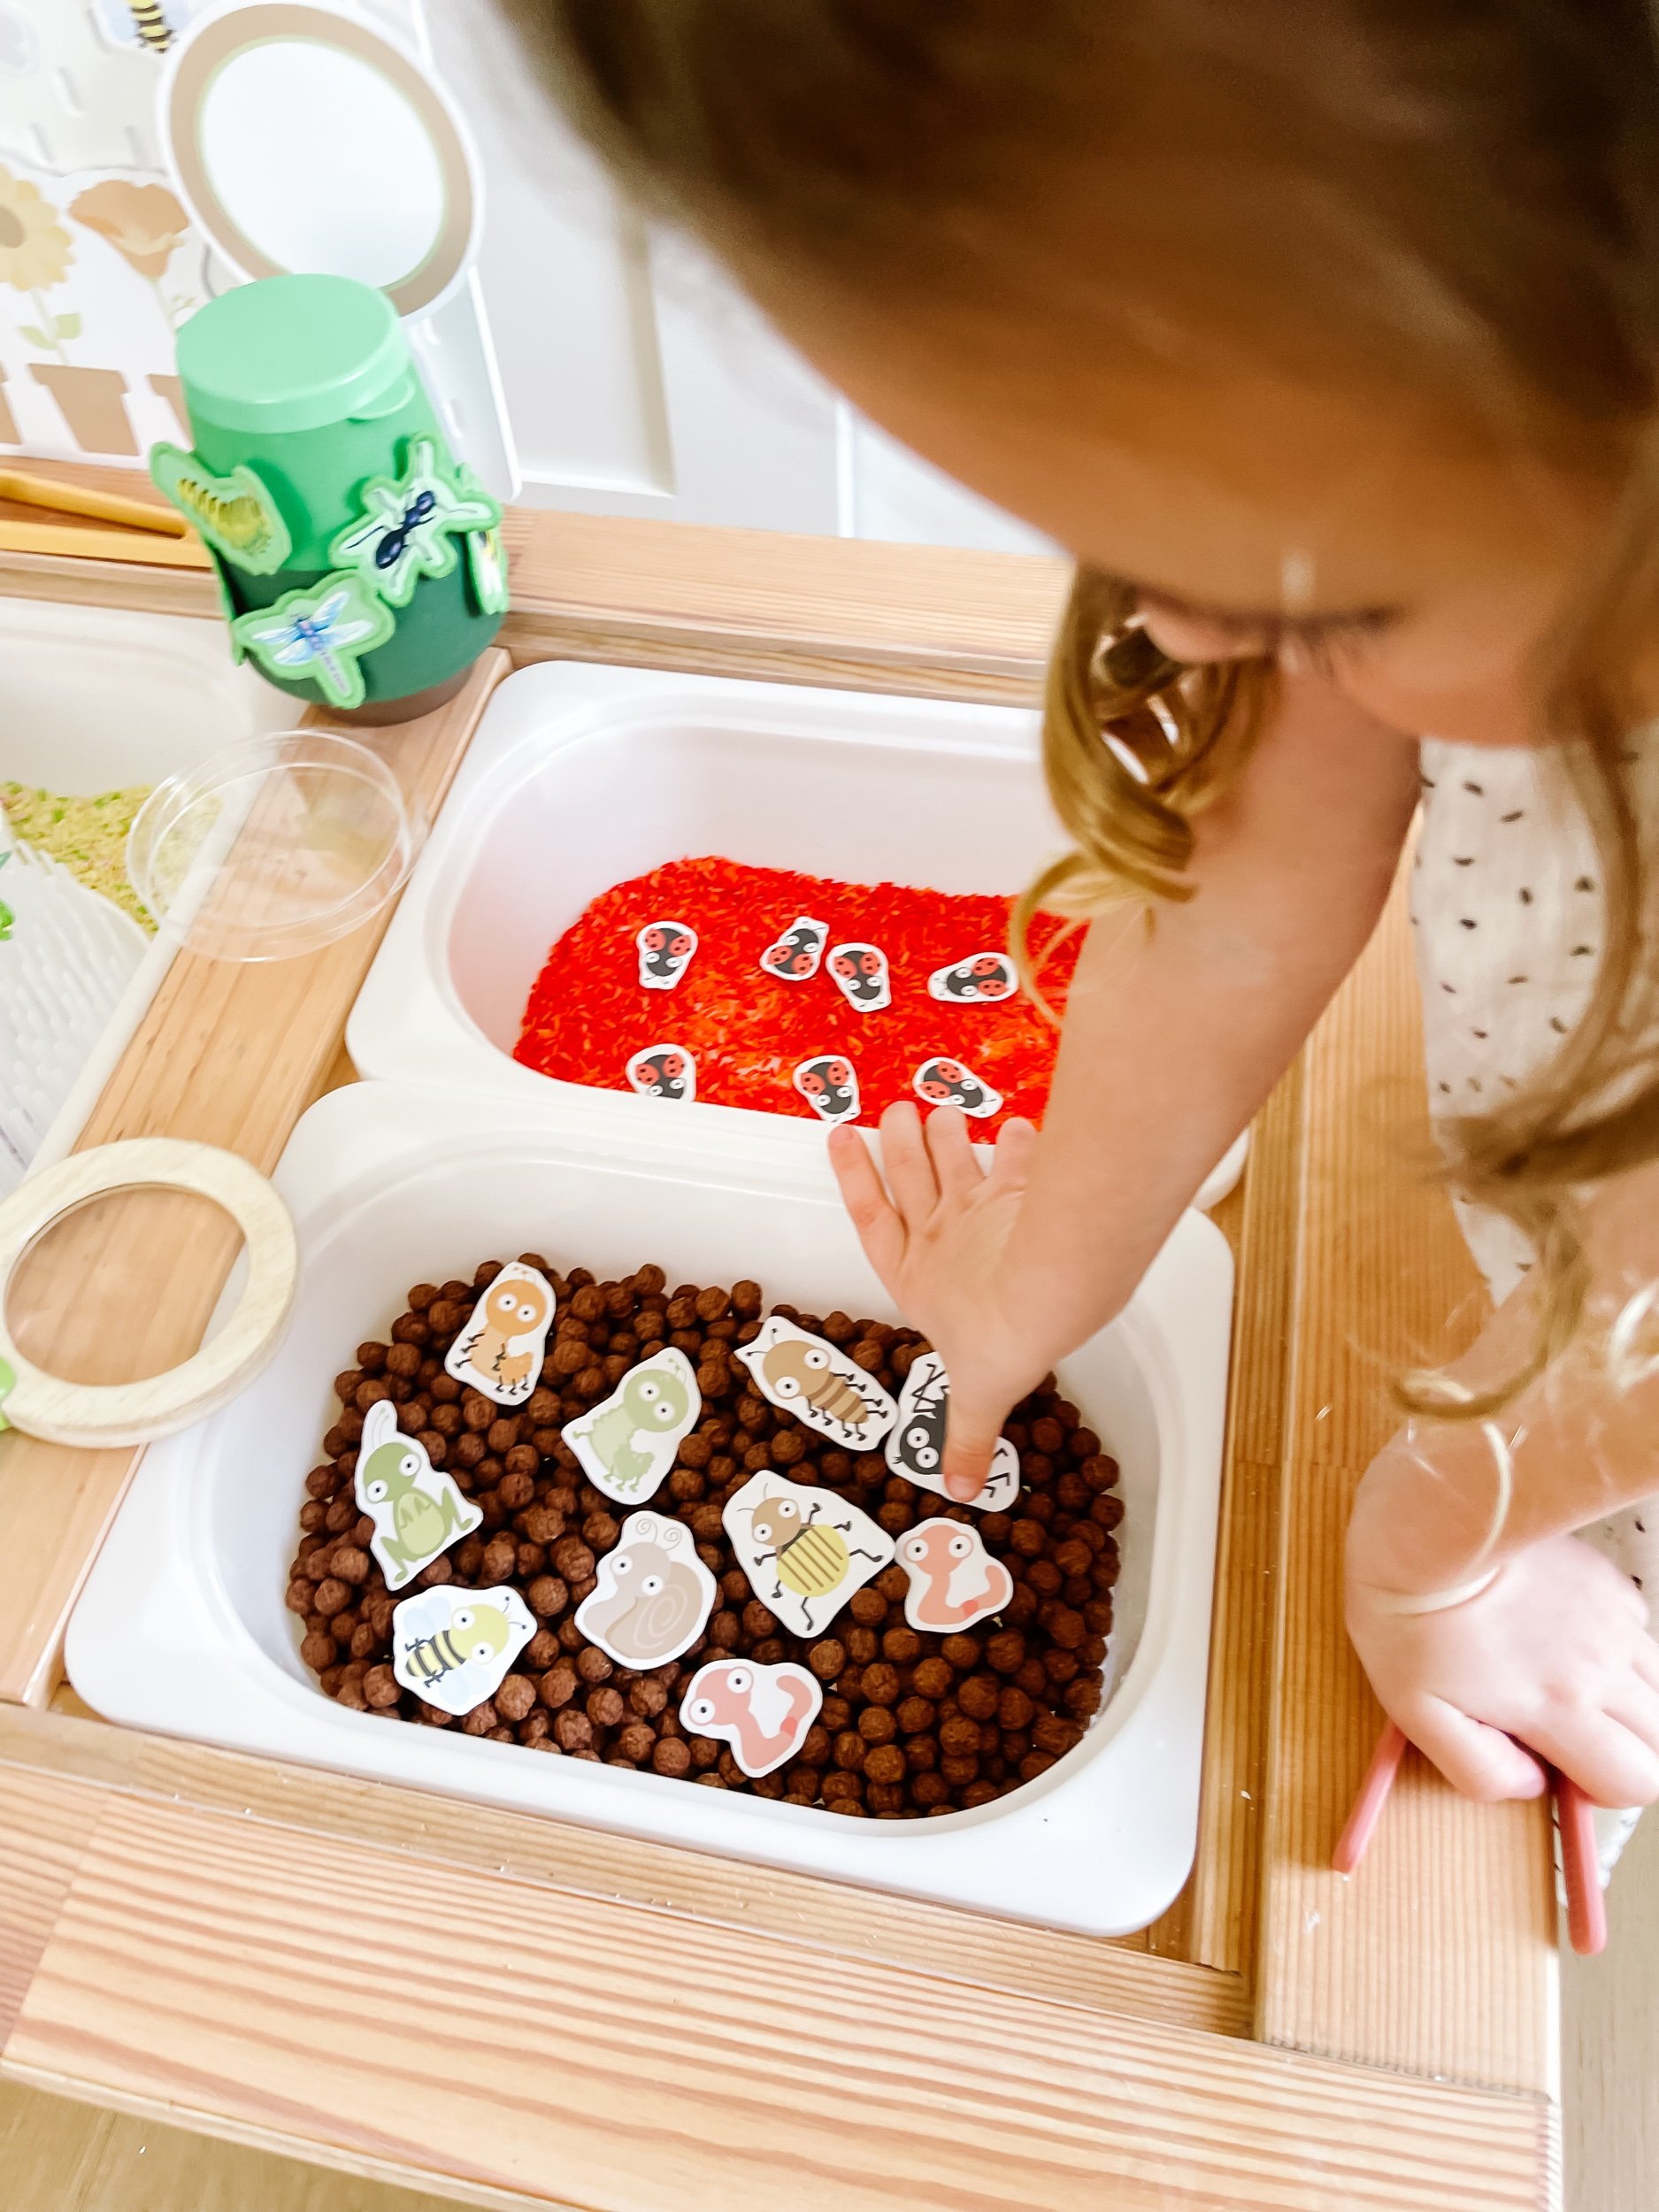
Sensory Play Bin 1: Bugs in dirt Rescue

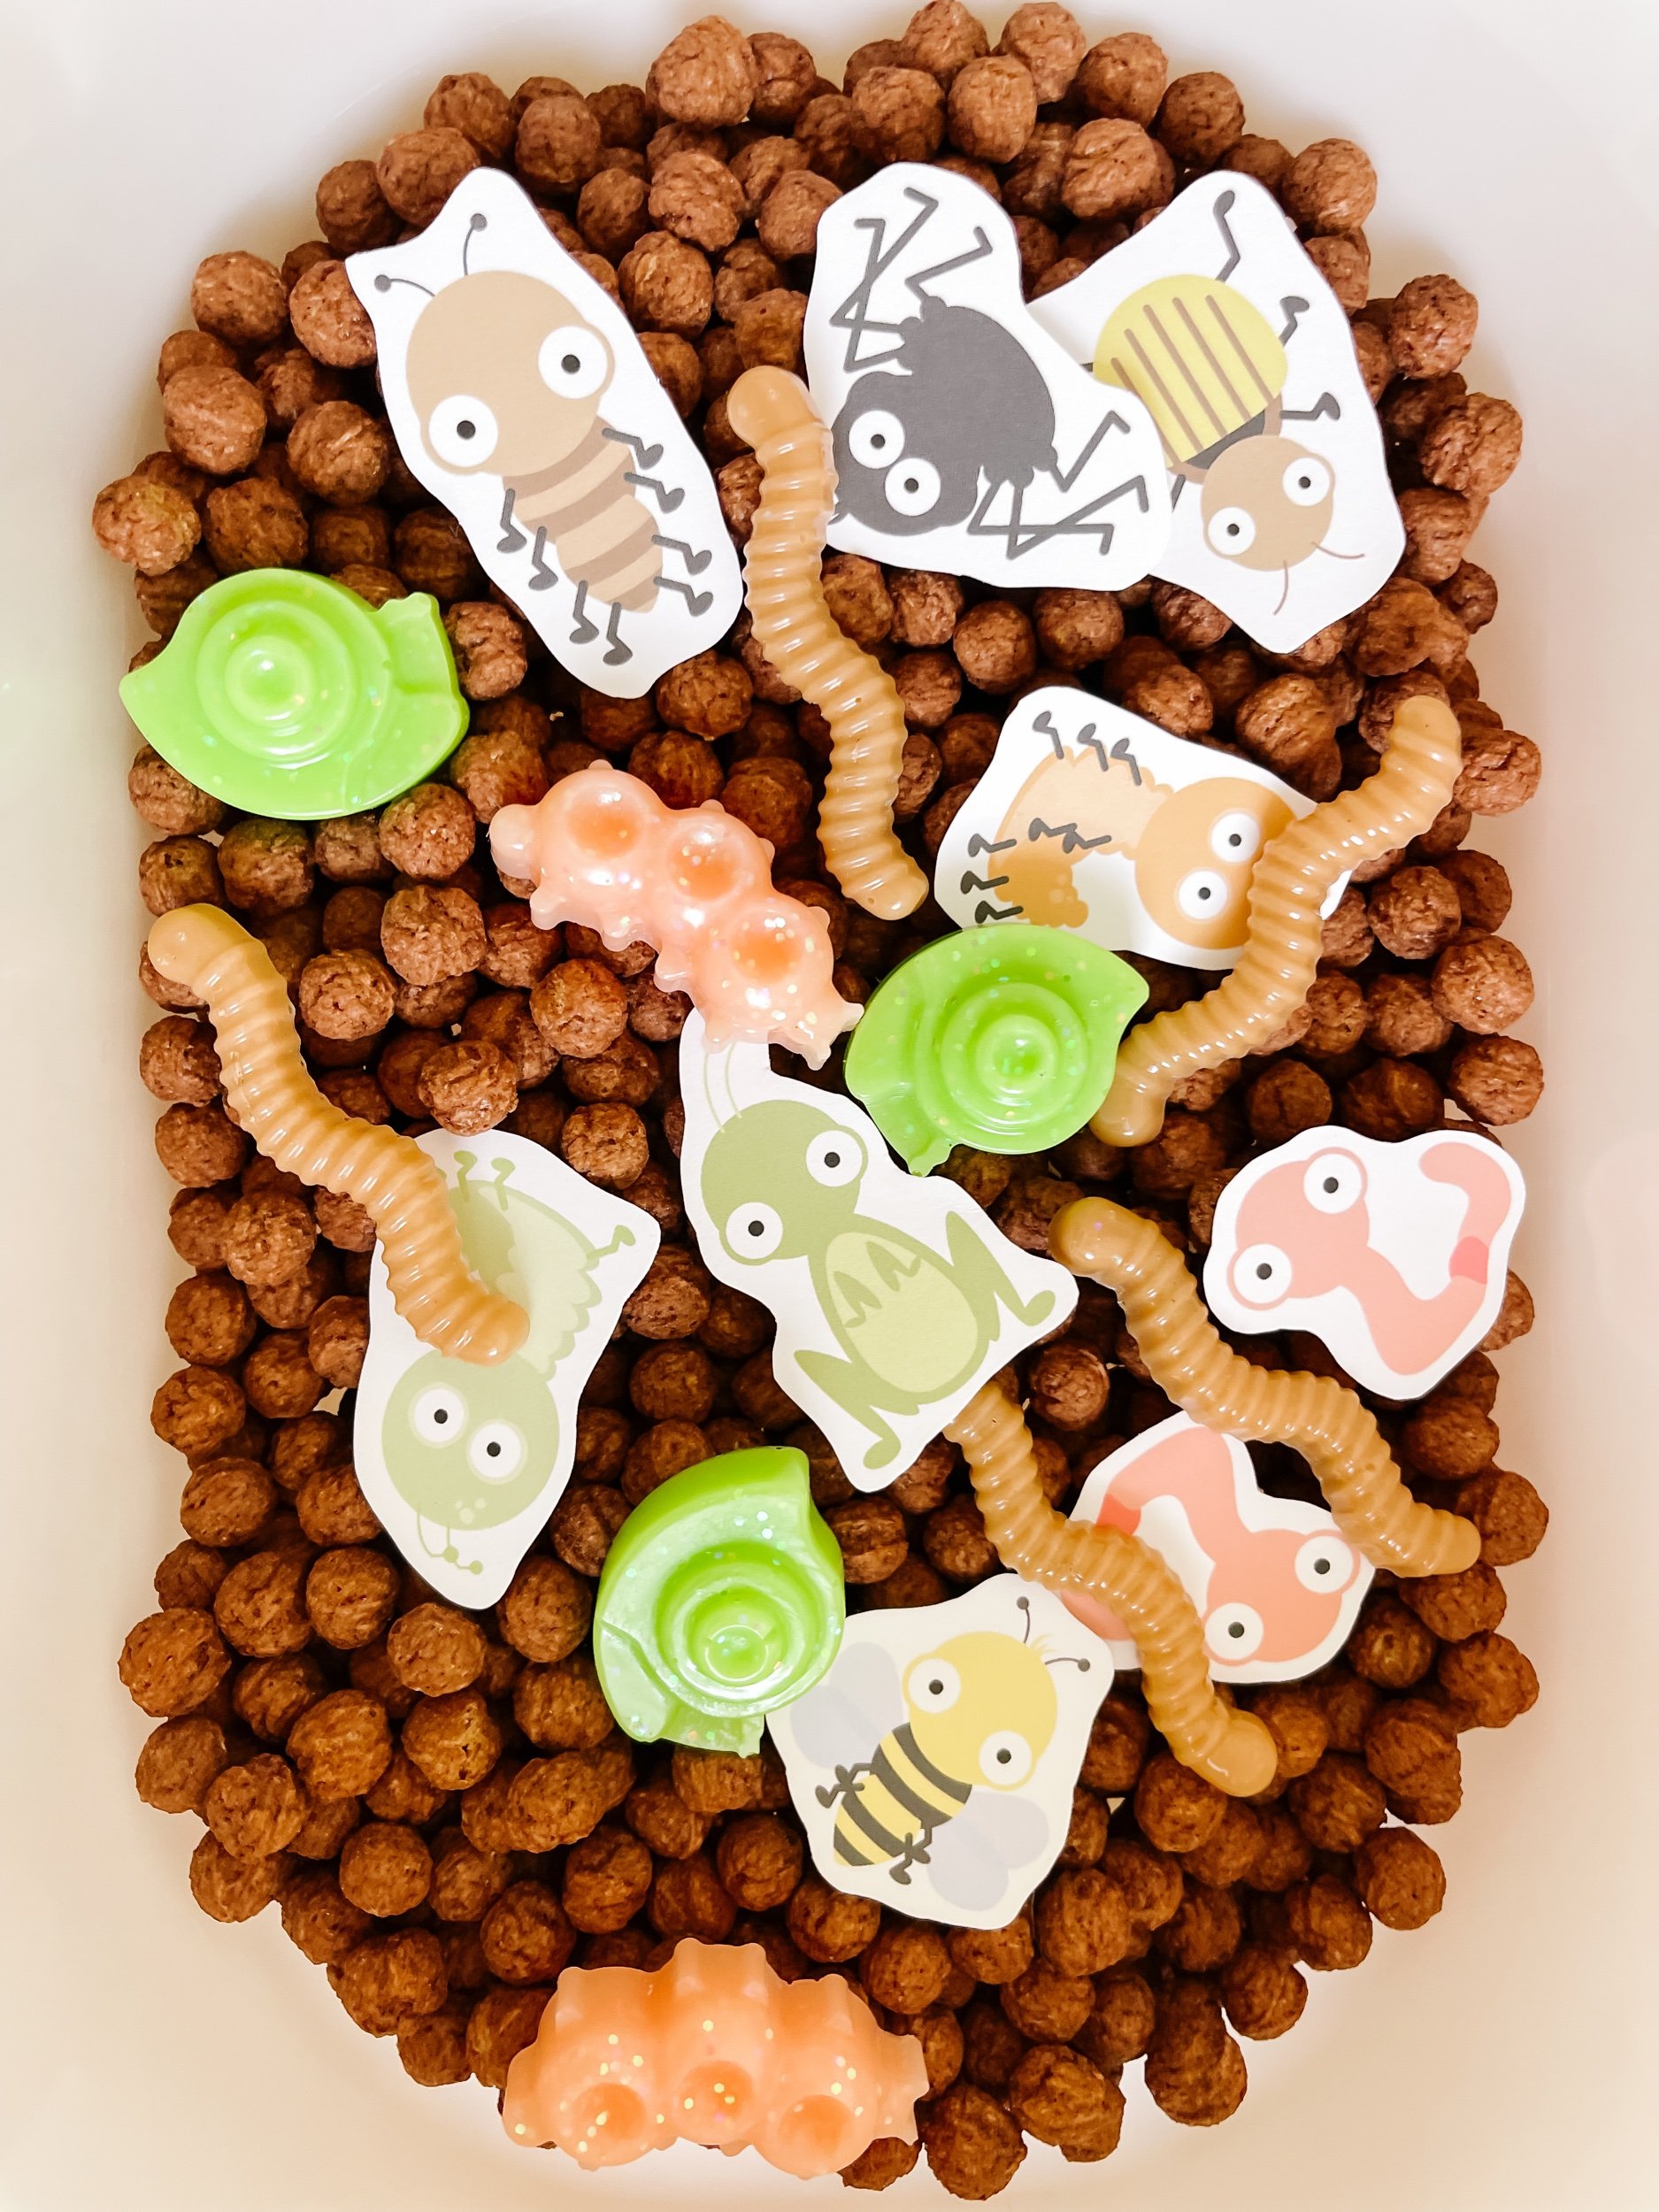
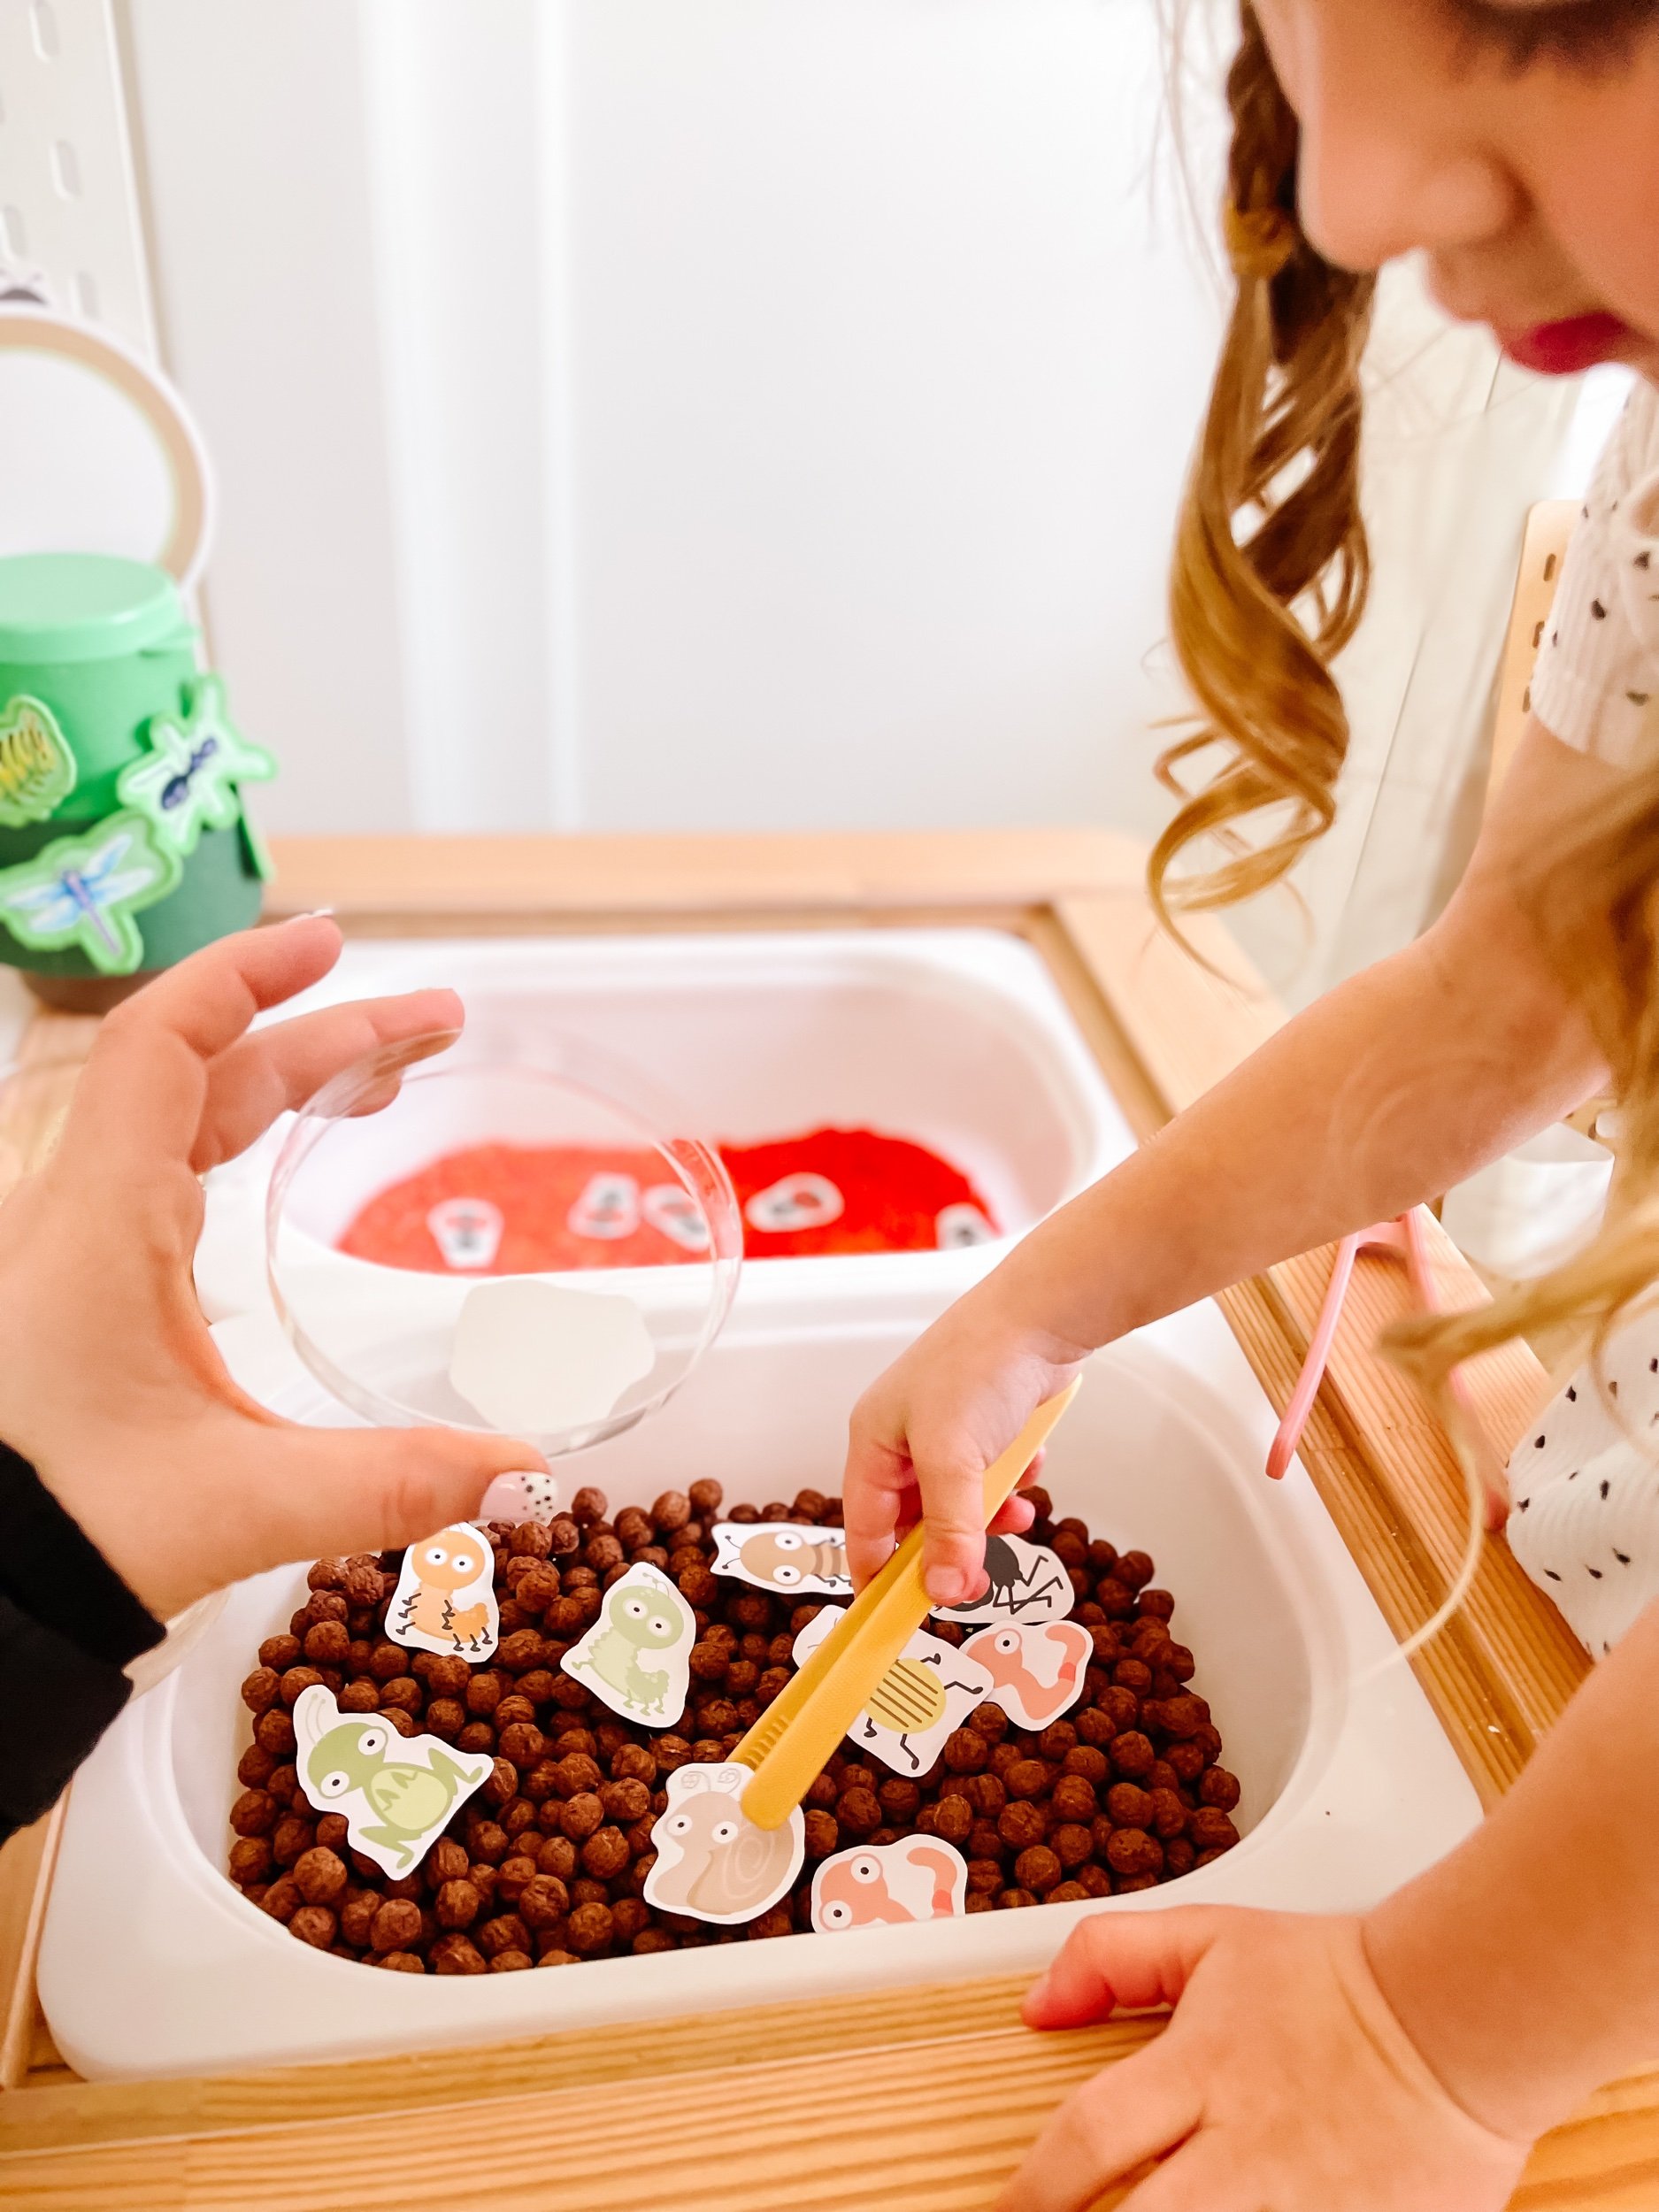
1. Start by preparing a sensory bin filled with play dirt — You can use a cereal base like I did, or really any brown filler that you love. Chick peas, brown rice, coffee beans, ground up crackers or oreos will all work nicely. For an alternative approach, you can use artificial grass or cut out green construction paper to resemble a grassy surface. You could even use boon grass if you want something completely mess free.
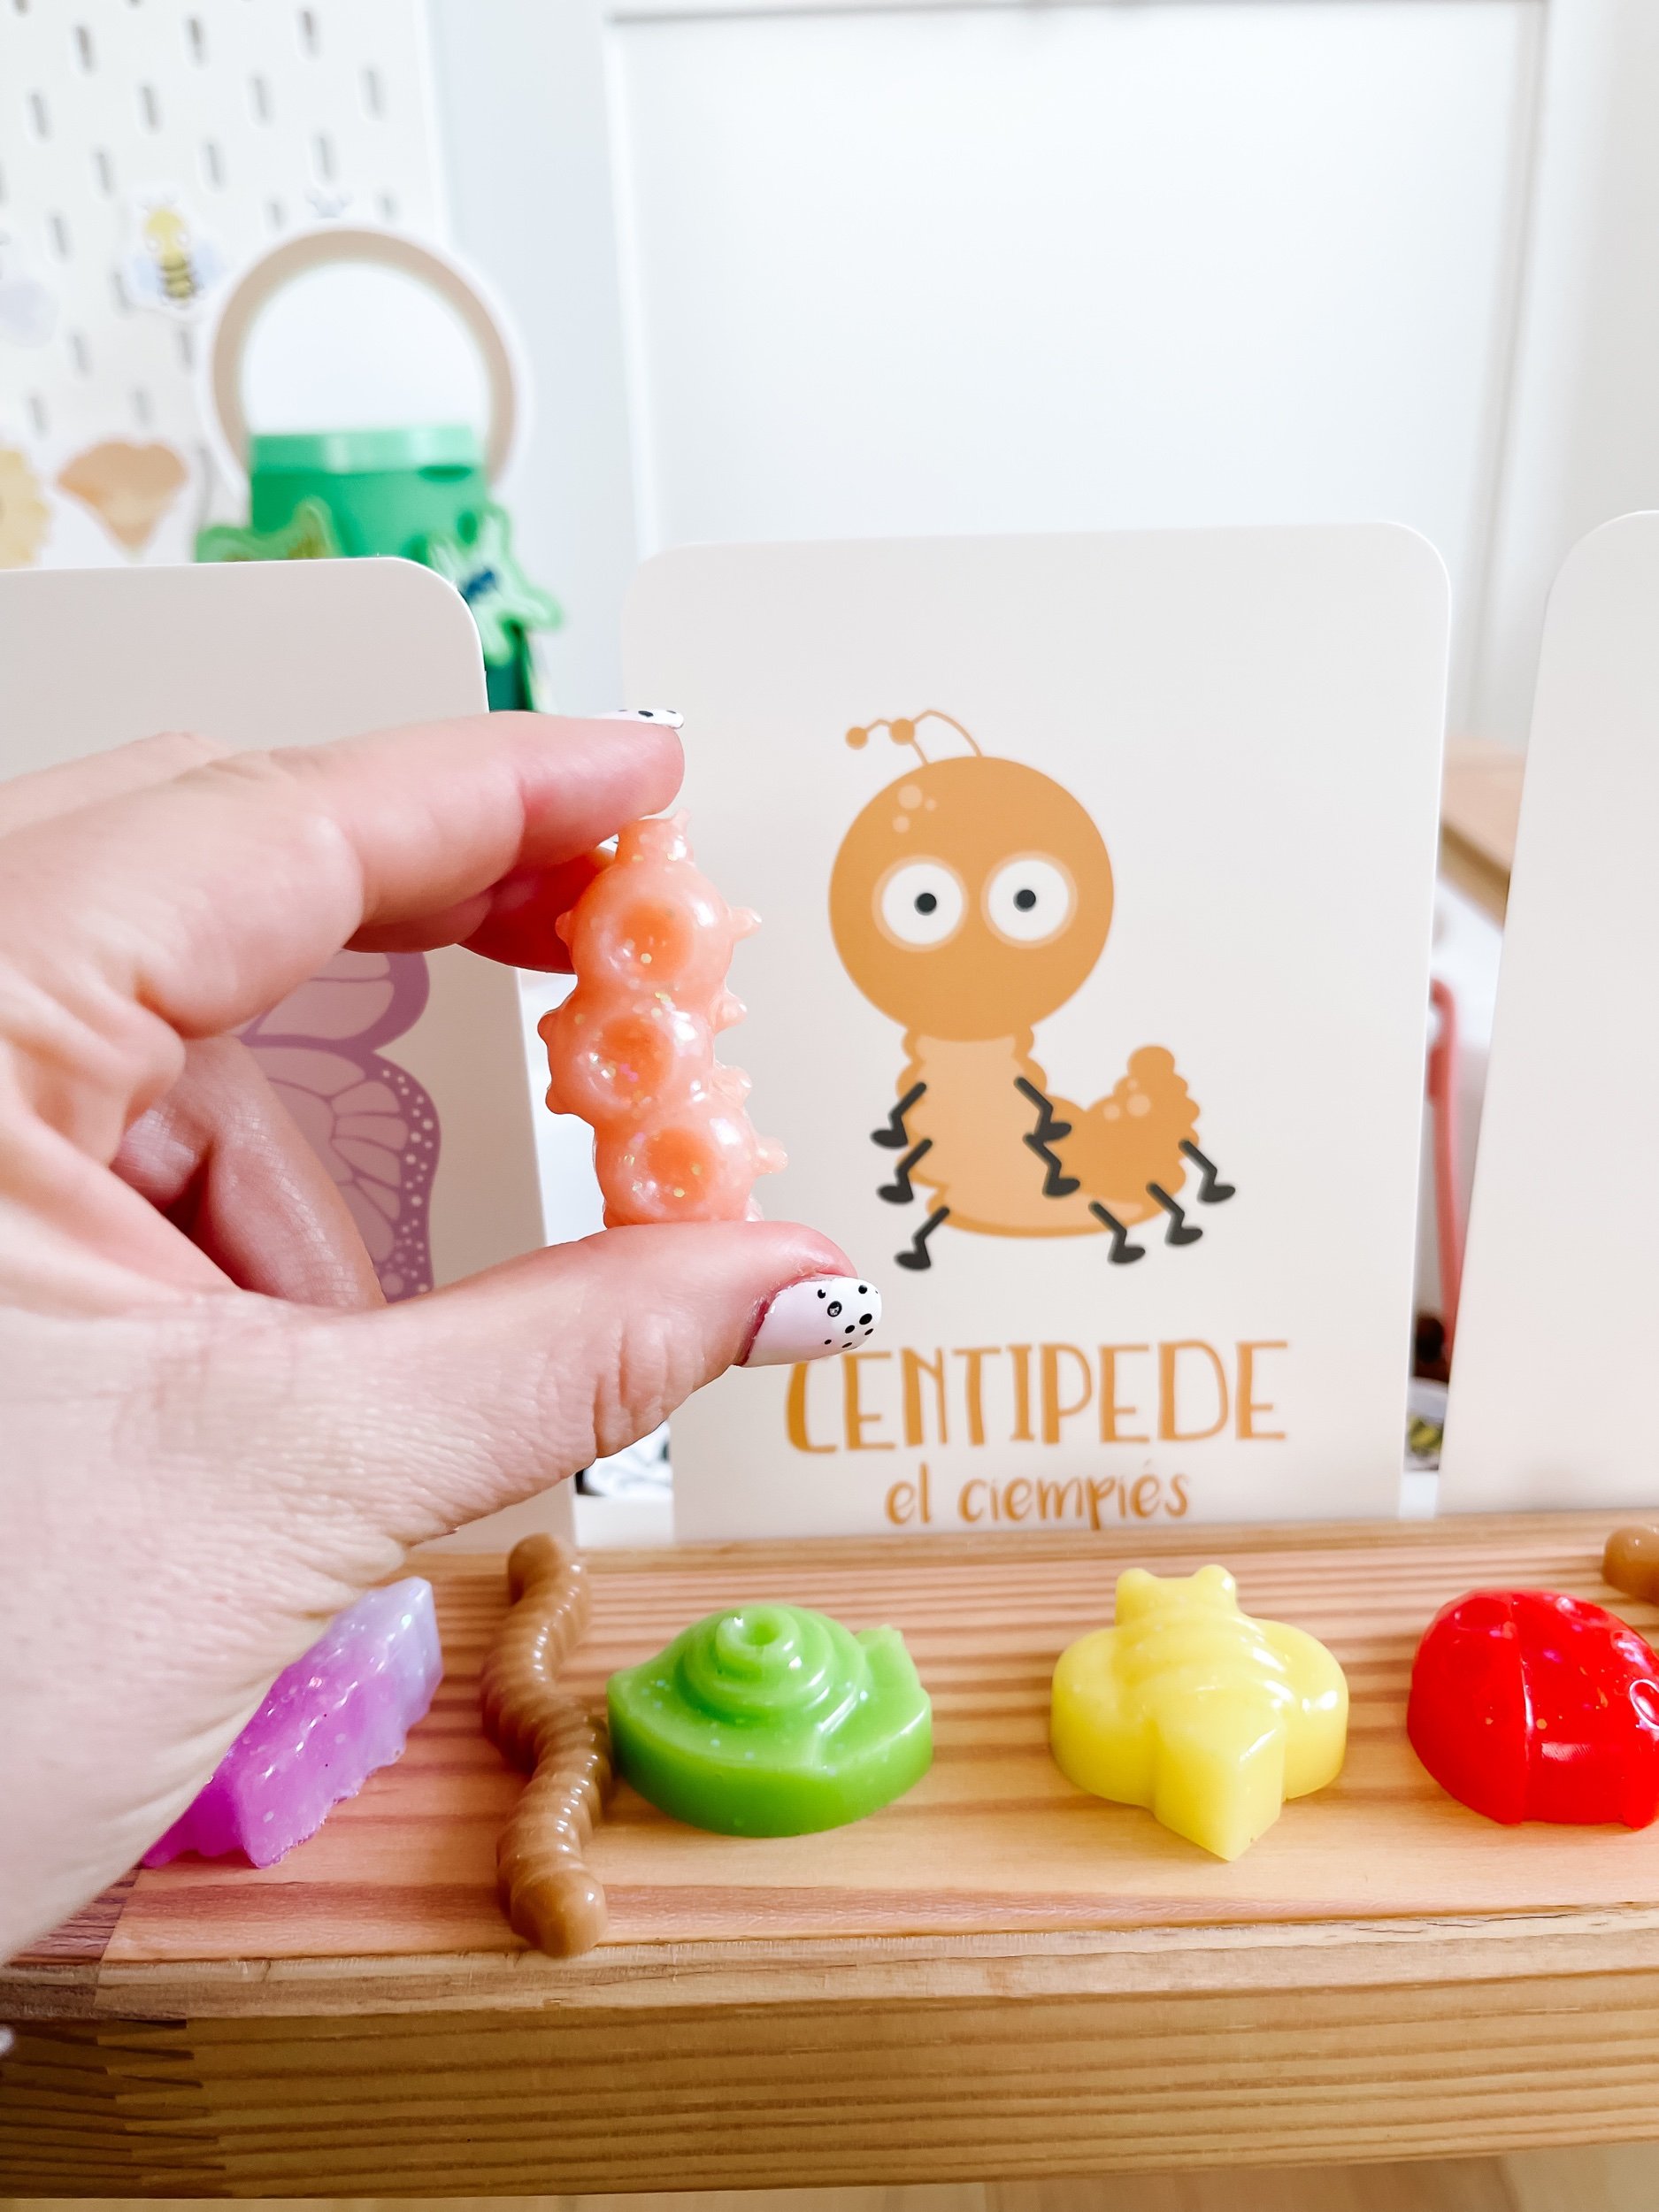
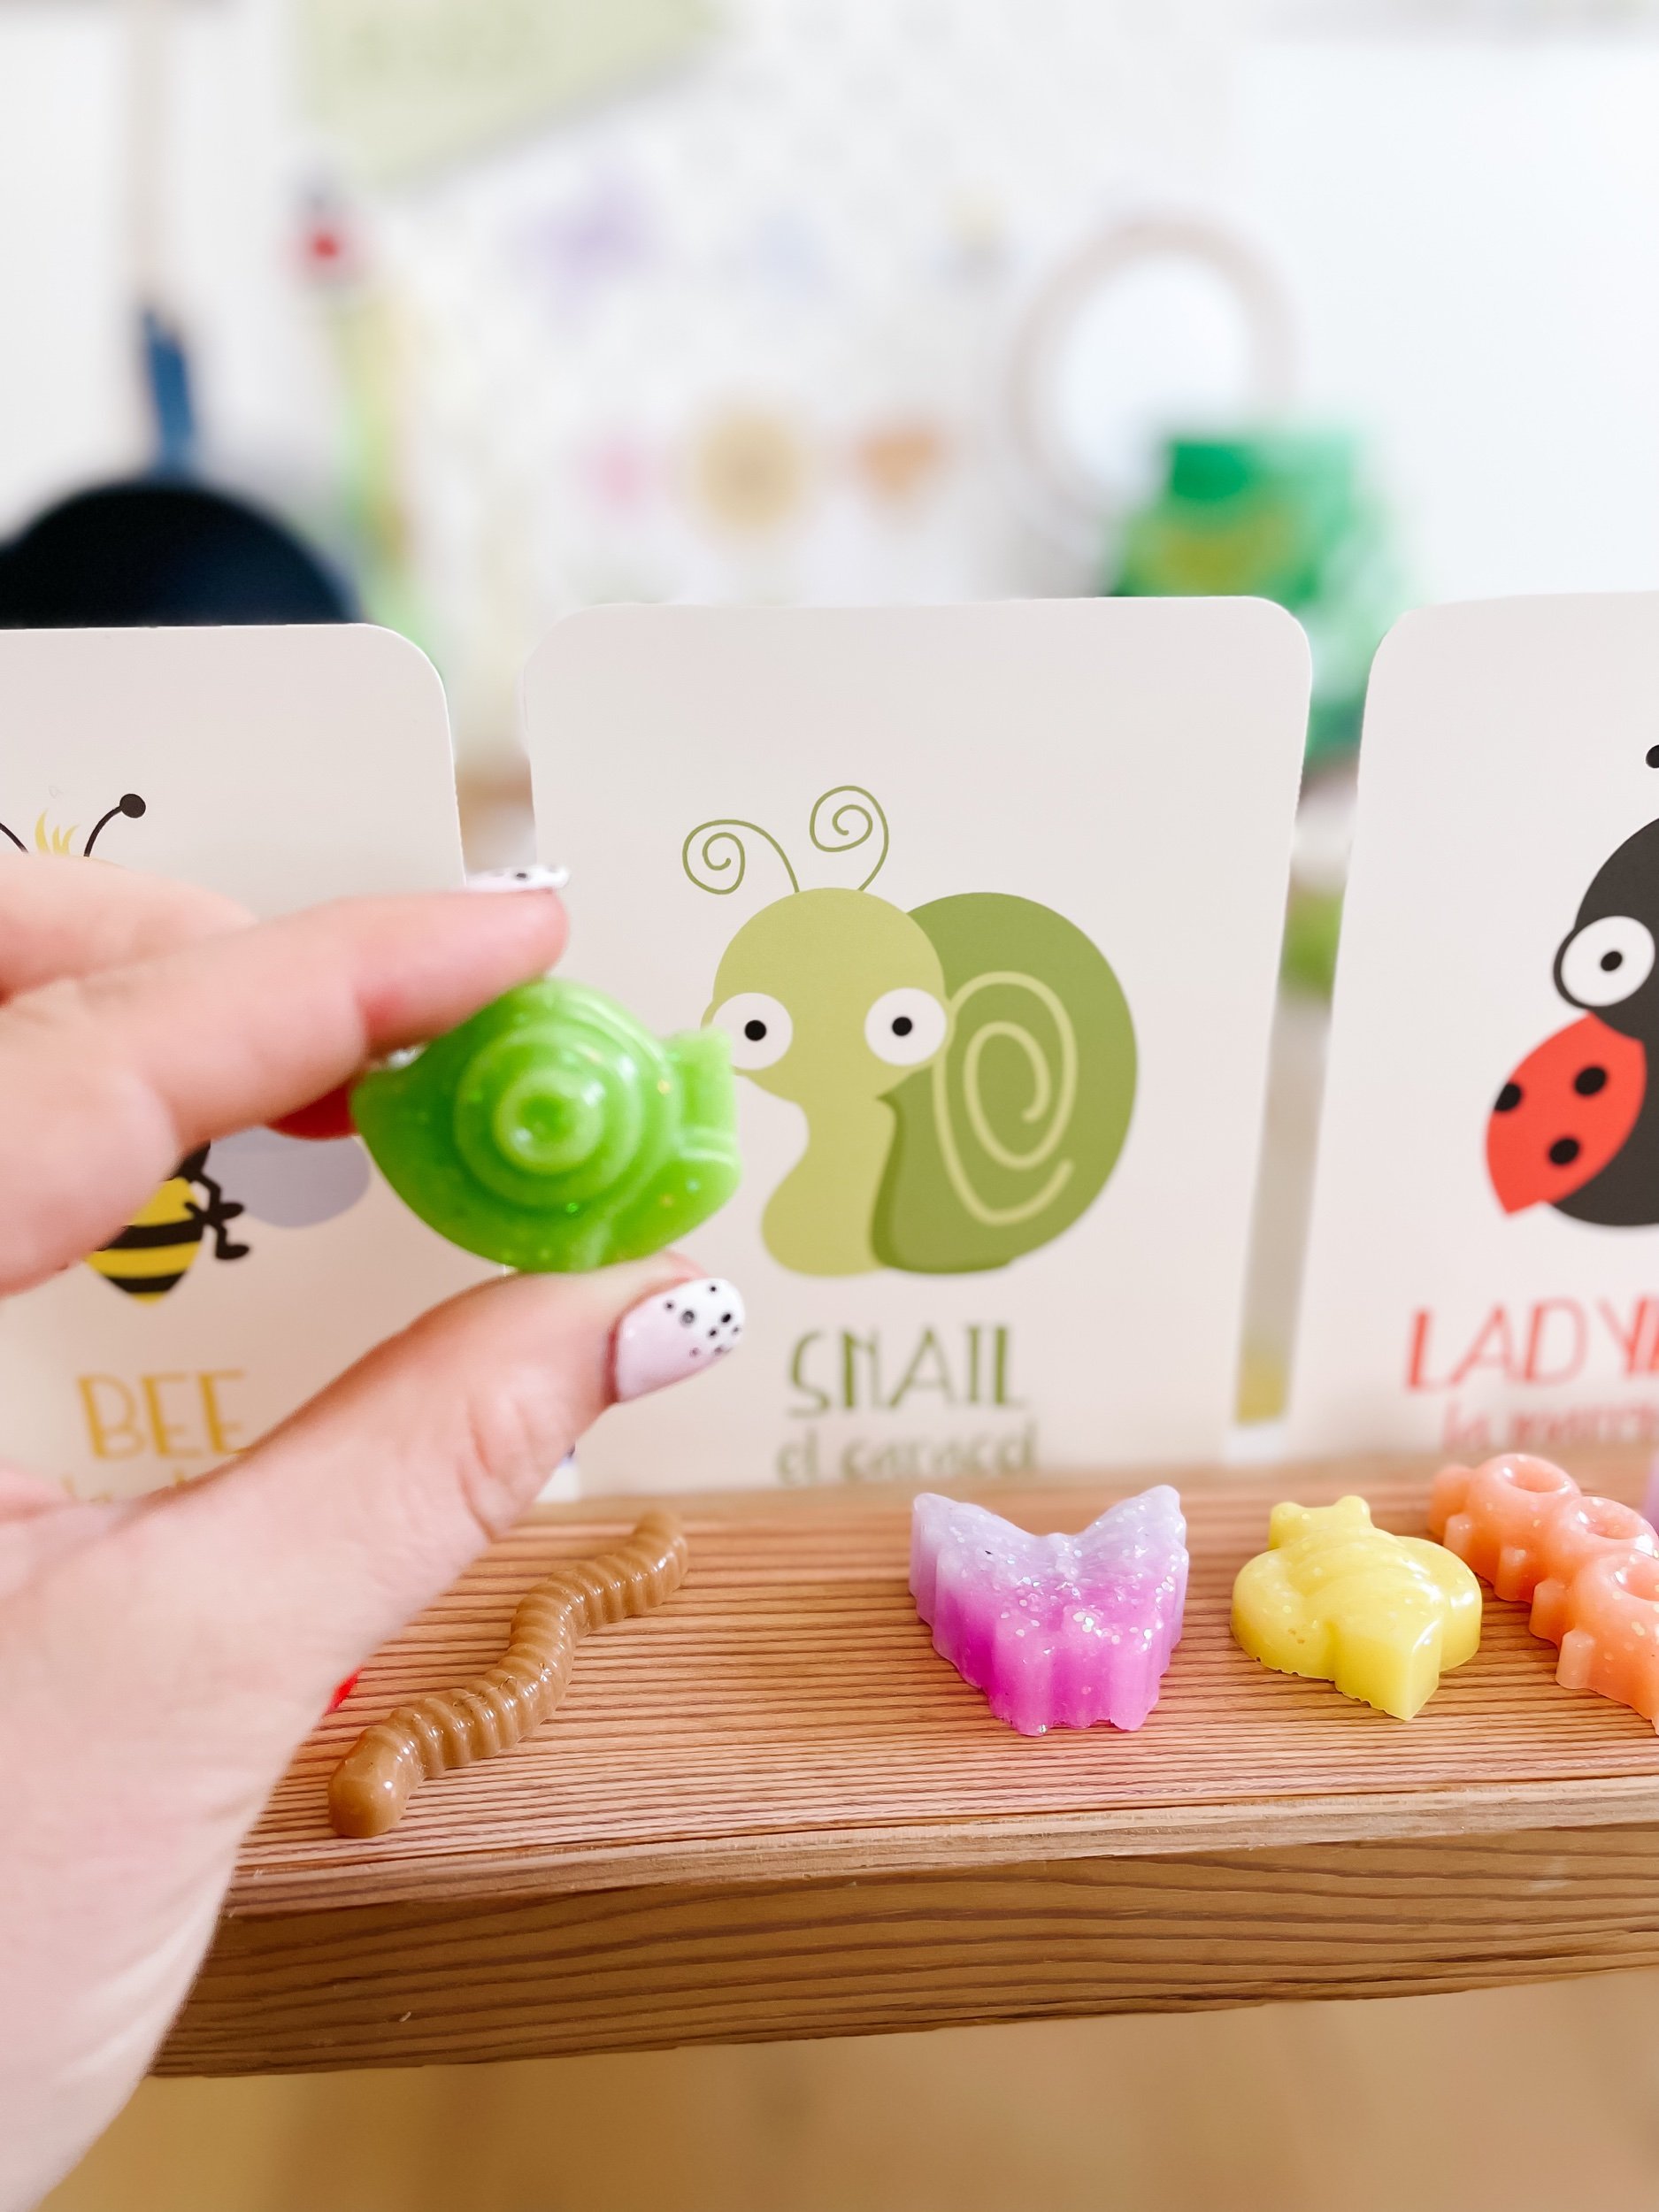
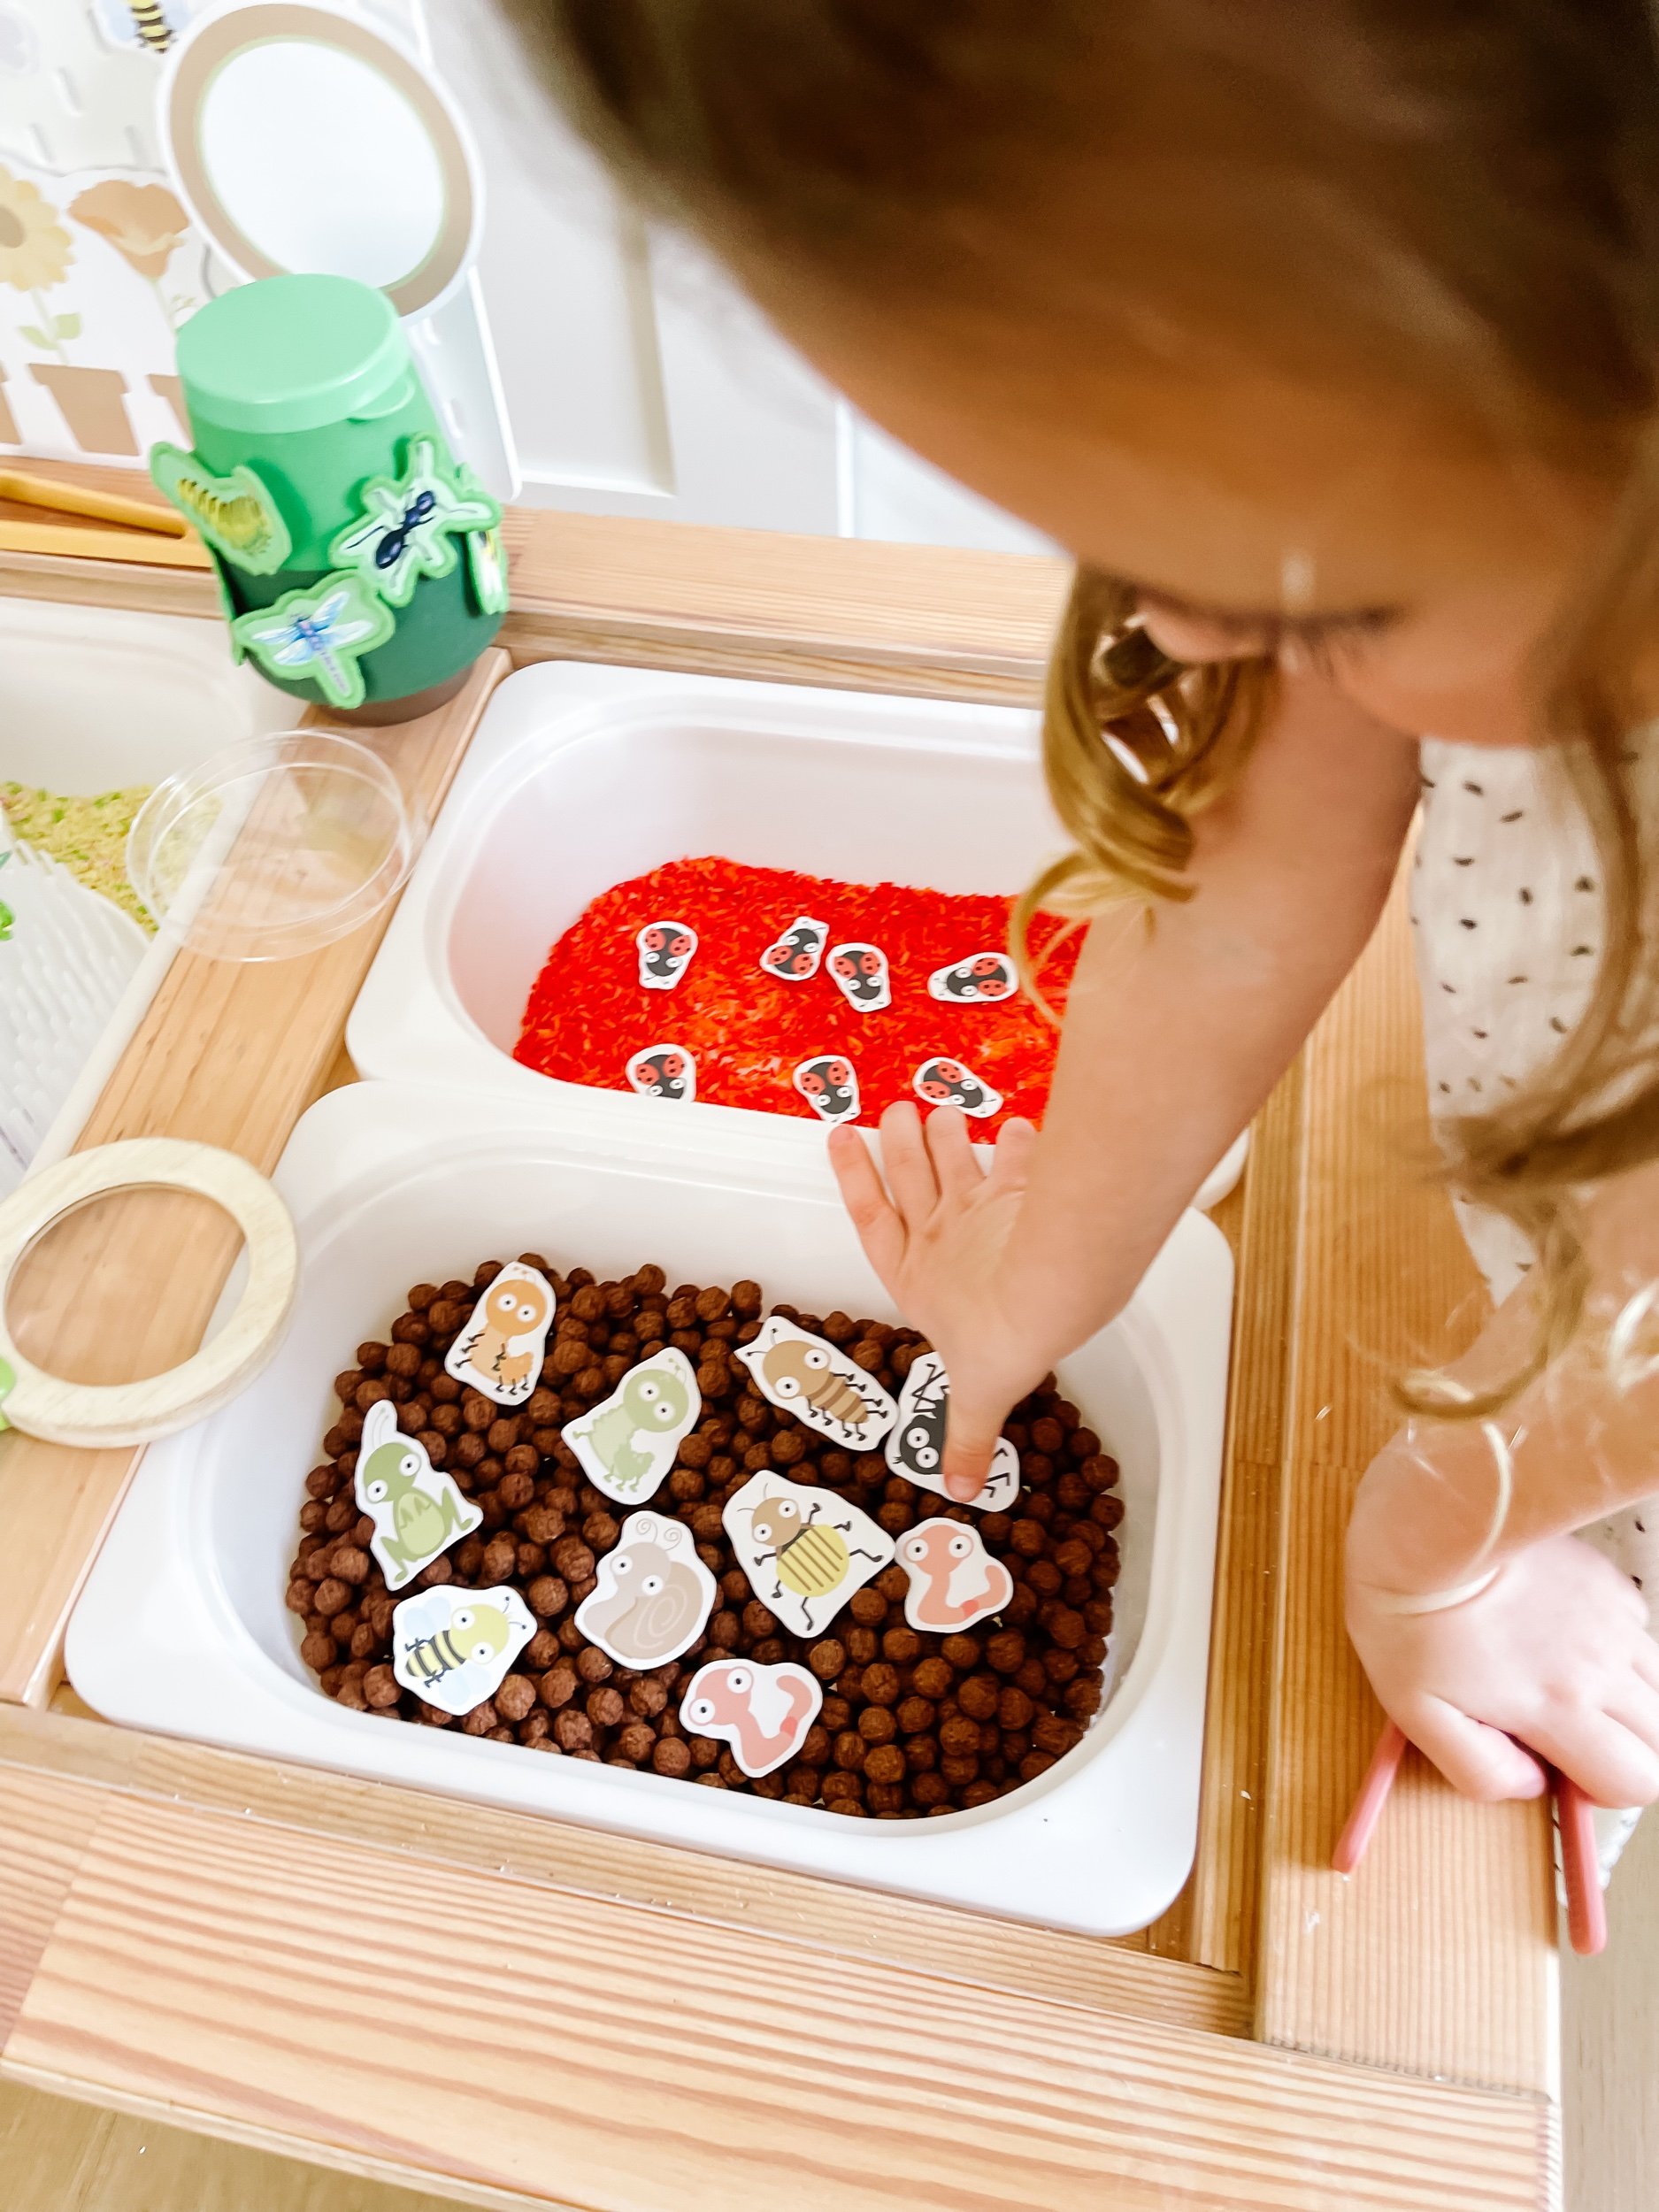
2. Gather the insects cut outs and create a checklist for the toddlers to use. The printable kit includes bugs like ladybugs, ants, beetles, and butterflies, works, beetles, flies, and spiders.
3. Place various plastic or rubber bugs within the grass, ensuring they are visible but partially hidden.
4. Provide each toddler with a magnifying glass, helping them enhance their observation skills.
5. Encourage the toddlers to search the sensory bin with their magnifying glass and identify the bugs one by one.
6. As they spot a bug, they should use their hands or tongs to carefully rescue it from the grass and tick it off the checklist.
7. Continue the activity until all the bugs have been found and rescued.

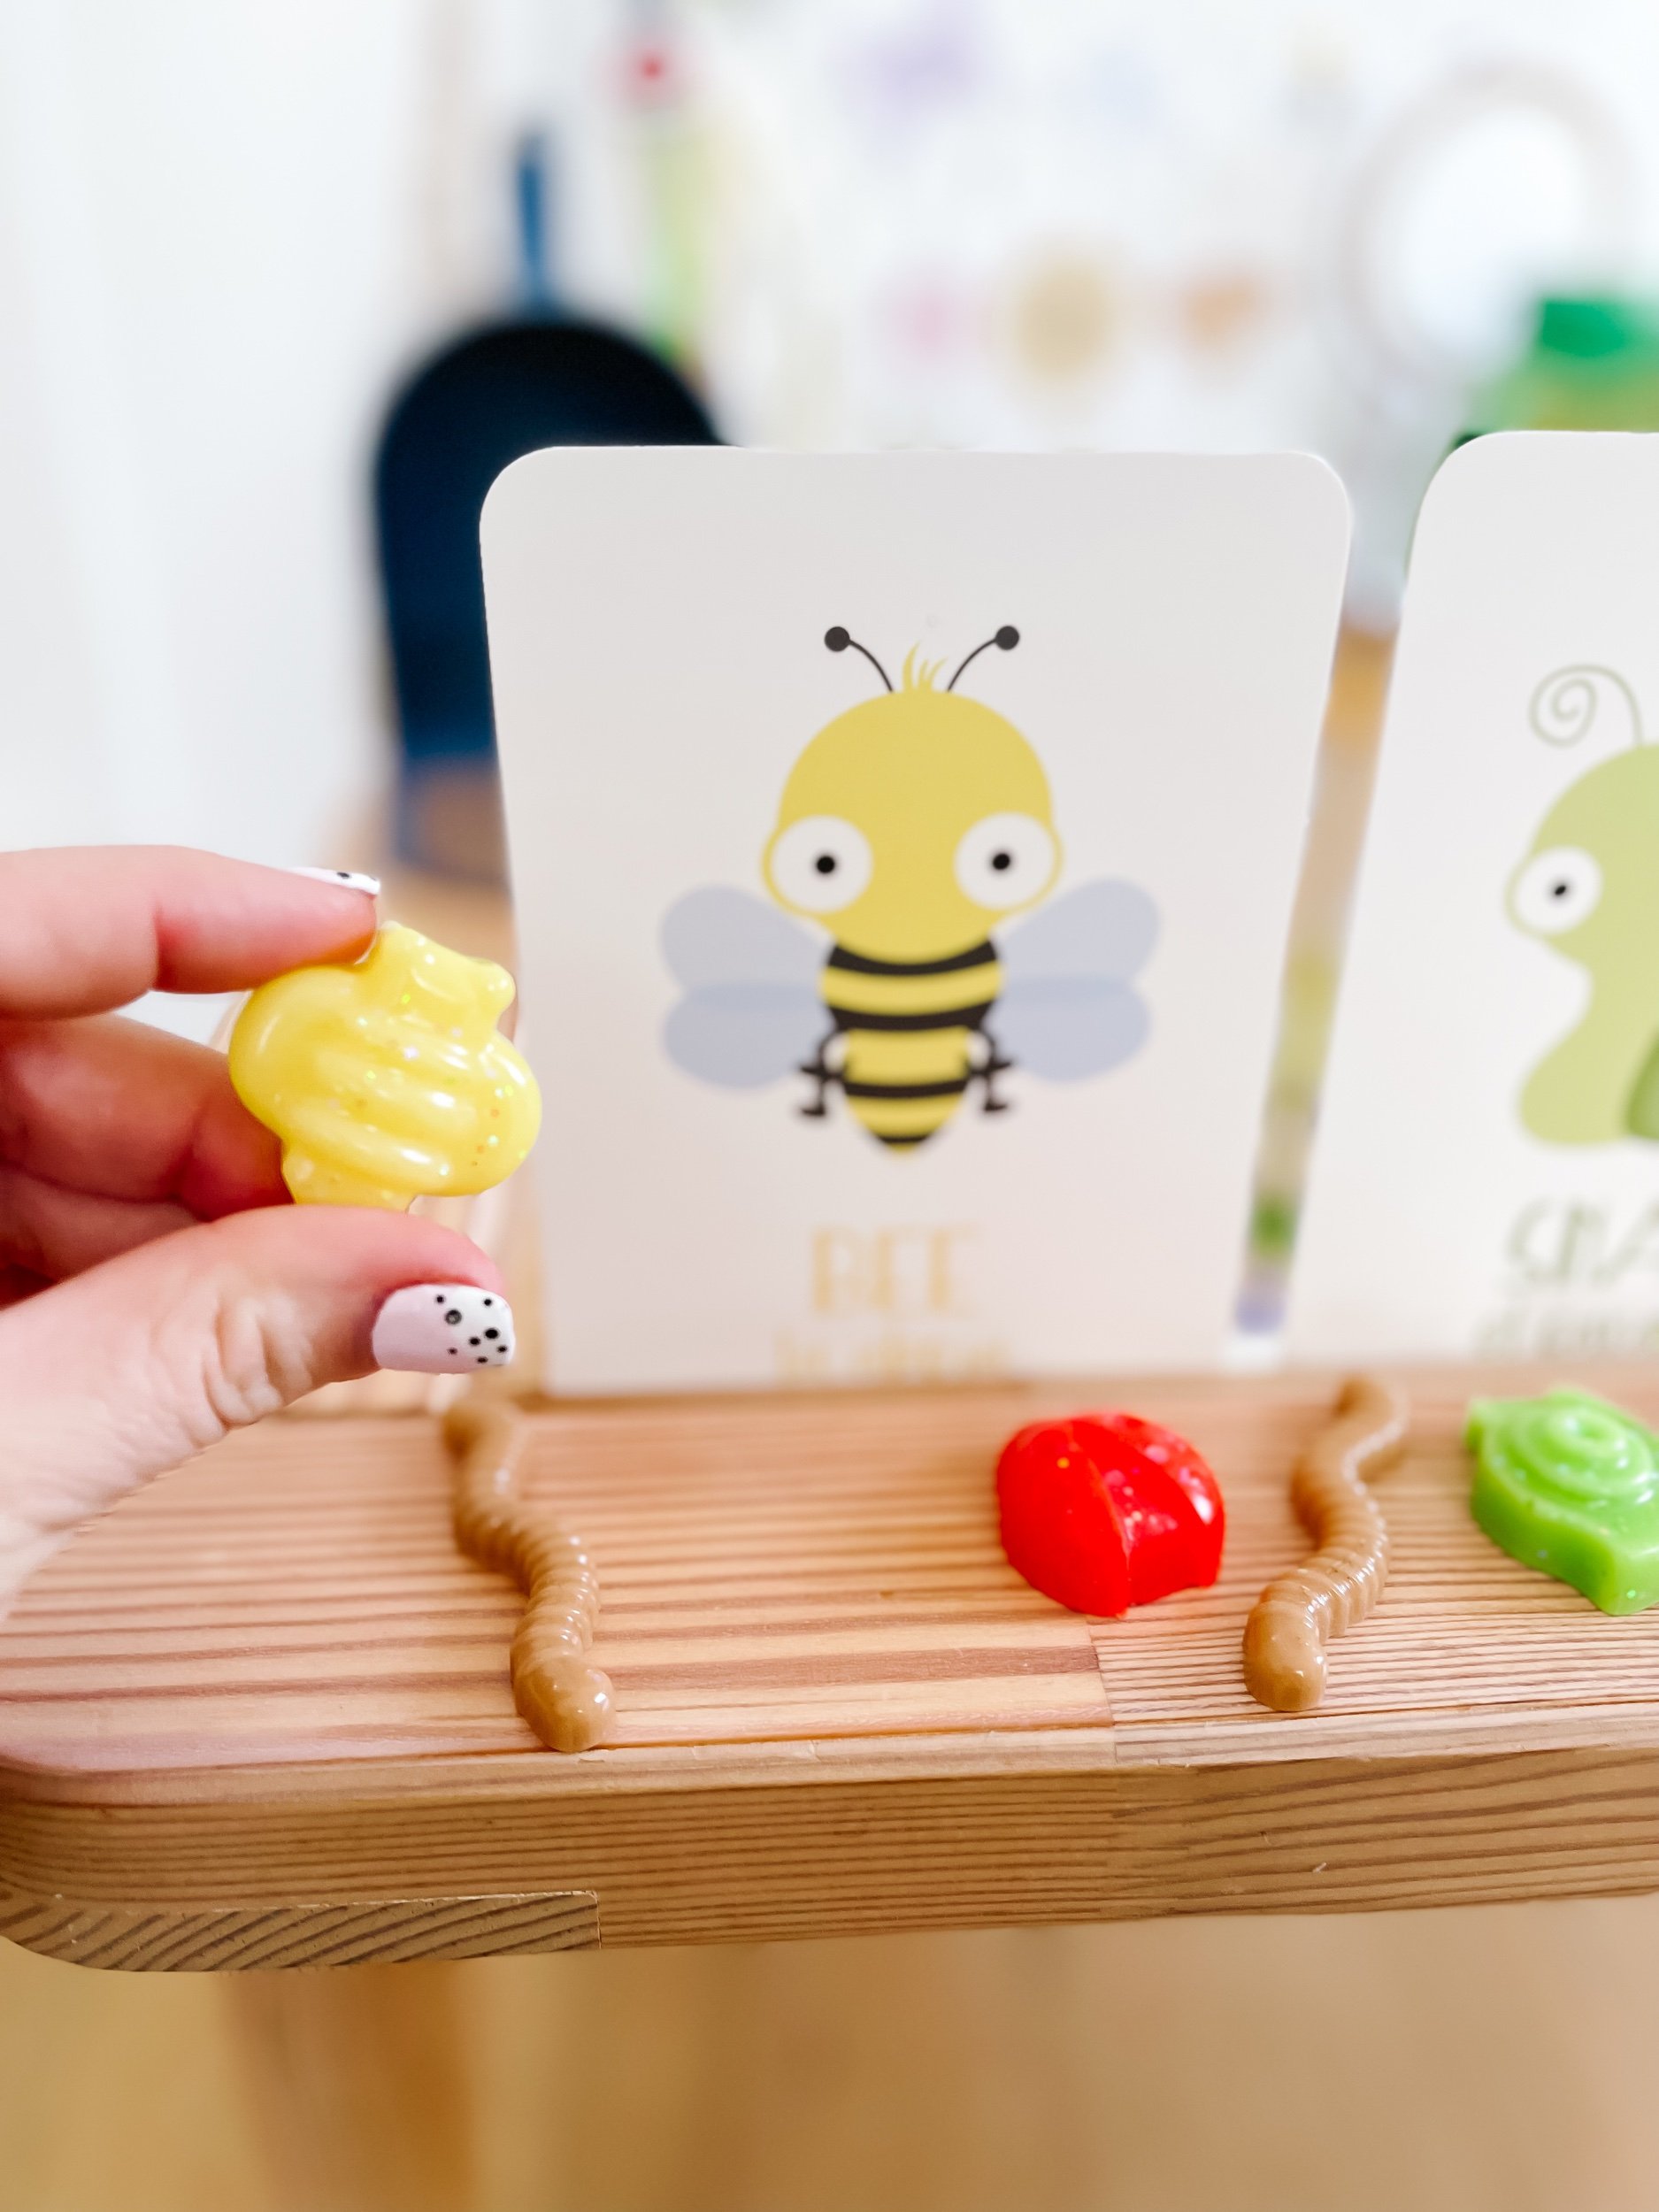
As an alternative, you can use resin bugs from some of my favorite shops like Busy Littles and Little October House.

IMG_6471_jpg.jpeg IMG_6516_jpg.jpeg IMG_6496.jpeg IMG_6520_jpg.jpeg IMG_6502.jpeg IMG_6513_jpg.jpeg IMG_6523.jpeg IMG_6514_jpg.jpeg IMG_6528_jpg.jpeg

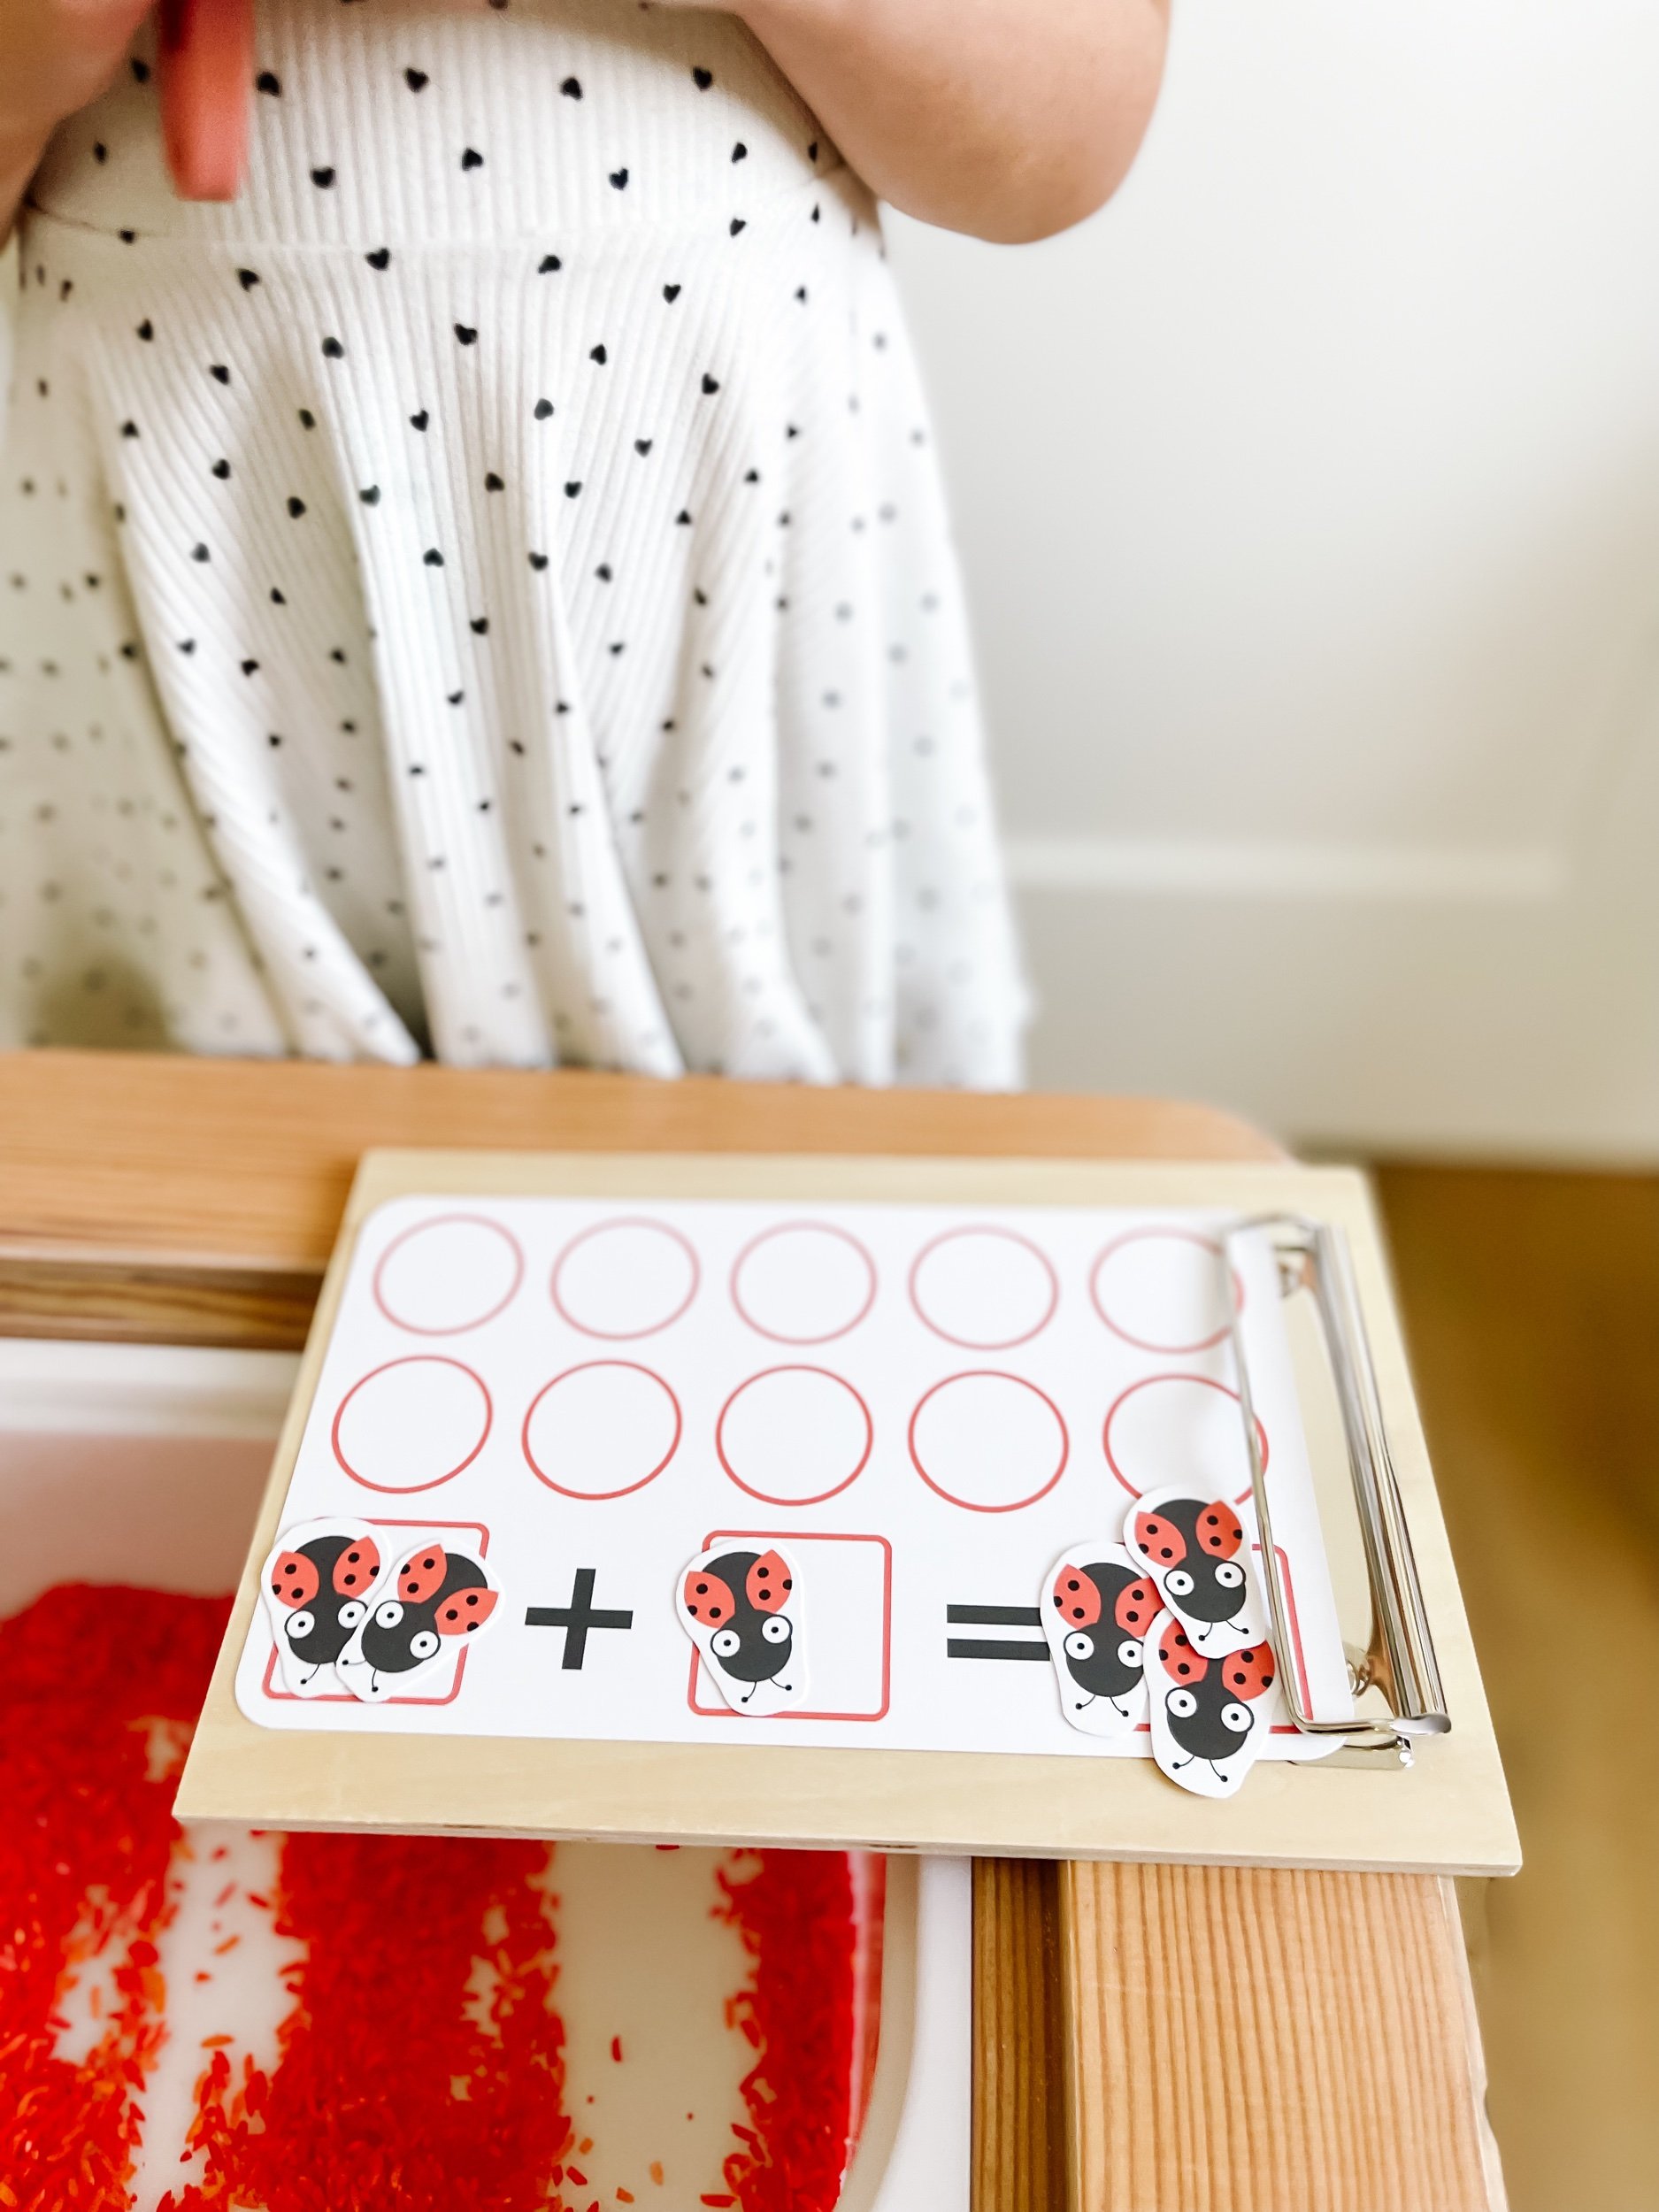
Sensory Play Bin 2: Ladybug Counting

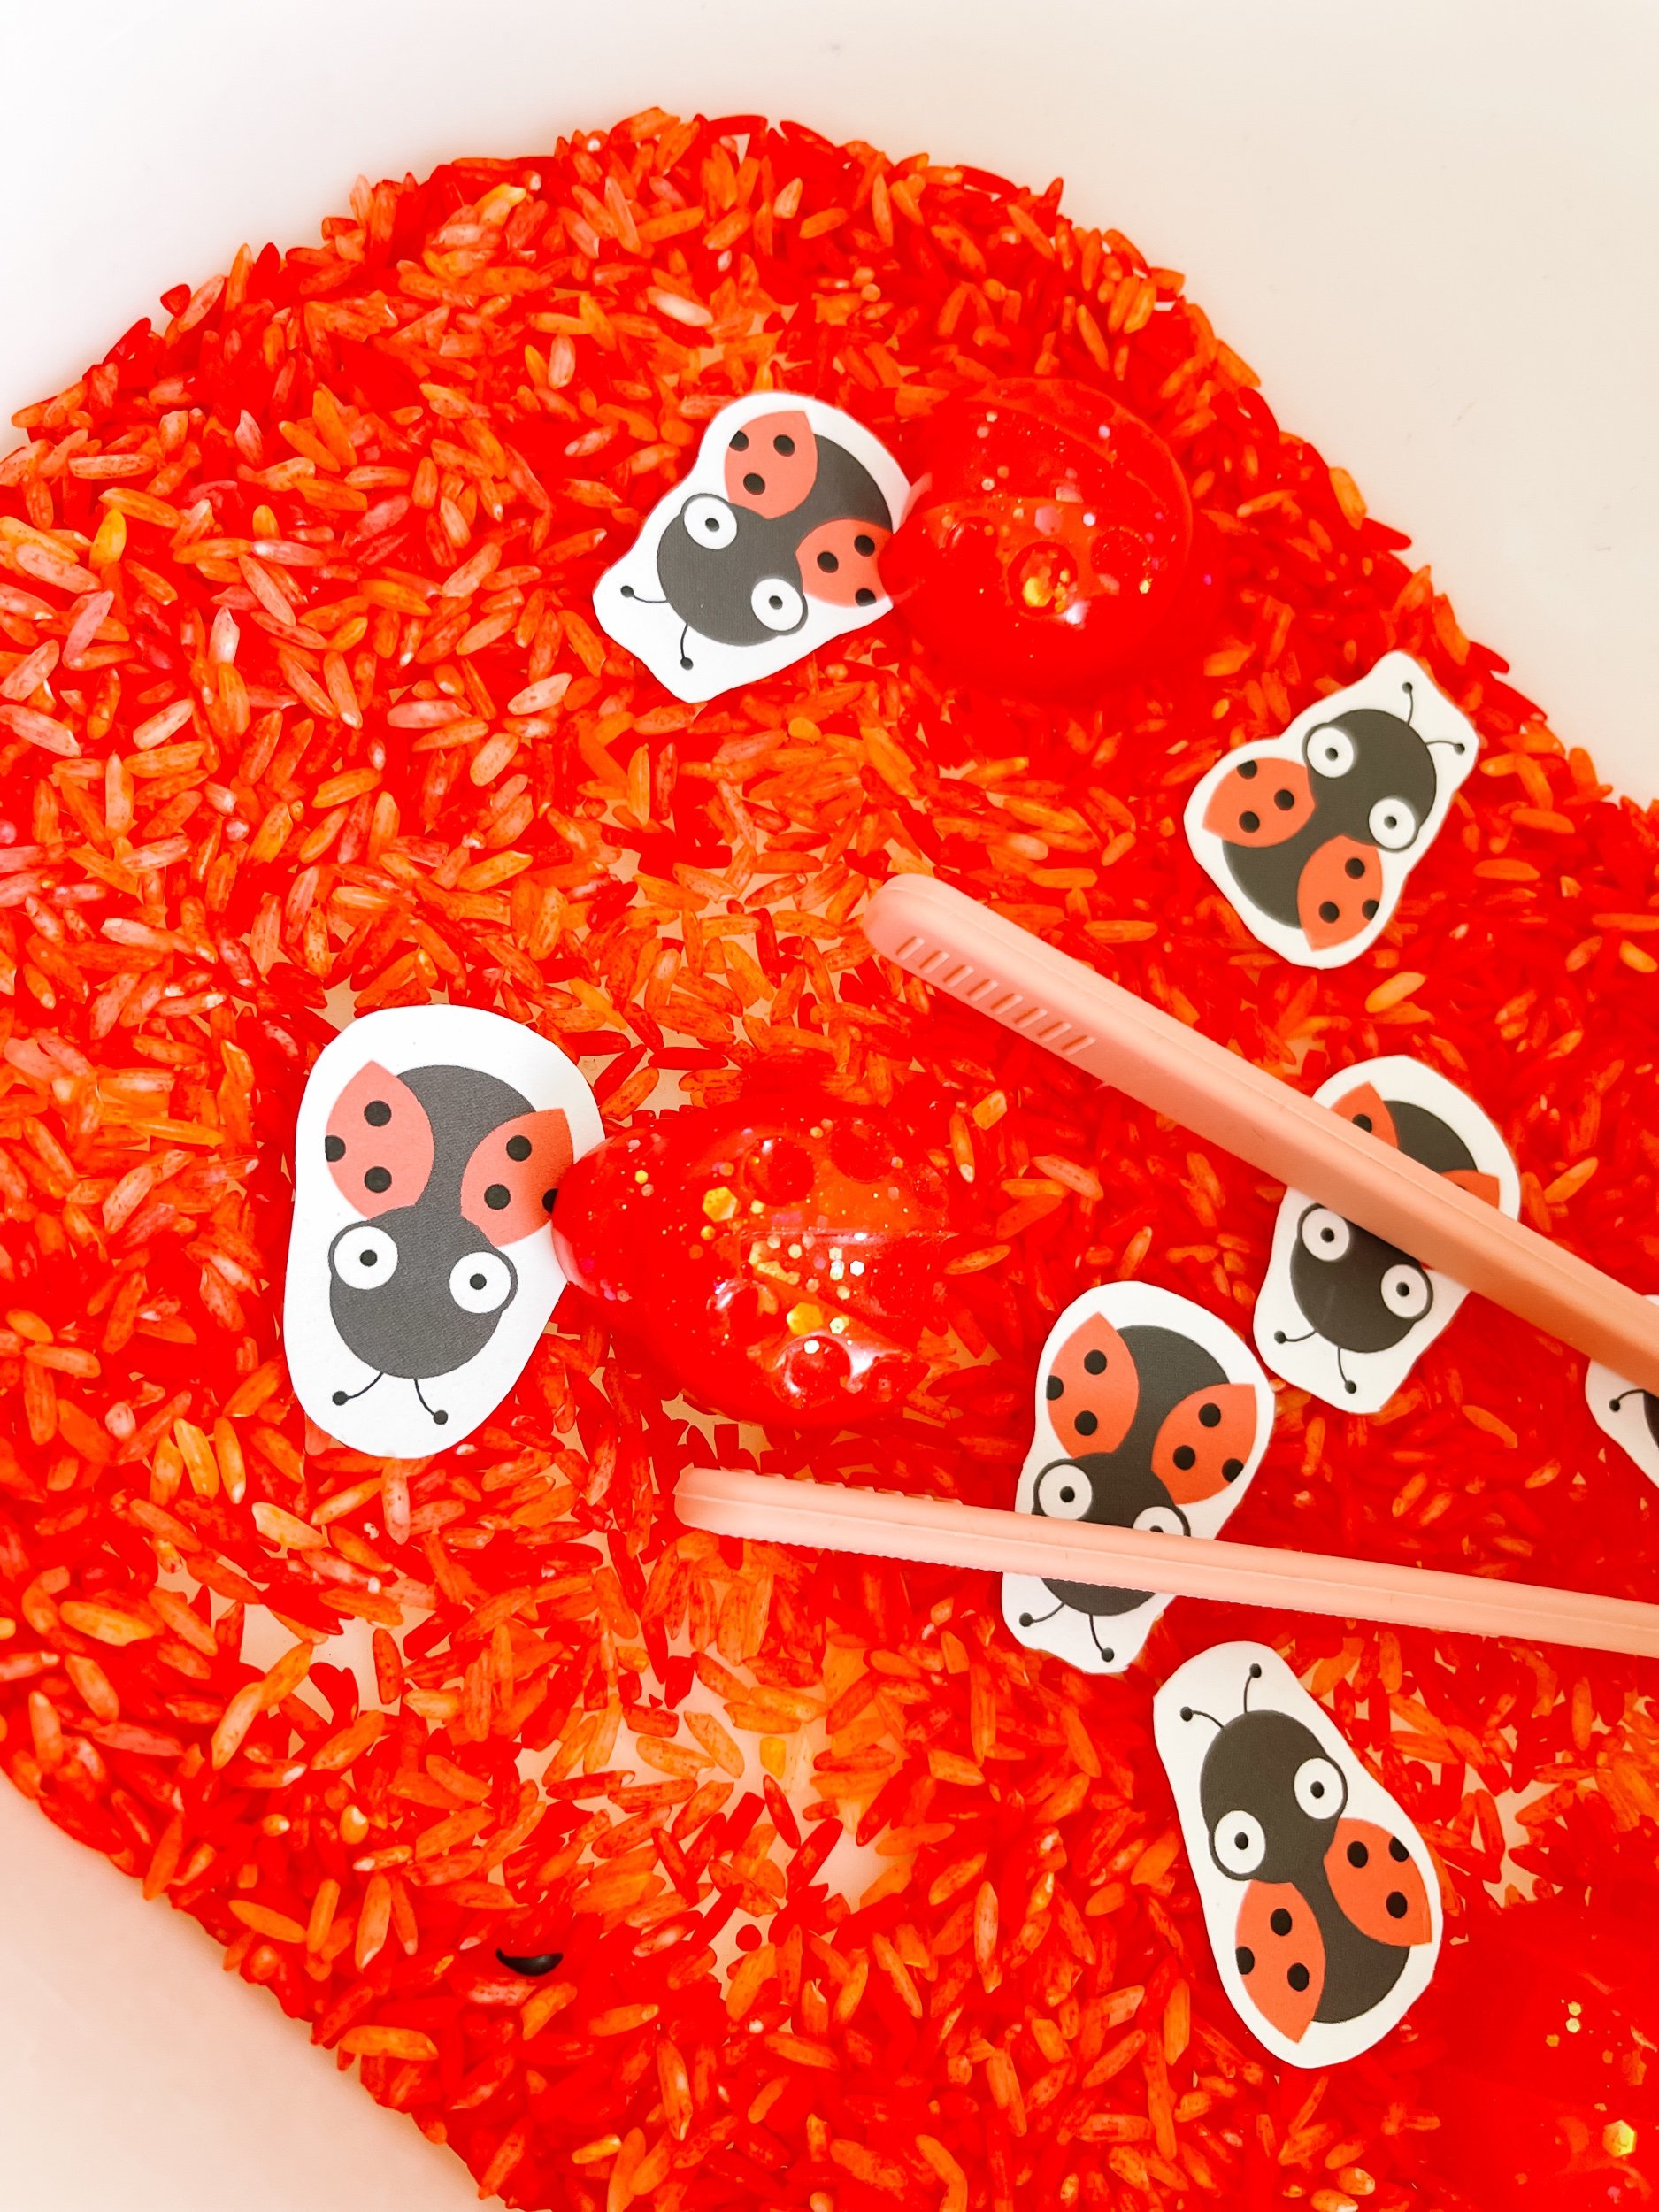
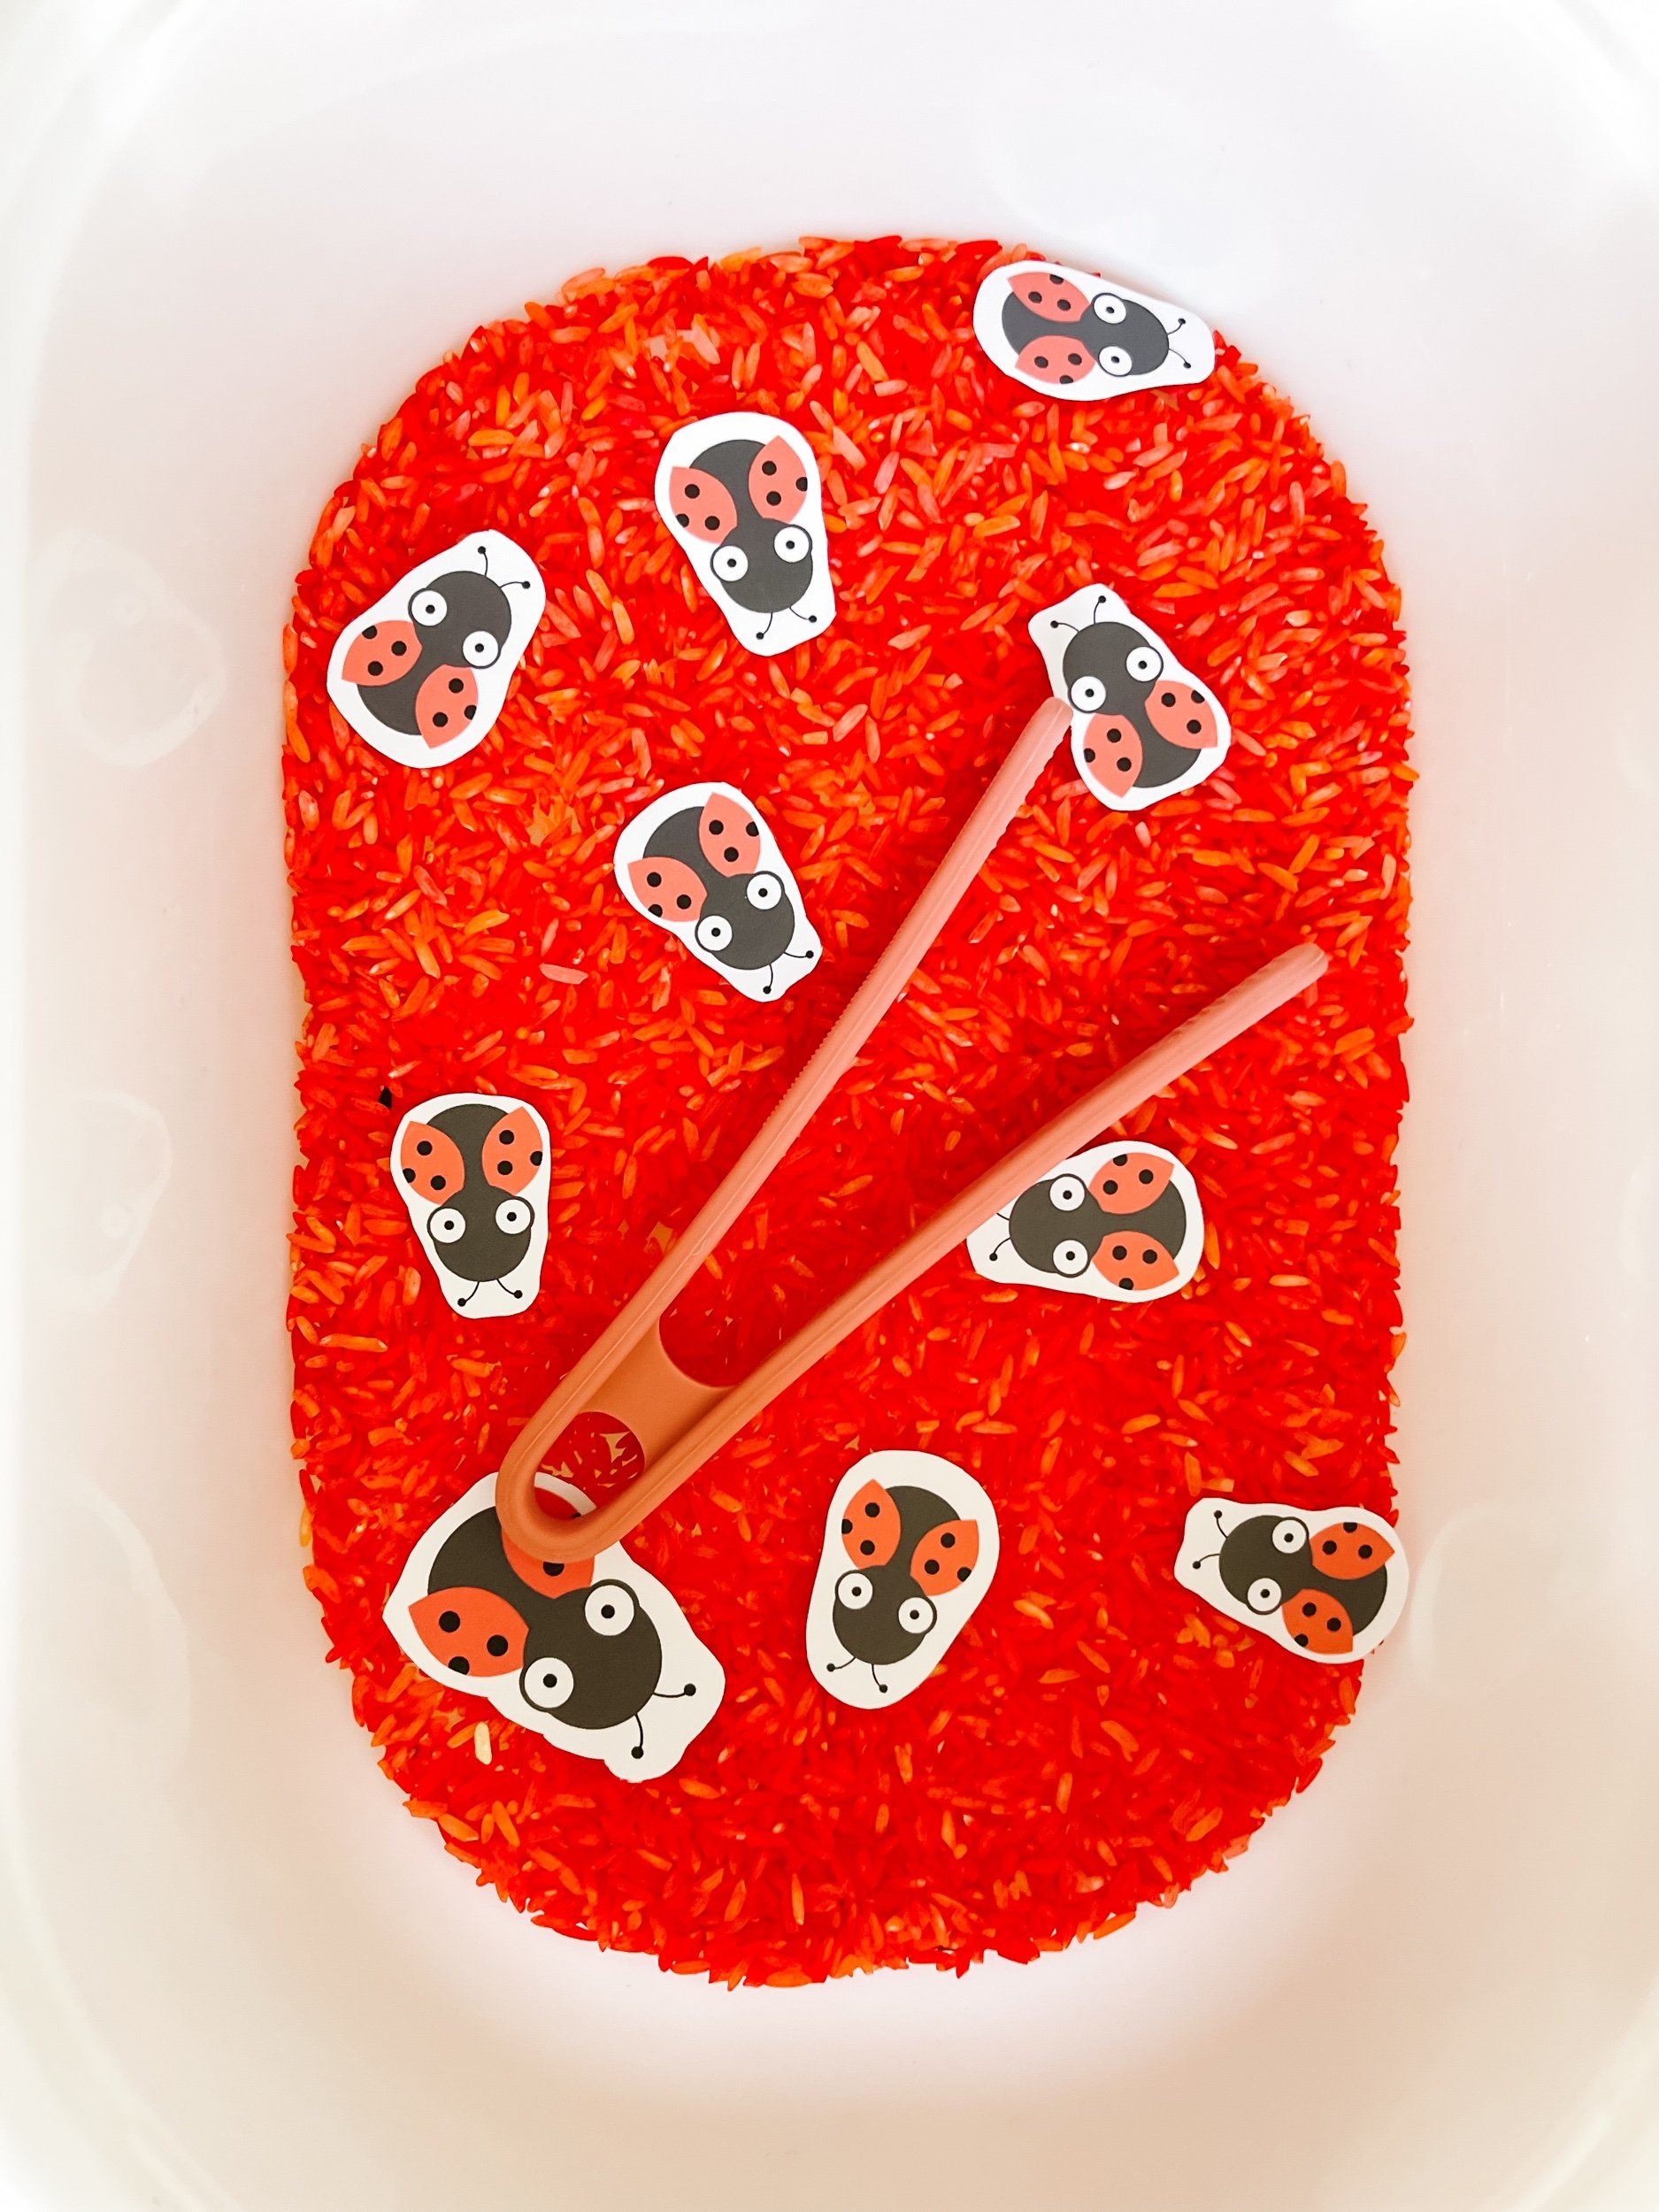
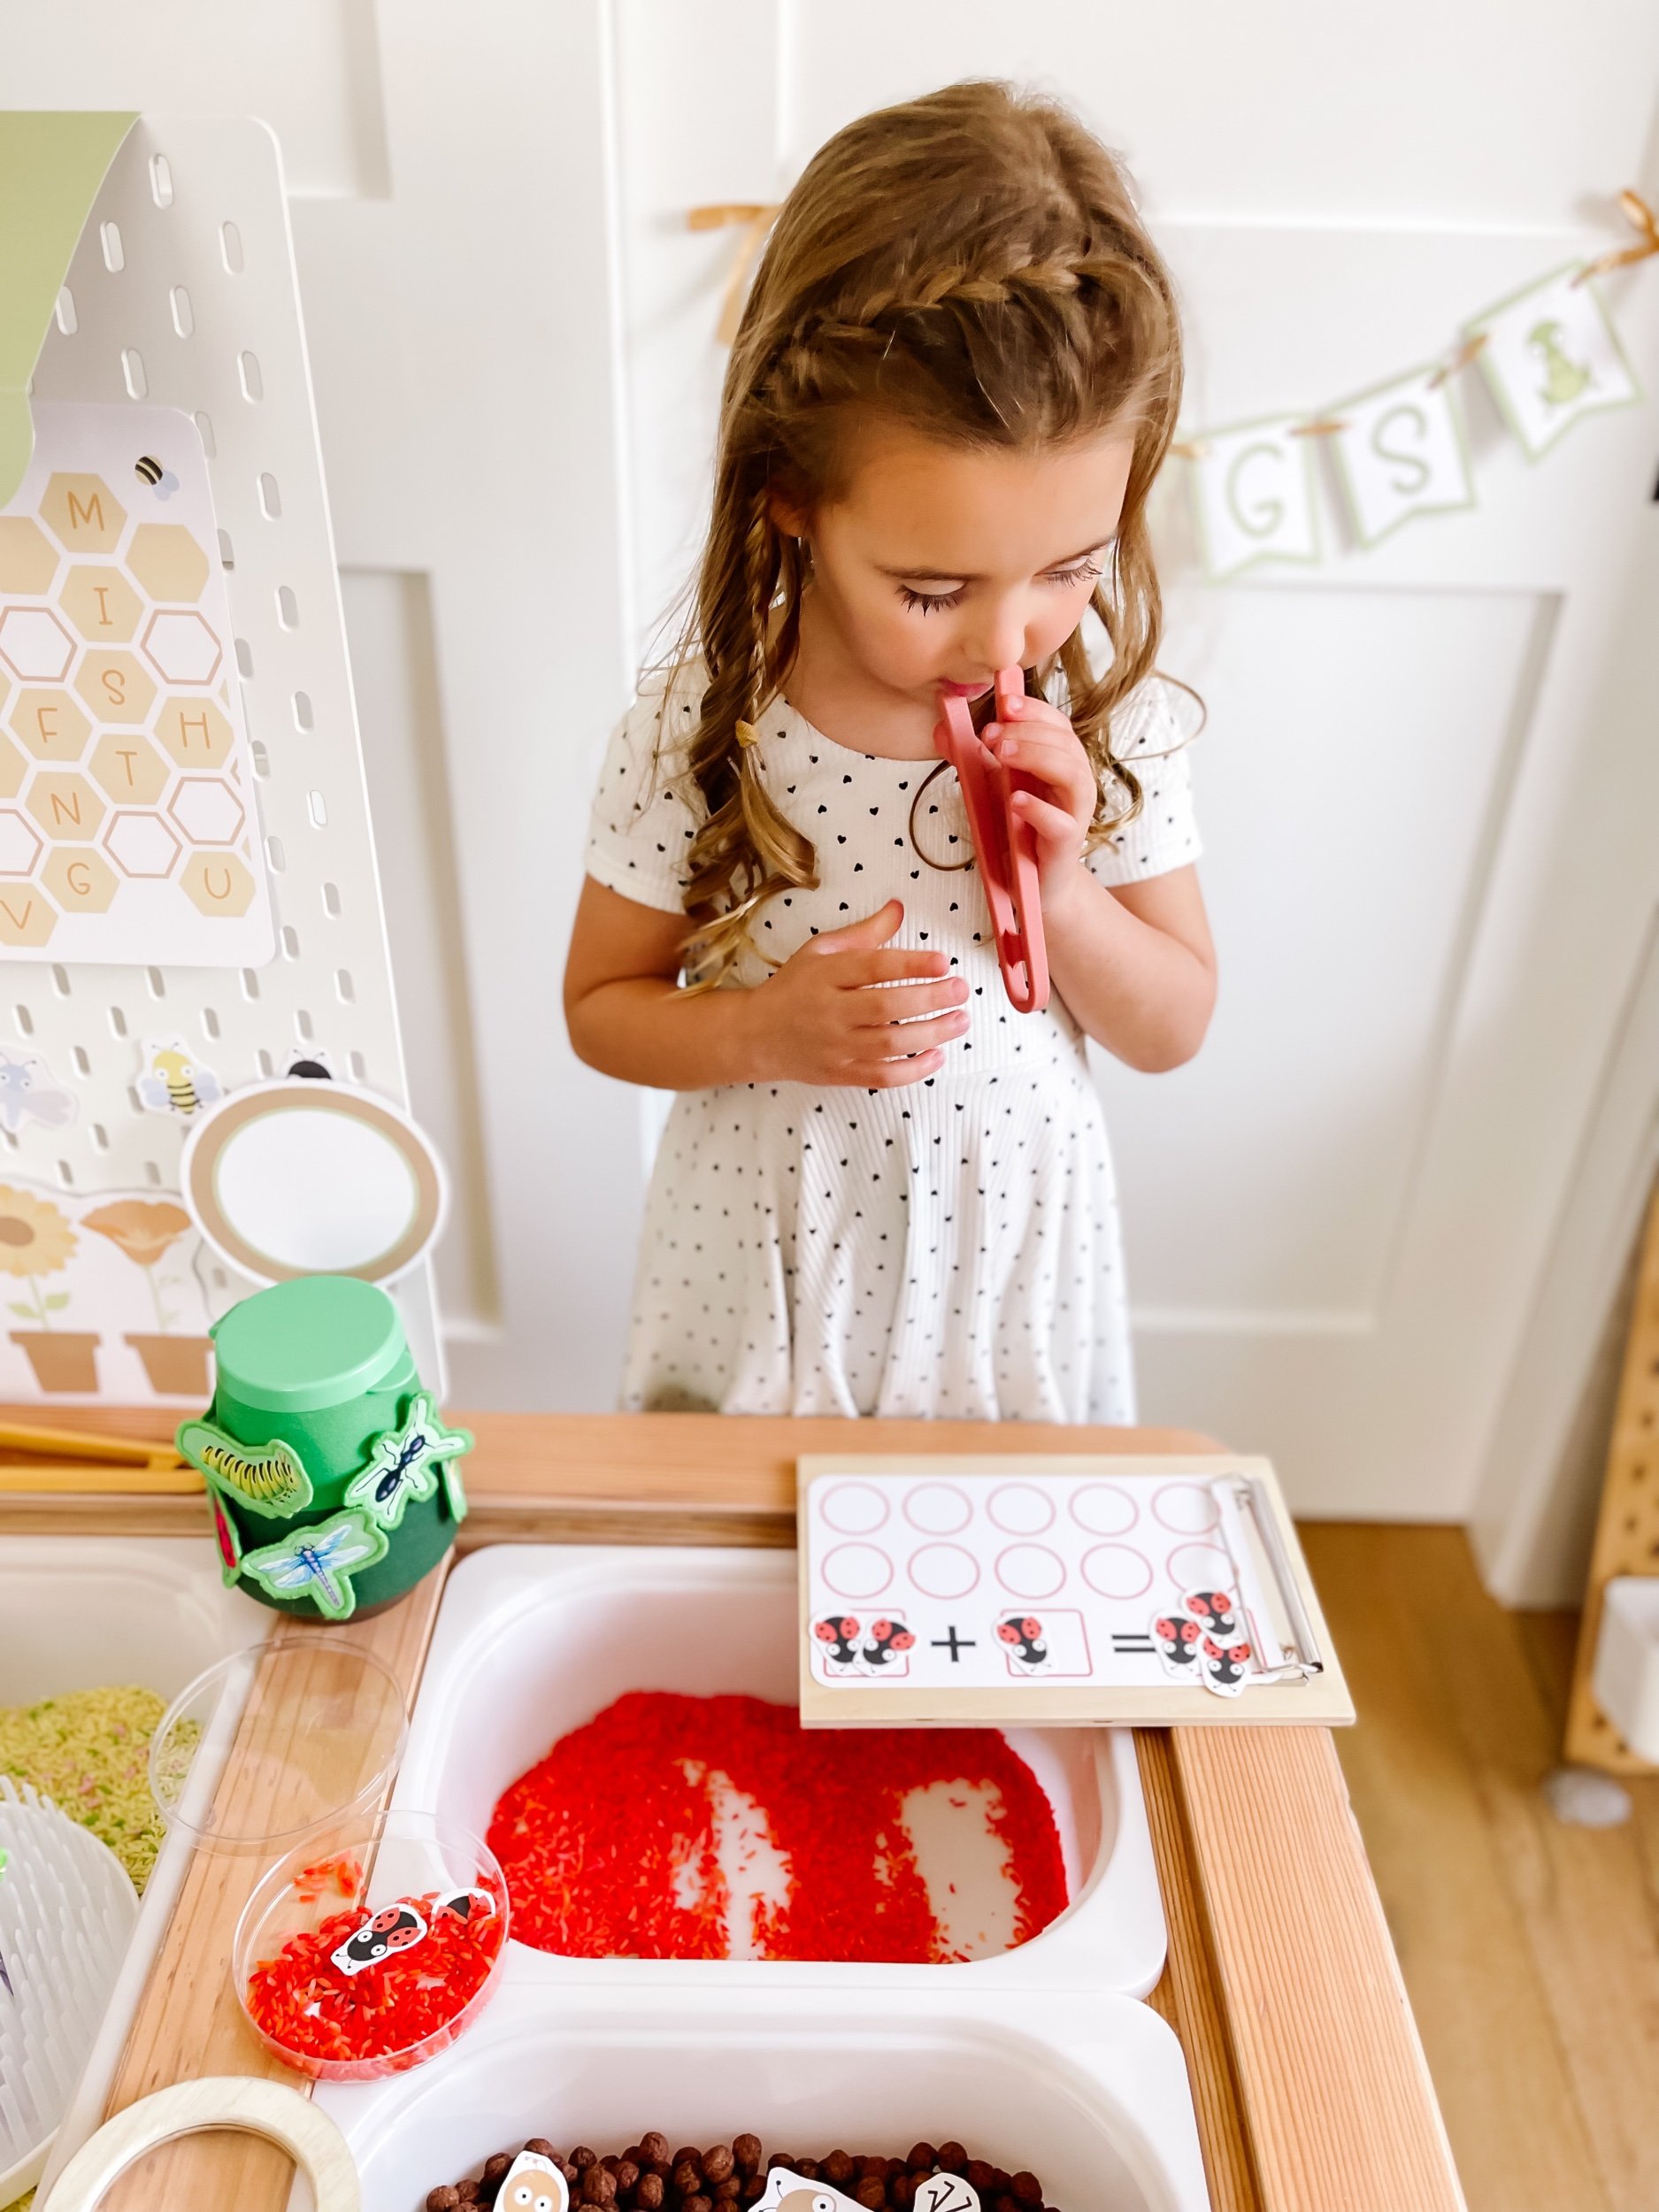
1. Prepare a sensory bin using red-dyed rice as the base. Dye uncooked rice using red food coloring and let it dry before incorporating it.
2. Add black wool balls or black beans to represent ladybug spots. Mix them well into the red rice. You can also use red wool balls and lady bug cut outs for this activity.
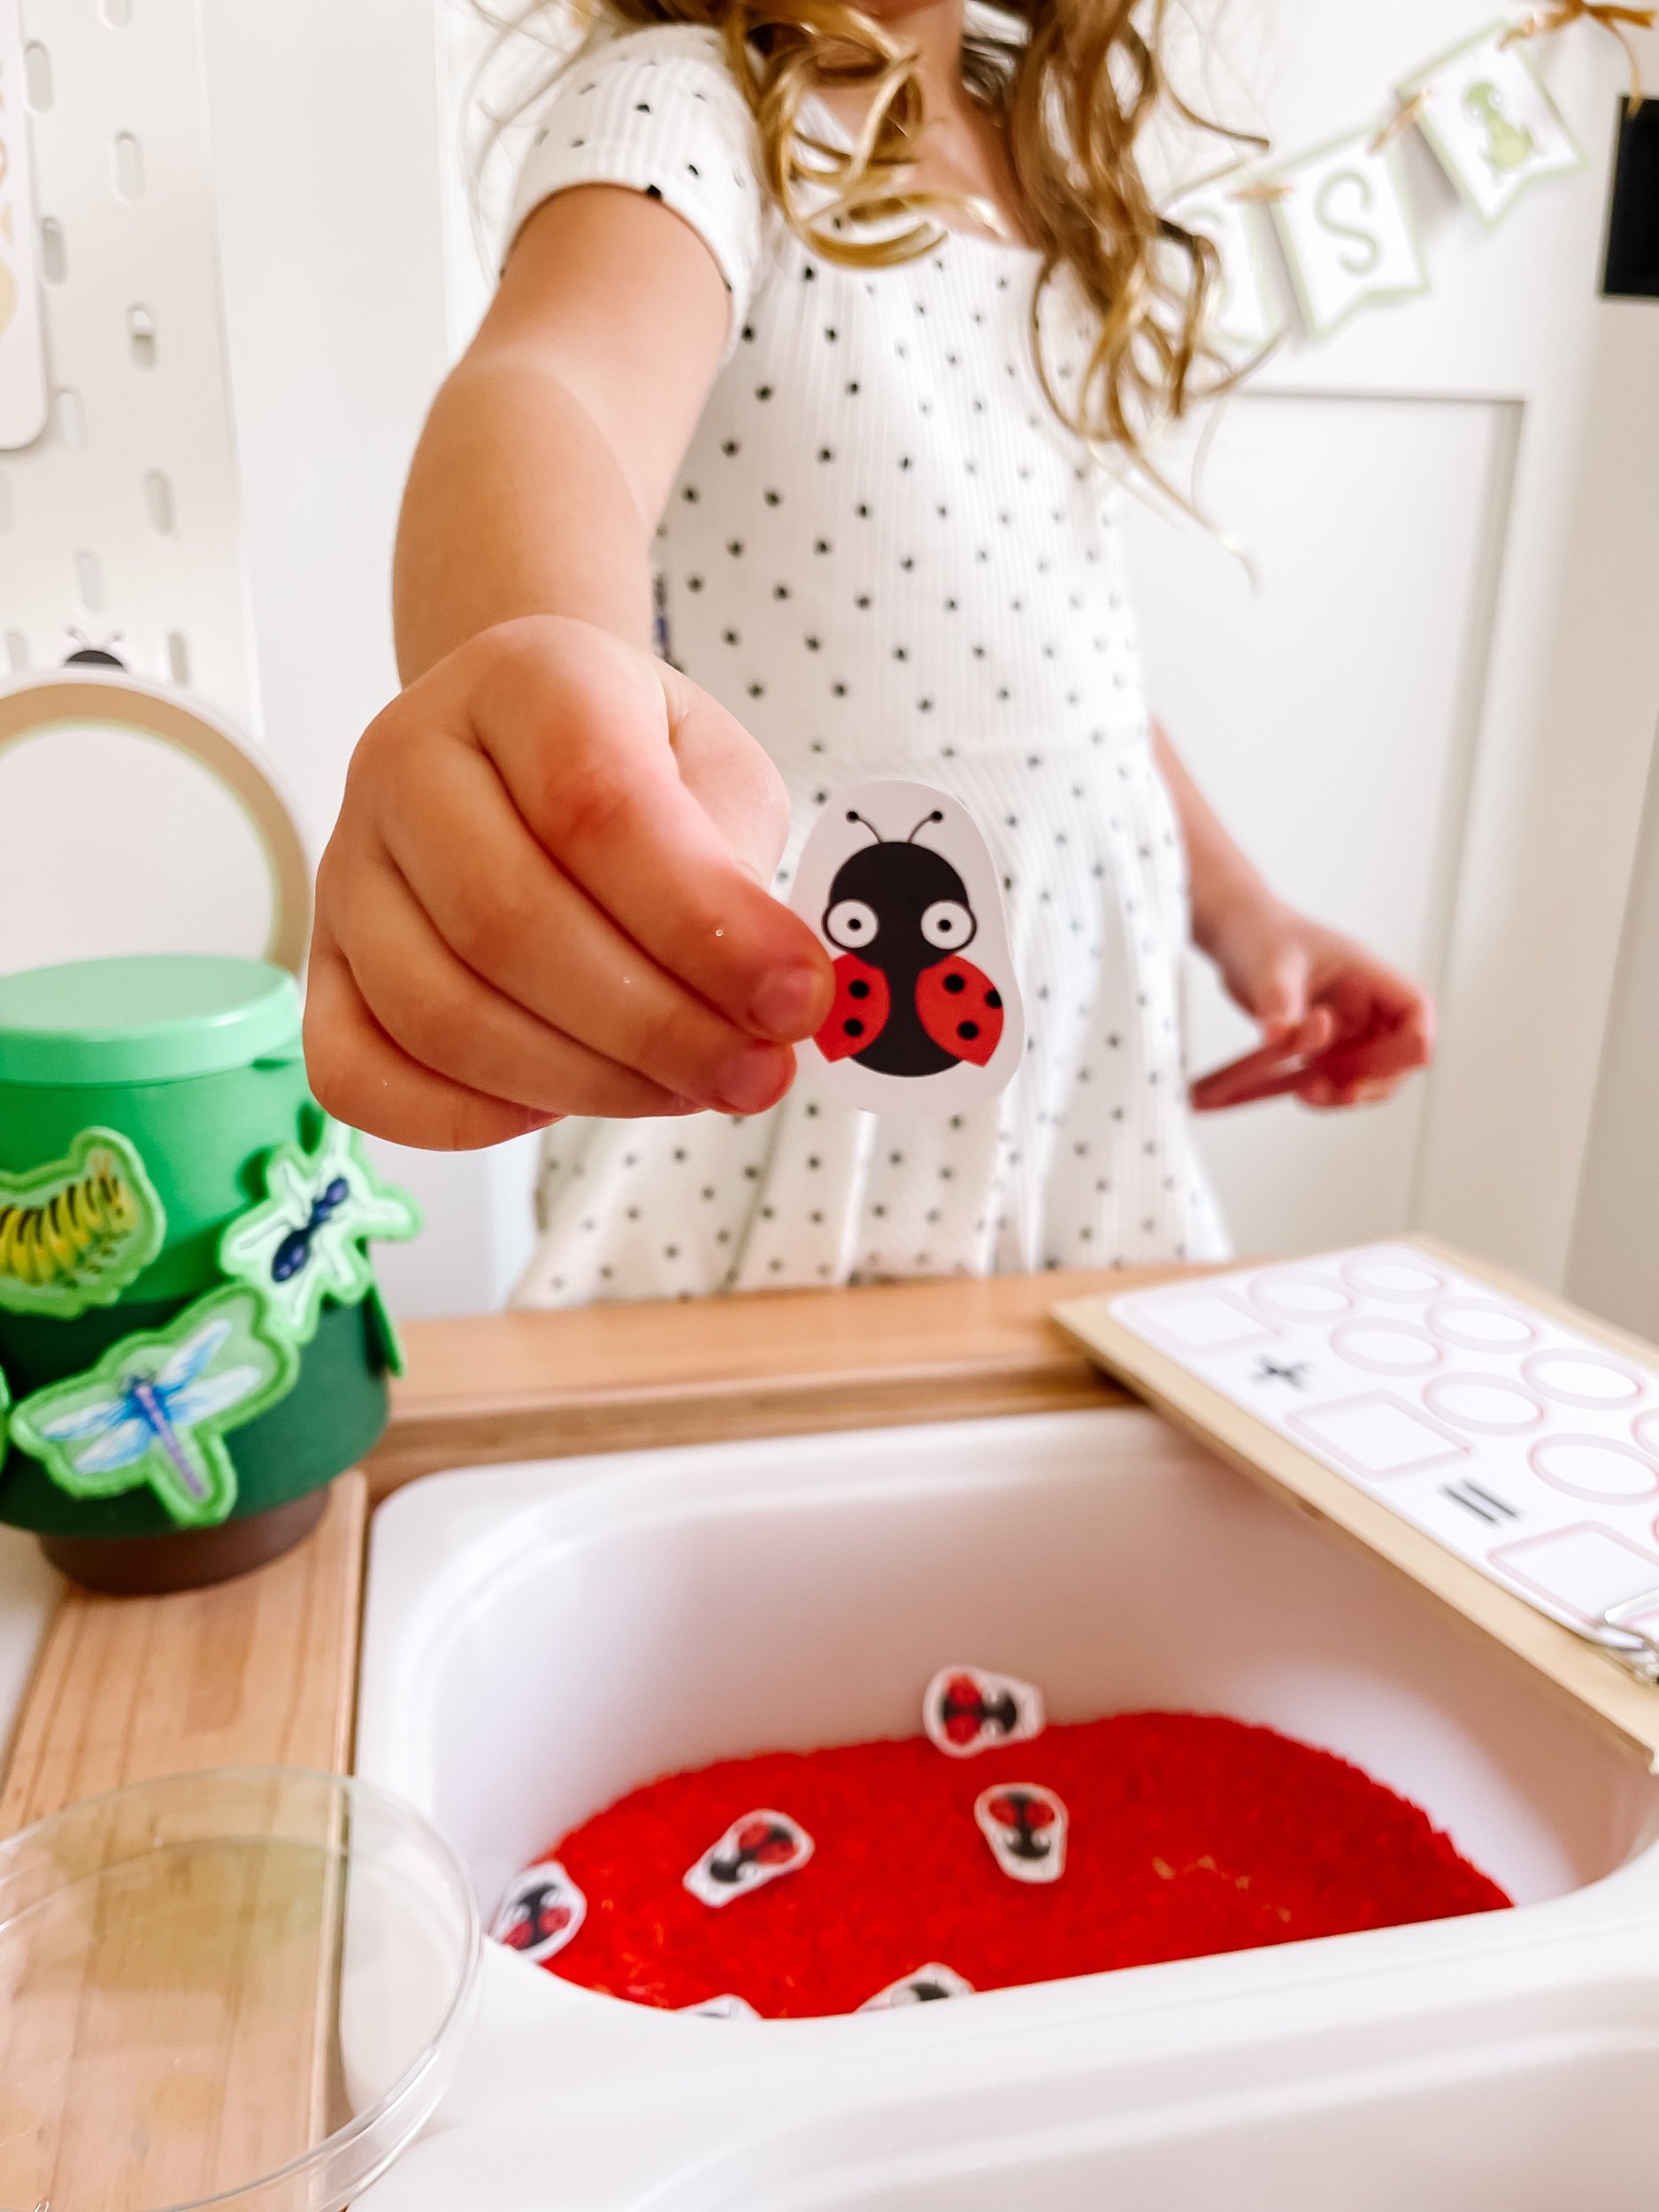
3. Place a few ladybug toys or cutouts within the bin to provide visual cues for counting. You can also use lady bug resin pieces from my favorite shops Busy Littles and Little October House.
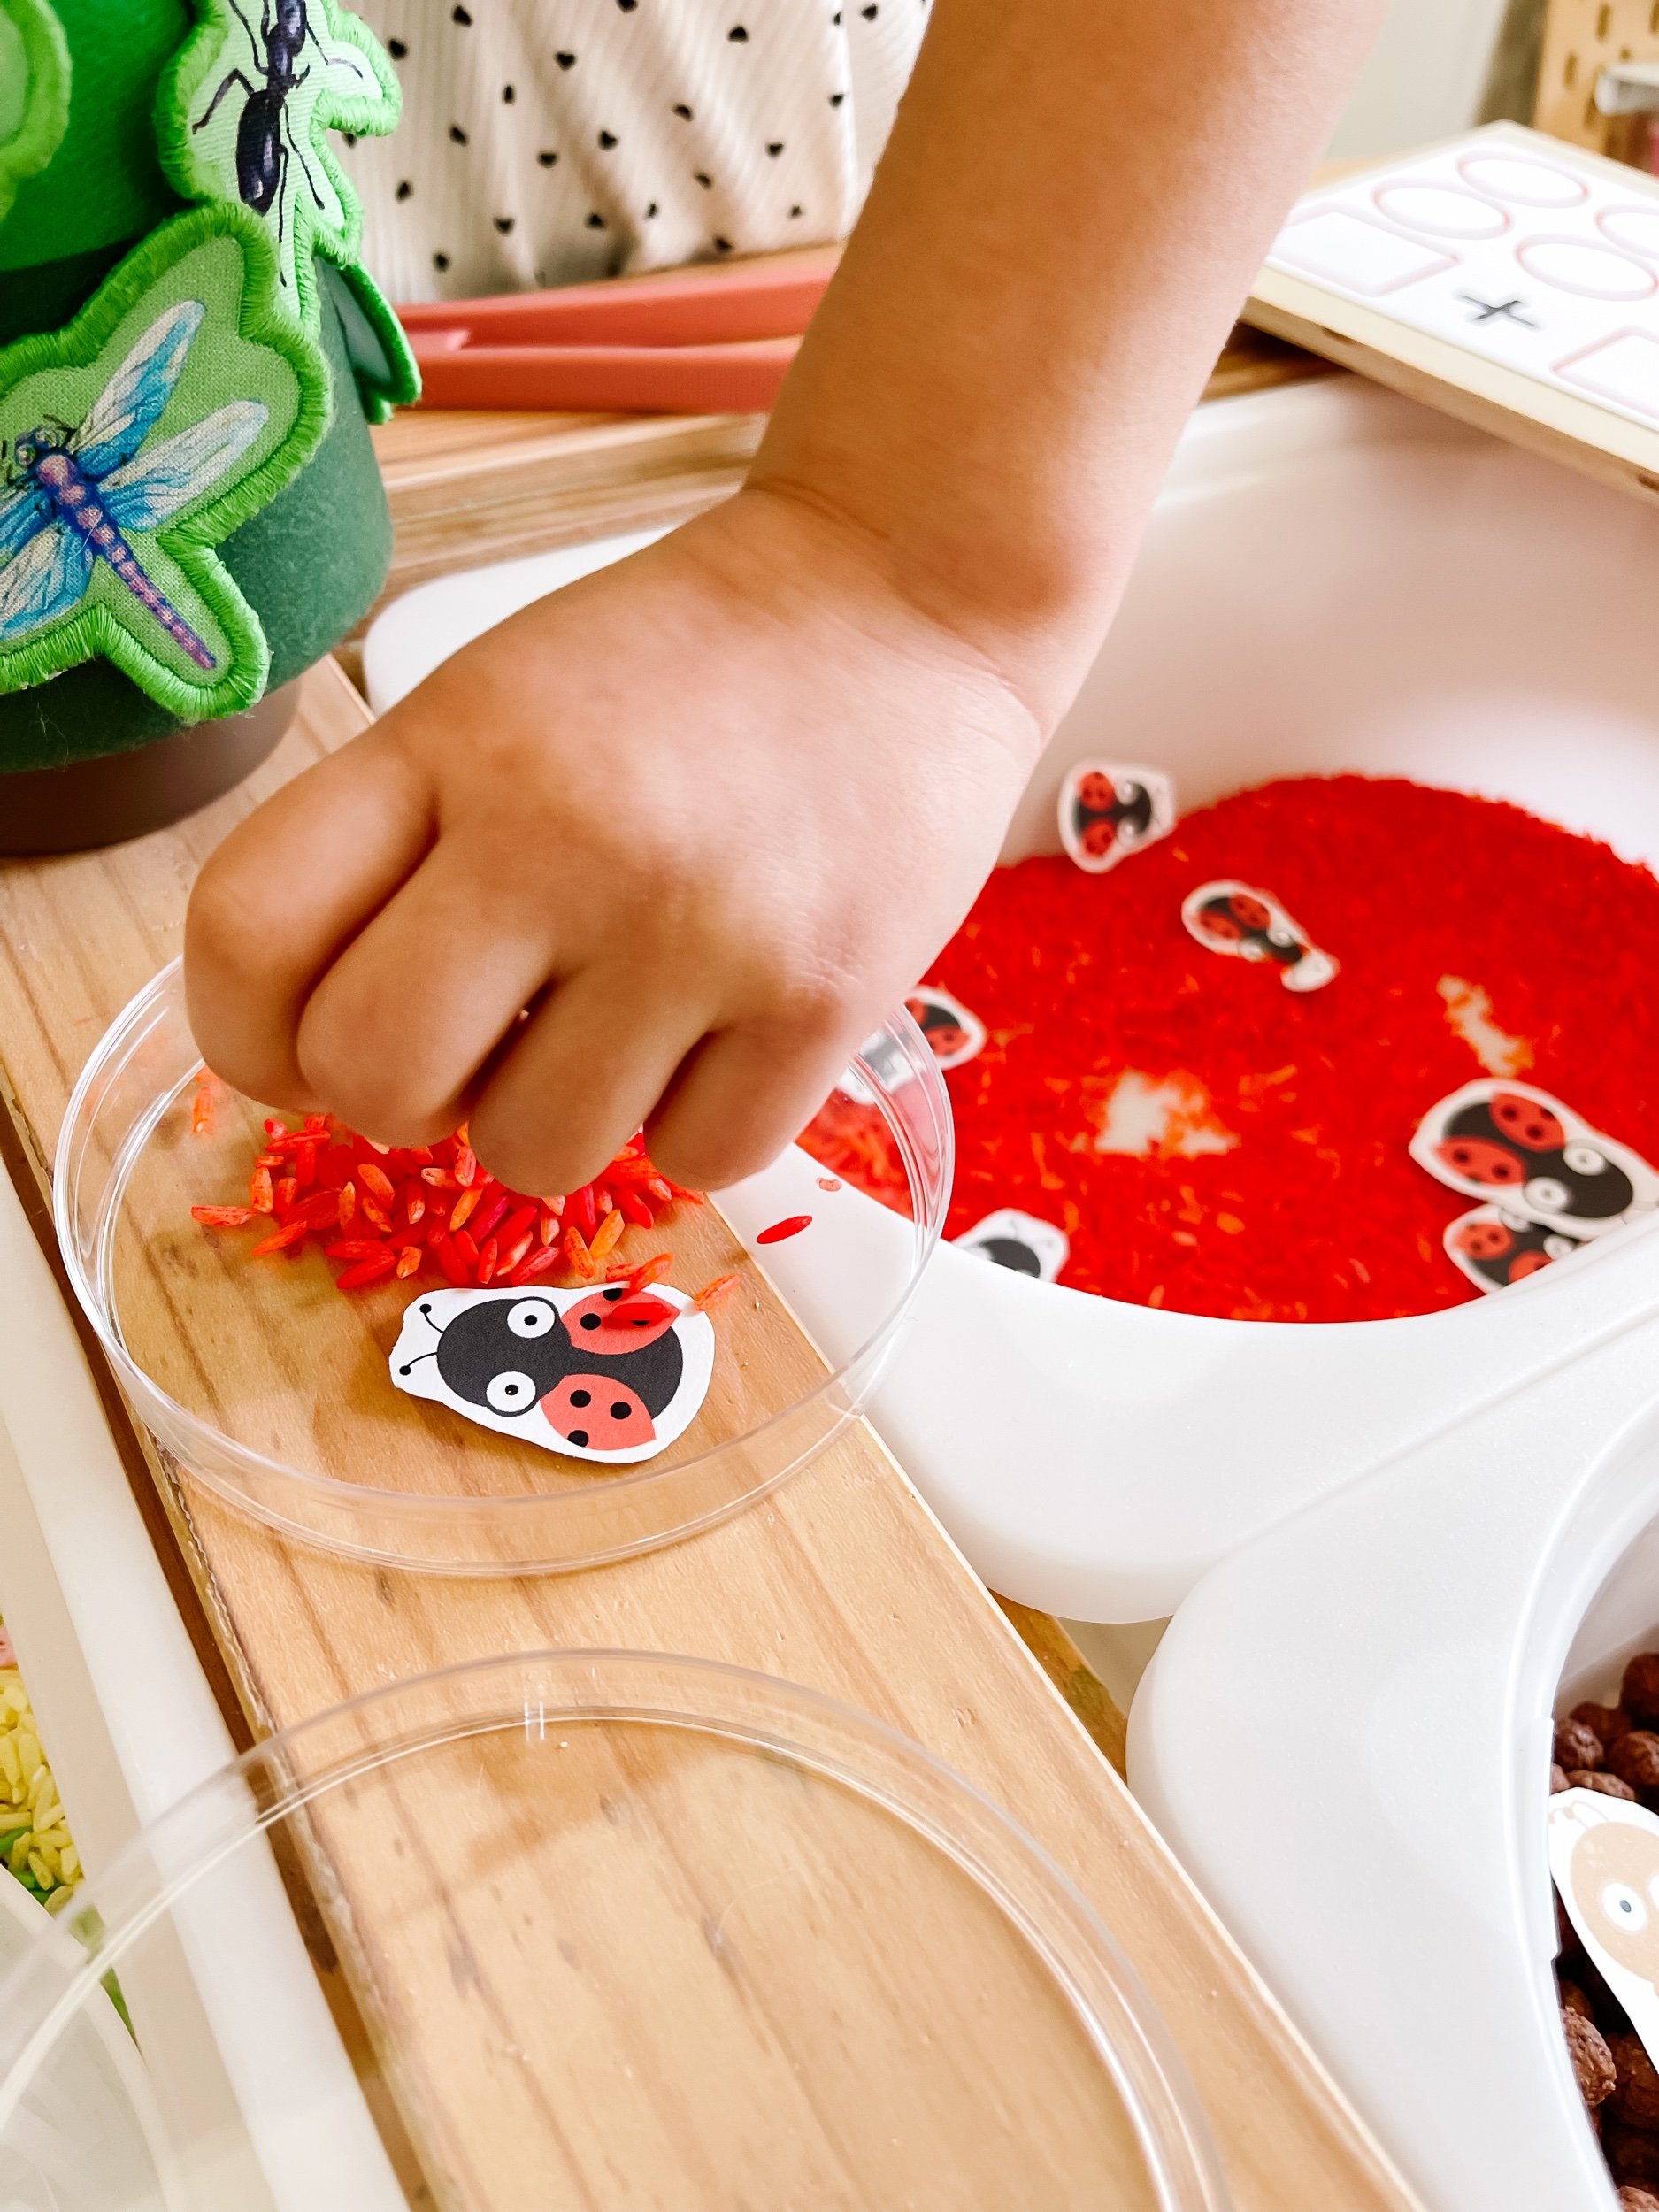
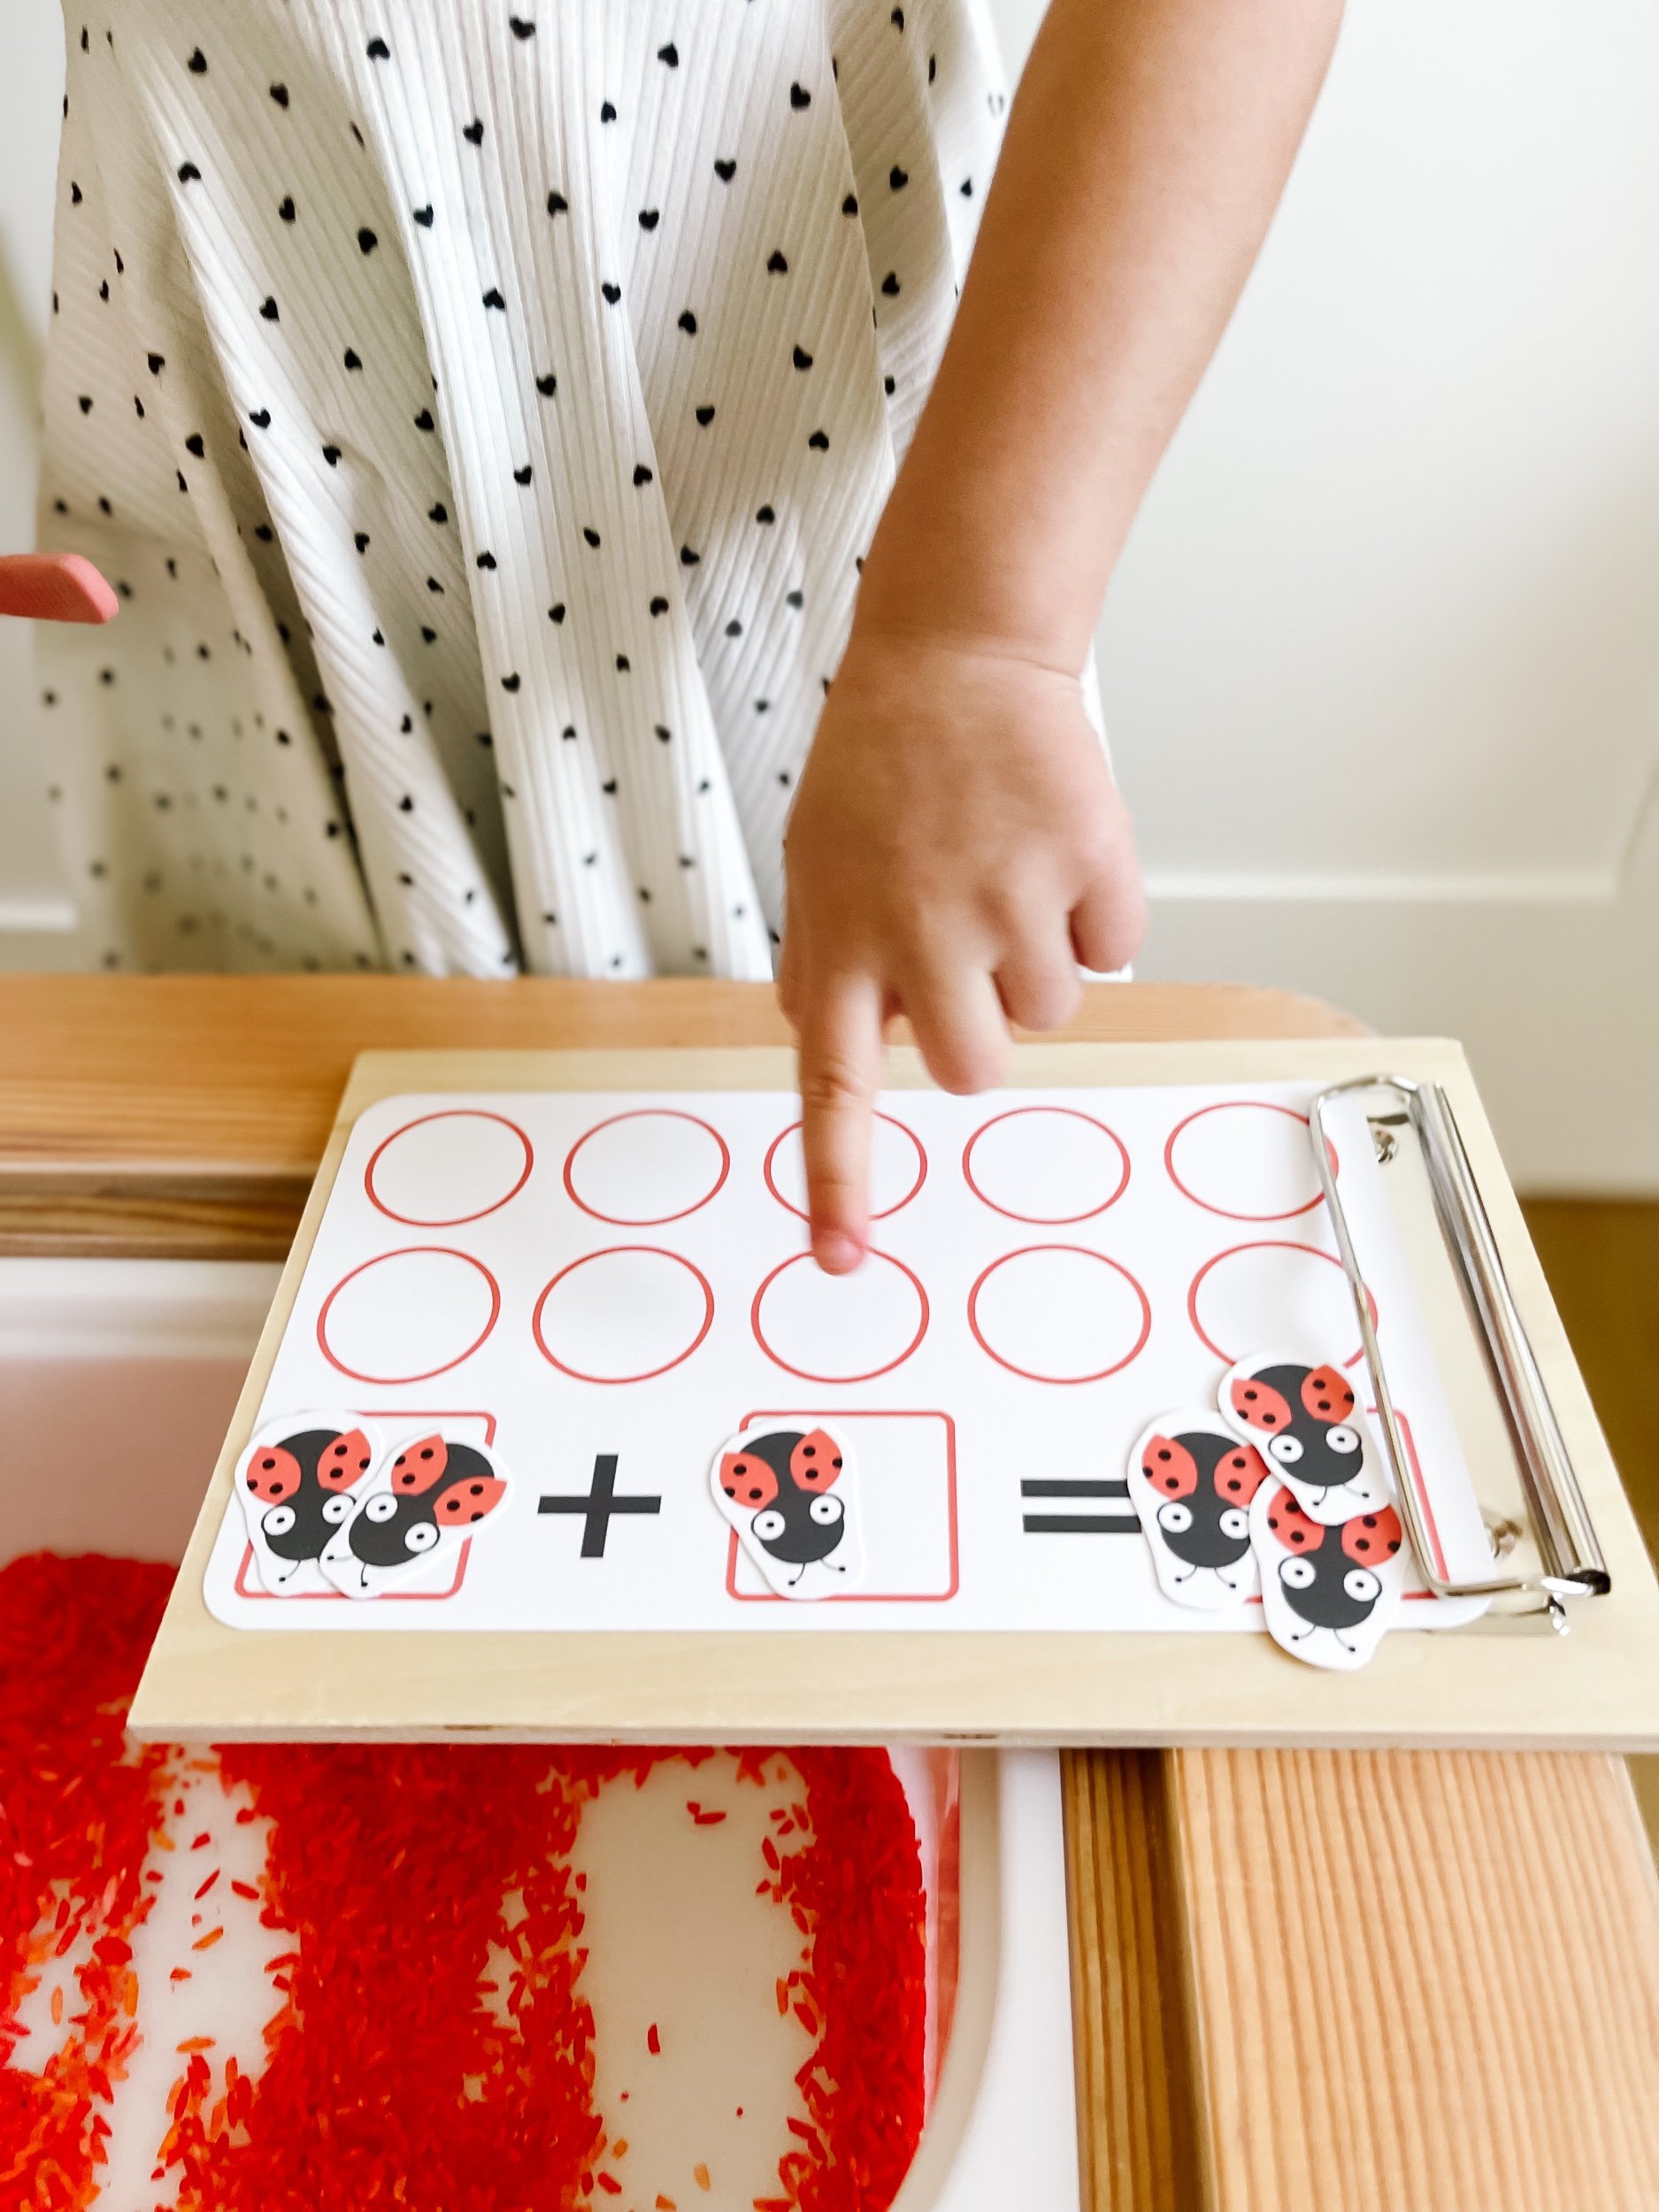
4. Invite the toddlers to count the number of spots on each ladybug, using their fingers or child-safe counters. Place the lady bugs on the counting sheet and use it to teach basic math and counting.
5. Once they have counted the spots, encourage them to refill the bin by redistributing the black wool balls or black beans into the red rice.
6. Repeat the counting activity, allowing the toddlers to practice their counting skills repeatedly.

IMG_6504.jpeg IMG_6503_jpg.jpeg IMG_6569_jpg.jpeg IMG_6505_jpg.jpeg IMG_6507.jpeg IMG_6476_jpg.jpeg IMG_6475_jpg.jpeg IMG_6488.jpeg IMG_6509_jpg.jpeg

Sensory Play Bin 3: Beehive and Bee Counting

1. Prepare a beehive-shaped container using materials such as pasta or a tub filled with yellow filler rice, chickpeas, or corn. Alternatively, use taste-safe honeycomb cereal or yellow puffs.
2. Hide small felt bees within the beehive, making sure they are safely concealed but accessible for the toddlers to find. Hide the letters of the alphabet using letter or magnetic erasers. This way you can have your kiddo find the letters and match them to the beehive in the printable worksheet.
3. Provide the toddlers with a small container to collect the bees they discover. You can use the petri dish from the Hearth & Hand bug kit.
4. Encourage the toddlers to search through the beehive, using their hands or Inspire My Play Tongs to pick up the felt bees.
5. As they collect each bee, they should place it in their container and count the number of bees they have found.
6. Continue the activity until all the bees have been found and counted.

IMG_6512.jpeg IMG_6503_jpg.jpeg IMG_6475_jpg.jpeg IMG_6510.jpeg IMG_6481_jpg.jpeg IMG_6522_jpg.jpeg IMG_6472_jpg.jpeg IMG_6480_jpg.jpeg IMG_6569_jpg.jpeg

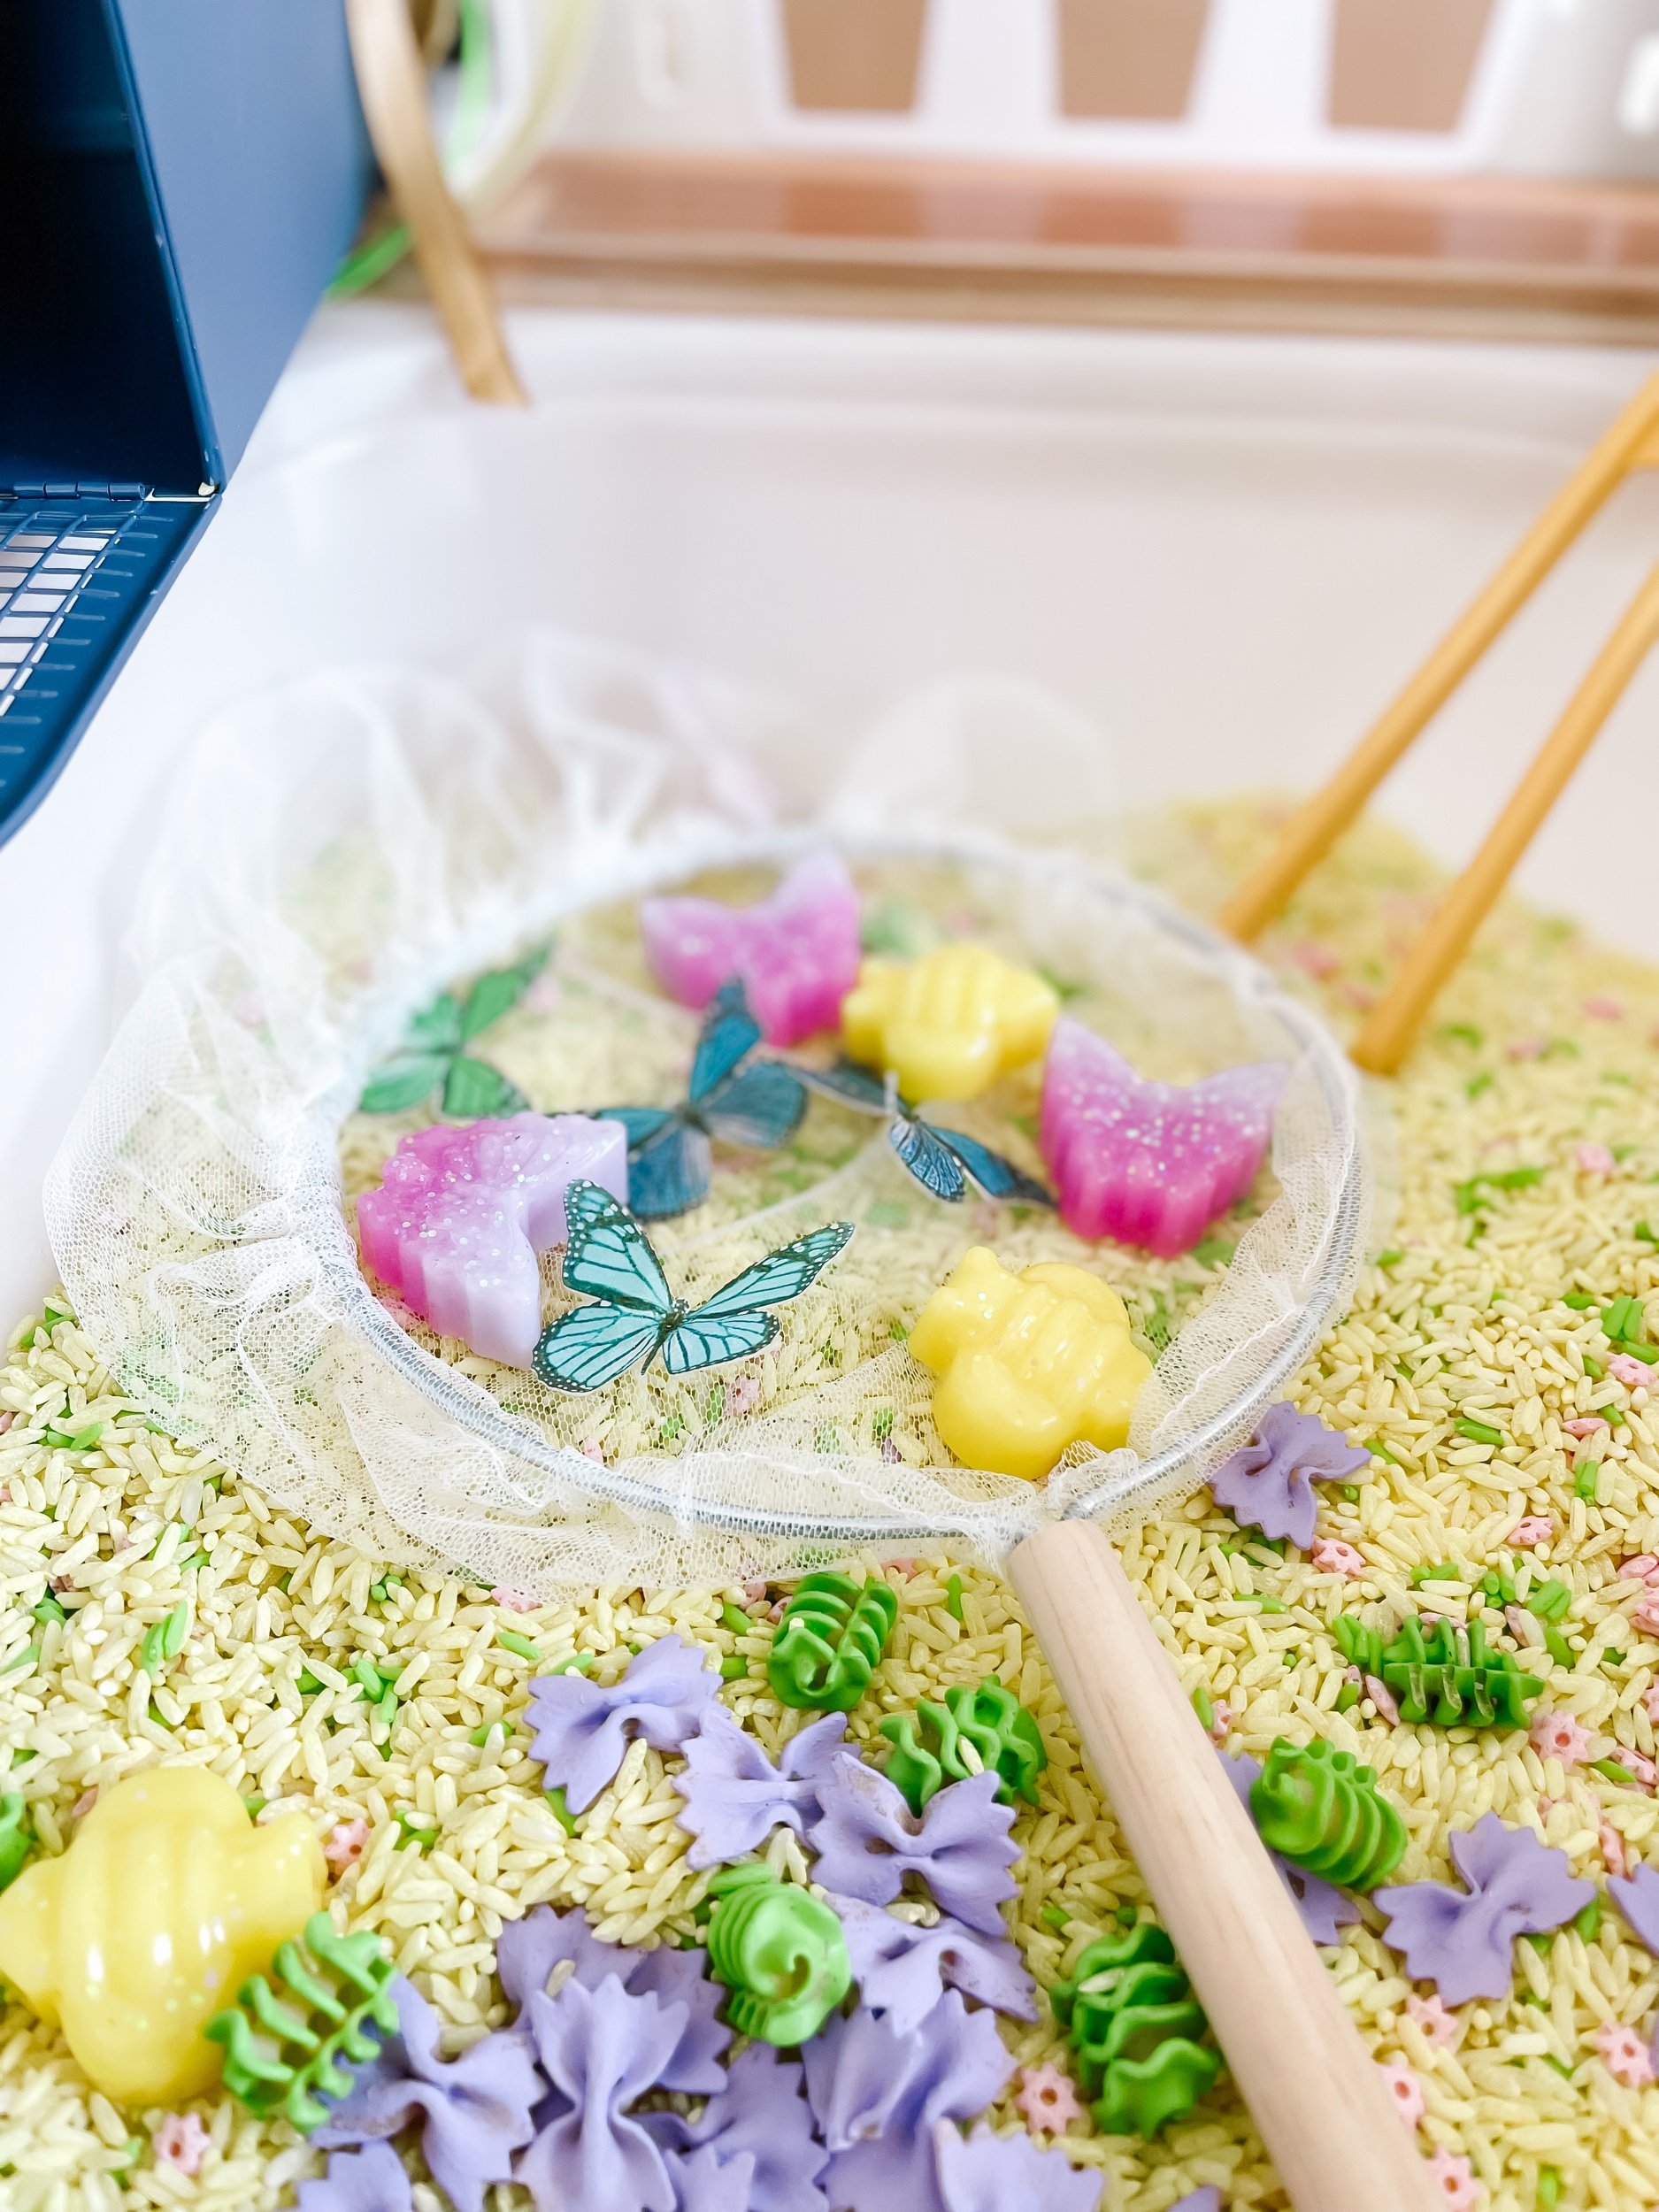
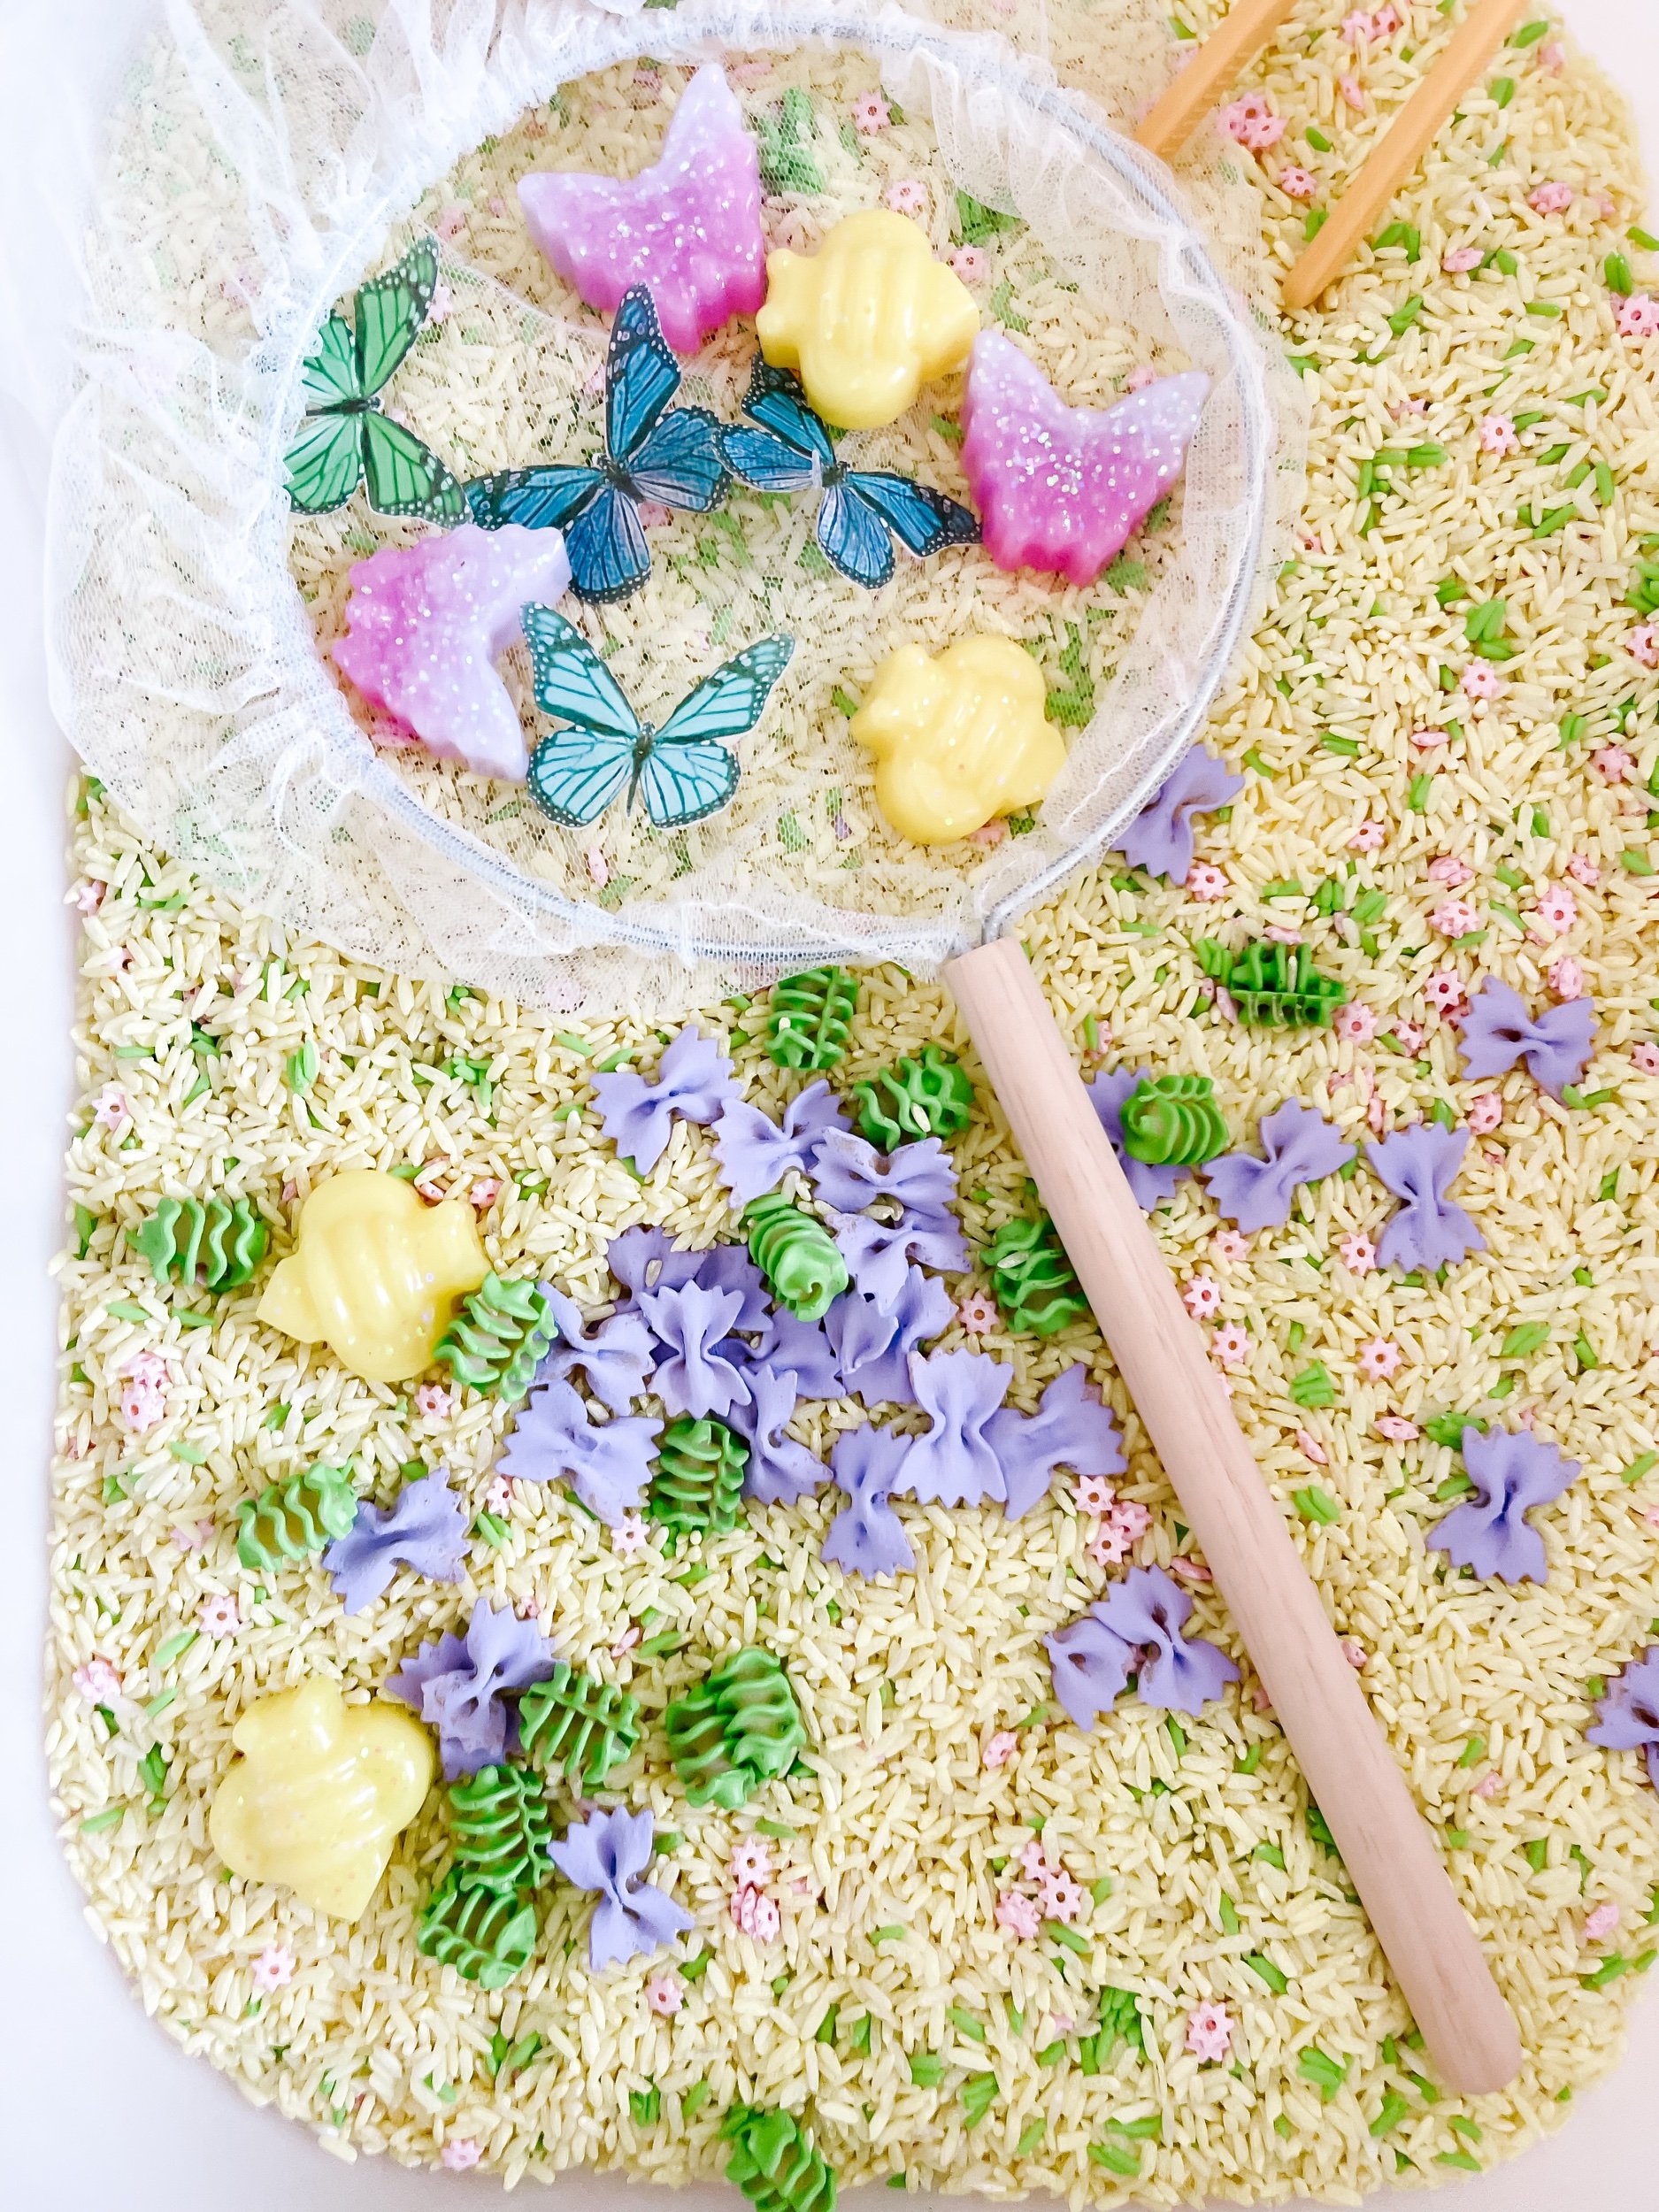
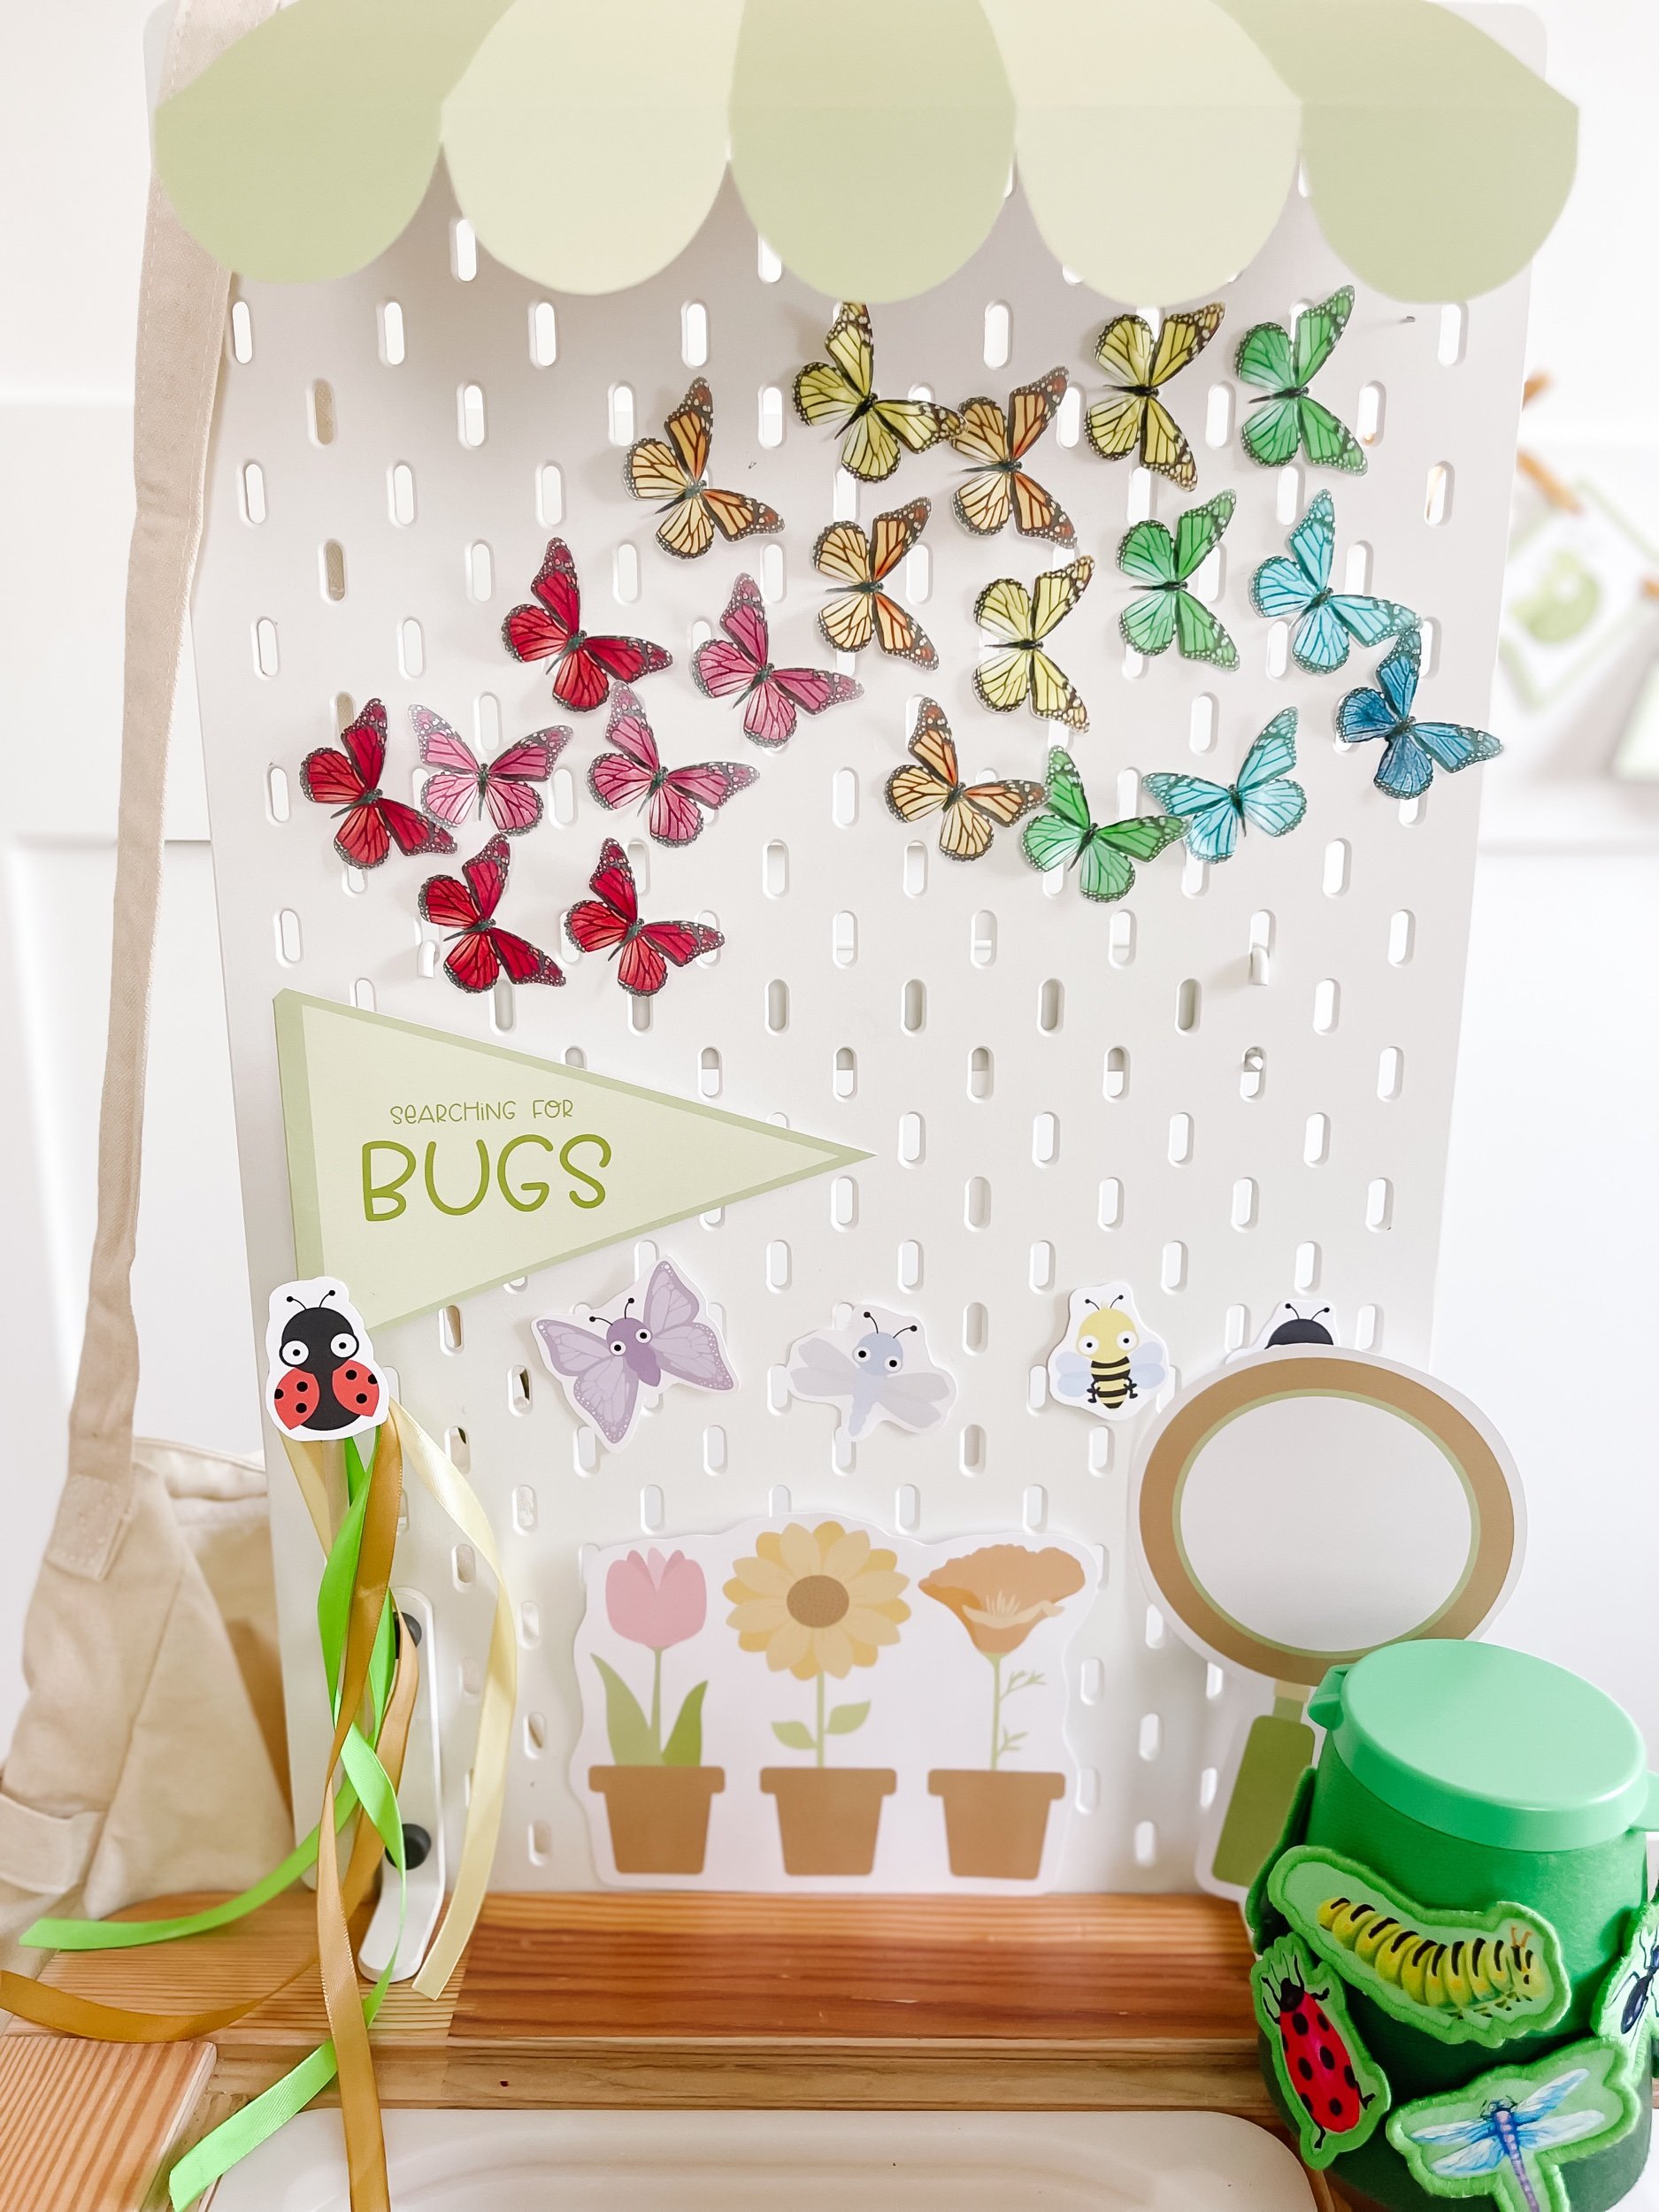
Sensory Play Bin 4: Butterfly Rainbow

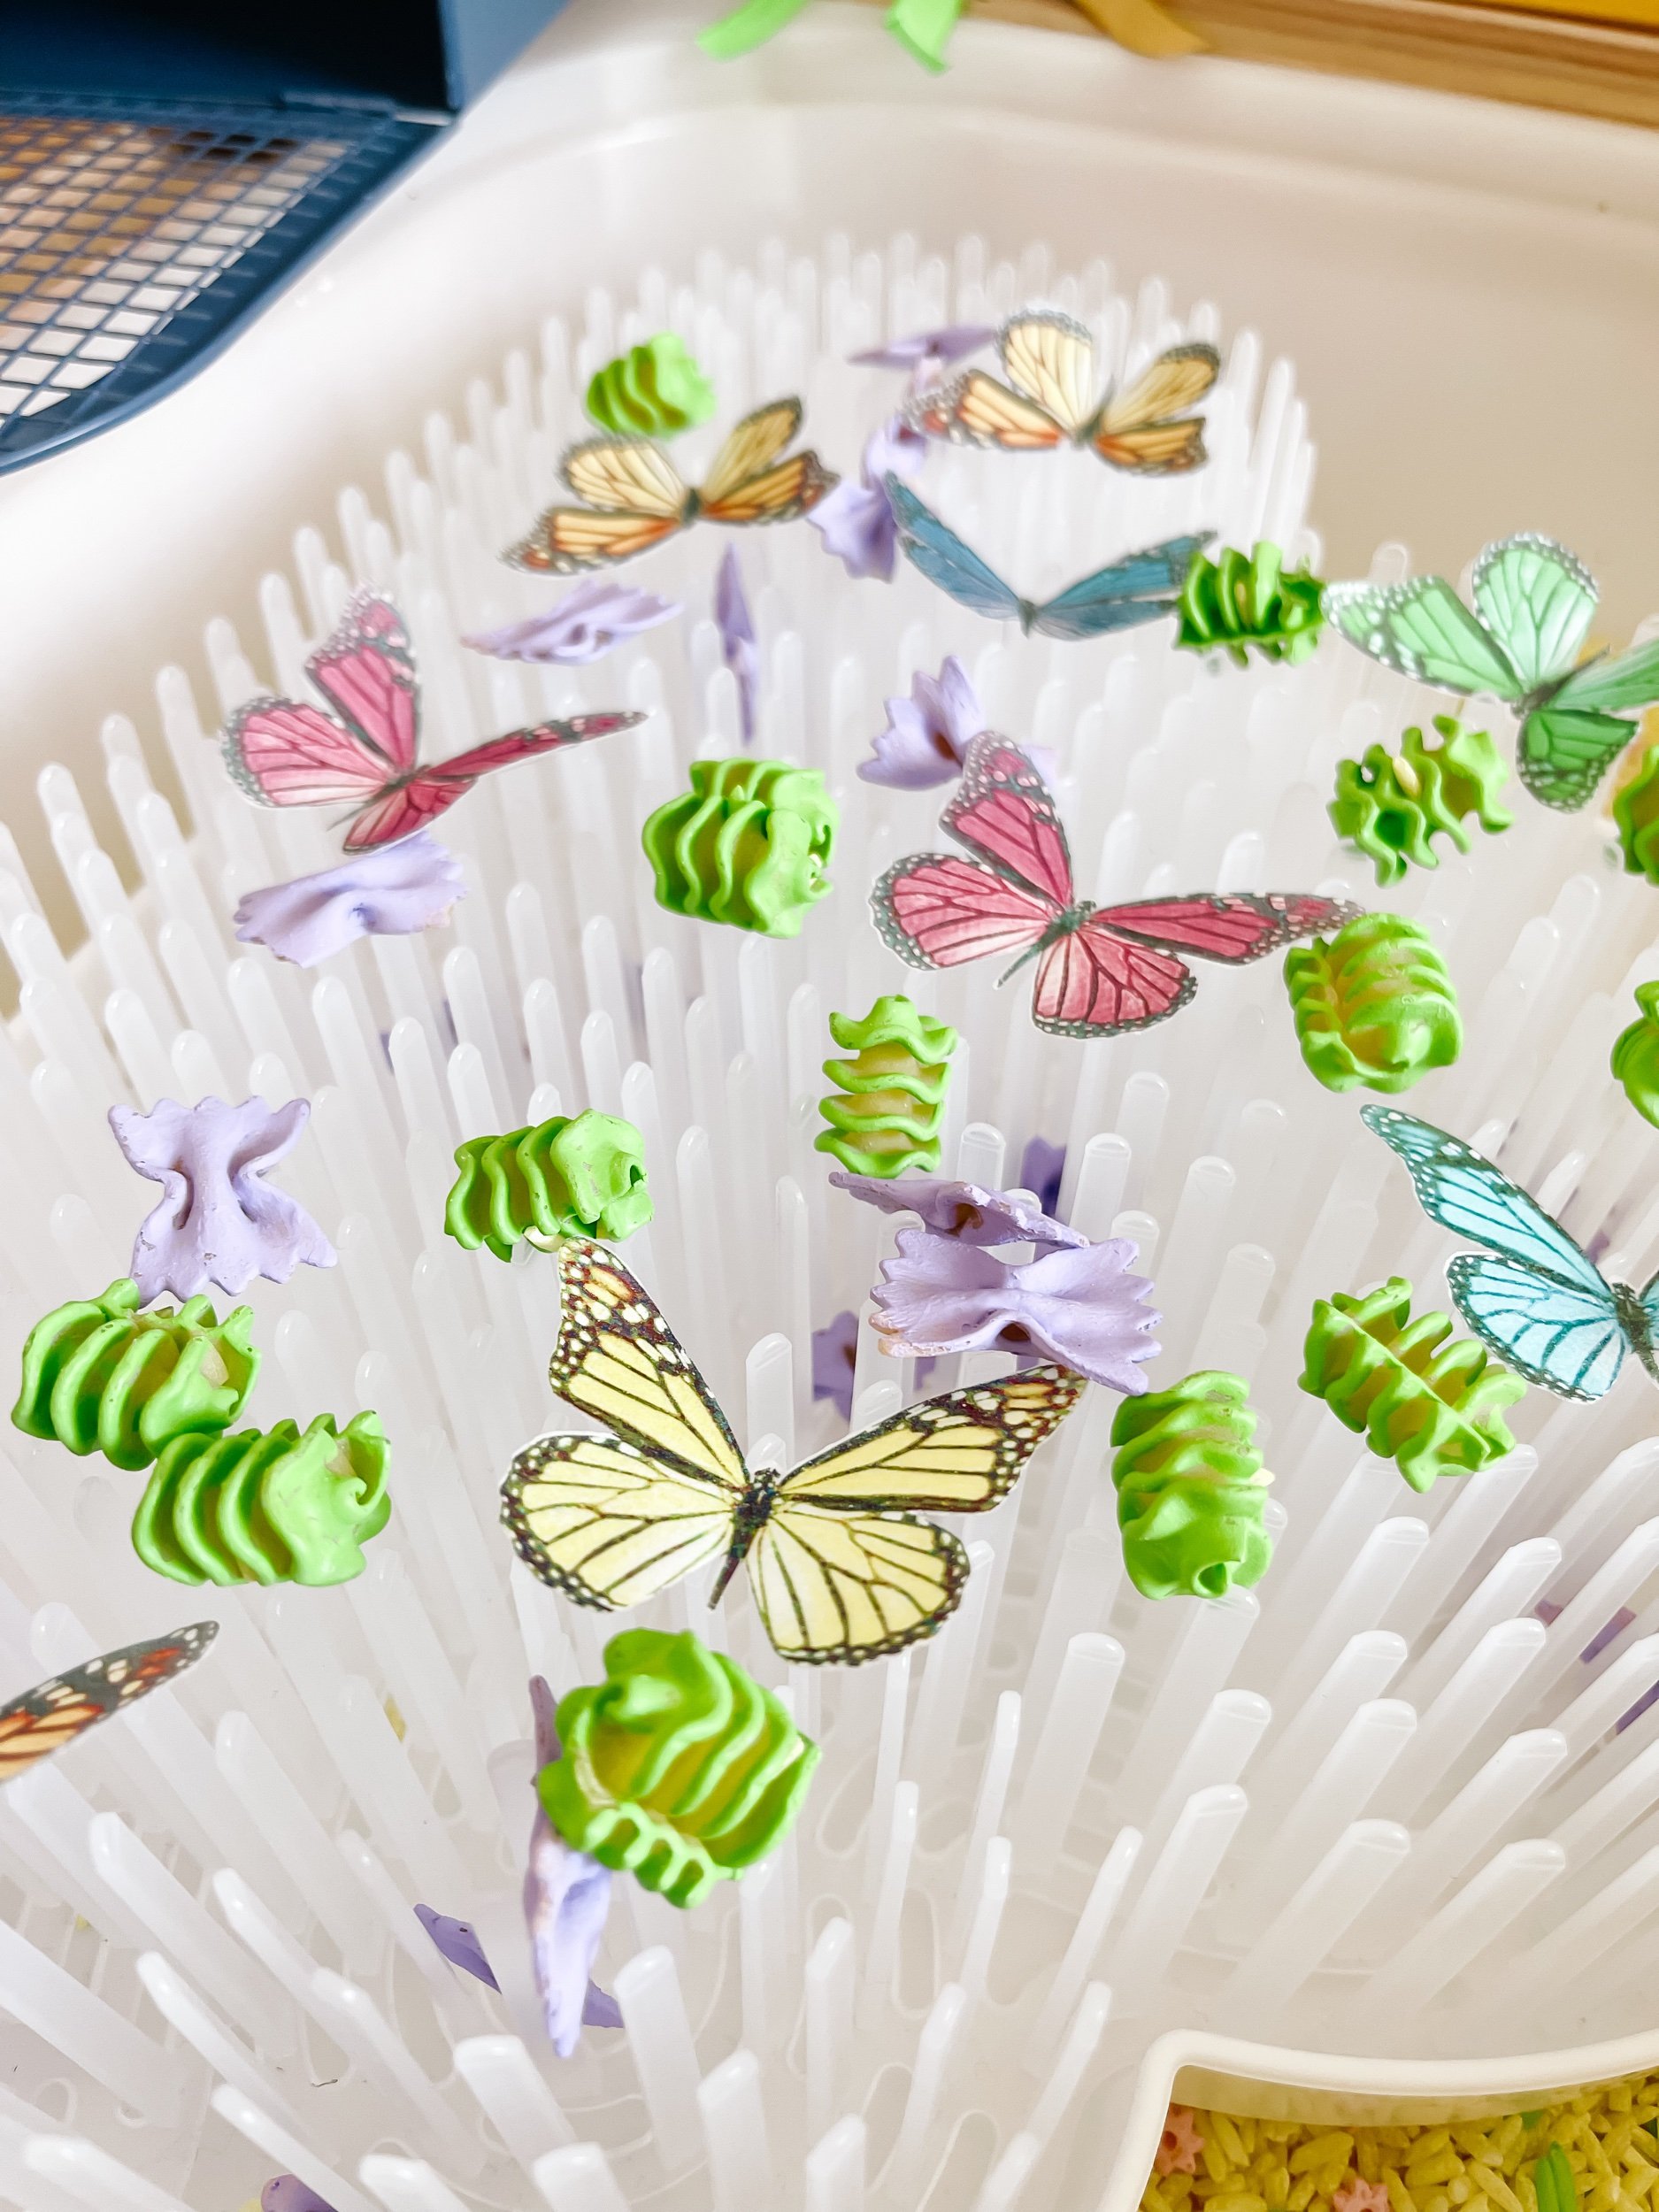
1. Acquire paper butterflies — I used these edible paper butterflies which were so perfect for this activity! But you can also cut some out yourself out of construction paper for a low cost alternative.
2. Prepare an open area for the activity, preferably outdoors or in a room with ample space.
3. Spread out the paper butterflies on the floor or in the air, ensuring they are within the toddlers' reach.
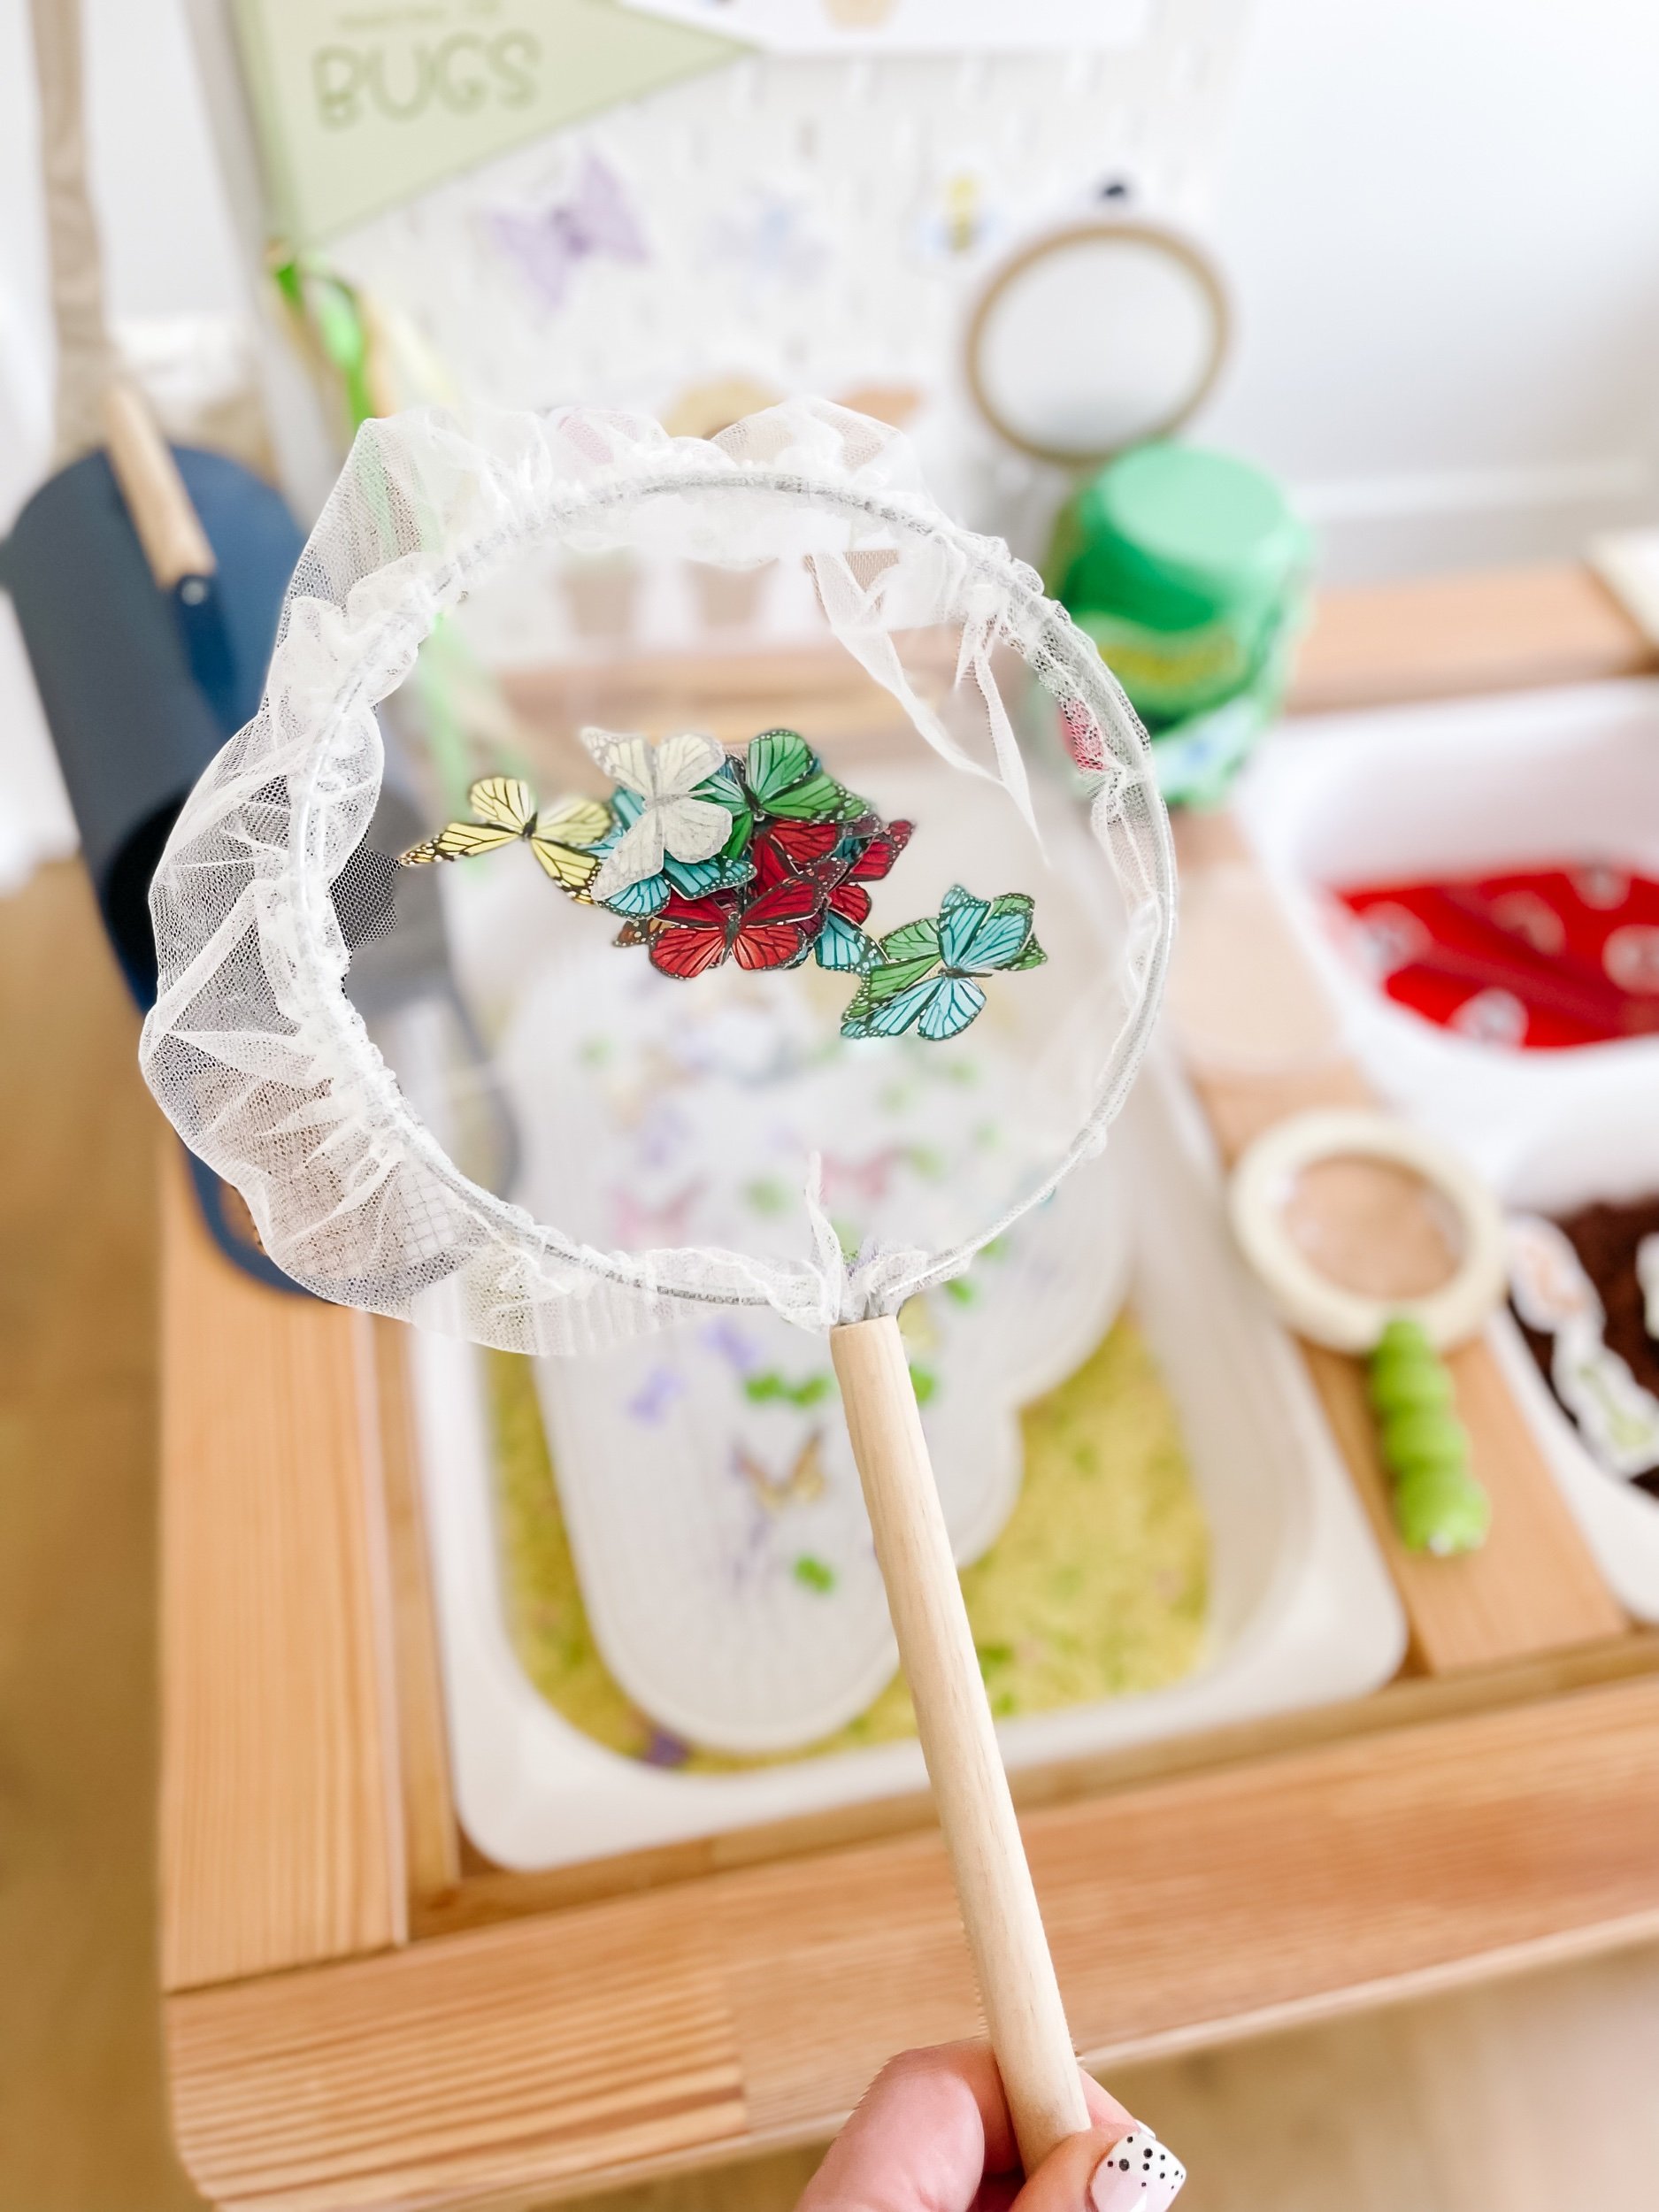
4. Provide each toddler with a butterfly net and demonstrate how to catch the floating butterflies by swiping the net through the air.
5. Encourage the toddlers to practice catching the butterflies using their nets, enhancing their gross motor skills and hand-eye coordination. I threw the butterflies into the air several times challenging my daughter to catch them in the net!
6. Allow the toddlers to catch the butterflies repeatedly, ensuring a slow and simple pace suited for young children.
7. Once your child has caught the butterflies, arrange them by color into a rainbow. For the edible butterflies, you can lick them and stick them making them super fun to play with!

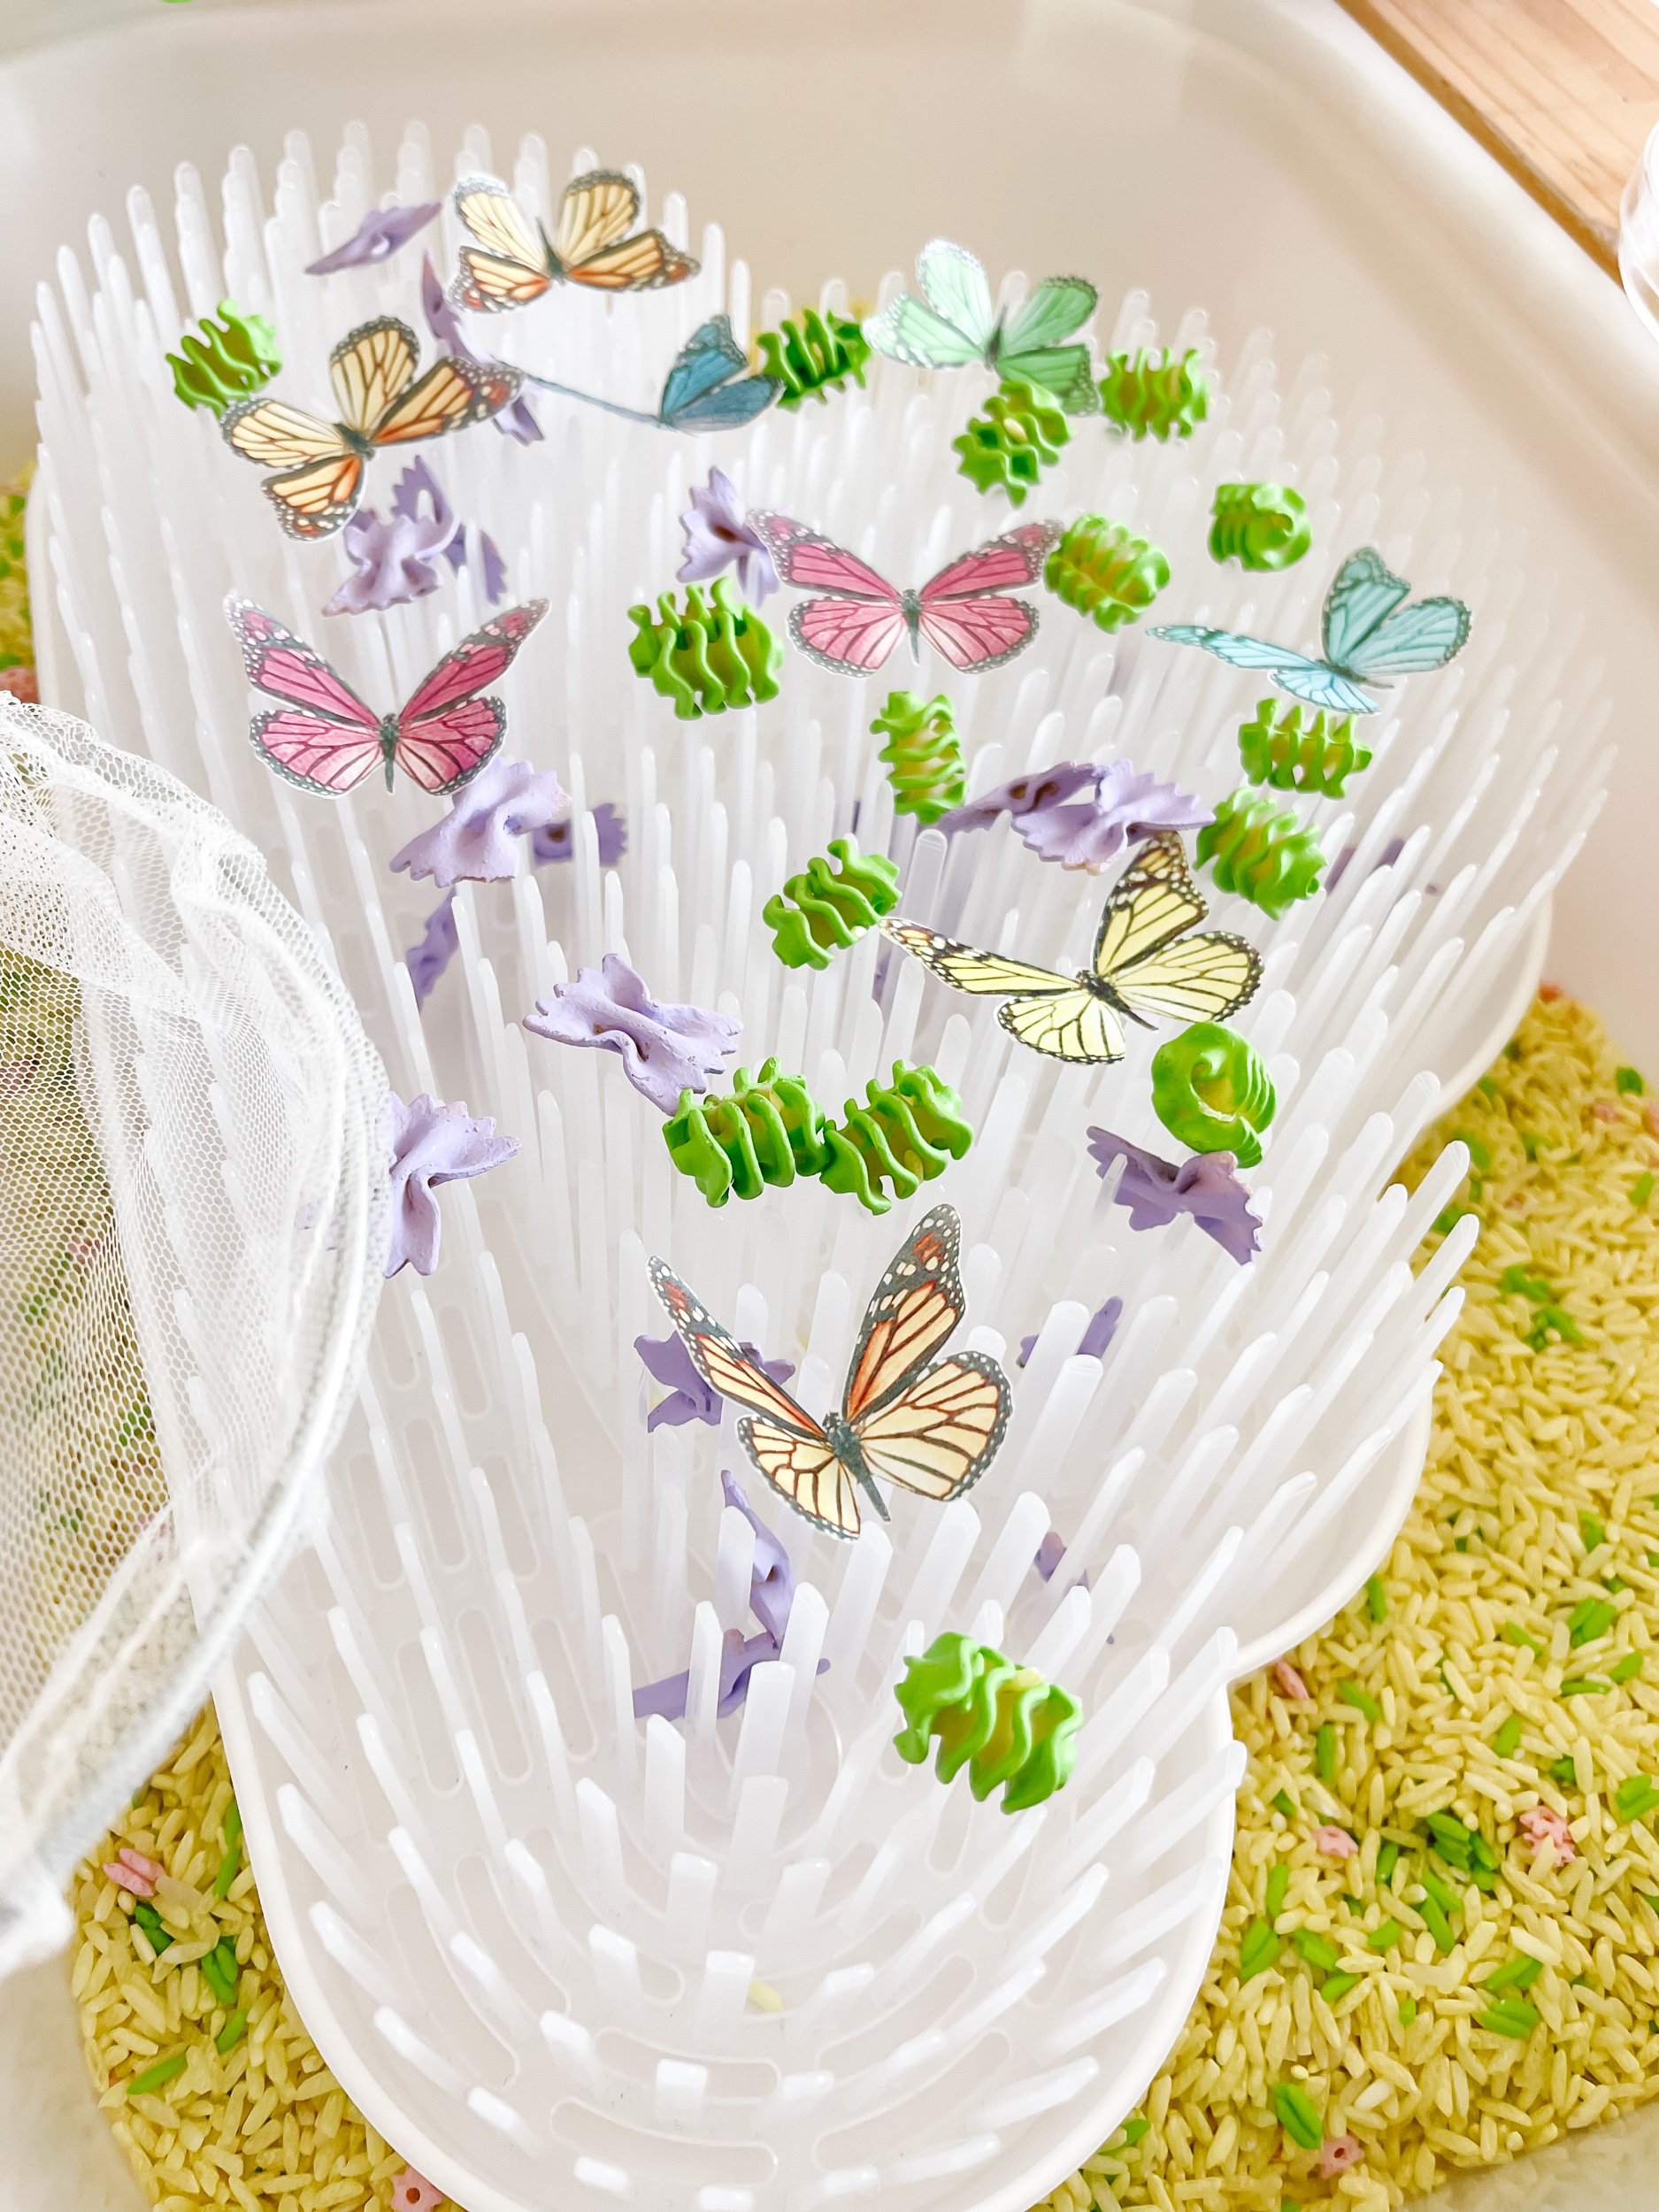
As a bonus idea, this boon grass cloud was perfect for picking butterflies out using our tongs. This amazing sensory filler by The Hermesch House was such a perfect celebration of bugs play and it included the best pasta shapes for this adventure!

By engaging in these four sensory play bins focused on bugs, toddlers can explore various sensory experiences, acquire counting skills, practice fine and gross motor skills, and enhance their hand-eye coordination. These activities not only promote learning but also provide a fun and immersive playtime for young children.


Bugs sensory Flisat table play

Top 25 Vocabulary Words for Ages 3-6 to Learn During Bug Play

While engaging in bug play, your little ones can expand their vocabulary and learn exciting new words related to the bug and insect world. Here are the top 25 vocabulary words for ages 3-6 to learn during bug play:
1. Insect
2. Arachnid
3. Beetle
4. Butterfly
5. Caterpillar
6. Ant
7. Ladybug
8. Grasshopper
9. Spider
10. Bee
11. Dragonfly
12. Mosquito
13. Snail
14. Worm
15. Praying Mantis
16. Crickets
17. Fly
18. Firefly
19. Grasshopper
20. Bug
21. Cocoon
22. Larva
23. Exoskeleton
24. Wings
25. Habitat
Encourage your child to use these words during play and introduce them in everyday conversations to reinforce their learning.

Introducing a bug and insect themed sensory bin activity provides a stimulating and educational experience for toddlers. Not only will they develop essential skills such as vocabulary, fine motor, and cognitive abilities, but they'll also have a blast exploring the captivating world of bugs. Be sure to download our printable activity kit, packed with exciting bug-related activities, to enrich your child's playtime and foster their overall development. Remember, sensory play is a fantastic way for children to learn and grow while having fun!

Tags bugs, insects, homeschool lesson plan, homeschool bugs unit, learning about bugs, bugs lesson plan, insects lesson plan, sensory play, sensory play table, sensory play kit, flisat sensory inspiration, printable toddler worksheets, printable
5 Comments

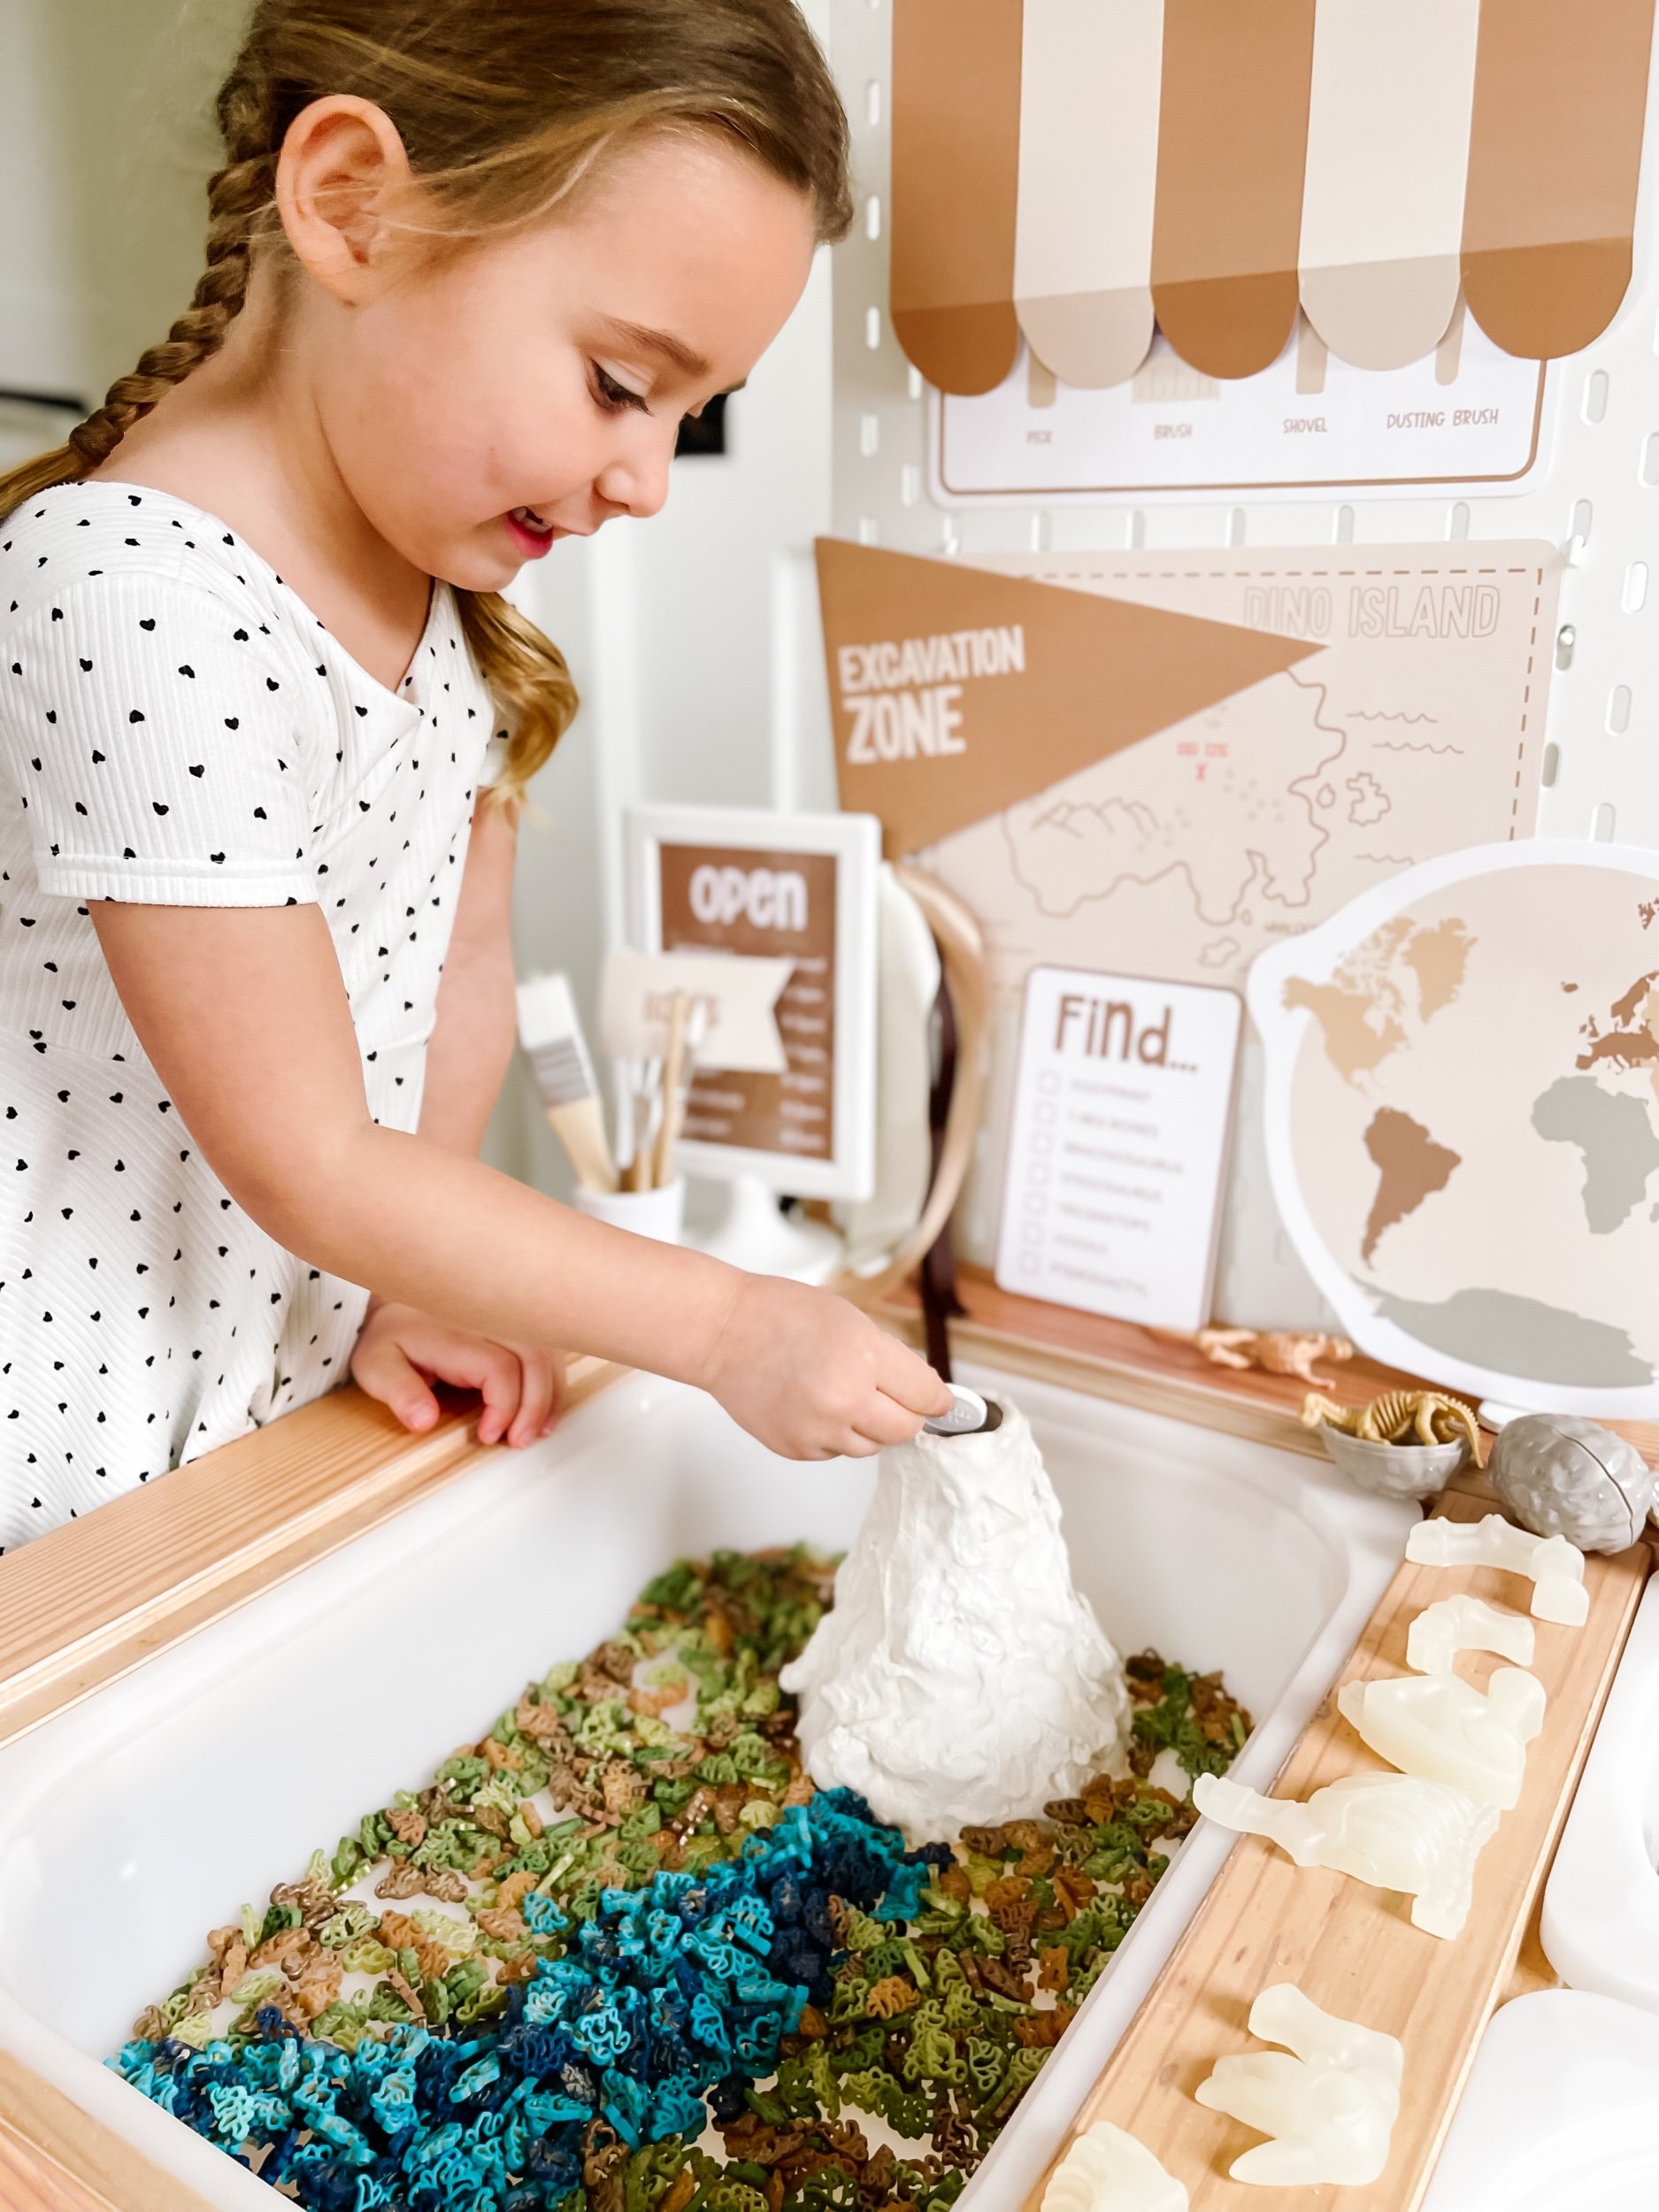
Dinosaur Dig Paleontology Sensory Play

February 12, 2024 Kylie Tuosto
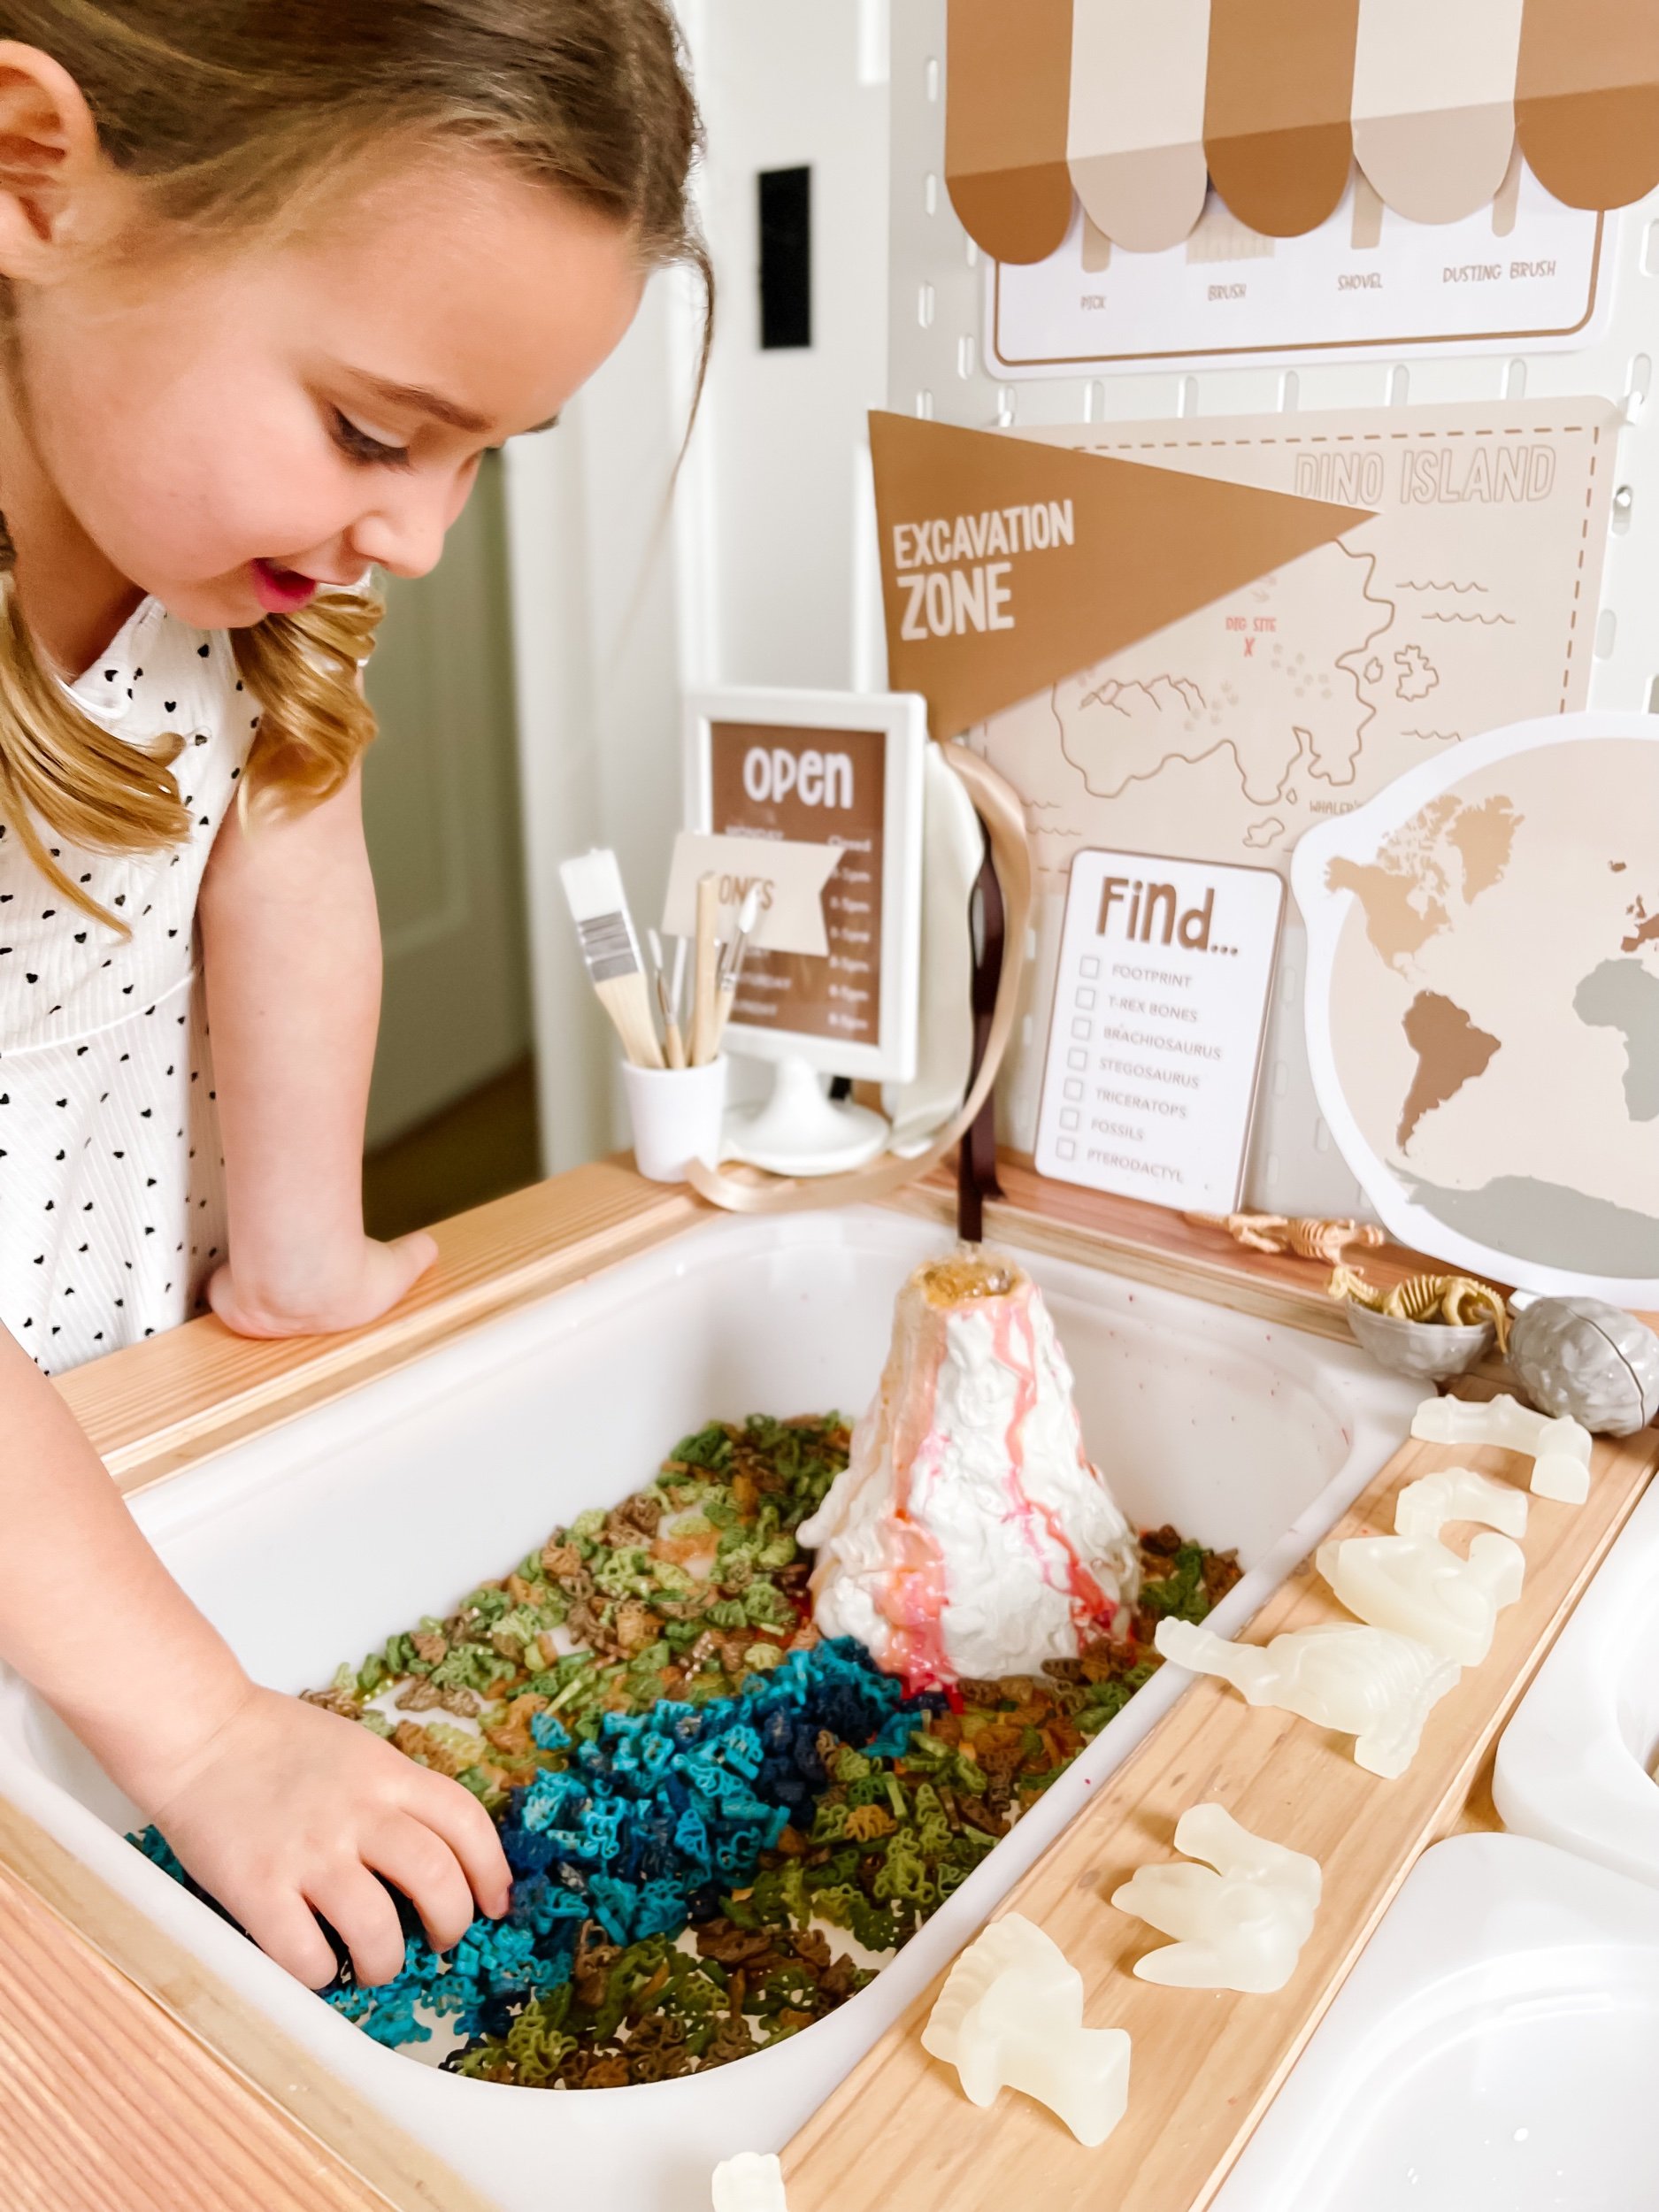
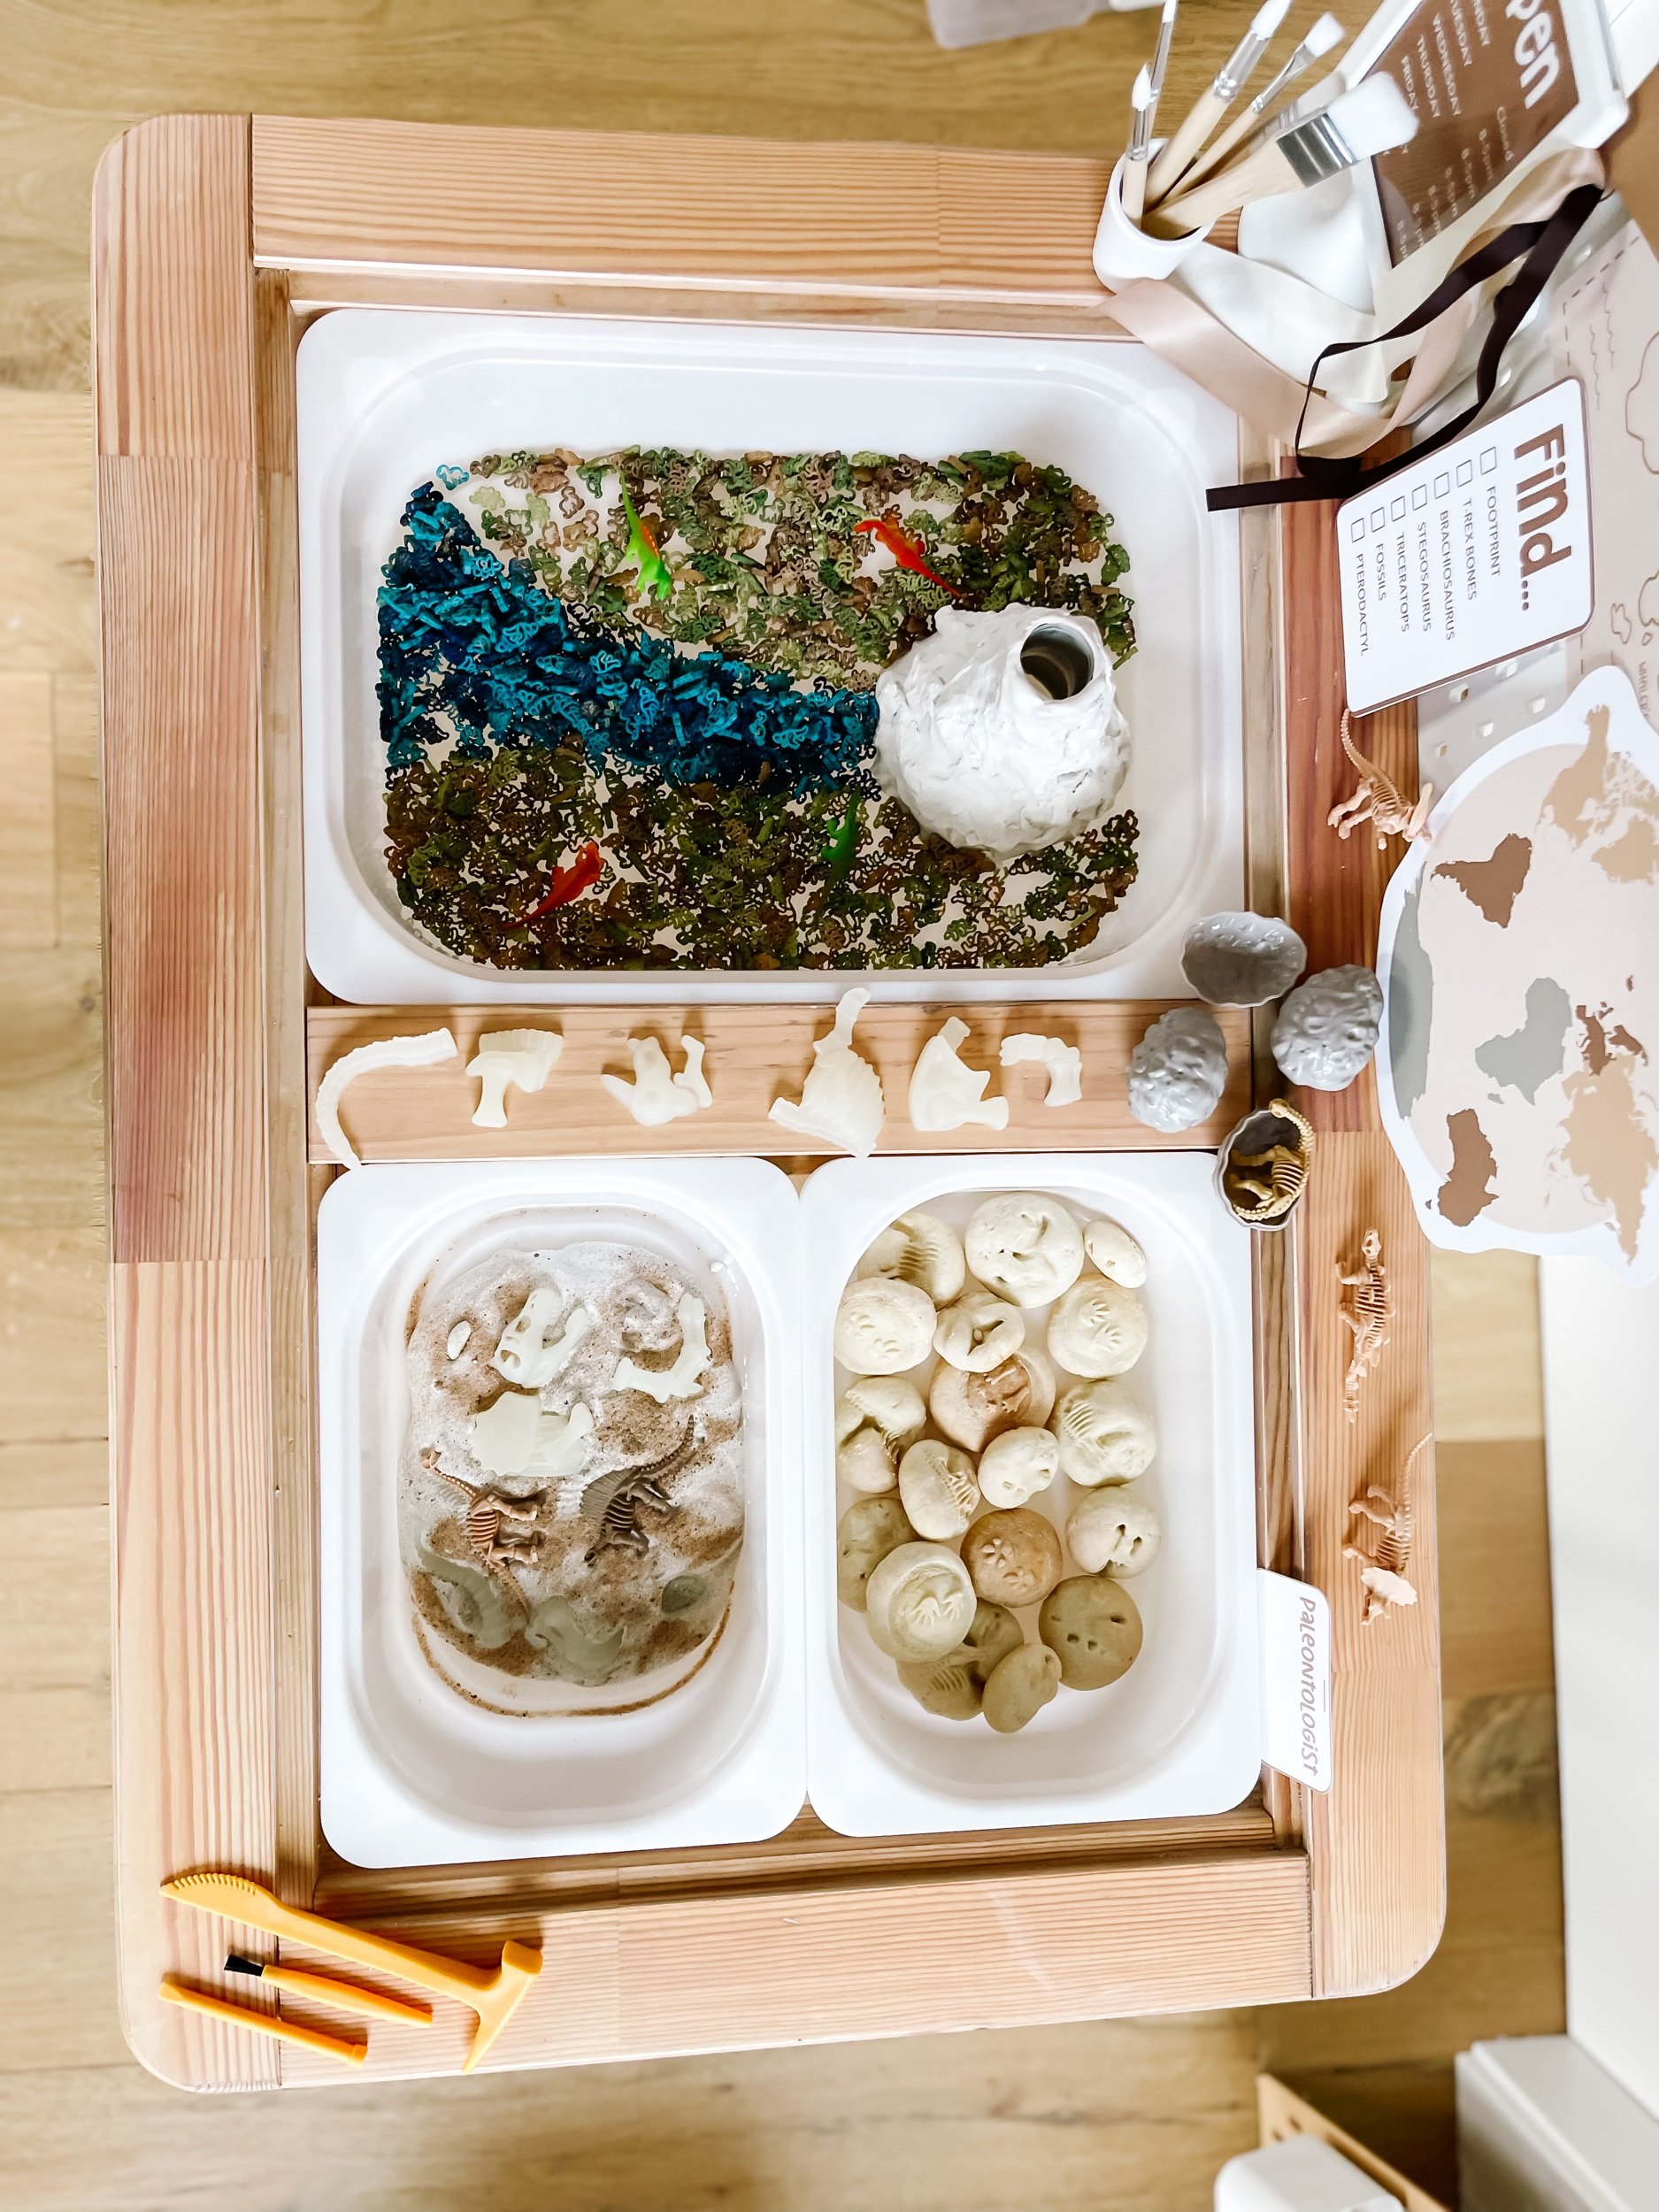
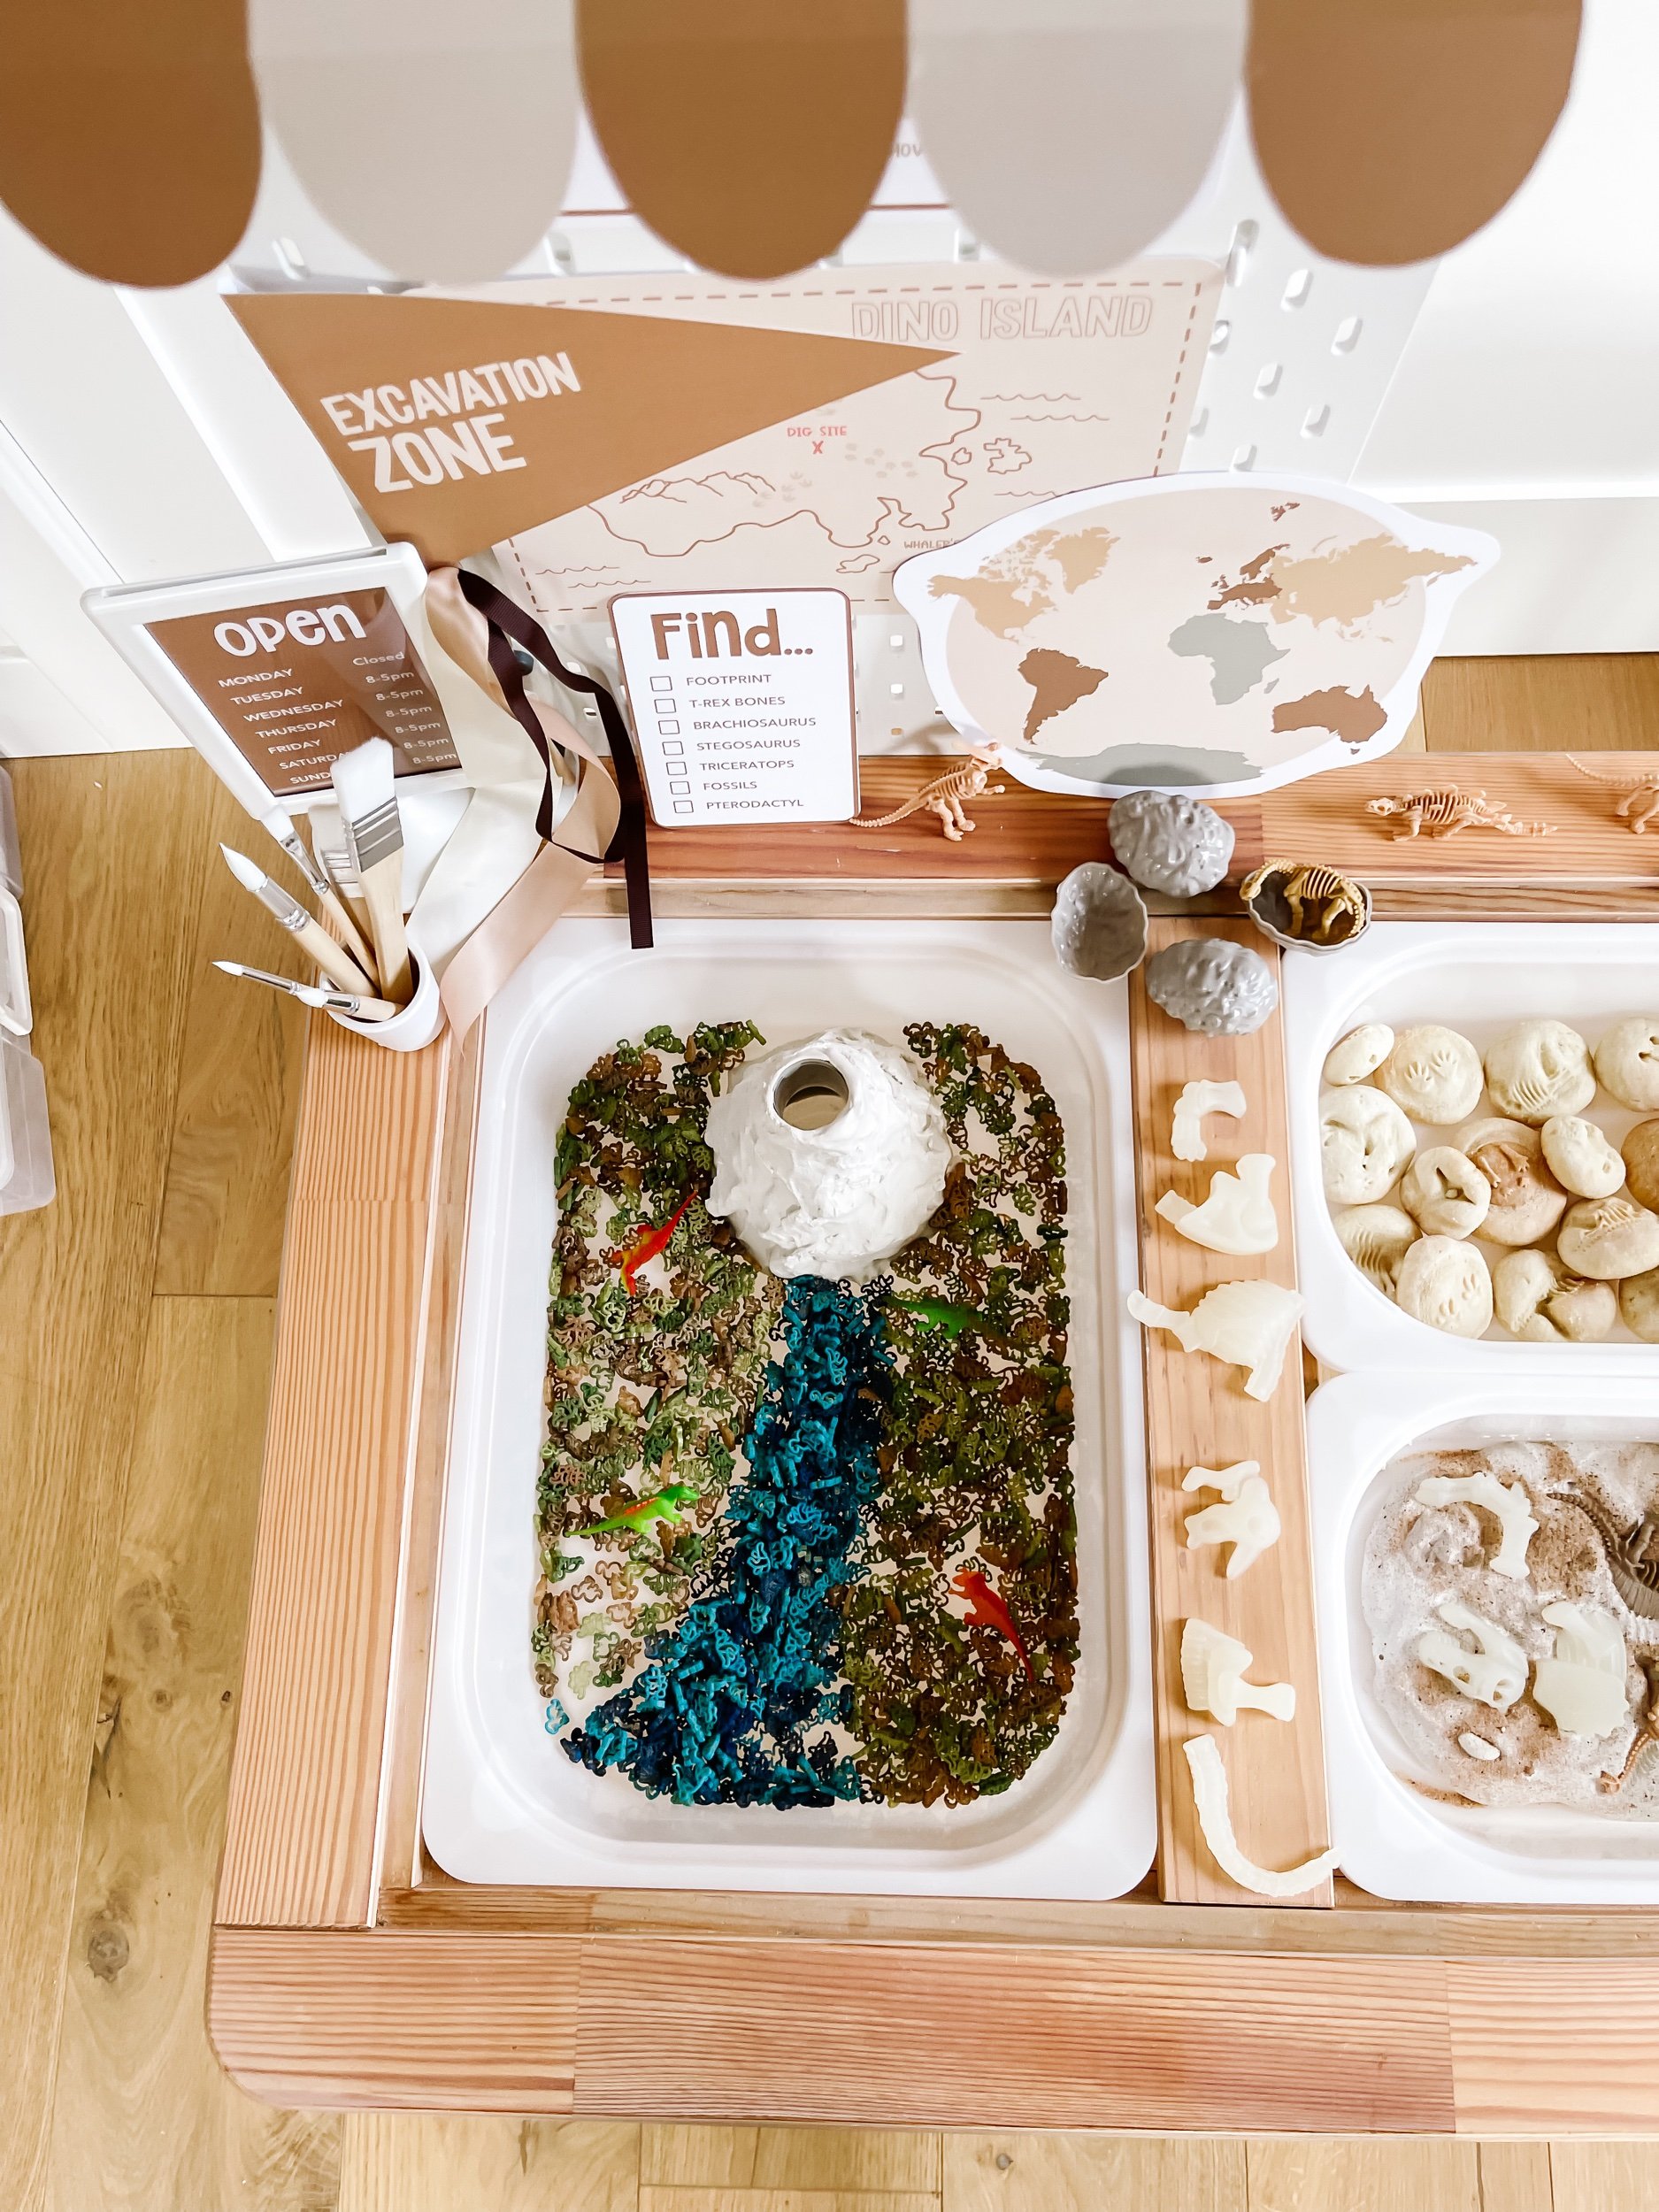
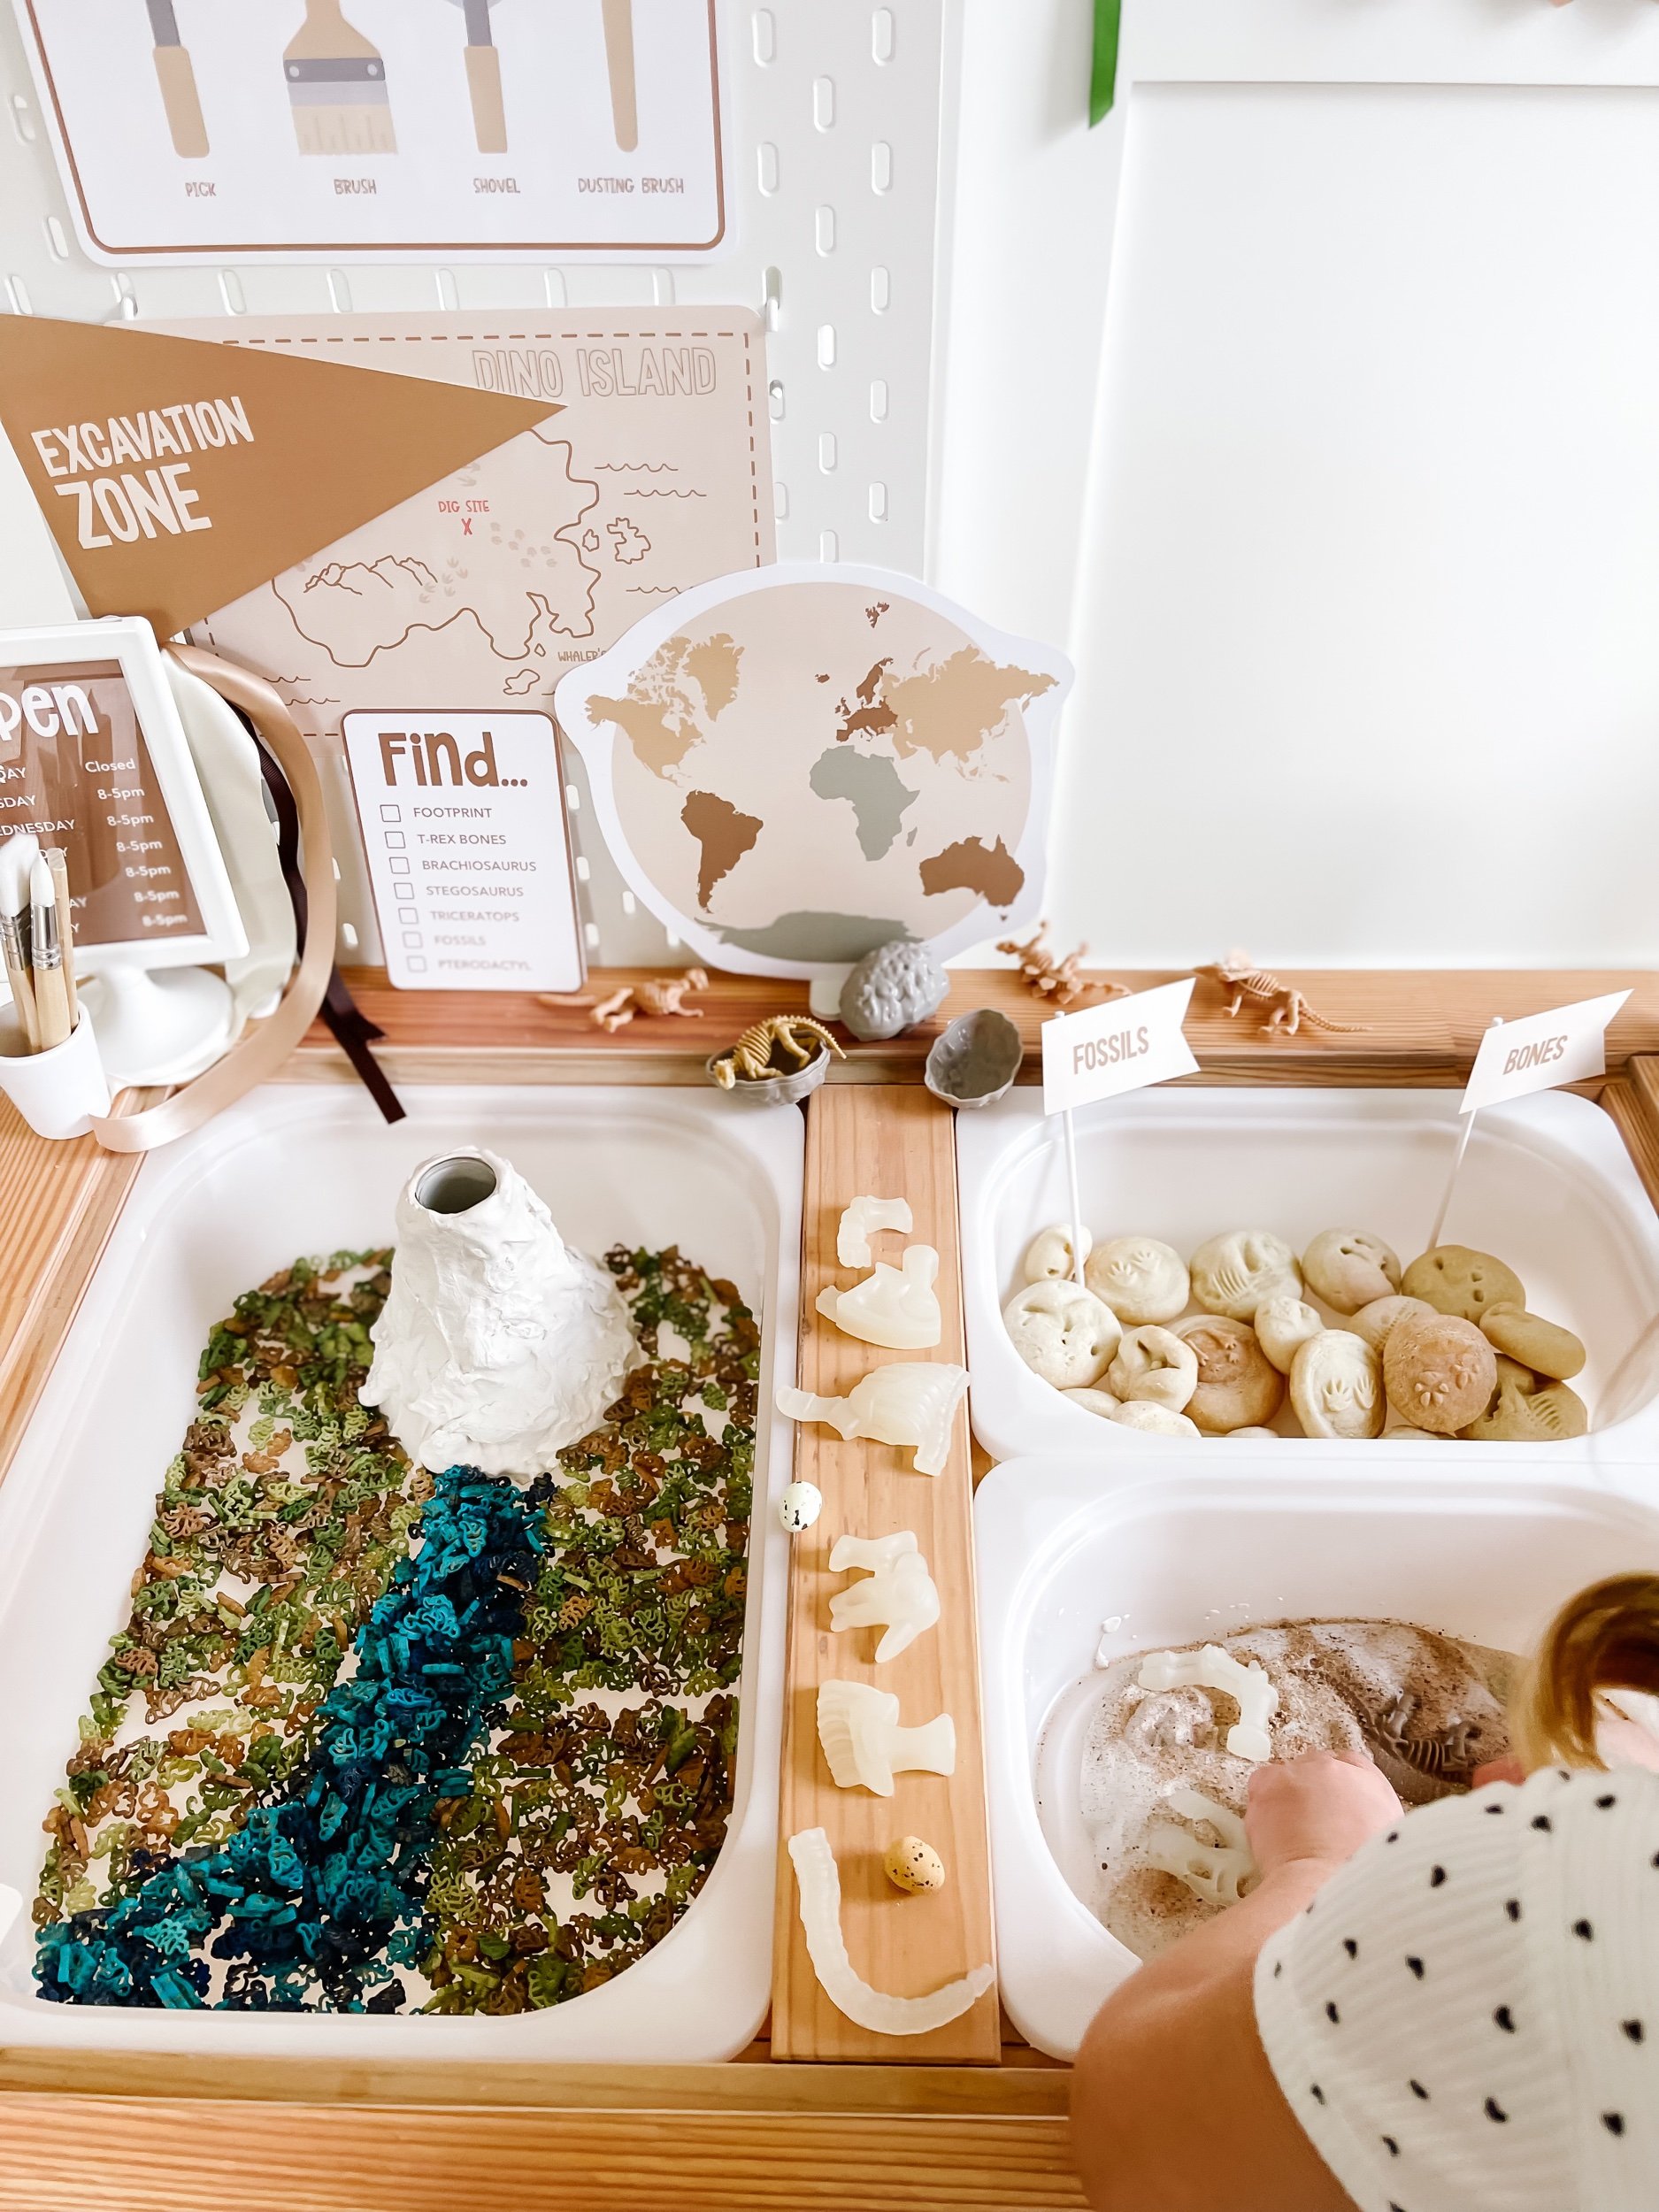
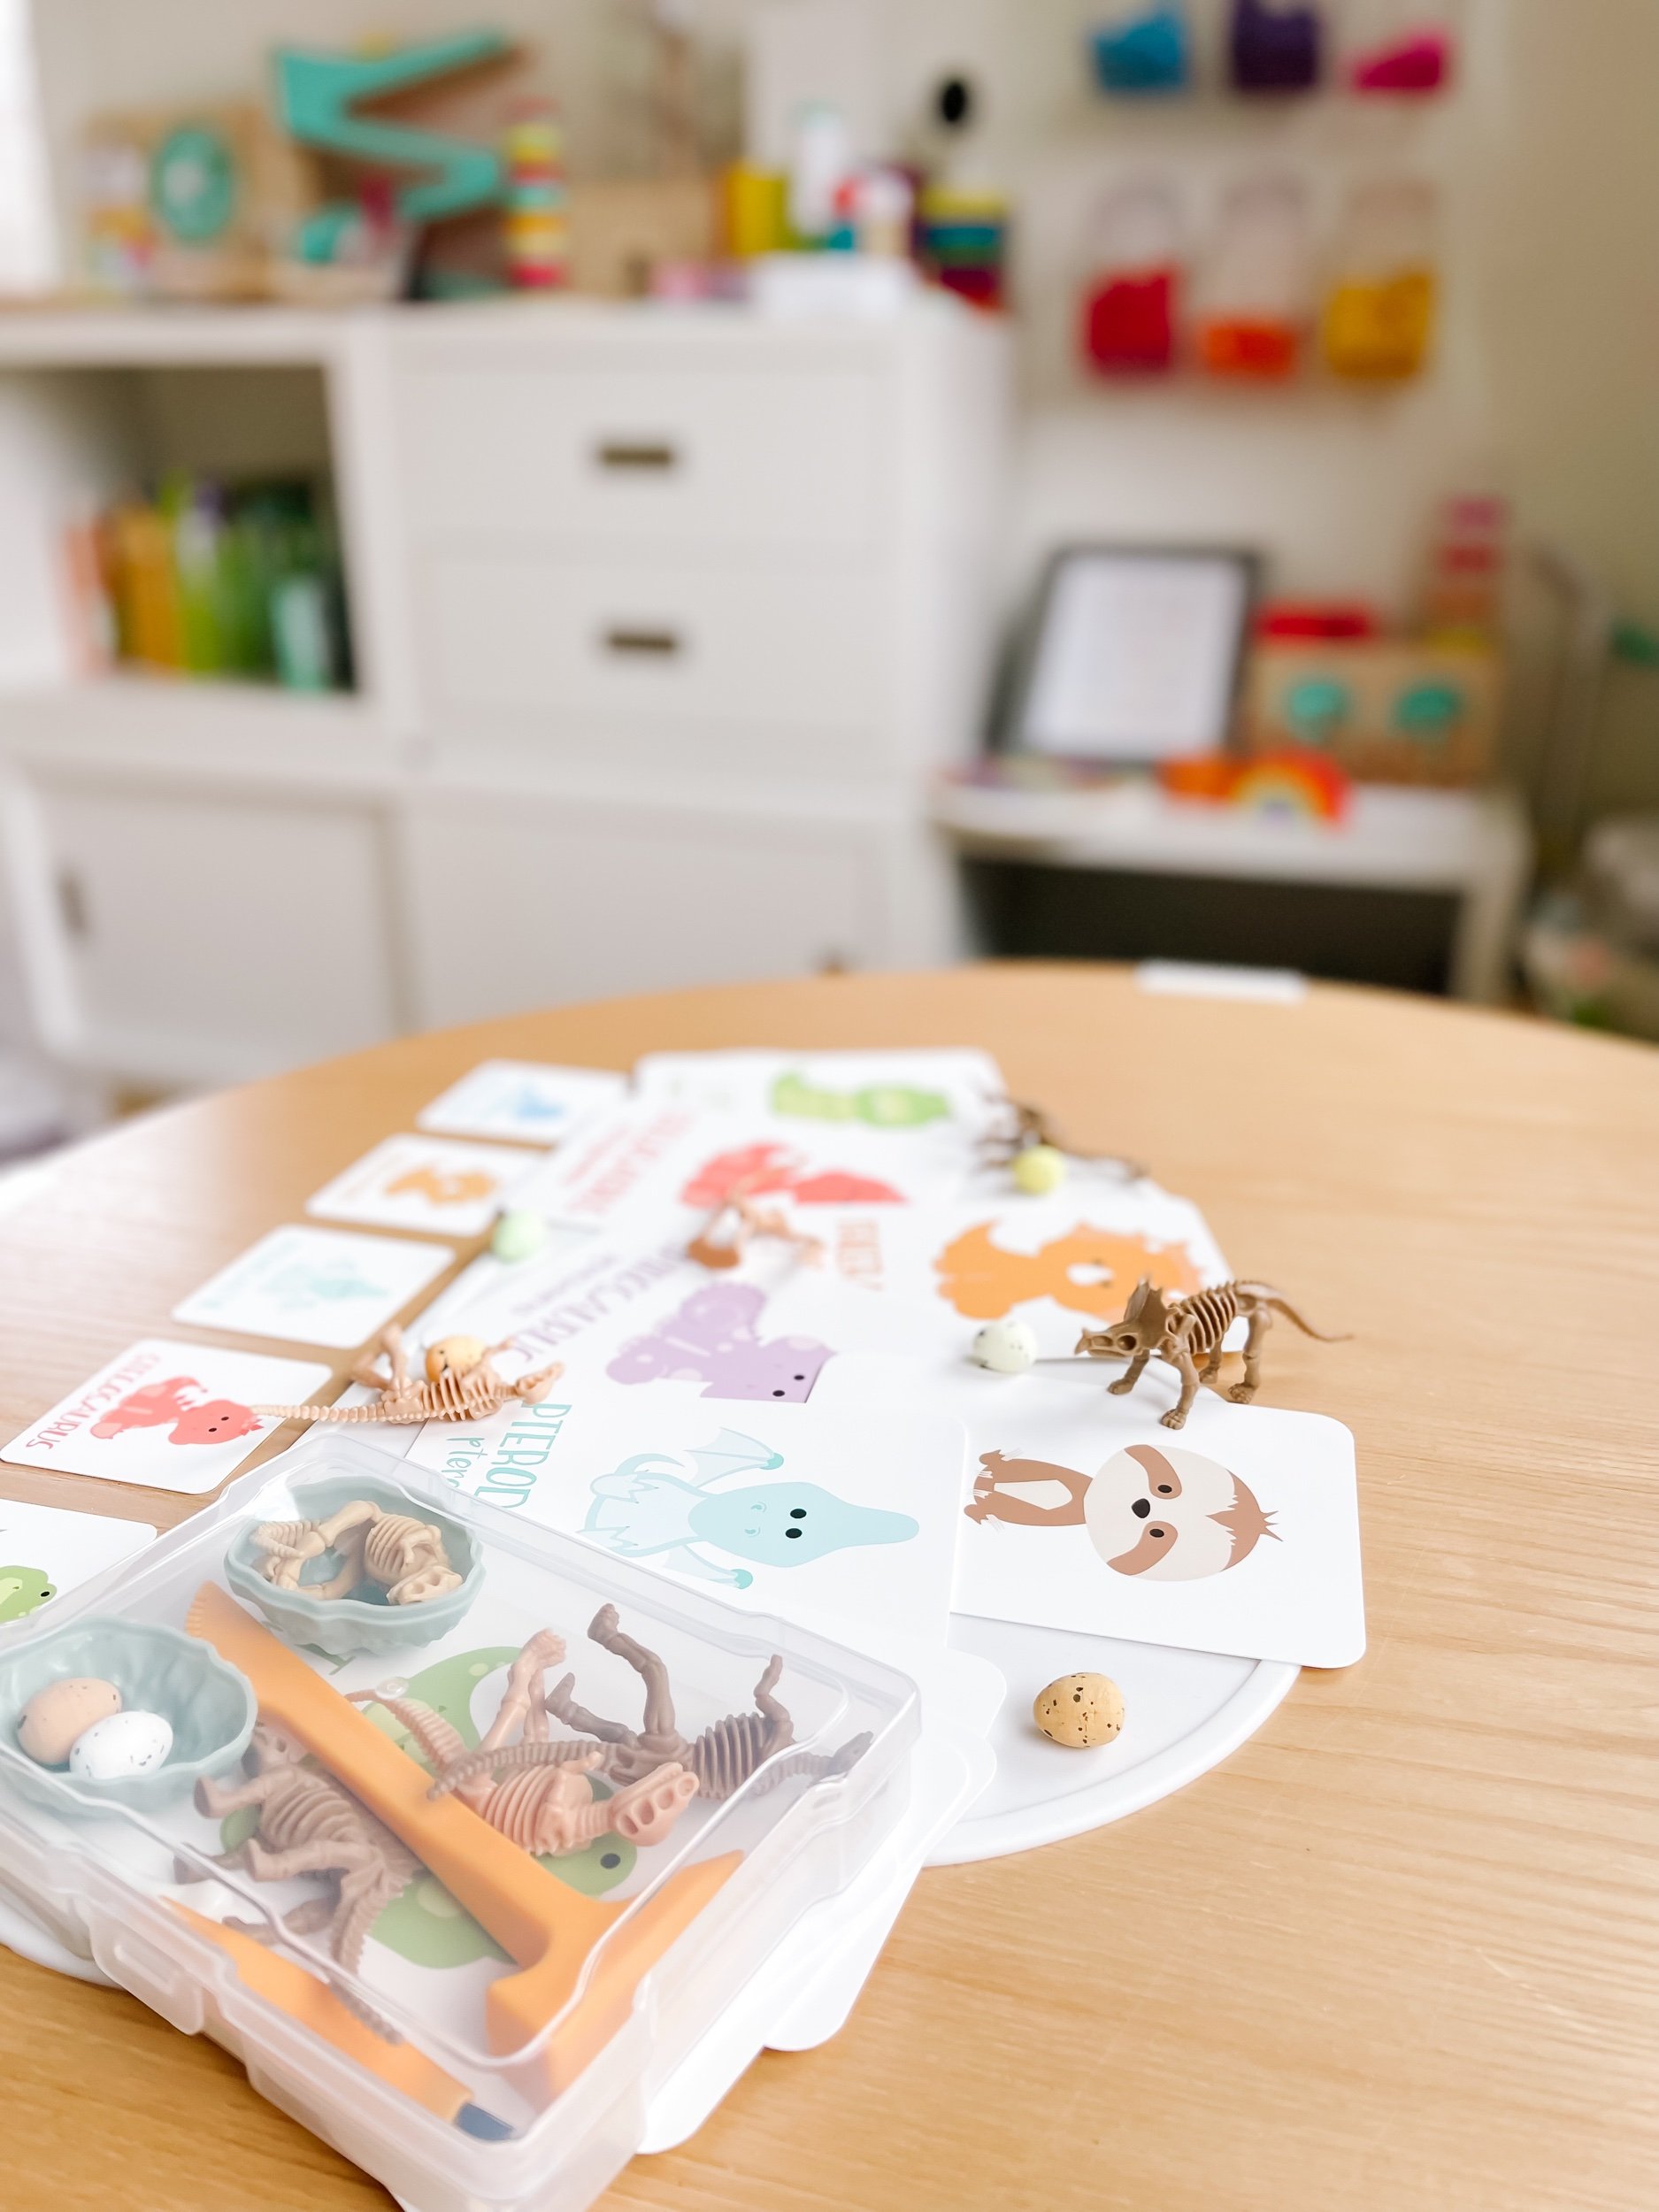
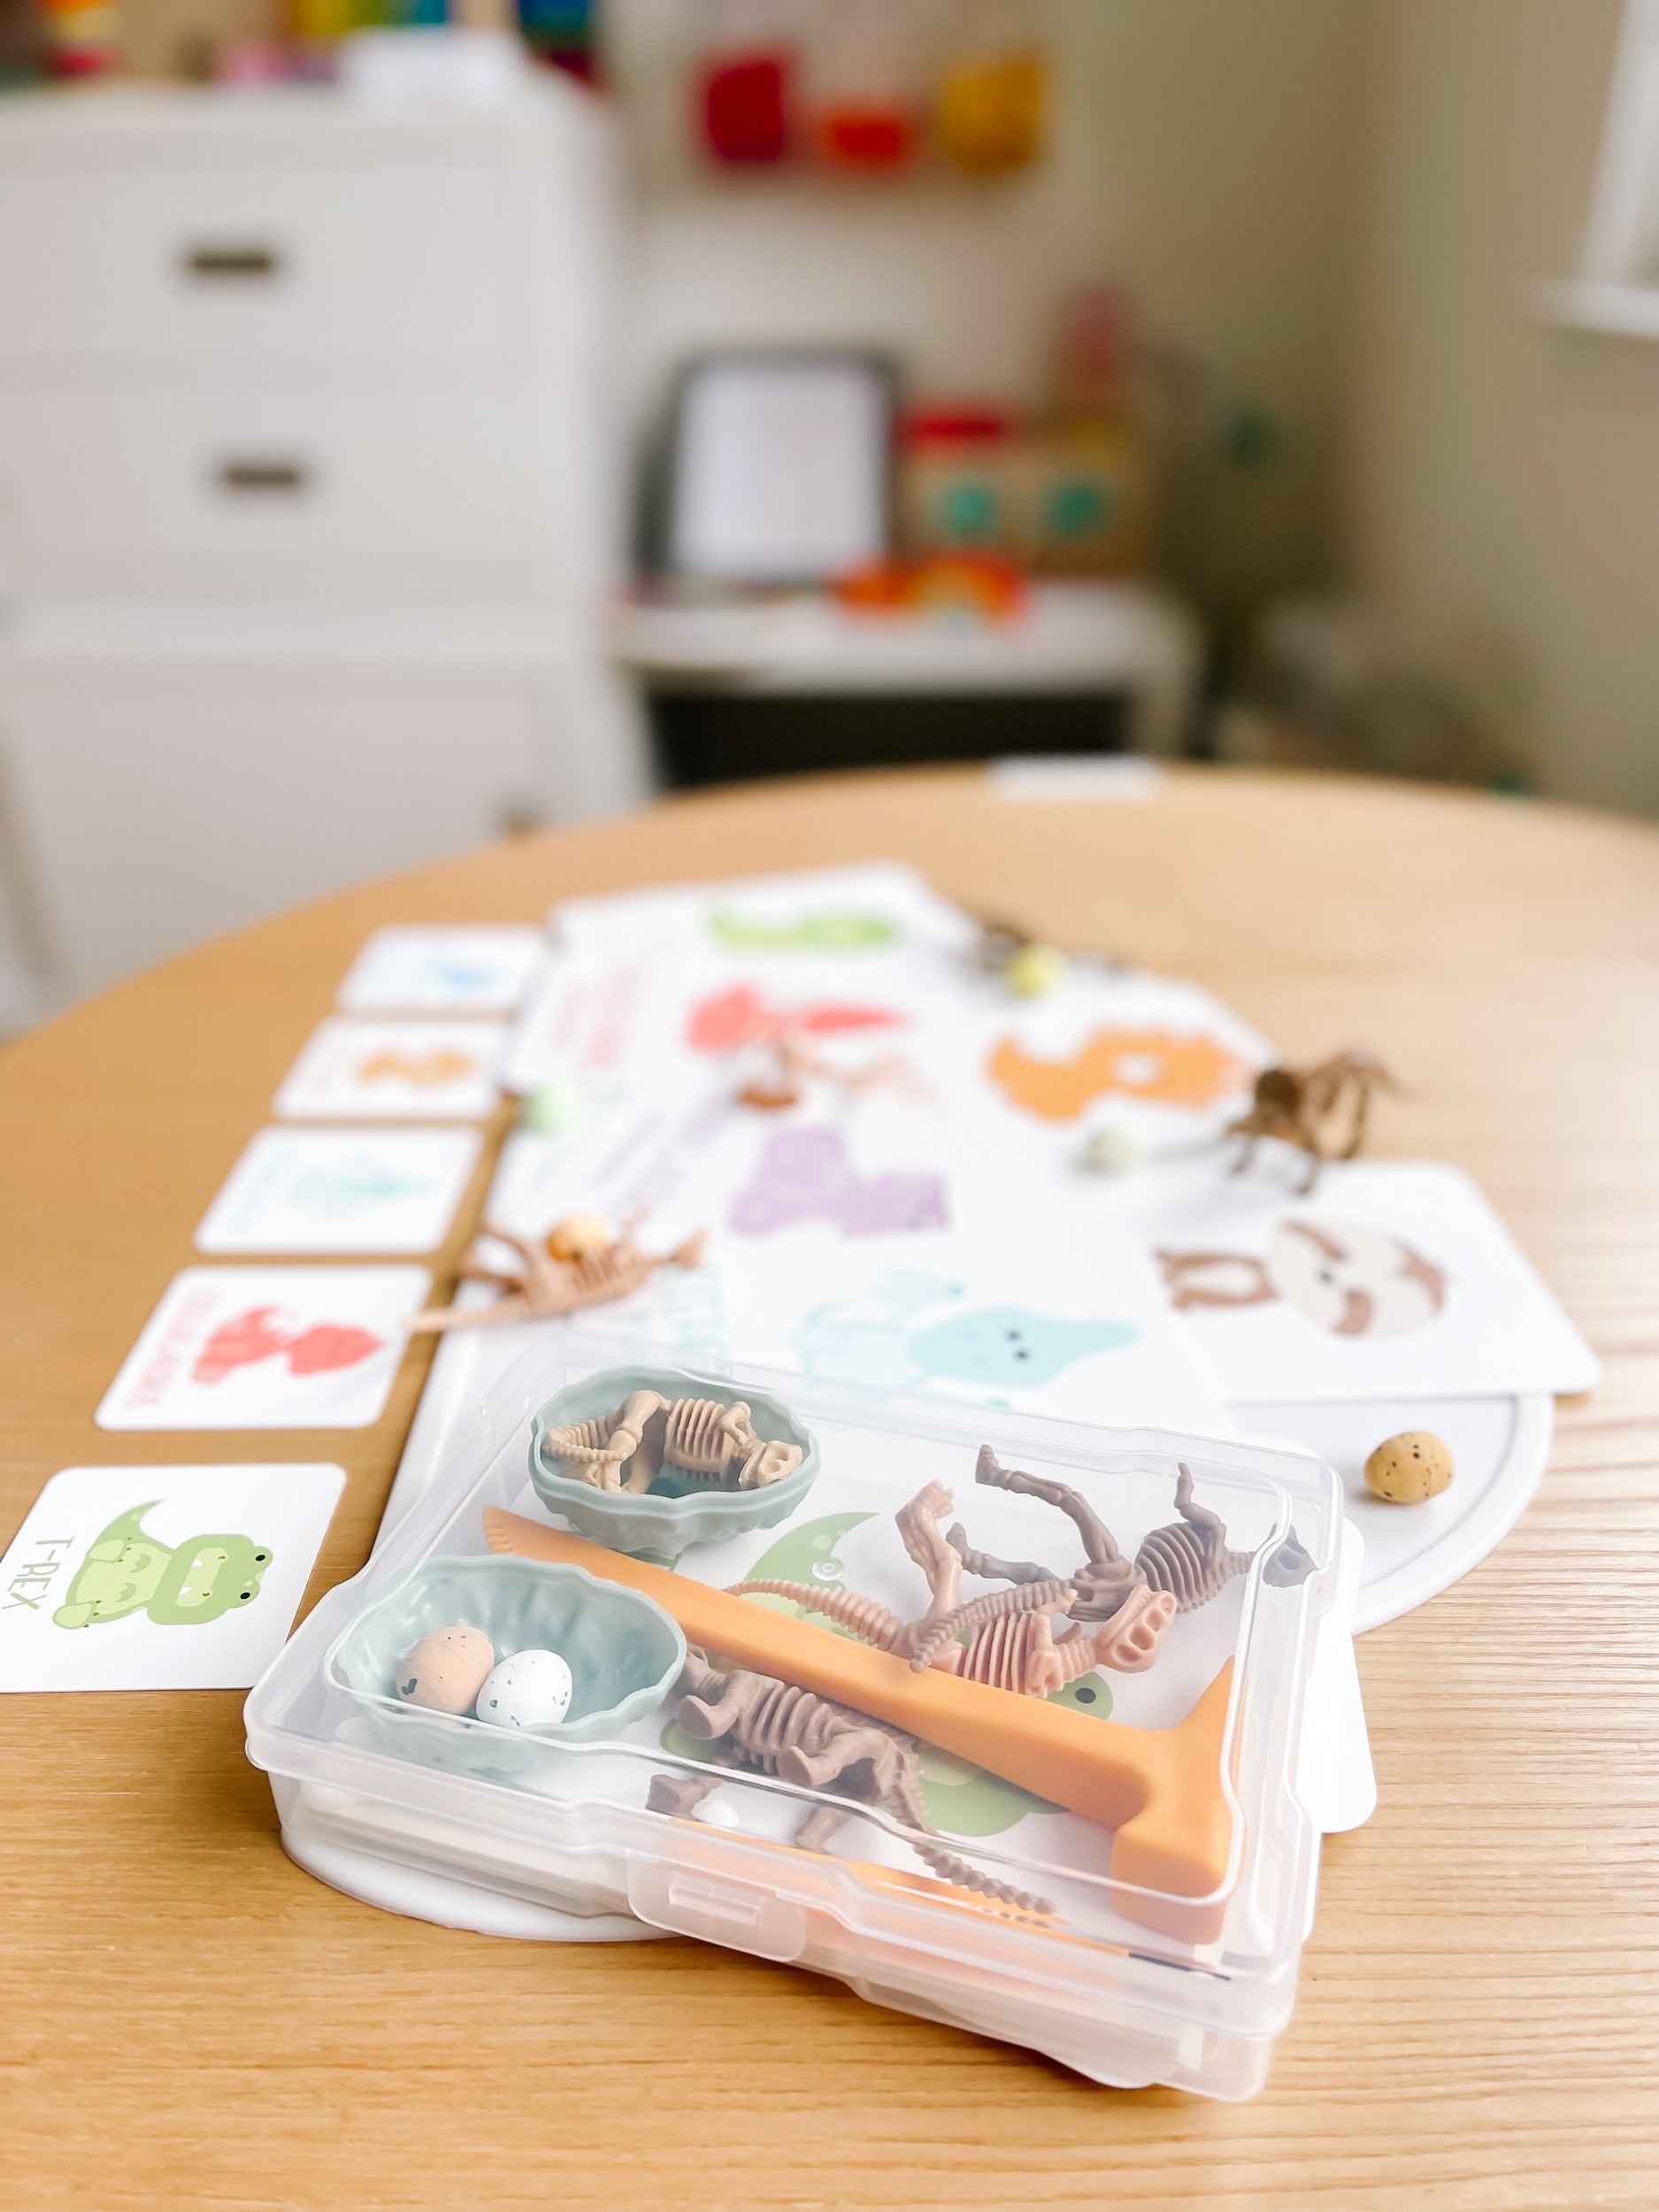
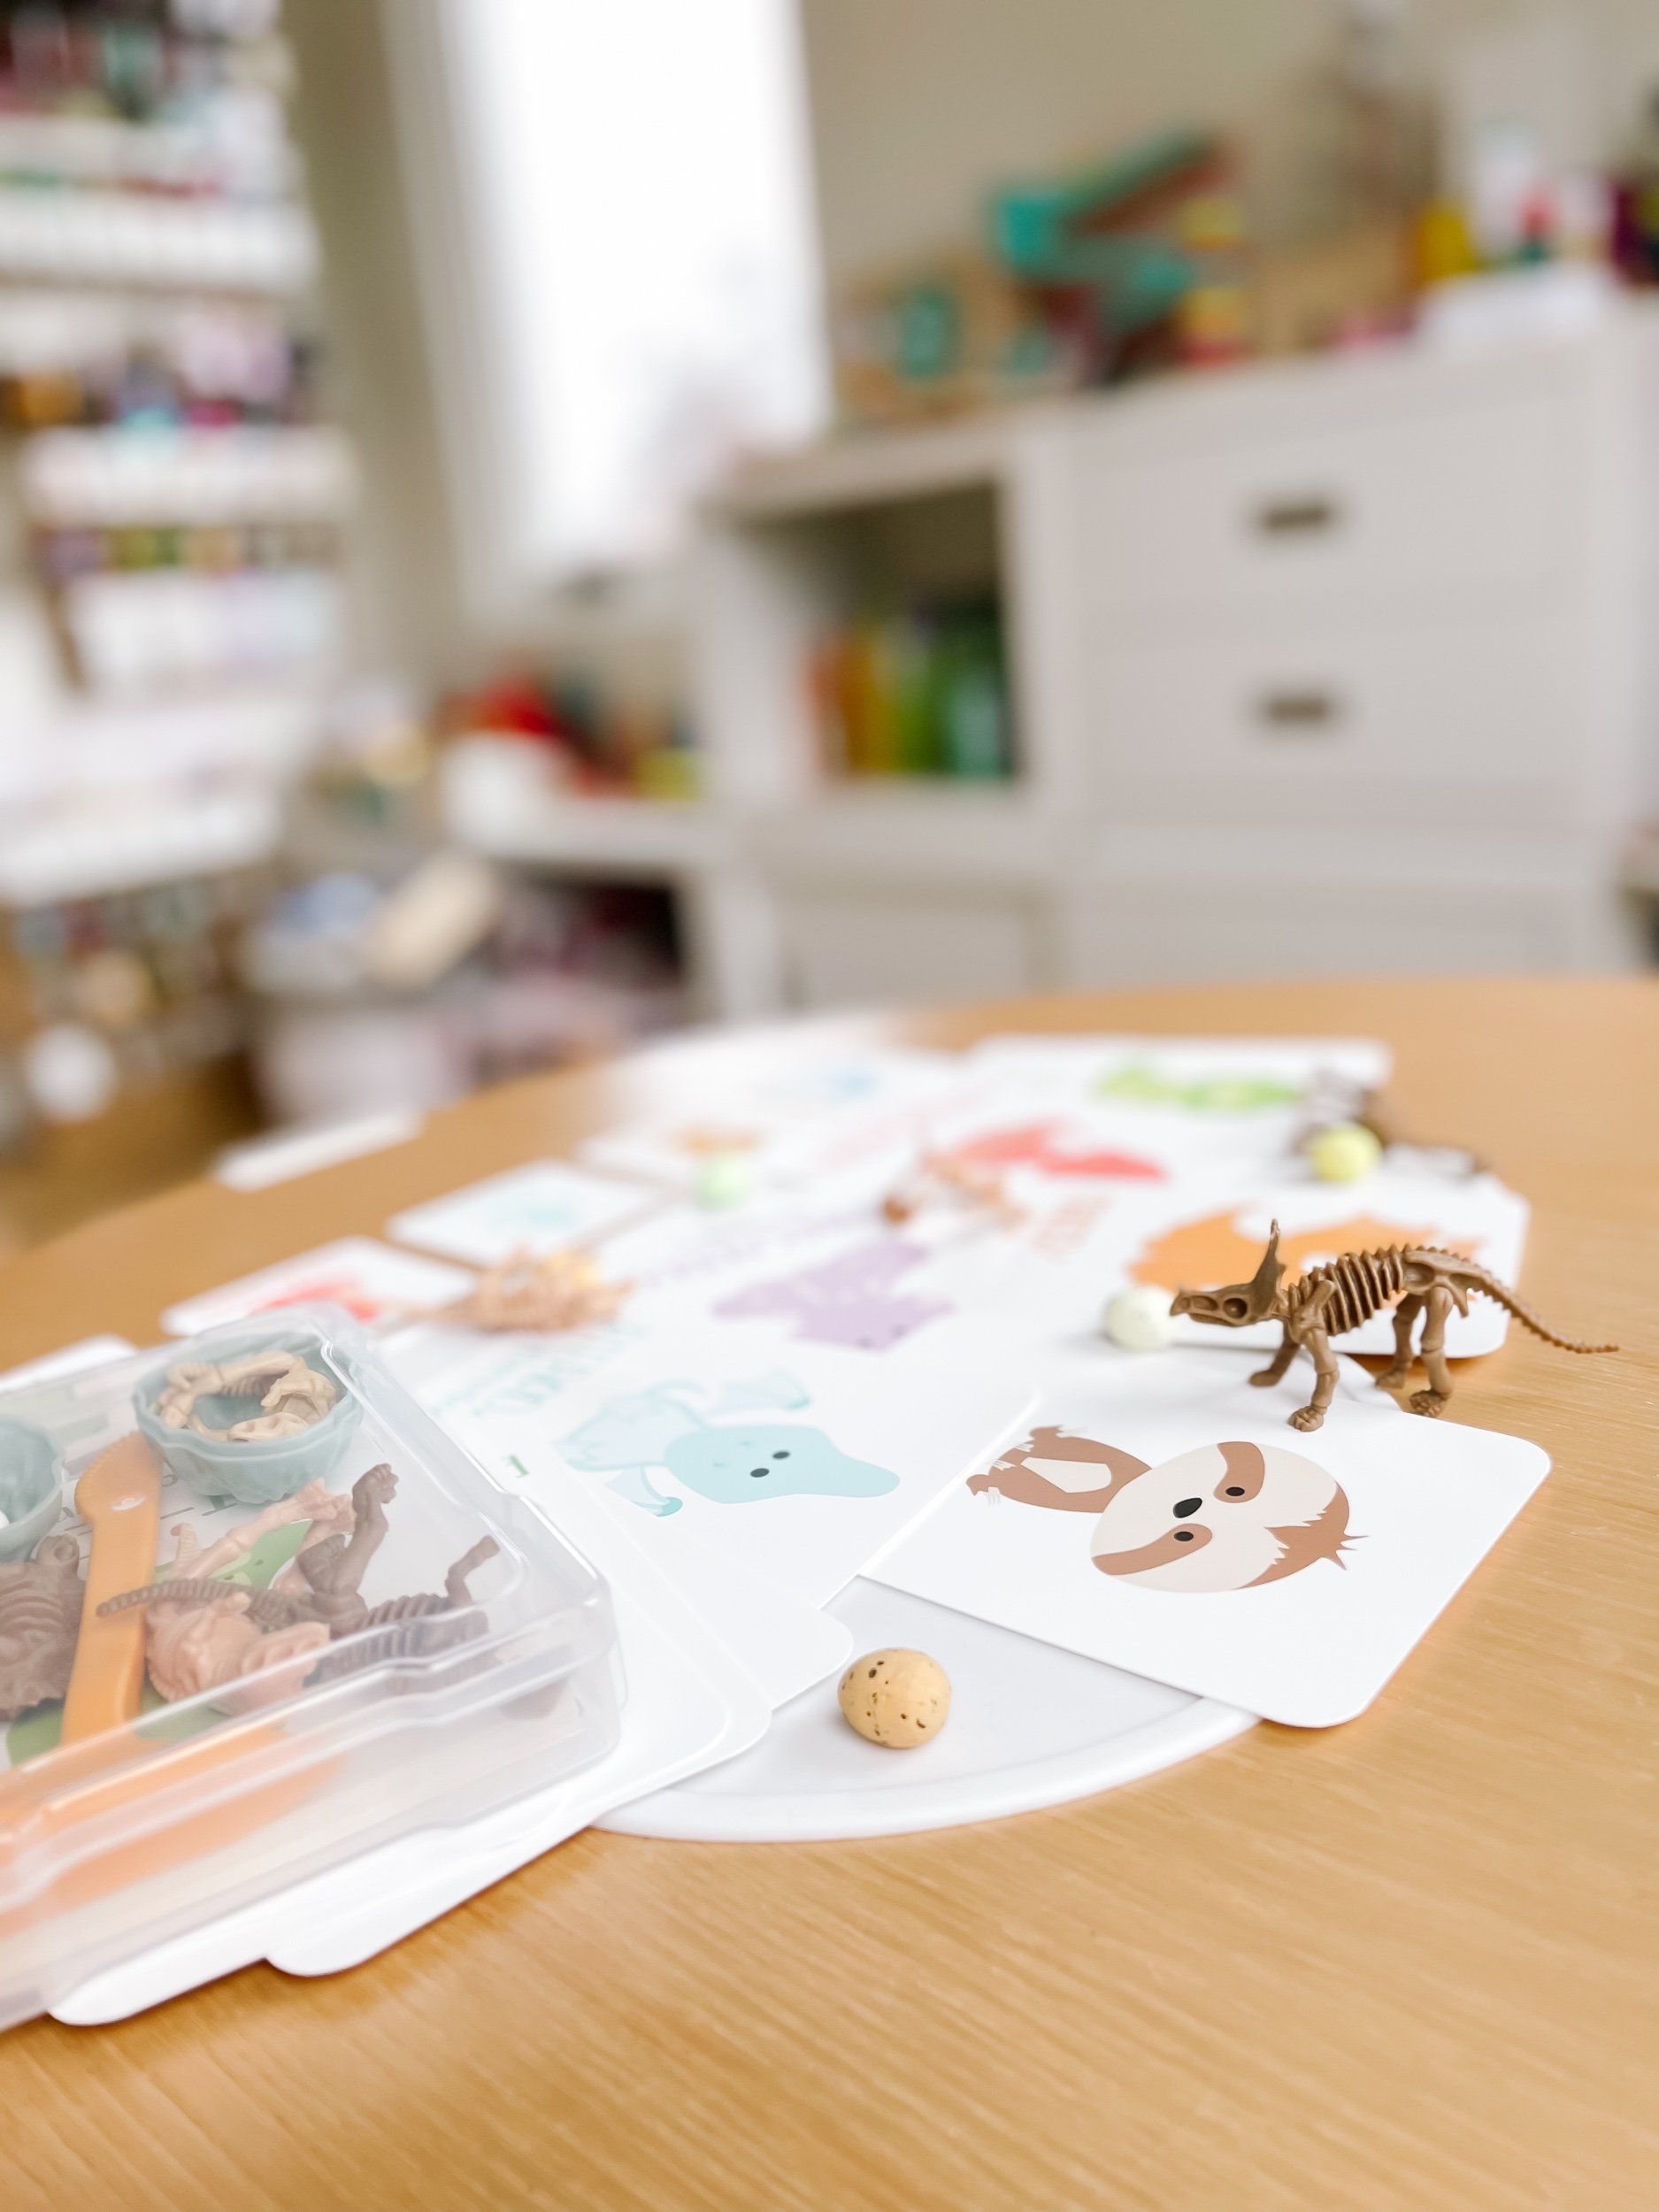
Dinosaur Dig Paleontology Paleontologist Dramatic Sensory Play

Sensory Play for Kids: Unleash Their Inner Paleontologist!

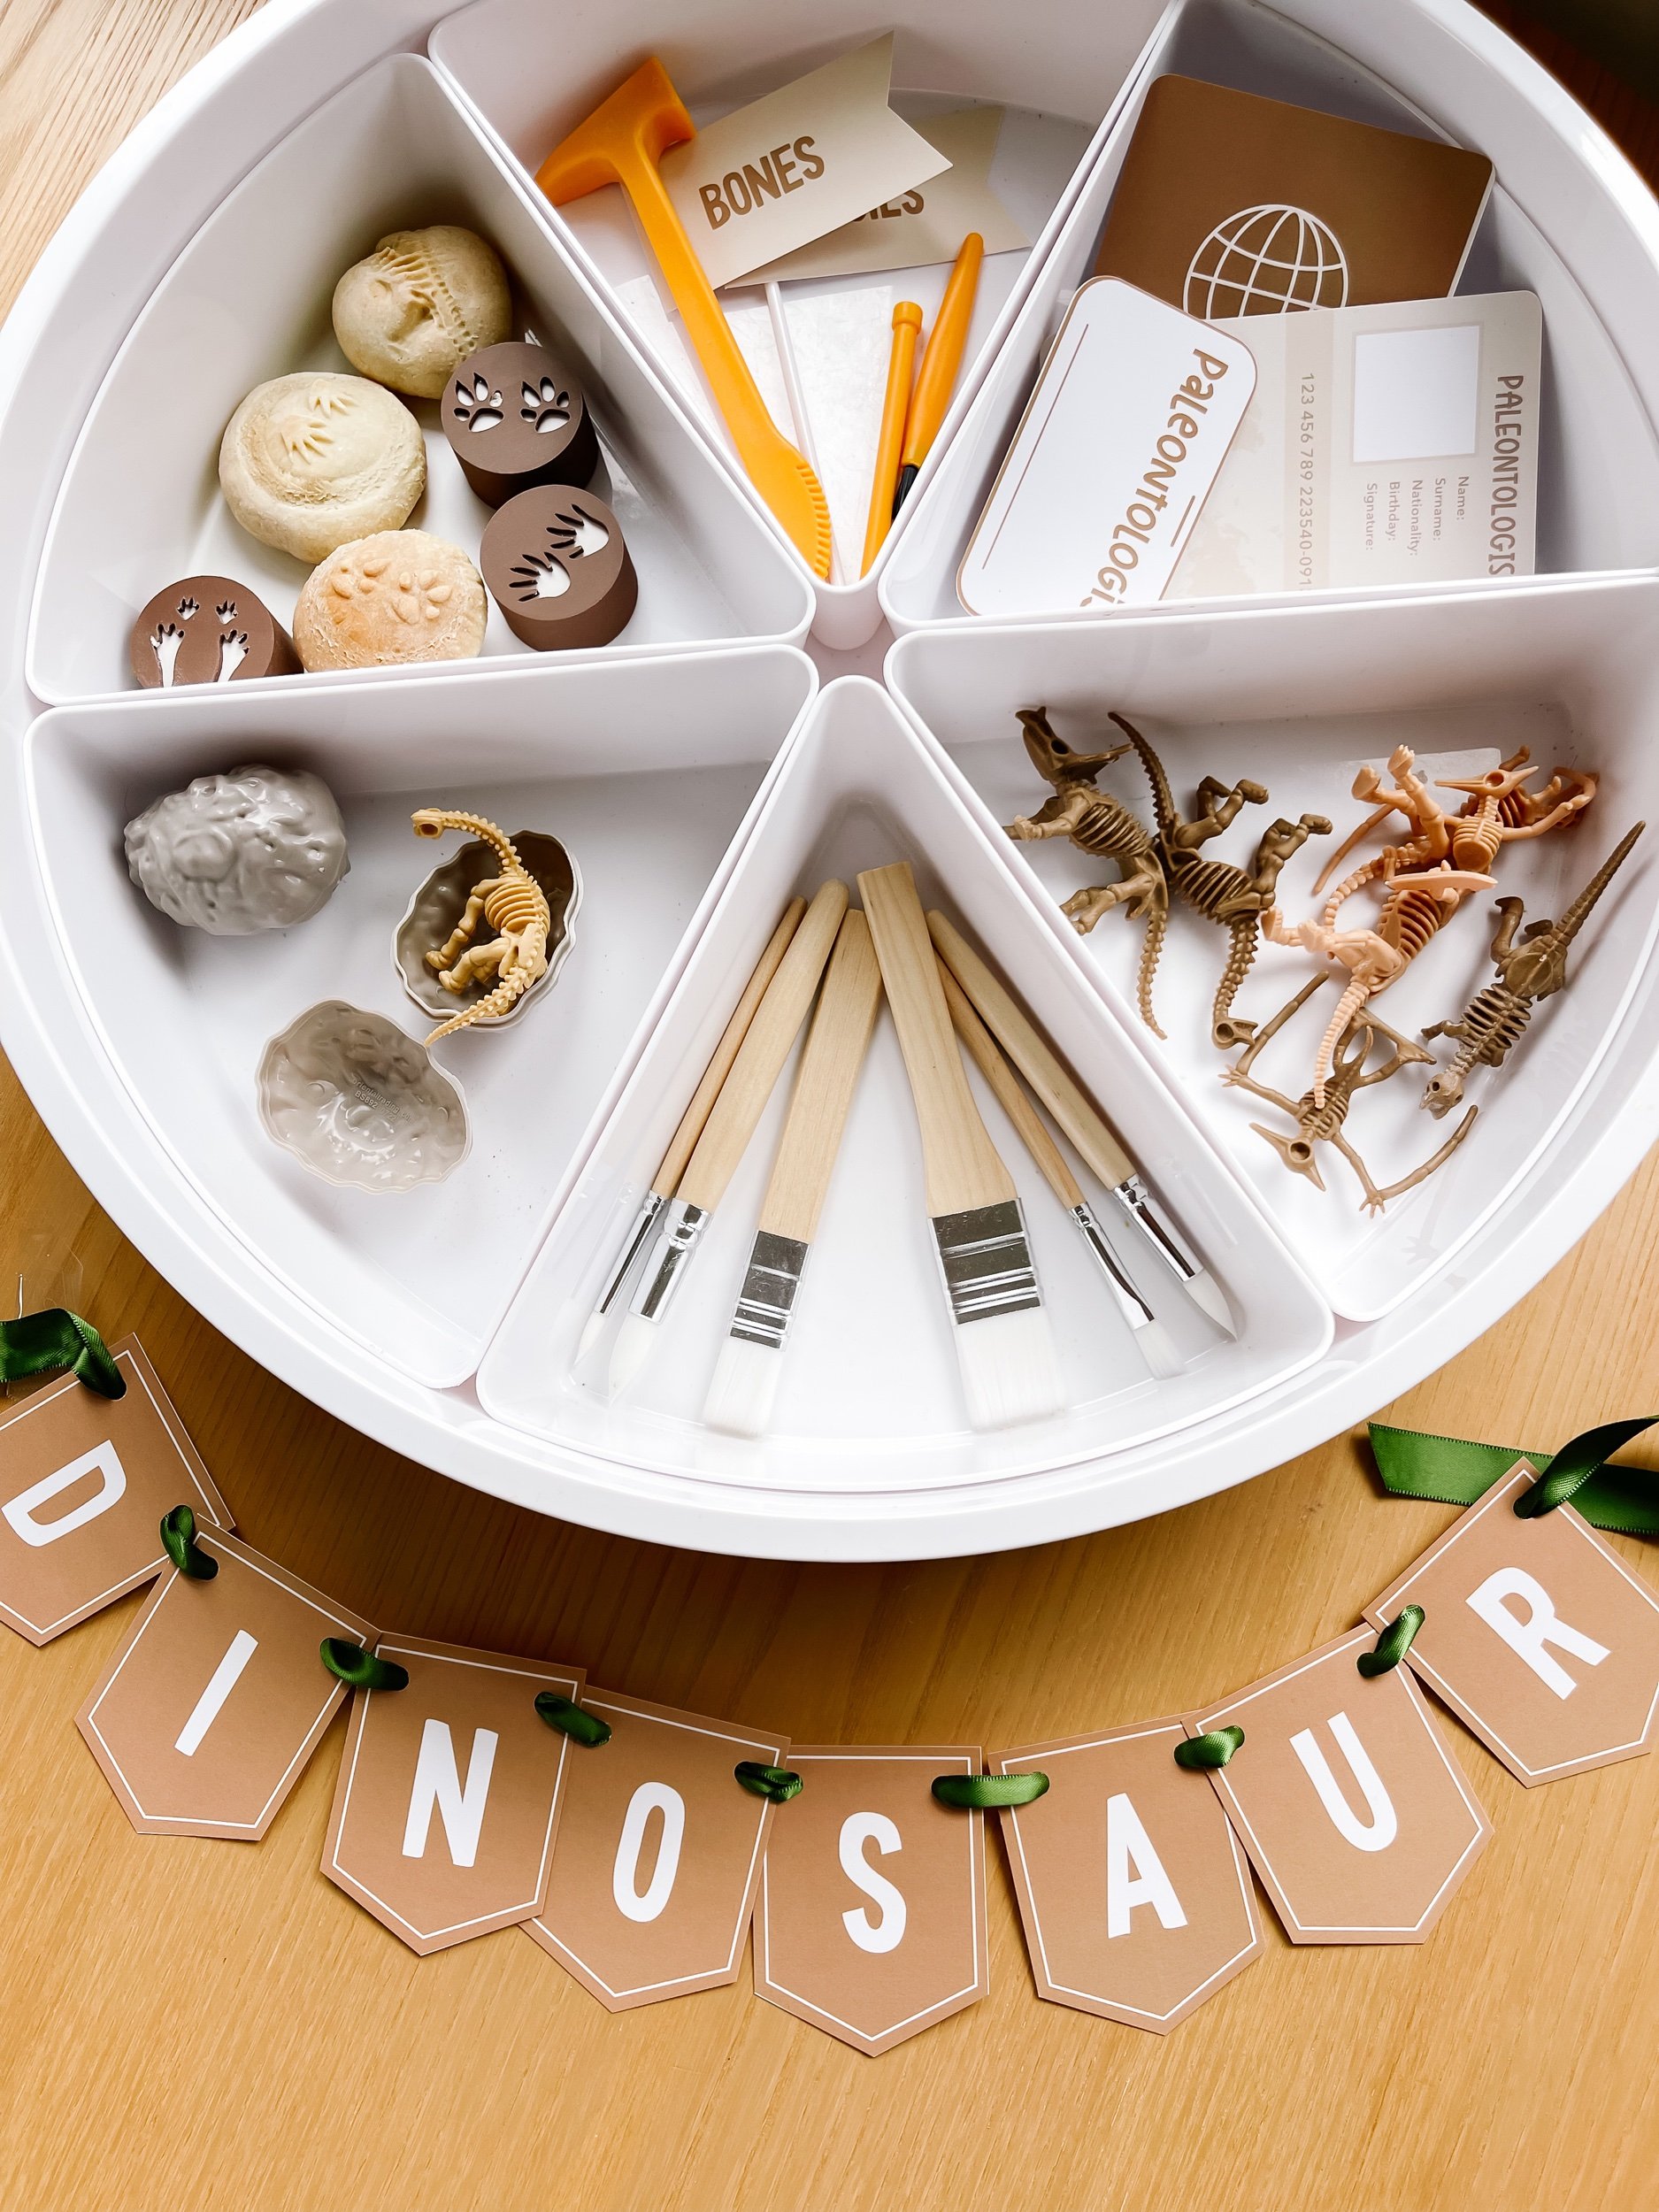
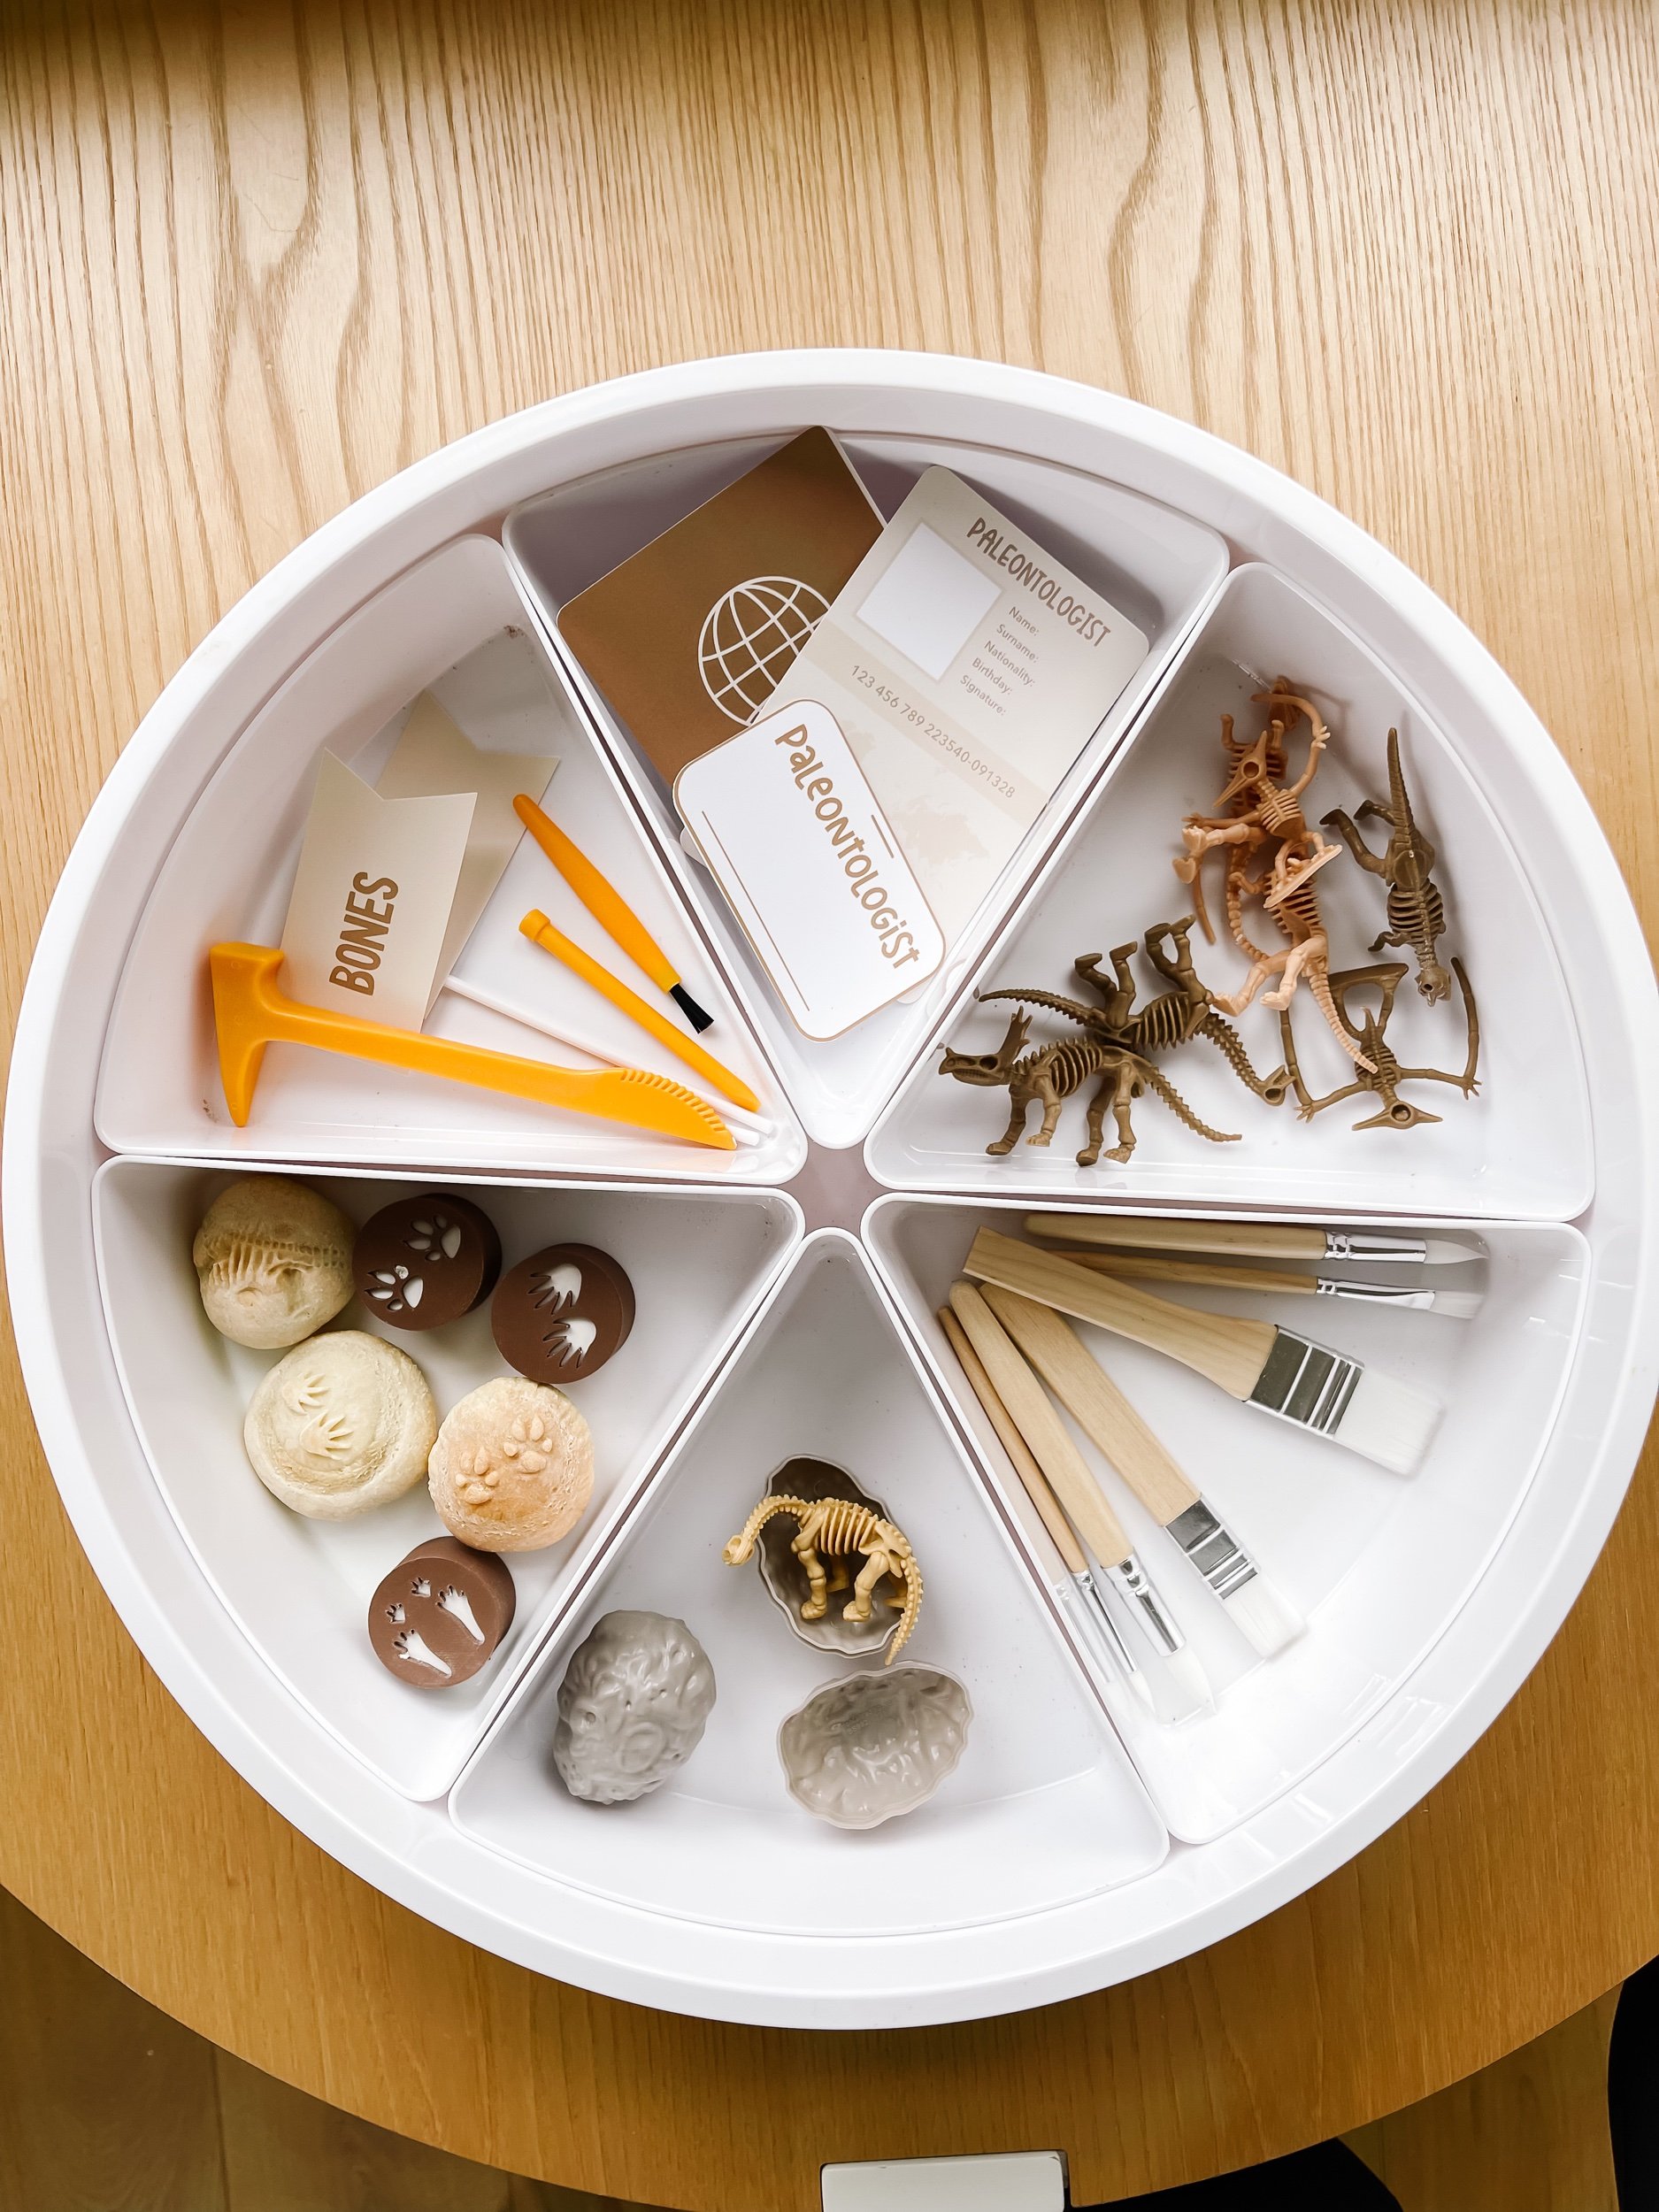
Do you have a little adventurer at home who is fascinated by dinosaurs? Our dinosaur dig paleontology-themed sensory and dramatic play kit is the perfect way to bring their imagination to life! In this blog post, we will explore the benefits of sensory play for kids and provide a detailed description of the elements included in our printable play kit. Additionally, we will introduce you to three exciting sensory bins that can be paired with this kit. Let's embark on a prehistoric adventure!

Download & print
IMG_5957.jpeg IMG_5952.jpeg IMG_5954.jpeg

Benefits of Sensory Play for Kids

But first, let's talk about the tremendous benefits of sensory play for children. Sensory play engages multiple senses, stimulating neural pathways in their developing brains. As kids explore different textures, scents, and sounds, they refine their fine motor skills, enhance cognitive abilities, and foster social-emotional development. Sensory play even promotes language skills as children describe the sensations they experience. It's an all-in-one developmental powerhouse!


IMG_5915_jpg.jpeg IMG_5919_jpg.jpeg IMG_5914_jpg.jpeg IMG_5917.jpeg IMG_5896_jpg.jpeg IMG_5916.jpeg

Elements Included in the Dinosaur Dig Play Kit

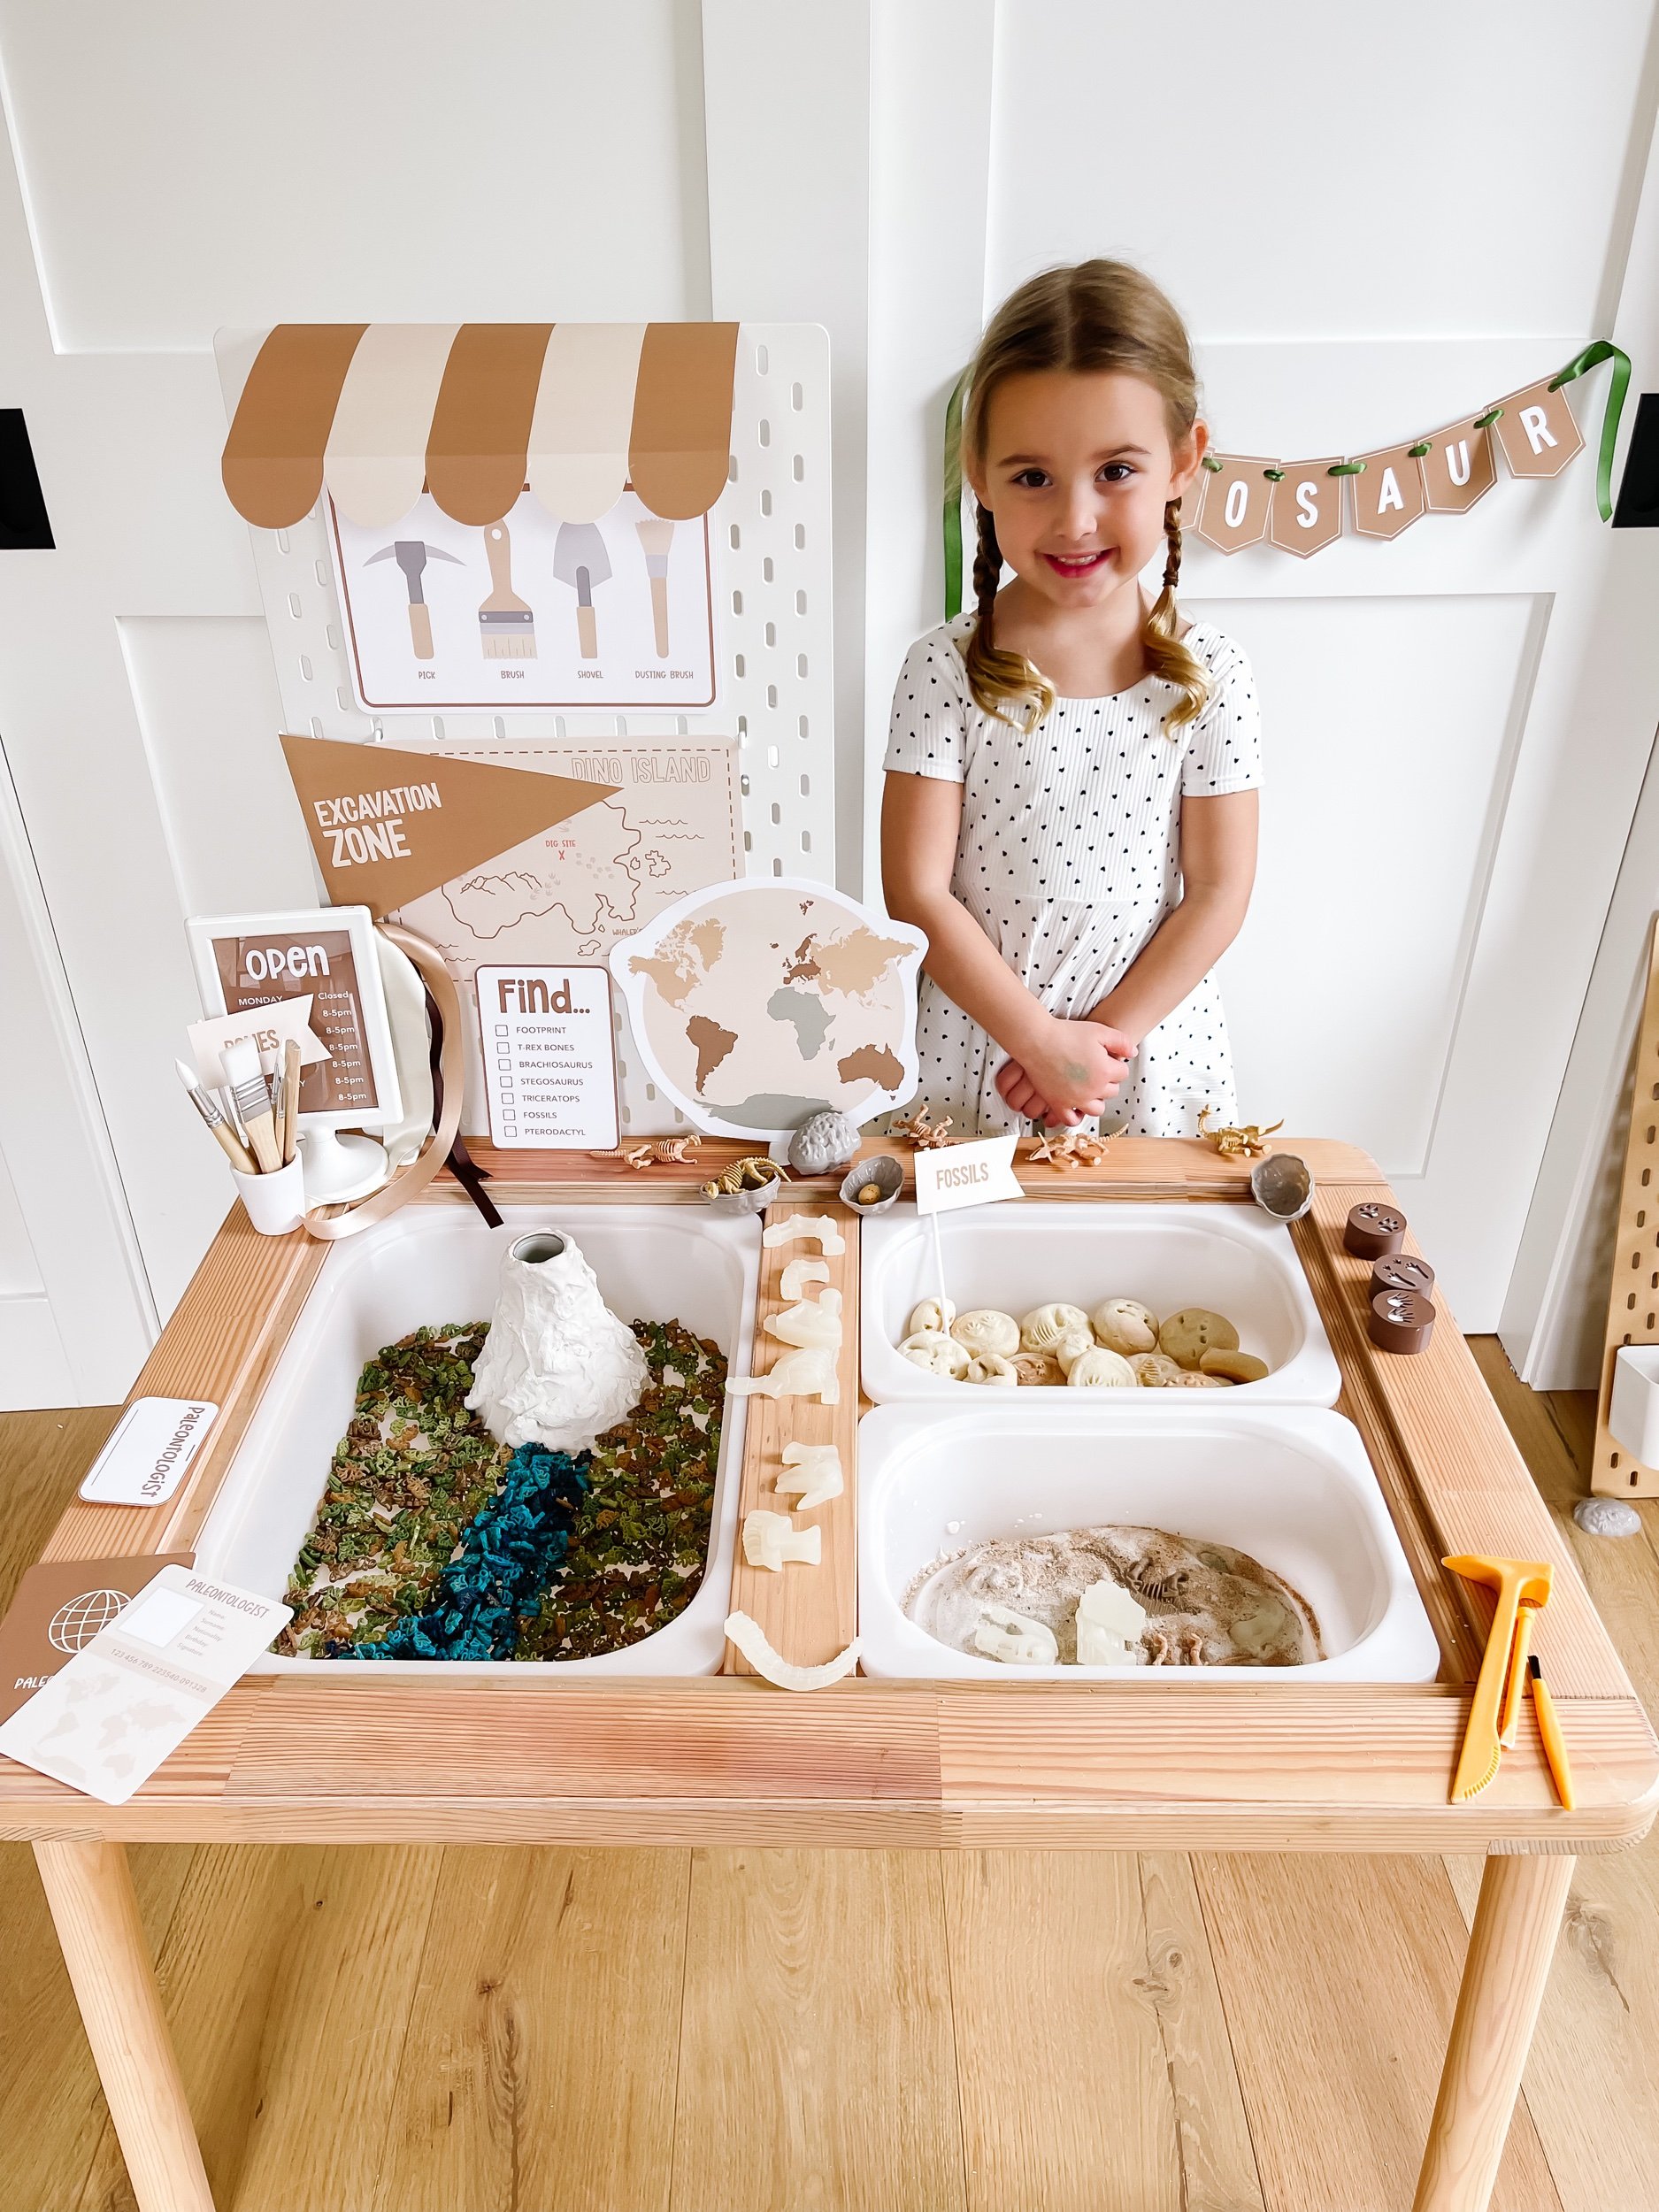
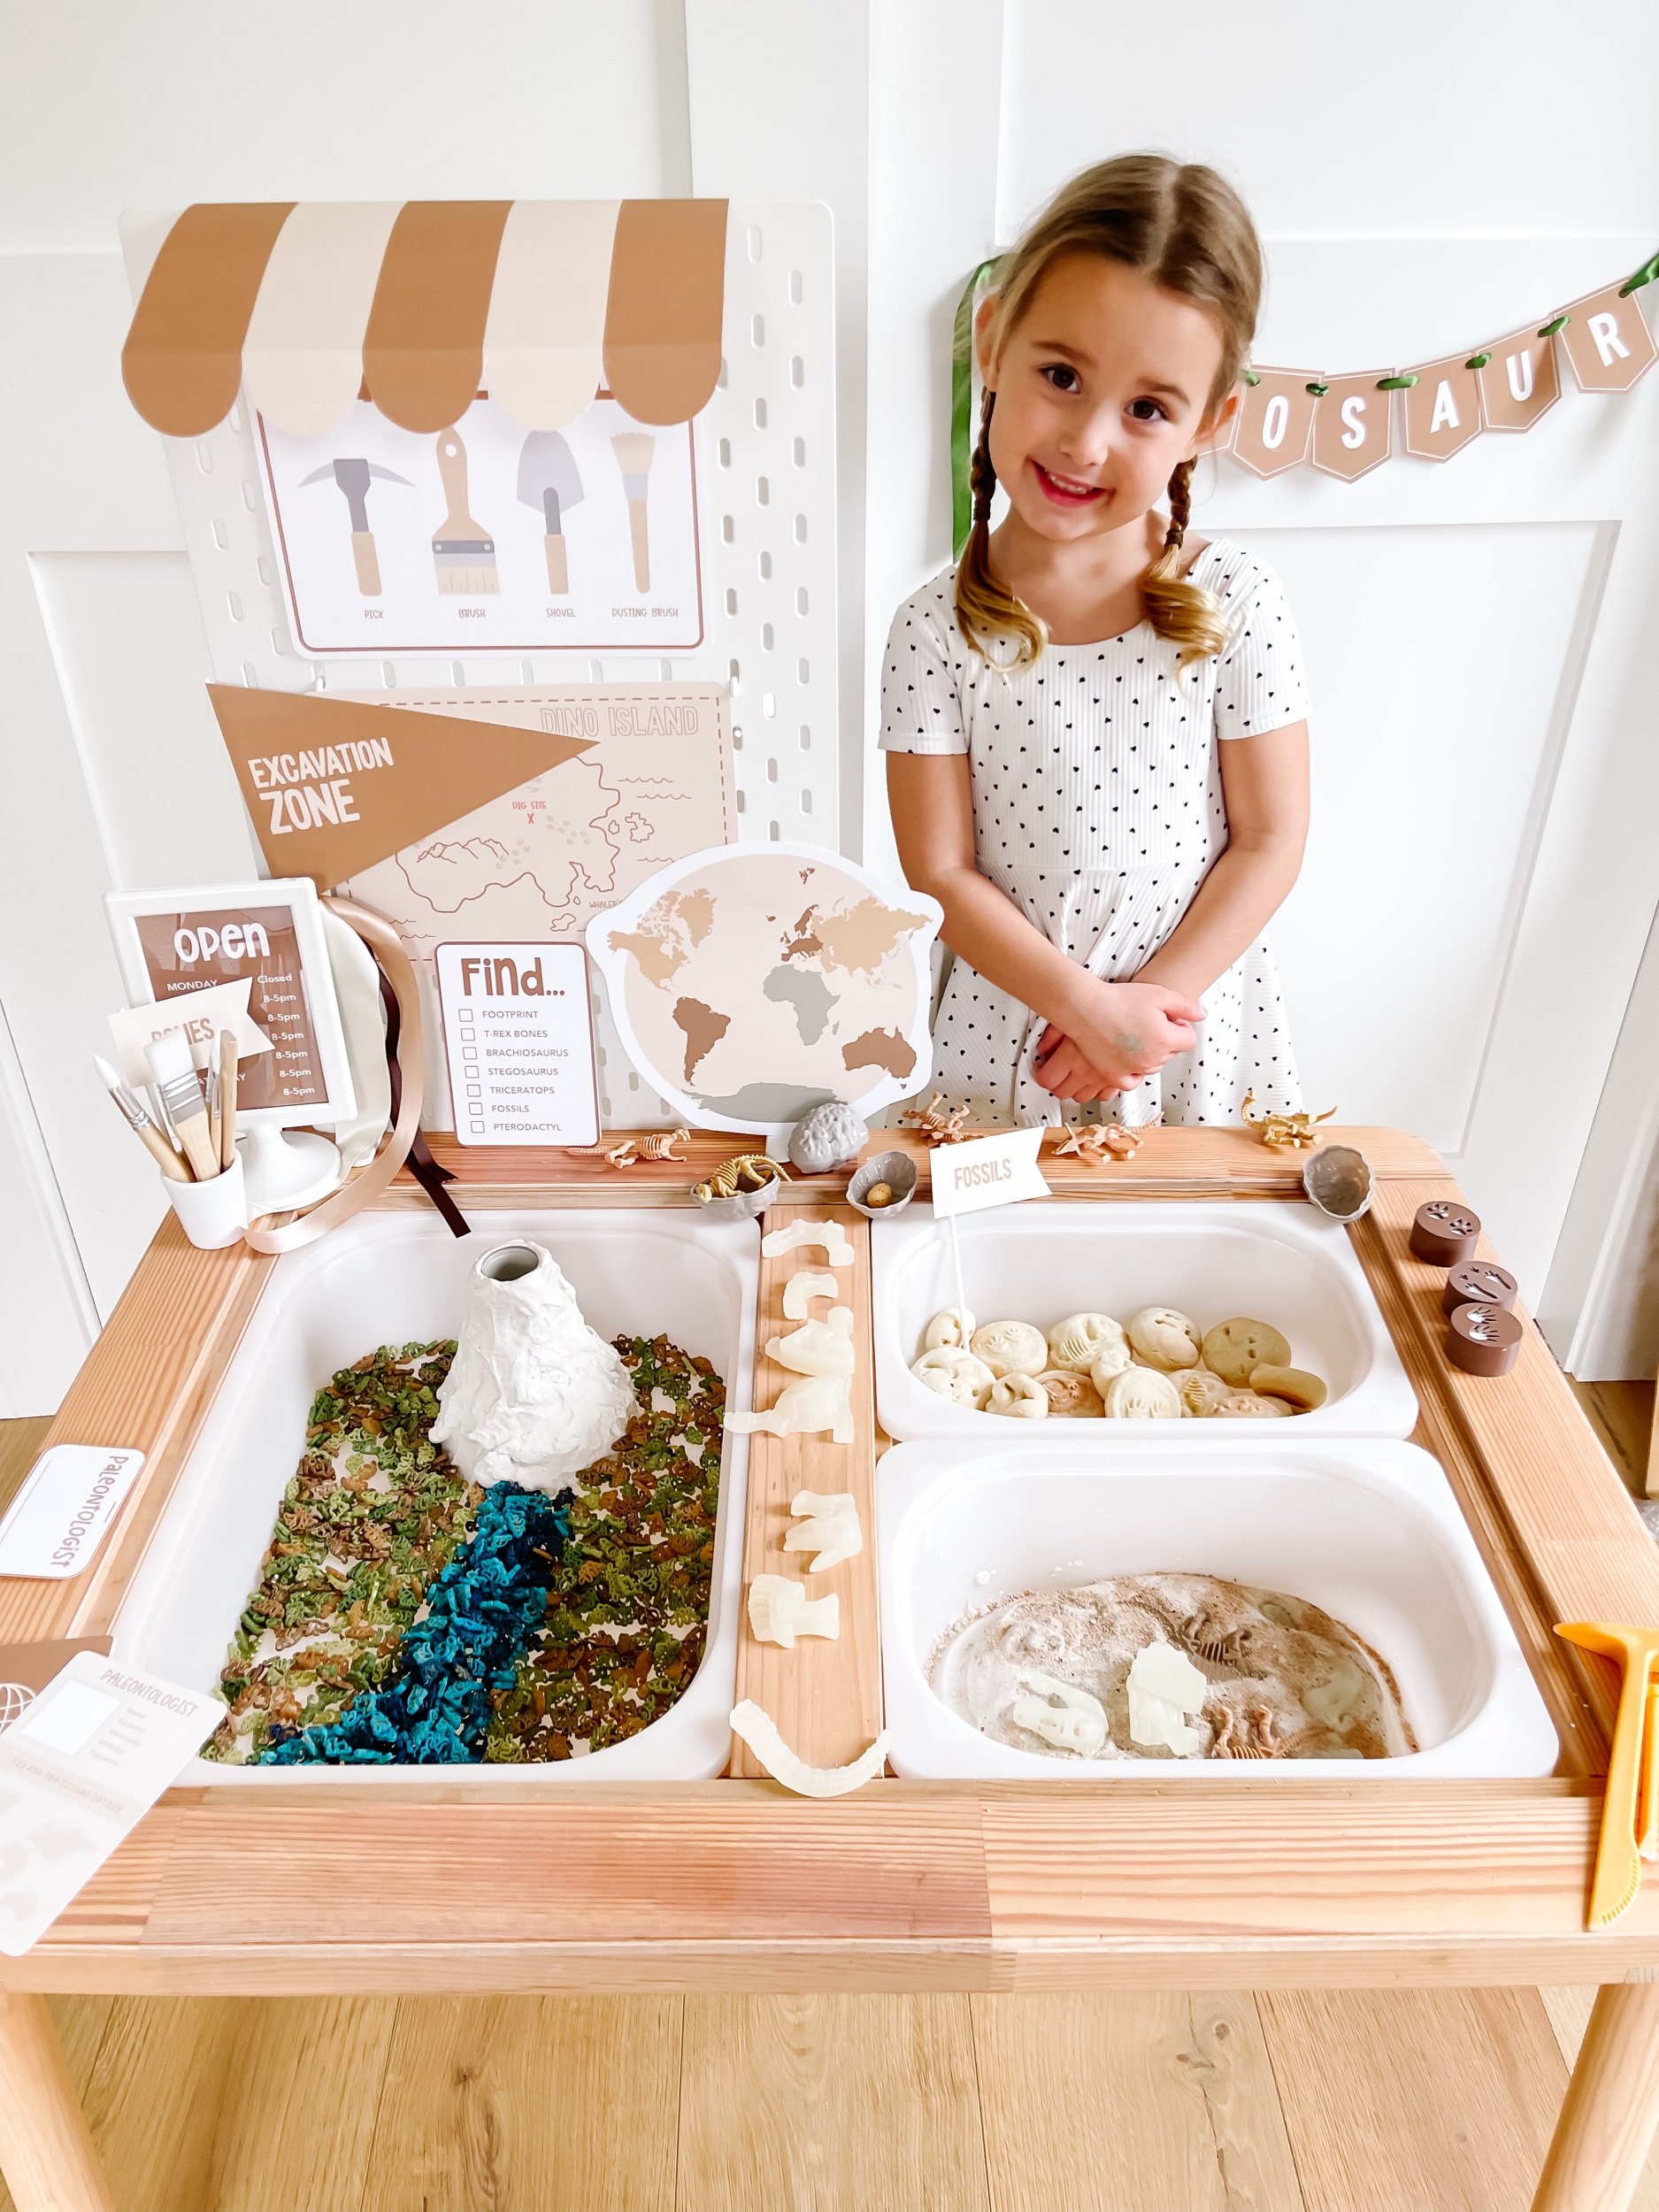
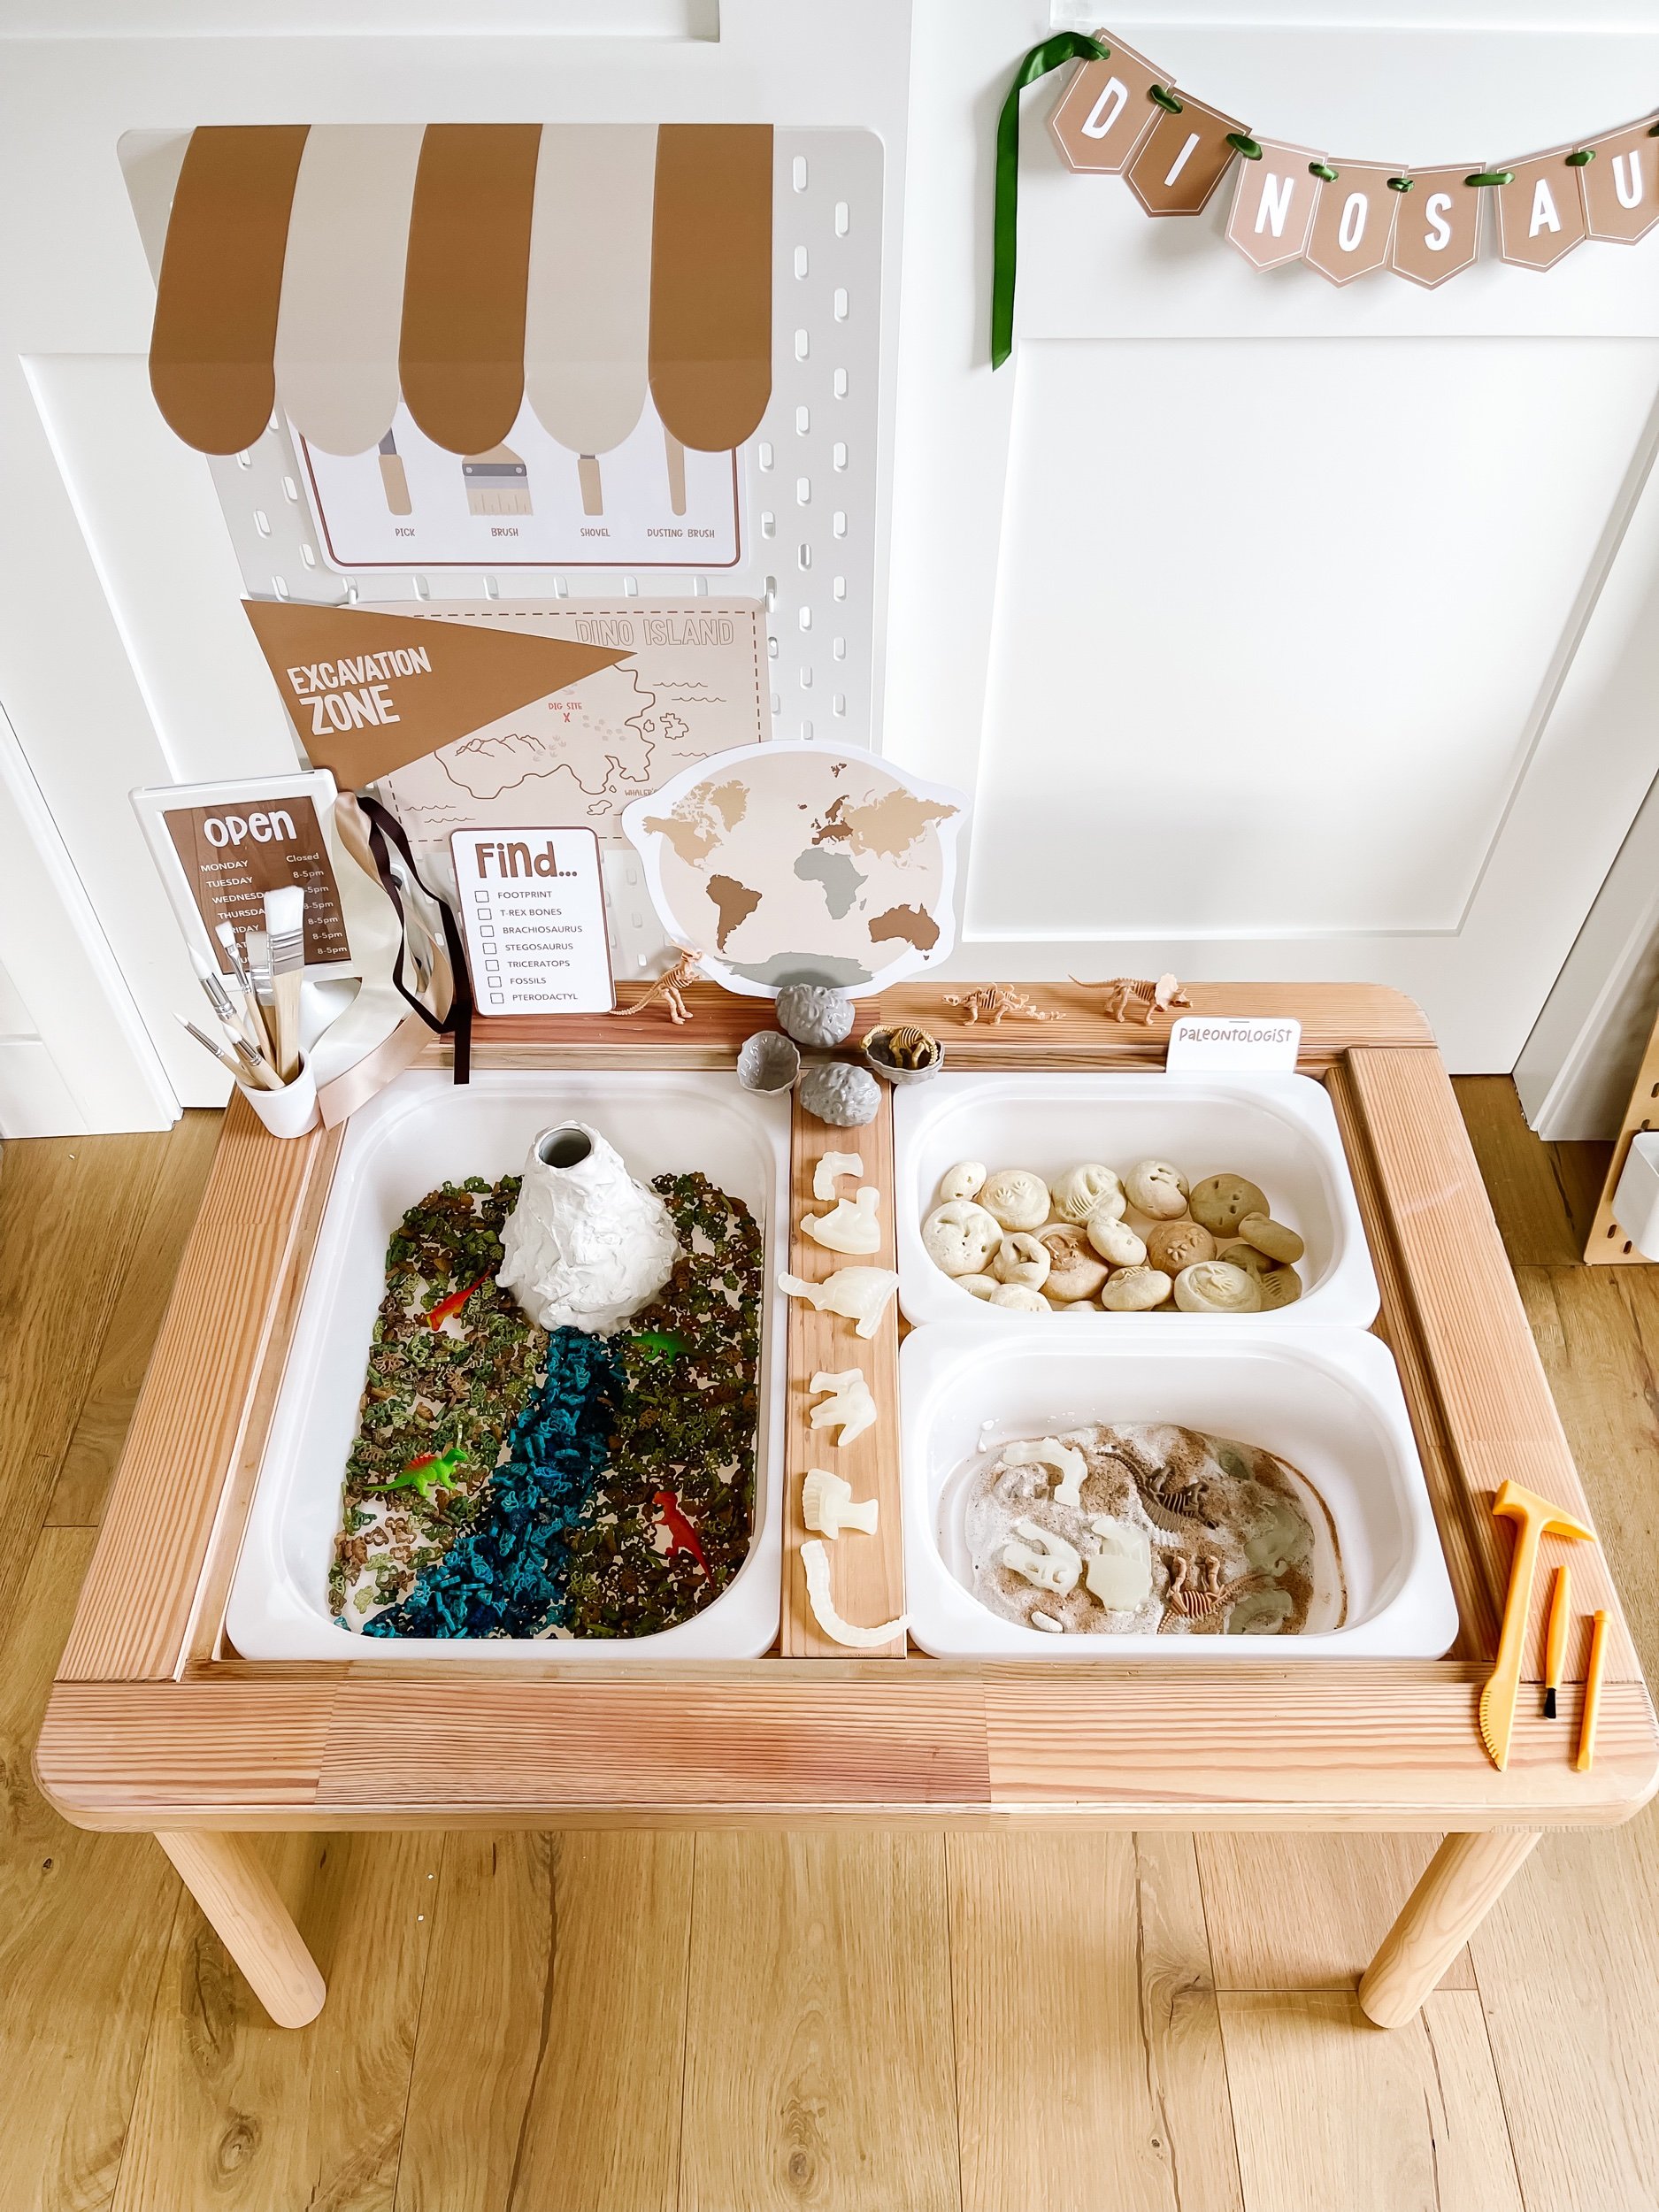
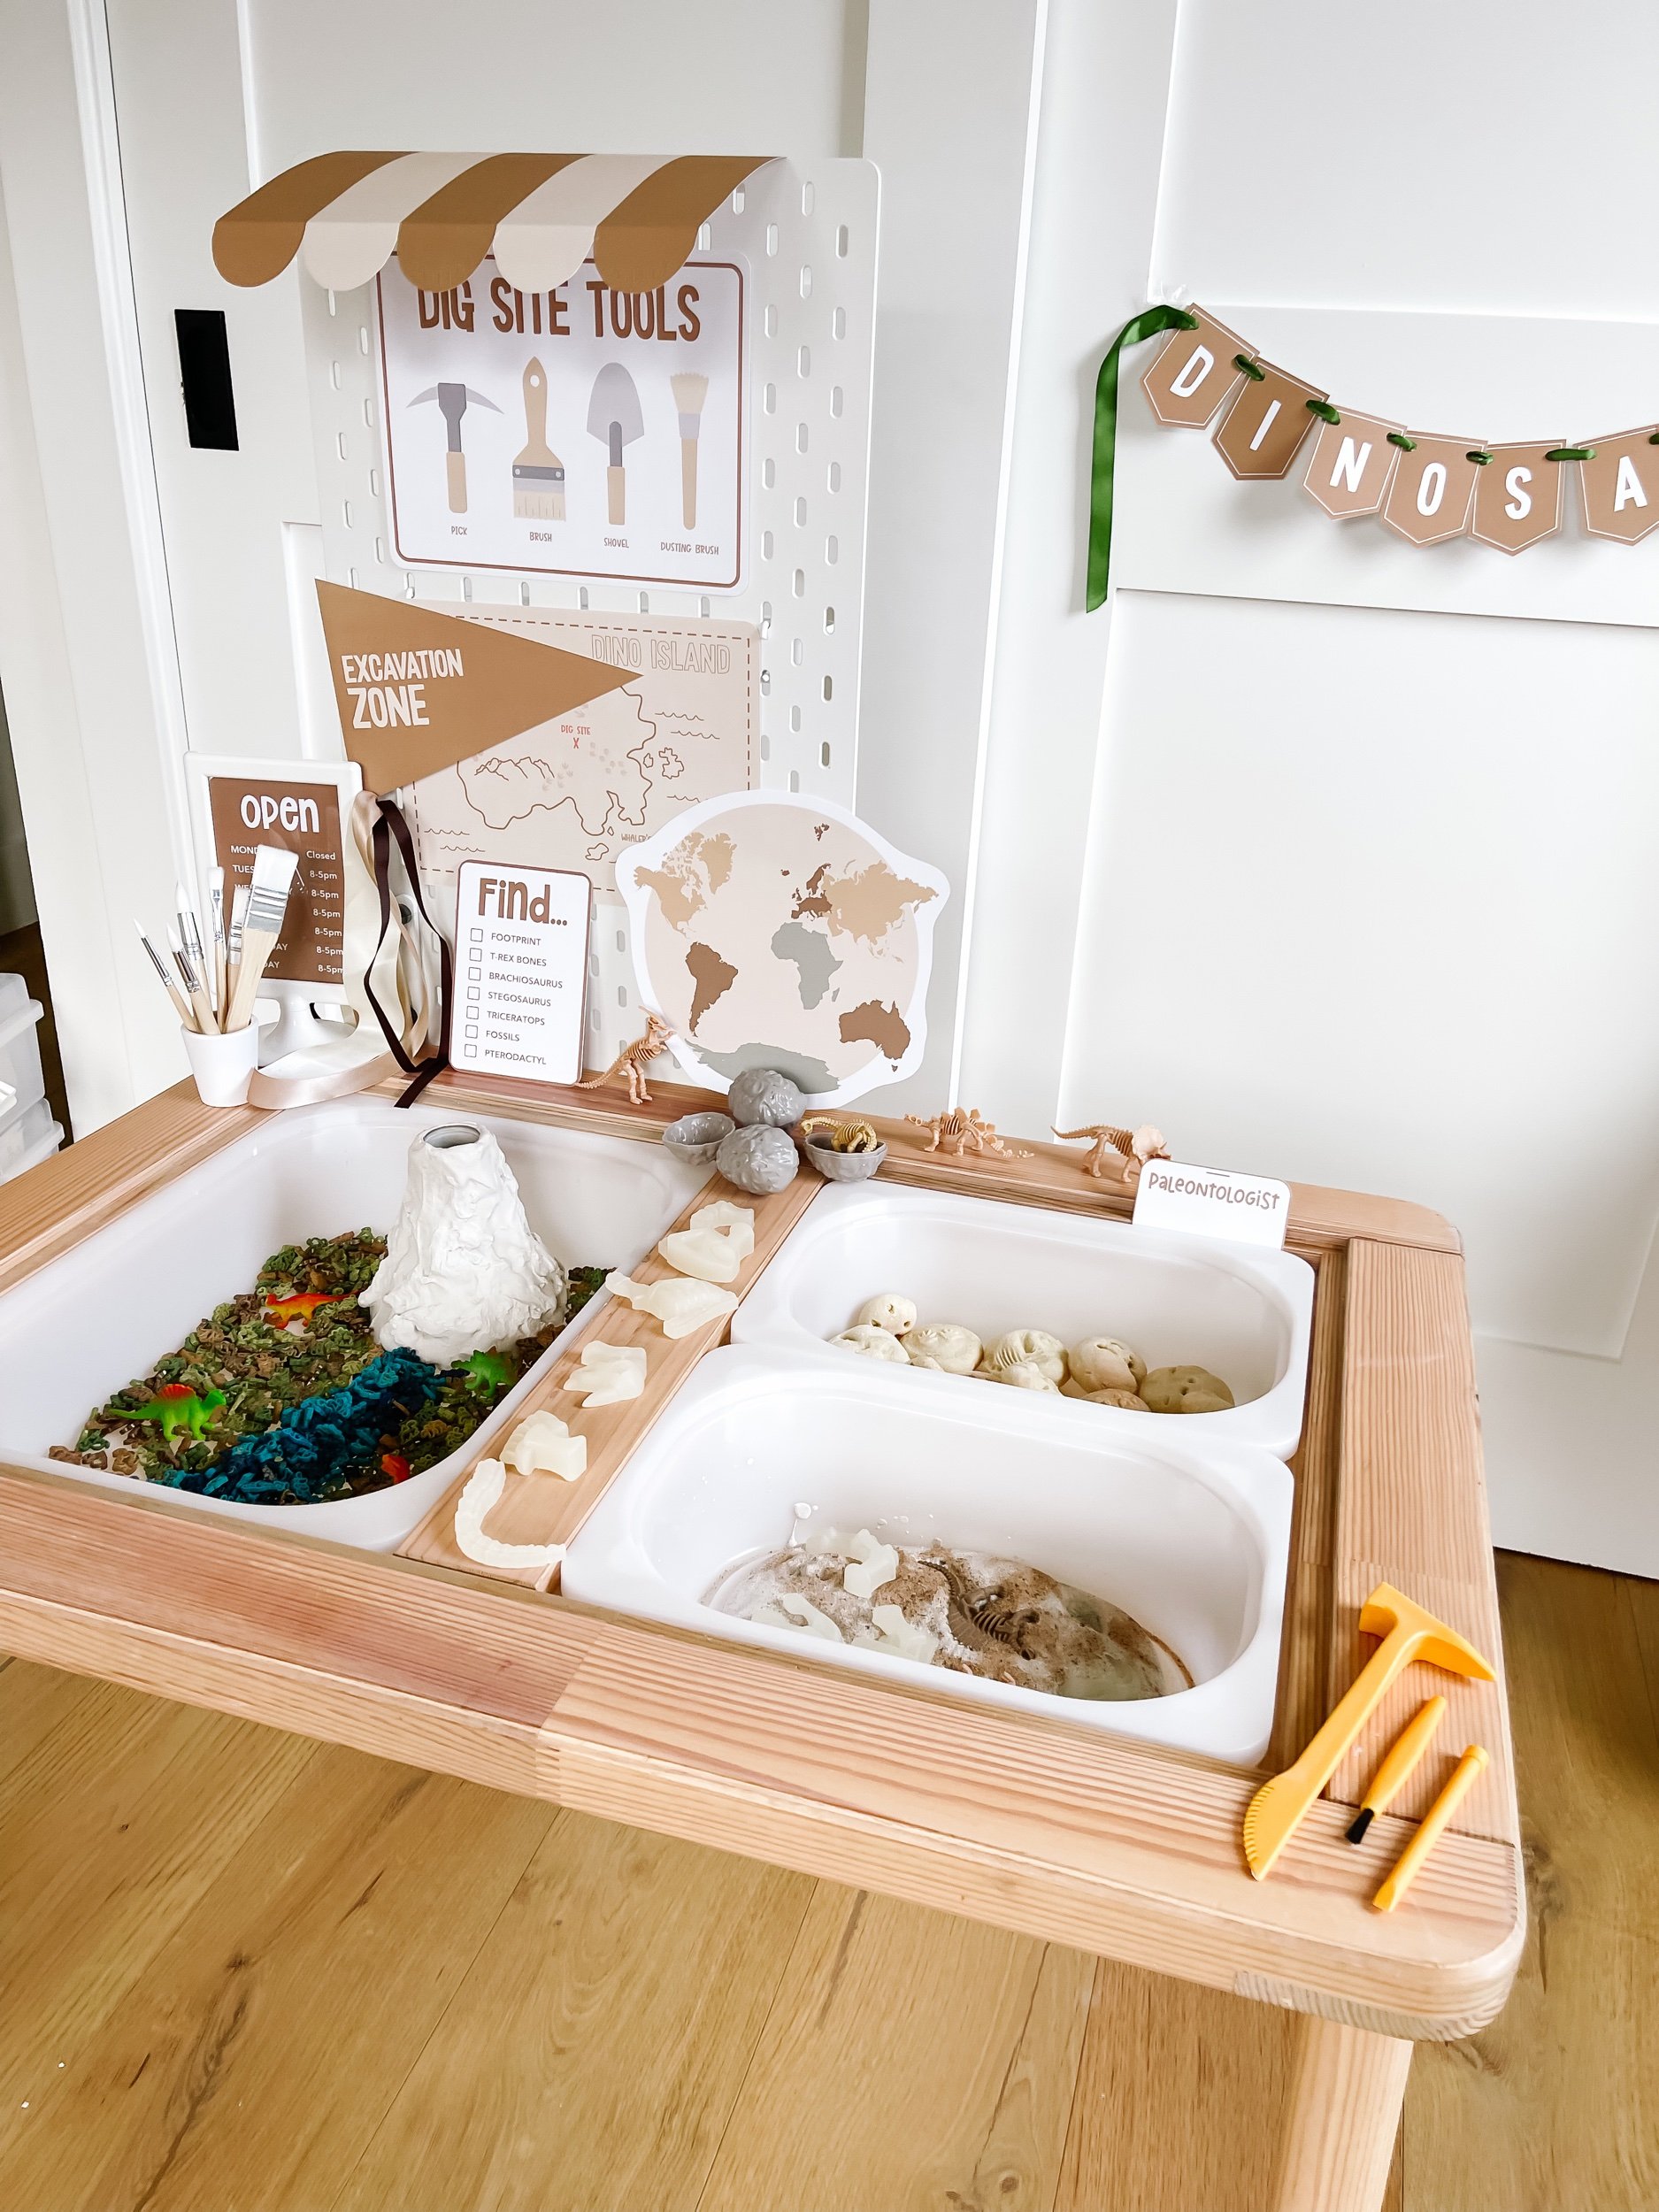
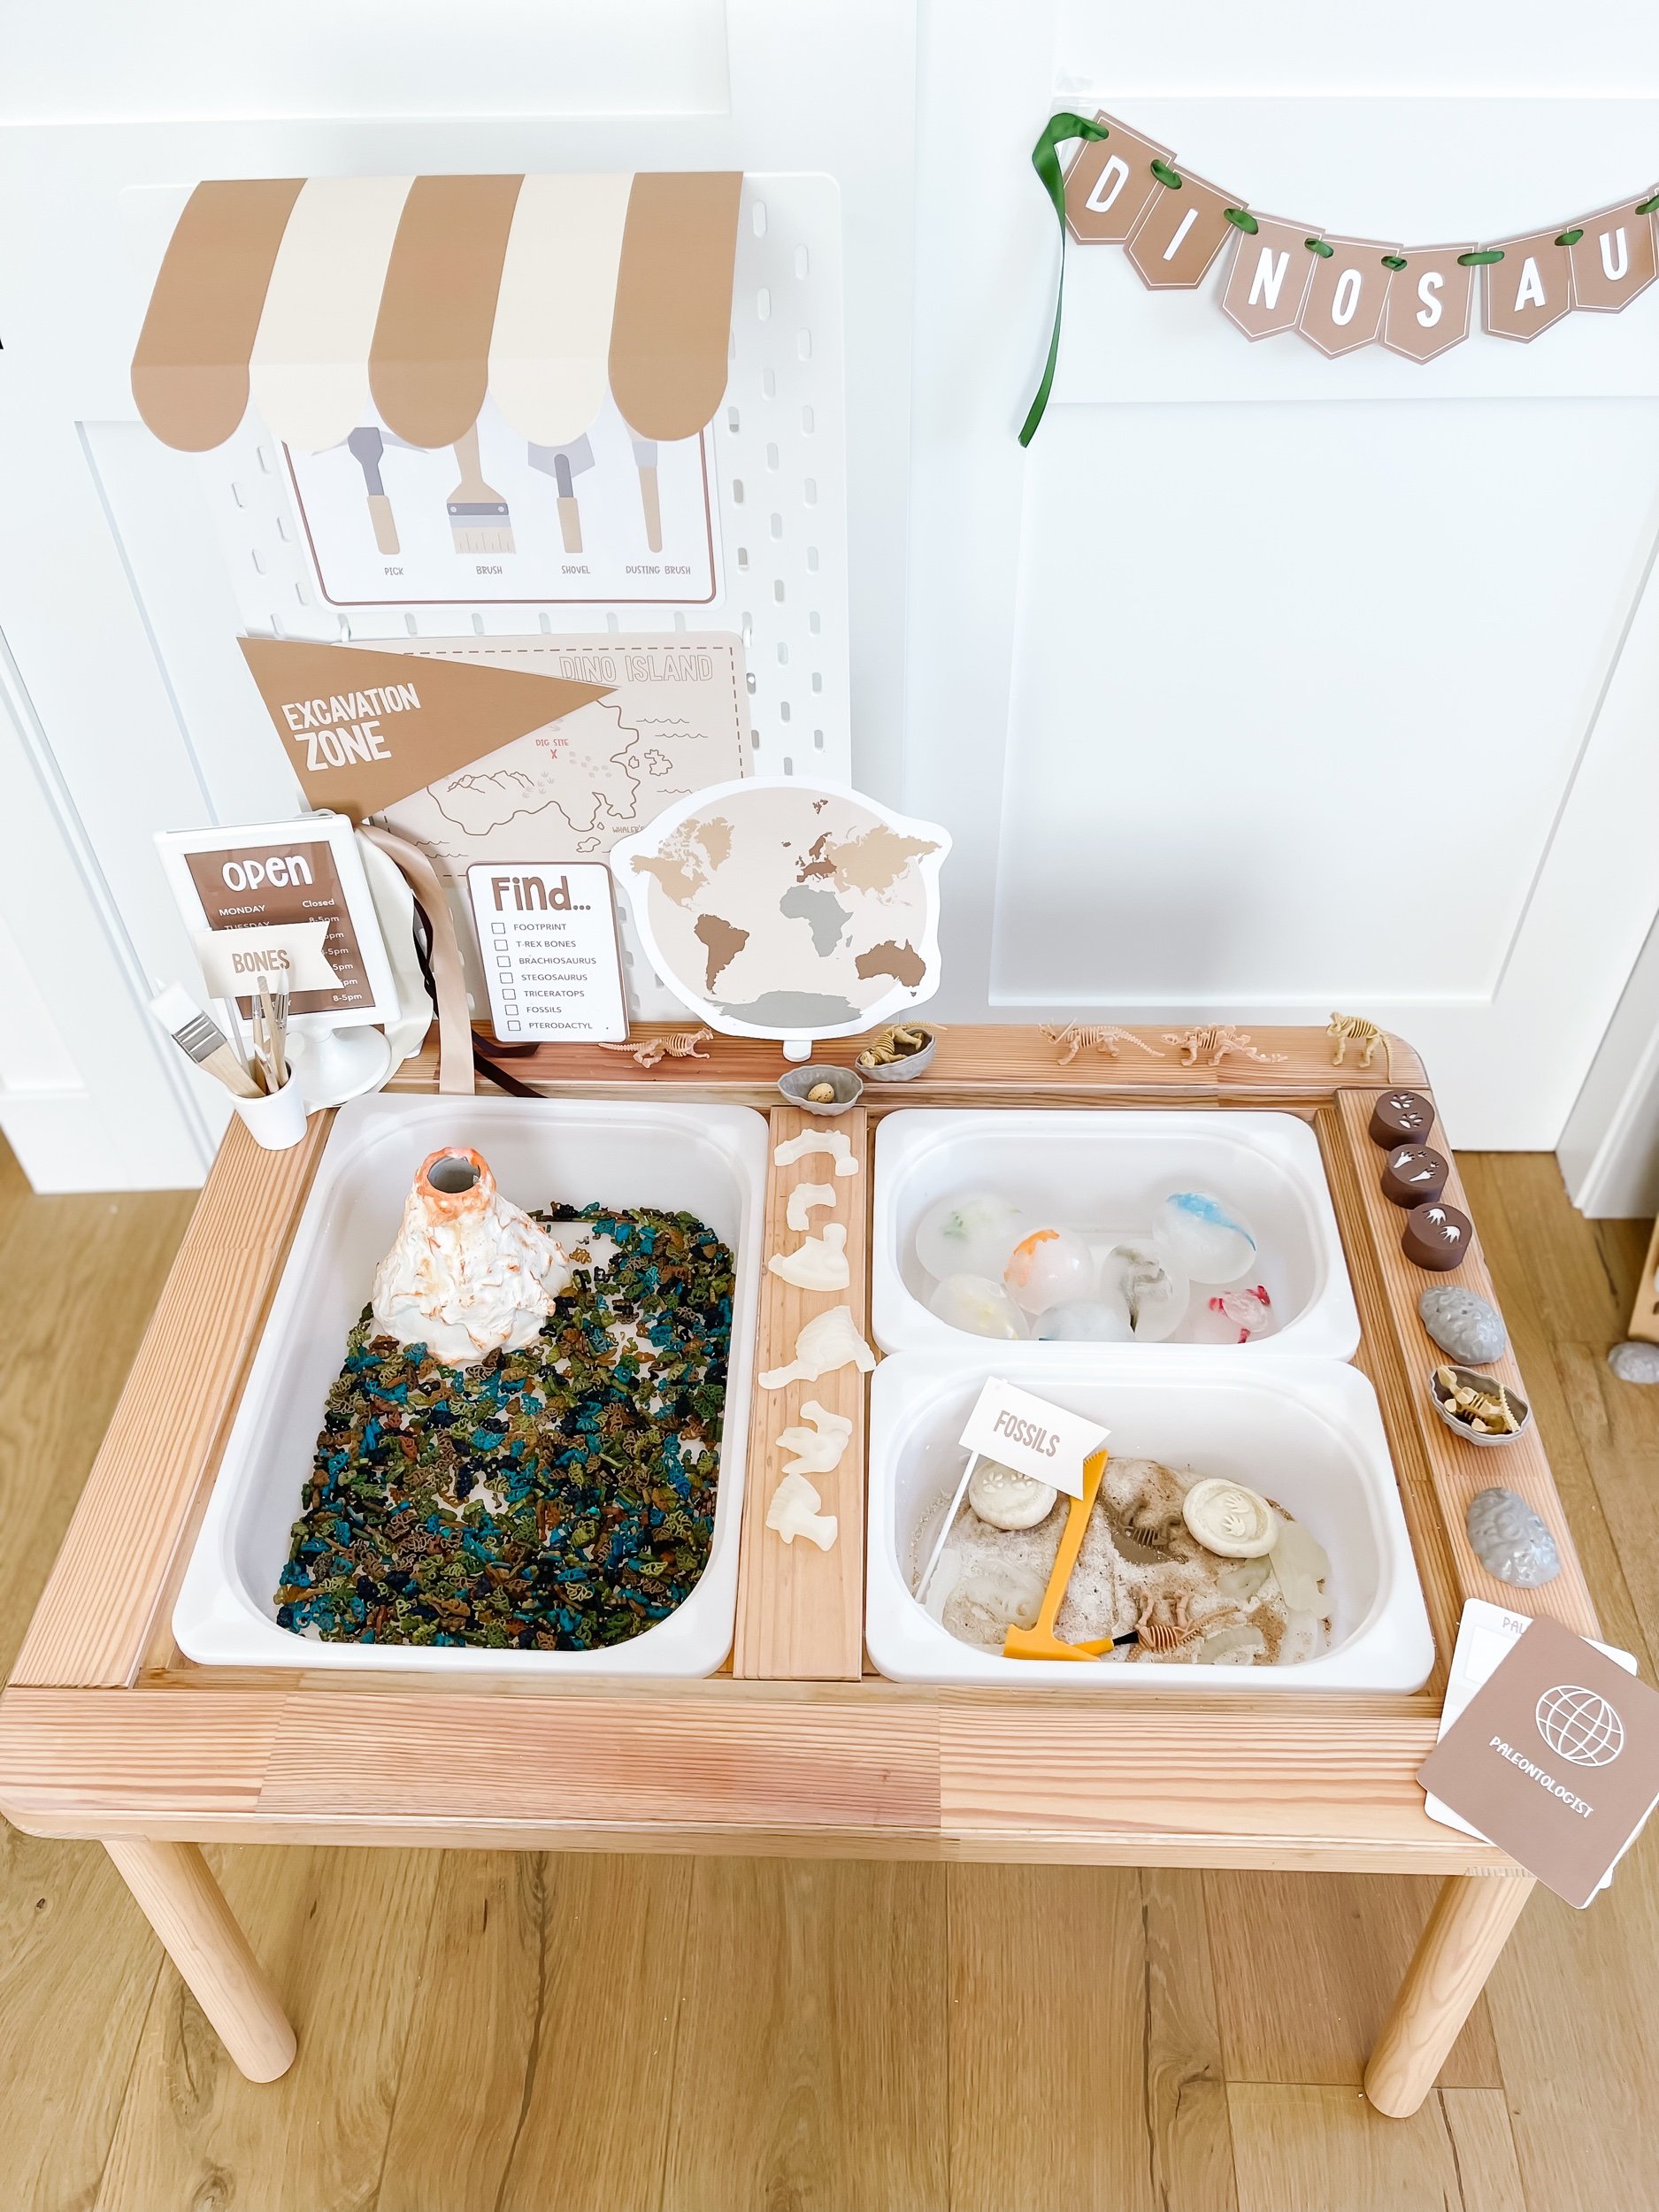
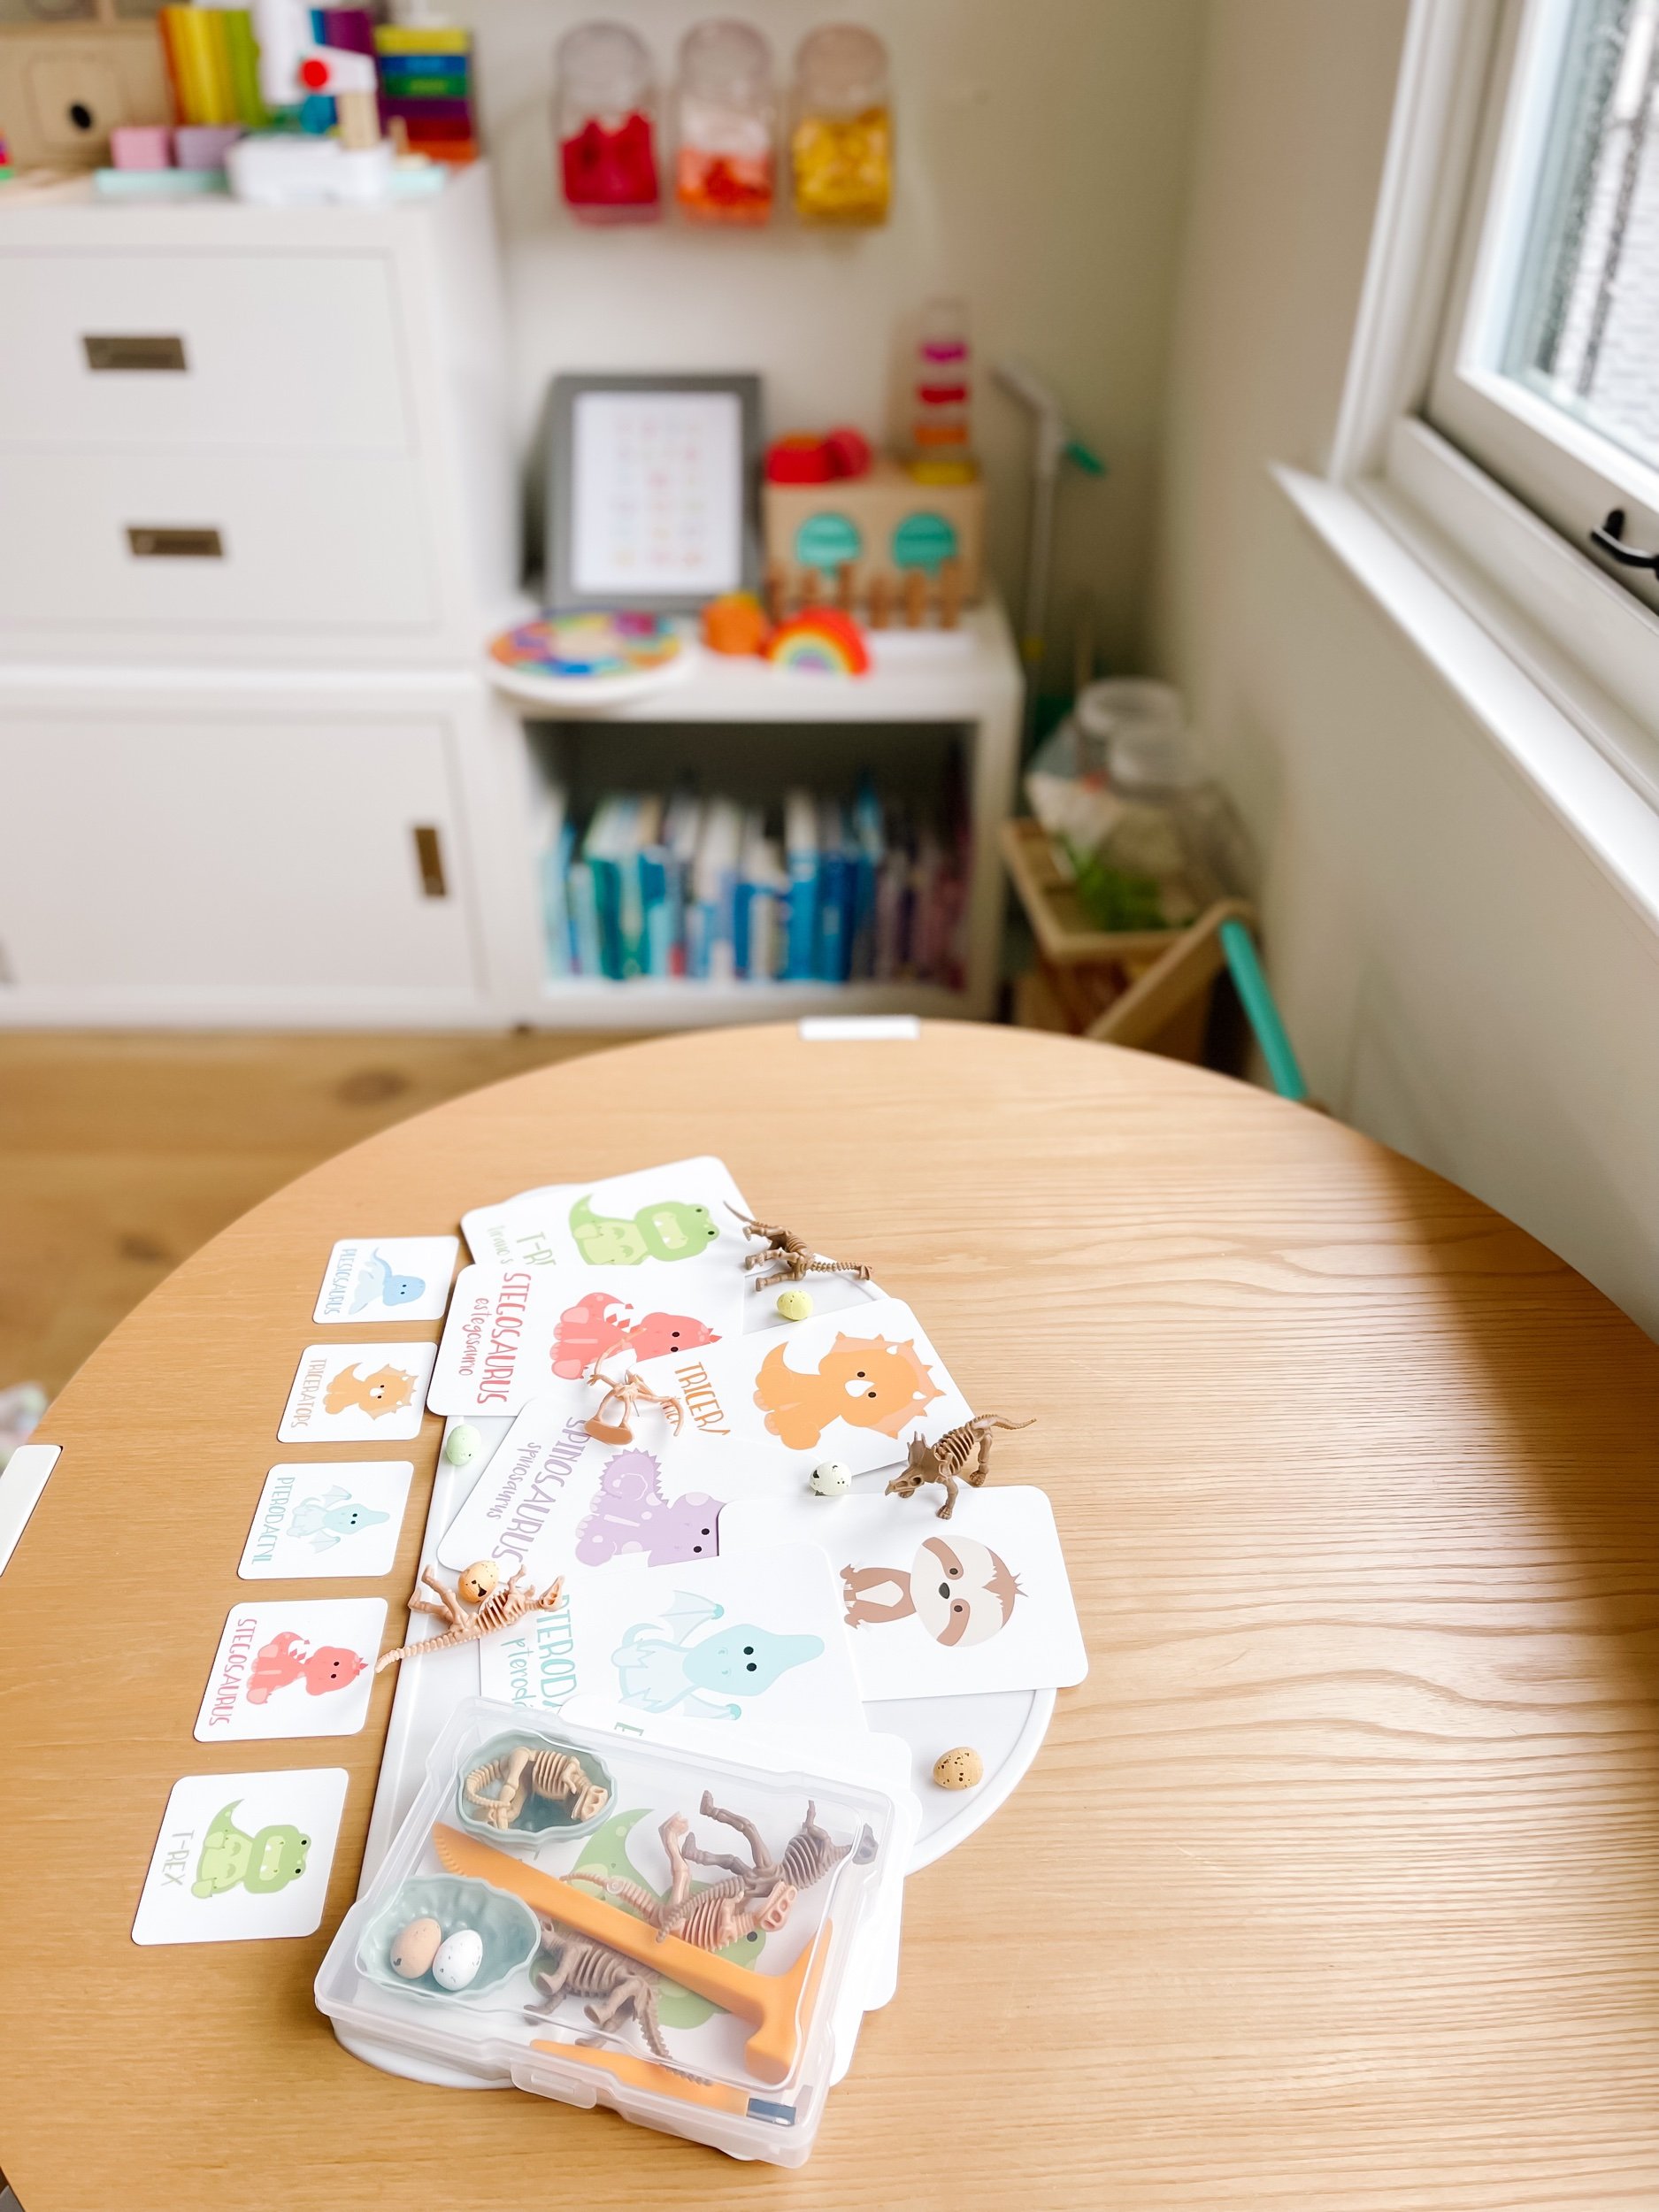
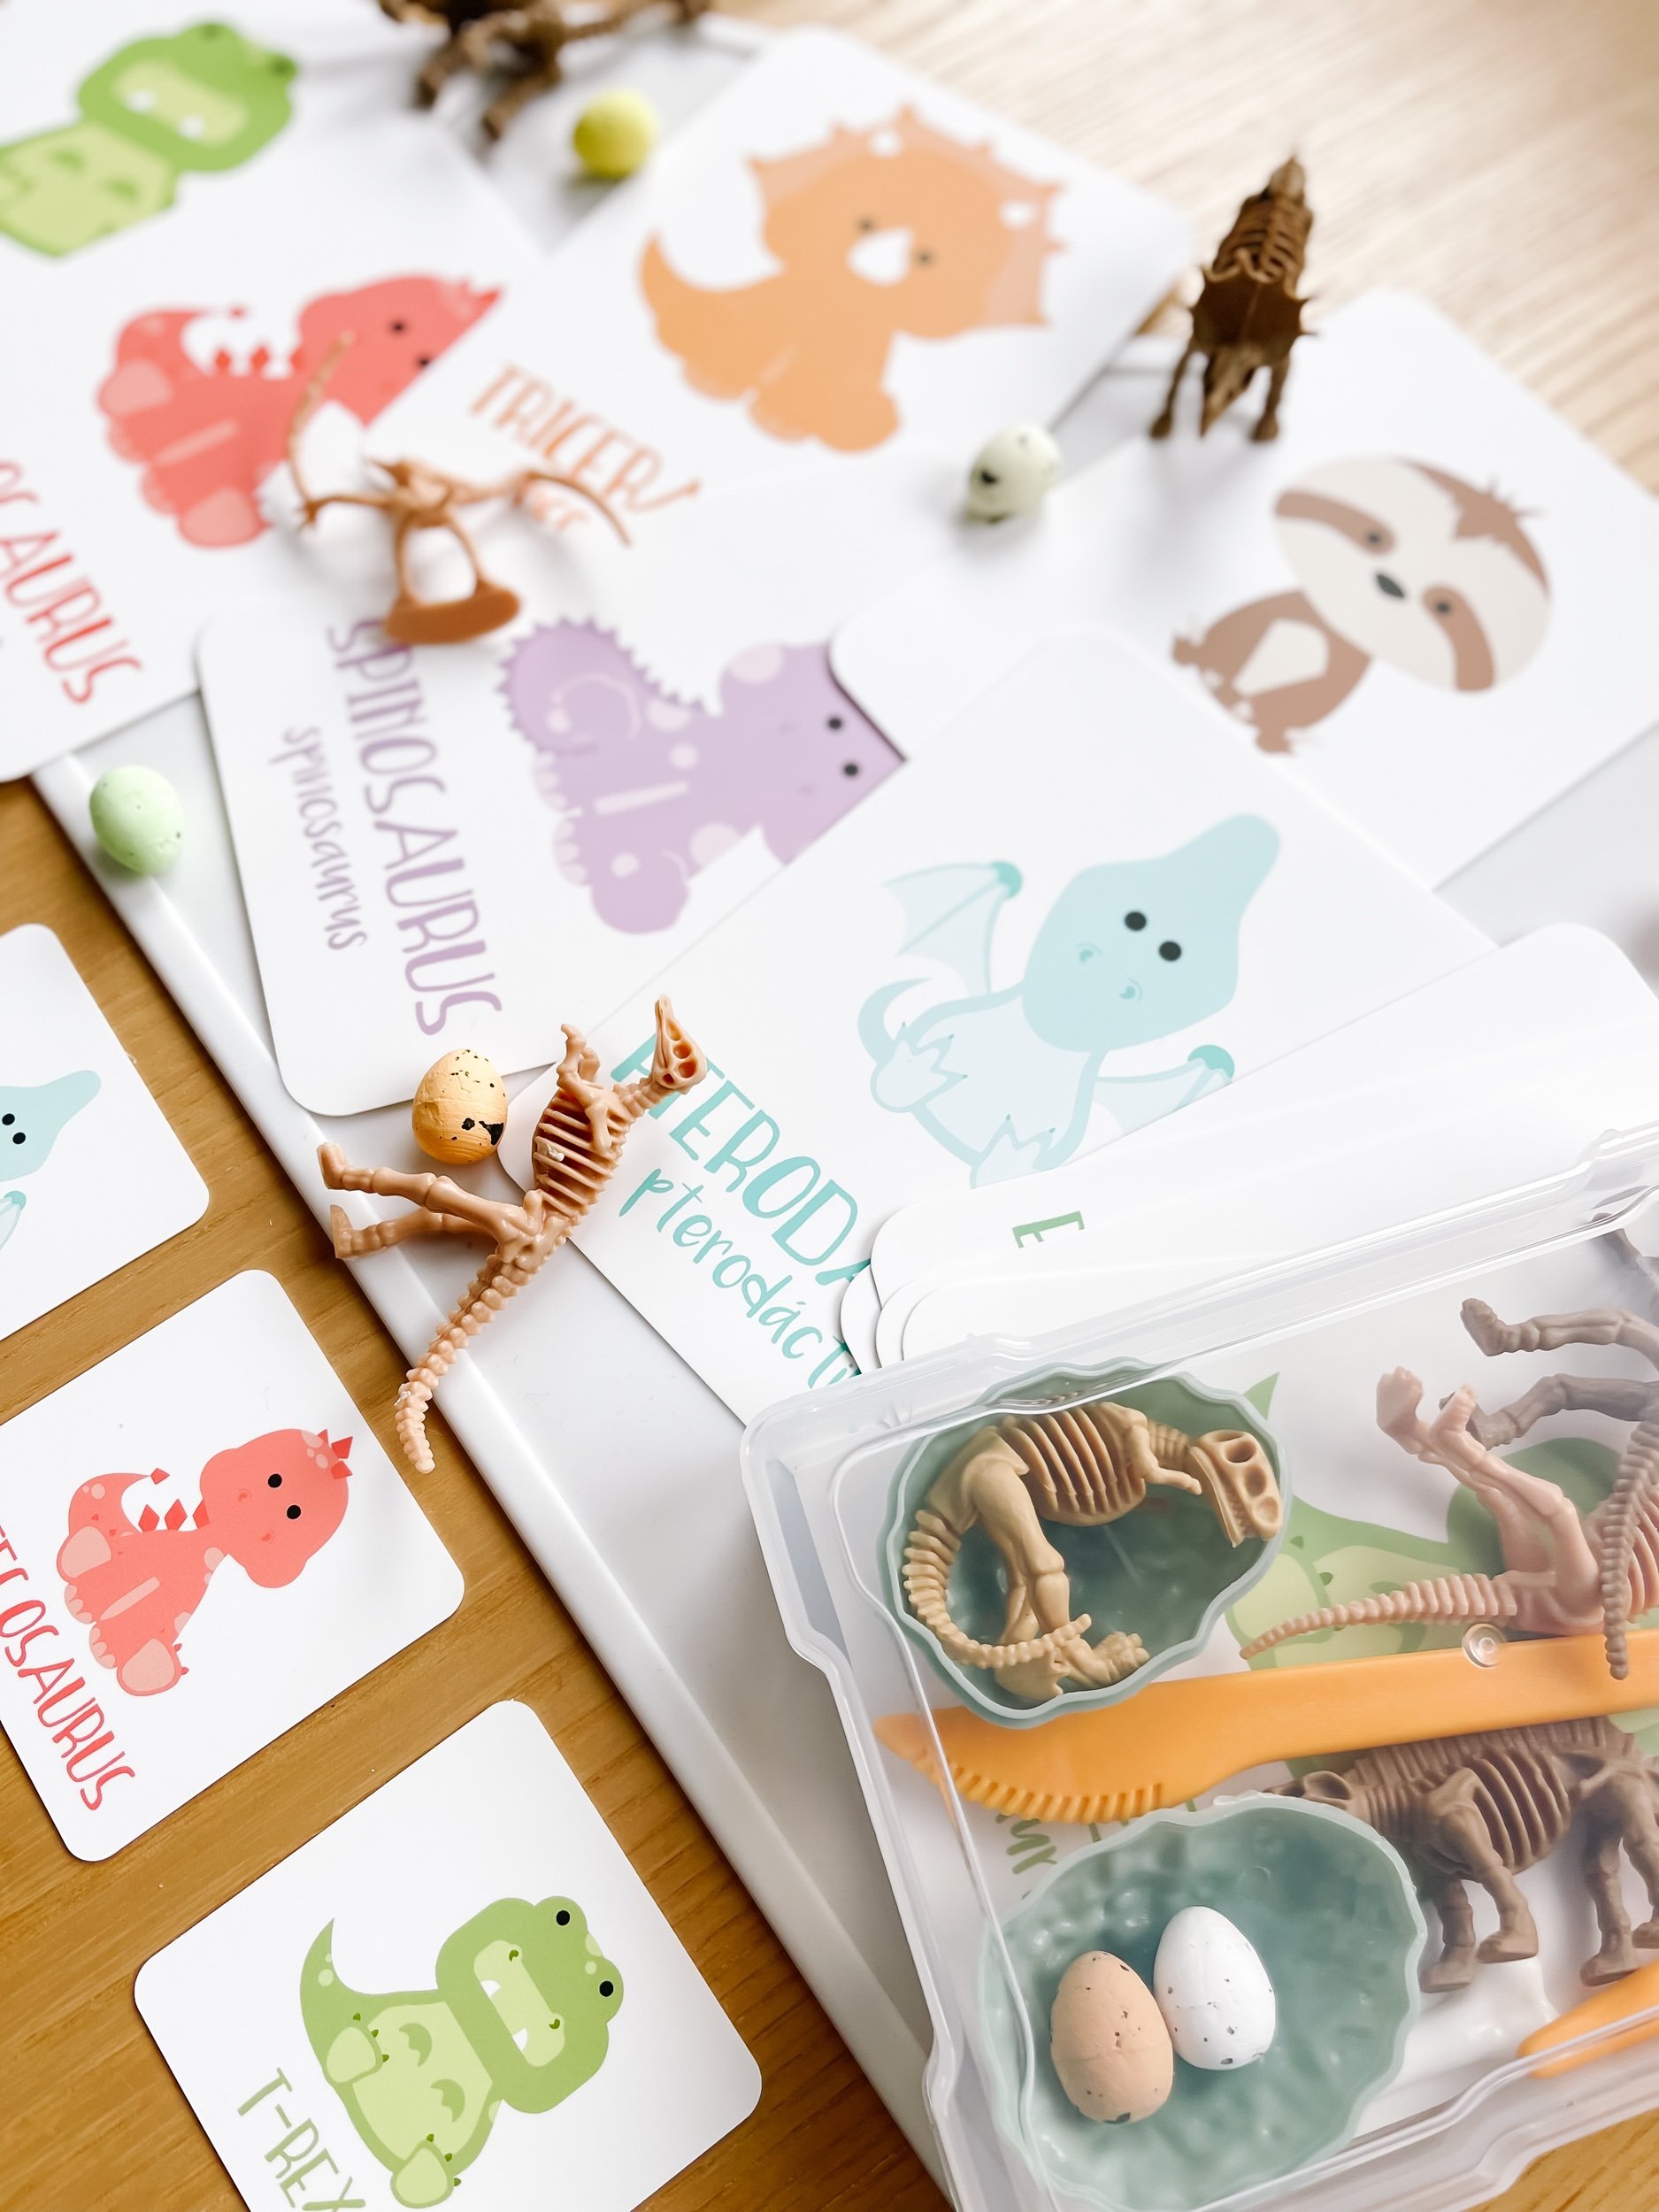
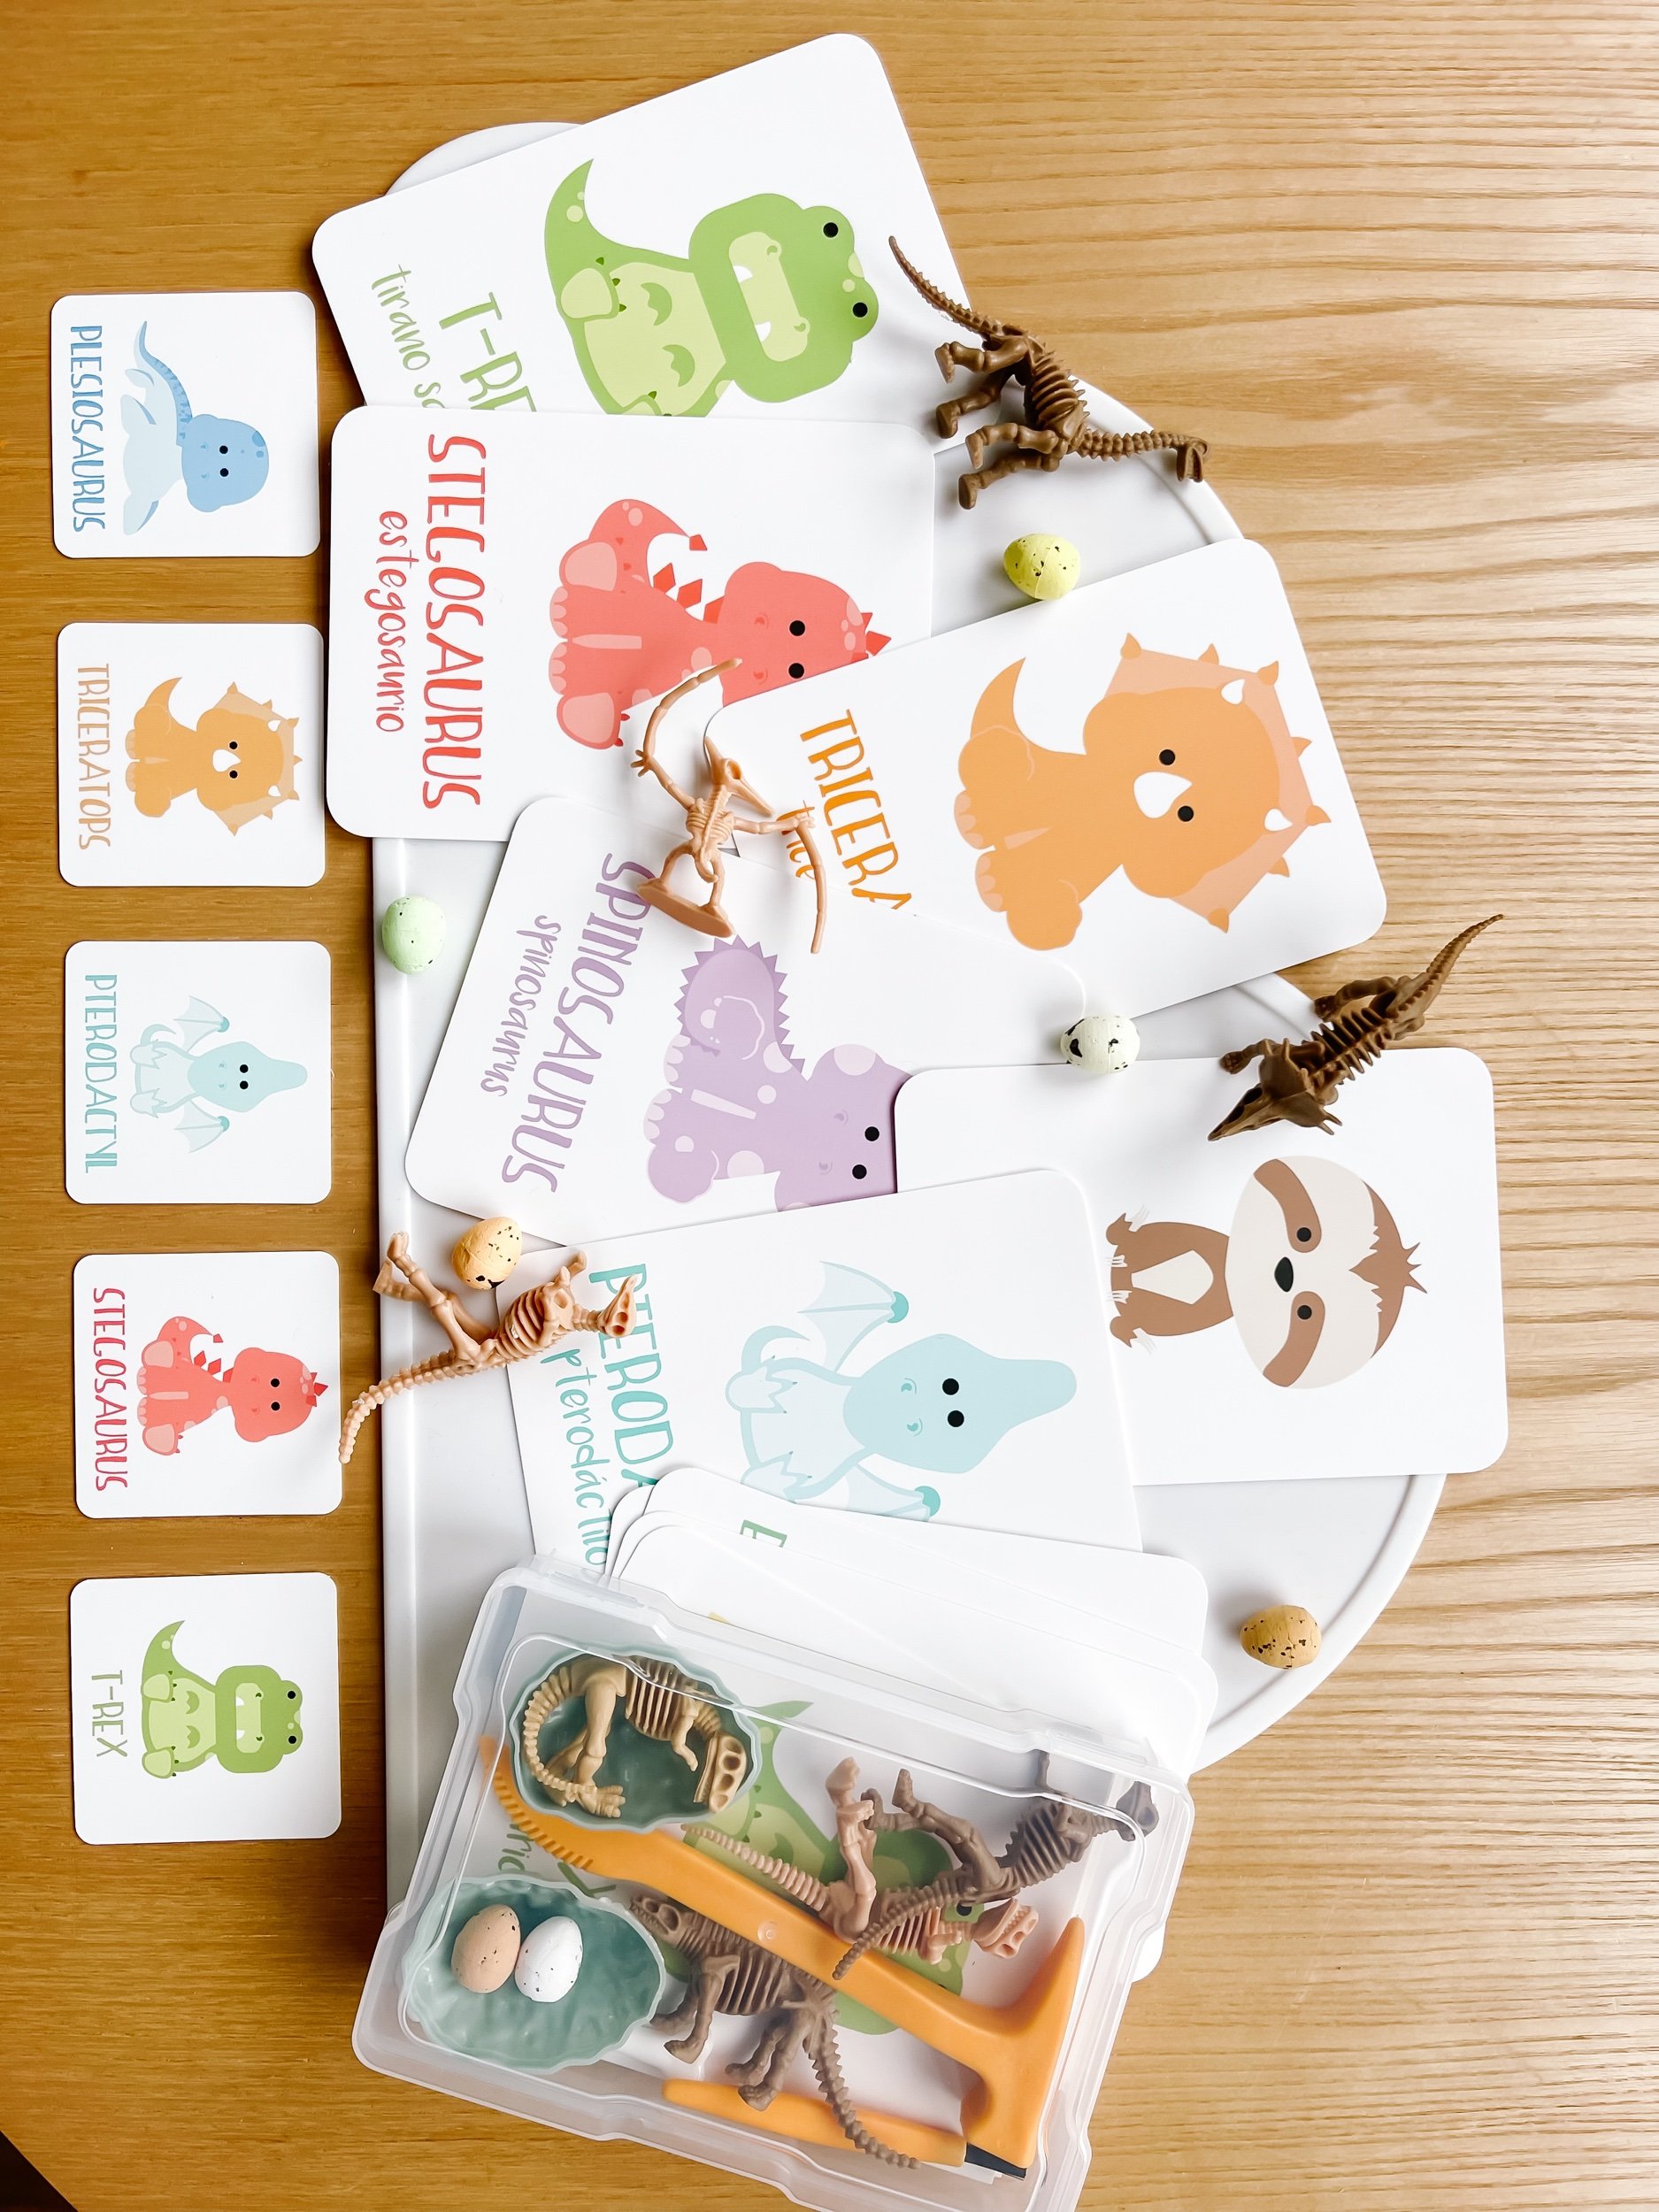
Our dinosaur dig paleontology-themed sensory and dramatic play kit is packed with exciting elements that will ignite your child's passion for exploration. Here's a detailed description of what you can expect:
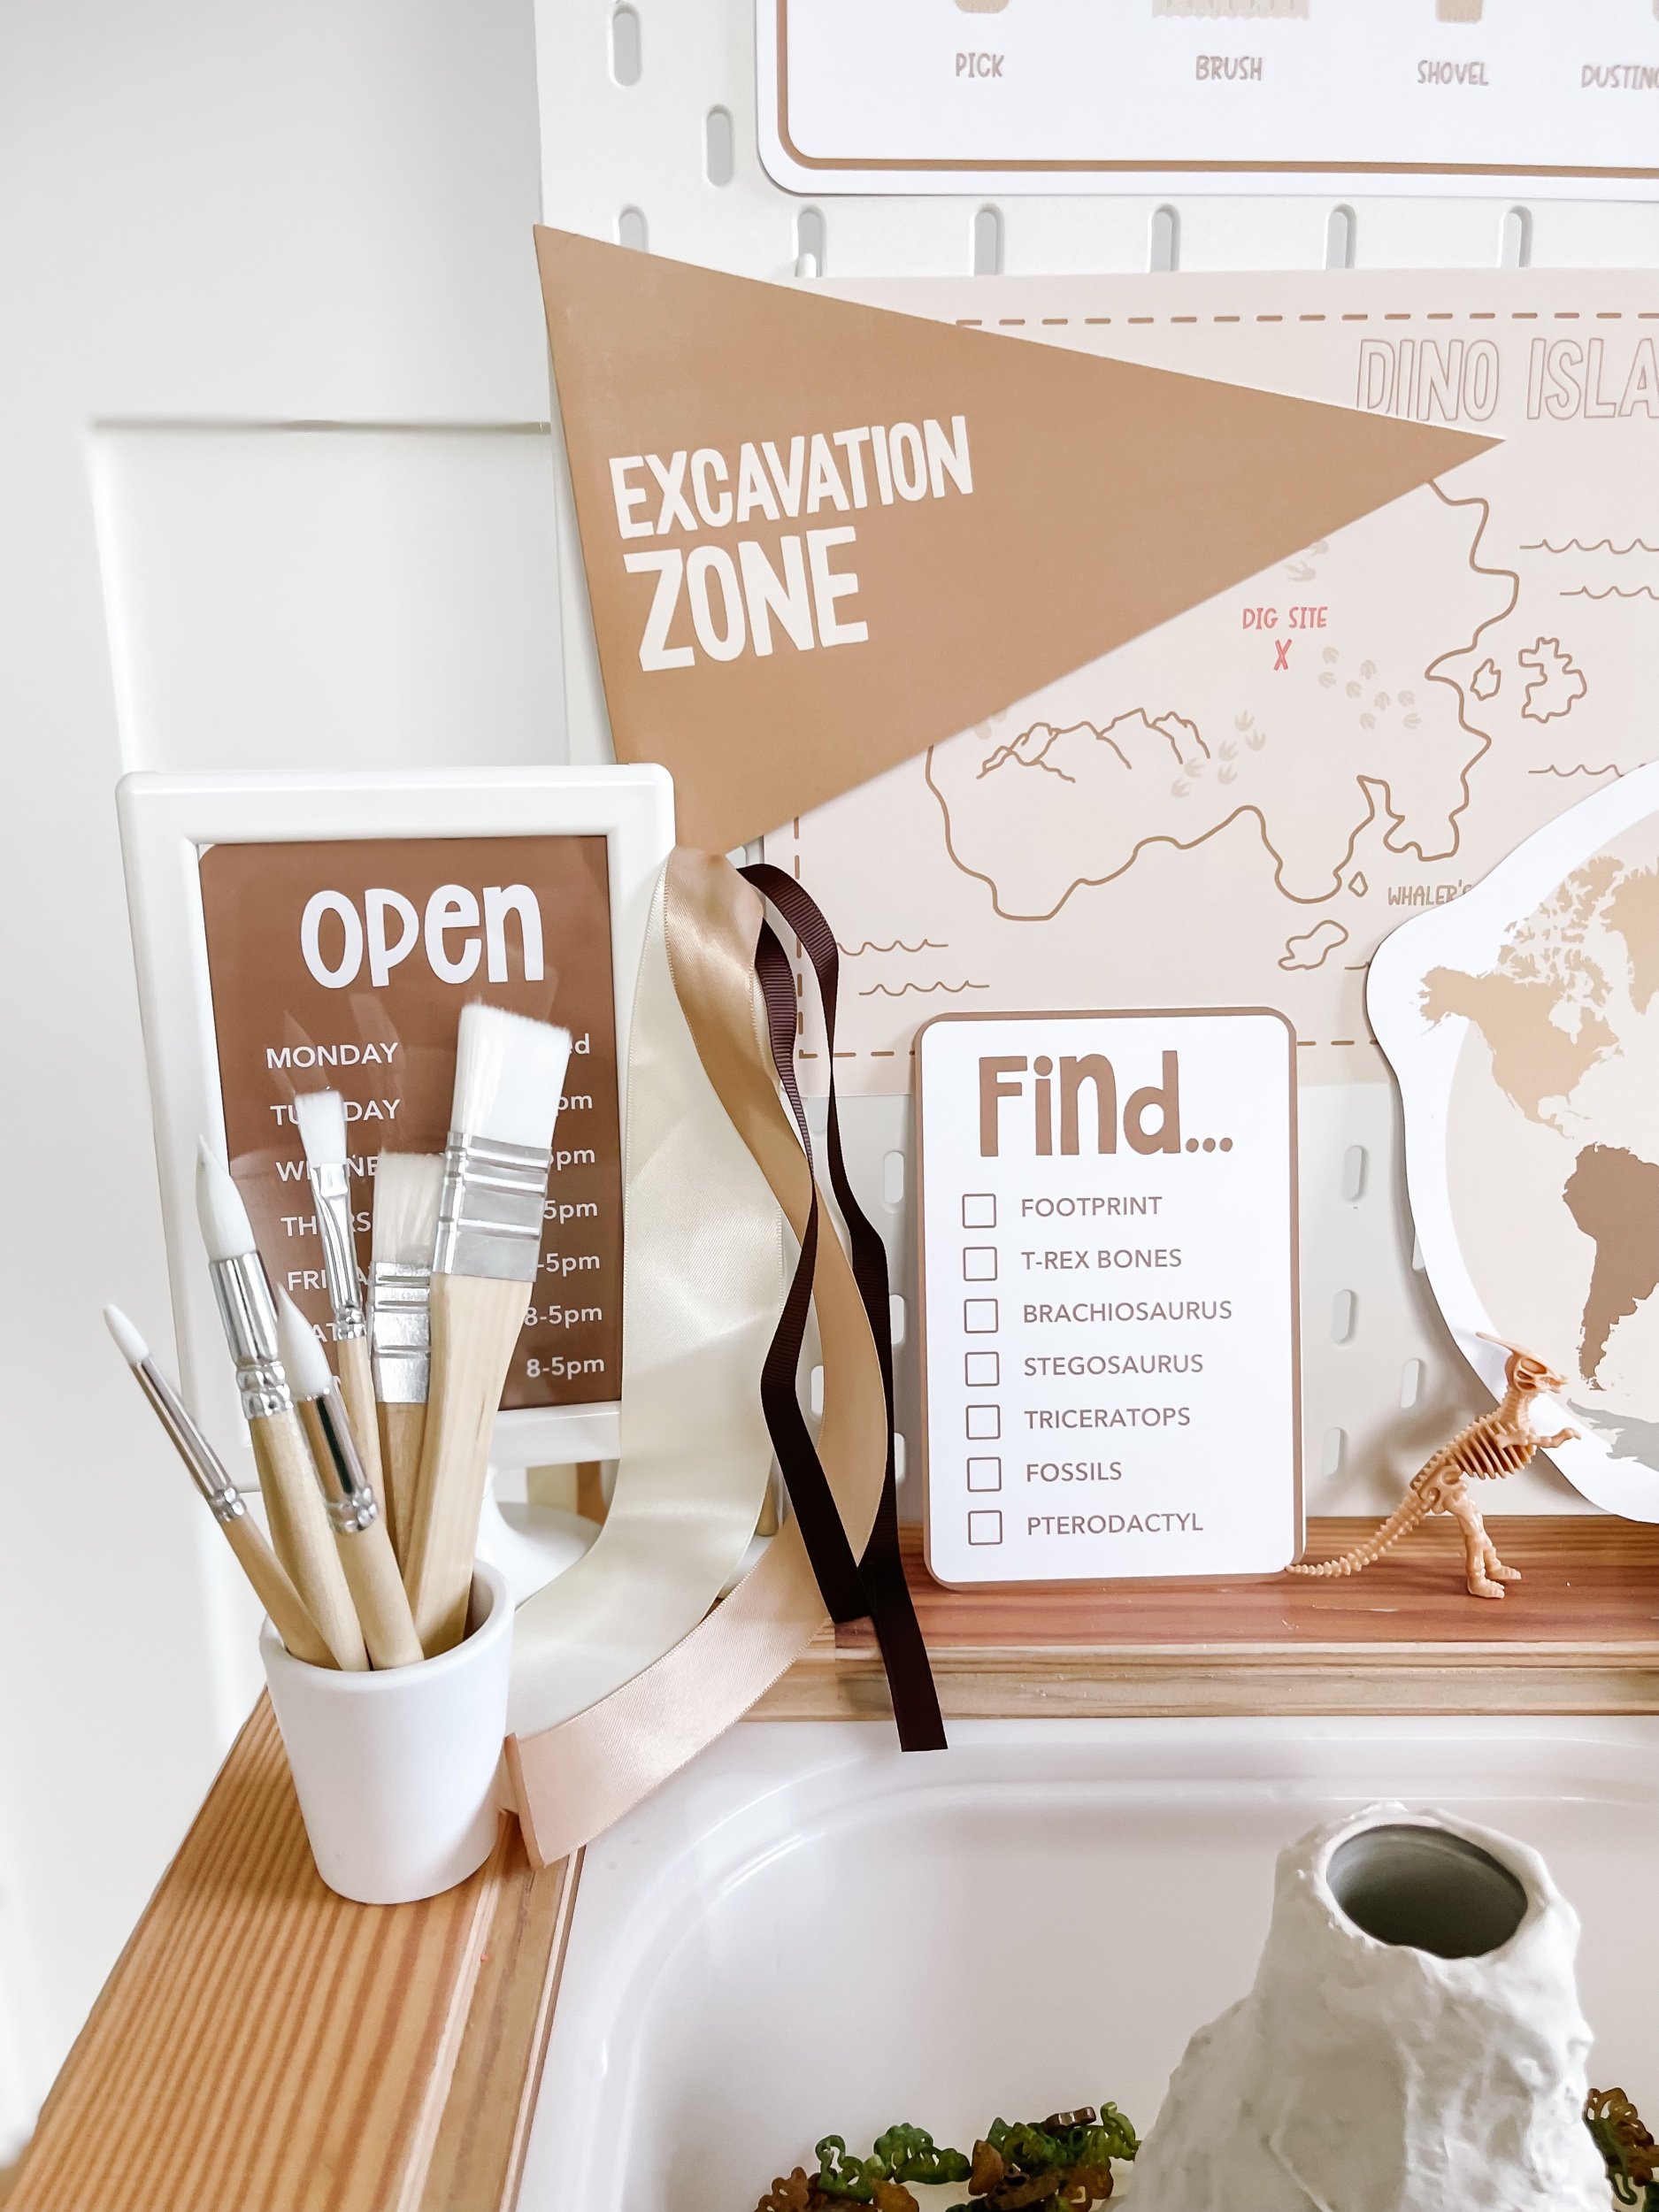
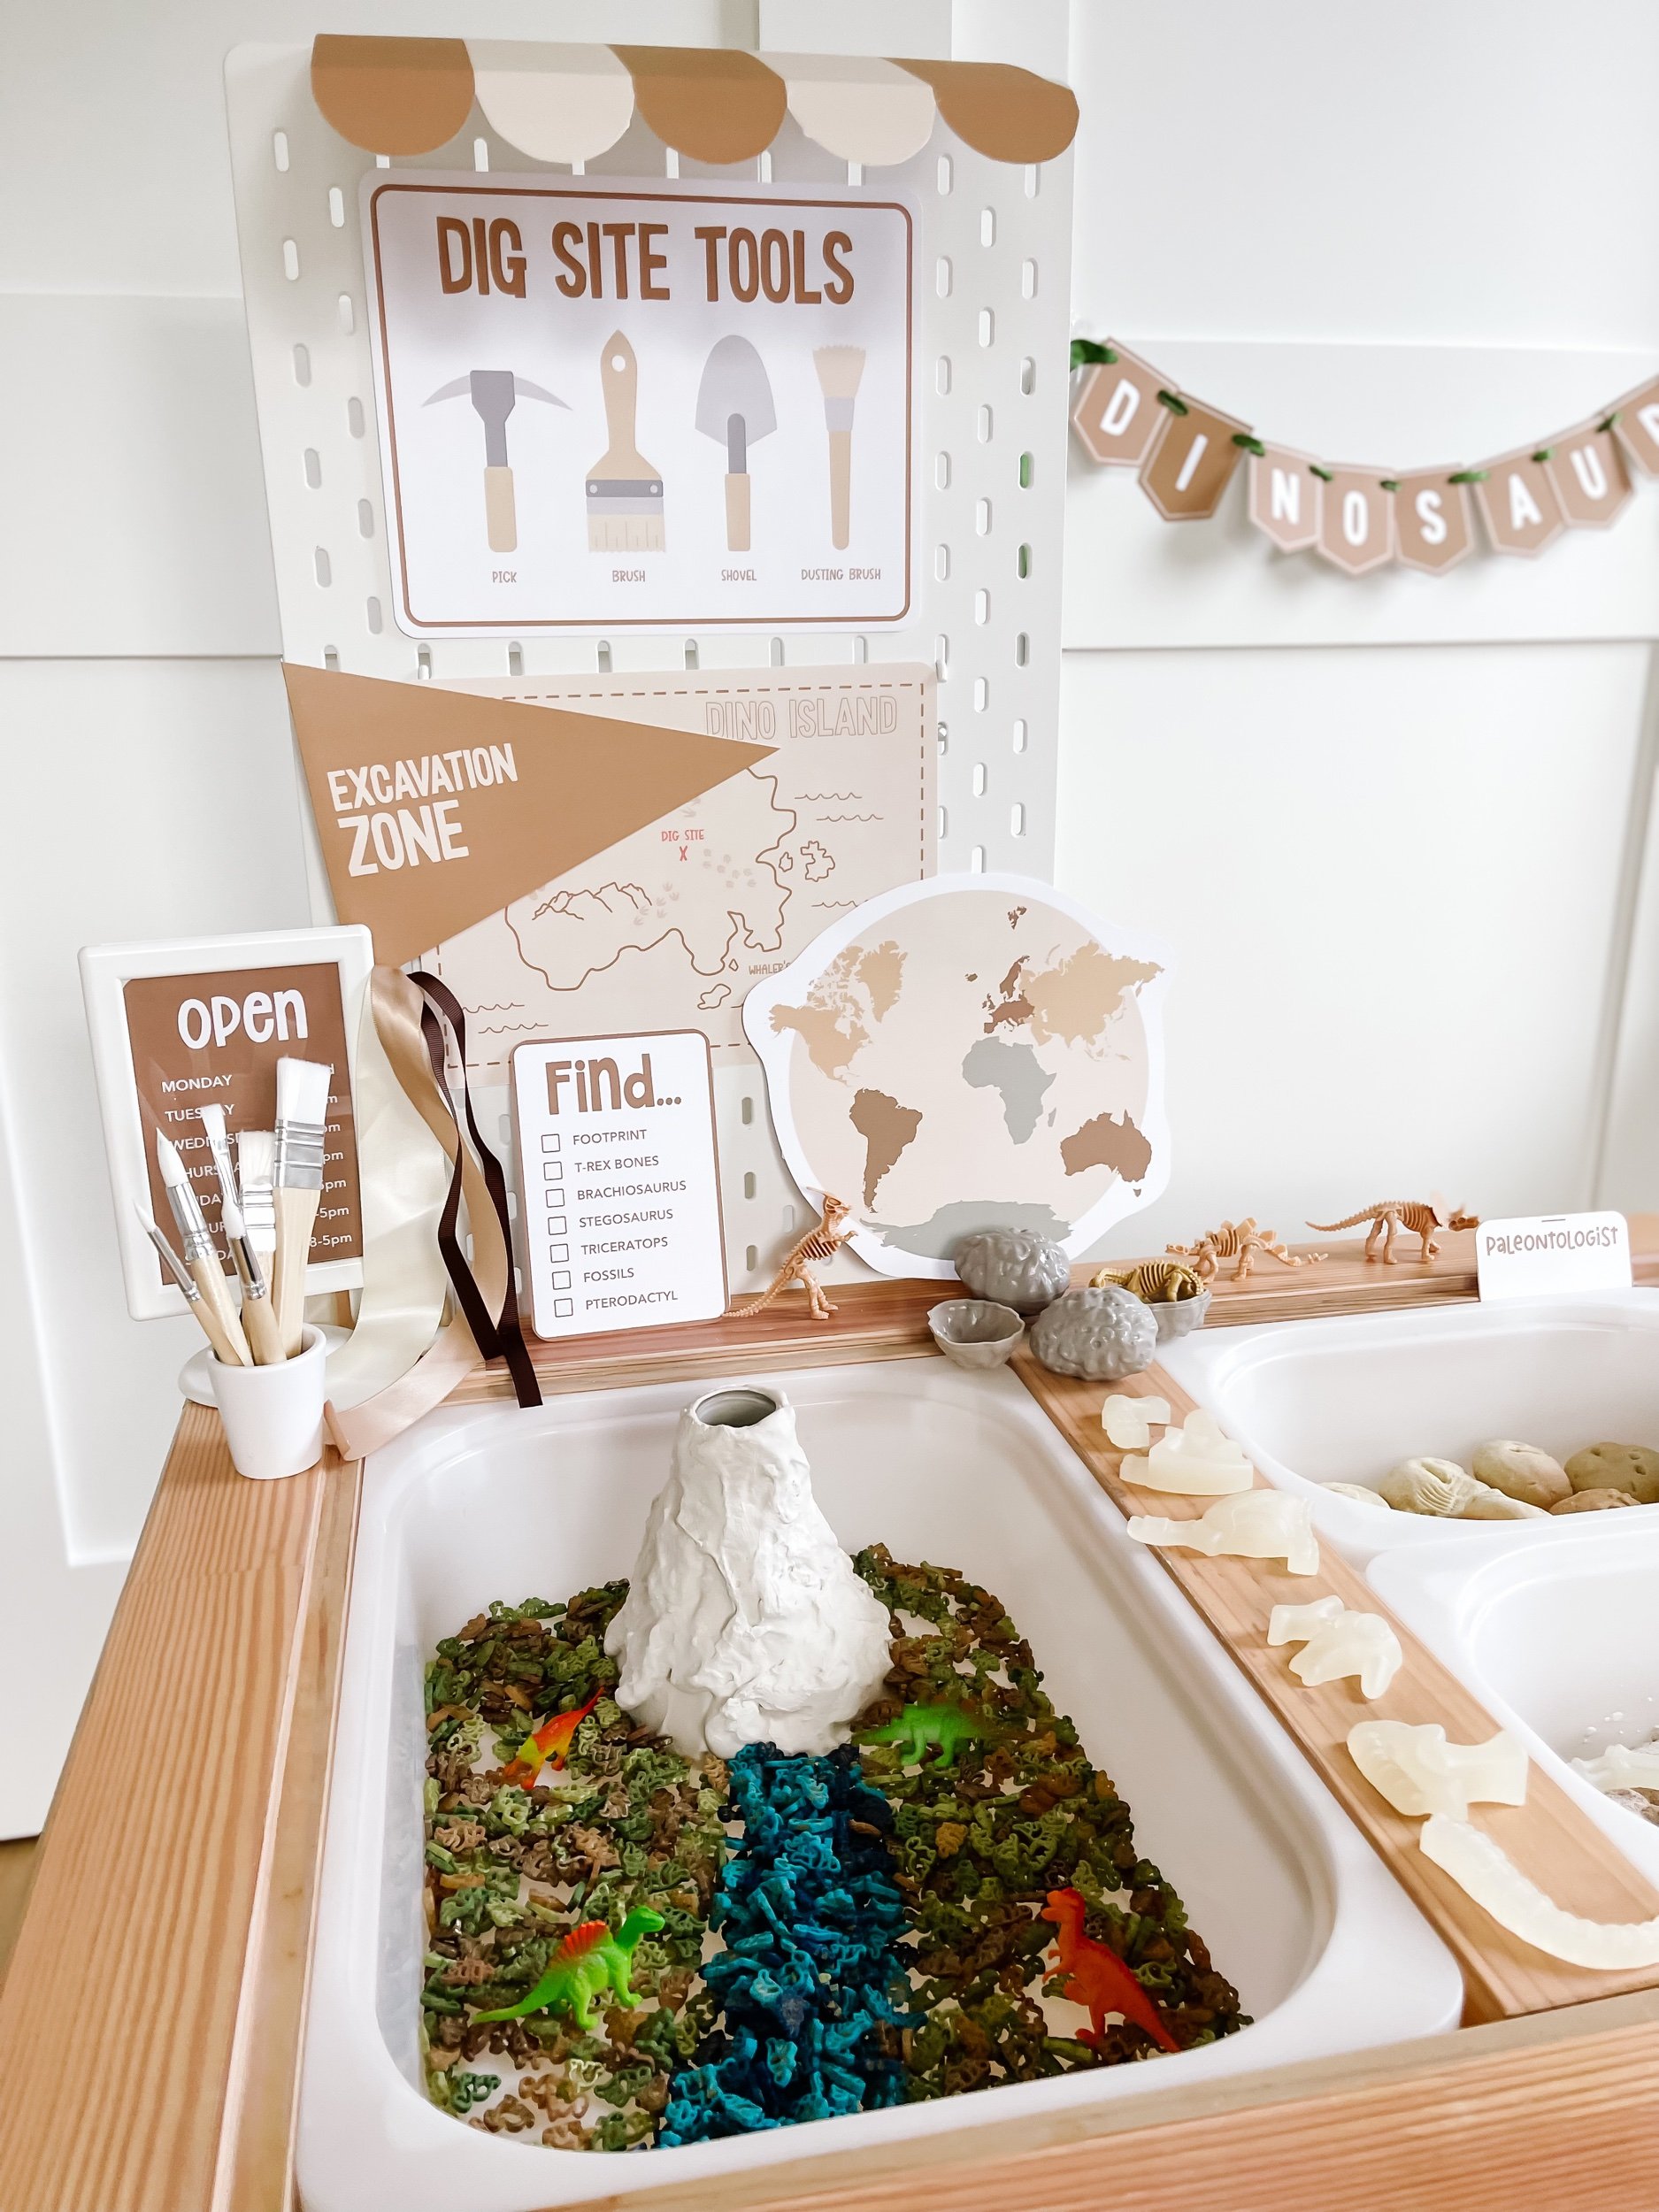
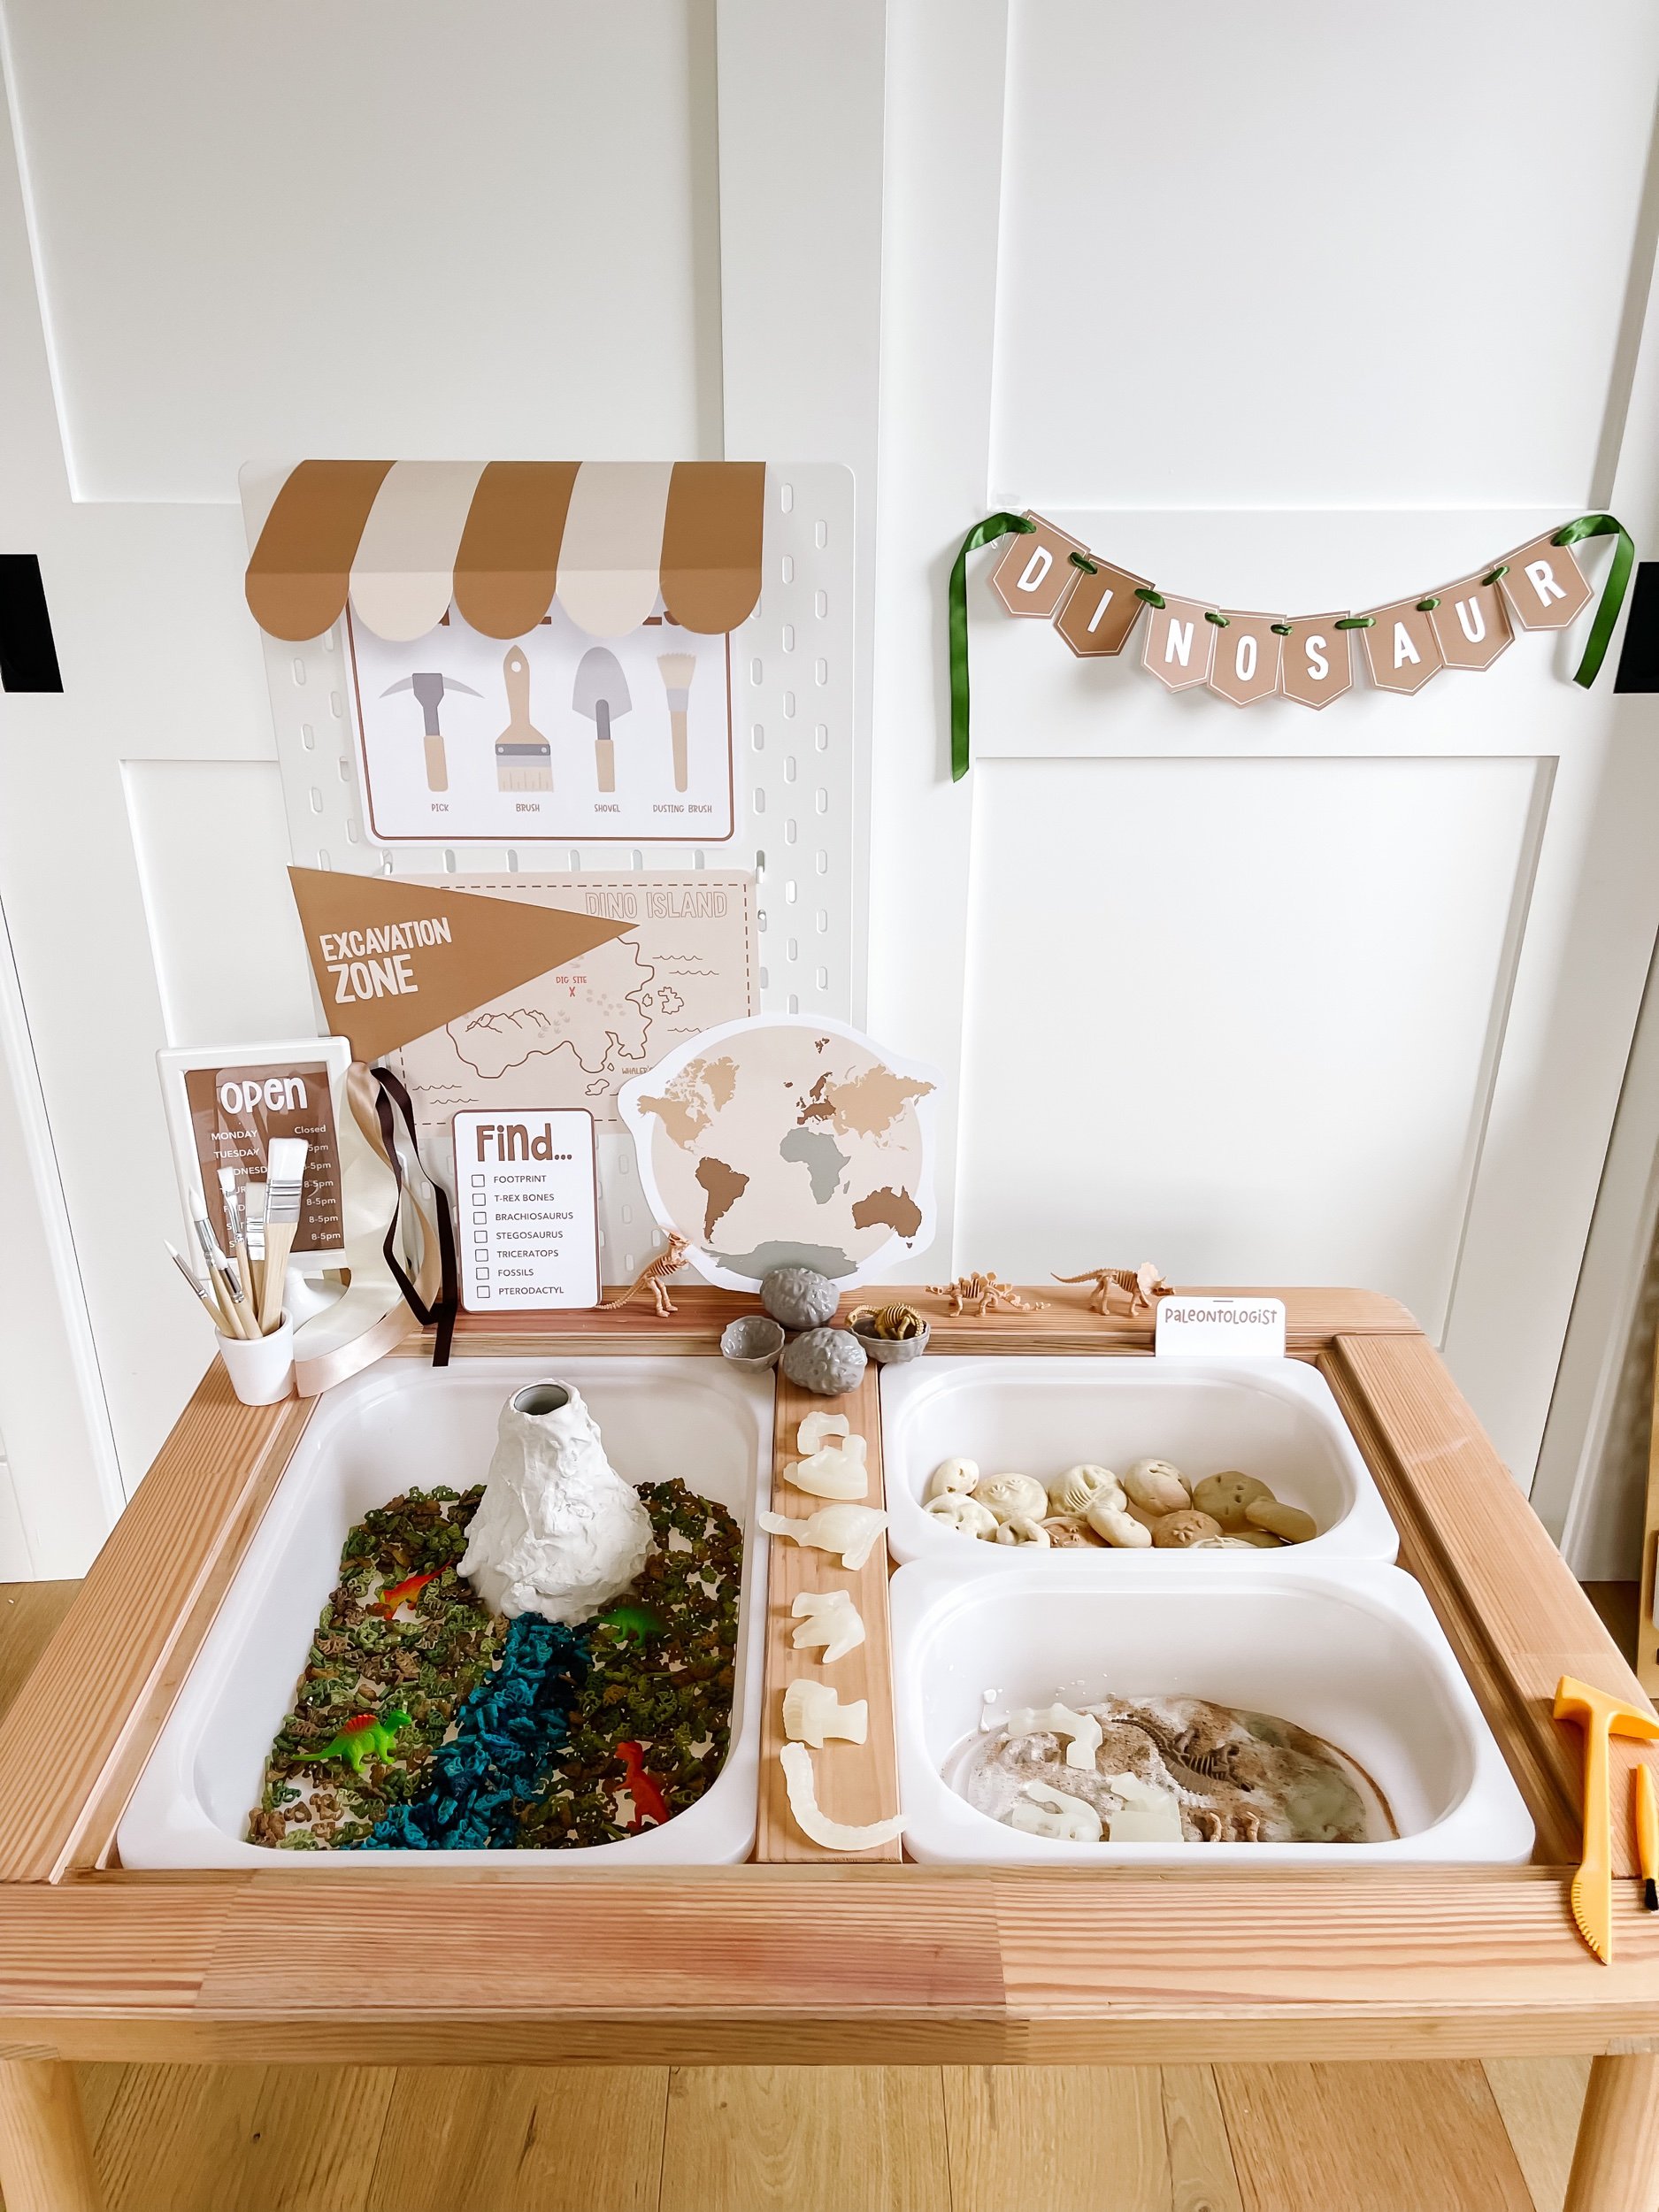
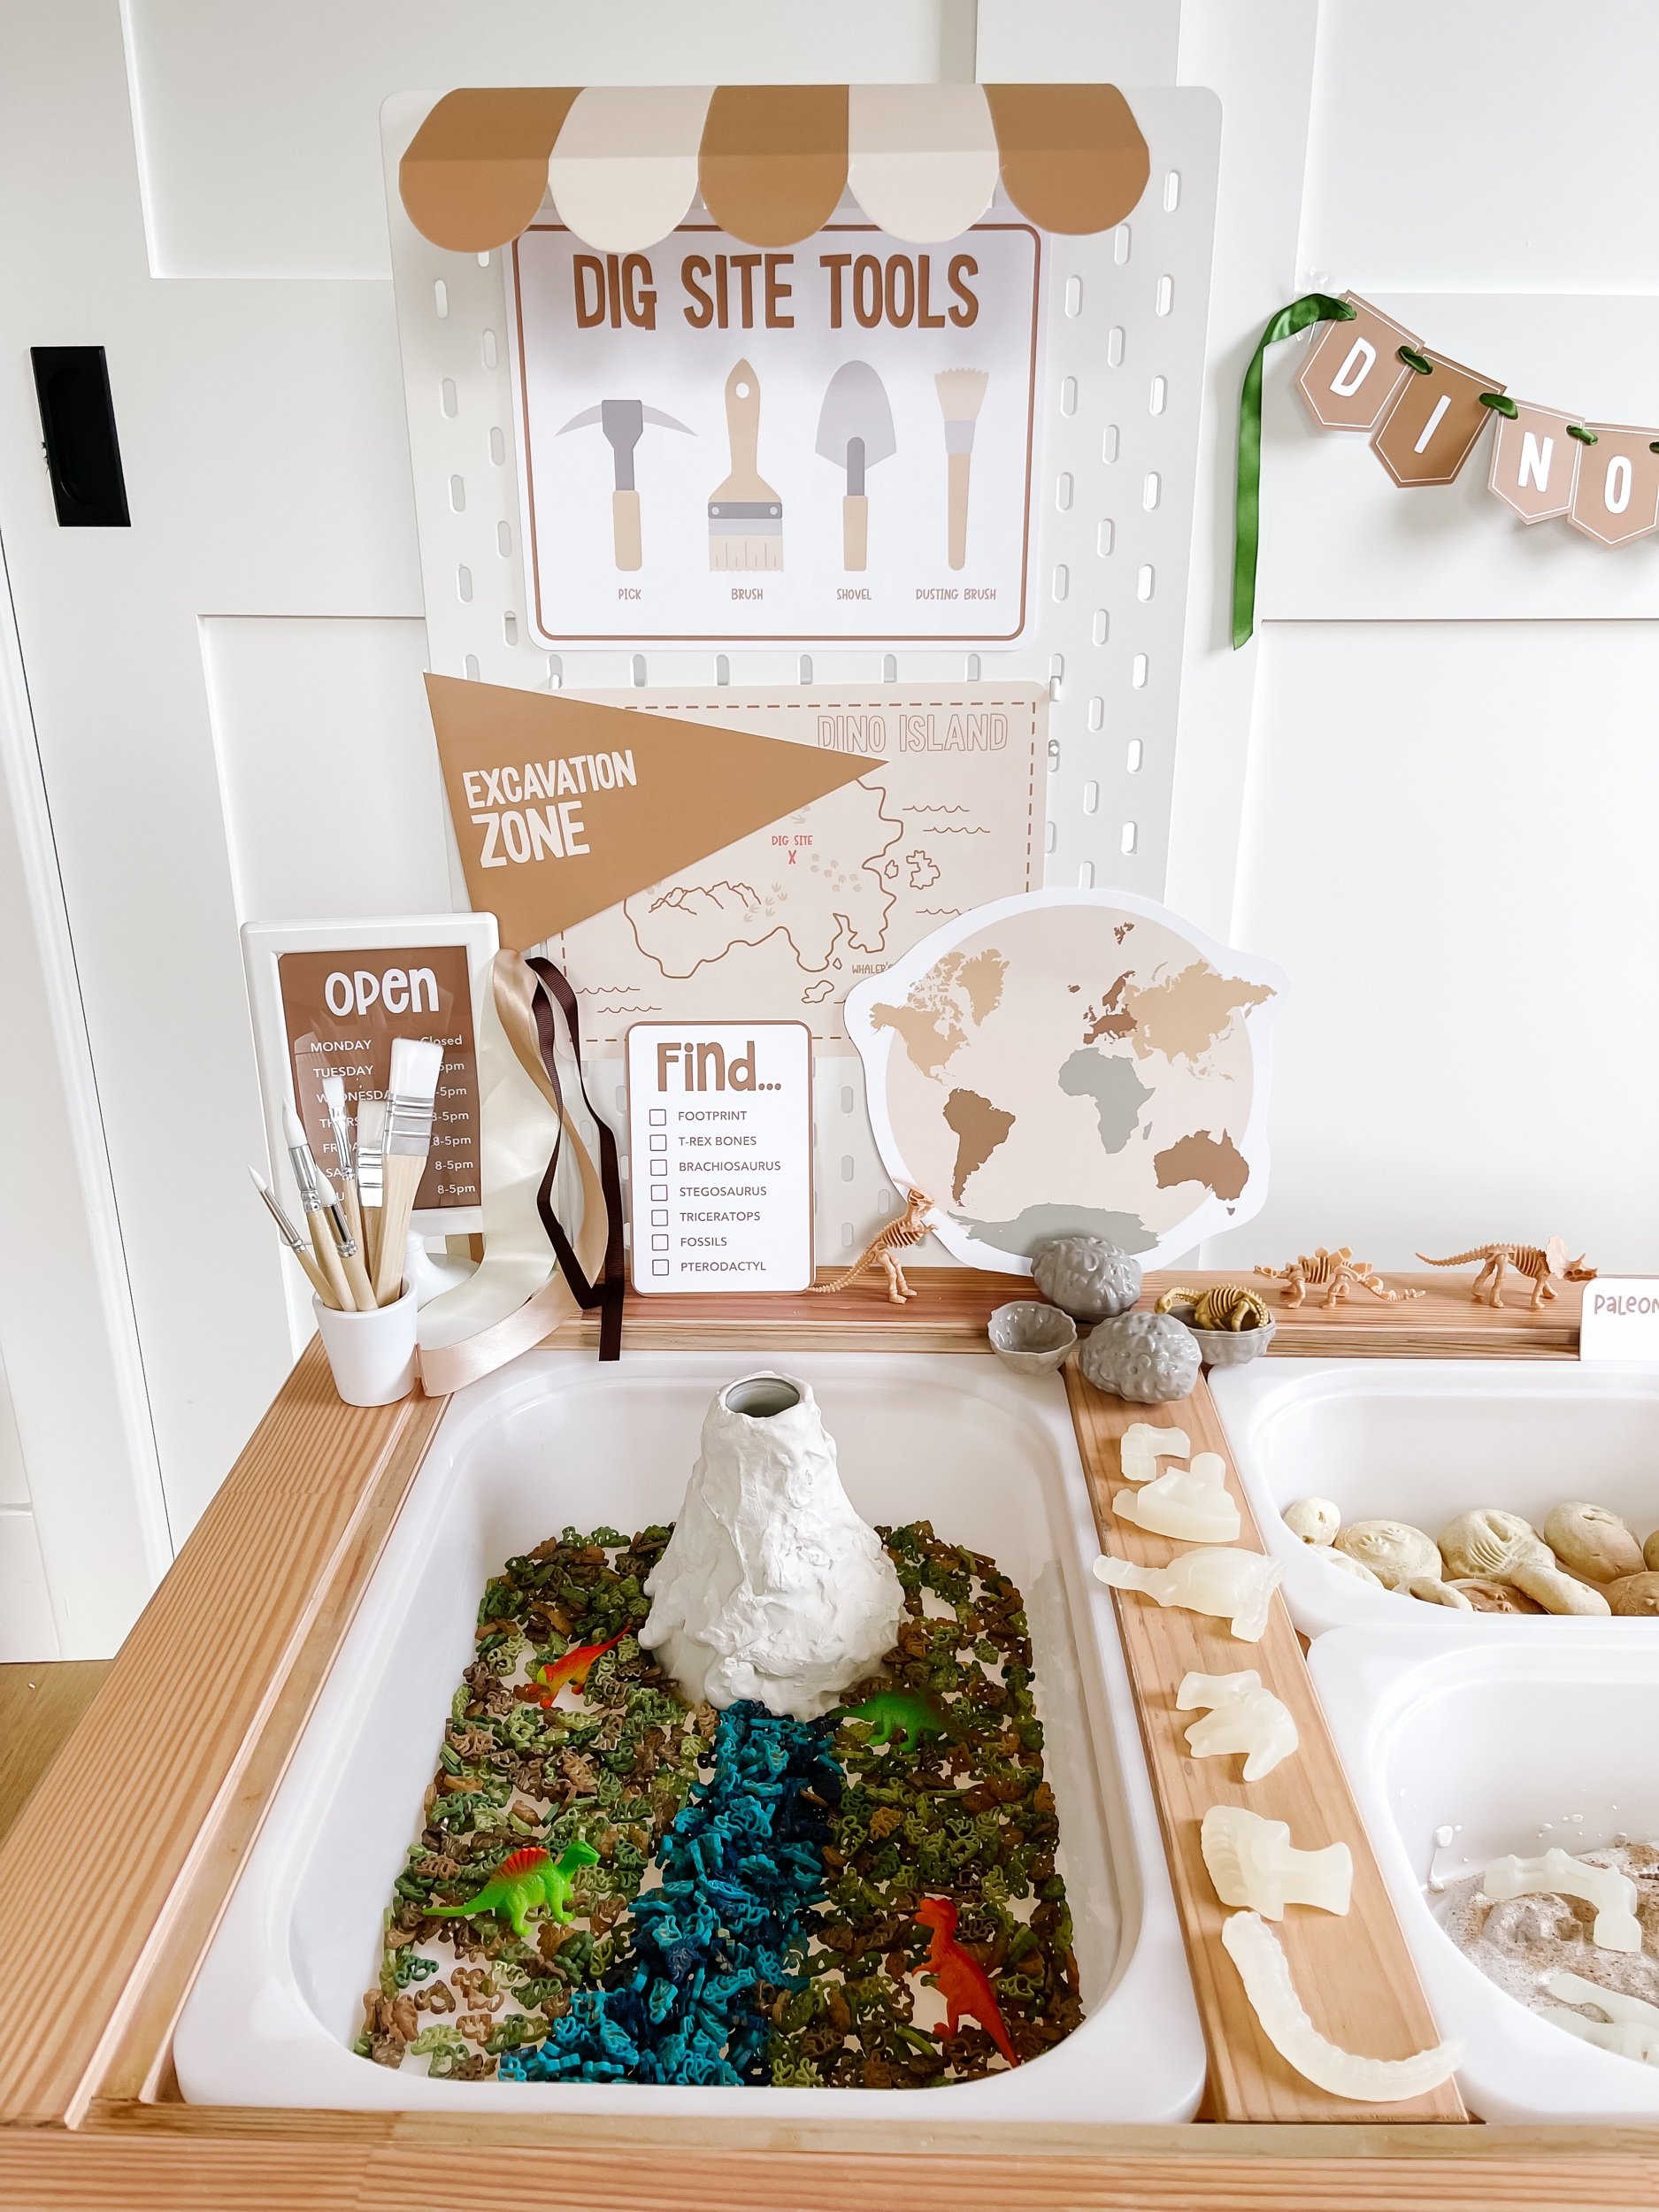
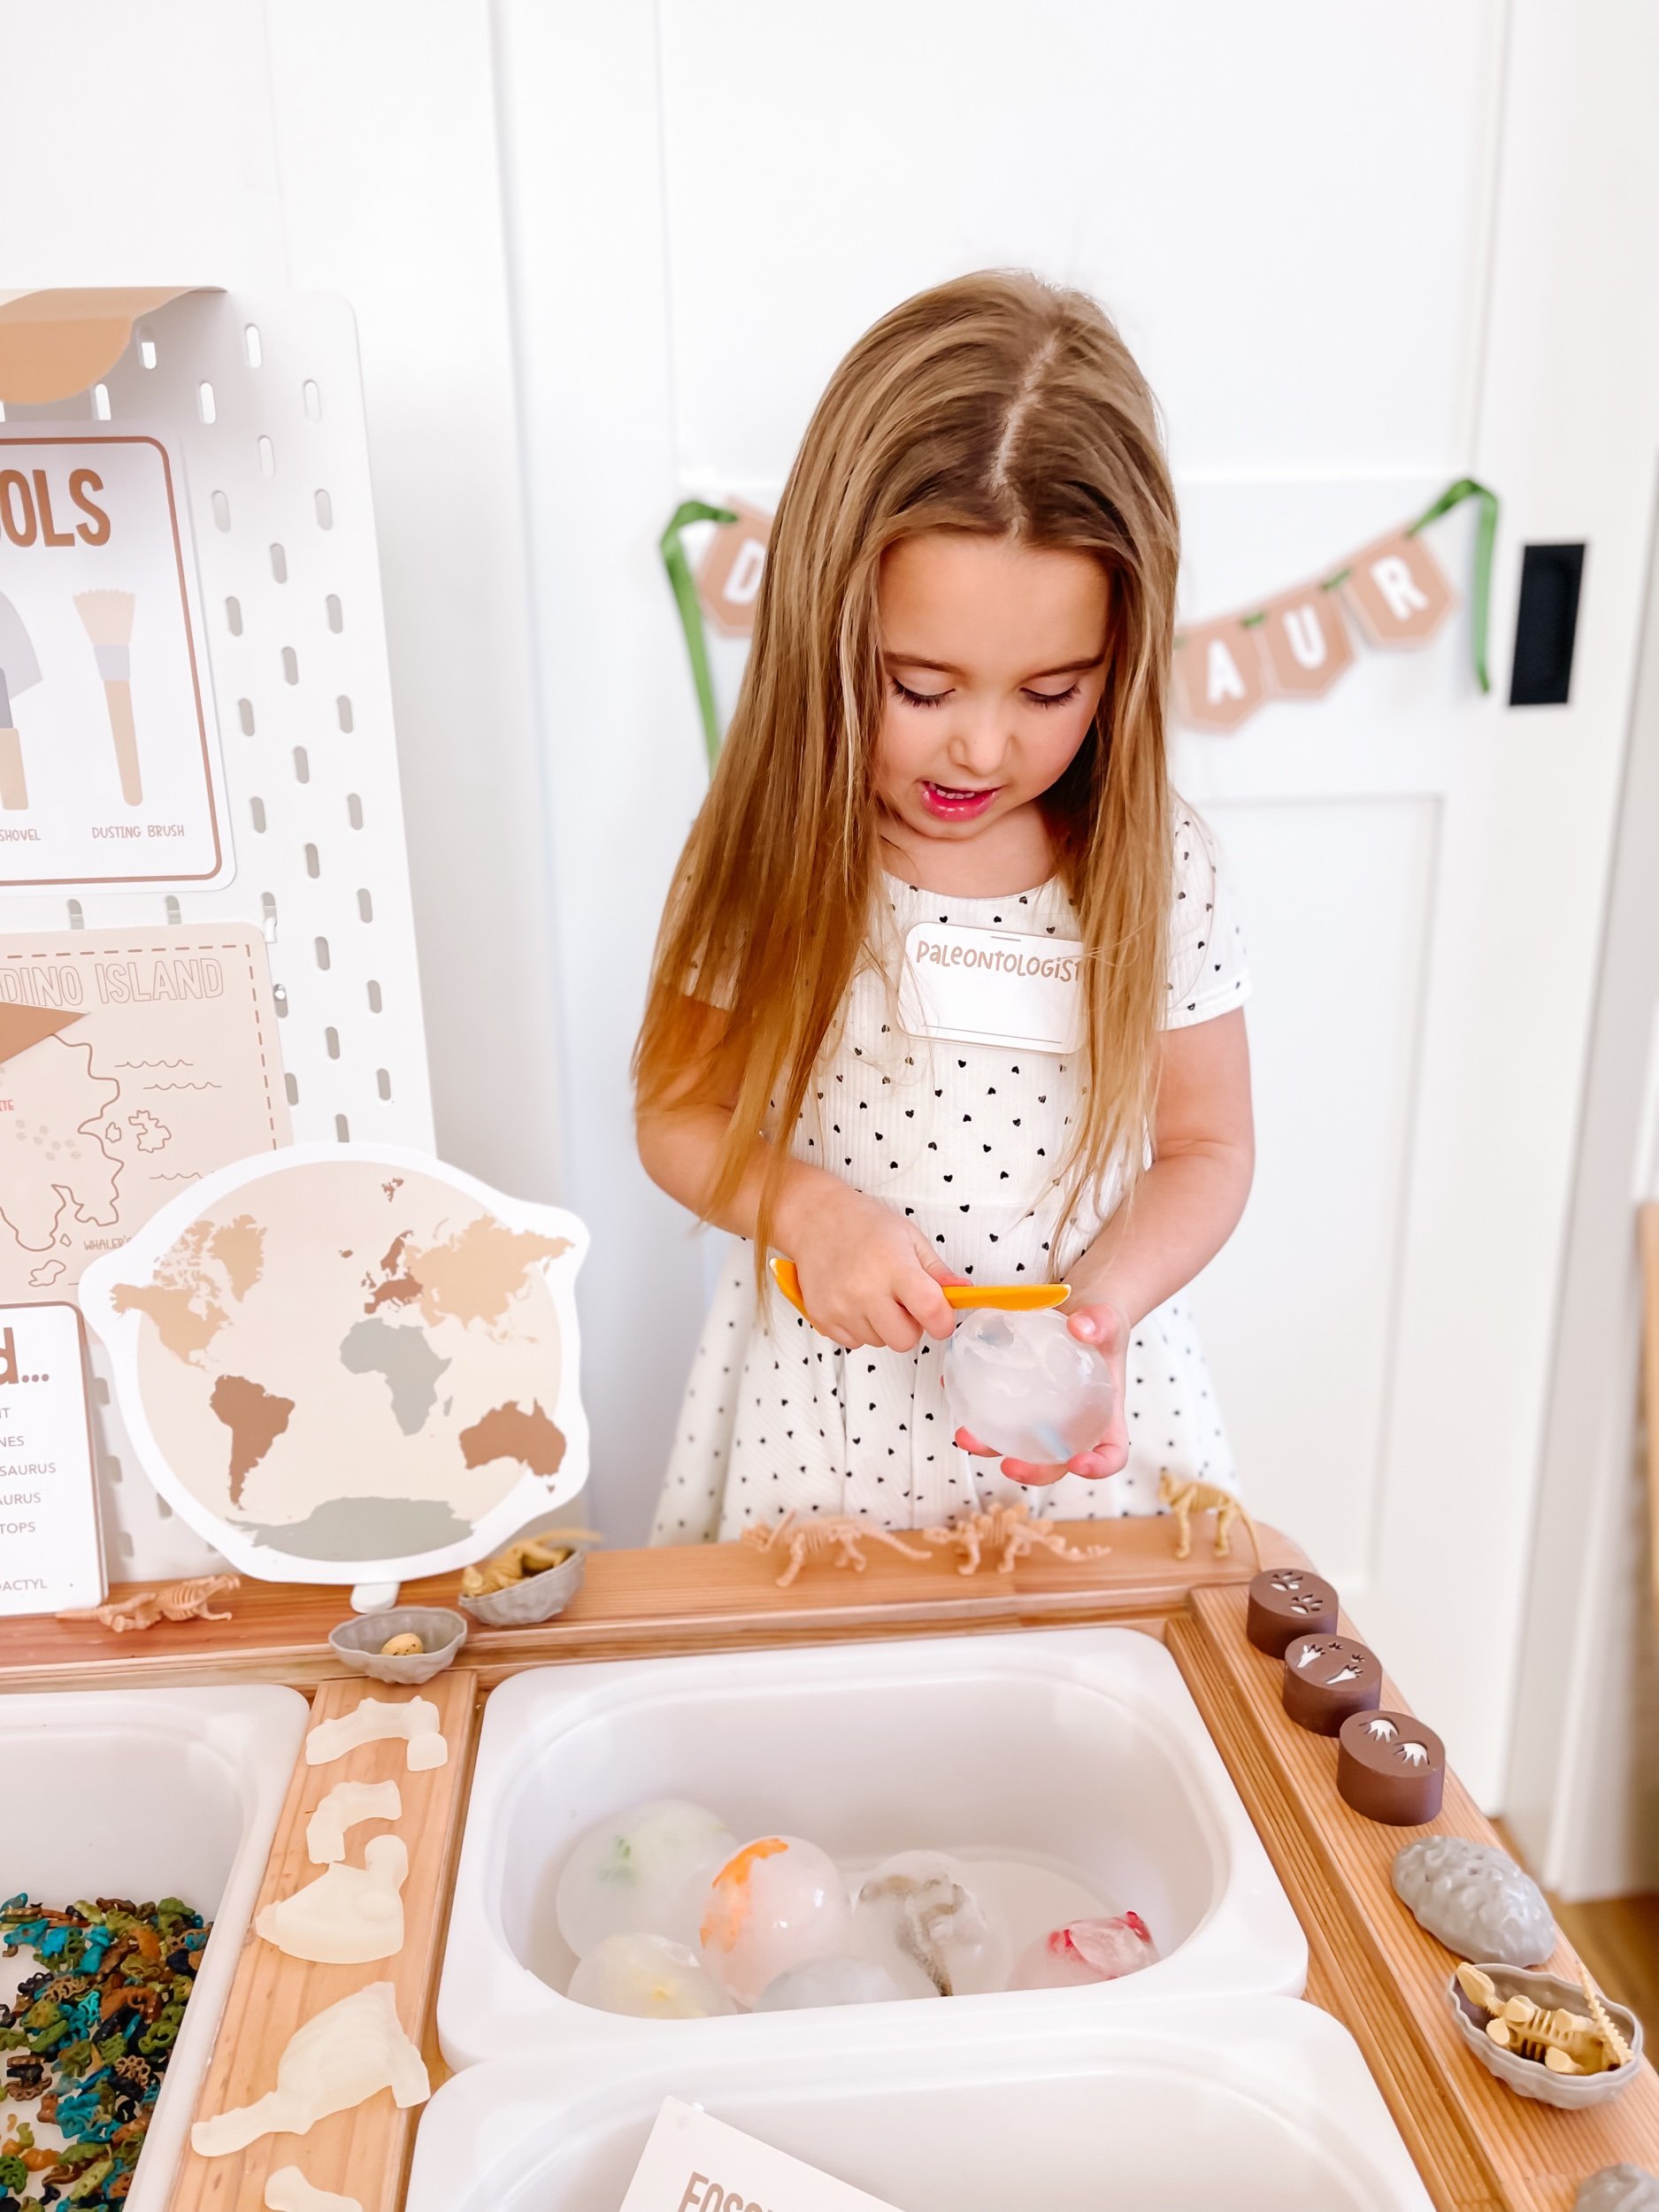
1. Awning: A vibrant and sturdy awning that sets the stage for your little paleontologist's adventure. It creates an immersive environment that adds an extra layer of excitement.
2. Dig Site Map: A beautifully illustrated dig site map that will guide your child through the excavation process. As they uncover hidden treasures, they'll develop their spatial awareness and memory skills.
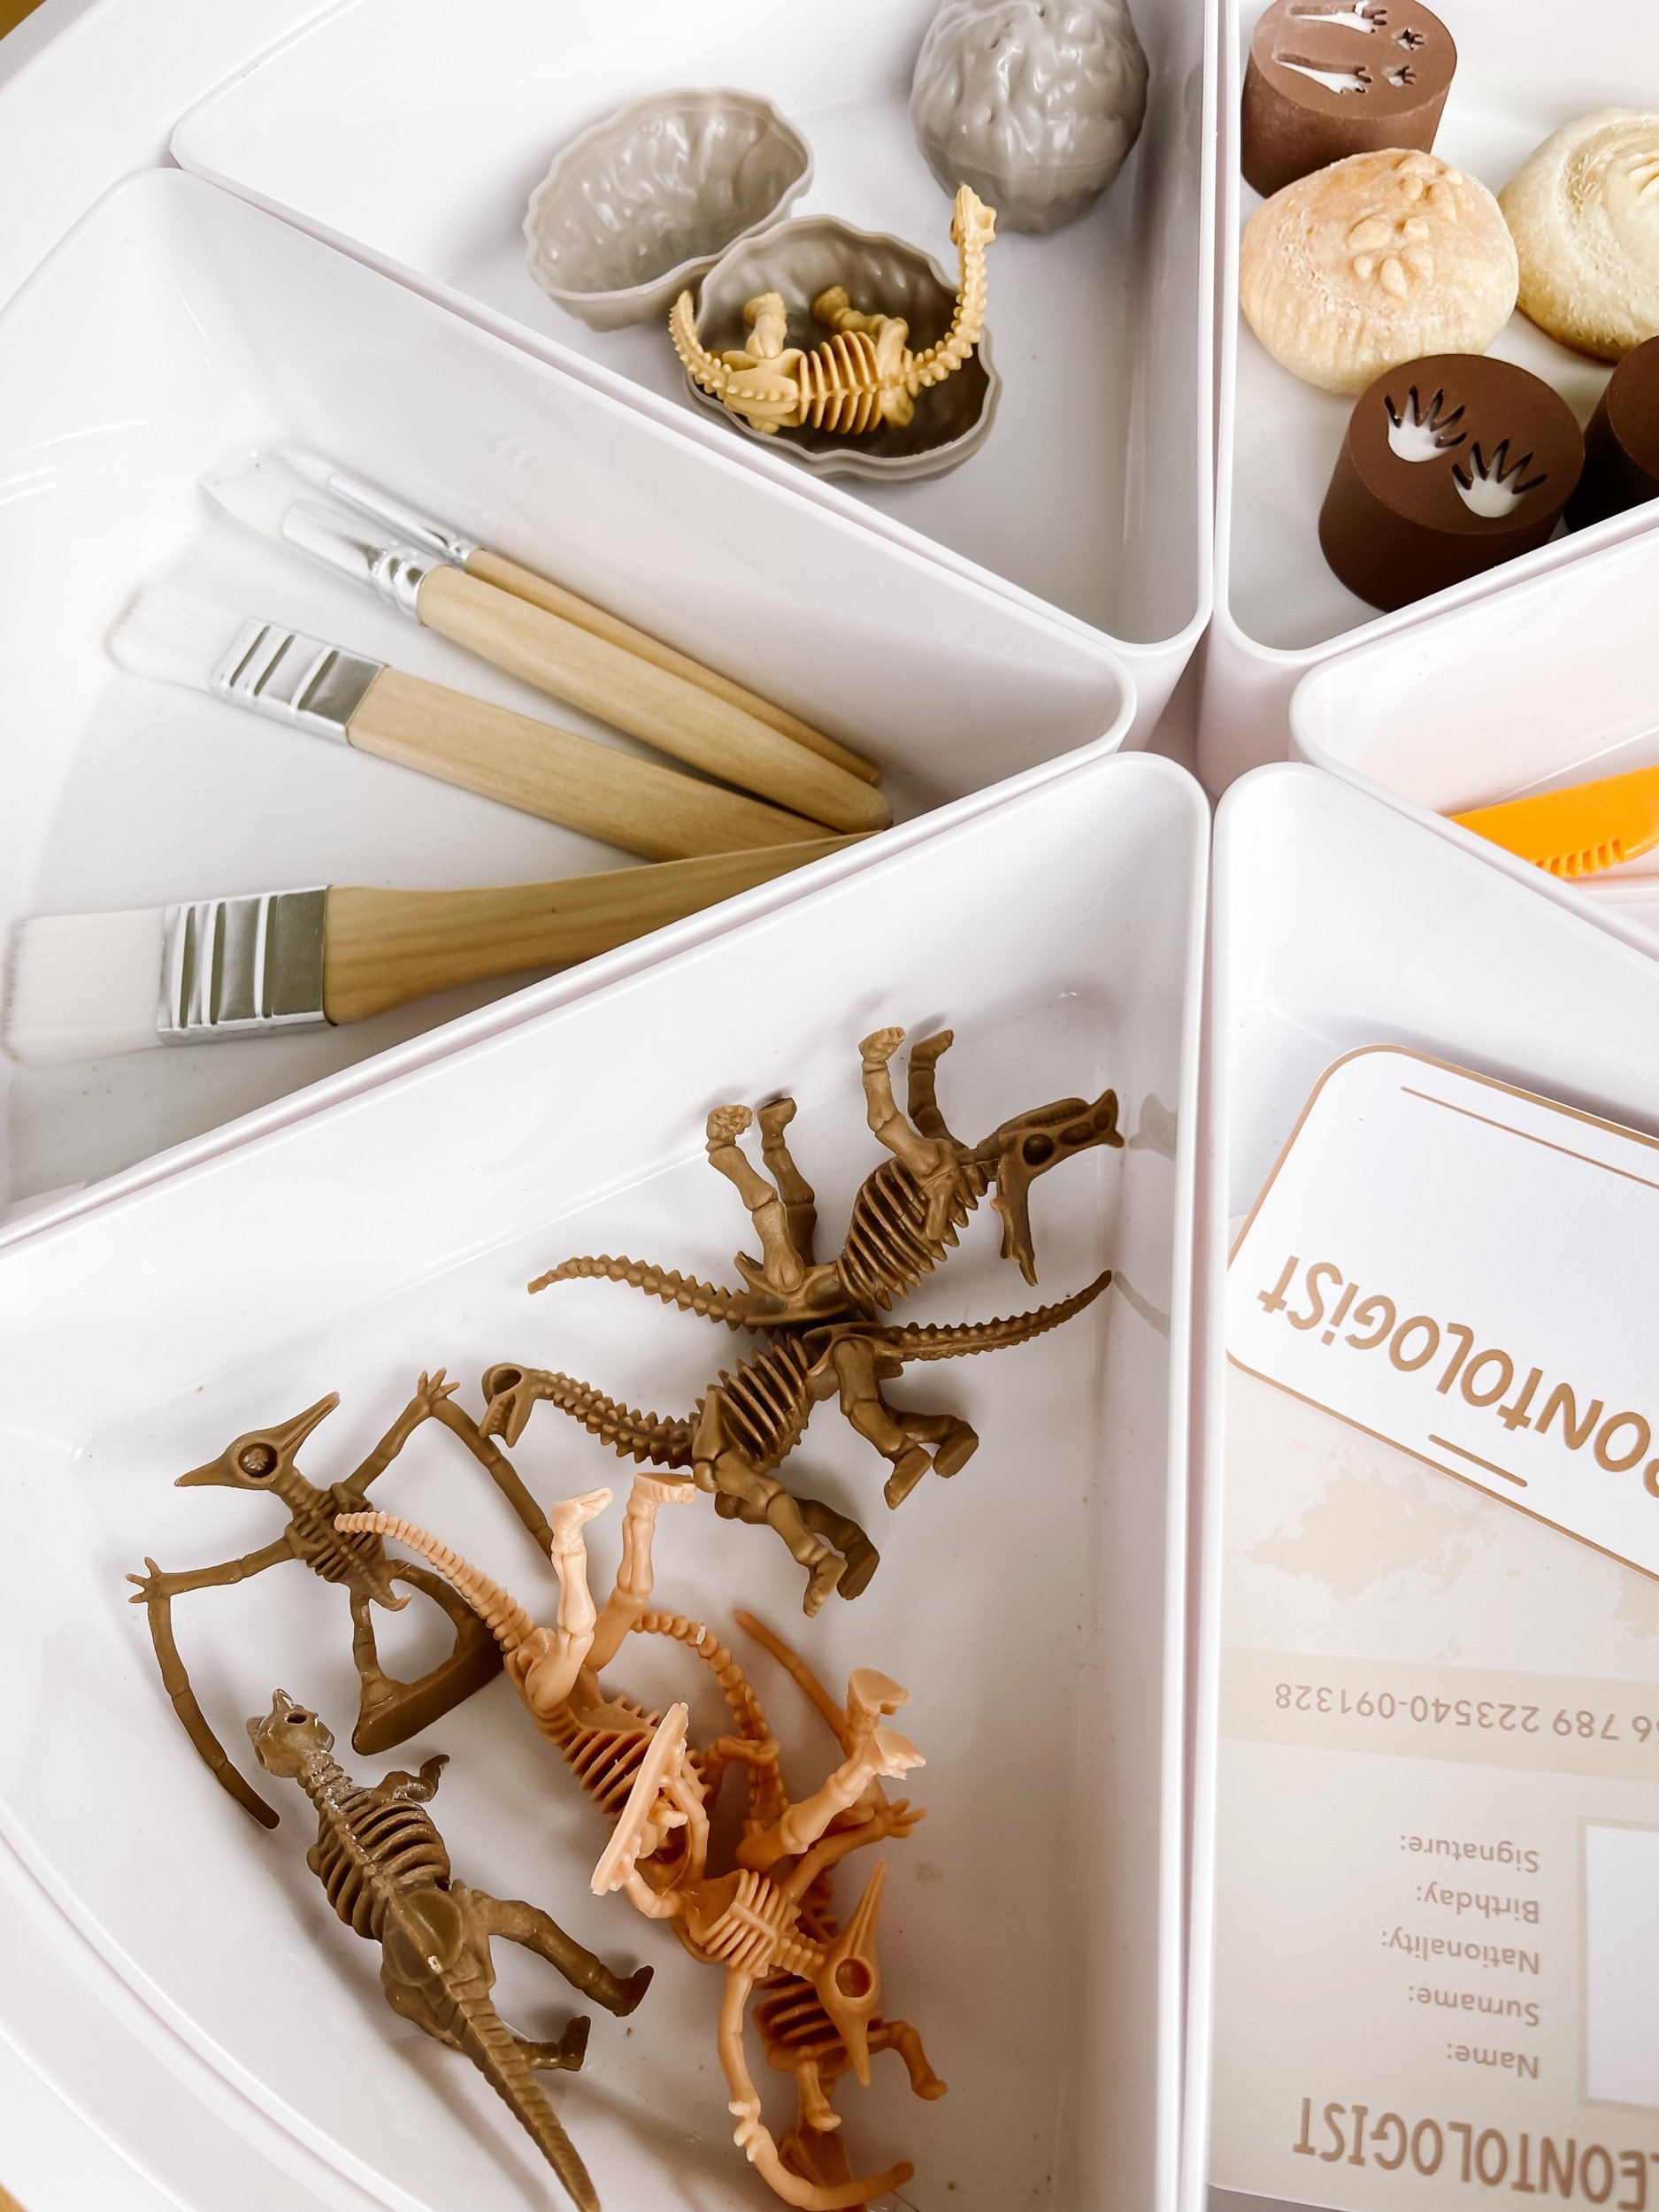
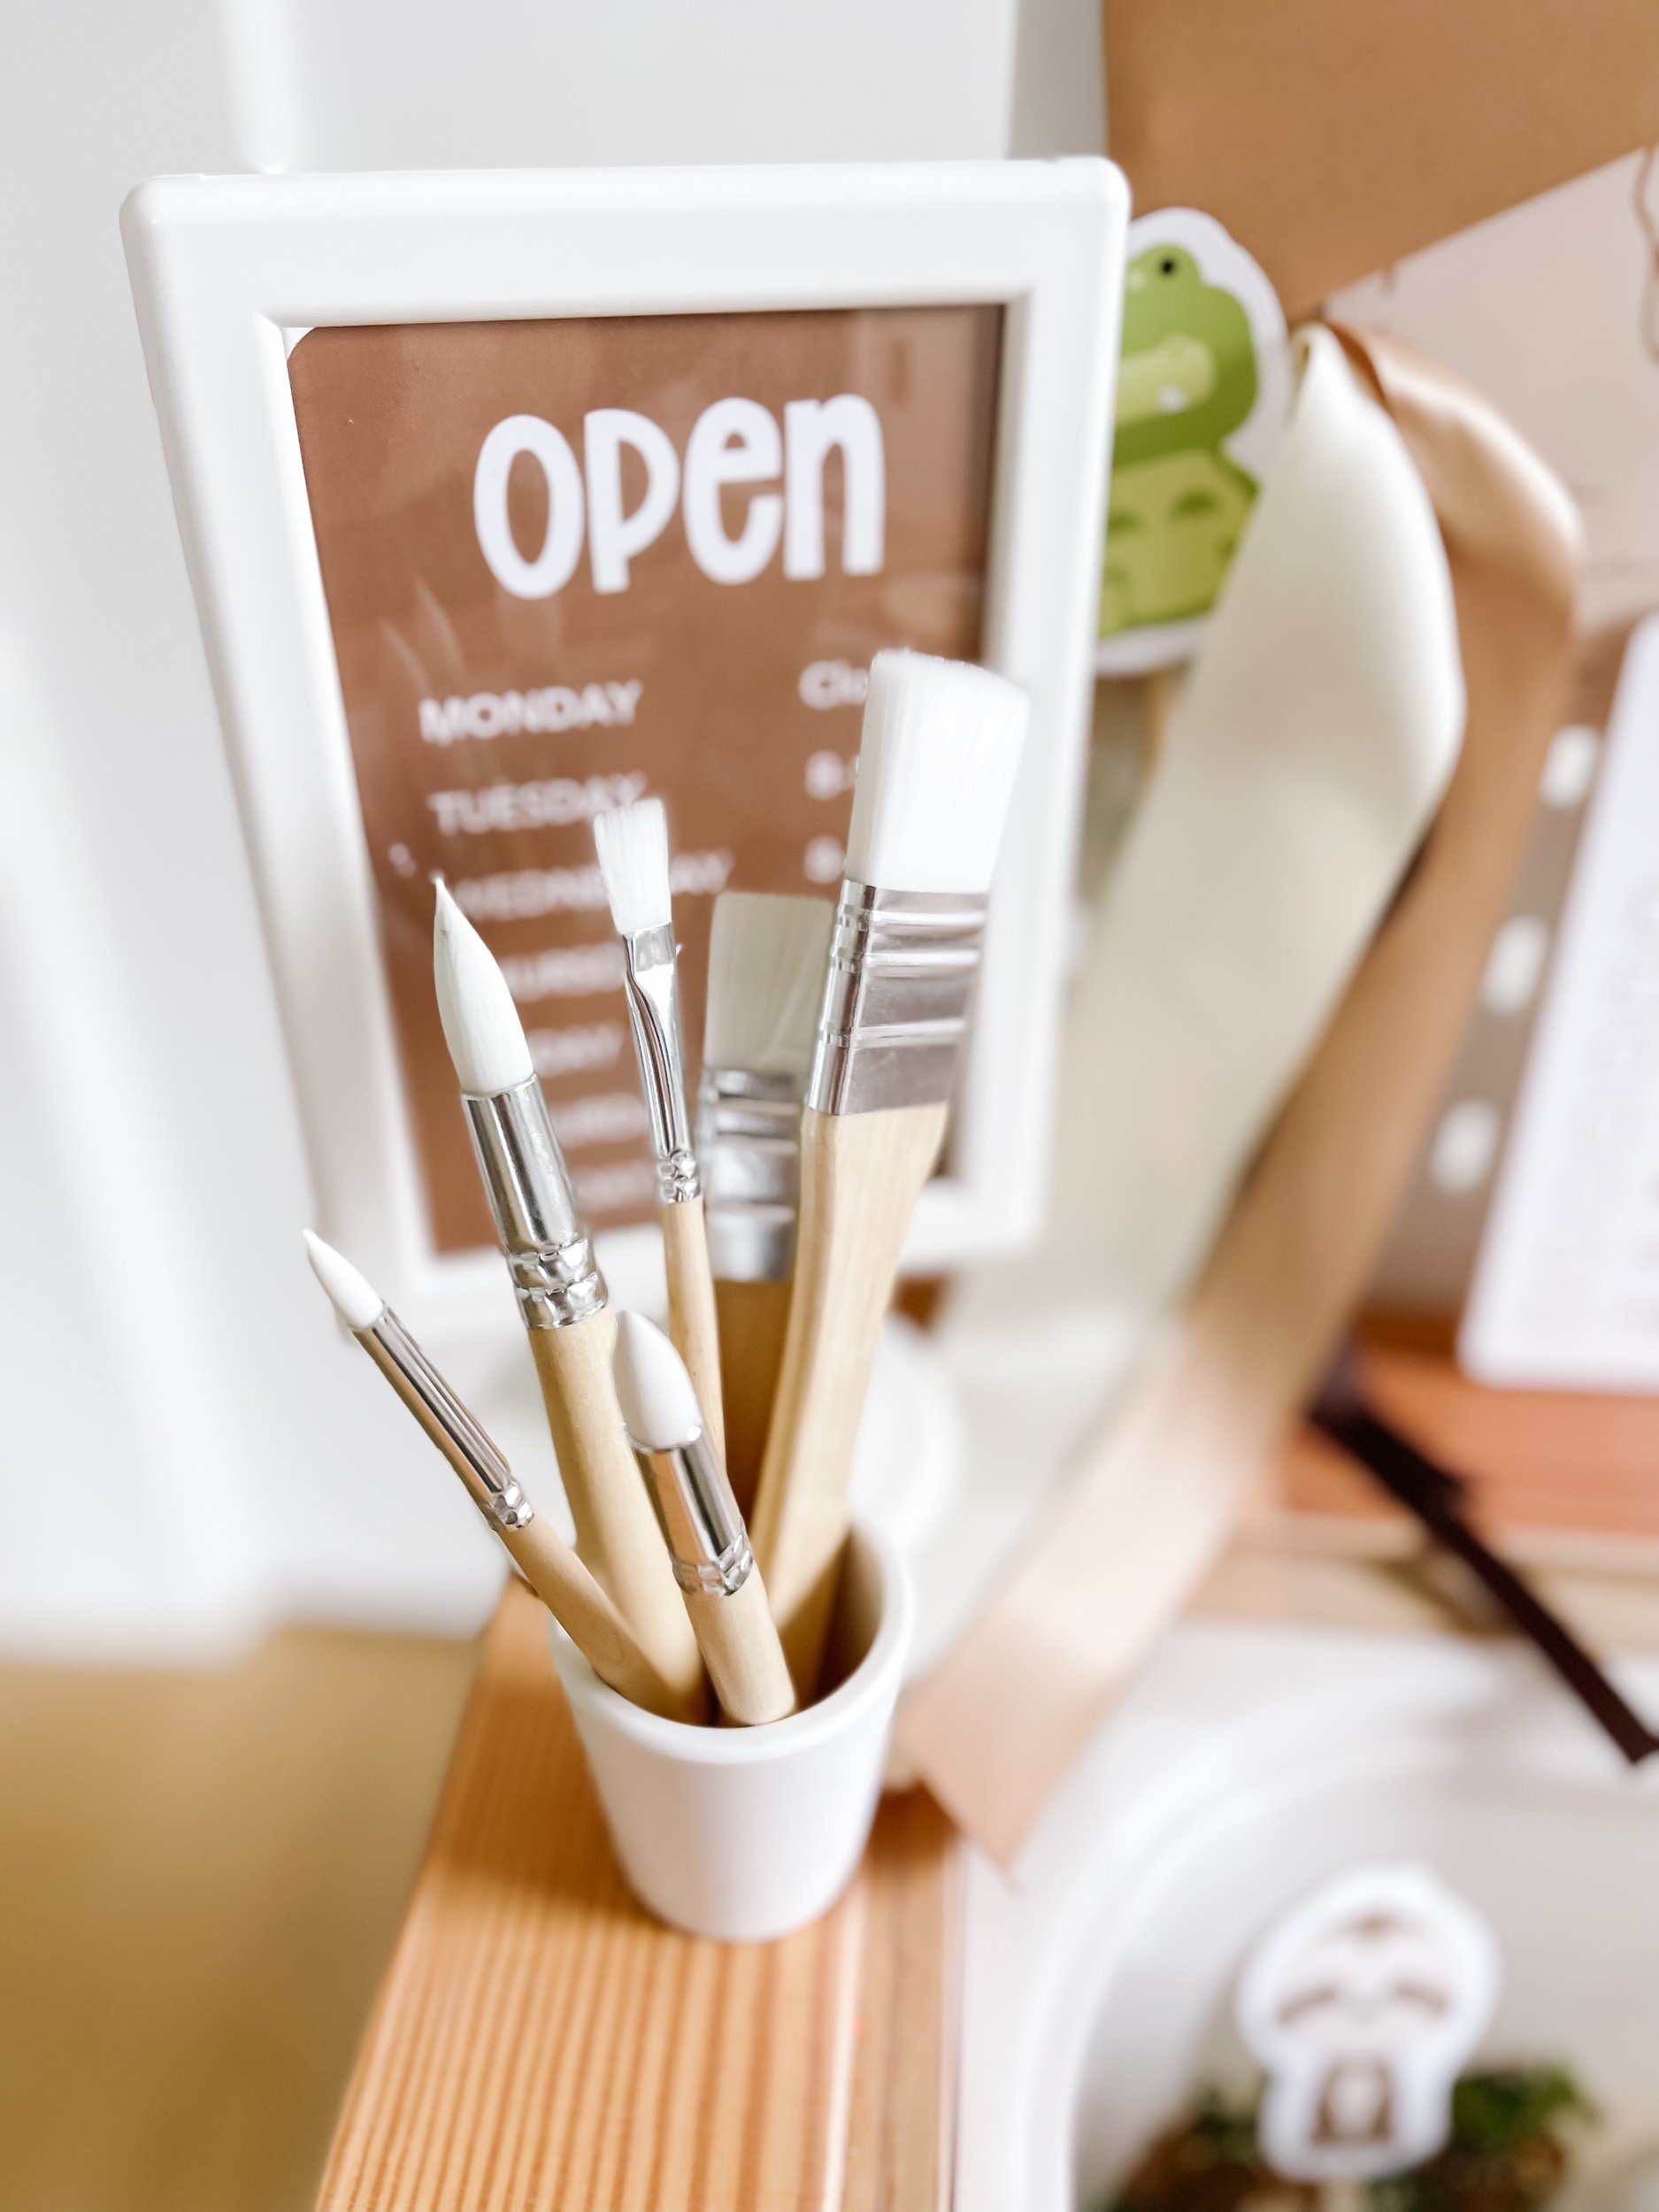
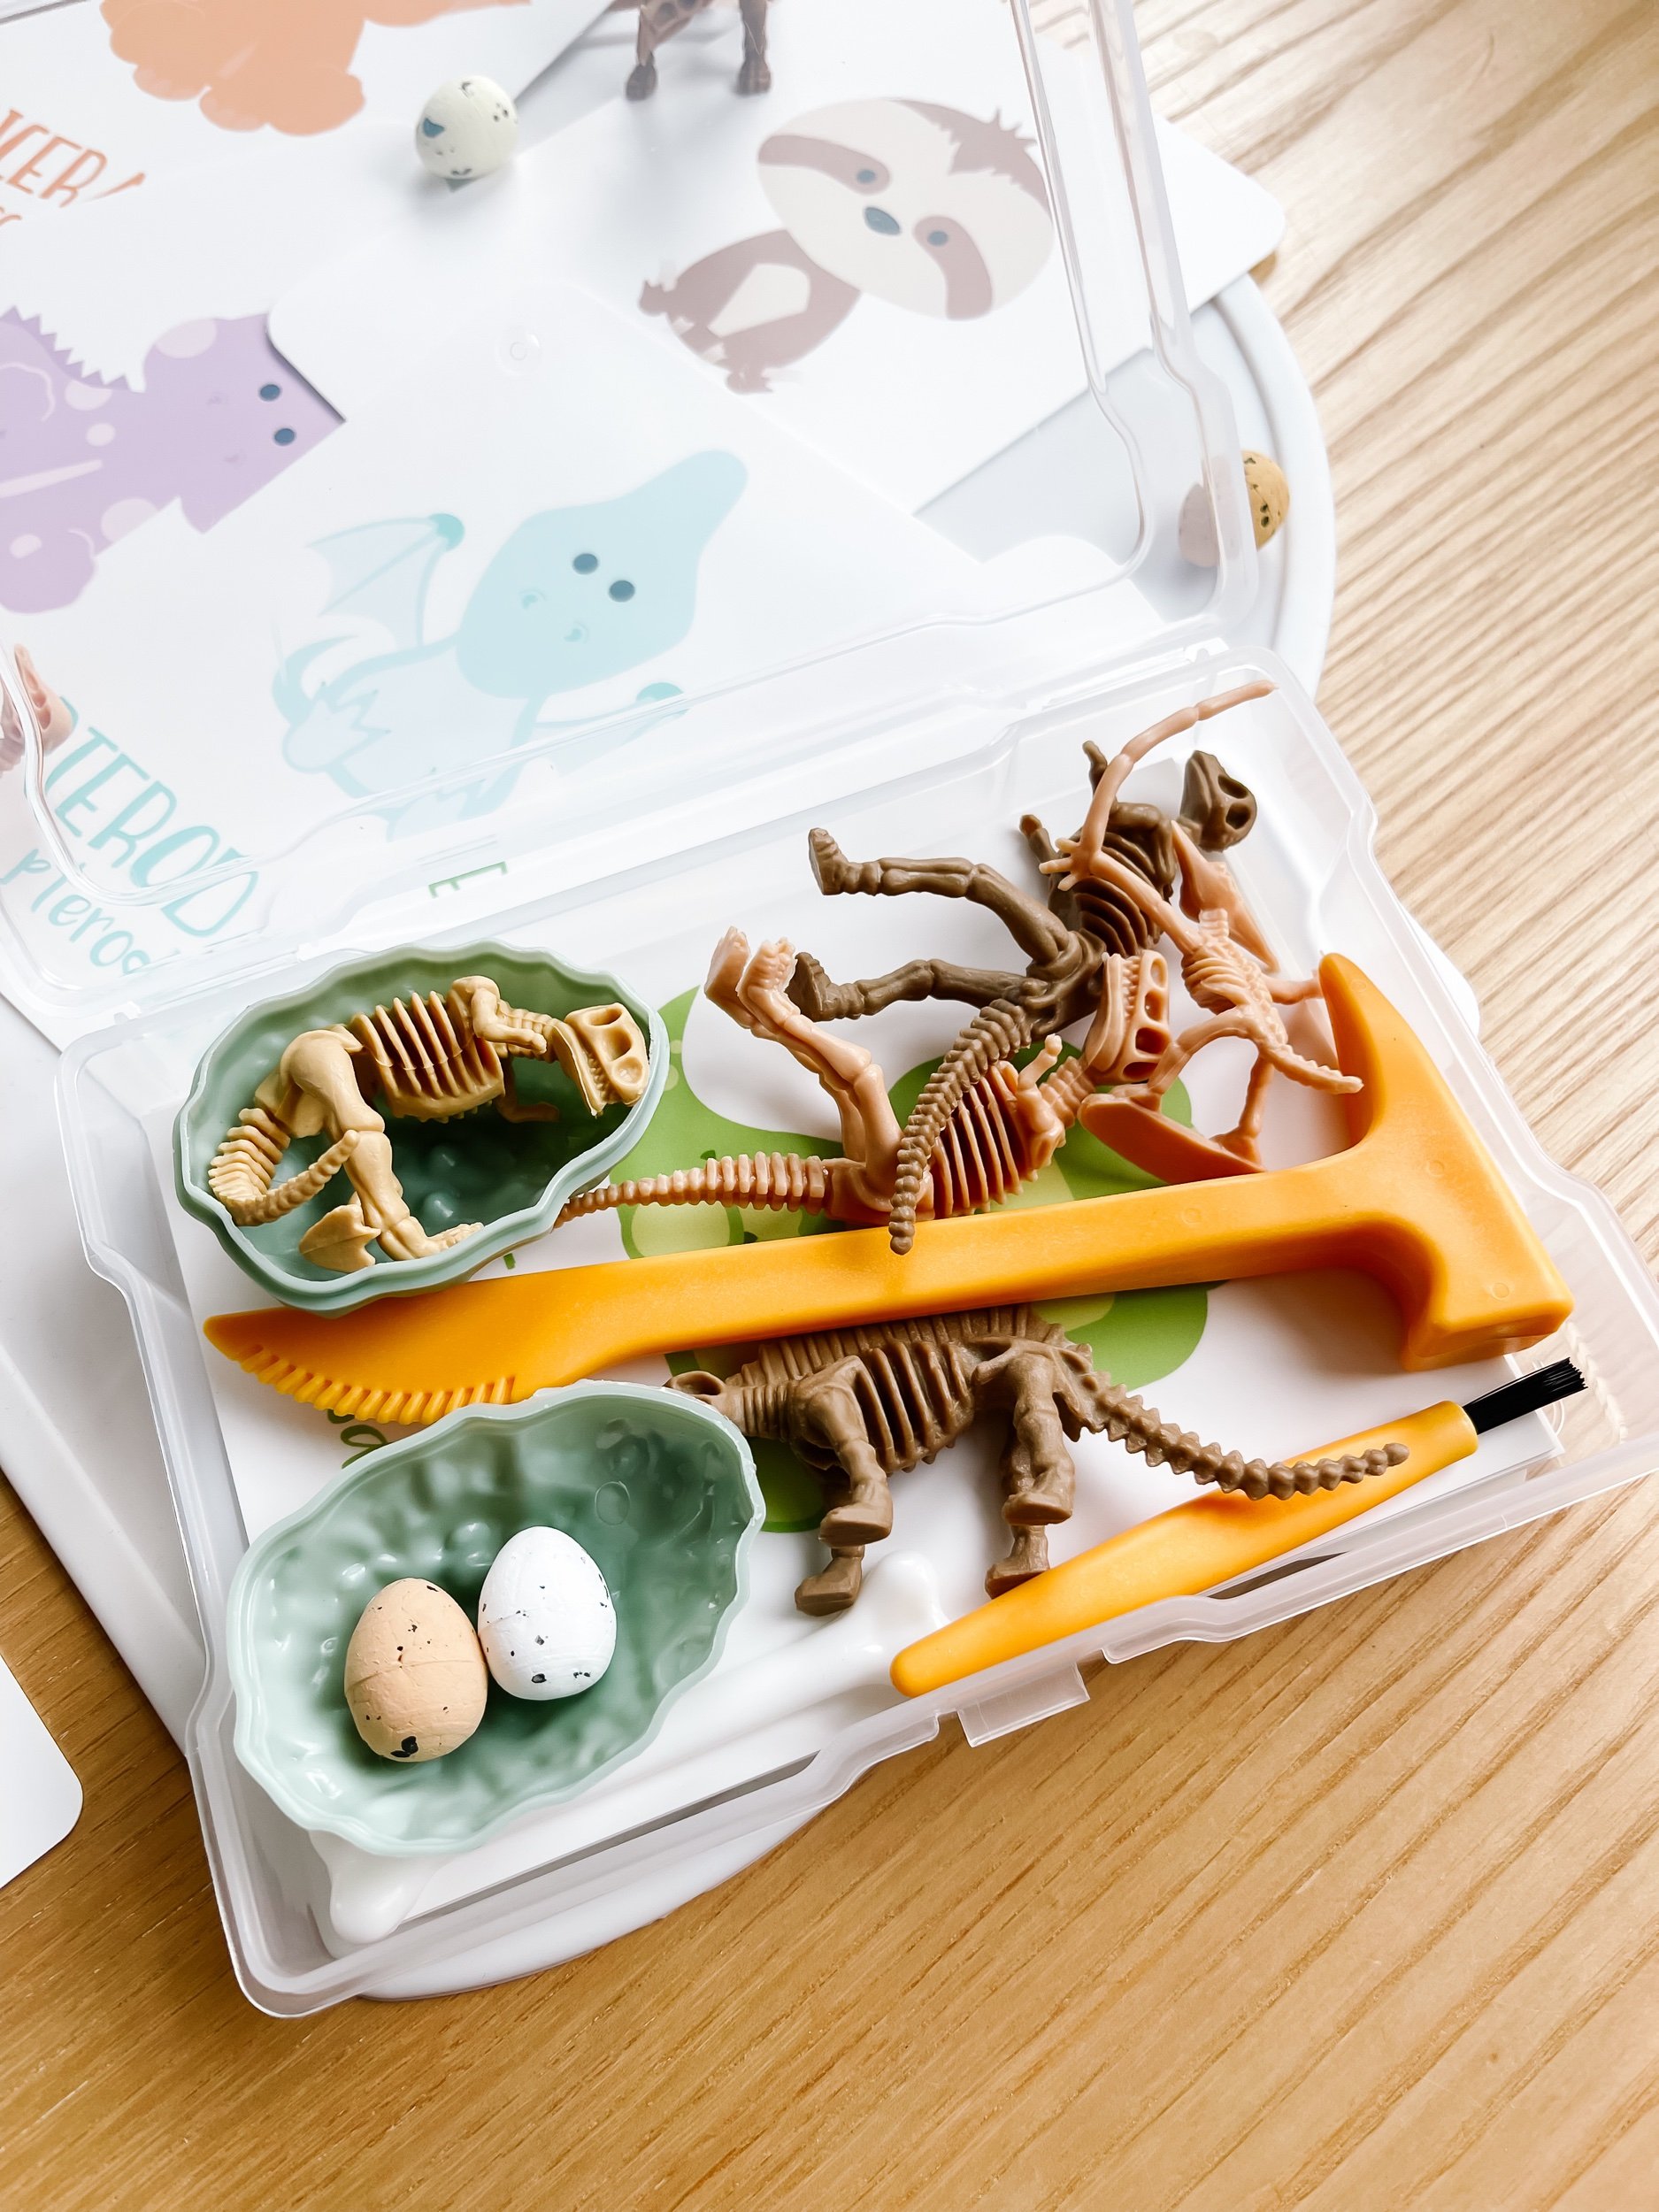
3. Dig Tools: Sturdy plastic tools, including brushes and shovels, to help your child unearth their dinosaur discoveries. These tools mimic the real tools used by paleontologists and allow for an authentic digging experience.
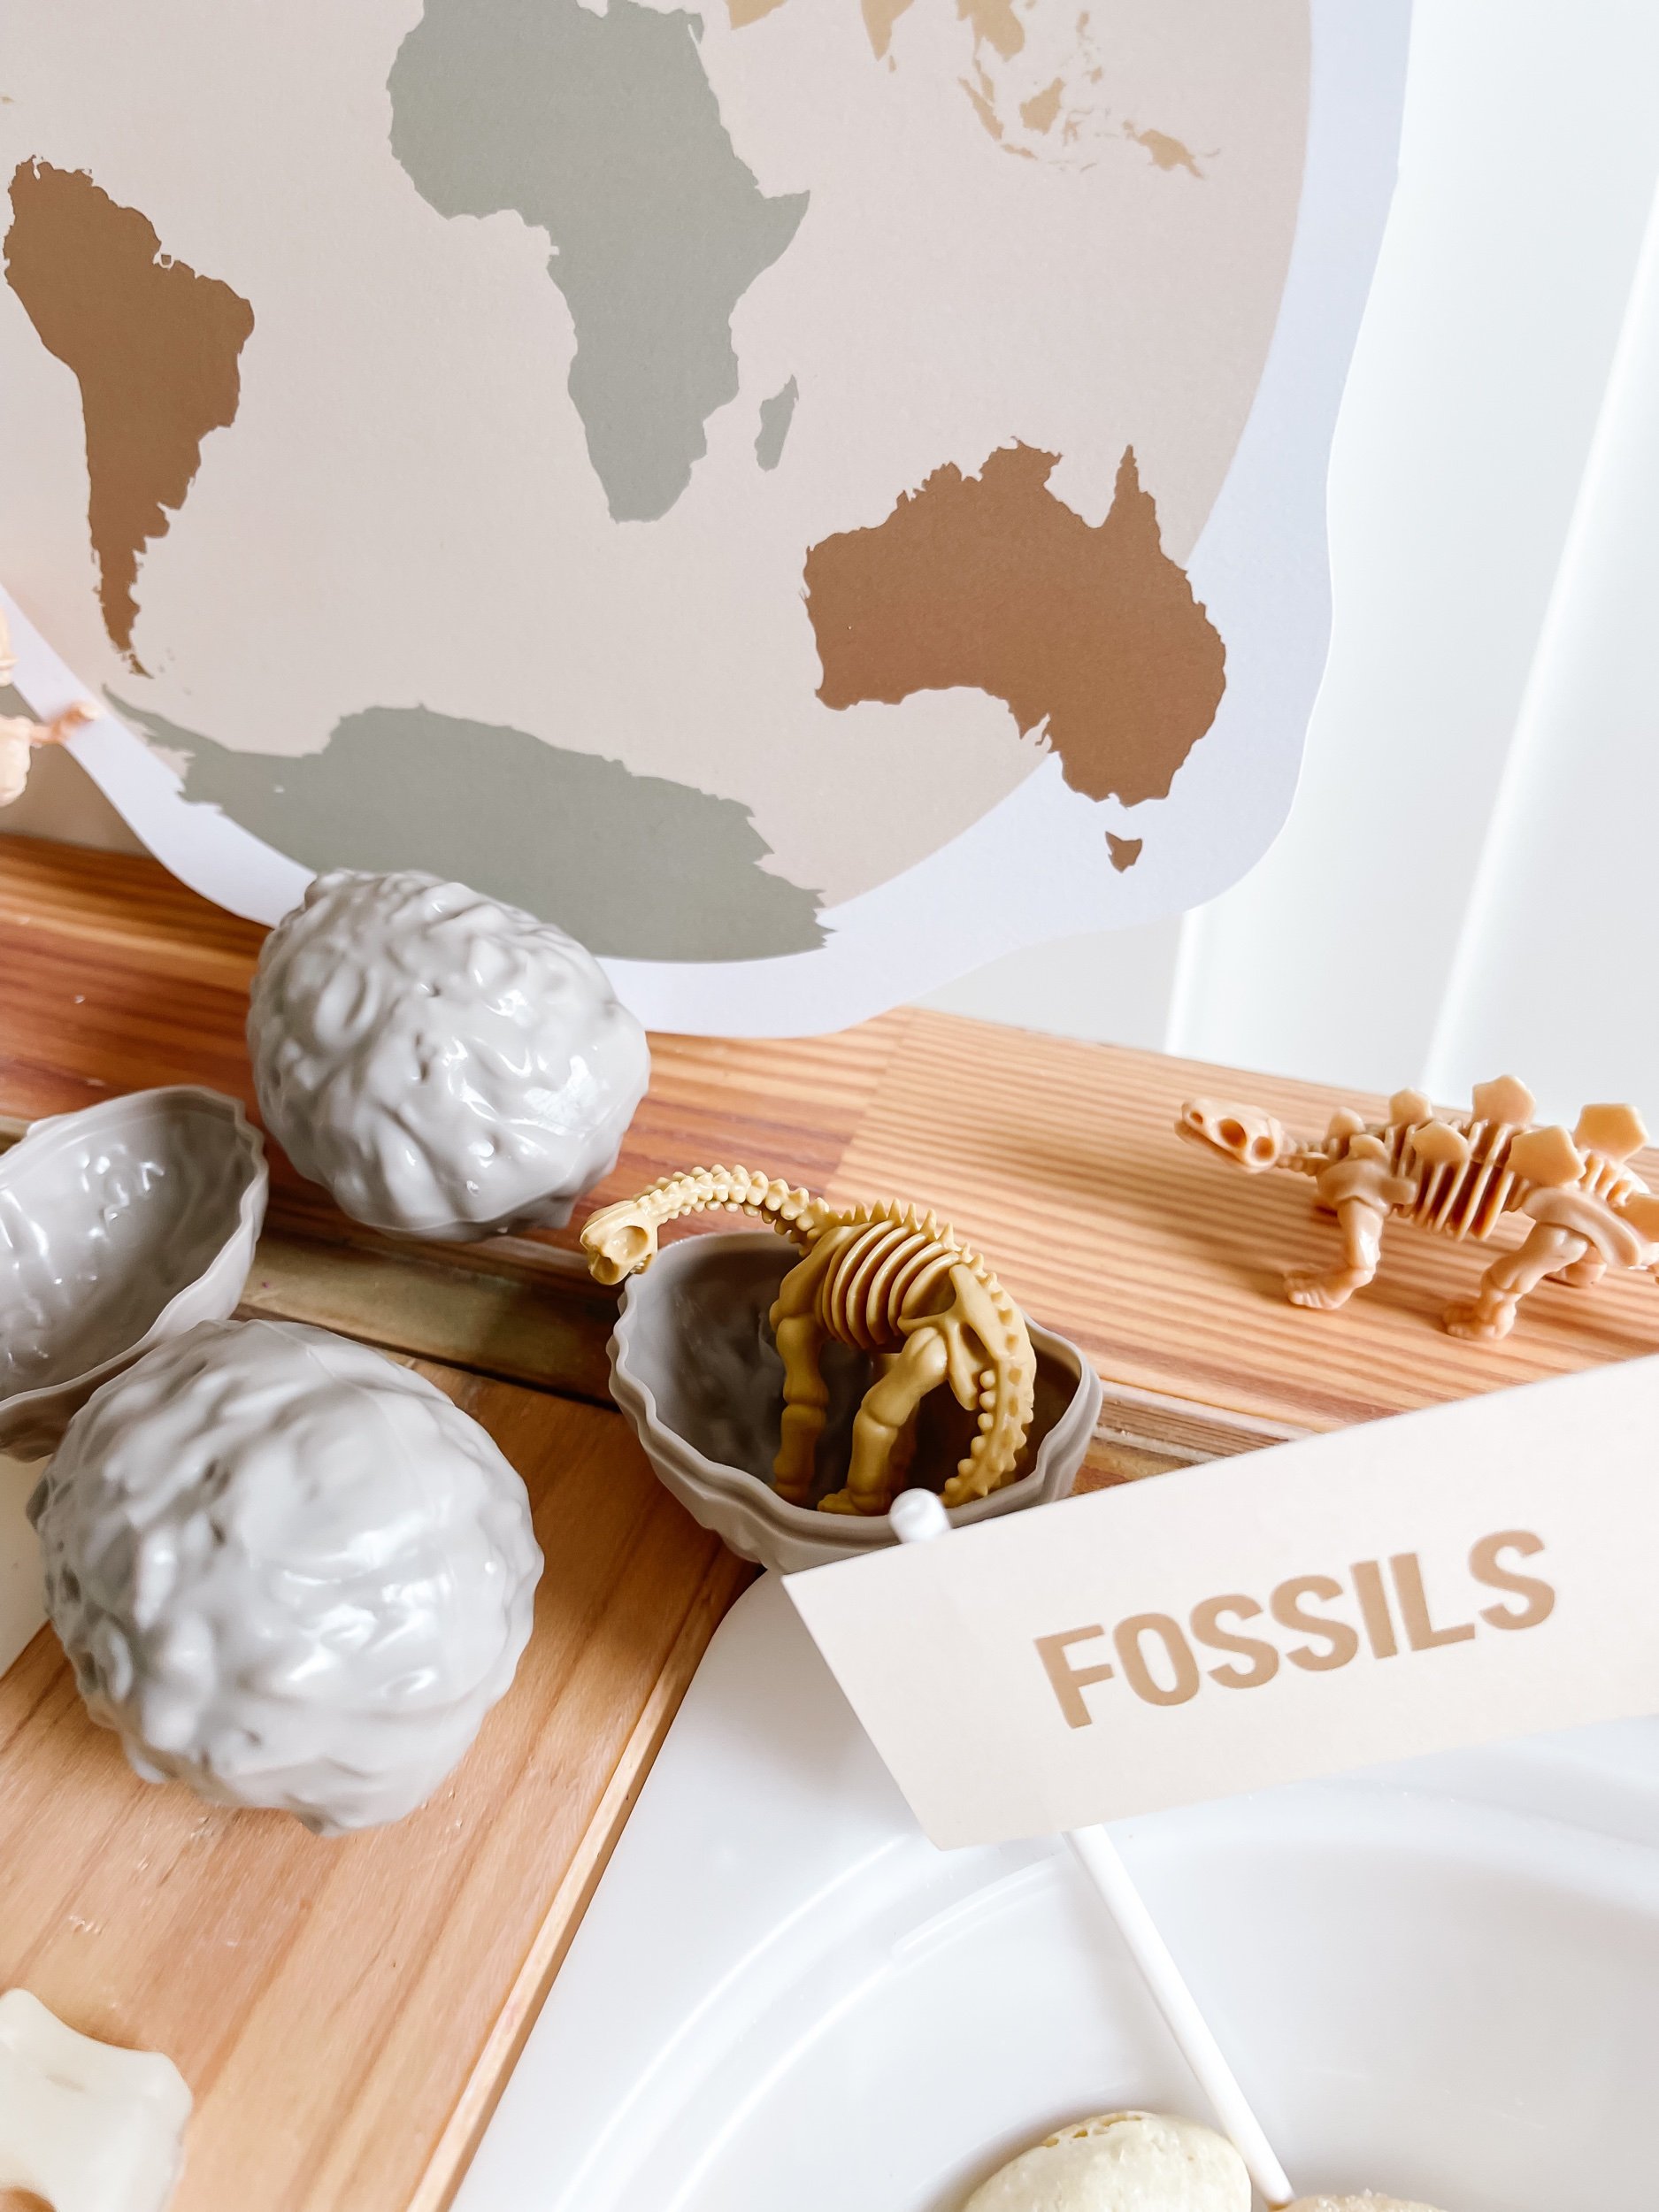
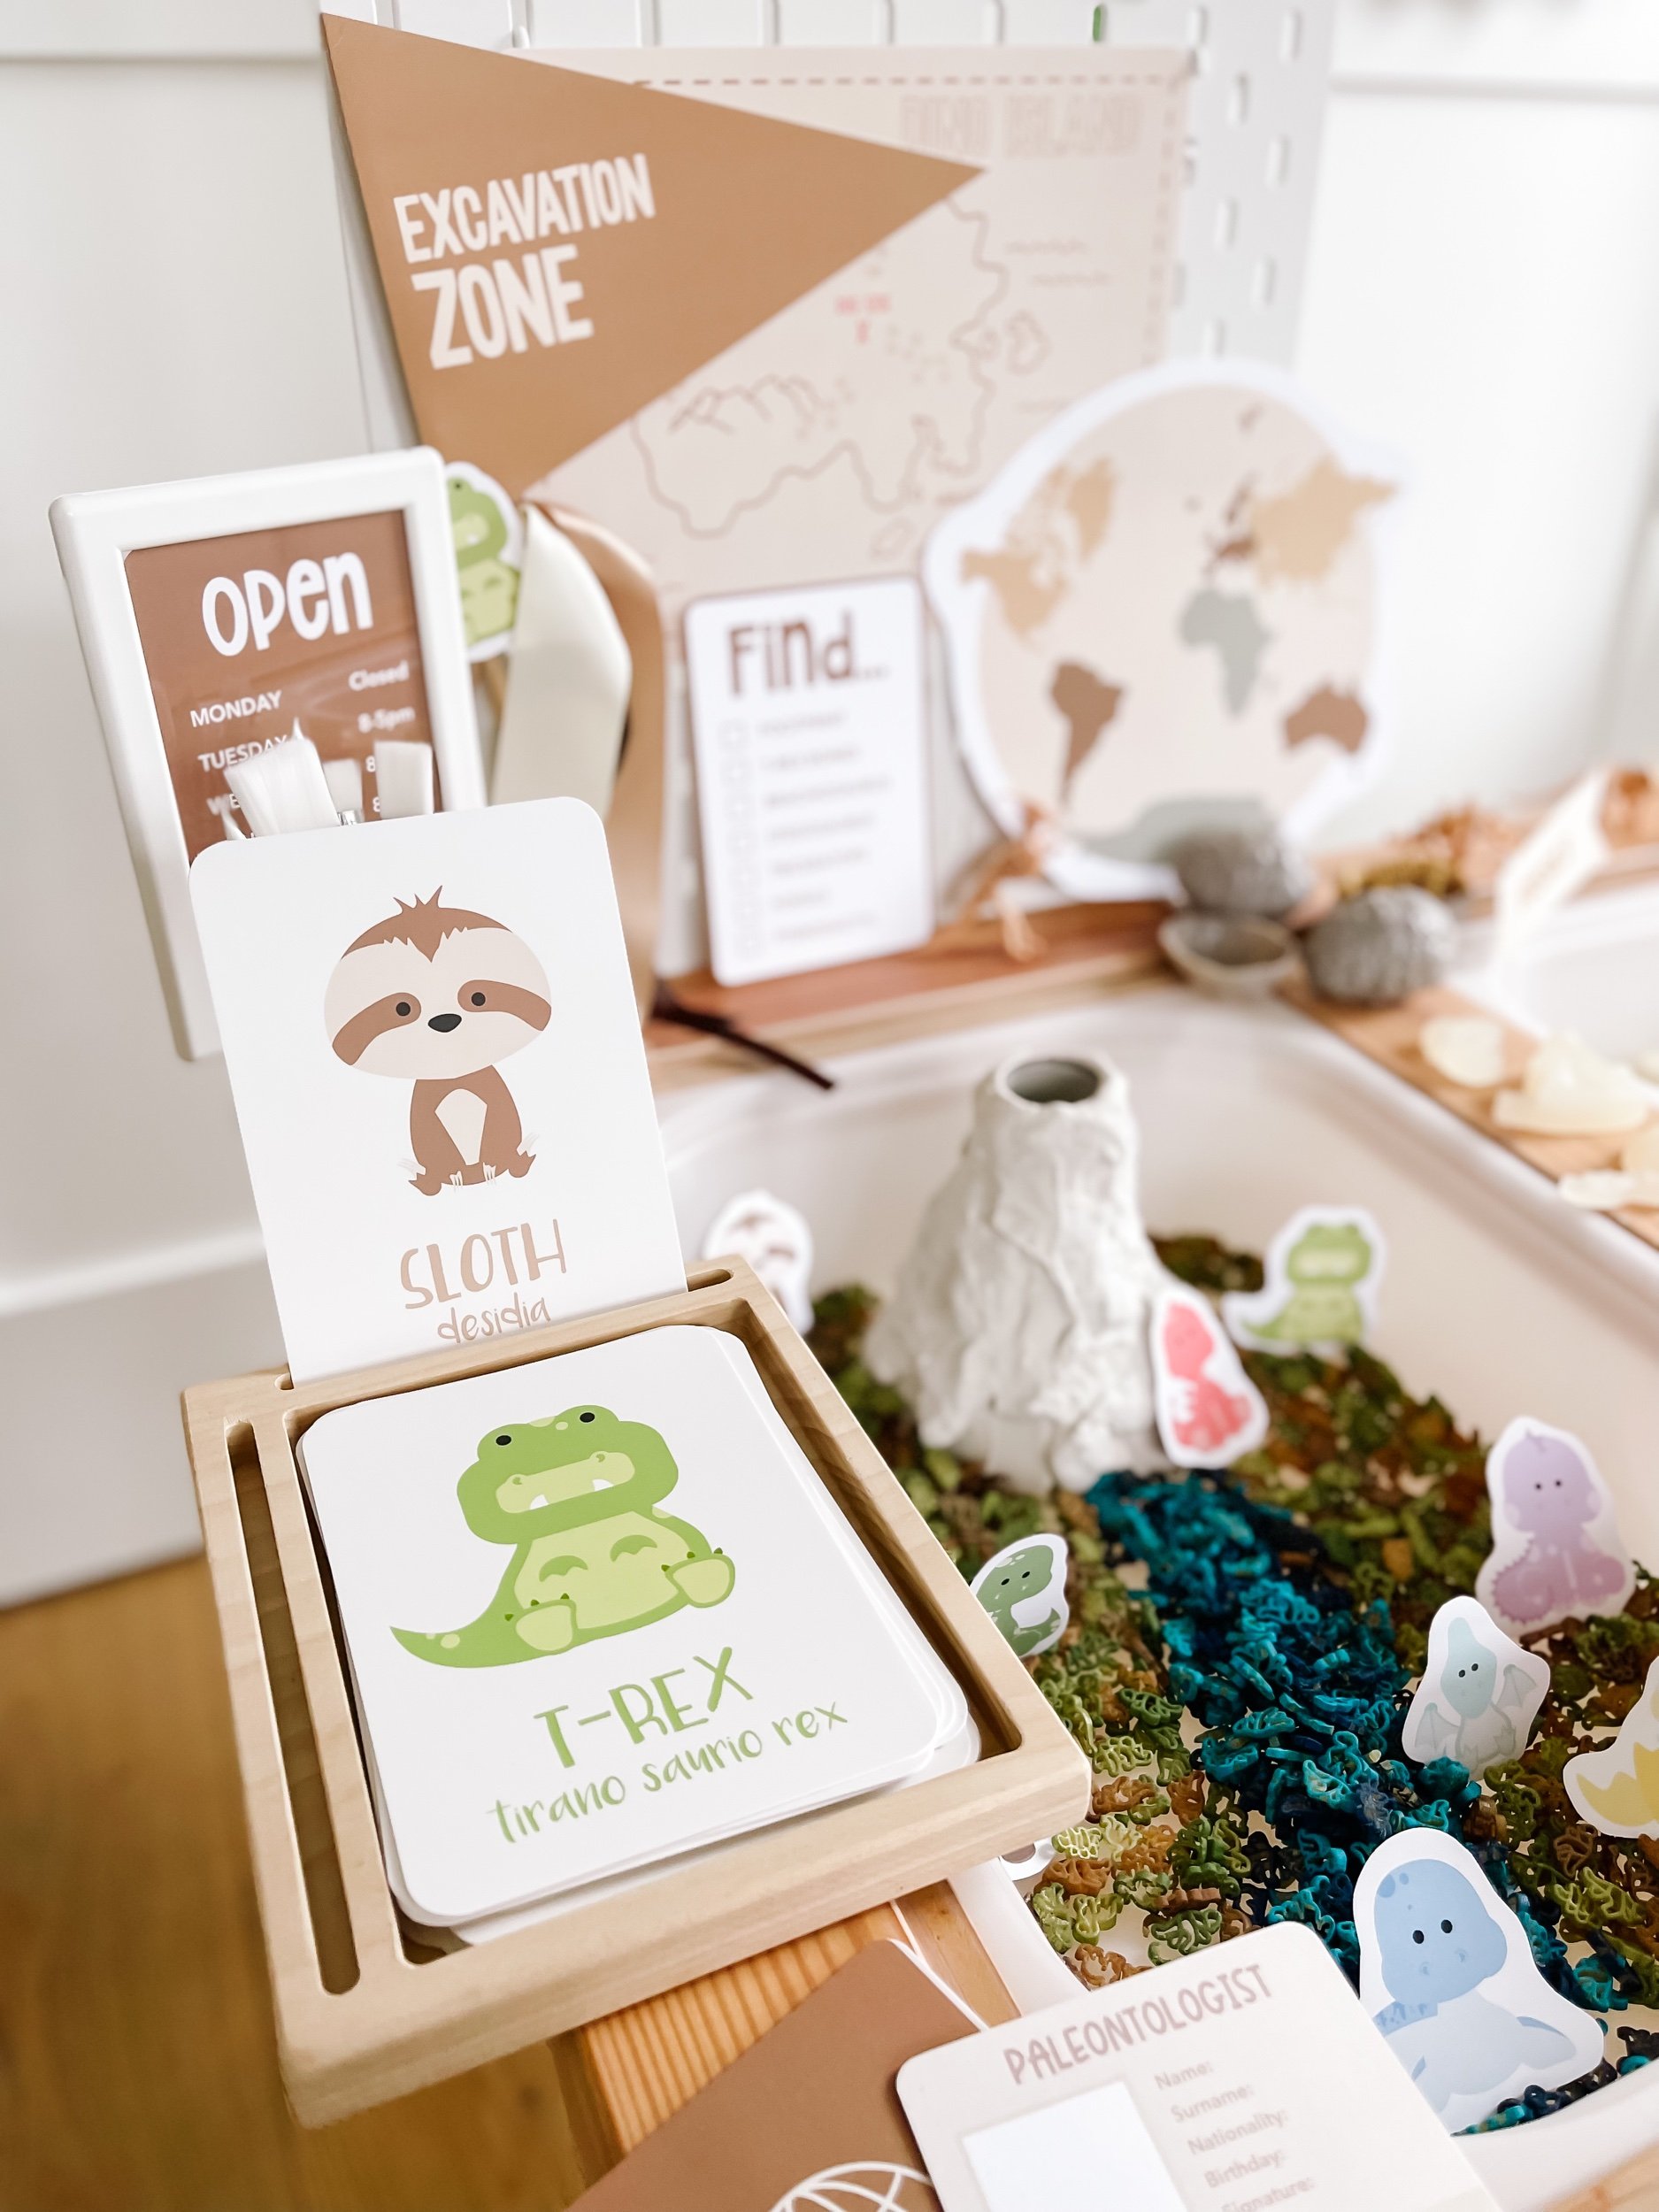
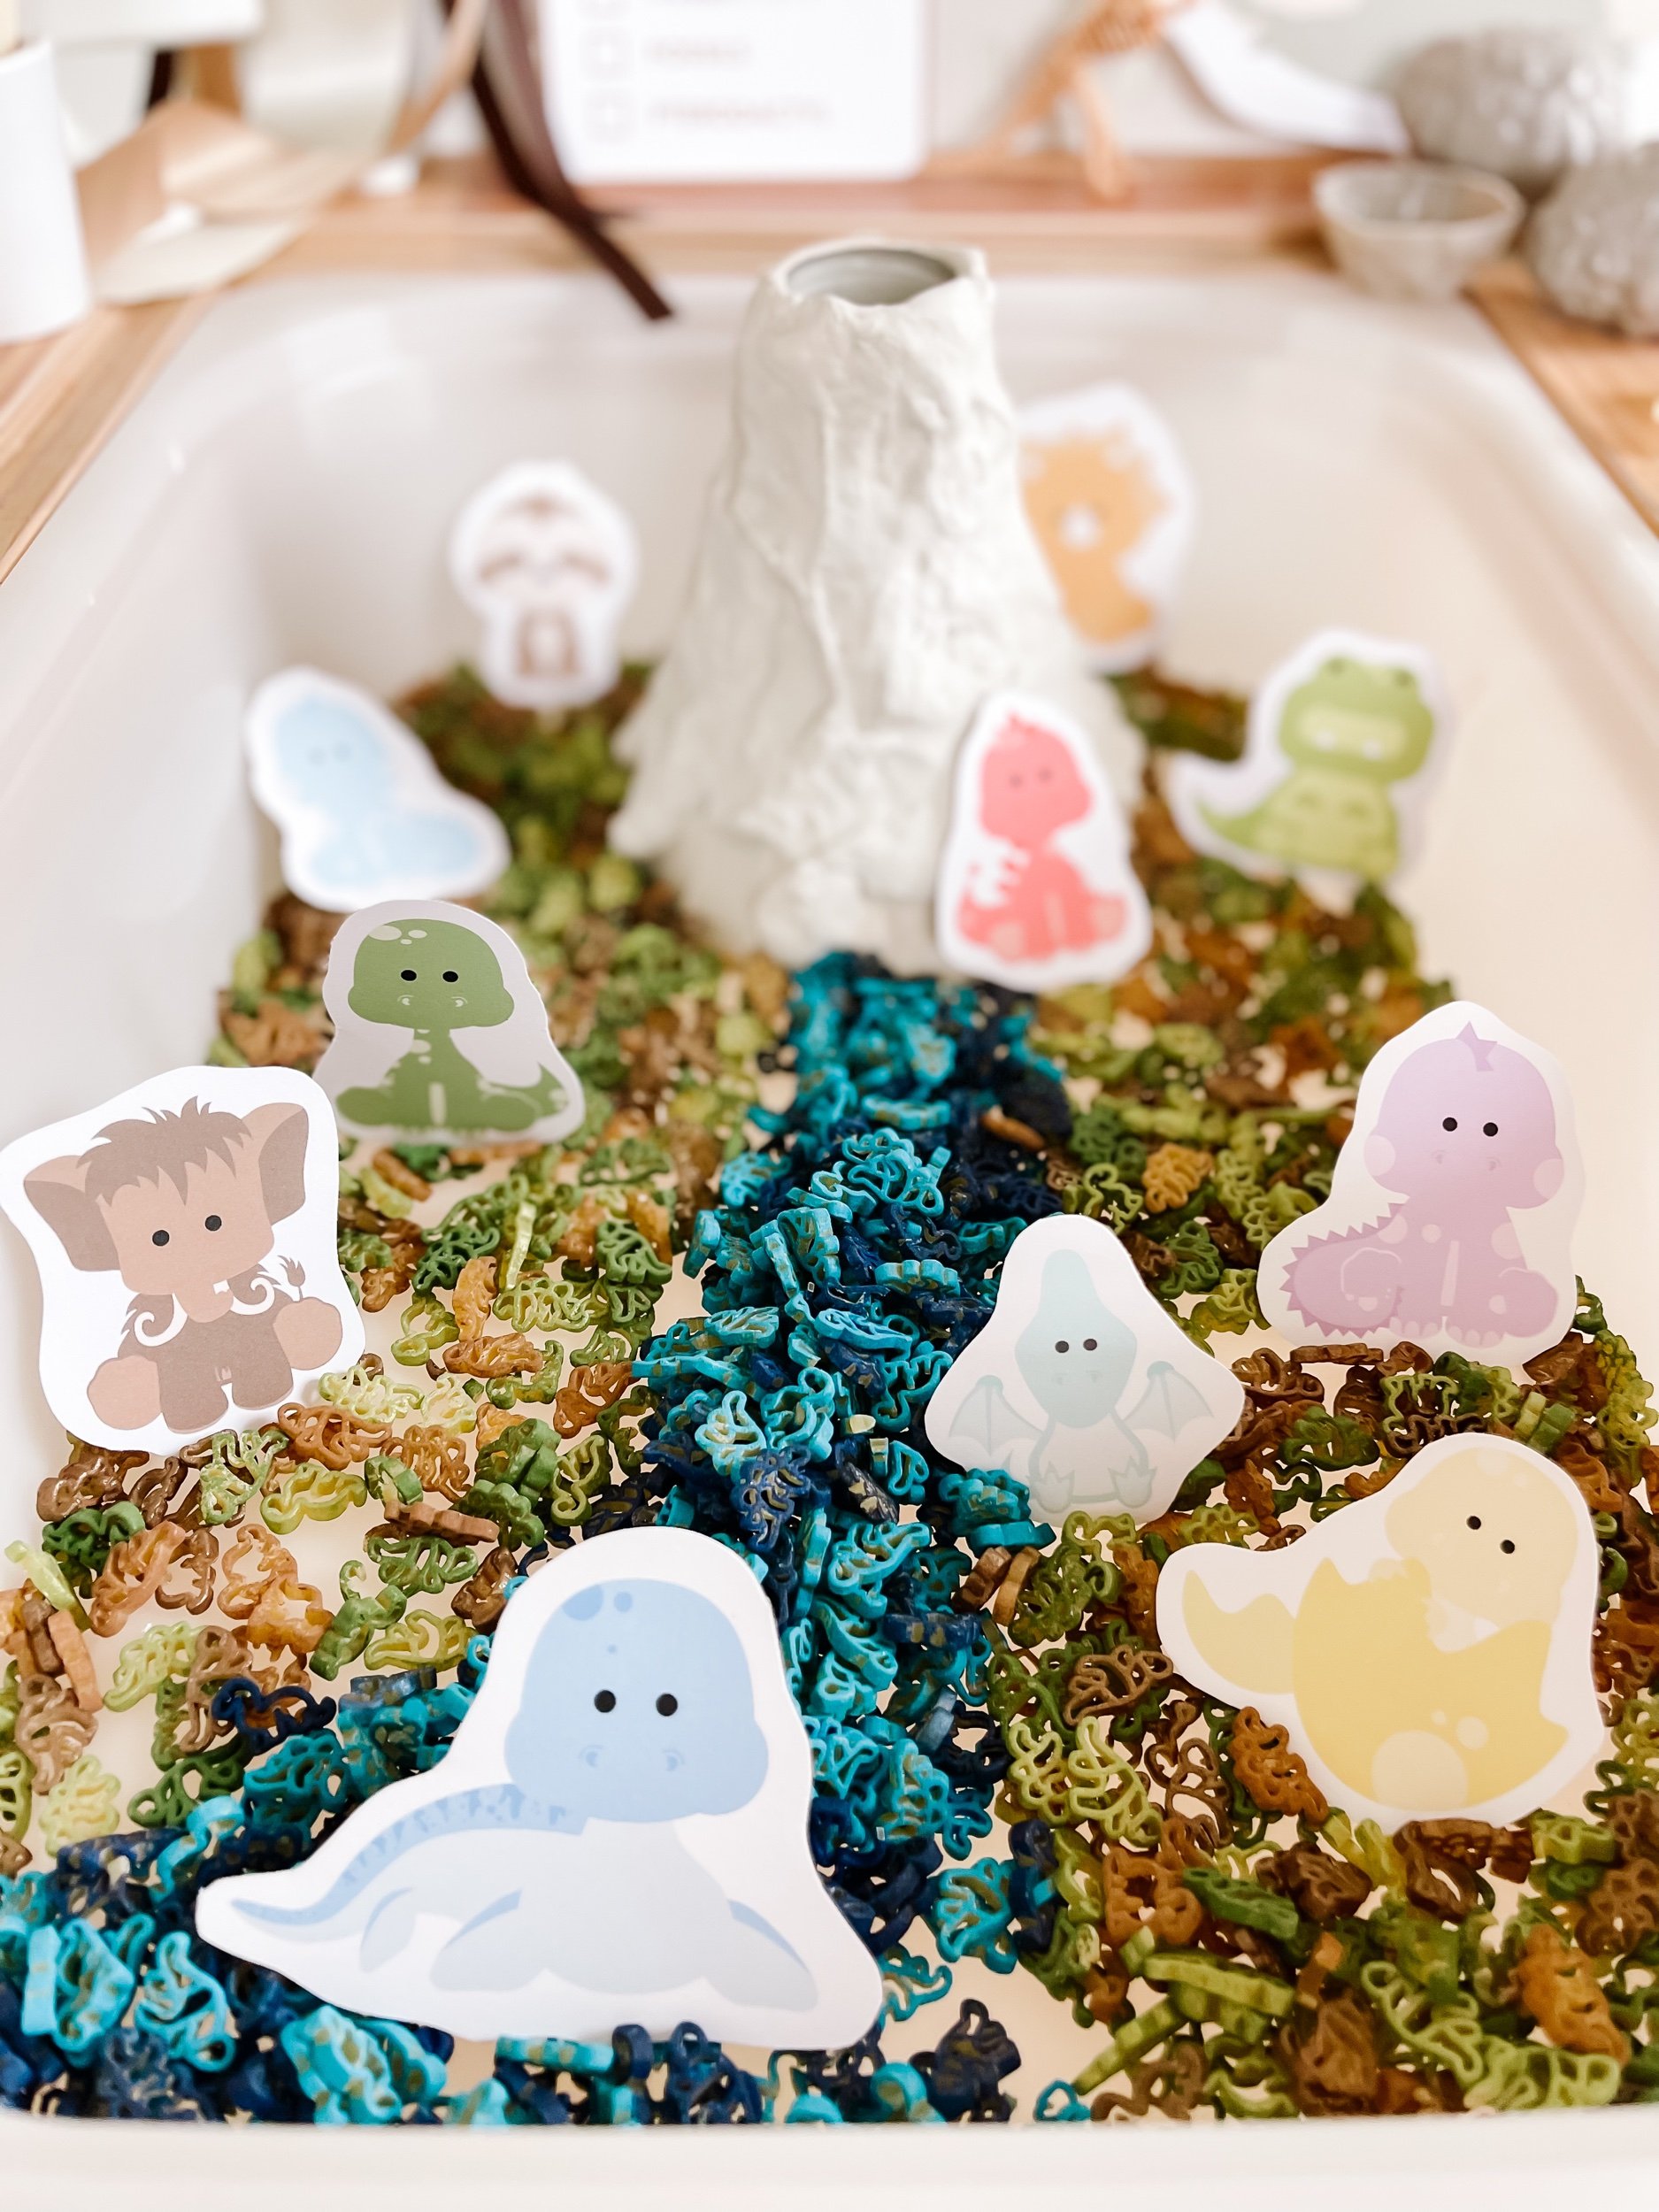
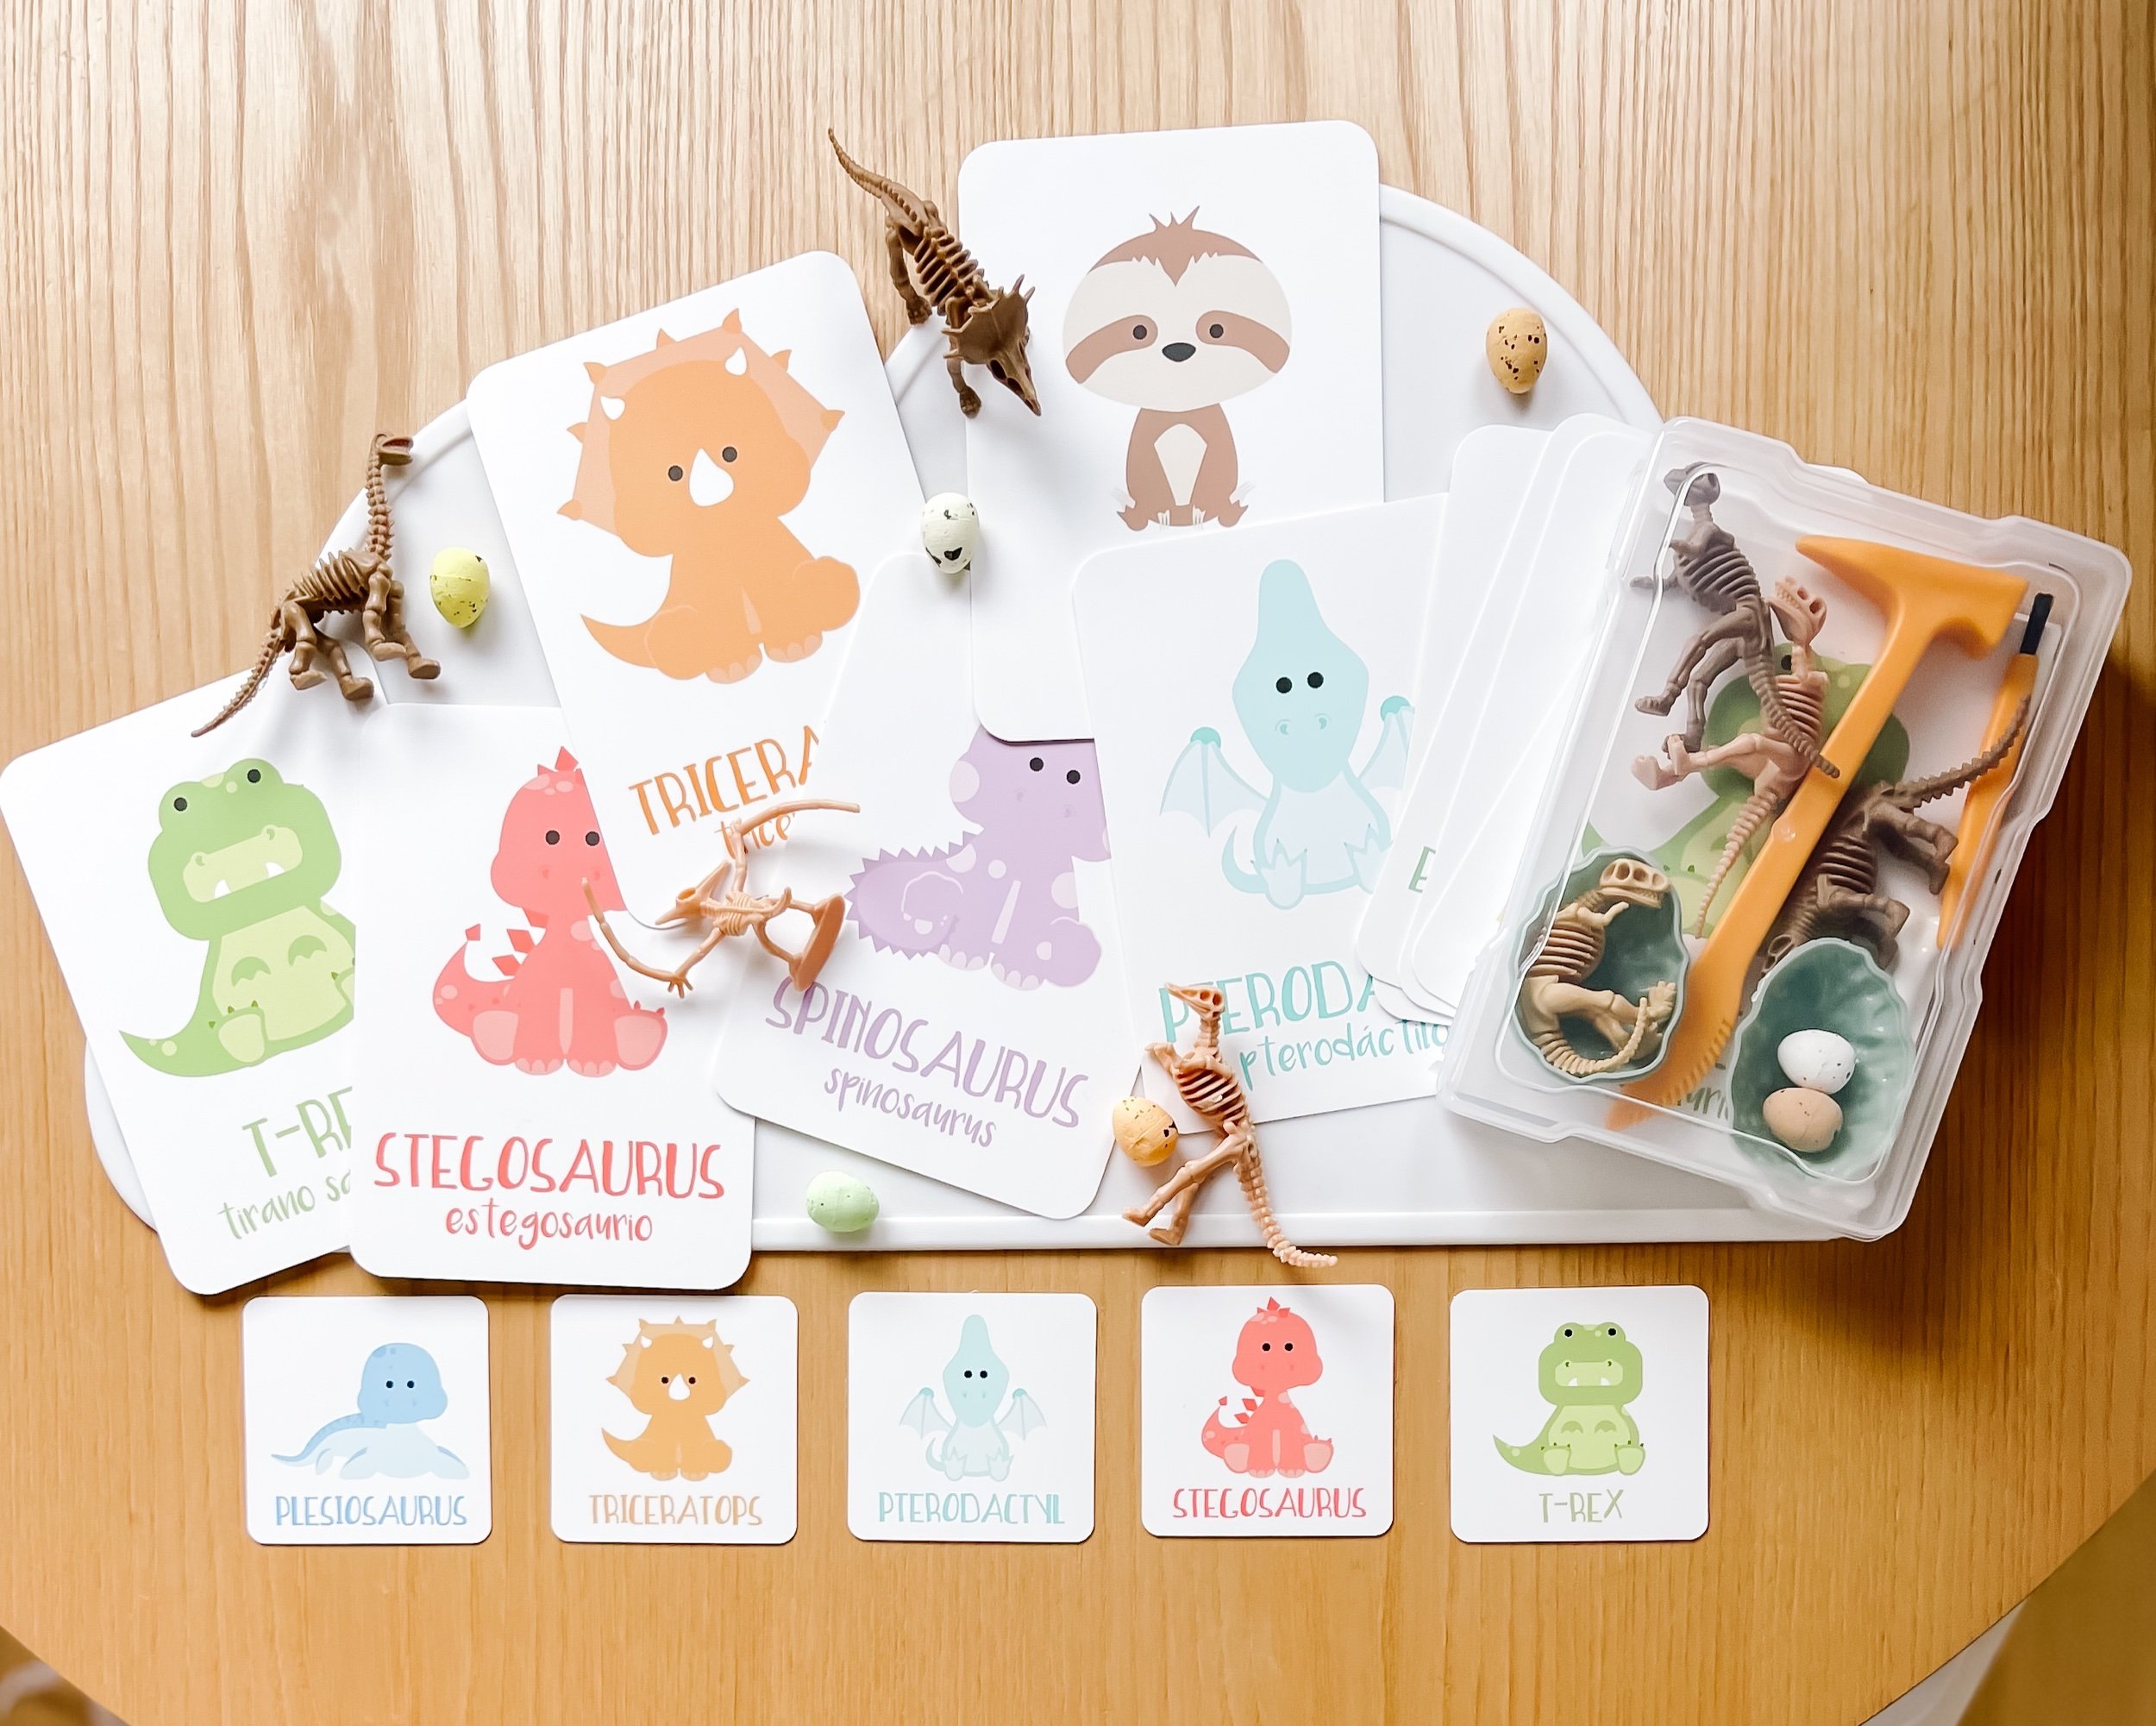
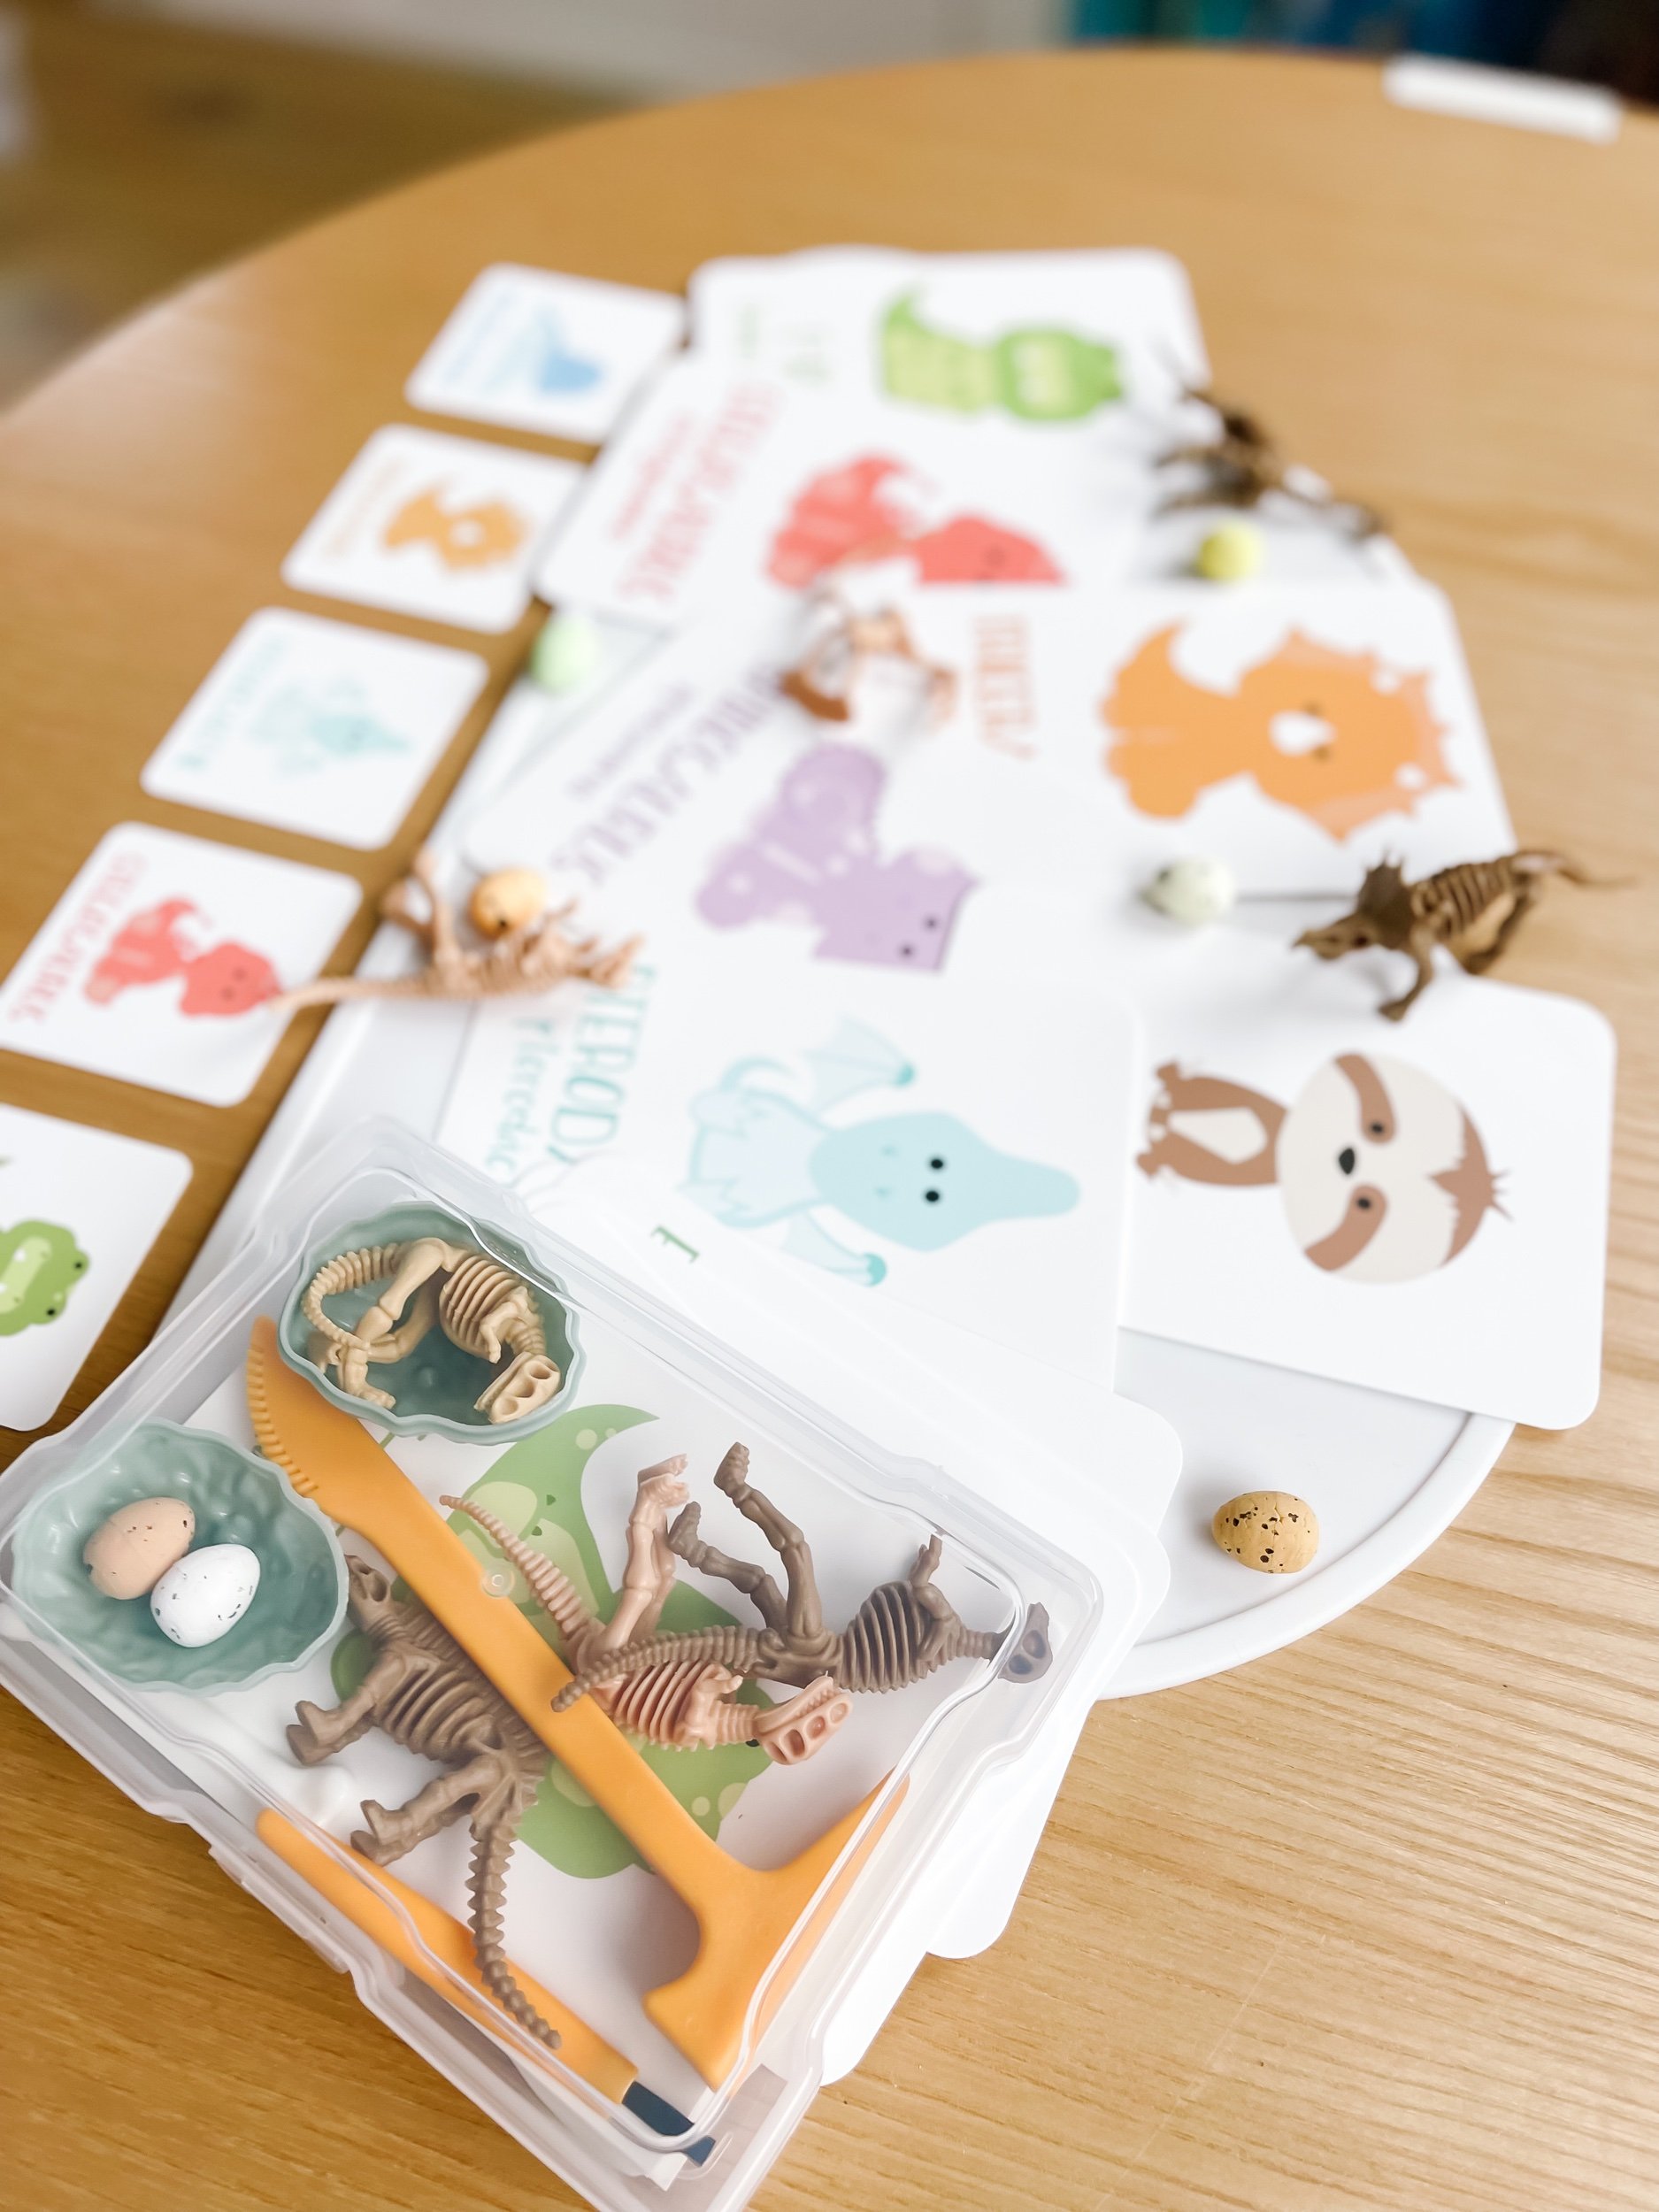
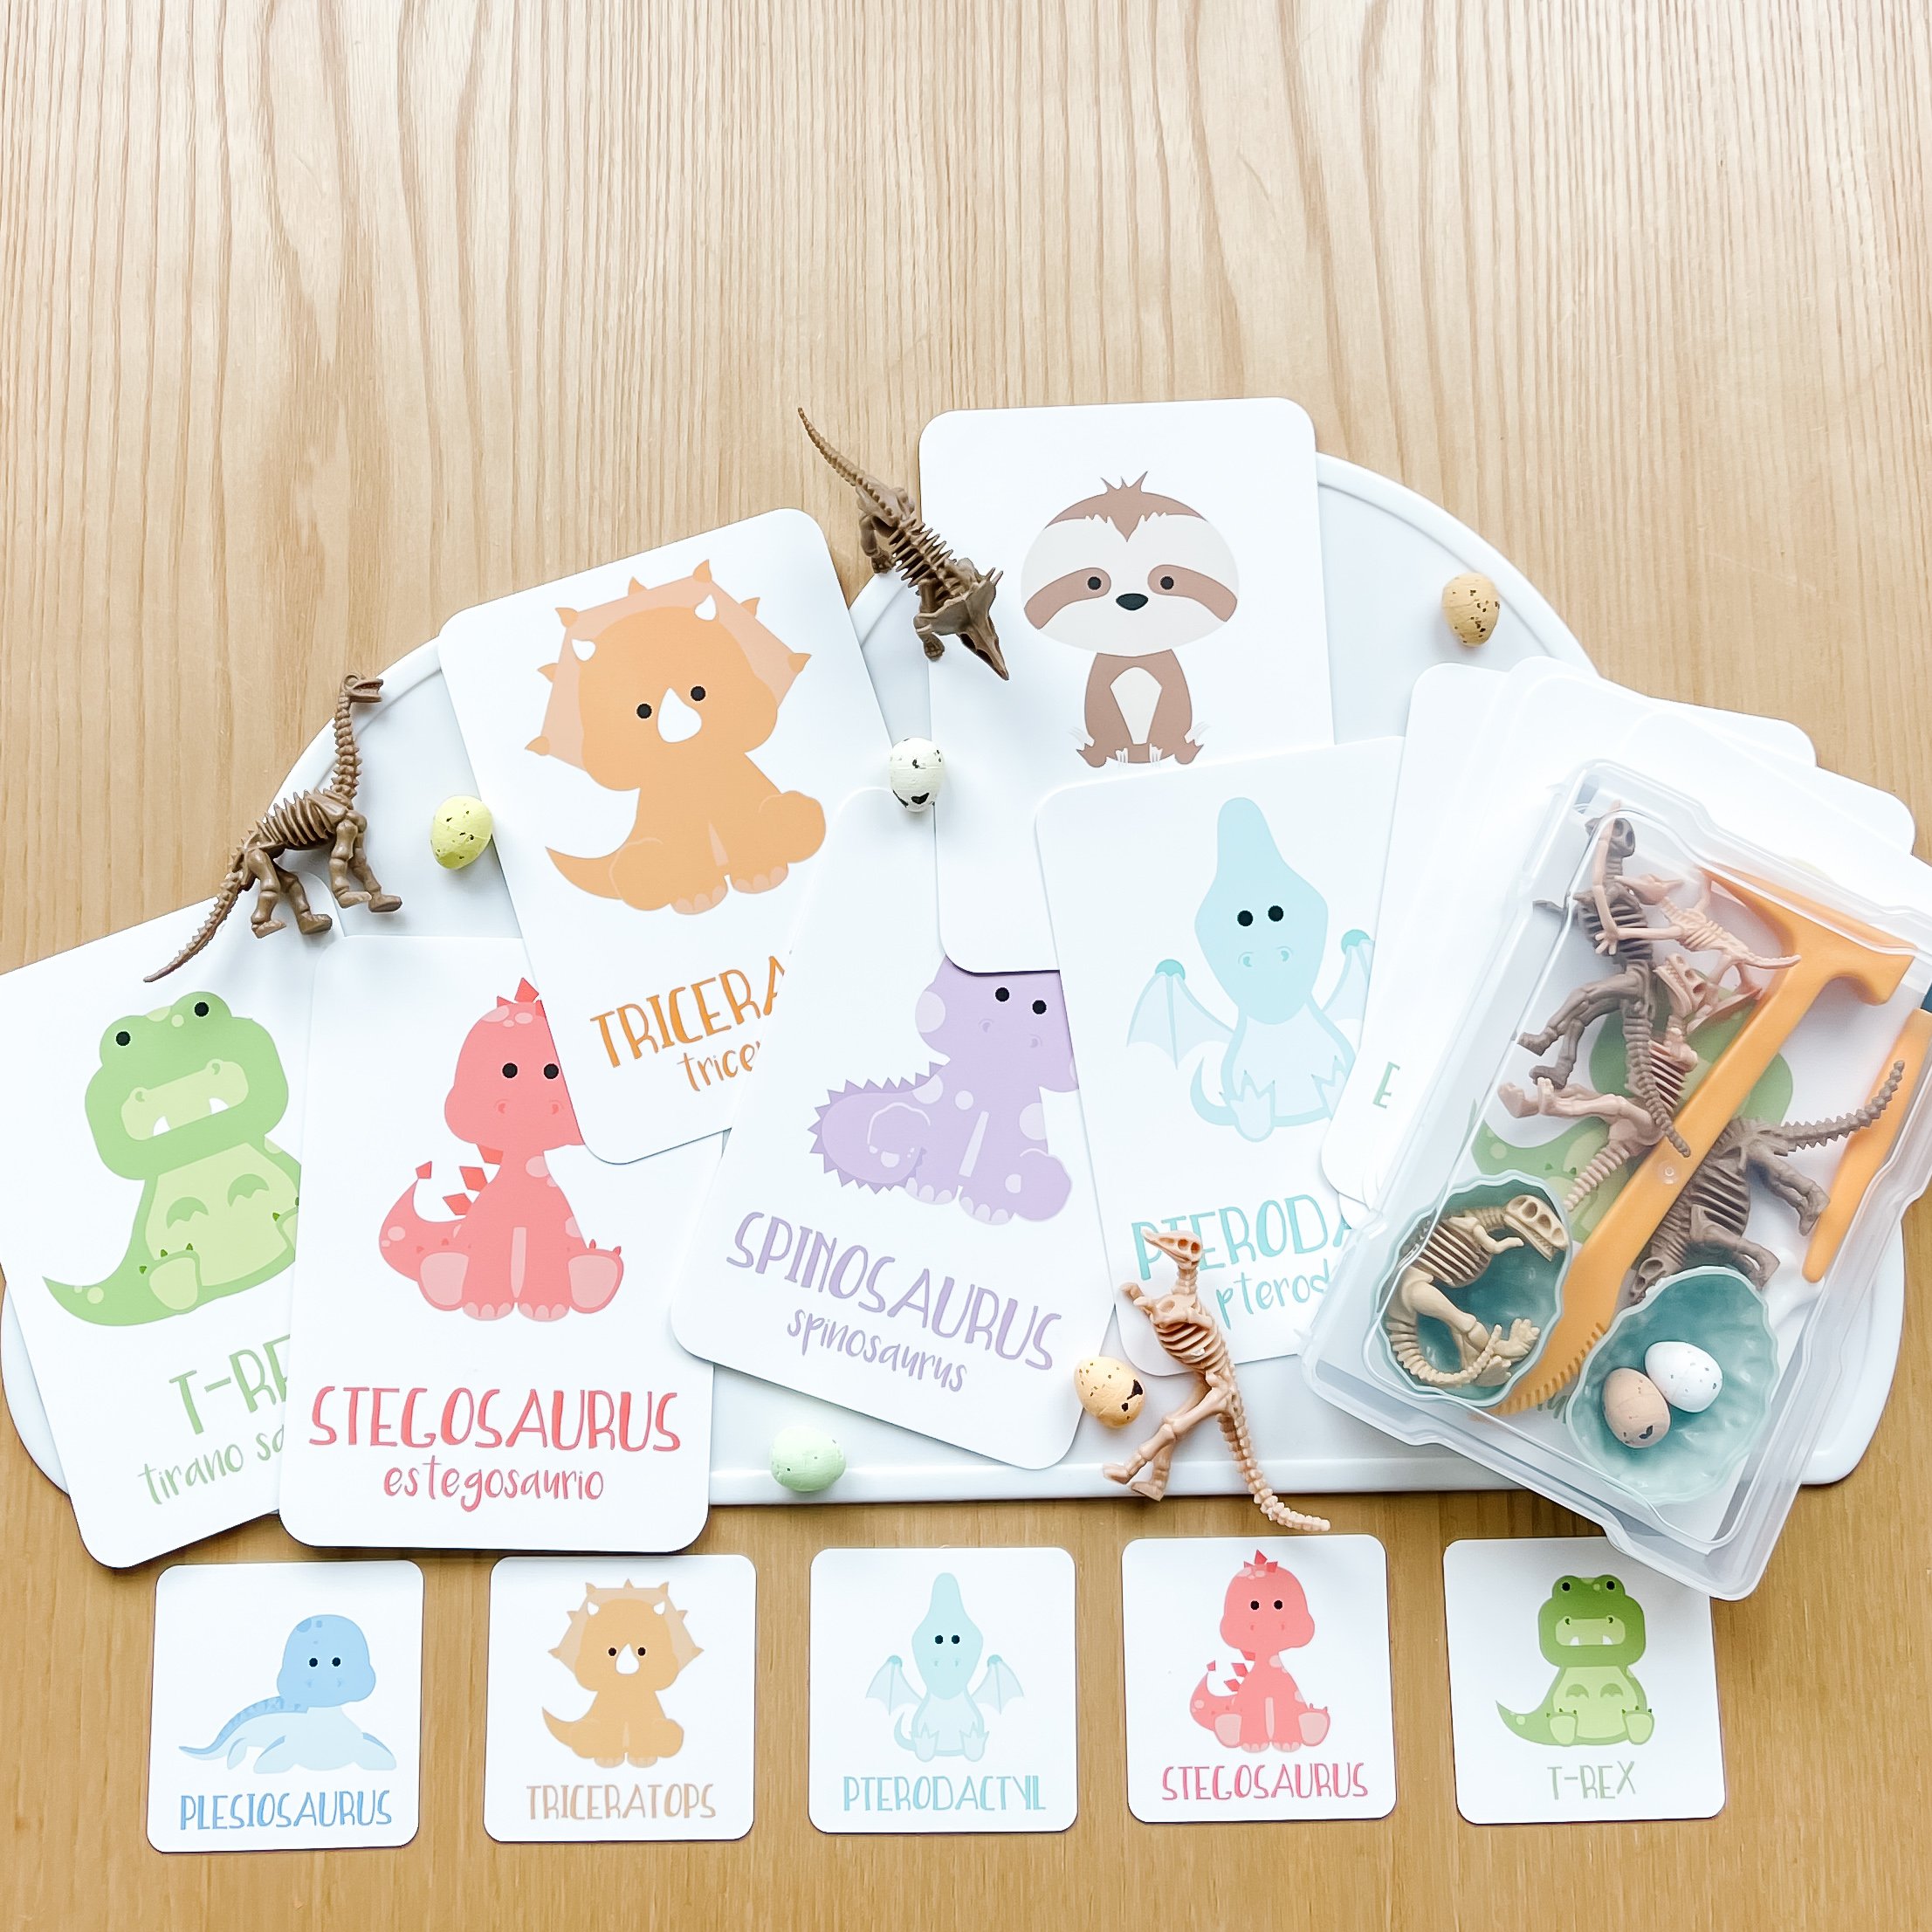
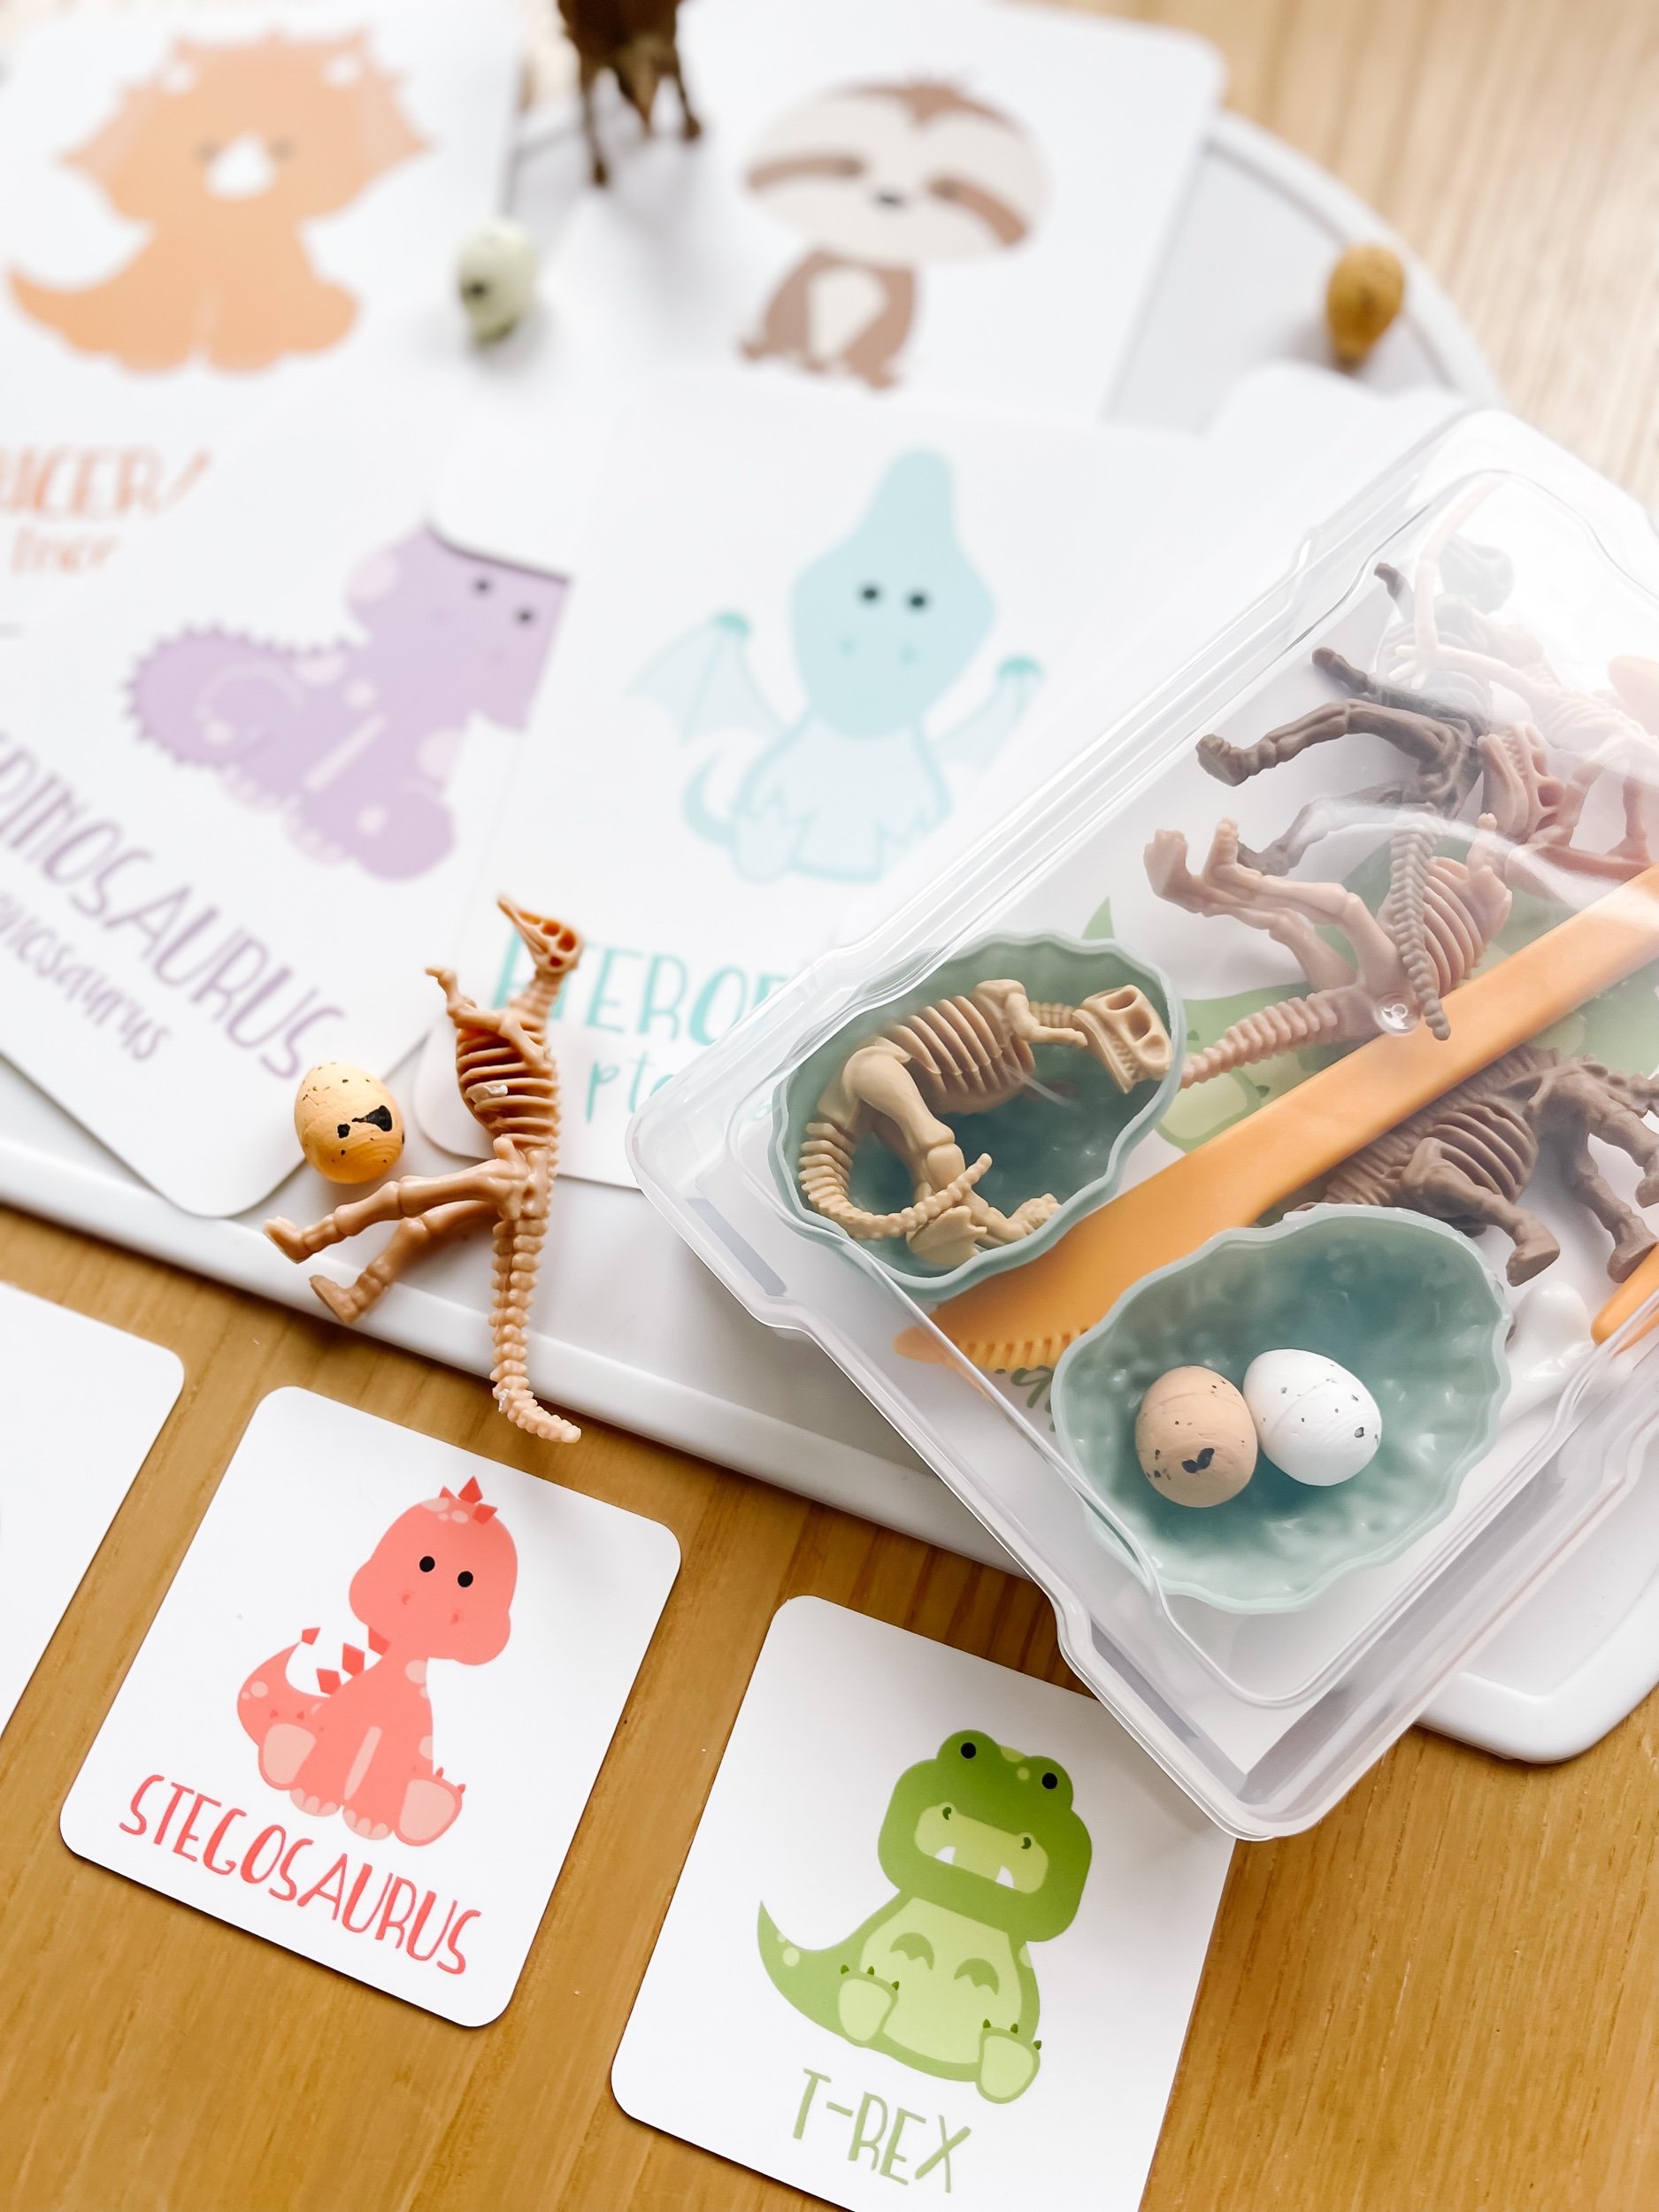
4. Dinosaurs: A collection of hand-illustration dinosaur character to bring the ancient reptiles to life. Your child will love identifying different species and reenacting prehistoric scenes.
5. Banner: A customizable banner that can be personalized with your child's name, adding a personal touch to their paleontological adventures.
6. Flag: A vibrant flag that can be planted at the excavation site, signaling their newfound discovery to the world.
7. Globe: A compact globe featuring the continents. It offers an educational element, allowing kids to explore the ancient world and understand the geographic distribution of species.
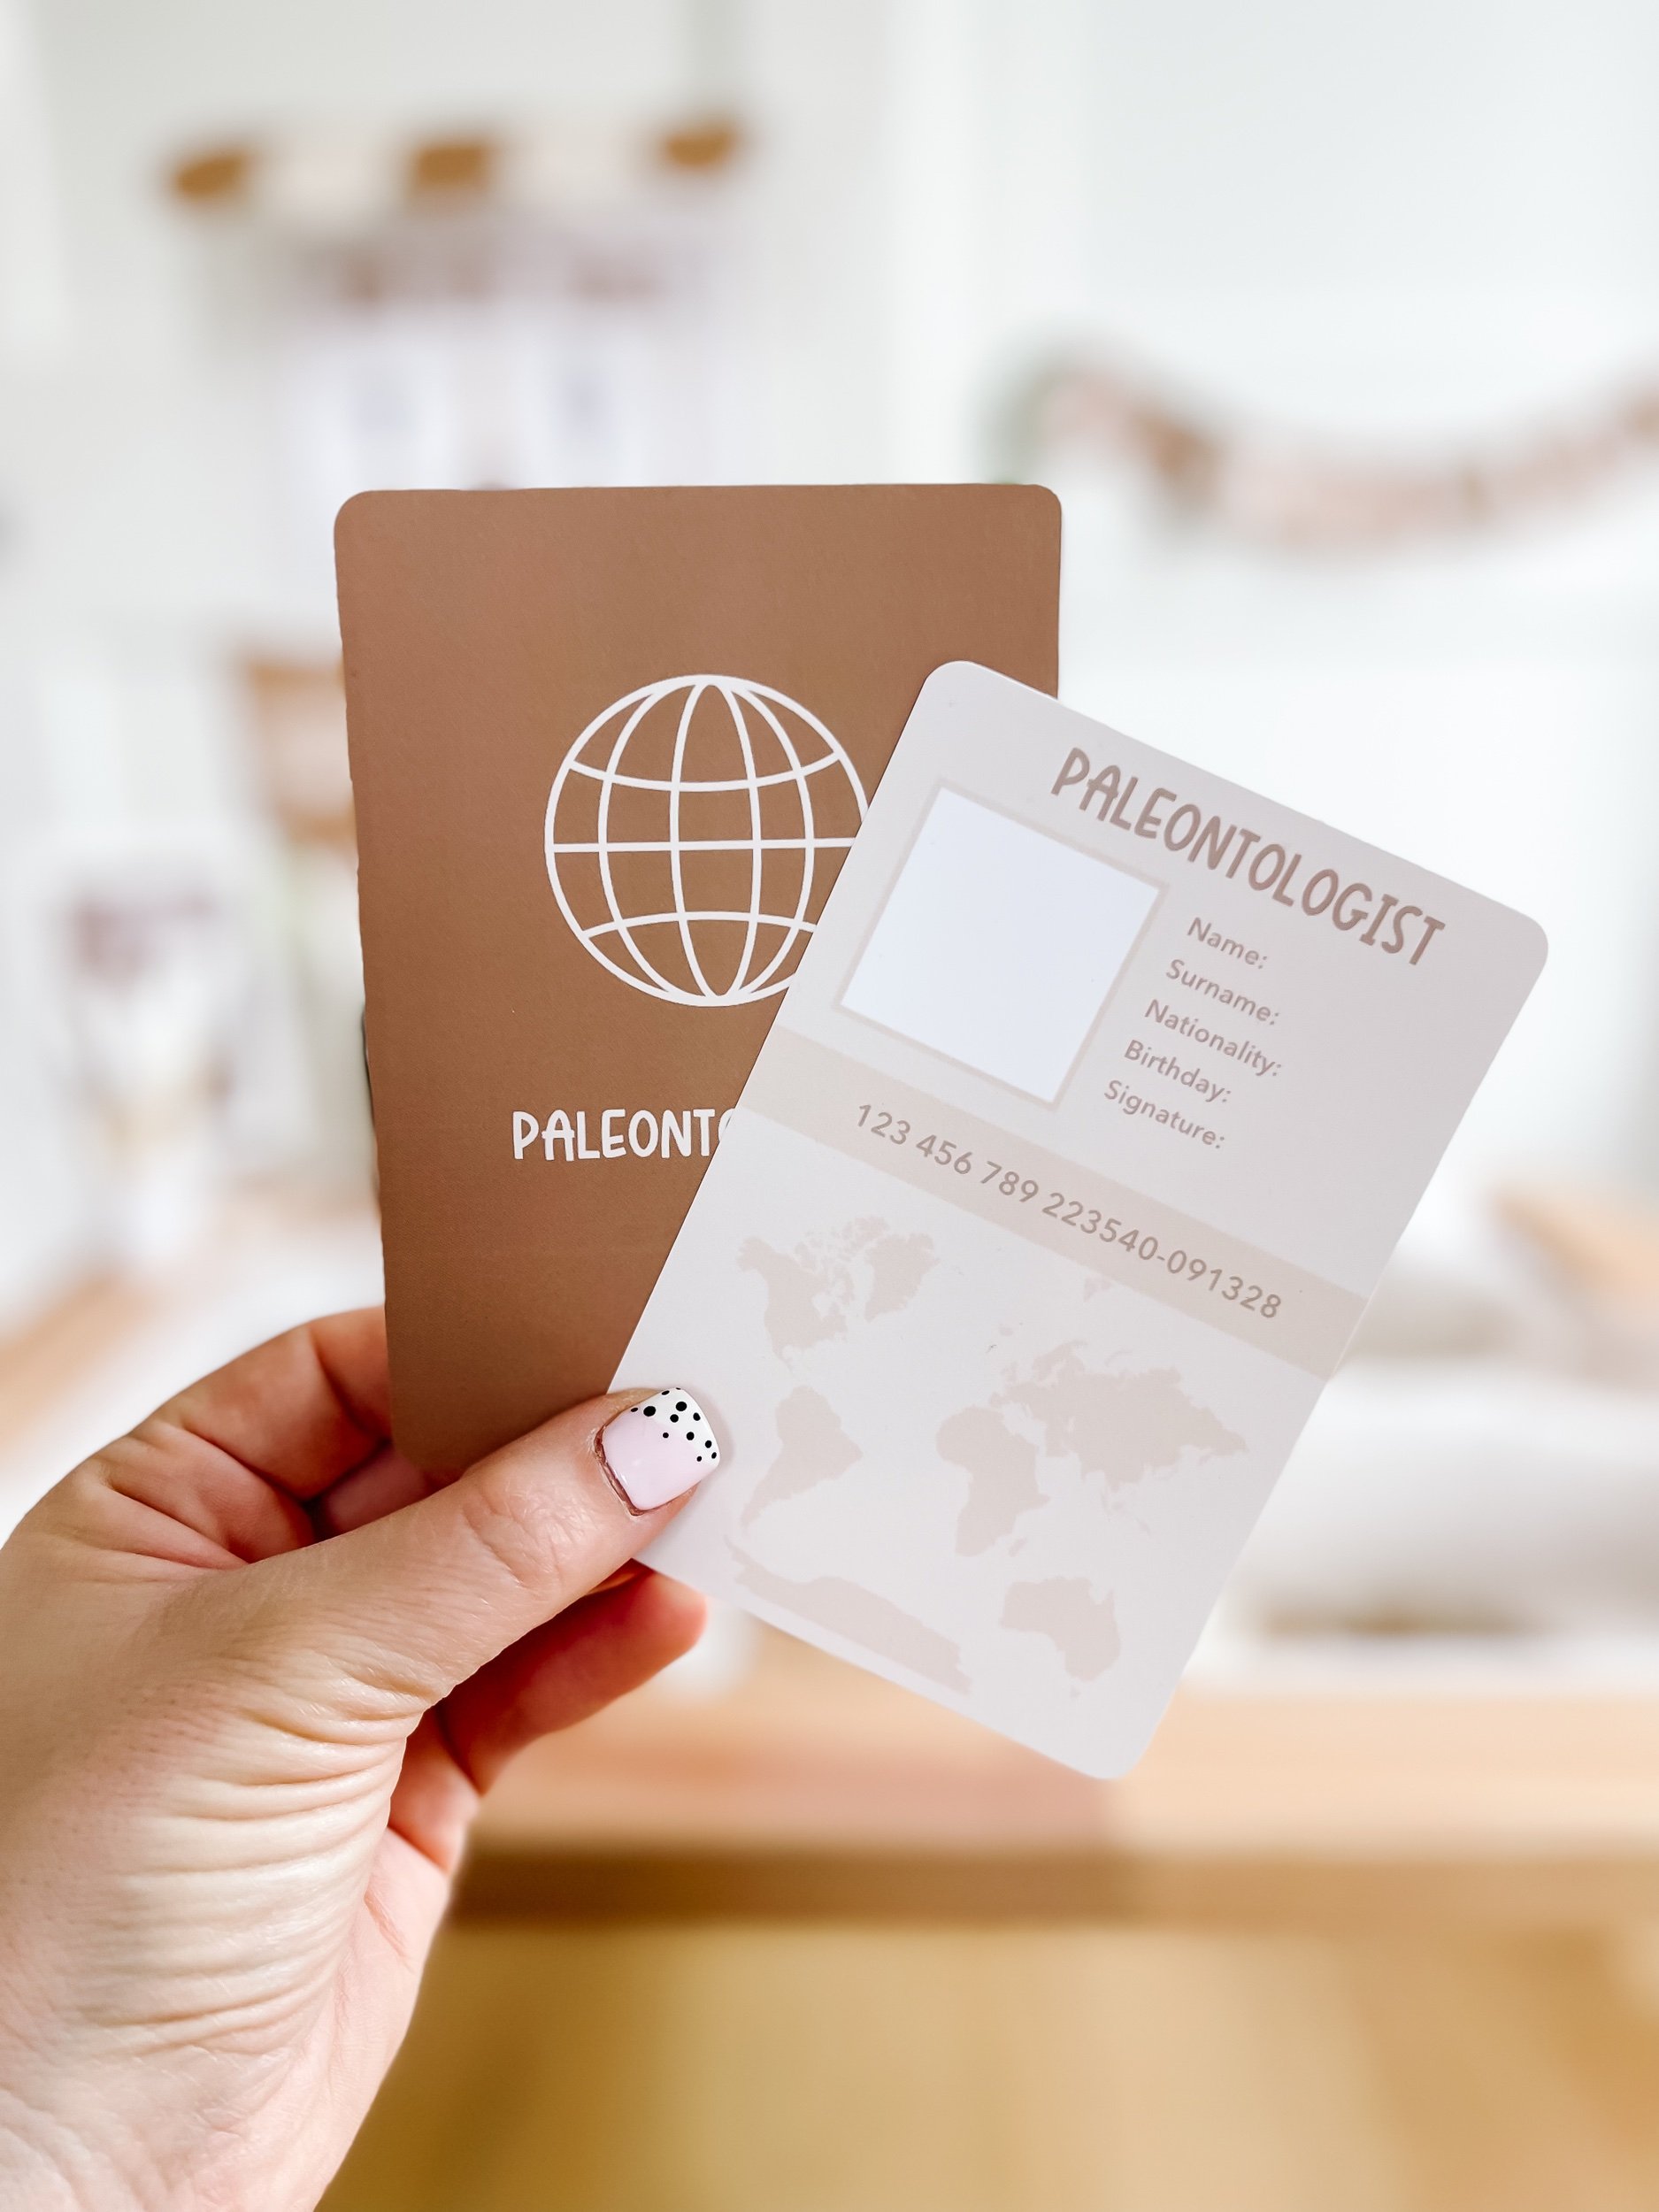
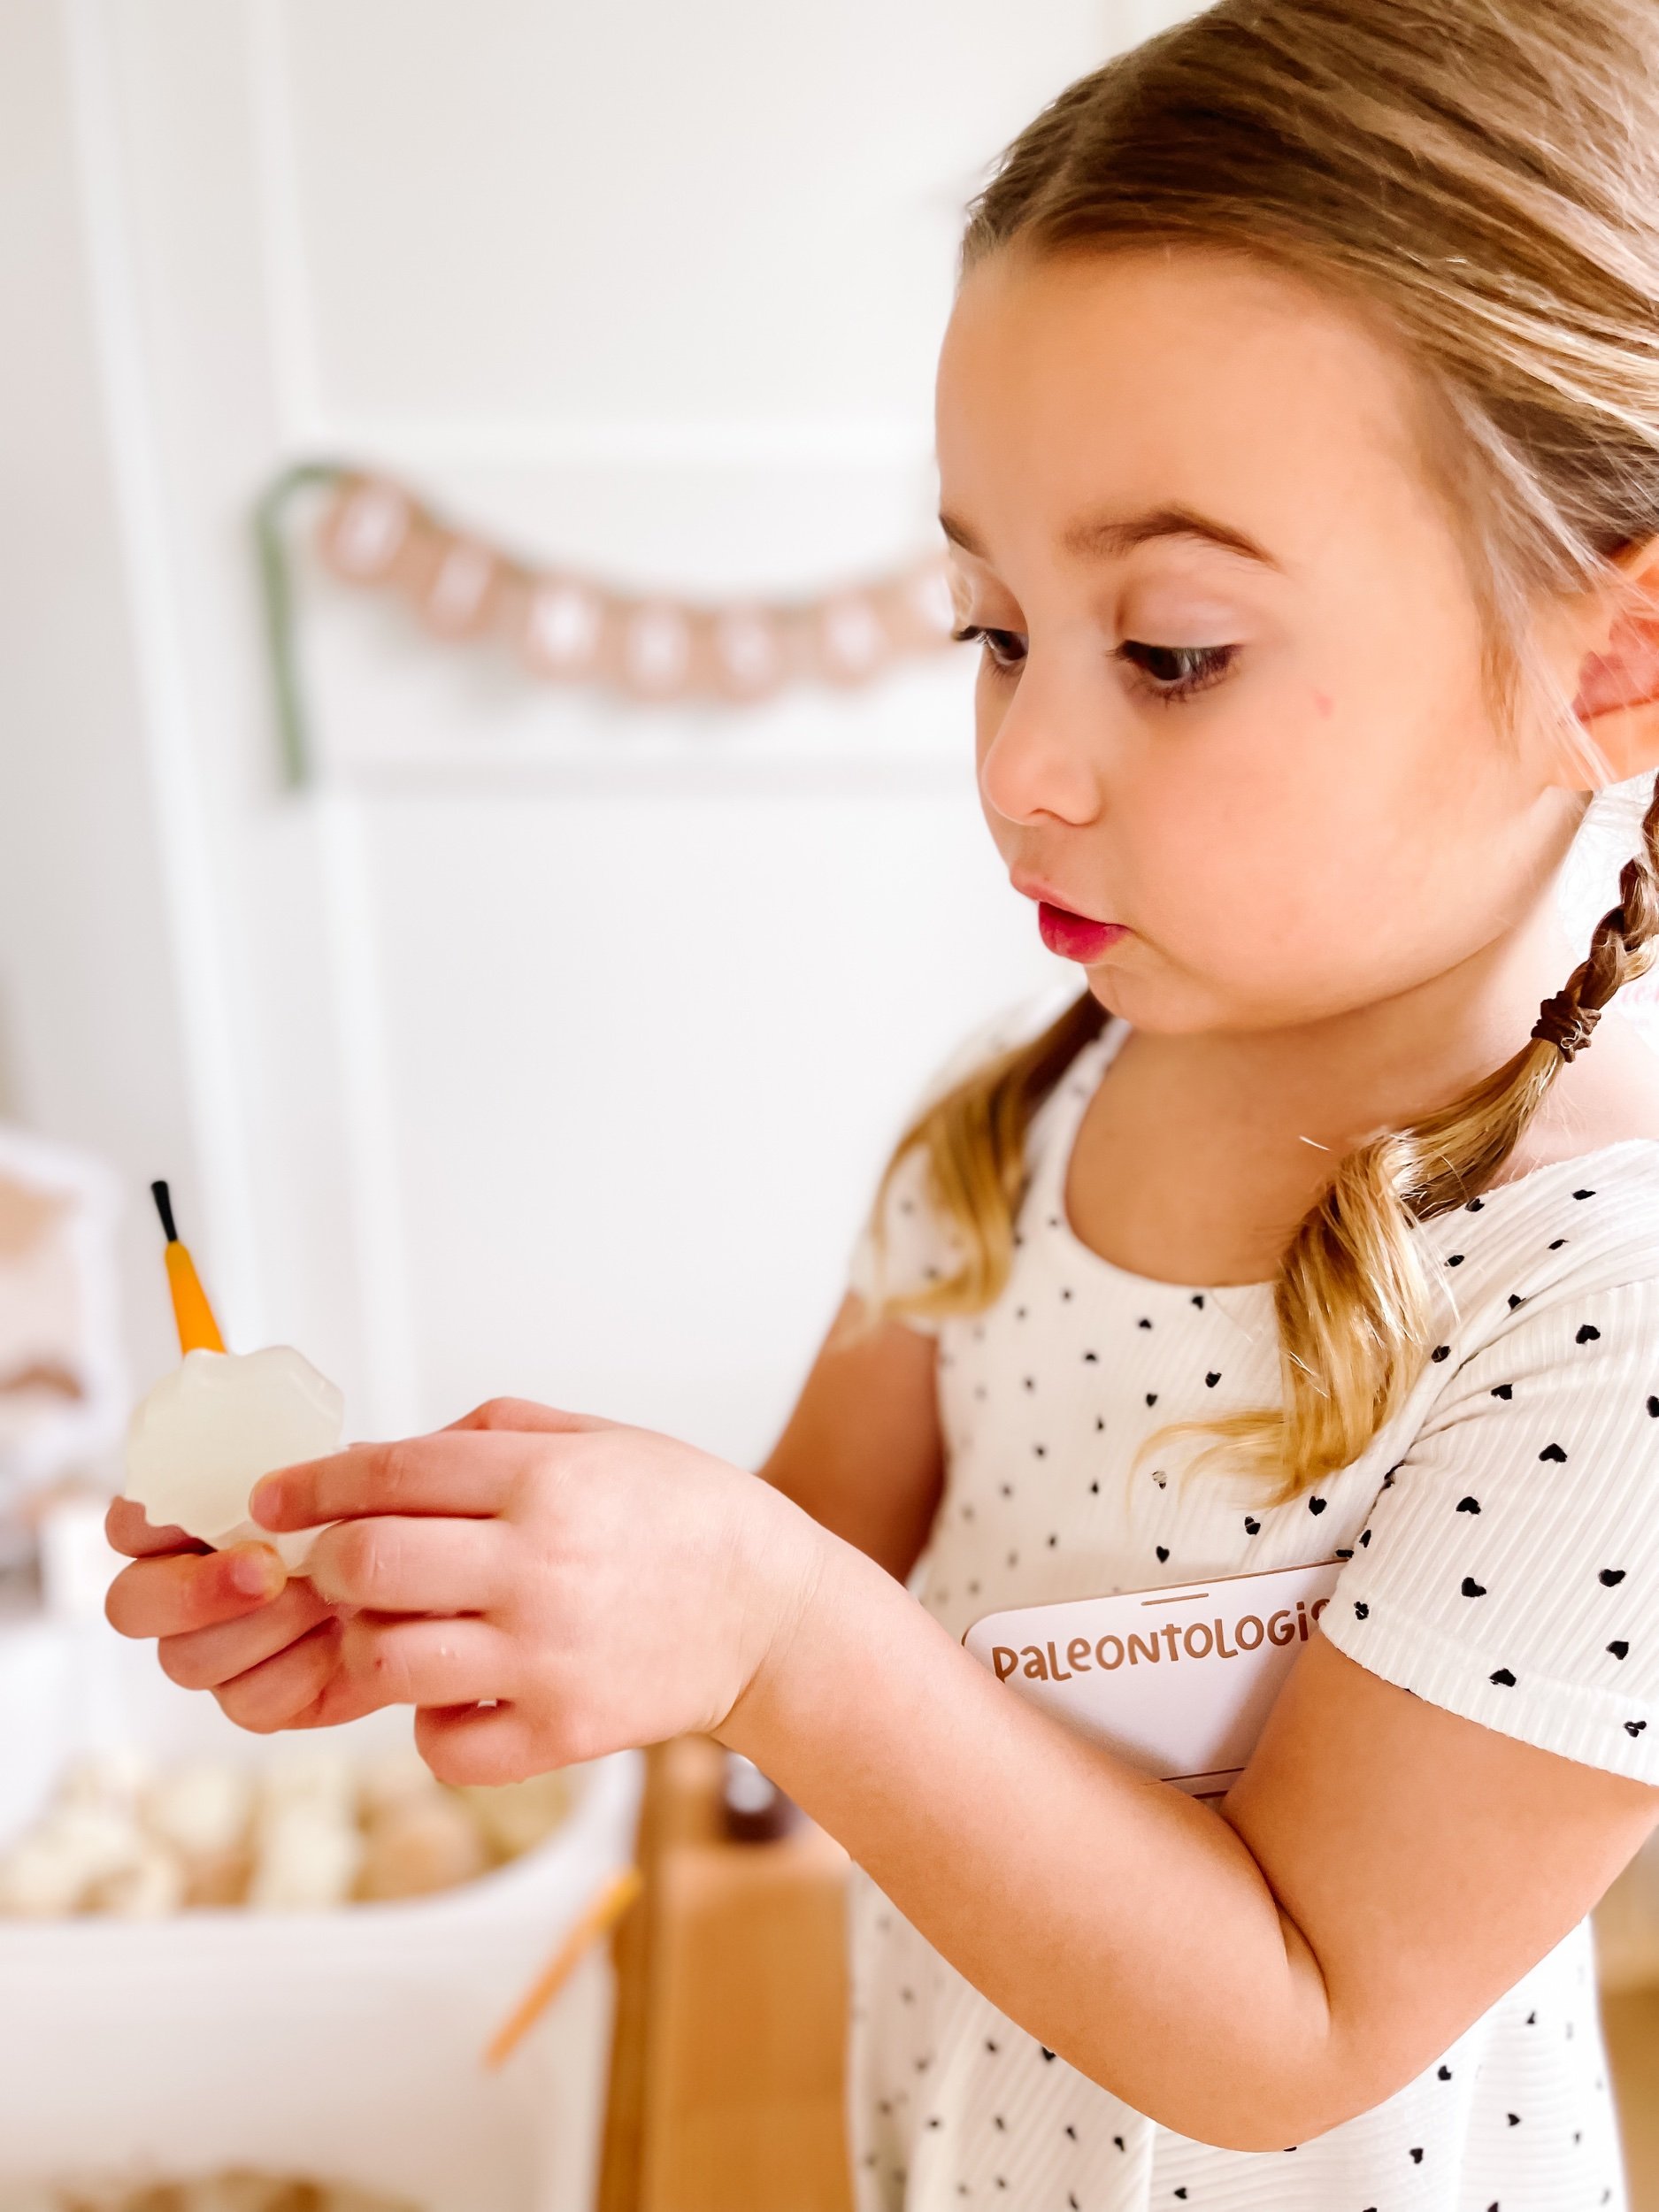
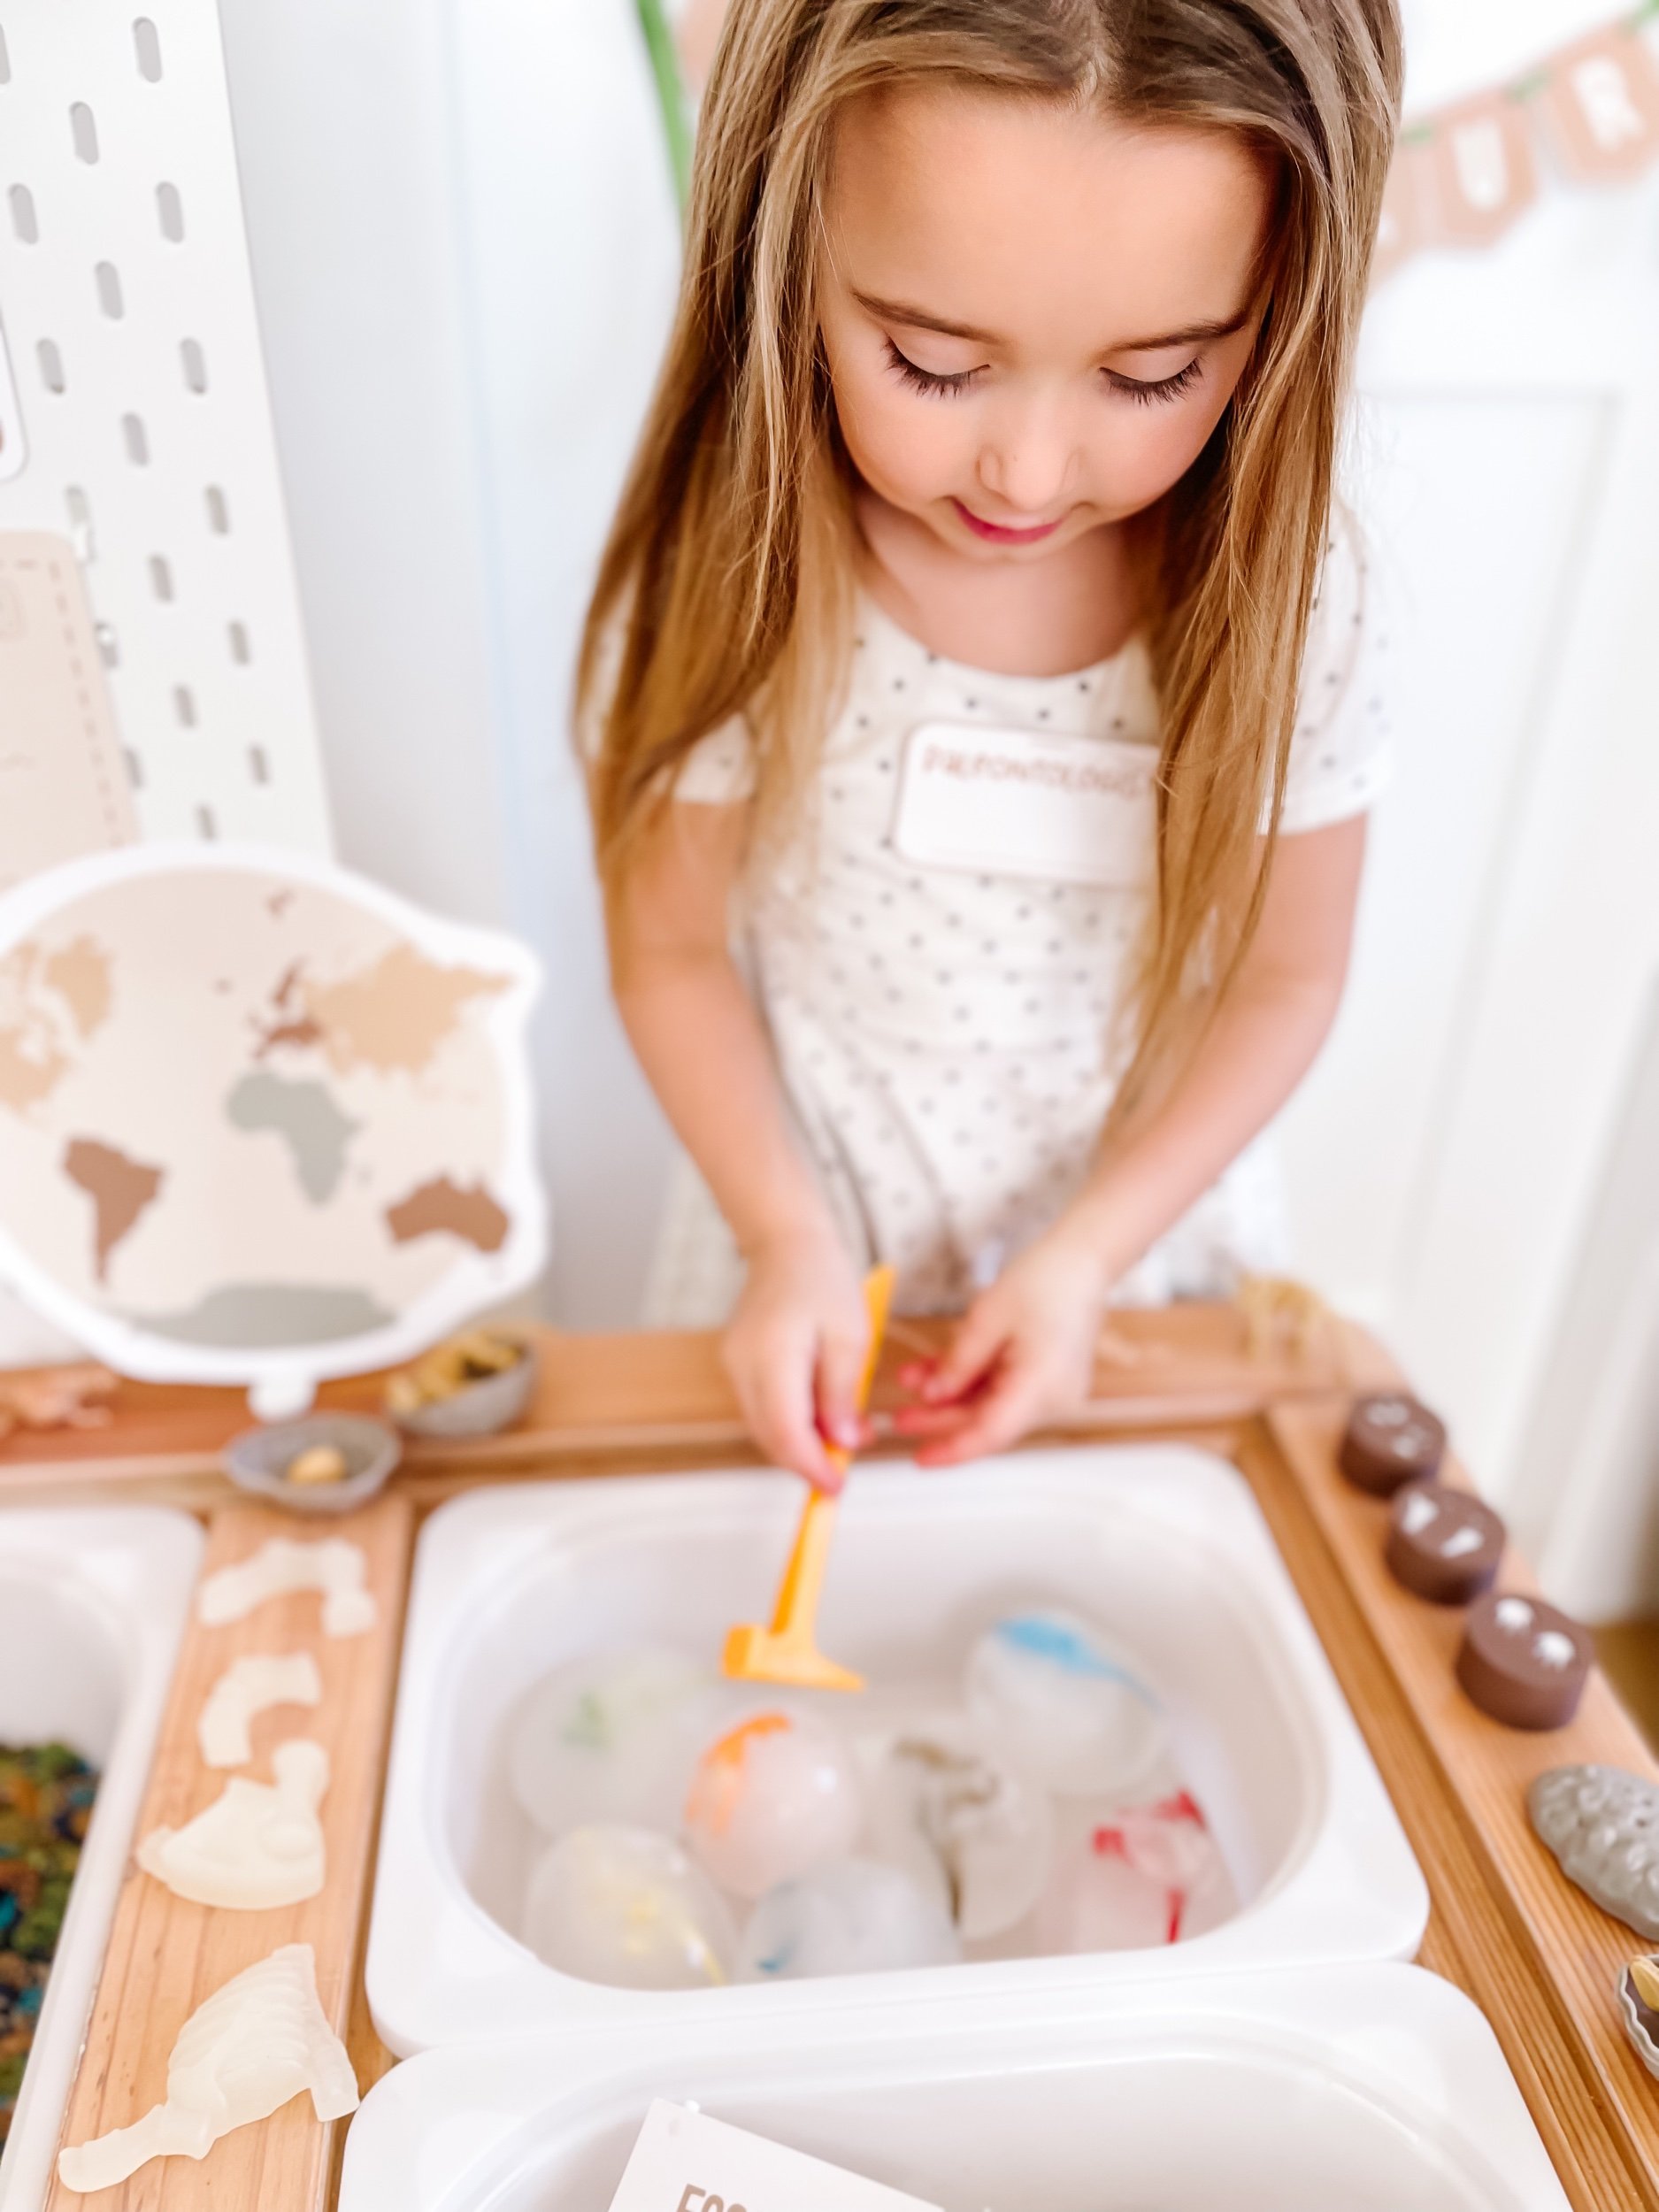
8. Paleontologist Name Tag and ID: A special paleontologist name tag and identification card, making your child an official member of the dinosaur excavation team. This encourages role-playing and boosts their confidence and creativity.

Download & Print

Three Sensory Bins to Pair with the Play Kit

To enhance the sensory experience, we recommend pairing the play kit with three sensory bins that will transport your little paleontologist into a world of sensory exploration. Let's dive into the details:

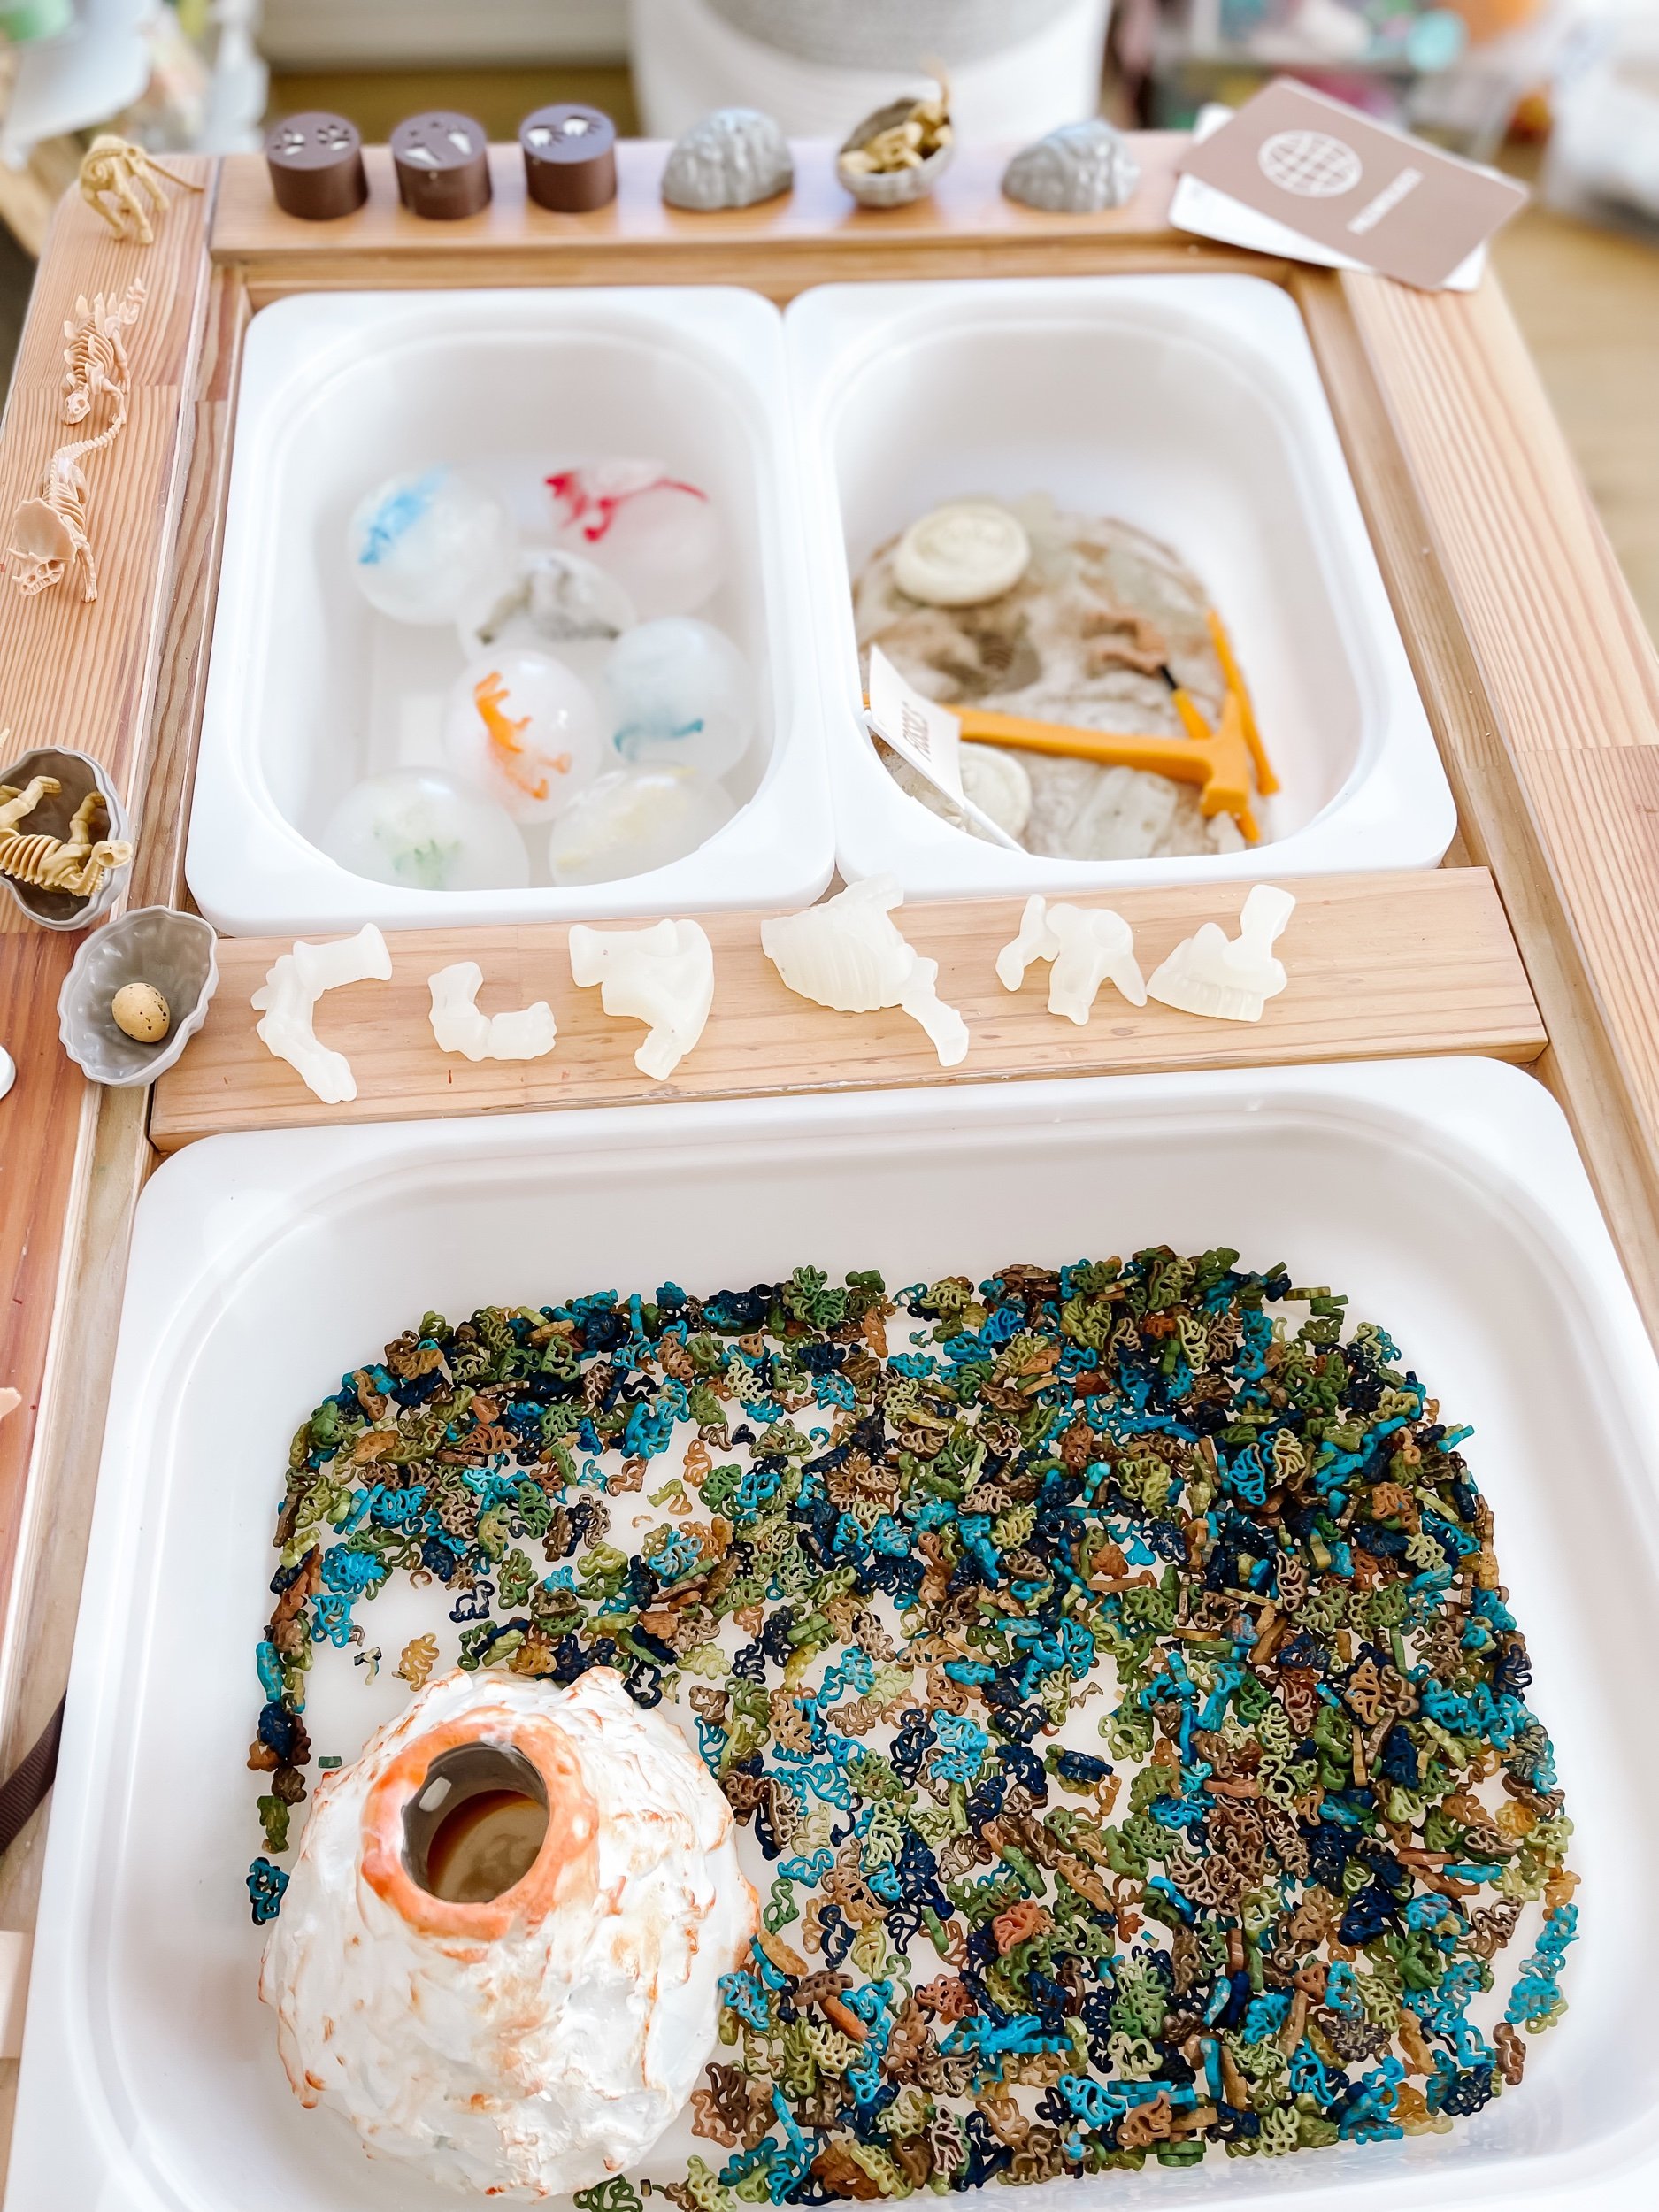
  1. Salt dough fossils

  2. Small world volcano

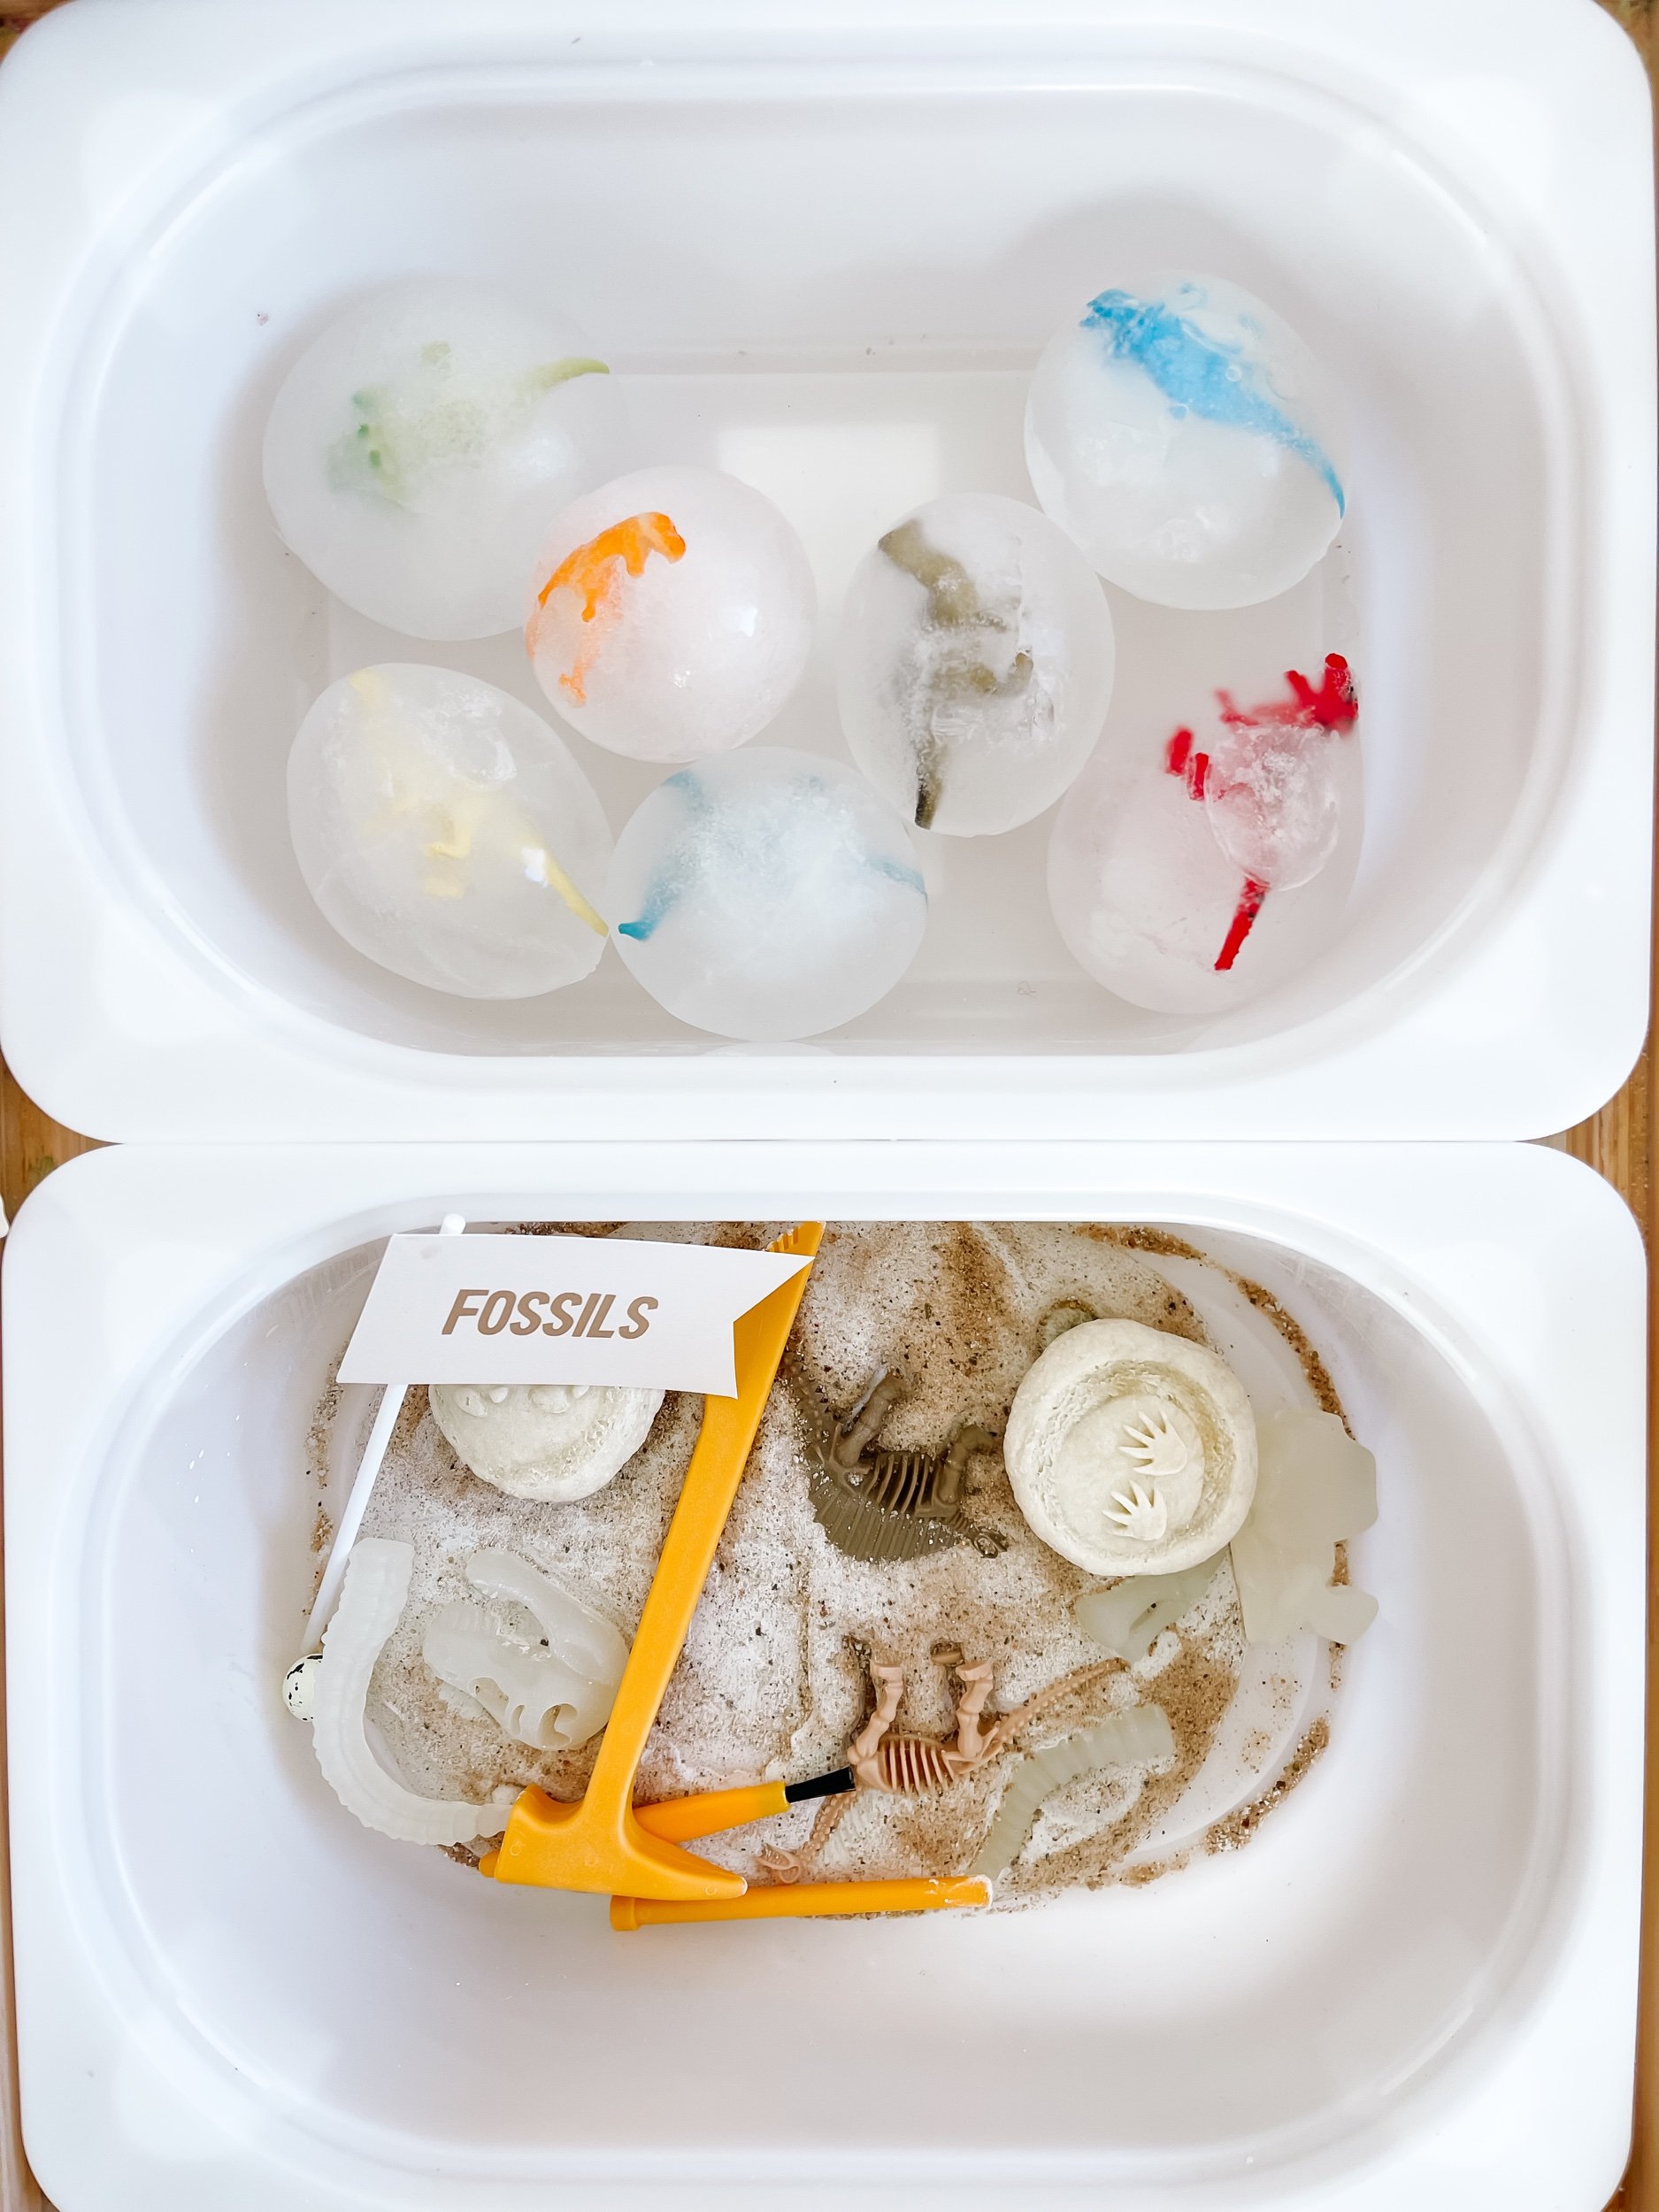
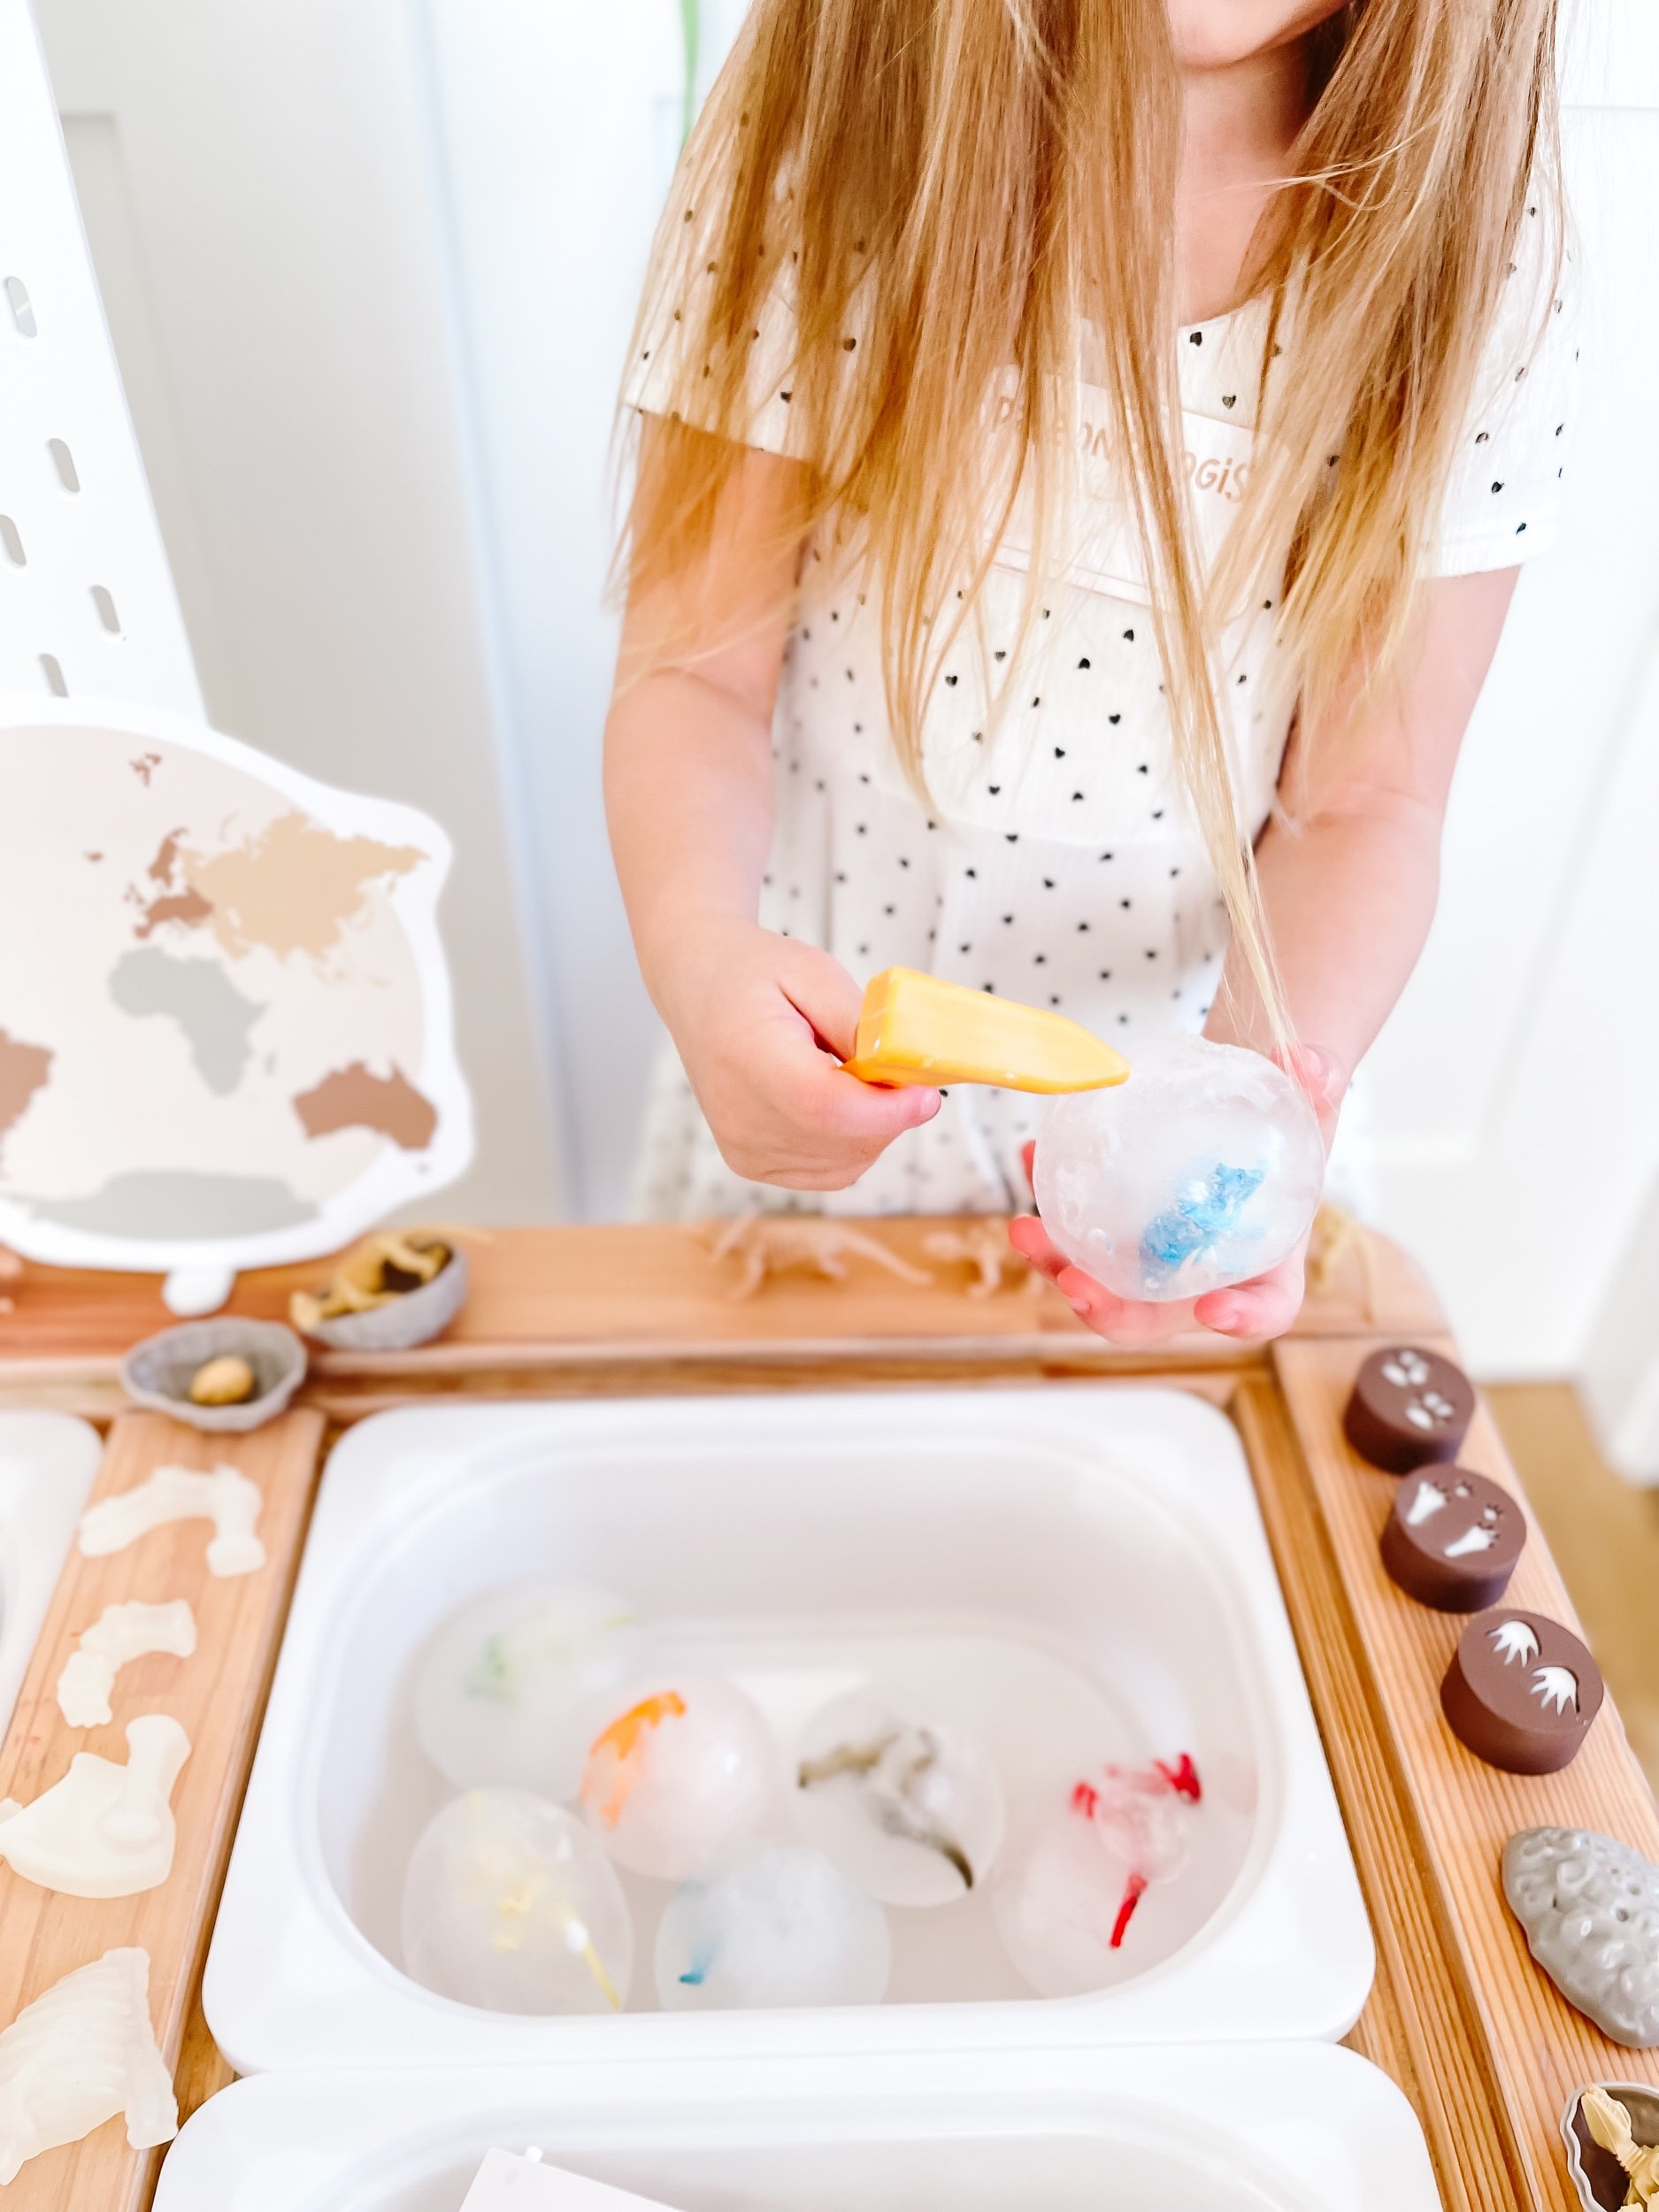
  3. Dinosaur ice eggs

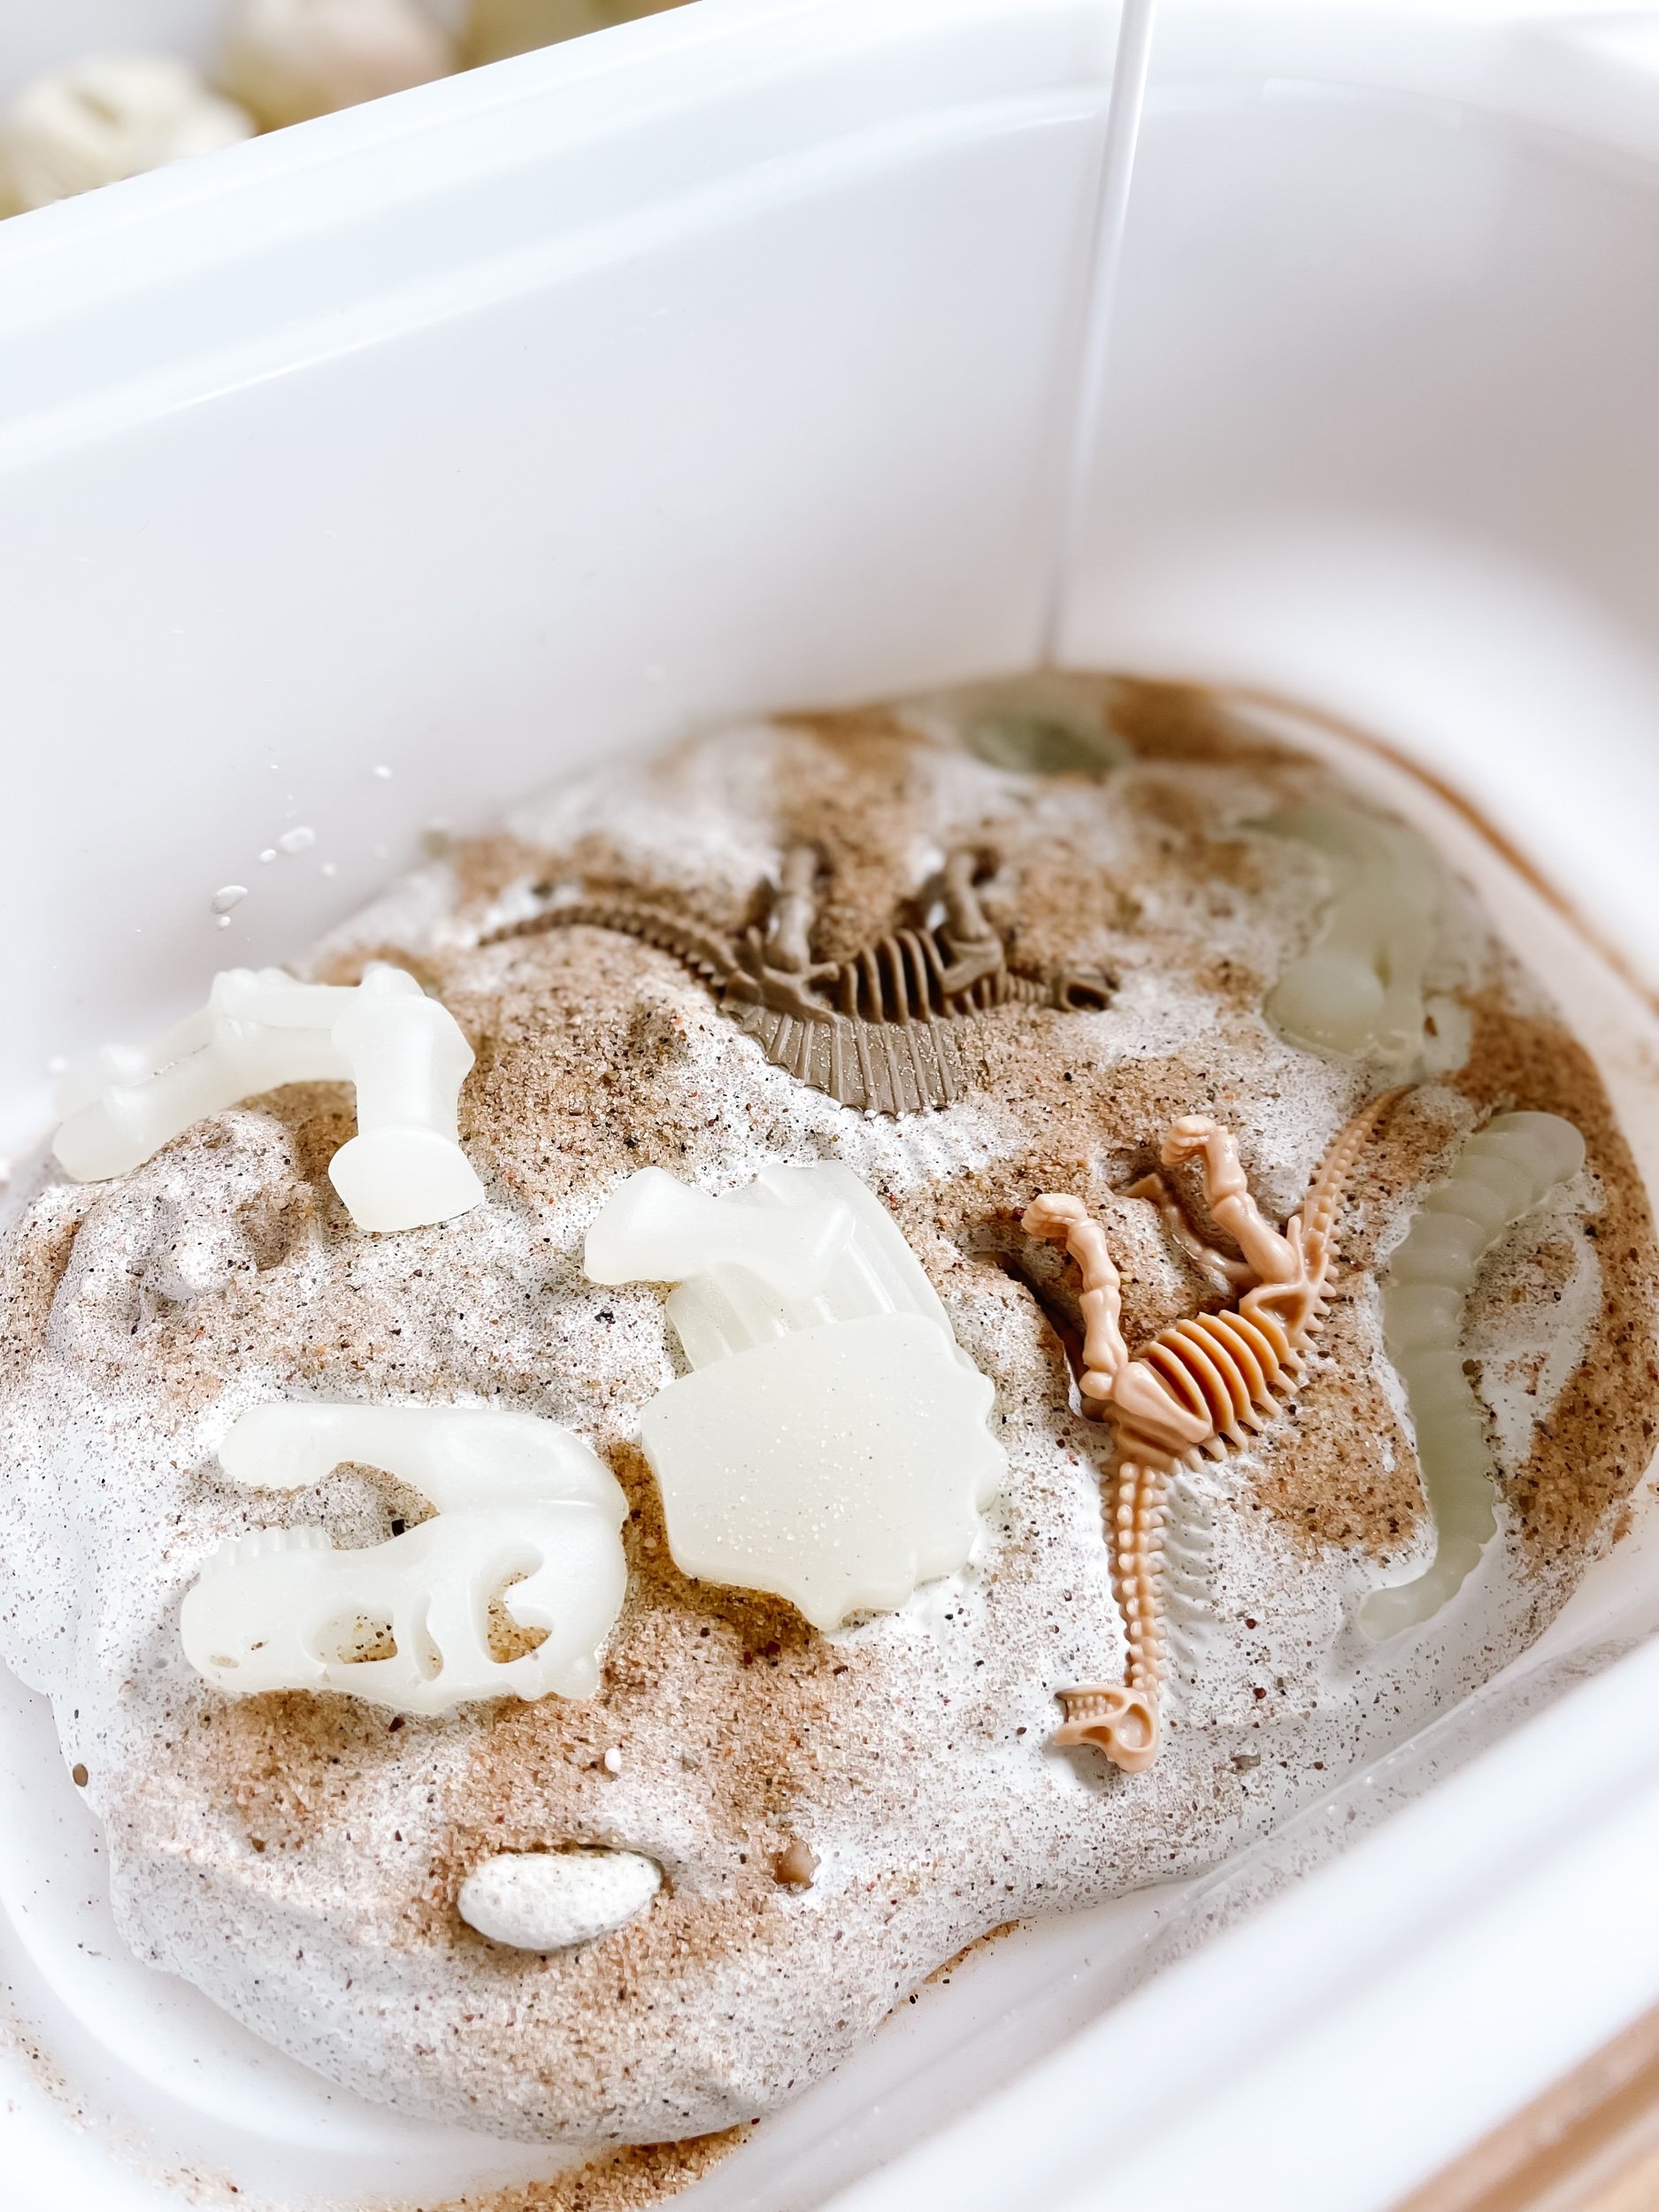
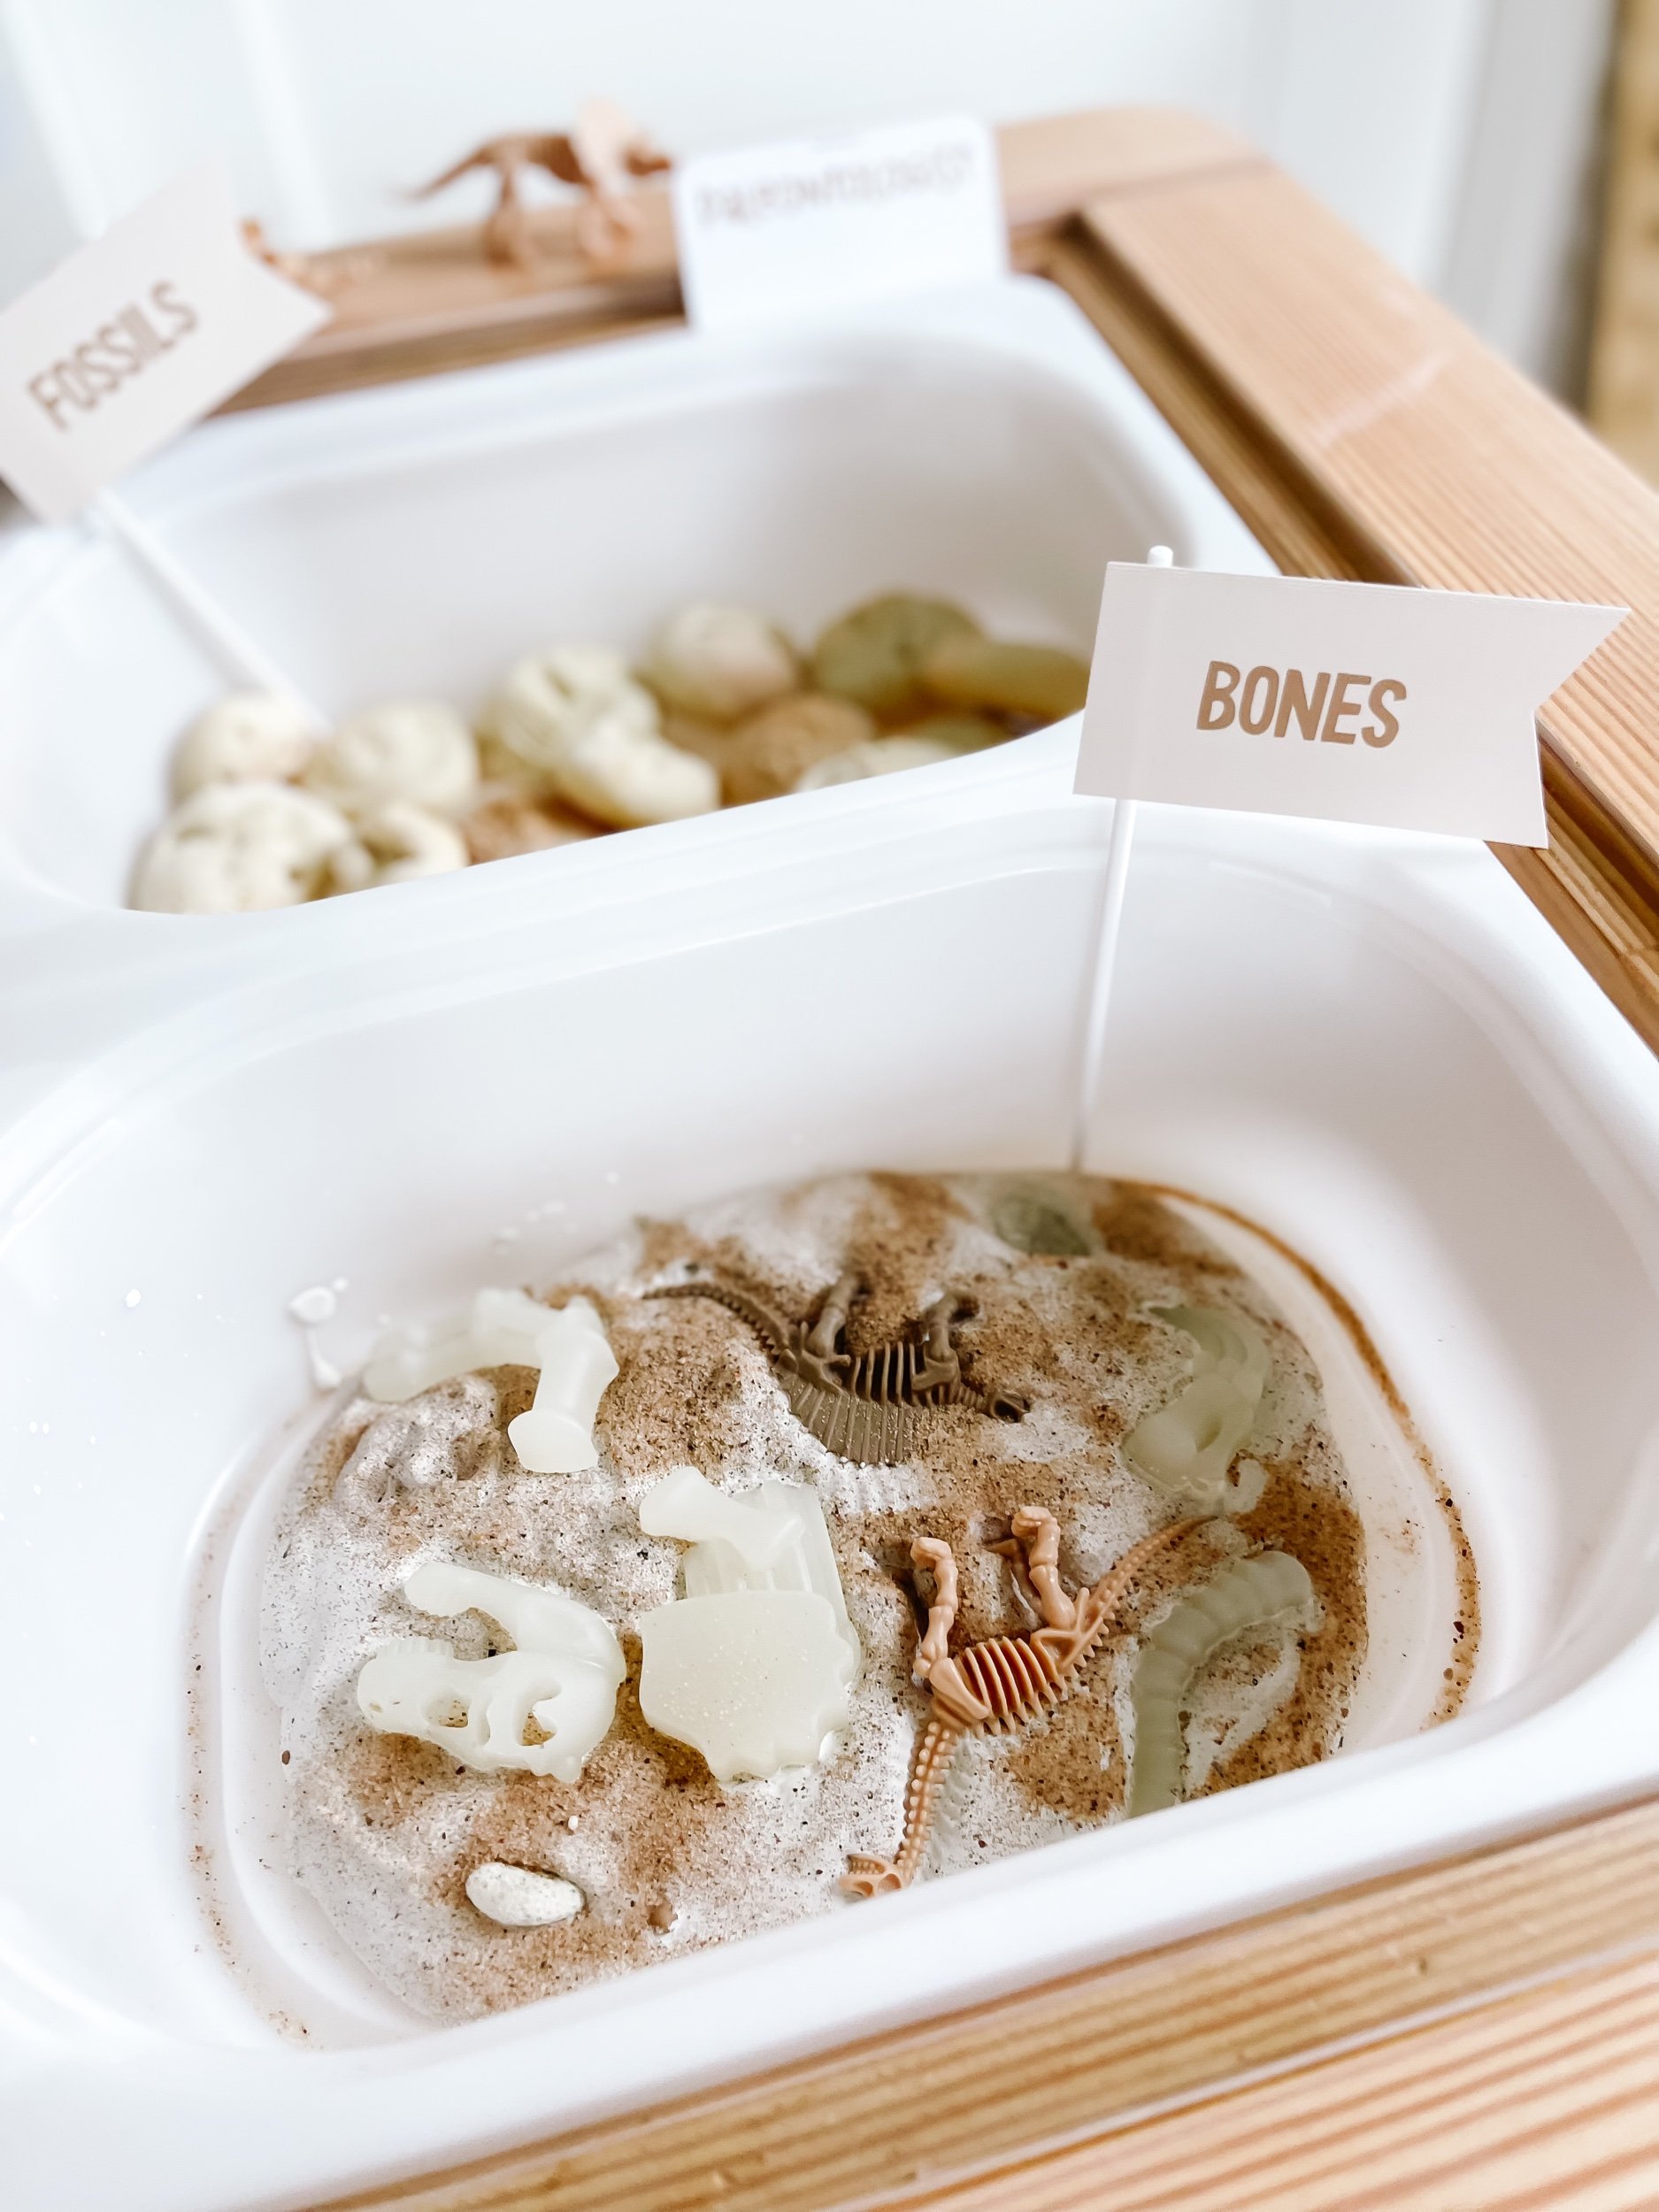
  4. Plaster excavation


IMG_6041.jpeg IMG_5899_jpg.jpeg IMG_6052_jpg.jpeg IMG_6040.jpeg IMG_6013_jpg.jpeg IMG_6021_jpg.jpeg IMG_5993_jpg.jpeg IMG_5898_jpg.jpeg

1. Salt Dough Fossils with Dinosaur Footprints & Bugs

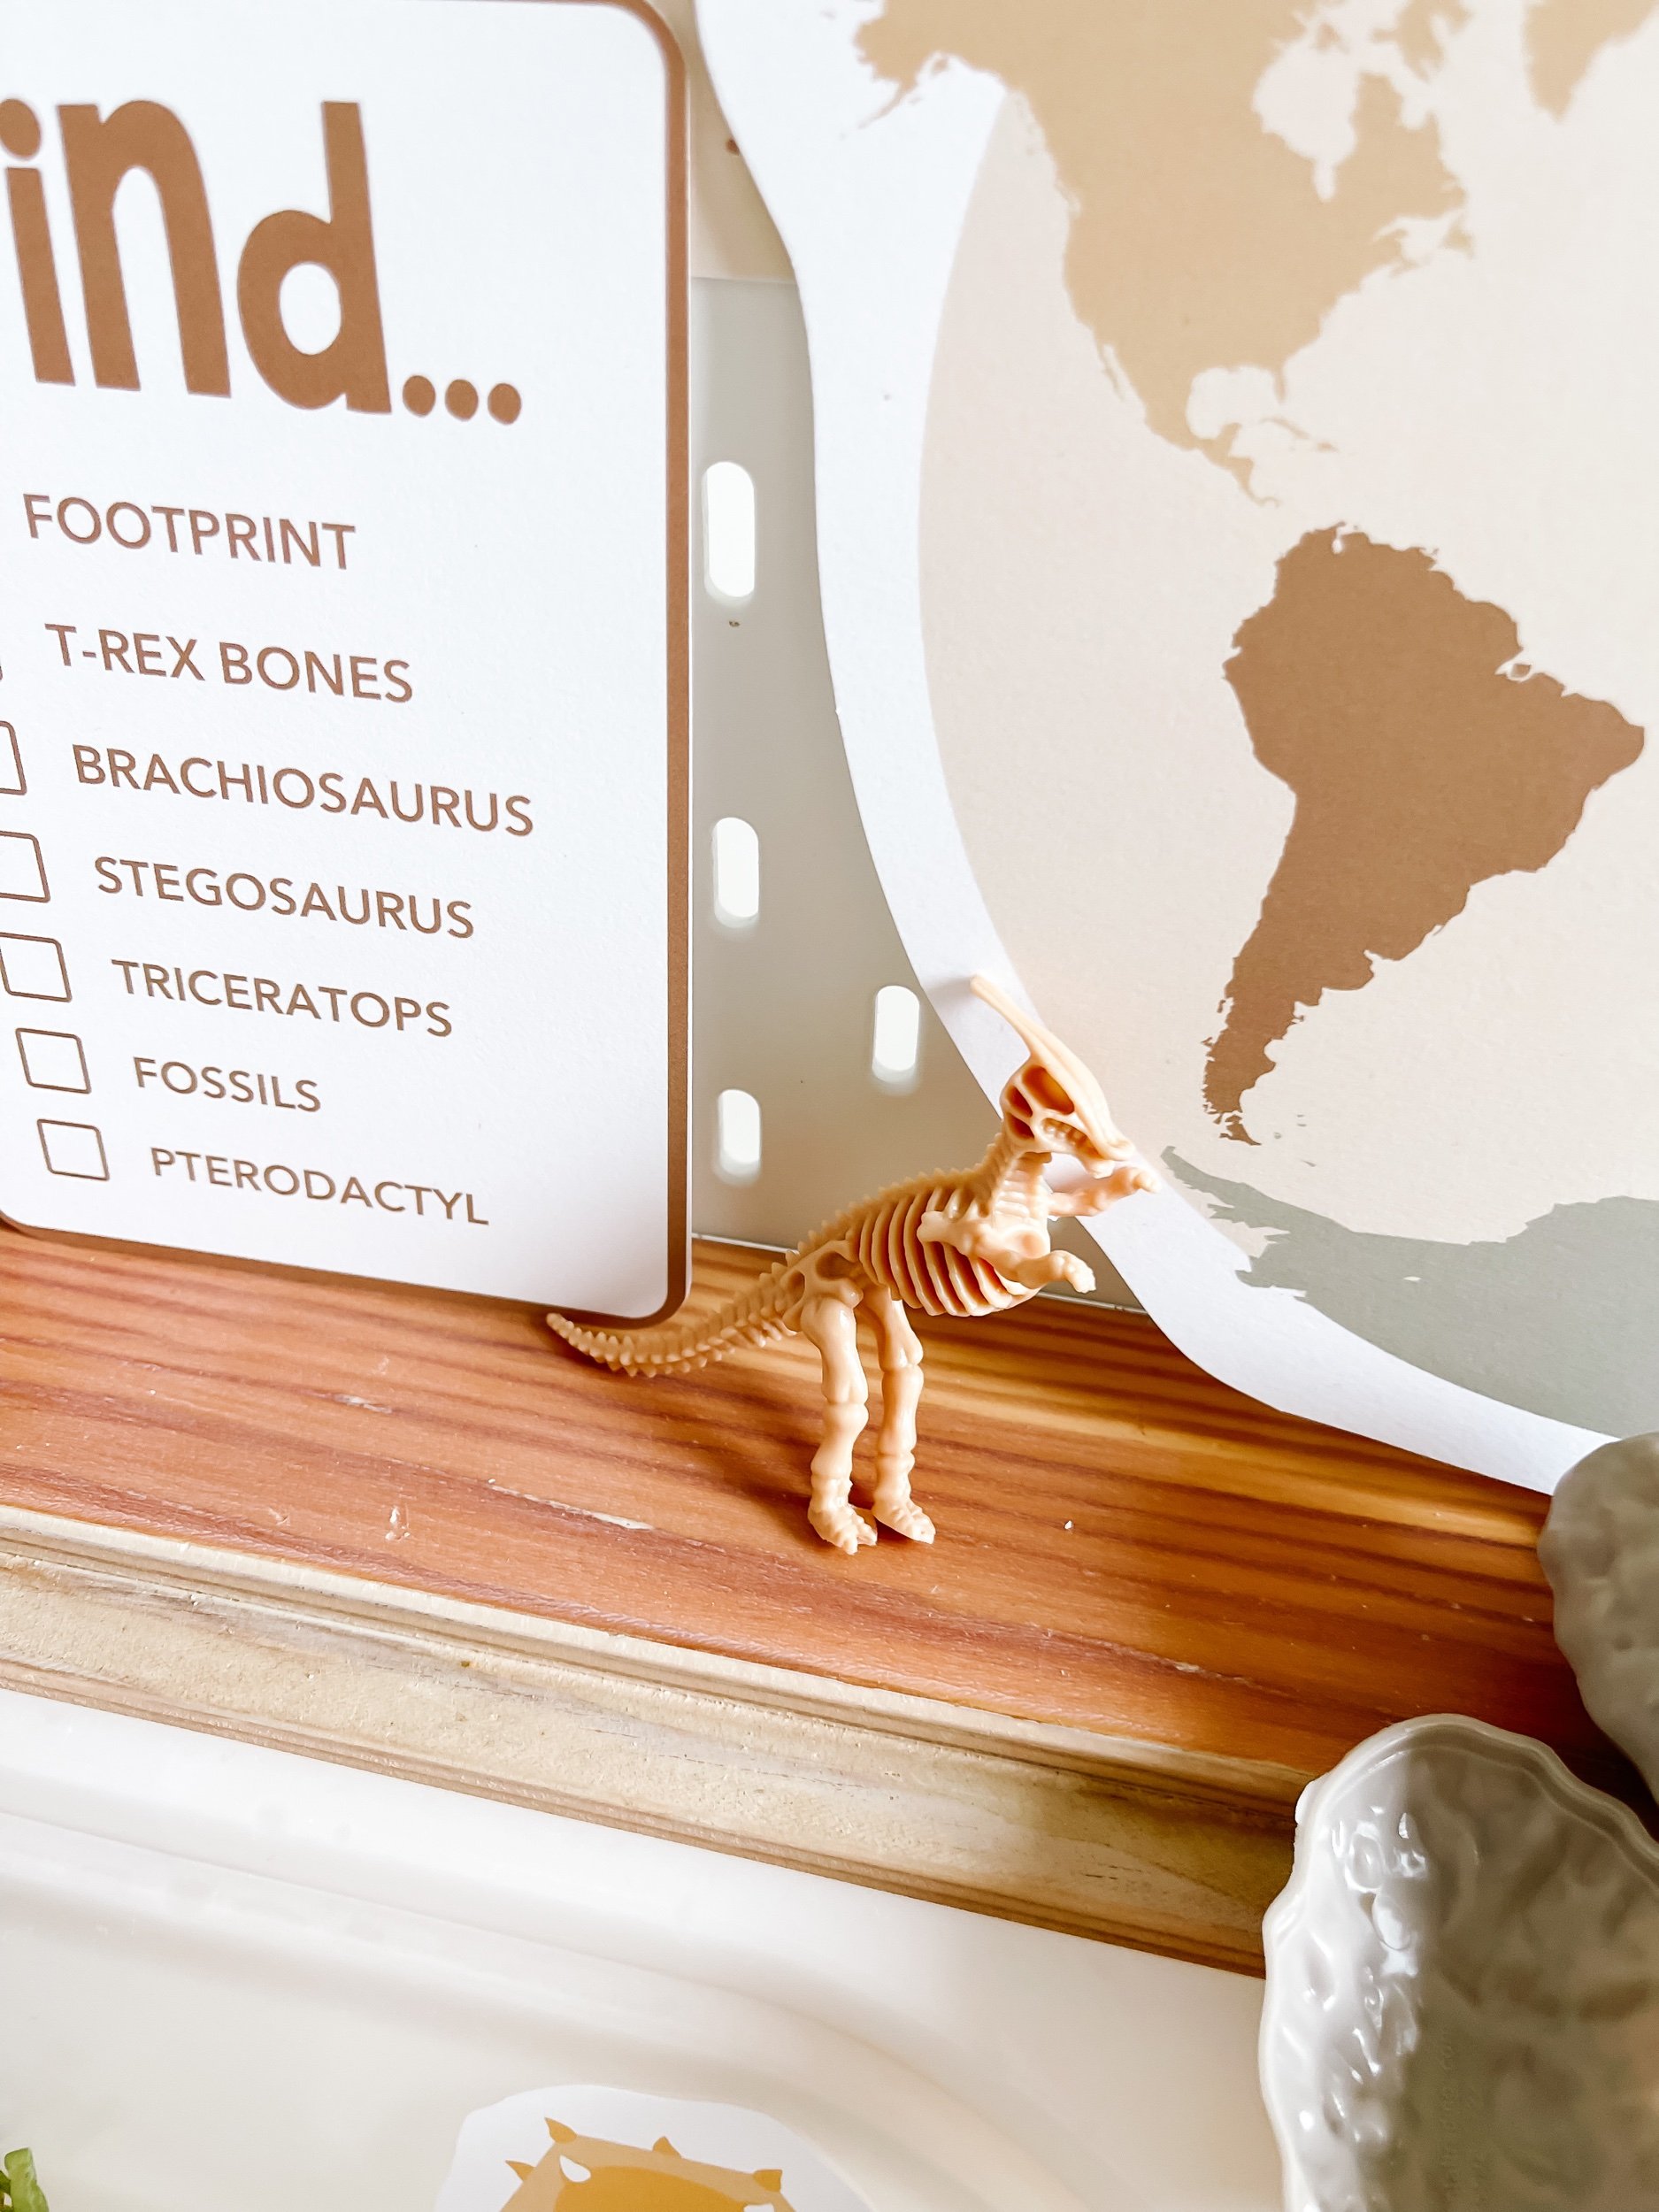
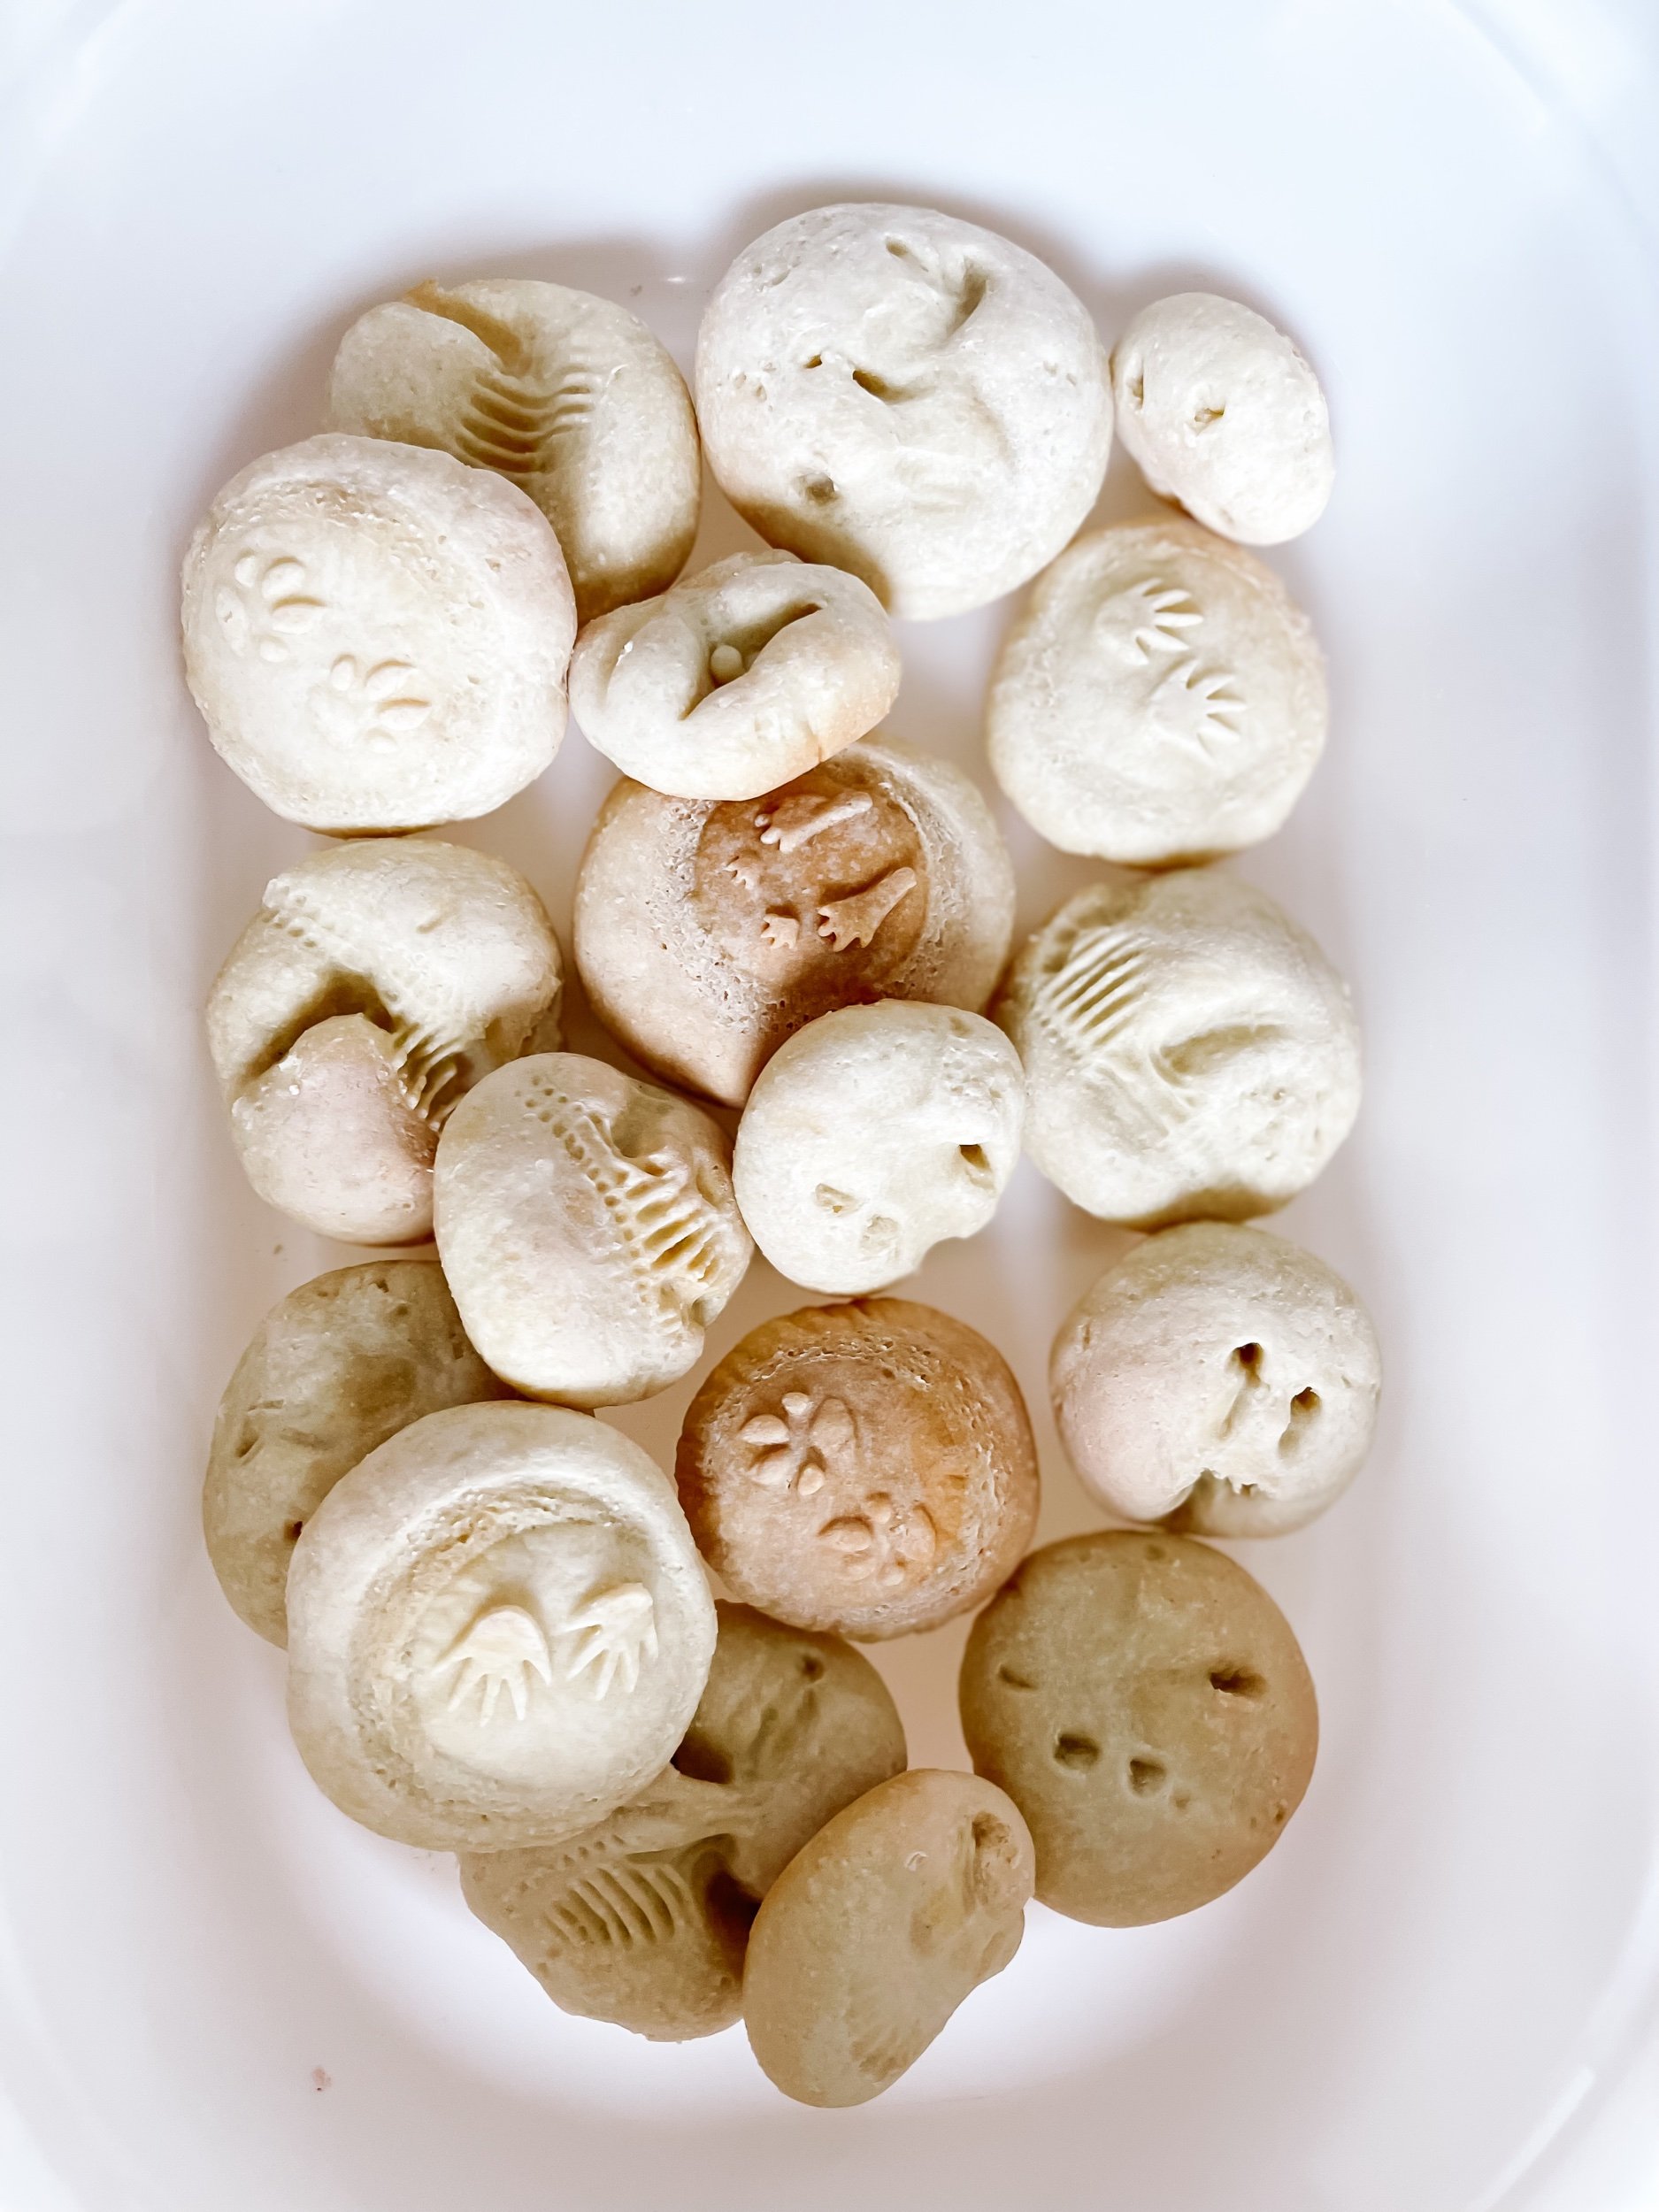
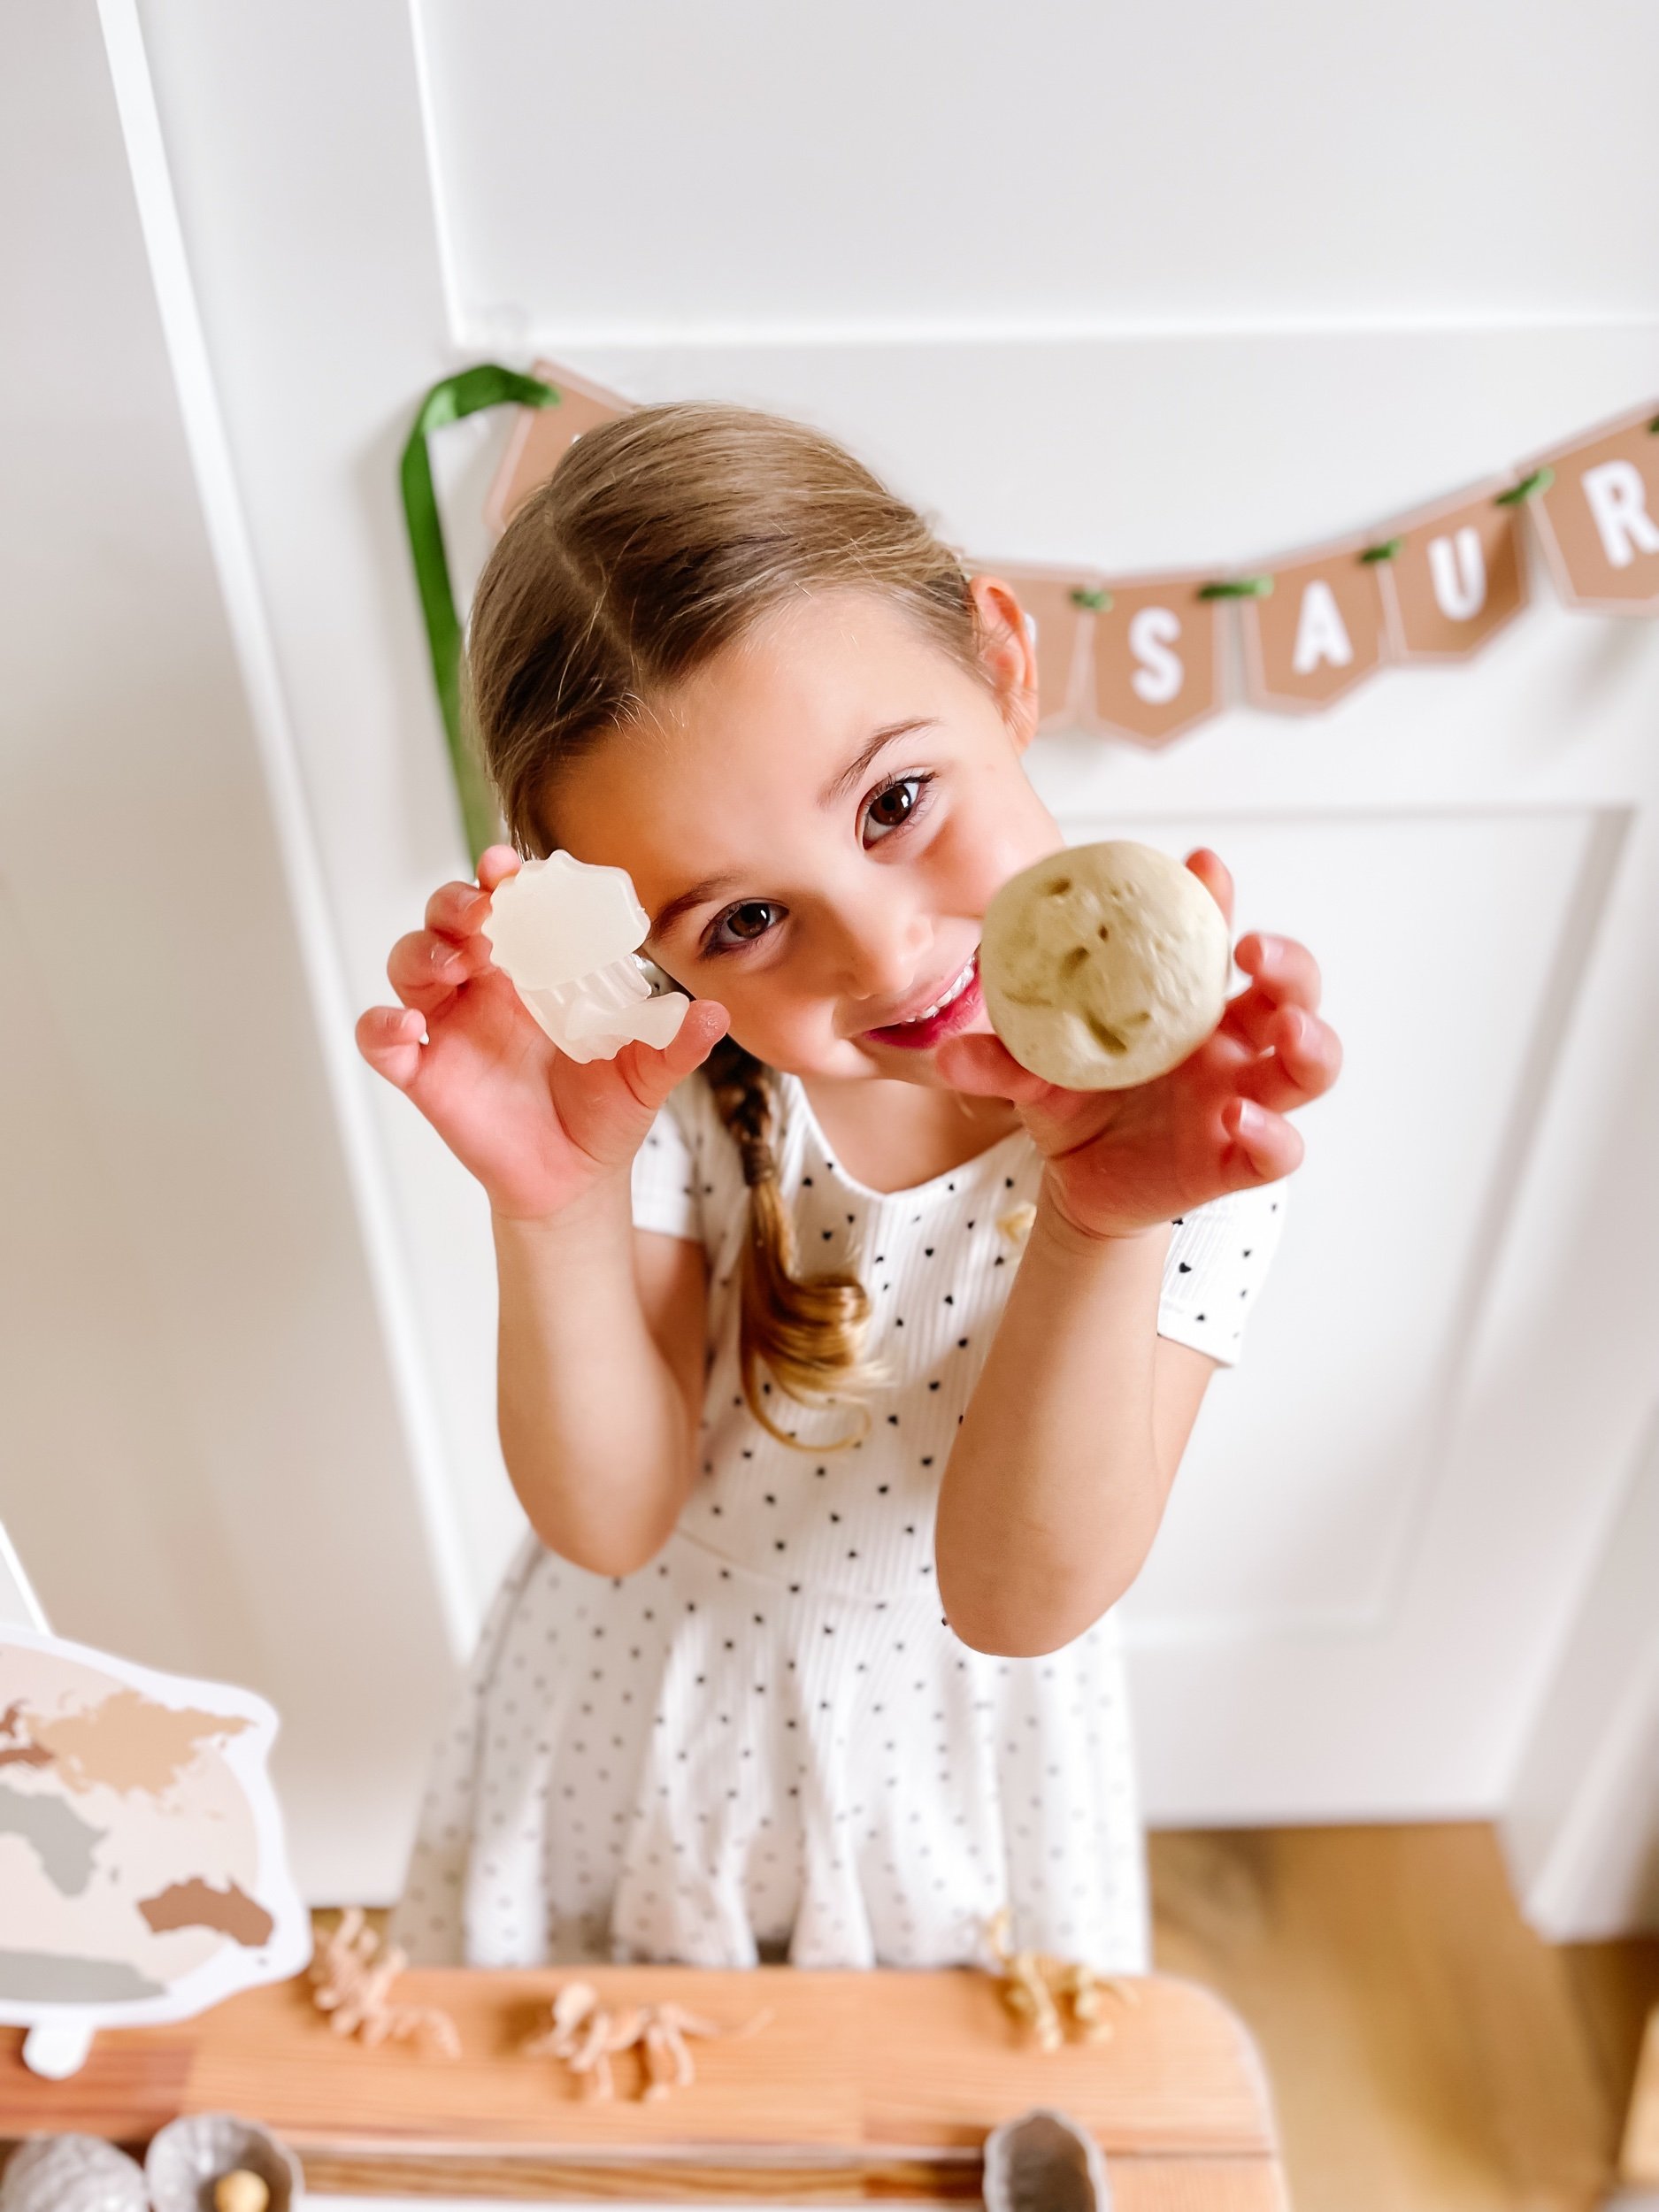
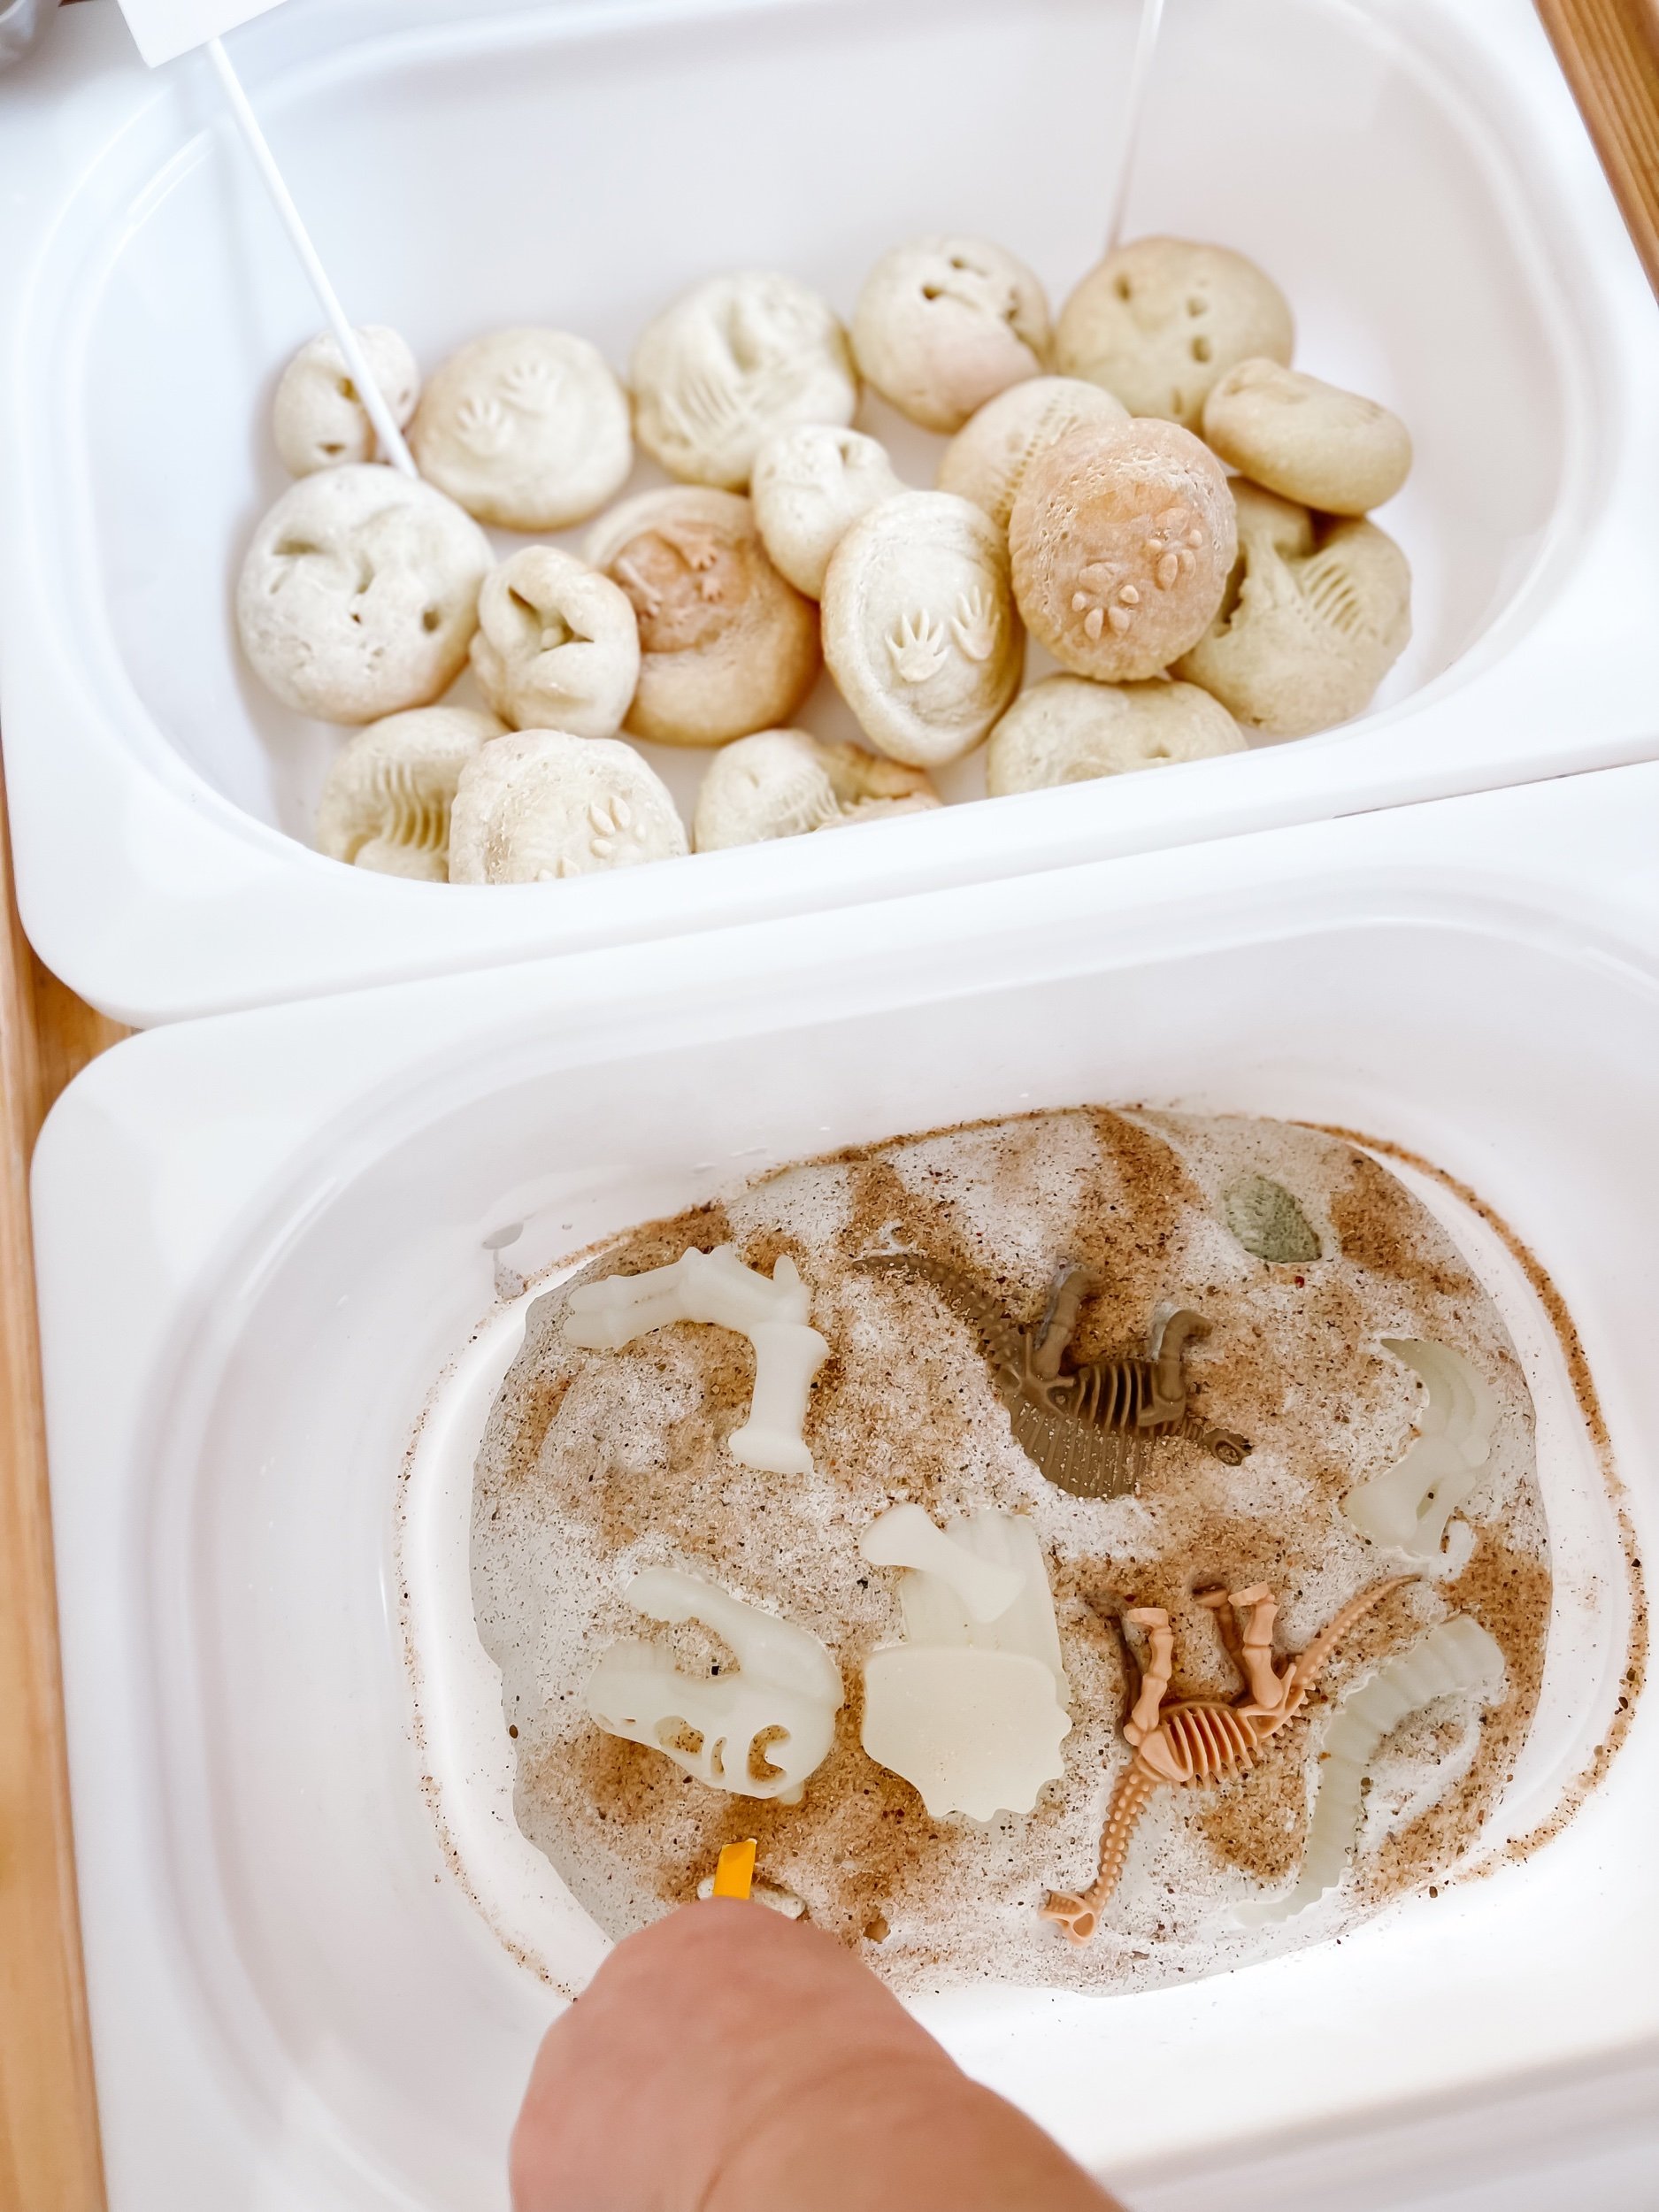
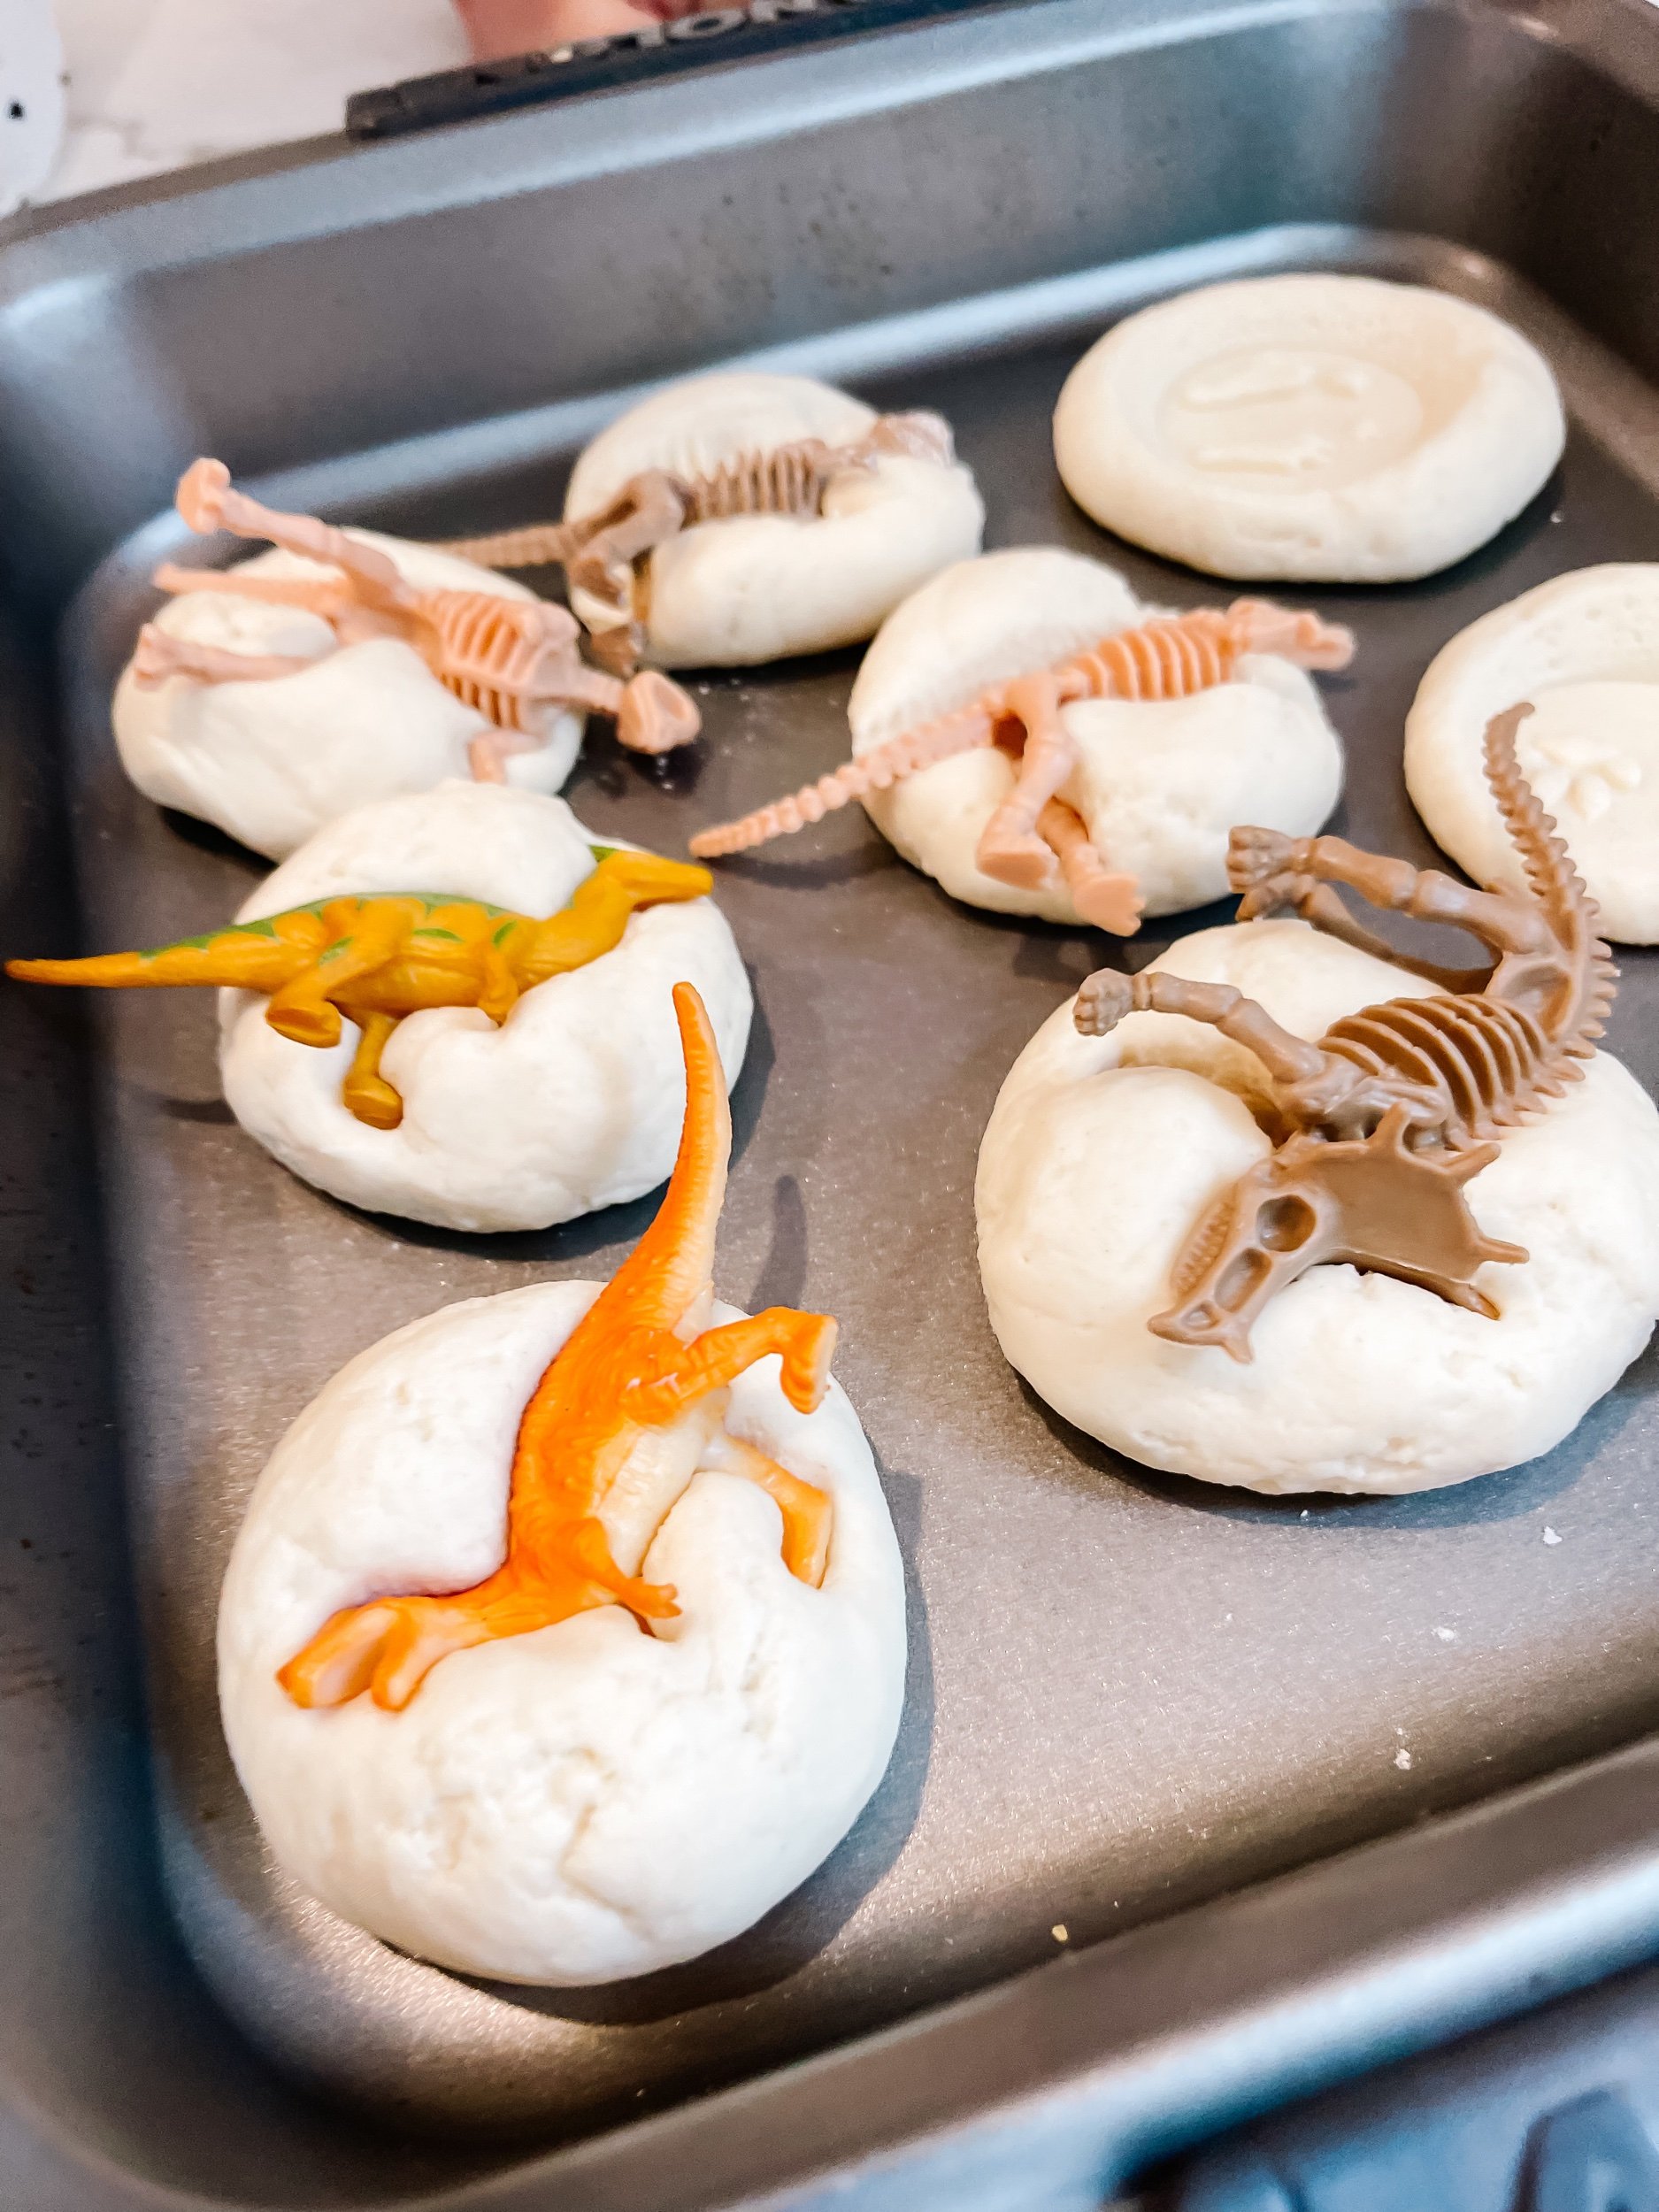
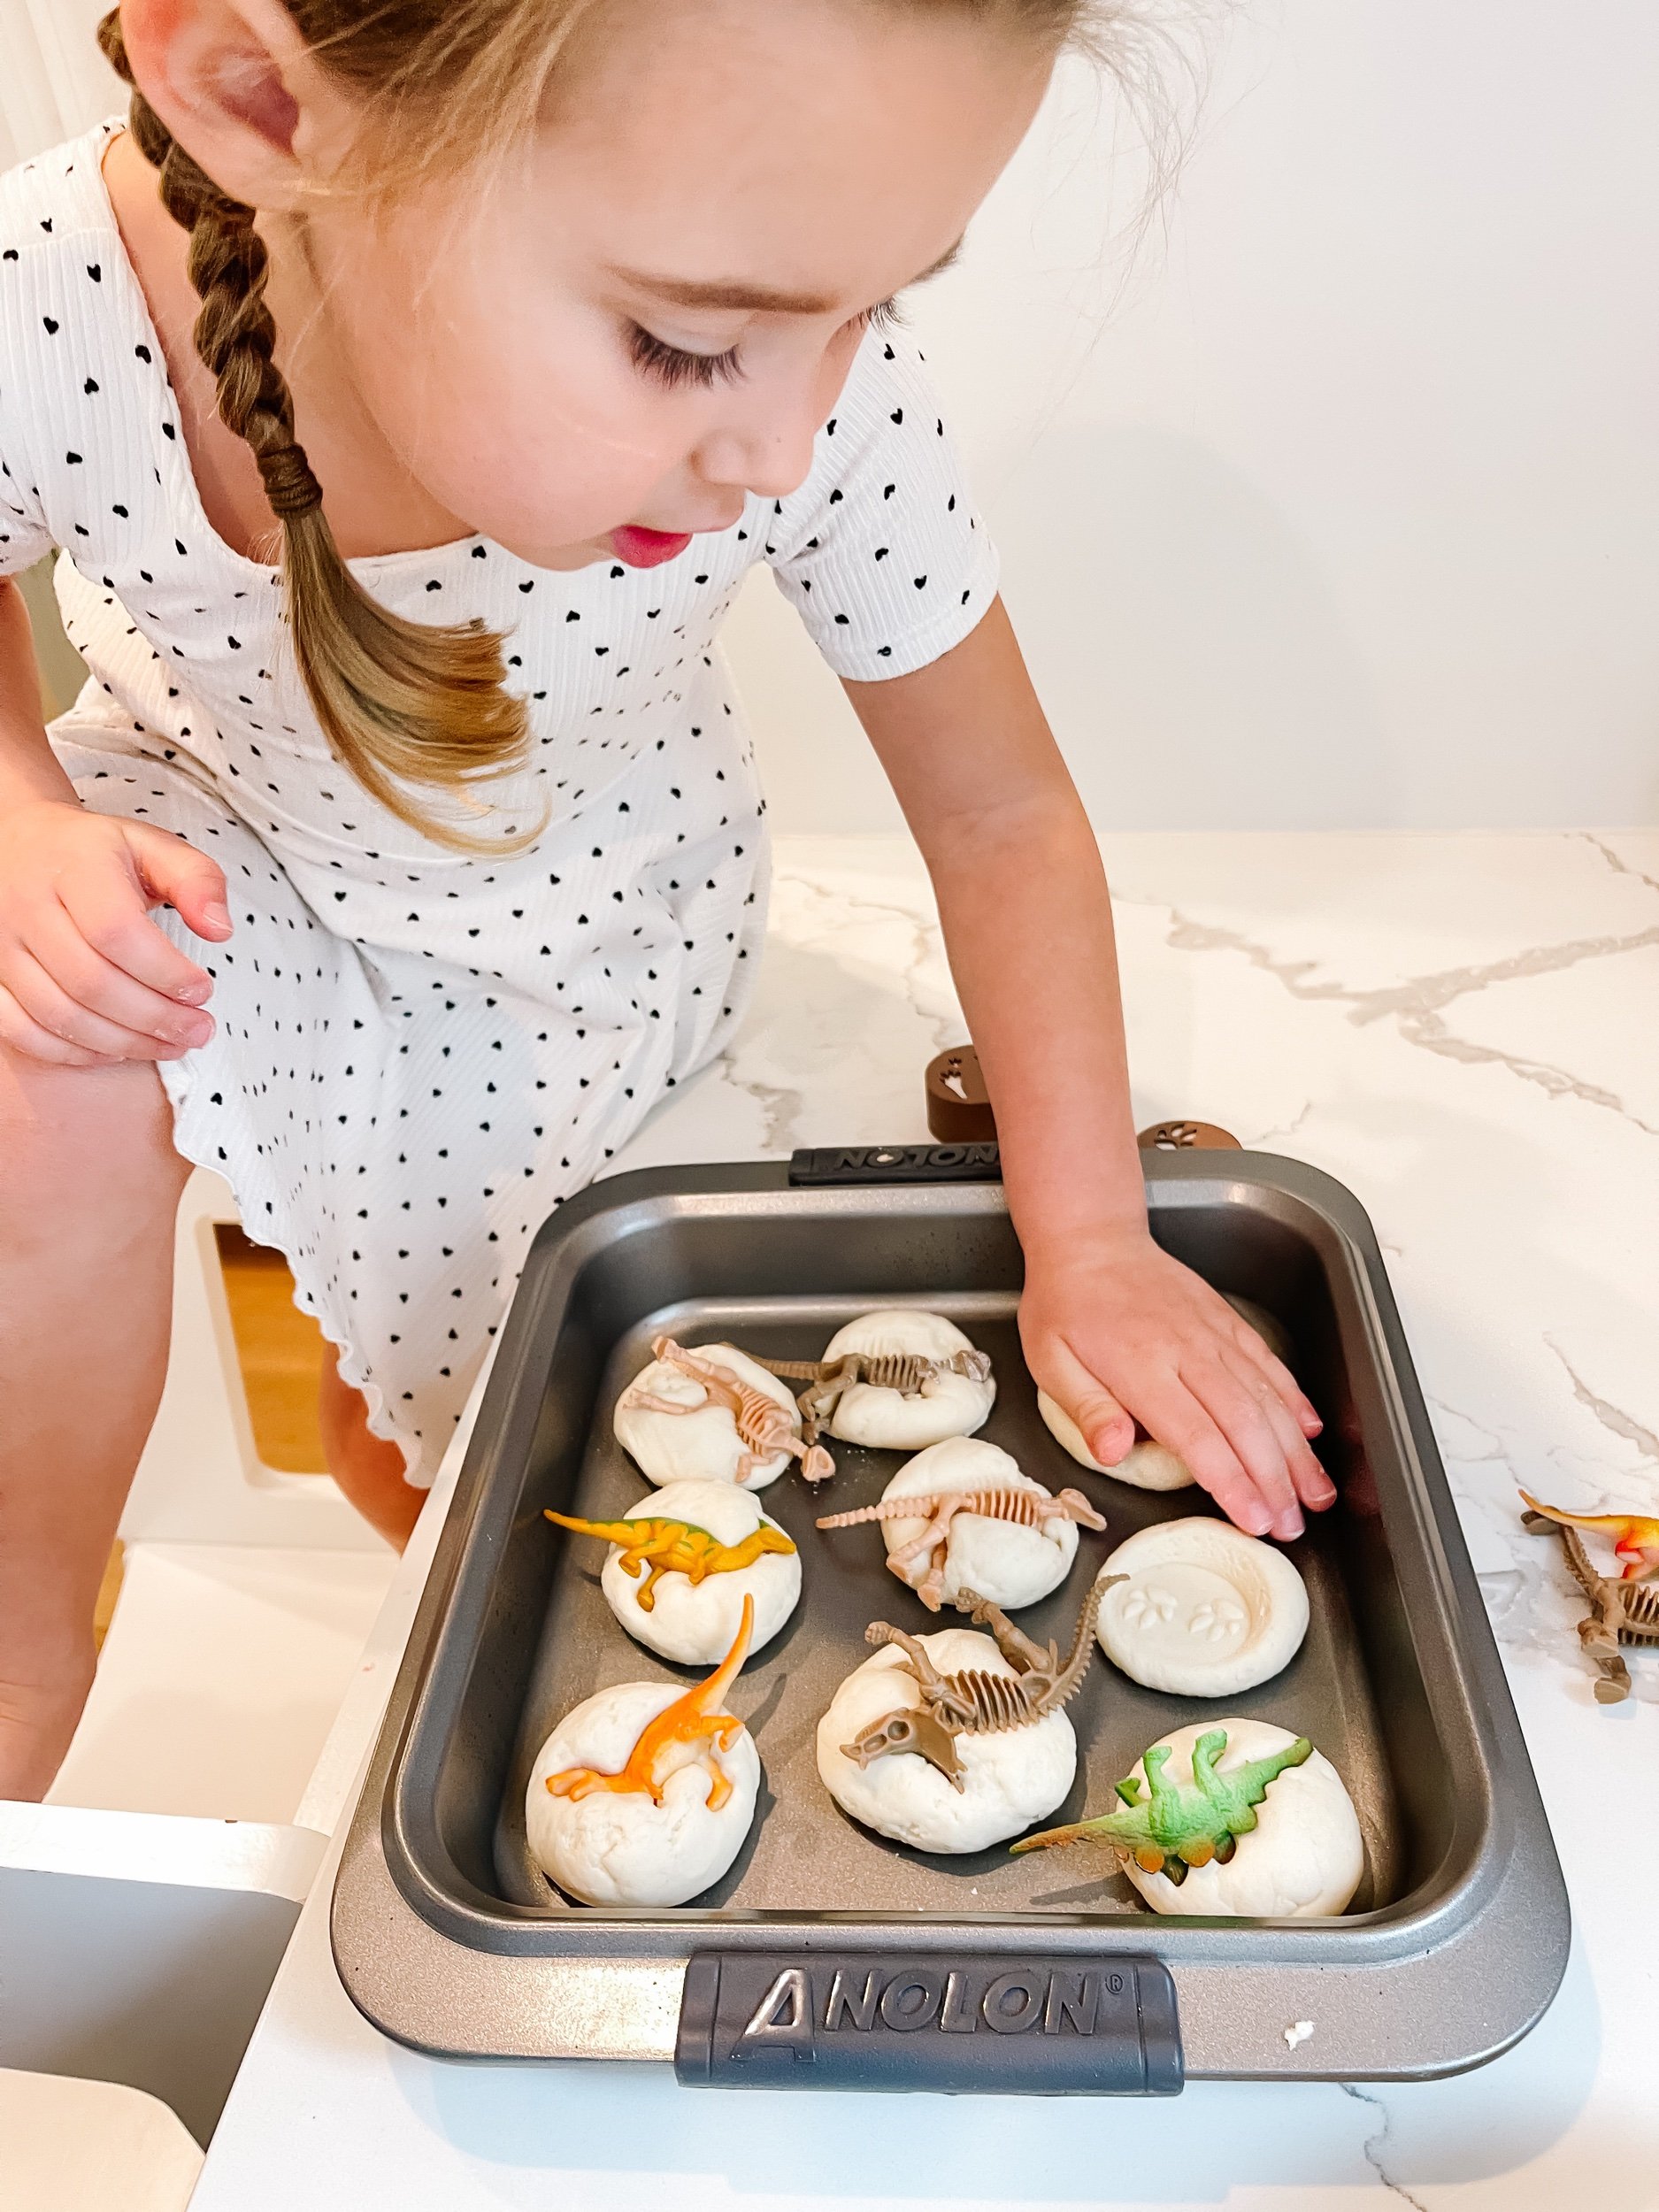
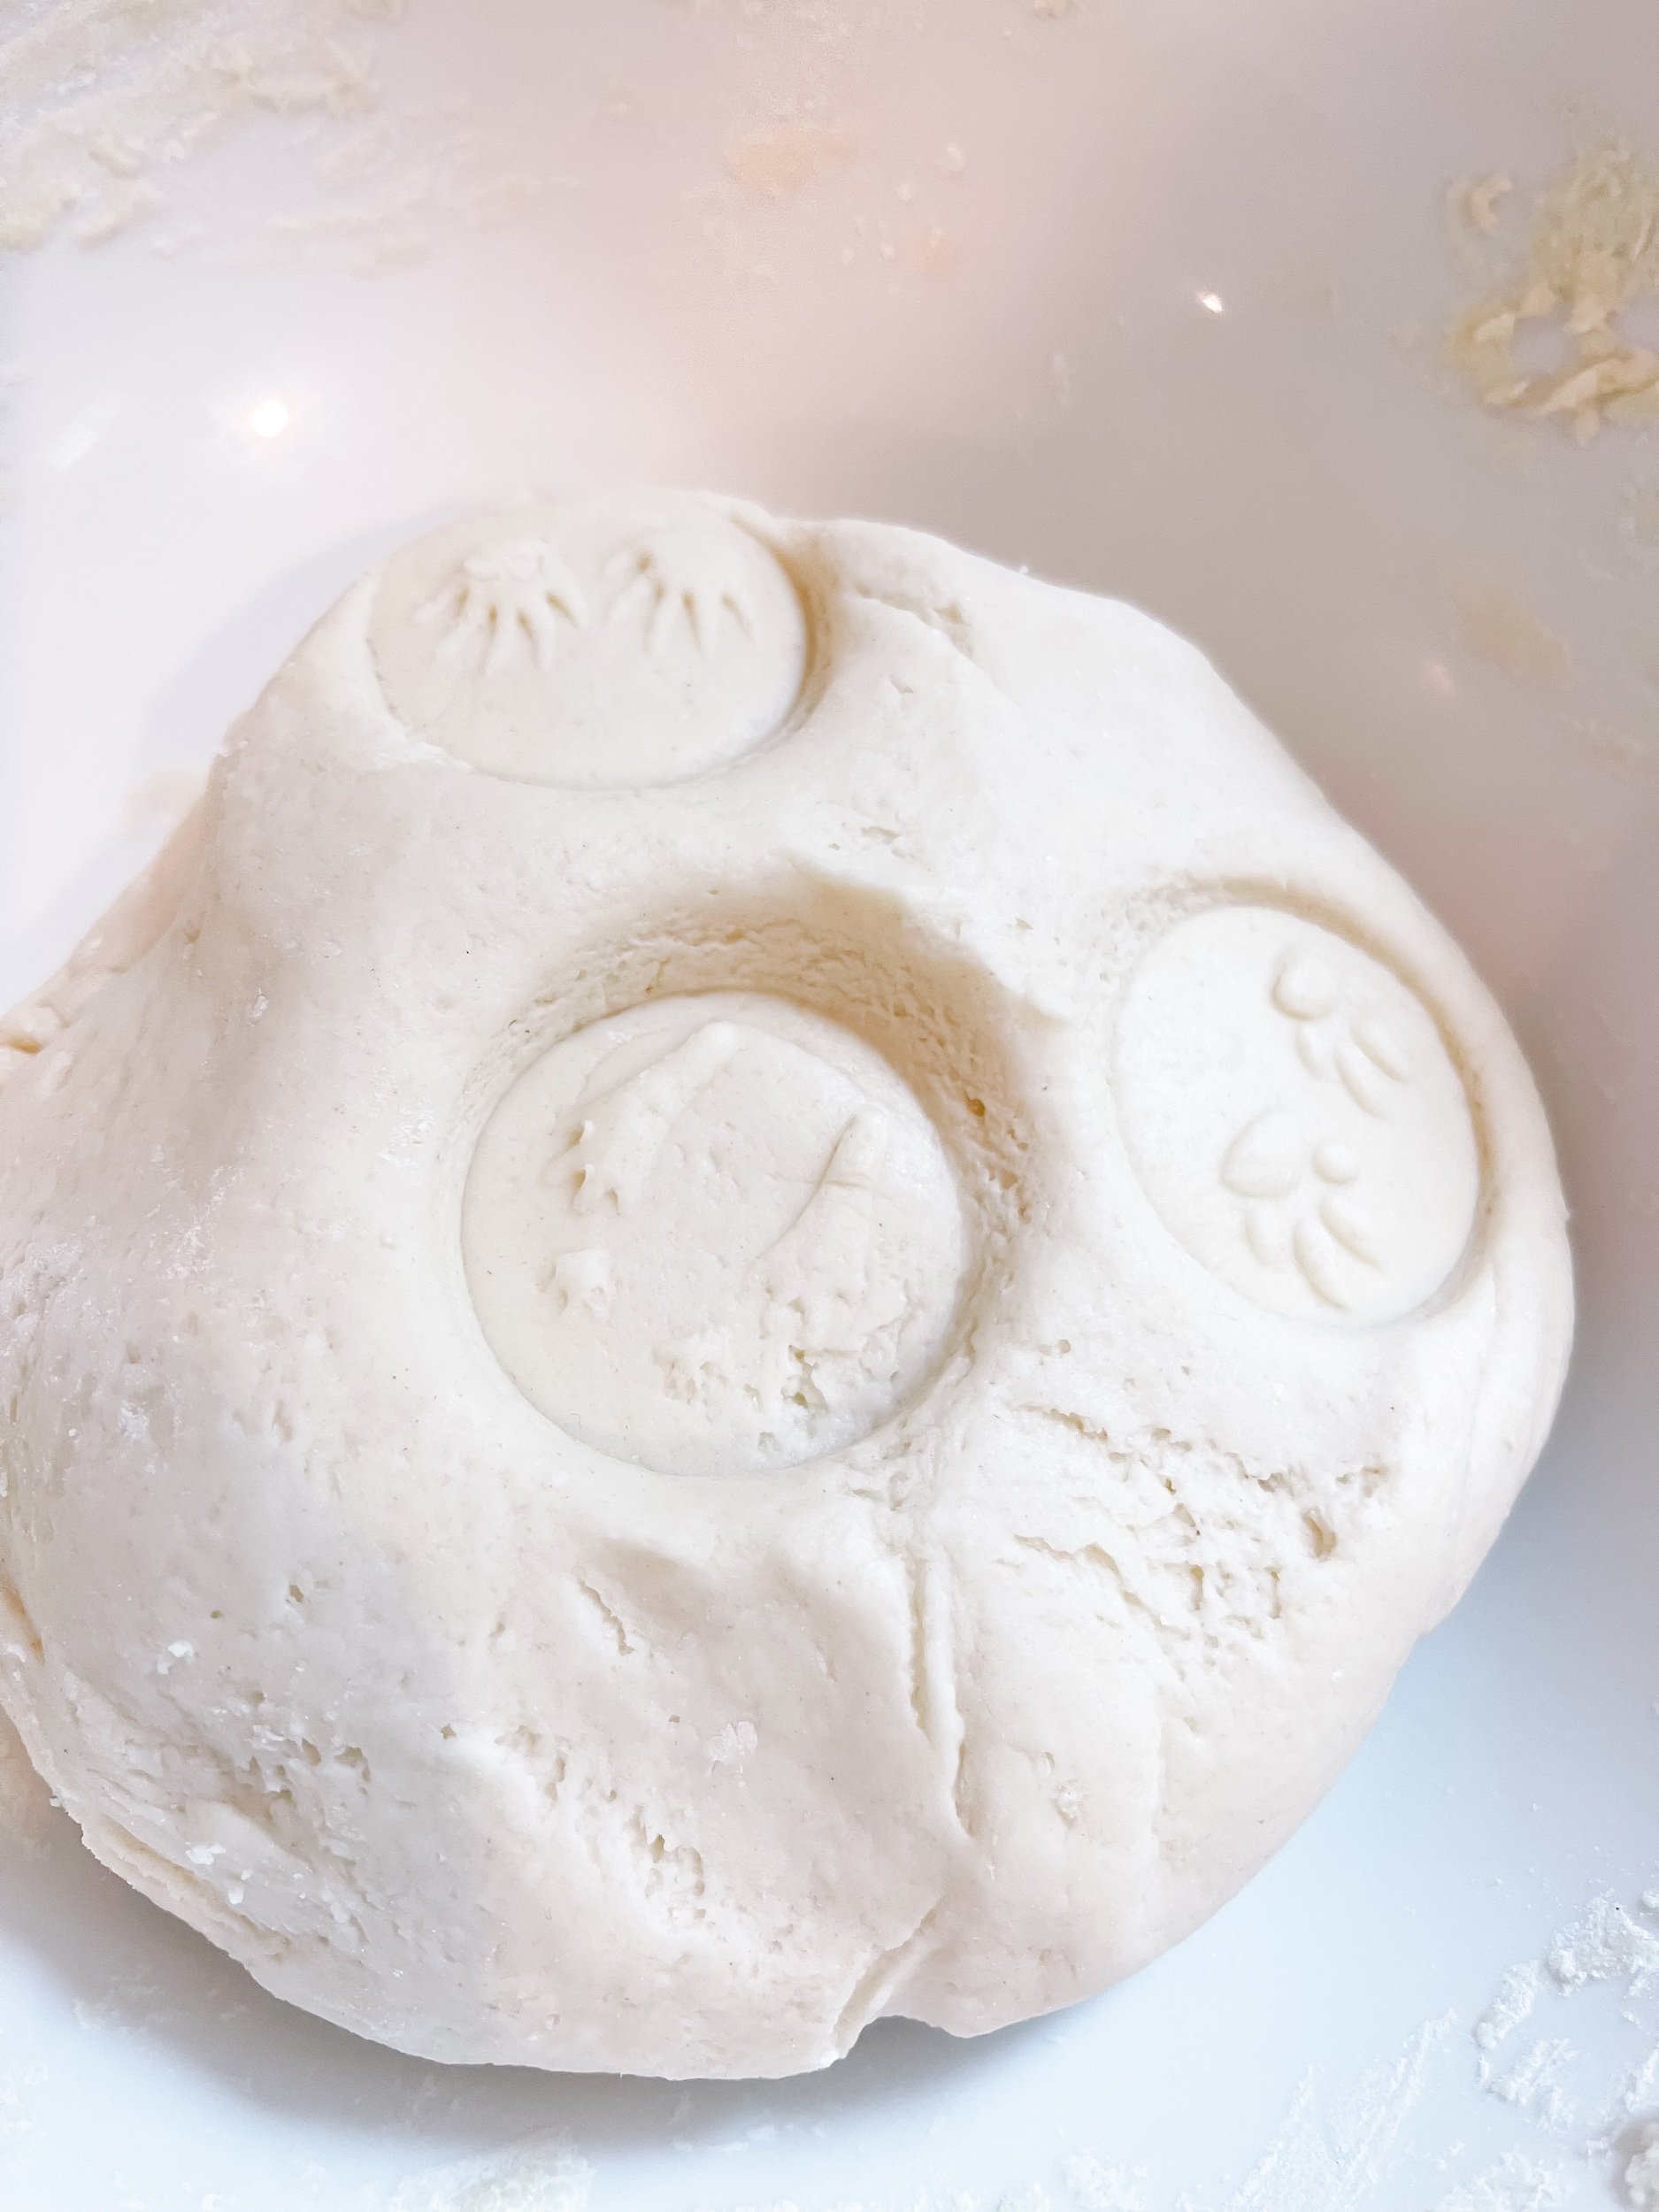
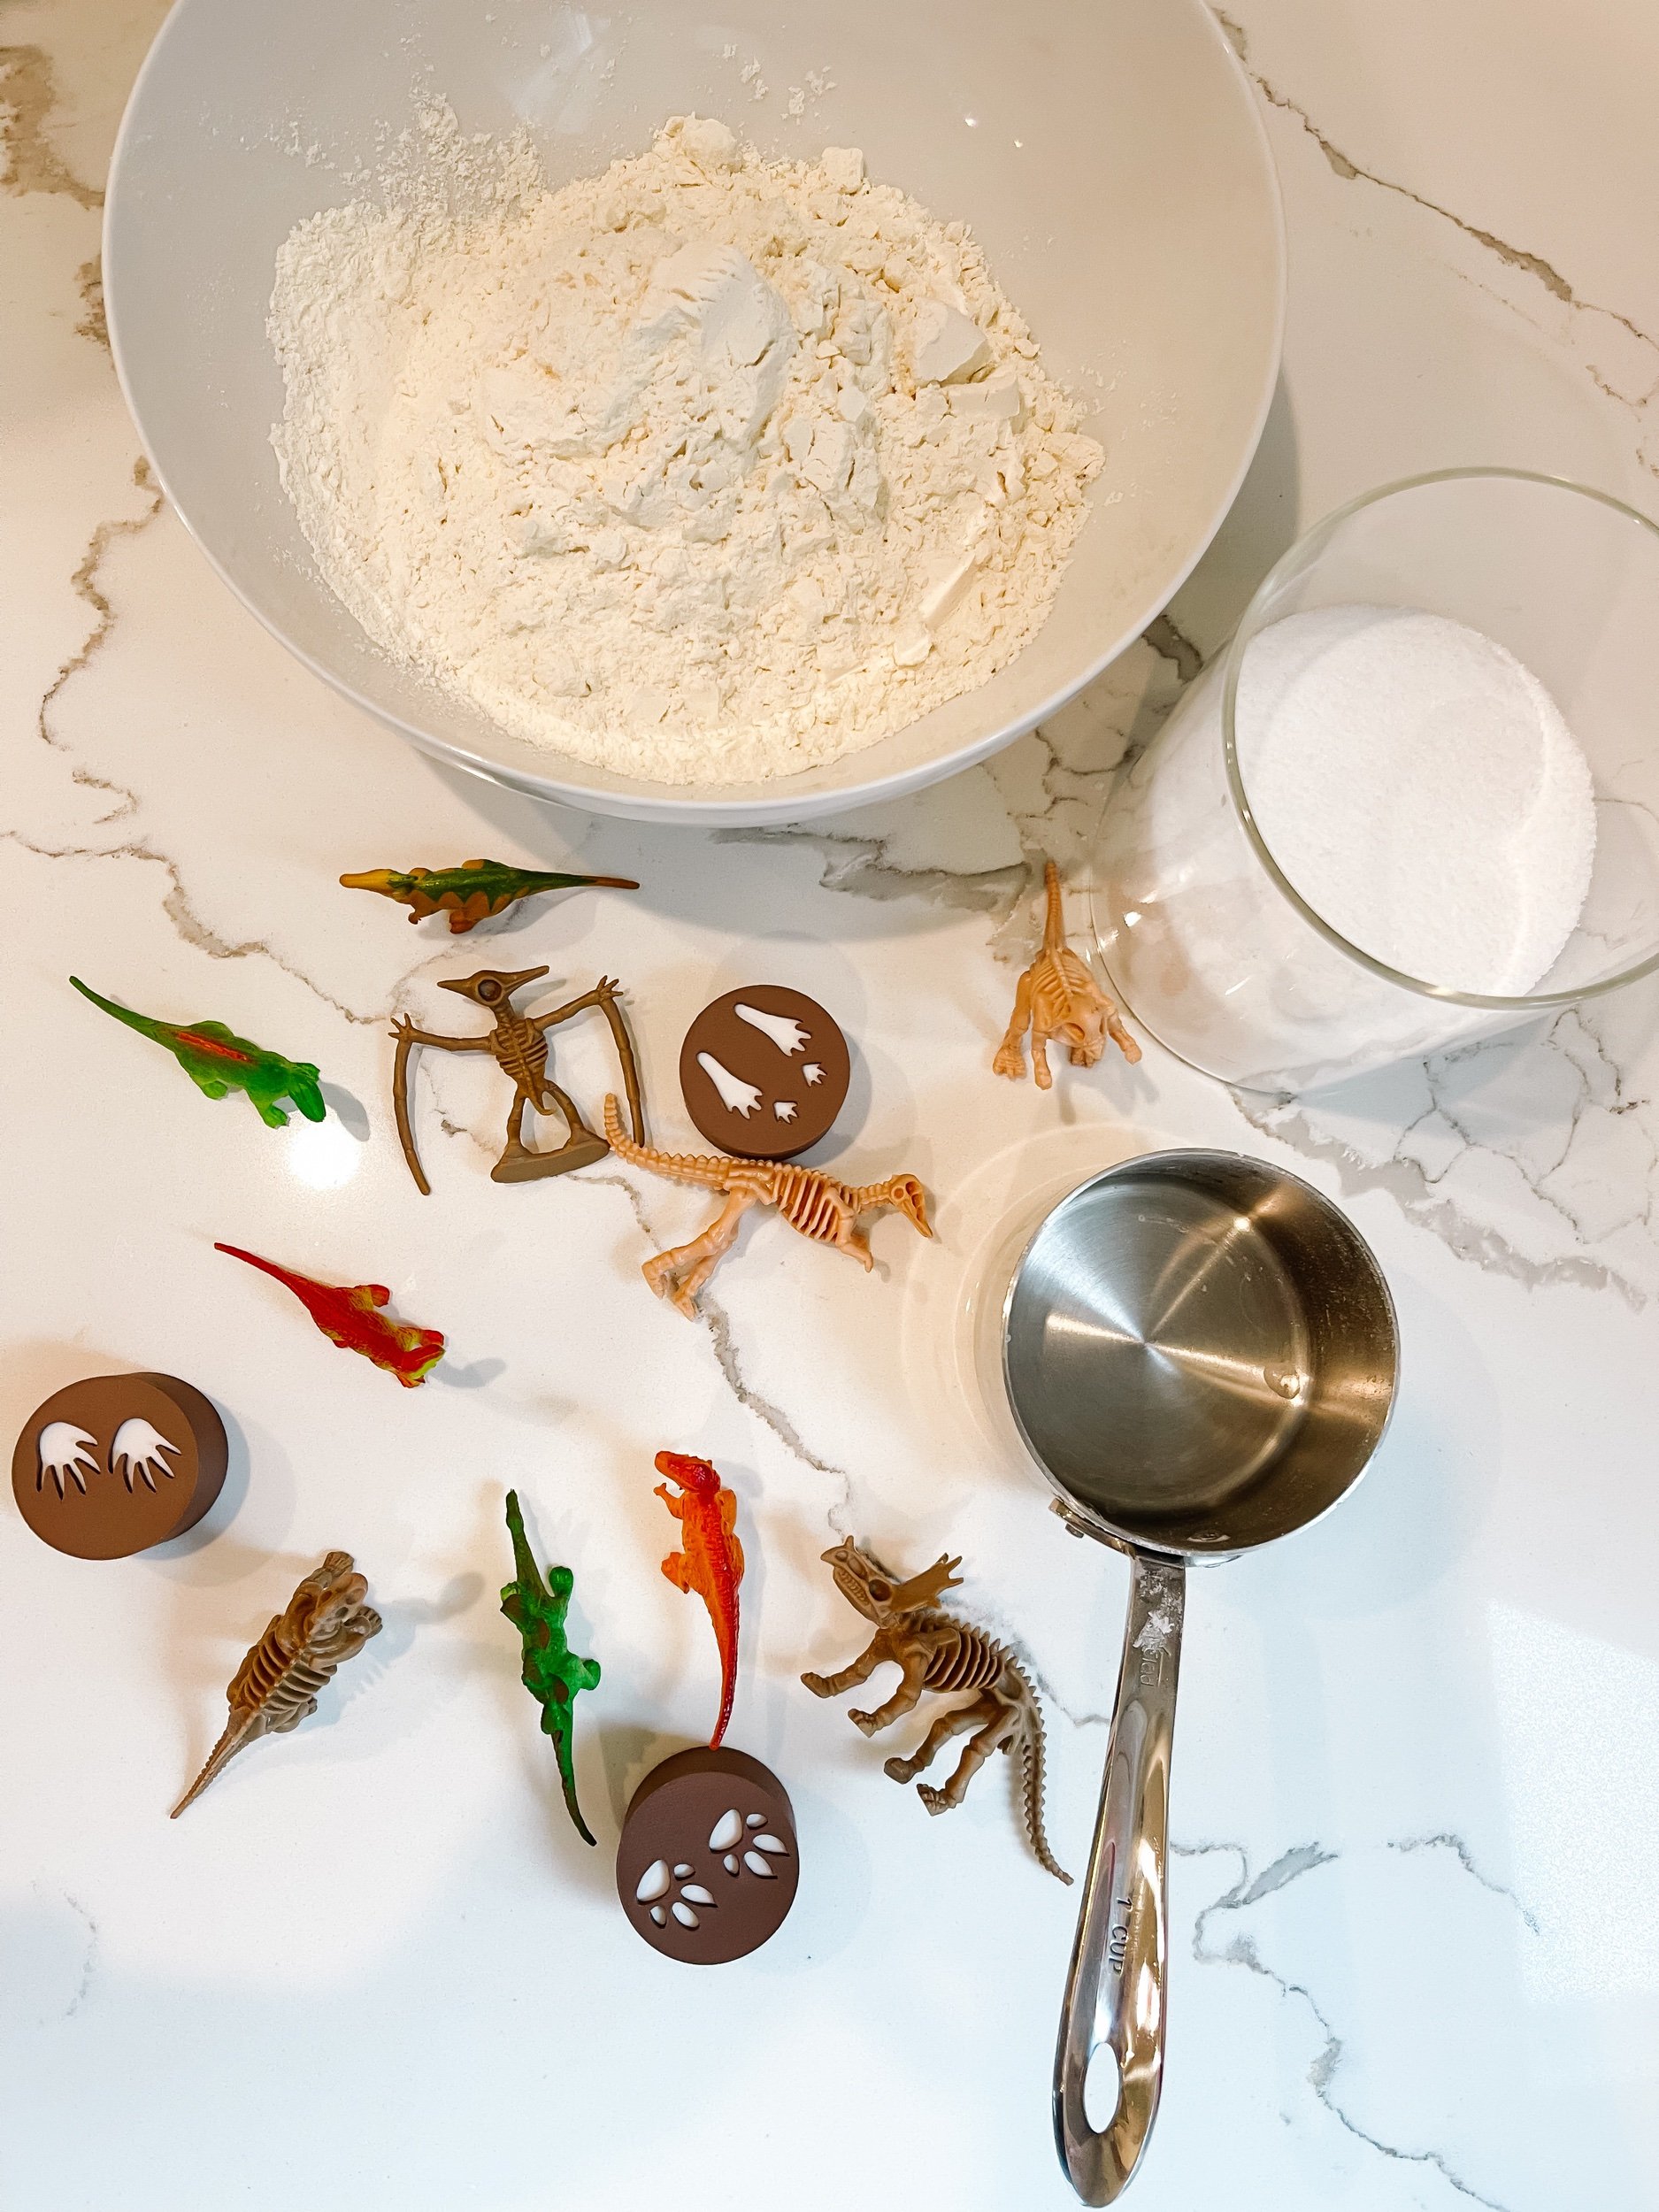
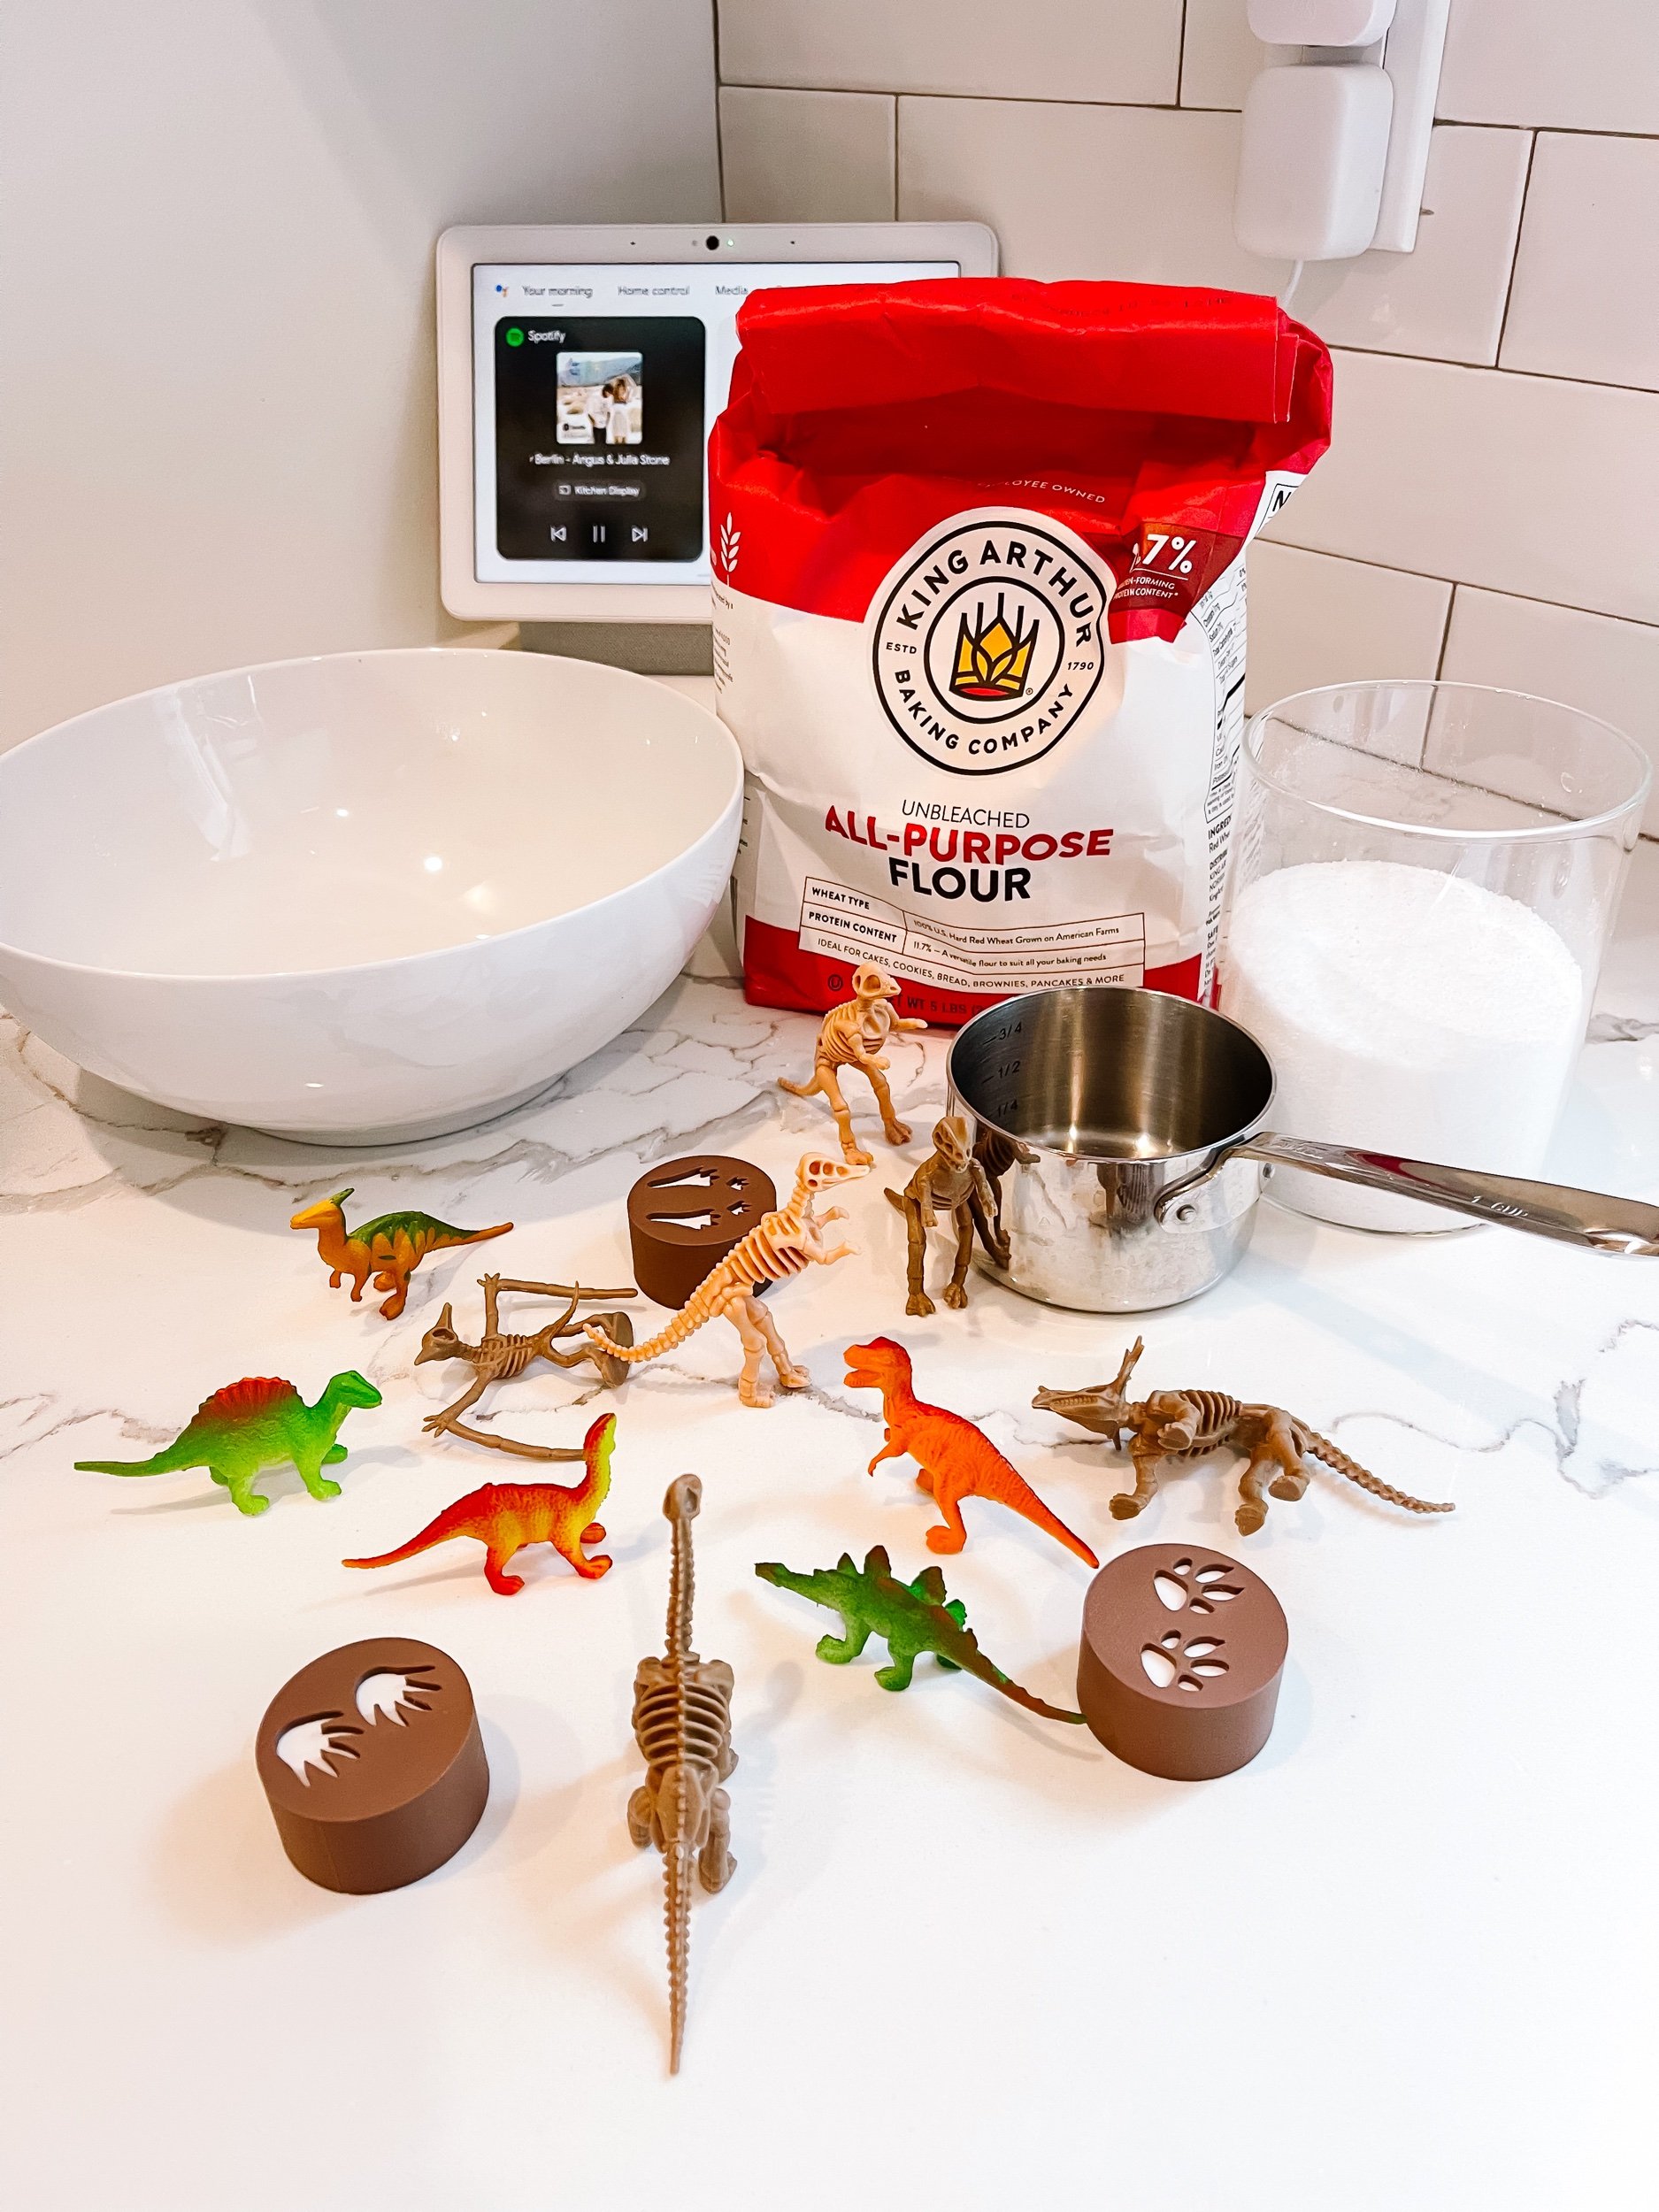
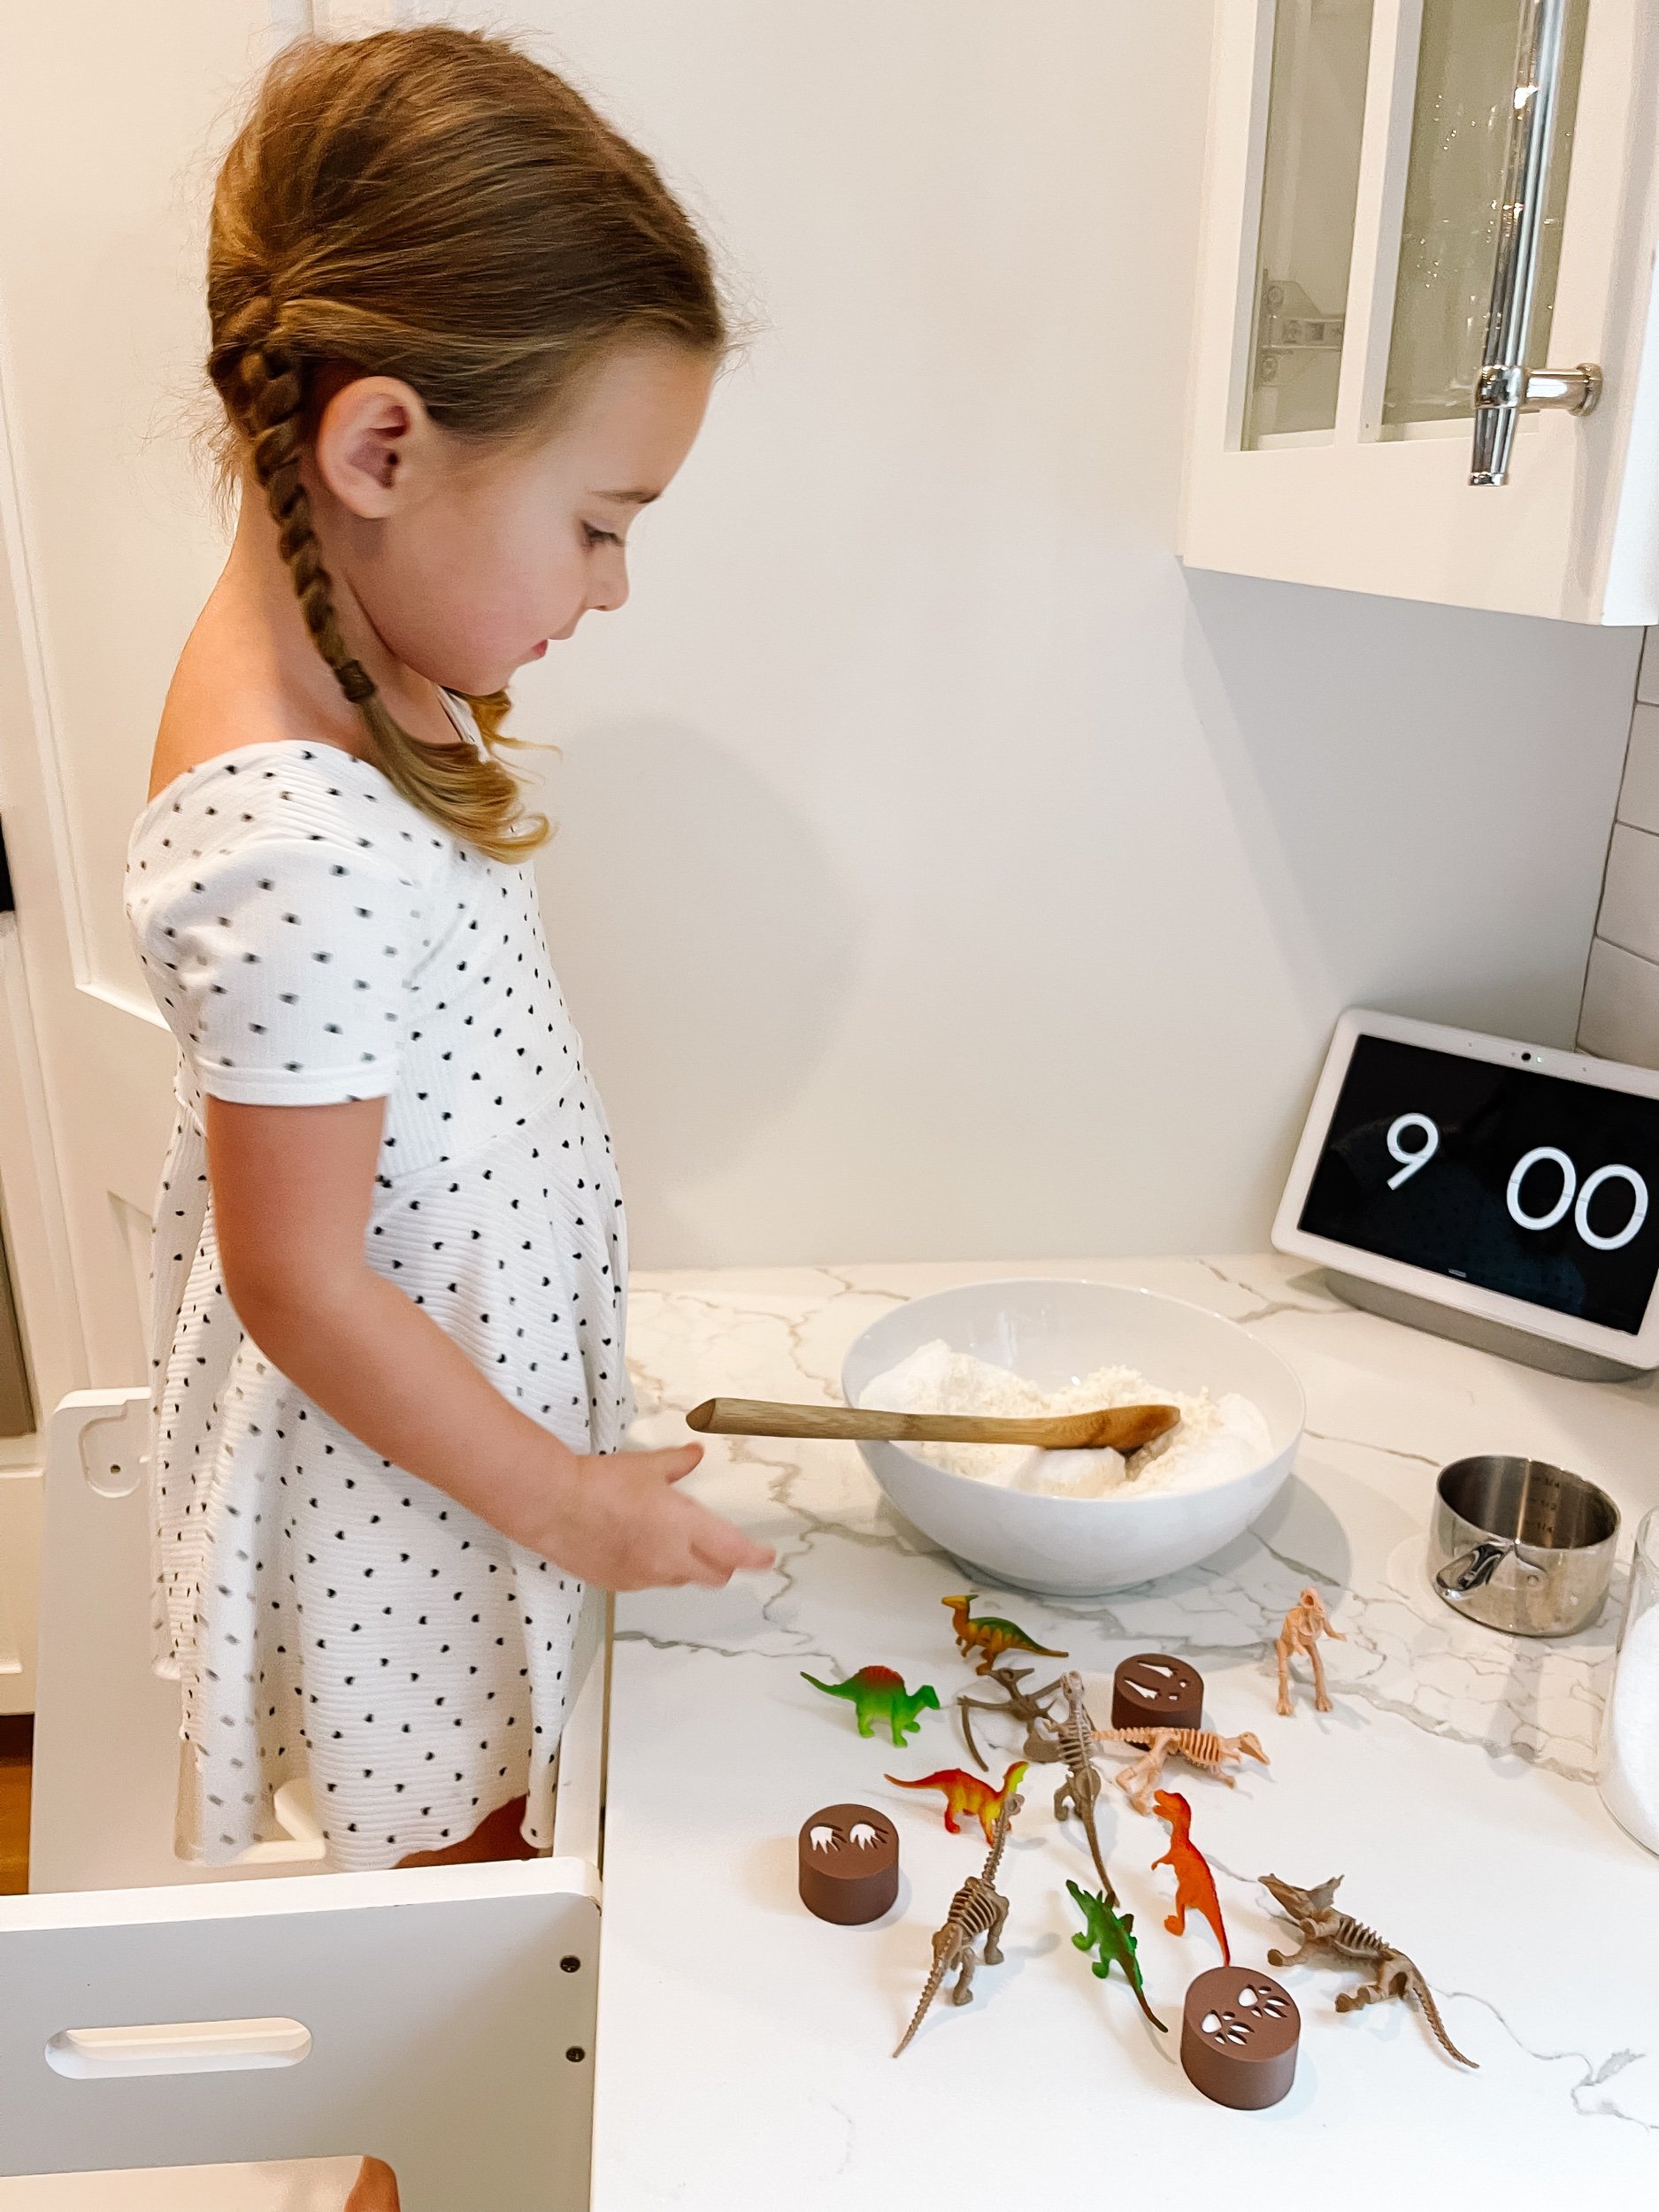
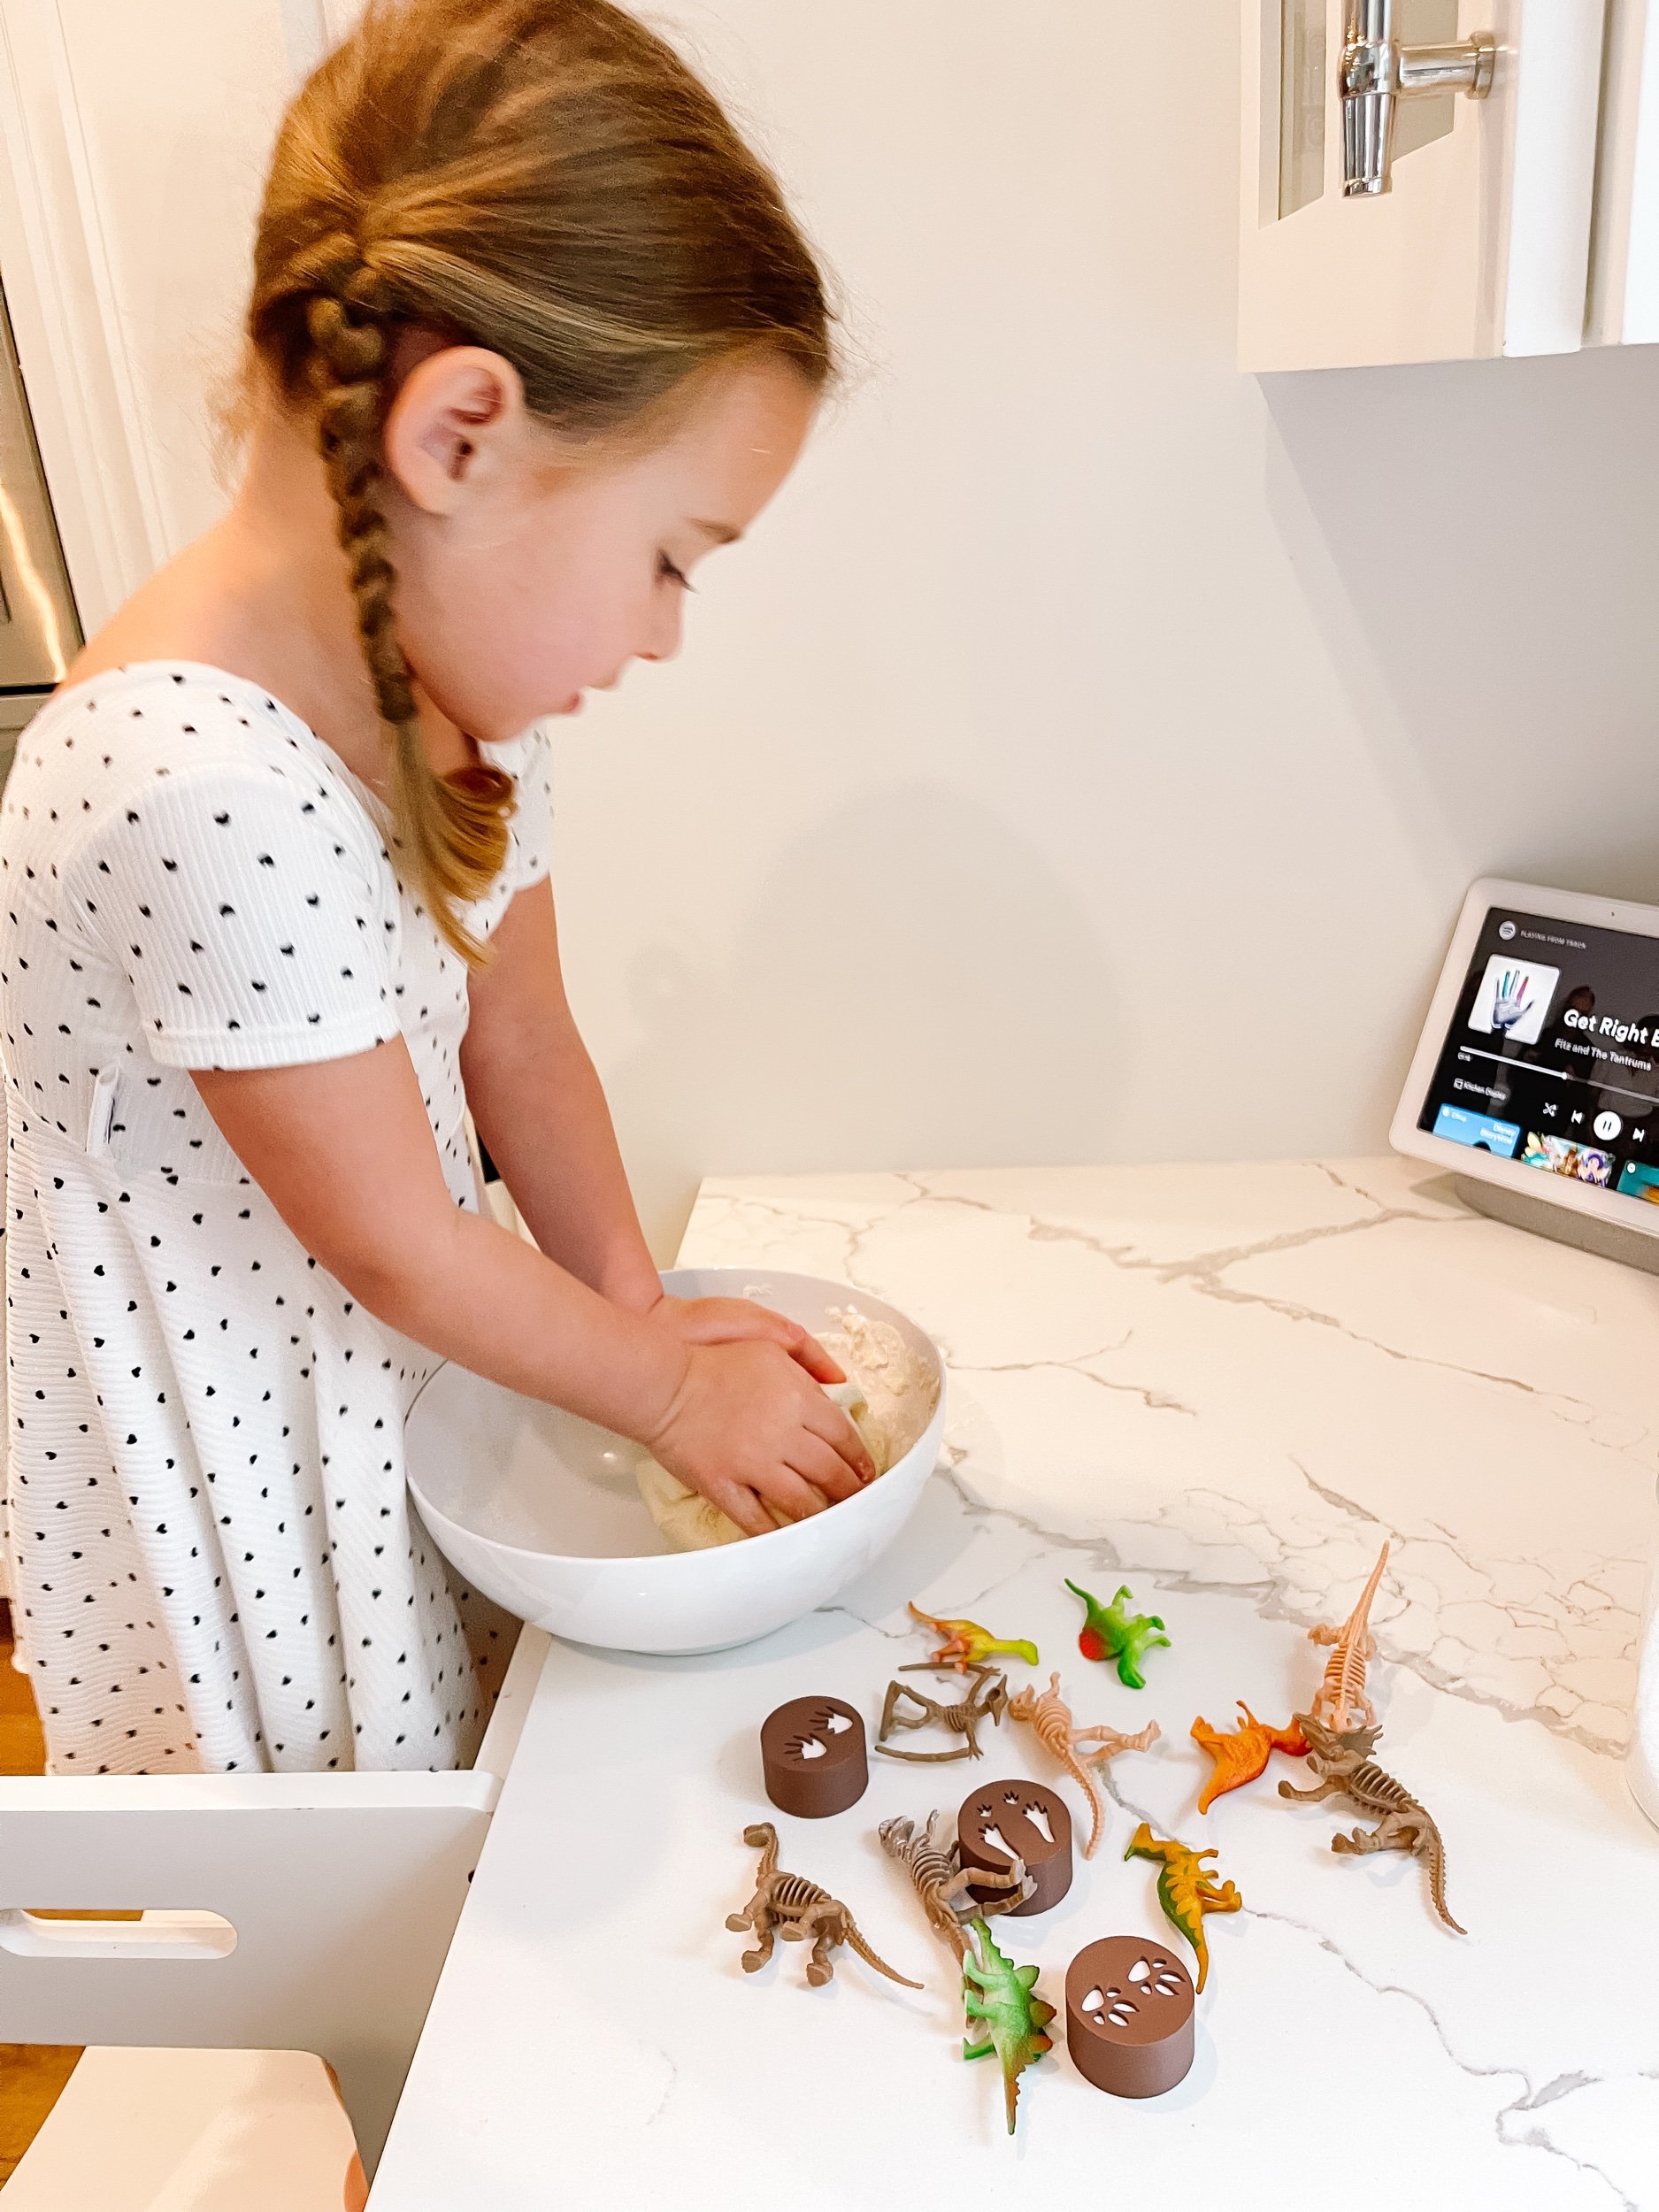
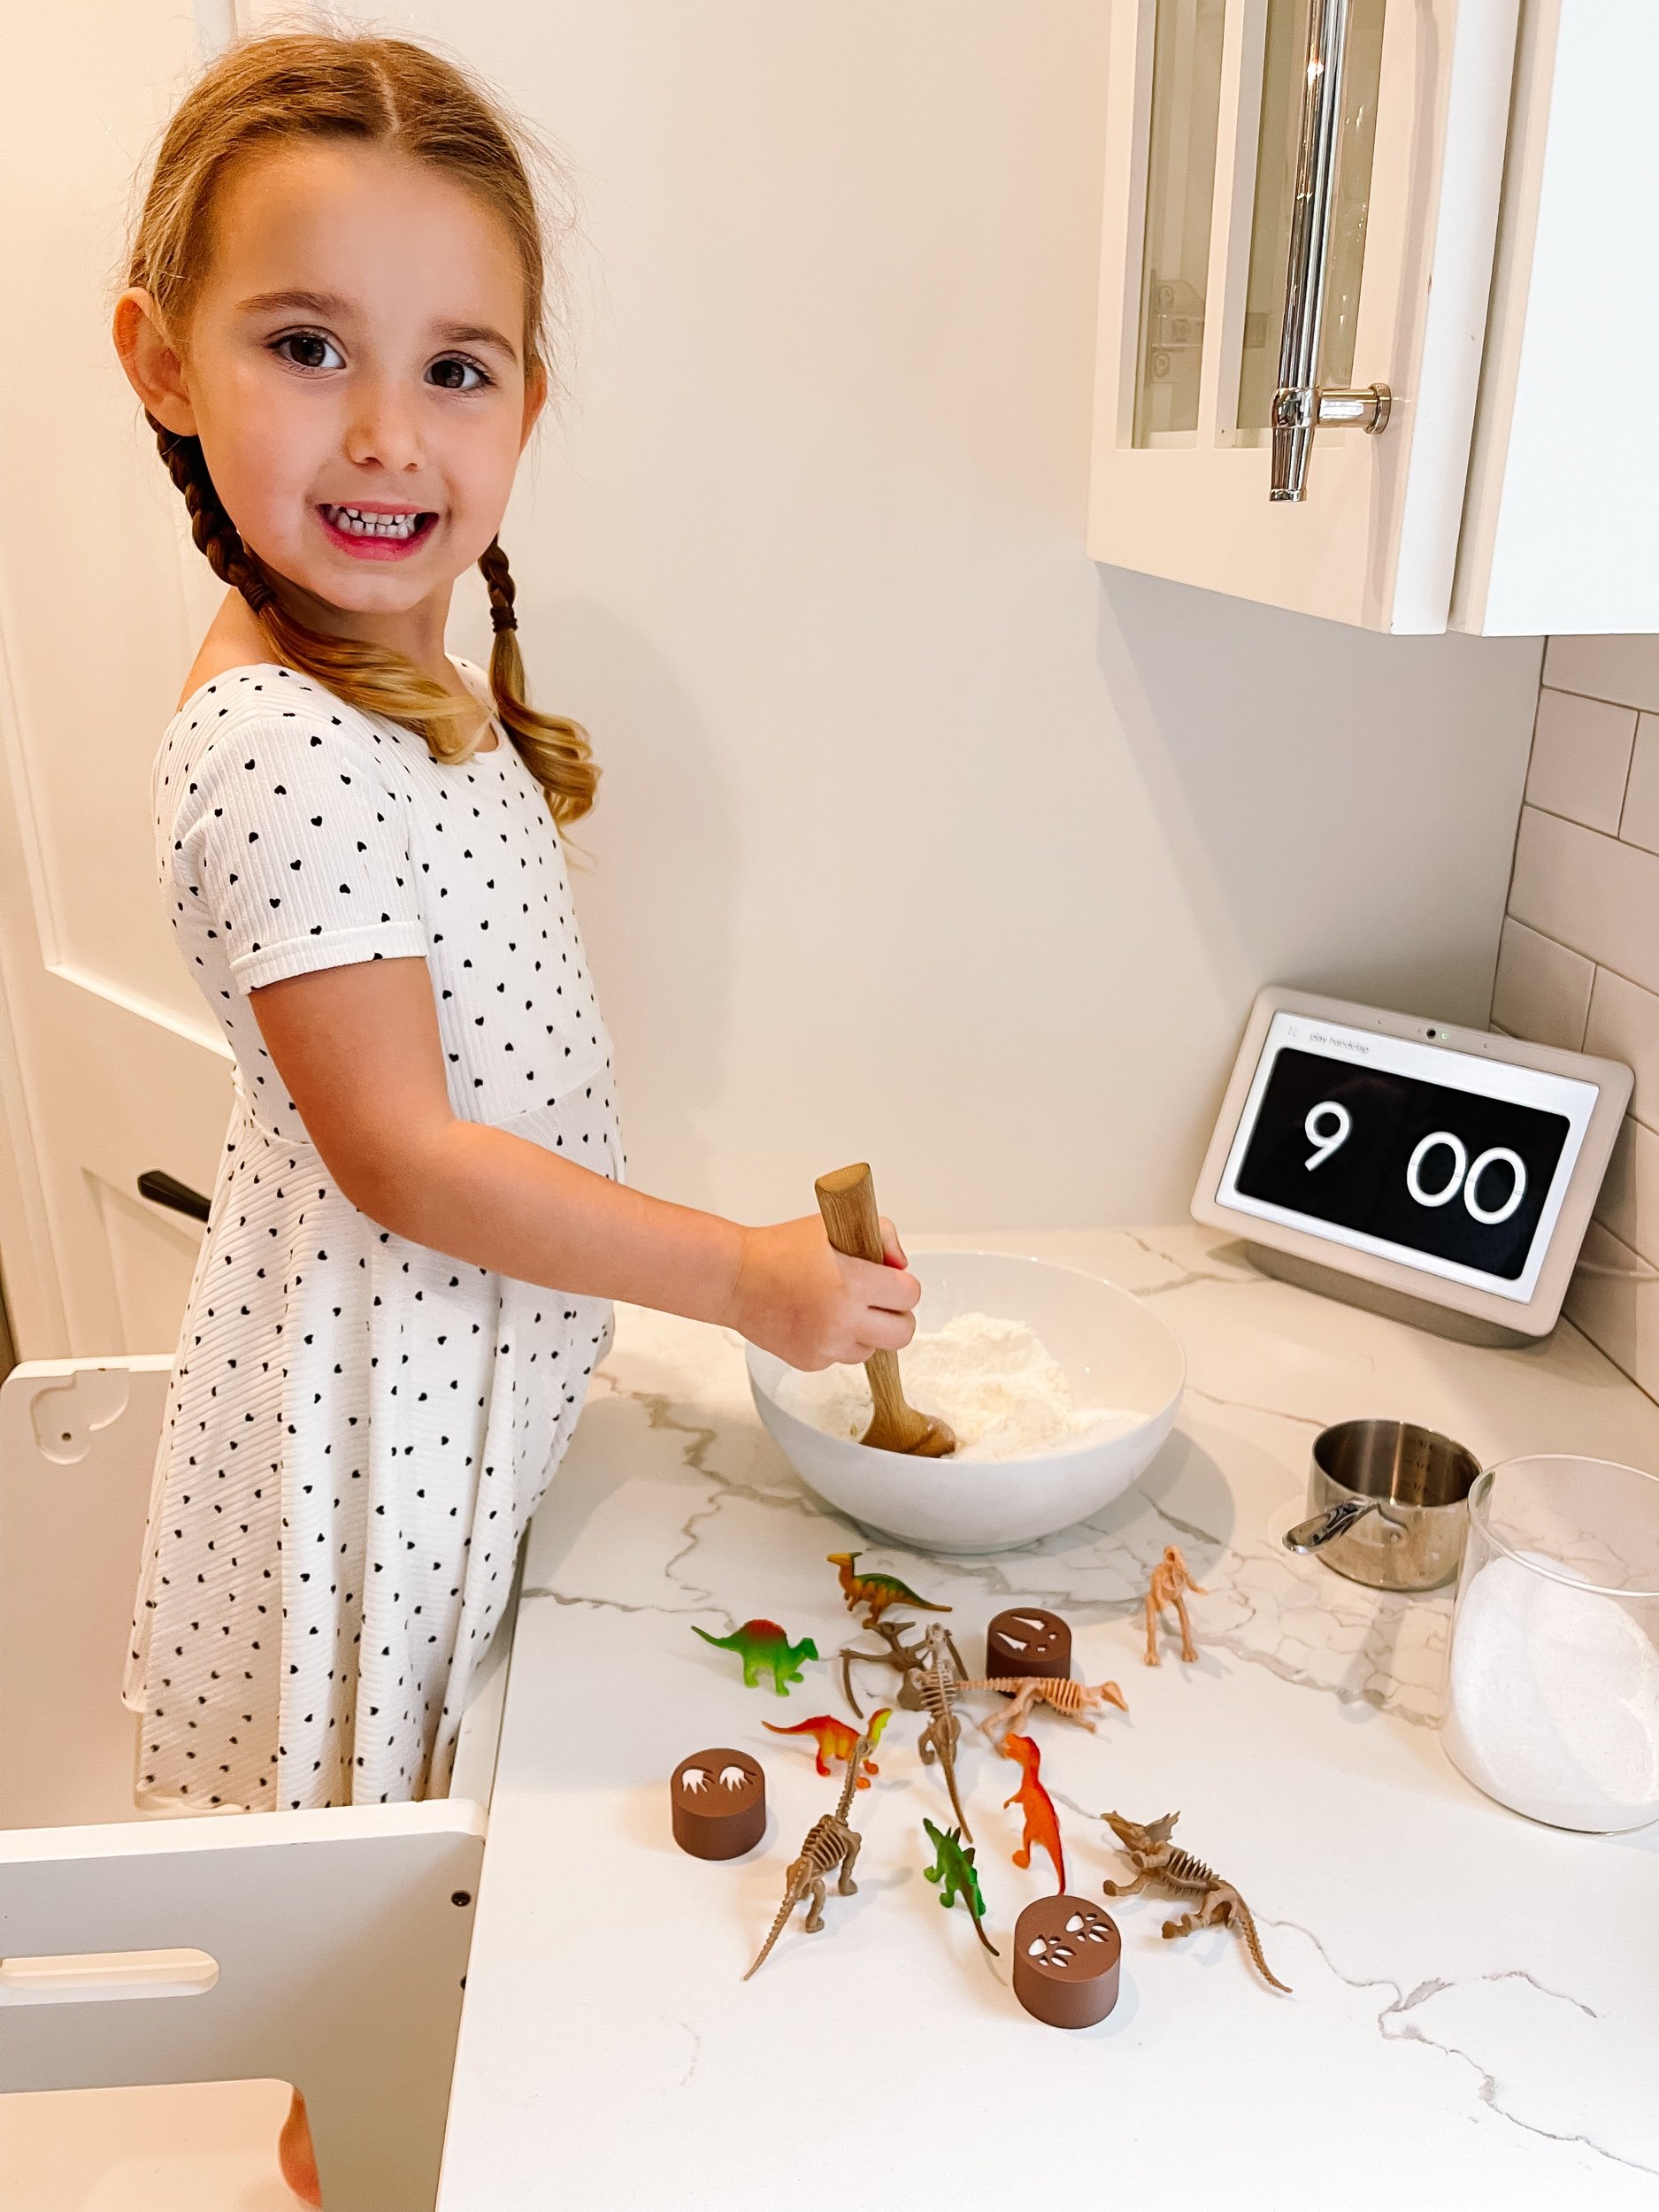
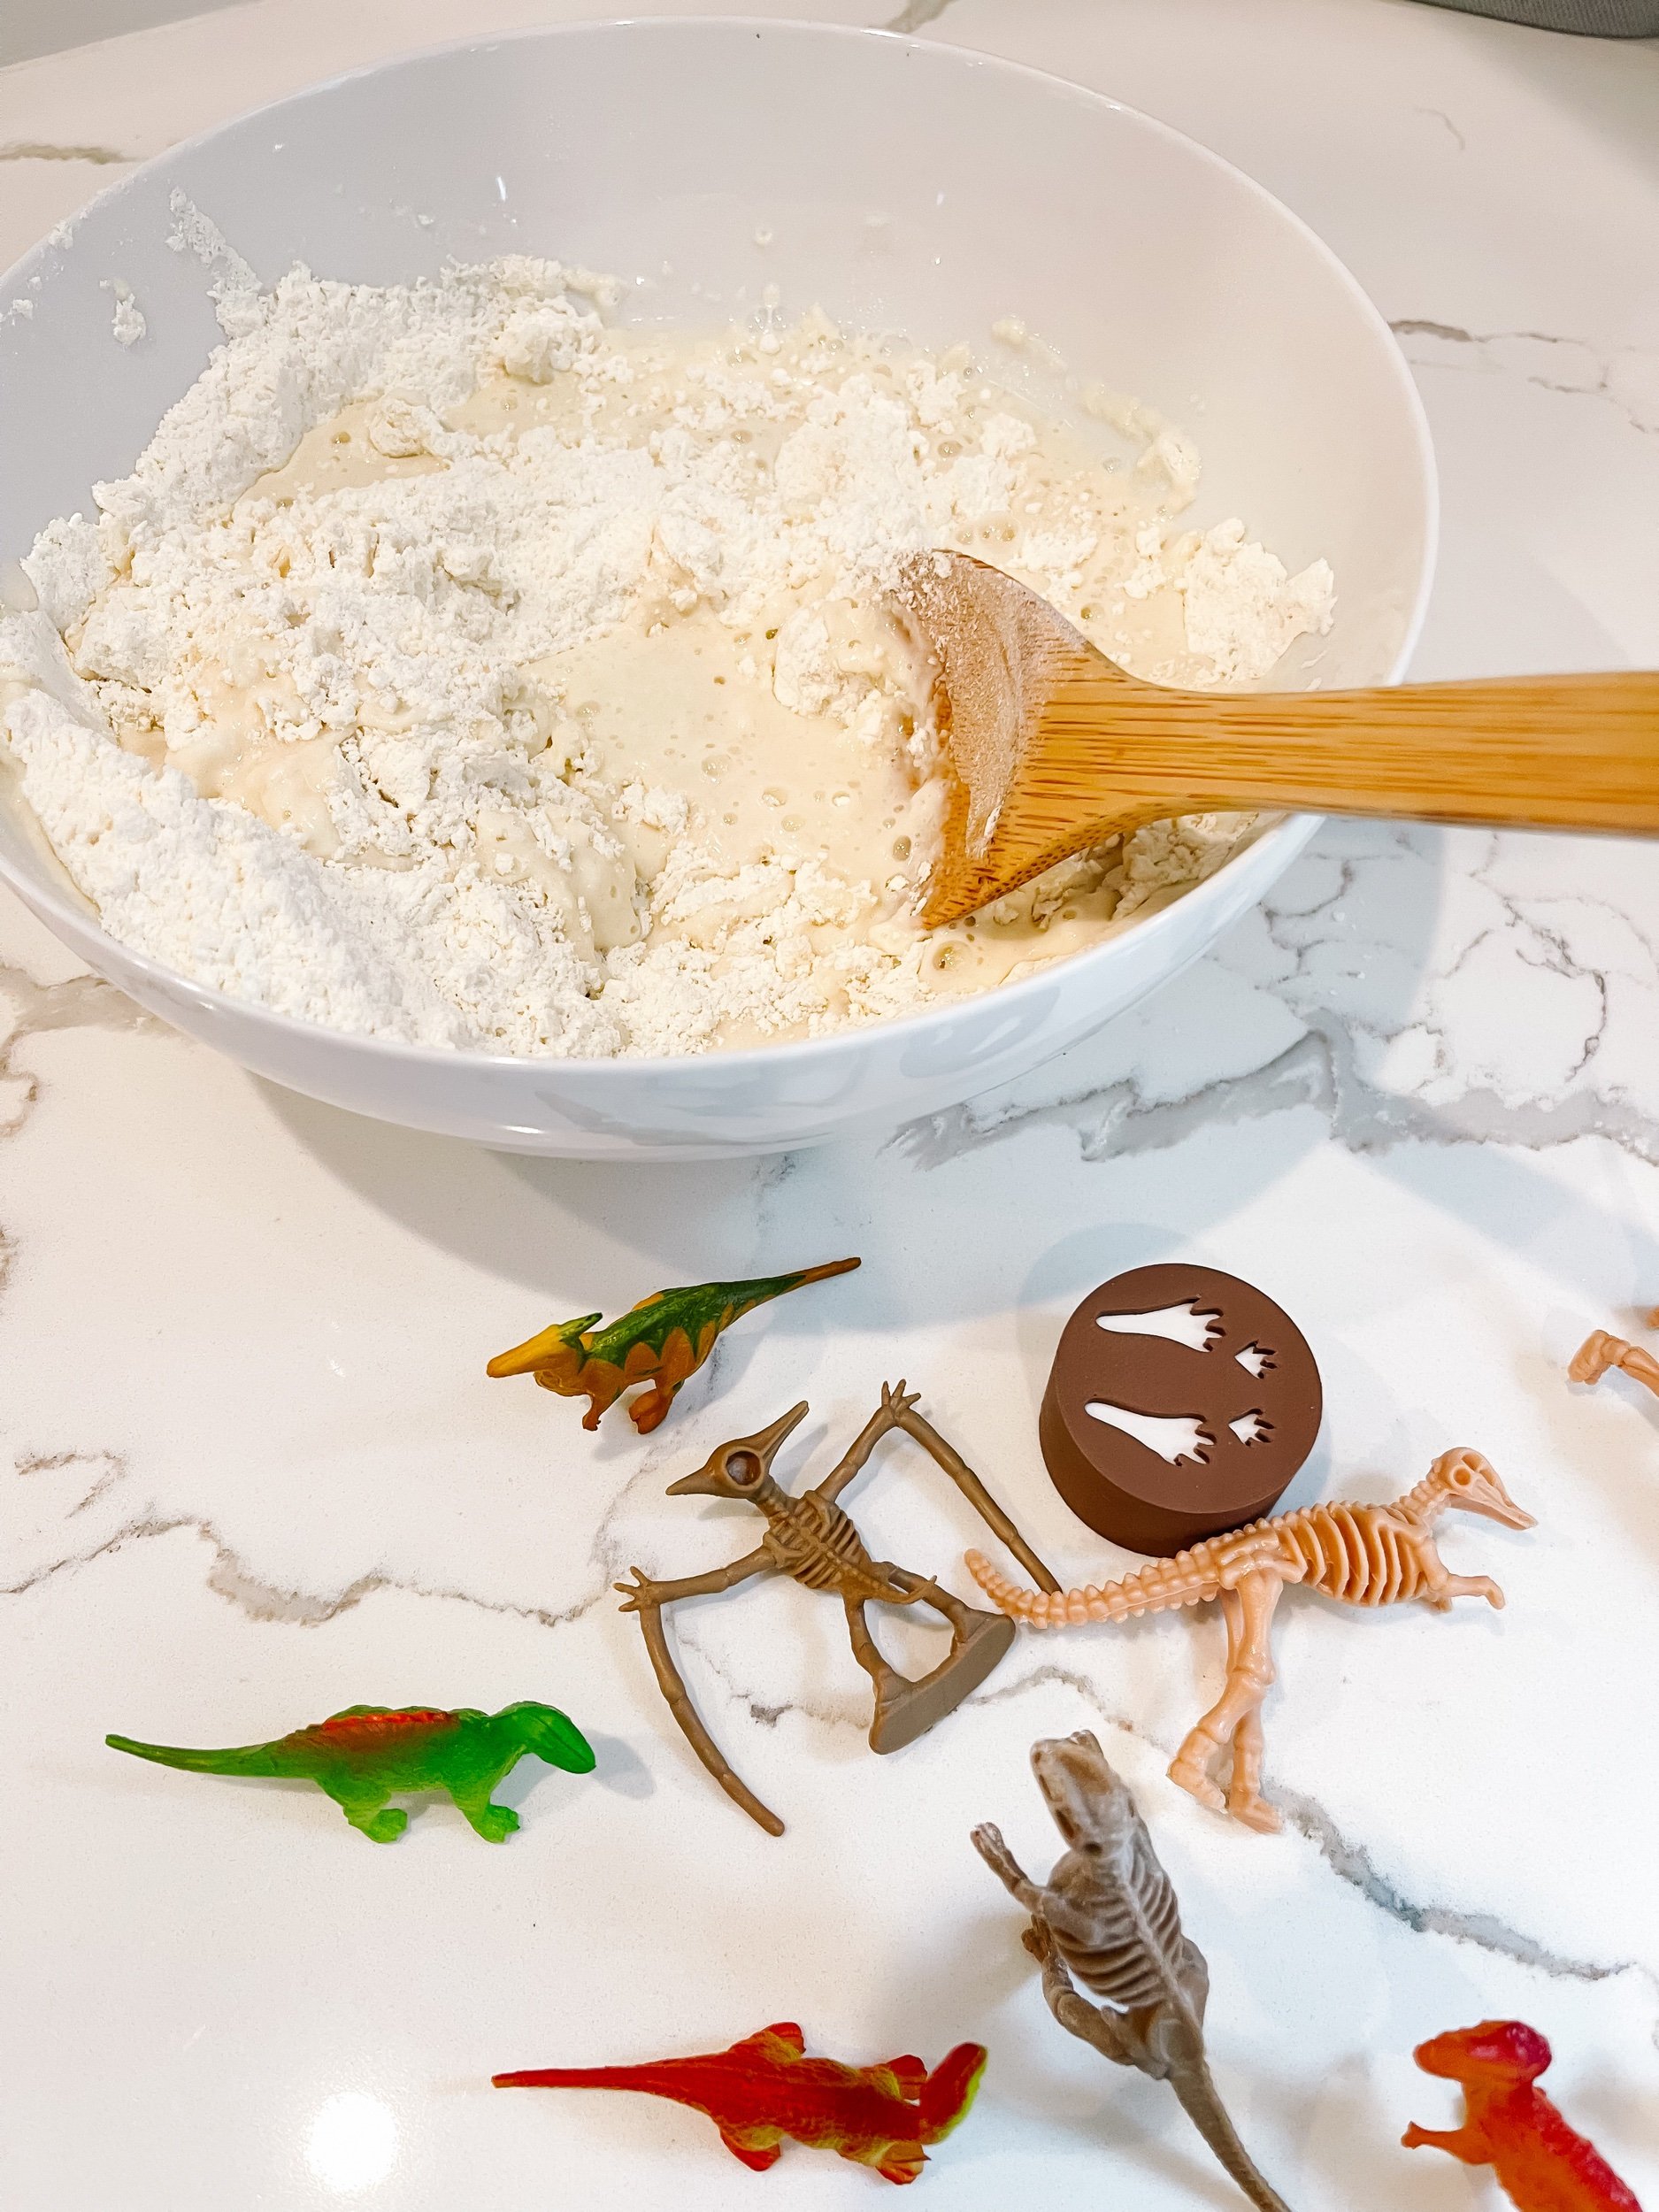
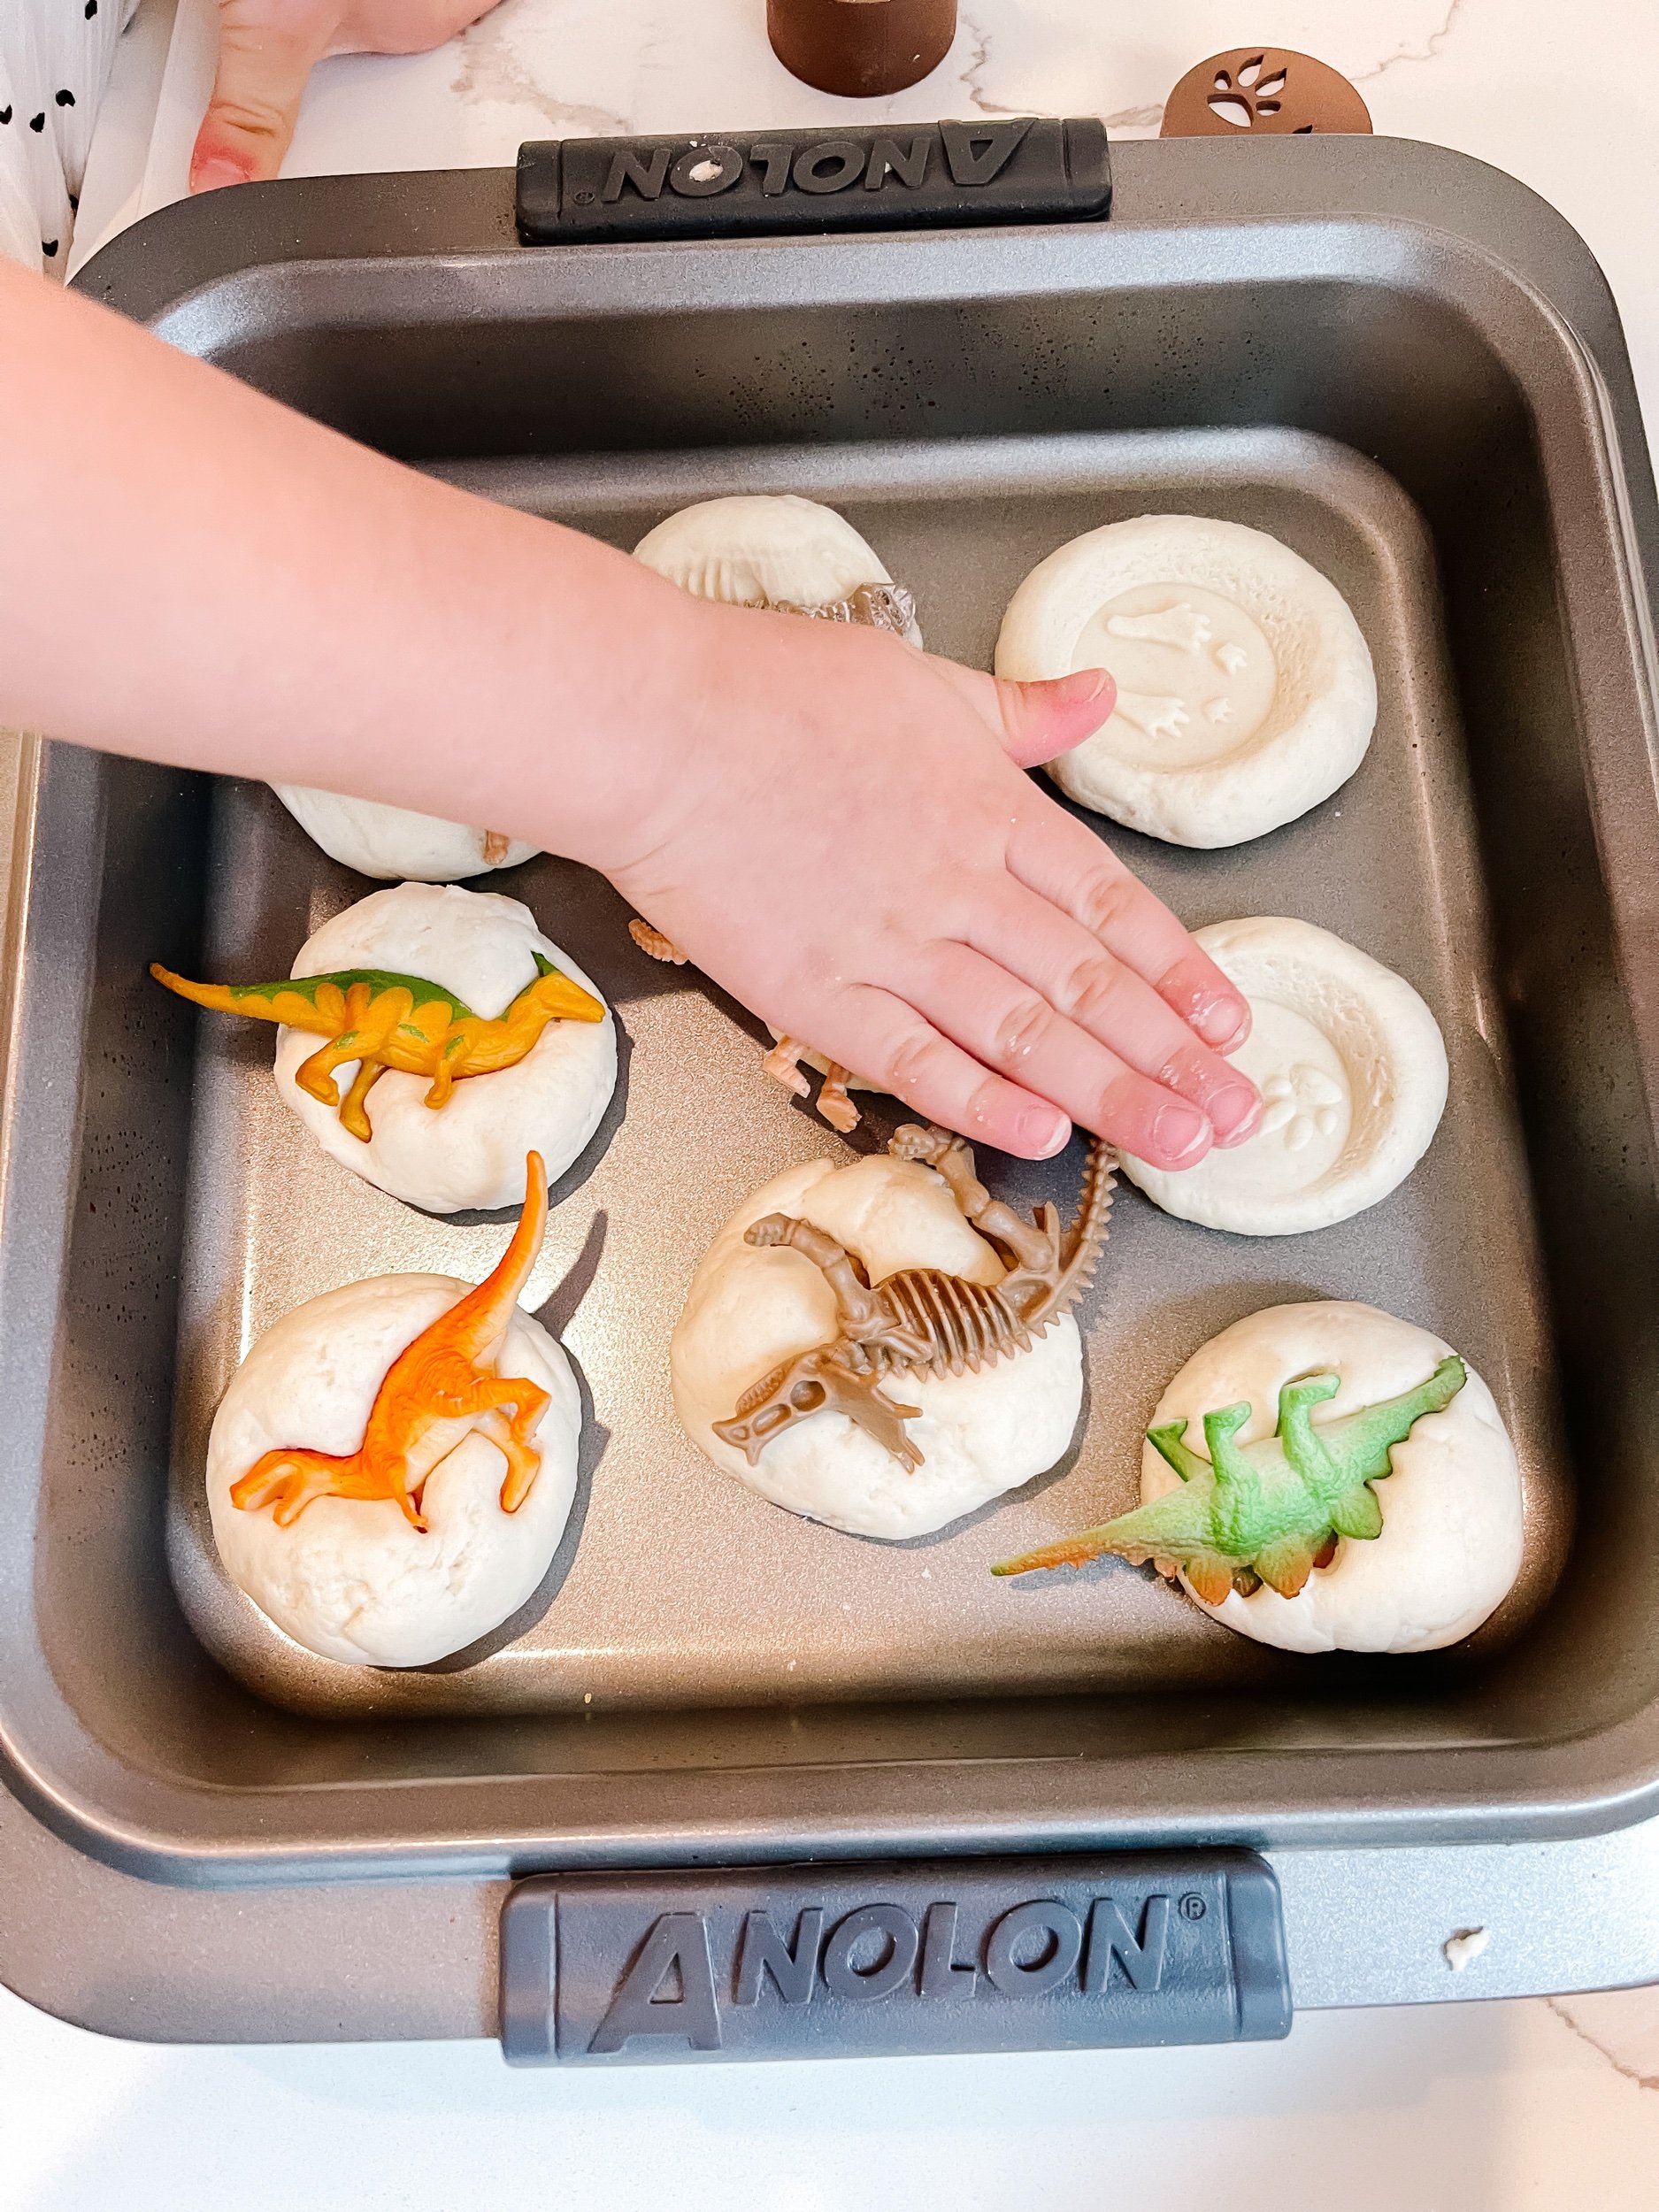
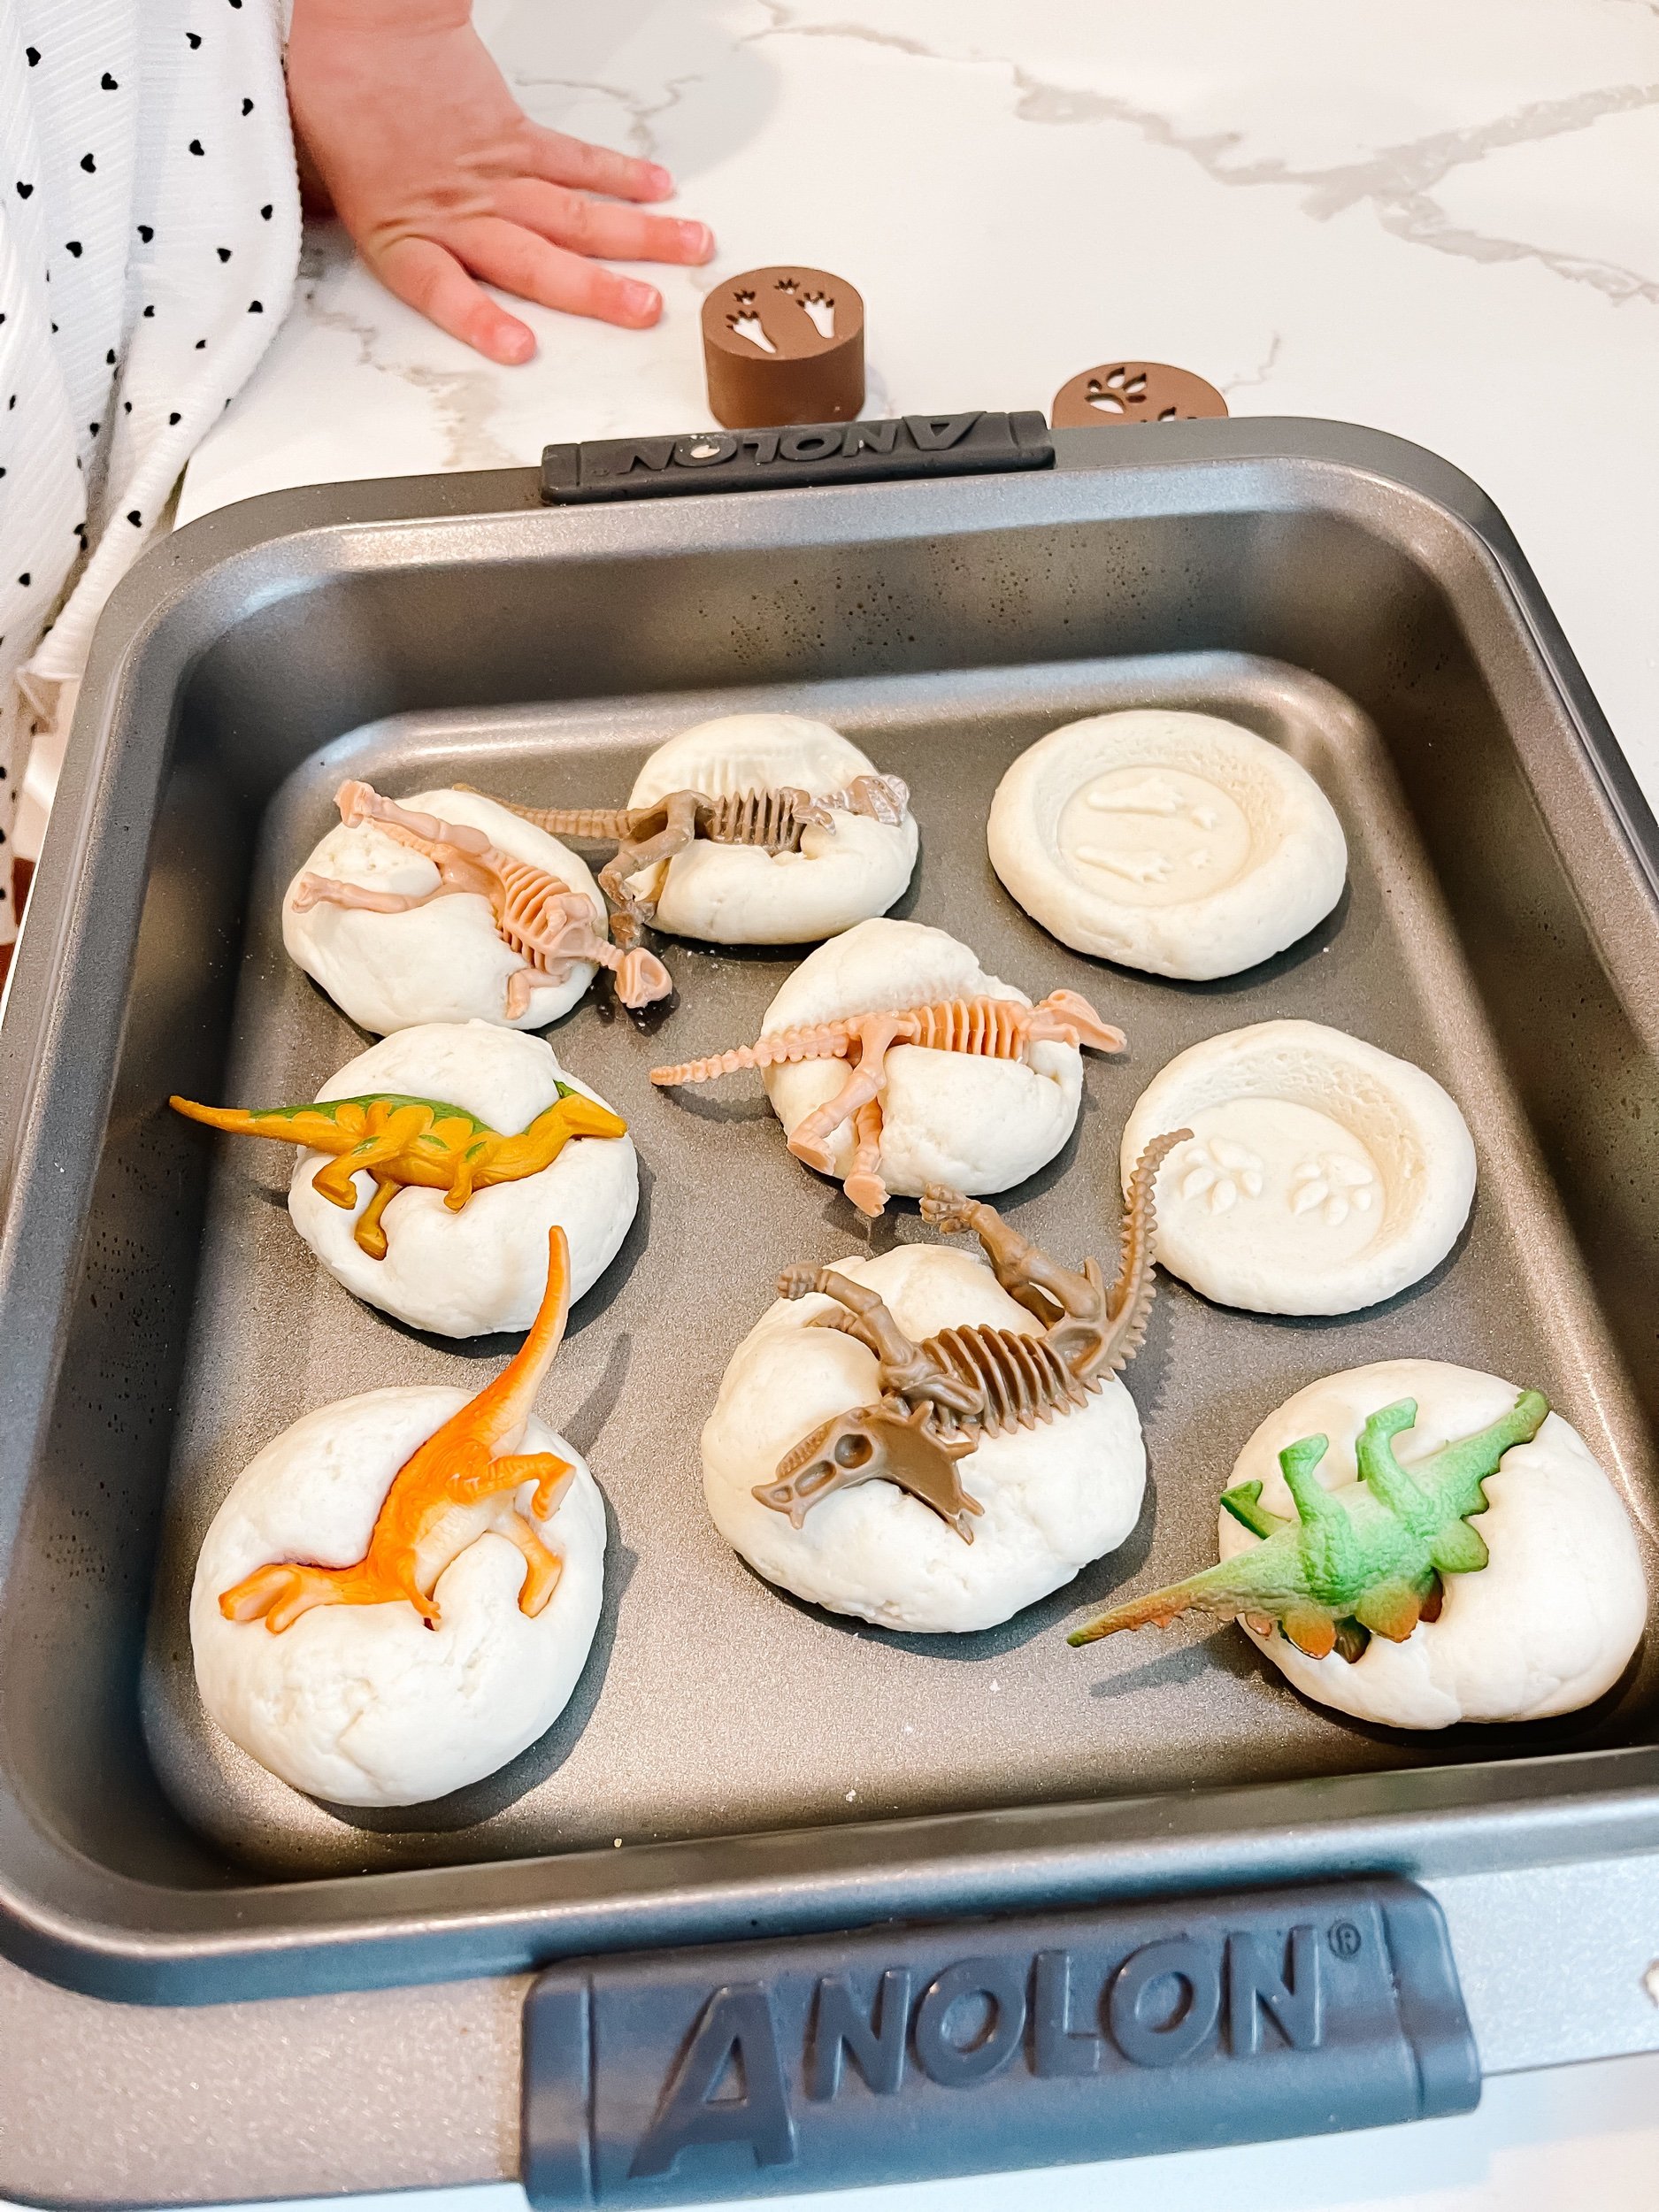
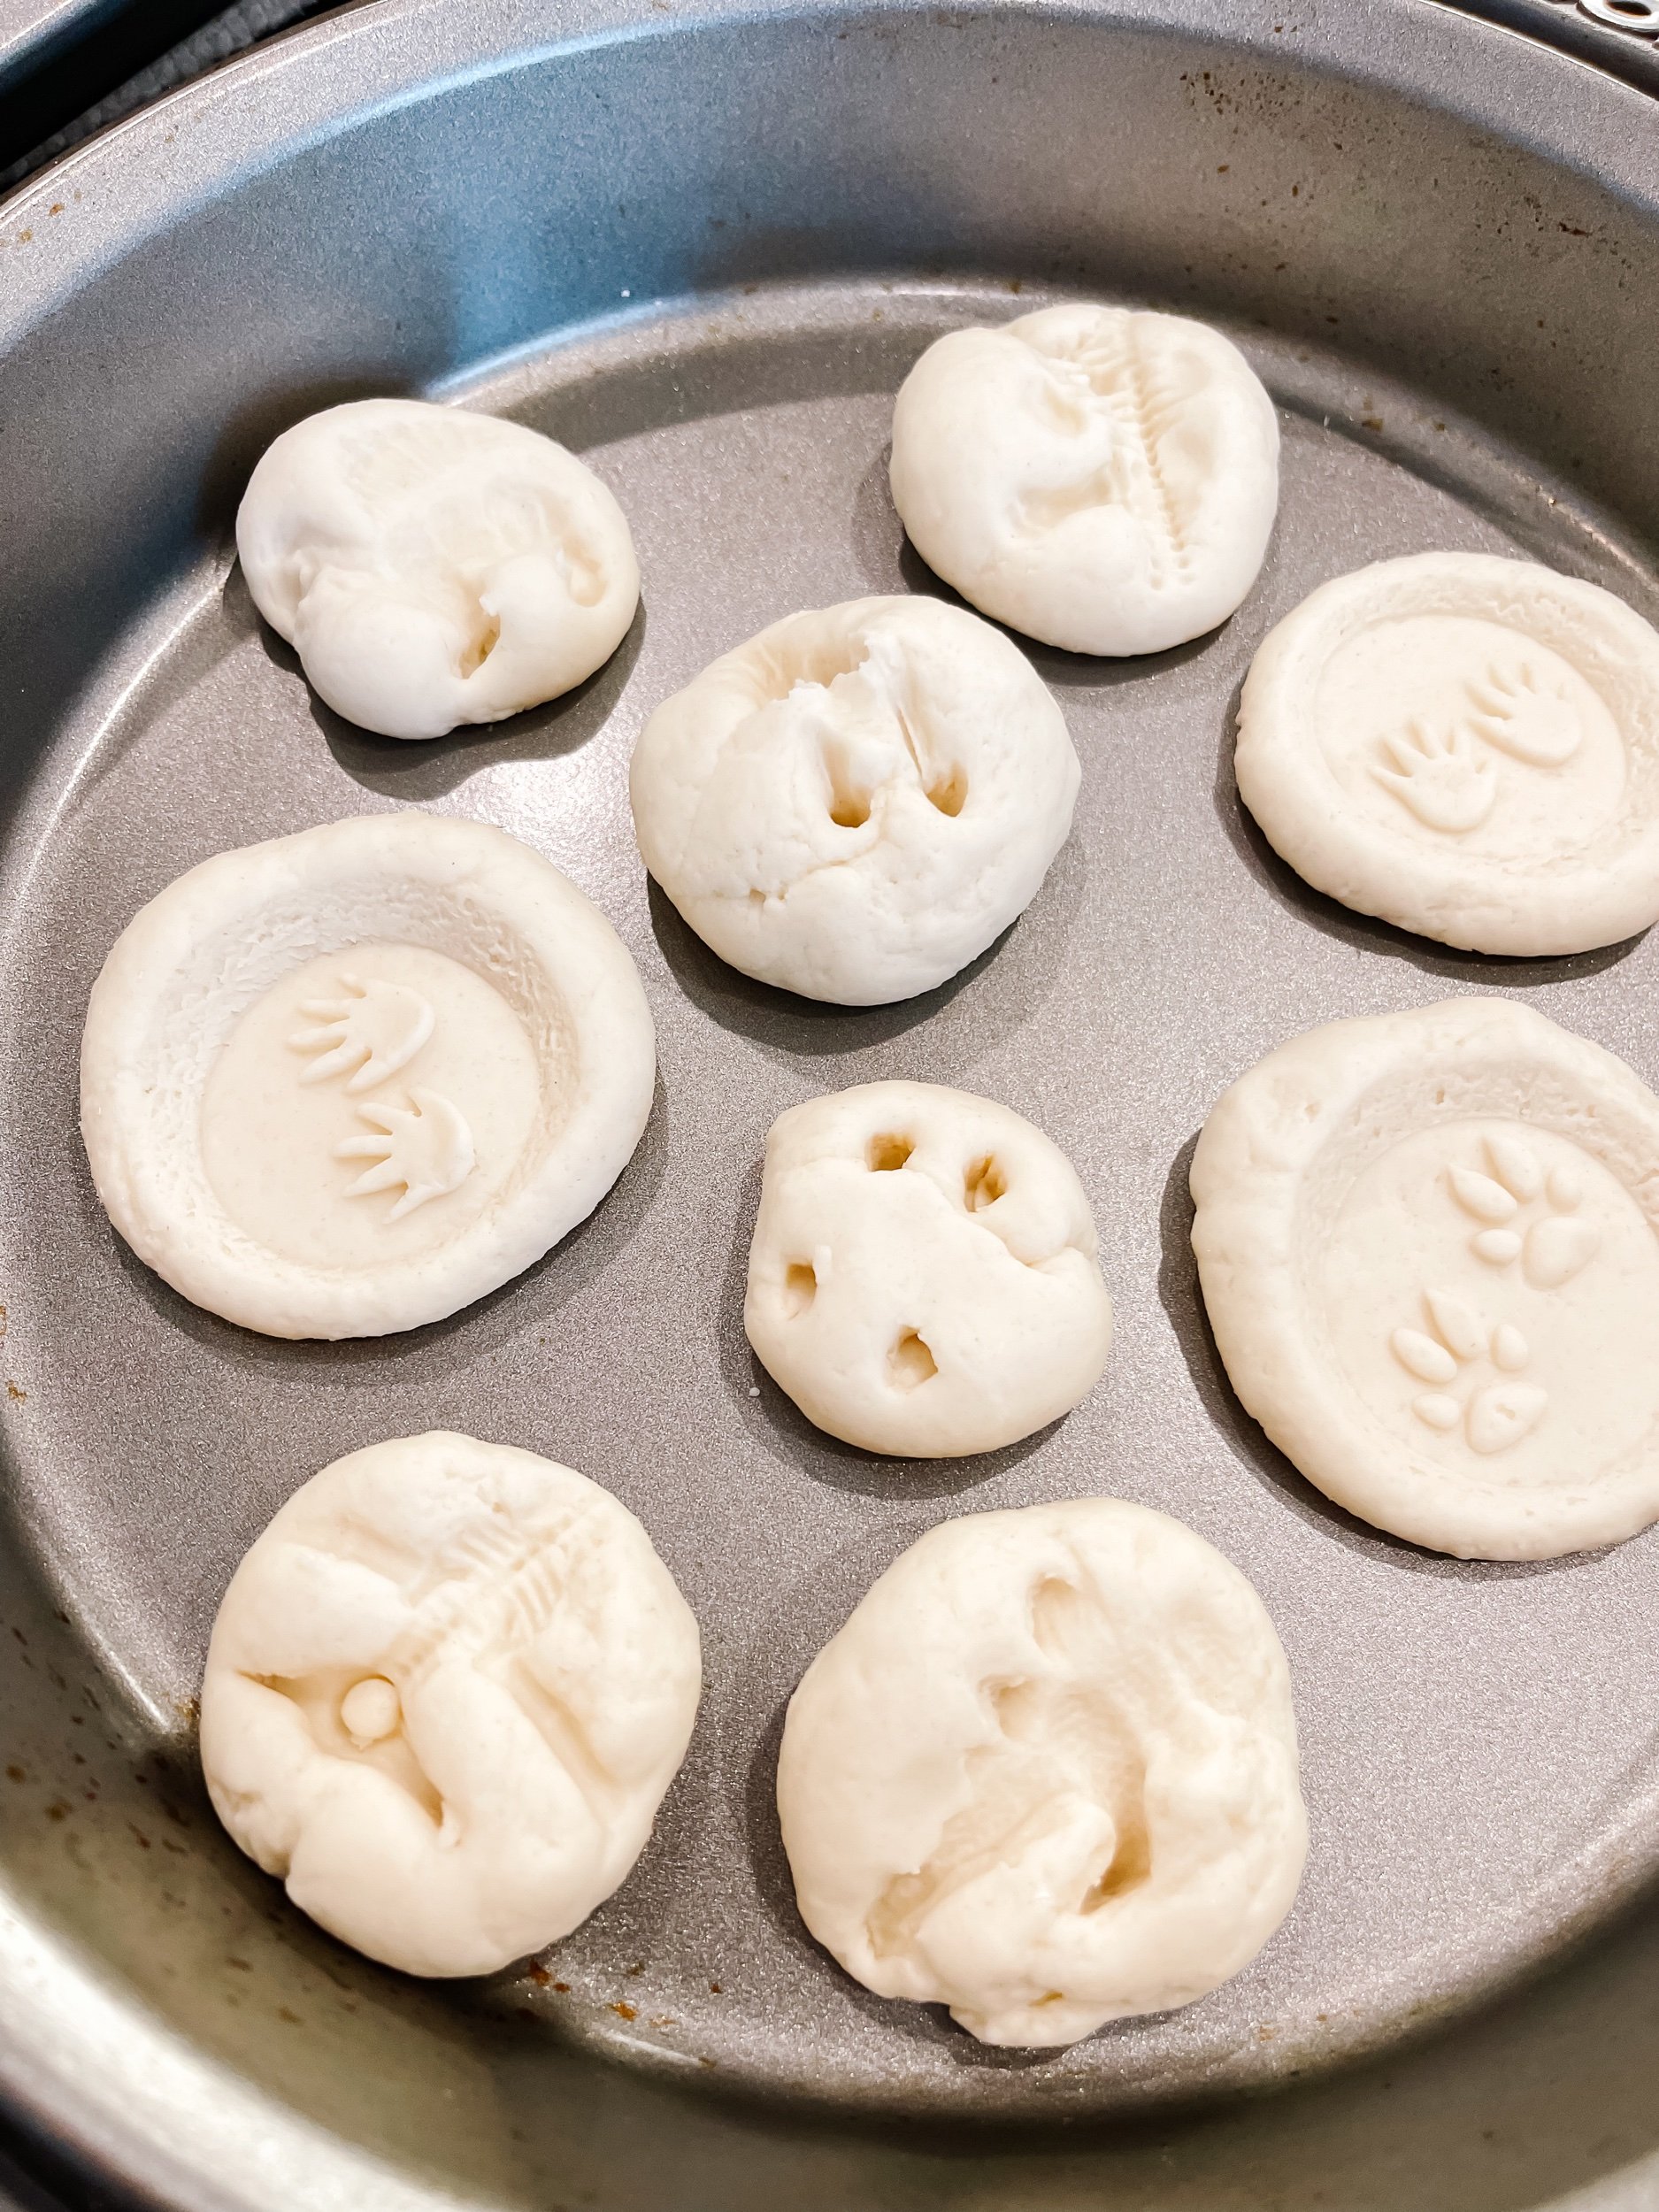
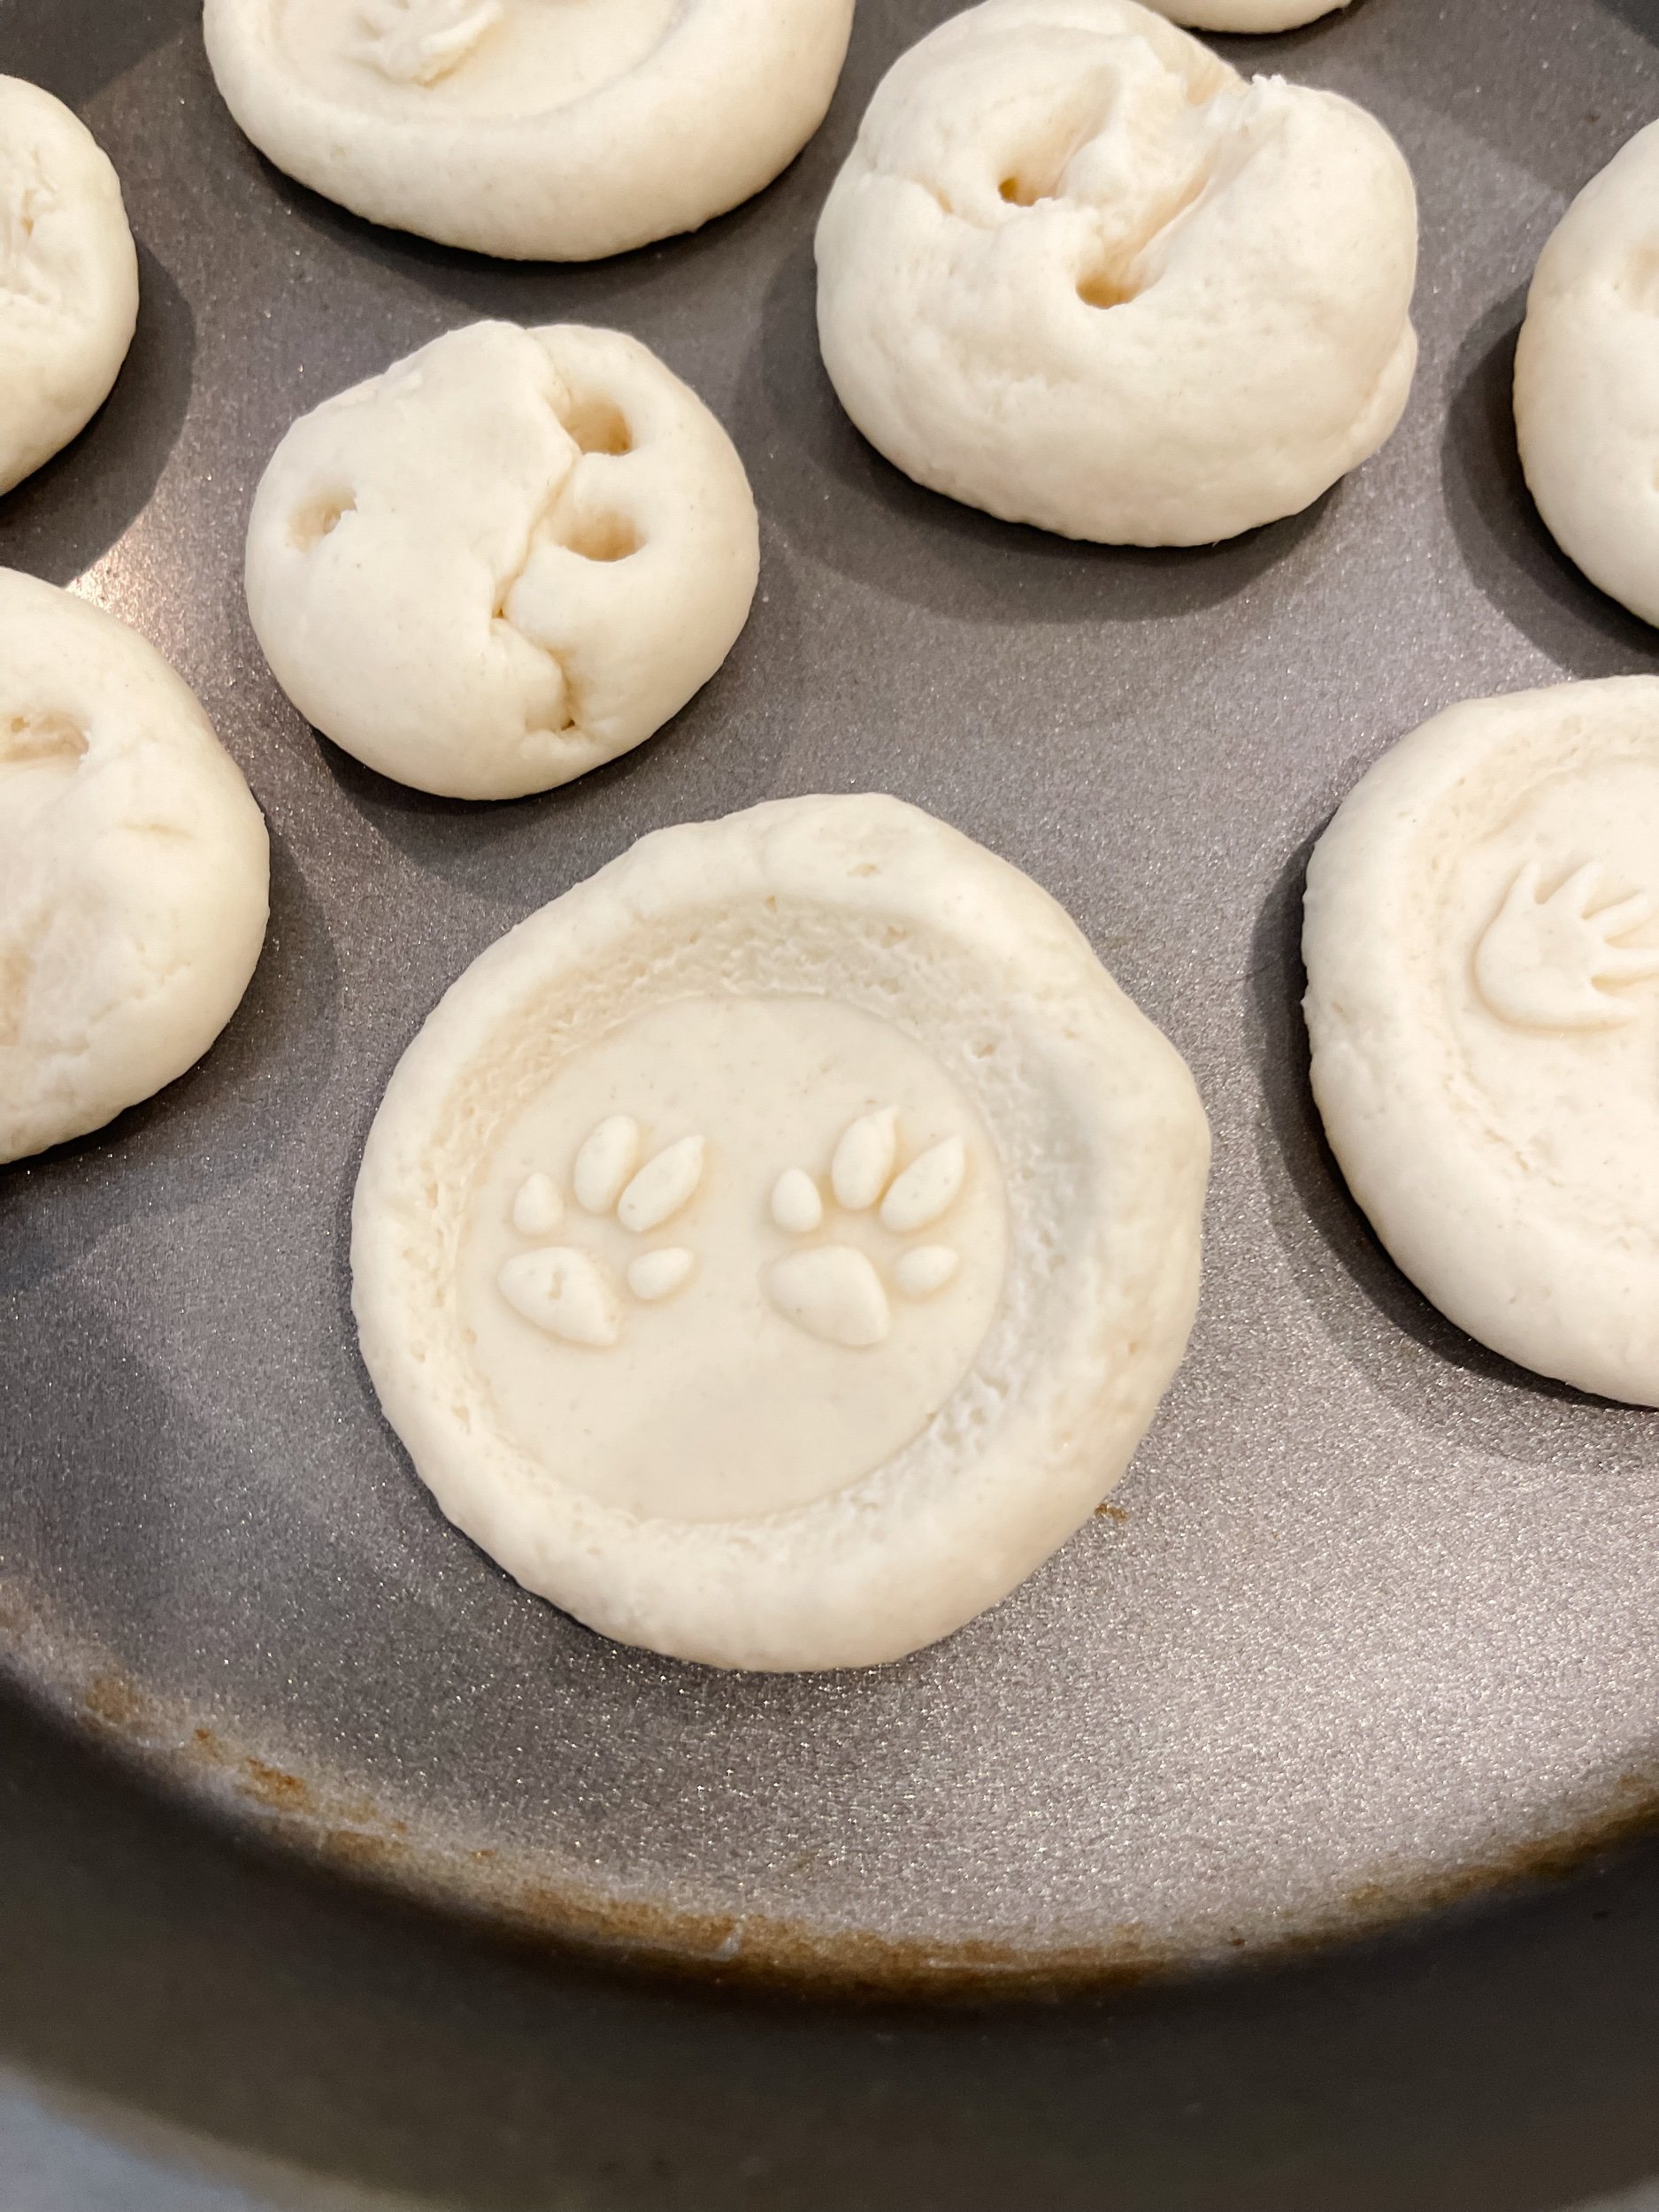
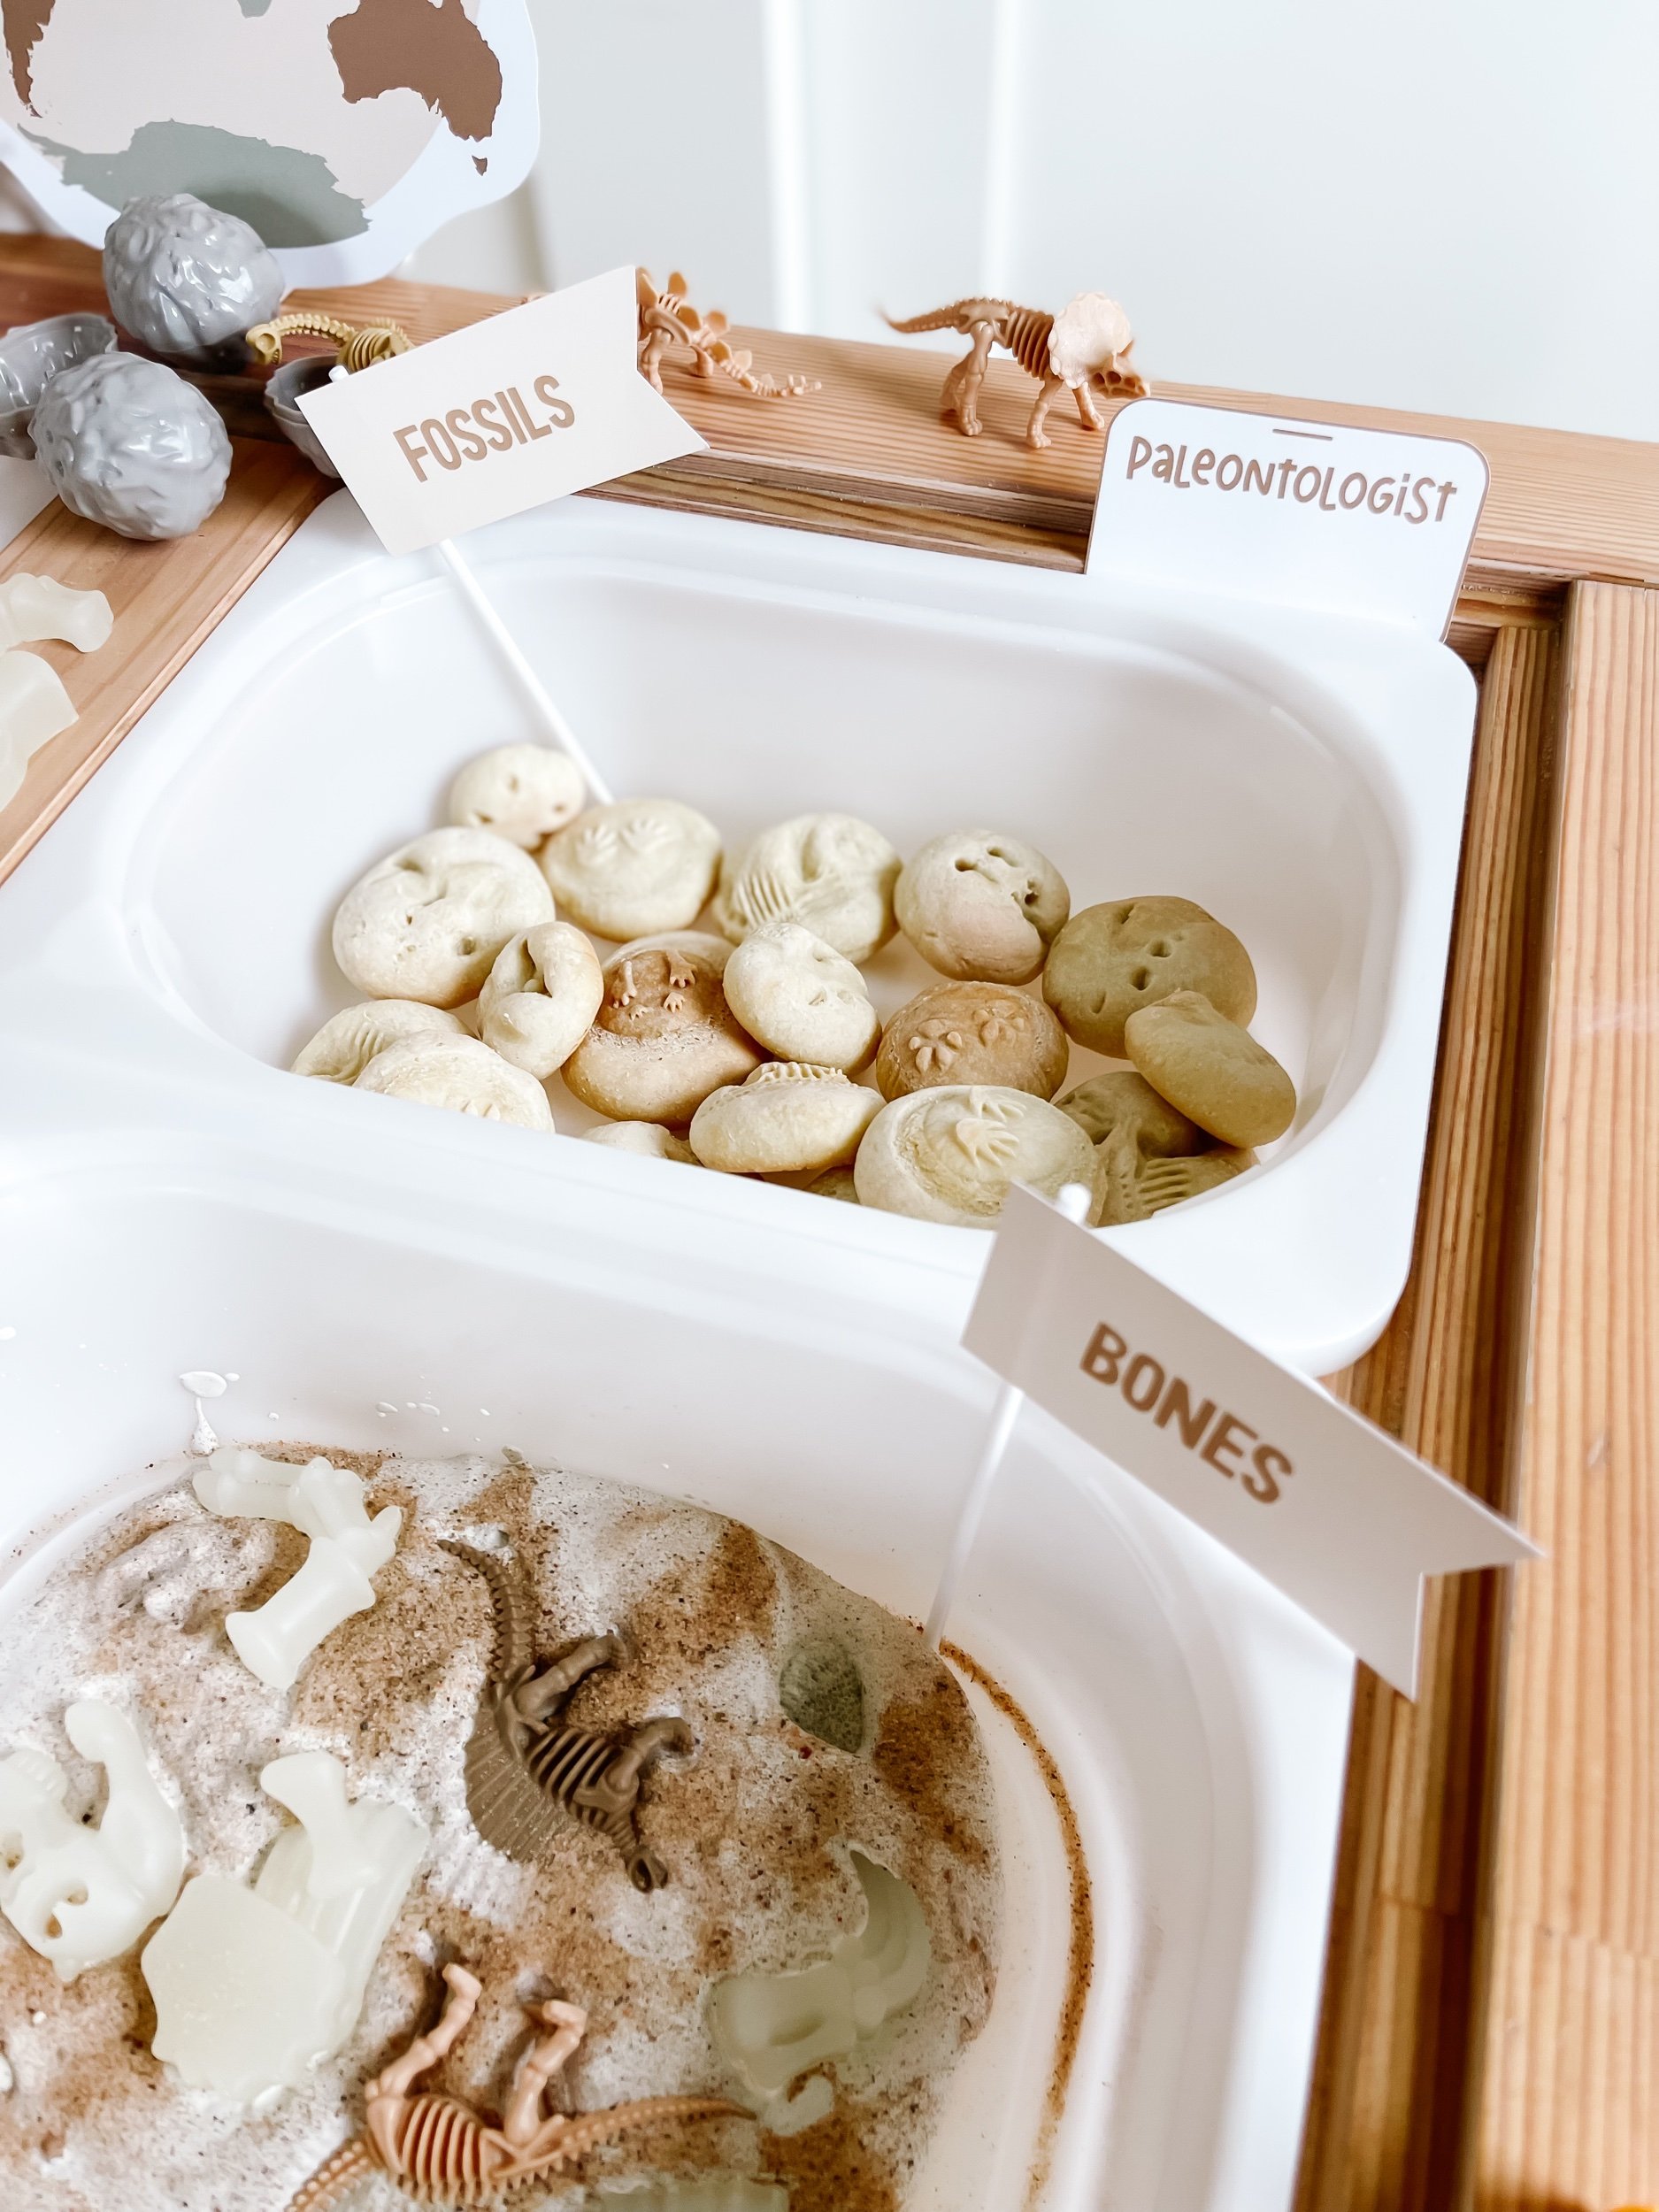
Stamping these fossils was so much fun and it’s like two activities in one! You can start by mixing and playing with the doh. We spent time just kneading it and enjoying the texture. It was so much fun. Then we rolled out little balls to make the rocks or fossils. Then we starting stamping them out using our dinosaur skeletons, dinosaur toys, and stampers from T.C. Play.

IMG_5823.jpeg IMG_5824.jpeg IMG_5821.jpeg IMG_5818.jpeg IMG_5804.jpeg IMG_5801.jpeg IMG_5808.jpeg IMG_5814.jpeg IMG_5810.jpeg IMG_5812.jpeg IMG_5822.jpeg IMG_5819.jpeg IMG_5828.jpeg IMG_5825_jpg.jpeg IMG_5829.jpeg

Follow these step-by-step instructions:
Step 1: In a bowl, mix 2 cups of all-purpose flour, 1 cup of salt, and 1 cup of water until you achieve a smooth dough consistency.
Step 2: Roll out the dough on a flat surface and encourage your child to press dinosaur footprints or skeletons into the dough using plastic toy figures. We used these amazing stampers from T.C. Play.
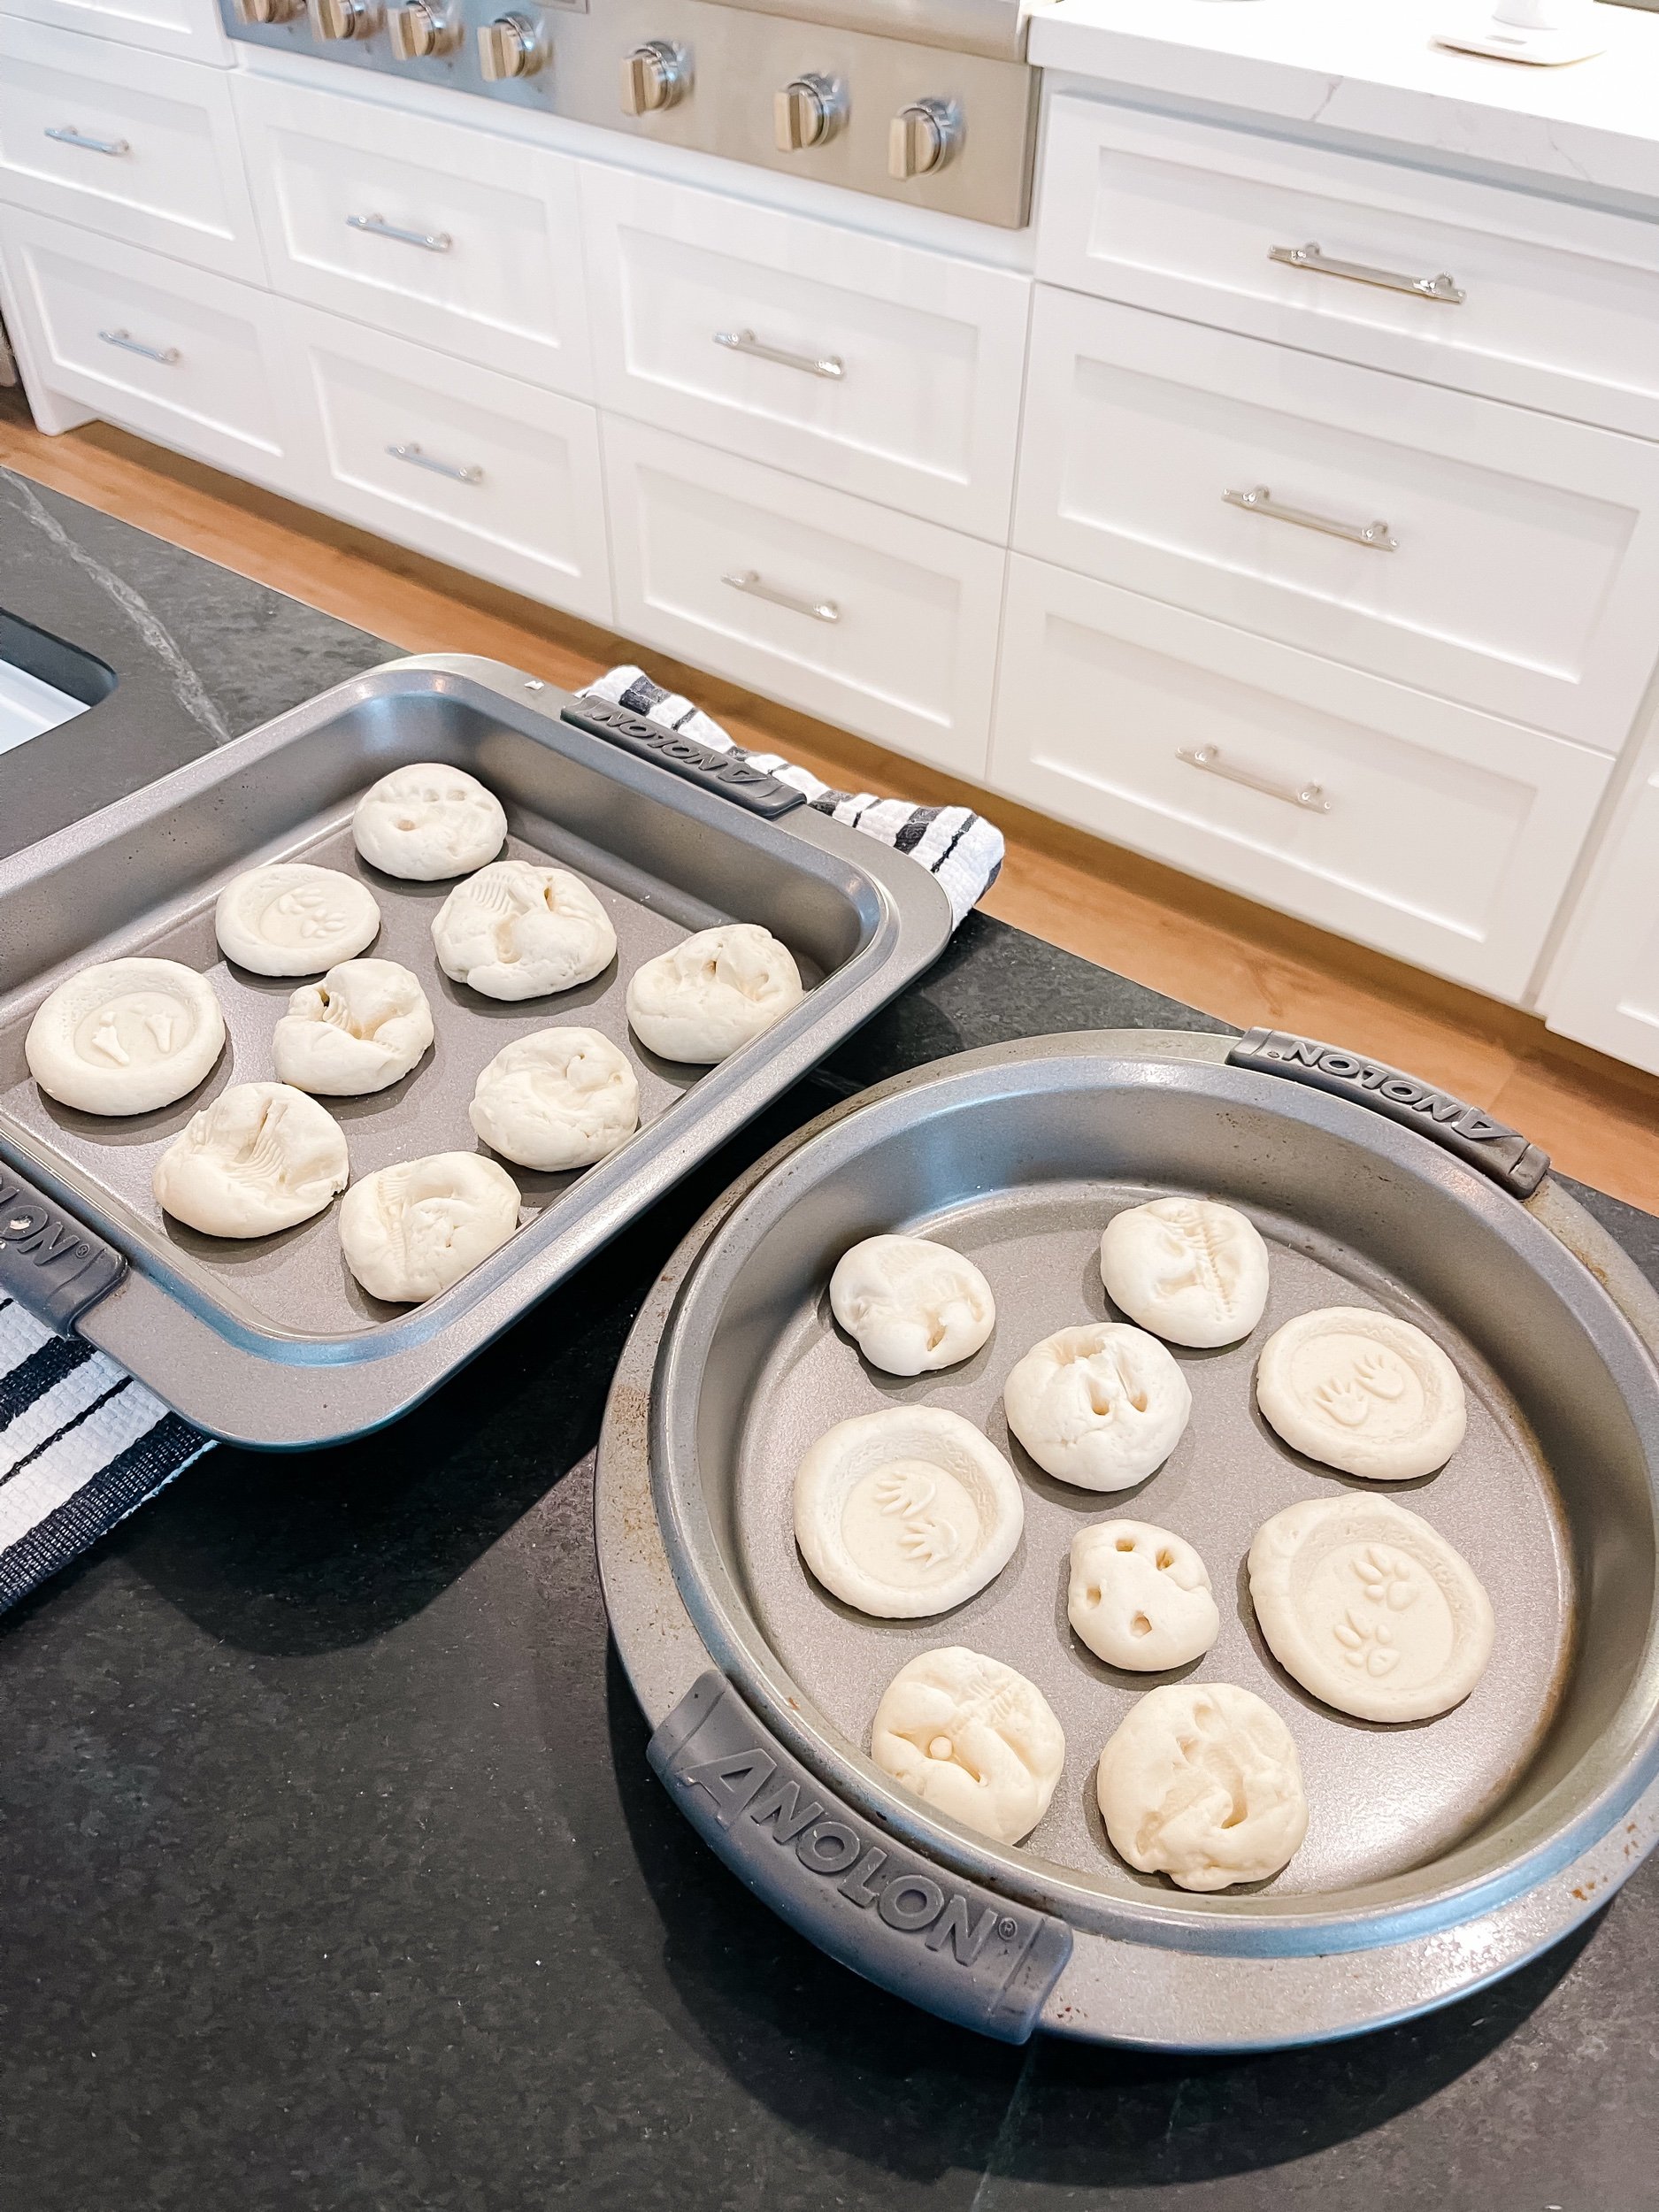
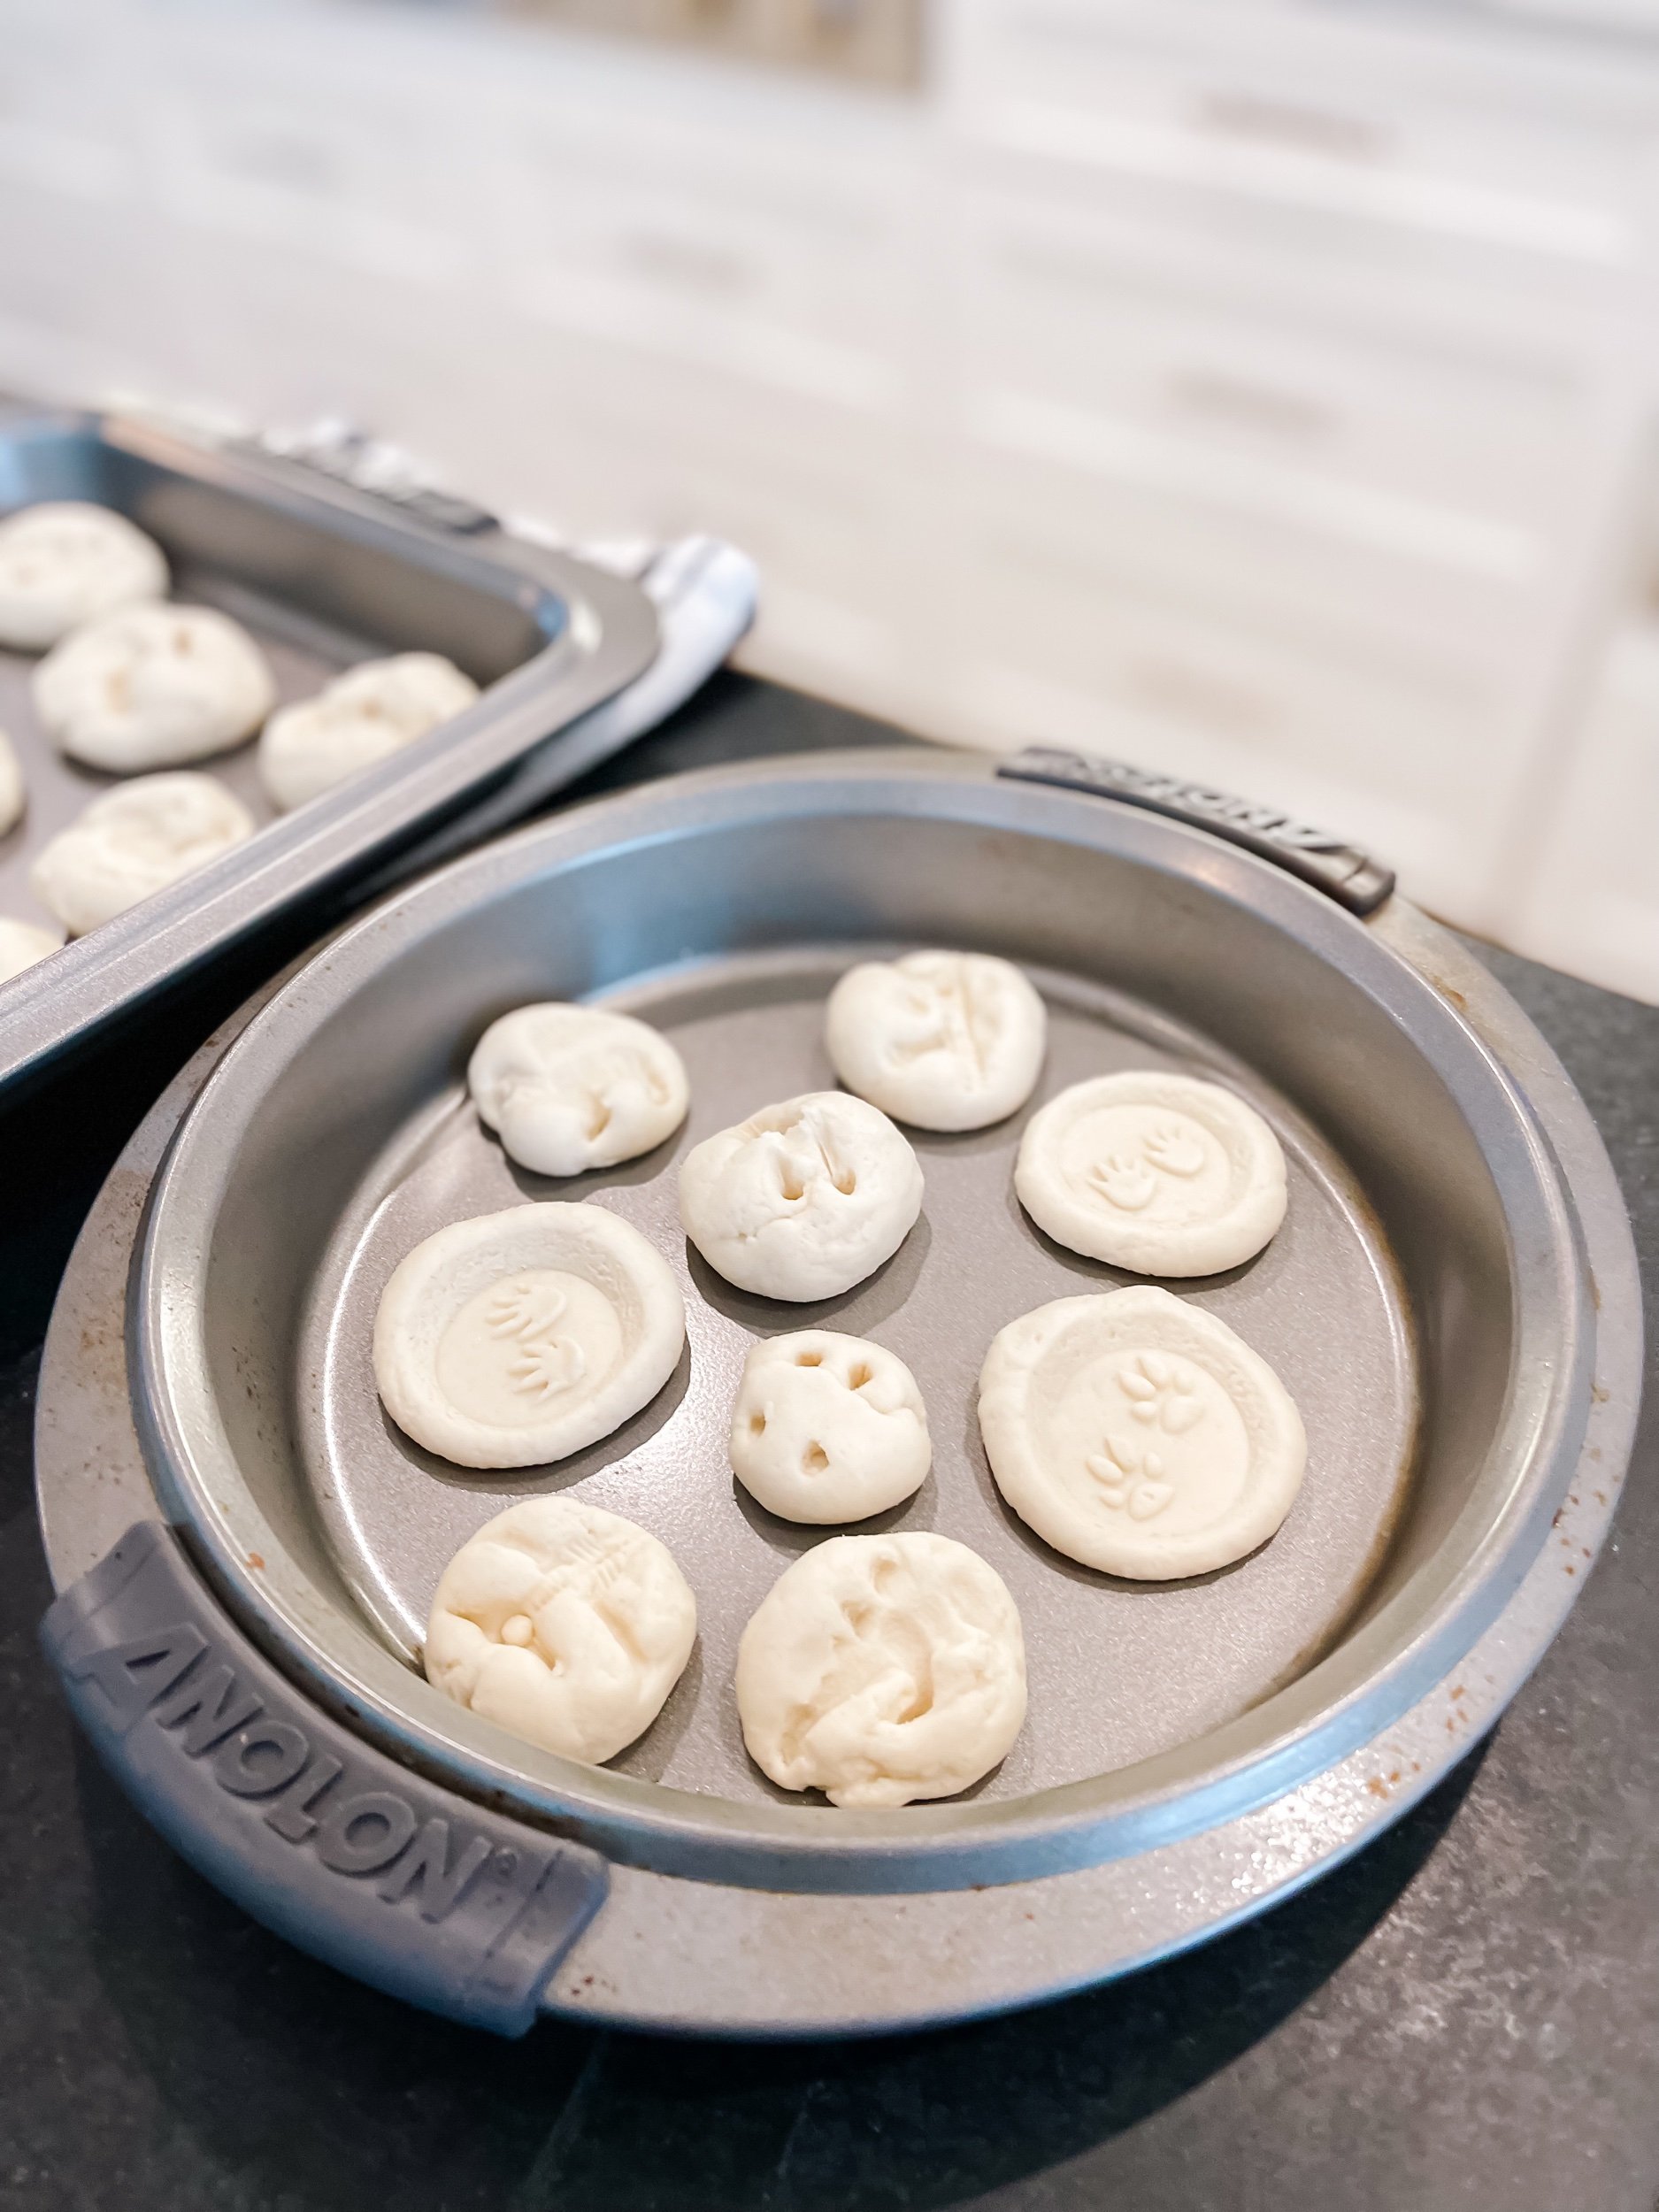
Step 3: Bake the imprints on a parchment-lined baking sheet at a low temperature (around 200°F or 95°C) for approximately 2-3 hours or until the dough hardens.
The resulting salt dough fossils will serve as tangible remnants of the past, triggering sensory engagement and imaginative play.


IMG_5898_jpg.jpeg IMG_5901.jpeg IMG_5900_jpg.jpeg IMG_5918_jpg.jpeg IMG_5908_jpg.jpeg IMG_5904.jpeg IMG_5909_jpg.jpeg

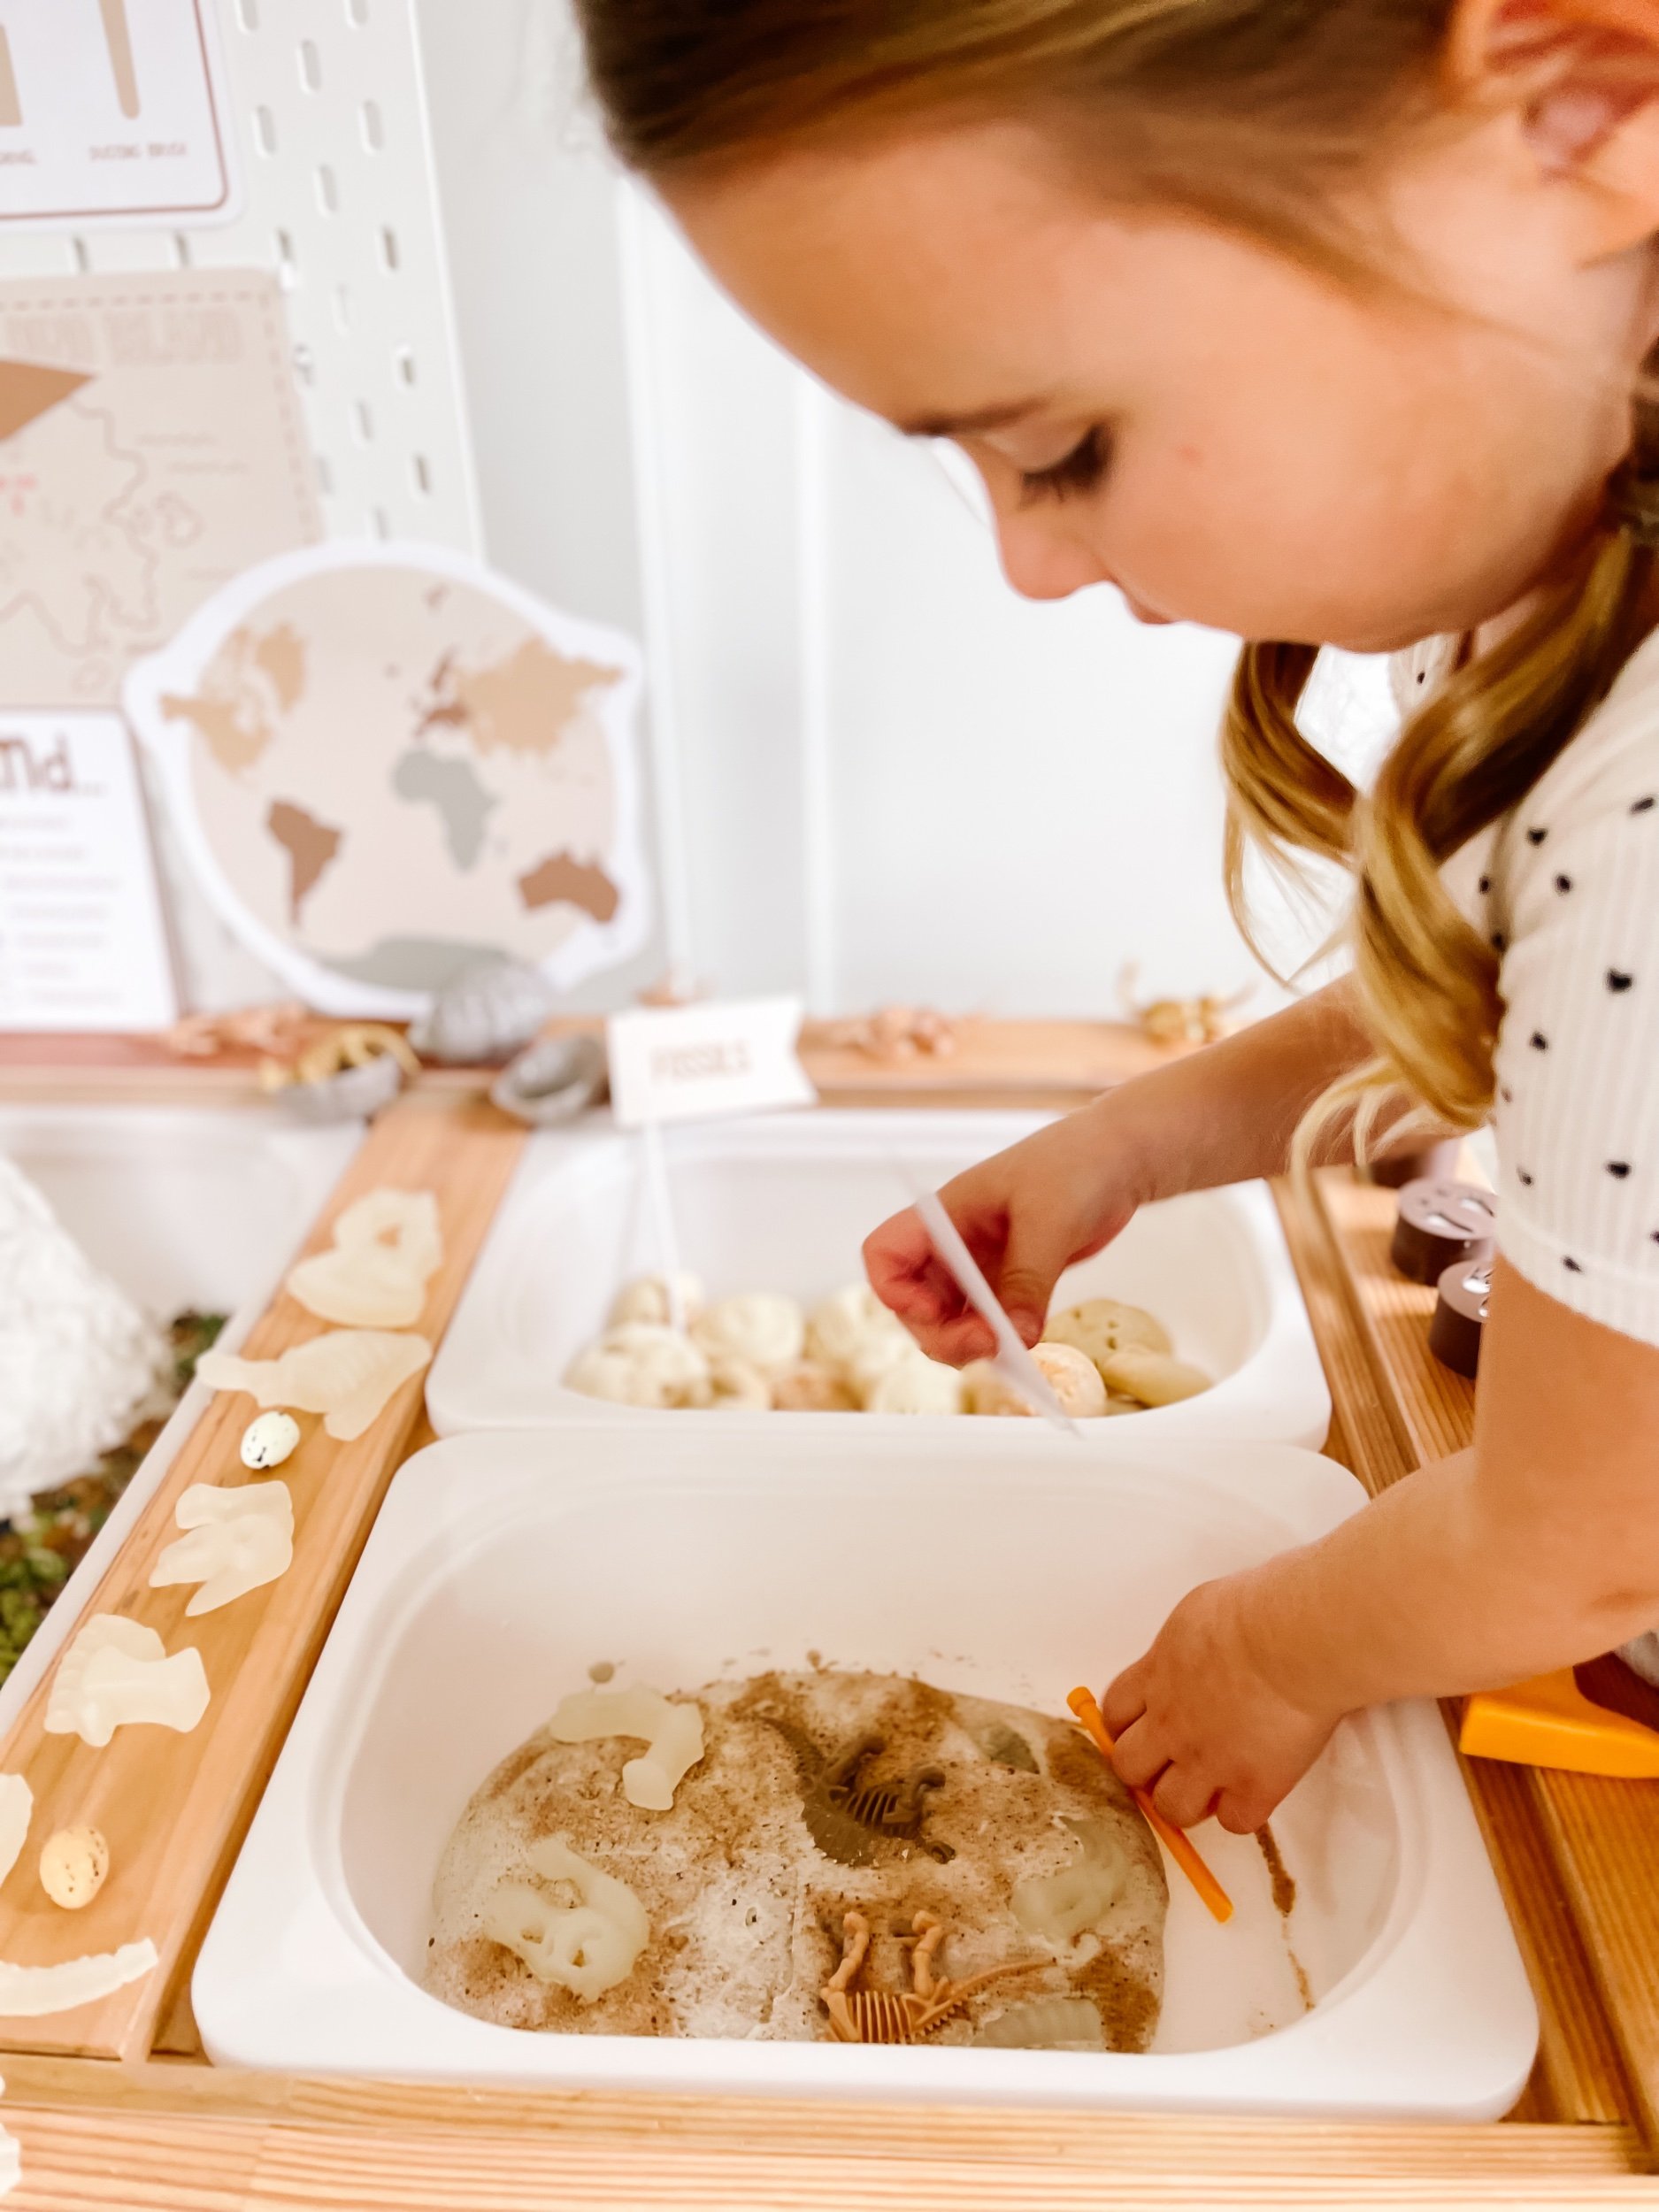
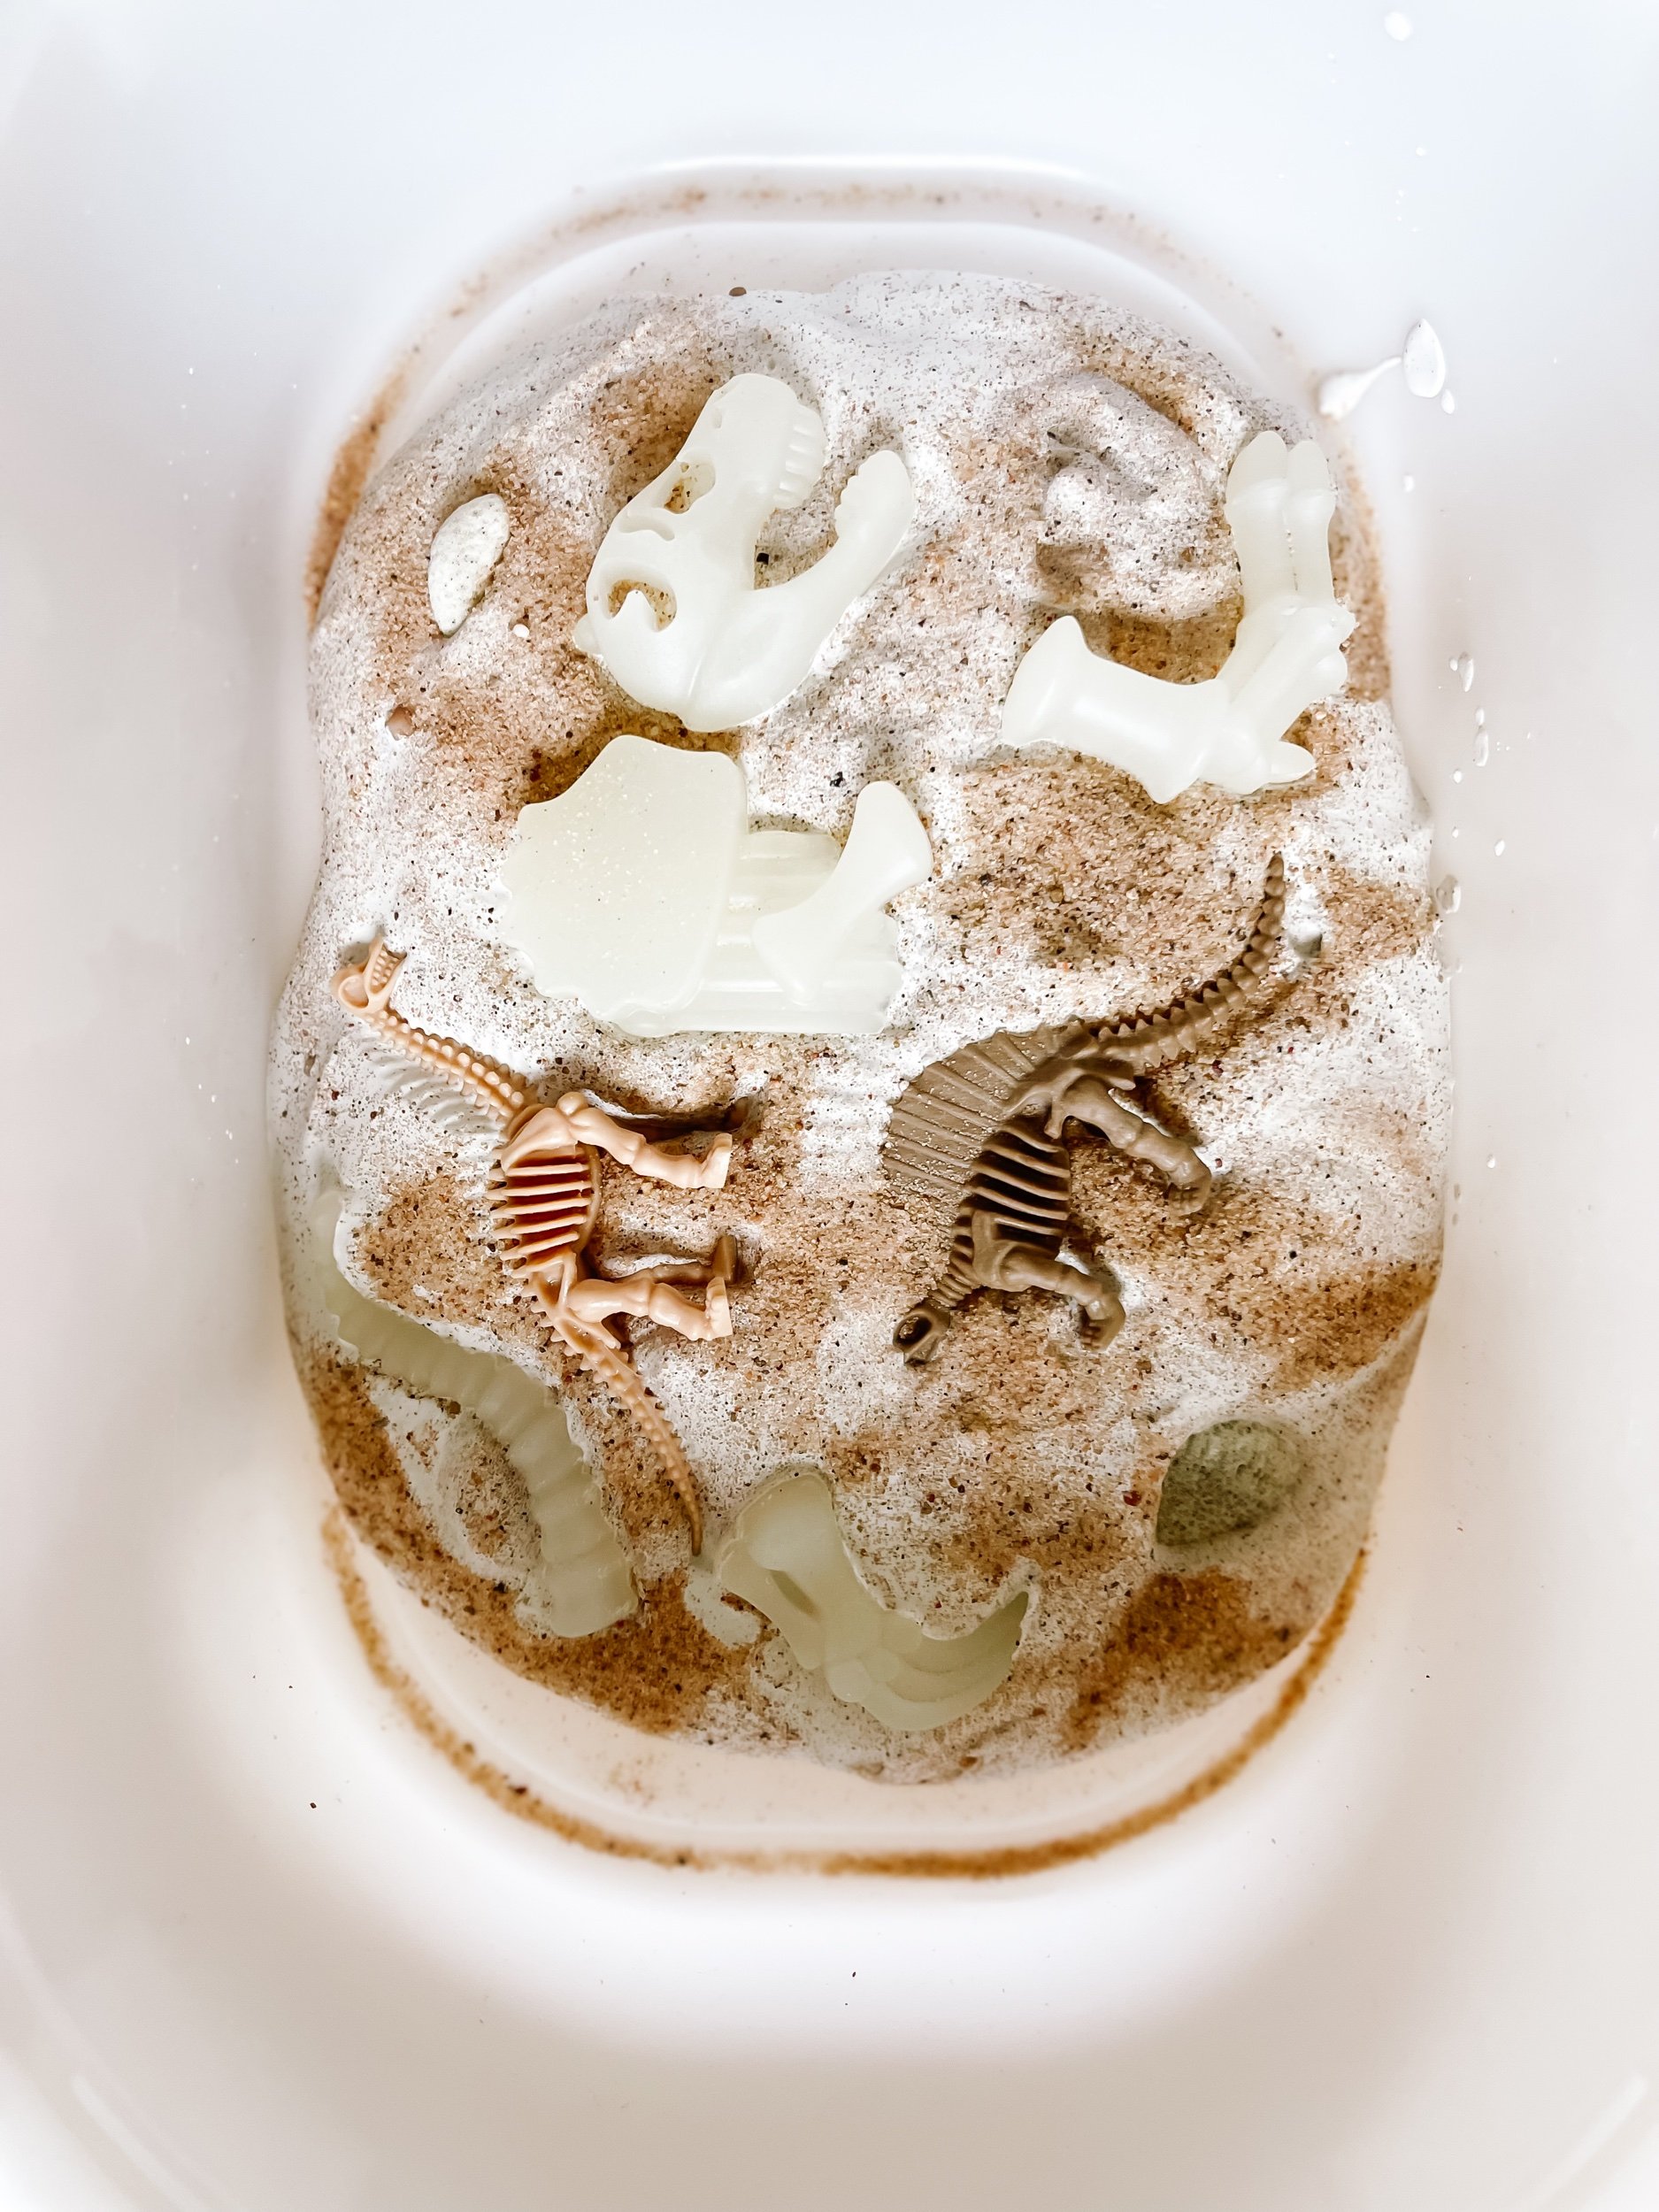
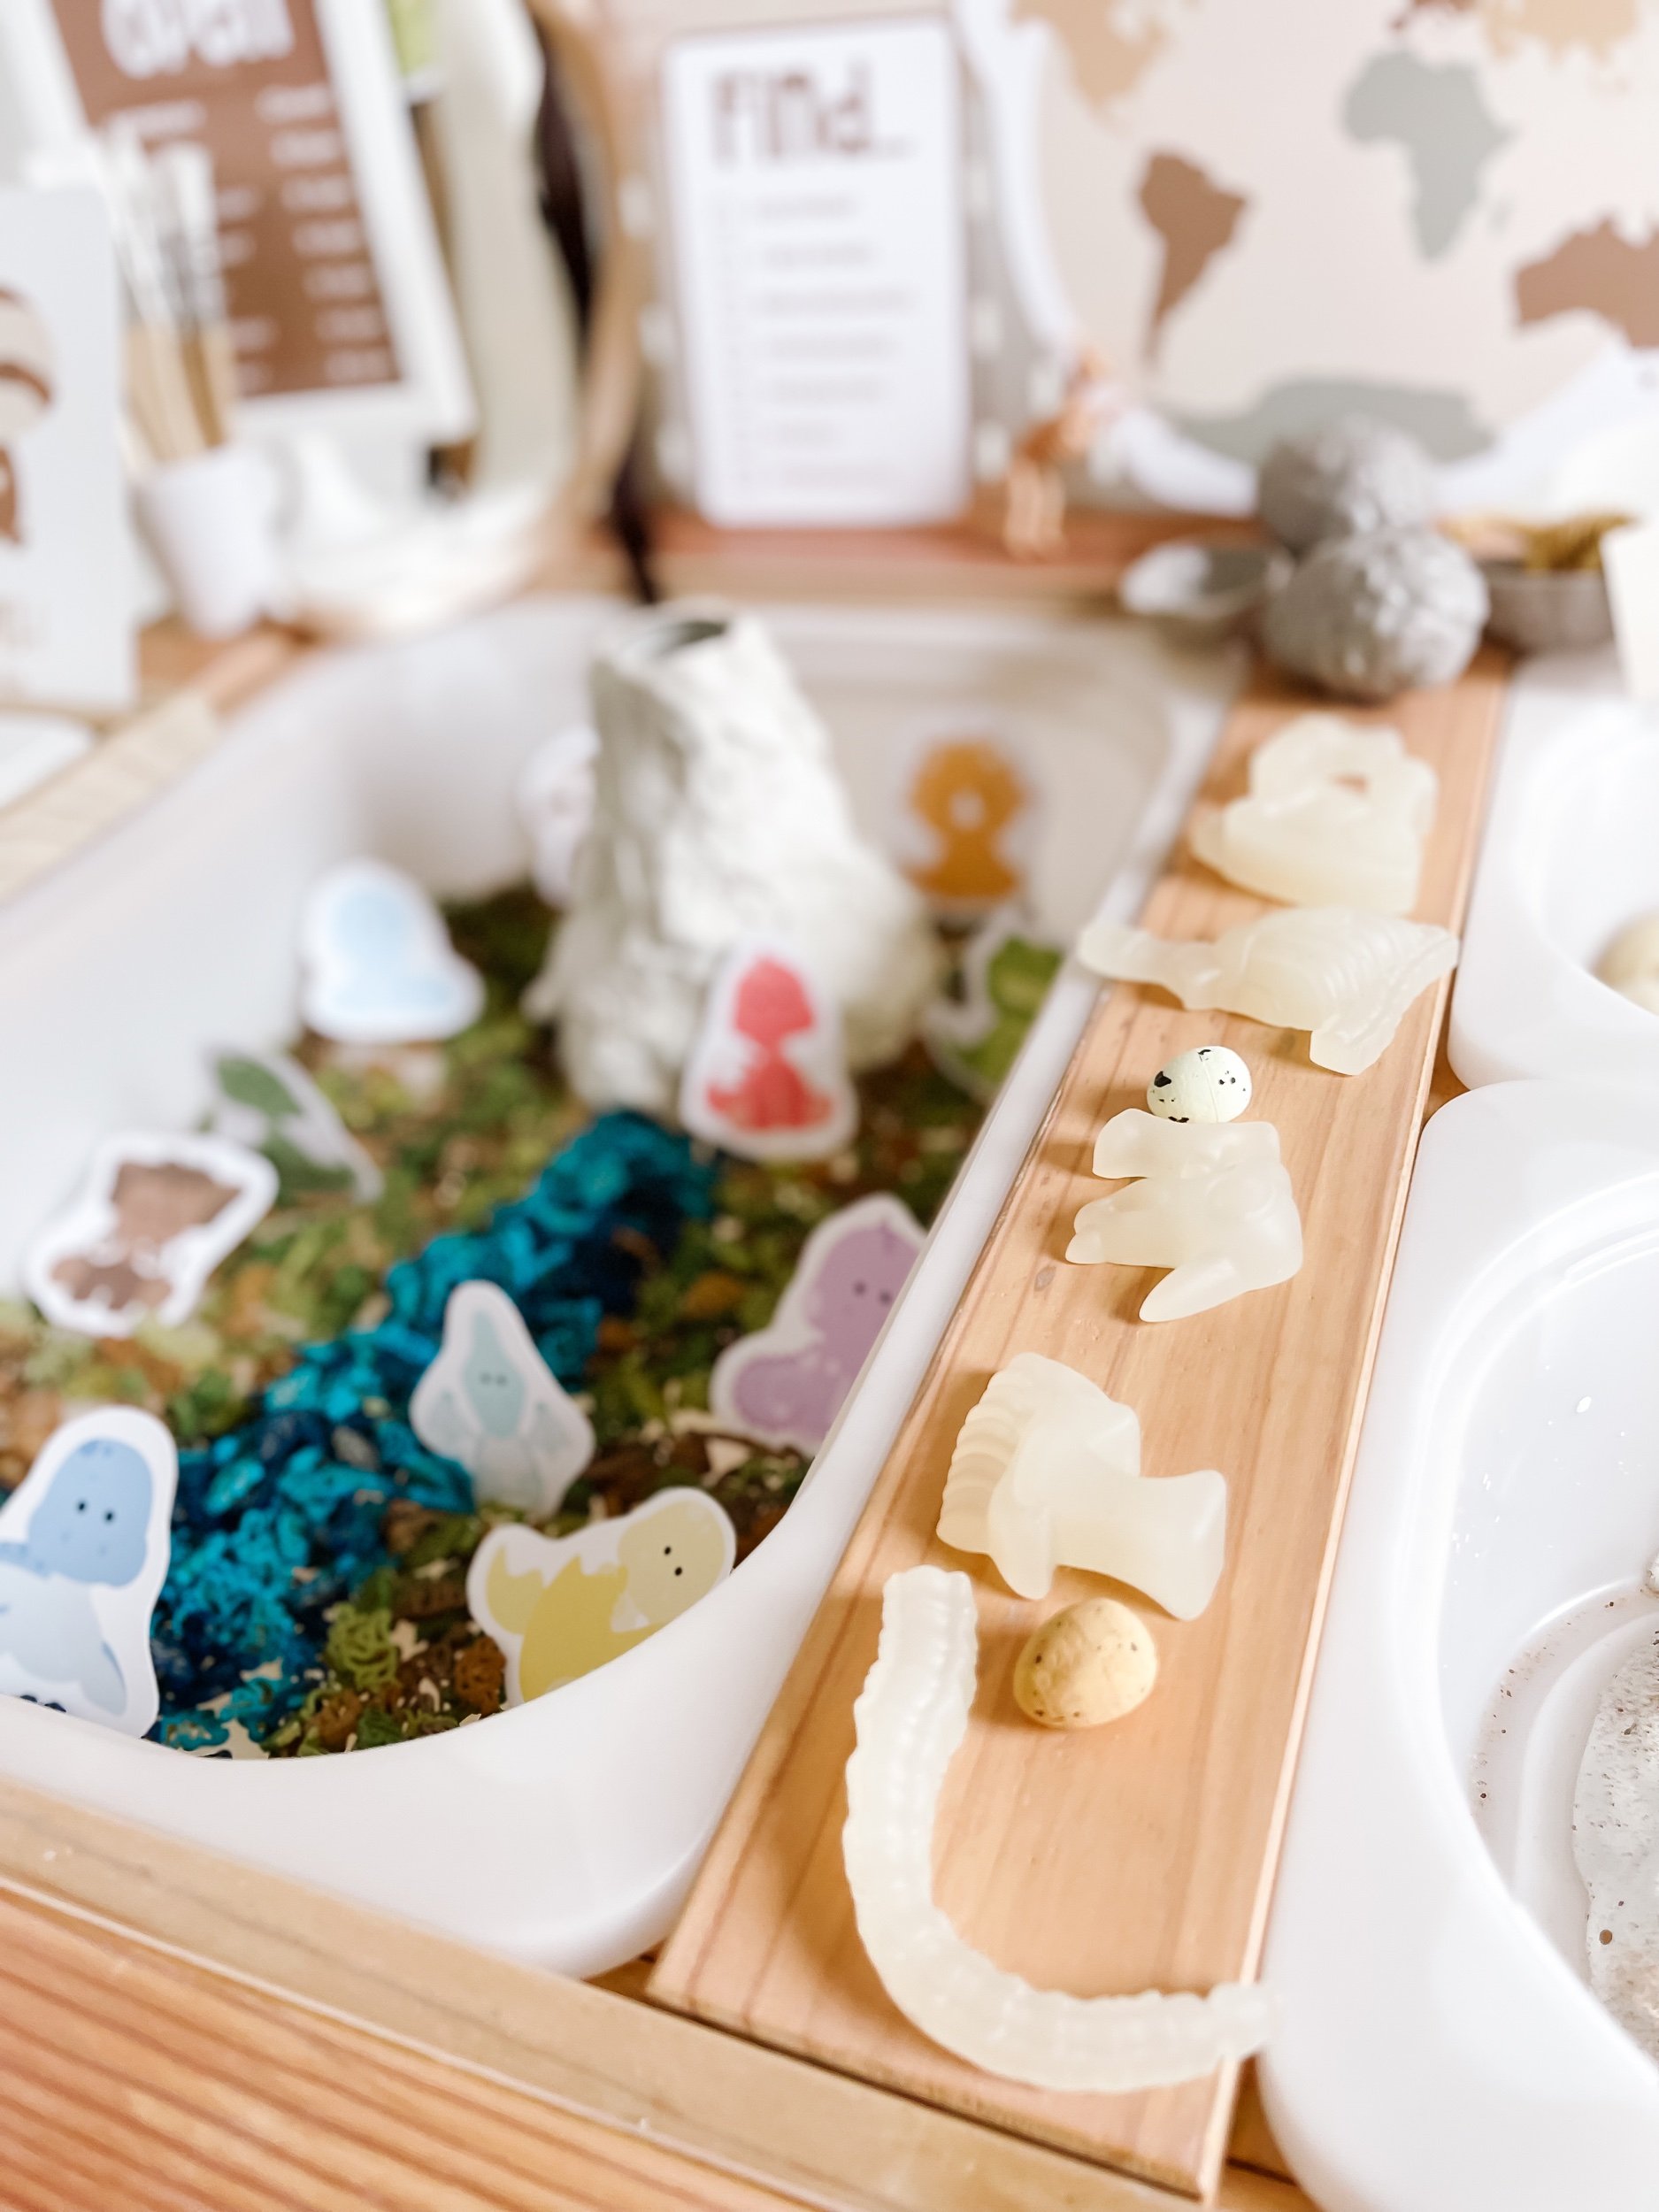
2. Resin Dinosaur Bones Excavation

For an archaeological experience, create a sensory filler material by embedding resin dinosaur bones. Here's how you can make it:
Step 1: Purchase resin dinosaur bones from Creating Adventures Co
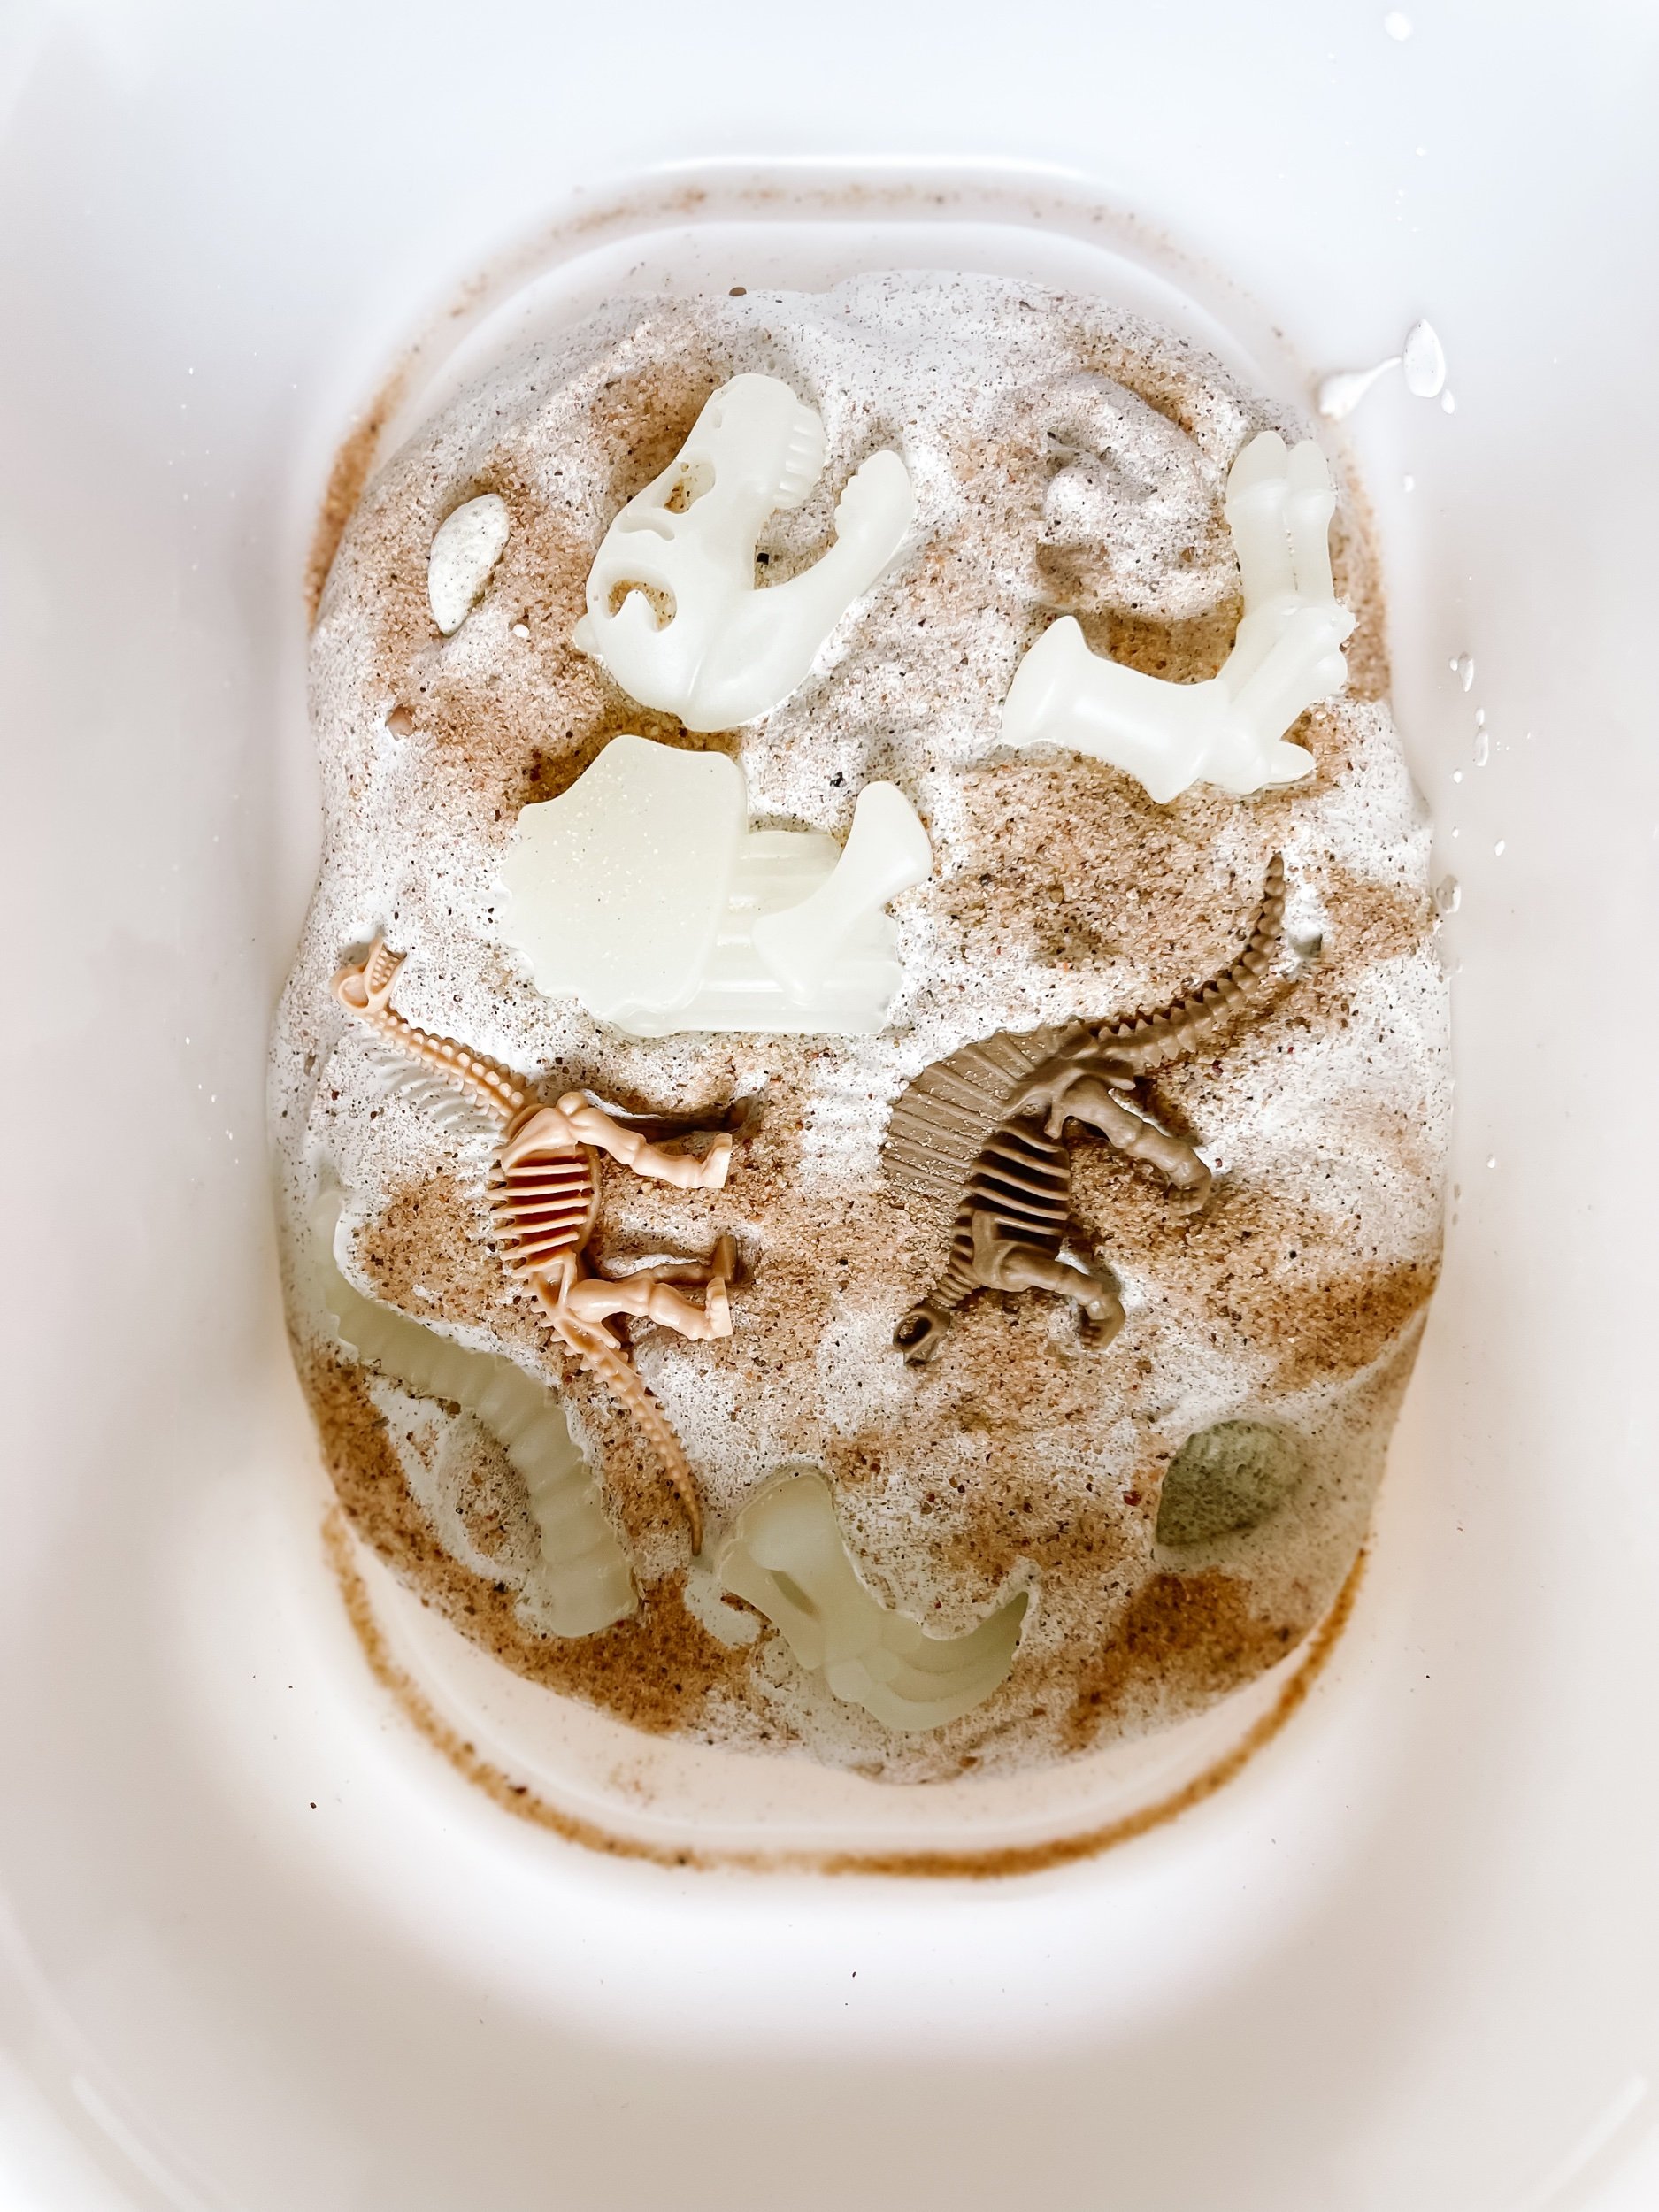
Step 2: Prepare the Plaster of Paris by mixing 2 parts plaster, 1 part water in a large bowl. Mix and use within 6-10minutes. Pour the plaster directly into your sensory bin. And don’t worry, it won’t ruin your bin!
Step 3: Add sand and rocks to create multiple layers to dig from. Add more plaster to the top.
Step 4: Bury the resin dinosaur bones in the sensory material and encourage your child to excavate the bones using their dig tools from the play kit.
Exploring the sensory filler material will not only provide a tactile experience but also introduce an element of surprise as your little one uncovers the hidden dinosaur bones. Sofia had so much fun digging and chiseling — I think this was the longest lasting sensory play setup I’ve ever done.

Purchase the Dinosaur Kit

IMG_6166_jpg.jpeg IMG_6175_jpg.jpeg IMG_6242.jpeg IMG_6172_jpg.jpeg IMG_6137_jpg.jpeg IMG_6141_jpg.jpeg IMG_6150_jpg.jpeg

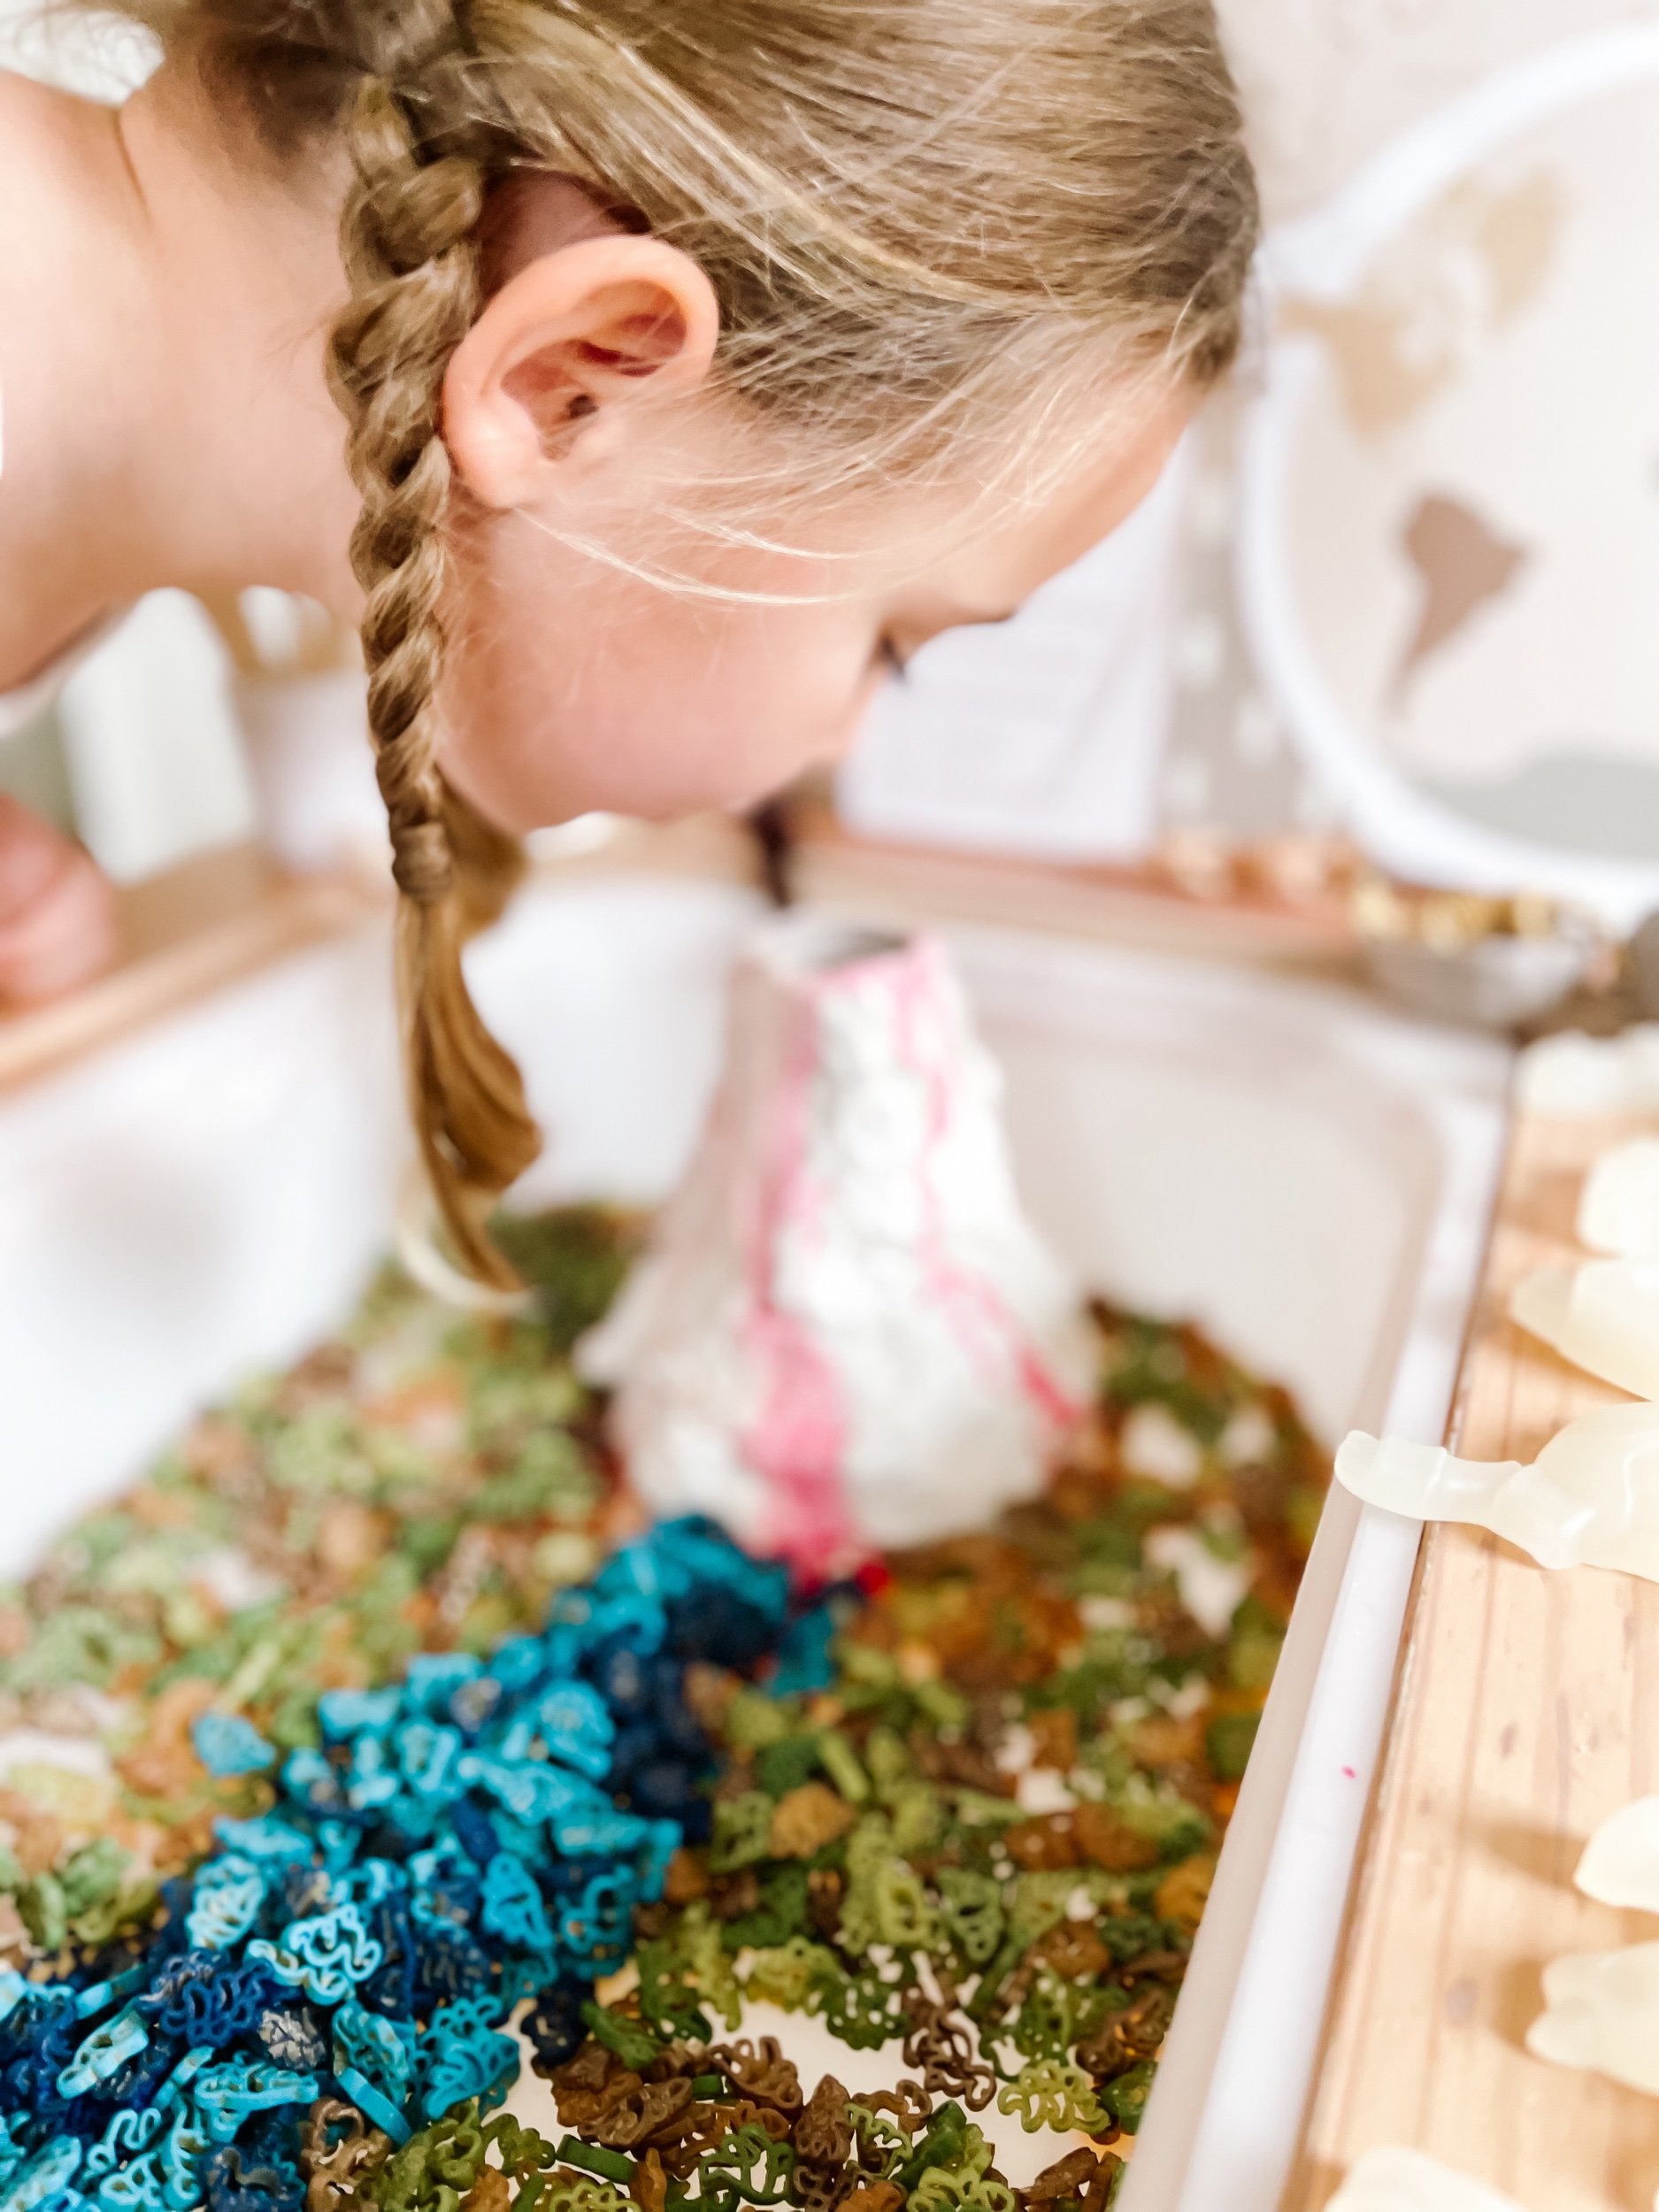
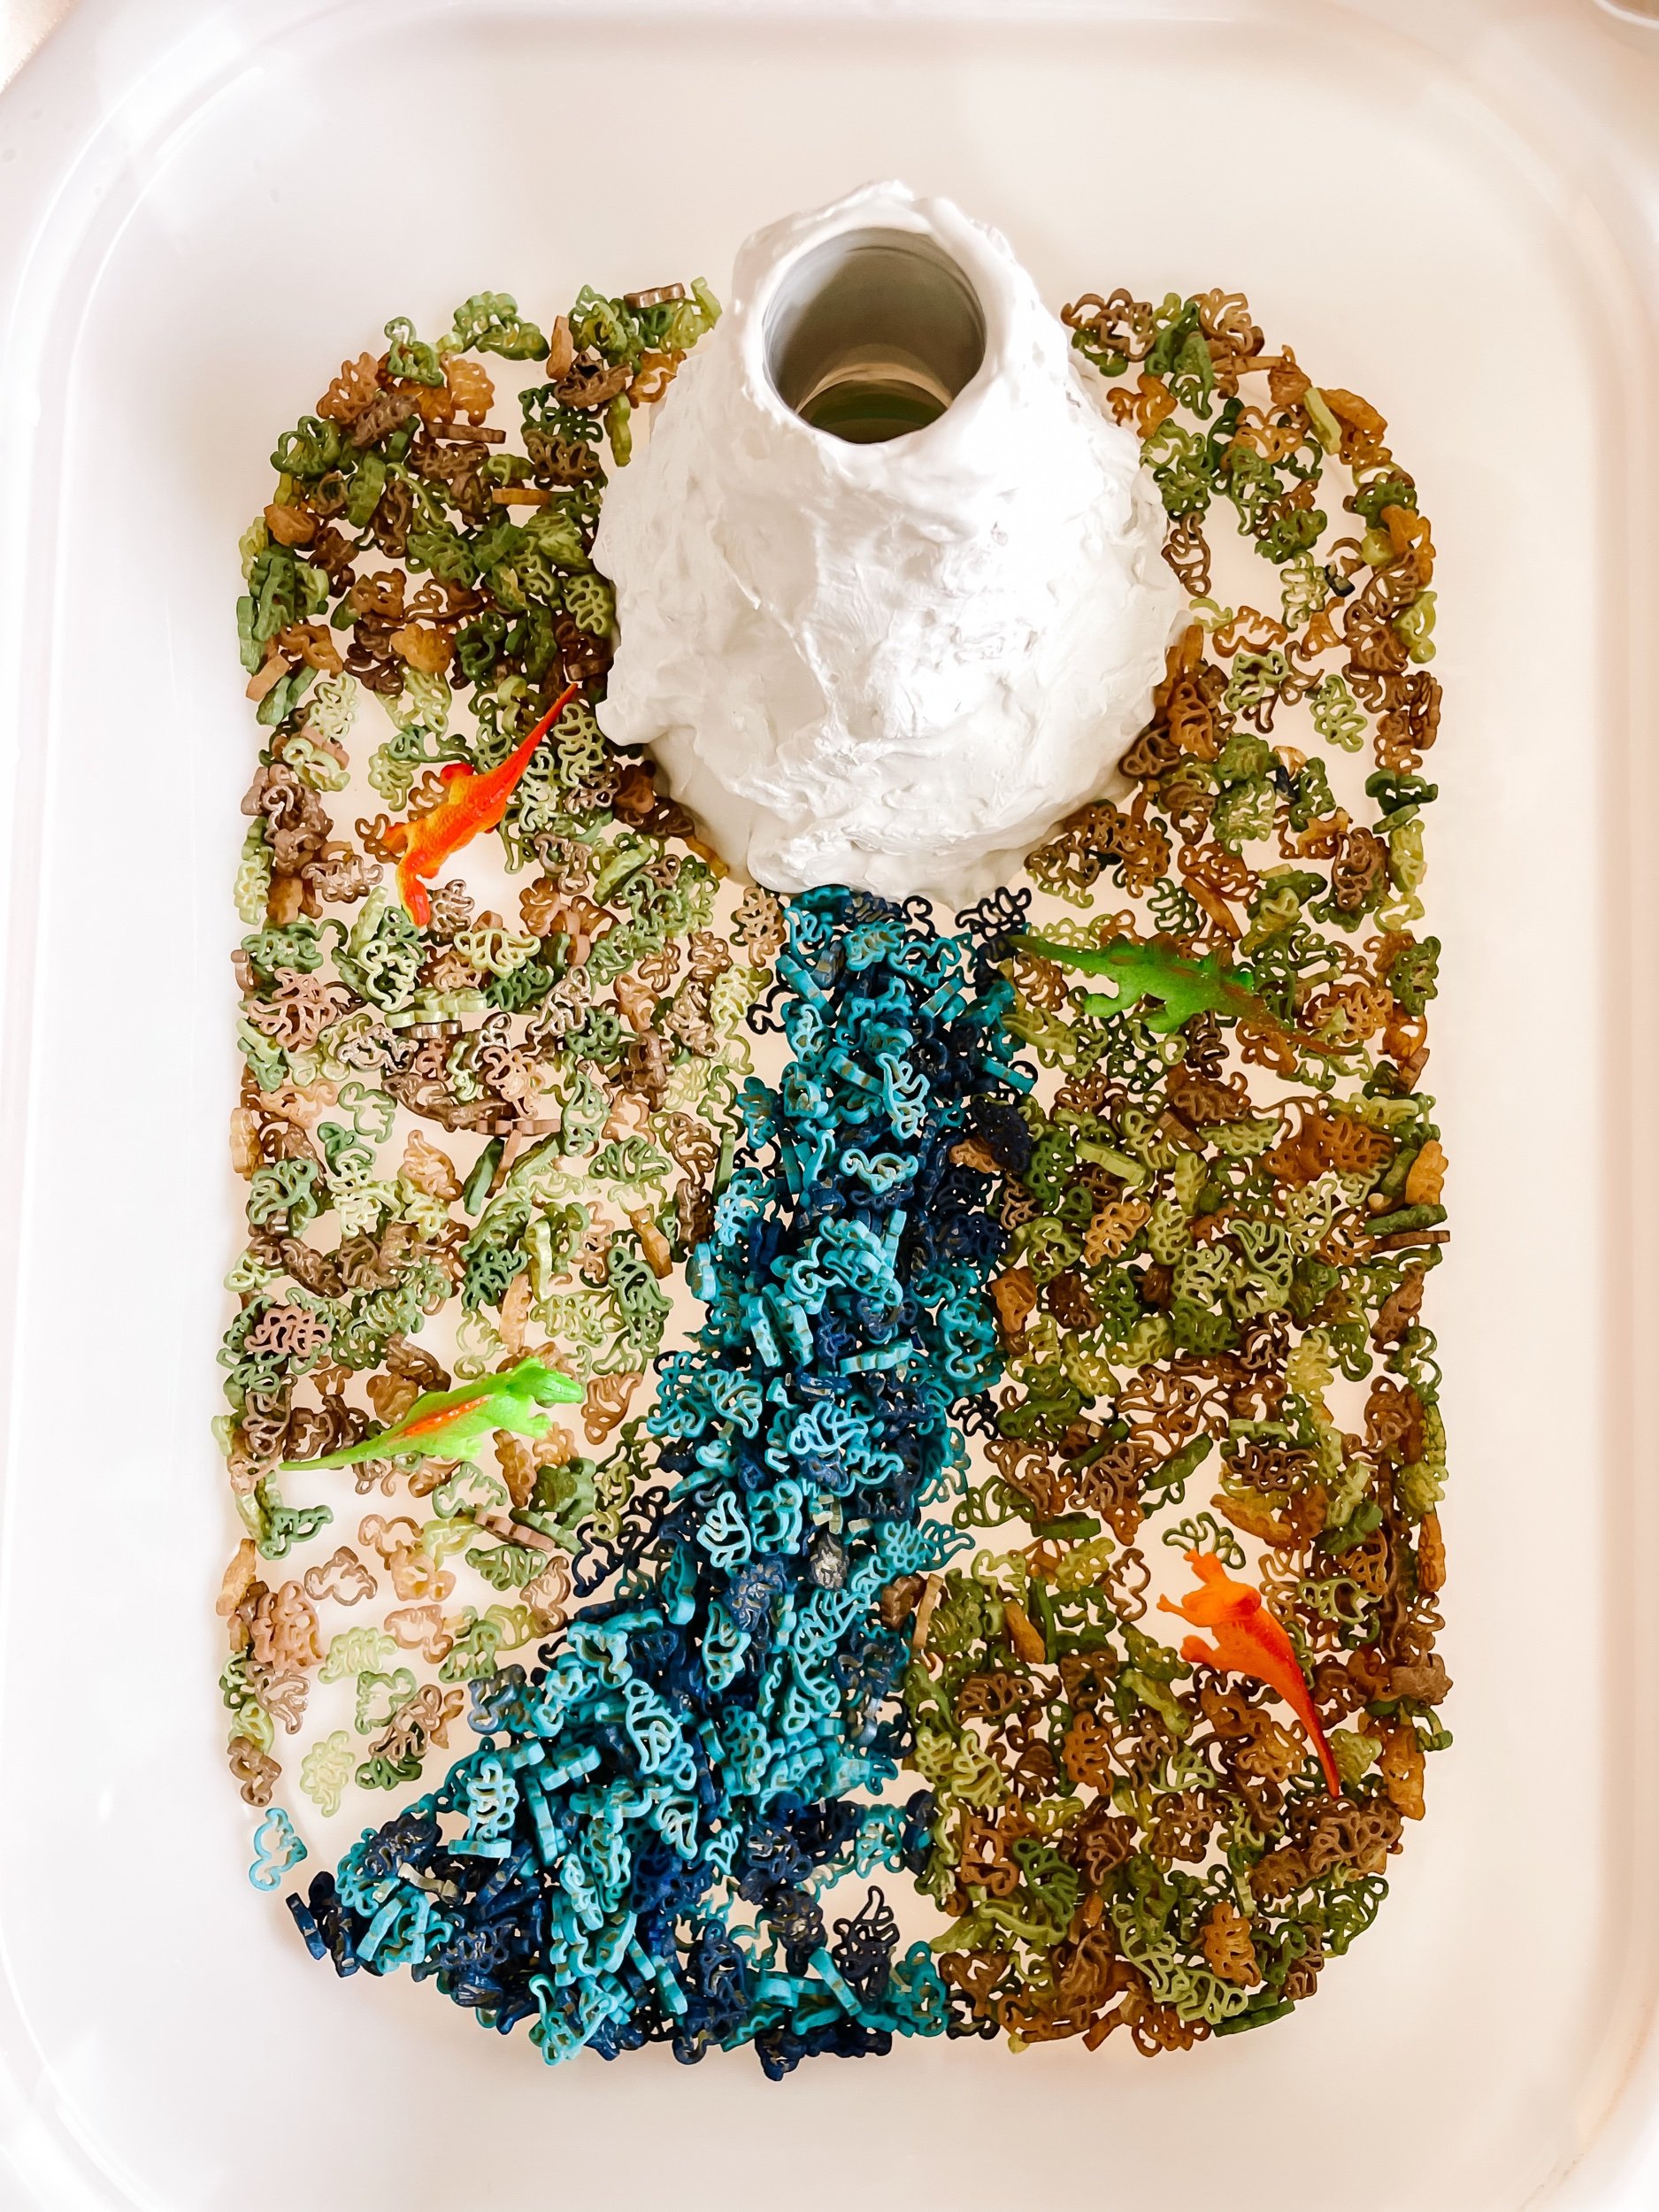
3. Small World Play Bin with a Volcano and Water

To encourage imaginative play, create a small world play bin where dinosaurs can roam freely. Here's how:
Materials Needed:

  • Large plastic container or sensory bin

  • Pebbles or smooth rocks

  • Green moss or fake grass

  • Plastic trees or plants

  • Small dinosaur figurines

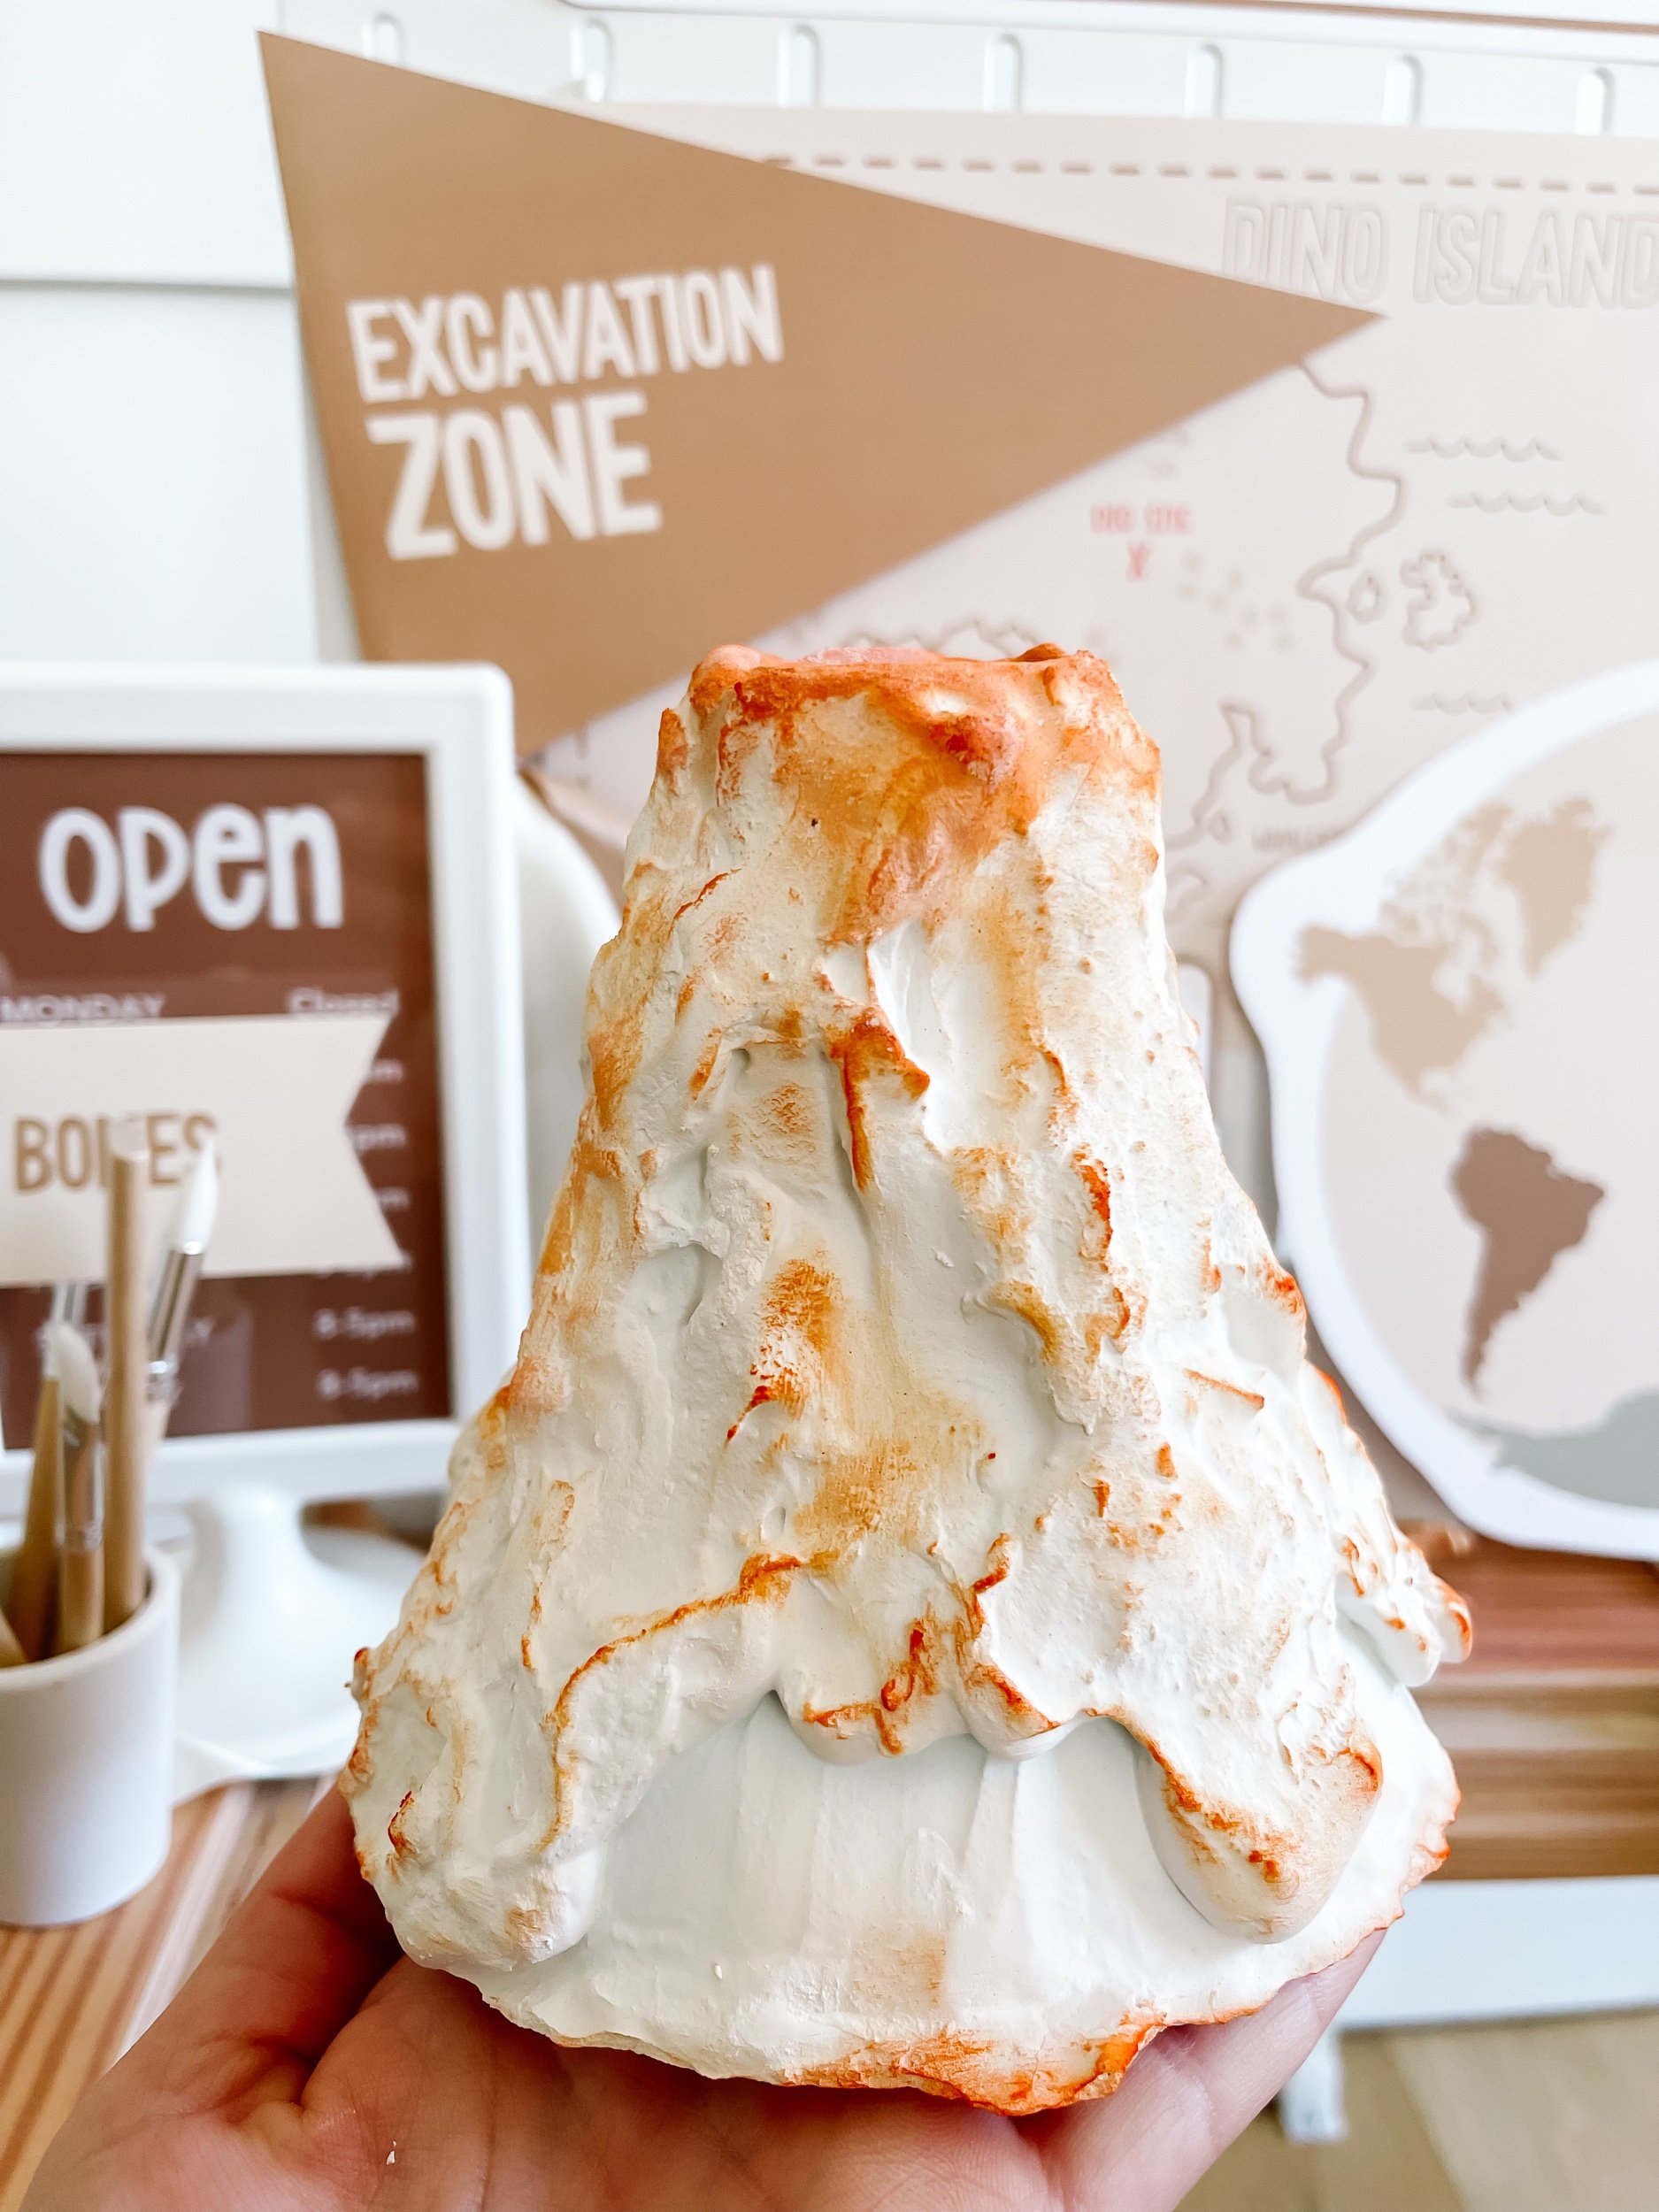
  • DIY Plaster Volcano

  • Blue colored water (for sensory effect)

  • Sensory Filler (colored dinosaur filler by Hippie Hooray)

  • Sand or kinetic sand

  • Optional: Small rocks, twigs, and leaves for added realism

IMG_5897_jpg.jpeg IMG_6172_jpg.jpeg IMG_6166_jpg.jpeg IMG_5940_jpg.jpeg IMG_5906_jpg.jpeg IMG_5894.jpeg IMG_5895.jpeg IMG_5902_jpg.jpeg IMG_5903.jpeg IMG_5941_jpg.jpeg IMG_5996_jpg.jpeg

Steps to Set Up the Dinosaur Small World Play:
1. Select an appropriate container or sensory bin that is large enough to accommodate the dinosaur habitat elements and sensory materials. Ensure it has enough depth for the volcano feature.
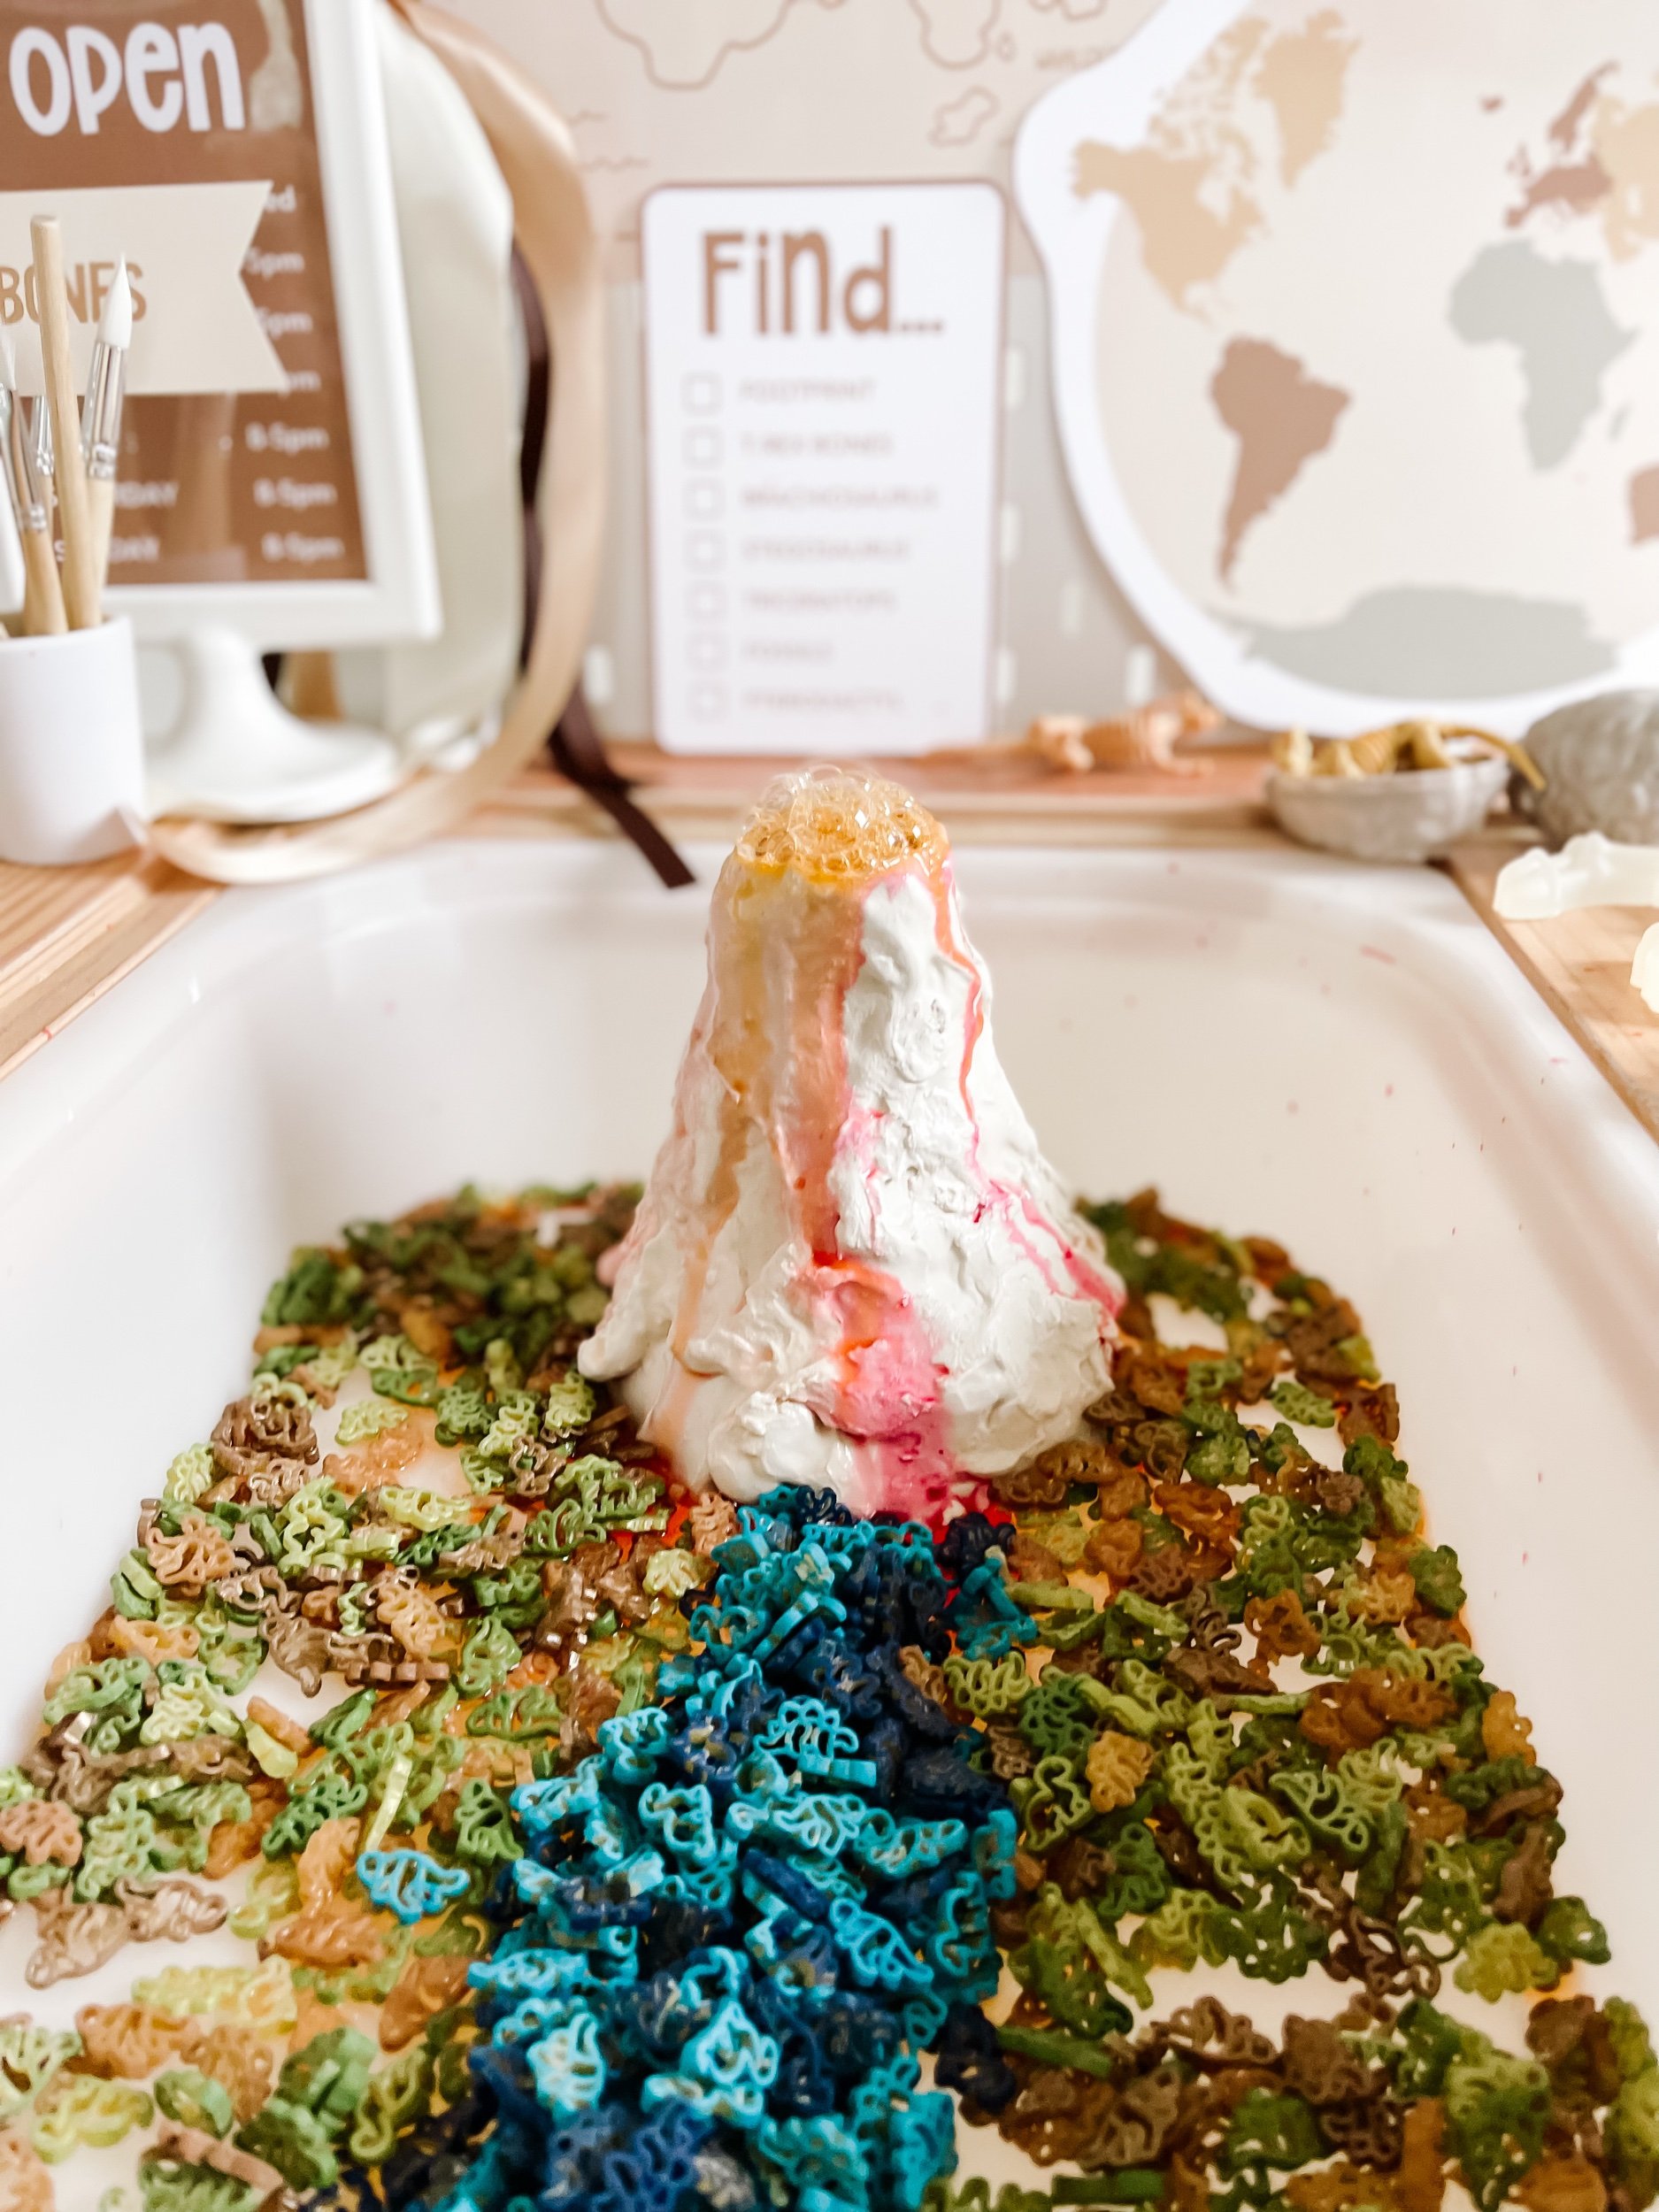
2. Start by lining the bottom of the bin with a layer of pebbles or an amazing dinosaur sensory filler by Hippie Hooray. These will represent the rugged terrain of the dinosaur habitat and add texture to the sensory experience.
3. Next, spread green moss or fake grass across the pebbles, covering the surface of the rocks. This will create the illusion of a lush environment that dinosaurs could have roamed in.
4. Arrange plastic trees or plants throughout the bin, placing them strategically to create a natural-looking landscape. You can use smaller trees towards the foreground and larger ones towards the back to add a sense of depth and perspective.
5. Introduce the small dinosaur figurines into the bin, positioning them in different areas of the habitat. Encourage imaginative play by positioning some dinosaurs near the plants, others near the water, and some even at the base of the volcano for added excitement.
6. Incorporate the volcano playset into the sensory bin. Position it towards one side of the bin, making sure it has enough space to erupt and spill its contents. This can serve as a thrilling centerpiece and a point of interest for adventurous play.
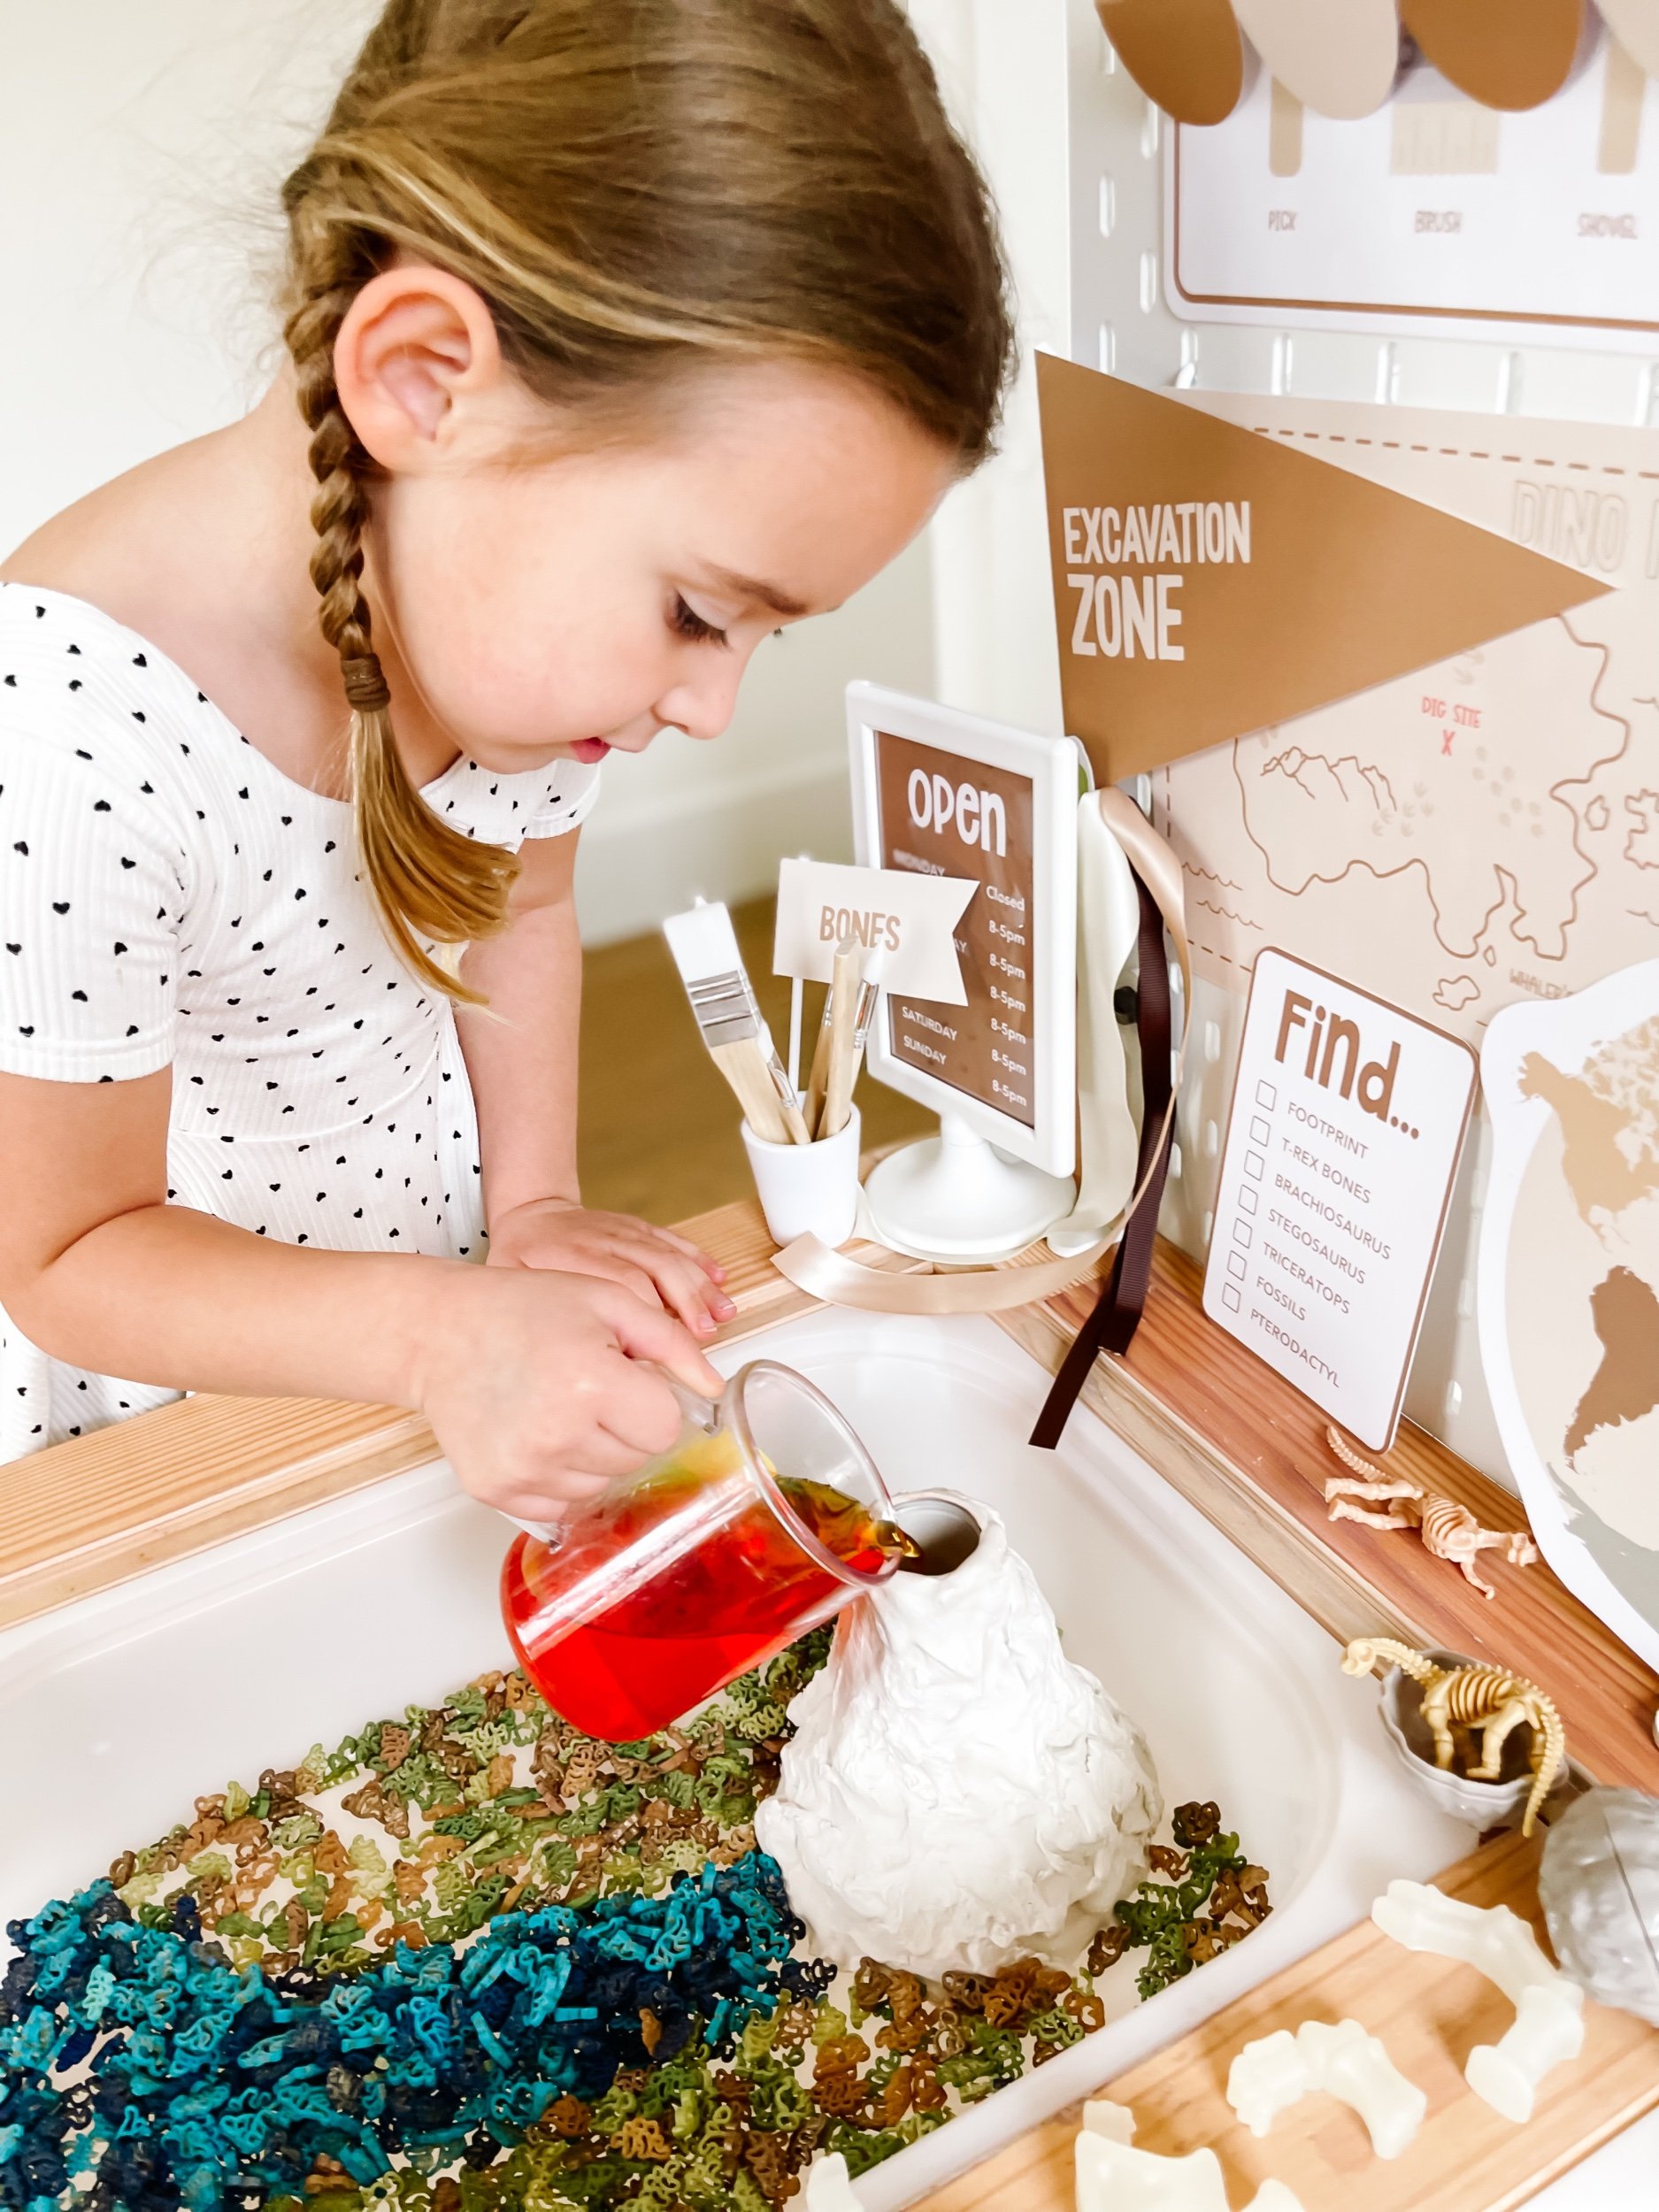
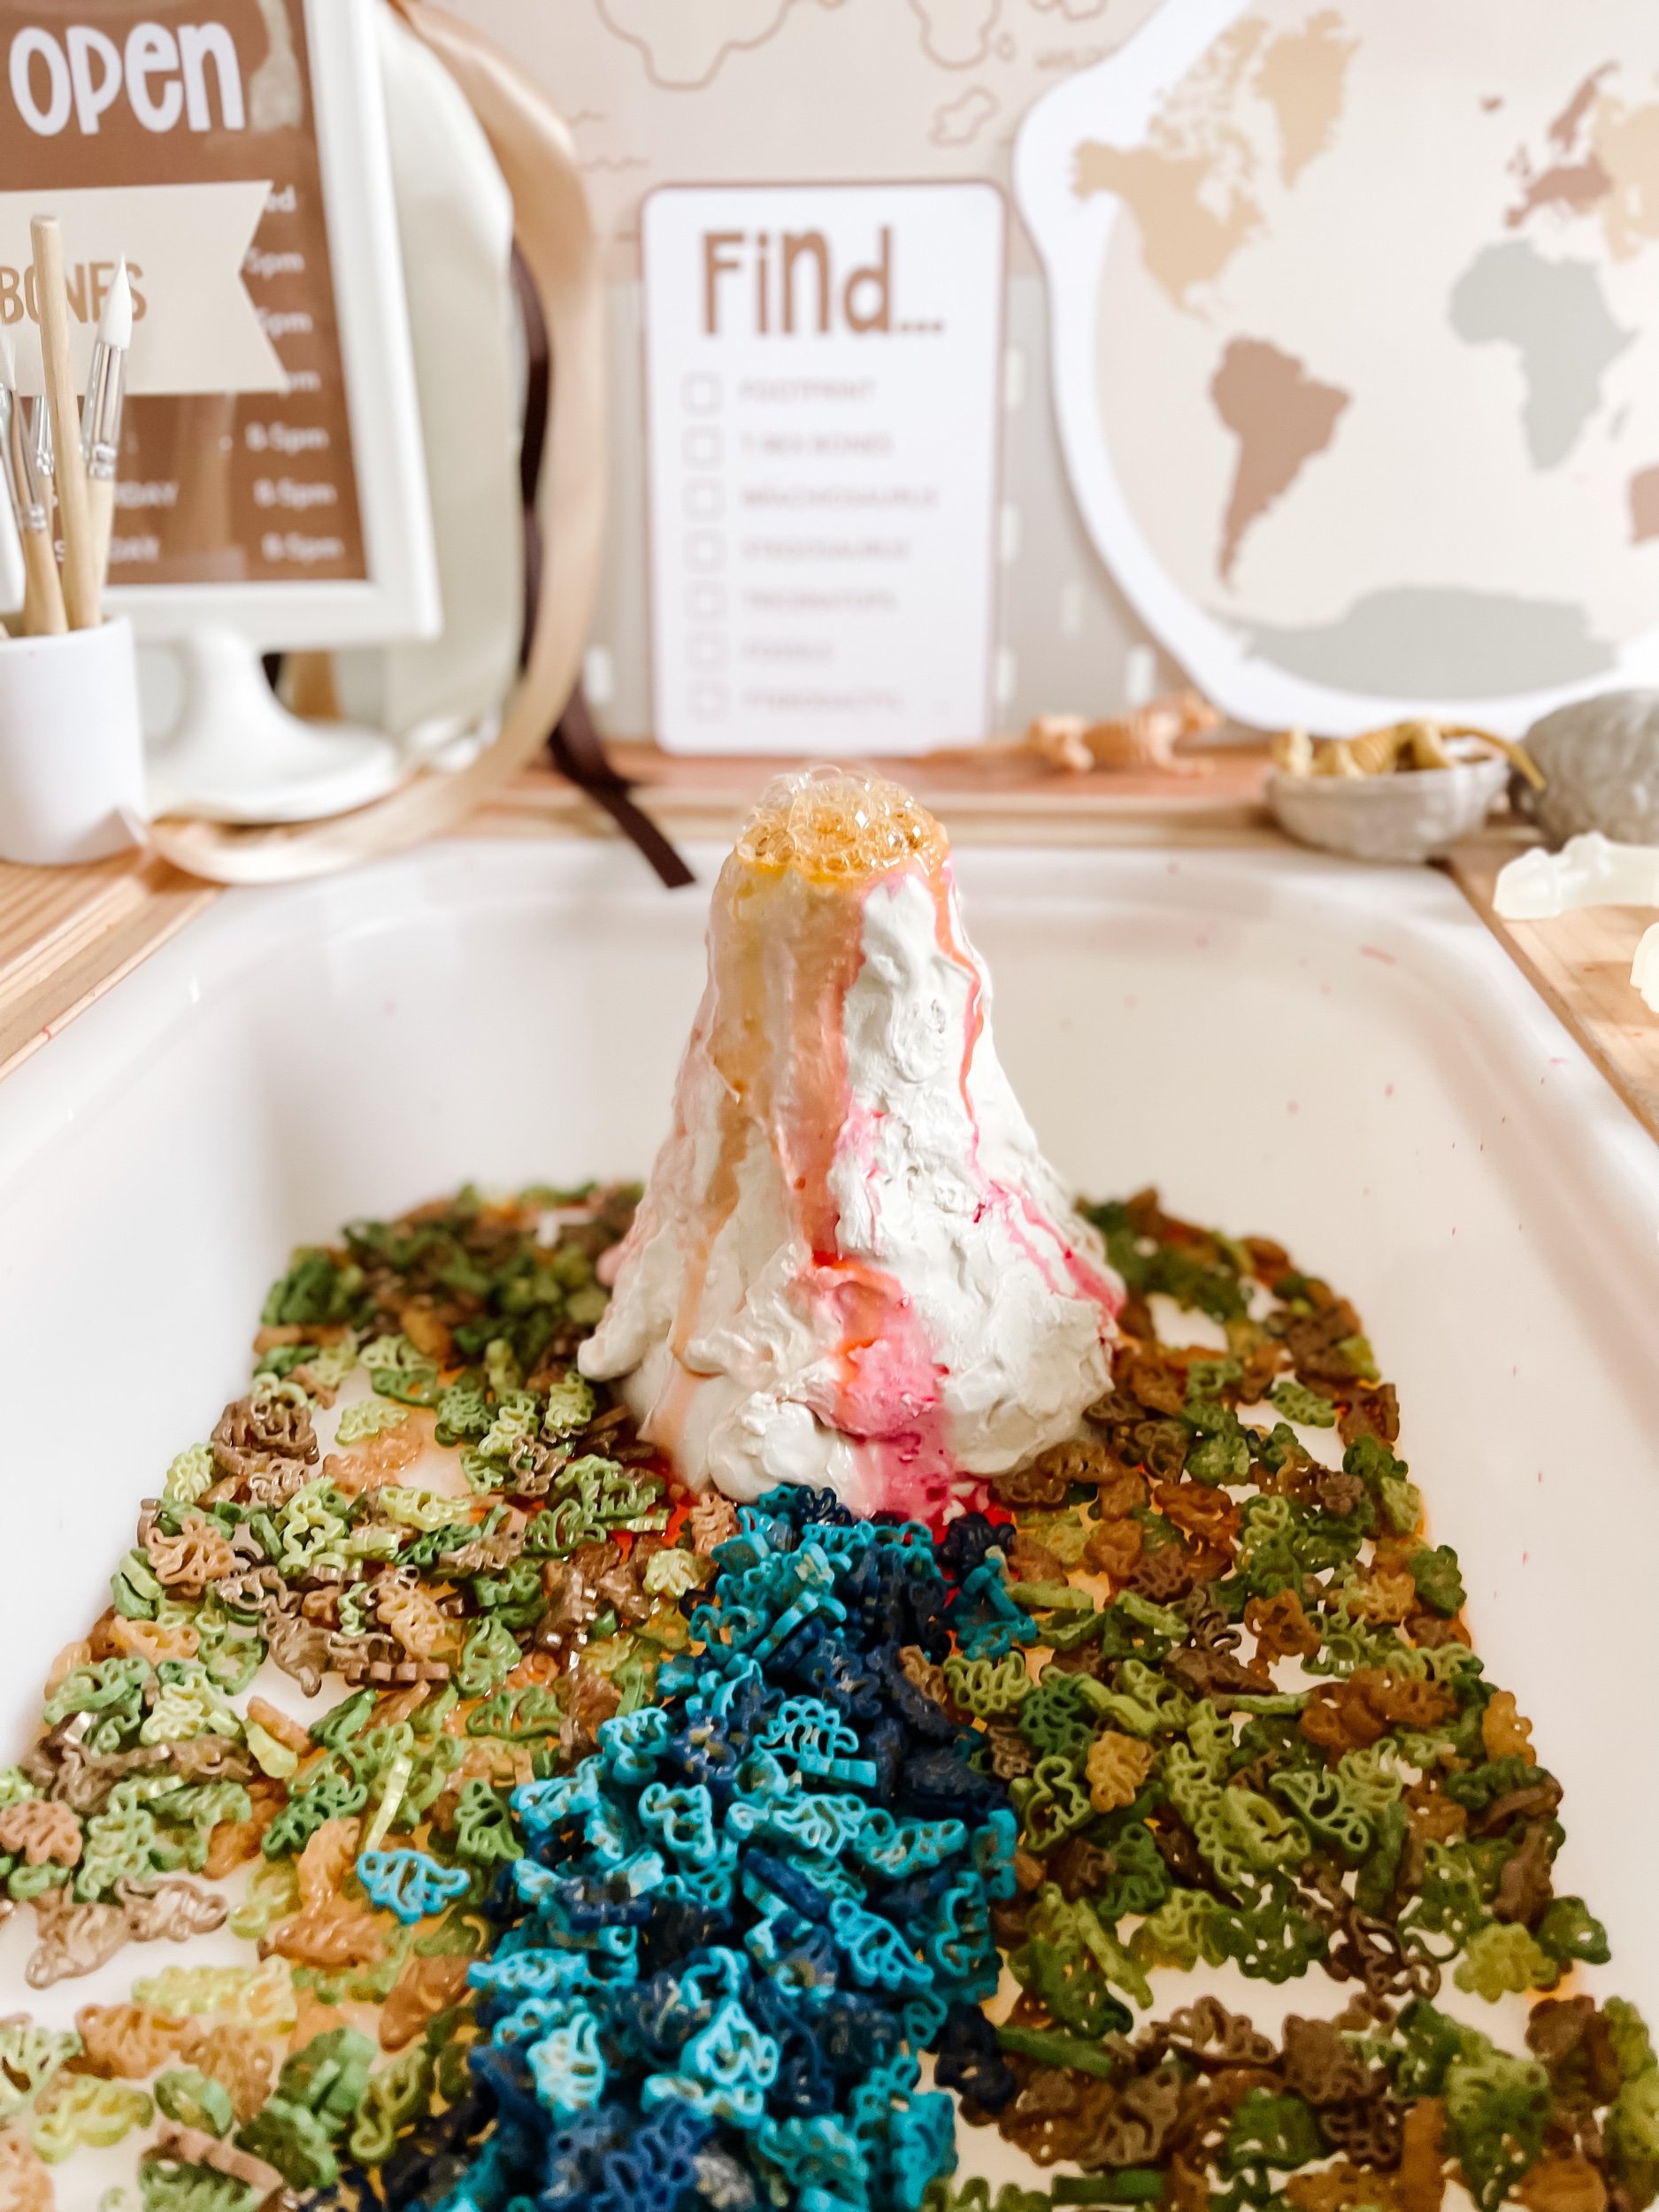
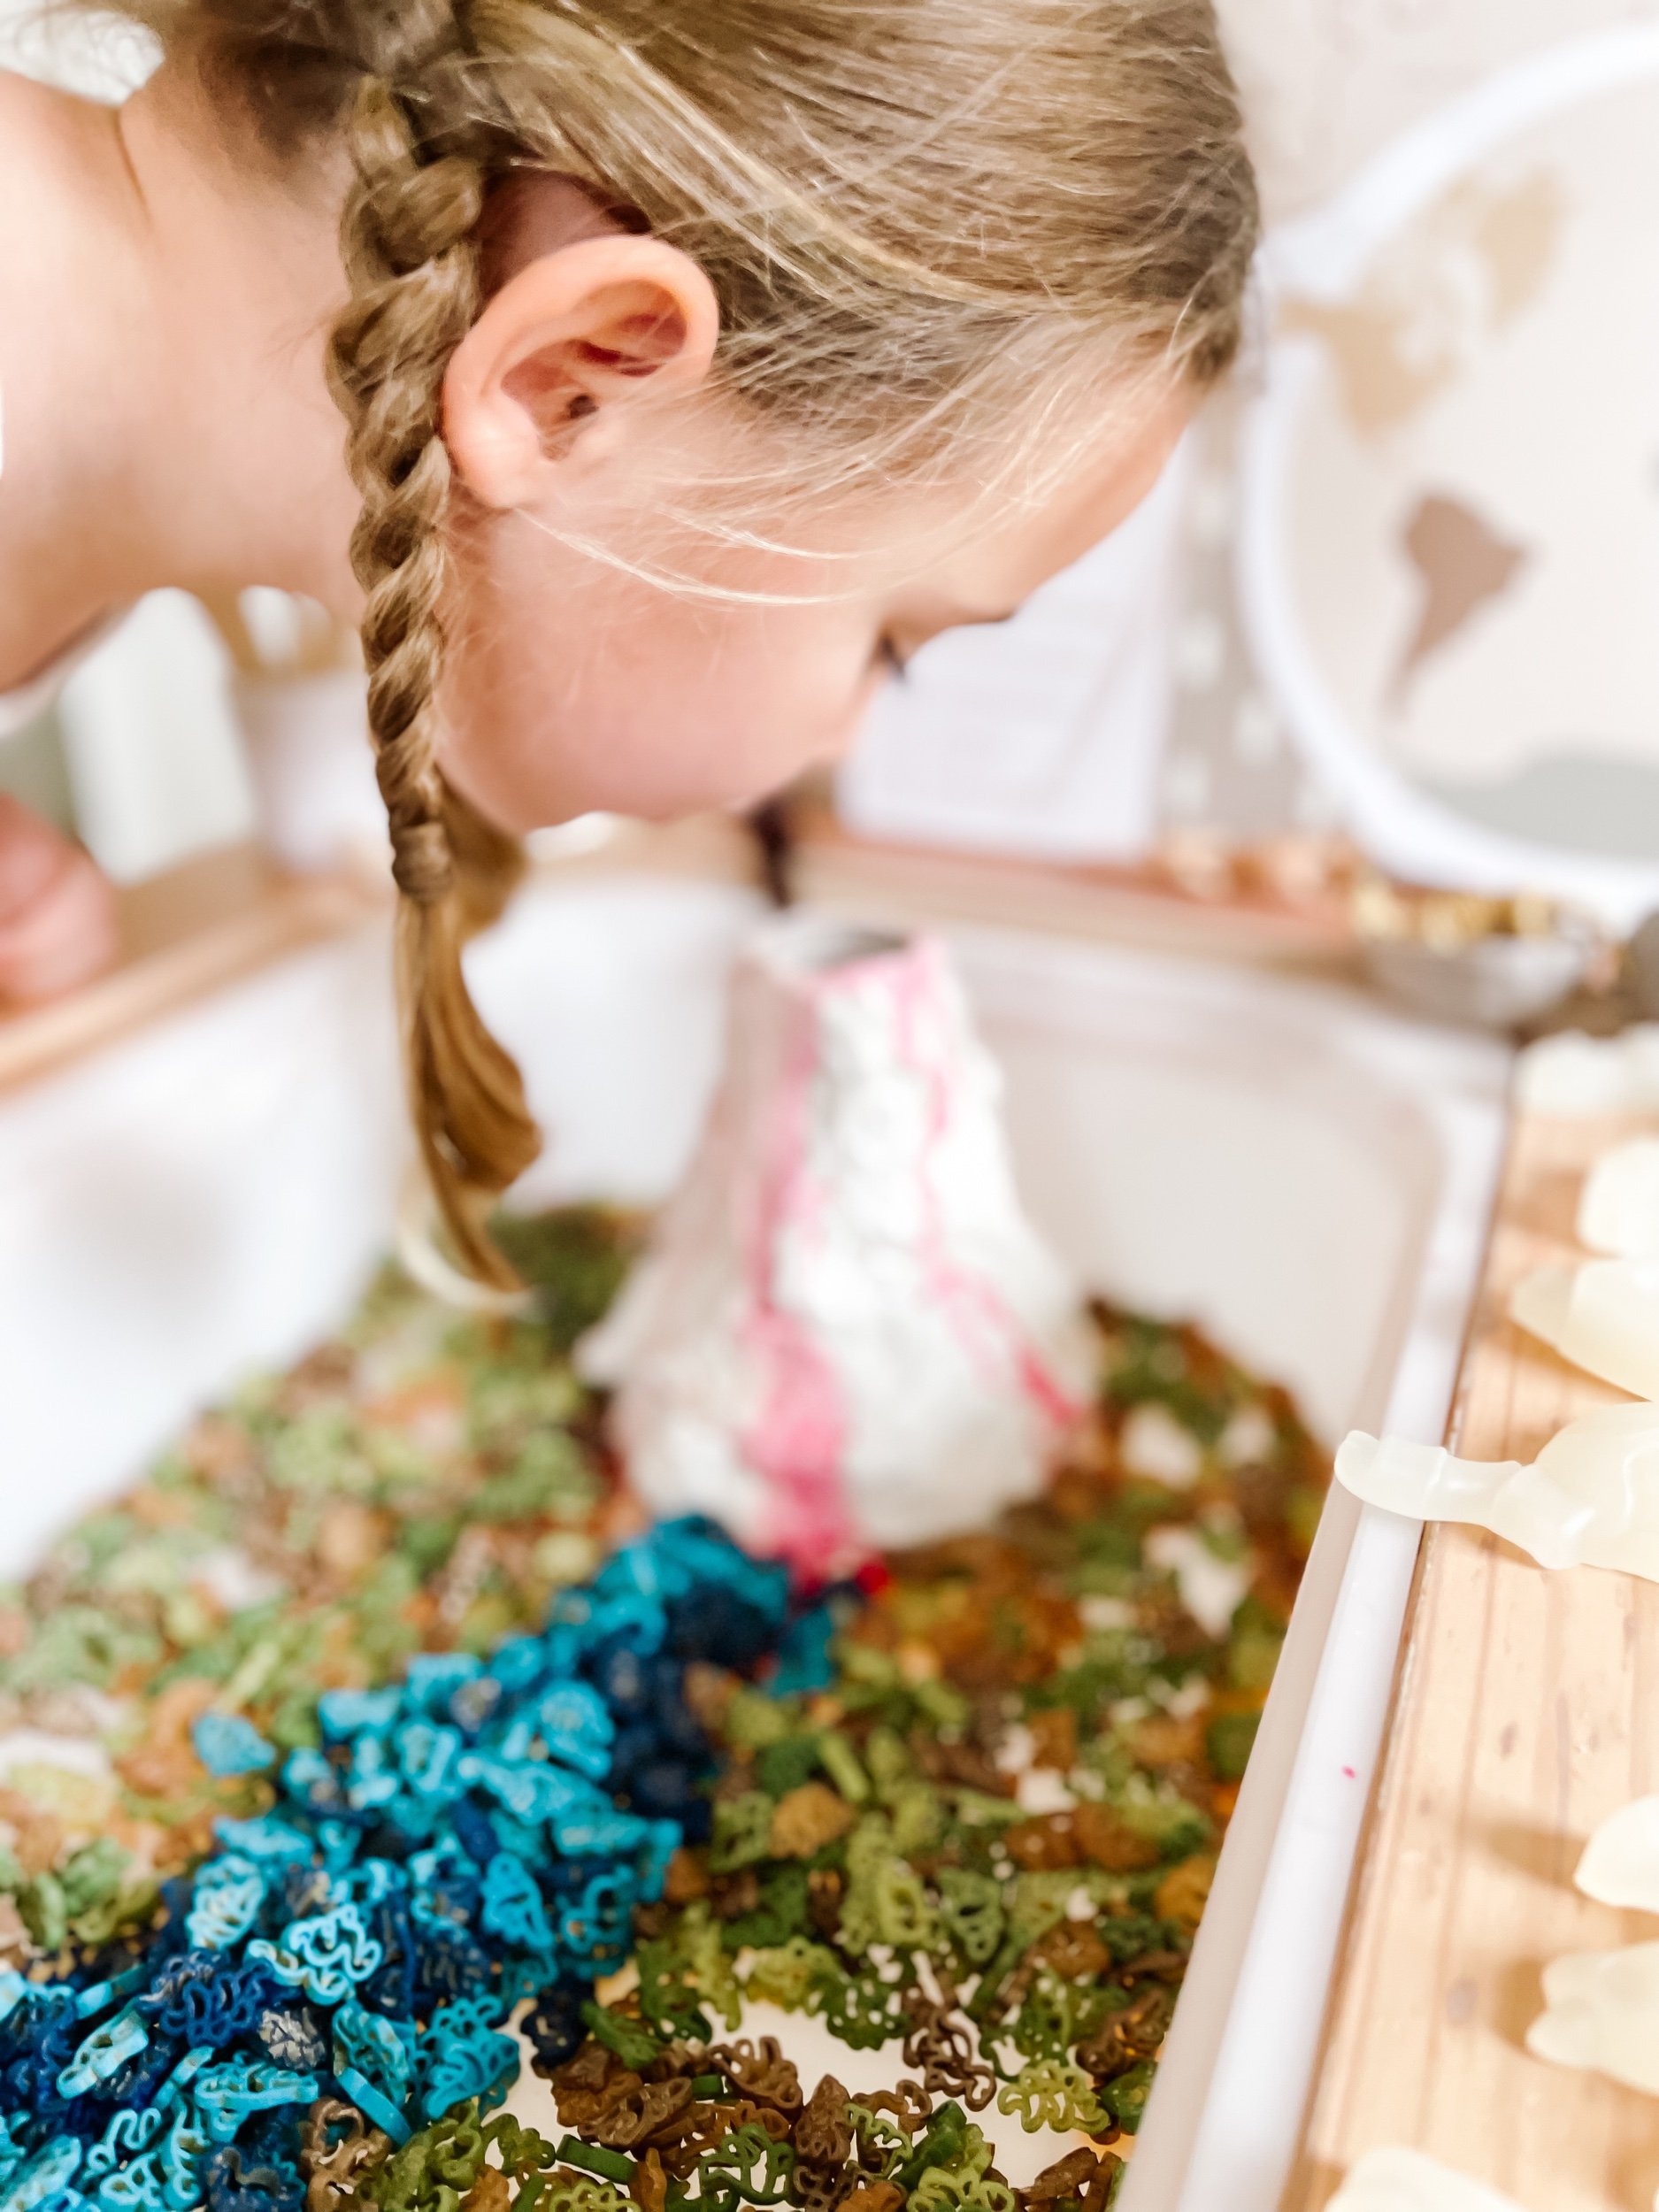
7. Create the volcanic eruption effect by pouring red/orange colored water into the beaker. Use alka seltzer tablets to make the volcano explode and erupt!
8. Finally, sprinkle sand or kinetic sand around the terrain to mimic the ground and to enhance the sensory experience.
9. As an optional step, you can add small rocks, twigs, and leaves to the bin to further enhance the authenticity of the dinosaur habitat.

Steps To make the Plaster Volcano:

  1. Use the Beaker from the Lovevery Play kit

  2. Mix a bowl of Plaster of Paris using 2 parts plaster to 1 part water. Combine until smooth.

  3. Let it rest of 3 minutes so that it gets to be a sludgy texture

  4. Pour the plaster around the beaker. It took me about 4 cups of plaster to cover the entire thing.

  5. As the mixture slides down the sides, use a spoon or spatula to scoop it up and smush it along the sides until you’re able to form a volcano / mountain look. Continue to do this as the plaster dries and hardens.

  6. If you want a smoother look, use a little bit of water to smooth out the plaster after it dries.

With these steps completed, the volcano adventure sensory bin, featuring a dinosaur habitat, is ready to captivate children's imaginations. Encourage them to explore the terrain, engage in pretend play with the dinosaurs, and be thrilled by the eruption of the volcano. This sensory bin will provide an exciting and educational experience, fostering creativity, sensory development, and an appreciation for our prehistoric friends. Enjoy the adventure!

IMG_6350_jpg.jpeg IMG_6339.jpeg IMG_6338.jpeg IMG_6343_jpg.jpeg IMG_6345_jpg.jpeg IMG_6347_jpg.jpeg IMG_6352_jpg.jpeg IMG_6356_jpg.jpeg

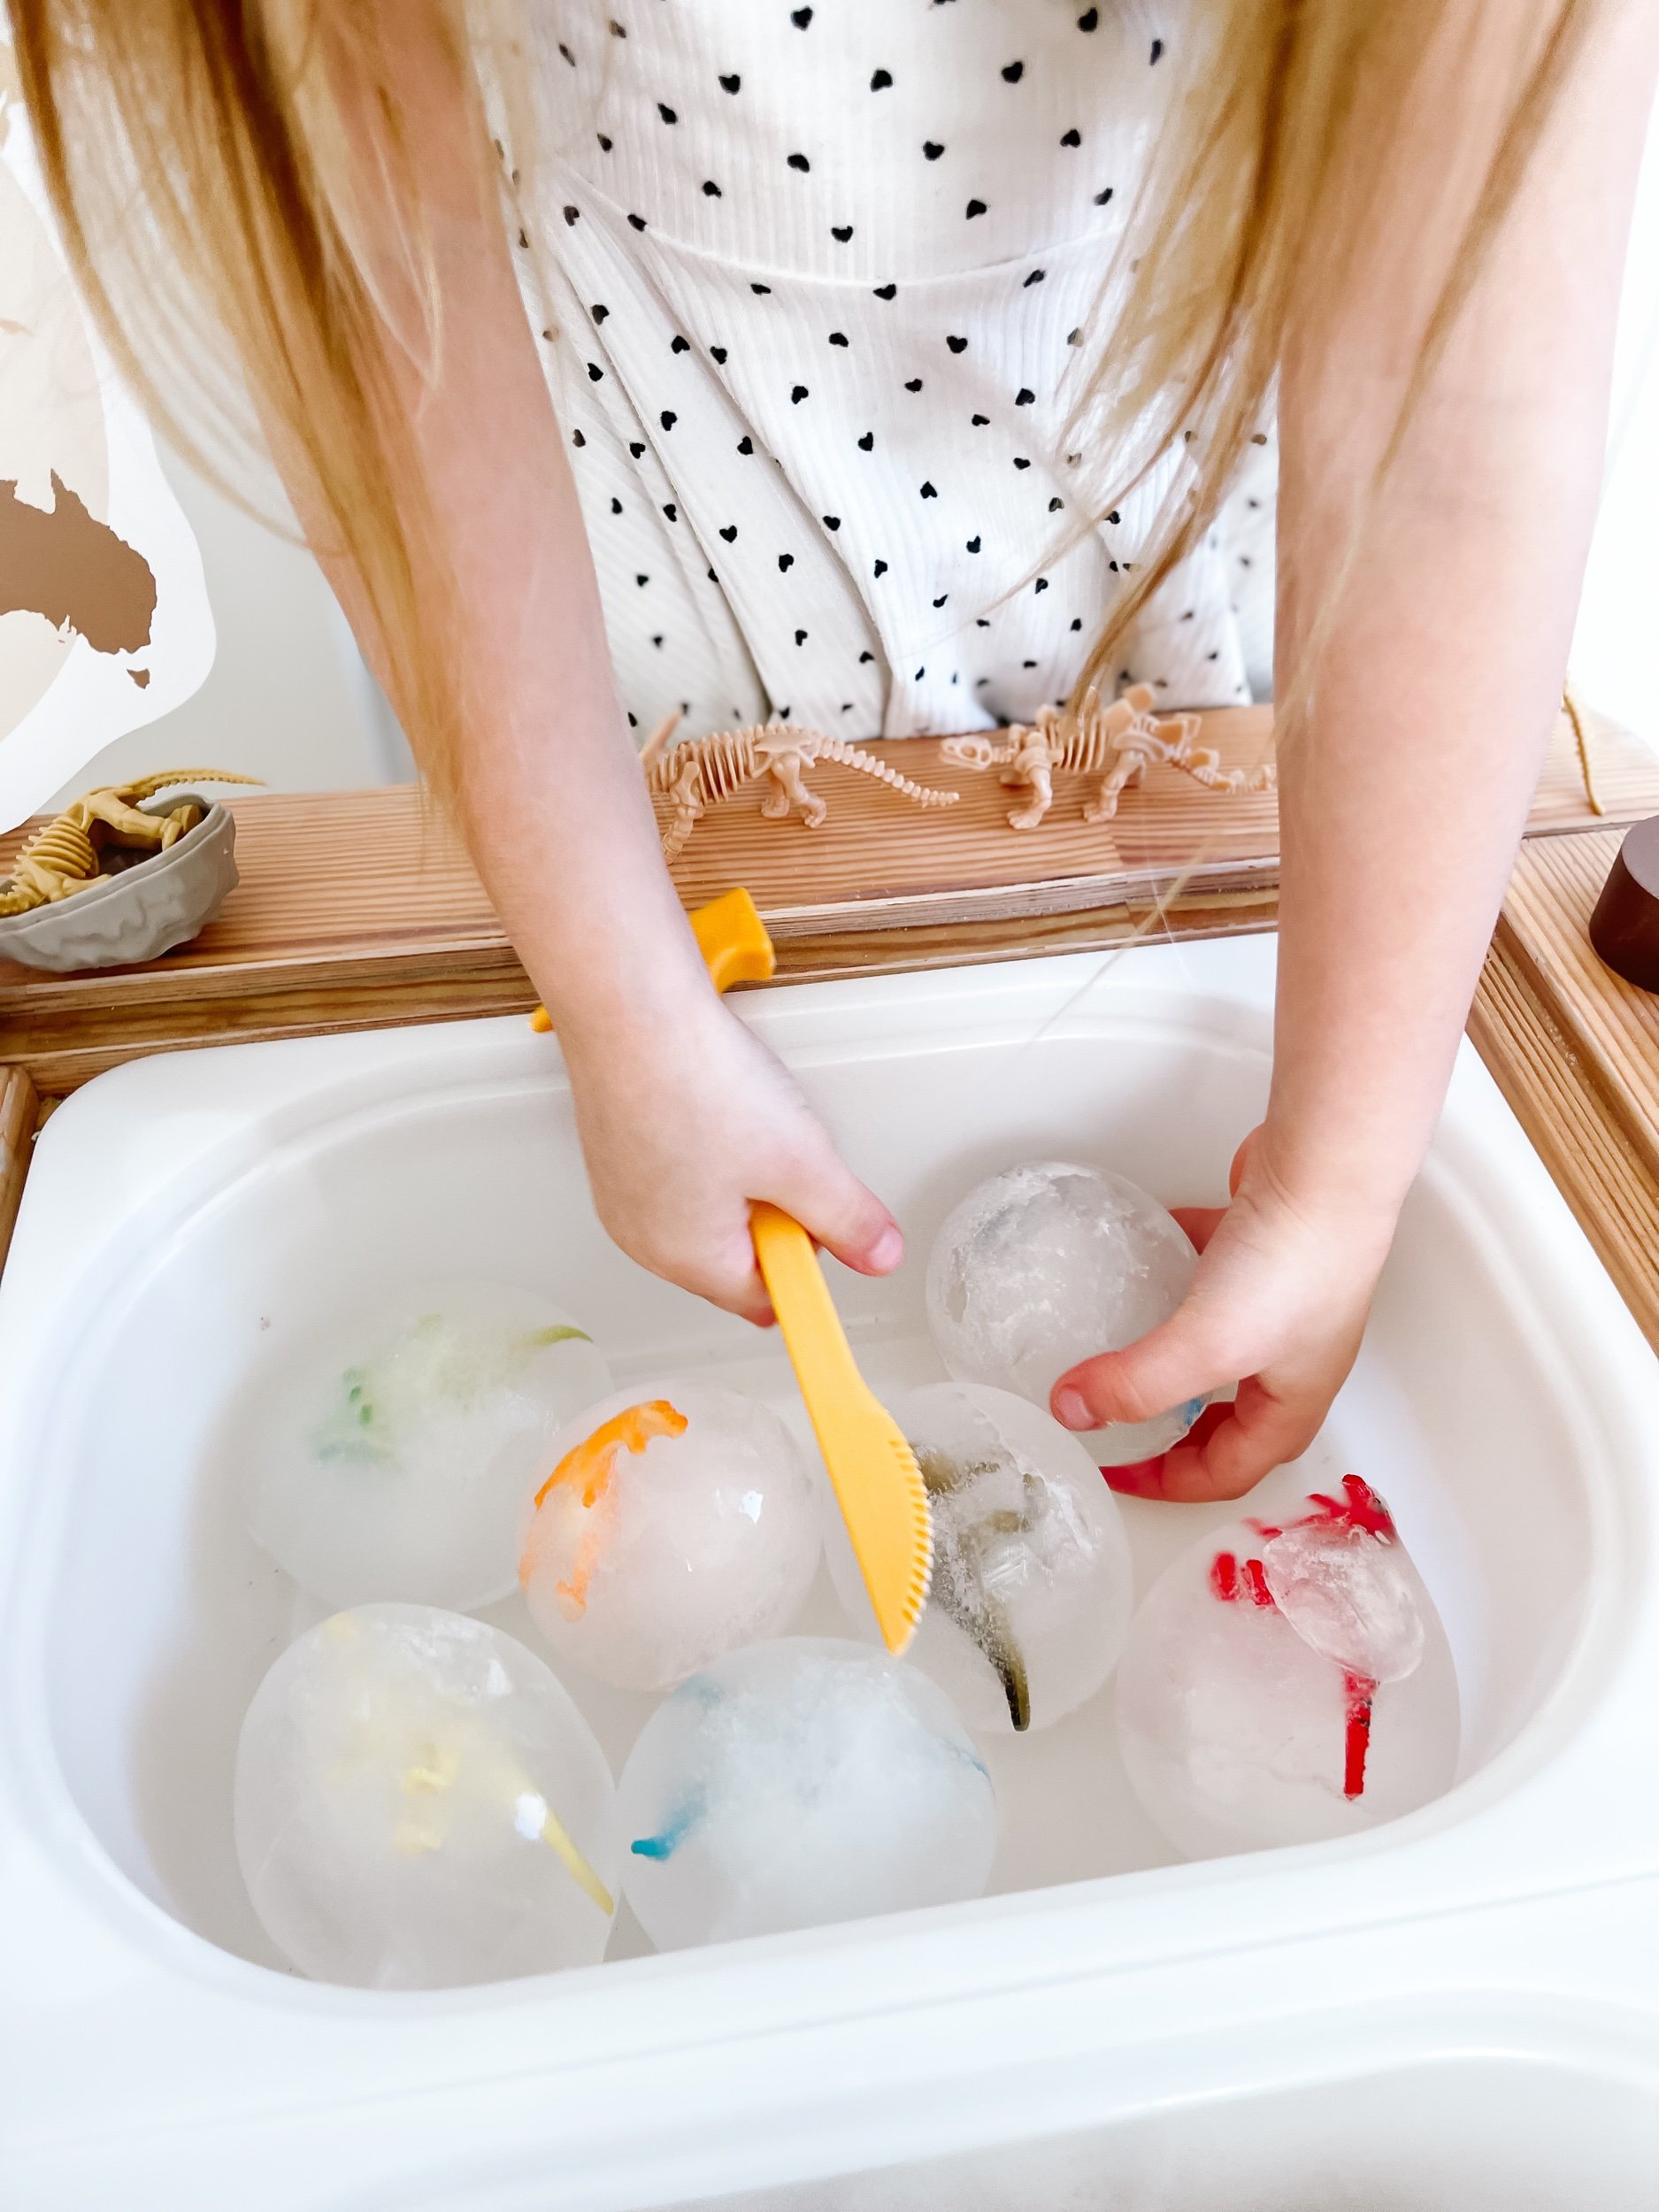
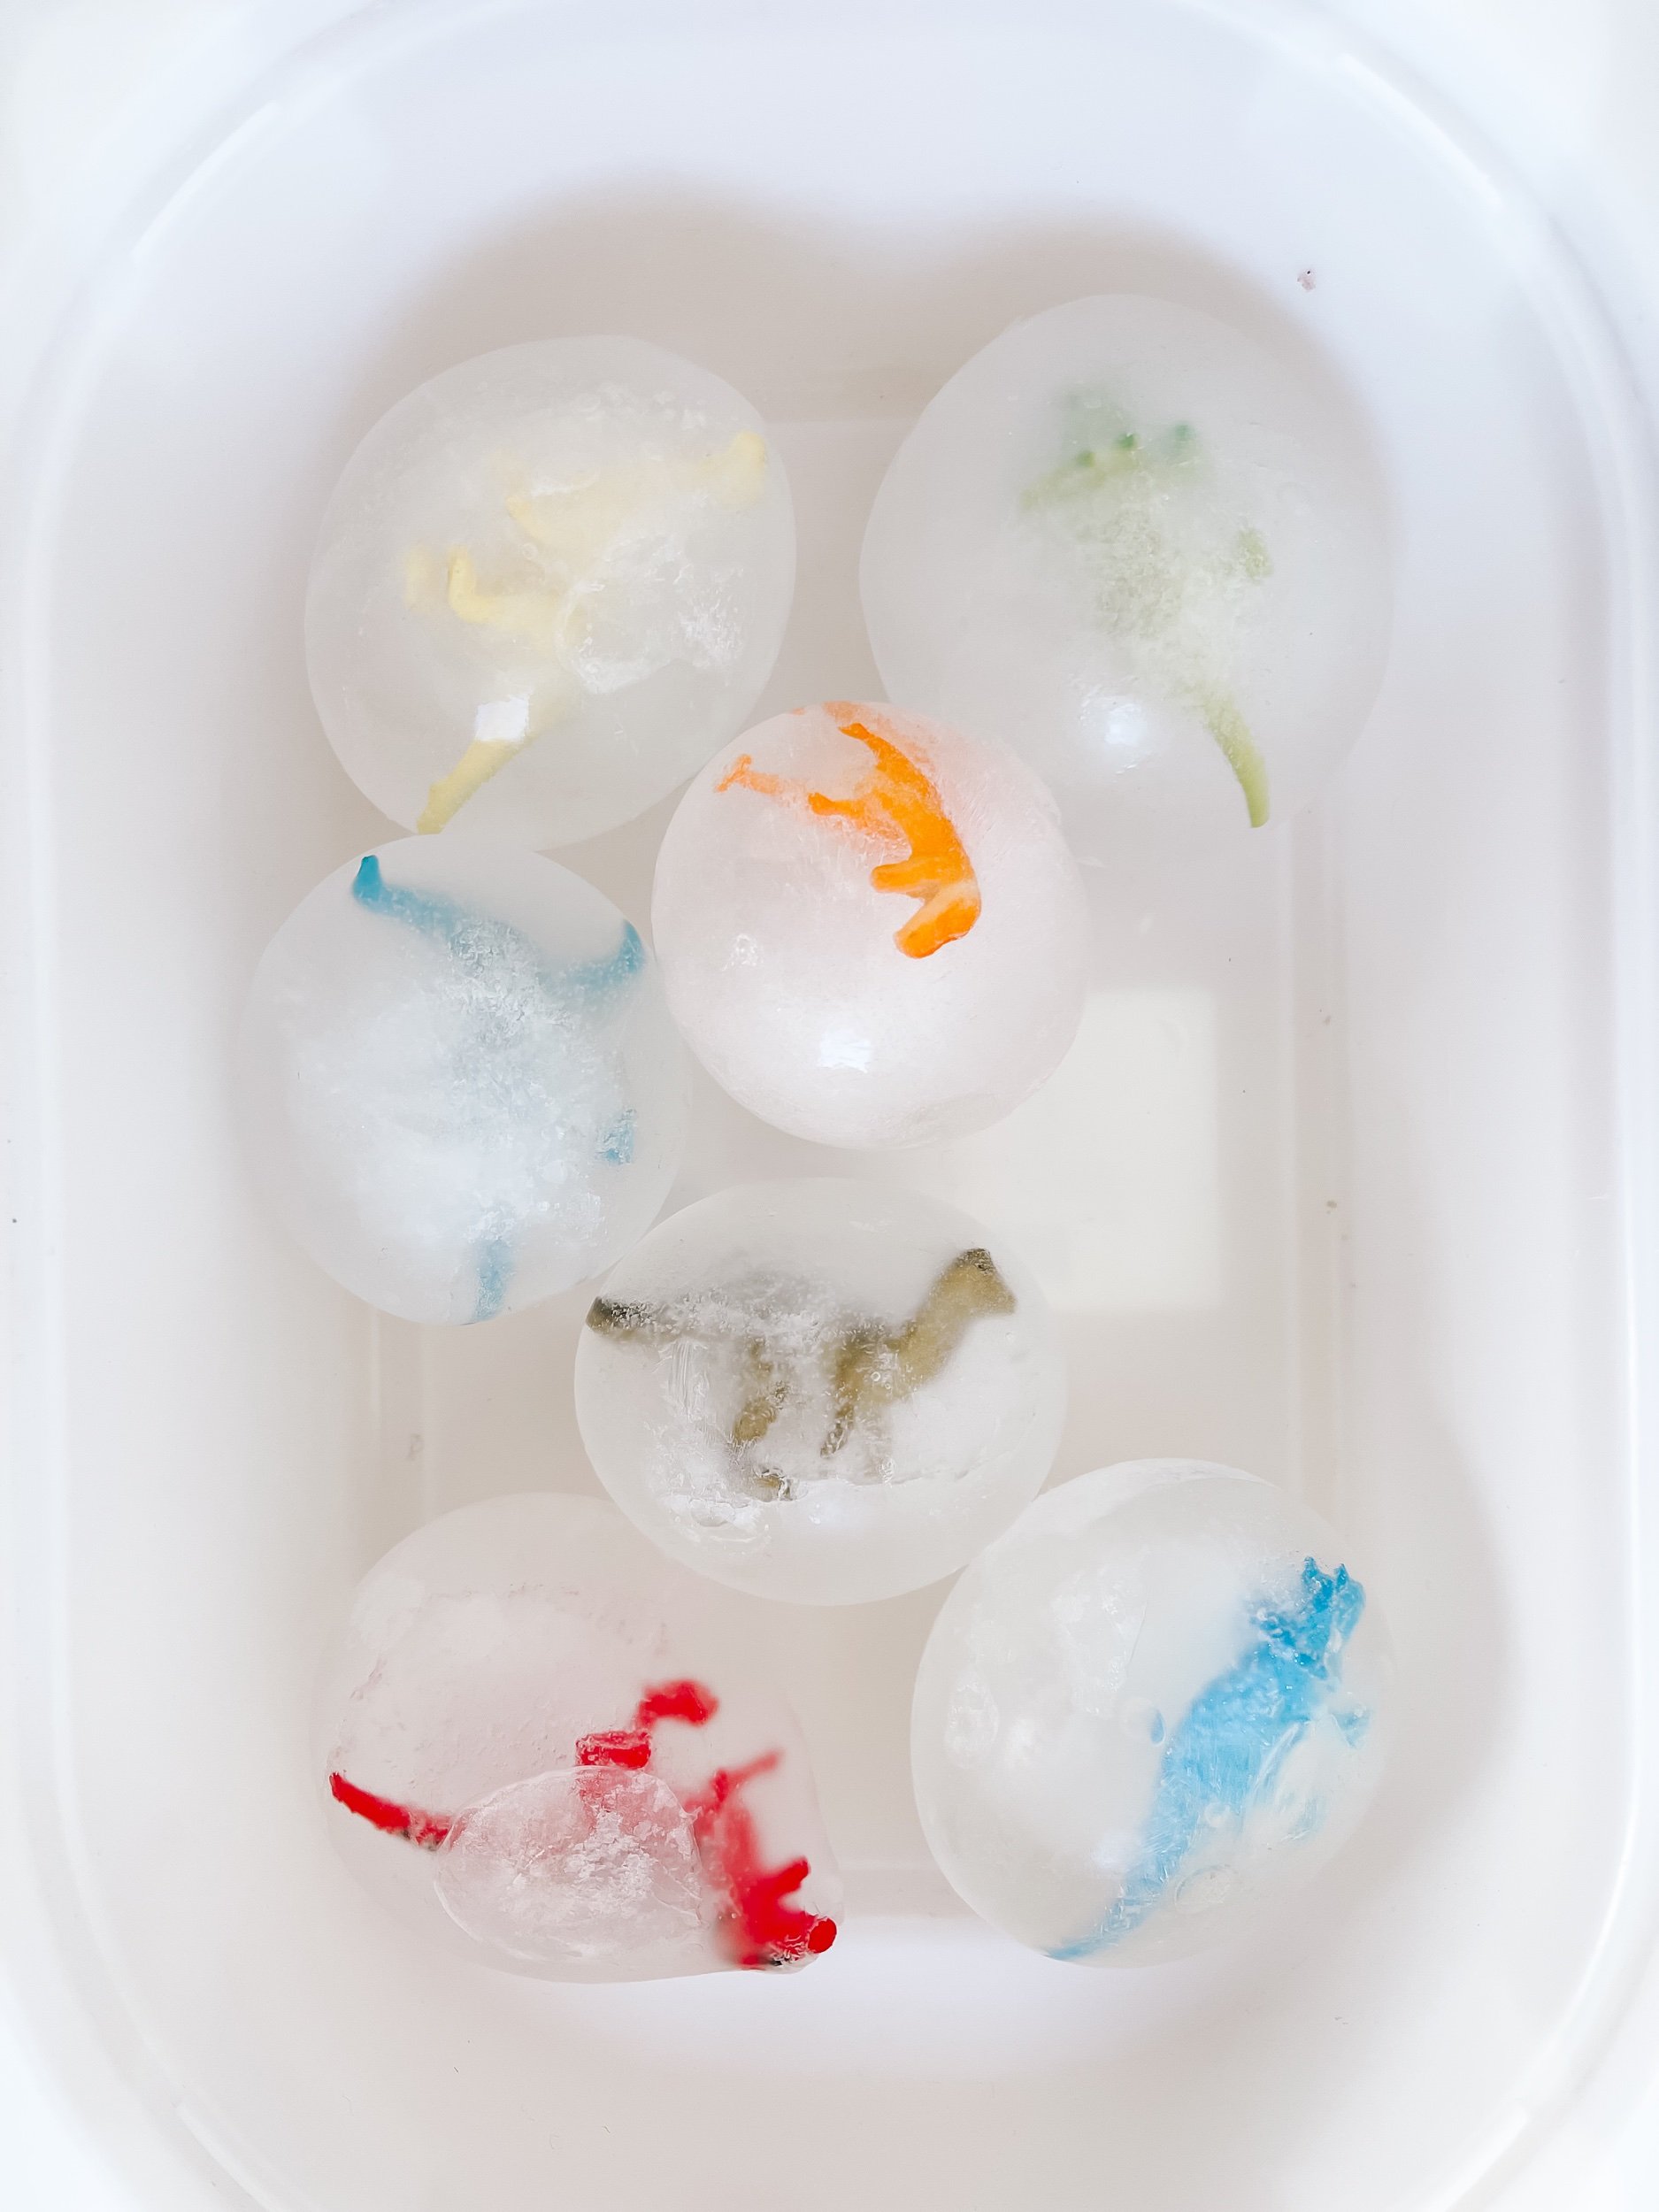
4. Ice Dinosaur Eggs

To encourage imaginative play, create a small world play bin where dinosaurs can roam freely. Here's how:
Materials Needed:

  • Water

  • Balloons

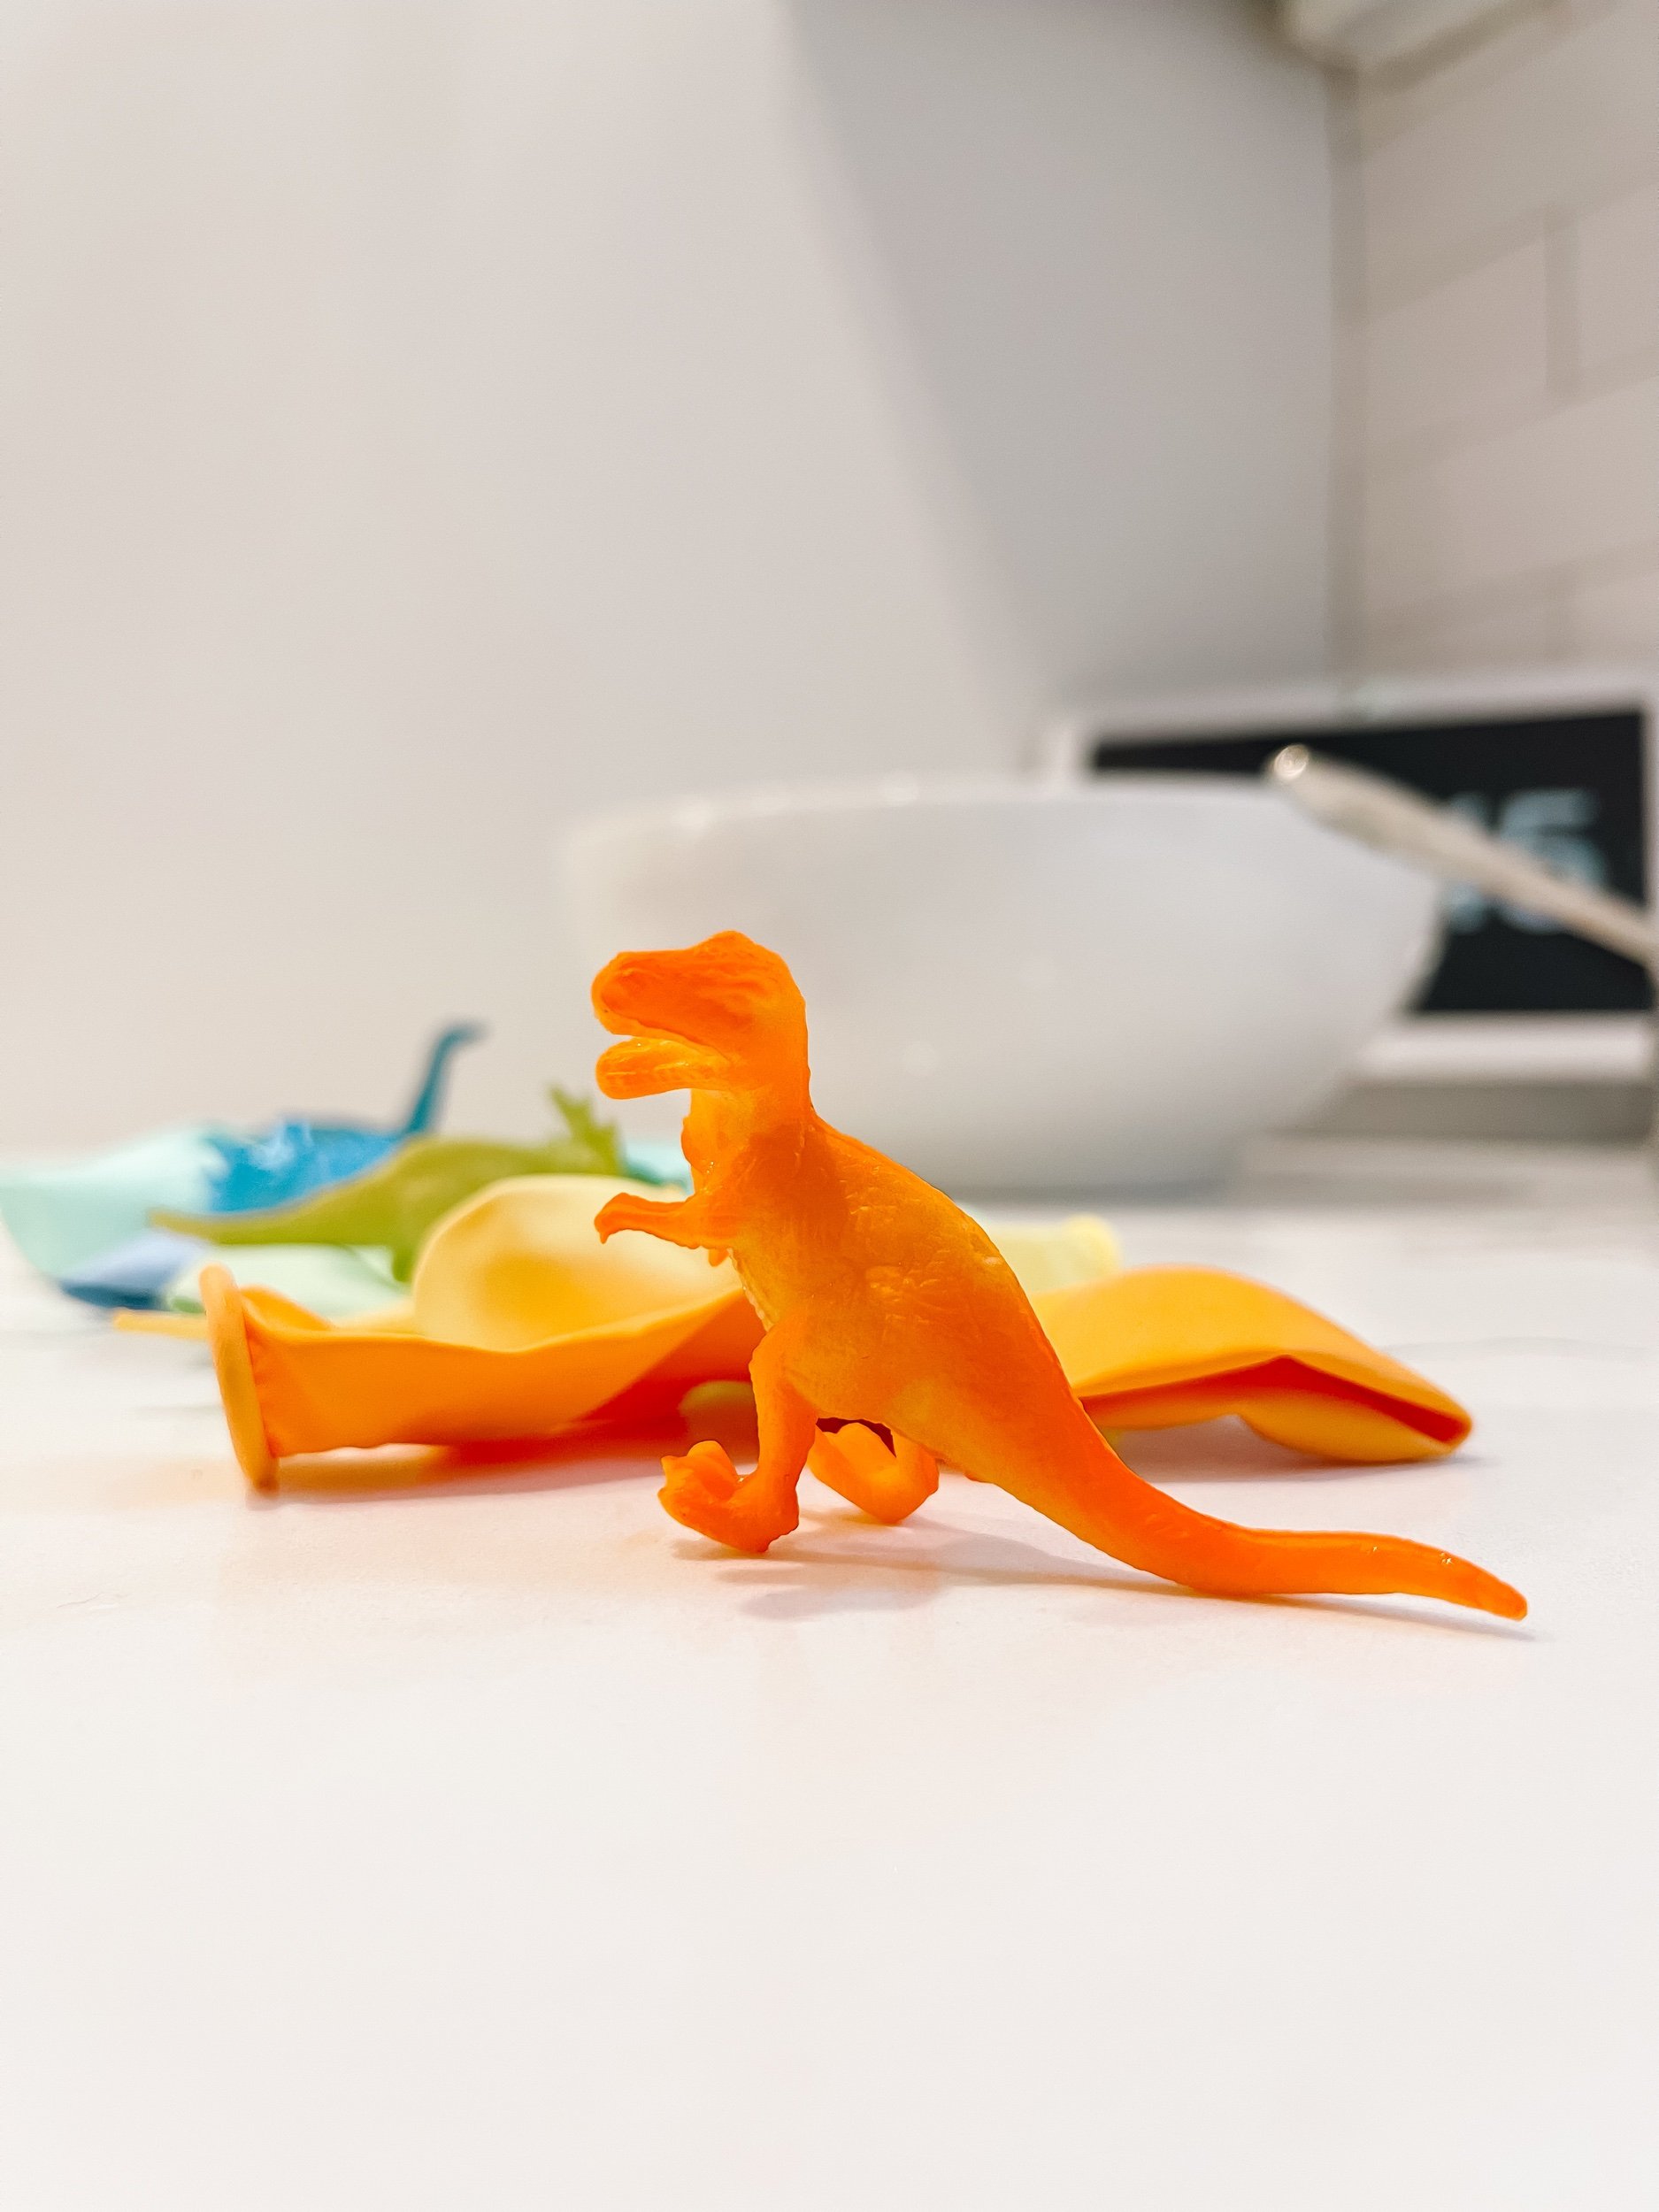
  • Plastic Dinosaur Toys

  • Eye Dropper, Chisel, etc.

Steps to Set Up:

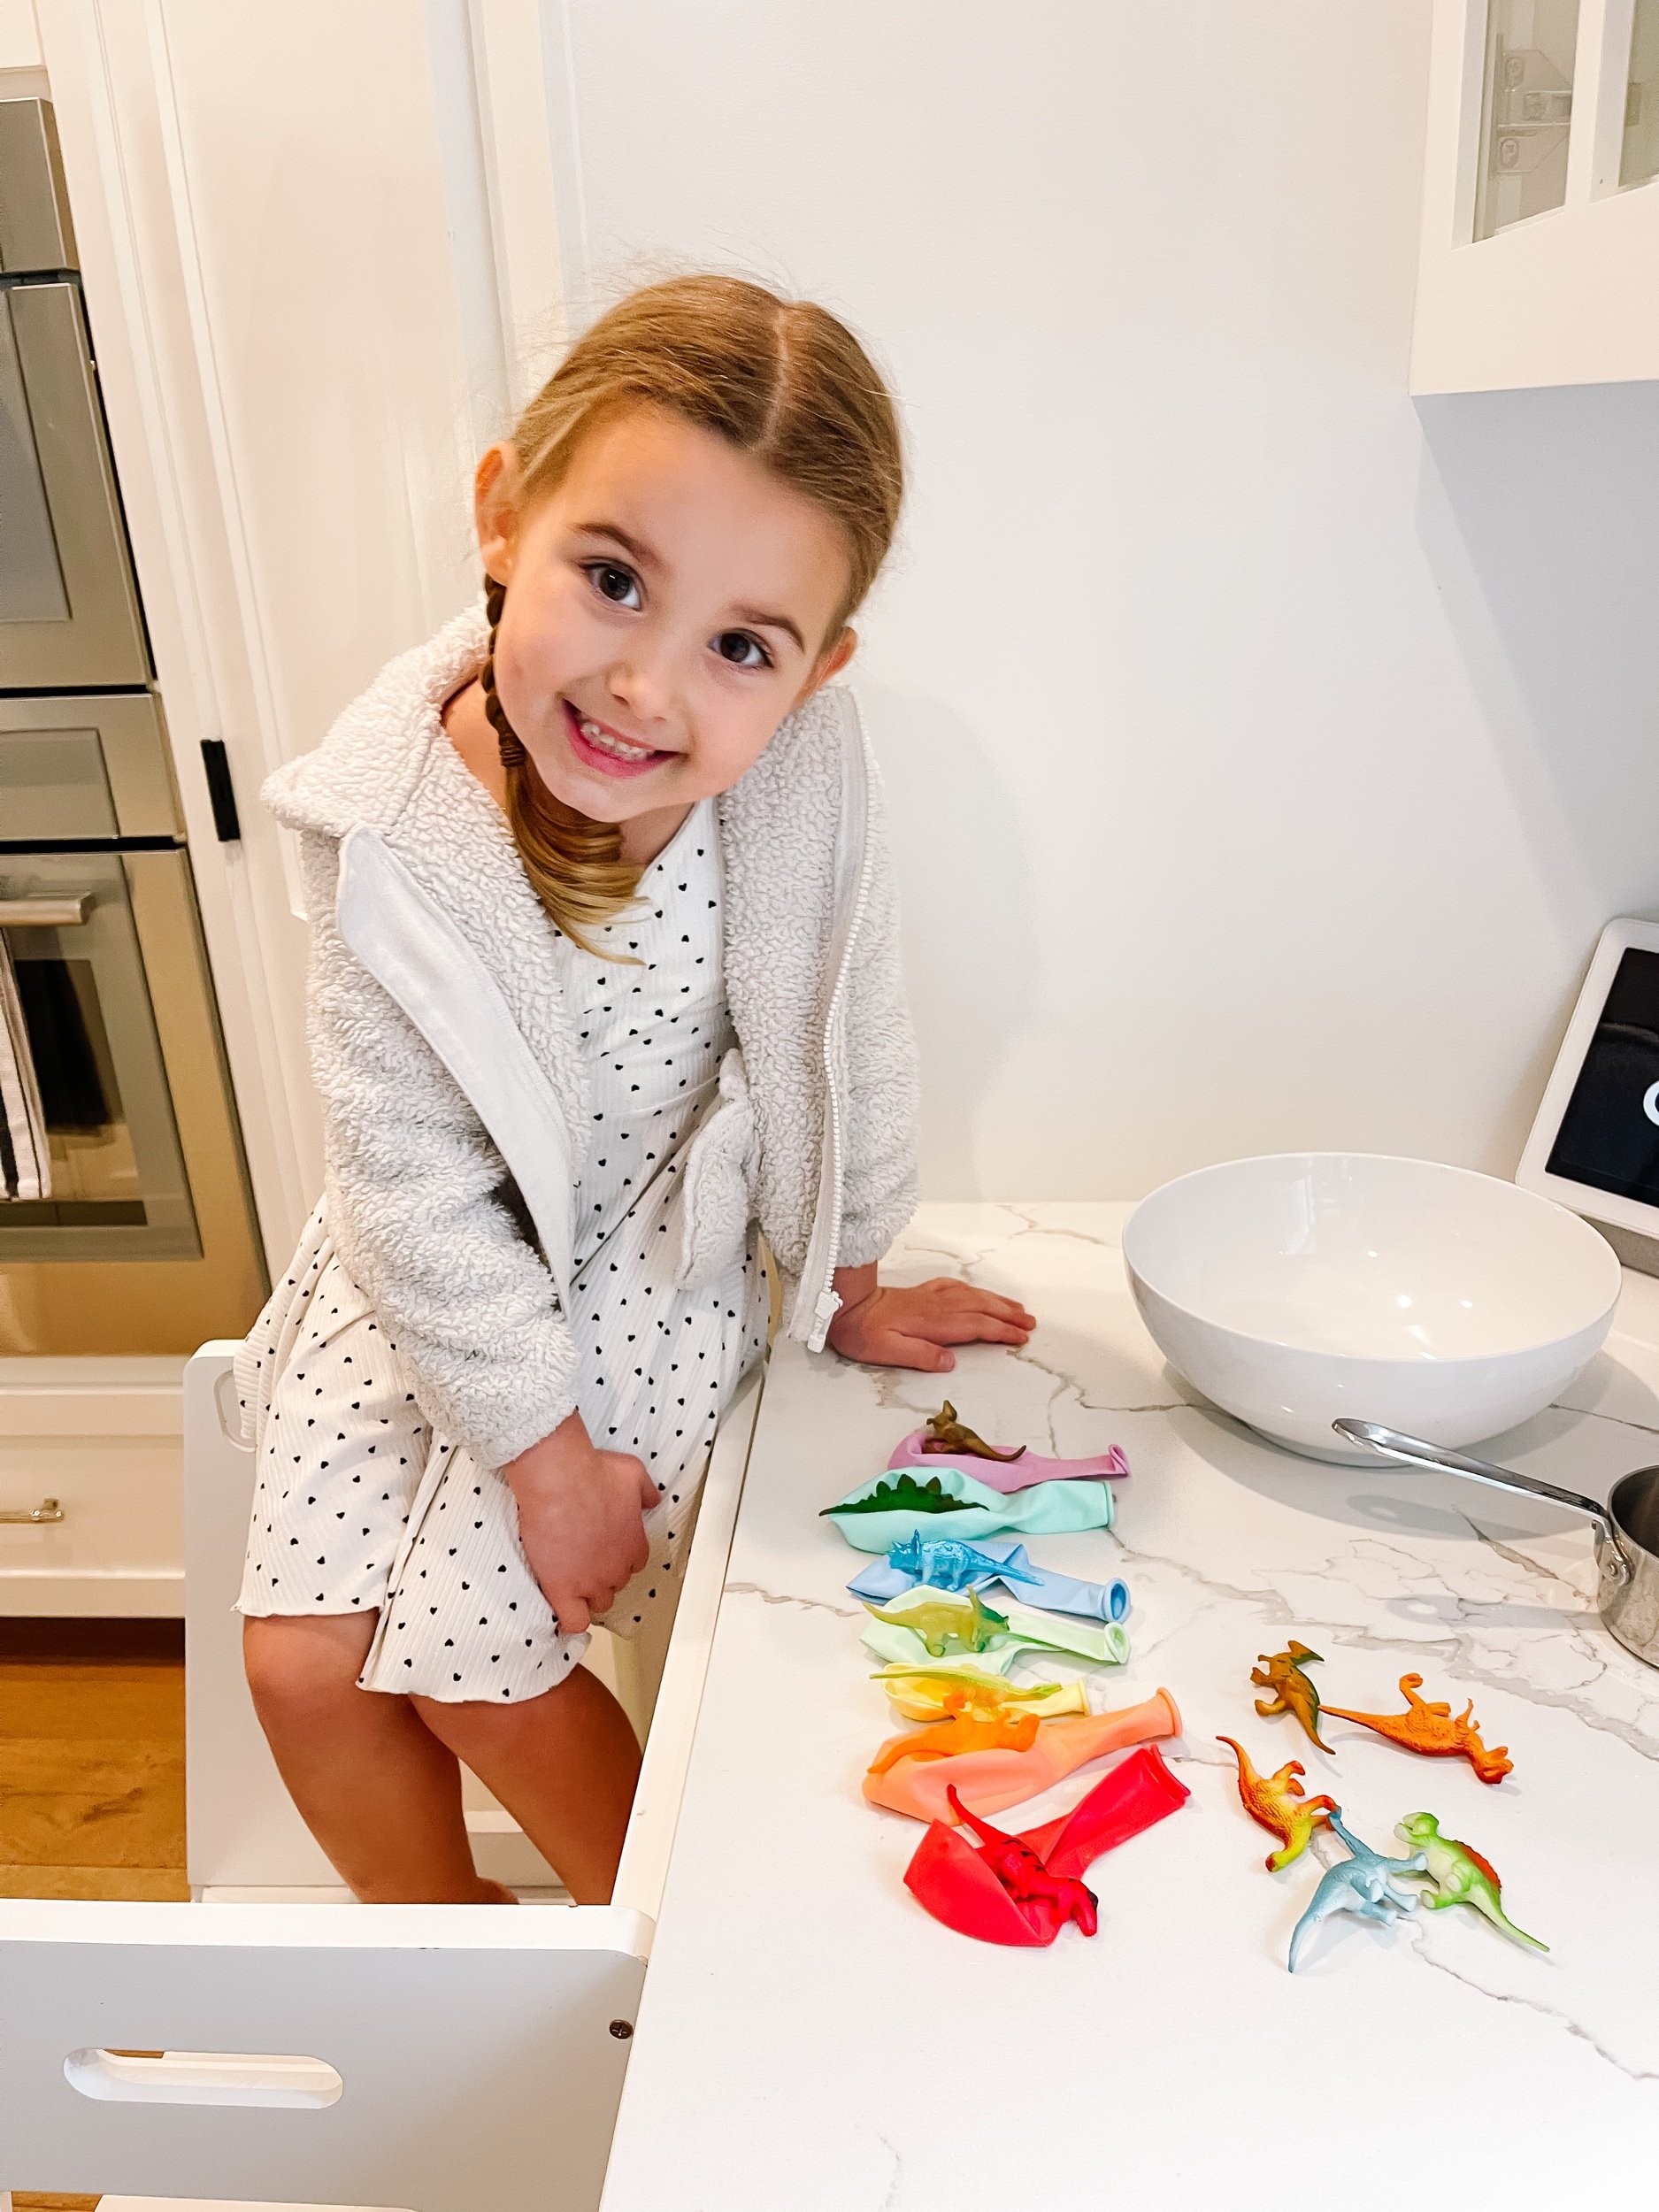
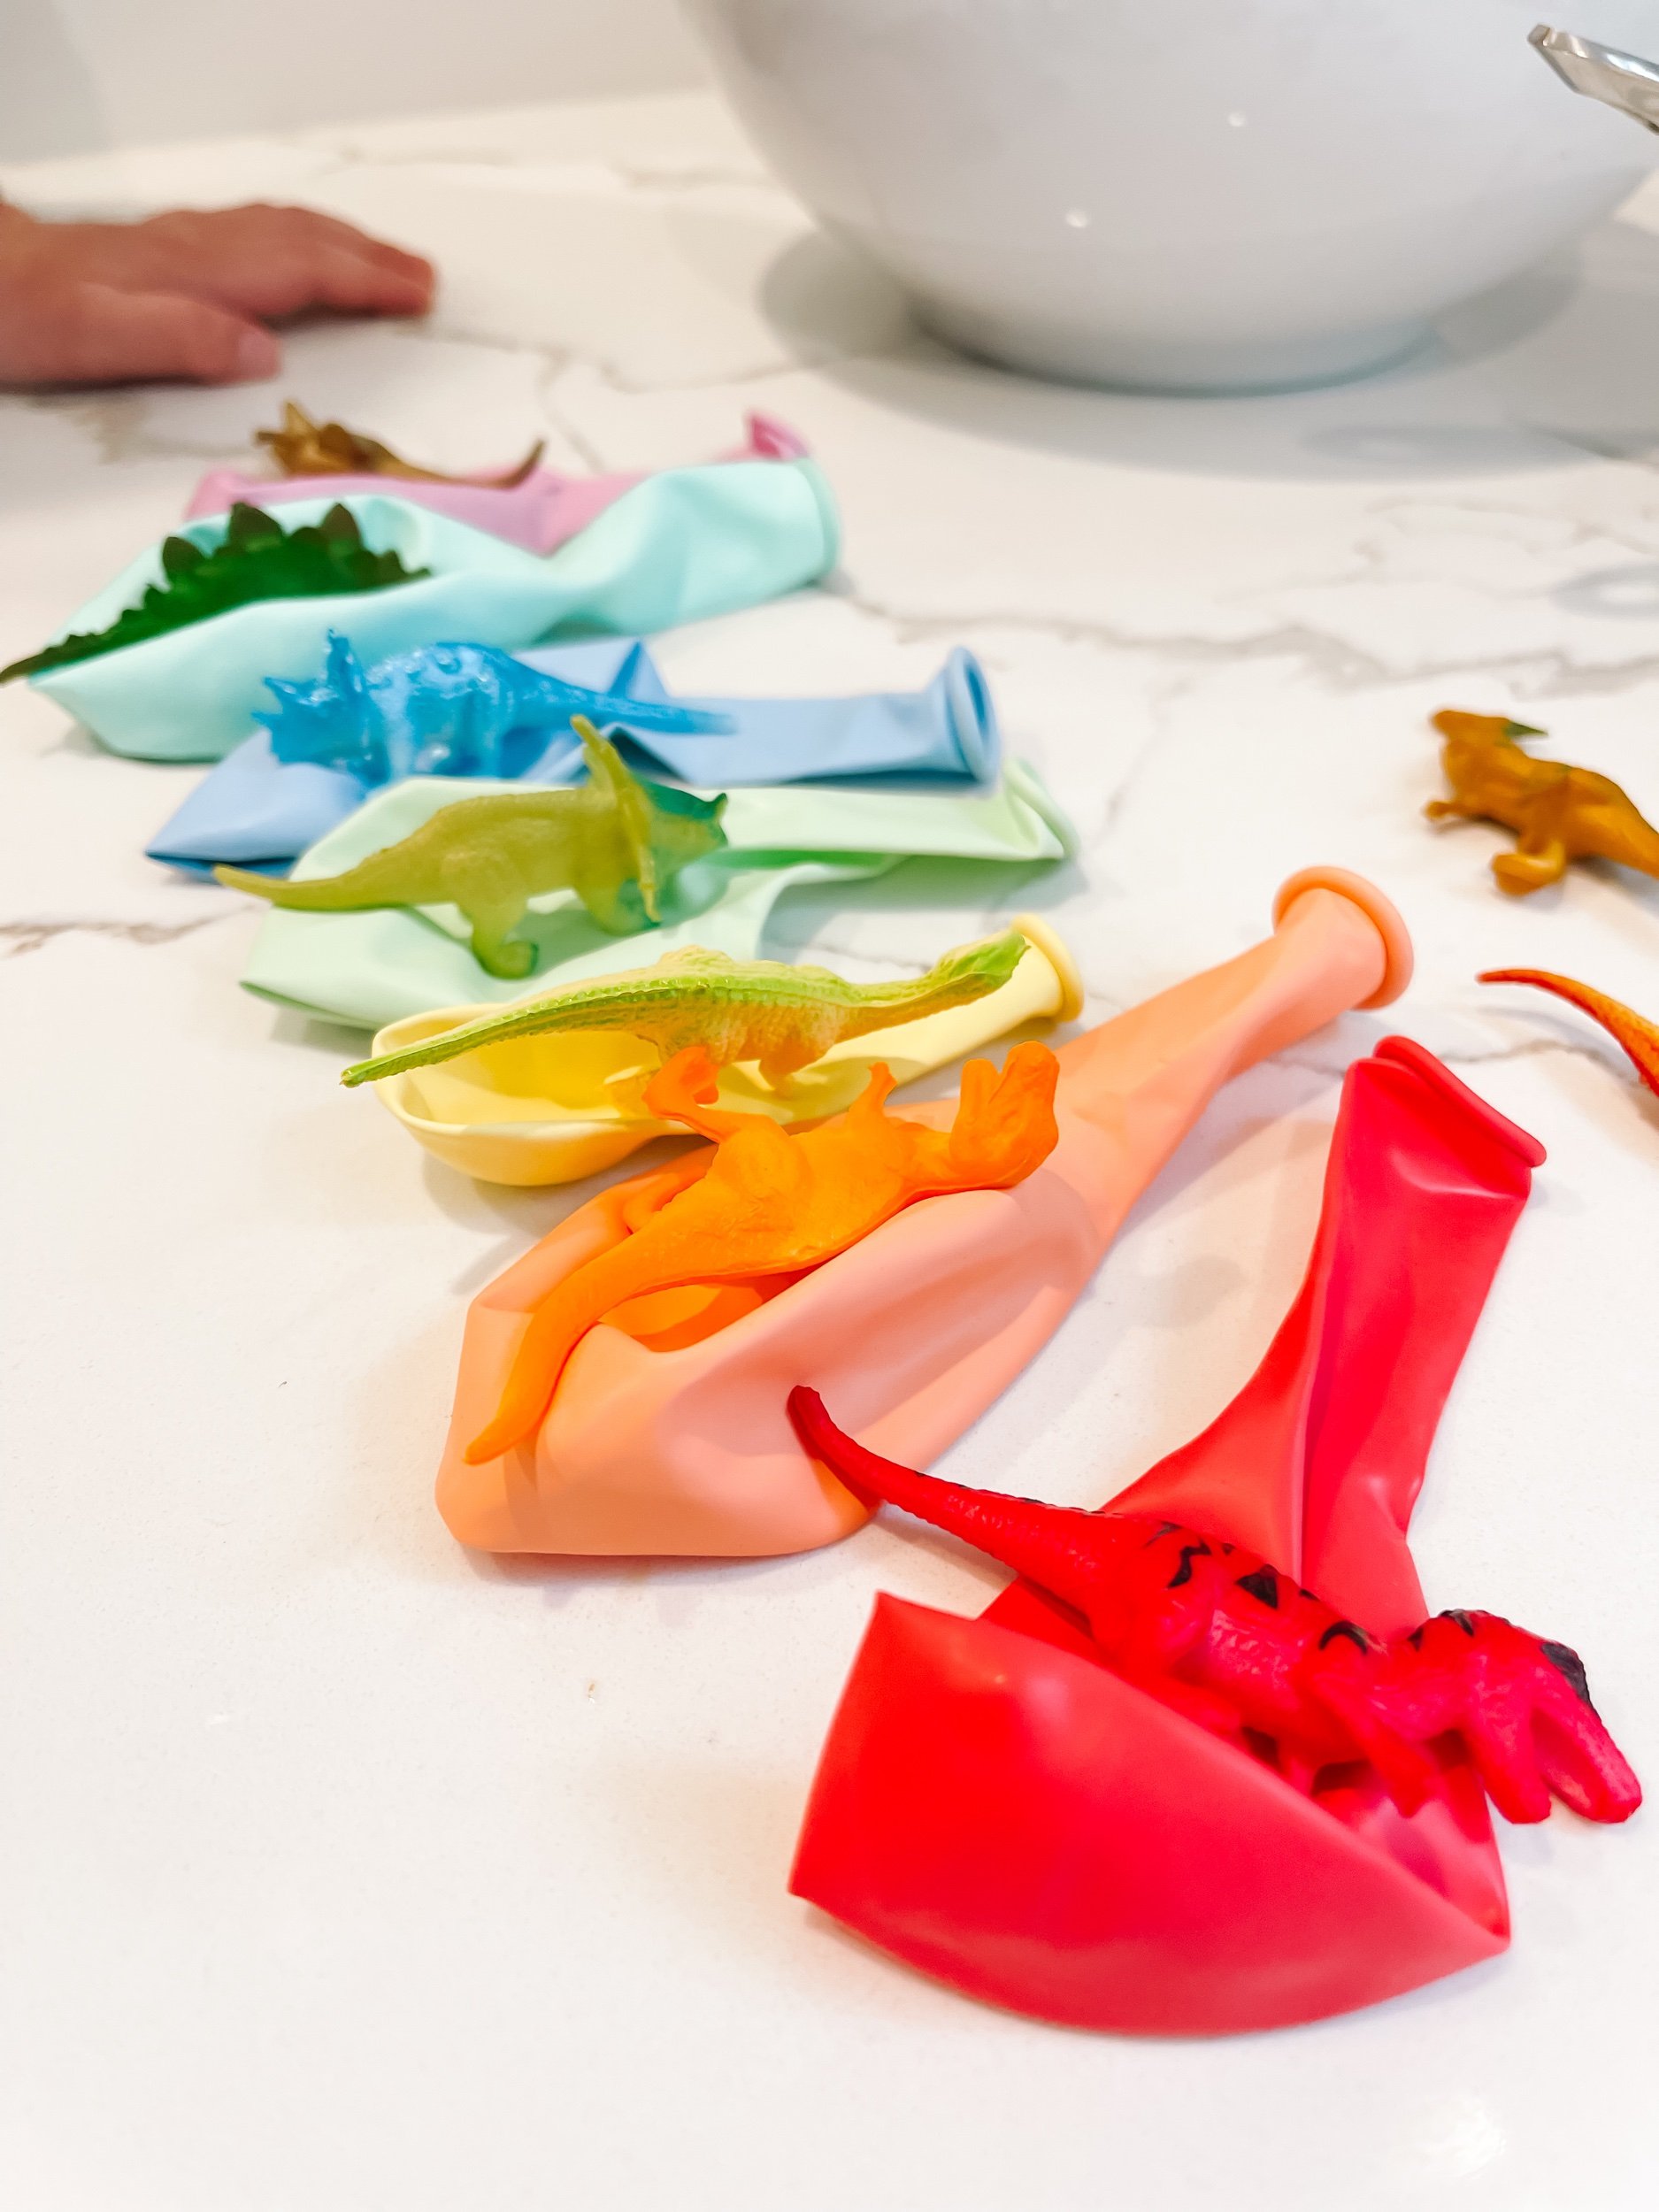
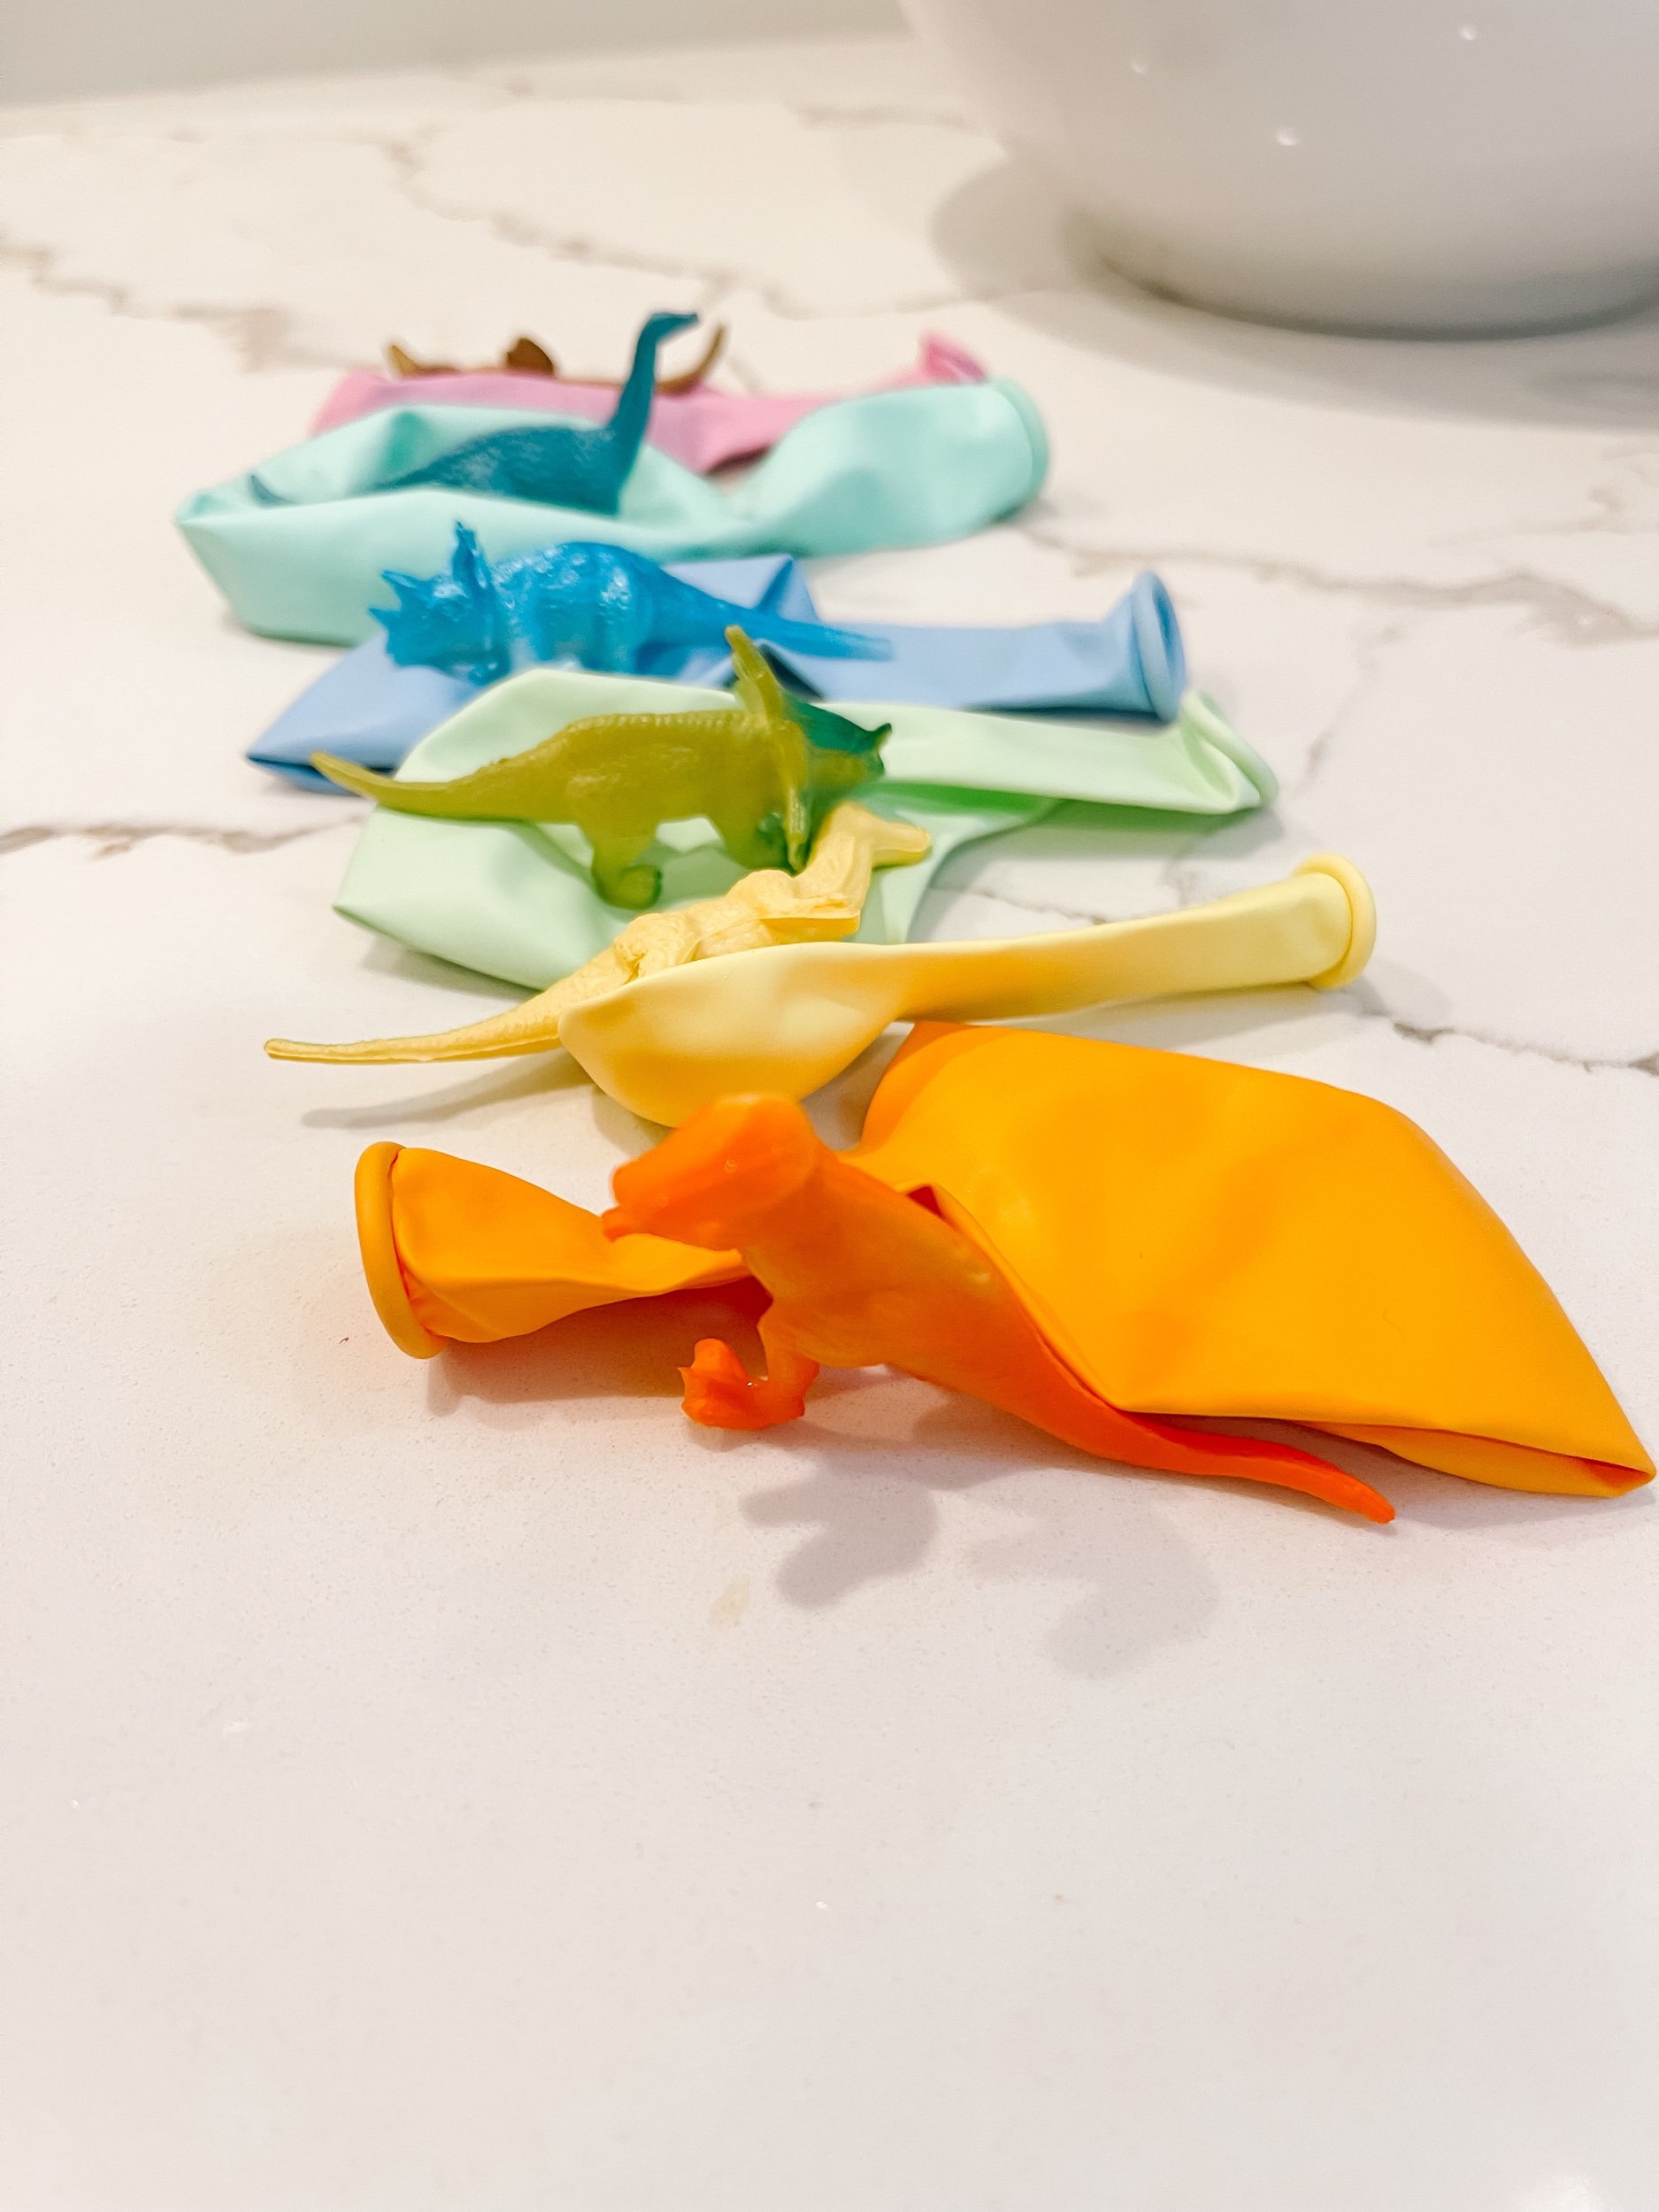
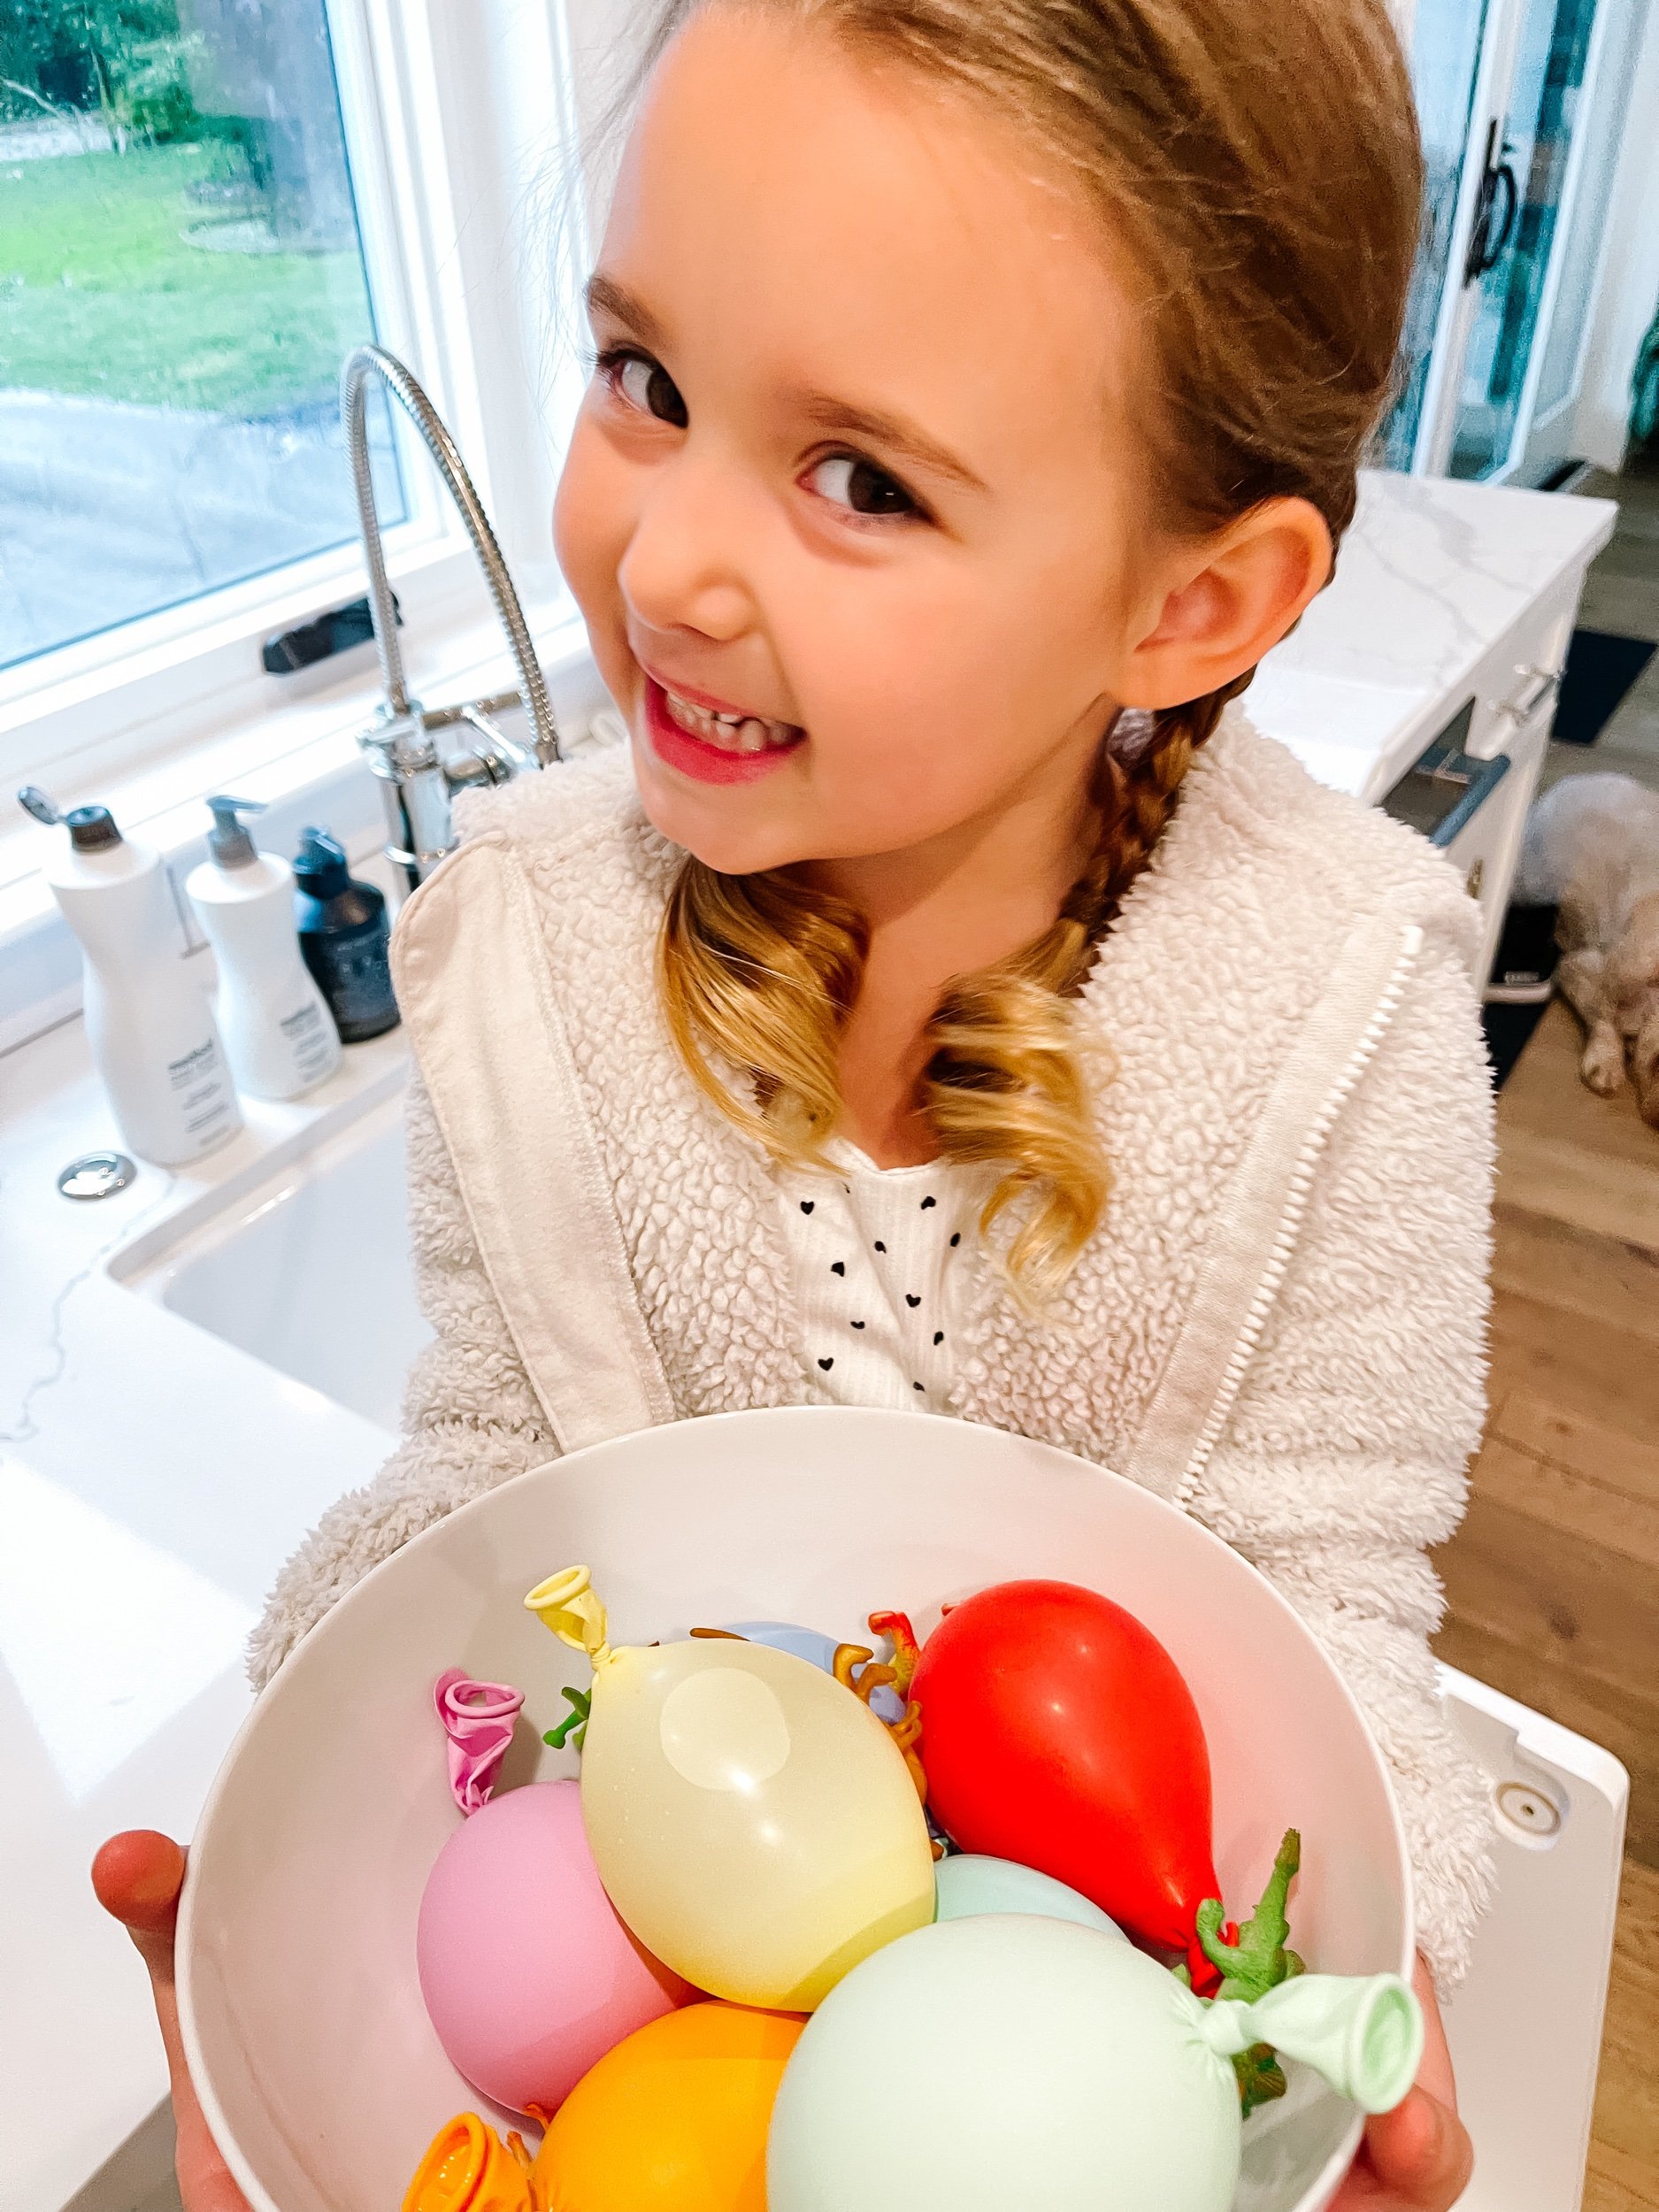
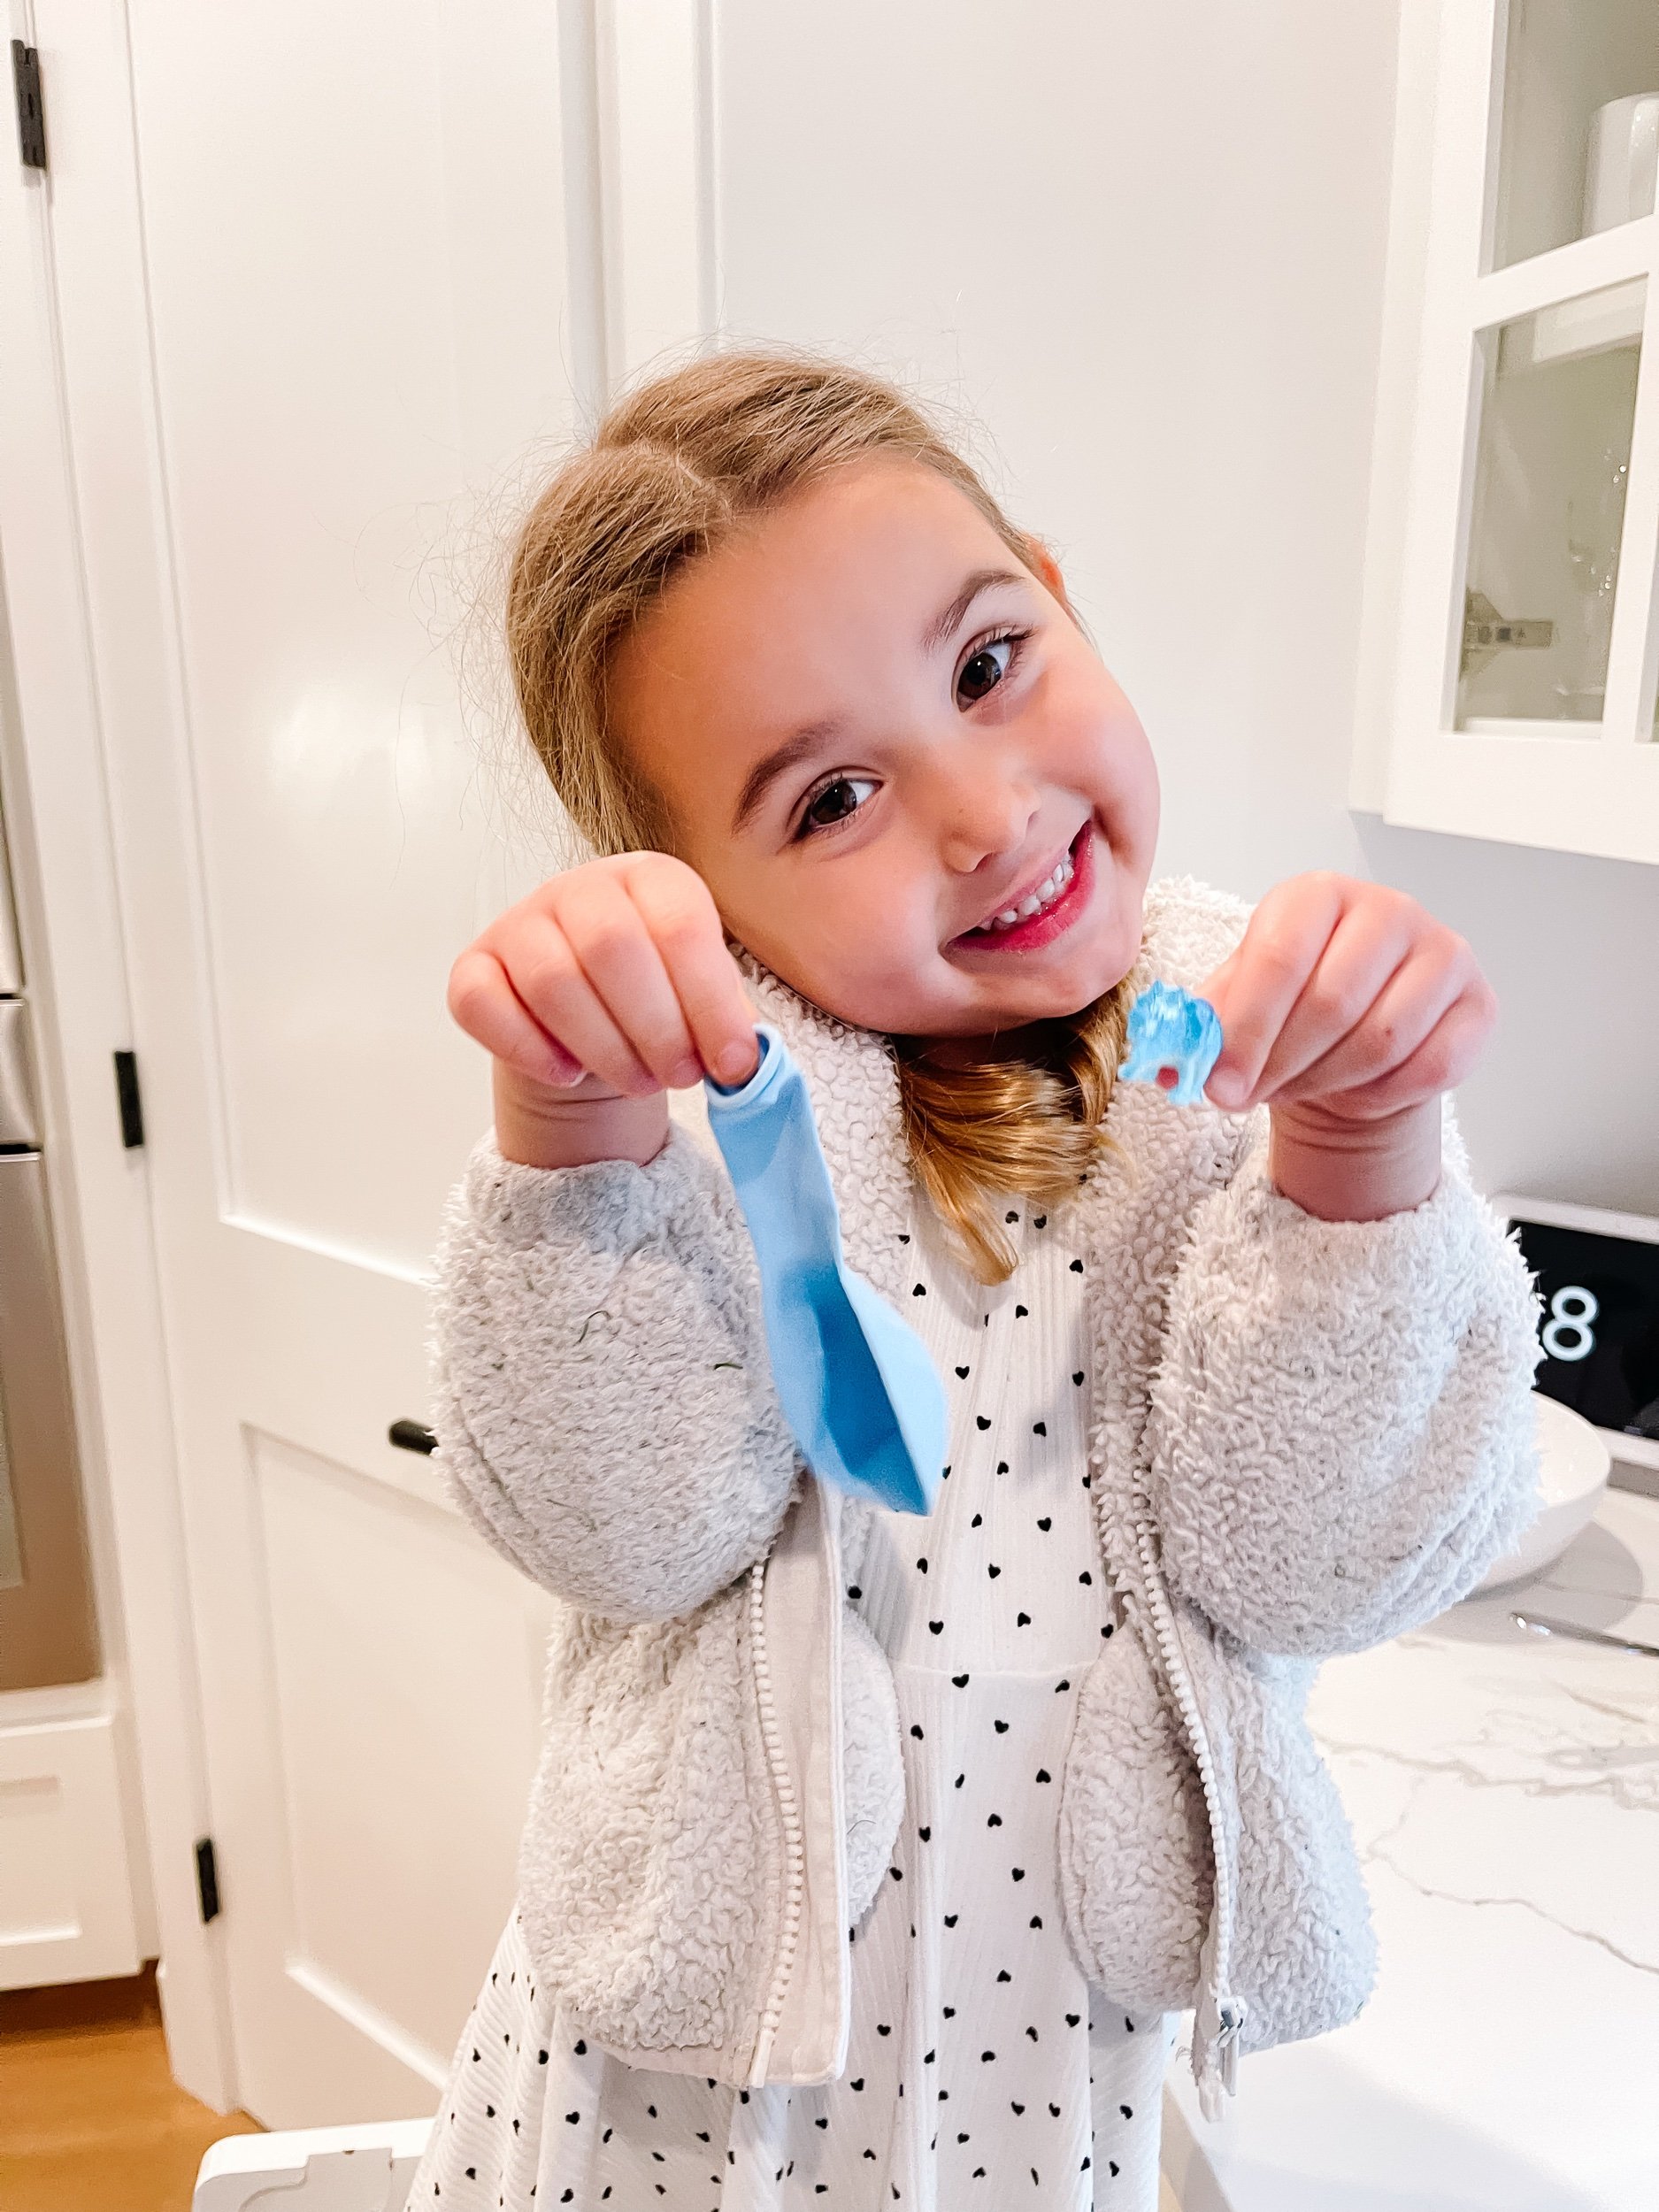
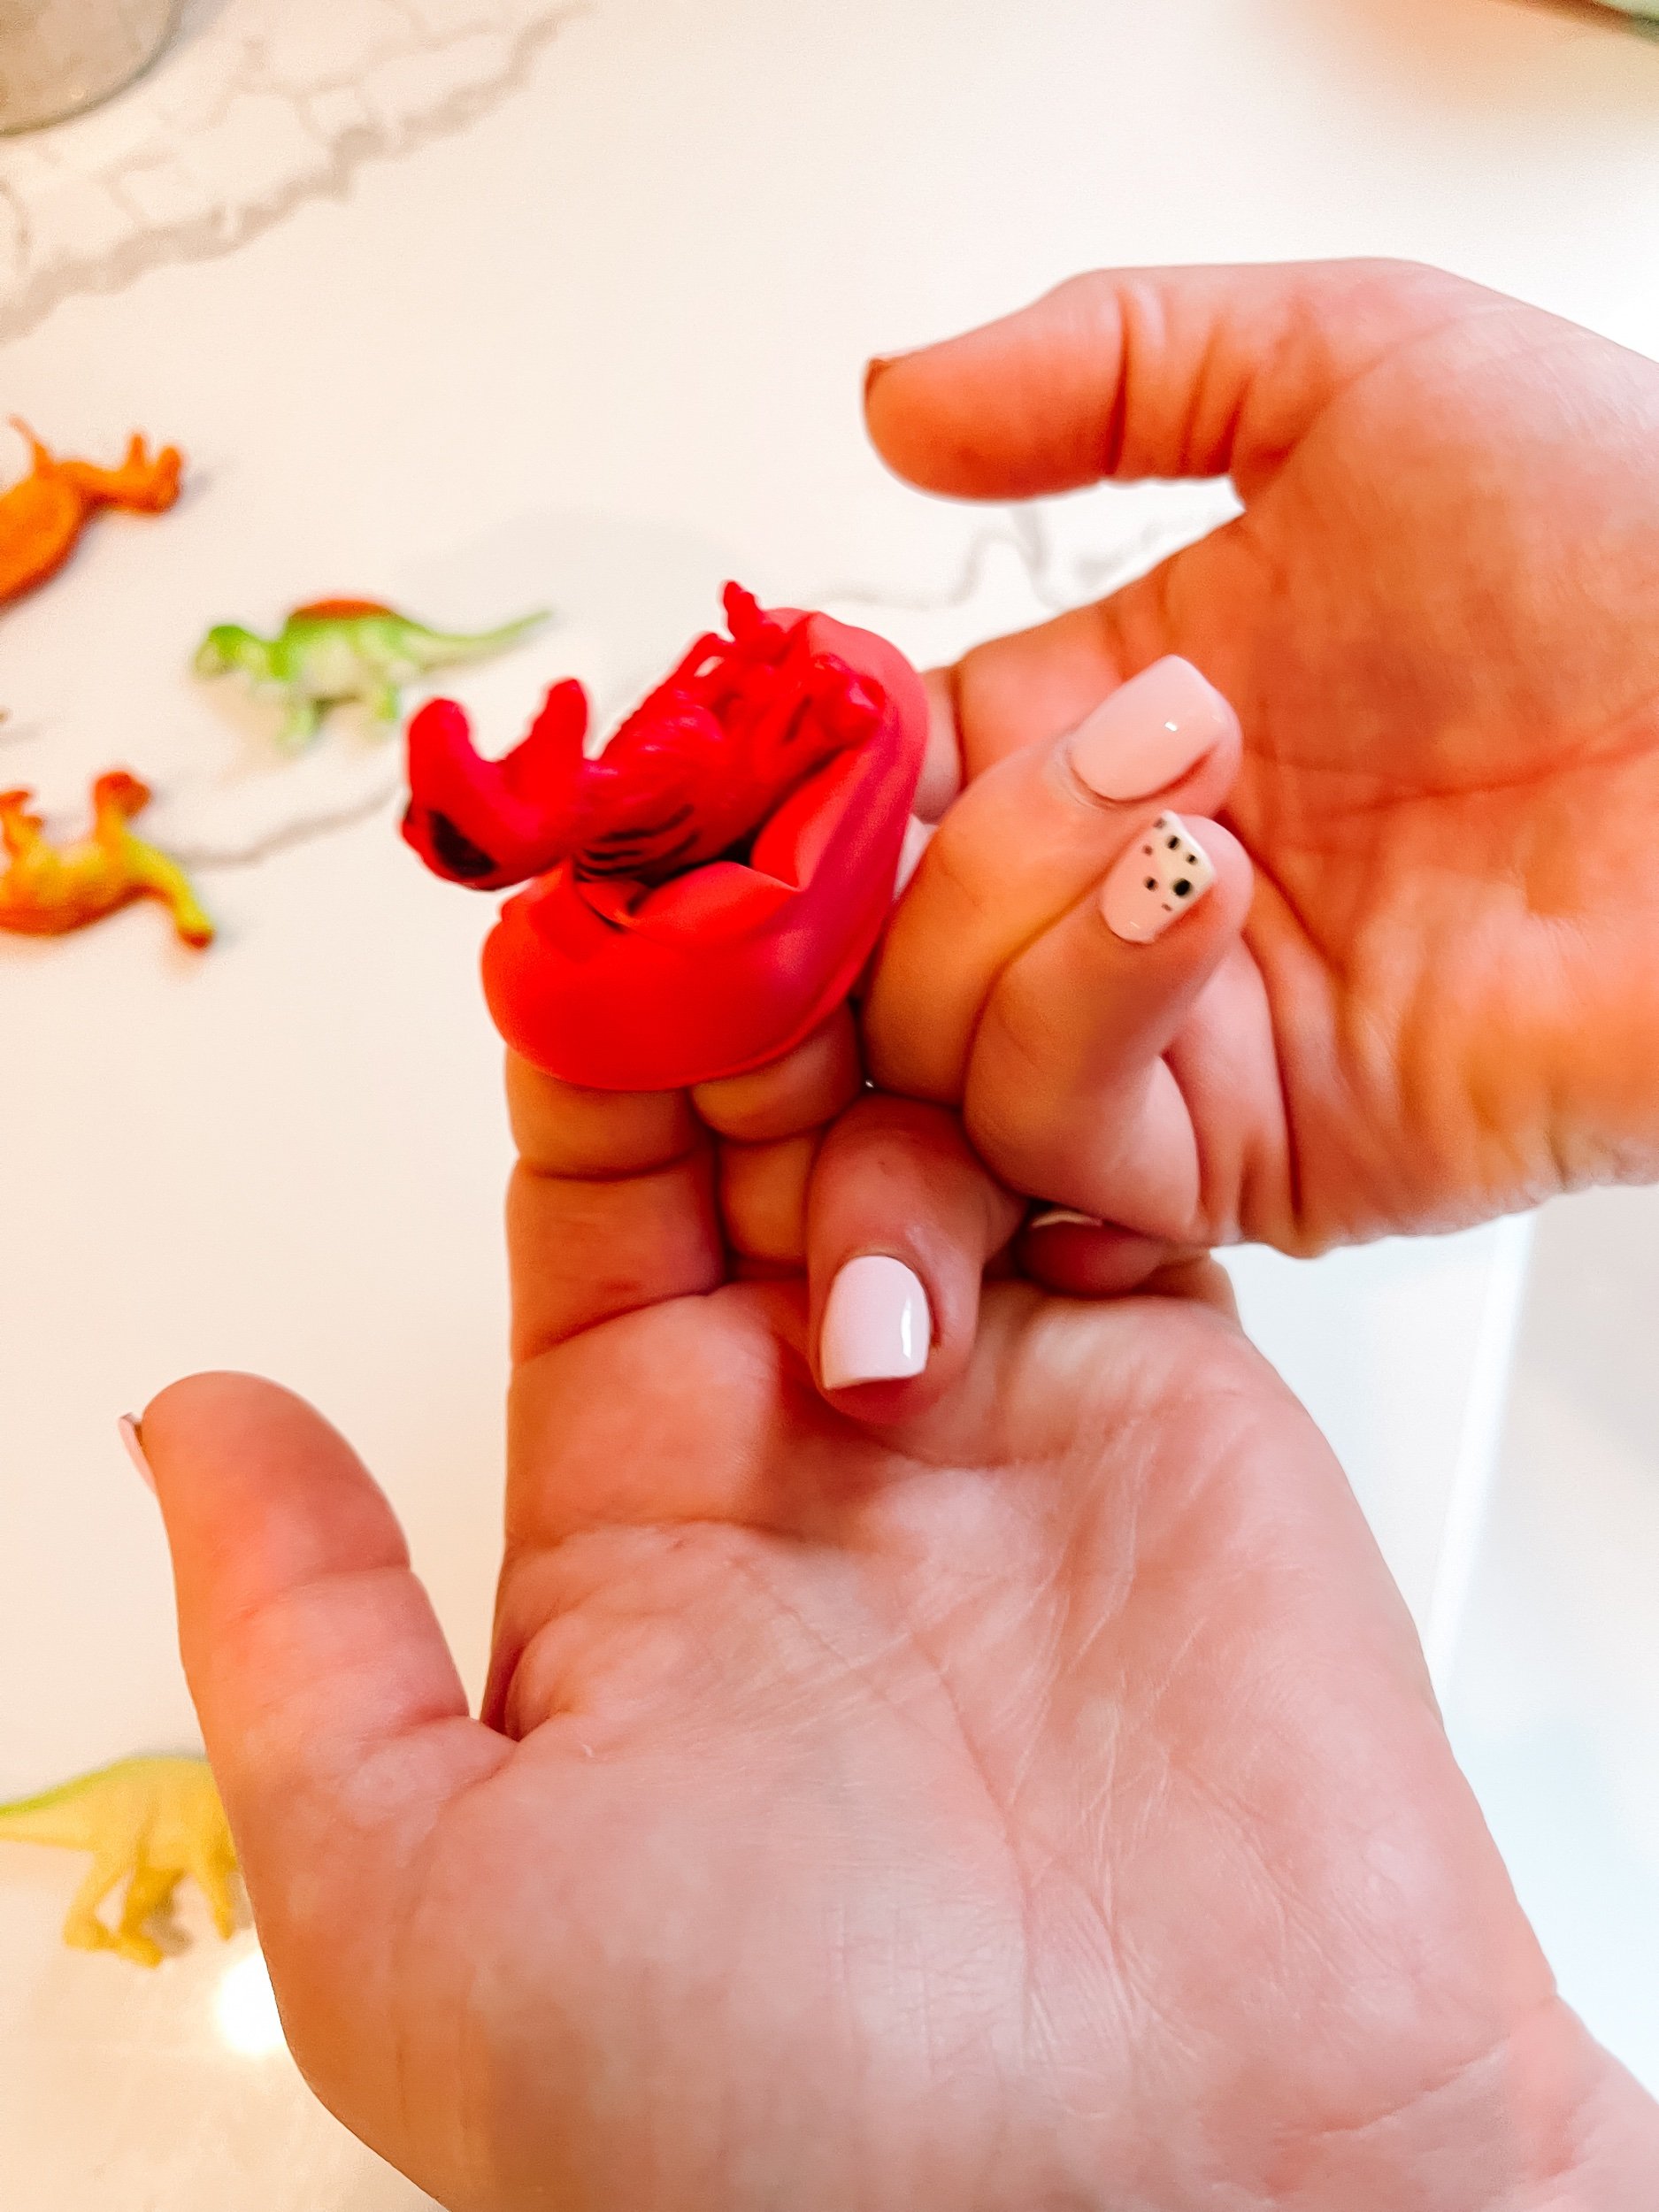
  1. Hold a balloon open by flipping the next inside out. Have your little one push a dinosaur down inside.

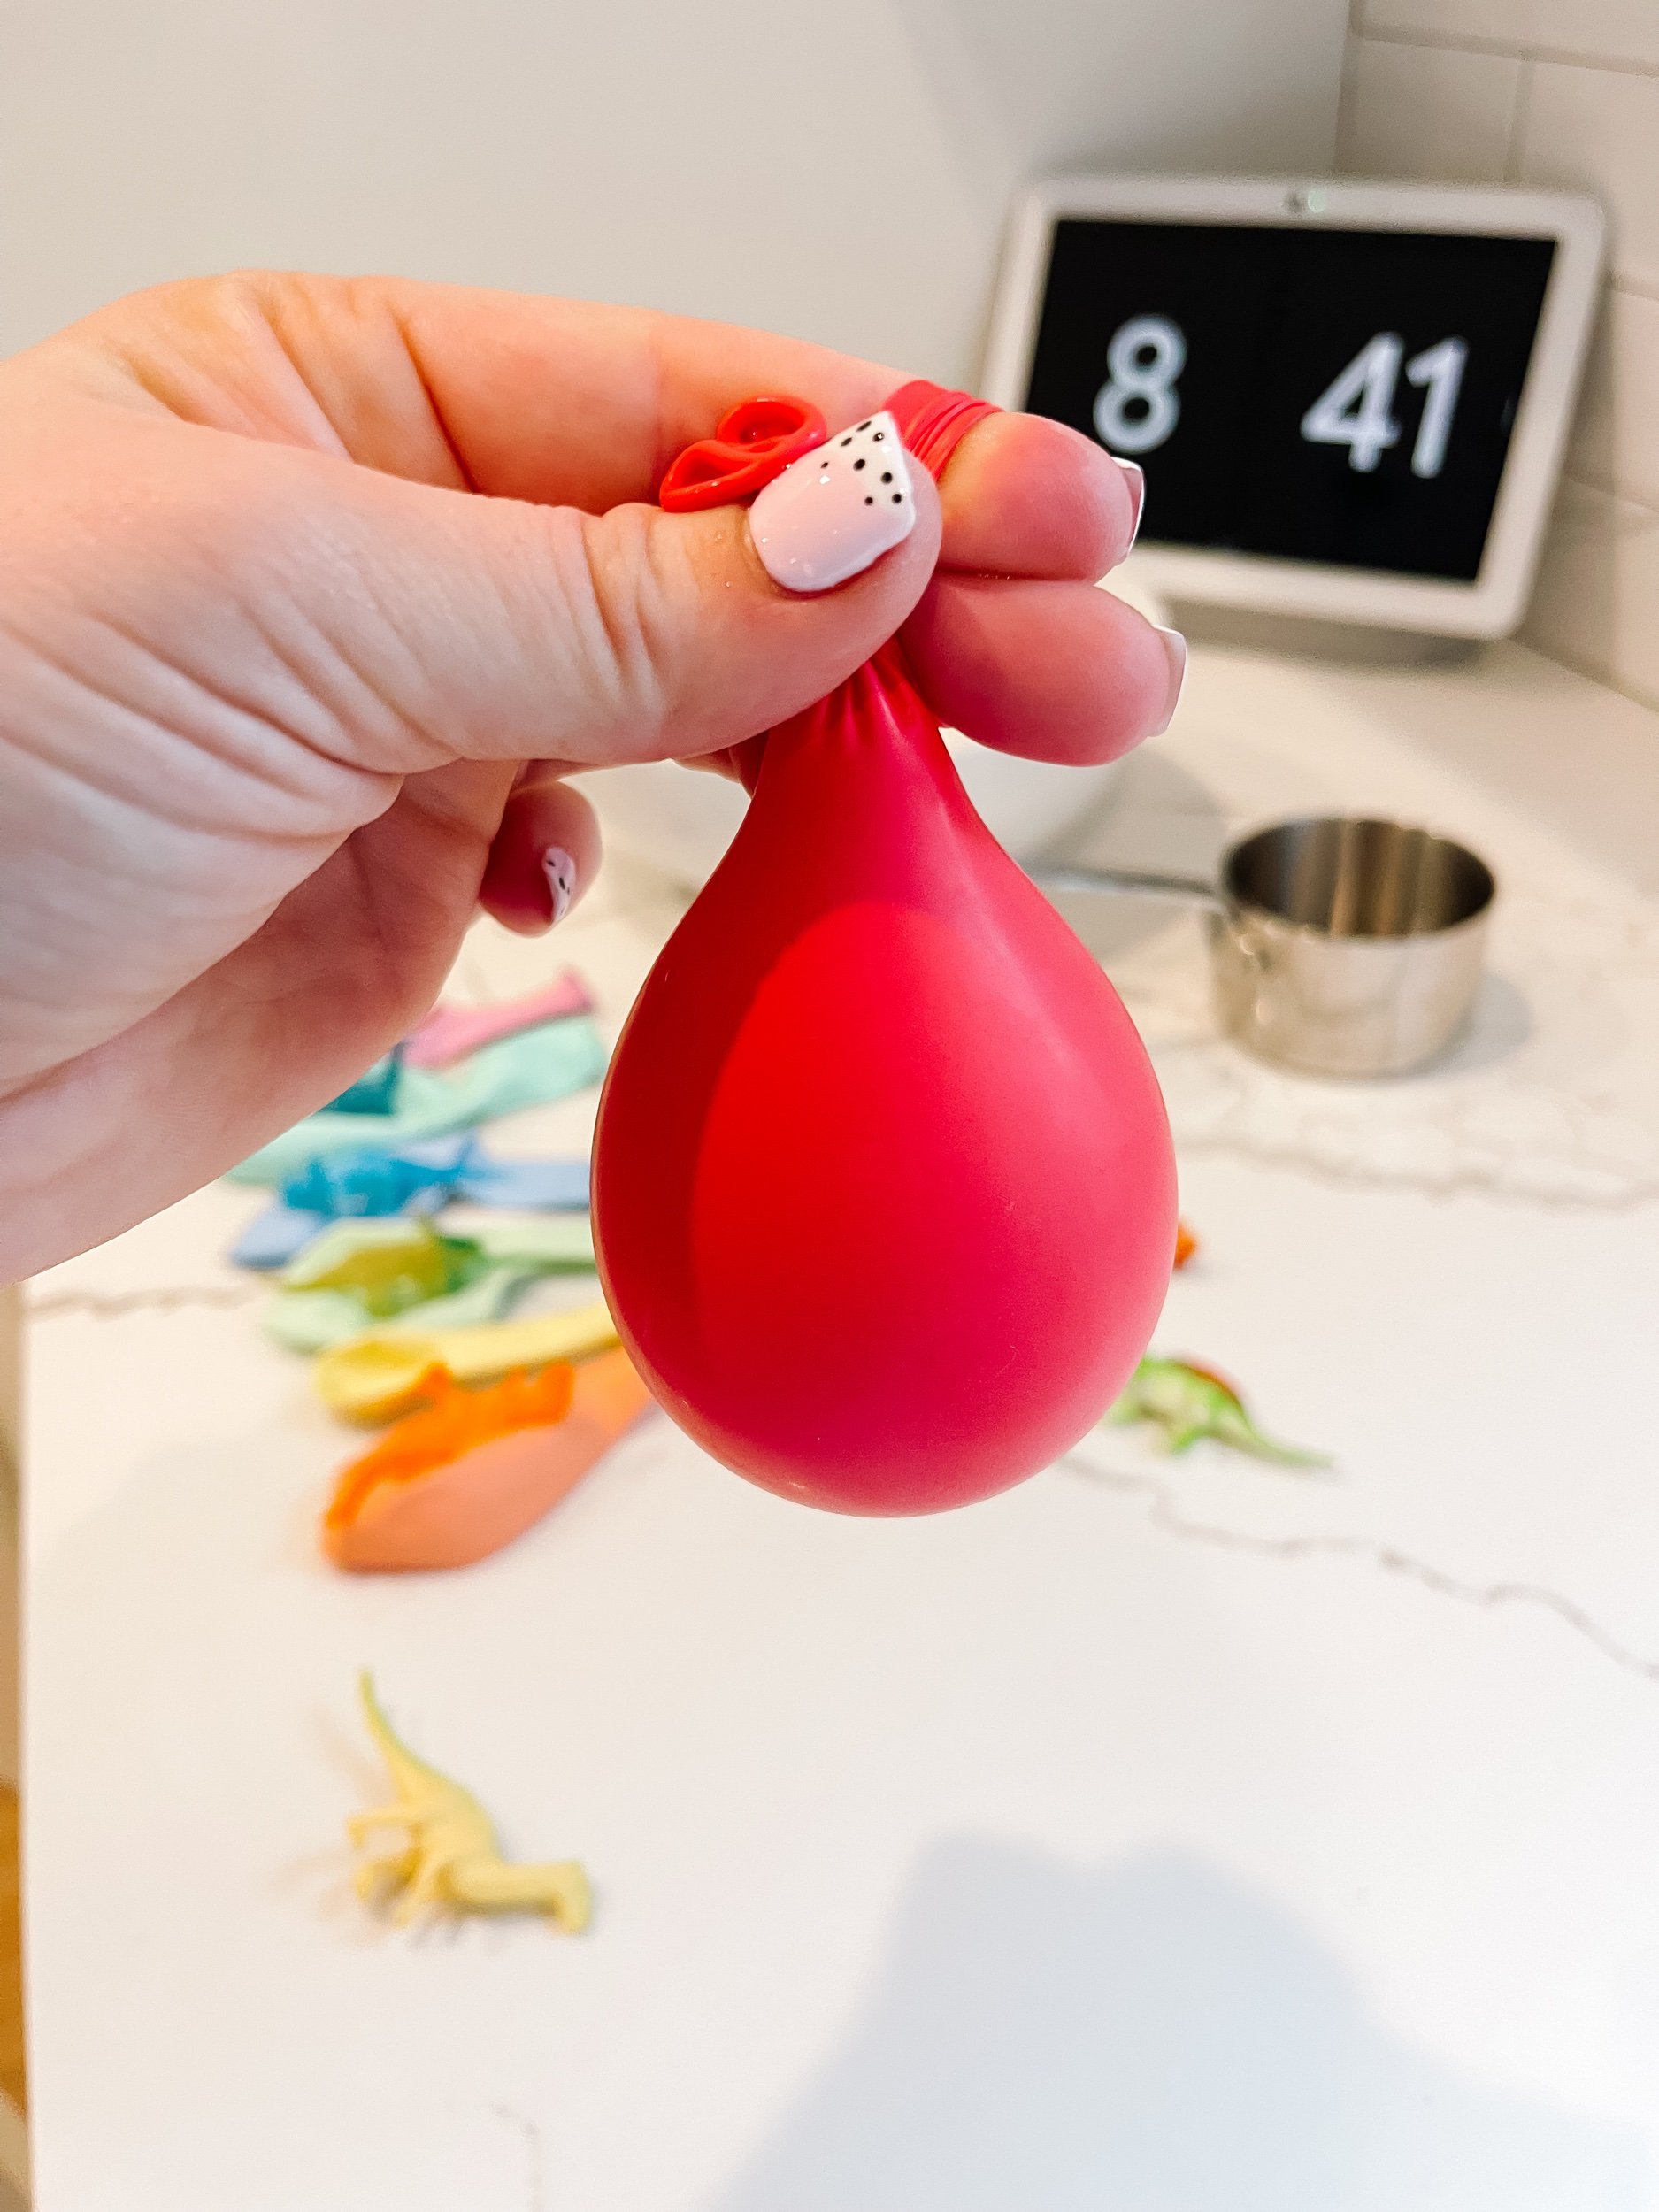
  2. Put the neck of the balloon around your sink faucet and turn on the water slowly to fill the balloon.

  3. Fill the balloon with water until it’s the size of a large egg.

  4. Place the balloons in the freezer to freeze them over night.

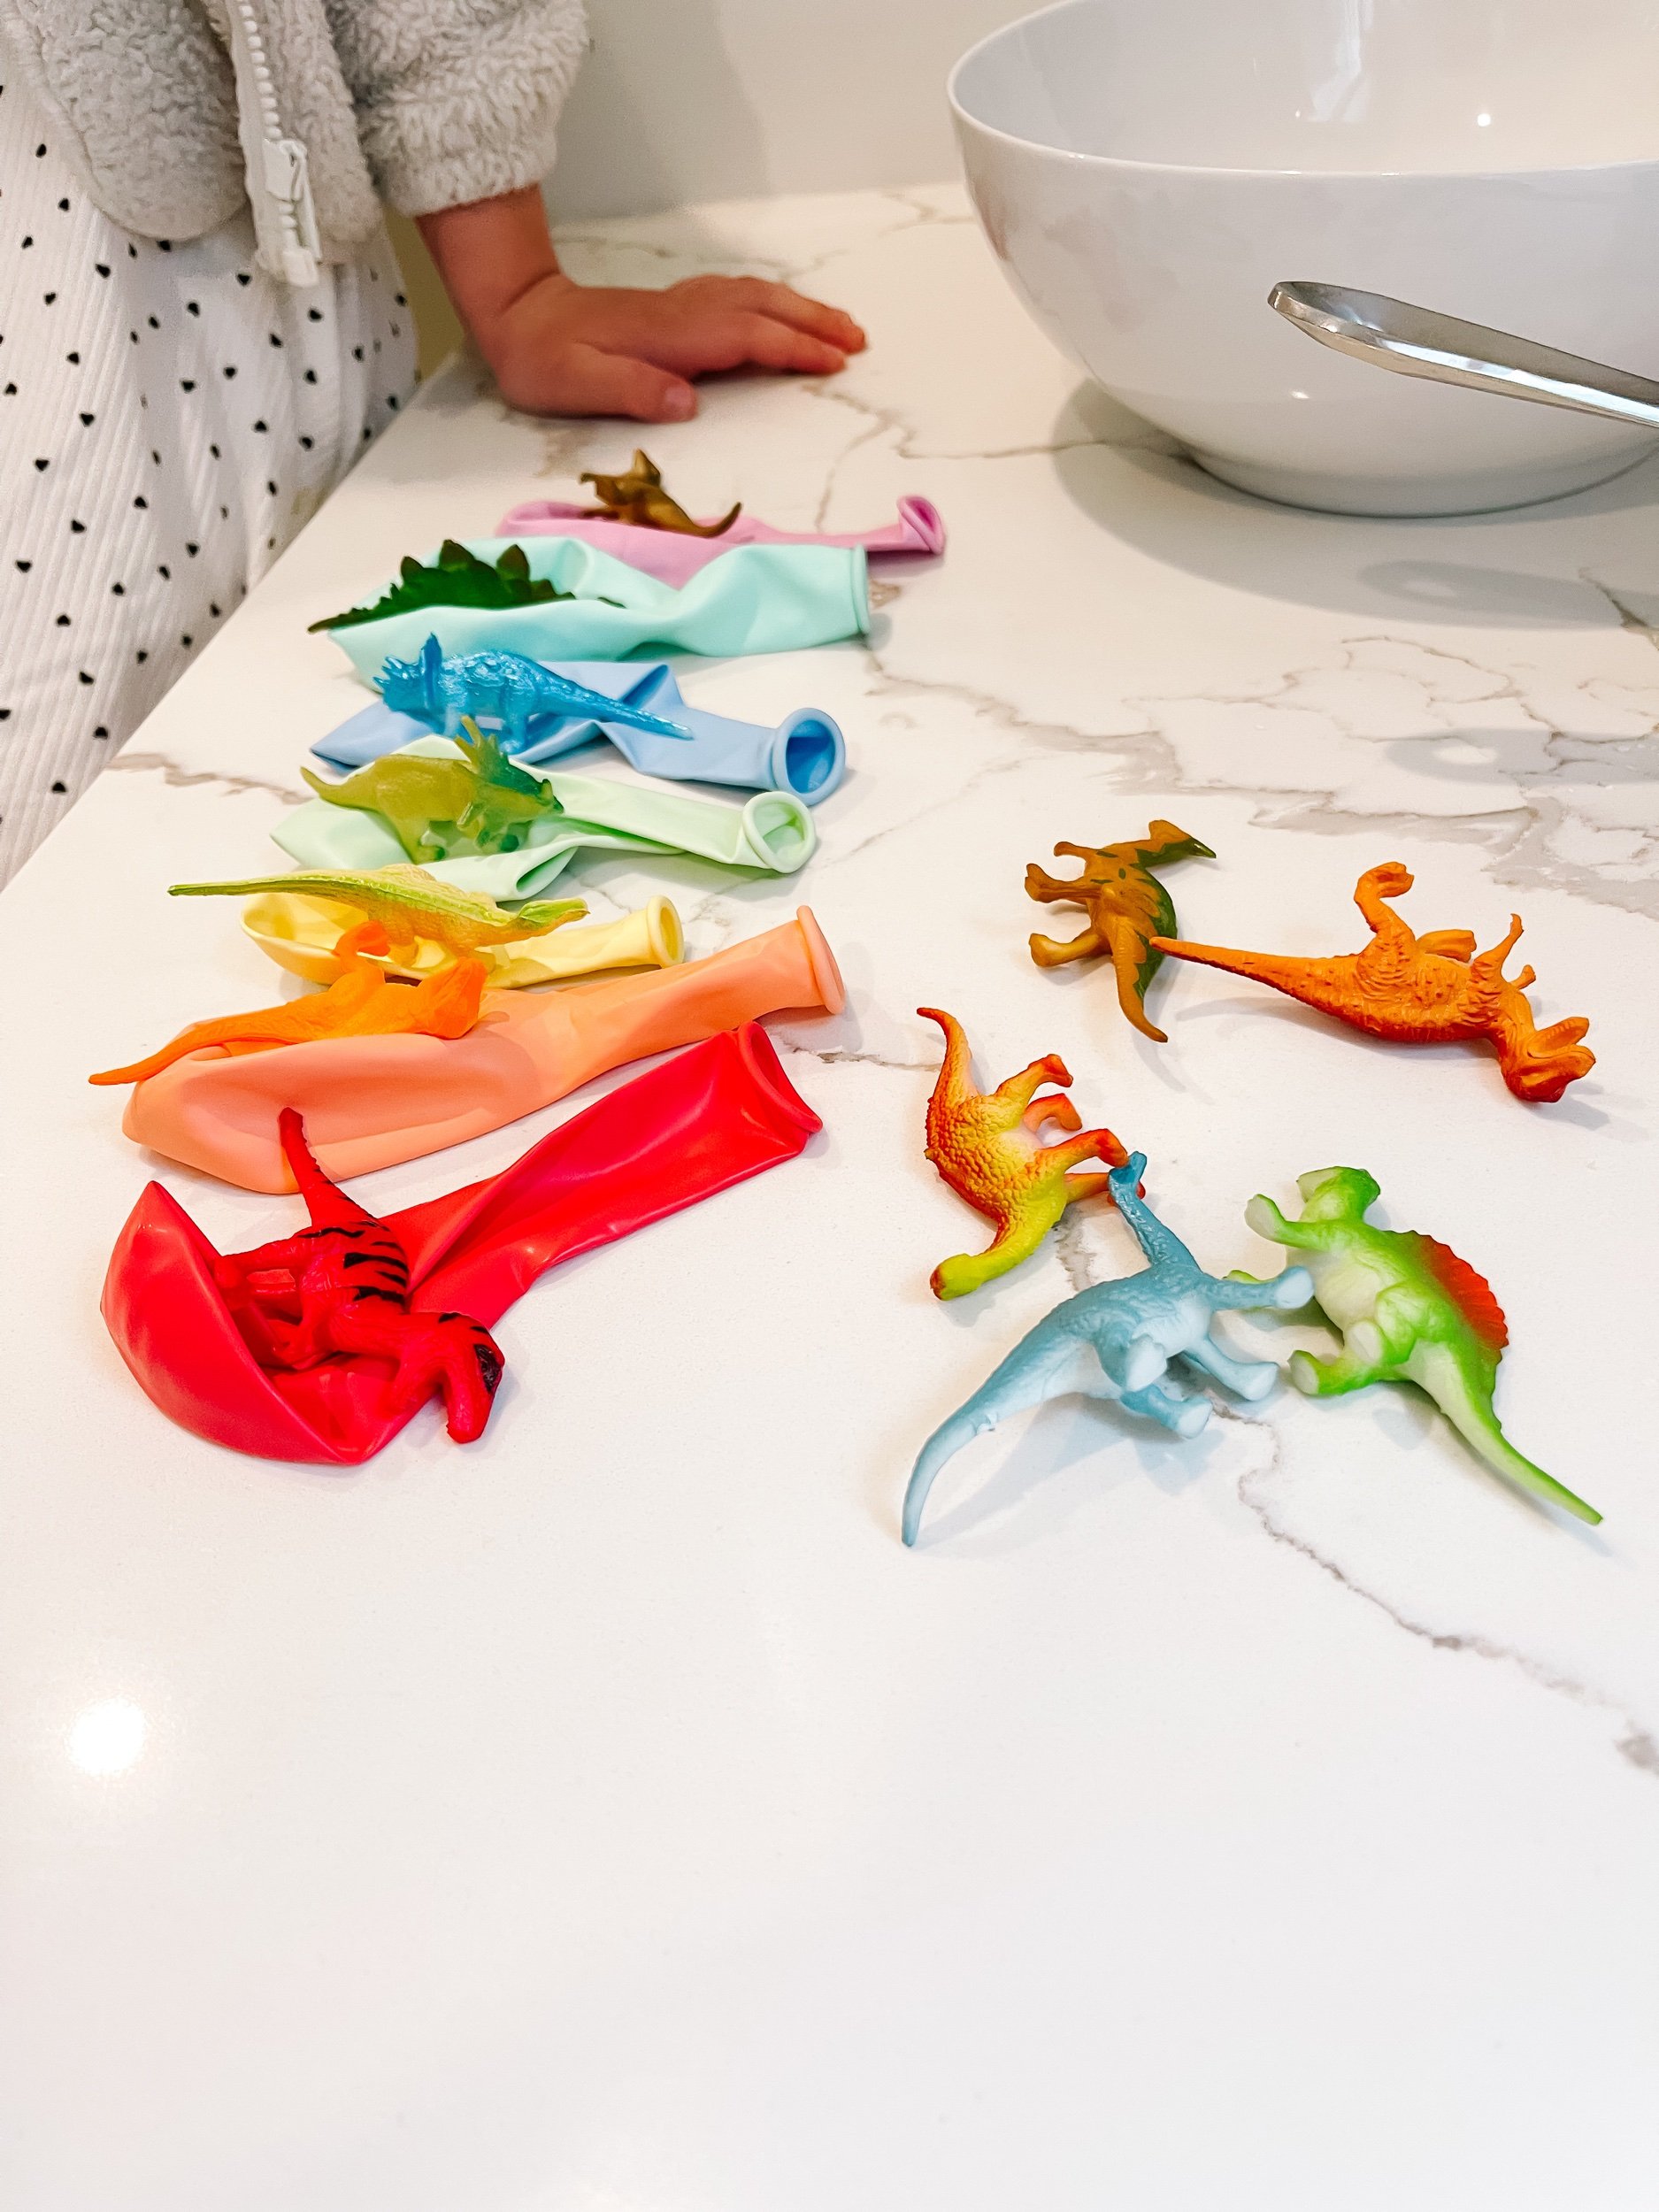
  5. Use scissors to cut the neck of the ballon and peel the balloon off to reveal the ice egg.

  6. Use chisels and warm water to help the dinosaurs escape from the ice!

IMG_5776.jpeg IMG_5778.jpeg IMG_5787.jpeg IMG_5785.jpeg IMG_5797.jpeg IMG_5789.jpeg IMG_5777.jpeg IMG_5780.jpeg IMG_5779.jpeg

Dinosaur Sensory Play Kit Vocabulary Words for Kids Ages 3-6:
1. Dinosaur
2. Fossil
3. Paleontologist
4. Extinct
5. Herbivore
6. Carnivore
7. Omnivore
8. Roar
9. Tyrannosaurus Rex
10. Velociraptor
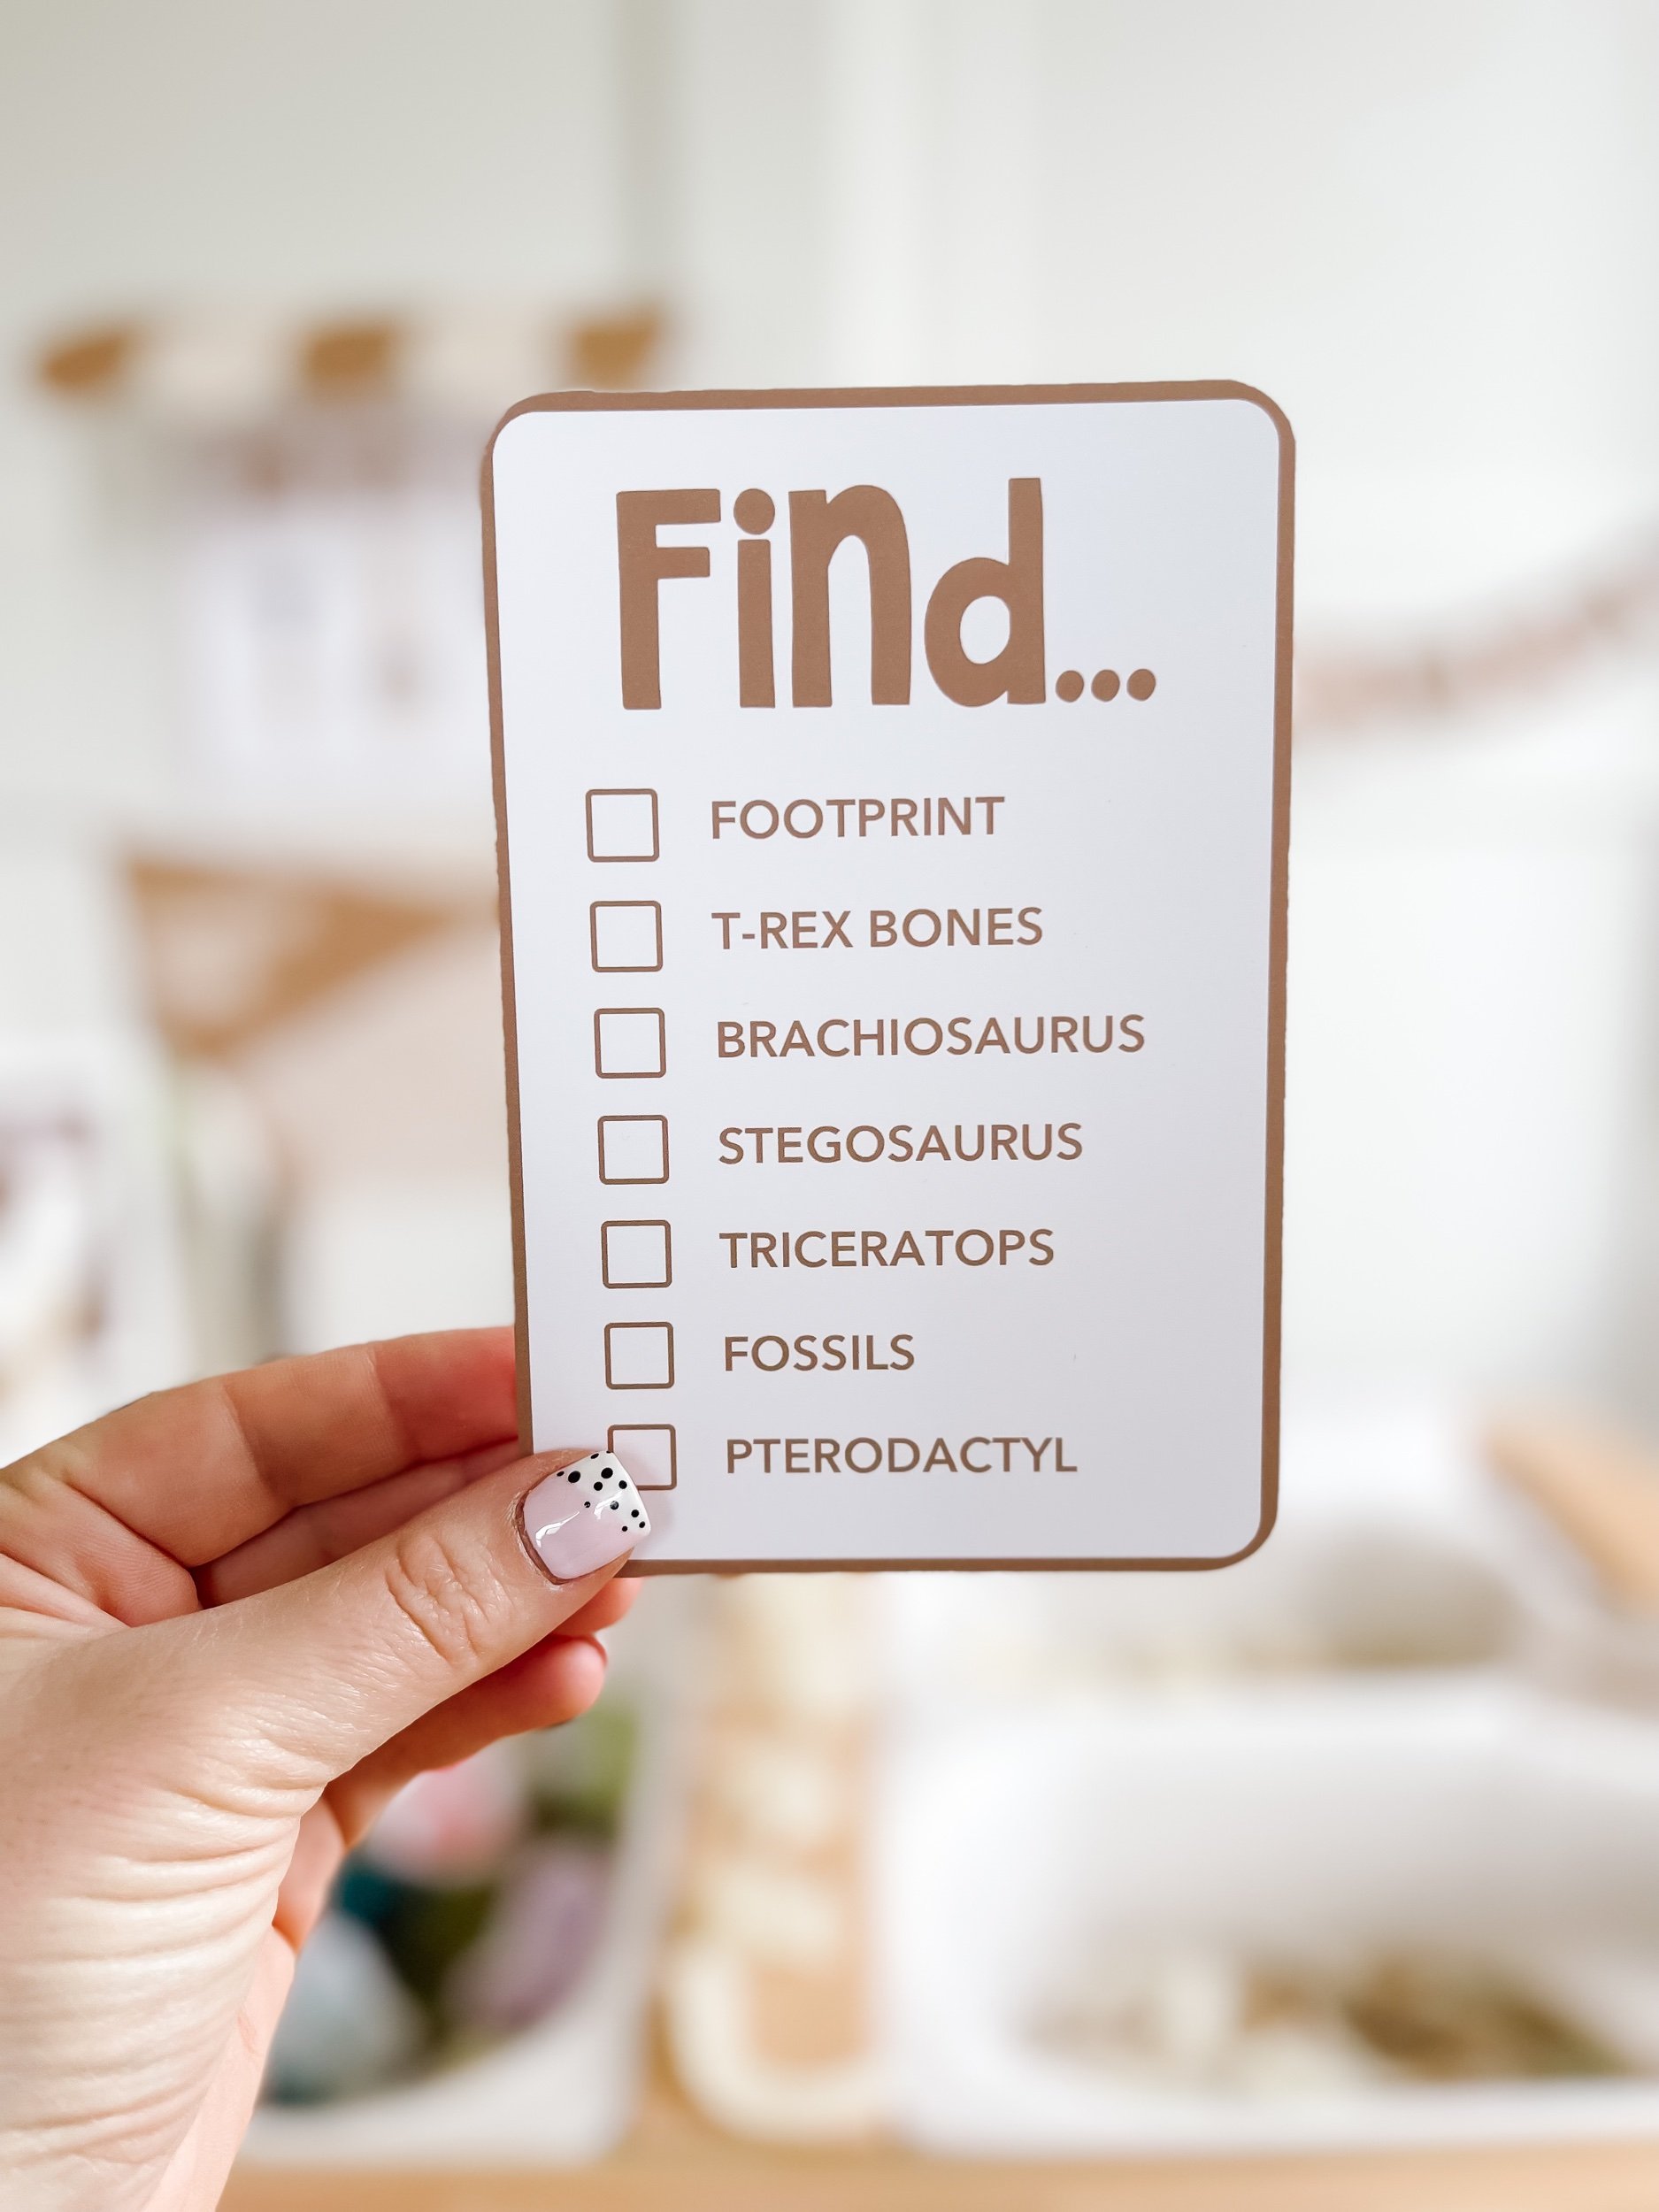
11. Stegosaurus
12. Brachiosaurus
13. Triceratops
14. Pterodactyl
15. Ankylosaurus
16. Spinosaurus
17. Archaeopteryx
18. Apatosaurus
19. Diplodocus
20. Geologist
21. Prehistoric
22. Ecosystem
23. Excavation
24. Imprint
25. Discover

IMG_5935_jpg.jpeg IMG_5933_jpg.jpeg IMG_5932_jpg.jpeg IMG_5939_jpg.jpeg IMG_5934_jpg.jpeg IMG_5925.jpeg IMG_5926_jpg.jpeg IMG_5927_jpg.jpeg IMG_5928_jpg.jpeg IMG_5929_jpg.jpeg IMG_5930_jpg.jpeg IMG_5936_jpg.jpeg IMG_5937_jpg.jpeg IMG_5938_jpg.jpeg IMG_5931.jpeg
Dinosaur Fossil Kit
Tags dinosaur, sensory play, sensory table, flisat table play, sensory play idea, dinosaur dig, paleontology, paleontologist, dinosaur activity for kids, diy dinosaur dig
4 Comments

Sensory Play: Creating Mini Pizzeria Magic Pizza Shop Play

February 3, 2024 Kylie Tuosto

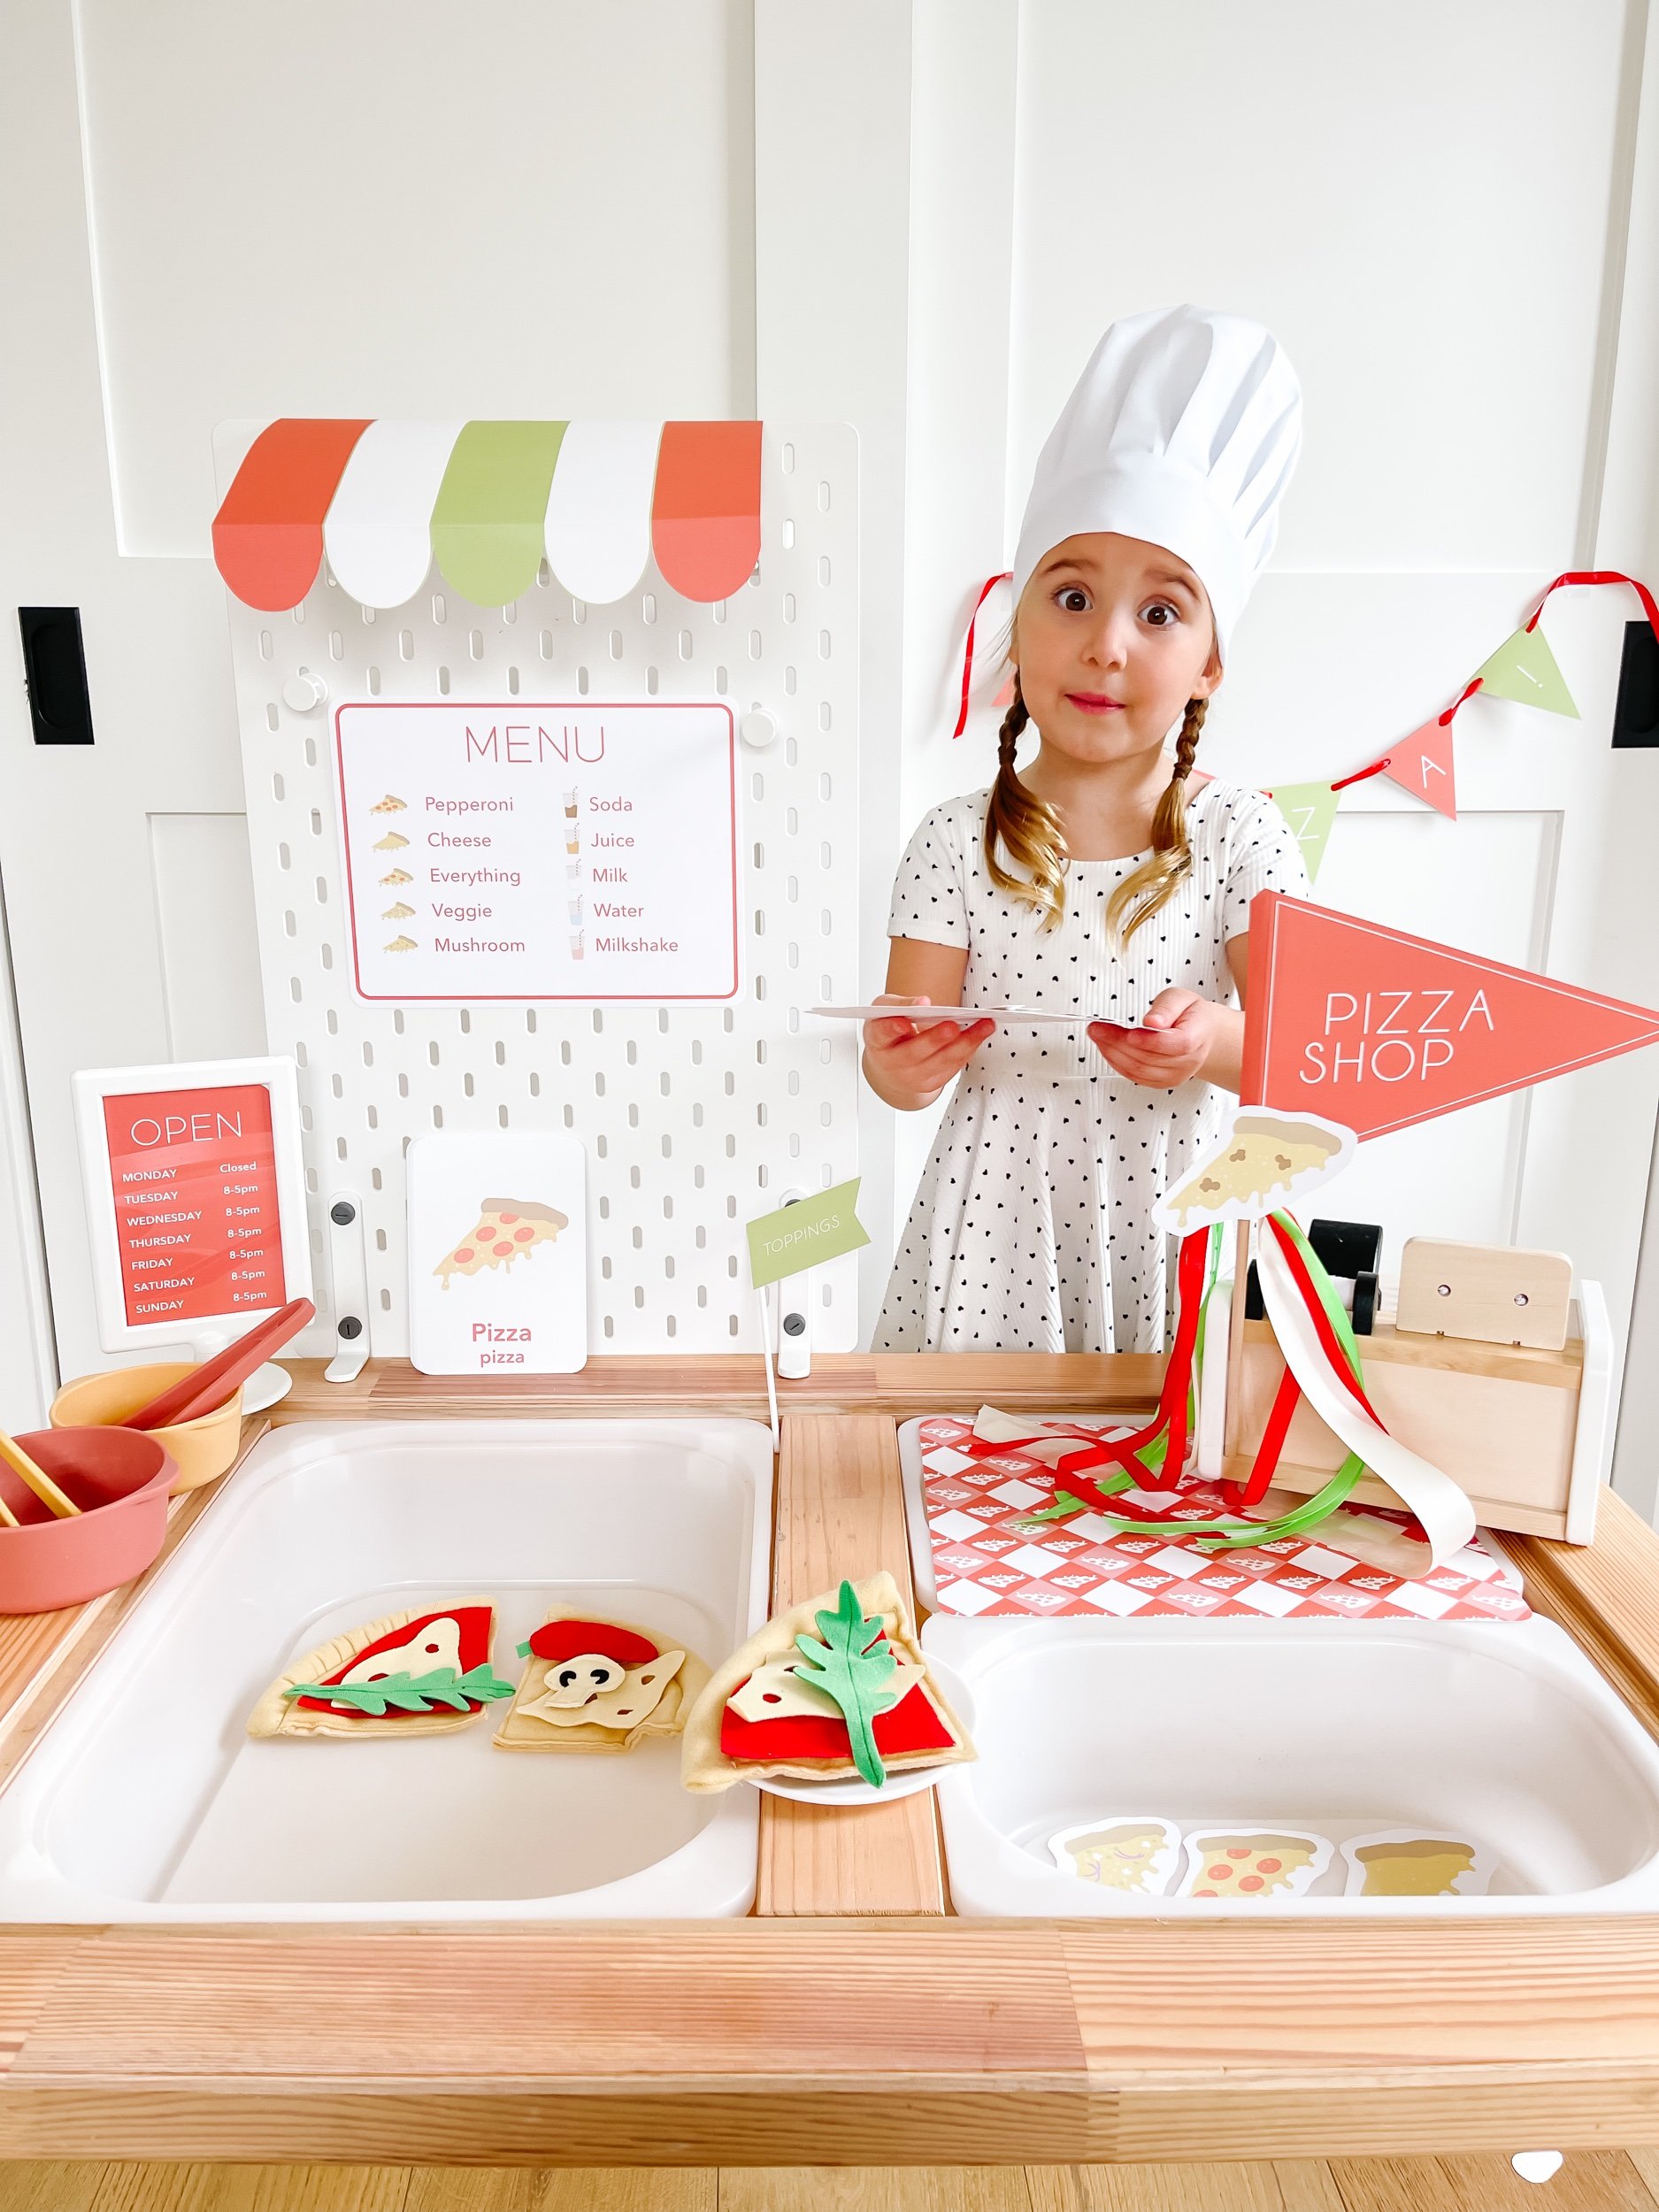
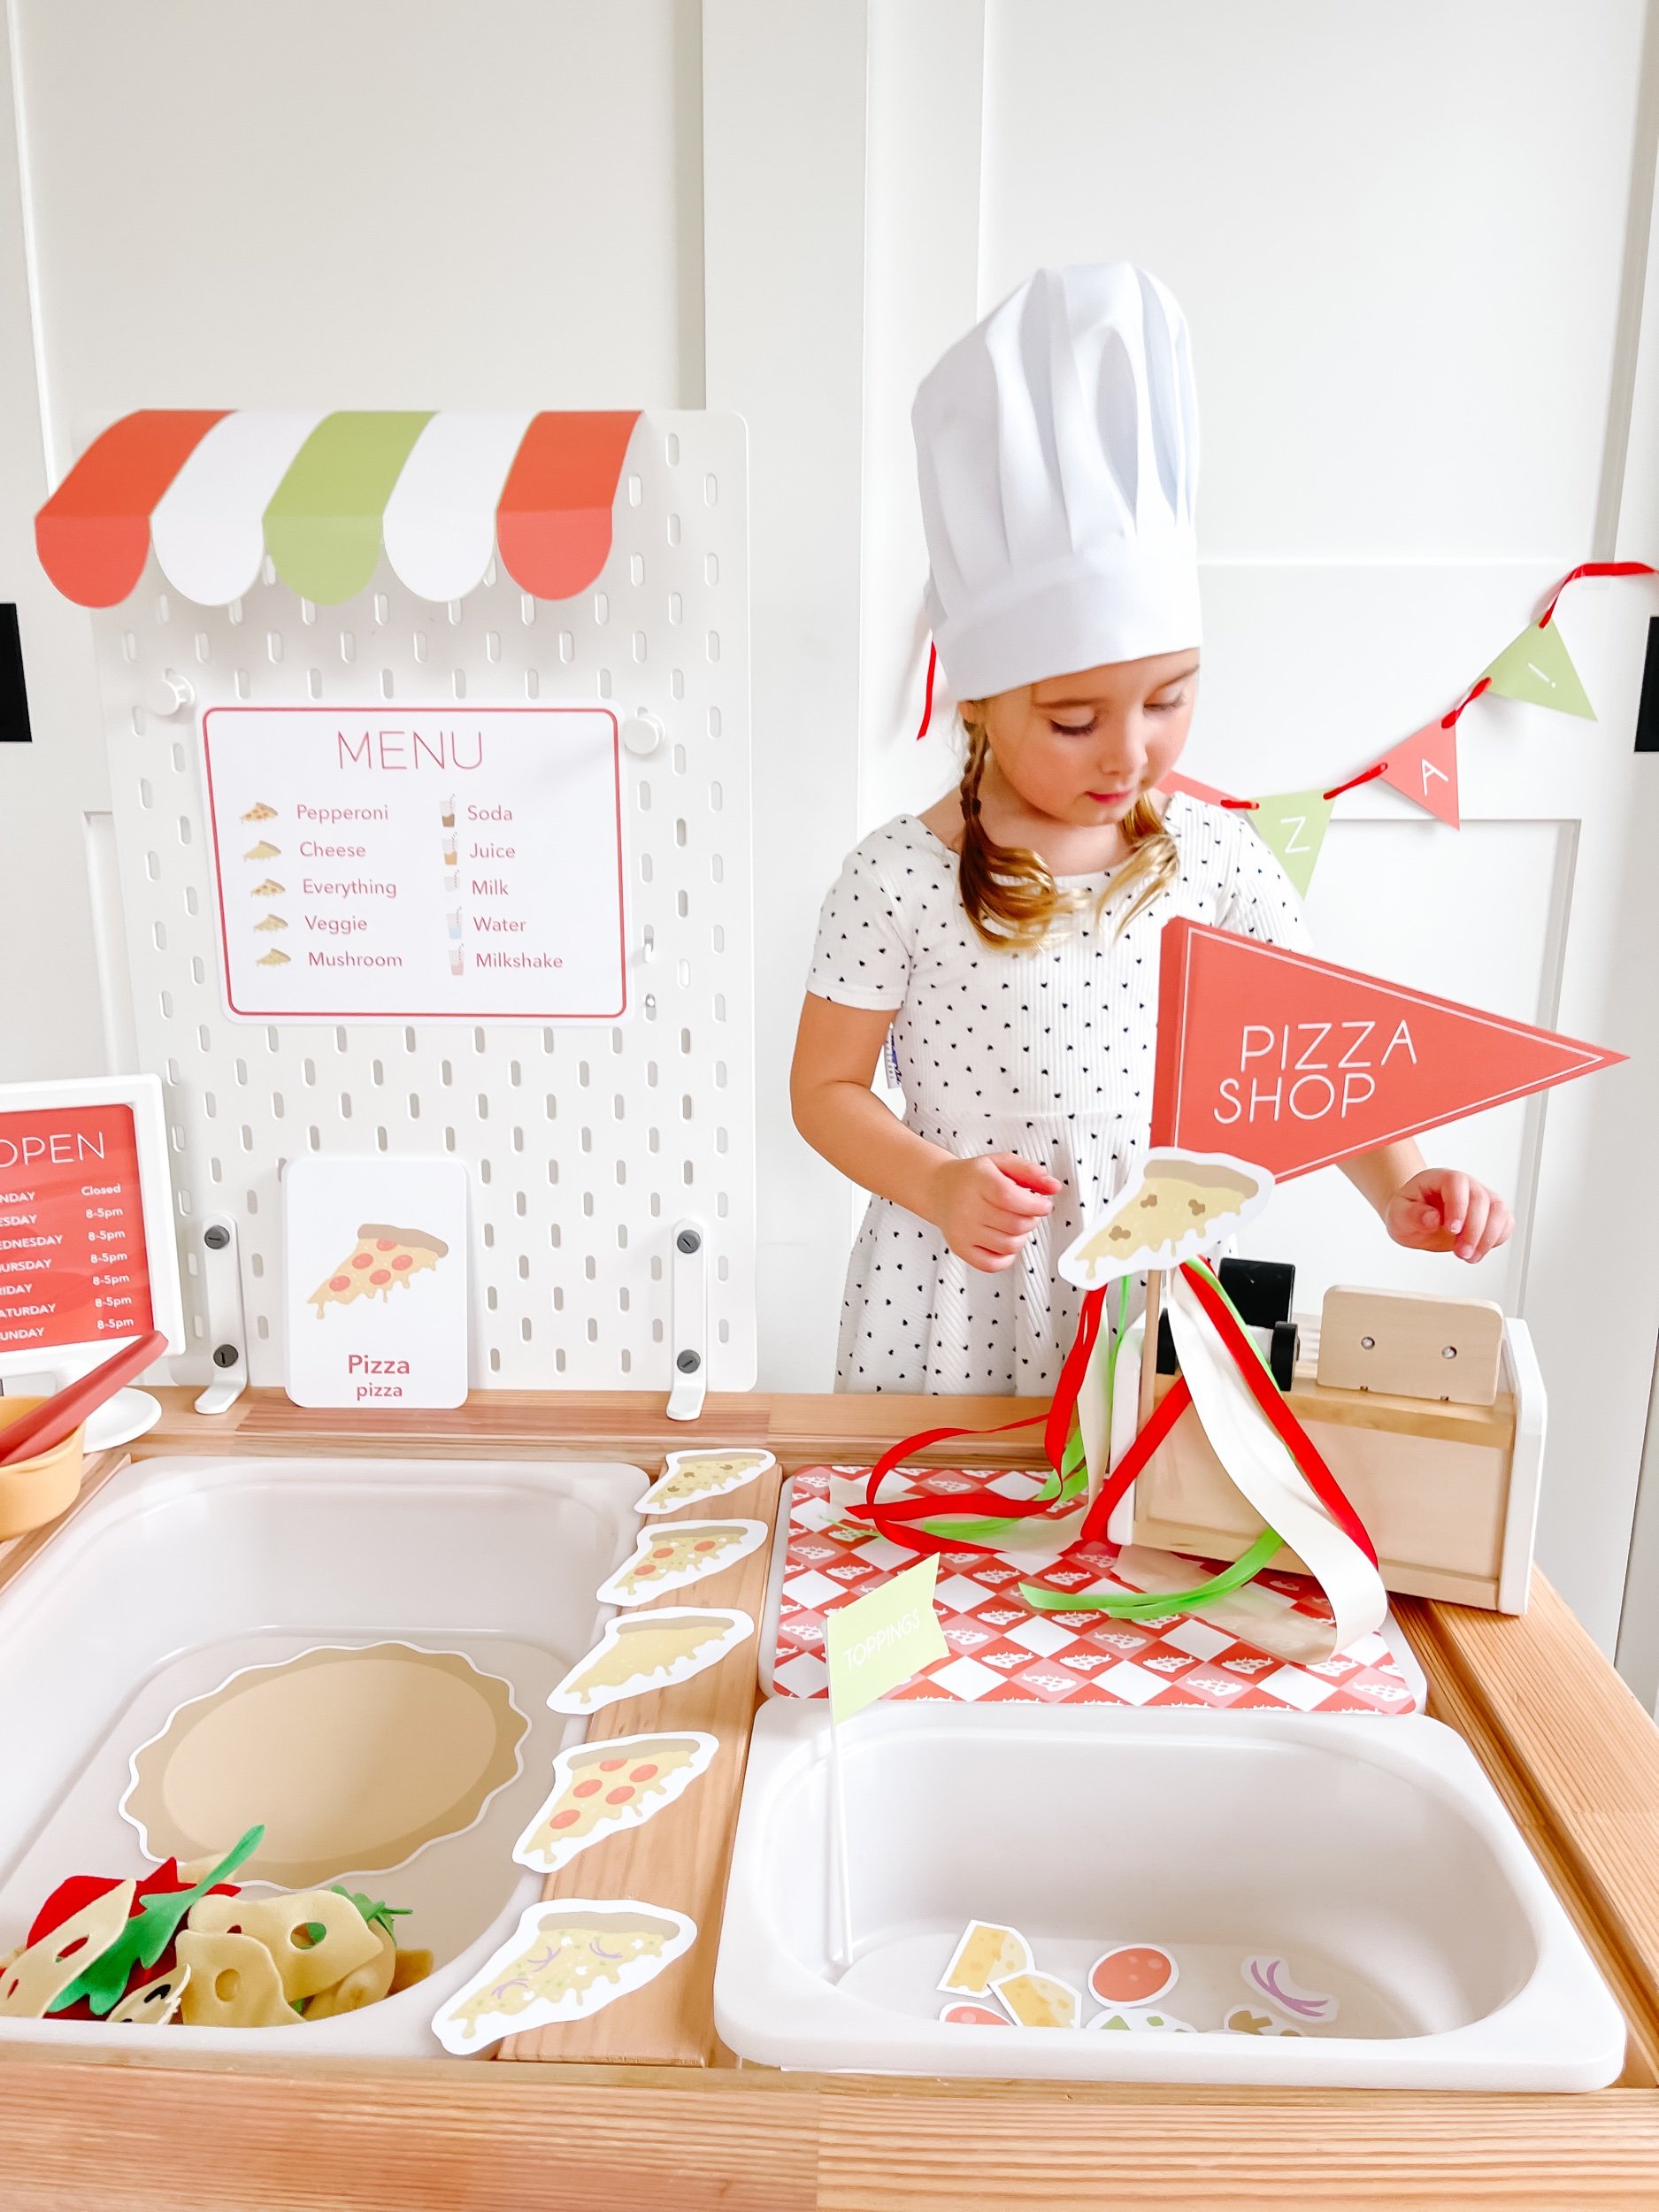
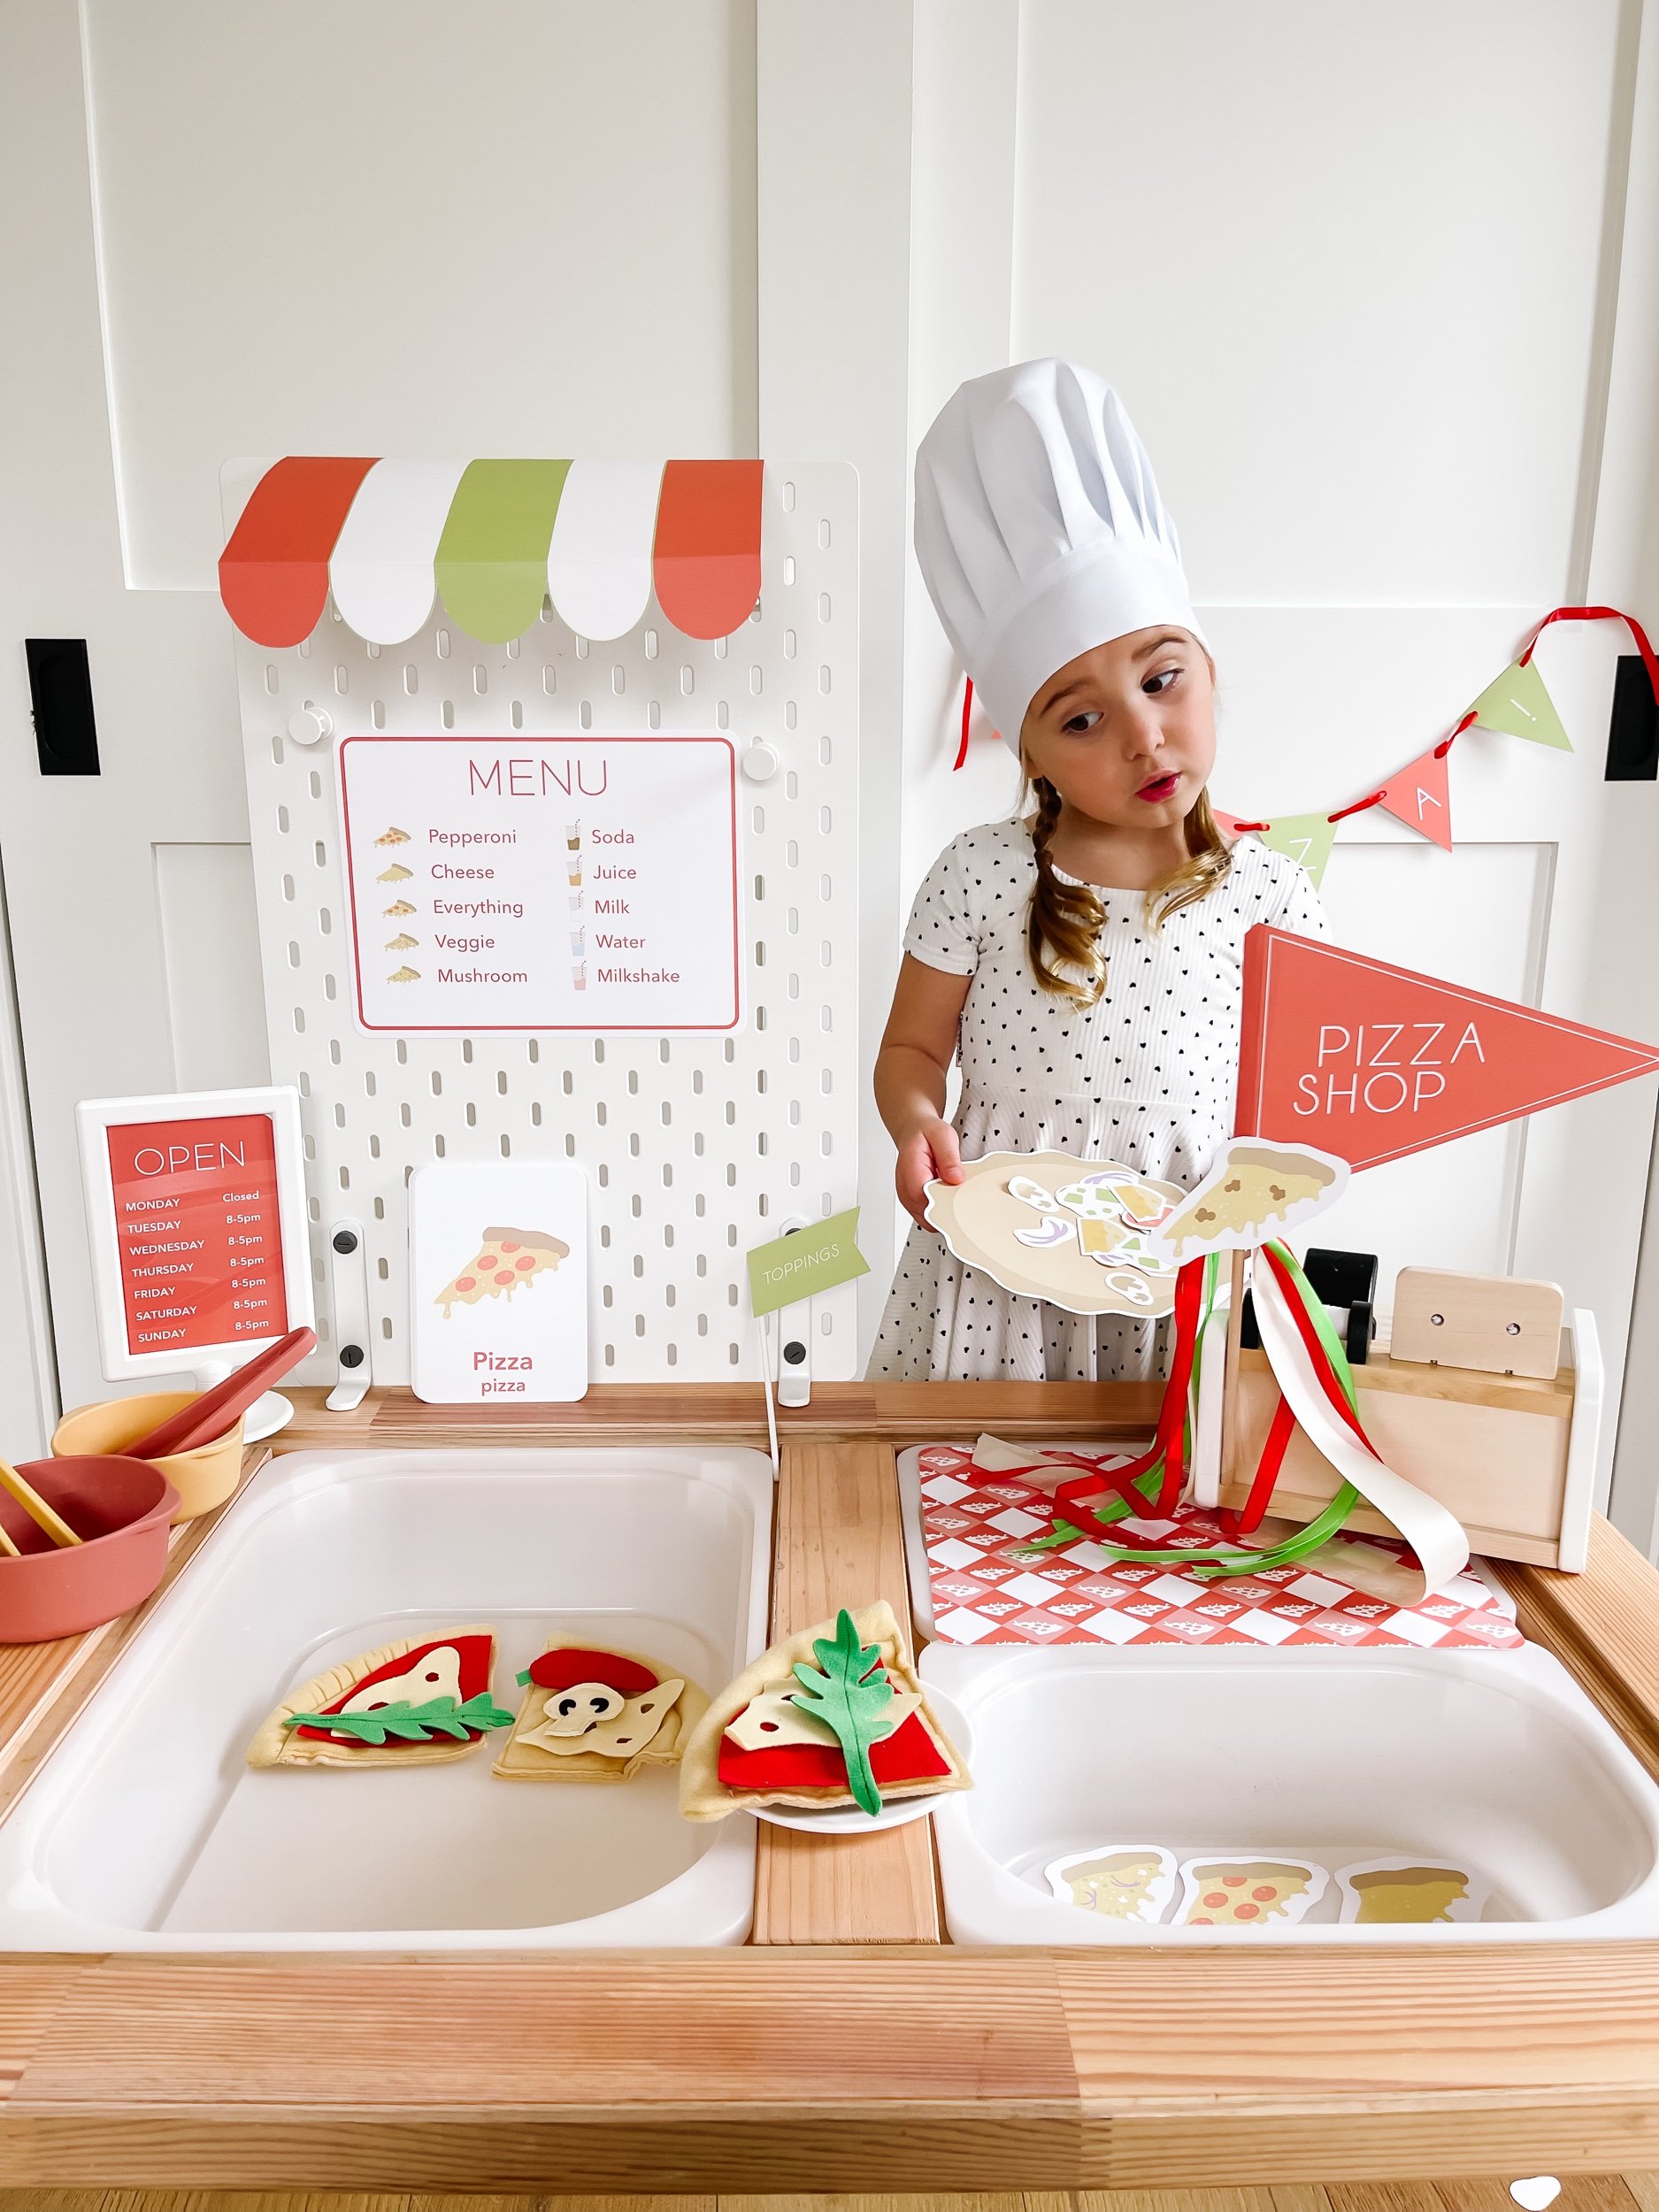
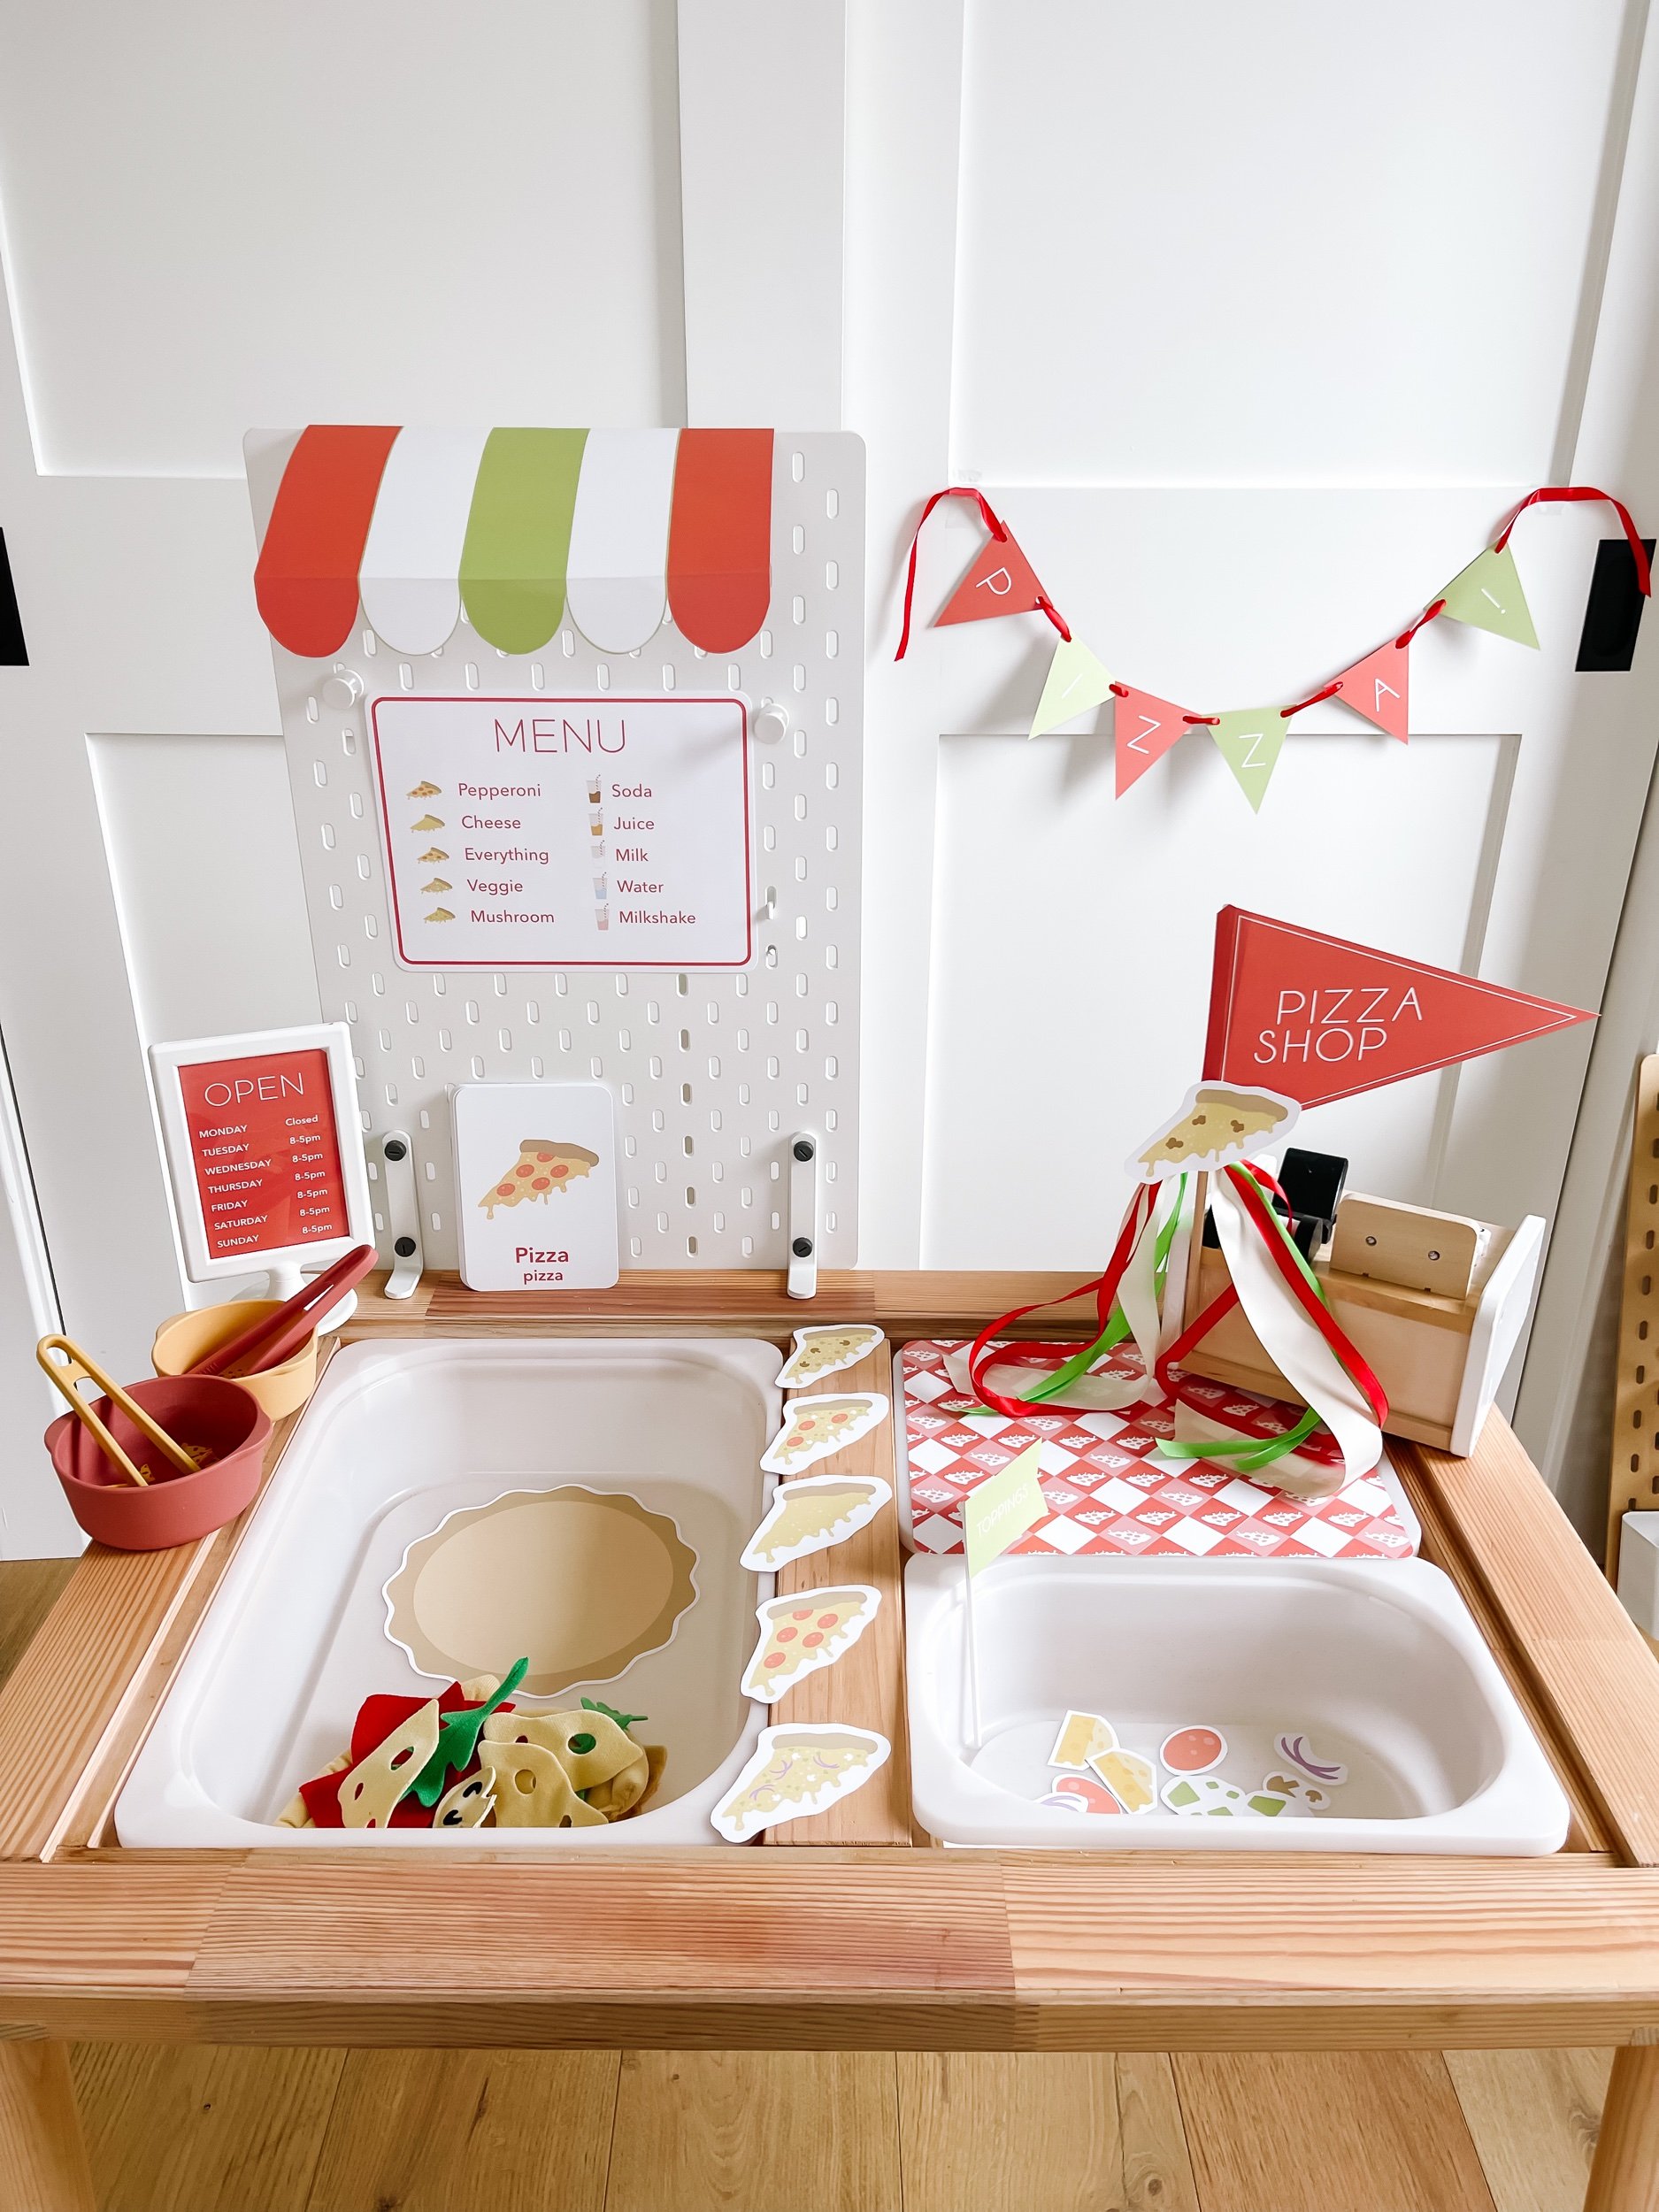
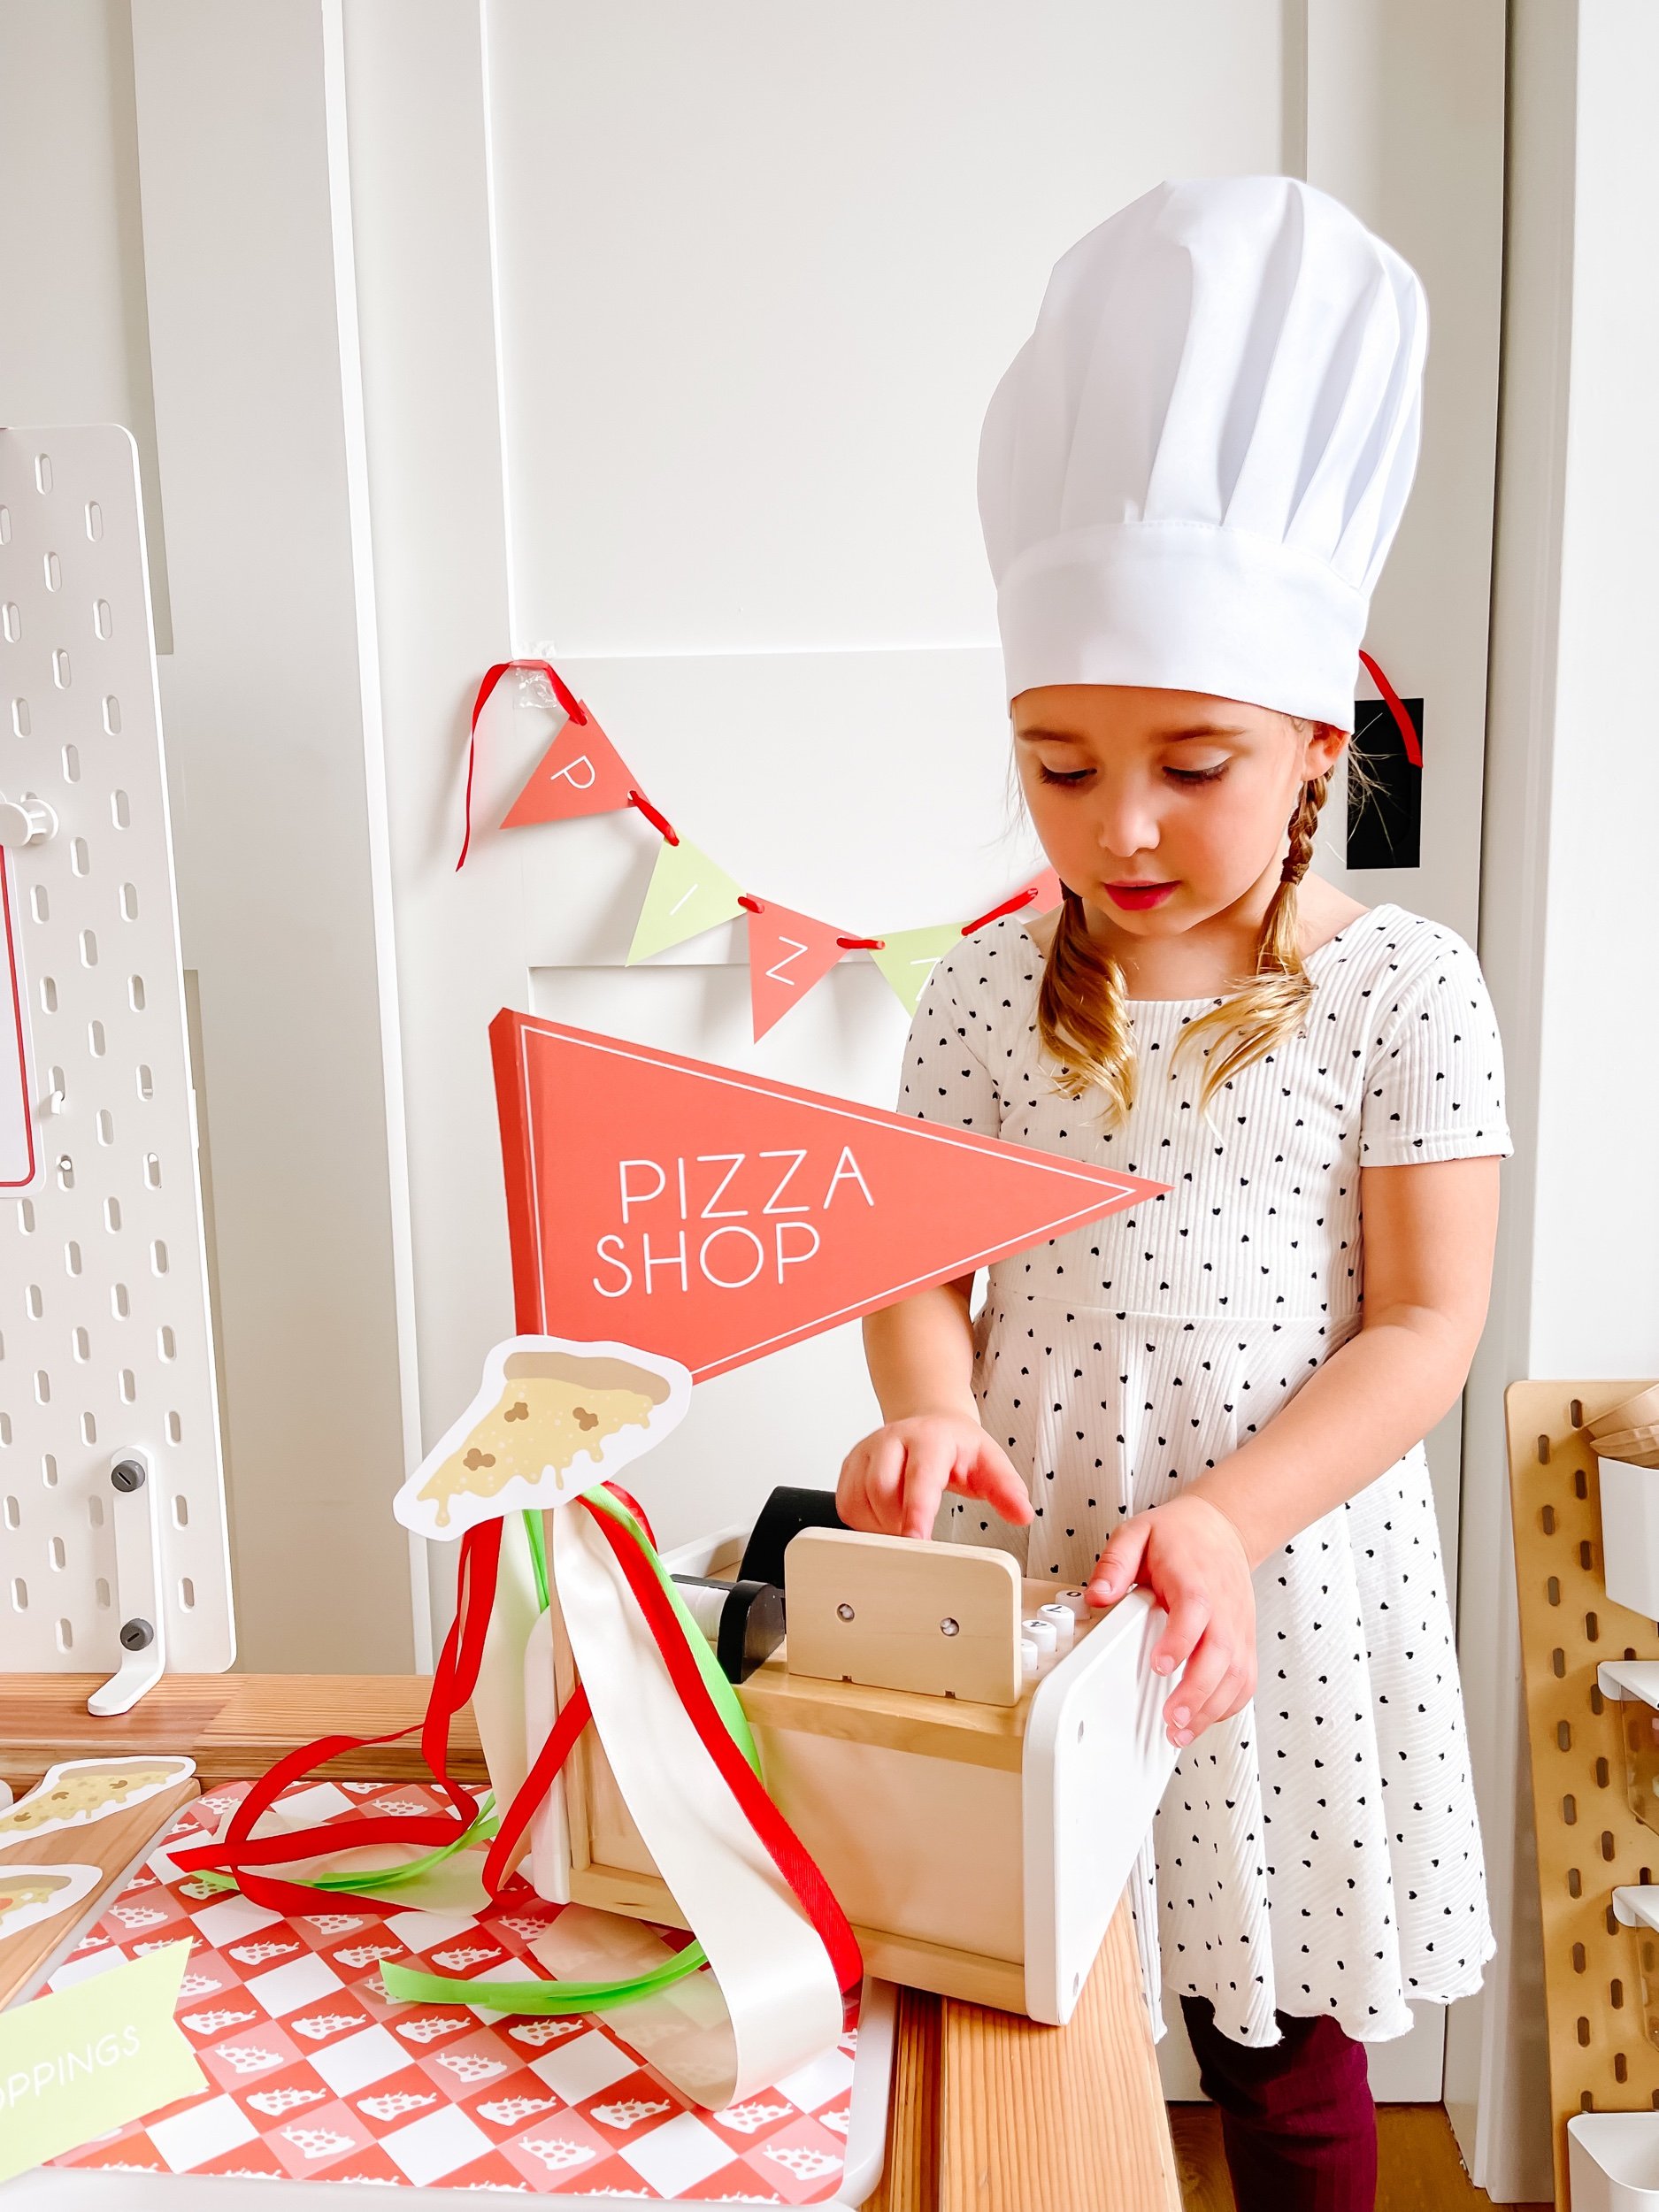
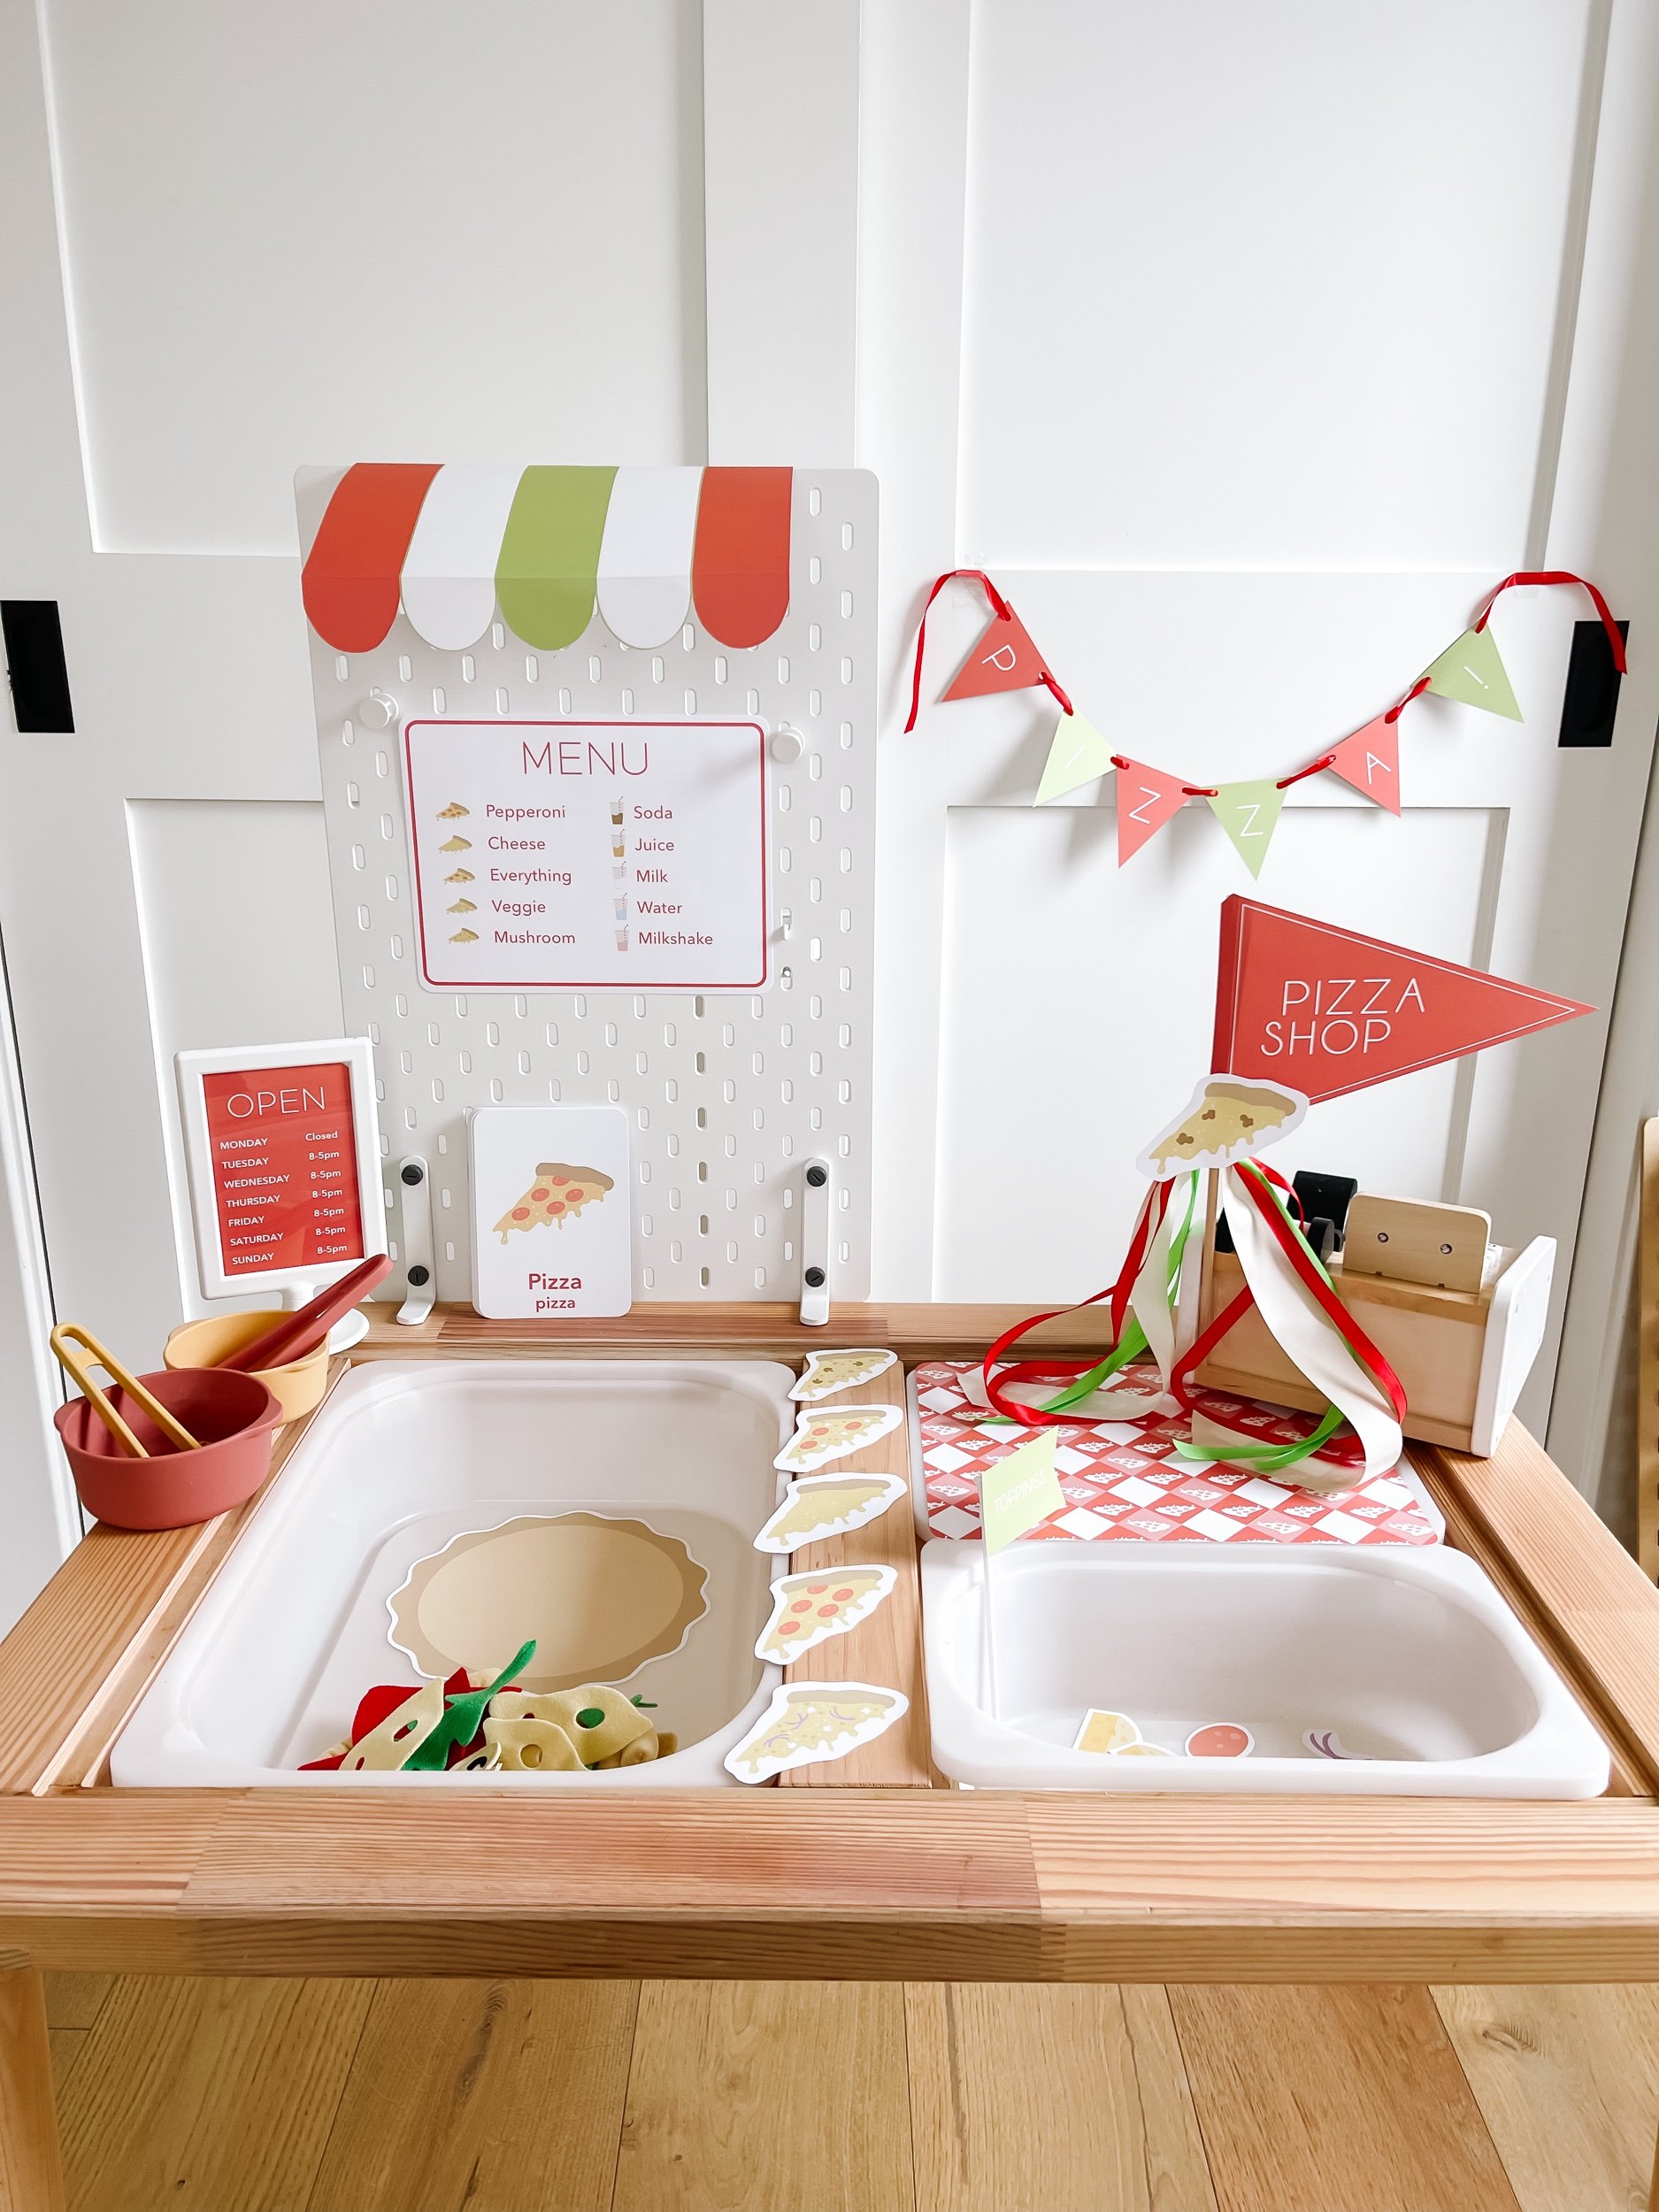
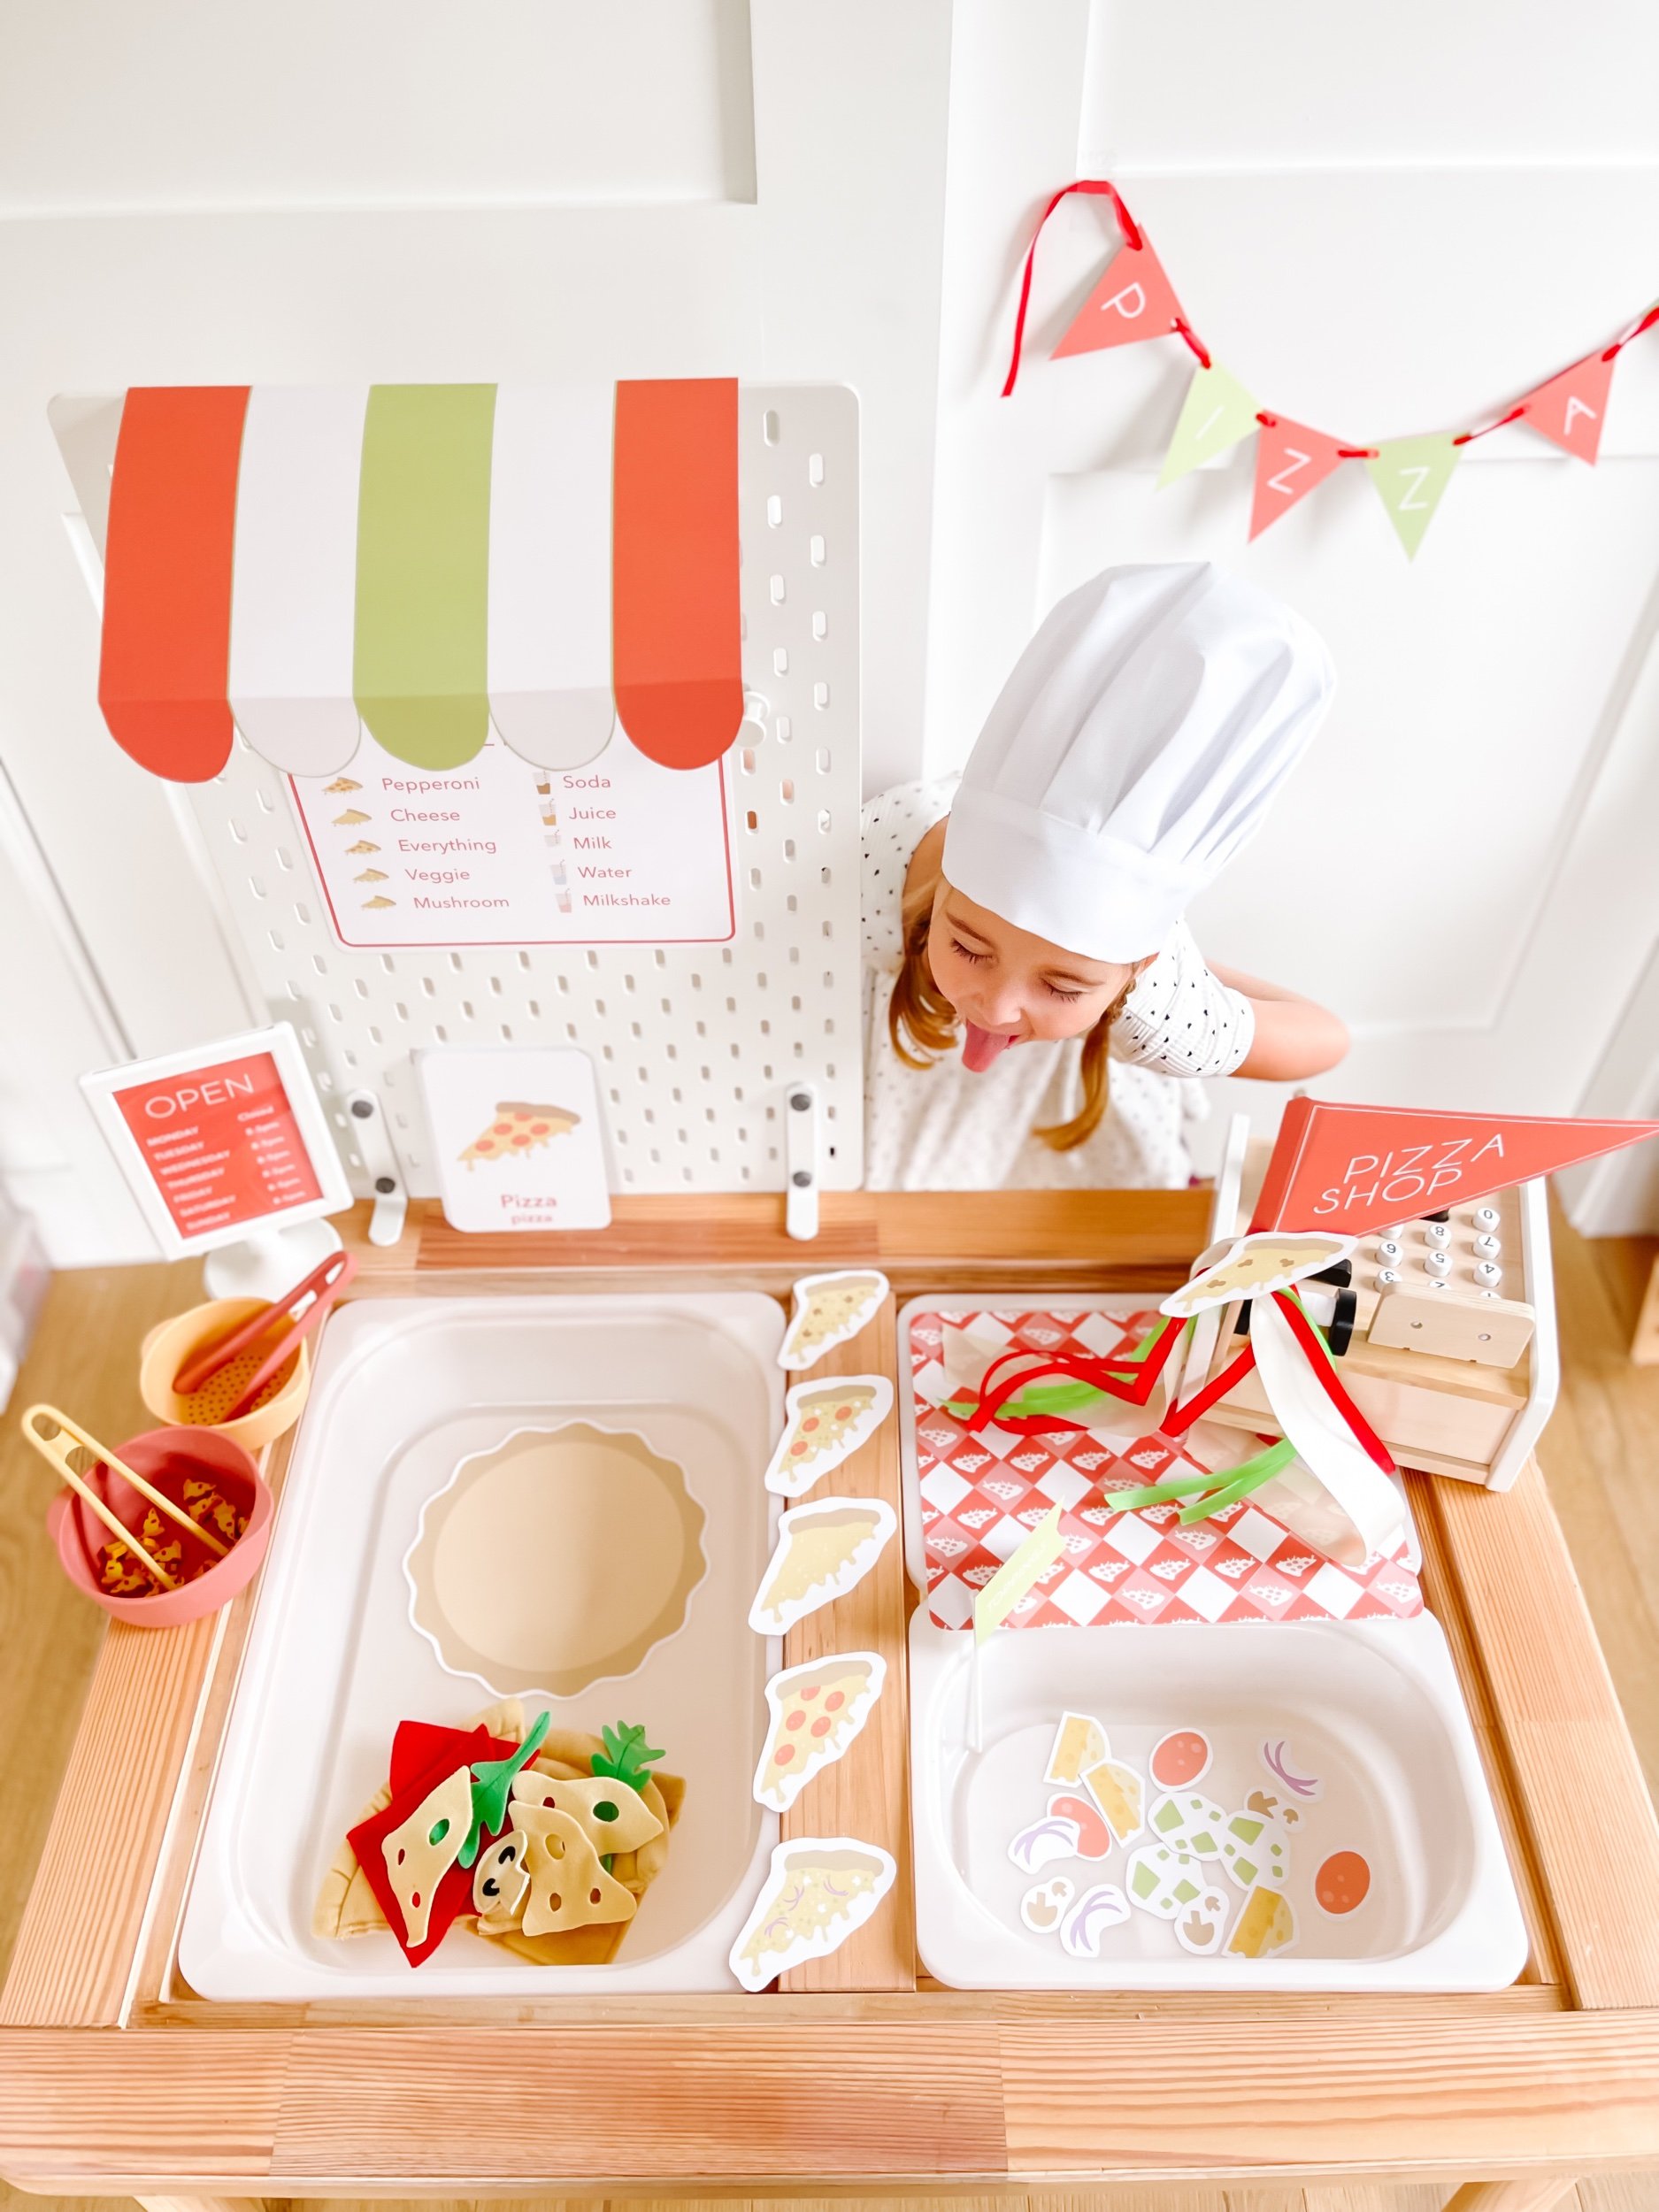
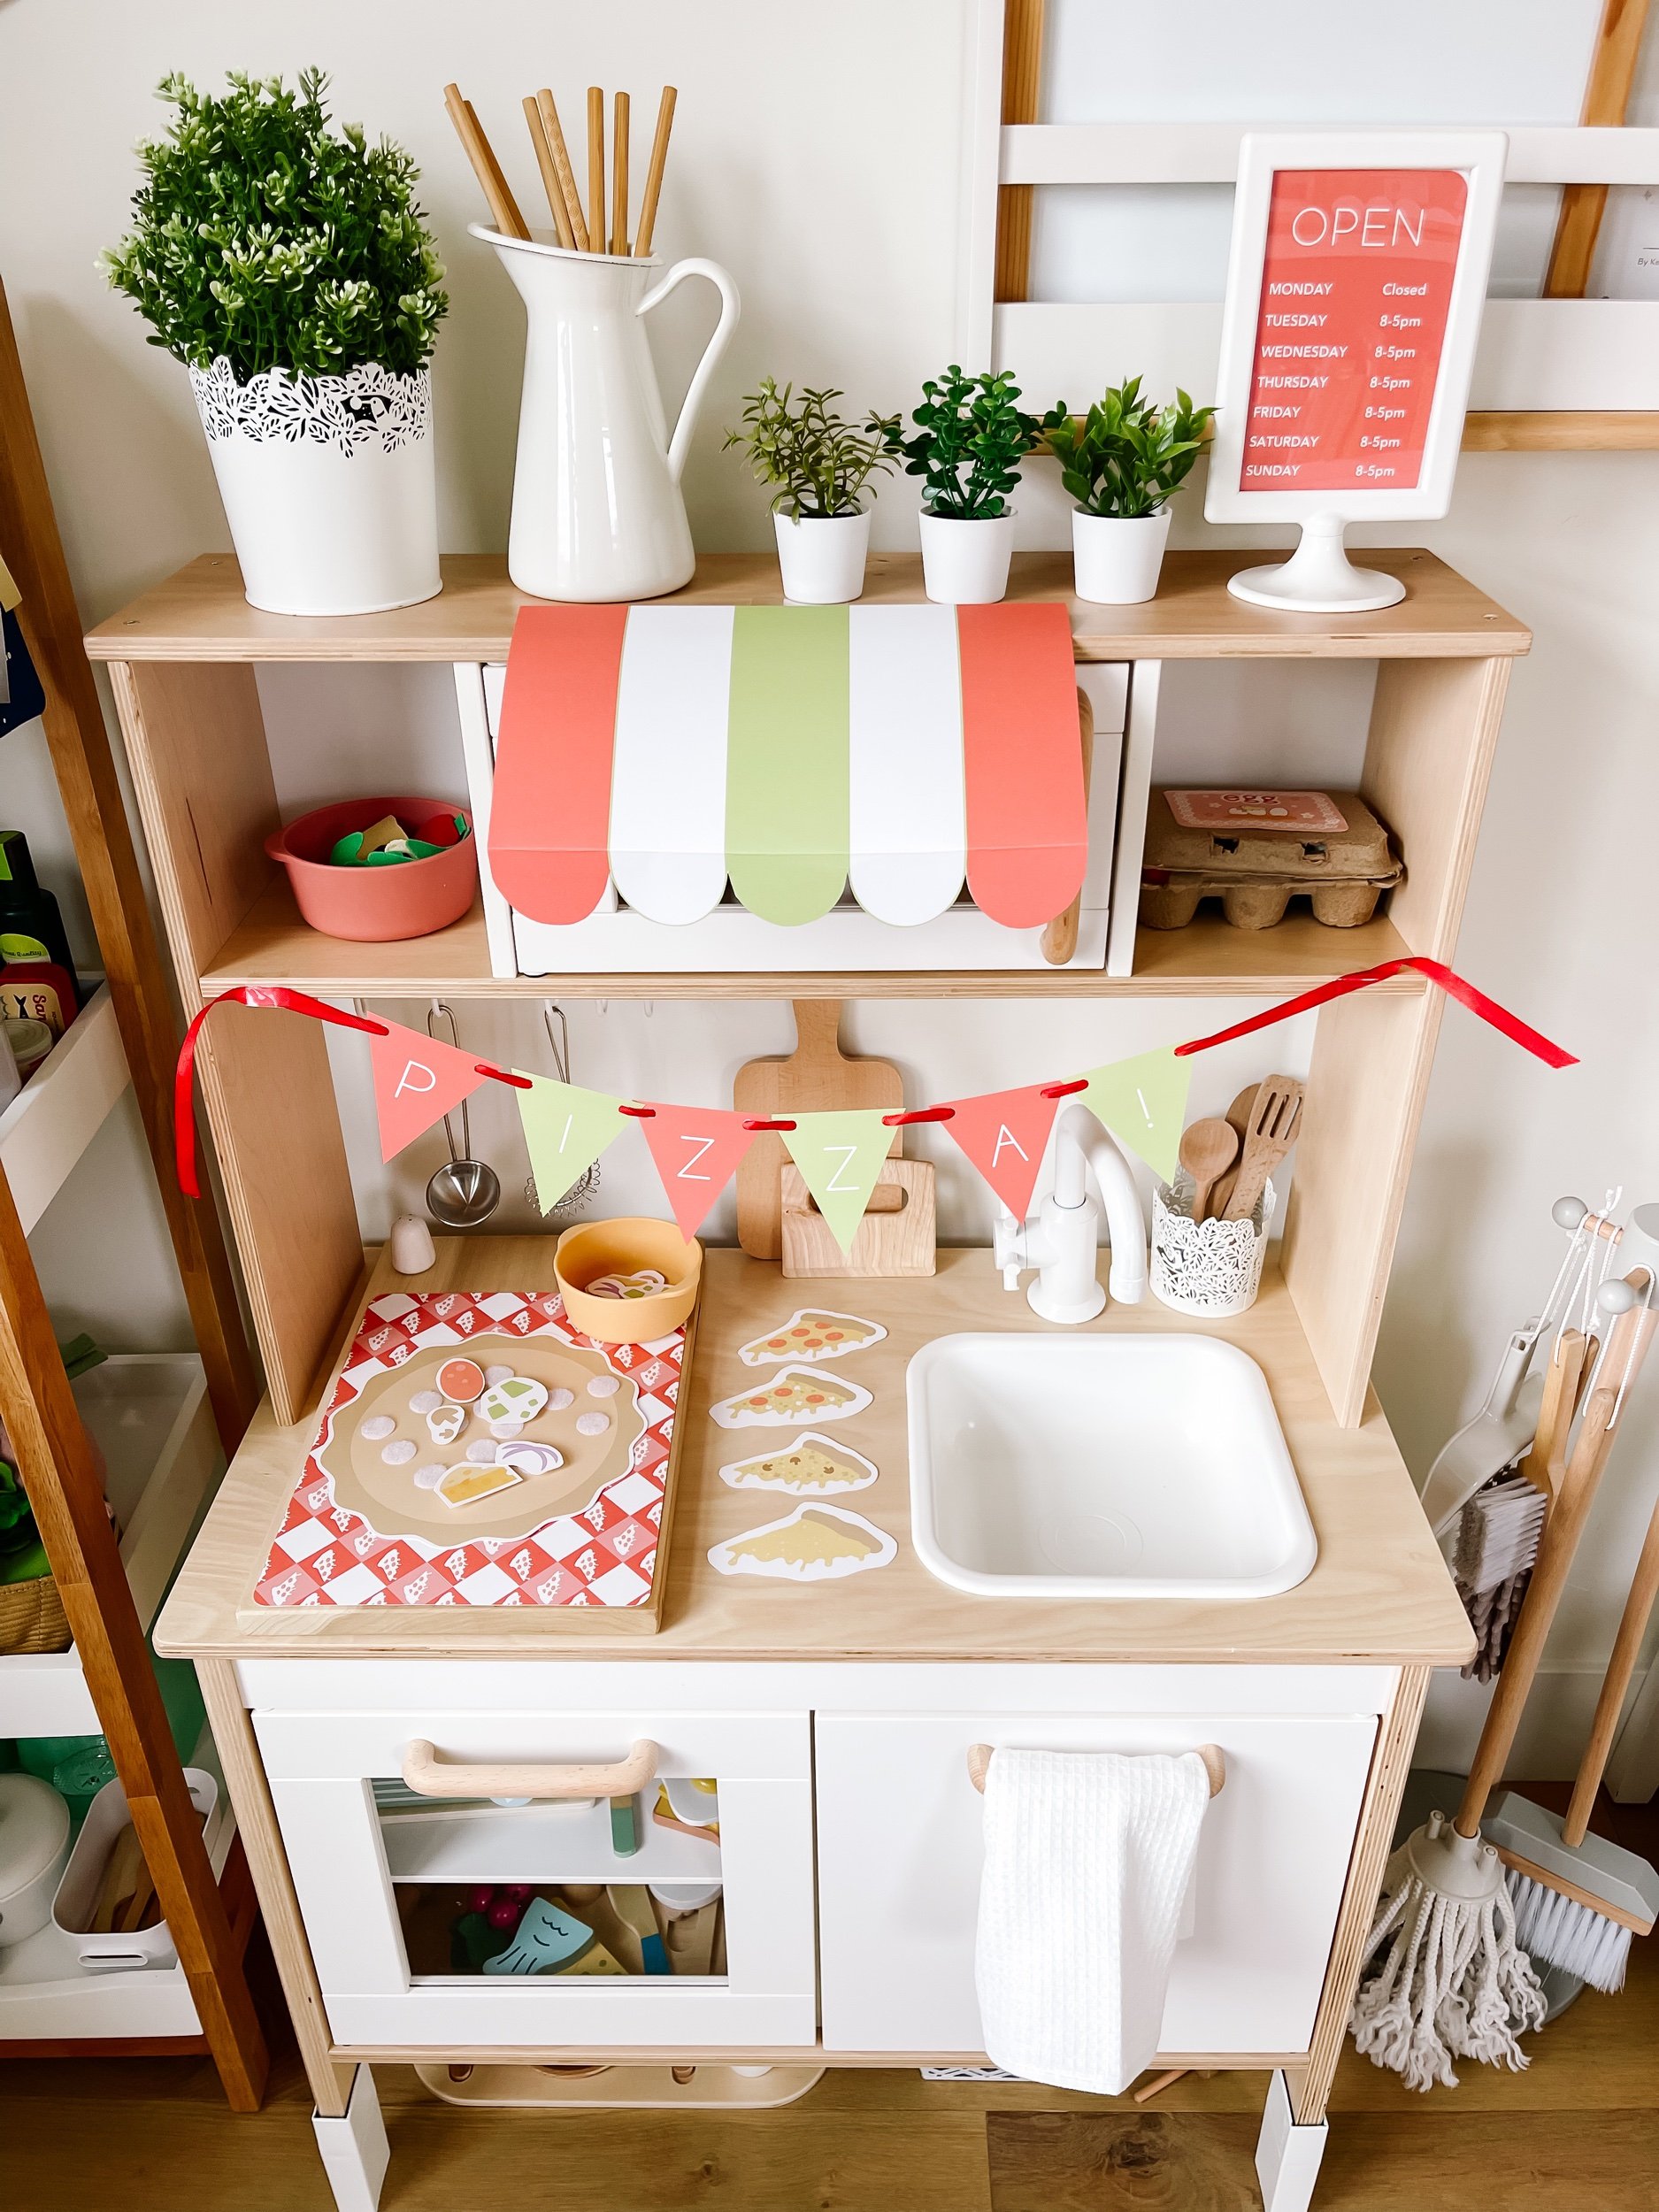
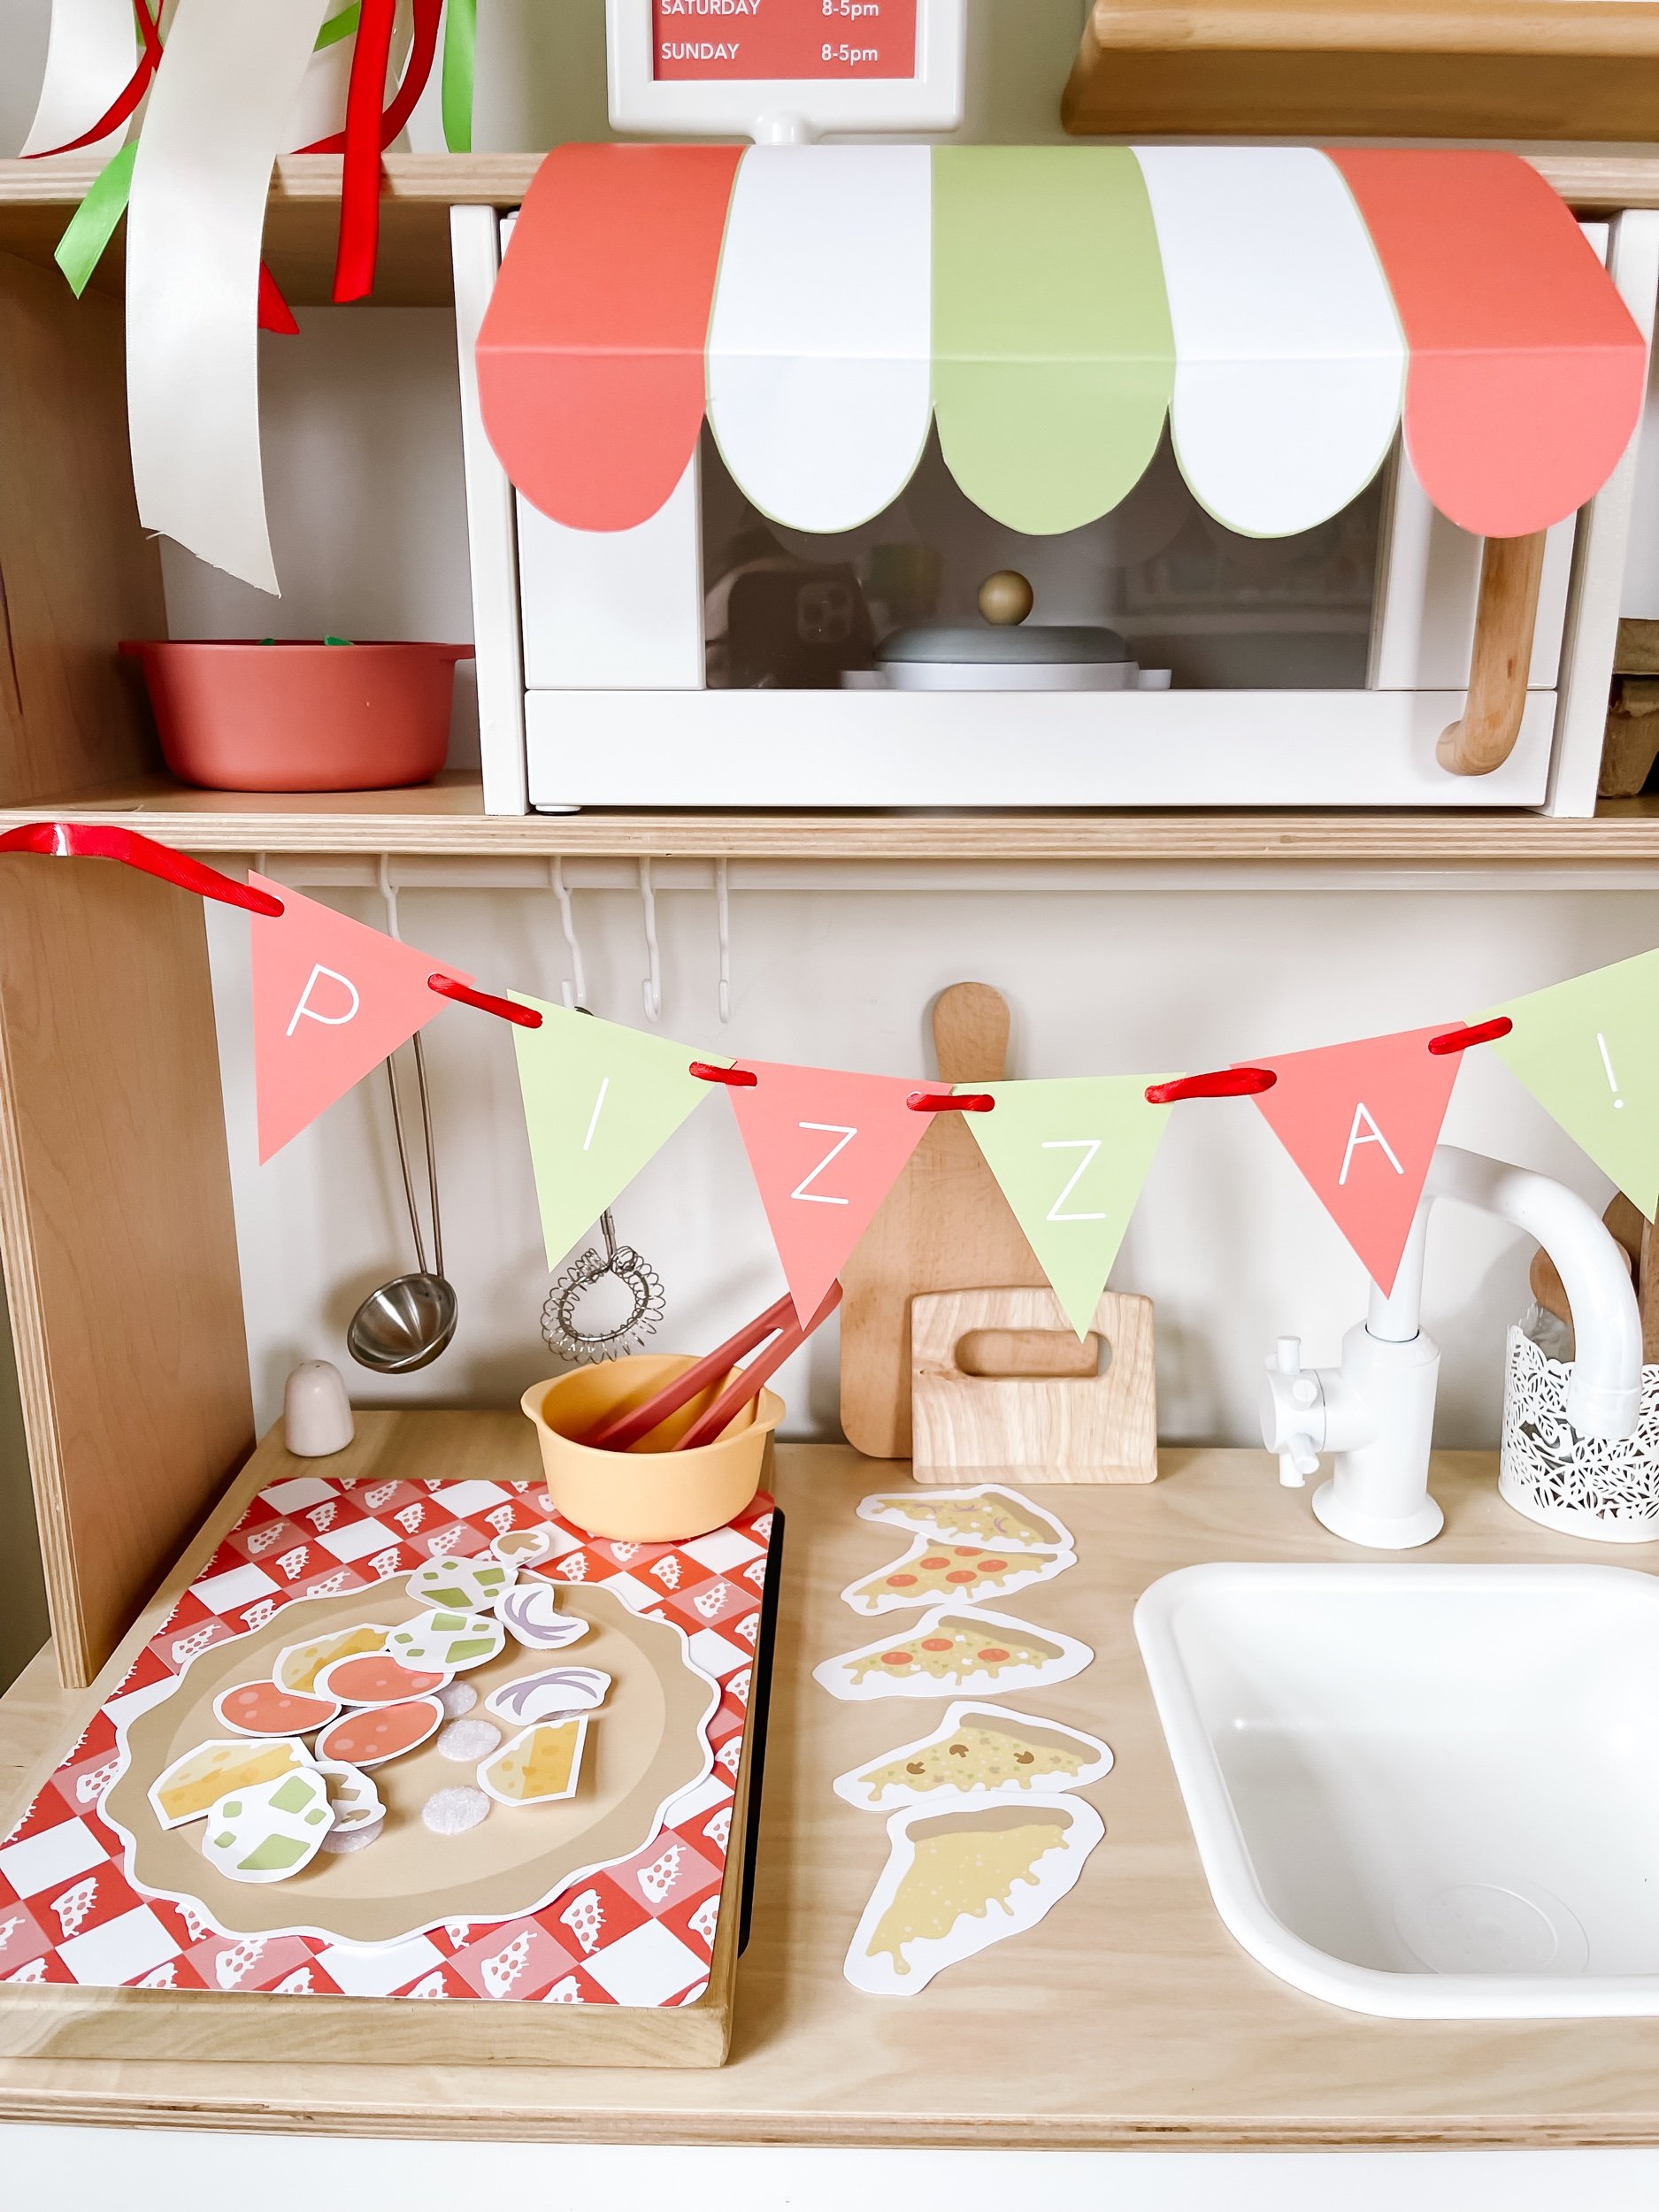
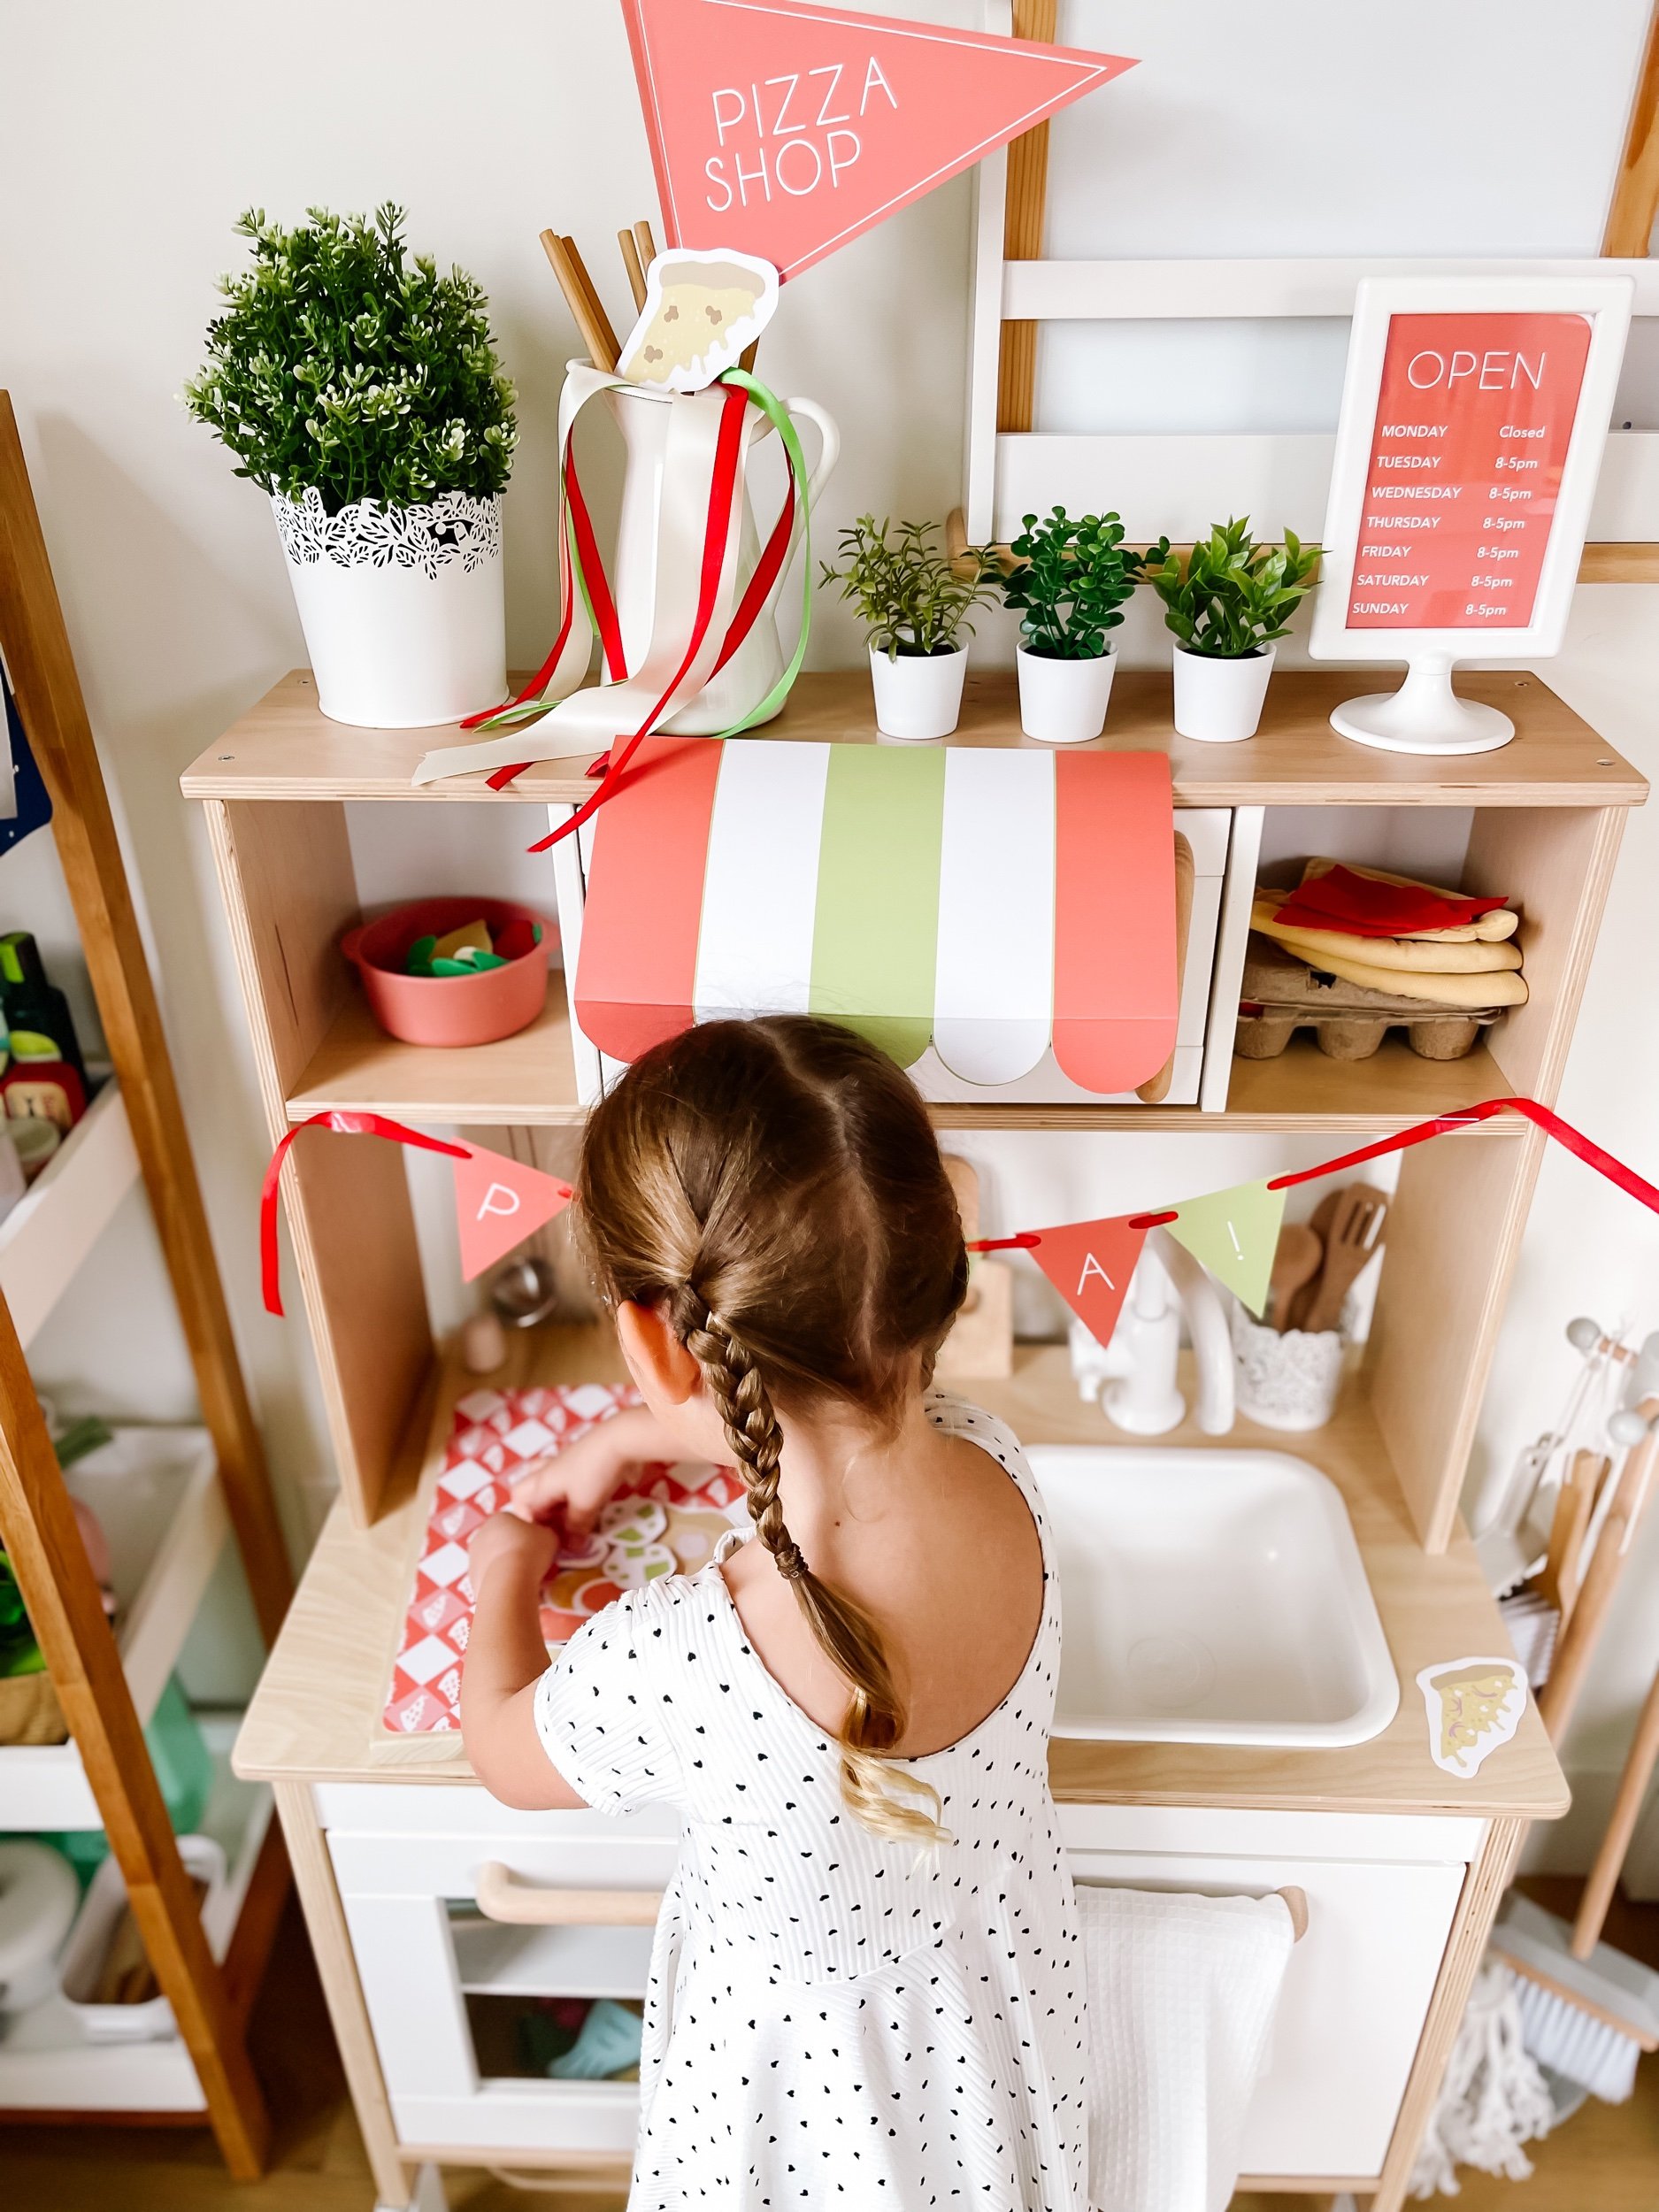
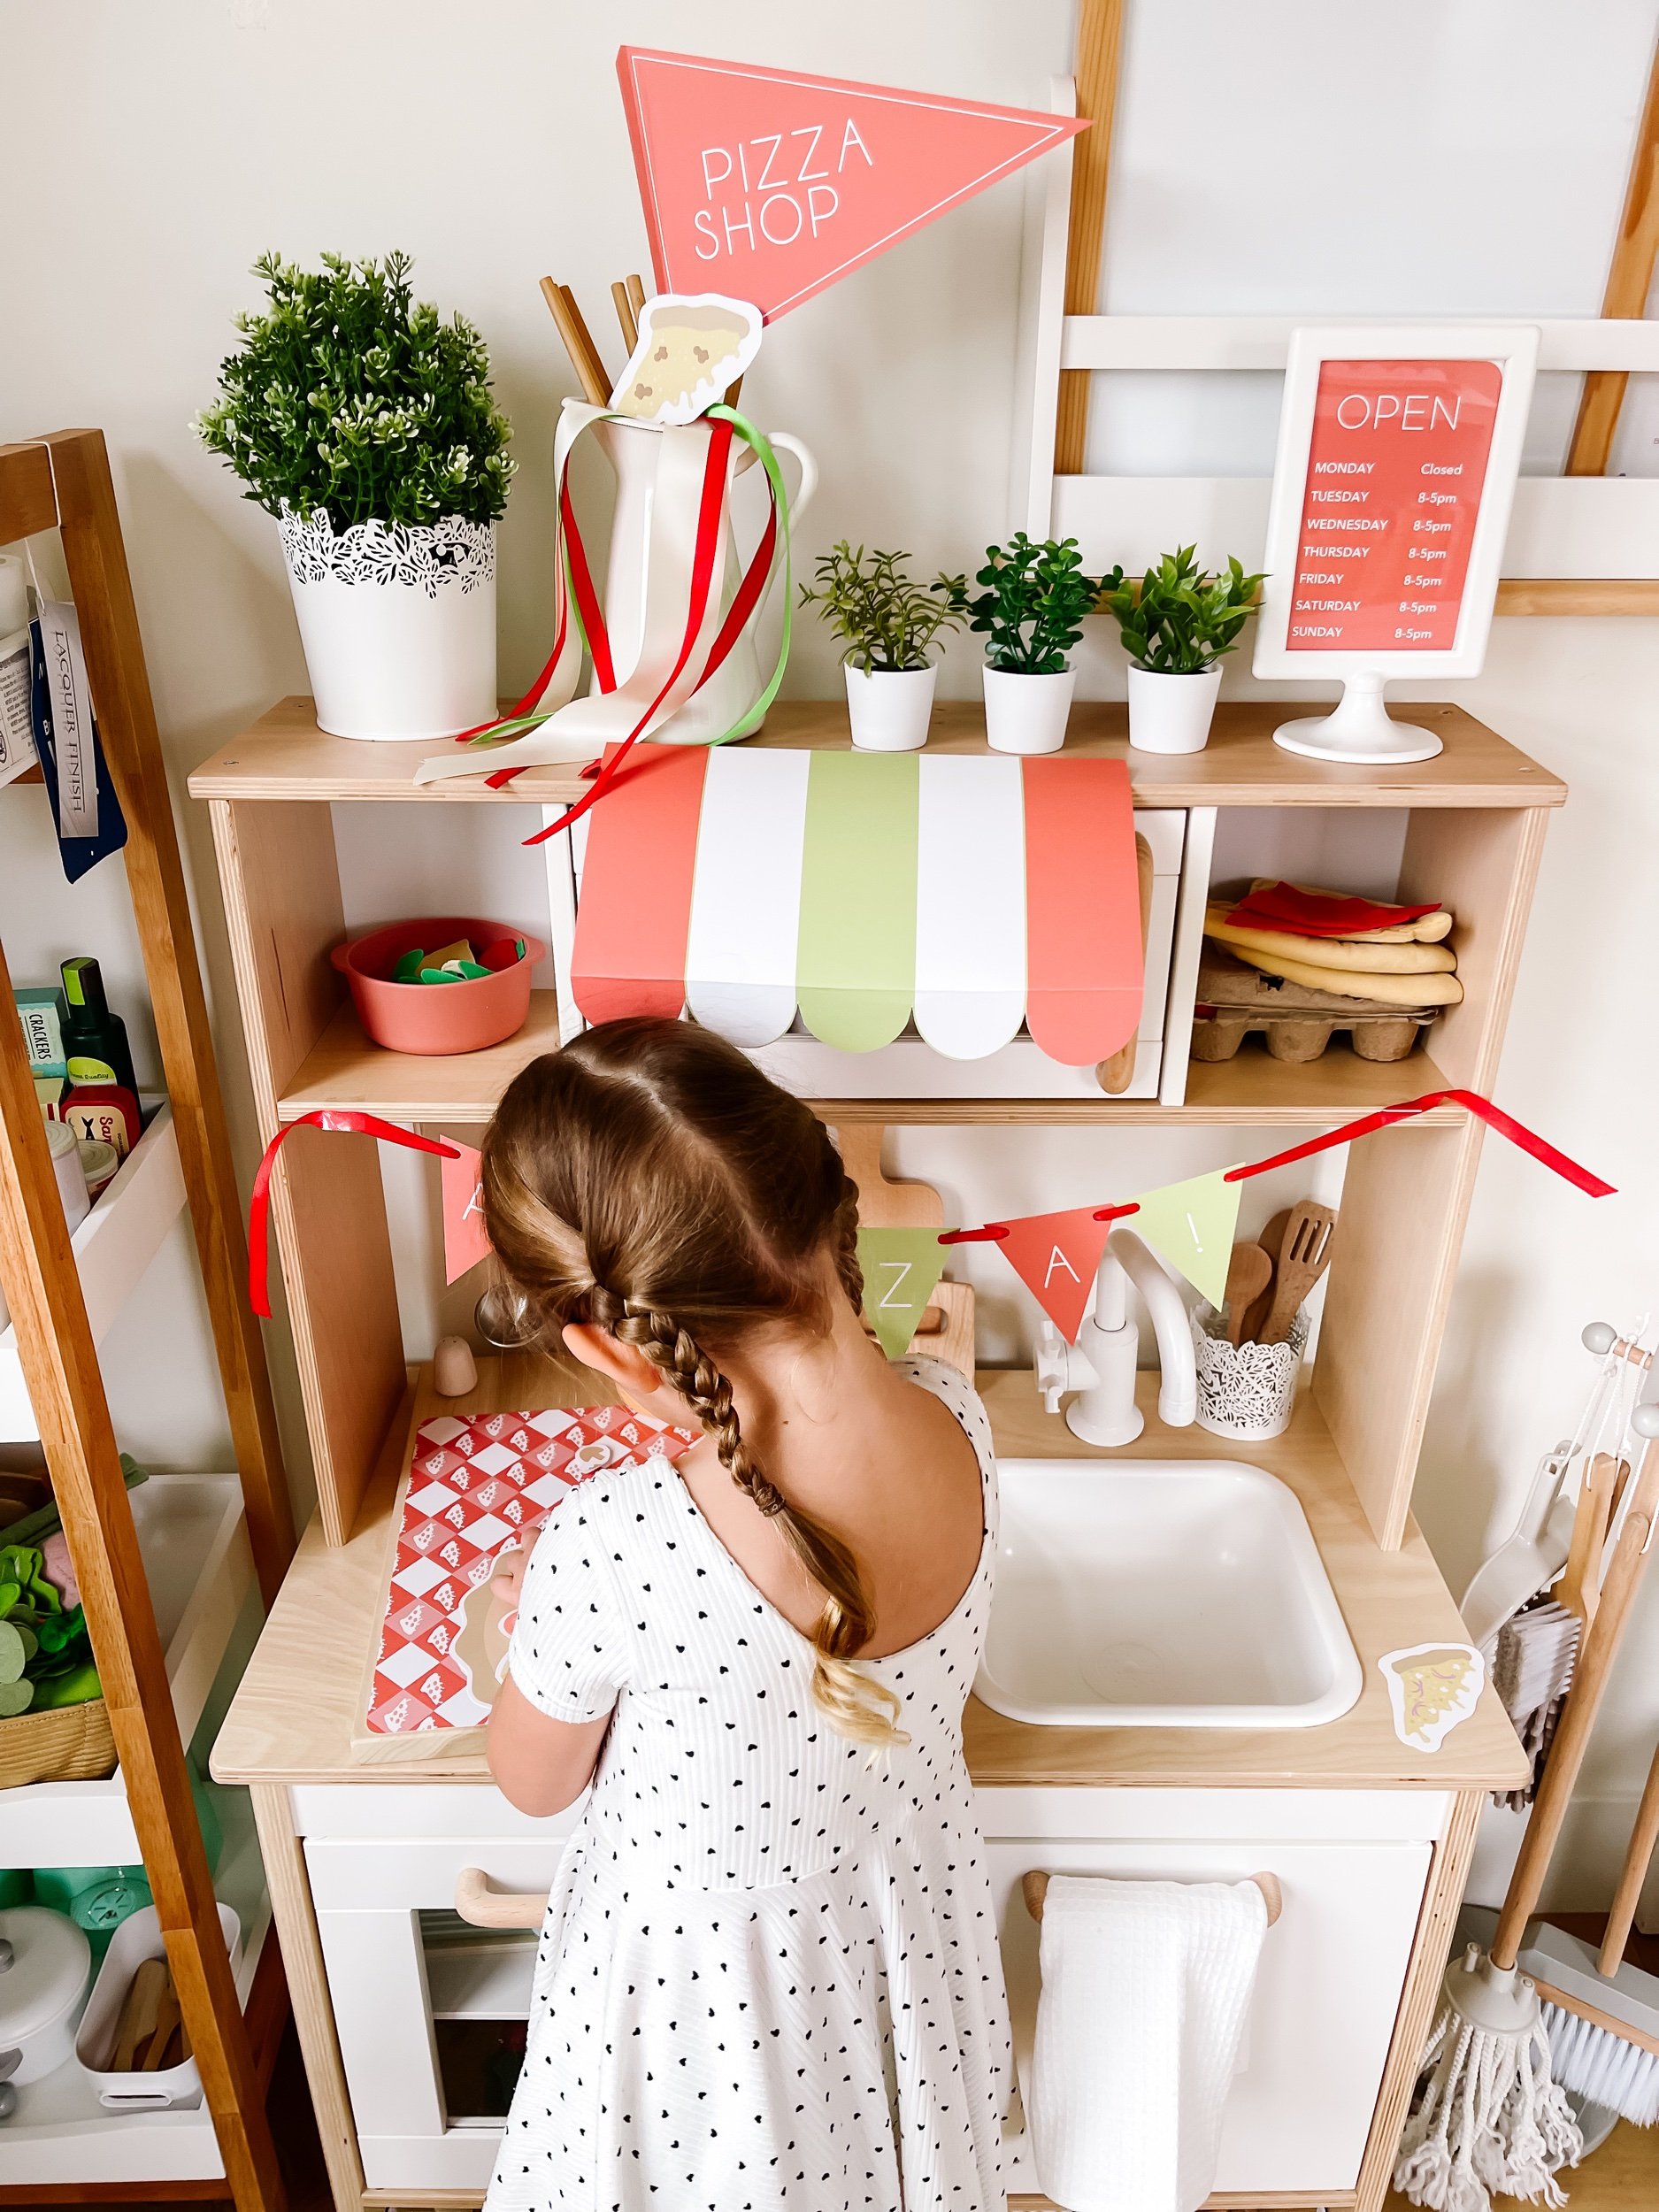
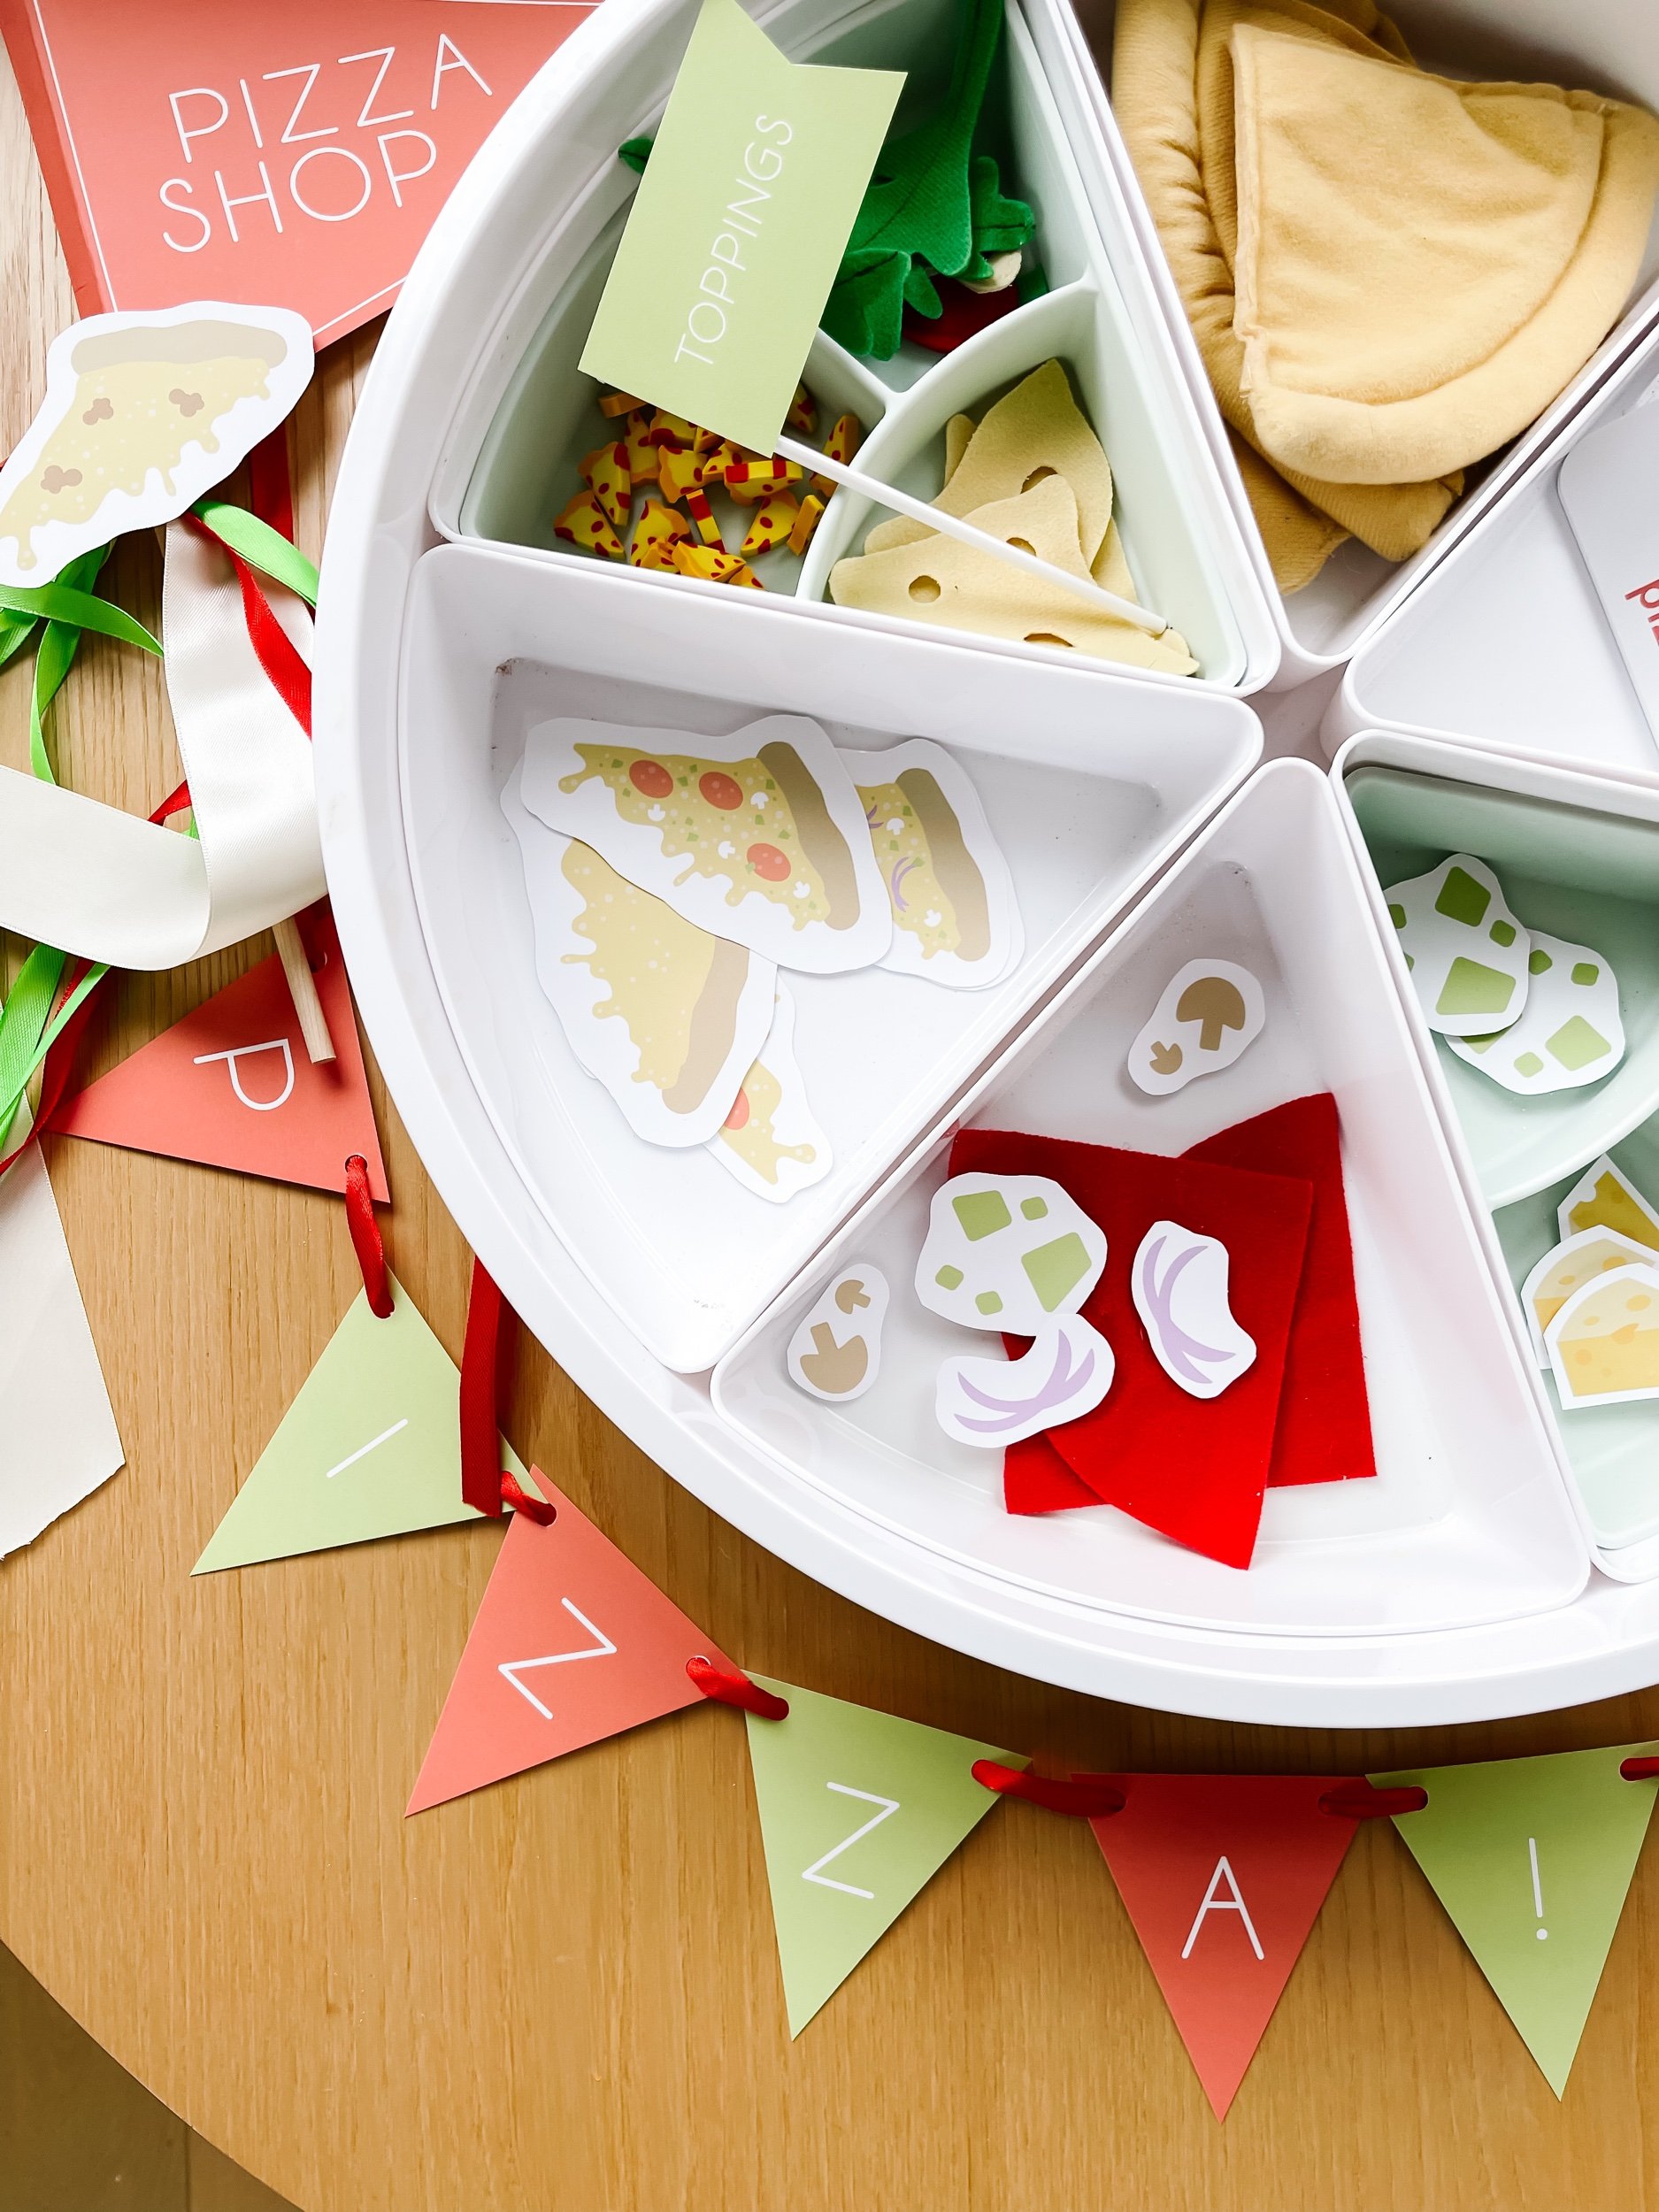
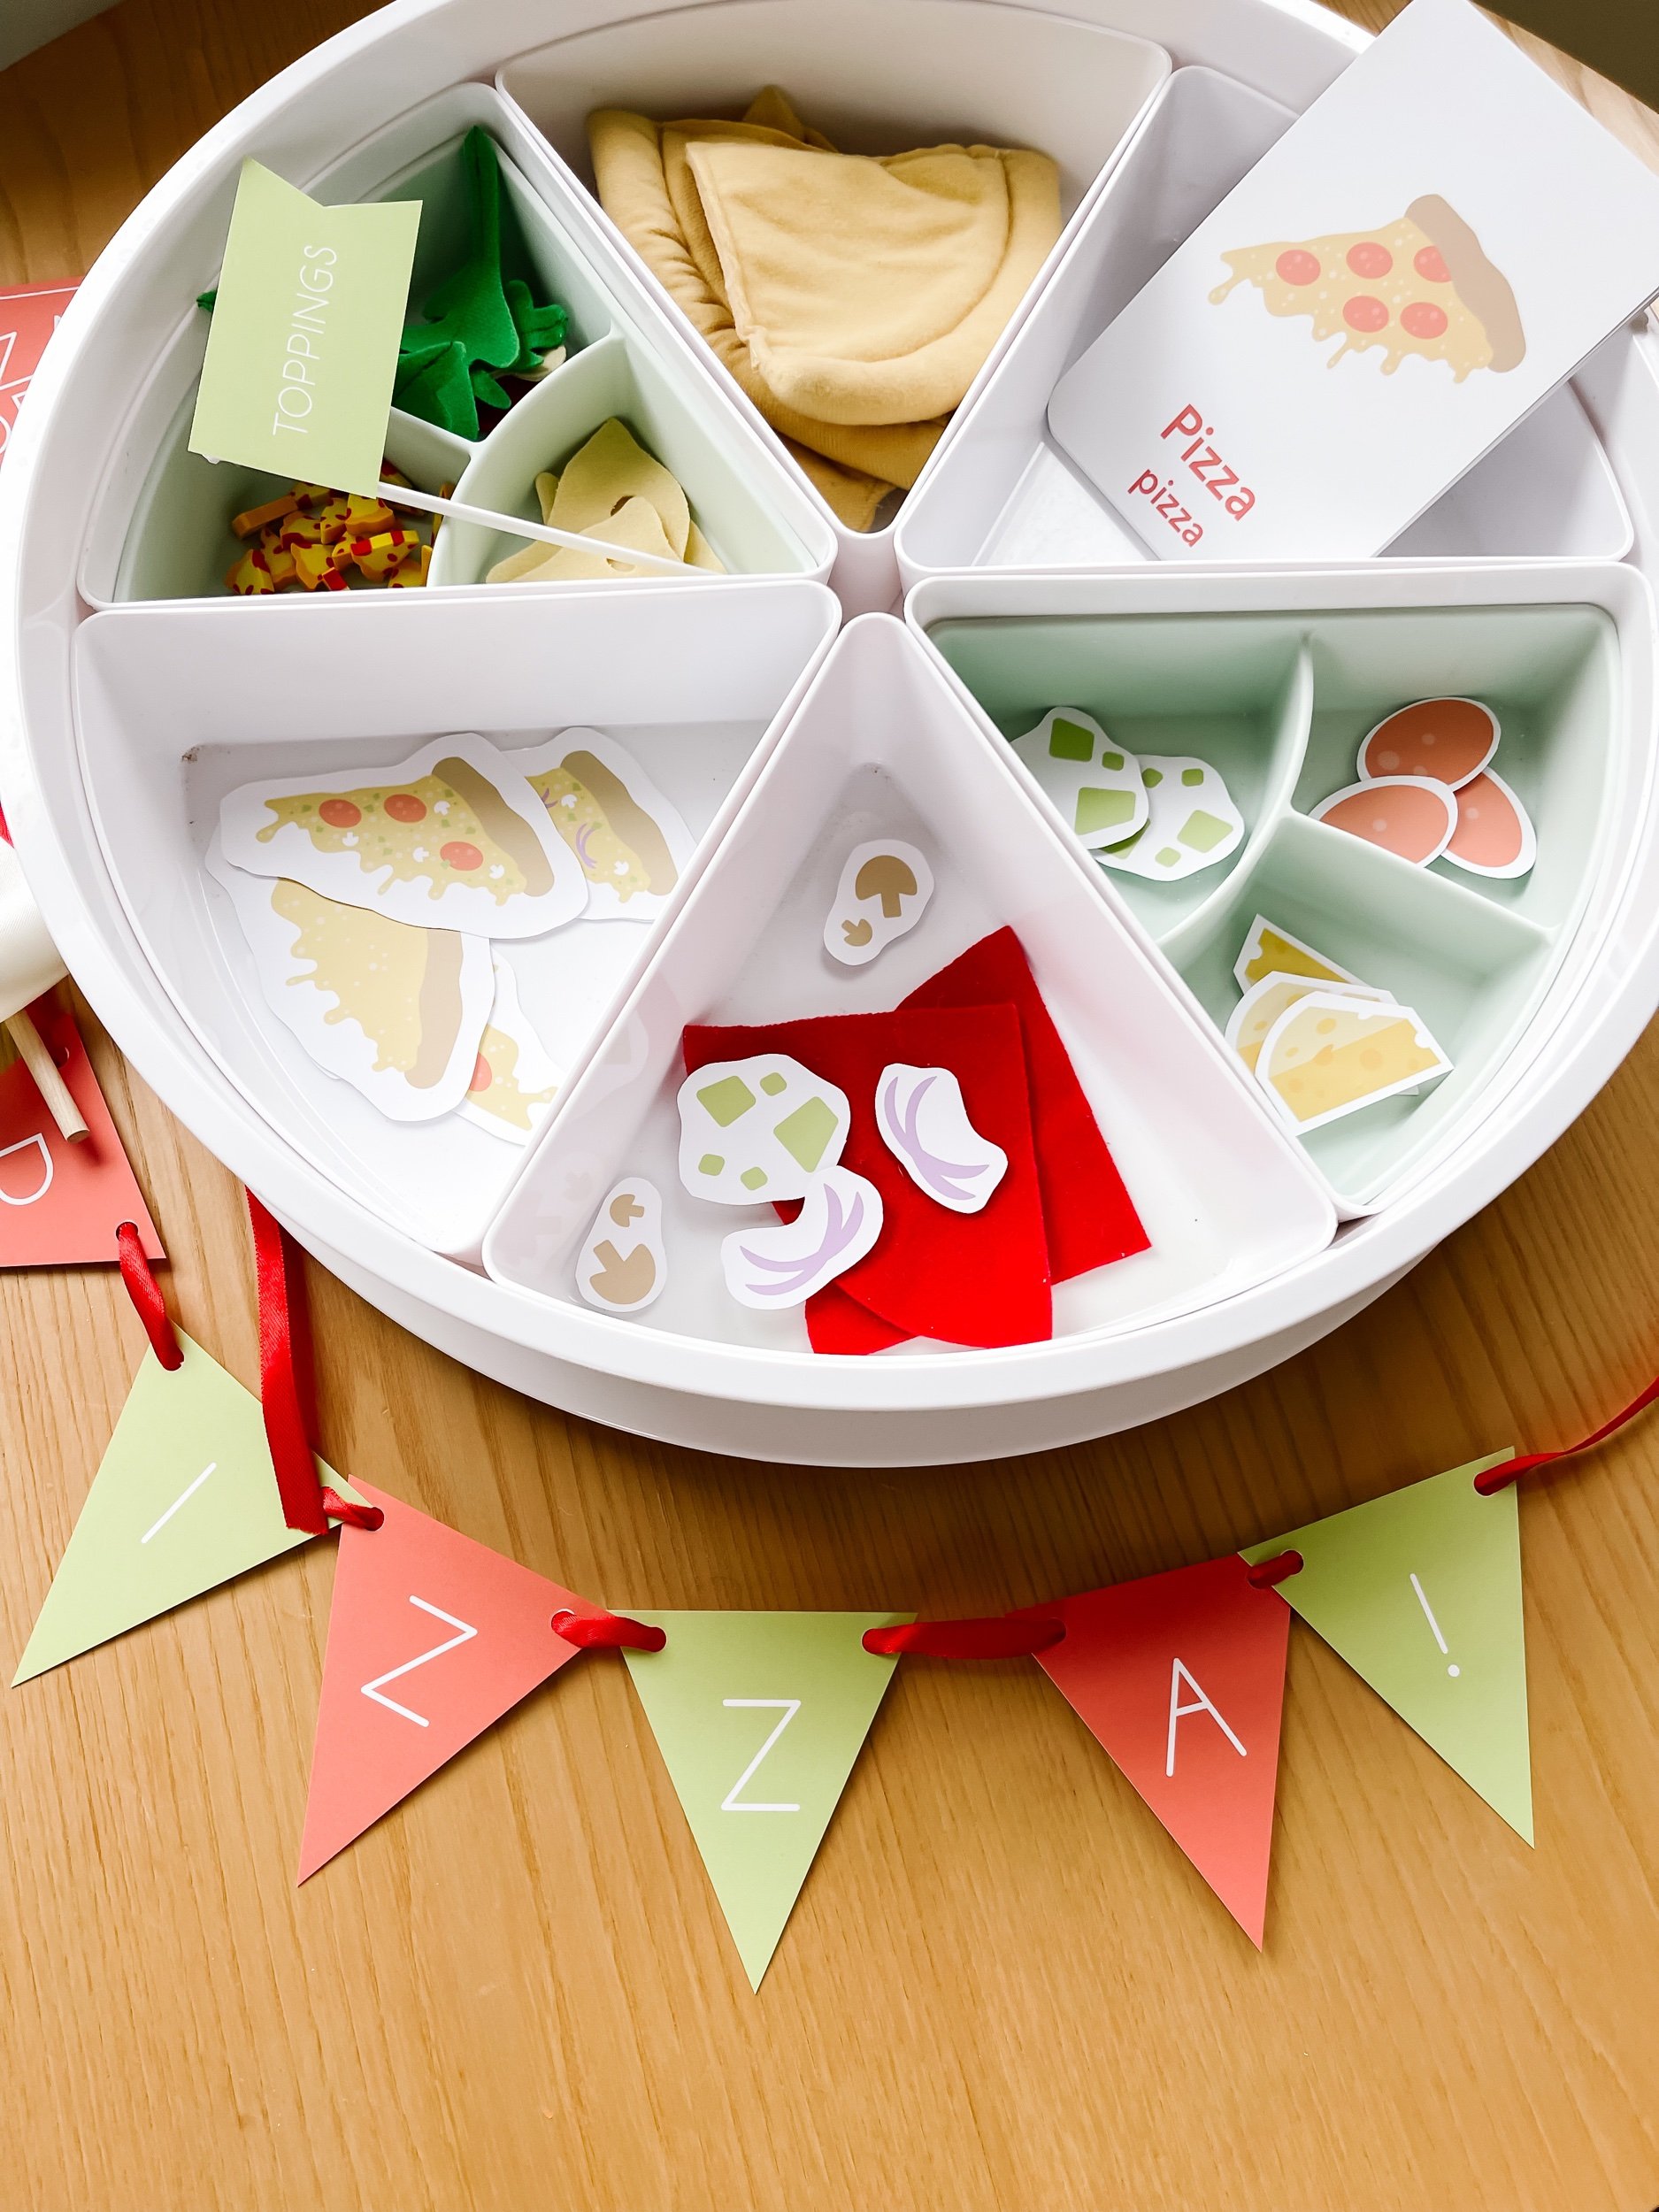
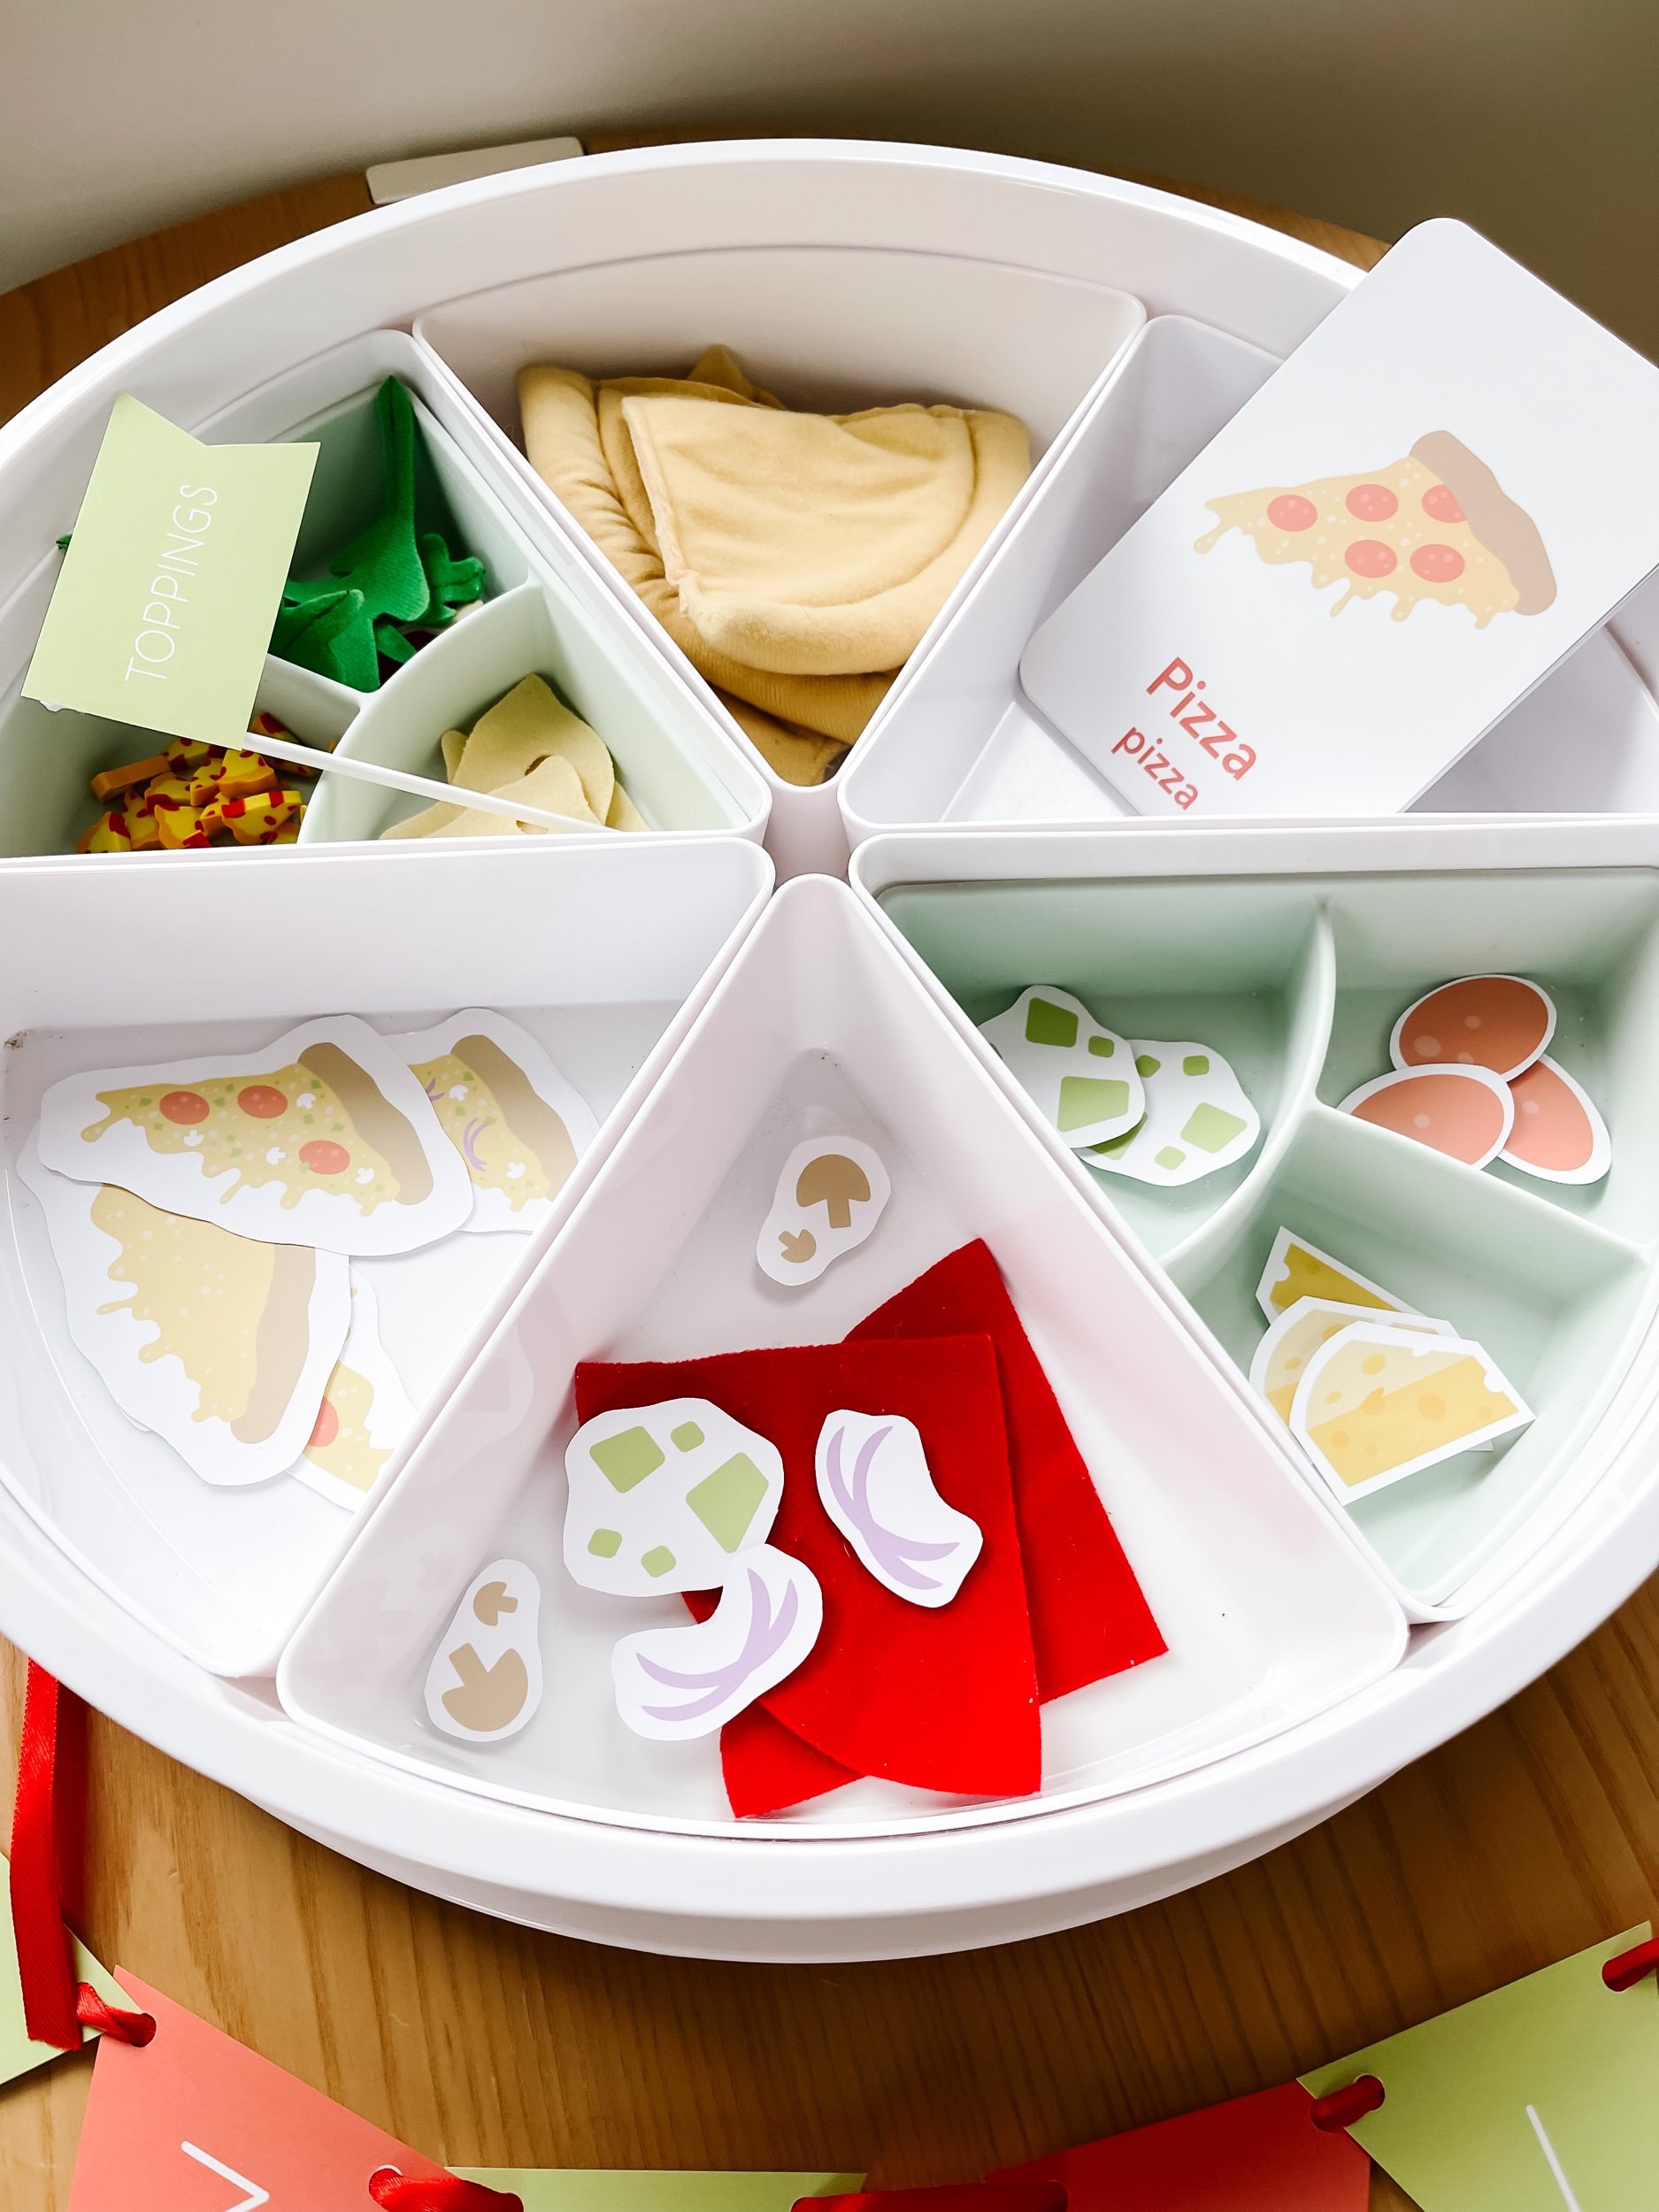
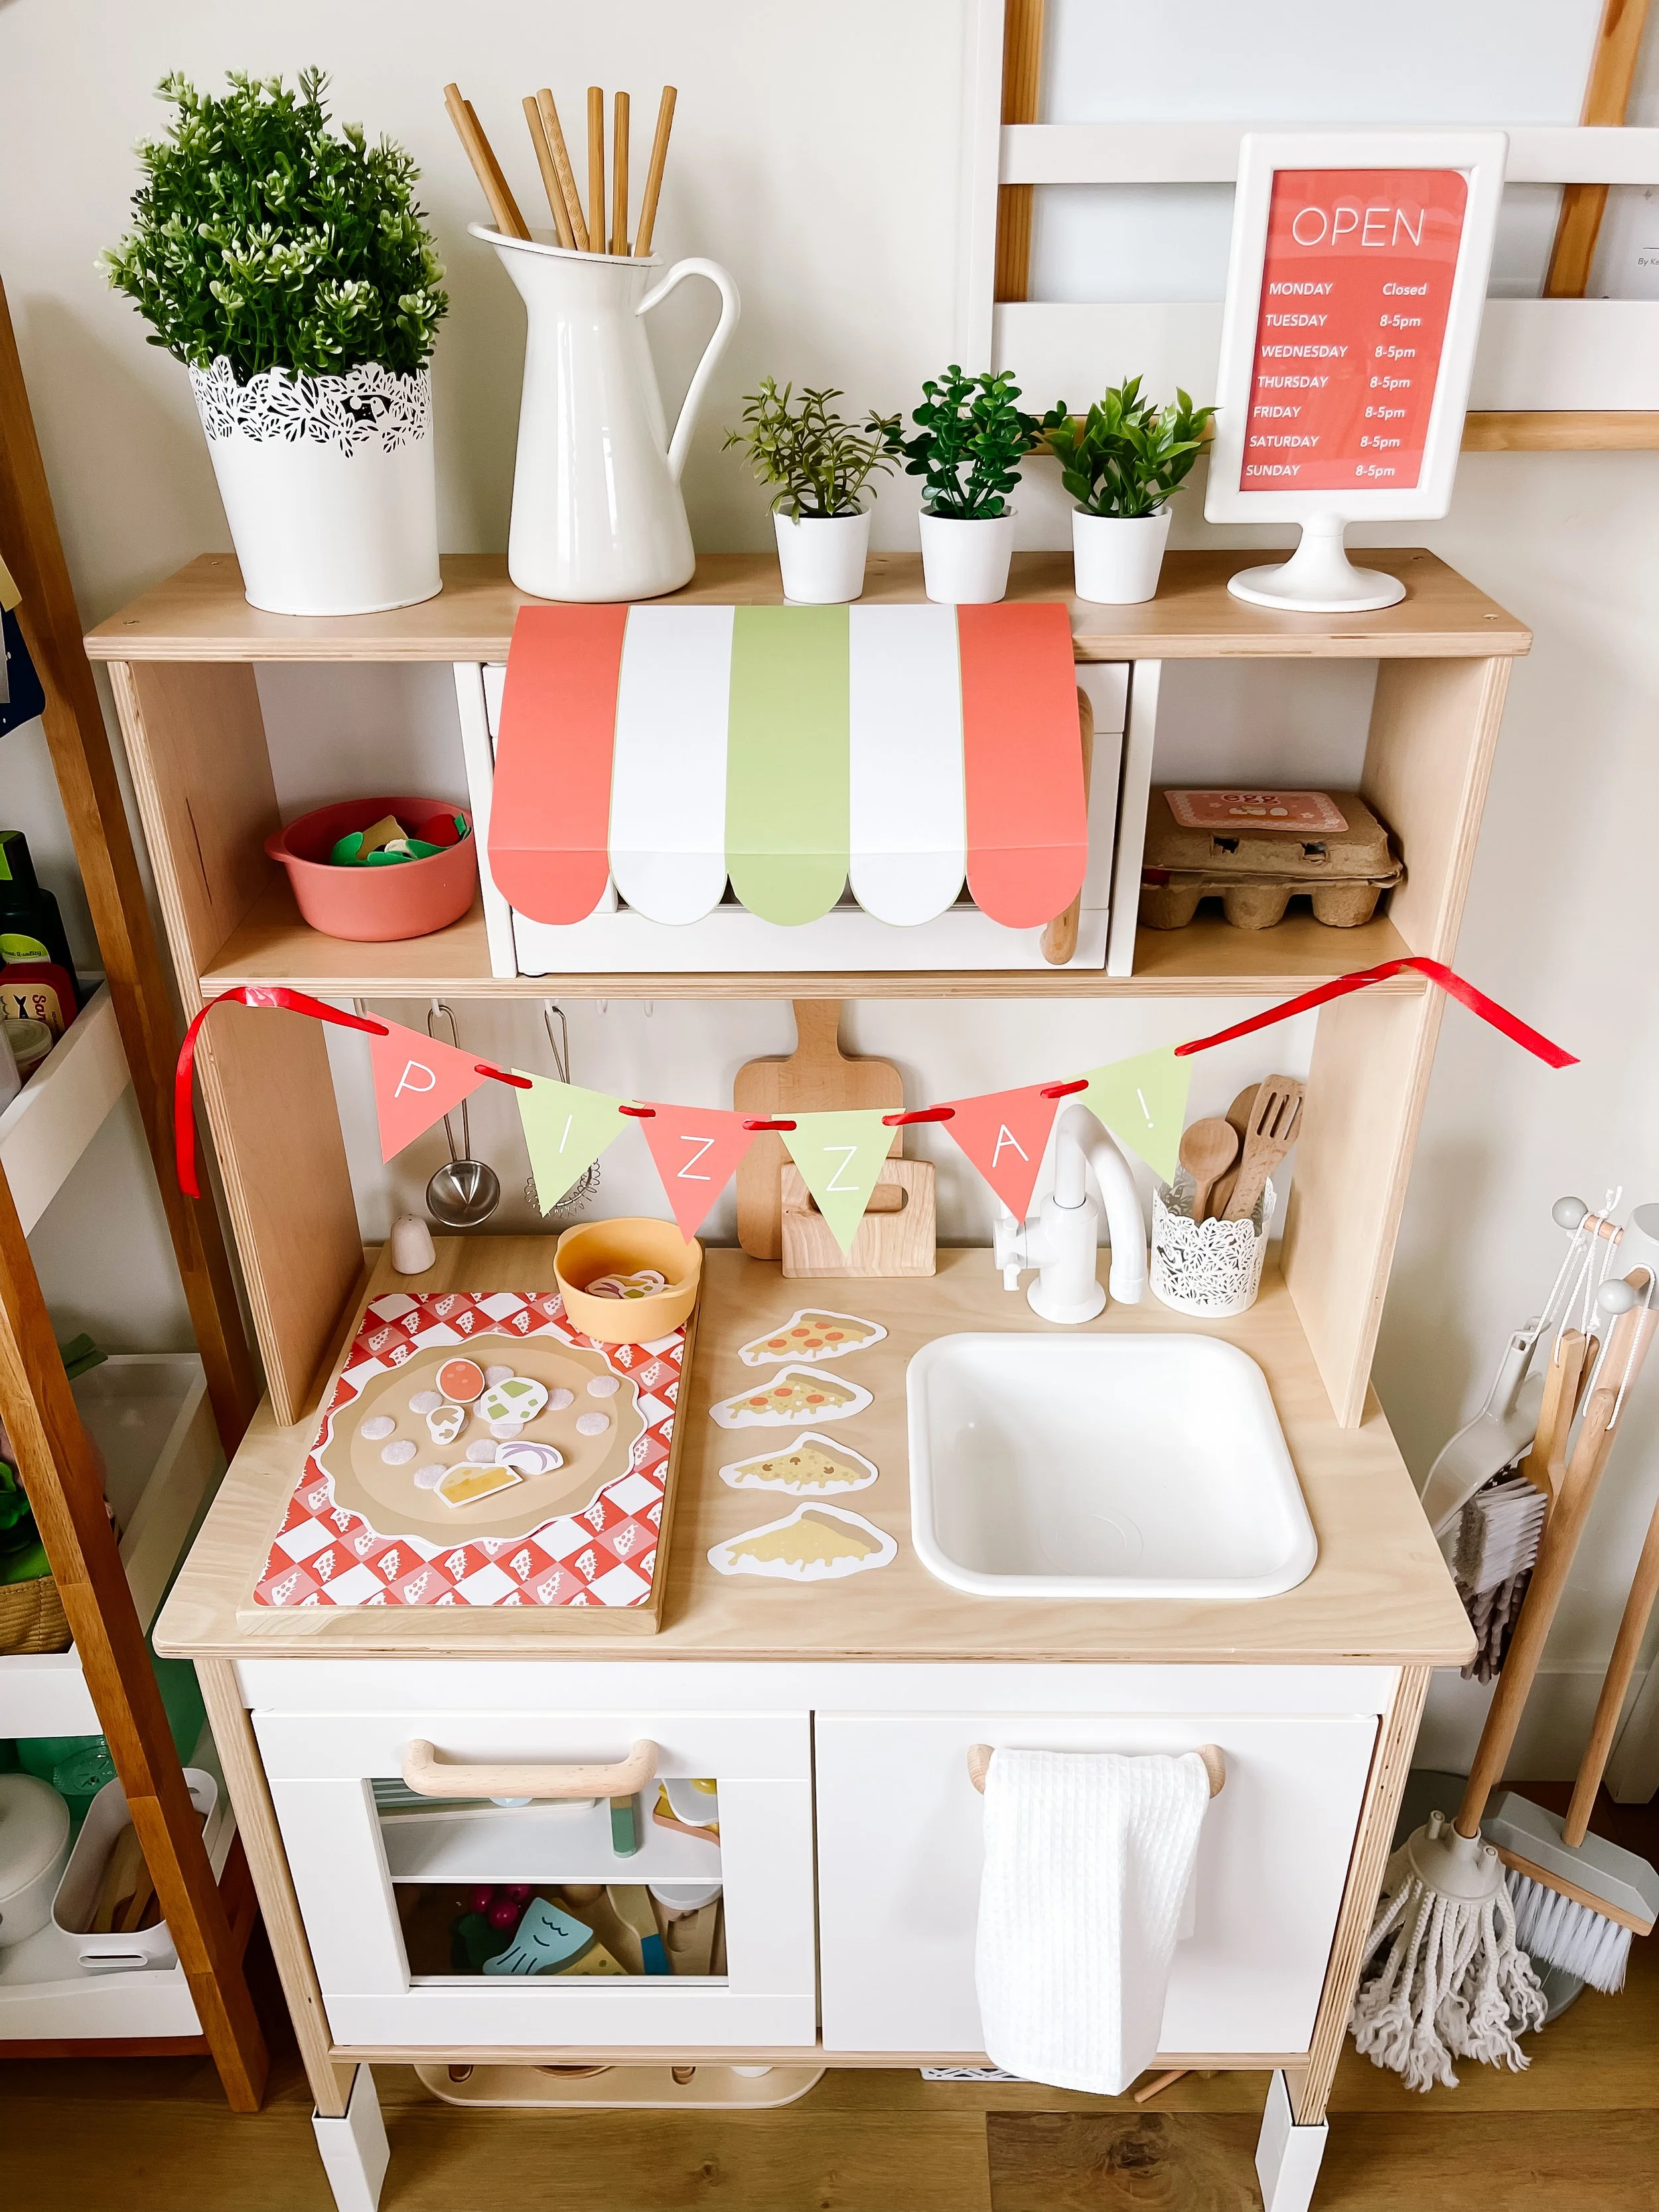
Step into a world of imaginative play with your little ones as we dive into the exciting realm of dramatic and sensory pizza-making fun! Transform your space into a mini pizzeria with the help of delightful printables by GoodnightFox, enhance the experience with IKEA's felt play food, and introduce a dash of organization using sorting cups and tongs from InspireMyPlay.

download & print

Pizza shop dramatic play printables IMG_5624.jpeg IMG_5679.jpeg IMG_5621.jpeg IMG_5623.jpeg IMG_5620.jpeg

Setting the Stage

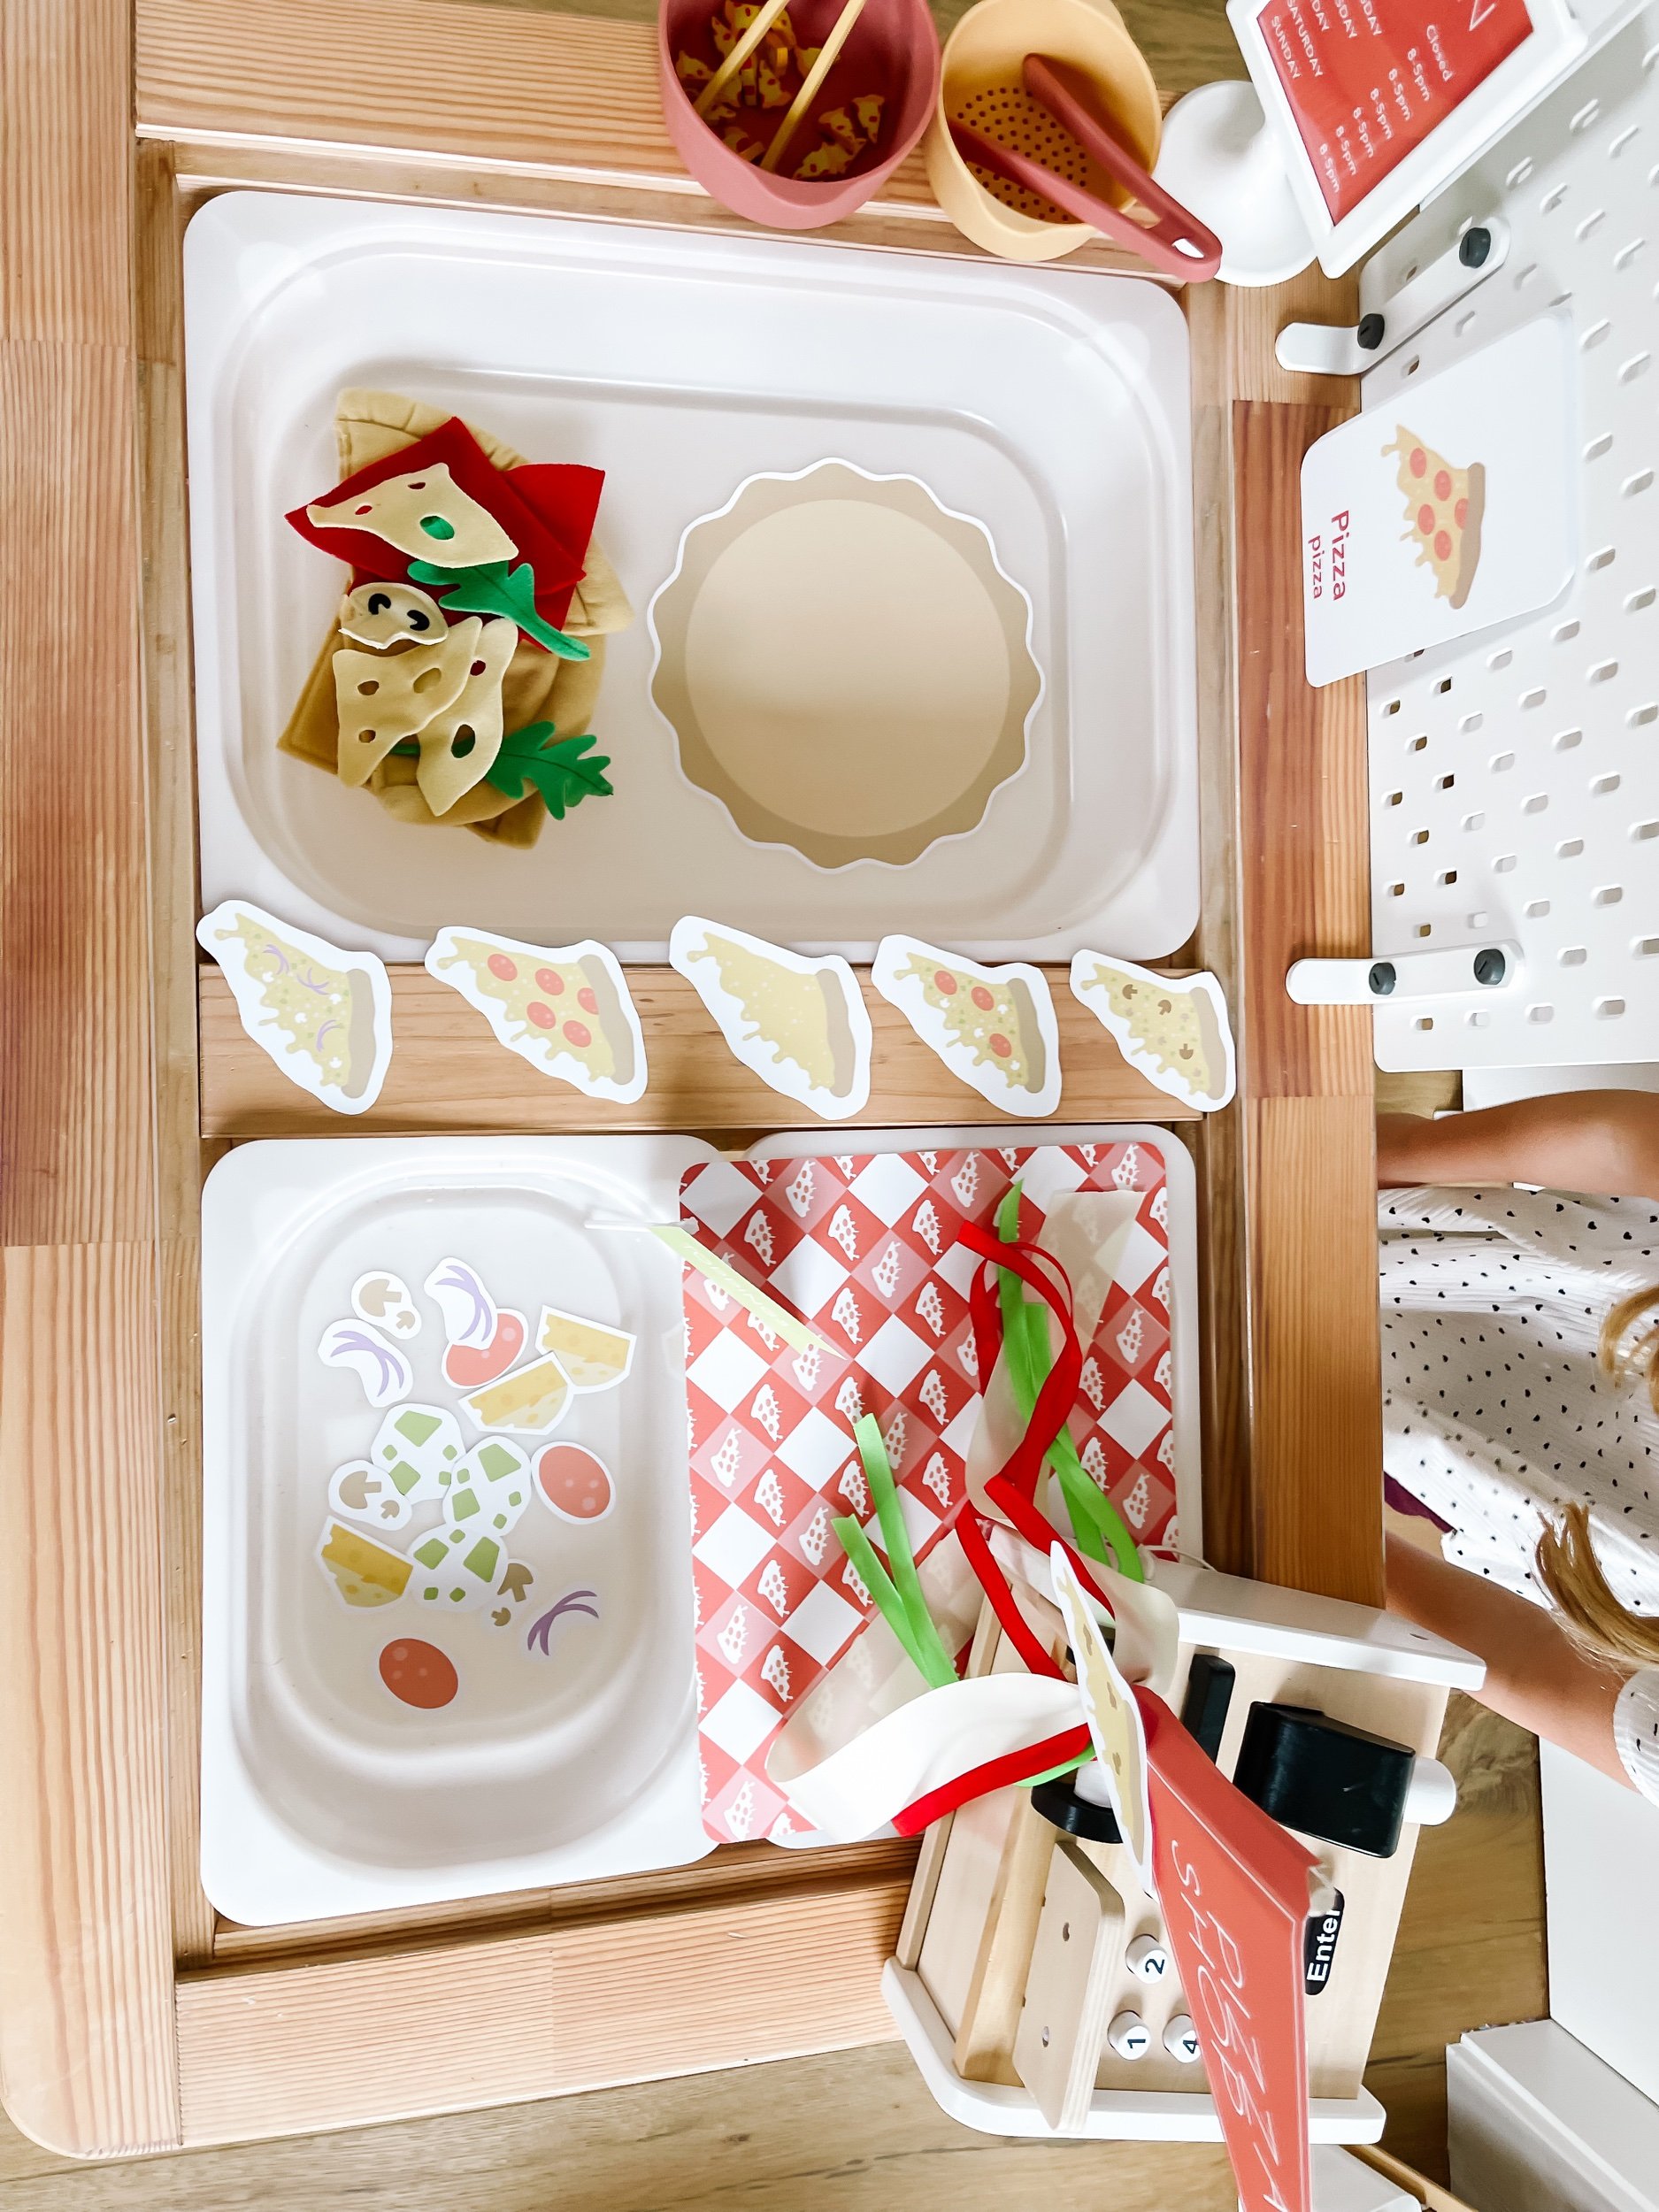
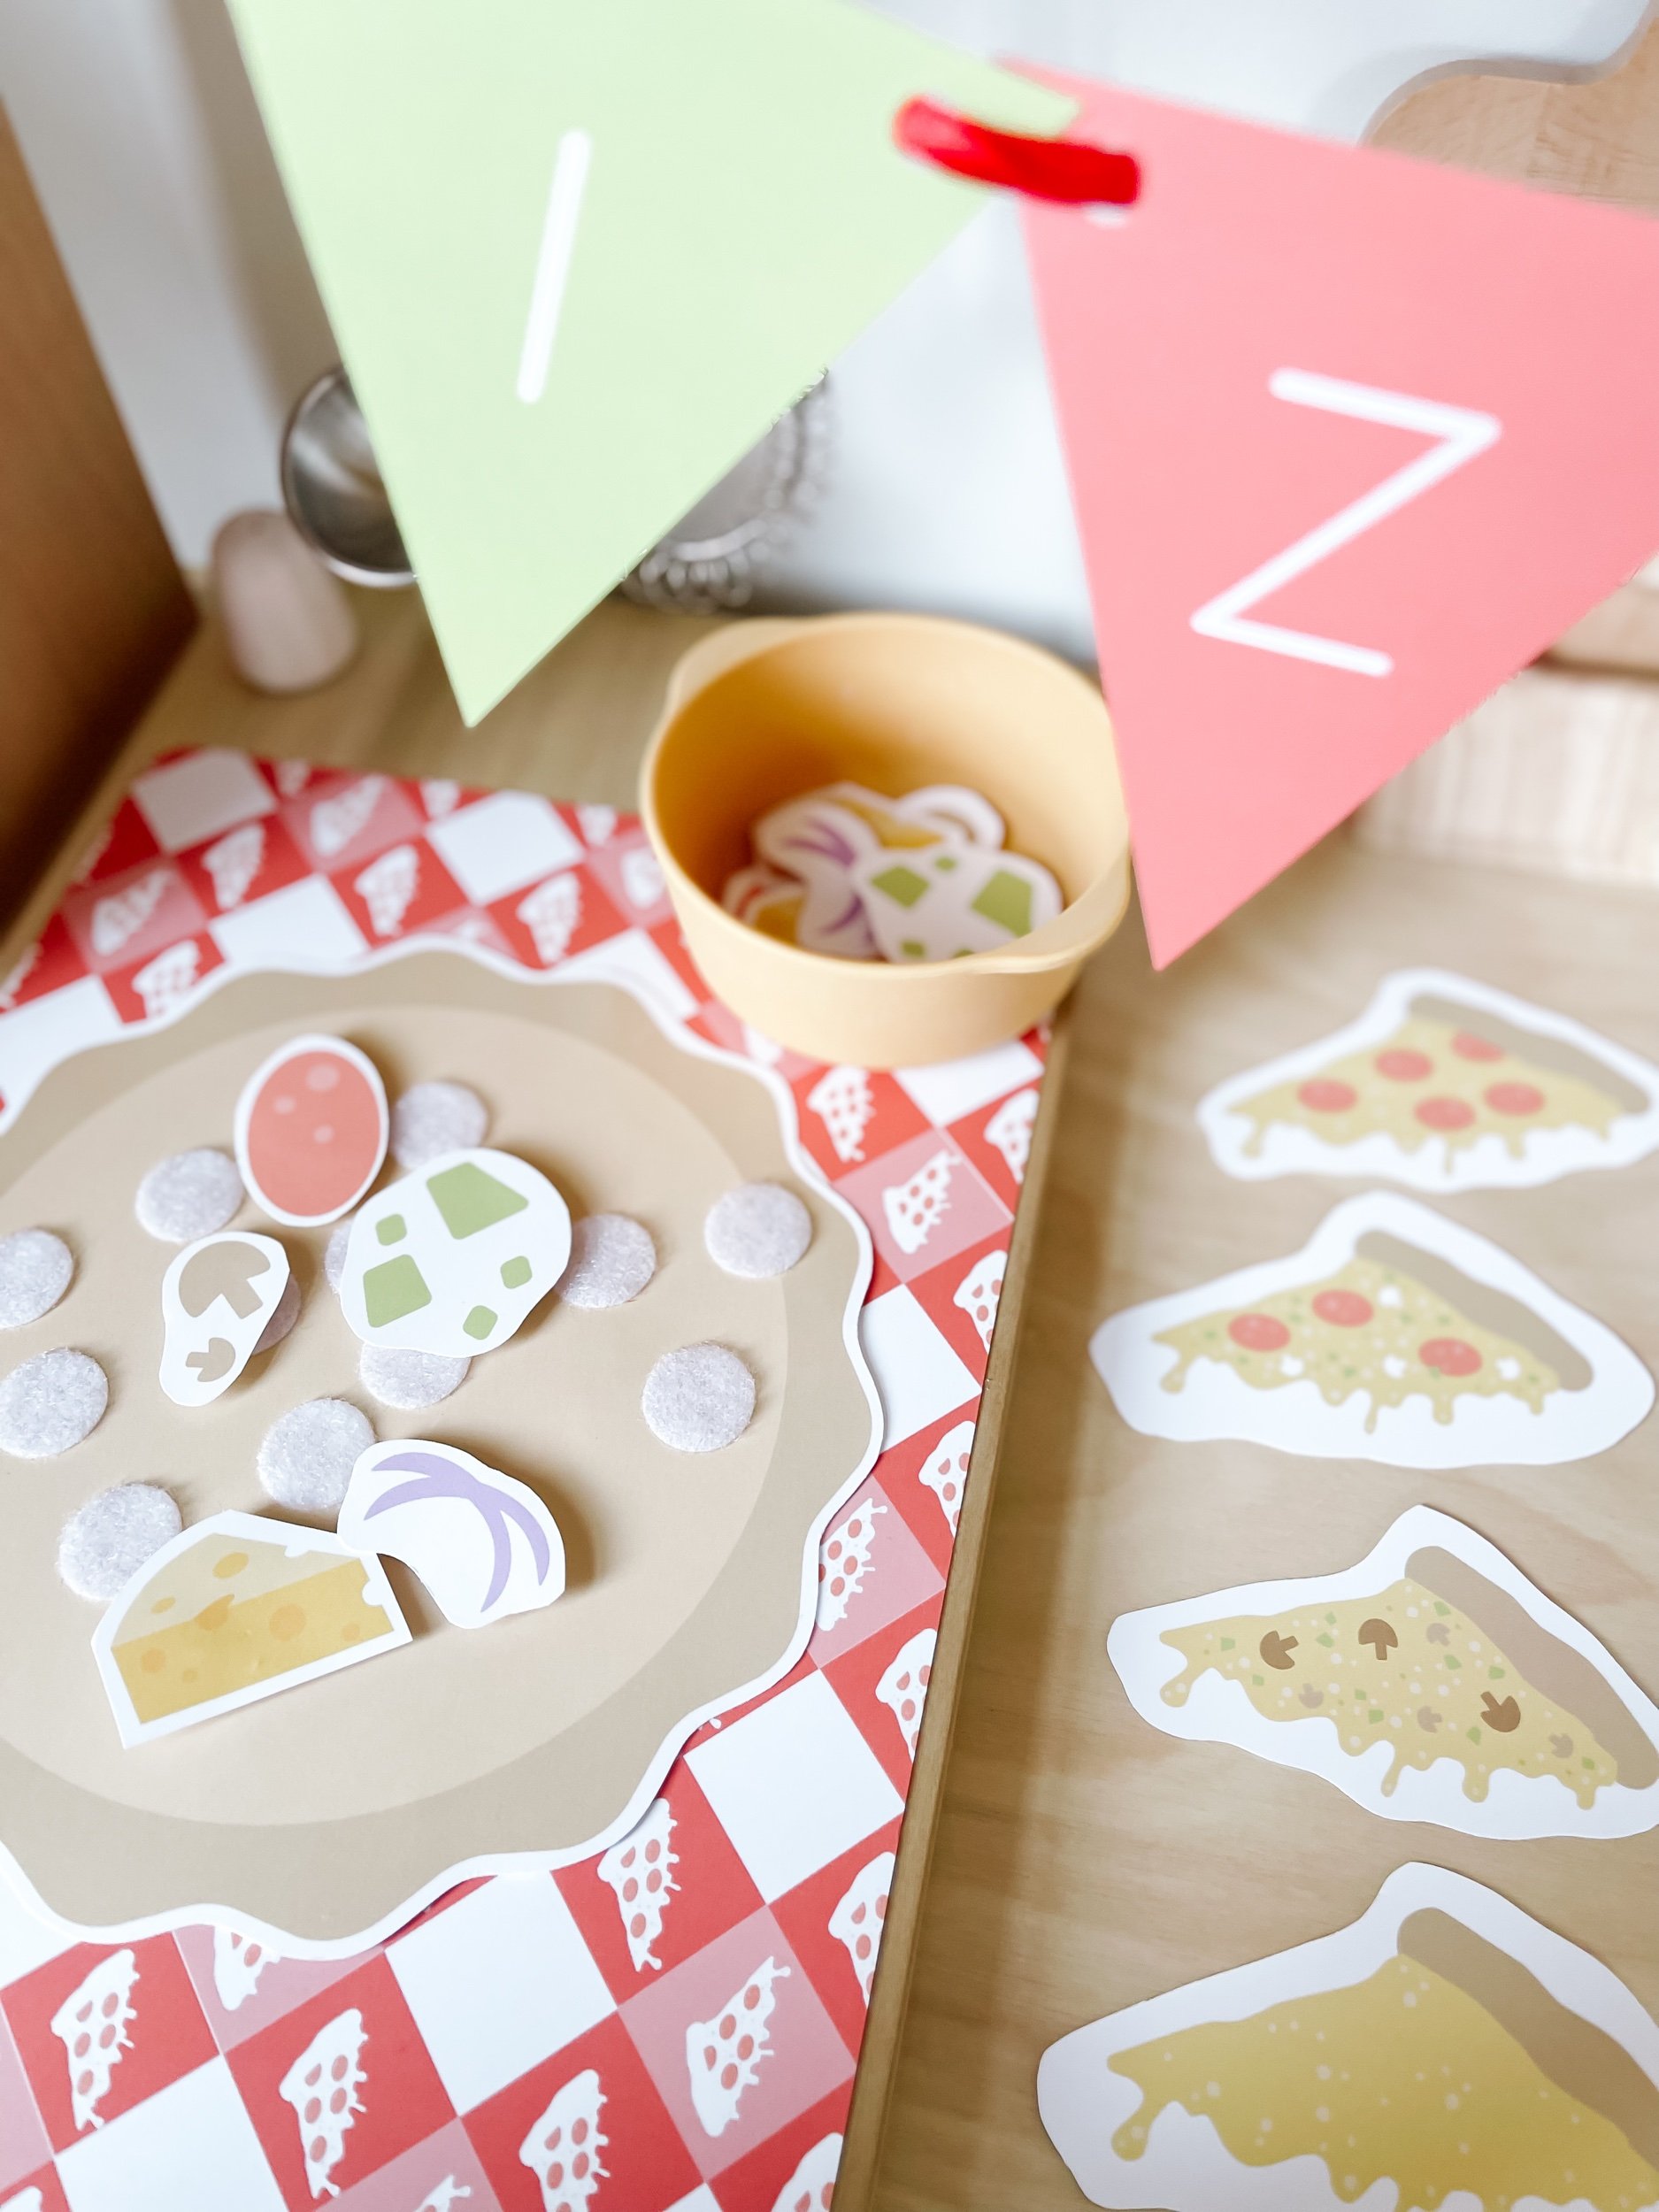
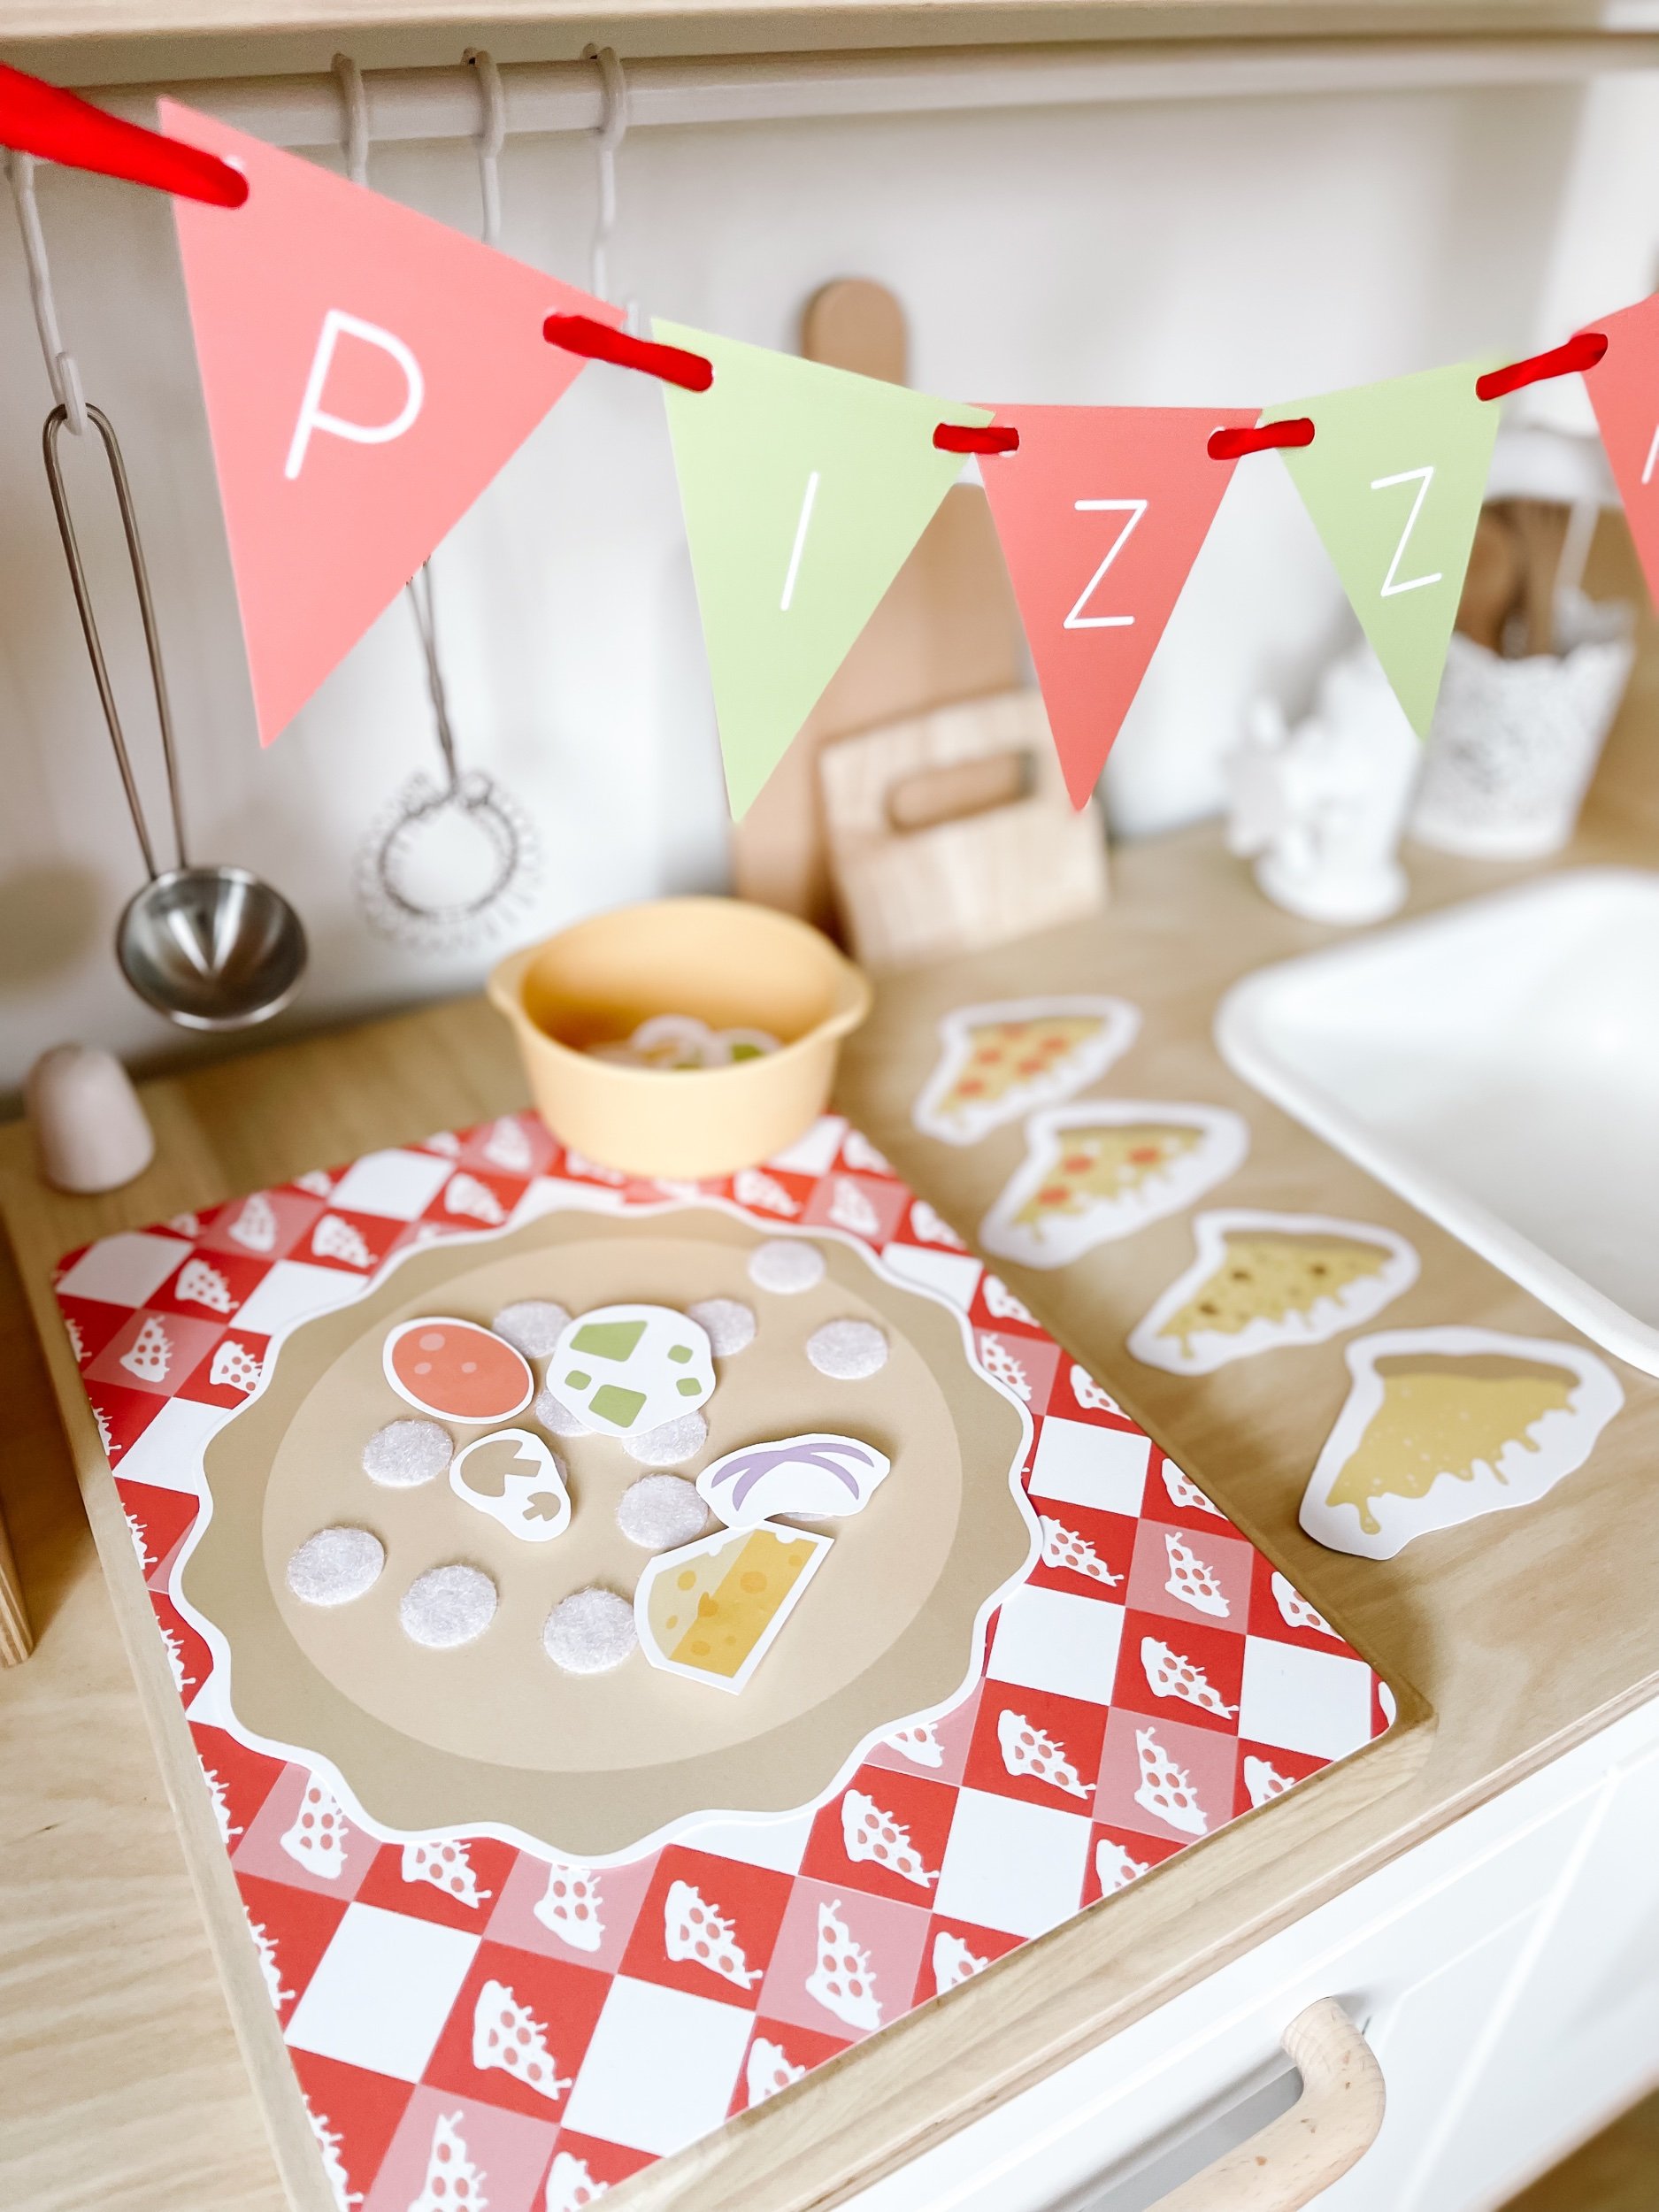
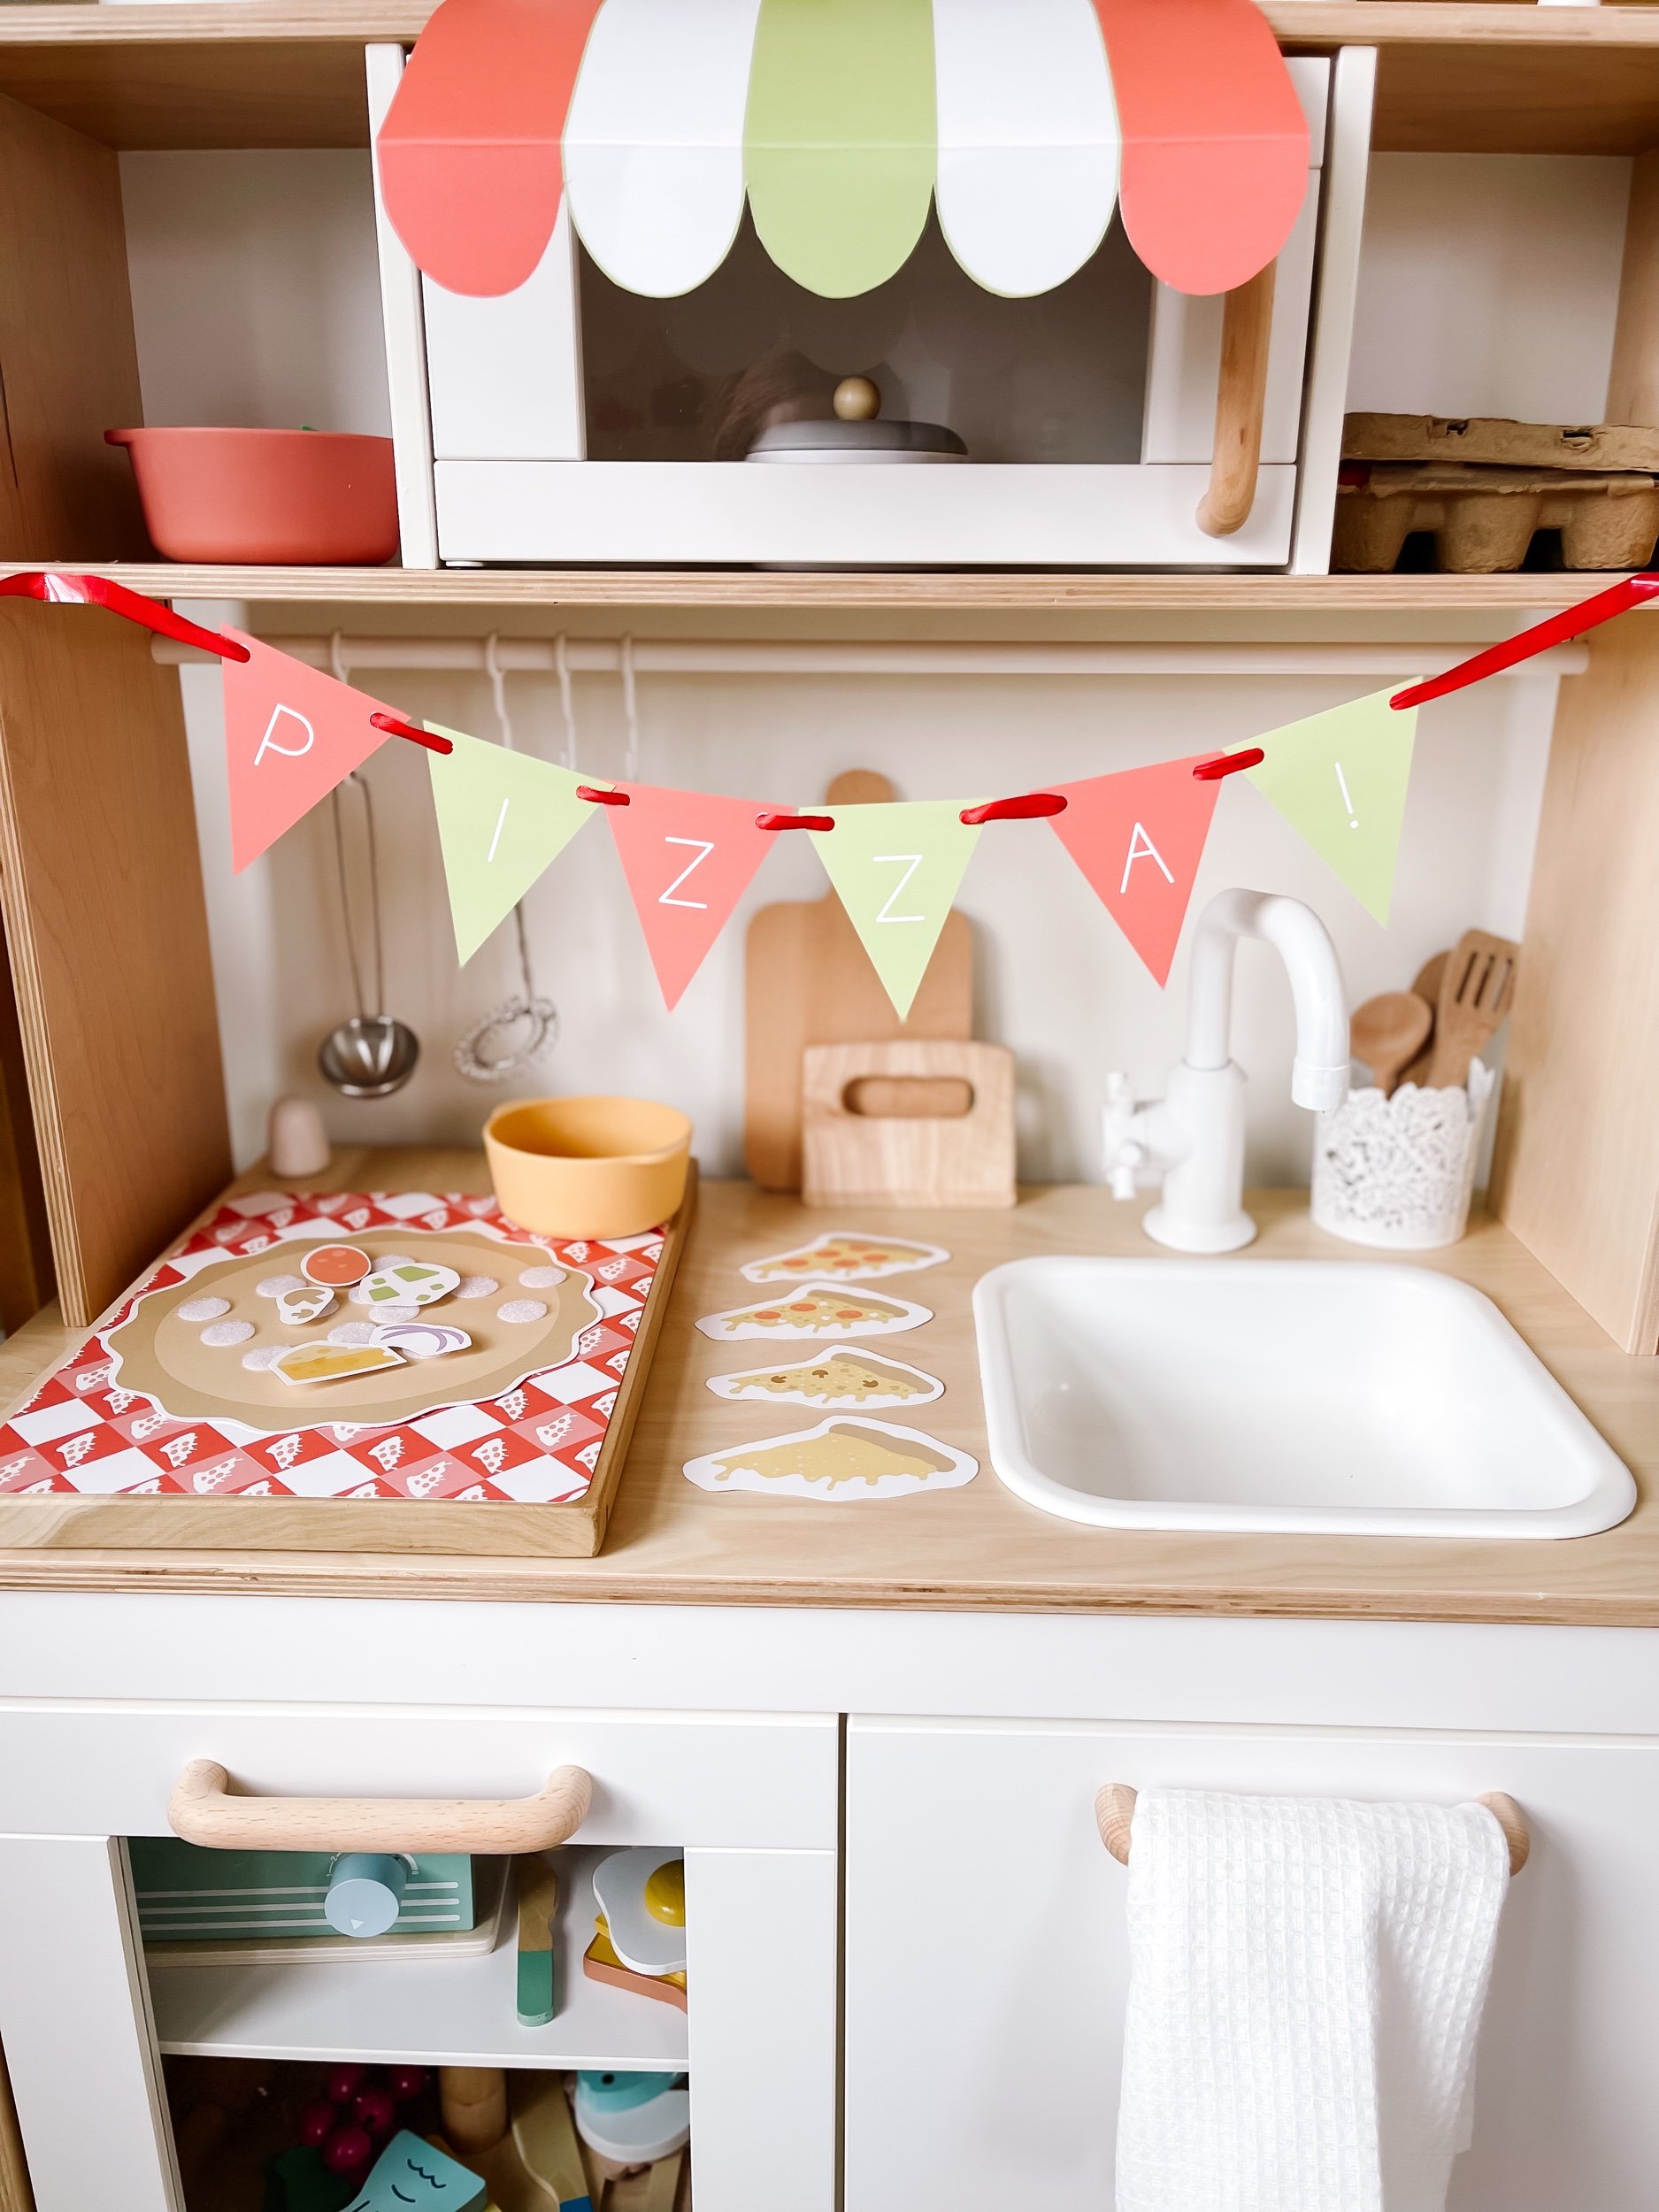
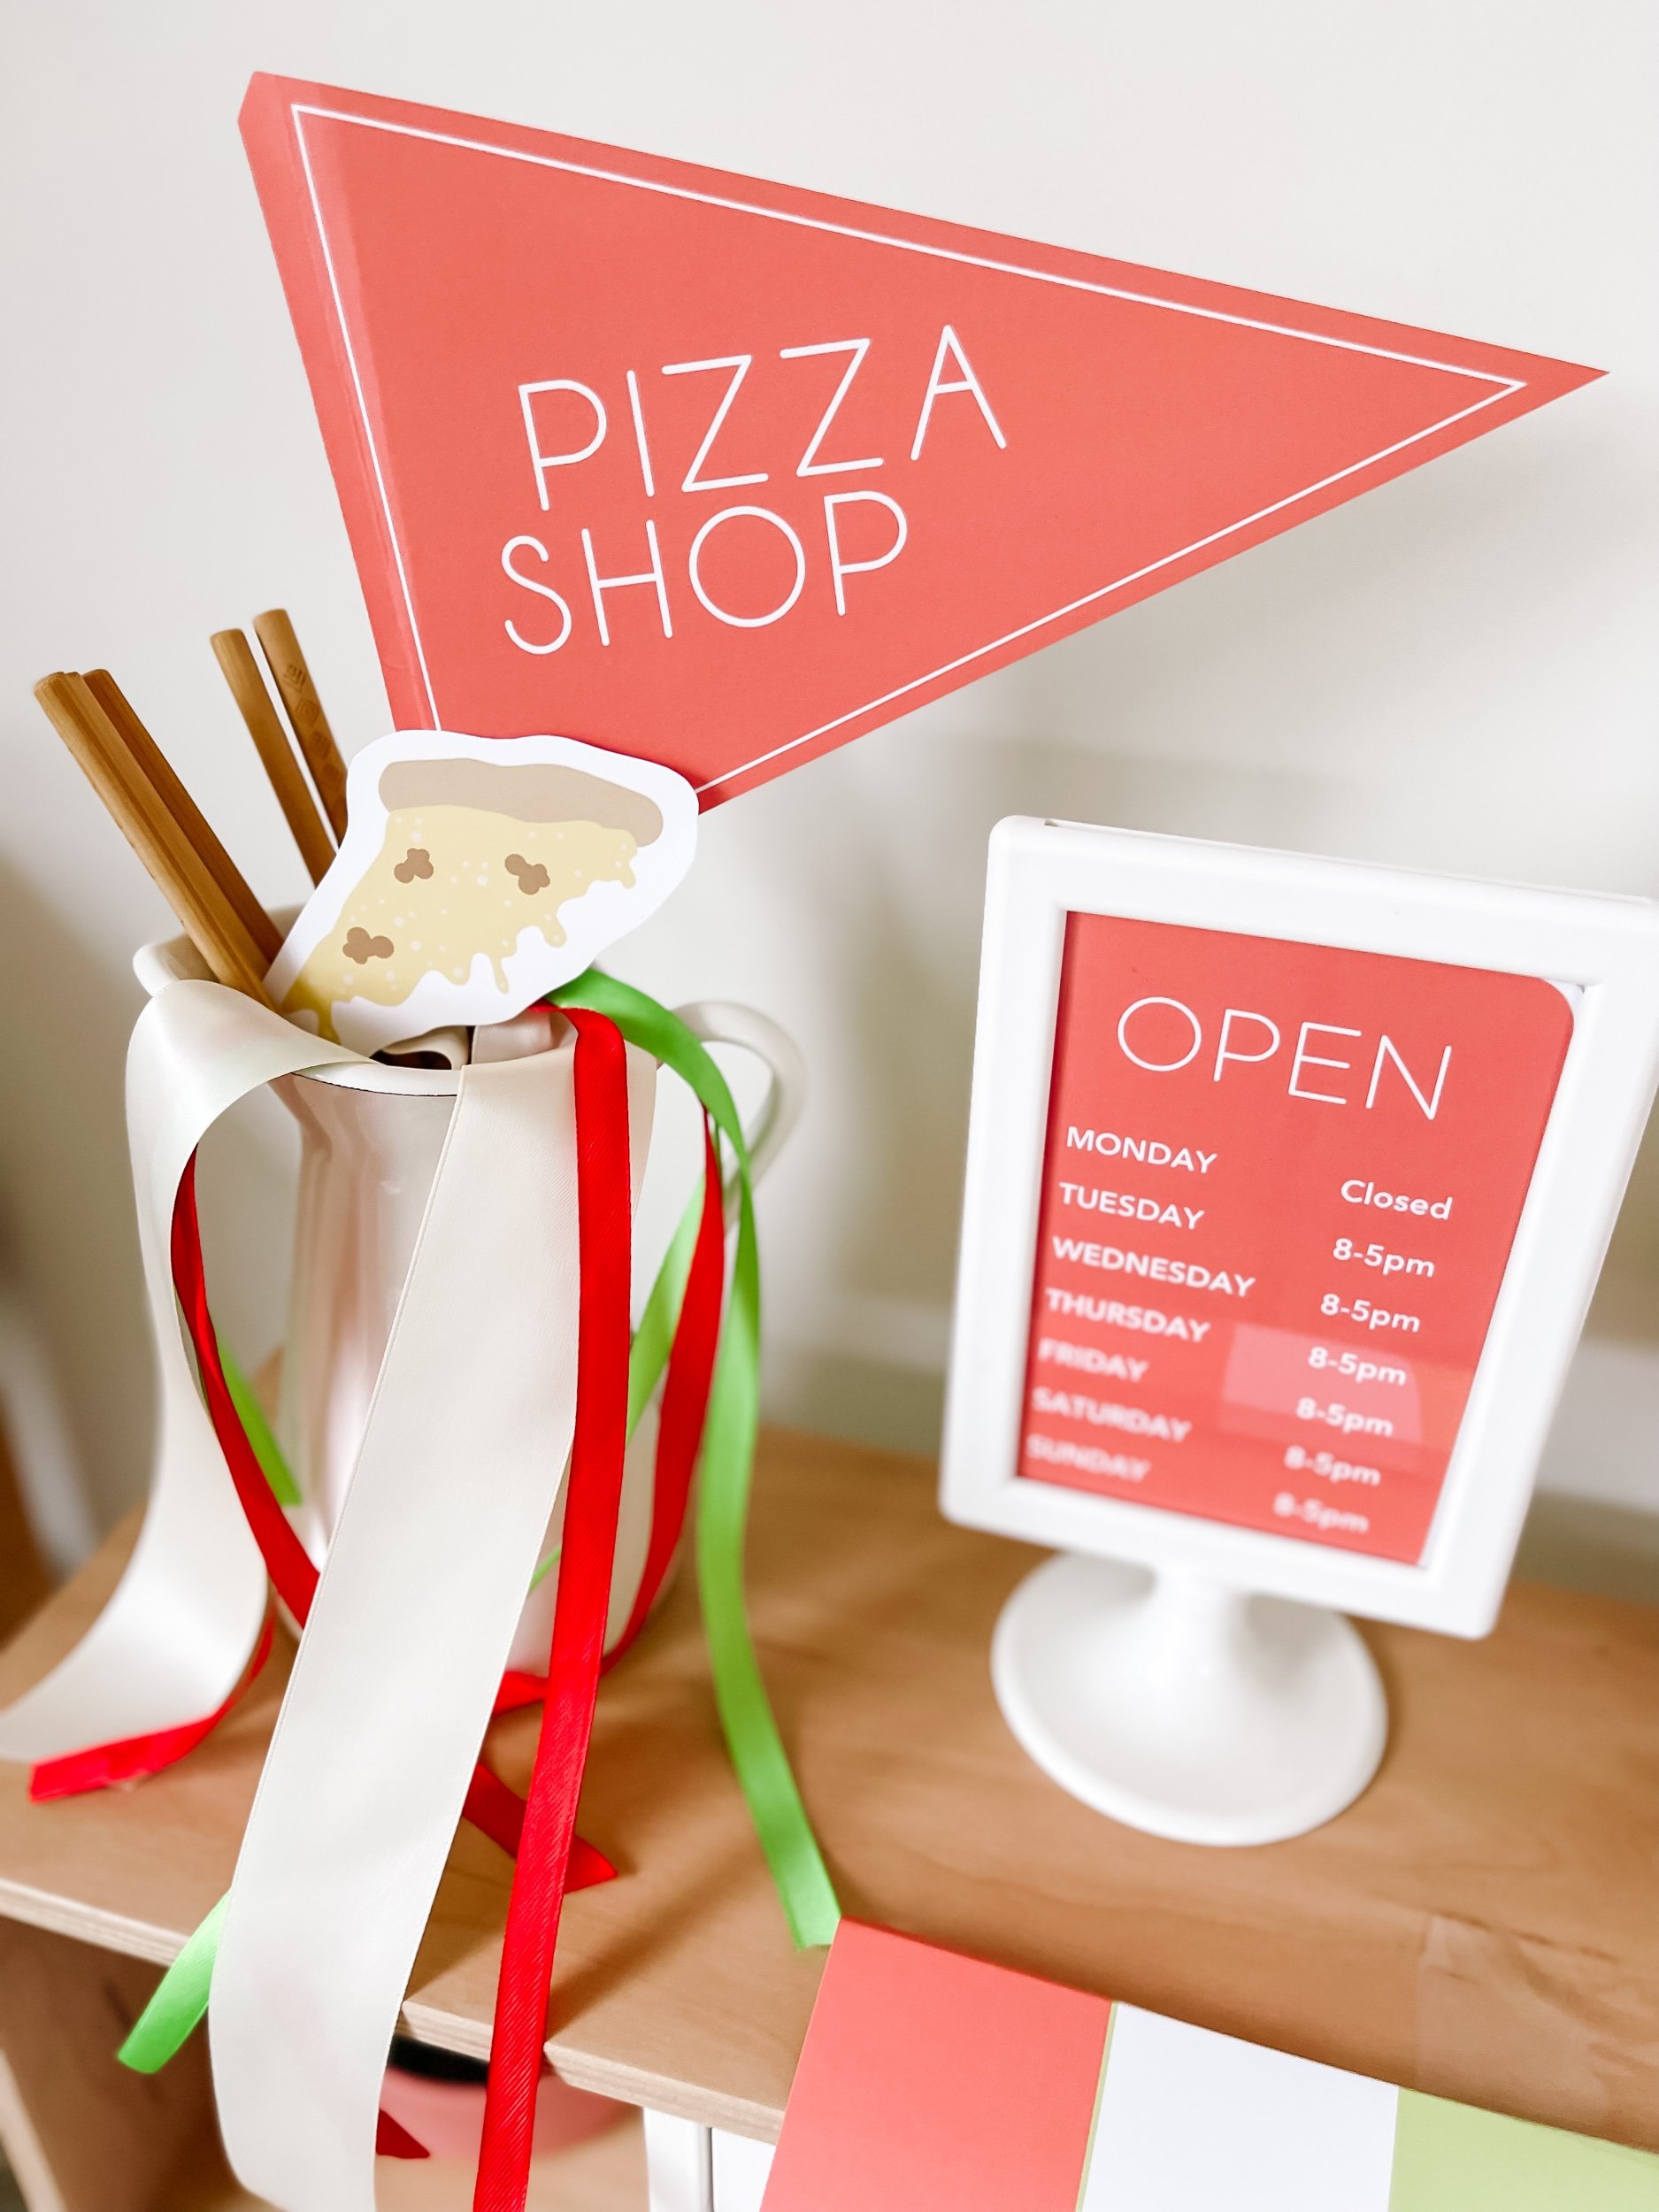
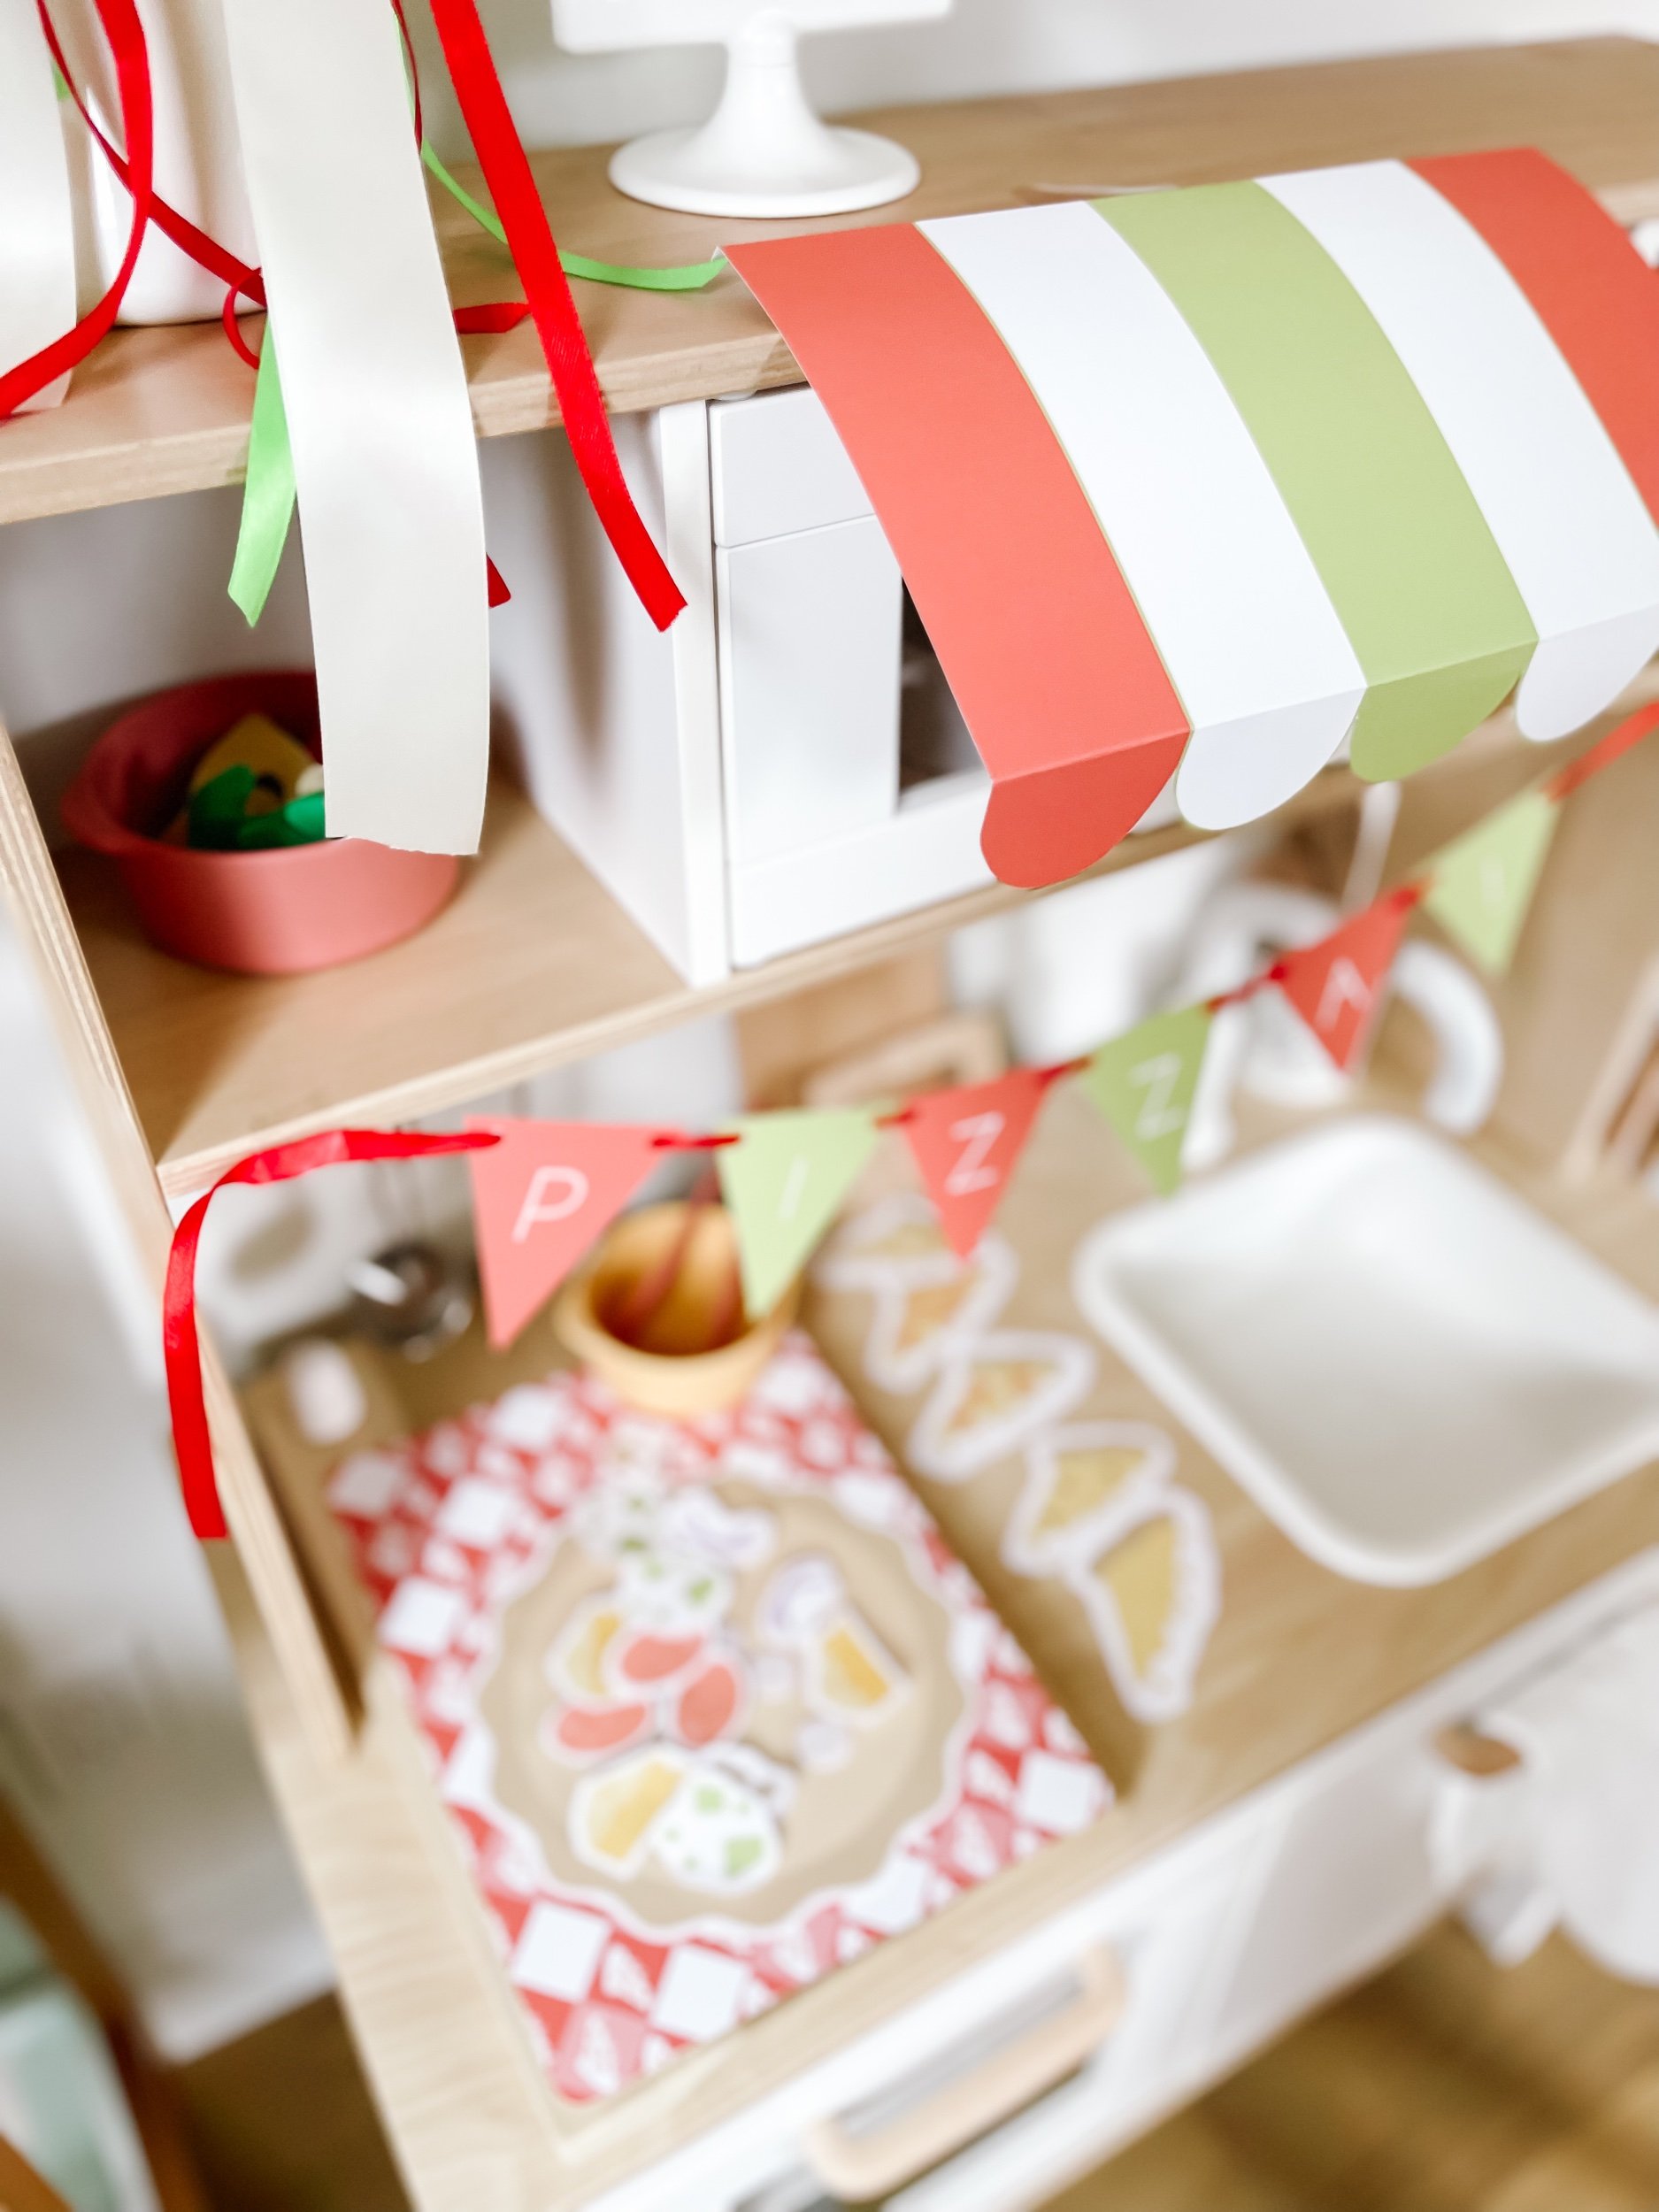
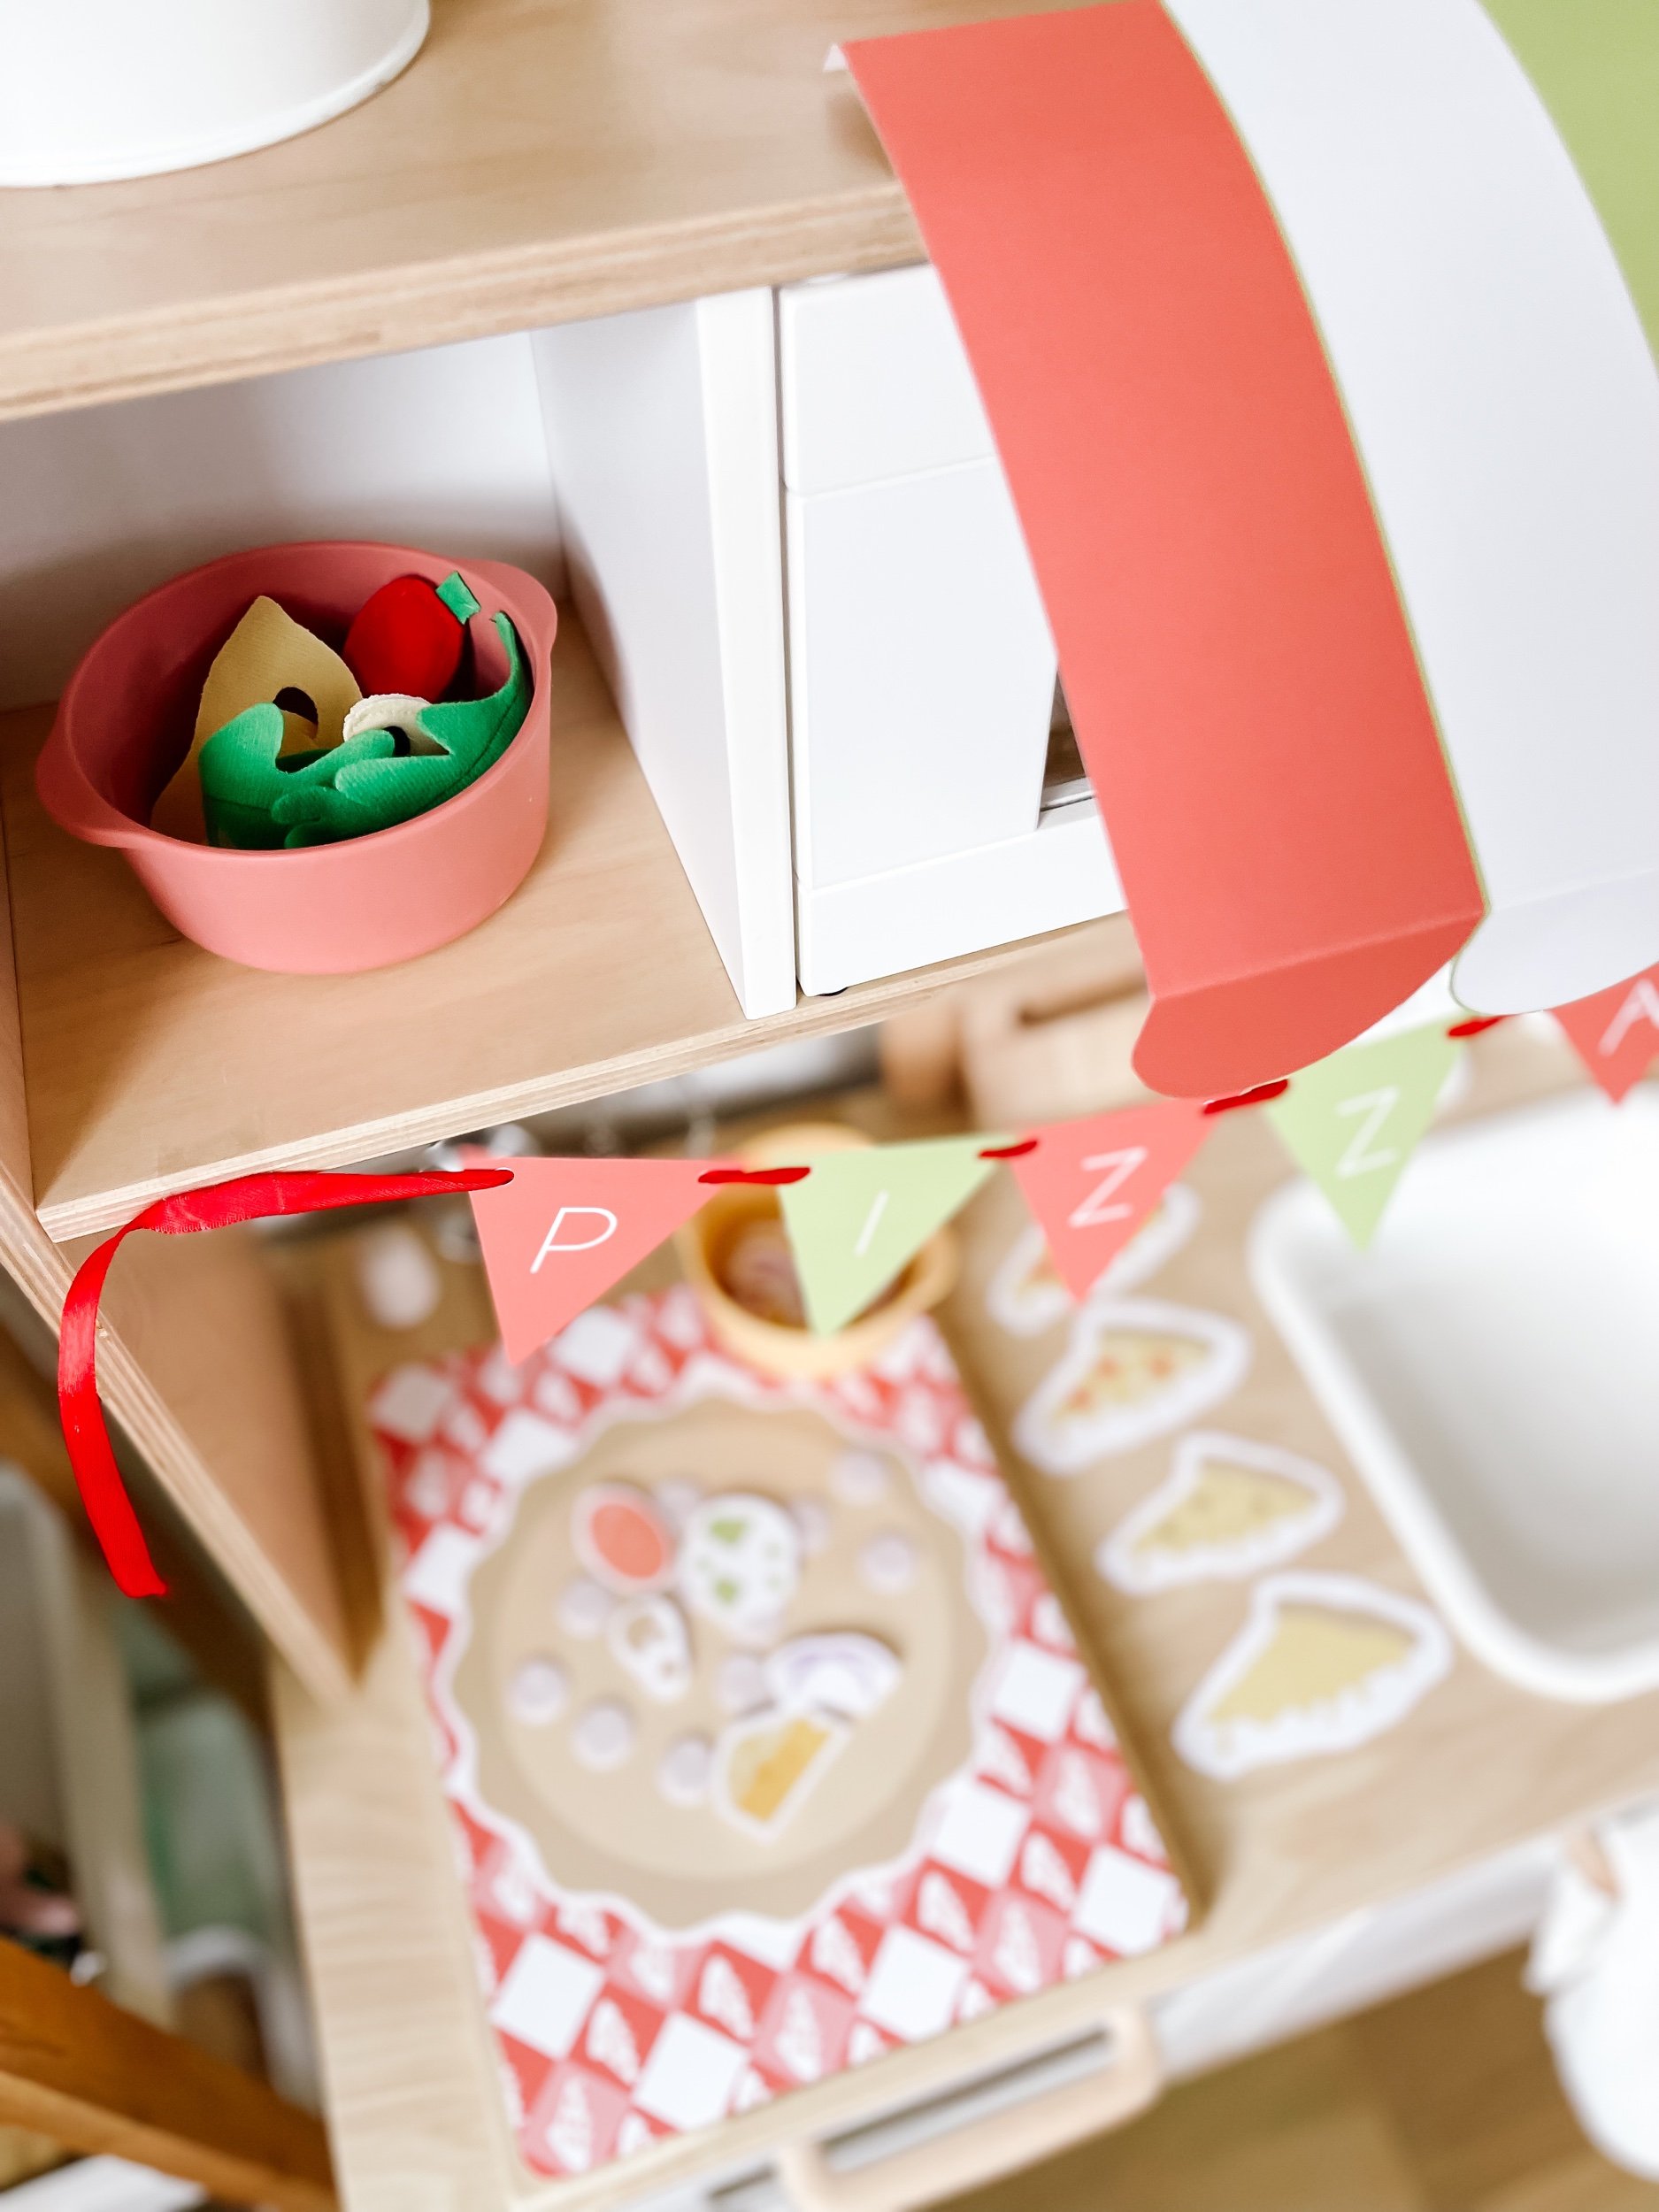
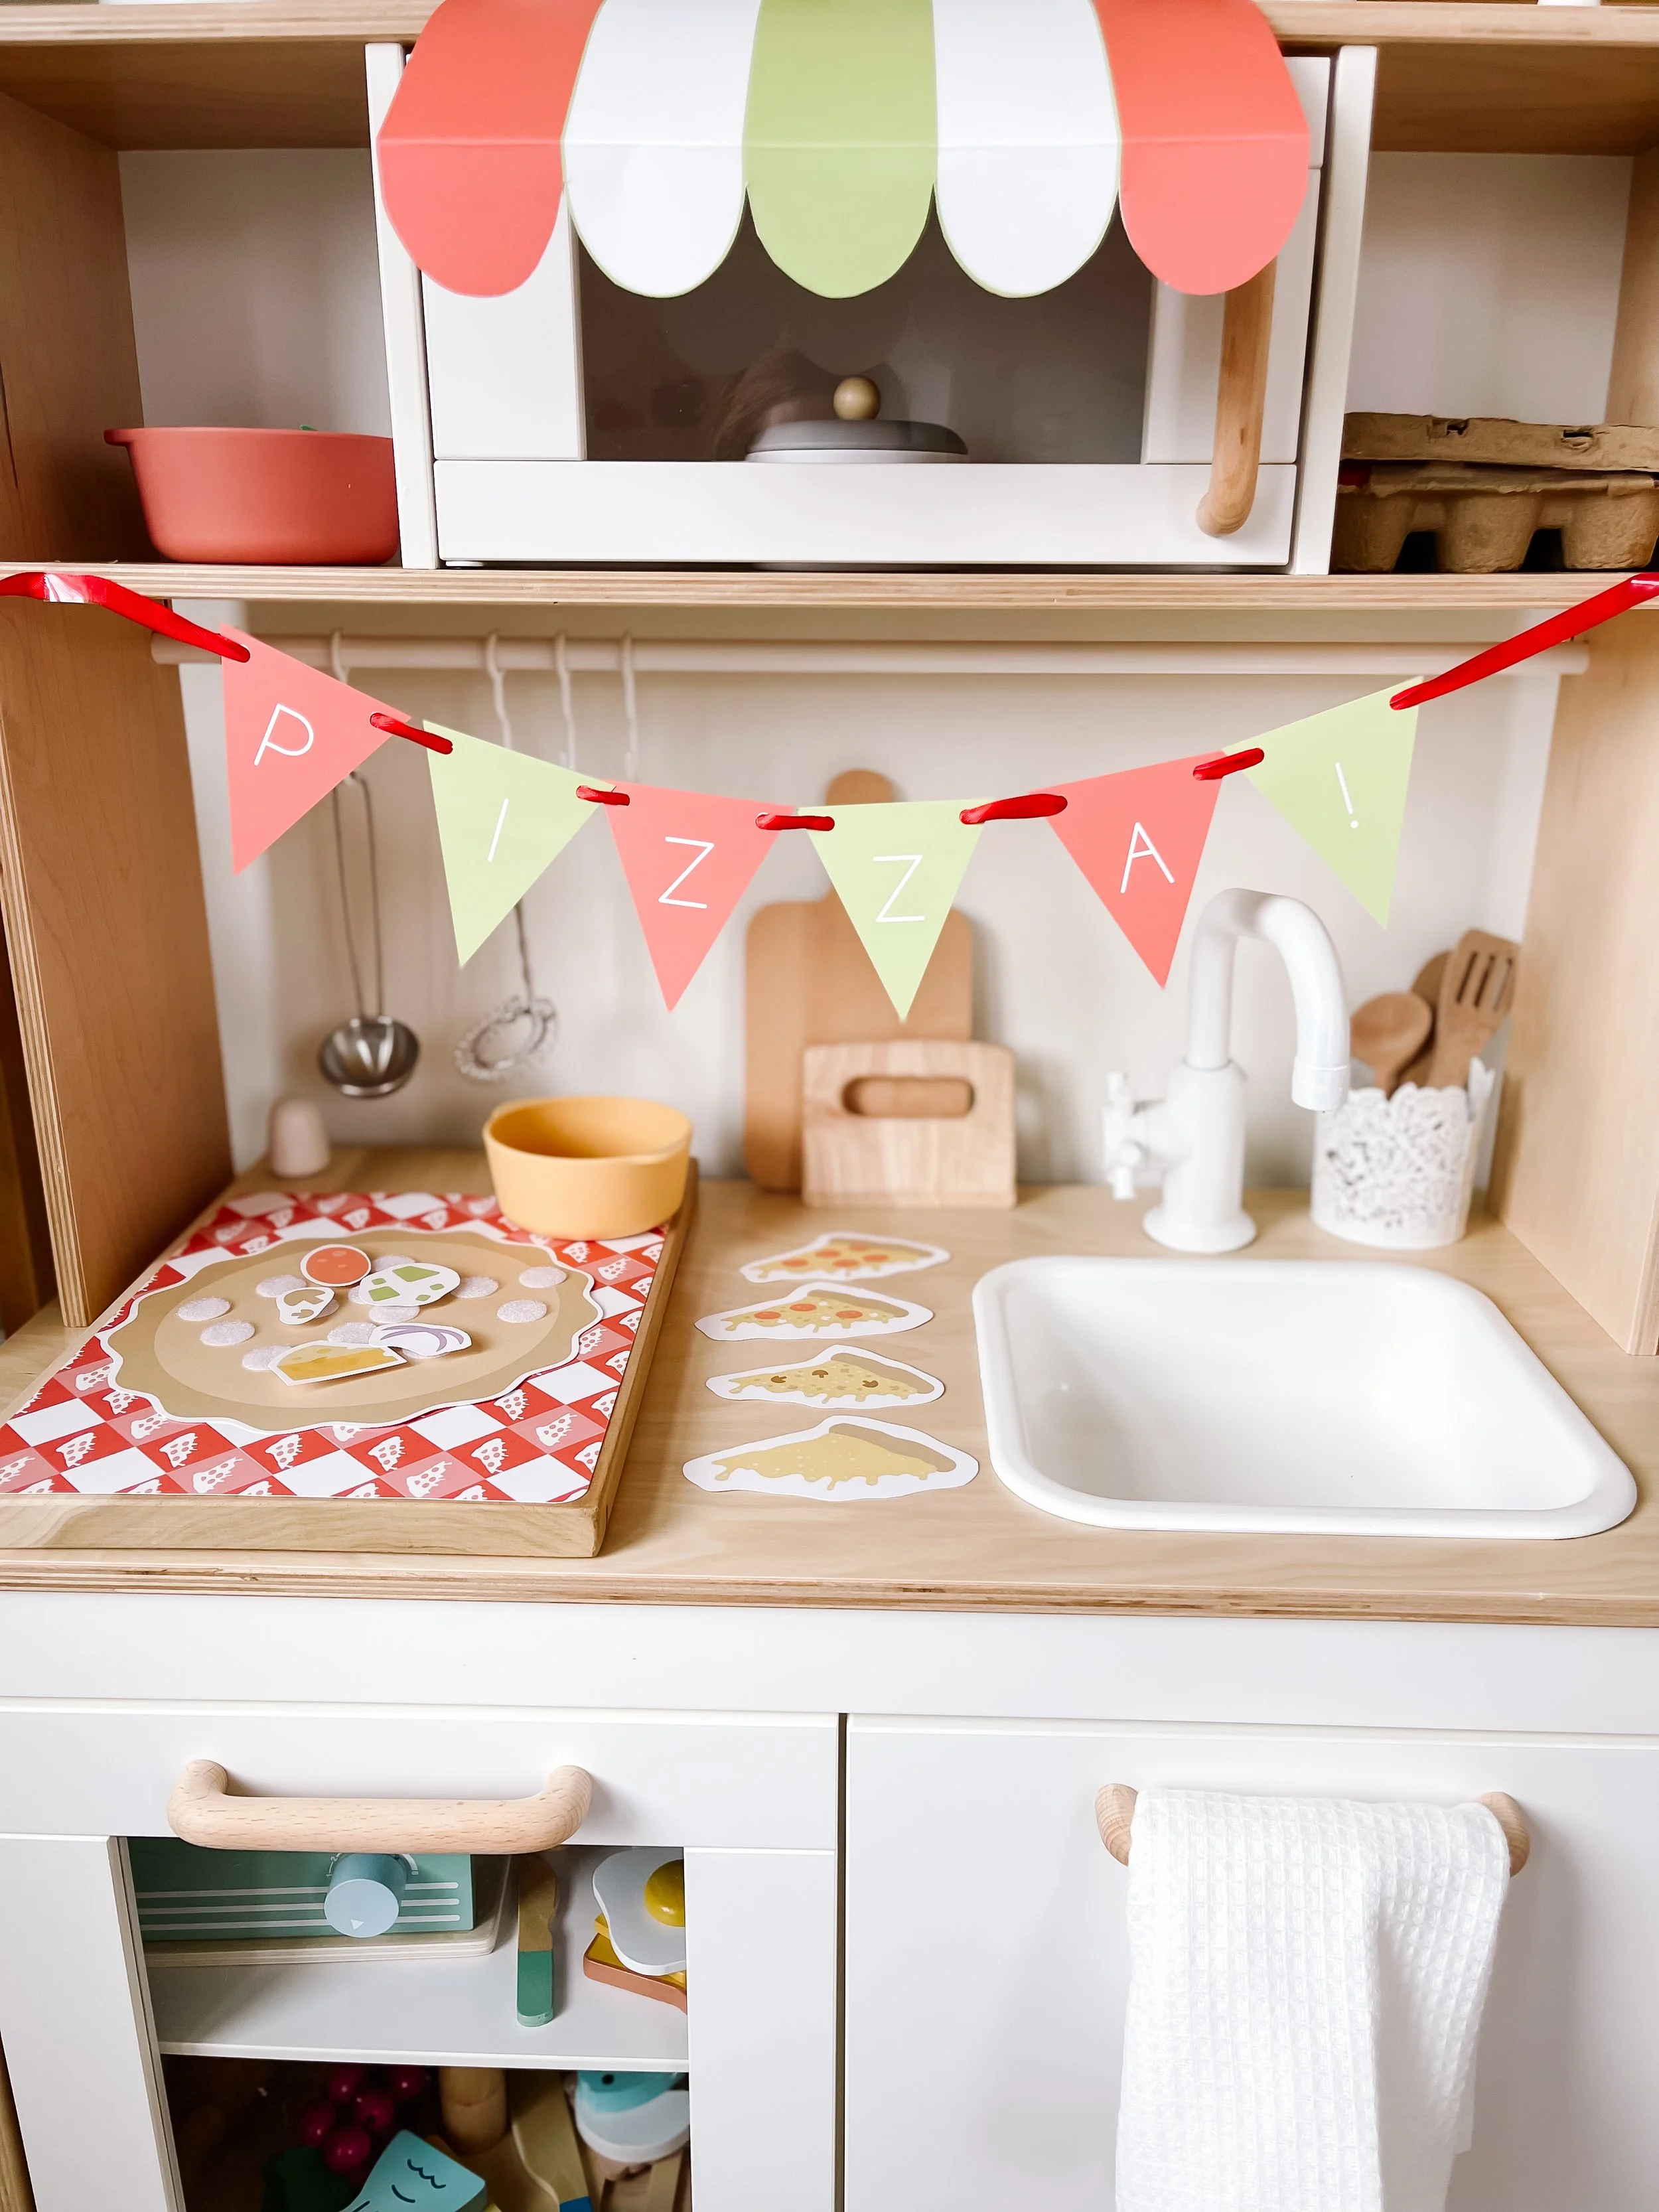
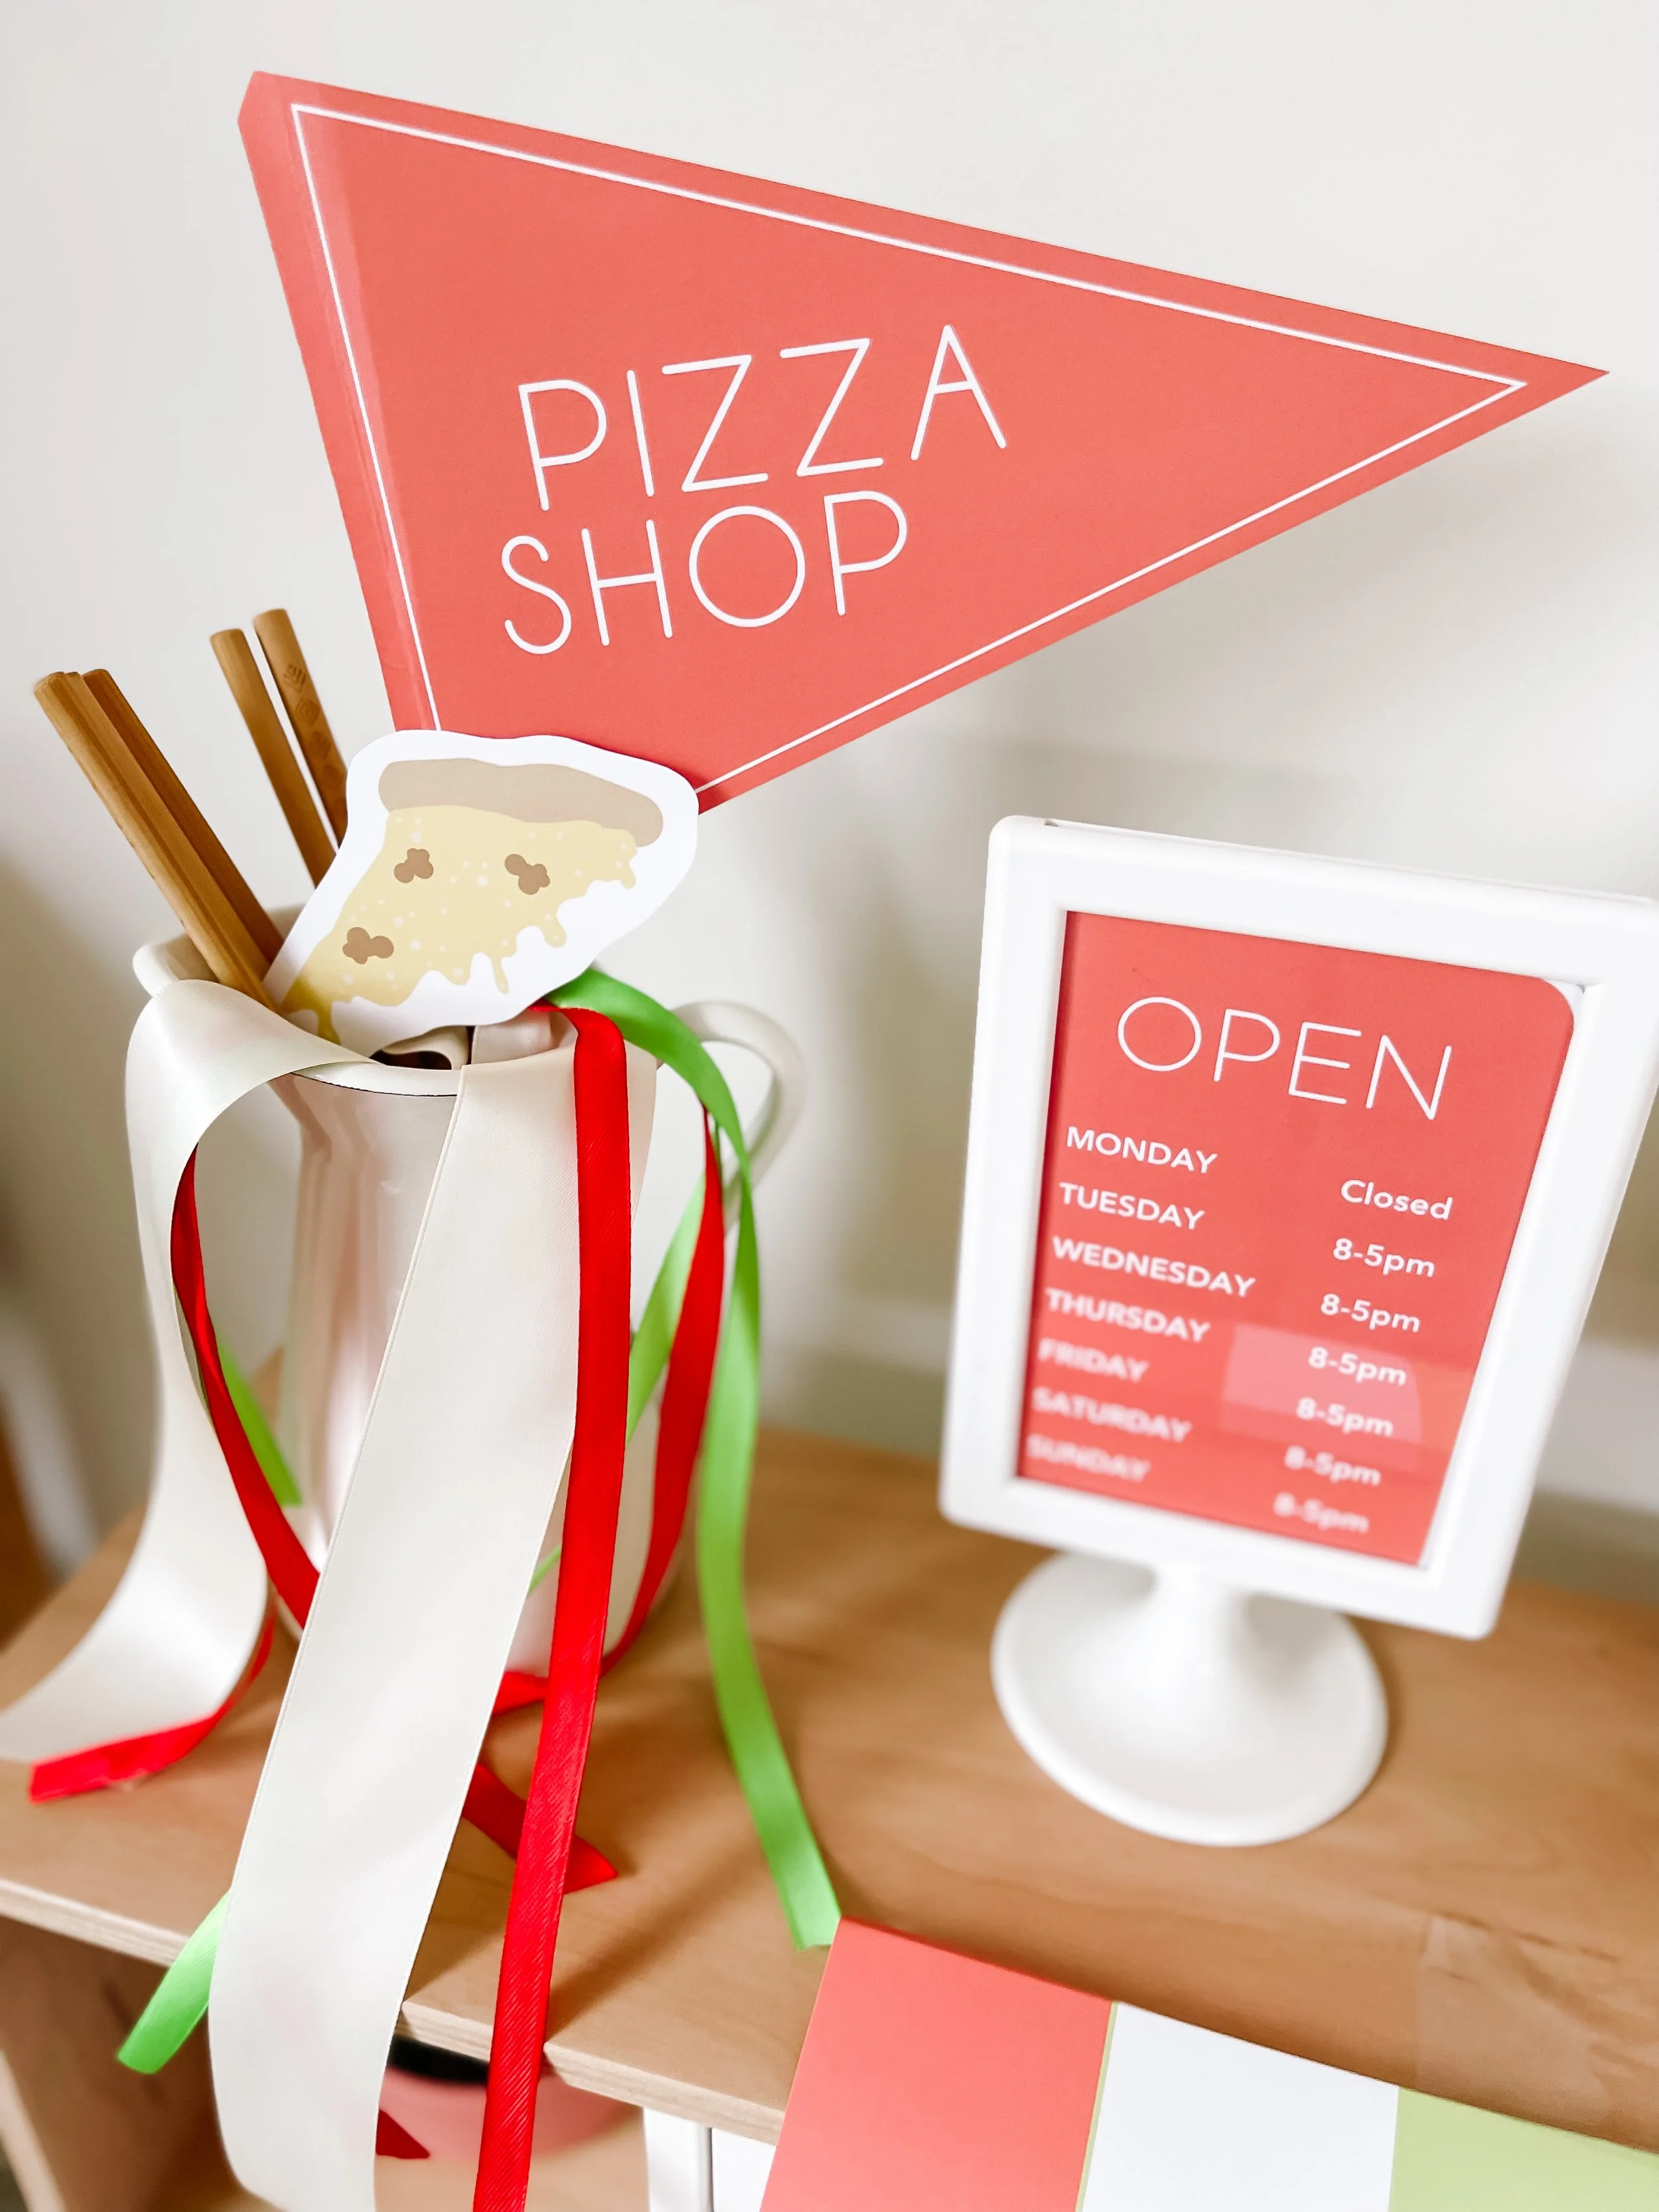
Immerse children in the joy of creative play by adorning your pizza shop with GoodnightFox's charming printables. Craft an inviting atmosphere with an awning, banner, flag, and tablecloth, setting the stage for a sensory adventure that will delight and engage young minds.

IMG_5676_jpg.jpeg IMG_5638.jpeg IMG_5677.jpeg IMG_5644_jpg.jpeg IMG_5639_jpg.jpeg

Building the Perfect Pizza

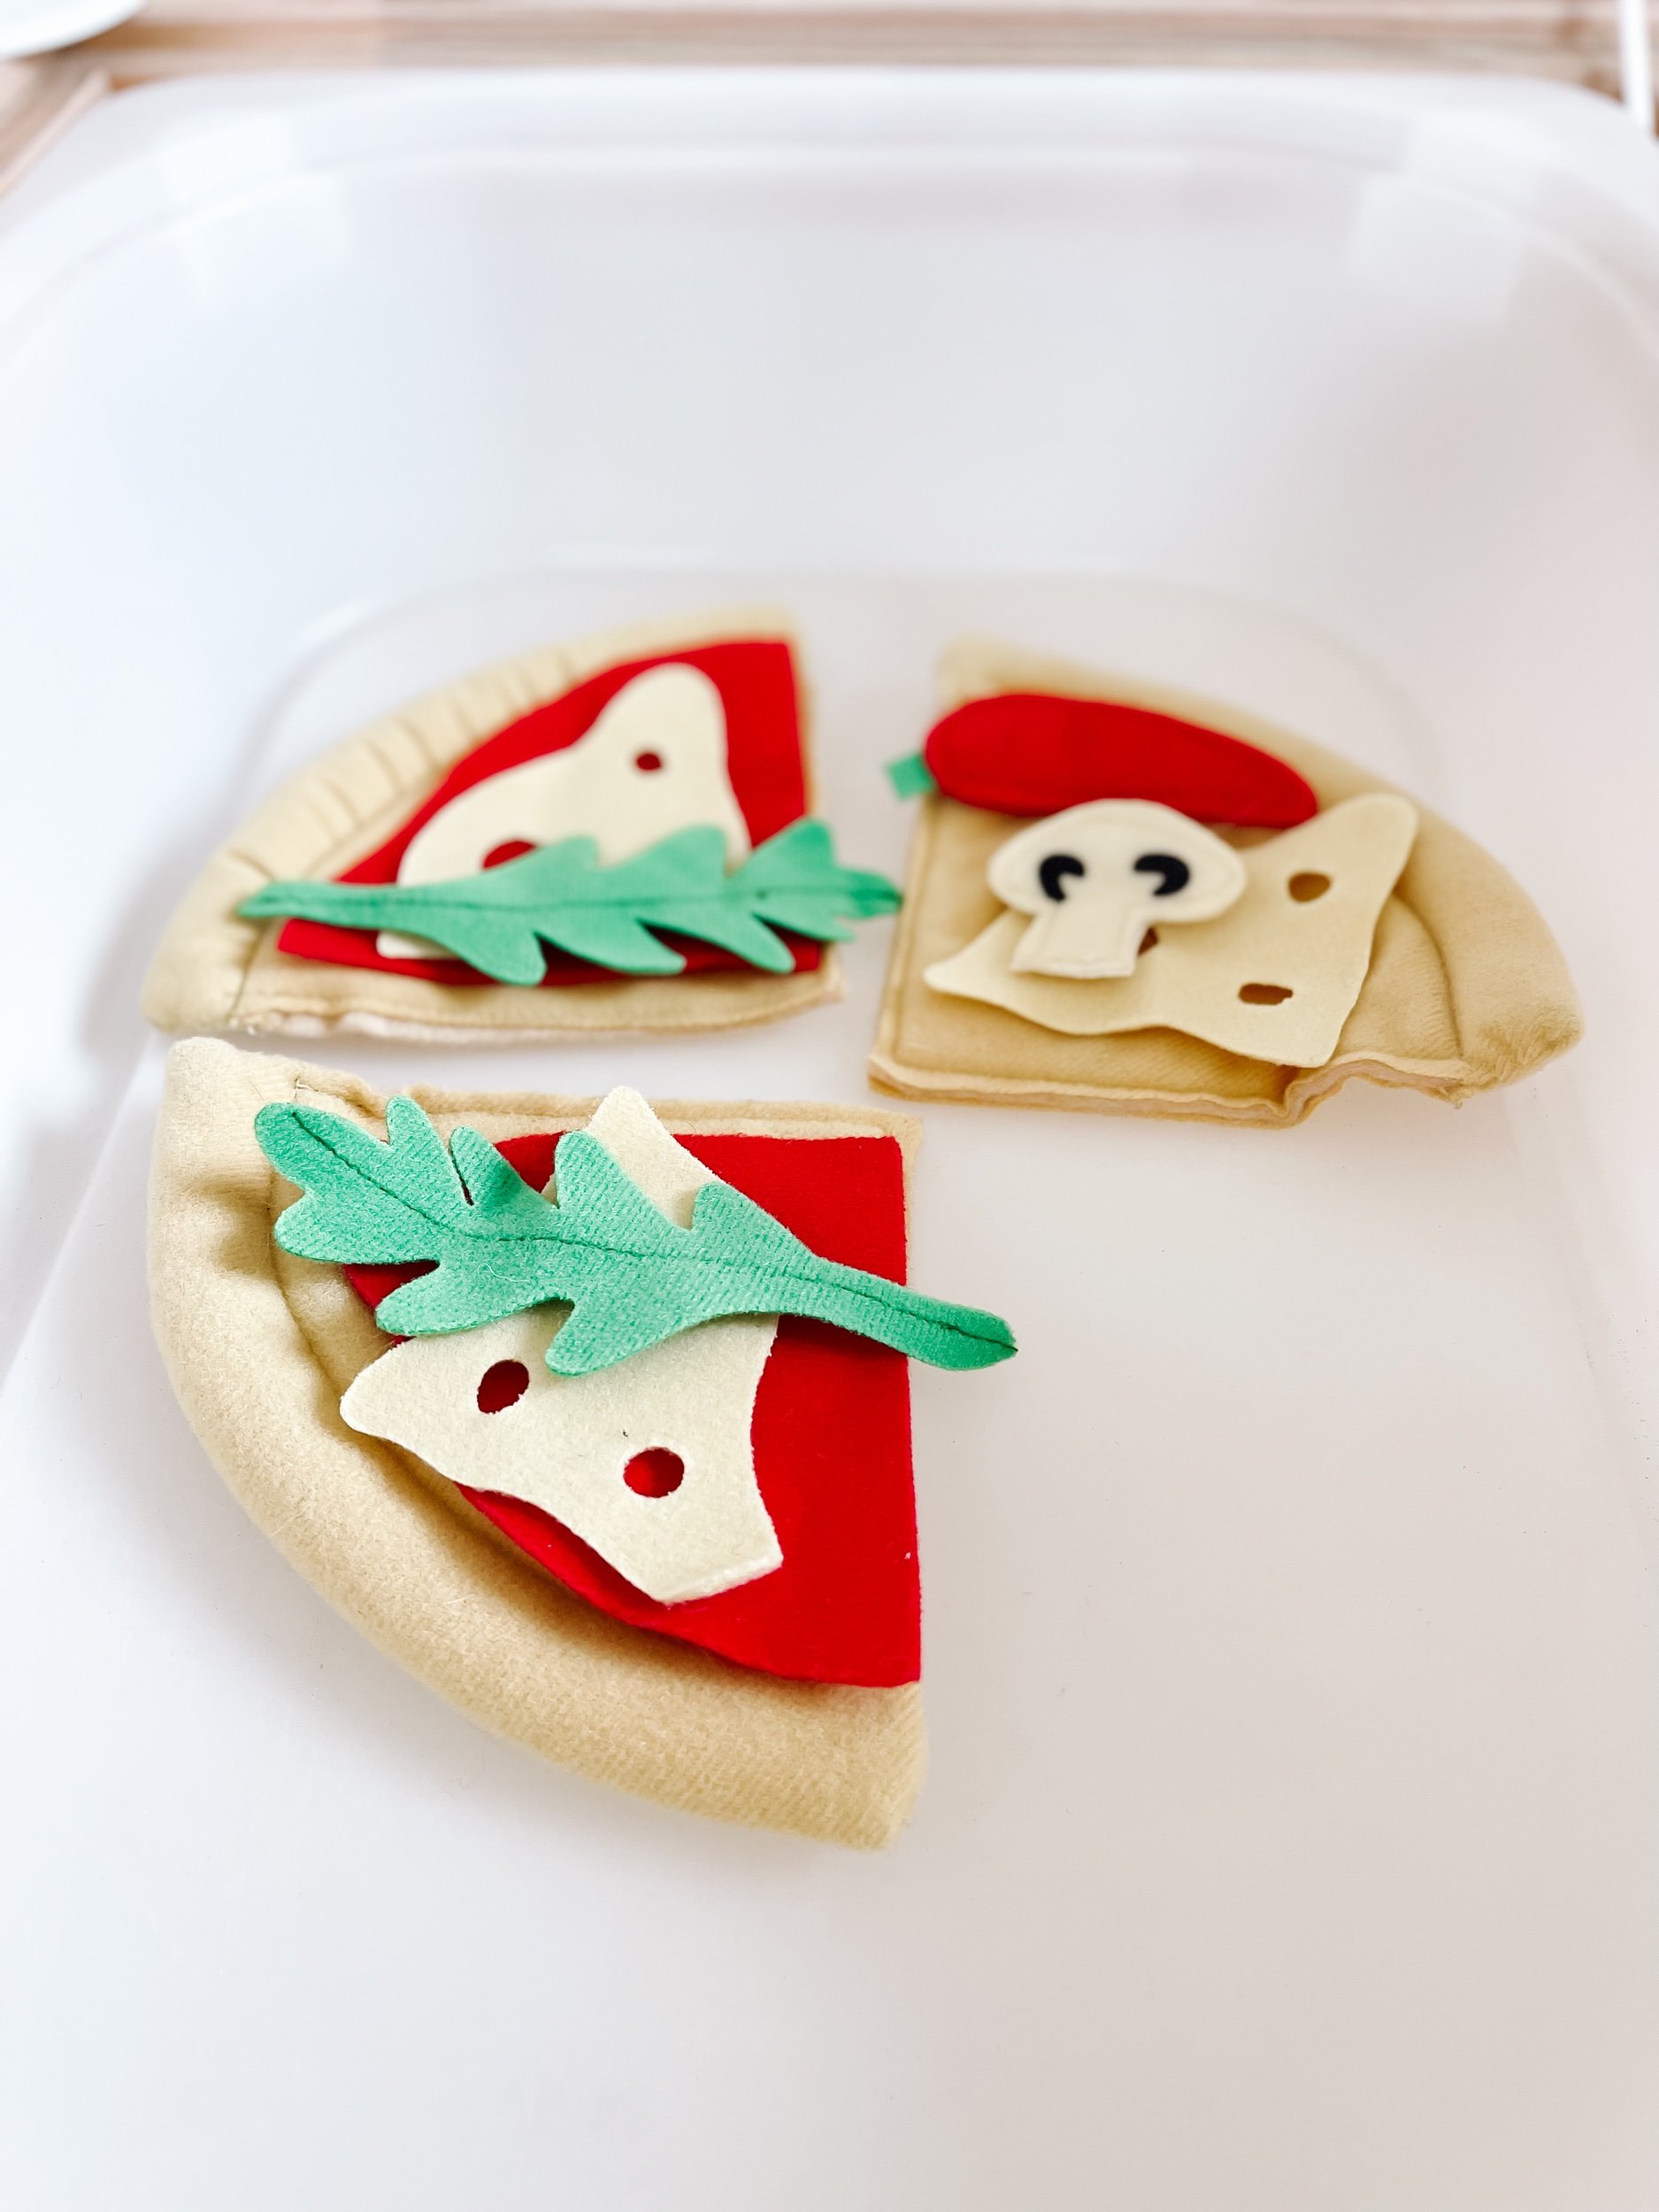
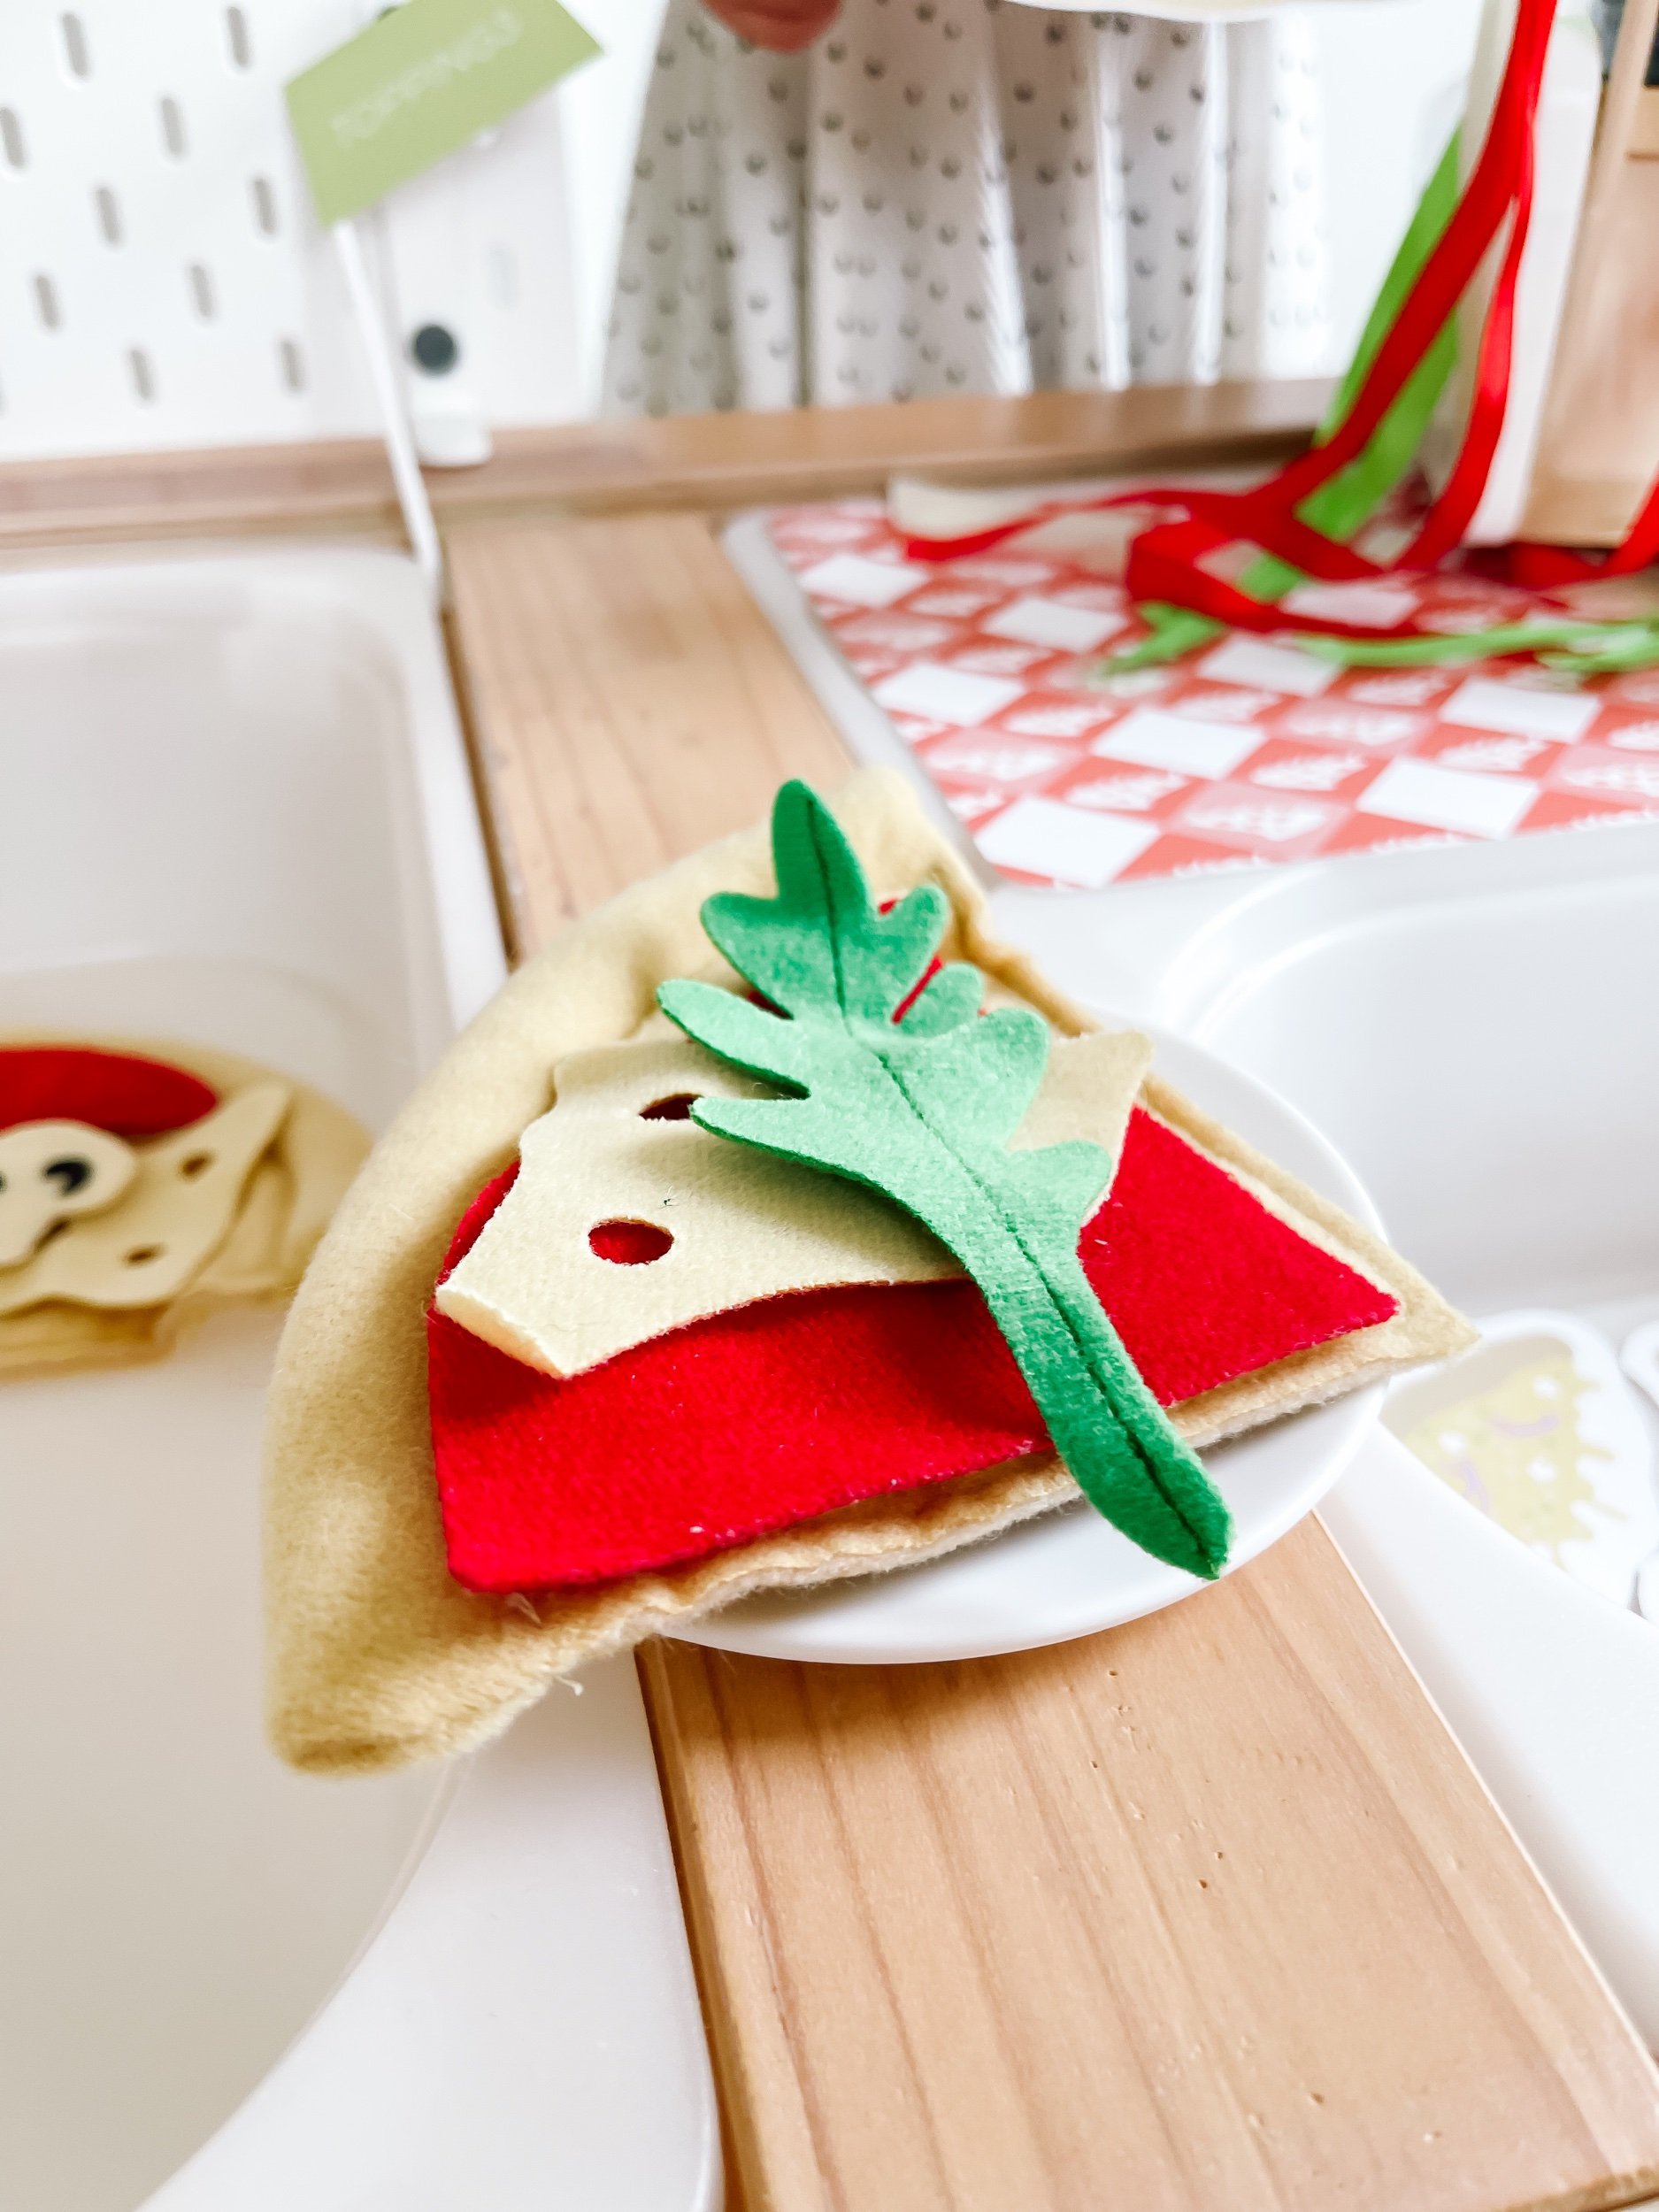
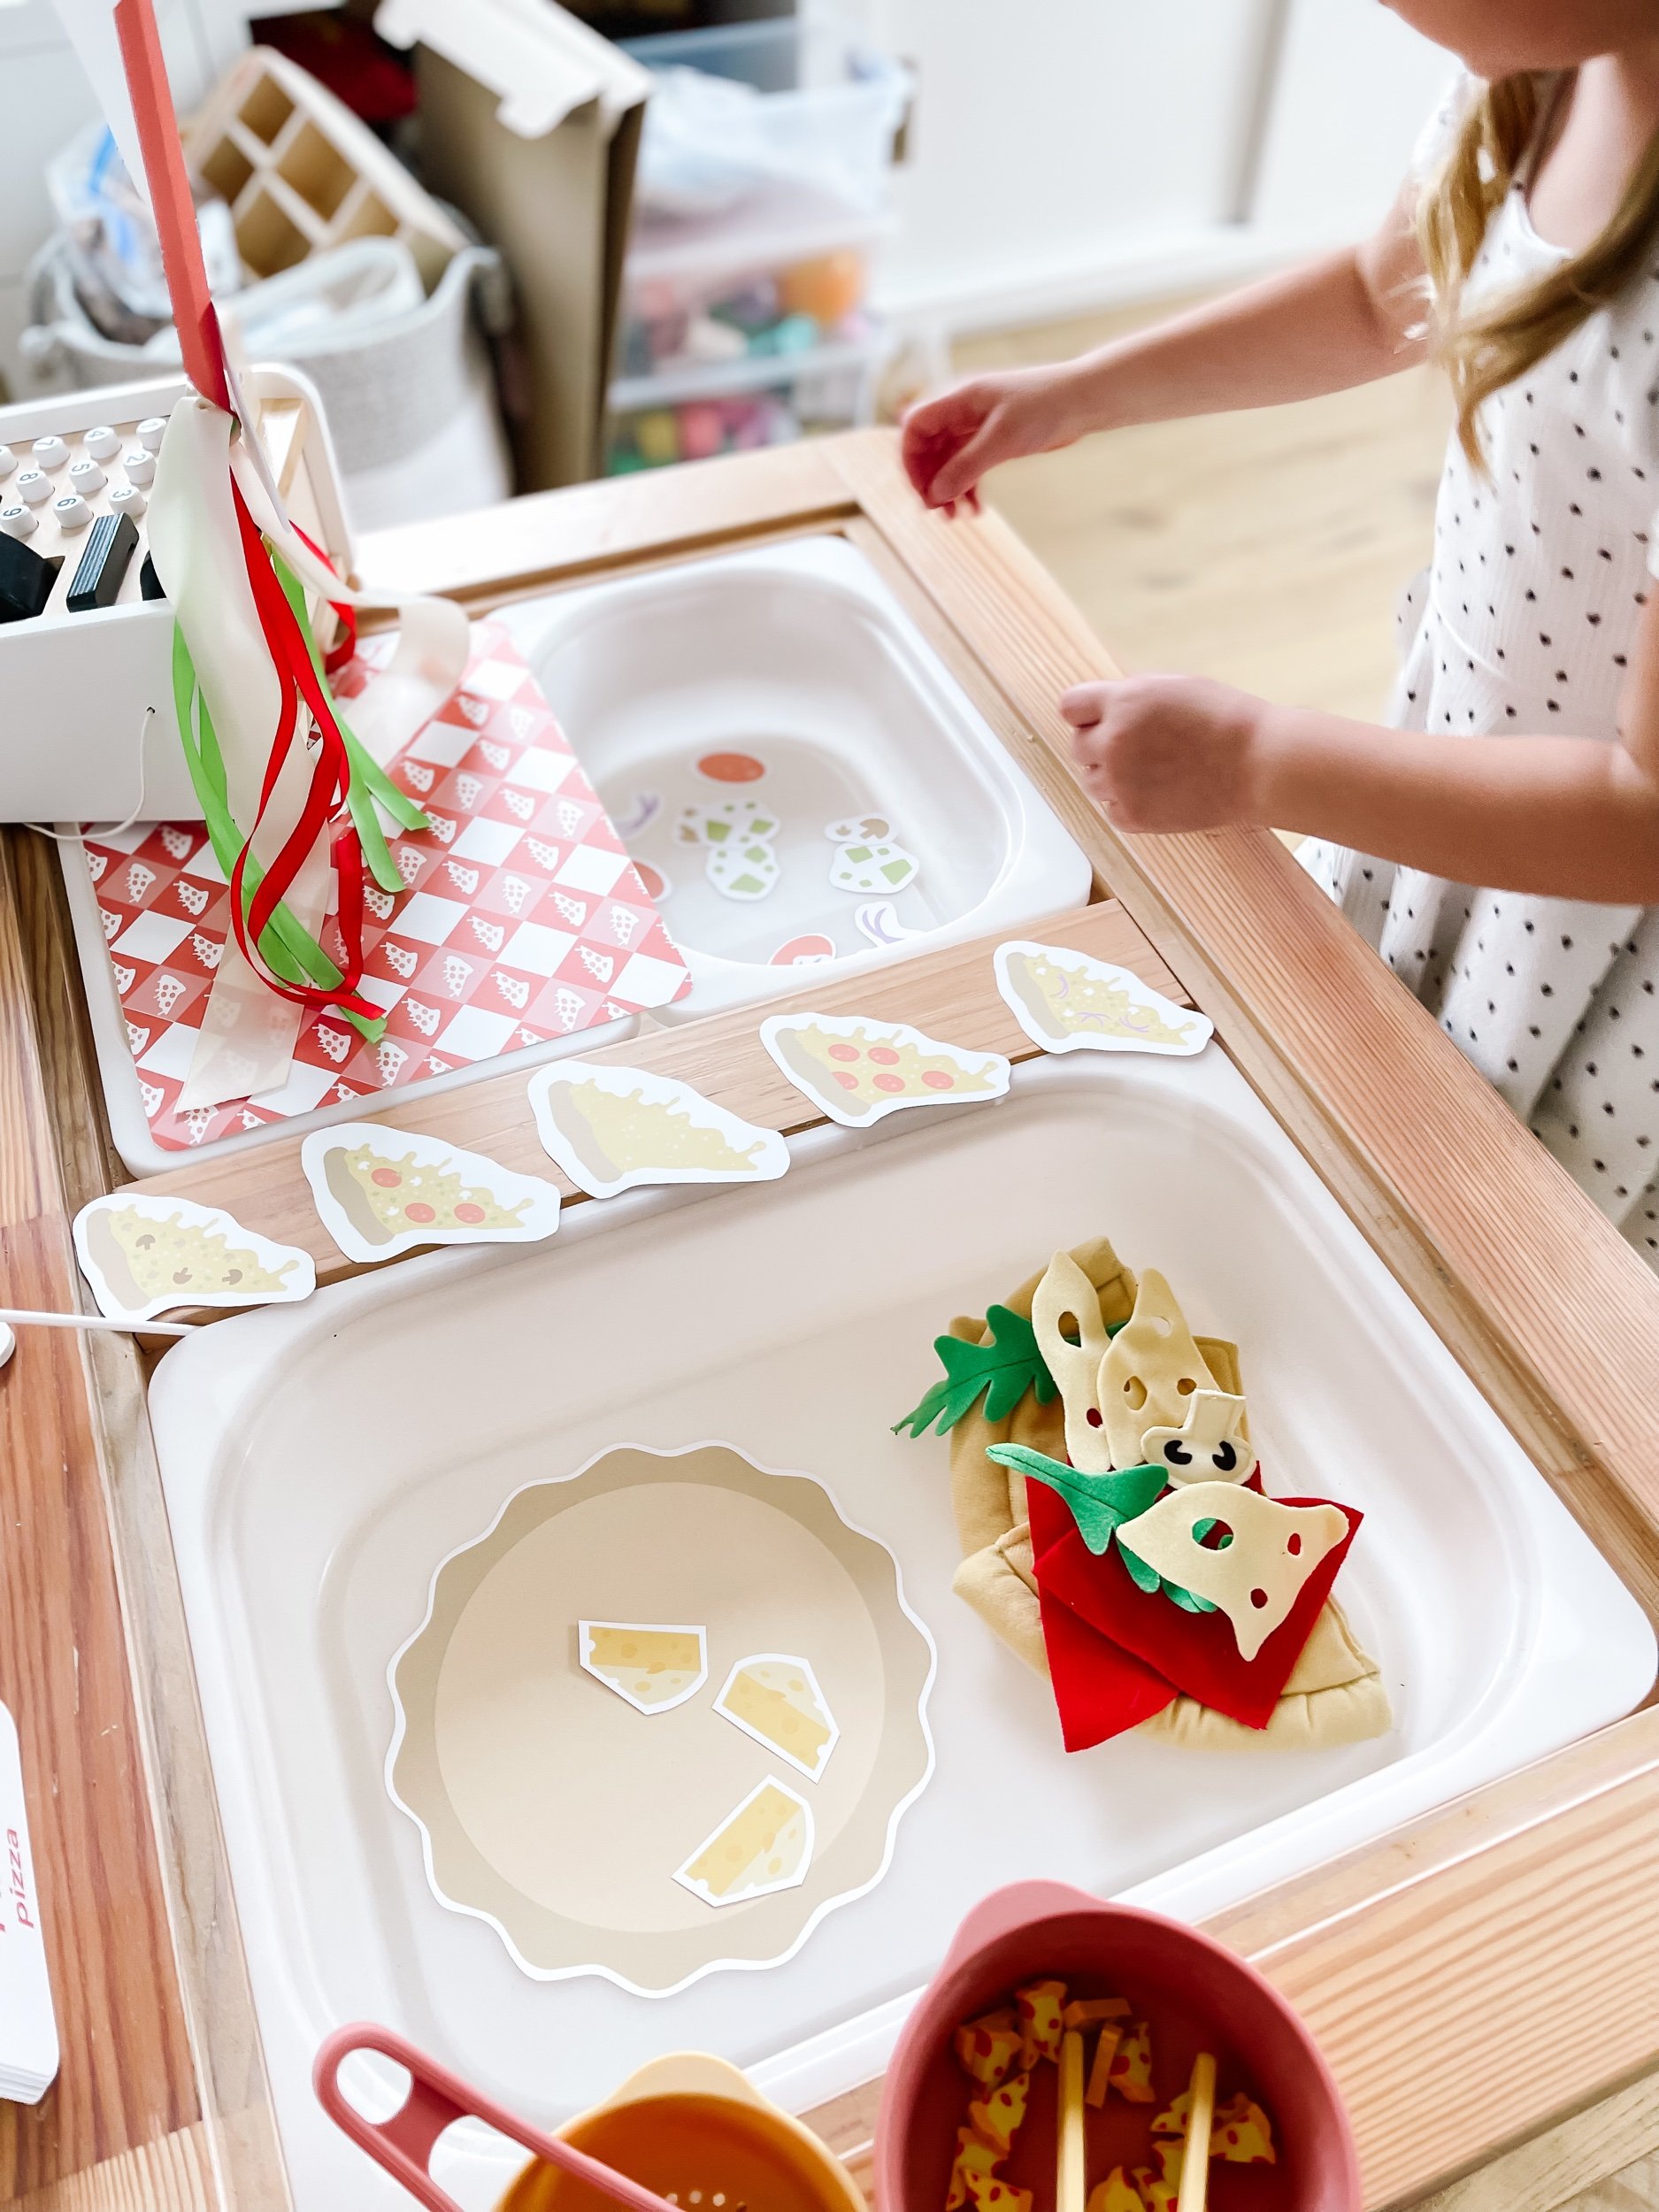
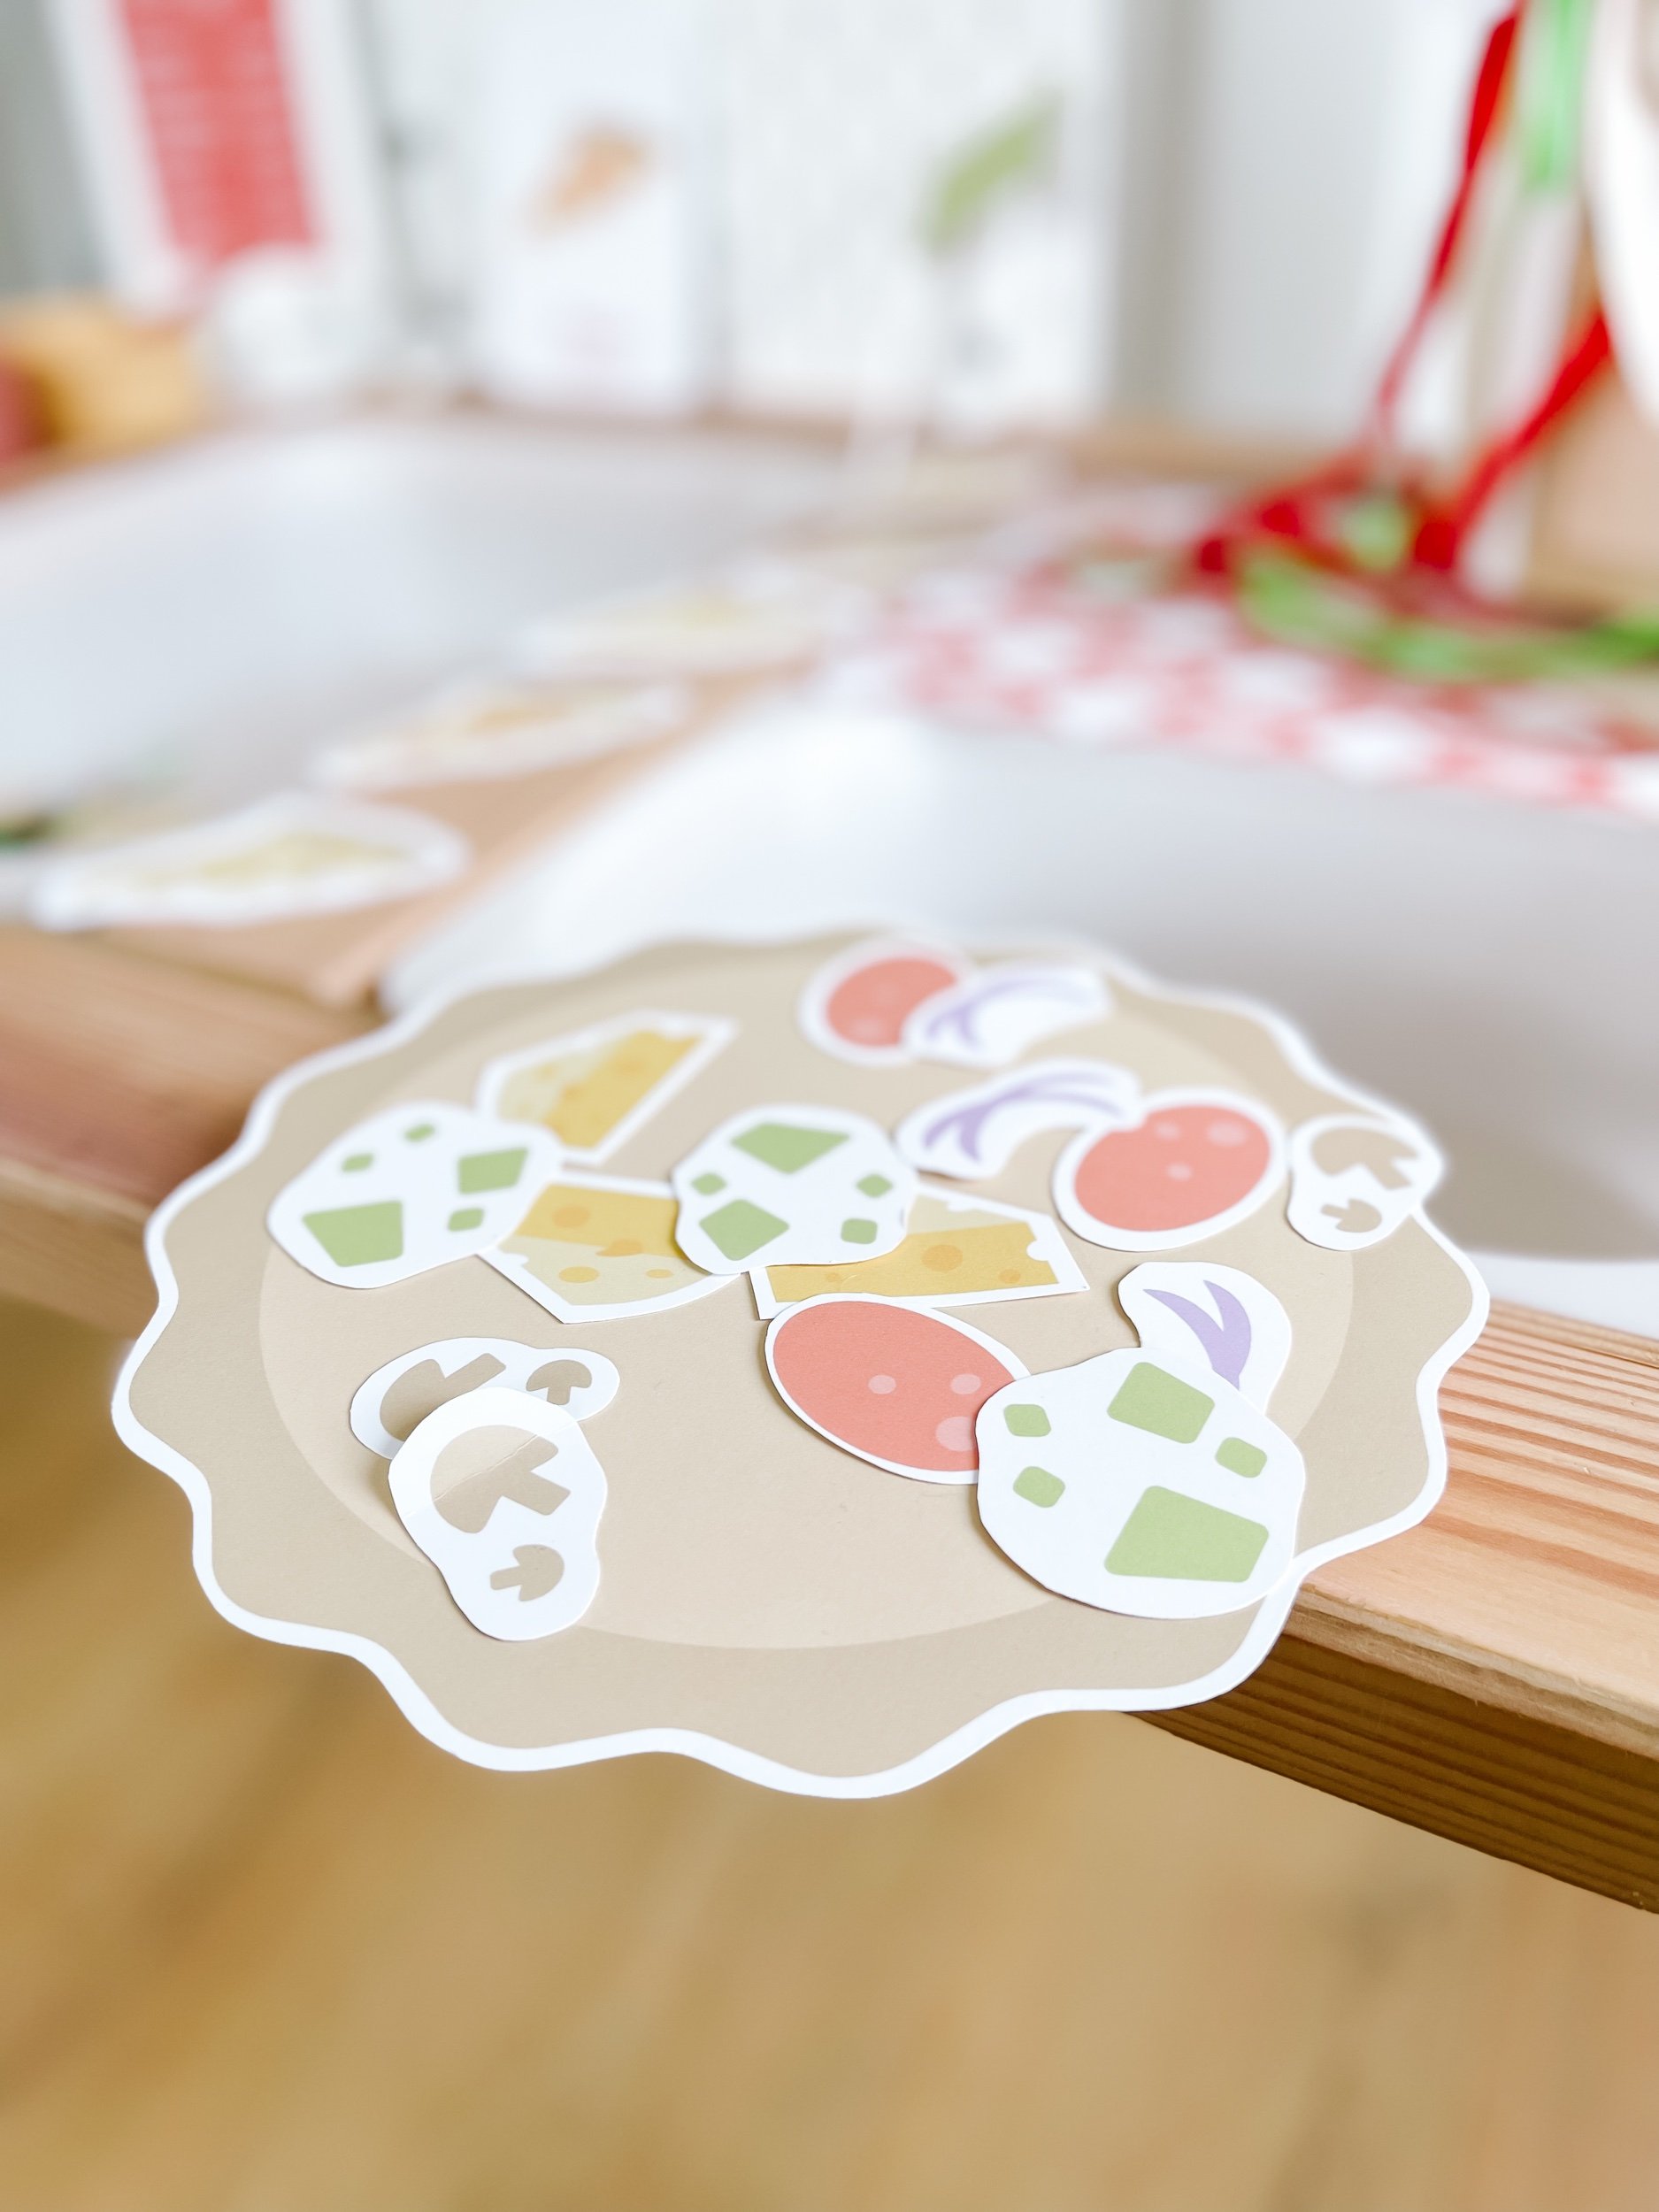
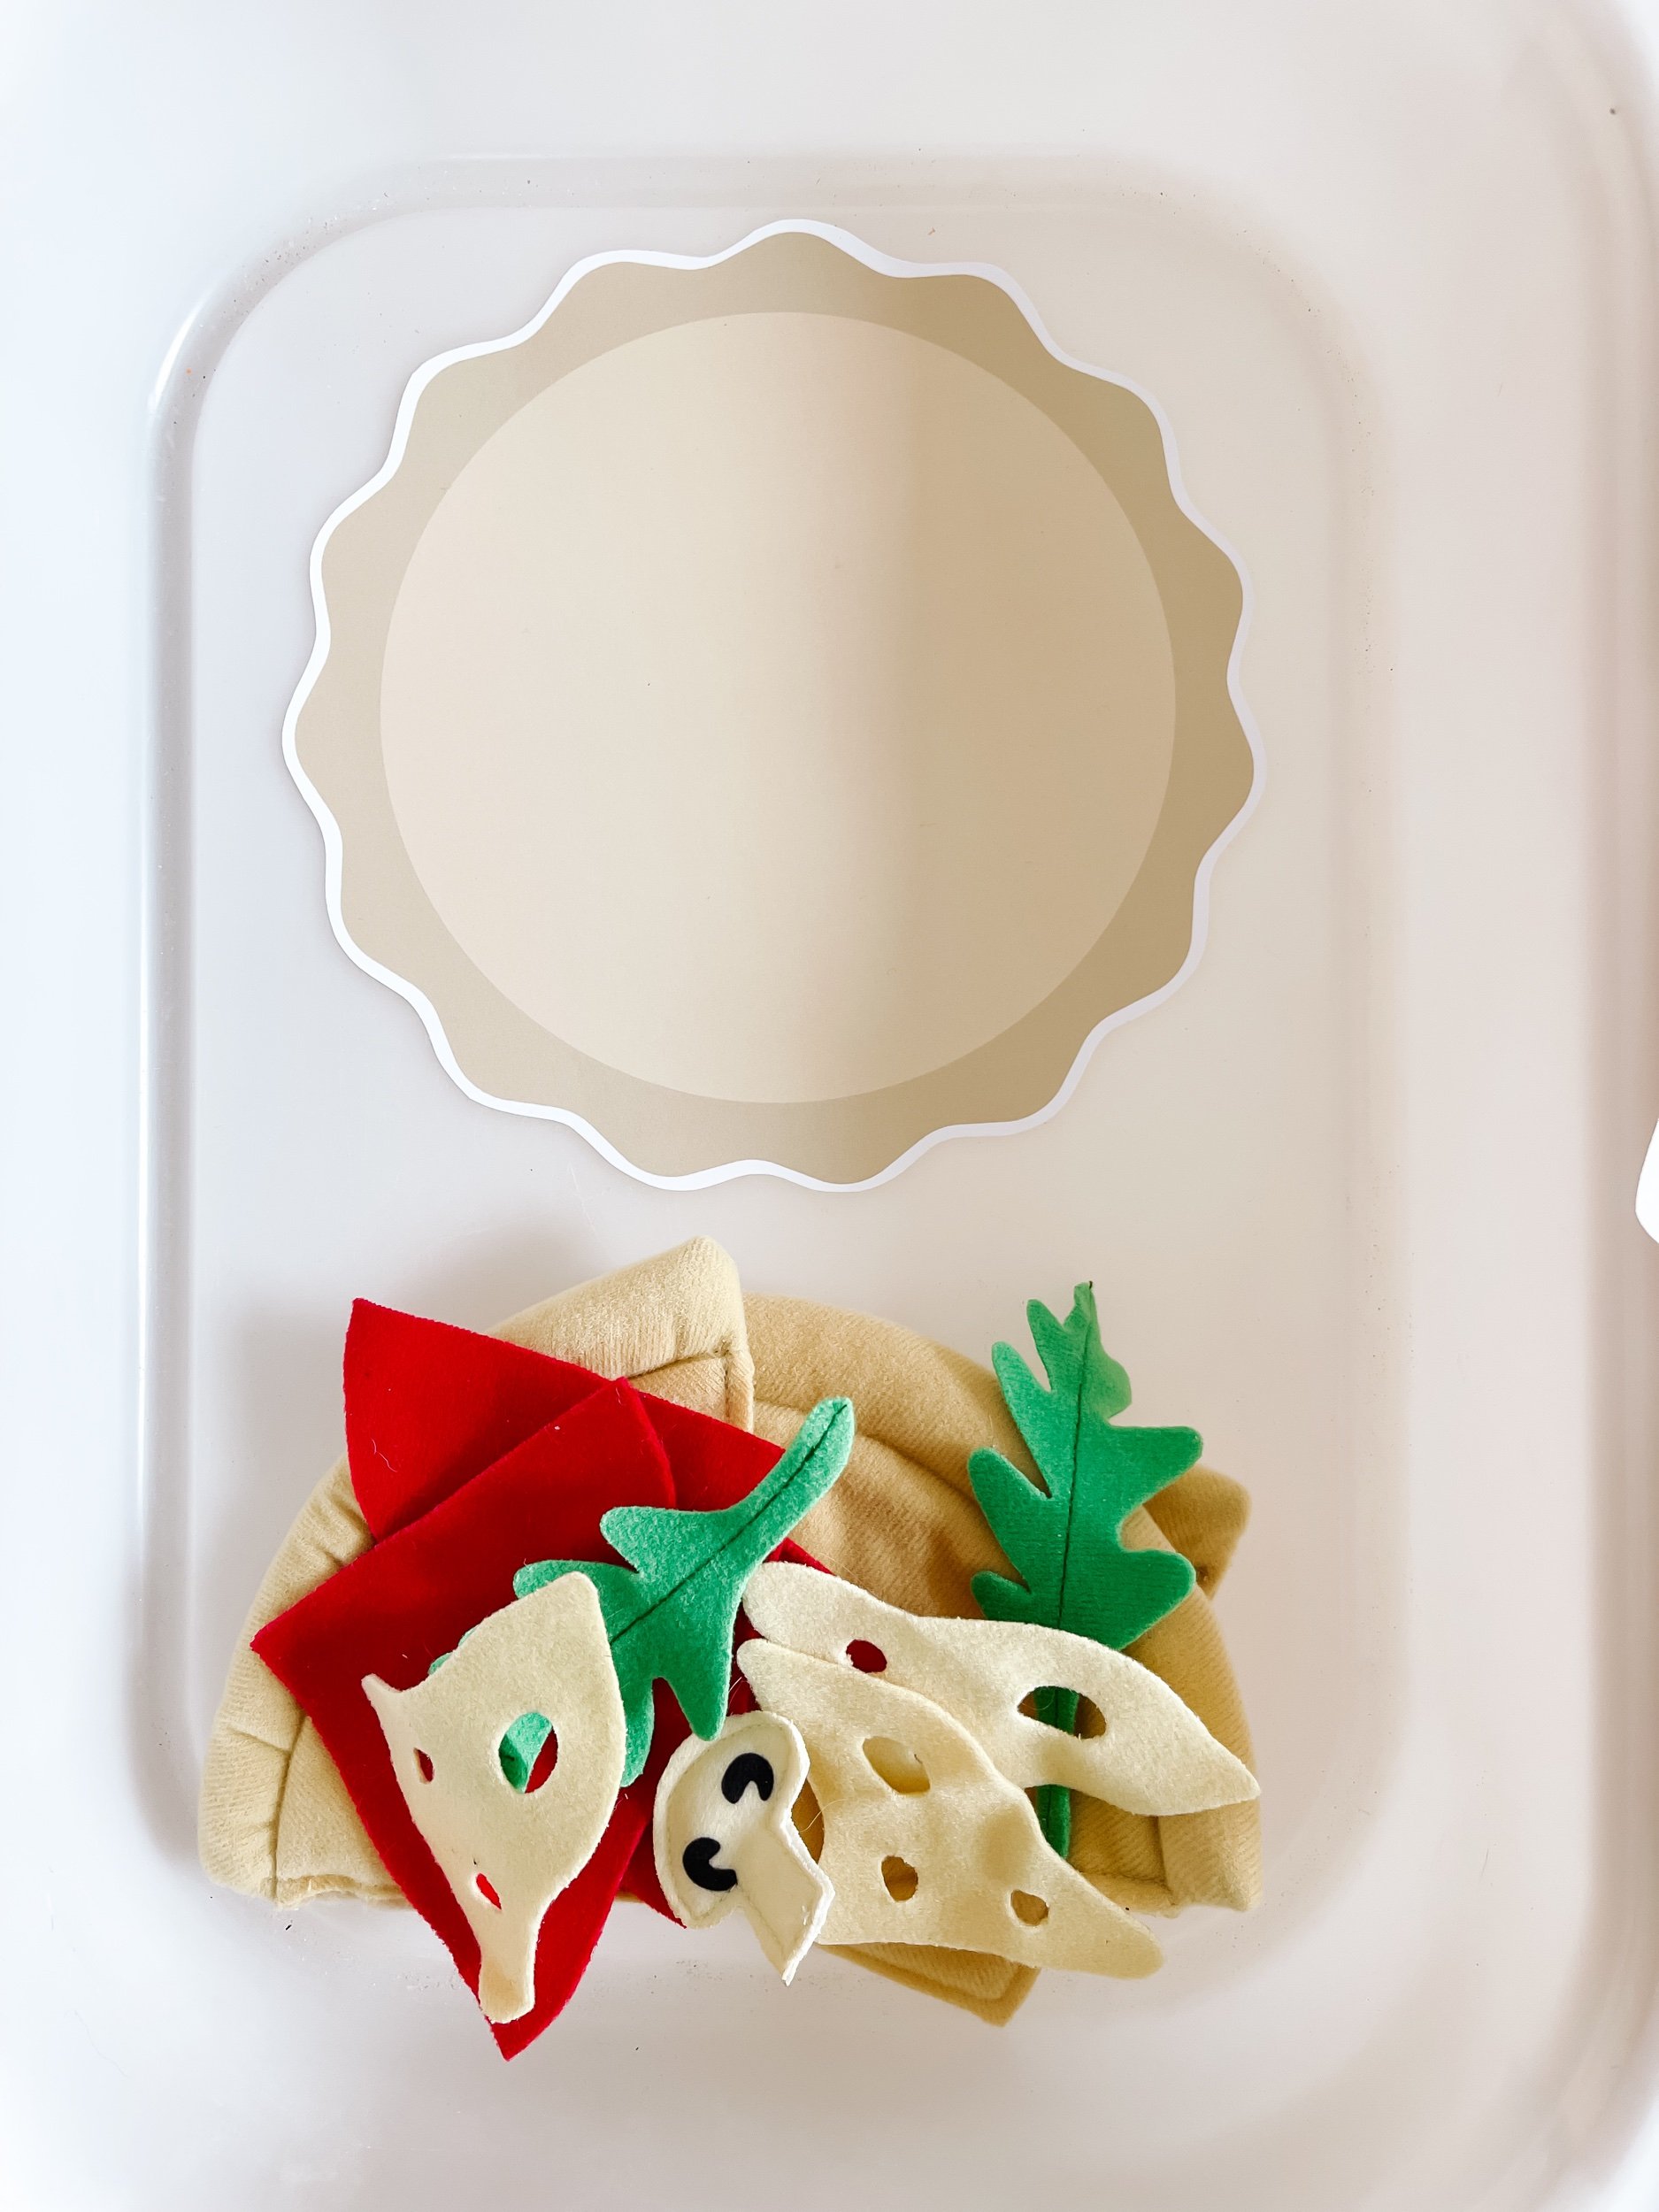
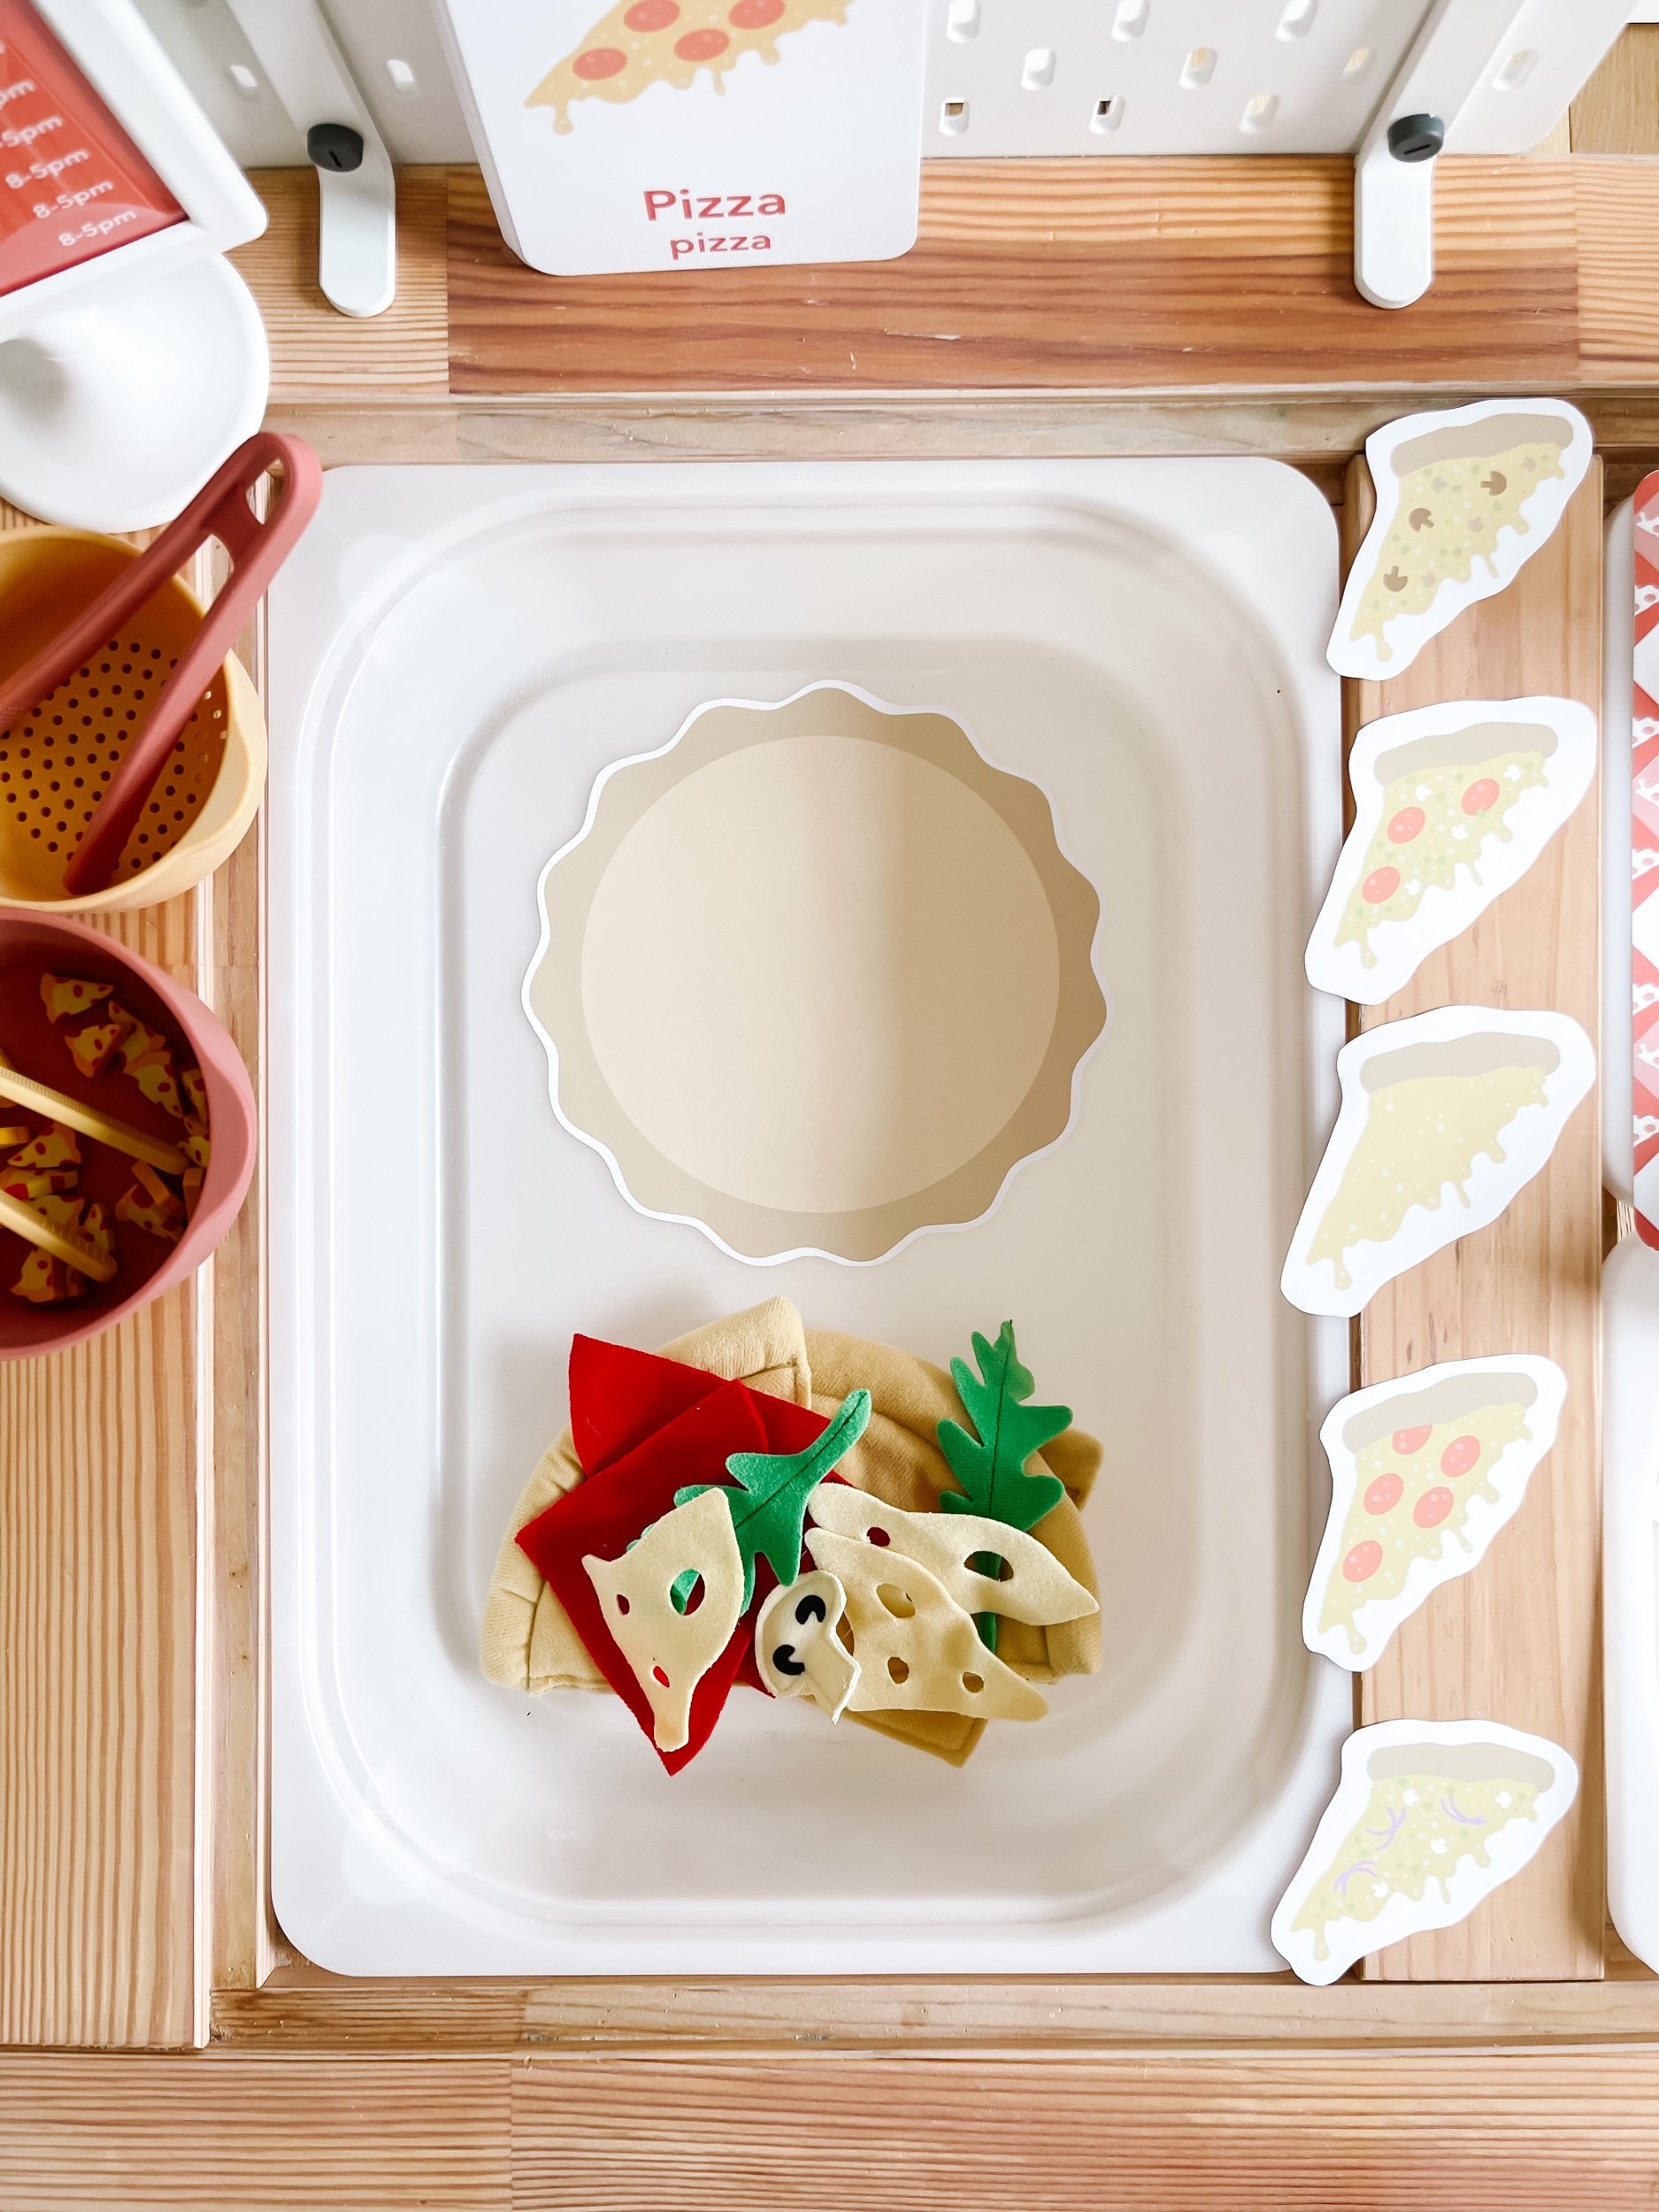
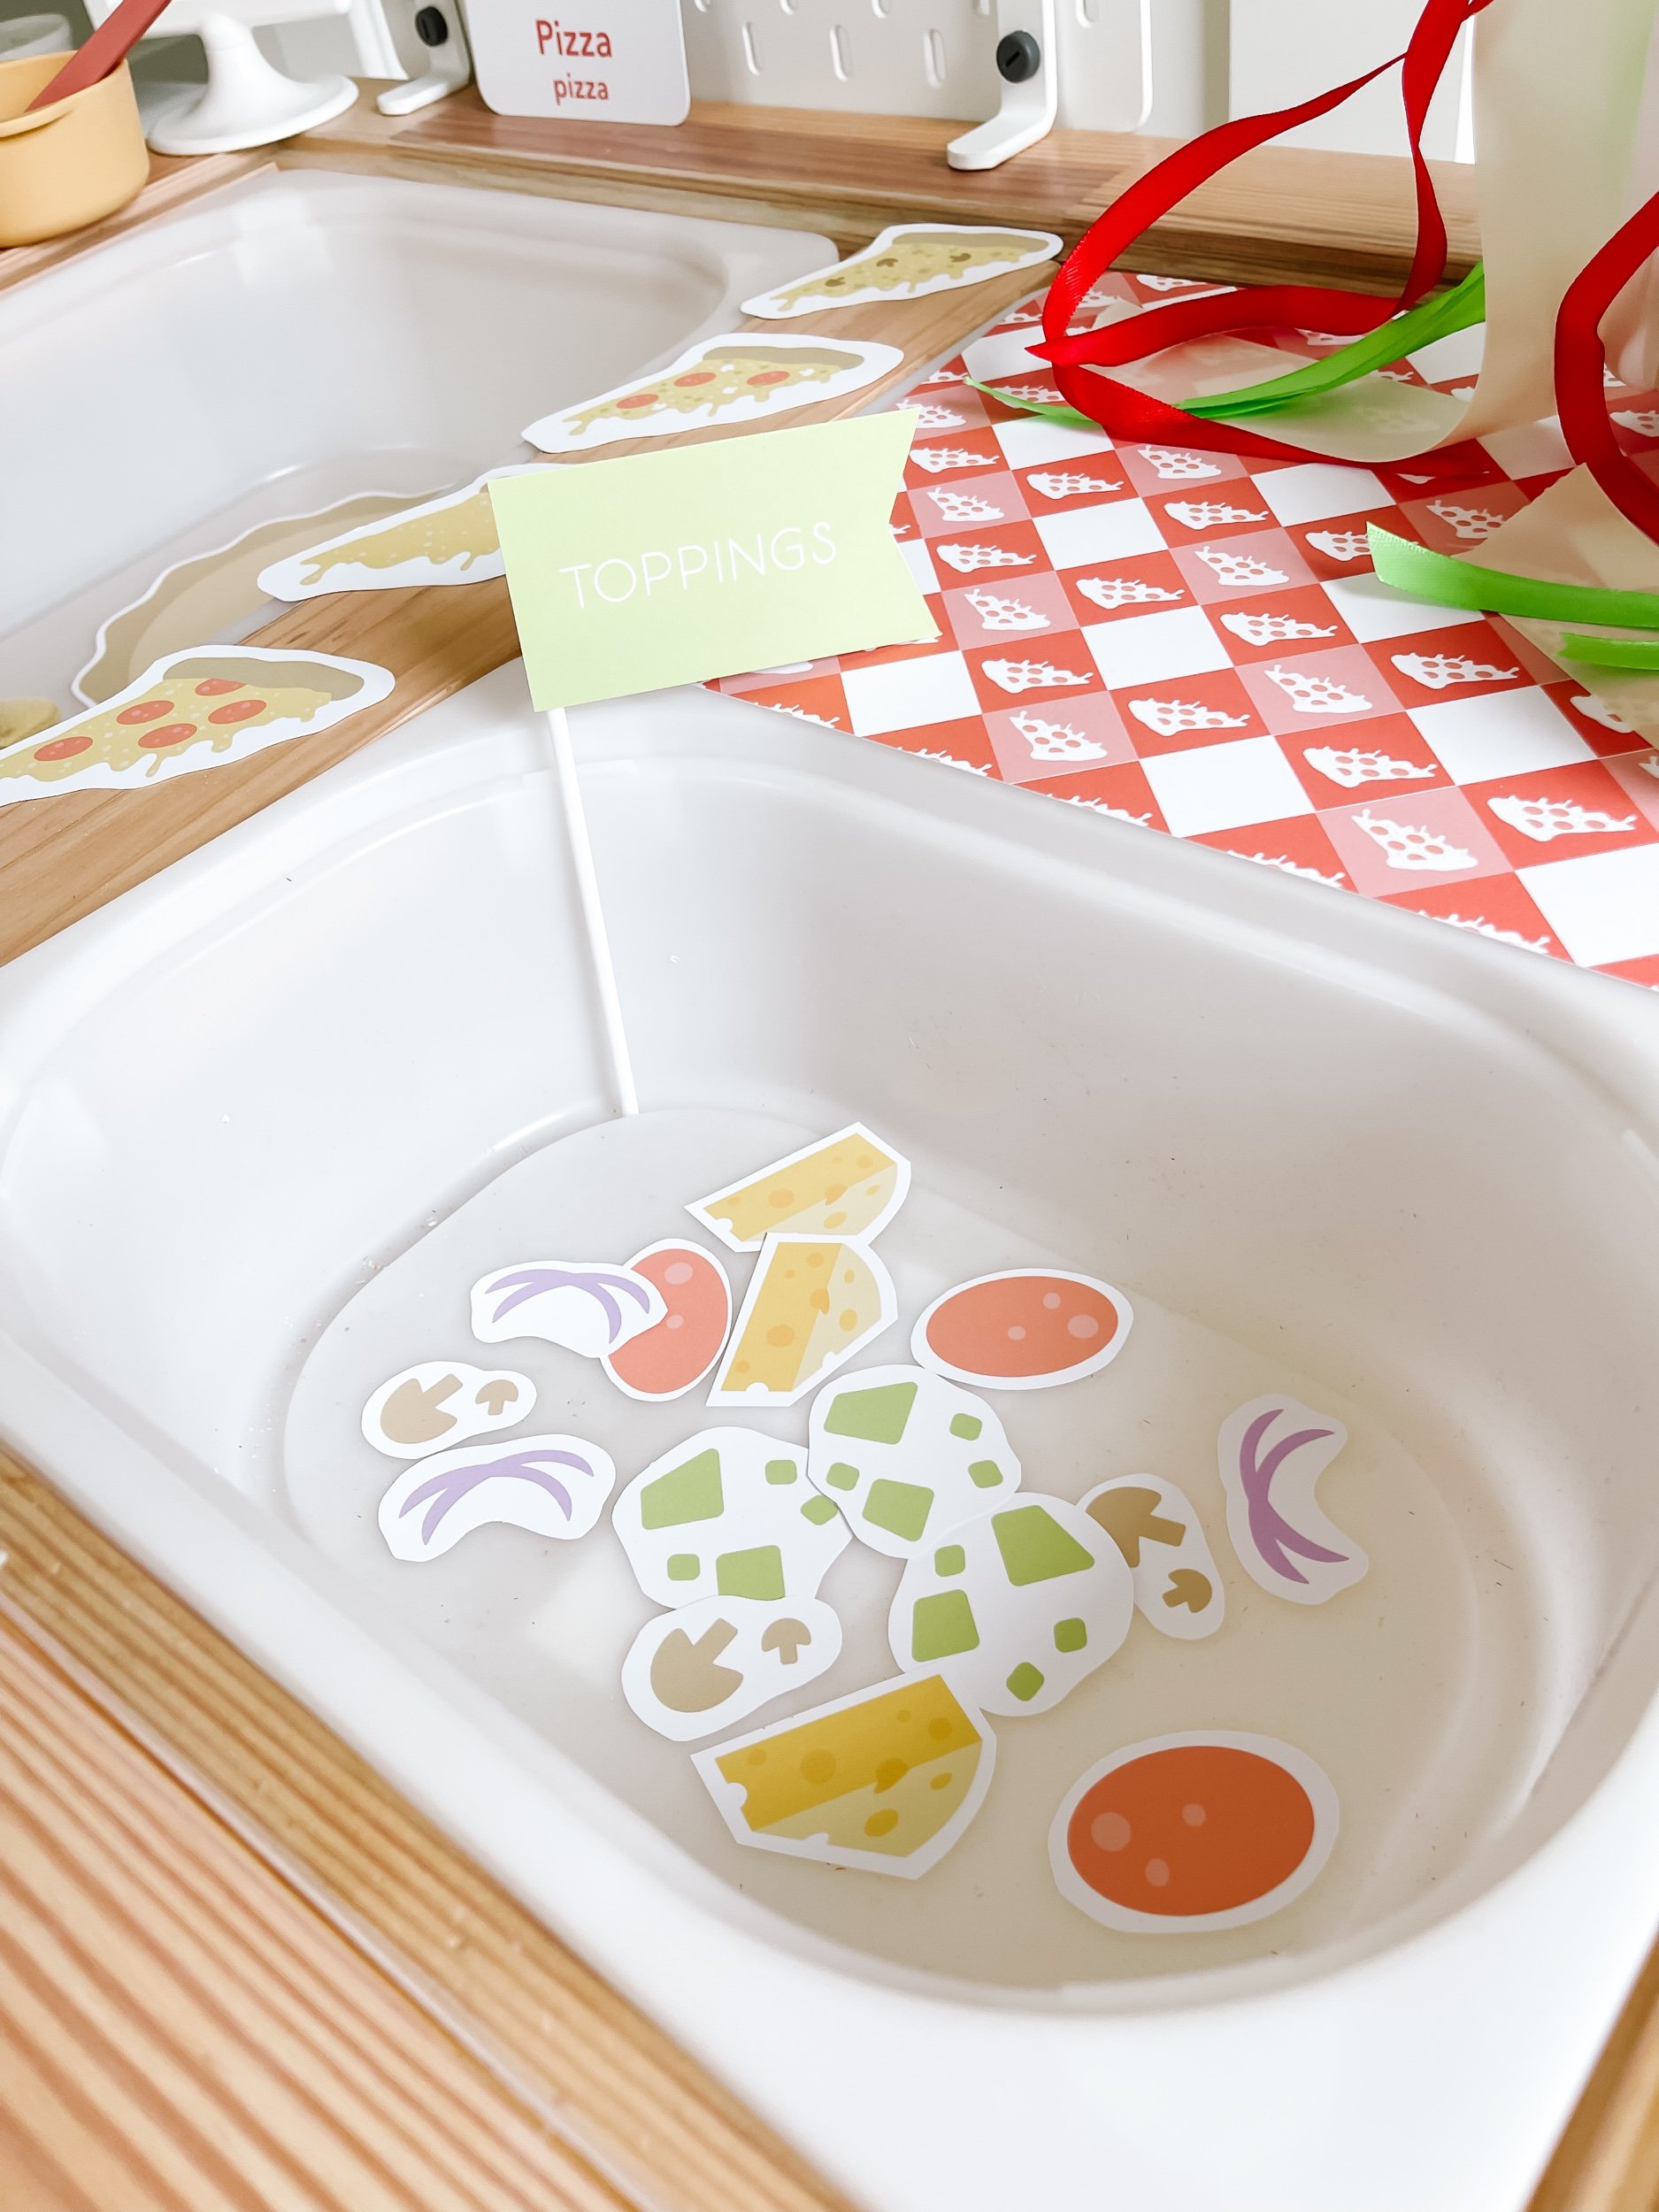
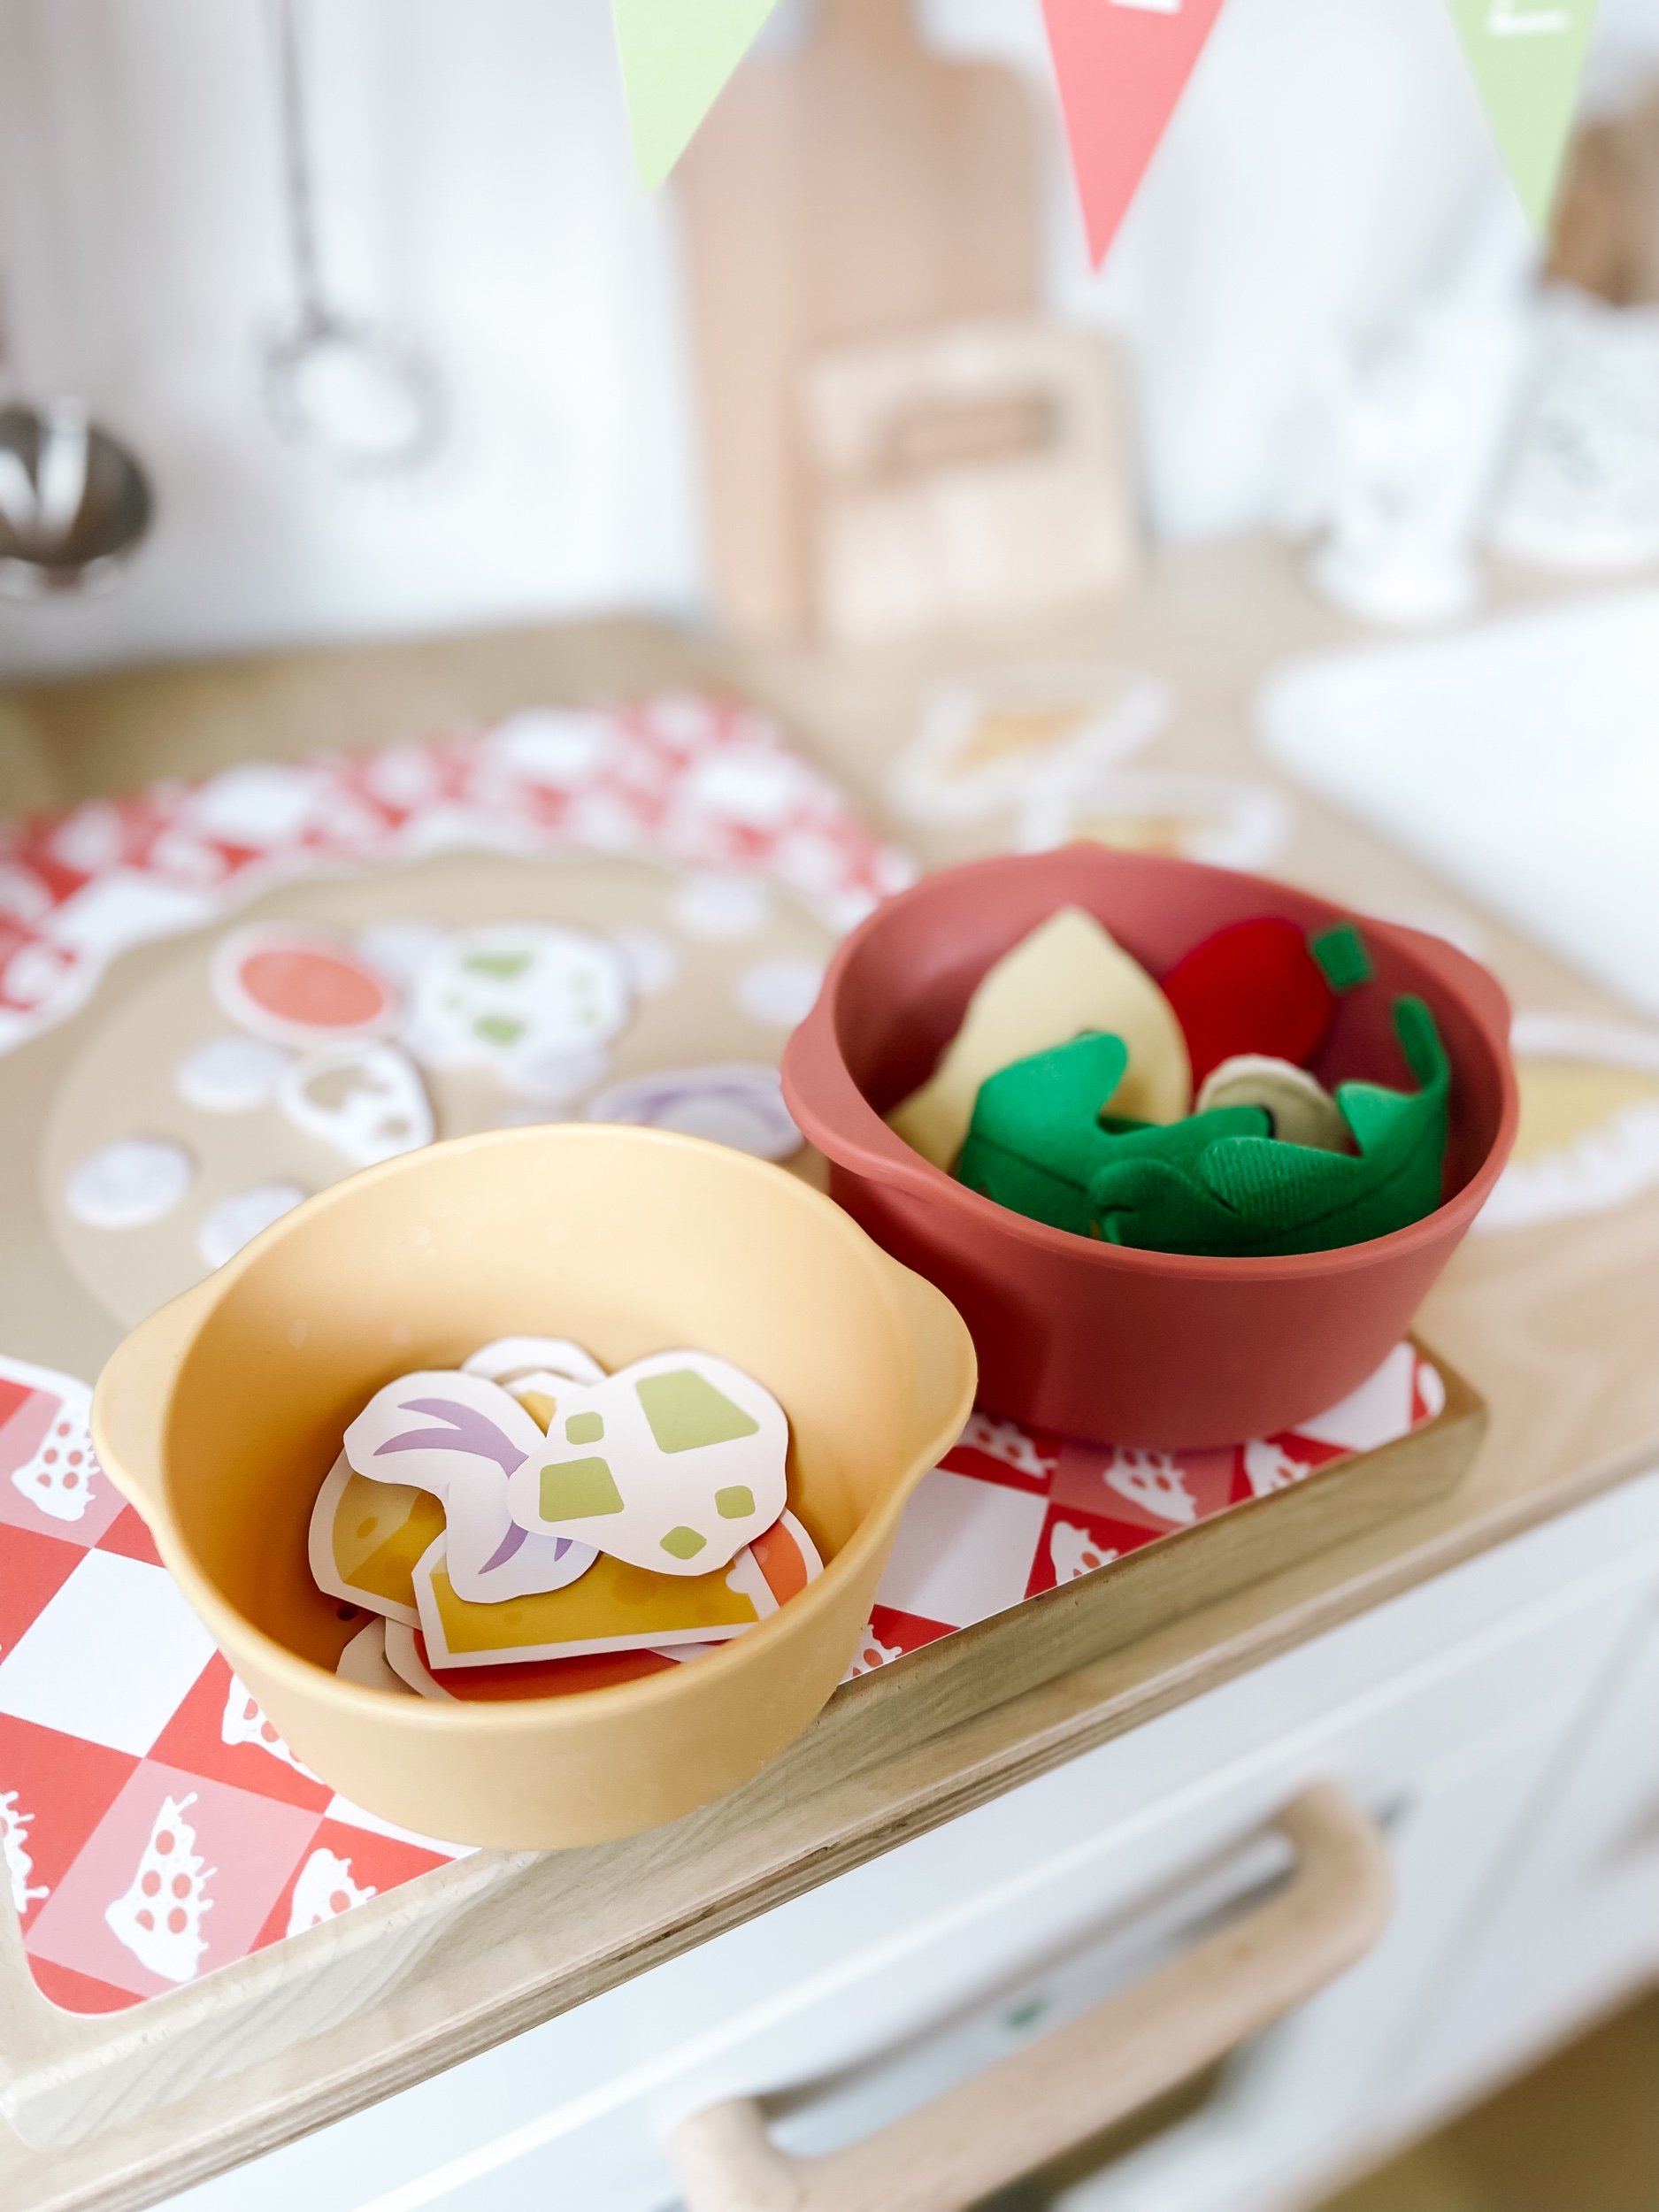
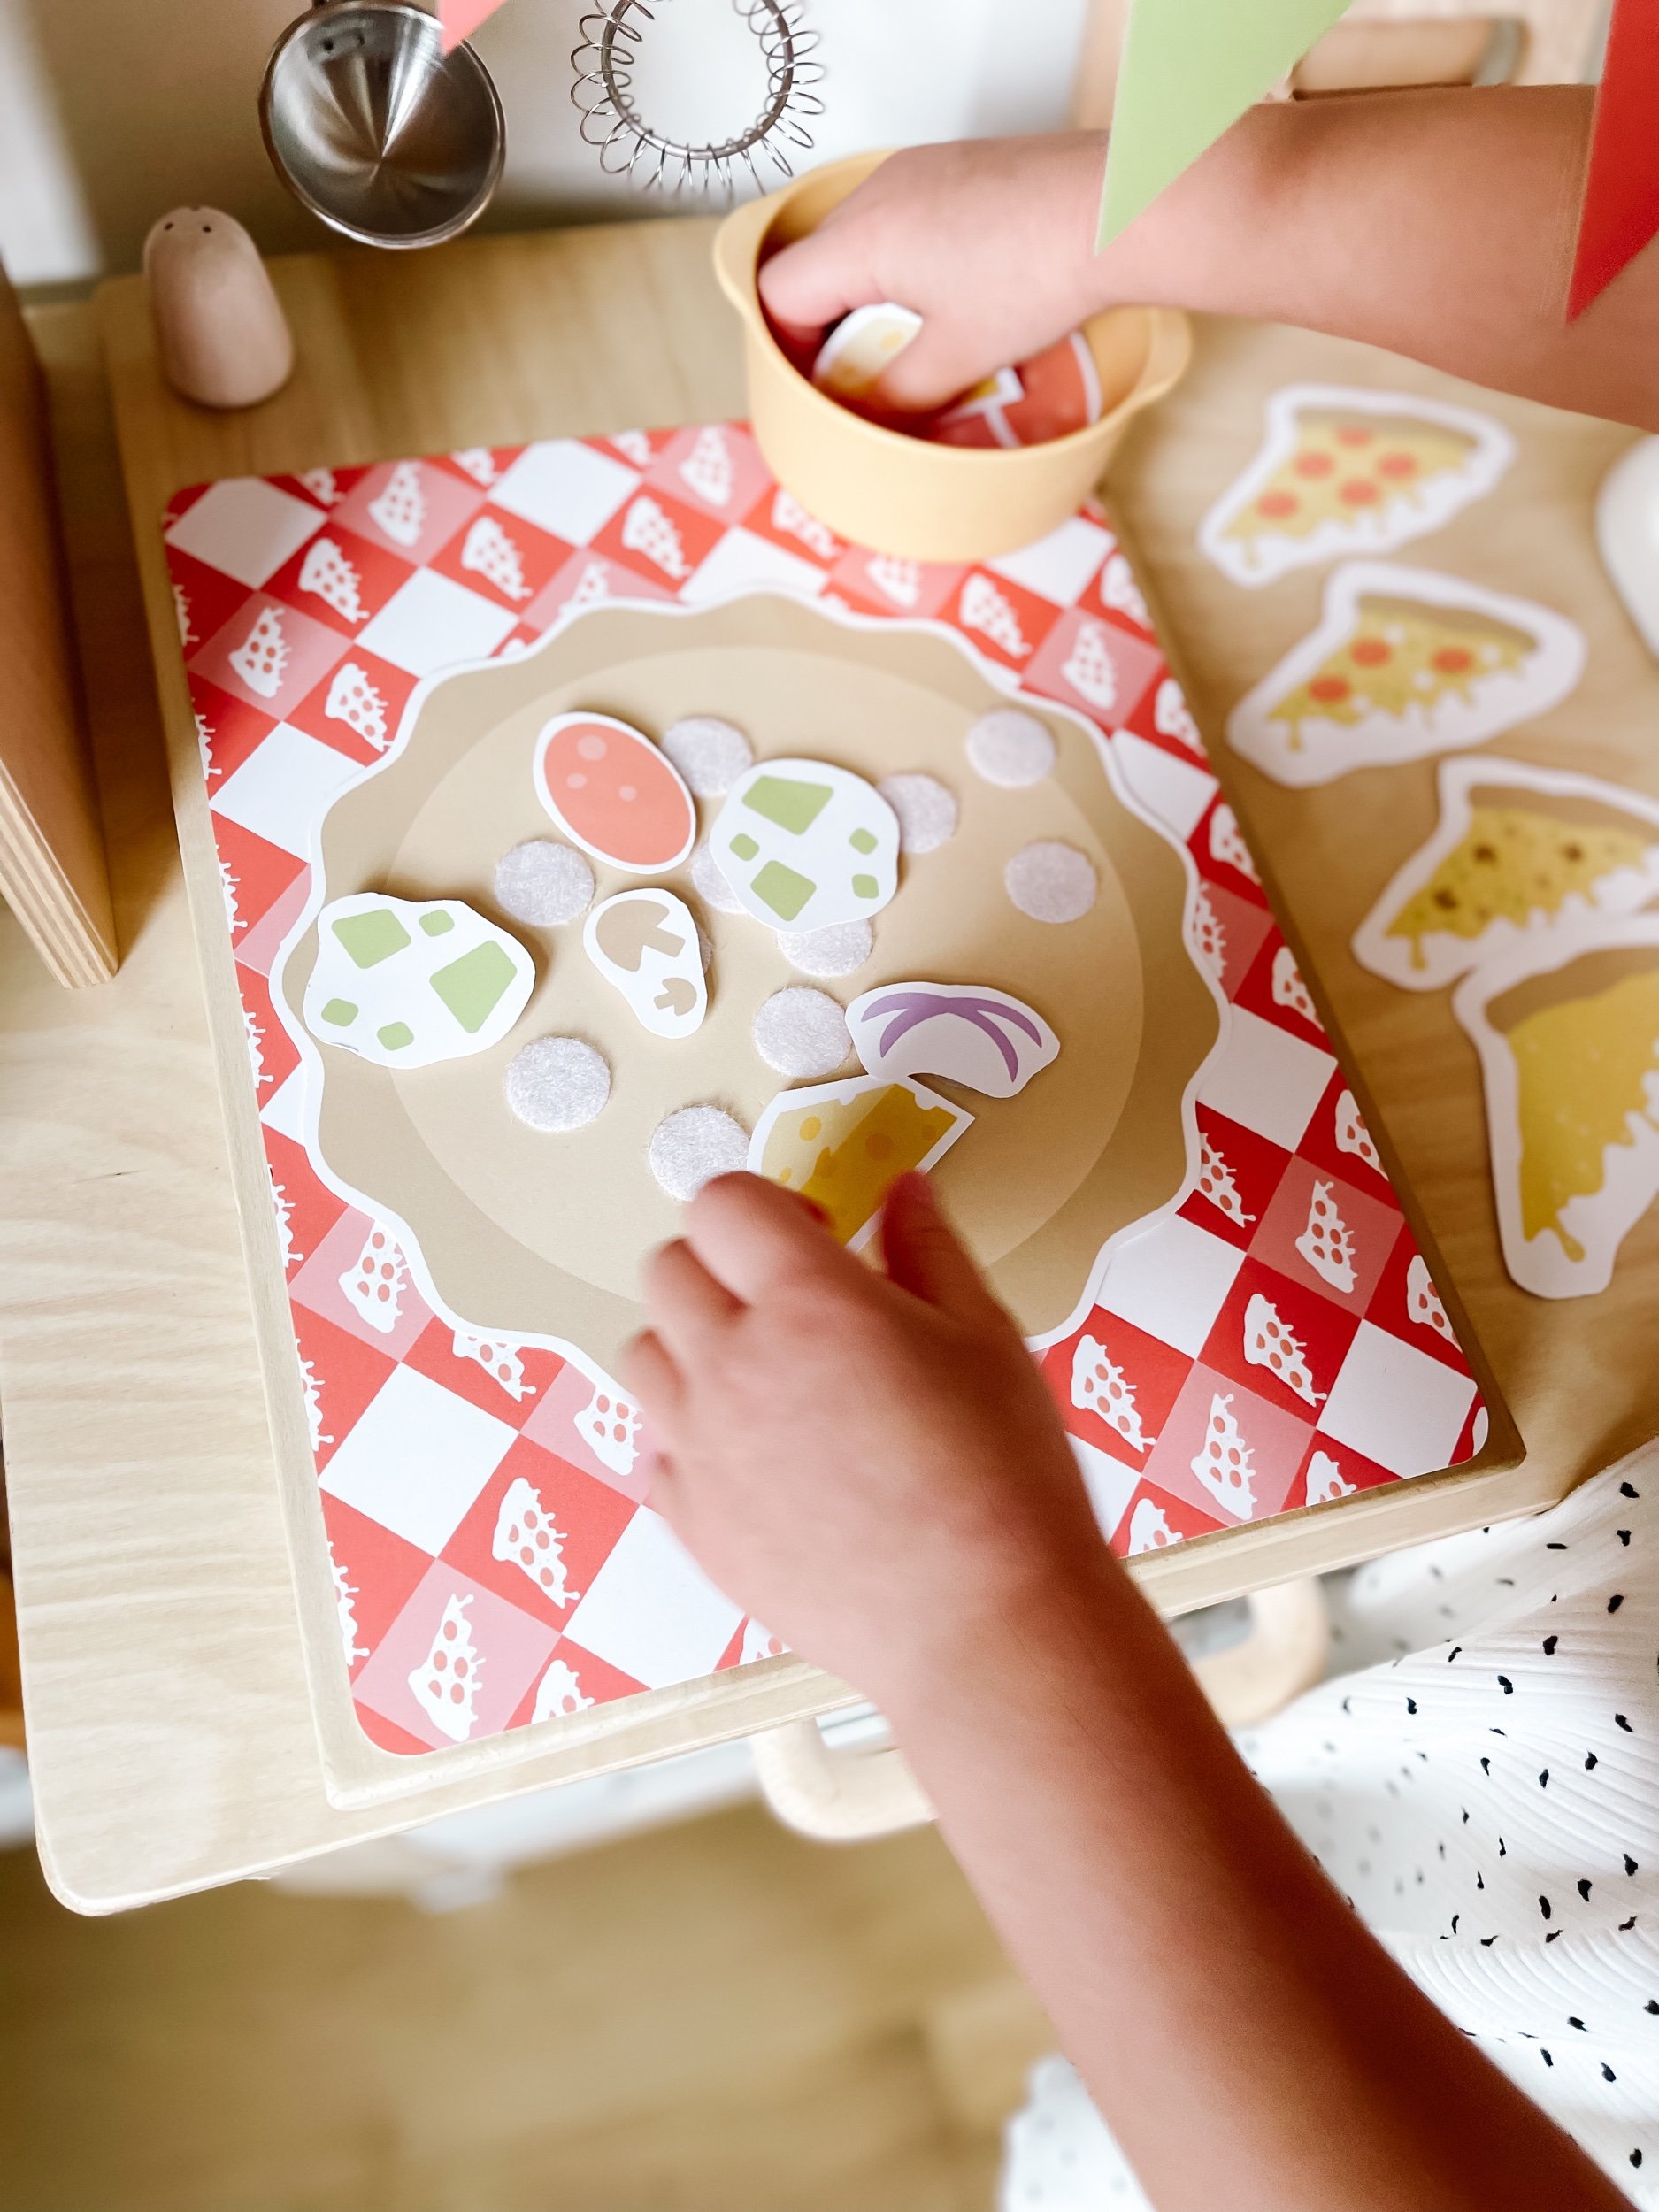
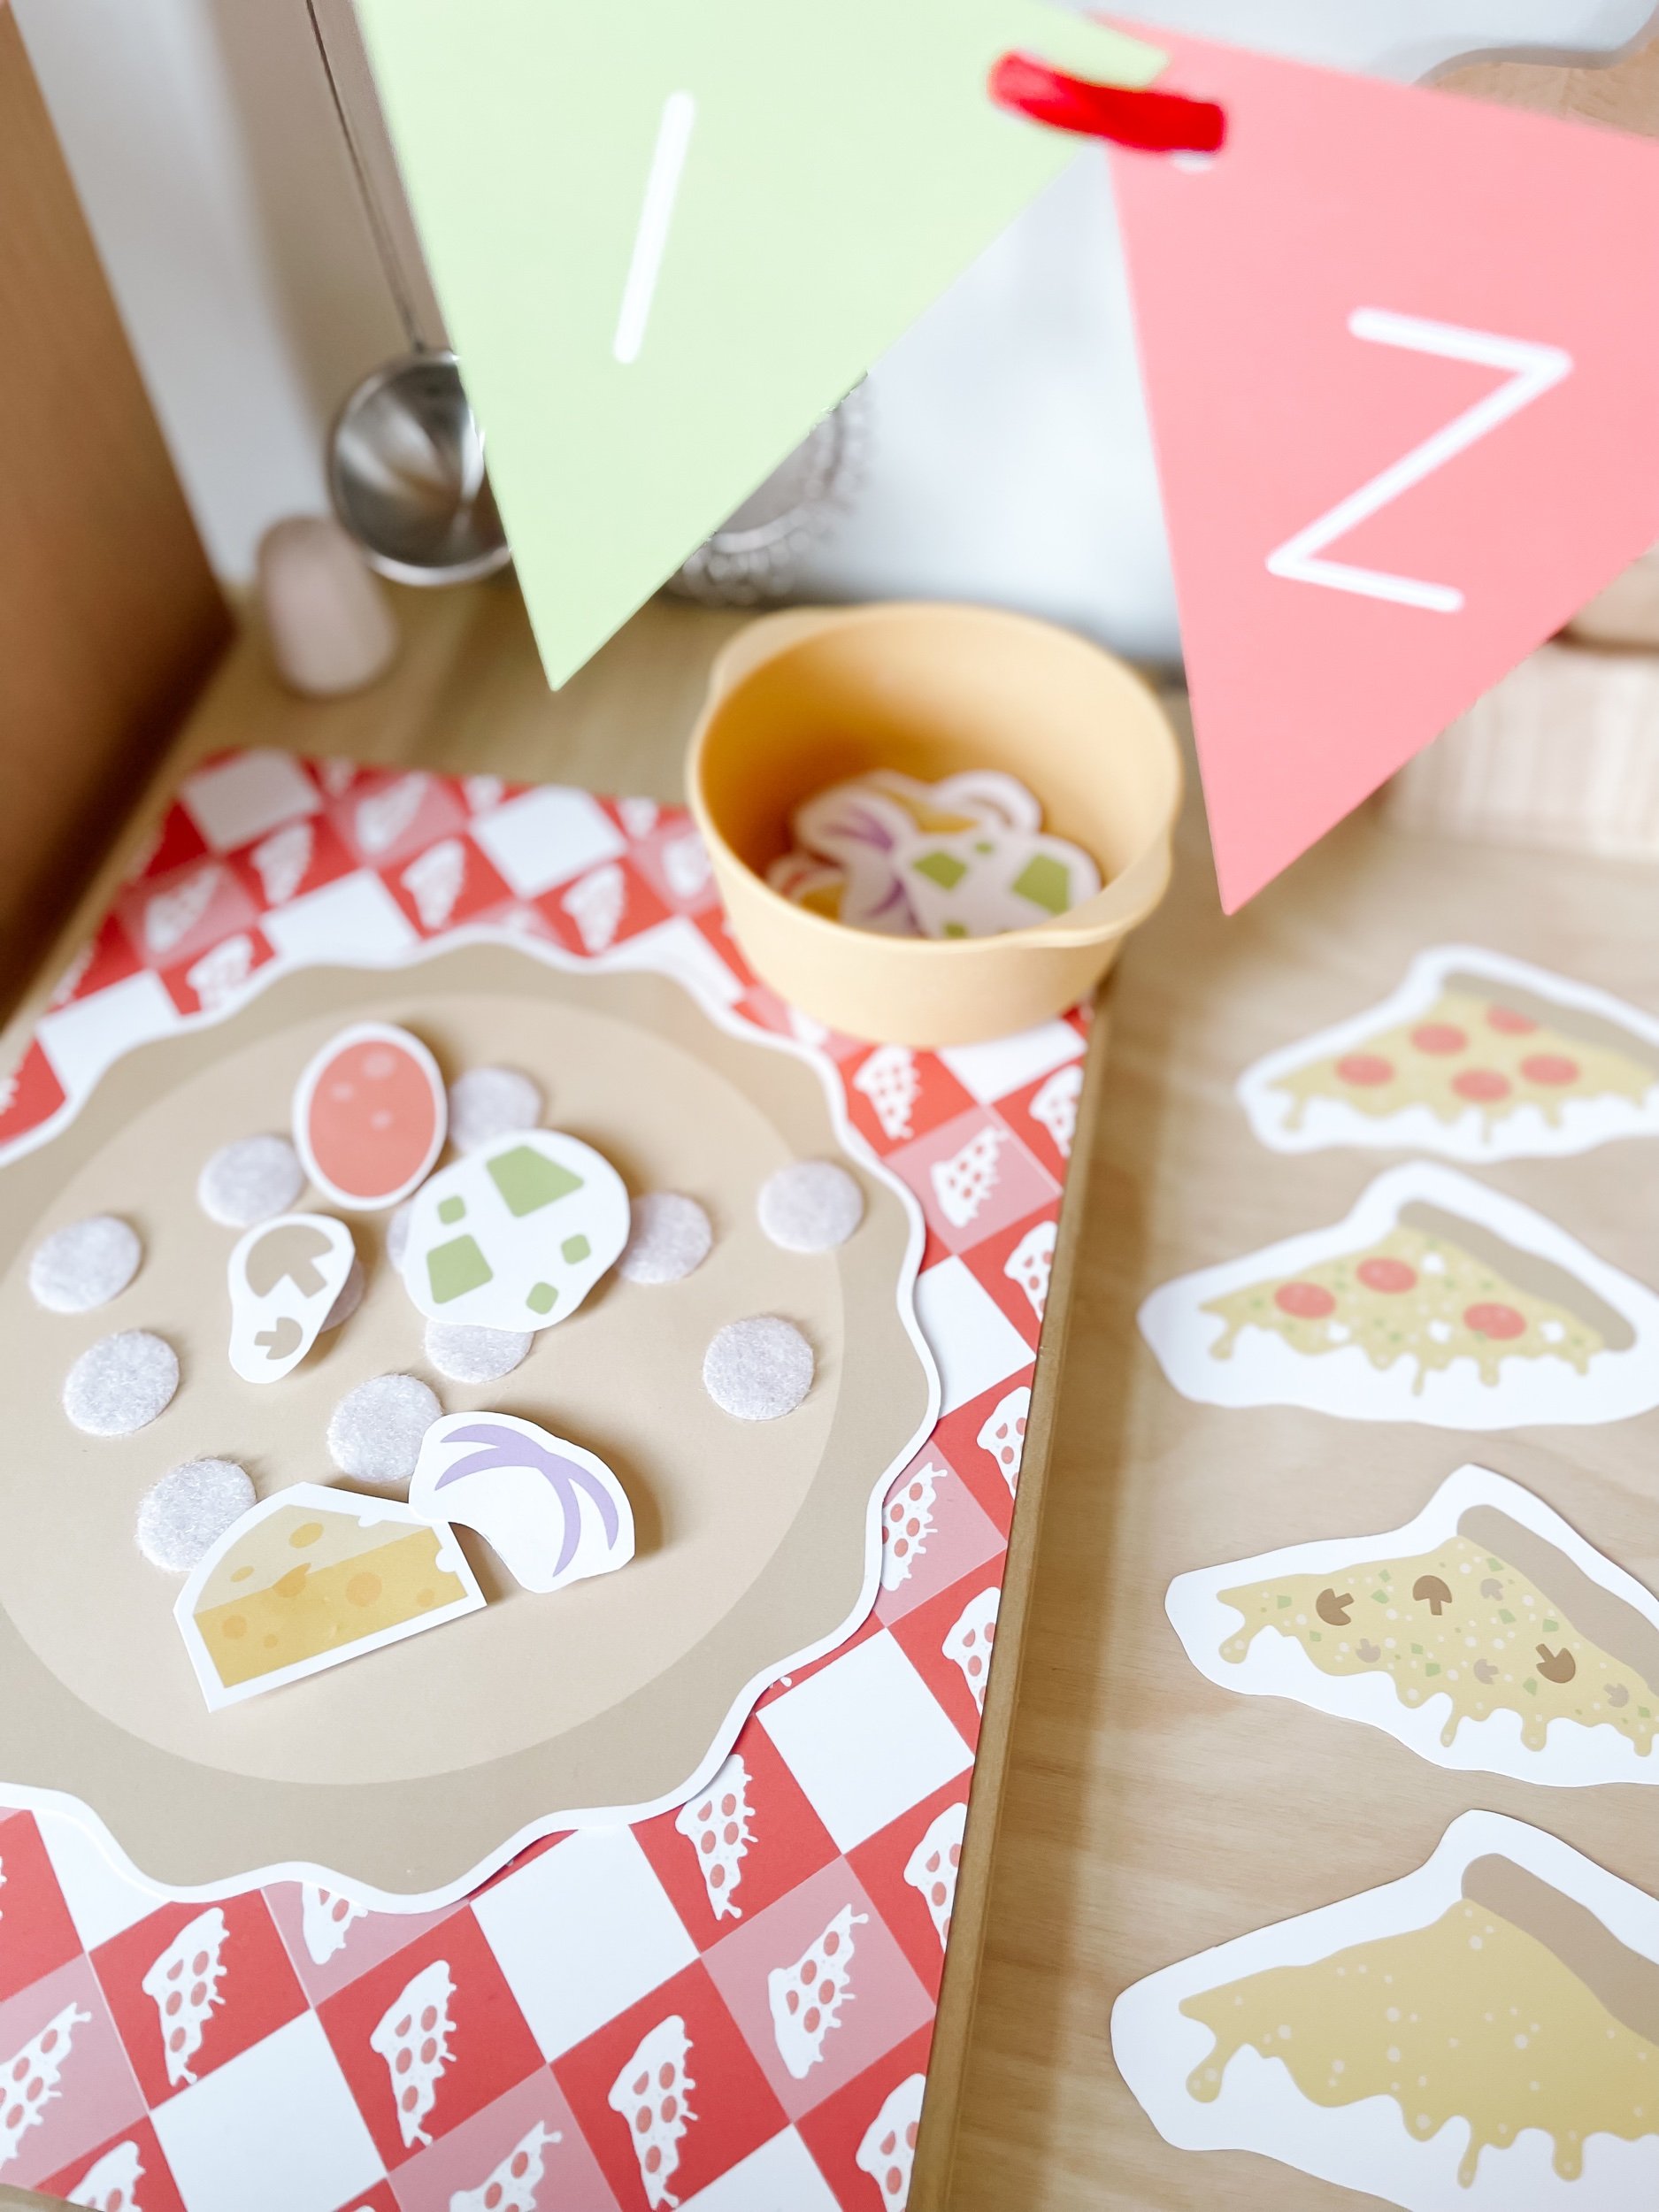
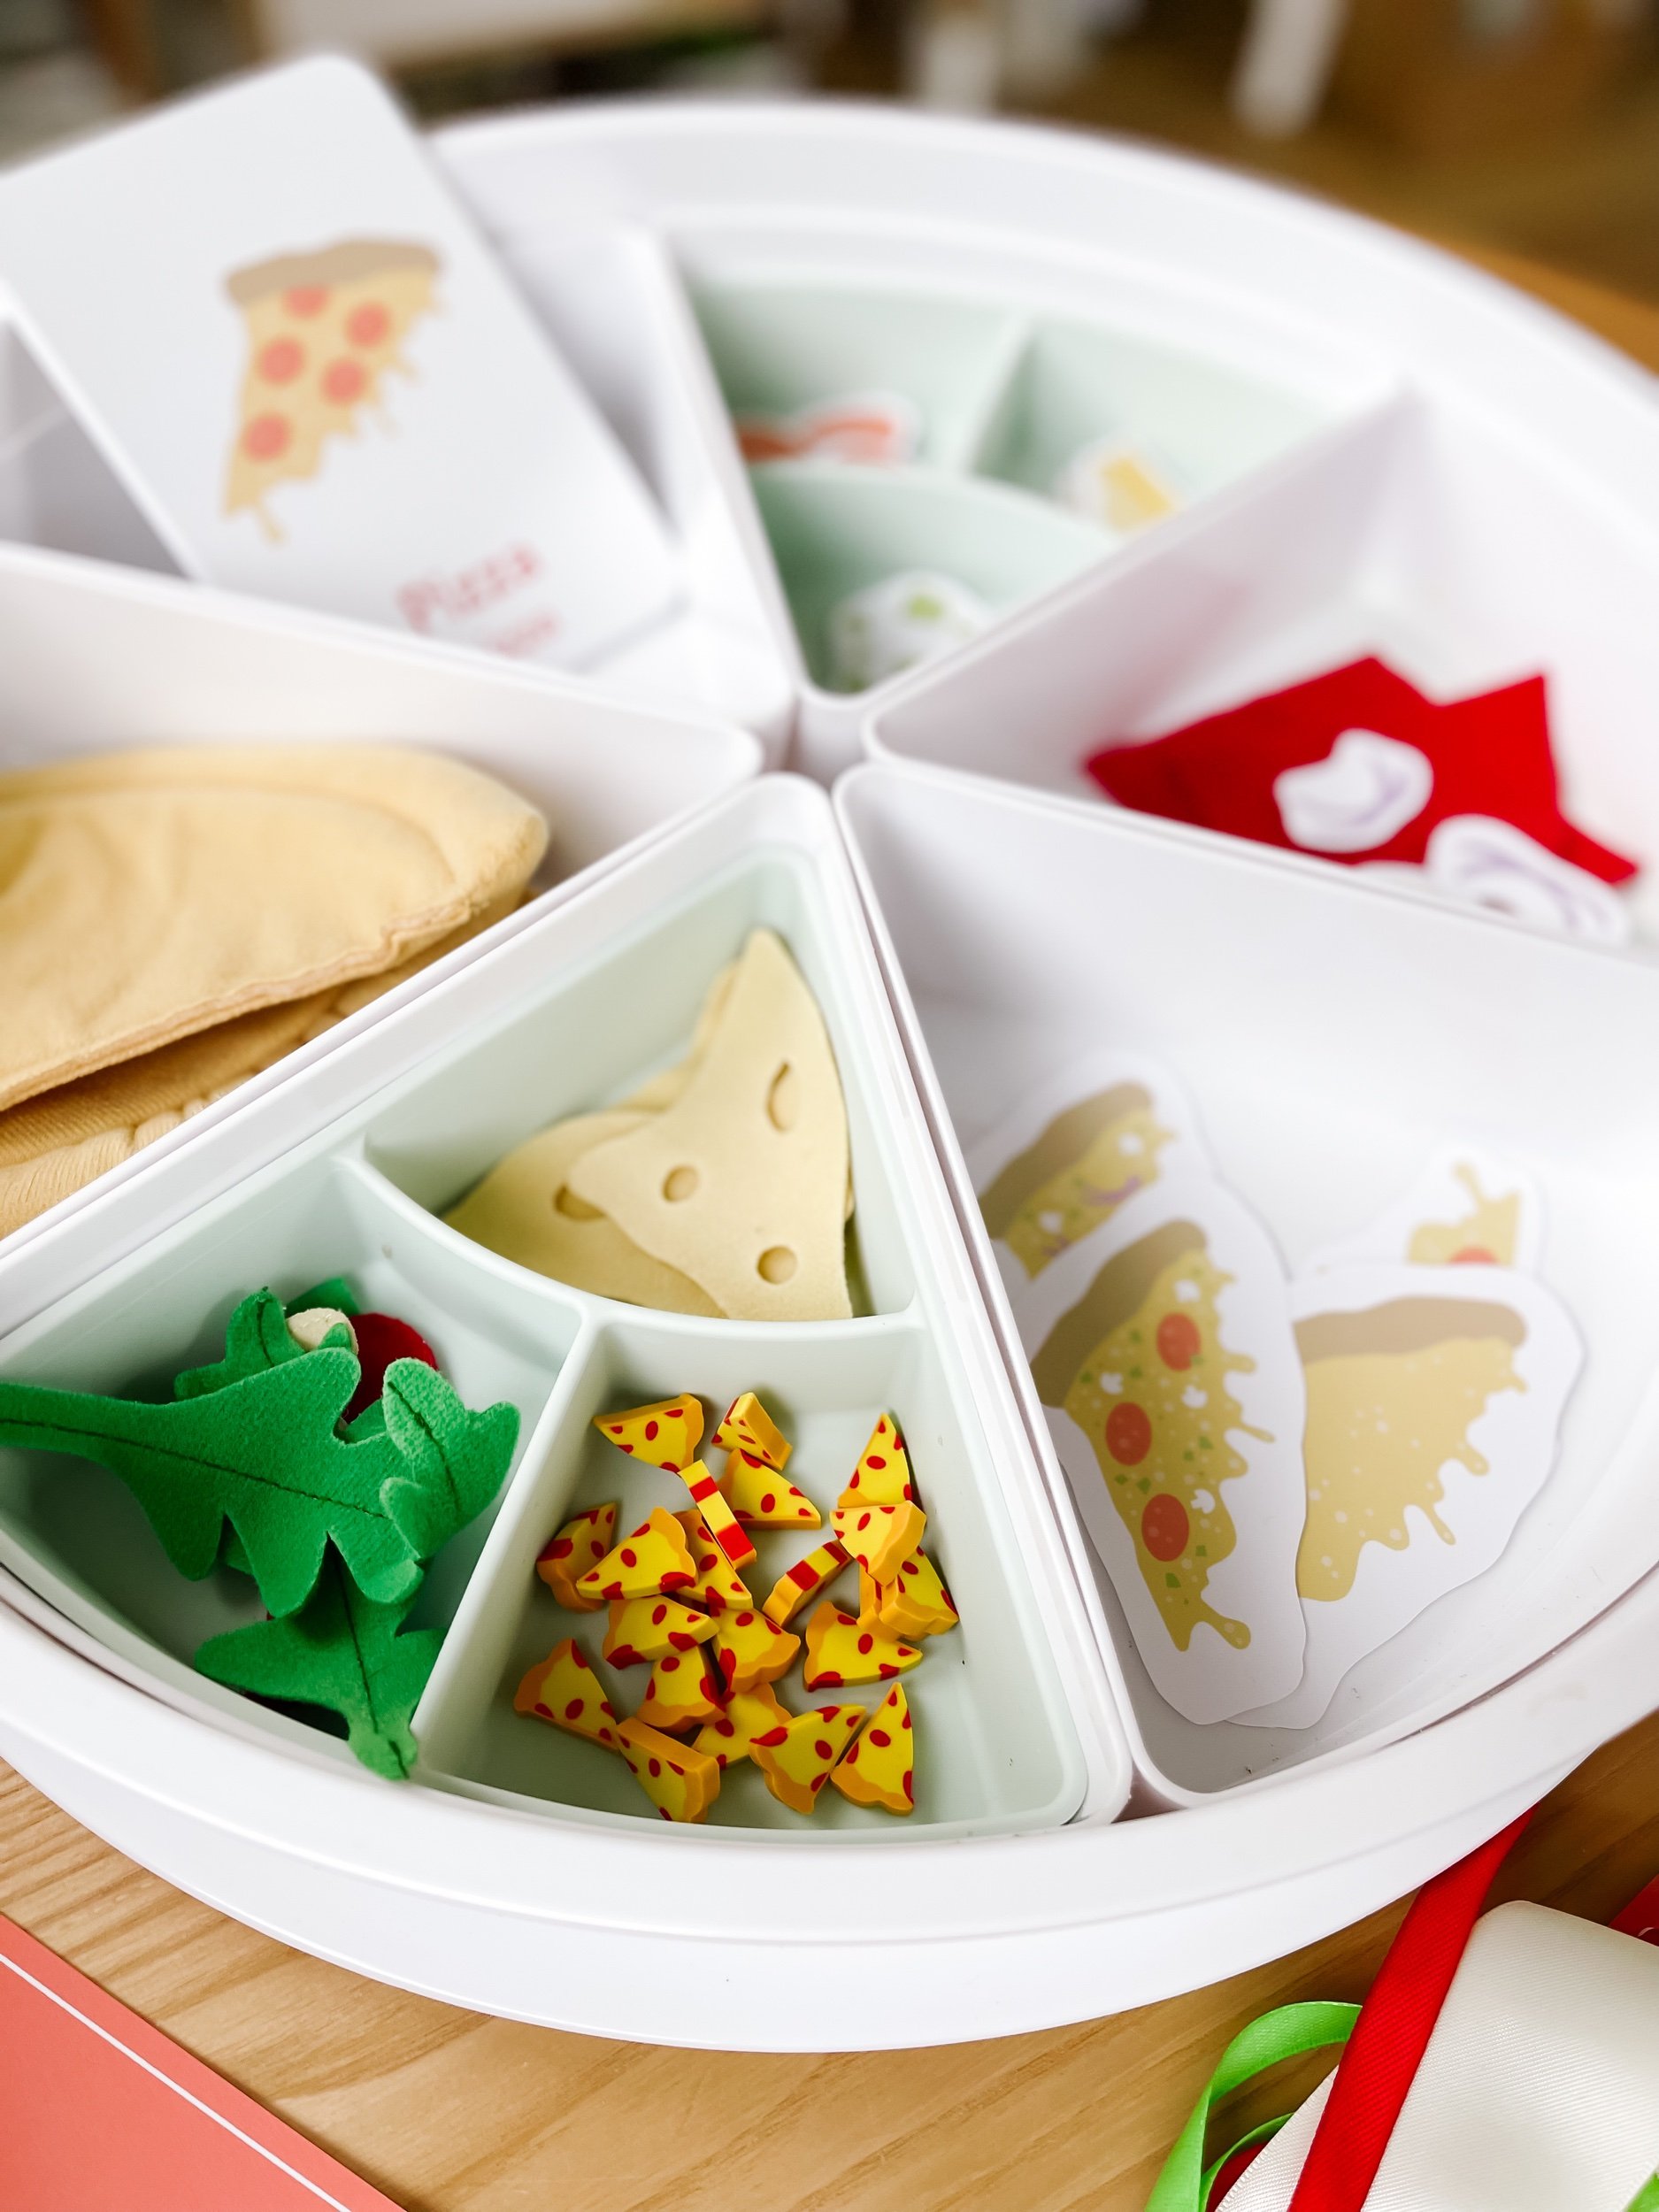
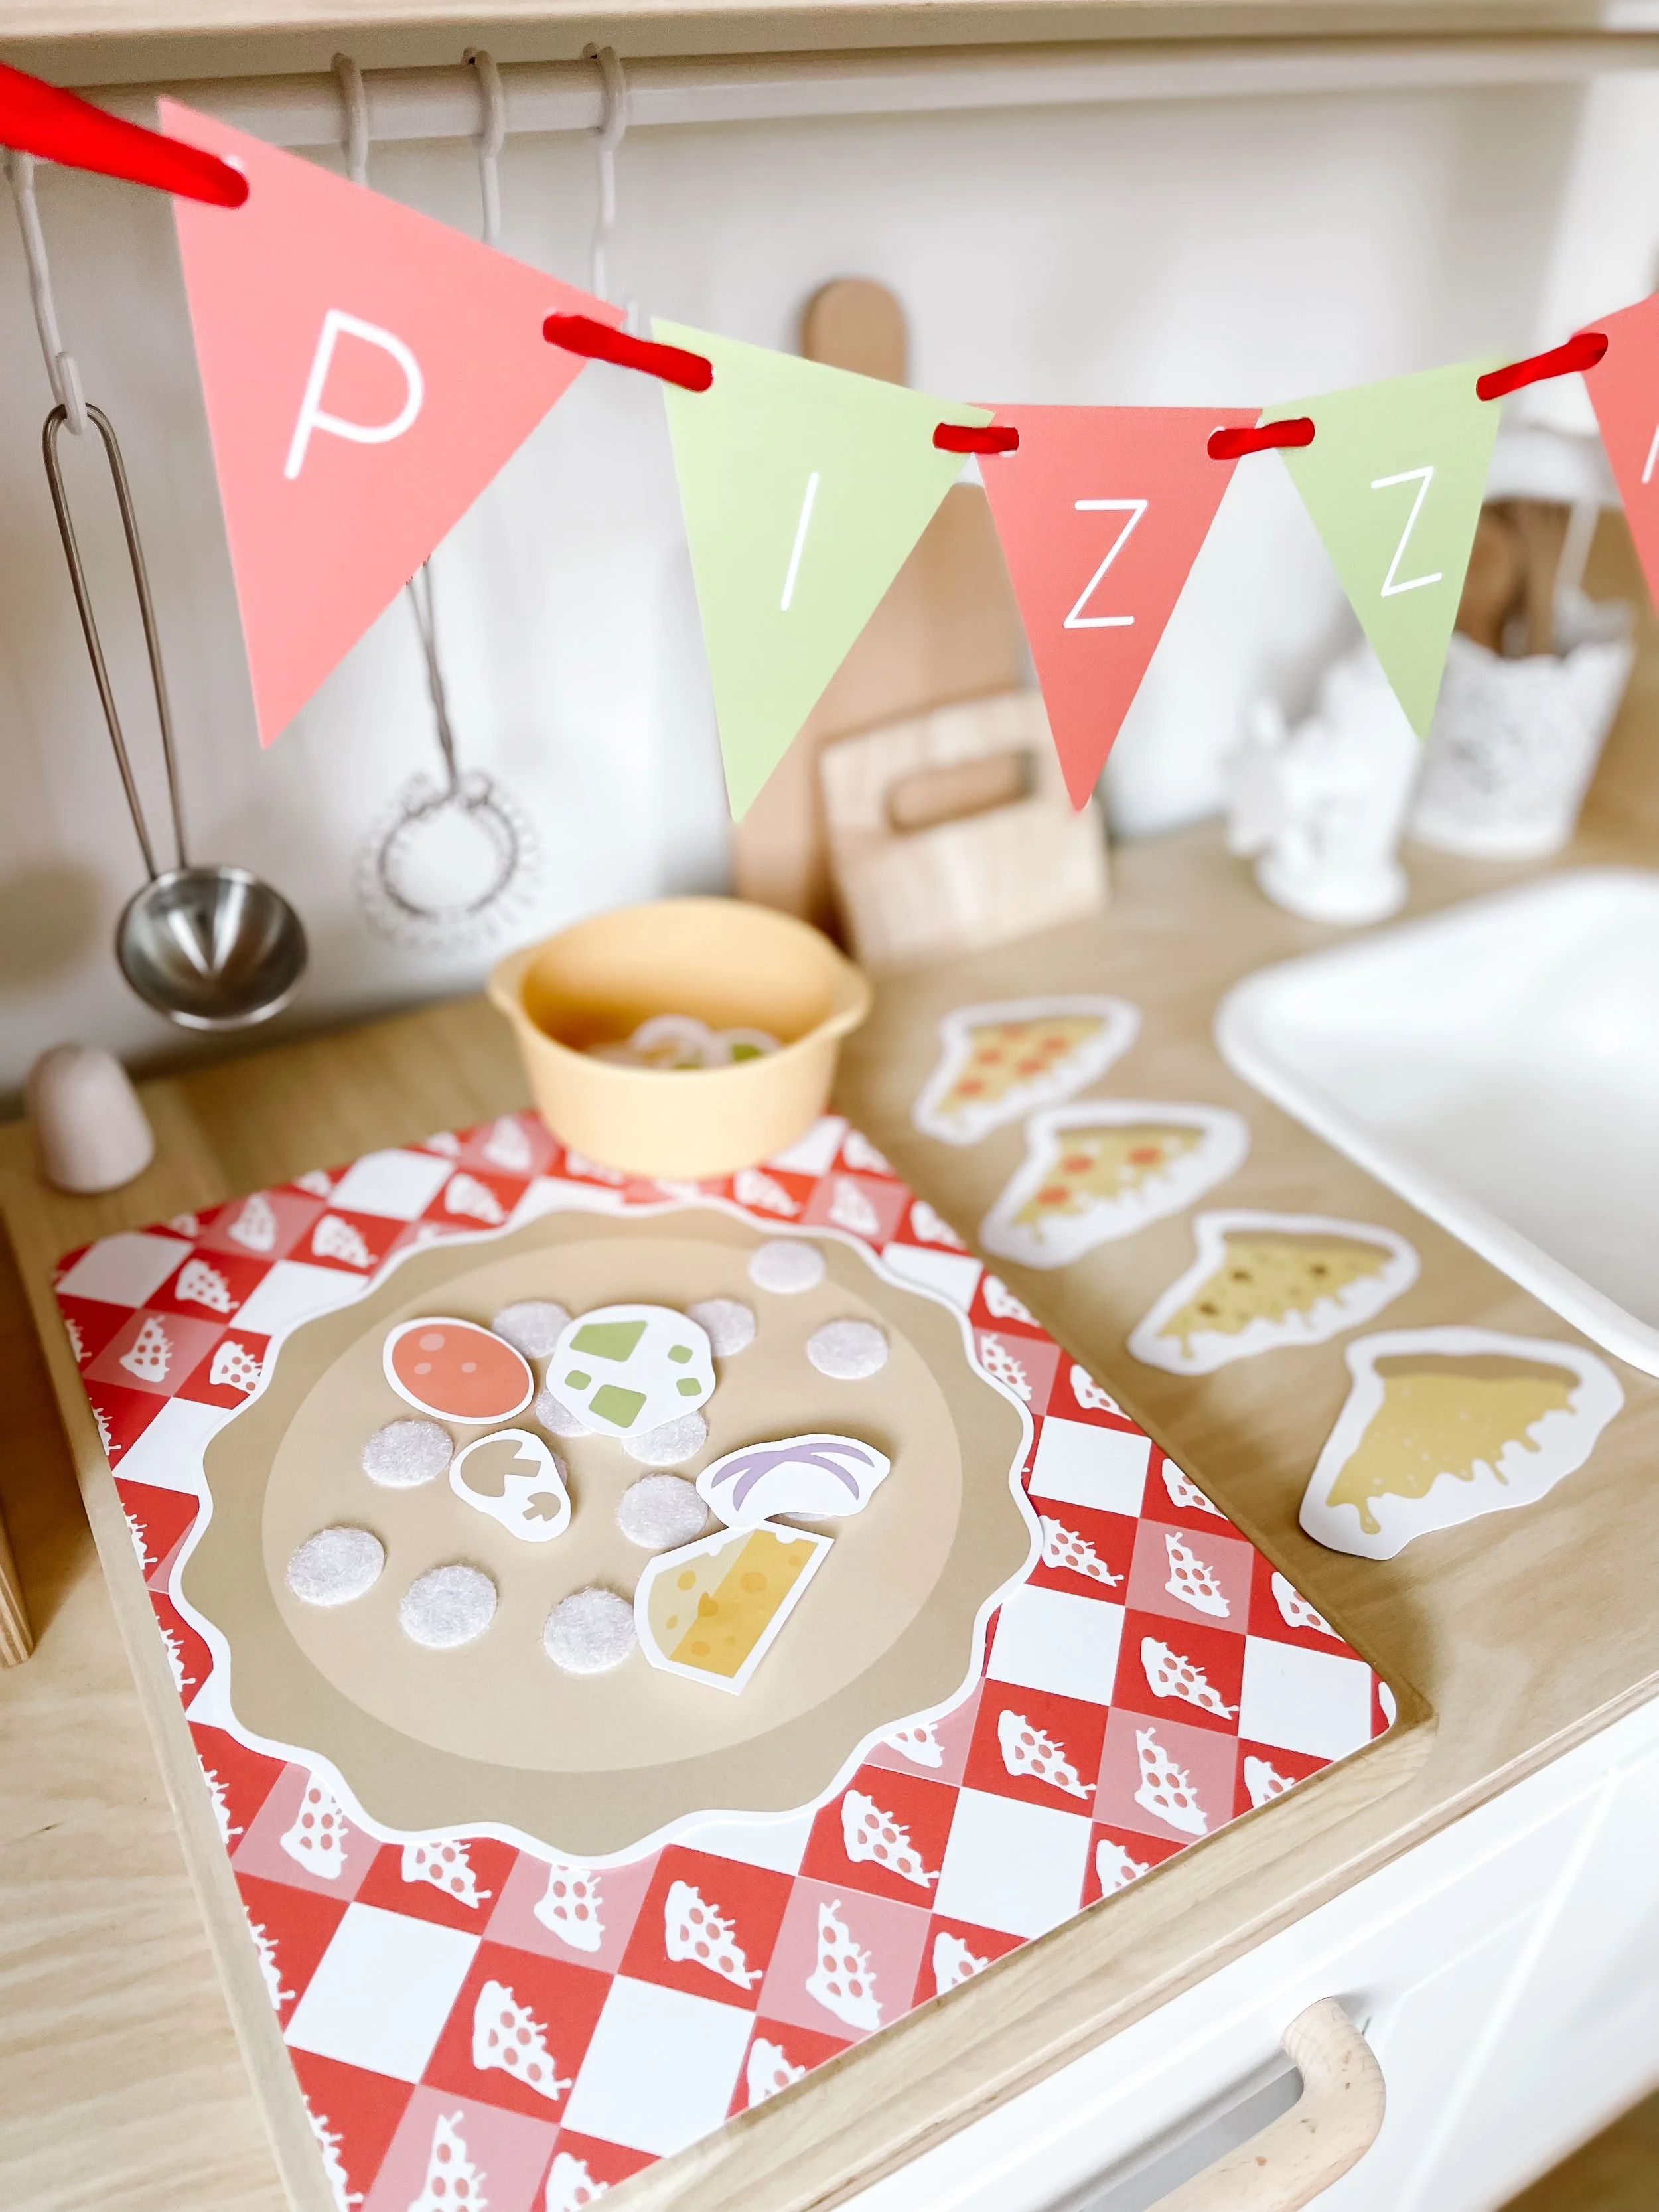
Bring the pizza-making process to life with IKEA's realistic felt play food. Let little chefs craft their culinary masterpieces by selecting and placing toppings onto their felt pizza bases. The tactile experience of handling the felt pieces enhances sensory development while sparking creativity.

IMG_5617_jpg.jpeg IMG_5655_jpg.jpeg IMG_5612.jpeg IMG_5611.jpeg IMG_5613.jpeg IMG_5614.jpeg

Interactive Toppings with Velcro Magic

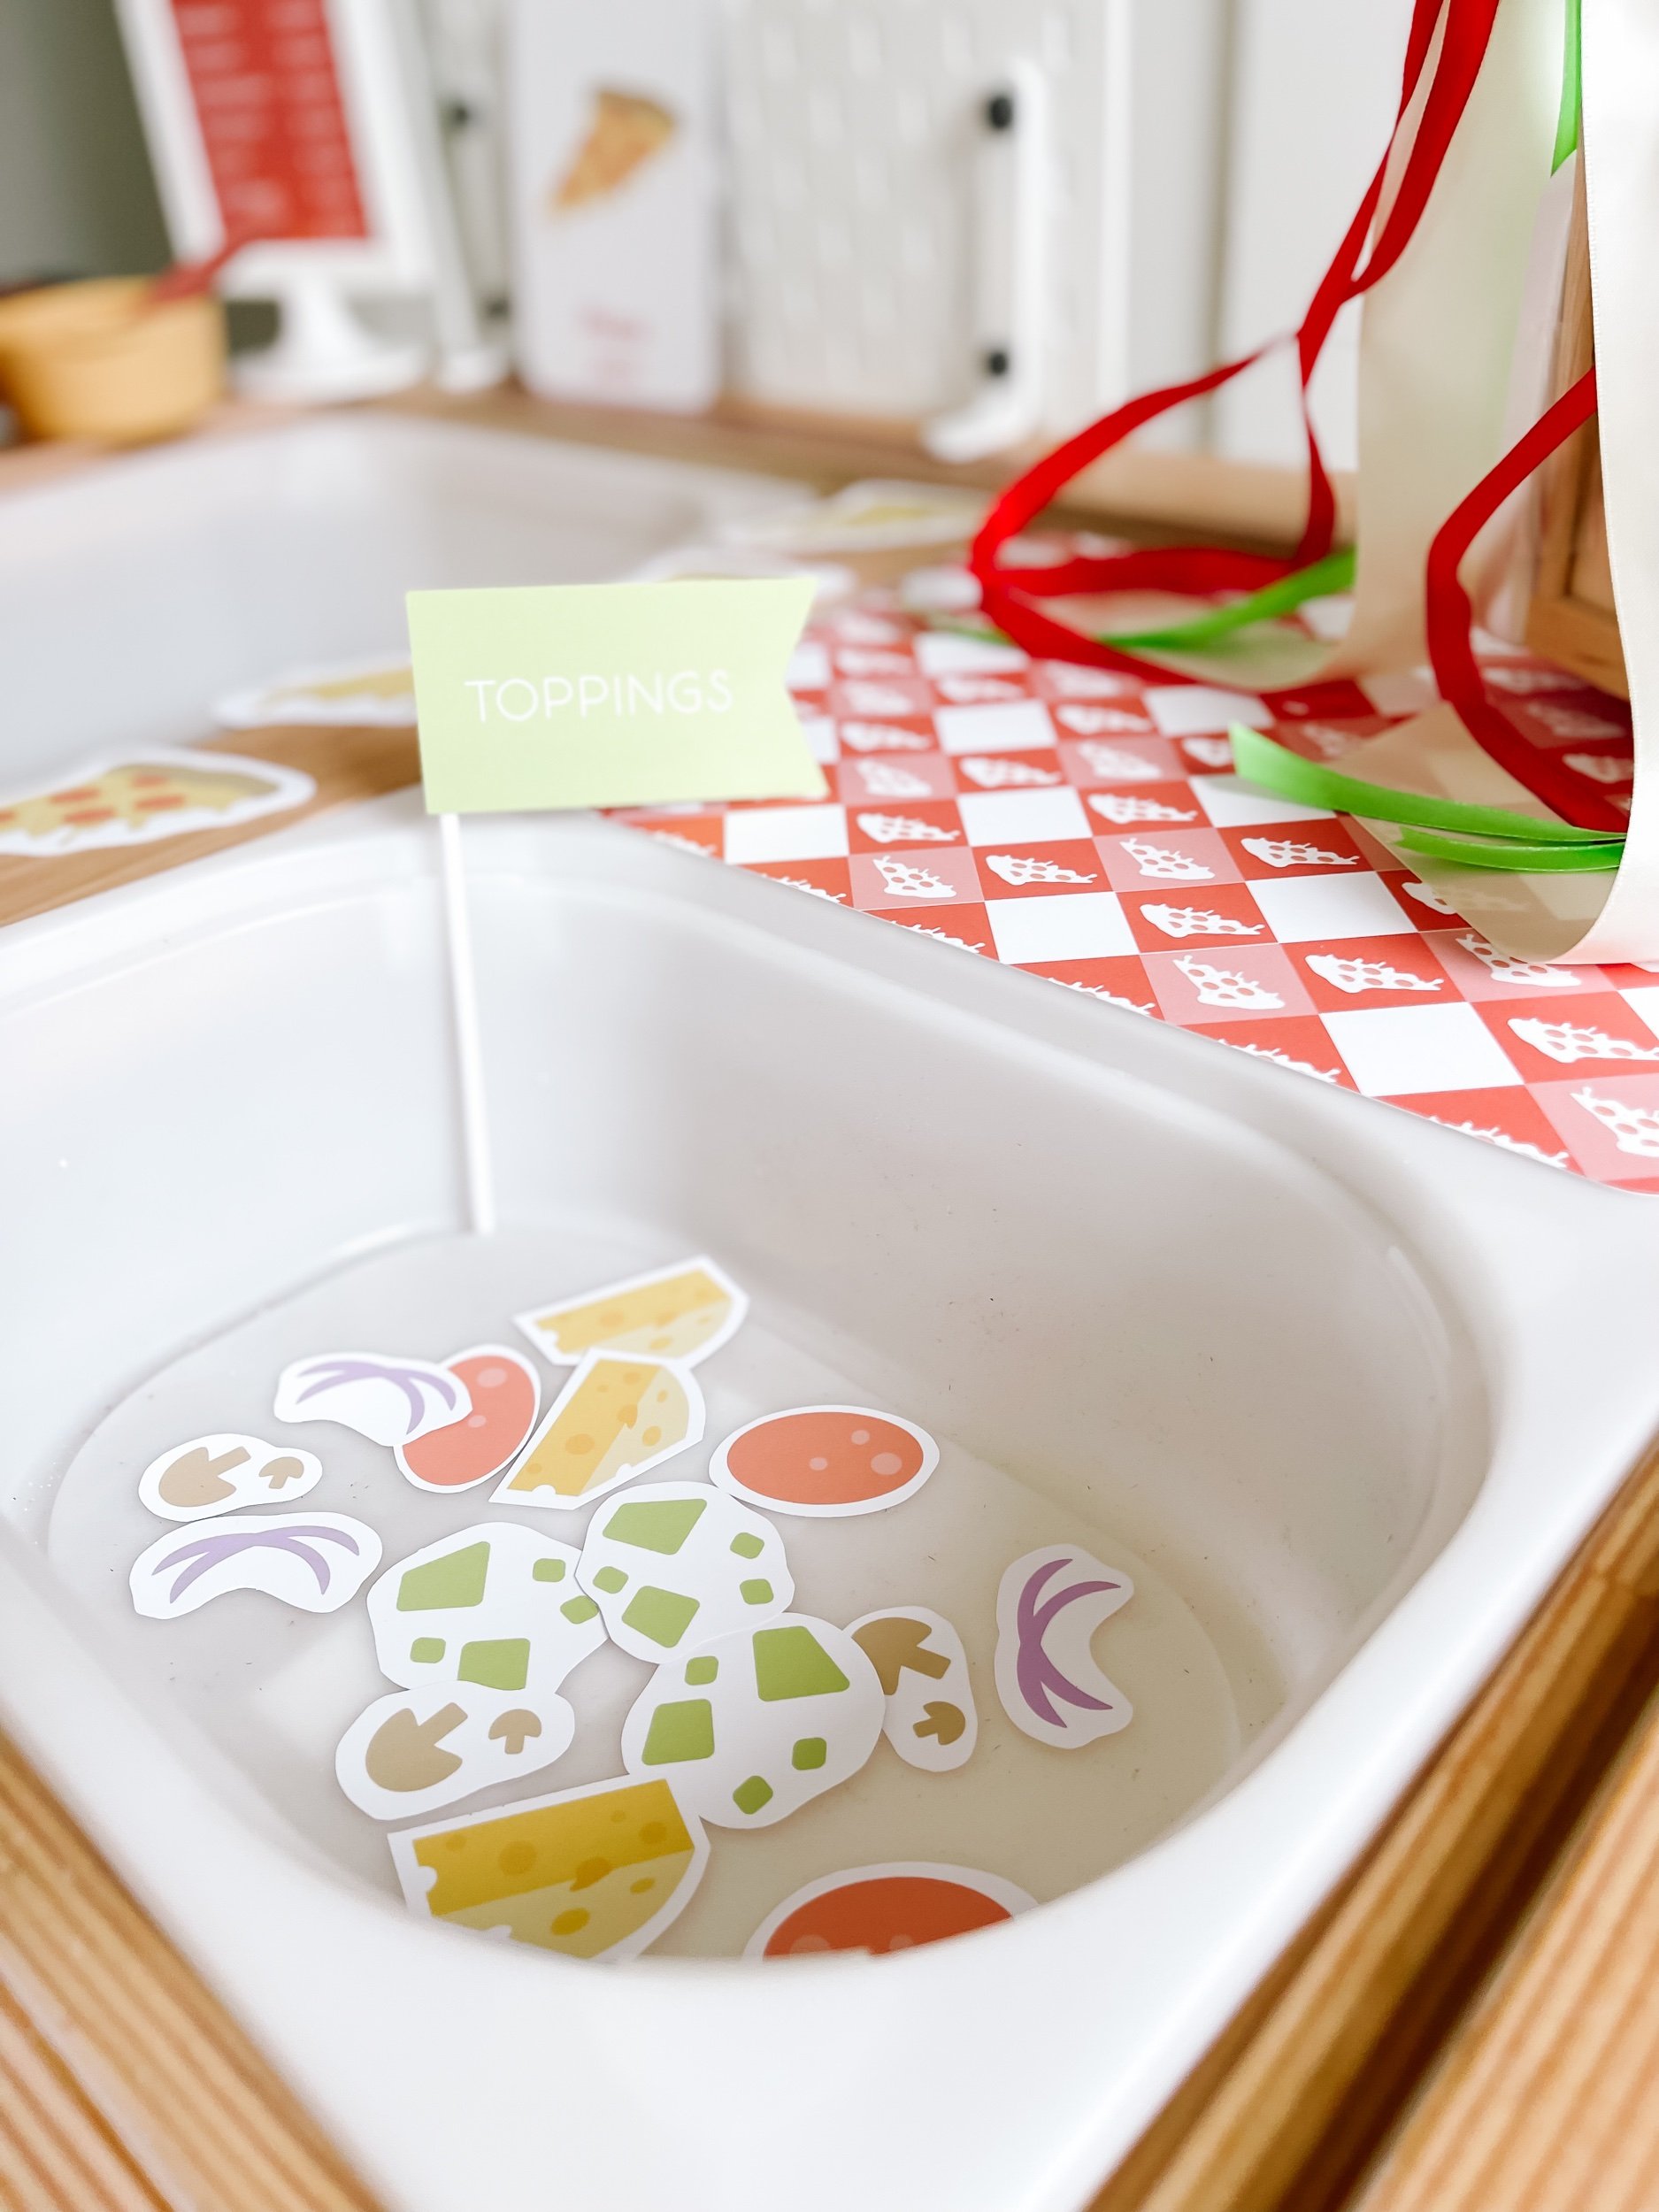
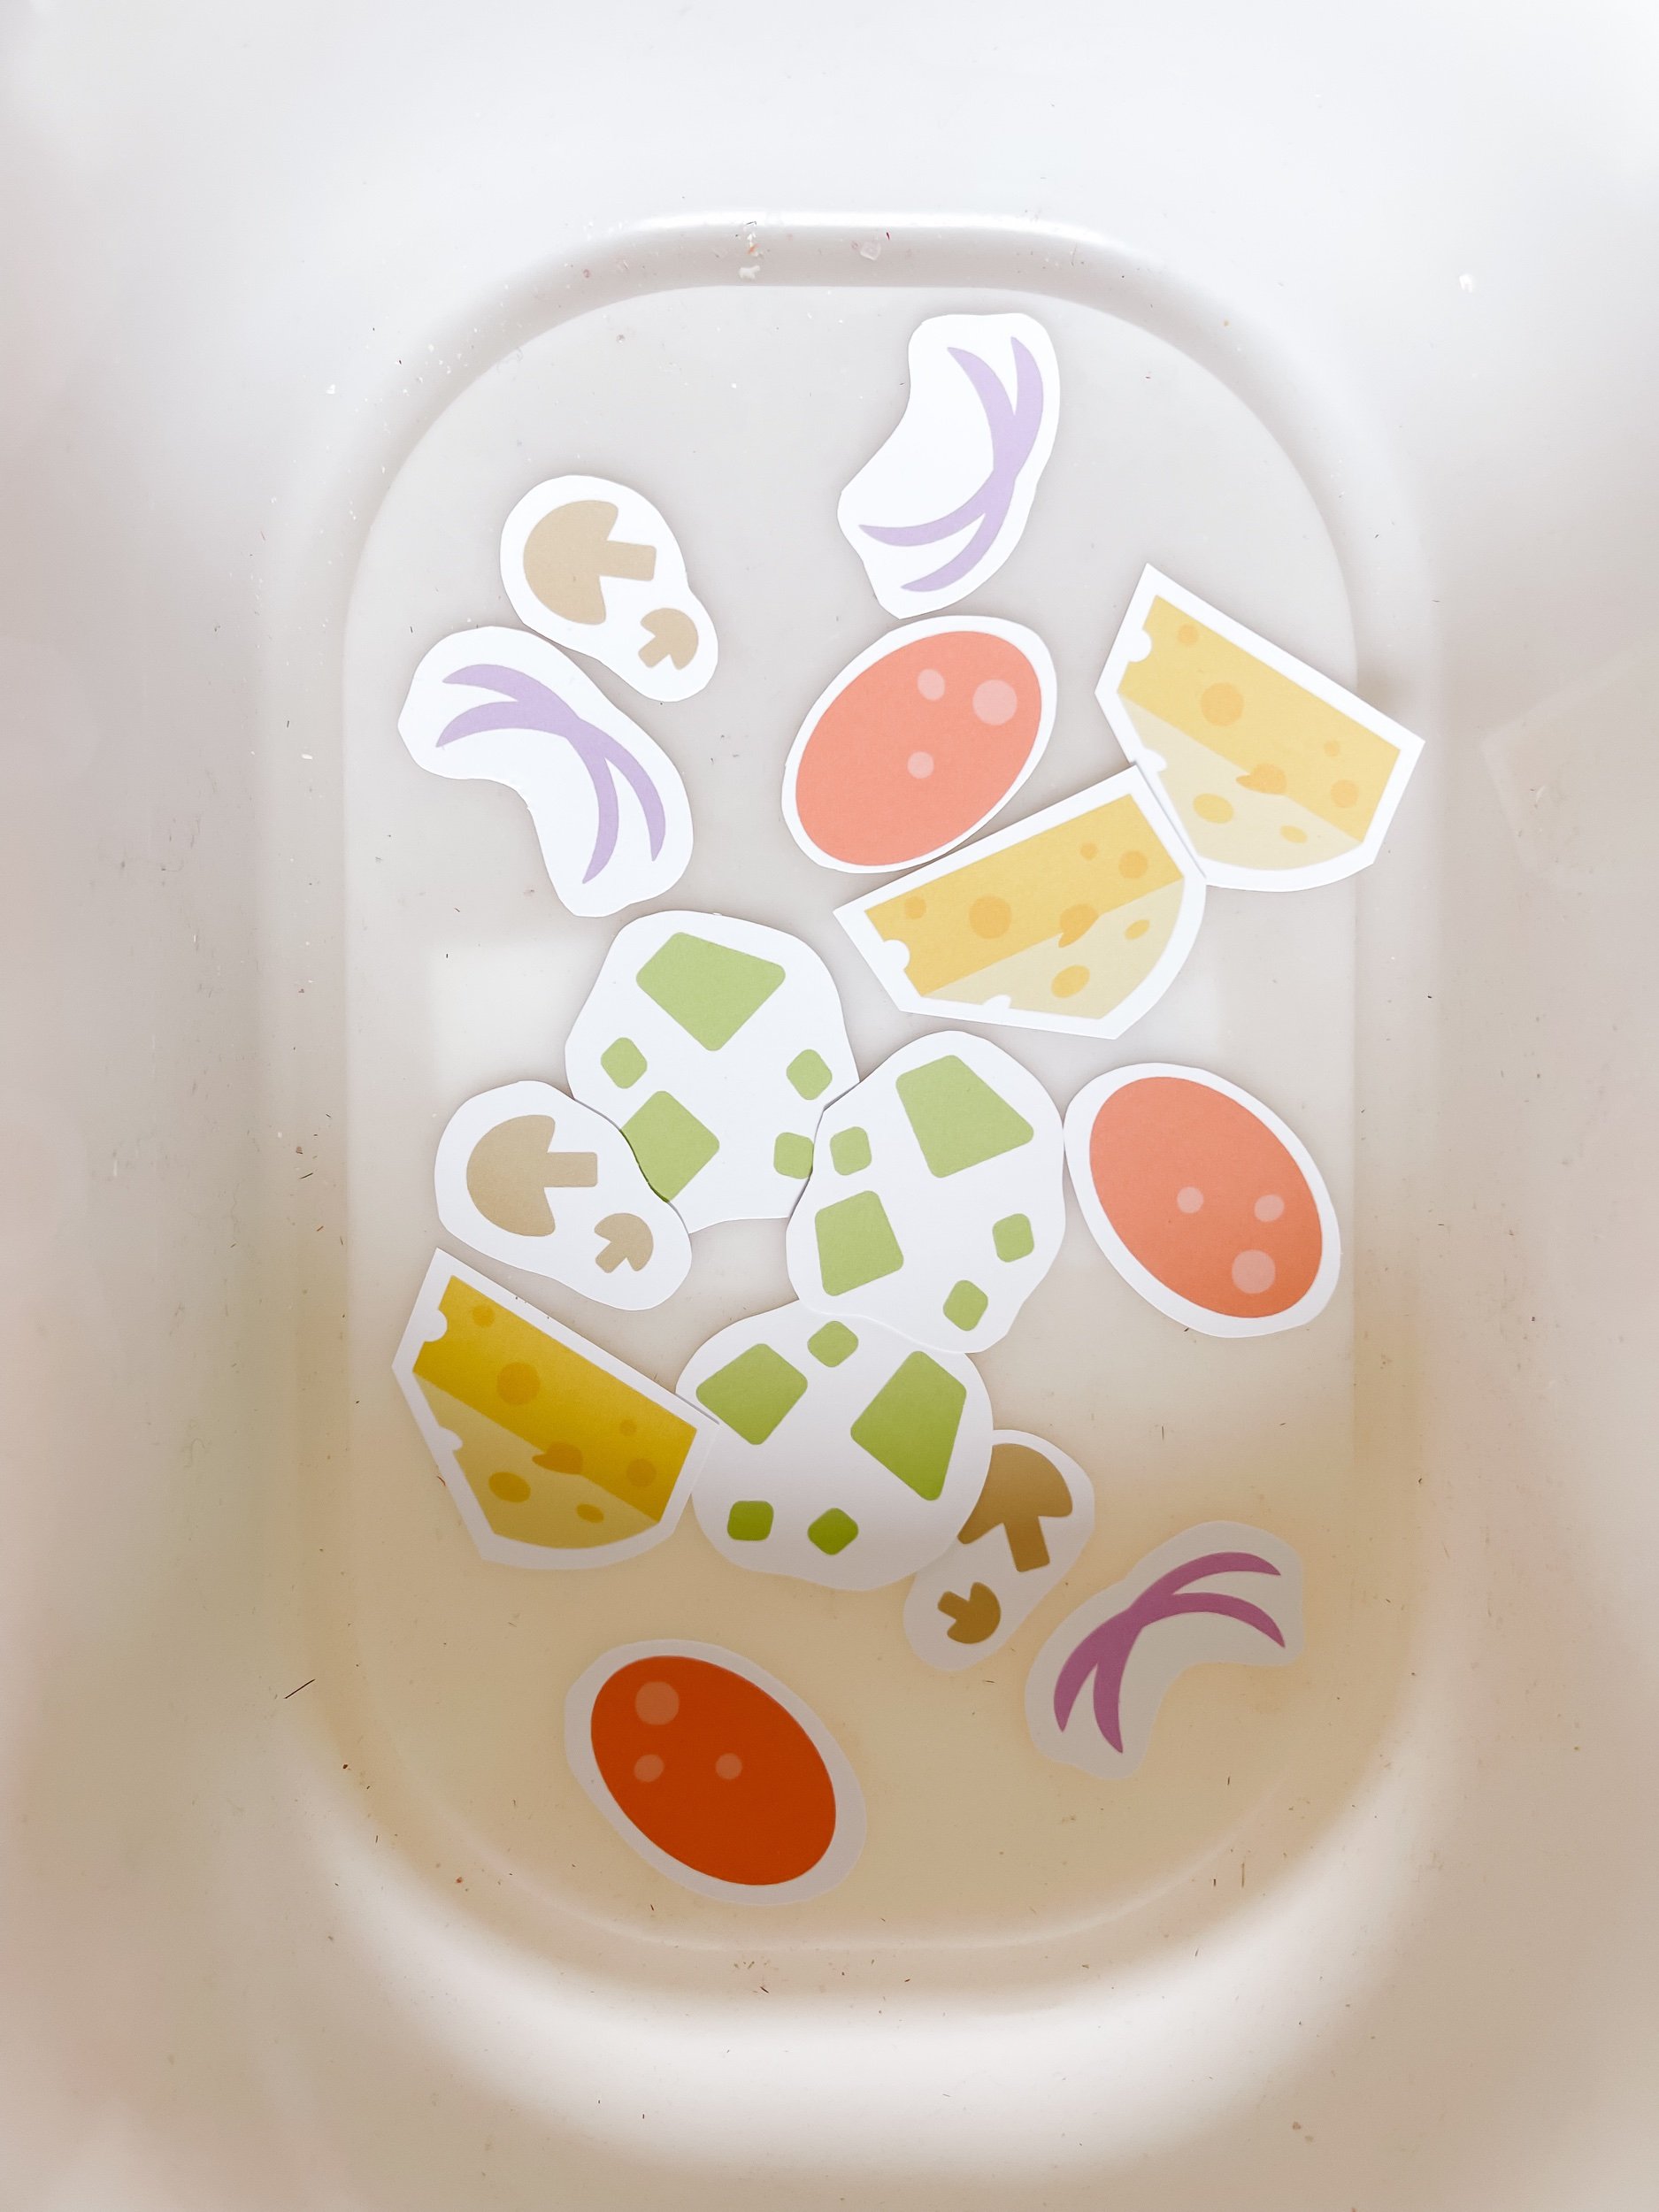
Take the pizza fun to the next level with Velcro dots, allowing toppings to be easily added or removed. This interactive element not only adds excitement but also refines fine motor skills as children attach and detach their chosen toppings. Watch as their little faces light up with each customized creation!

IMG_5862_jpg.jpeg IMG_5858_jpg.jpeg IMG_5855_jpg.jpeg IMG_5852.jpeg IMG_5859_jpg.jpeg IMG_5886_jpg.jpeg IMG_5887_jpg.jpeg IMG_5885.jpeg IMG_5875_jpg.jpeg IMG_5874.jpeg IMG_5869_jpg.jpeg IMG_5856_jpg.jpeg IMG_5857_jpg.jpeg

InspireMyPlay Tools for Organization

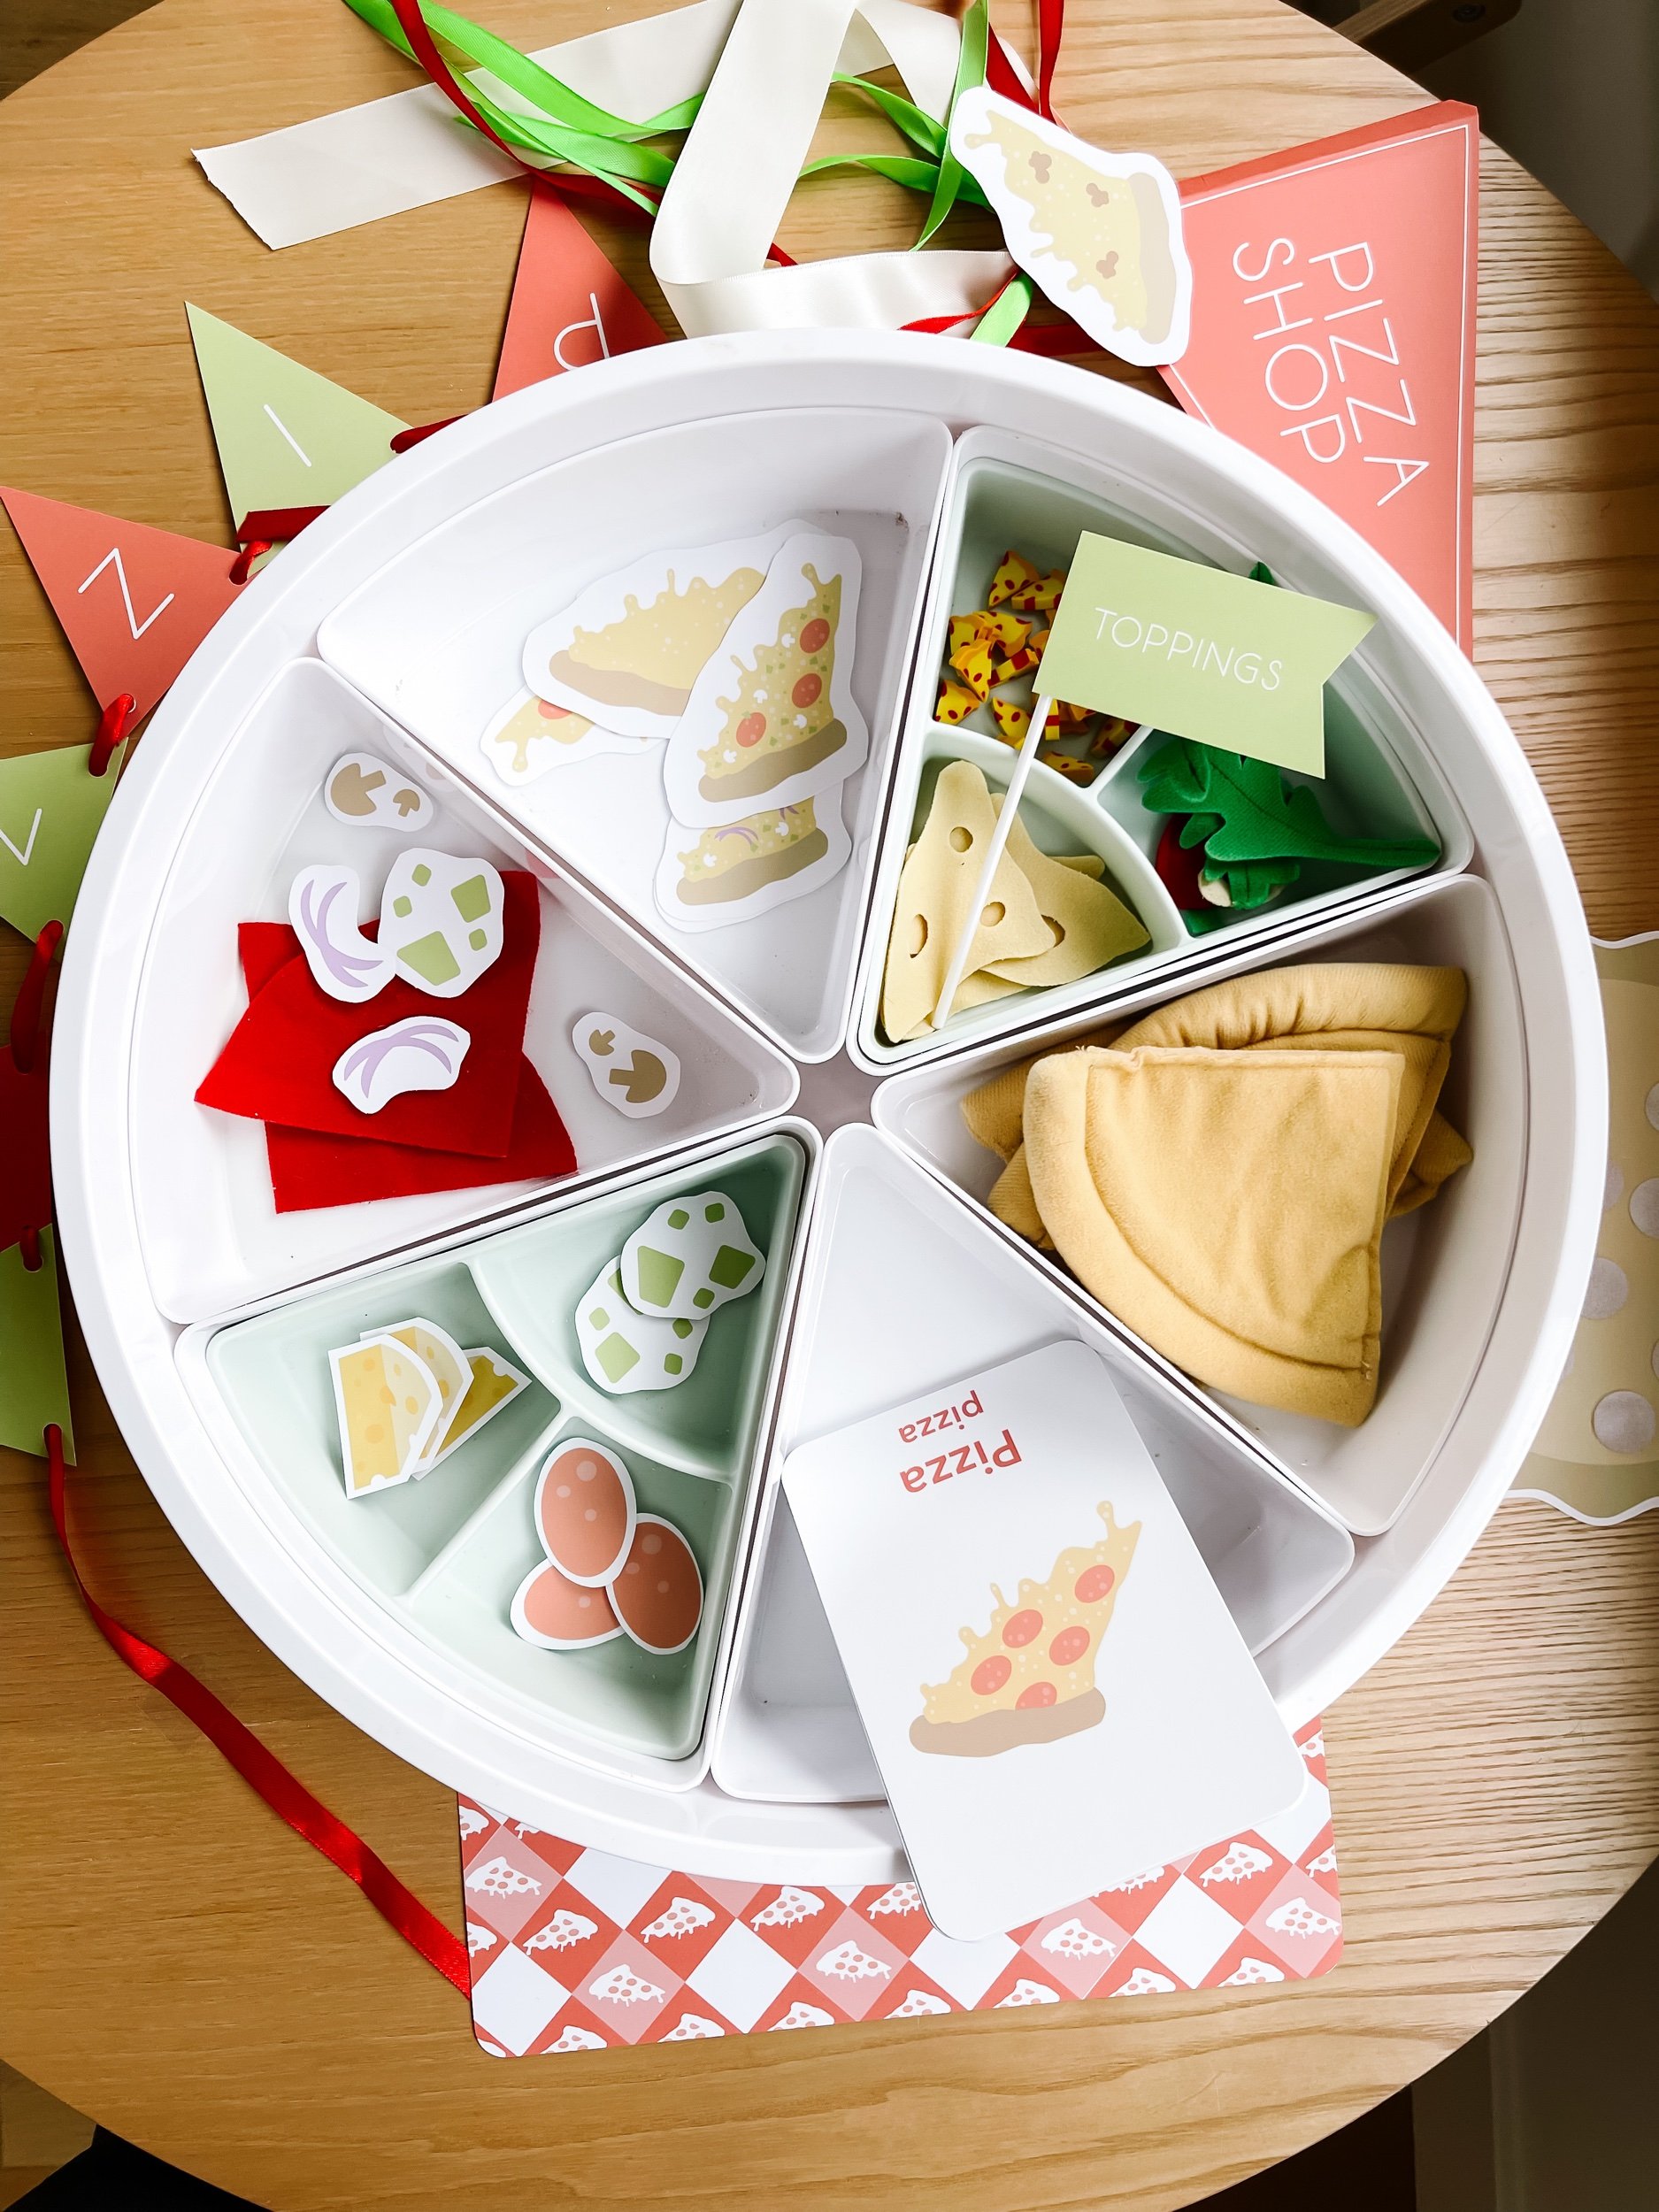
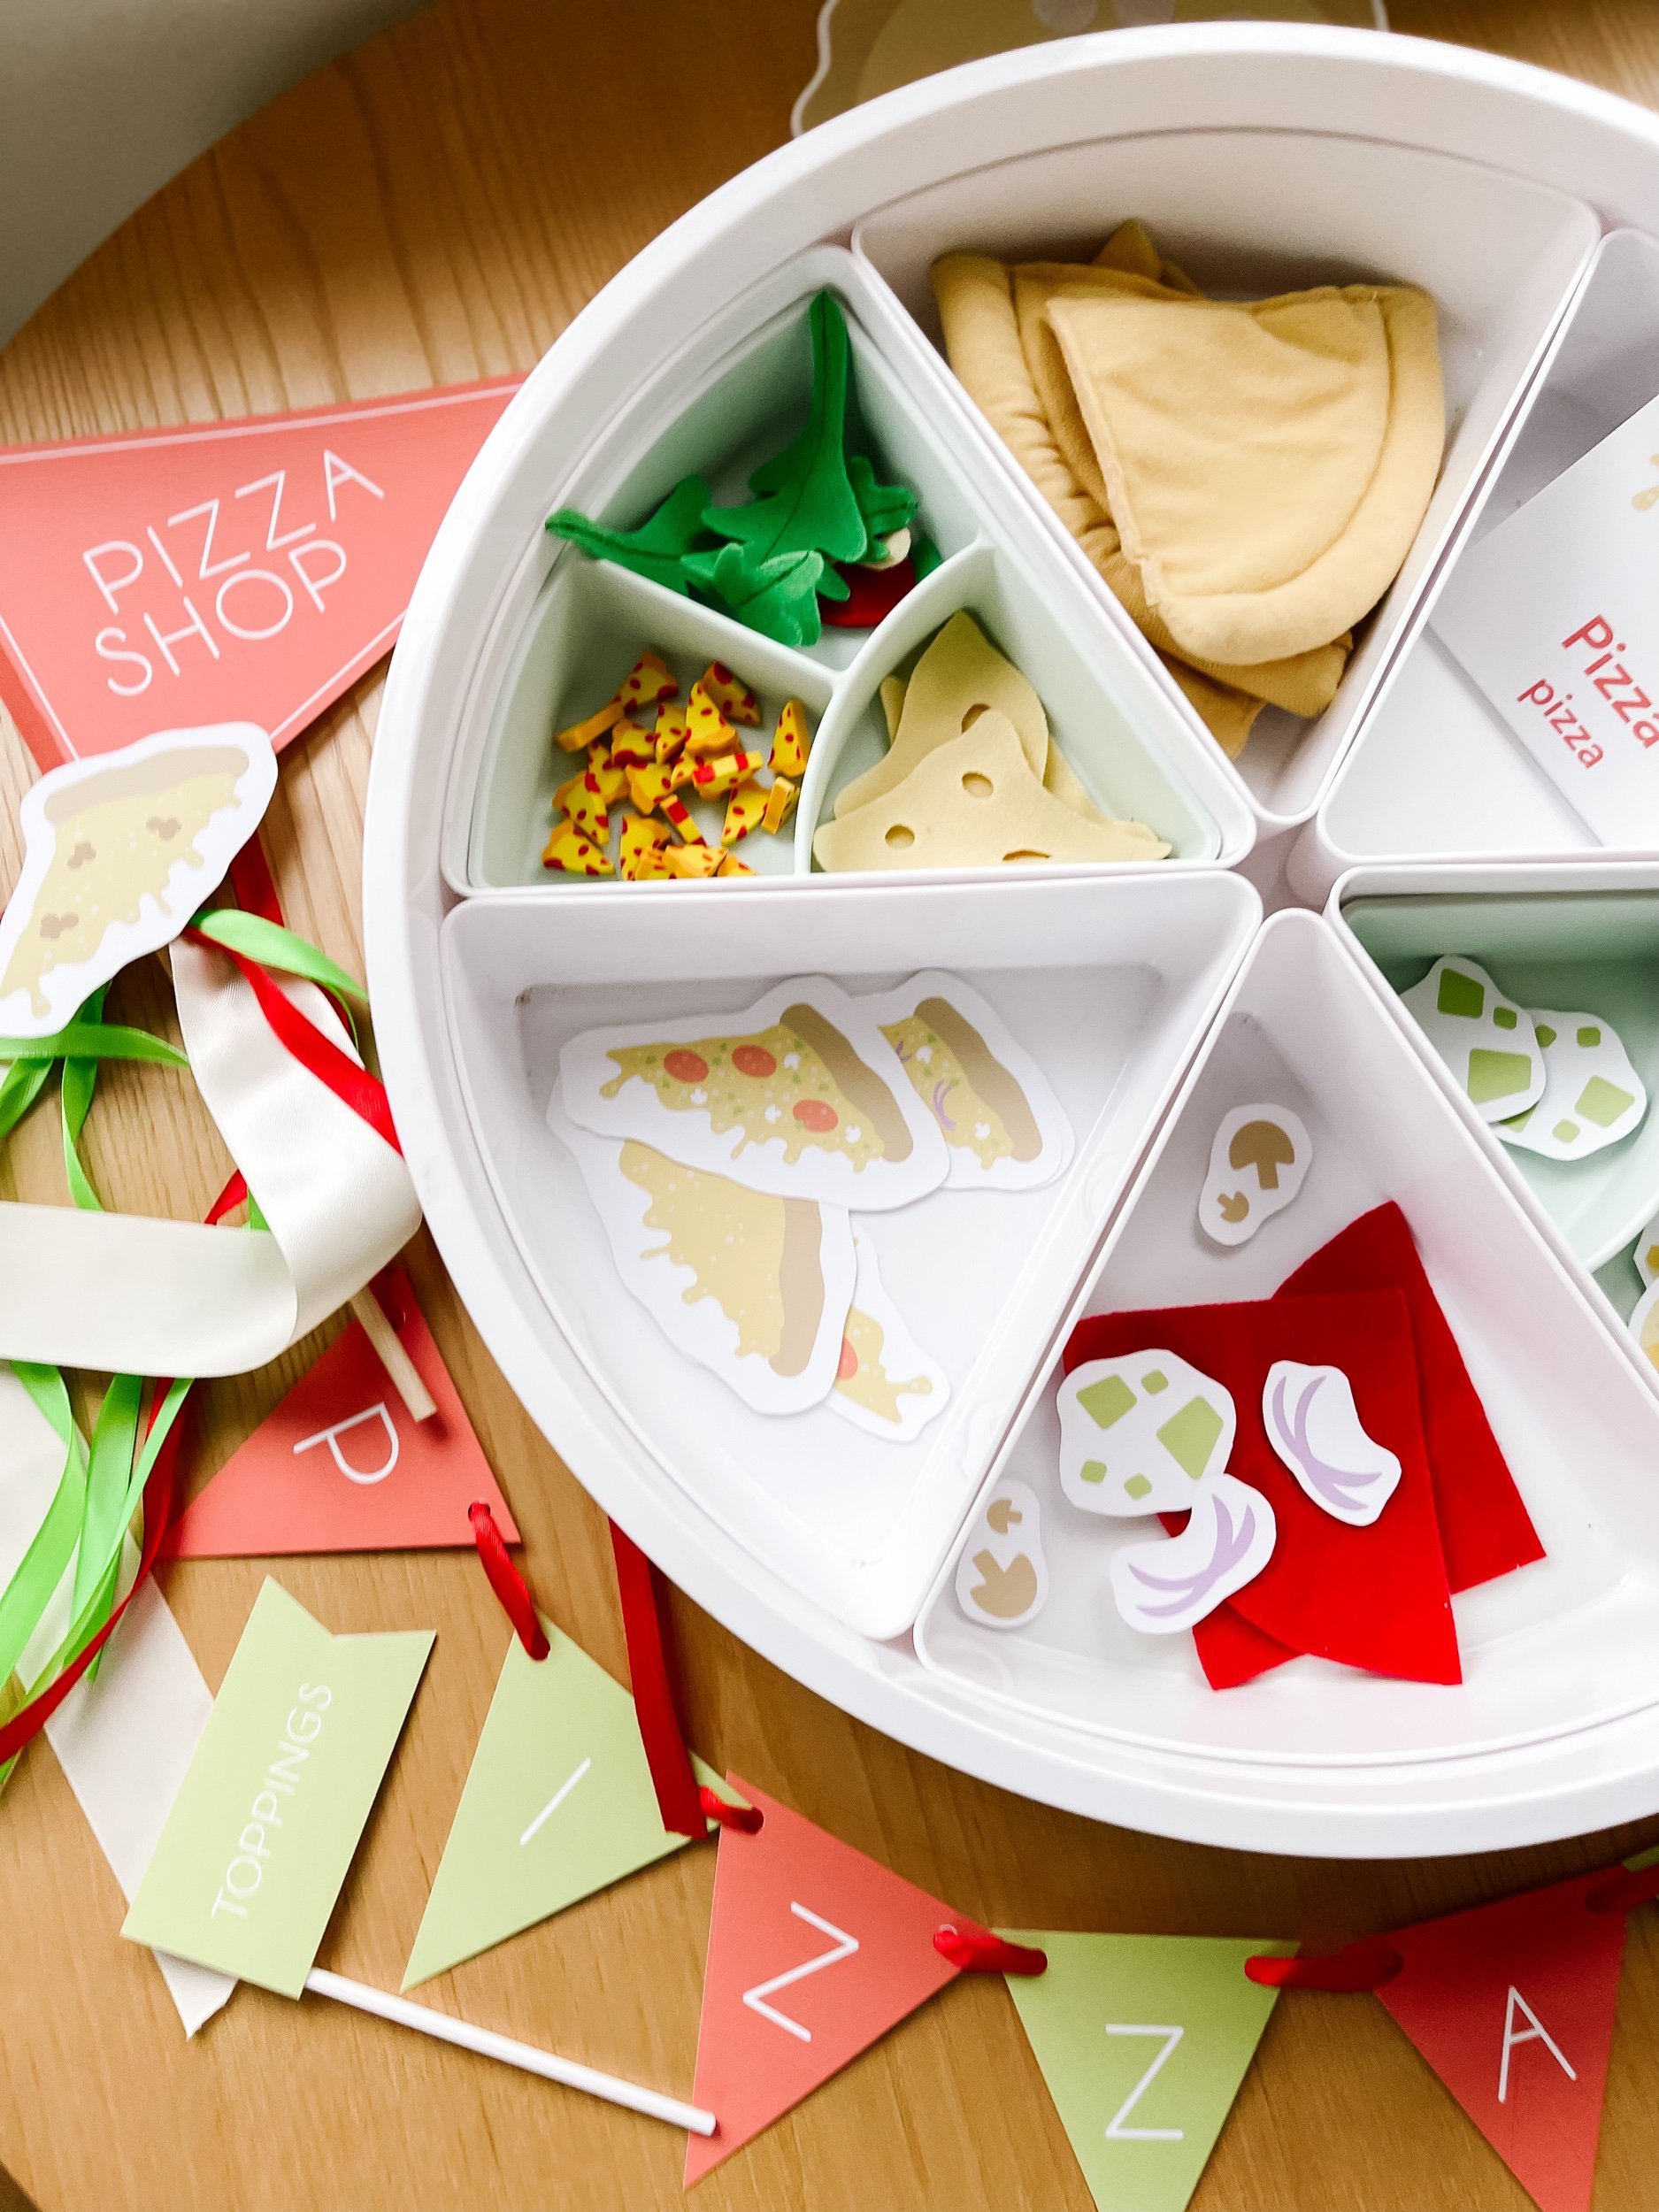
Maintain order in the mini pizzeria with InspireMyPlay's sorting cups and tongs. Encourage children to sort toppings into designated cups, promoting cognitive skills and introducing an element of organization to the play. The tongs add a touch of realism and help refine fine motor control.


IMG_5842.jpeg IMG_5850_jpg.jpeg IMG_5845.jpeg IMG_5851_jpg.jpeg IMG_5844.jpeg IMG_5843.jpeg

The Benefits of Sensory Play

Engaging in dramatic and sensory play, such as the pizza shop activity, offers a plethora of developmental advantages for children. This immersive experience stimulates various senses, fostering cognitive, social, and emotional growth. Sensory play enhances fine motor skills as children manipulate the felt toppings and Velcro dots, promoting better hand-eye coordination. Additionally, it encourages creativity, imaginative thinking, and problem-solving abilities as they navigate the pizza-making process. Beyond the immediate fun, sensory play contributes to a child's overall sensory integration, laying the foundation for improved focus and self-regulation.

Pizza Shop Vocabulary Extravaganza

Expand your little one's language skills with a pizza-themed vocabulary list! As they engage in the delightful world of their mini pizzeria, encourage the use of these 25 words related to the pizza shop topic:

  • 1. Pizzeria

  • 2. Awning

  • 3. Banner

  • 4. Tablecloth

  • 5. Flag

  • 6. Toppings

  • 7. Velcro

  • 8. Felt

  • 9. Interactive

  • 10. Culinary

  • 11. Realistic

  • 12. Sorting

  • 13. Organization

  • 14. Fine motor skills

  • 15. Imaginative

  • 16. Creative play

  • 17. Sensory

  • 18. Cognitive

  • 19. Motor control

  • 20. Integration

  • 21. Developmental

  • 22. Immersive

  • 23. Culinary masterpiece

  • 24. Exploration

  • 25. Delight

Encourage your child to use these words during play, fostering language development in a fun and educational way. From constructing their pizzeria to describing their pizza creations, these vocabulary words add an extra layer of enrichment to the pizza shop activity.


Learning Beyond the Pizza Oven

Extend the educational value of the pizza shop setup by incorporating a variety of learning topics. Turn playtime into an opportunity for growth with these engaging ideas:

1. Mathematics Marvels:

Introduce basic math concepts by counting felt toppings or sorting them into numerical categories. Dive into fractions by slicing felt pizzas into halves, quarters, and more. Watch as children grasp these concepts through hands-on exploration.

2. Language Delights:

Enhance language skills by encouraging children to describe their pizzas using the vocabulary words provided earlier. Introduce new words related to the culinary world, such as 'dough,' 'sauce,' and 'crust.'

3. Geography Journey:

Turn the pizza shop into a global adventure by exploring different types of pizzas from around the world. Discuss the origins of pizzas like Margherita, Neapolitan, and New York-style.

4. Creative Writing Corner:

Foster storytelling skills by having children narrate the journey of their pizzeria, creating imaginative tales of pizza-making adventures.

5. Social Skills Spotlight:

Develop teamwork and cooperation by encouraging group play. Assign roles like chef, cashier, and customer, fostering social interaction and communication.

6. Science Exploration:

Discuss the science behind cooking and baking. Explore the transformation of ingredients, and talk about the role of heat in turning raw ingredients into a delicious pizza.

7. Artistic Expression:

Inspire creativity by encouraging children to design their own pizza box, draw their dream pizza, or even create a mural showcasing their pizzeria.

8. Culinary Exploration:

Extend the learning by involving children in simple, safe, and age-appropriate cooking activities. Make mini pizzas together using real ingredients, reinforcing the connection between play and the kitchen.

These interactive learning topics seamlessly integrate into the pizza shop setup, turning each play session into a multidimensional learning experience that combines fun with educational exploration.


Download the printable play kit
Tags pizza shop, pizzeria, pizza play, dramatic play pizza, printable pizza shop, pizza party, sensory activity, sensory play, pizza oven, pizza place
3 Comments

IKEA Play Kitchen Hack: How I Turned Ours Into a Functional Learning Space (+Pretend PLay Shops)

January 31, 2024 Kylie Tuosto

What You’ll Learn In This Post:

  • How to organize an IKEA play kitchen for better play

  • How to encourage independent play

  • How to turn your kitchen into a pizza shop, bakery, and more

  • Quick hacks/swaps to make the Duktig IKEA kitchen look beautiful in your home


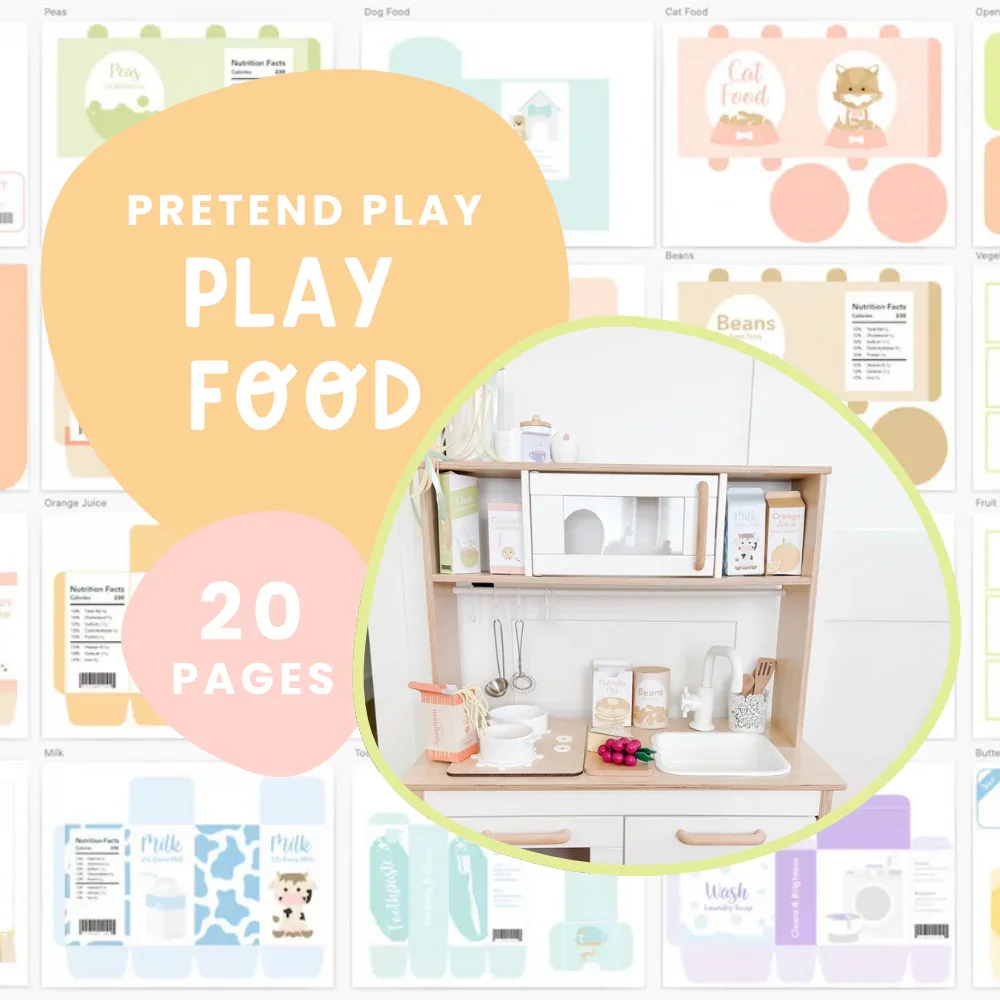
Printable Play Food


Join thousands of parents who get printable activities, sensory play ideas, and play-based learning inspiration delivered to their inbox. Start with this adorable printable play food you can use today.  

Download the Printable Play Food

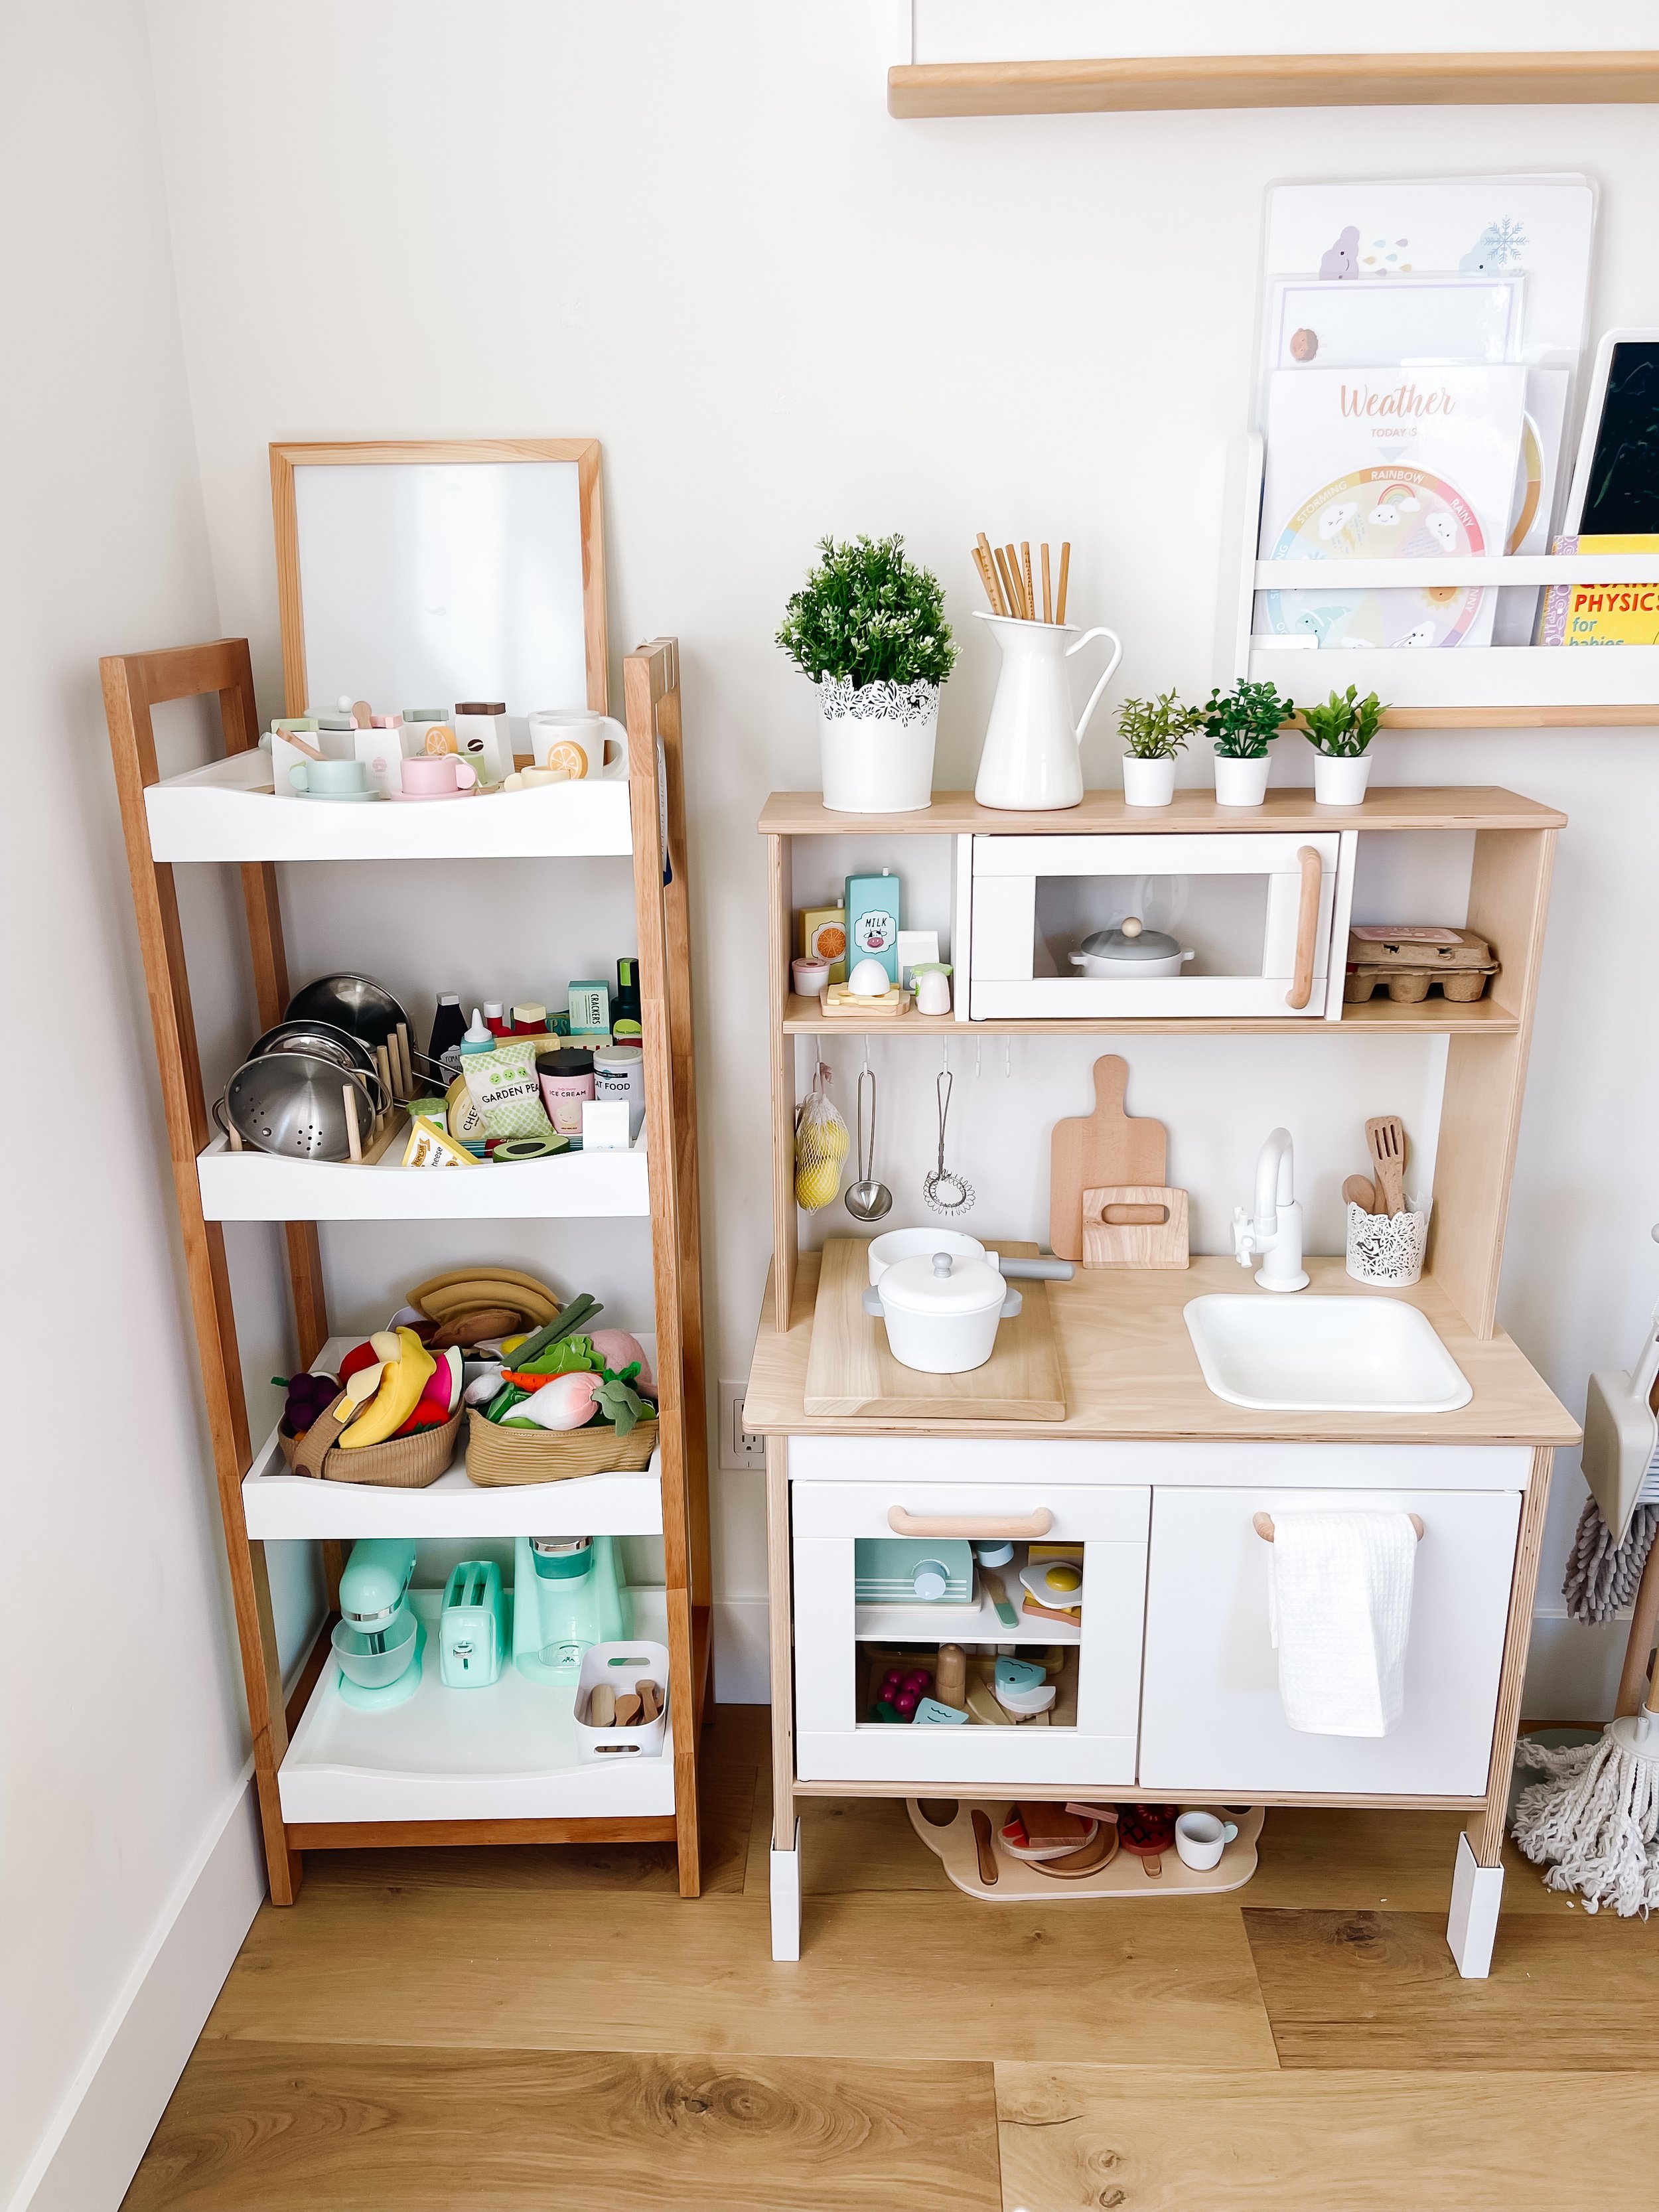
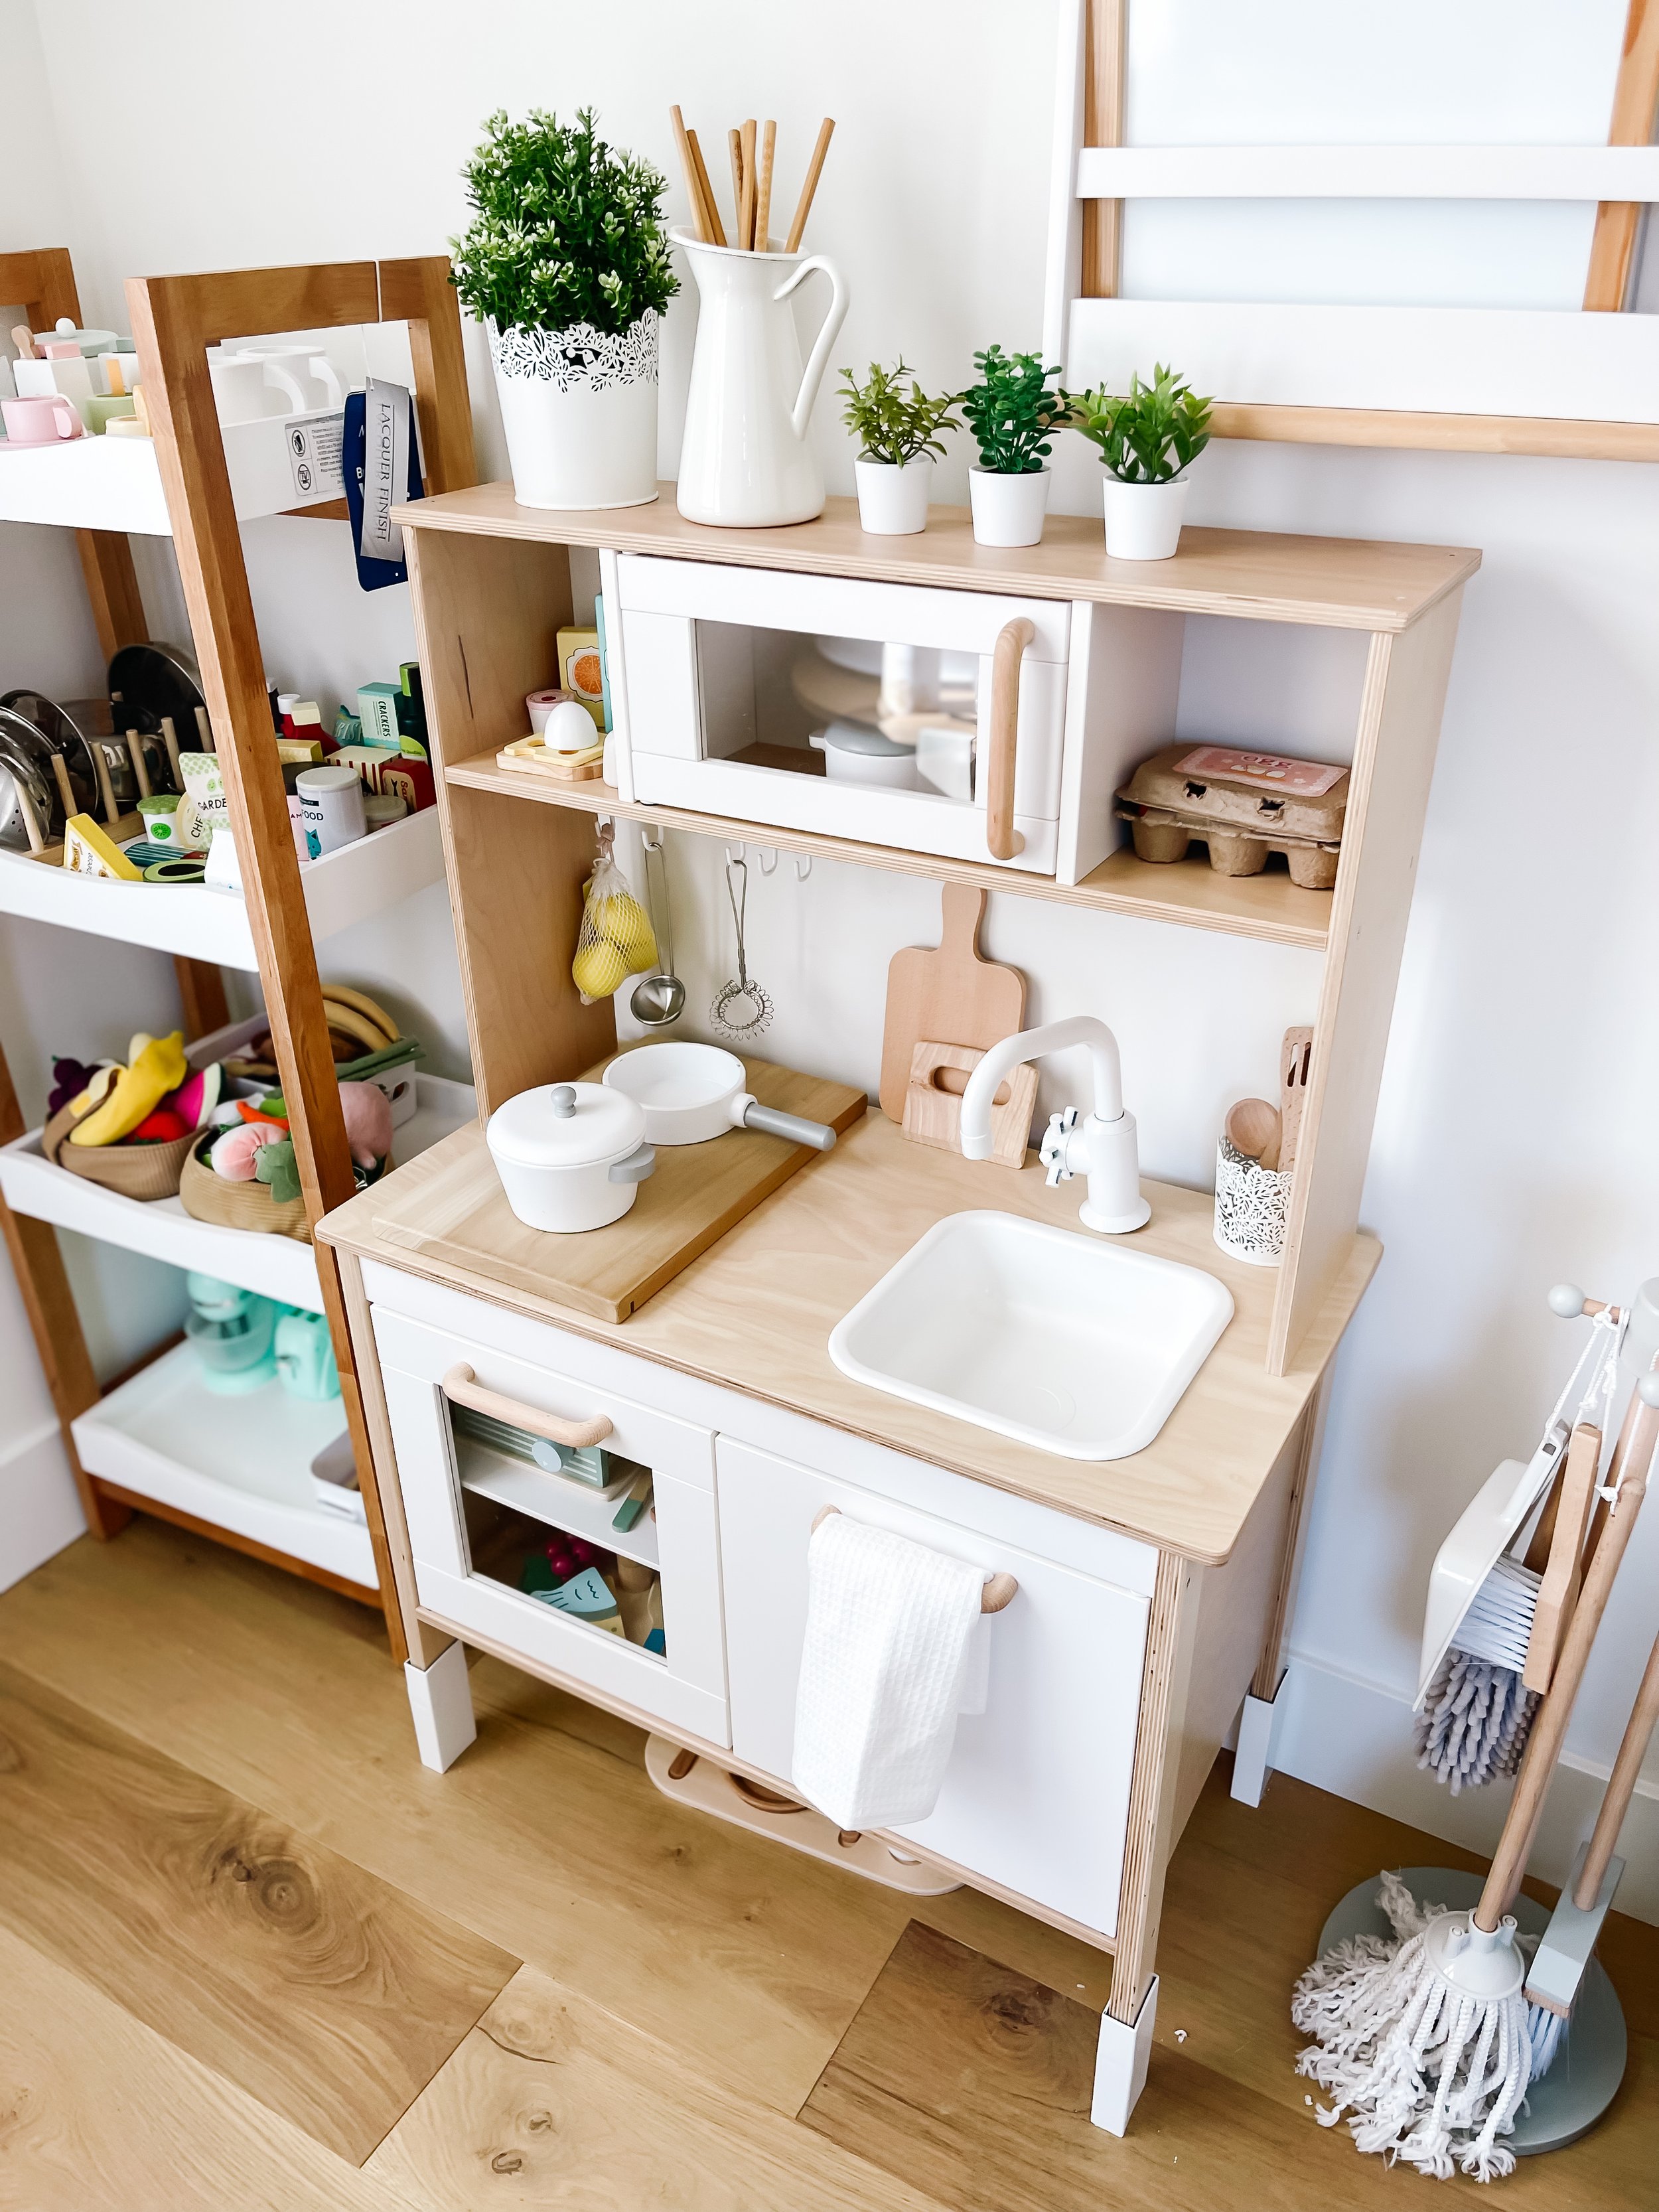
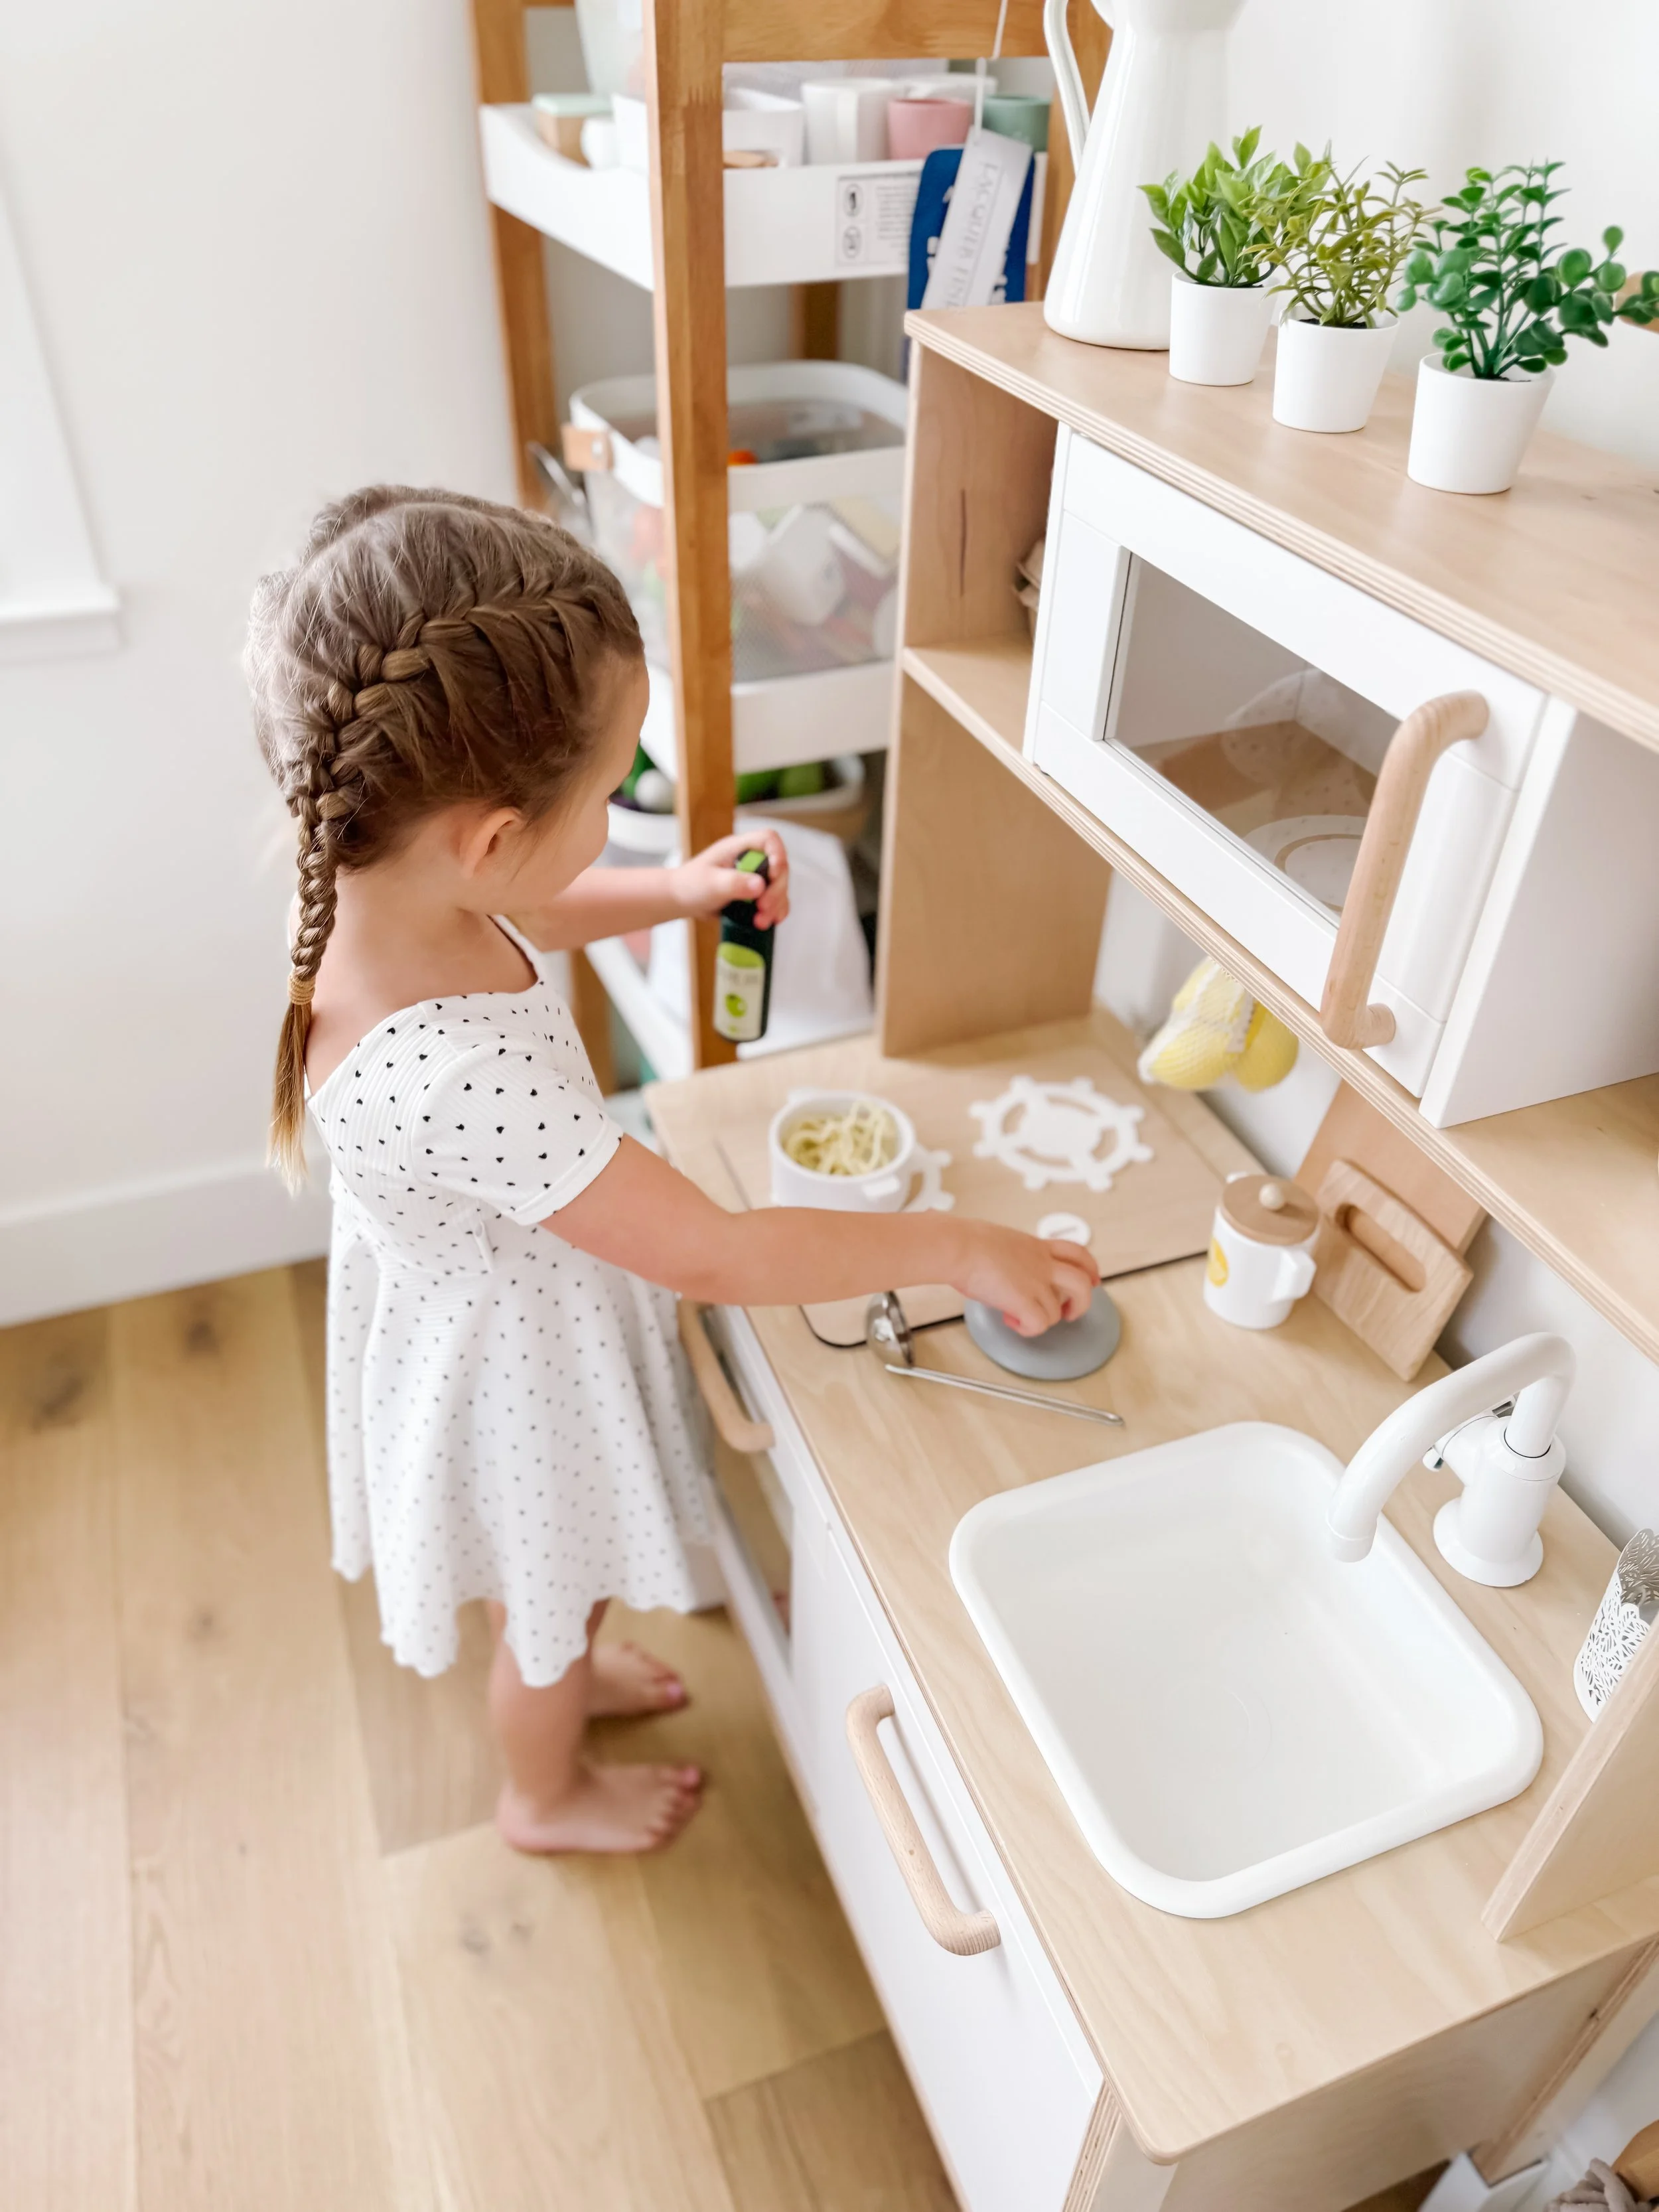
When I first brought home our IKEA play kitchen, I loved how cute it looked—but I quickly realized it wasn’t being used to its full potential.

It was more of a toy than a space.

So I decided to transform it into something more intentional—a functional, engaging learning space that would encourage independent play, creativity, and real-life skill building. I hope you love this IKEA play kitchen hack as much as I do.

What started as a simple upgrade turned into one of the most used areas in our home.

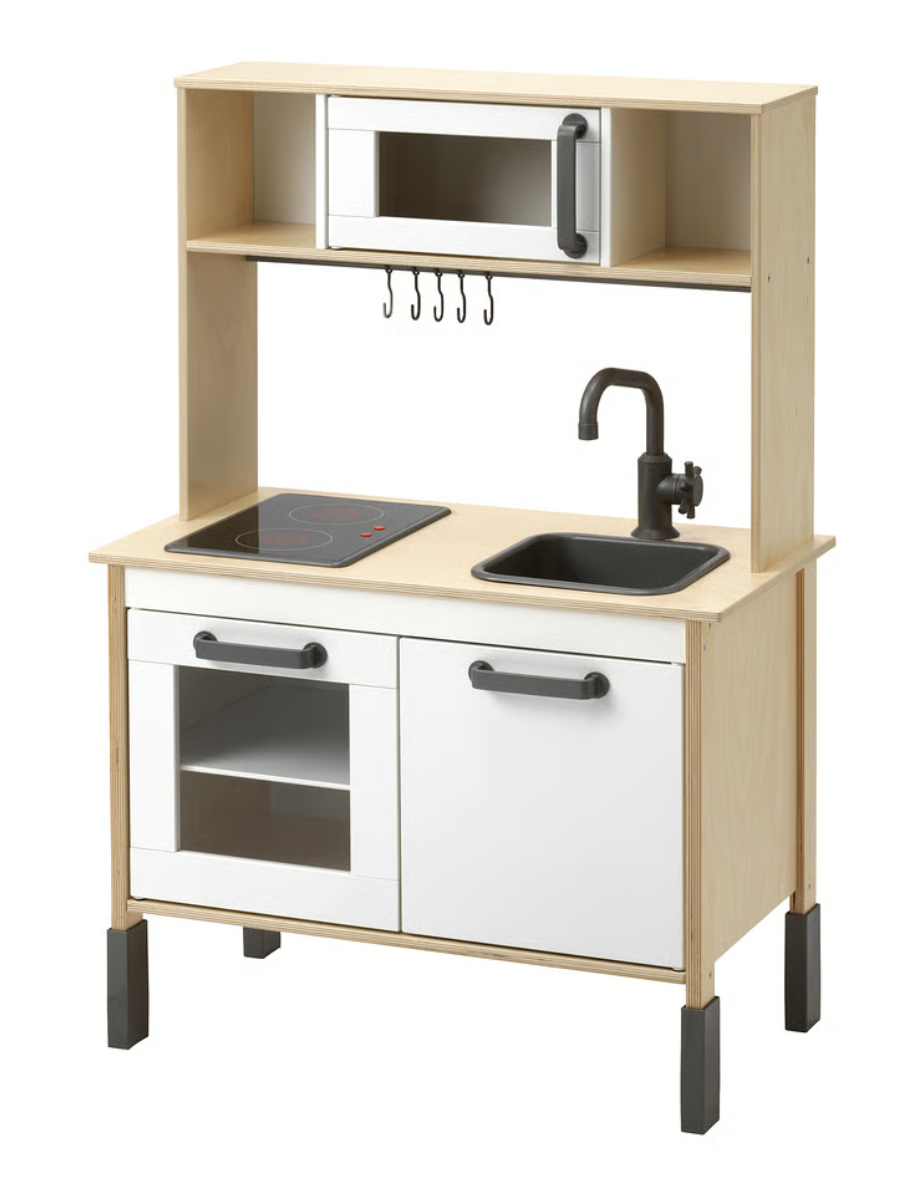
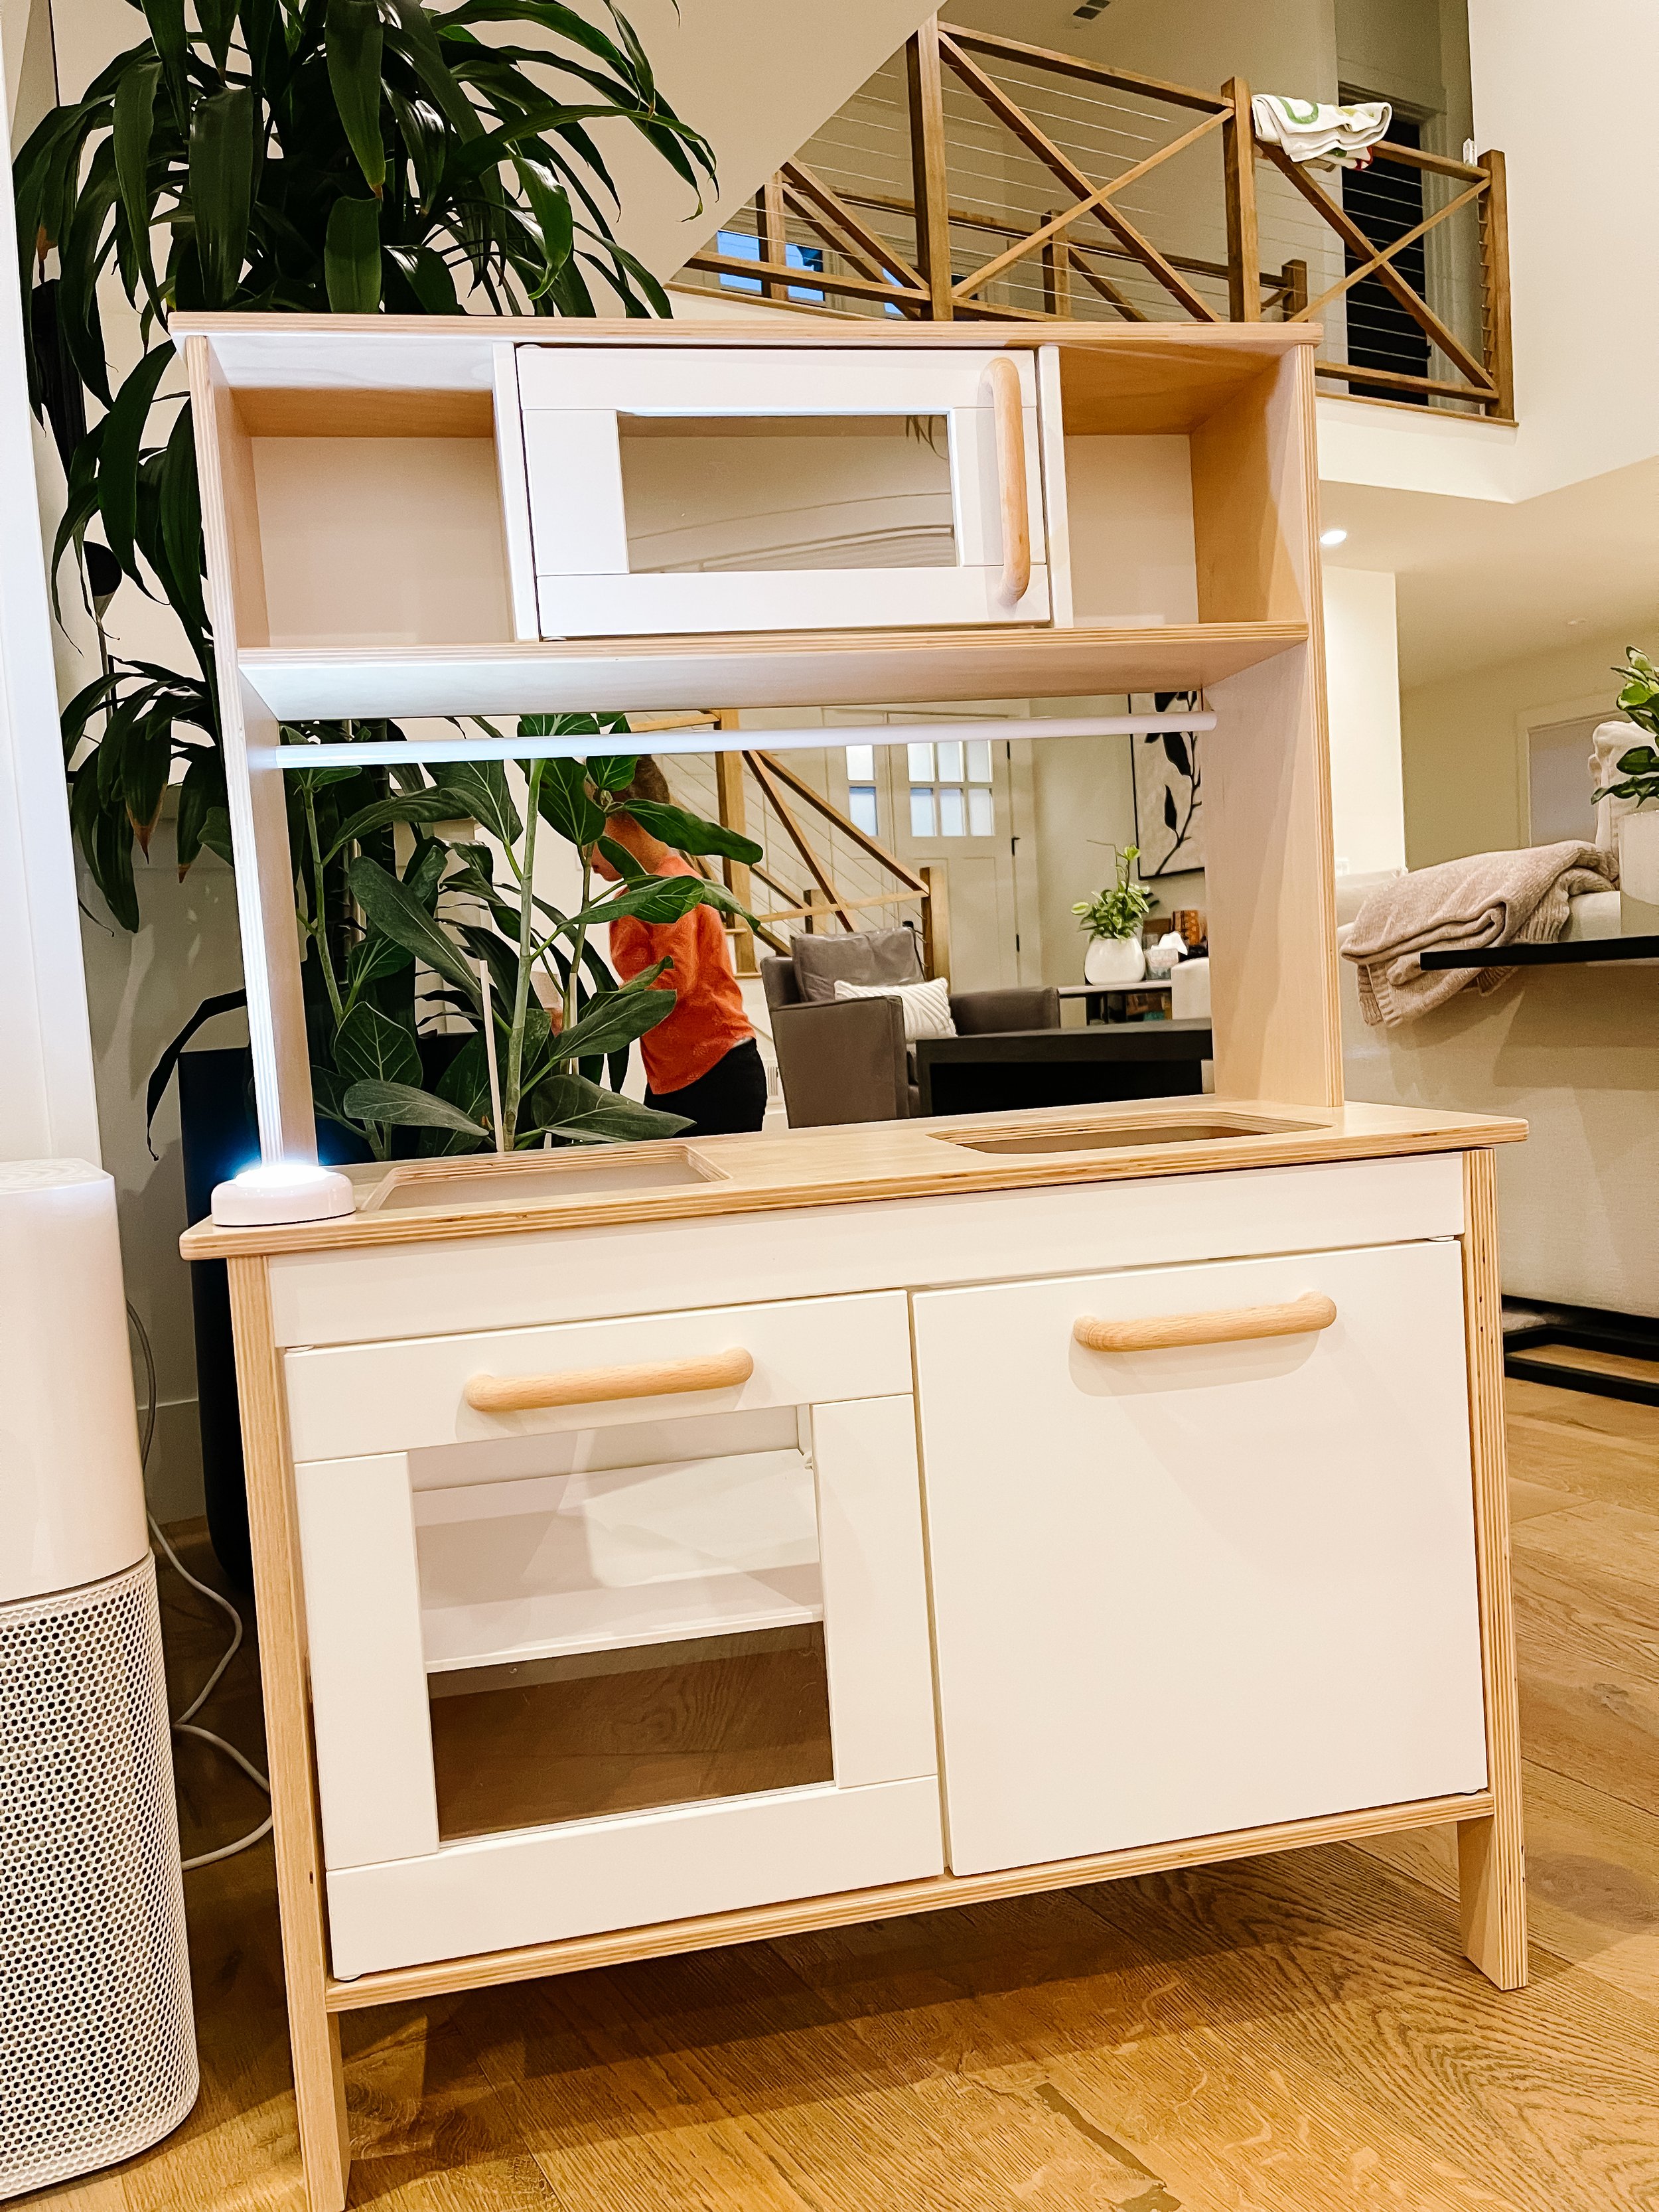
ikea play kitchen before DIY remodel
ikea play kitchen diy transformation remodel into kids learning space

The Before

Before the transformation, the play kitchen felt:

  • underutilized

  • lacking structure

  • missing opportunities for meaningful play

It had the basics, but it didn’t invite my daughter to stay and play for long periods of time.
I wanted to create a space that felt:

  • inviting

  • purposeful

  • and easy for her to use independently


The Transformation

Instead of treating this like a toy, I approached it like a mini functional space within our home.
Every change I made was focused on one goal: making play more engaging, accessible, and intentional.

IMG_5373_jpg.jpg IMG_5364.jpg IMG_5365.jpg IMG_5366.jpg IMG_5367_jpg.jpg IMG_5370.jpg IMG_5371.jpg IMG_5372_jpg.jpg IMG_5374_jpg.jpg

What I Changed

1. Created Defined Play Zones

I styled the kitchen so each area had a purpose:

  • cooking area

  • prep space

  • storage

  • display

This helped guide play naturally and made it easier for my daughter to understand how to use the space and created a pretend play shop experience.


2. Simplified and Rotated Materials

Instead of overcrowding the space, I:

  • reduced the number of items

  • displayed only a few at a time

  • rotated items to keep it fresh

This instantly made the space feel calmer and more engaging.


3. Made Everything Kid-Accessible

One of the biggest changes was making sure everything was within reach.

  • easy-to-grab utensils

  • open storage bins

  • visible materials

This allowed for independent play without constant help.


4. Added Real-Life Play Elements

I incorporated items that mimic real-life kitchen experiences:

  • play food

  • containers and jars

  • simple prep setups

This turned pretend play into something more meaningful and immersive.

Printable Play Food →


5. Styled It Like a Real Space (Not a Toy)

This was the biggest shift.
Instead of treating it like a toy, I styled it like a mini version of a real kitchen:

  • neutral colors

  • simple decor

  • clean layout

This made it feel like a true part of our home.


The Result

After the transformation, everything changed.
This space became:

  • one of the most used areas in our home

  • a go-to for independent play

  • a place where my daughter can engage for longer periods of time

It’s no longer just a toy—it’s a functional learning environment.


Why This Works

This setup works so well because it focuses on:

  • simplicity over clutter

  • access over perfection

  • function over decoration

By making the space easy to use and visually inviting, it naturally encourages more play.


The Game-Changer: Turning Your Play Kitchen Into Shops

One of my favorite parts about this setup is that it’s not just a play kitchen—it’s a fully customizable play space.
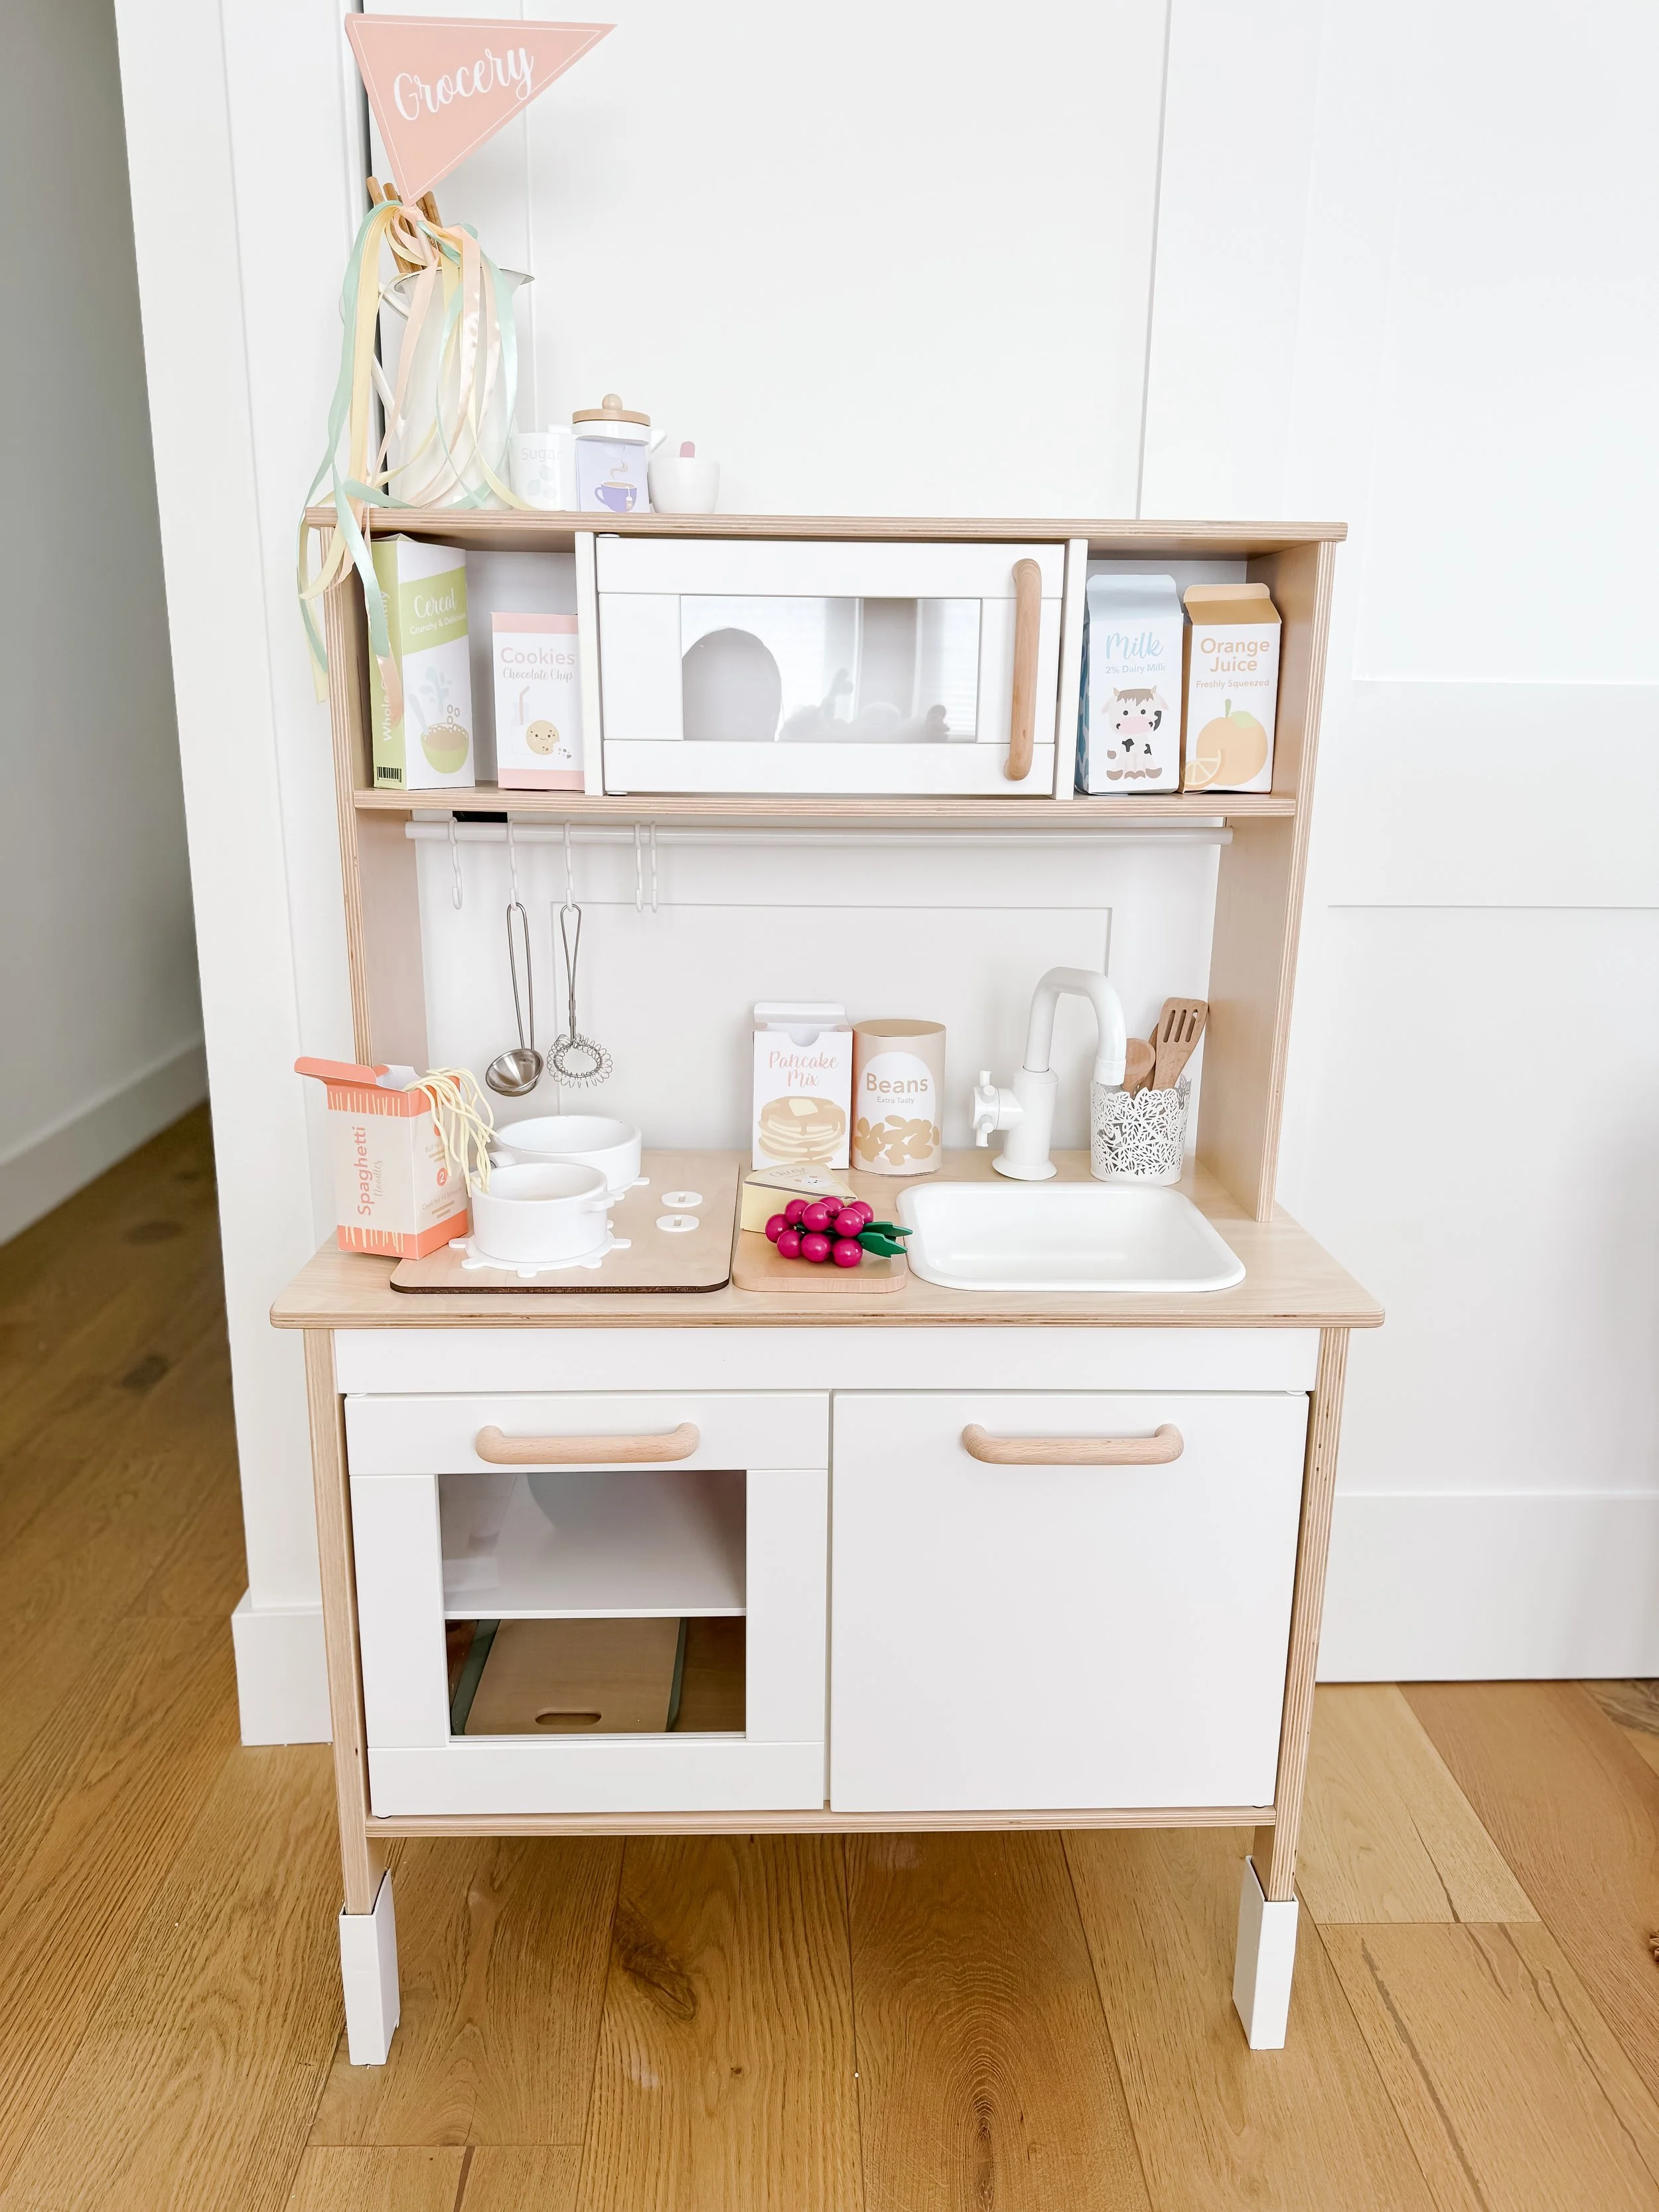
With just a few simple swaps, we can completely transform it into different themed shops using our GoodnightFox printables.
This keeps the space feeling new and exciting without needing to buy new toys.
Example:
Pizza Shop Setup
For this setup, we turned the kitchen into a pizza shop by adding:

  • printable pizza menus

  • shop signage + banner

  • play pizza ingredients and toppings

  • themed accessories

Suddenly, the same kitchen becomes an entirely new experience.


Why This Works So Well

Instead of constantly buying new toys, we:

  • reuse the same base setup

  • swap out printables and a few props

  • create a completely new play theme

It’s a simple way to:

  • extend play time

  • spark imagination

  • introduce new vocabulary and concepts


IceCream.png
Ramen.png
Bakery.jpeg
GroceryStore.png
FallCafe.png

Other Shop Ideas You Can Create

This same setup can easily transform into:

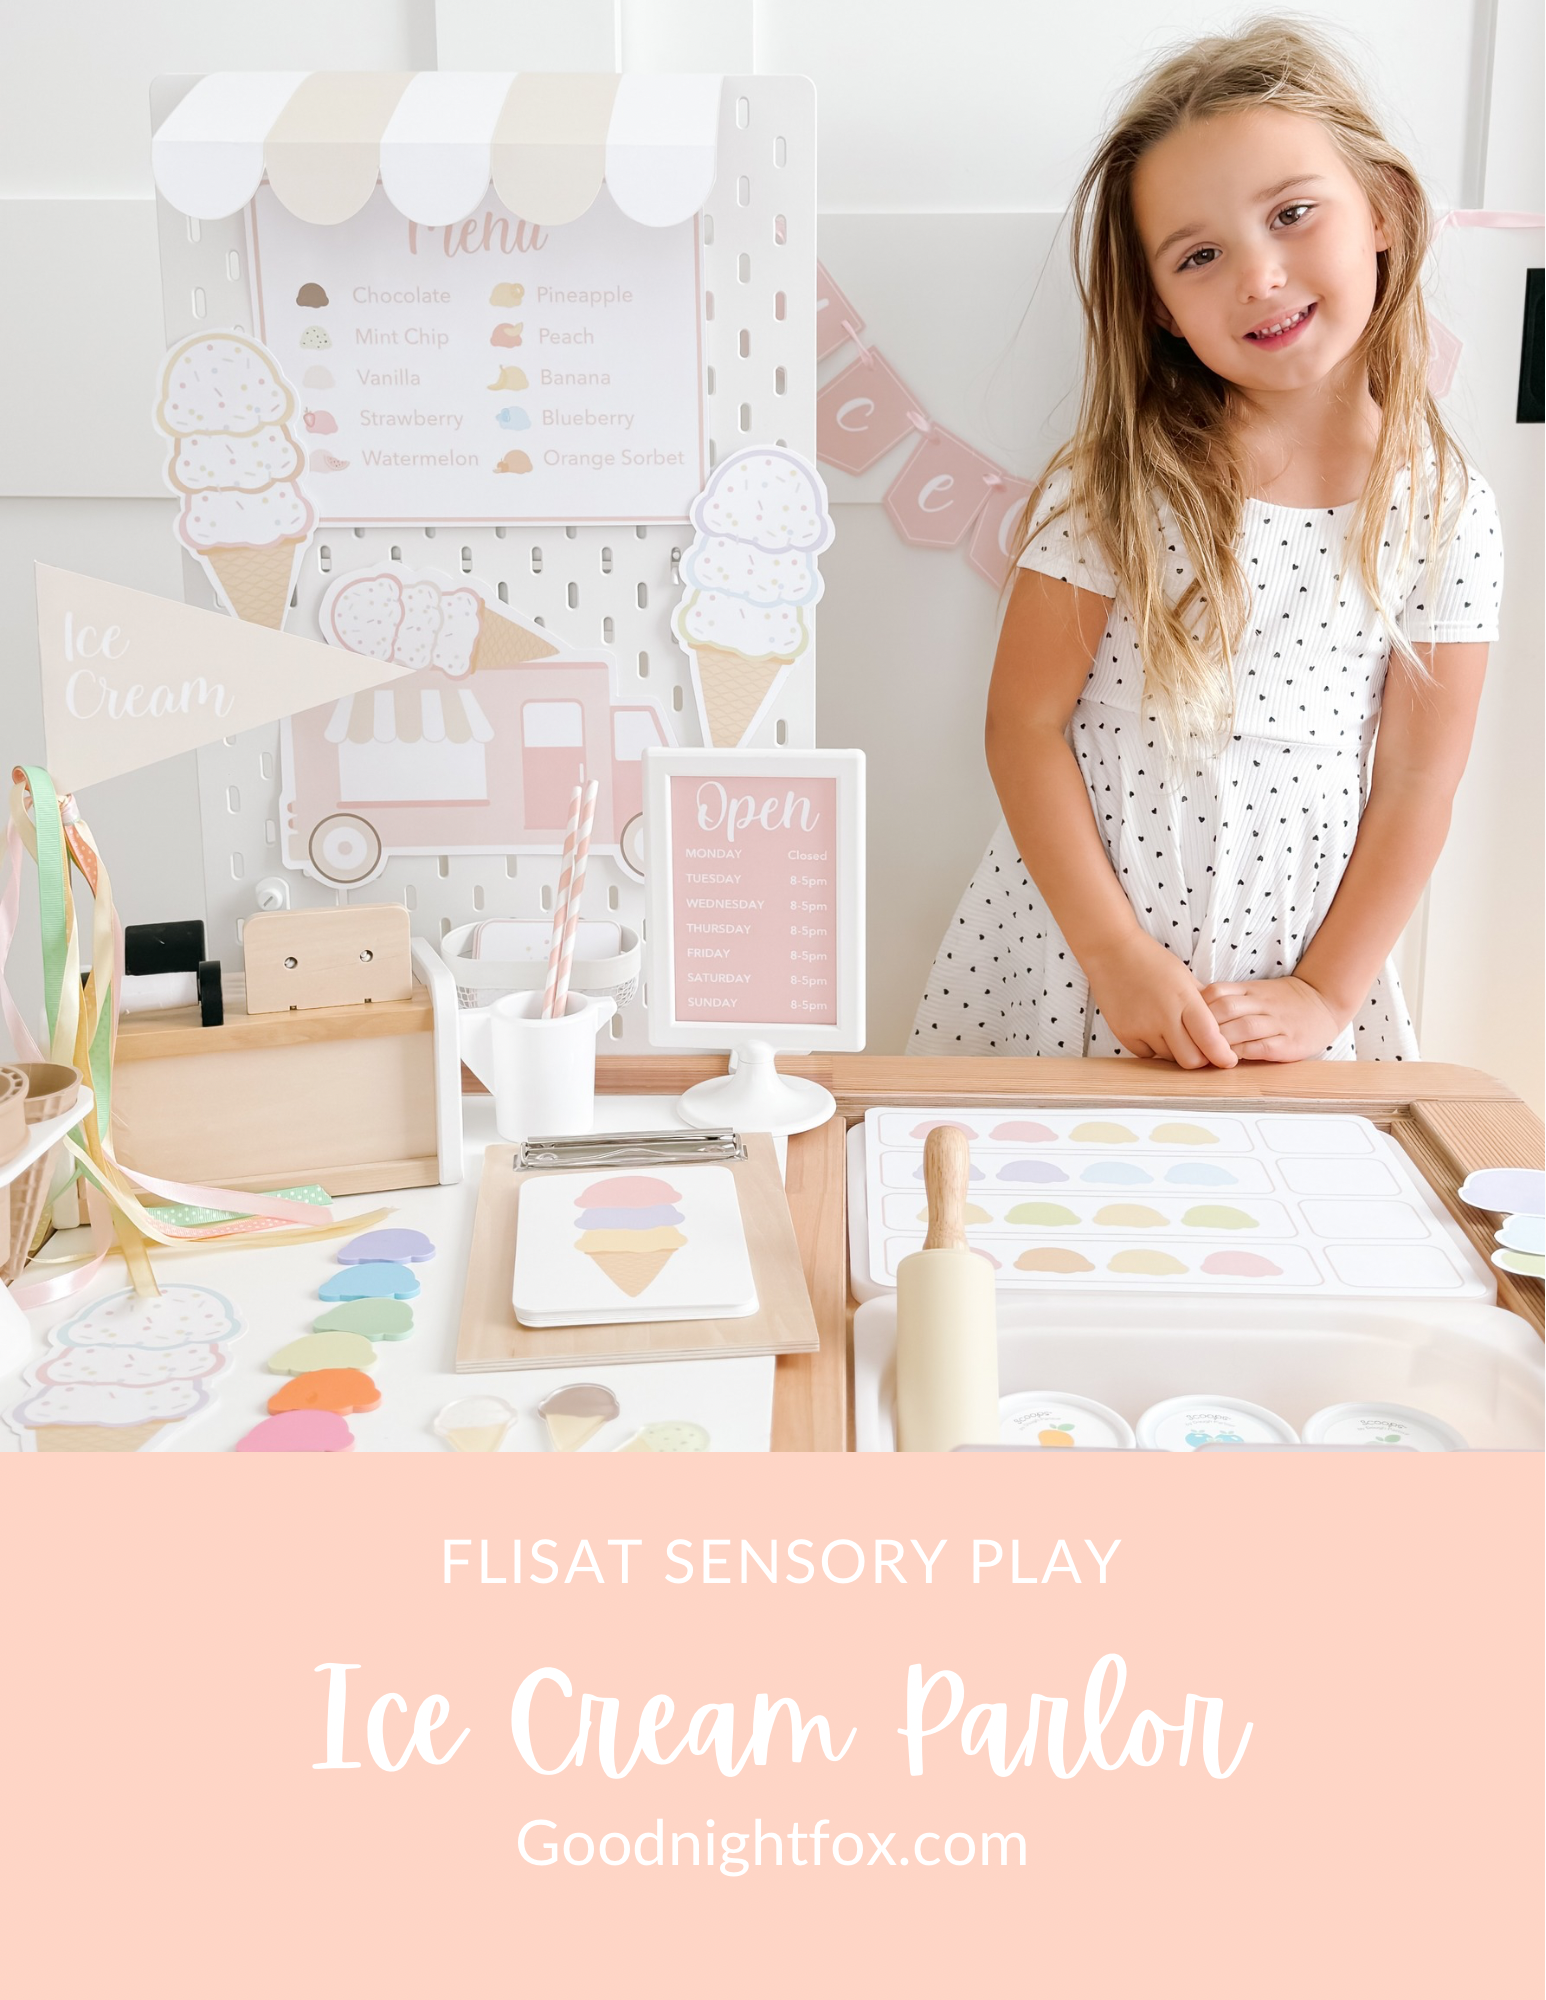
  • Ice Cream Shop

  • Coffee Shop

  • Bakery

  • Ramen Shop

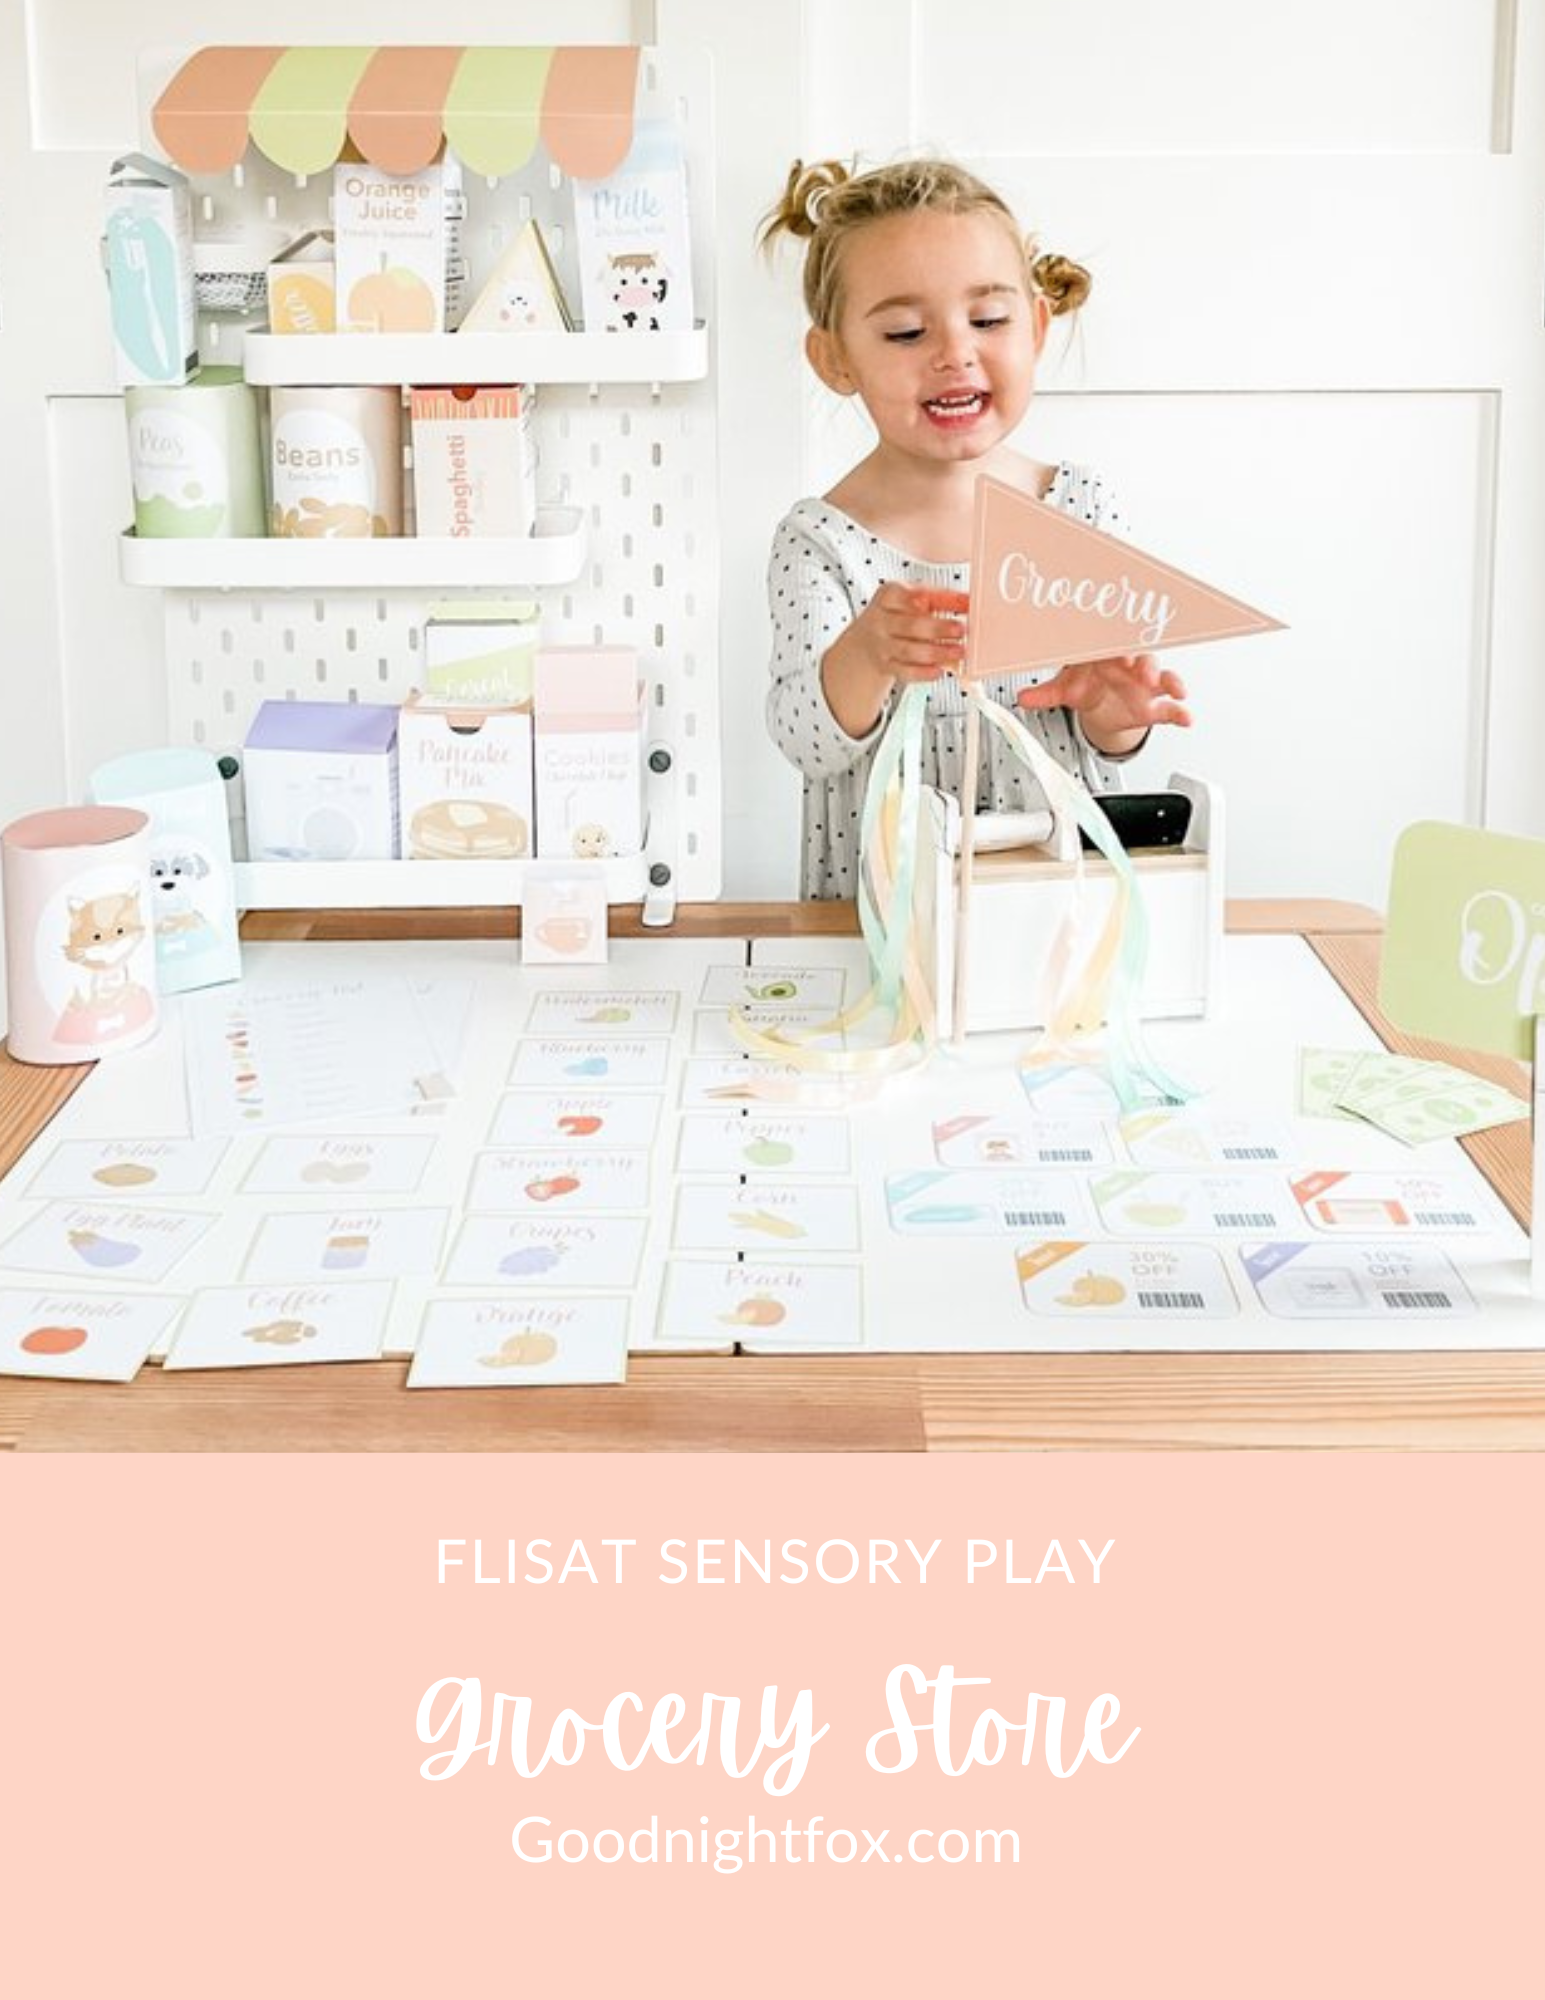
  • Grocery Store

Each one creates a brand new play experience using the same space.


A Simple Way to Keep Play Fresh

Rotating themes every few weeks has made a huge difference in how long my daughter stays engaged.
It turns this from a one-time setup into something that evolves over time.
And the best part?
It takes just a few minutes to switch everything out.


Tips for Creating Your Own Play Kitchen Setup

If you want to recreate this in your own home:

  • start with what you already have

  • remove more than you add

  • keep materials visible and accessible

  • rotate items to keep interest high

  • think of it as a “real space,” not just a toy


Final Thoughts

Transforming this IKEA play kitchen completely changed how my daughter plays at home.
It’s a simple shift, but it made a huge difference.
And the best part?
You don’t need a lot of space or expensive materials to create something just as impactful.


ikea kitchen makeover

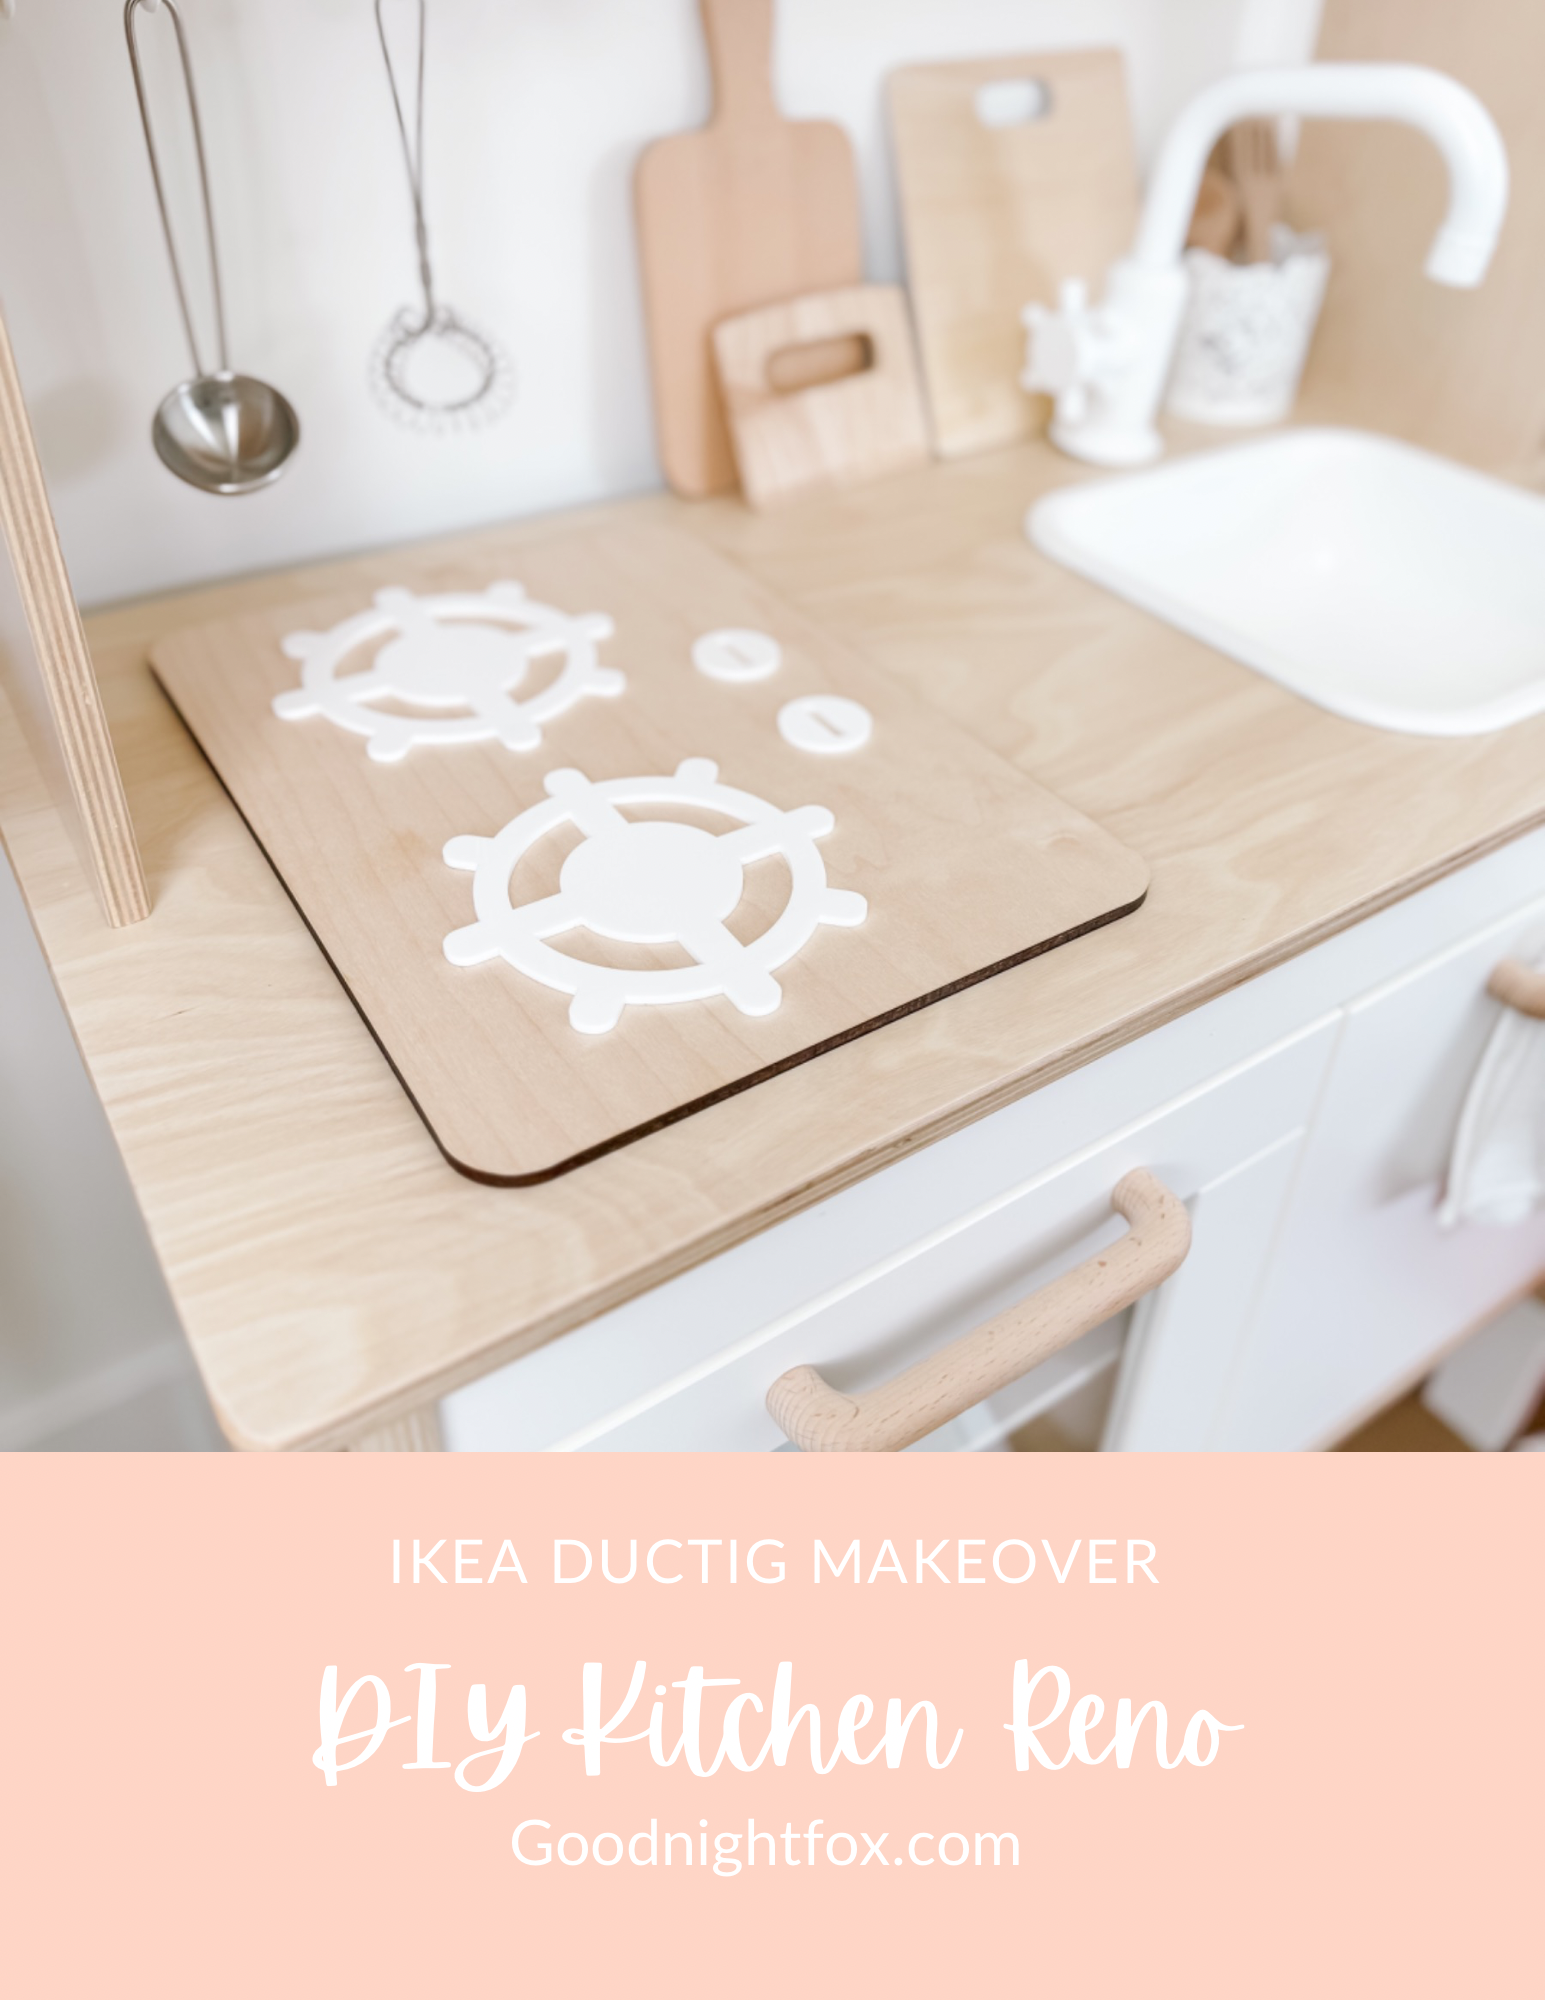
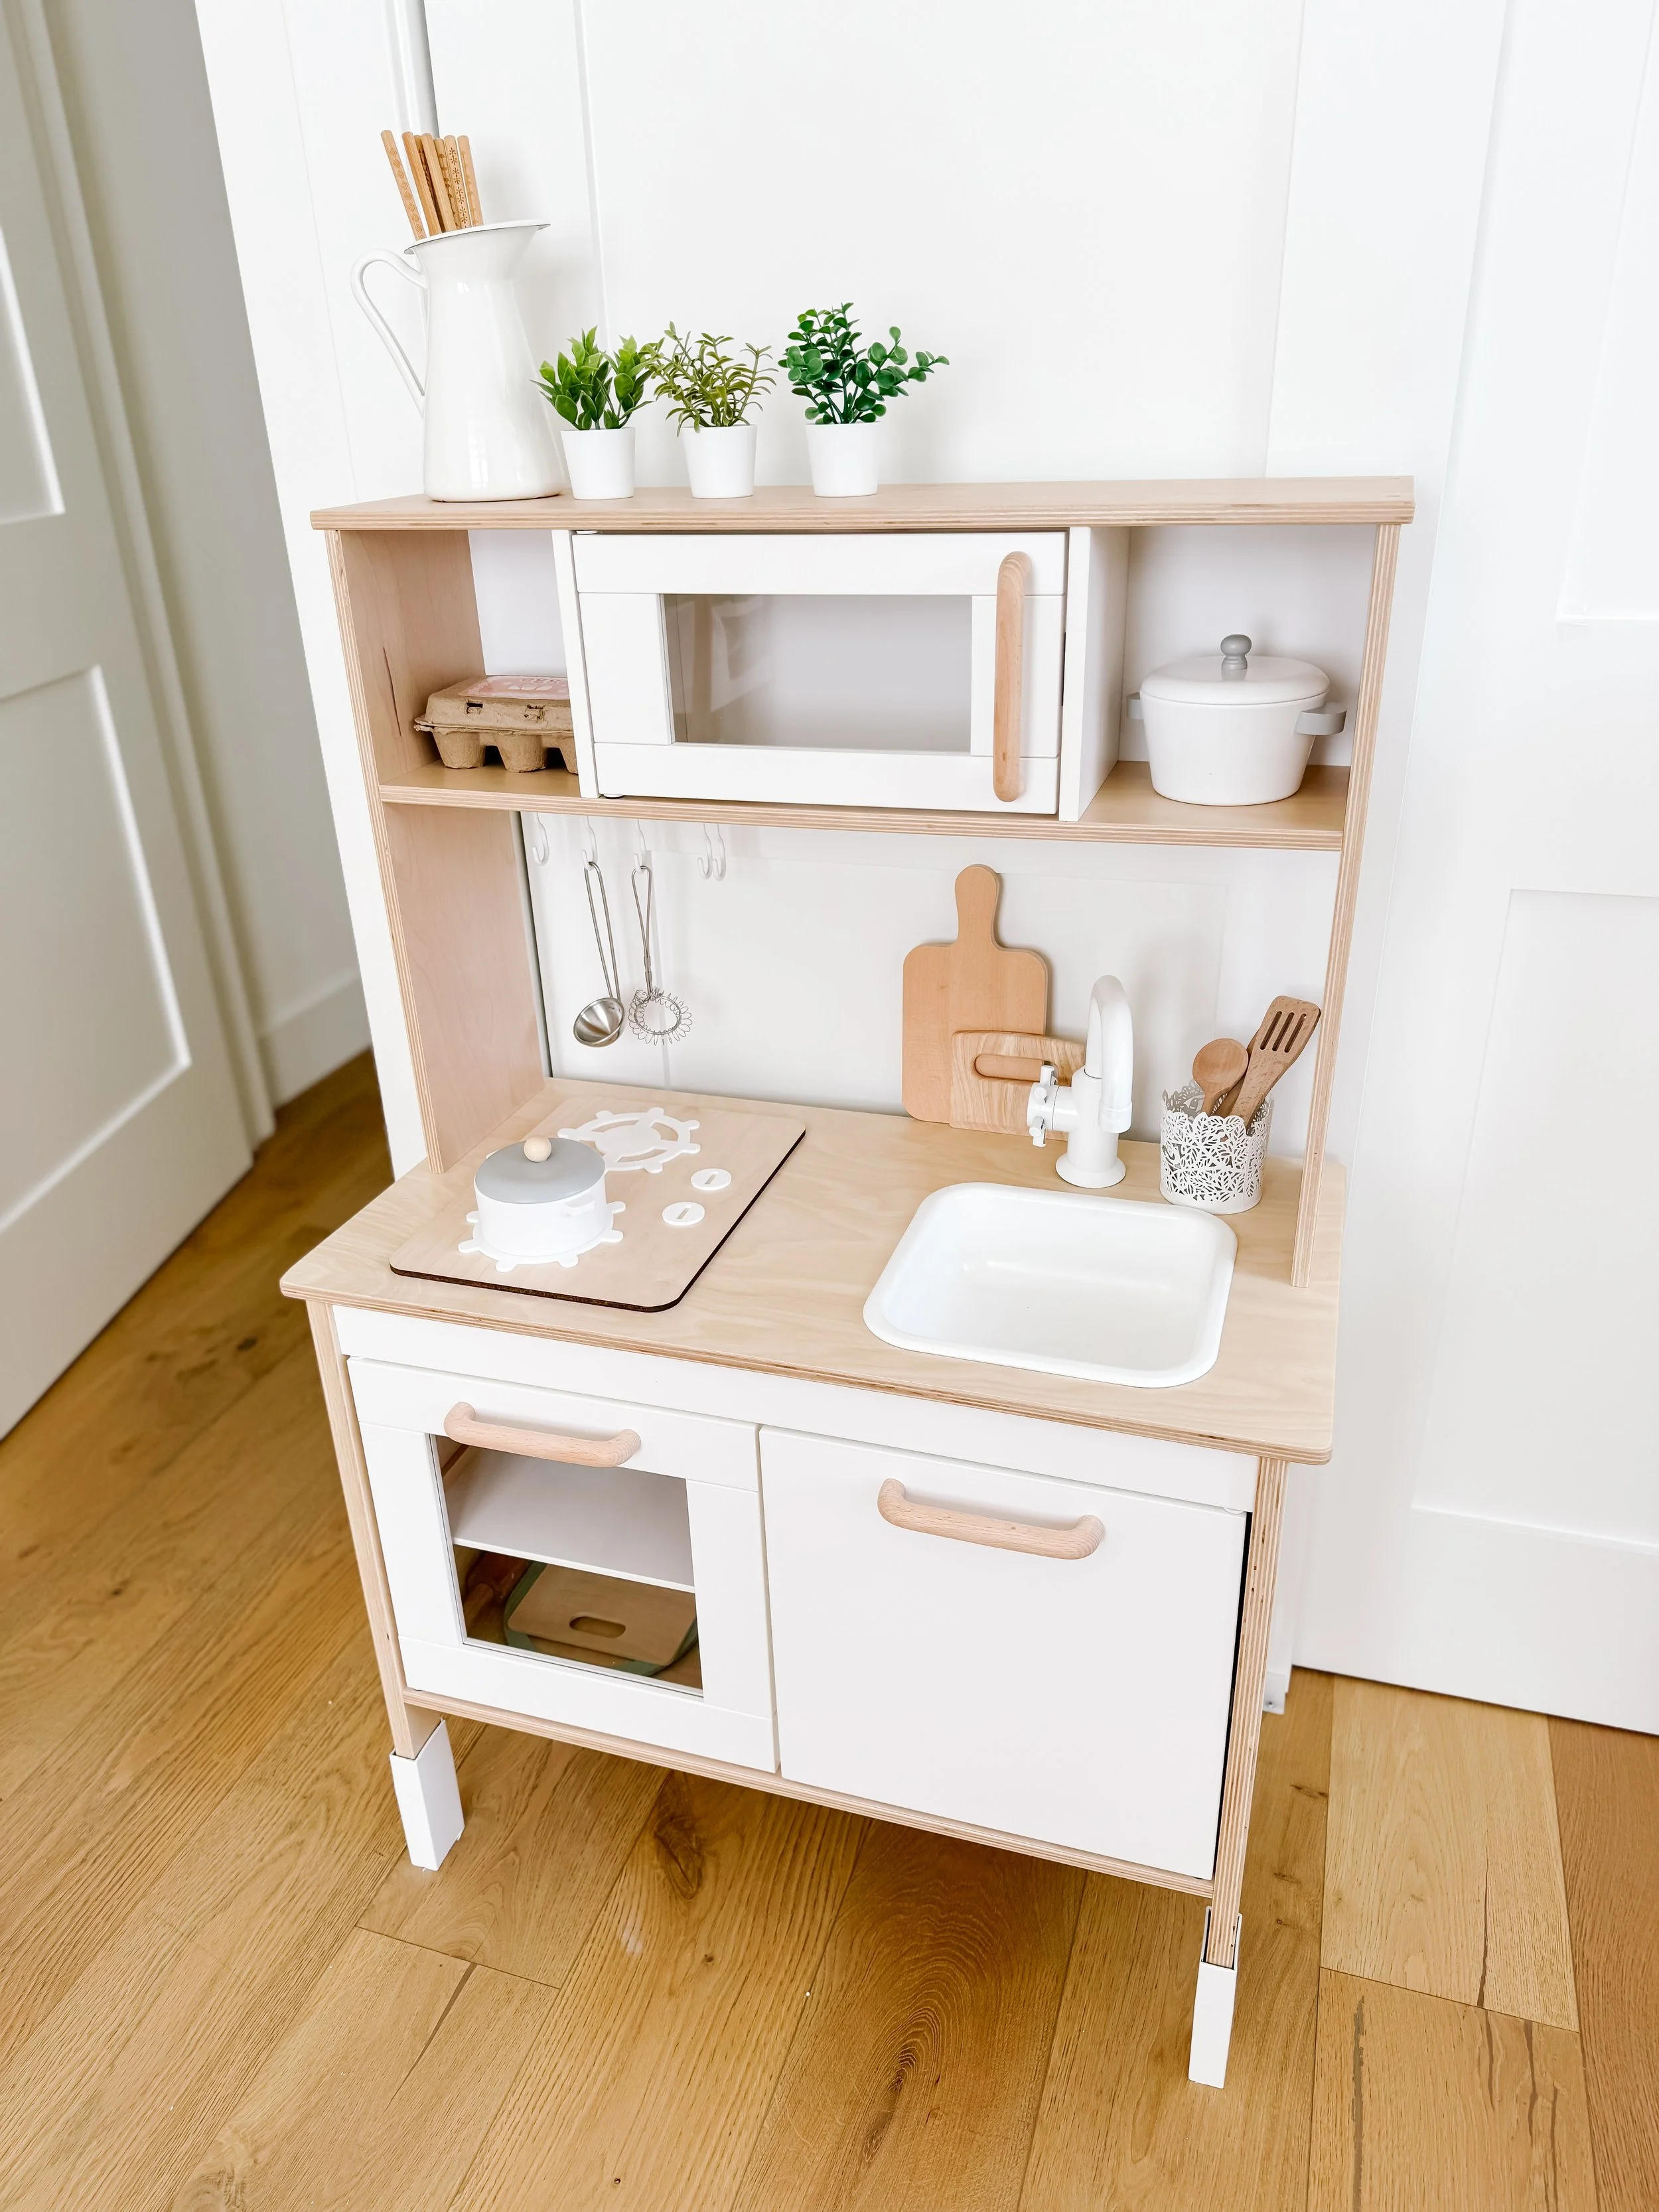
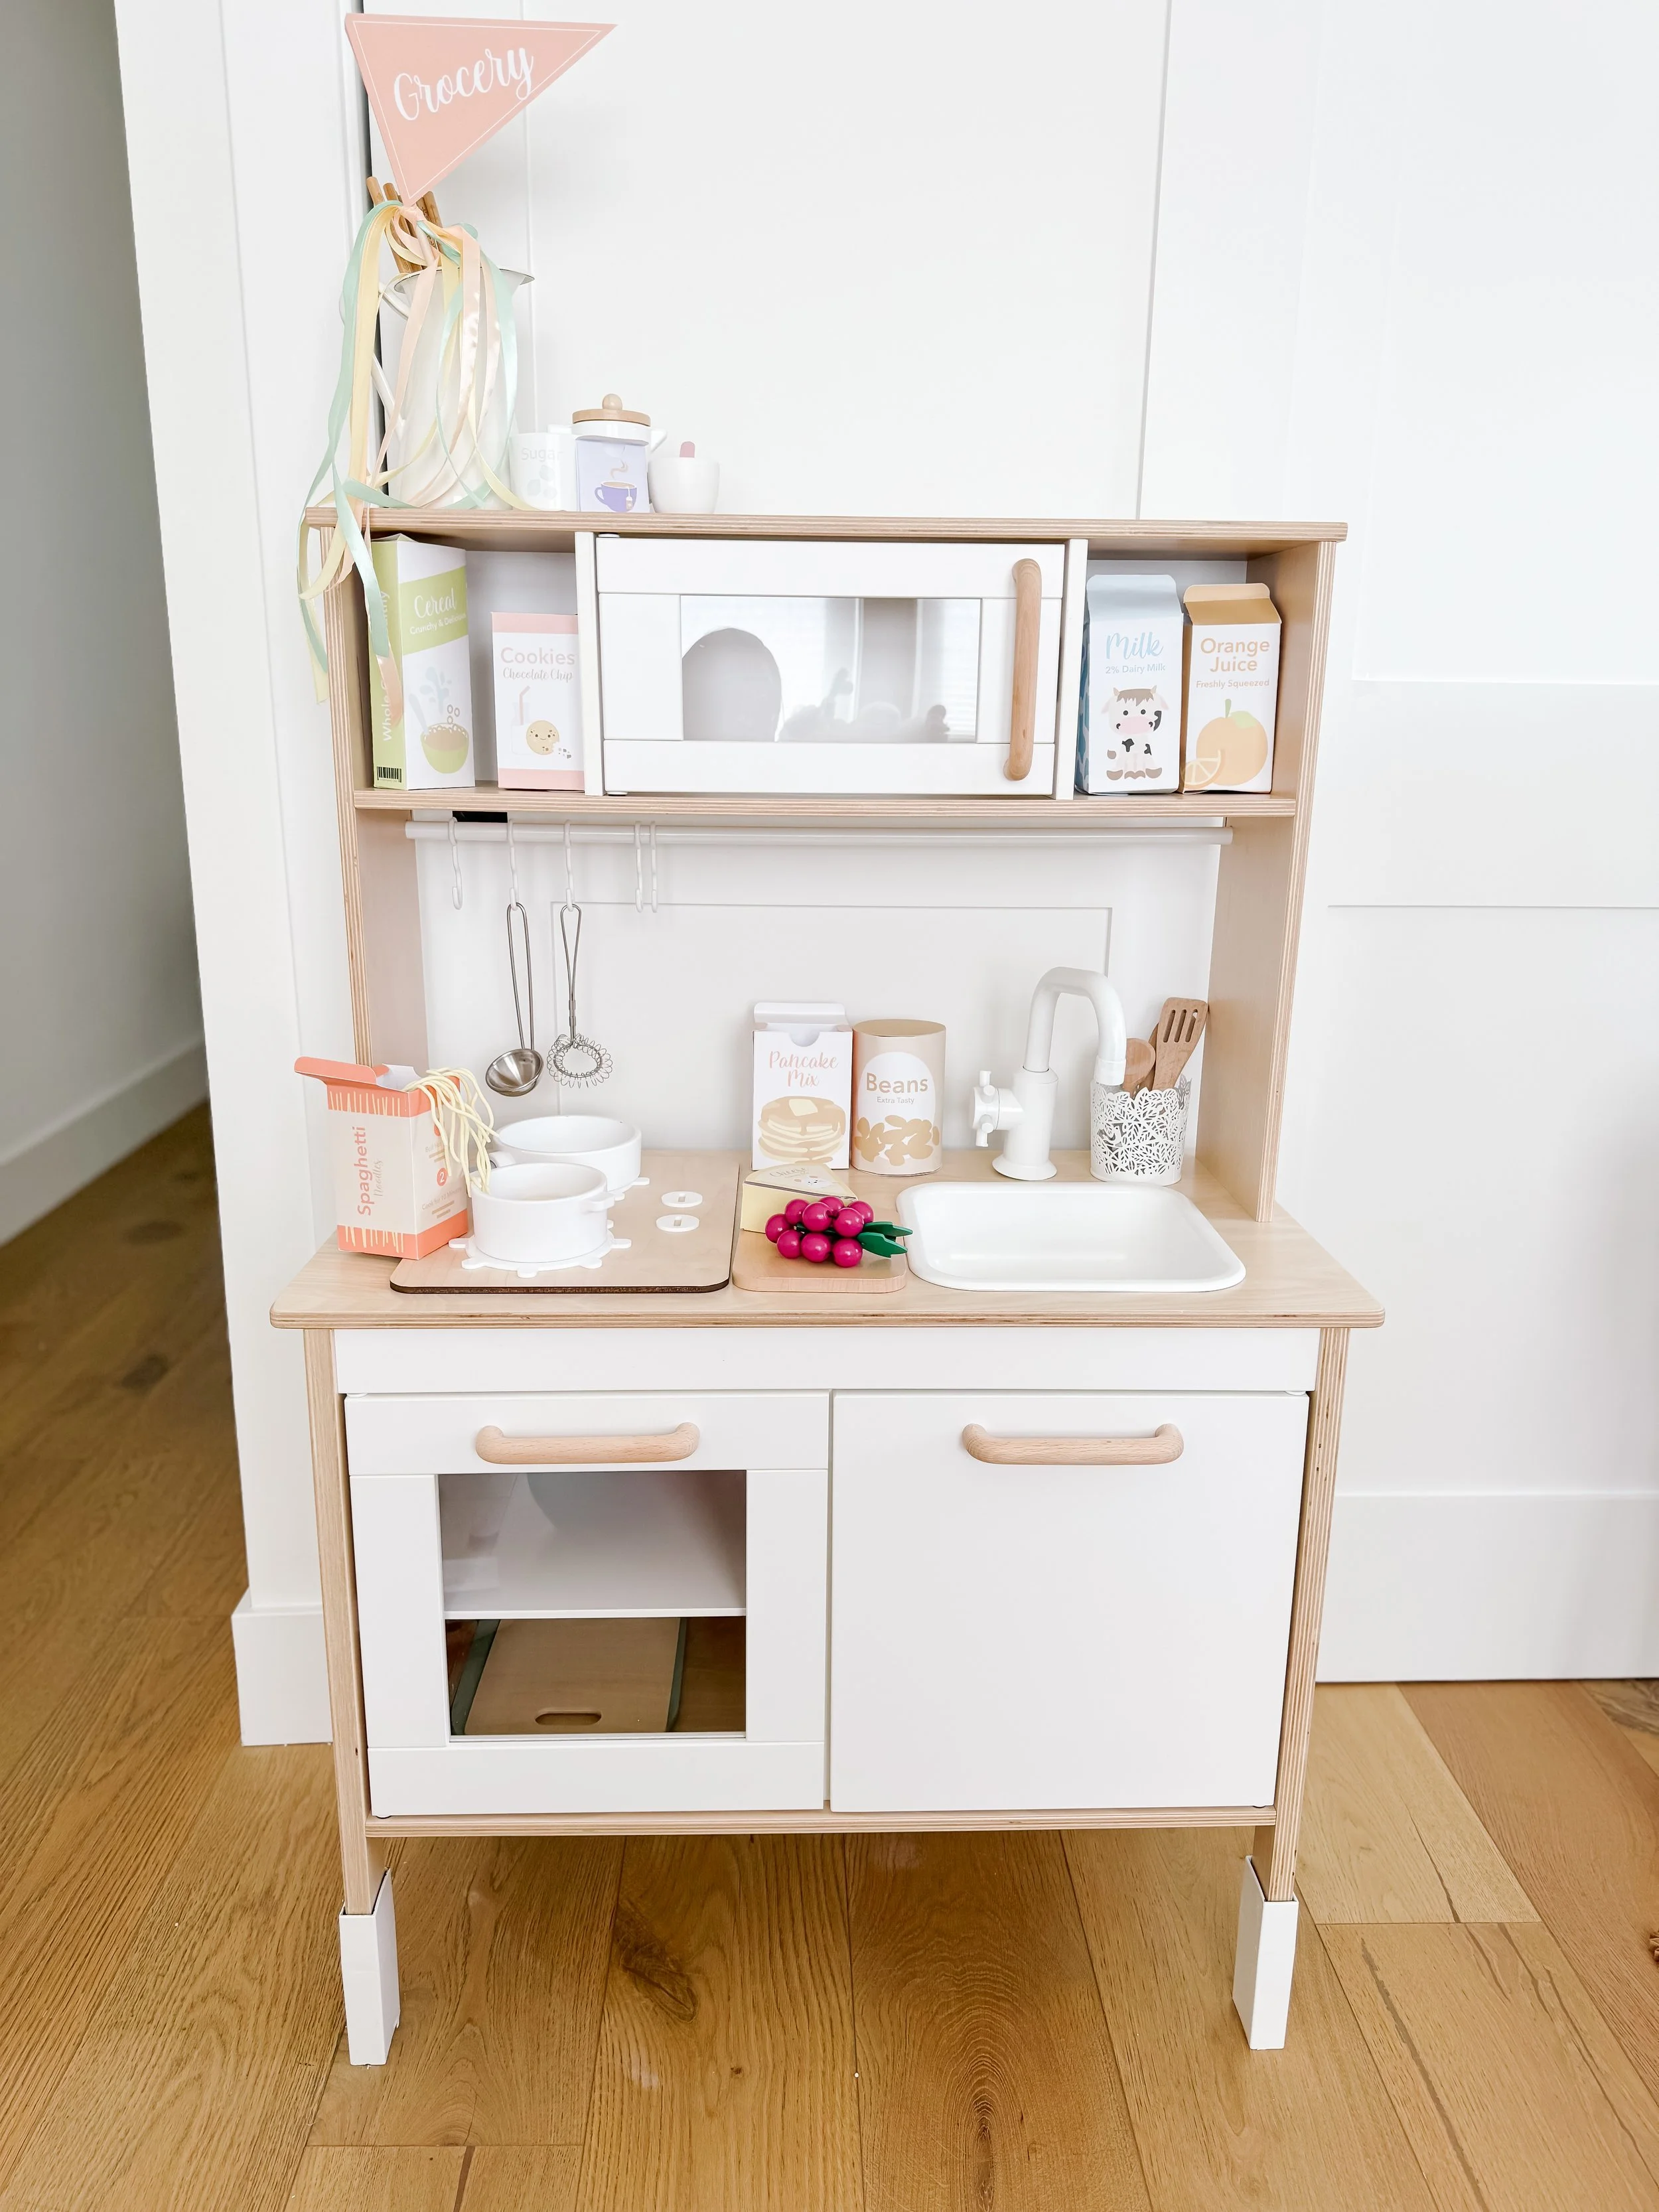
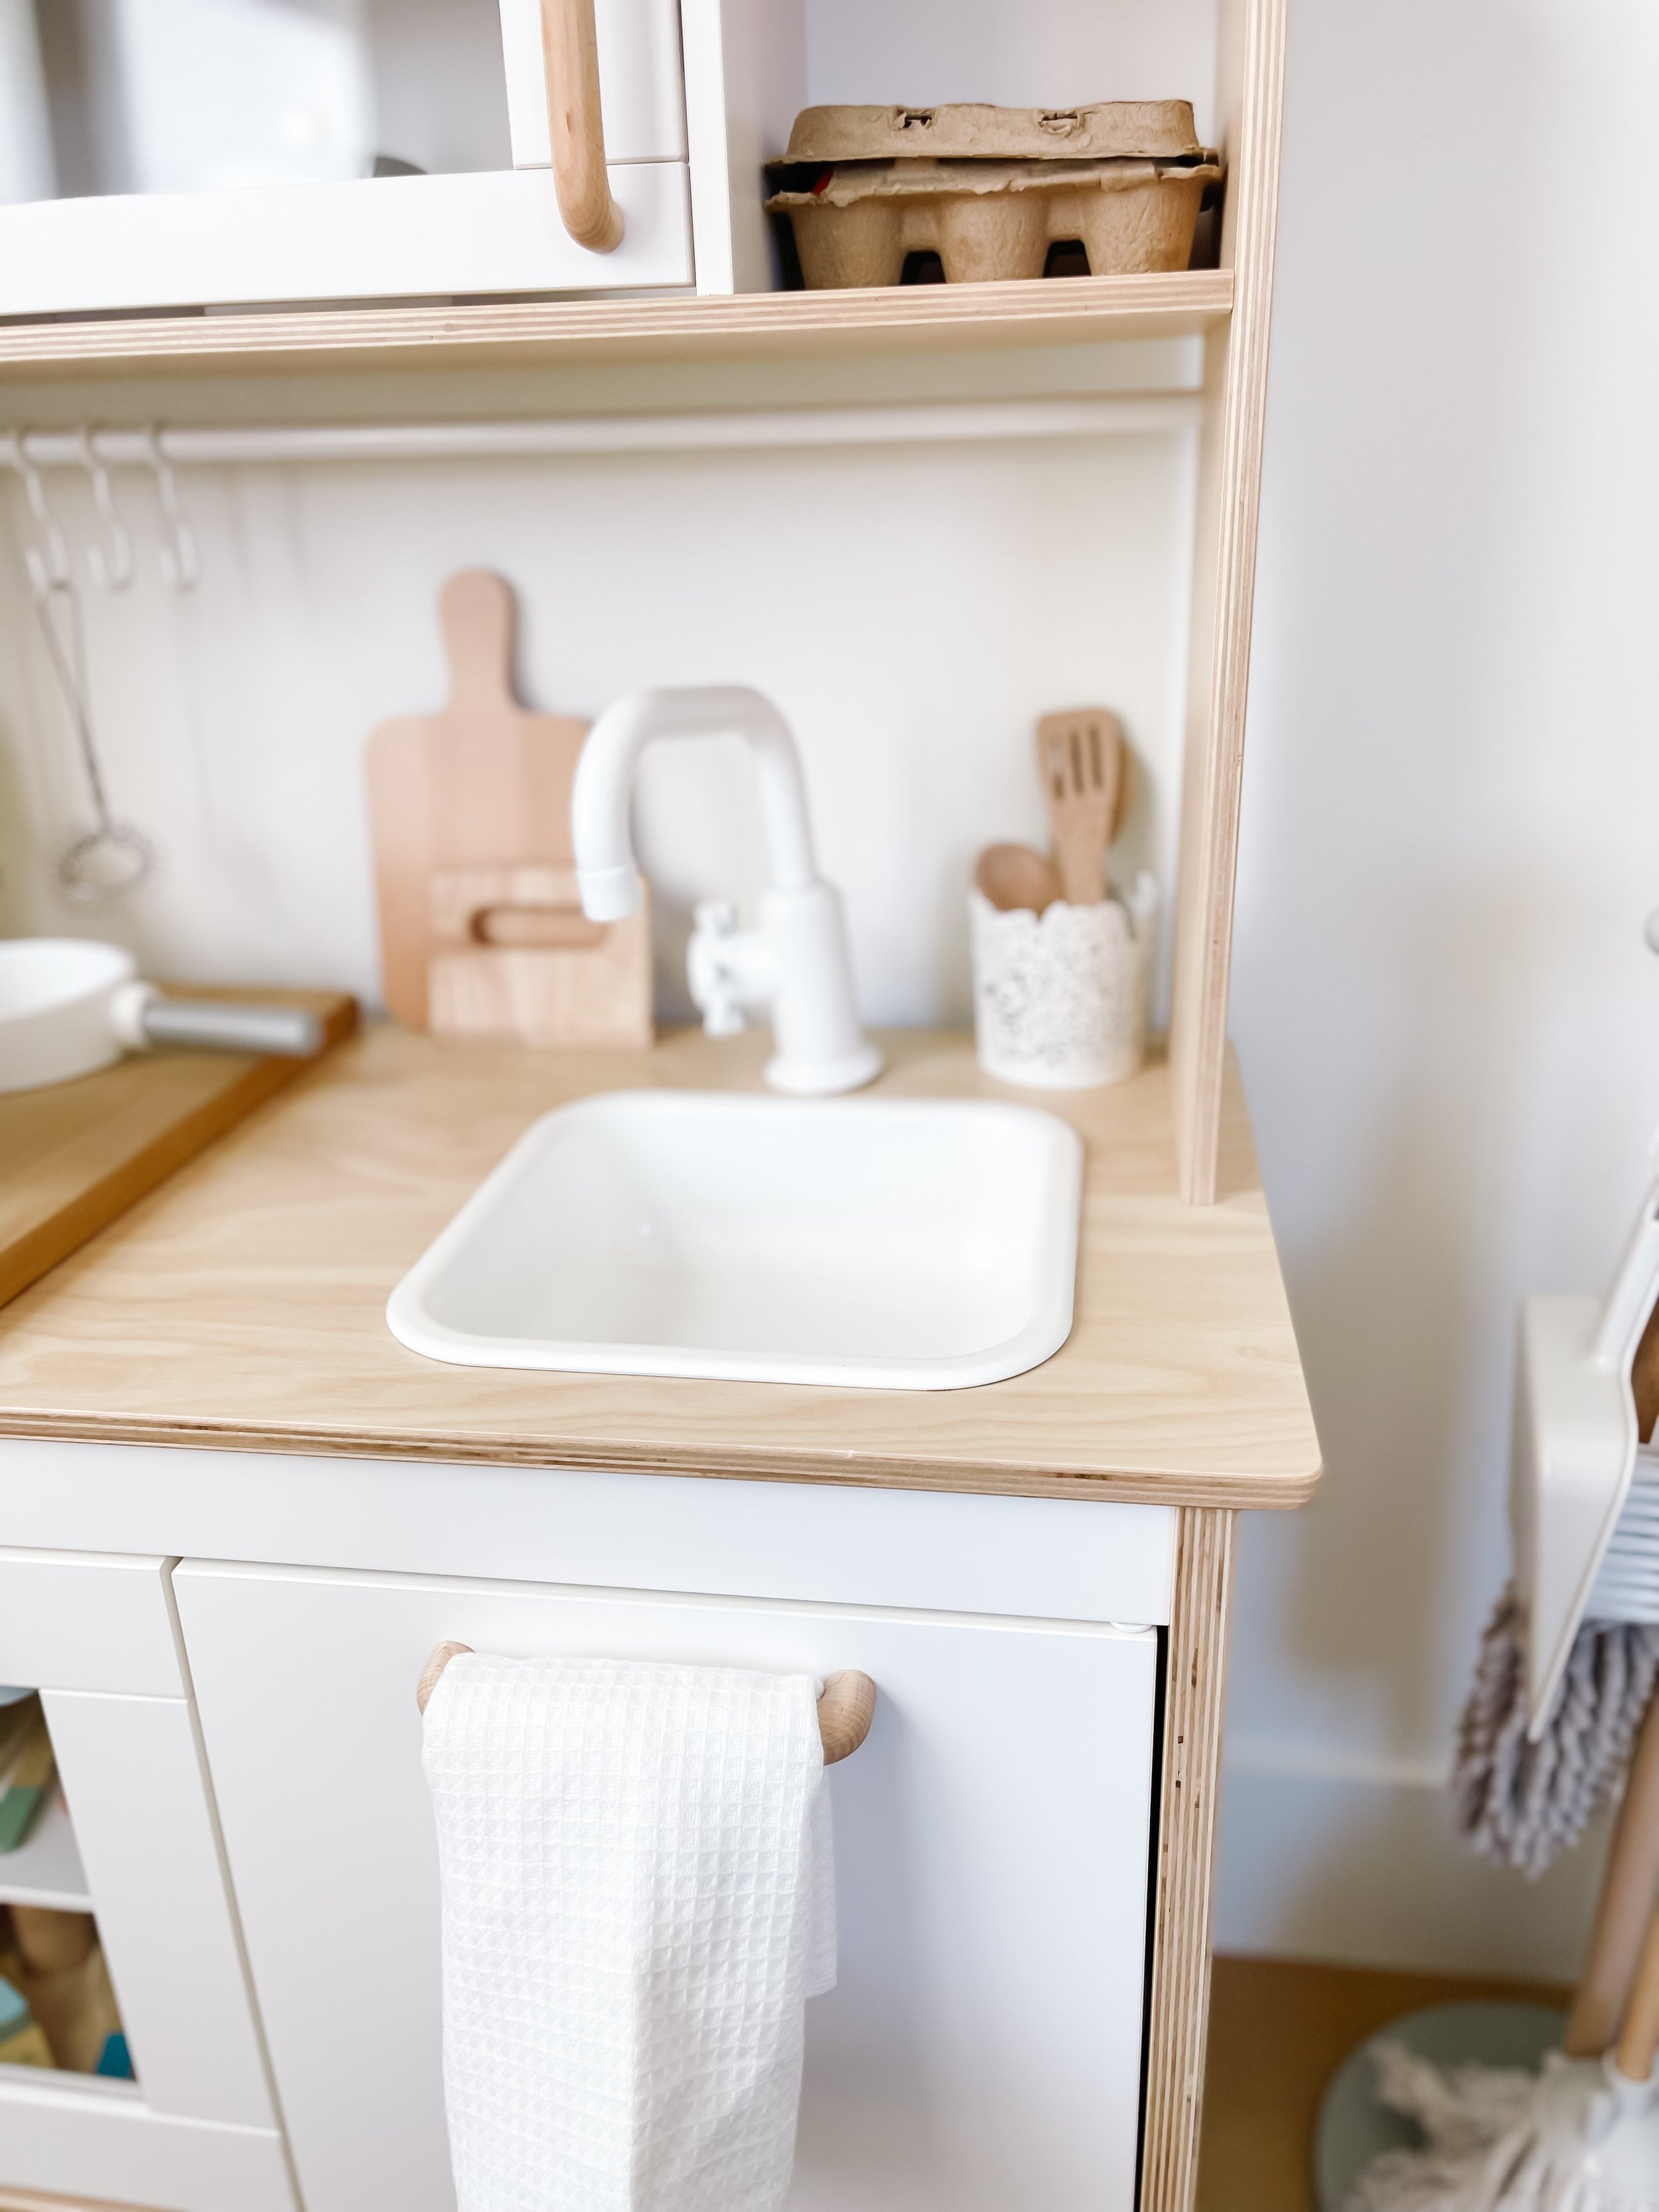
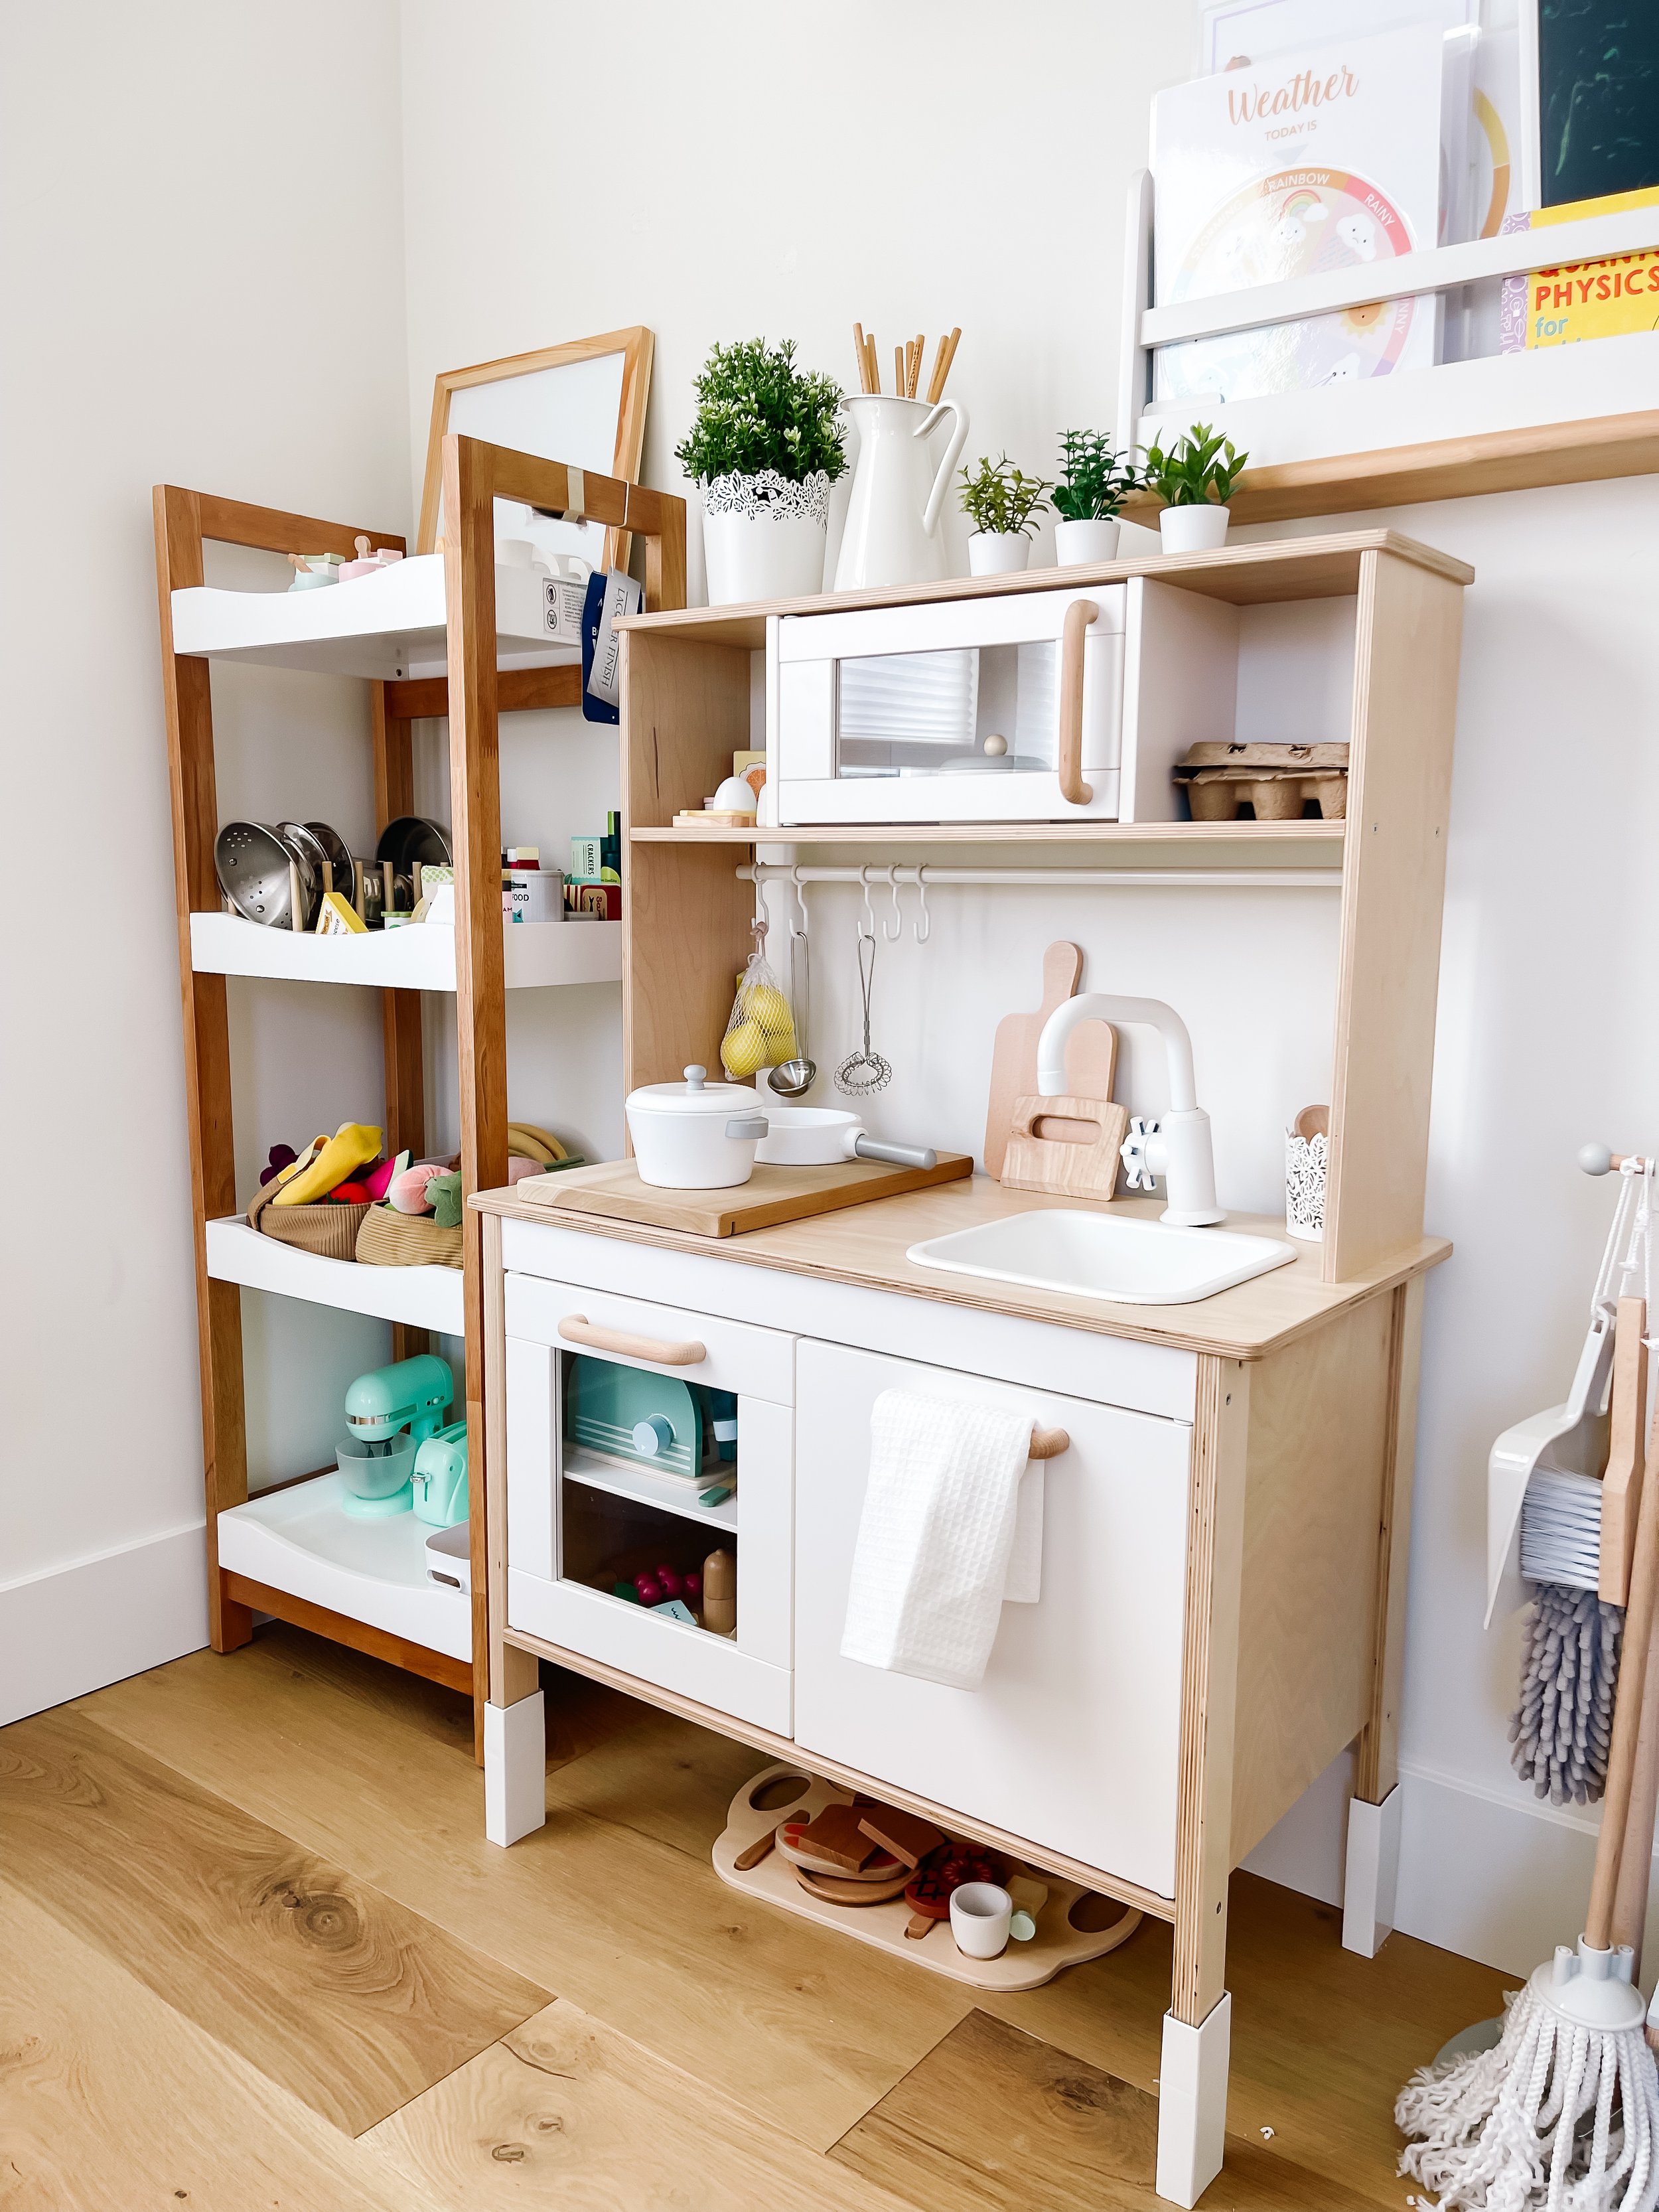
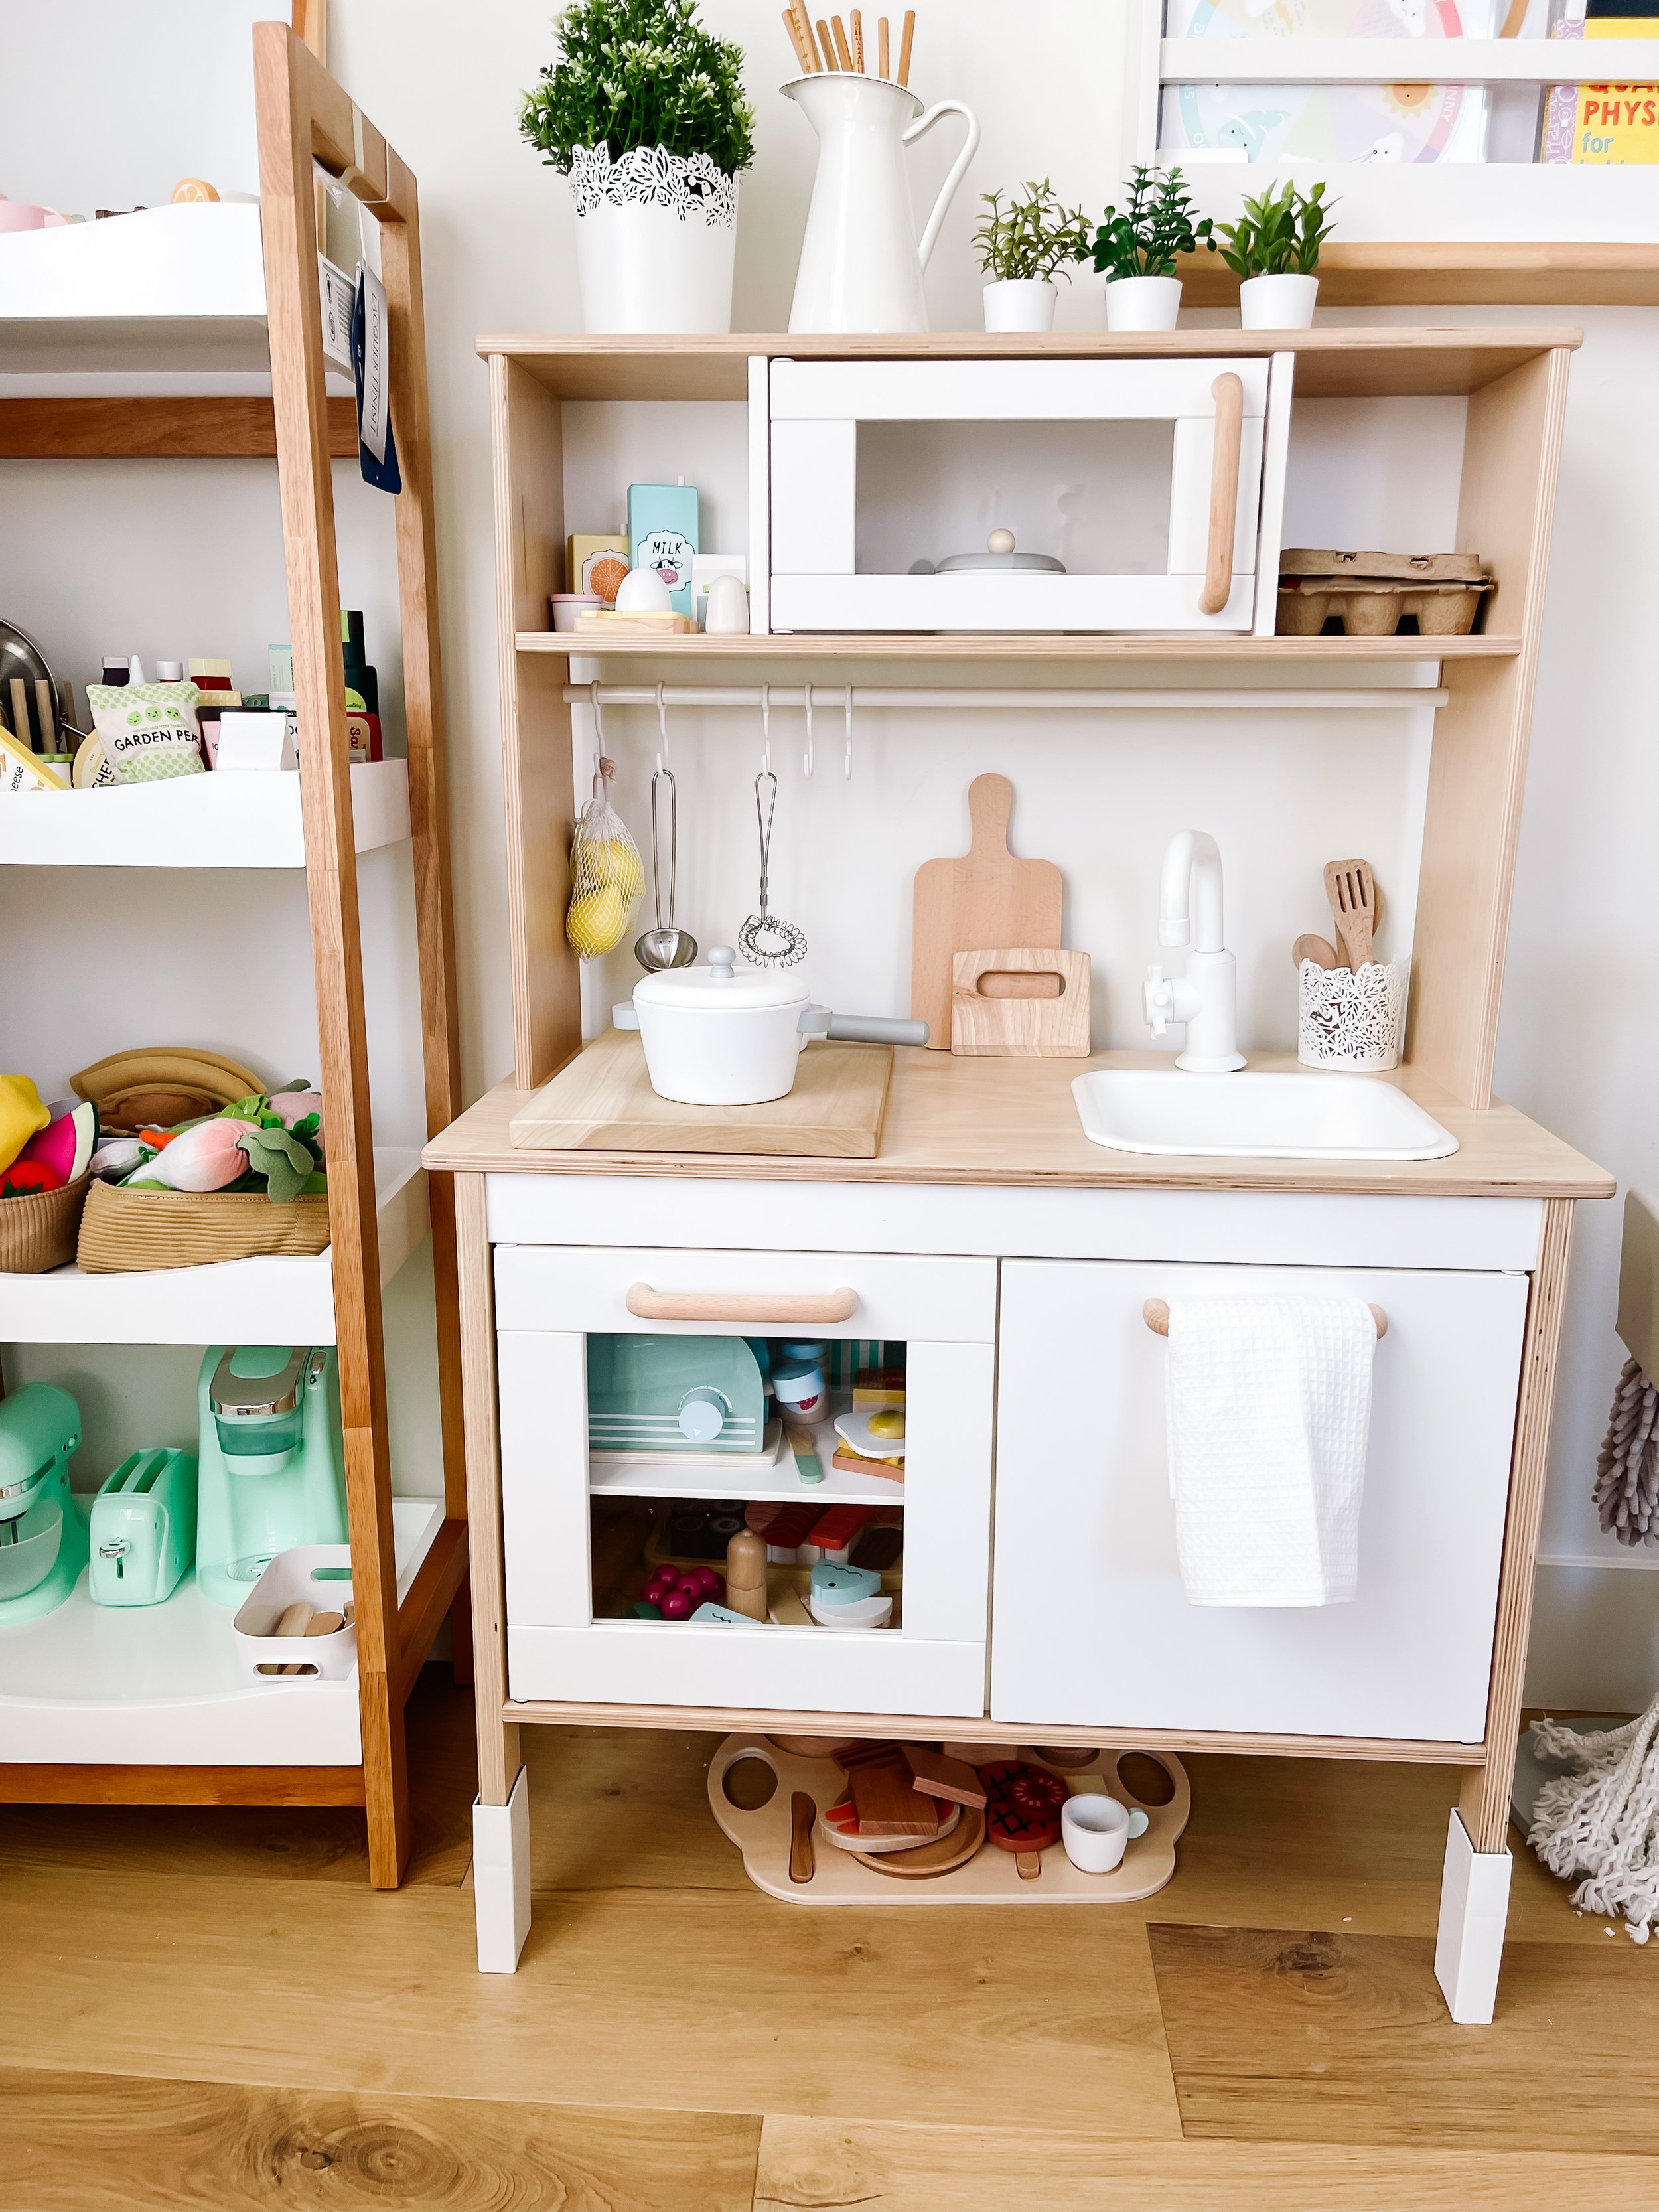
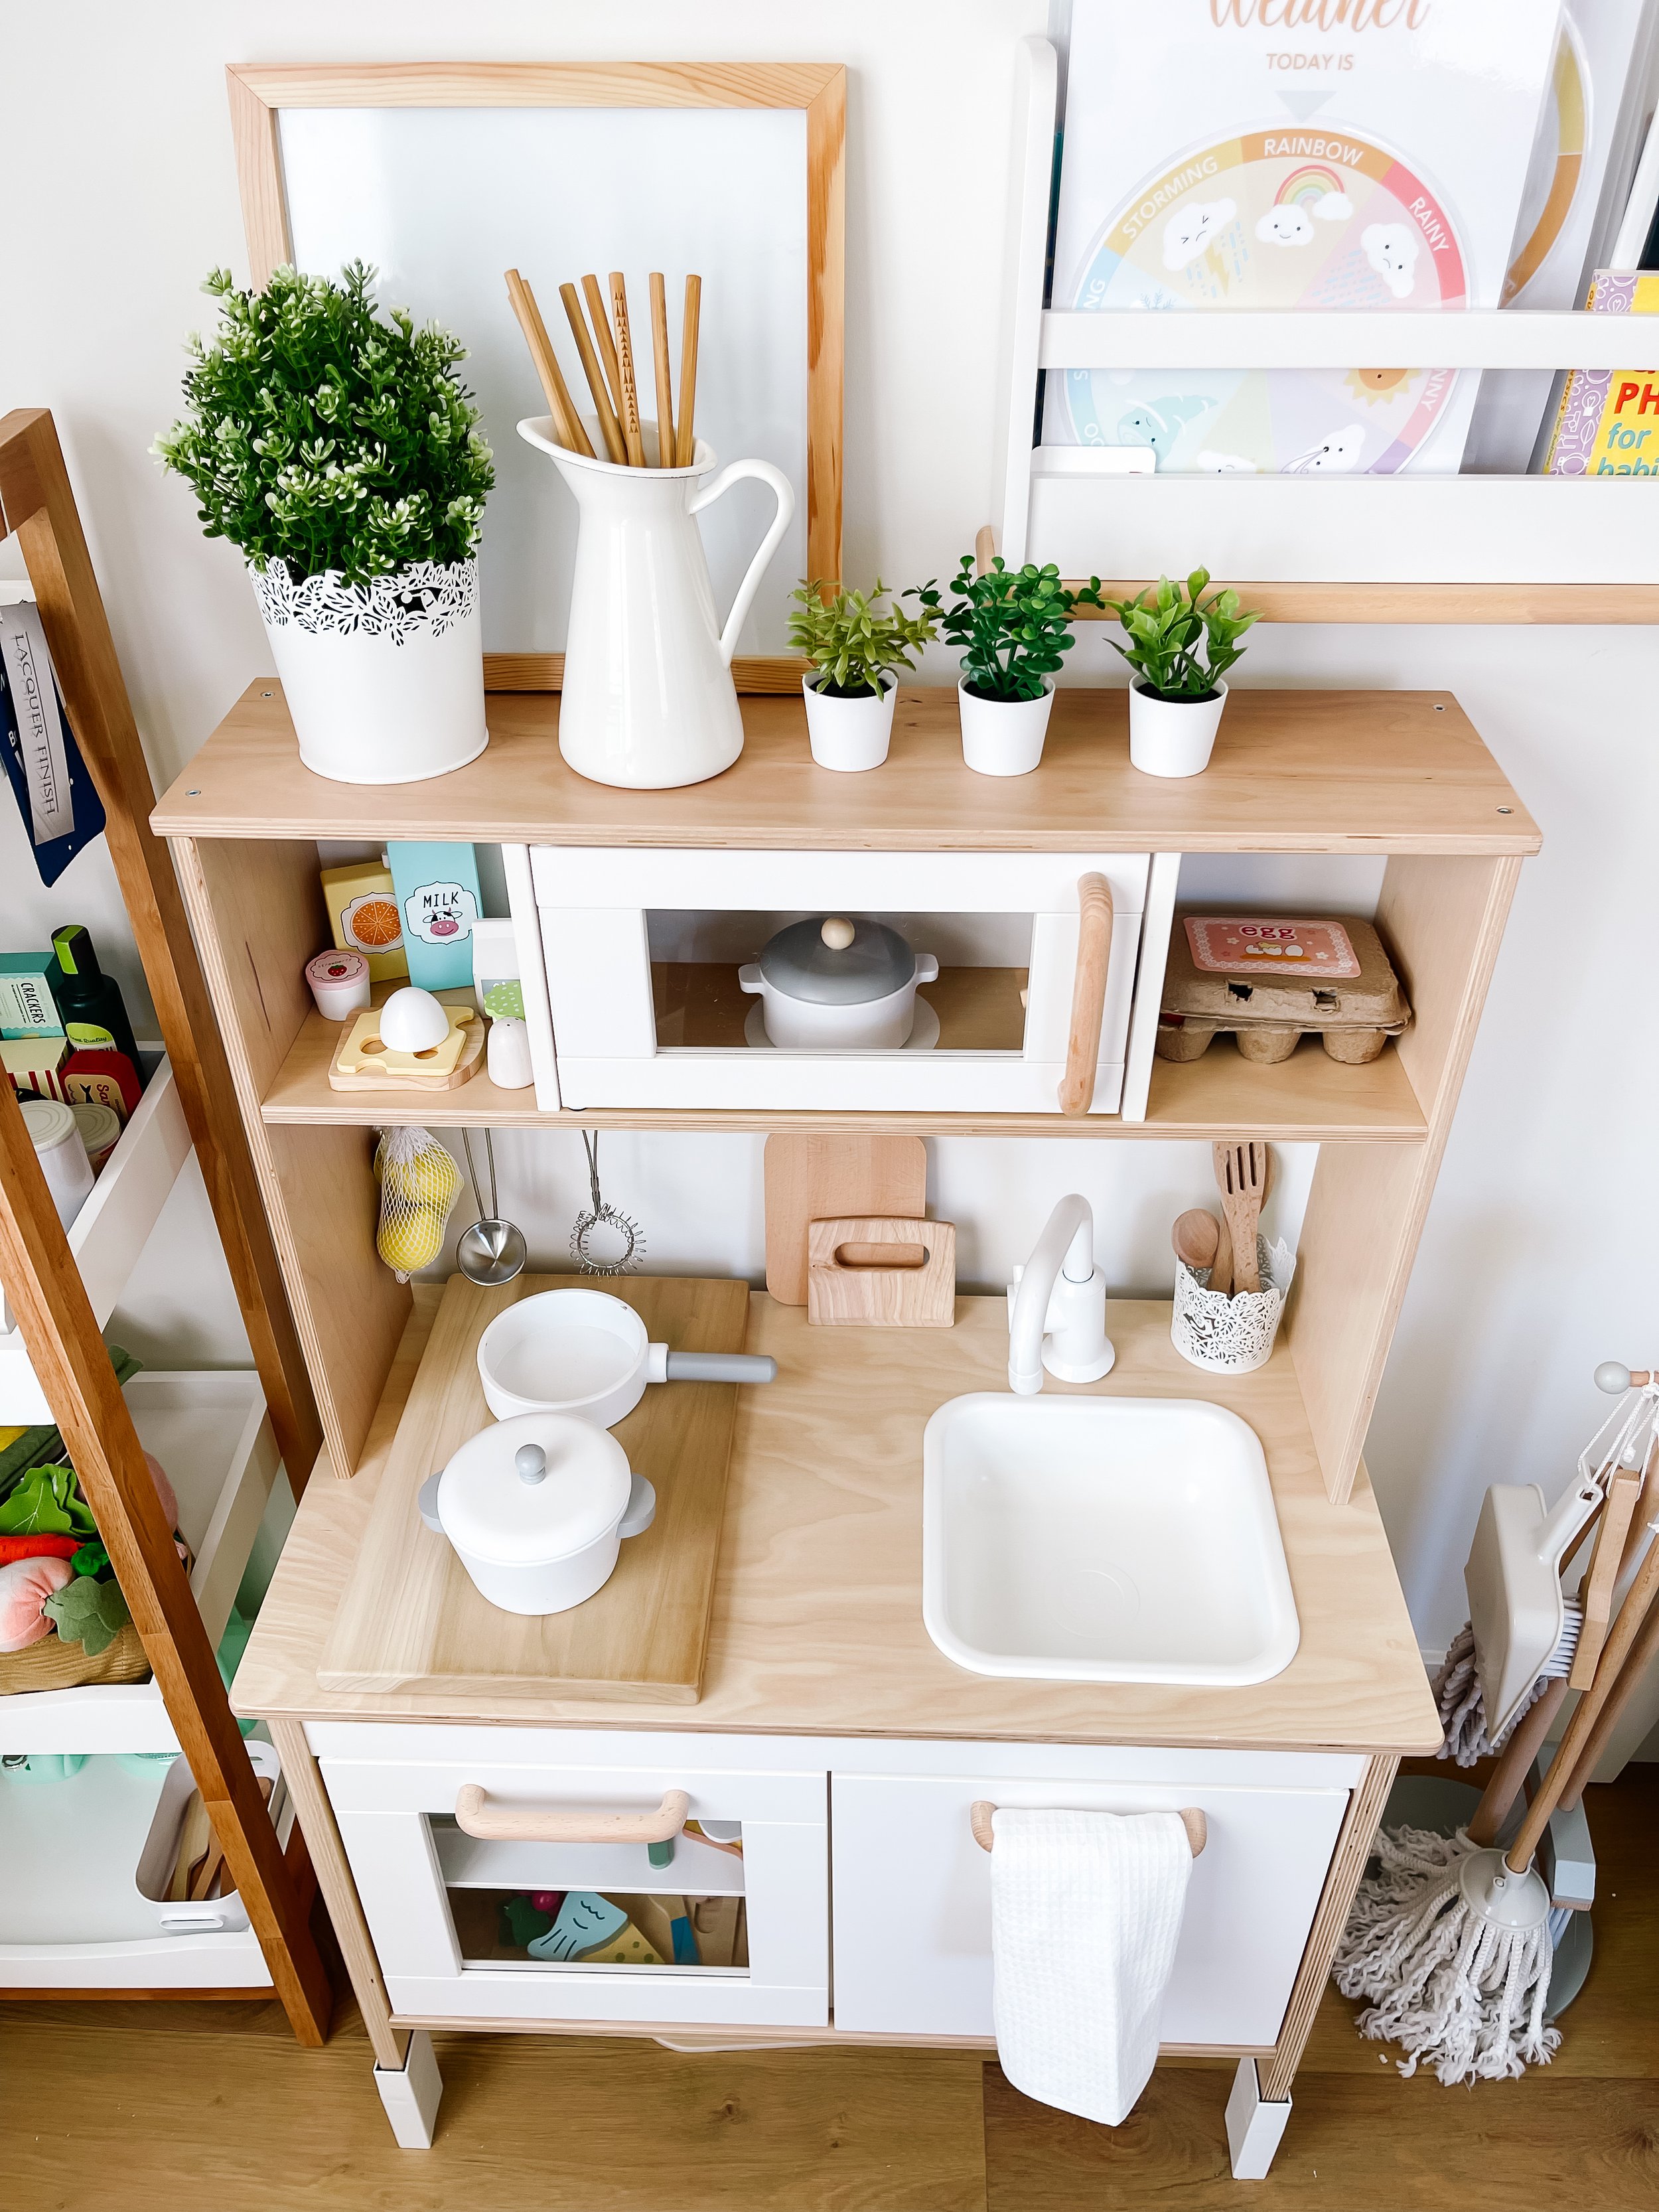
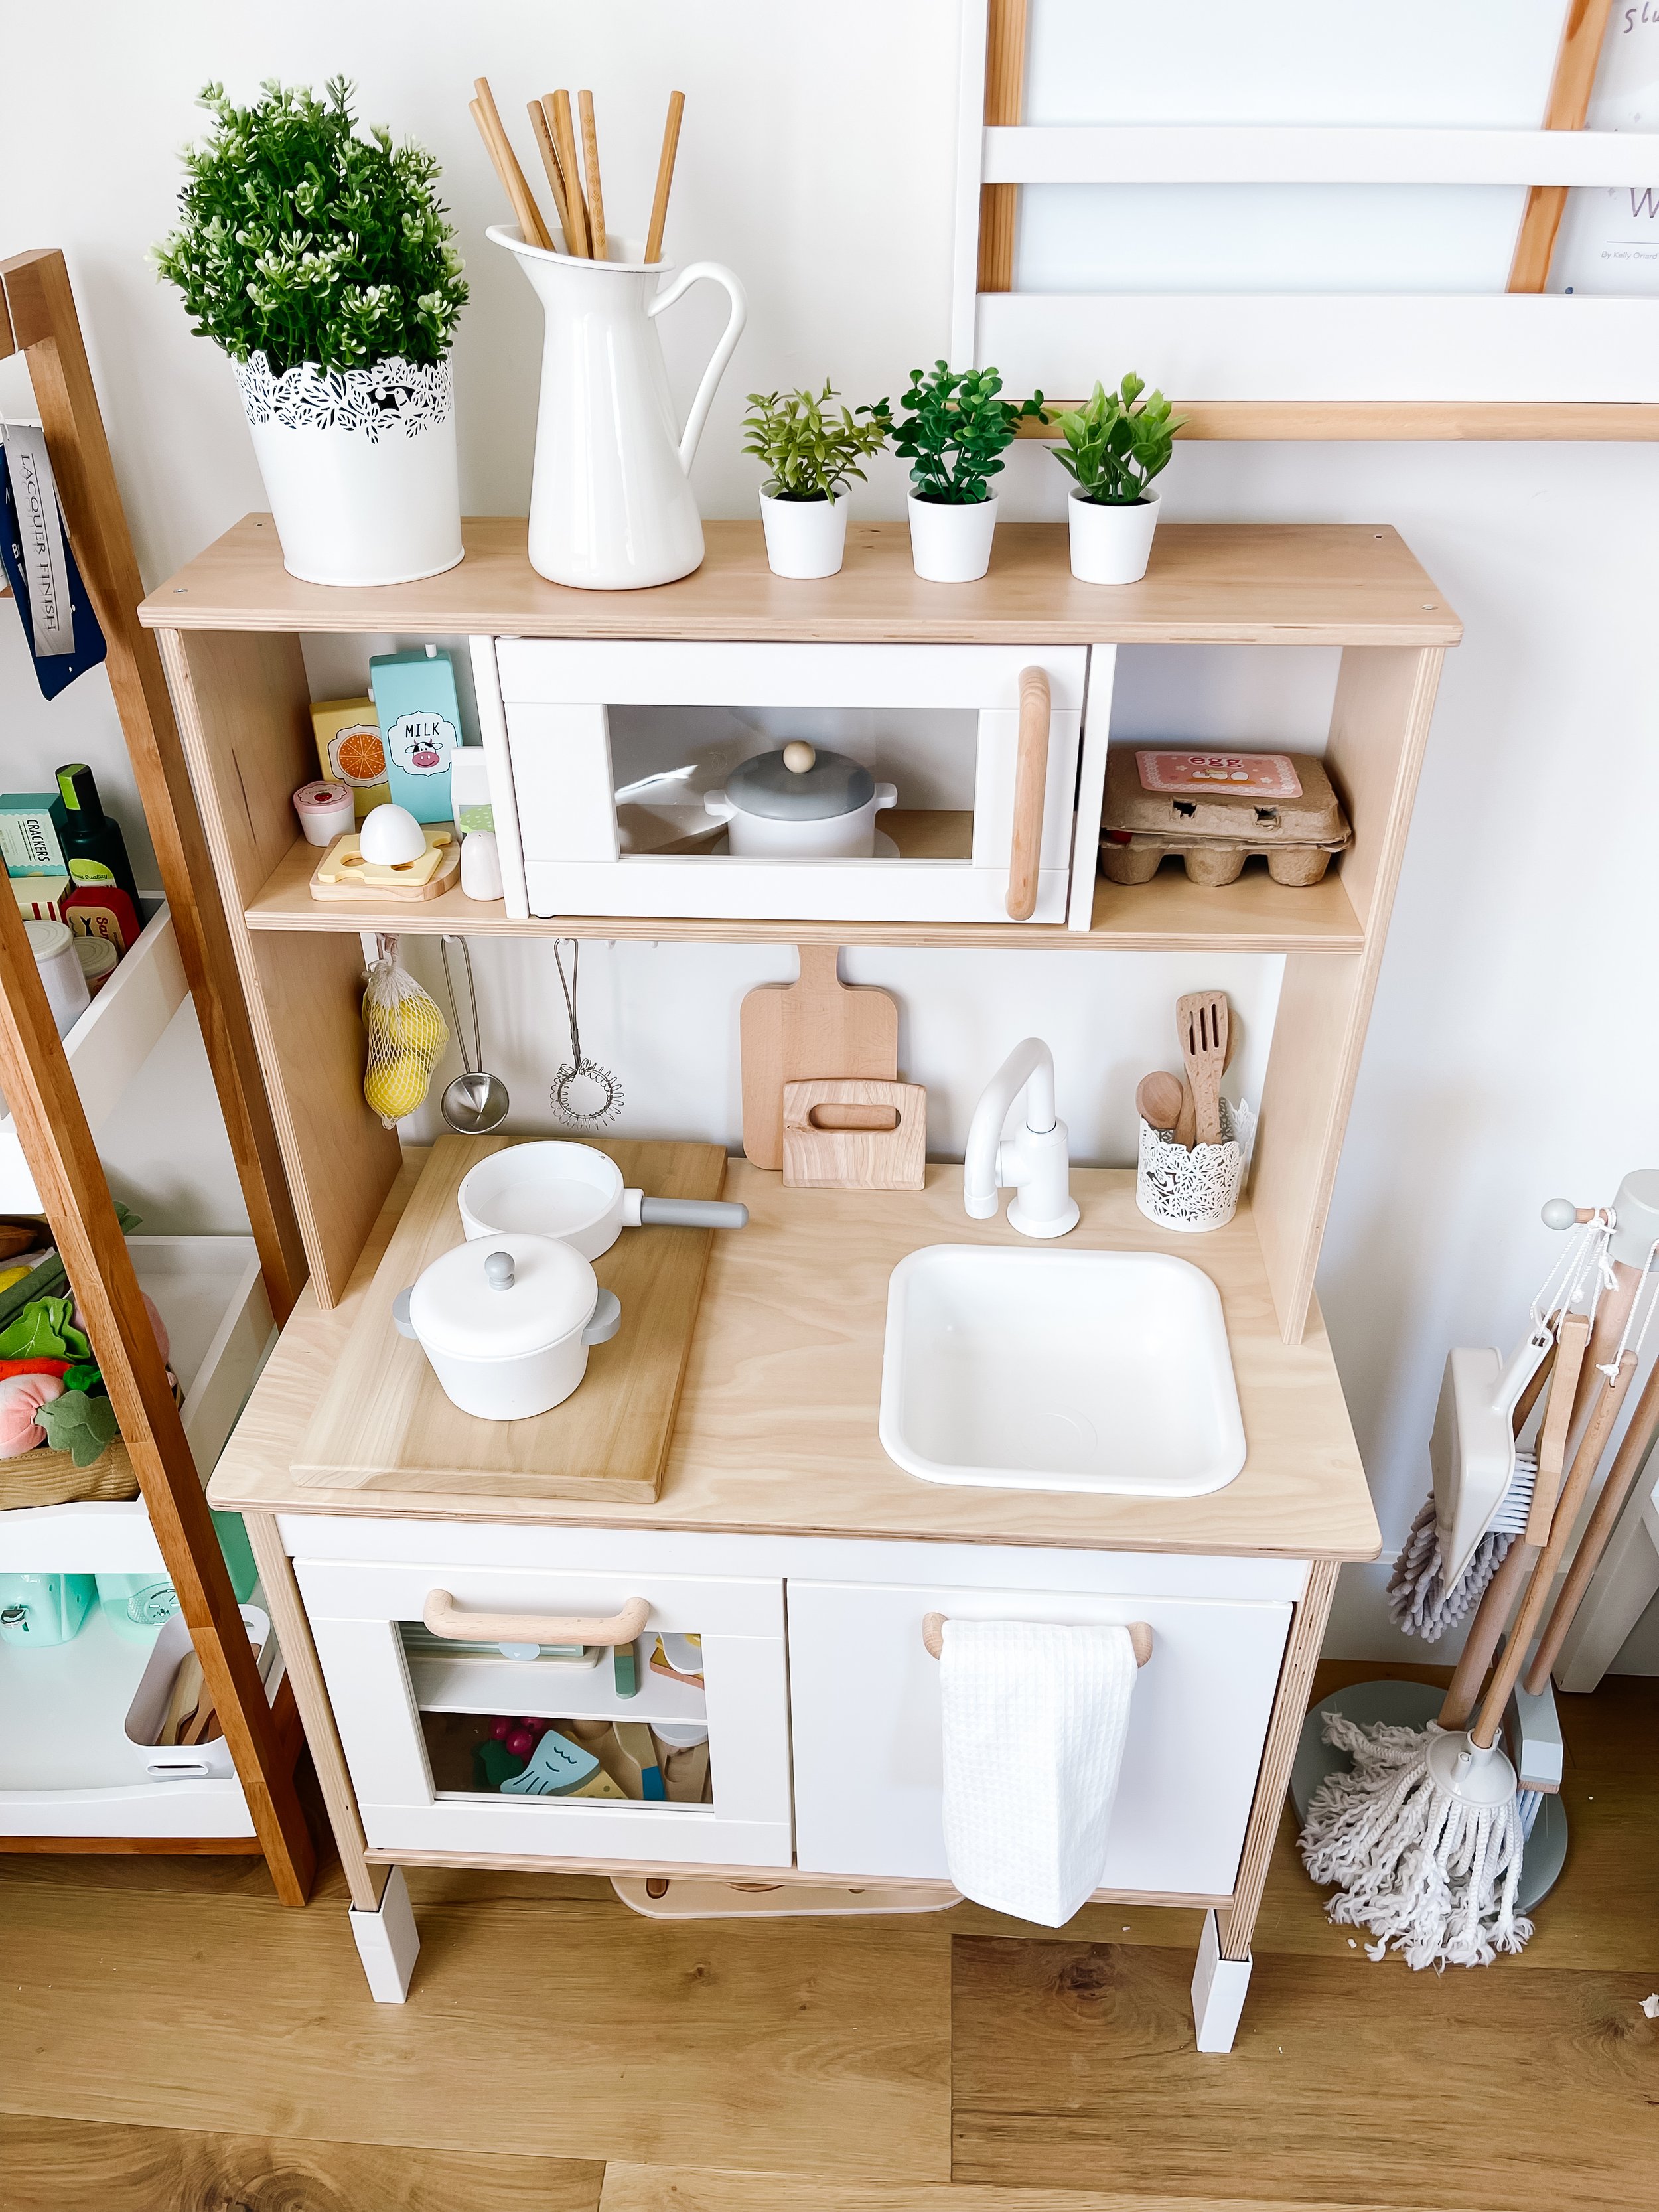
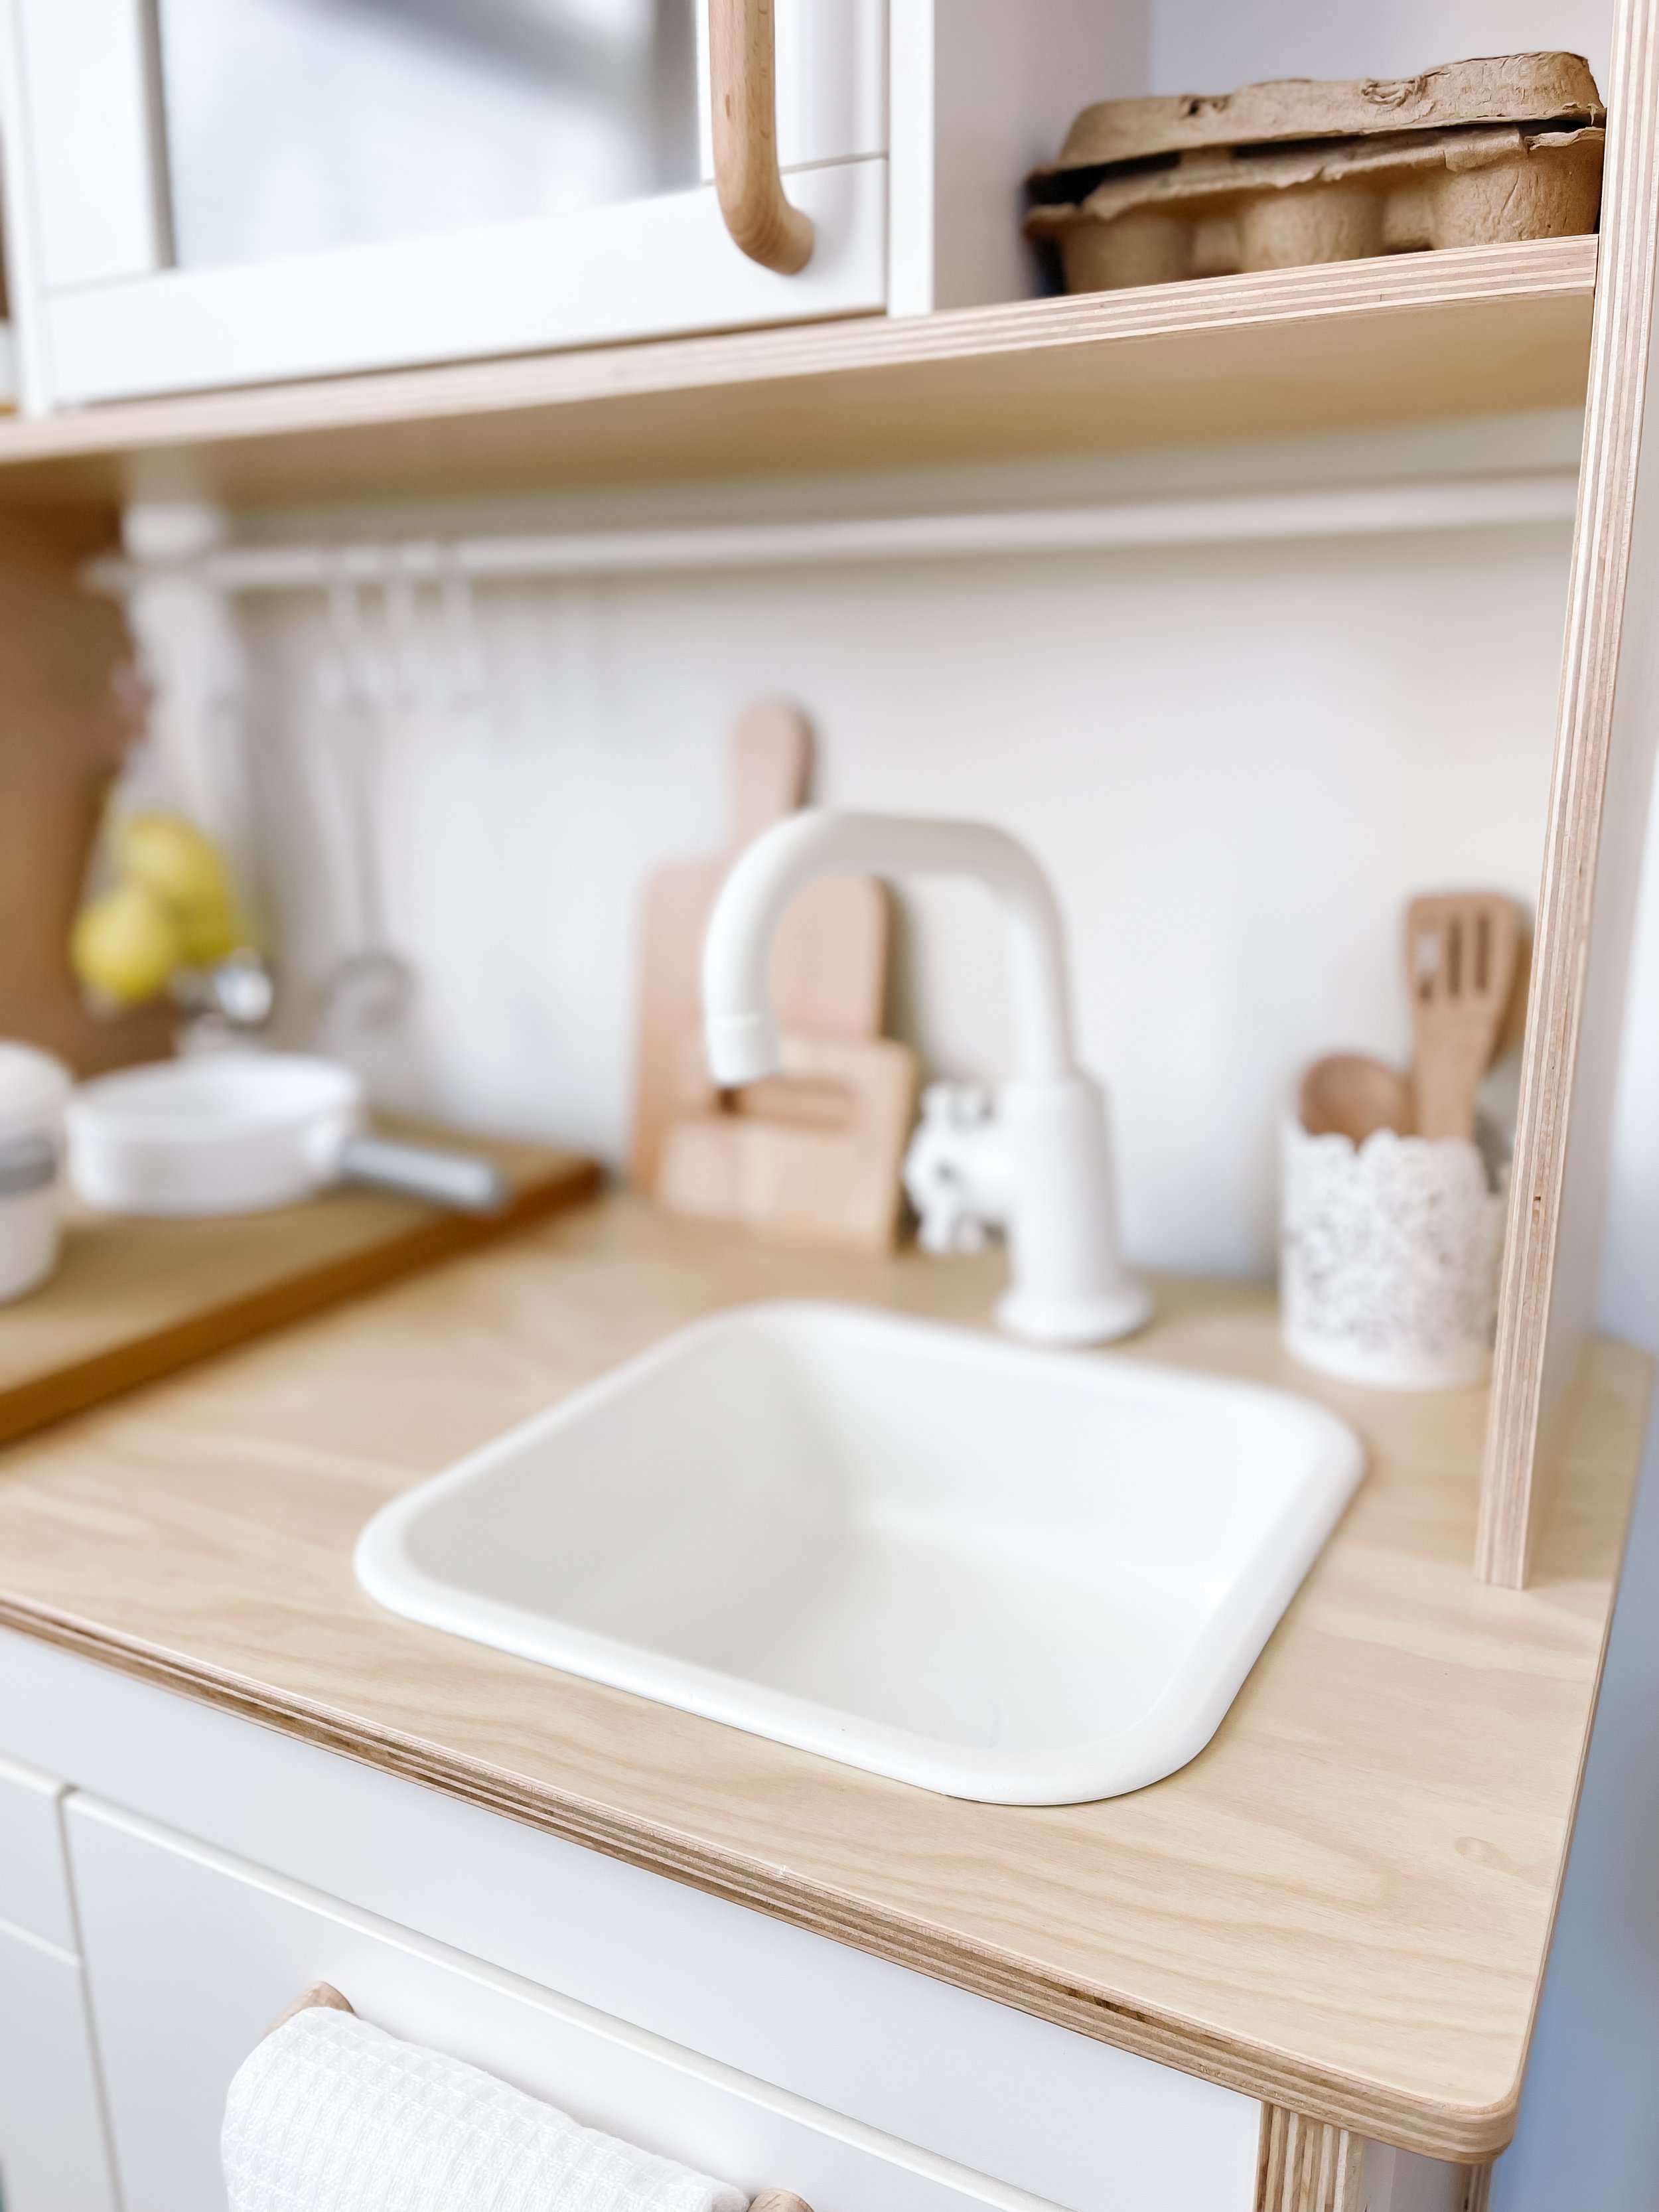
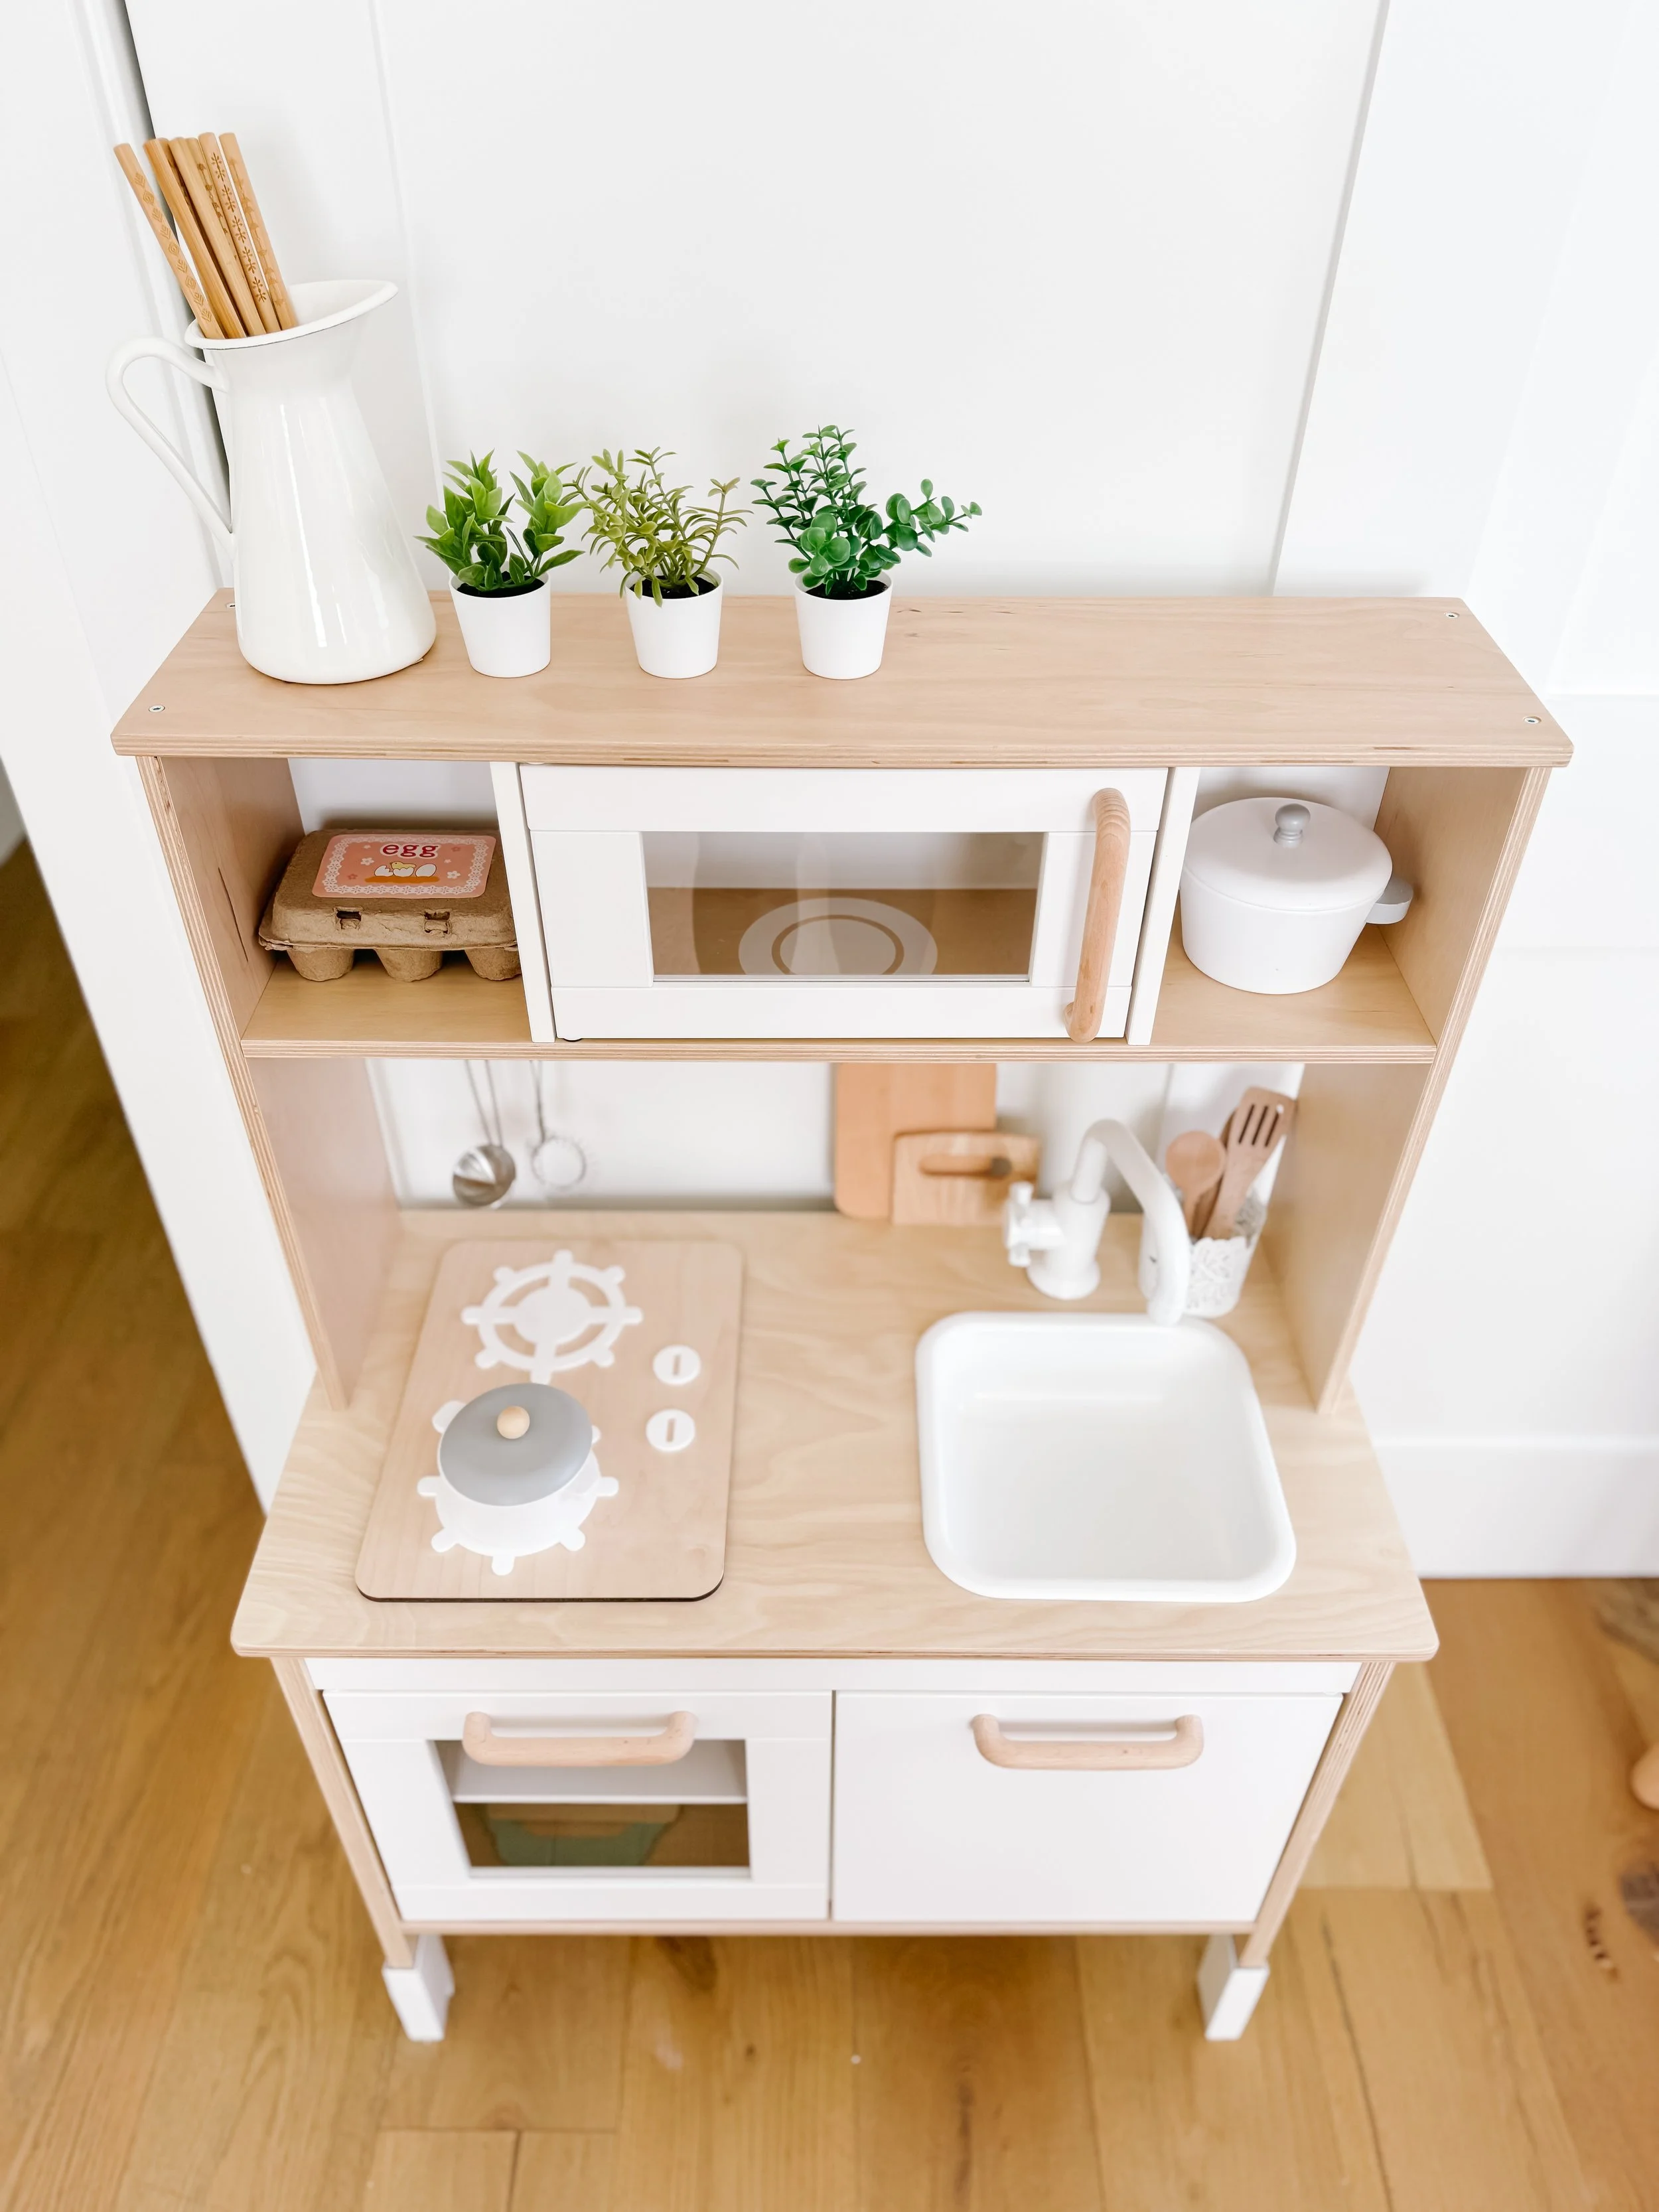
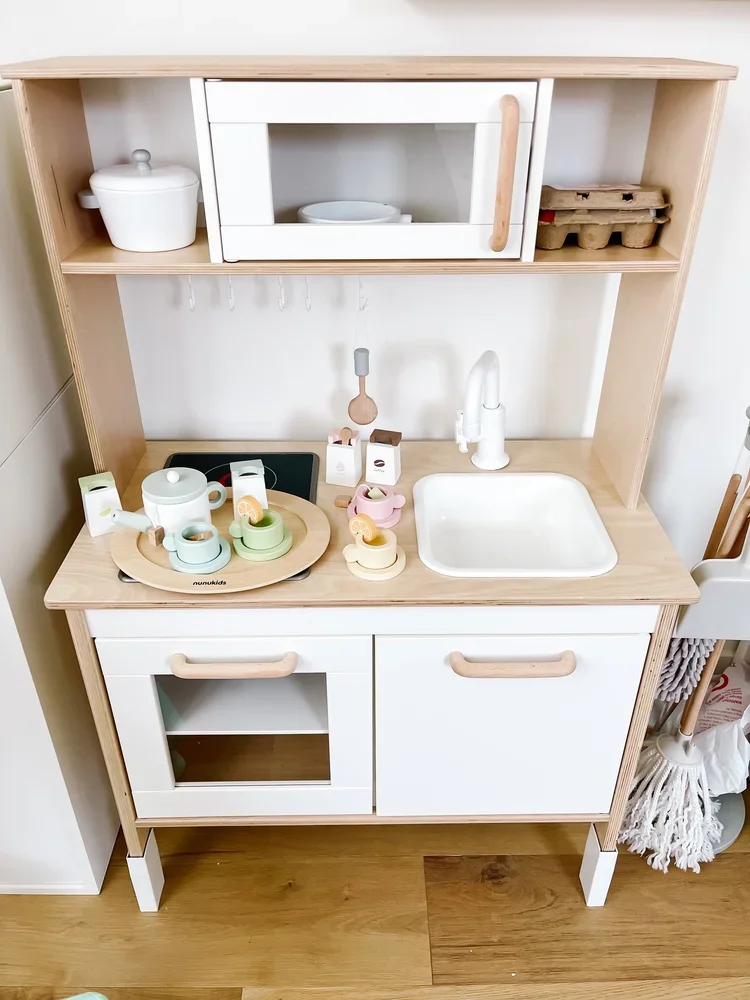
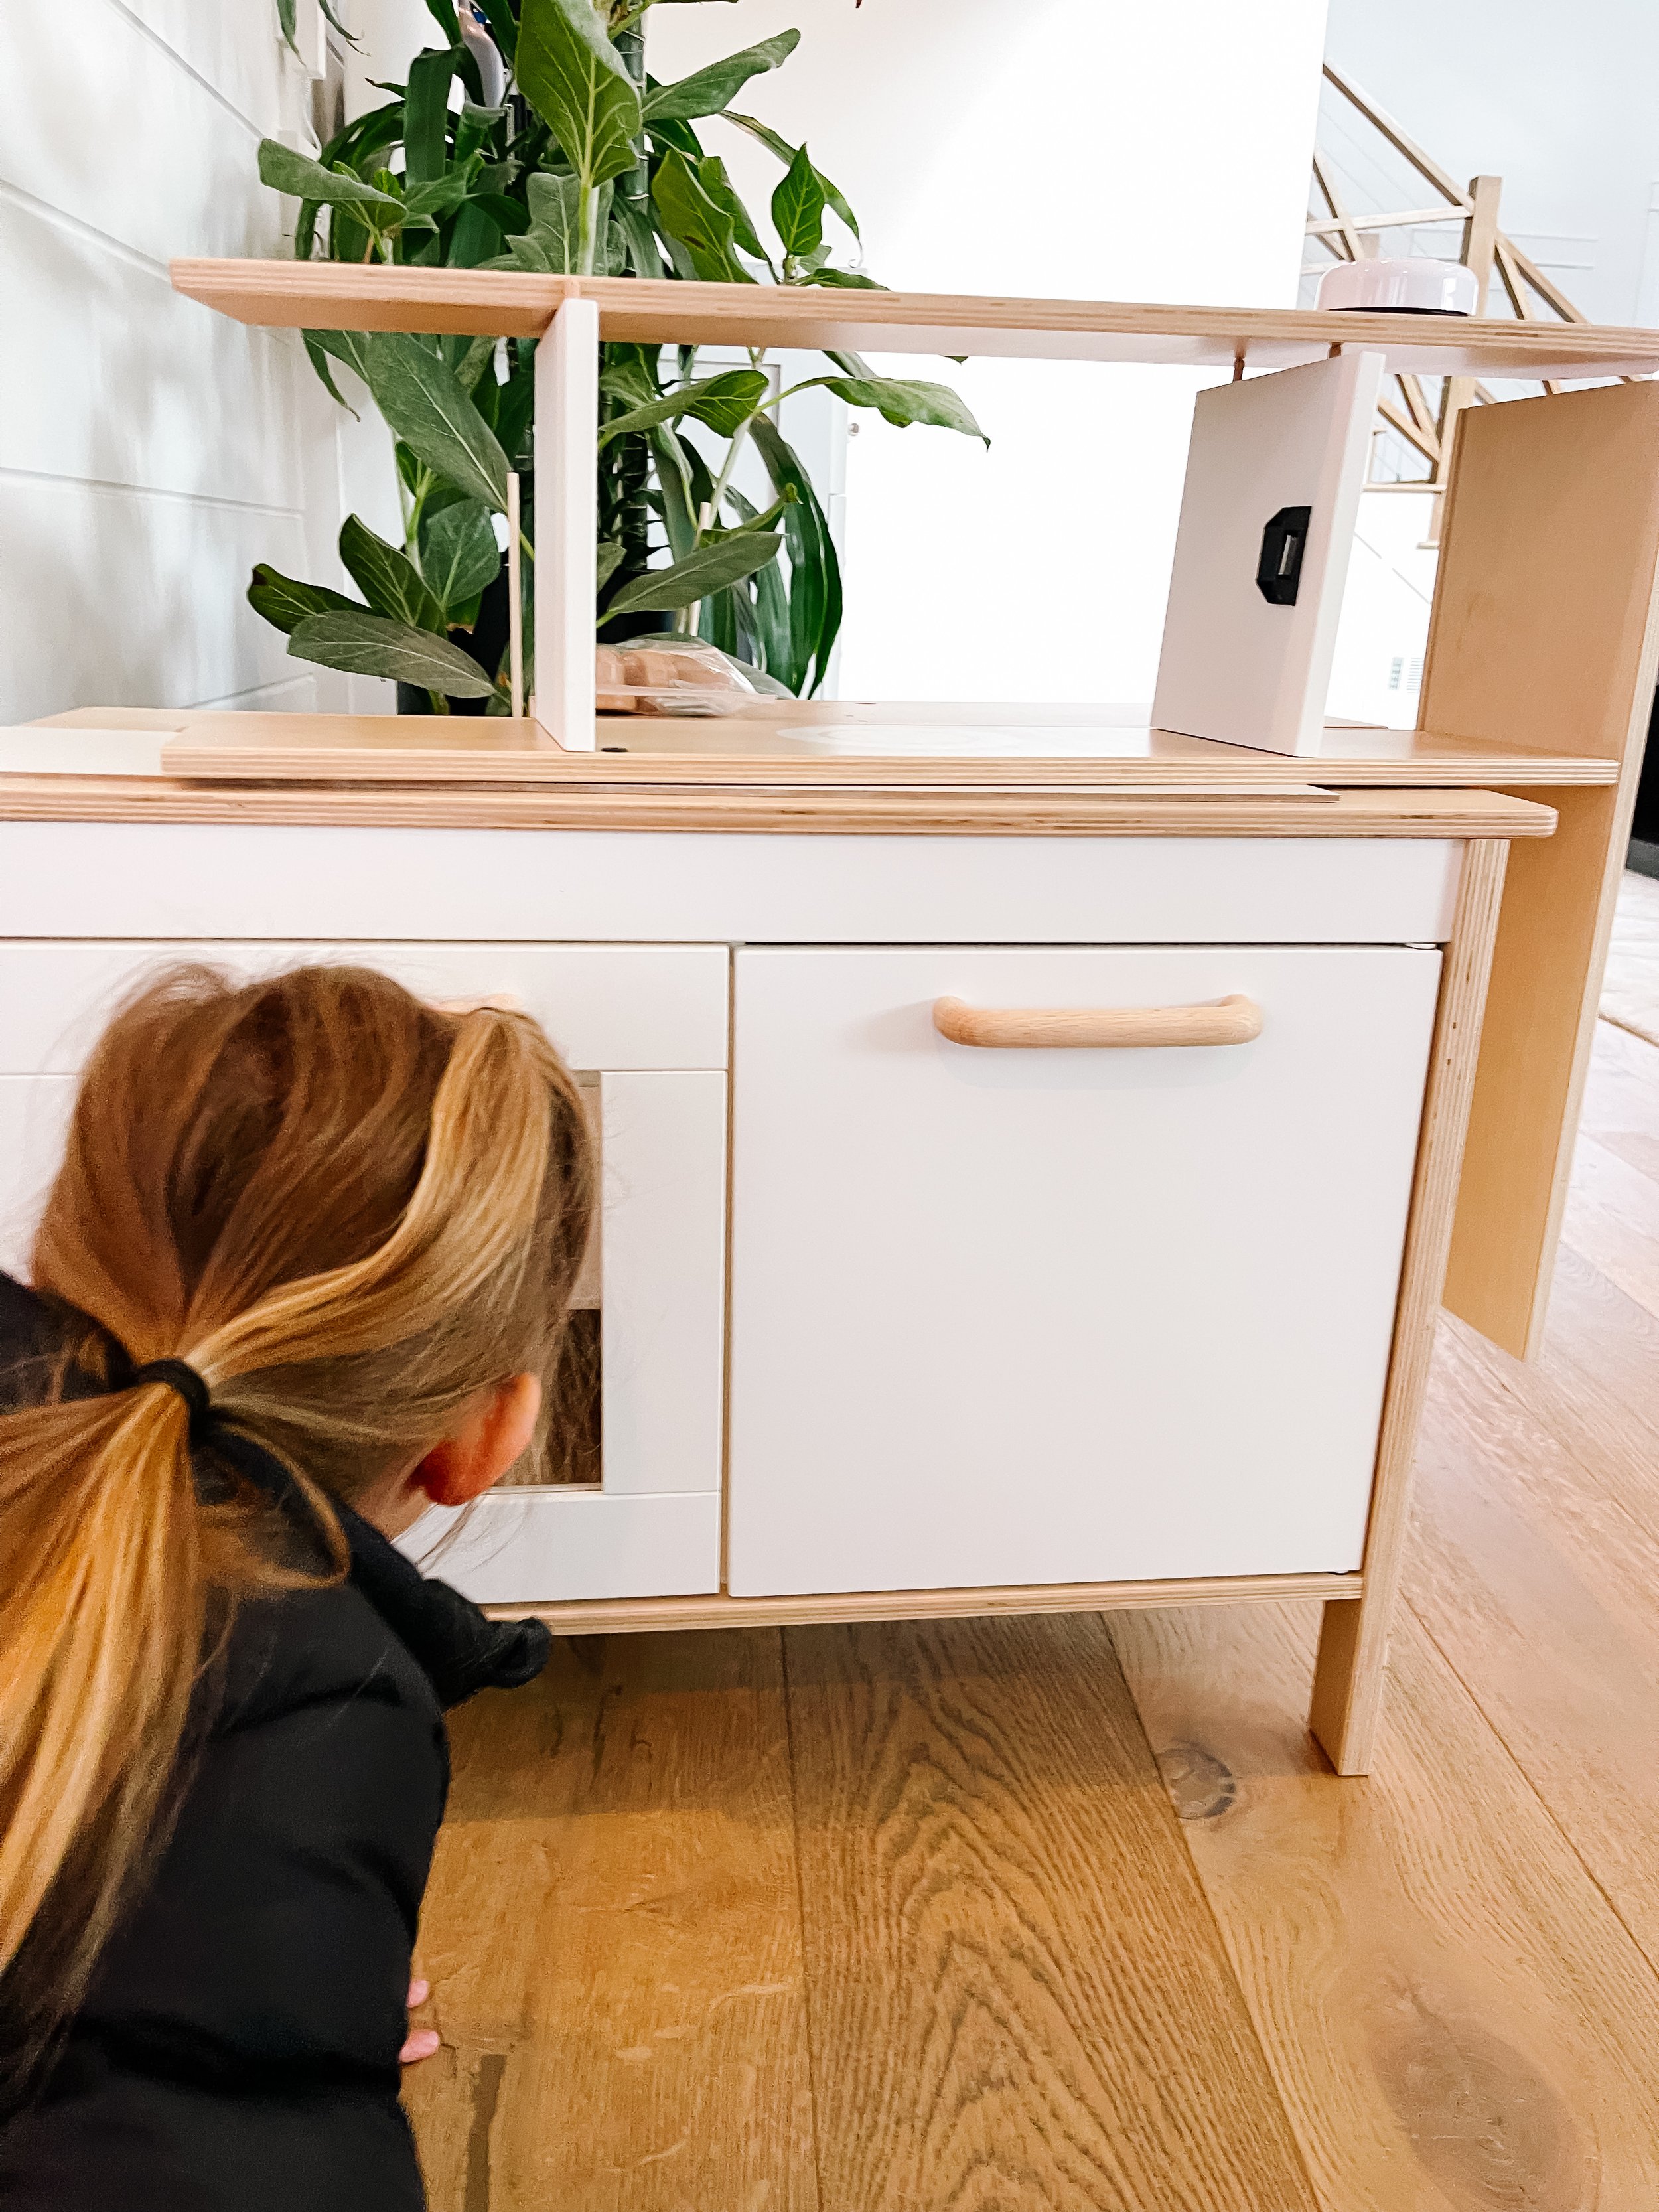
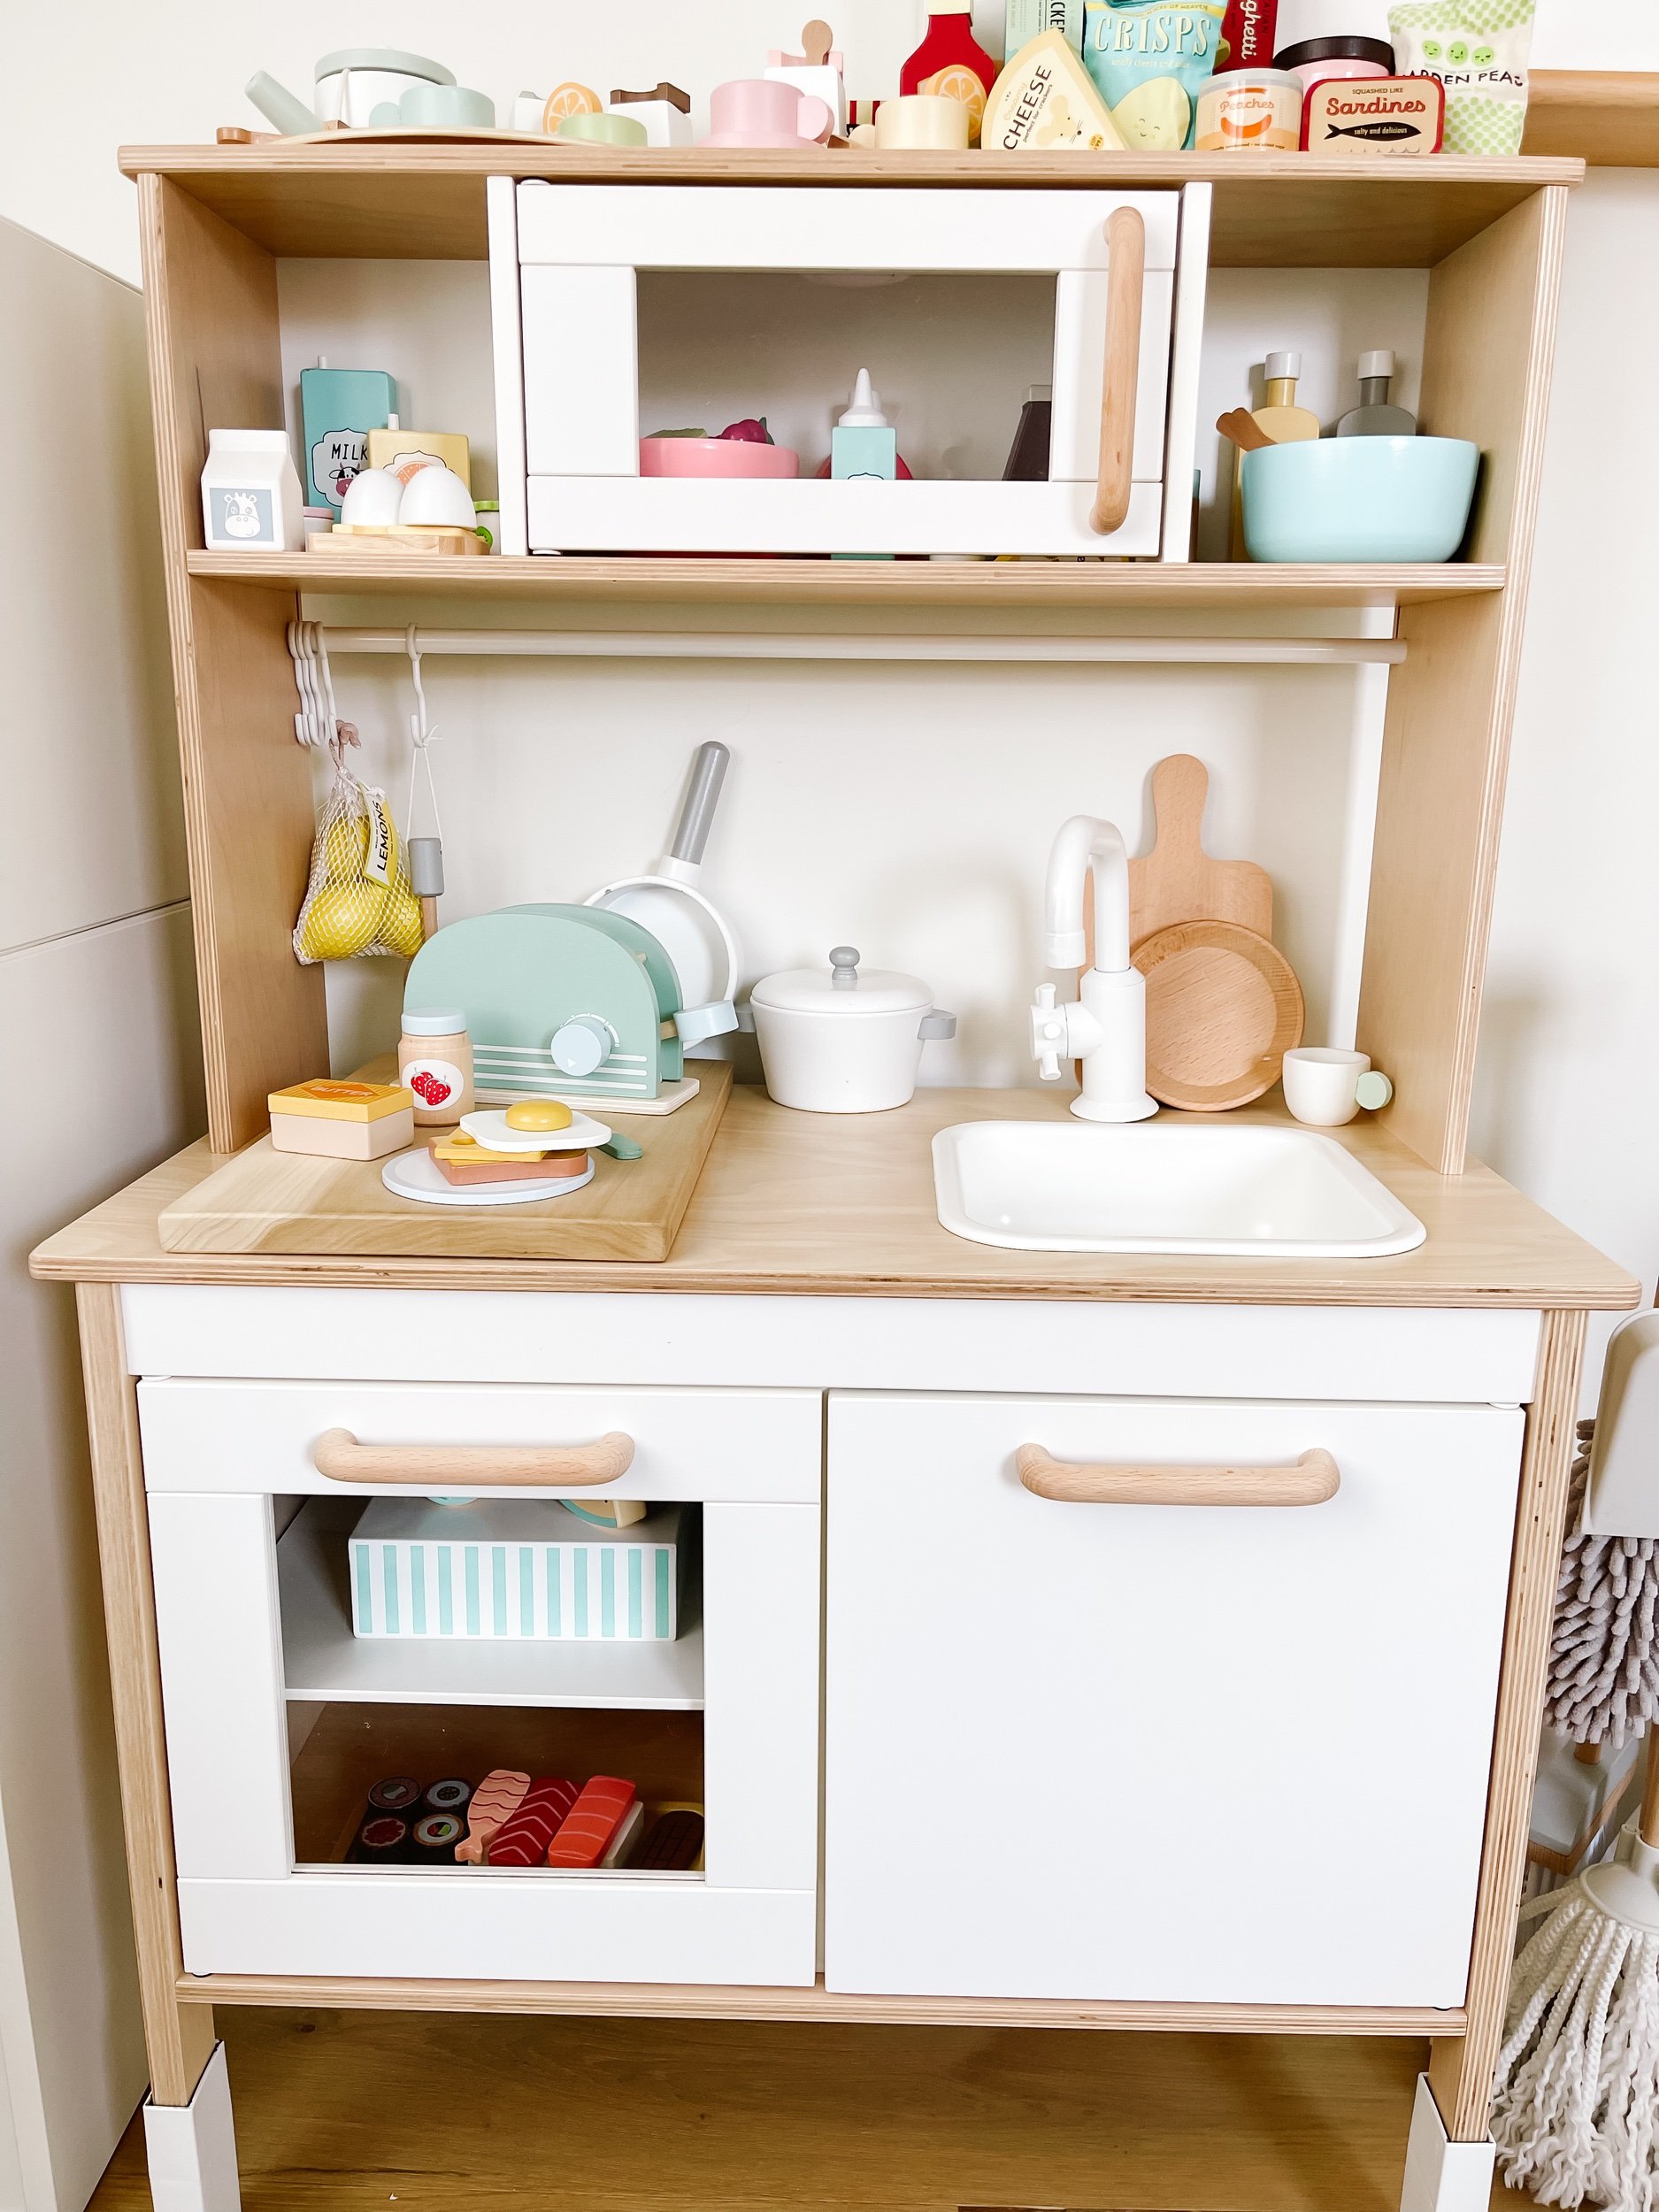
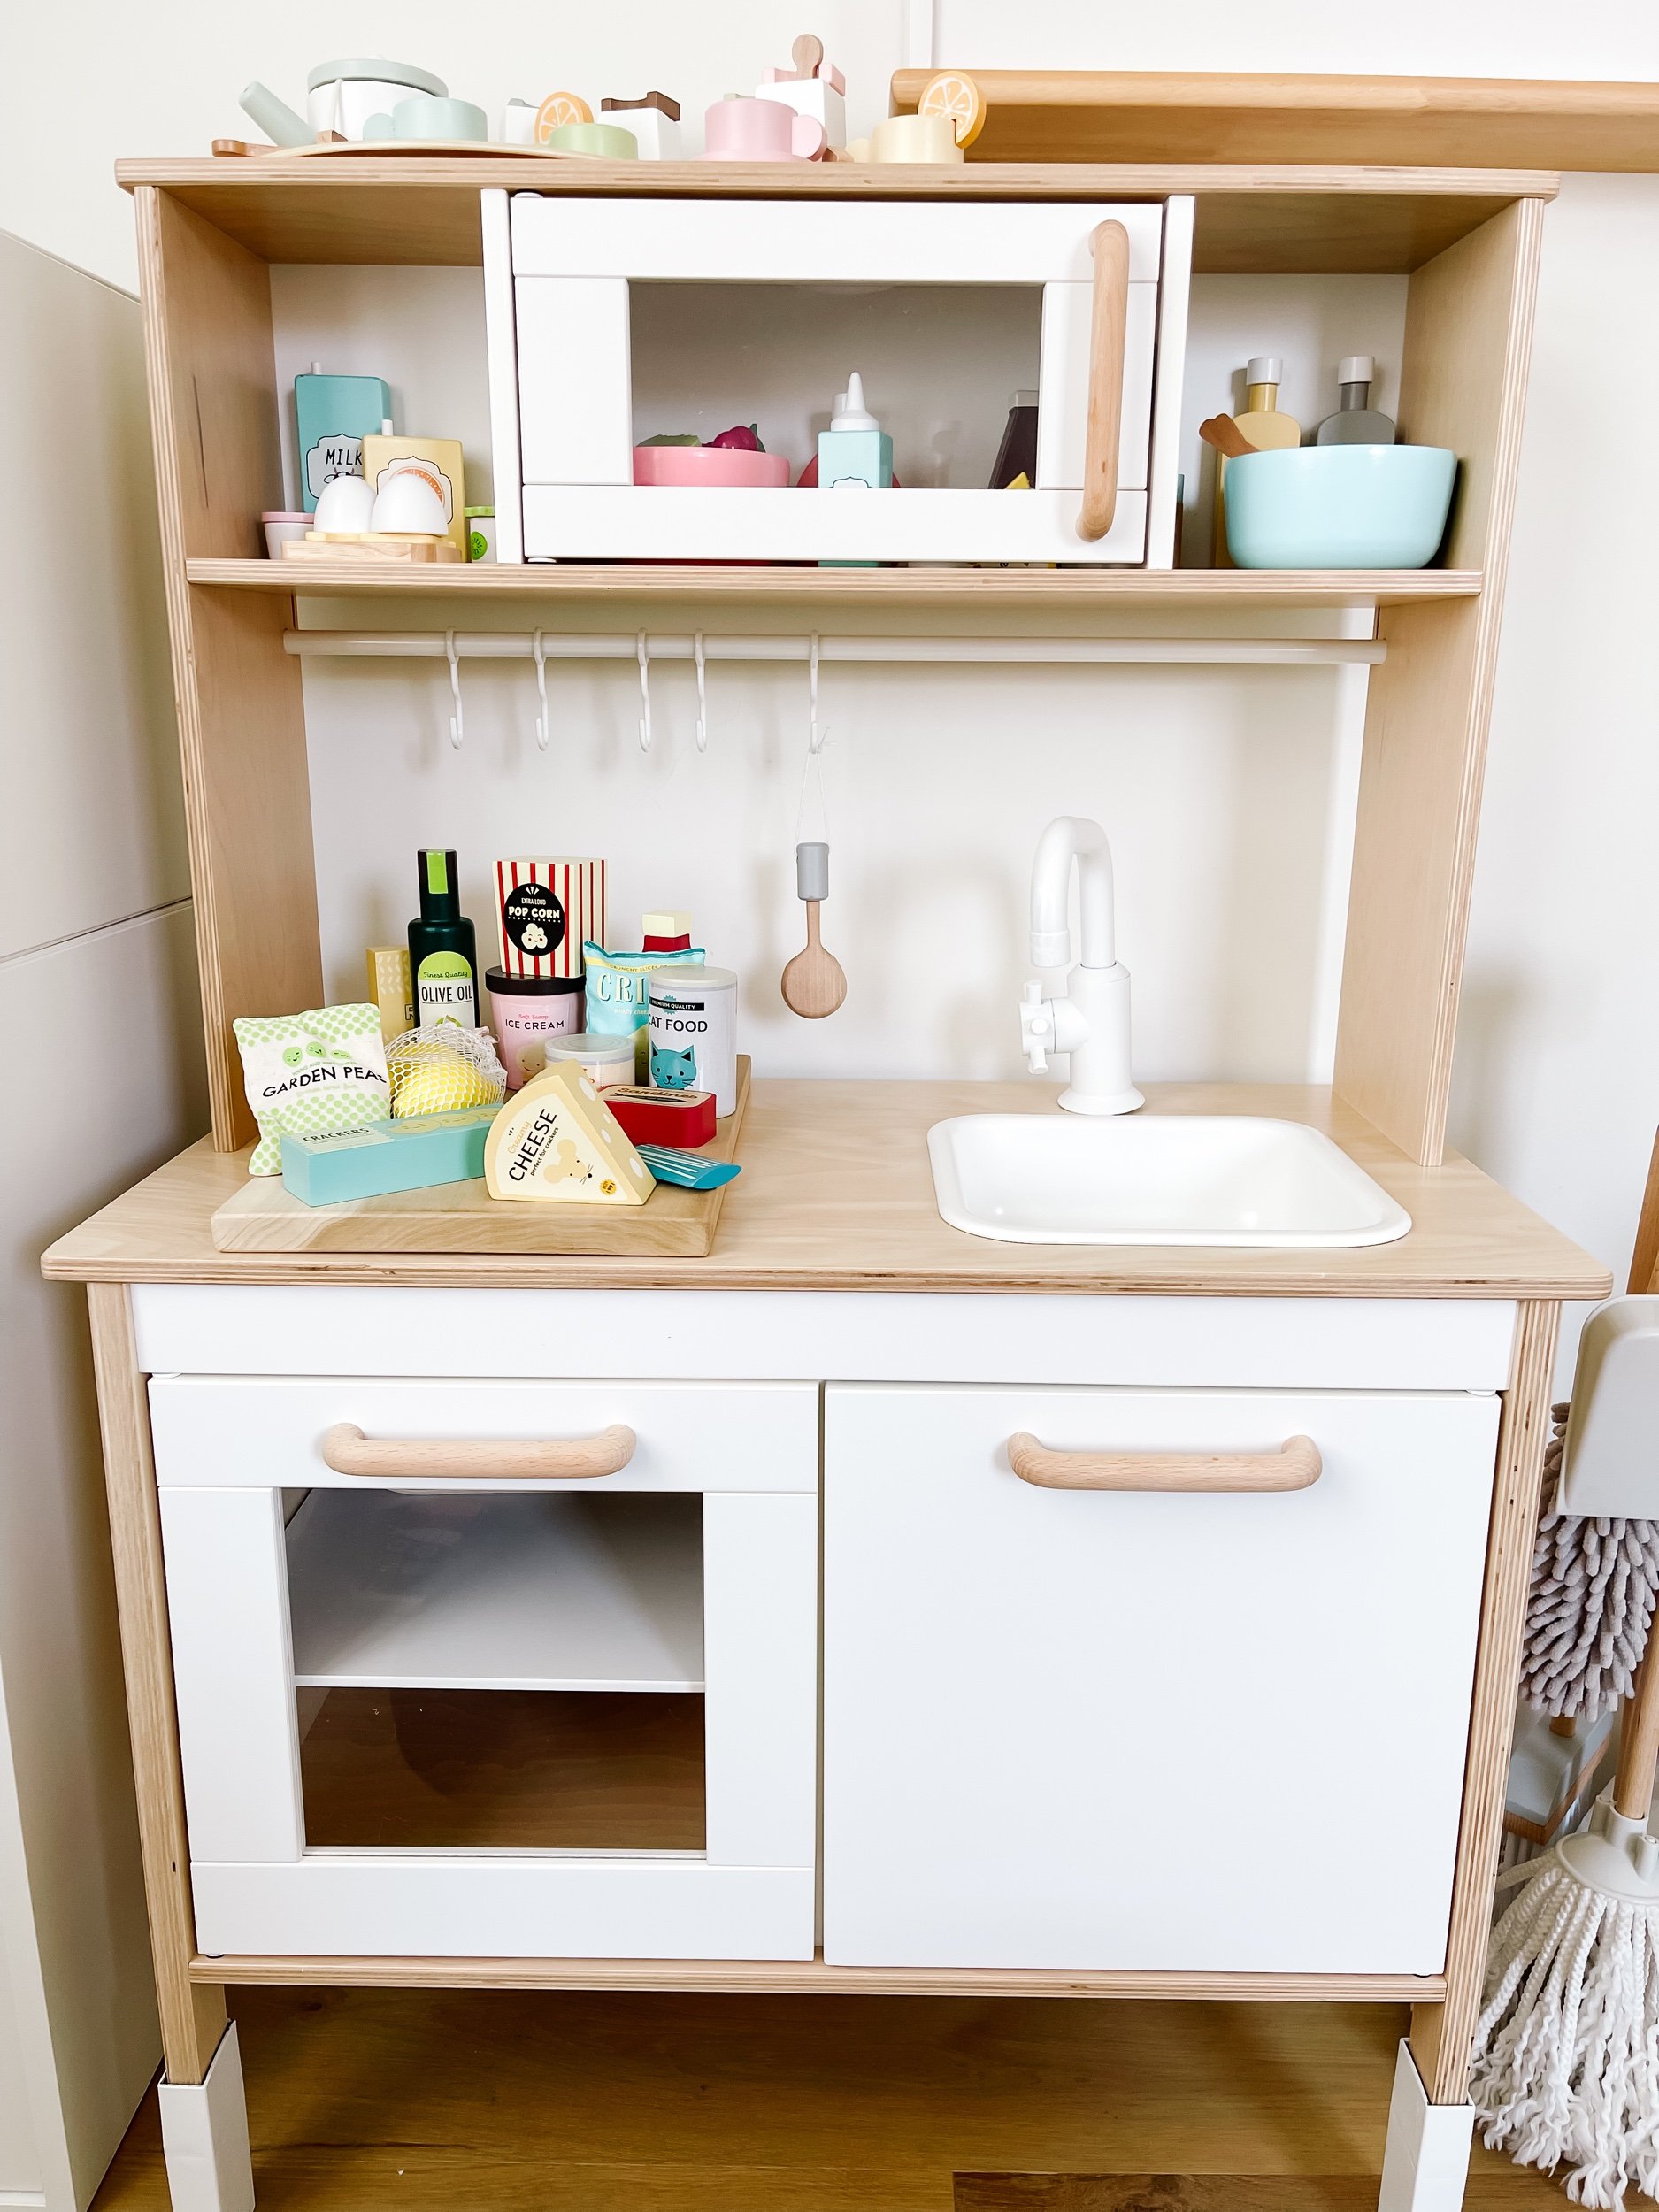
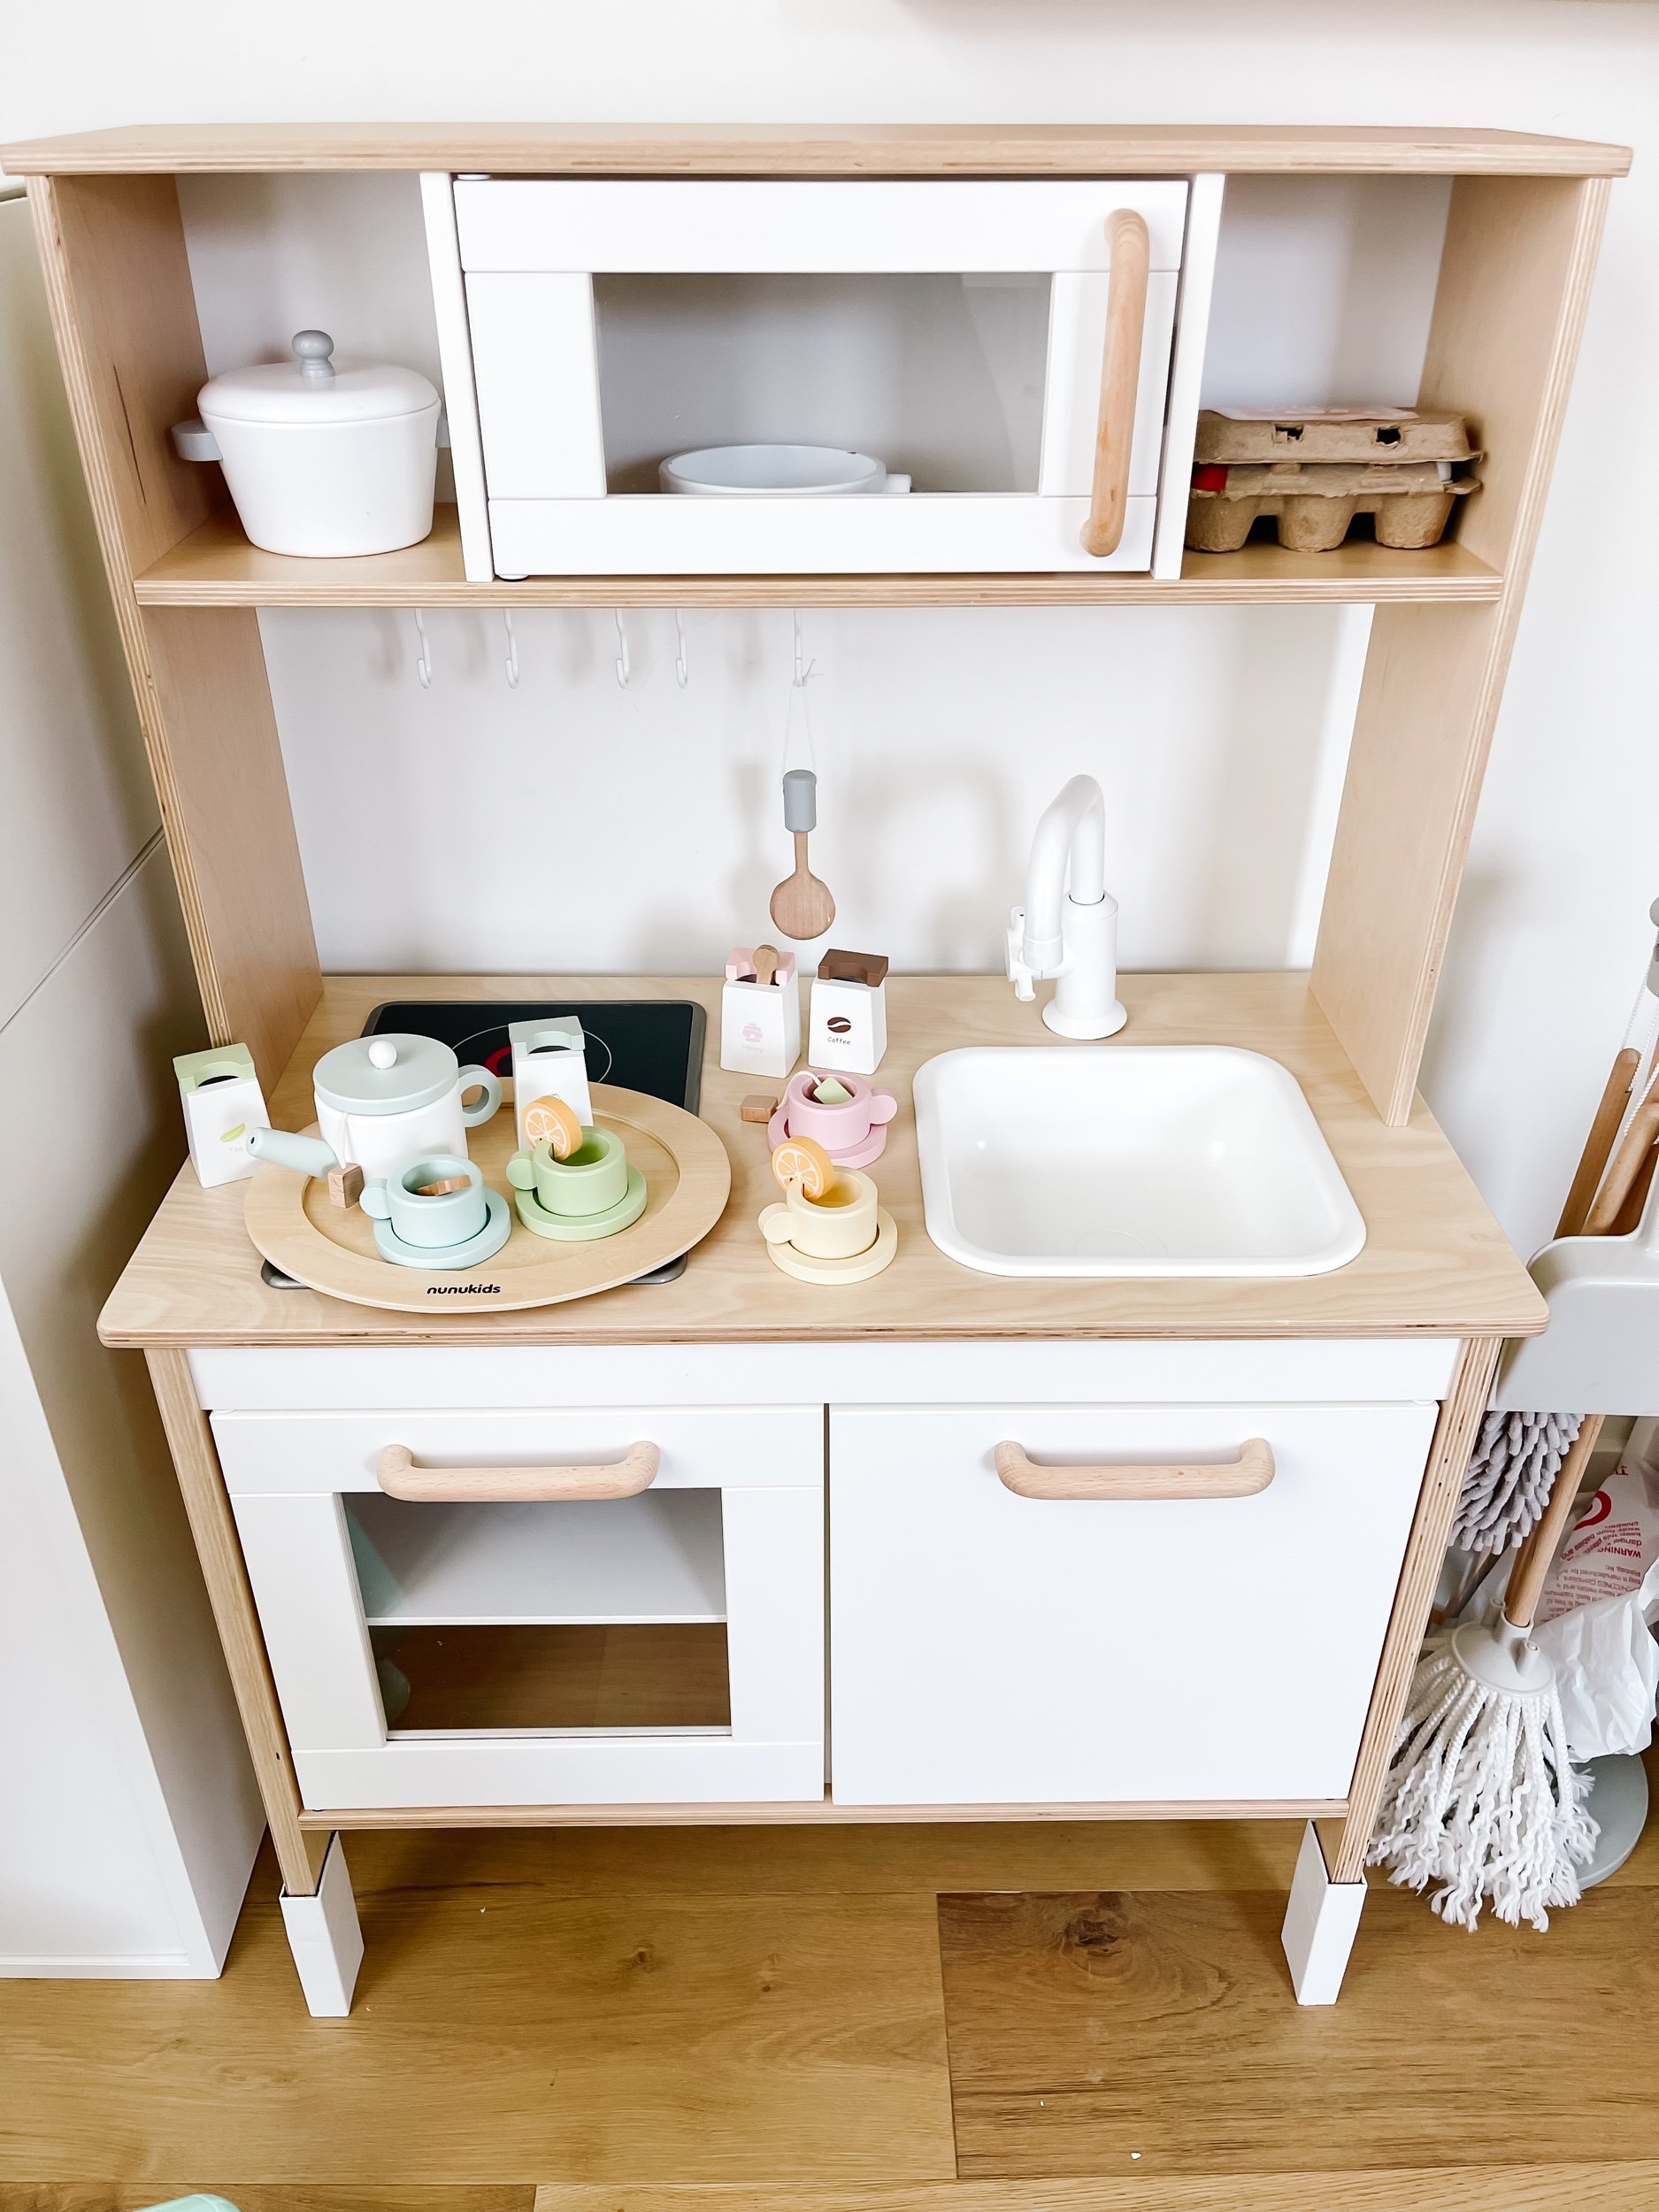
I’m so excited to share this little labor of love — our DIY play kitchen. We recently purchased the IKEA Duktig play kitchen and I couldn’t wait to give it a very small but beautiful renovation. I definitely wasn’t ambitious enough to take on an entire paint just, but just by spray painting all of the grey pieces white, it become a completely modern and beautiful kitchen to go with our modern white farmhouse vibes.


Links to everything featured:

I want to start by sharing links to everything included here so that you can recreate this look! As far as children’s kitchen renovations go, these are some of the simplest accents you can find. I tried to keep everything as cheap and cost effective as possible because I really didn’t want to overspend.

Kitchen transformation

Here’s everything I used to spruce up the look of the kitchen itself. It cost about $100 total to do the makeover of the kitchen itself. Which is quite reasonable considering most other play kitchens cost $150 or more.

  1. Ikea DUKTIG Kitchen - $79

  2. Handles - $14.99

  3. Knobs - $10.79

  4. Sand paper sponges - $8.99

  5. White Spray Paint — Luckily I already had spray paint and primer on hand!

  6. Wood & white acrylic stove Use code GOODNIGHTFOXFRIEND to save

Get the Stove

IMG_4710.jpg
IMG_4711_jpg.jpg
IMG_4715.jpg
IMG_4729.jpg
IMG_4730.jpg
IMG_4770.jpg
IMG_4900.jpg

STEP BY STEP INSTRUCTIONS for the cutest DIY IKEA DUKTIG Modern Play Kitchen renovation

I wanted to go super light weight on this transformation so I kept the steps as simple as possible.

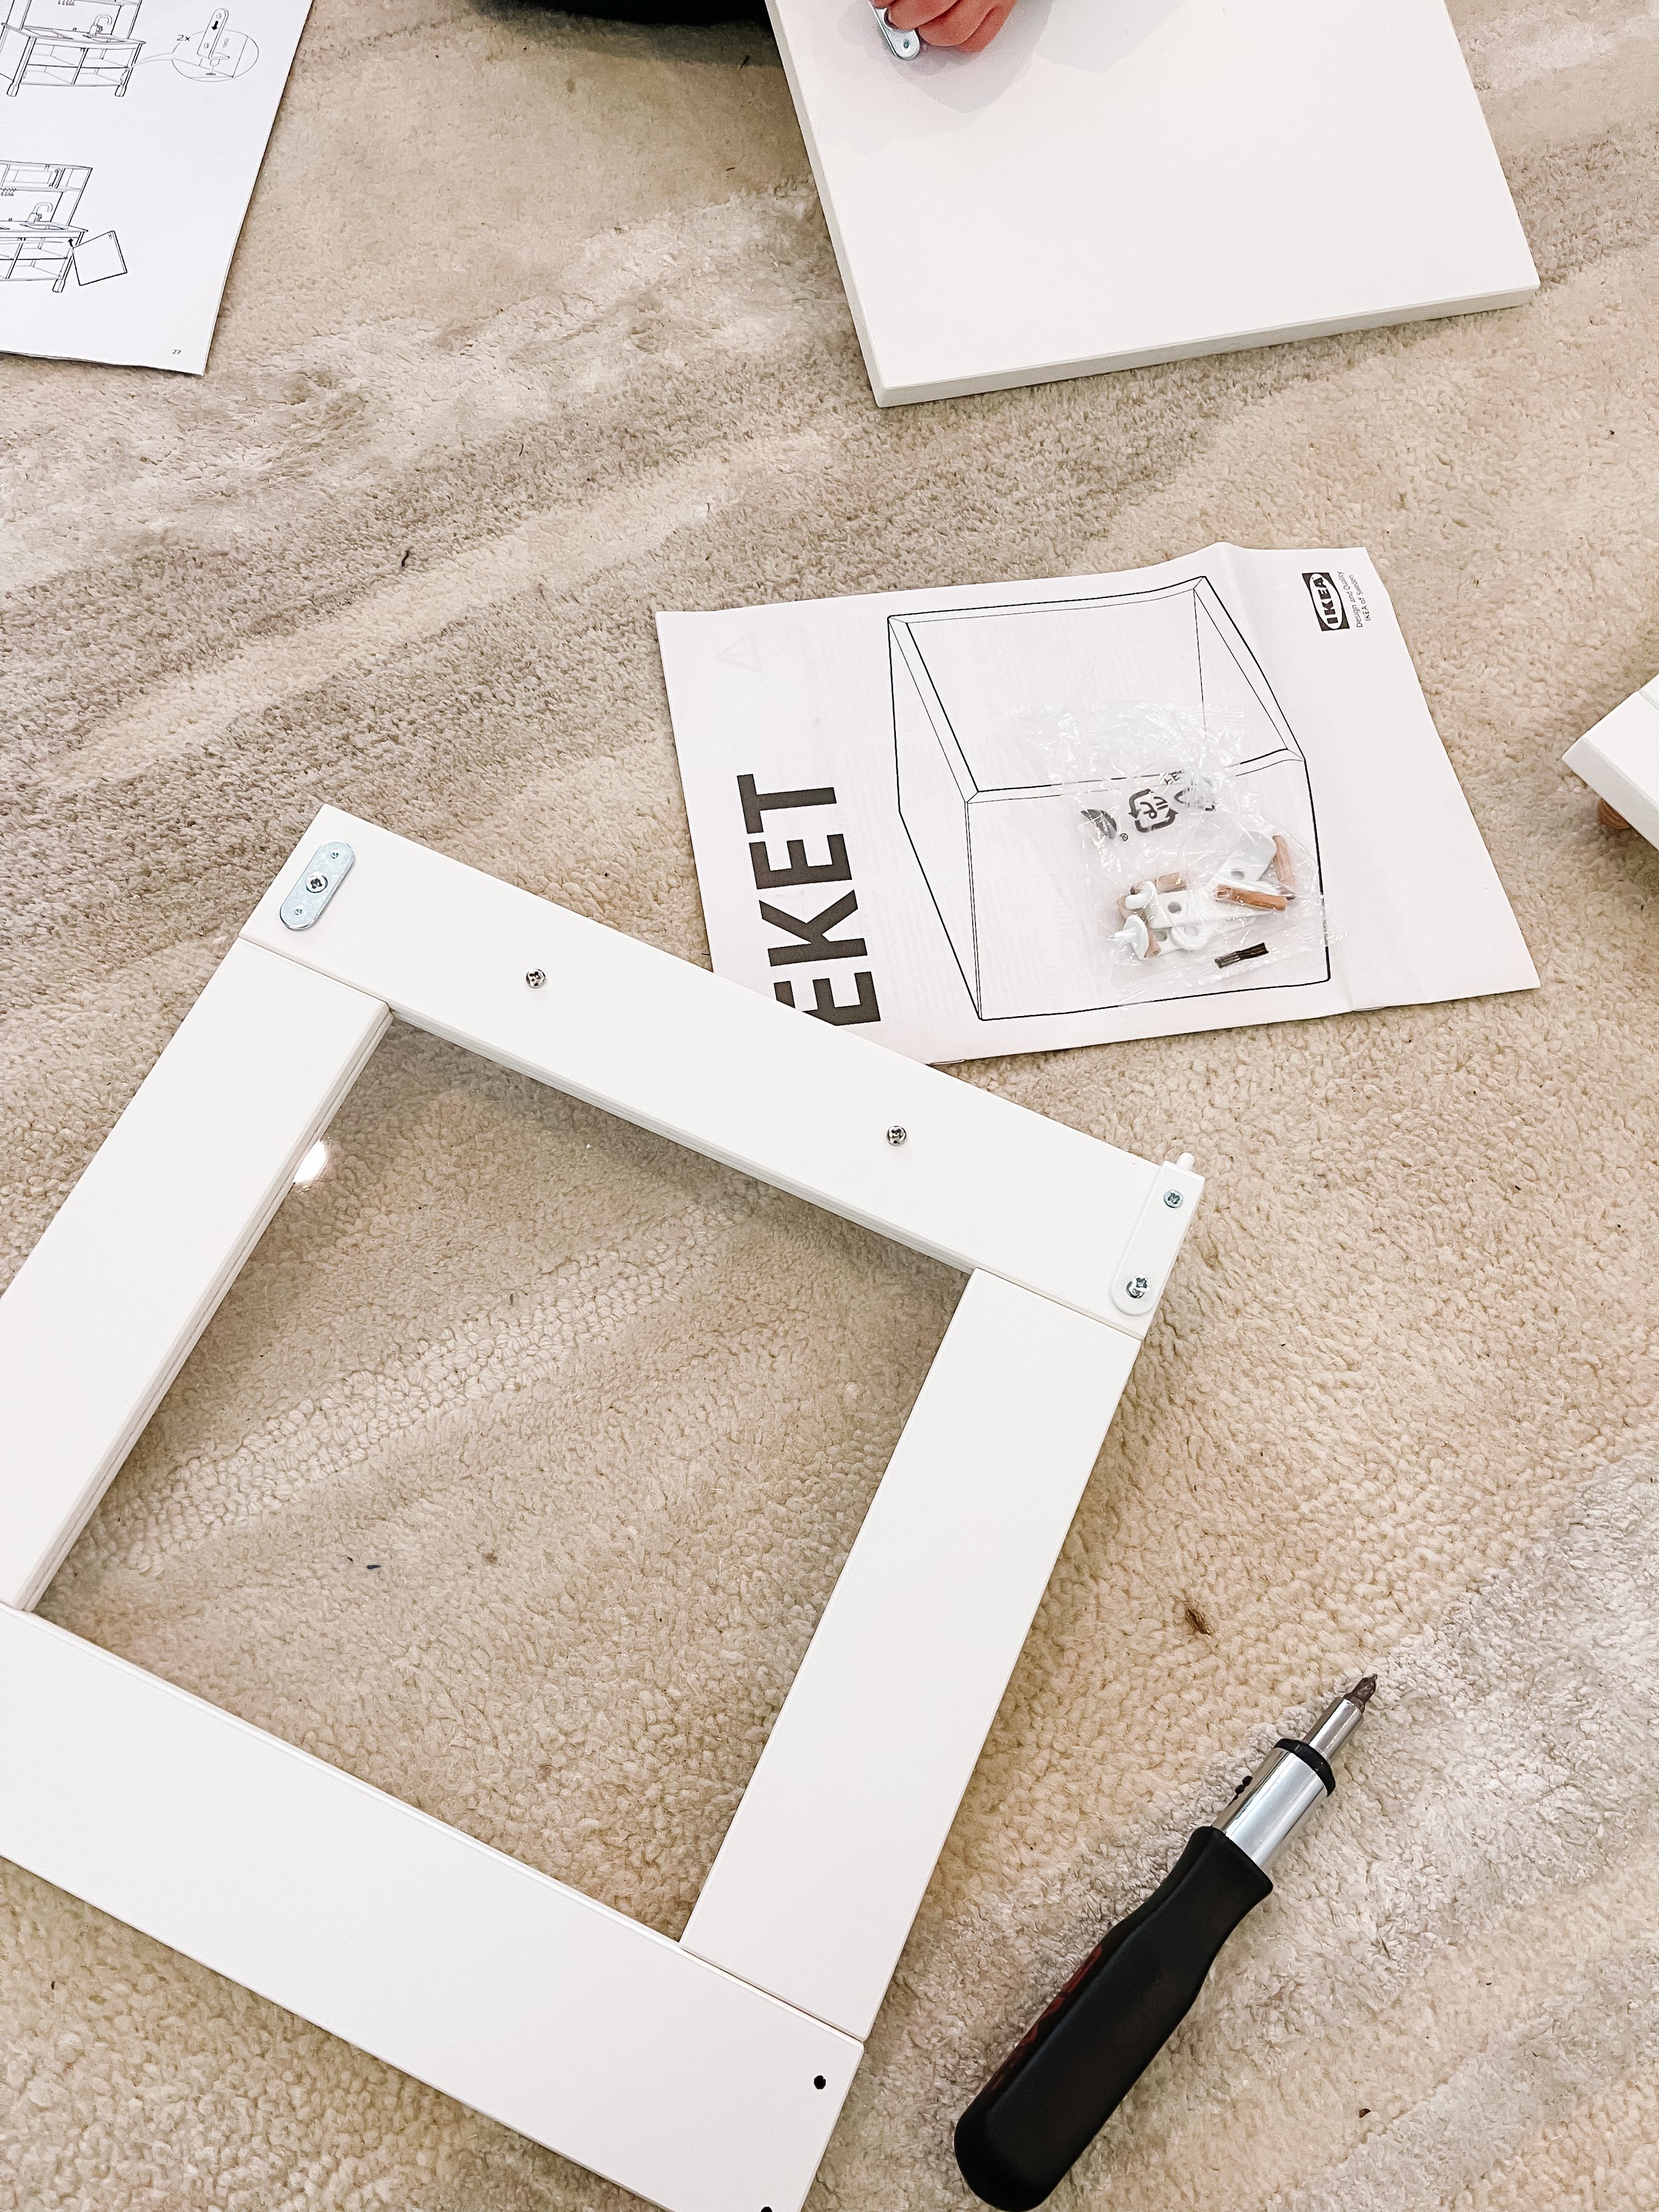
  • Step 1: Open up the IKEA Duktig Kitchen — I opened it up and laid out the pieces. There’s actually way more pieces than I thought and it took me about 2 hours total over the course of 3 days to put it all together. Mostly because I was quite literally waiting on the paint to dry.

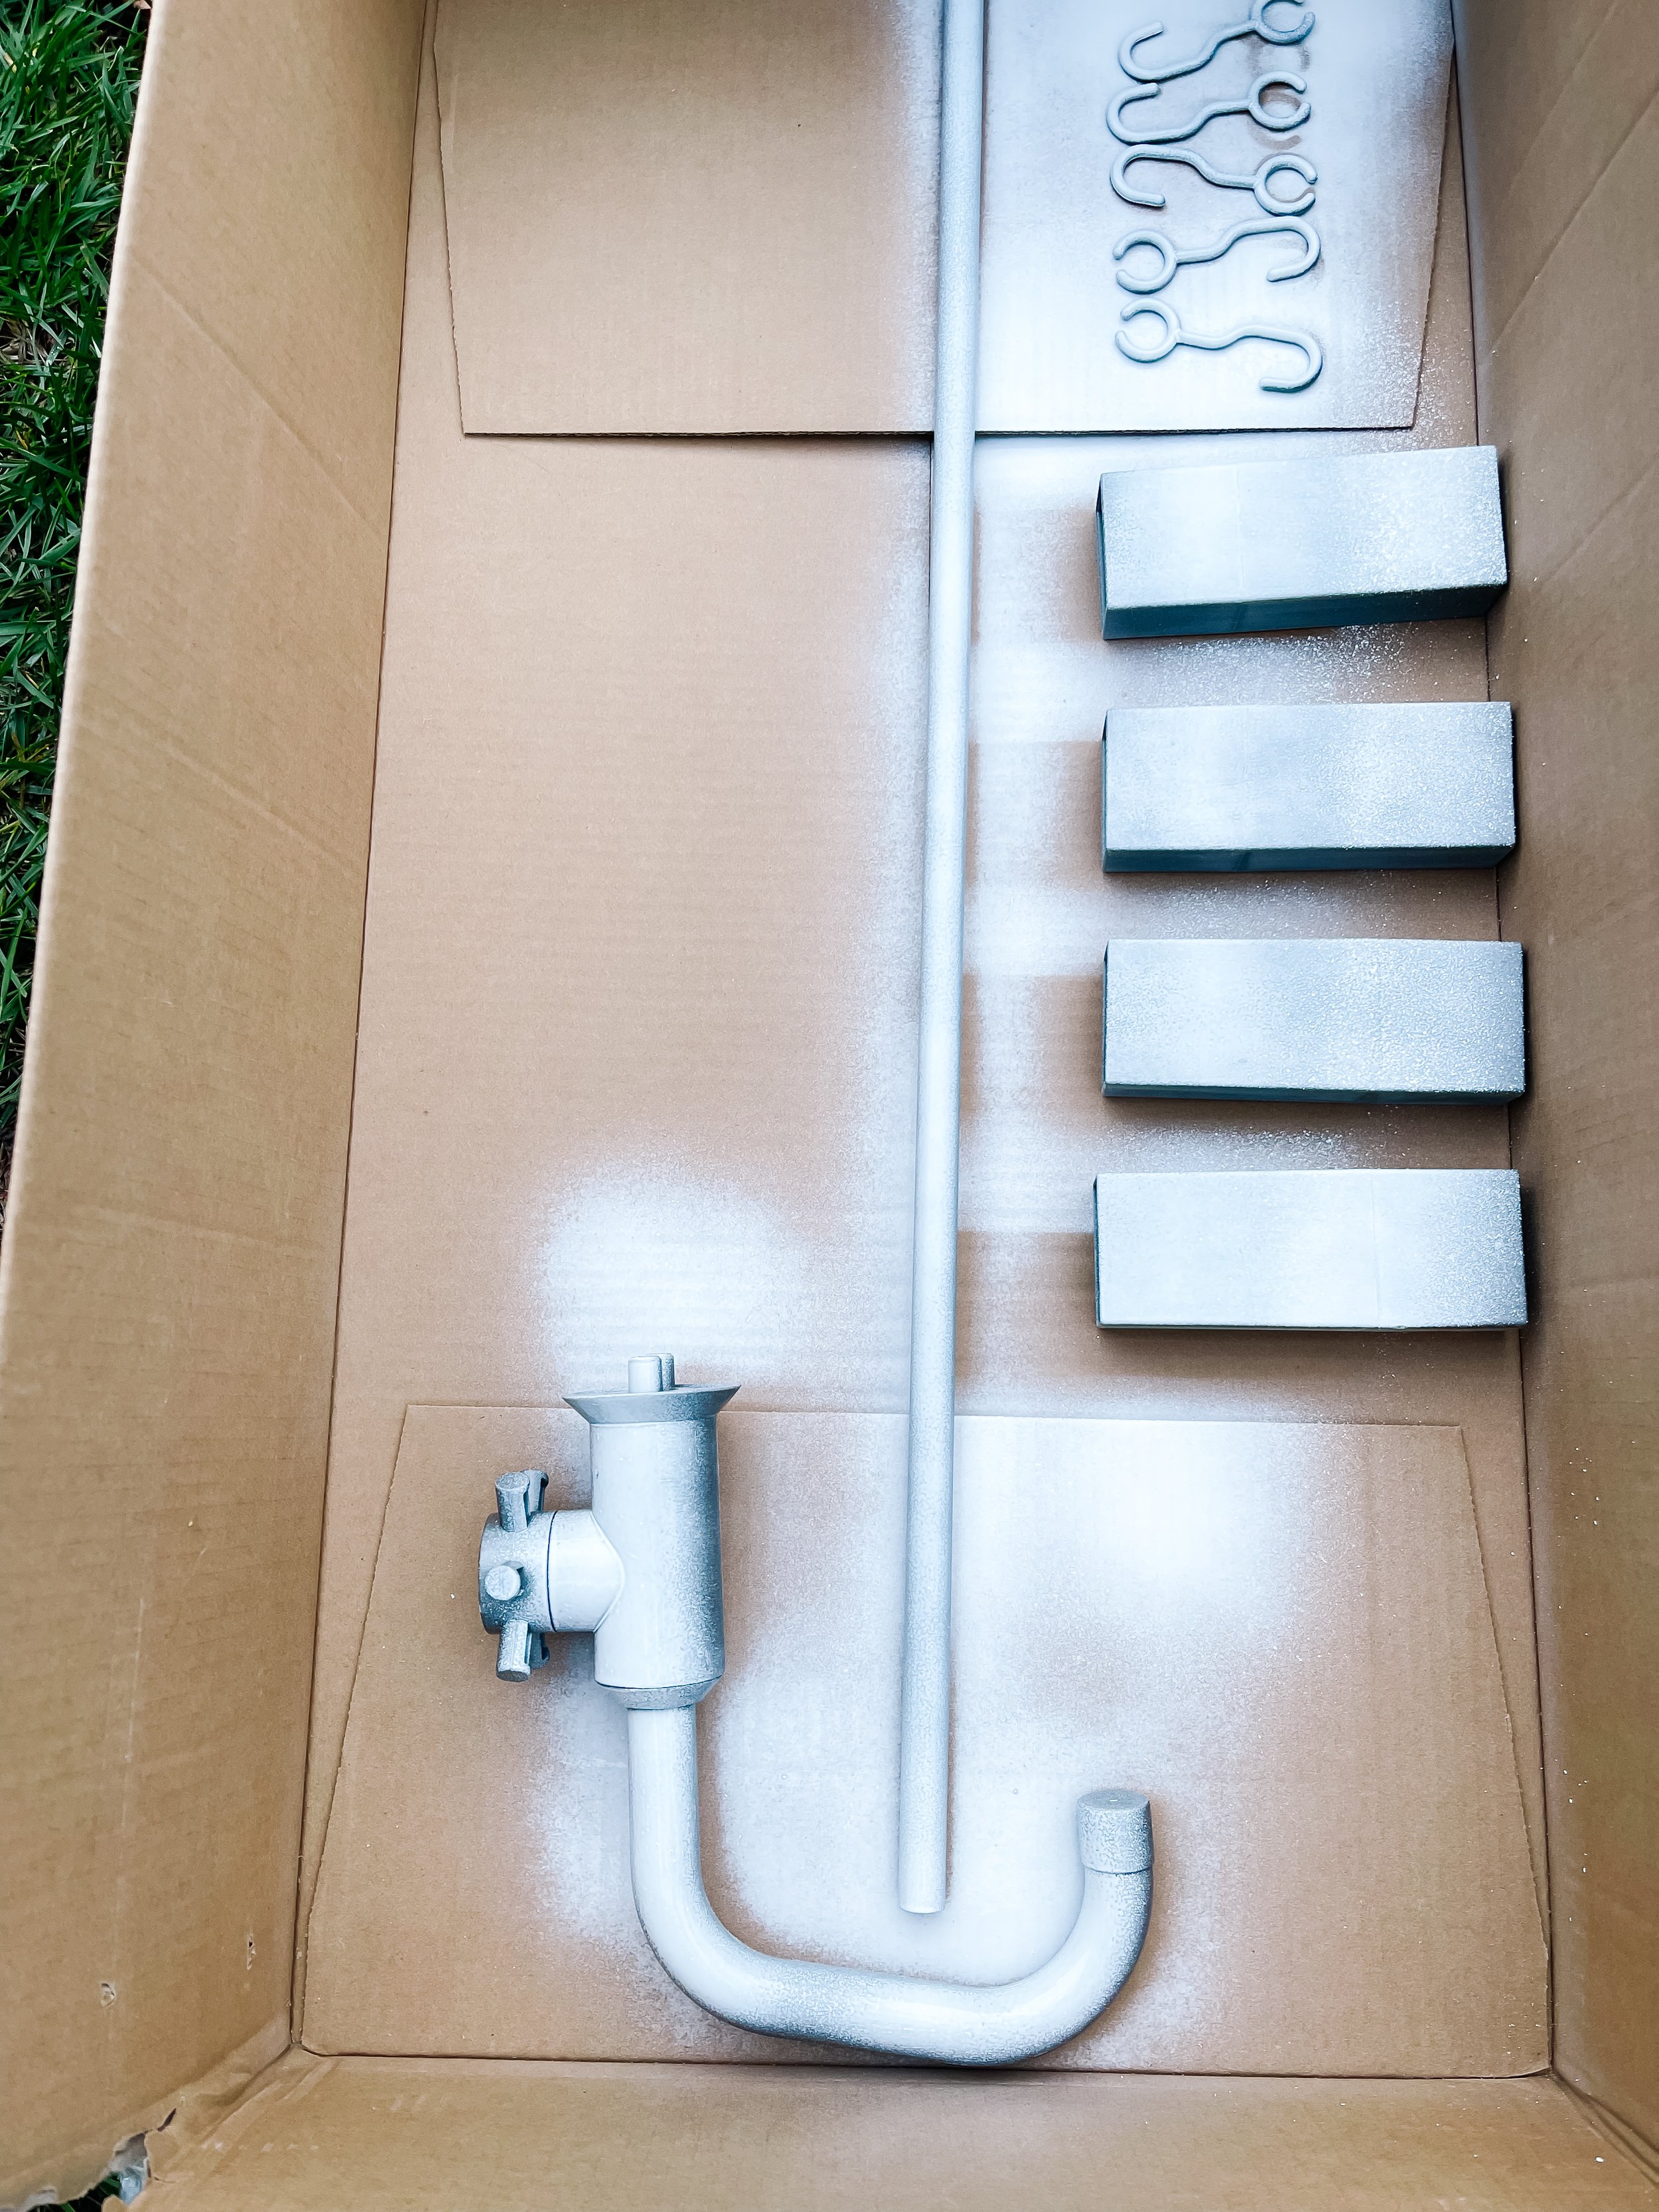
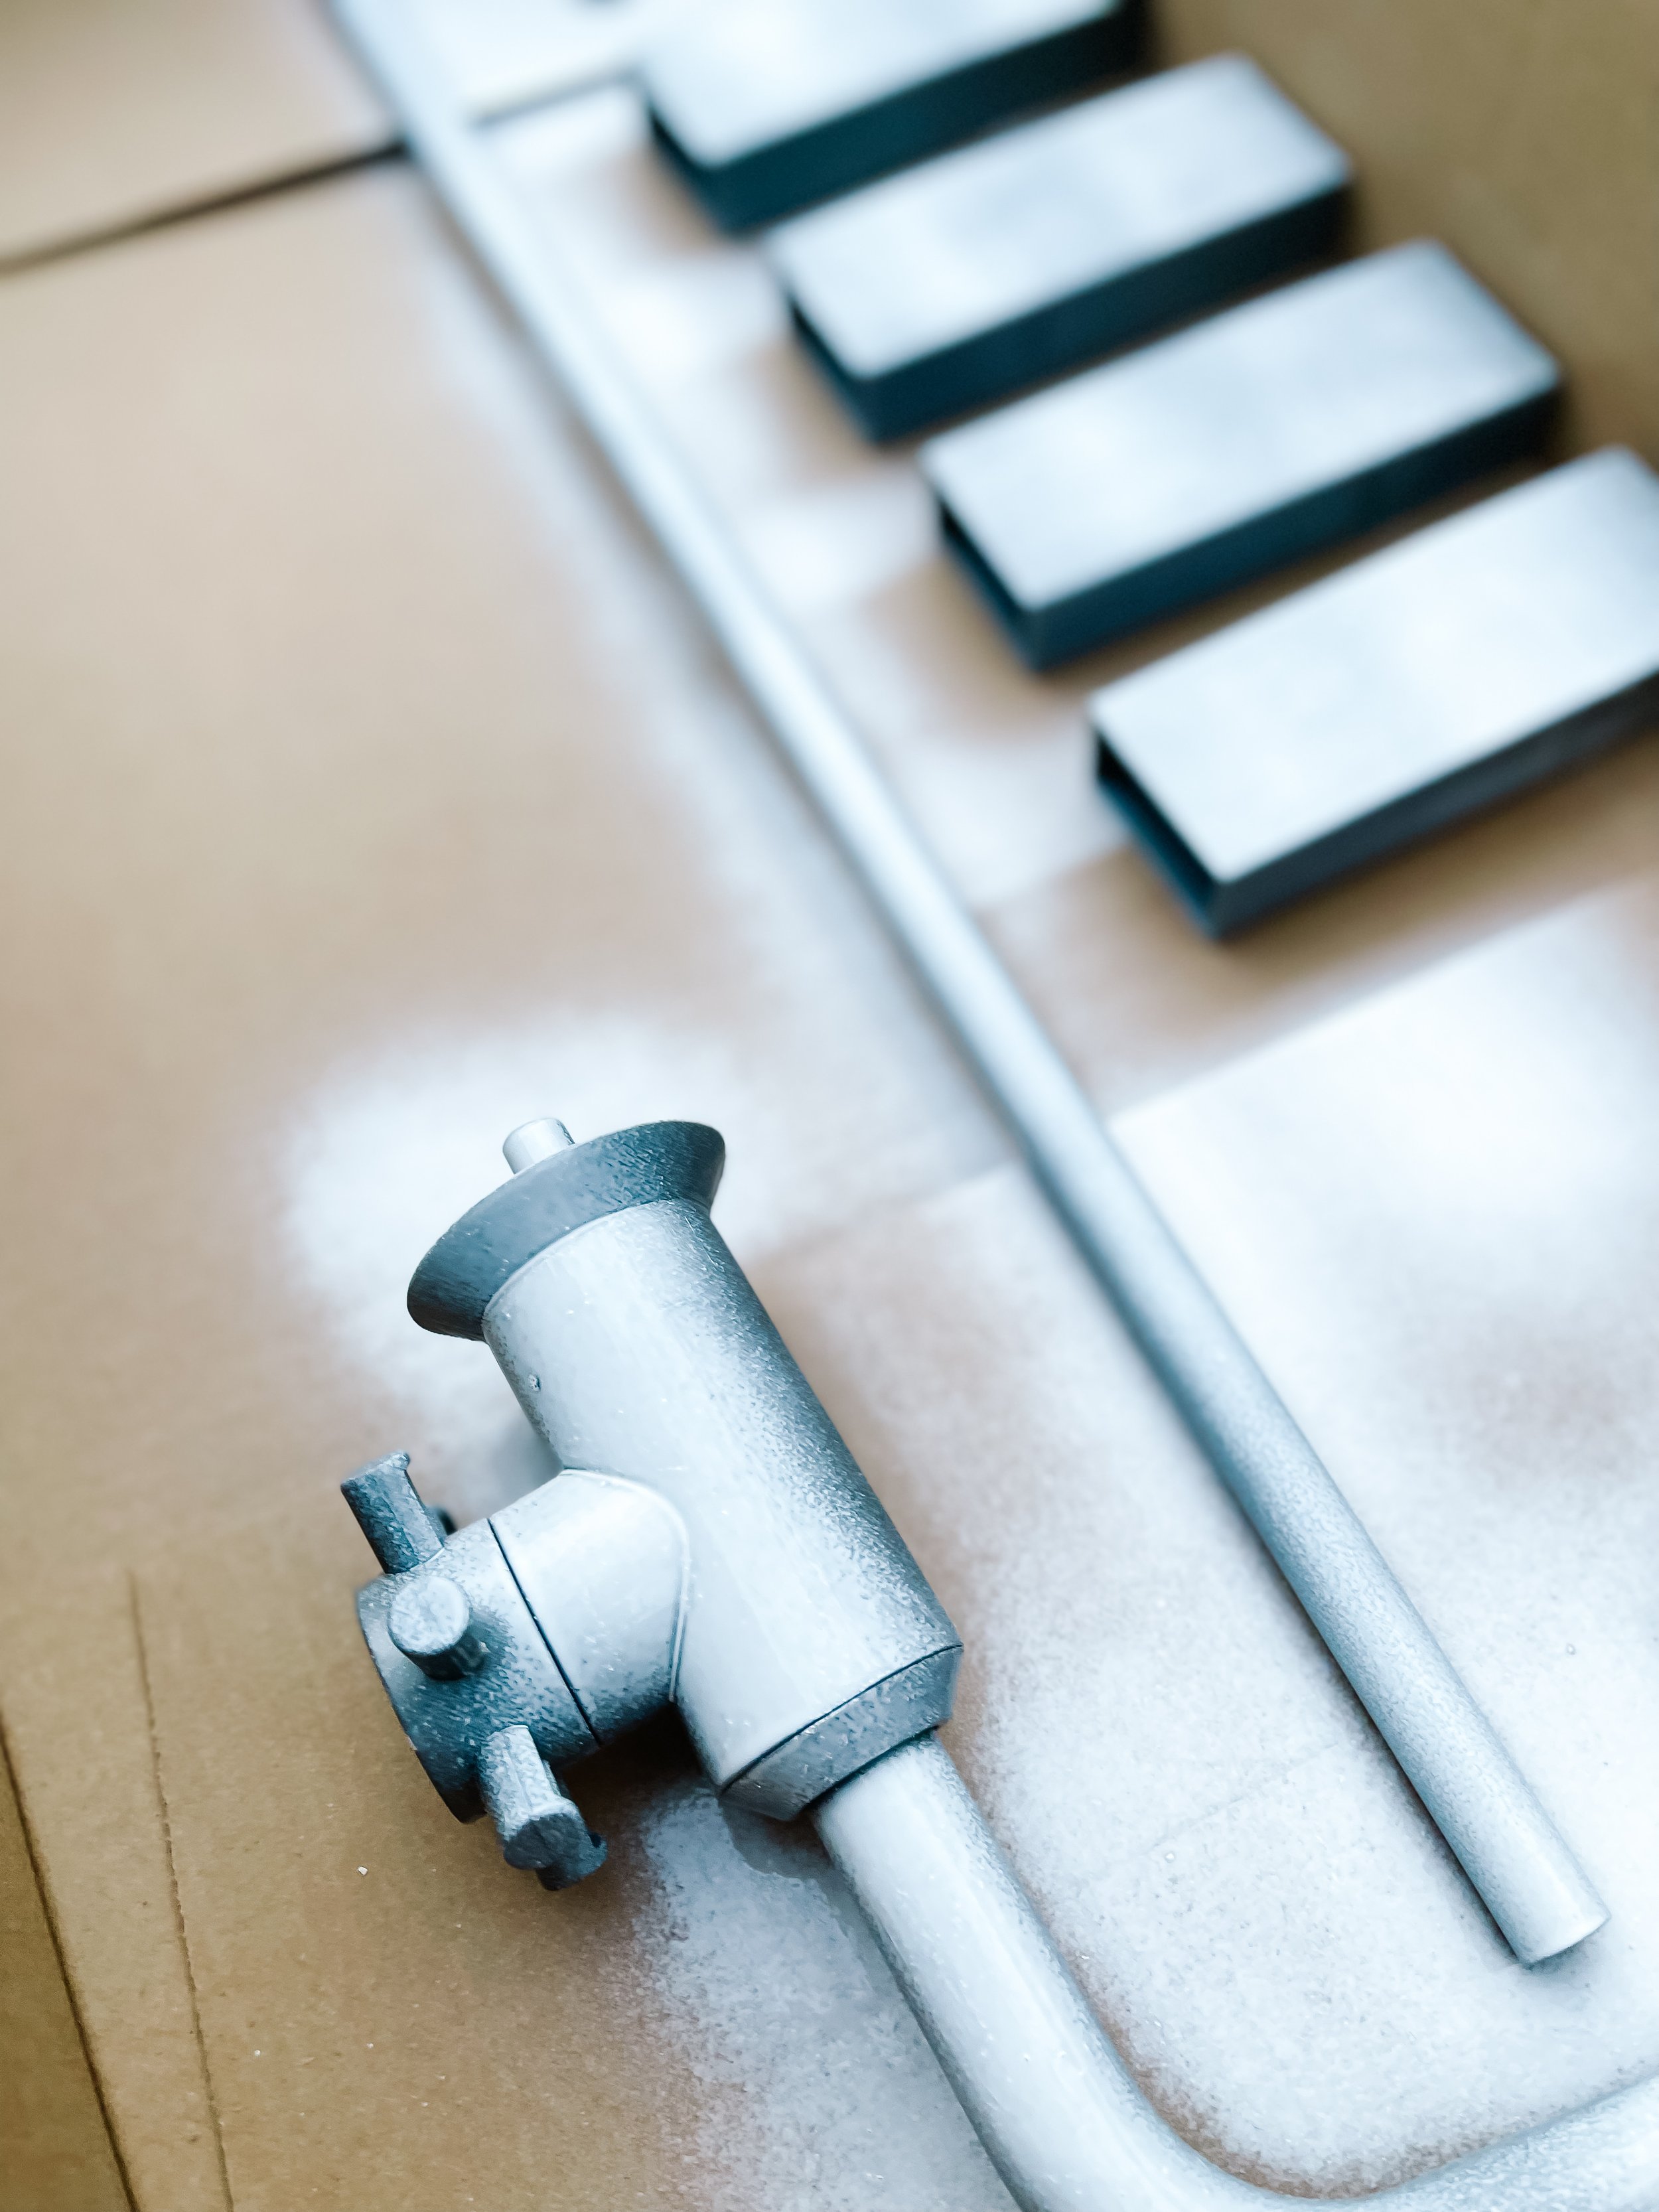
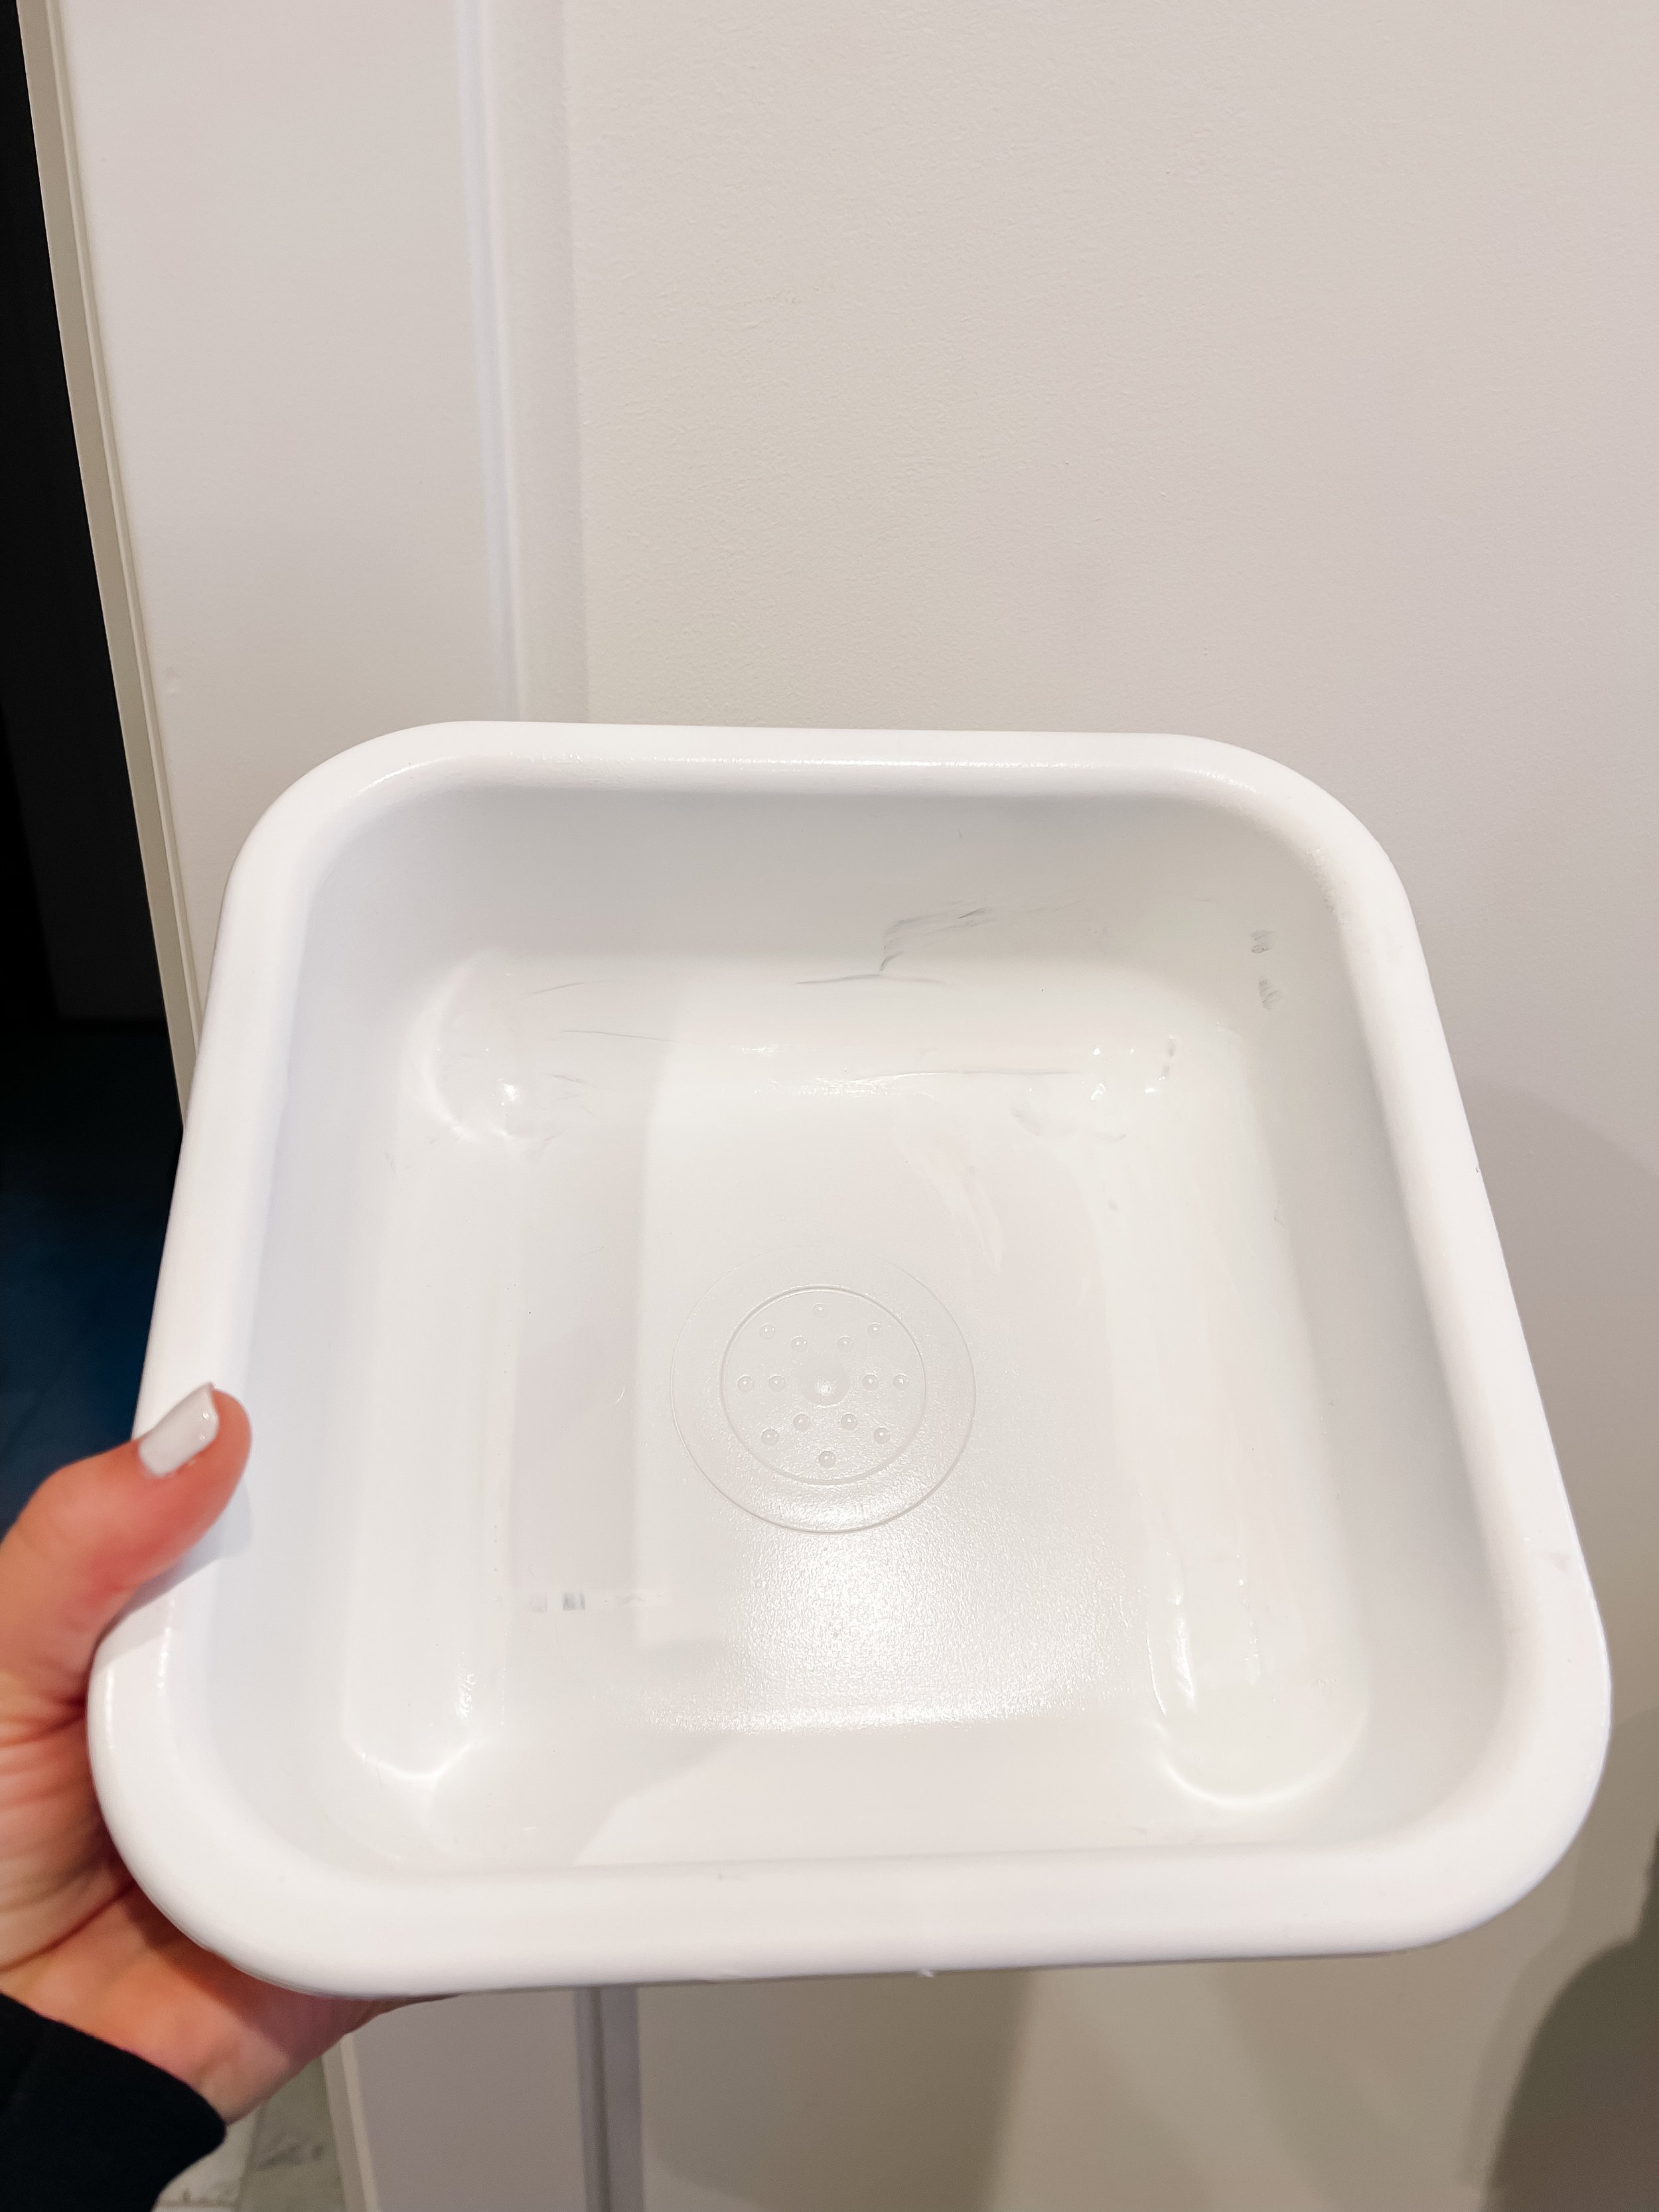
  • Step 2: Pull out the grey pieces and use the sand paper sponges to sand them down. I sanded them until I saw consistent scratches across the surface area. You can definitely see and feel the dust of the plastic so make sure to wipe down or wash and dry the pieces before you paint them.

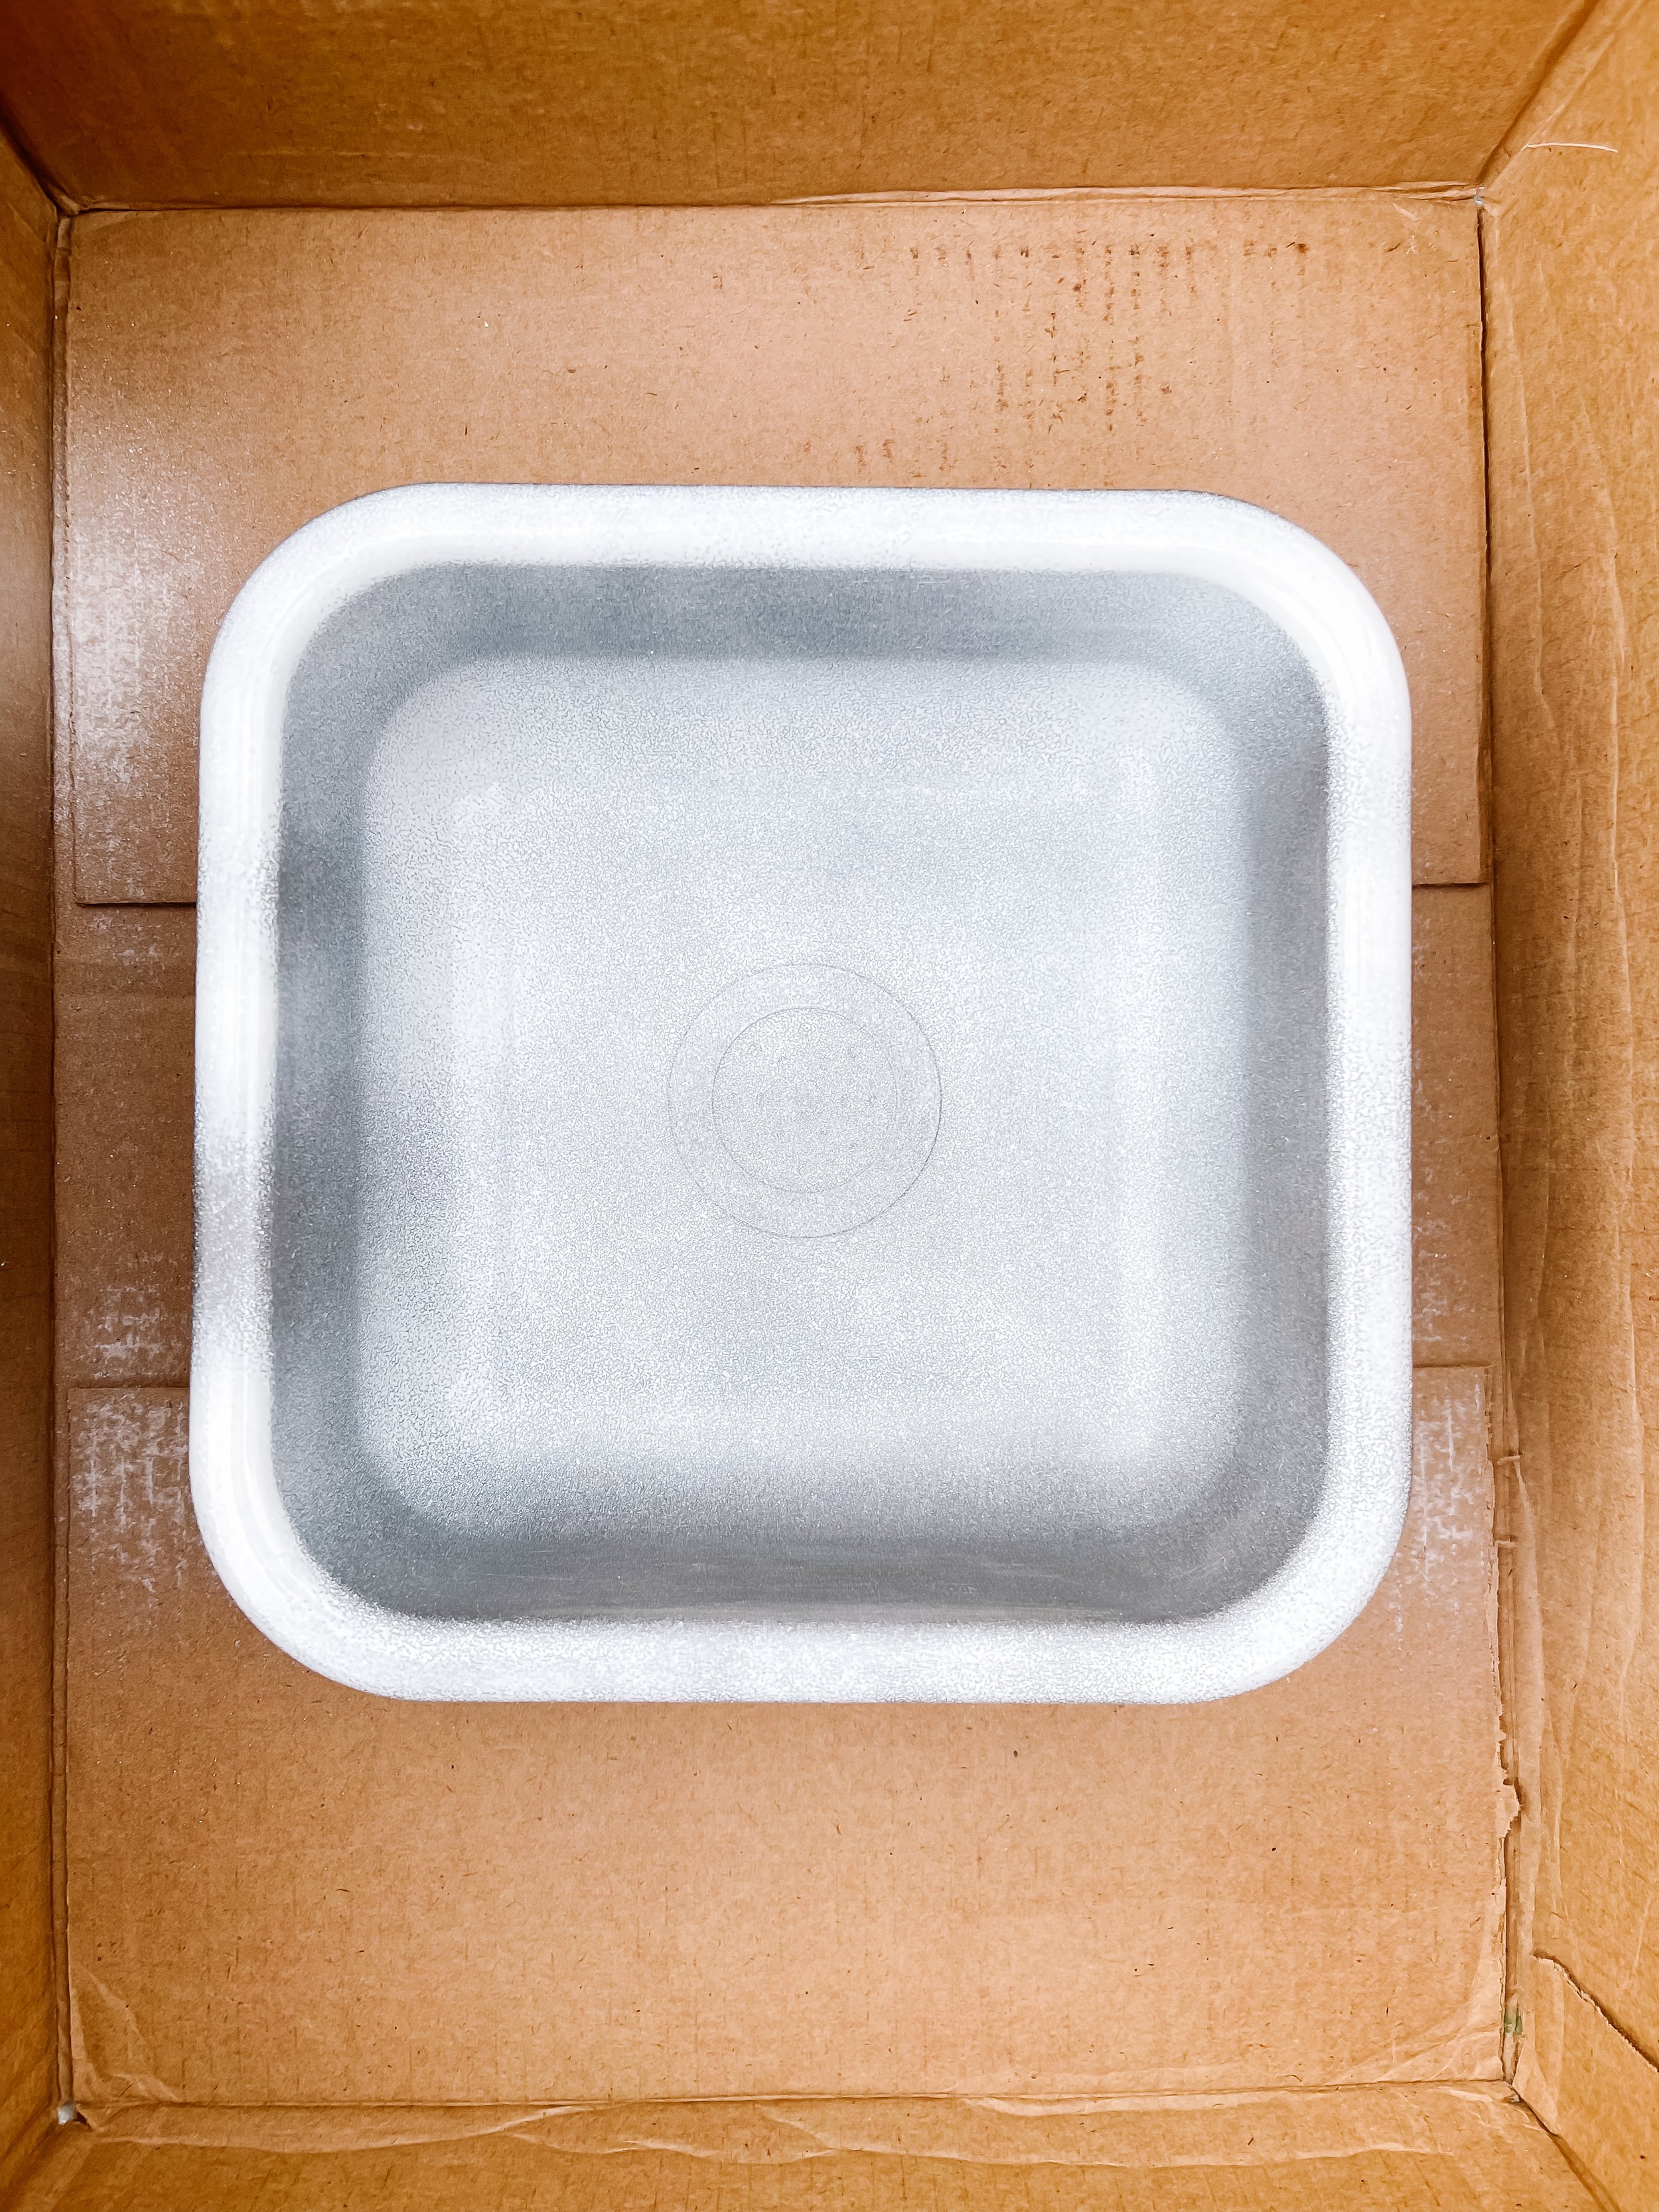
  • Step 3: Lay the pieces out in a card board box to paint. Shake your spray paint bottles vigorously. Make sure to go slow and do very light coats of paint. It’s a terrible long and patience-trying process. I probably did 20 coats of paint over the course of 3 days. I did 10min drying time between each coat. If you spray too much, the paint will pool and drip. Then you have to wait for it to dry, sound out the drips and reapply. It’s more painful to sand and repaint so just GO SLOW and WAIT.

  • Step 4: Flip over the pieces to coat the other sides. If you don’t wait for a full dry before you do this the pieces will stick to the cardboard.

  • Step 5: If you see any cracks or drips you can sand them out. For this final finish, I sanded with a nail buffer because the small grain.

  • Step 5: Completely the assembly of the kitchen!


IMG_5082.jpeg
IMG_5121_jpg.jpeg
IMG_5093.jpeg
IMG_5057_jpg.jpeg
IMG_5067_jpg.jpeg
IMG_5097_jpg.jpeg
IMG_5103_jpg.jpeg
IMG_5115_jpg.jpeg
IMG_5127_jpg.jpeg

The most adorable play food

Once you have your kitchen assembled, you’re of course going to want to go grocery shopping! So I’ve assembled the perfect list of where to find the best play food sets. They’re both comprehensive and so adorable.

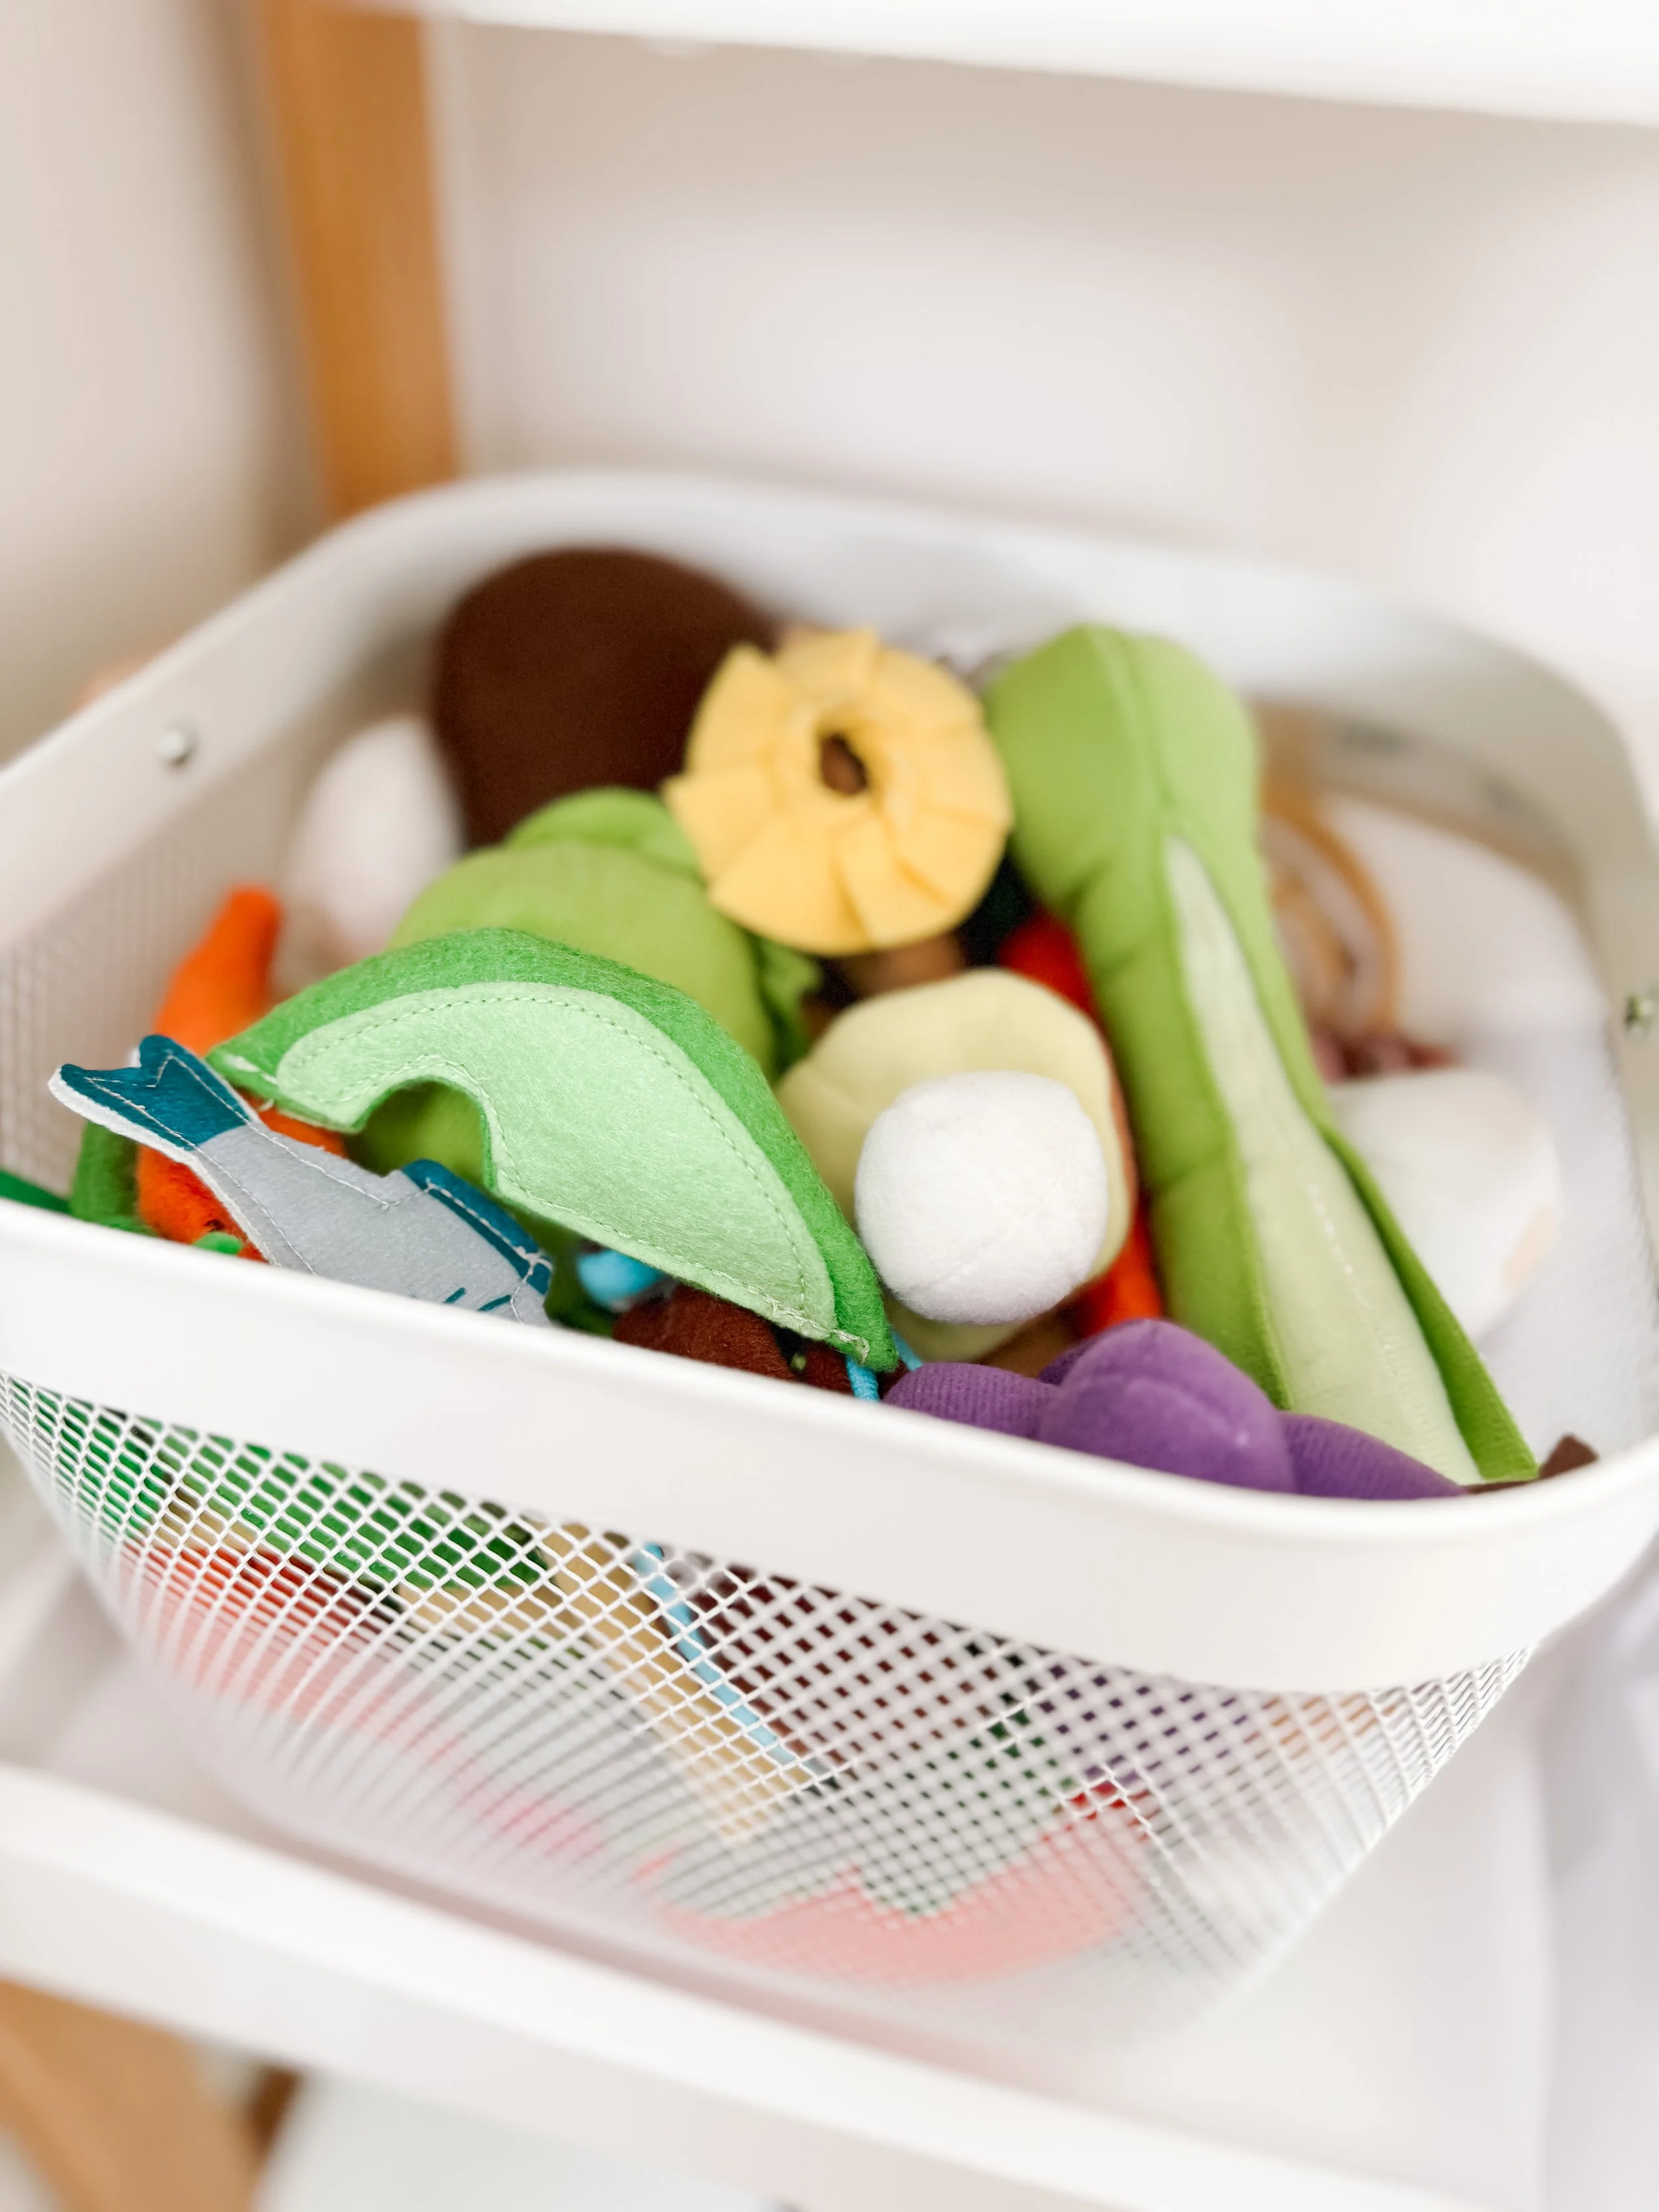
Felt Play Food

  • DIY Felt Food by Felted Food

  • Felt Play Food by IKEA

Wooden Play Food

  • Wooden Egg Carton

  • Wooden Playfood from Temu

  • Steak Dinner Play Food

  • Pasta Dinner Play Food

  • Toast & Jam Play Food

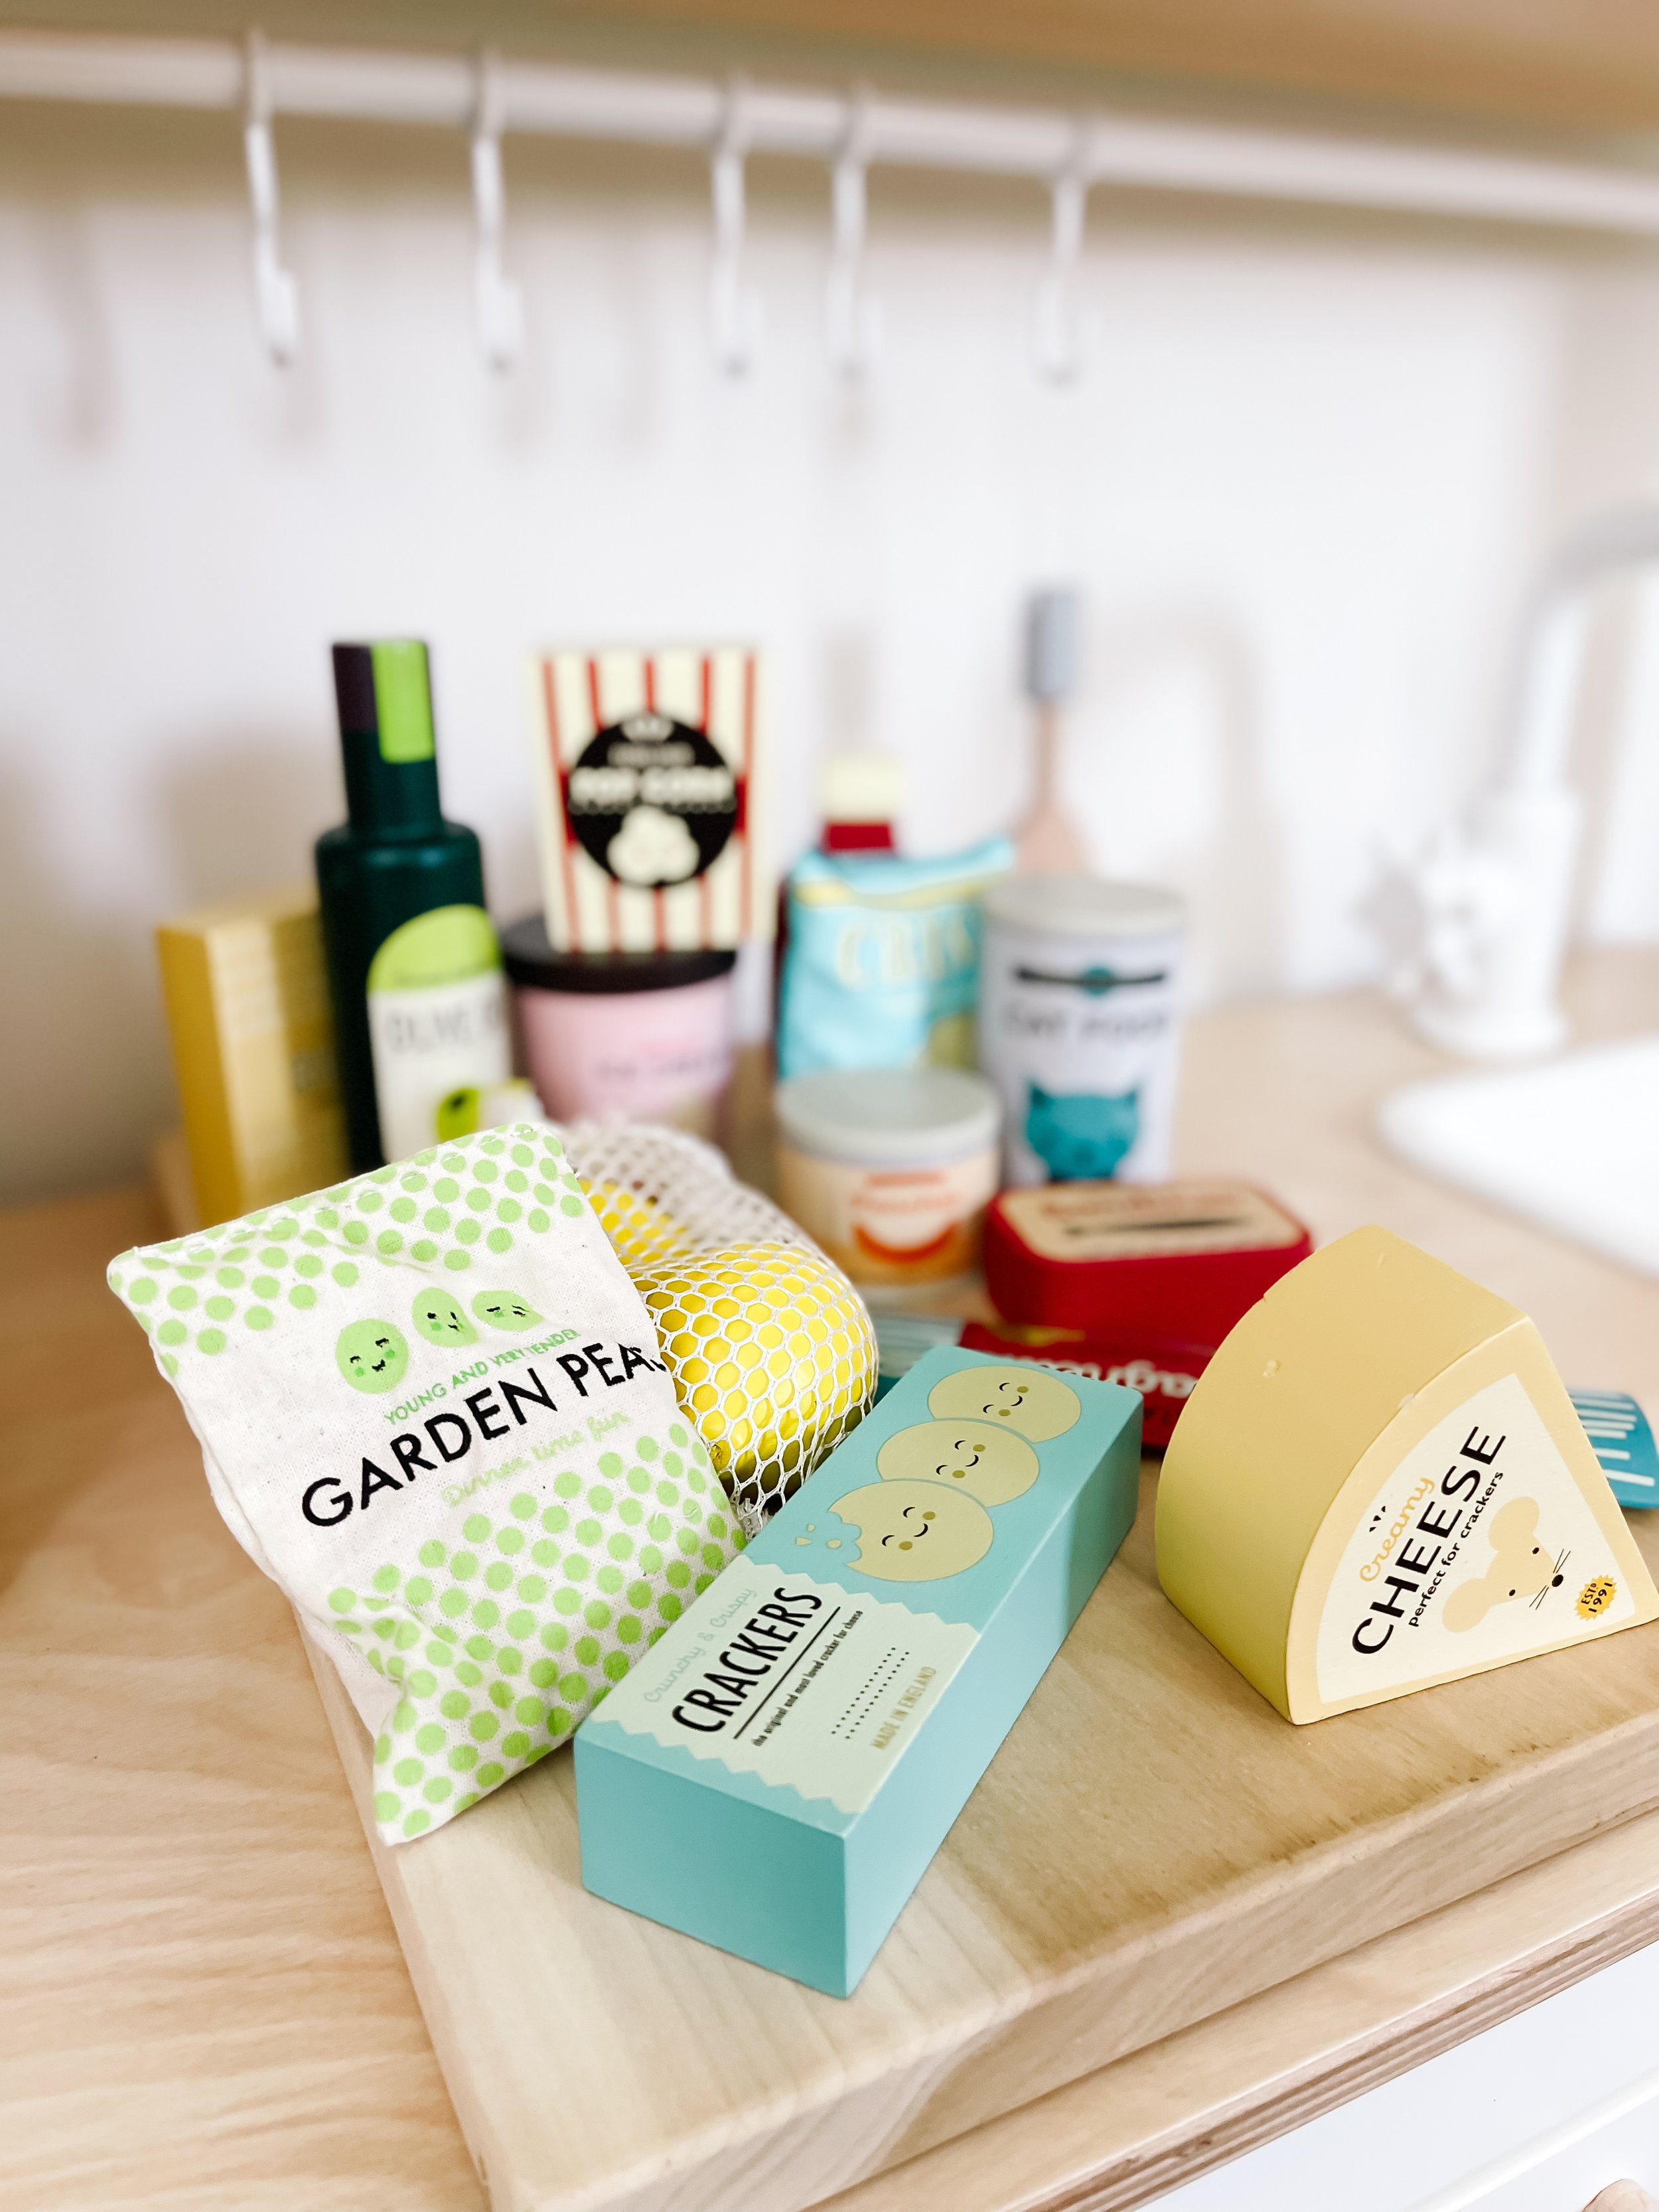
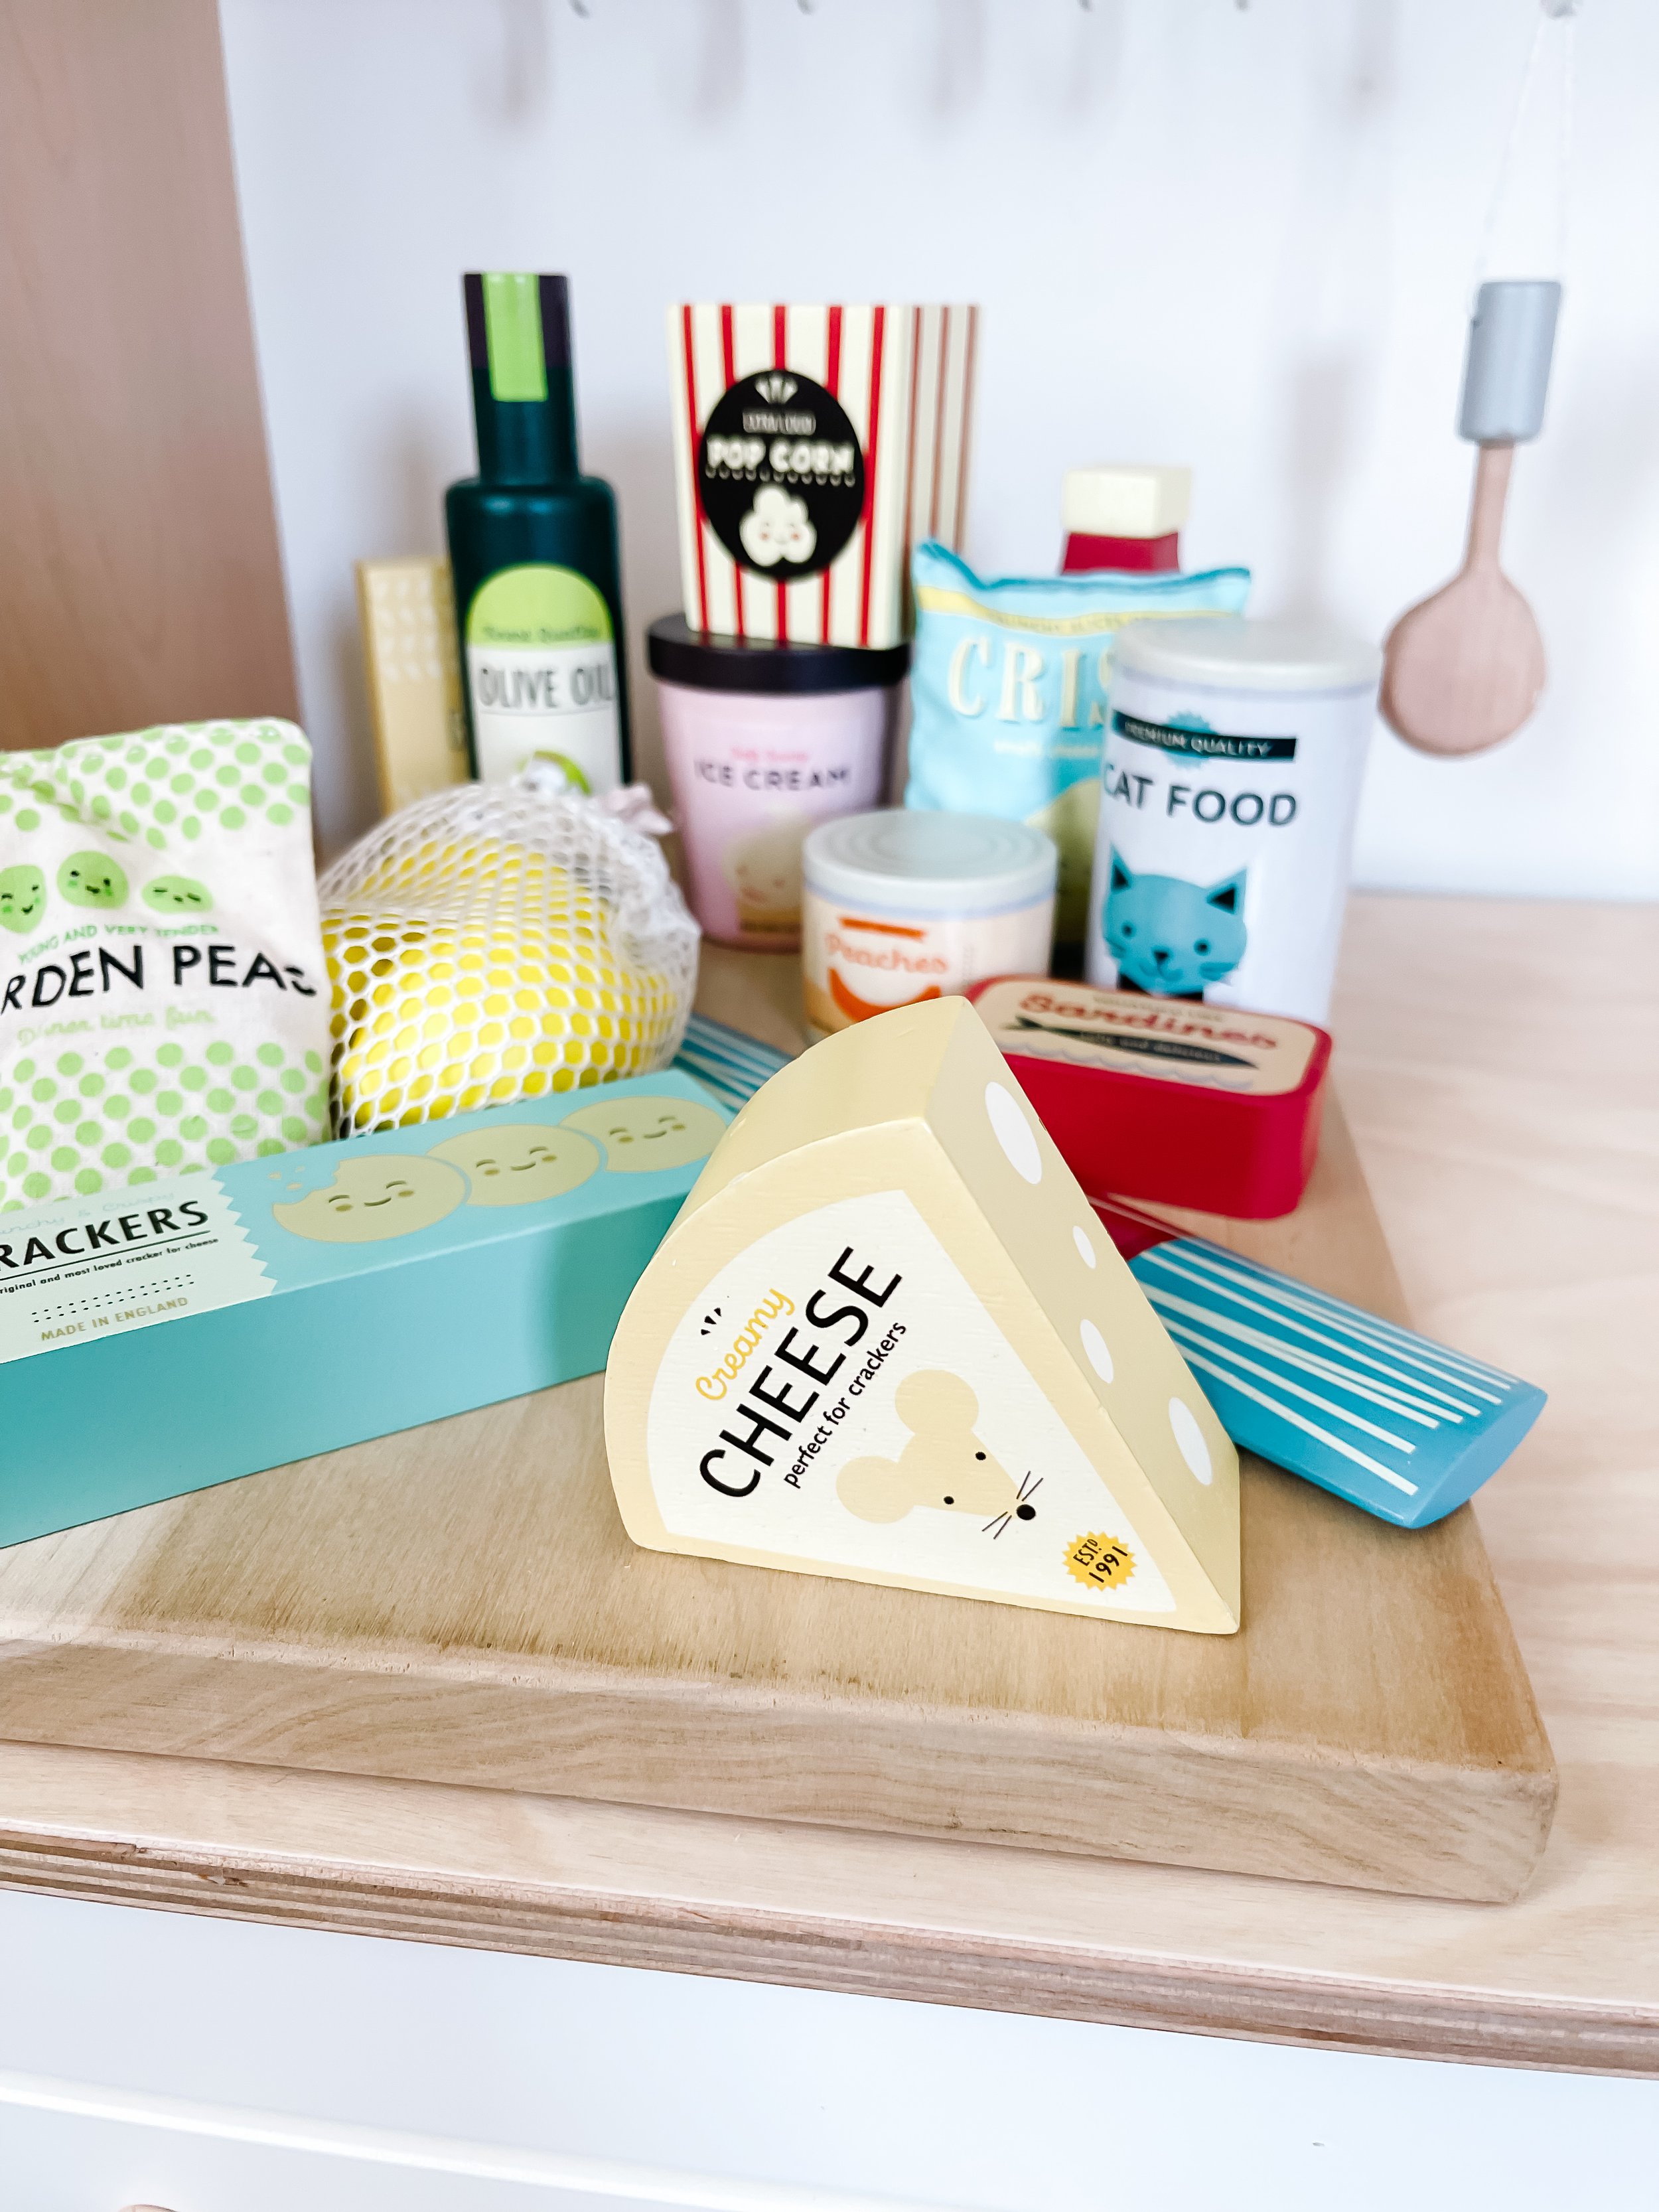
  • Grocery Items by Tender Leaf

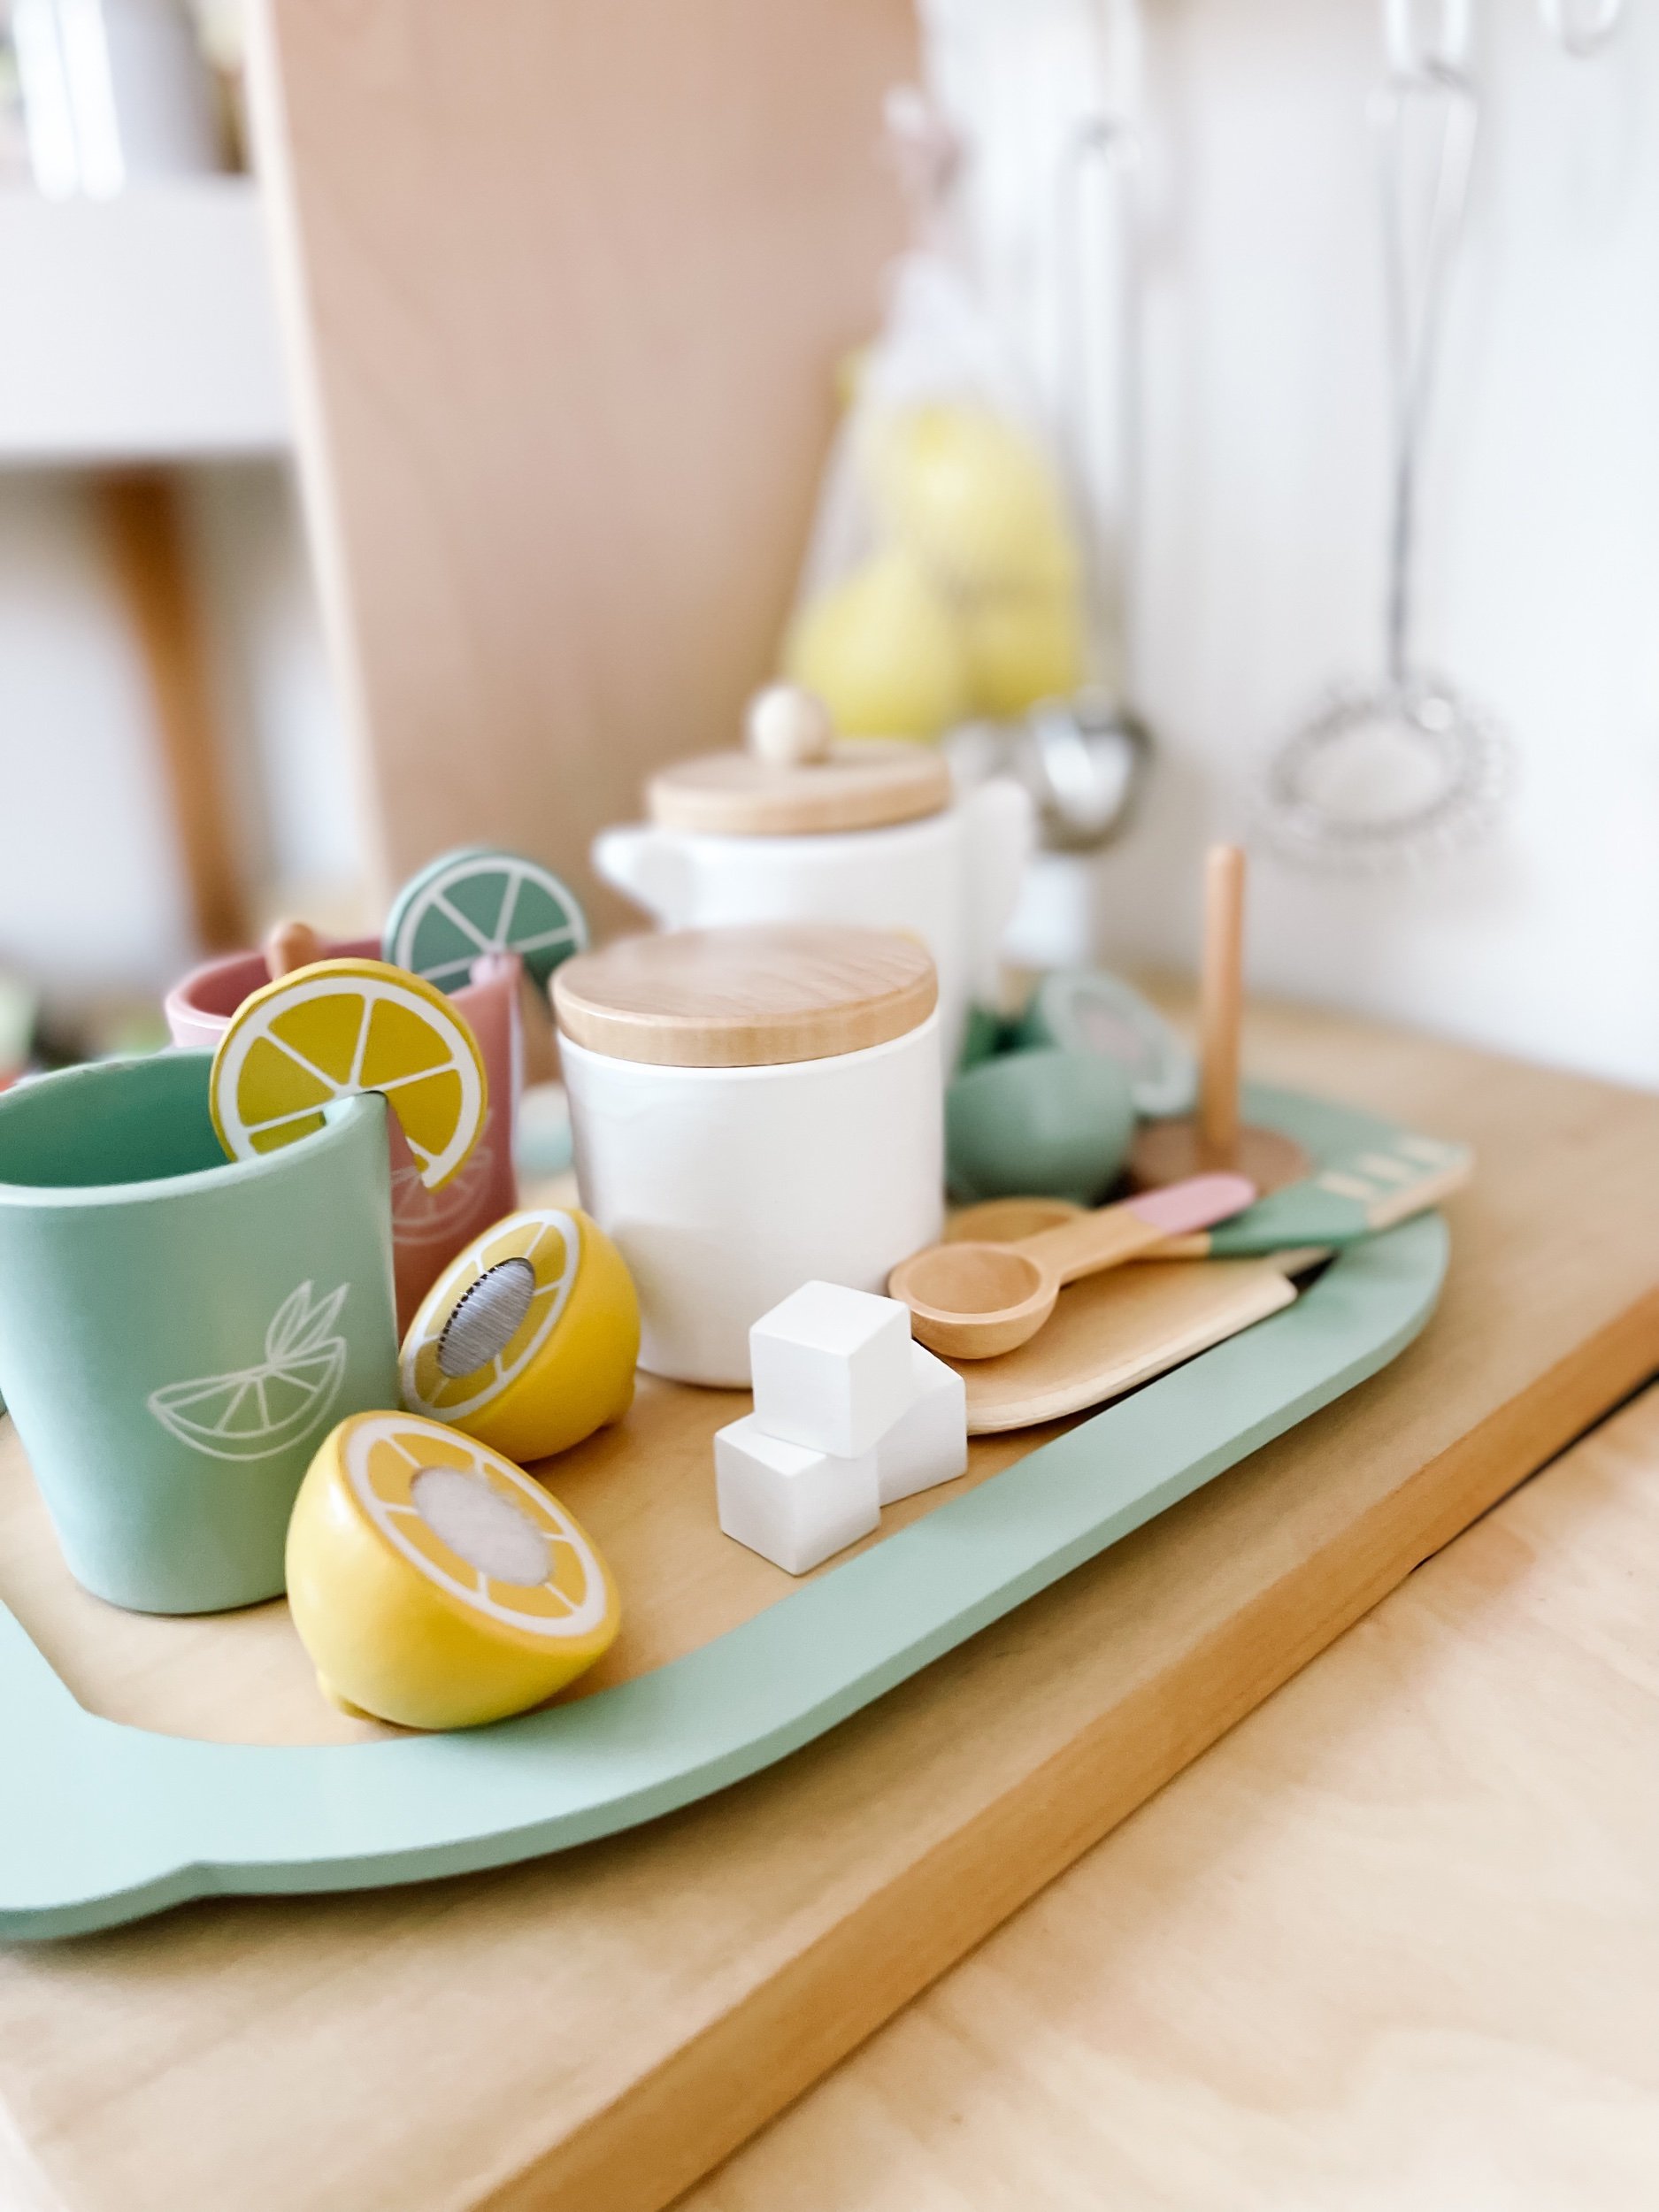
  • Lemonade Set

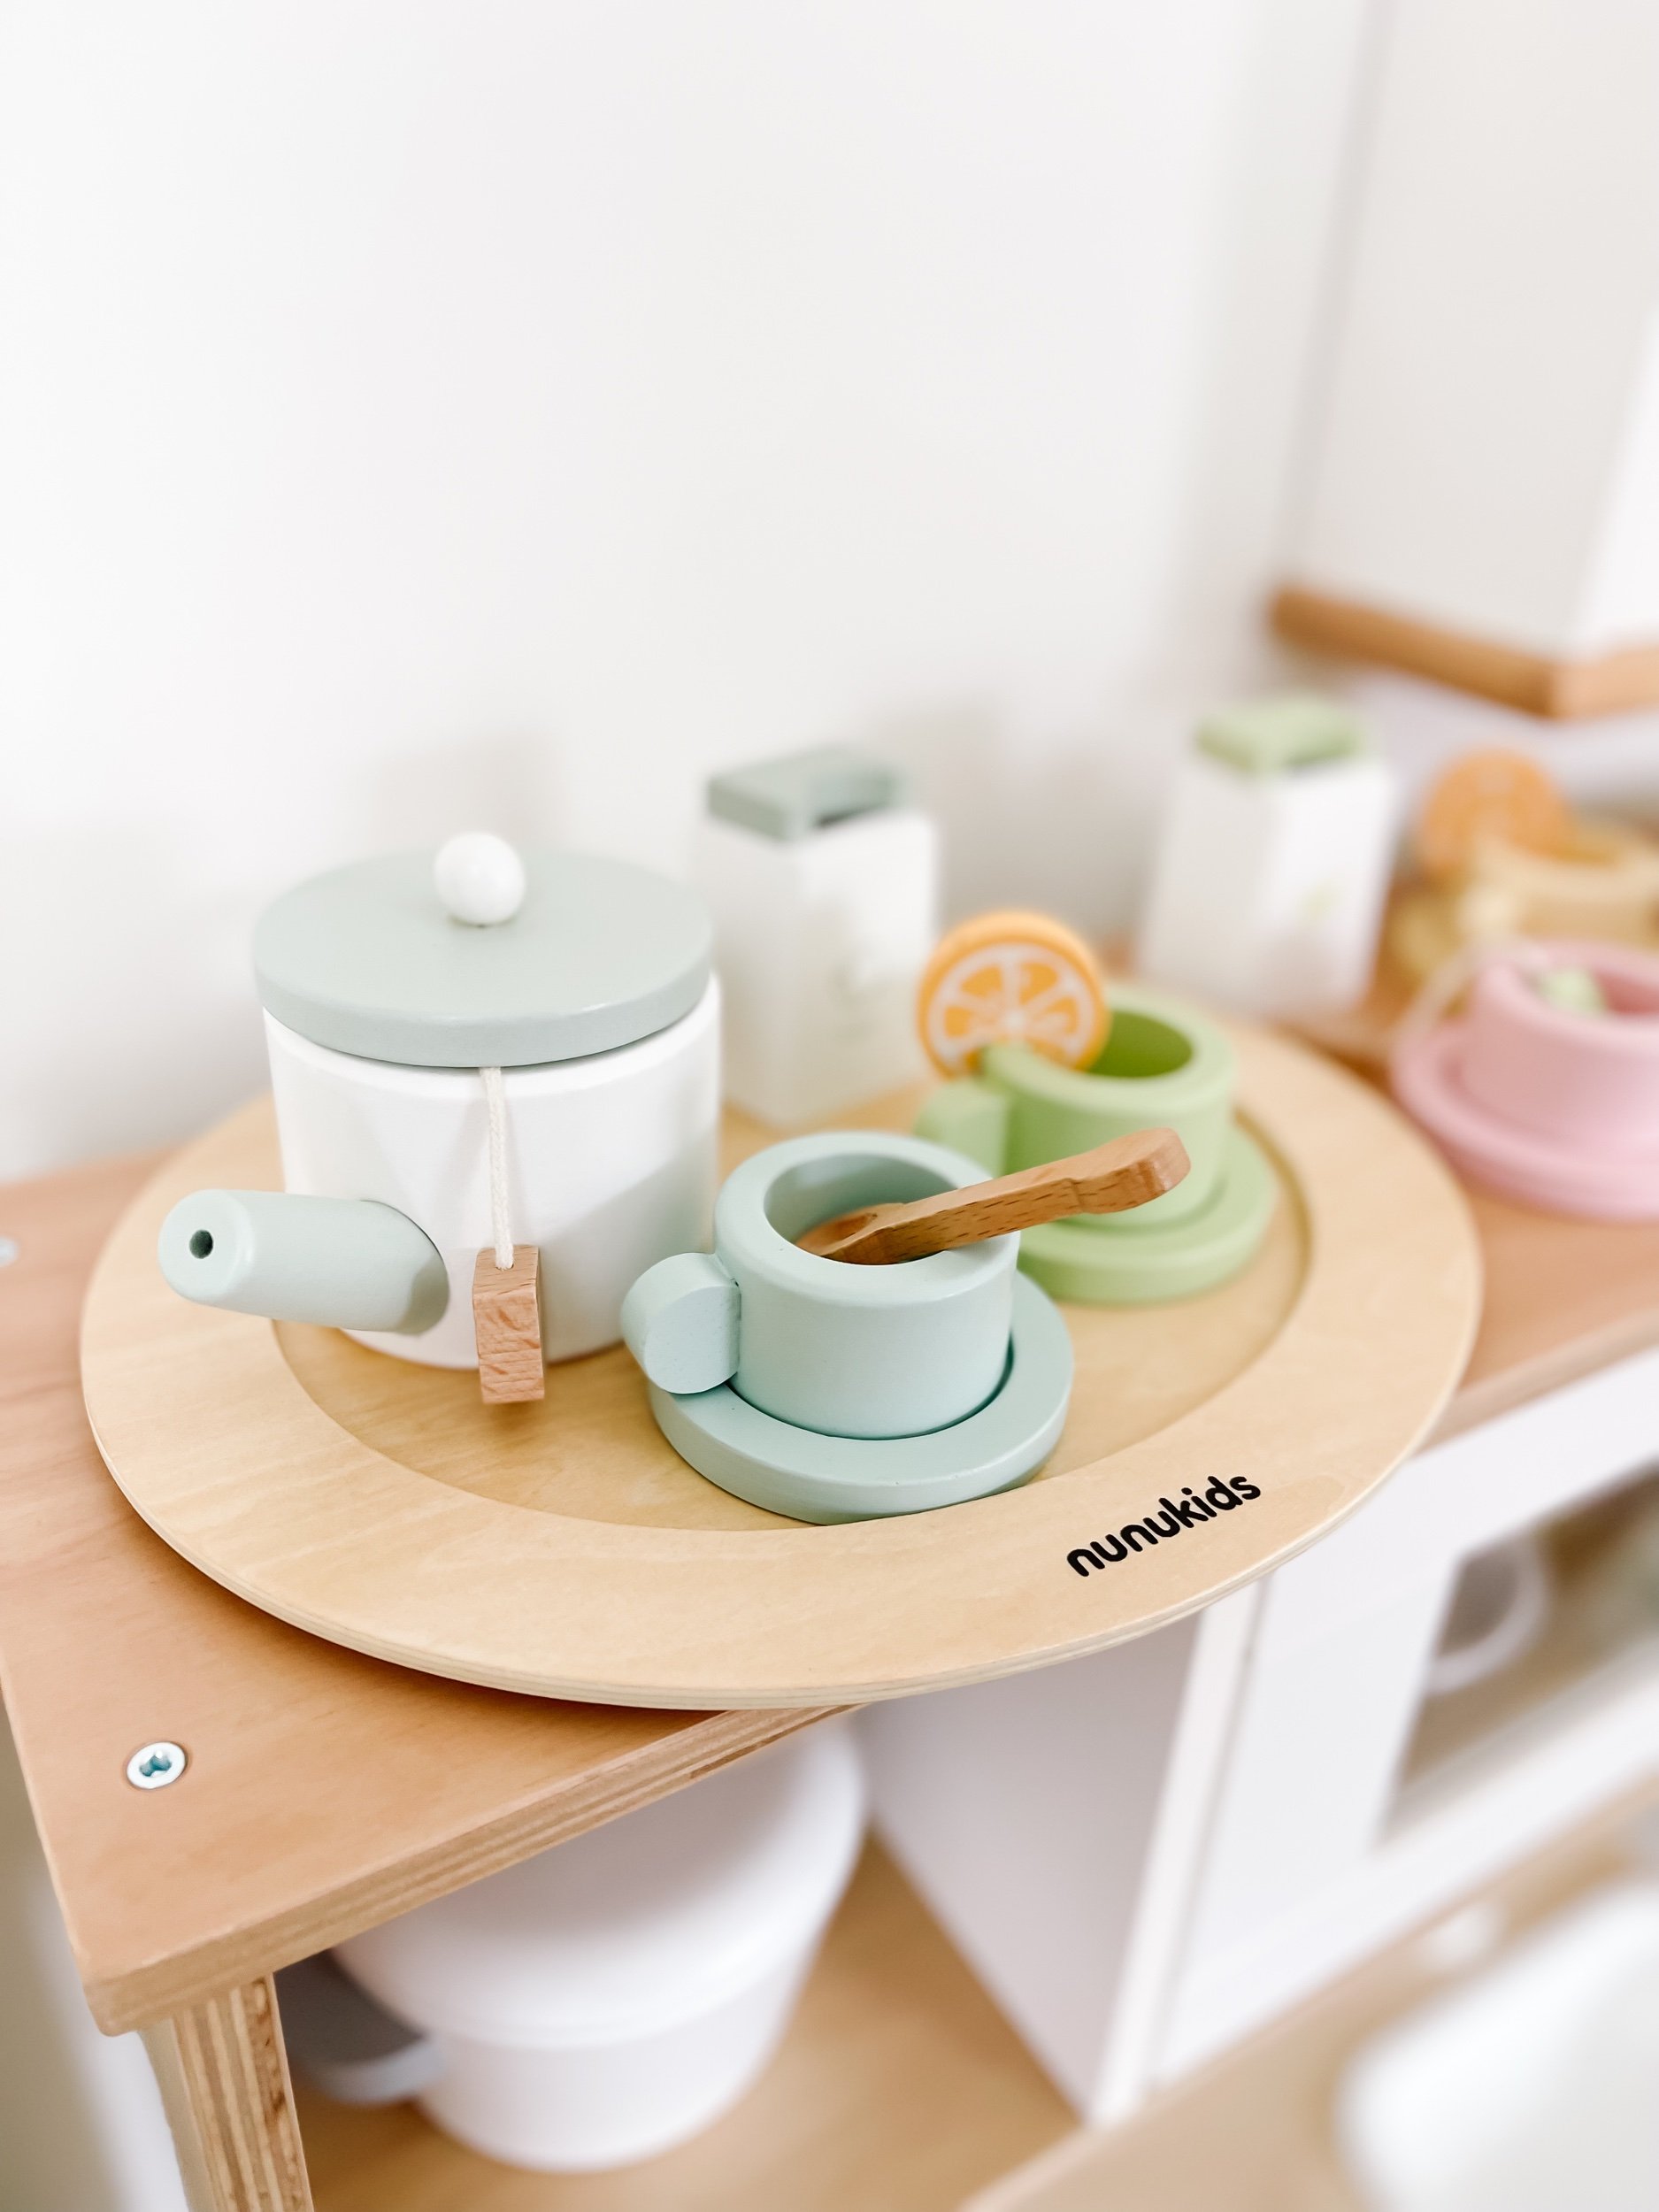
  • Tea Set by NuniKids

Printable Play Food

  • Printable Play Food by Goodnightfox


White & Wood play kitchen utensils & Appliances

And of course you’re also going to want the most adorable pots, pans, and utensils to match.

  • White Collander

  • Ikea Milk Jug

  • Stainless Steel Pots & Pans


Printable play food
IMG_5139.jpeg IMG_5137.jpeg IMG_5124.jpeg IMG_5136.jpeg IMG_5133_jpg.jpeg IMG_5132.jpeg IMG_5123.jpeg

Stocking the play kitchen with thE cutest wood play food

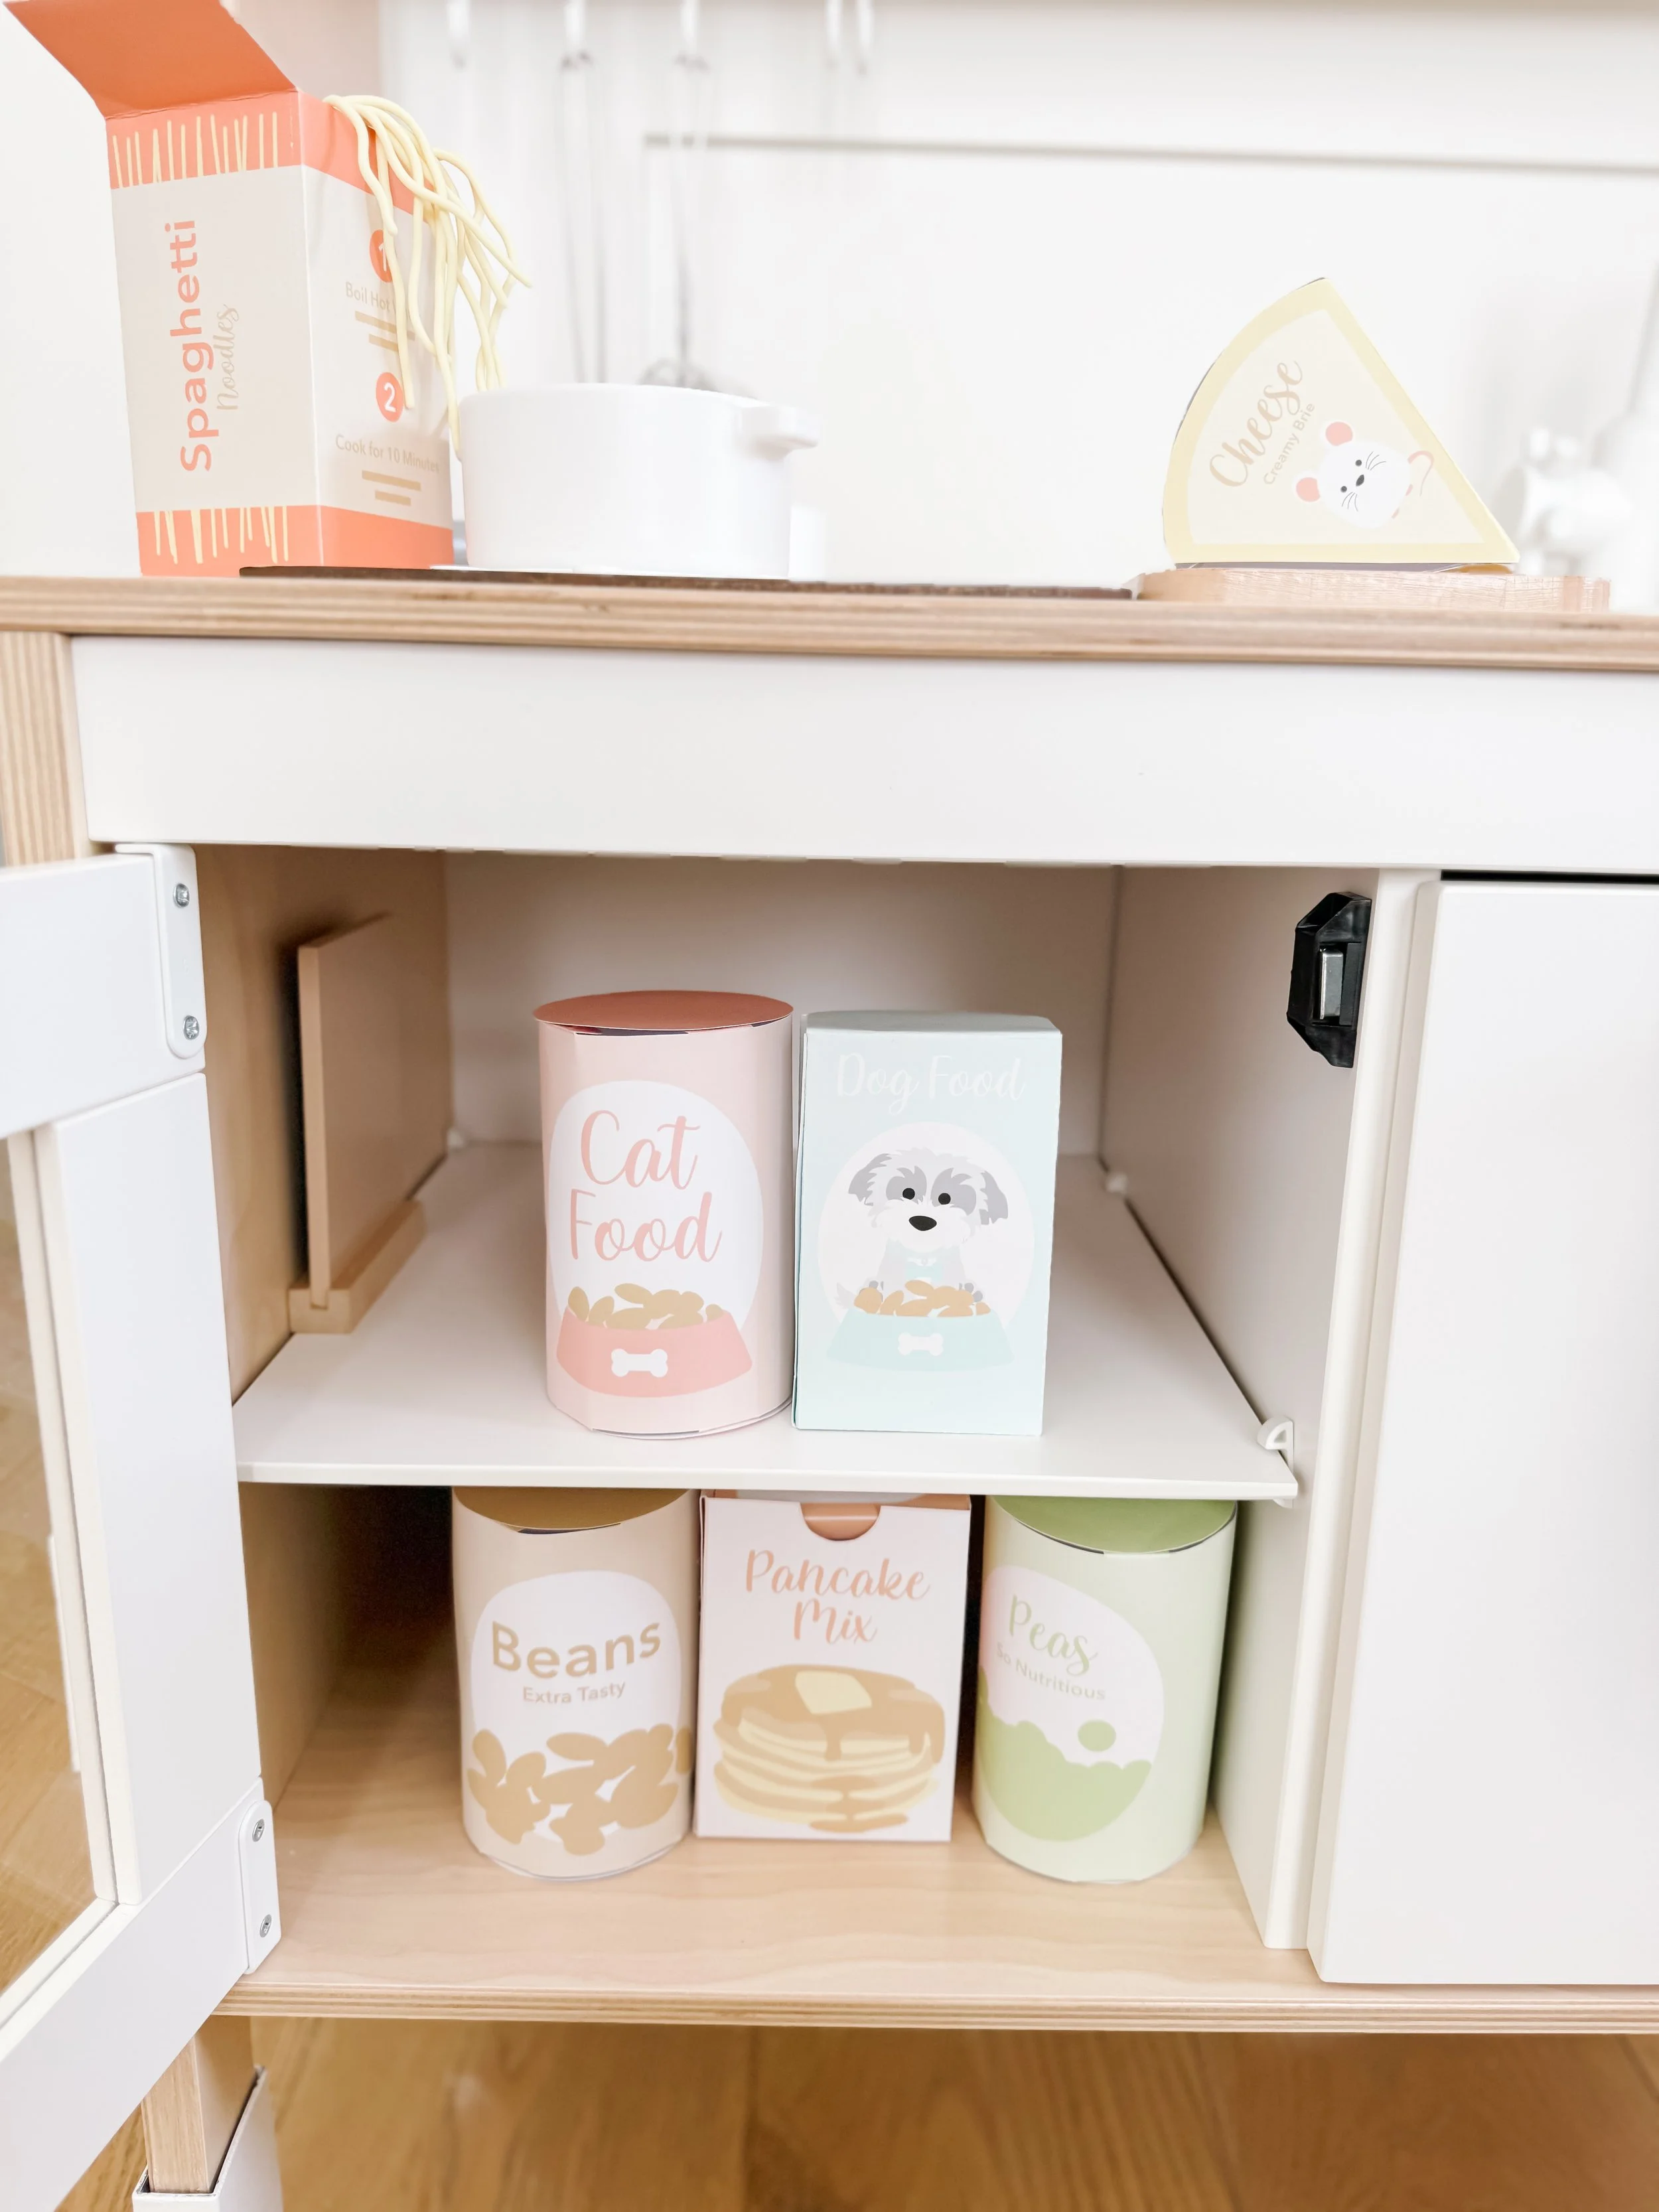
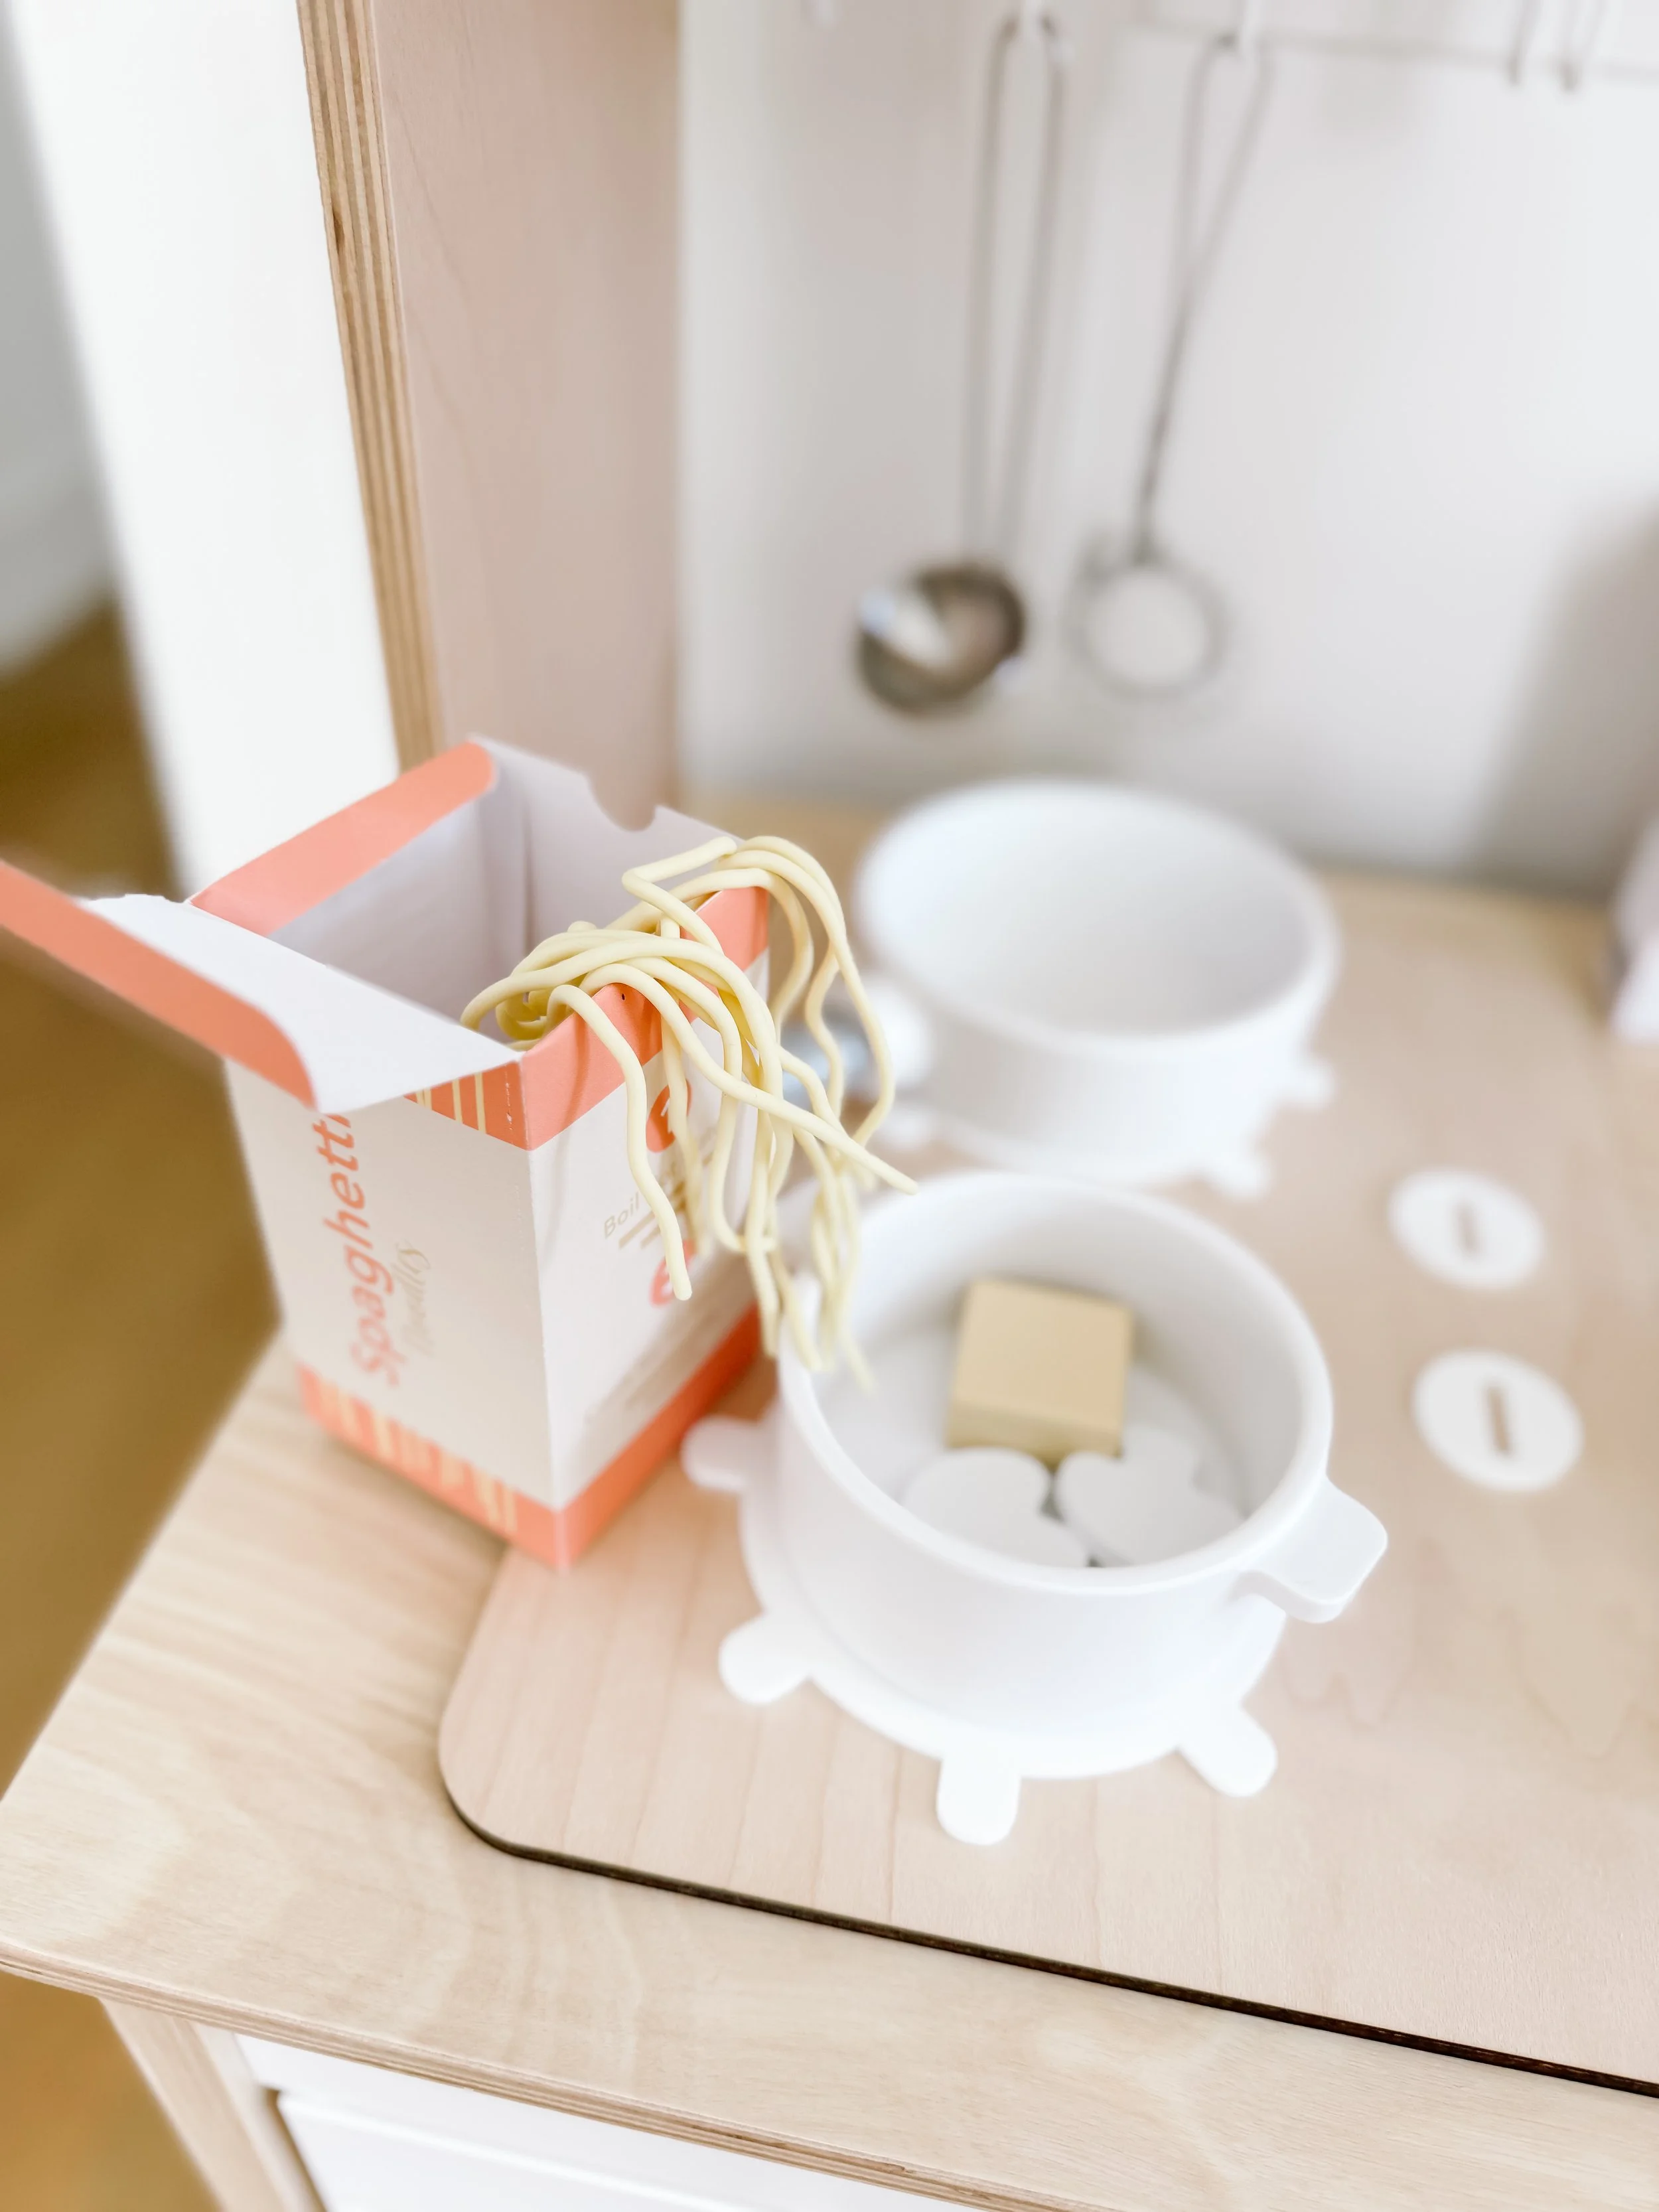
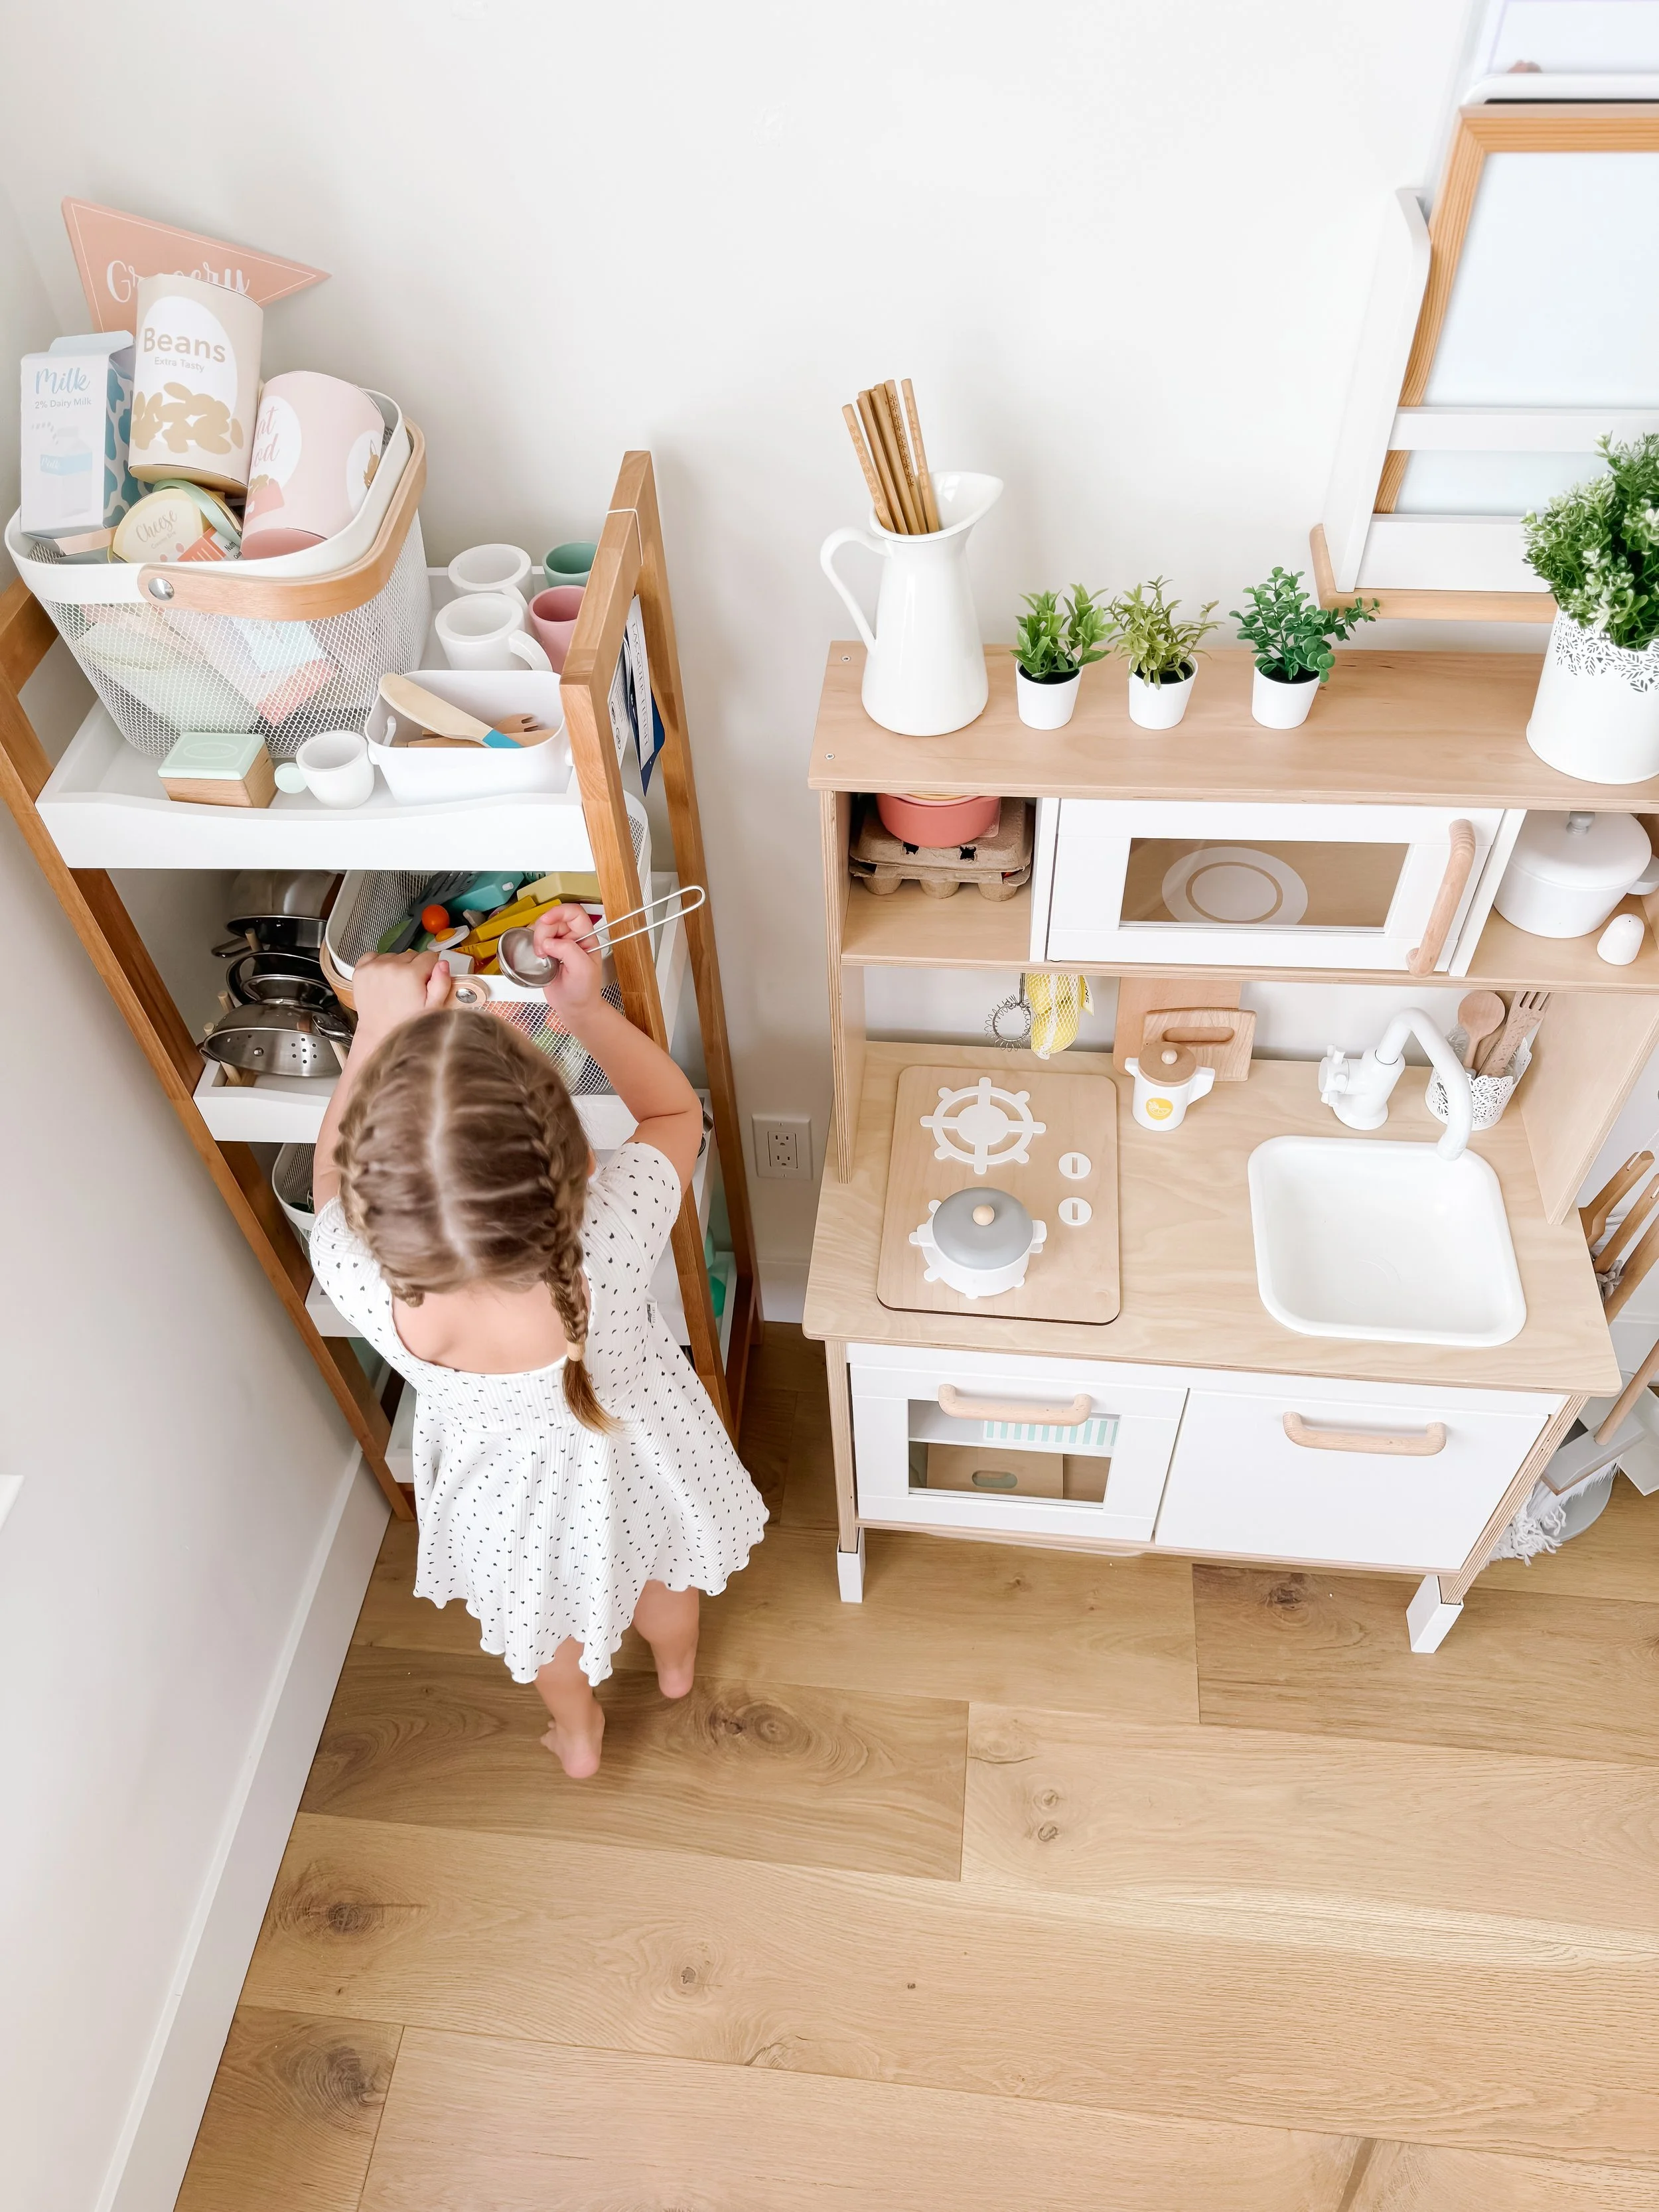
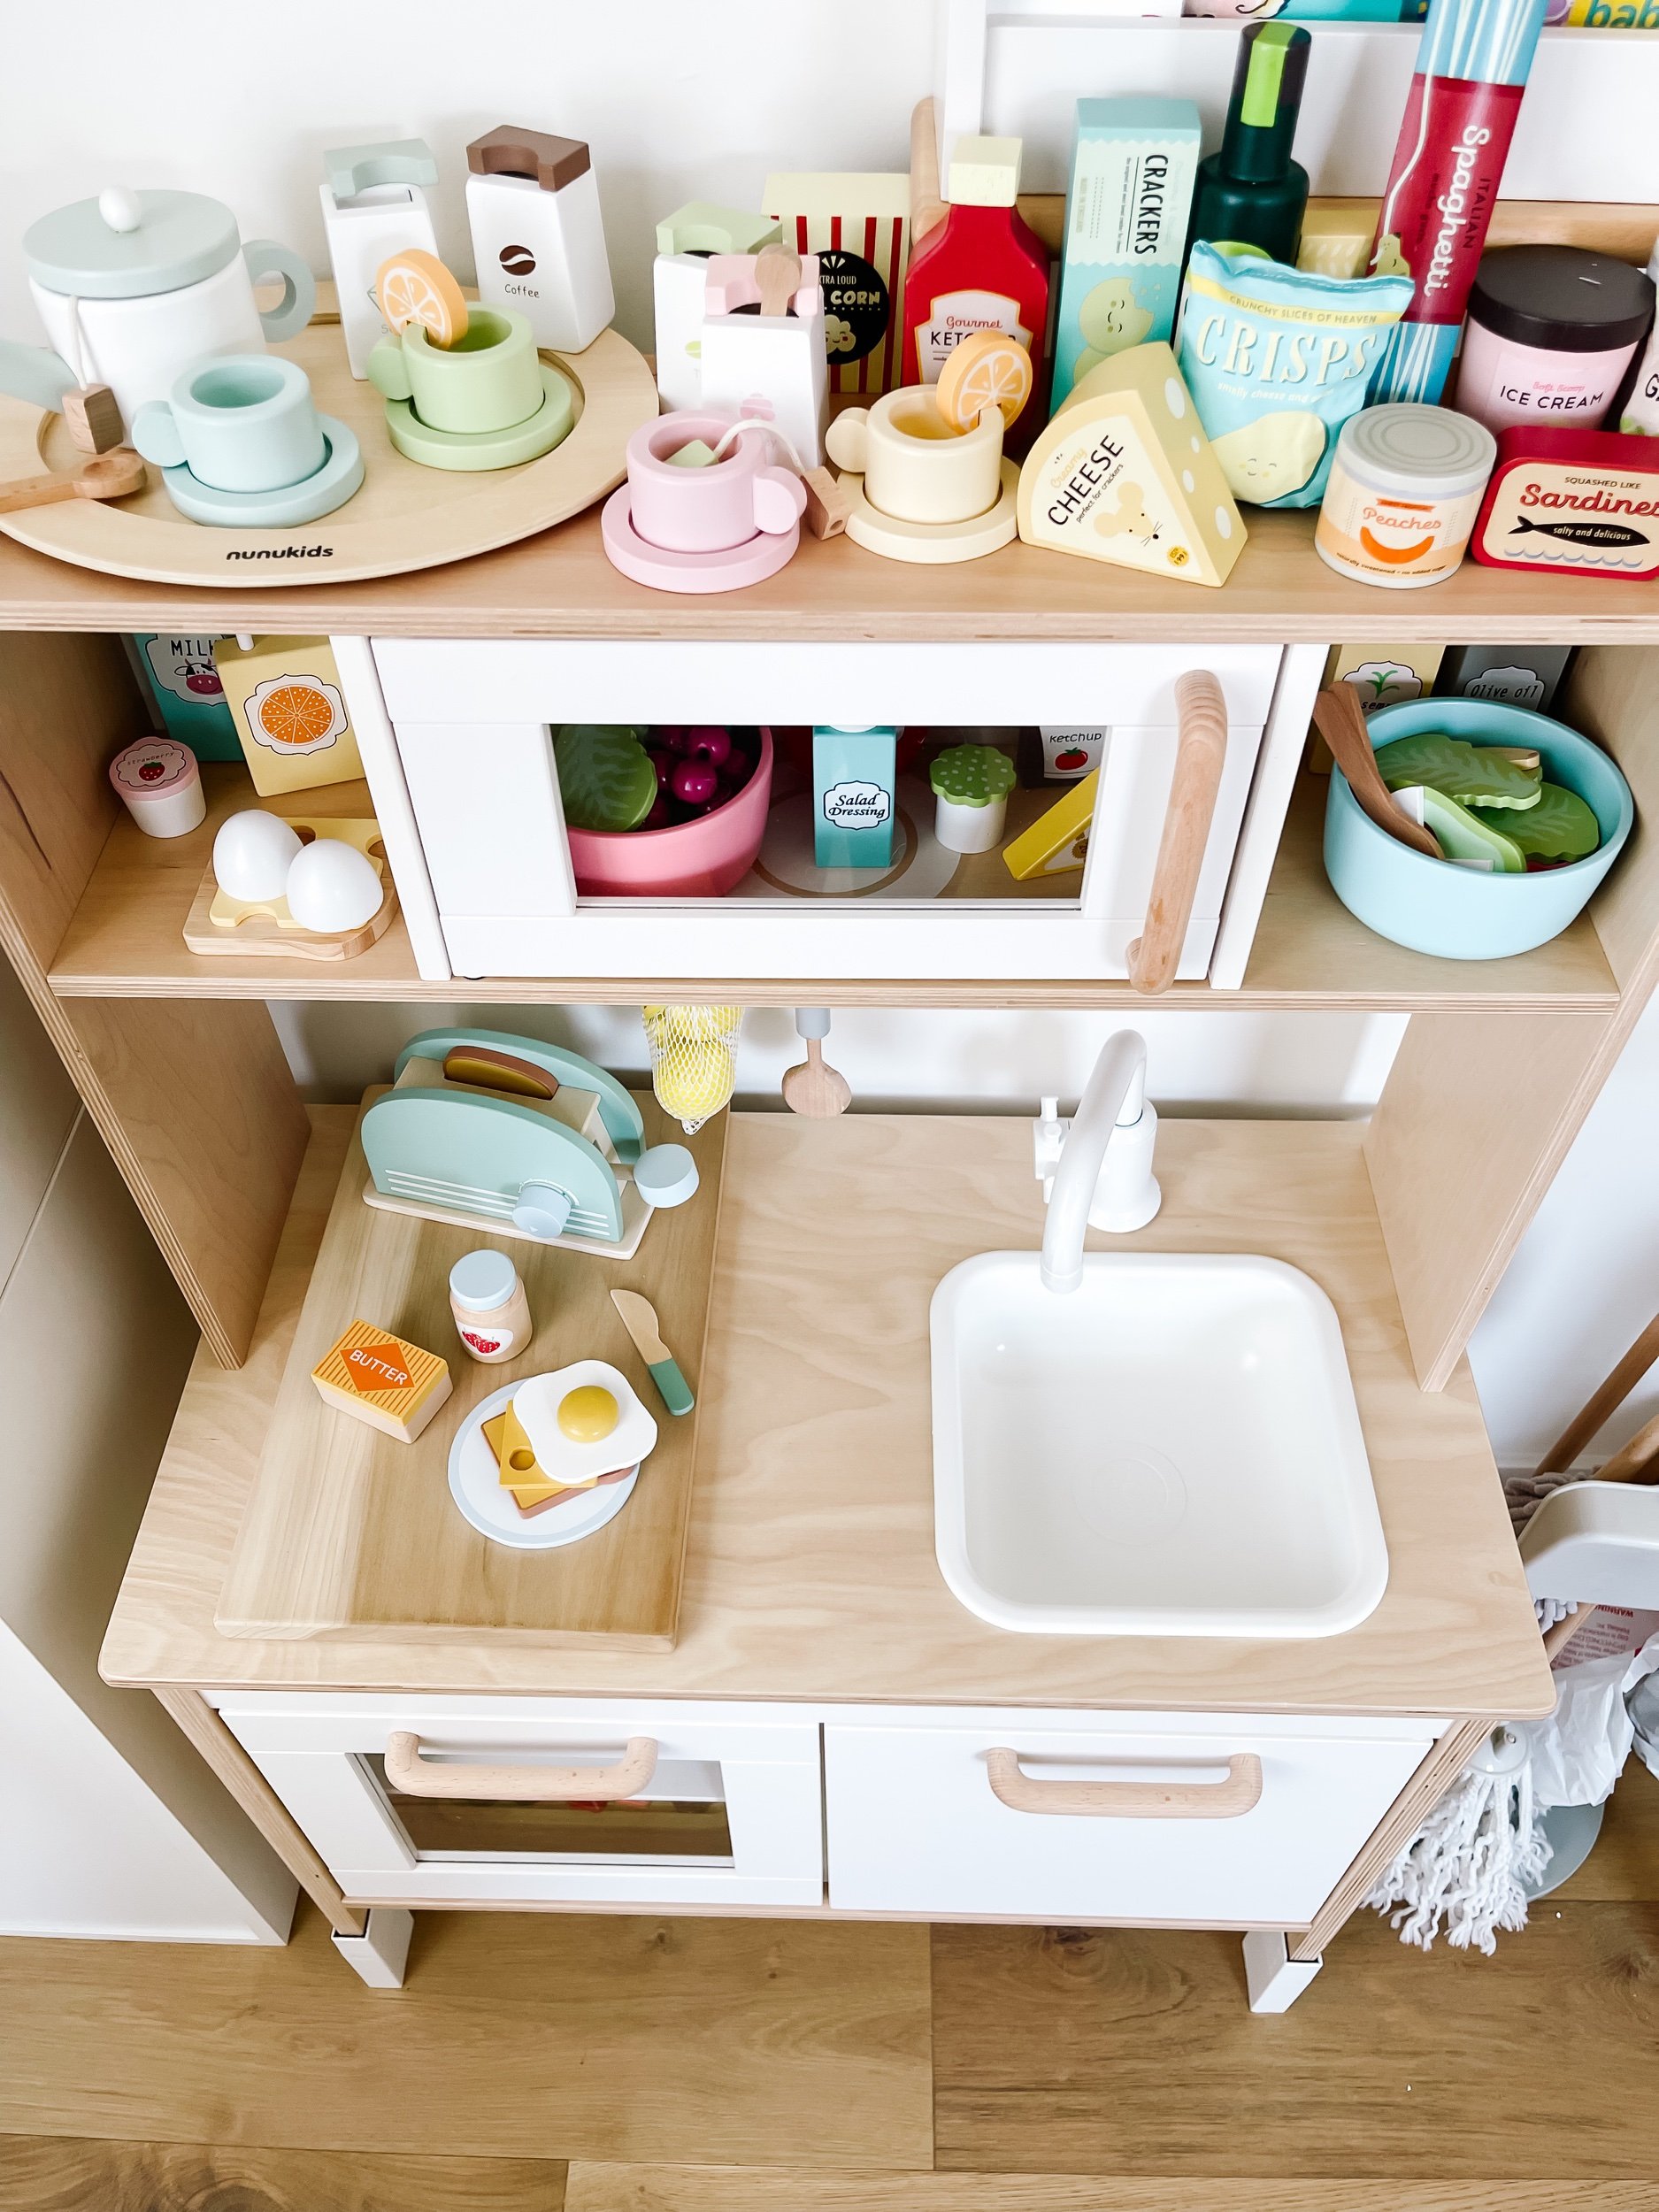
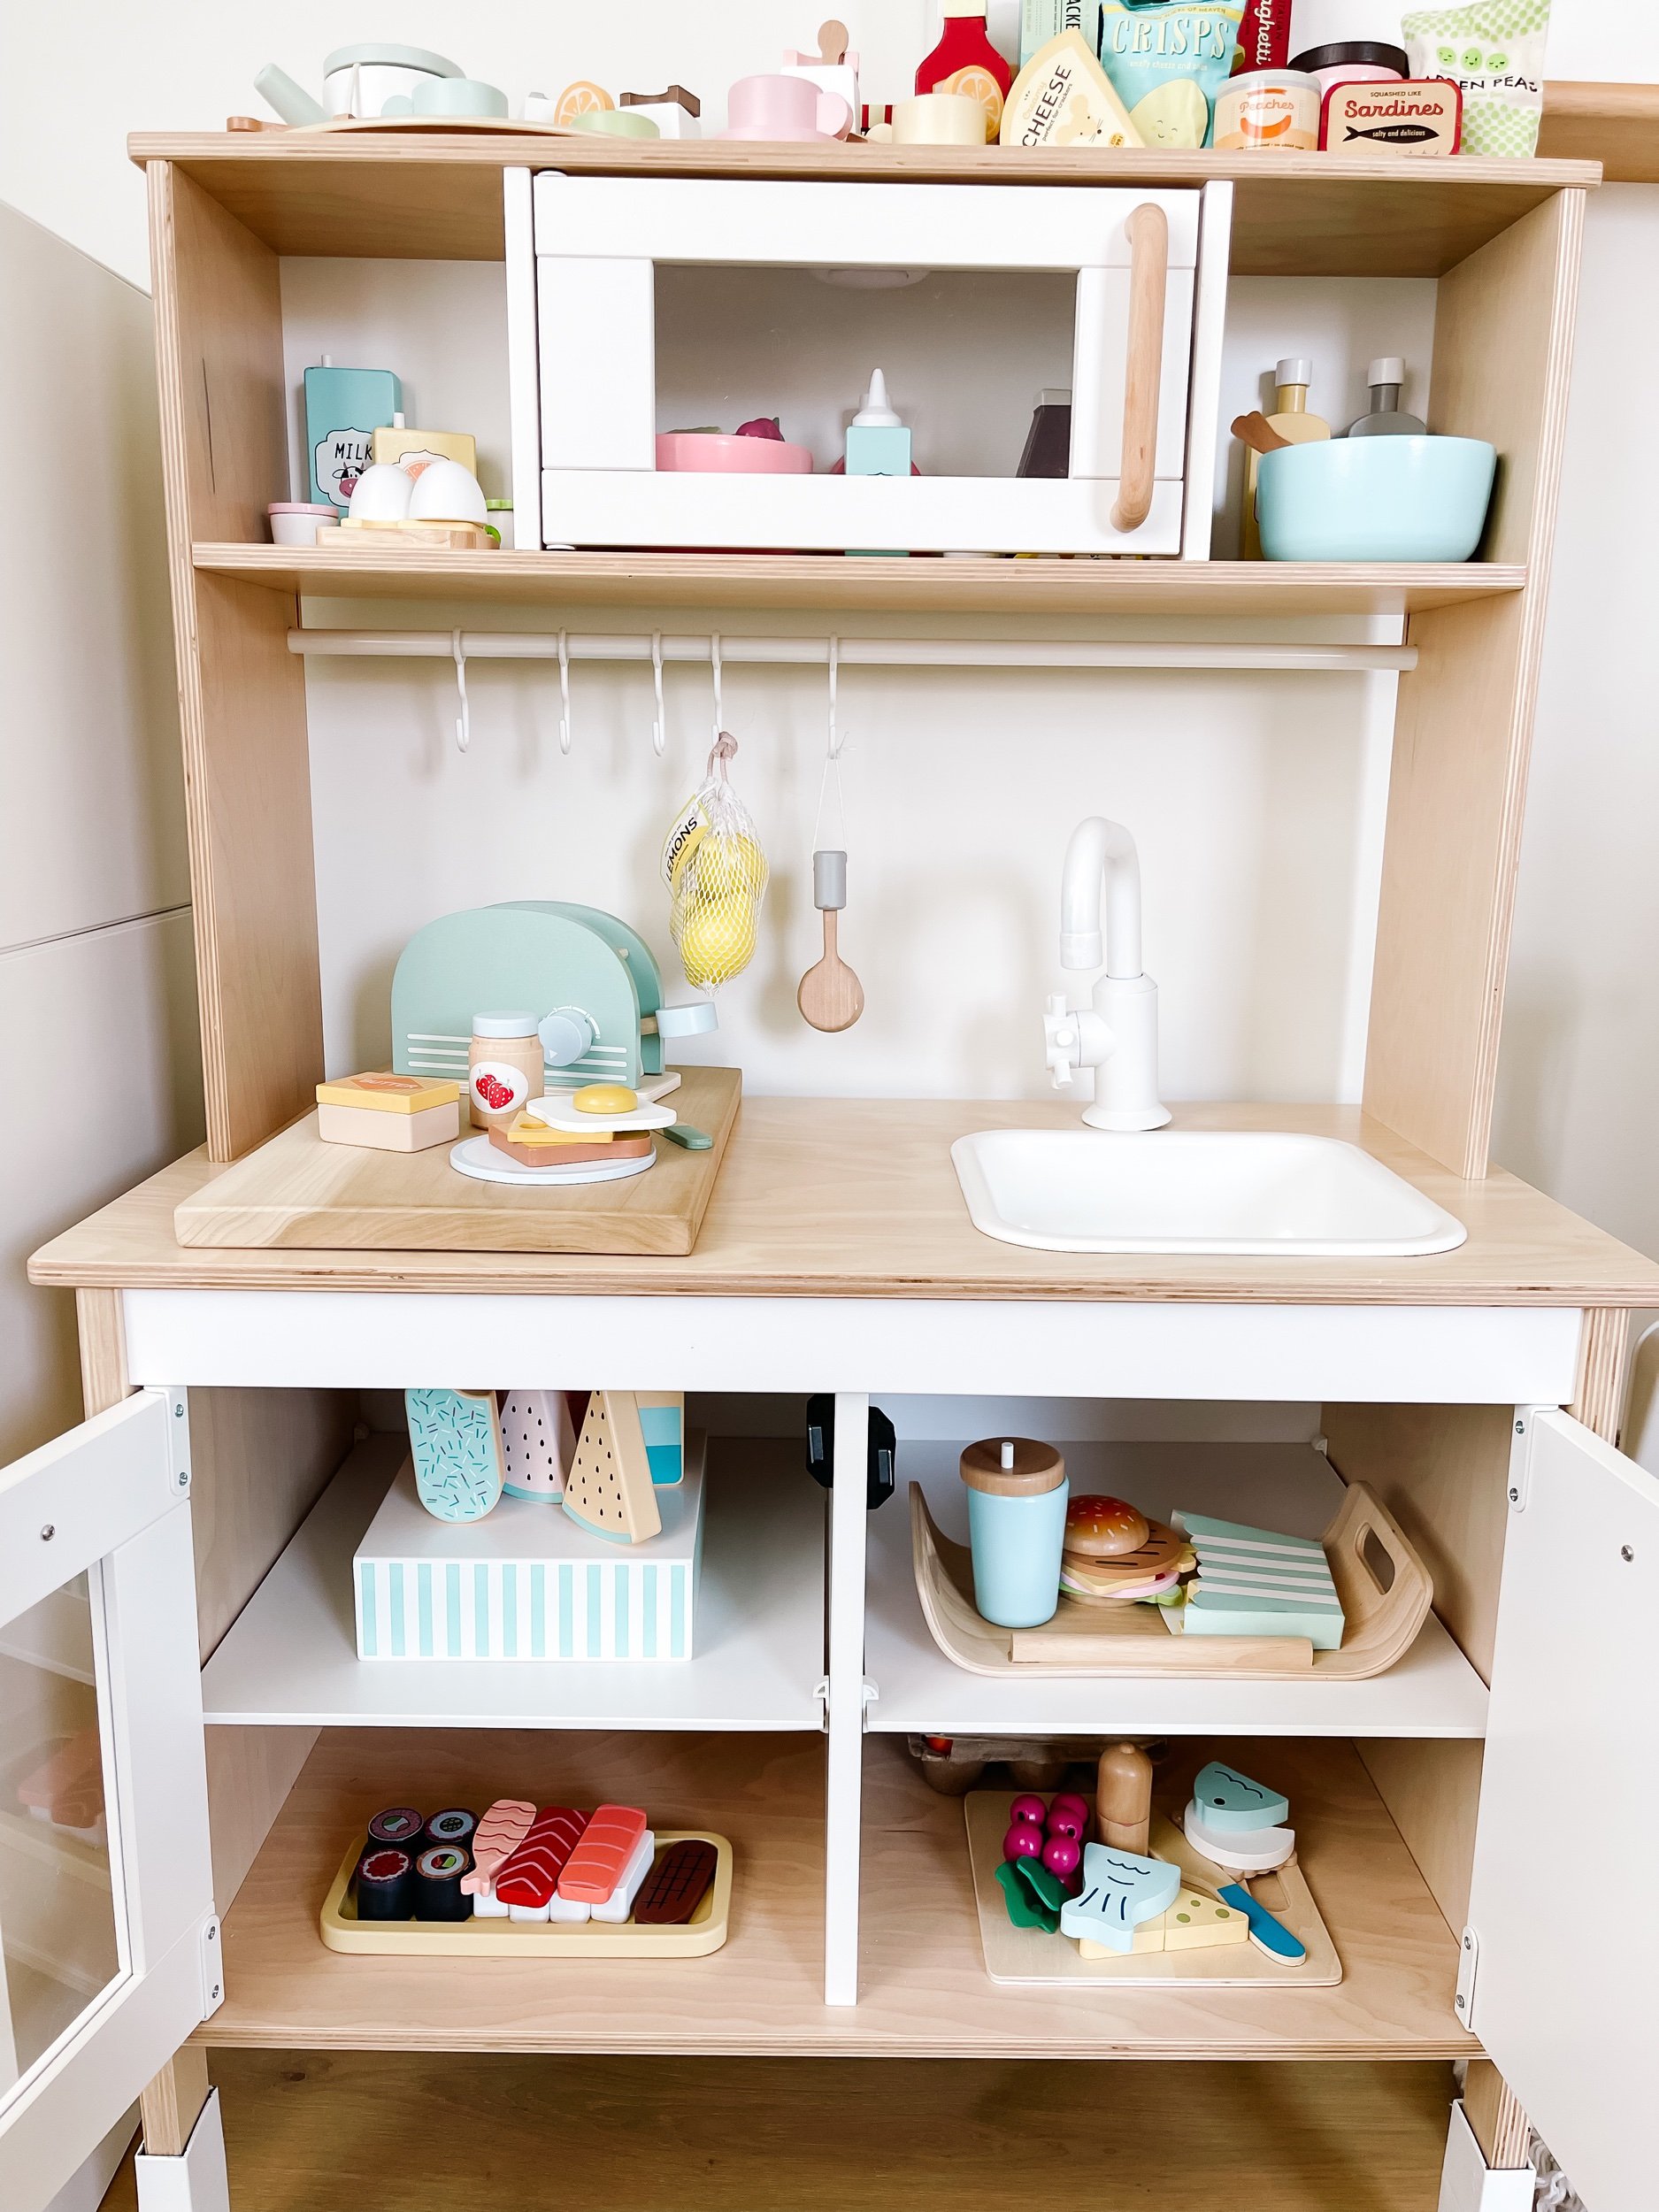
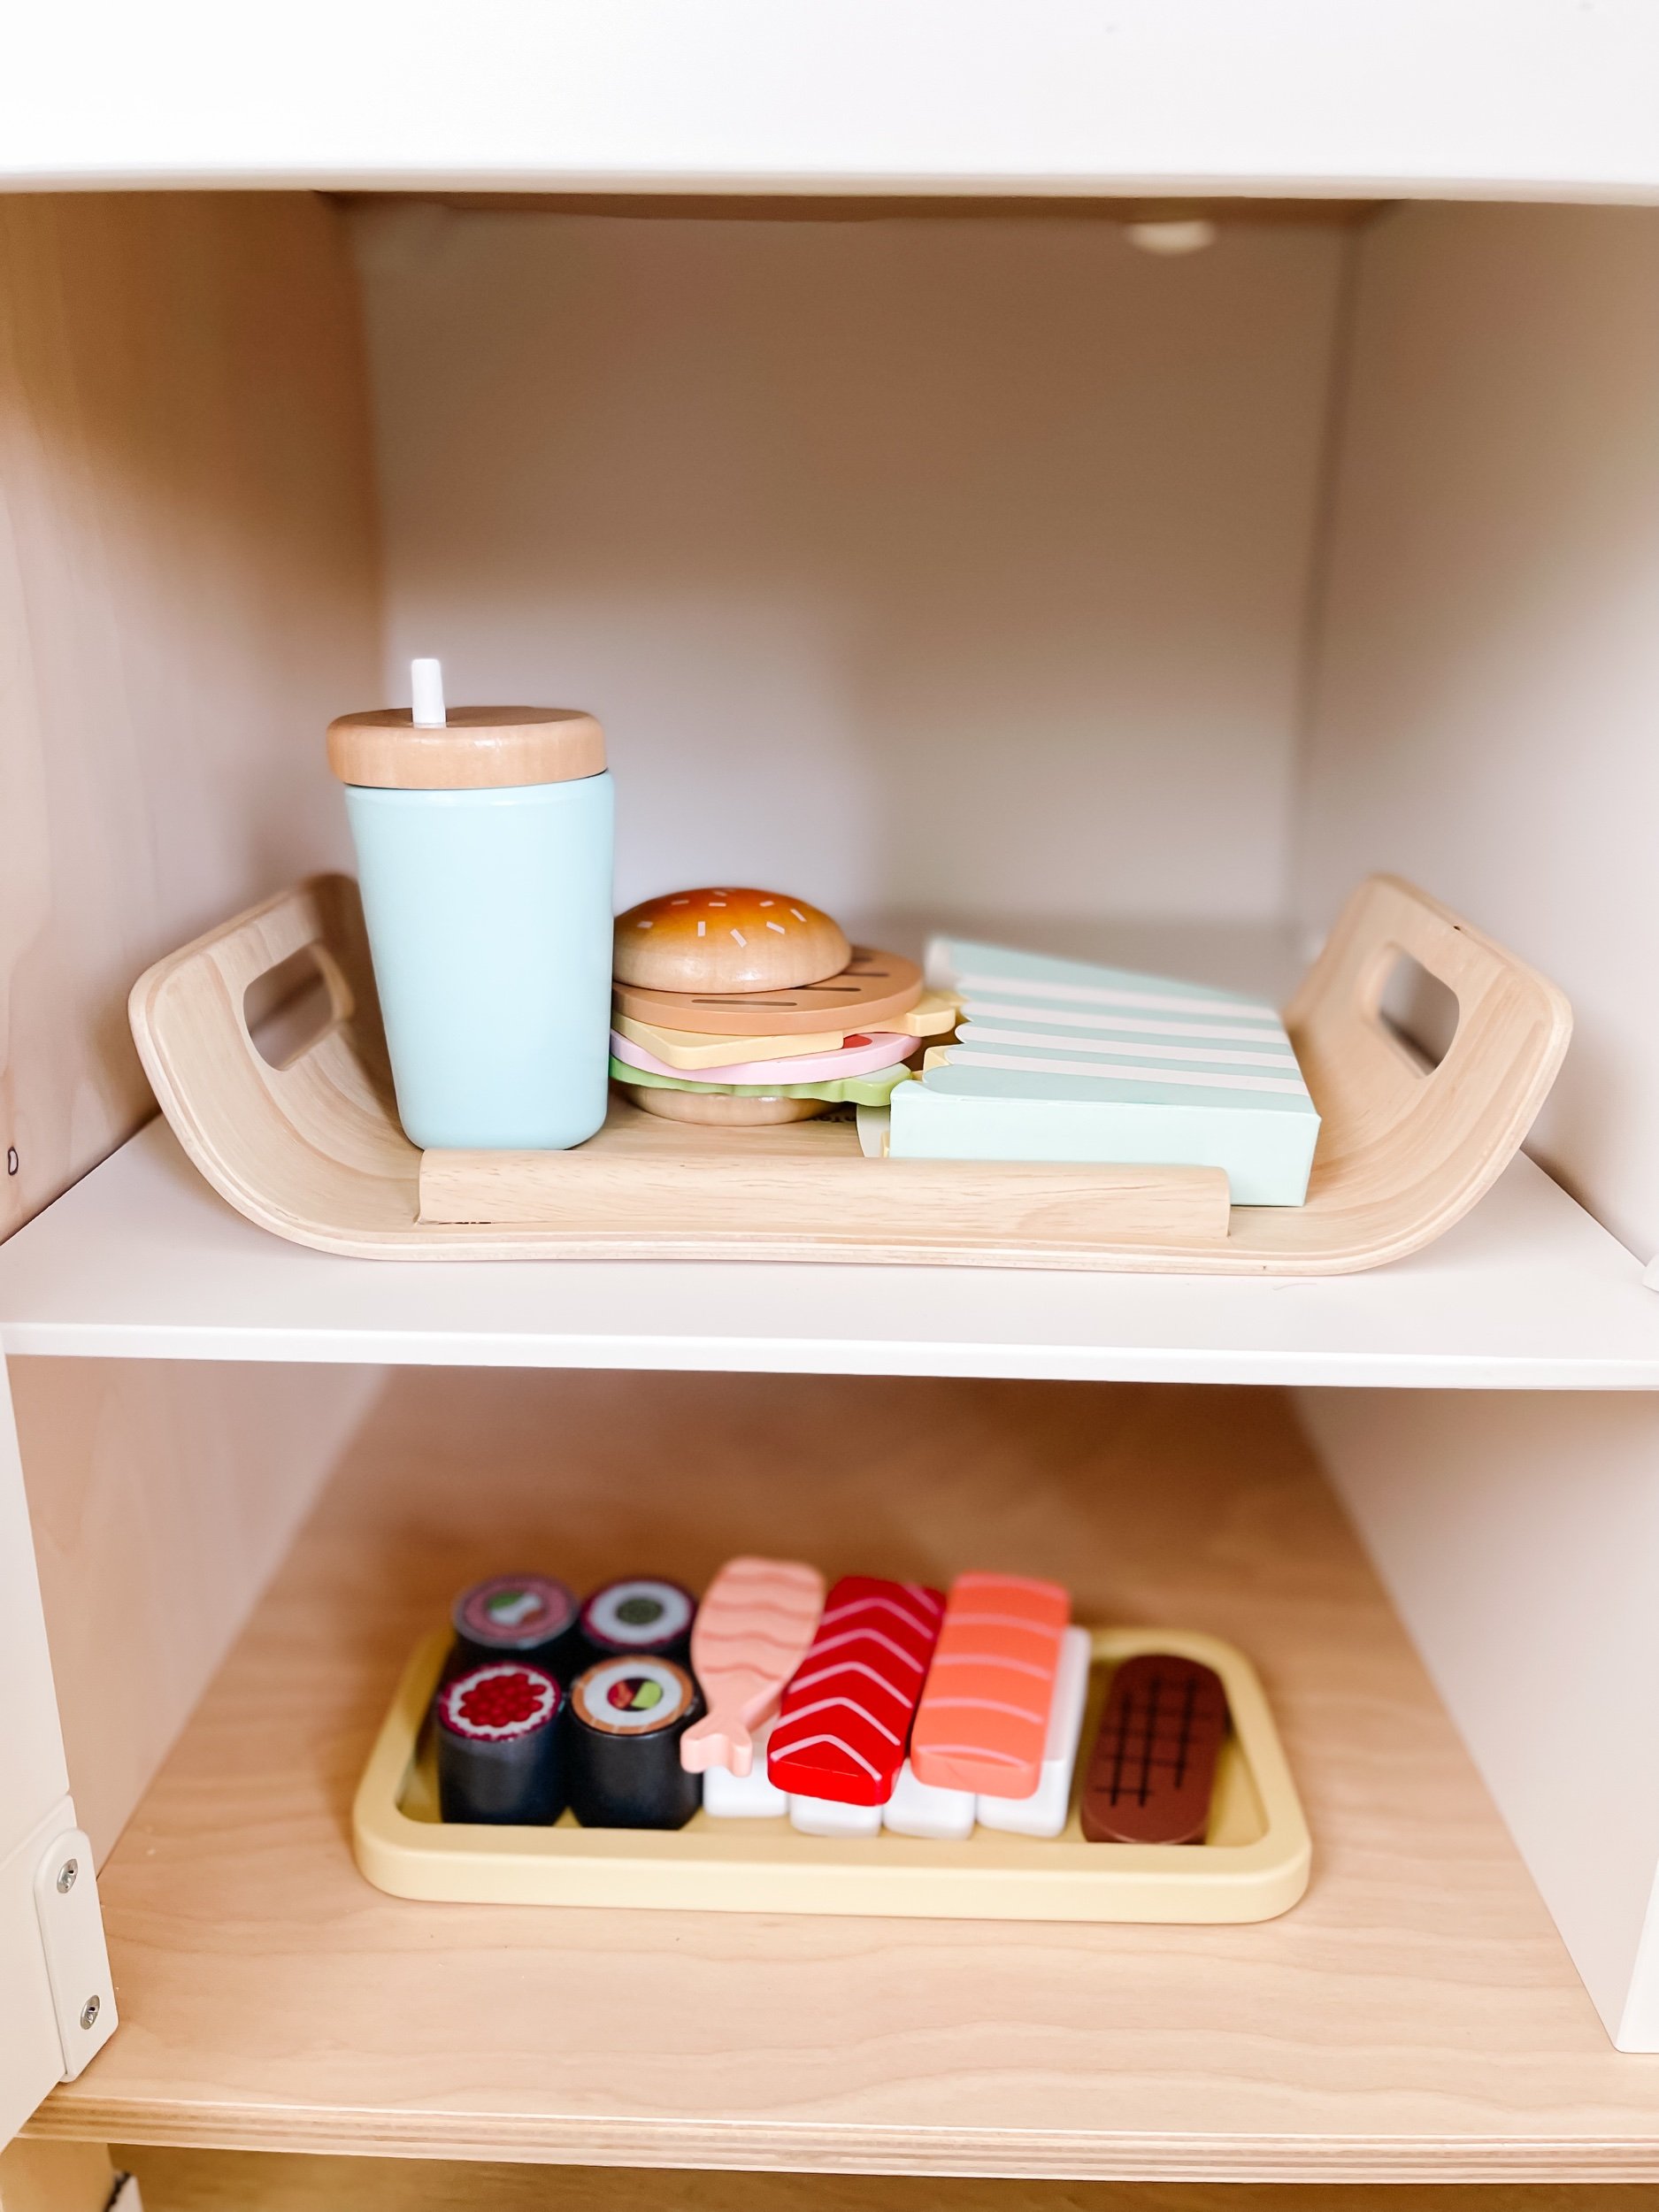
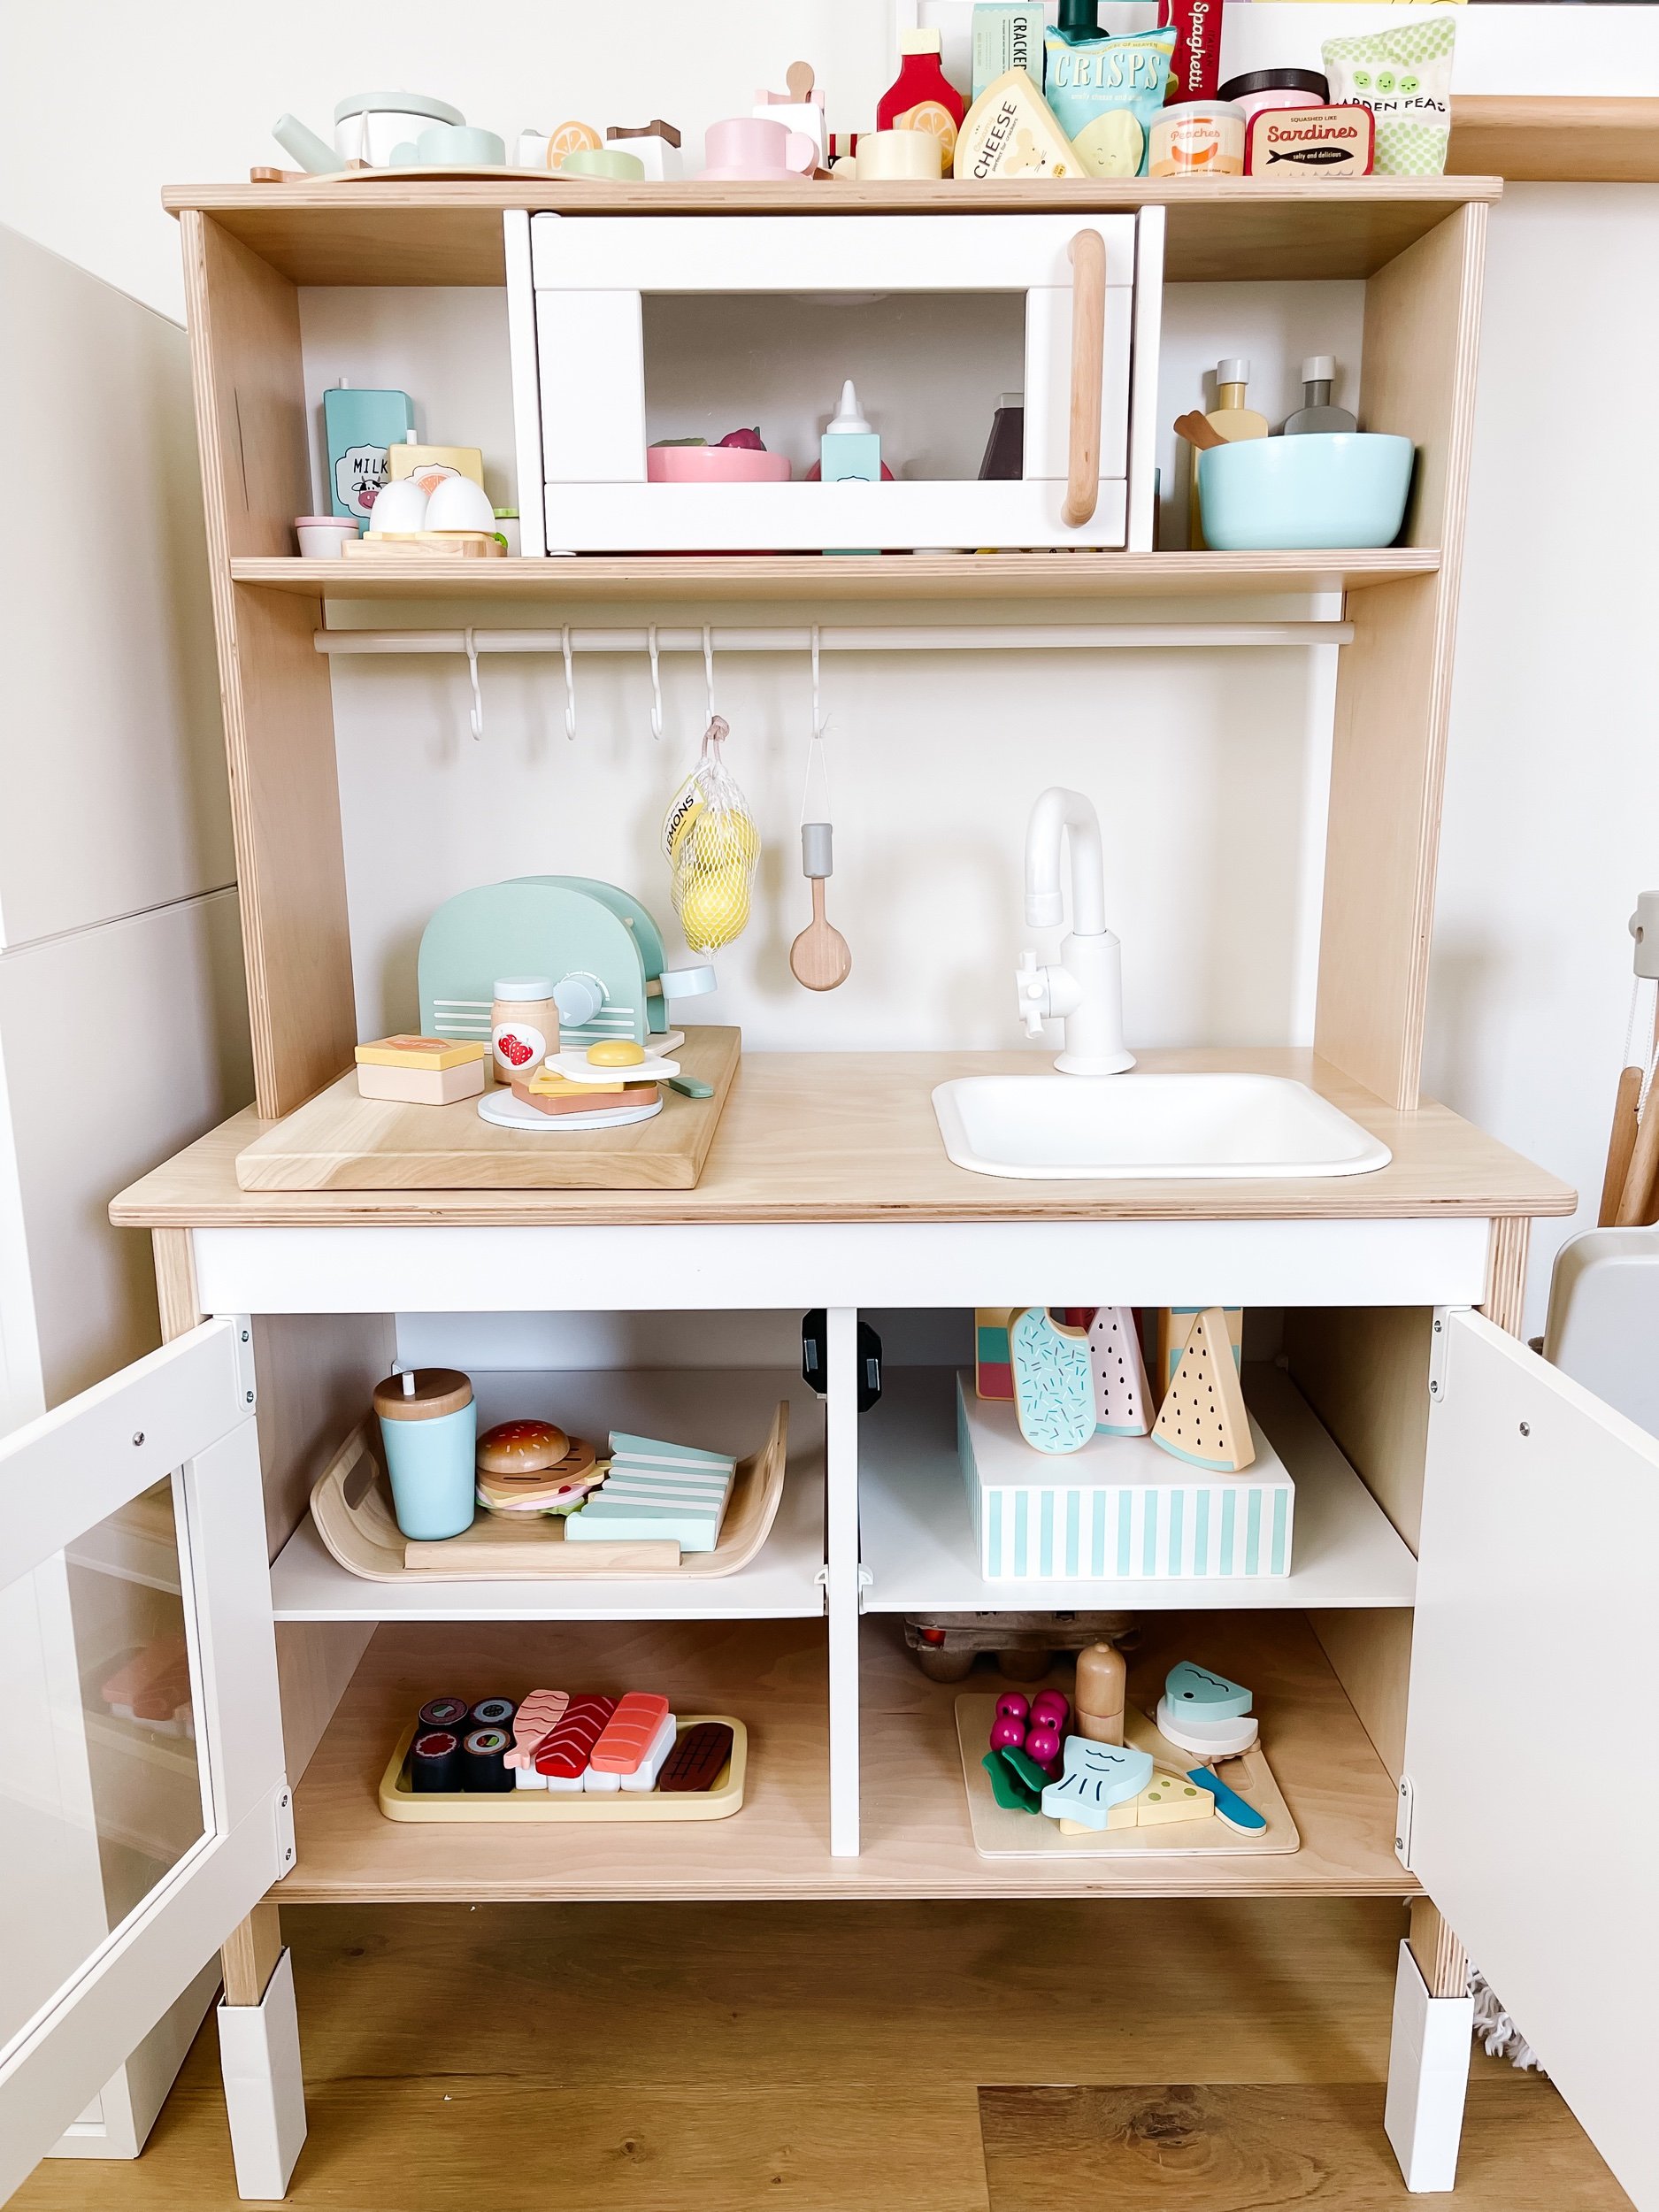
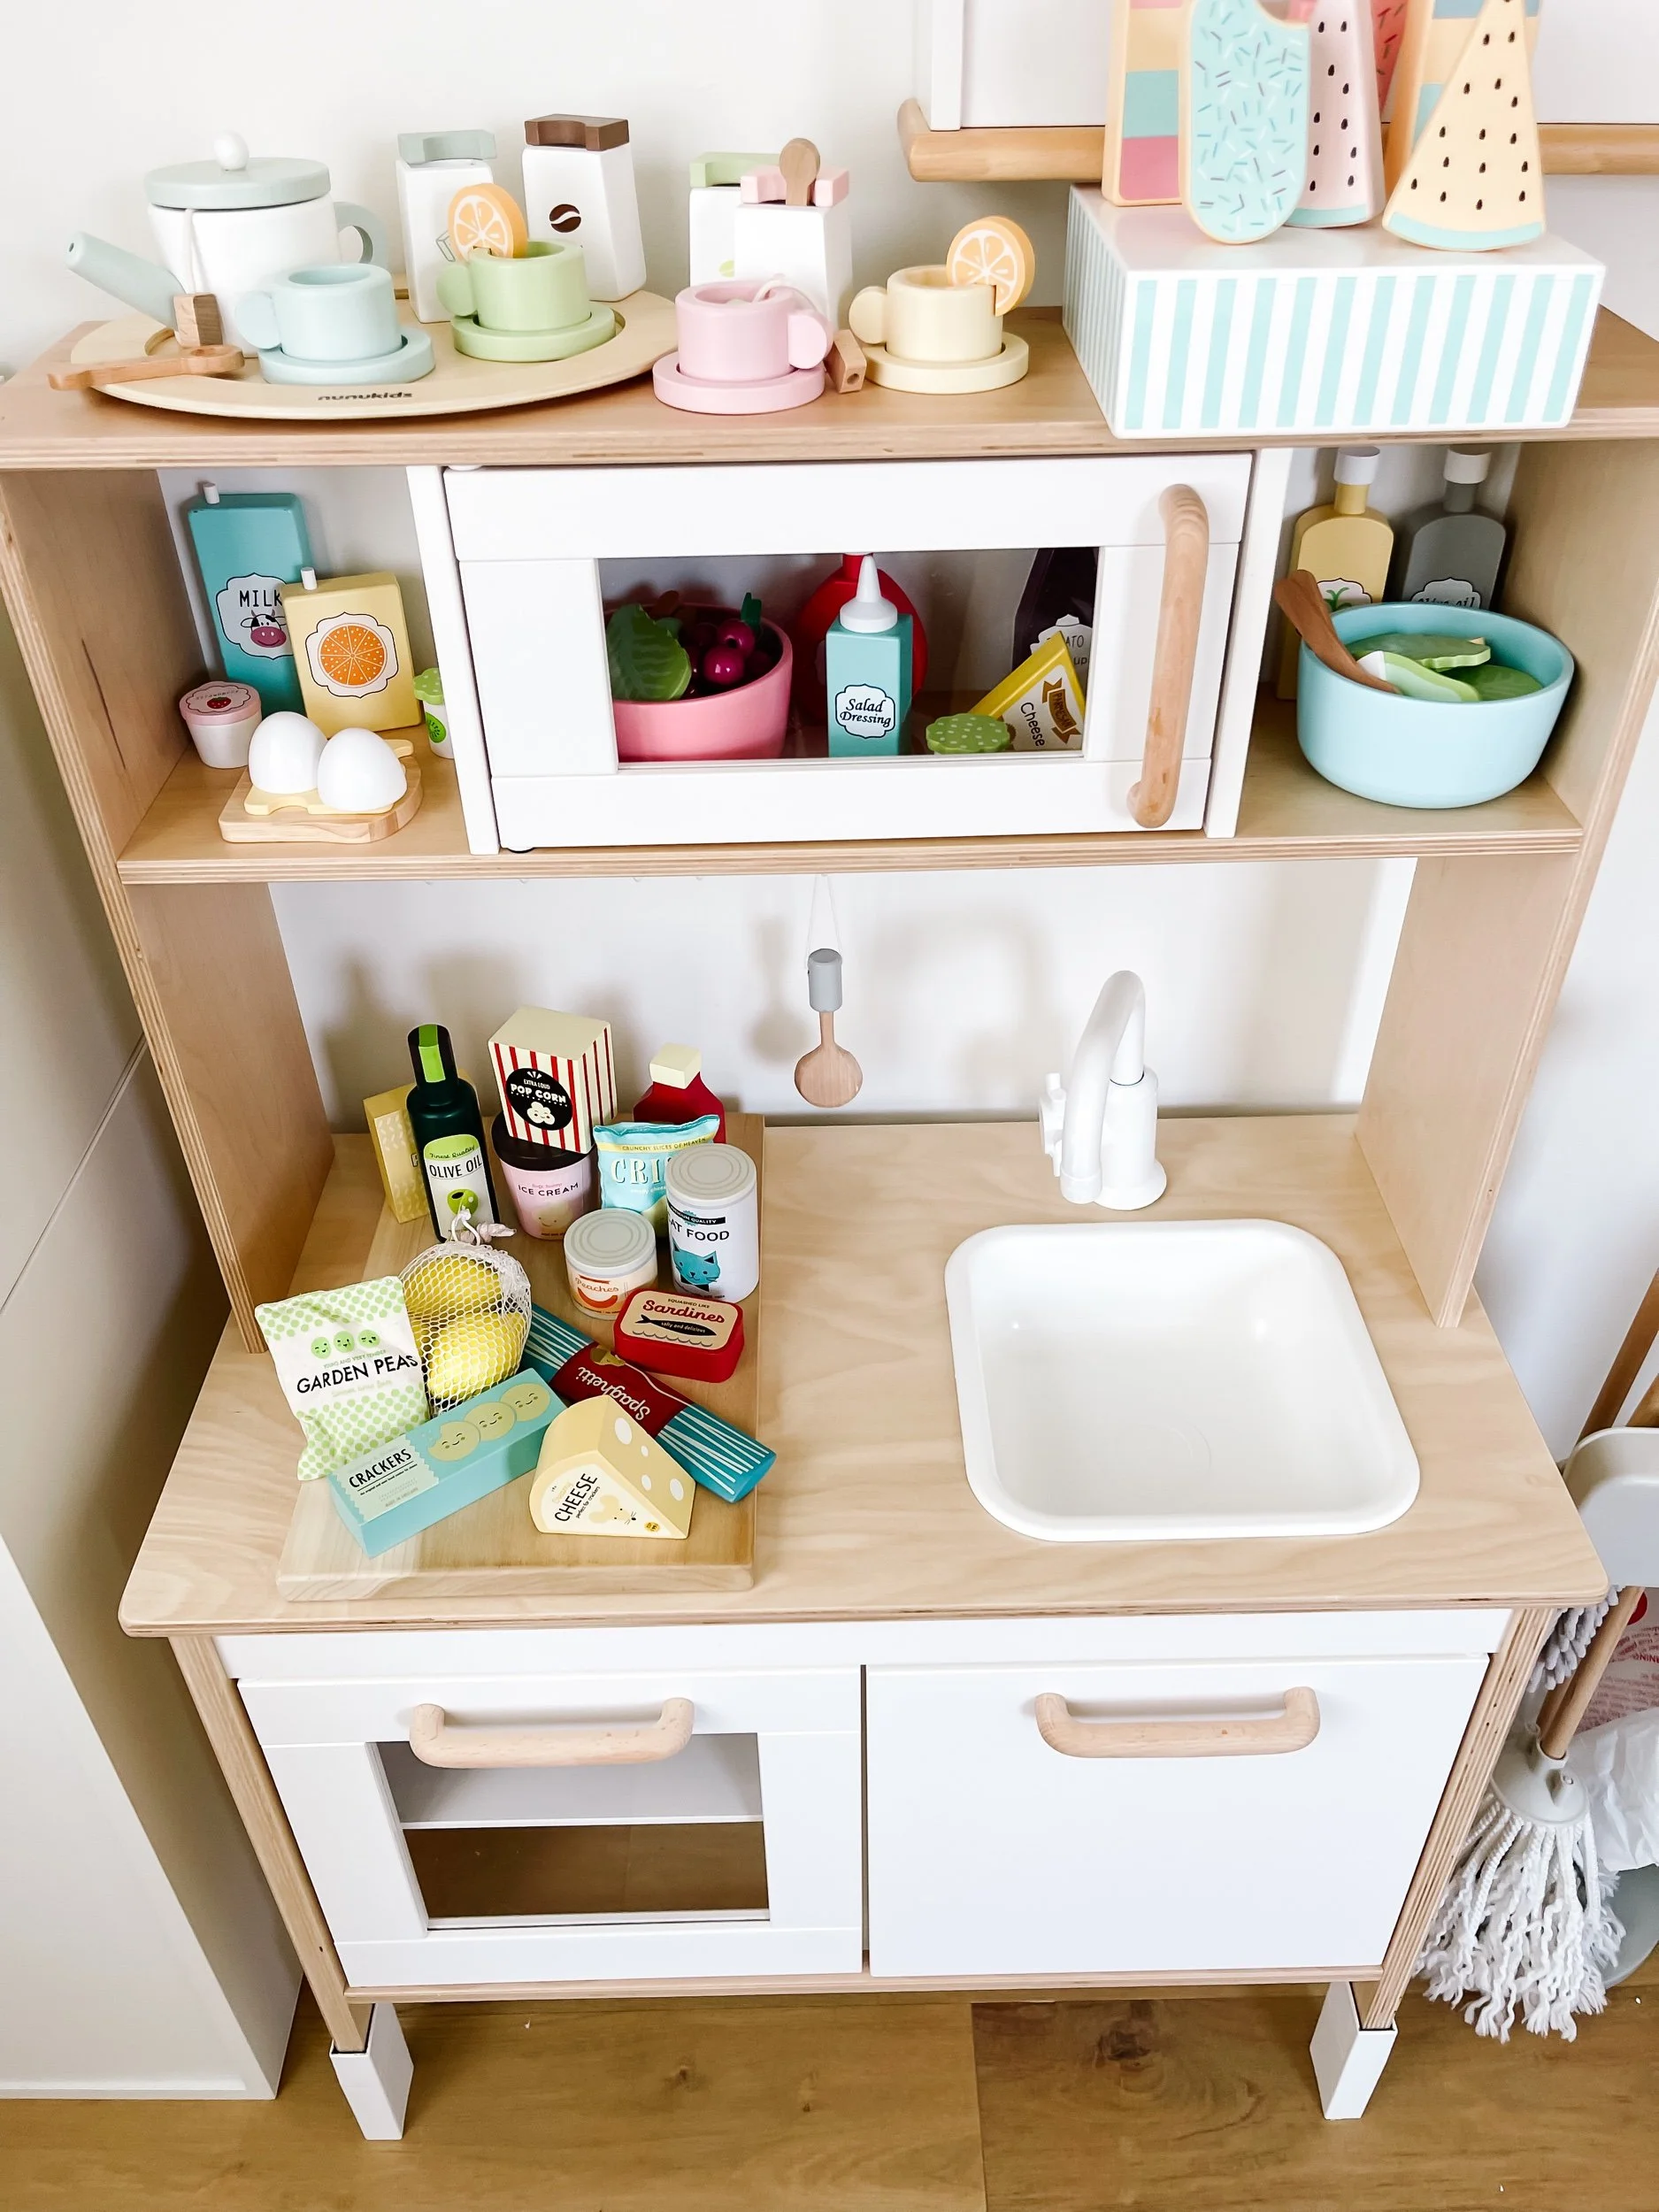
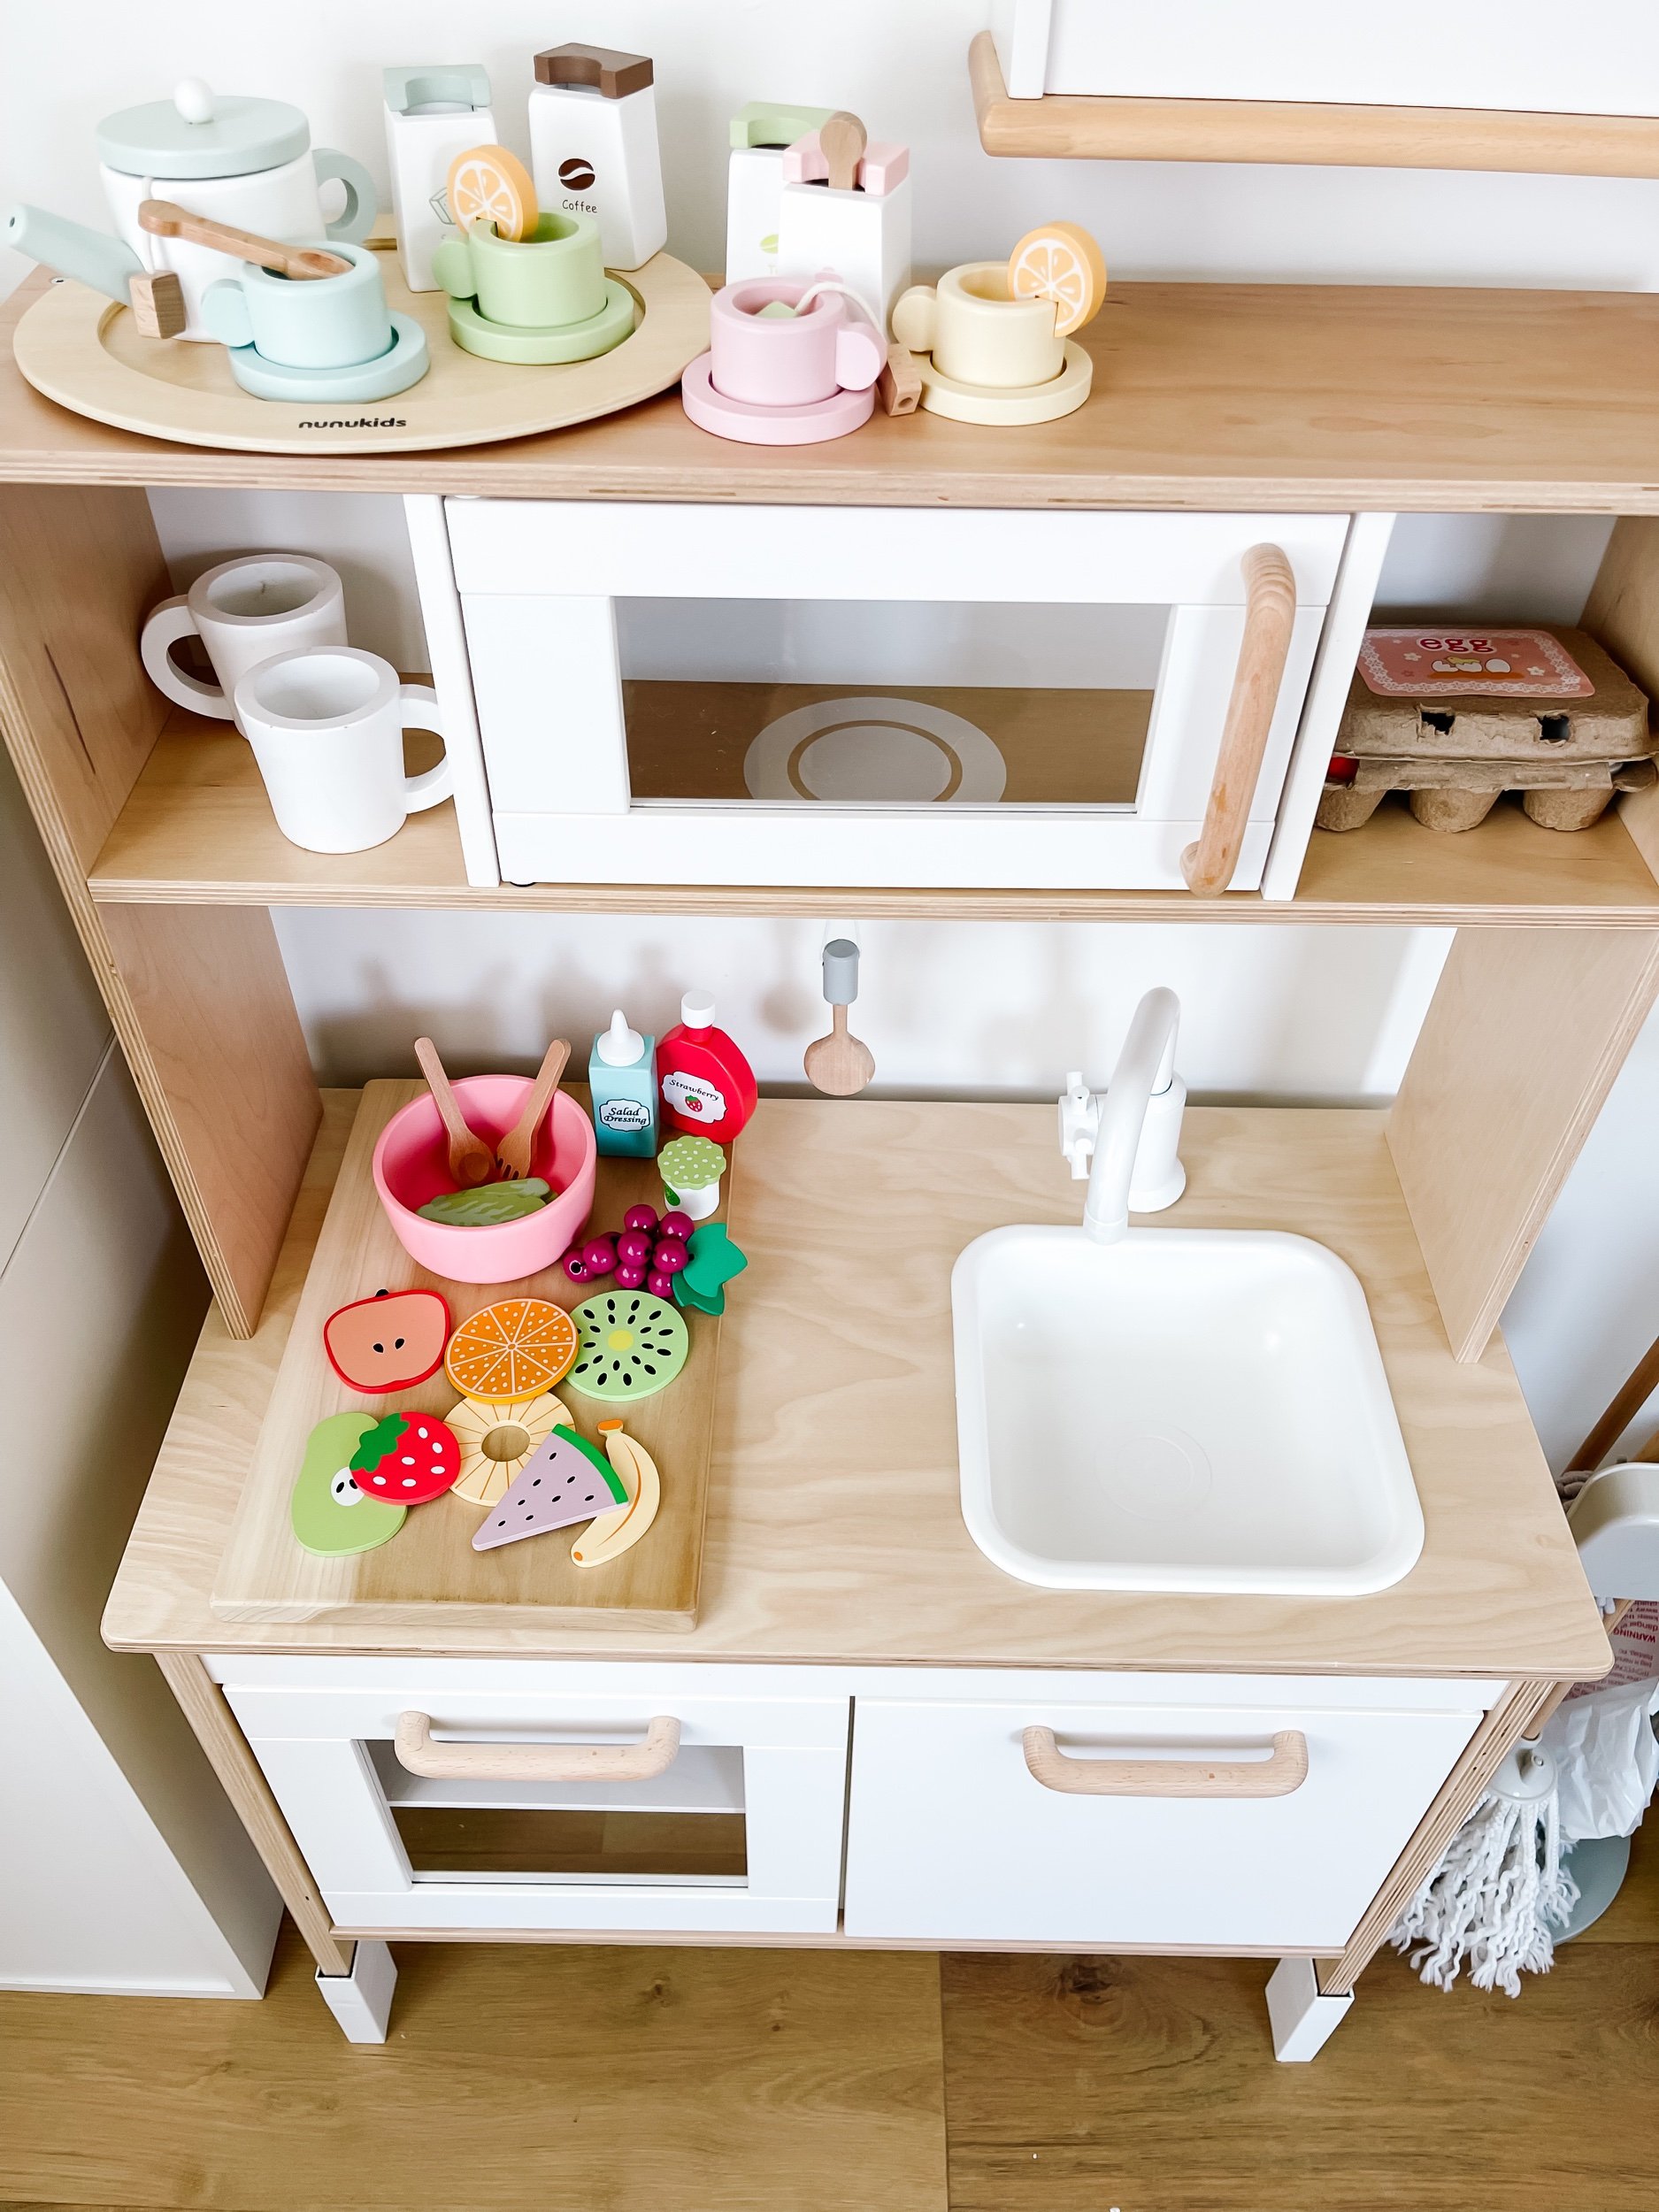
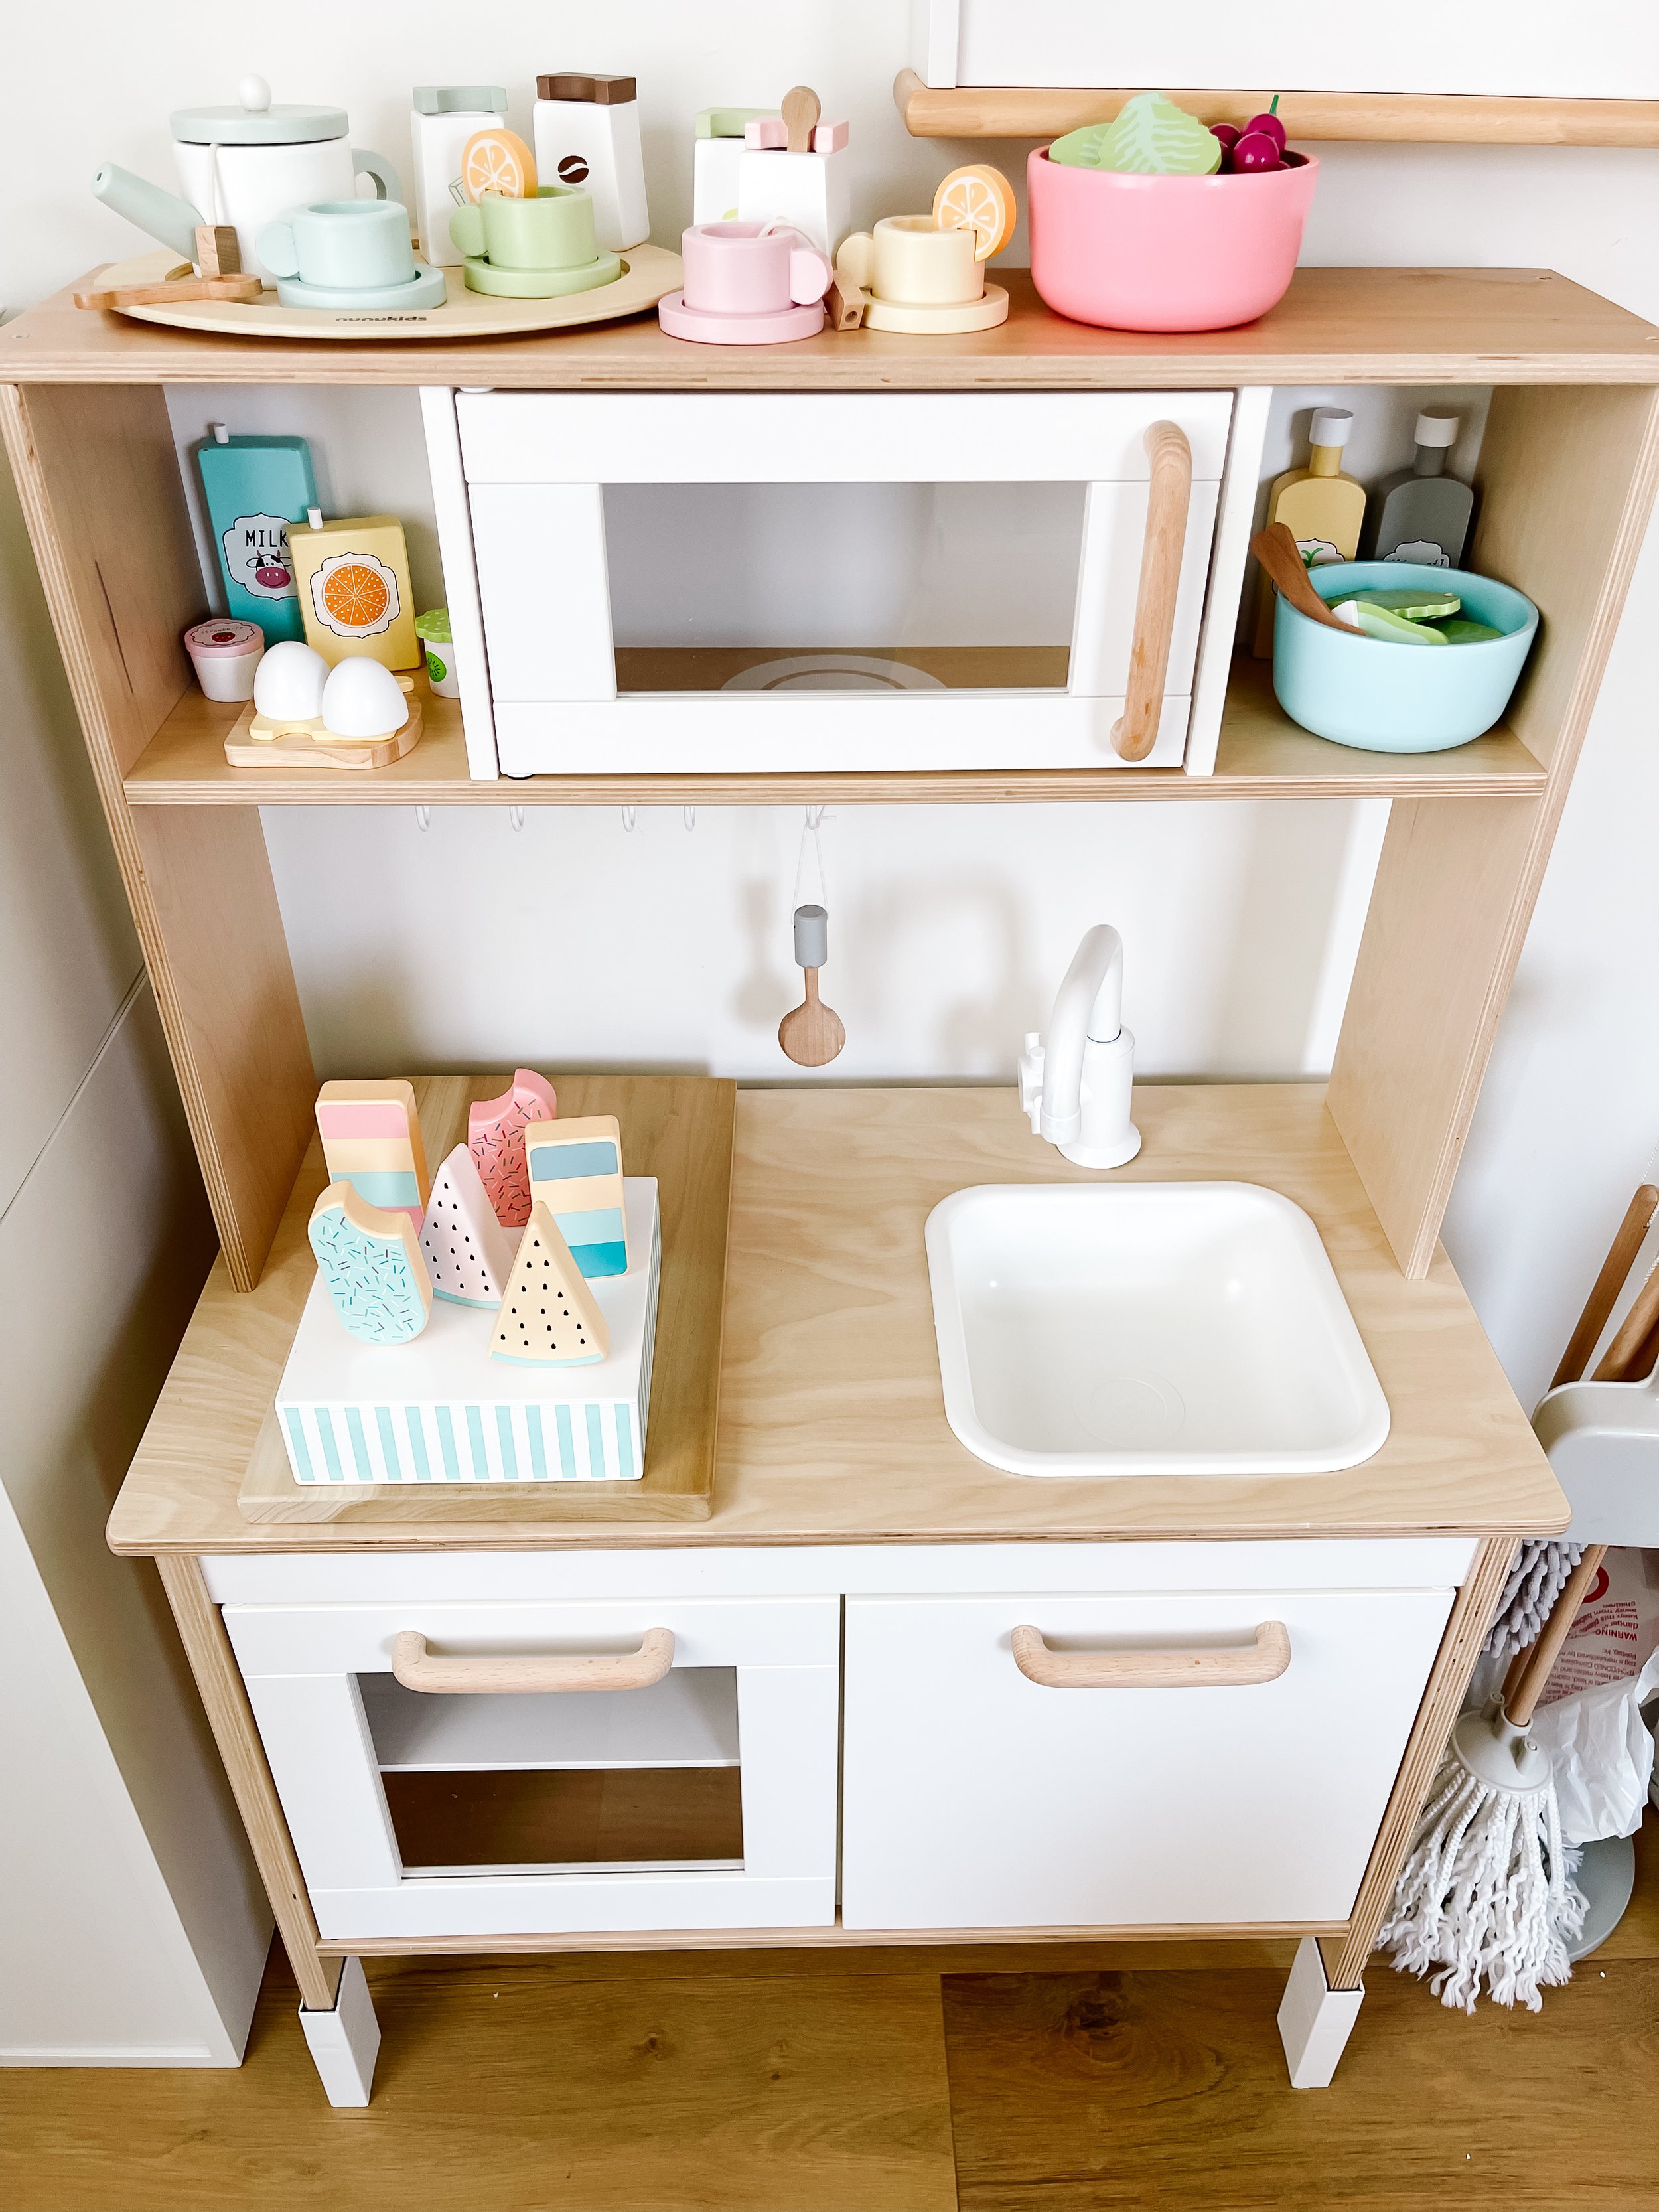
Stocking Sofia’s play kitchen with the most adorable play food was so much fun. I really wanted beautiful pastel colors and I was able to find a variety of options for very reasonable prices on Temu and a few on Amazon. Better yet, we were able to store about 10 different sets of play food all within the kitchen and our tier stacking shelves. I was surprised that everything fit! Sofie also got an adorable little kitchen appliances set for the holidays and everything matched perfectly together.

IMG_5110_jpg.jpeg IMG_5103_jpg.jpeg IMG_5108_jpg.jpeg IMG_5076.jpeg IMG_5109_jpg.jpeg IMG_5104.jpeg IMG_5102_jpg.jpeg

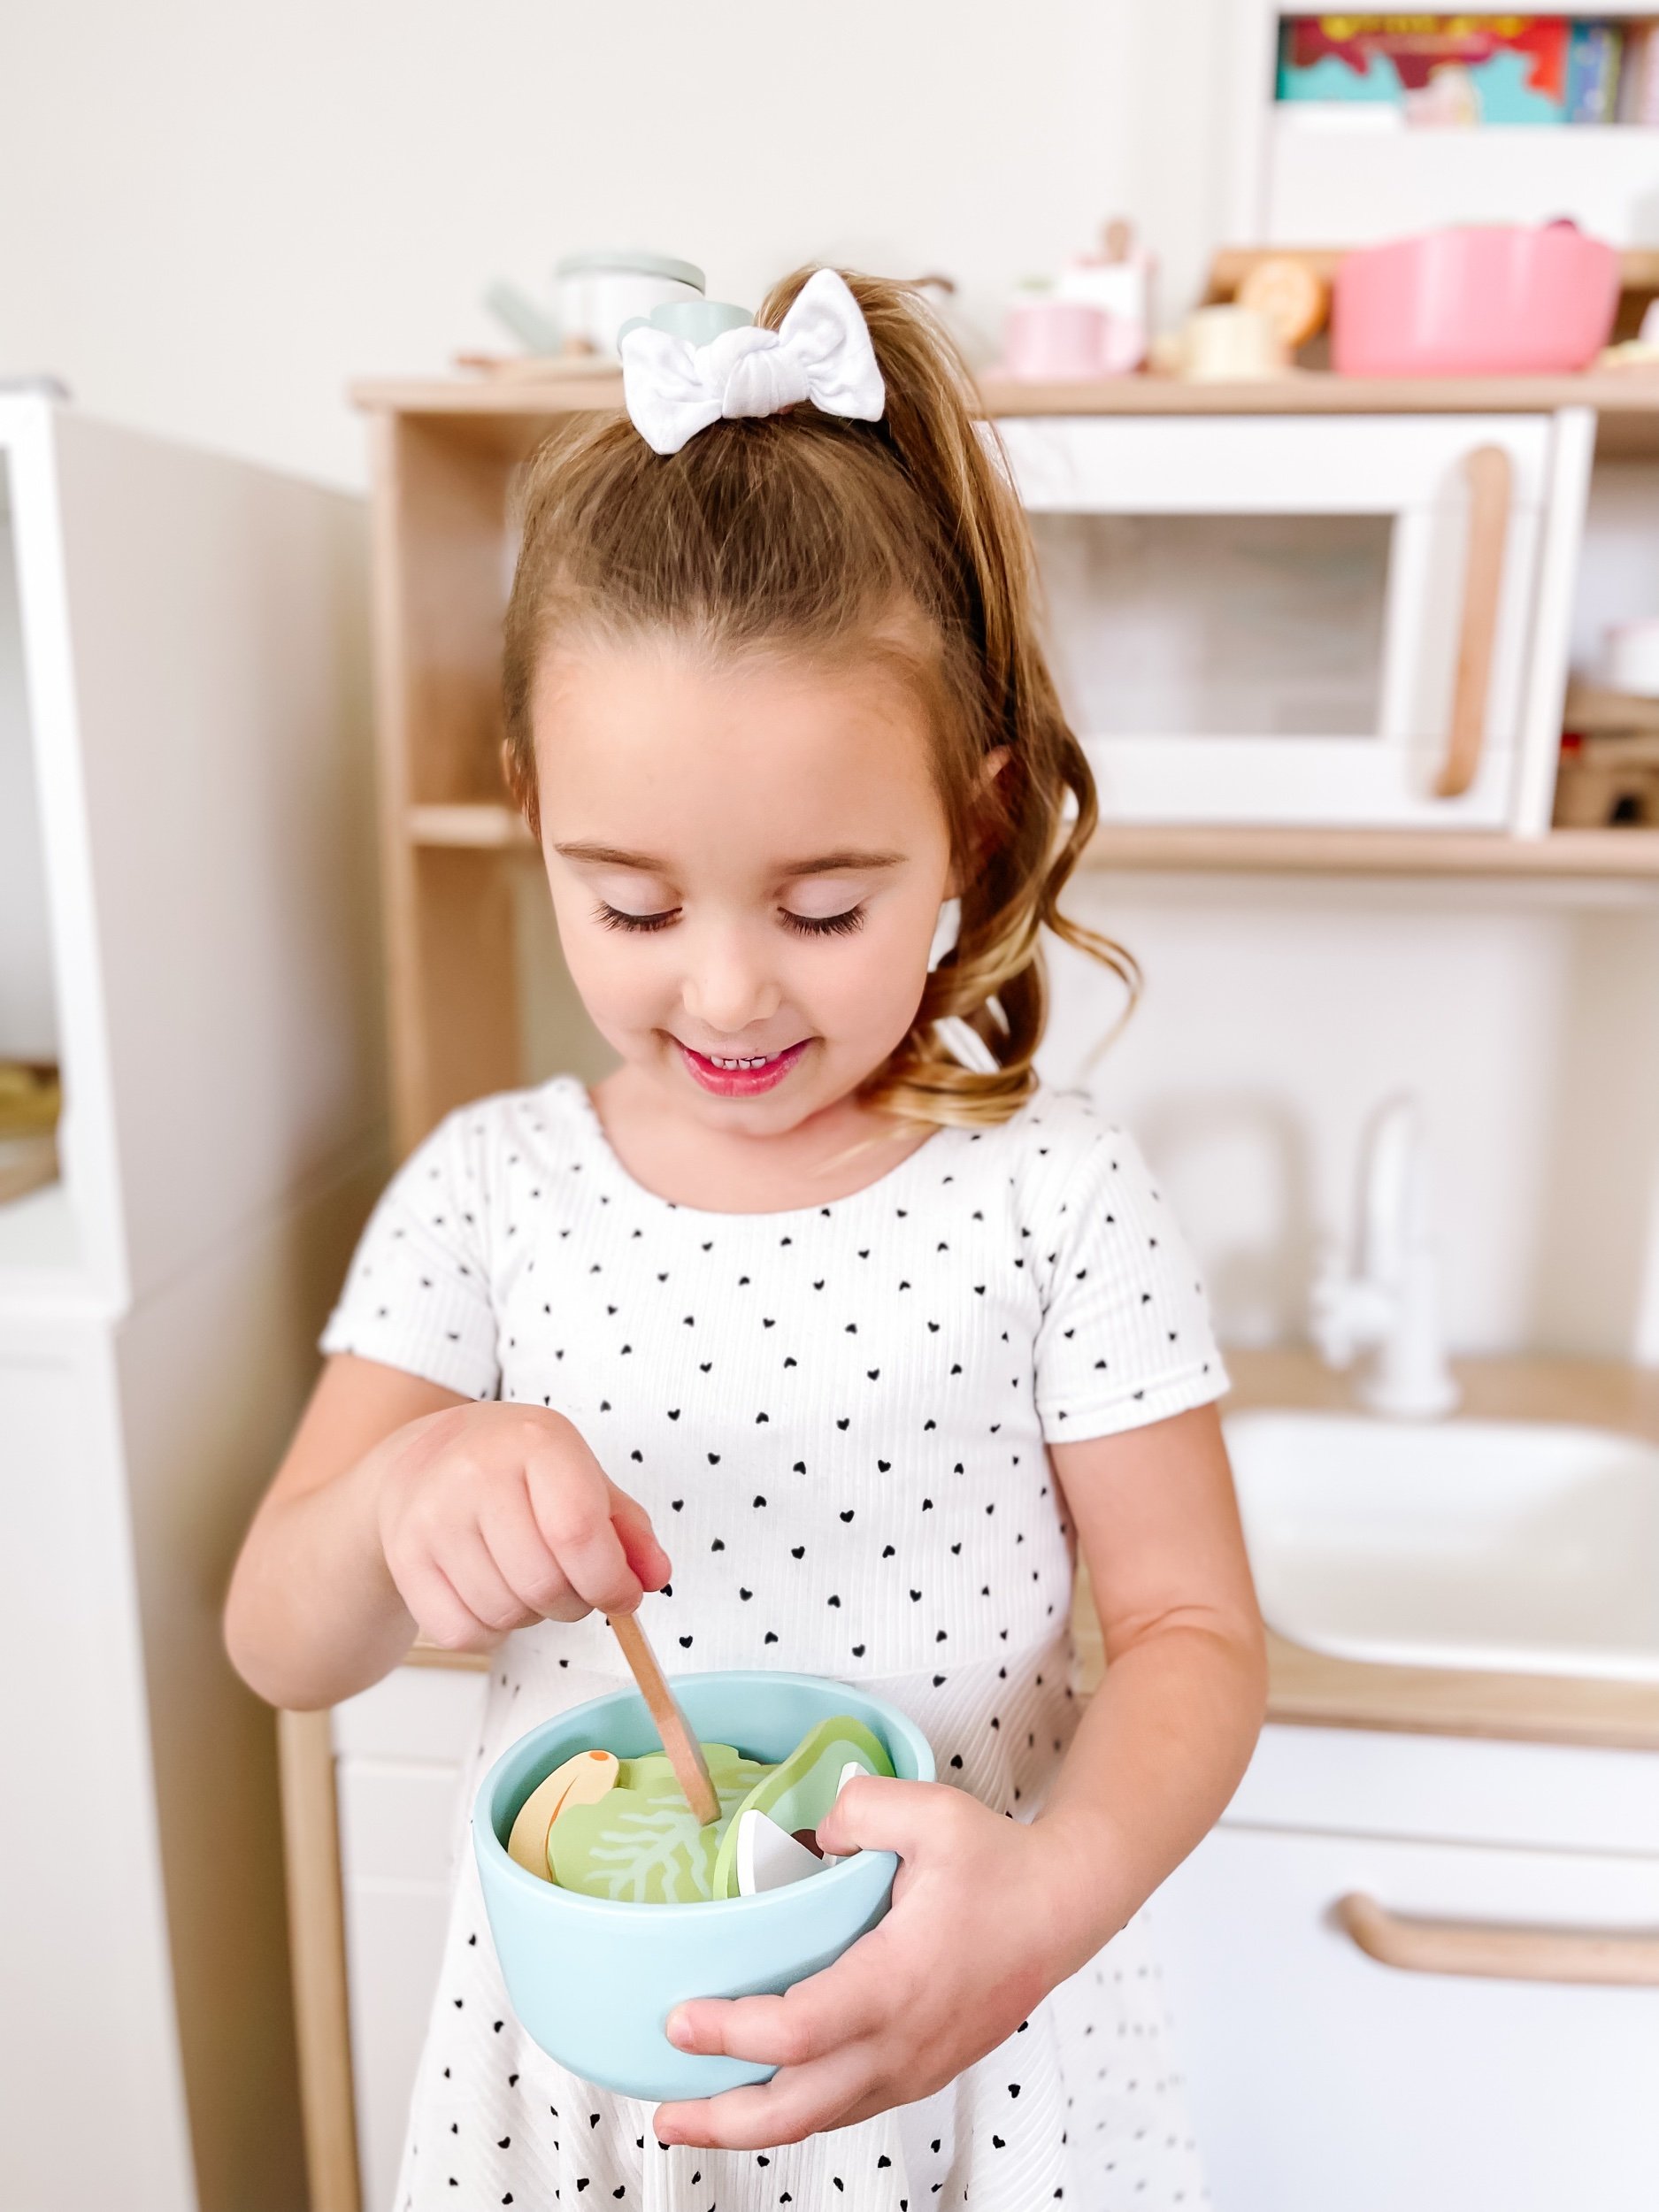
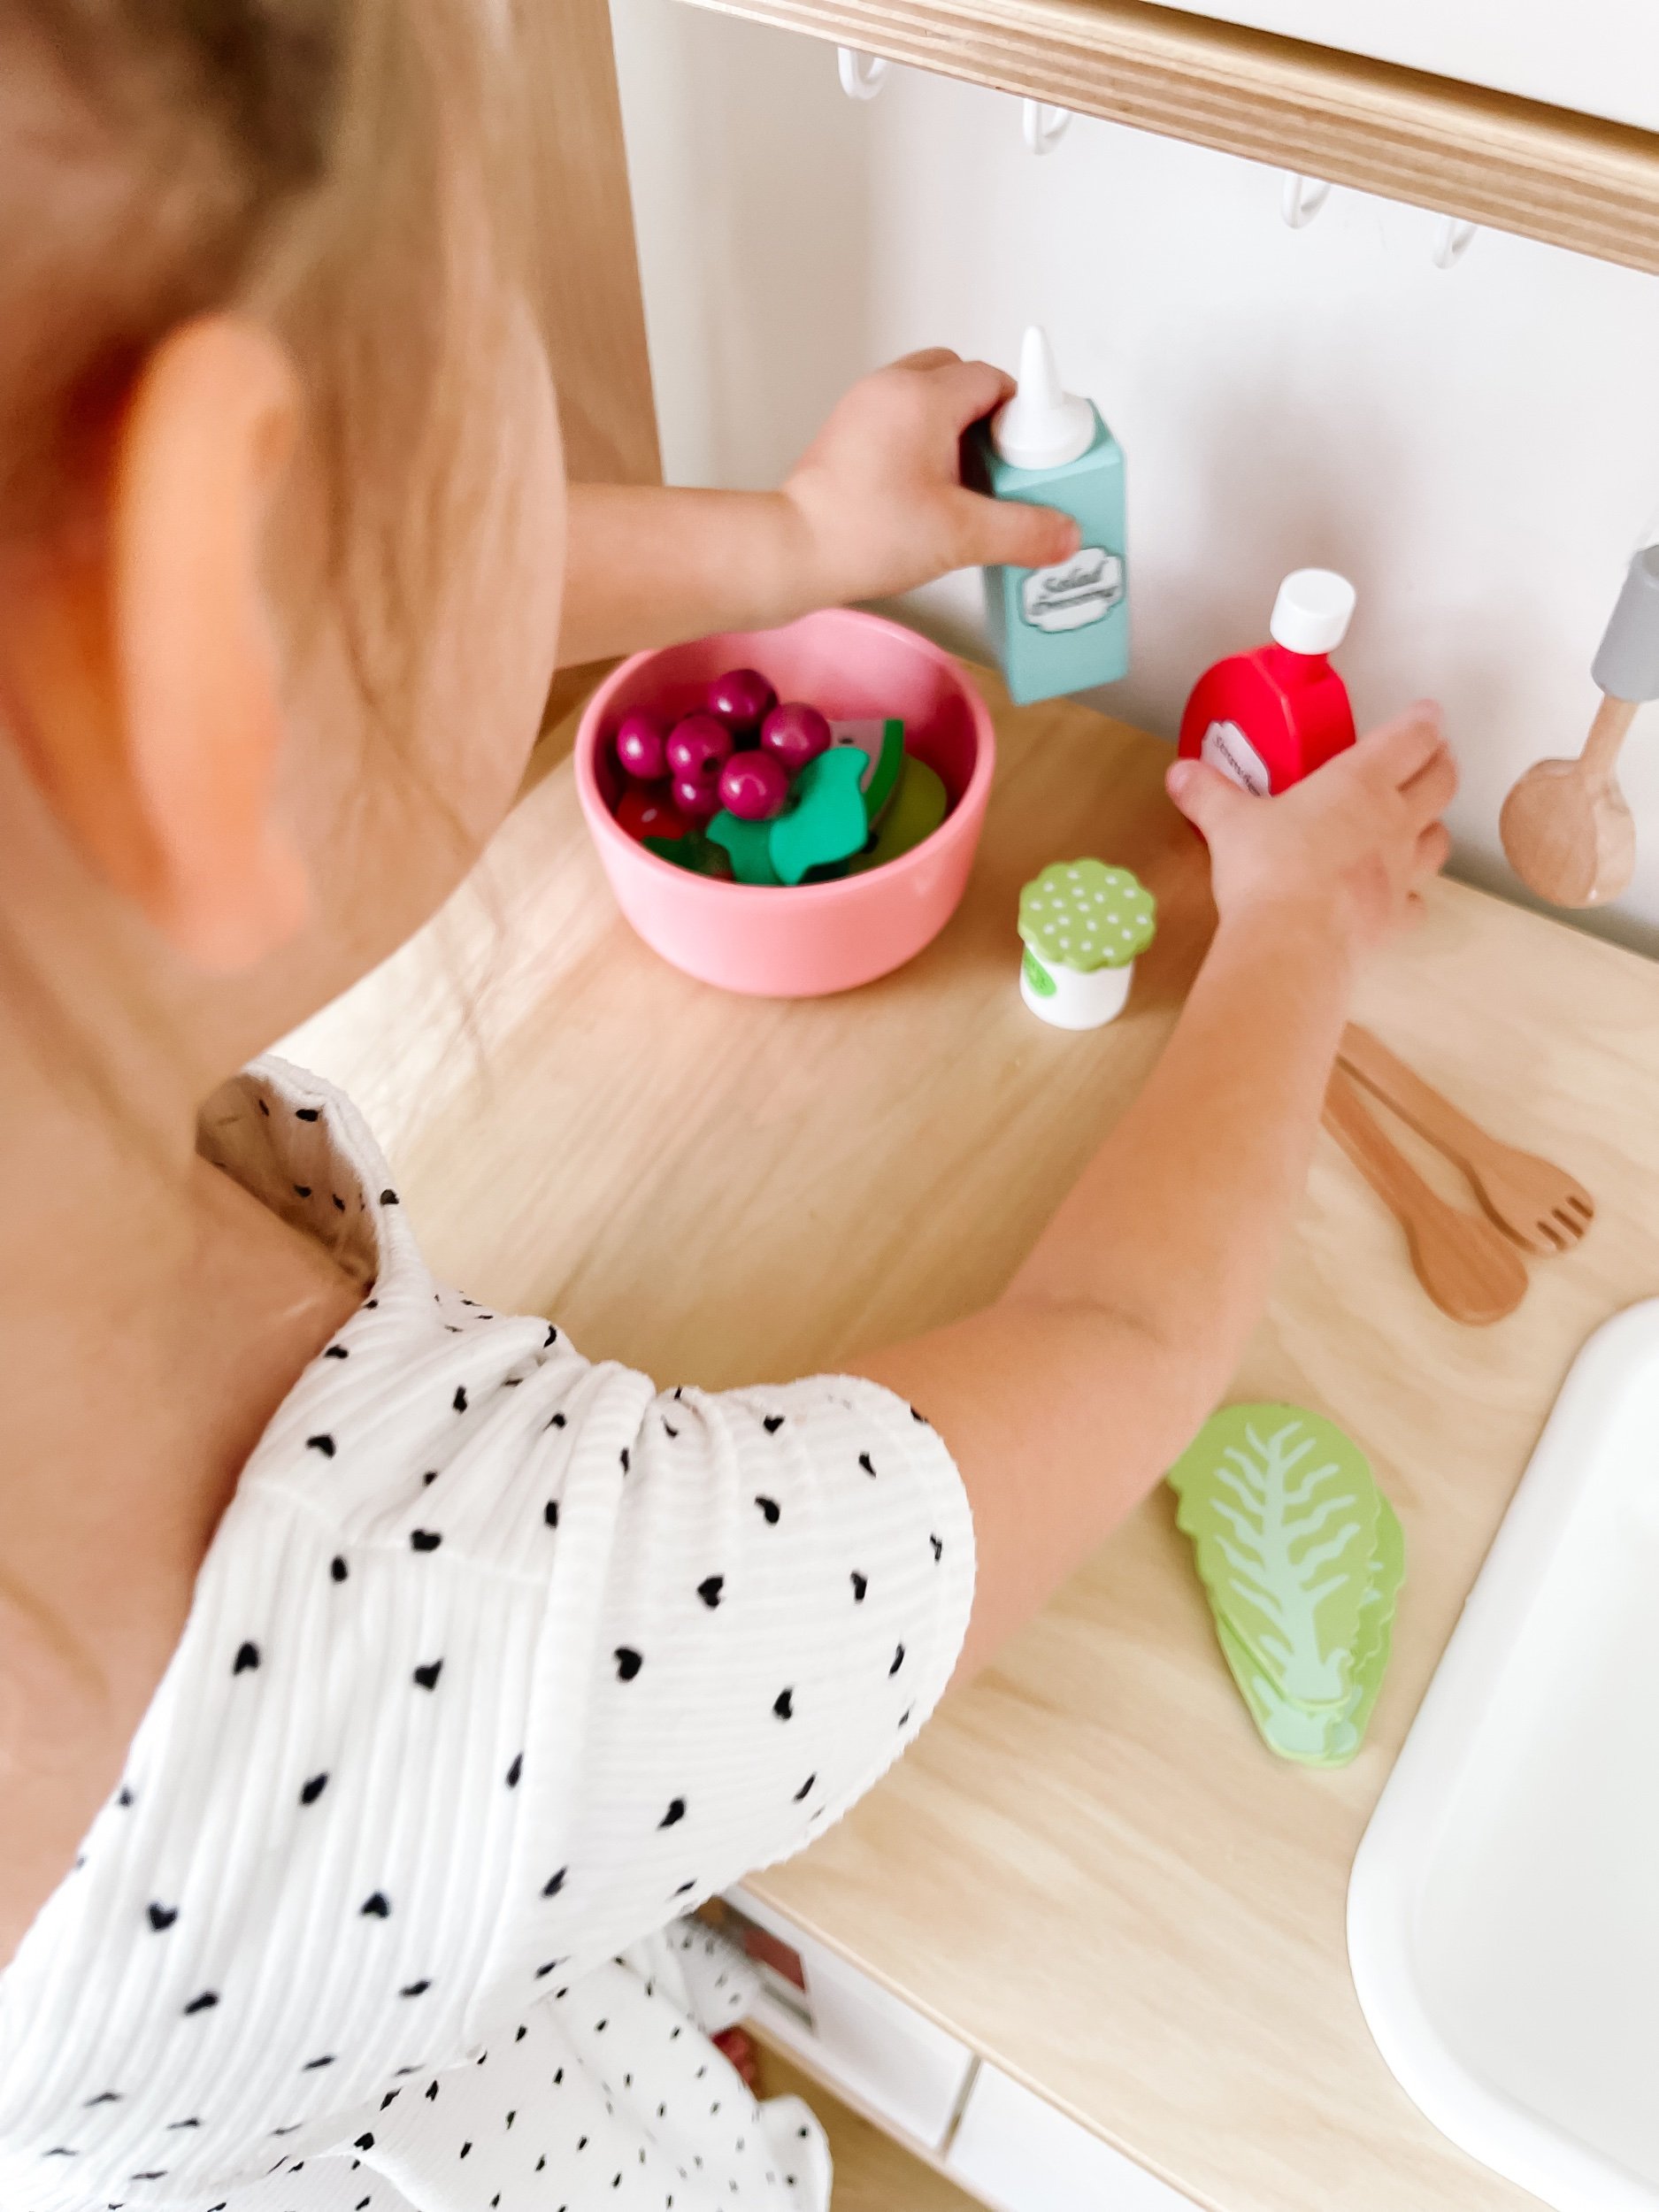
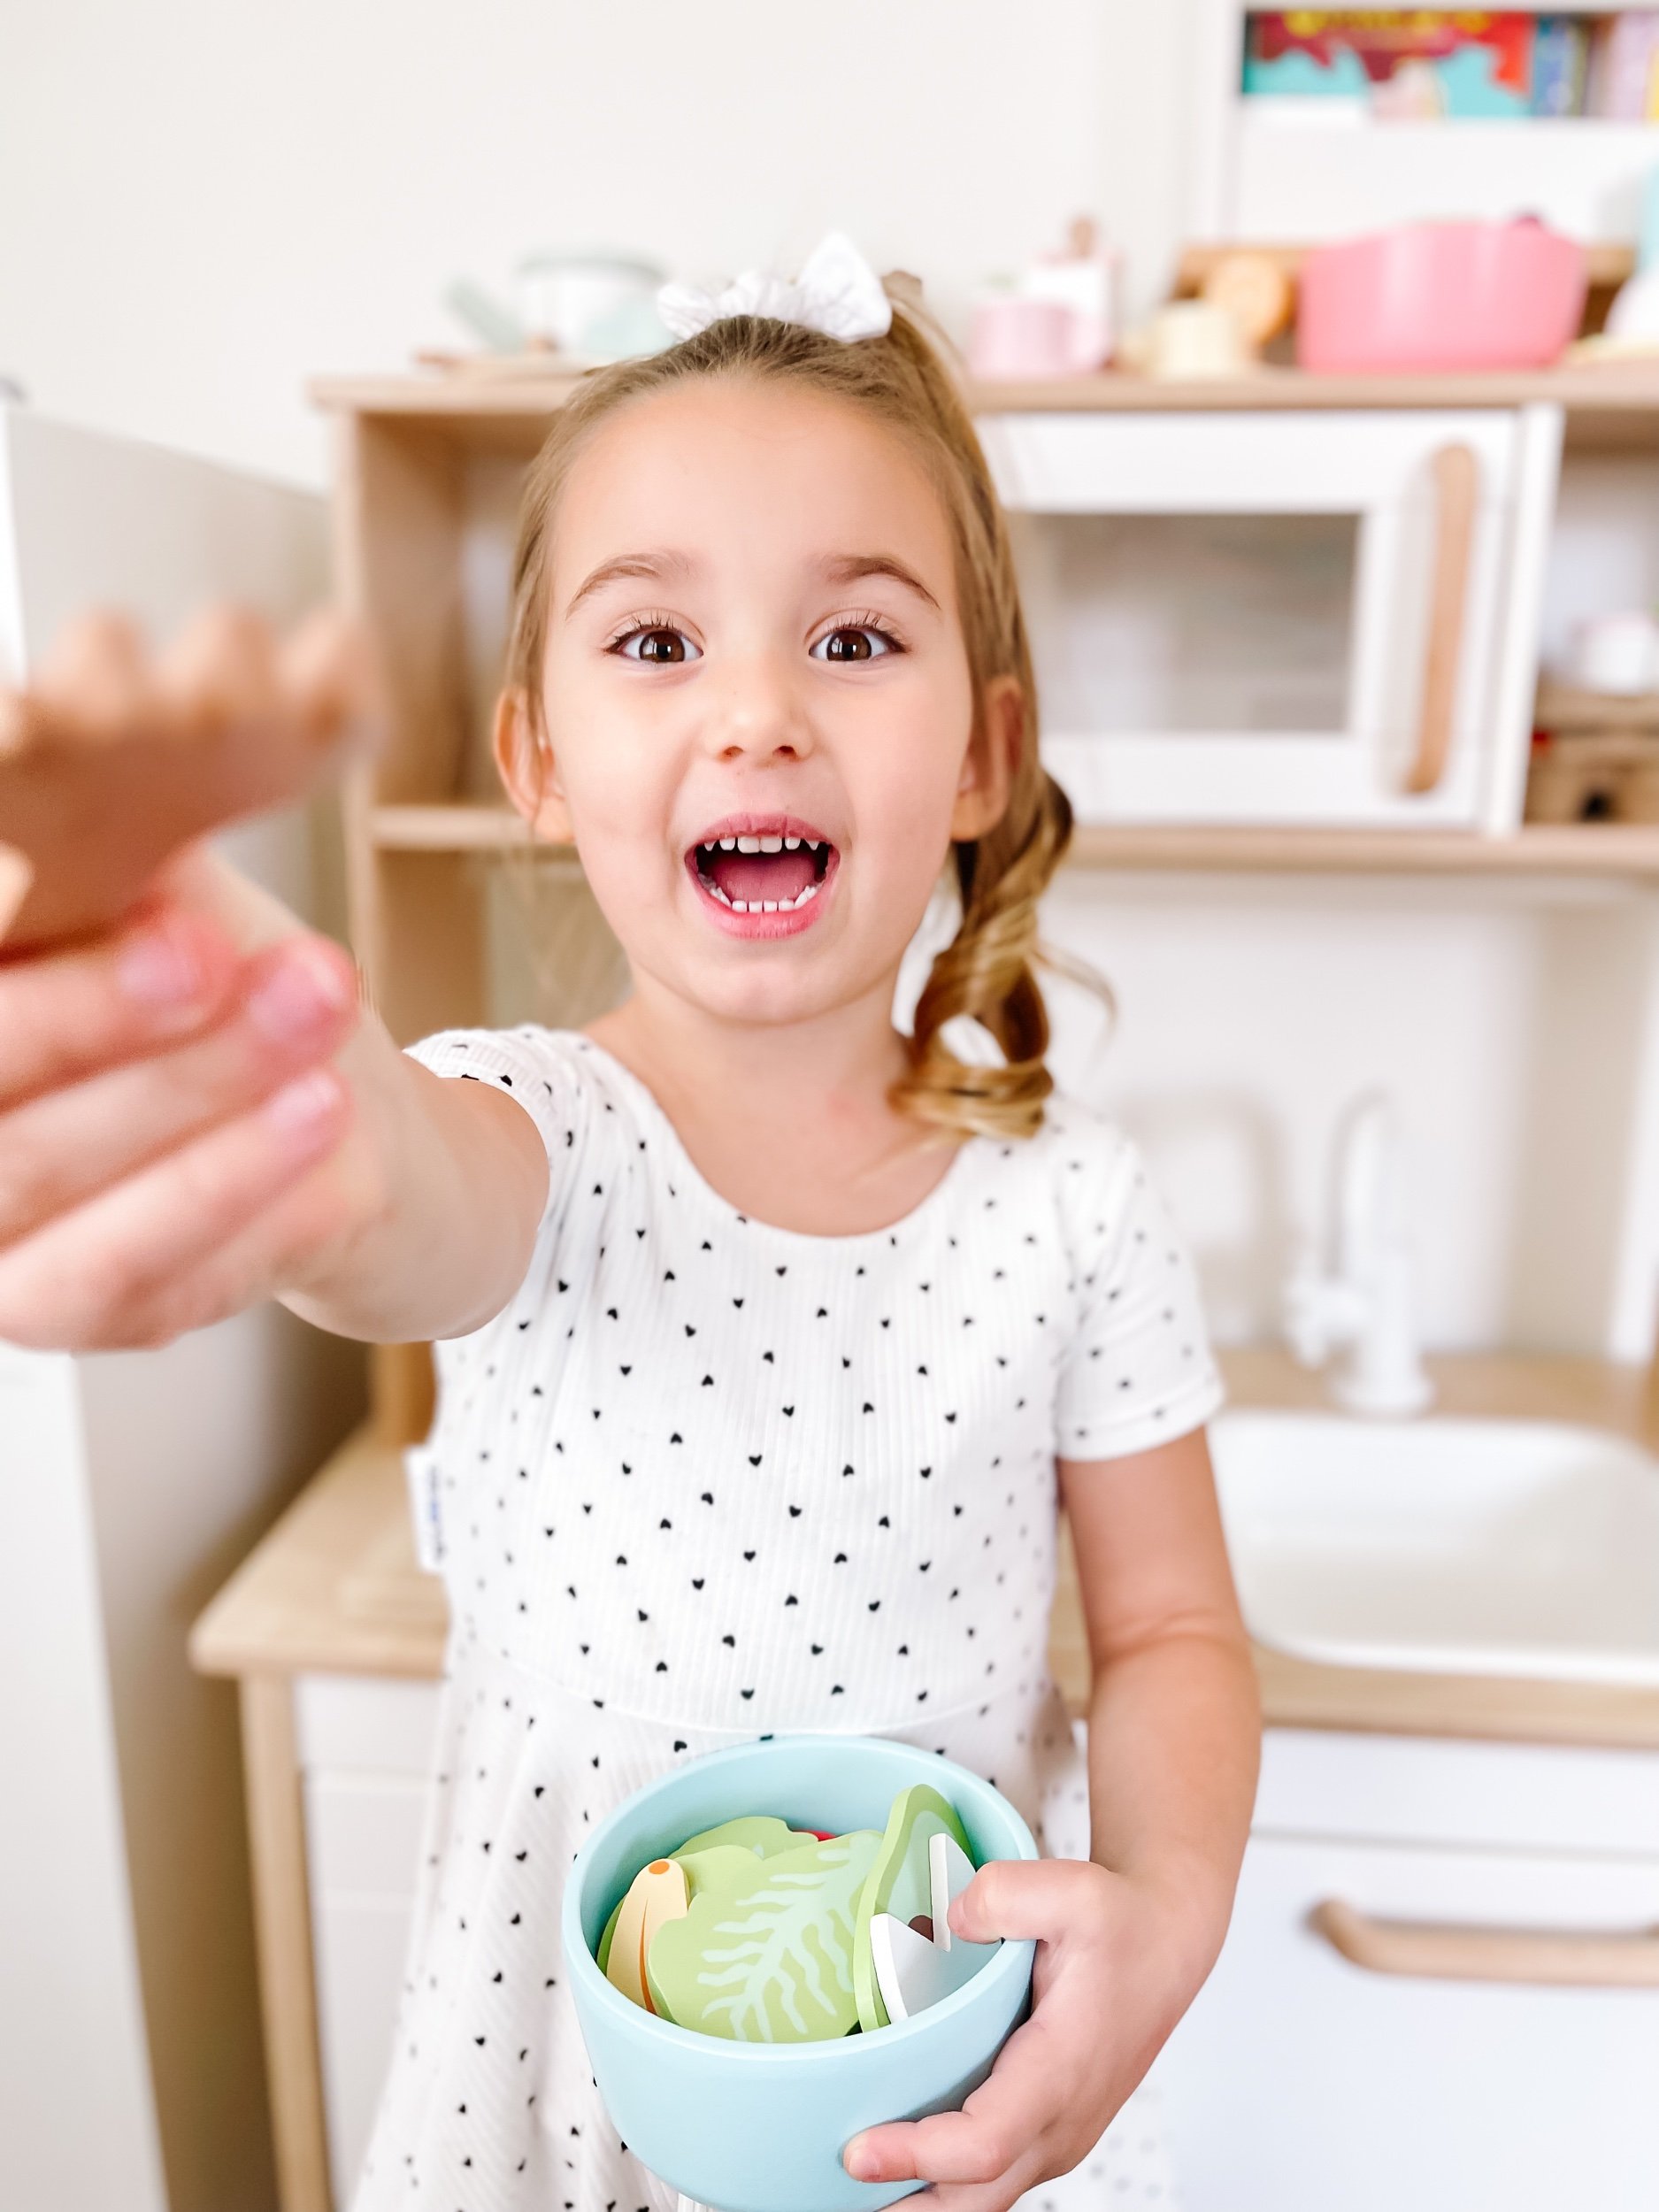
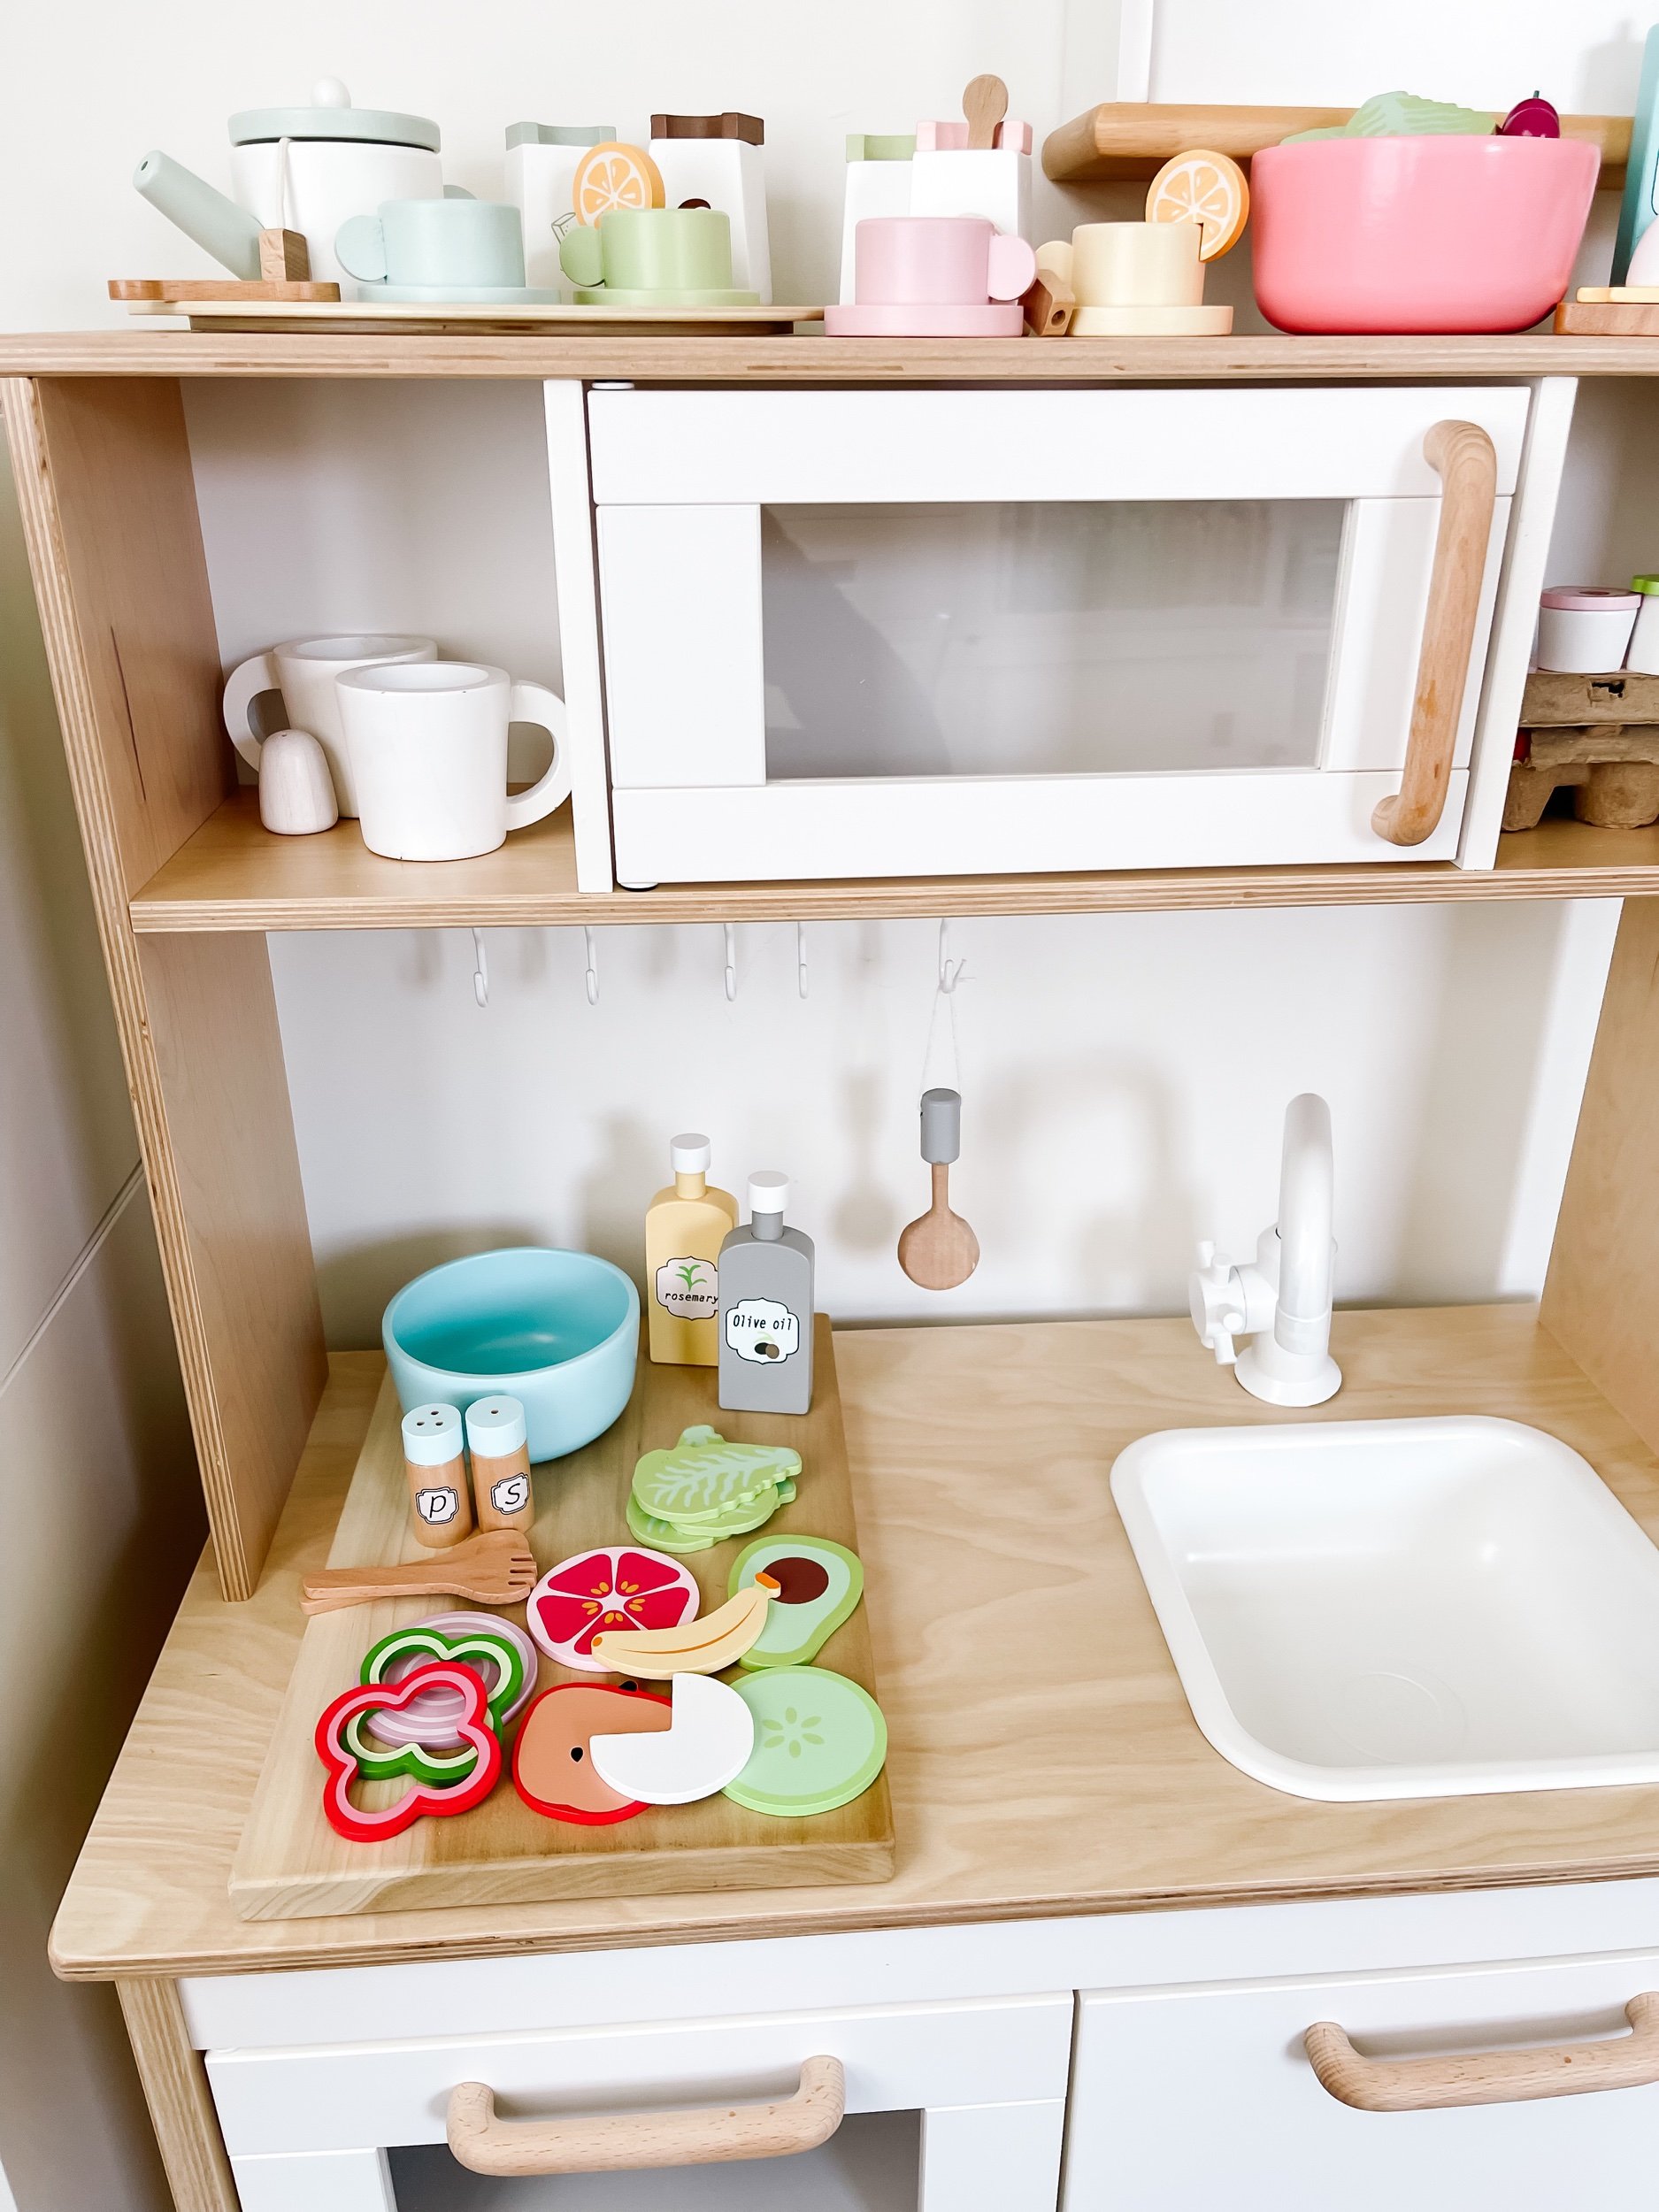
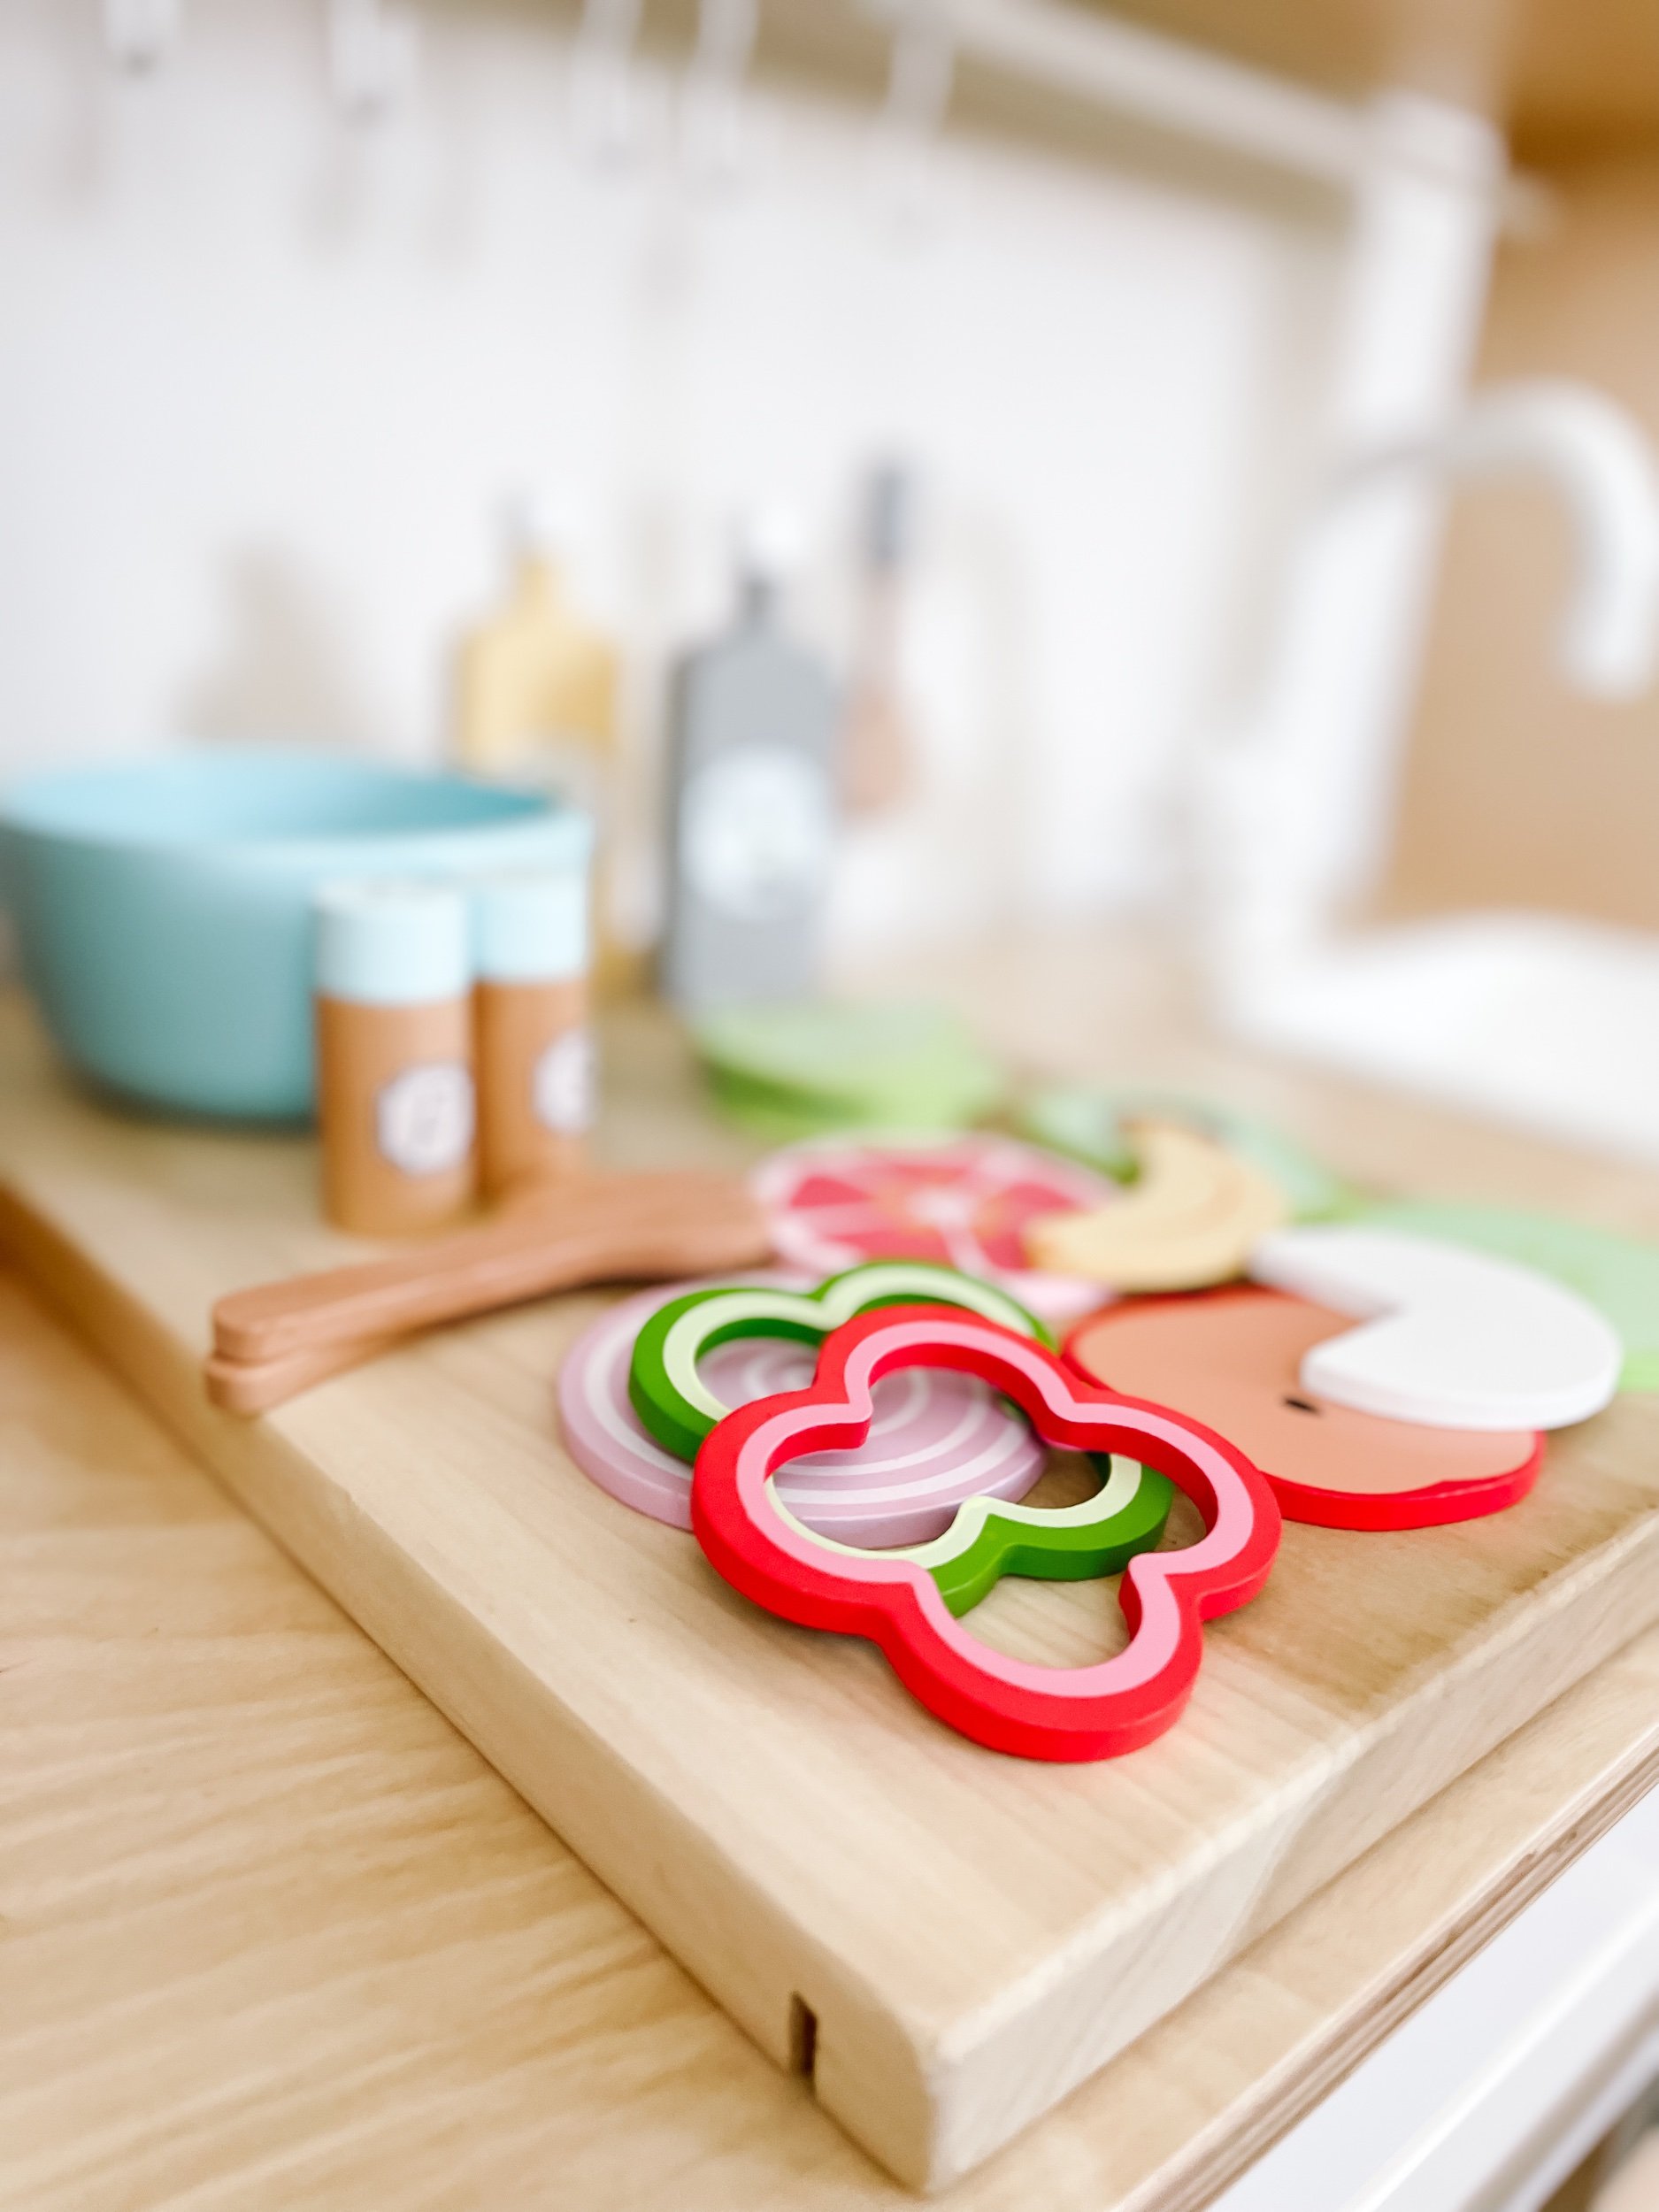
Pretend Salad Play Food

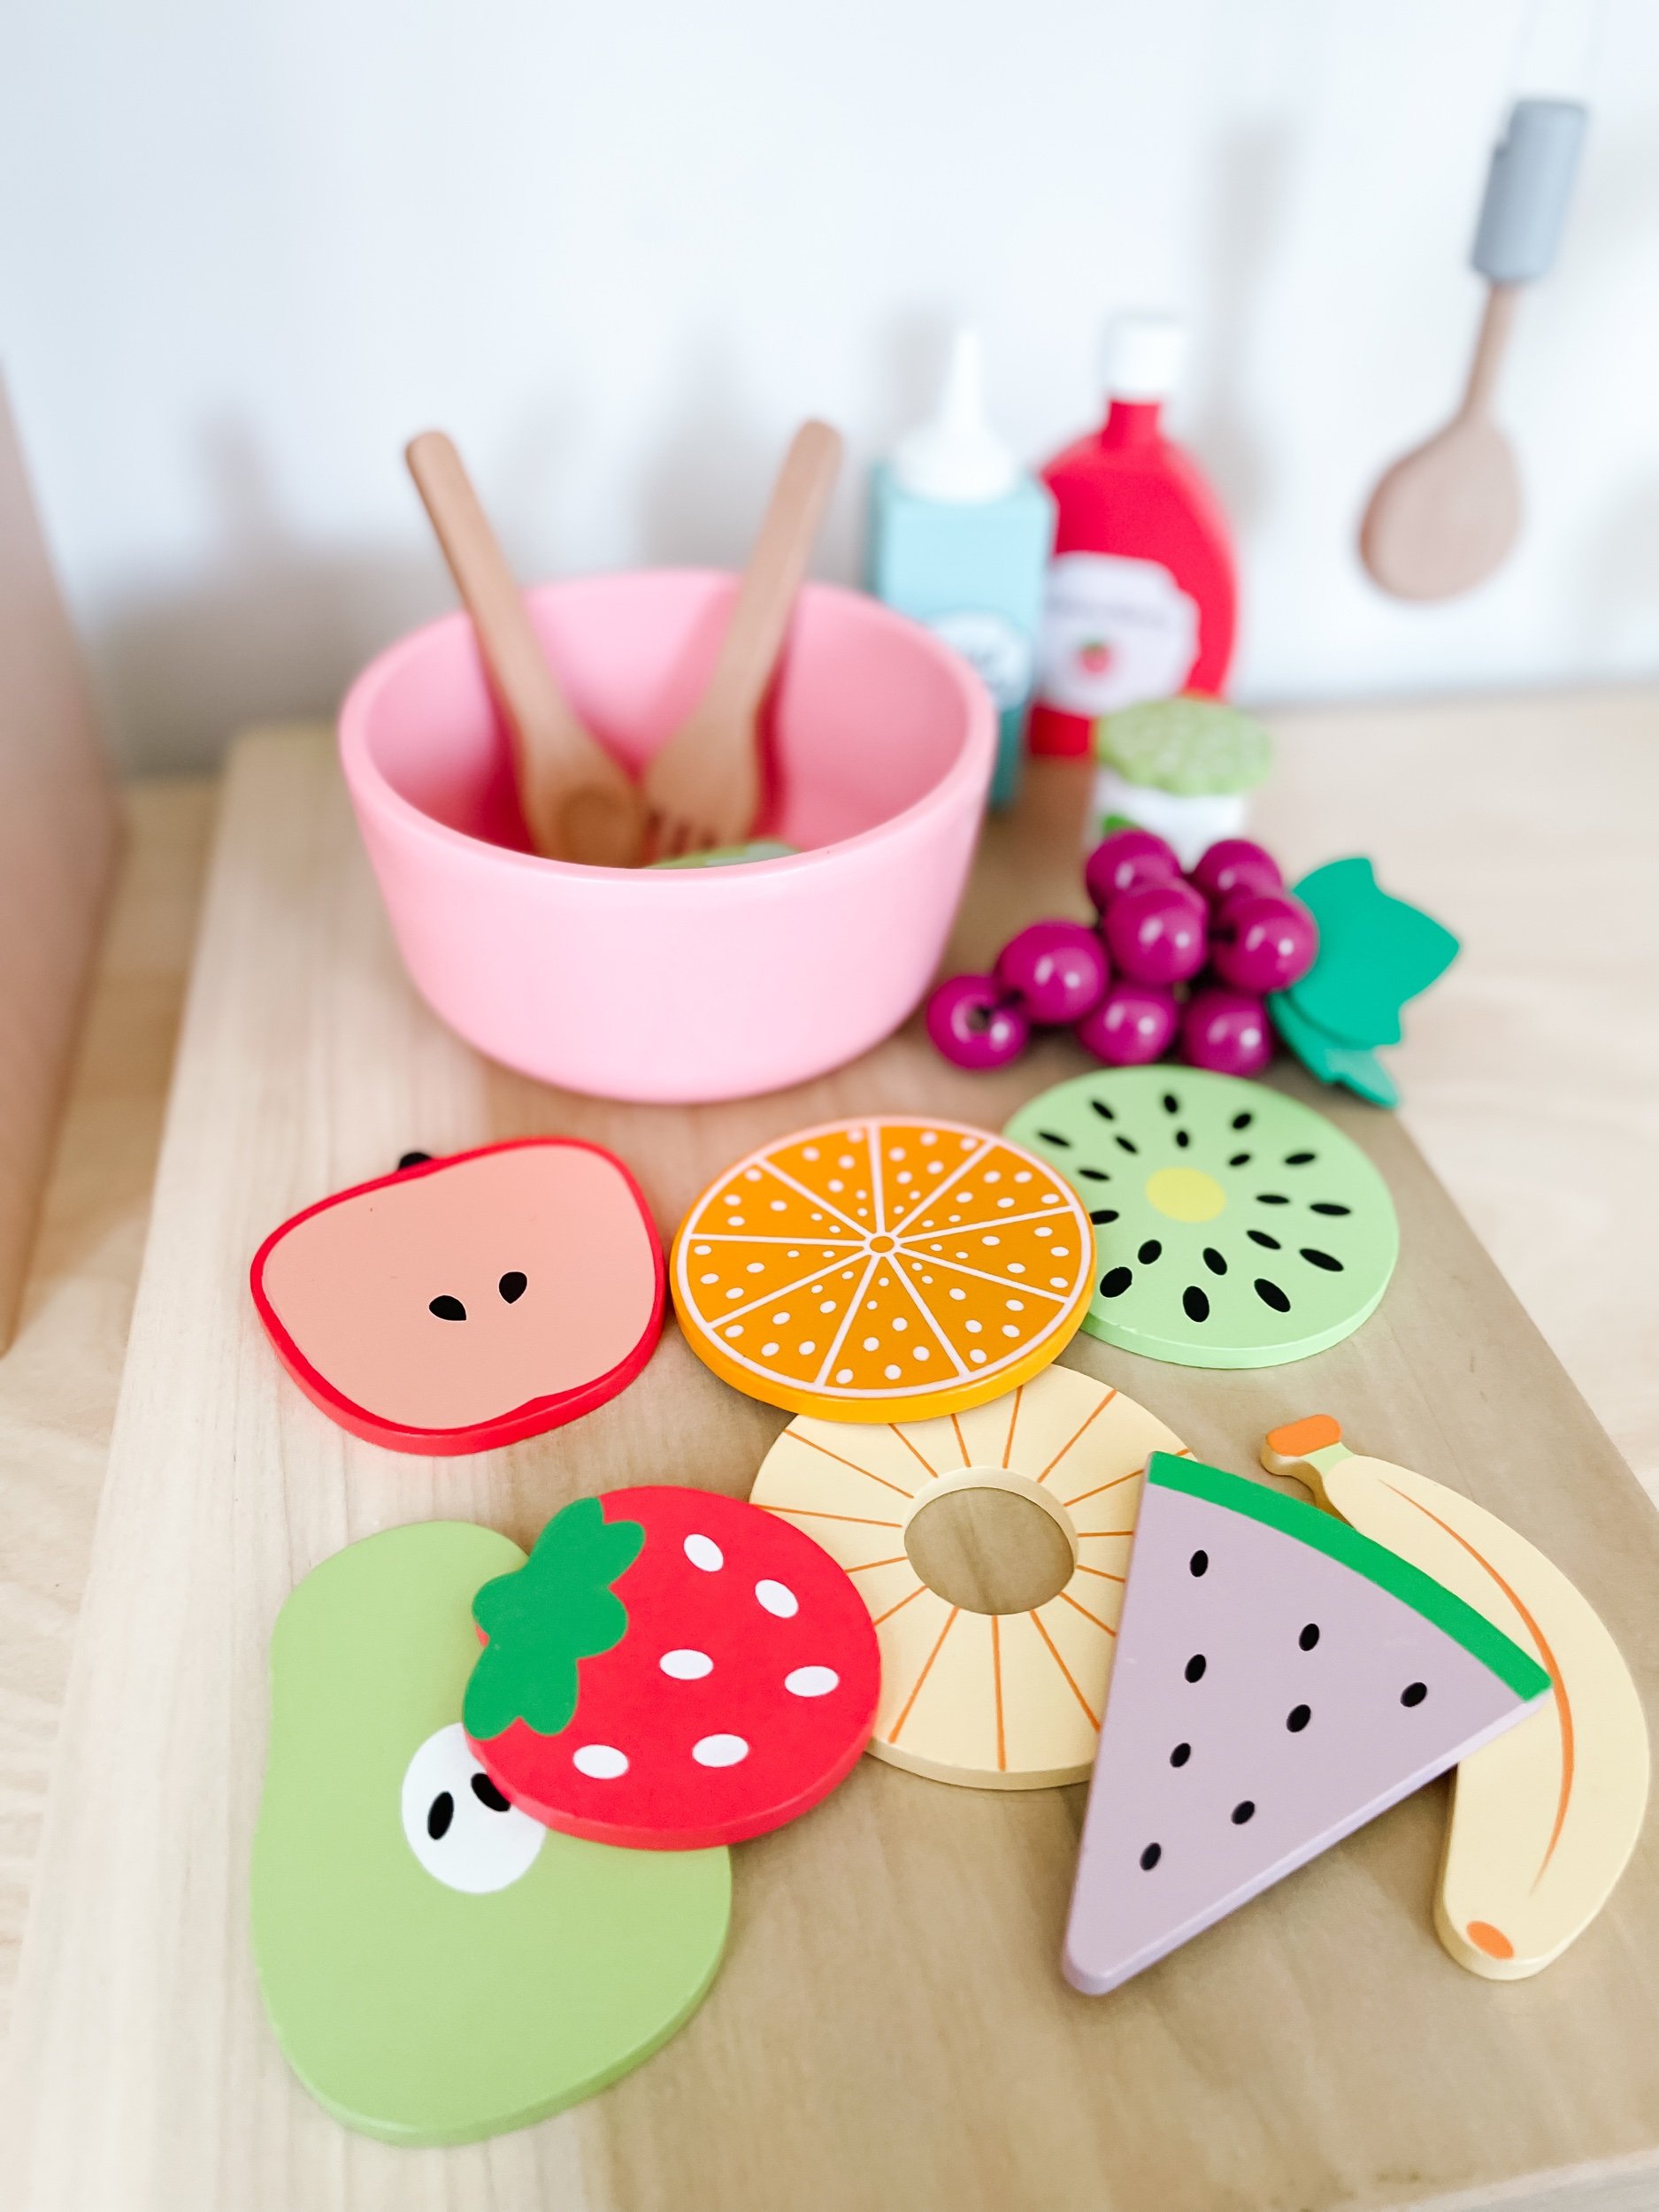
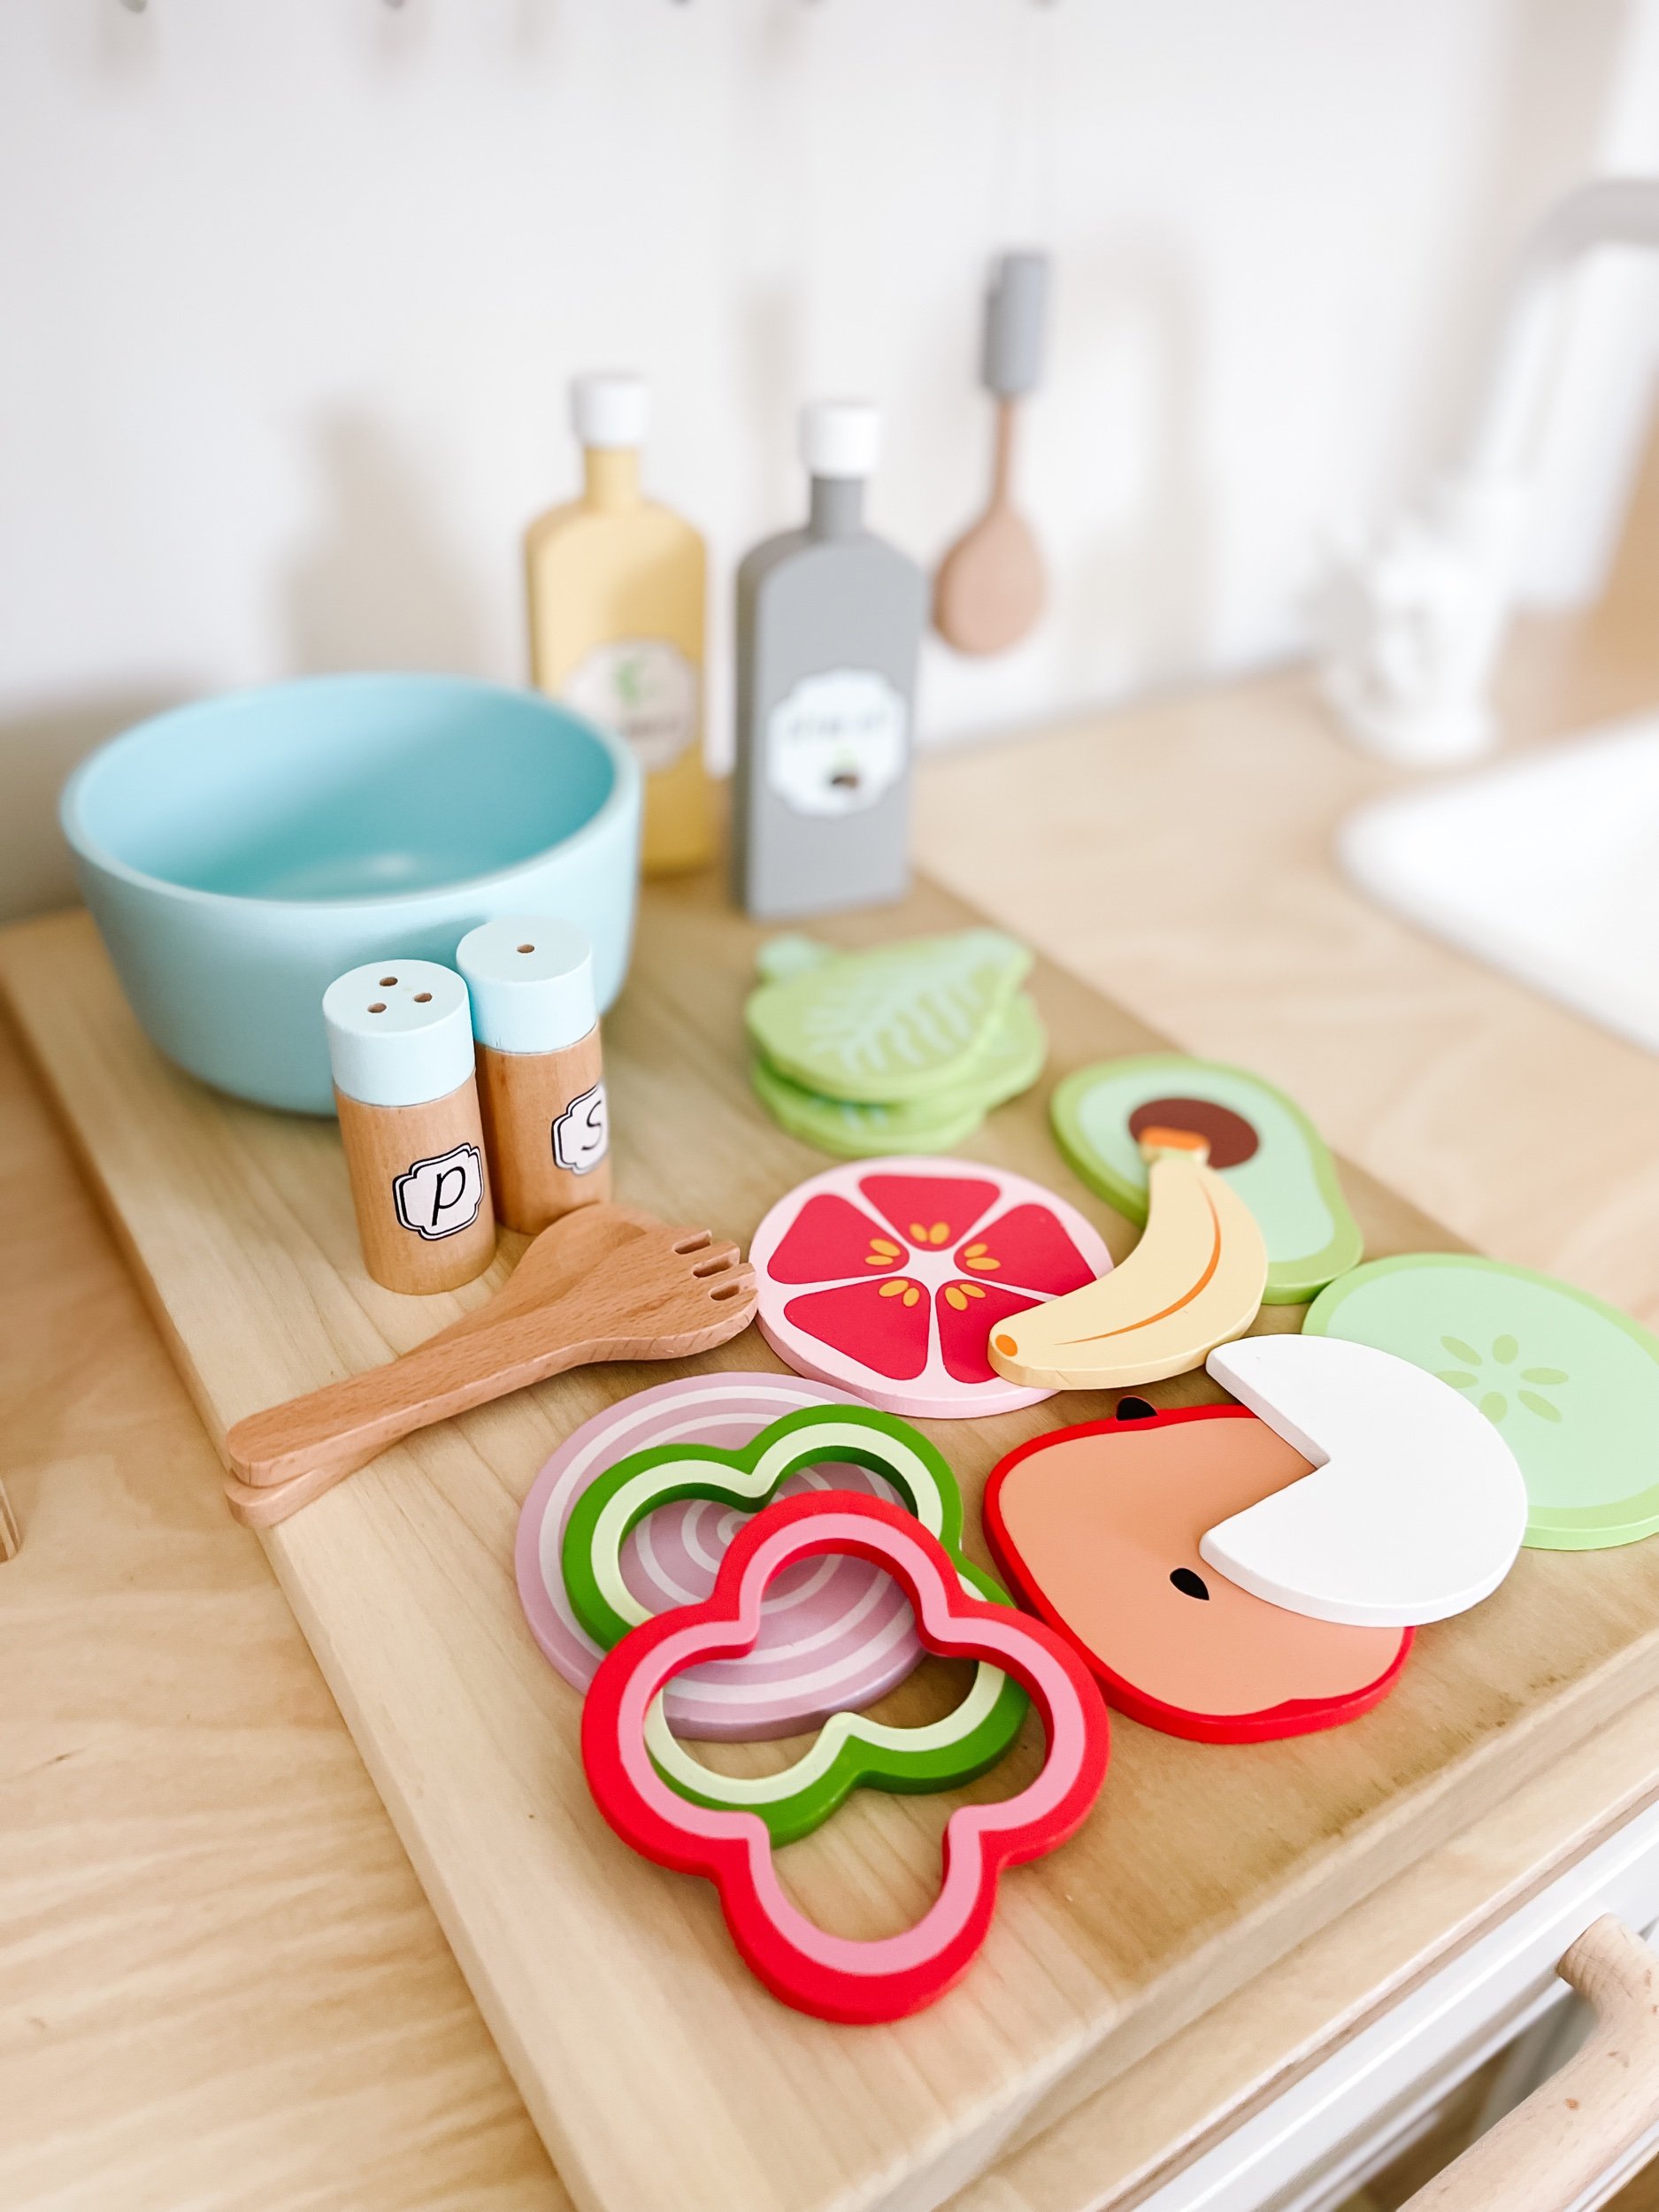
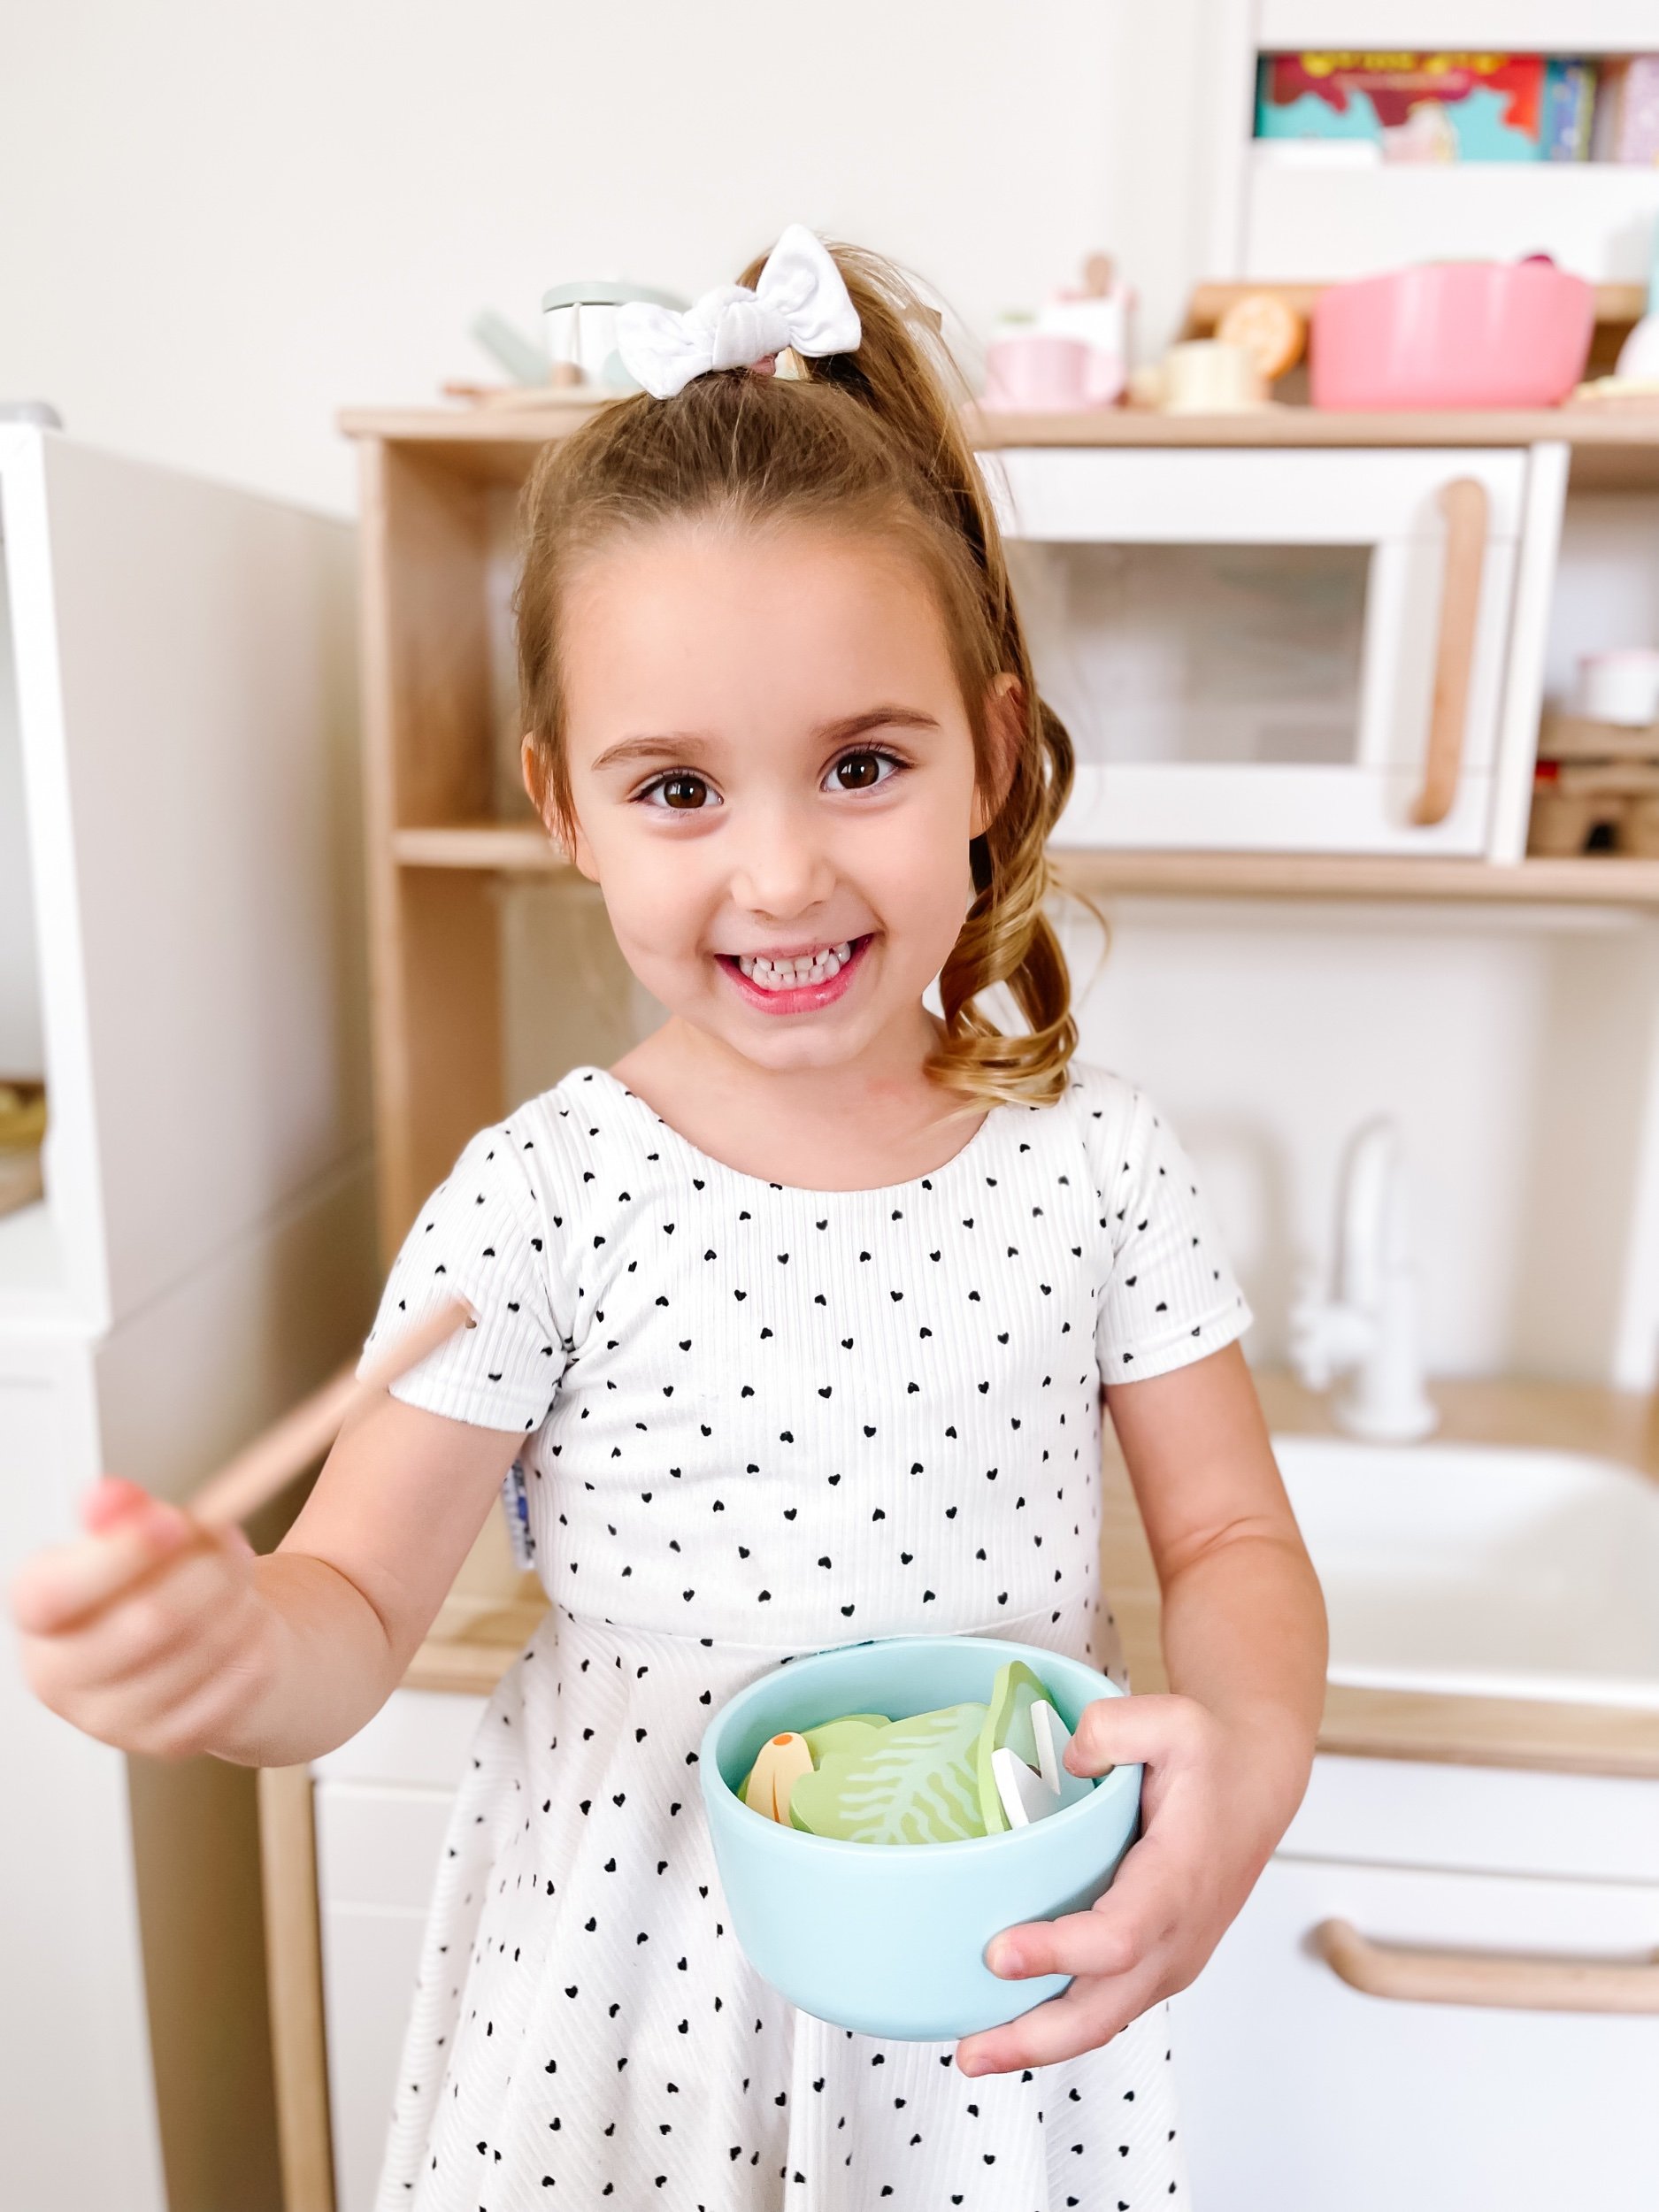
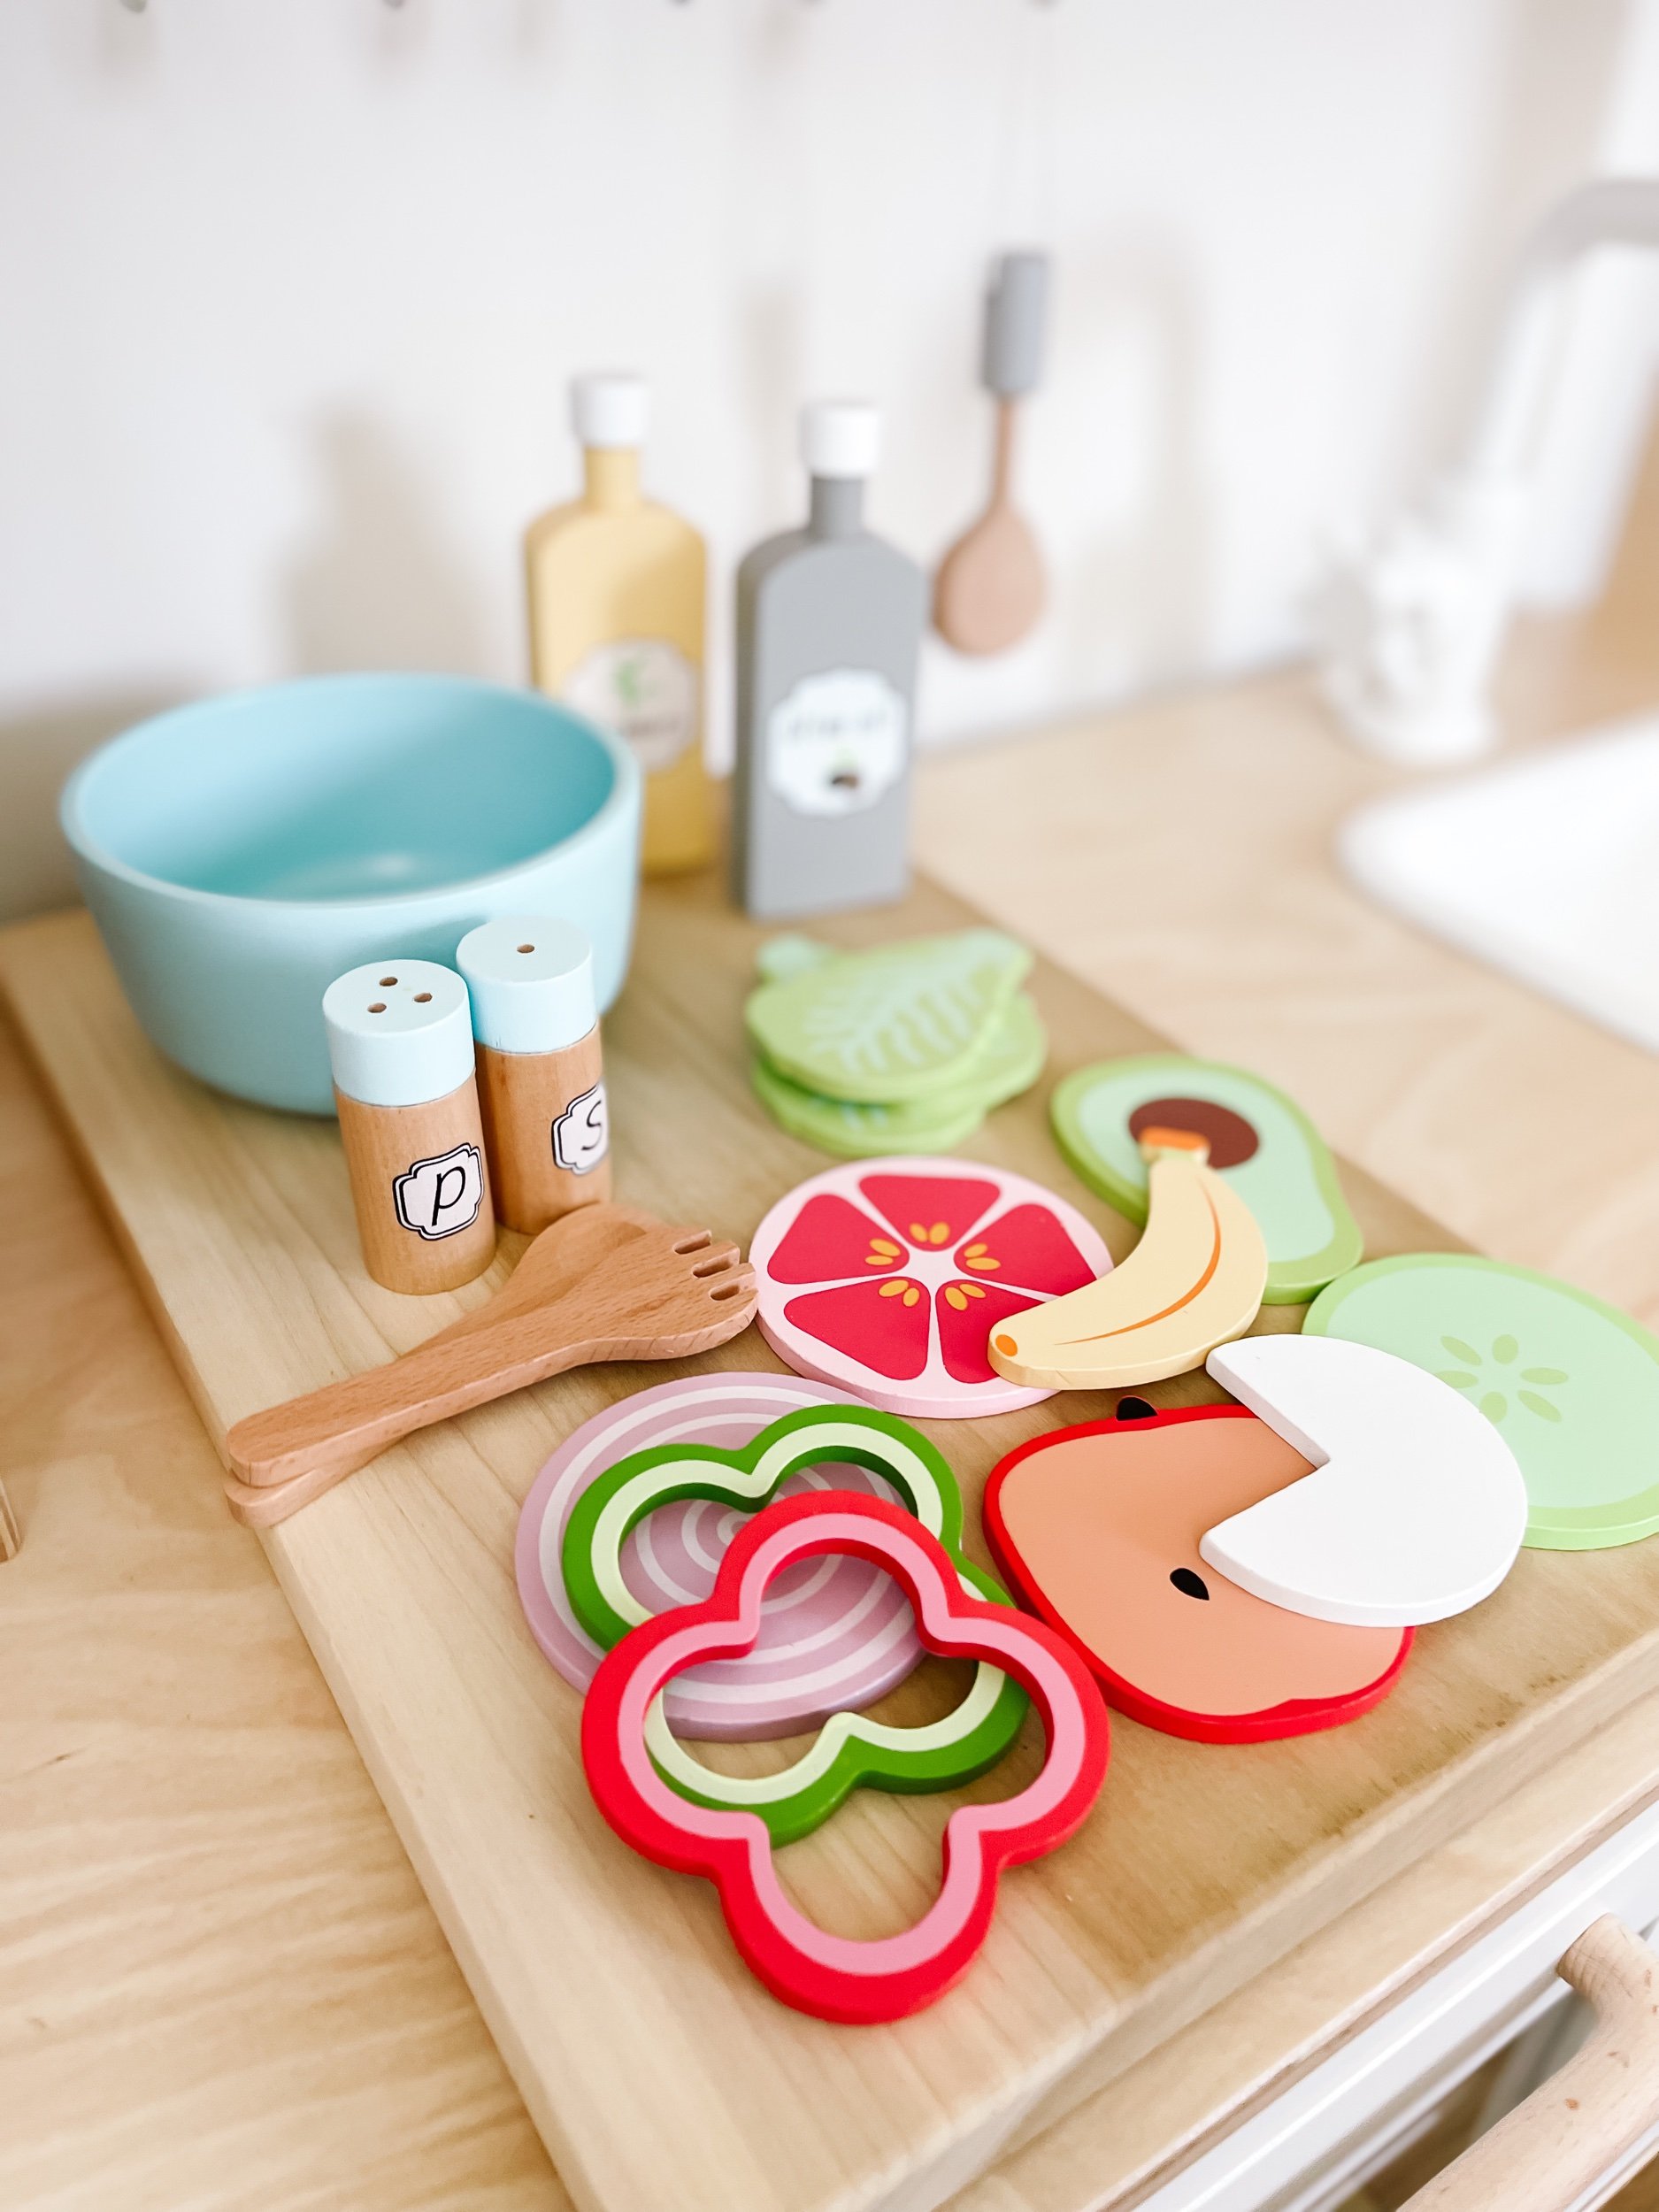
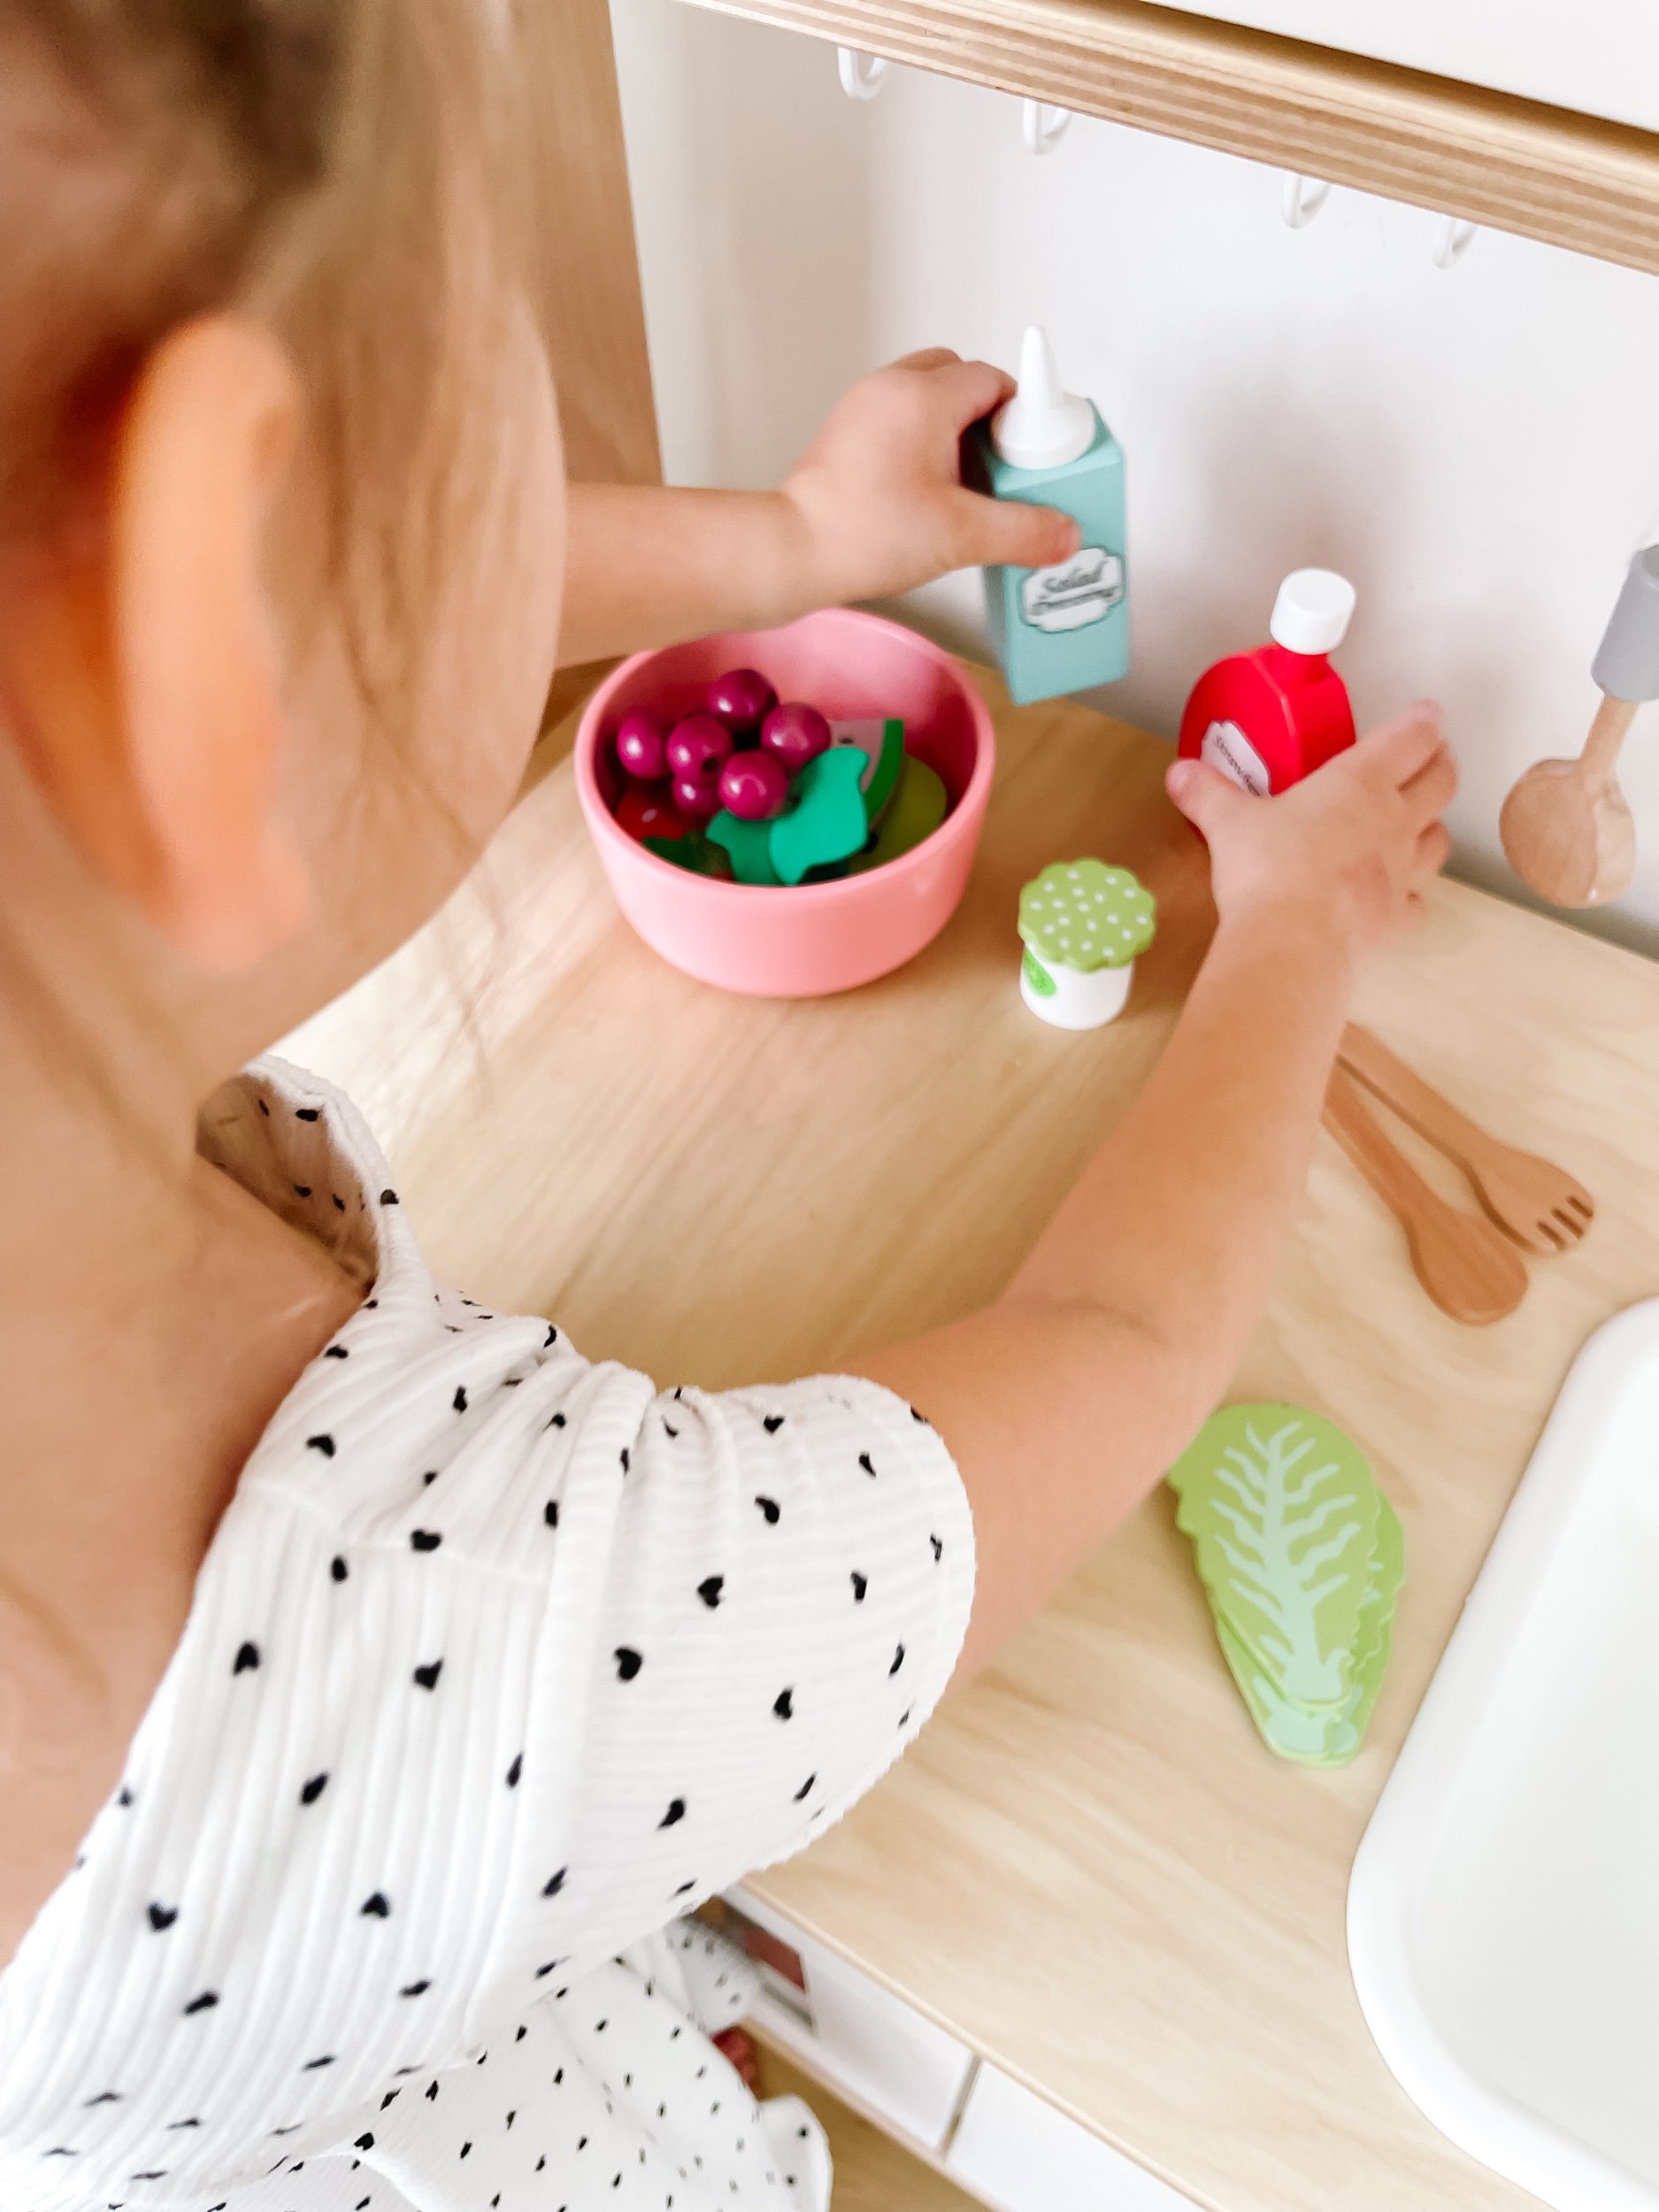
Sofia had a blast mixing up this adorable salad play food set. It sparked so many ideas for her about what flavor combinations would work well together, what the dressings would taste like and should she be adding salt and pepper? It was so much fun to watch her eyes light up and she mixed it together. I love this play food set because it has such soft and beautiful pastel colors and the food pieces all lay nice and flat in the bowl.

IMG_5056.jpeg IMG_5062_jpg.jpeg IMG_5072_jpg.jpeg IMG_5057_jpg.jpeg IMG_5058.jpeg IMG_5064.jpeg

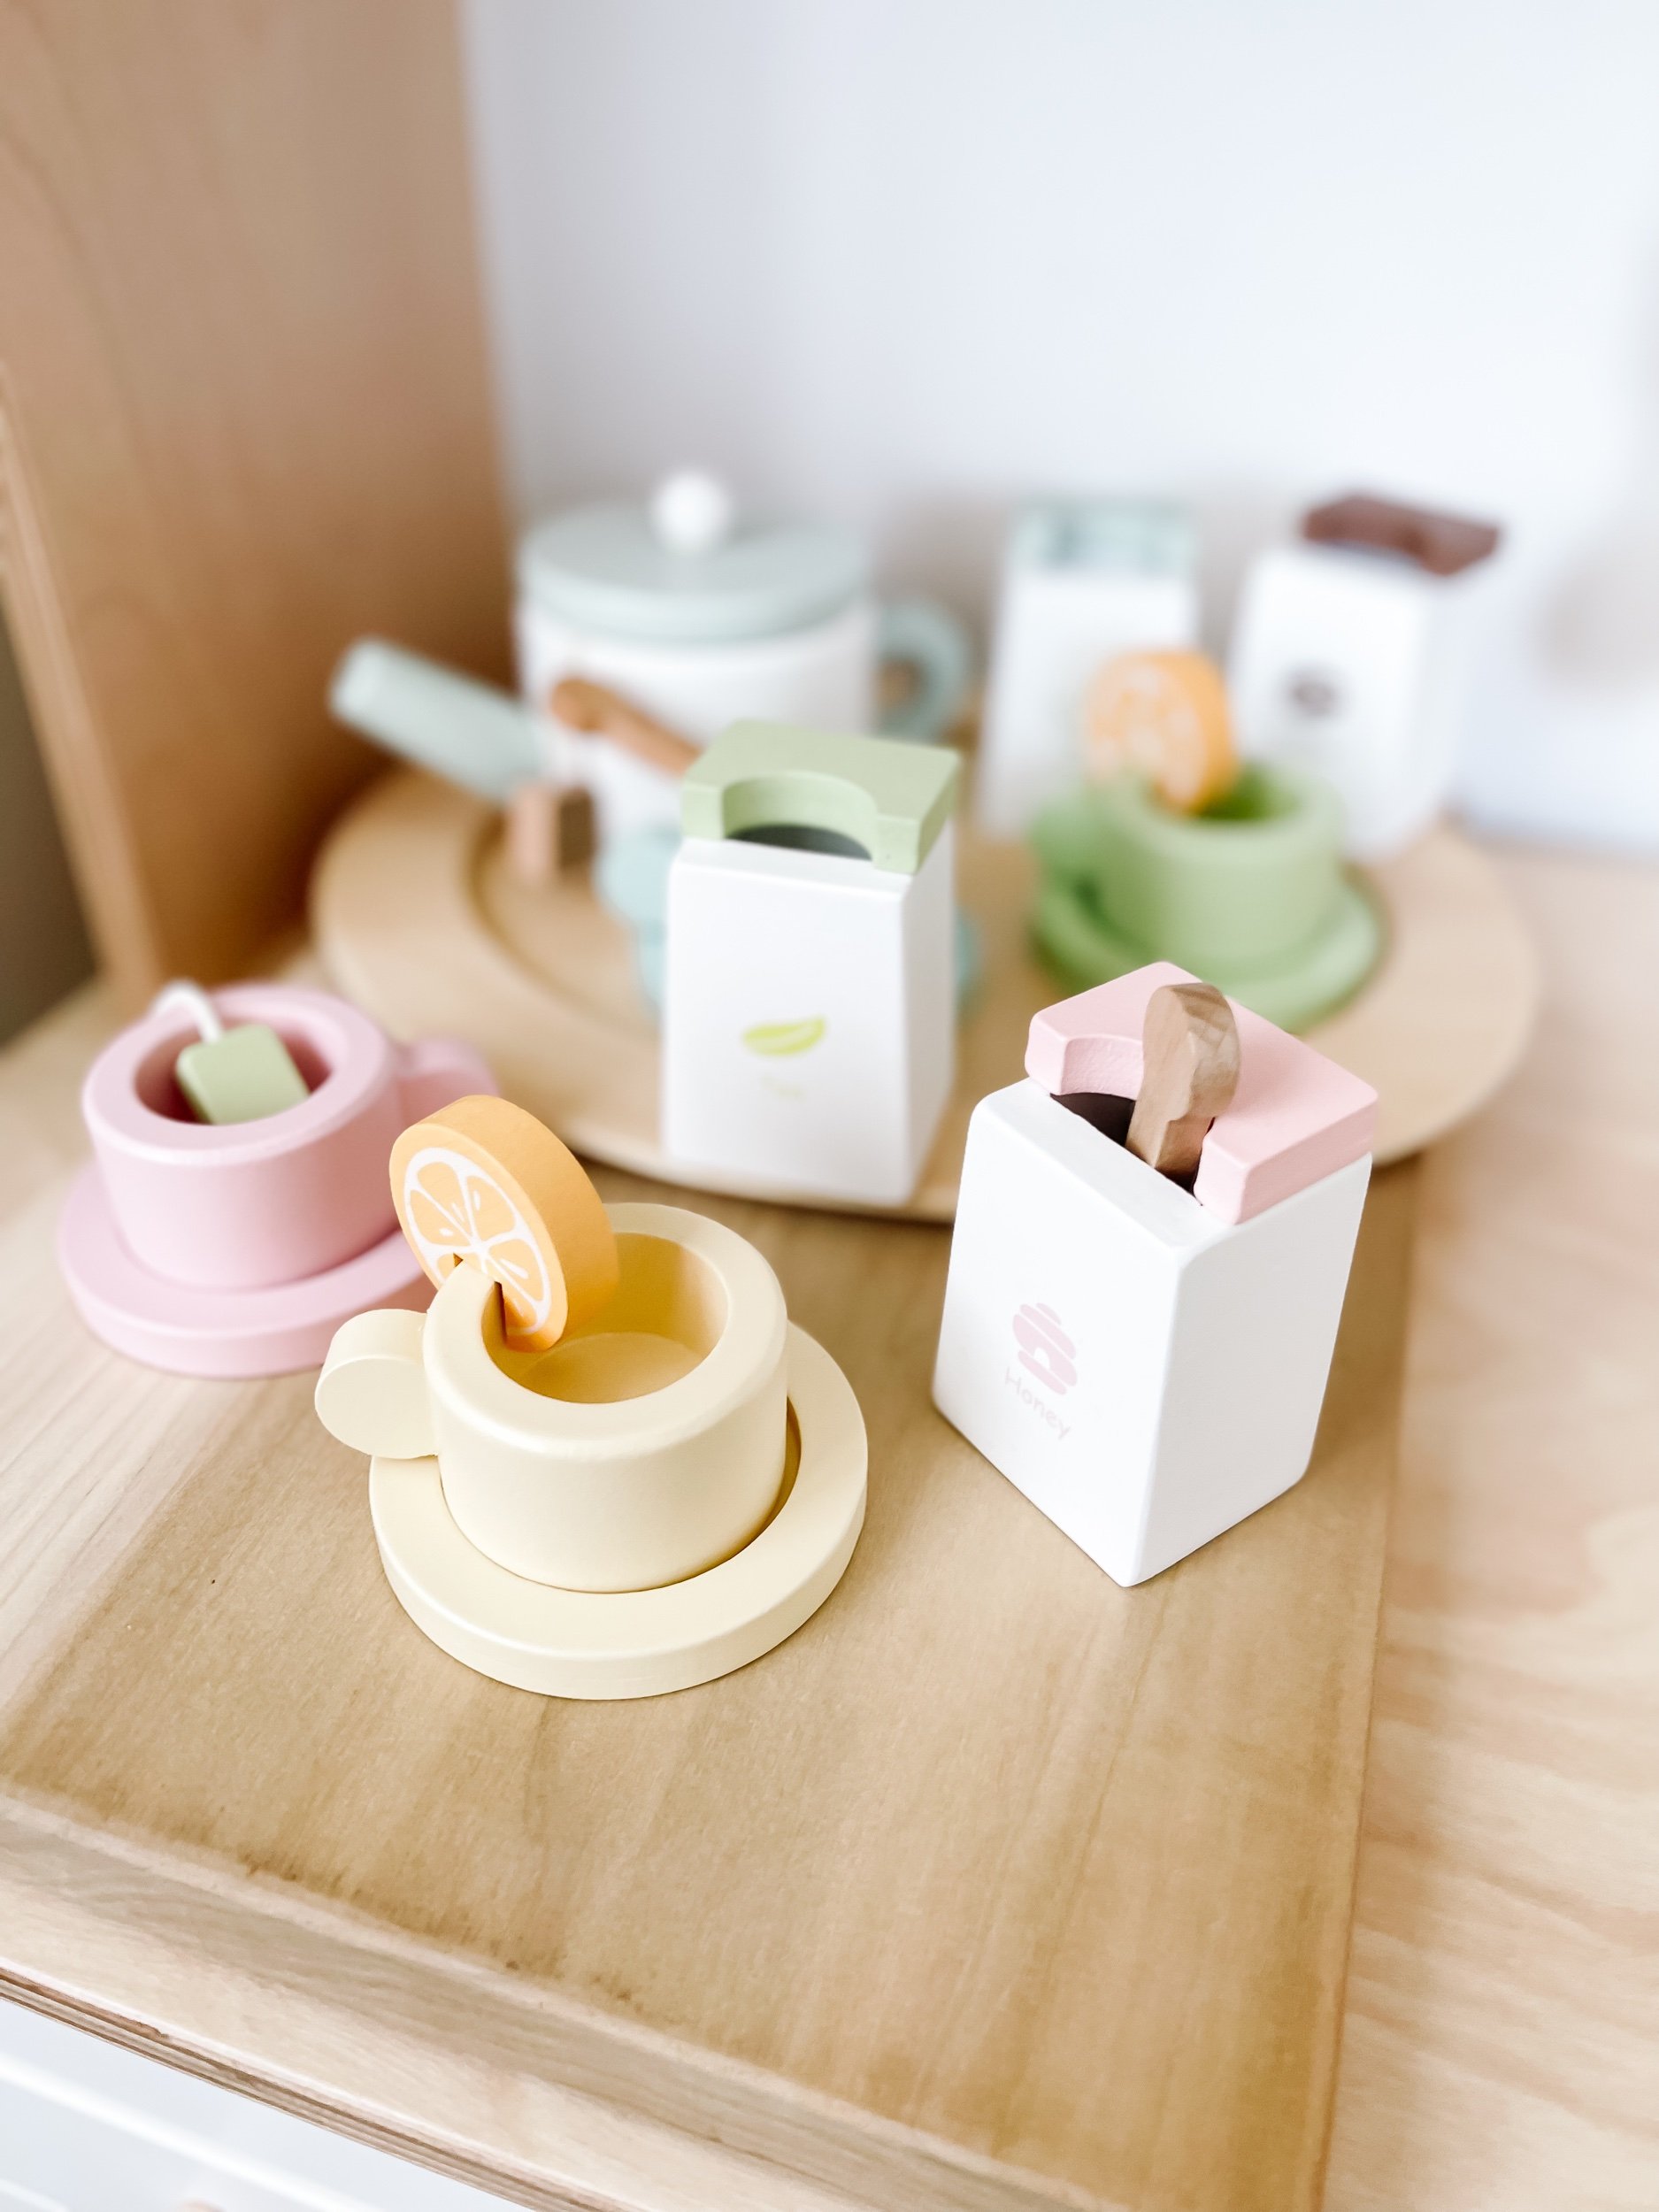
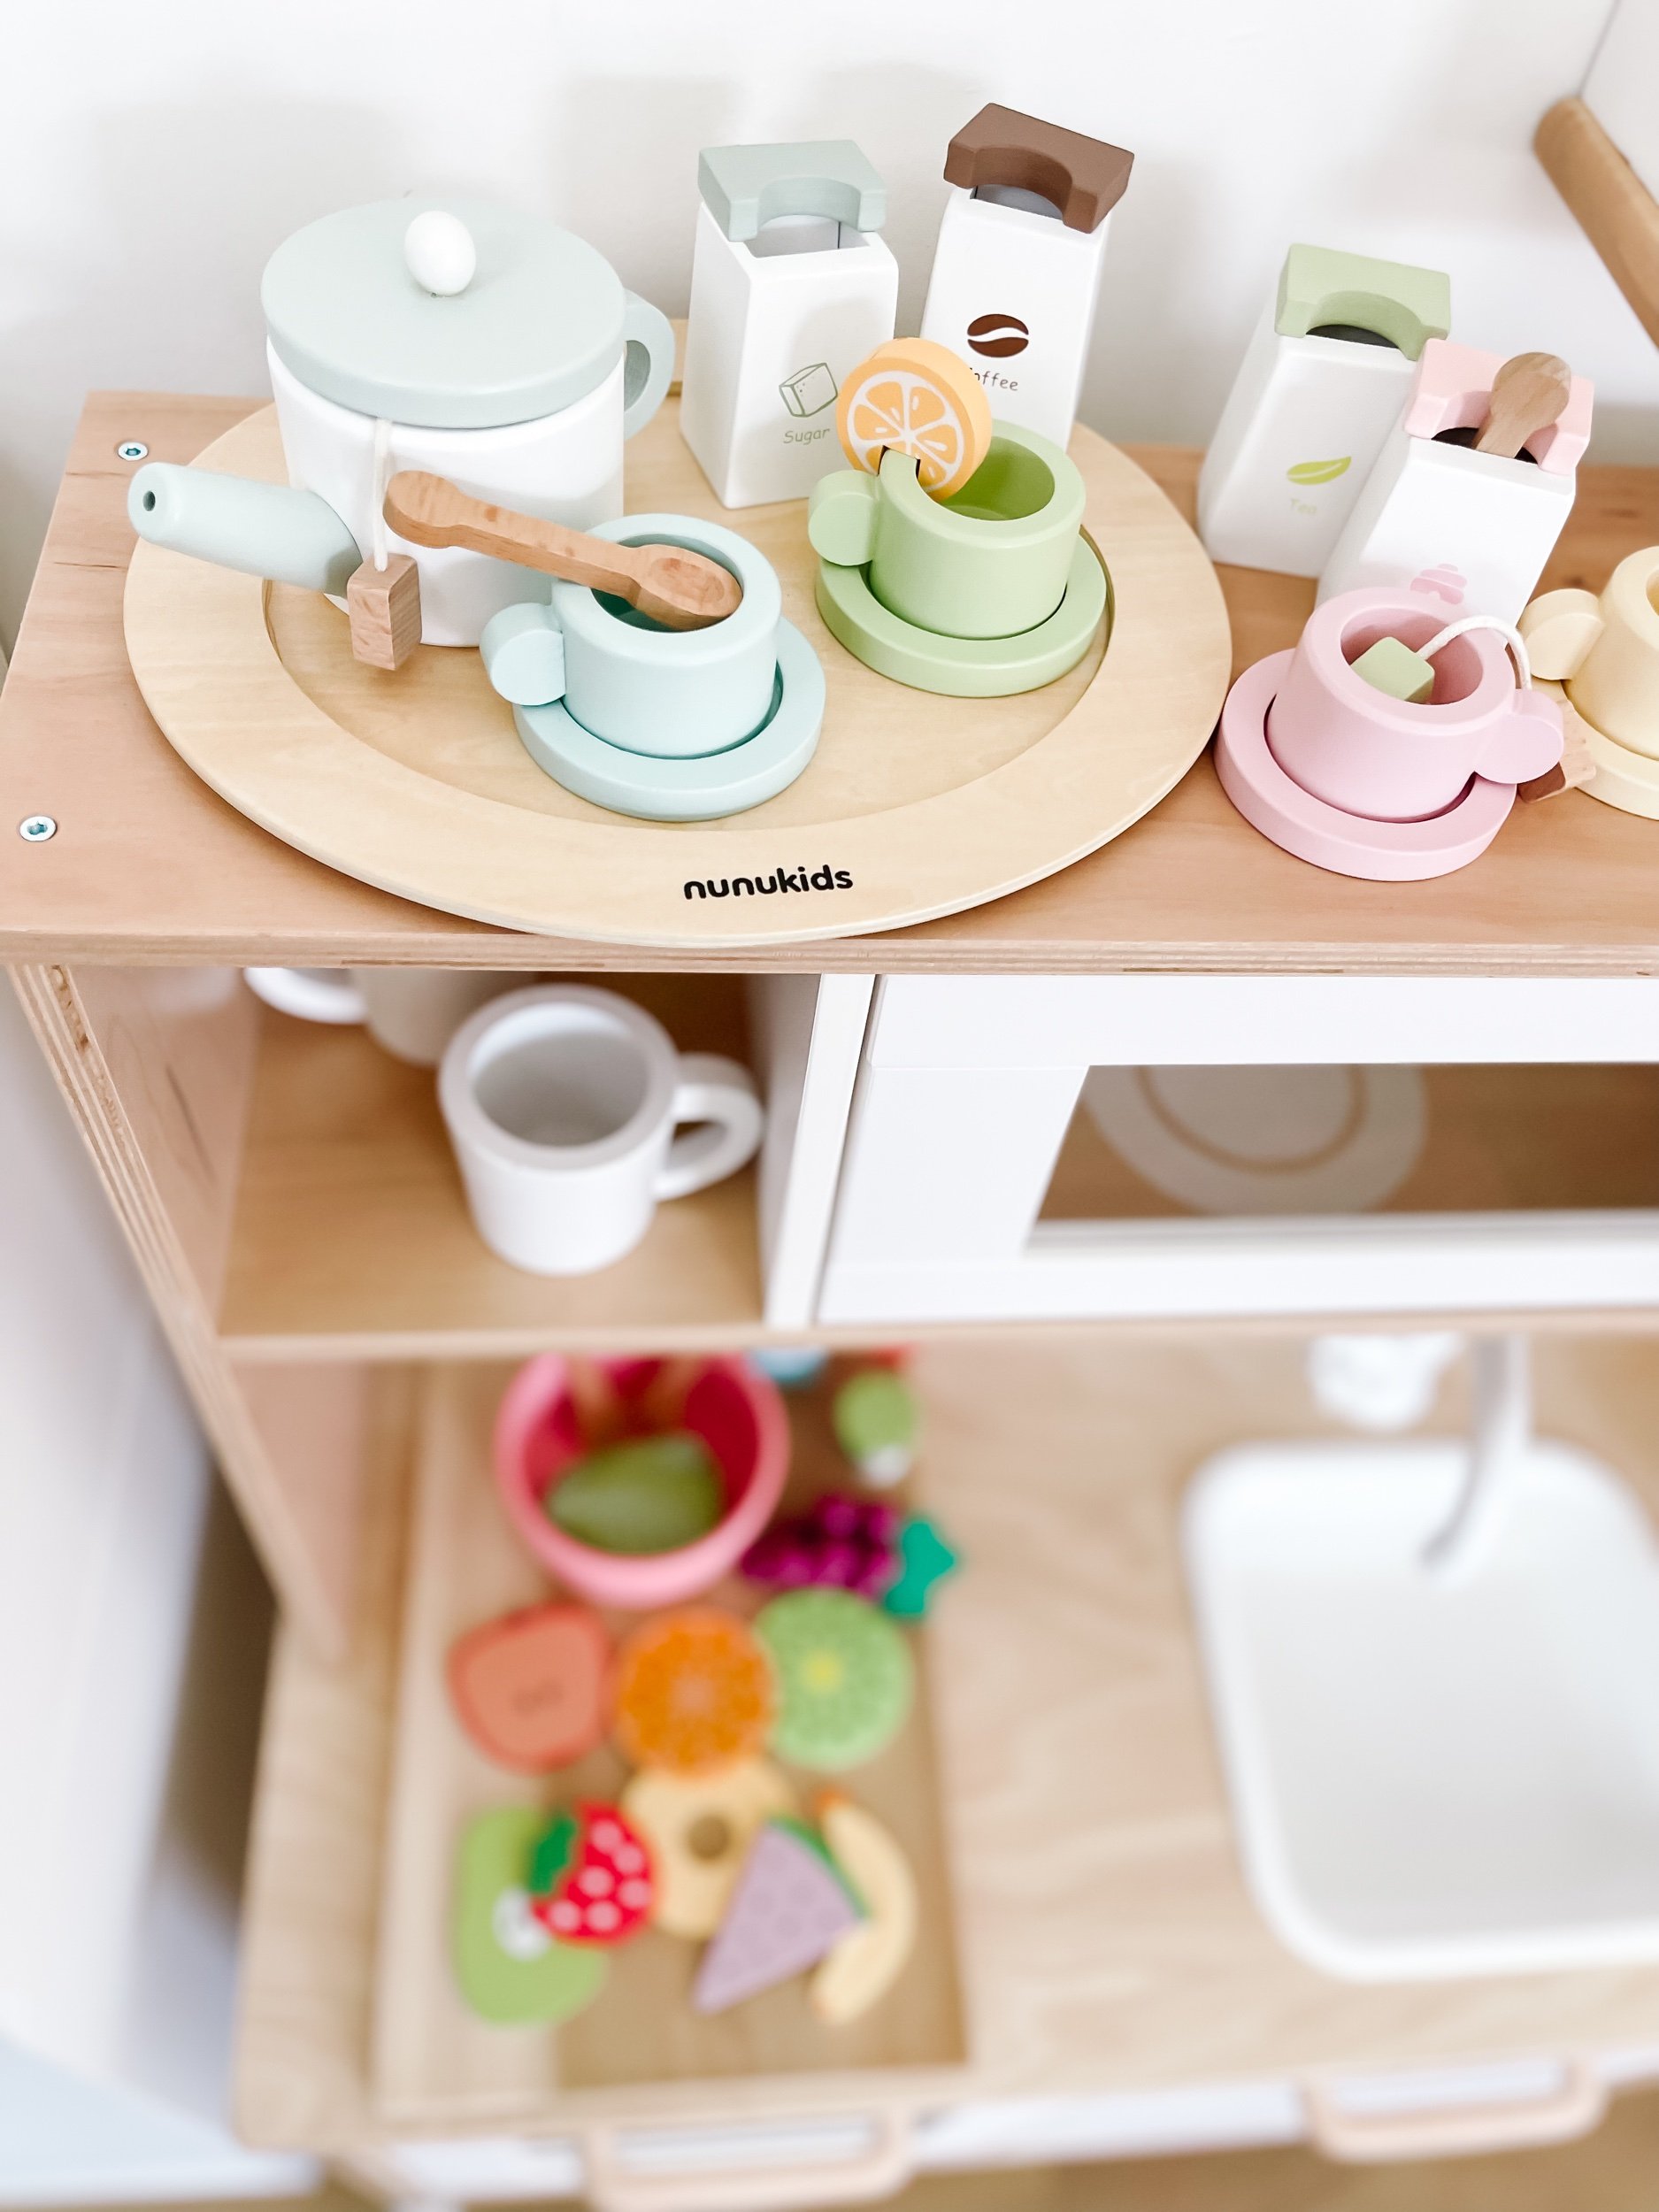
Time for a tea party

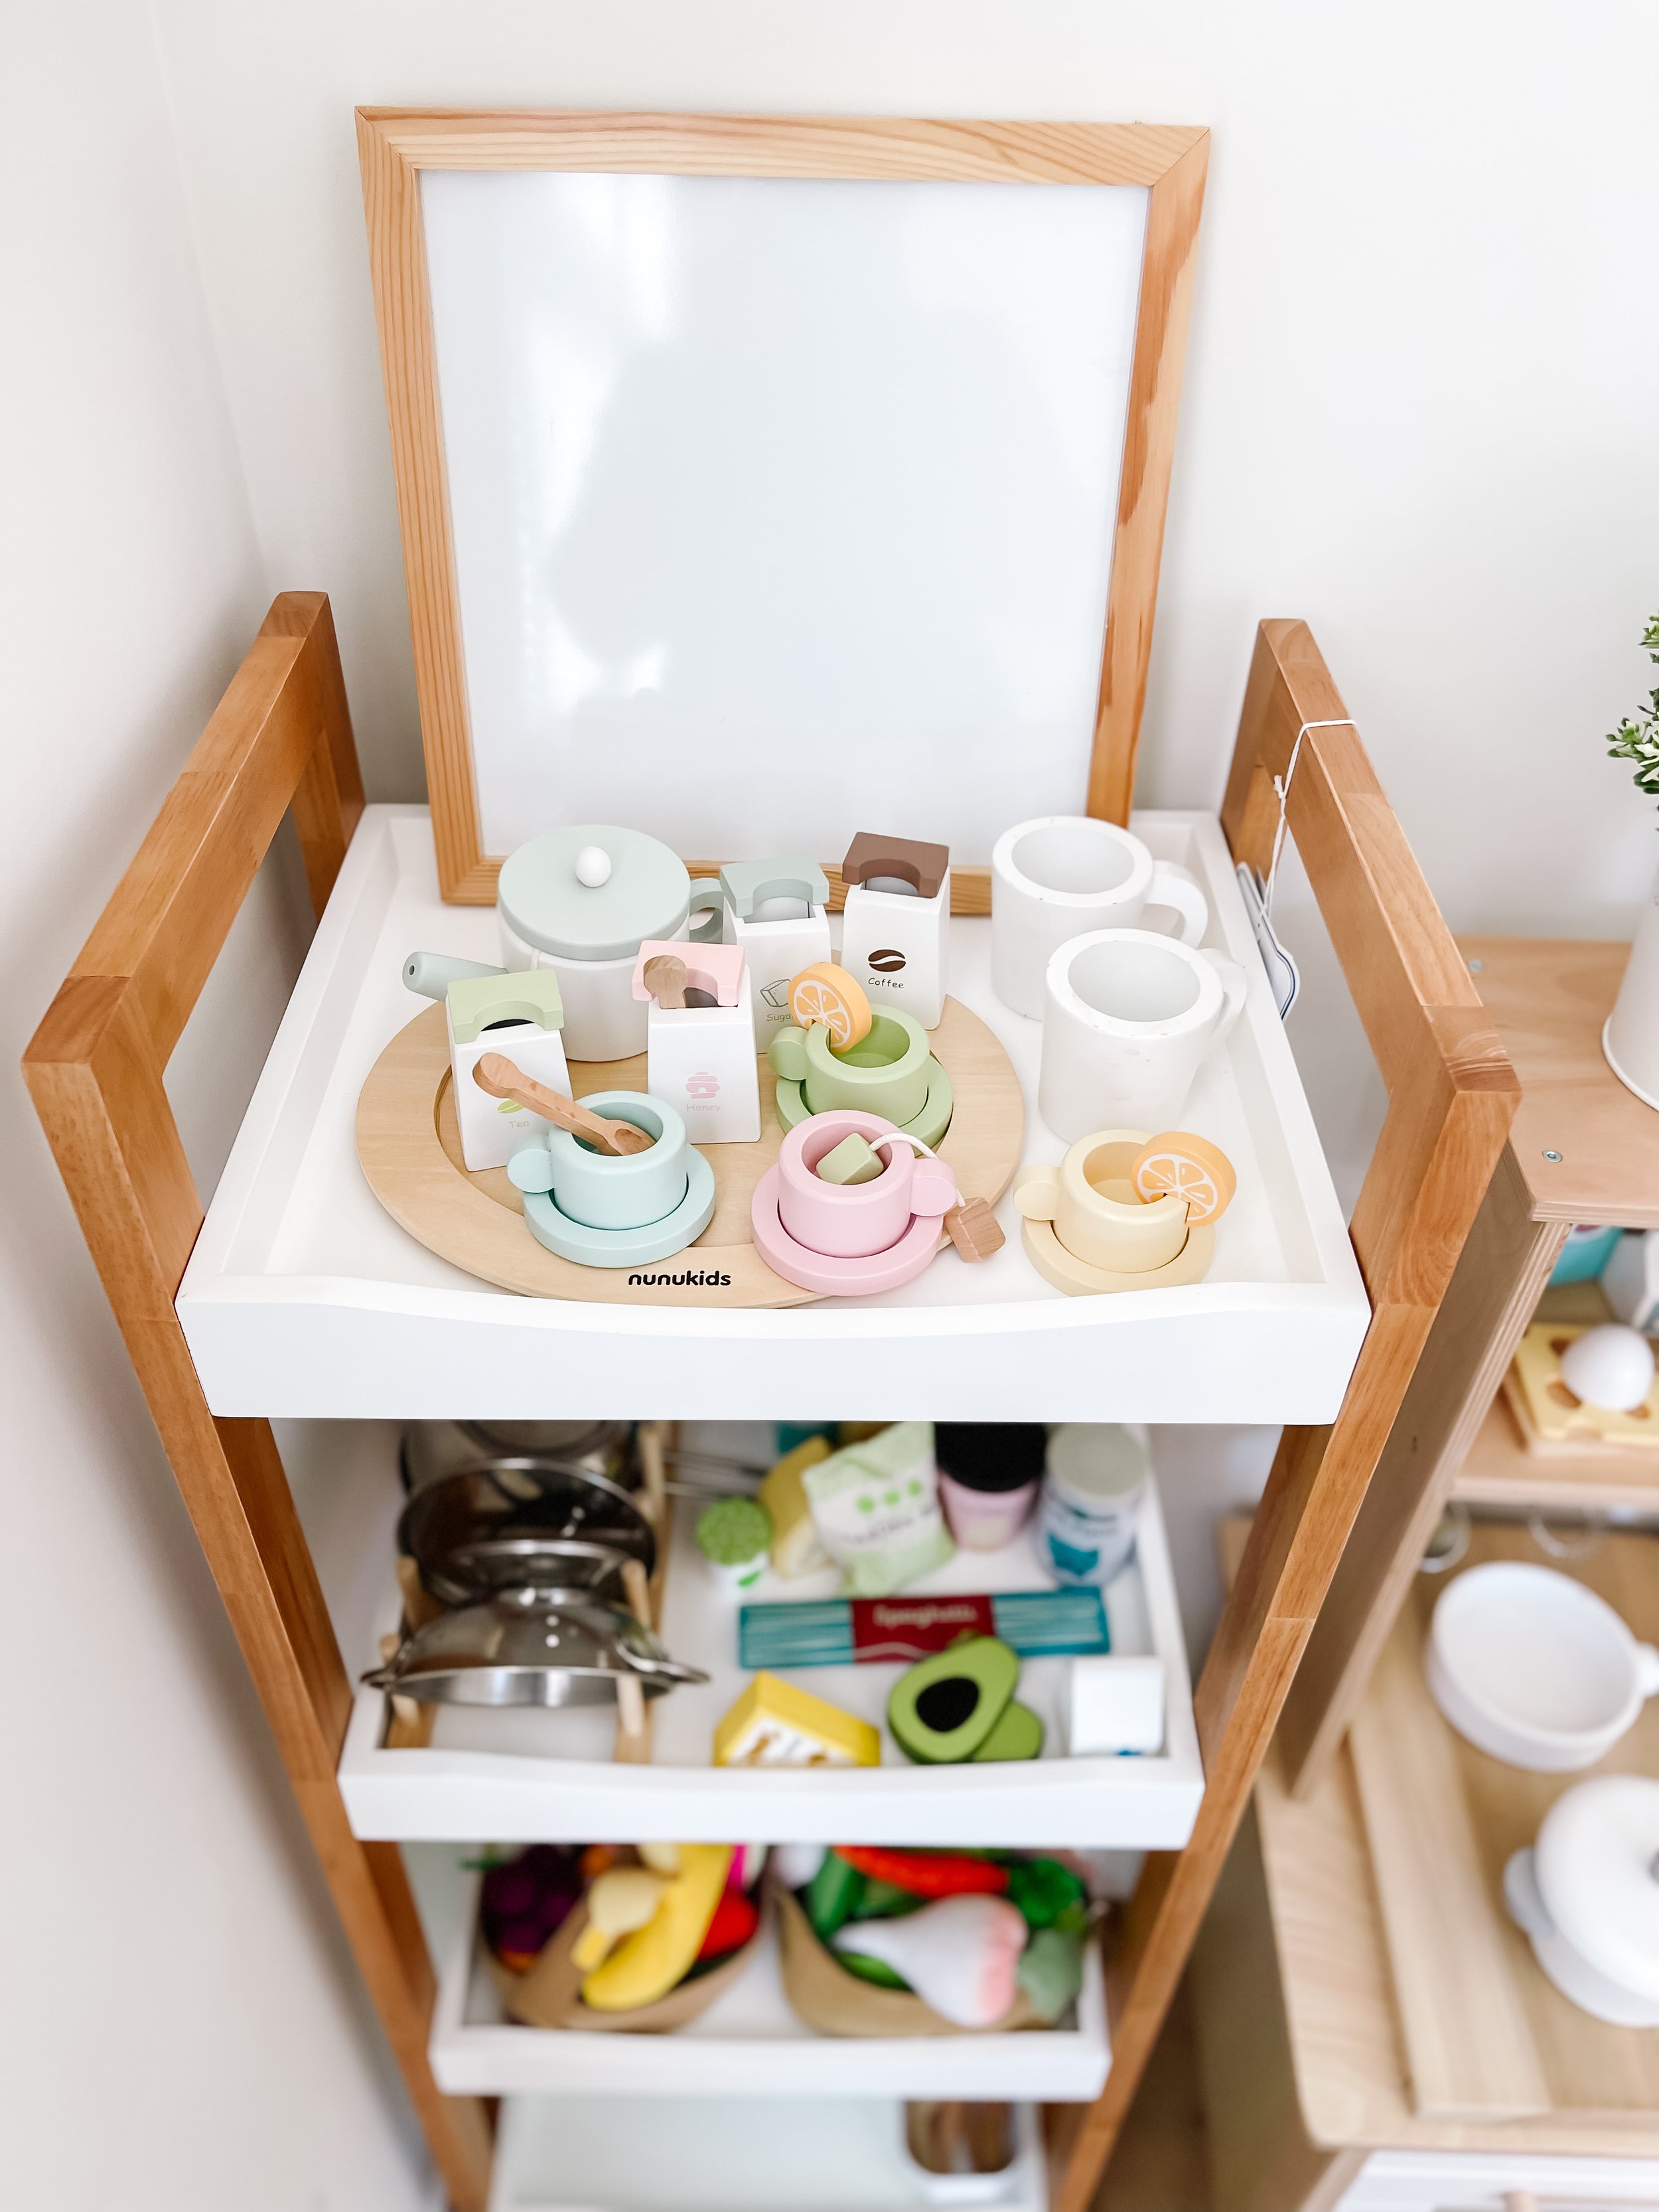
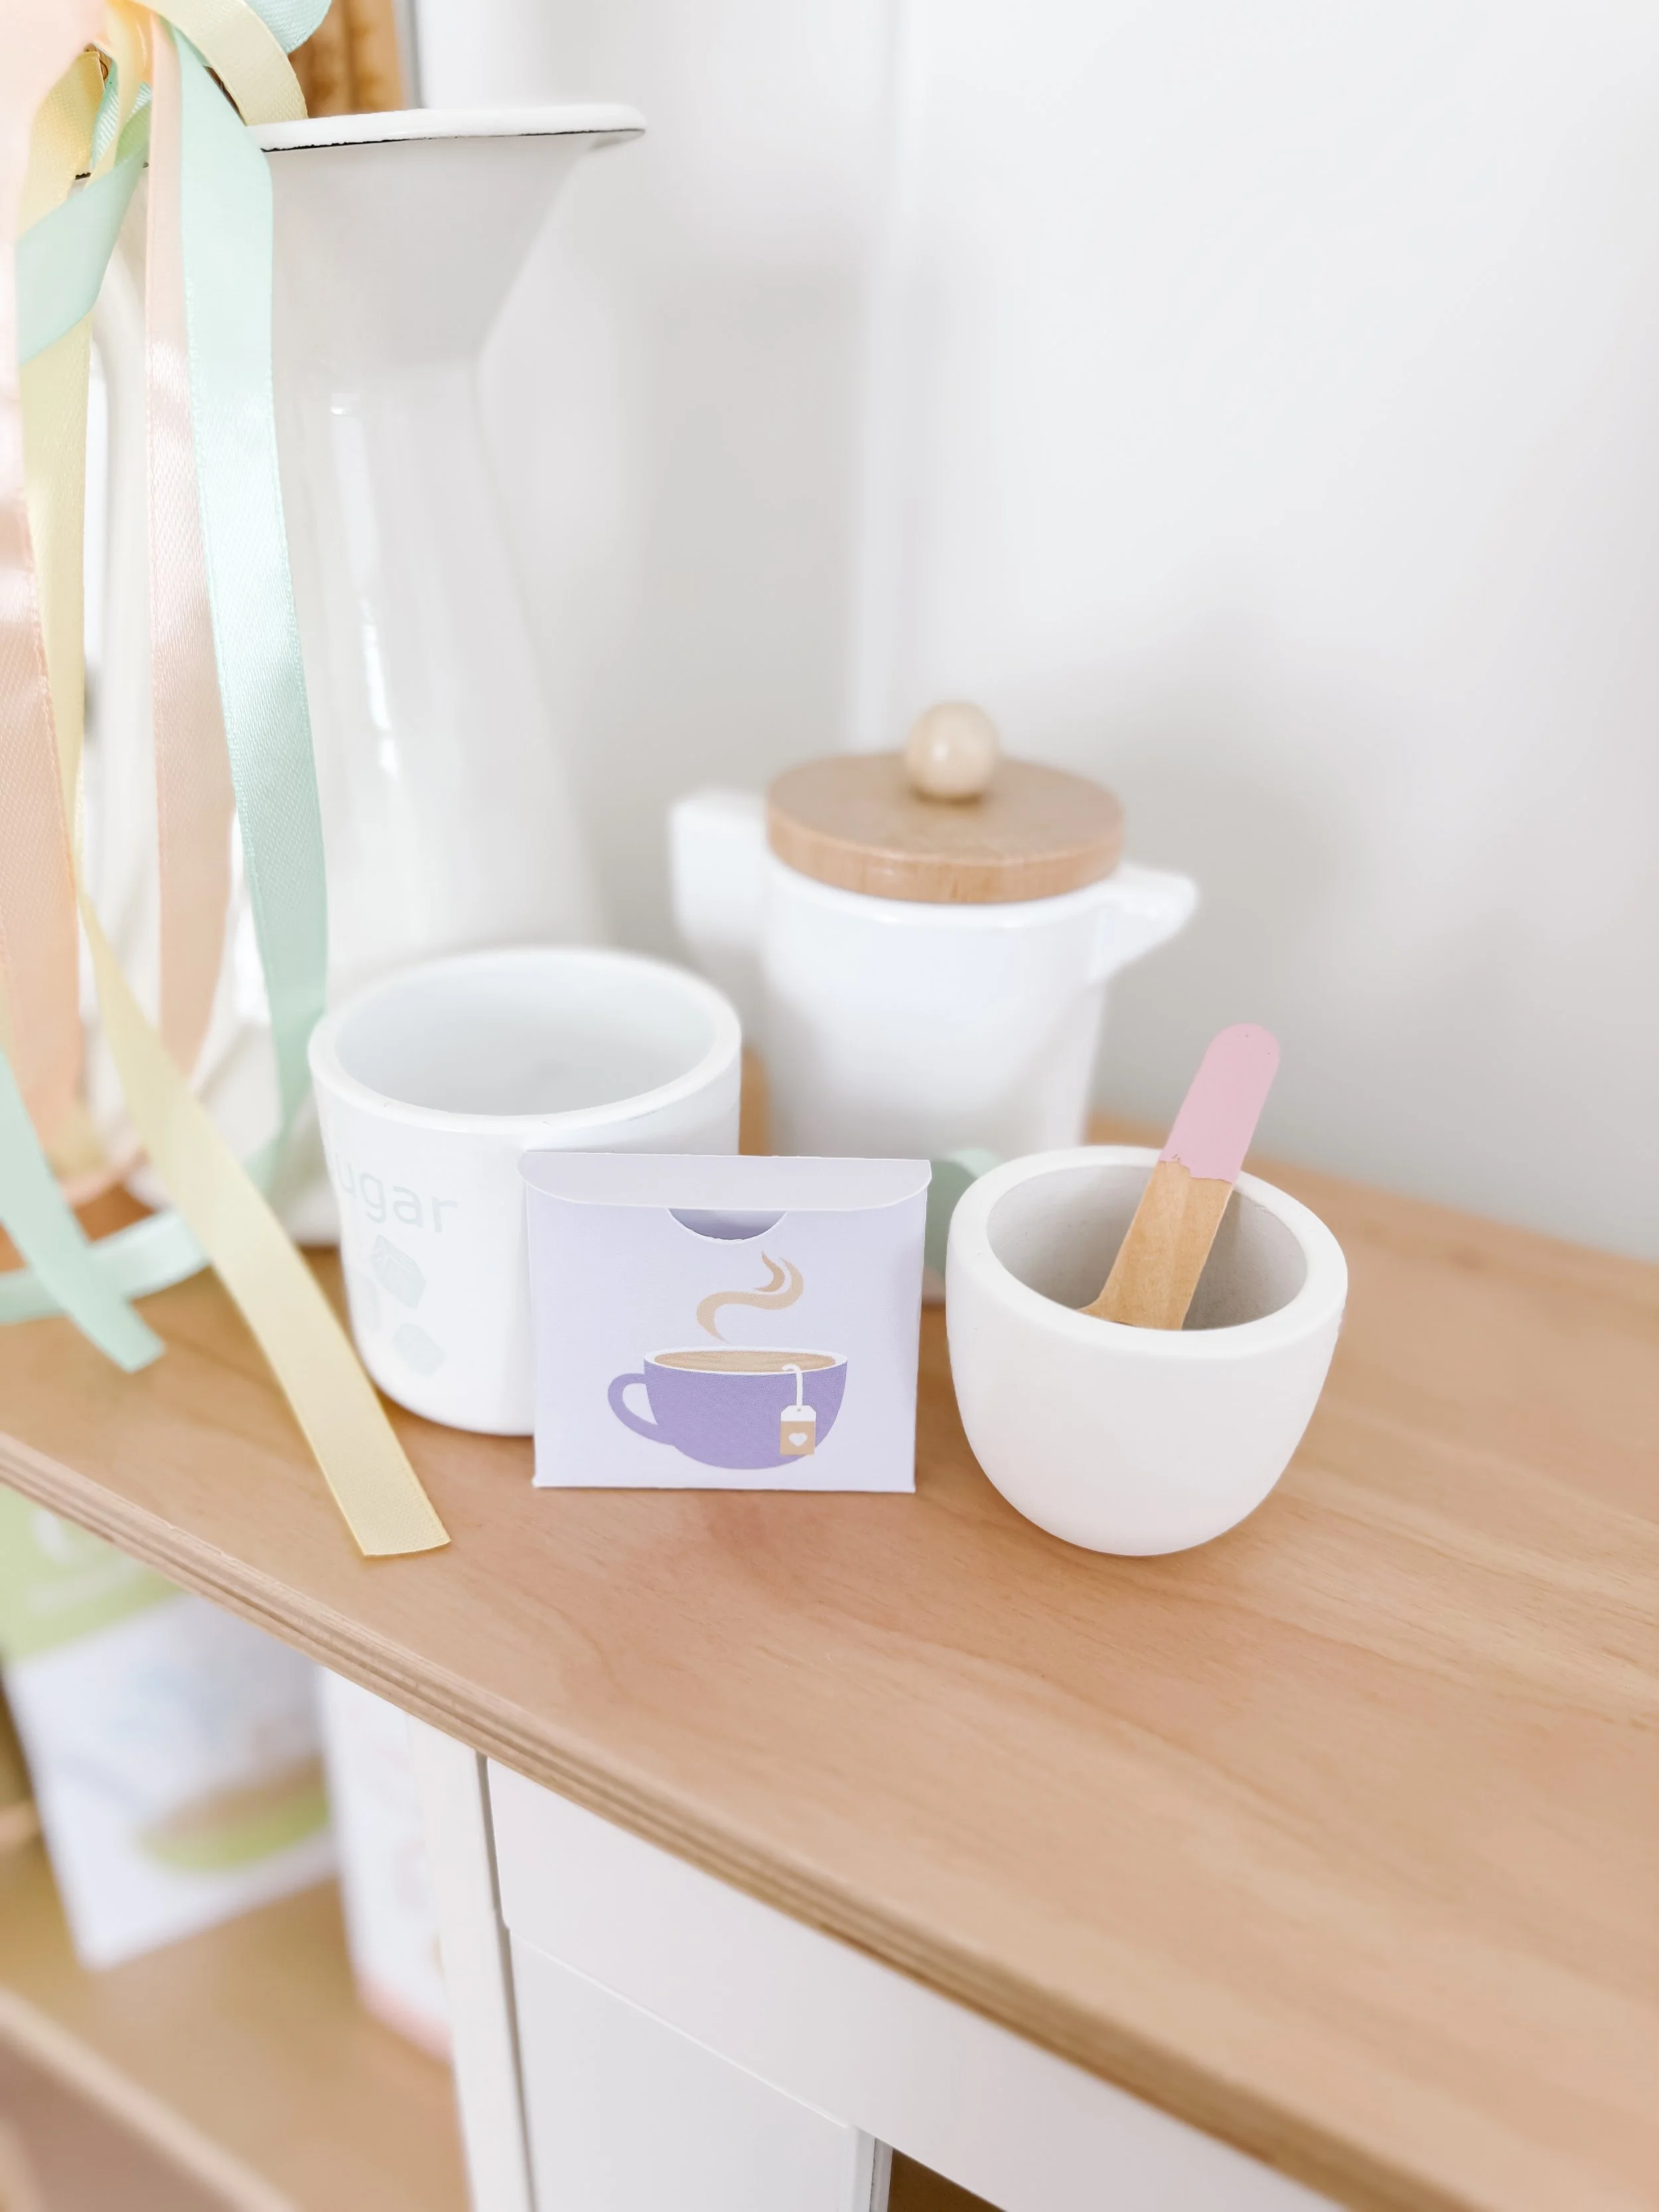
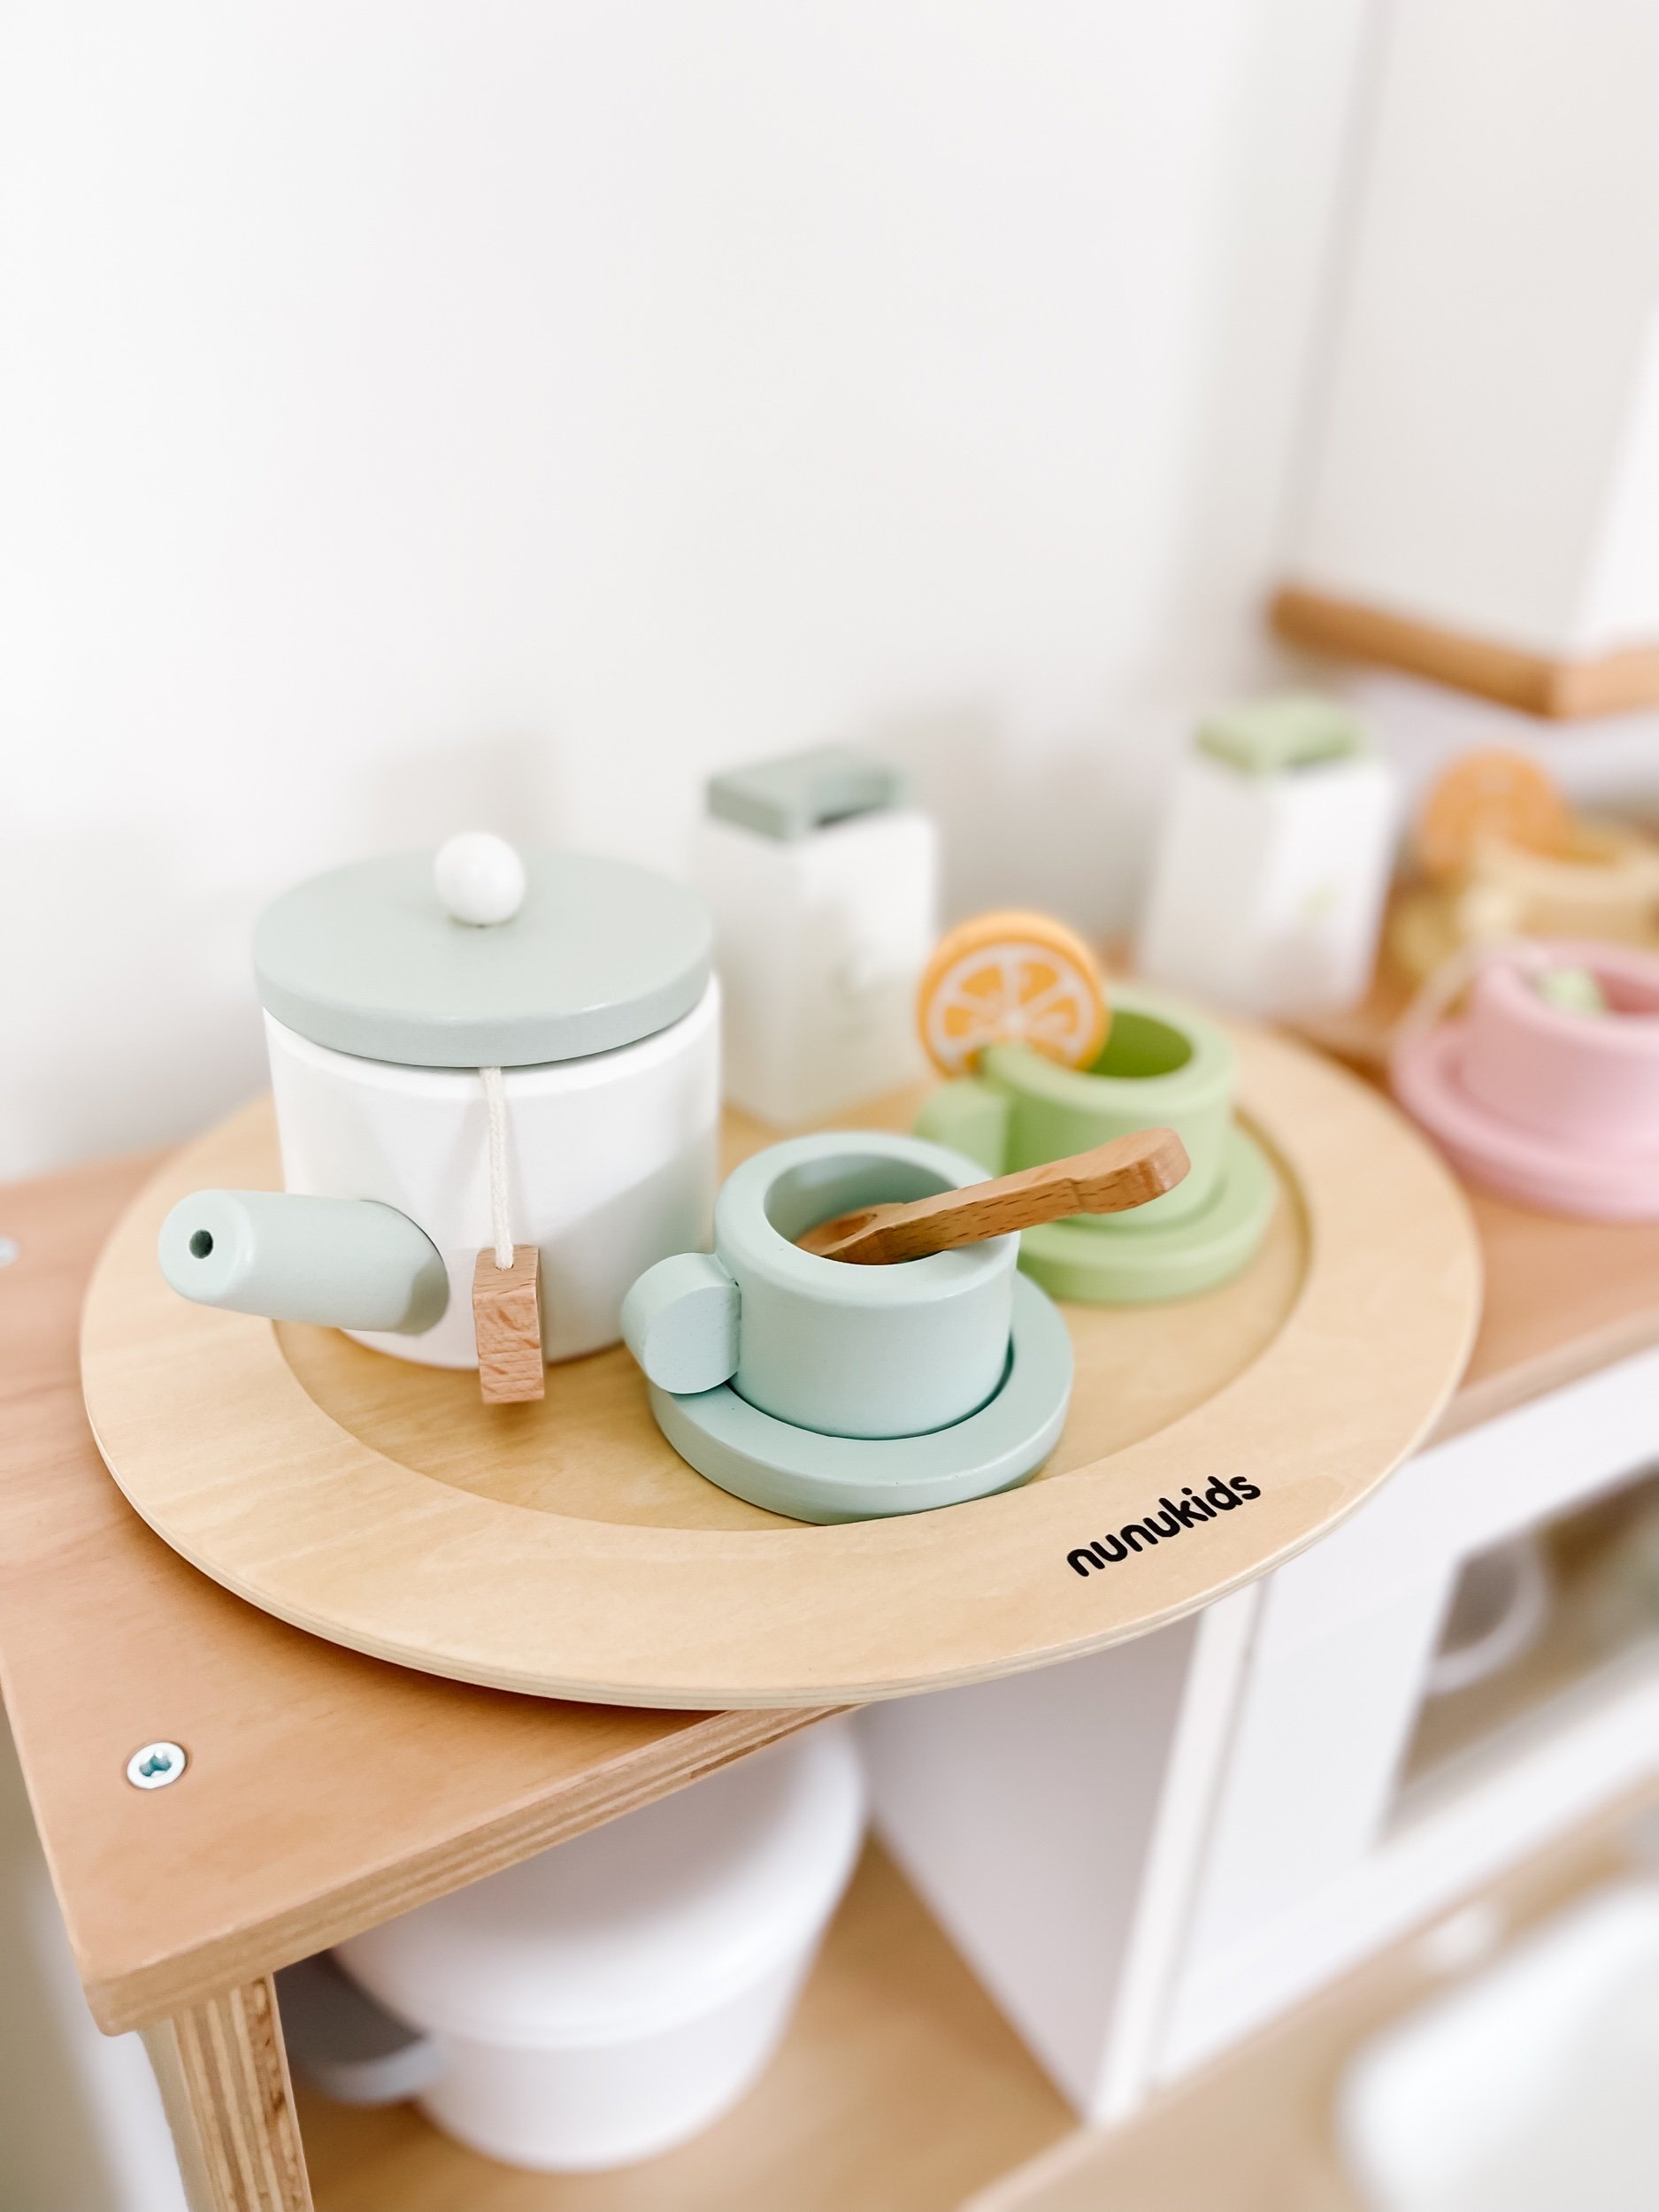
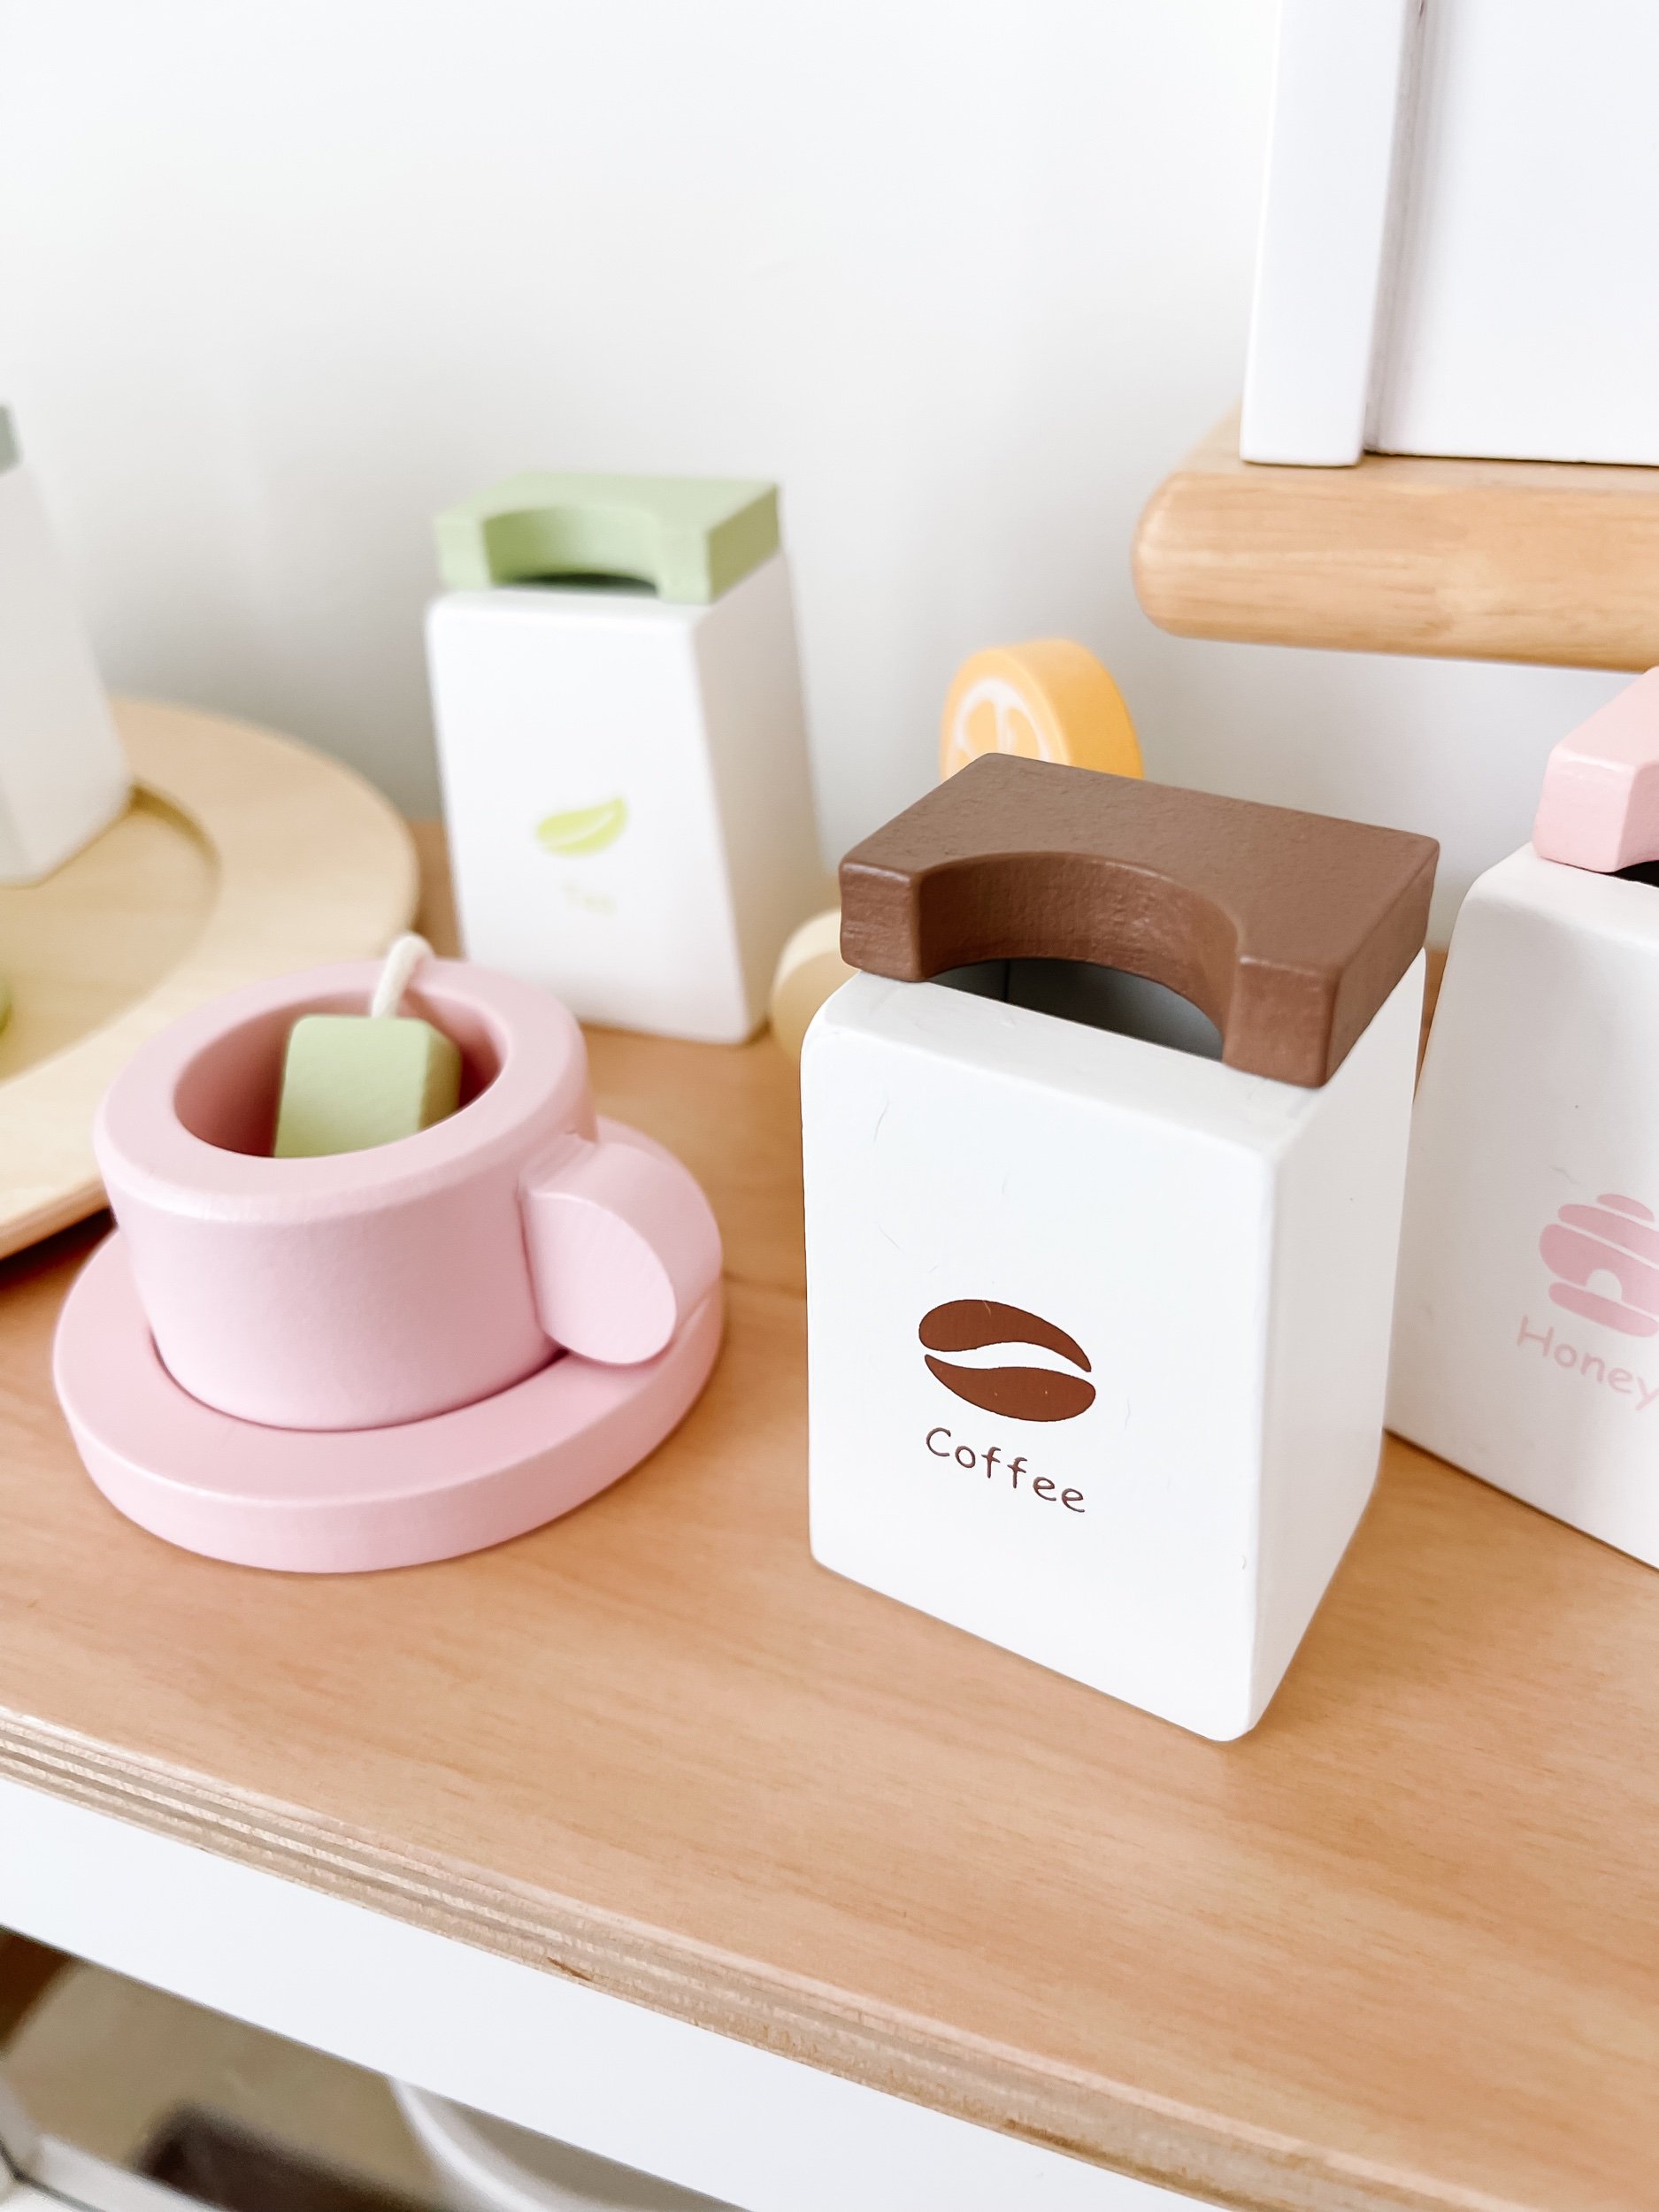
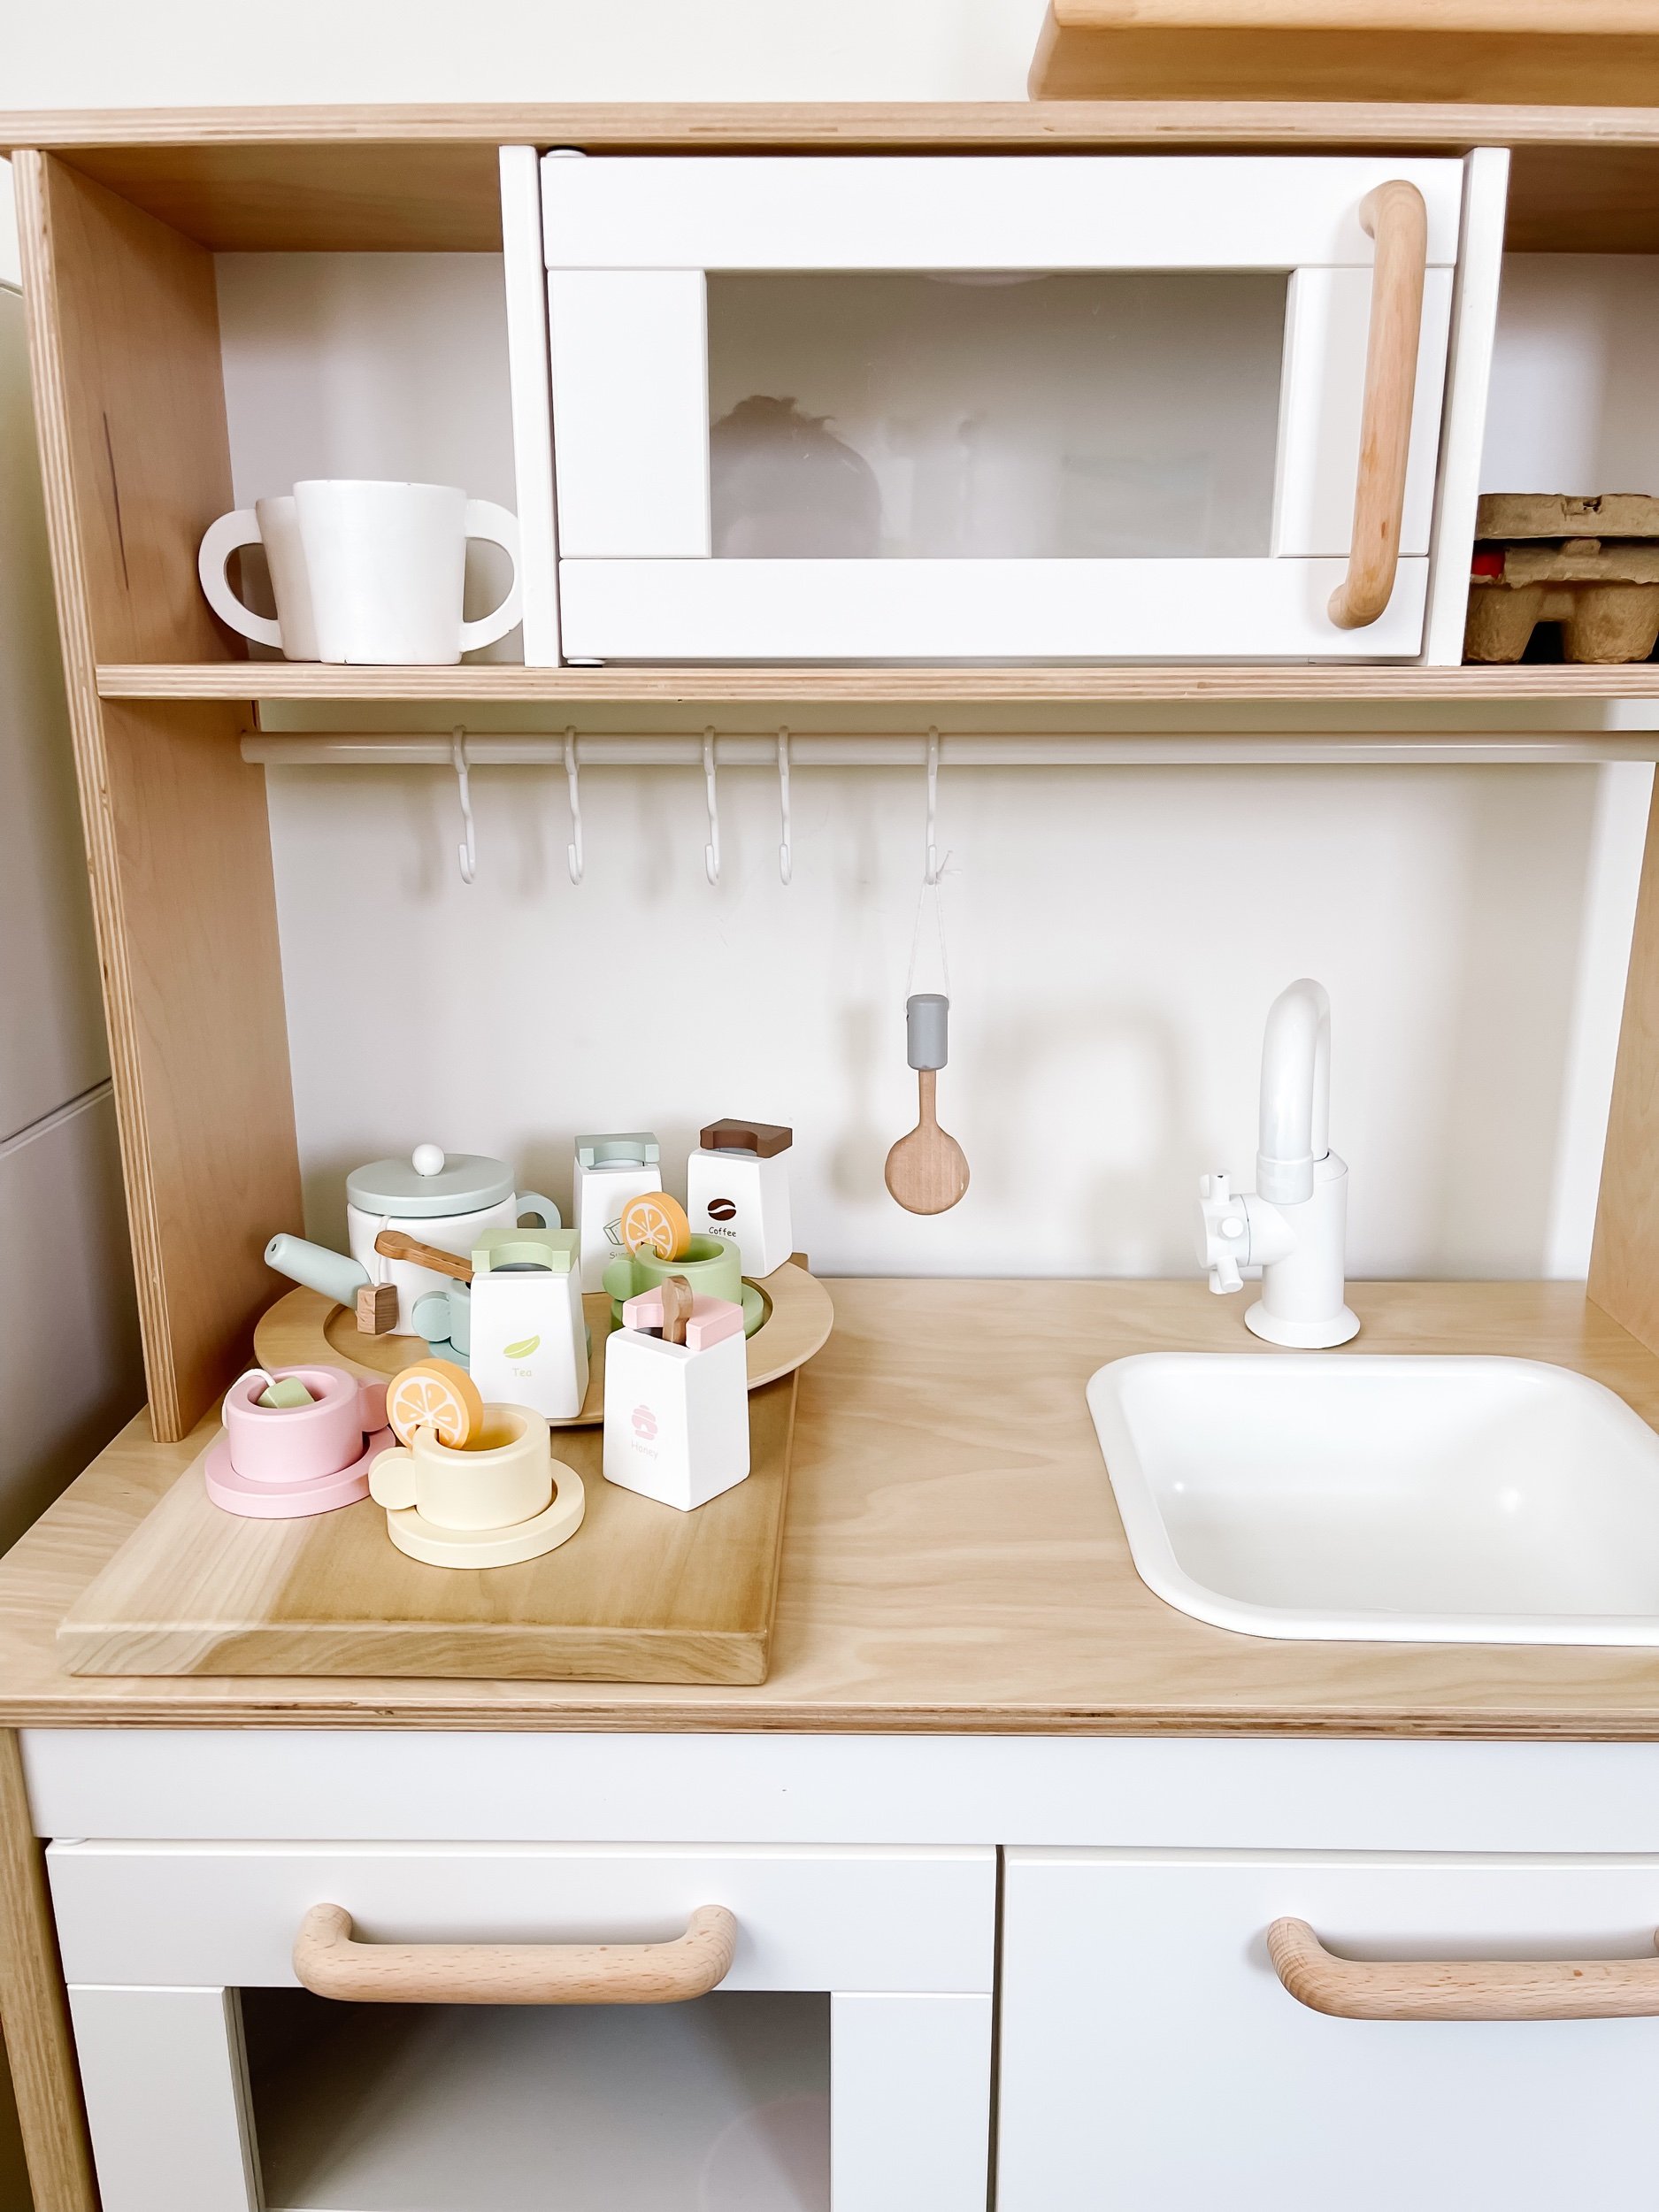
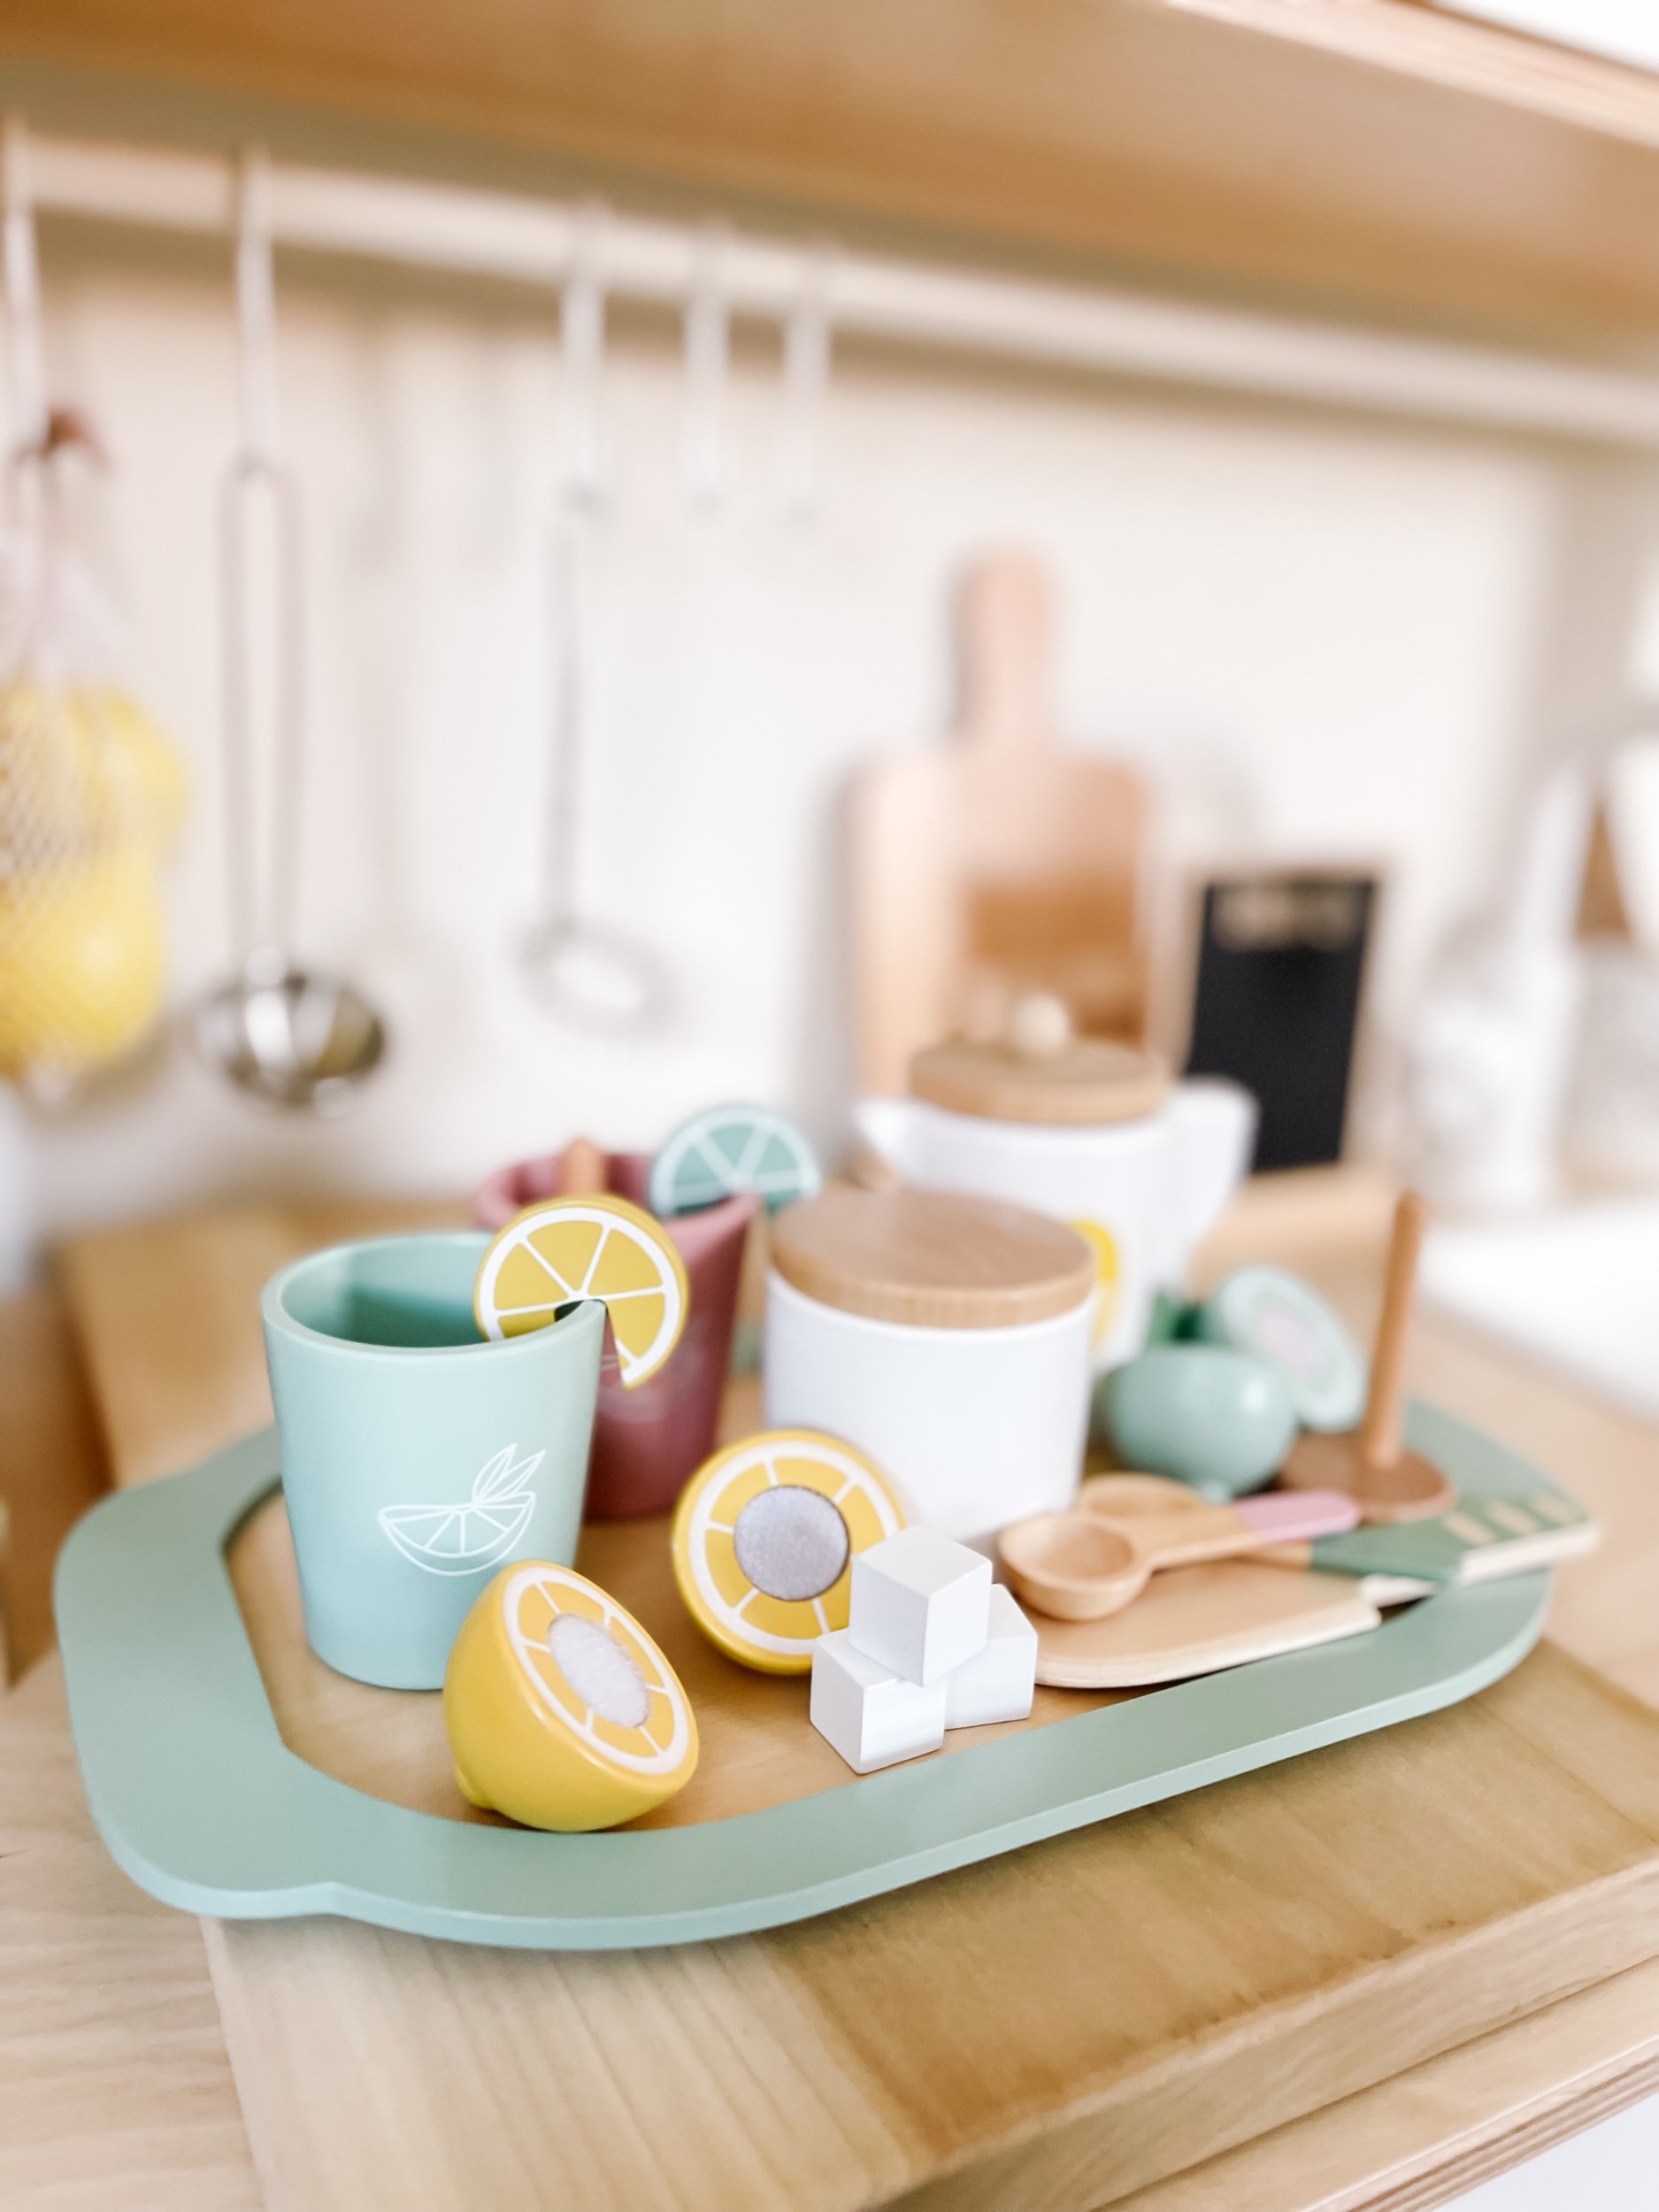
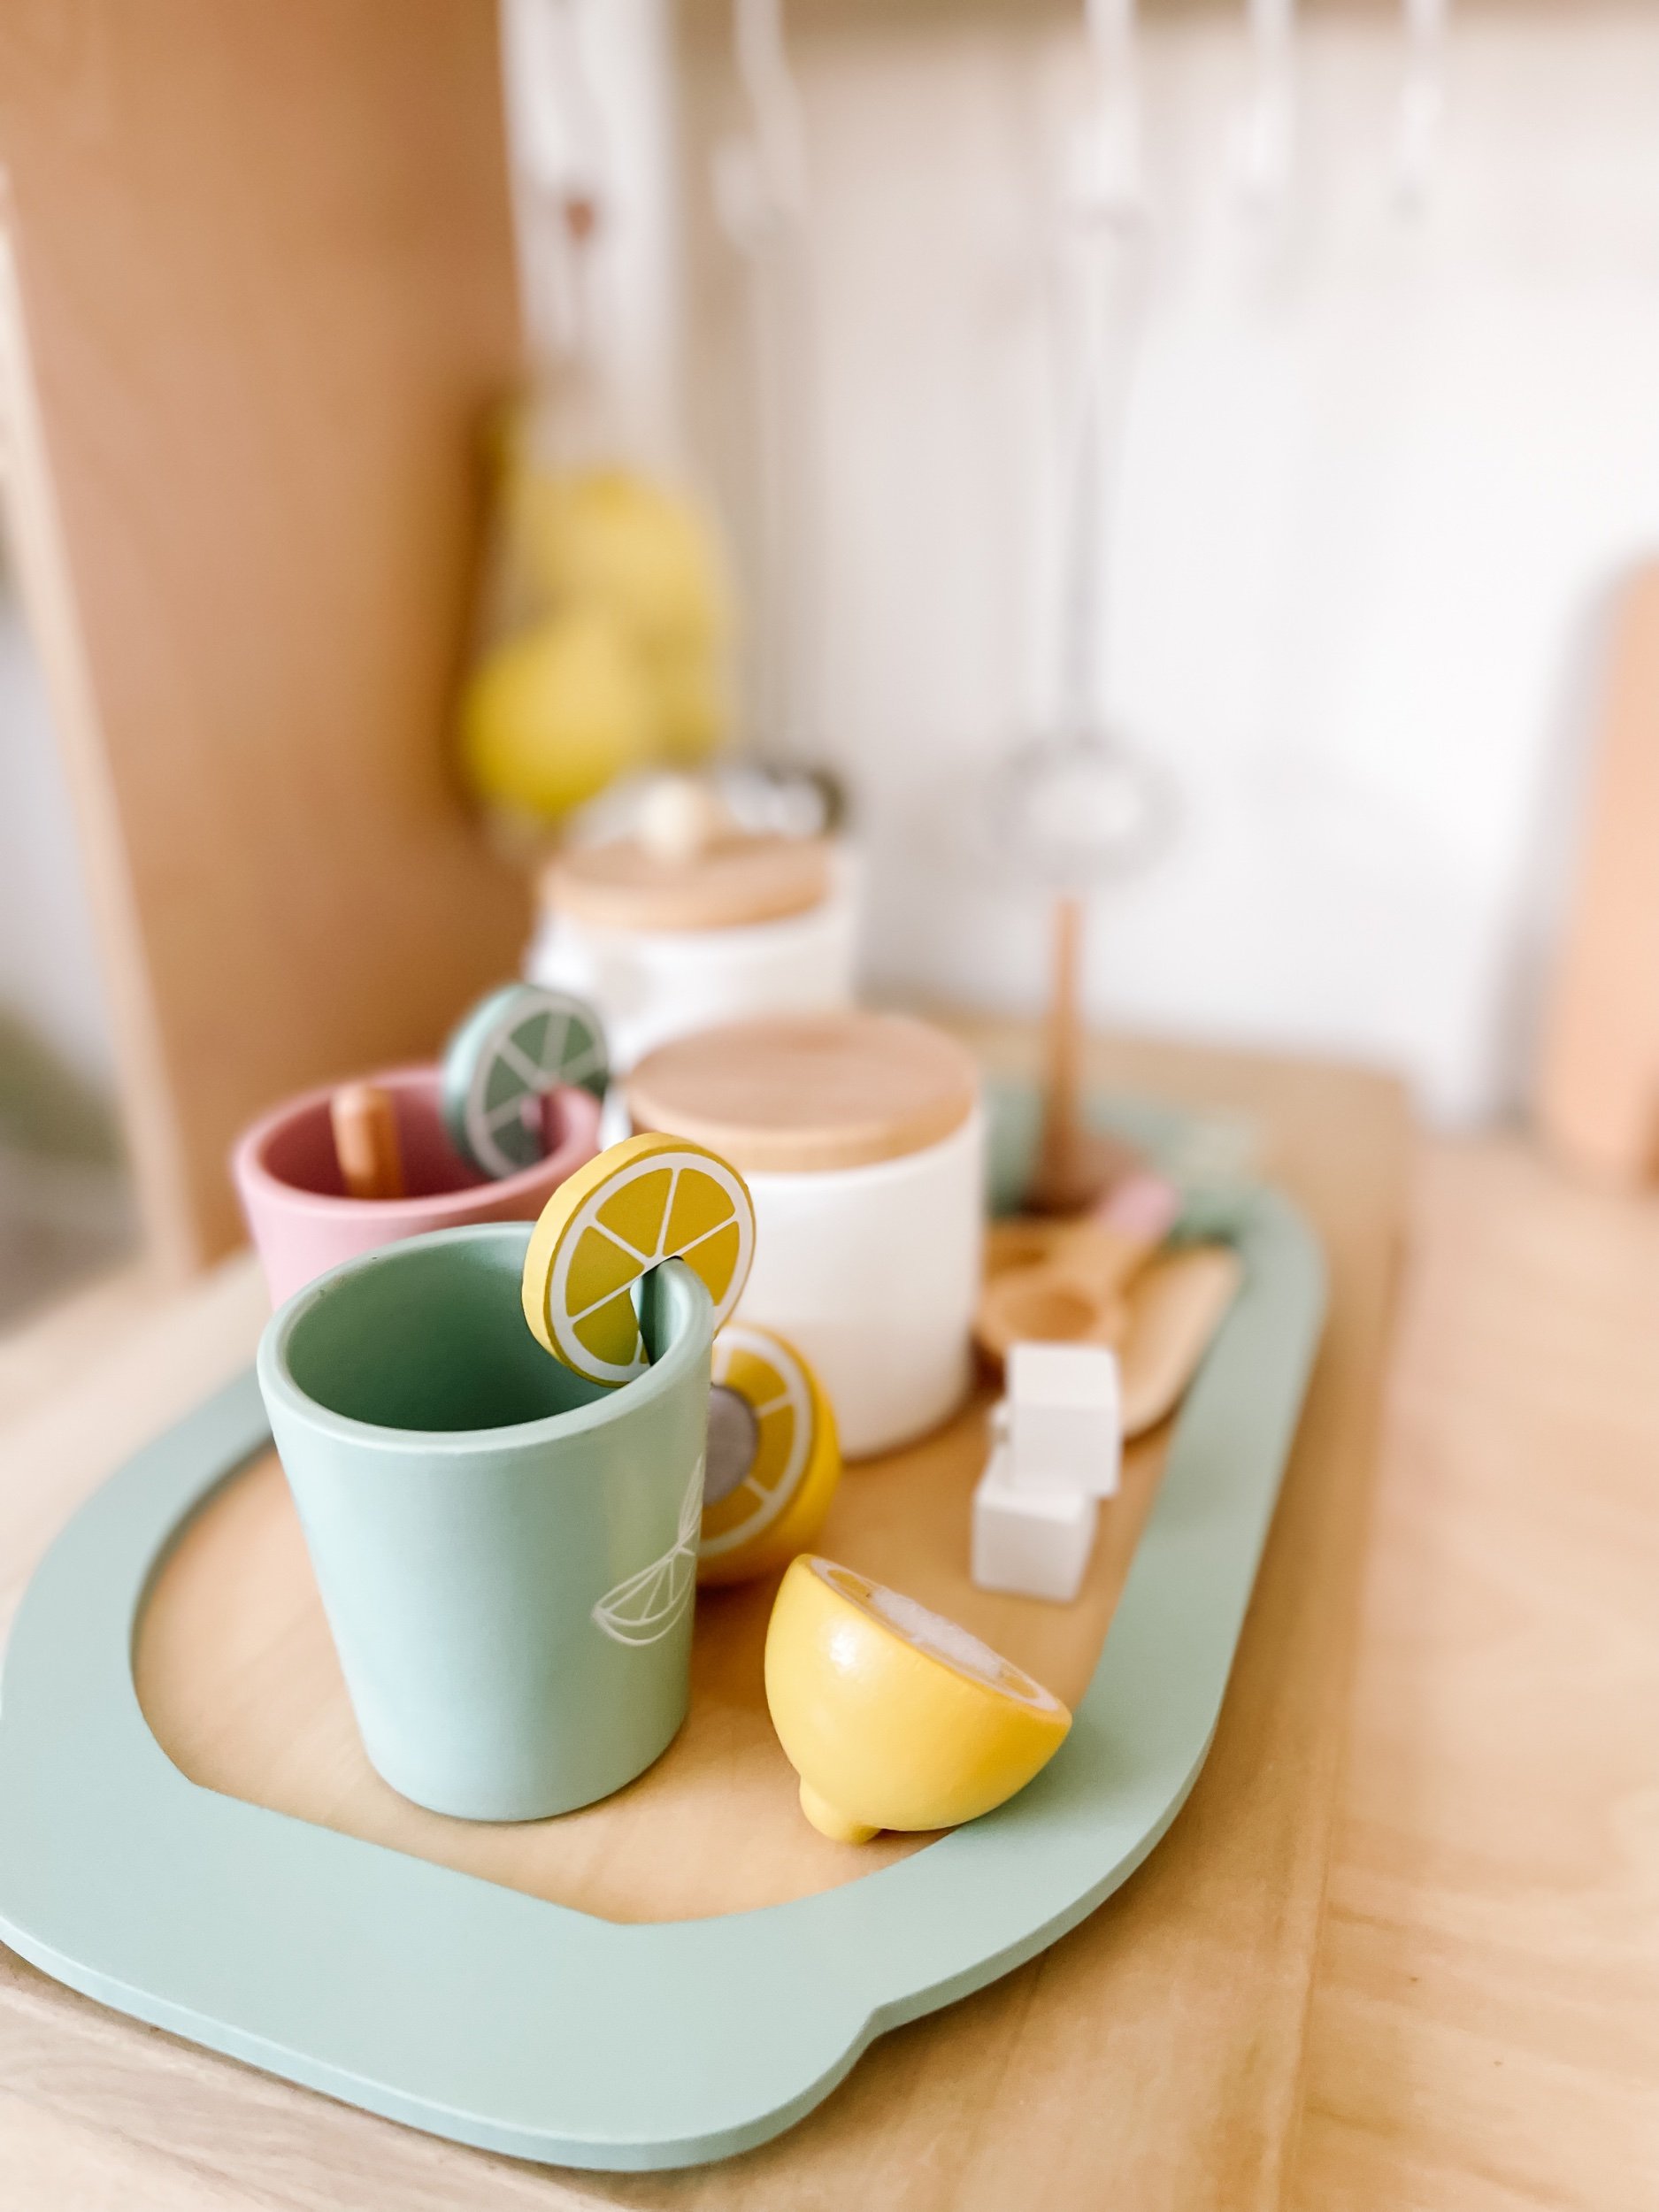
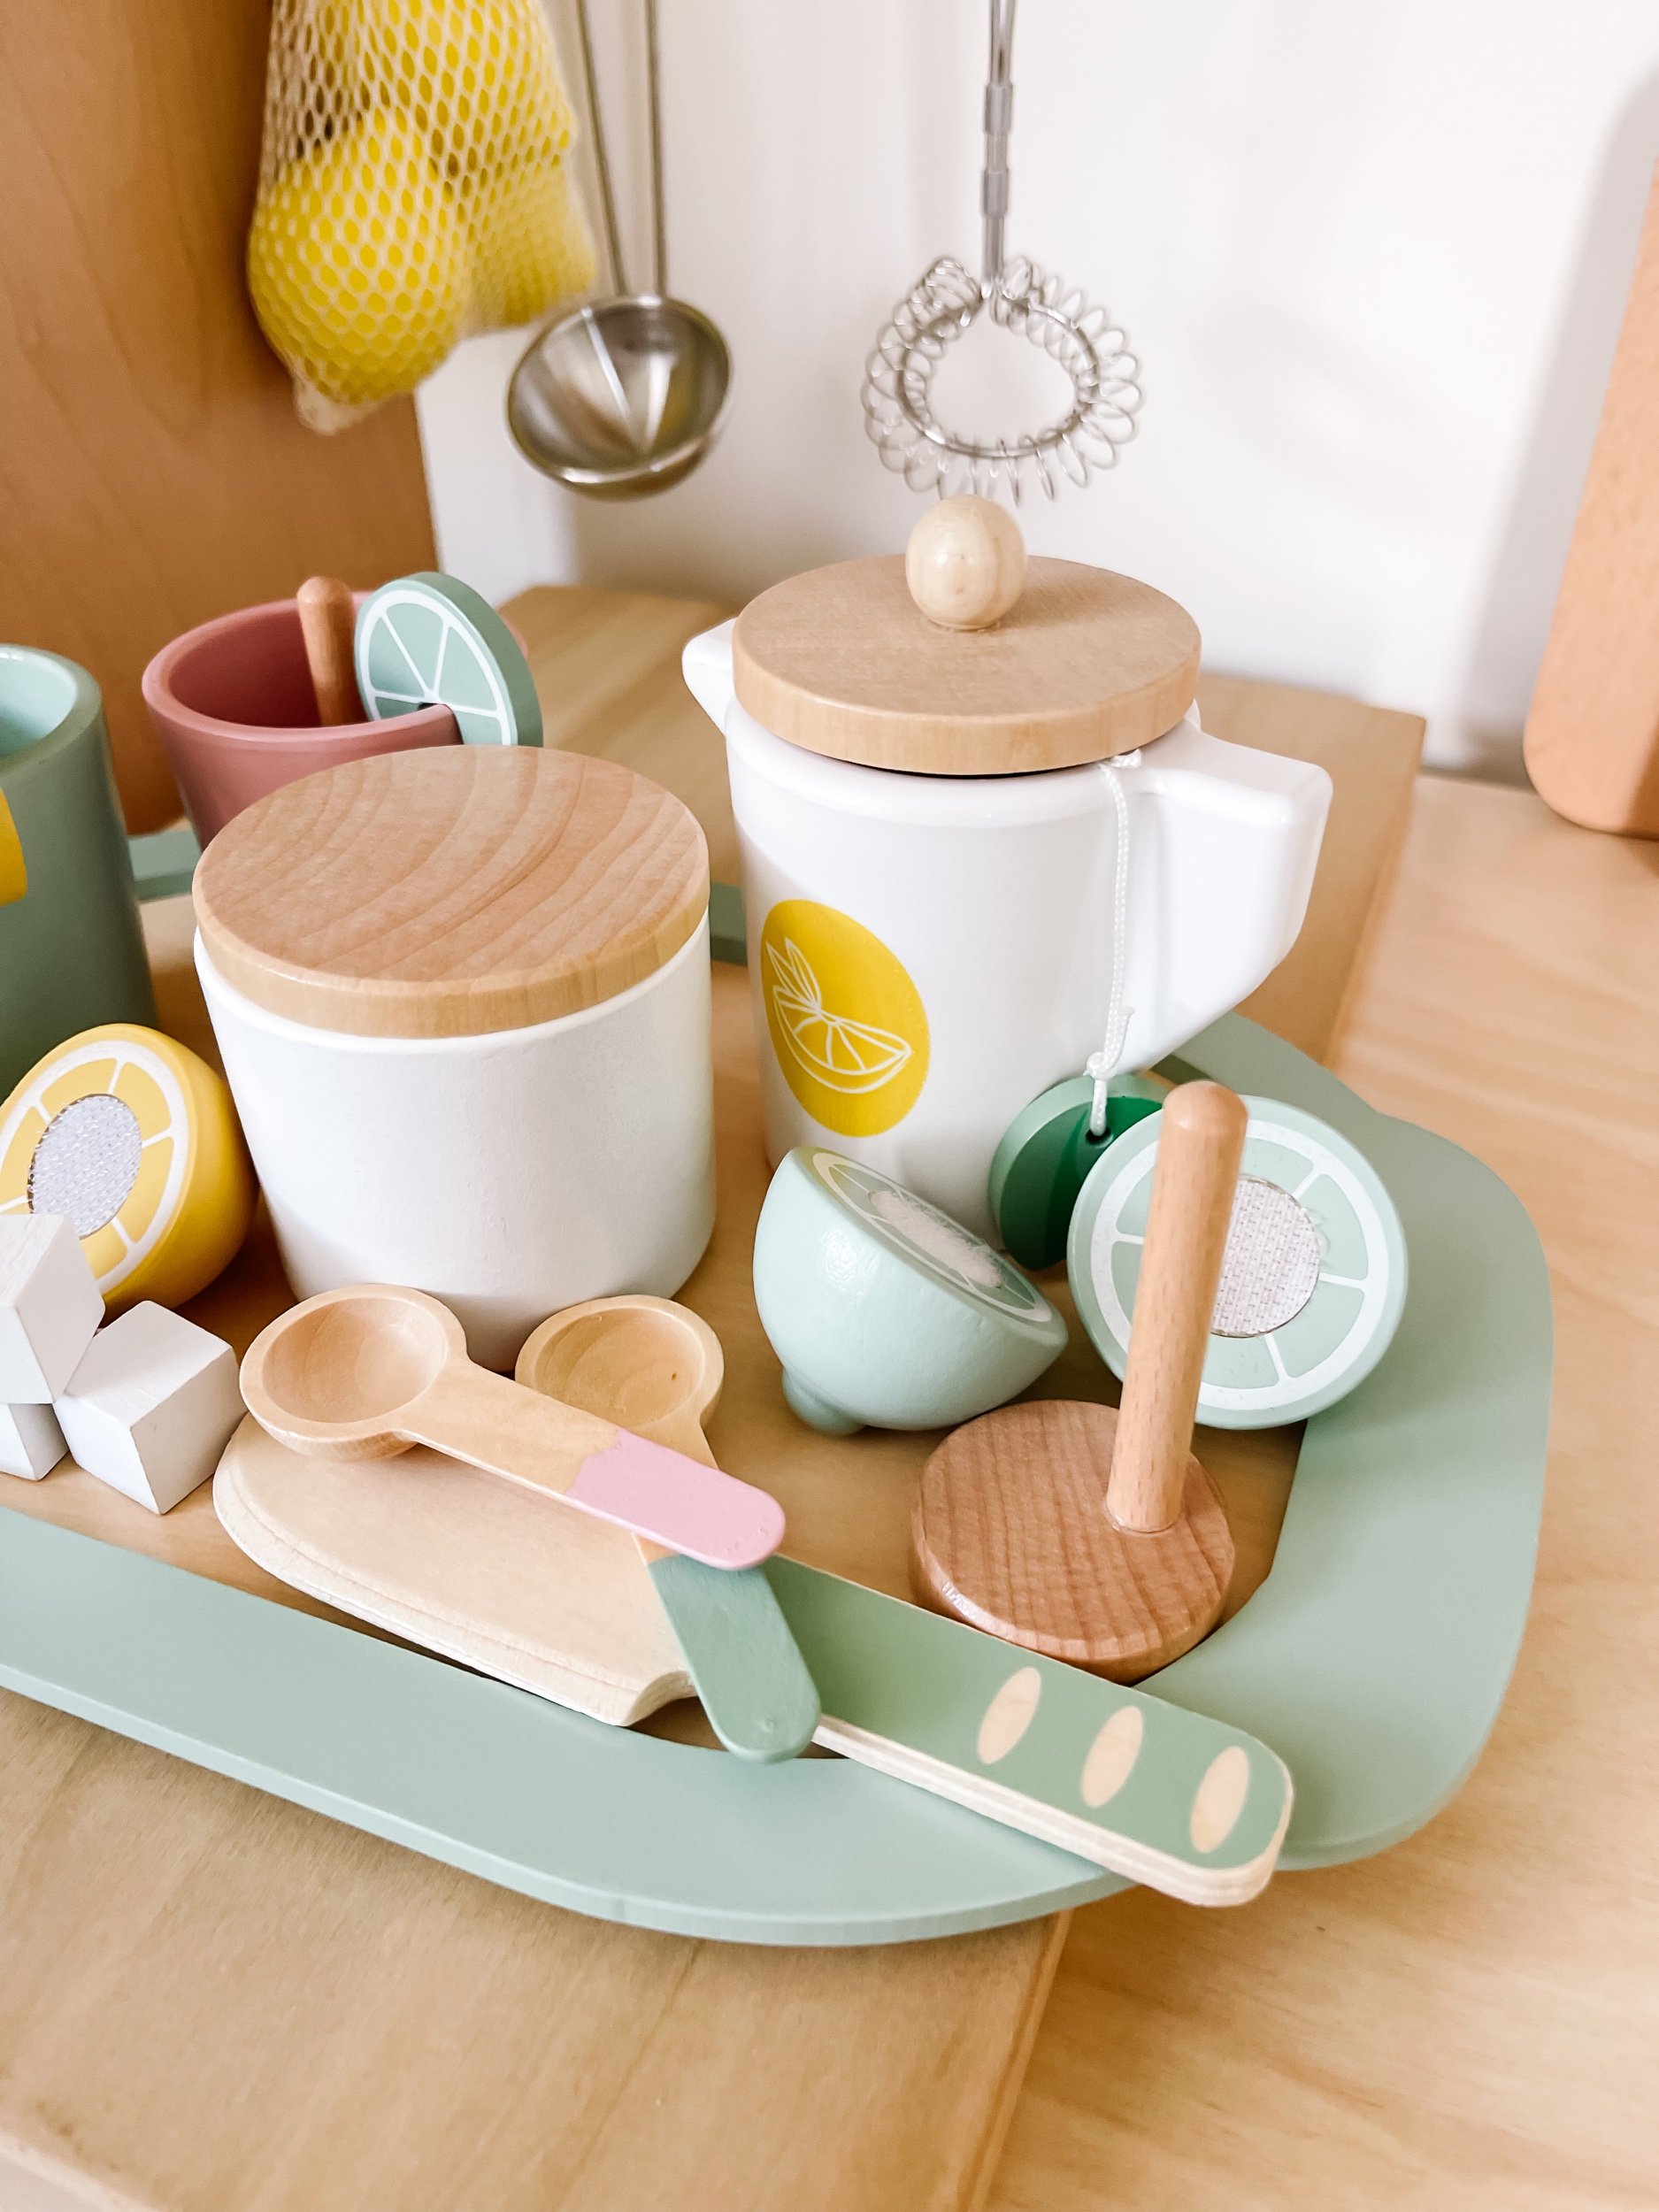
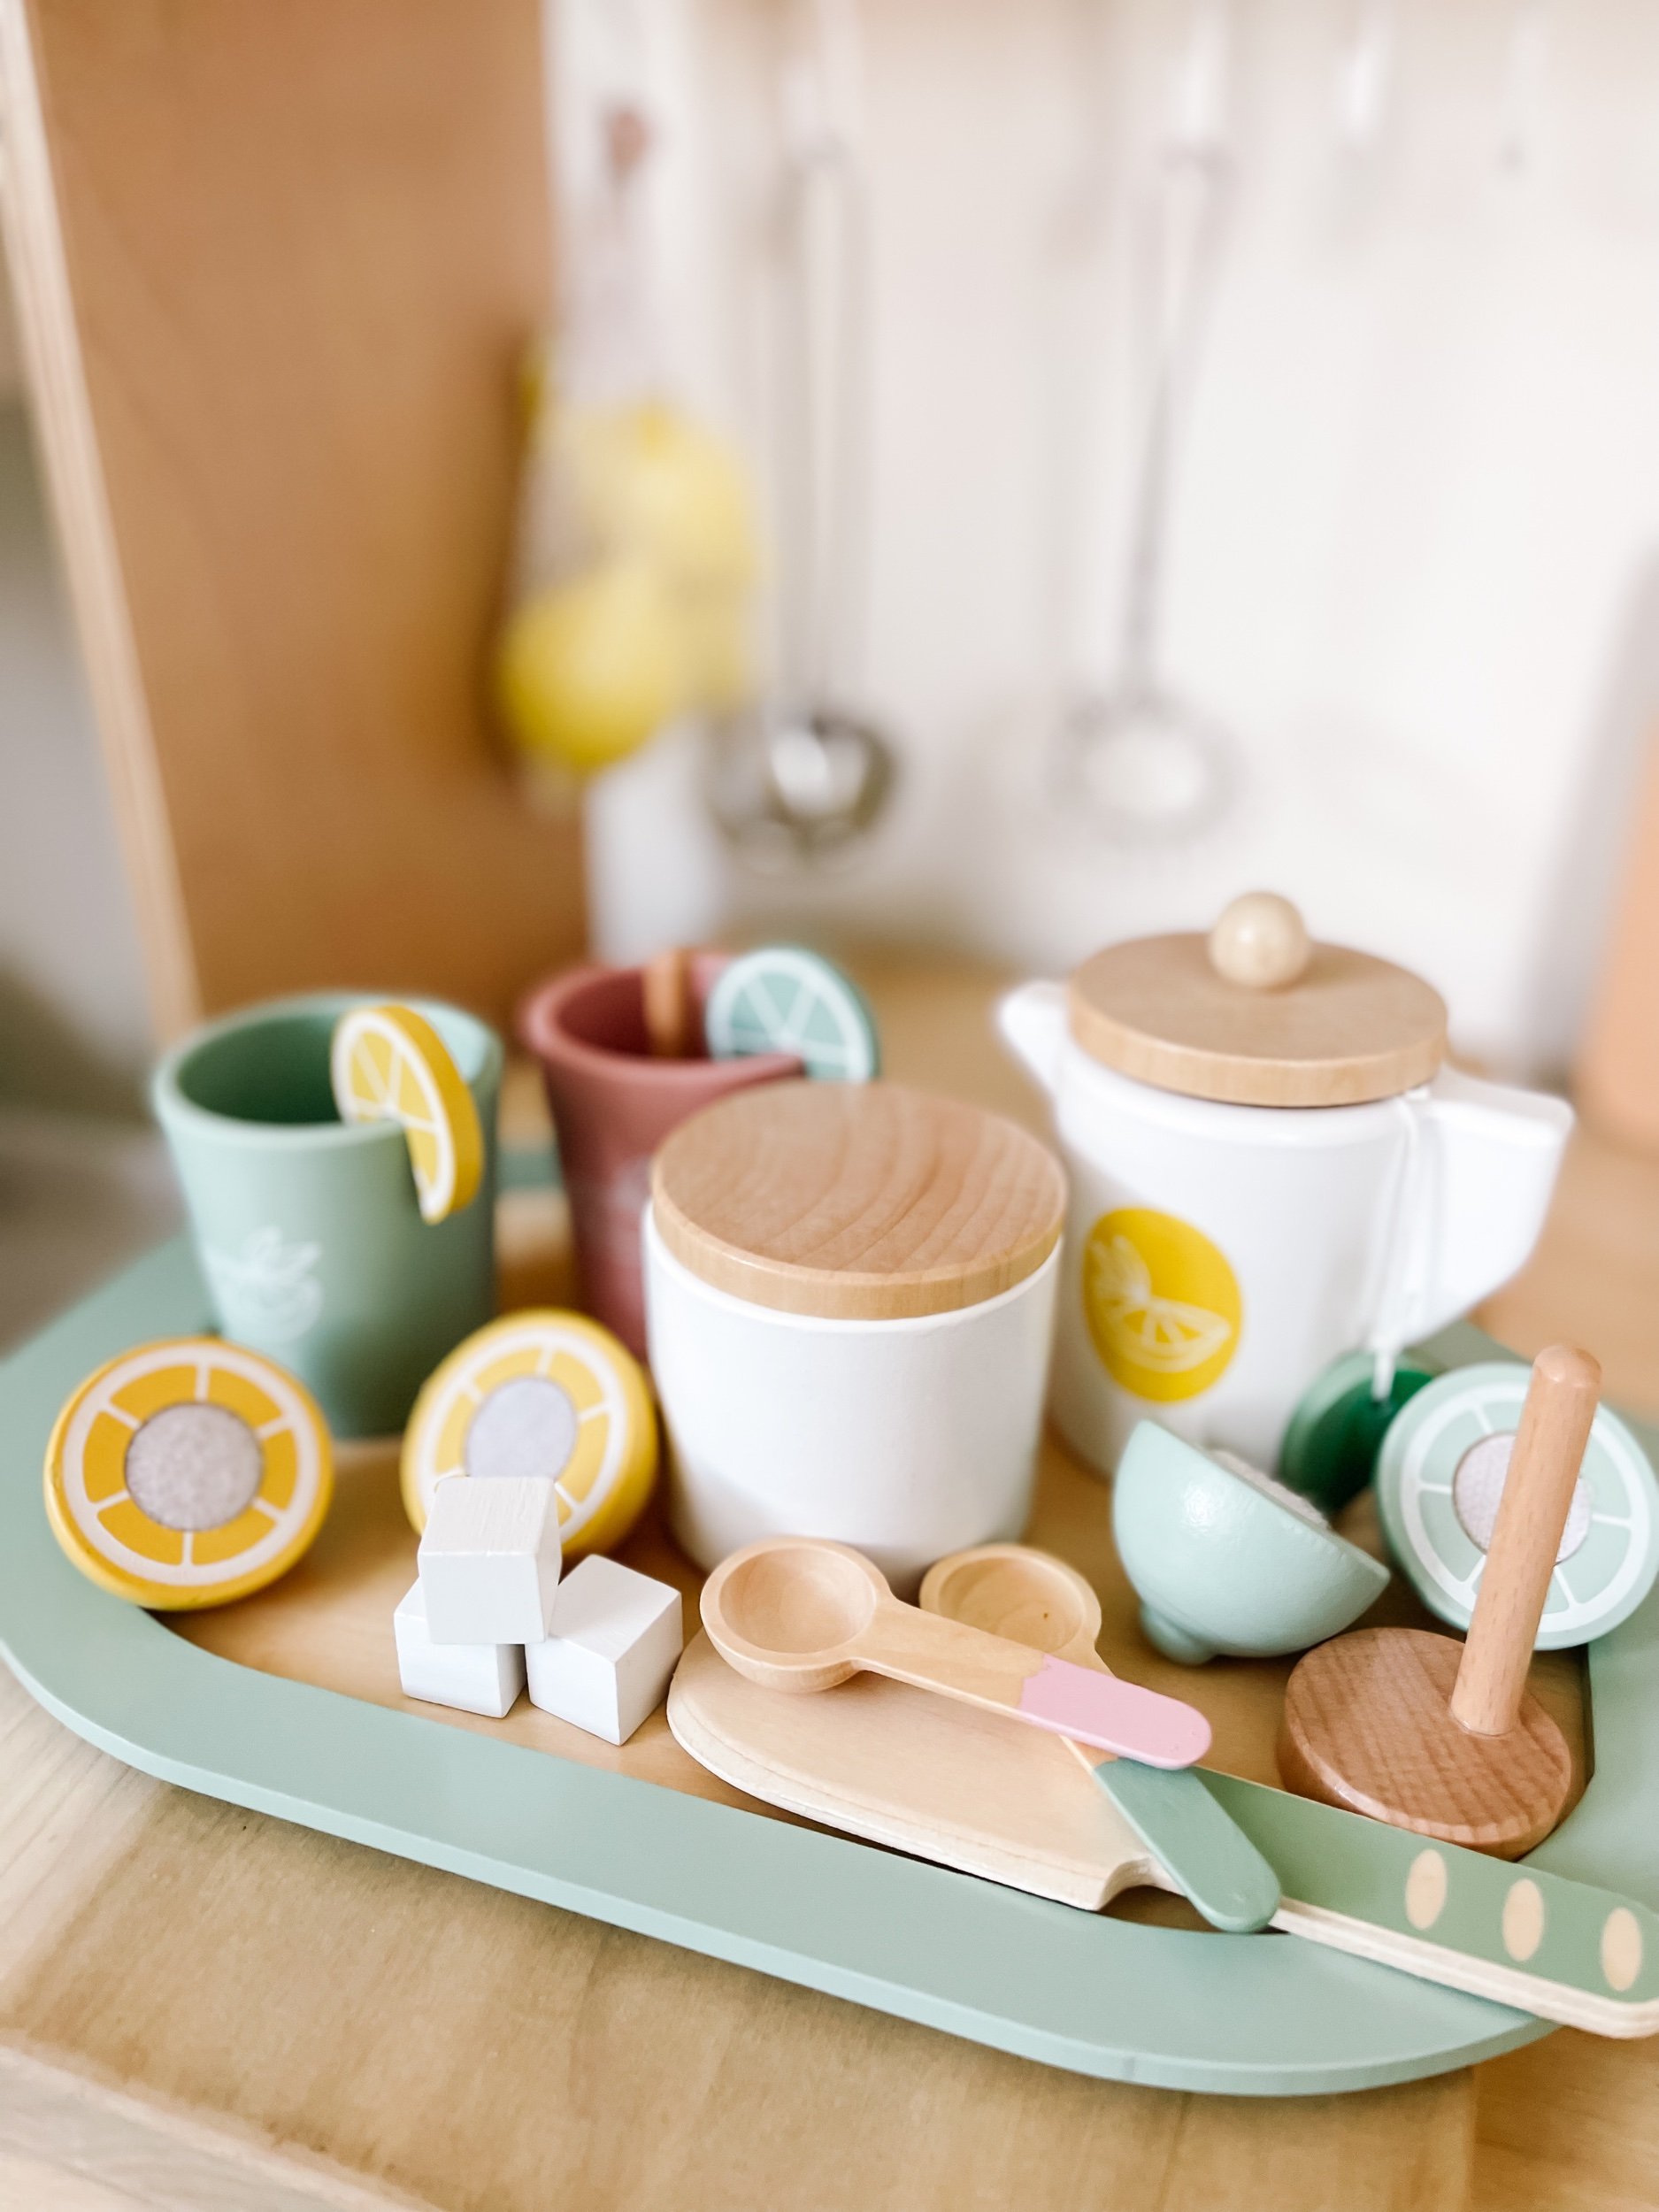
We absolutely loved this cute little tea party set by NunuKids. It comes on this adorable little tray — and while everything doesn’t quite fit on the tray (my only gripe), it’s such a cute little set with the little lemon slices and teaspoons and tea pots. I can’t wait to do an entire dramatic play setup for a tea party. It’ll be so much to have this set handy.

IMG_5126_jpg.jpeg IMG_5093.jpeg IMG_5094.jpeg IMG_5127_jpg.jpeg

Let’s make breakfast!

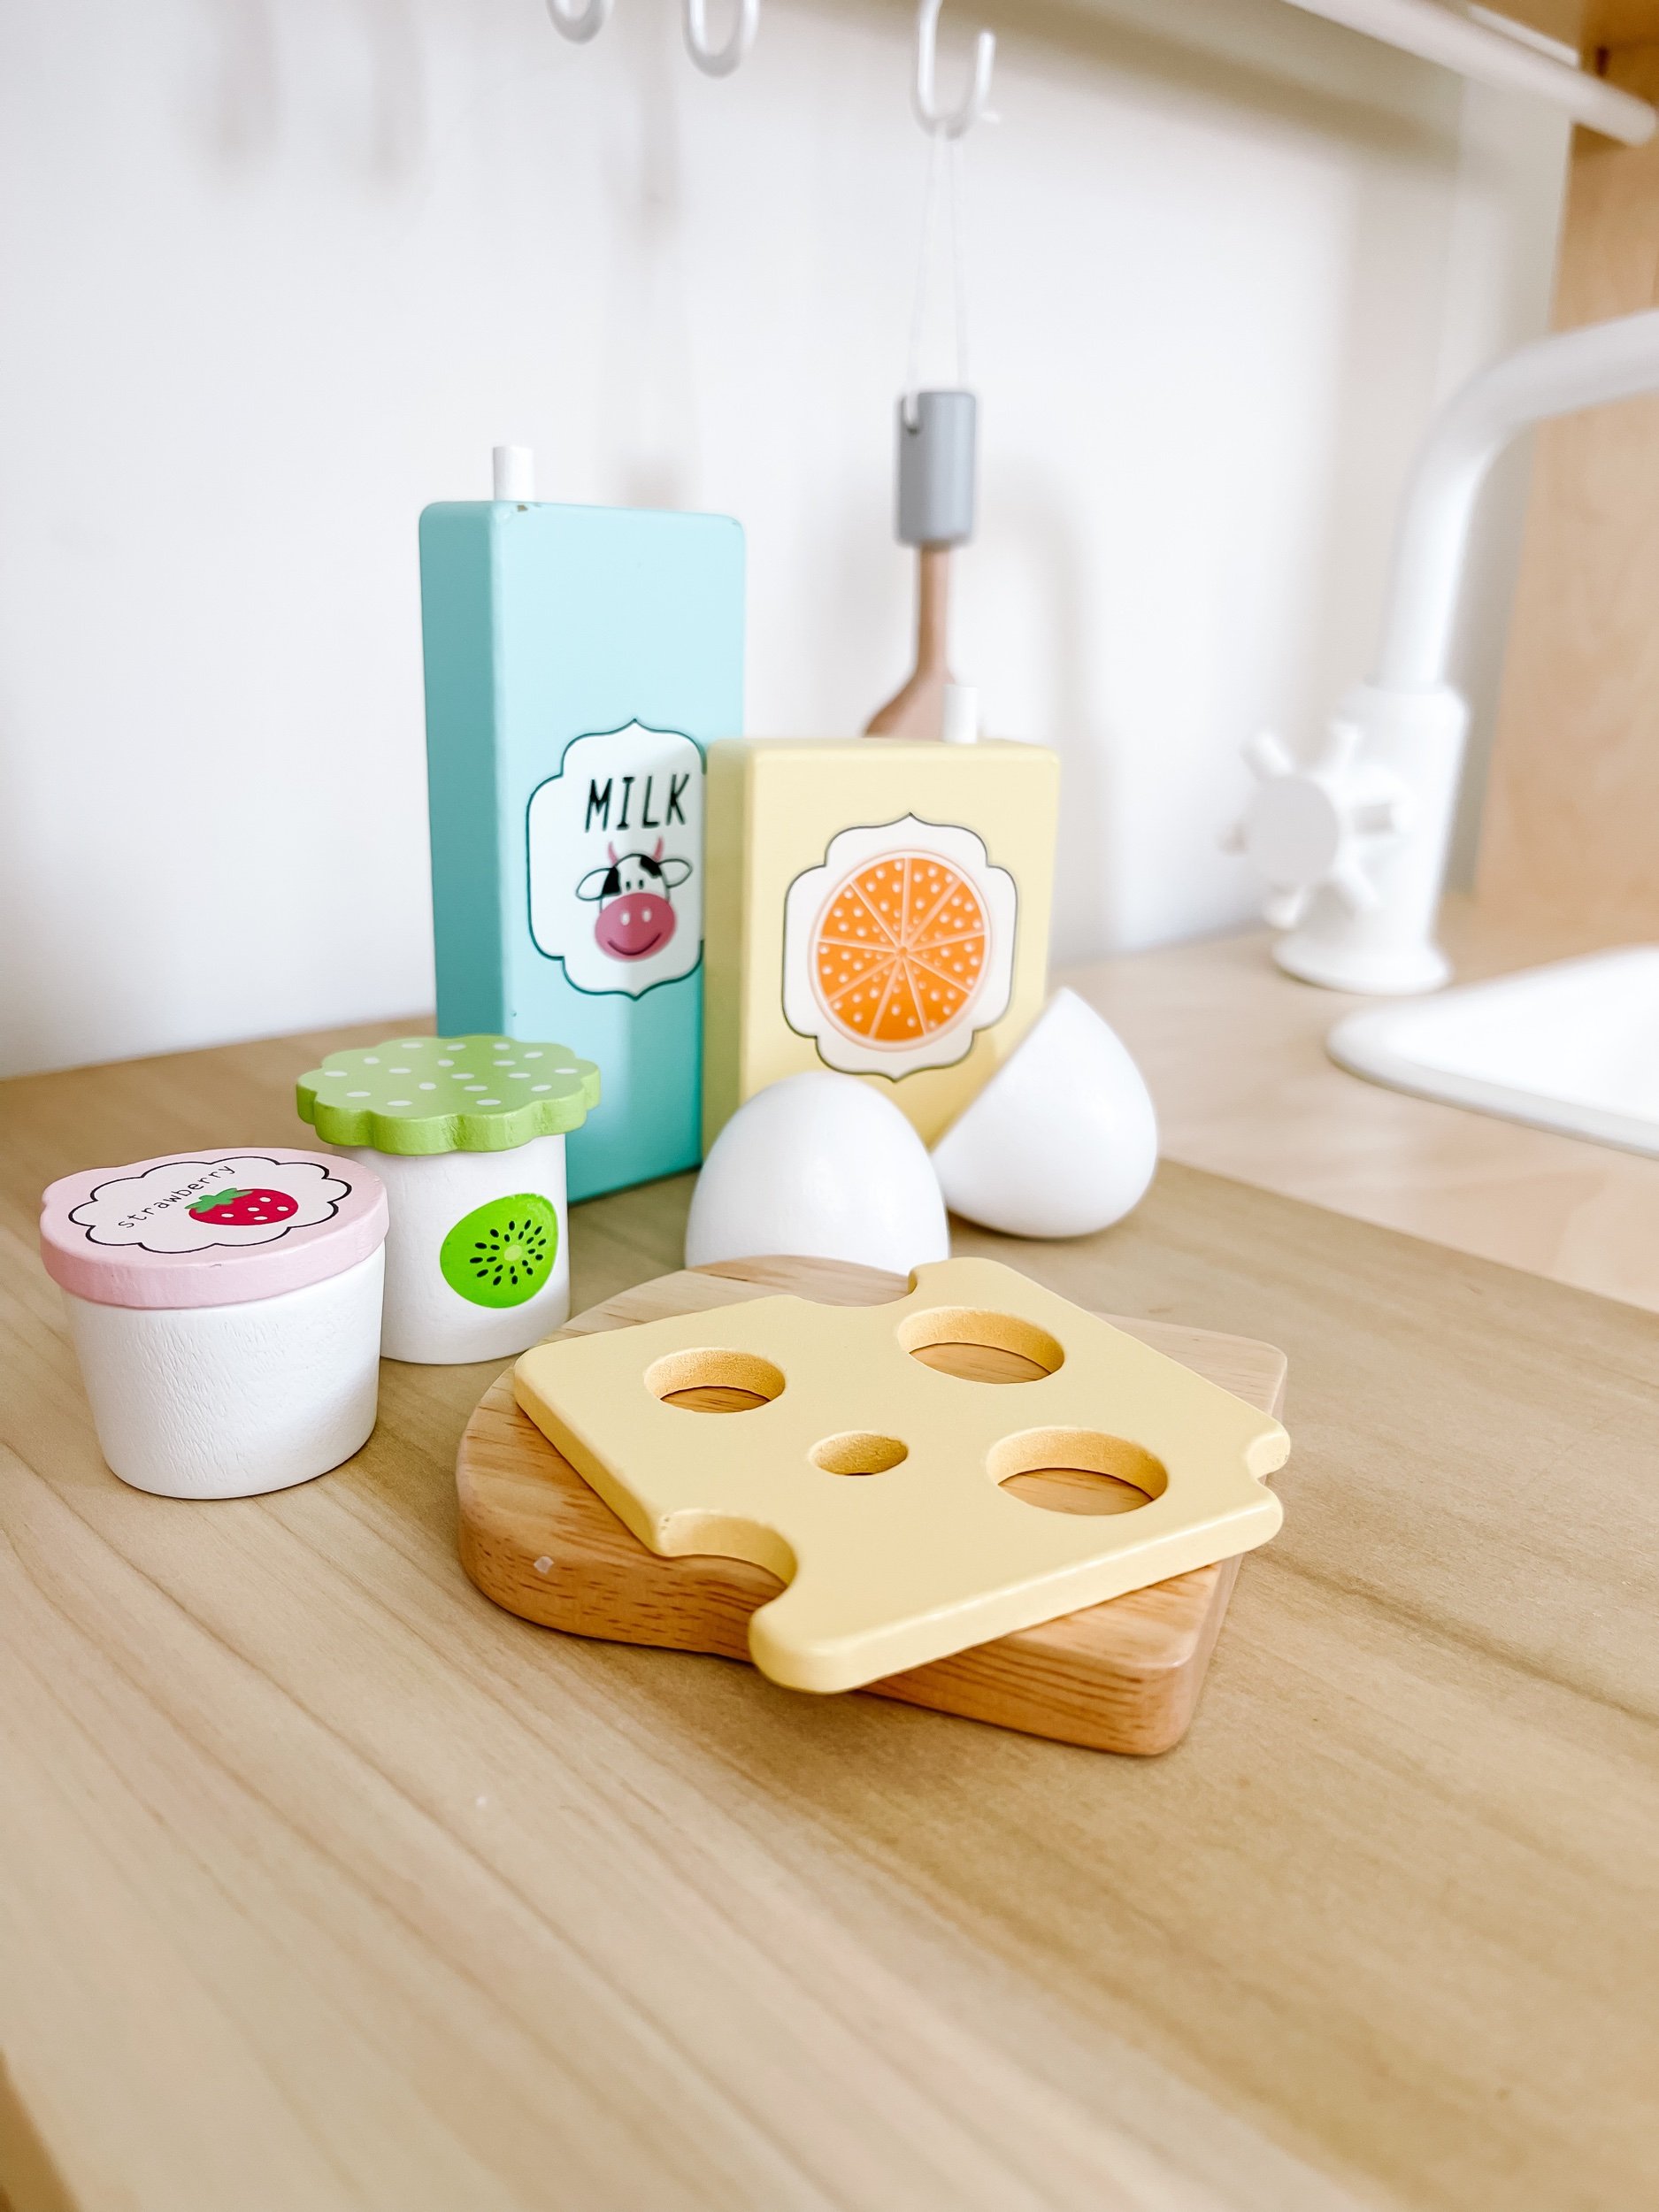
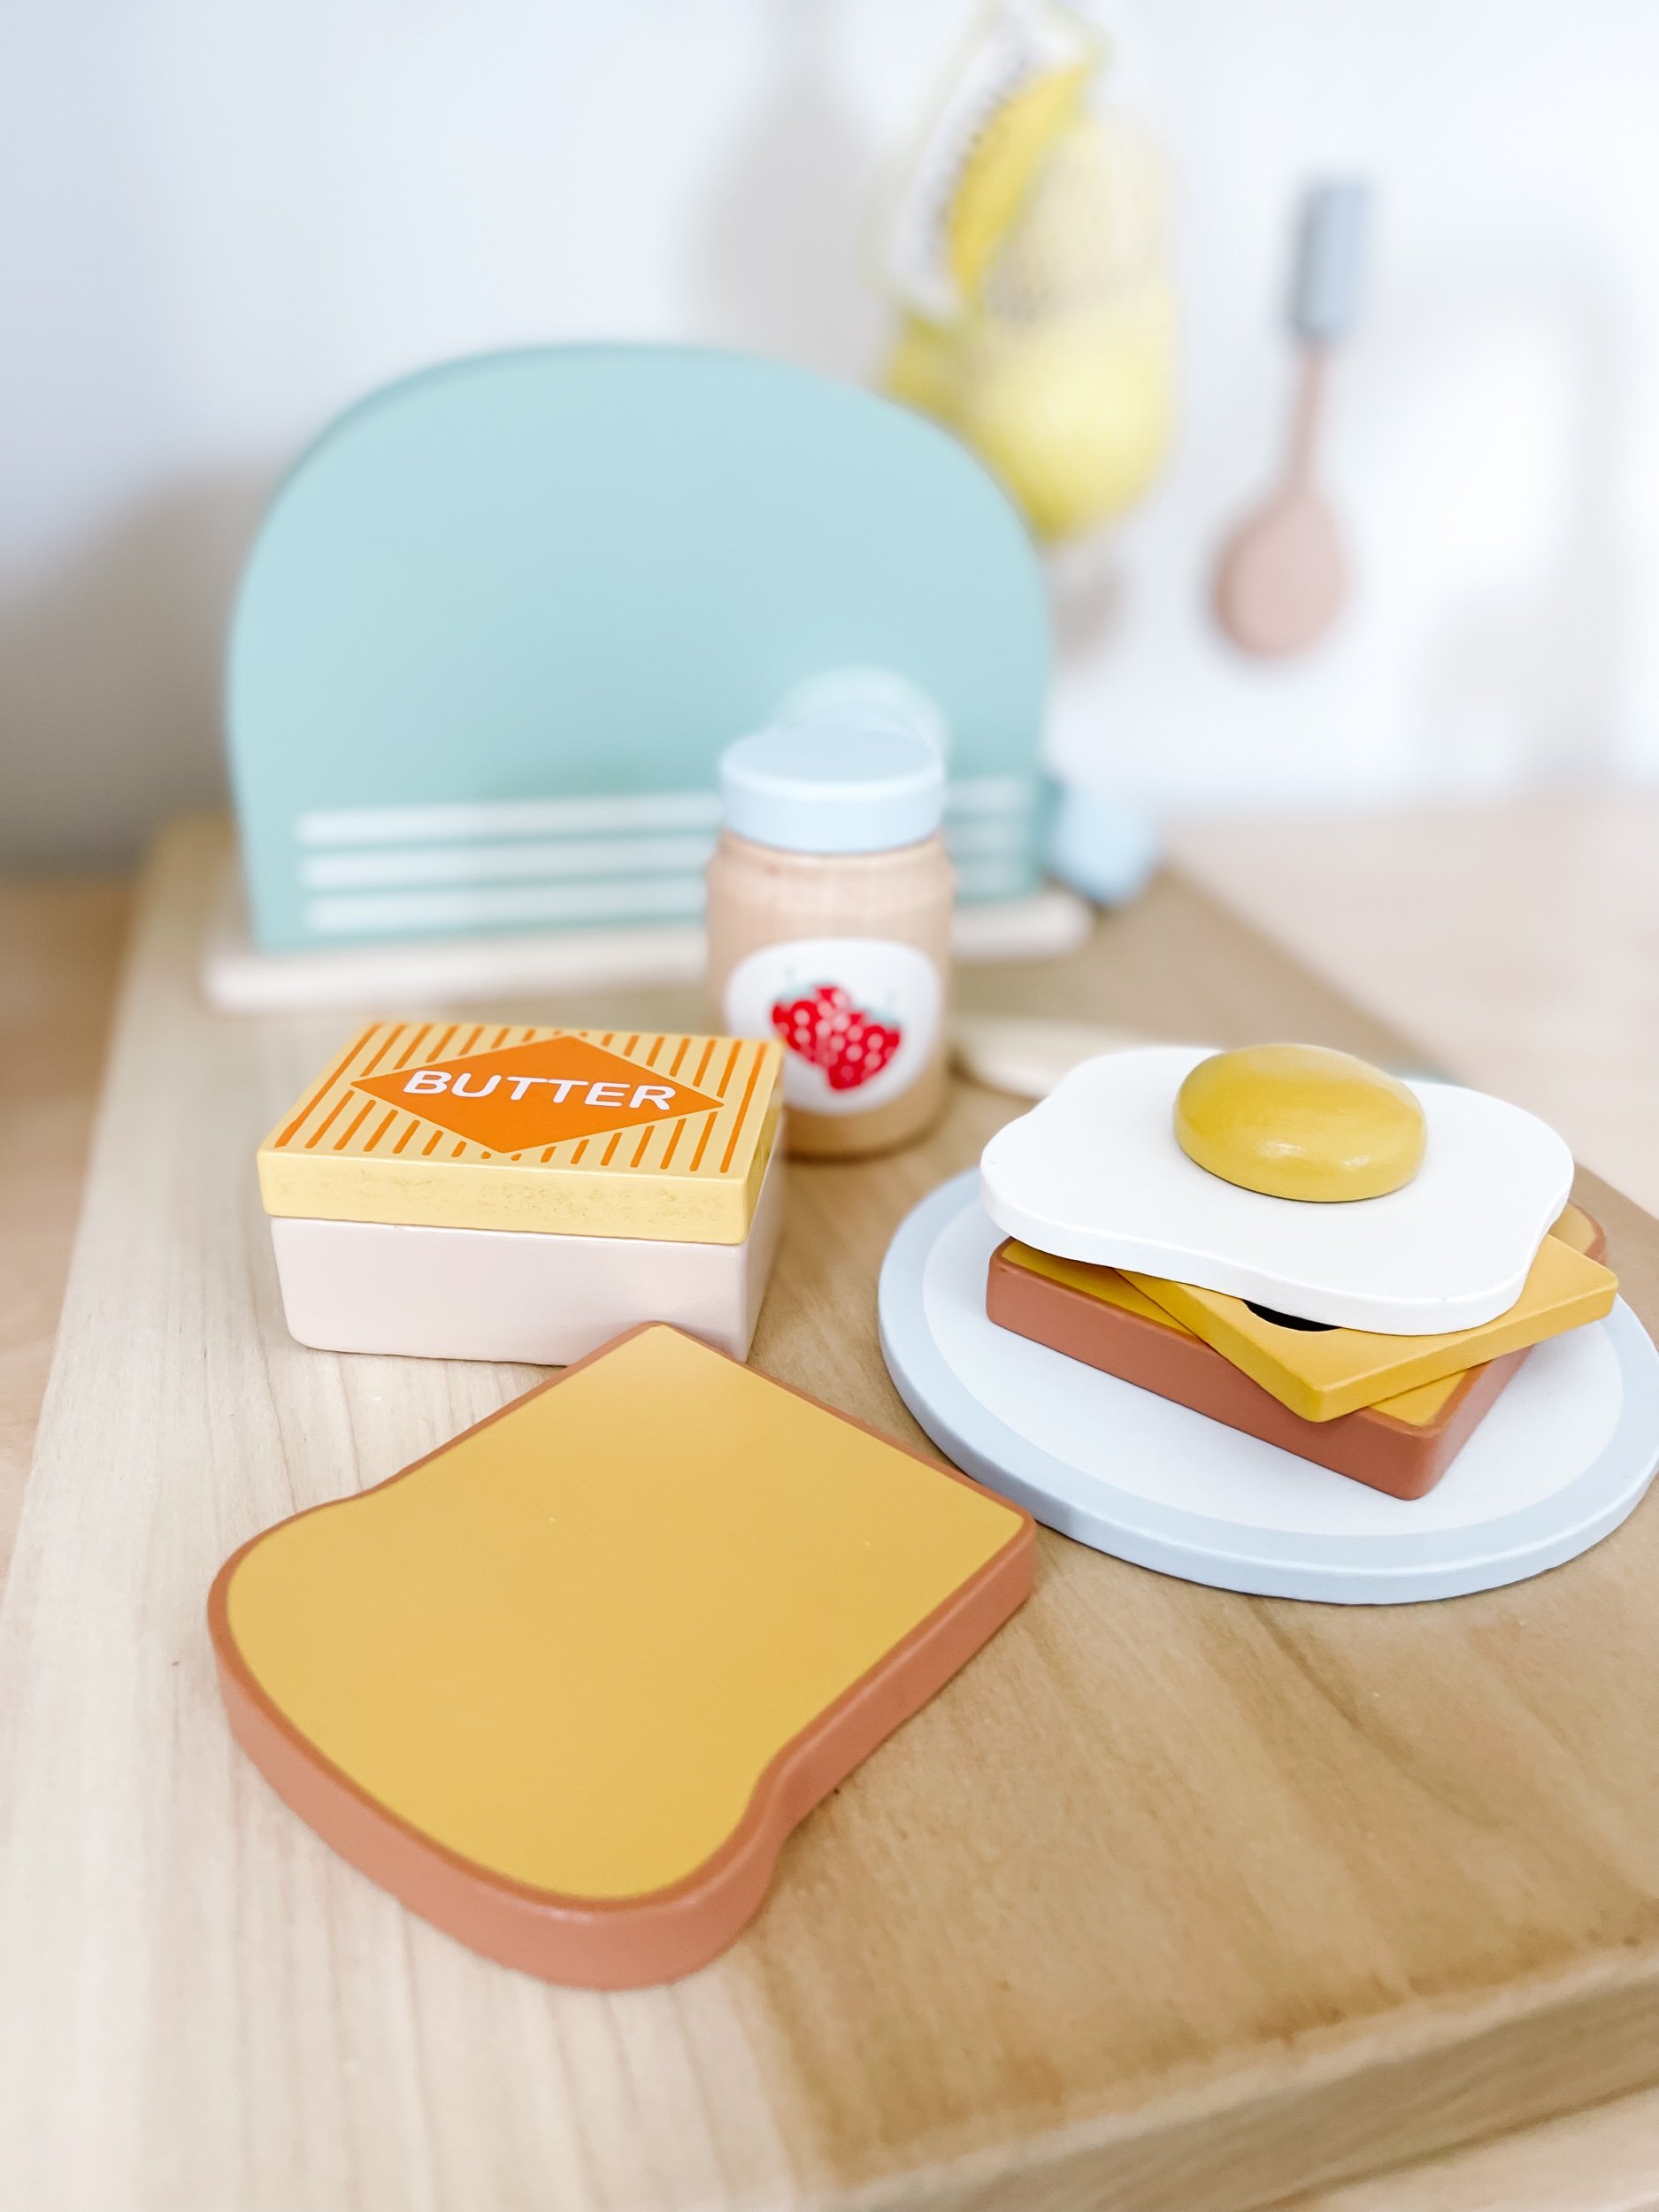
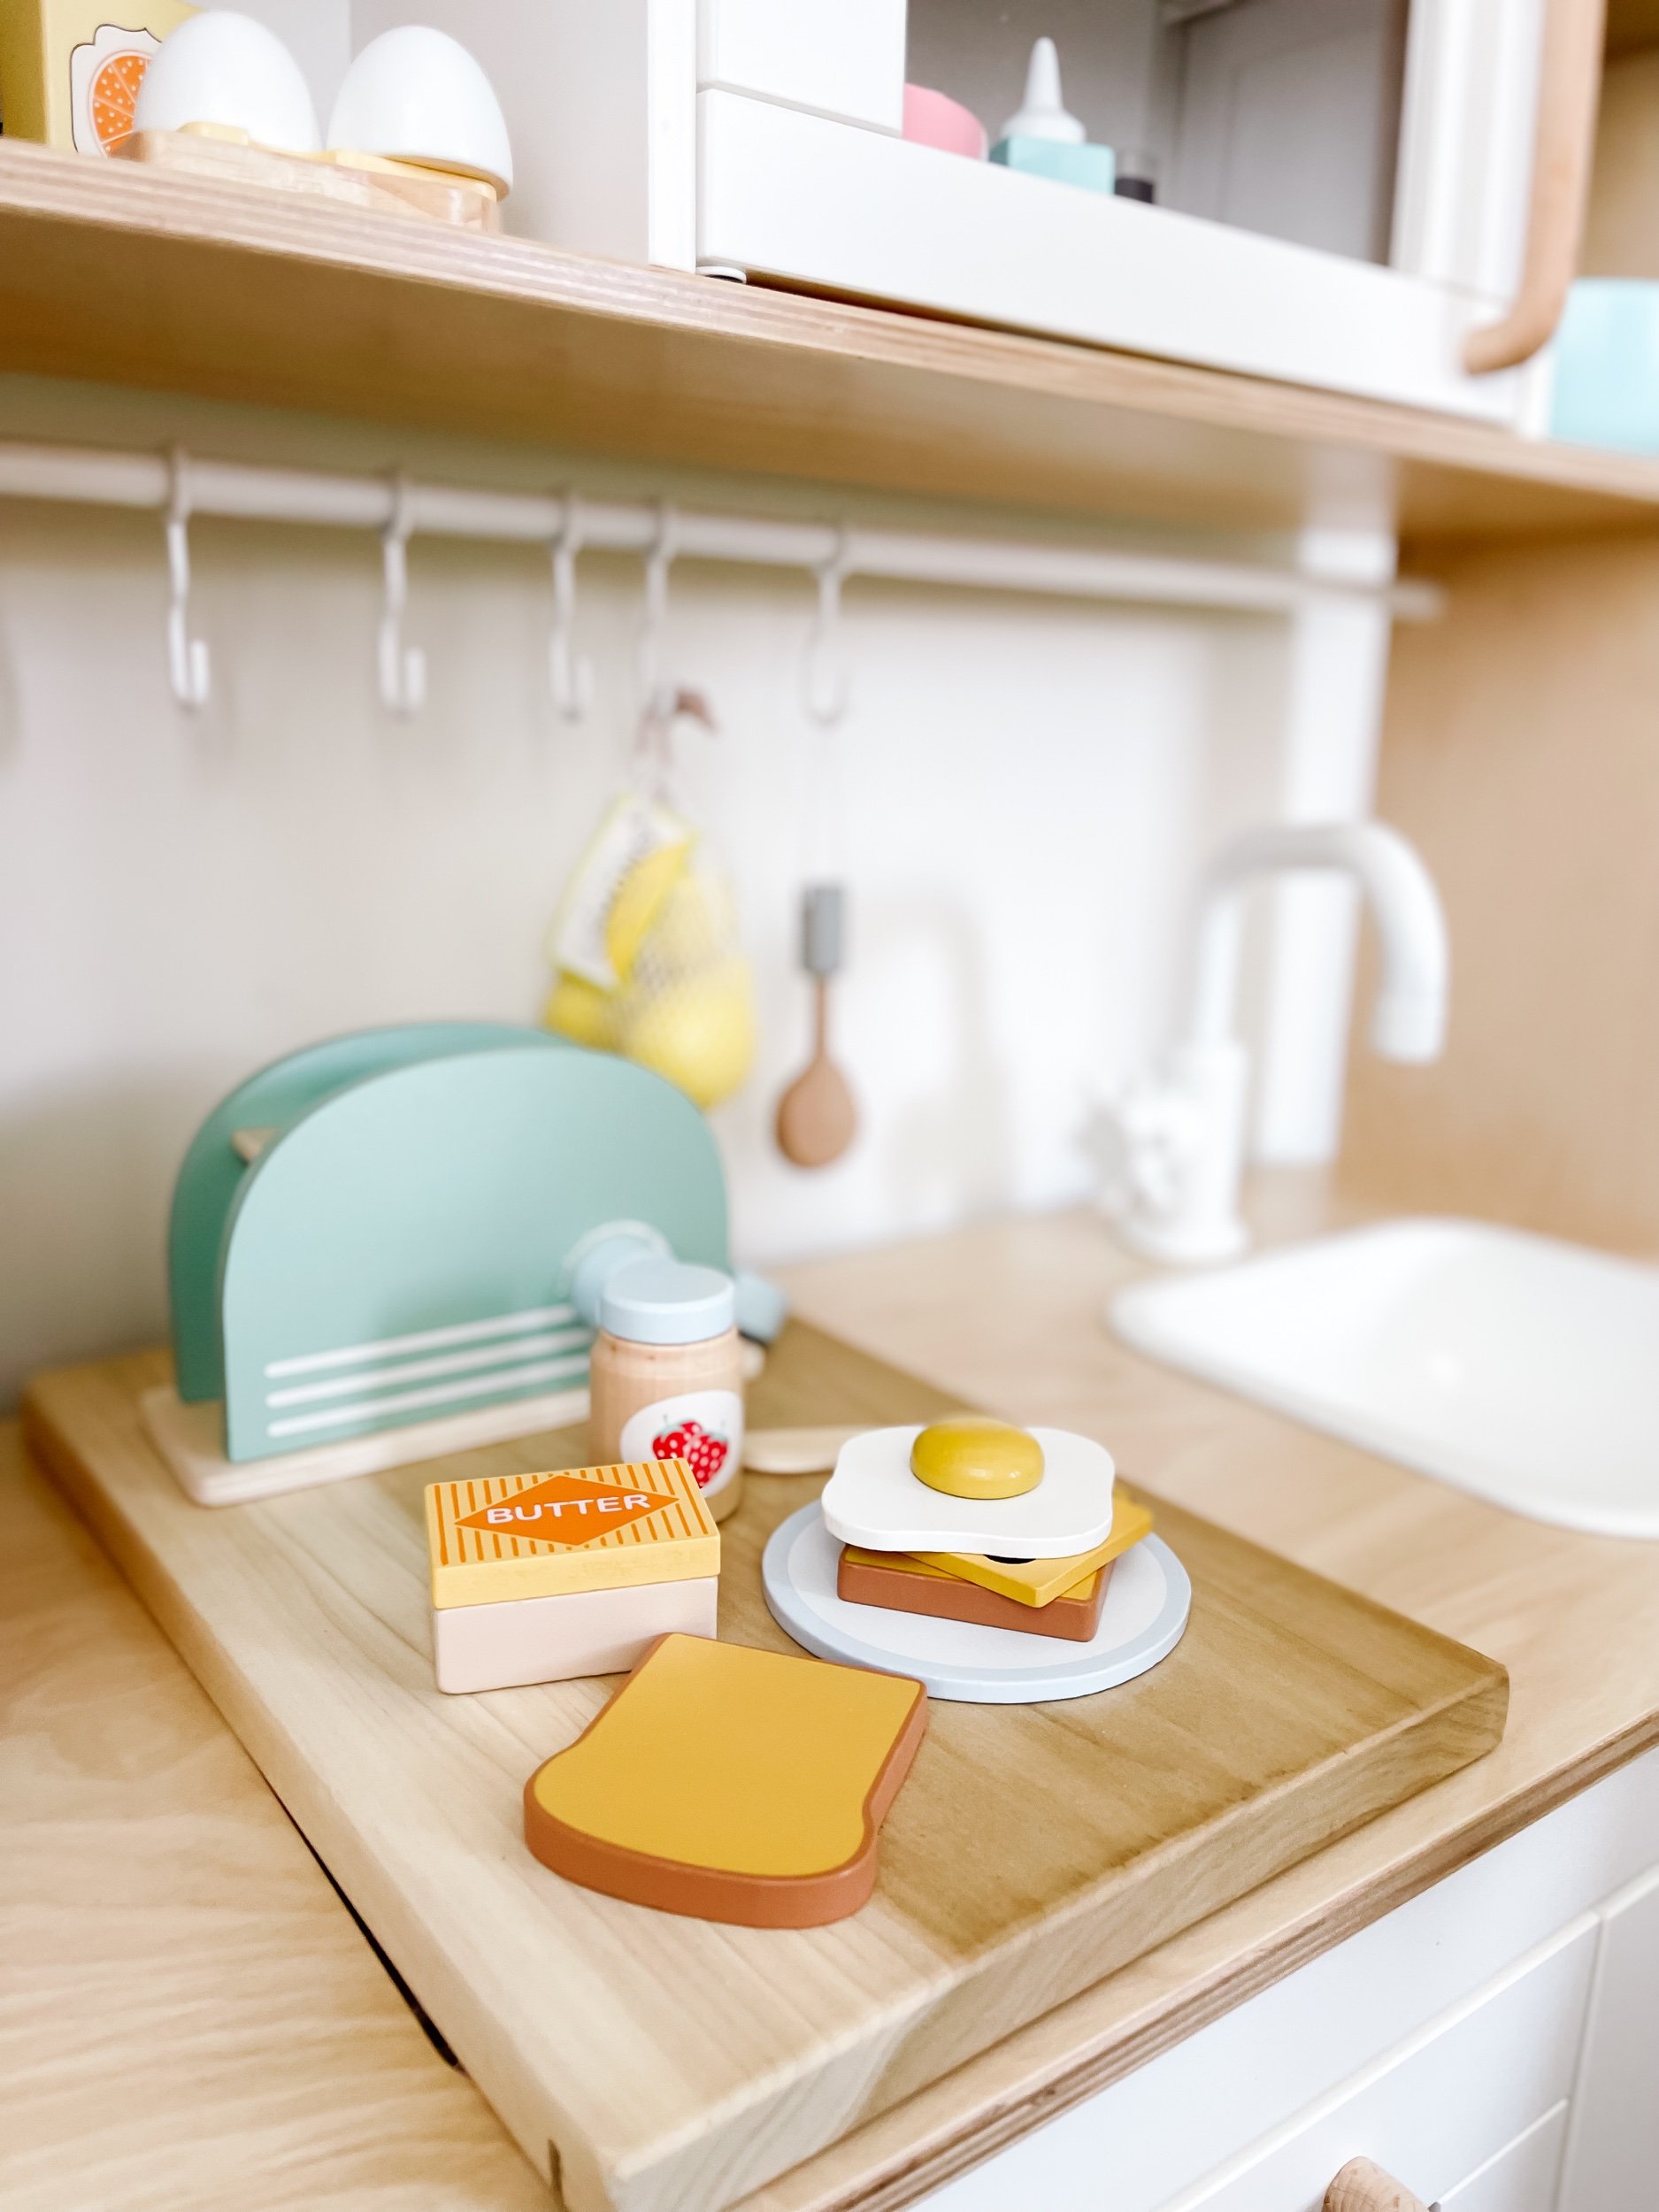
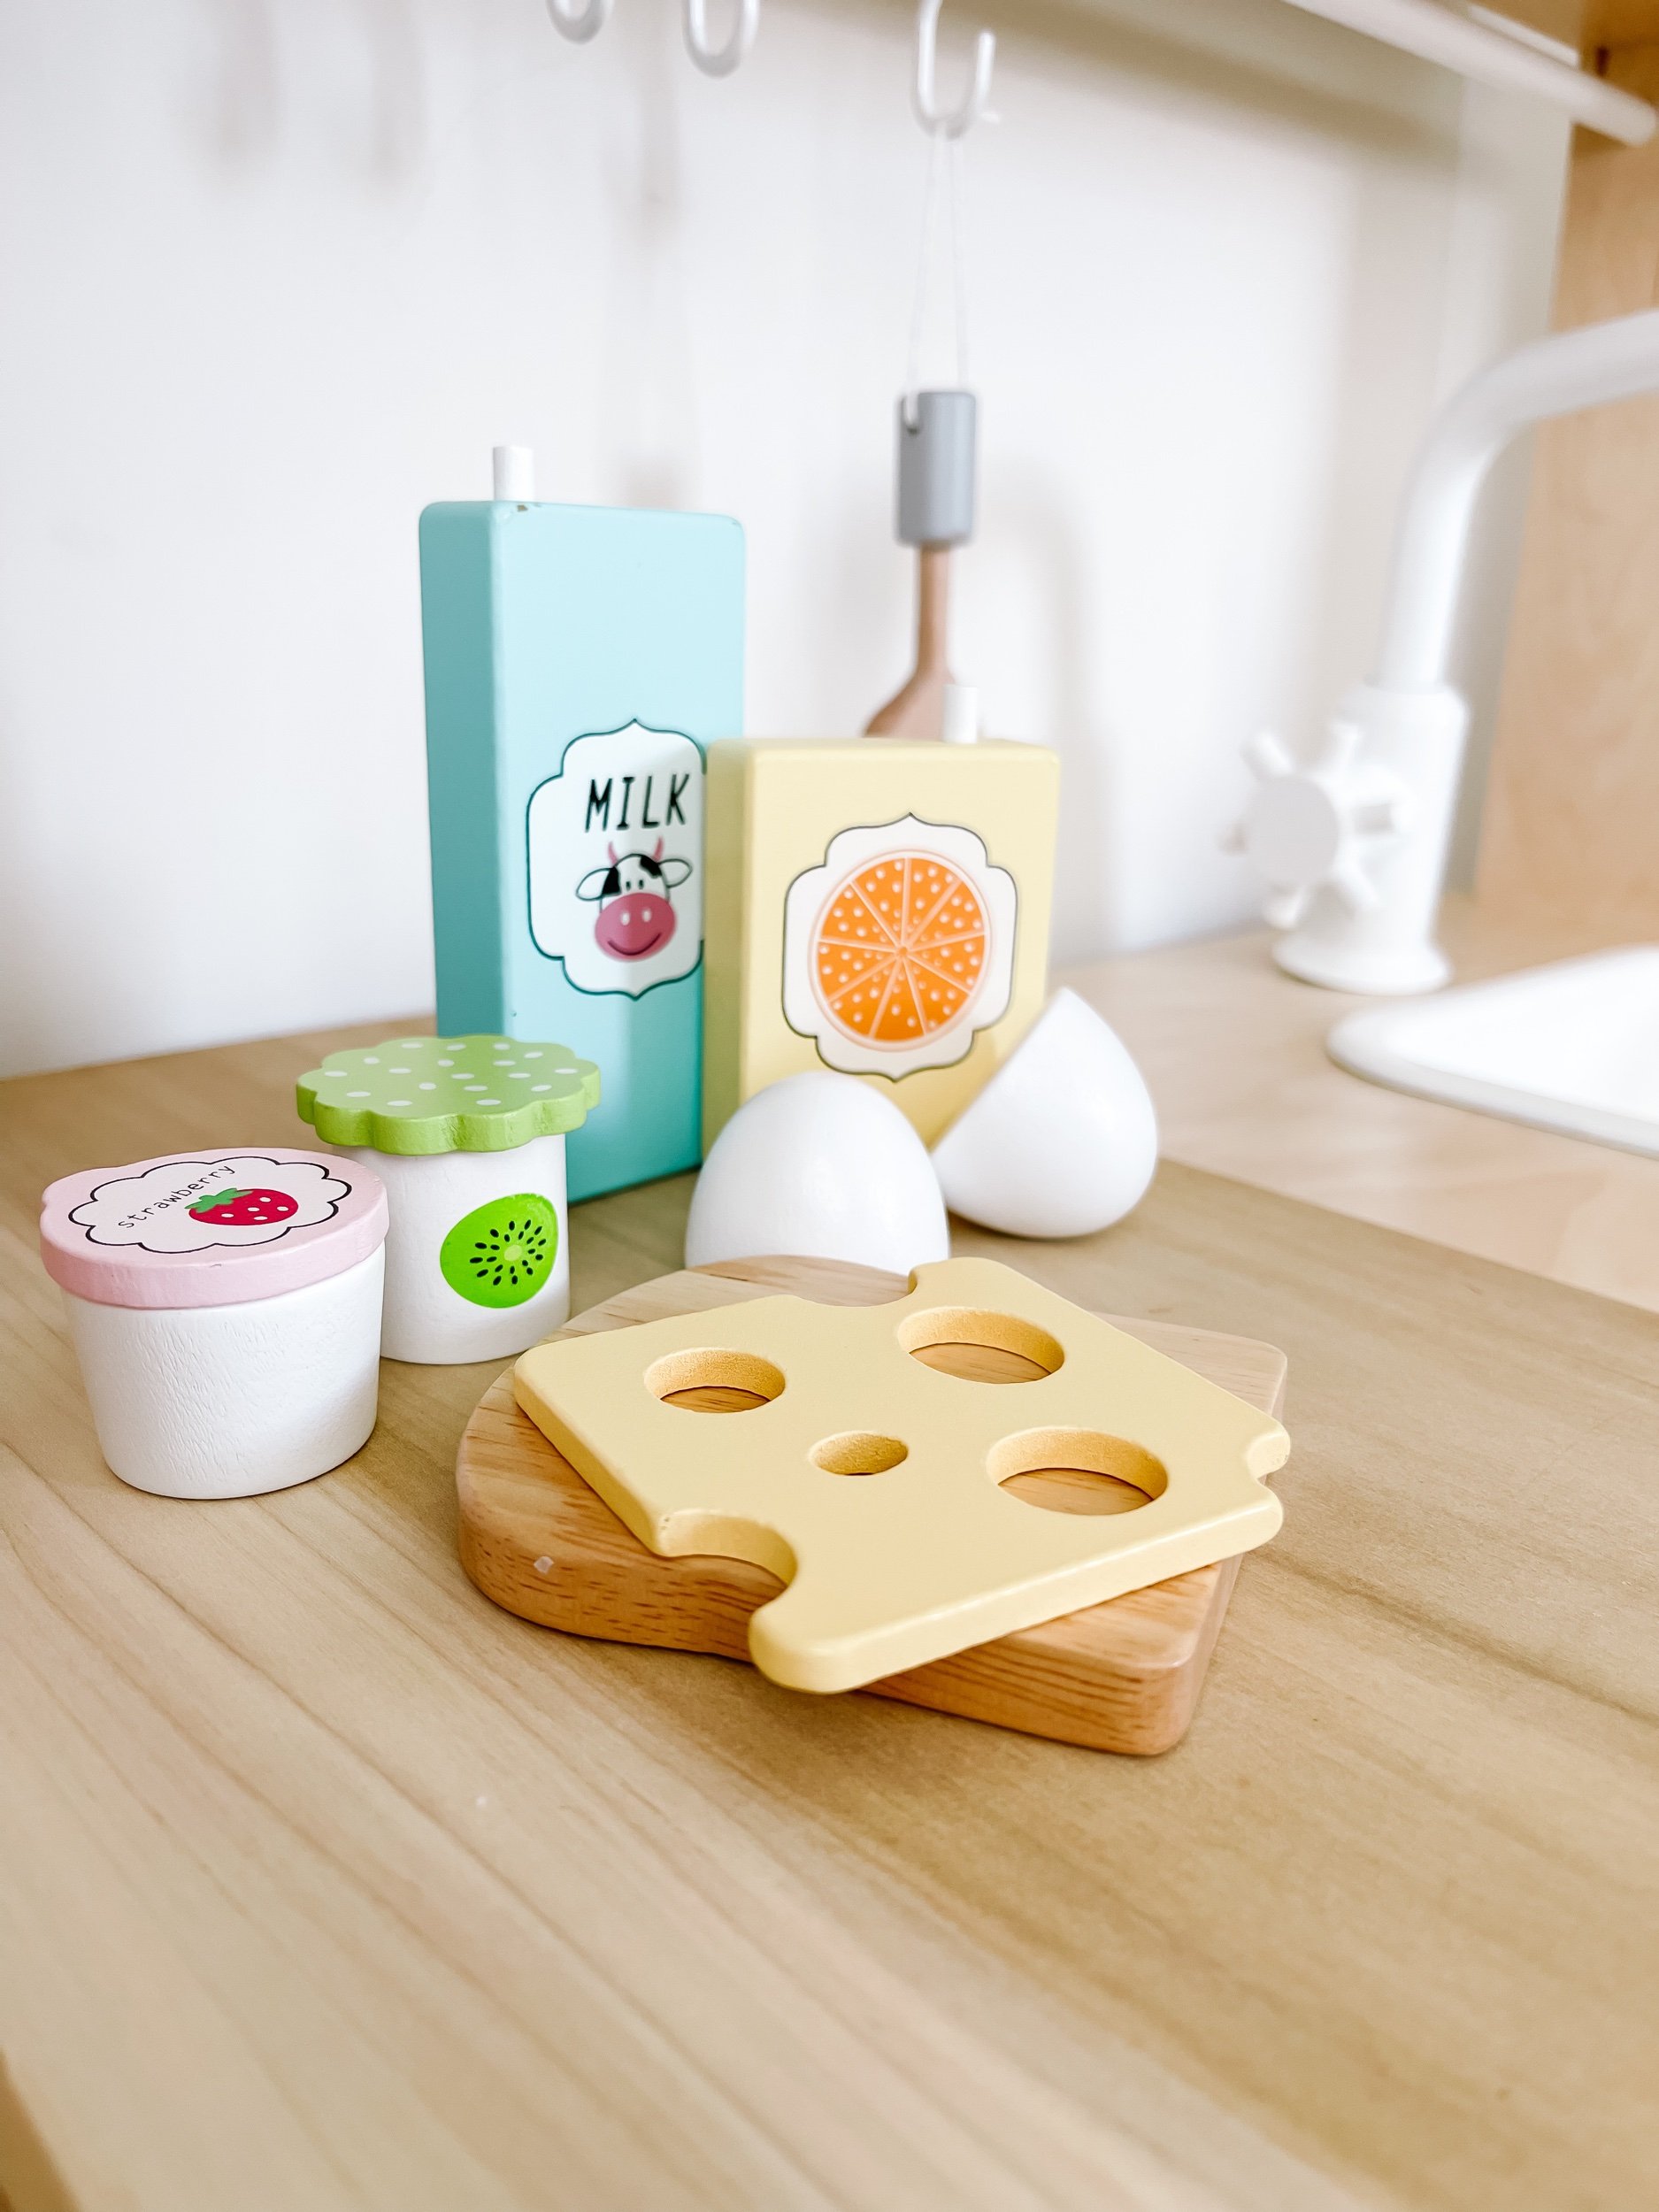
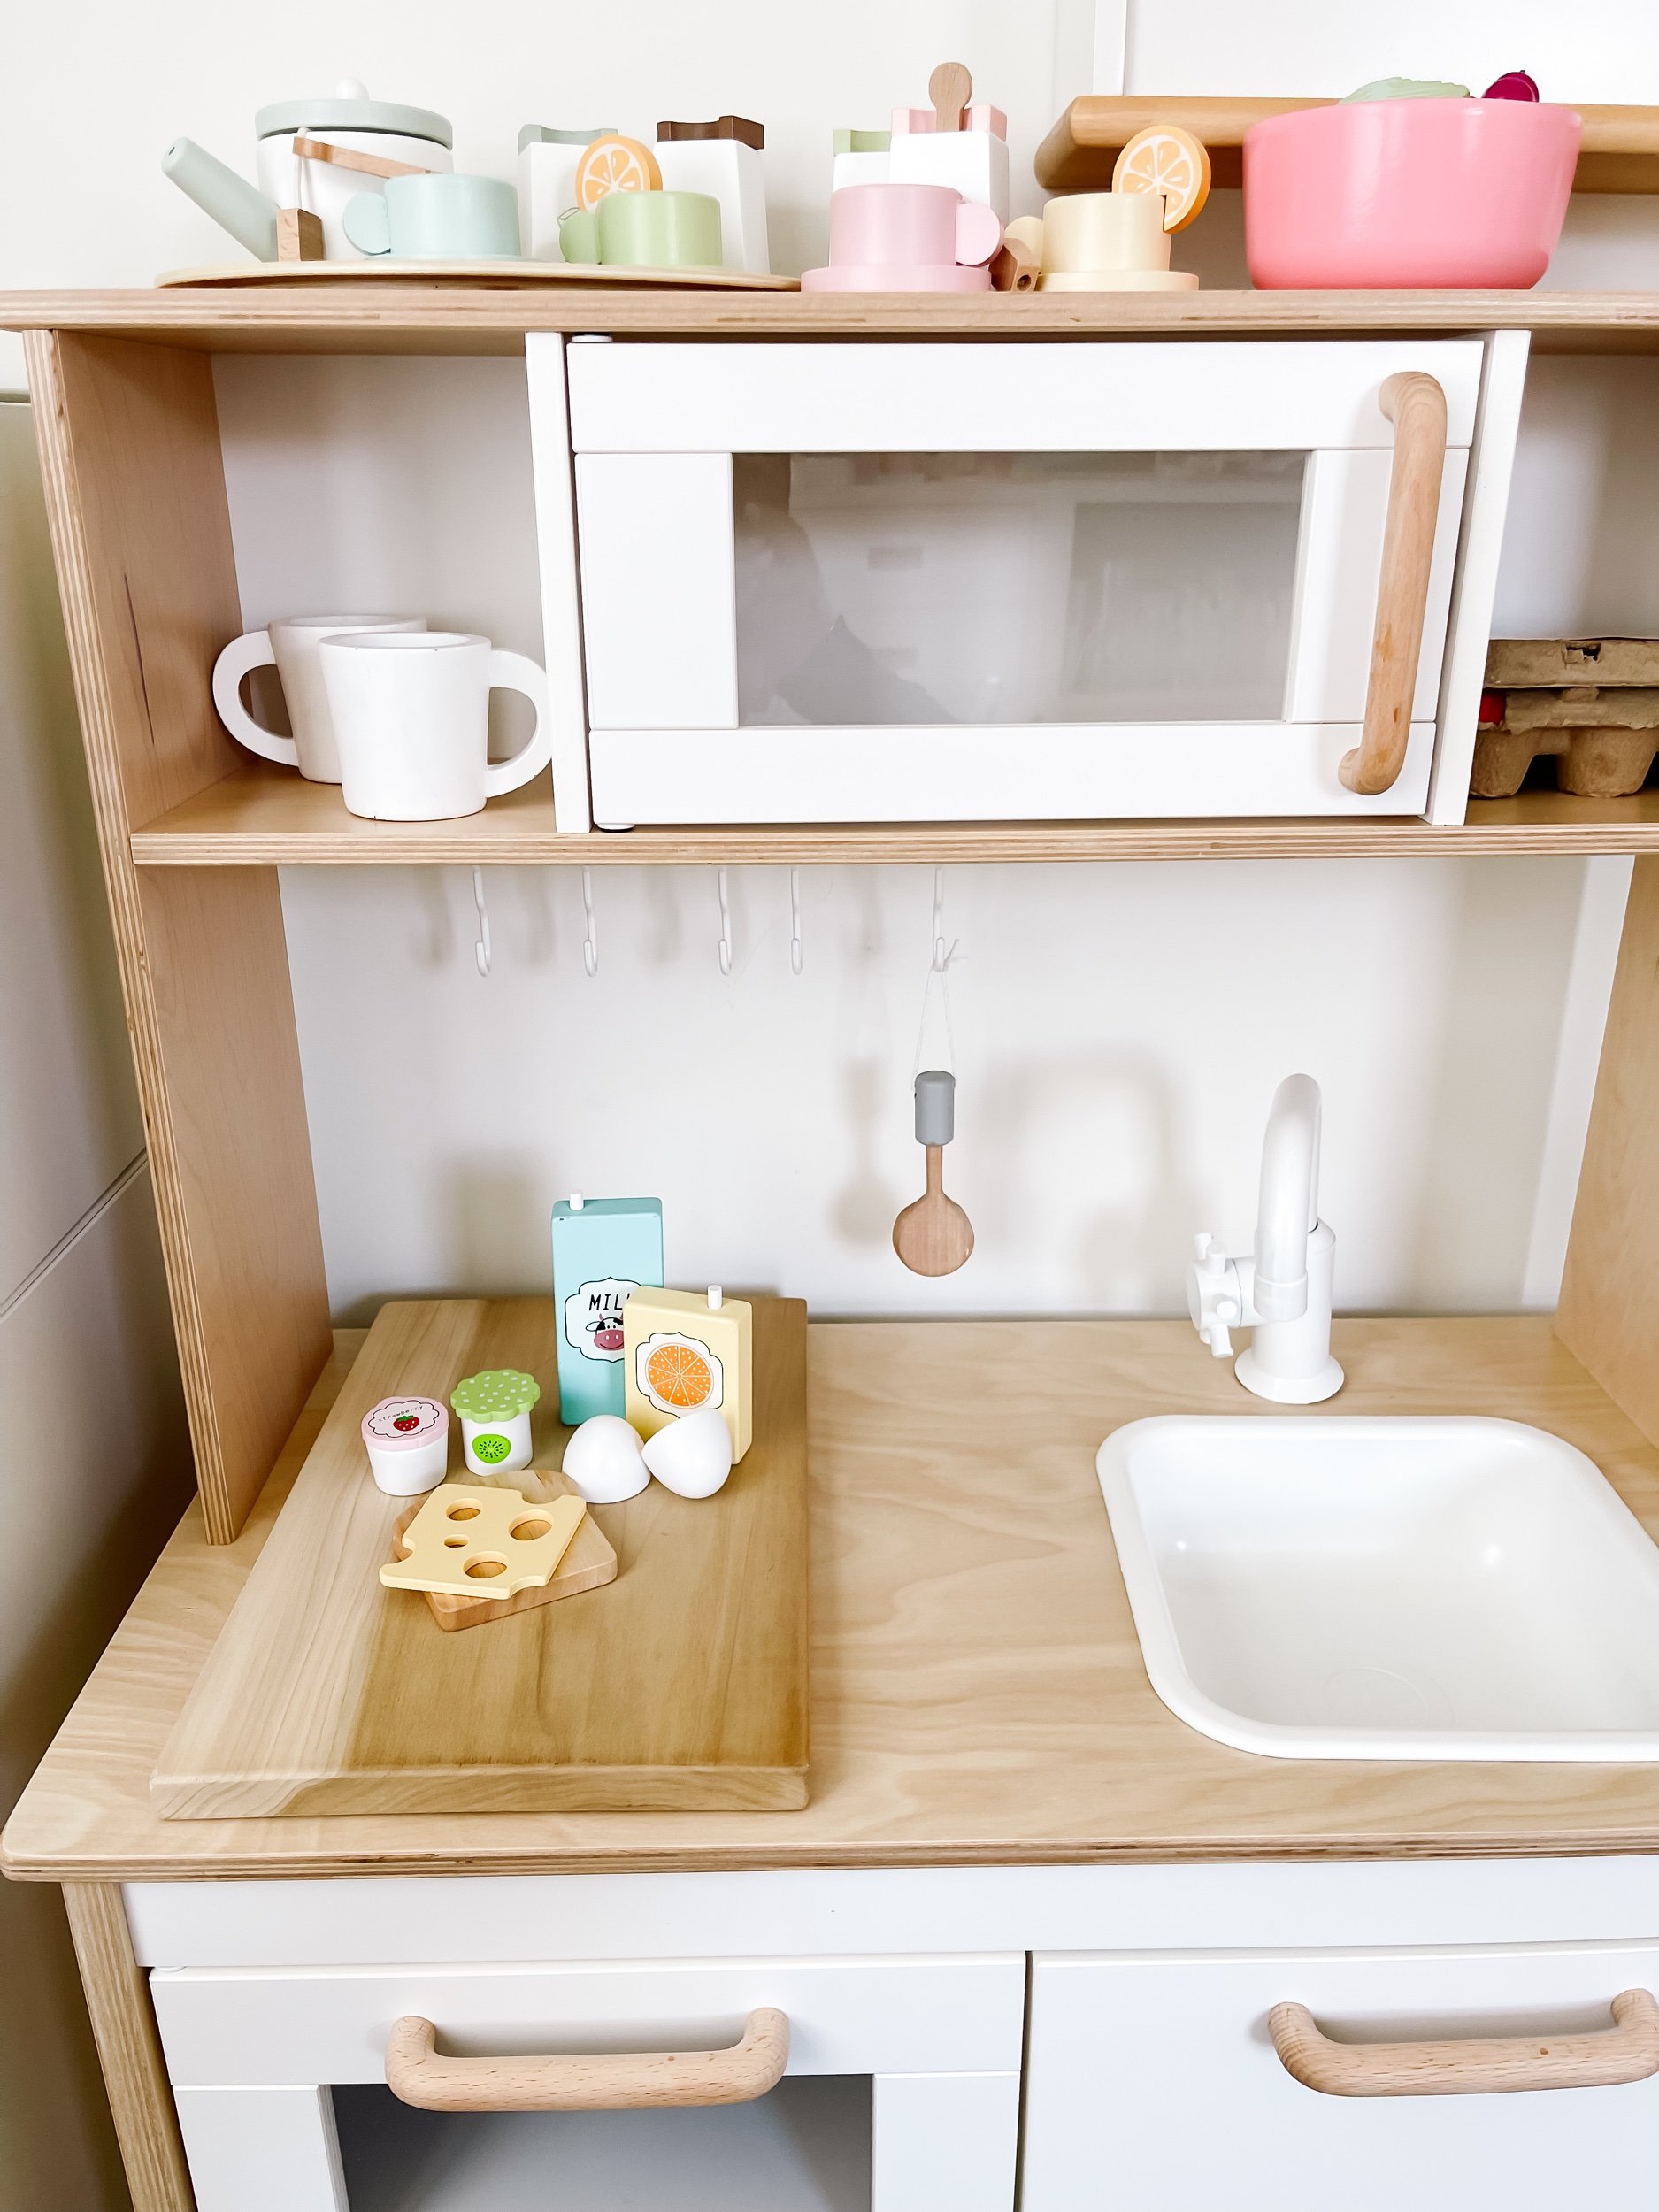
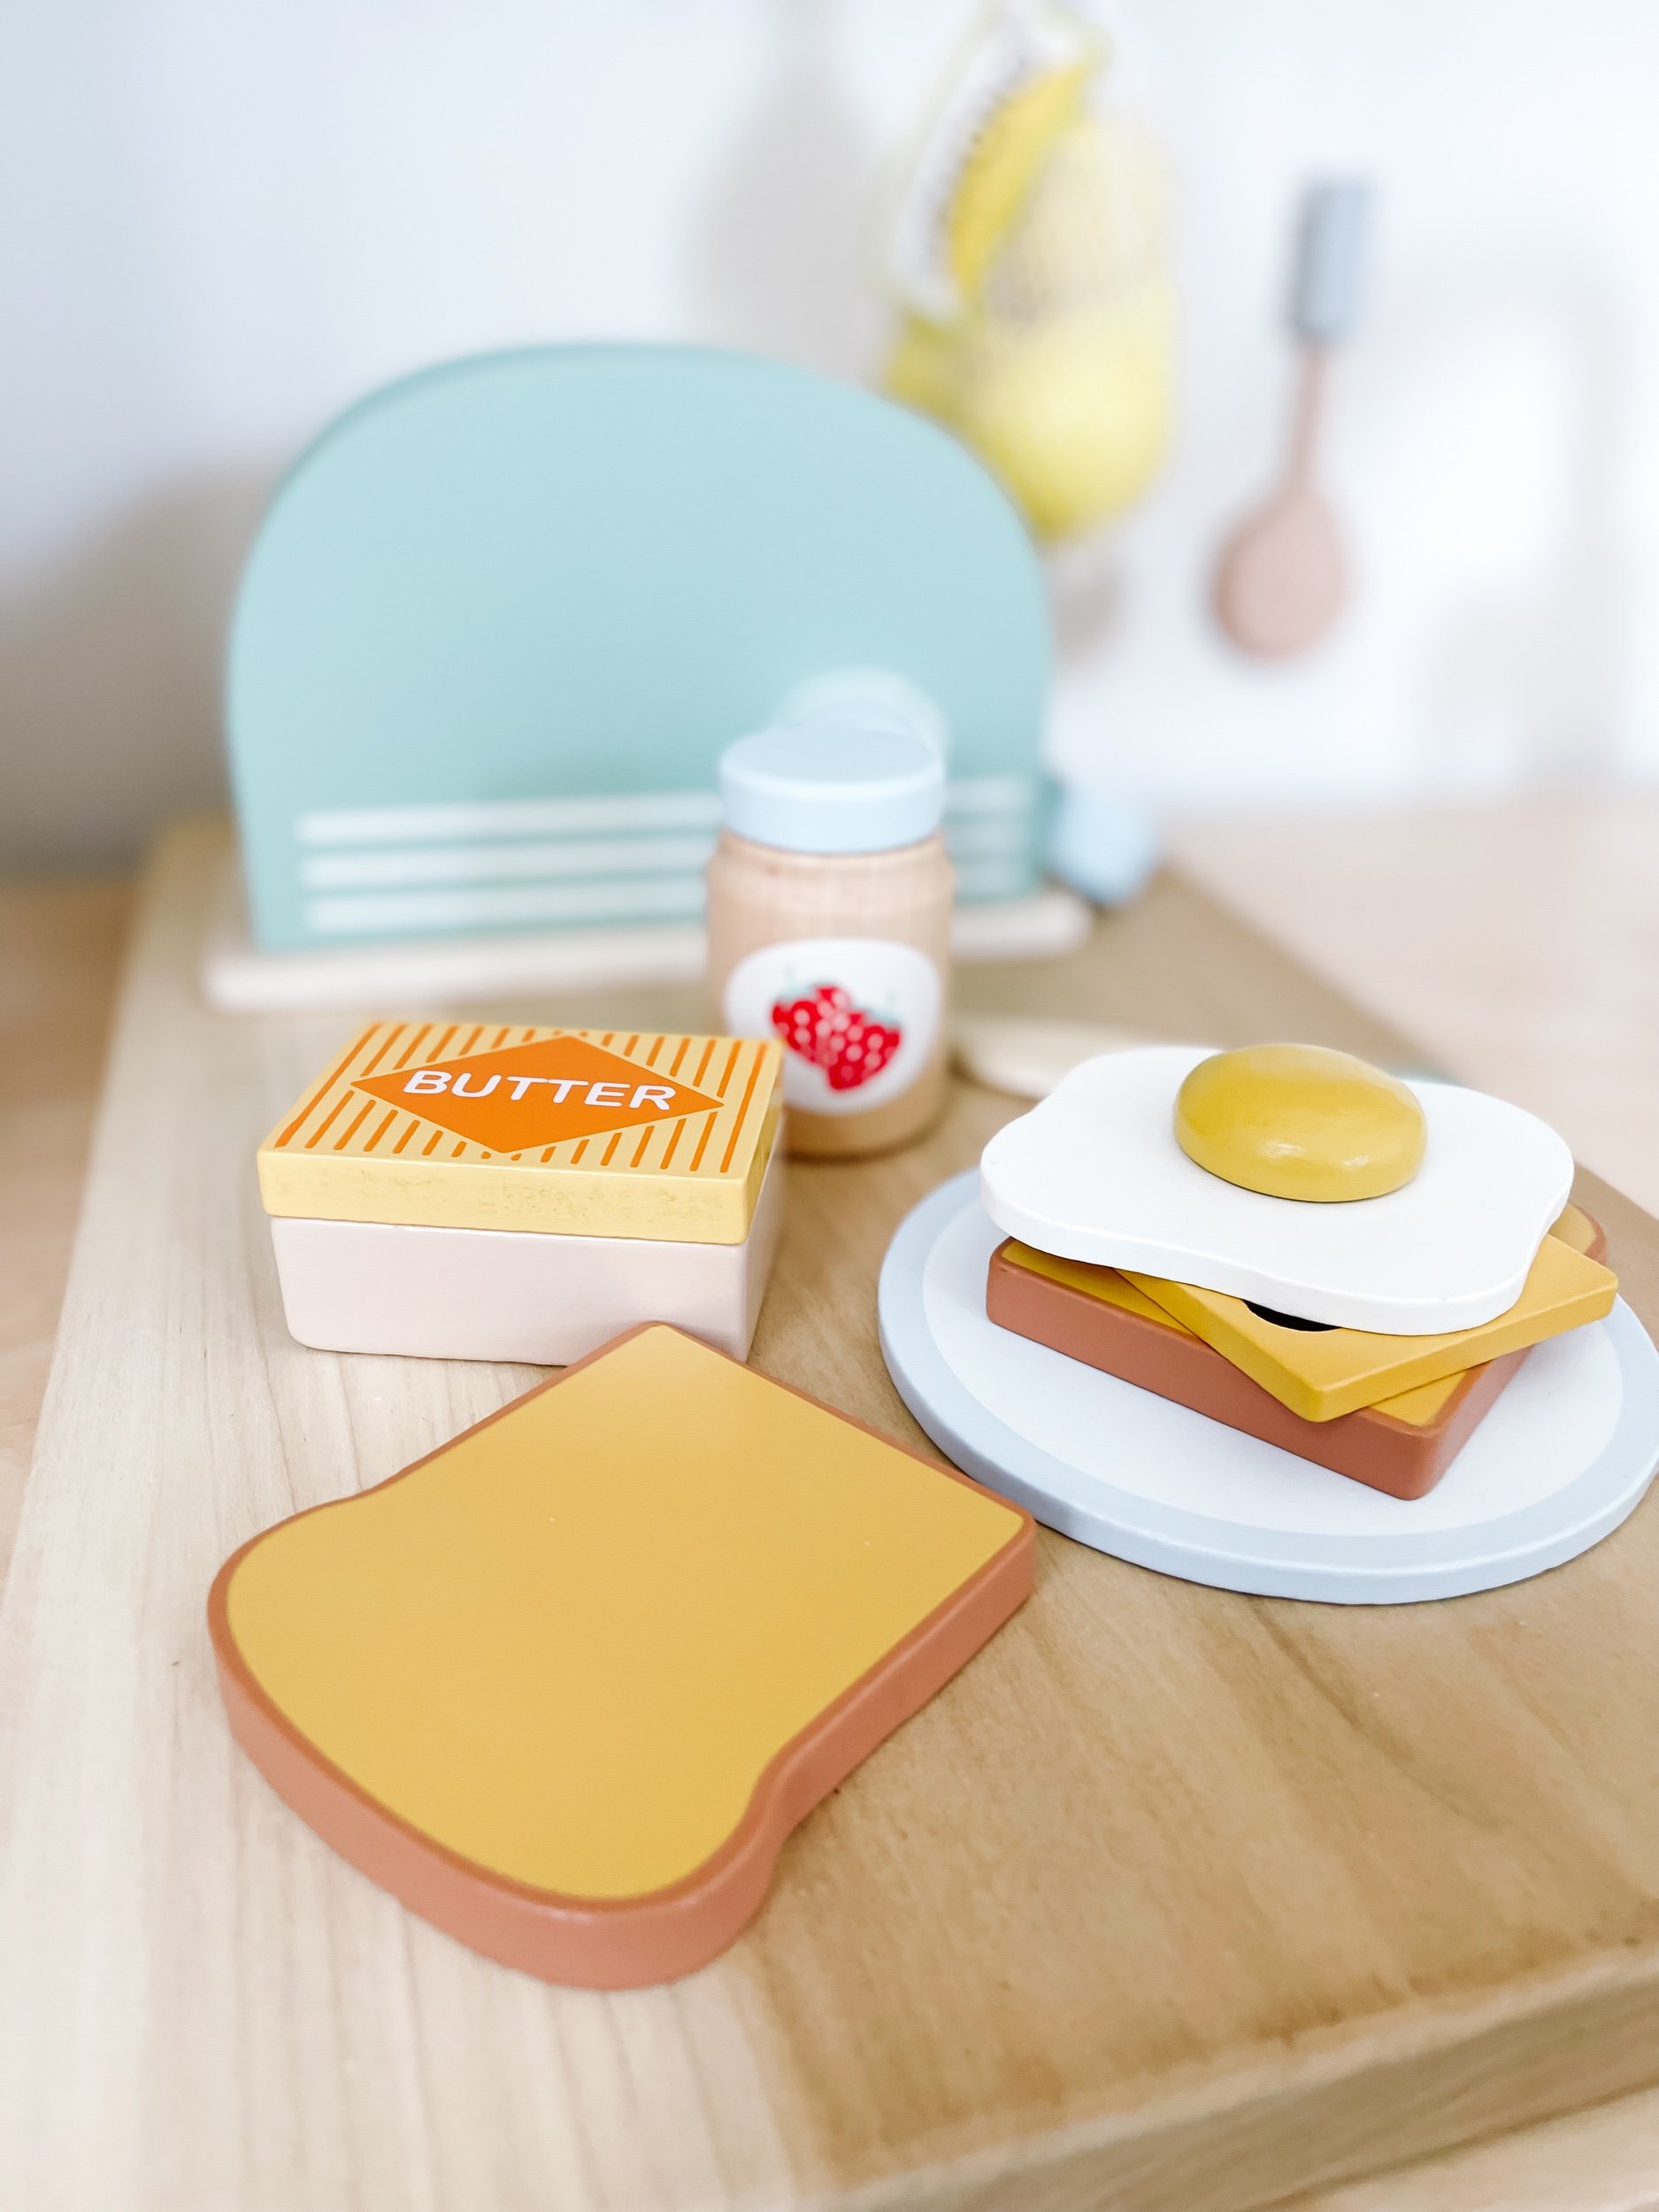
Okay breakfast is totally one of my favorite meals so I’m definitely a sucker for the breakfast play food. I got these two adorable sets of play food and they just look so cute together. They include eggs, cheese, butter, jam, bread, orange juice, milk, and of course the cutest little toaster. Sofie got an absolute kick out of the toaster because she can use the handle to pop up the bread and it goes flying around the play room.

IMG_5068_jpg.jpeg IMG_5067_jpg.jpeg IMG_5076.jpeg IMG_5071.jpeg IMG_5069_jpg.jpeg

Making a fruit salad

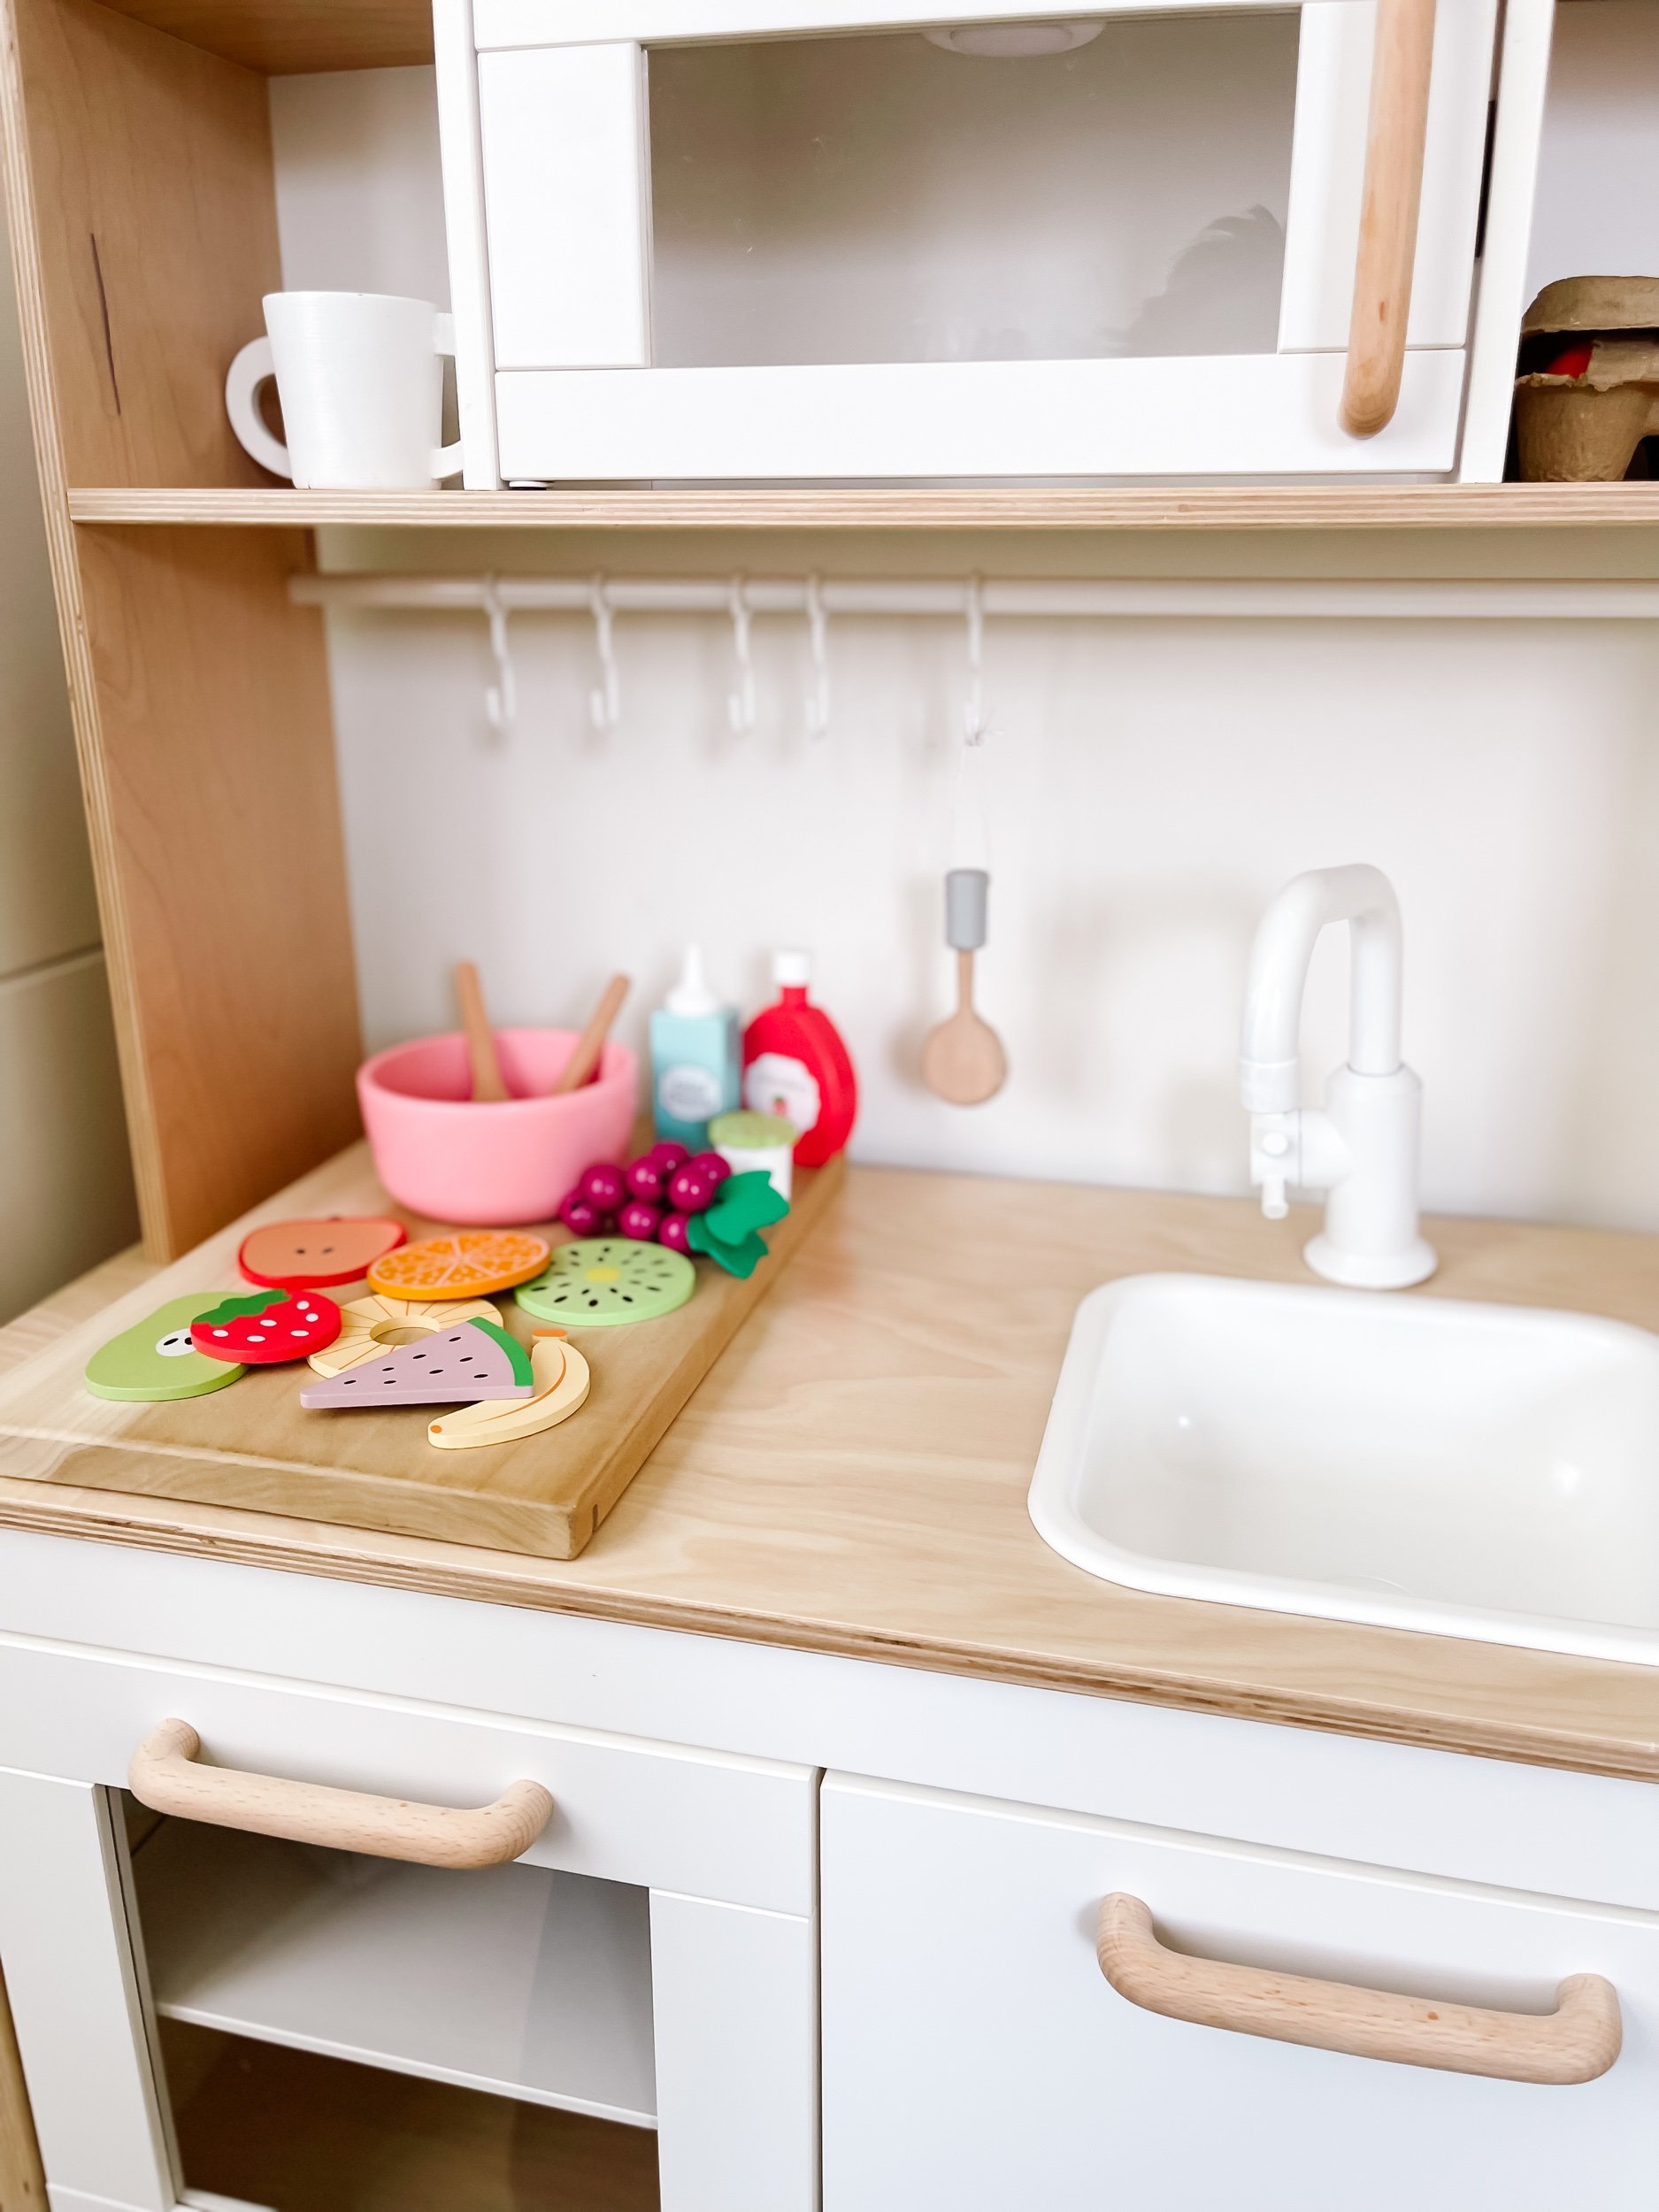
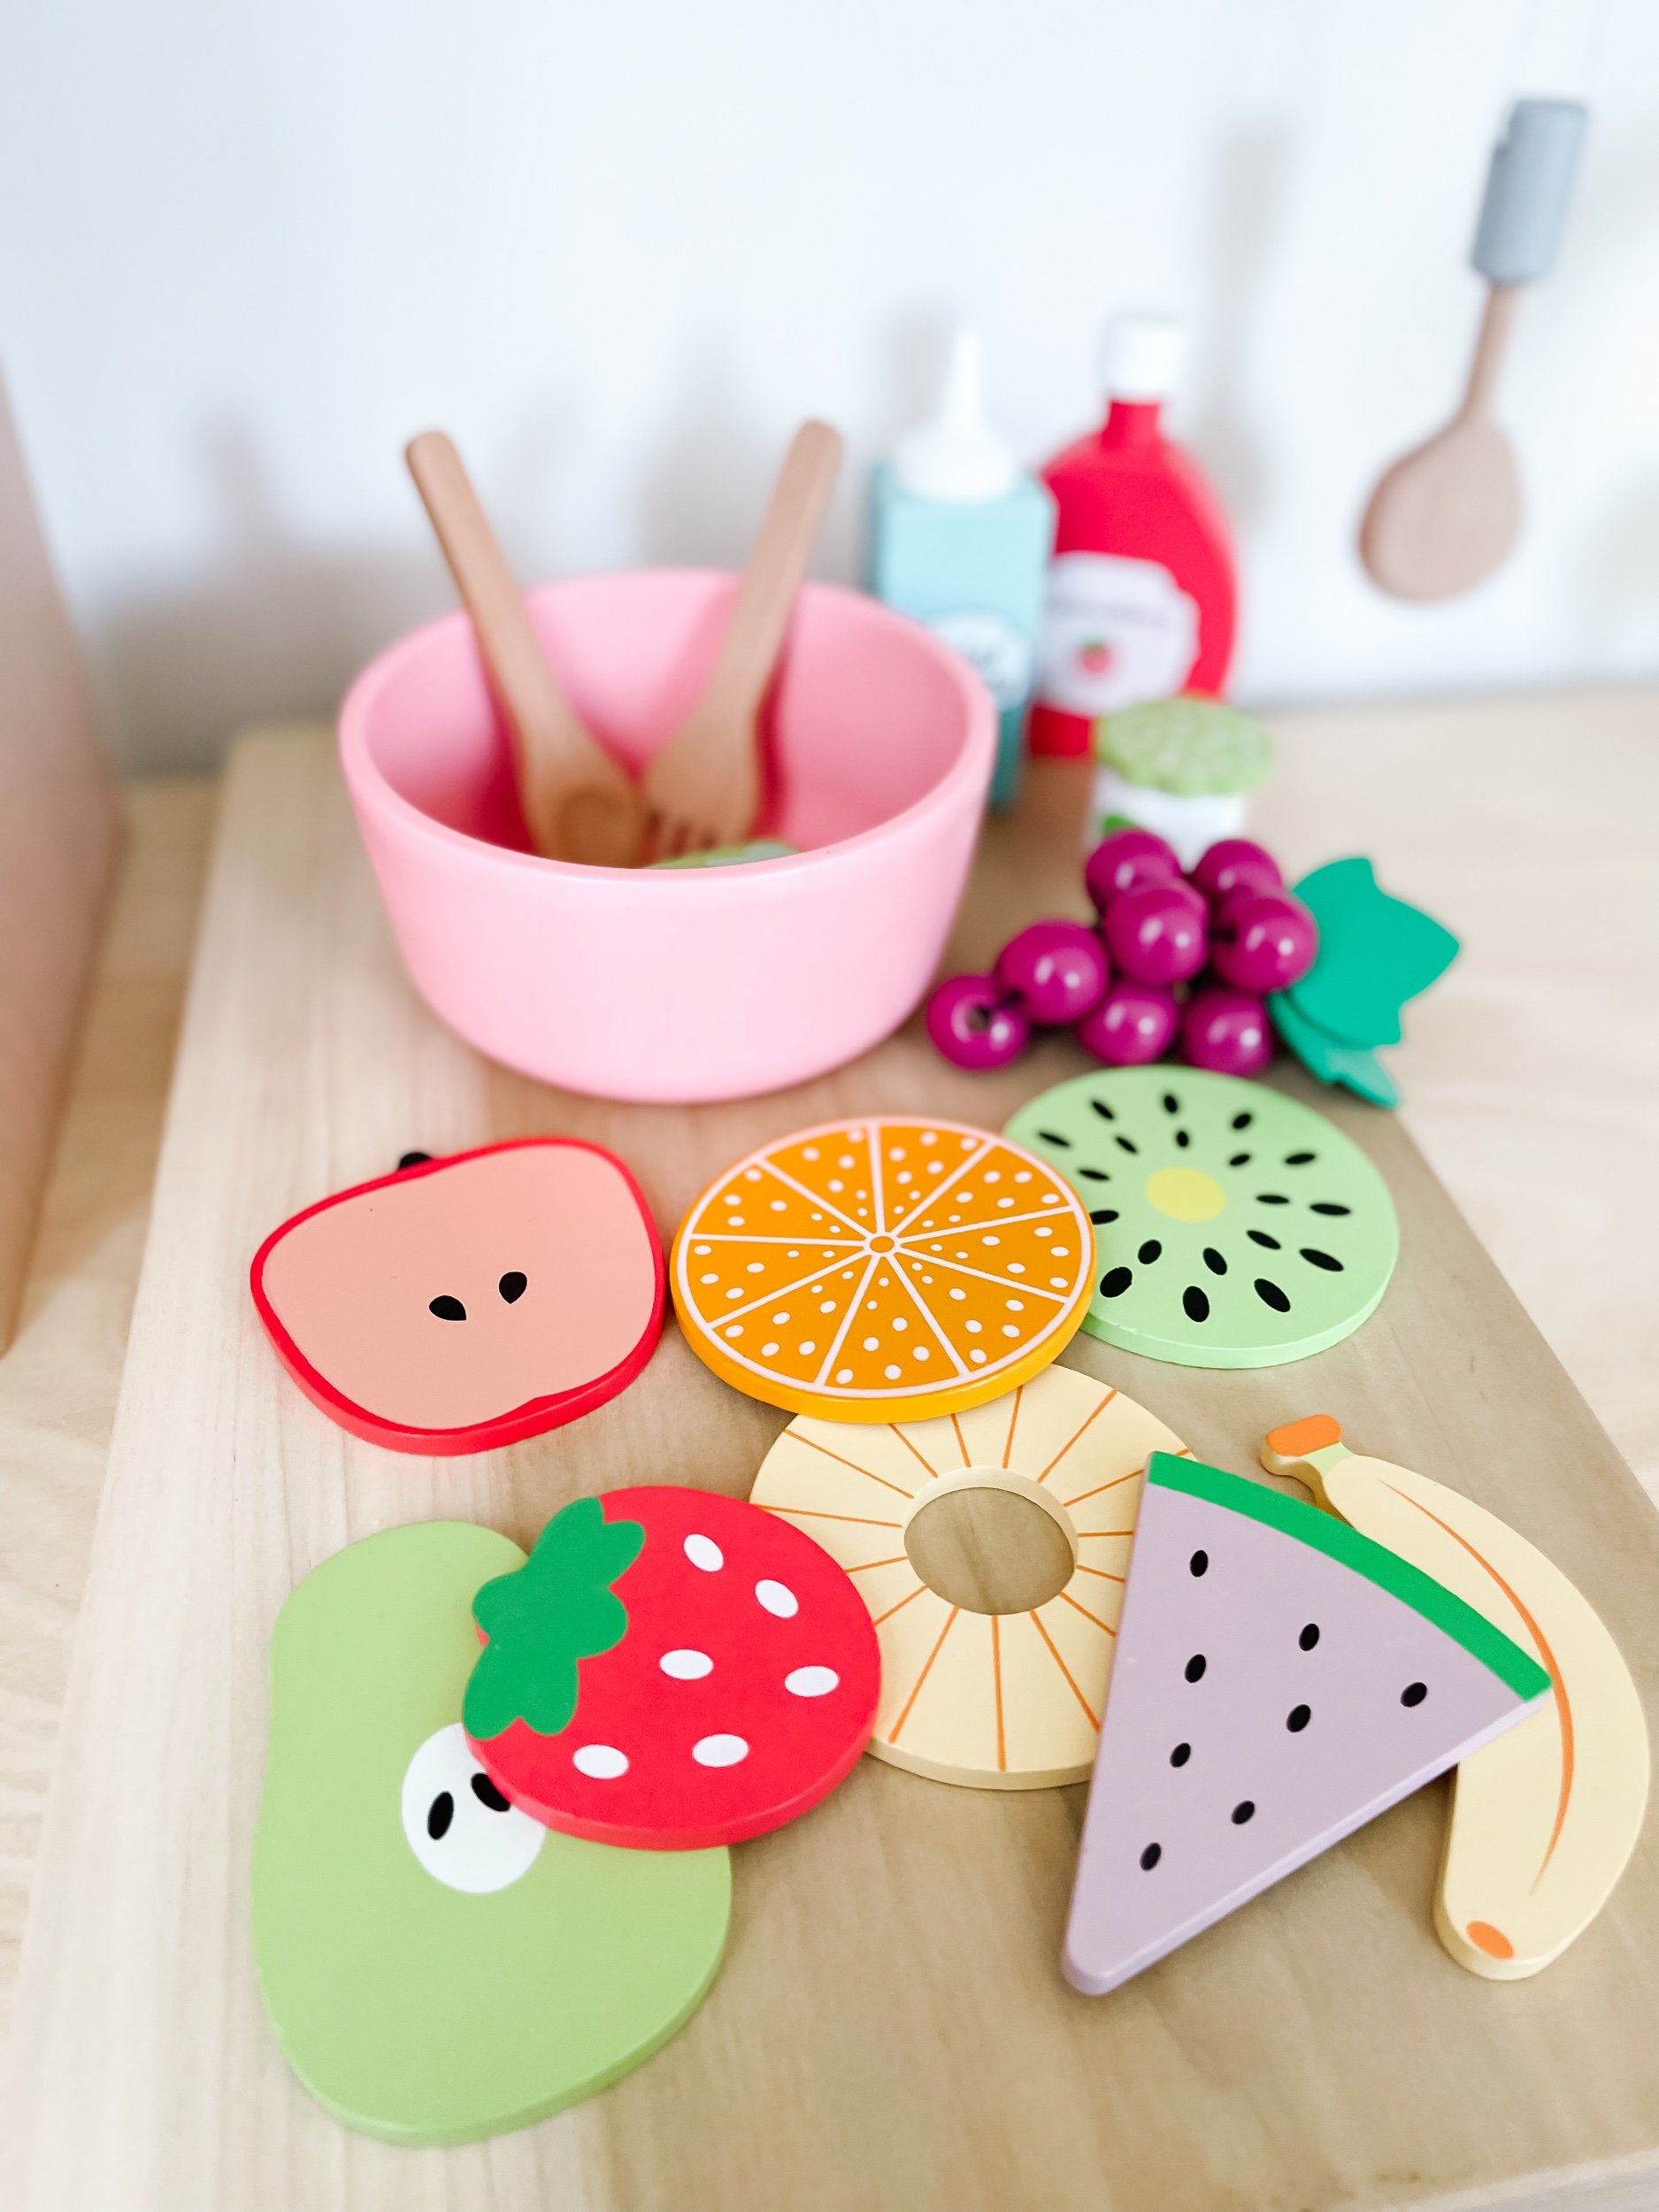
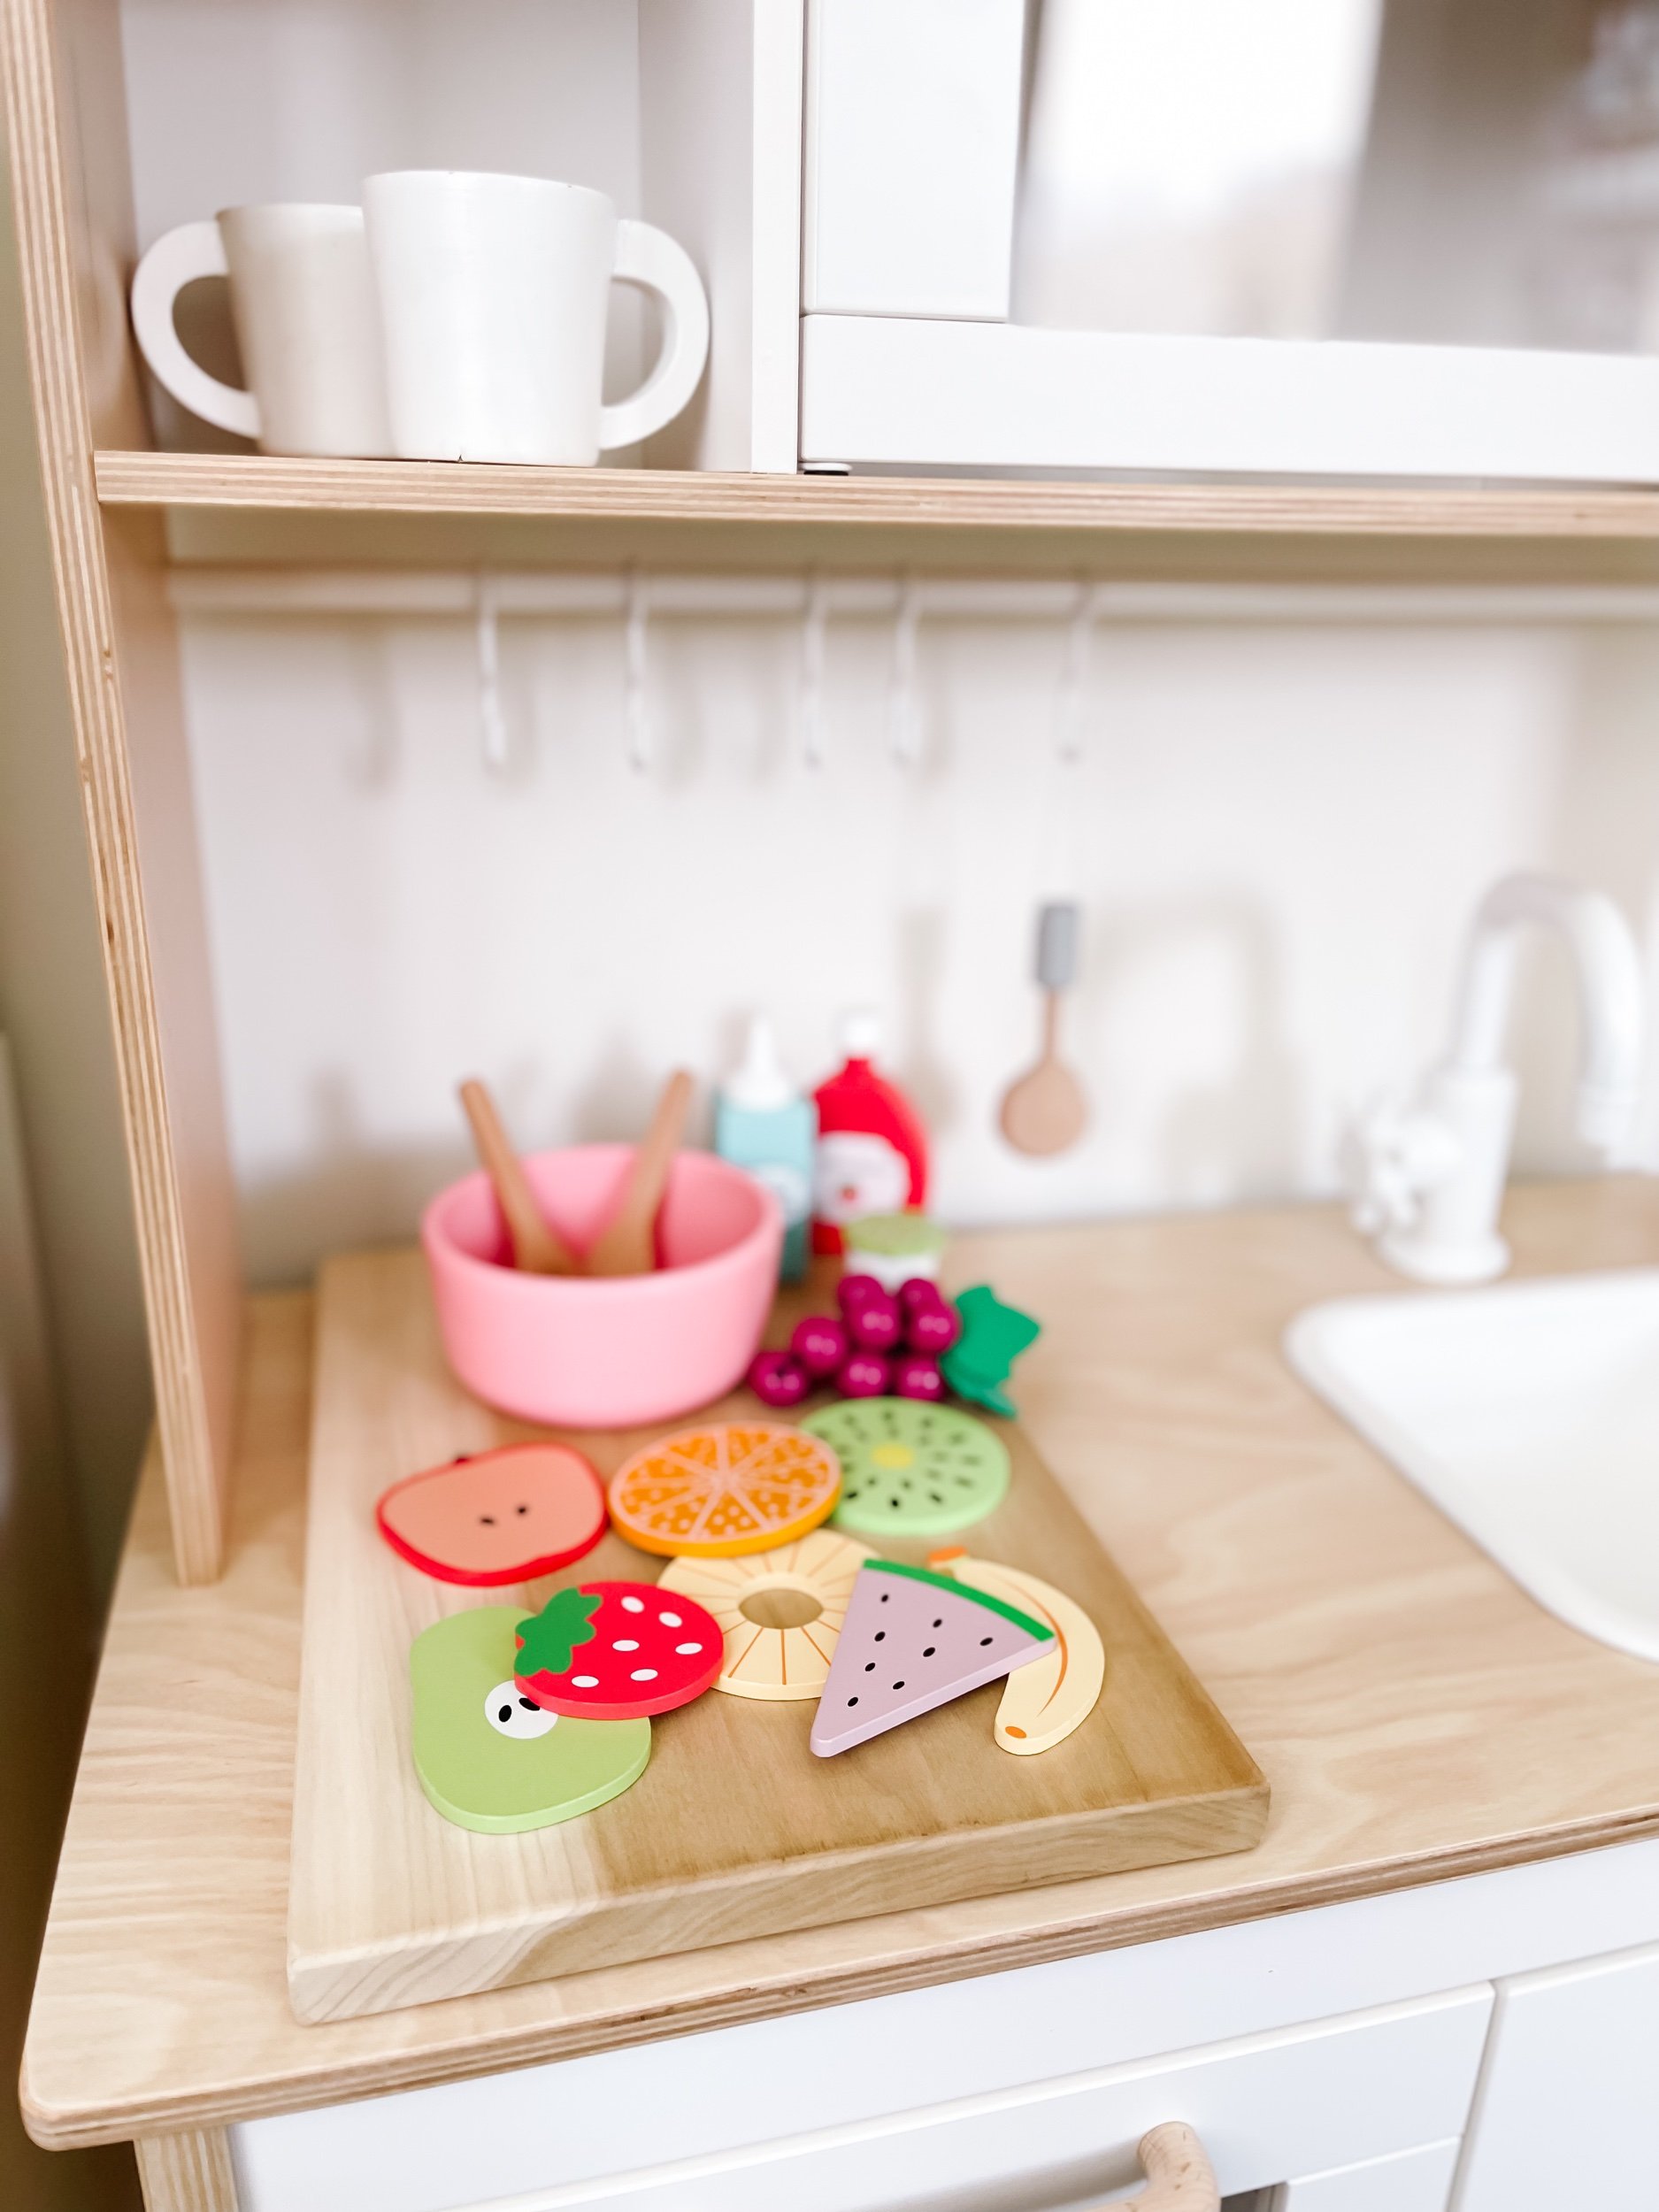
I couldn’t resist this cute fruit salad kit either! It comes with two dressings, fruit, salad utensils and the cutest little pink mixing bowl. This was the first one Sofie go to play with and her eyes lit up when she saw the bright colors. And of course the grapes are a fun sensory texture to enjoy. The salad gave us a great opportunity to talk about healthy fruits and how different types of carbohydrates effect our bodies differently — I’m always one to throw a little education into the fun.
IMG_5121_jpg.jpg IMG_5122.jpg

Pantry Items

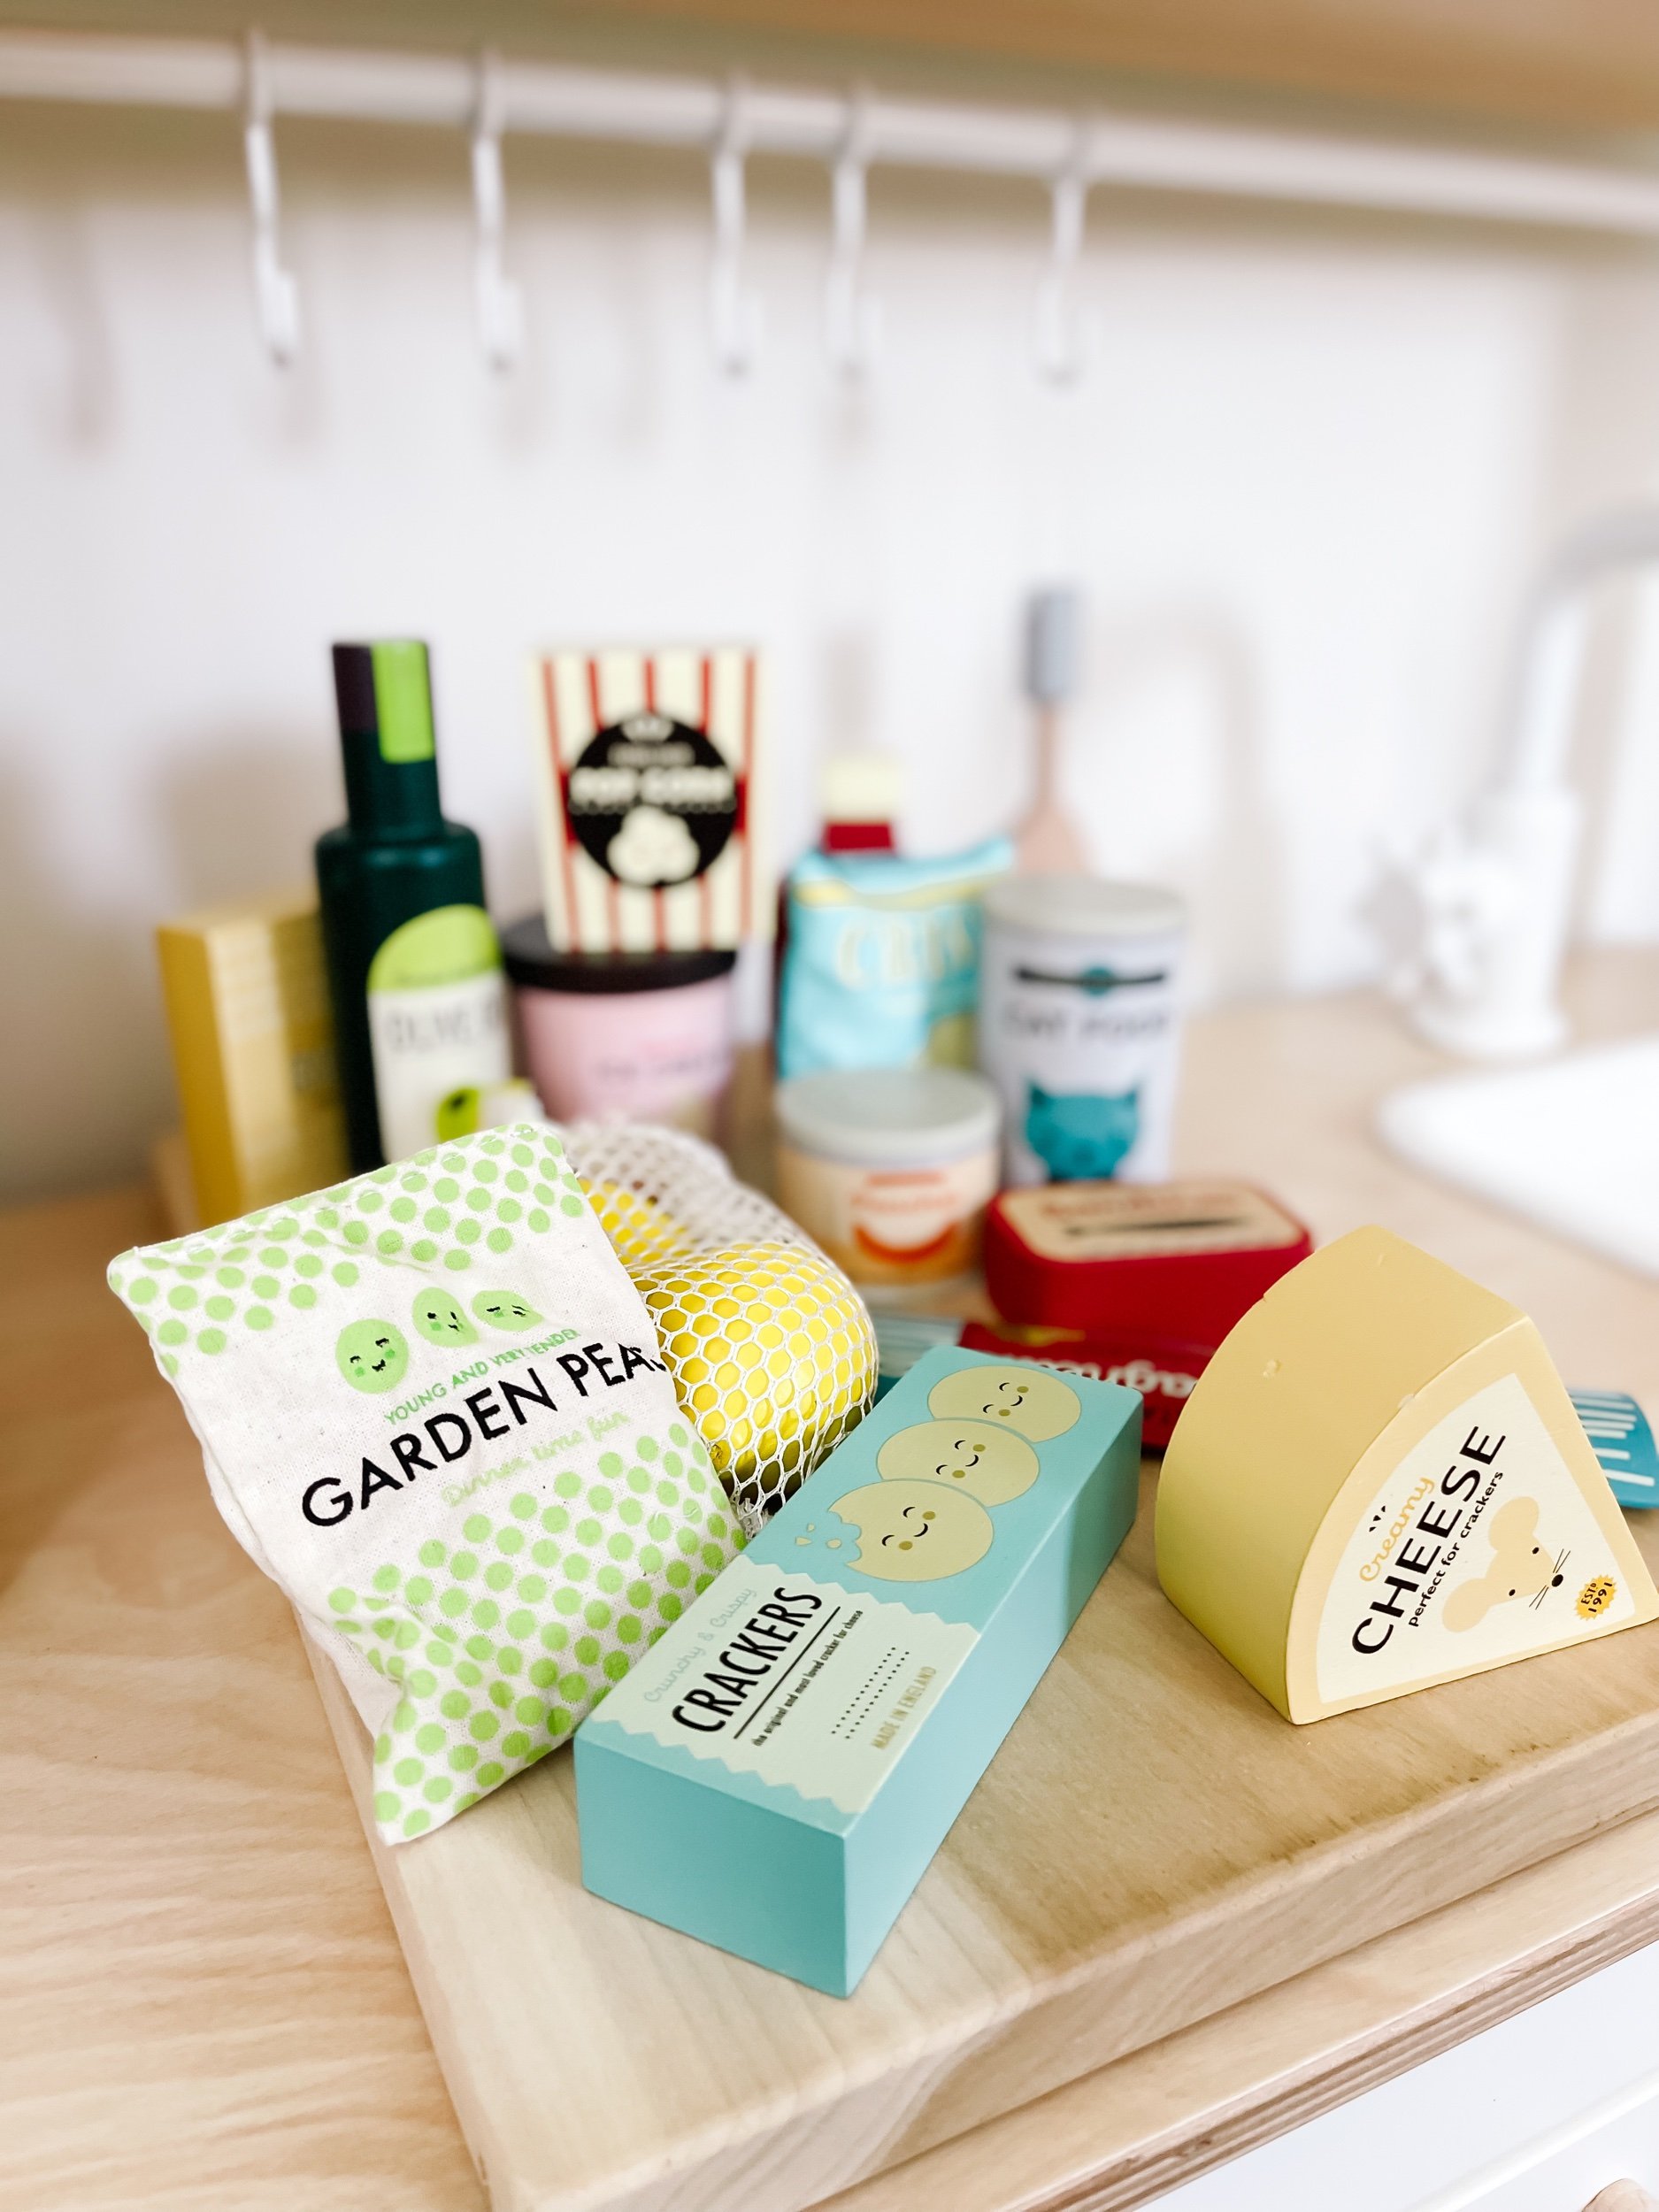
I’ve been obsessed with these pantry items from Tender Leaf for a really long time now. So when I decided the take the plunge and buy the play kitchen, these were top of my list. I love the different textures of the bag of peas, the lemons, and of course the high quality of the play food itself. I knew these items would be a great addition to my Ikea play kitchen renovation.

IMG_5115_jpg.jpg IMG_5116_jpg.jpg IMG_5117.jpg

Popsicles play food

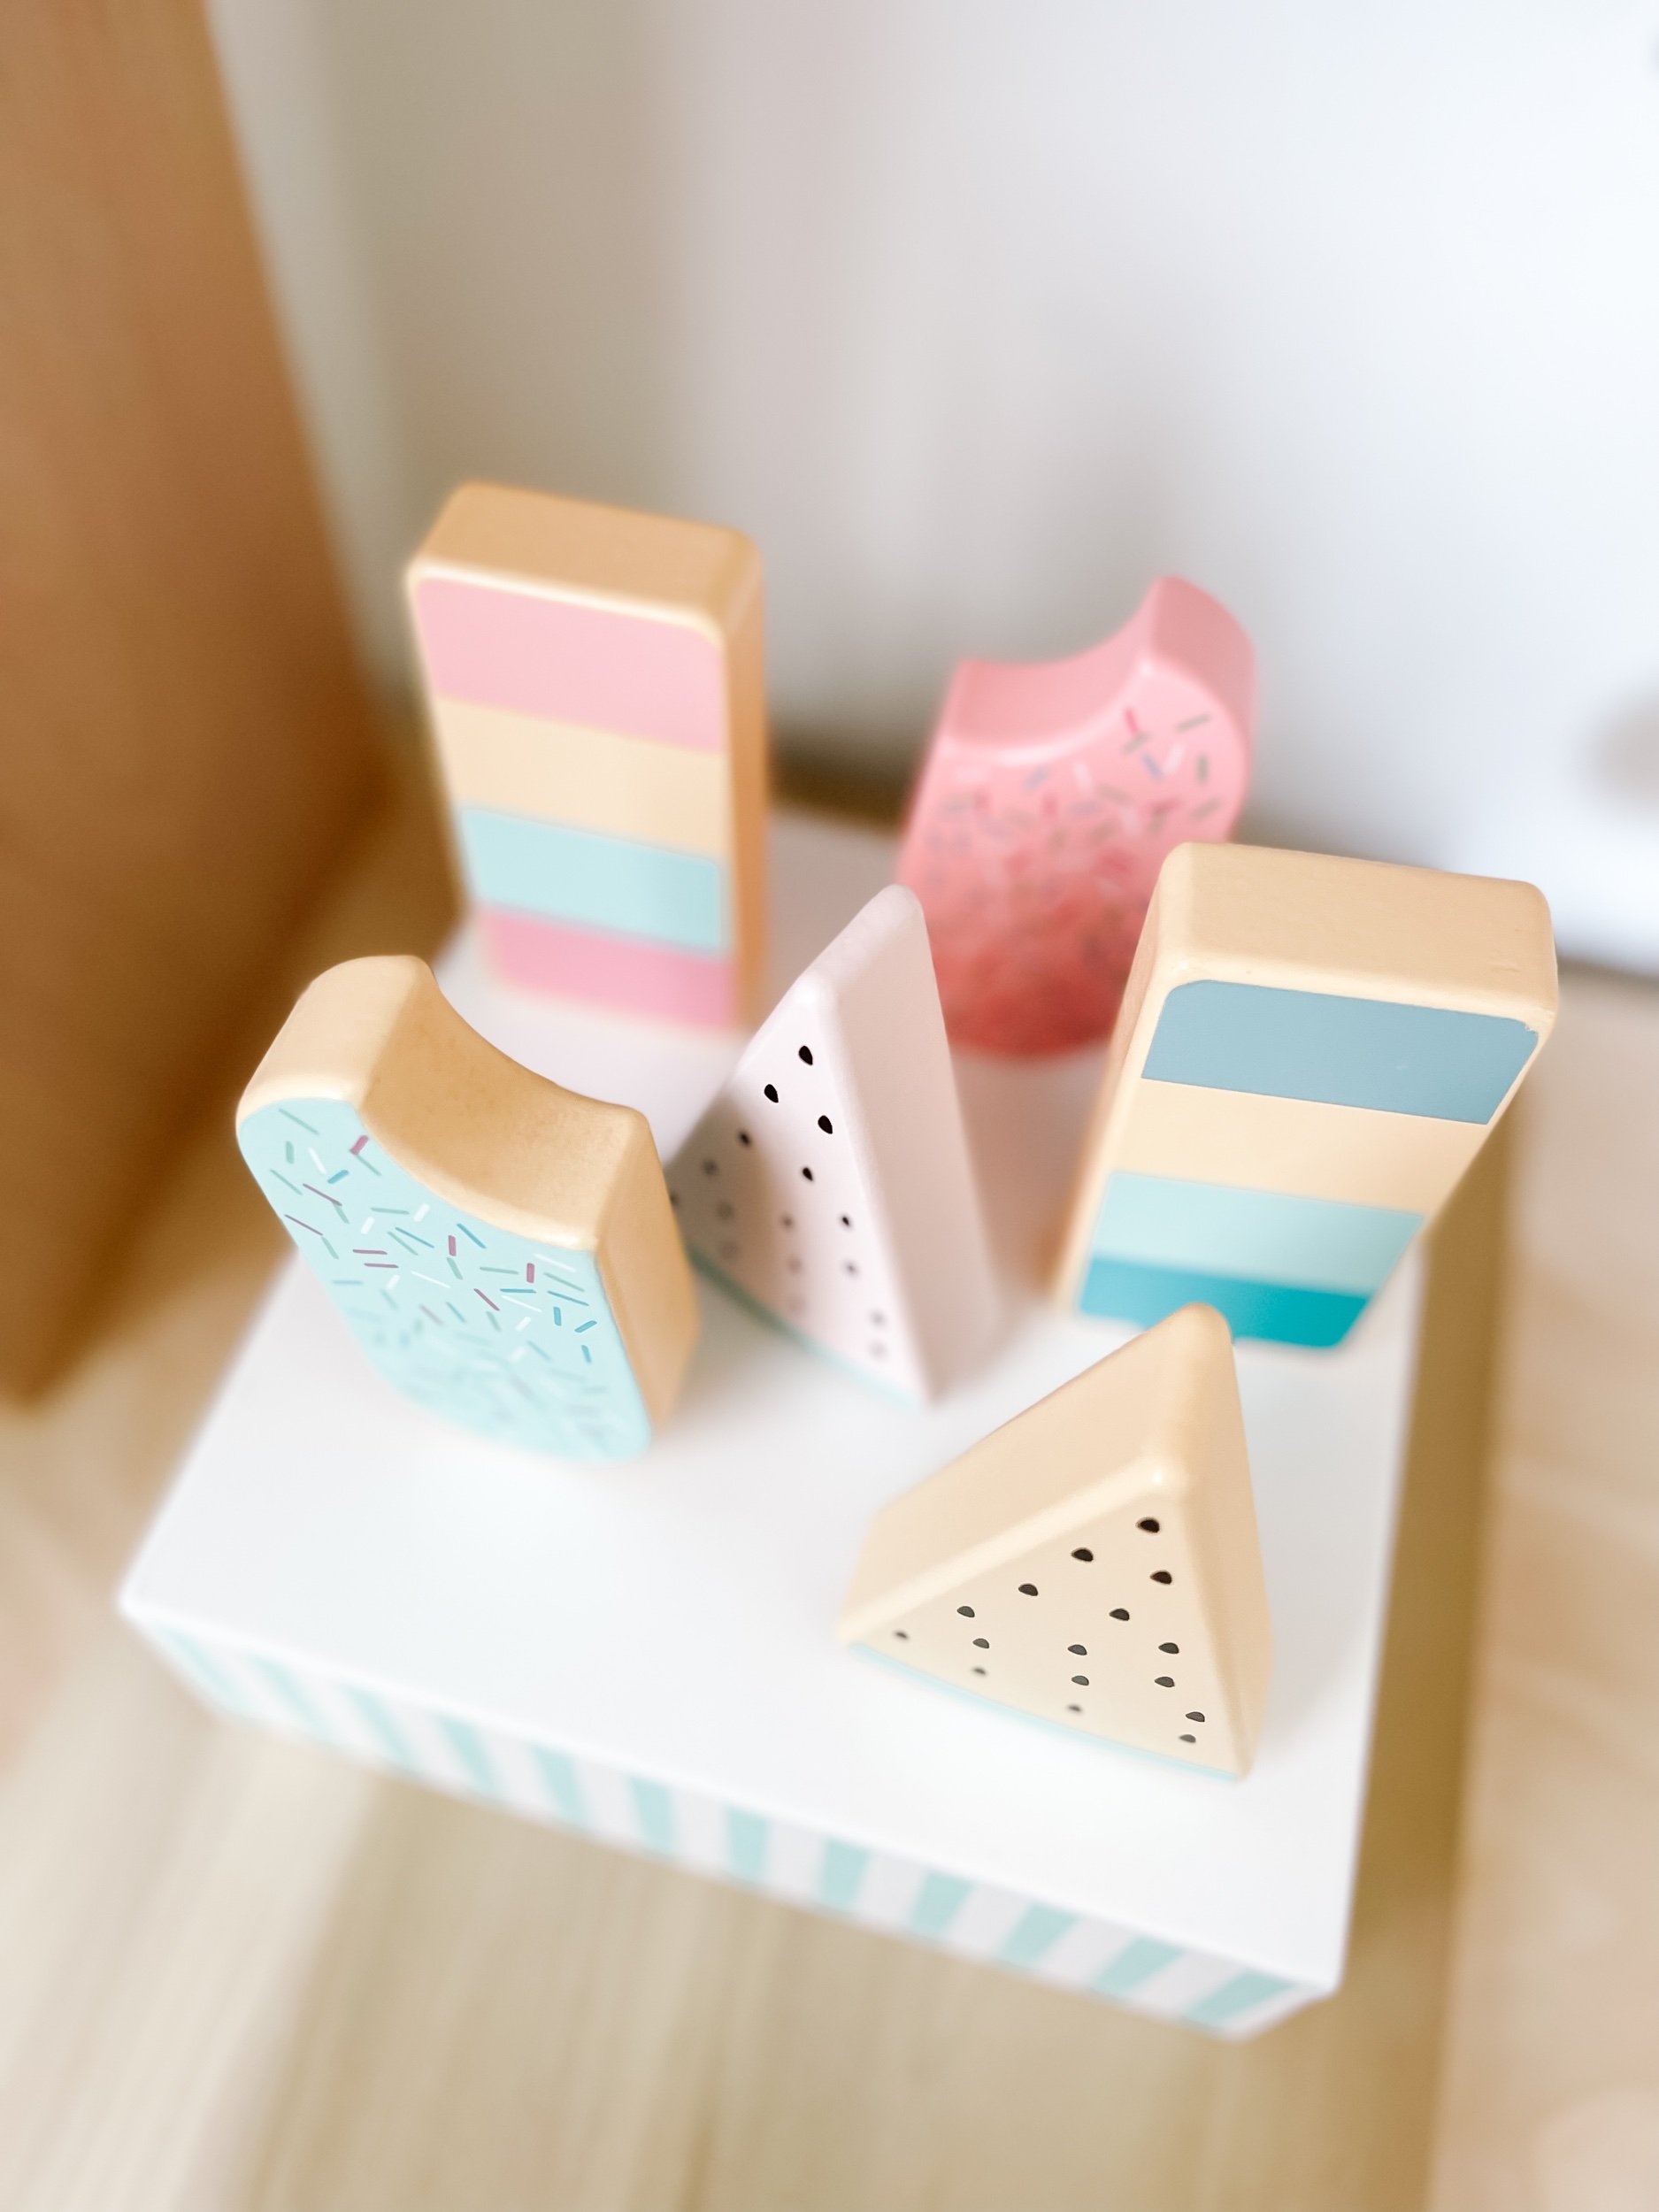
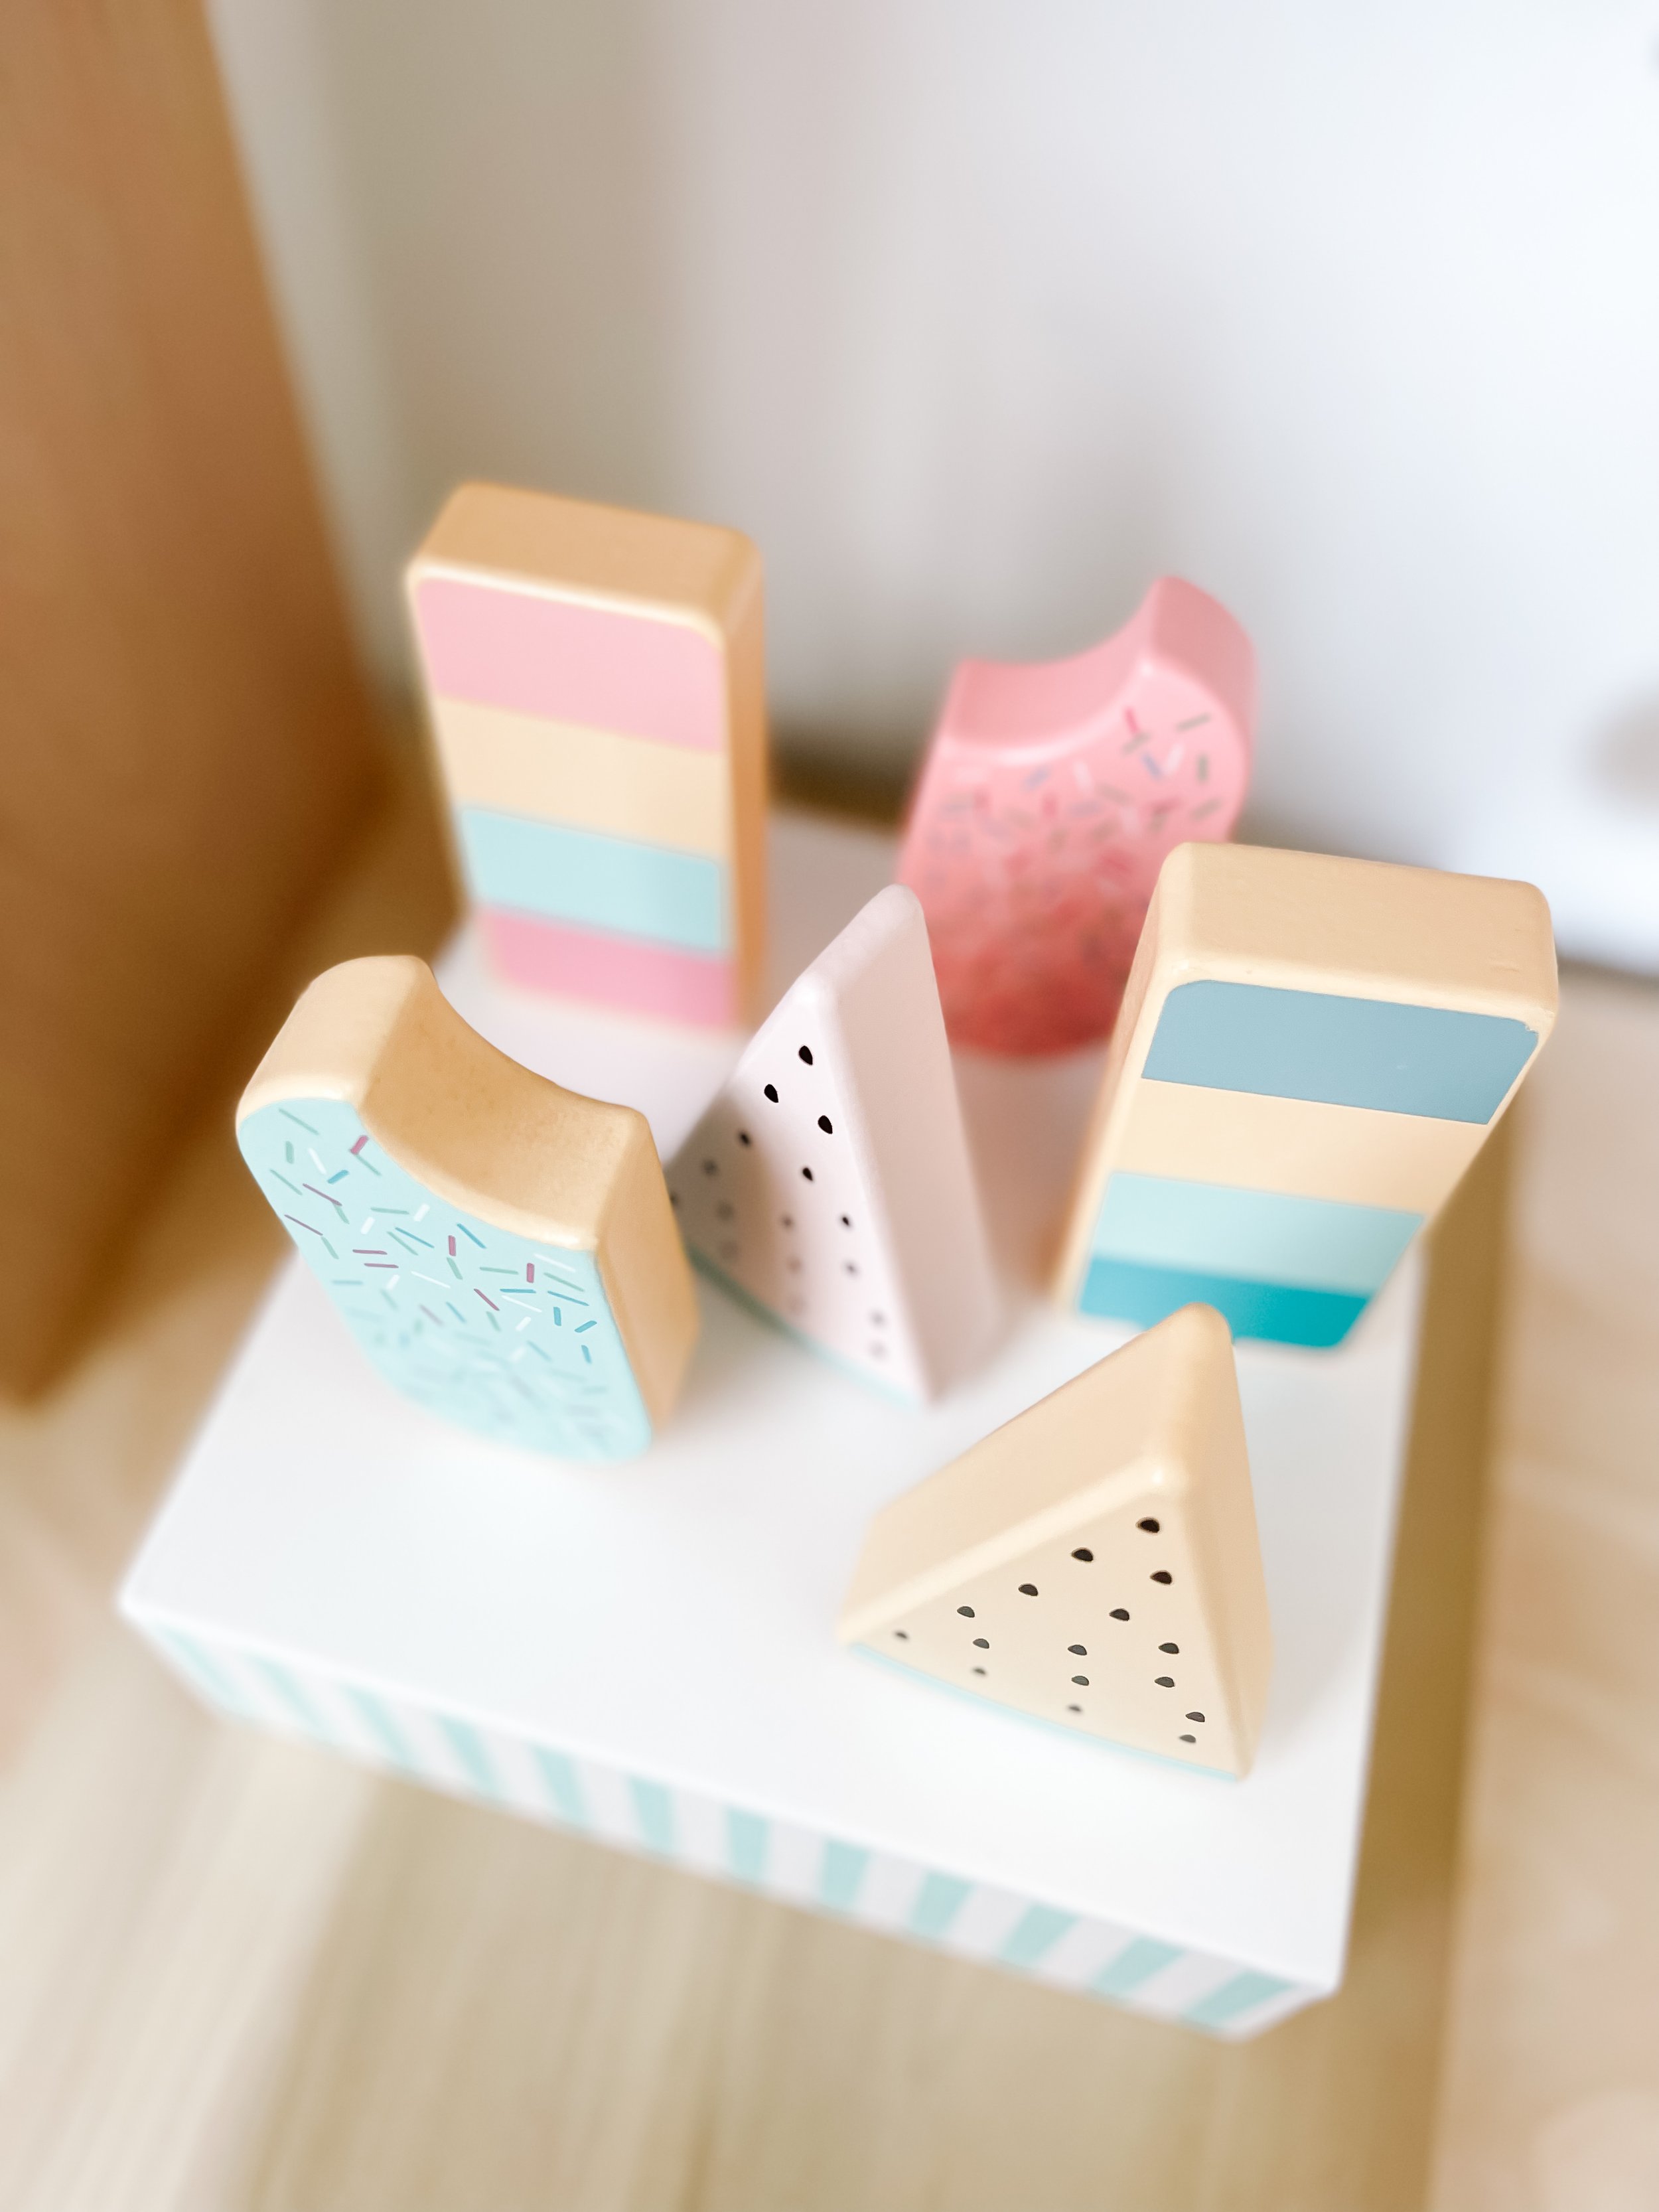
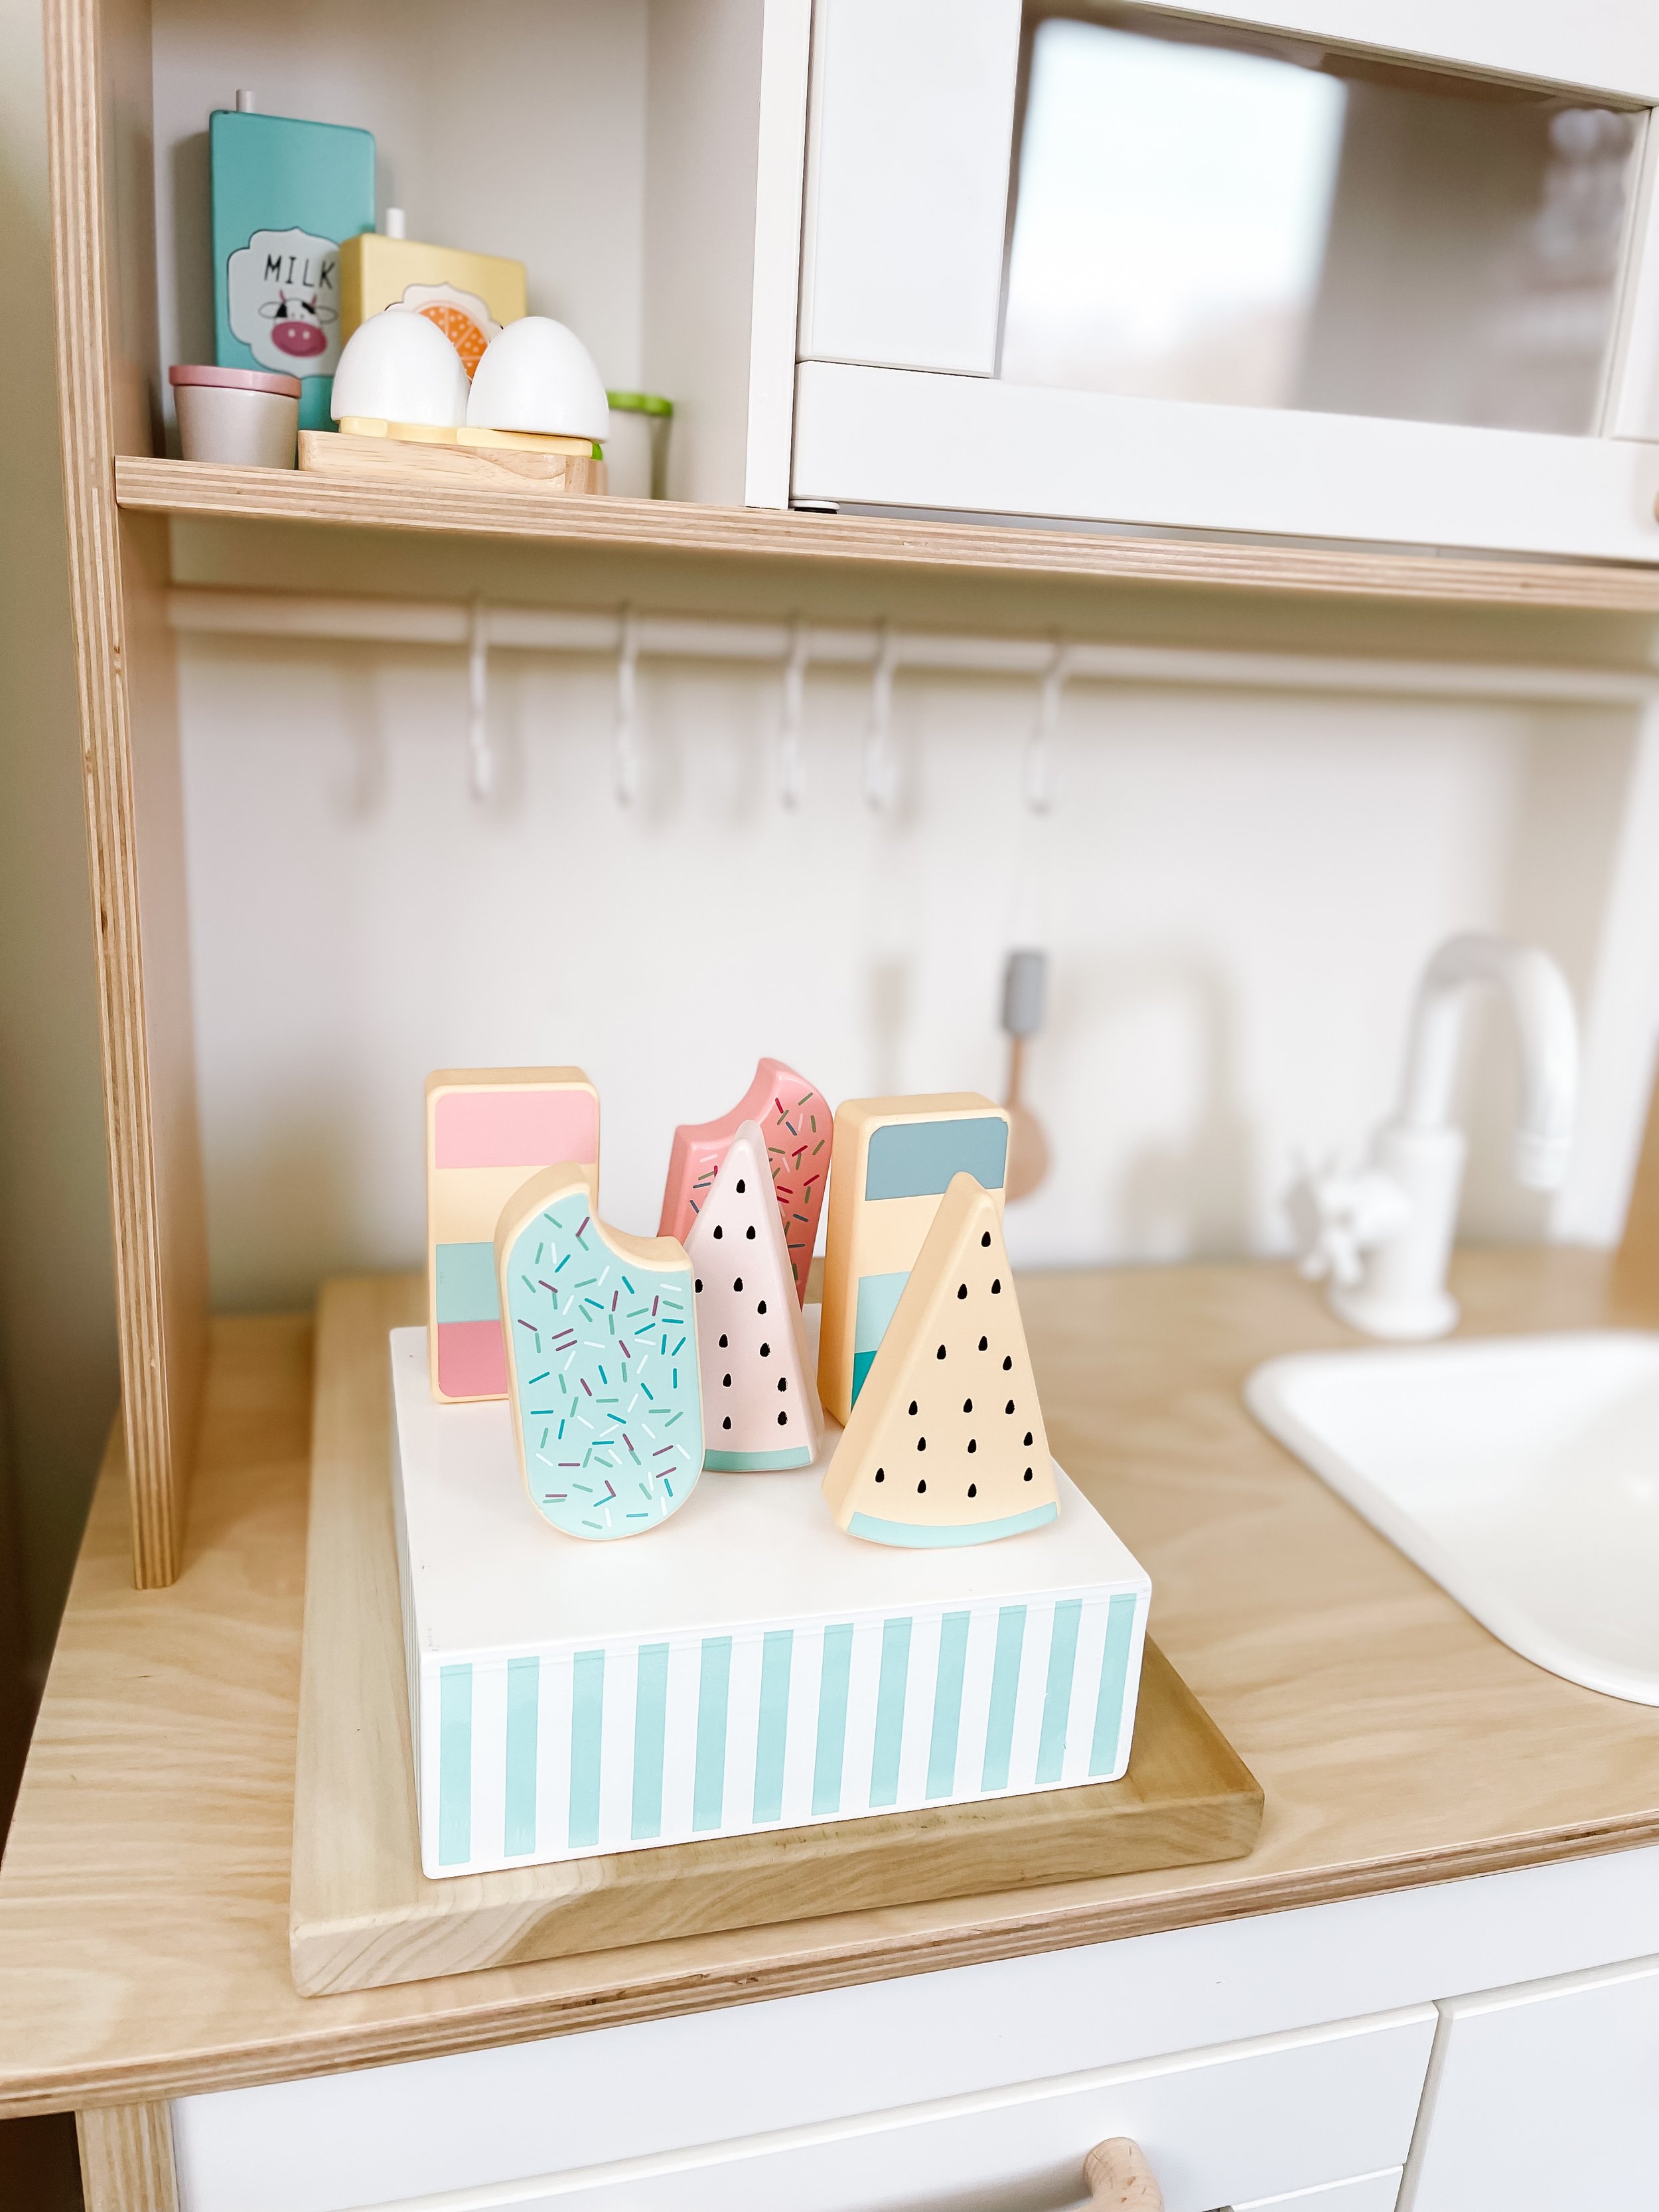
You can’t have a play kitchen without a few sweet treats! And I just loved the look of these pastel popsicles. They’re so perfect for summer play activities and Sofia loves giving them out.

IMG_5080.jpg IMG_5081.jpg

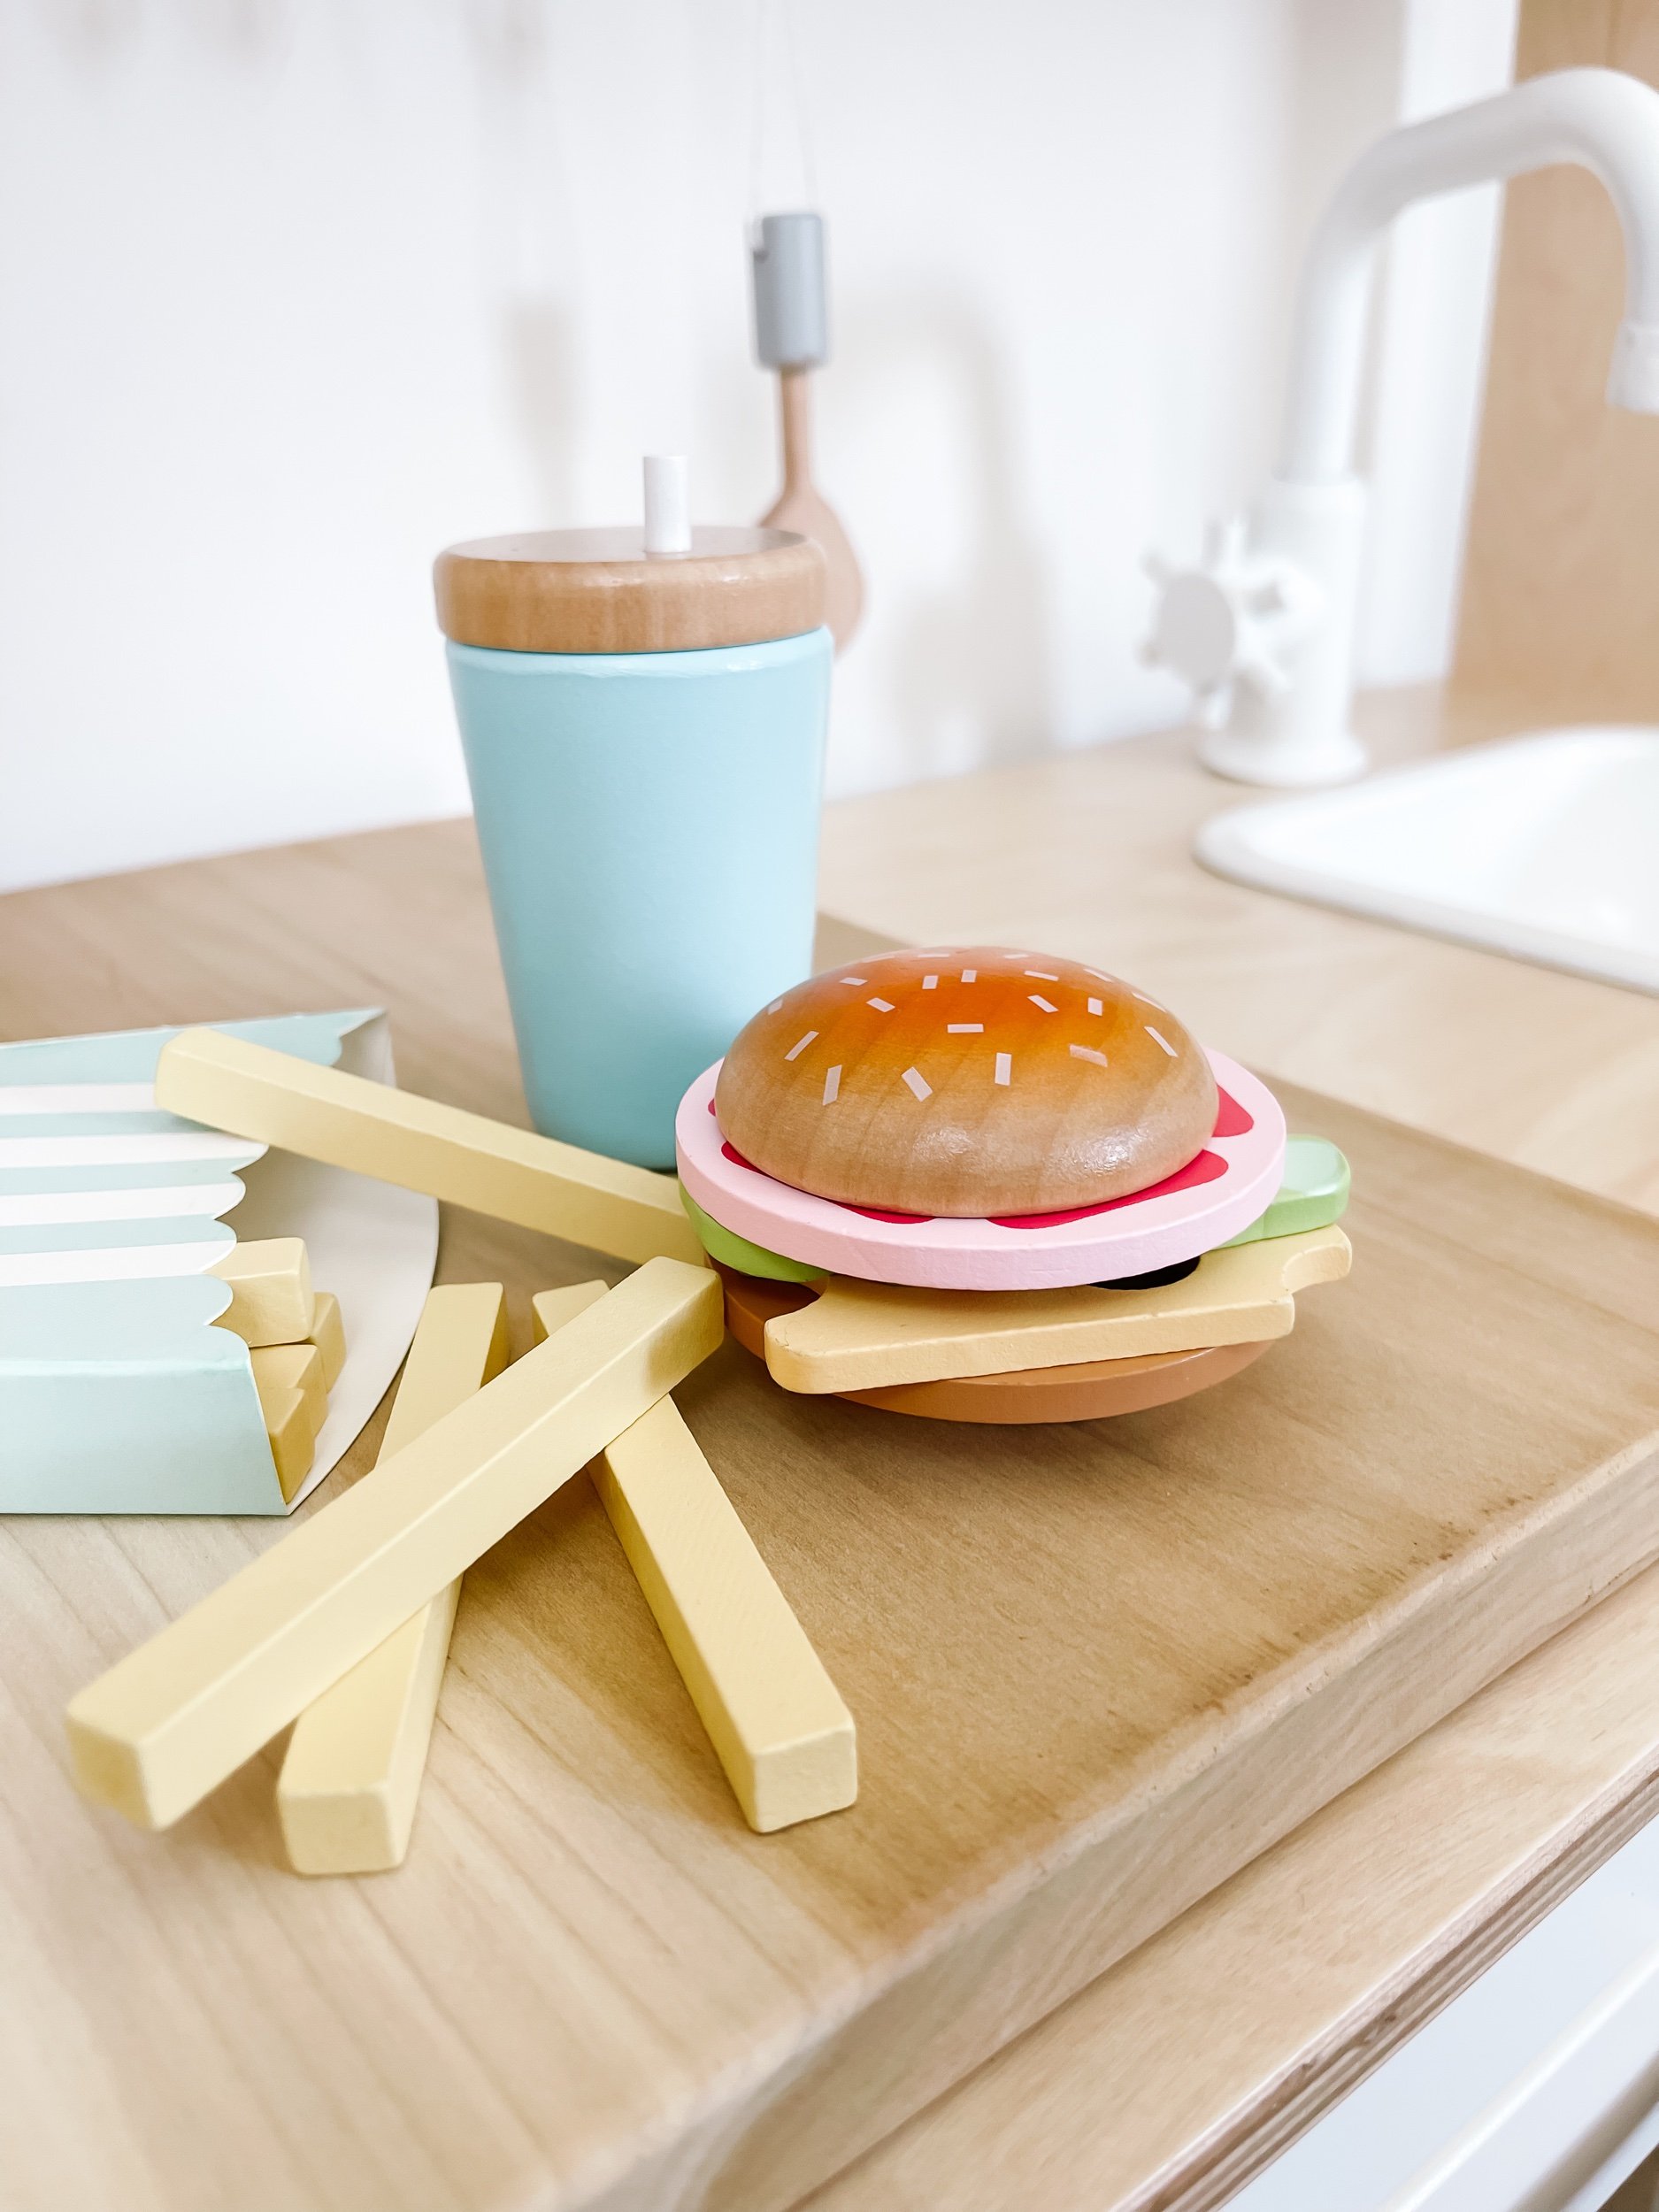
Burger Time PLAY FOOD

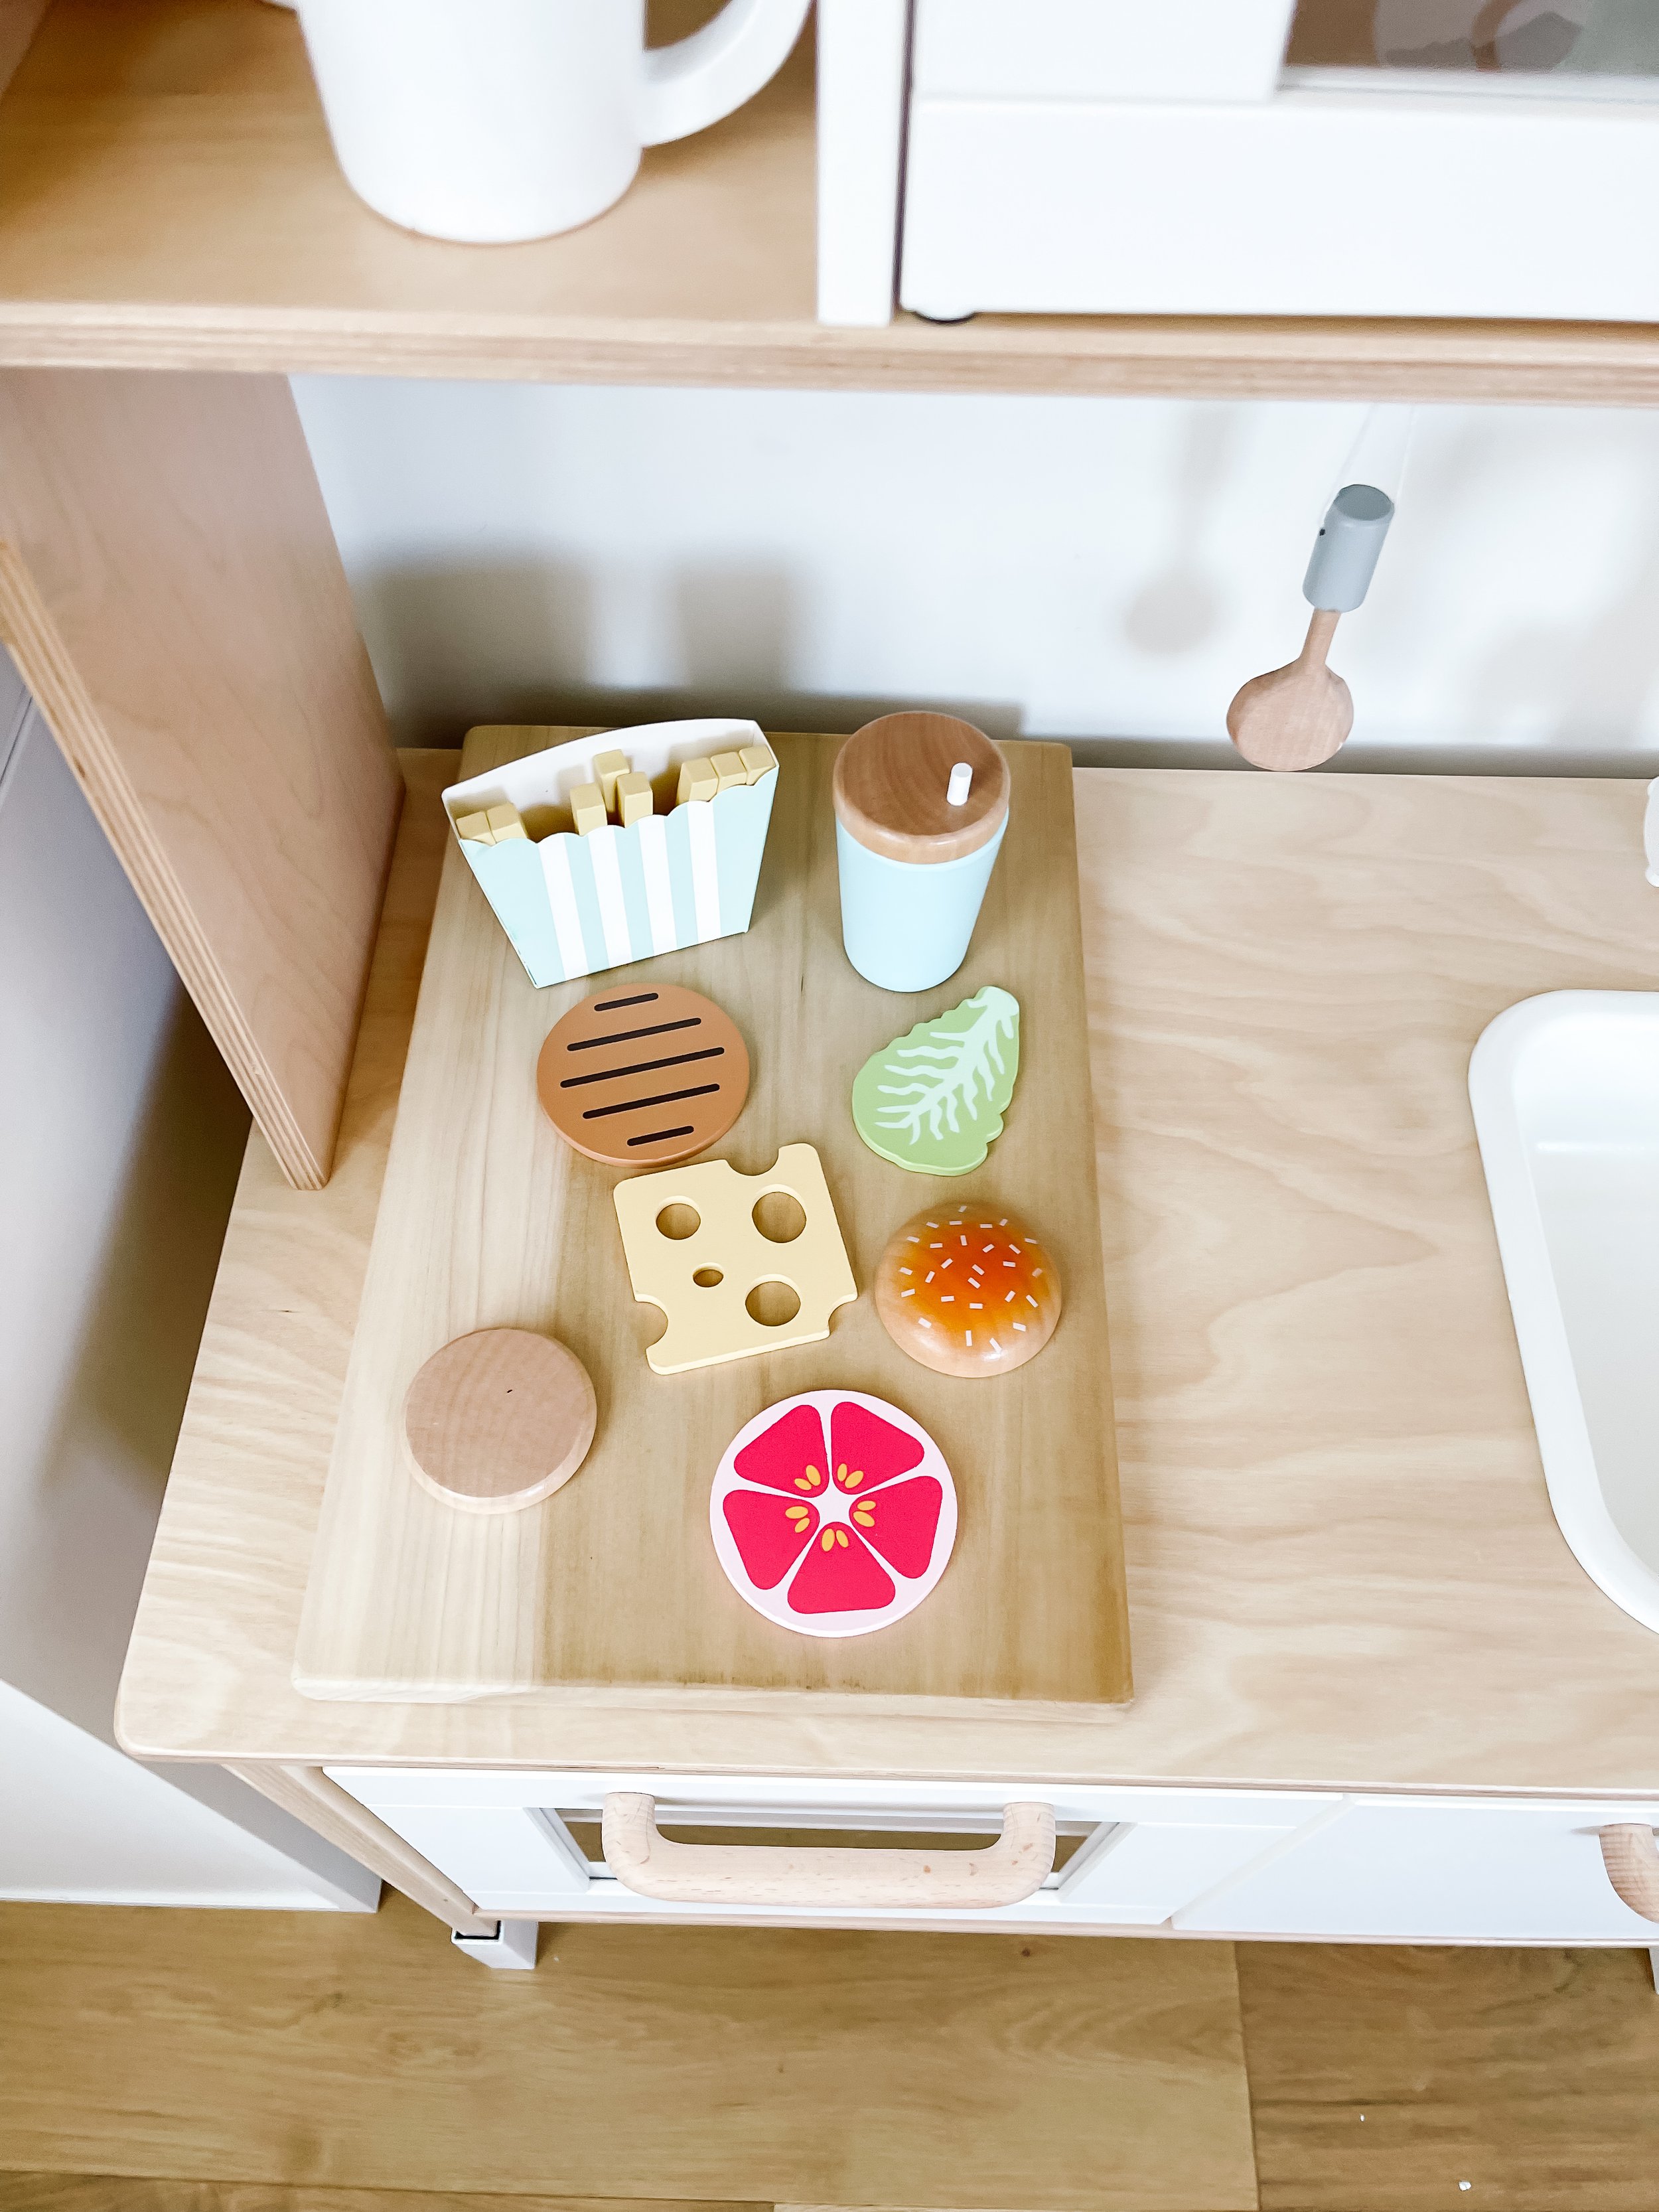
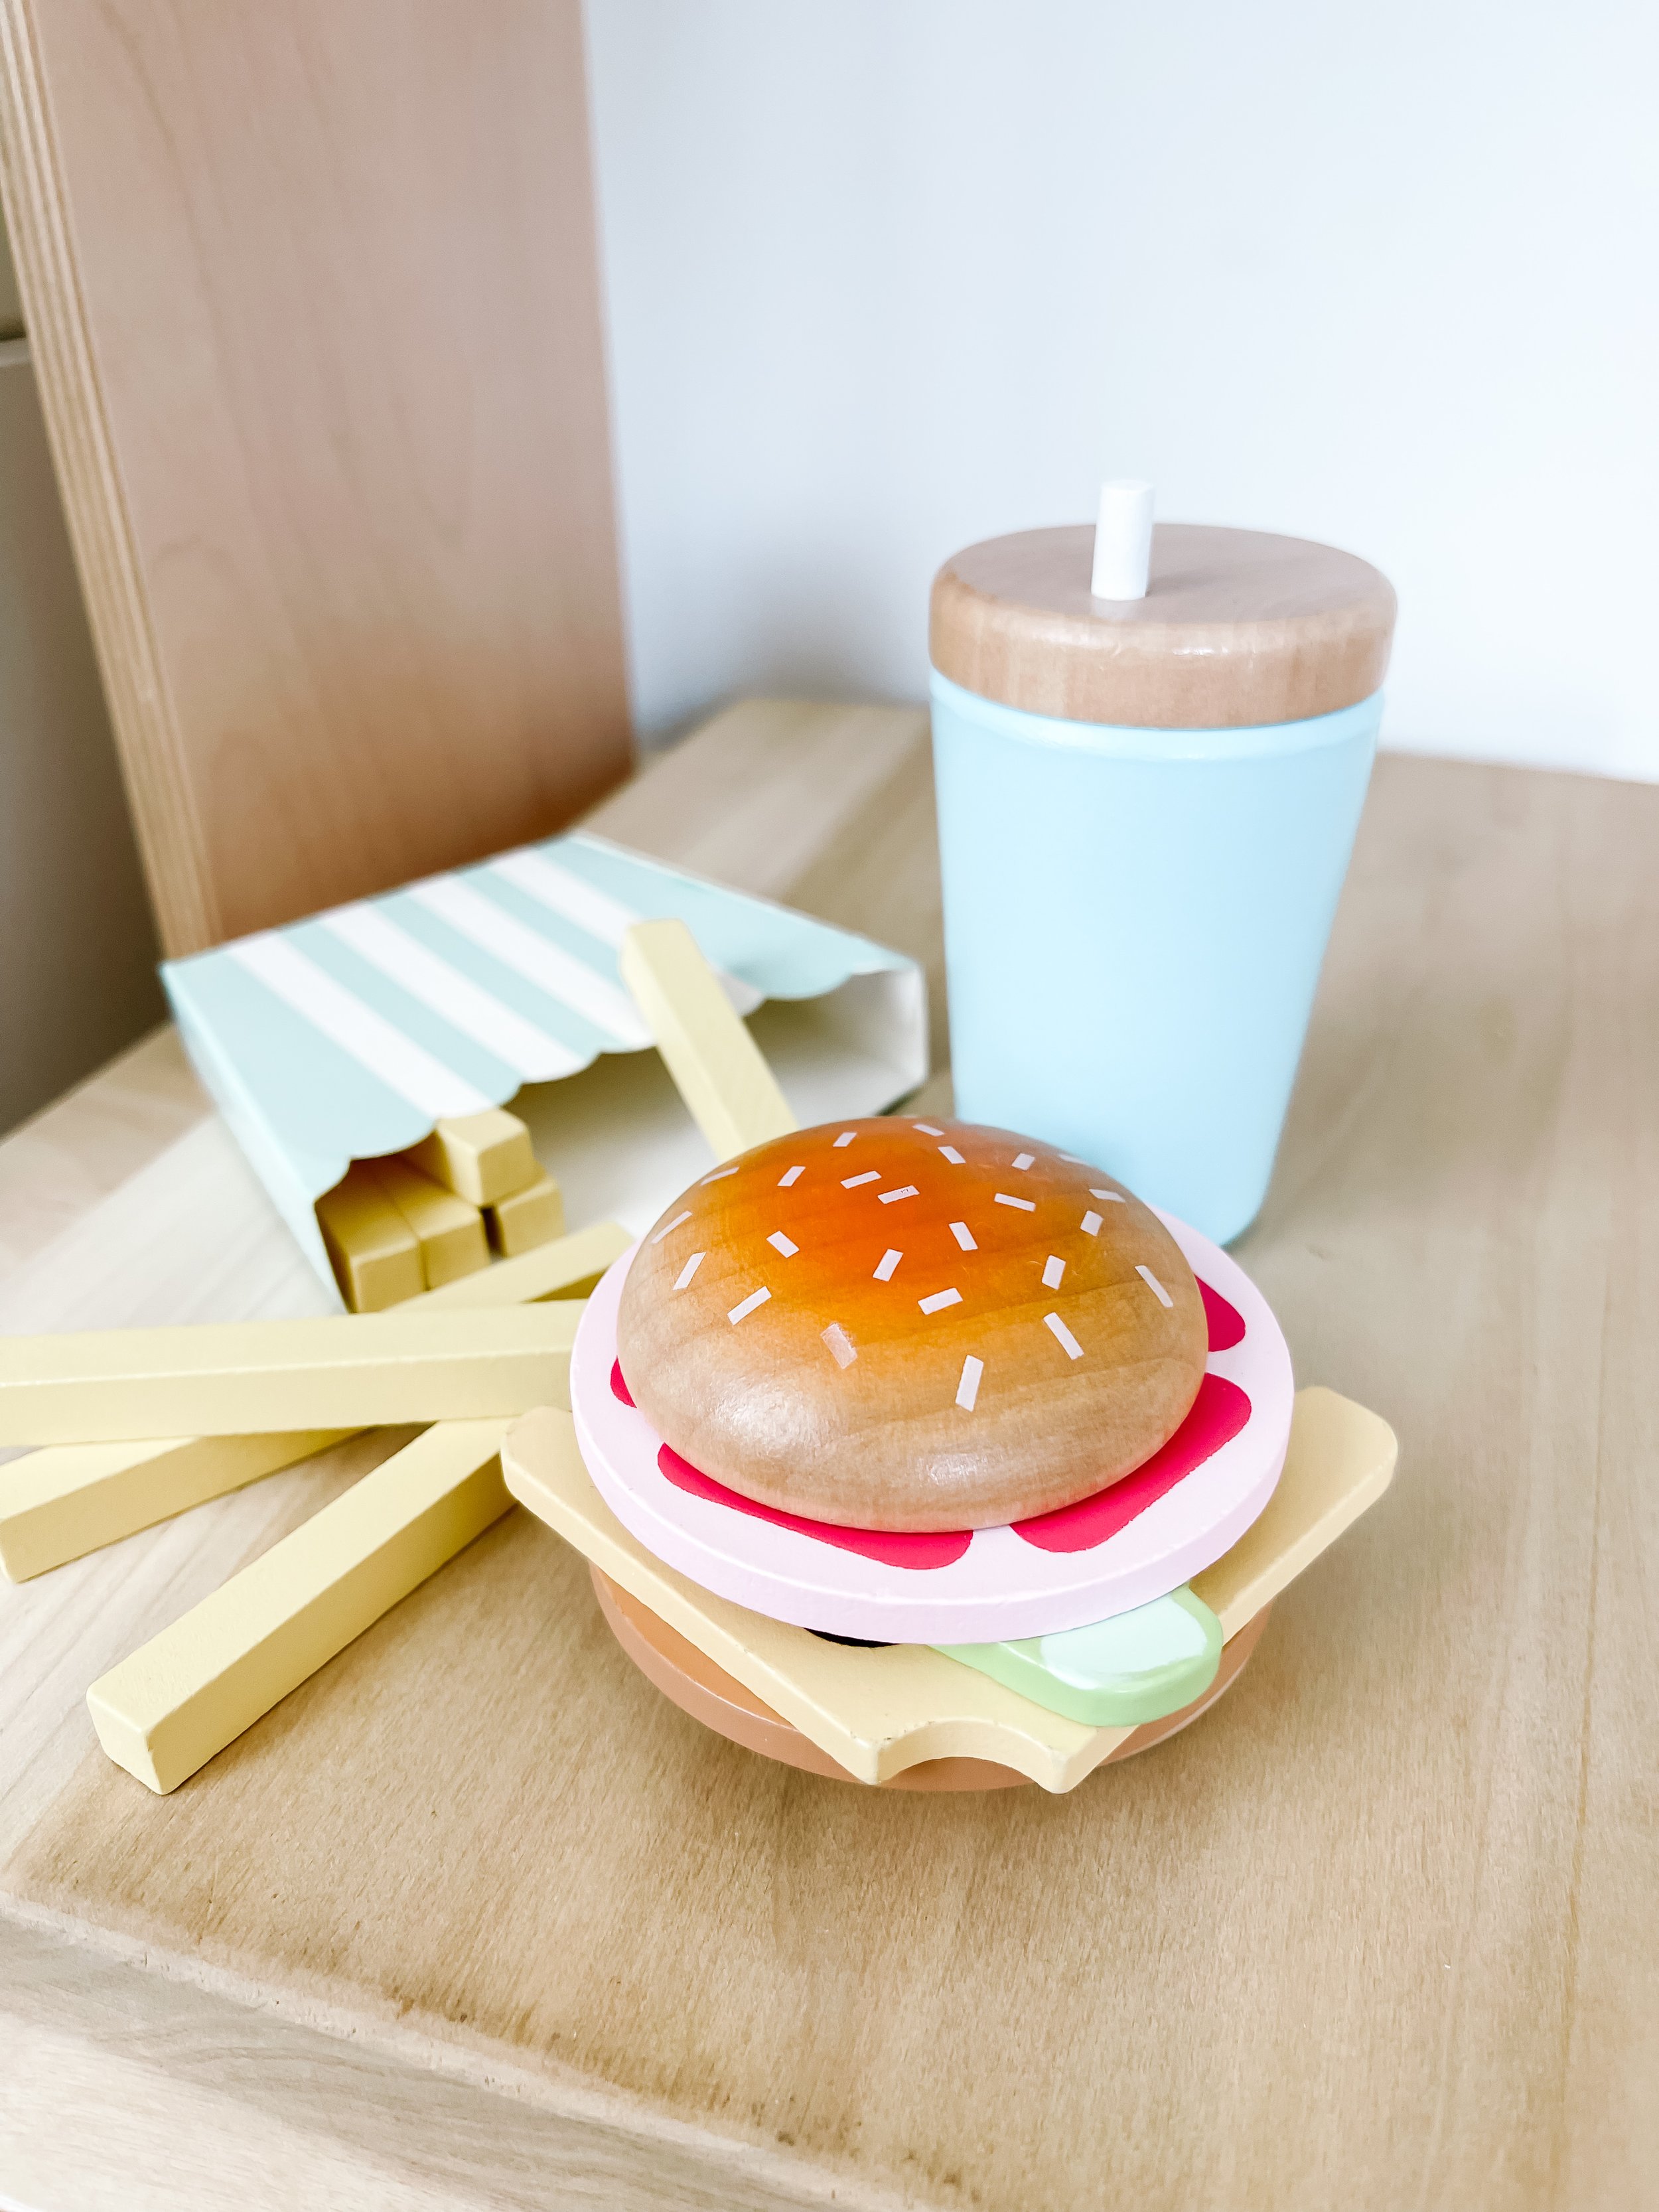
I’m so obsessed with this little cheese burger set. It’s so perfect for a fun fast food night.

IMG_5097_jpg.jpg

Charcuterie board play food

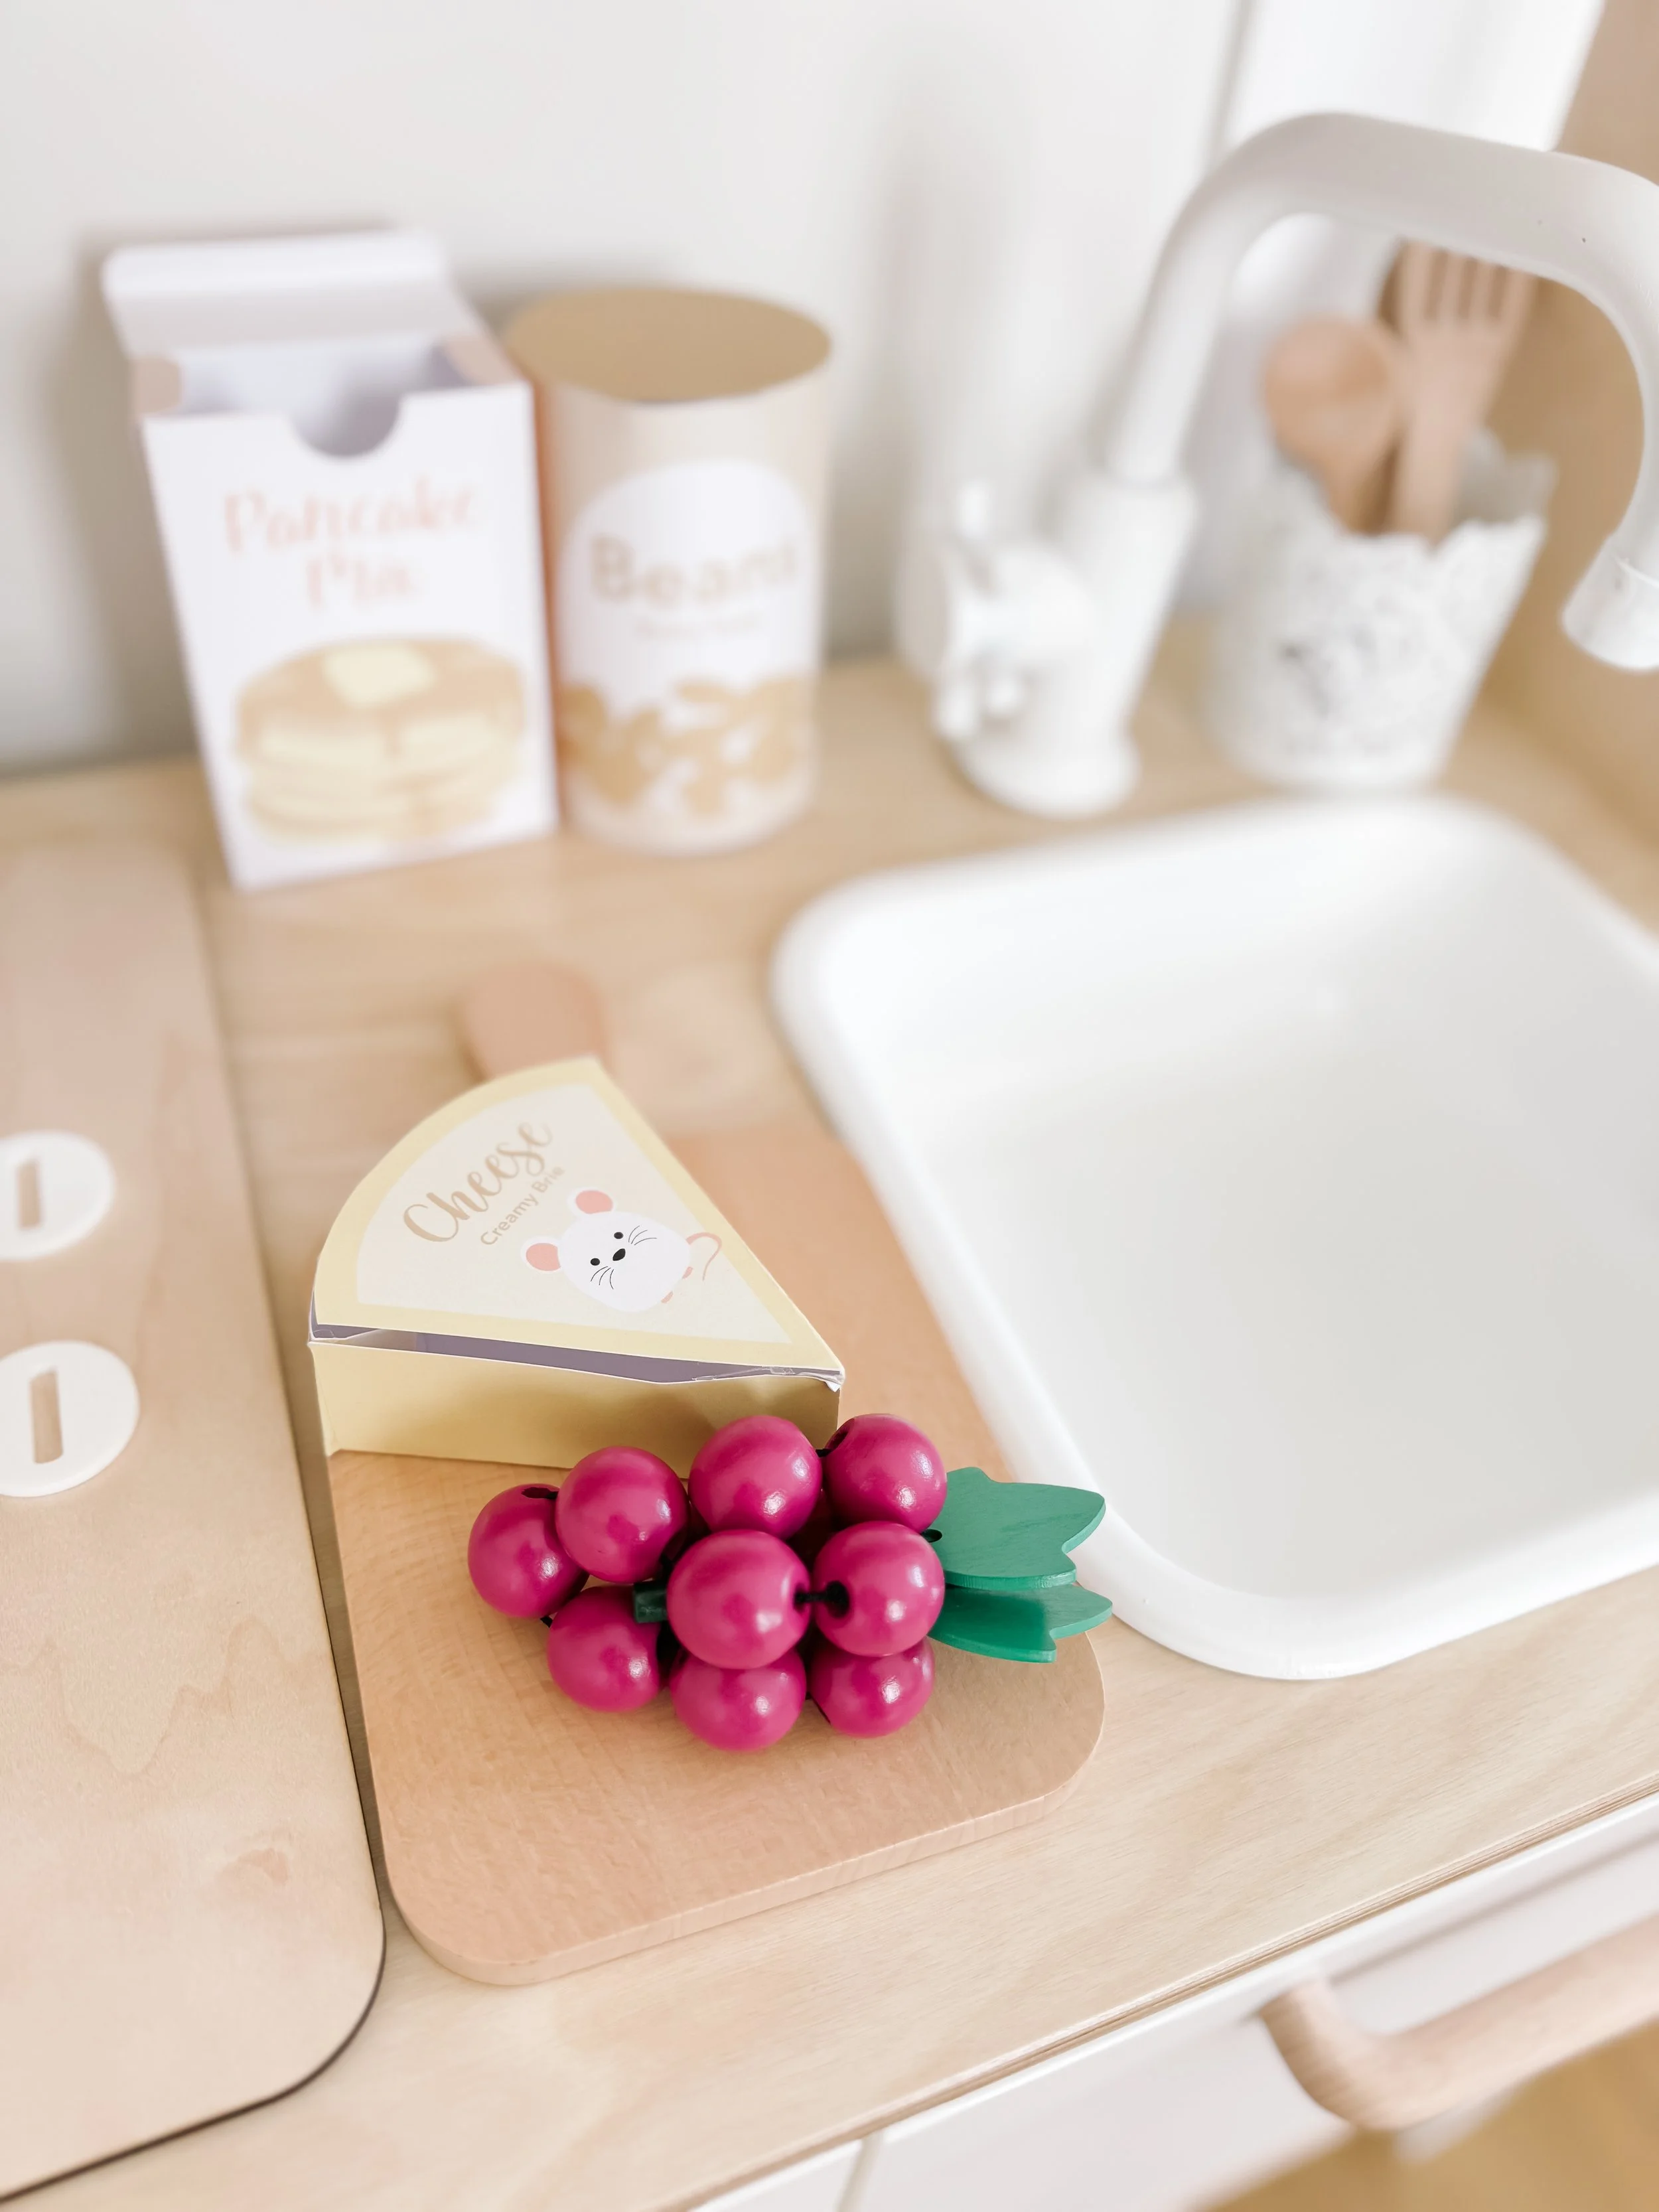
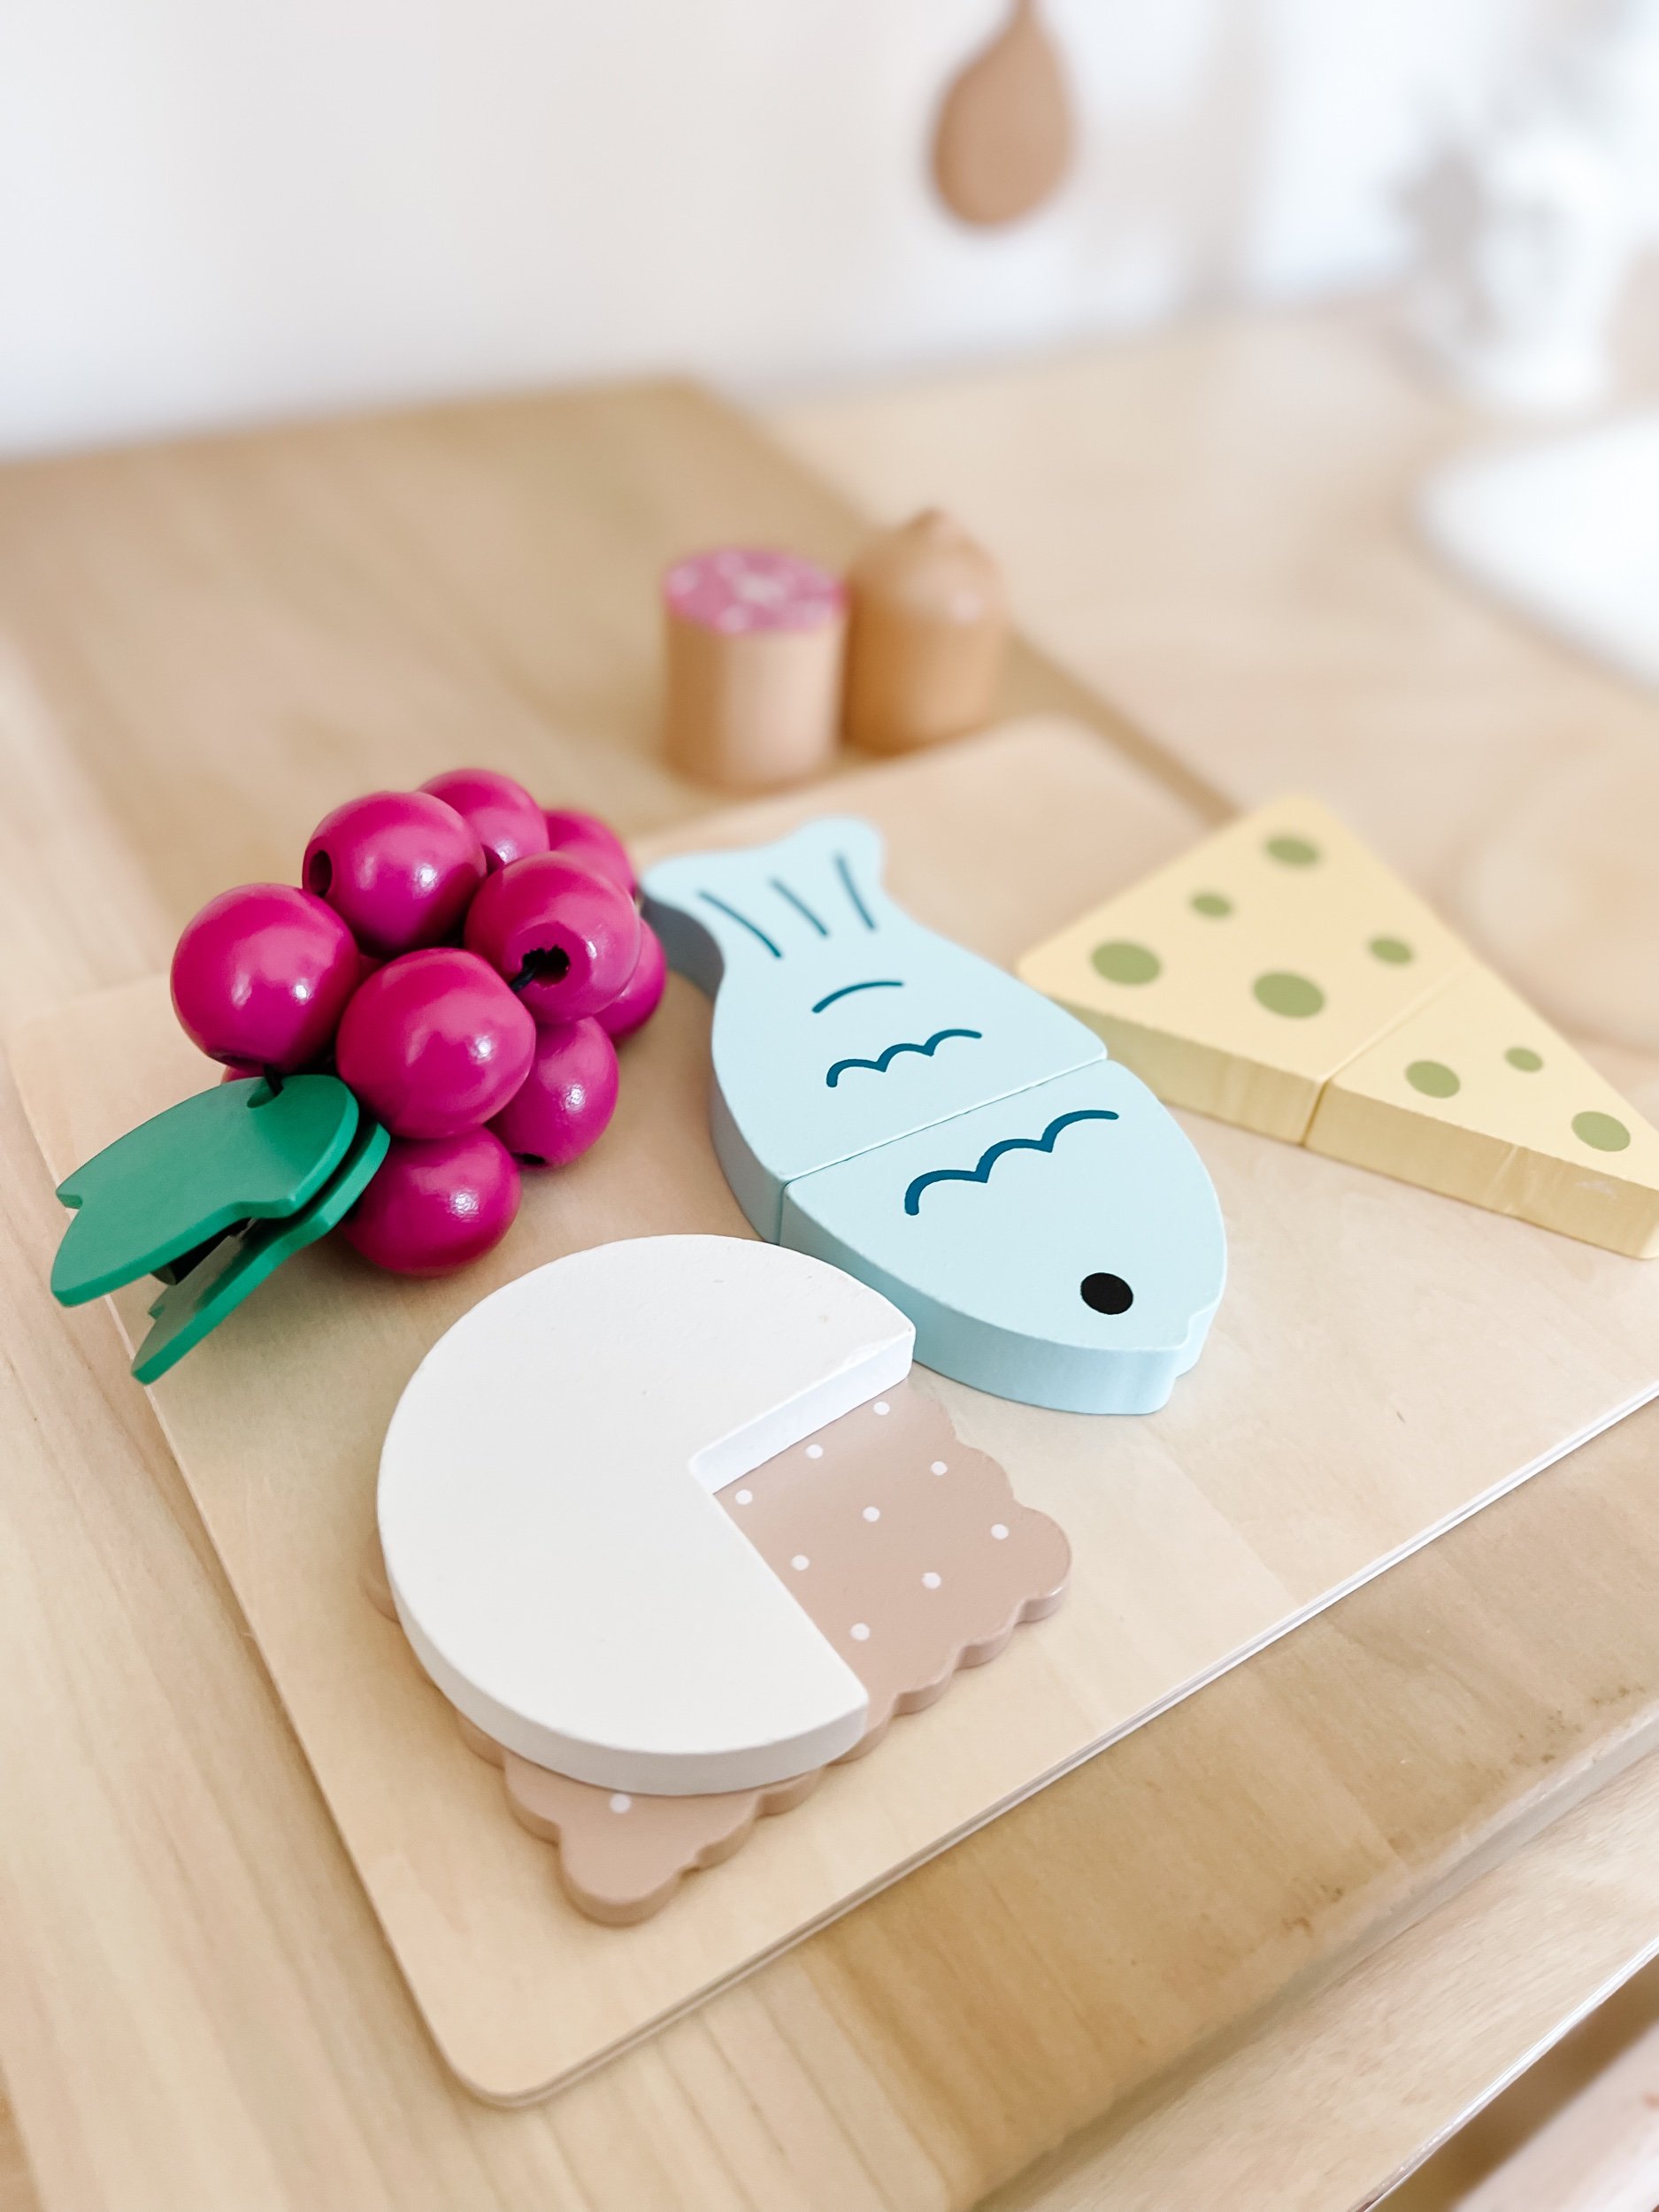
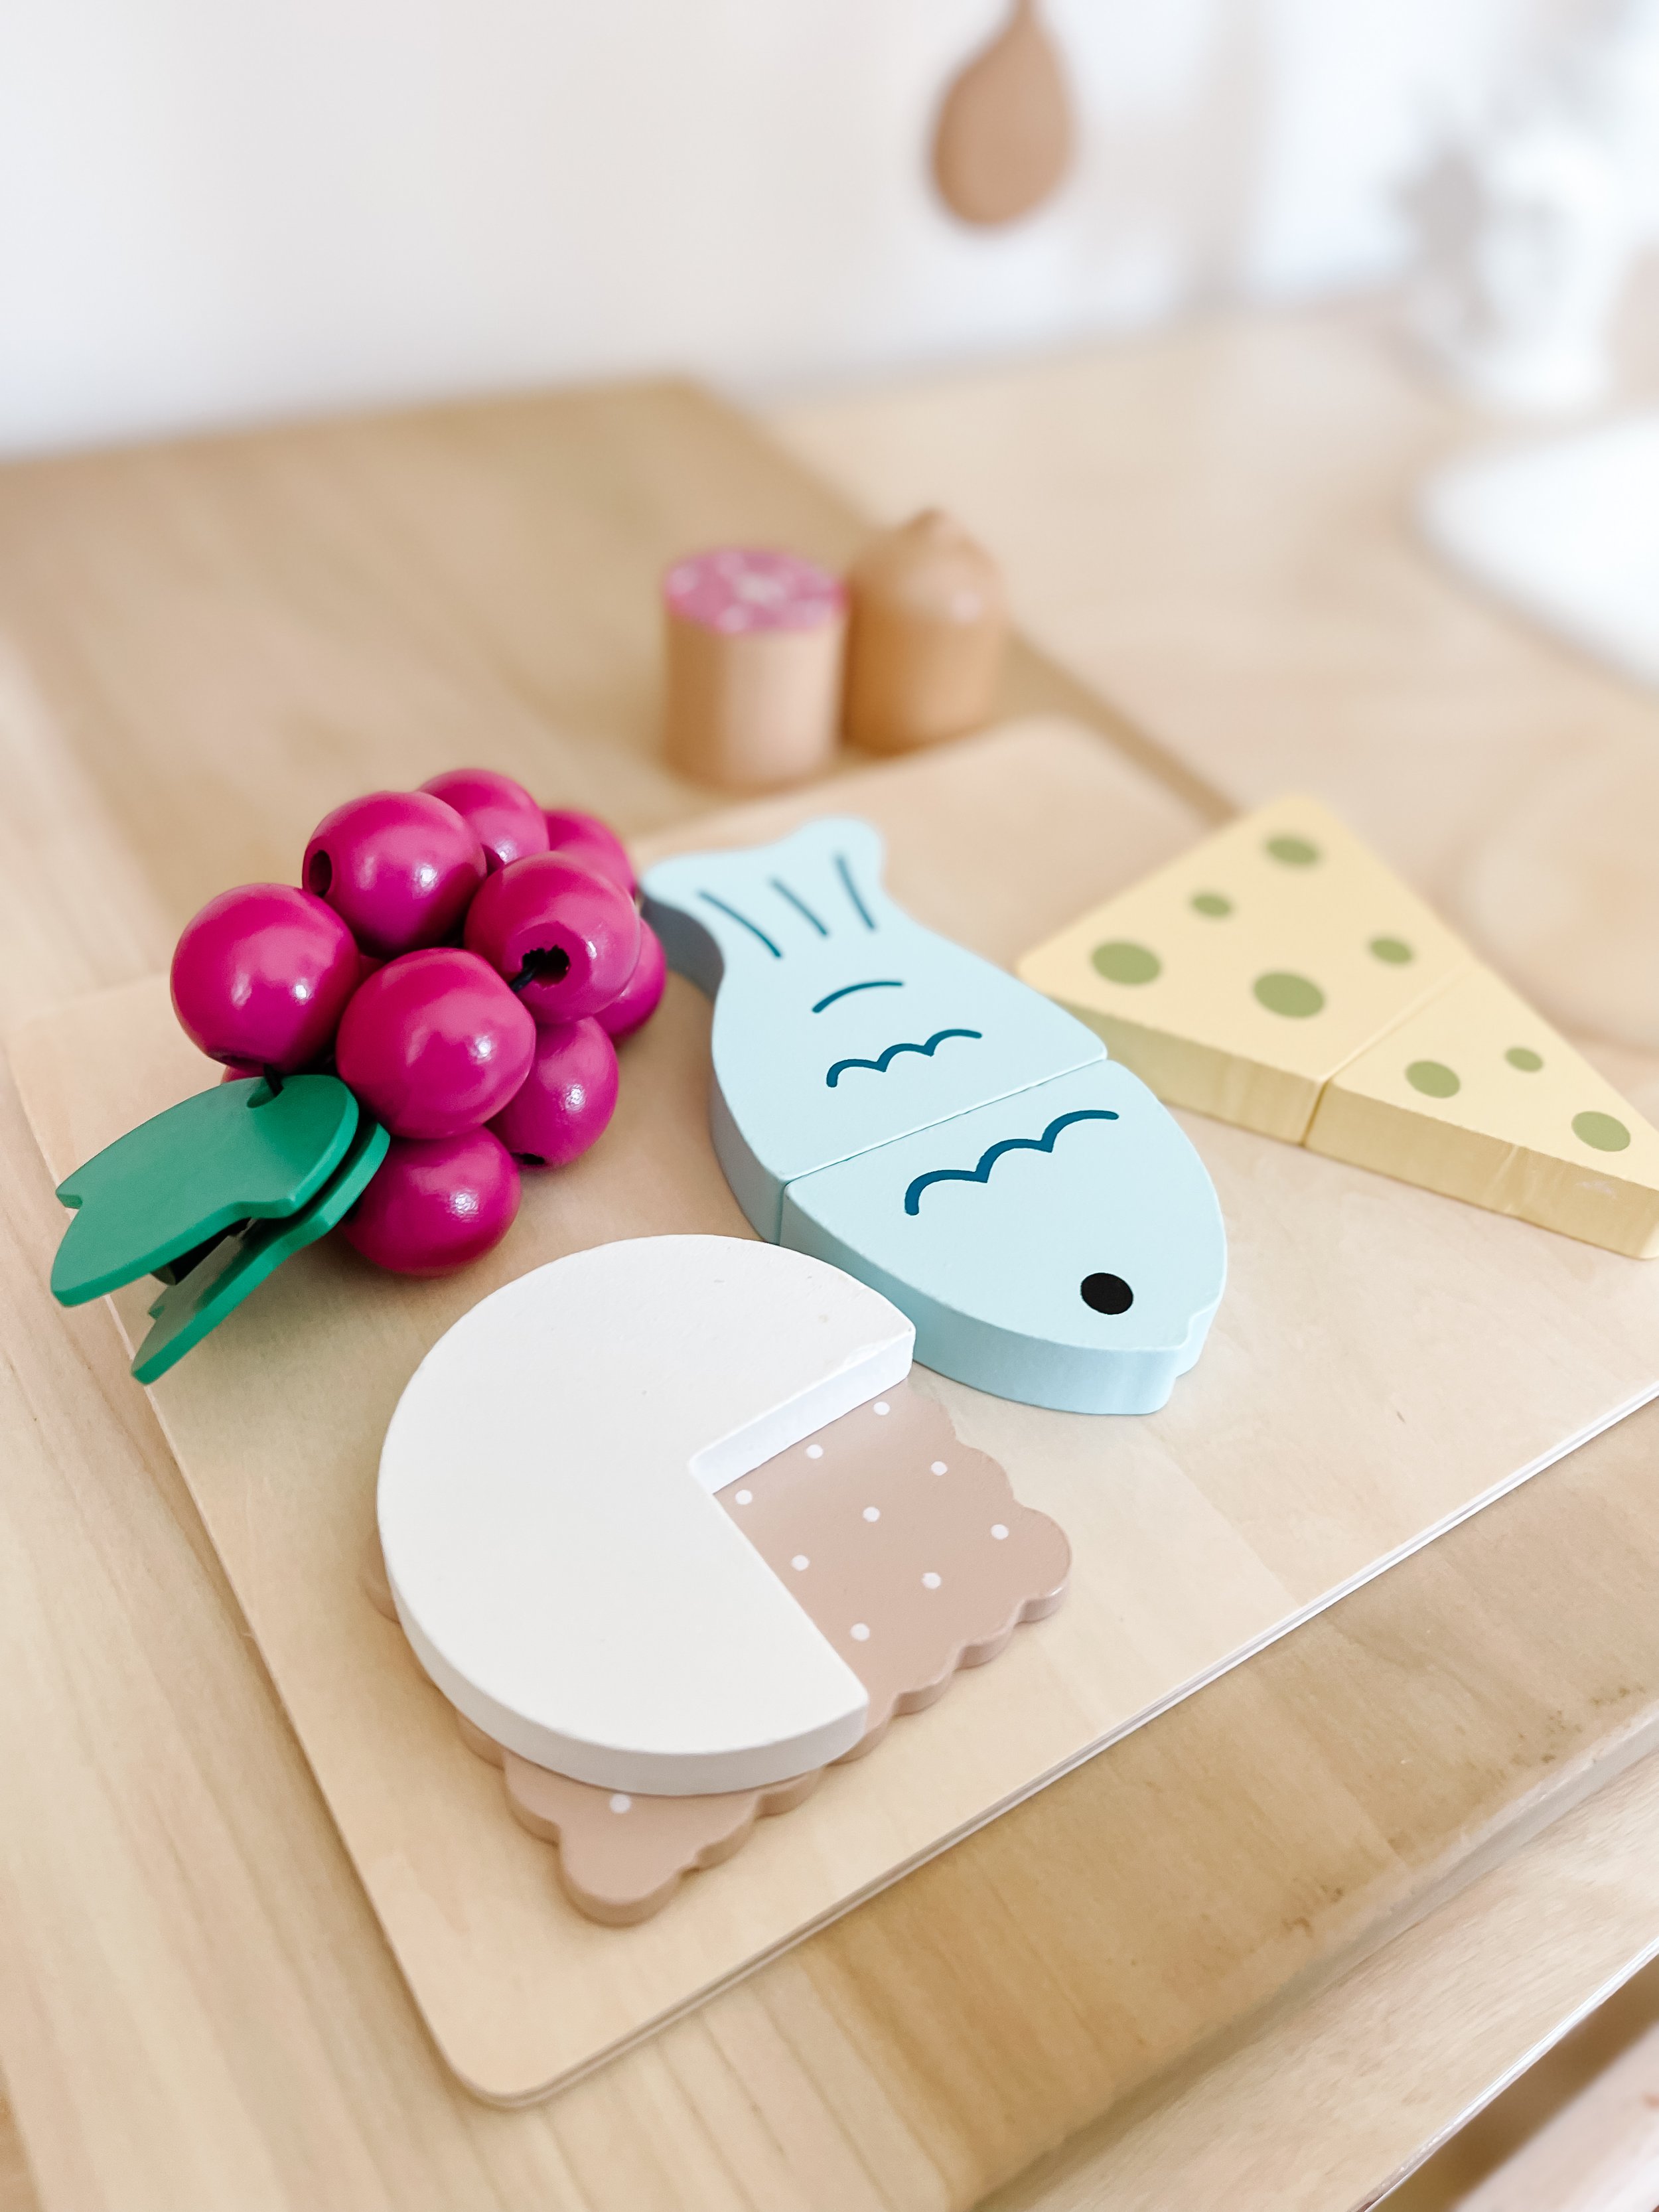
This little cheese board was too adorable to pass up! I just loved the little cheese plate and since we often have a cheese plate for our fancy dinner nights at home this was the perfect way for Sofia to make believe.

IMG_5444_jpg.jpeg IMG_5441_jpg.jpeg IMG_5446.jpeg IMG_5445_jpg.jpeg IMG_5442_jpg.jpeg

Cutest lemonade stand wooden play food

I couldn’t resist this adorable set. It’s such a cute way to make a sweet lemonade stand! And I want to repurpose this kit for my lemonade stand dramatic play setup.


The Cutest Wood Stove for IKEA DUKTIG

I had this stove custom designed by @WonderYearsPlay because I knew I needed to complete the white & wood look. Debbie did such an amazing job and I couldn’t wait to share it with all of you play kitchen lovers. You can purchase the Wood & white acrylic stove here and don’t forget to use code GOODNIGHTFOXFRIEND to save!

Tags ikea play kitchen hack, ikea play kitchen ideas, kids play kitchen setup, toddler pretend play kitchen, play kitchen organization ideas, dramatic play kitchen setup, pretend play shop ideas, pizza shop pretend play, kids bakery pretend play, dramatic play printables, toddler dramatic play setup, learning through play kitchen, easy sensory play setups, indoor activities for toddlers, toddler sensory play ideas
6 Comments

Ultimate Guide to Sensory Filler Materials

January 22, 2024 Kylie Tuosto

The Ultimate Guide to Sensory Filler Options for Toddler Activities

Sensory play activities are a fantastic way to engage toddlers and stimulate their senses. By providing them with various sensory fillers, you can promote their cognitive development, fine motor skills, and creativity. In this ultimate guide, we will explore a wide range of sensory fillers that will keep your little ones busy and engaged for hours. We have grouped them logically for easy reference, including taste-safe options for younger children and some unique alternatives you may not have considered.

1. Dry Fillers

Dry fillers are popular options for sensory play as they provide tactile stimulation and encourage exploration. Here are some beneficial dry fillers to consider:

a. Rice

Rice is one of the most versatile fillers. It can be colored using food coloring or scented using essential oils for added sensory appeal. Rice encourages fine motor skills development as toddlers scoop, pour, and manipulate it.

b. Dry Pasta

Dry pasta, such as macaroni or penne, offers a different texture from rice. It can also be dyed with food coloring and is an excellent option for tactile exploration and practicing hand-eye coordination.

c. Lentils

Lentils are another sensory filler that provides a unique texture. With their varied sizes, shapes, and colors, lentils promote sorting and categorizing skills while stimulating exploration.

2. Wet Fillers

Wet fillers provide a different sensory experience, allowing toddlers to experience different textures and temperatures. Including taste-safe options is essential for younger children who like to put everything in their mouths. Here are some wet fillers to consider:

a. Water Beads

Water beads are a fascinating filler that starts as tiny beads and expands when soaked in water. They provide a squishy texture and come in a variety of colors. Ensure they are safe for consumption if used with younger children.

b. Shaving Cream

Shaving cream can be a messy but enjoyable sensory filler. It offers a light and fluffy consistency, promotes hand-eye coordination and creativity. Be sure to use a taste-safe alternative or supervise closely if your child is prone to putting things in their mouth.

c. Jello

Jello is a taste-safe, wobbly filler that provides a unique sensory experience for young children. It can be made in various colors and flavors, appealing to both the eyes and taste buds while encouraging exploration.

Unique sensory bin filler ideas for preschool play

3. Nature-Based Fillers

Bringing nature into sensory play adds an extra dimension and connects children to the natural environment. Here are some nature-based fillers to incorporate into your toddler's sensory activities:

a. Sand

Sand is a classic sensory filler that provides a distinct texture. It encourages imaginative play as children build sandcastles, form shapes, and experiment with pouring and sifting.

b. Leaves and Flowers

Collecting leaves and flowers from your garden or a local park can introduce toddlers to different textures, colors, and scents. Combine these nature treasures with other fillers for a multi-sensory experience.

c. Pinecones and Shells

Pinecones and shells offer interesting textures with their bumps and ridges. They can be incorporated into sensory bins or used as standalone items for exploration and sensory discrimination.

4. Unique Fillers

Sometimes it's fun to think outside the box and introduce unique fillers that toddlers may not have experienced before. Here are some less common options to consider:

a. Coffee Grounds

Coffee grounds provide a rich aroma and a different texture to explore. They can be used to create a sensory bin or incorporated into art projects, promoting sensory creativity.

b. Oats and Cereal

Oats and cereal, such as Cheerios or cornflakes, can be used as fillers or incorporated into sensory recipes. They offer a different sensory experience than traditional dry fillers and can be taste-safe options for young children.

c. Foam Packing Peanuts

Foam packing peanuts provide a fun texture while also promoting fine motor skills as toddlers manipulate and explore them. However, use caution, as they are not taste-safe and should be used under close supervision.


Taste Safe sensory fillers

For little ones who still put everything in their mouths, taste safe sensory fillers are the way to go. But sometimes it can be hard to think of what alternatives will work! That’s why I compiled this incredible list of taste safe sensory filler ideas:

  • Cooked Spaghetti

  • Rice

  • Beans

  • Peas

  • Chickpeas

  • Chickpea foam

  • Cereal

  • Granola

  • Marshmallows

  • Chia Seeds

  • Tapioca balls

  • Frosting & powdered sugar playdoh

  • Bunny grahams or teddy grahams

  • Gold fish crackers

  • Grapefruit

  • Lemons

  • Limes

Beyond taste safe sensory fillers

Once your little ones get a bit older, the world of possibilities explodes as there are so many things around the house and in our daily lives that can be used as fabulous materials to spark the senses. Just keep in mind that supervision is required with some of these materials.

  • Popcorn kernels

  • Oatmeal

  • Pasta

  • Lentels

  • Rocks

  • Magnetic Sand

  • Pluffle

  • Foam Eggs

  • Wool Balls

  • Alphabet Pasta

  • Play Foam (Chickpea, Dishsoap)

  • Water beads

  • Paper

  • Foam packing

  • Foam wedges

  • Hydrophobic sand

  • Tissue paper

  • Play silks

  • Acrylic animals

  • Wooden charms (like snowflakes)

  • Pom Poms

  • Kinetic Sand

  • Slime Sand


Conclusion

Sensory play is a wonderful way to engage toddlers and promote their holistic development. By using a variety of sensory fillers, you can stimulate their senses, encourage fine motor skills, and foster creativity. Whether you opt for dry fillers like rice and pasta, wet fillers such as water beads or shaving cream, nature-based options like sand and leaves, or unique alternatives like coffee grounds and foam packing peanuts, there are endless possibilities to create exciting and educational sensory play experiences for your little ones. Remember to always provide supervision and select taste-safe options for younger children, ensuring a safe and enjoyable sensory playtime.

DIY Valentine's Day Gum ball Machine Classroom Favors: Simple, Fun, and Free Printables for a Memorable Celebration

January 15, 2024 Kylie Tuosto

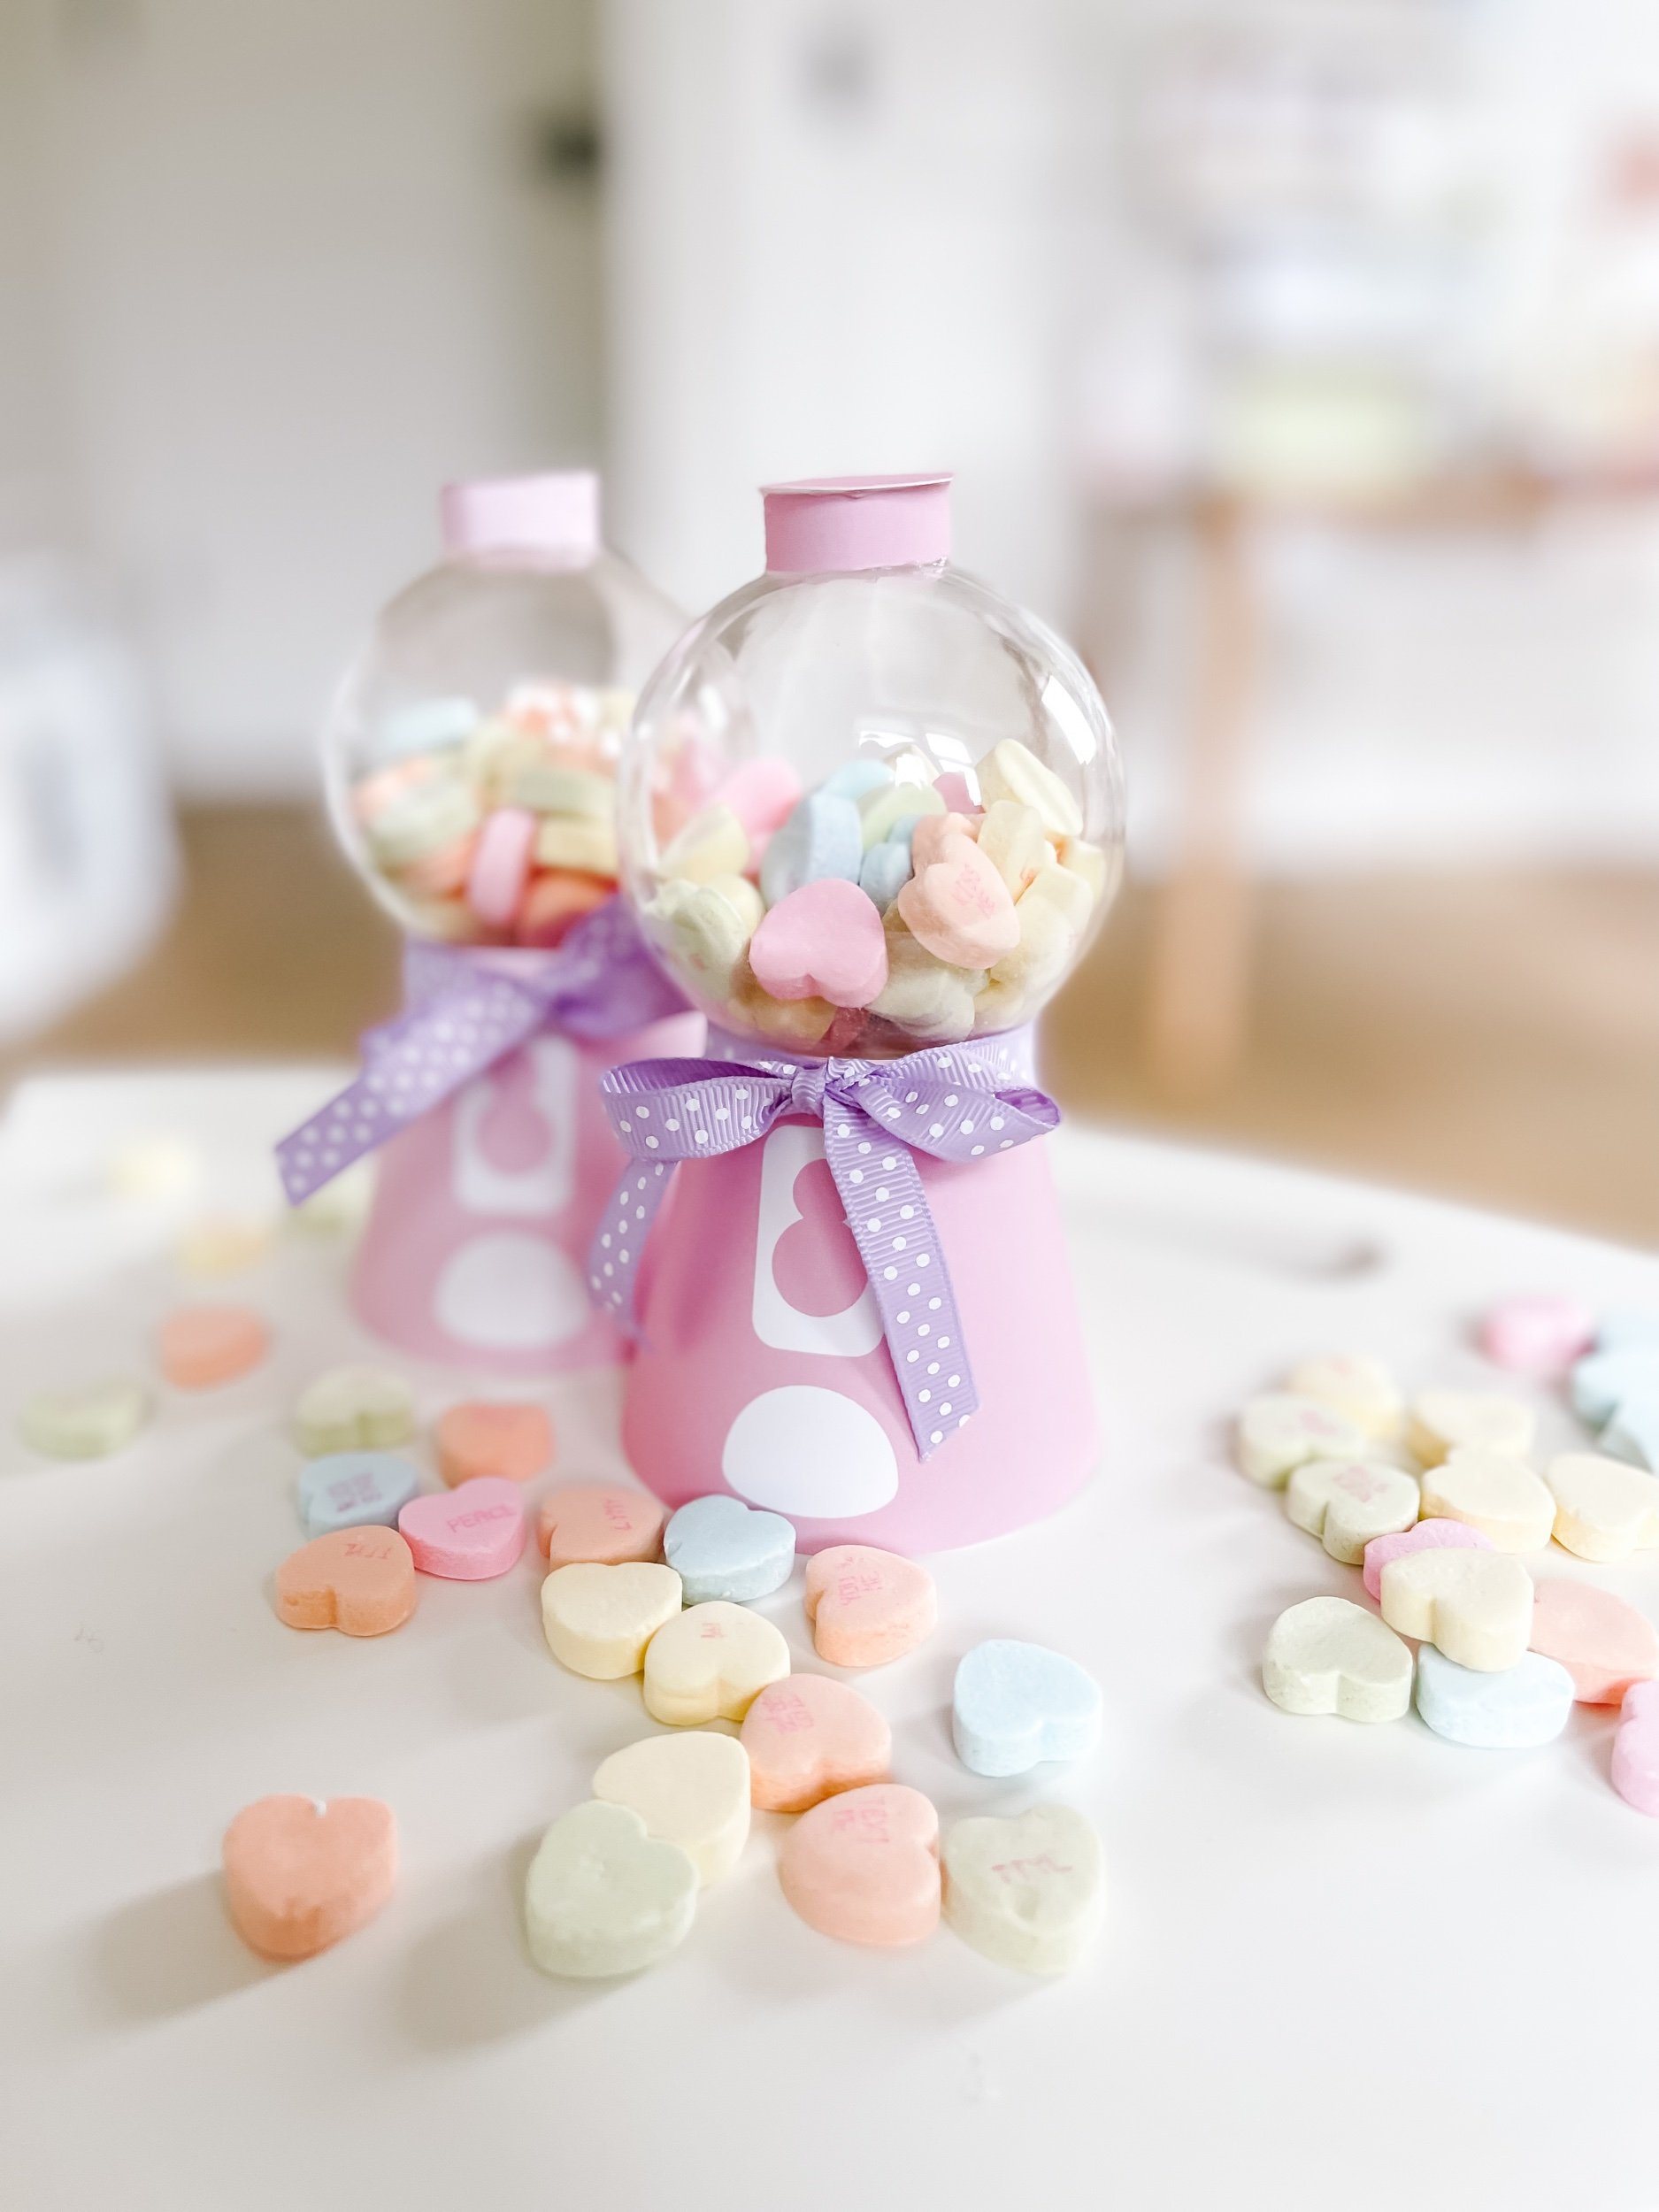
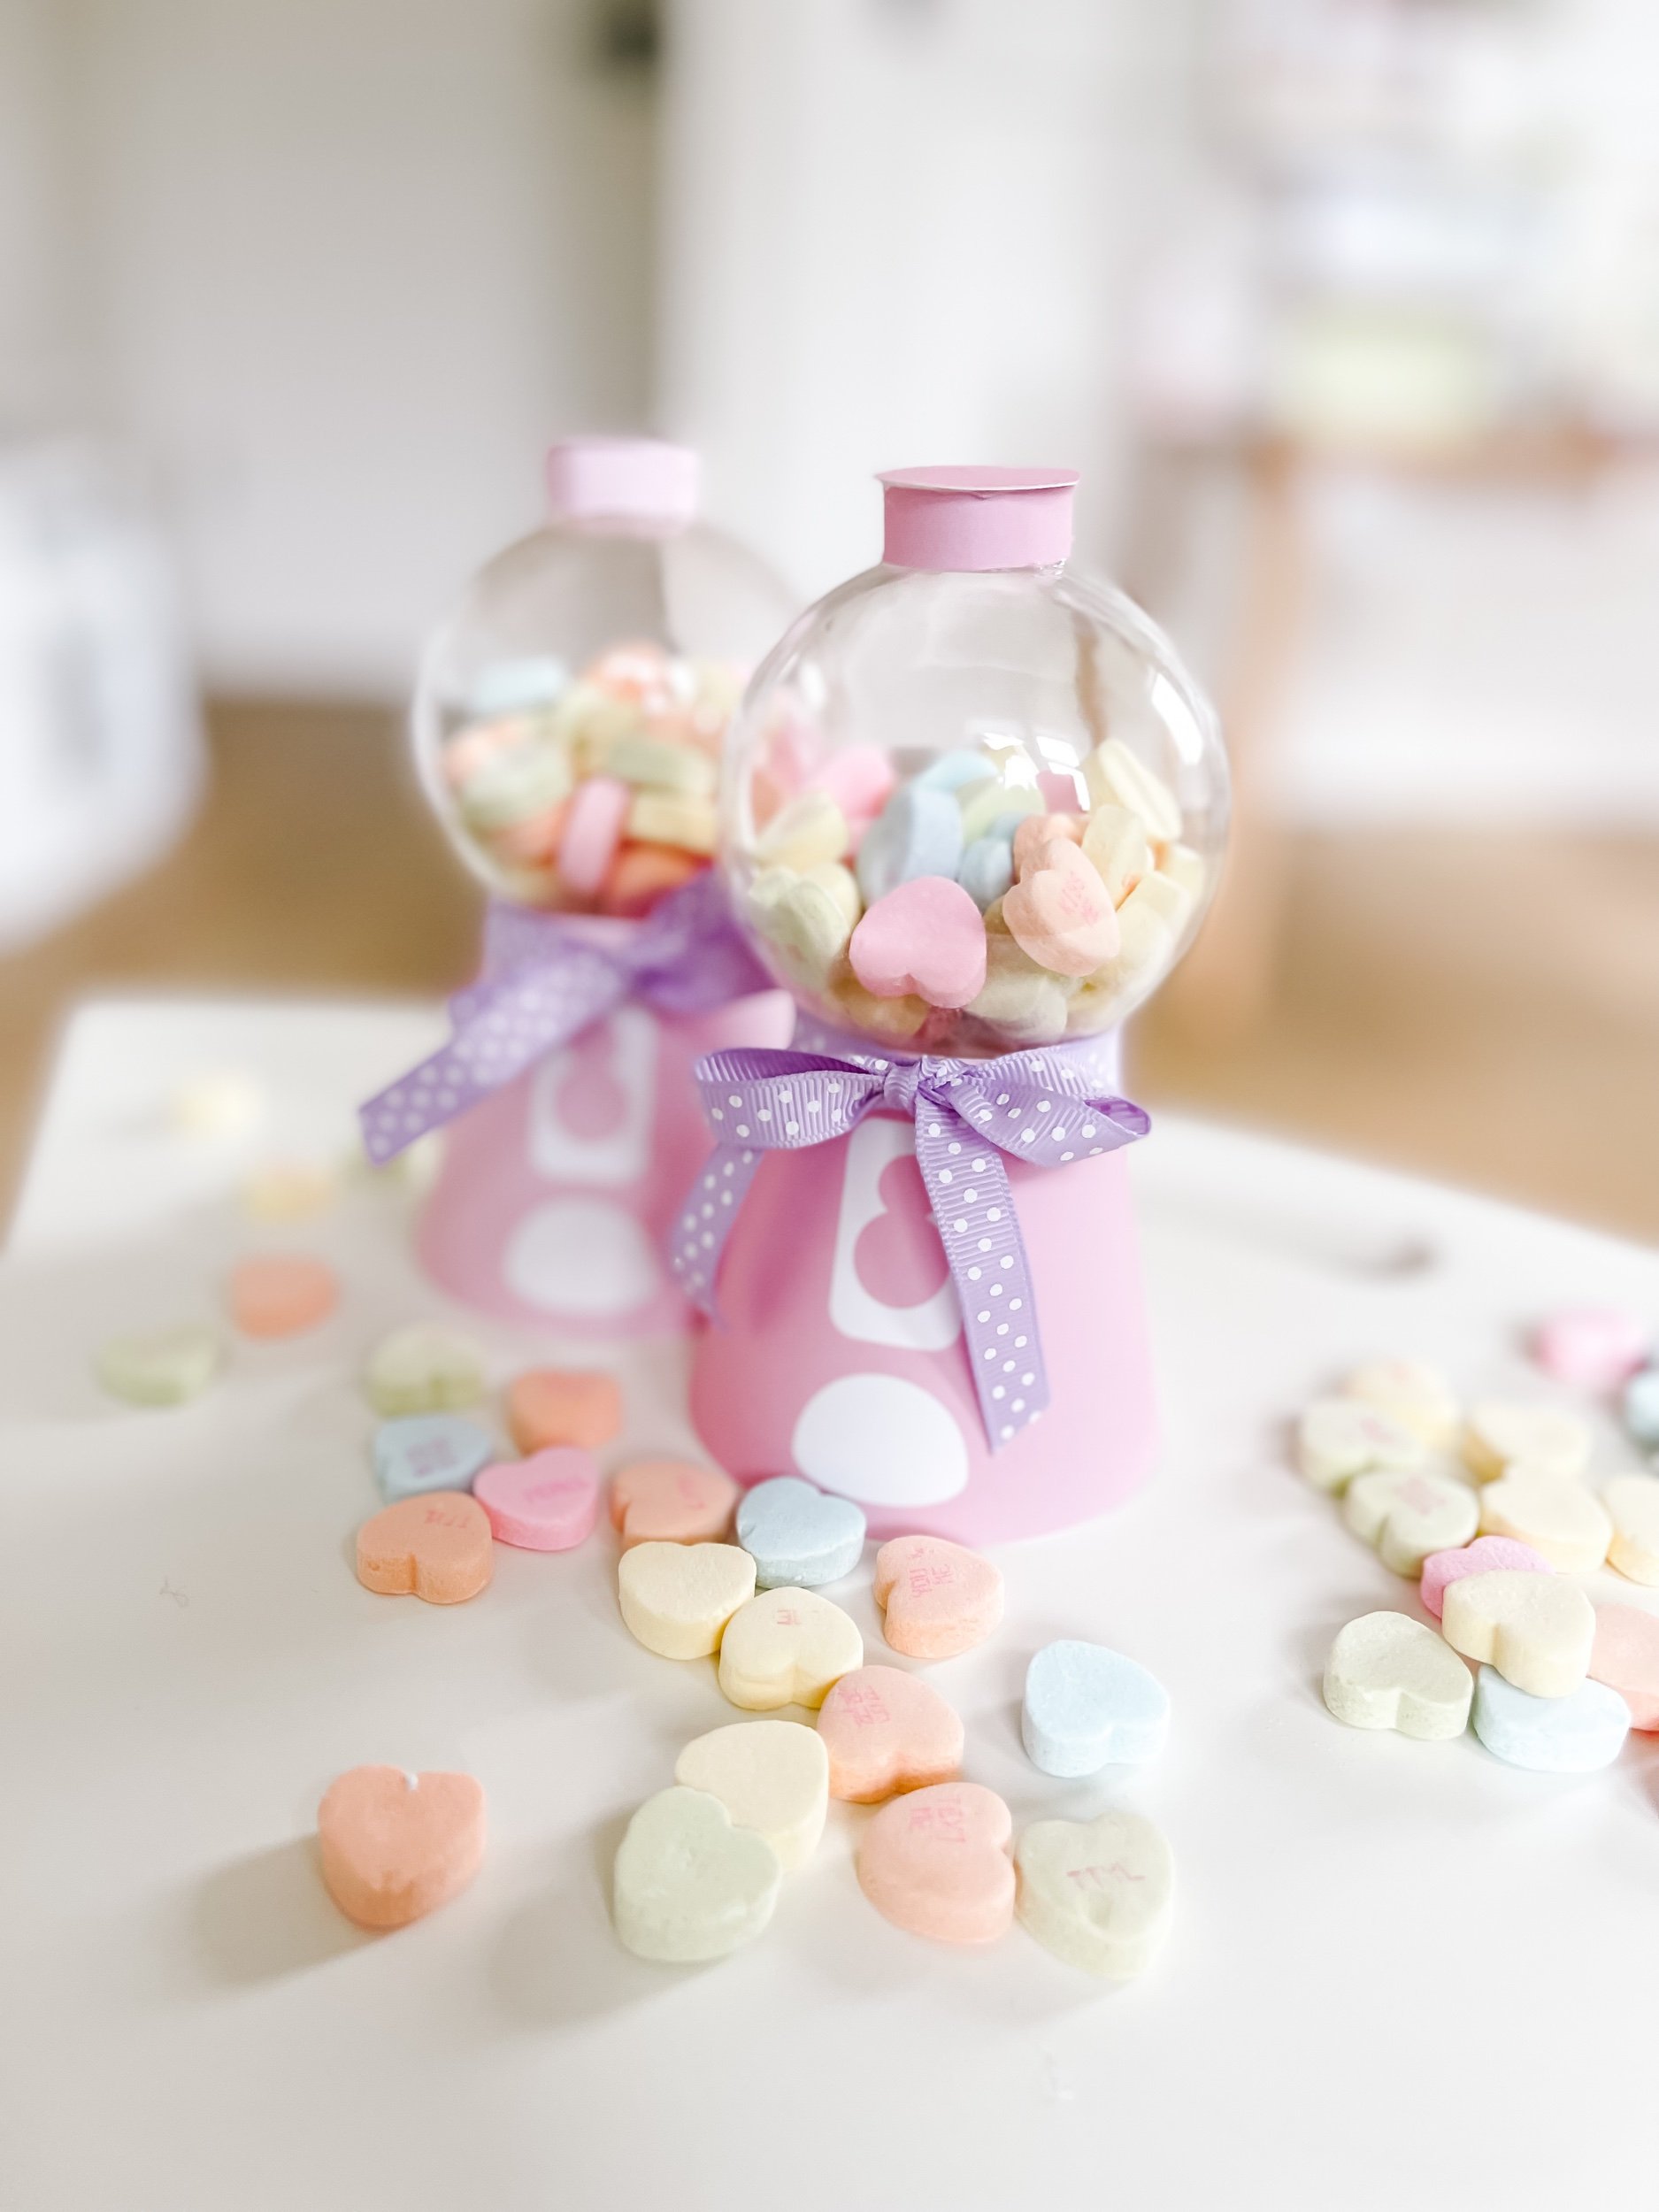
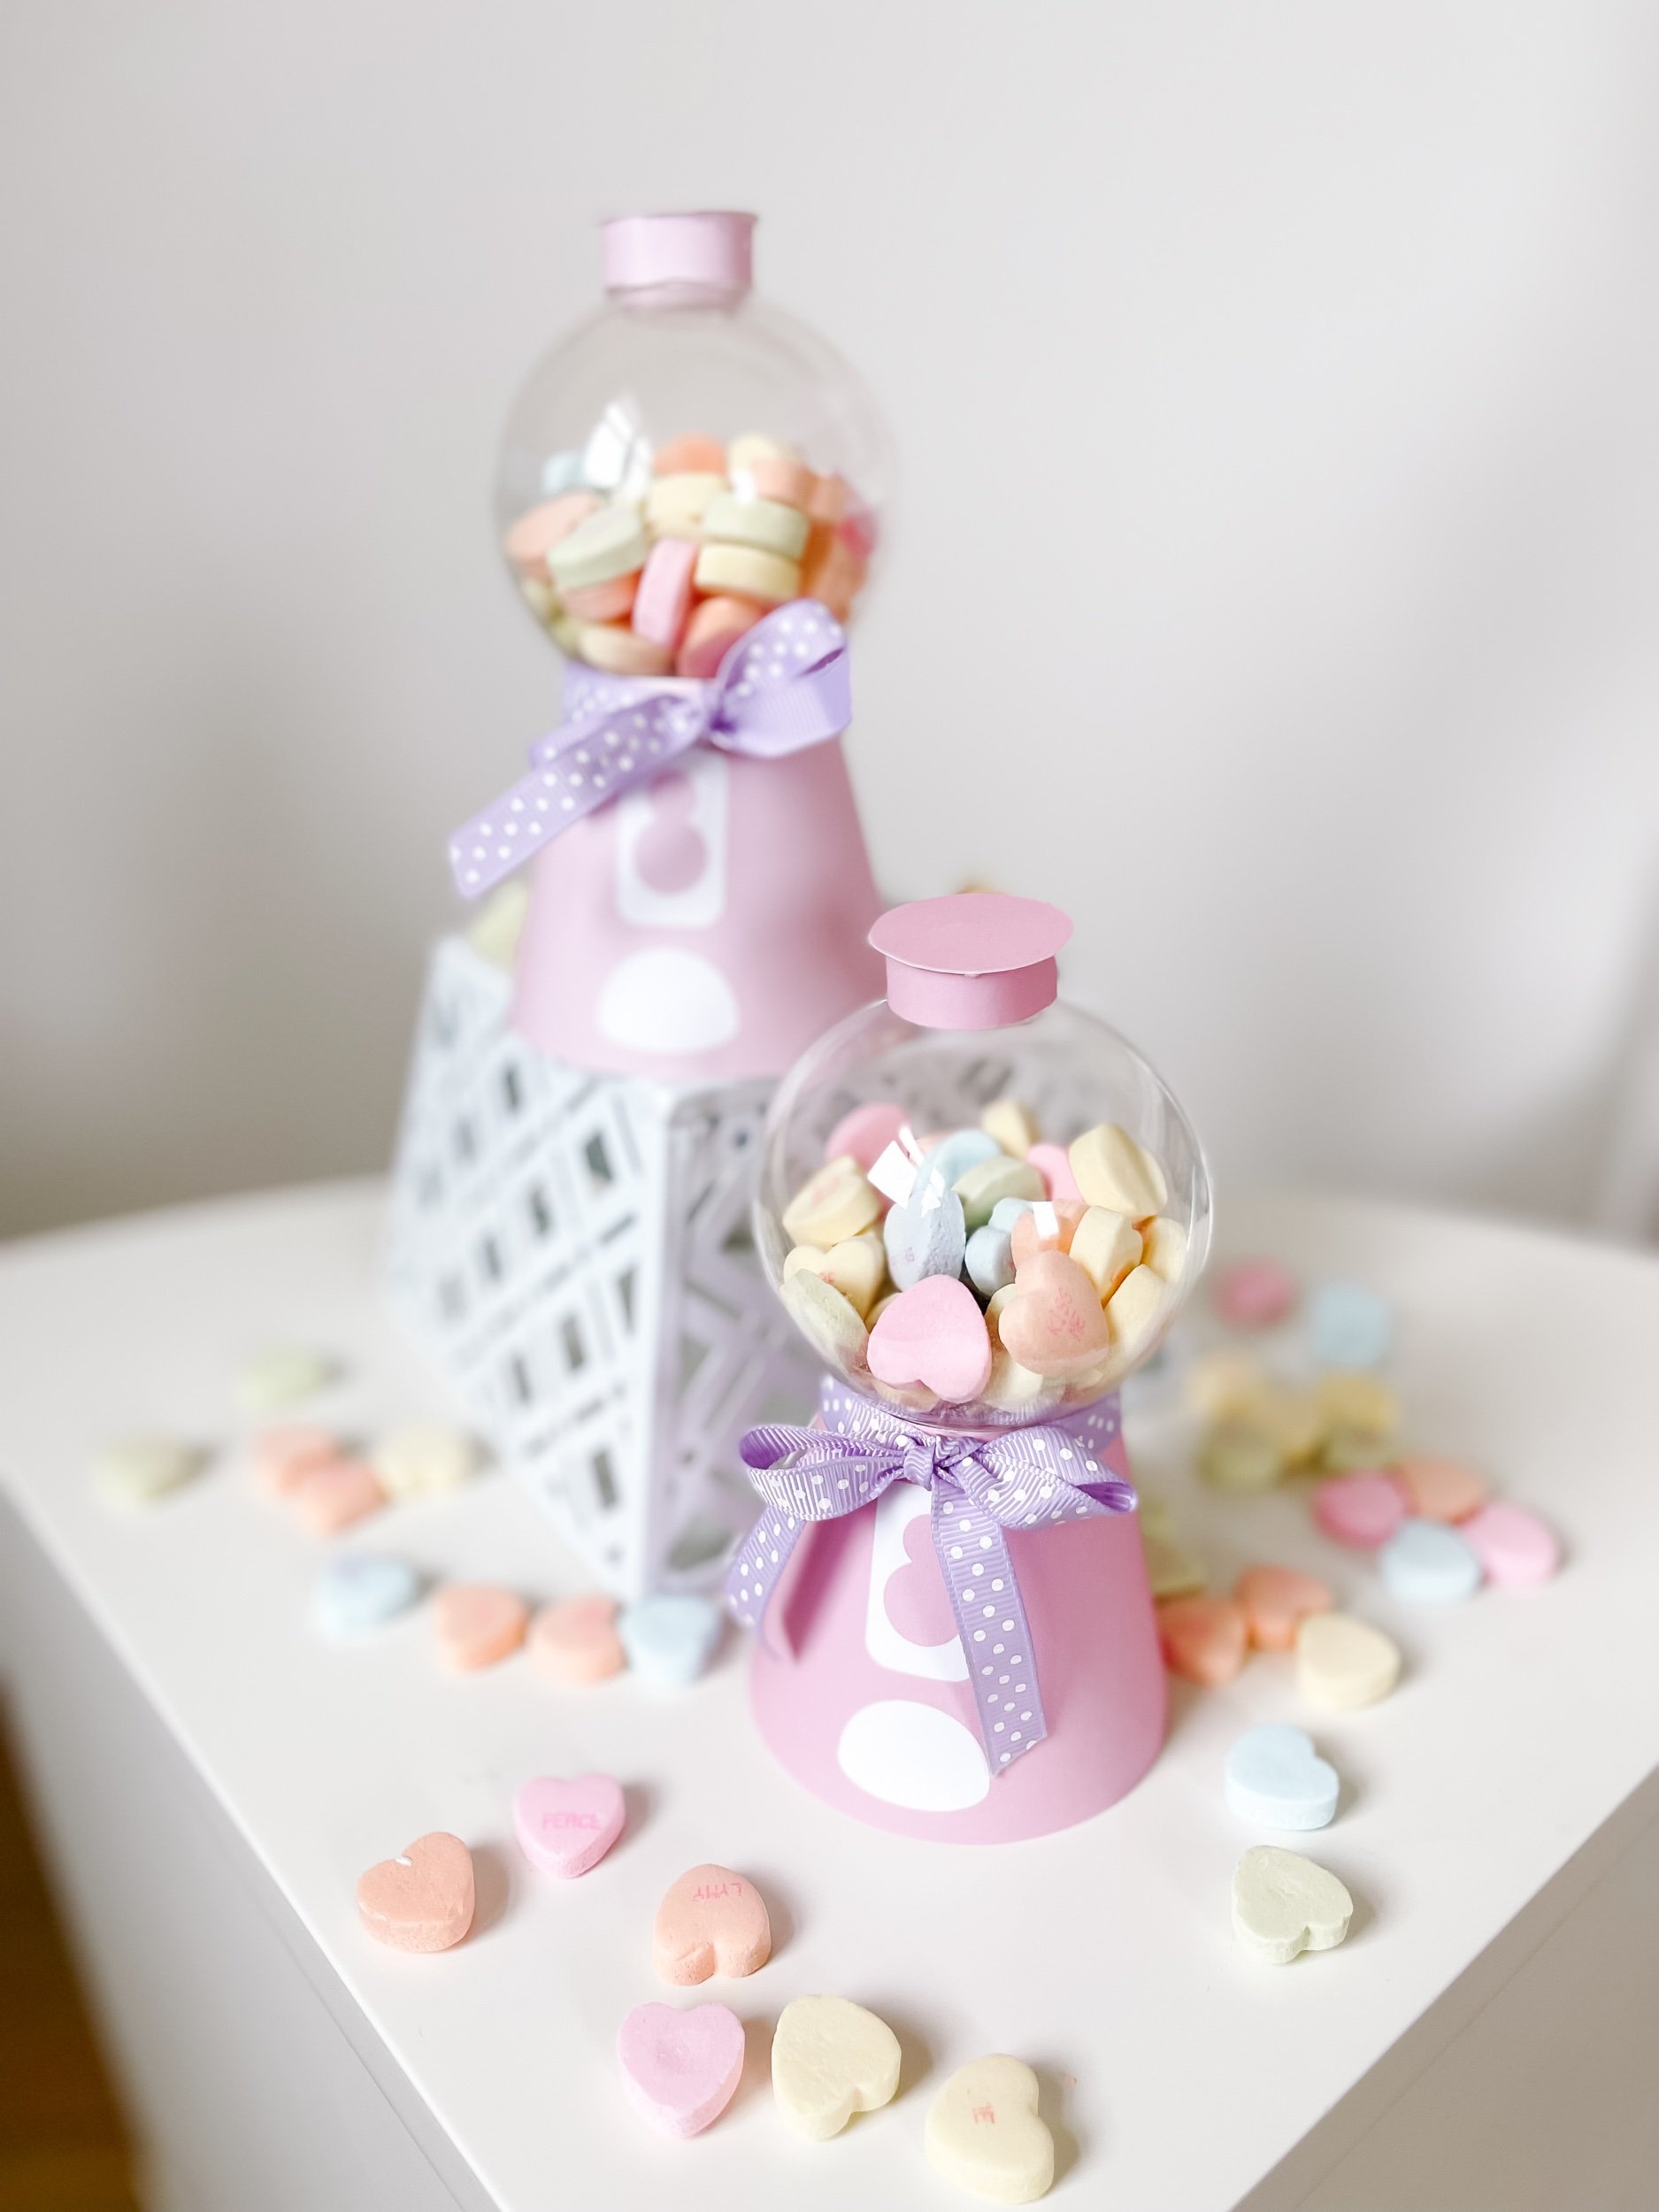
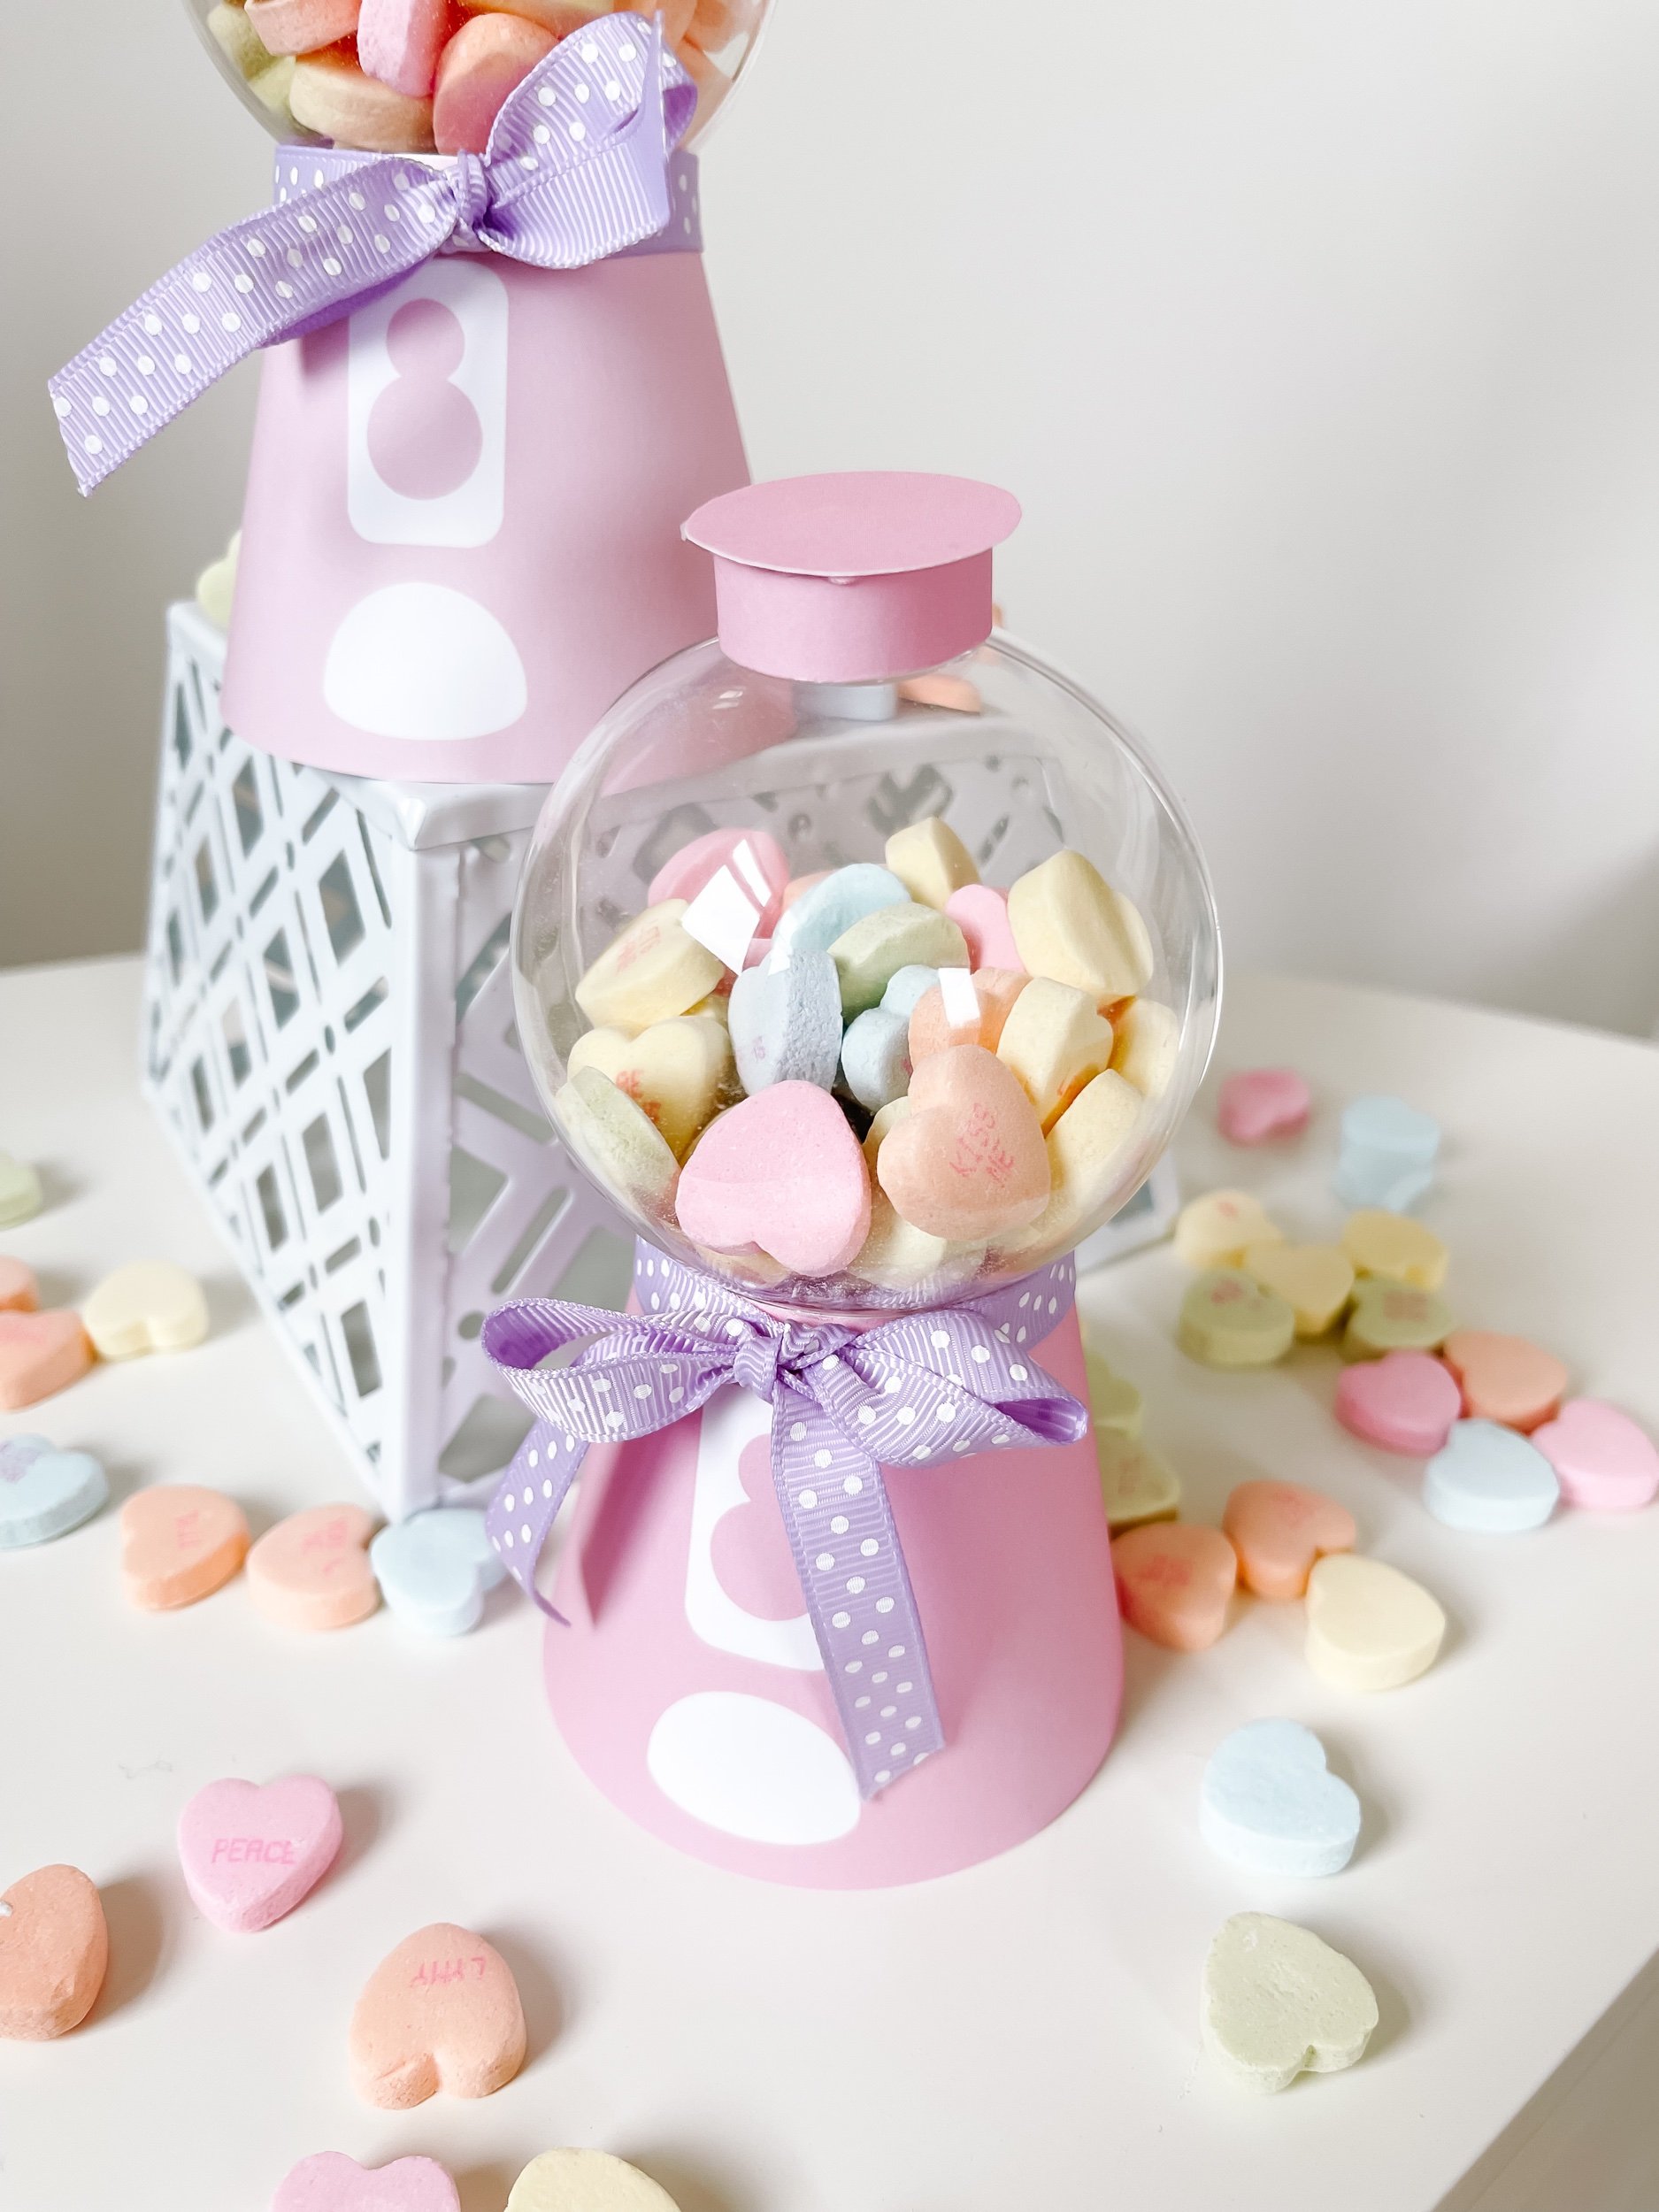
Valentine's Day is just around the corner, and what better way to make it special than with adorable and easy-to-make DIY gumball machine classroom favors? These delightful treats are not only a breeze to assemble, but they also promise hours of fun for the little ones. Whether you're a teacher, parent, or involved in a classroom setting, these favors are a perfect way to spread love and cheer.

Materials Needed:

  • Hot Glue Gun

  • Clear plastic Baubles 70mm

  • Sweetheart or other candy filler

  • Ribbon Optional

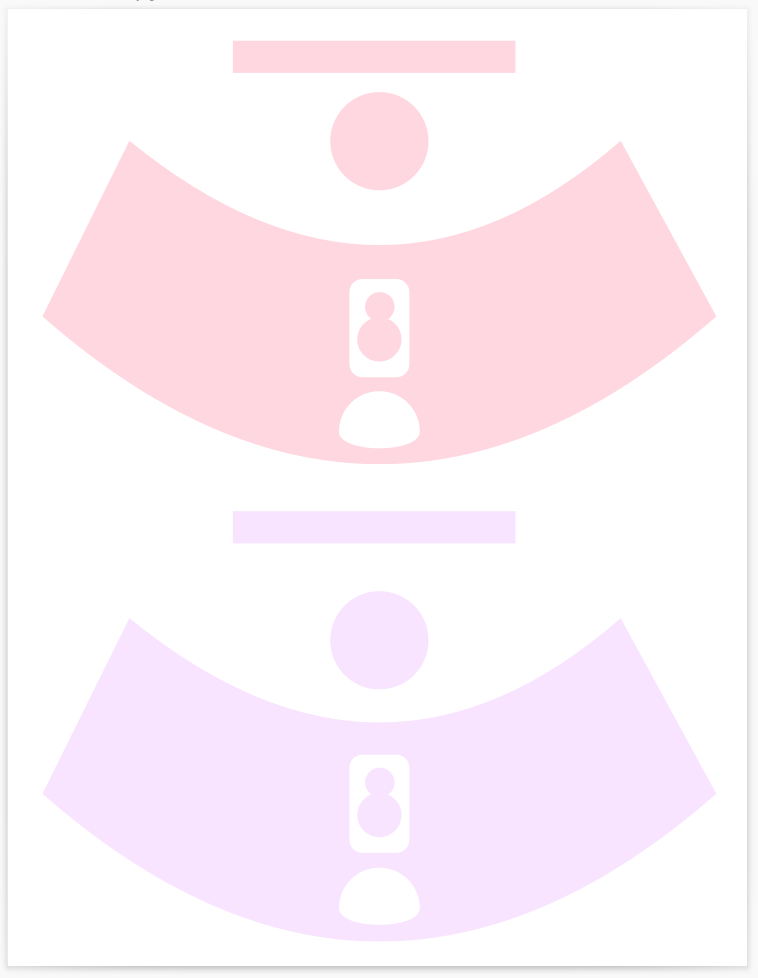
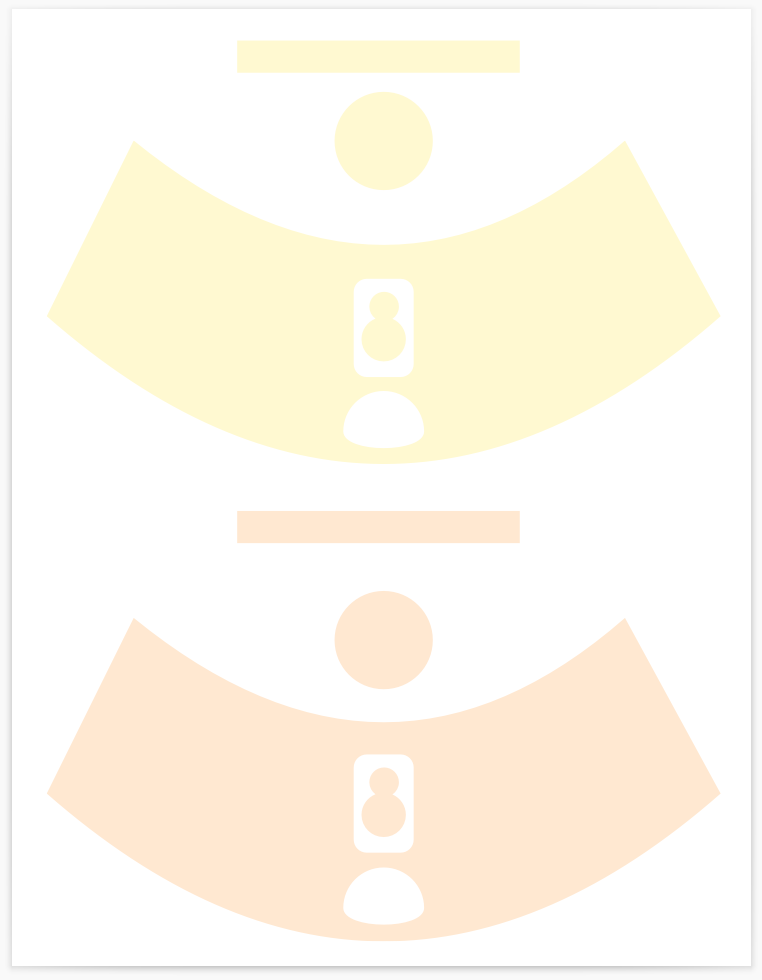
  • Printable Gum Ball Machine Base & Top

Super Simple Assembly Process

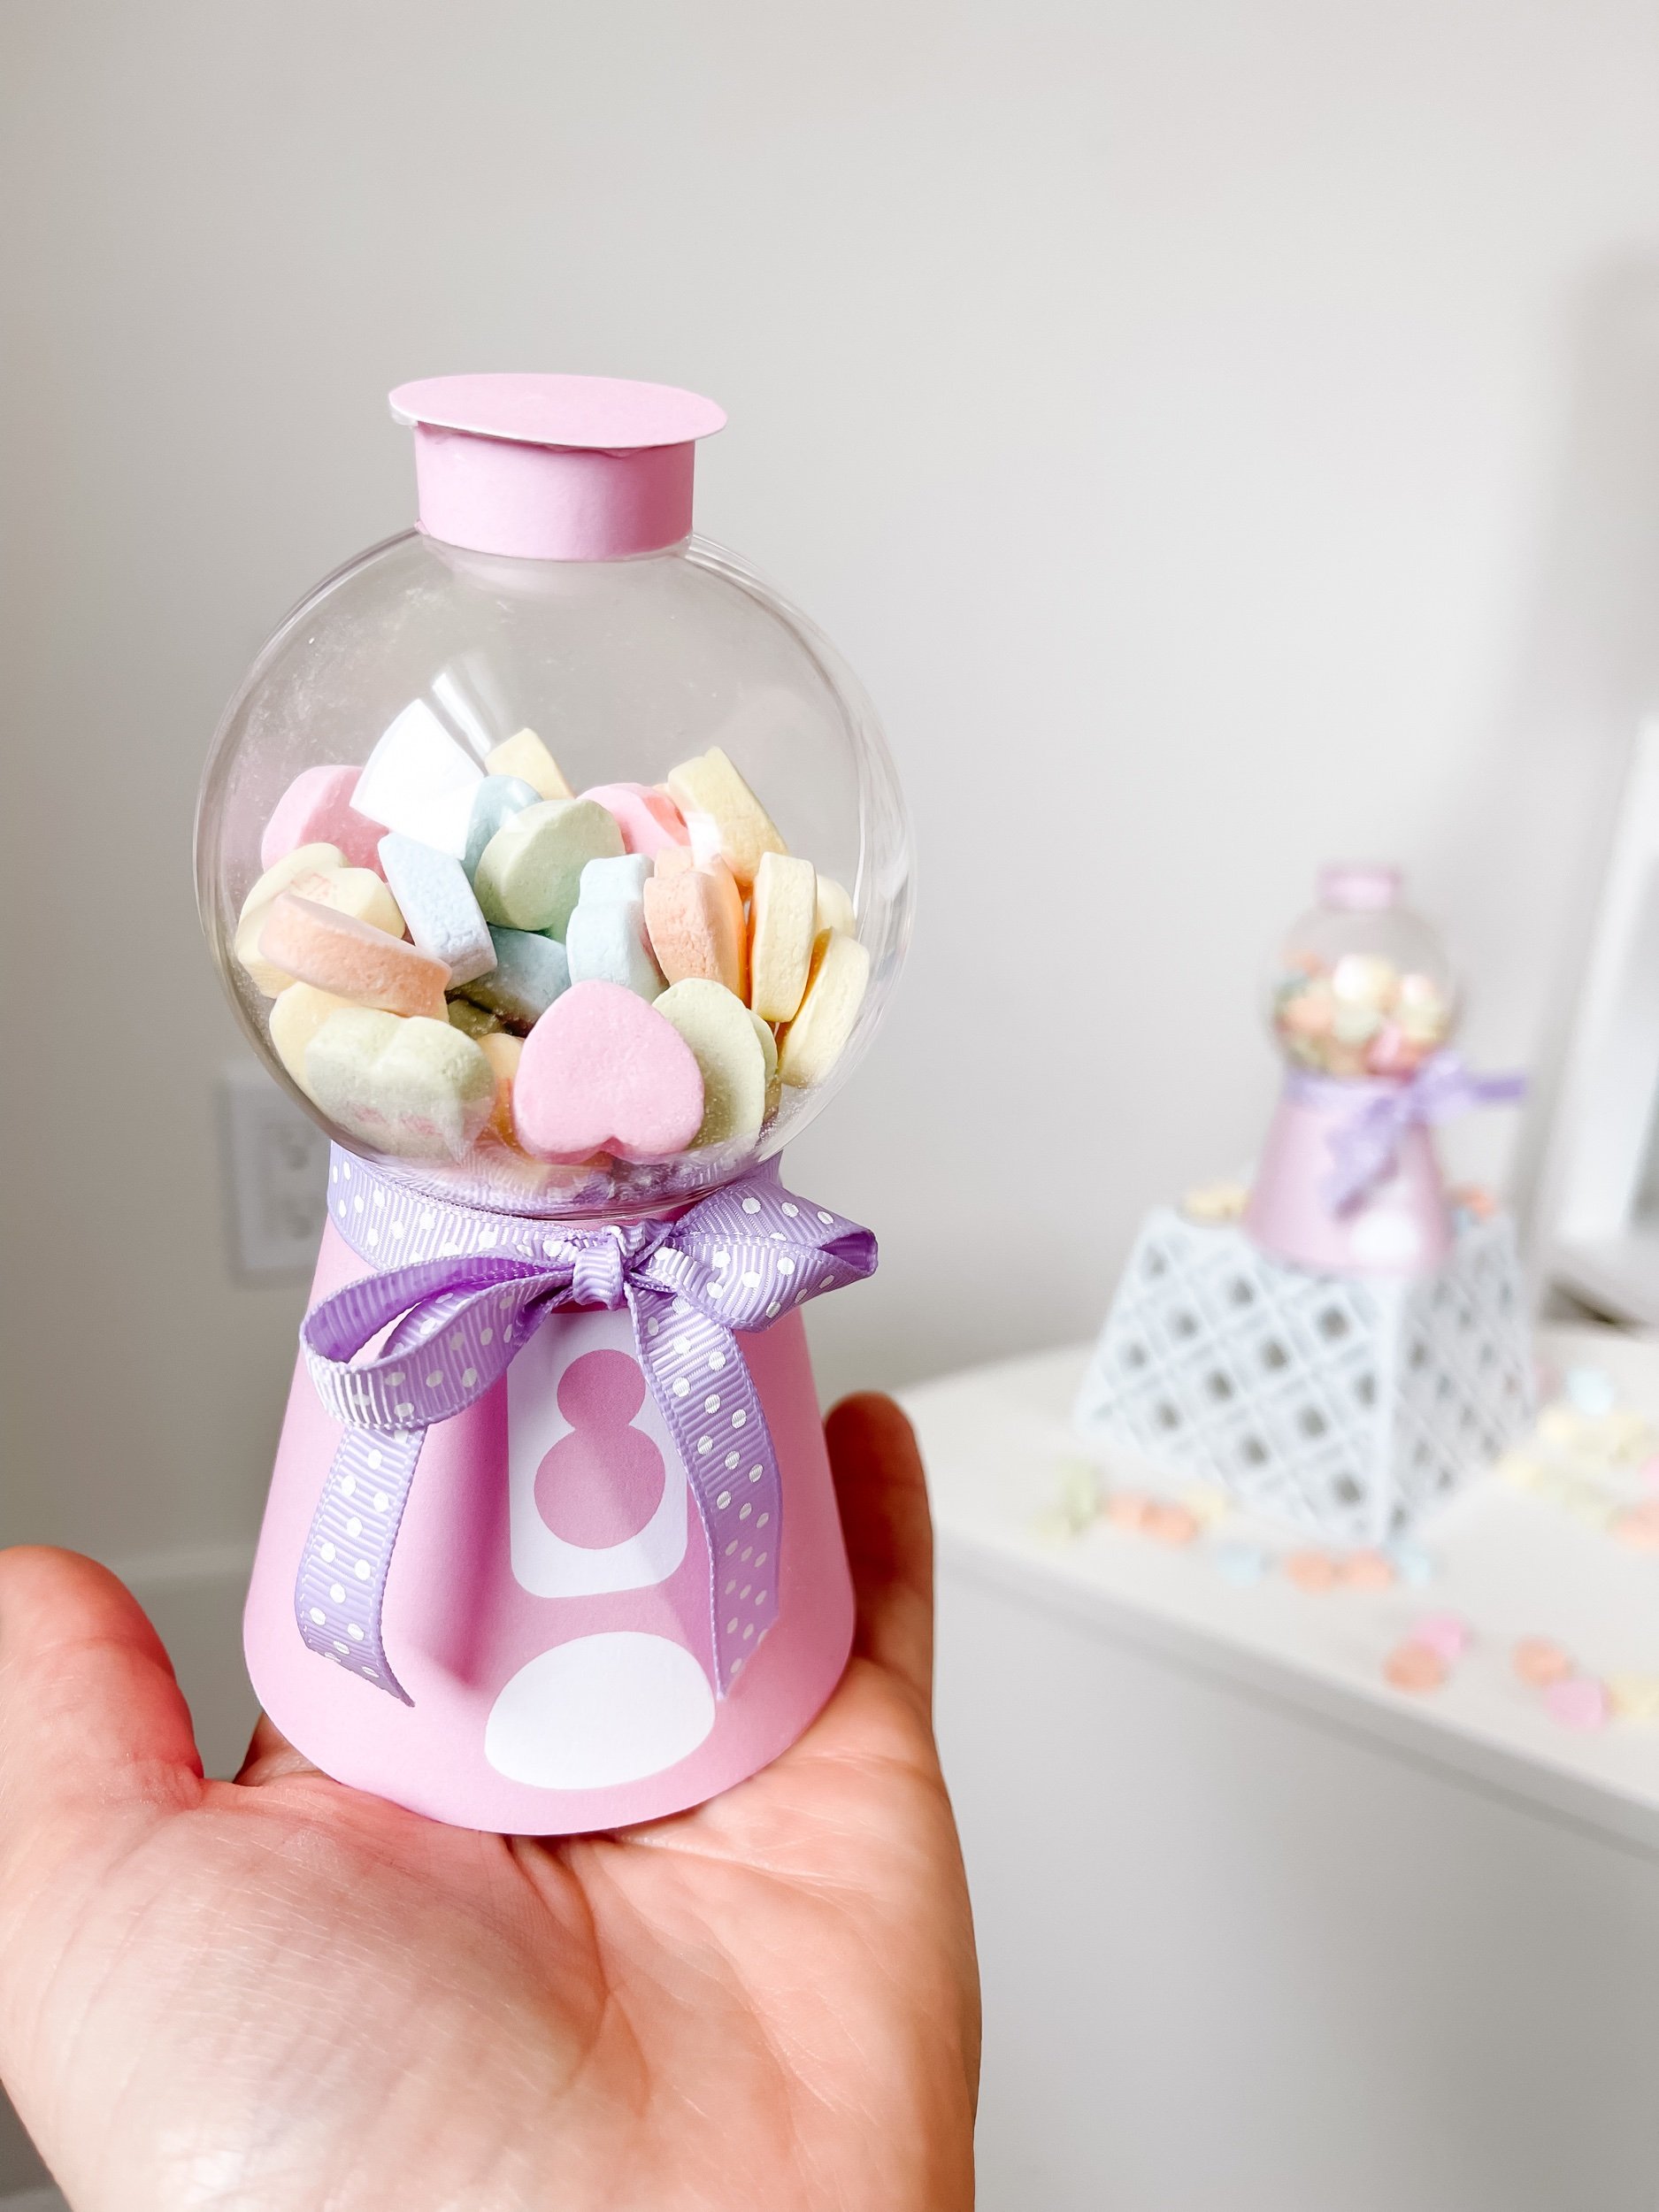
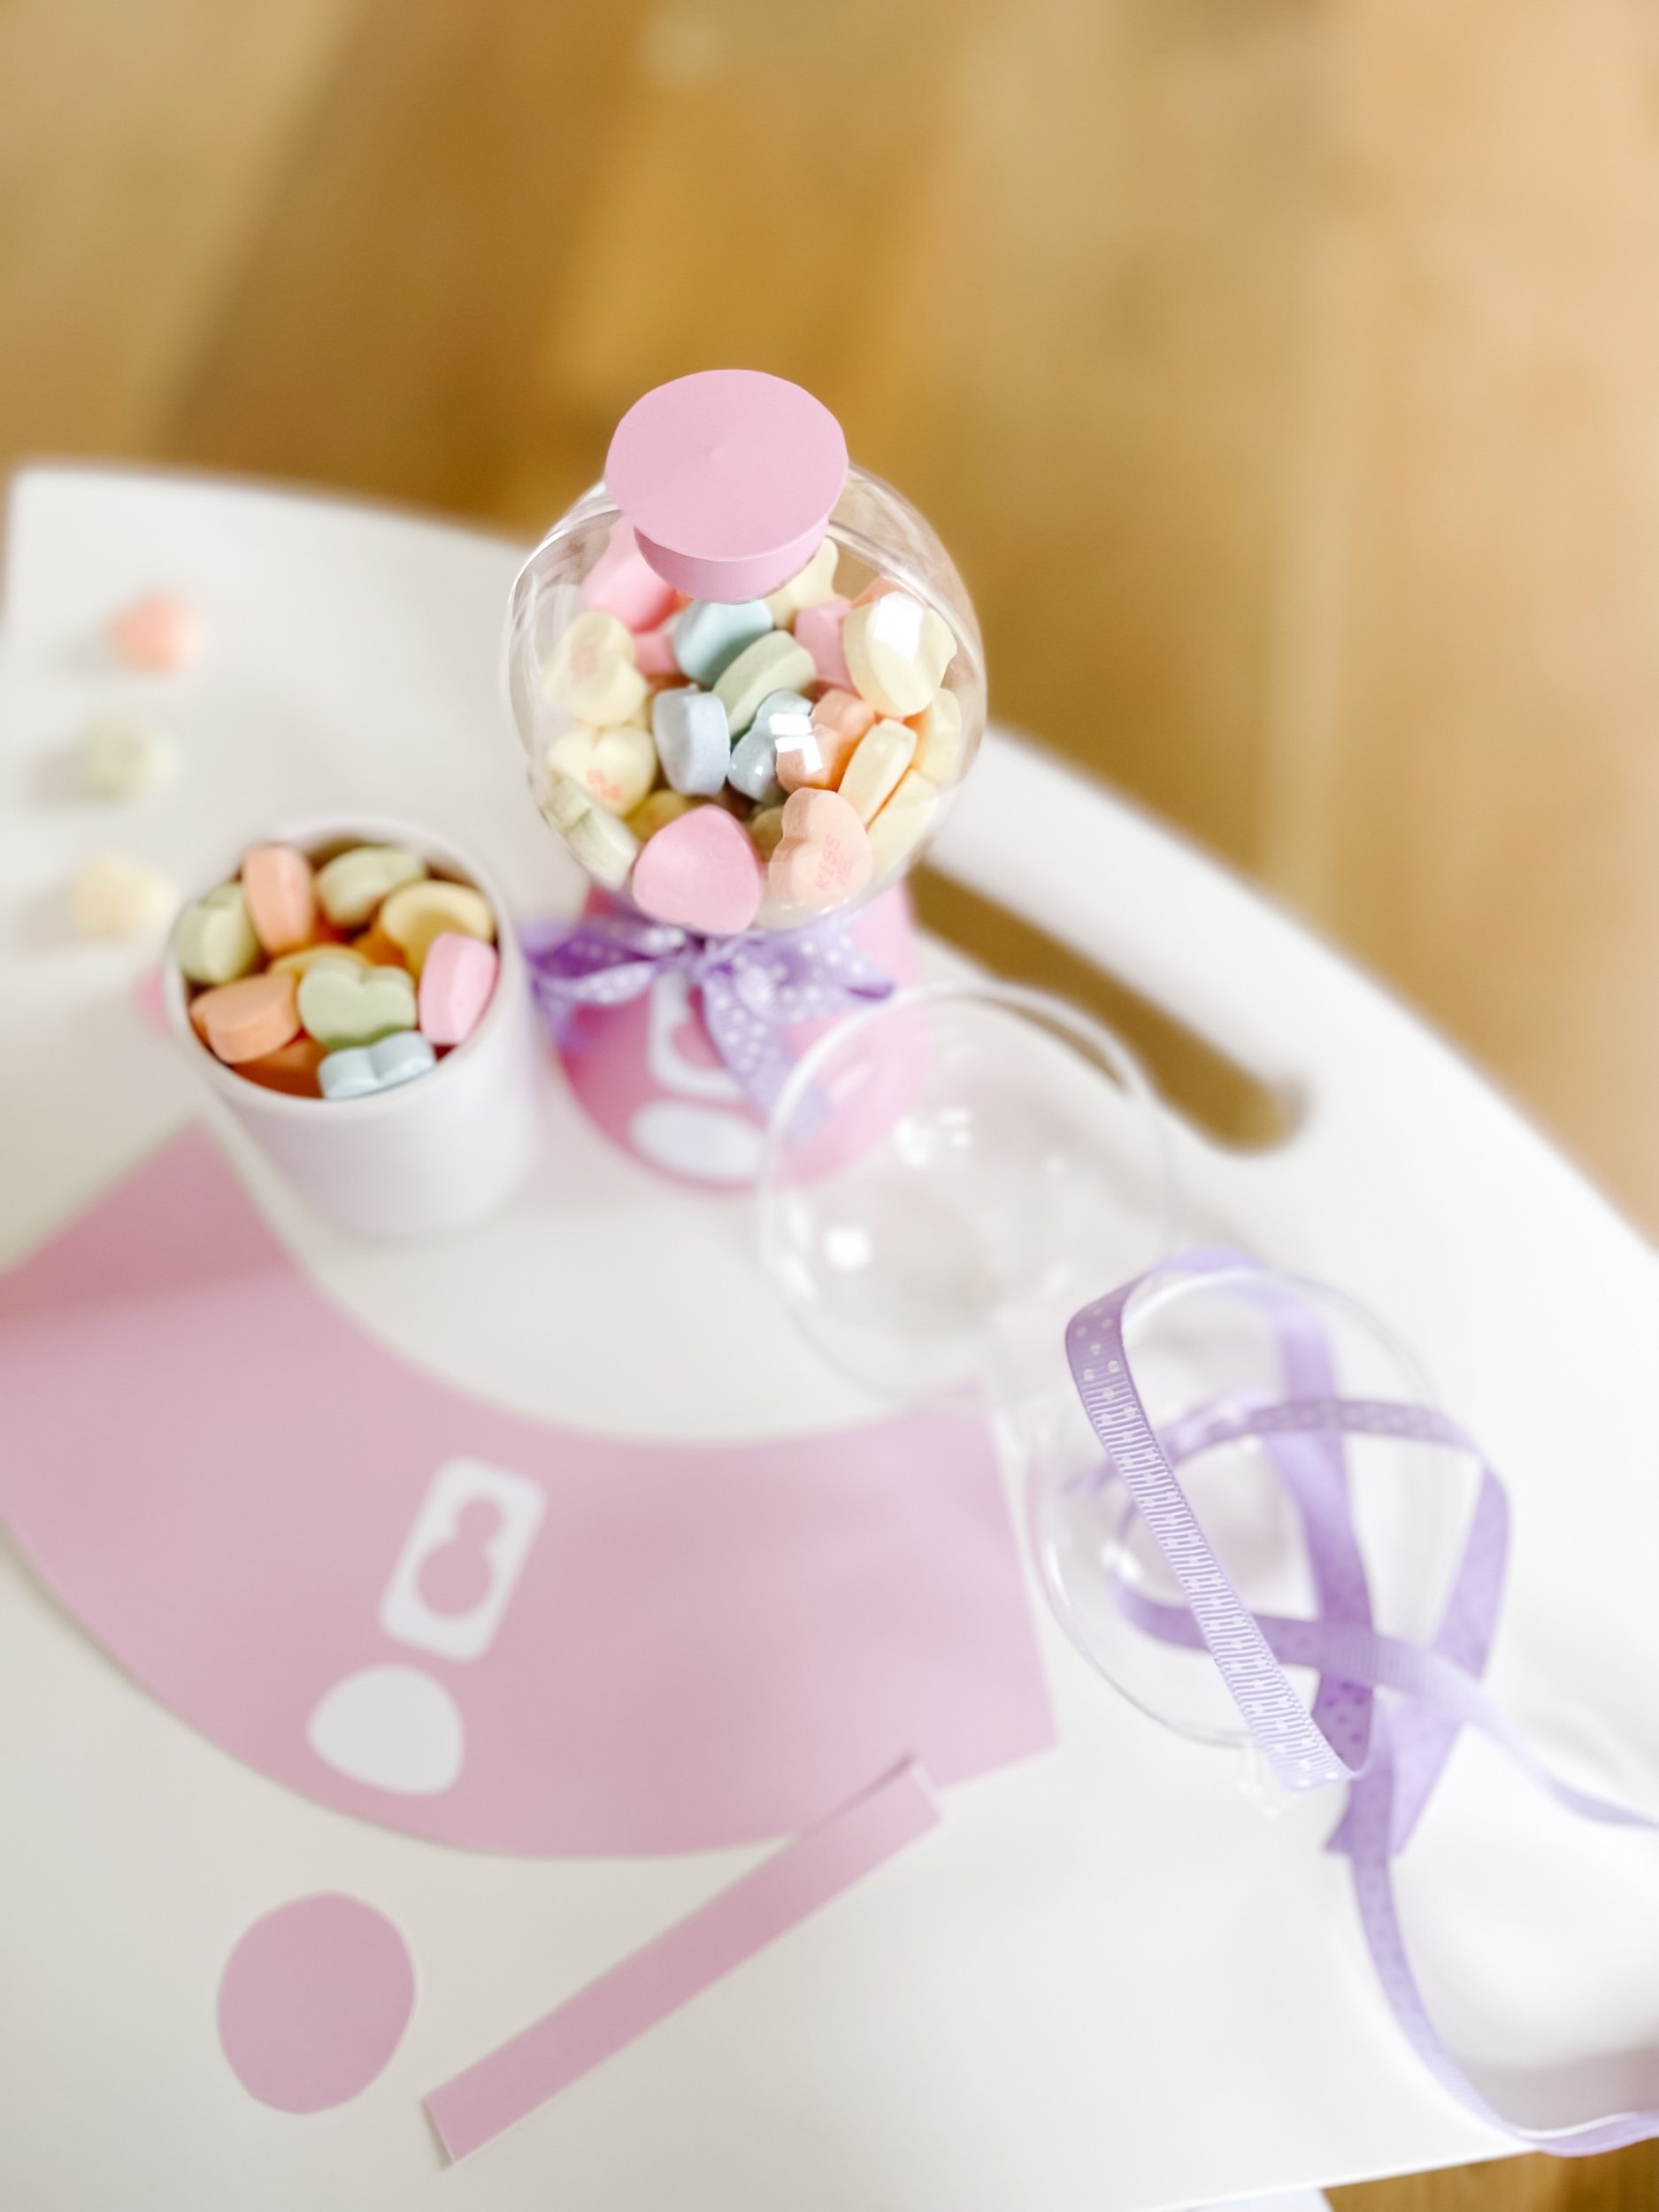
One of the key benefits of these DIY gum ball machine favors is just how easy they are to put together. With just a few supplies and our free printable, you can effortlessly create these charming gifts. The printable is designed for quick and stress-free printing, cutting, and assembly, making it a convenient option for busy individuals.

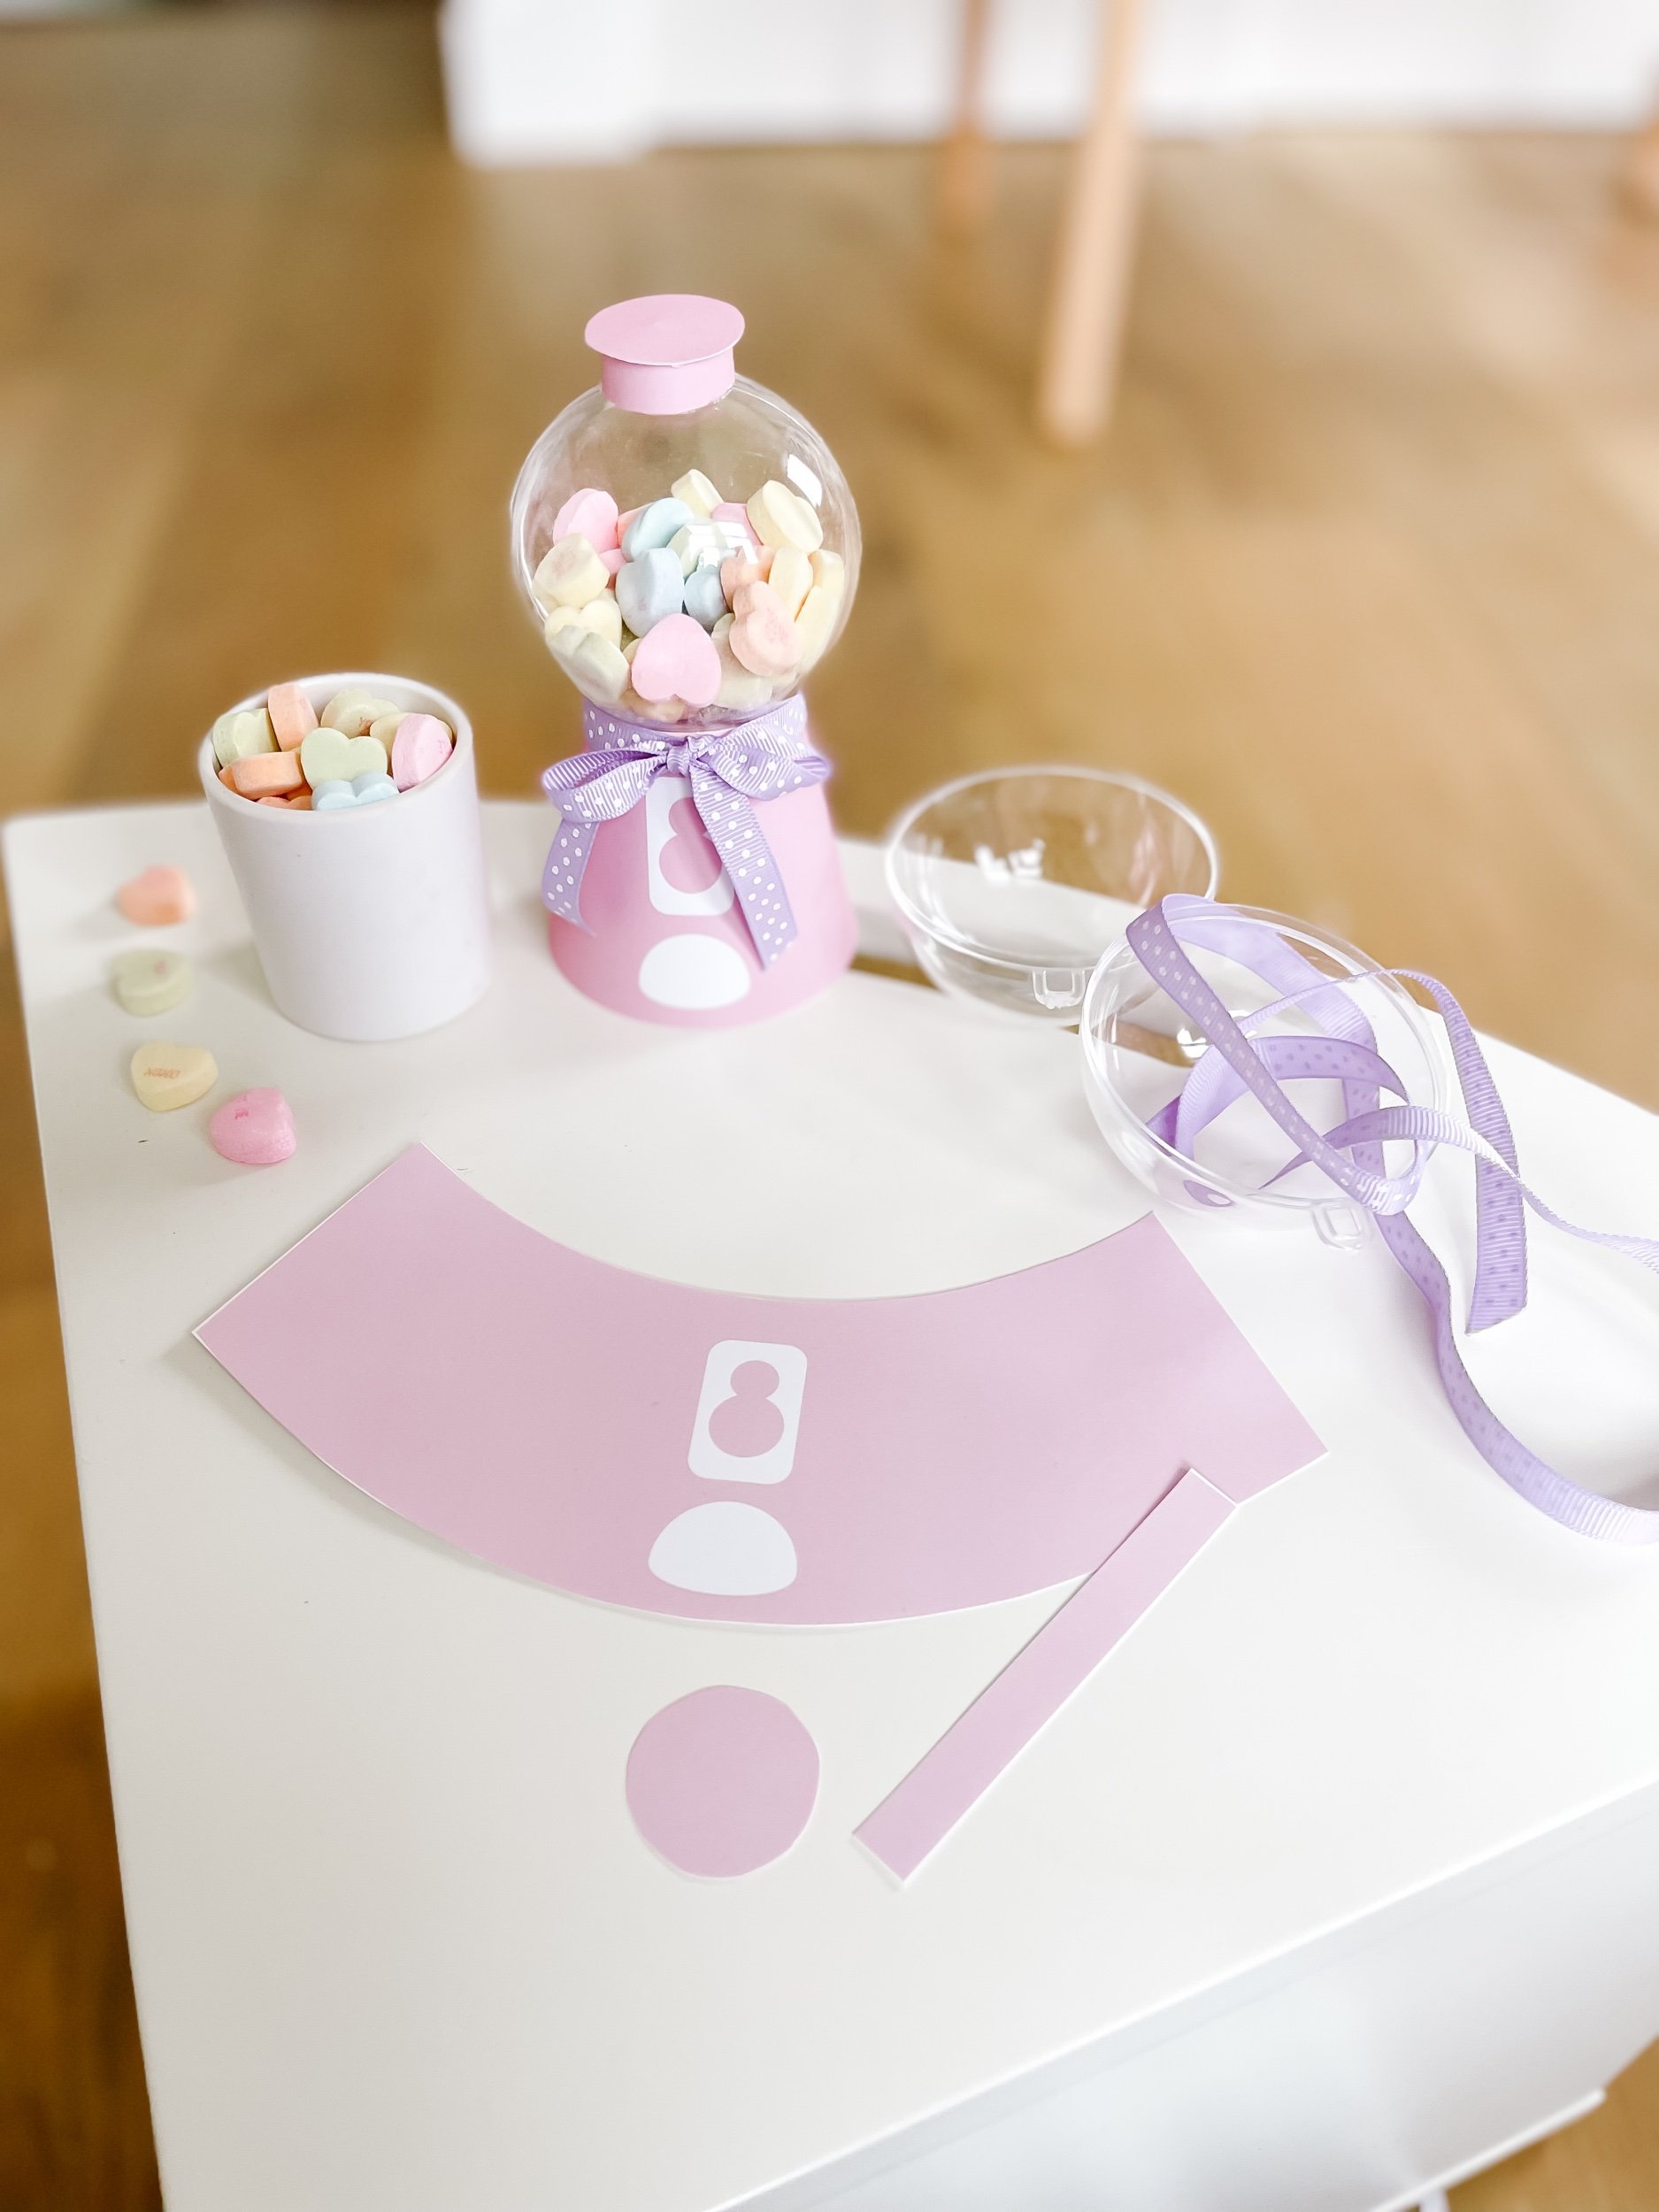
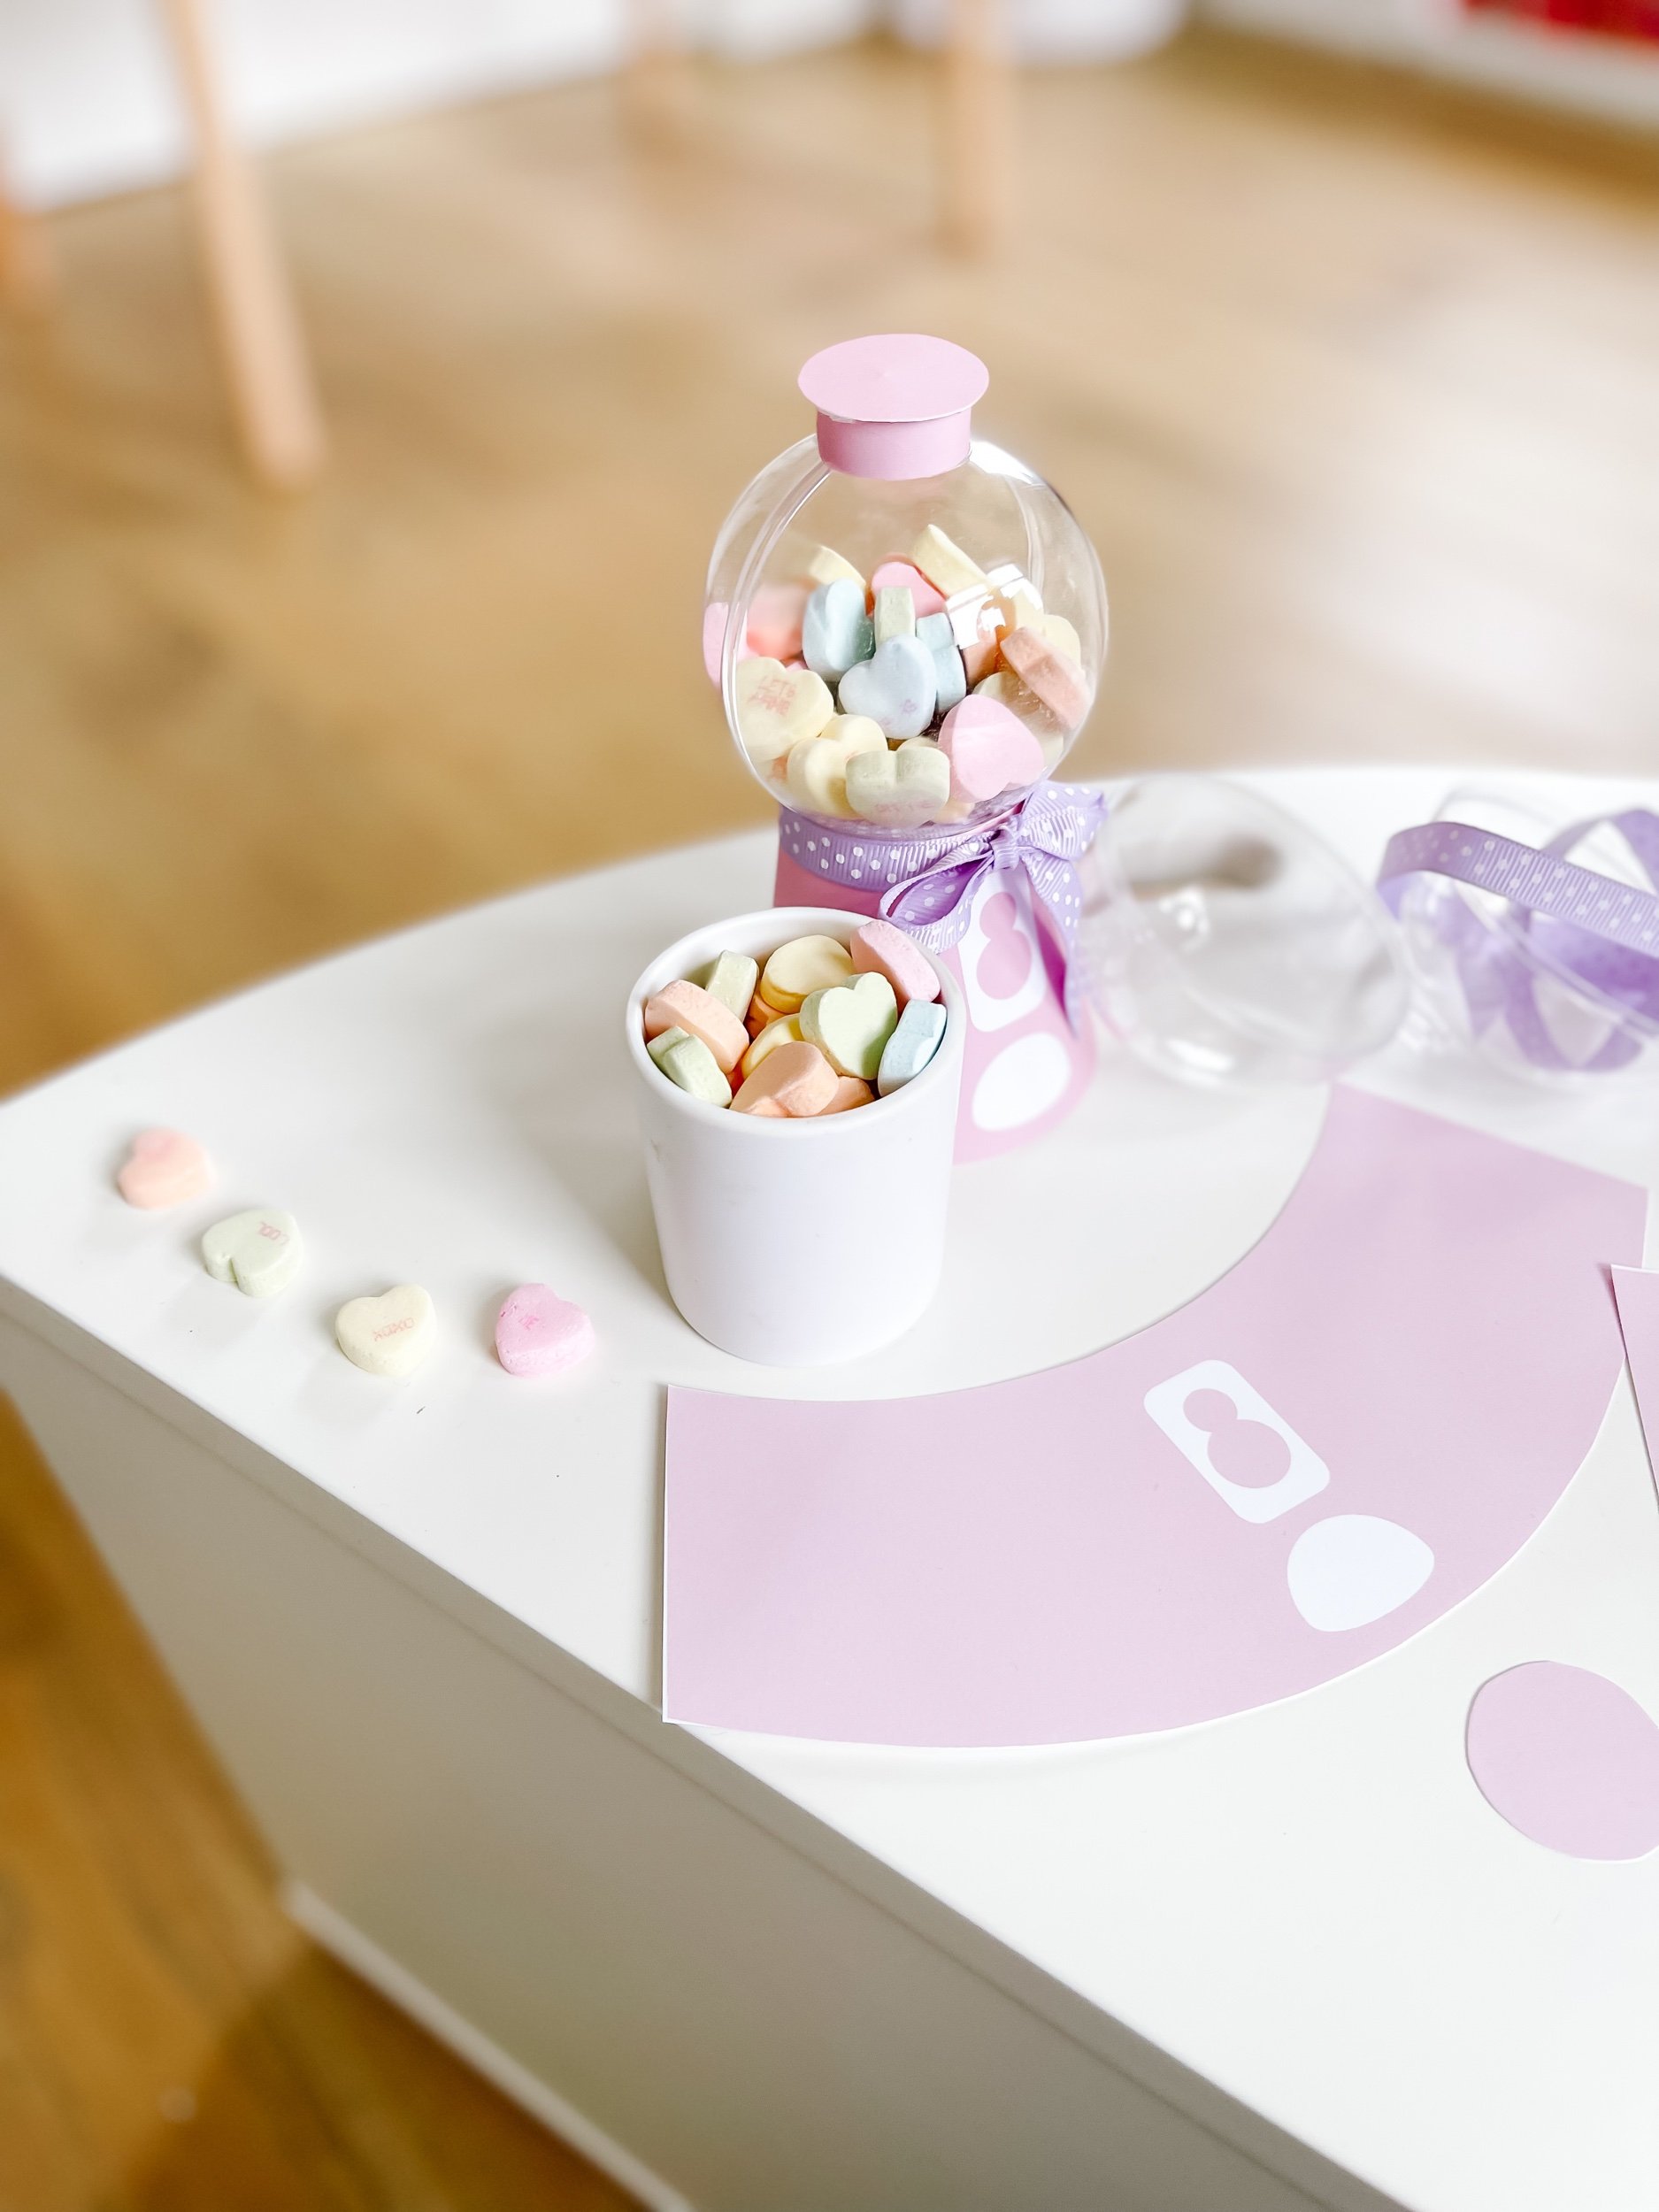
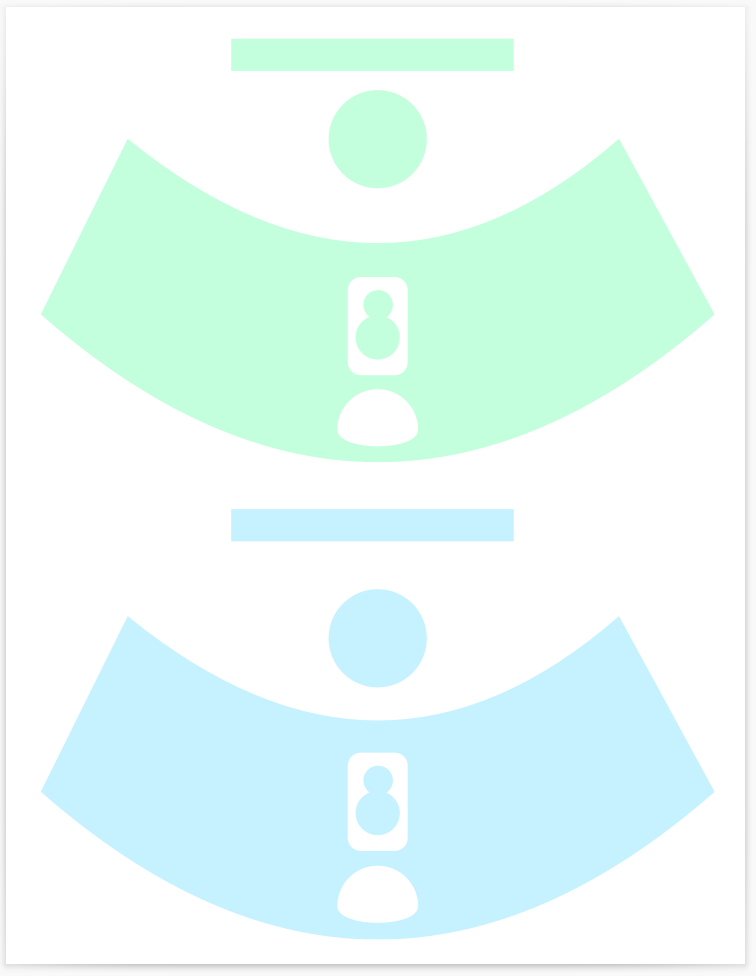
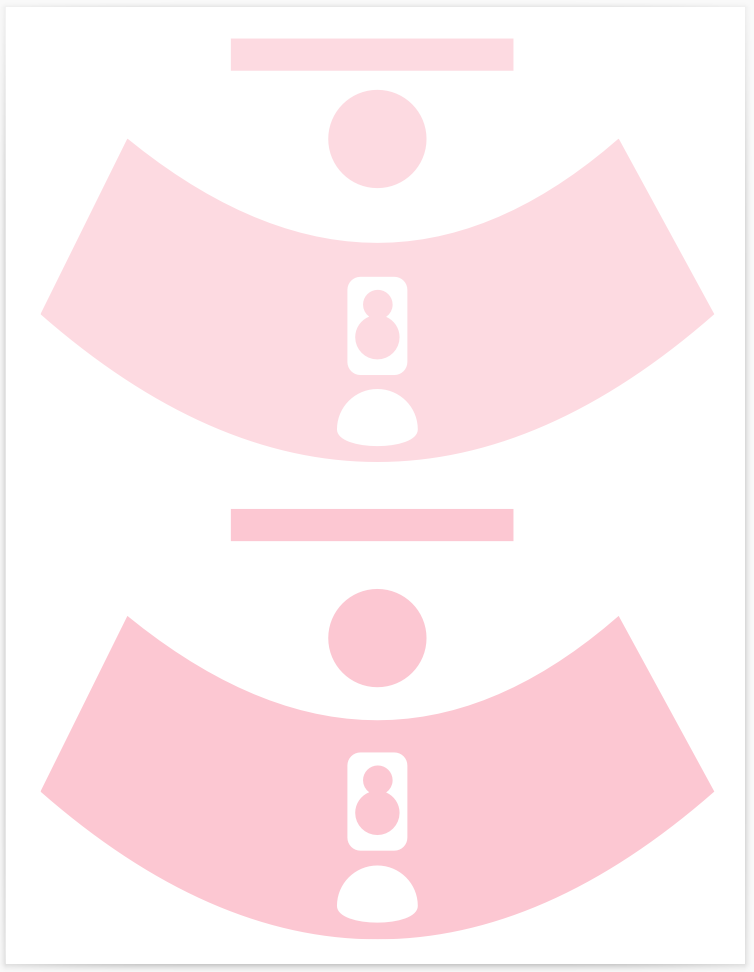
  1. Cut out the printable file (there are only 3 pieces to cut so this is a super simple step!)

  2. Fold the base into a conical shape and hot glue the edges together

  3. Fill the baubles with candy sweethearts and close them

  4. Fold the long bar into a circle and glue the circle cut out to the top to make the cap

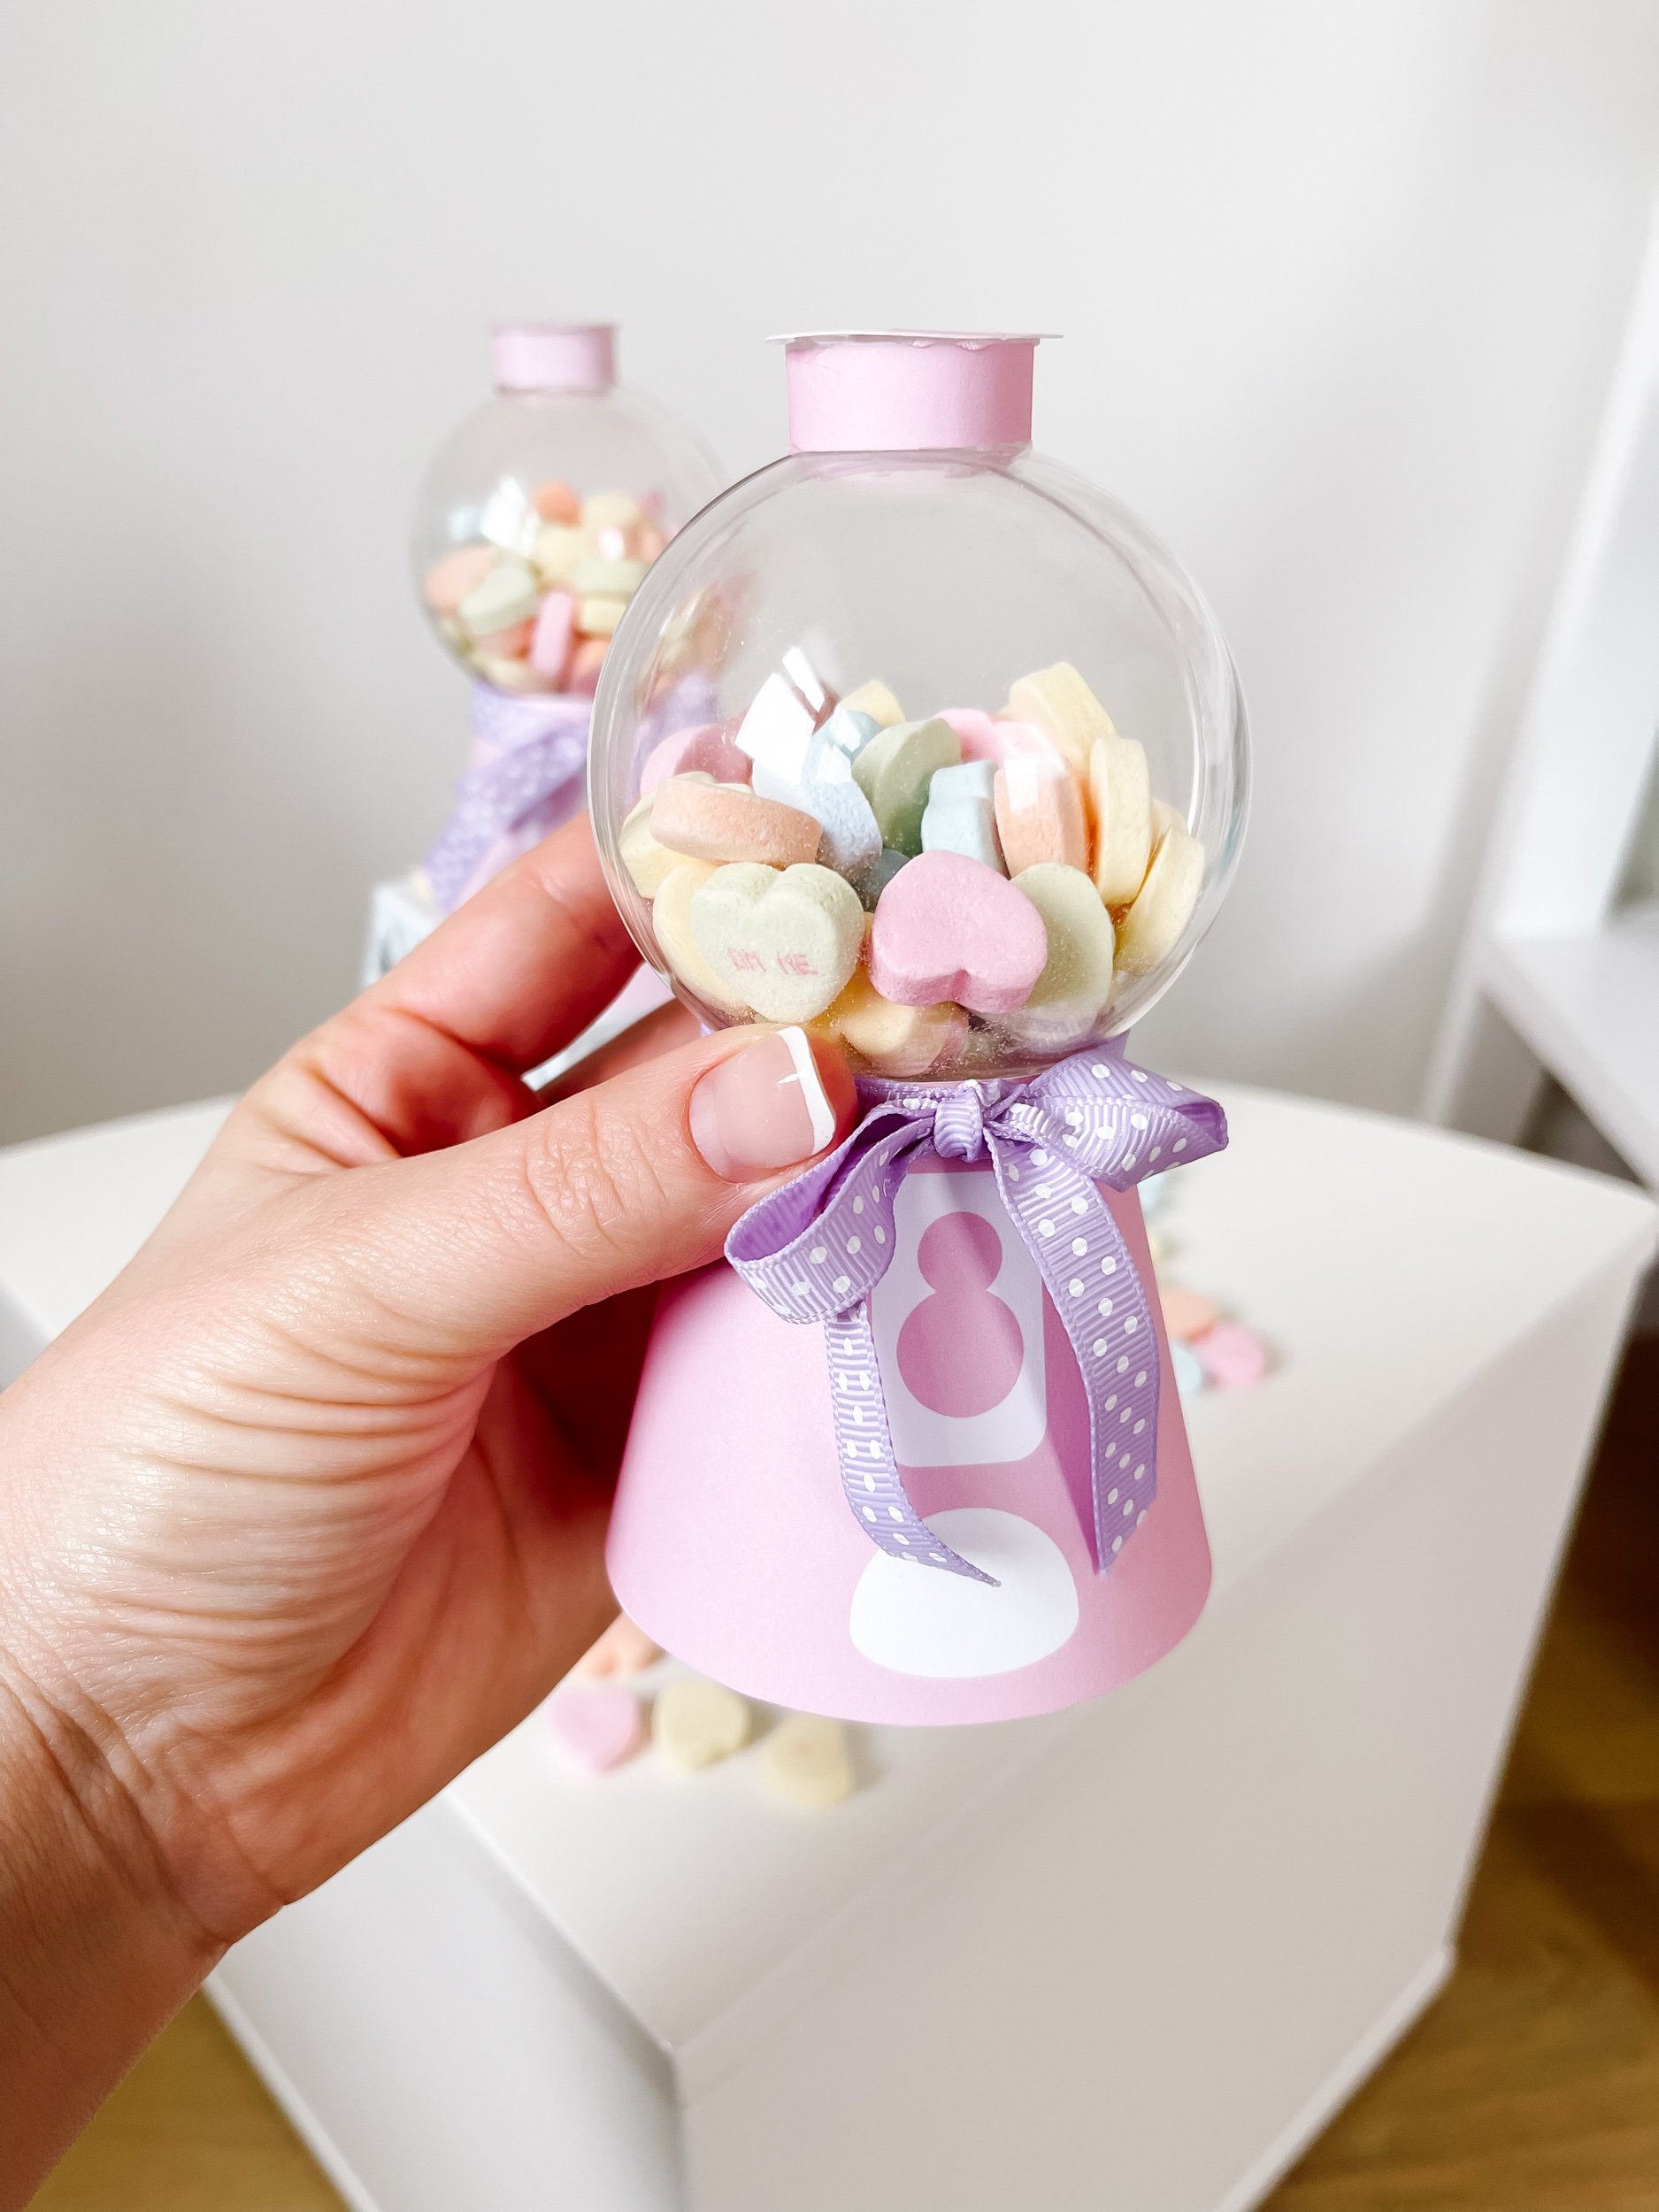
  5. Hot glue the bauble to the base and the cap to the top of the bauble

  6. Optional: Add a ribbon around the middle for an extra touch of cuteness!

Download the FREE Printable
IMG_4652_jpg.jpeg IMG_4651_jpg.jpeg IMG_4662.jpeg IMG_4634_jpg.jpeg IMG_4657_jpg.jpeg IMG_4639_jpg.jpeg IMG_4664.jpeg IMG_4658.jpeg IMG_4635_jpg.jpeg

Charming Sweetheart / Macaron Pastel Rainbow Color Palette

The cutie-pie sweetheart / macaron pastel rainbow color palette of these favors will surely steal the hearts of everyone who lays eyes on them. Available in both pinks and blues, as well as yellows and greens, these favors embody the sweetness and joy of Valentine's Day. The delightful color palette adds an extra layer of charm to the celebration, setting the perfect mood for a day filled with love.

Download for Free

Unleash the Joy of Valentine's Day

When the kiddos receive these DIY gumball machine favors, get ready for an explosion of excitement and joy. Watching their faces light up as they open their special treats will warm the hearts of anyone involved in the celebration. These favors are not only a simple and creative gift, but they also create lasting memories that children will cherish.

Screenshot 2024-01-15 at 12.23.11 PM.png Screenshot 2024-01-15 at 12.23.03 PM.png Screenshot 2024-01-15 at 12.23.19 PM.png Screenshot 2024-01-15 at 12.22.55 PM.png

Free Downloadable Printable

The best part about these DIY gumball machine favors is that the printable is absolutely free. With just a click, you can access the printable and begin creating these delightful treats. This makes it an accessible and budget-friendly option for teachers, parents, and organizers looking to add a personal touch to Valentine's Day festivities.


In conclusion, these DIY gumball machine classroom favors offer a fuss-free and enjoyable way to spread love and delight on Valentine's Day. They are a fantastic option for anyone looking to add a touch of charm and creativity to the celebration while keeping things simple and stress-free. So, go ahead, download the printable, gather a few supplies, and get ready to create magic this Valentine's Day!

Download & Print Free
Tags valentines, classroom favors, diy valentines, valentines for kids, gum ball machine, gum ball valentines, cute simple valentines, valentines favors, sweet heart valentines, valentines crafts for kids
2 Comments

Thanksgiving Themed Sensory Play Setup for Preschoolers Using the IKEA Flisat Table

December 24, 2023 Kylie Tuosto

Introduction

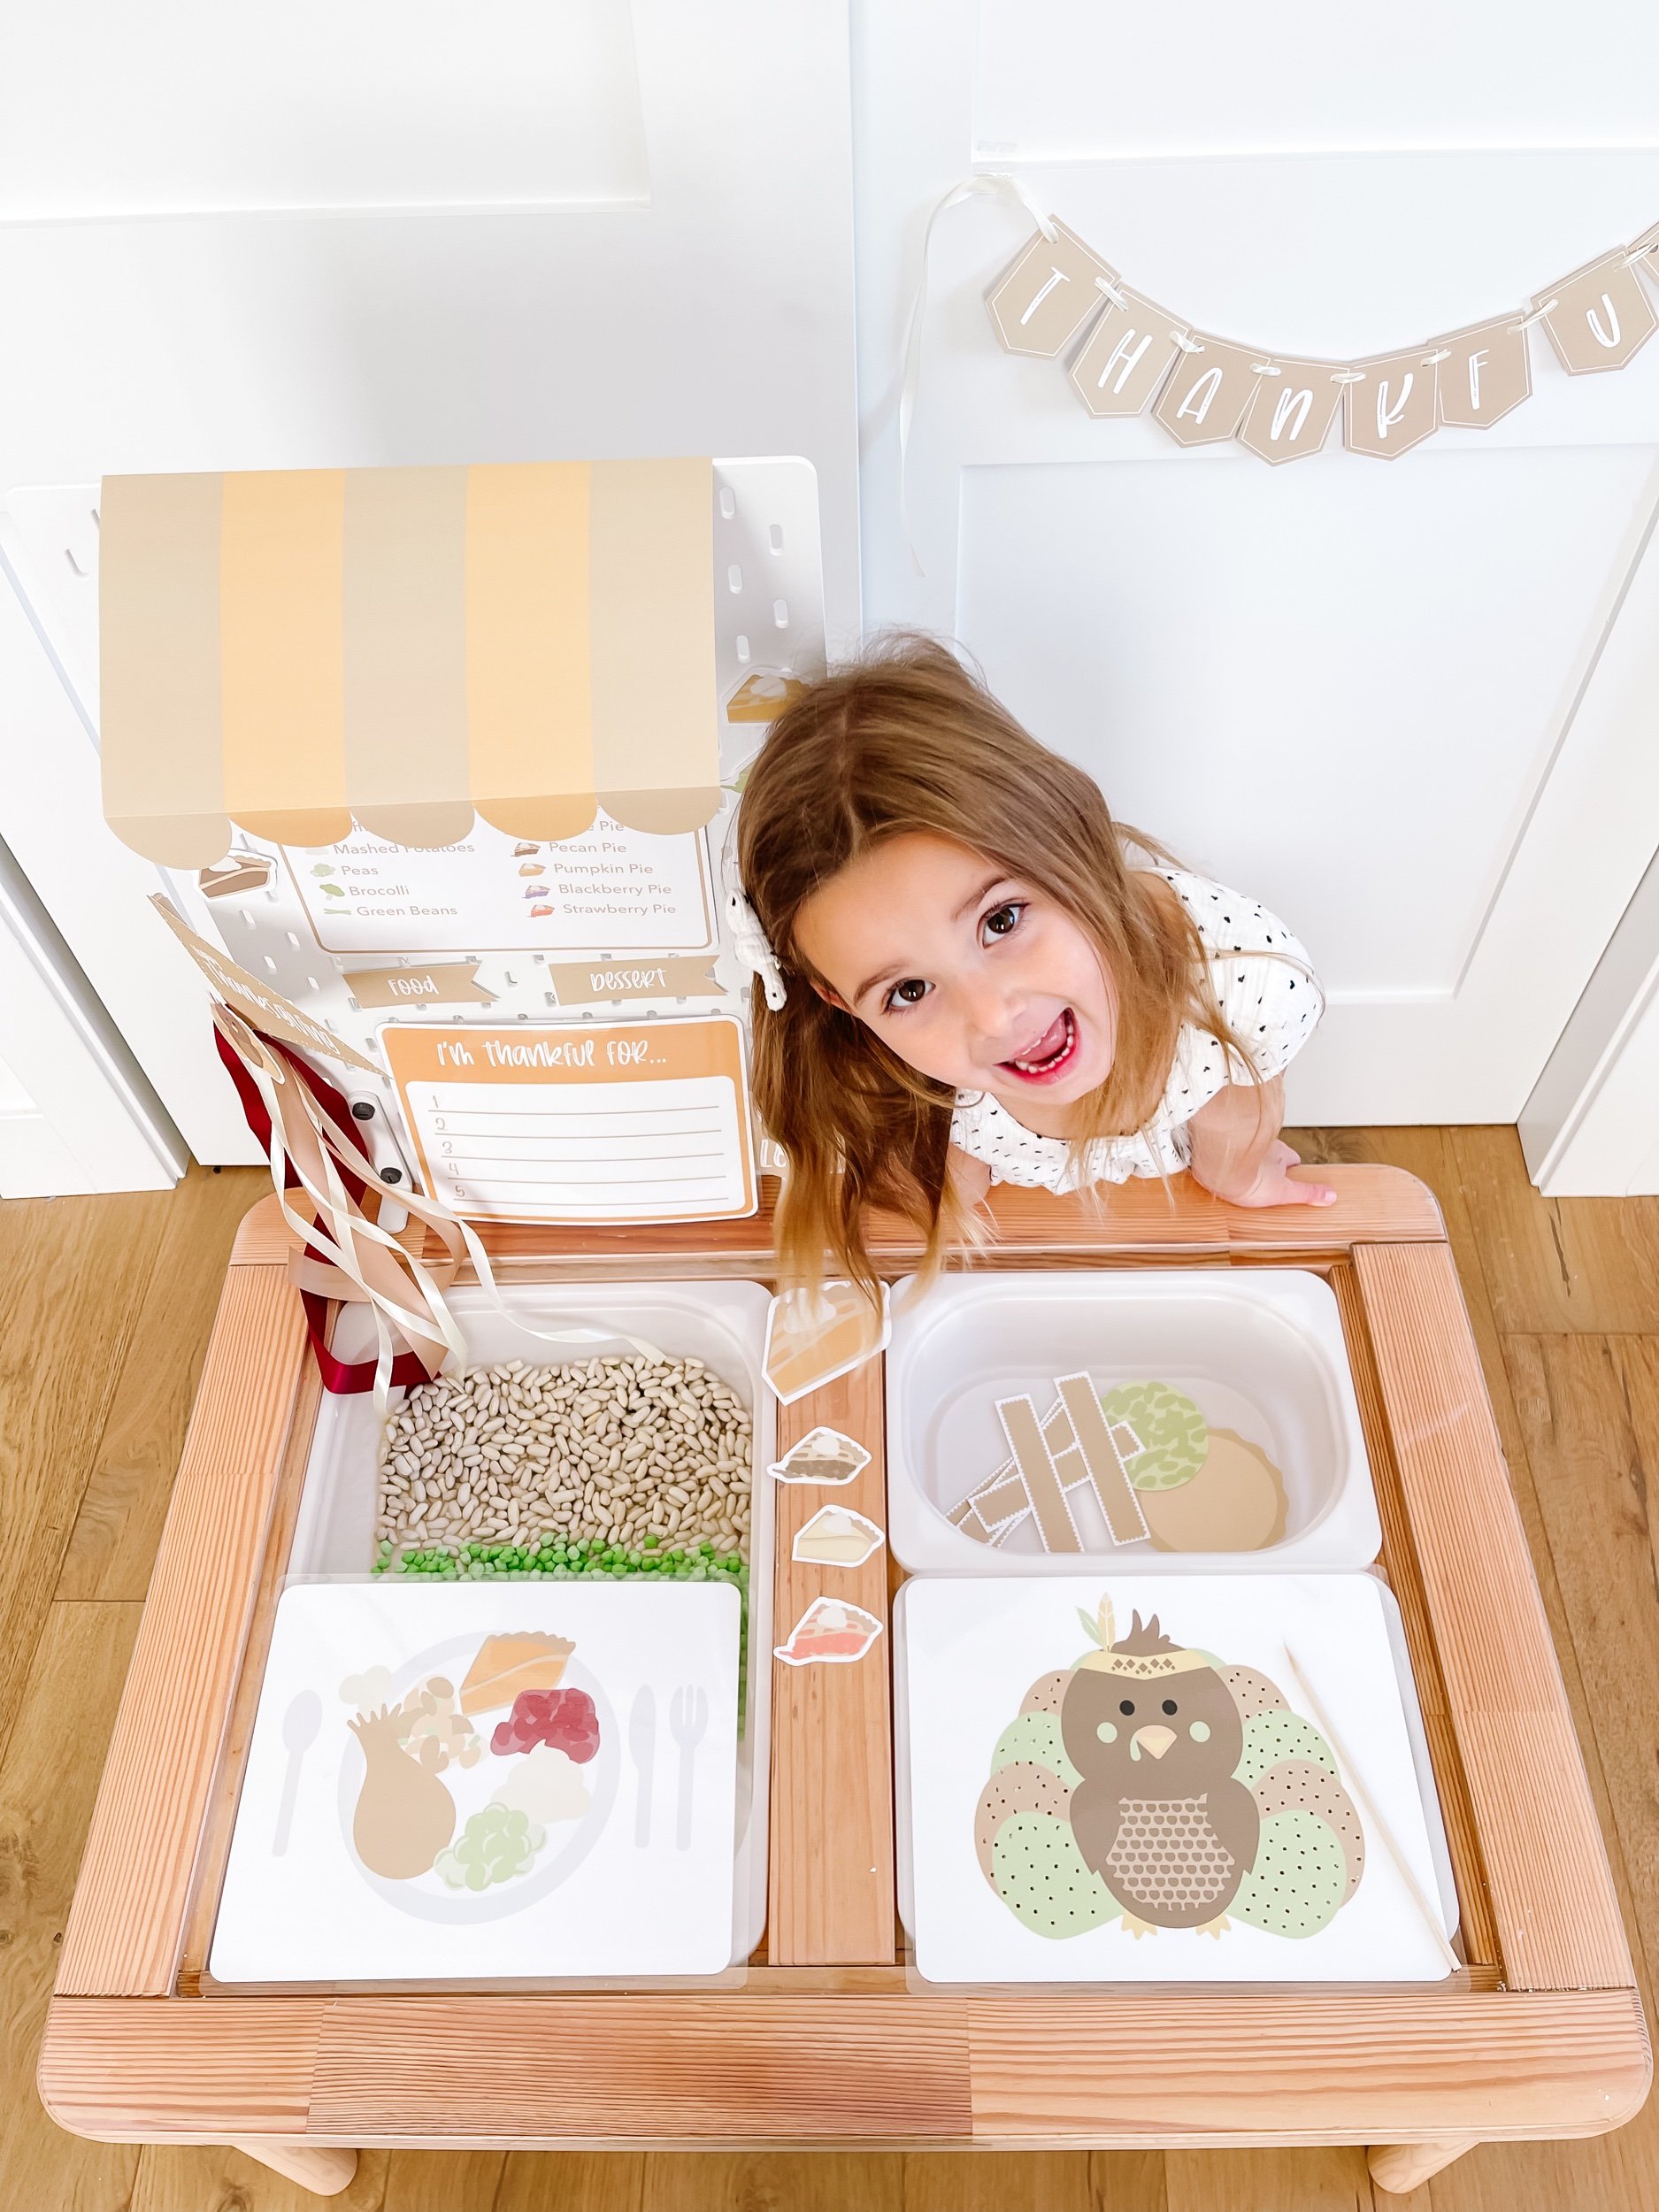
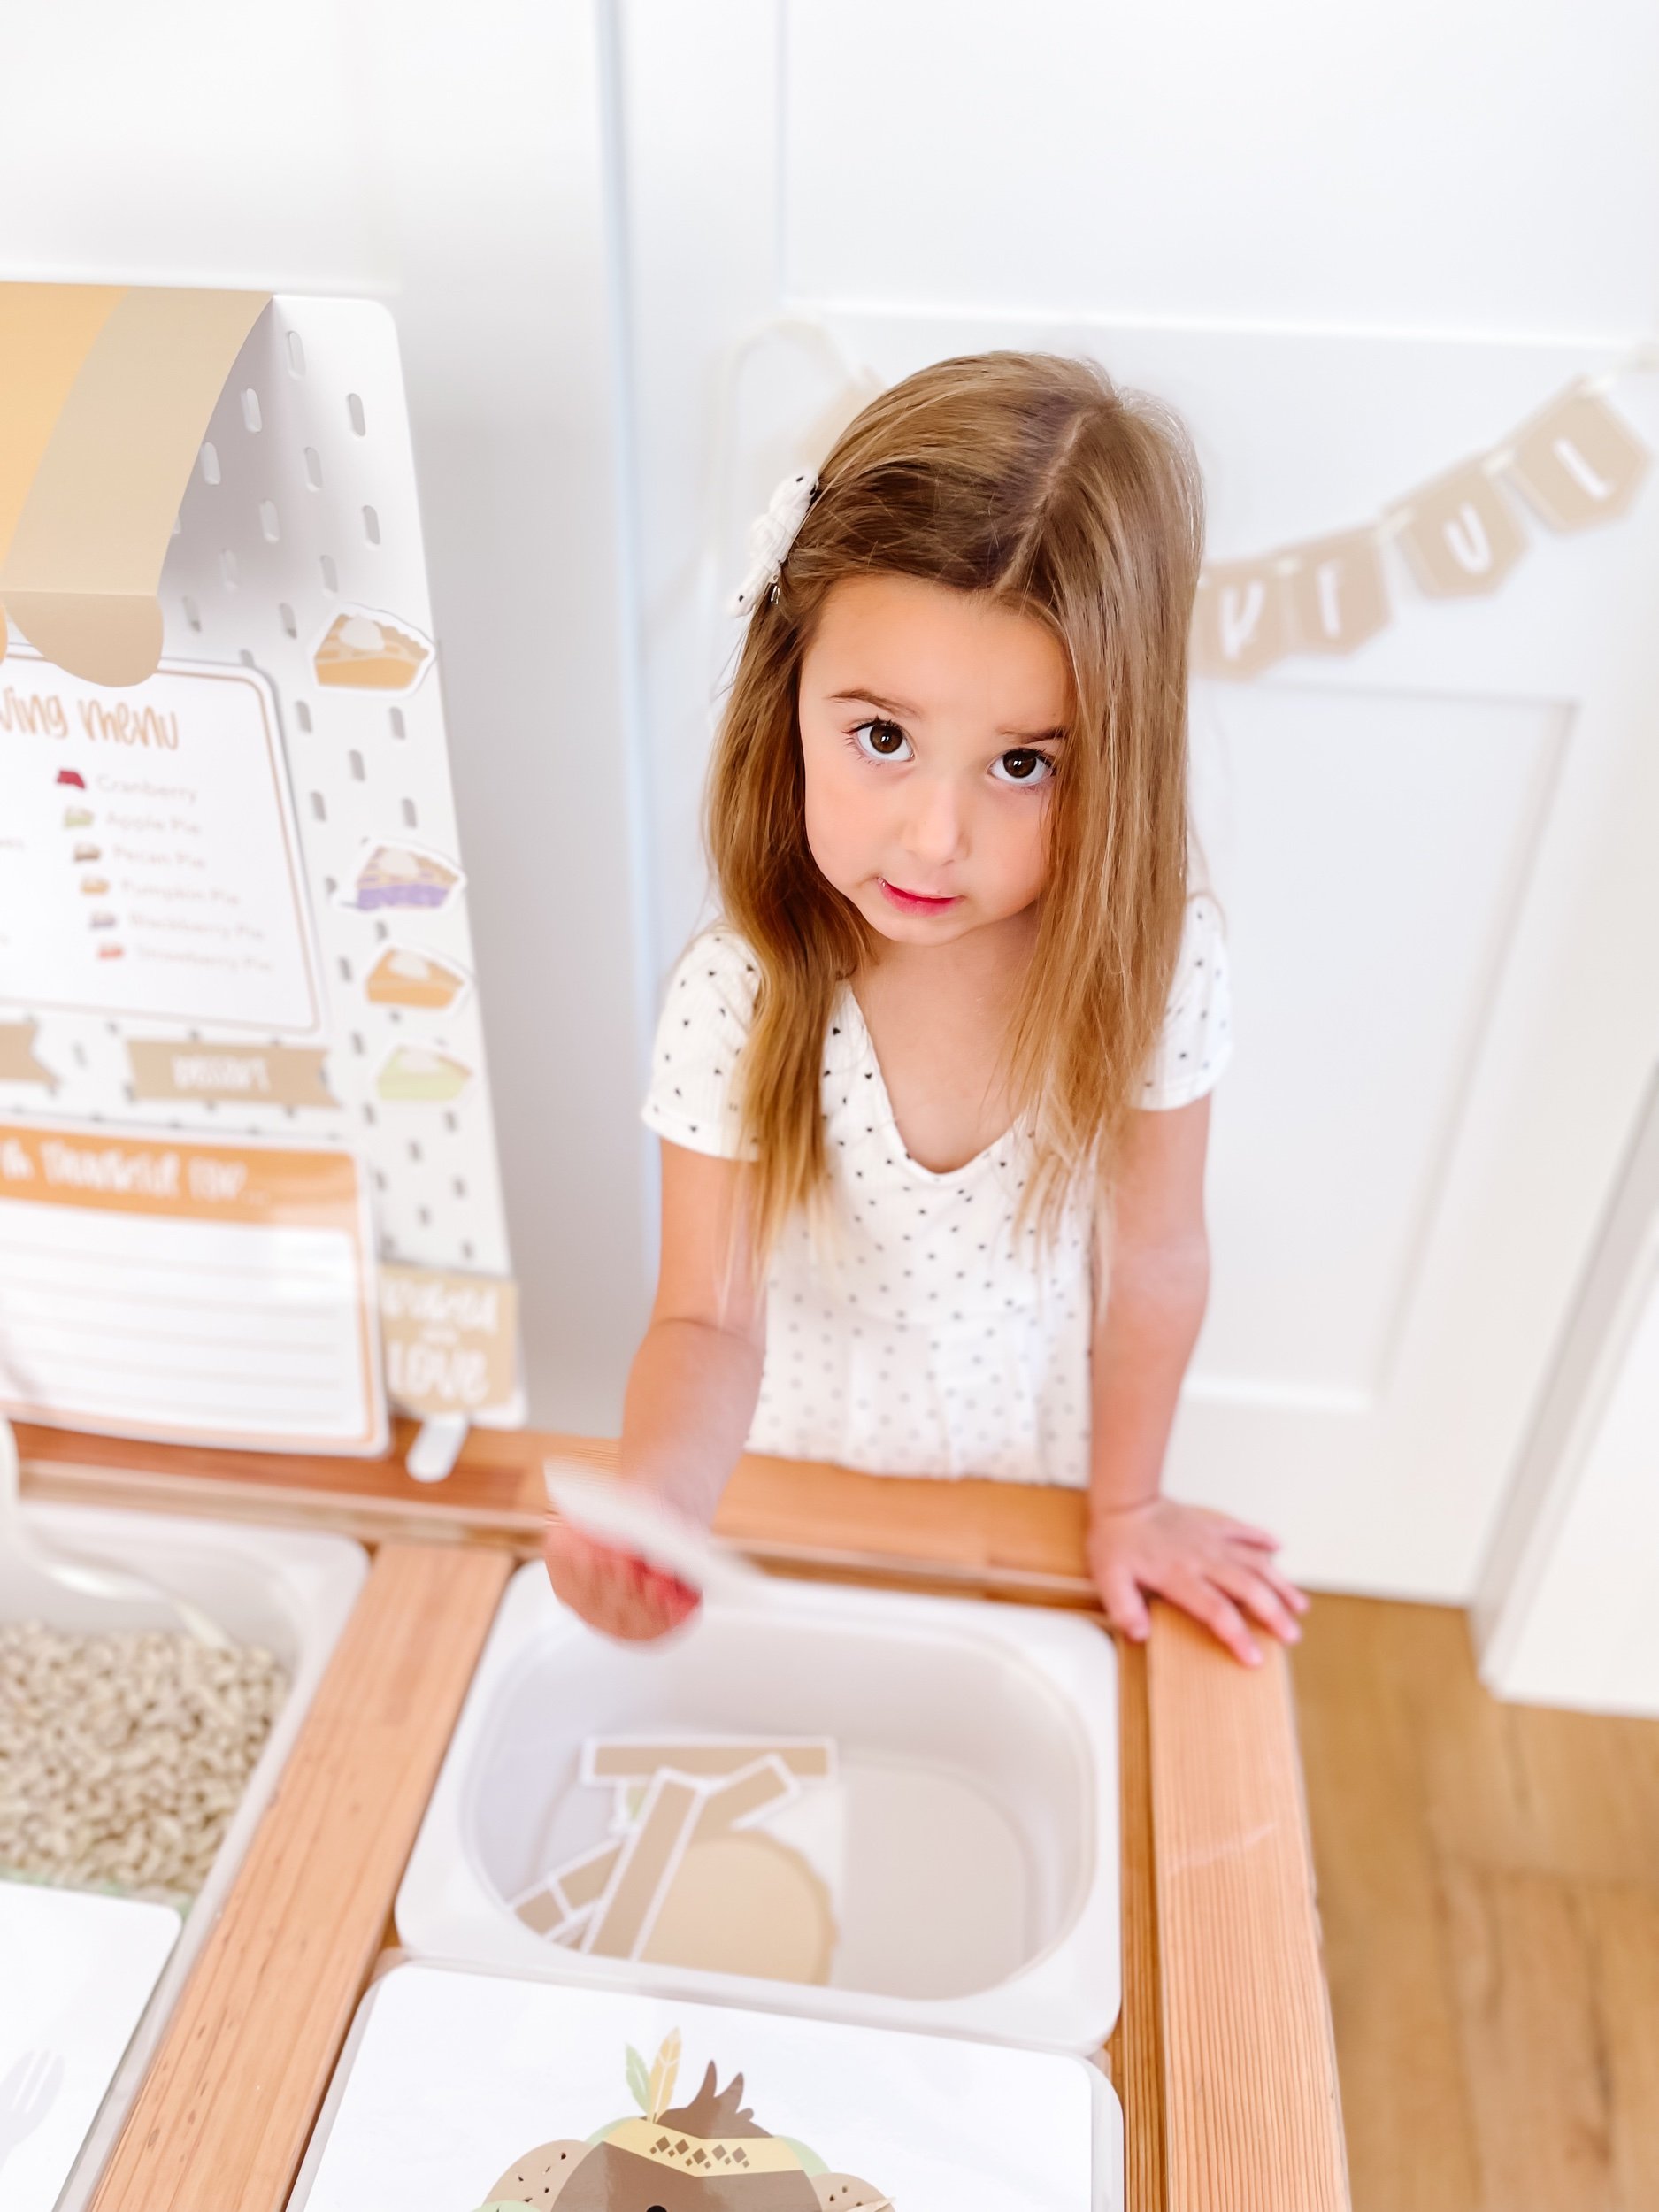
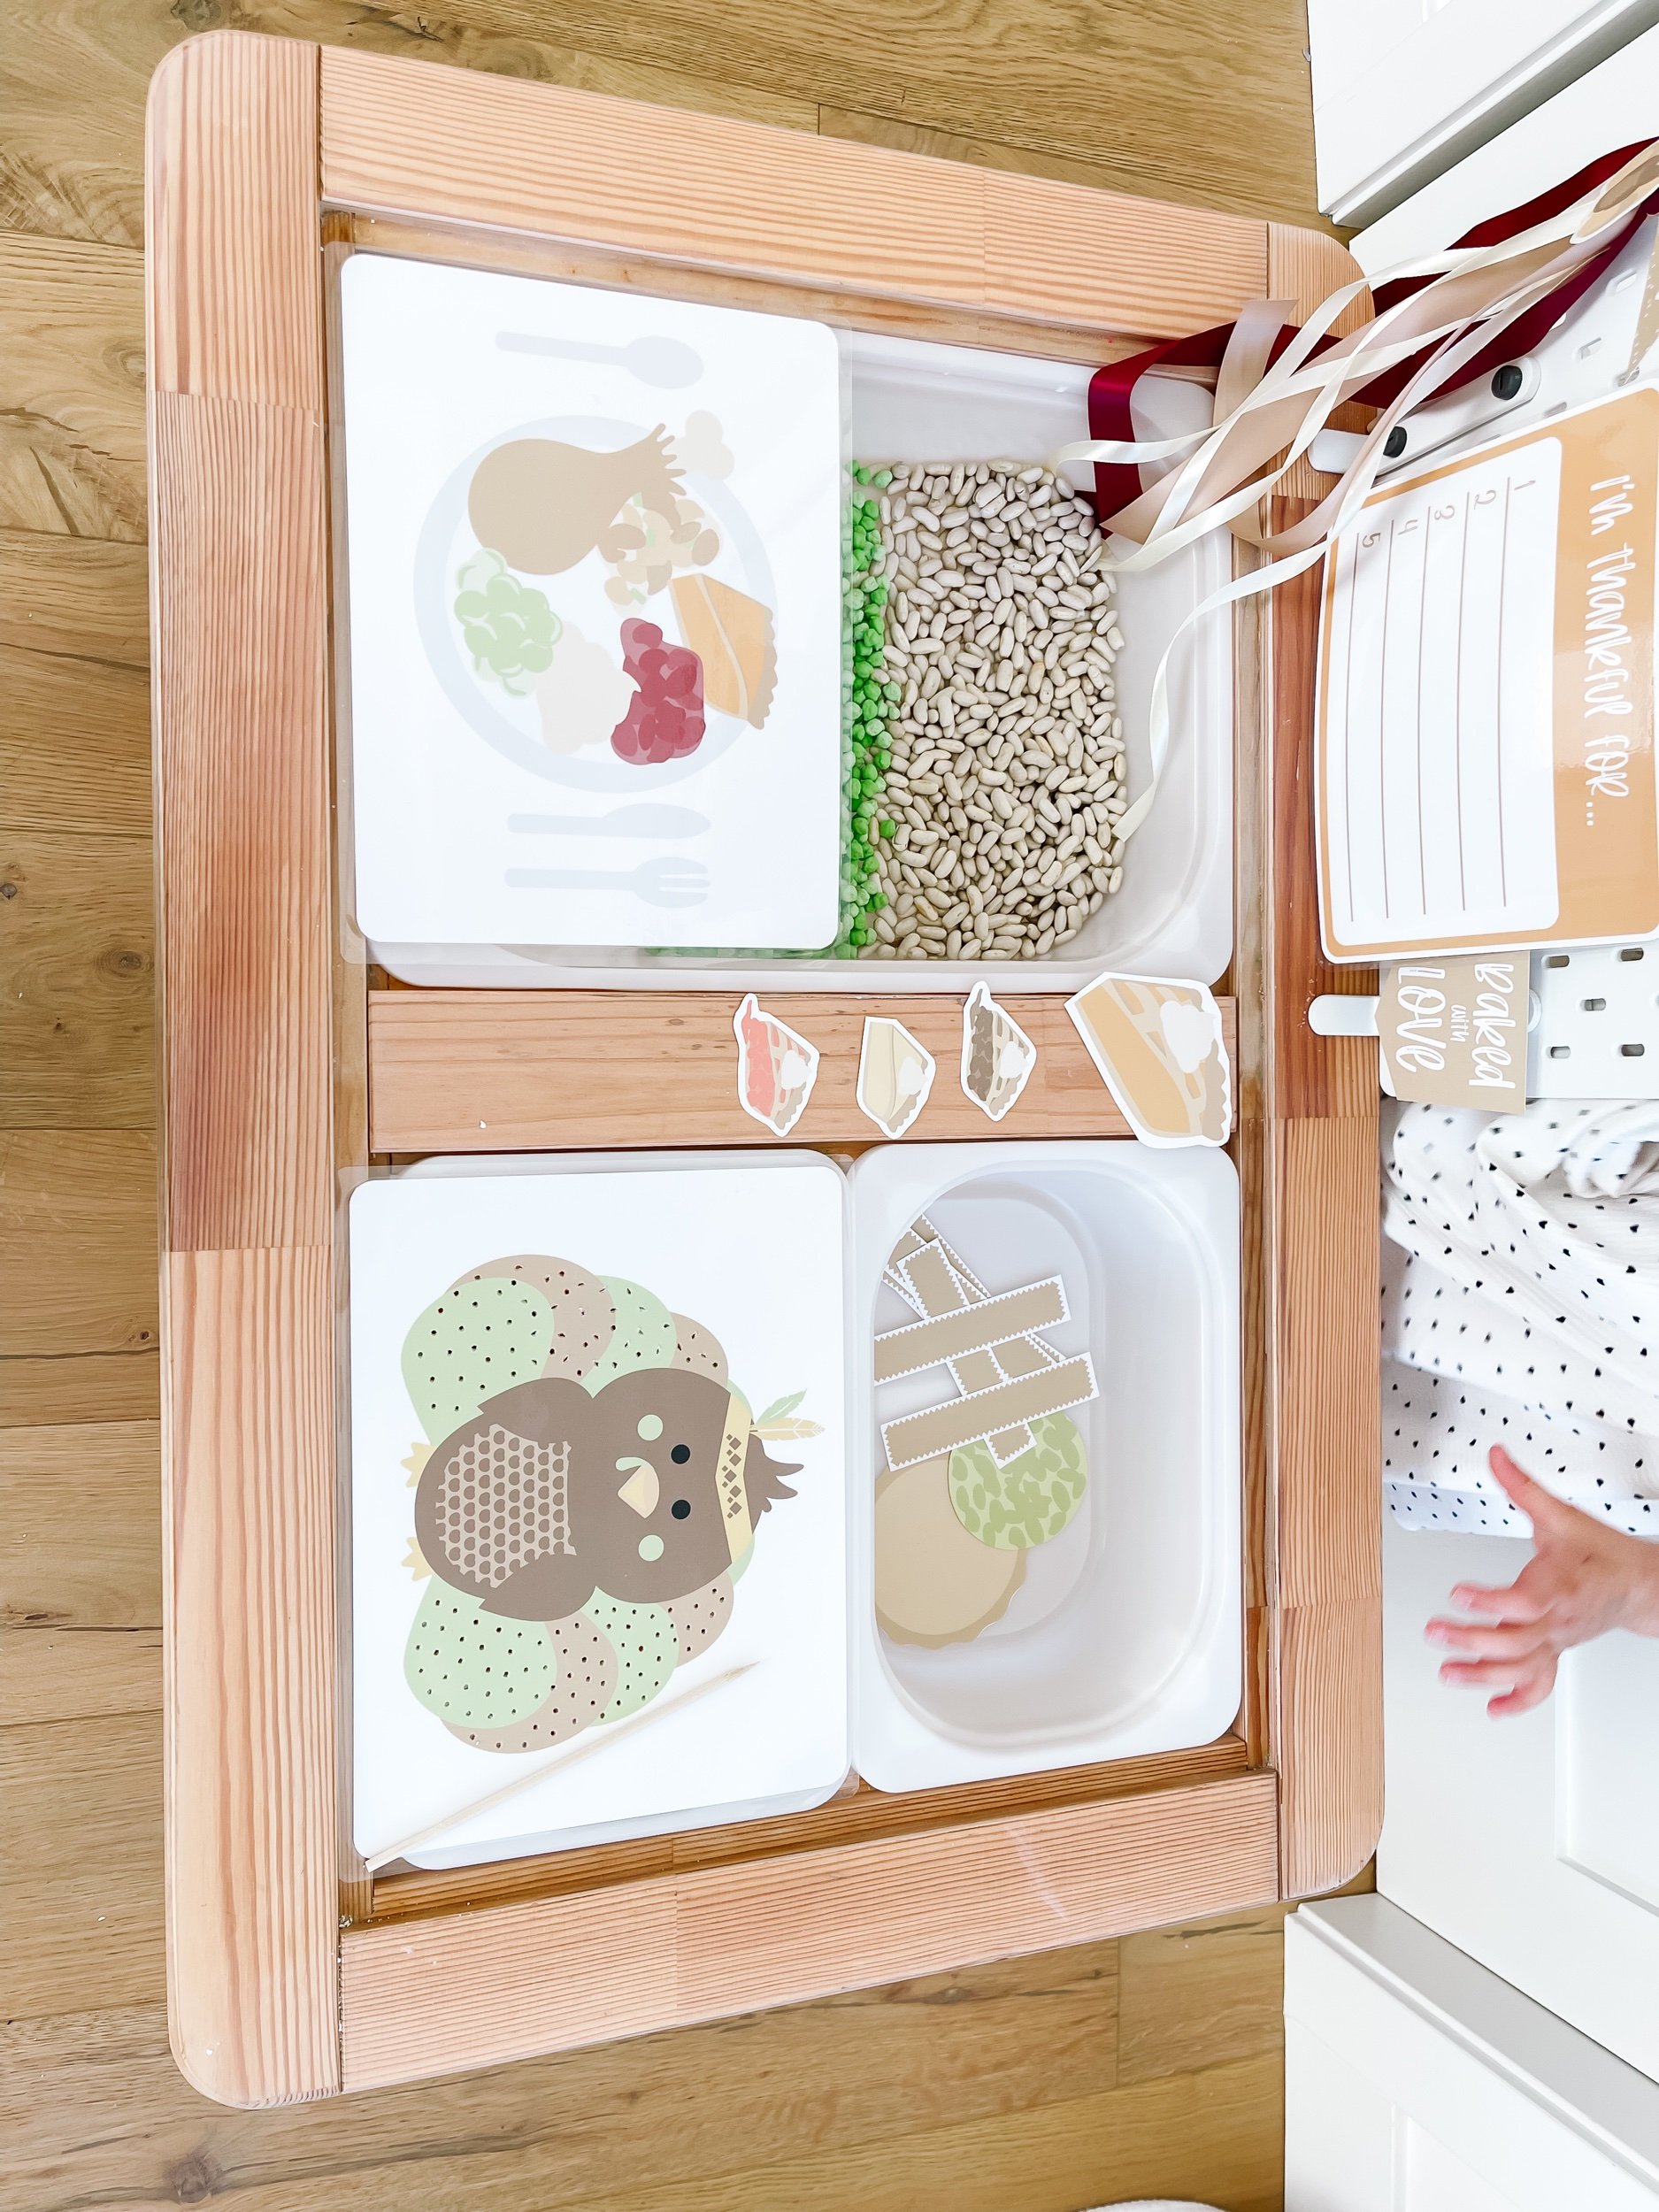
Preschoolers love engaging in sensory play activities that stimulate their imagination and creativity. The IKEA Flisat table is a versatile option for creating themed setups that provide a sensory-rich experience for little ones. In this blog post, we will explore a Thanksgiving-themed sensory play setup using the Flisat table. From printable play kit decor to three different sensory bin fillers, get ready to inspire your preschooler's senses this Thanksgiving!

Download & Print
IMG_2609.jpeg IMG_2611.jpeg IMG_2630_jpg.jpeg IMG_2604.jpeg IMG_2613.jpeg IMG_2612.jpeg IMG_2615.jpeg IMG_2631_jpg.jpeg

Printable Play Kit Decor

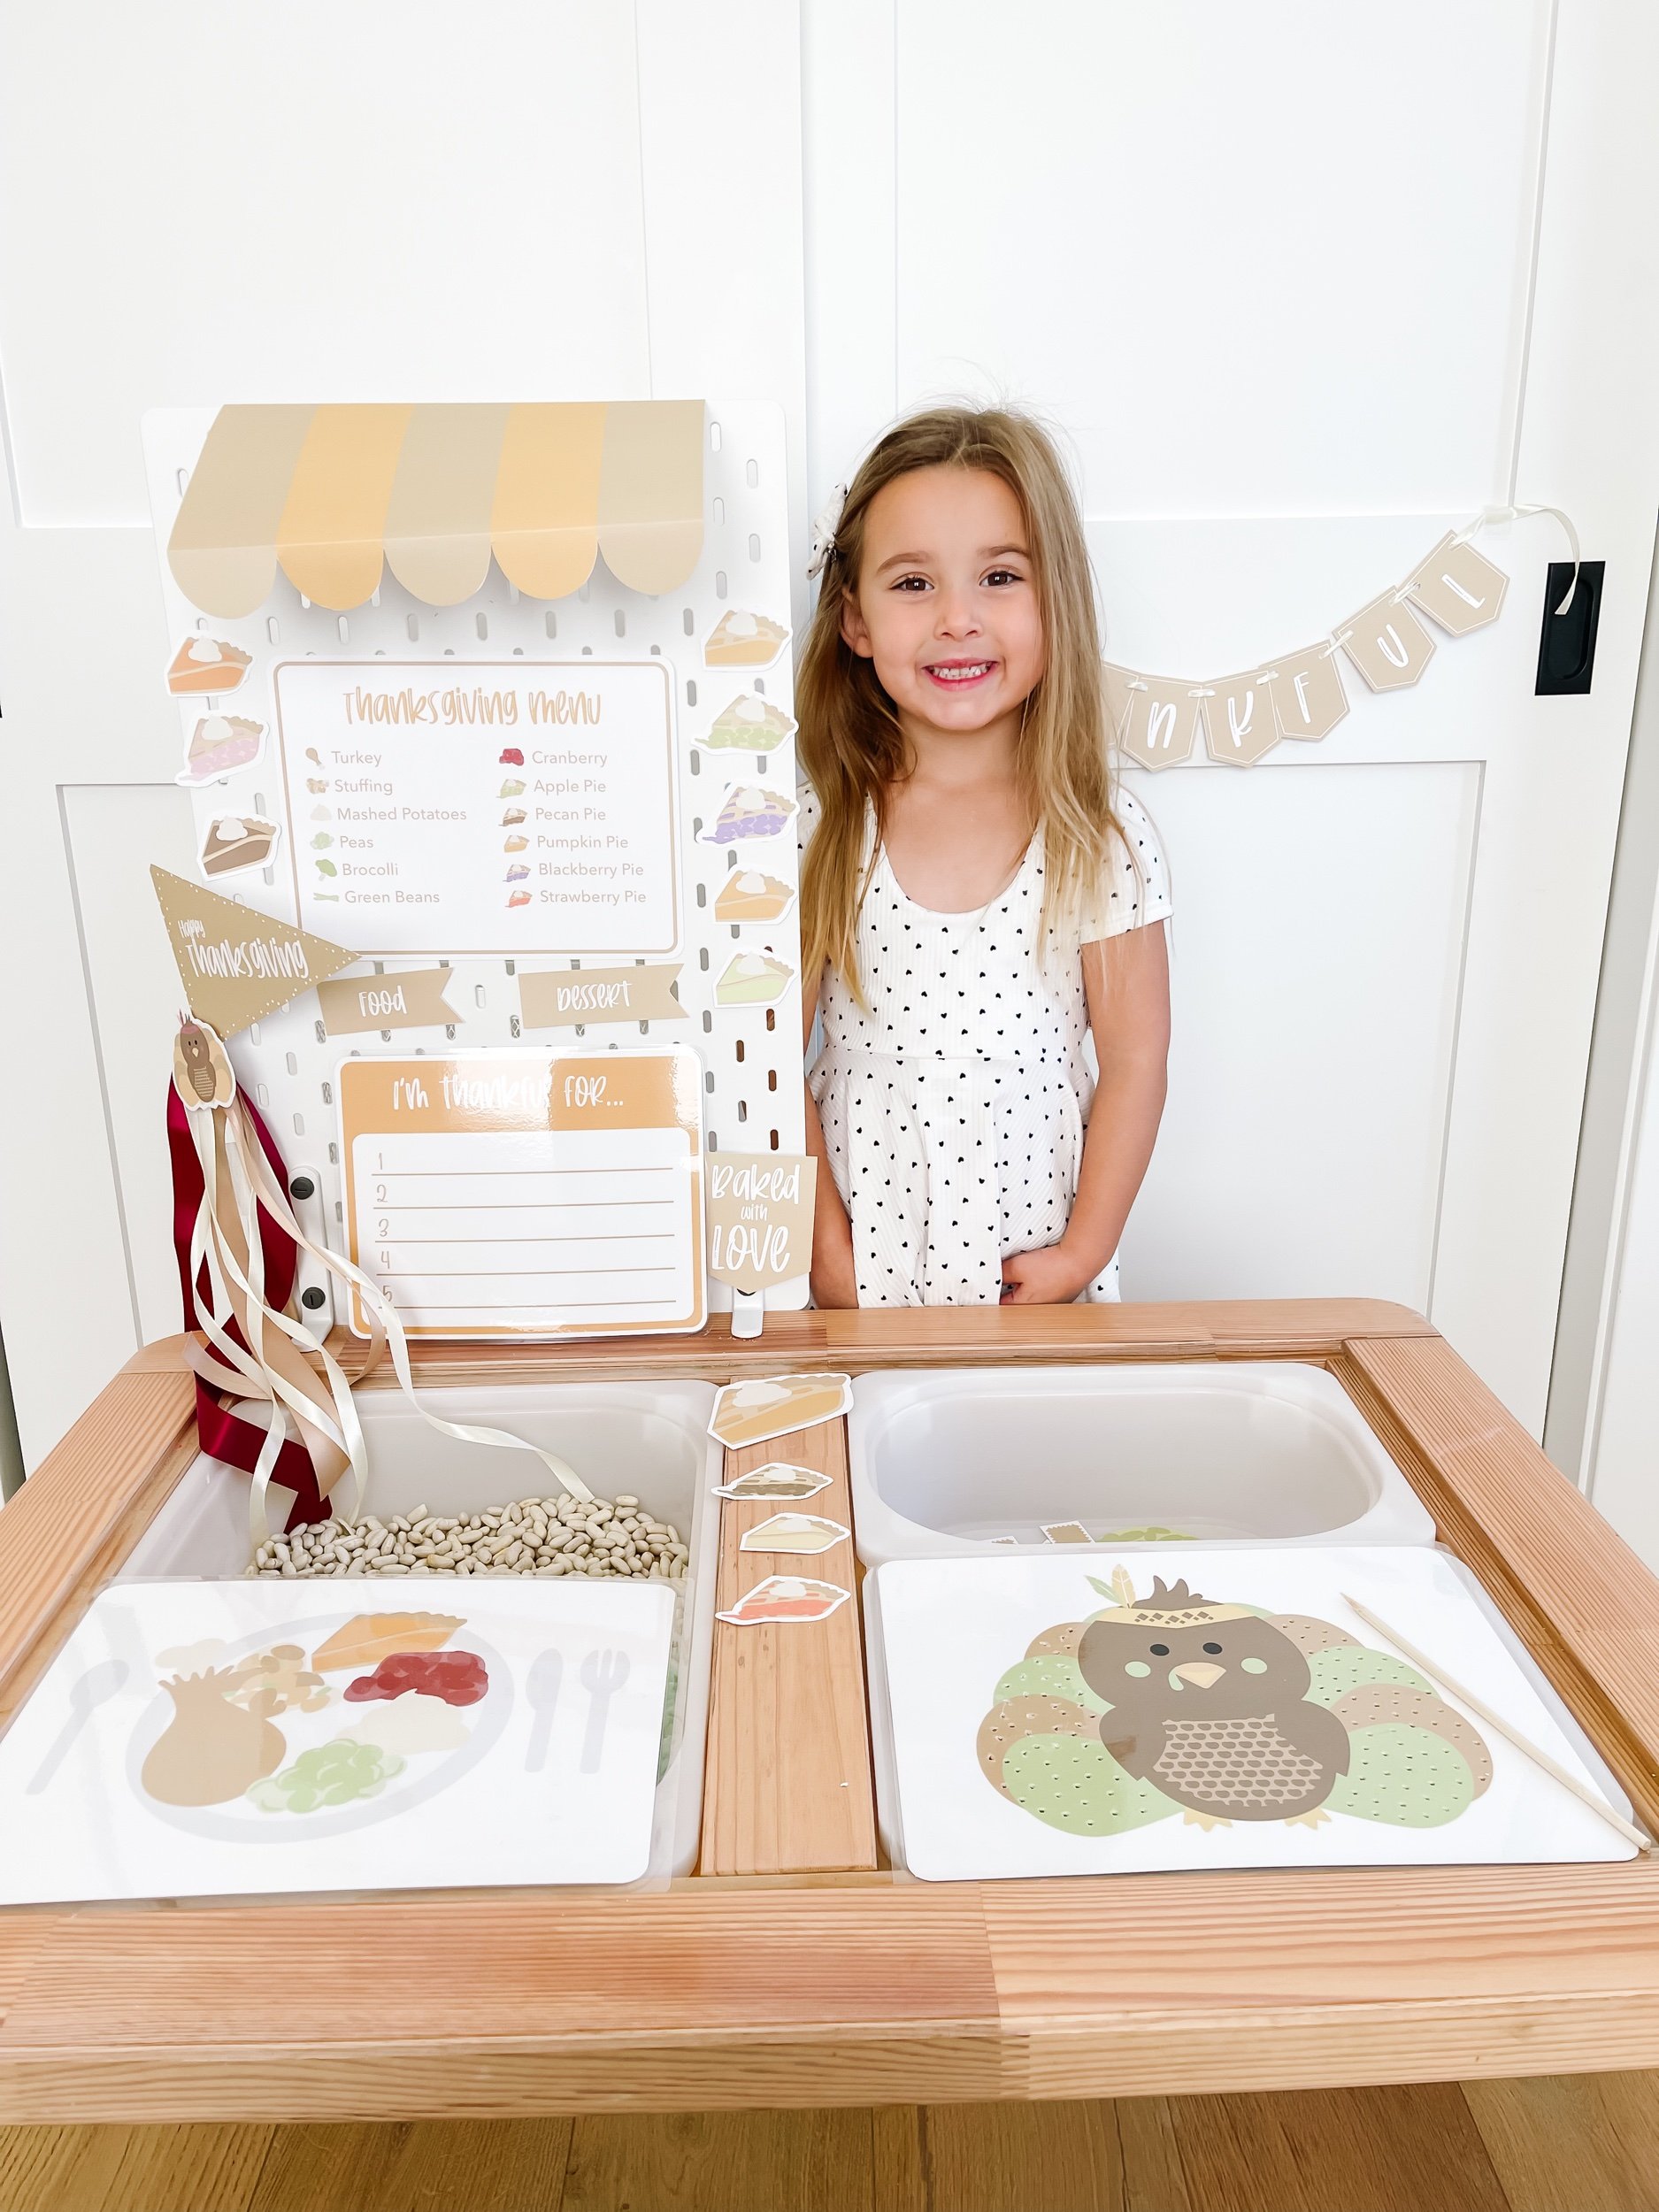
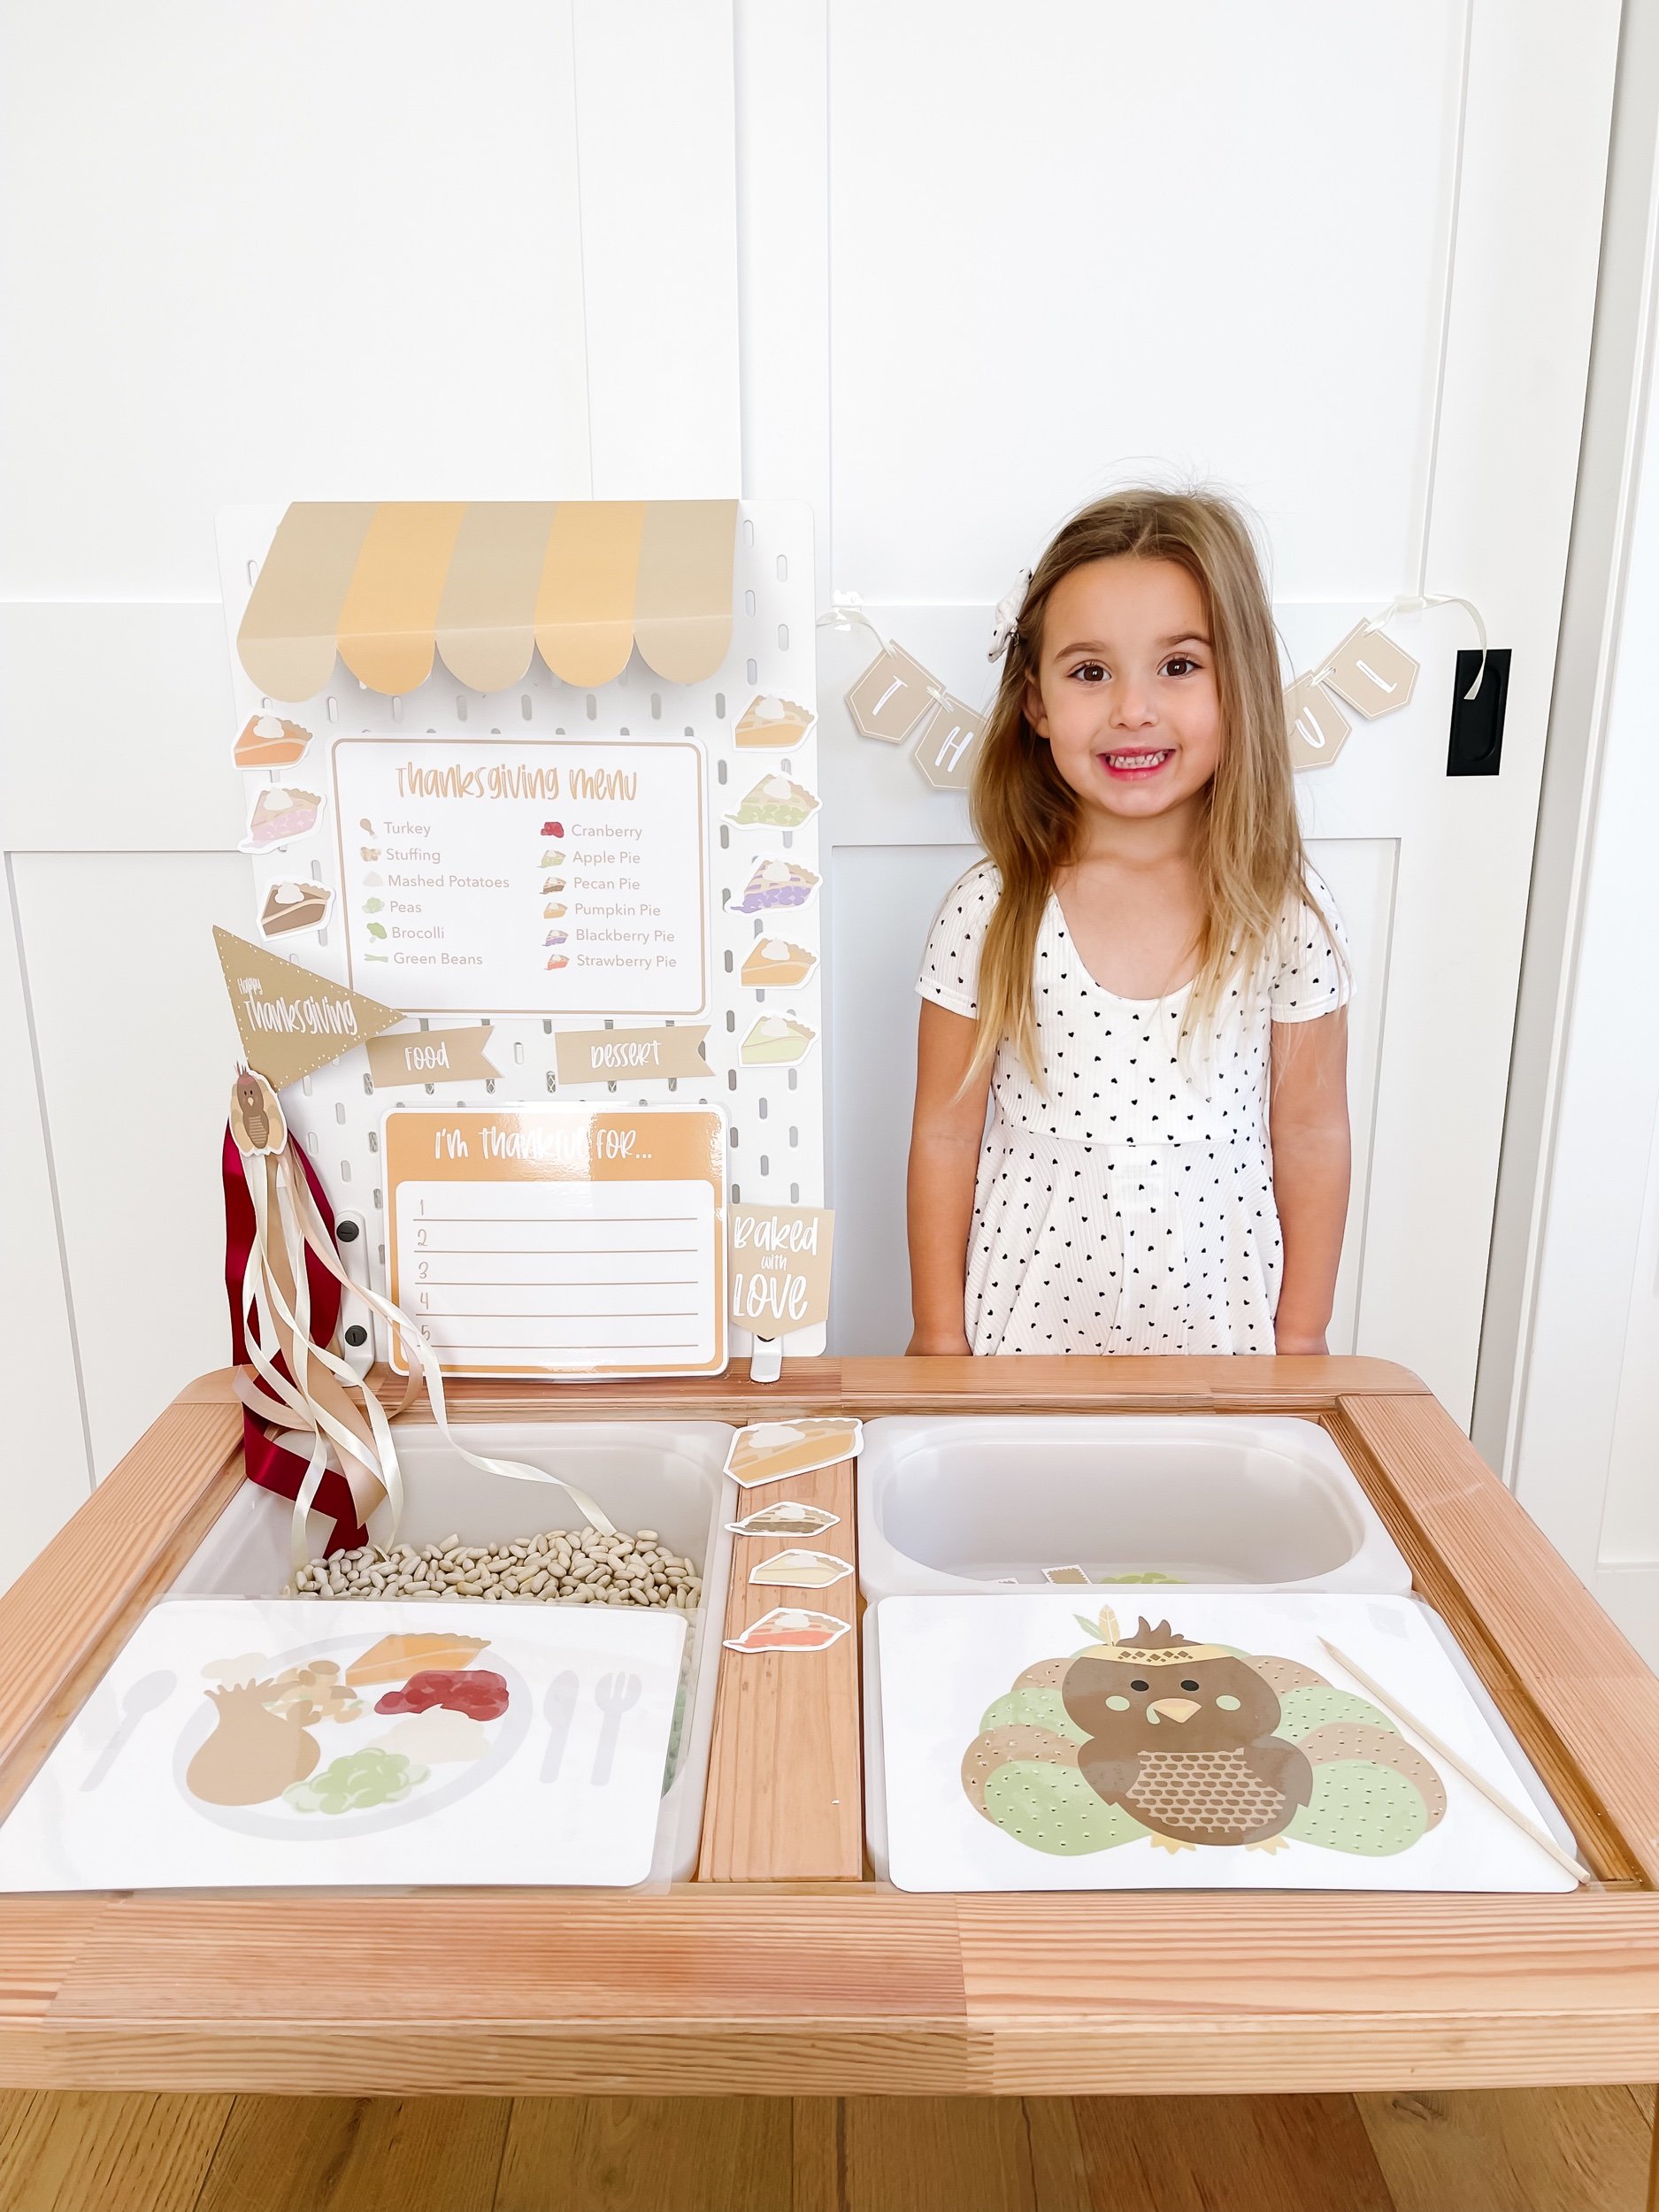
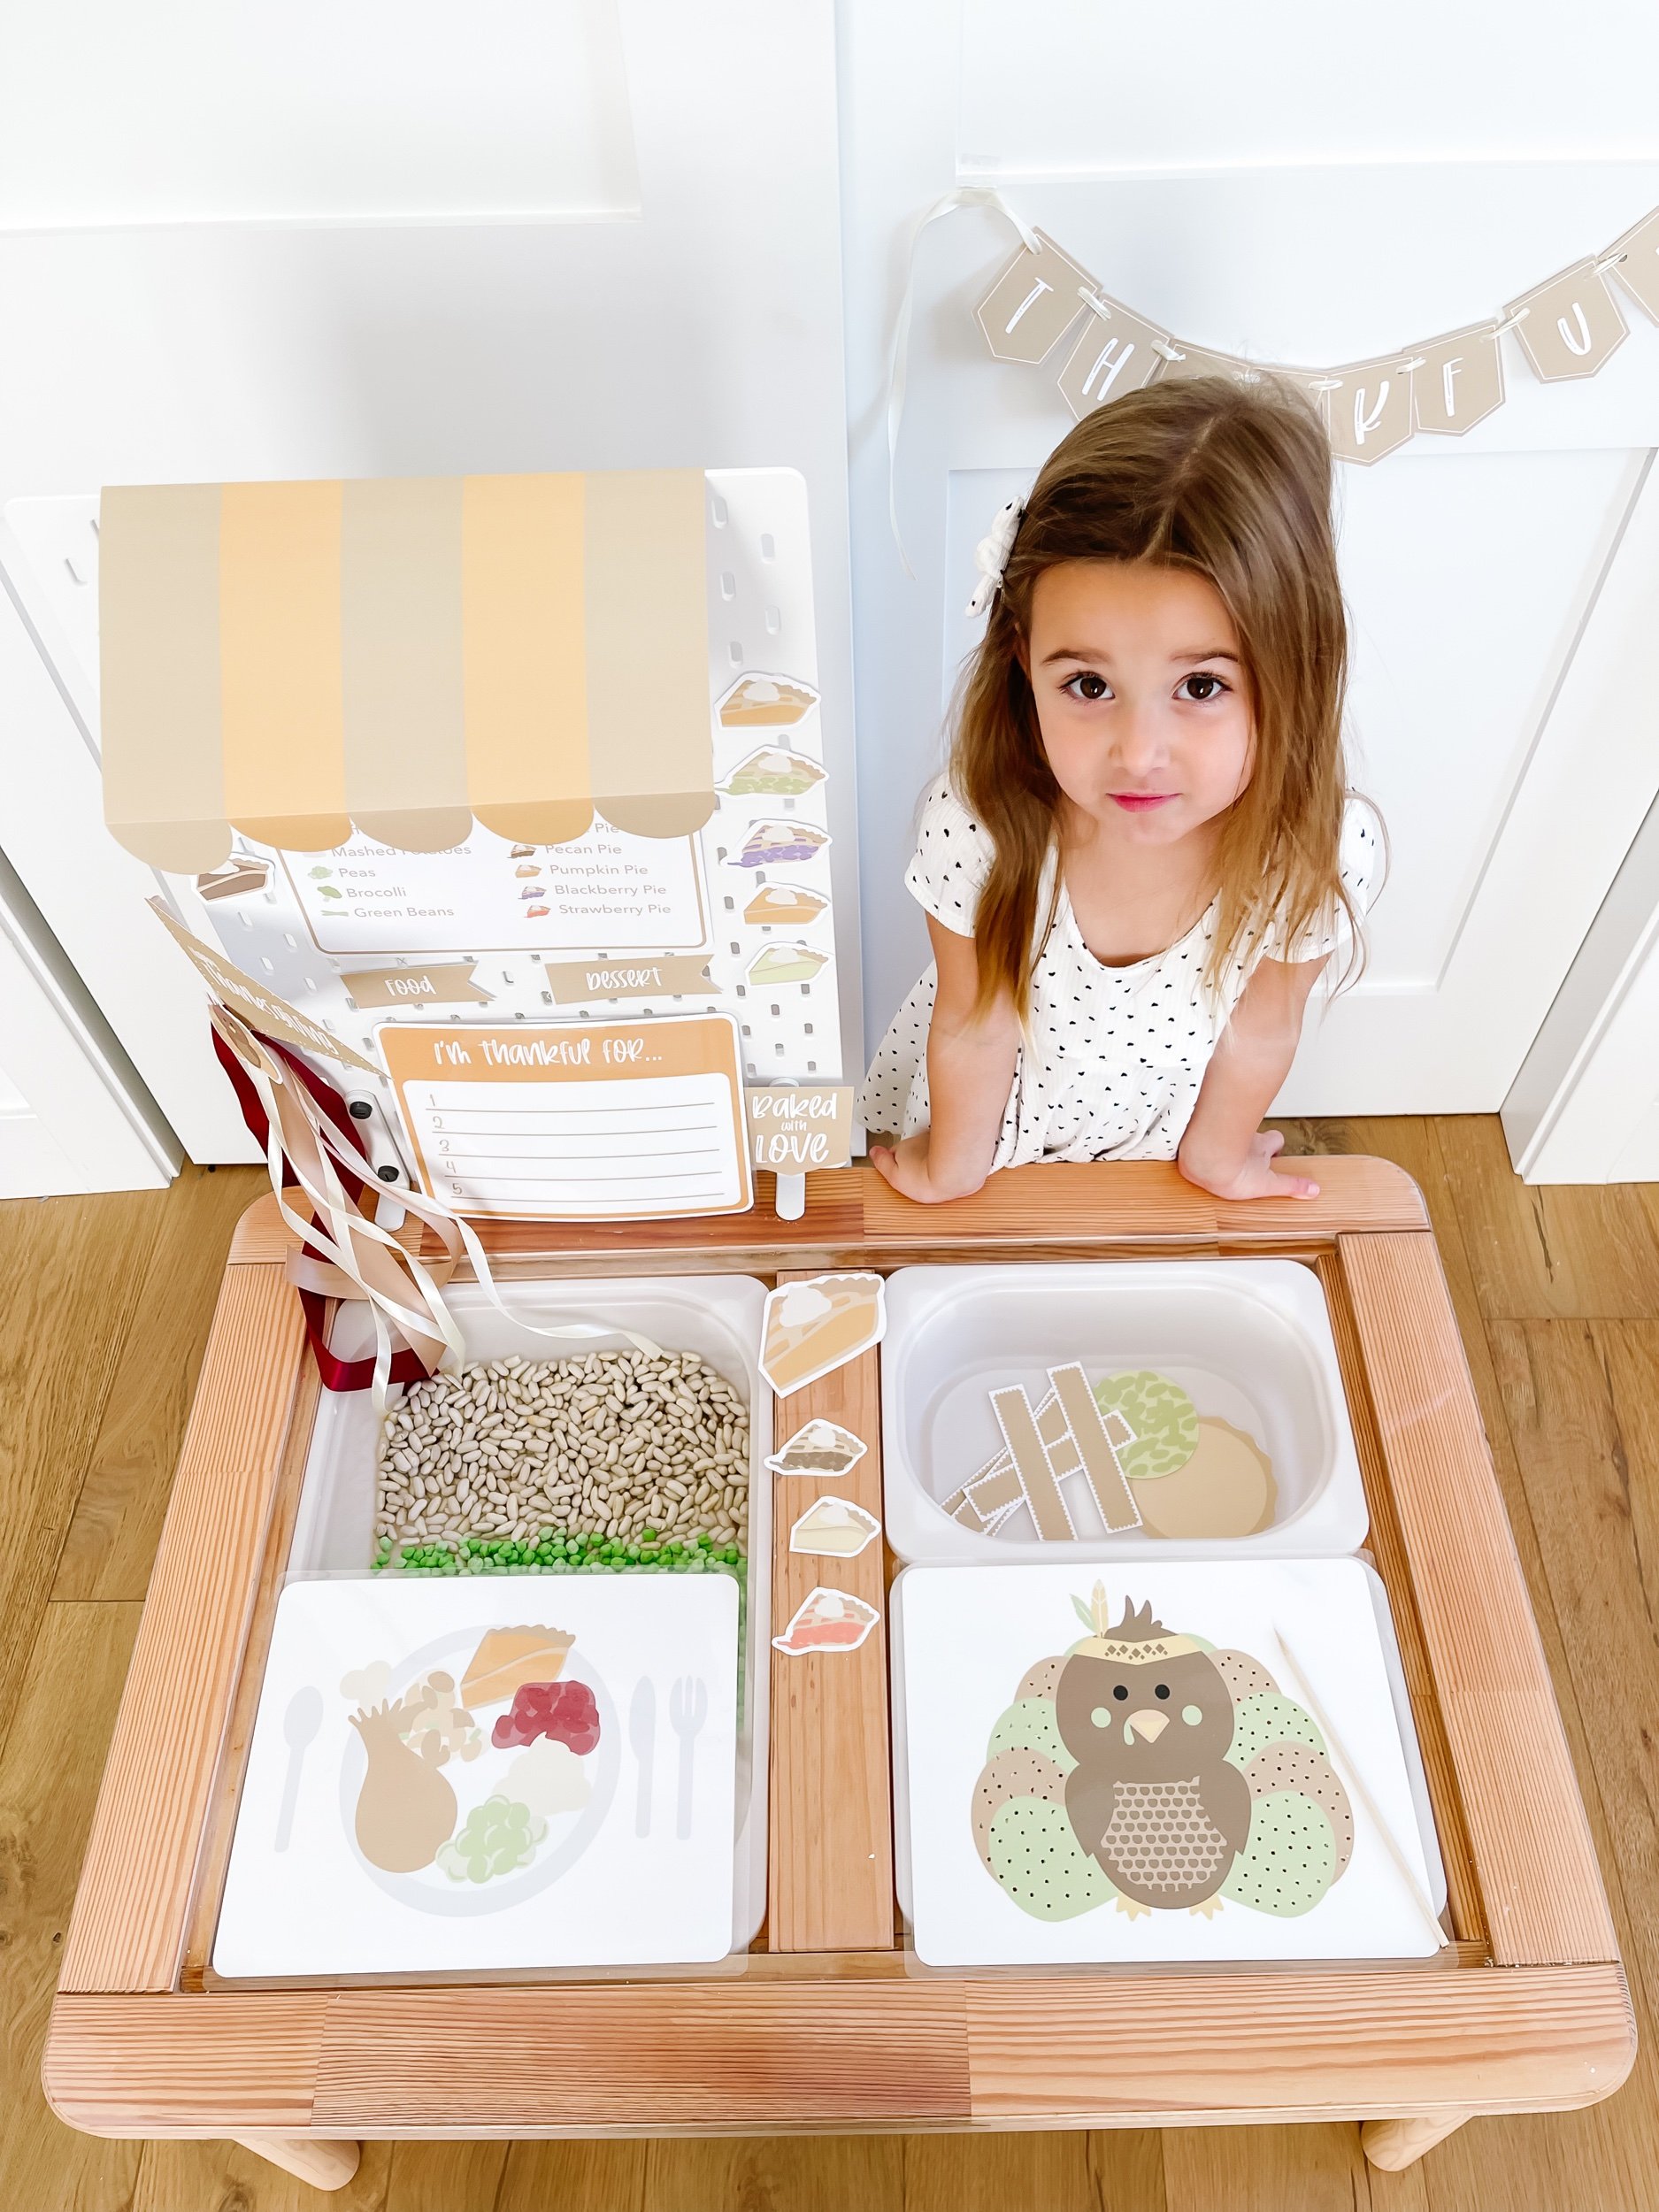
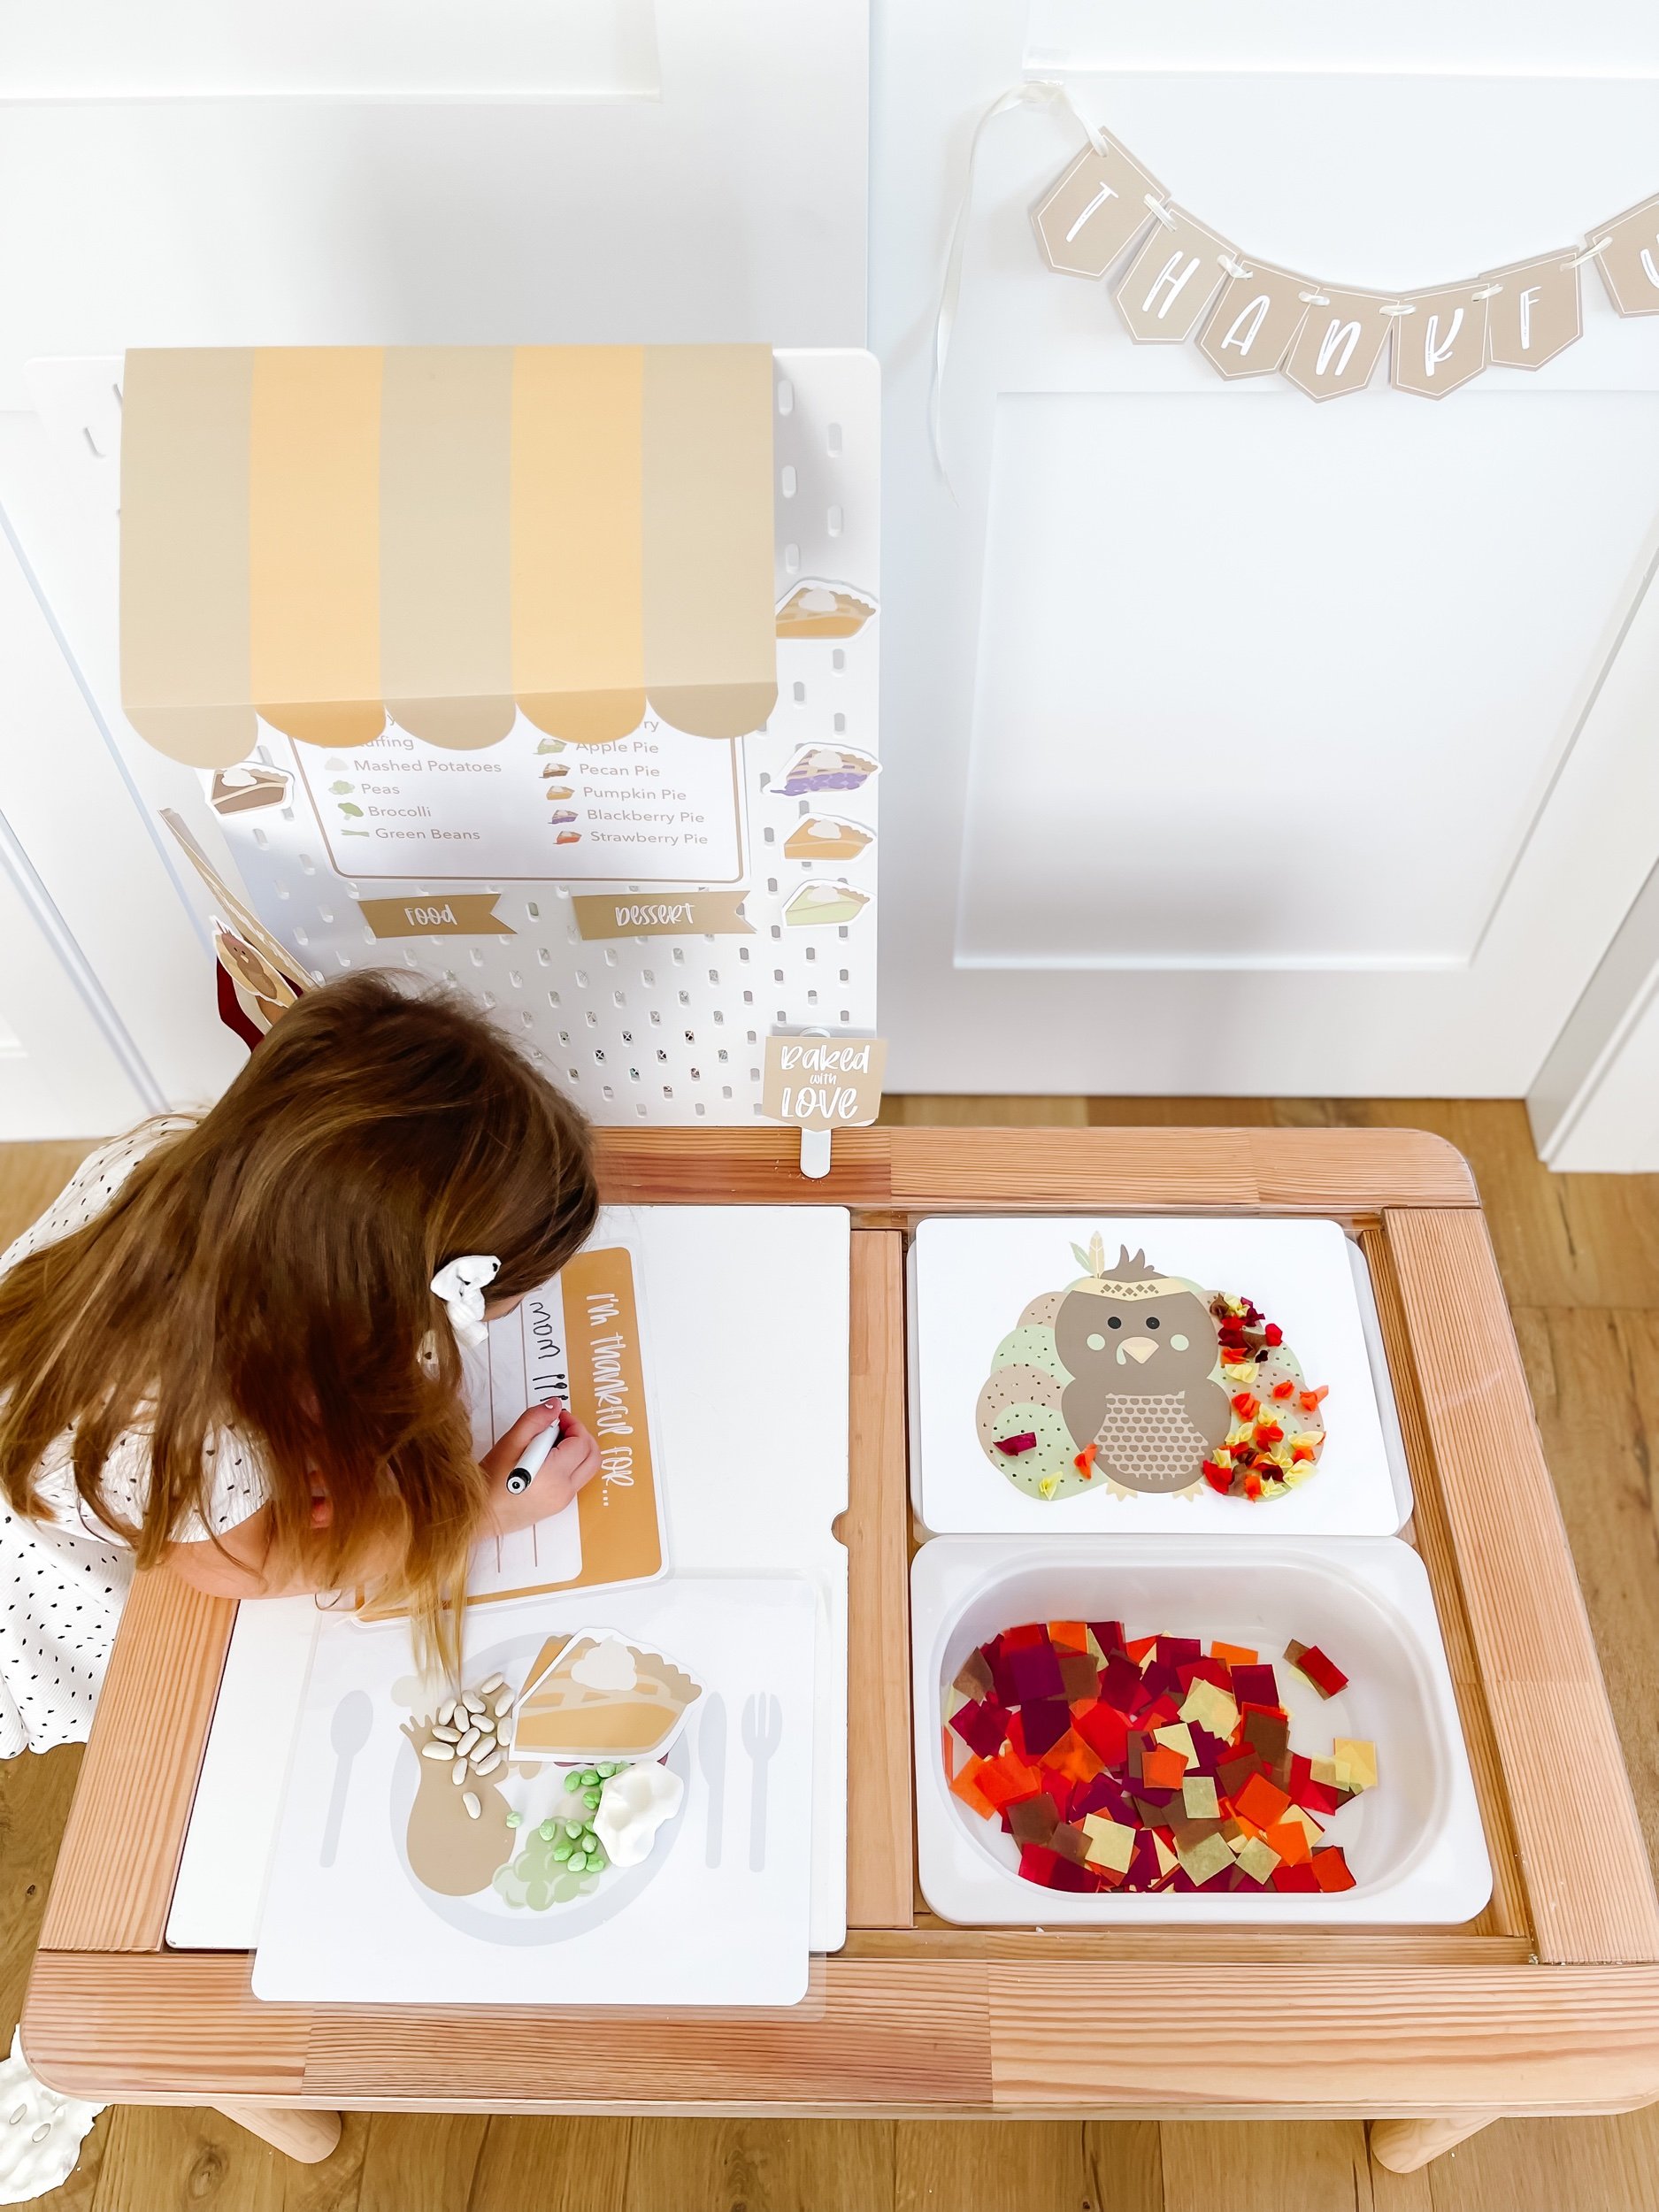
To enhance the Thanksgiving sensory play setup, consider incorporating a range of printable play kit decor items. These include:
1. Pennant Flag: Hang colorful pennant flags above the table to set the festive atmosphere.
2. Pie Cut Outs: Print out various pie cutouts in different flavors and shapes, allowing your preschoolers to engage in a pretend pie-making experience.
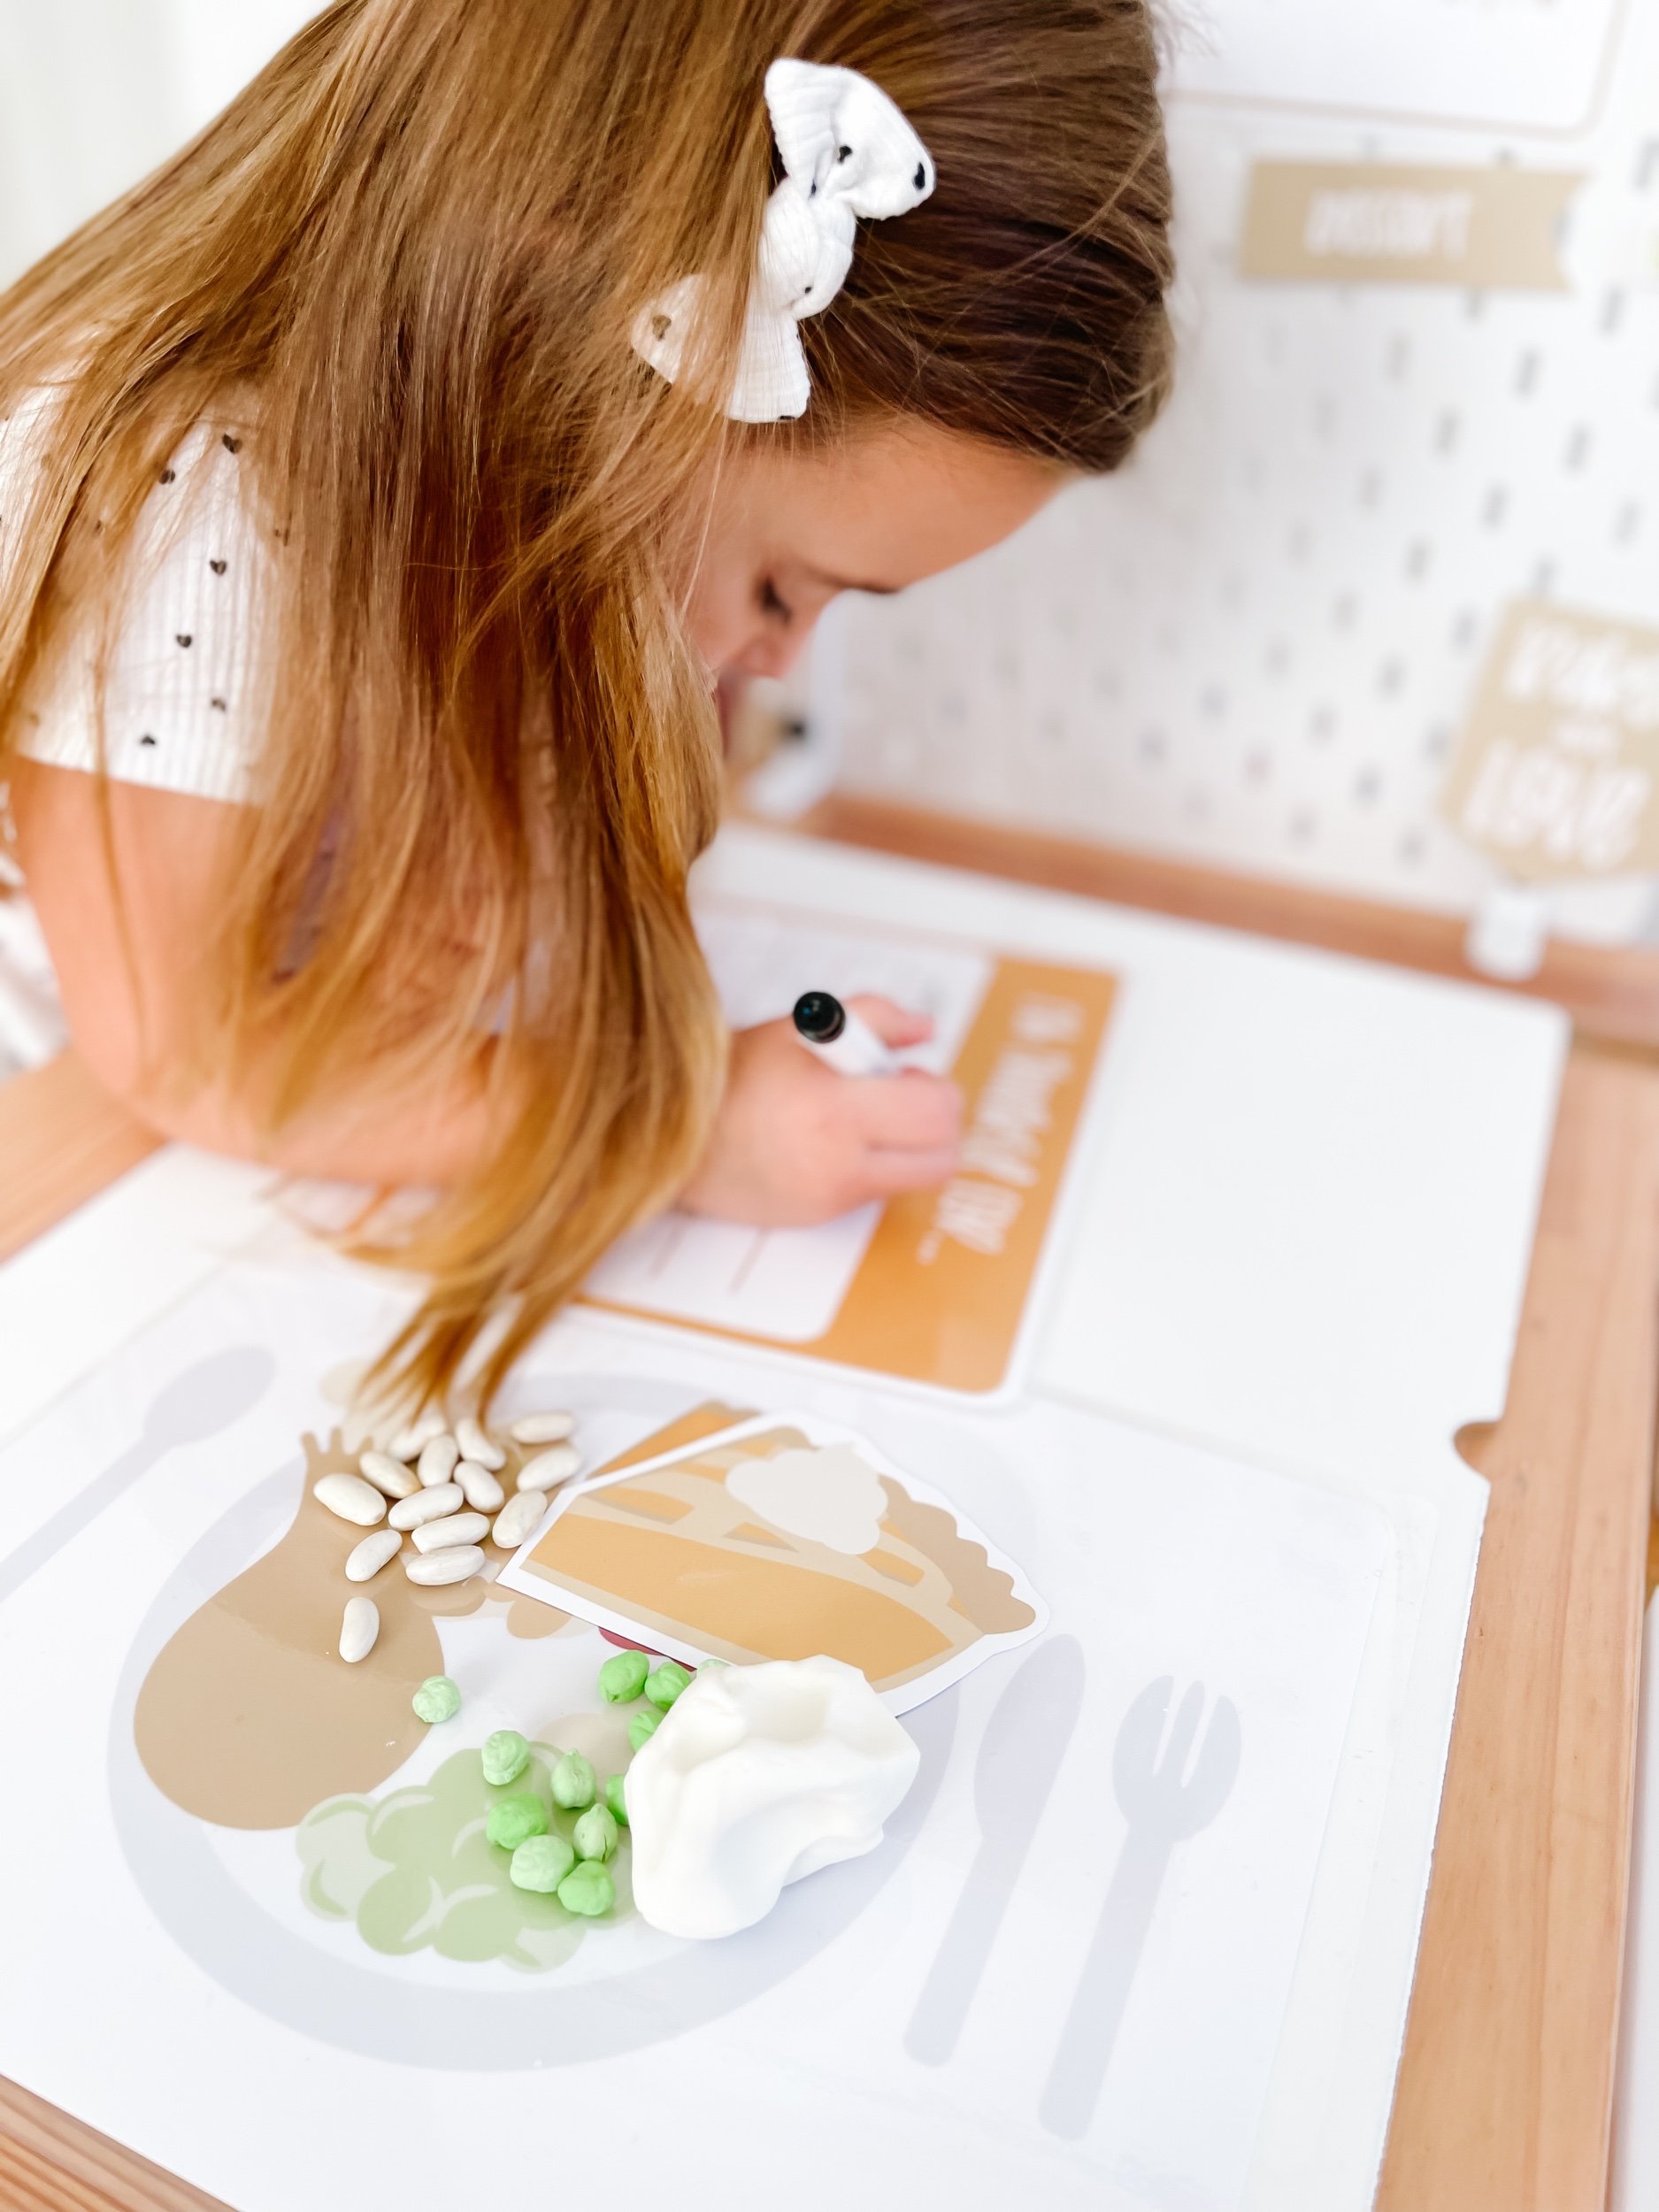
3. Thanksgiving Dinner: Create play mats that depict a Thanksgiving dinner table, complete with plates, utensils, and delicious food items. Preschoolers can arrange the play food on the mats to build their own Thanksgiving feast.
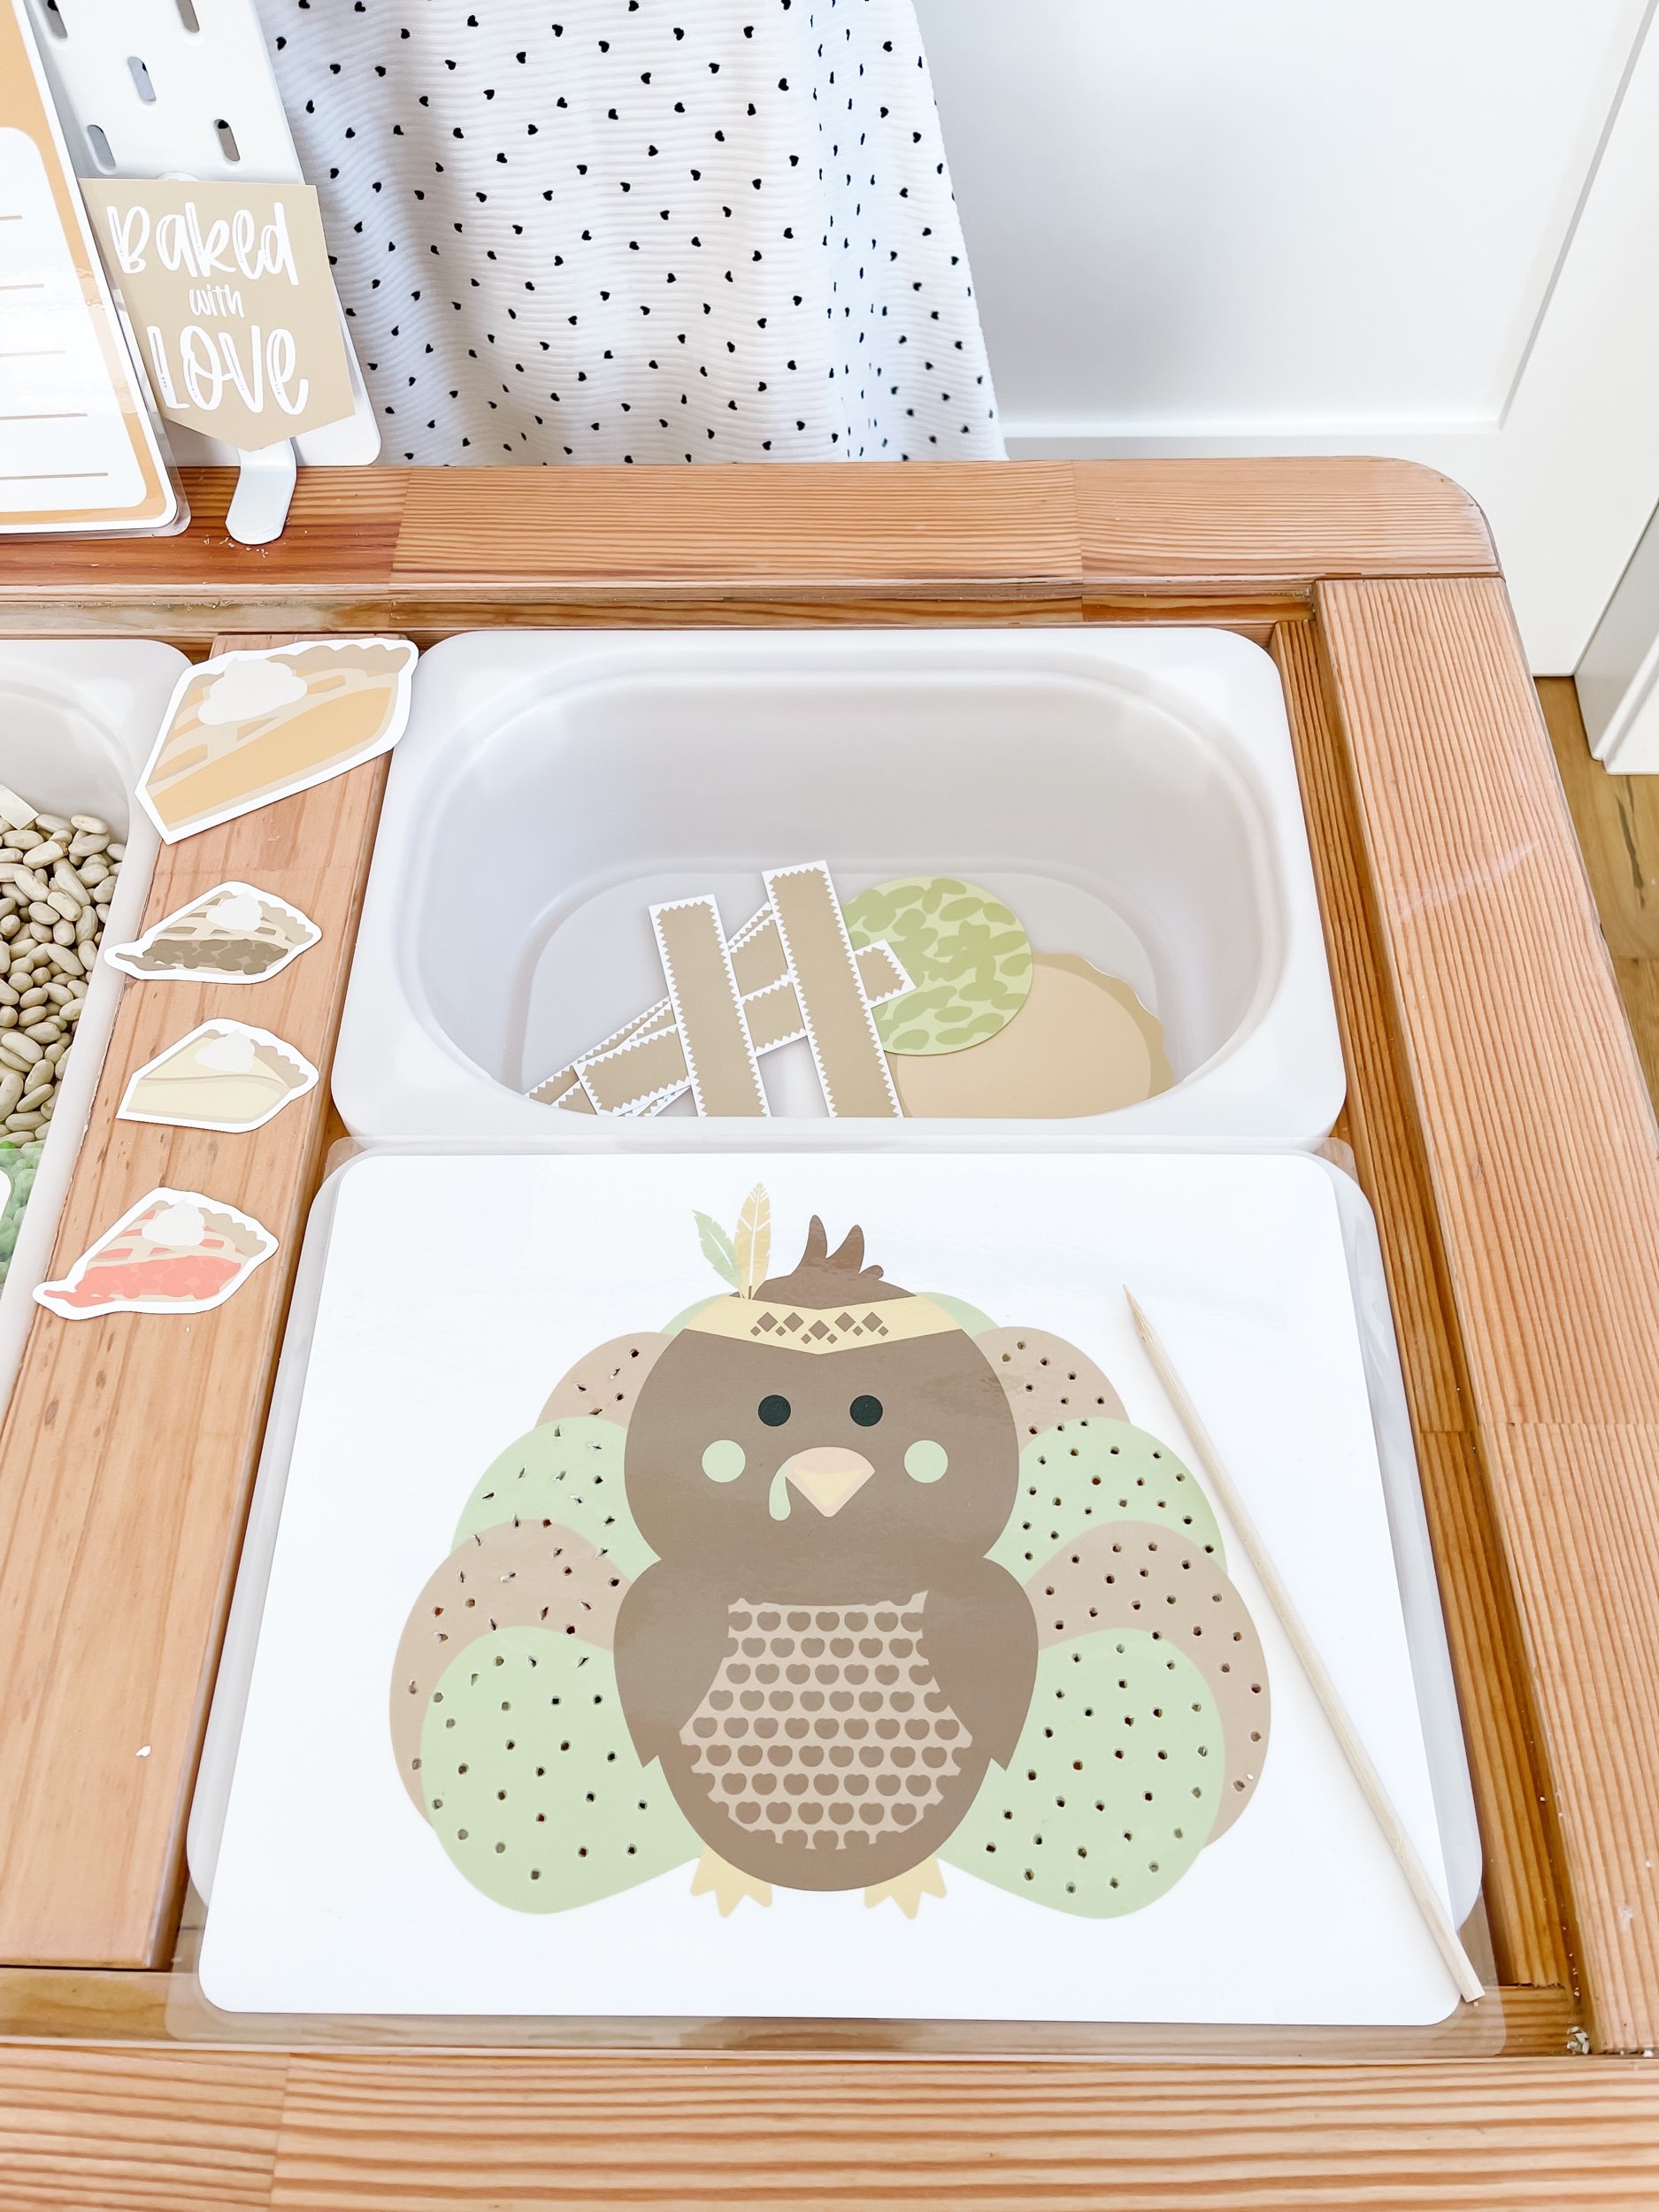
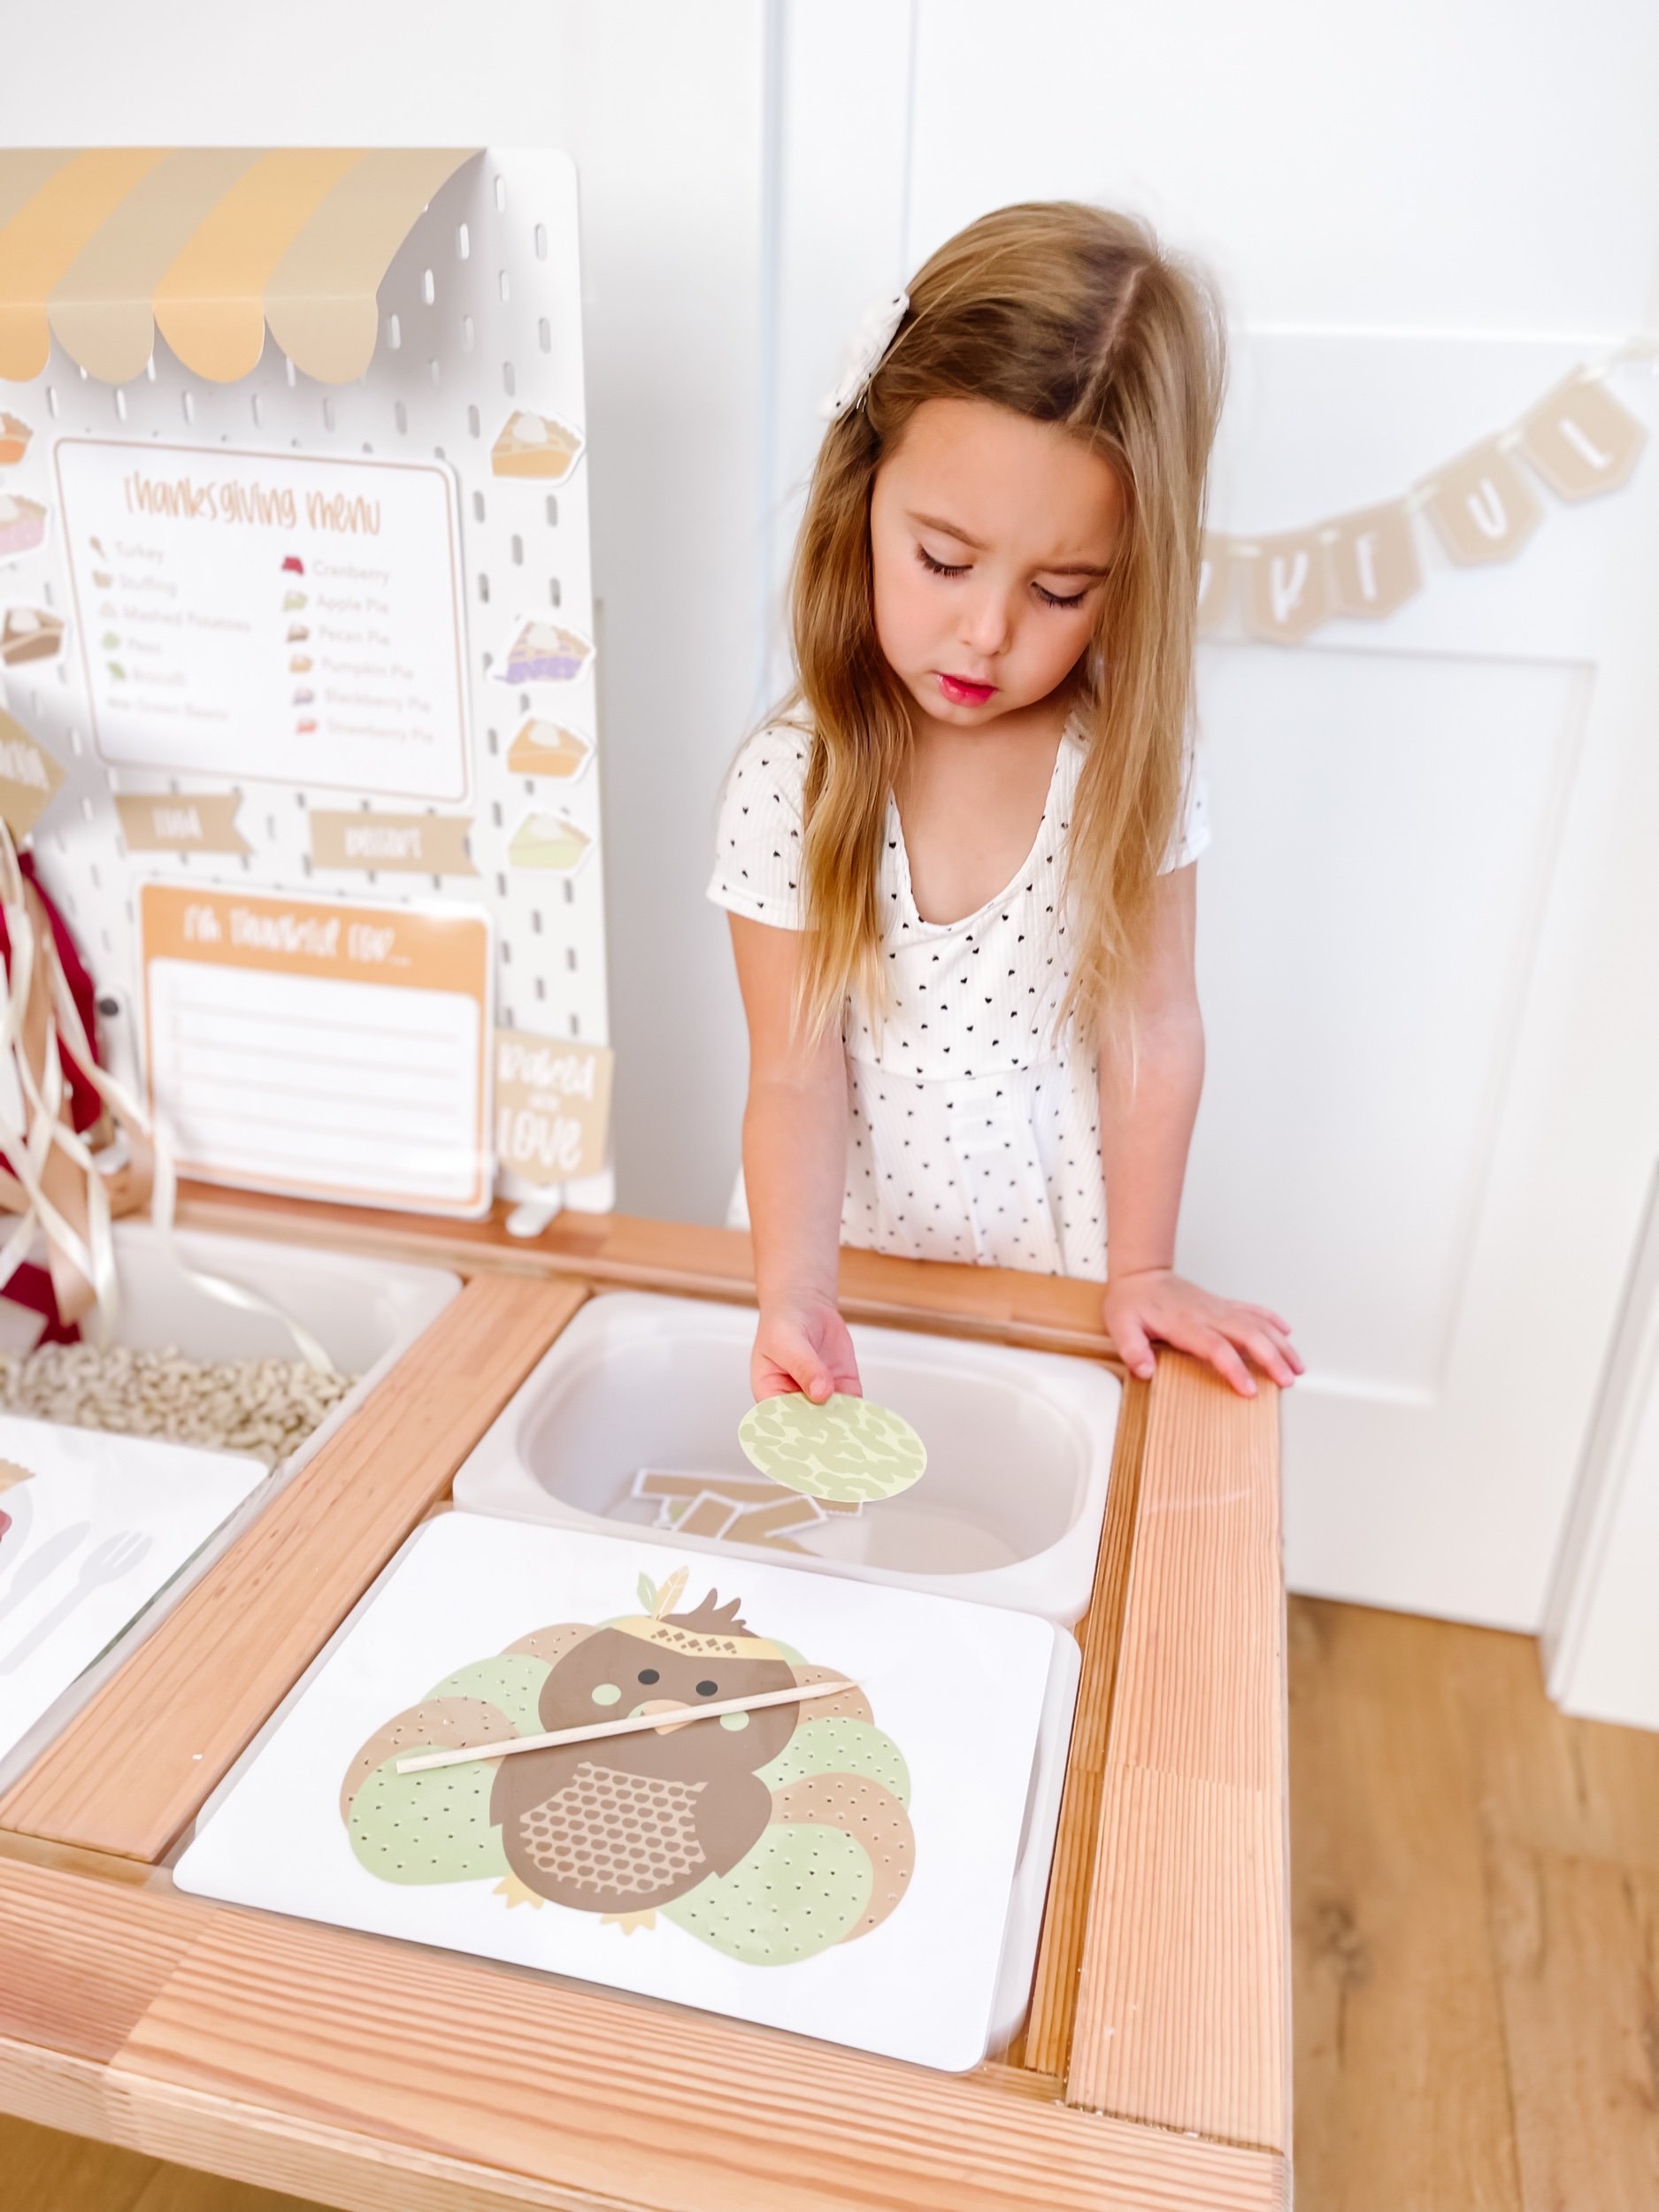
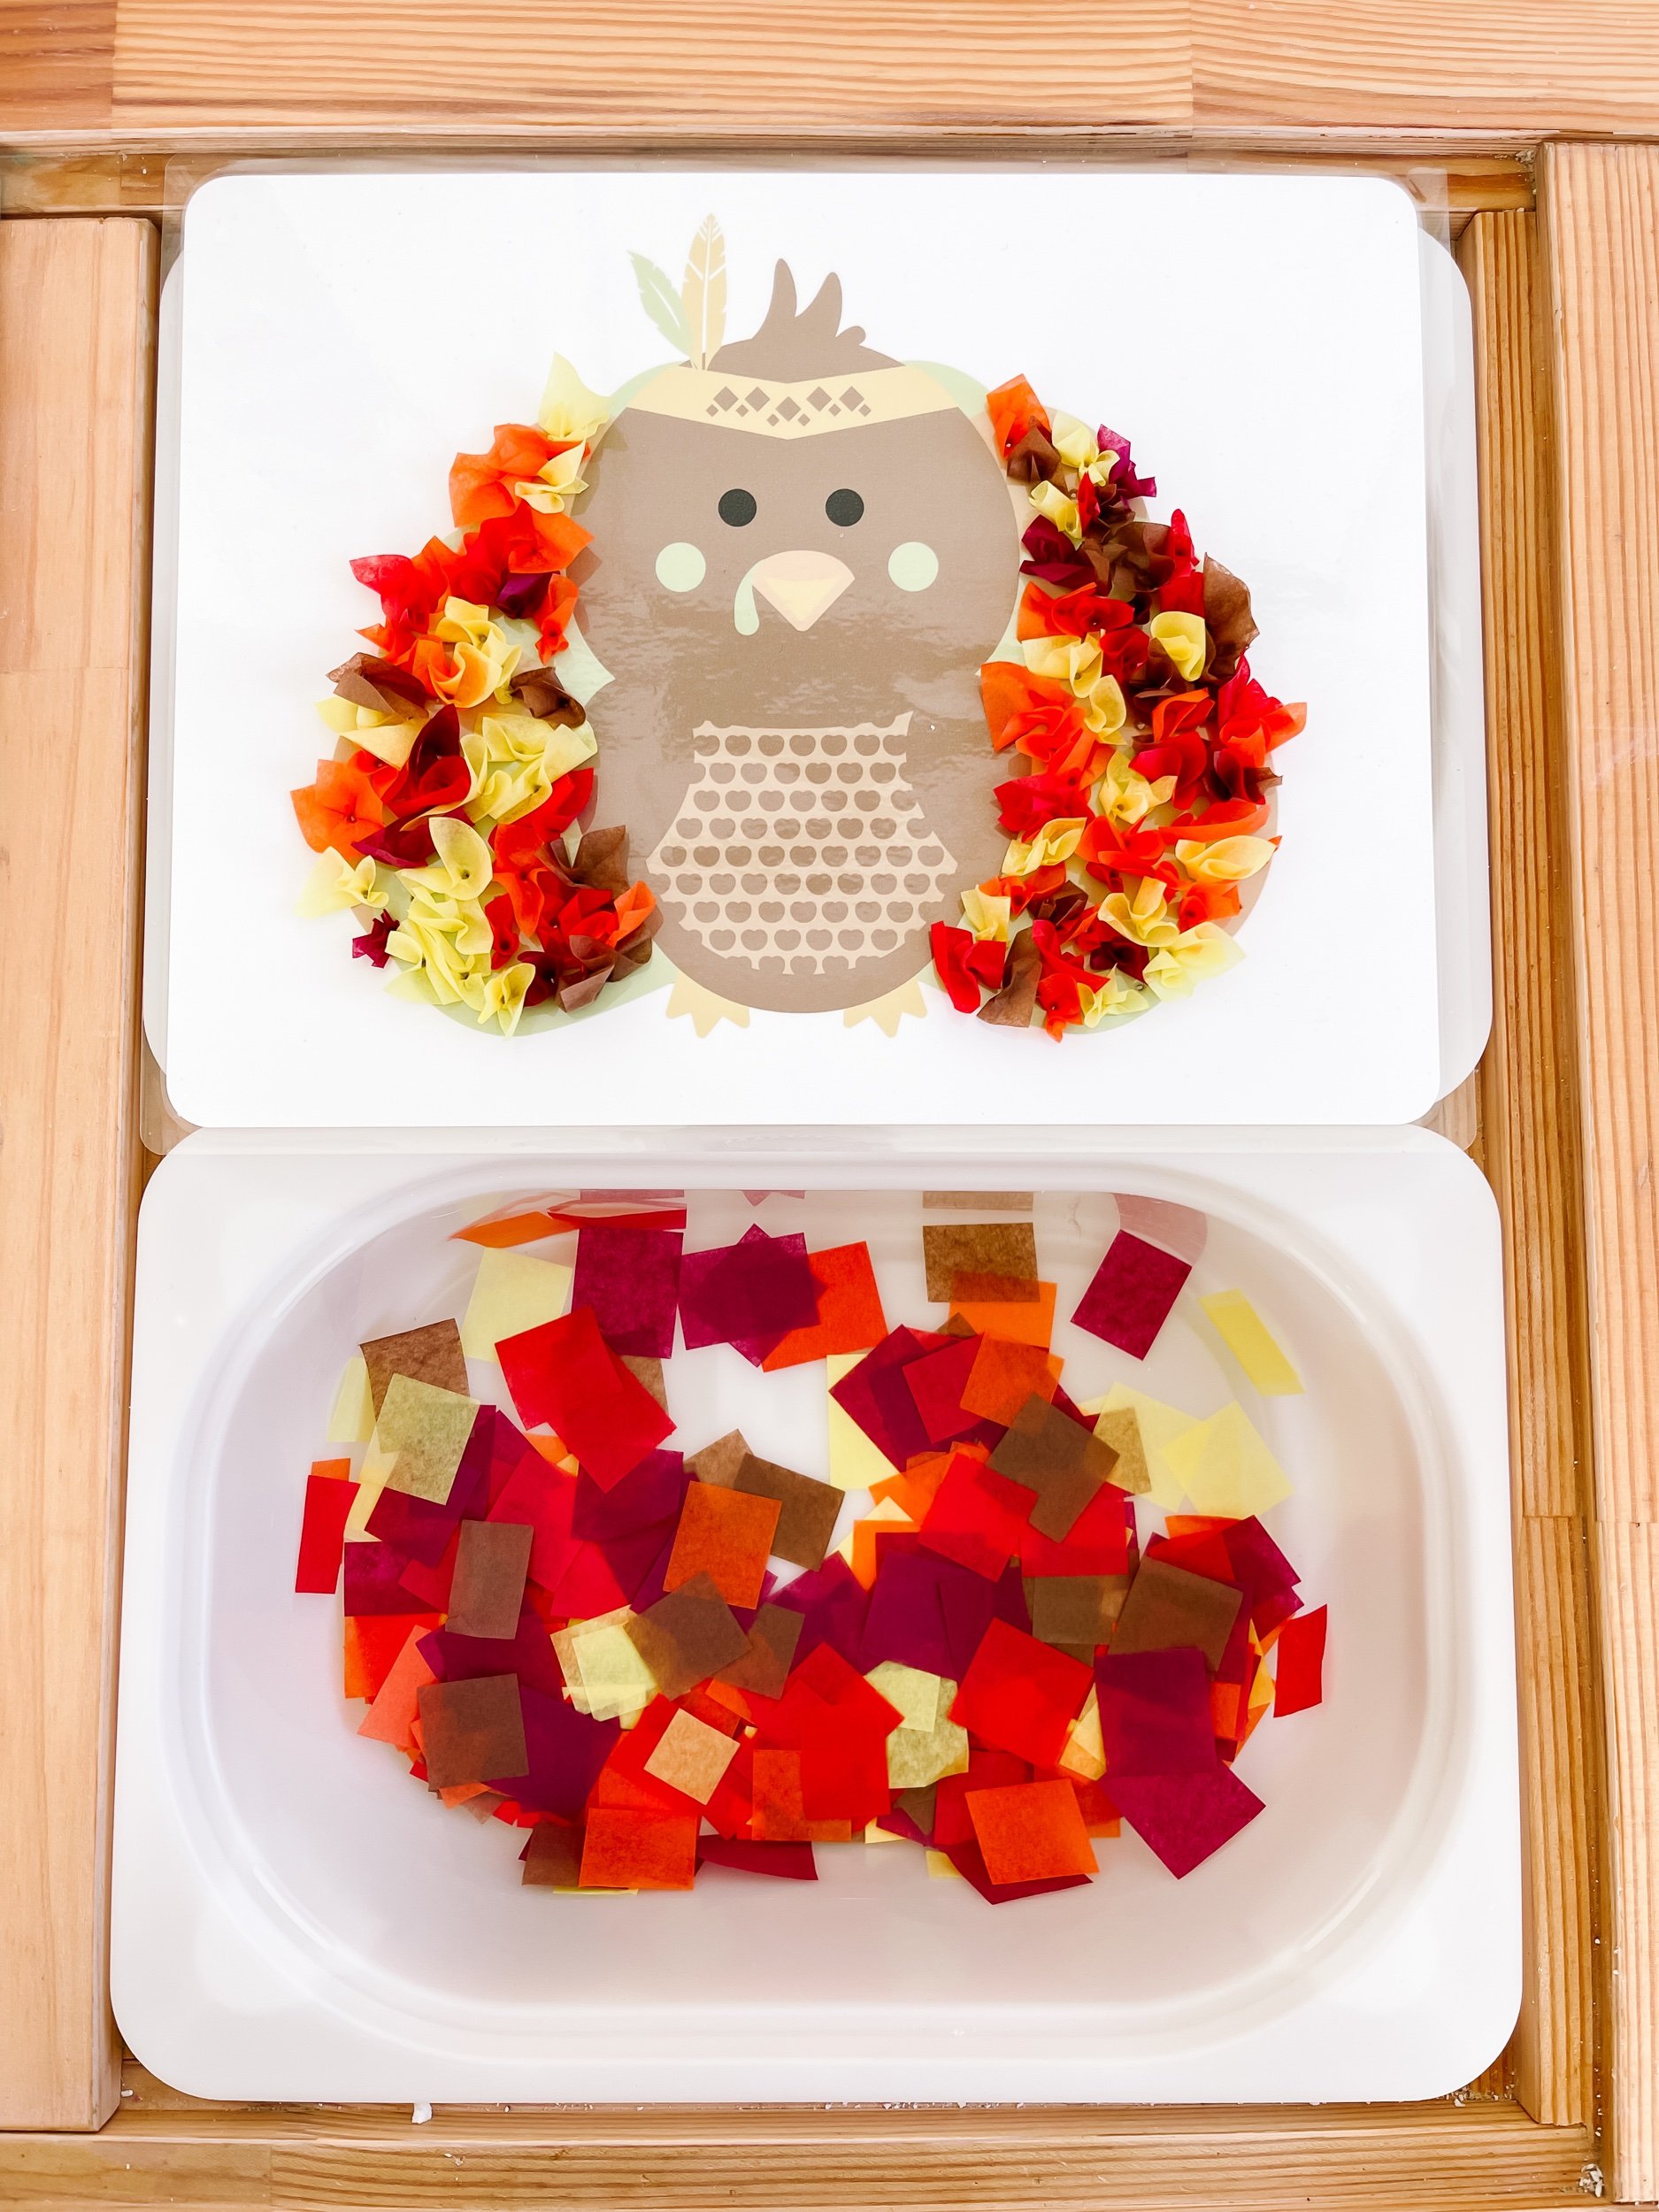
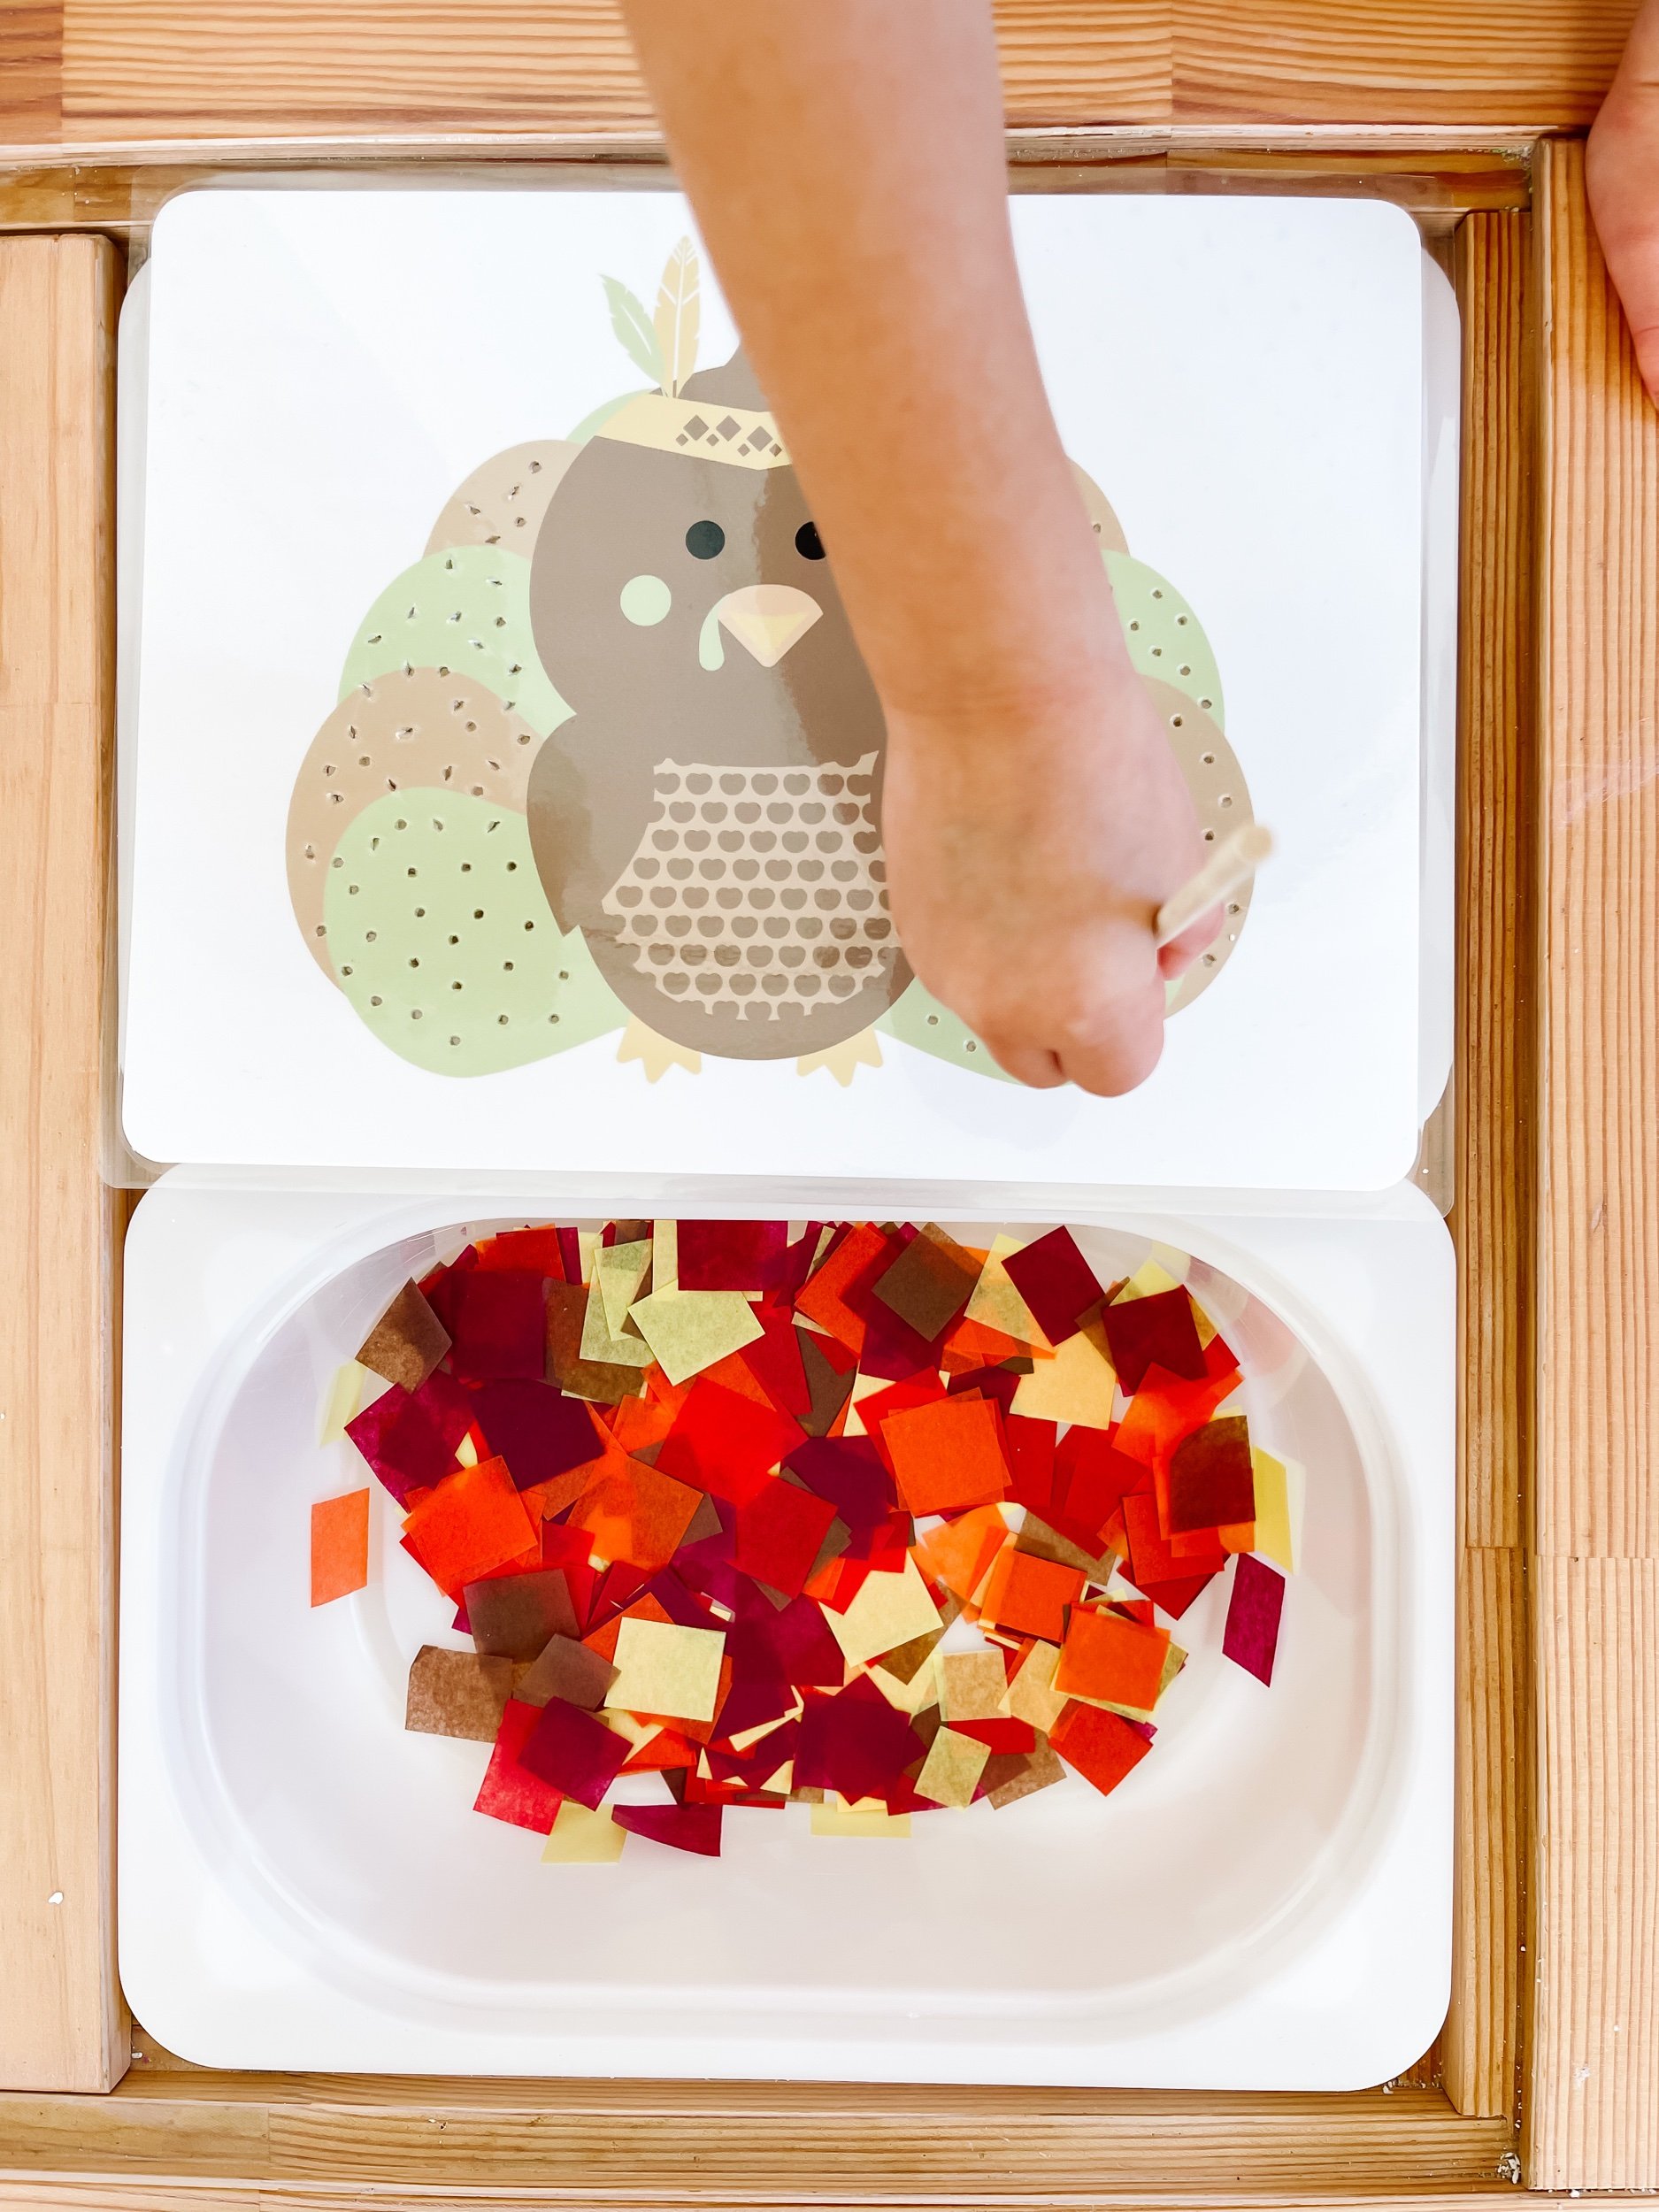
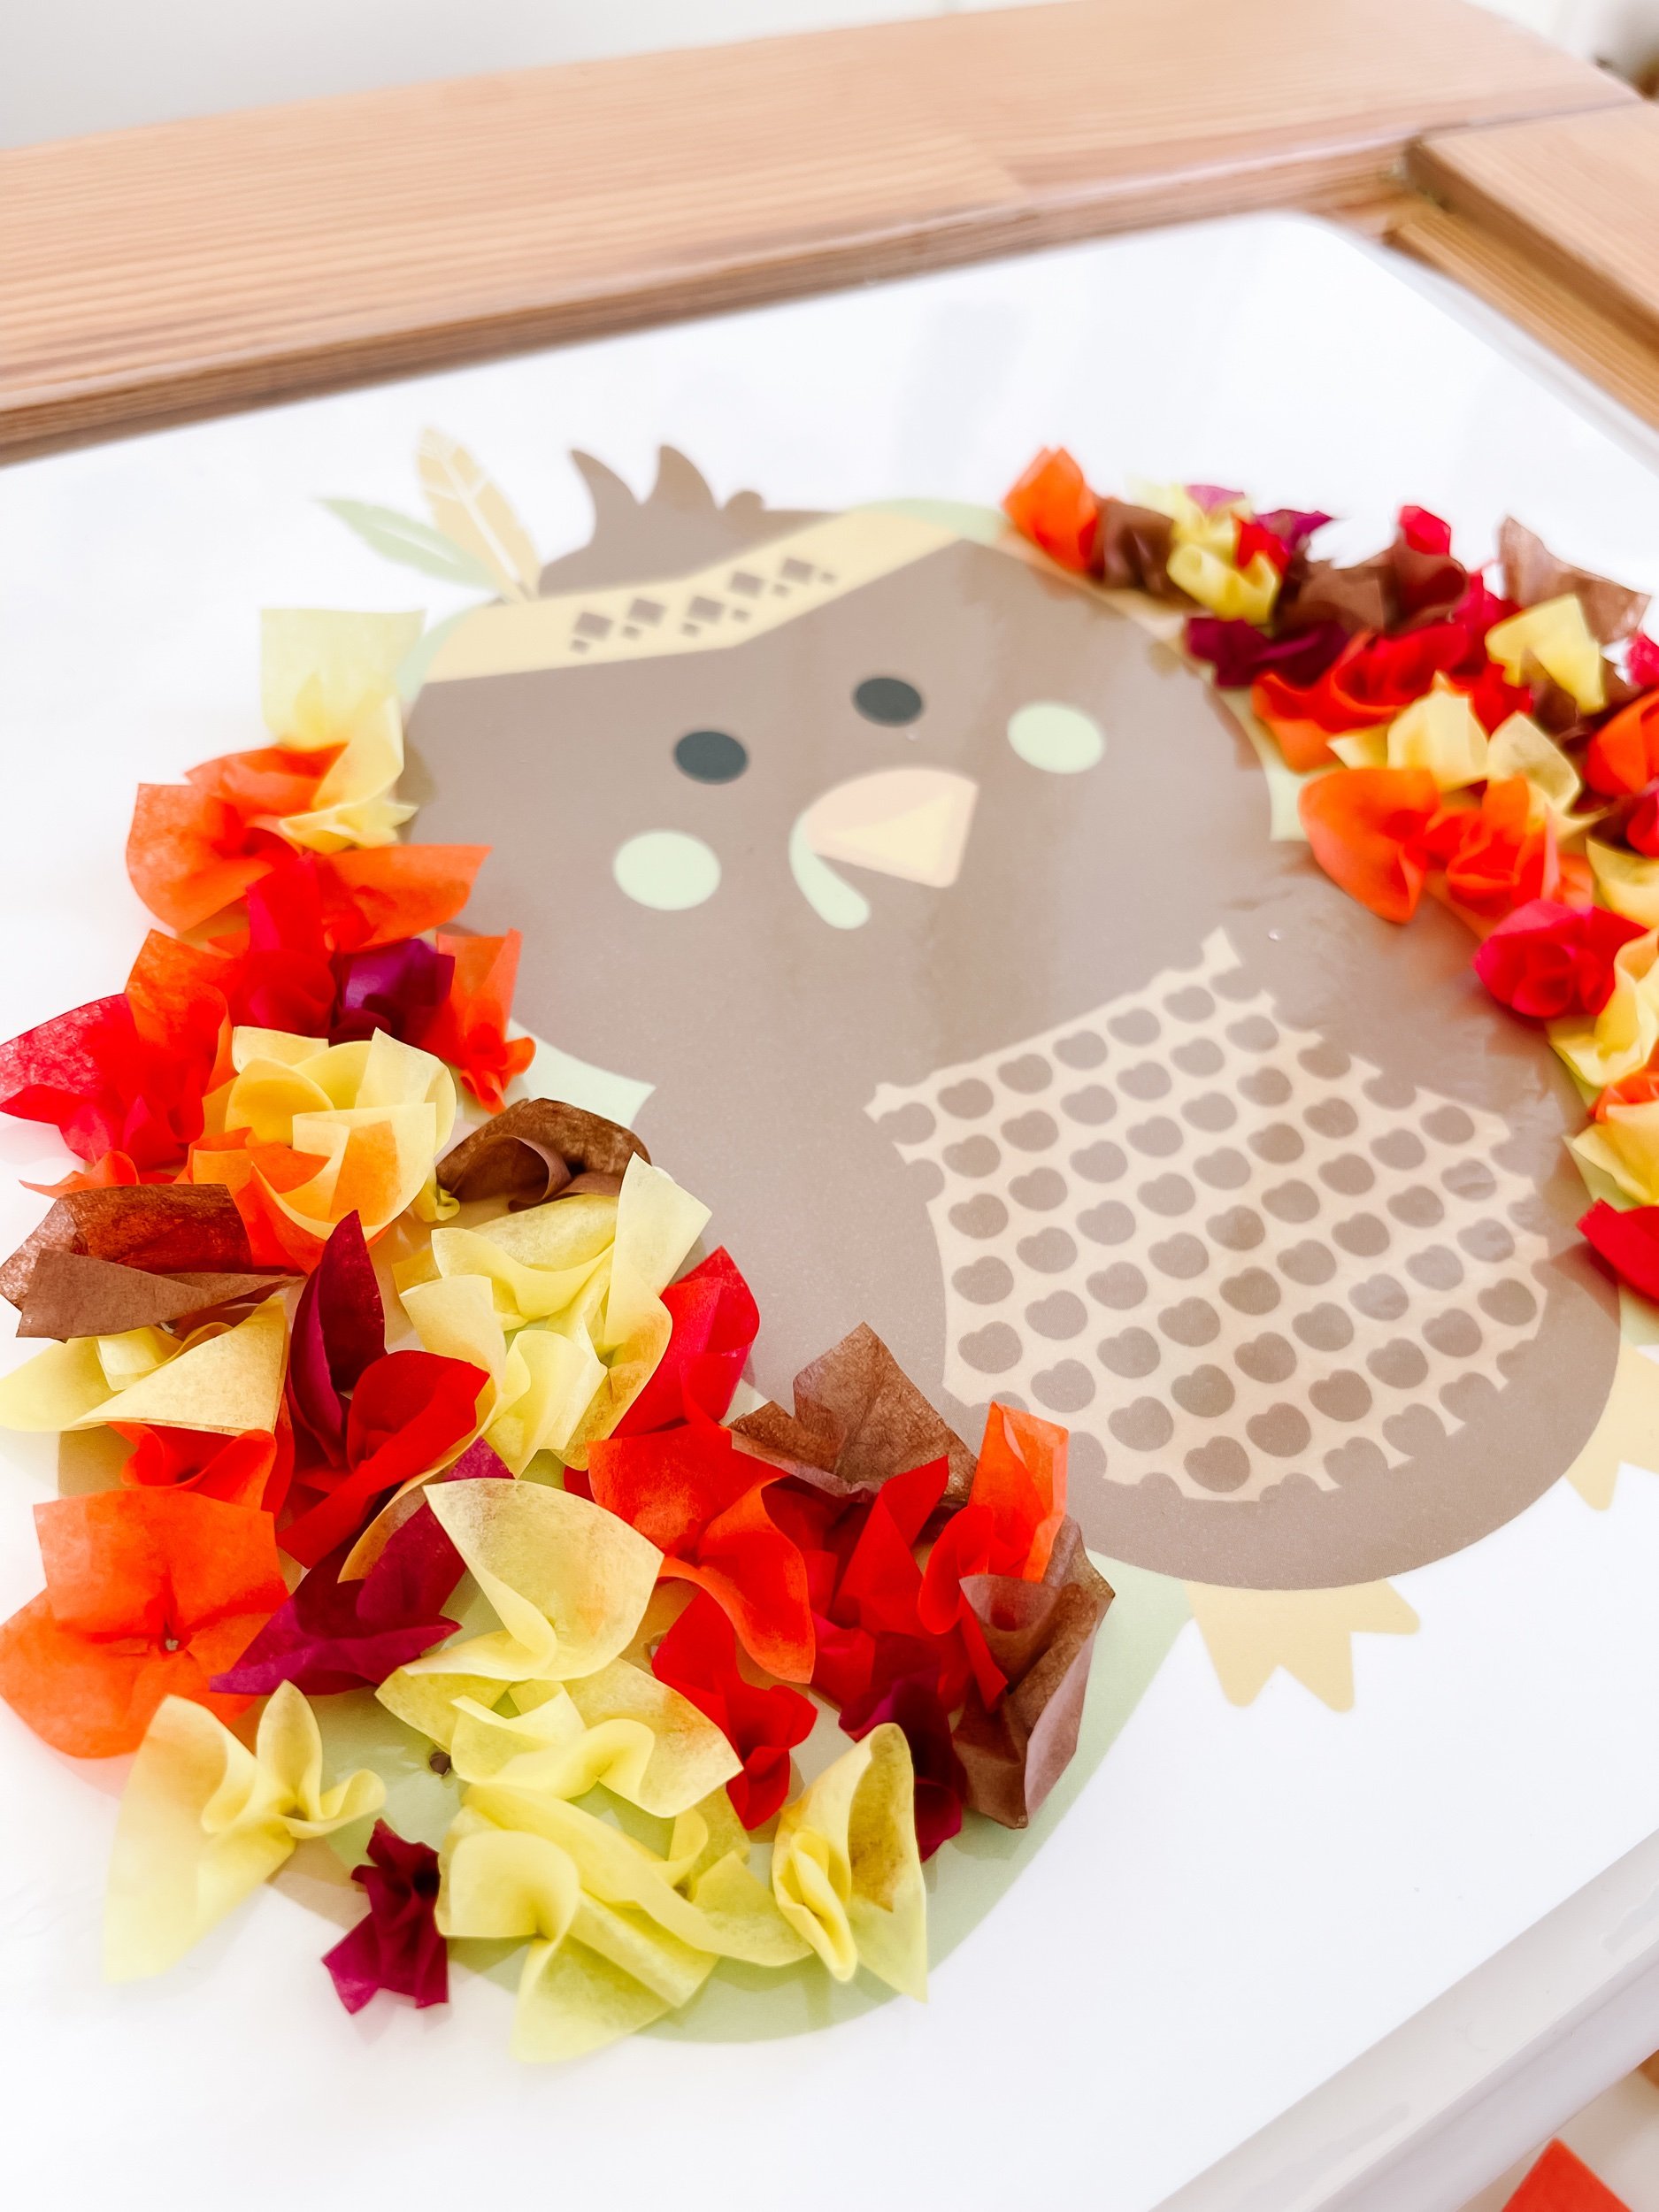
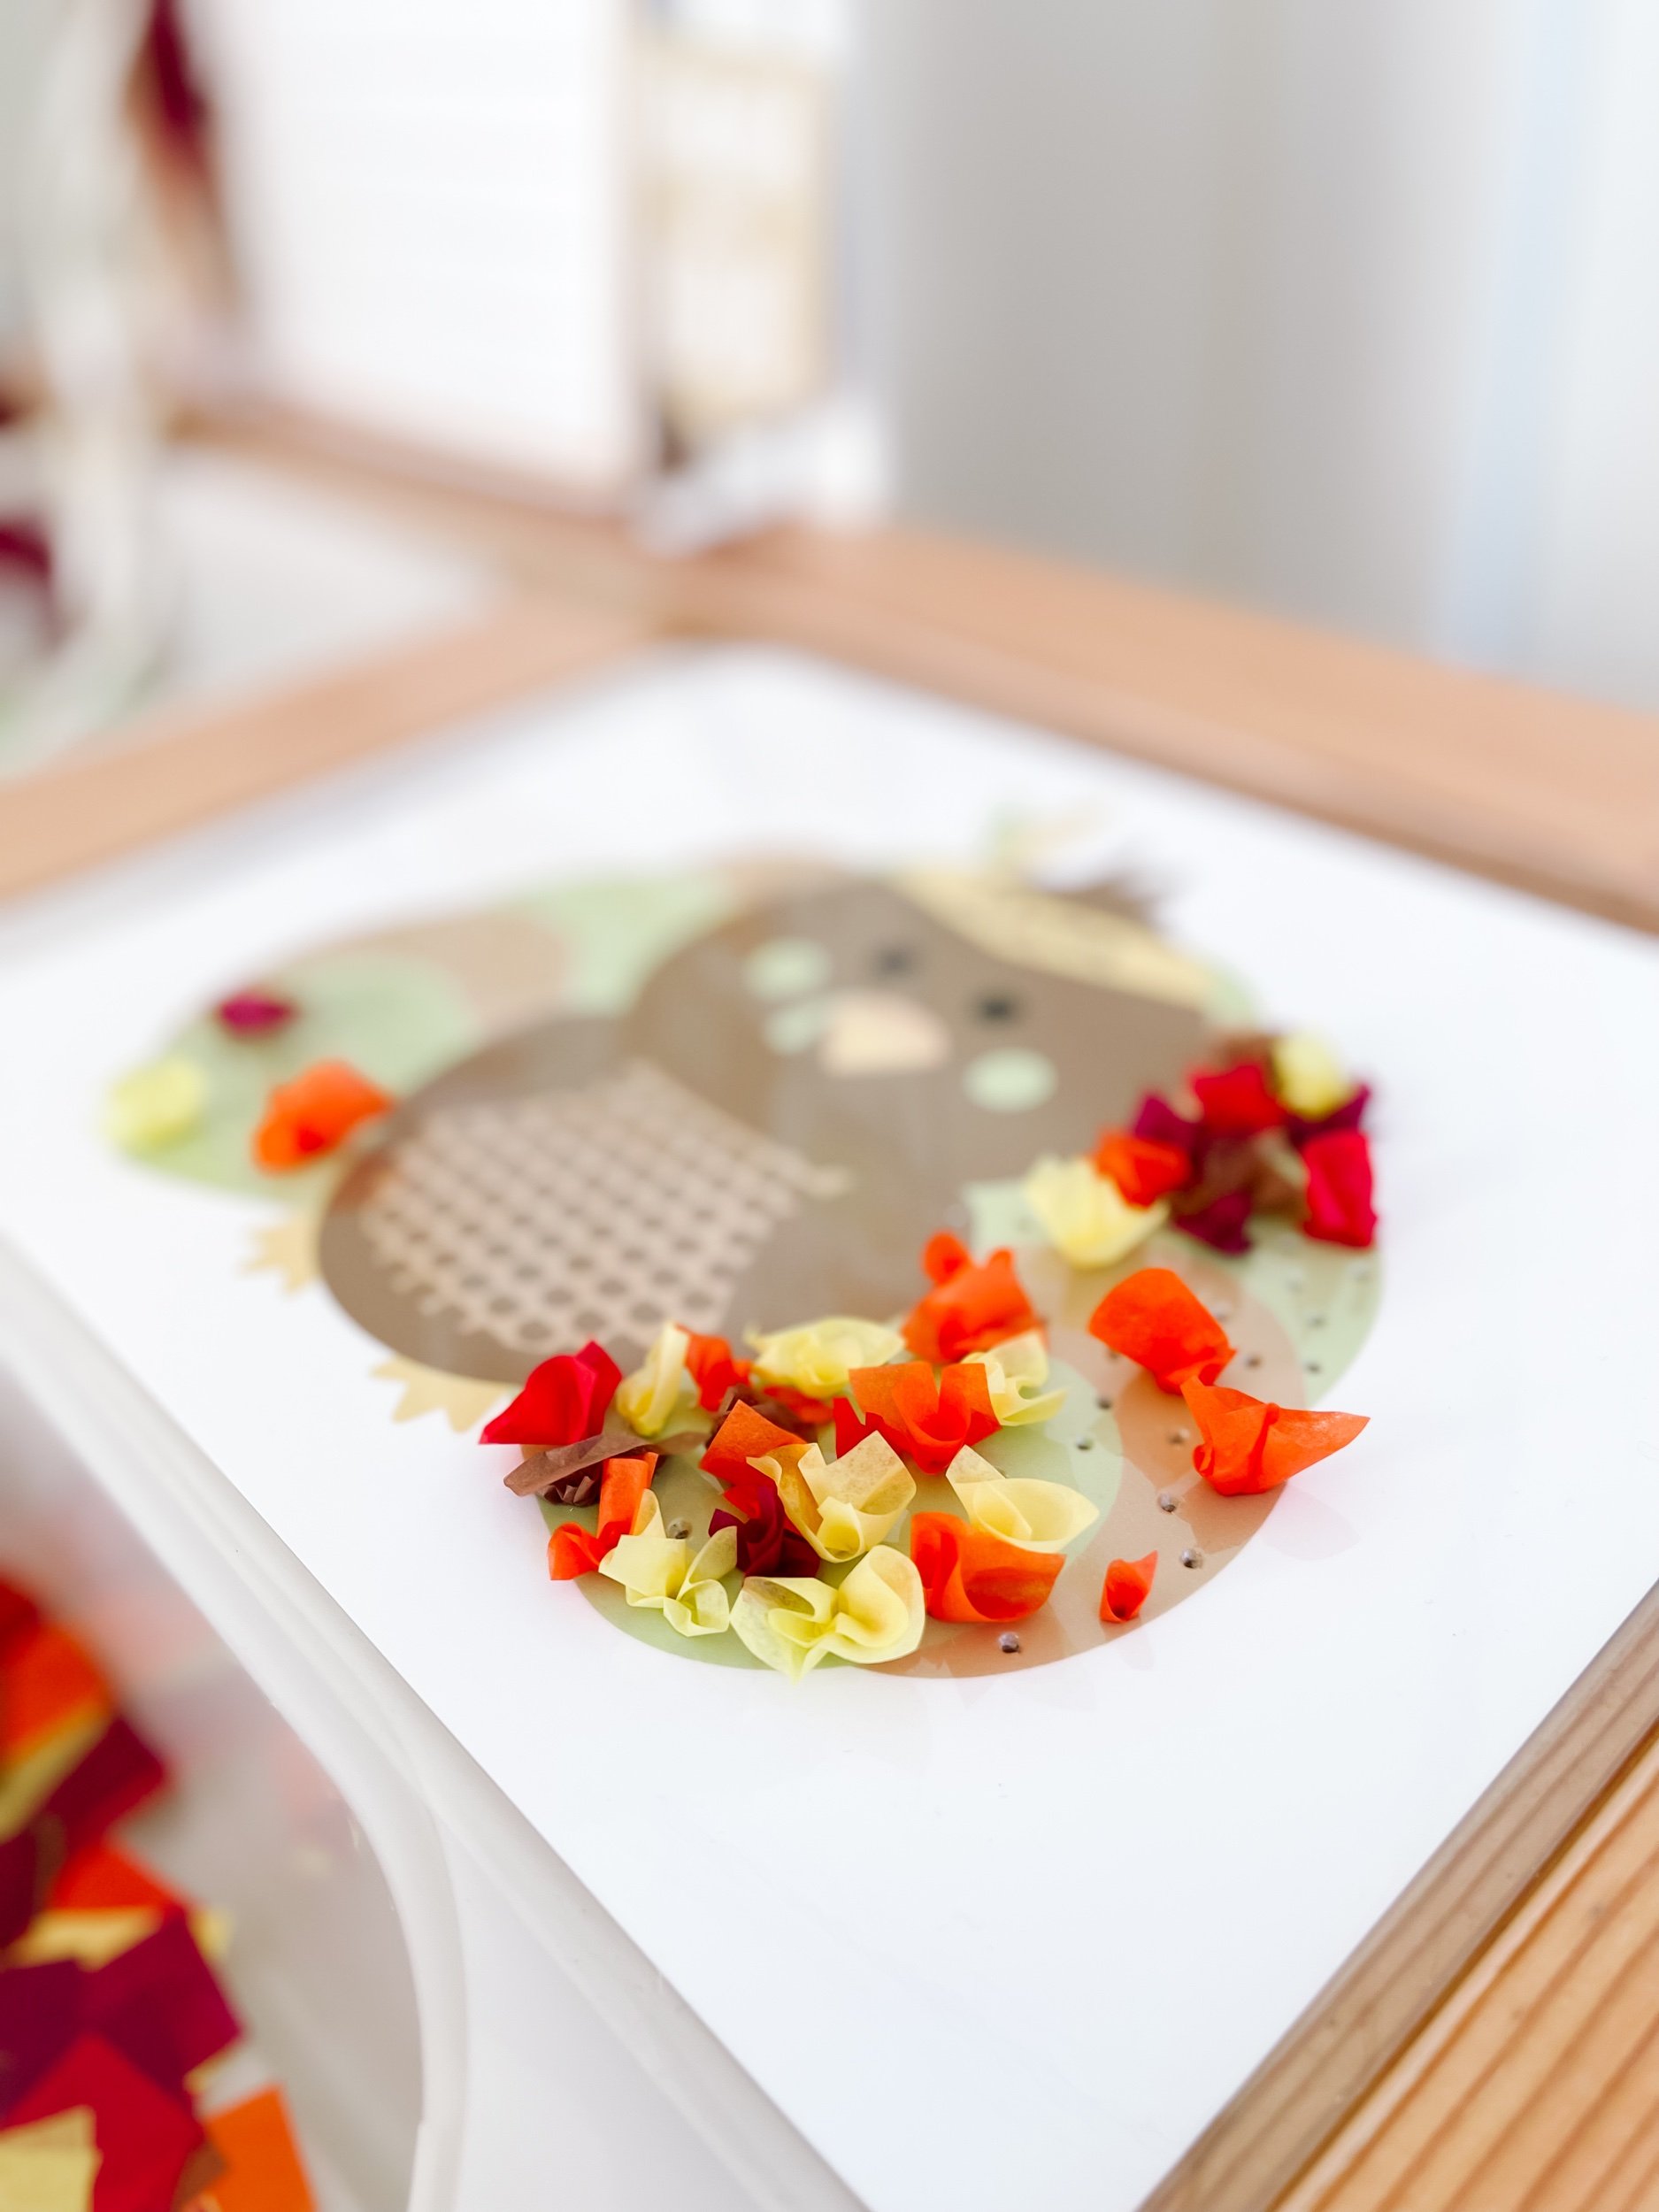
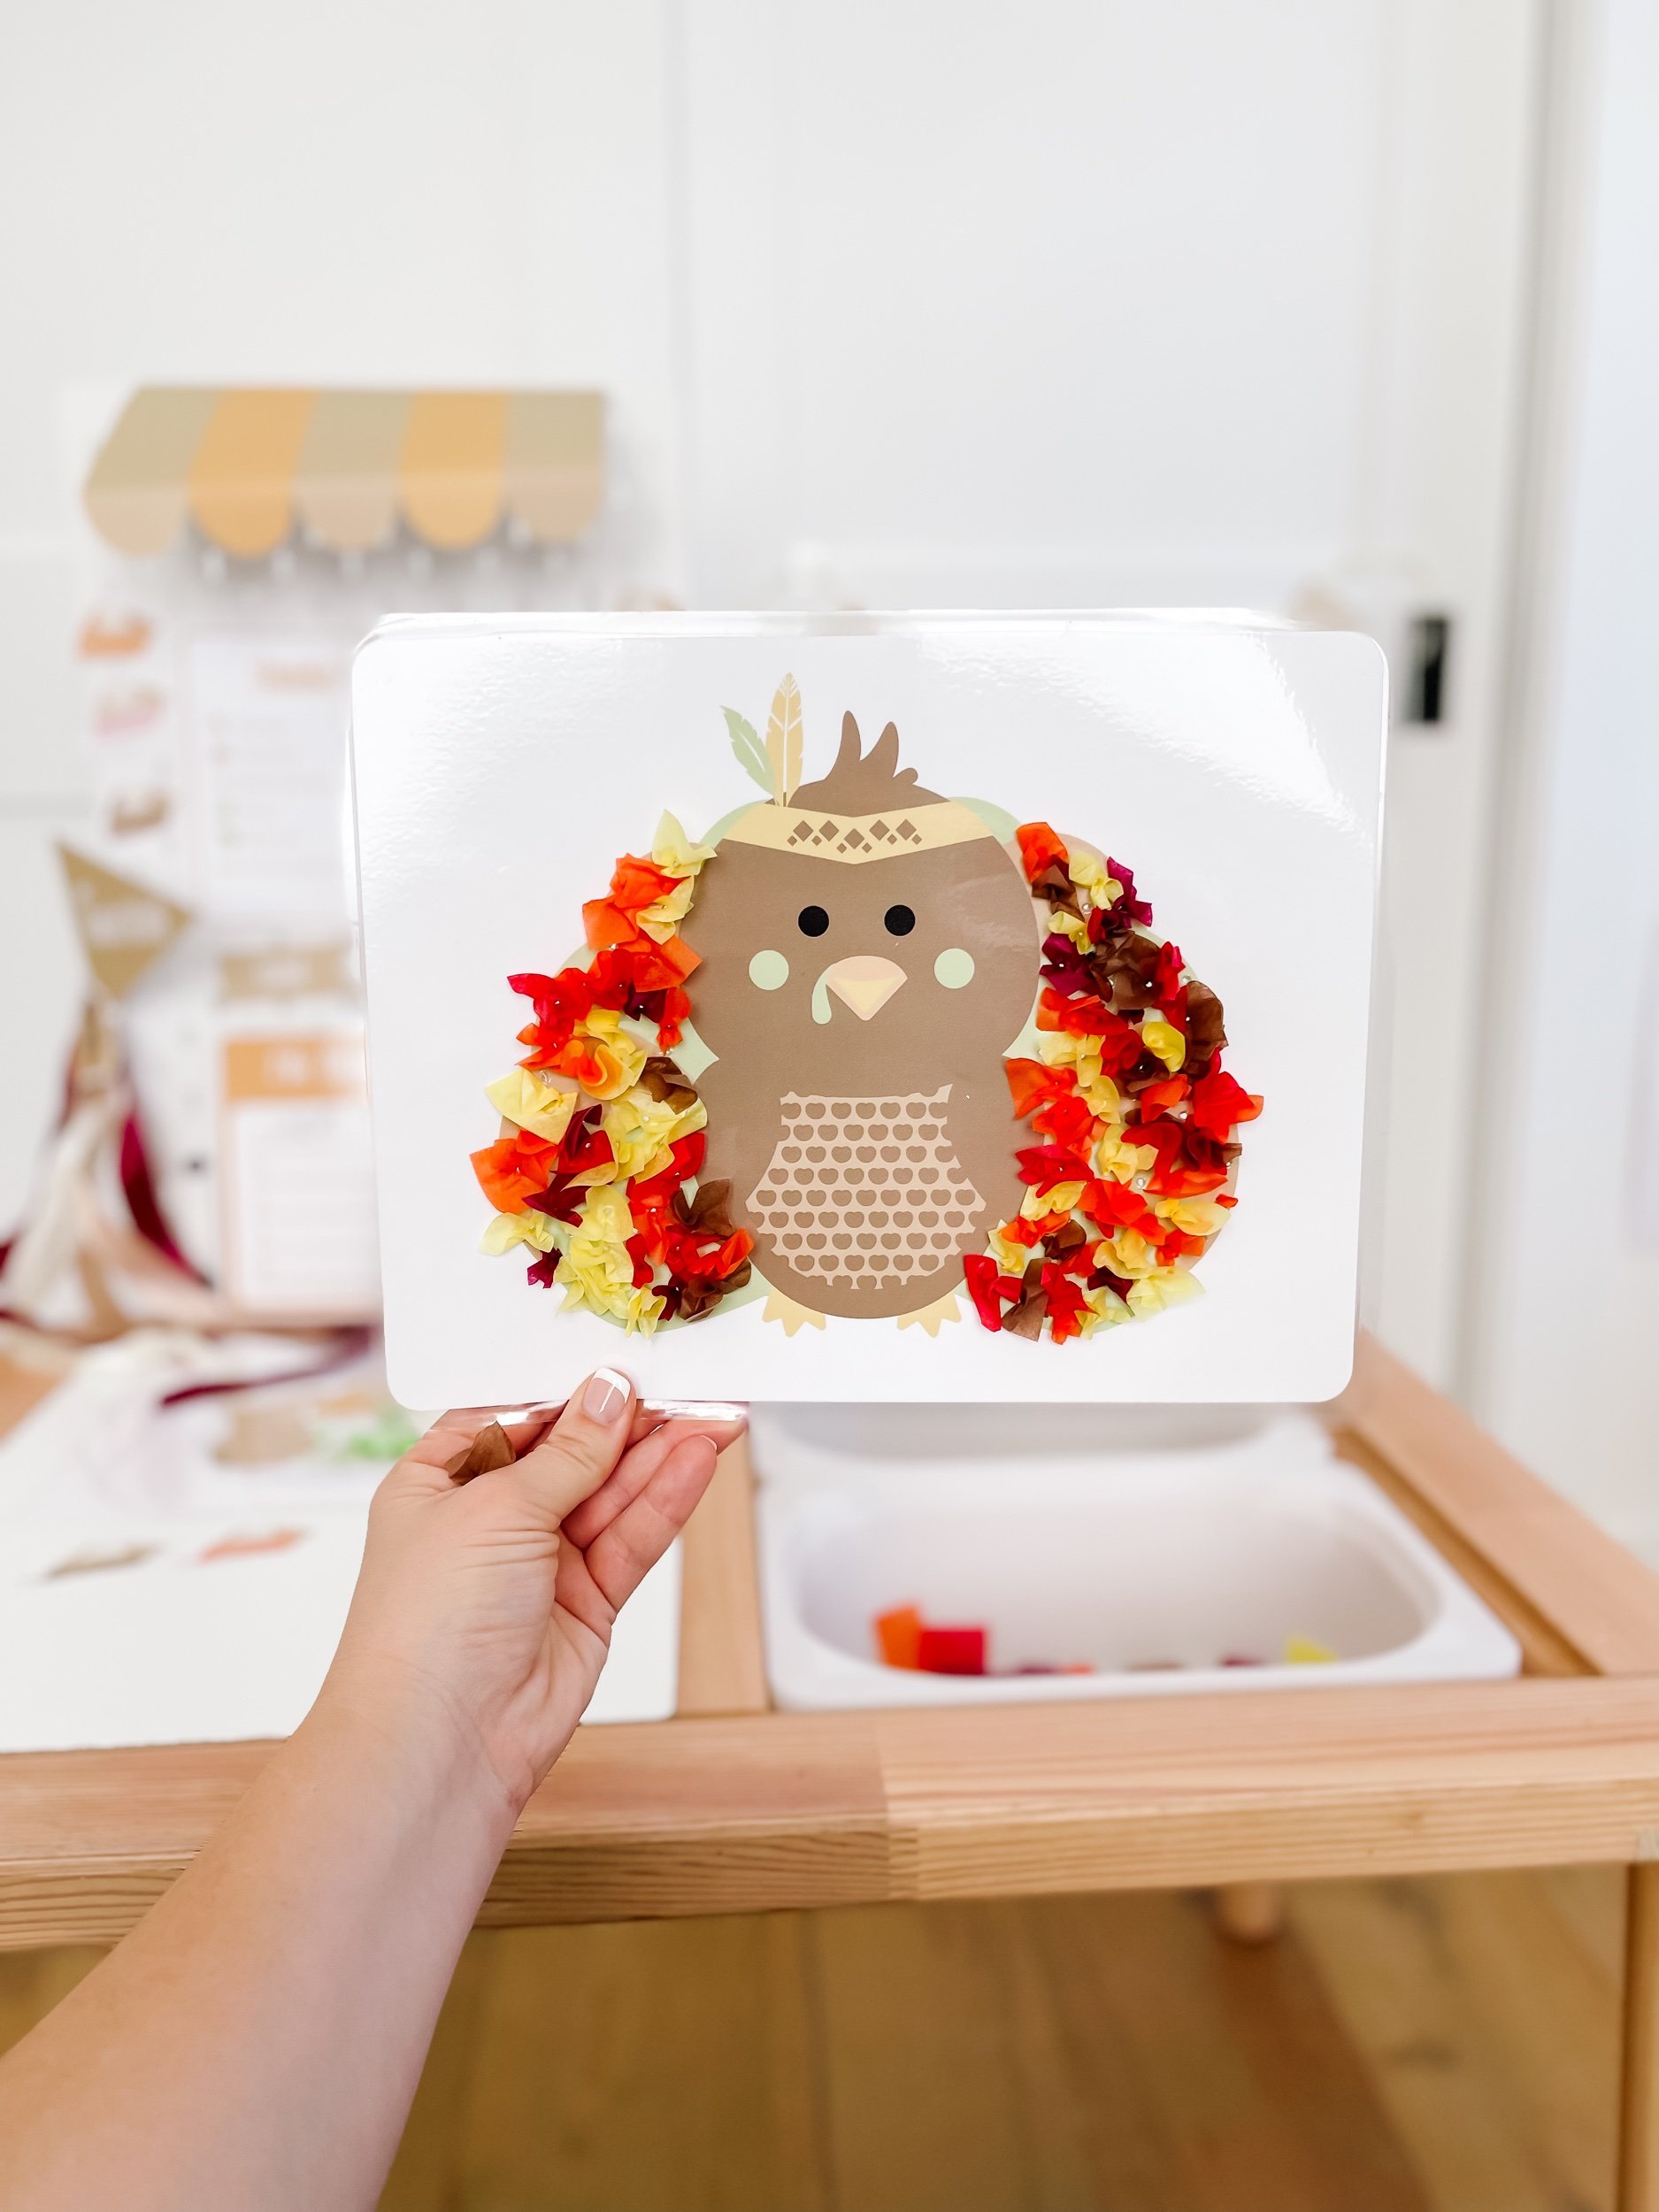
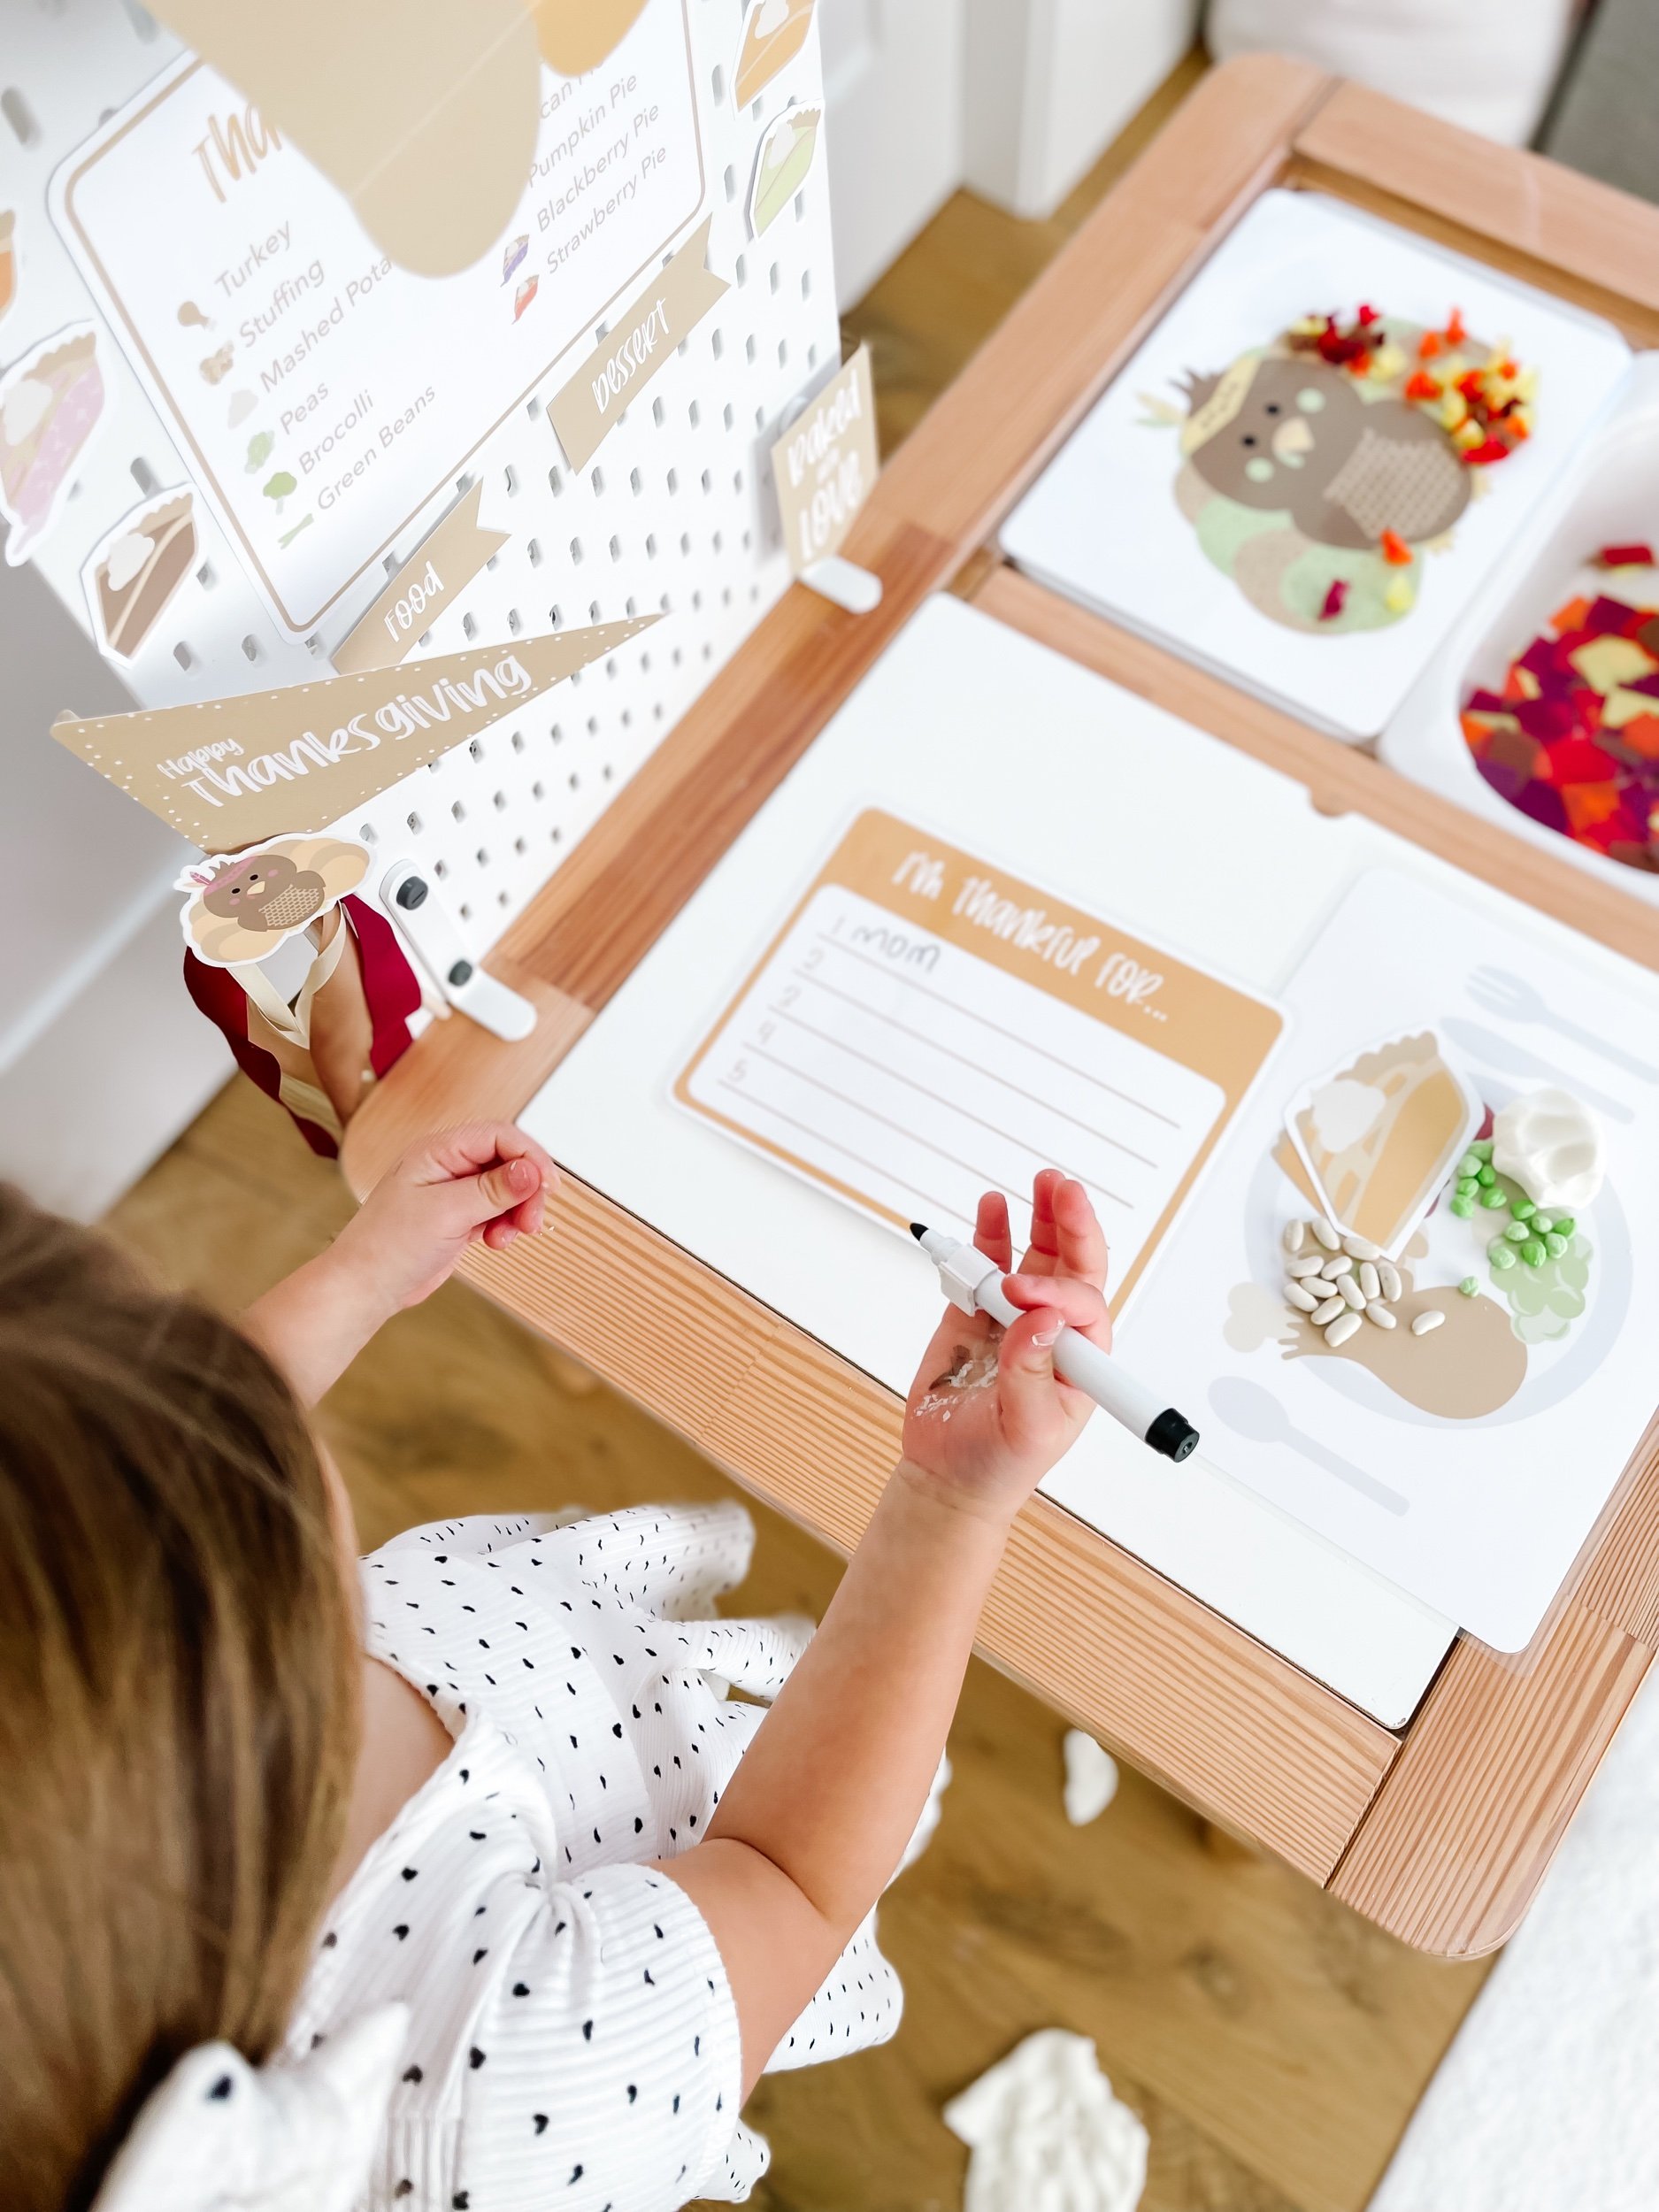
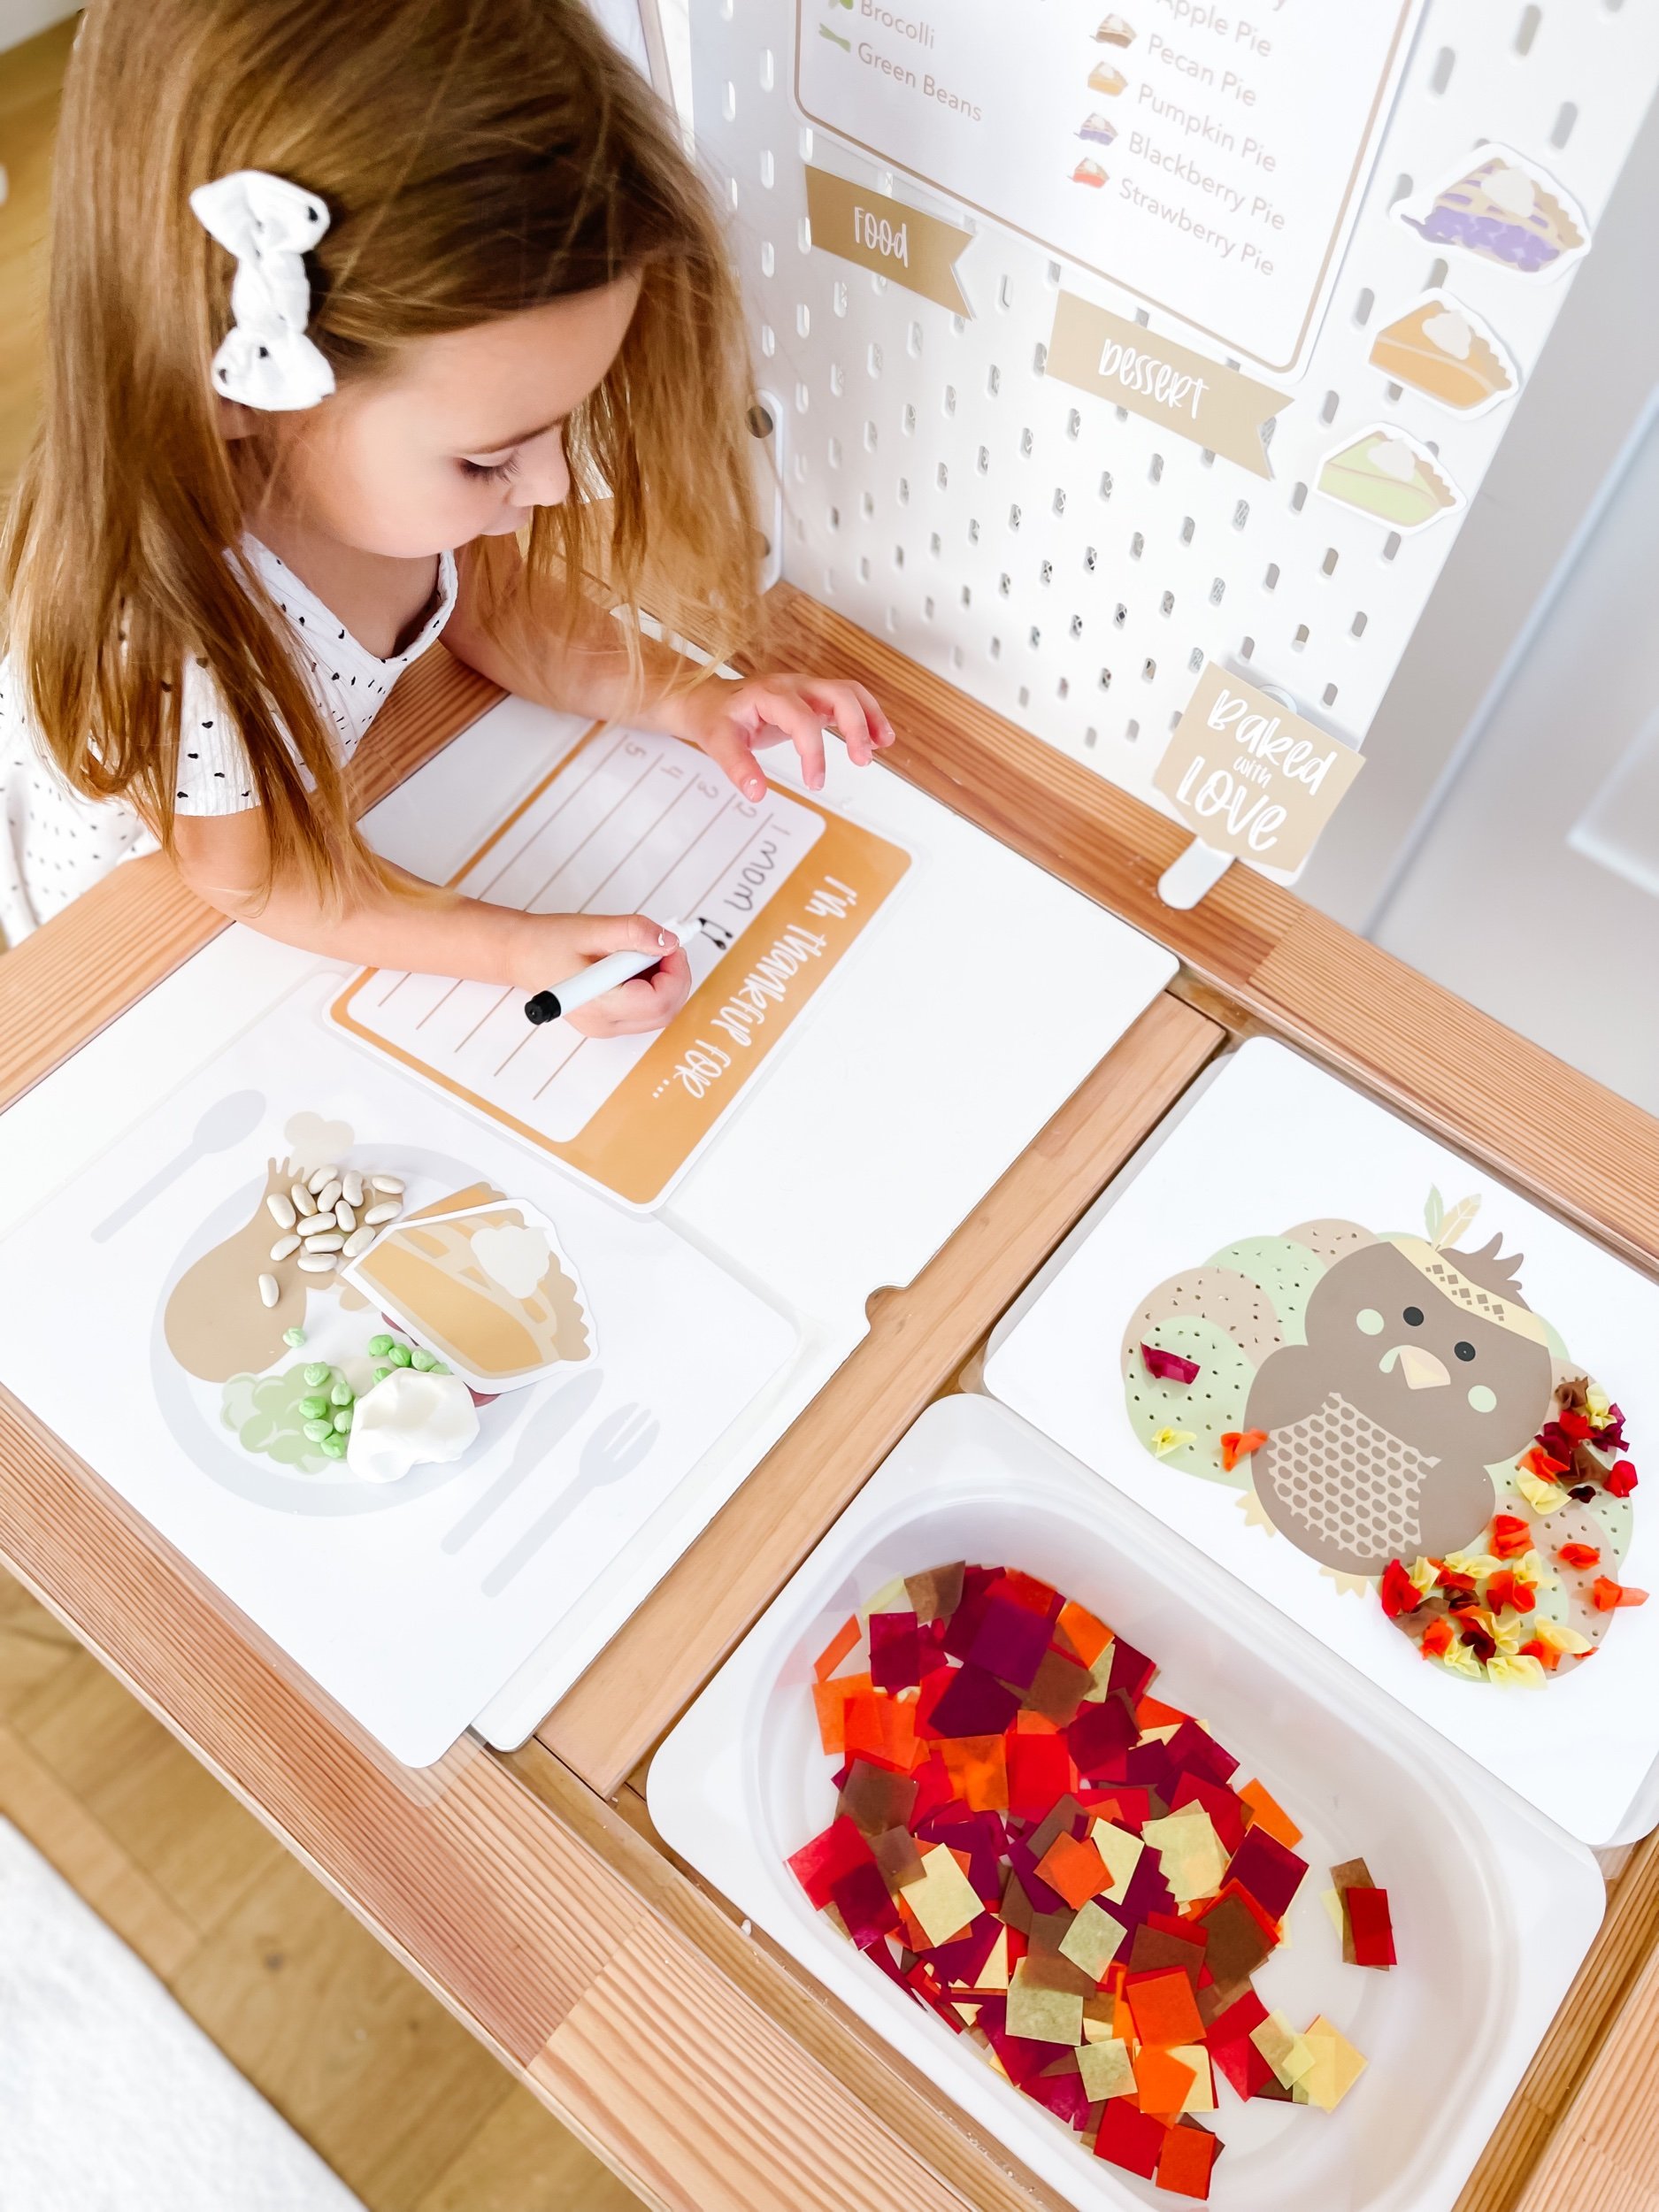
4. Turkey: Utilize a turkey printout as part of a build-a-turkey sensory bin, allowing kids to decorate the turkey's feathers with small squares of fall-colored tissue paper.
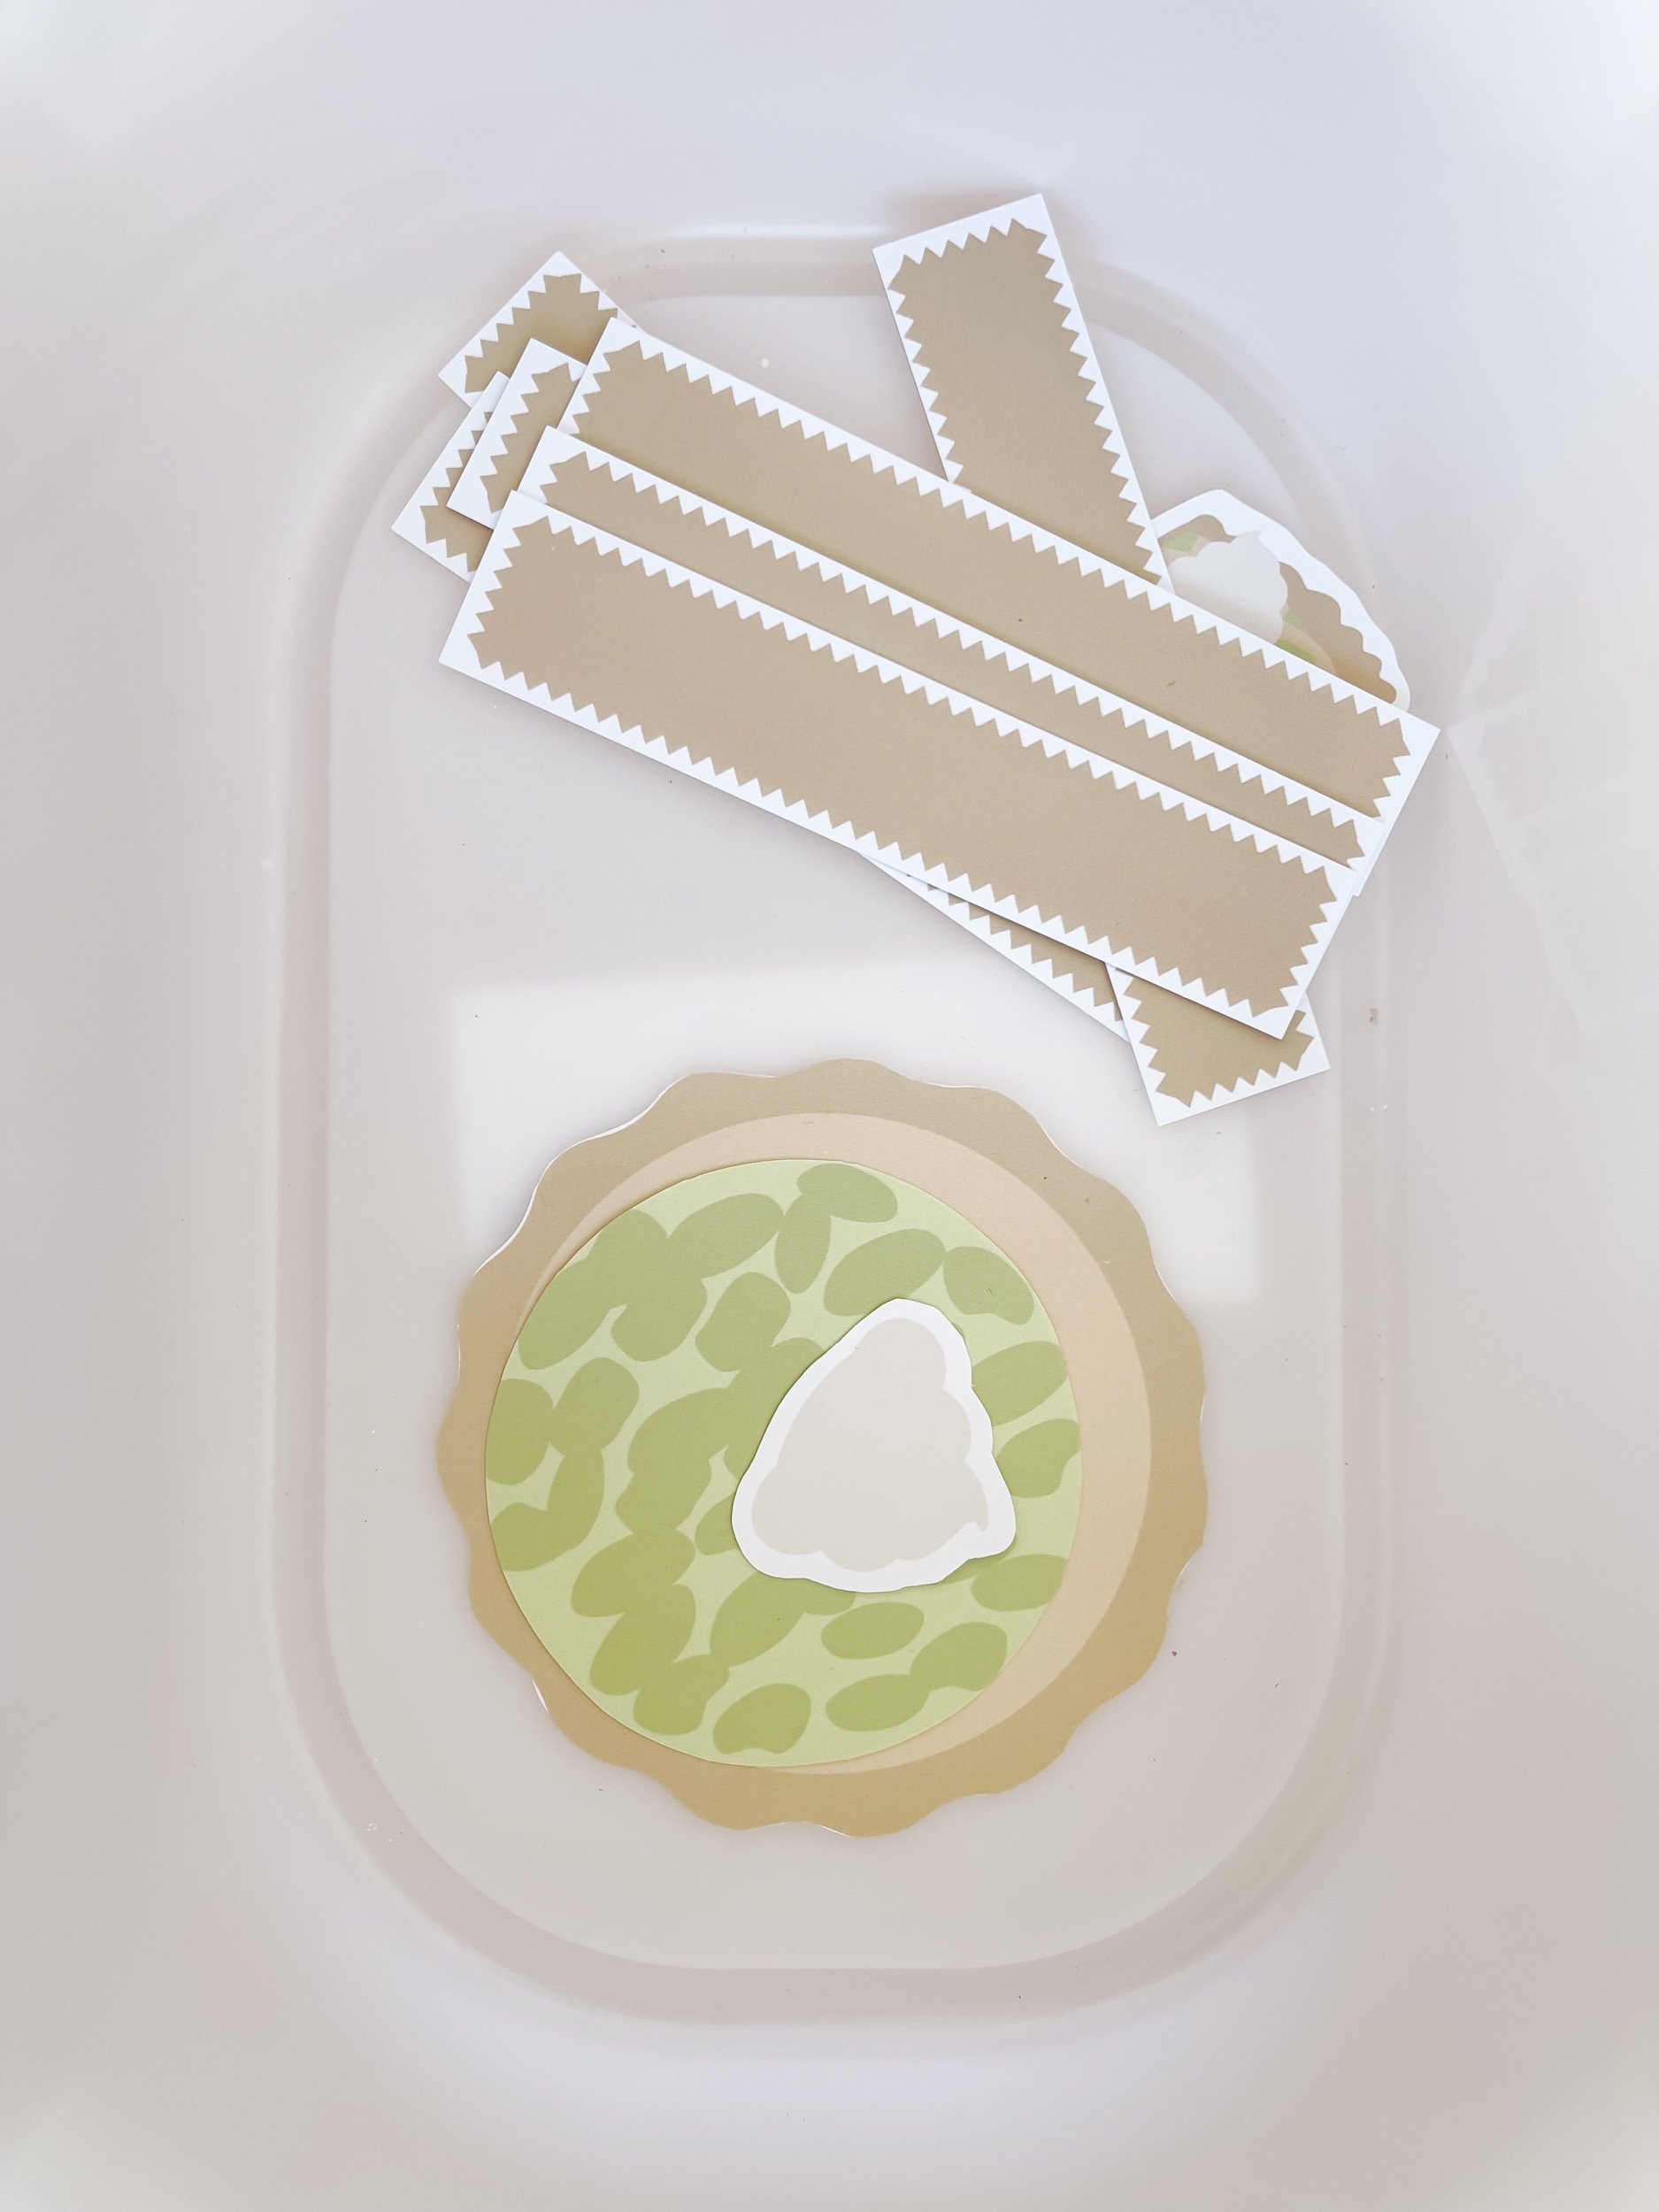
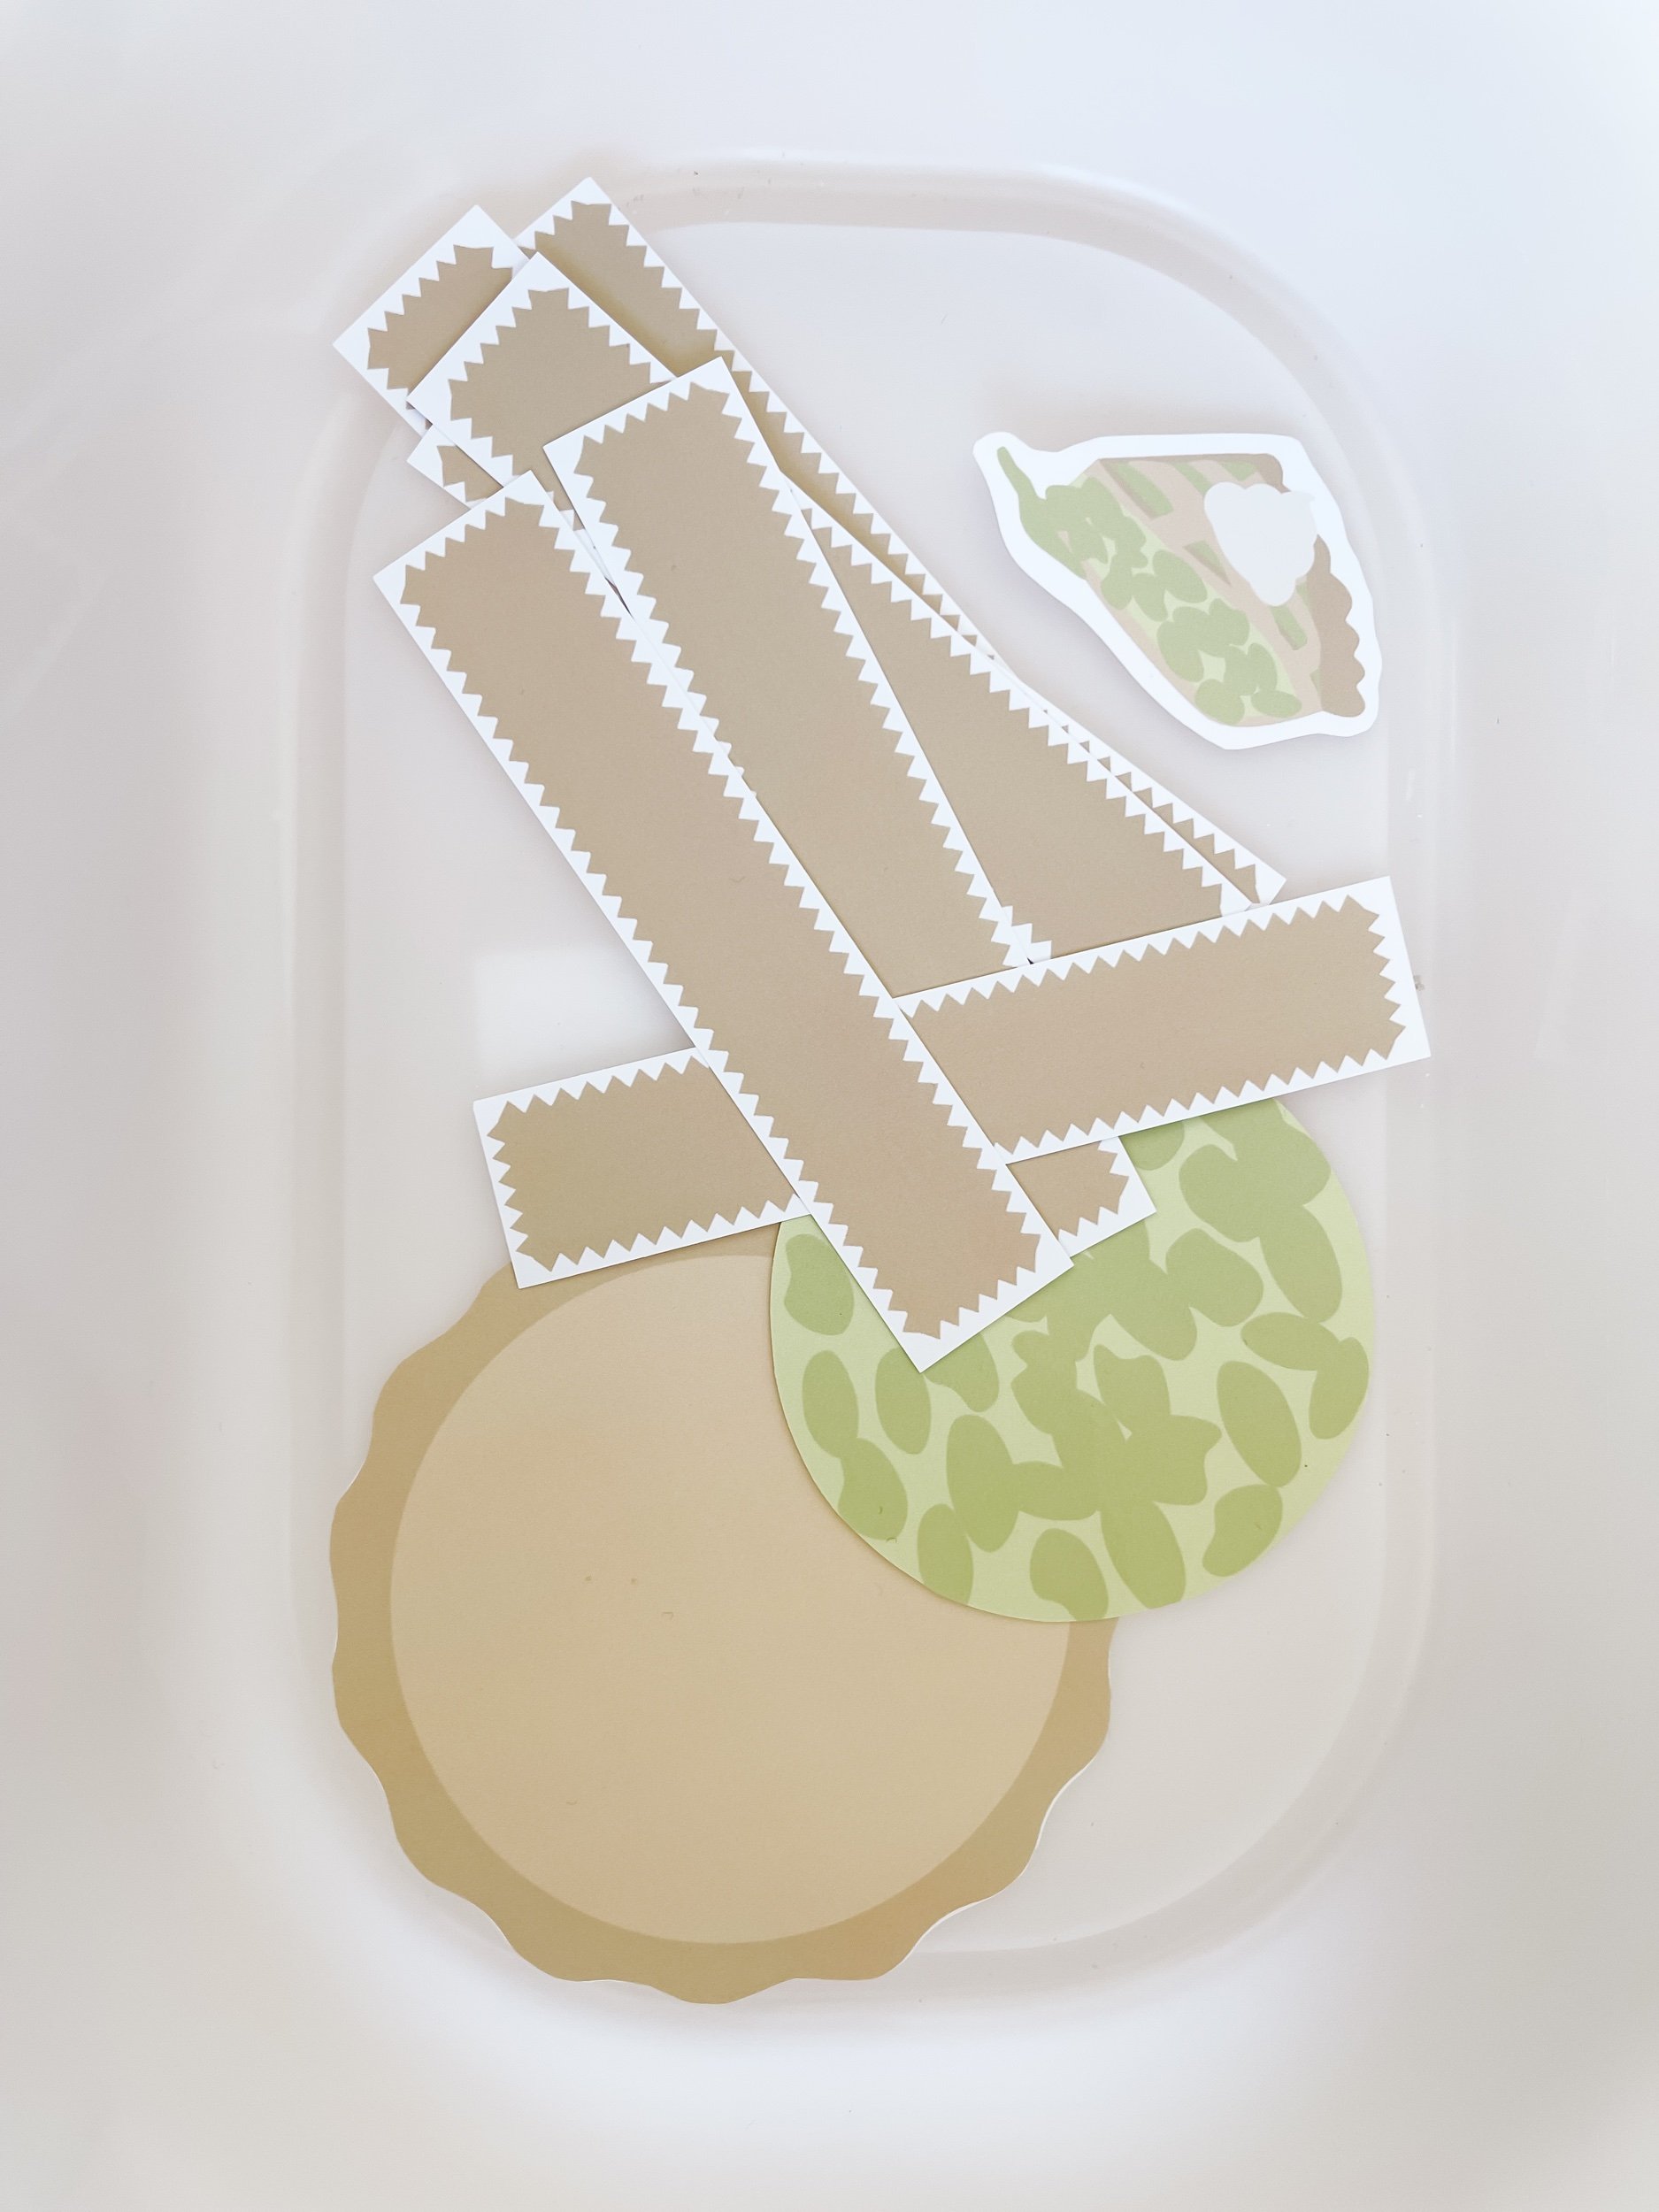
5. Pie Making Kit: Include printable pie-making kits, complete with pie crusts and filling options, offering a unique sensory play experience.
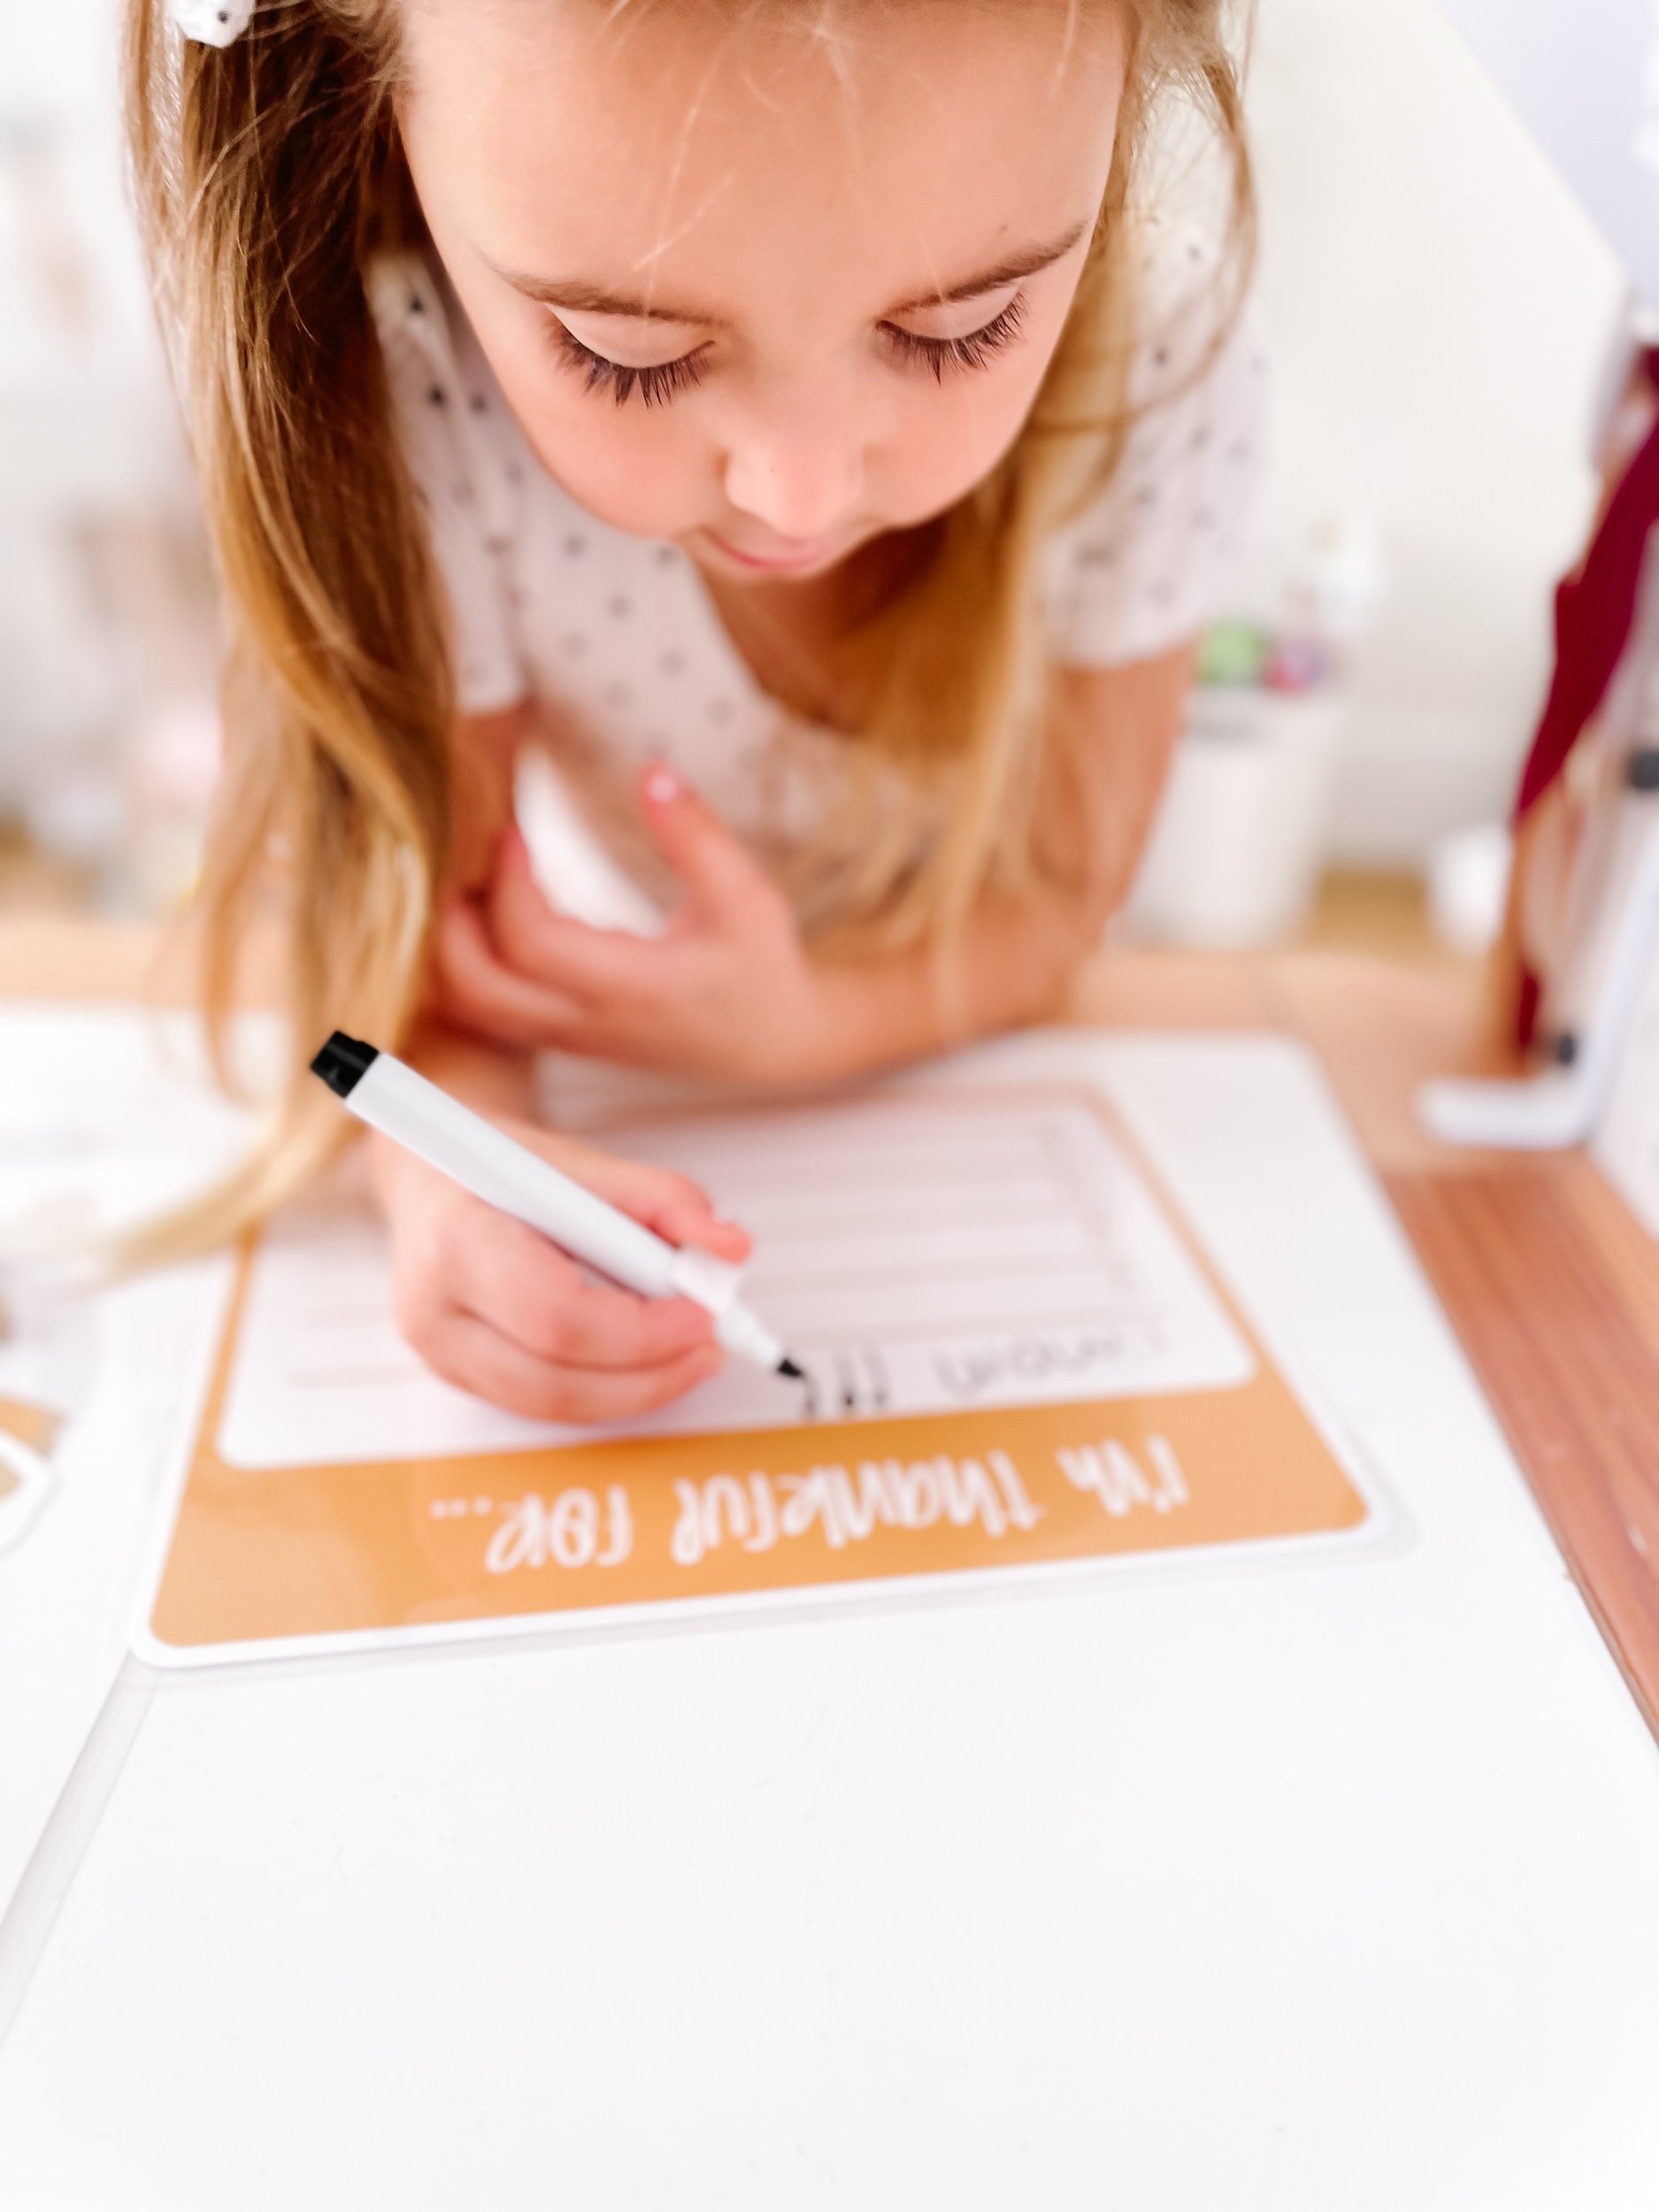
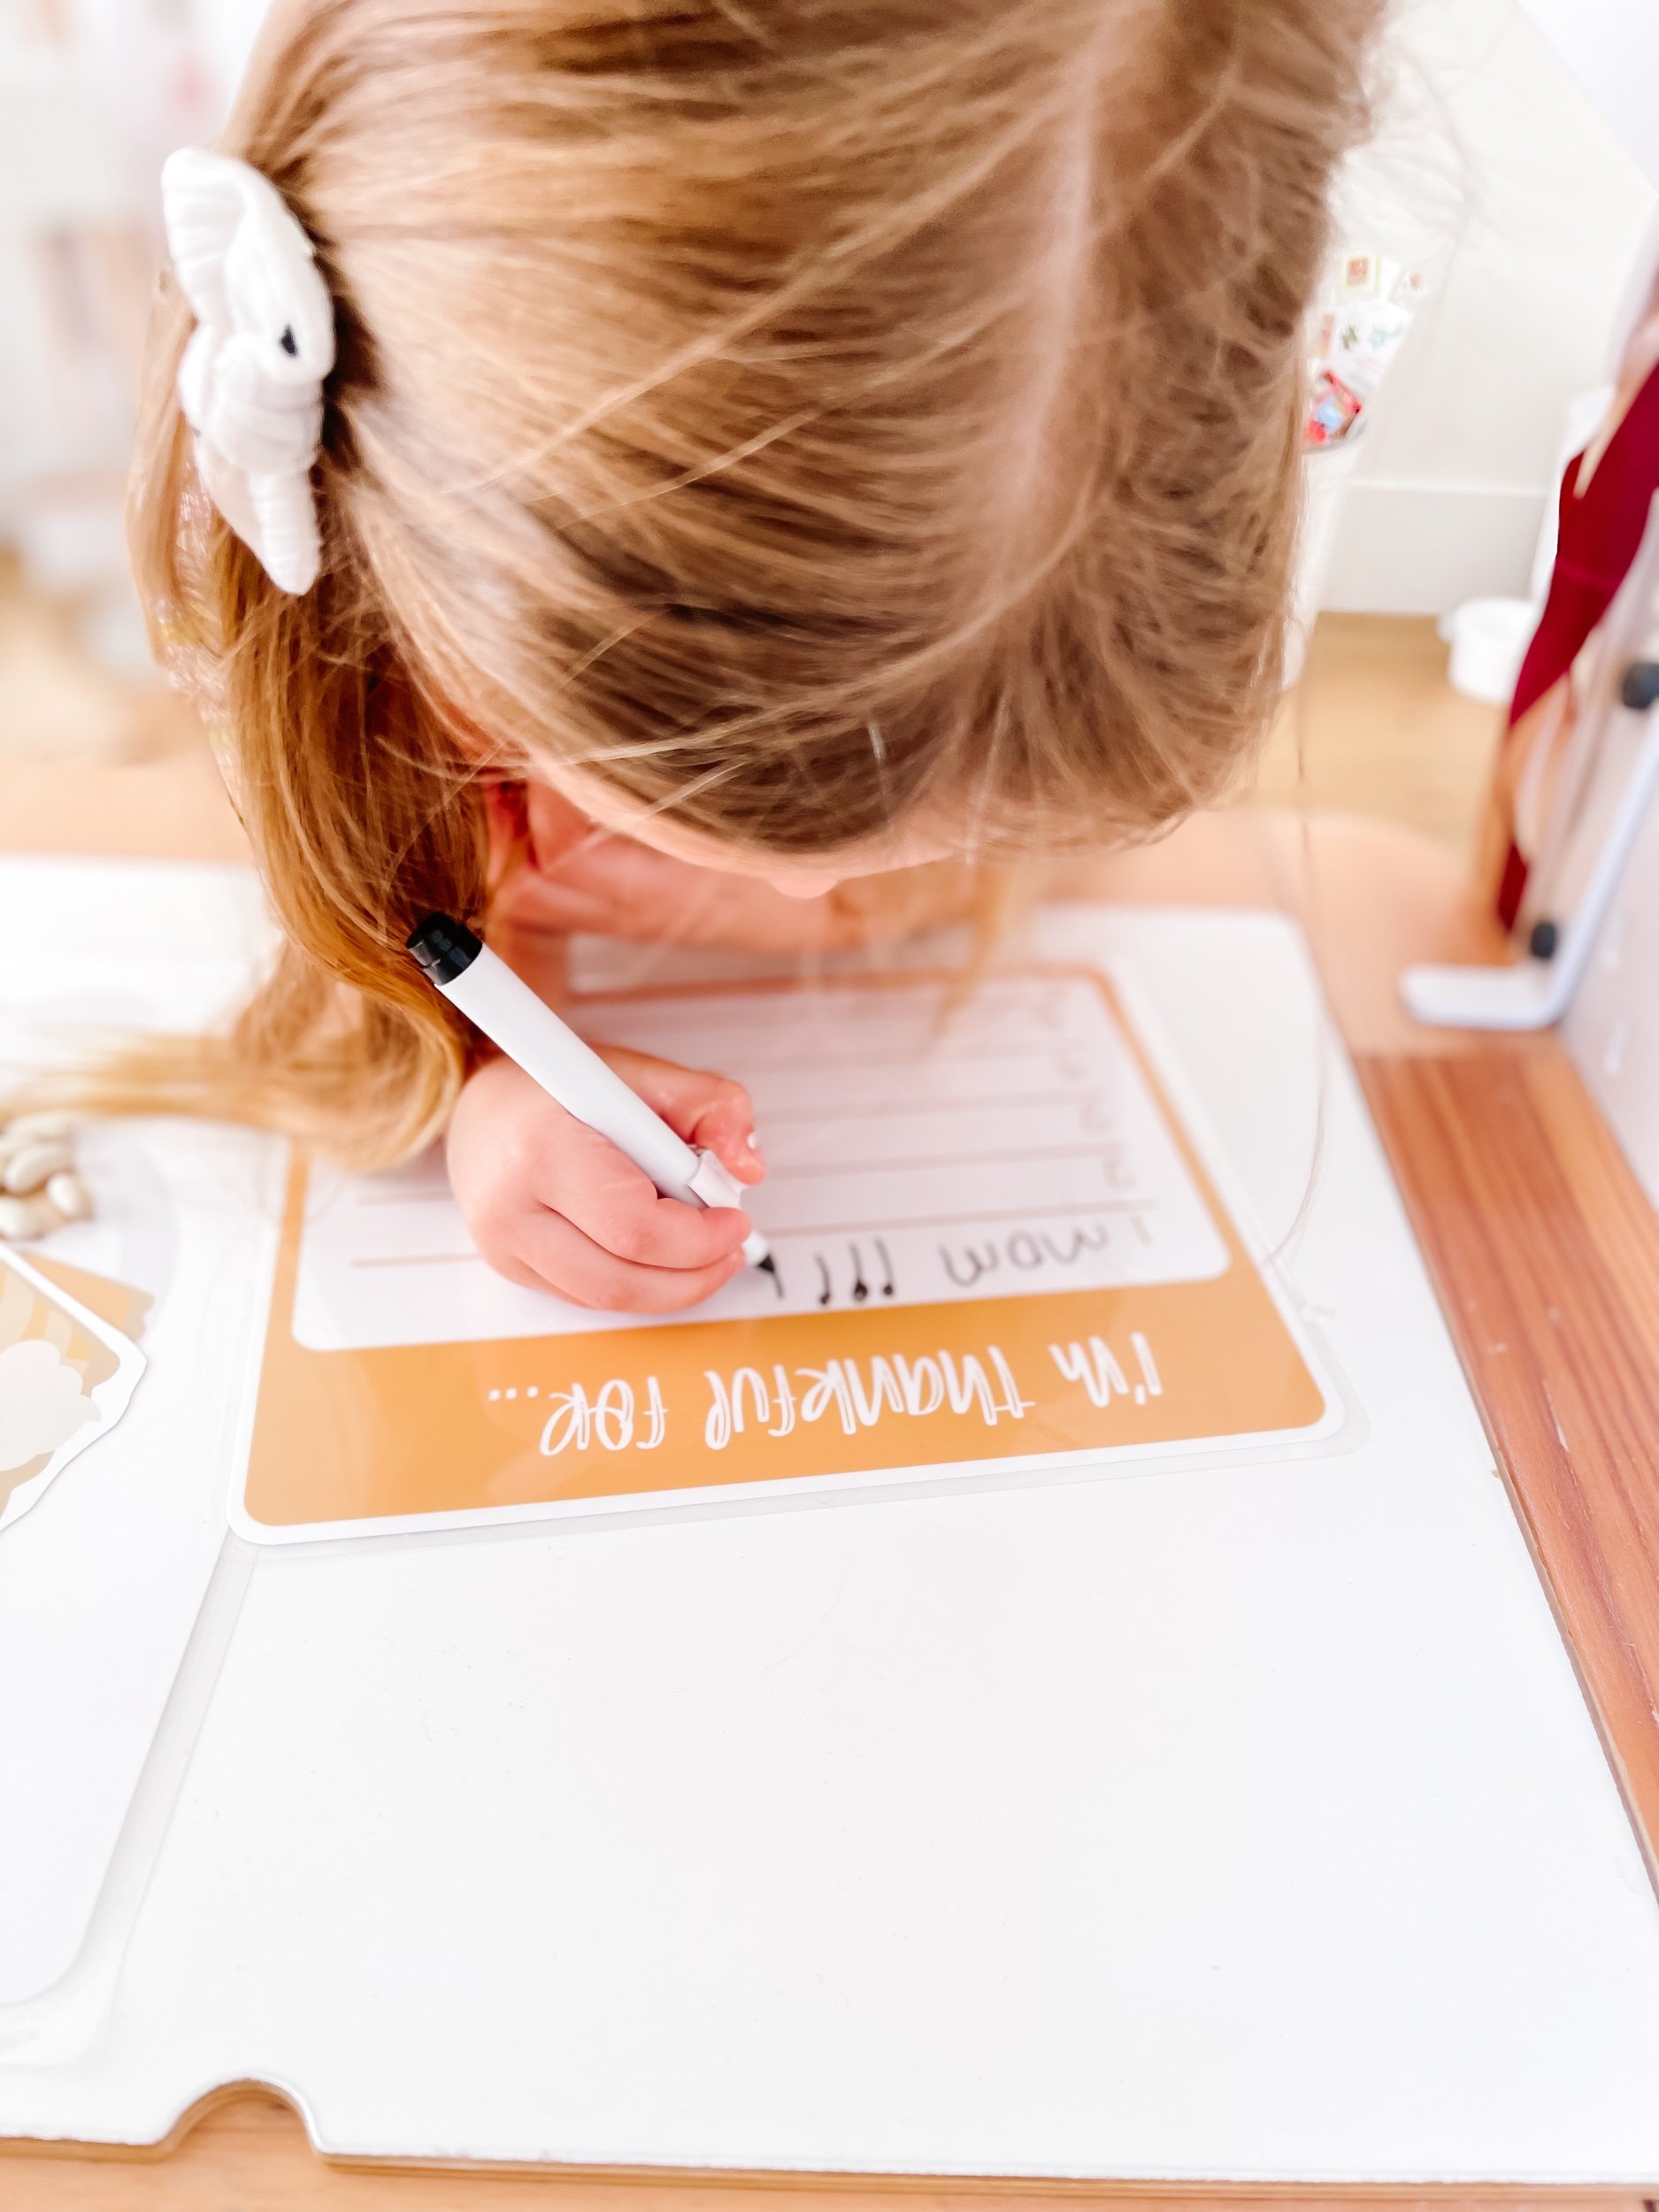
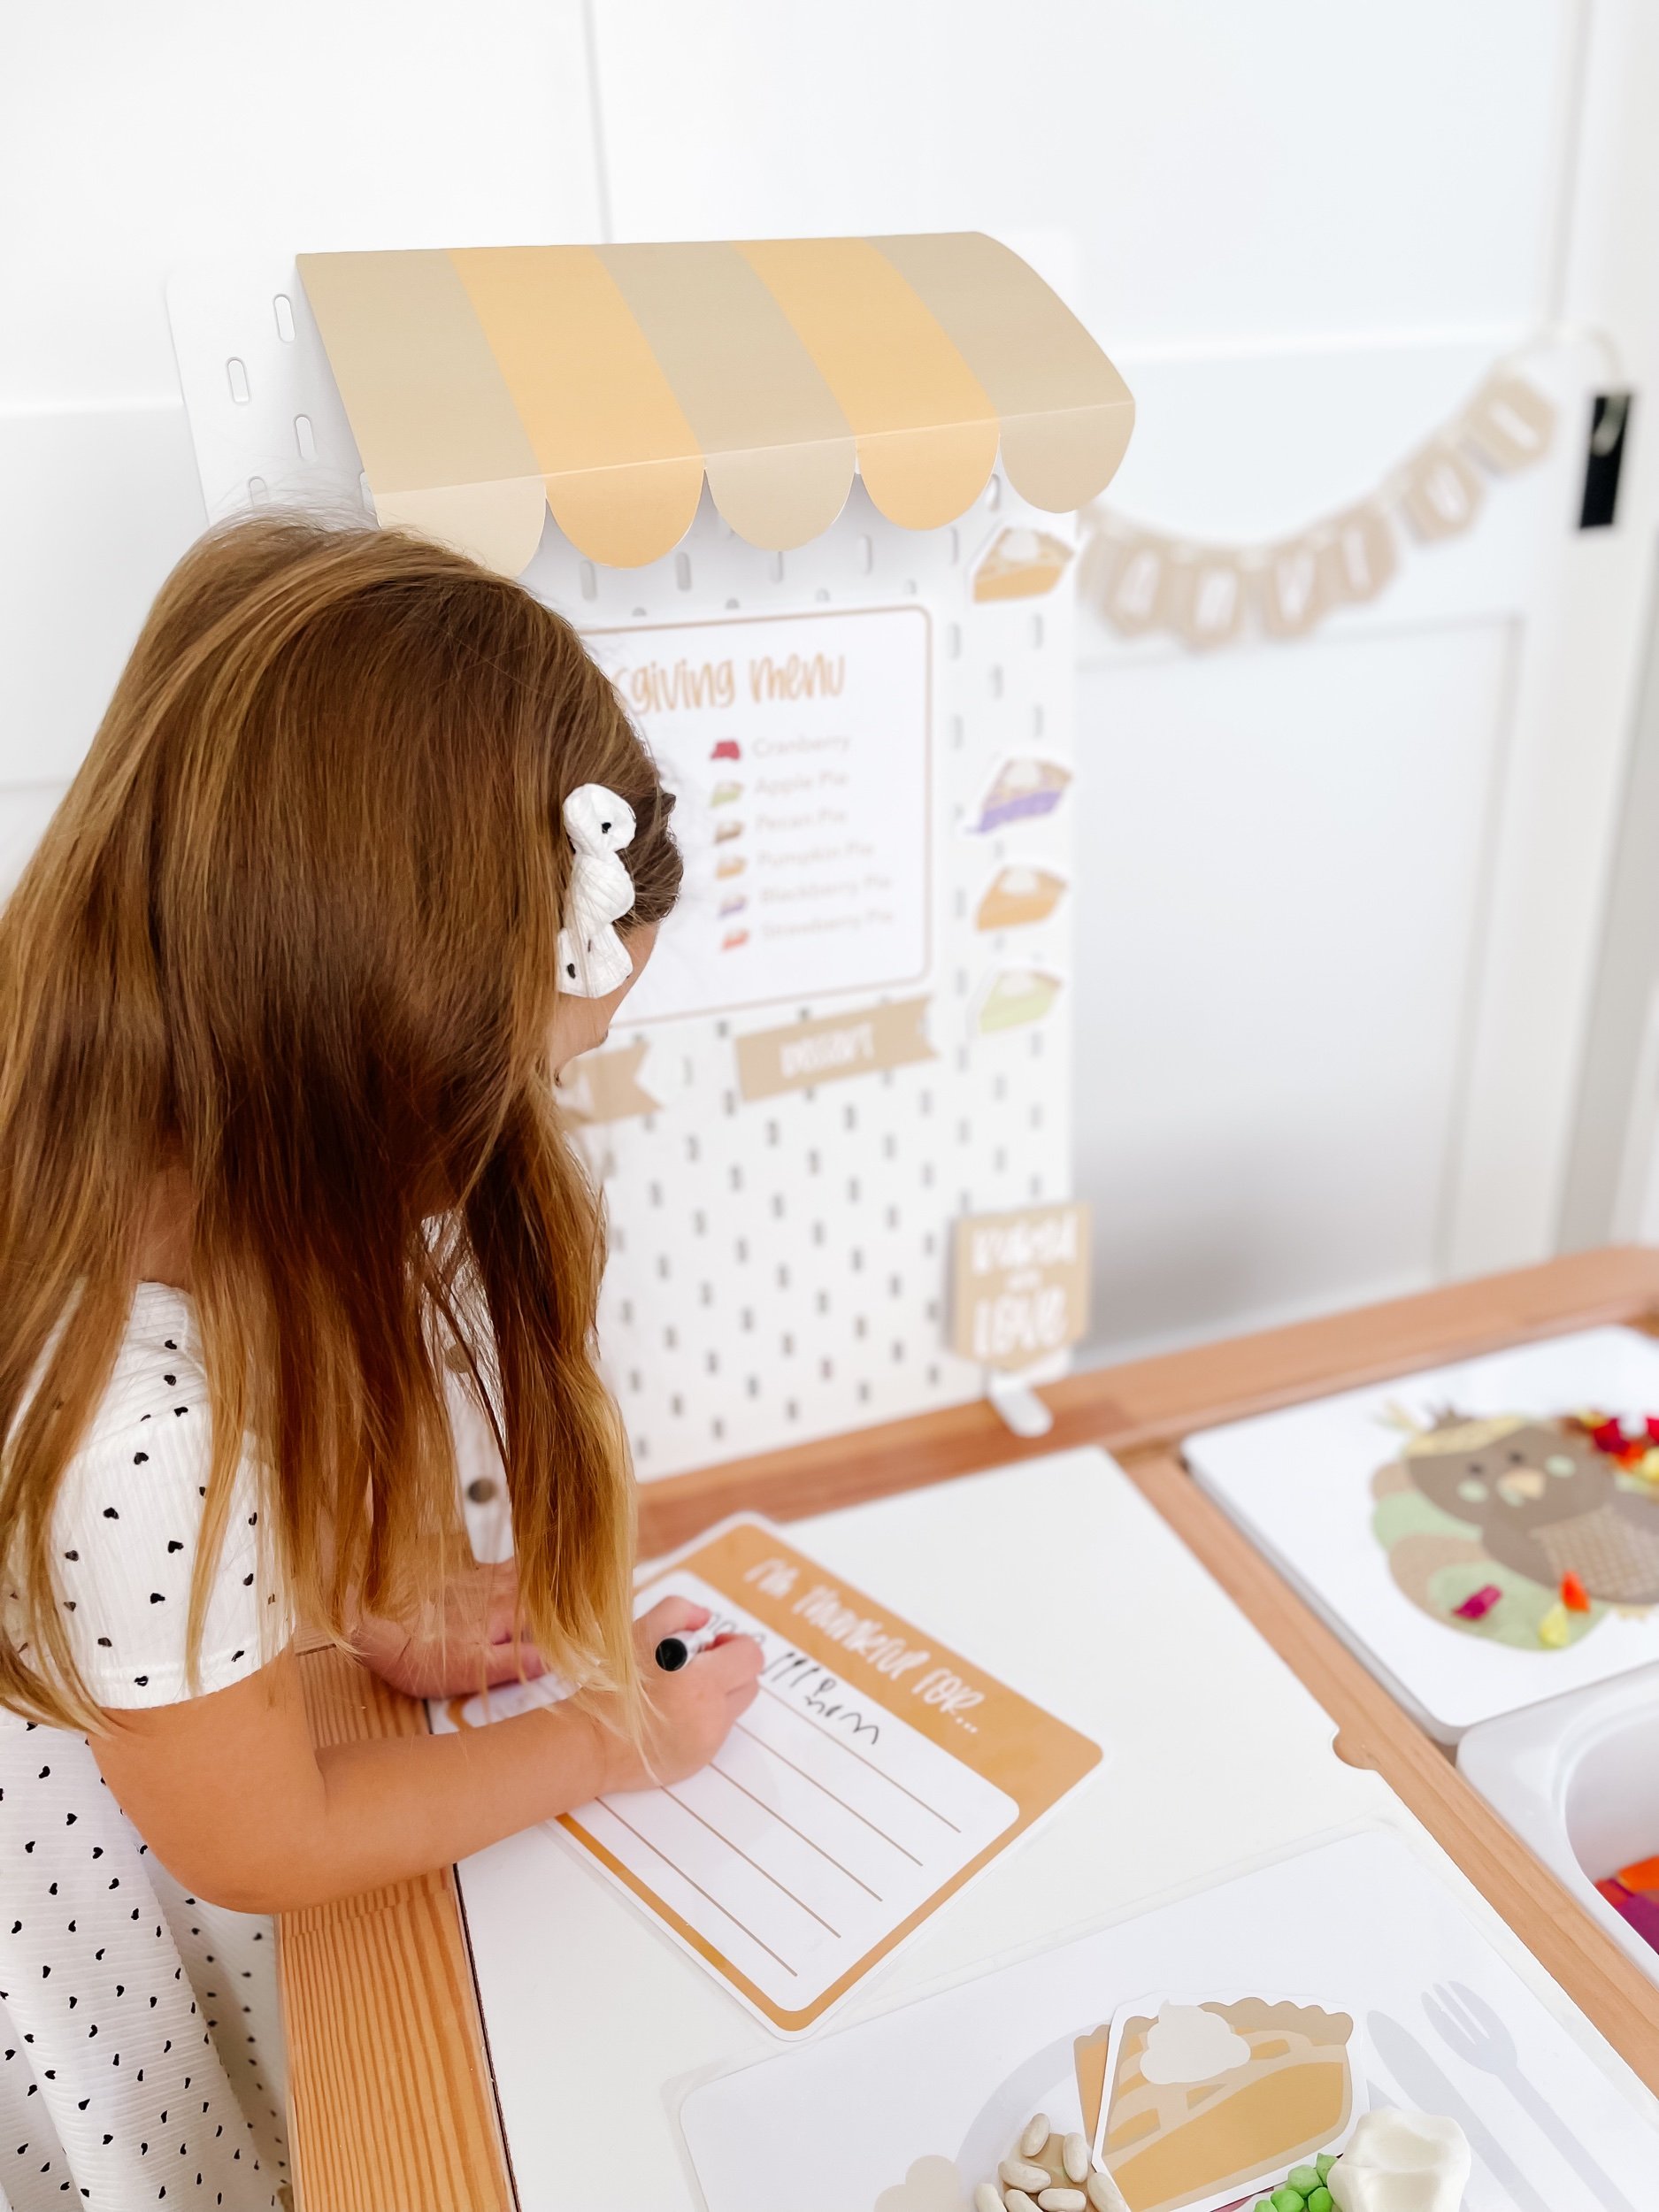
6. "What I'm Thankful For" Activity: Promote gratitude by designing printable sheets where preschoolers can draw or write about what they are thankful for. Display these sheets as part of the sensory setup.
7. Matching Awning: Create a matching awning that adds a touch of flair to the Flisat table, elevating the visual appeal of the sensory play setup.

Three Different Sensory Bin Fillers

Now, let's dive into the three exciting sensory bin fillers that perfectly complement our Thanksgiving-themed setup:

IMG_2640.jpeg IMG_2625.jpeg IMG_2646.jpeg IMG_2657.jpeg IMG_2650_jpg.jpeg IMG_2644.jpeg IMG_2624.jpeg

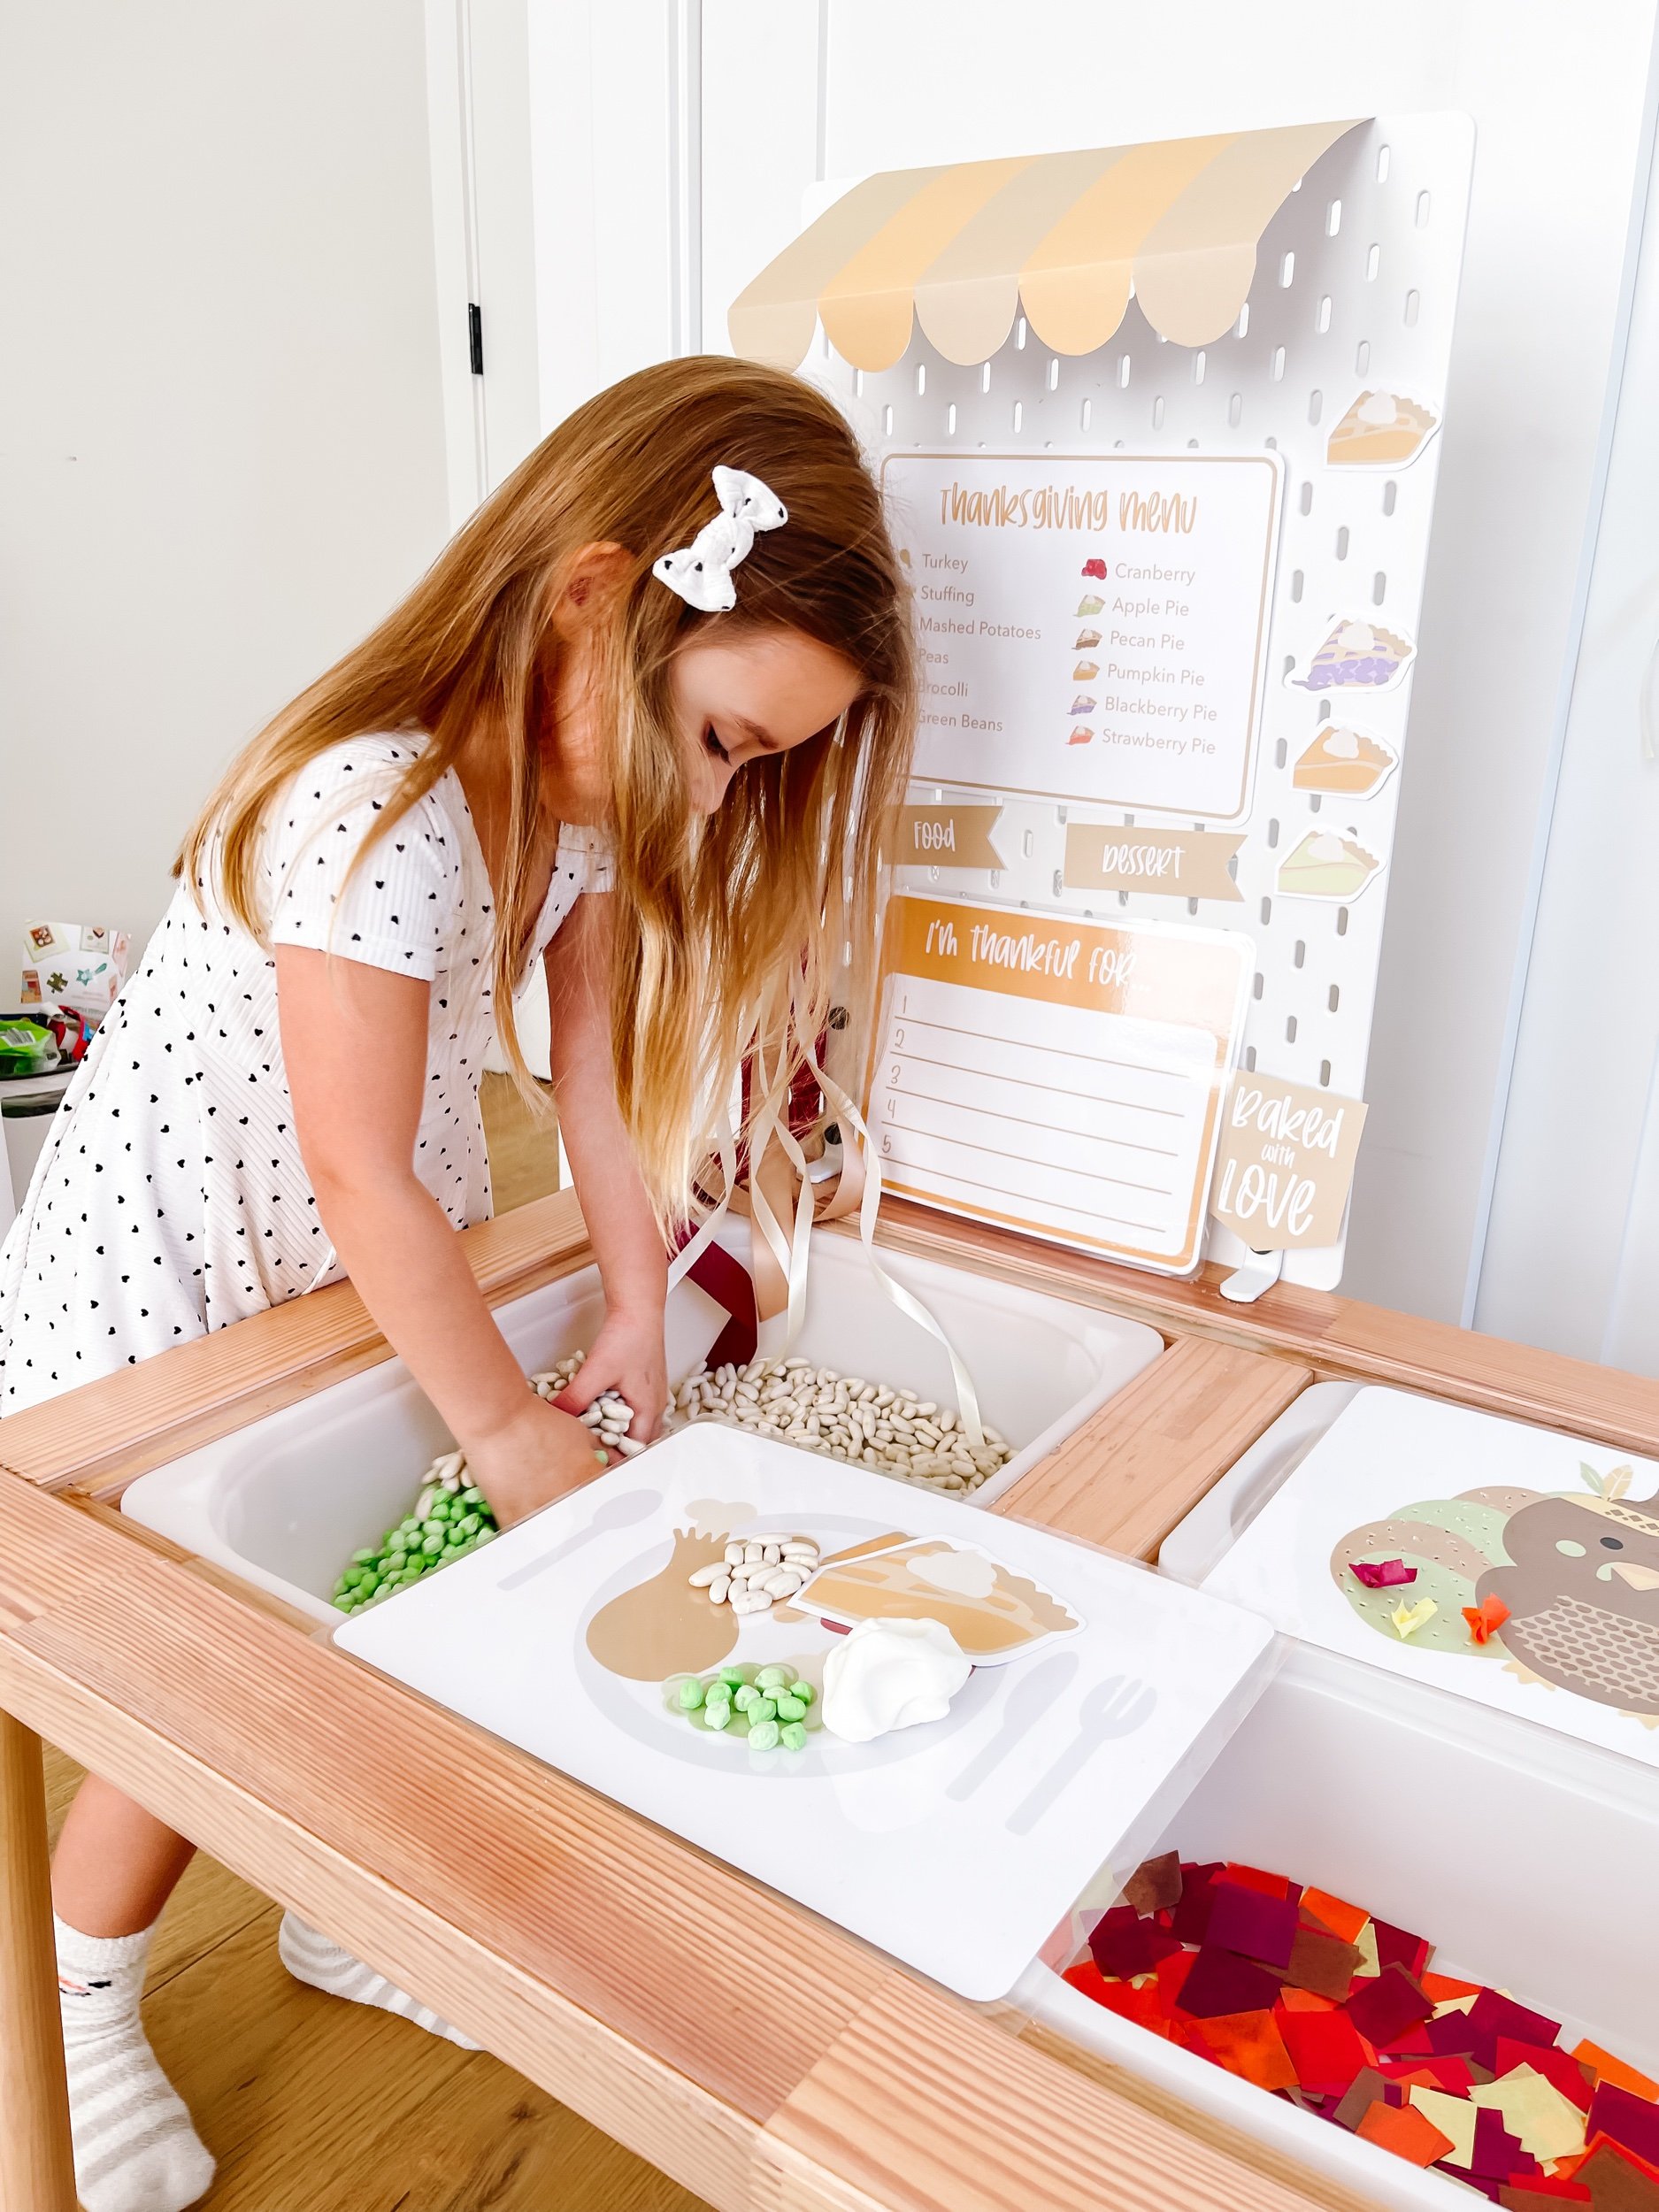
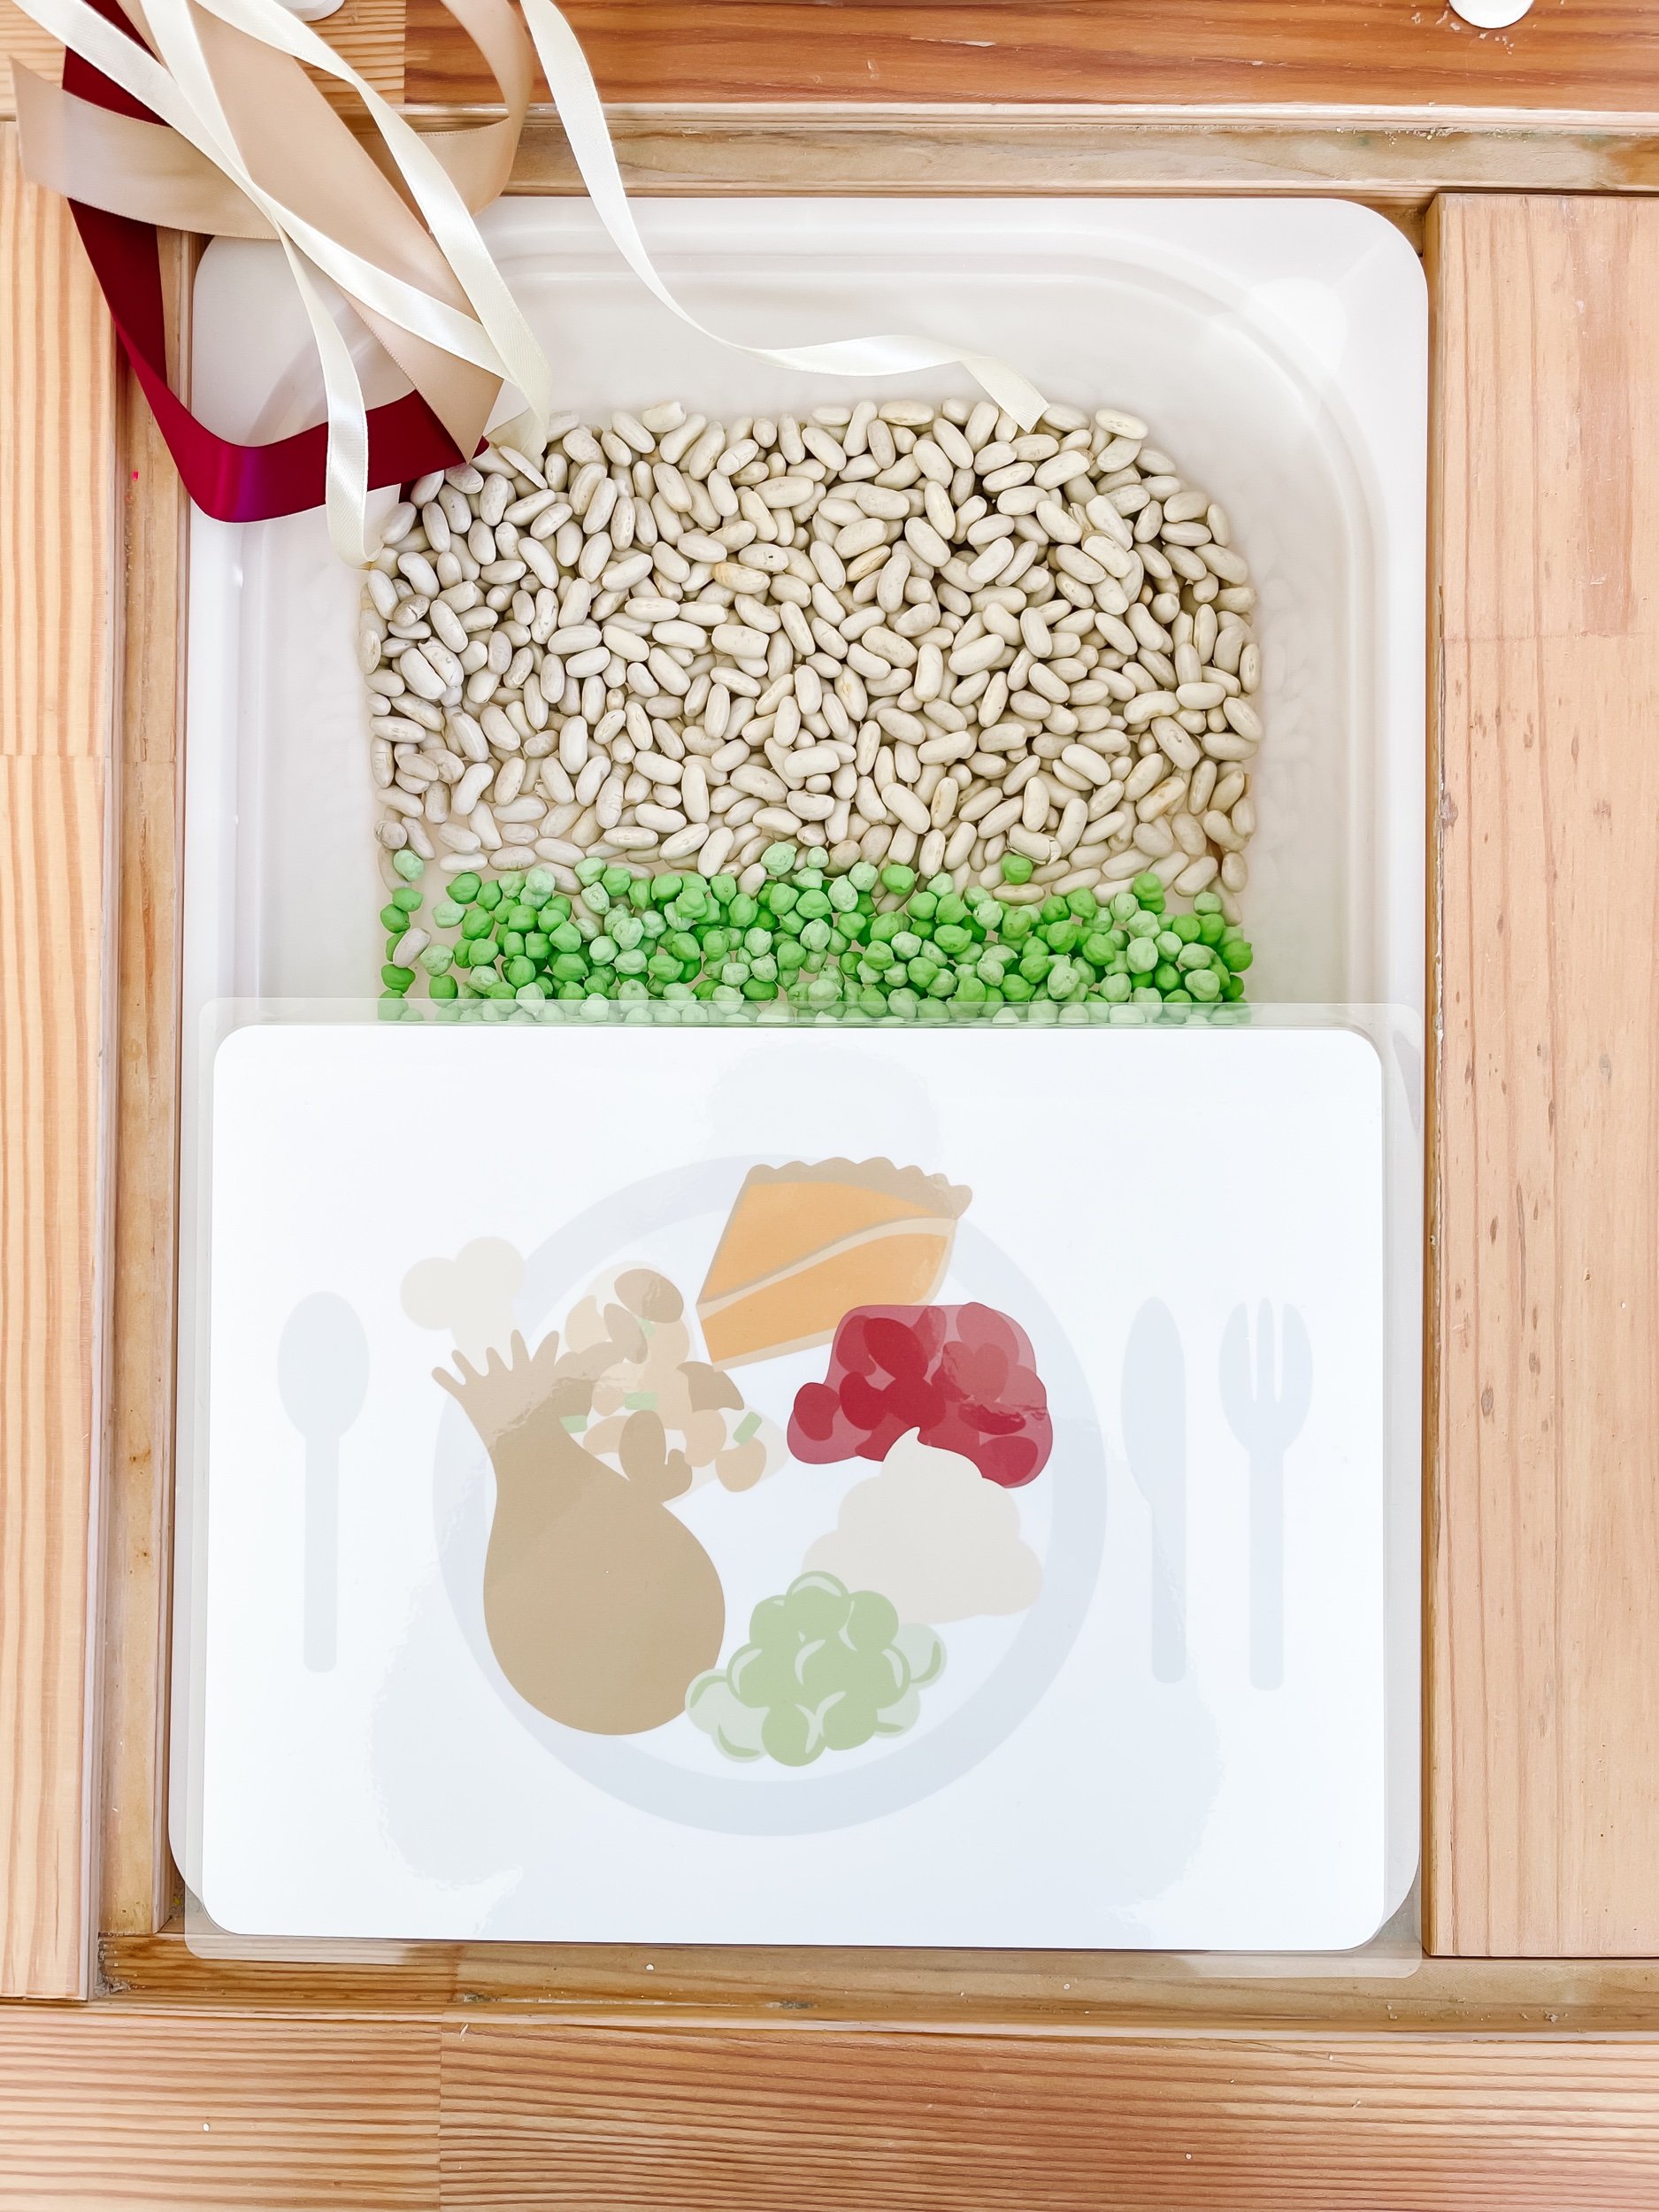
1. Thanksgiving Dinner Bin:

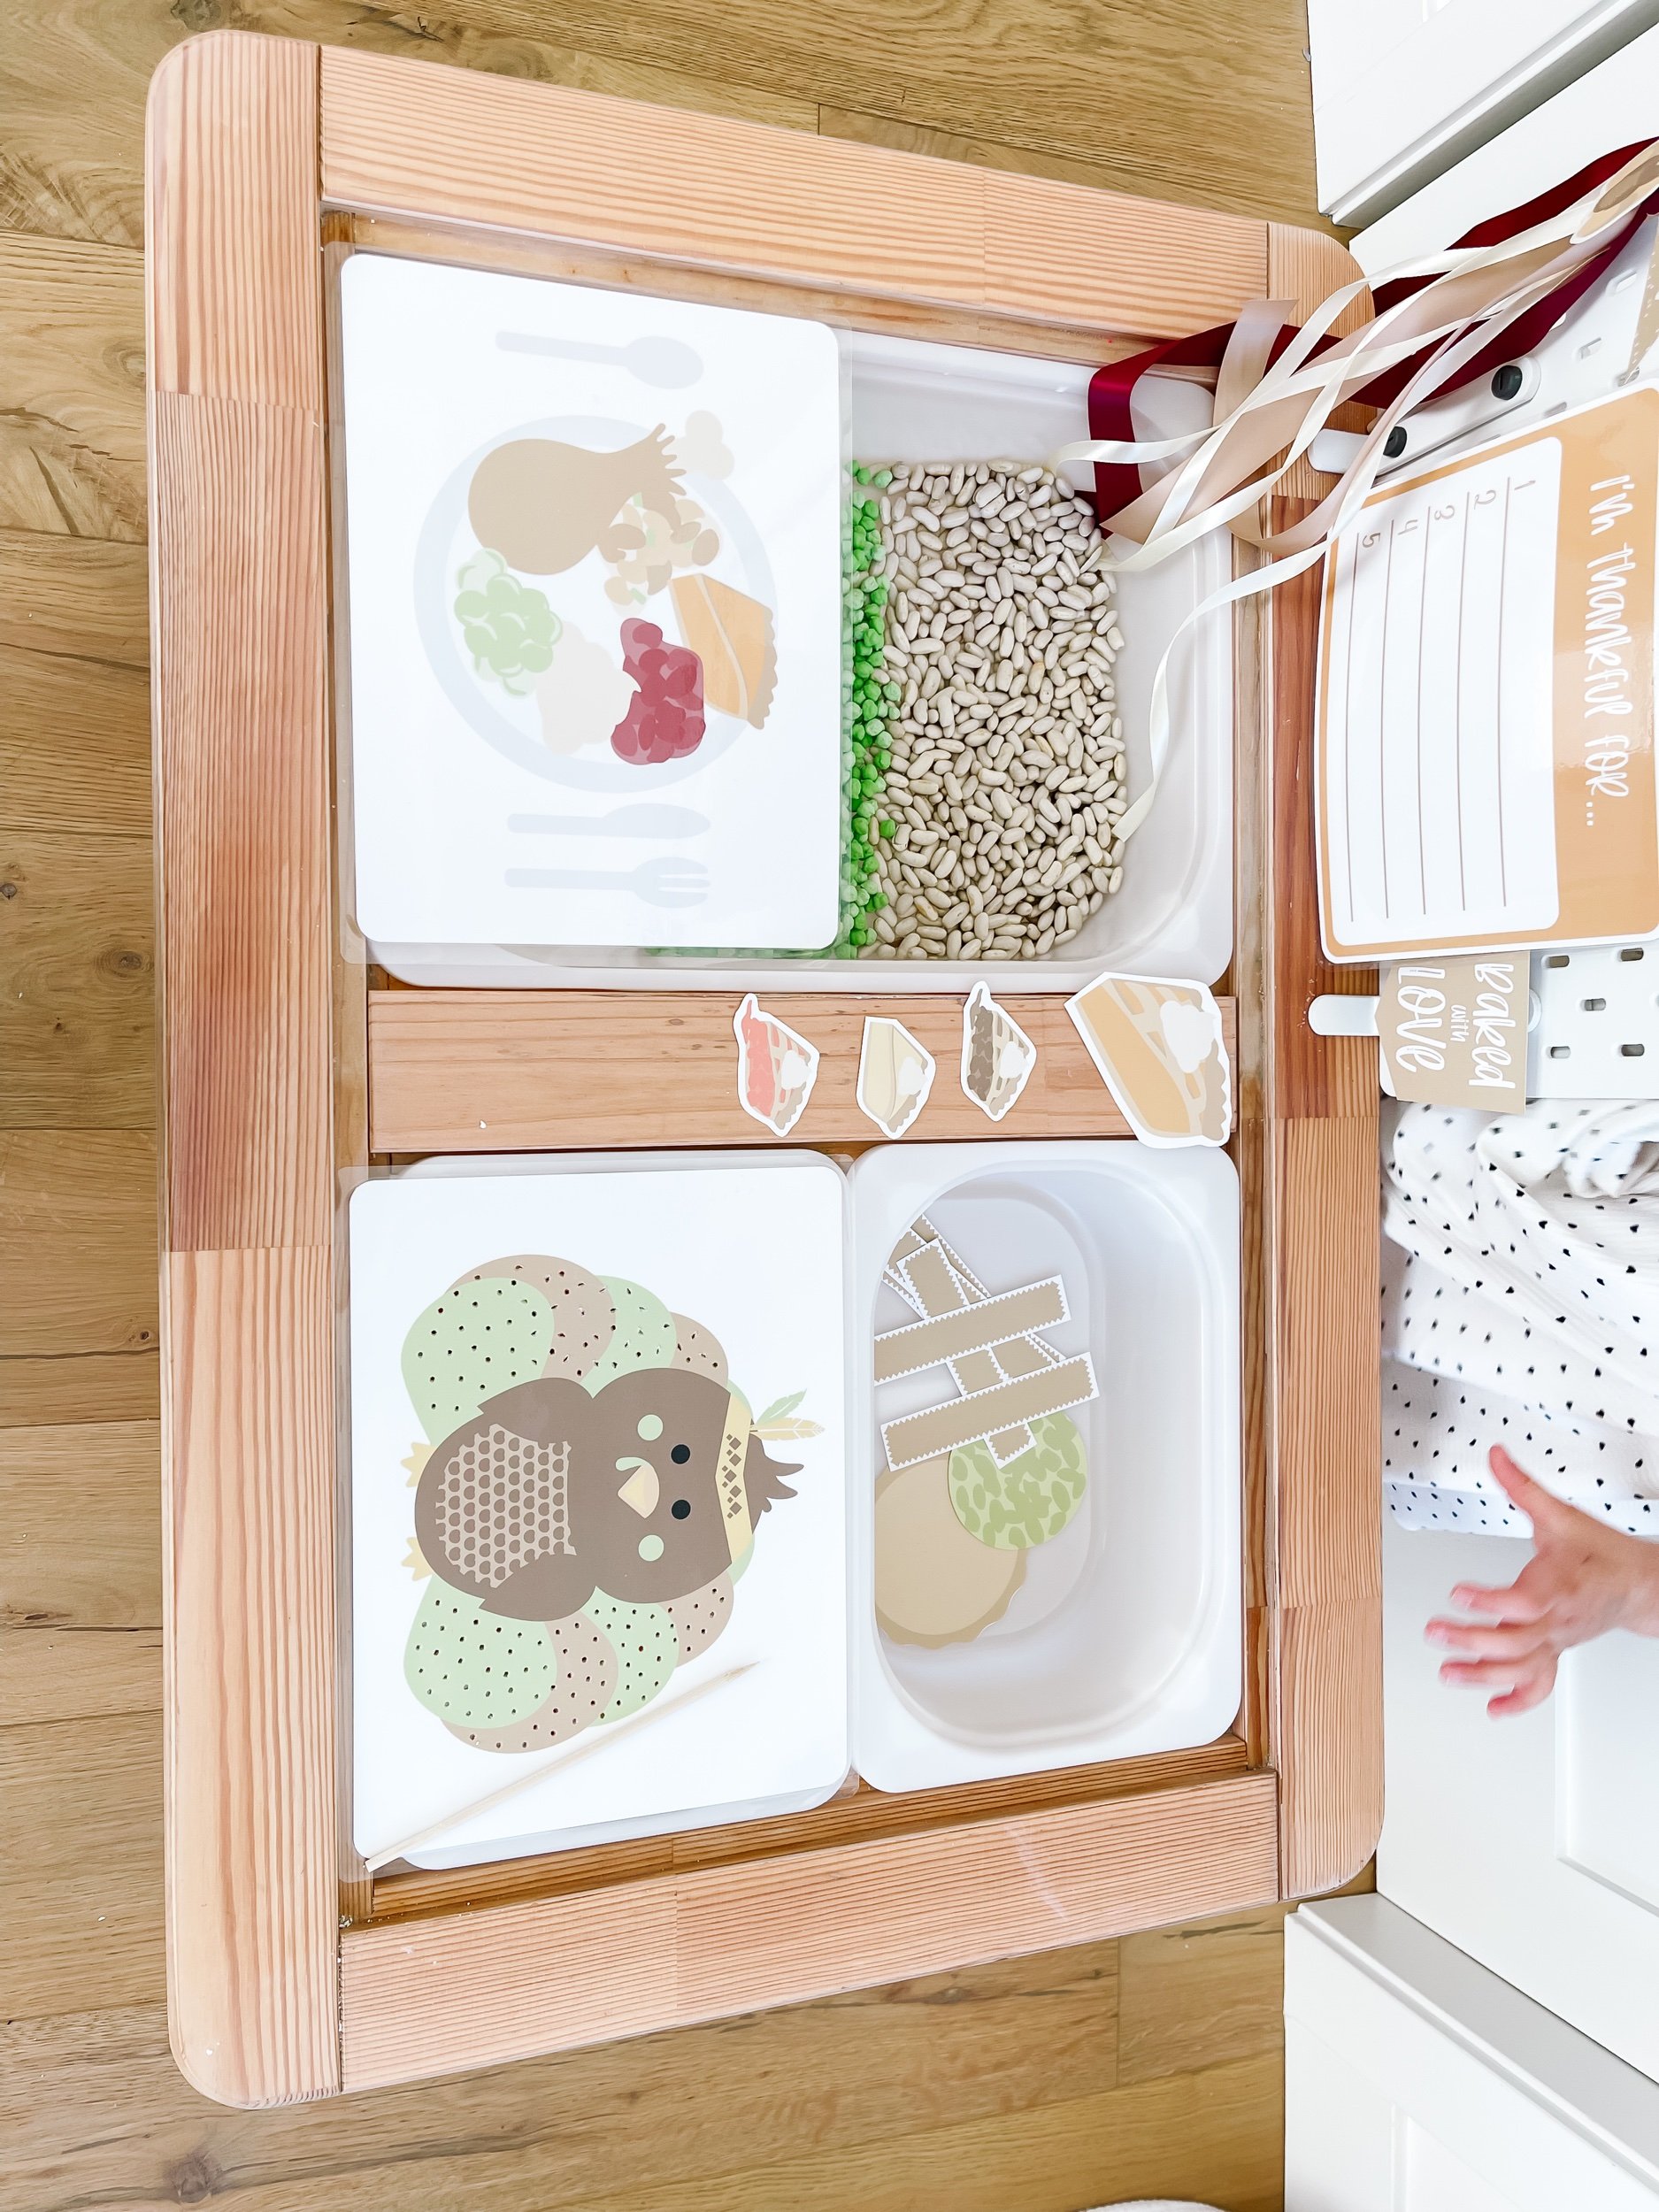
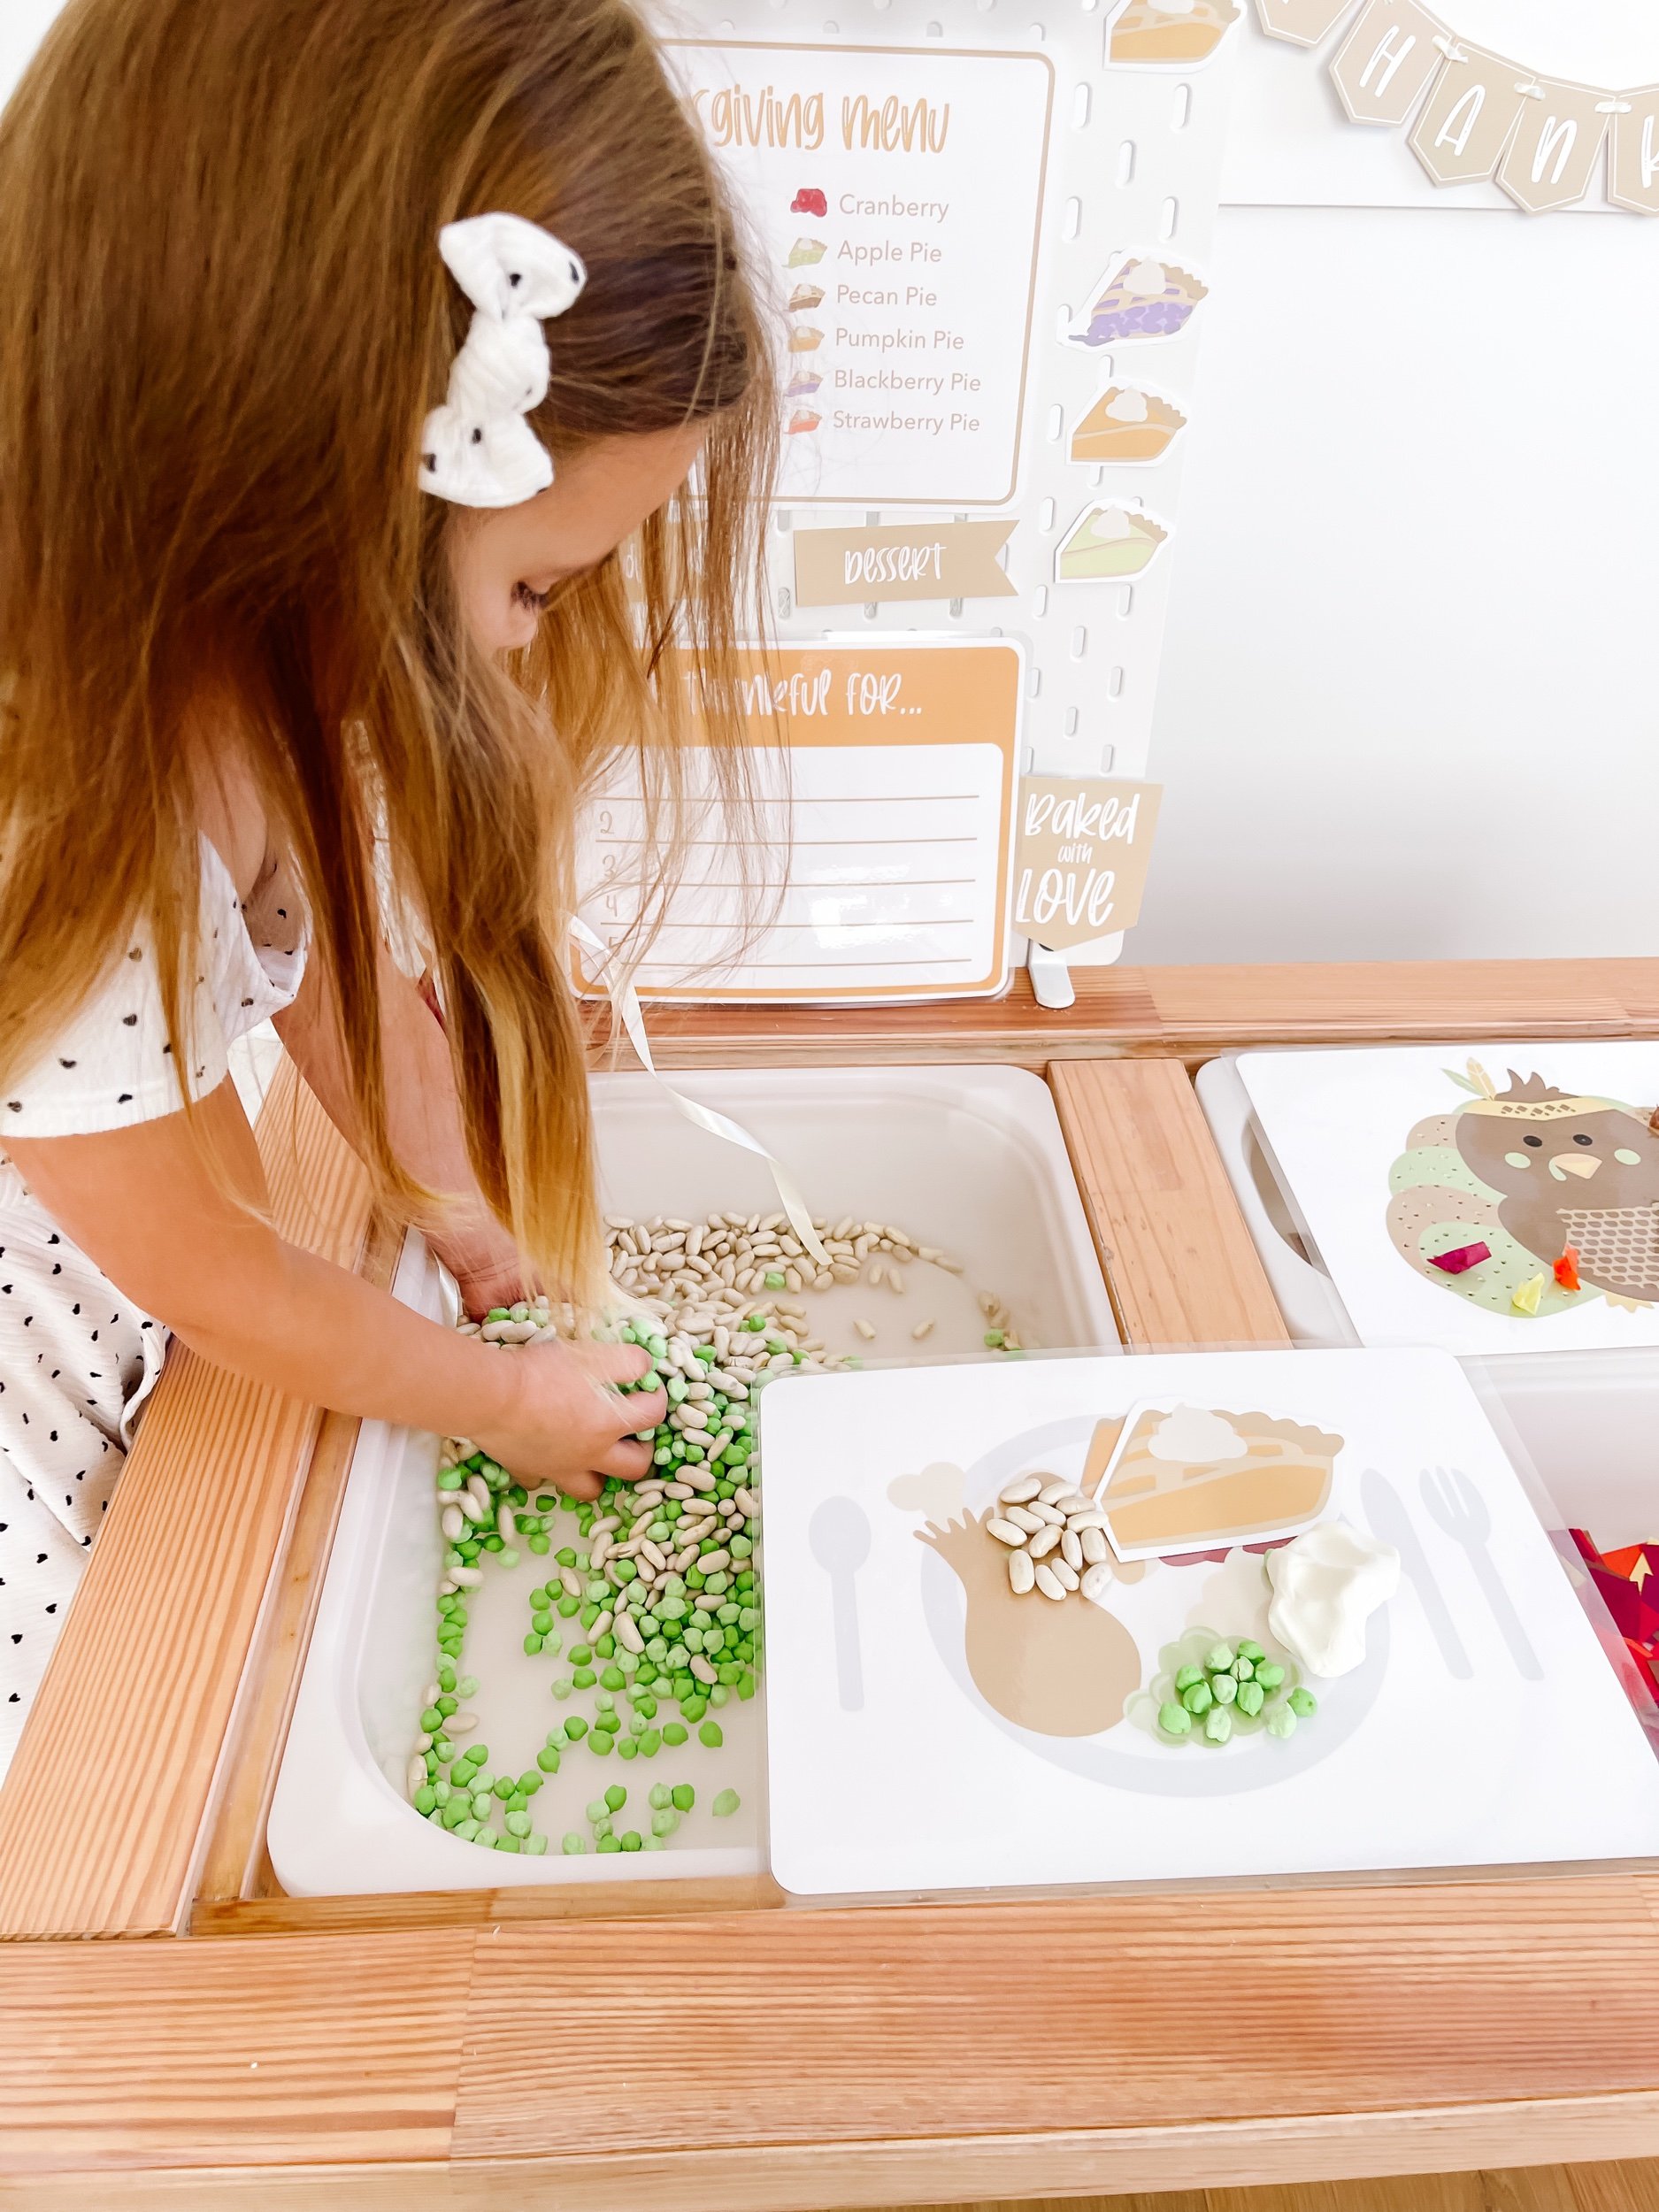
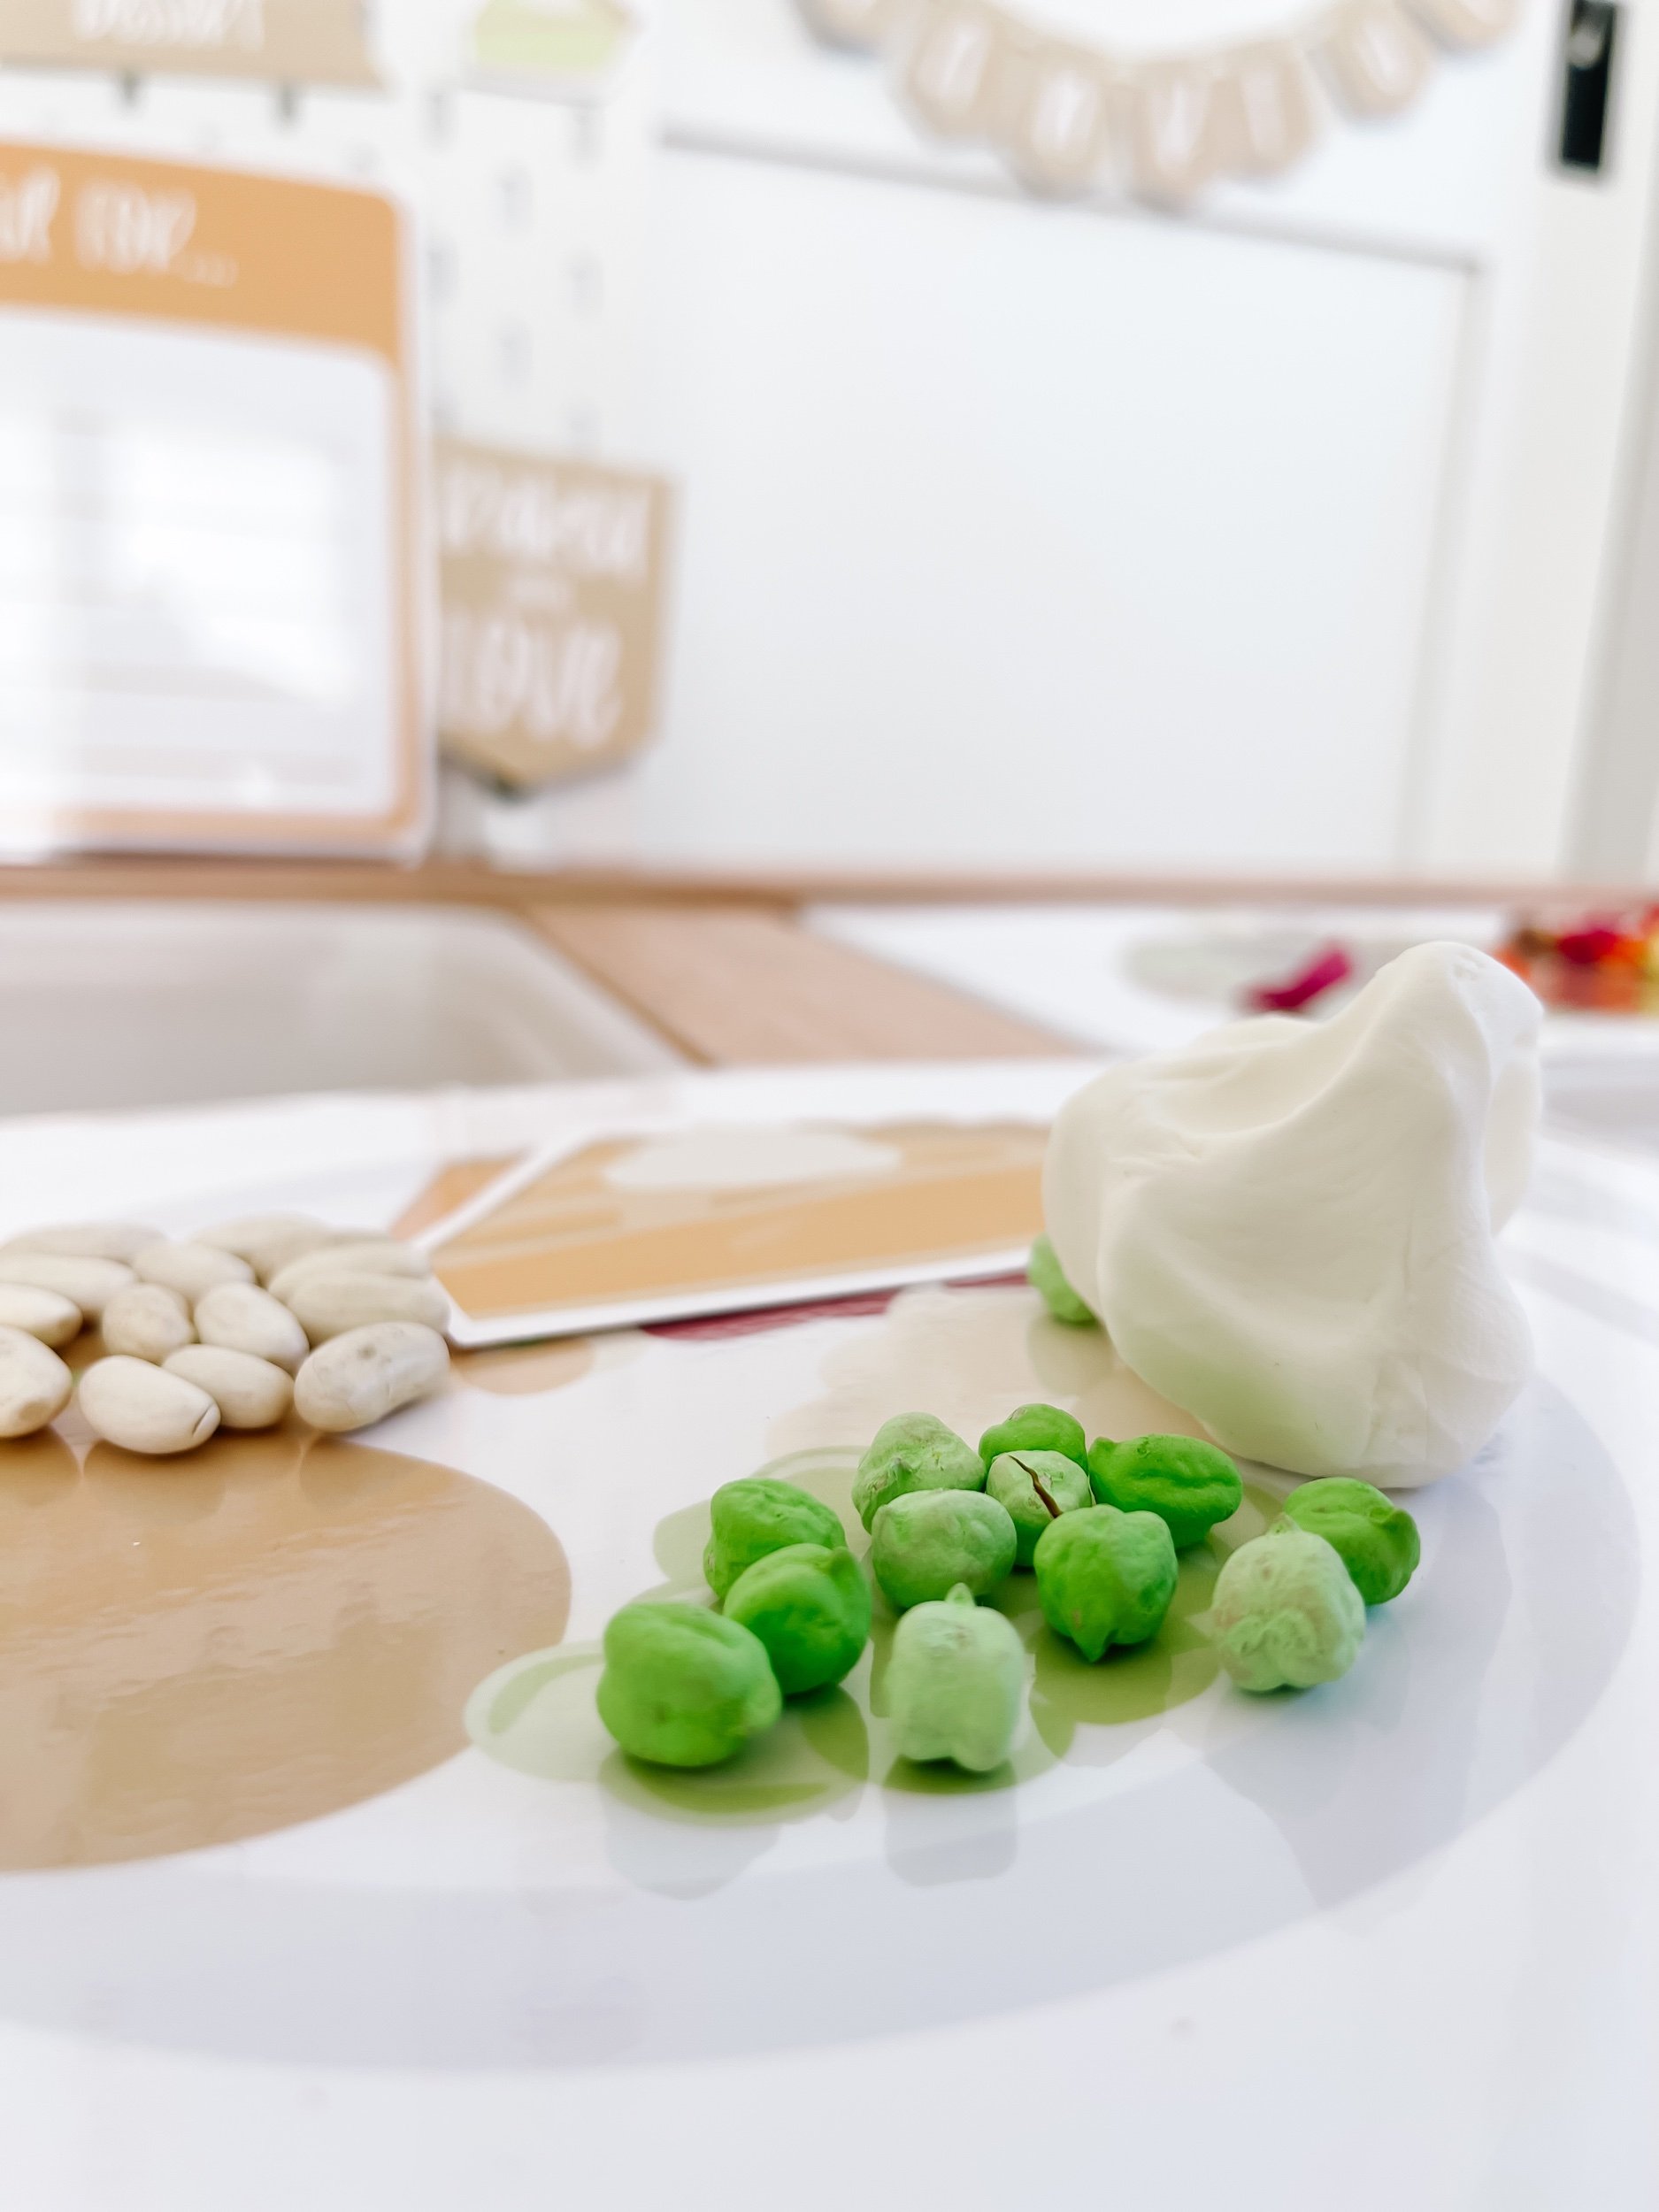
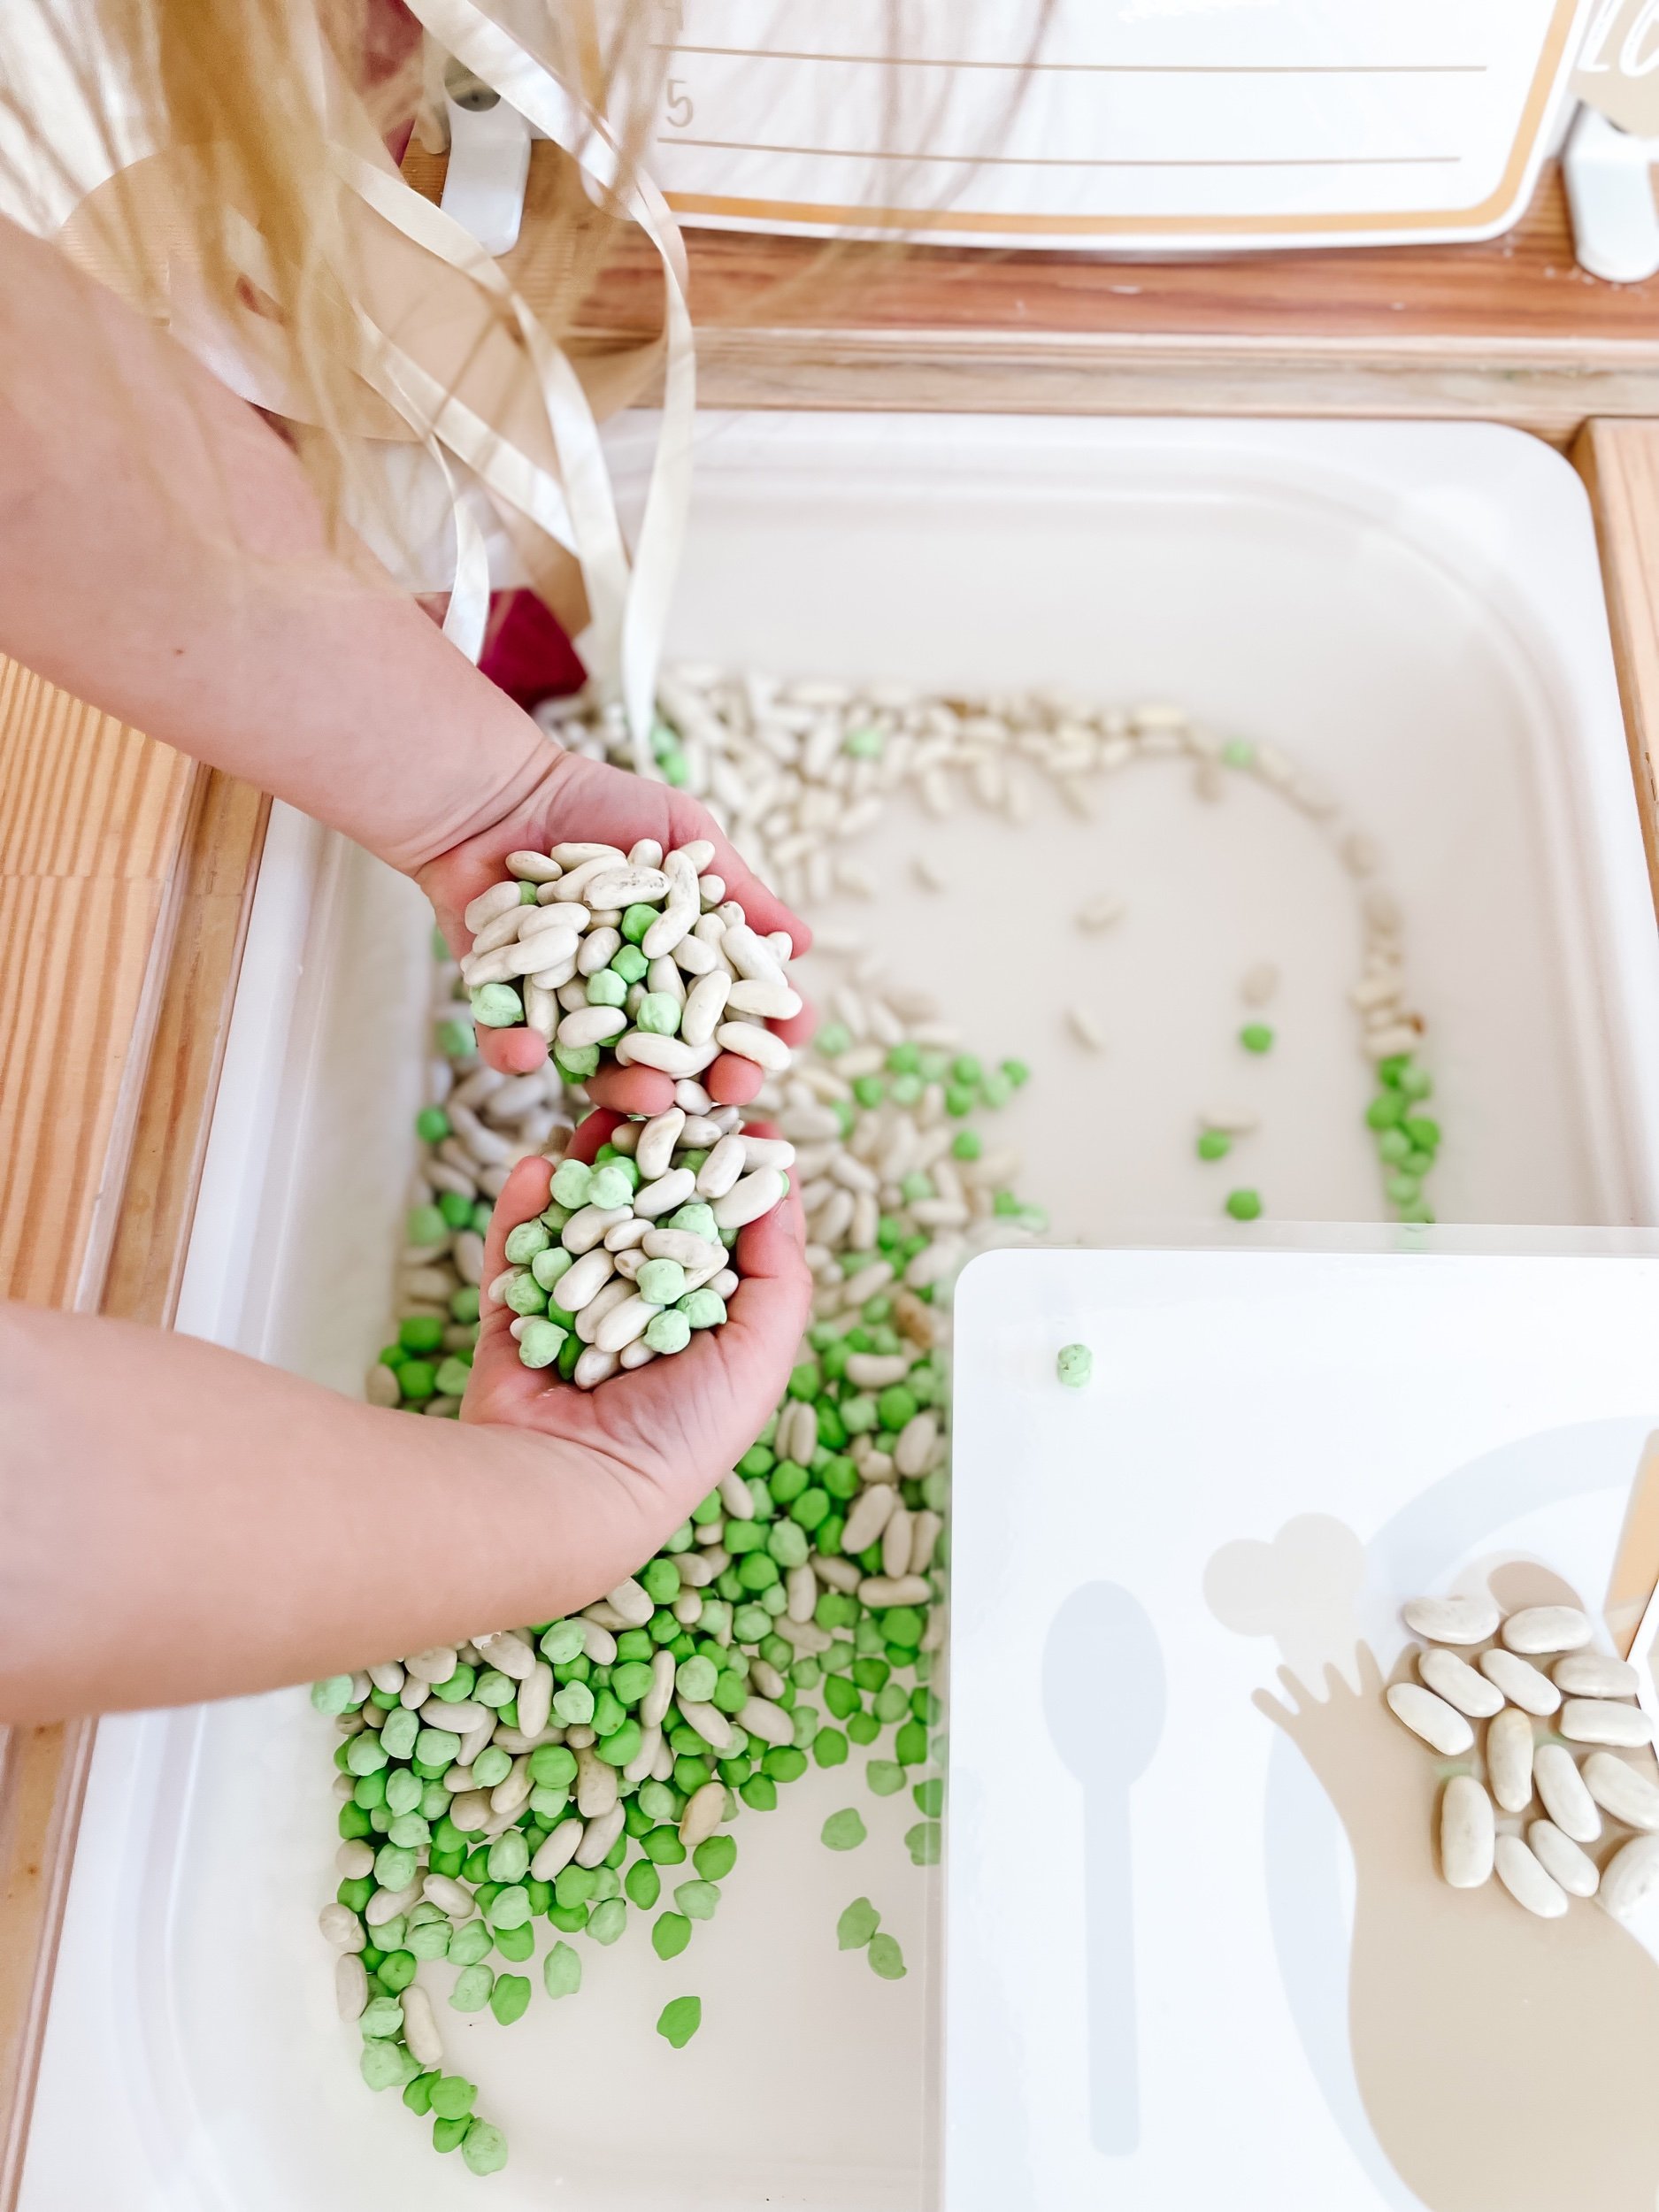
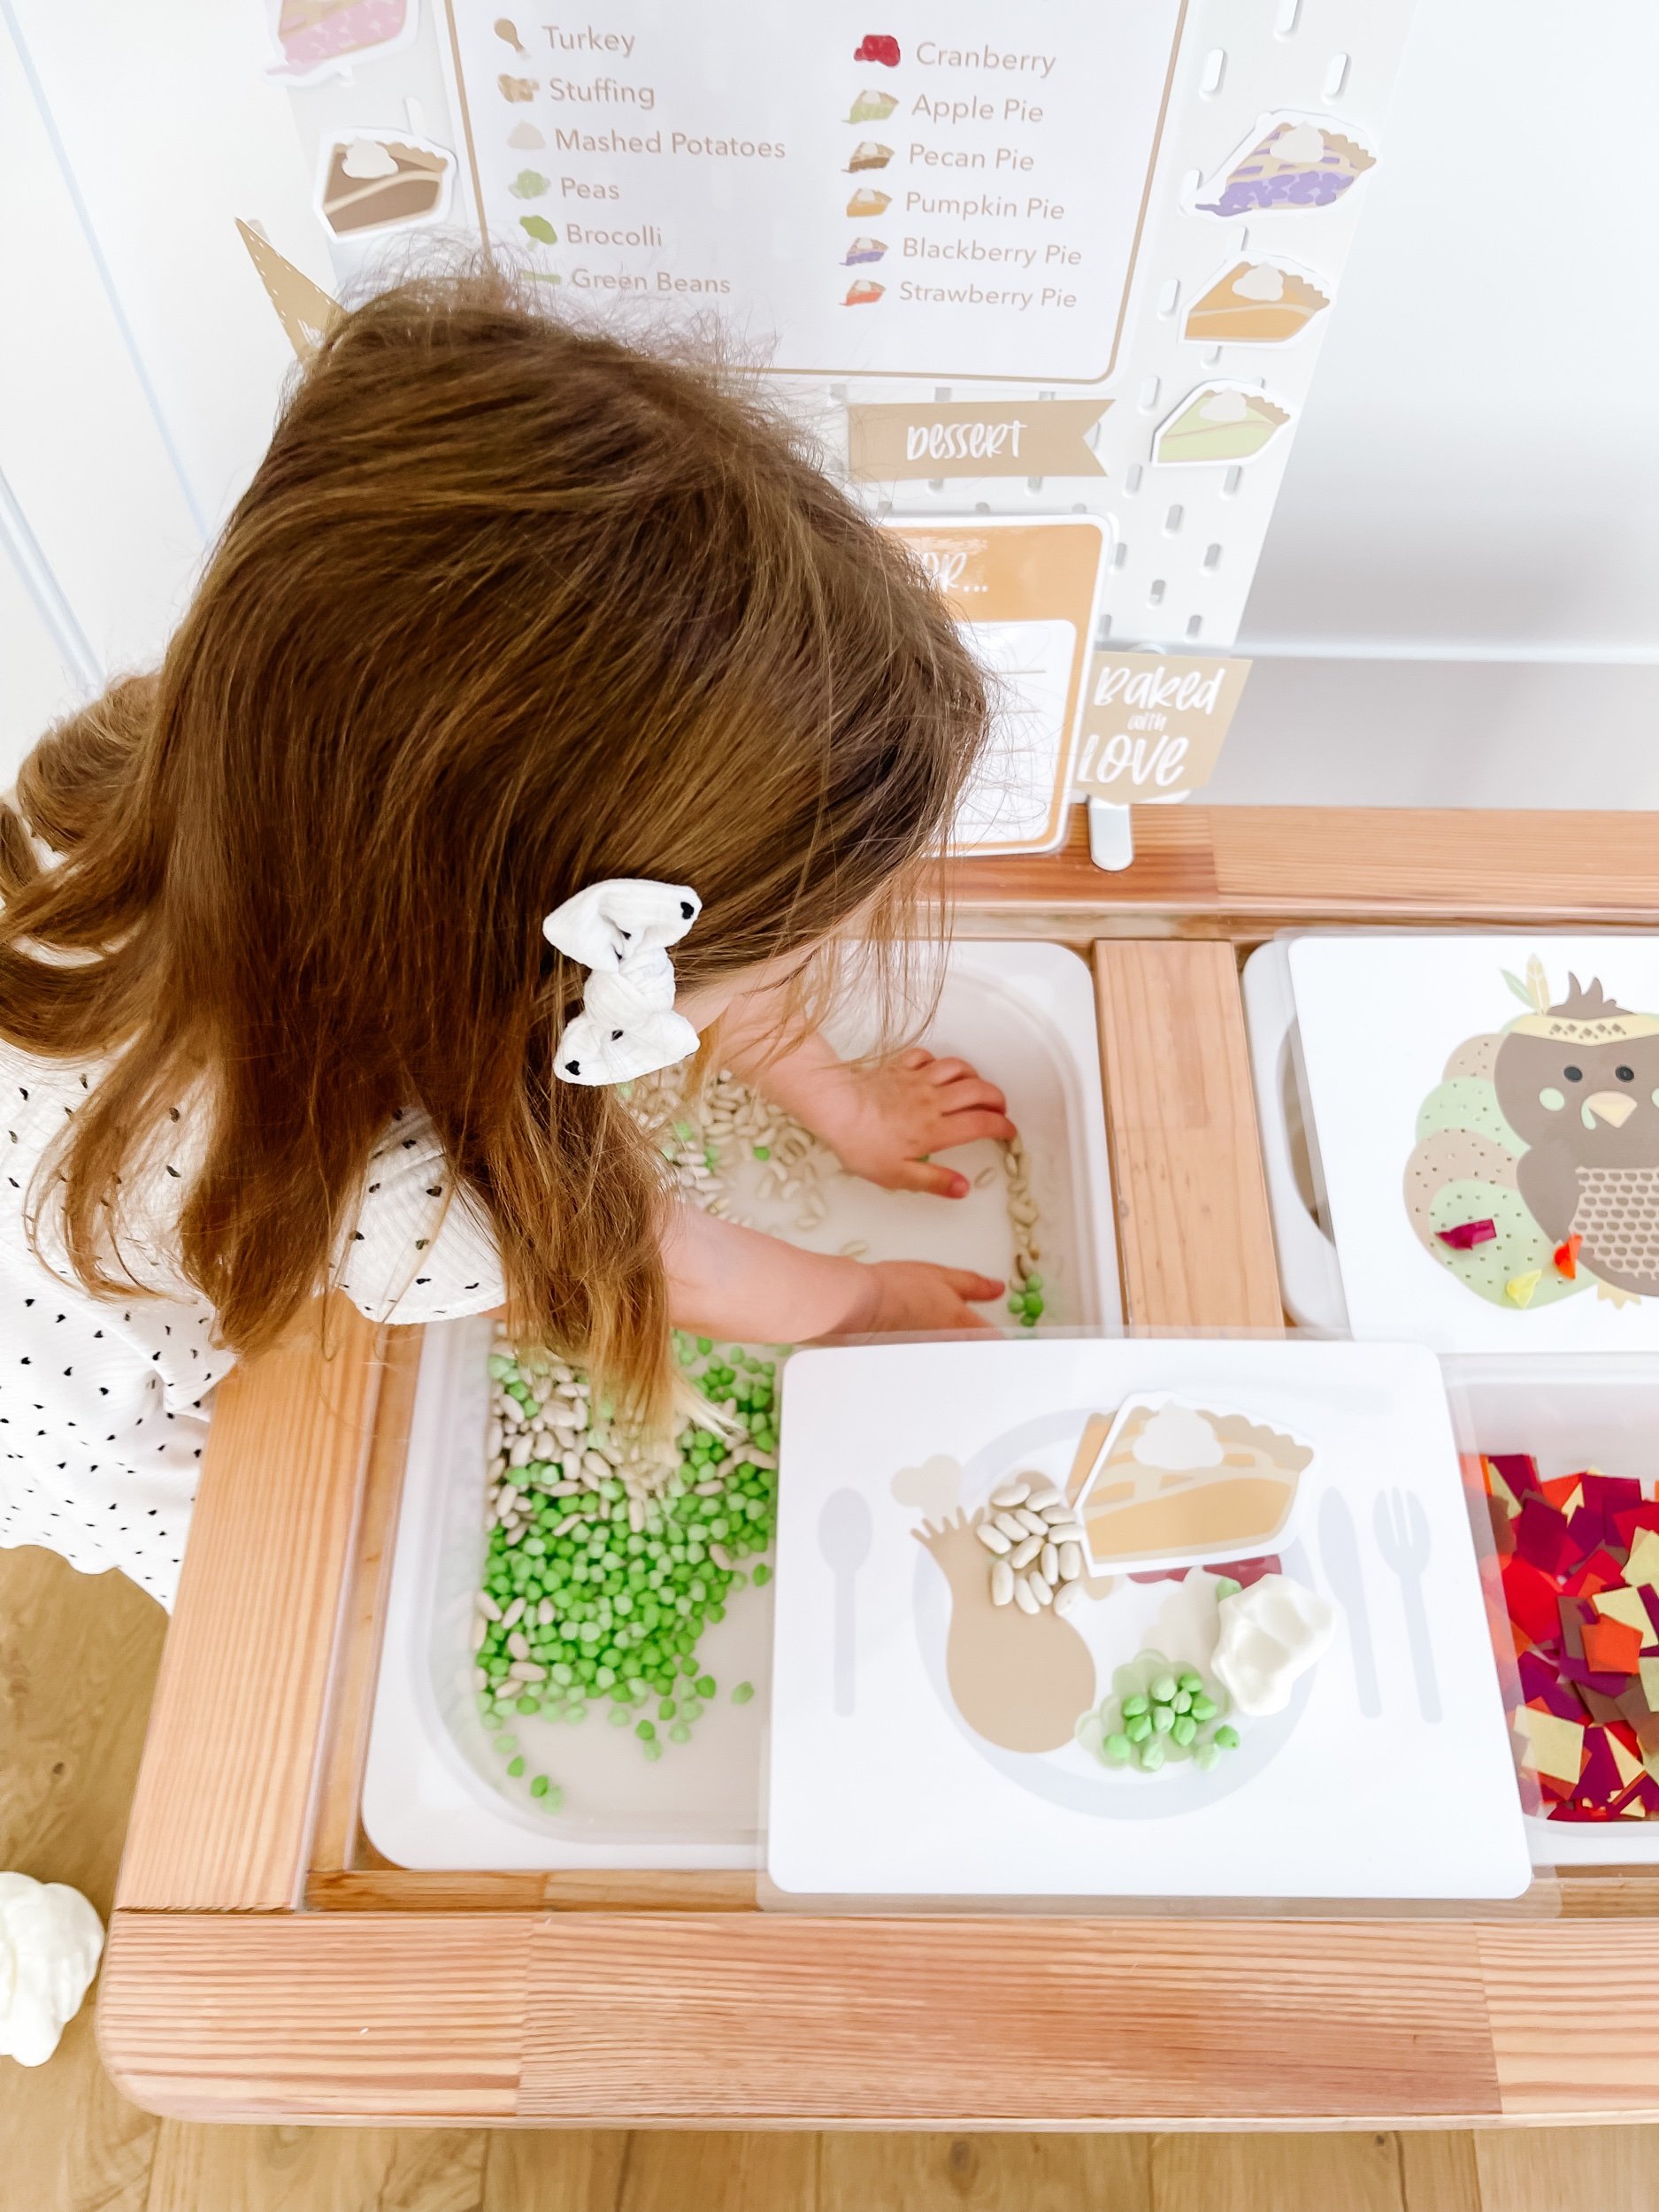
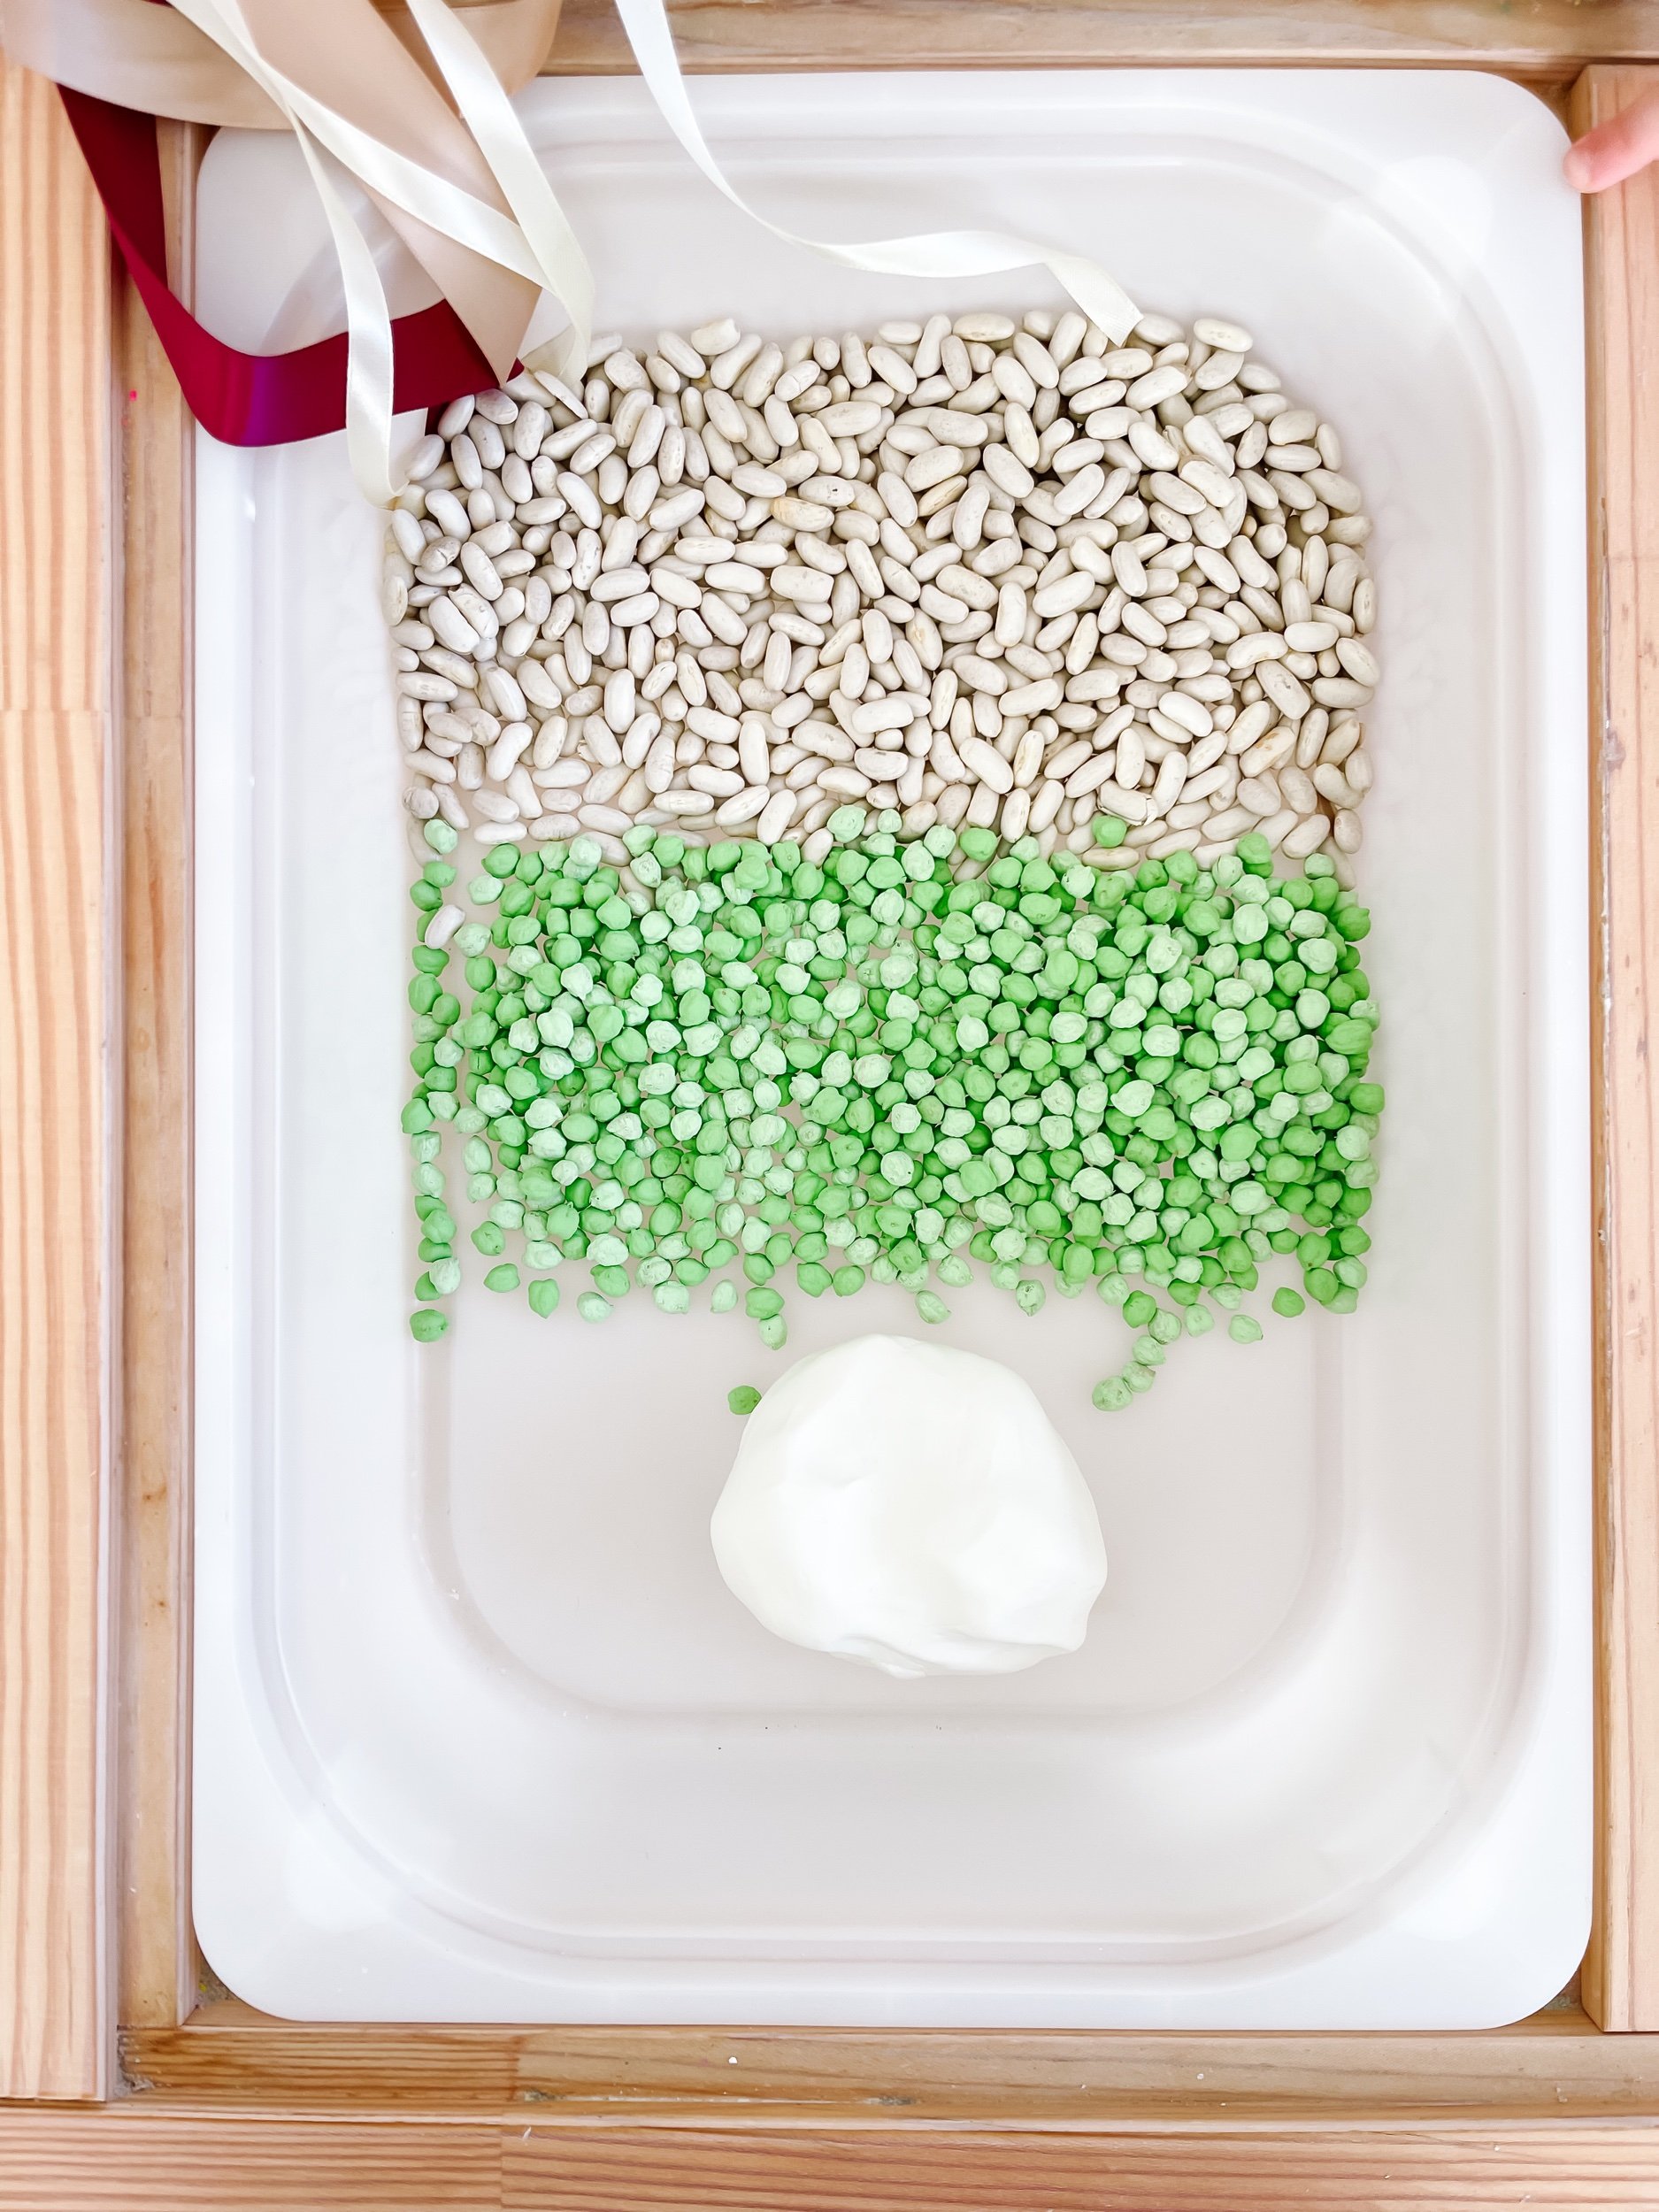
Fill one section of the Flisat table with a mixture of white beans, green chickpeas, and playdoh to simulate the texture of mashed potatoes. For an added element of fun, create lotion corn starch playdoh that resembles creamy mashed potatoes. Use the Thanksgiving dinner play mat as a base and add “foods” to the plate. Allowing preschoolers to construct a plateful of mashed potatoes alongside other play food items.

  • Stuffing/dressing: White cannelini beans

  • Cranberry sauce: Kidney beans

  • Peas: Green chickpeas or dried green peas

  • Mashed potatoes: White playdoh

  • Pumpkin pie: Orange chickpeas, or orange lentils

Cloud Playdoh Recipe

Ingredients:

  • 1 cup of cornstarch

  • 1/2 cup of white lotion (unscented)

Instructions:
1. In a large mixing bowl, add the cornstarch.
2. Gradually pour in the white lotion into the bowl with the cornstarch.
3. Using a spatula or your hands, mix the ingredients together until they are well combined. The mixture will resemble a crumbly texture.
4. Once the mixture starts to come together, knead it with your hands until you achieve a smooth and pliable dough consistency. The dough should be soft to the touch and moldable without being sticky.
5. If the mixture is too dry, add a small amount of lotion and continue kneading until the desired consistency is reached. If it's too sticky, add more cornstarch gradually until it becomes workable.
6. Optional: Add a drop or two of food coloring to the dough and knead it in to create colorful variations.
7. The cloud playdoh is now ready to be enjoyed! Shape it, mold it, and let your imagination soar!
Note: This cloud playdoh recipe is meant for sensory play and does not contain any harmful ingredients. It is not intended to be ingested.

IMG_2686.jpeg IMG_2620.jpeg IMG_2654_jpg.jpeg IMG_2687.jpeg IMG_2653_jpg.jpeg IMG_2621.jpeg IMG_2689_jpg.jpeg

2. Build-a-Turkey Bin:

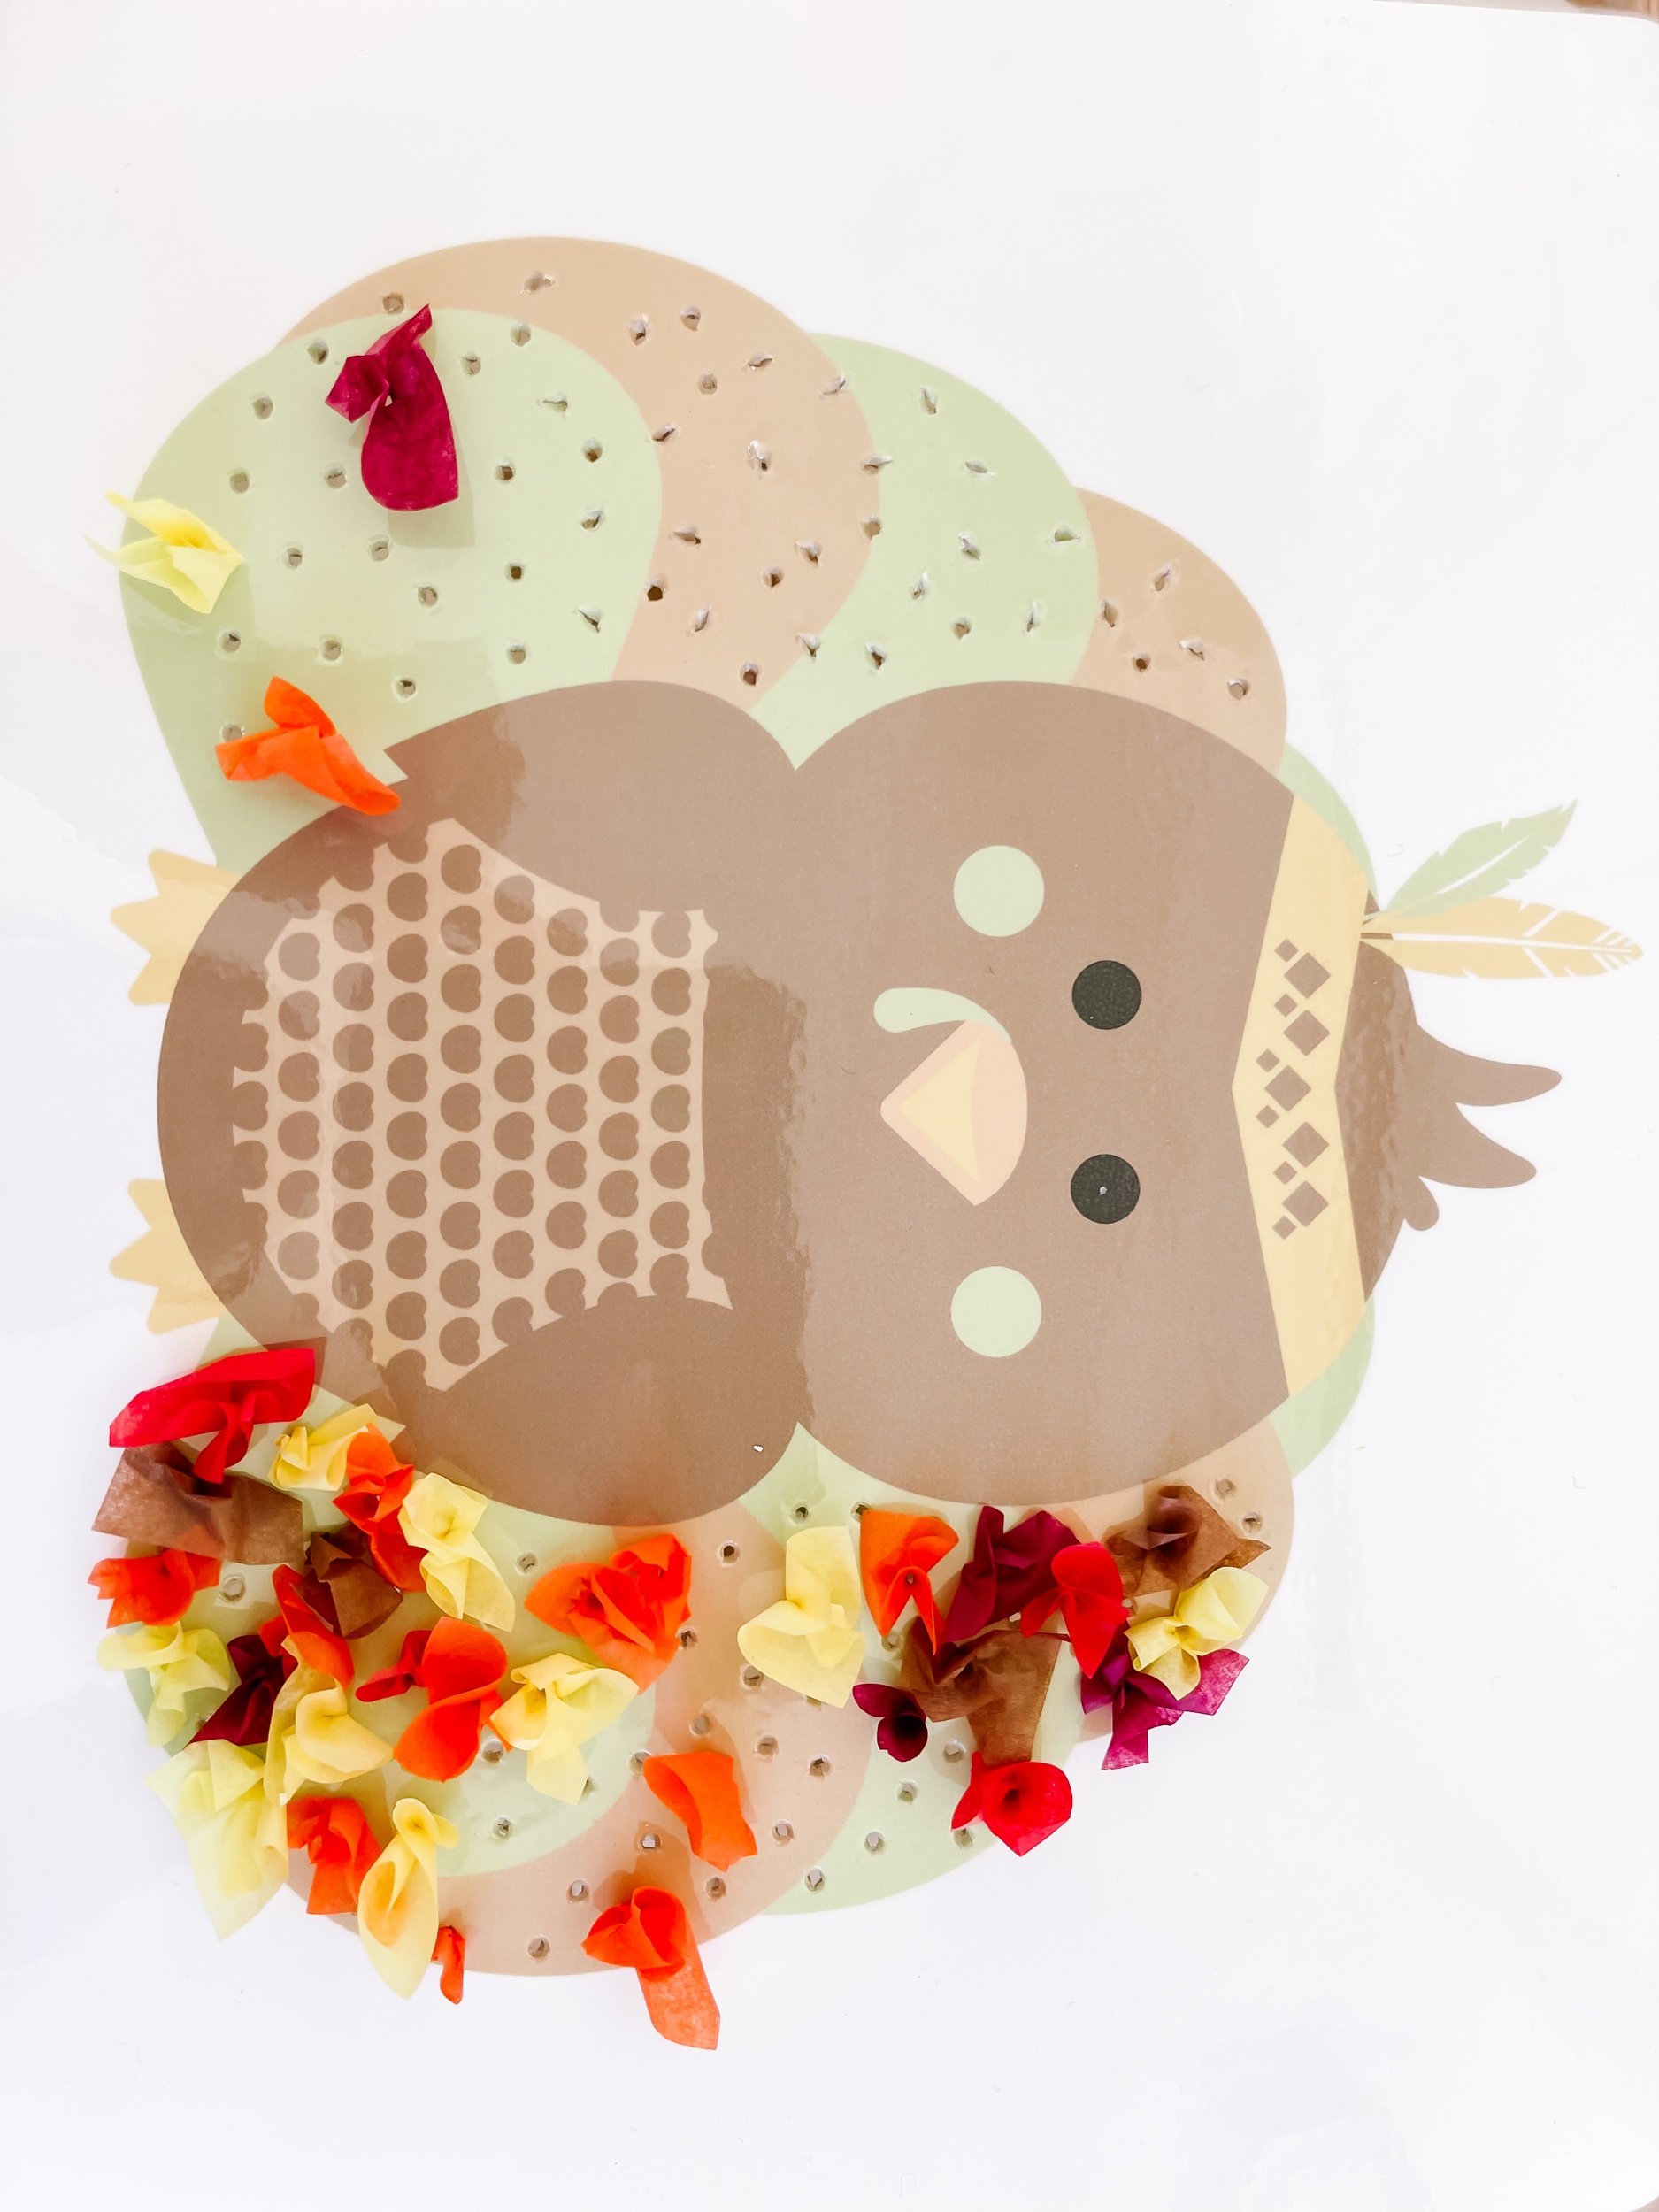
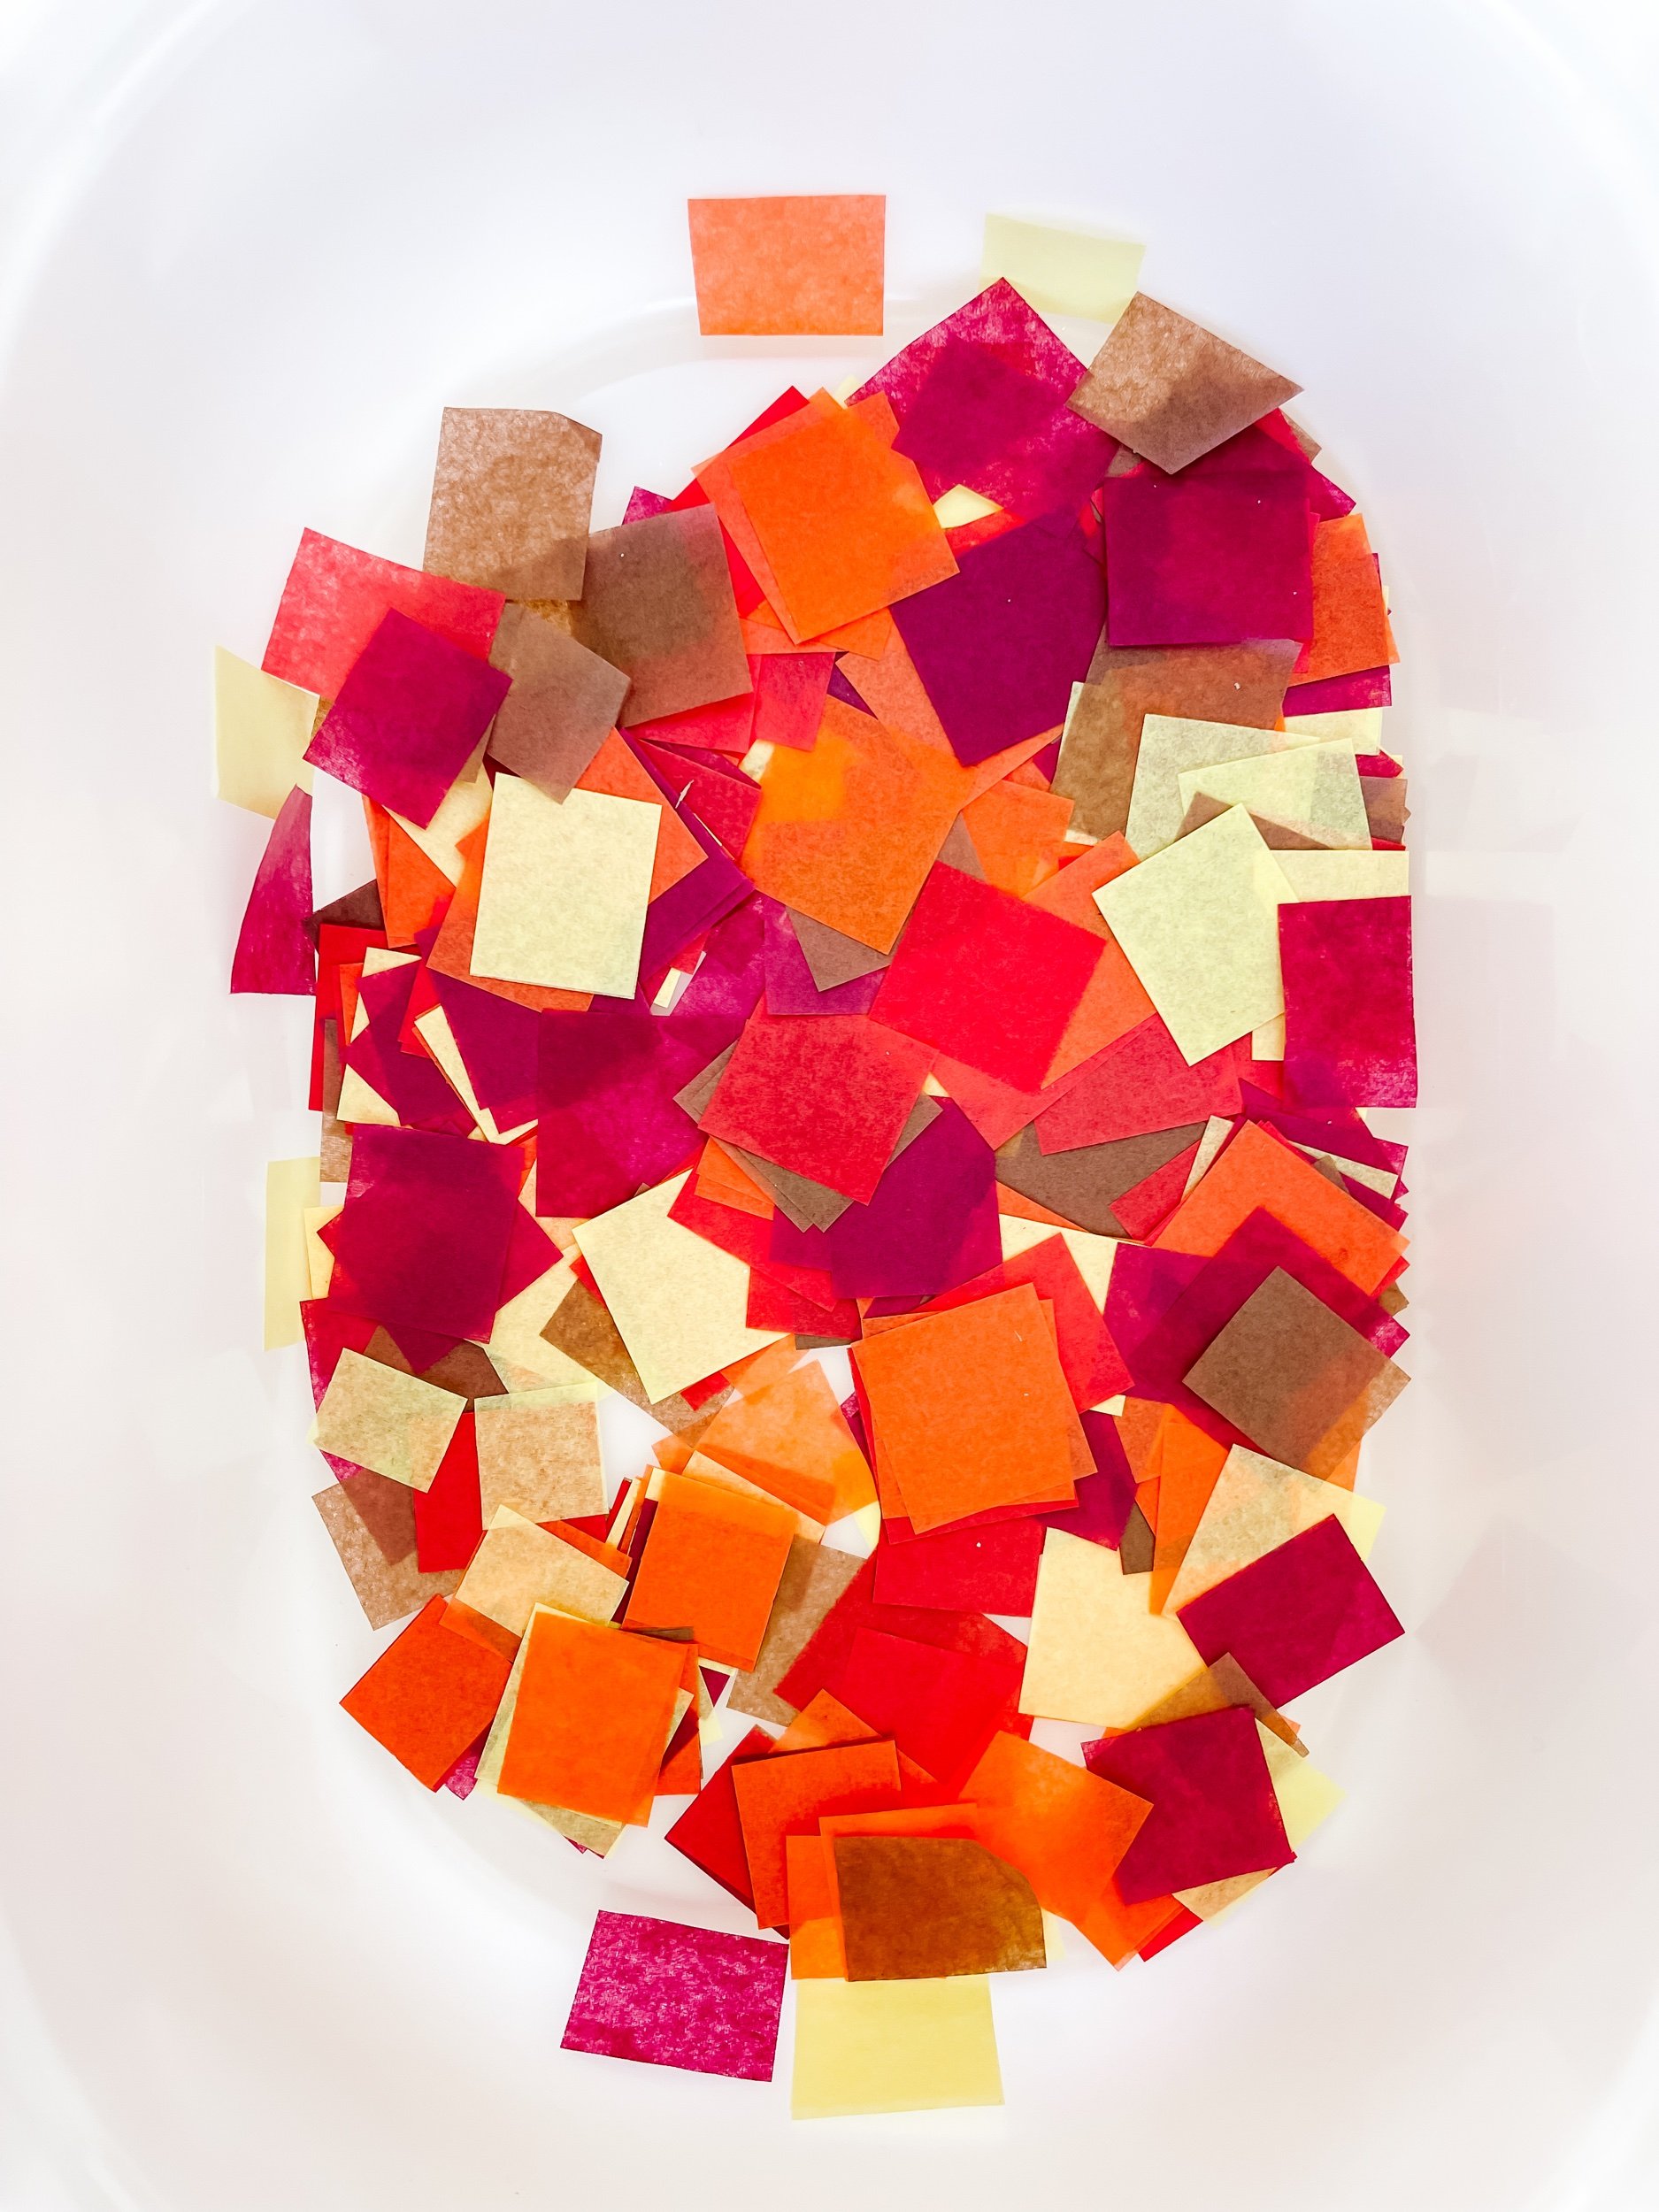
In another section of the Flisat table, introduce a build-a-turkey sensory bin. Begin by printing out a turkey image and cutting it out. Provide small squares of fall-colored tissue paper and wooden skewers. Preschoolers can use the skewers to poke the tissue paper squares into the turkey's feathers, creating a vibrant and textured turkey masterpiece. I made starter holes in the turkey by using a nail. I also laminated it for durability!
IMG_2690.jpeg IMG_2612.jpeg IMG_2622.jpeg

3. Build-a-Pie Sensory Bin:

For the final sensory bin, offer the option of a build-a-pie experience. This can be approached in two ways: using the printable pie cutouts or using playdoh. If using the cutouts, preschoolers can assemble pies by matching the different pie crusts and fillings. Alternatively, using playdoh allows them to sculpt their own pie masterpieces, exploring various shapes and textures.

IMG_2666_jpg.jpeg IMG_2661_jpg.jpeg IMG_2665_jpg.jpeg IMG_2667_jpg.jpeg IMG_2670_jpg.jpeg IMG_2674_jpg.jpeg IMG_2668_jpg.jpeg

4. WHAT i’M THANKFUL FOR:

For more advanced learners, try out the “What I’m Thankful For…” activity. You can laminate this worksheet and use it again each year. Or you and print it out and write on it to capture memories of what they were thankful for each year. Sofie melted my heart when she wrote “Mom” and added some flowers. It’s a great way to introduce the concept of gratefulness and to focus on appreciation for what we have.

By incorporating these three sensory bin fillers into your Thanksgiving-themed setup, you will provide your little ones with endless opportunities for tactile exploration and imaginative play.


Importance of gratefulness

Instilling a sense of gratefulness in toddlers is an essential building block for their emotional and social development. As parents and caregivers, we have the incredible opportunity to nurture this virtue in our little ones, enabling them to lead happier and more fulfilling lives. And what better time to introduce this concept than during a Thanksgiving-themed sensory play activity?
Gratefulness goes beyond simply saying "thank you." It involves cultivating an appreciation for the blessings and joys that surround us every day. Research shows that grateful children exhibit higher levels of happiness, empathy, and overall life satisfaction. So, how can we foster gratefulness in our toddlers? Here are a few practical tips:
1. Model Grateful Behavior: Children learn by observation, so let them witness your gratitude. Express appreciation for the little things, like a beautiful sunset or a kind gesture. Acknowledge and thank others for their help or gestures of kindness. Your actions will serve as a blueprint for their own gratefulness.
2. Make Gratitude Part of Daily Life: Create simple rituals to encourage gratefulness. For instance, during mealtime, ask your toddler what they are thankful for that day. Make it a habit to reflect on positive moments before bedtime. These small interactions will help them recognize and appreciate the good in their lives.
3. Engage in Sensory Play: Sensory play activities, like the Thanksgiving-themed one you have planned, can become powerful teaching tools. Provide opportunities for your toddler to explore textures, colors, and aromas associated with gratitude, such as feeling the softness of a toy turkey feather, smelling the aroma of a homemade pie, or touching grains of colored rice symbolizing blessings. Use these experiences to initiate discussions on the importance of being thankful.
4. Read Gratitude-Related Books: Storytime can be a wonderful way to introduce gratitude concepts. Choose books that highlight the value of appreciating what we have. Discuss the stories with your child and encourage them to share their own thoughts and feelings.
5. Practice Thankfulness, Not Just on Thanksgiving: While Thanksgiving is a perfect occasion to focus on gratitude, it's crucial to make it a year-round practice. Encourage your toddler to express thanks beyond this holiday by helping others, sending thank-you notes, or engaging in acts of kindness.

Thanksgiving Vocabulary words for preschoolers

1. Turkey - A large bird that is traditionally eaten on Thanksgiving.
2. Pilgrim - A person who traveled on the Mayflower ship and settled in America.
3. Native American - A member of the indigenous people of America.
4. Harvest - The gathering of crops or food at the end of the growing season.
5. Cornucopia - A symbol of abundance usually in the shape of a horn.
6. Feast - A large and delicious meal enjoyed with family and friends.
7. Gratitude - The feeling of being thankful and appreciative.
8. Pumpkin - A large orange fruit often used for carving and cooking during Thanksgiving.
9. Family - A group of people who are related to each other and share a bond of love.
10. Acorn - A small nut produced by oak trees.
11. Pilgrim Hat - A traditional hat worn by the Pilgrims on Thanksgiving.
12. Dinner - The main meal of the day, often shared with family and friends.
13. Mayflower - The ship that brought the Pilgrims to America.
14. Cranberry - A small, tart red fruit often used in sauces and desserts for Thanksgiving.
15. Stuffing - A mixture of bread, vegetables, and seasonings that is stuffed inside the turkey.
16. Simmer - To cook something gently on low heat.
17. Maple Syrup - A sweet syrup made from the sap of maple trees.
18. Settlers - People who establish homes and communities in a new land.
19. Apple Pie - A sweet pie made with apples and a flaky crust, often enjoyed on Thanksgiving.
20. Pilgrim Shoes - Traditional shoes worn by the Pilgrims.
21. Blessings - Things that are considered to be given by God or a source of happiness.
22. Gobble - The sound a turkey makes.
23. Harvest Moon - The full moon that occurs closest to the autumnal equinox.
24. Thankful - Feeling or expressing gratitude or appreciation.
25. Parade - A procession of people celebrating an event, often done on Thanksgiving.


By combining the magic of sensory play with intentional lessons on gratefulness, we offer toddlers a solid foundation for becoming grateful individuals. As they grow, our young ones will carry this virtue into their relationships, careers, and overall outlook on life. Let gratefulness be the gift we give our children, enriching their lives and shaping a brighter future for them and those around them.
The IKEA Flisat table serves as an excellent platform for creating engaging and interactive sensory play experiences for preschoolers. By incorporating printable play kit decor and diversified sensory bin fillers, you can easily design a Thanksgiving-themed setup that captures the spirit of the holiday while fostering sensory development in young minds. So, roll up your sleeves and start gathering your materials – it's time to immerse your preschoolers in a Thanksgiving sensory adventure they won't forget!
Tags thanksgiving, preschool sensory bin, thanksgiving sensory bin, thankful, grateful toddler, preschool fun, preschool activities, sensory bin filler, unique sensory bin, creative sensory filler ideas
2 Comments

Life on the farm: Flisat table sensory play activities for early learners

December 23, 2023 Kylie Tuosto

Farm Animal SENSORY PLAY

I’m so excited to share our little farm with you! I created this setup so that Sofie could explore life on the farm and we could discuss the lifecycle of farm animals, harvesting food, and play in some fun sensory fillers. Sensory play is such an important way to learn and explore with hands-on play and I can’t wait for you to try out this theme.

Download & Print
Screenshot 2023-11-20 at 2.49.40 PM.png

Farm Animal Printable Decor Setup

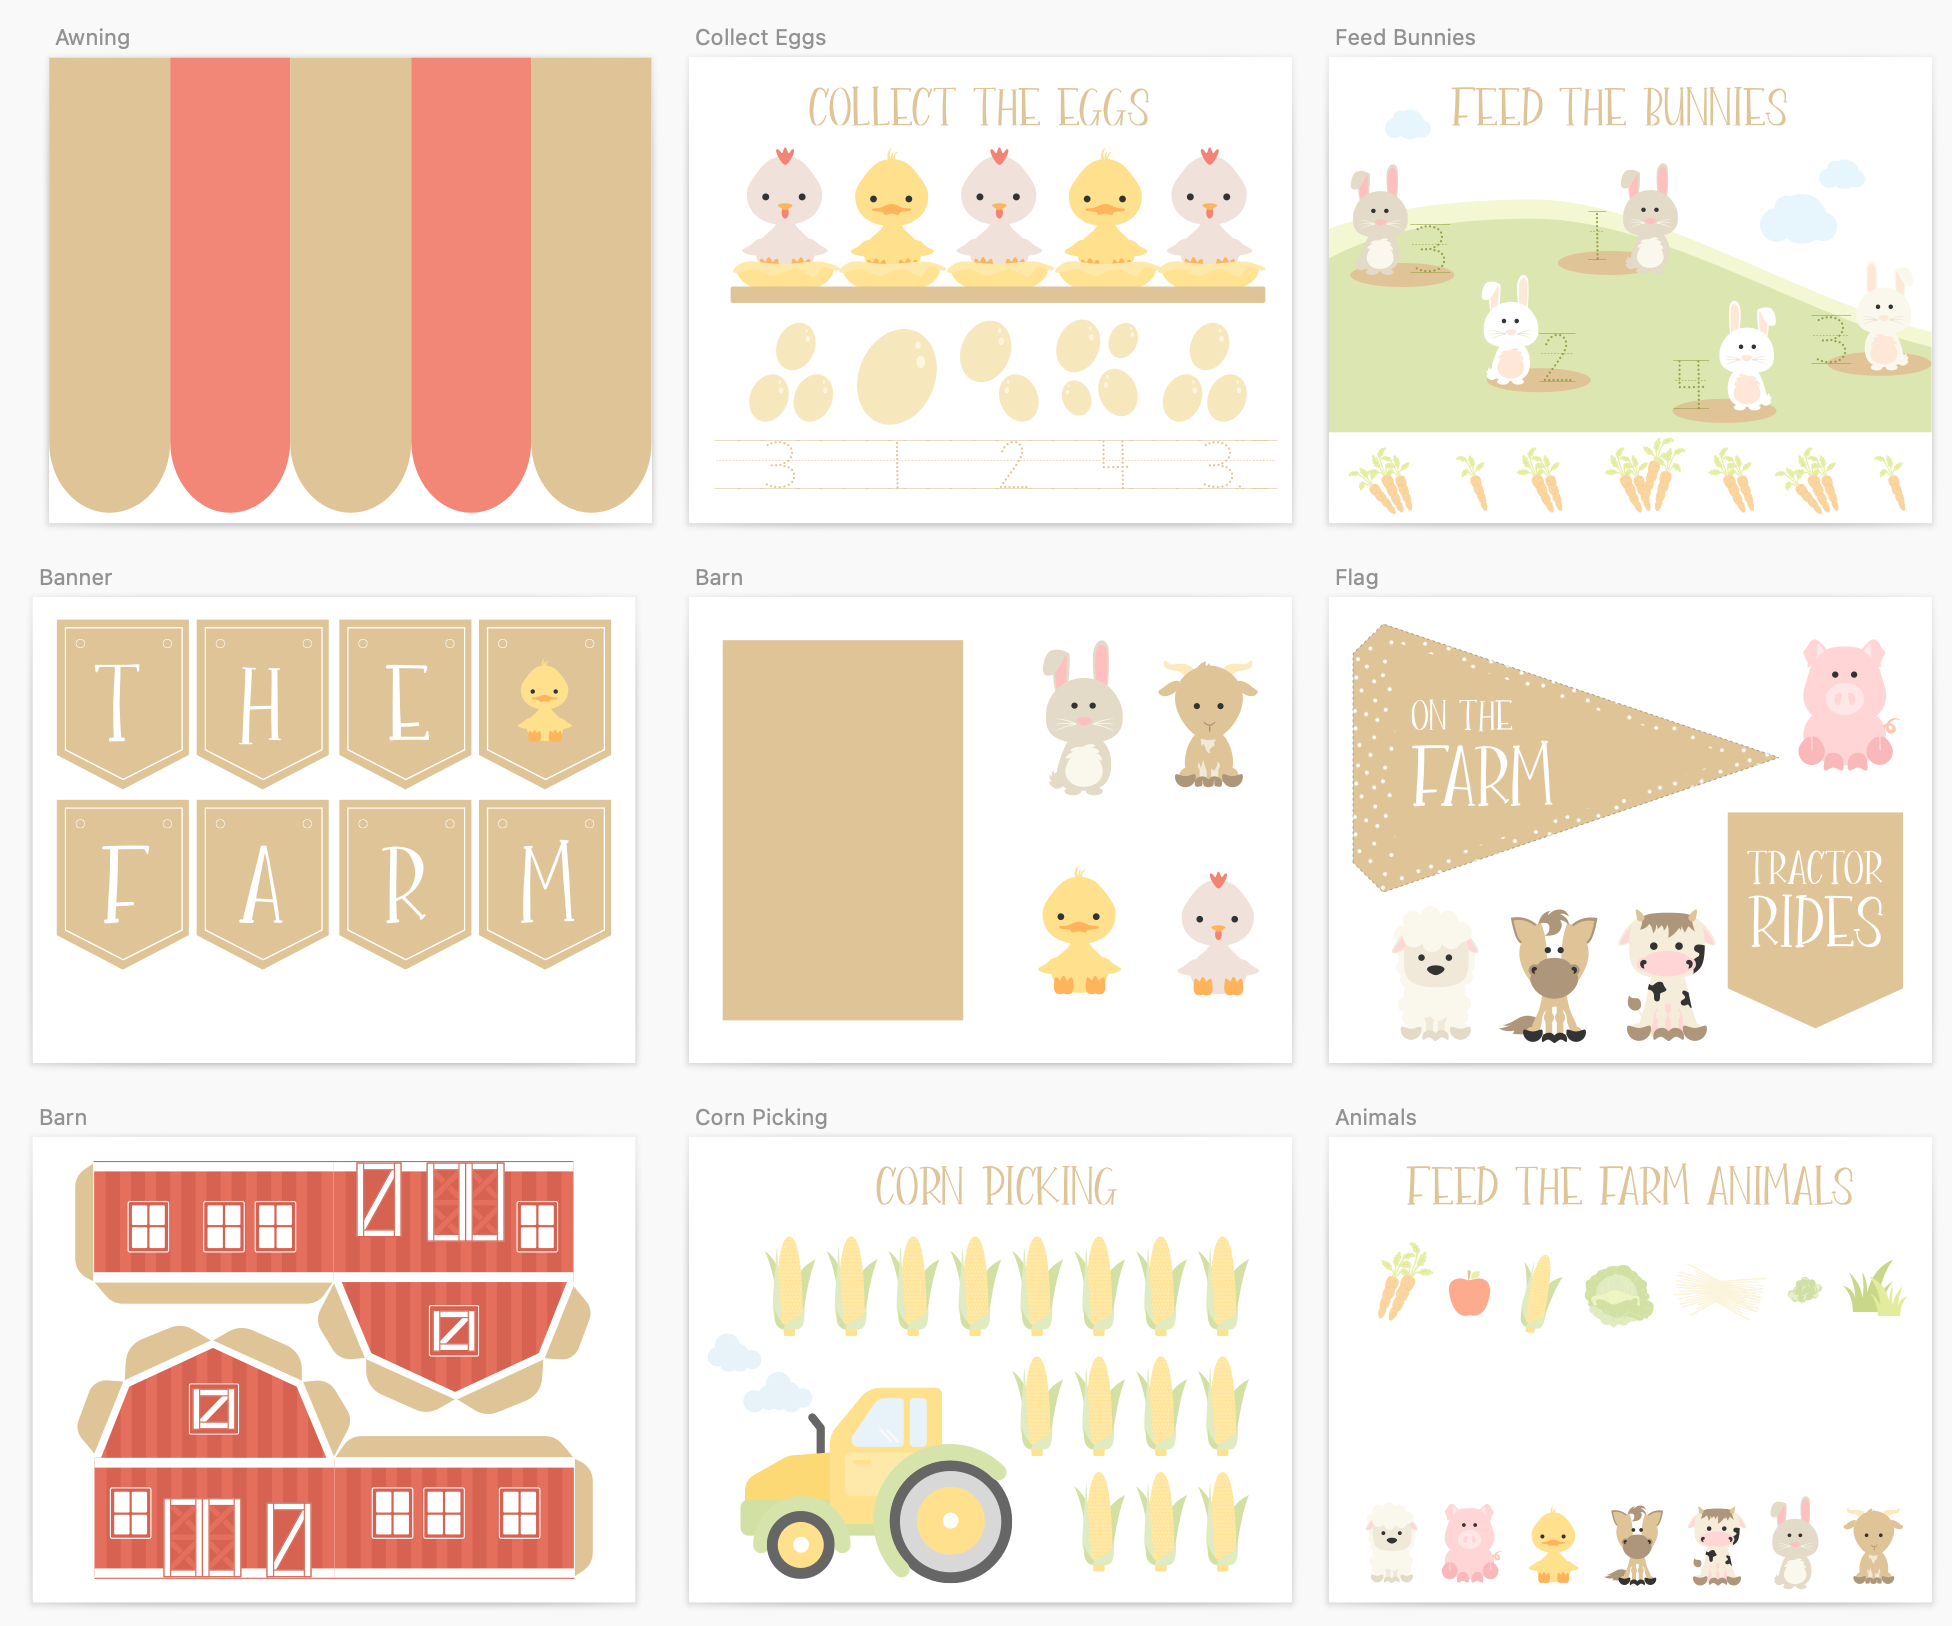
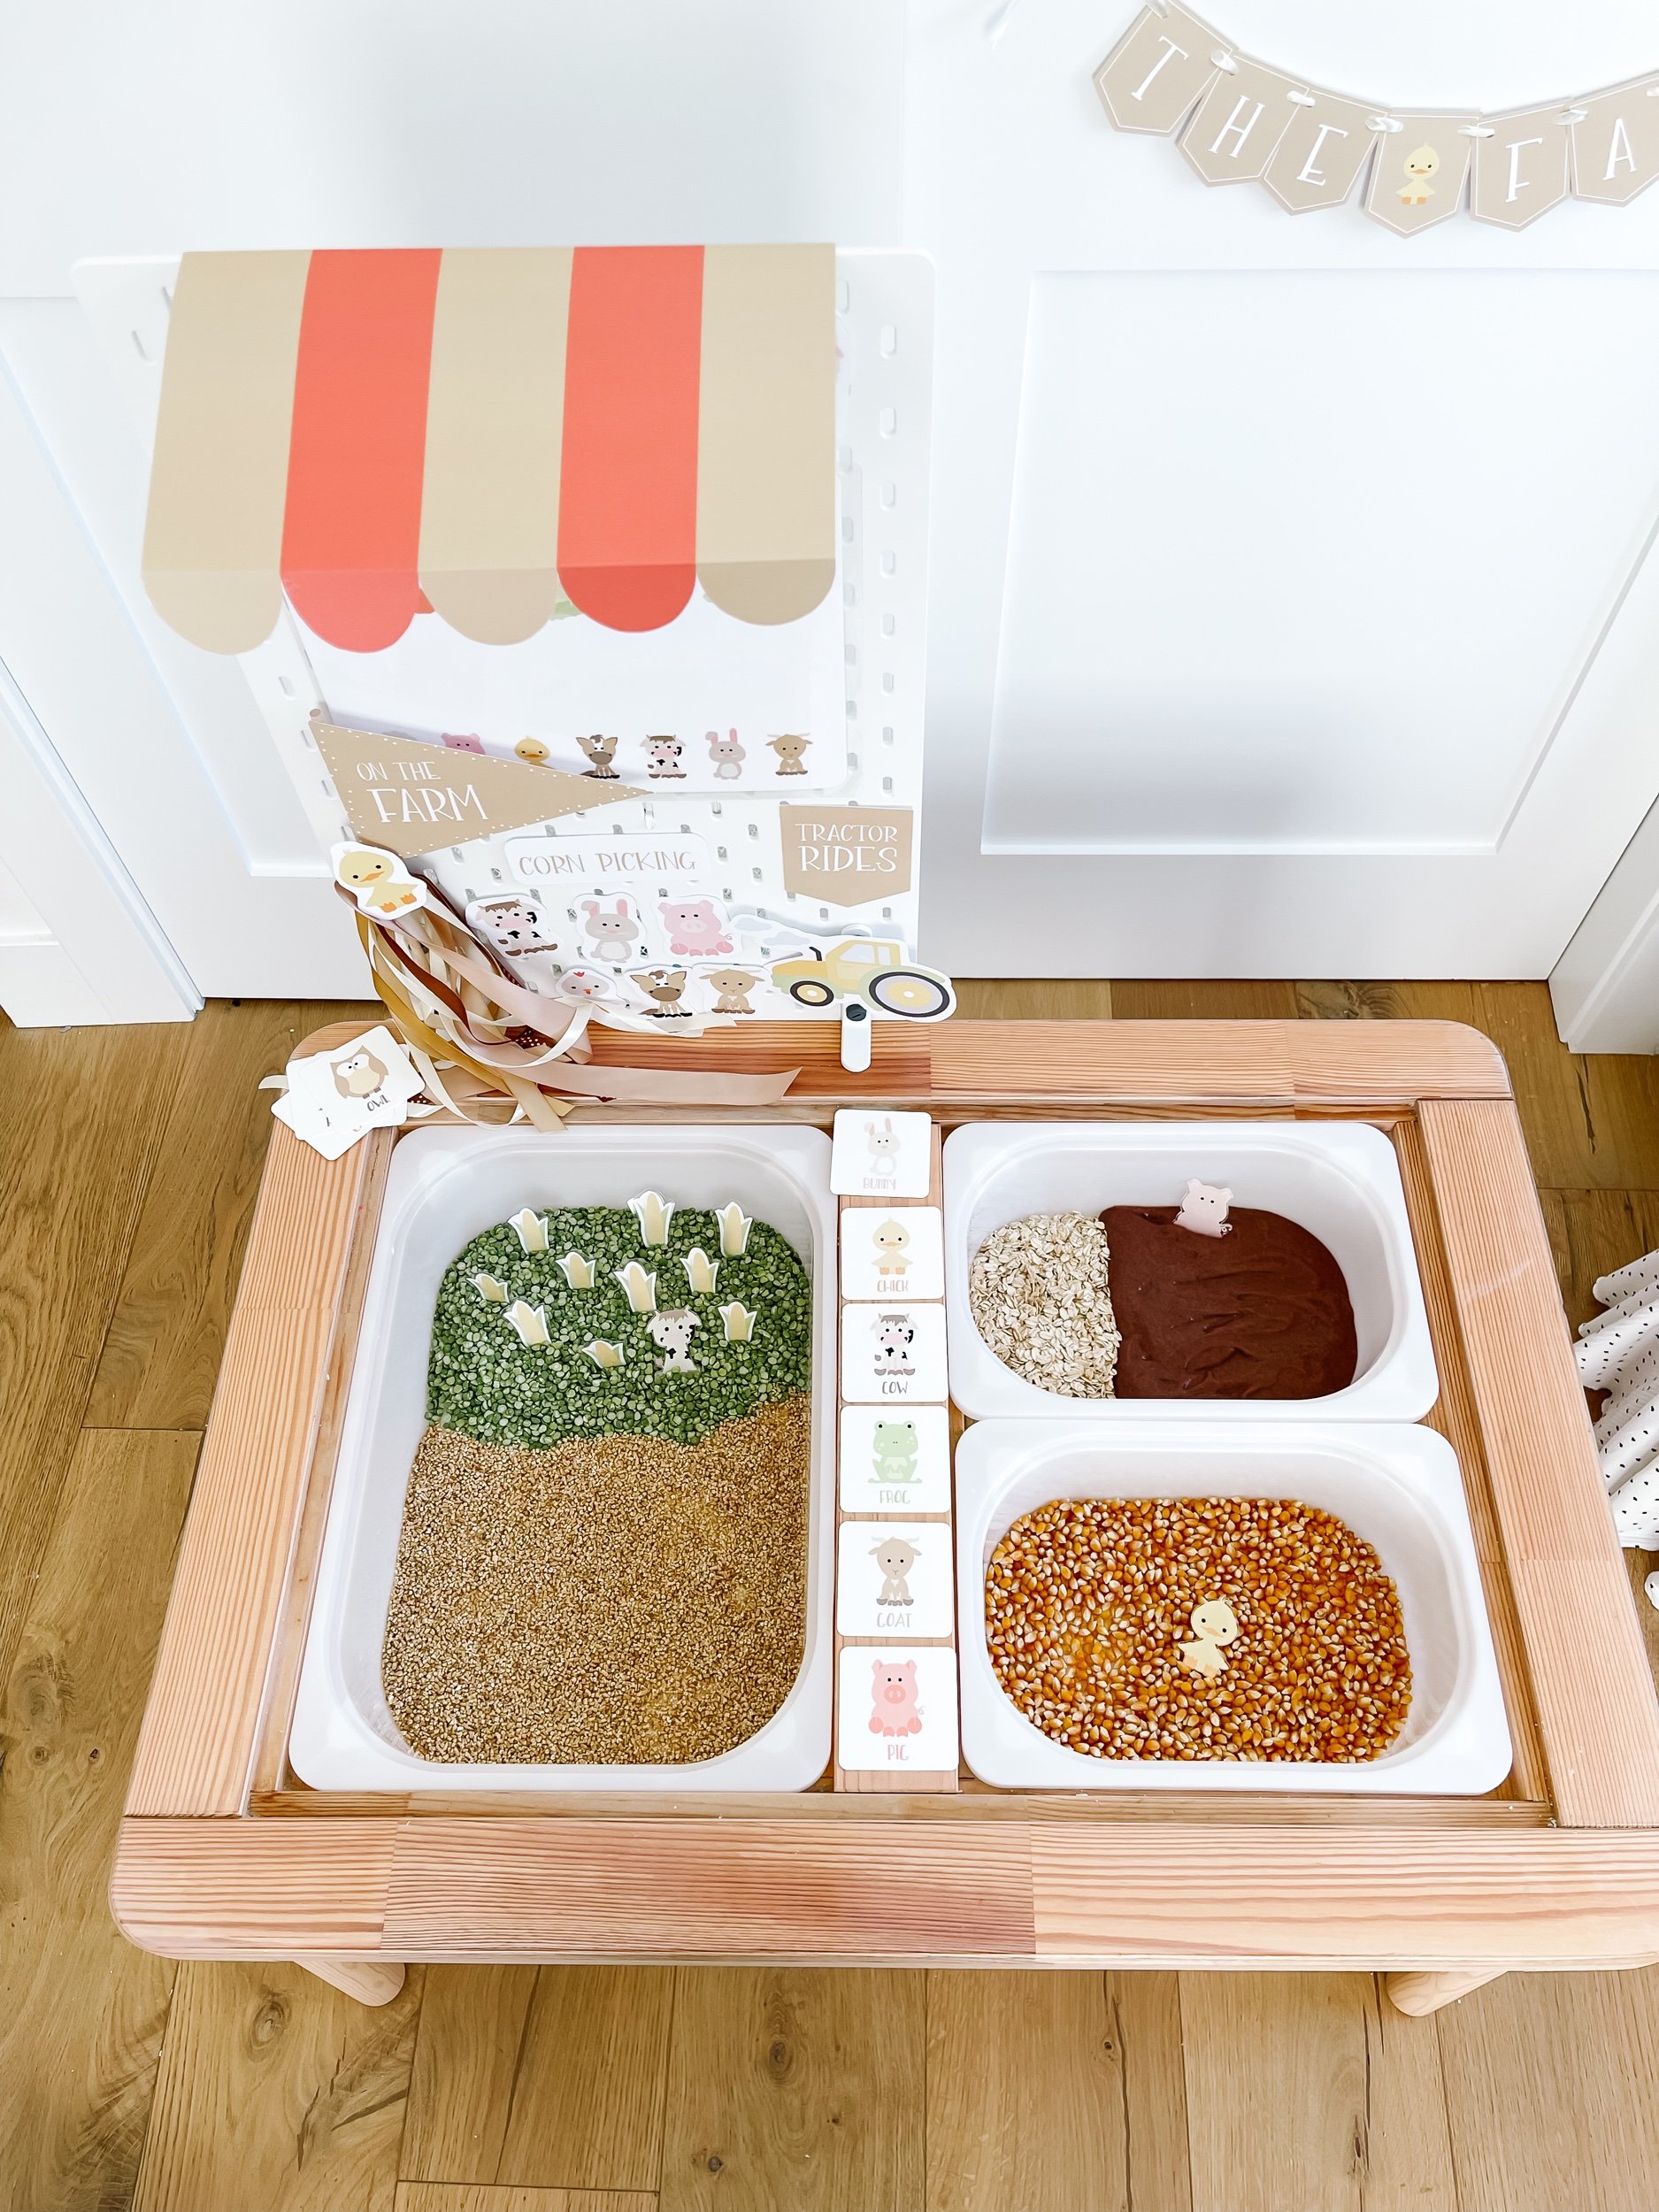
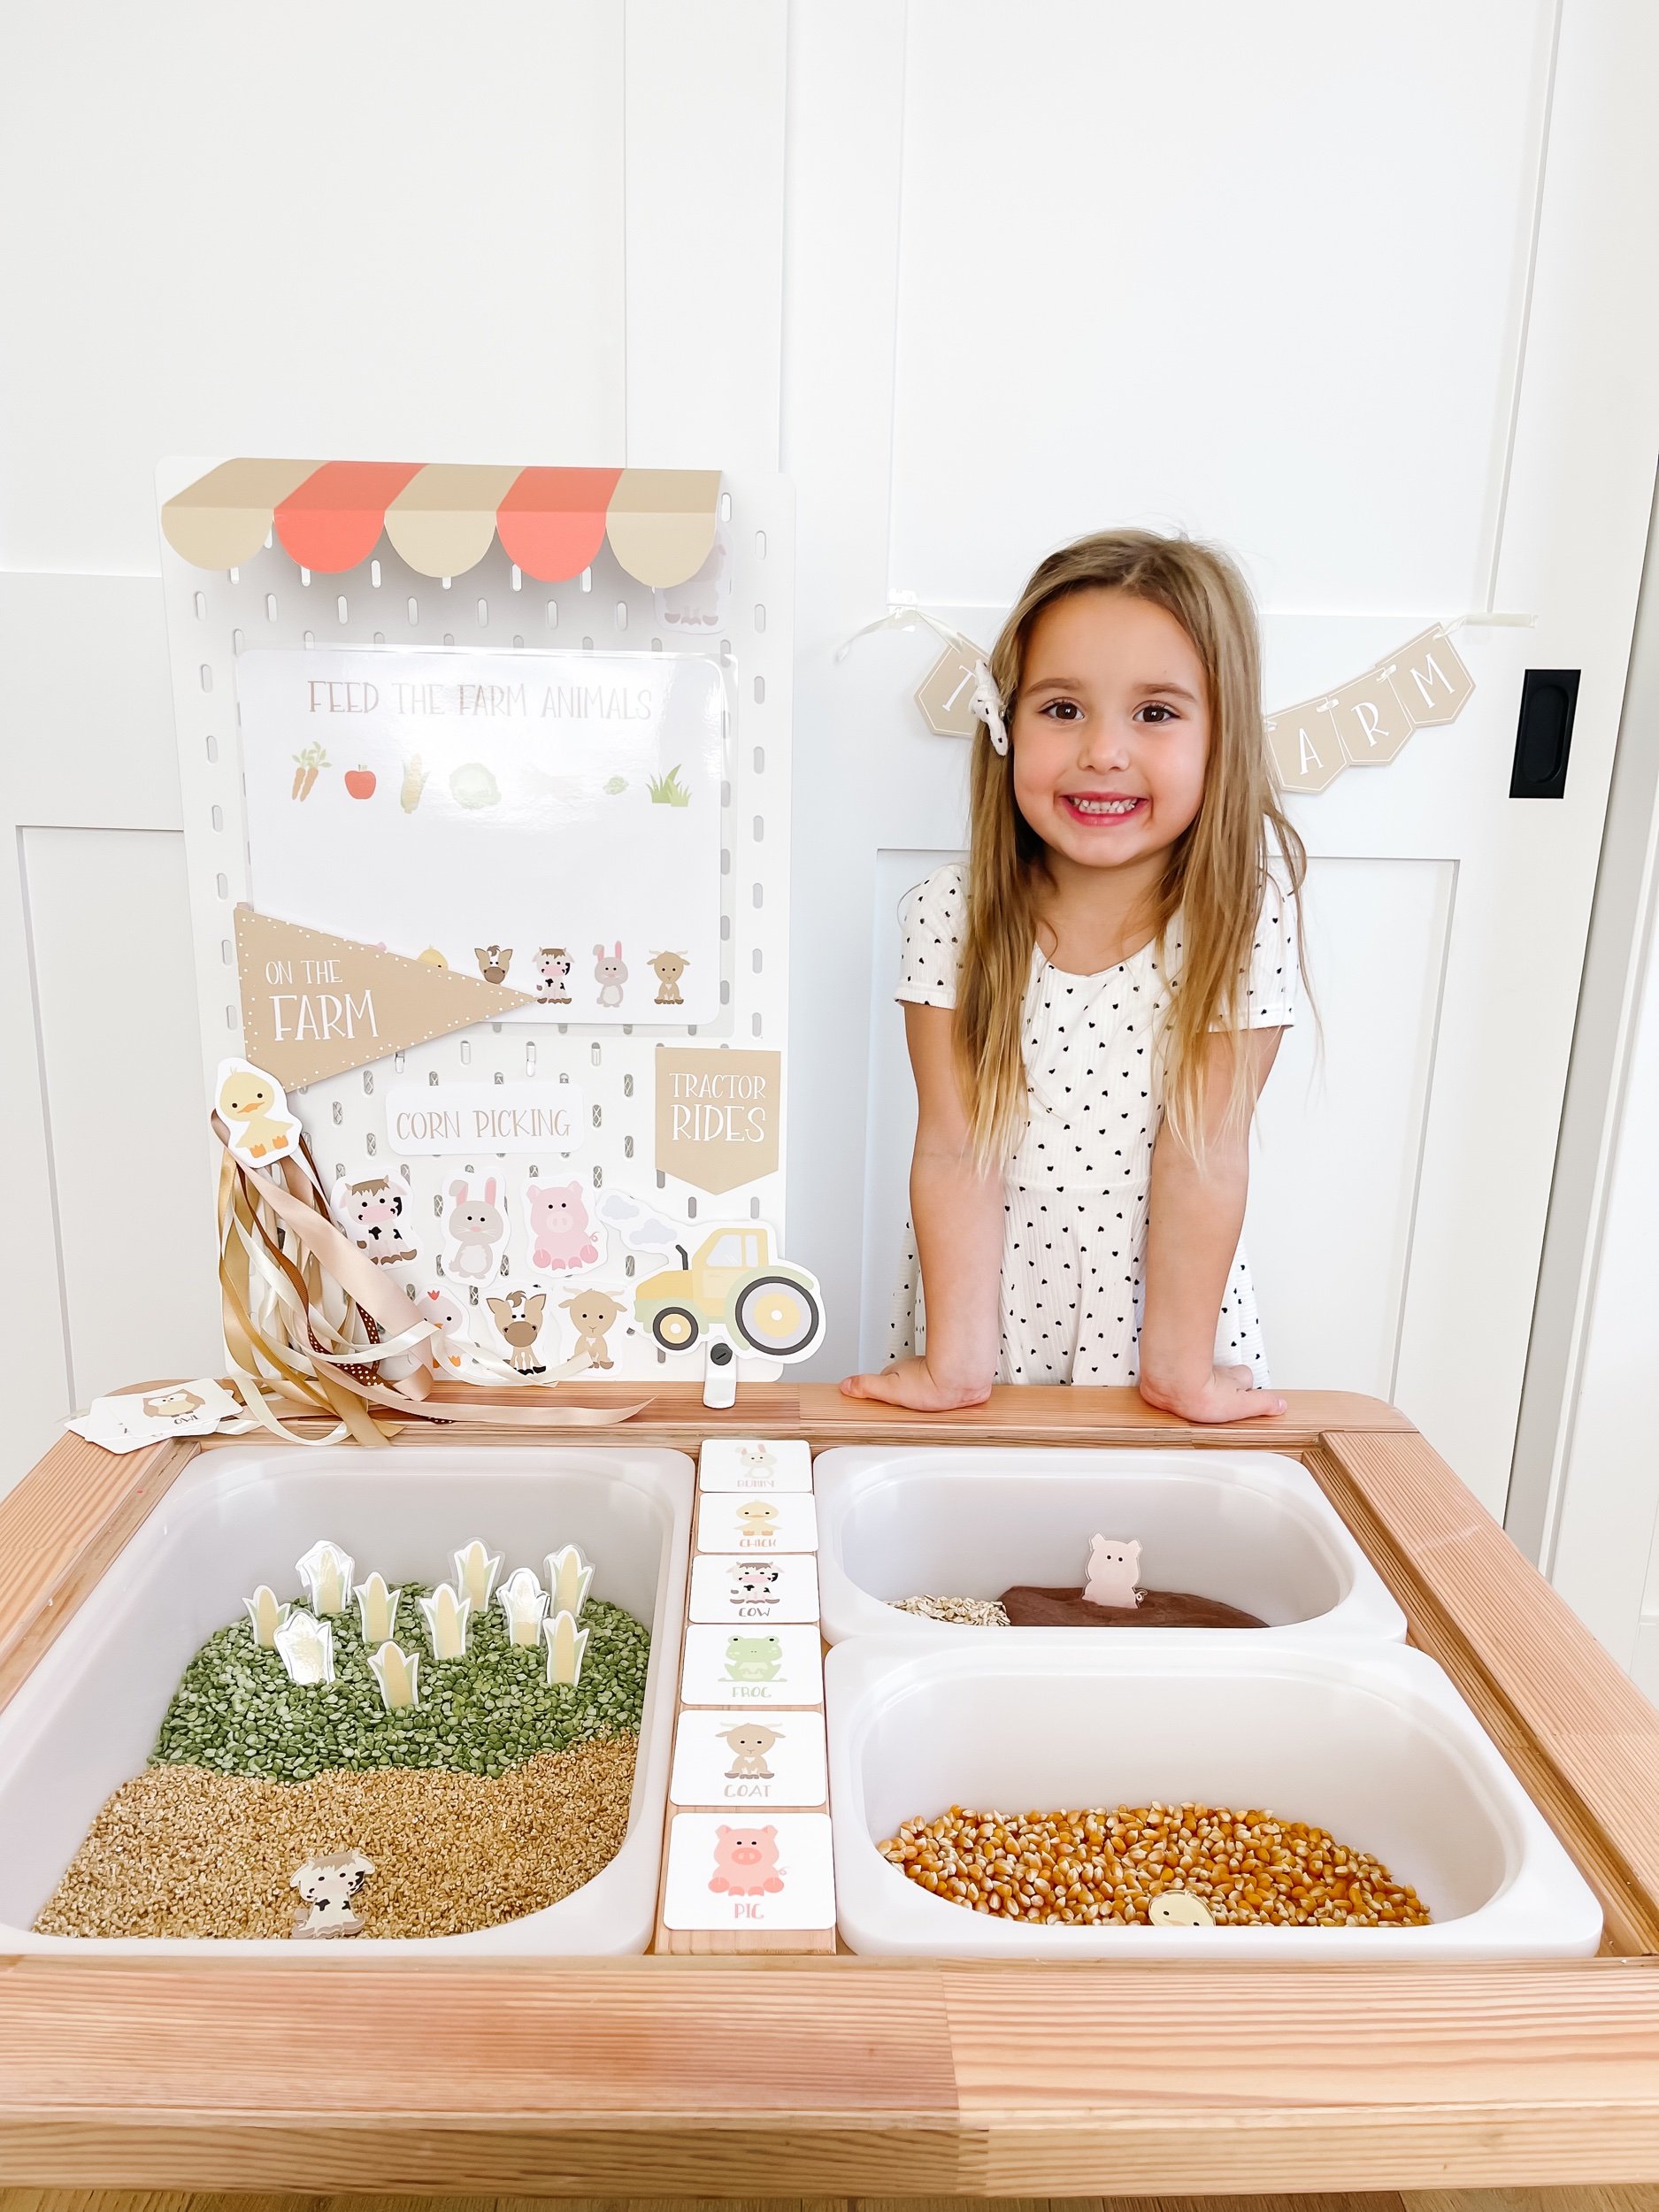
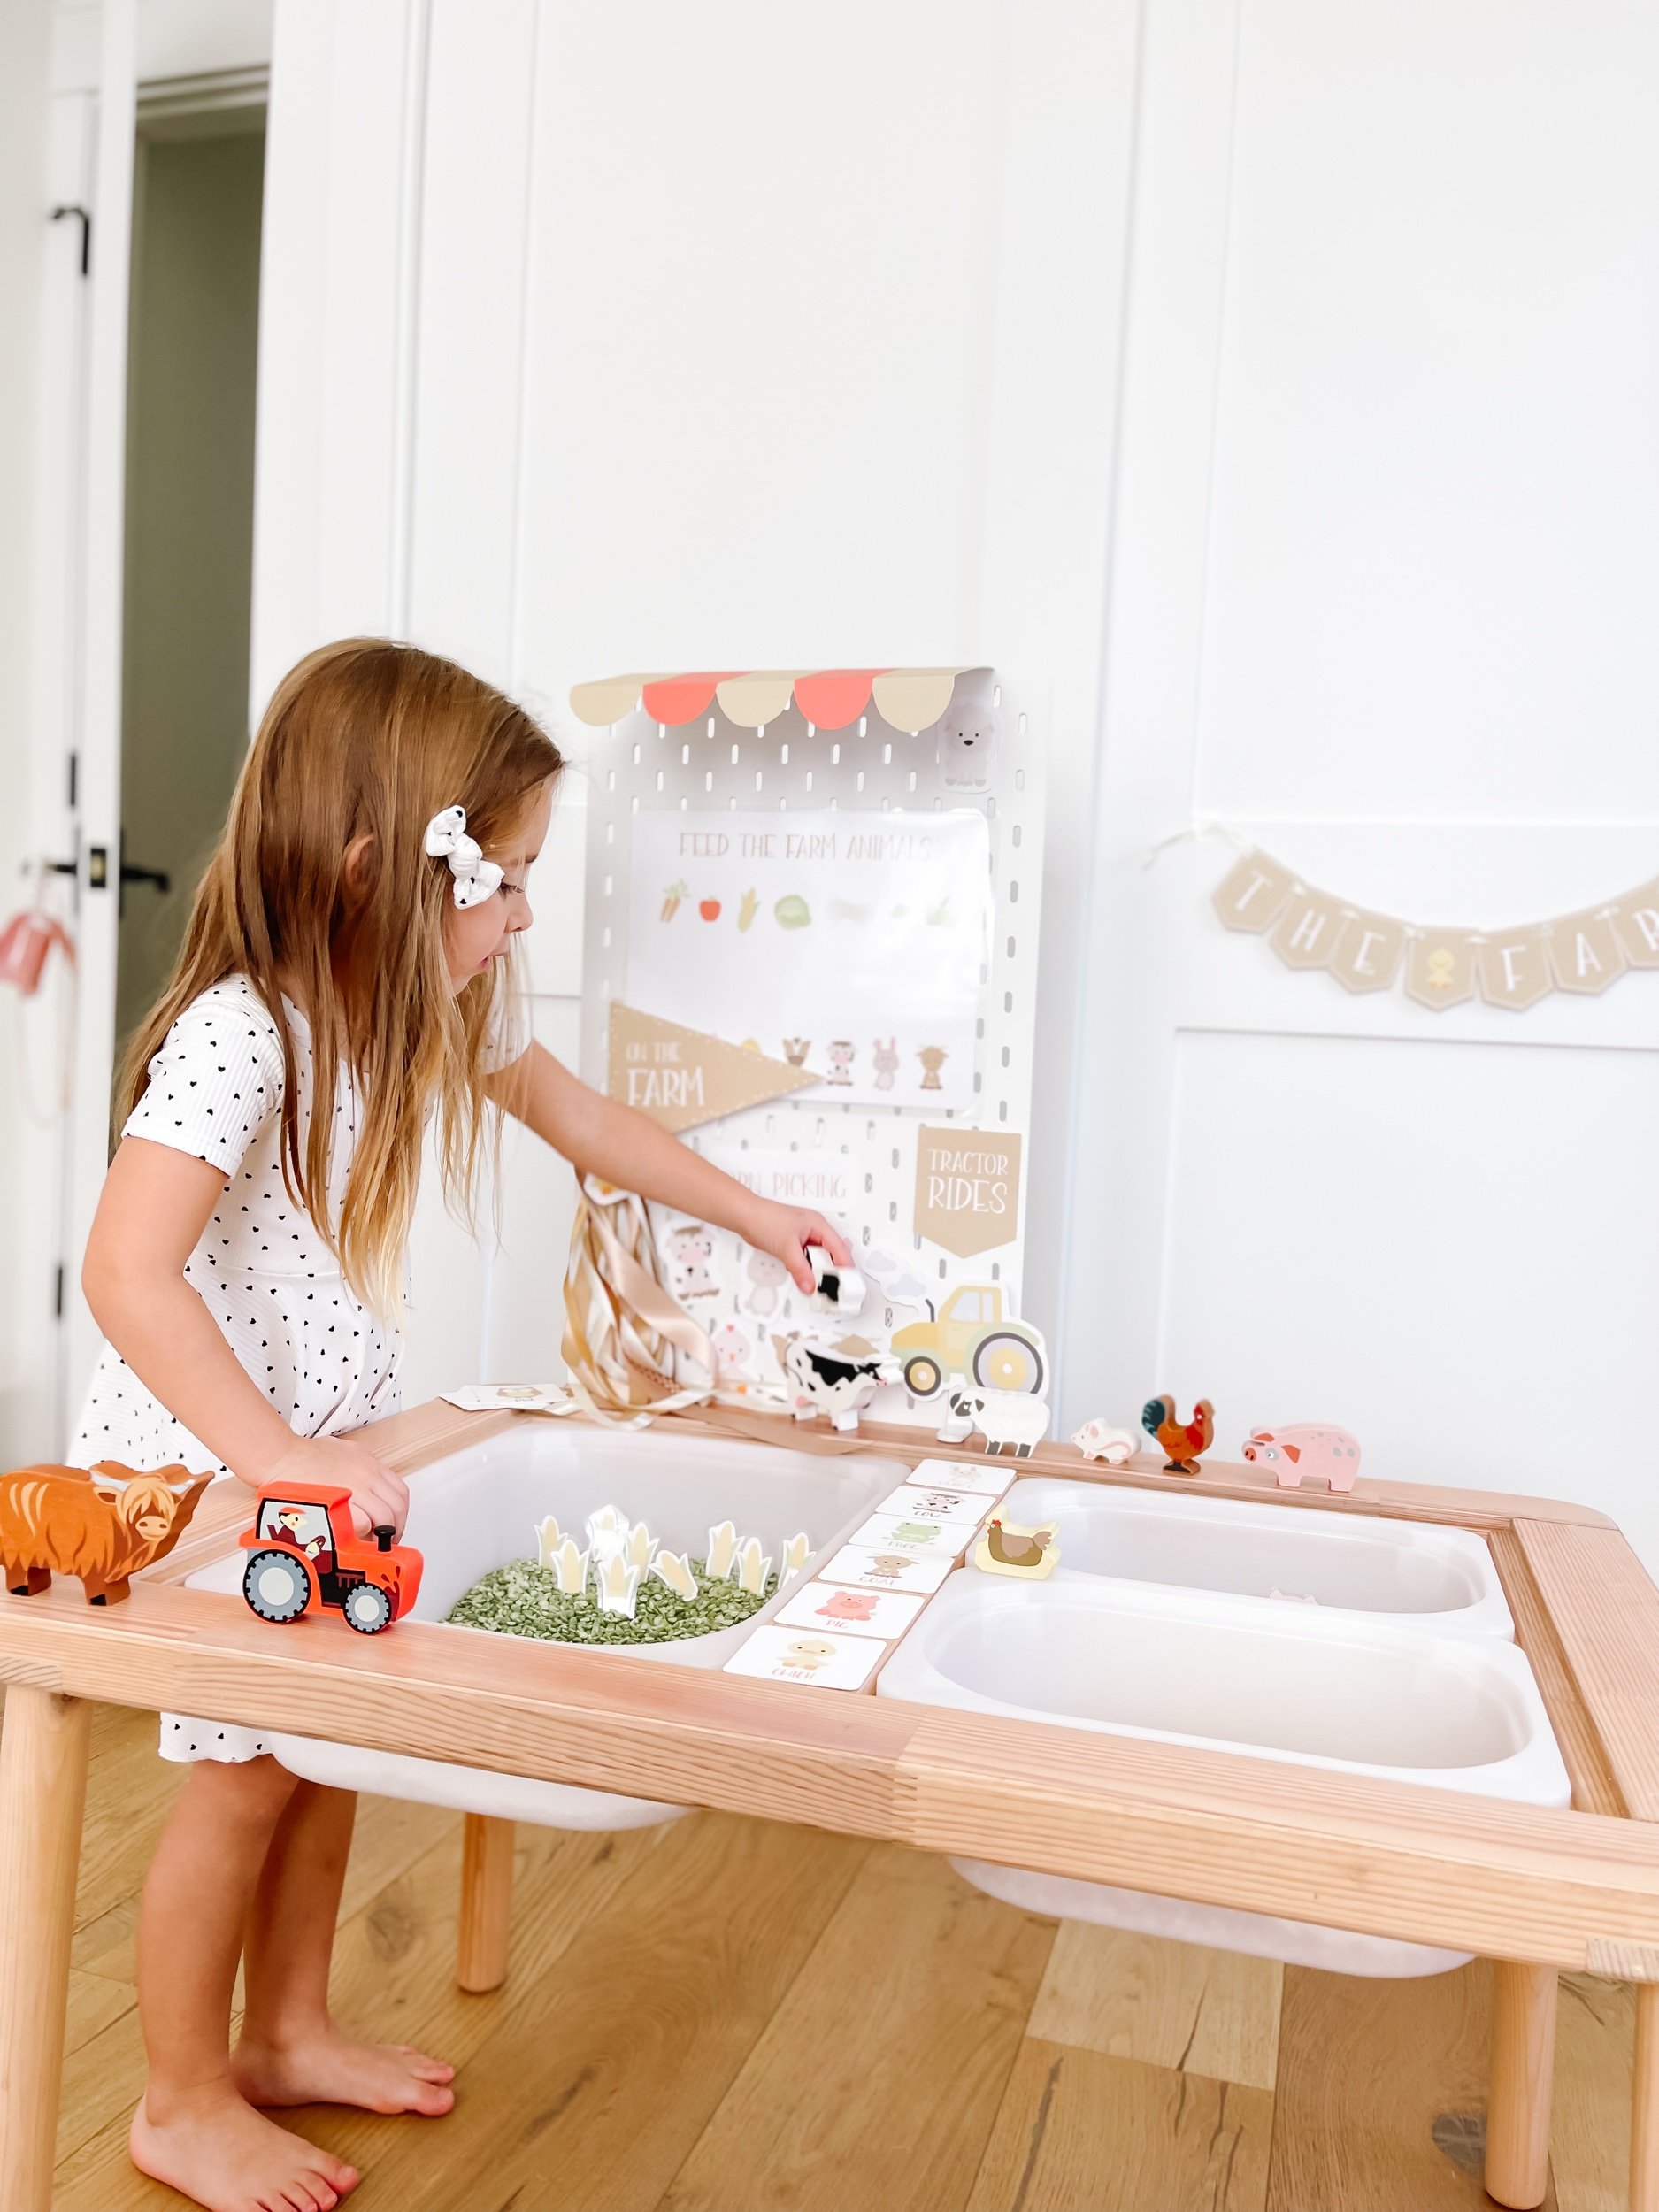
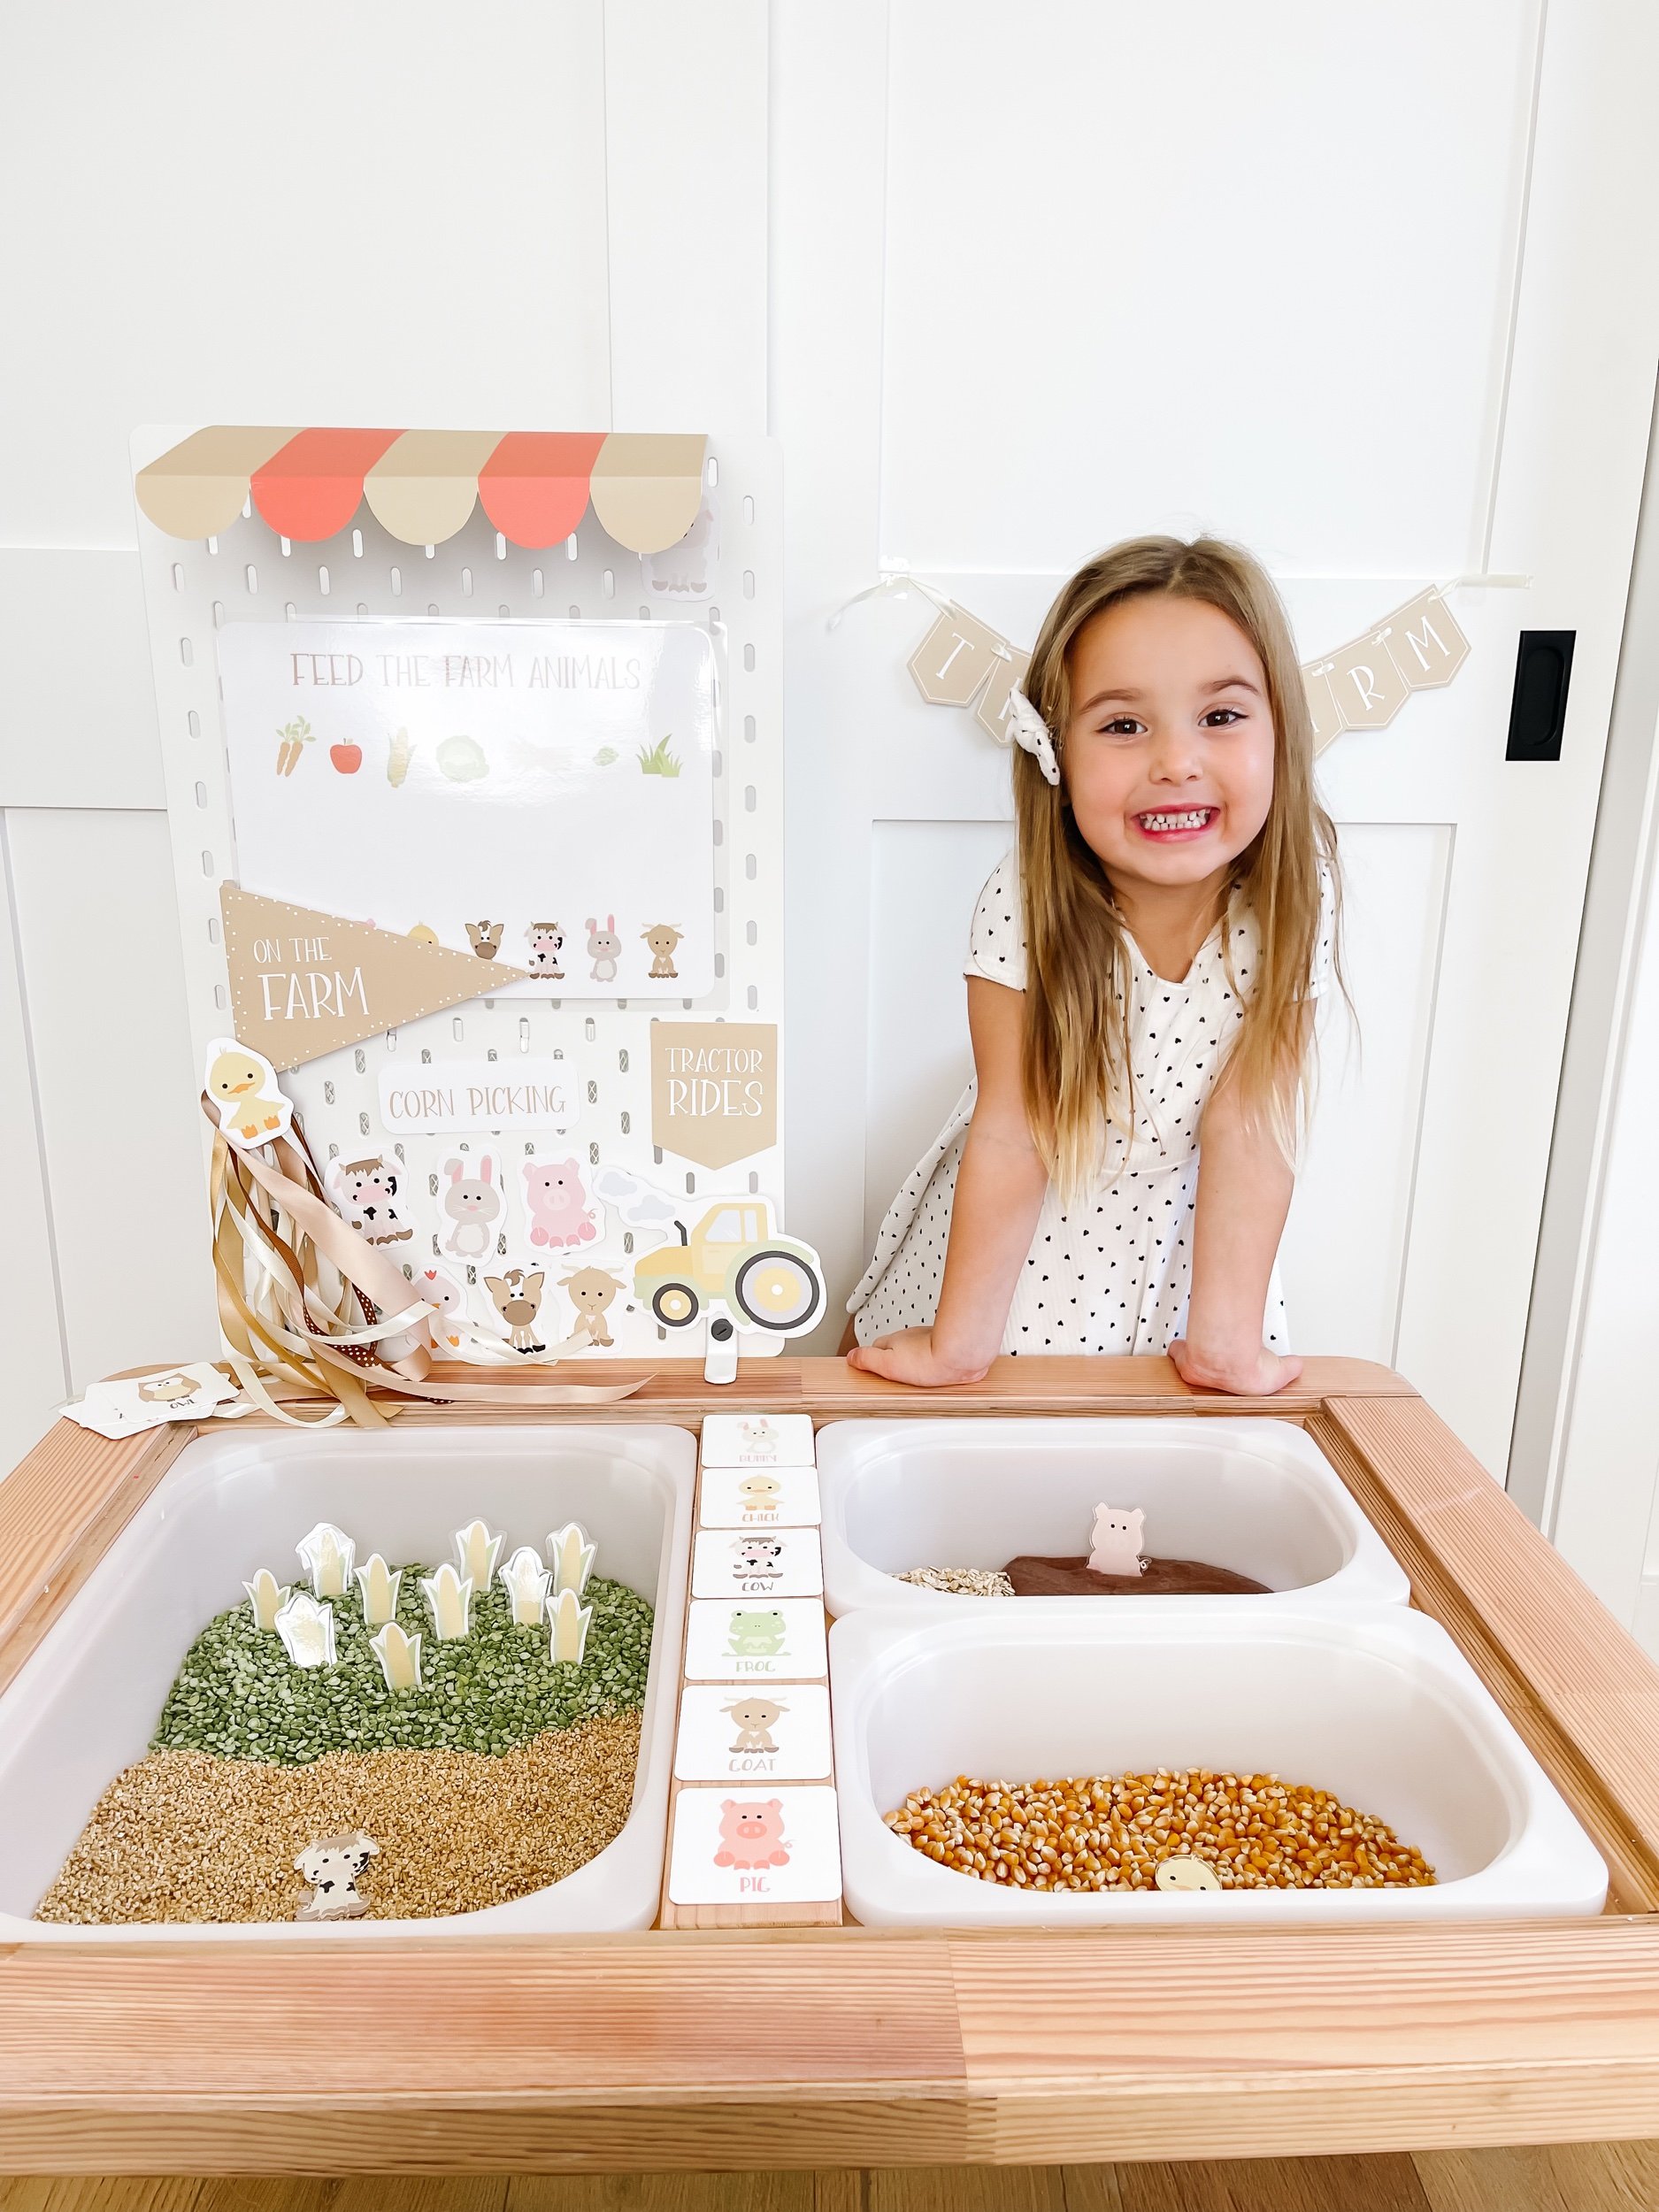
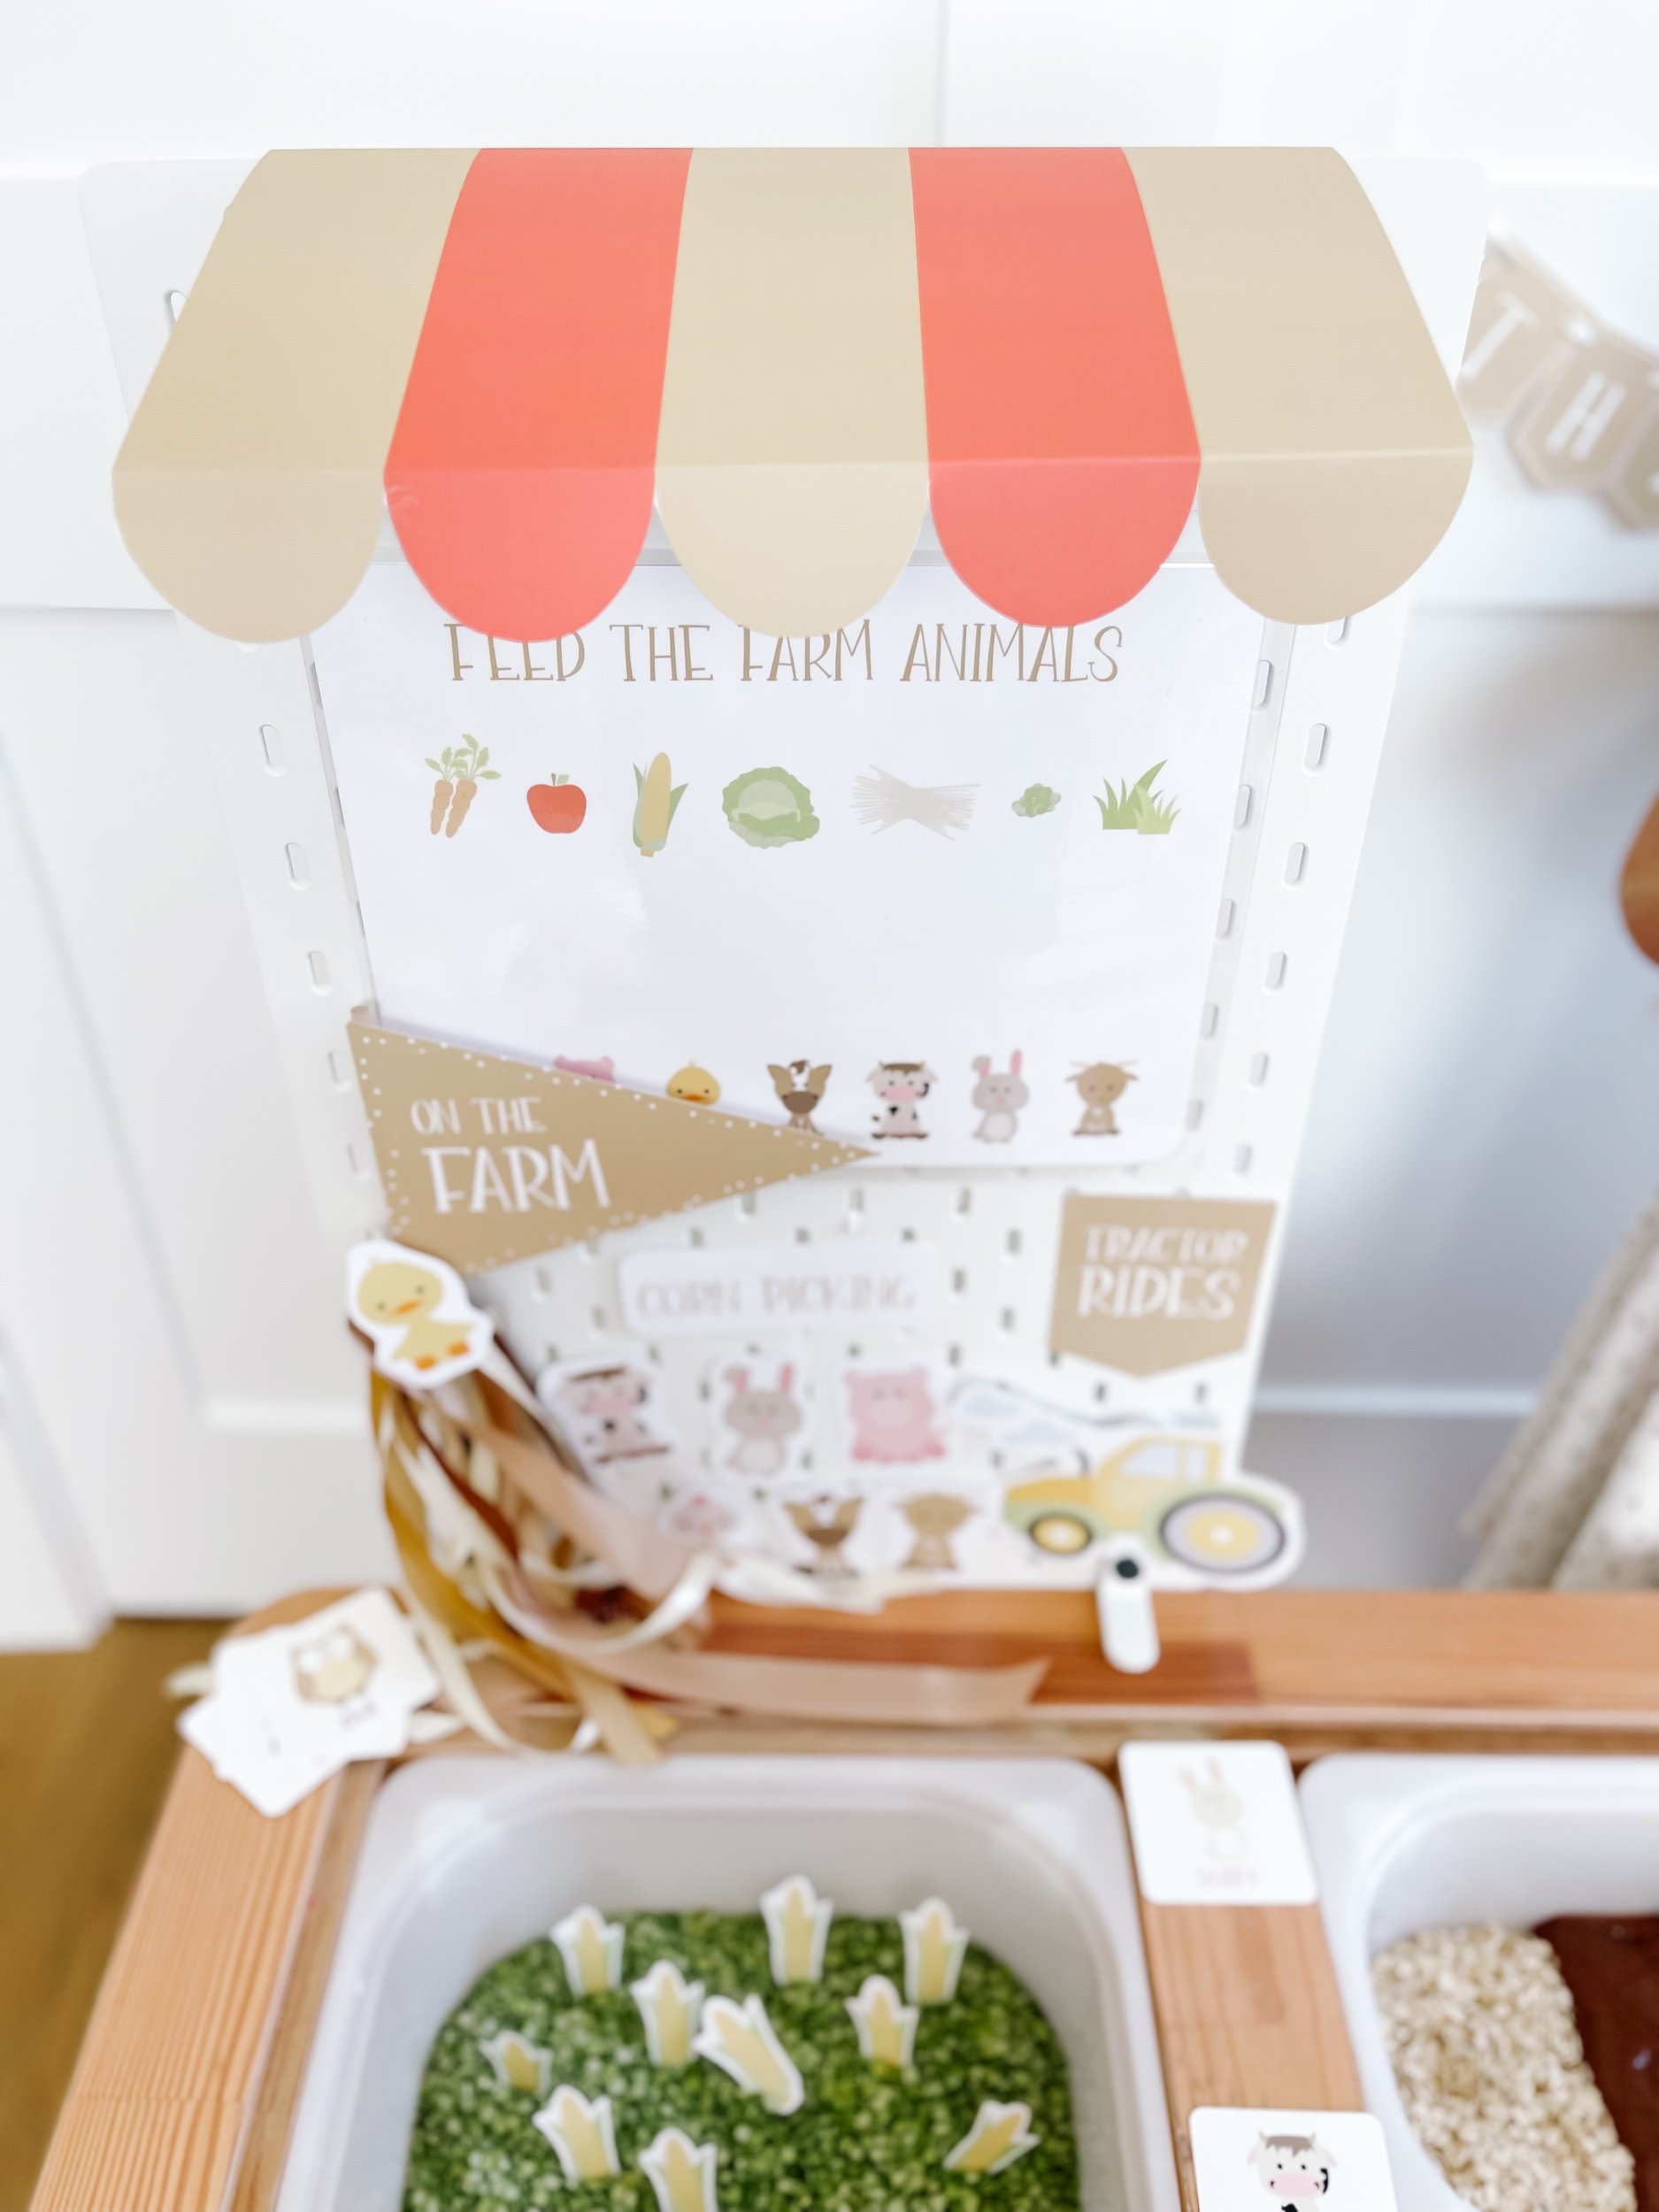
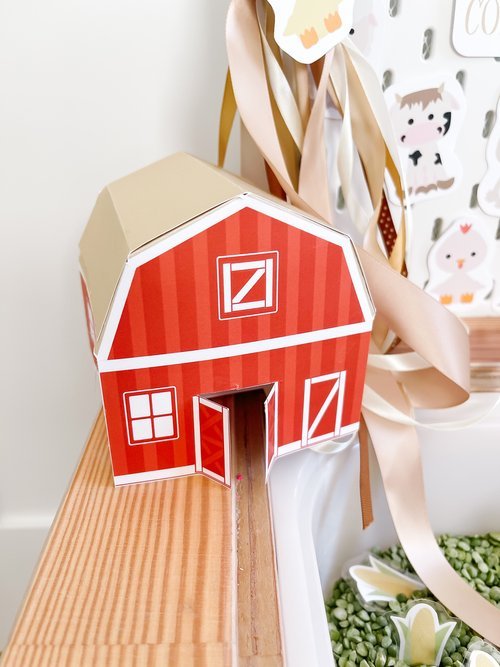
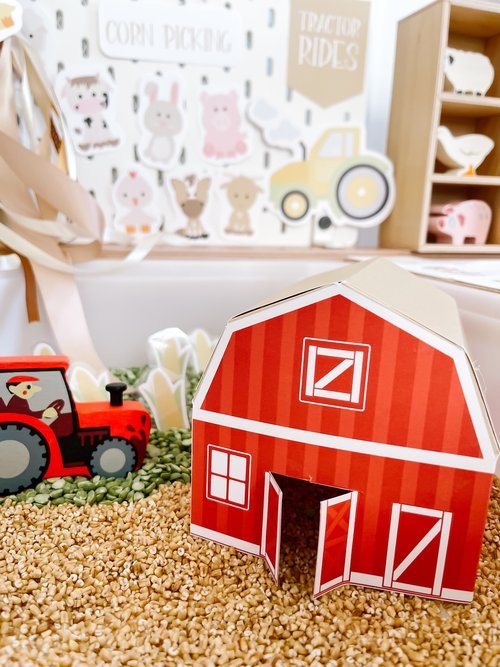
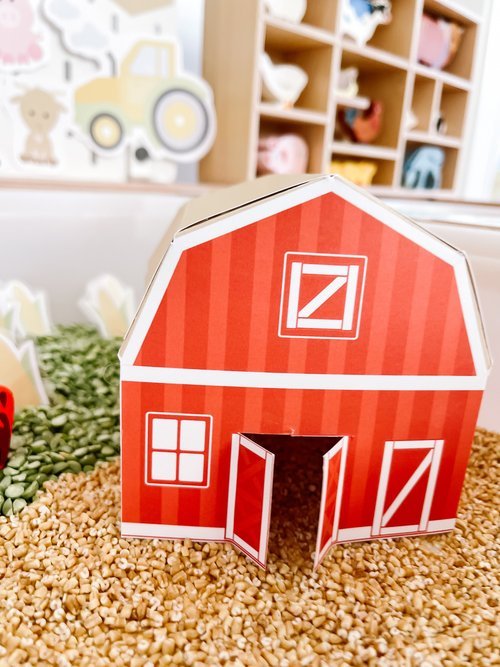
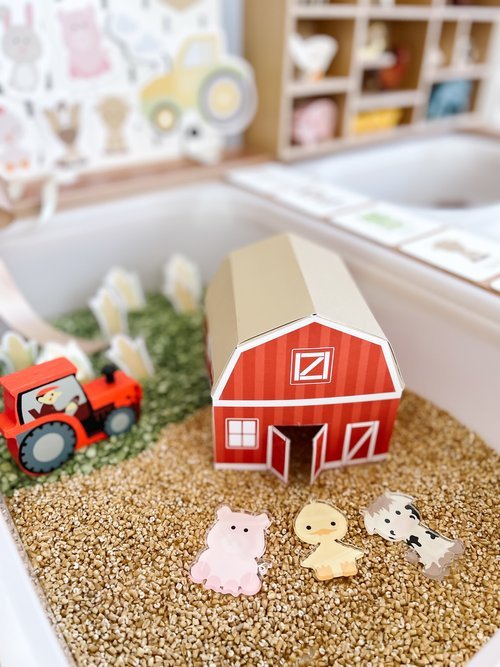
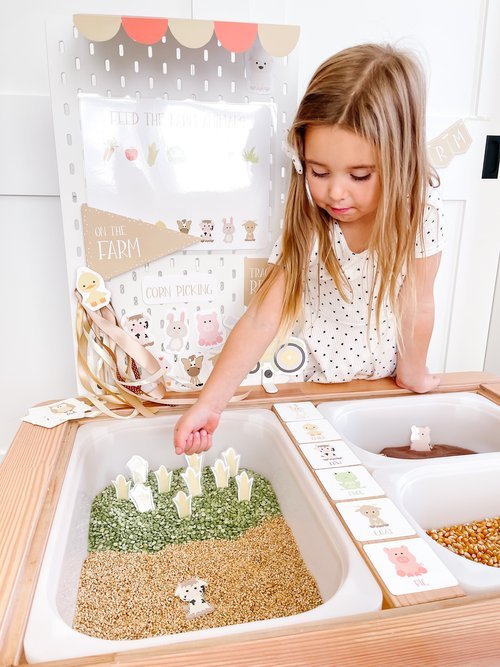
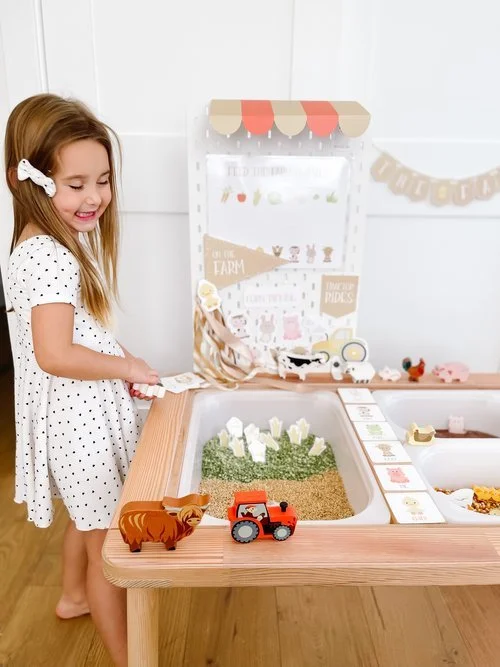
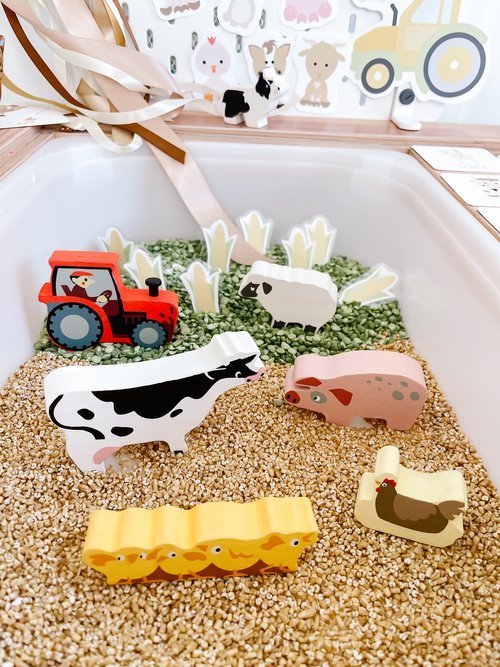
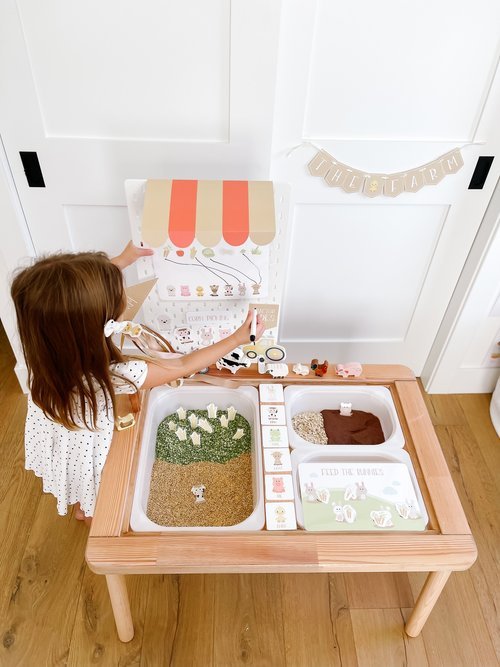
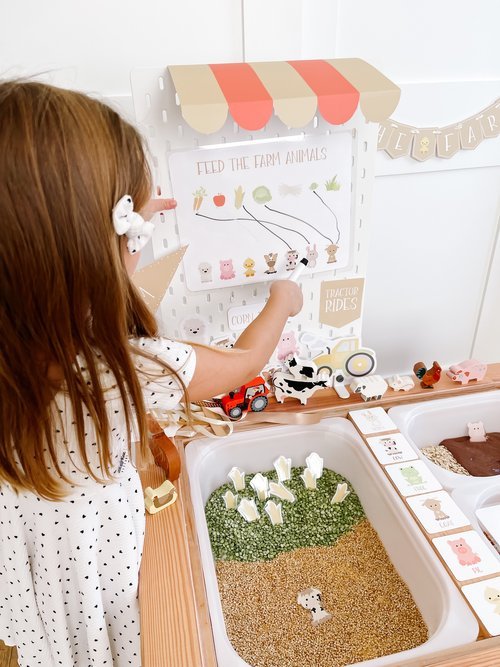
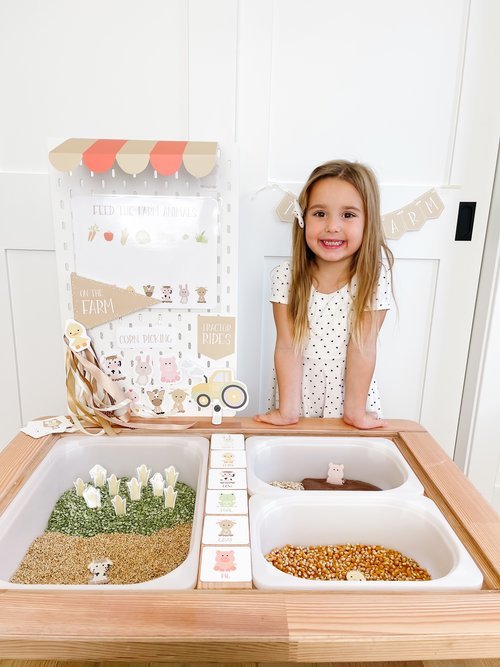
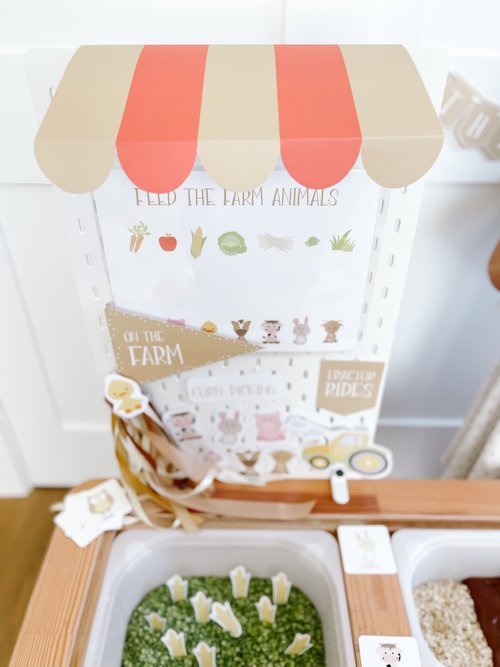
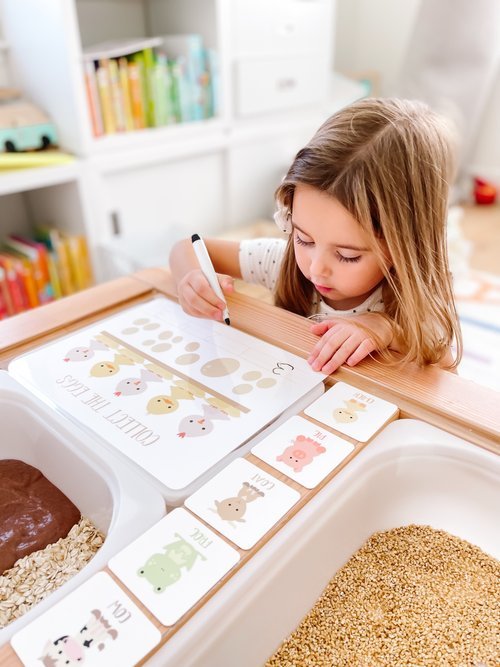
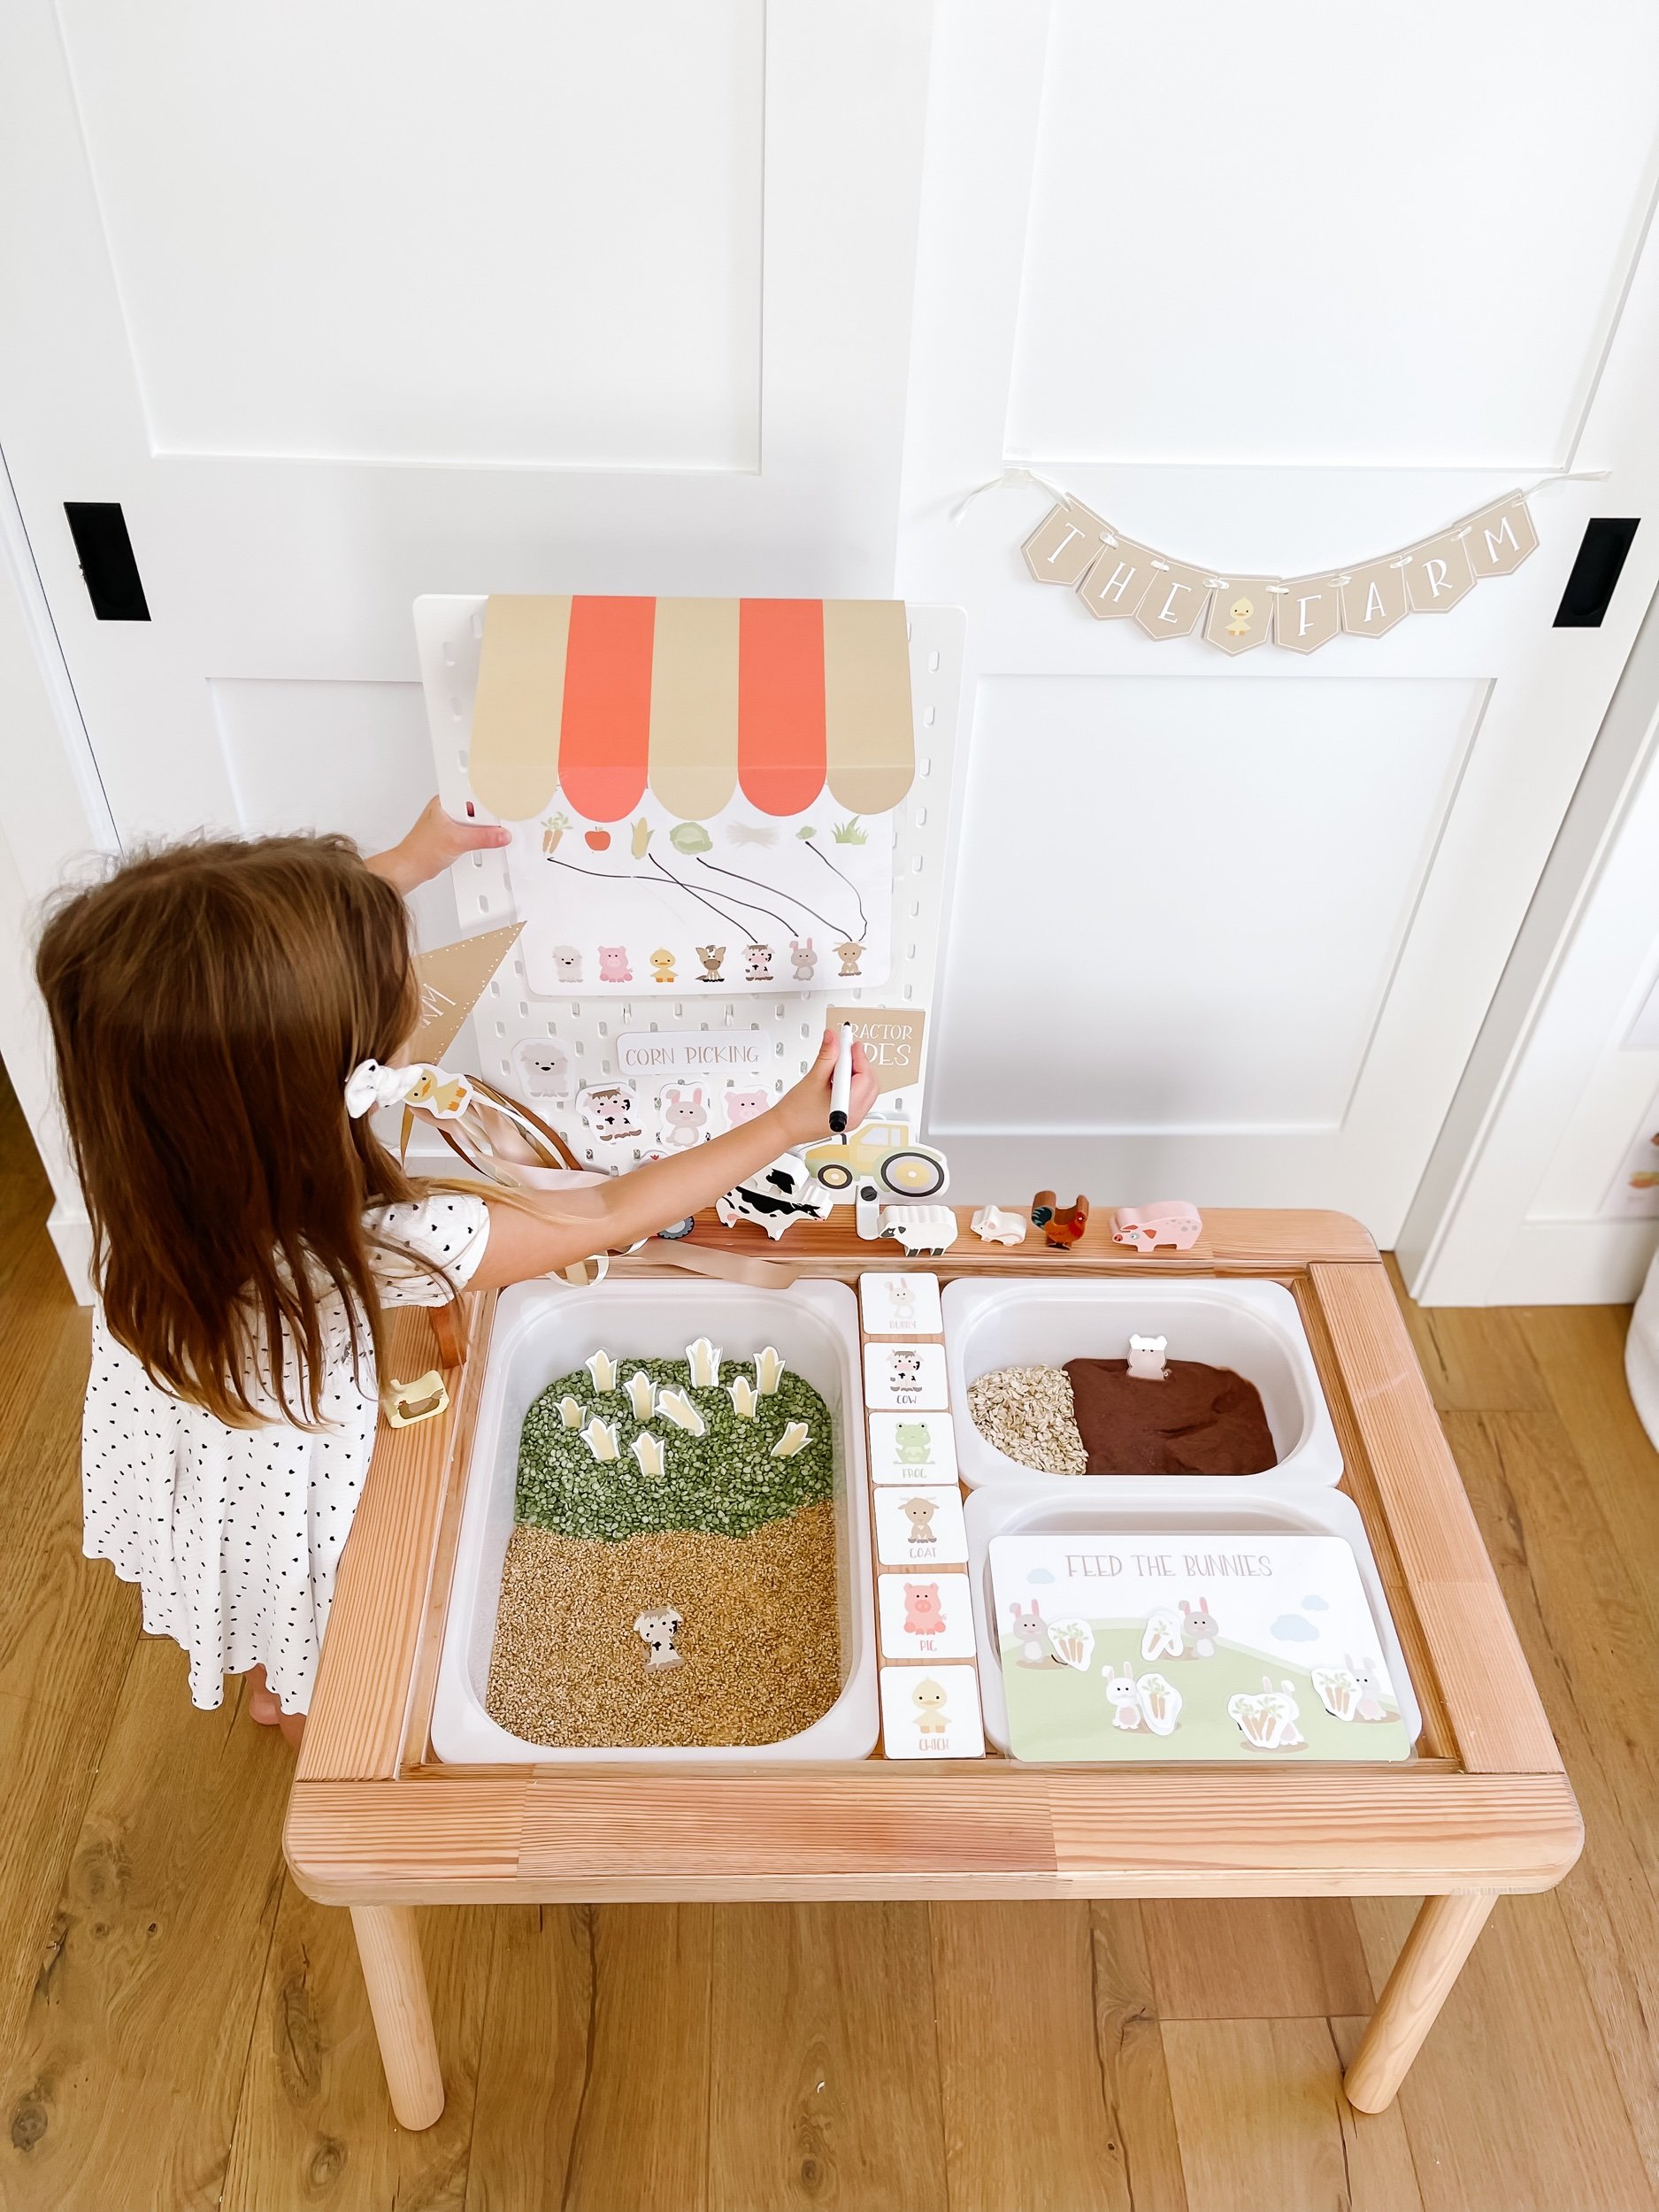
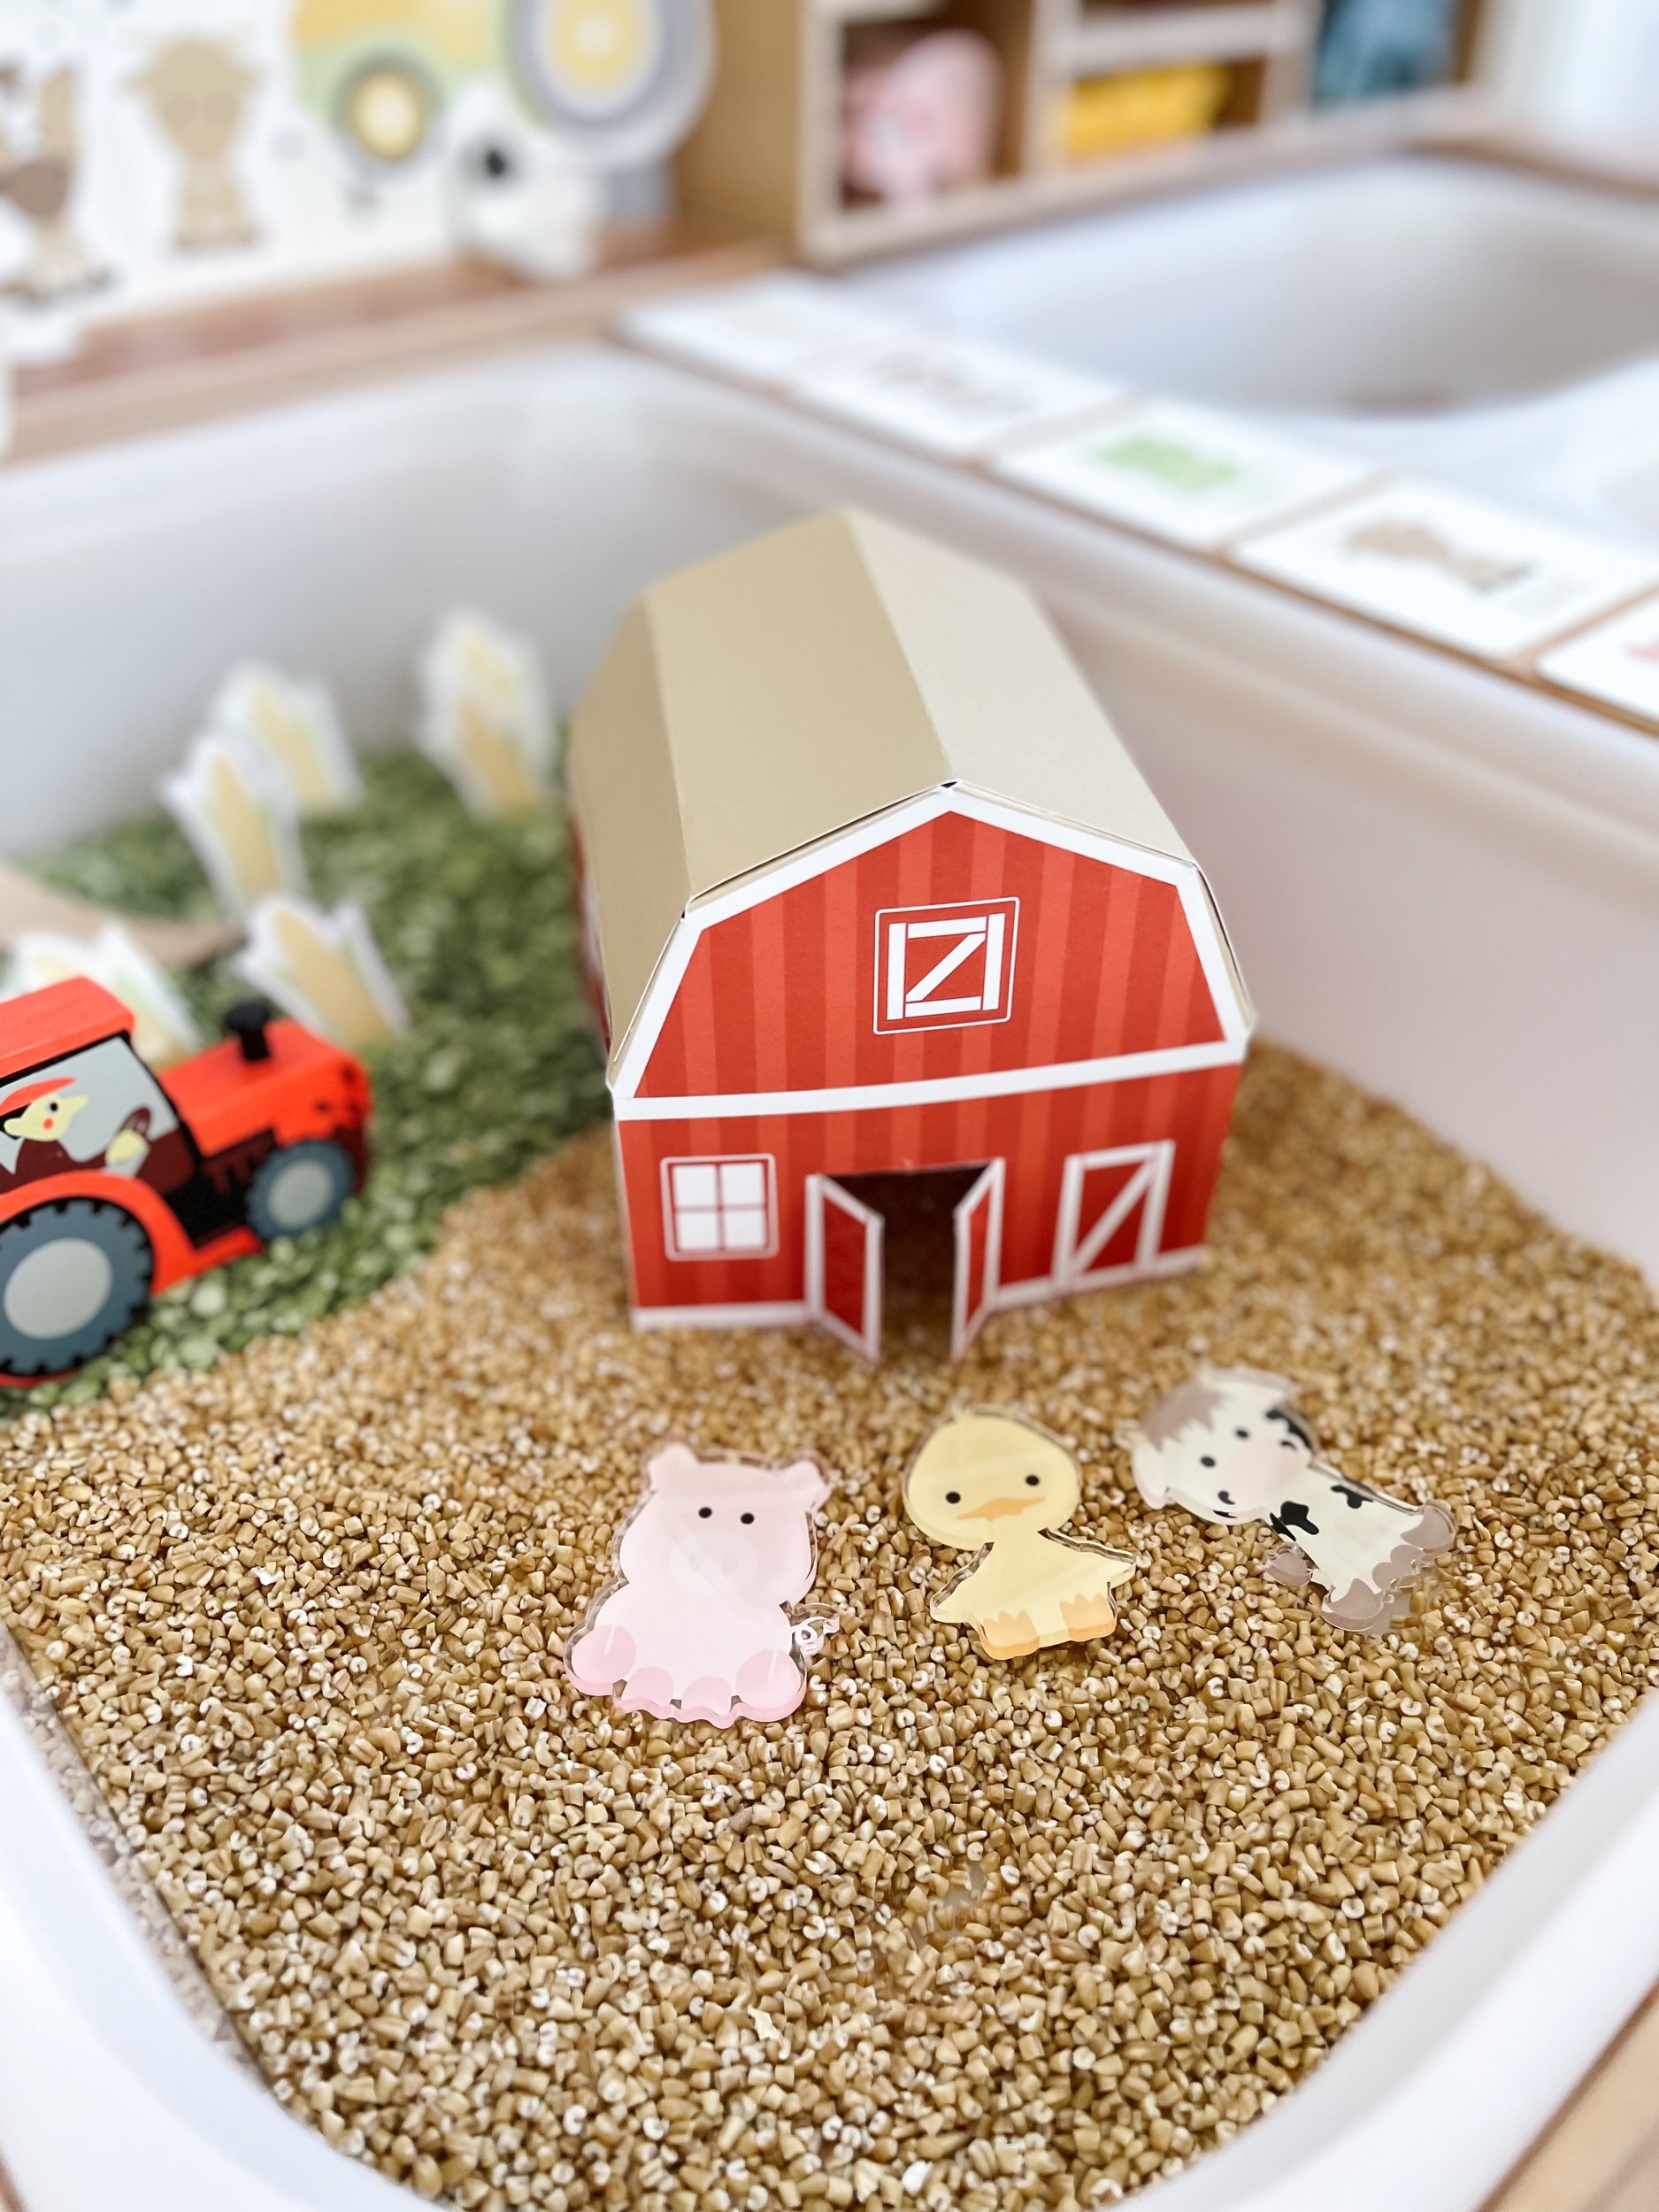
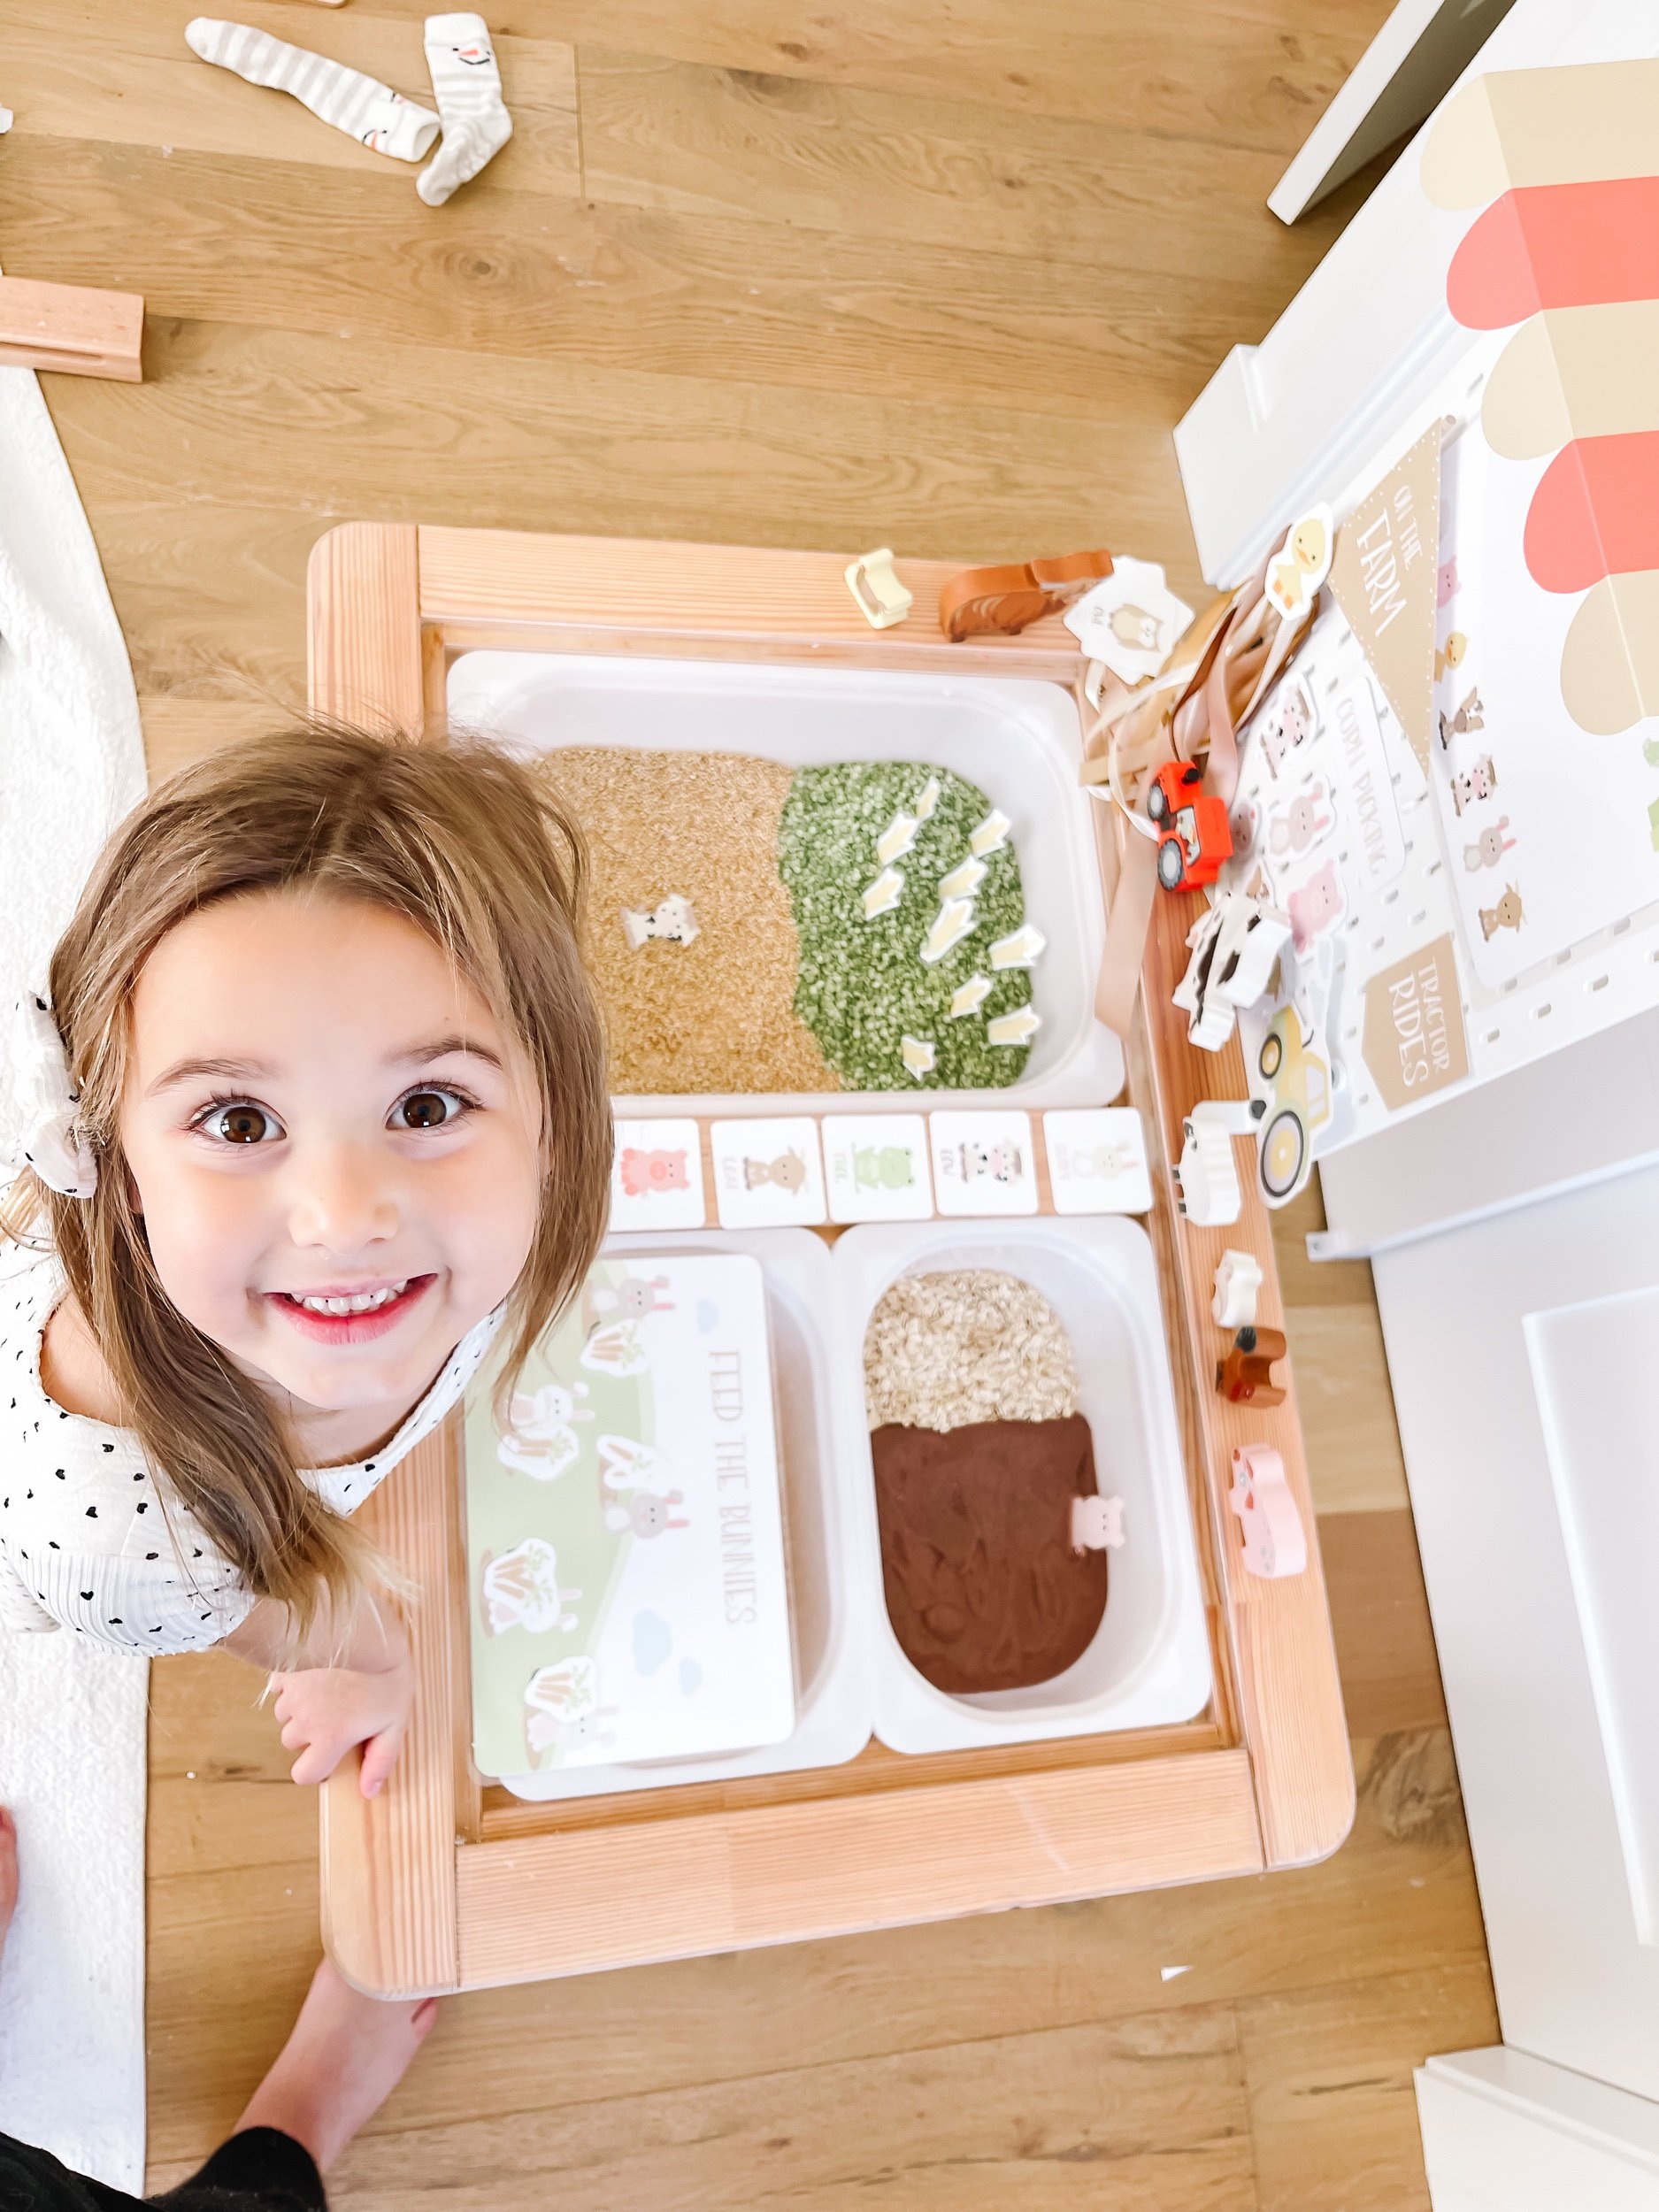
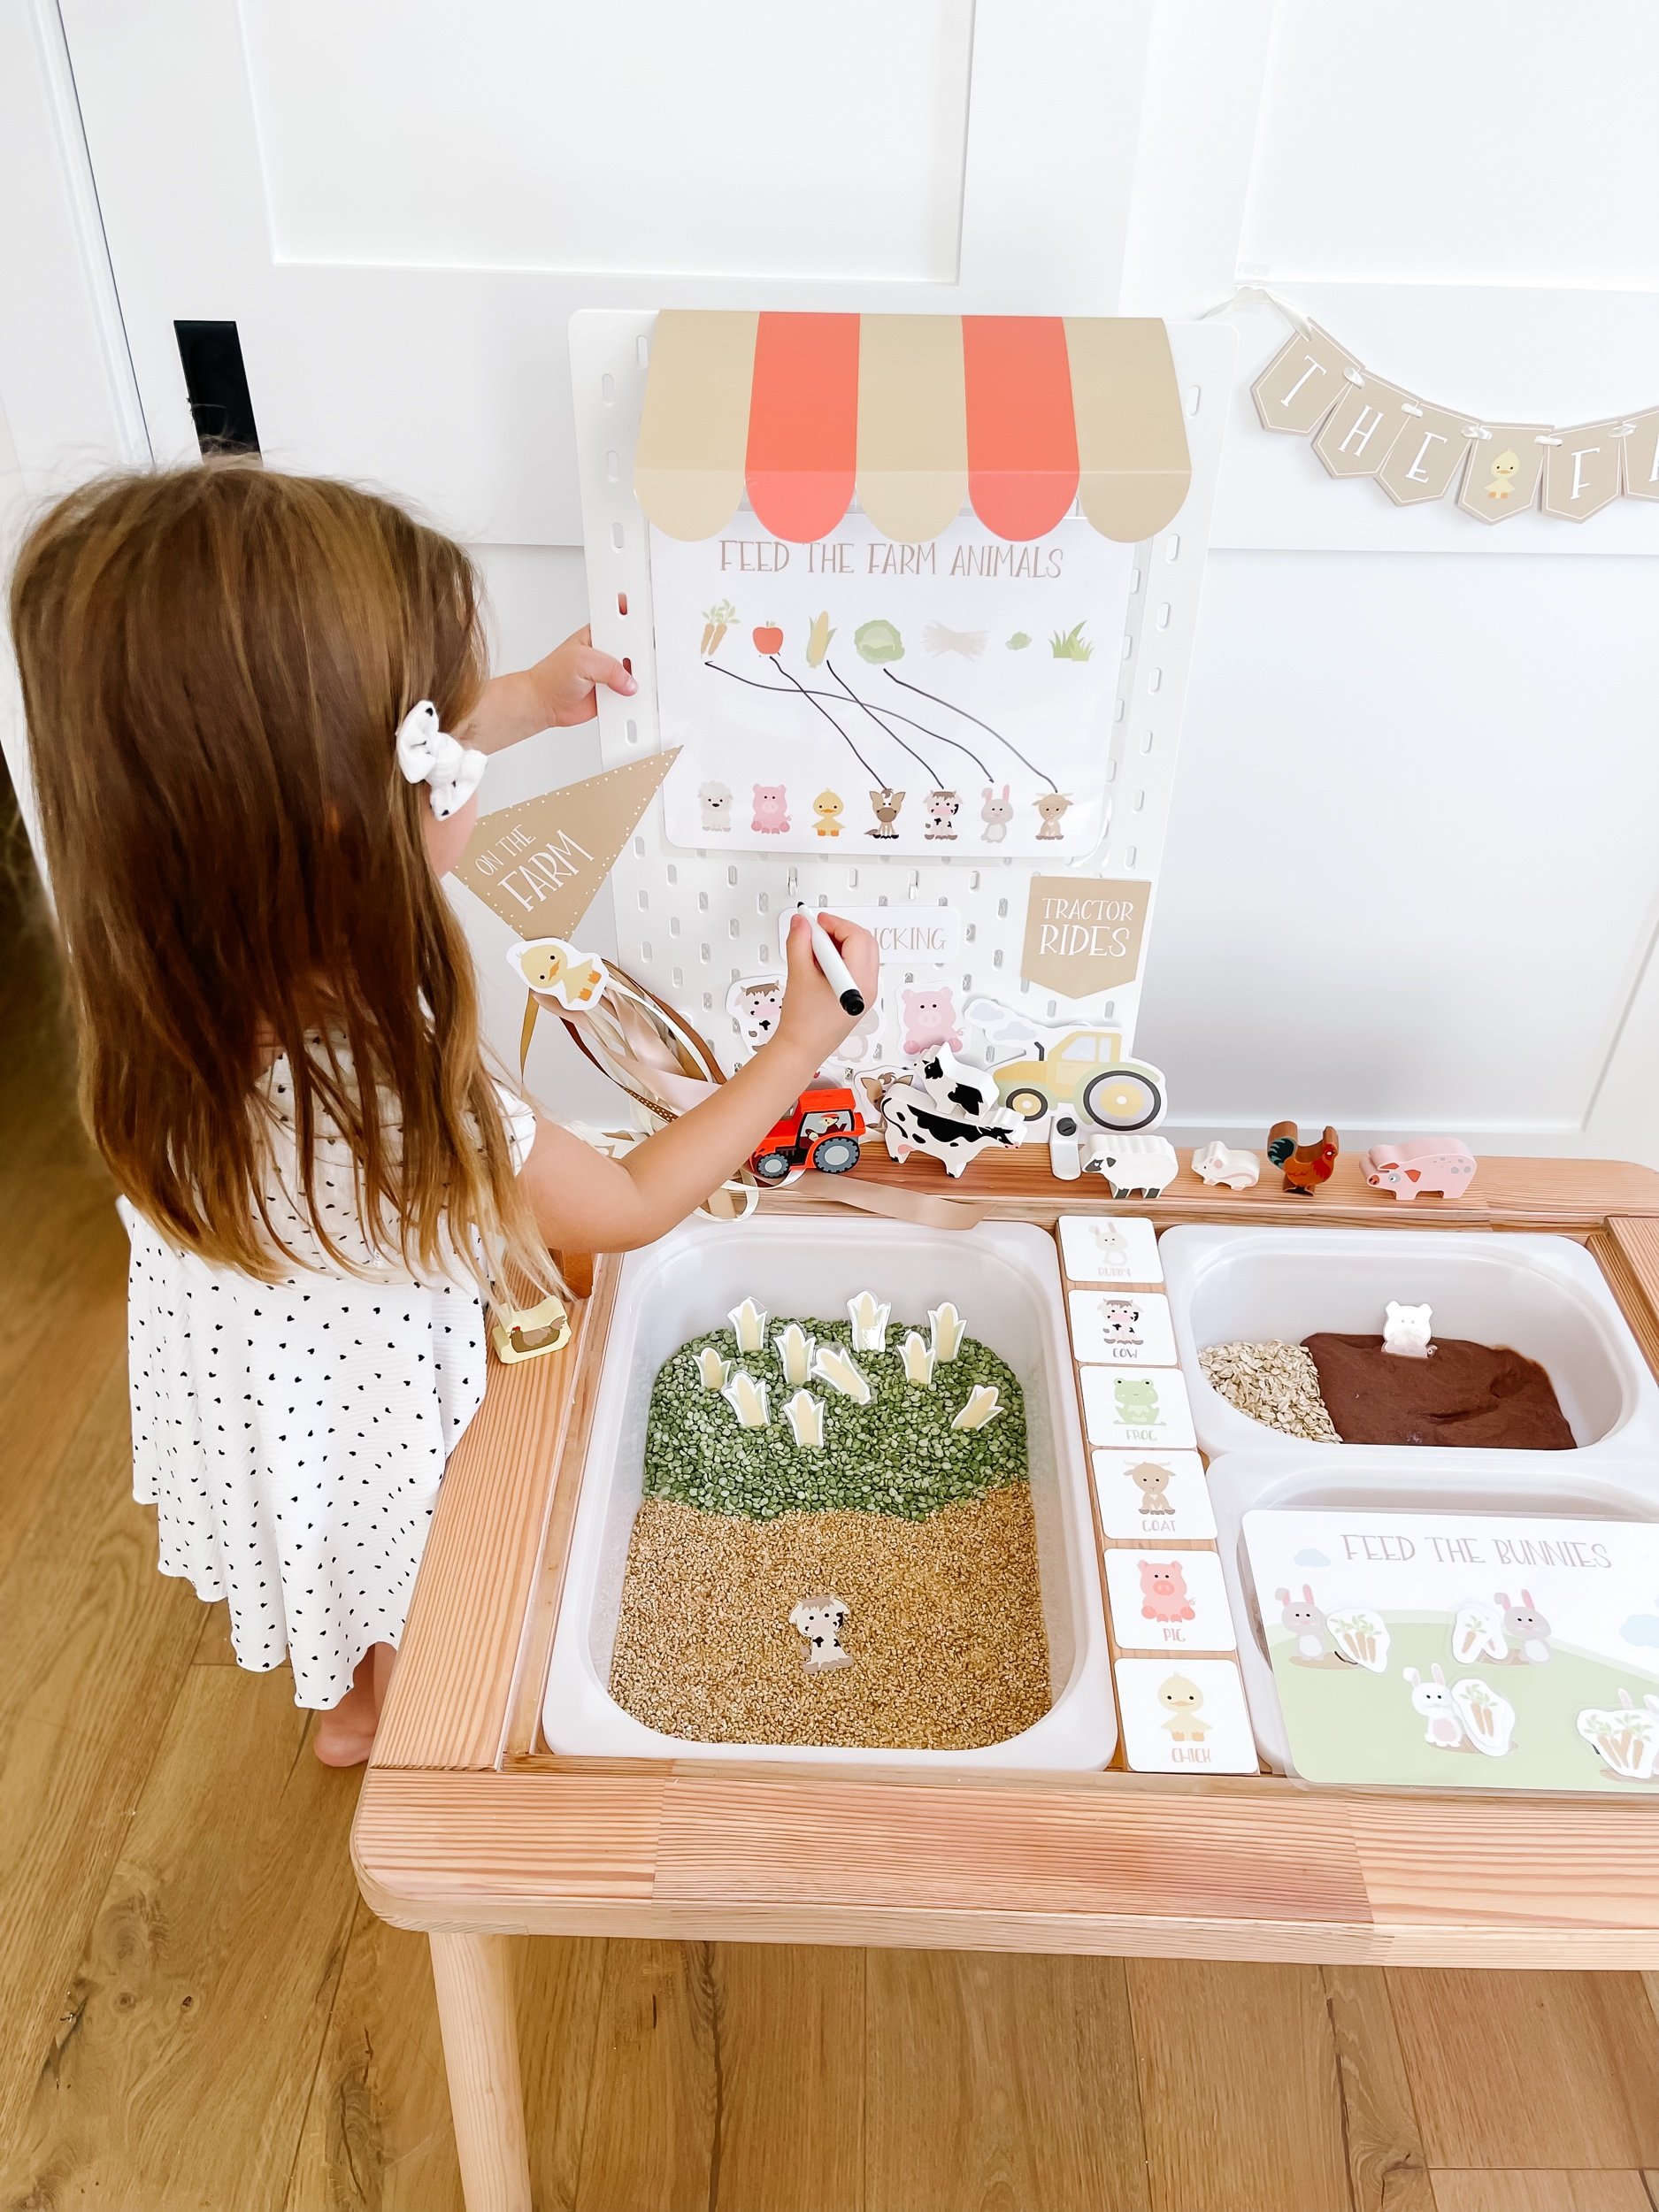
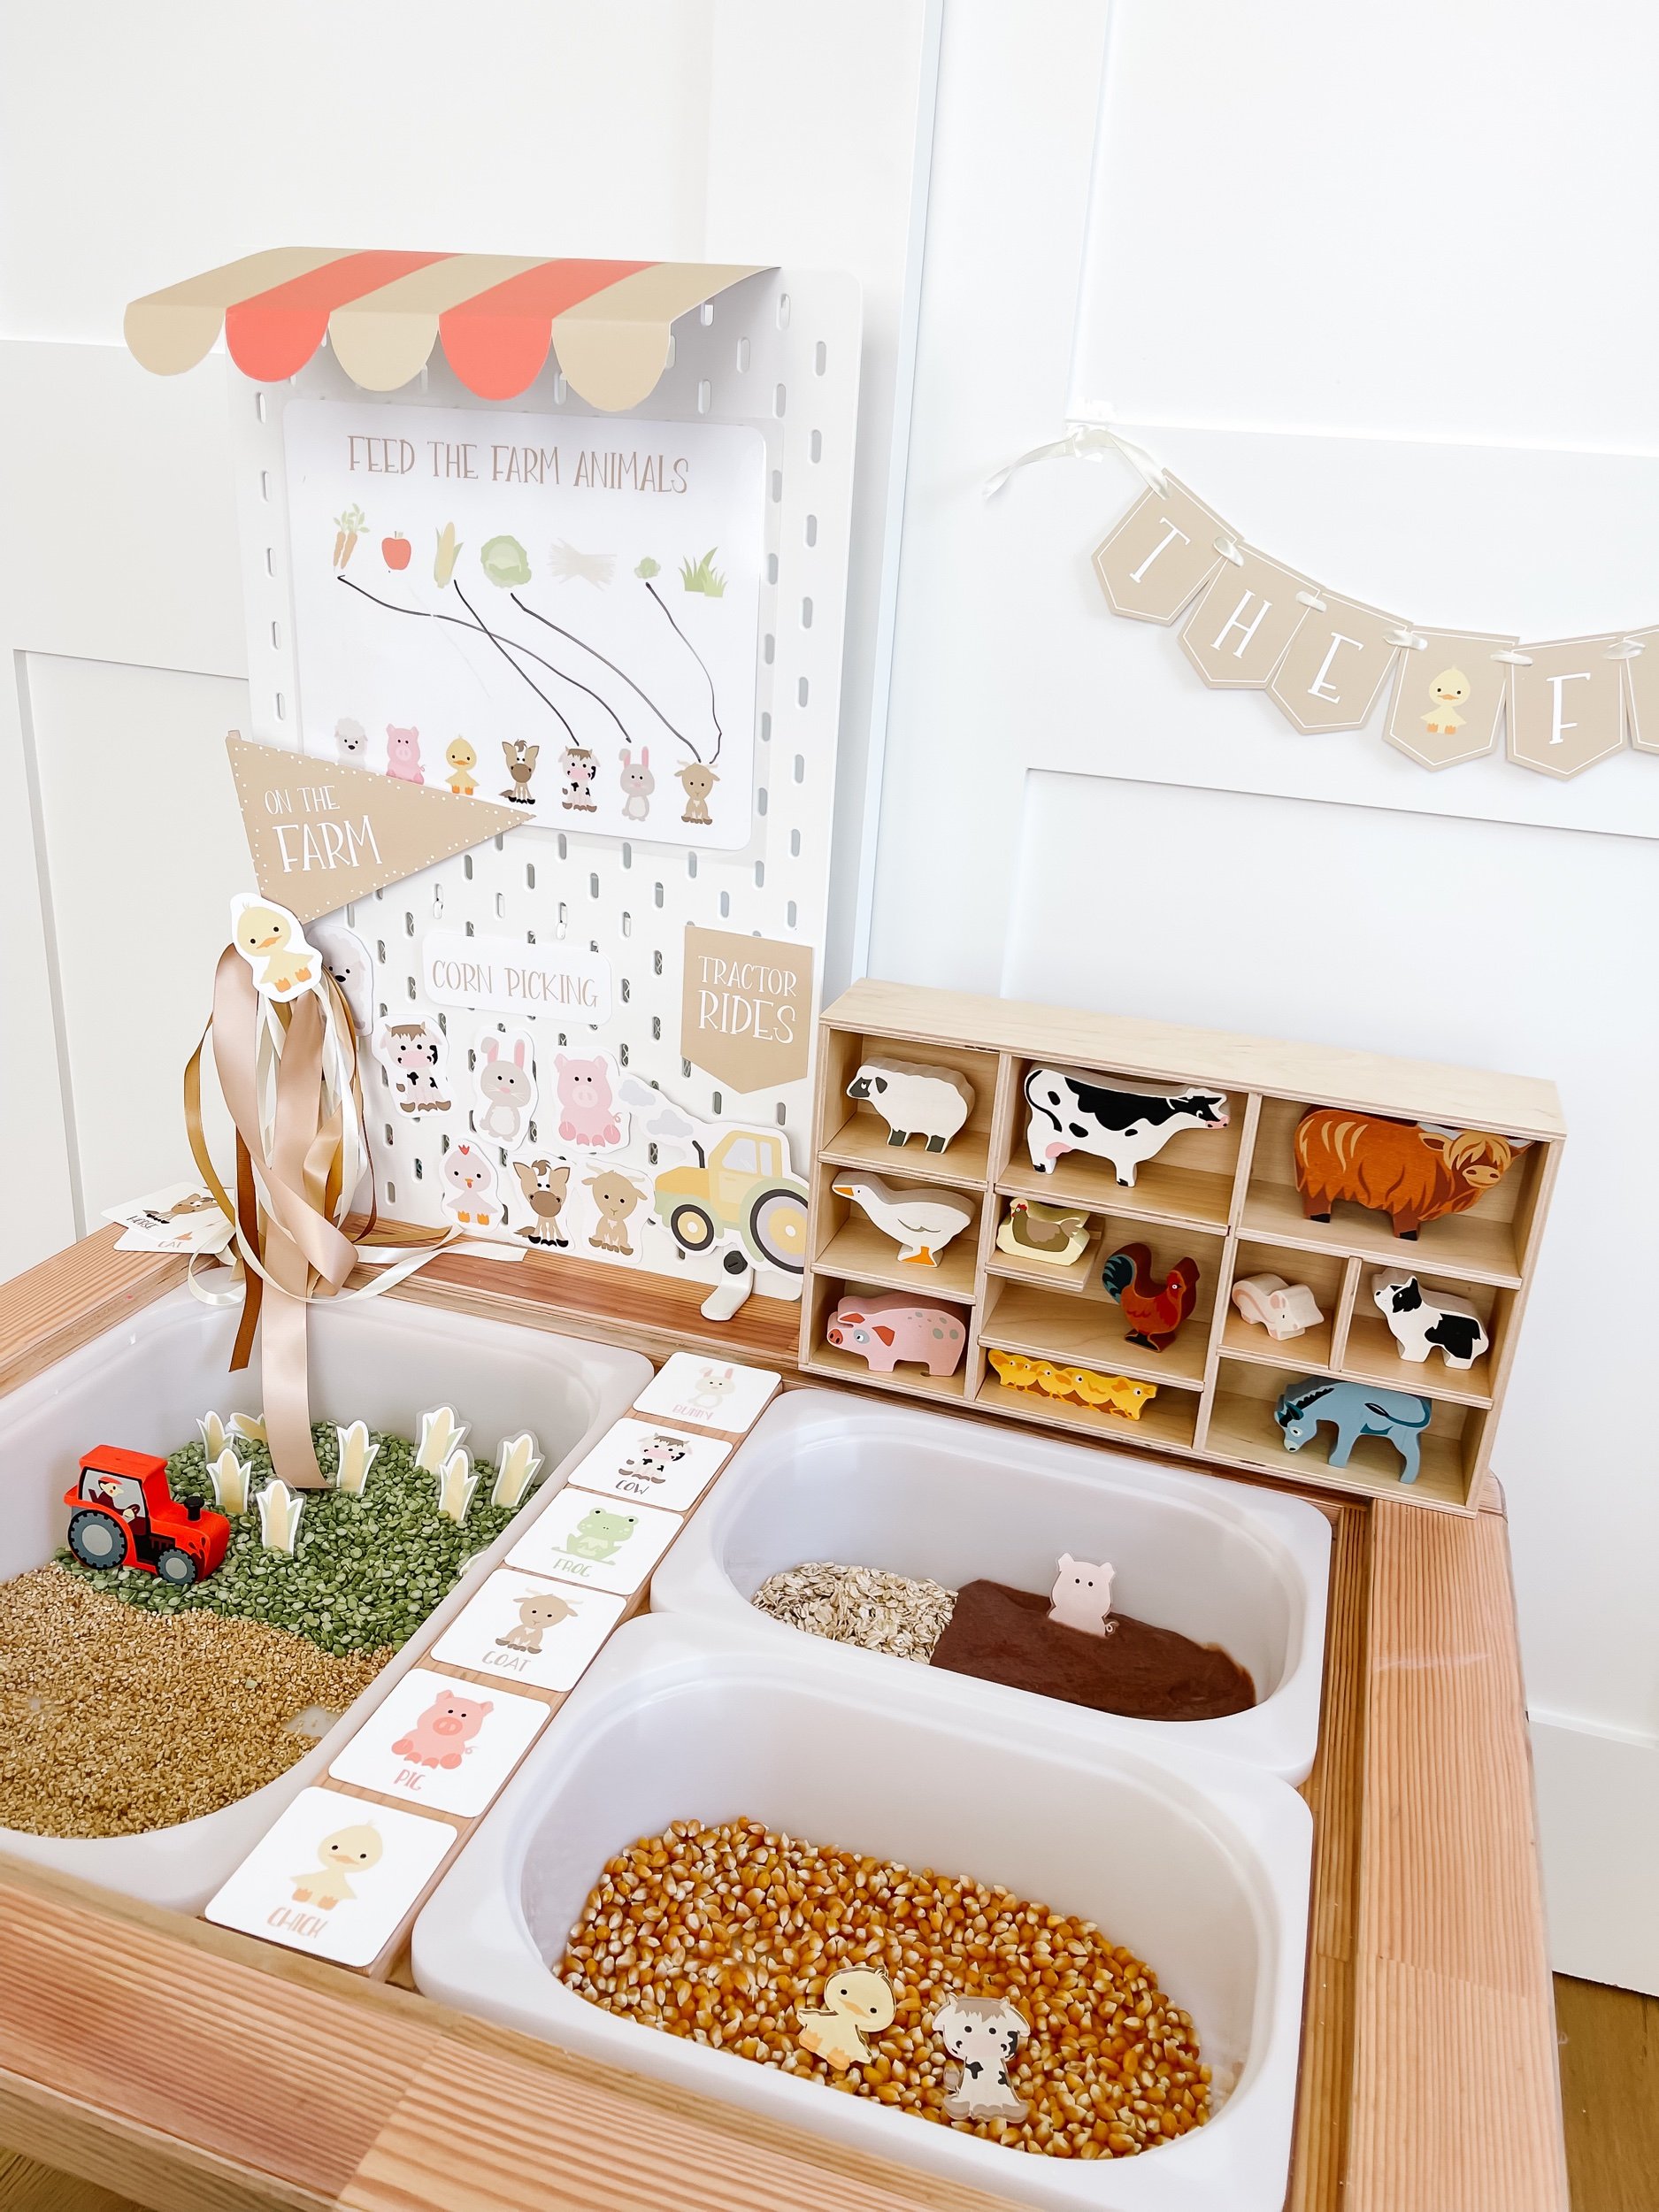
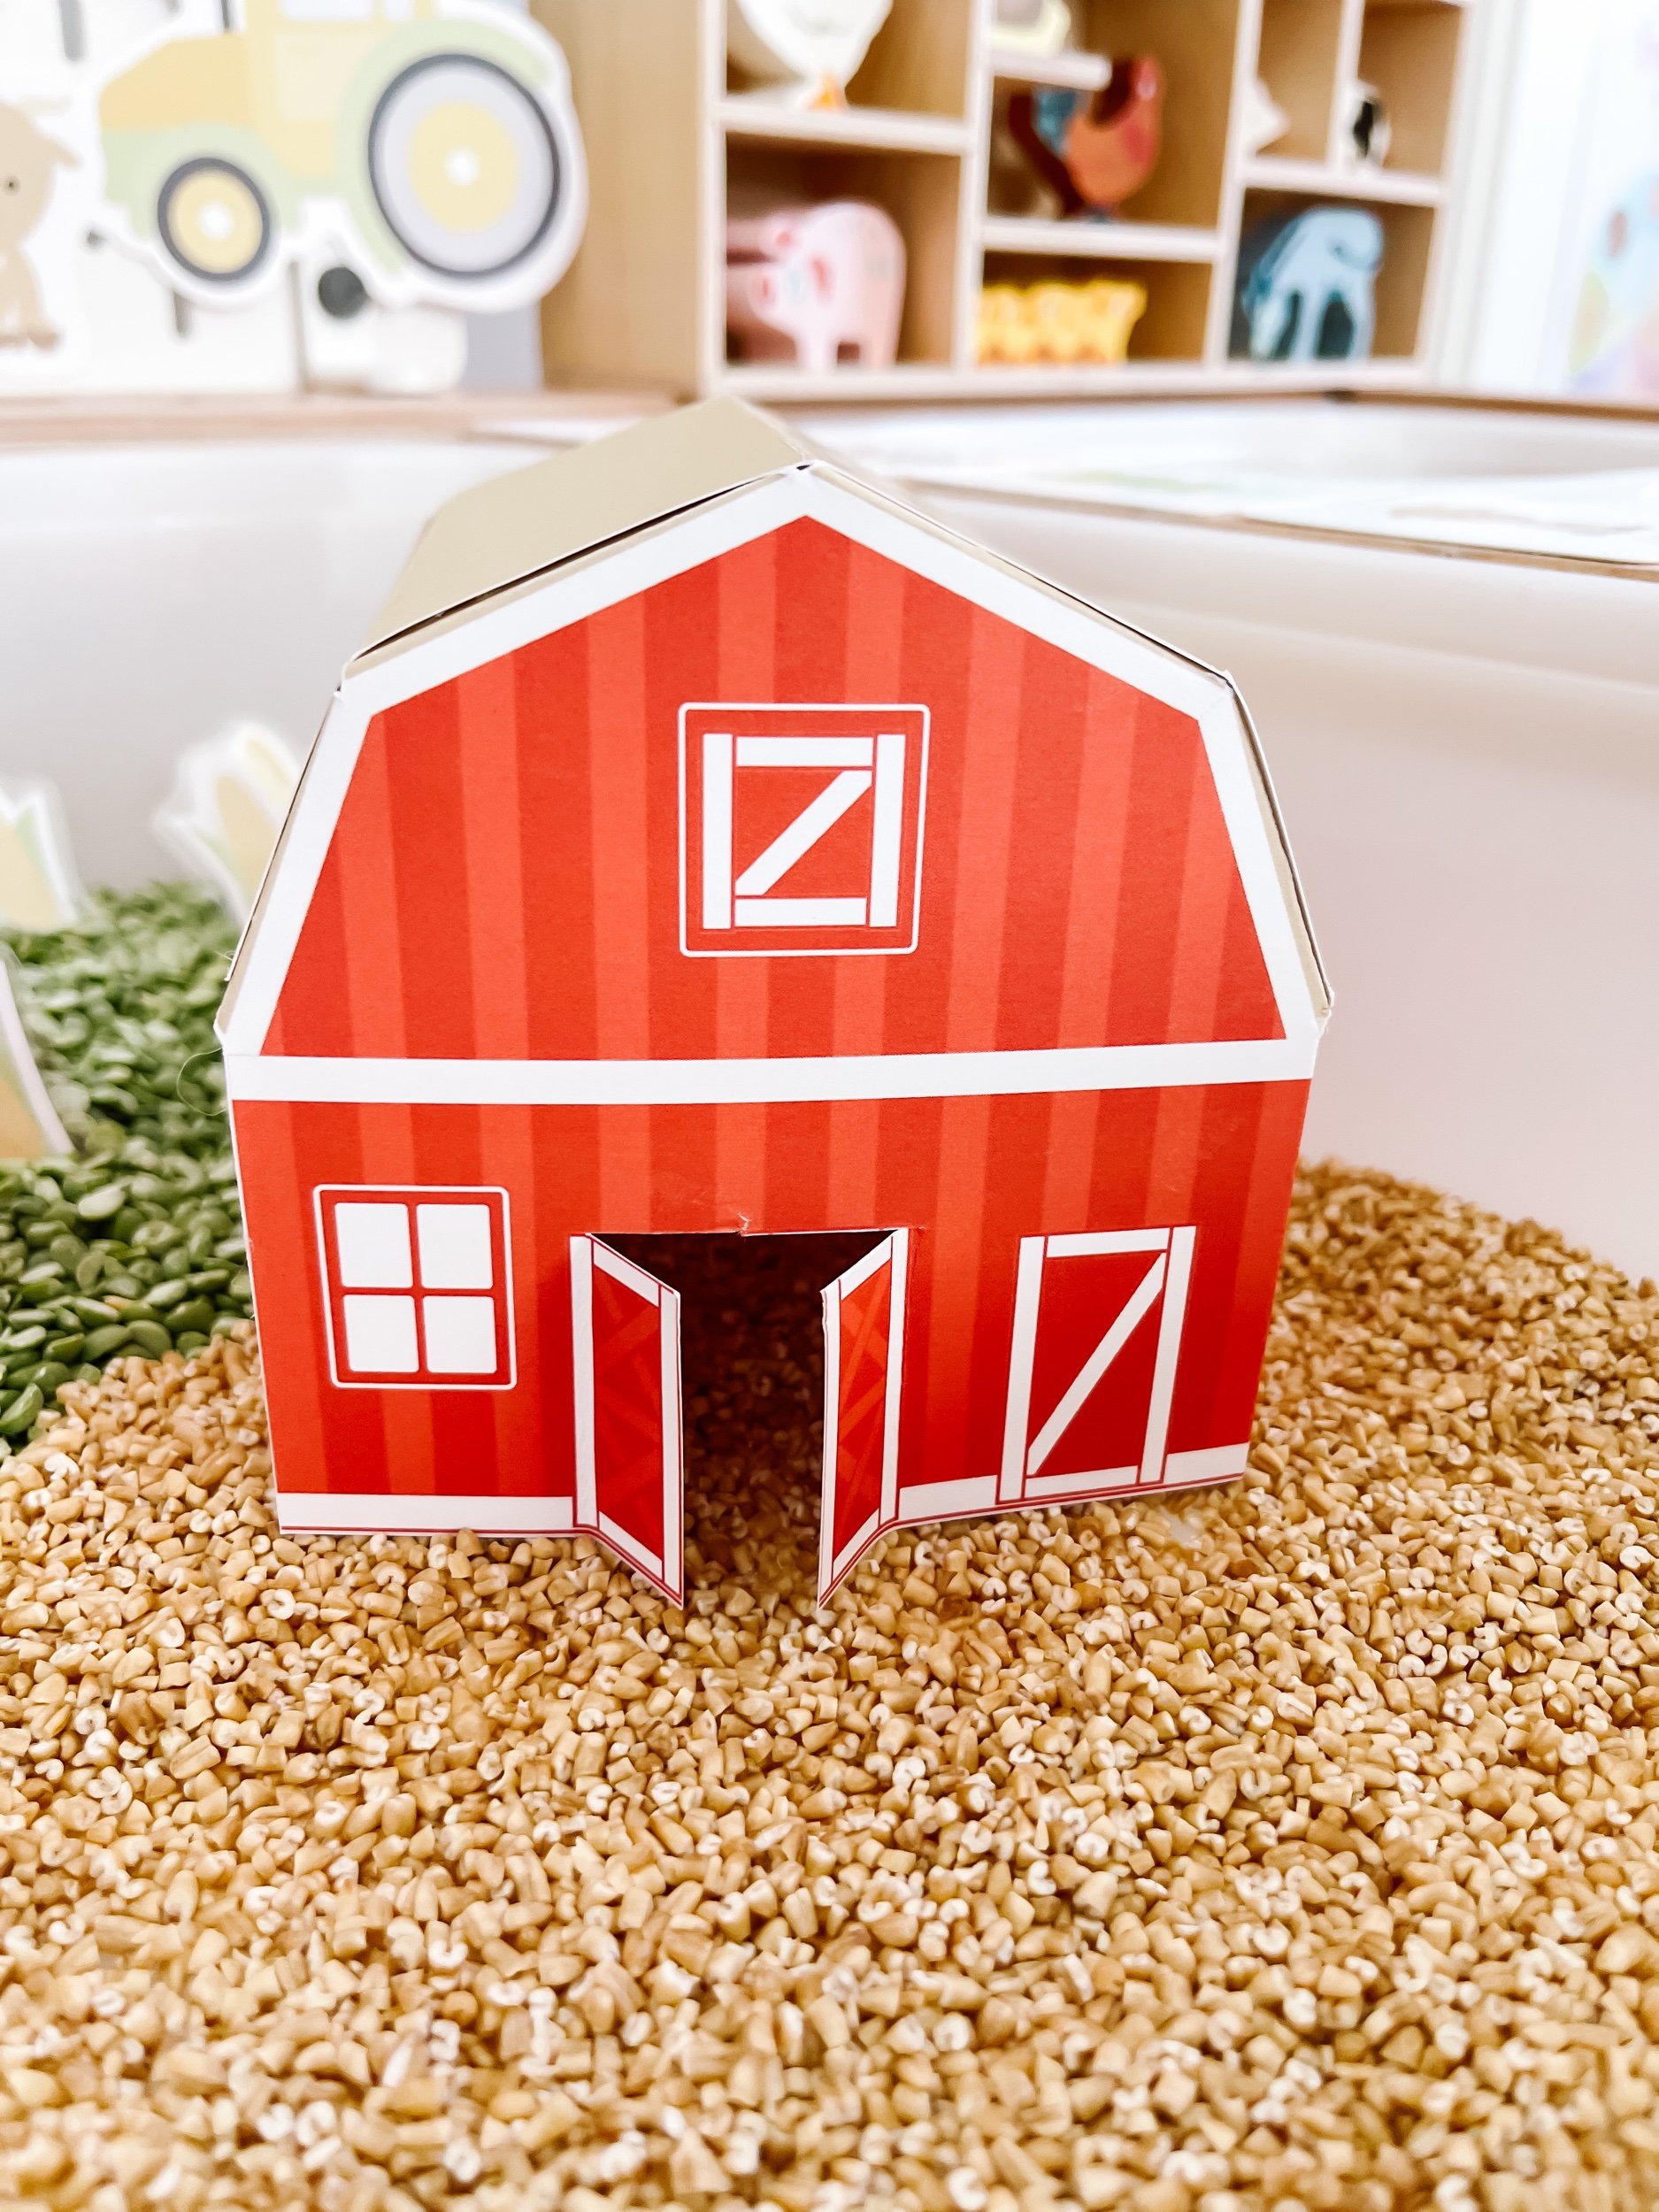
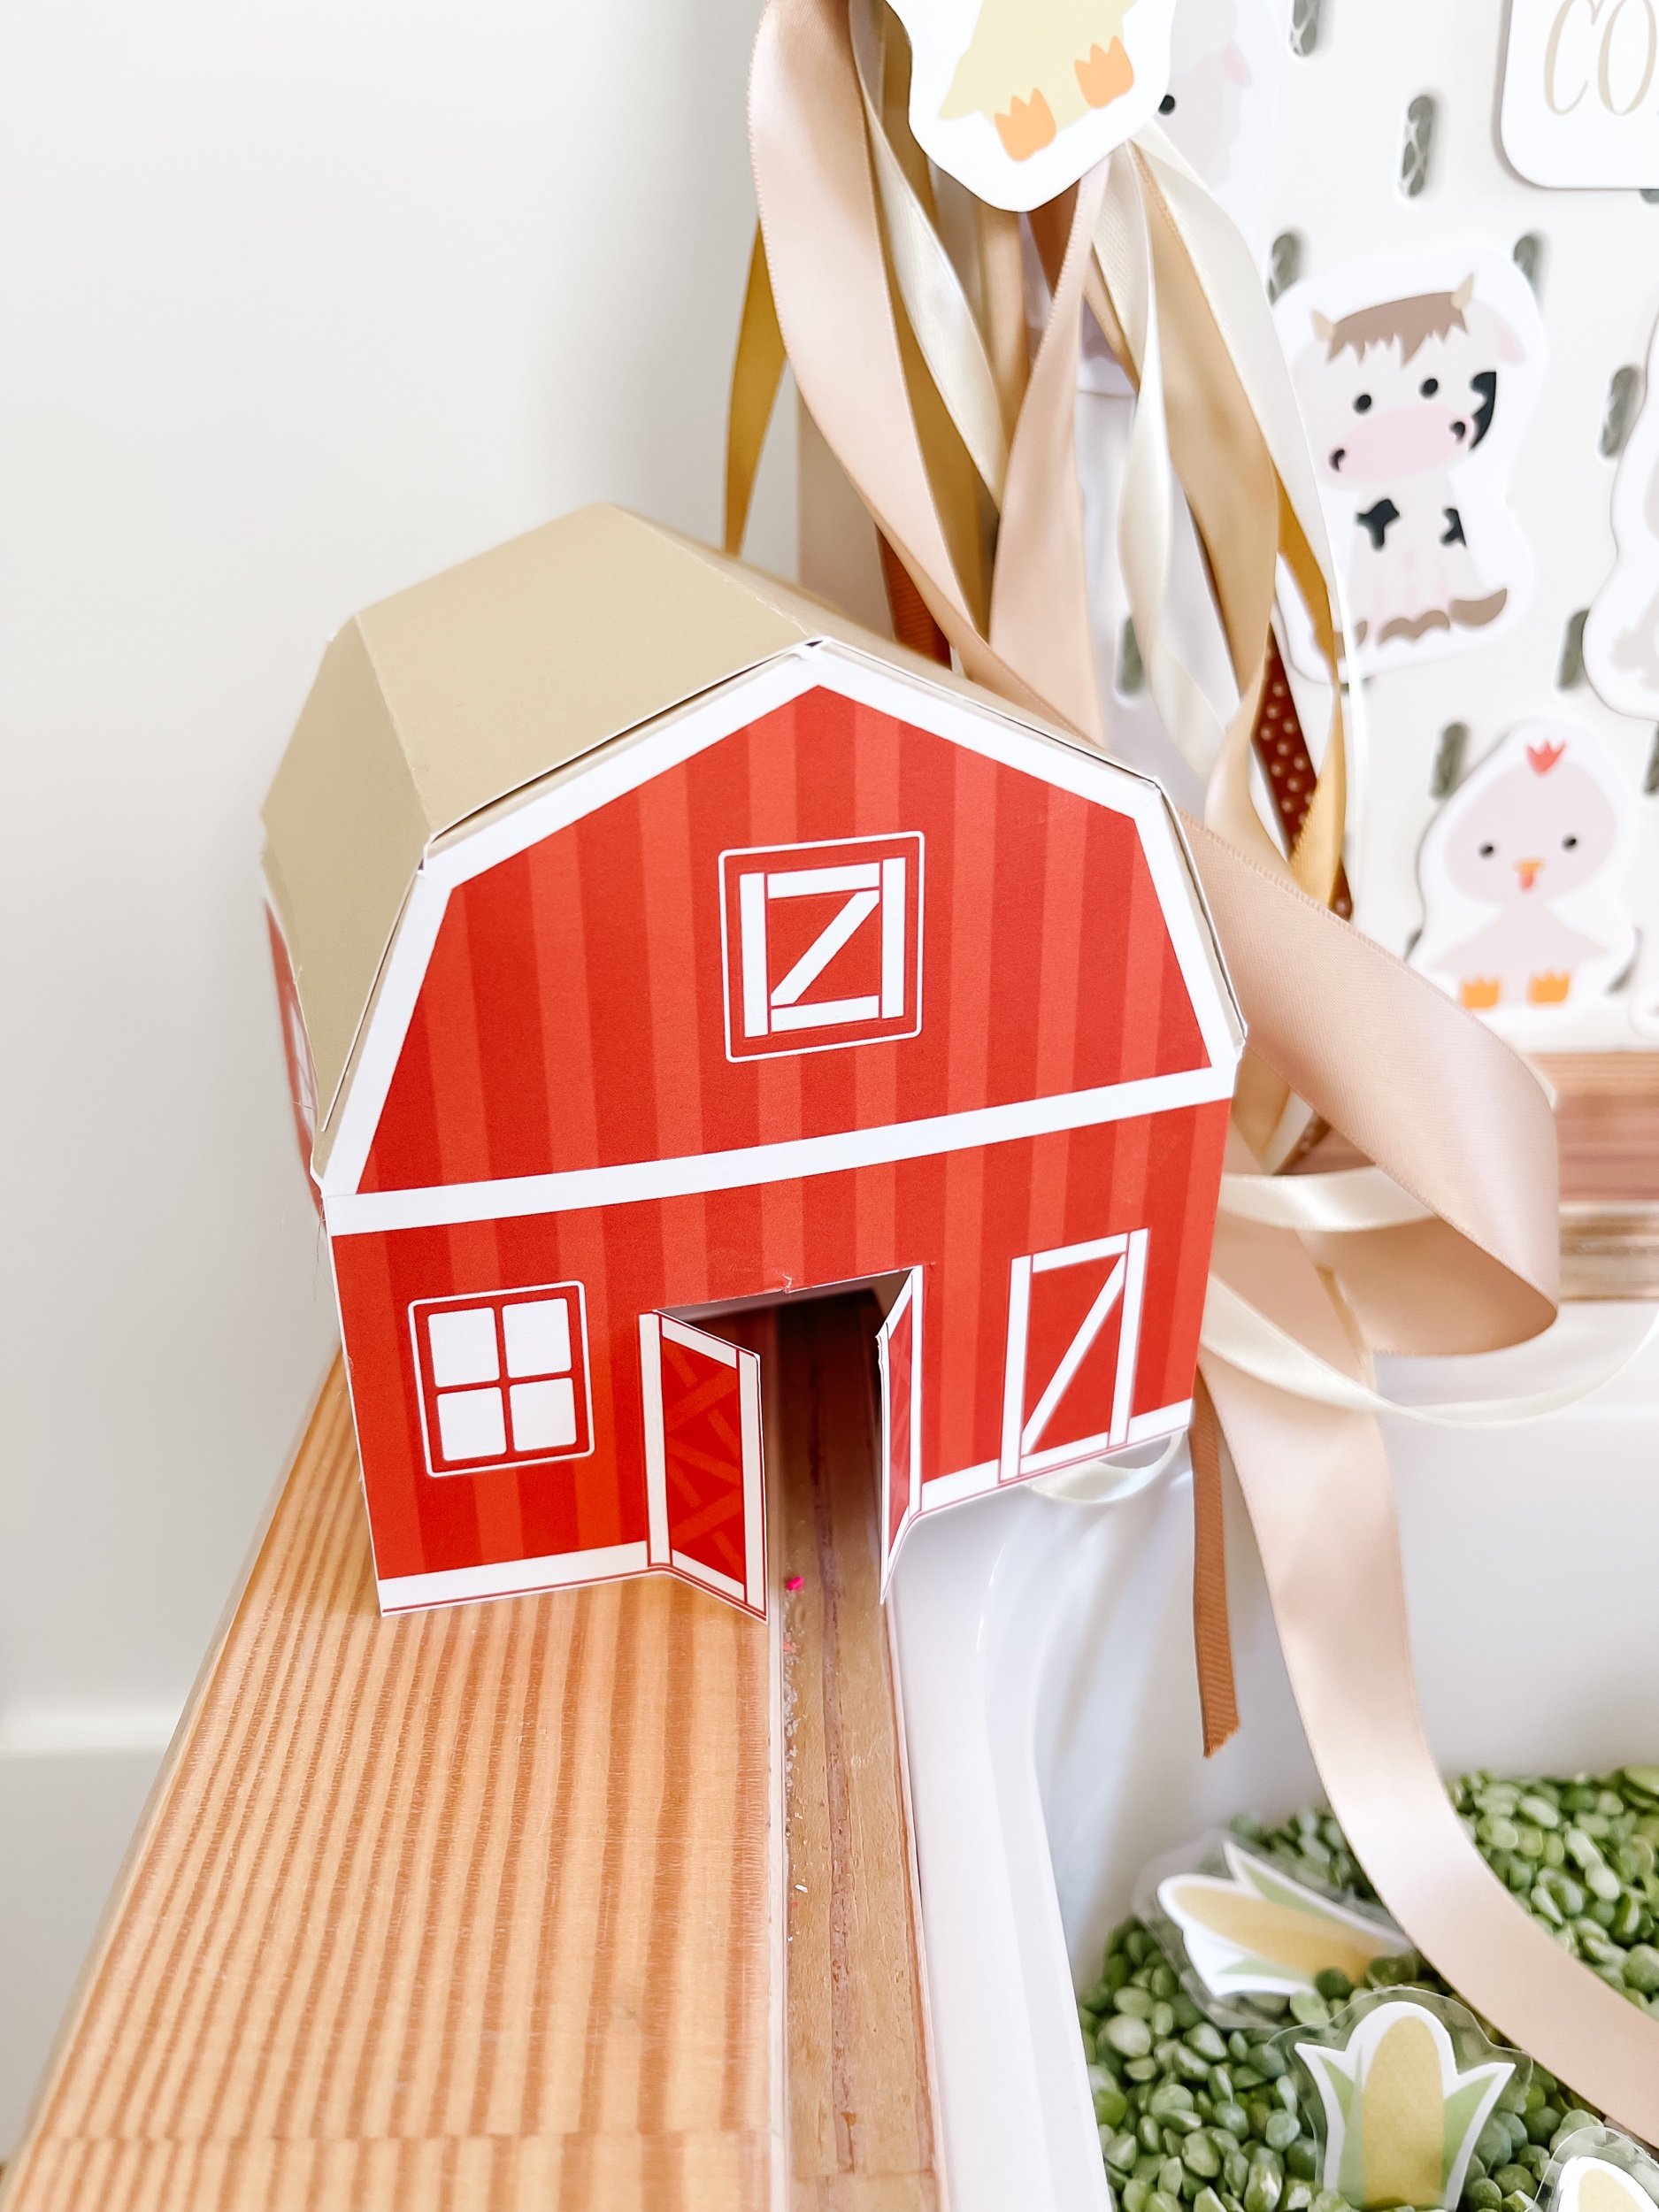
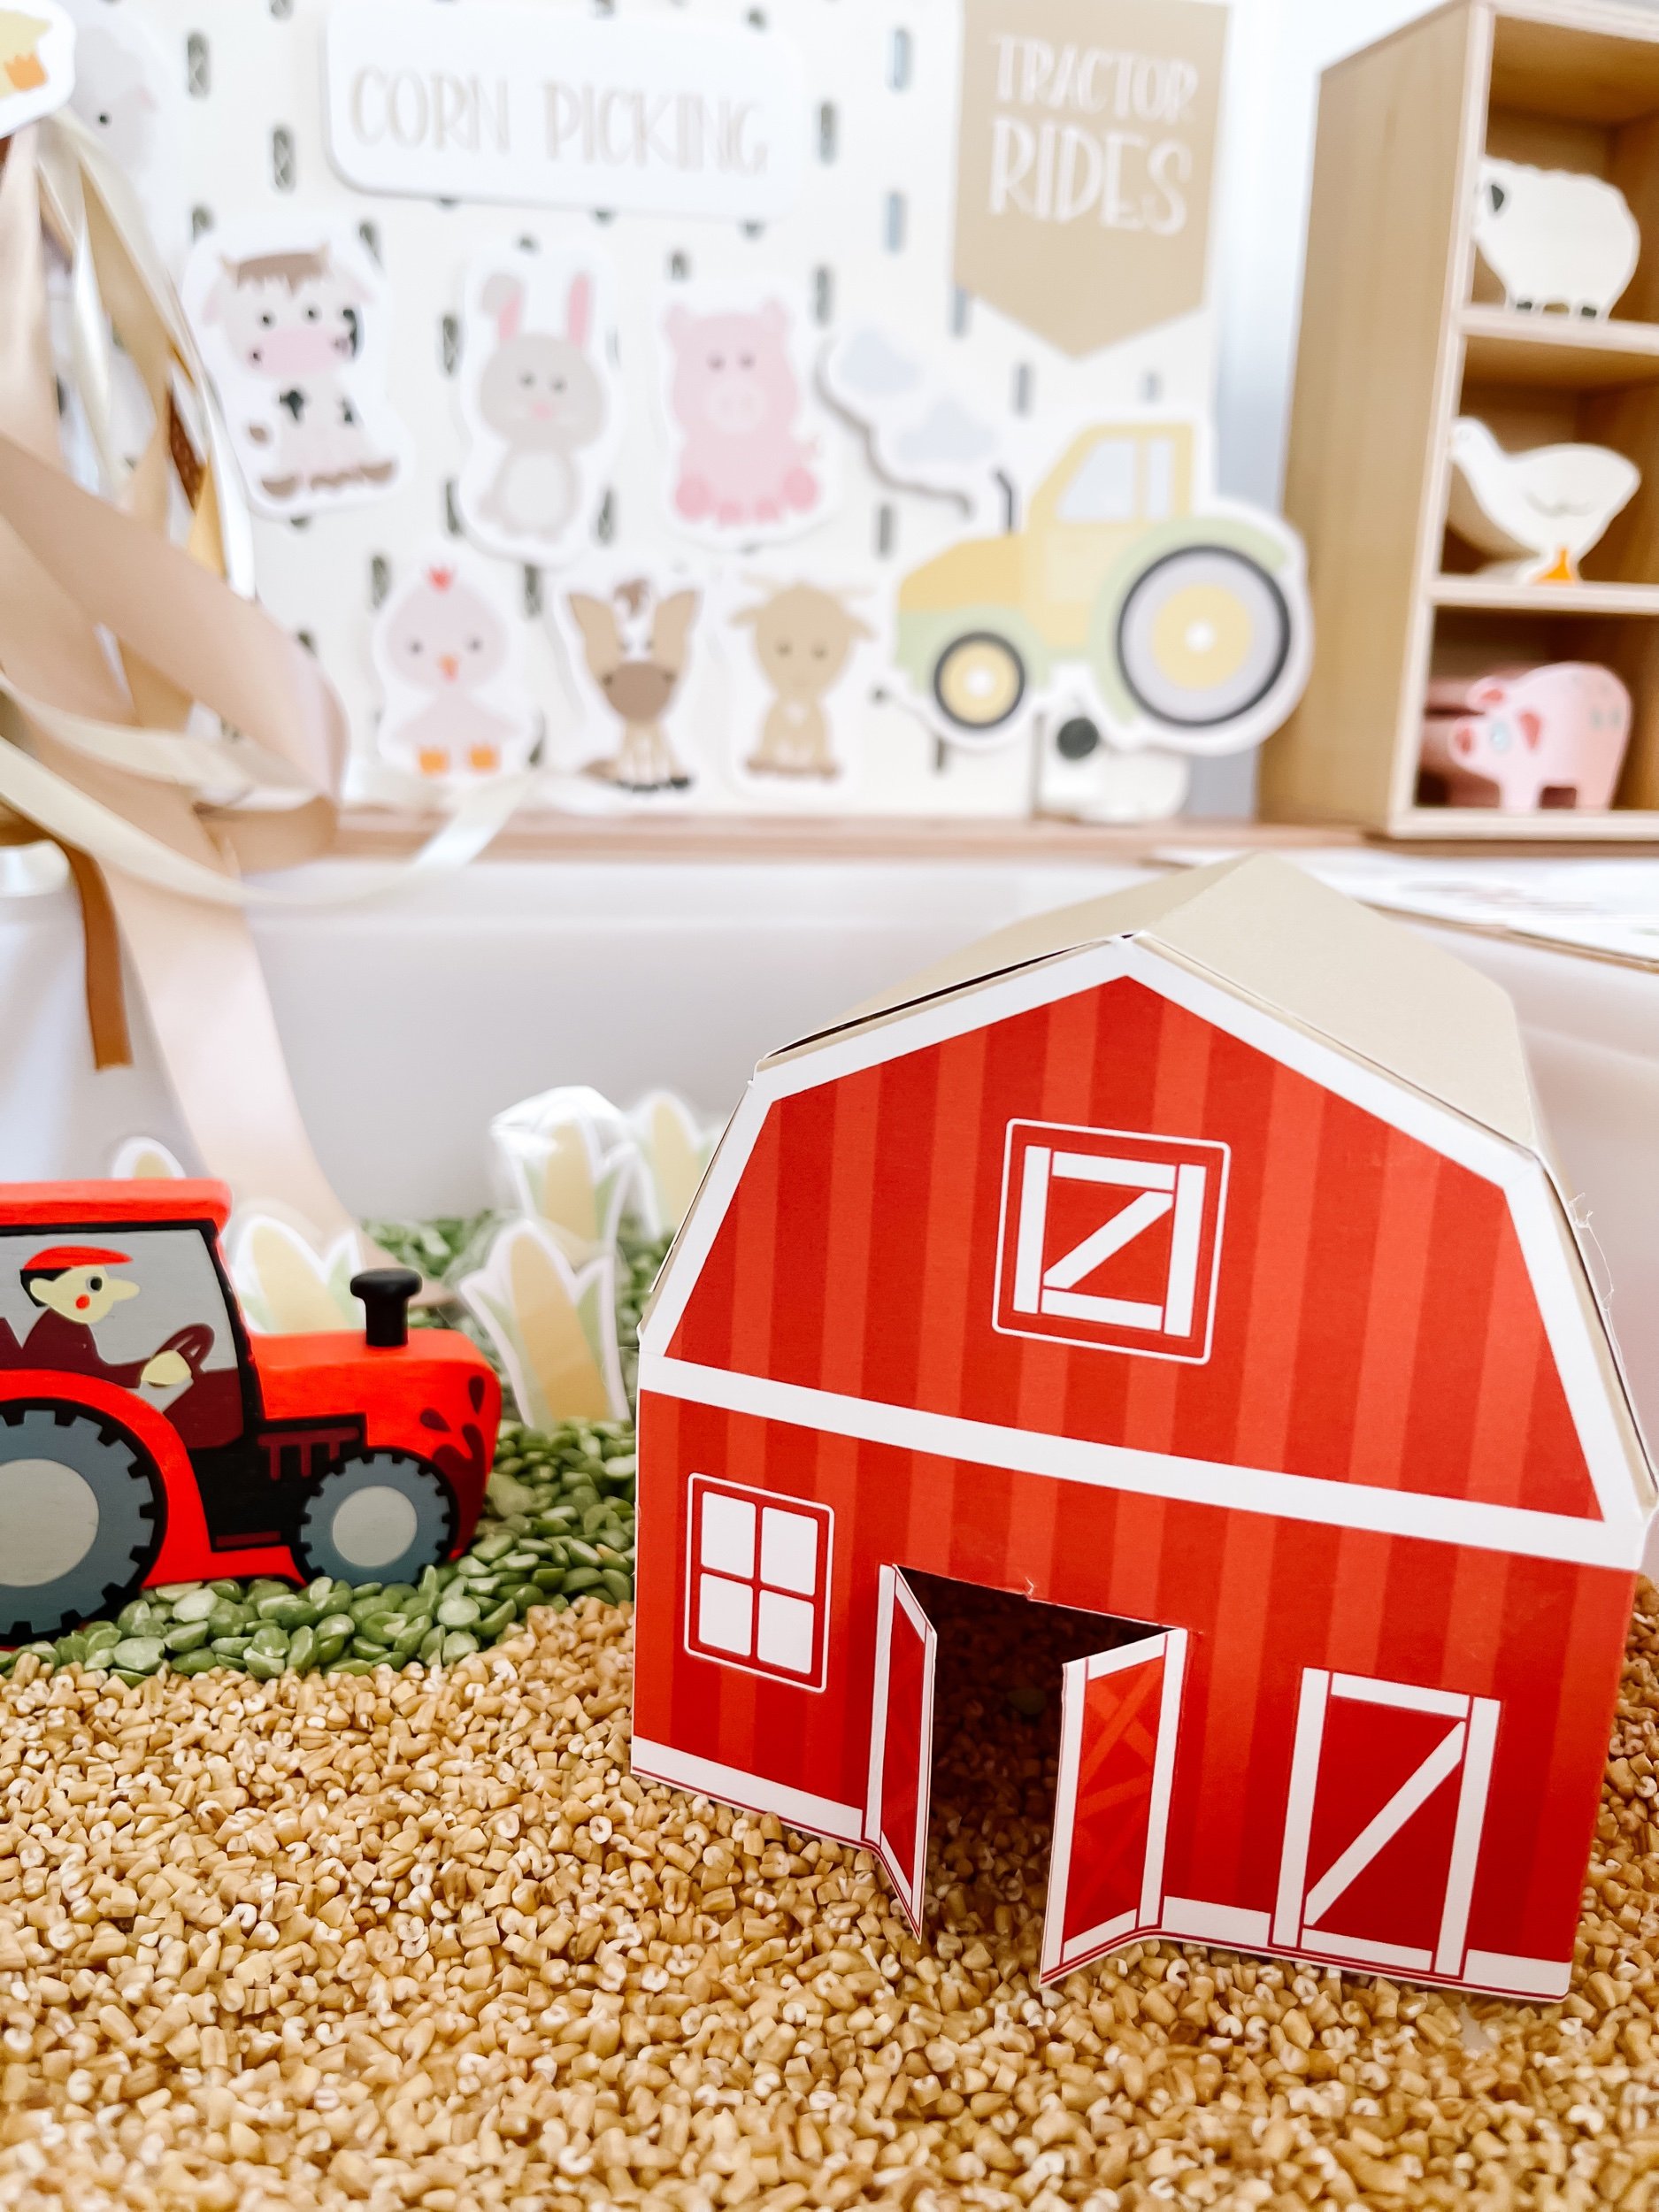
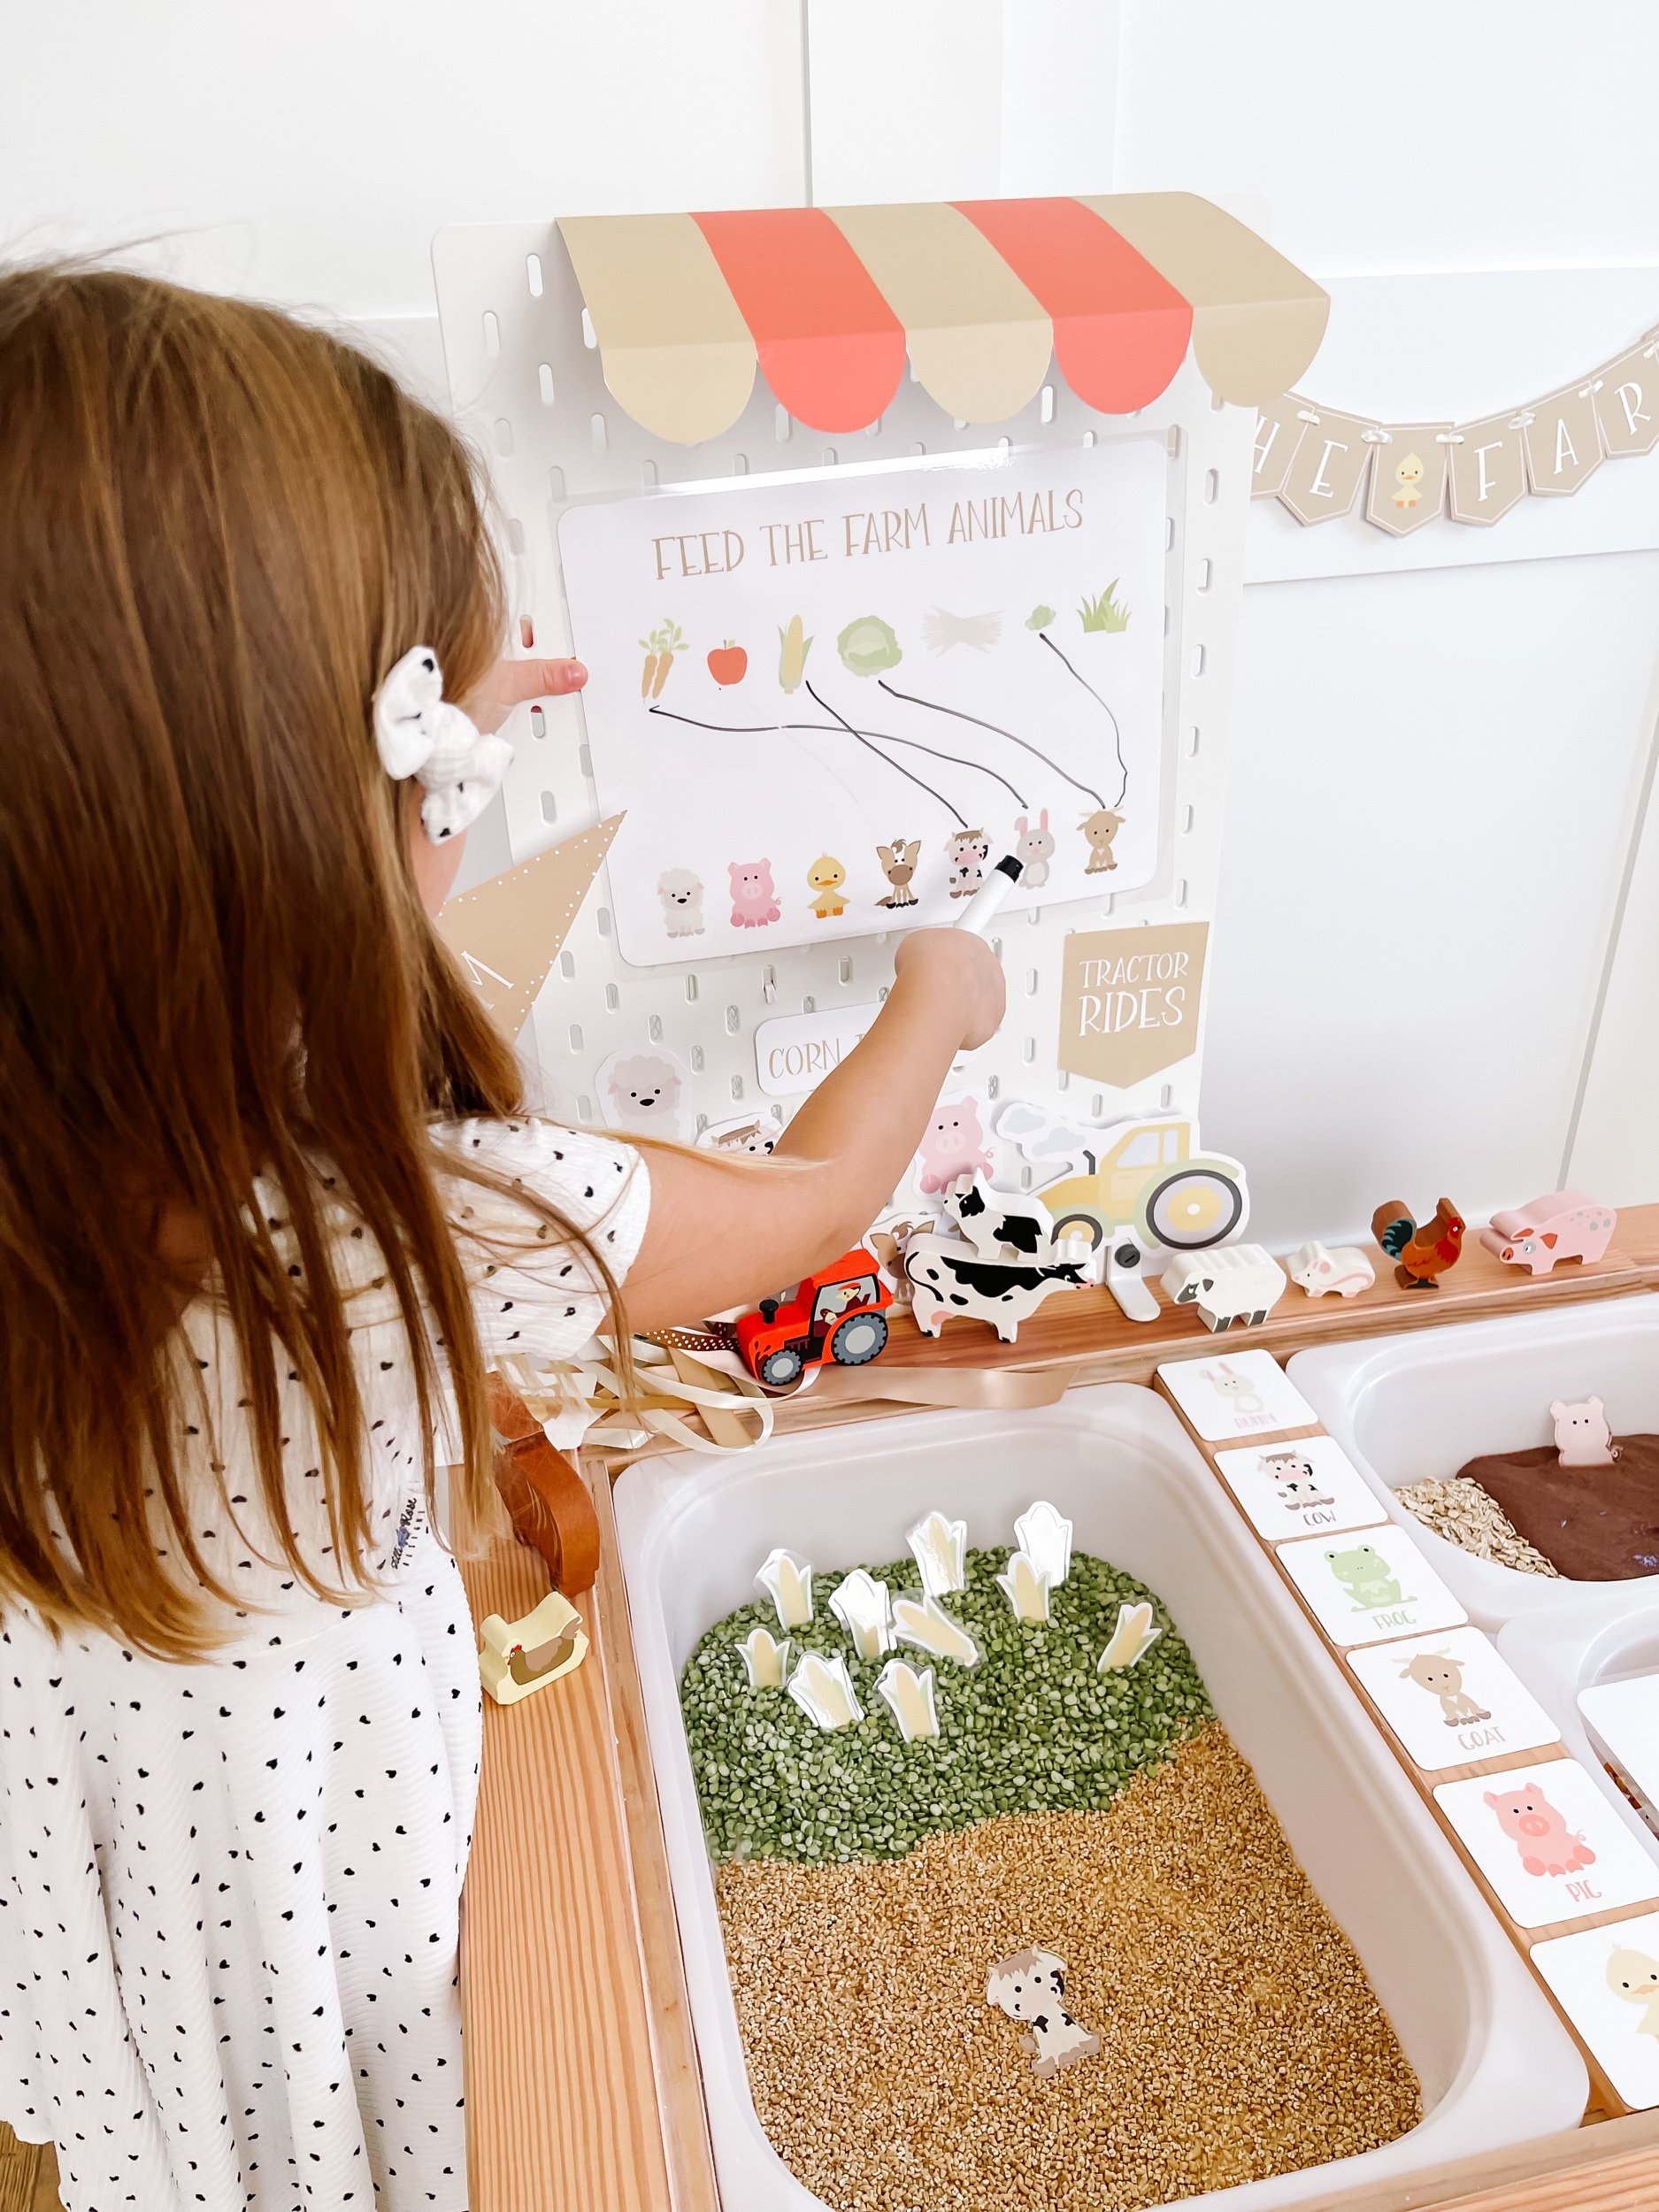
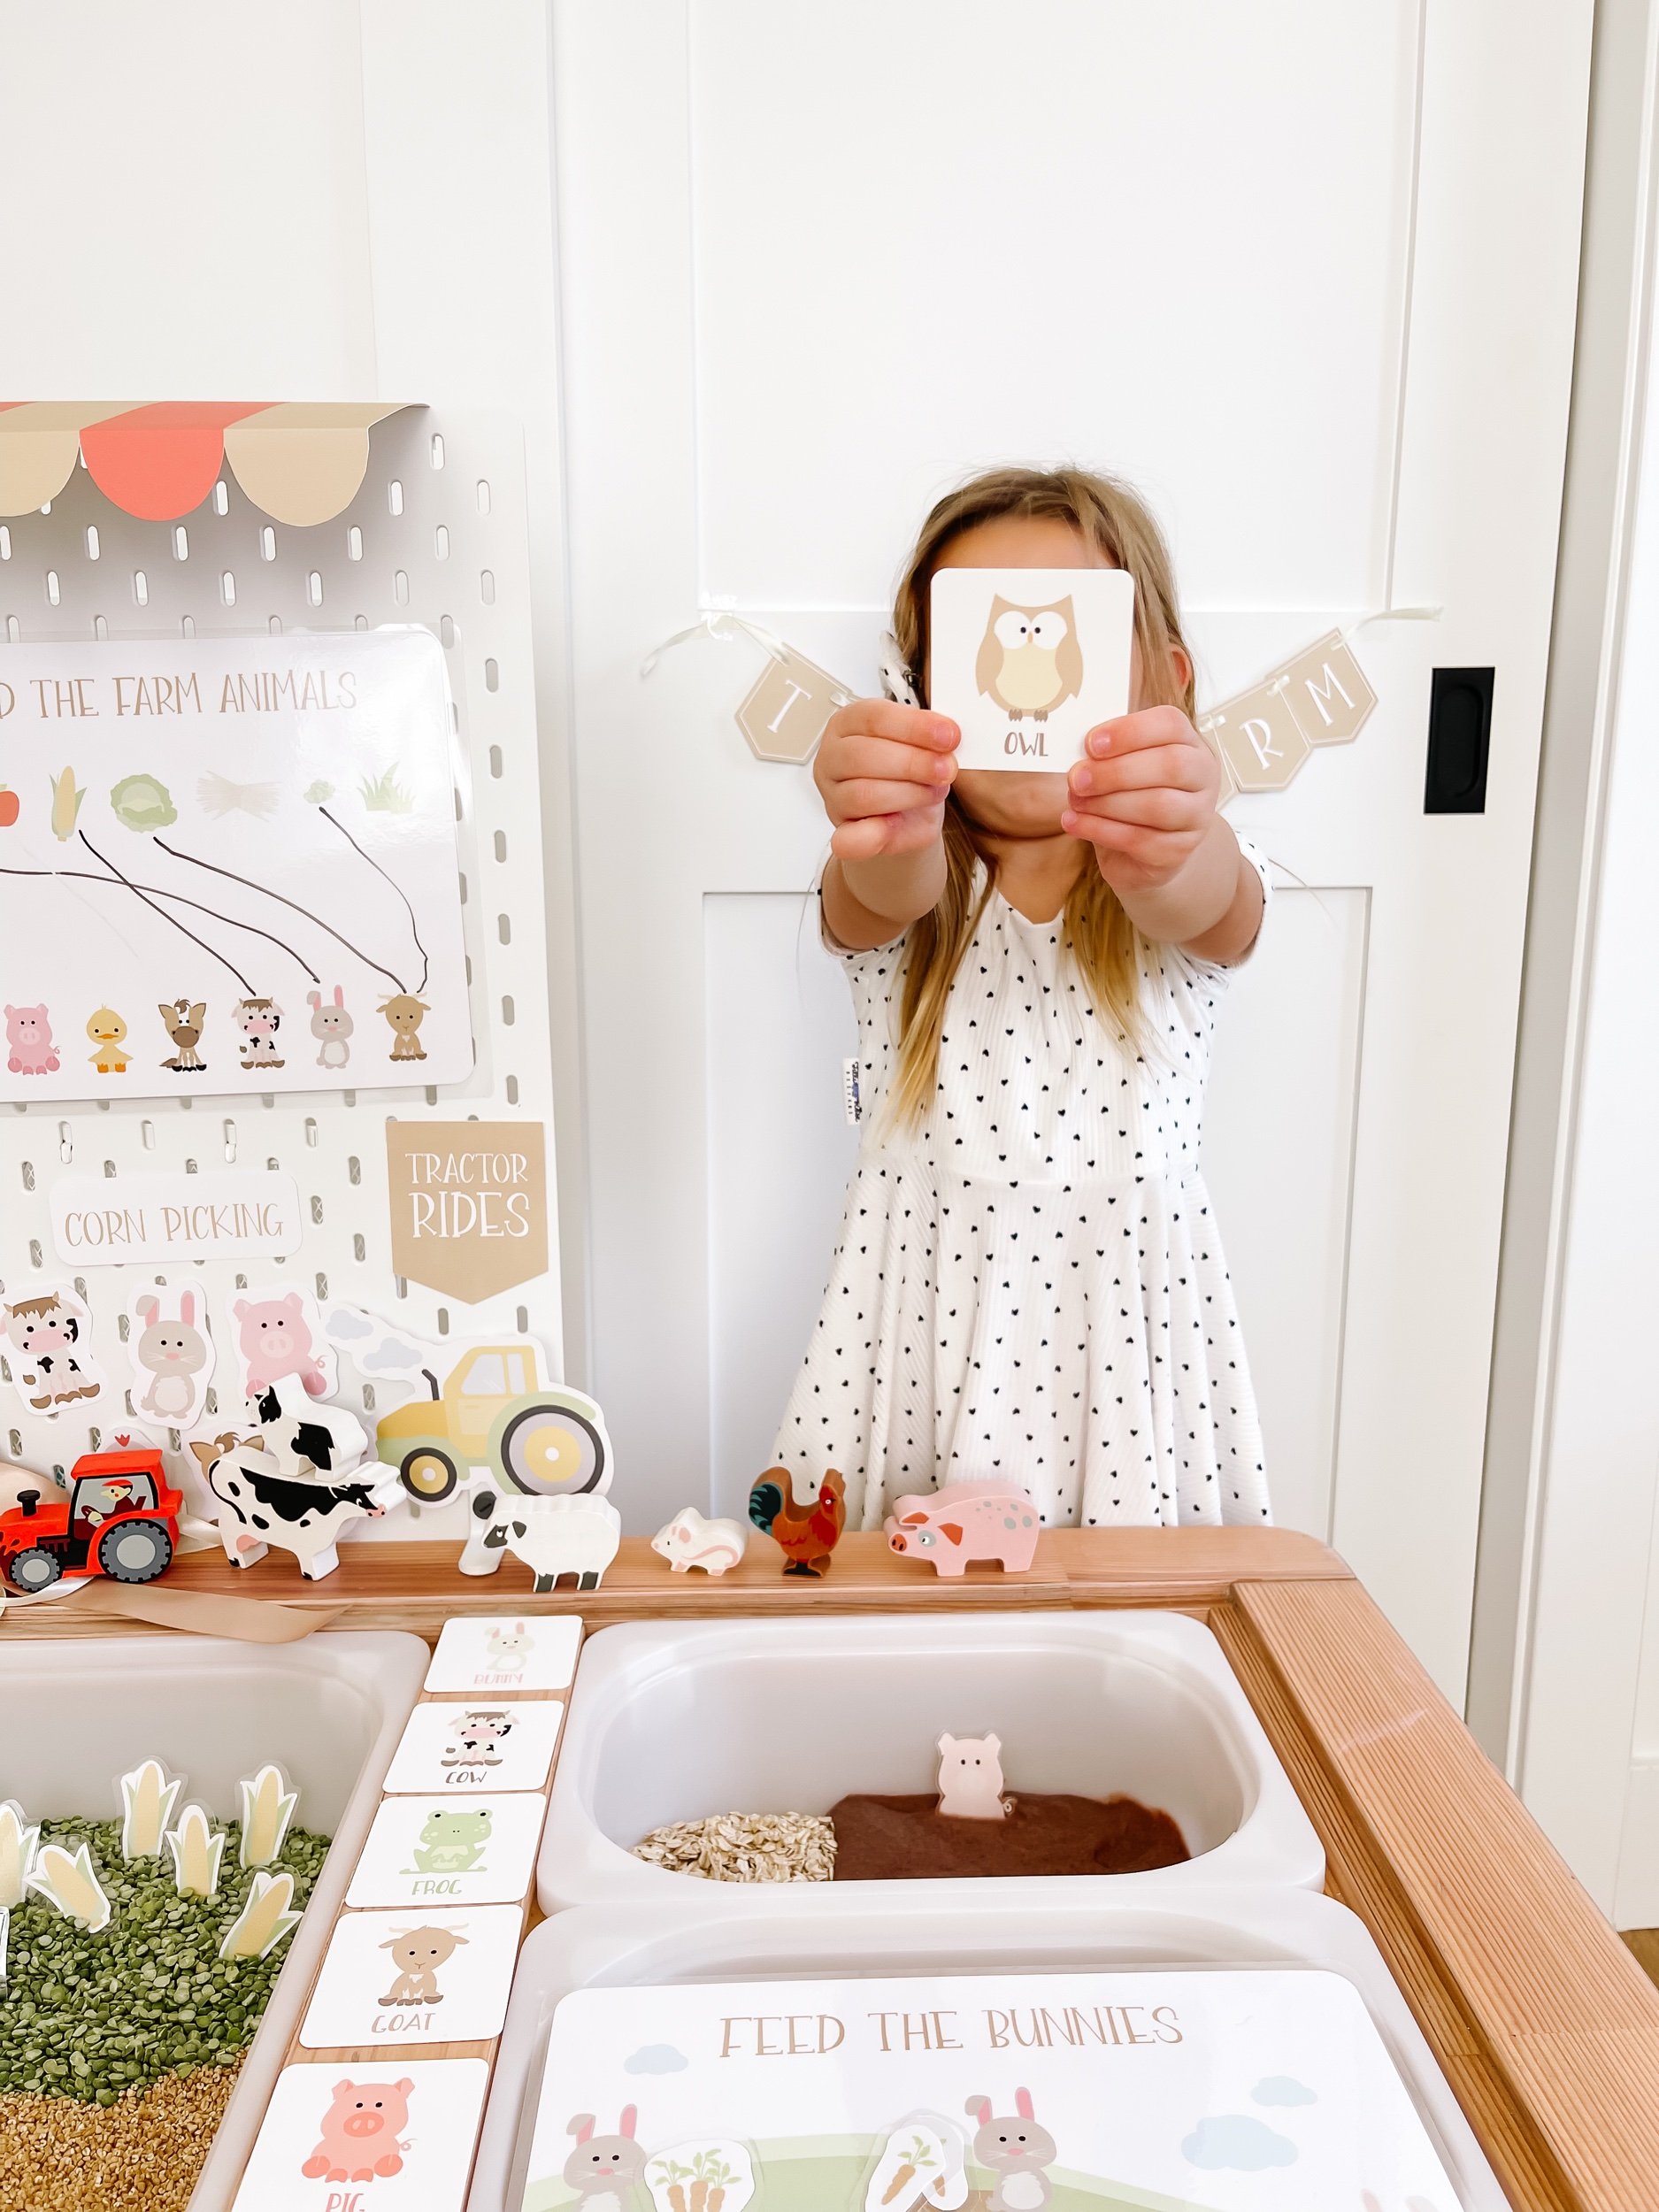
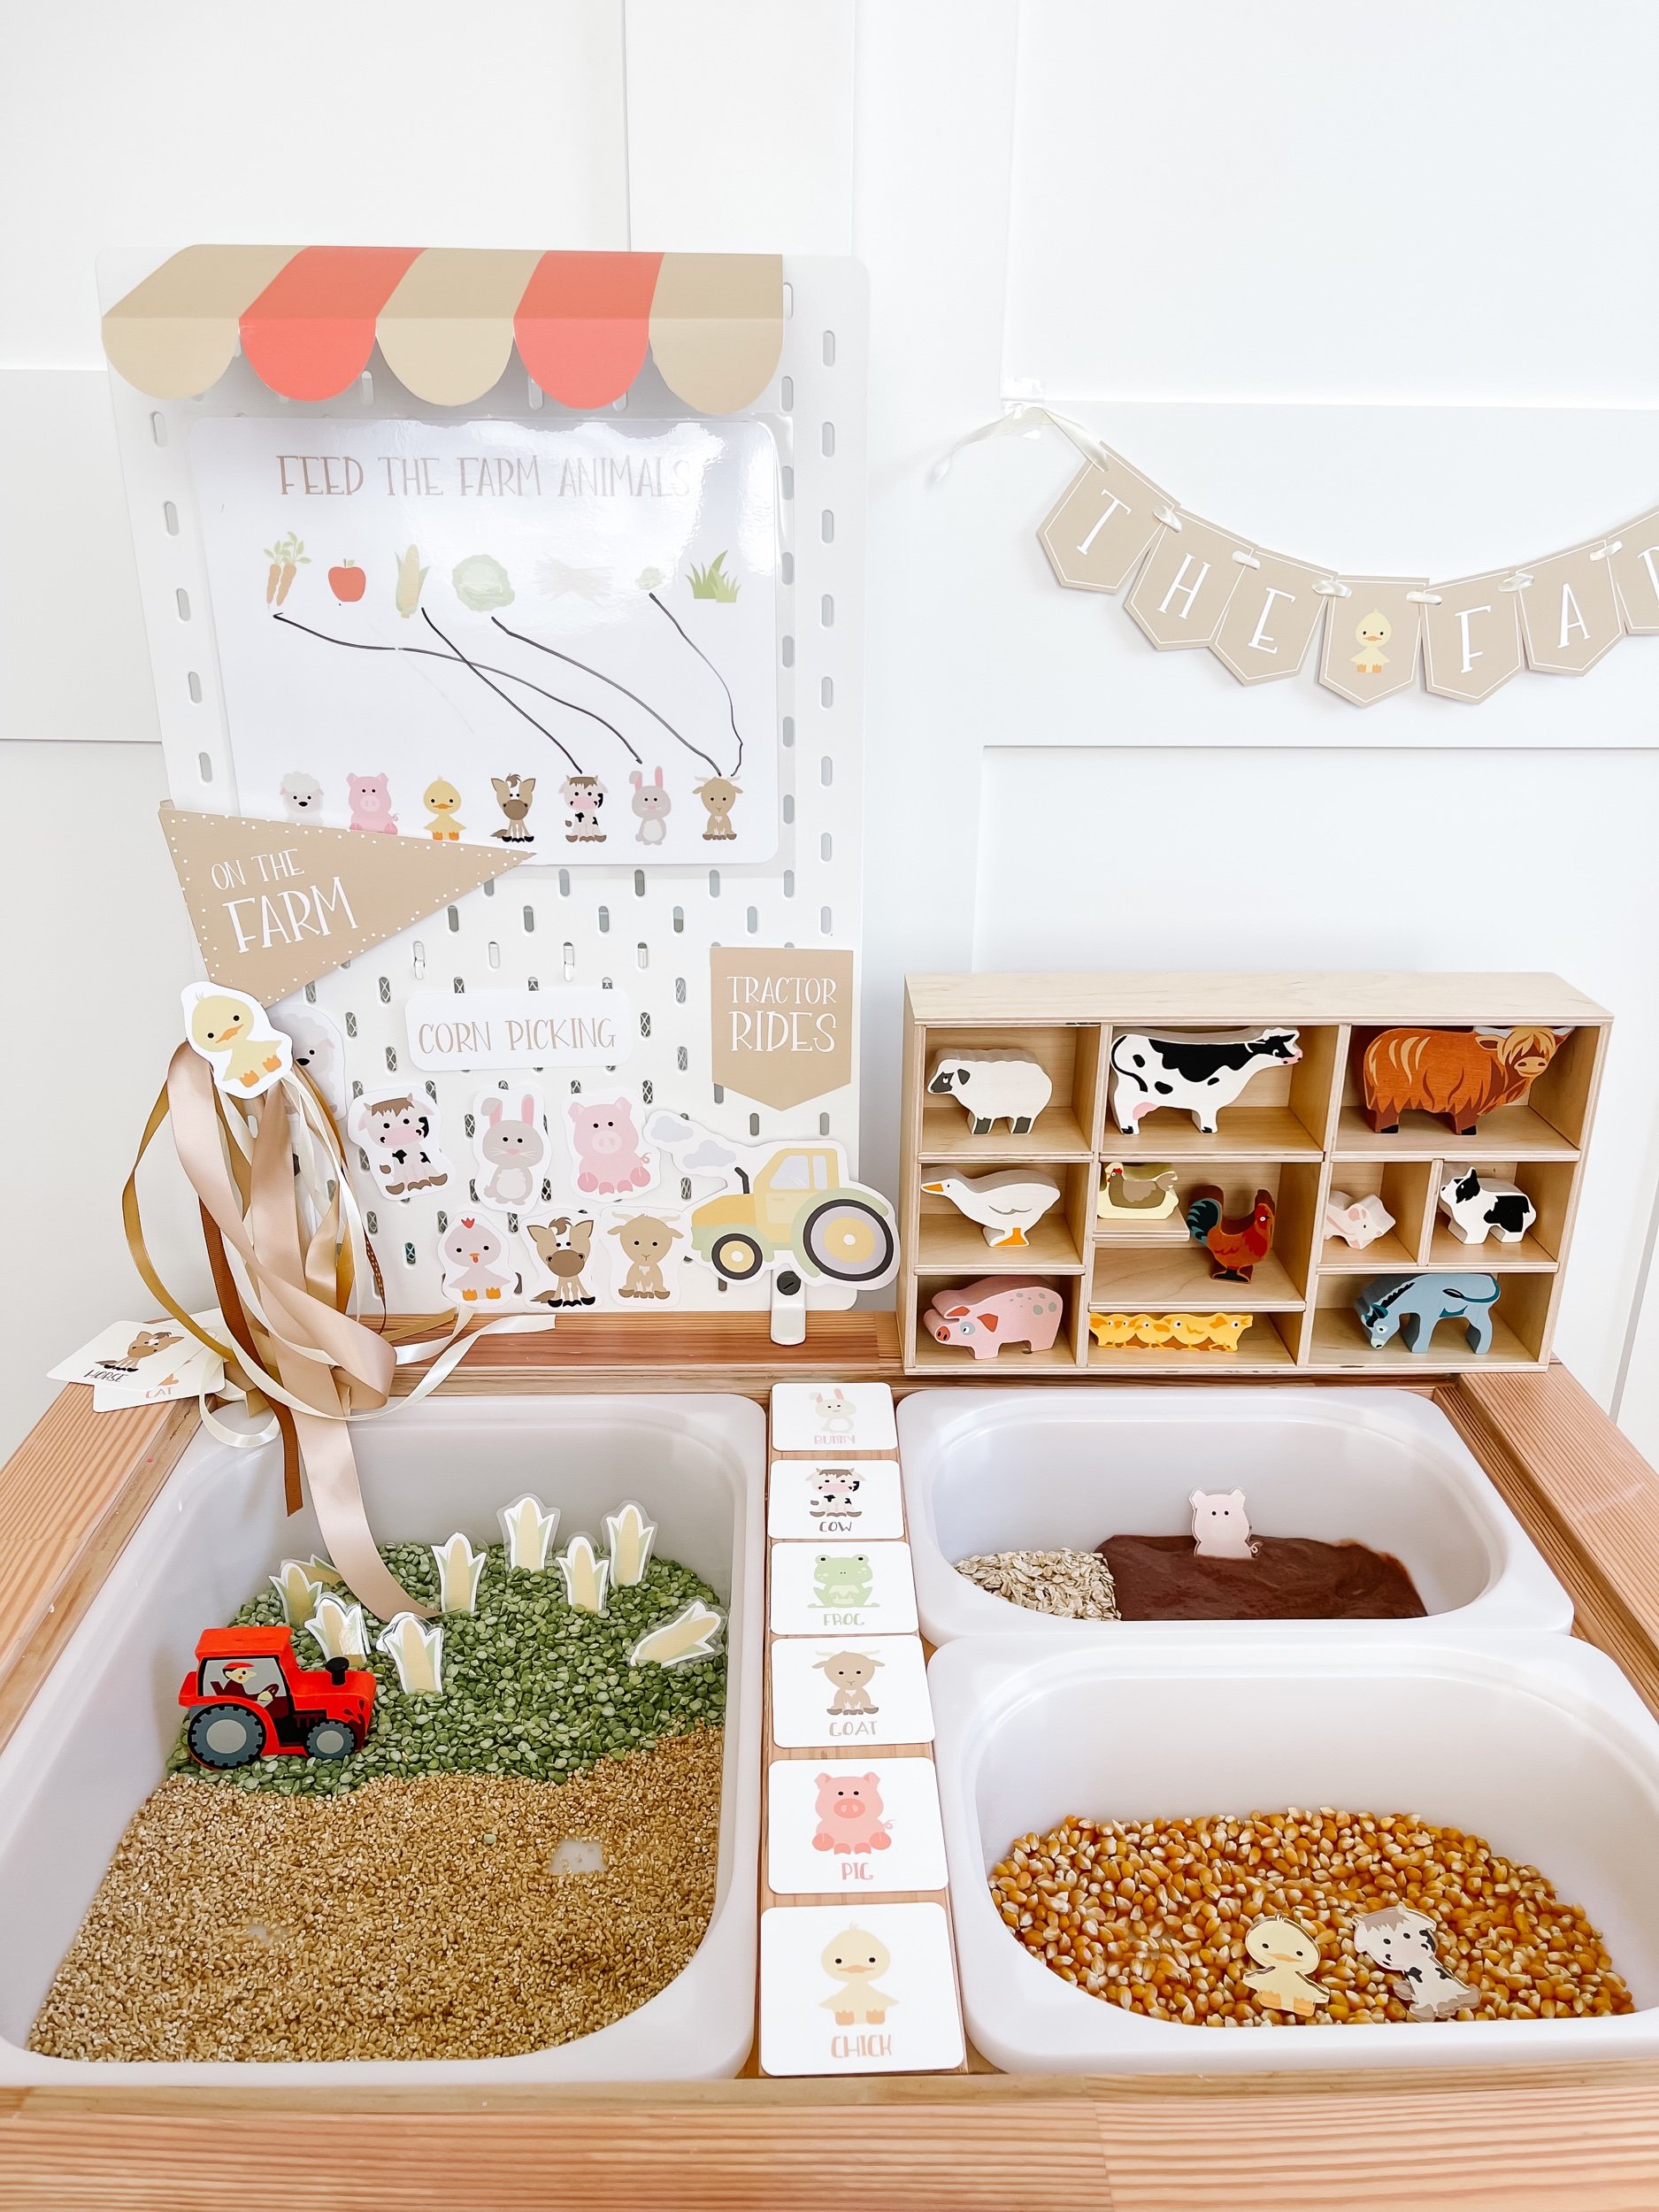
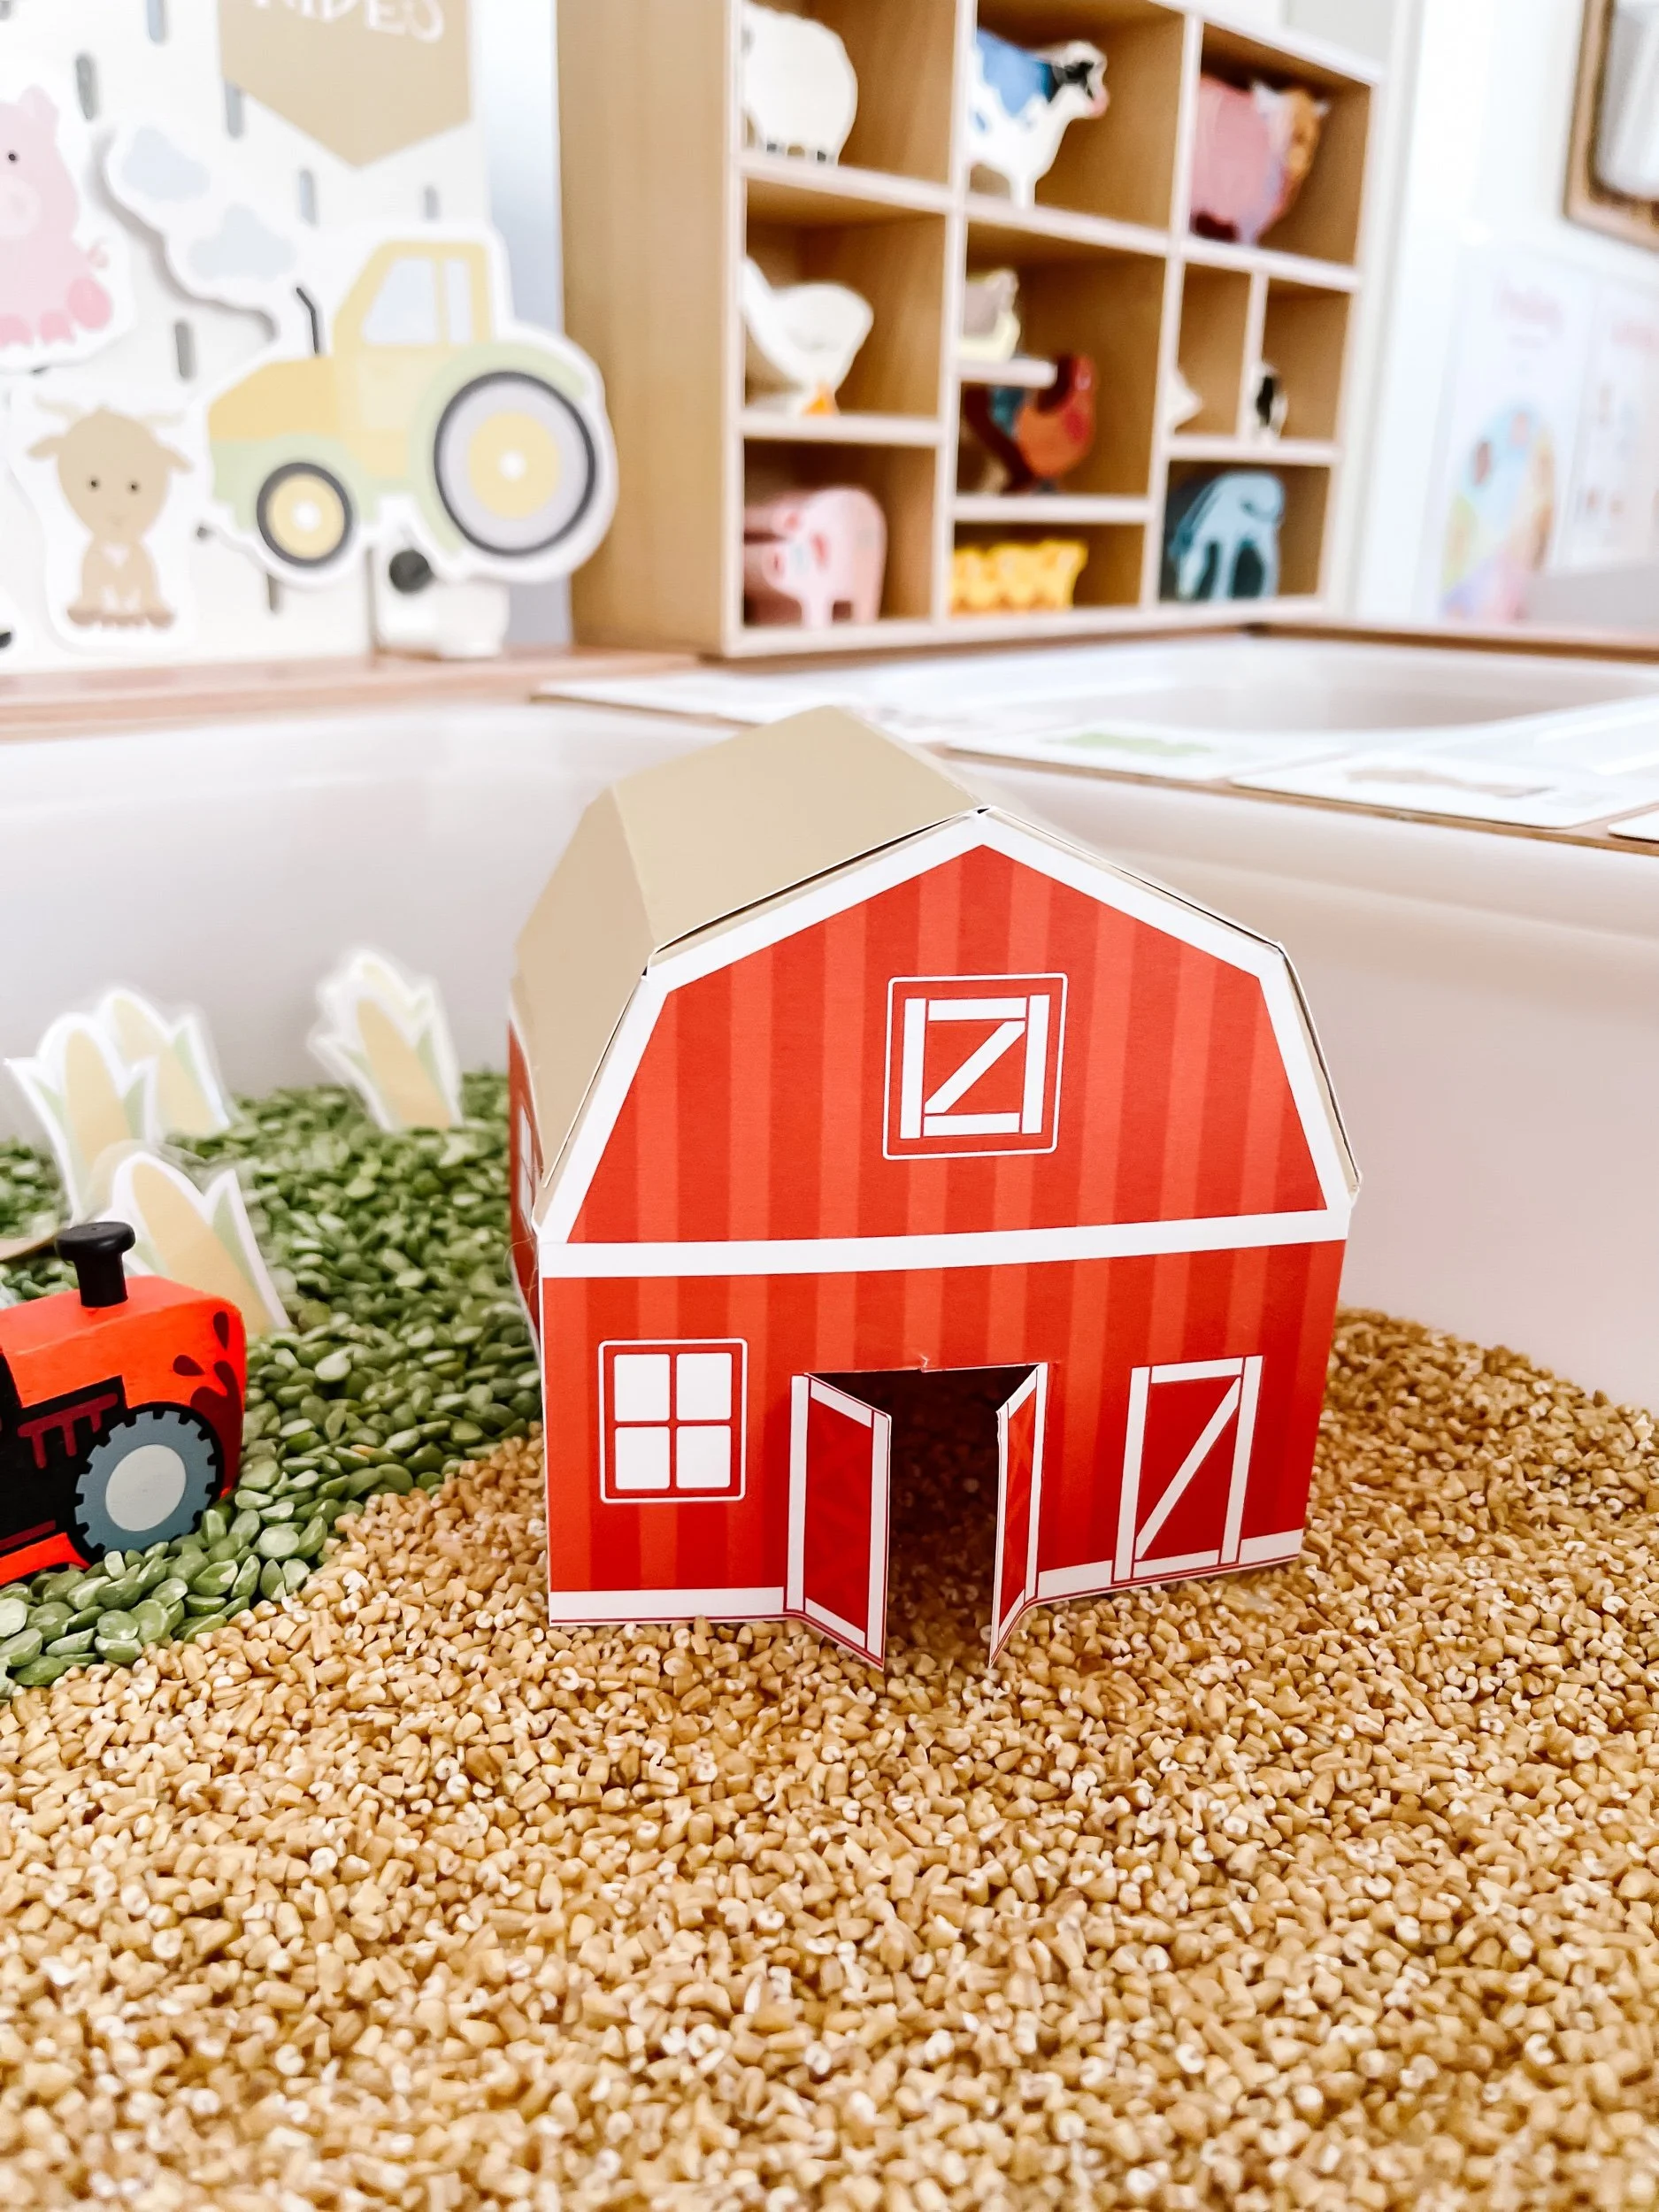
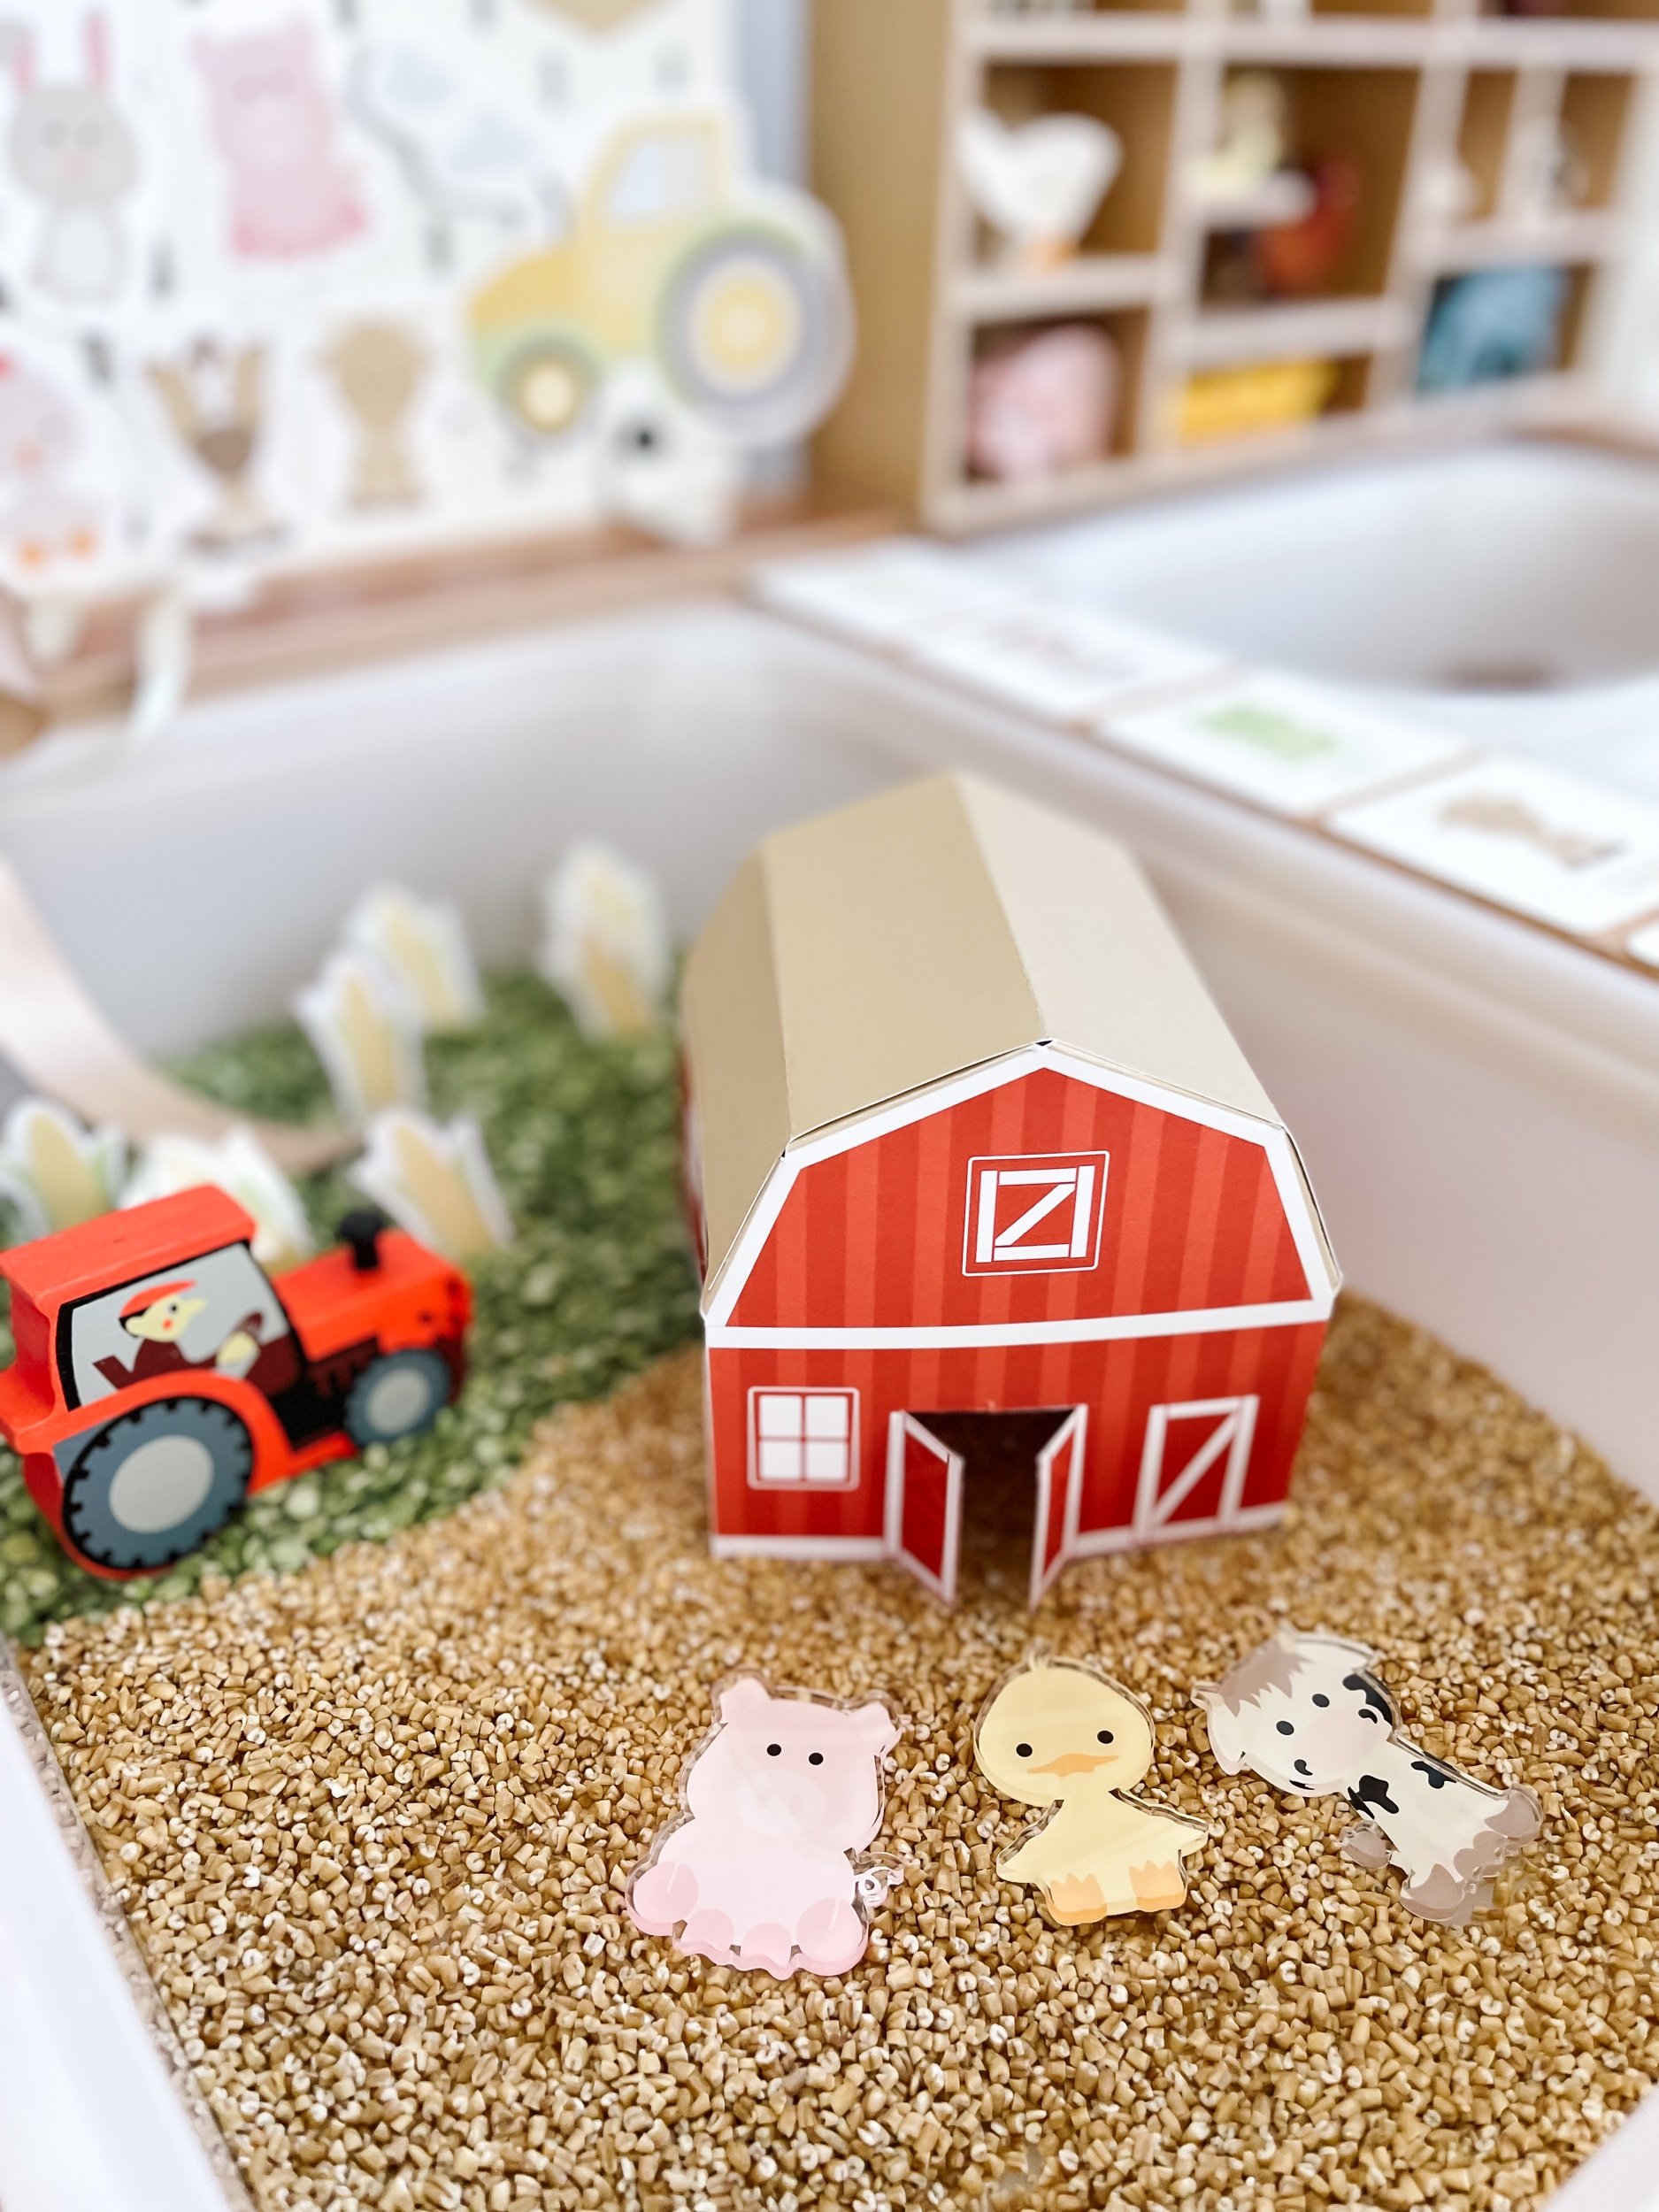
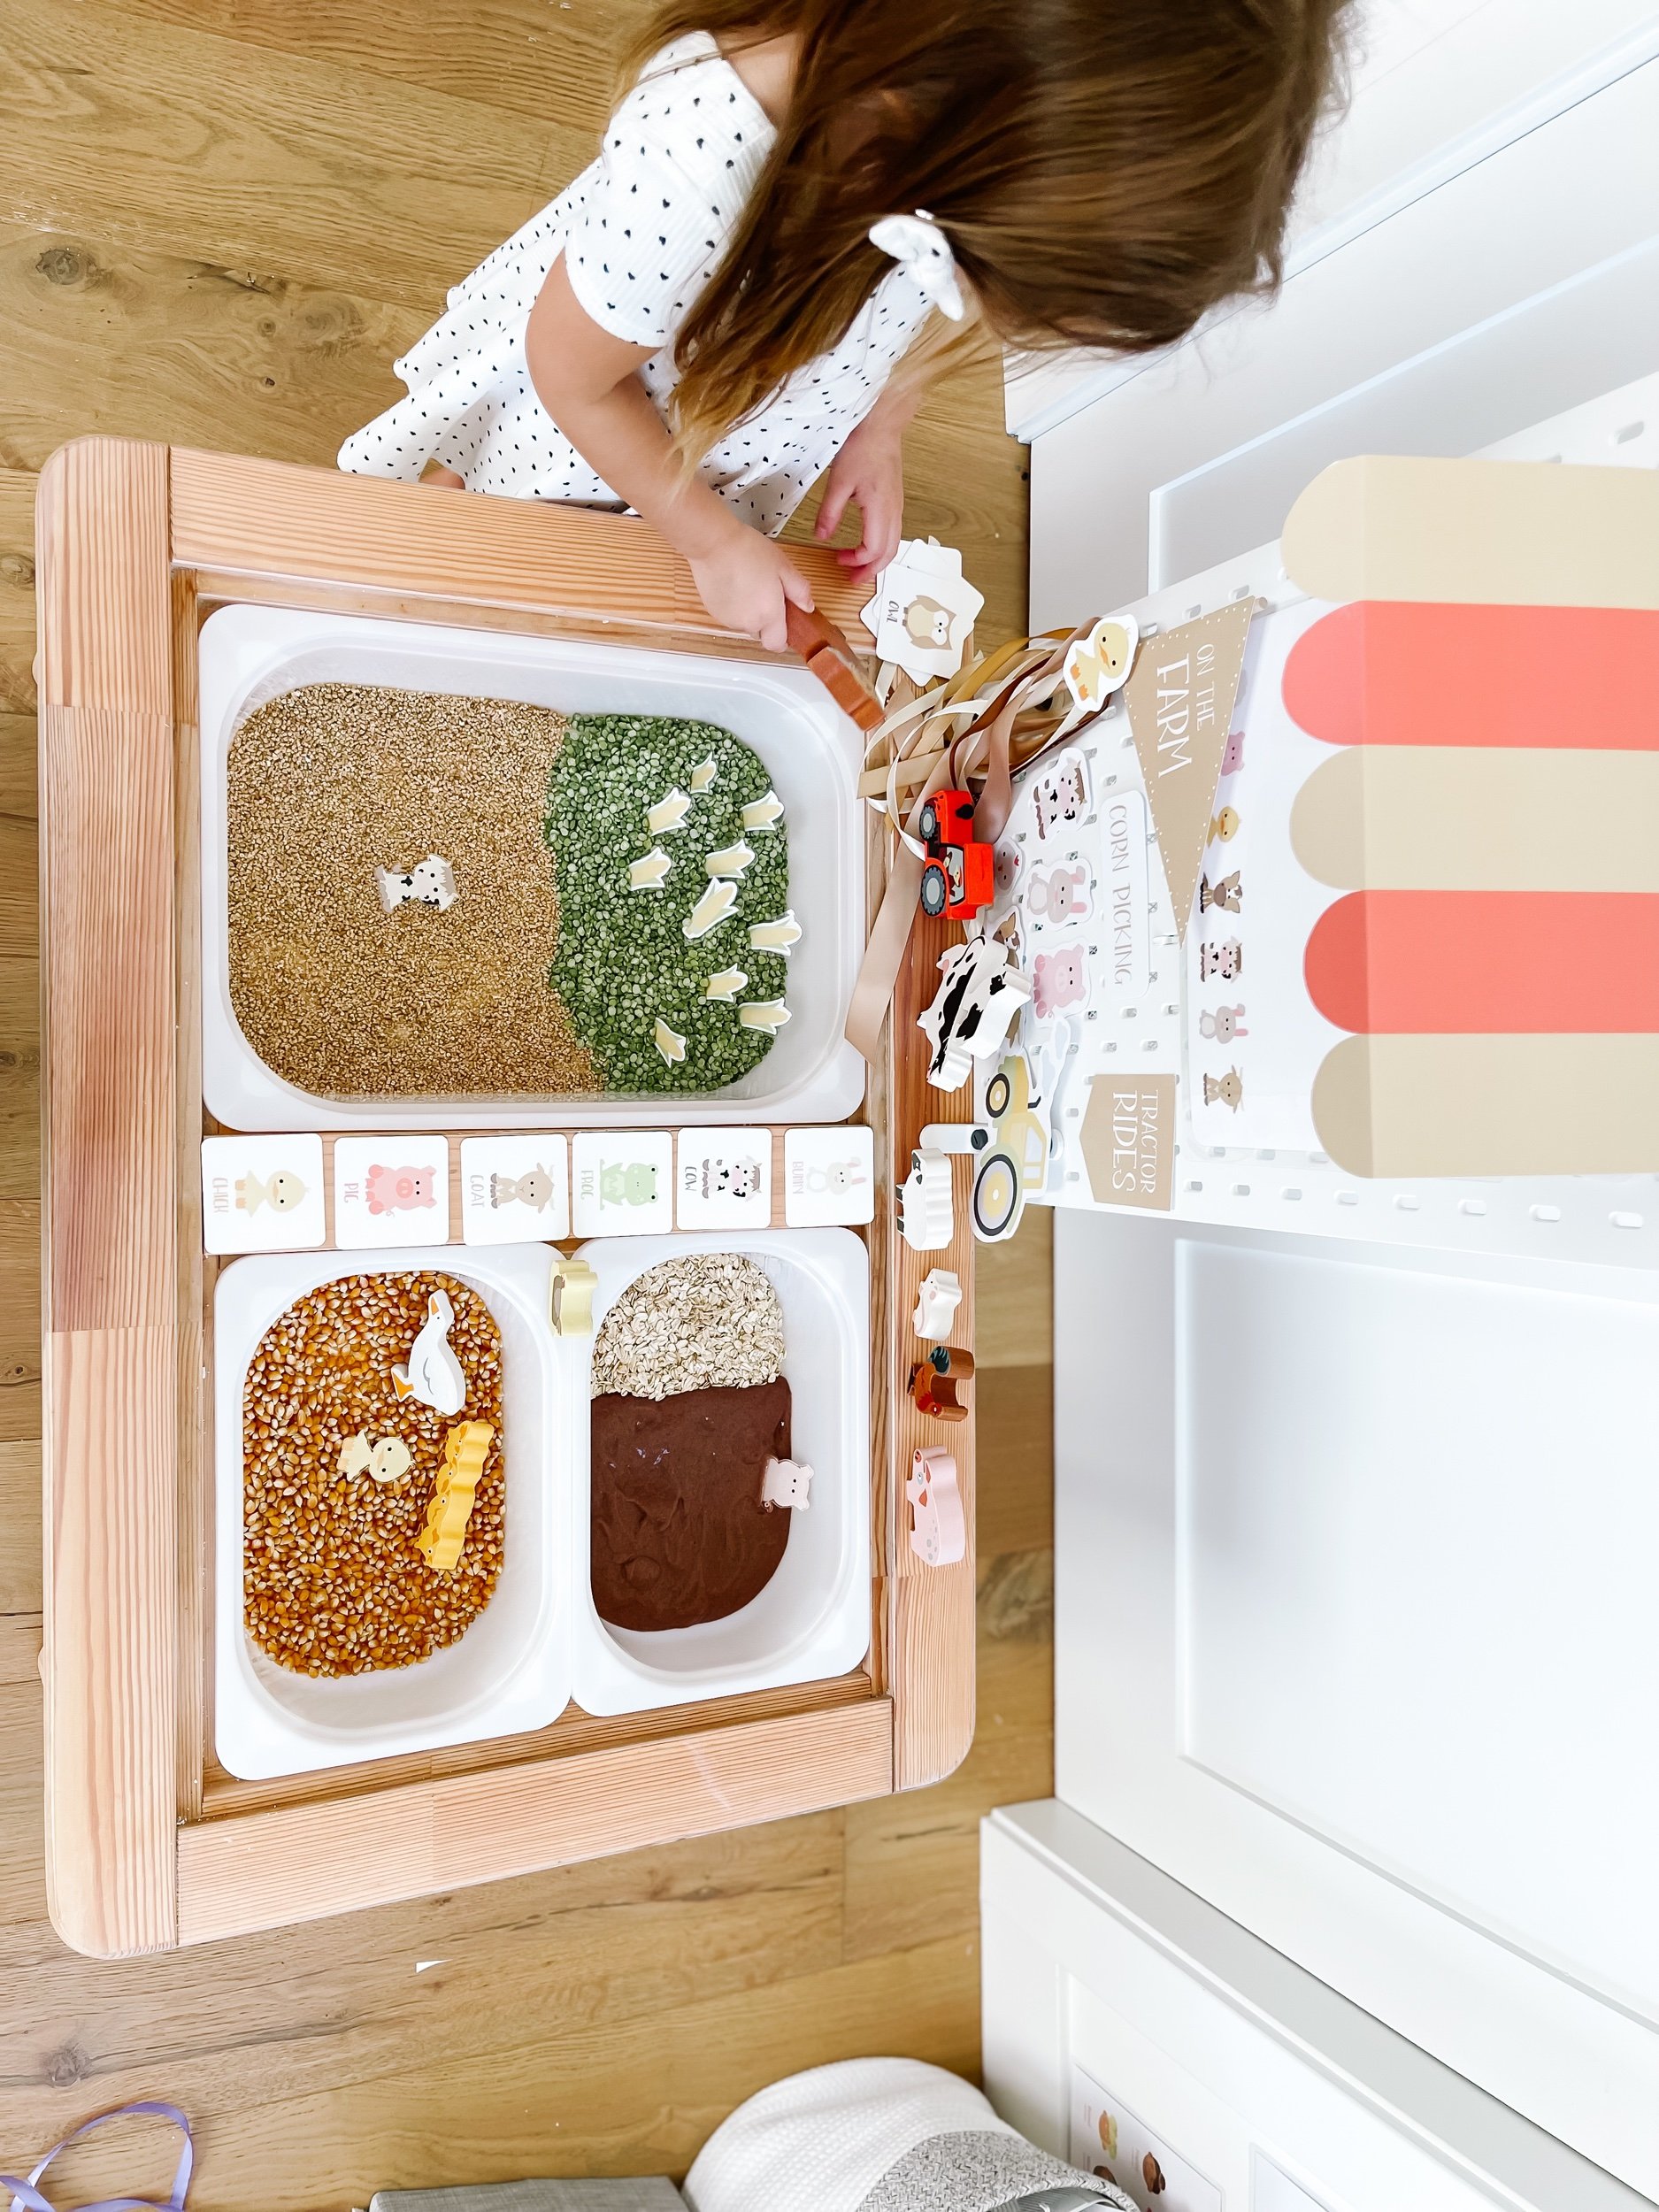
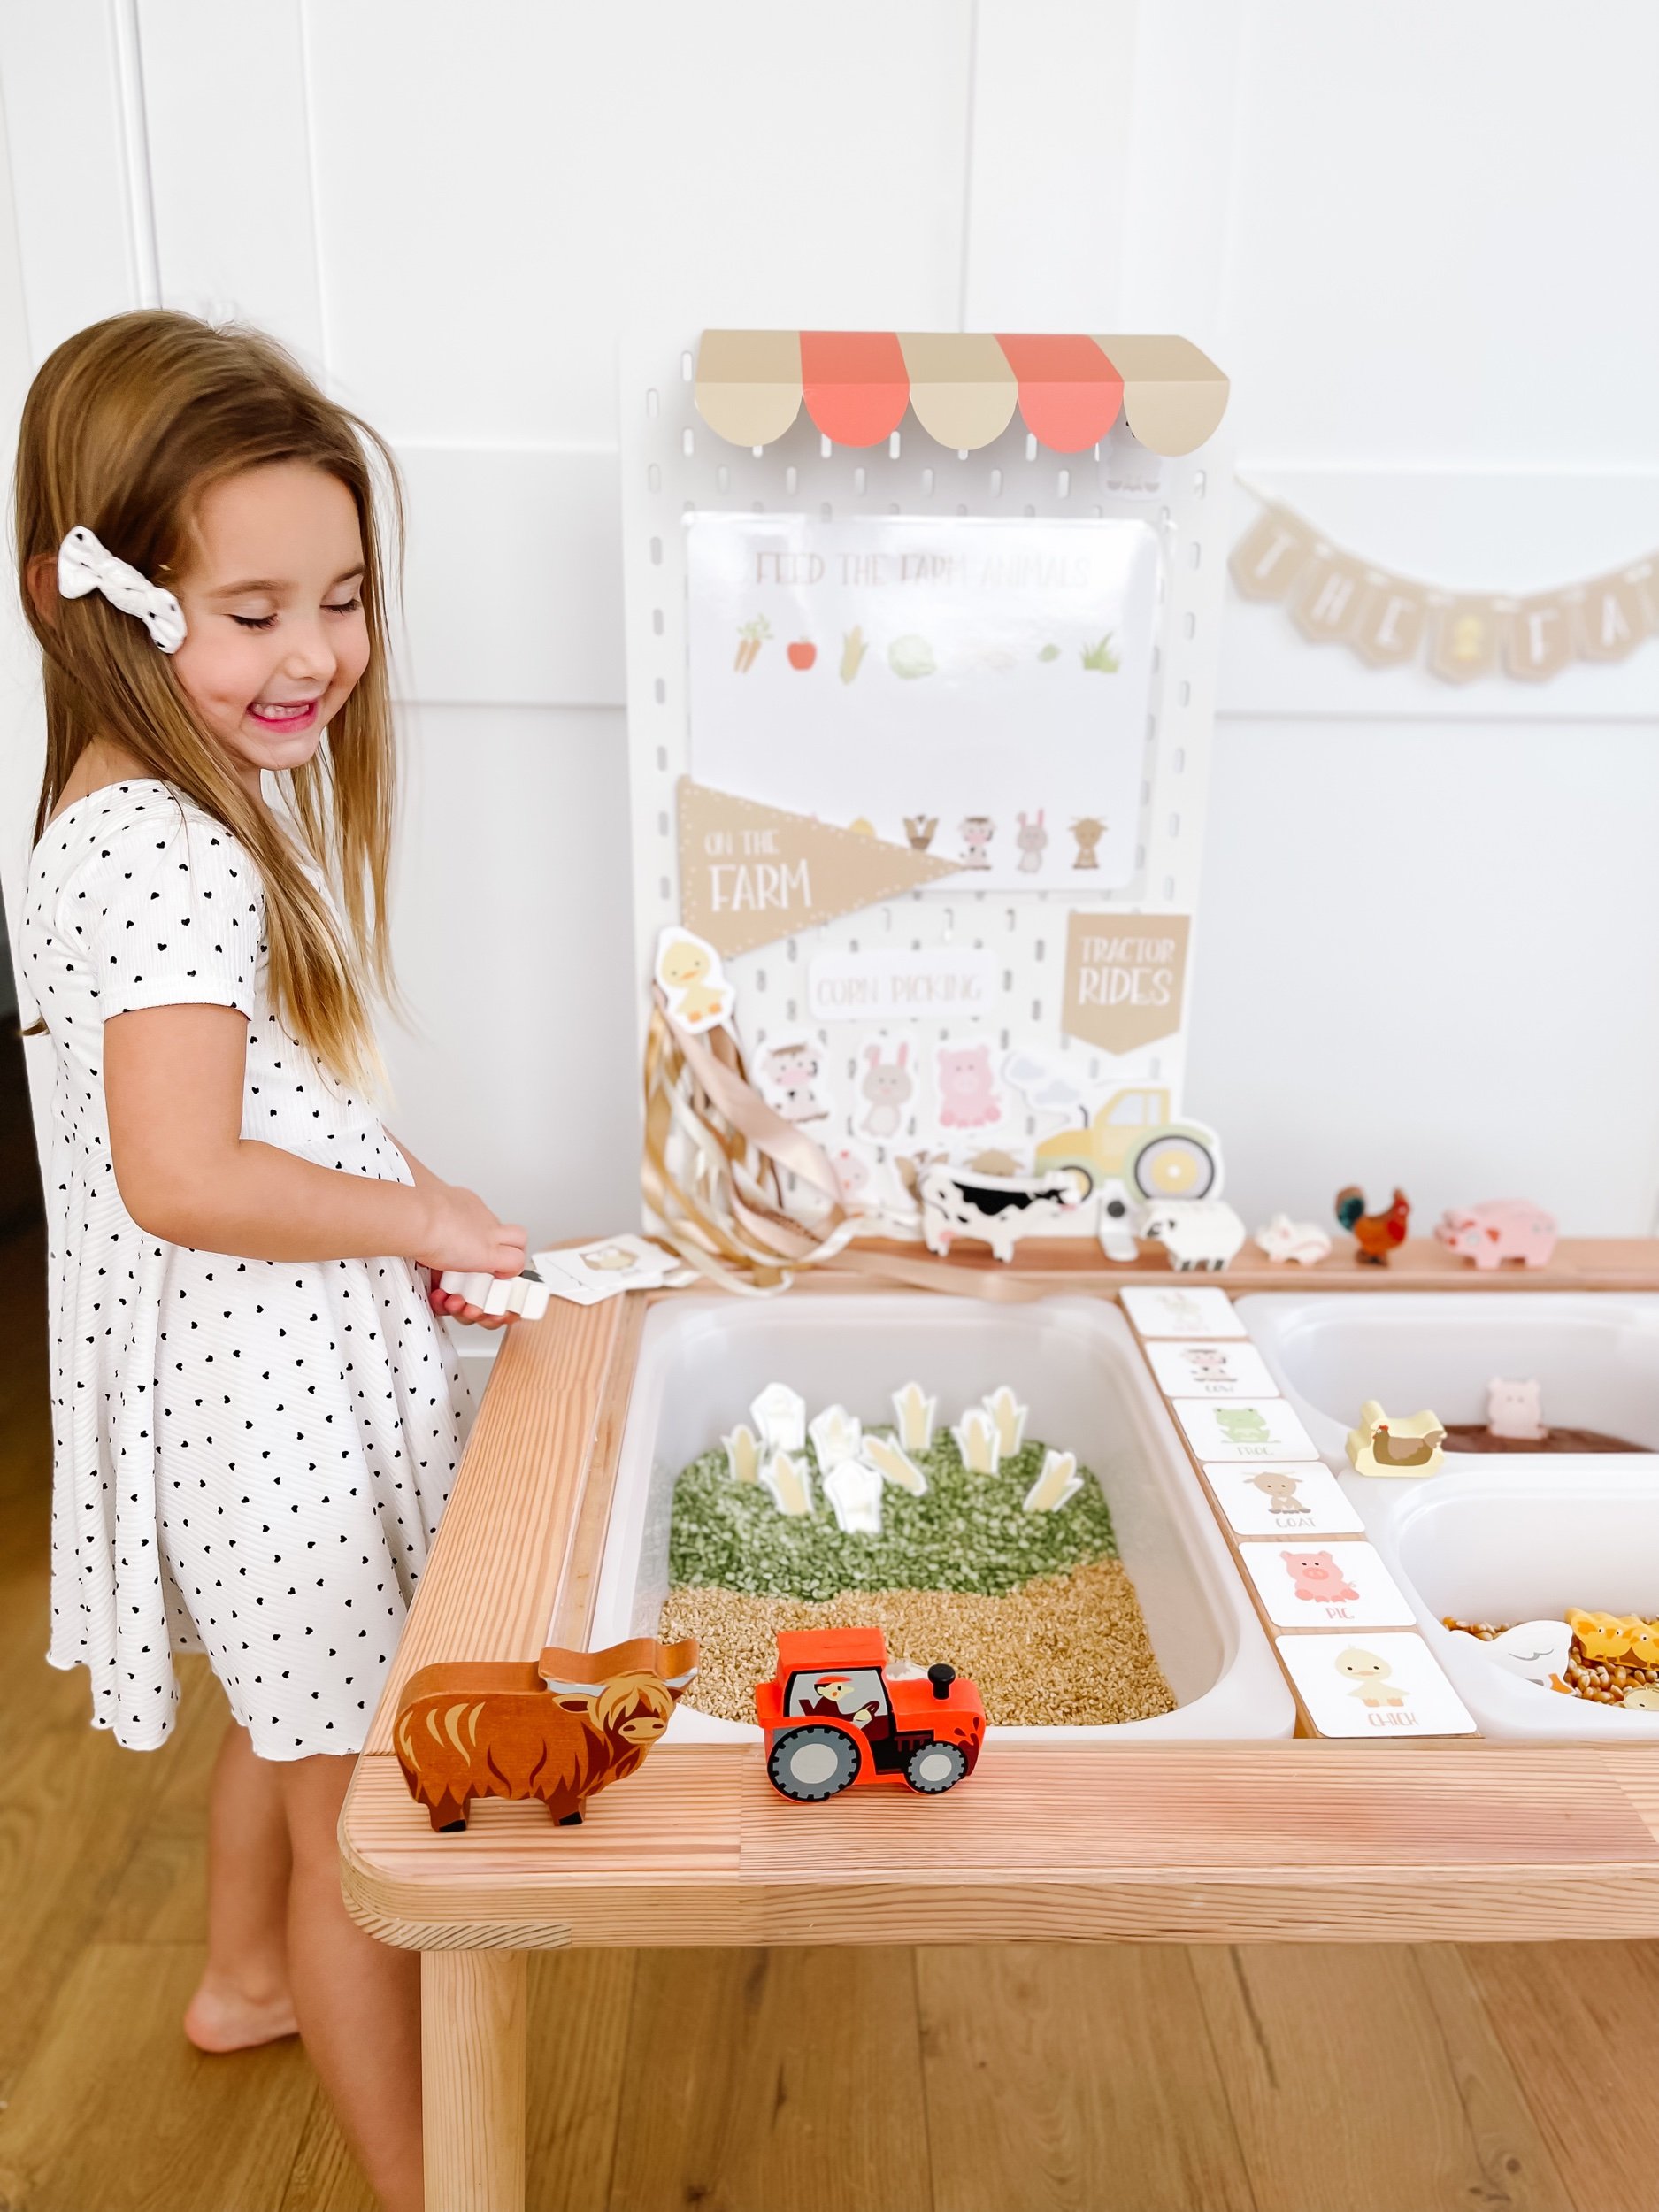
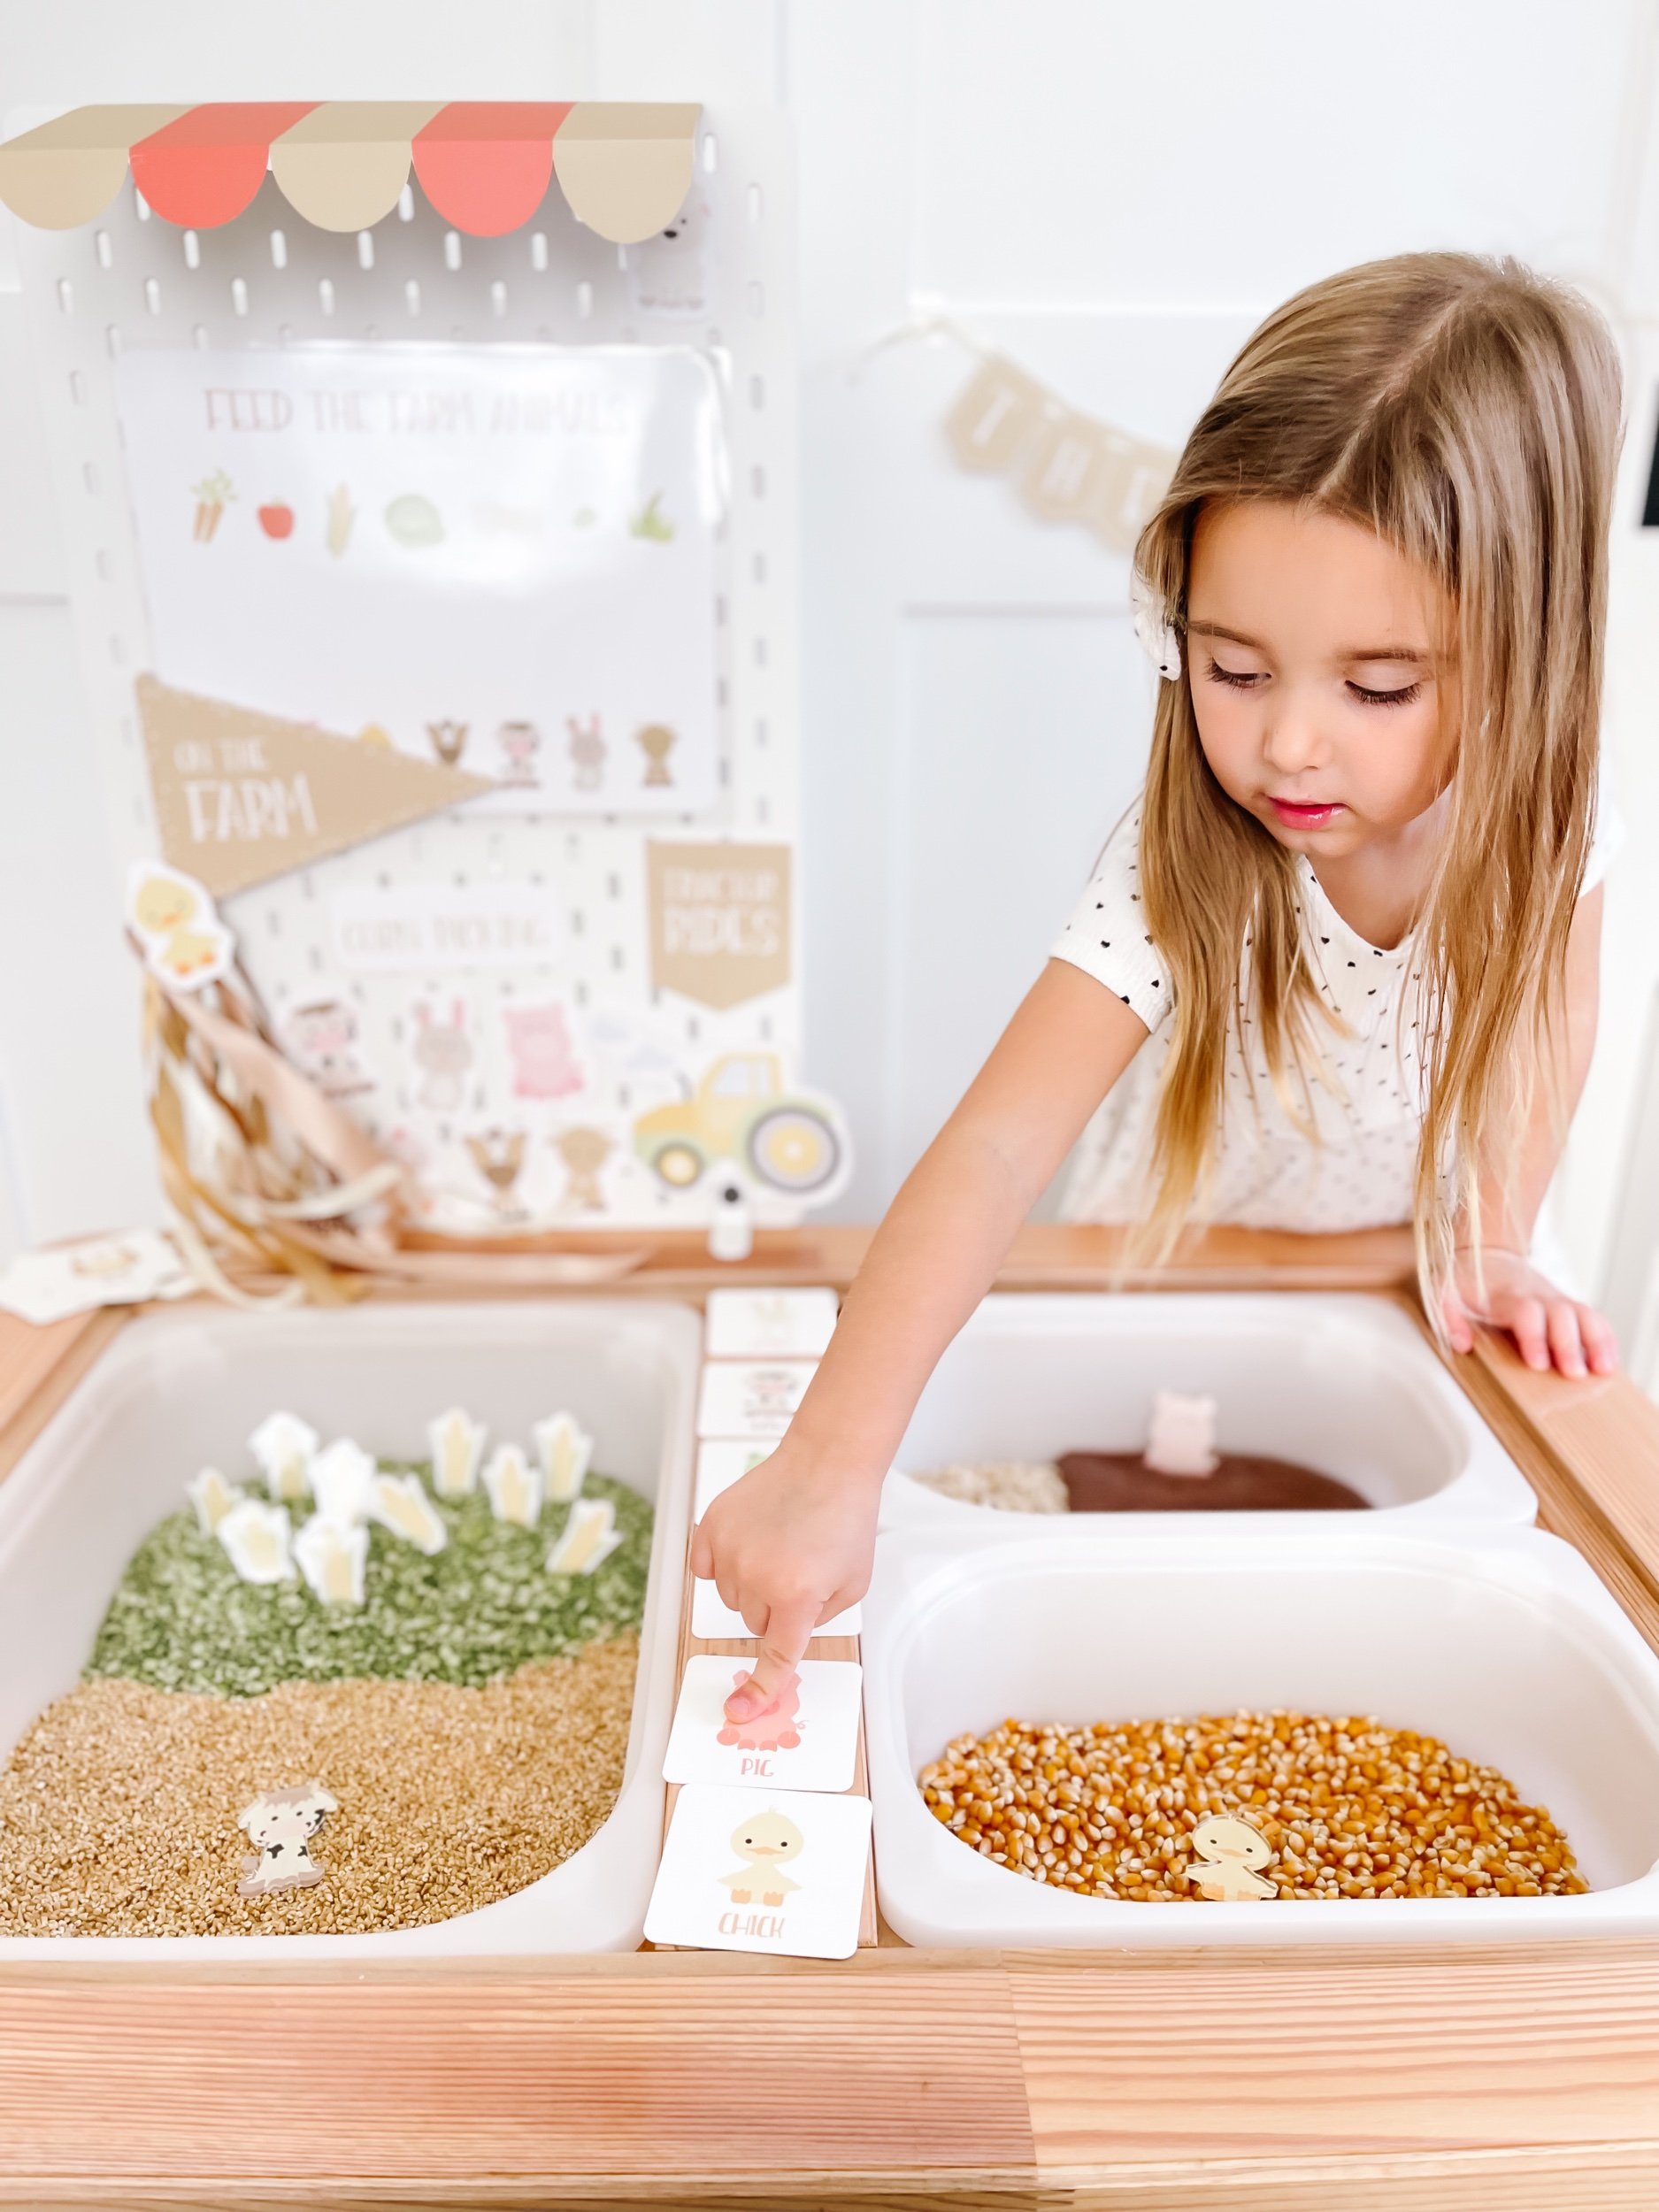
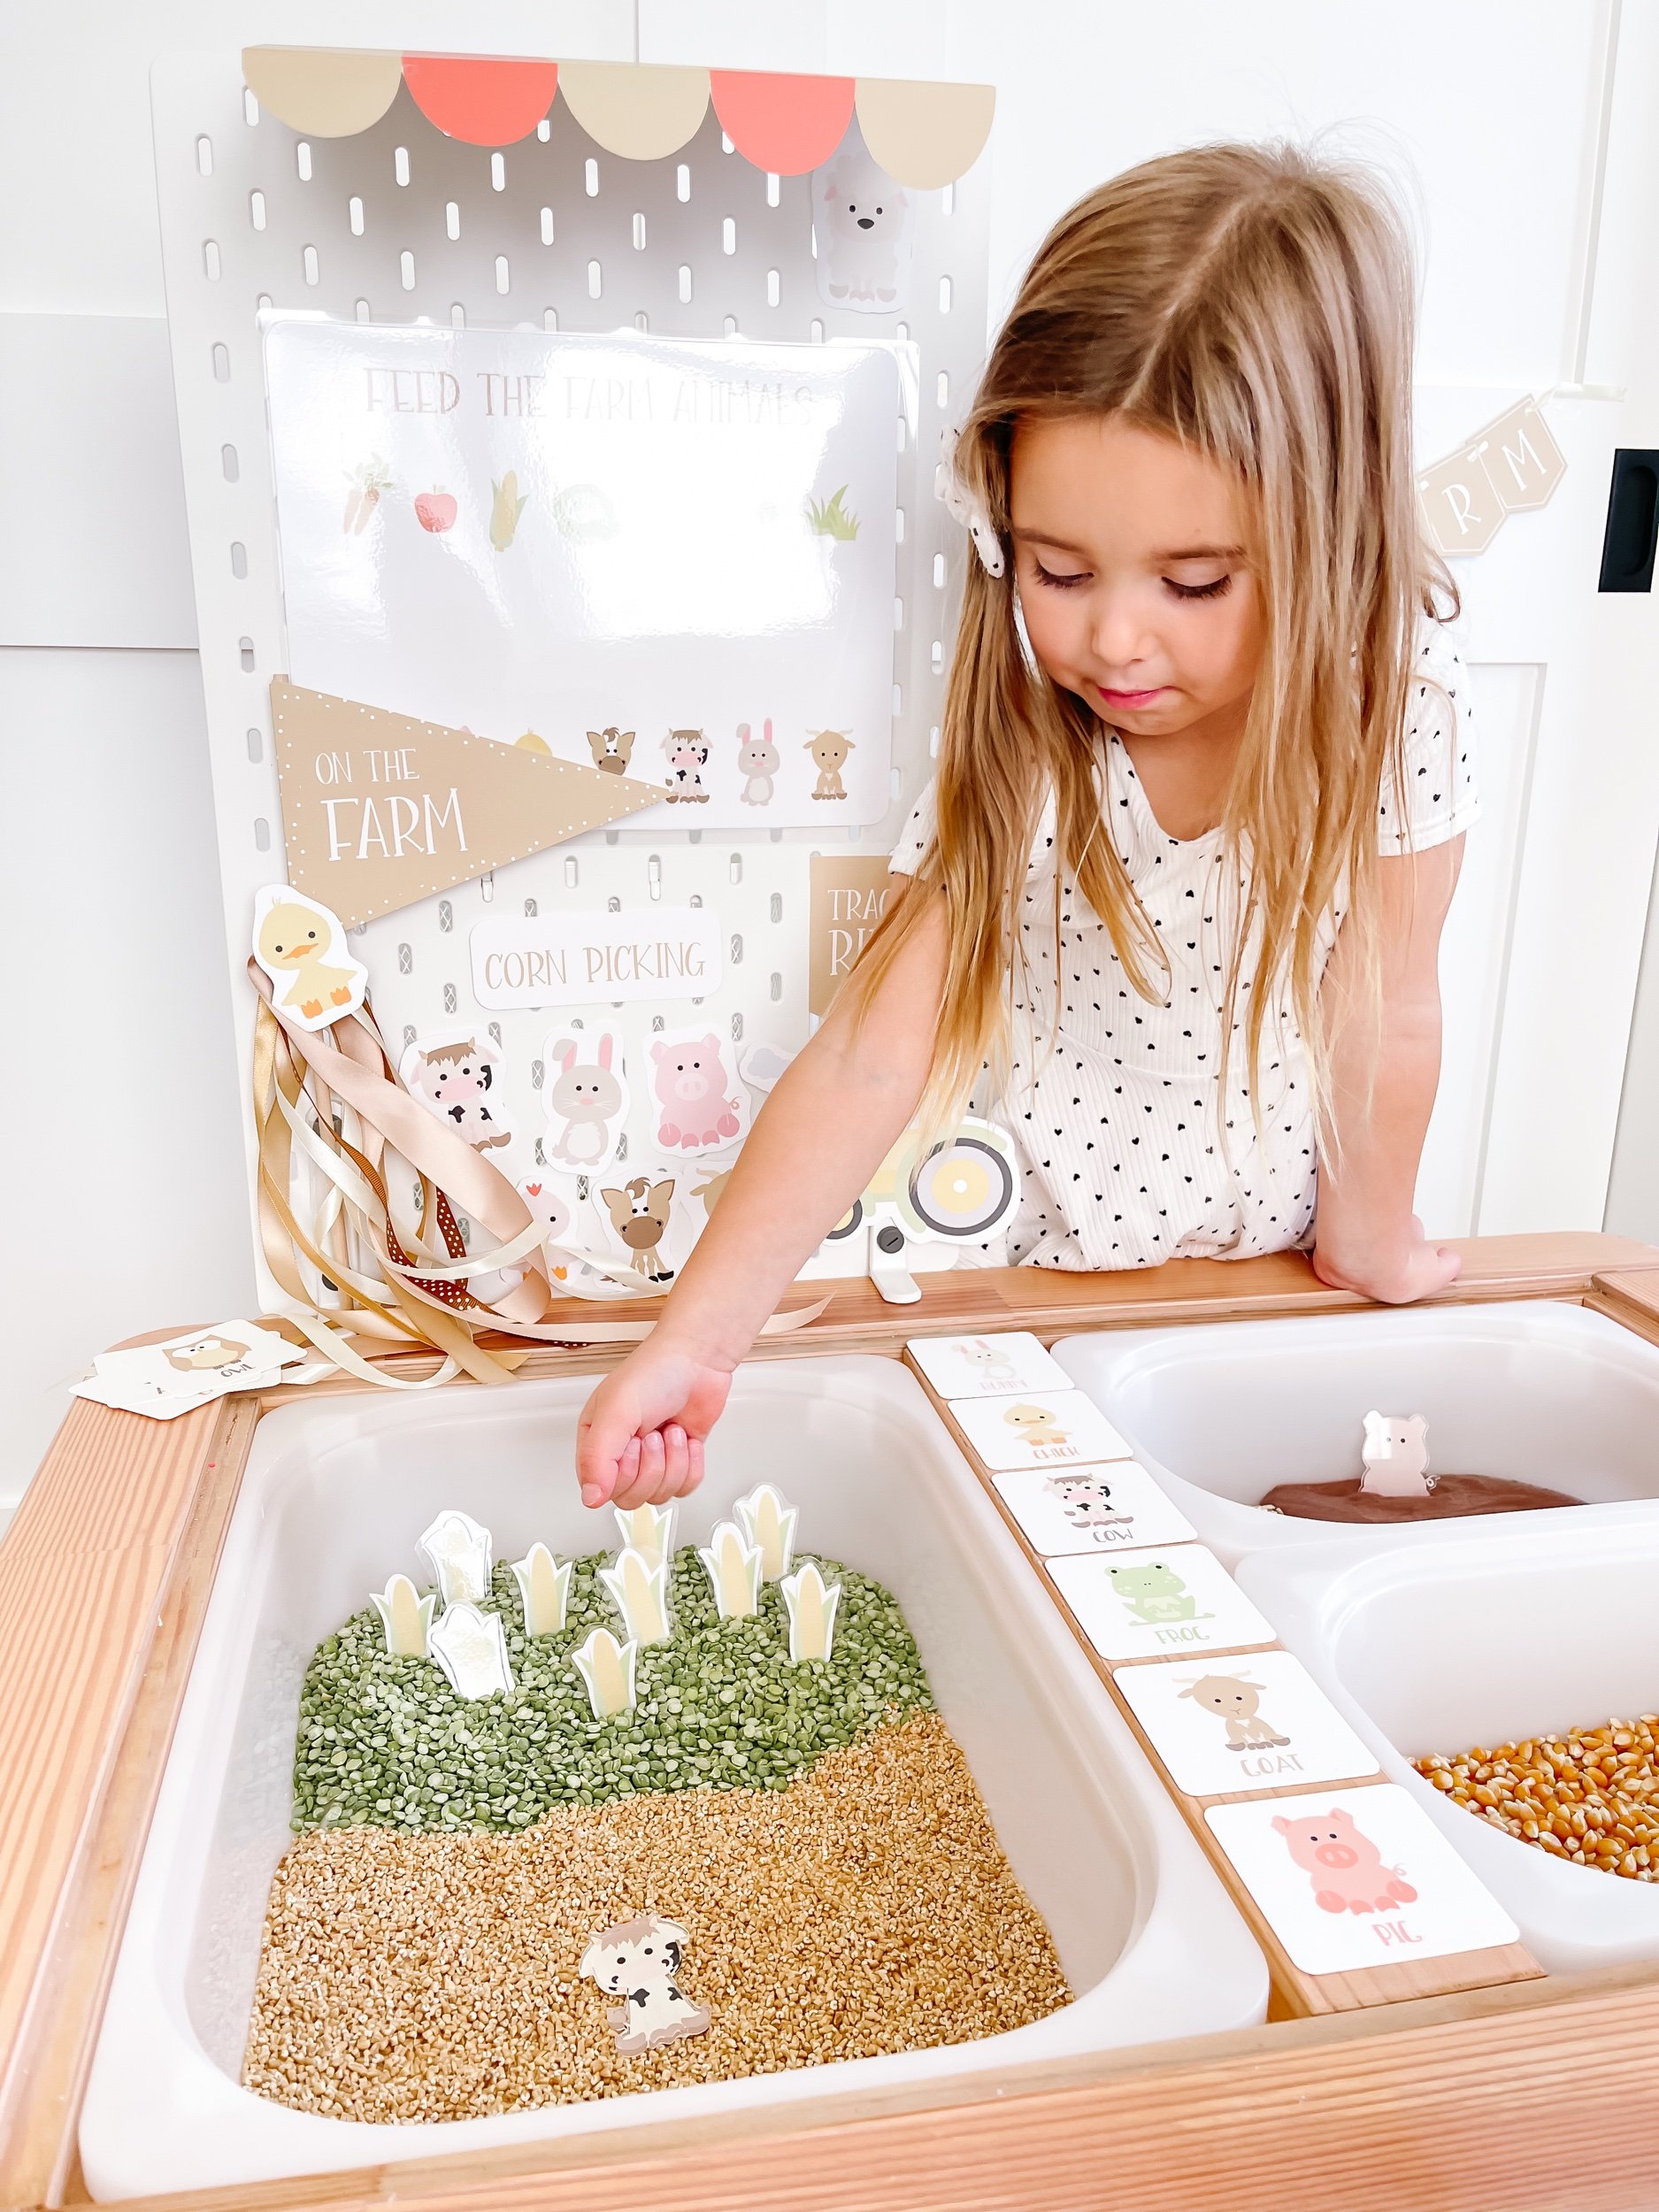
For this printable play kit, you’ll get everything you need to turn your Flisat table into a farm. This kit includes a awning, print and cut farm animals, a tractor, a print and fold red barn, an “On the Farm” flag, an egg collection worksheet, a feed the bunnies worksheet, and a feed the farm animals worksheet.

Inspire my okay tray farm animal sensory bin Oatmeal sensory bin filler for farm play IMG_2744_jpg.jpeg IMG_2763_jpg.jpeg IMG_2740_jpg.jpeg IMG_2755.jpeg IMG_2780.jpeg IMG_2790.jpeg IMG_2766_jpg.jpeg IMG_2781.jpeg IMG_2733_jpg.jpeg IMG_2754_jpg.jpeg IMG_2820_jpg.jpeg IMG_2727.jpeg Farm animal sensory bin for preschoolers IMG_2778.jpeg IMG_2782.jpeg IMG_2783.jpeg IMG_2785.jpeg IMG_2801_jpg.jpeg IMG_2769.jpeg IMG_2764_jpg.jpeg IMG_2759_jpg.jpeg IMG_2756.jpeg IMG_2730_jpg.jpeg

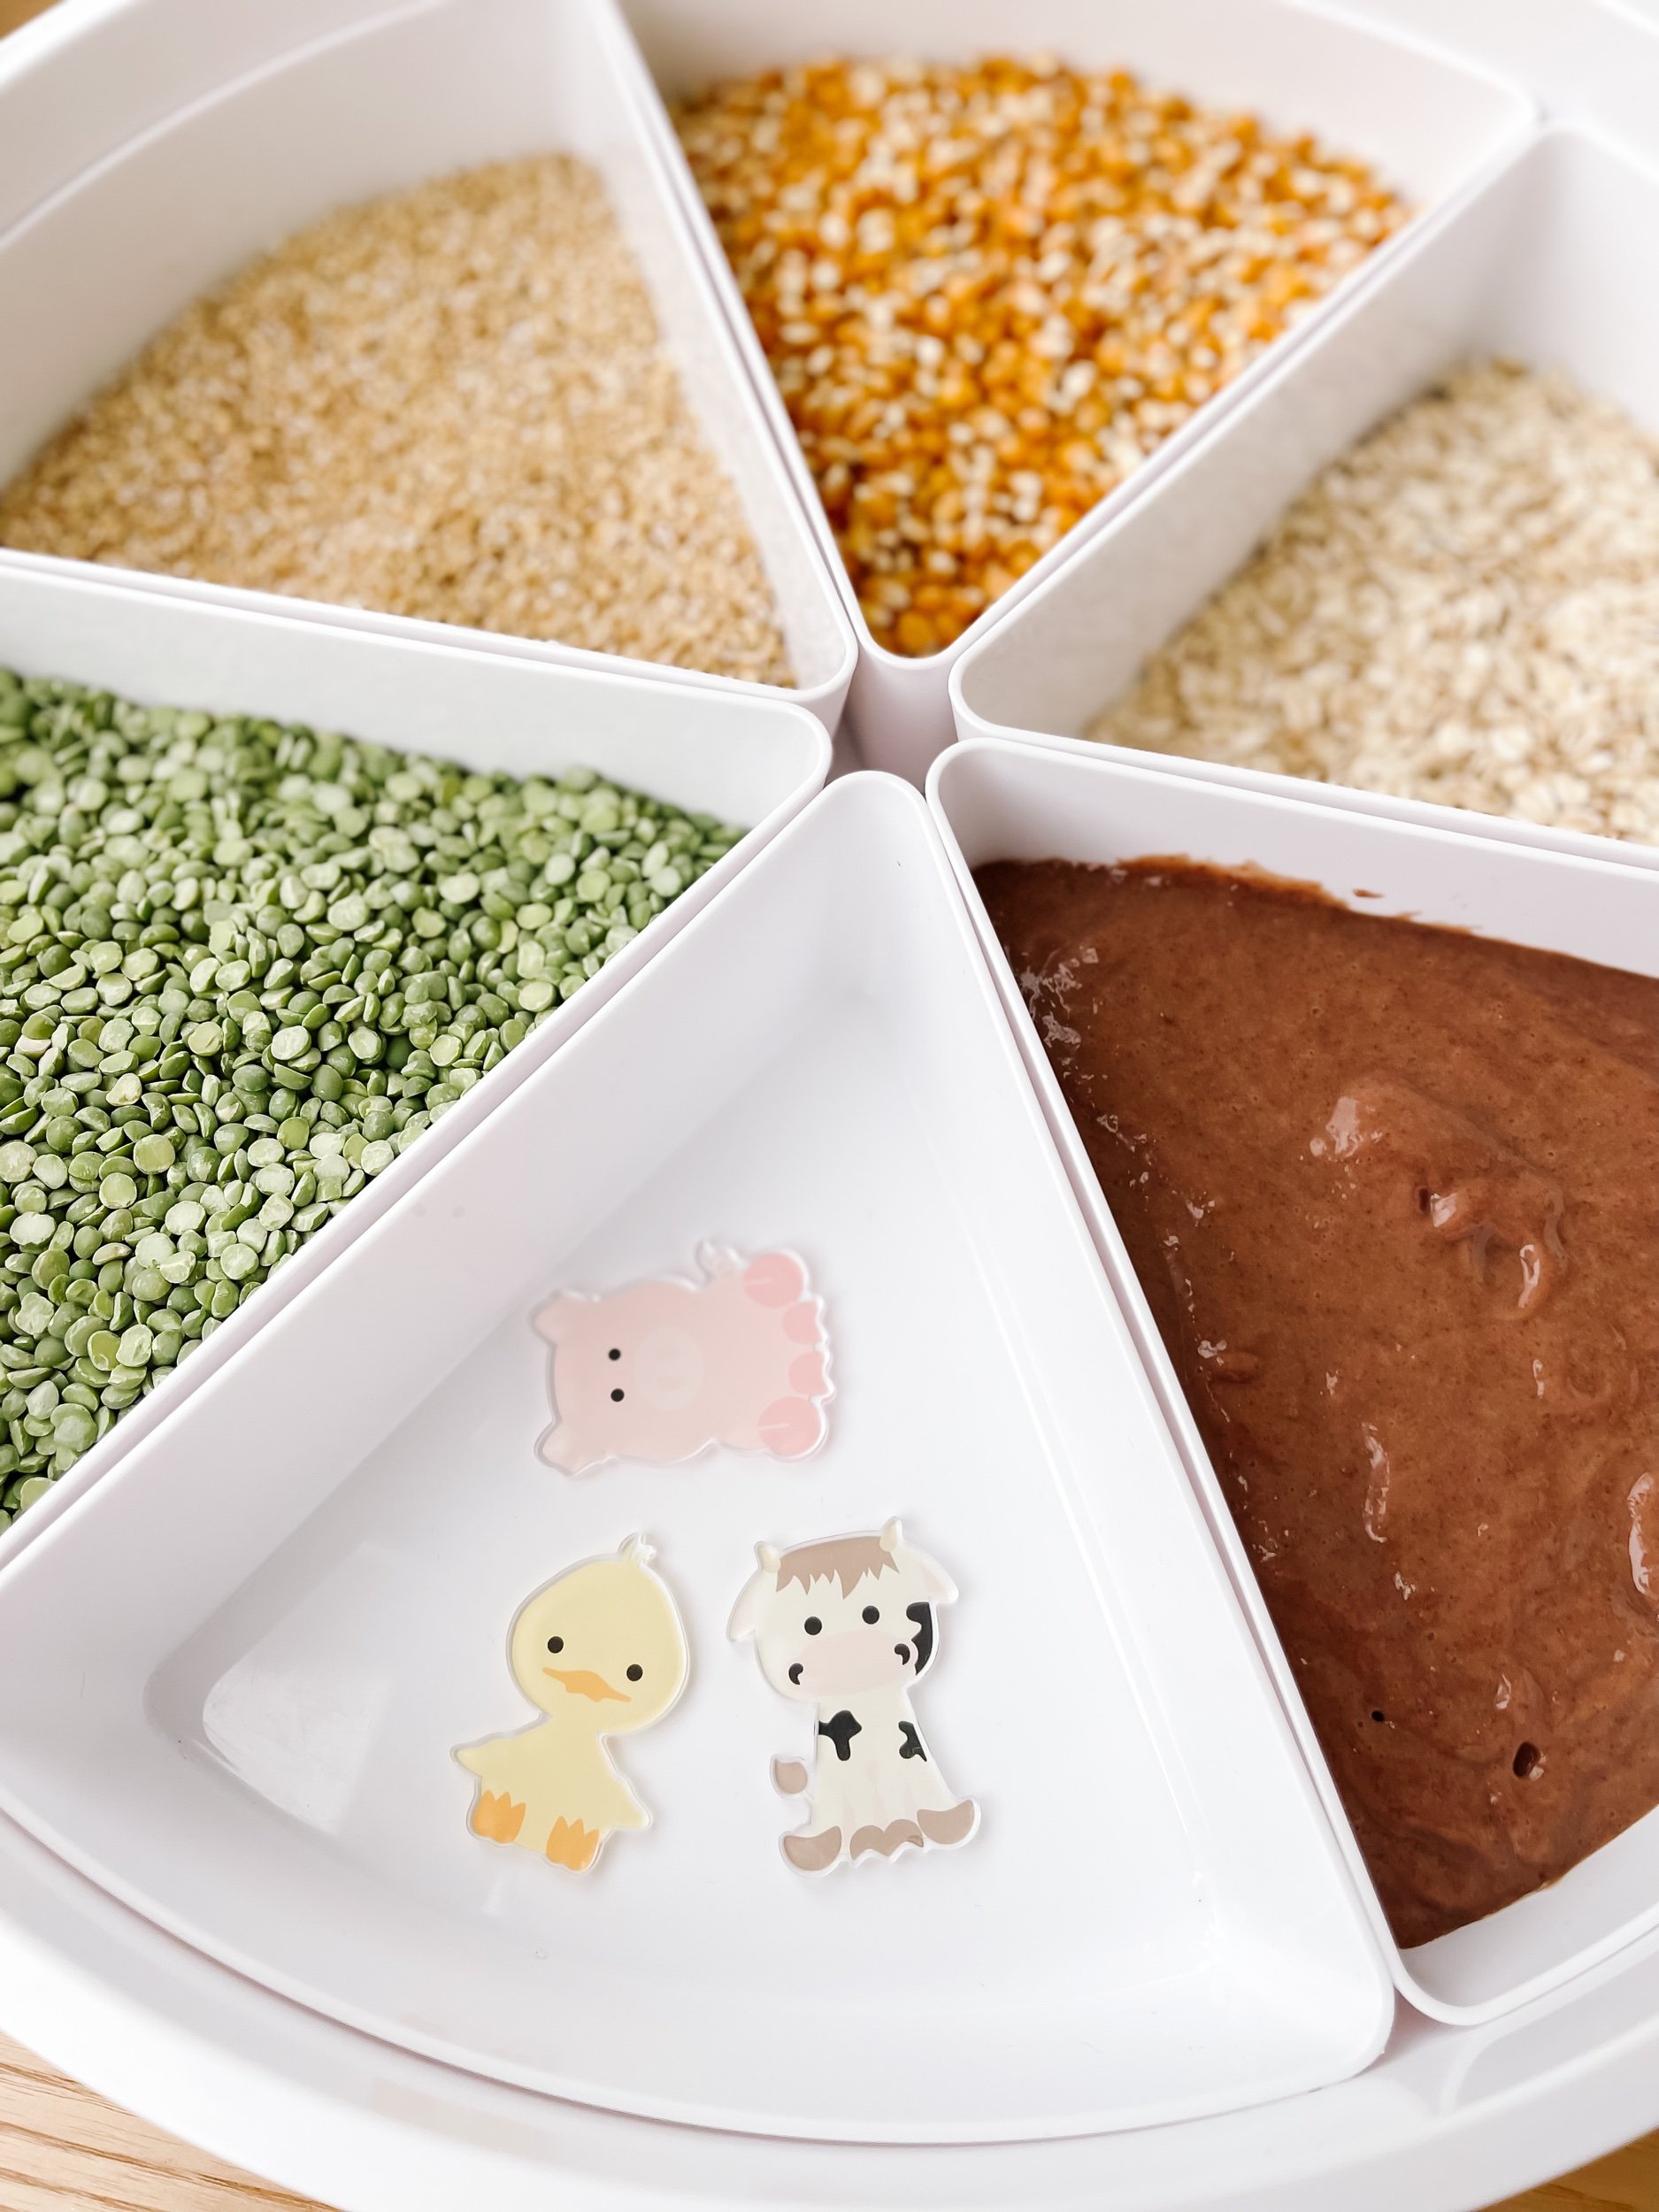
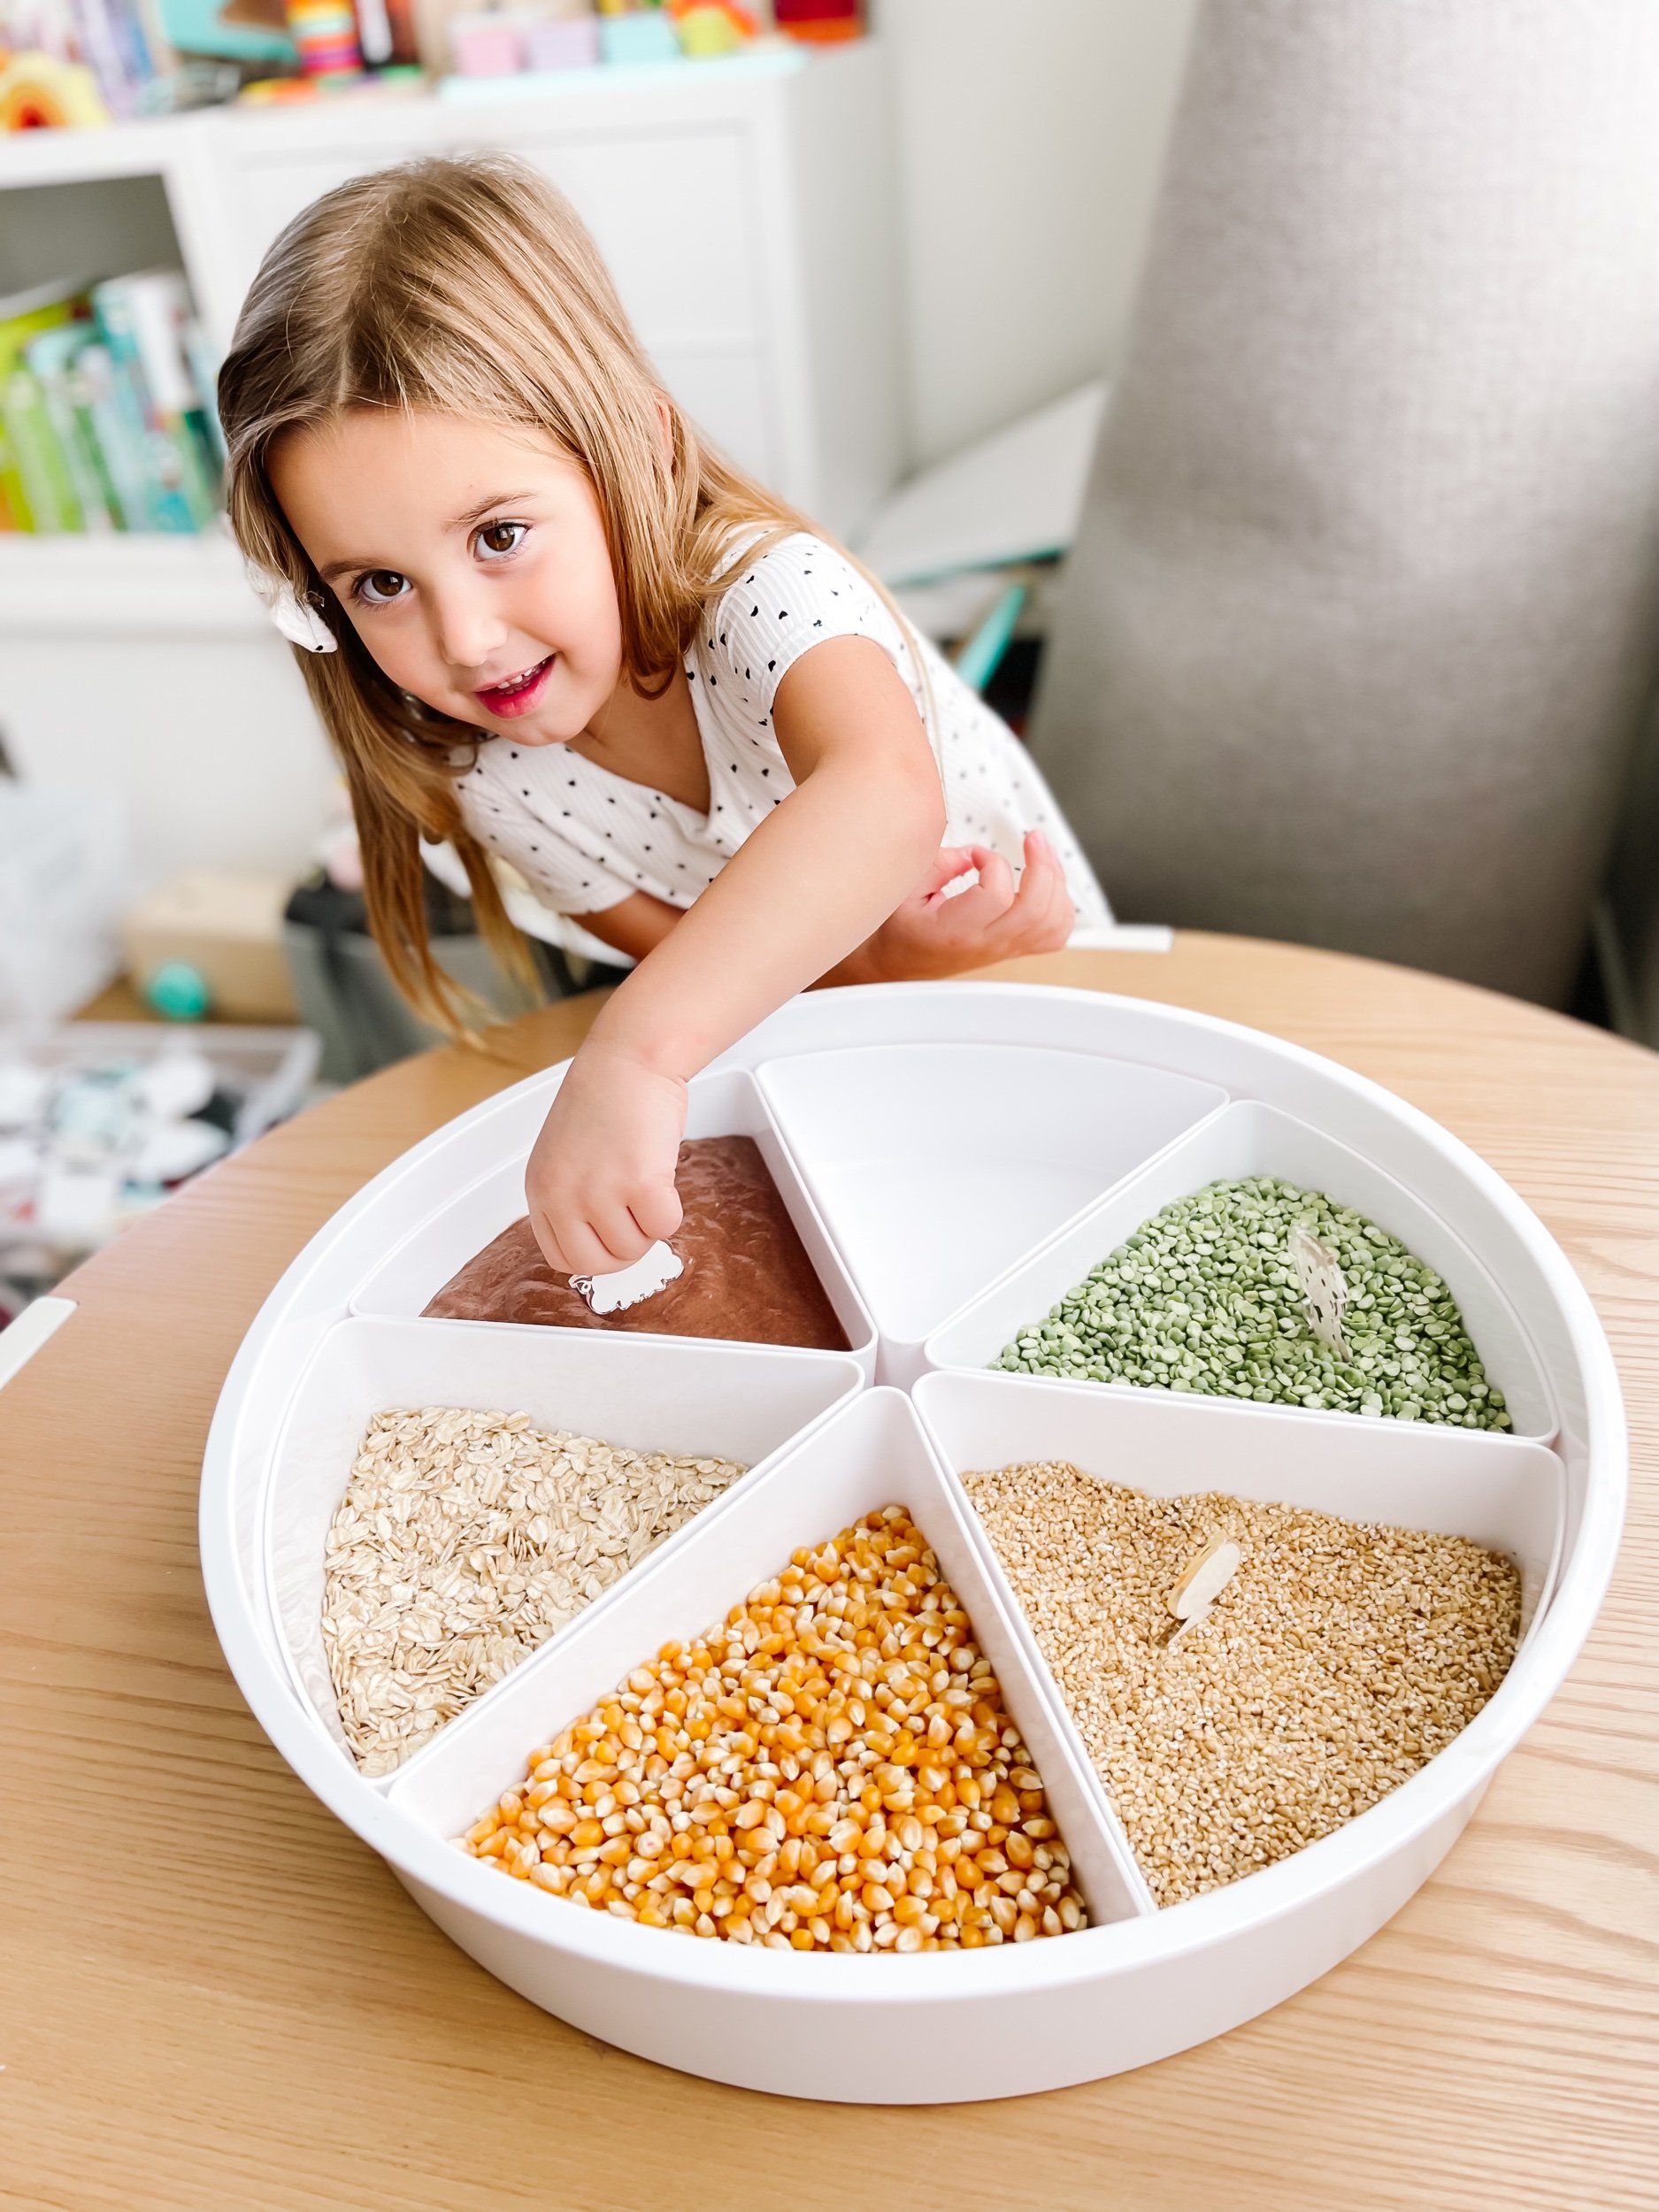
Farm Animal Sensory Play Fillers

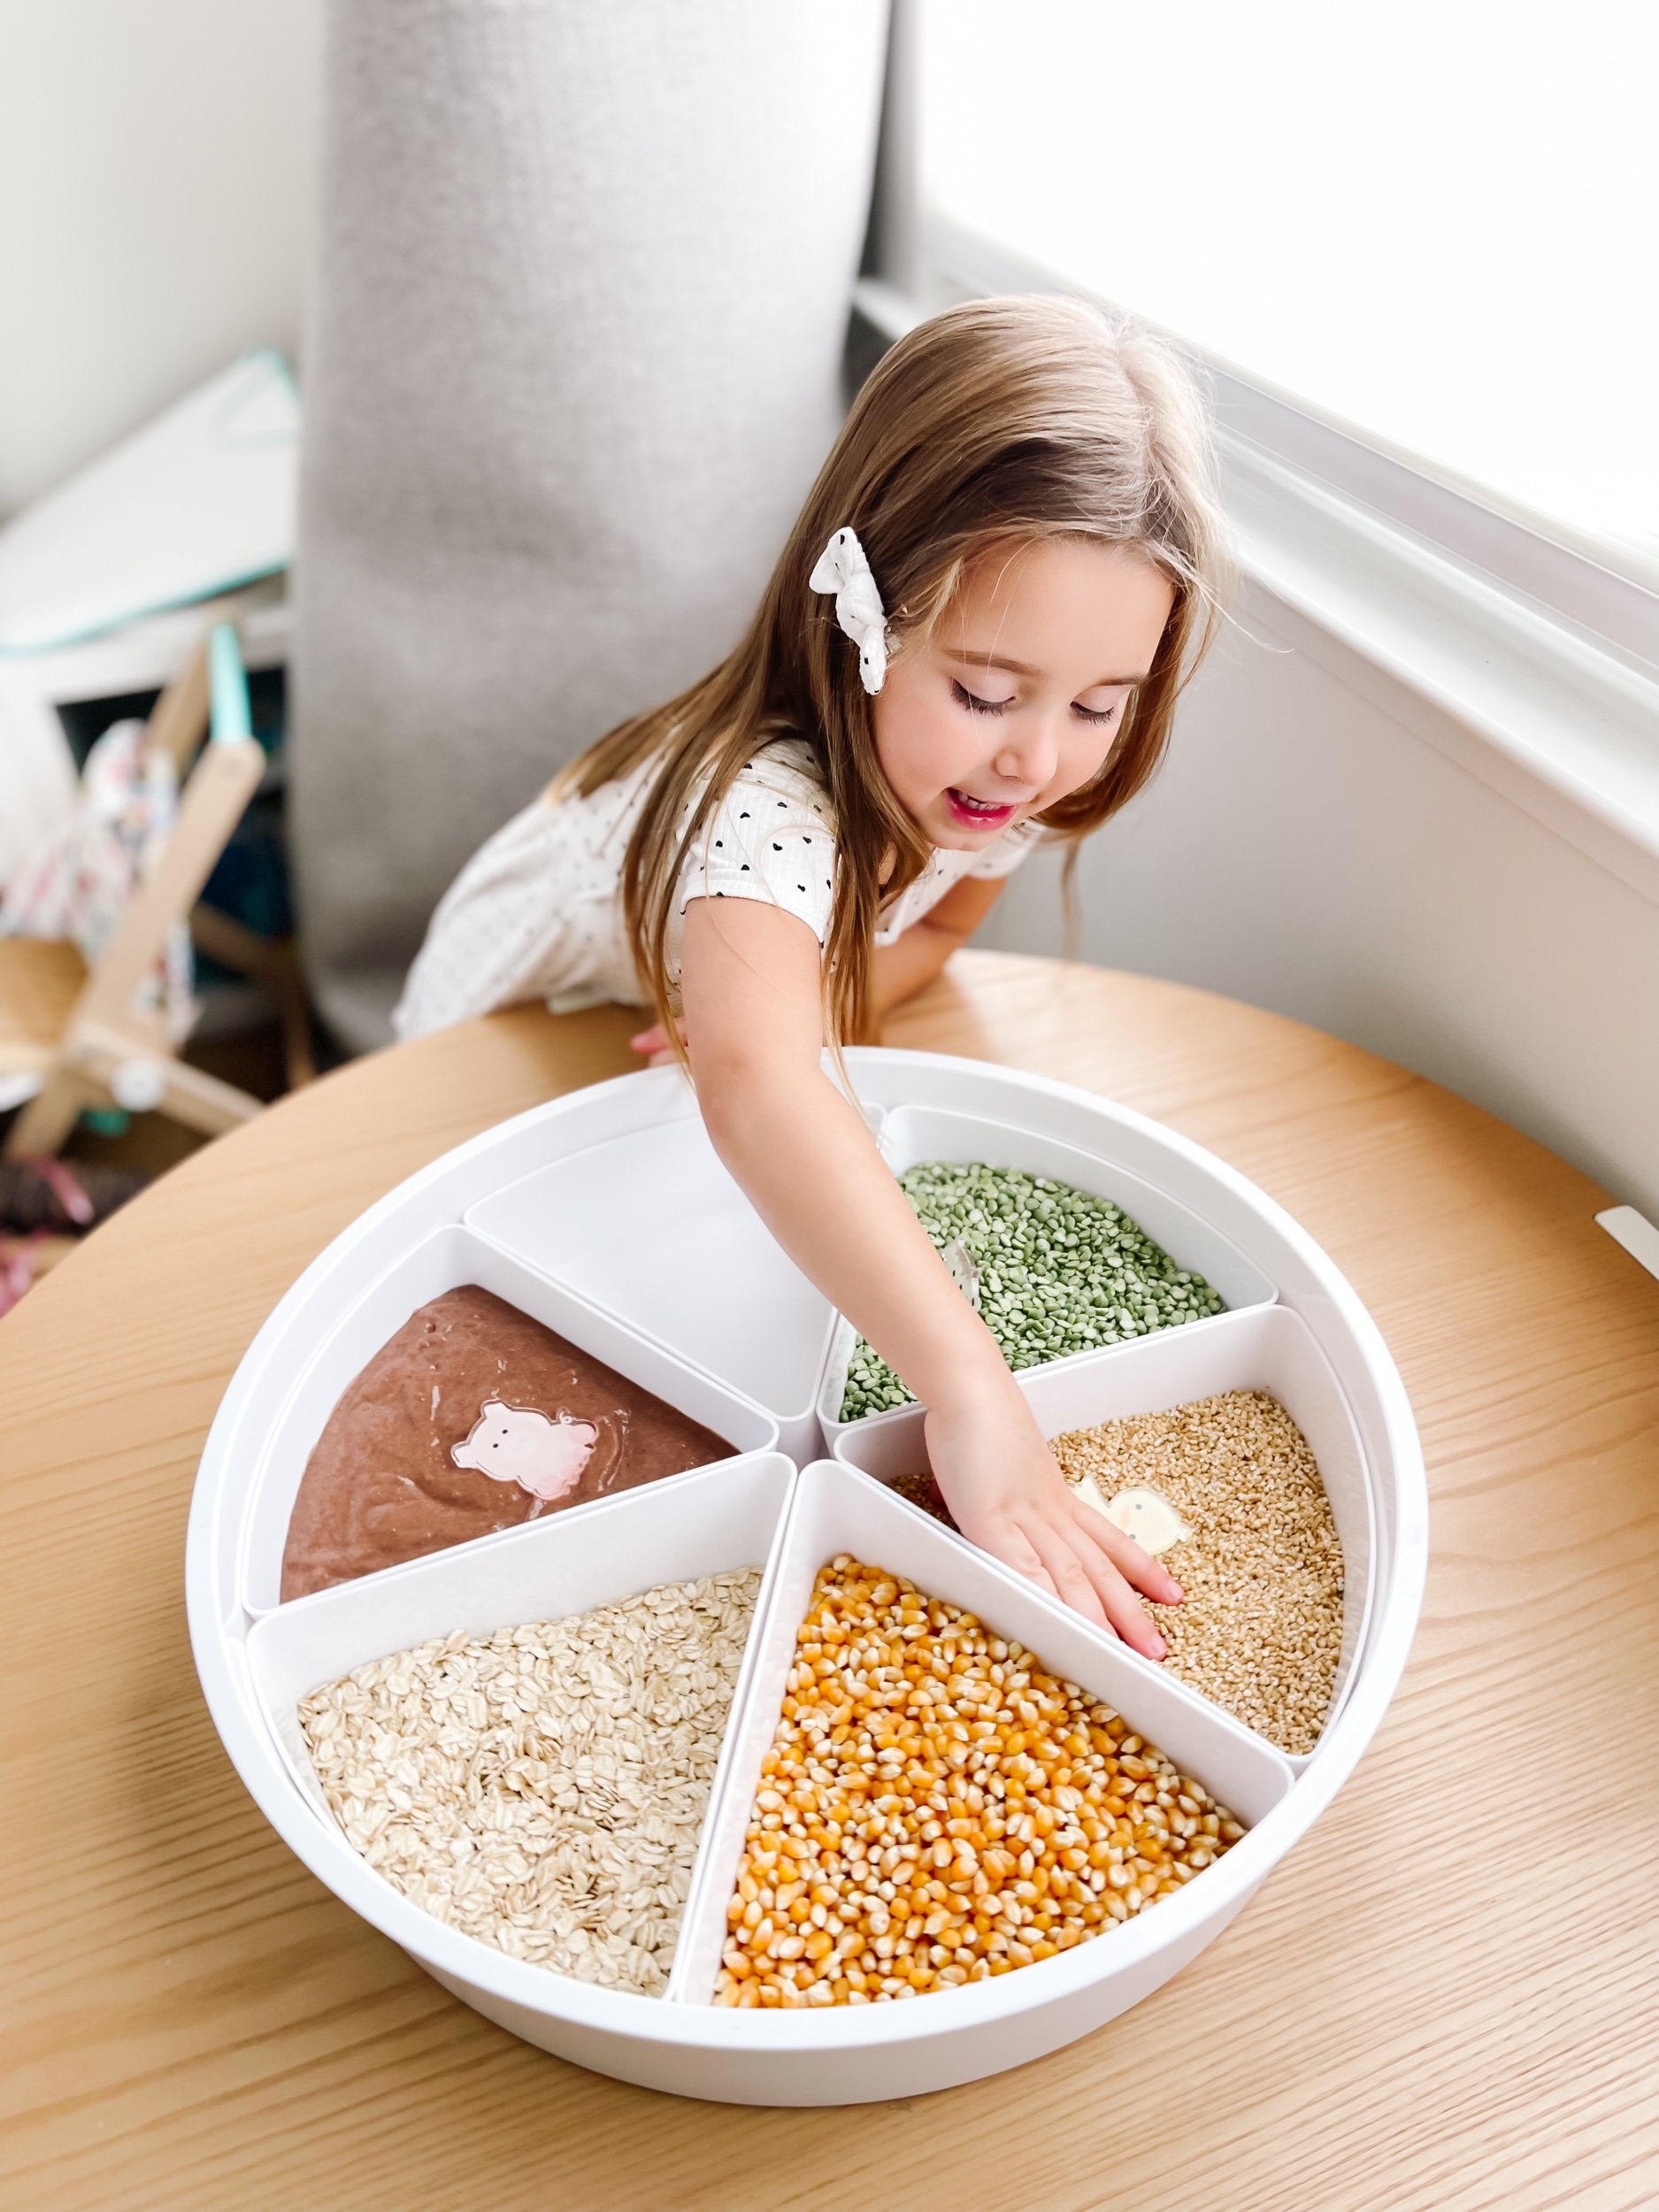
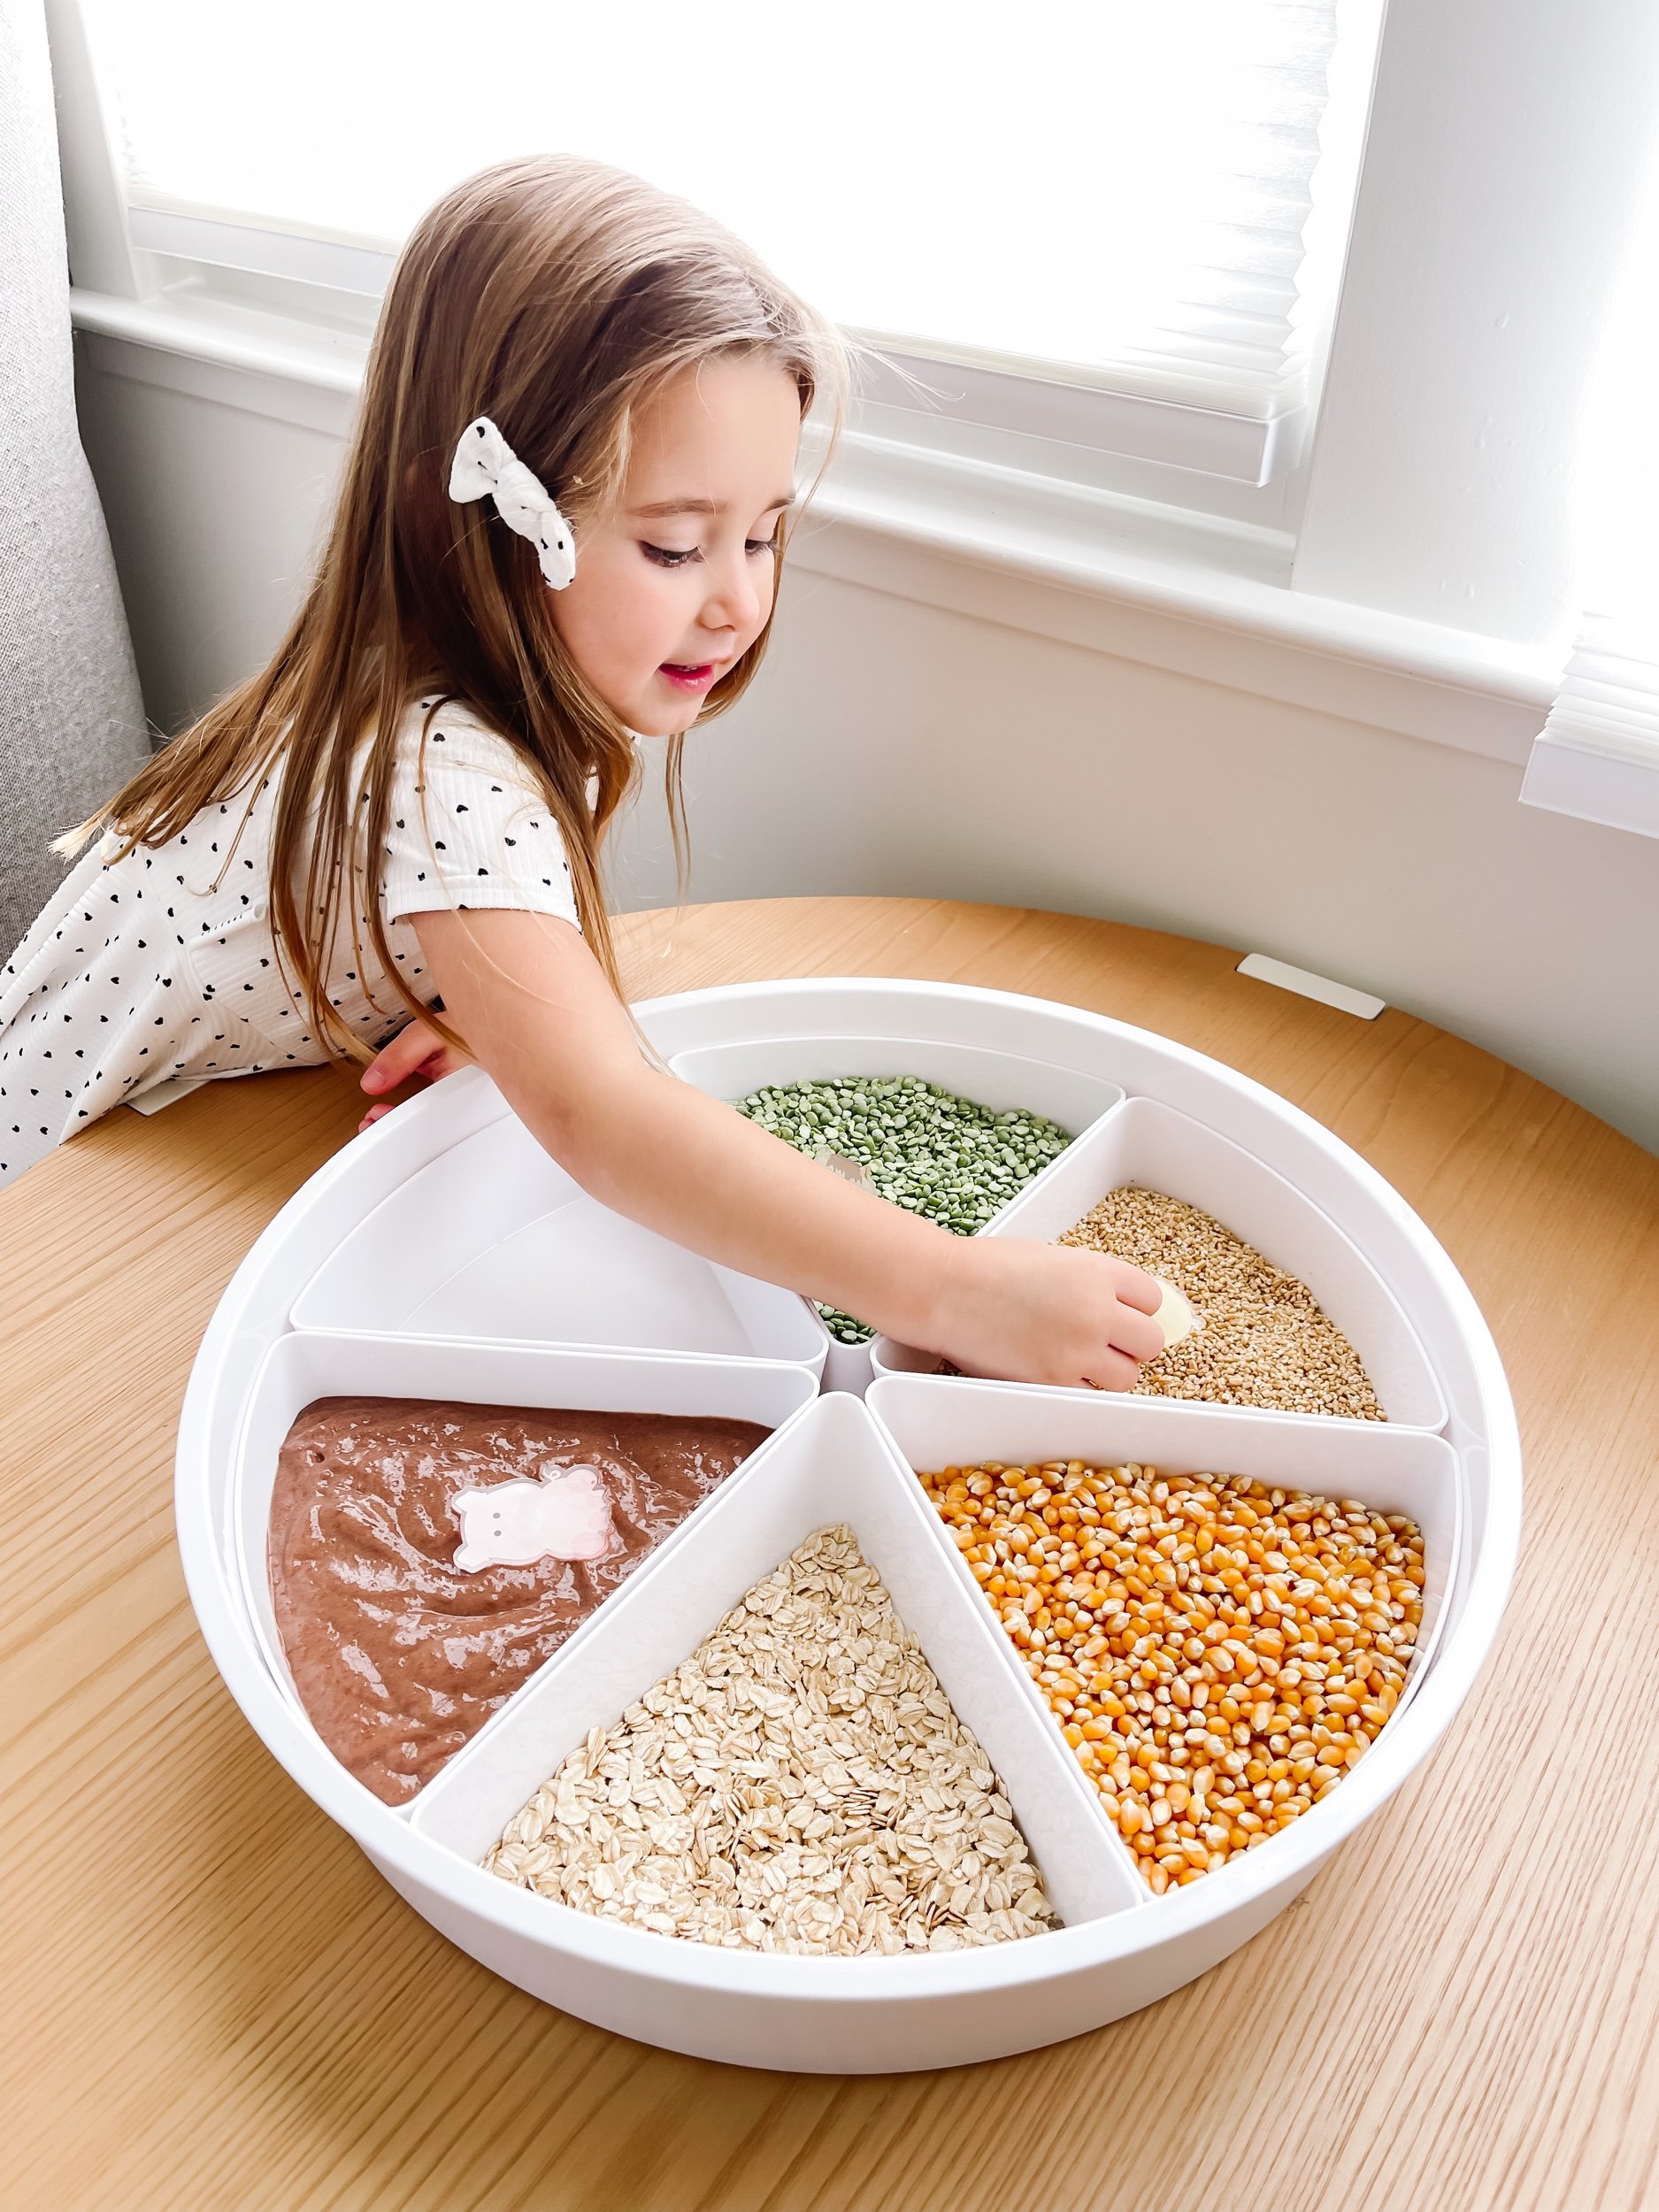
These great farm animal activities are a great way to learn about life on the farm. And a great way for your toddler to practice pouring, scooping, writing, matching, and digging skills. Let’s dive in!

IMG_2784.jpeg IMG_2755.jpeg IMG_2782.jpeg IMG_2785.jpeg IMG_2781.jpeg IMG_2759_jpg.jpeg

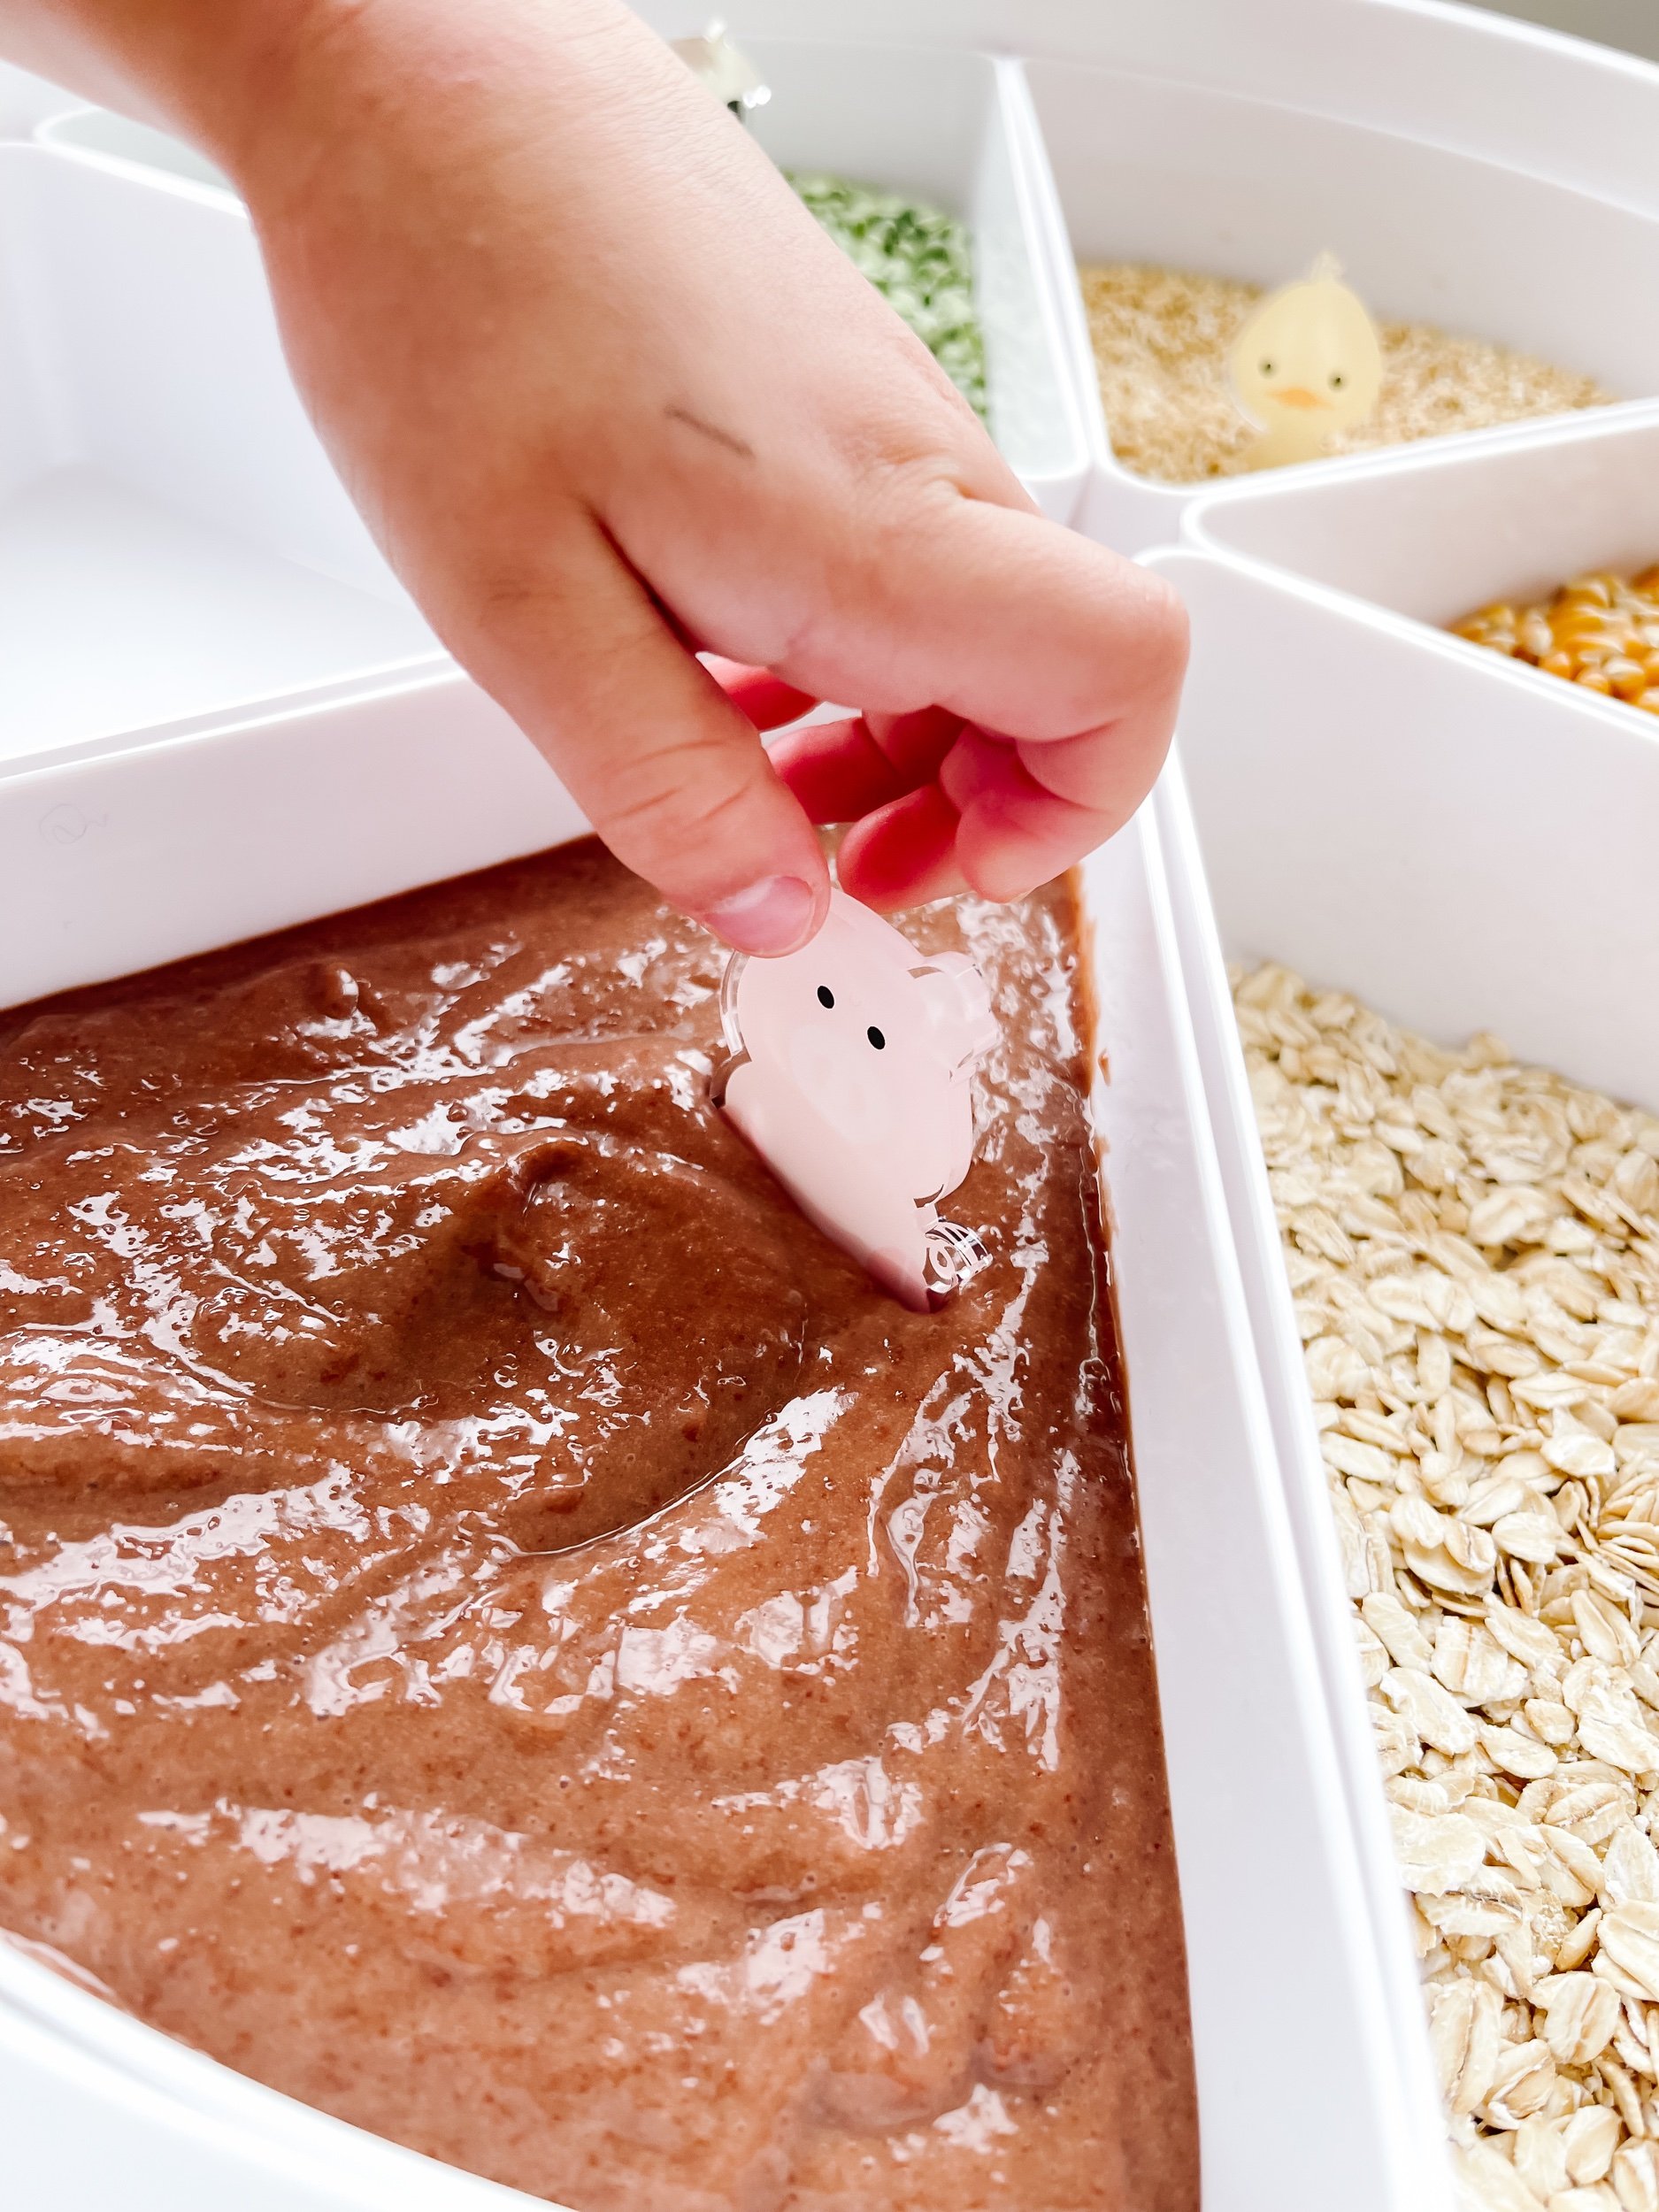
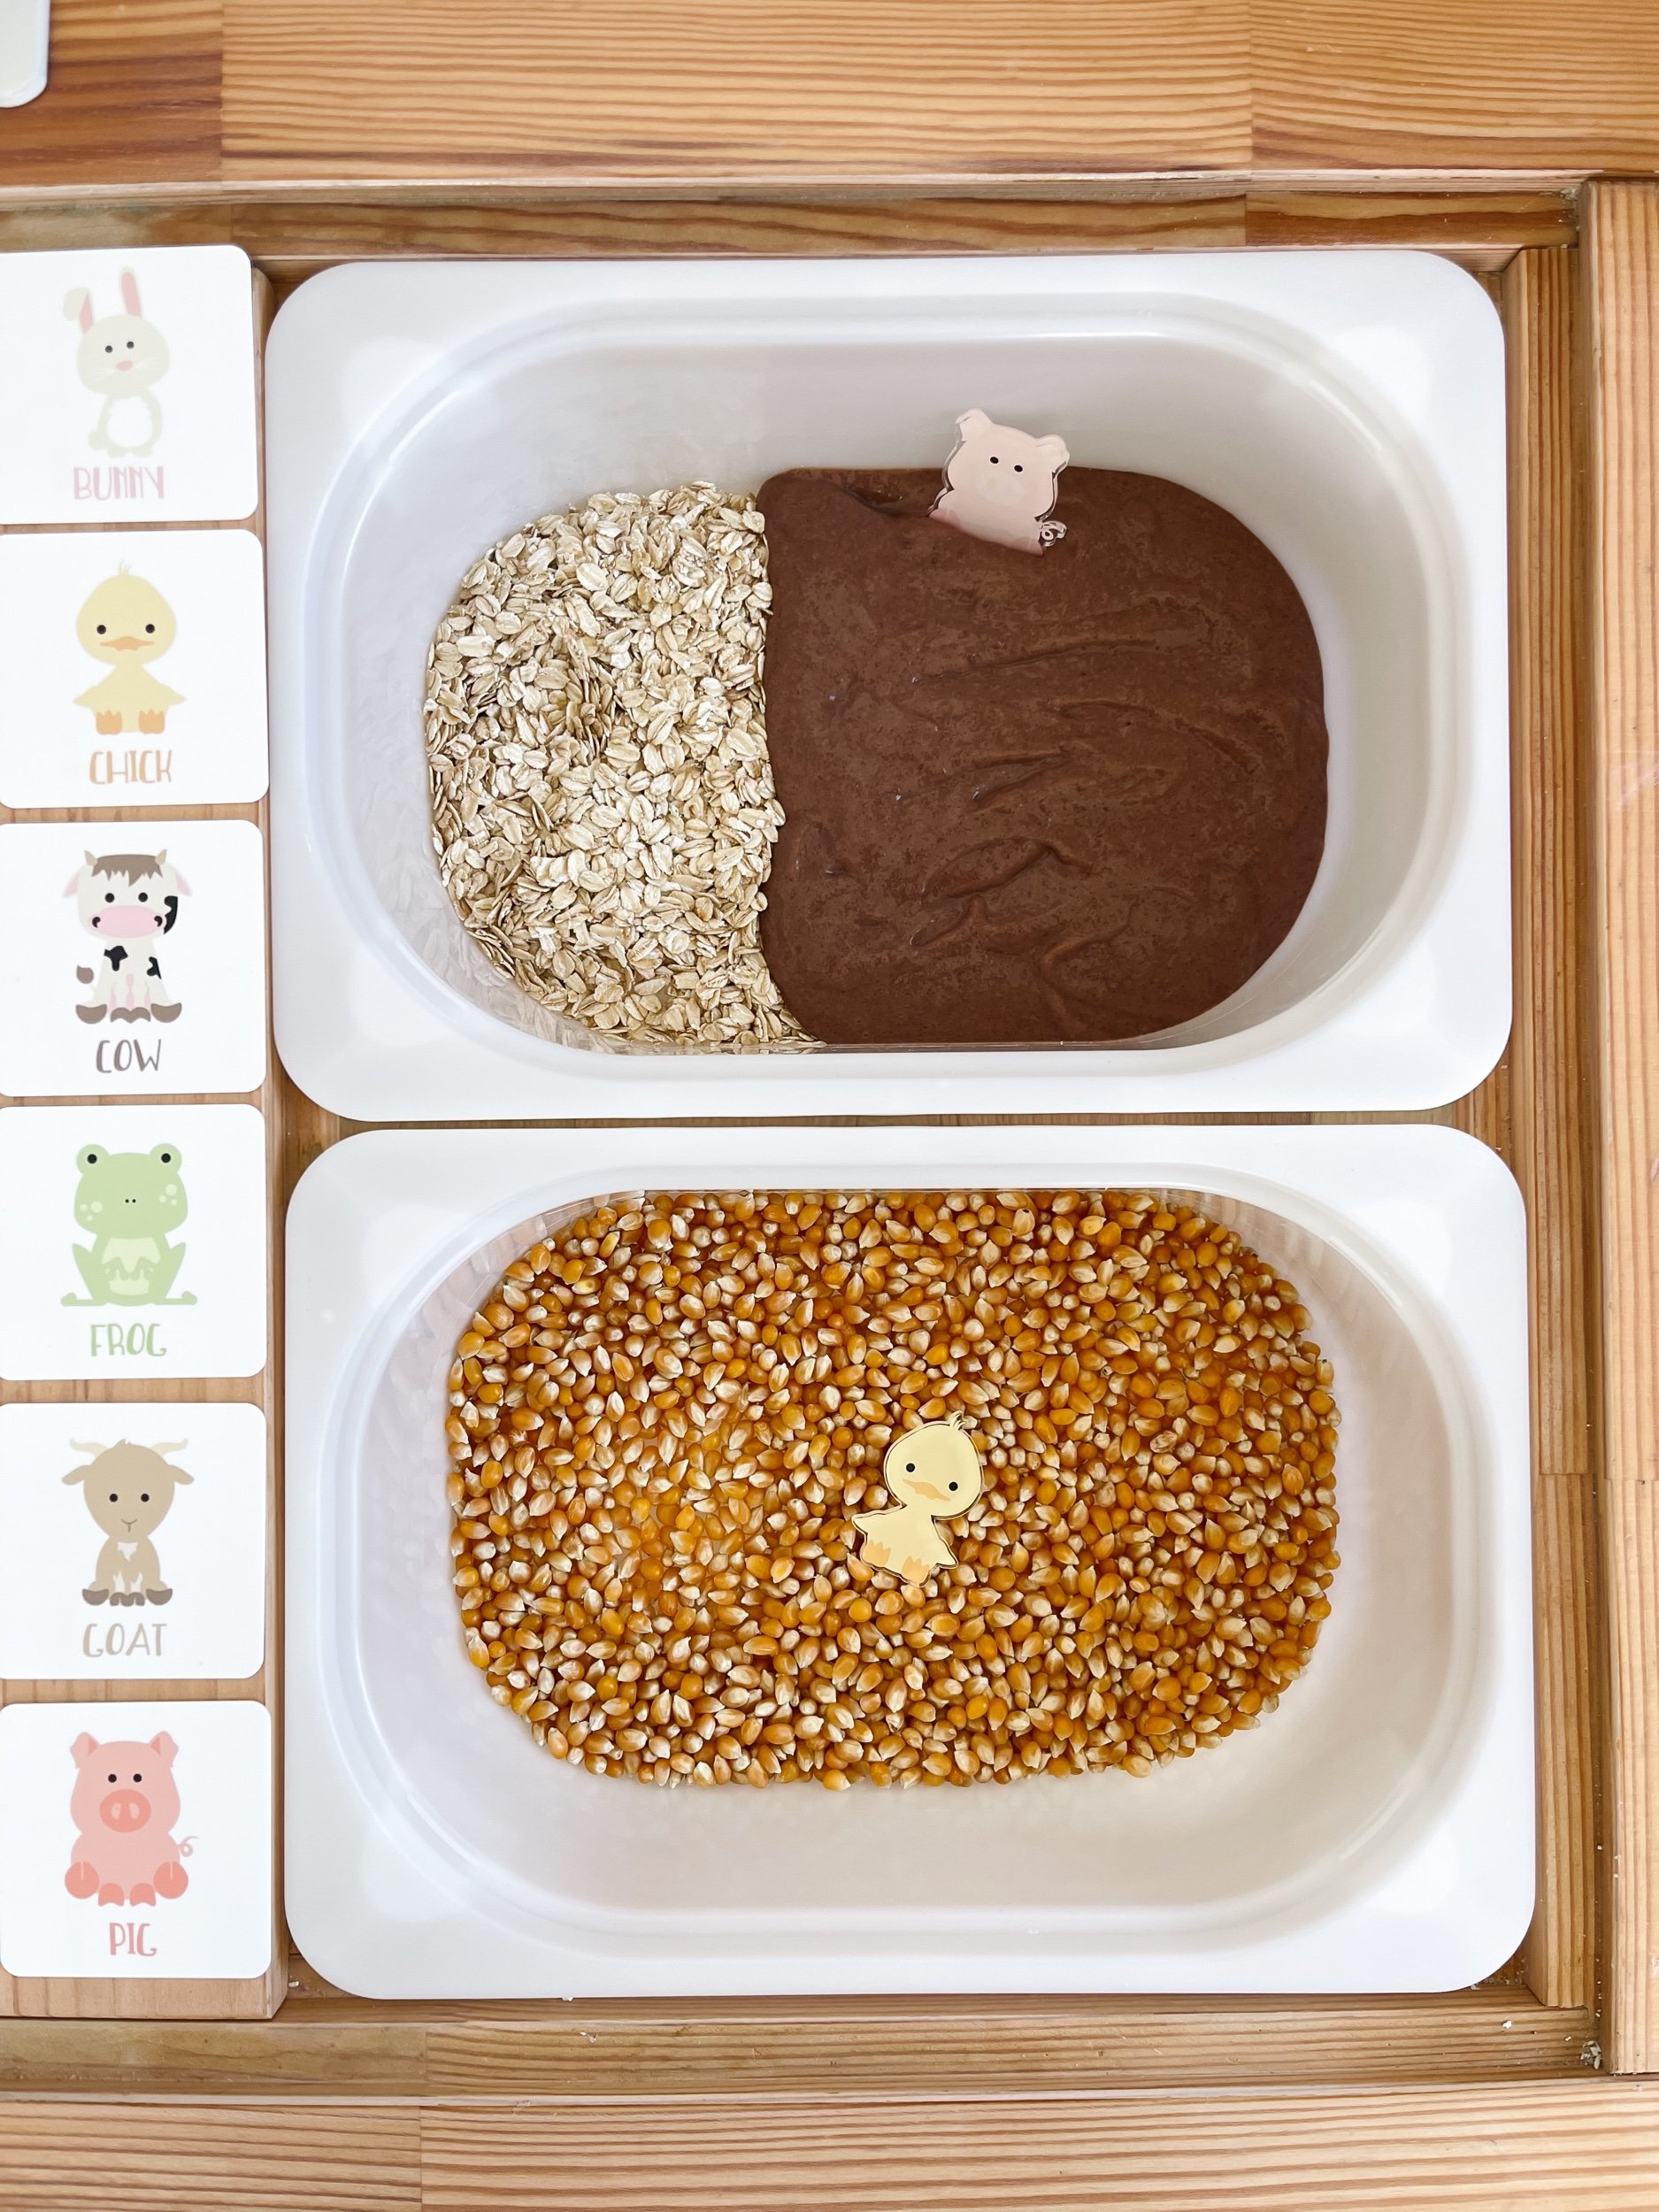
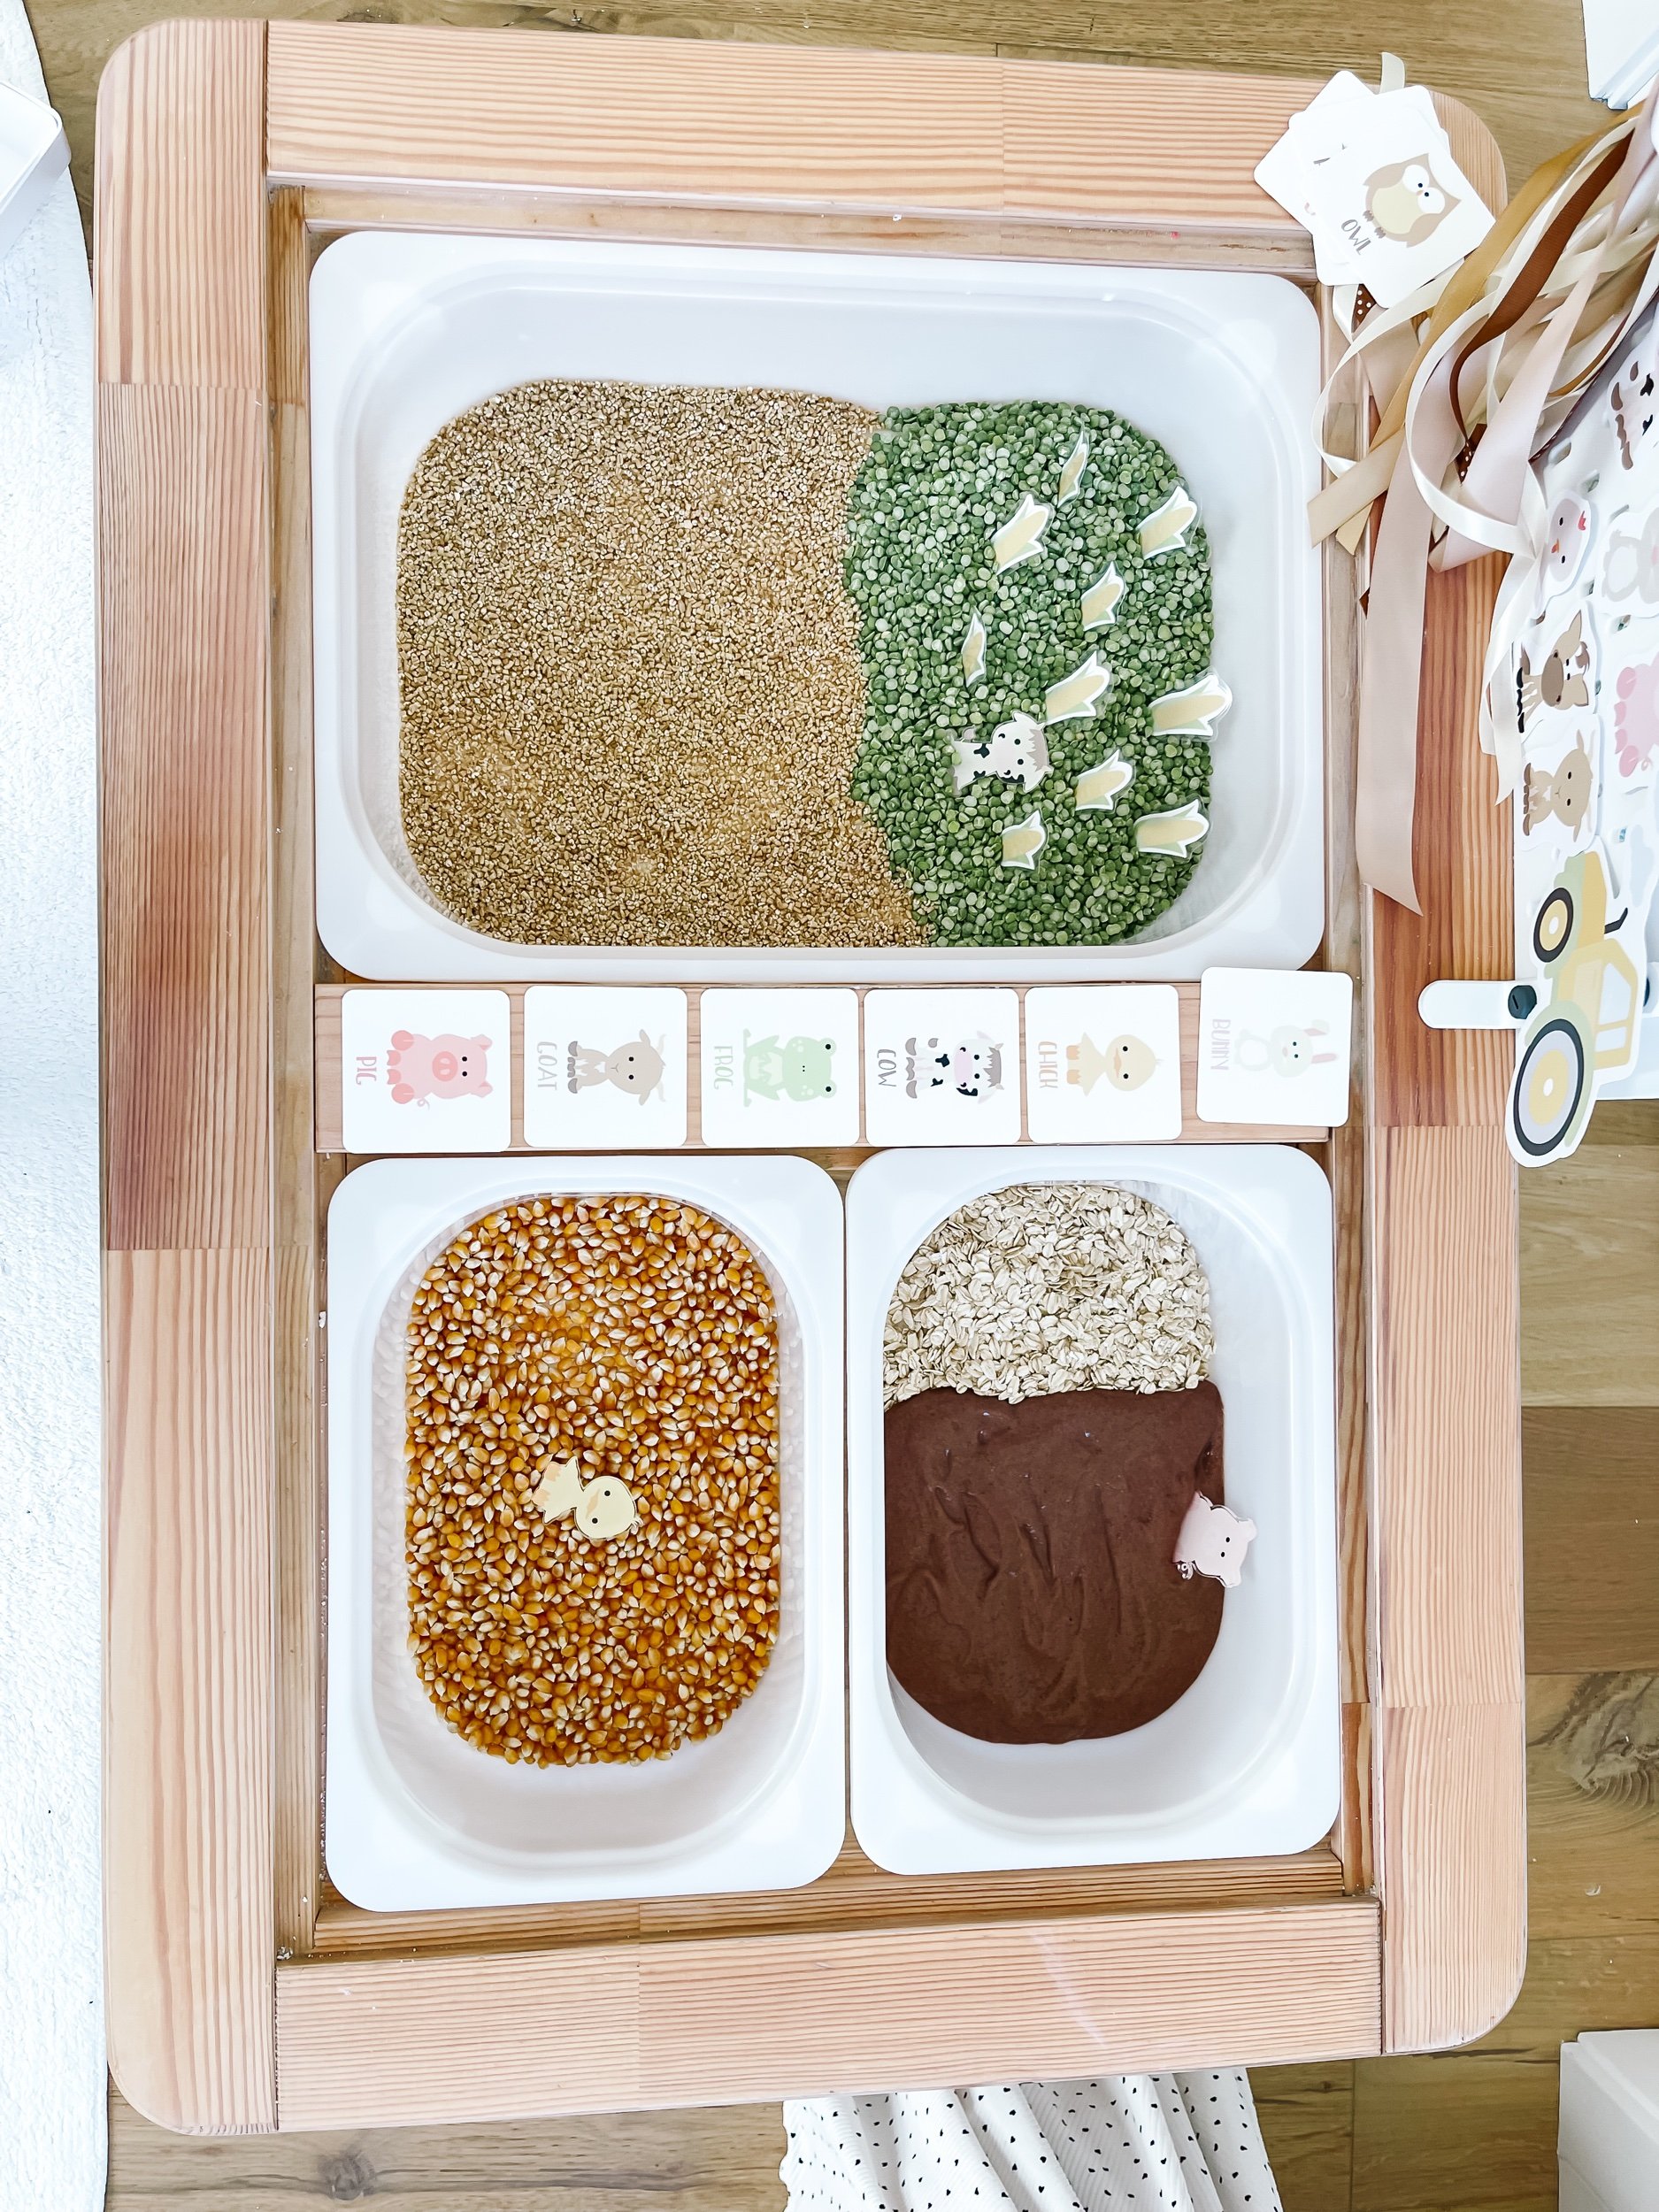
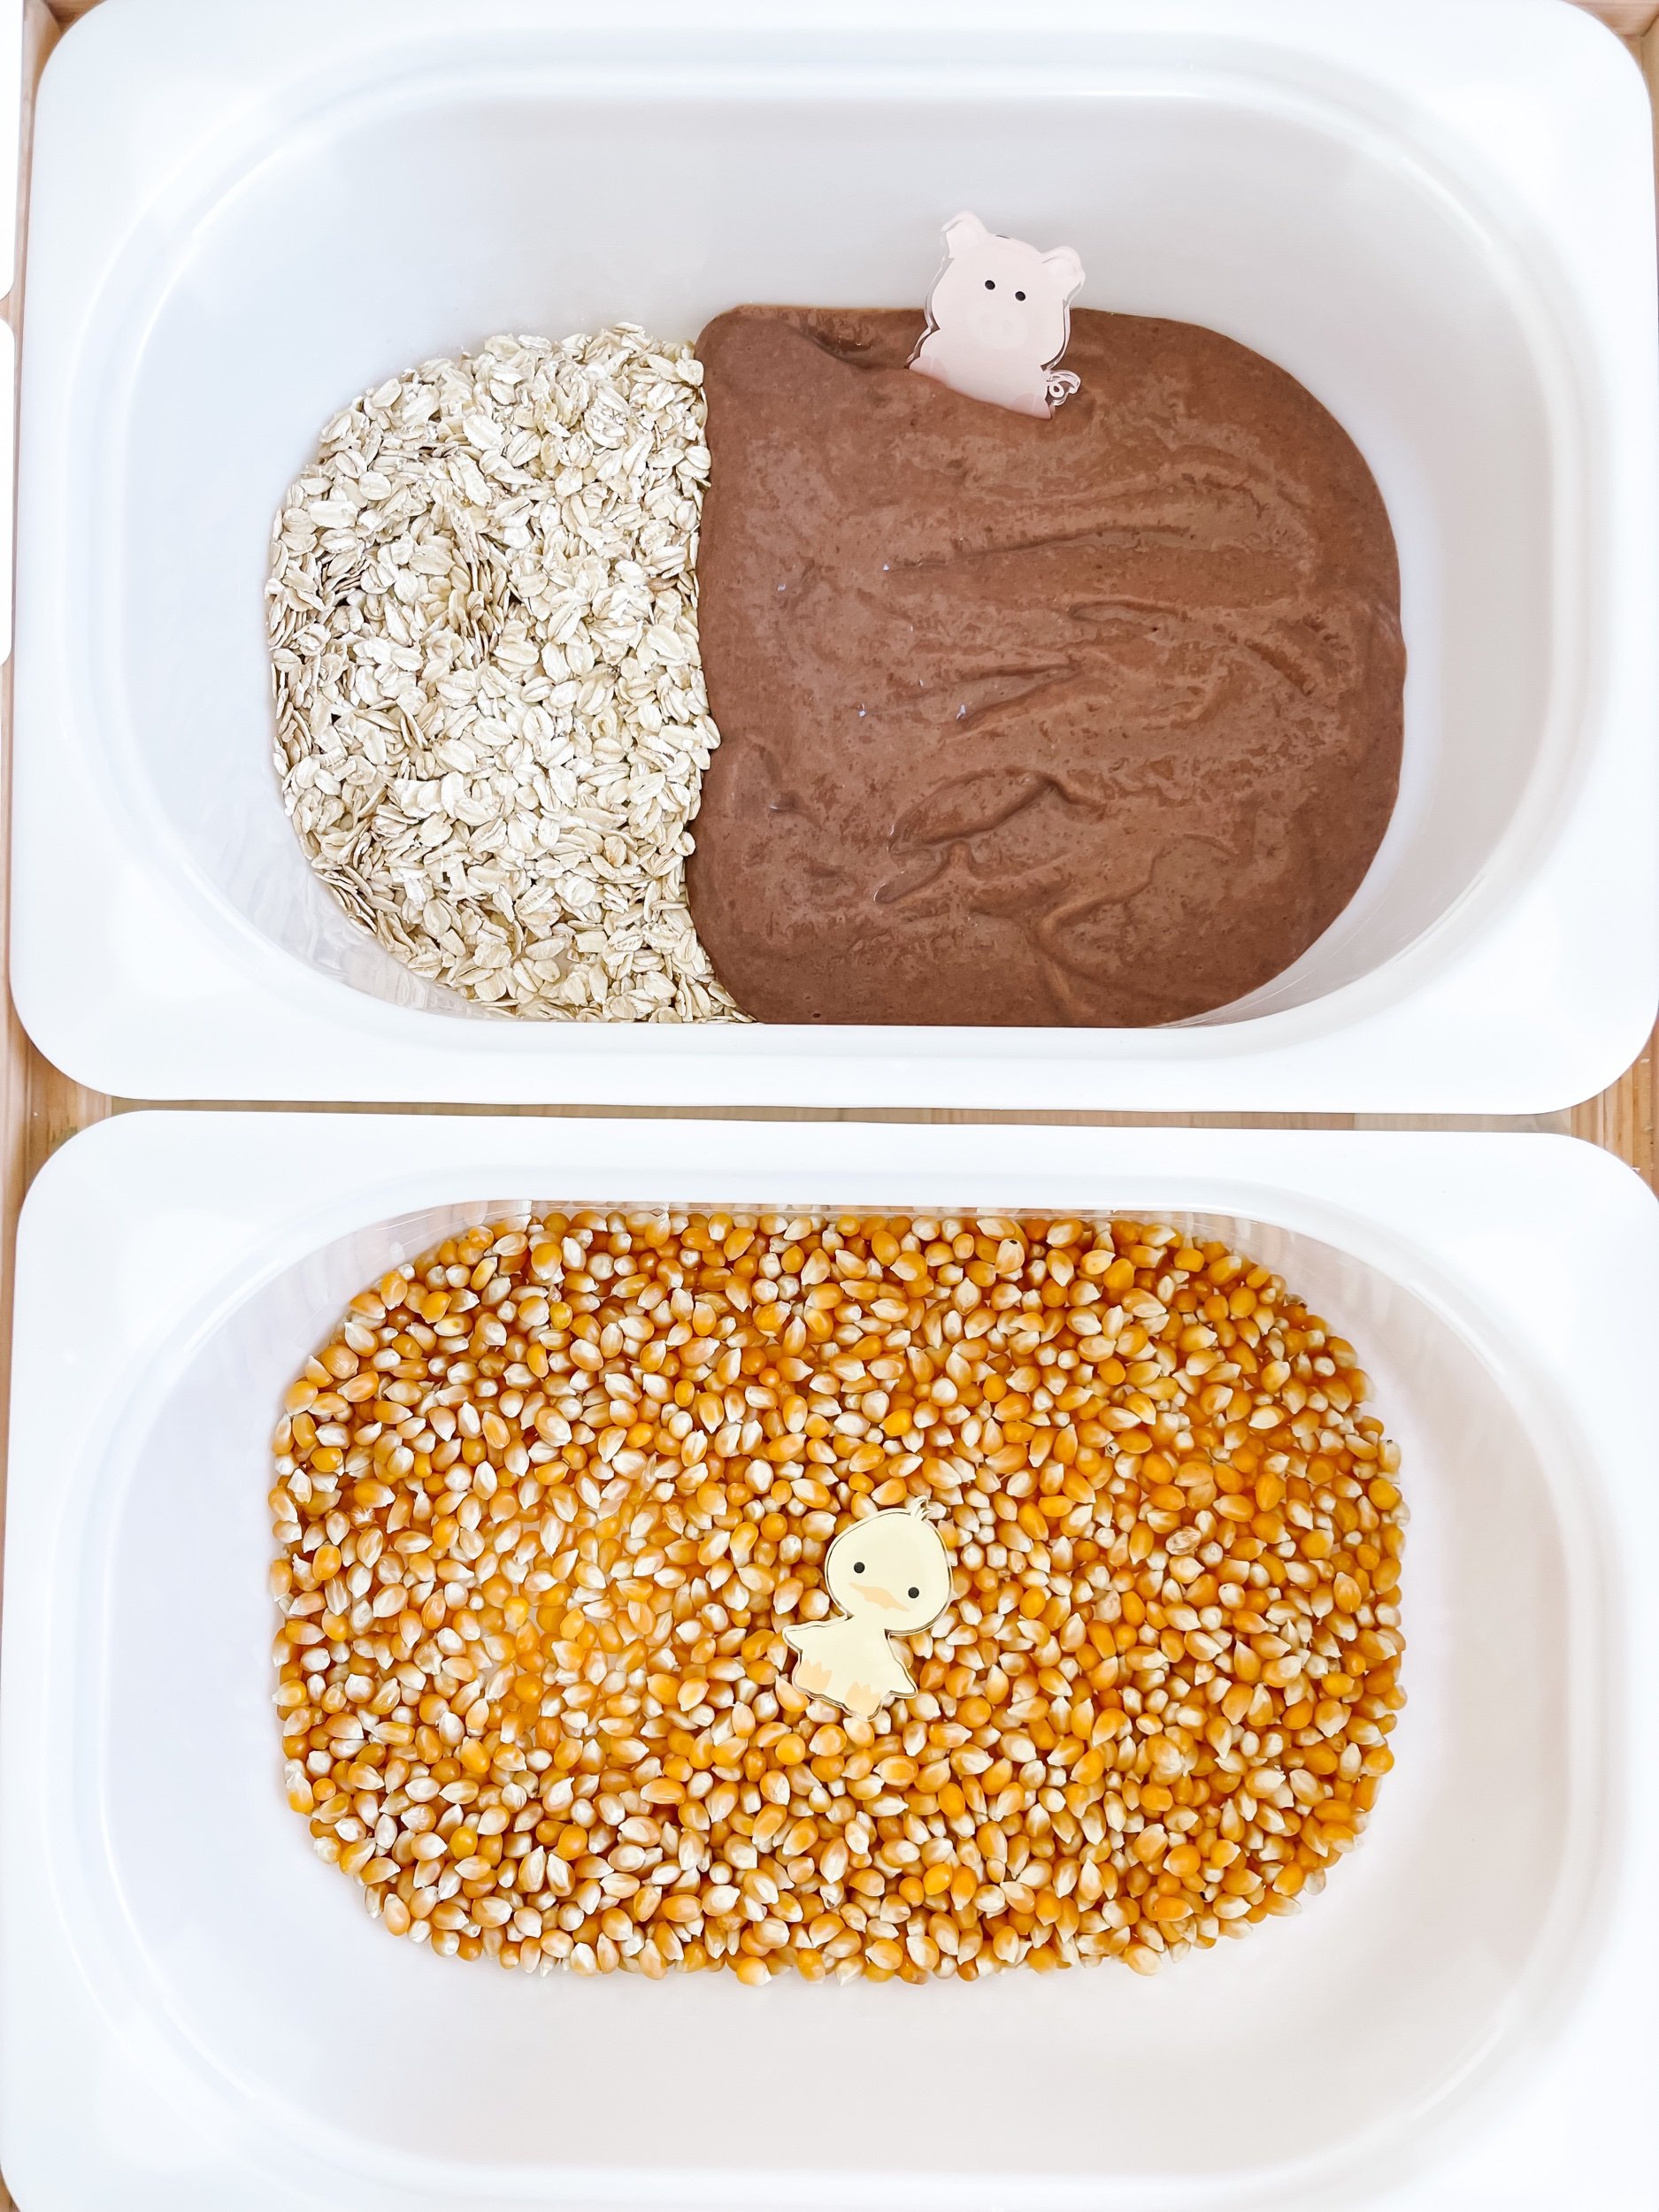
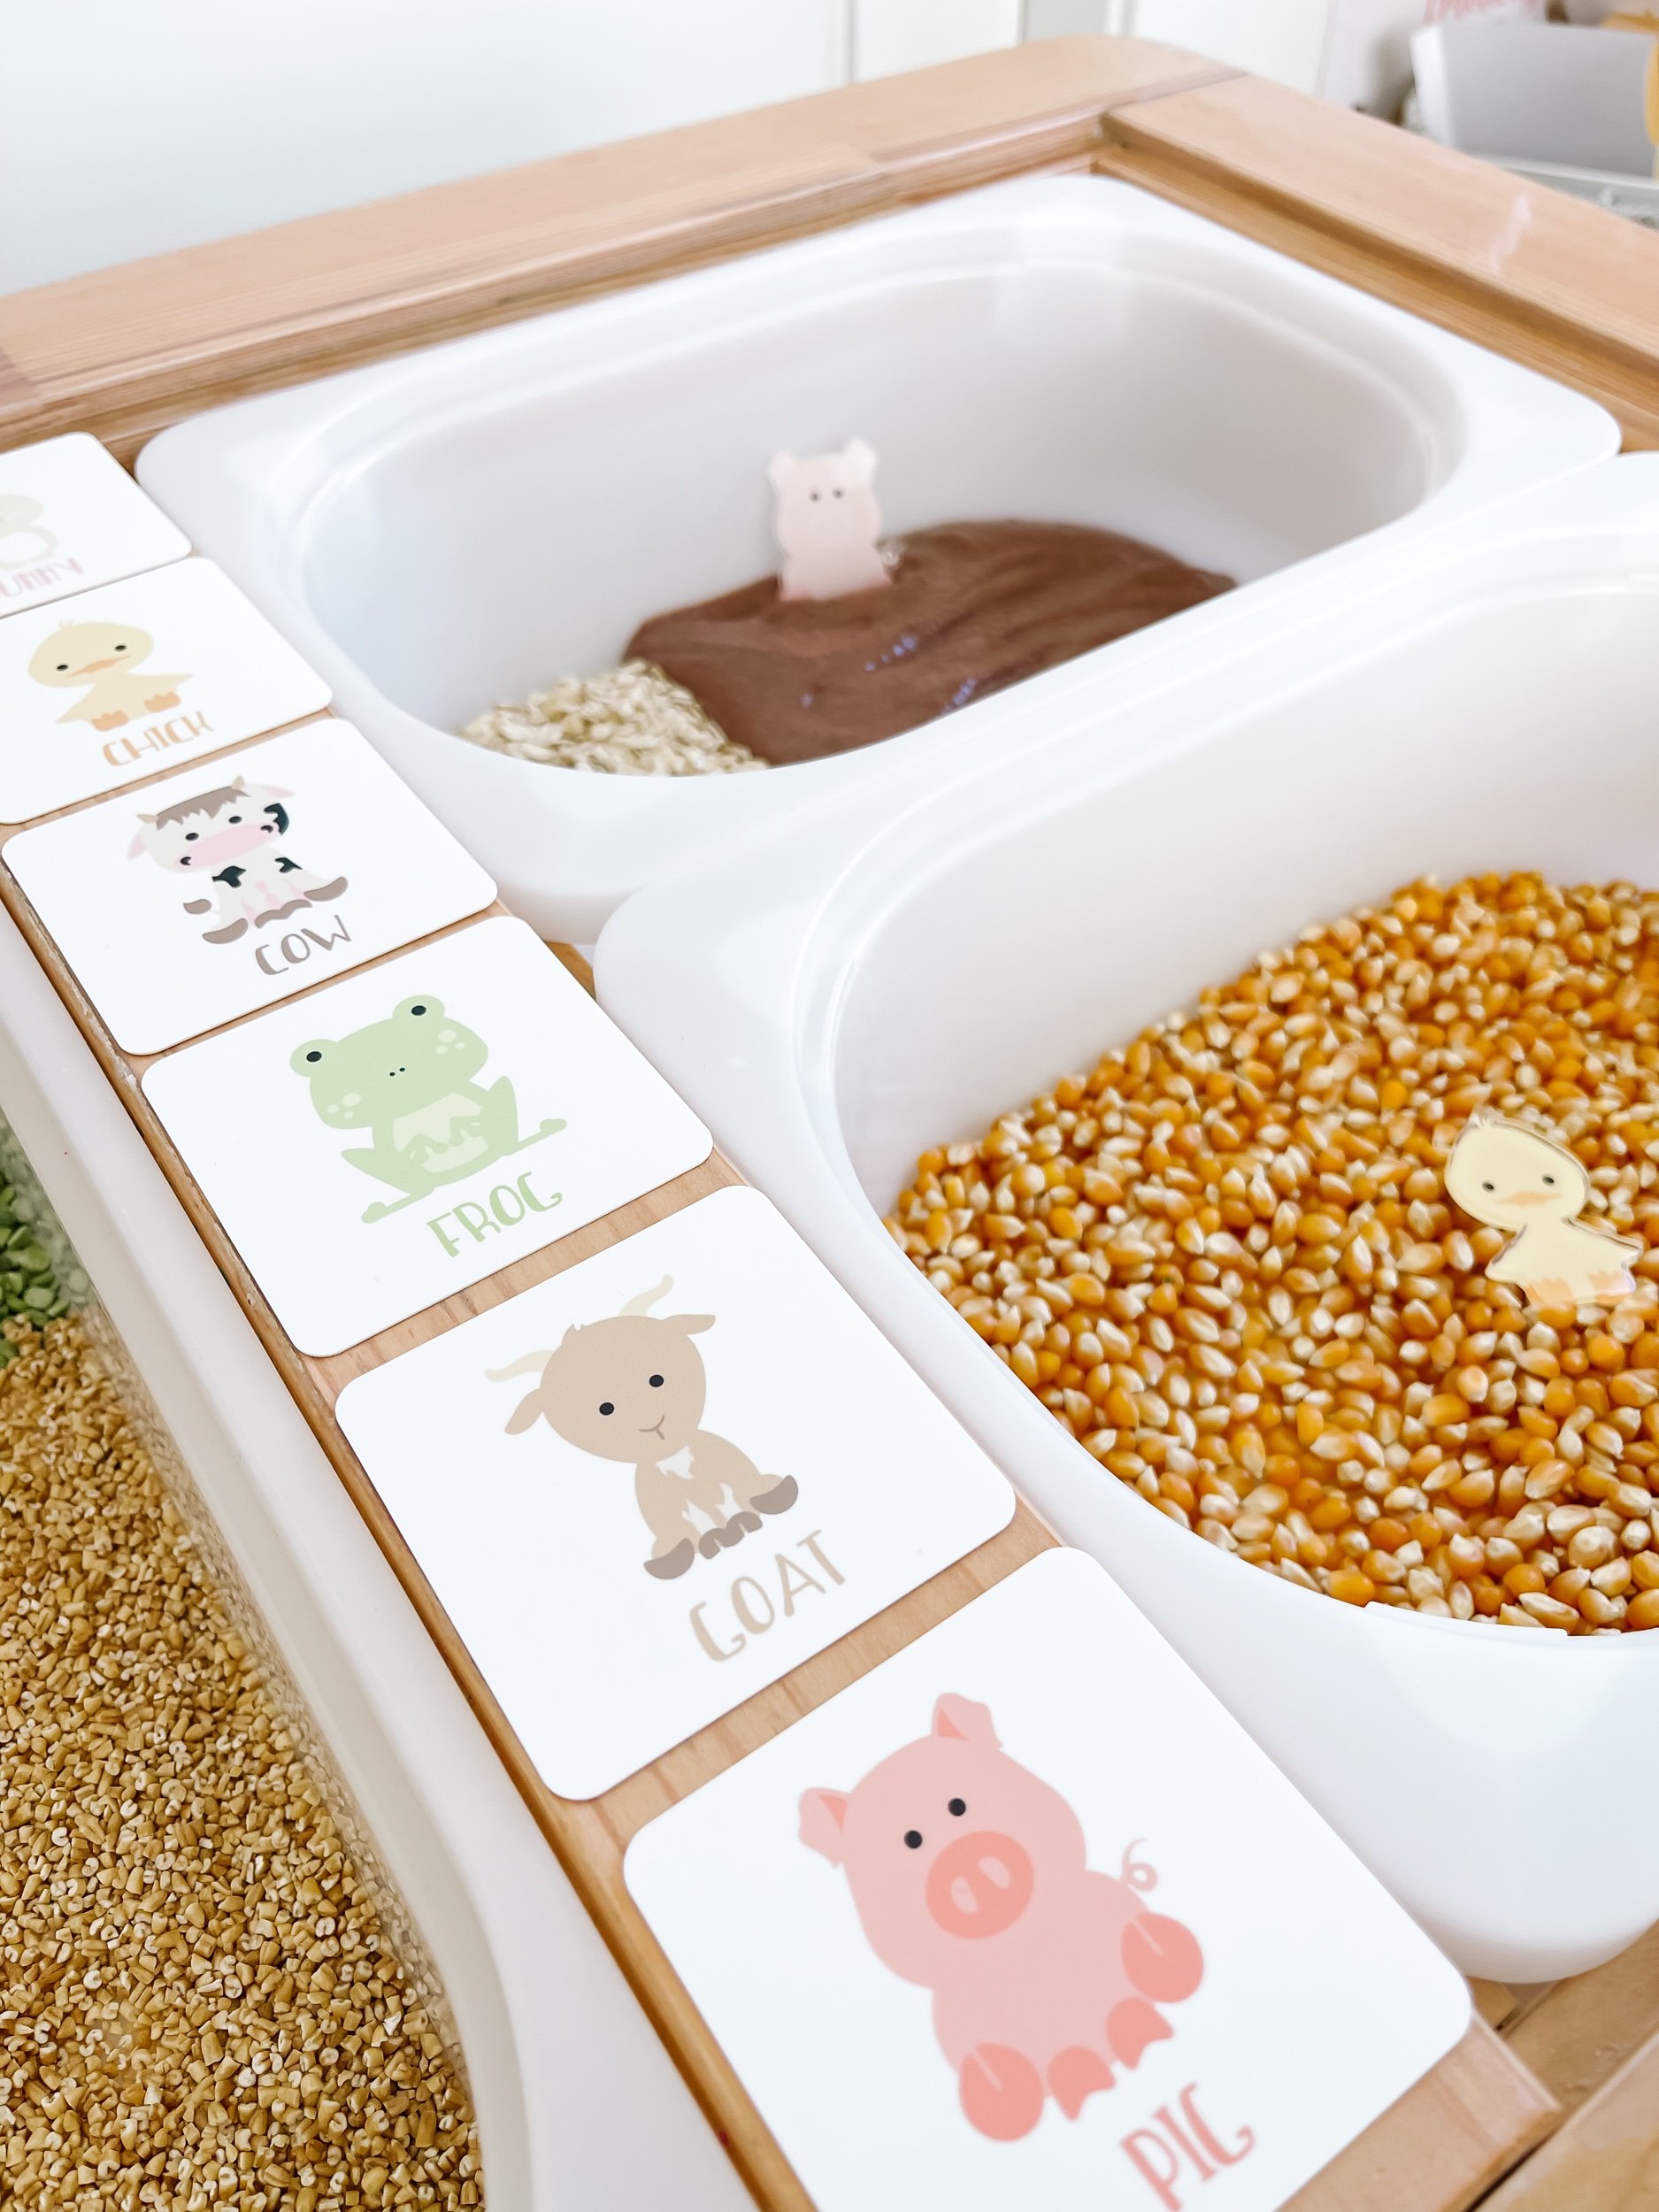
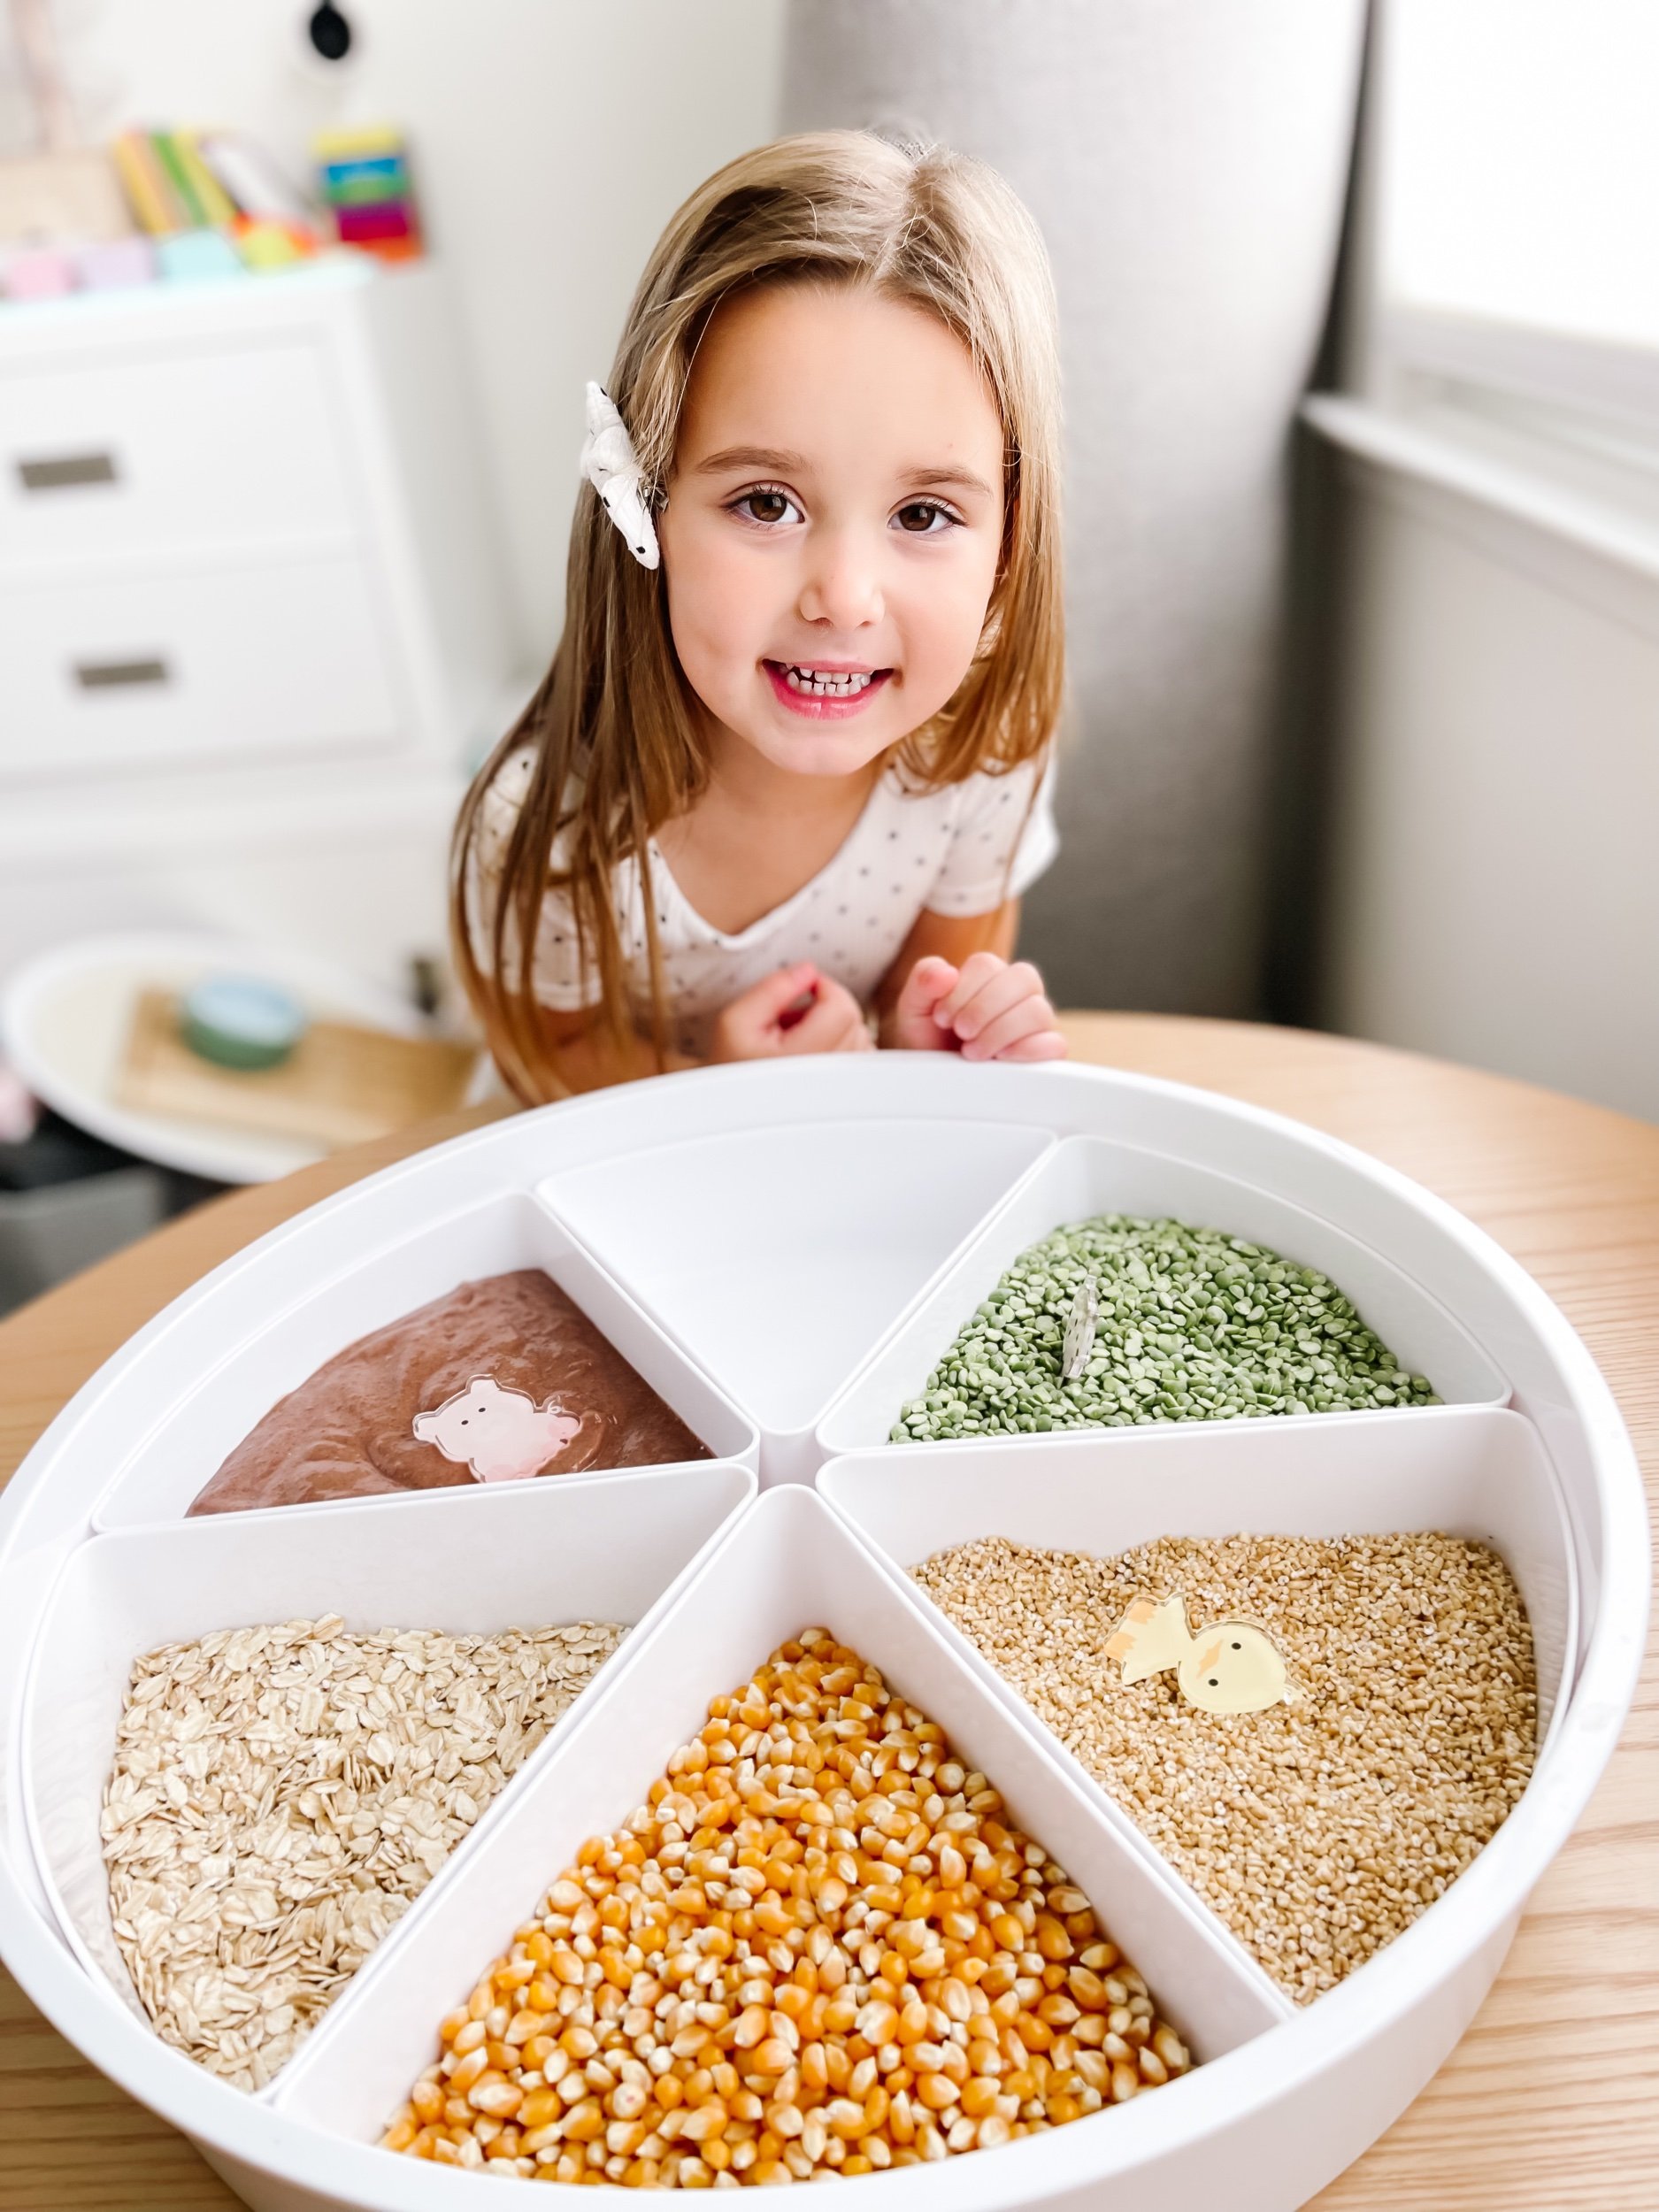
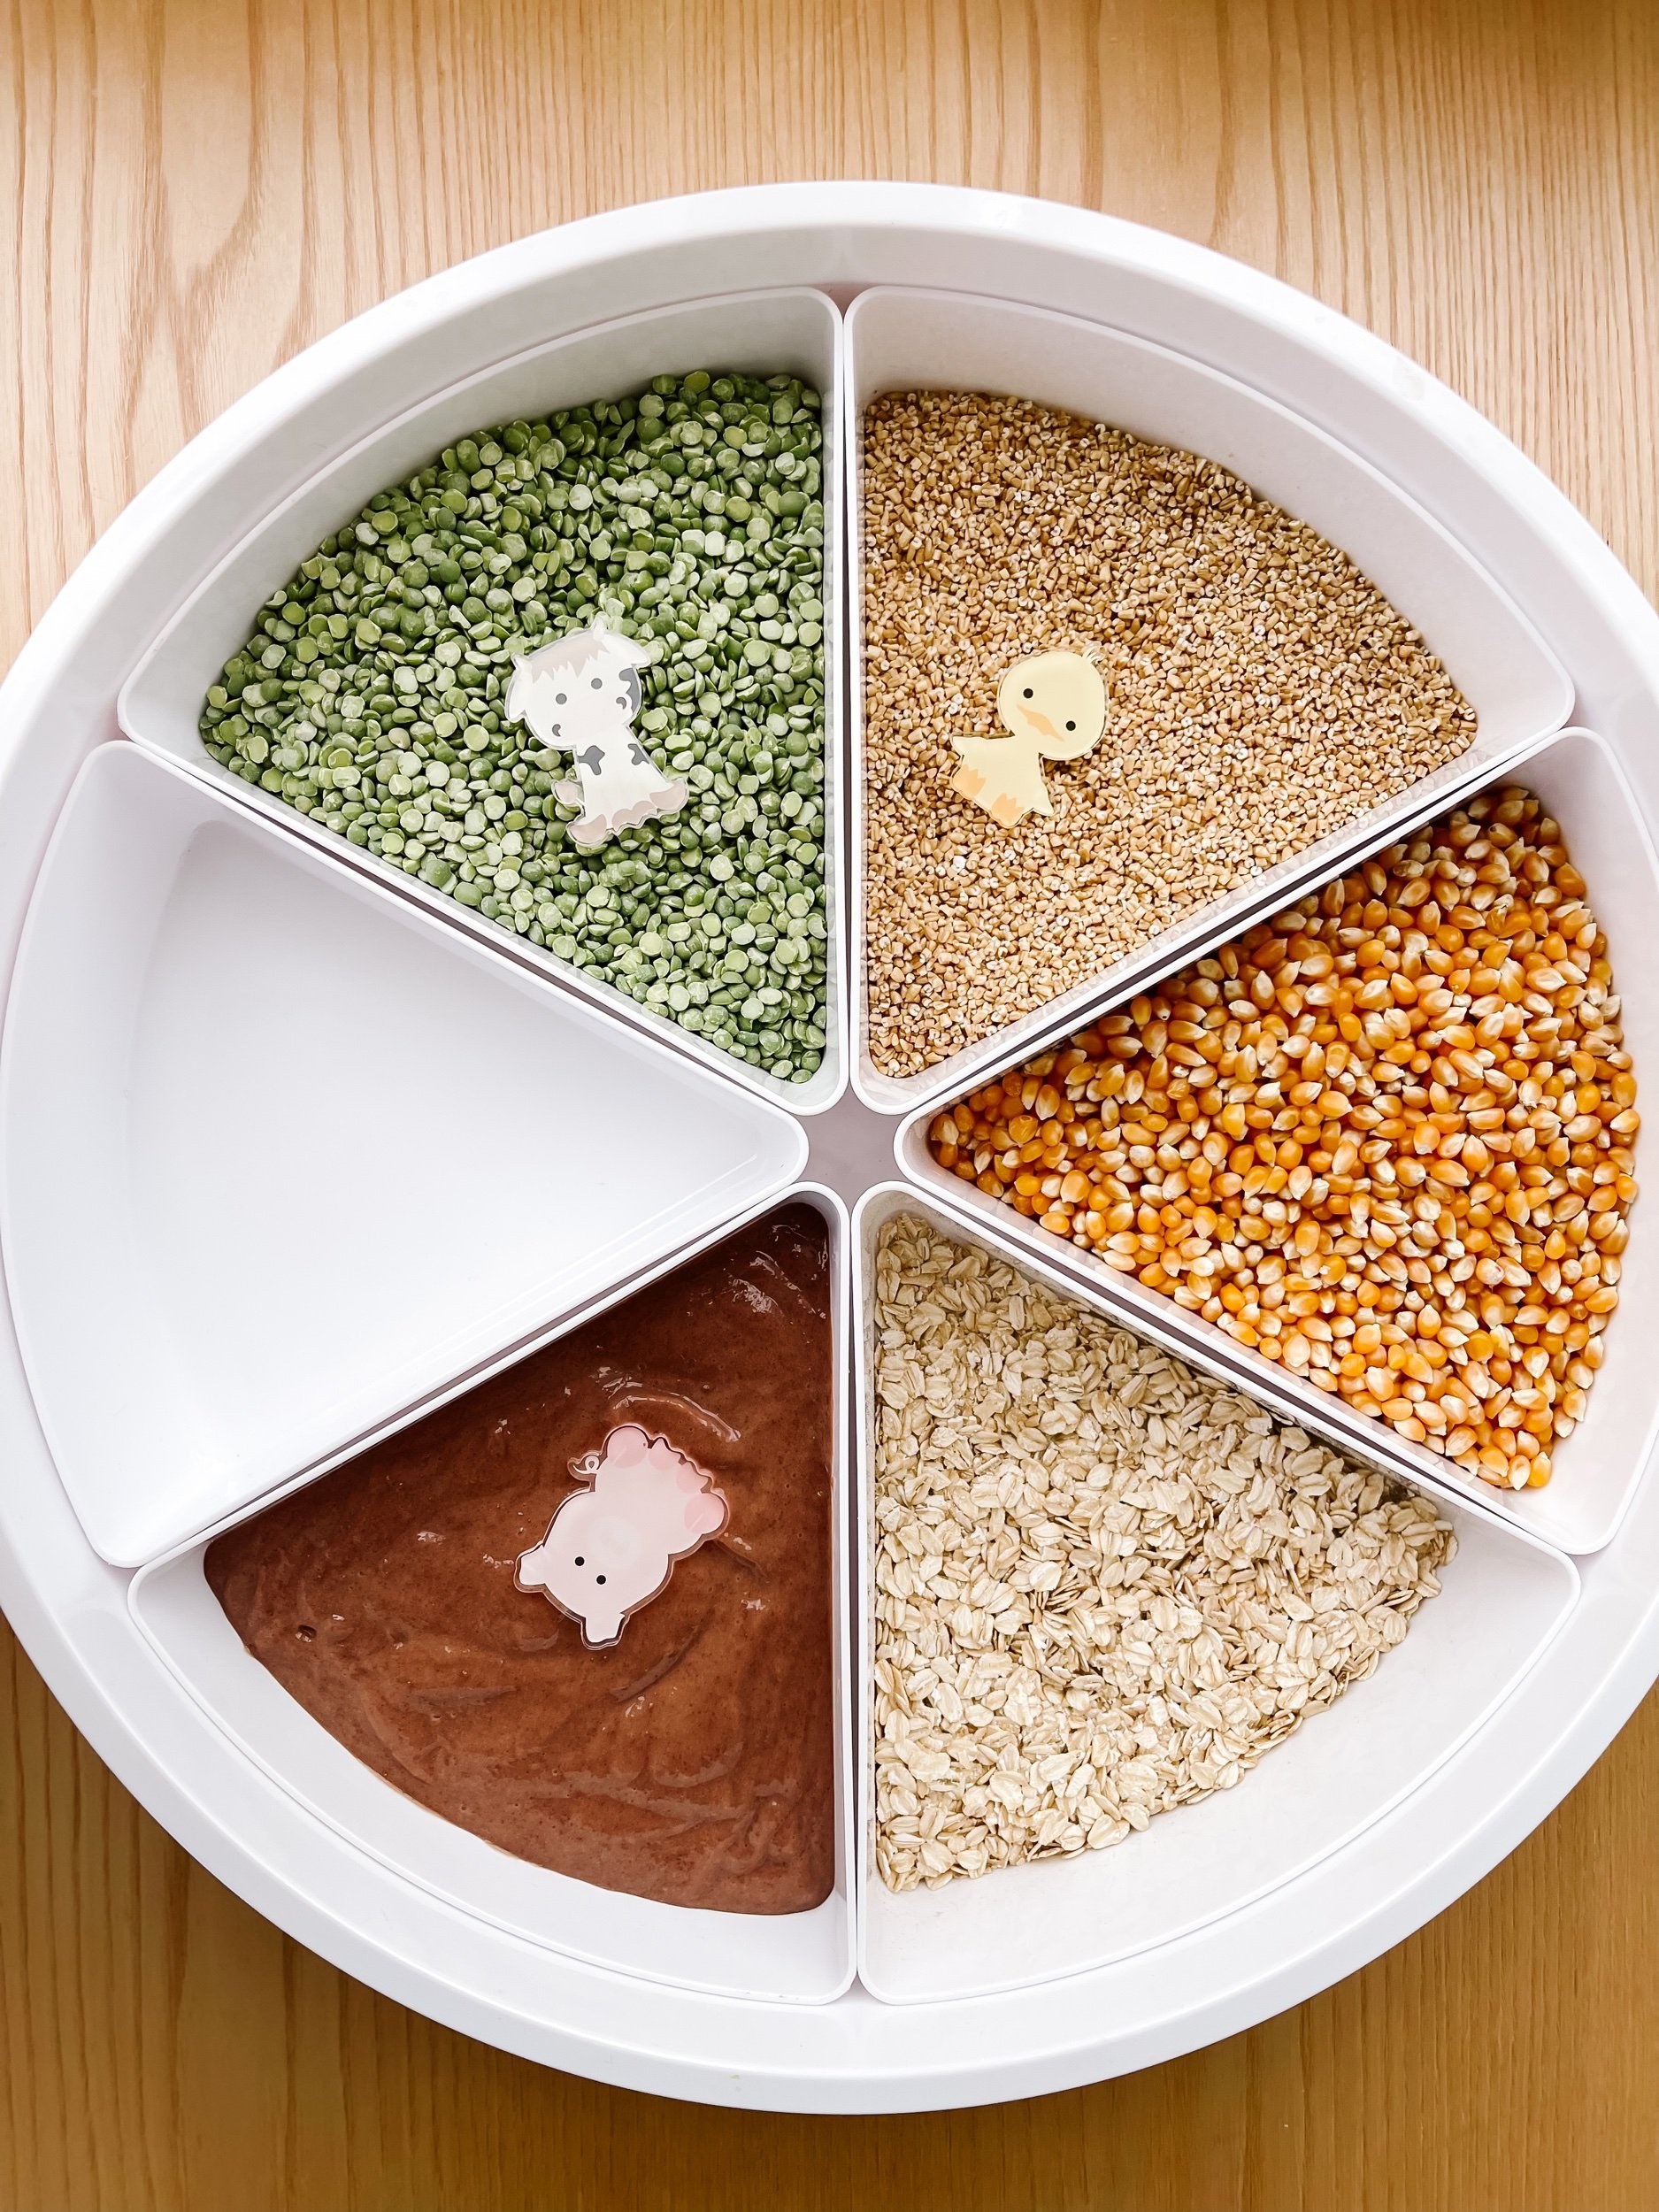
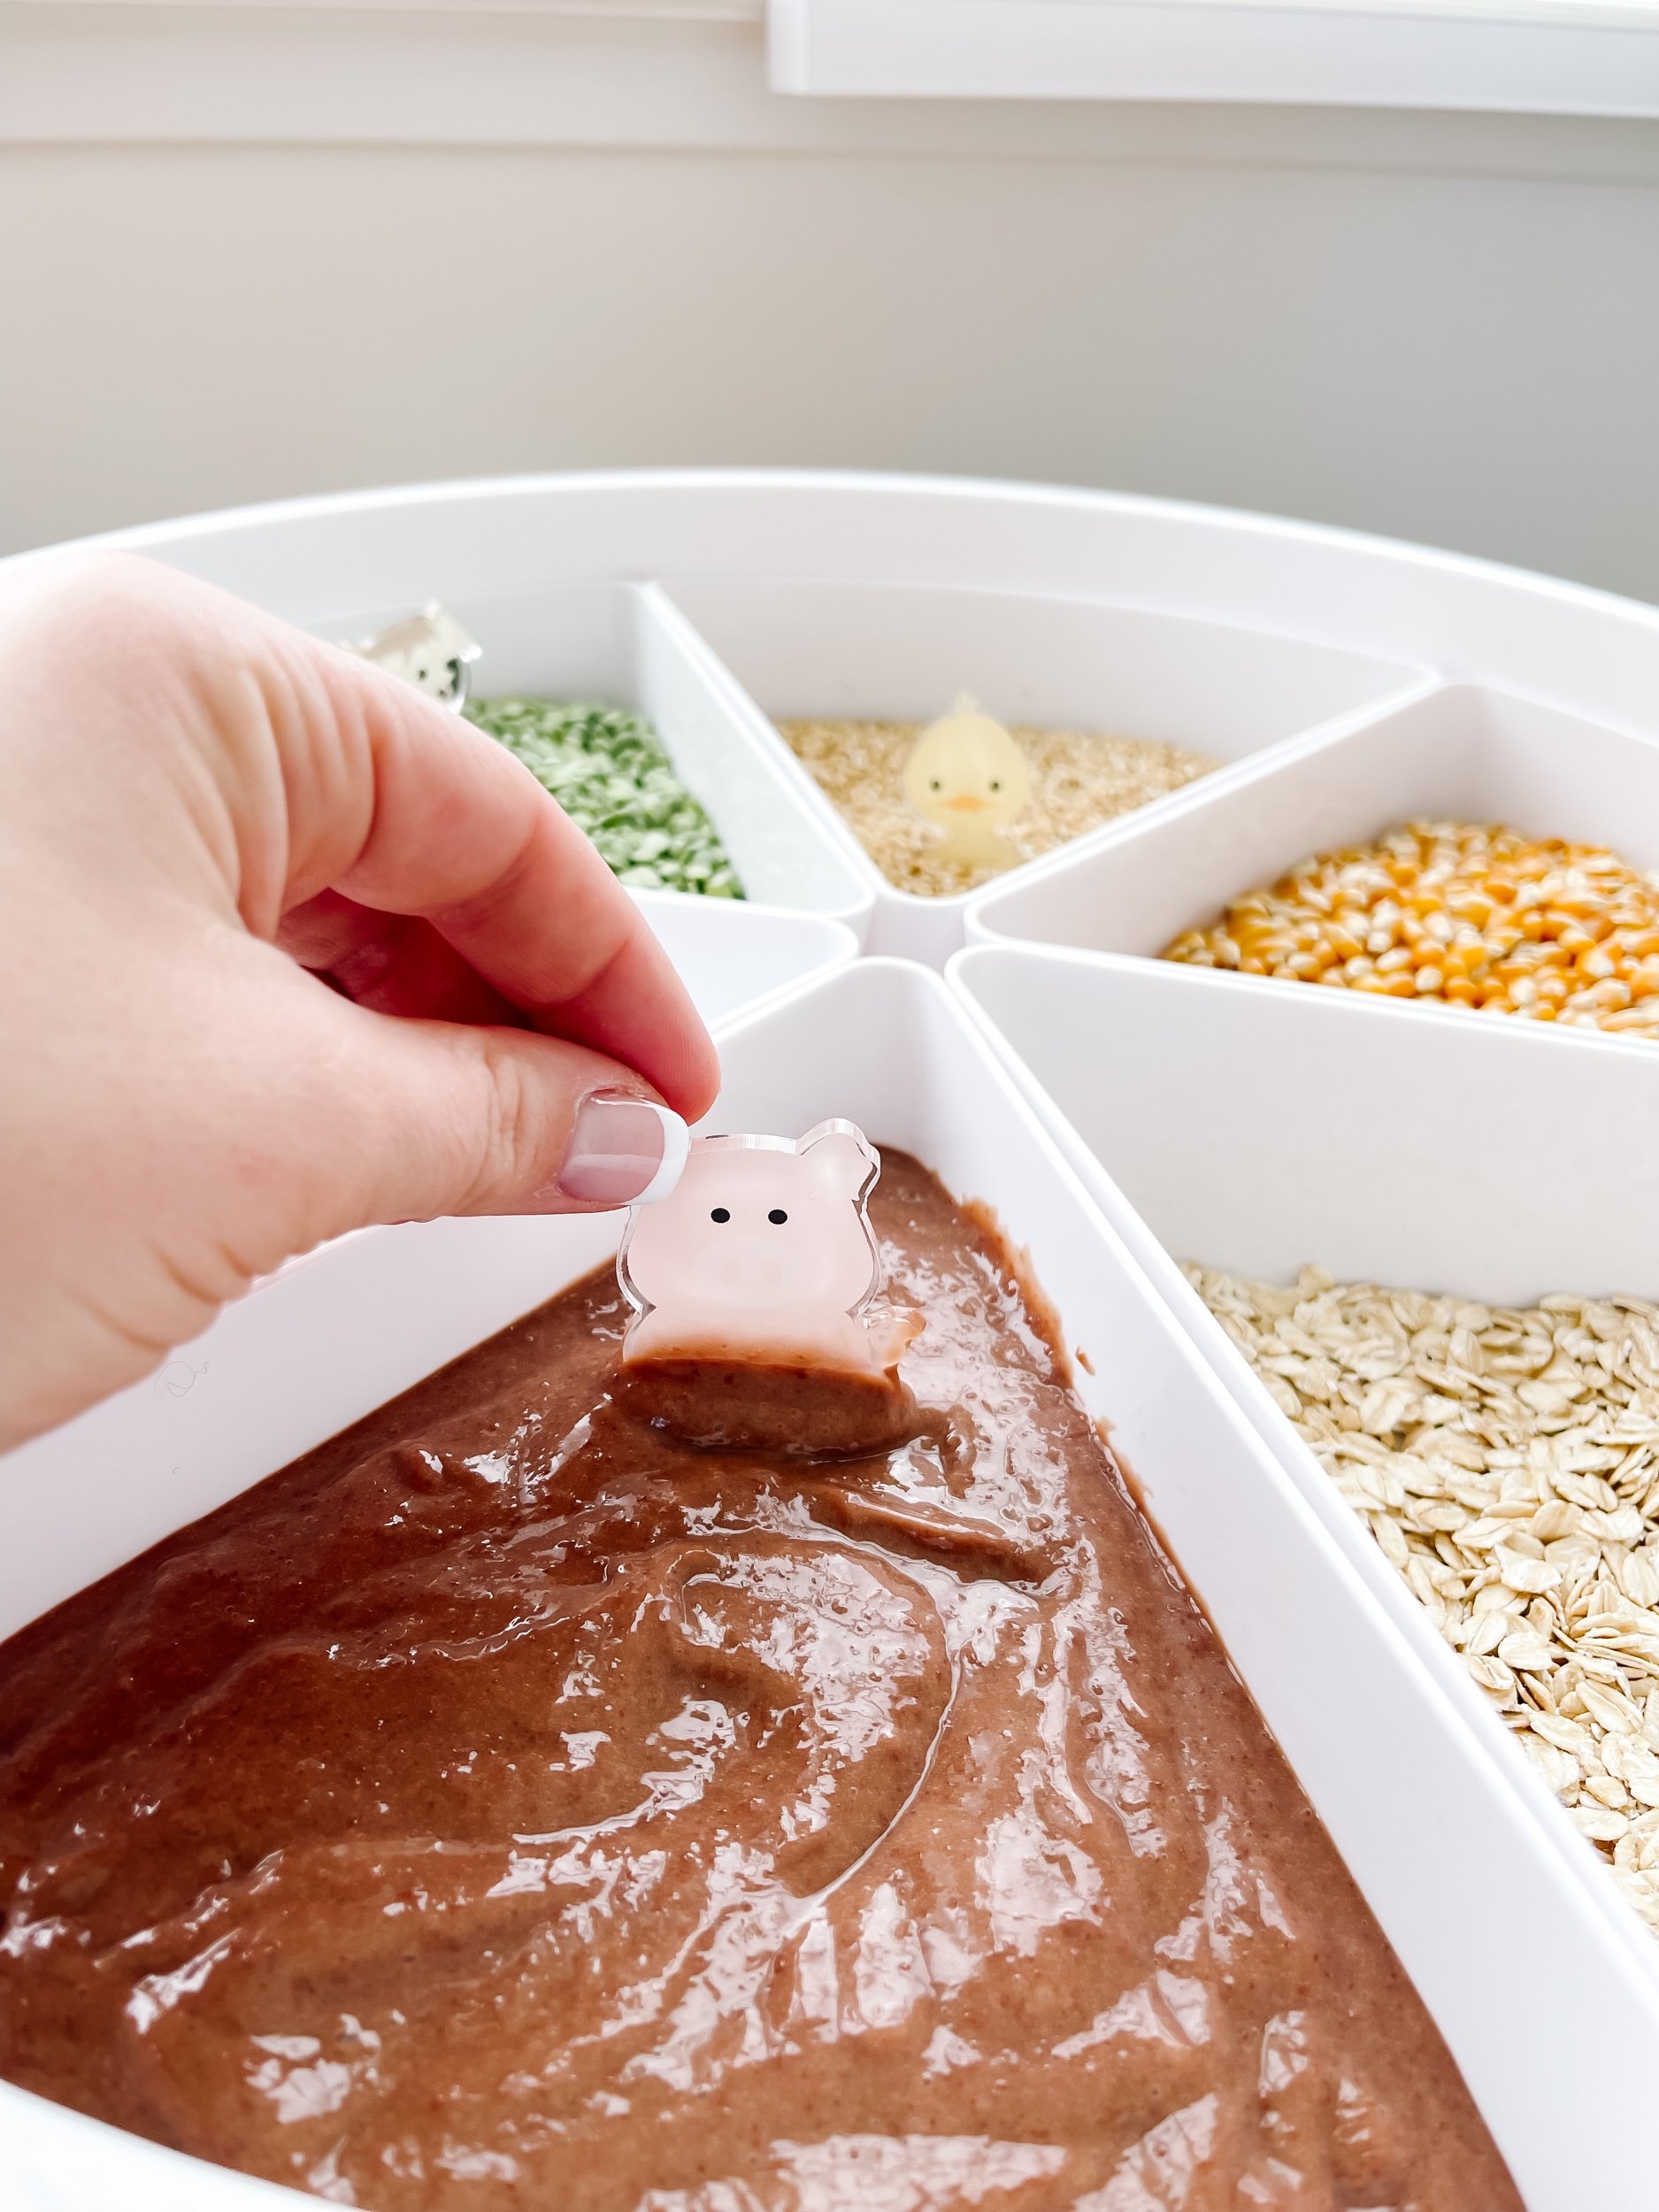
Pig mud pit

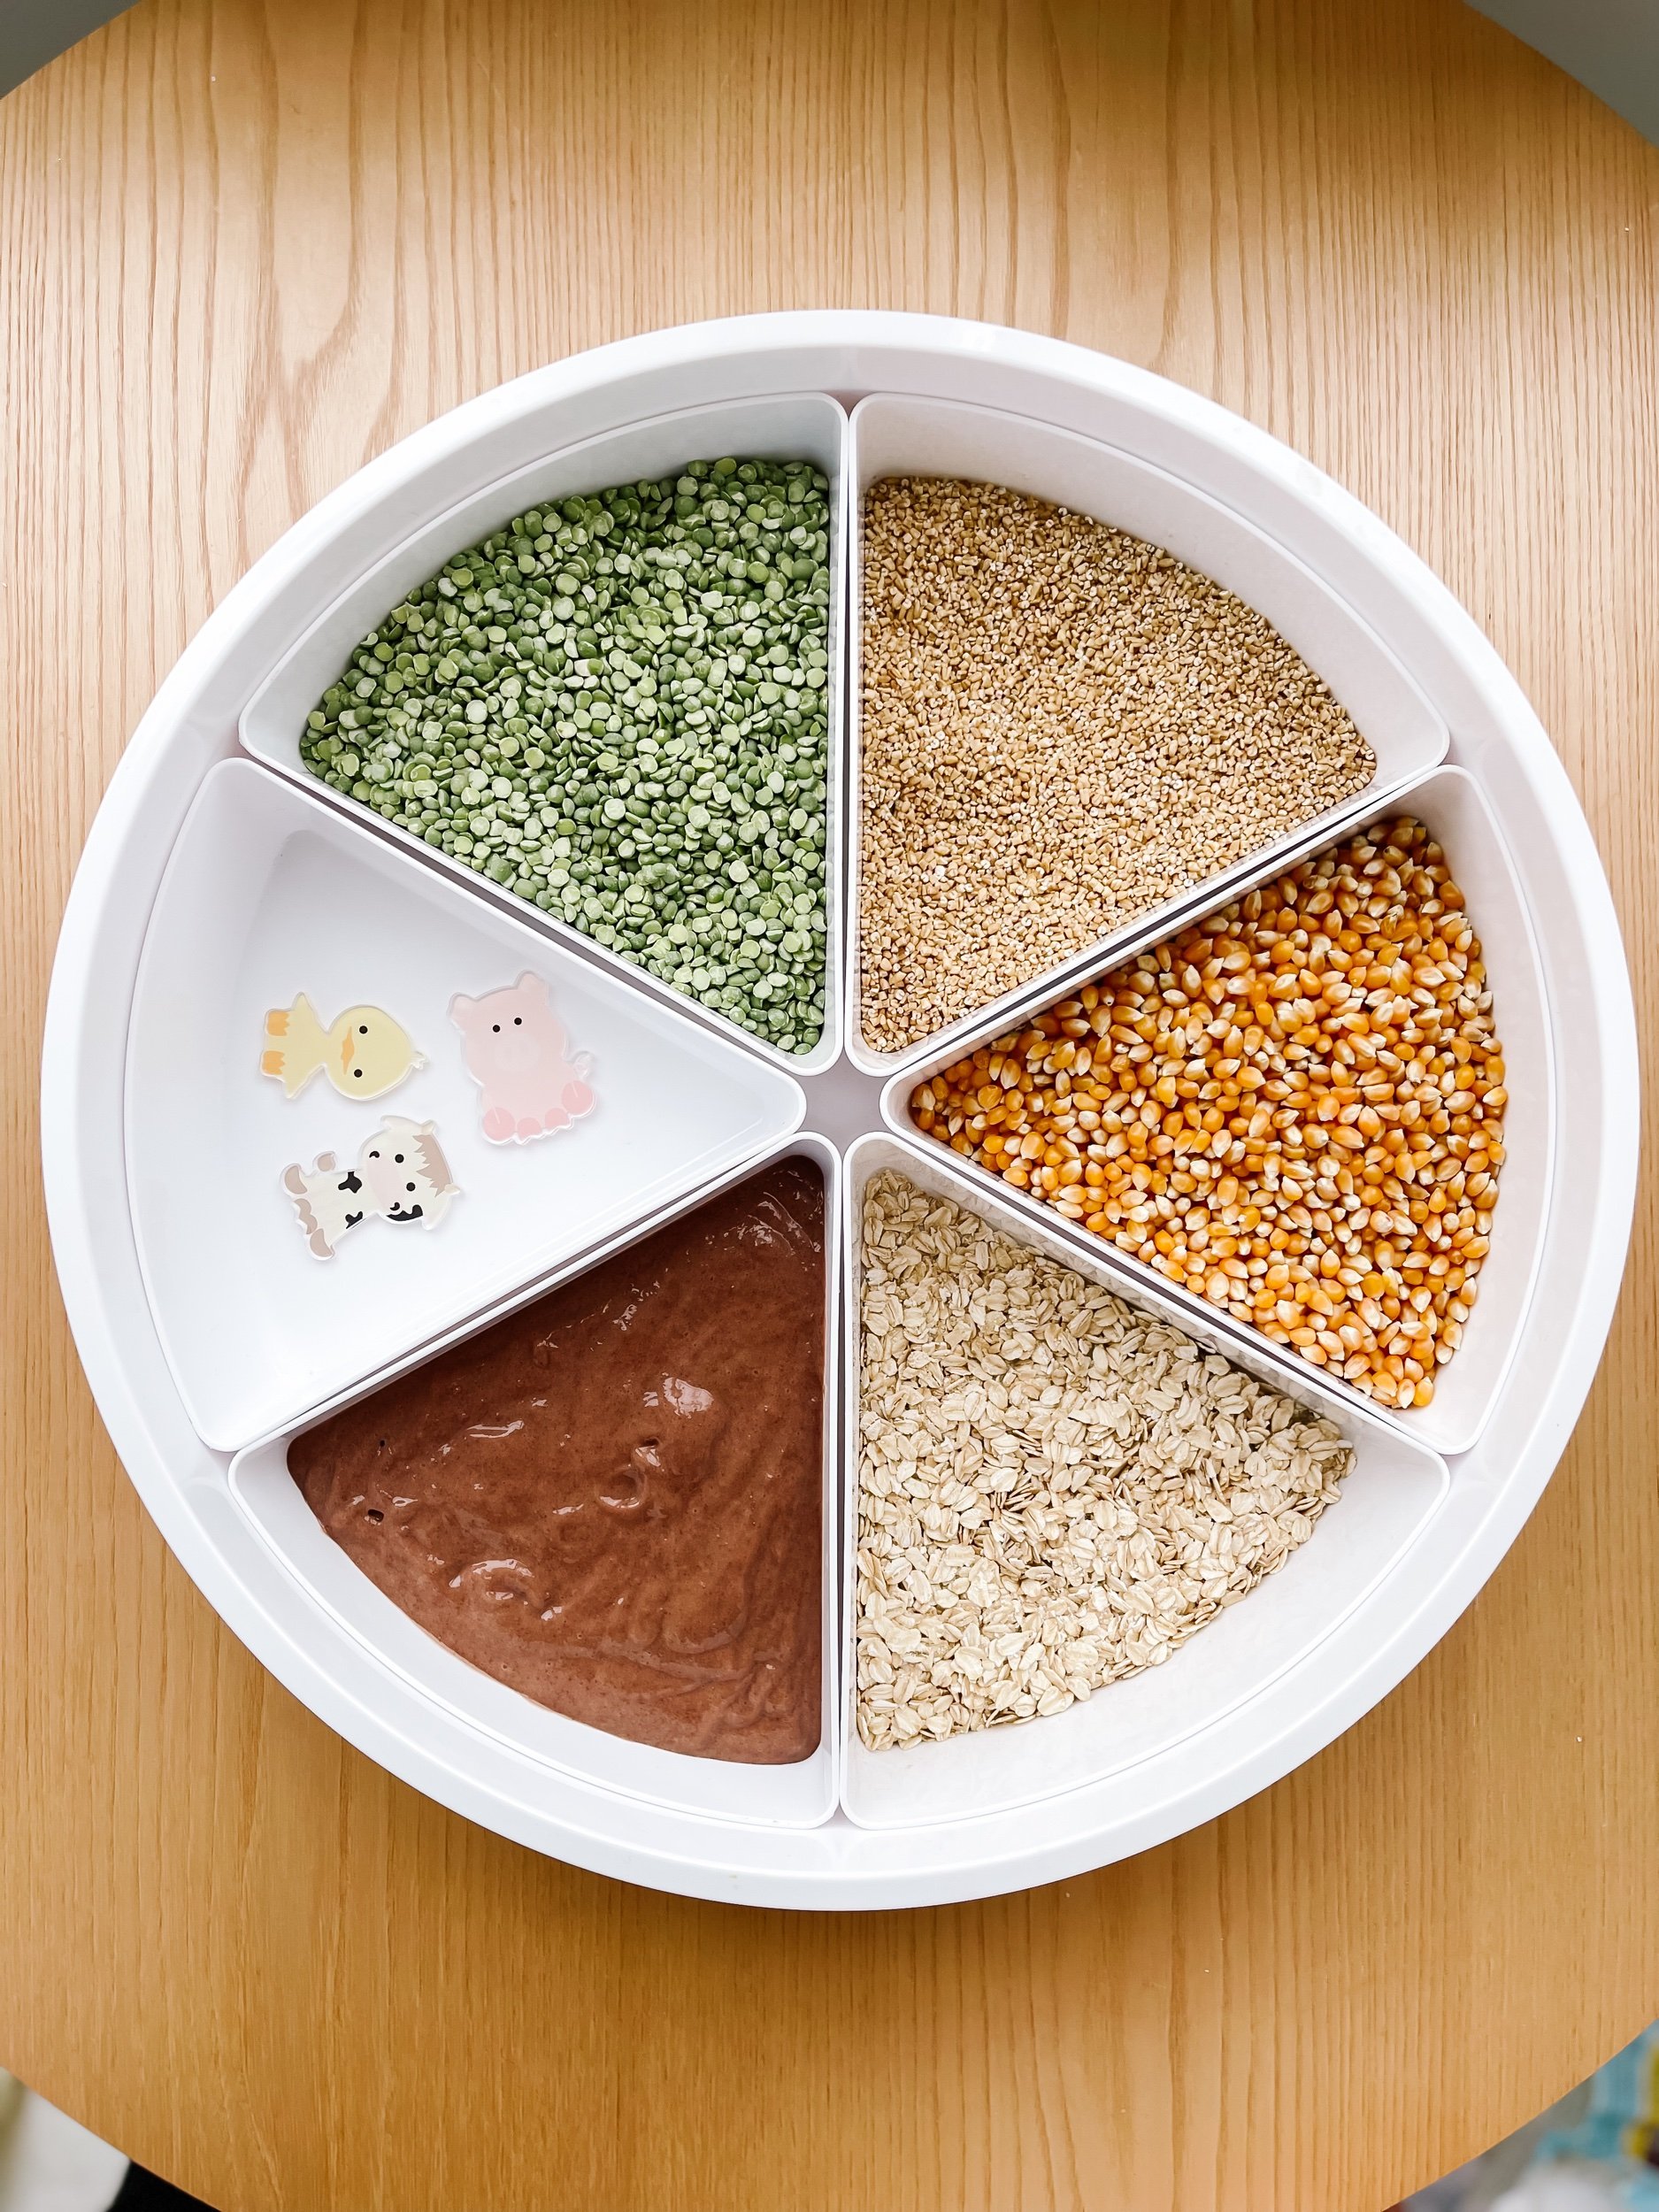
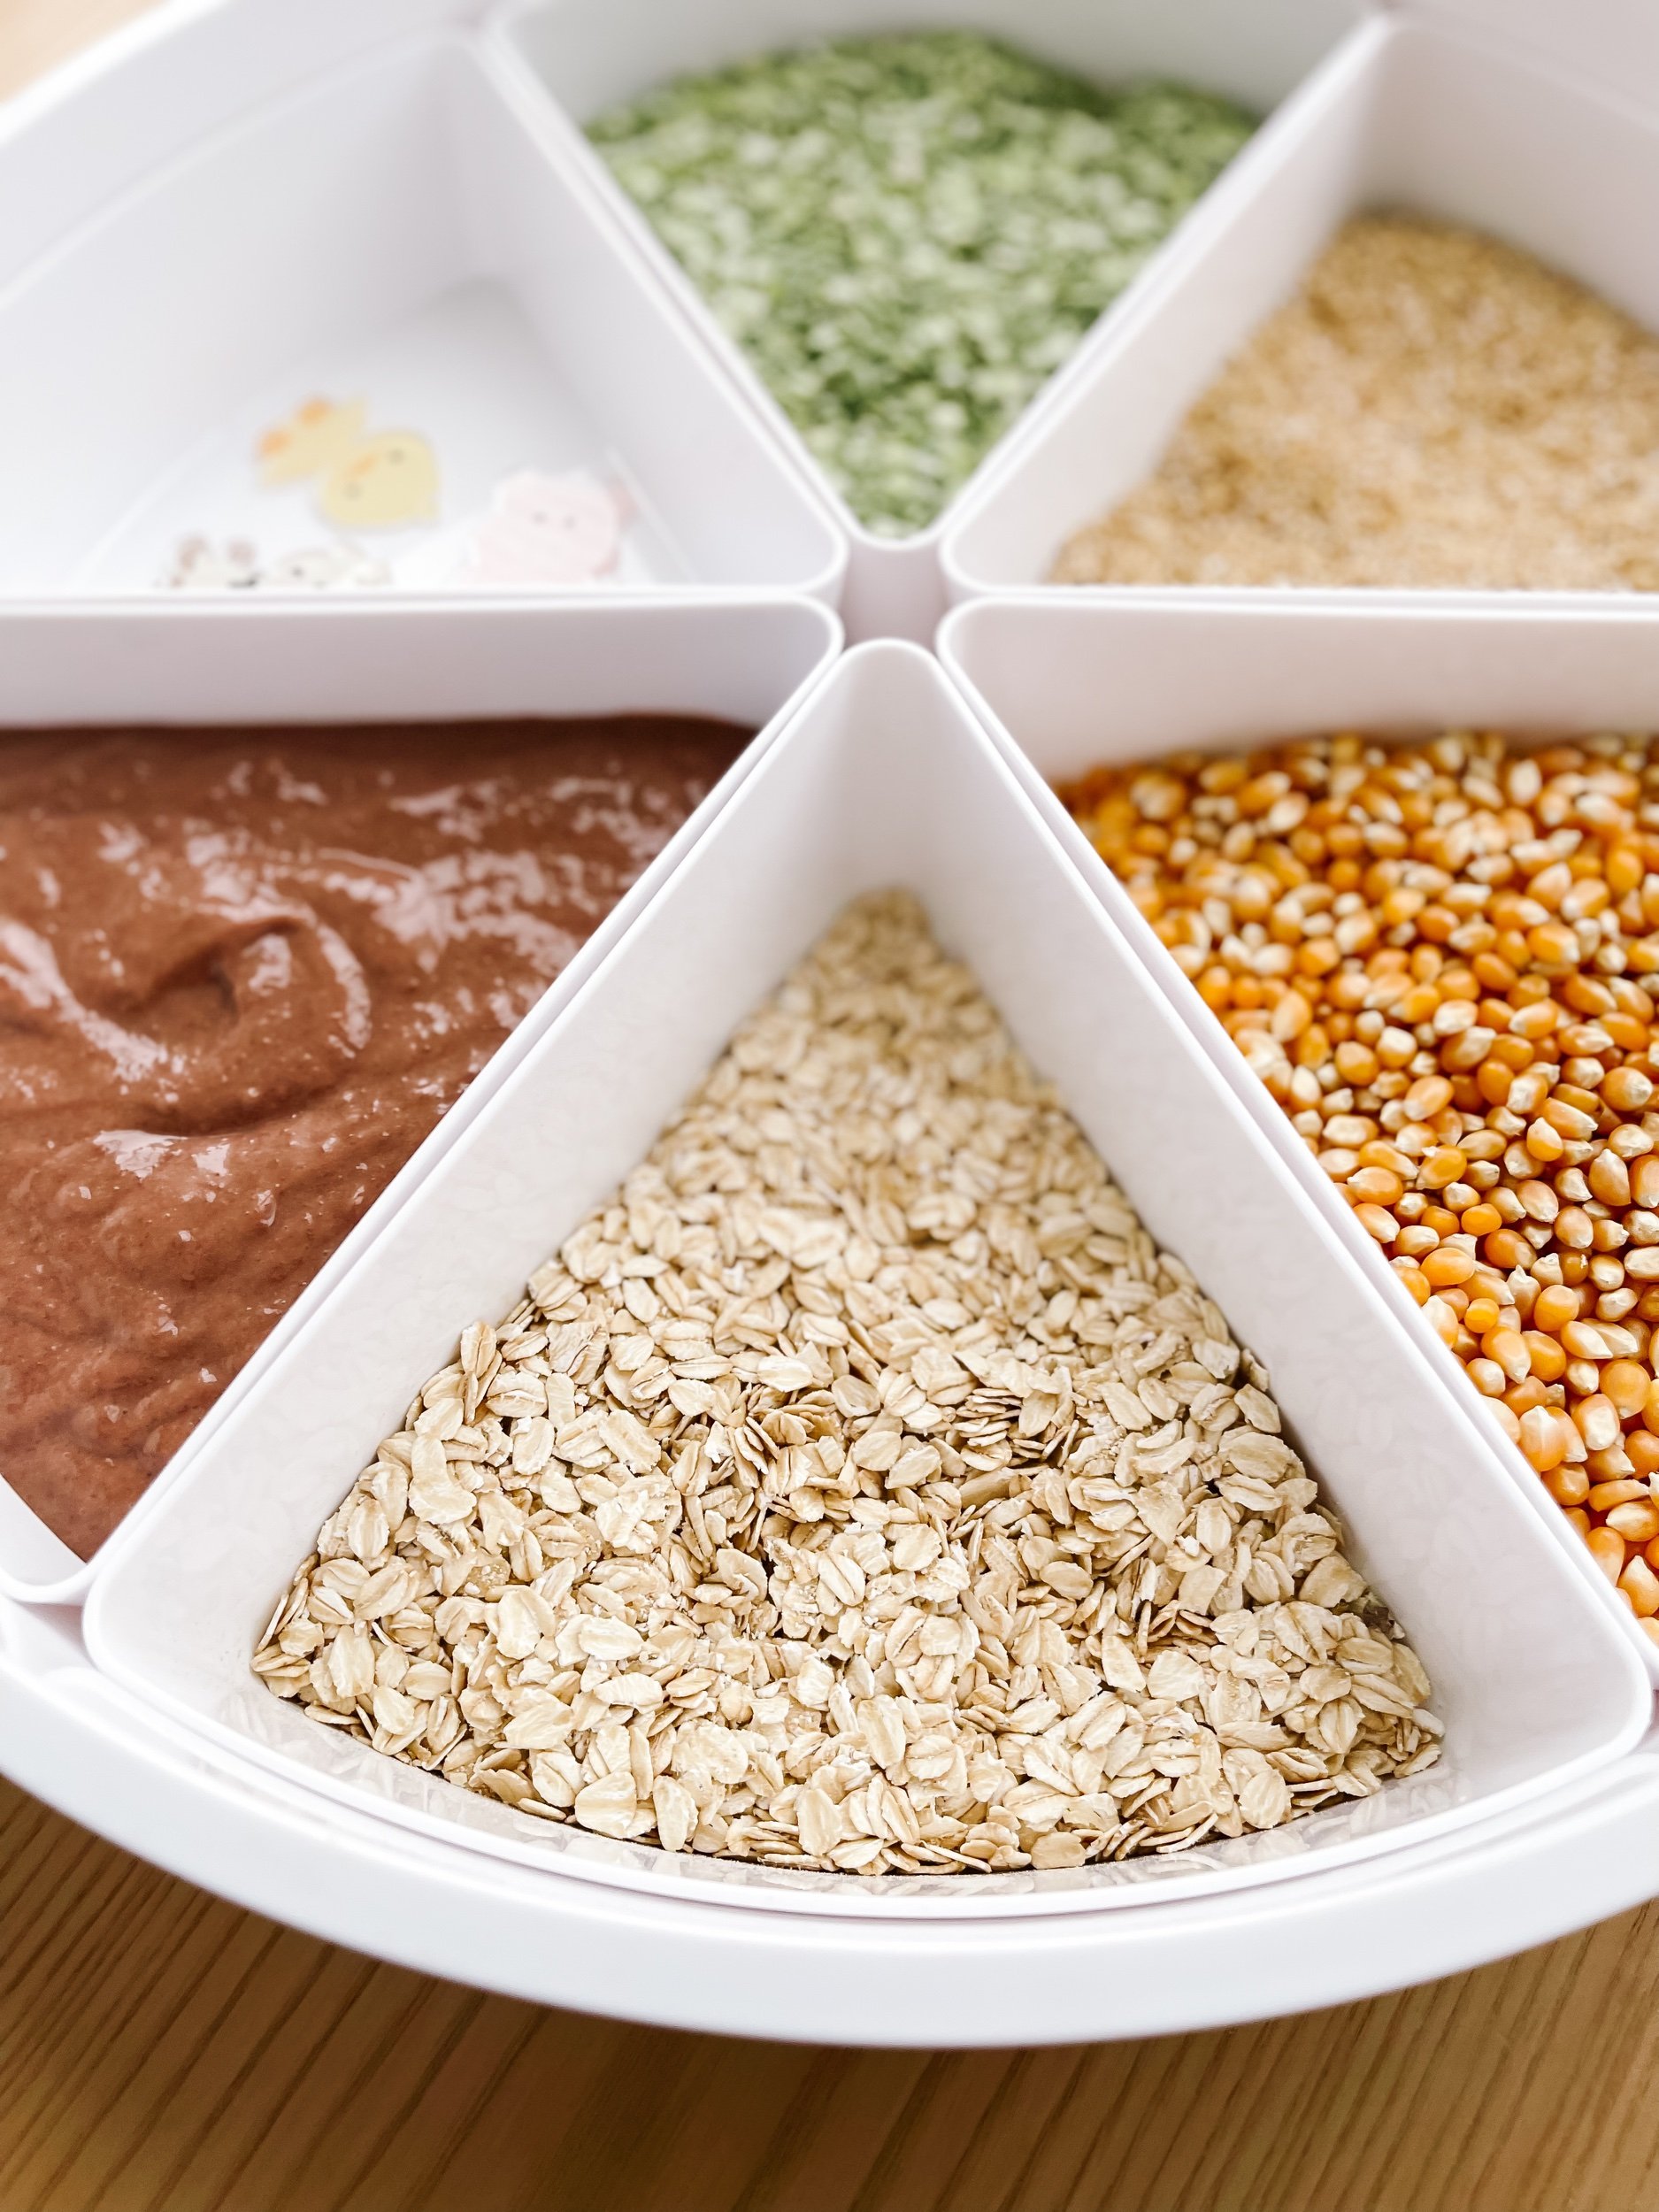
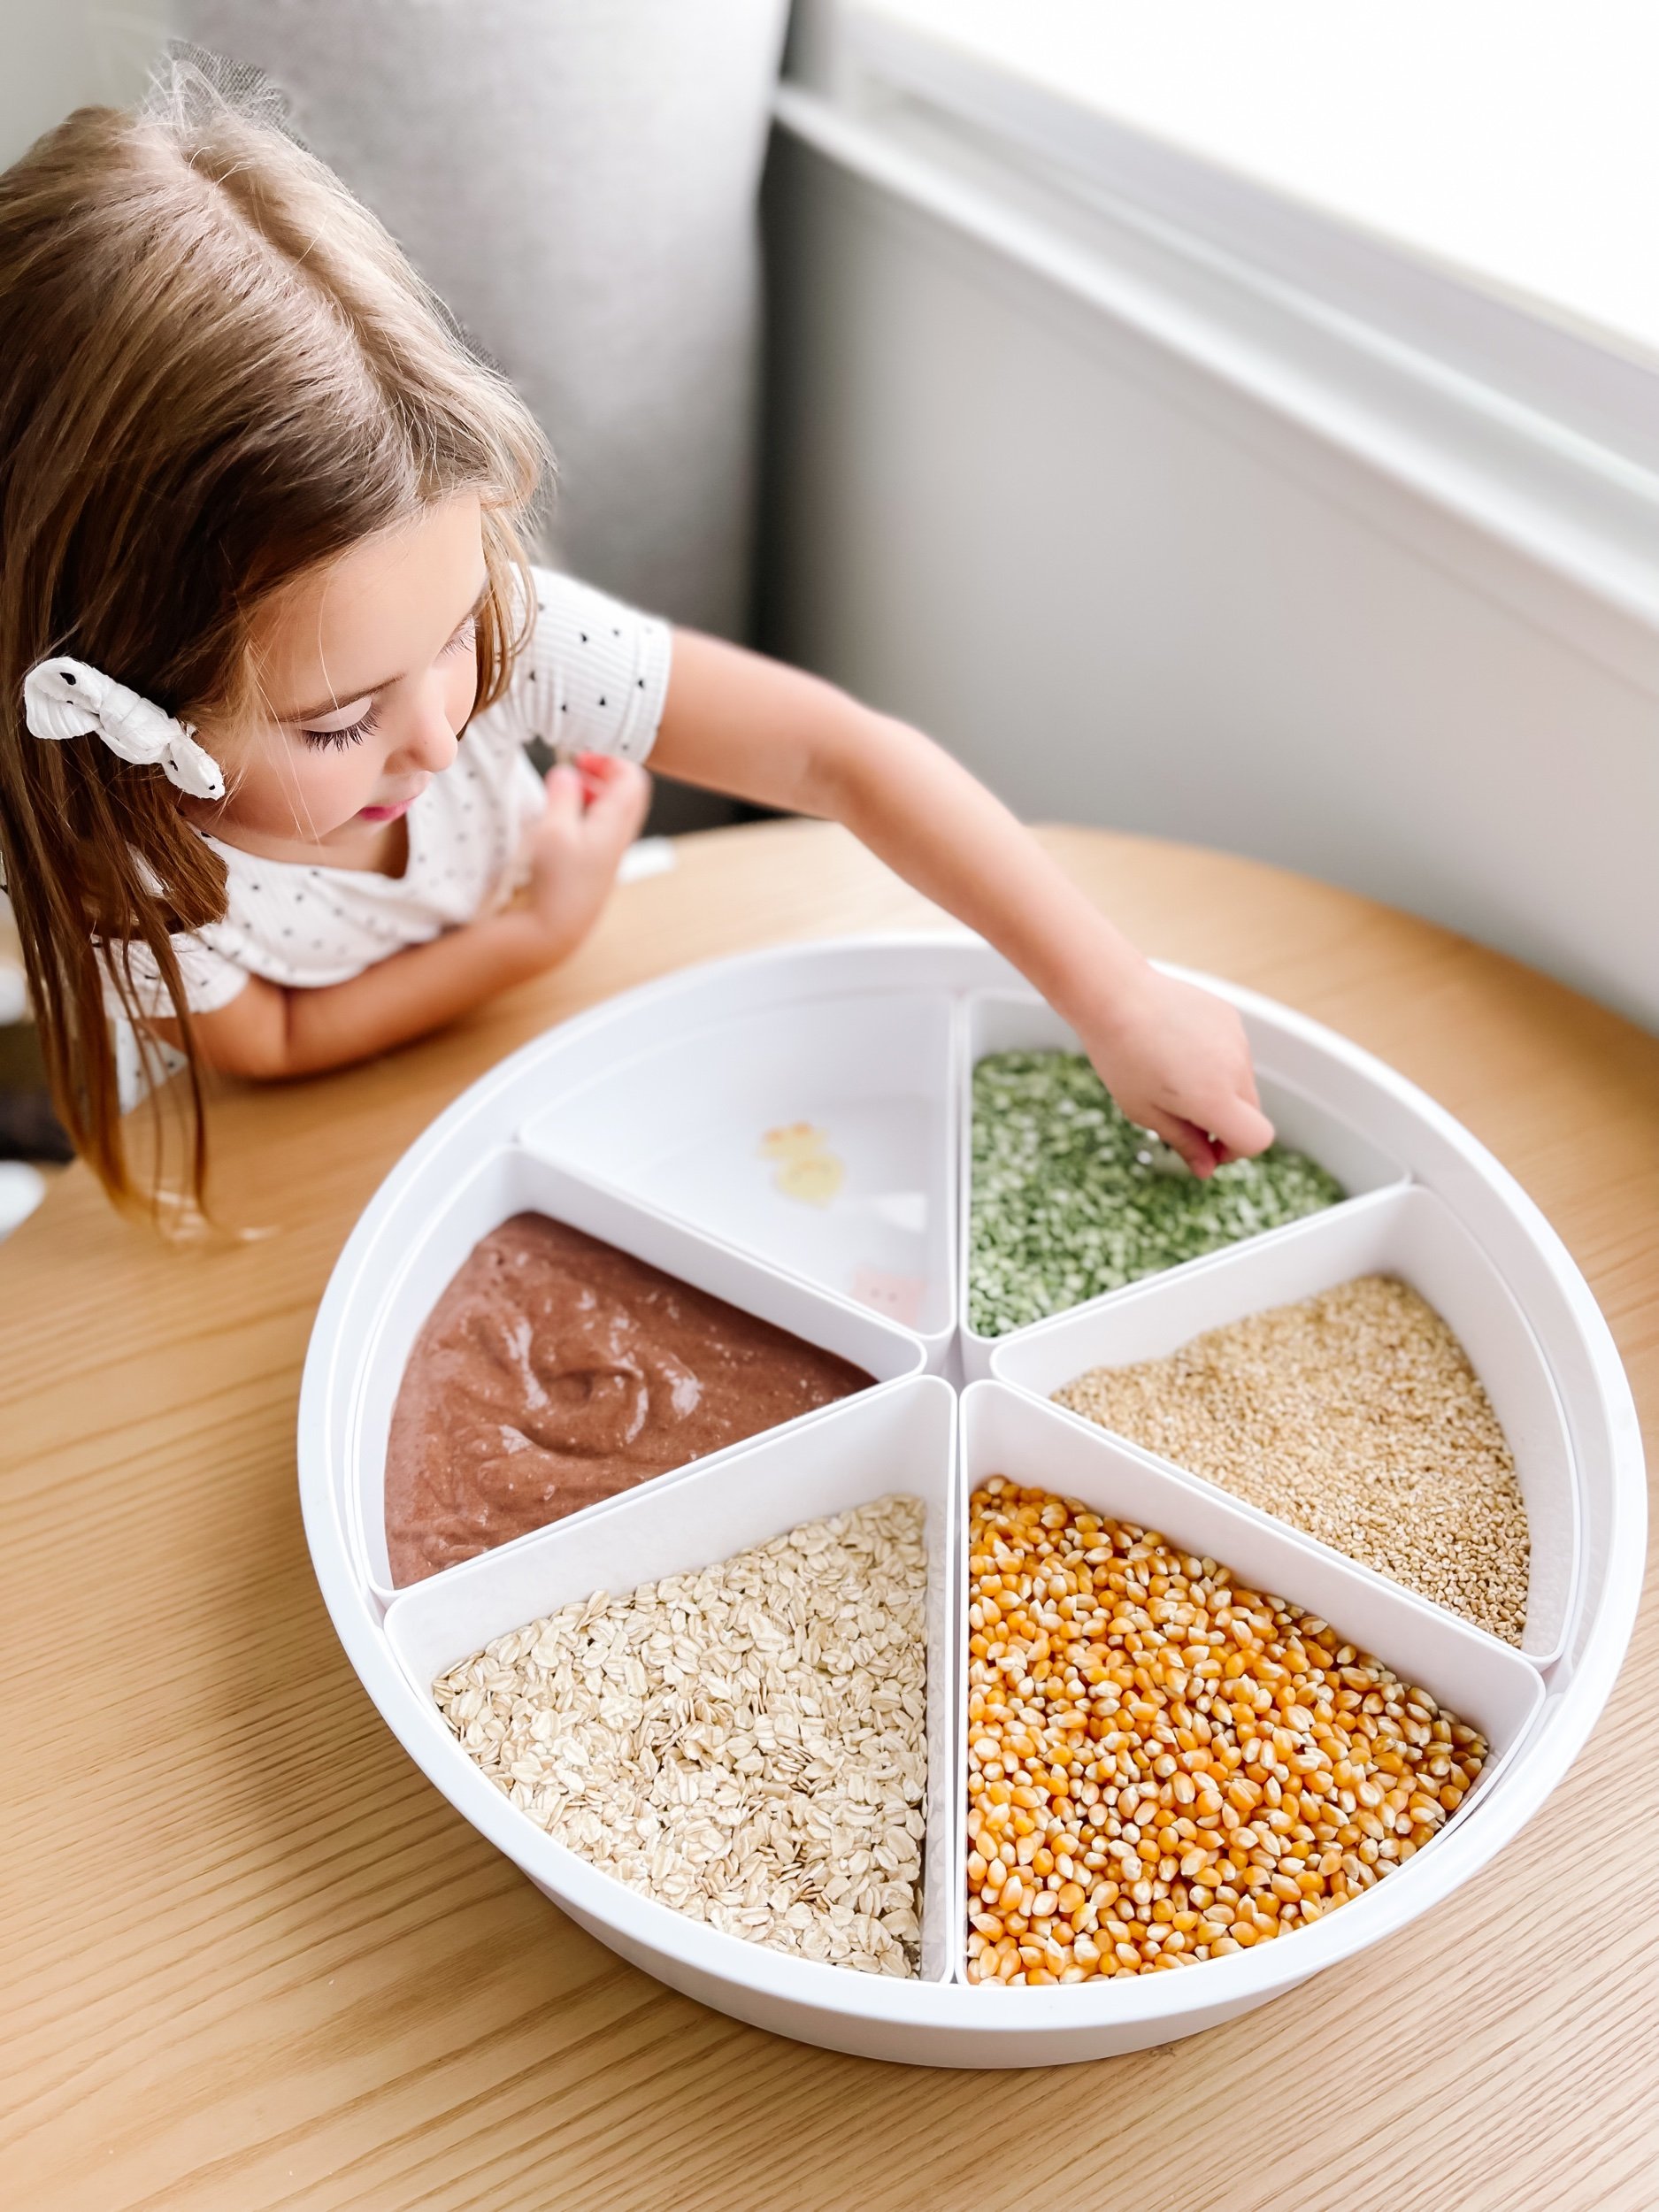
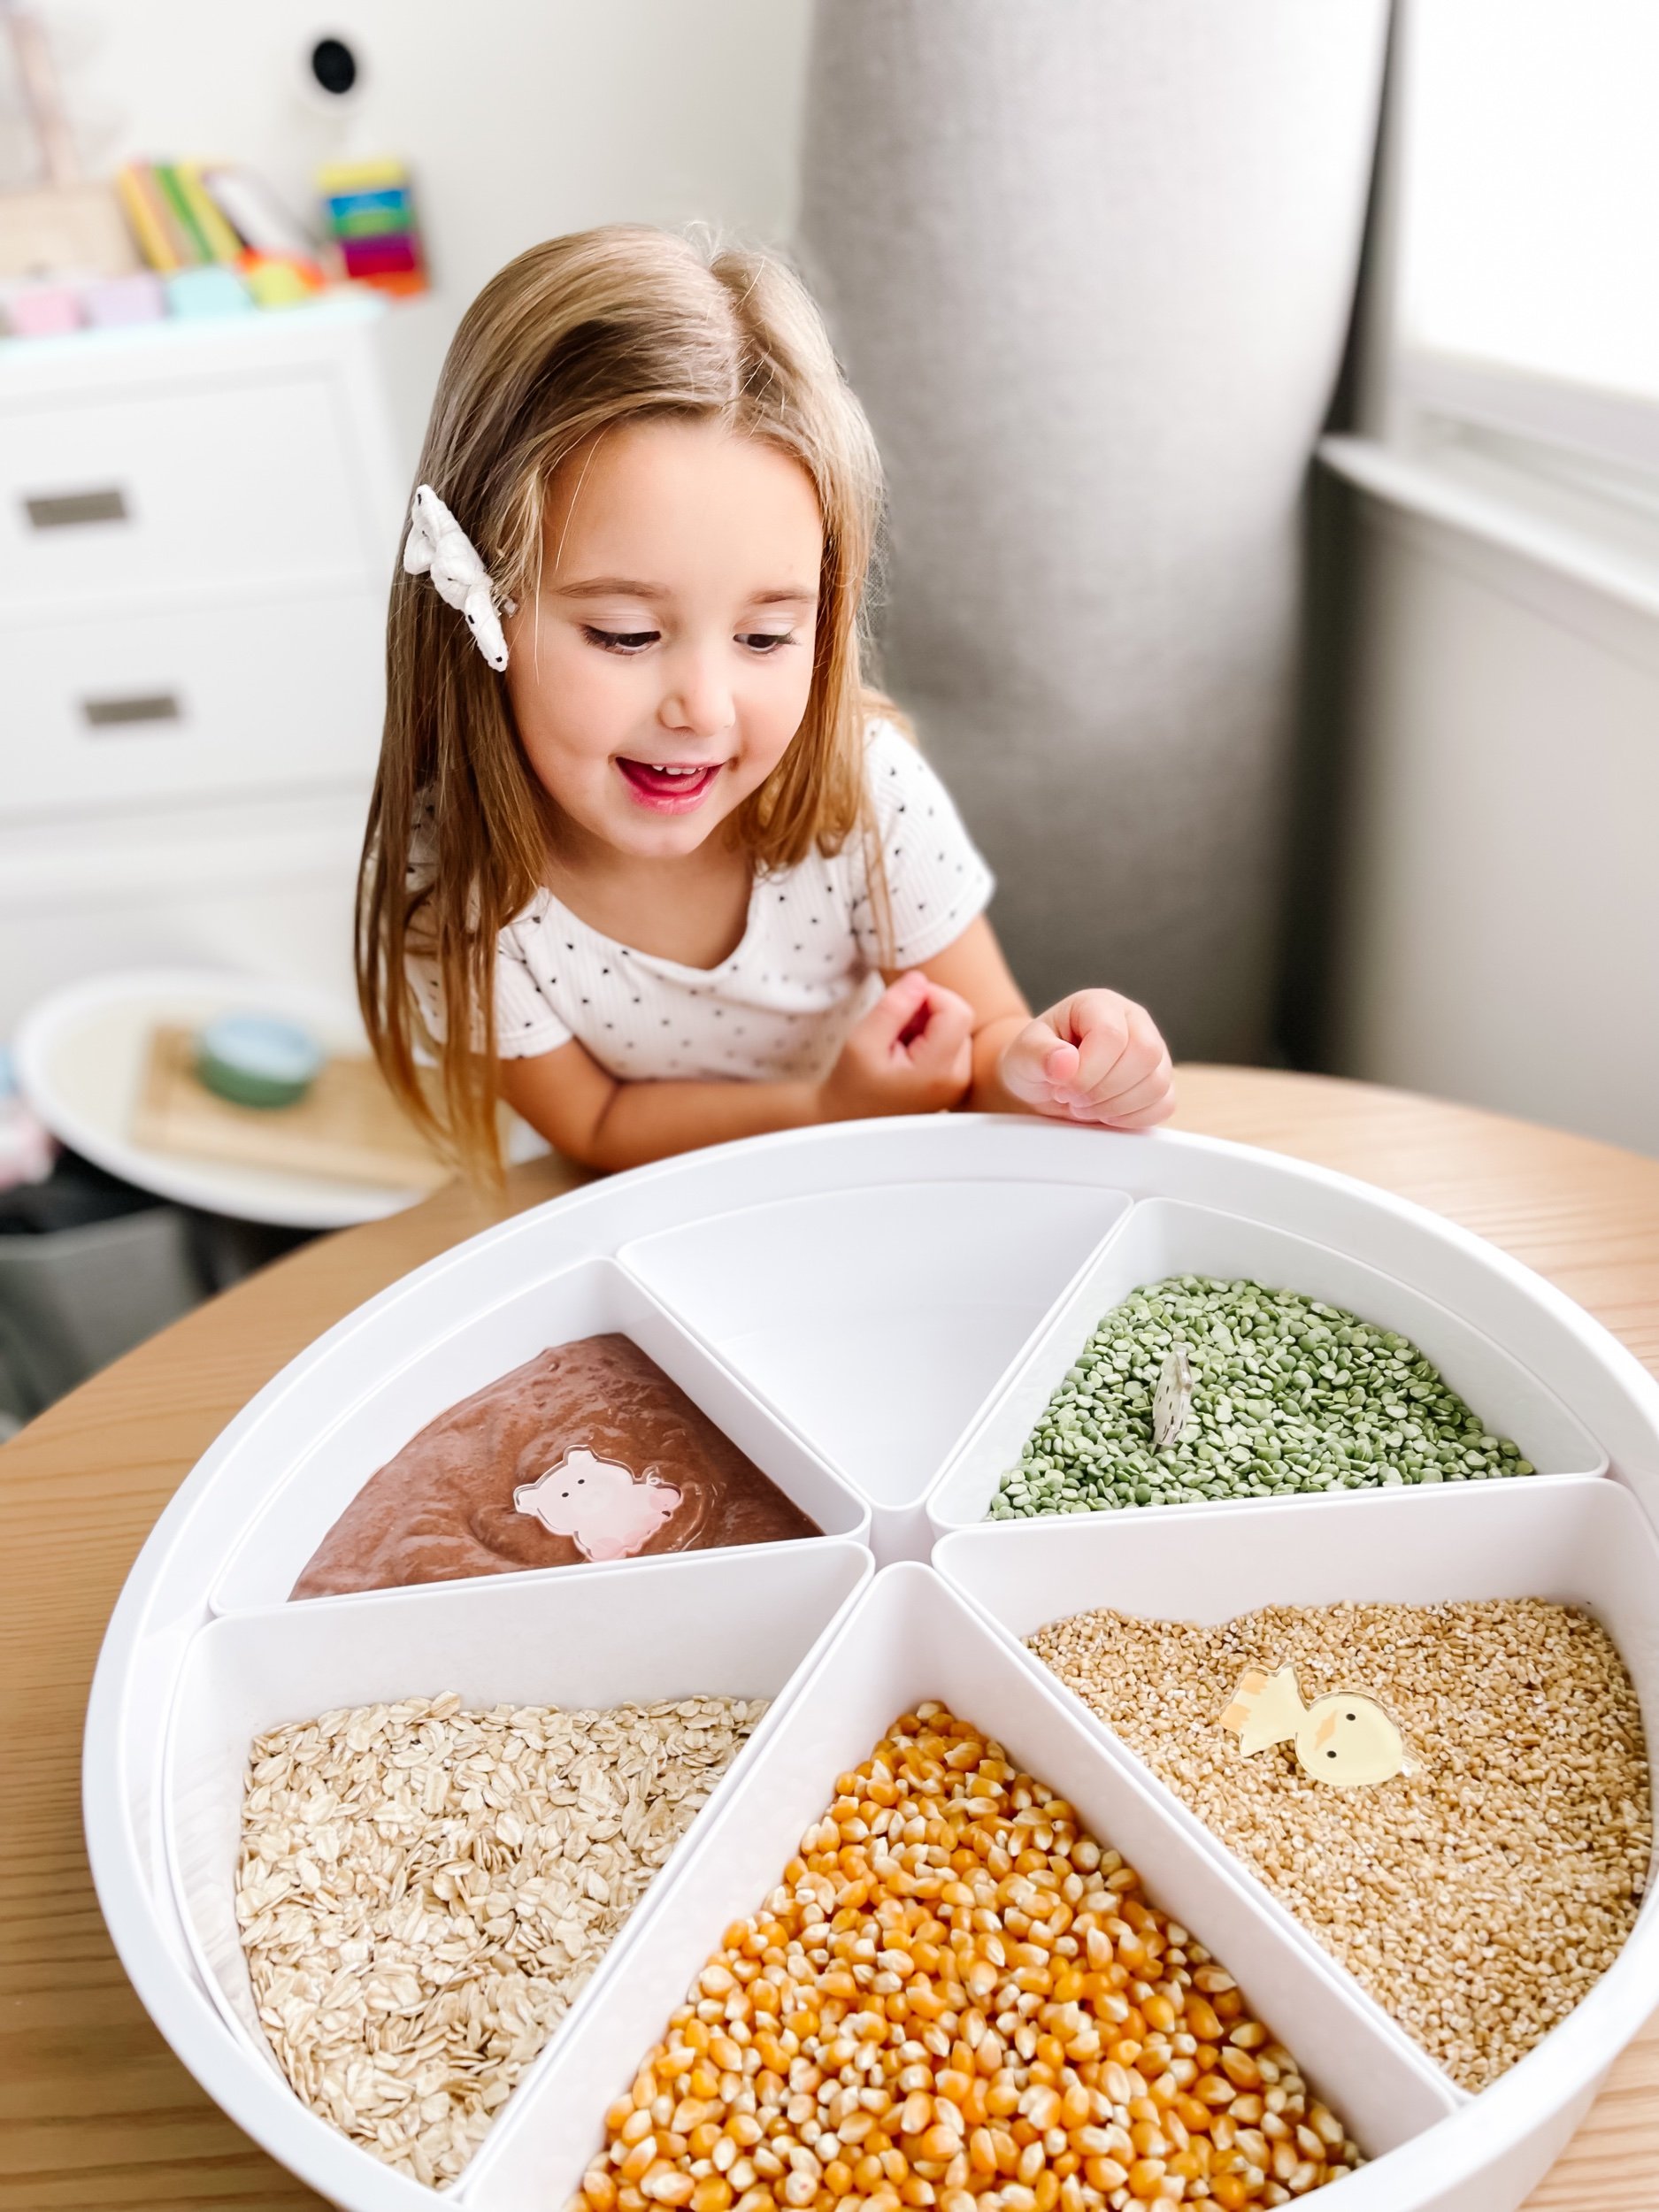
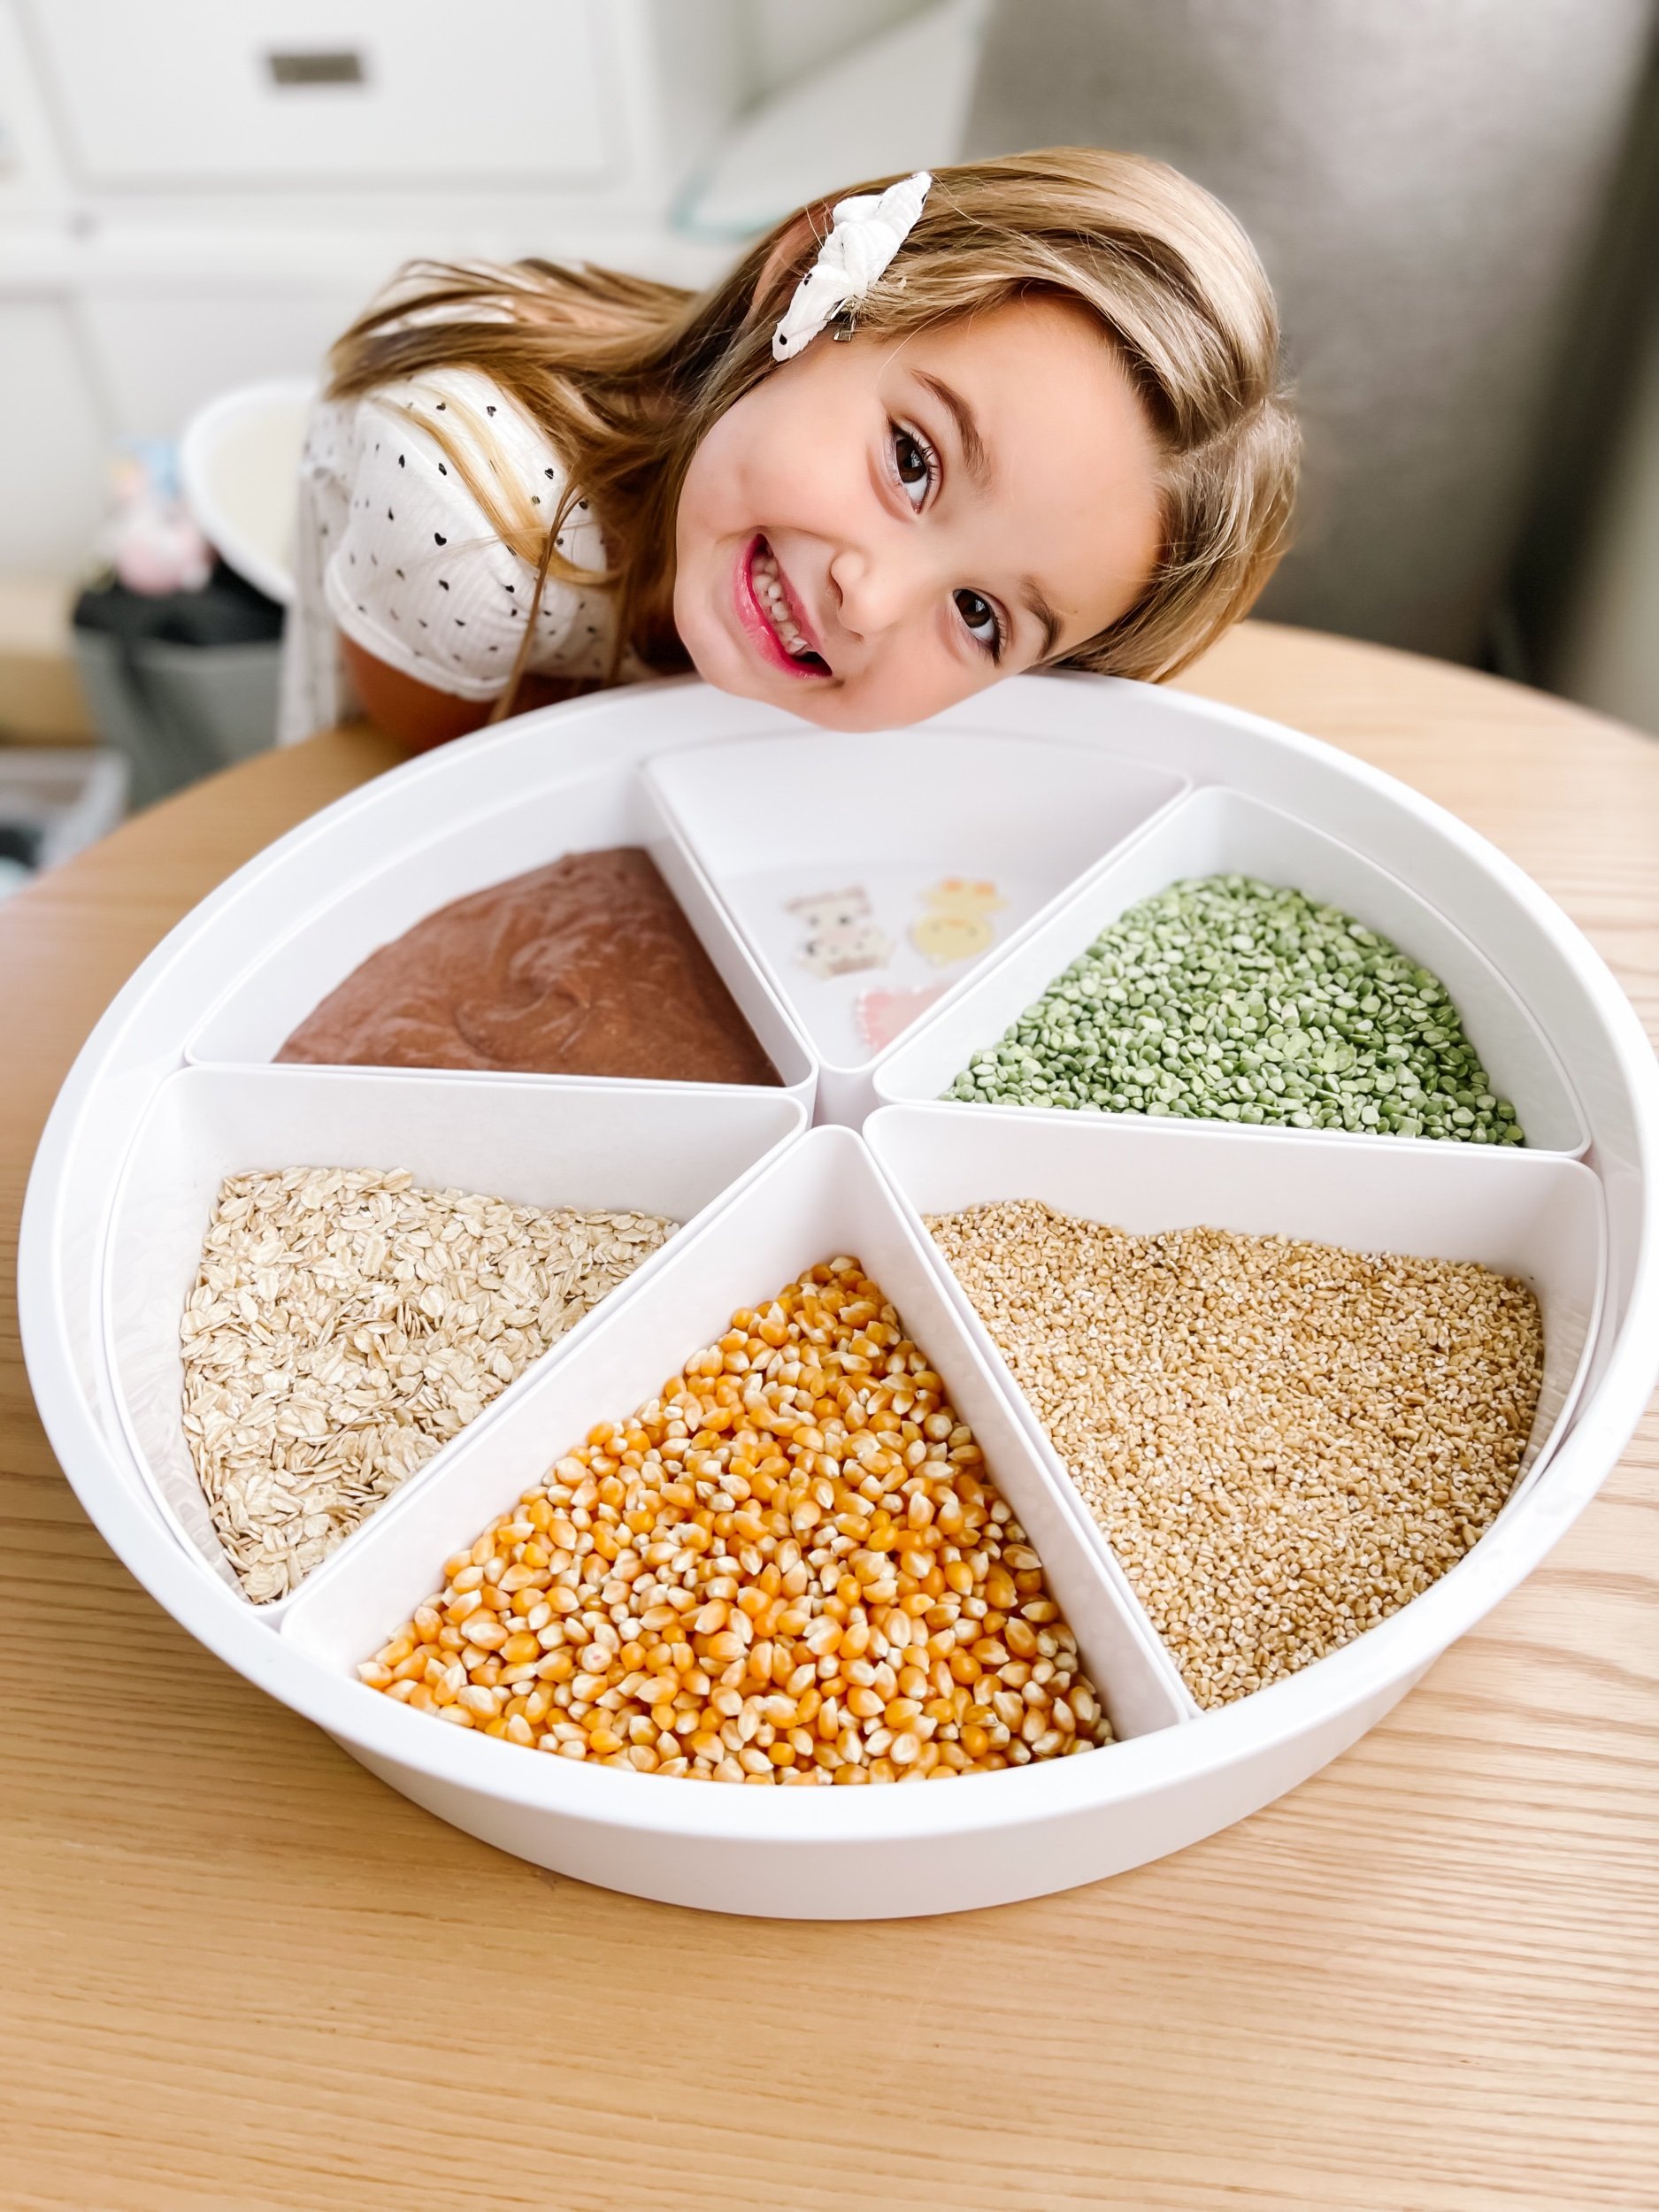
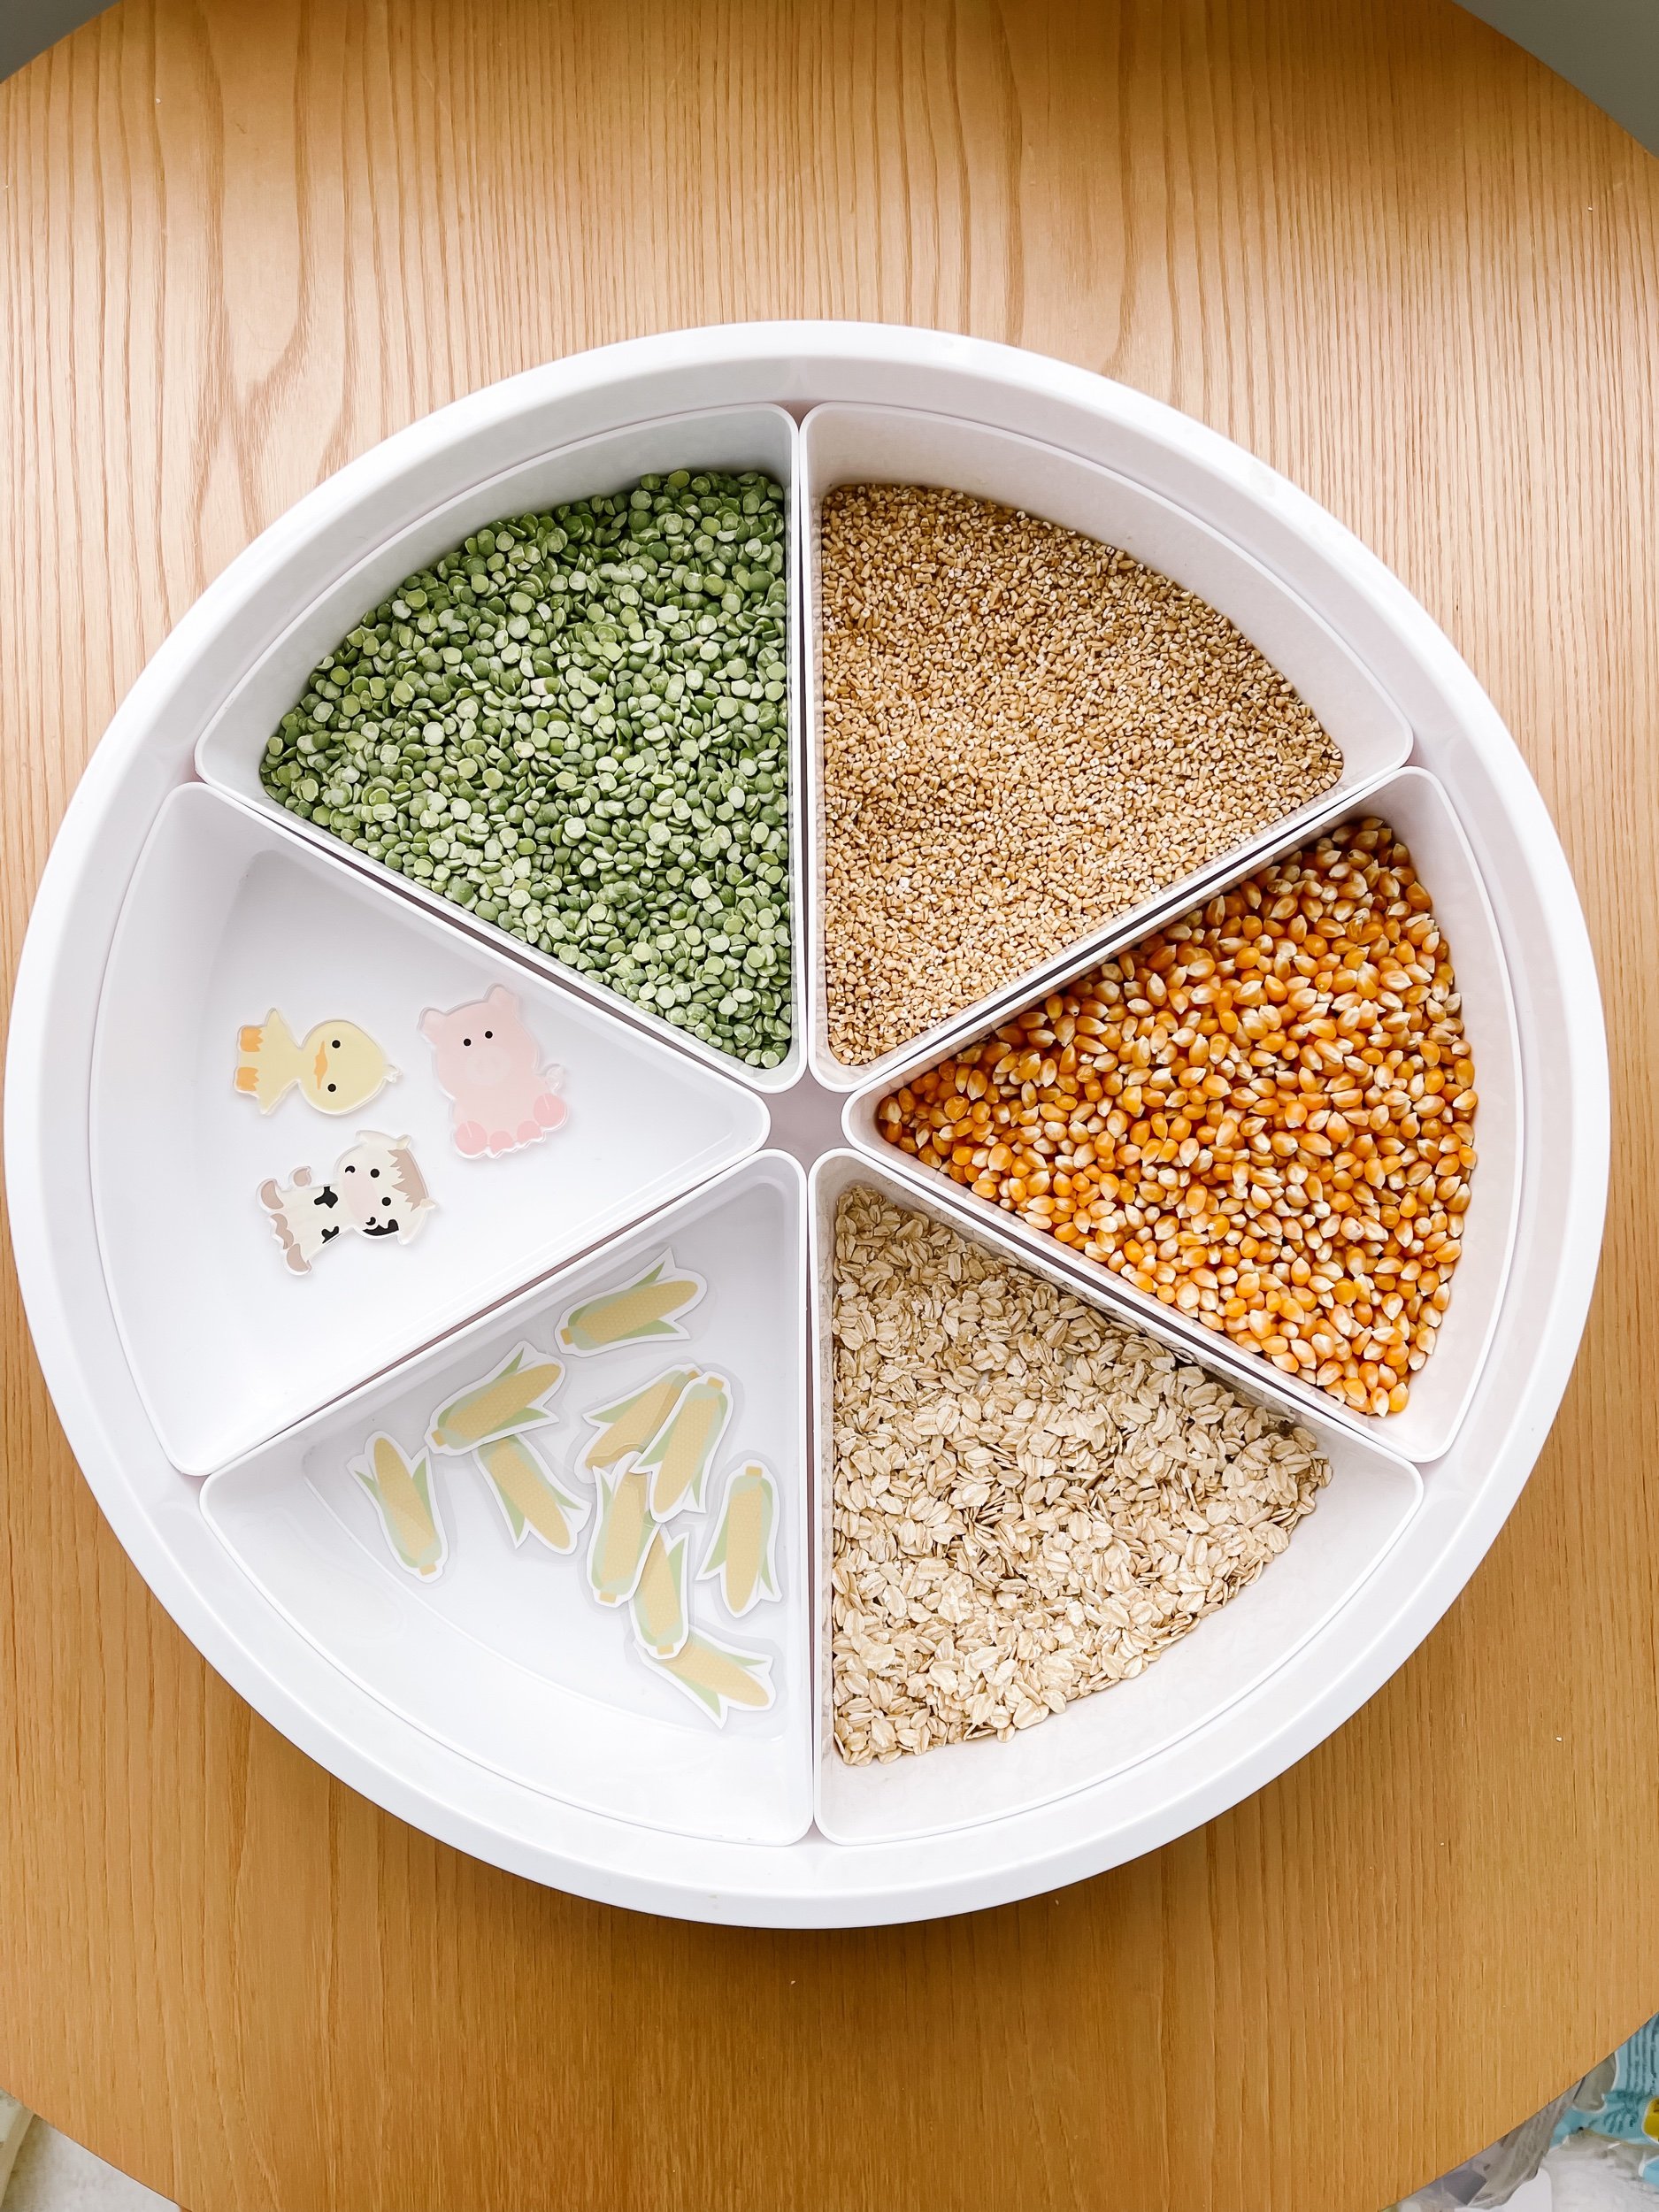
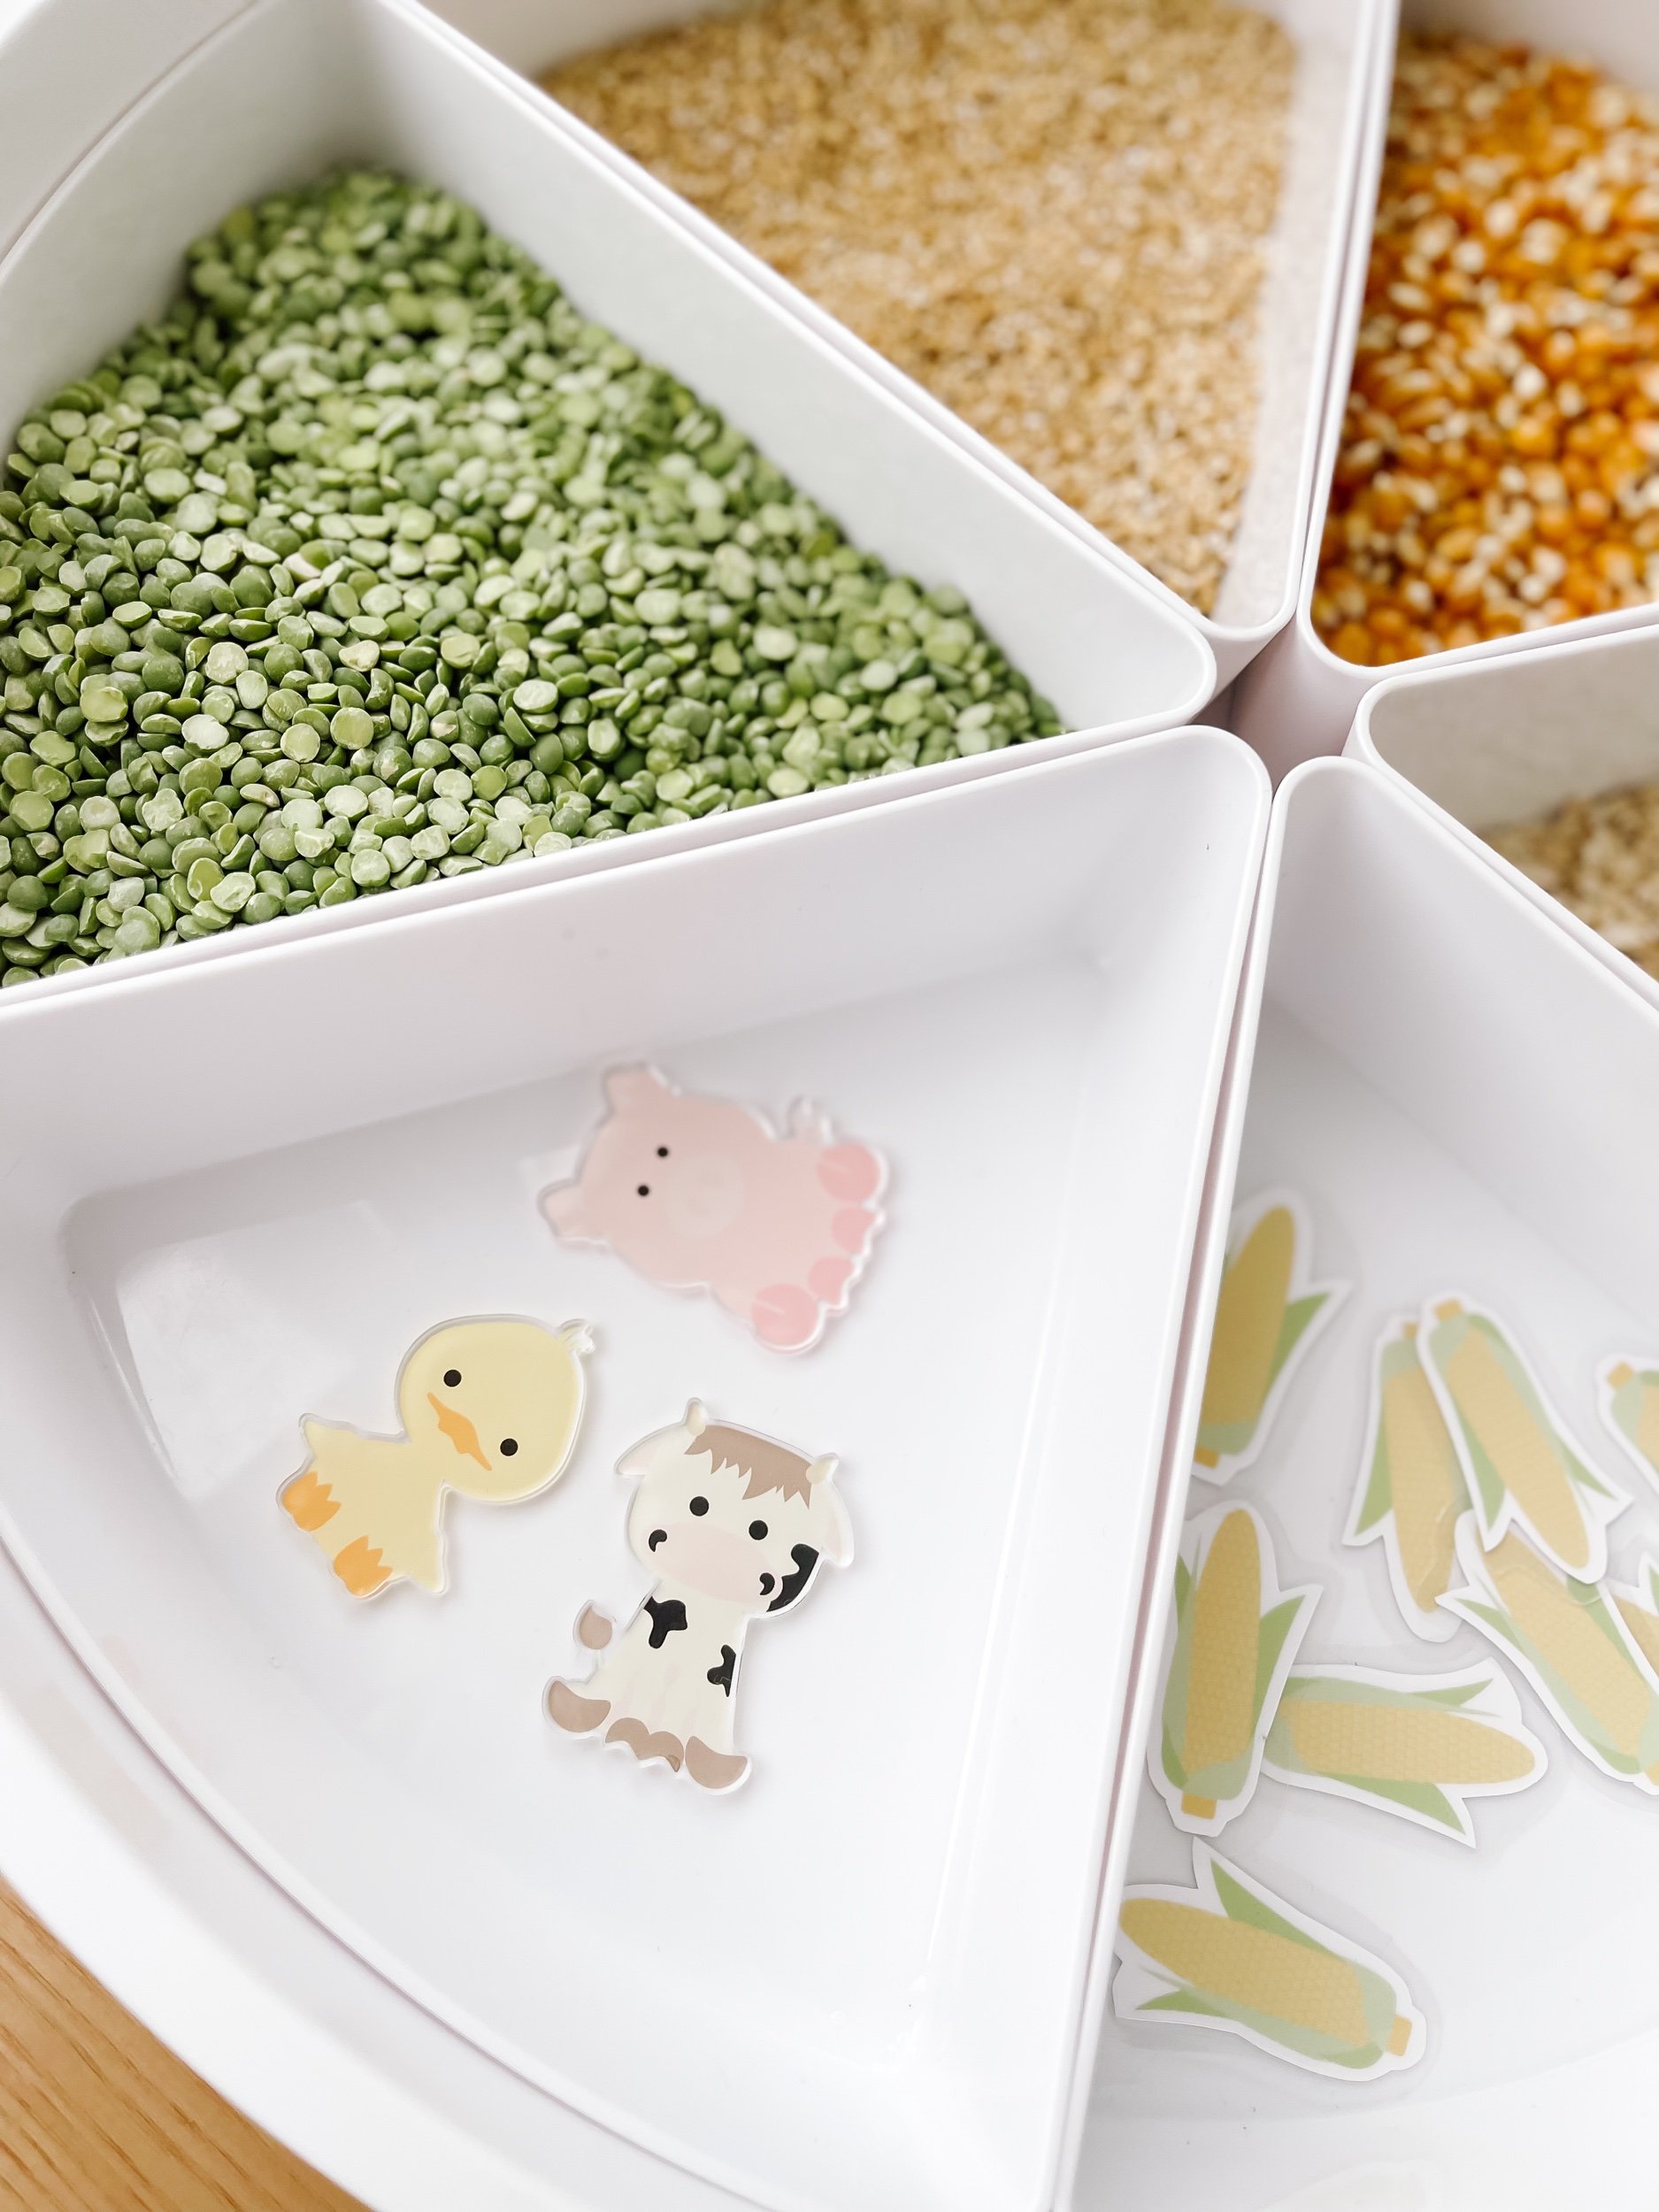
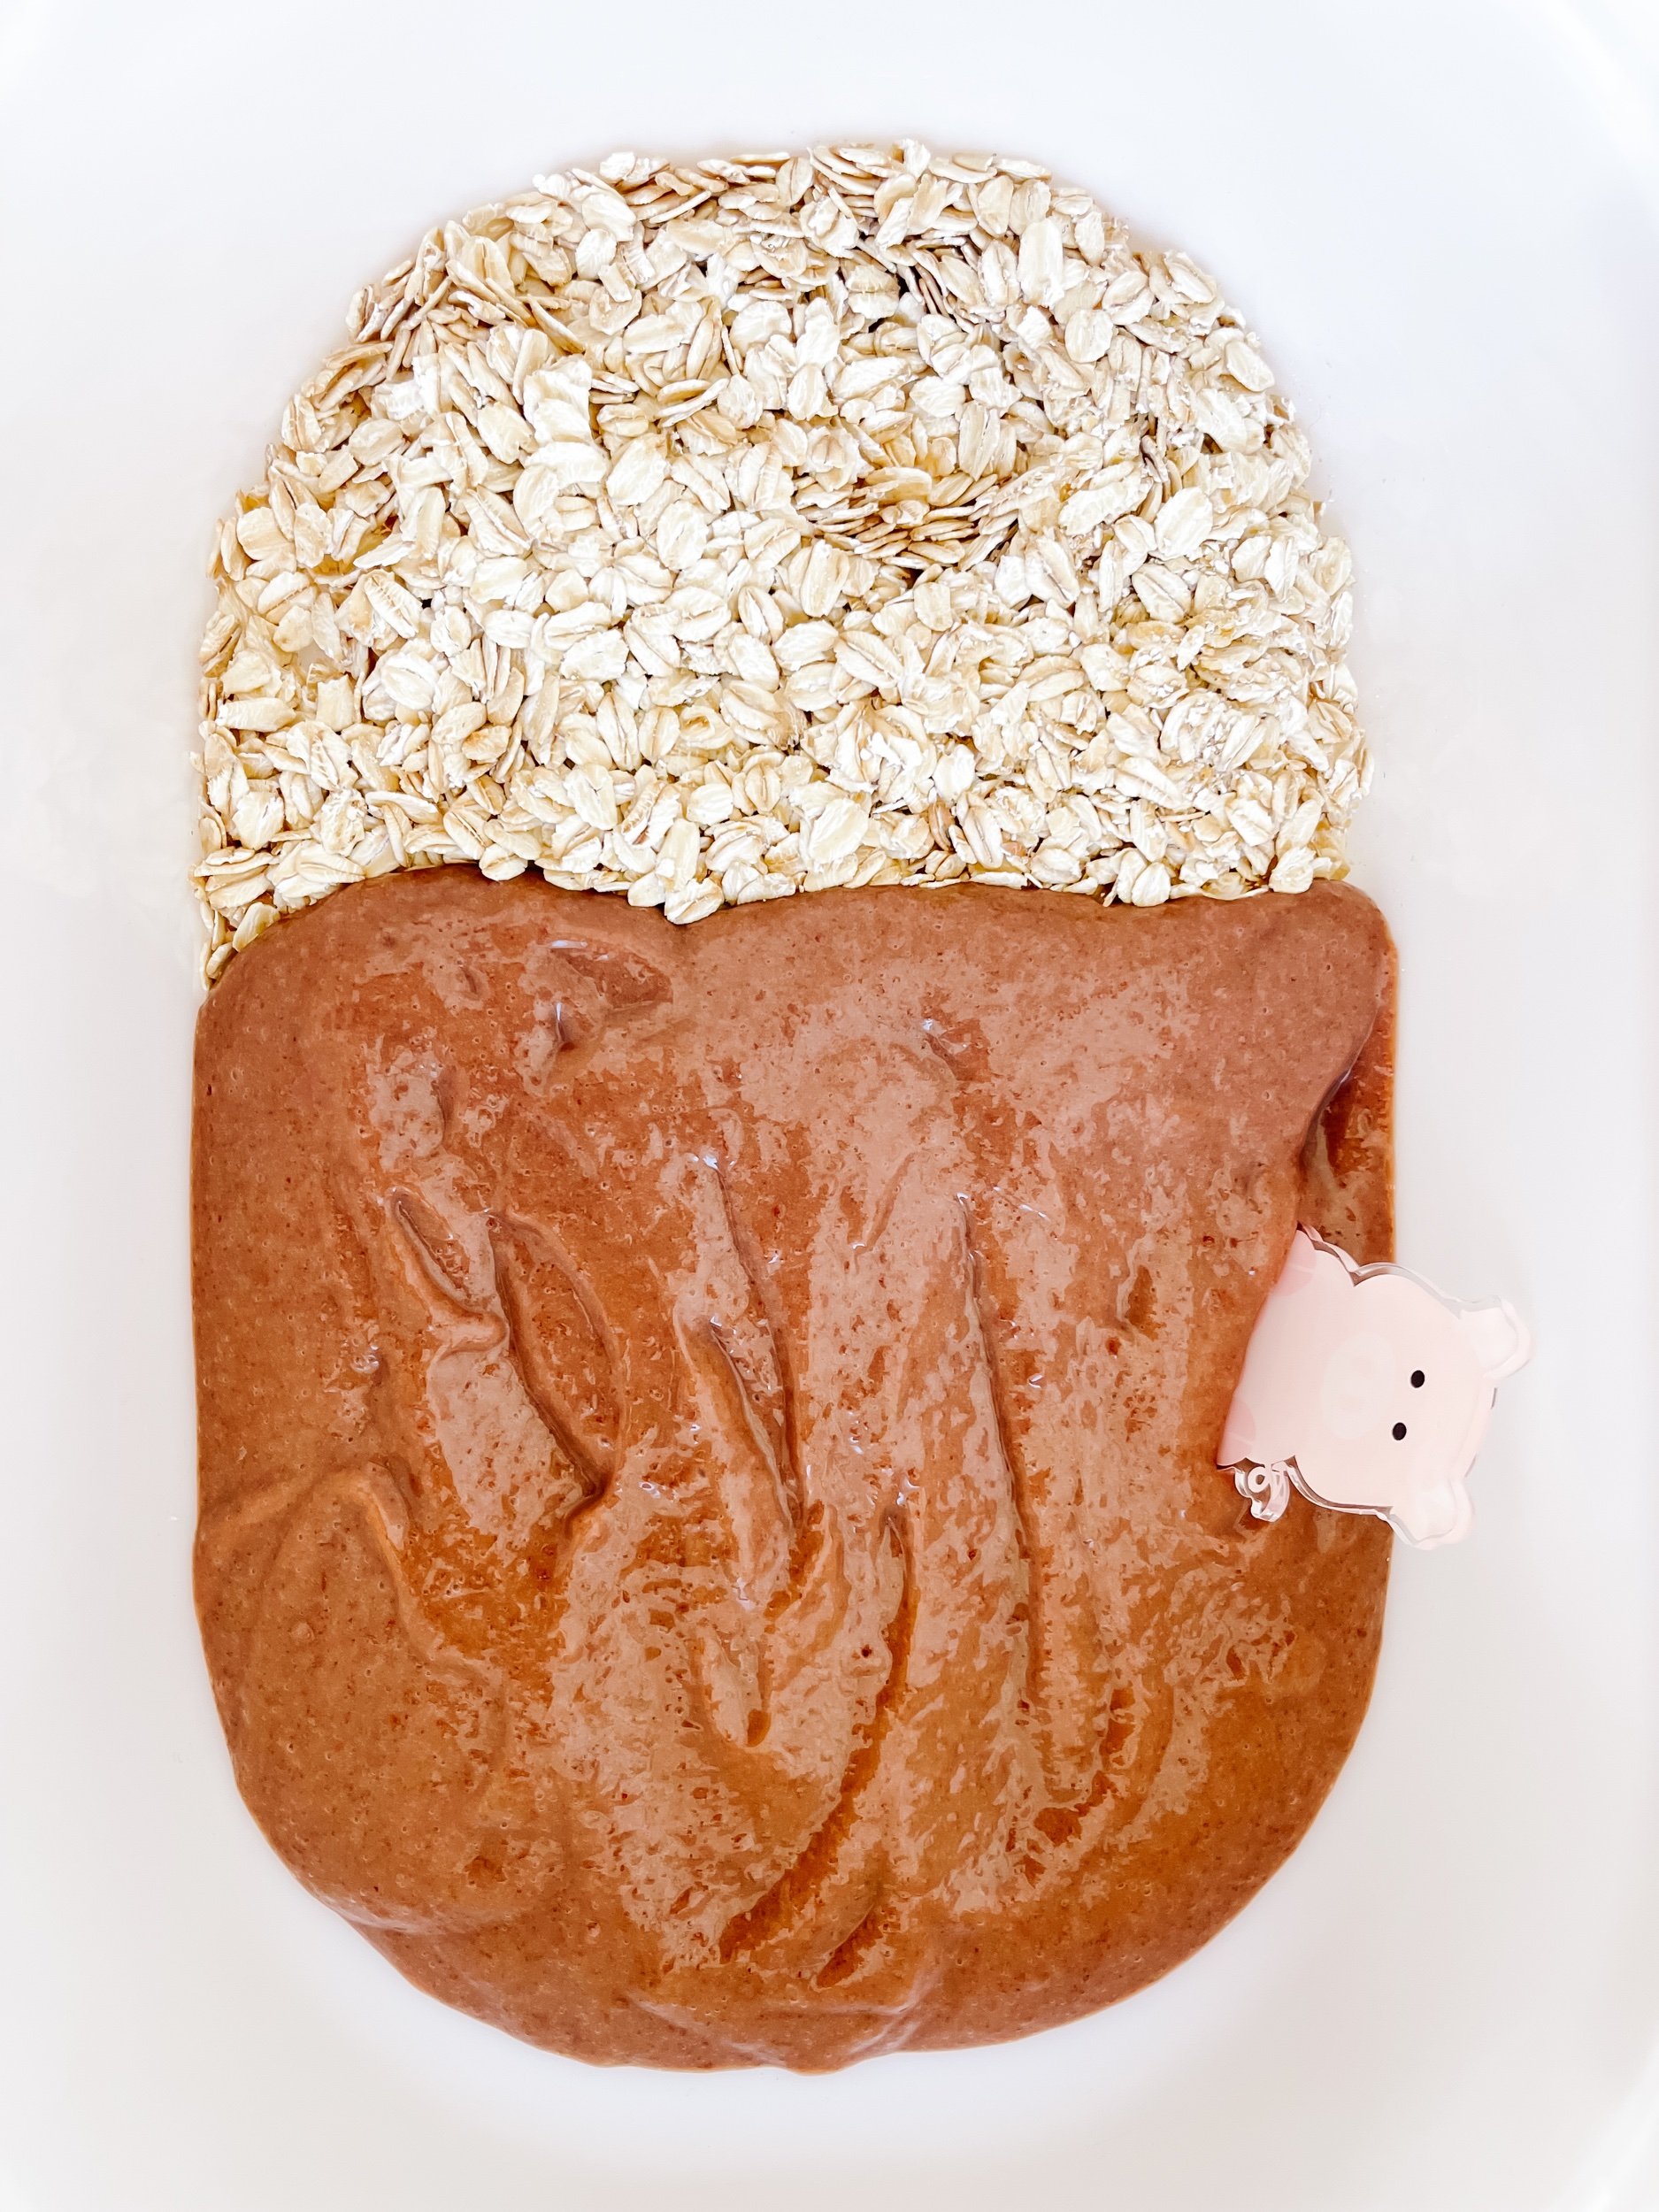
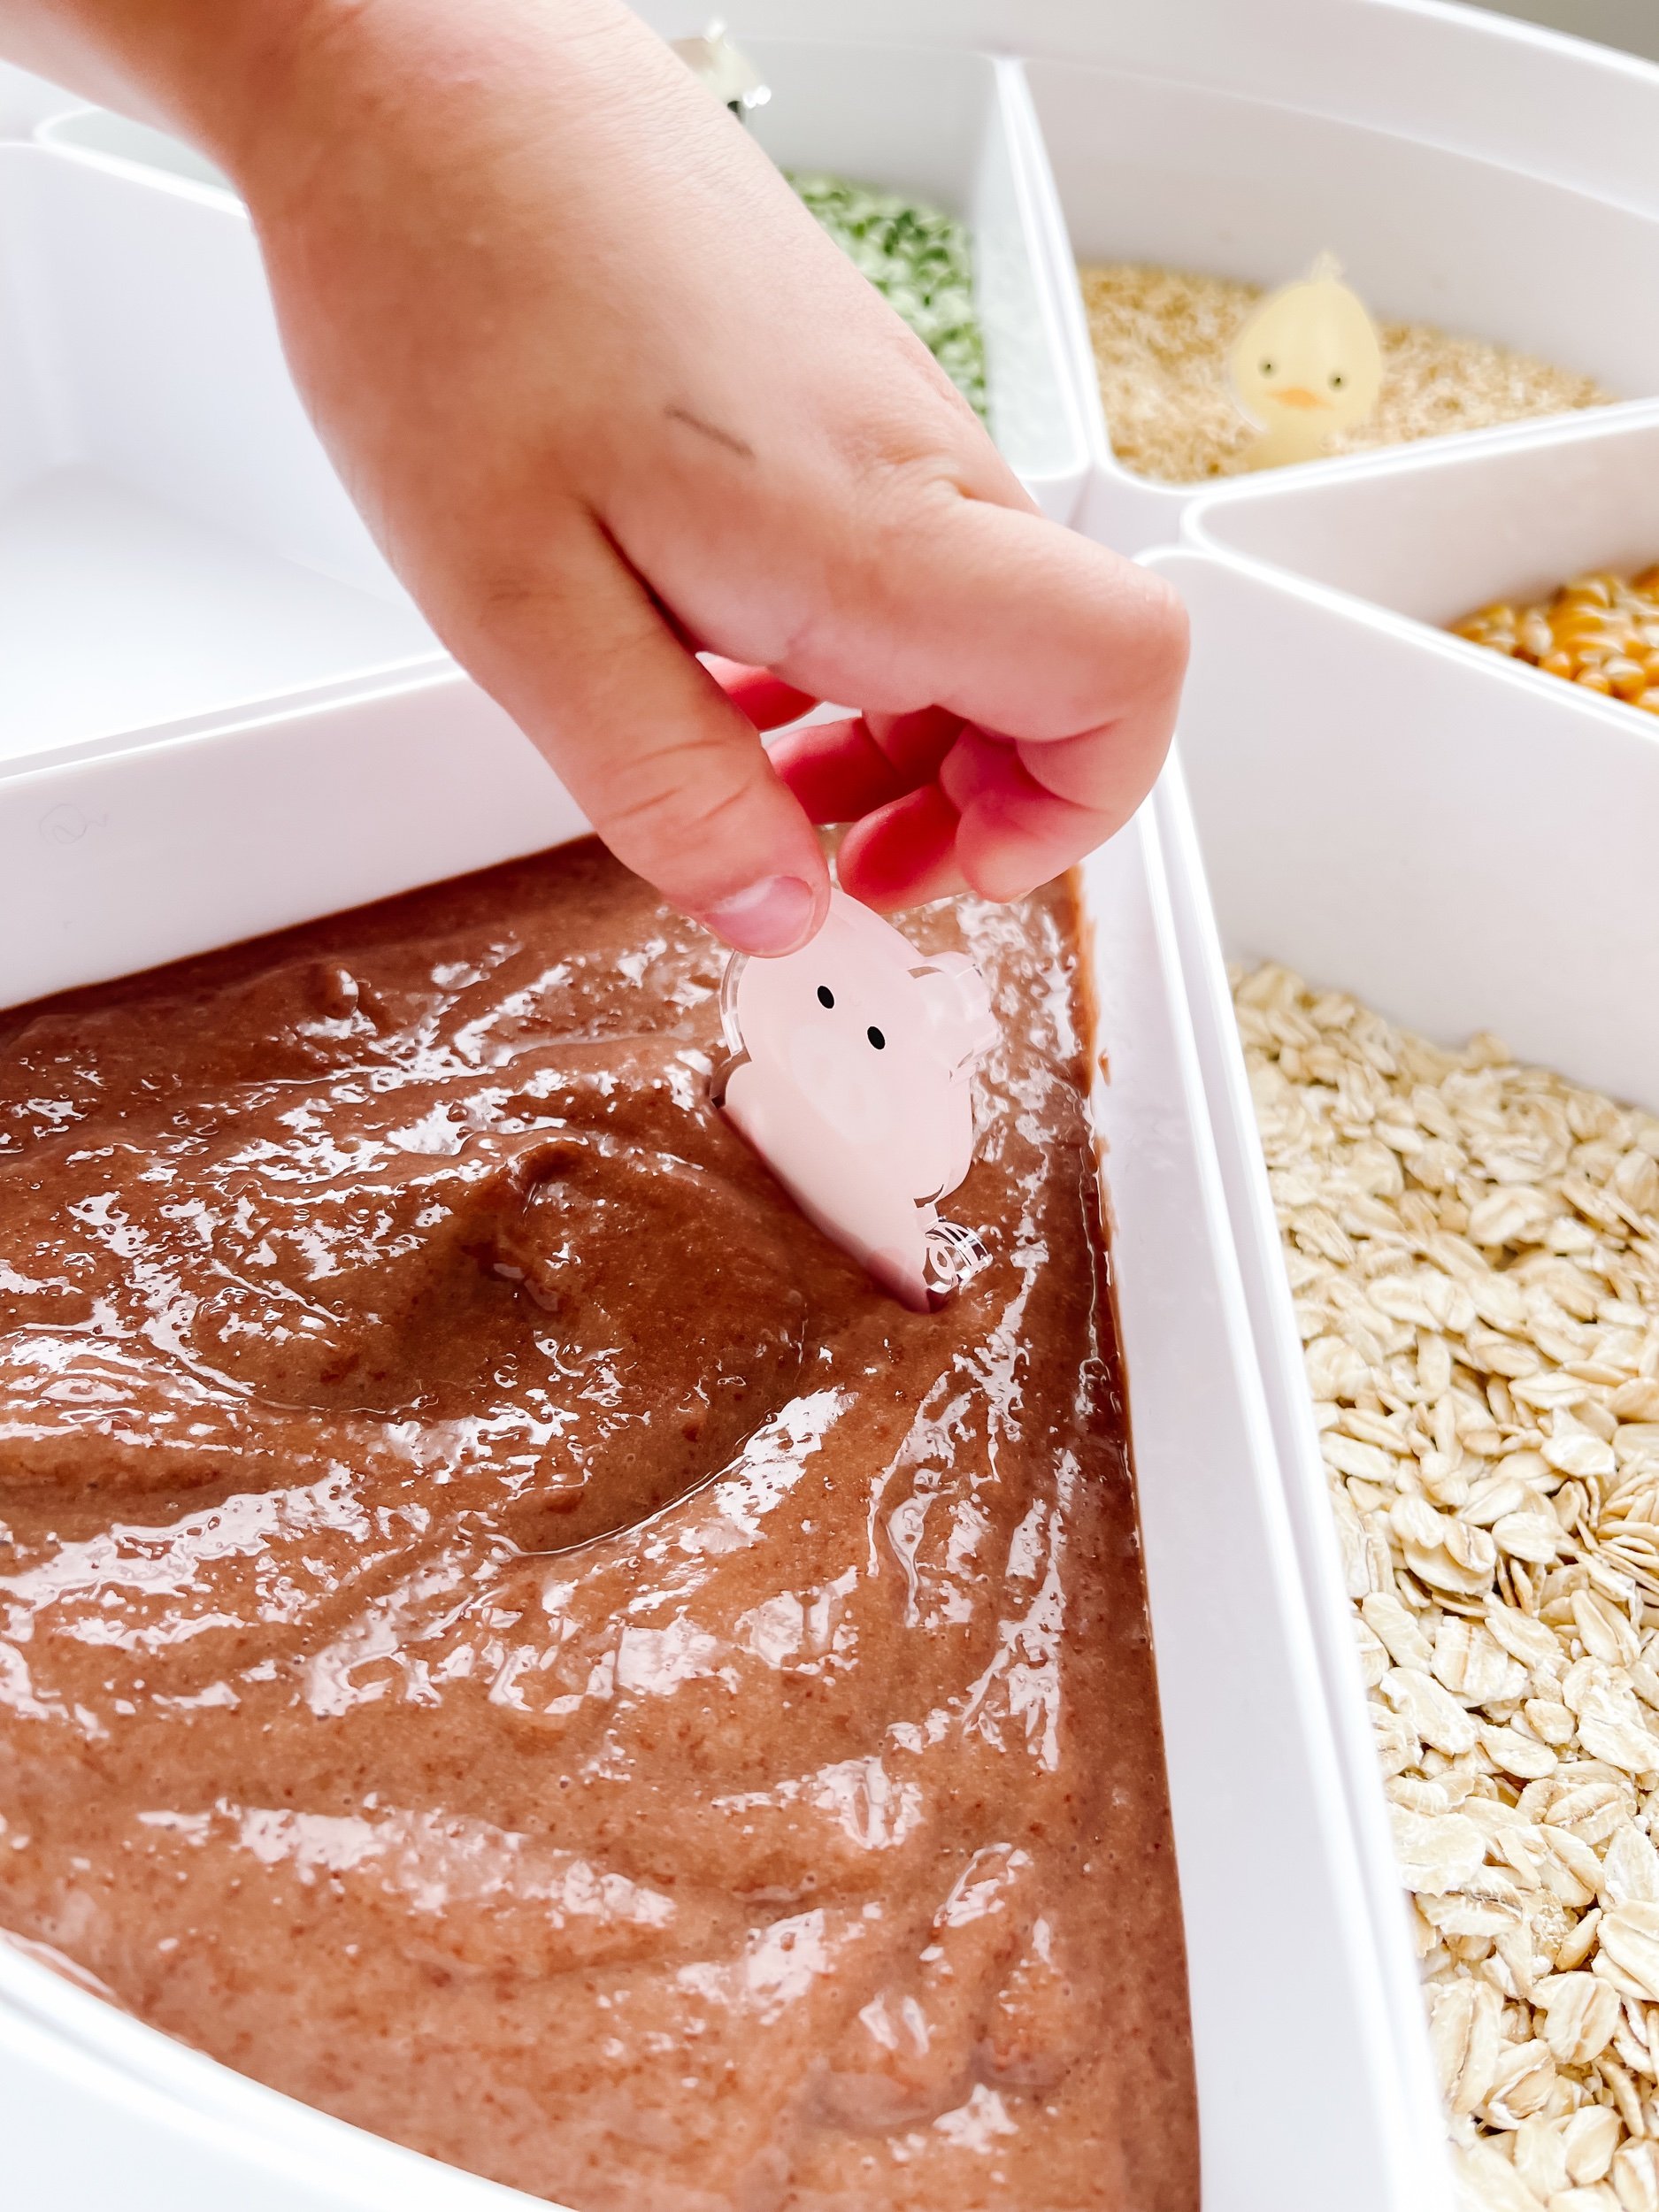
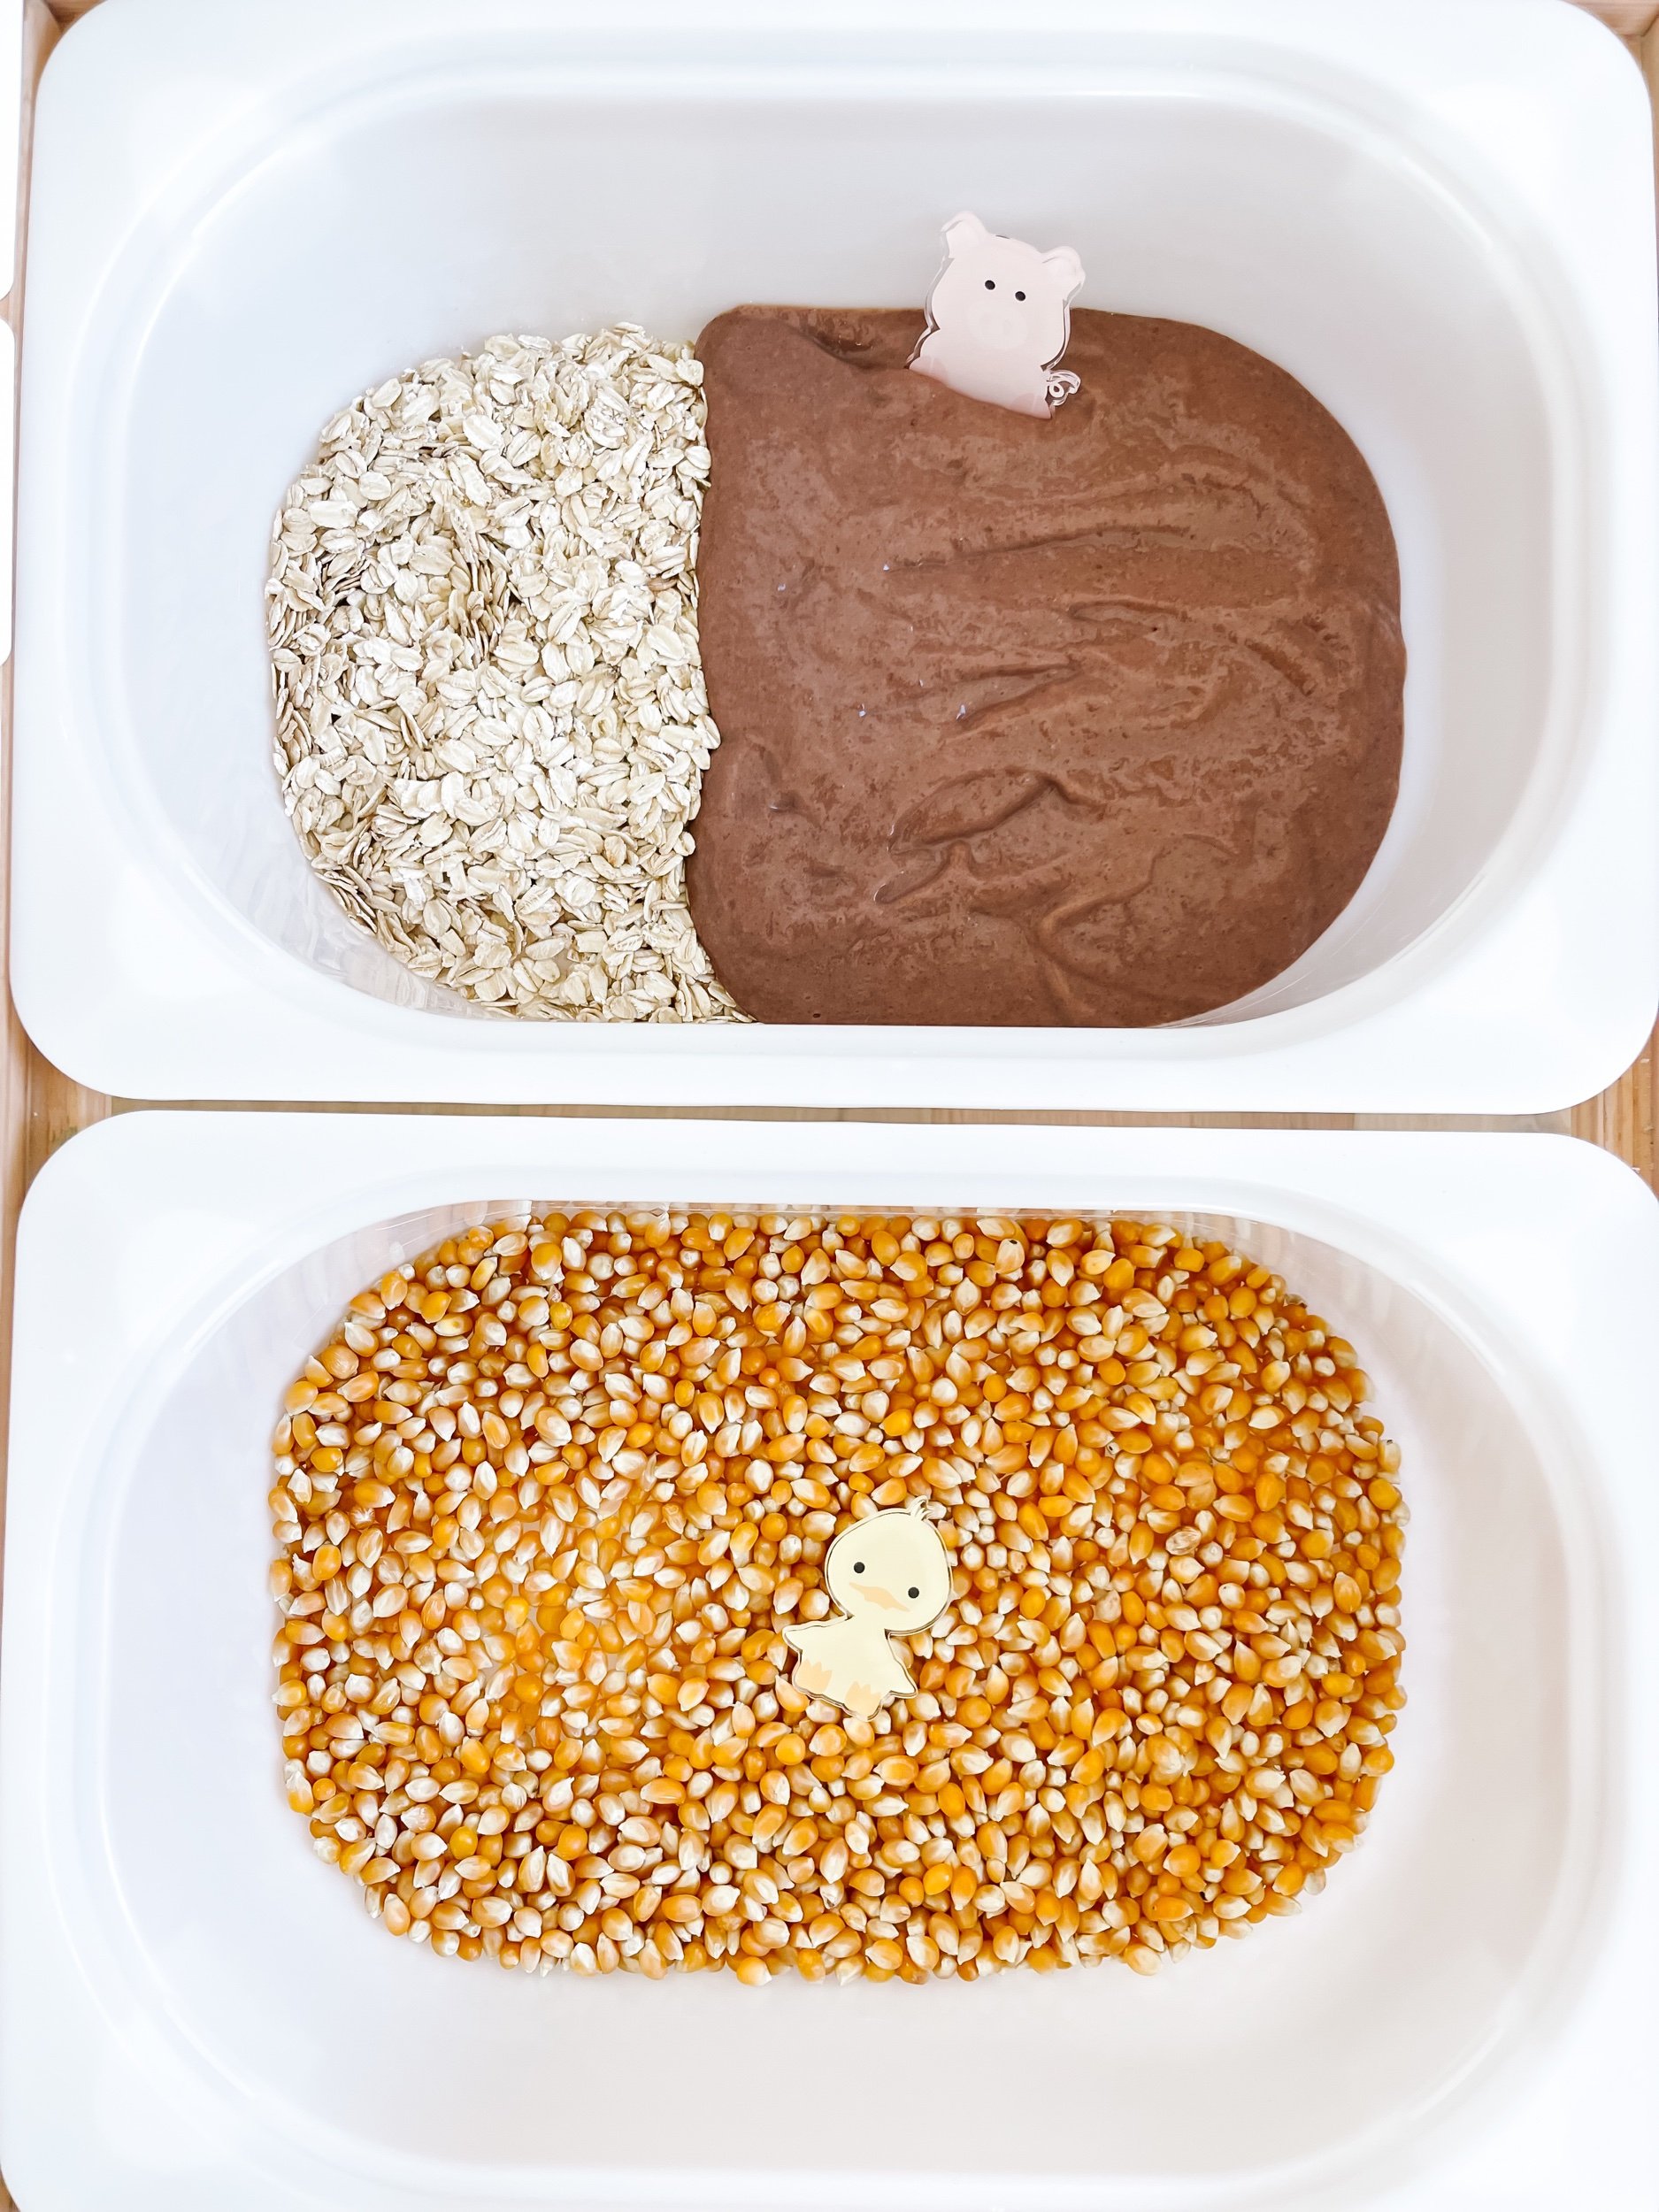
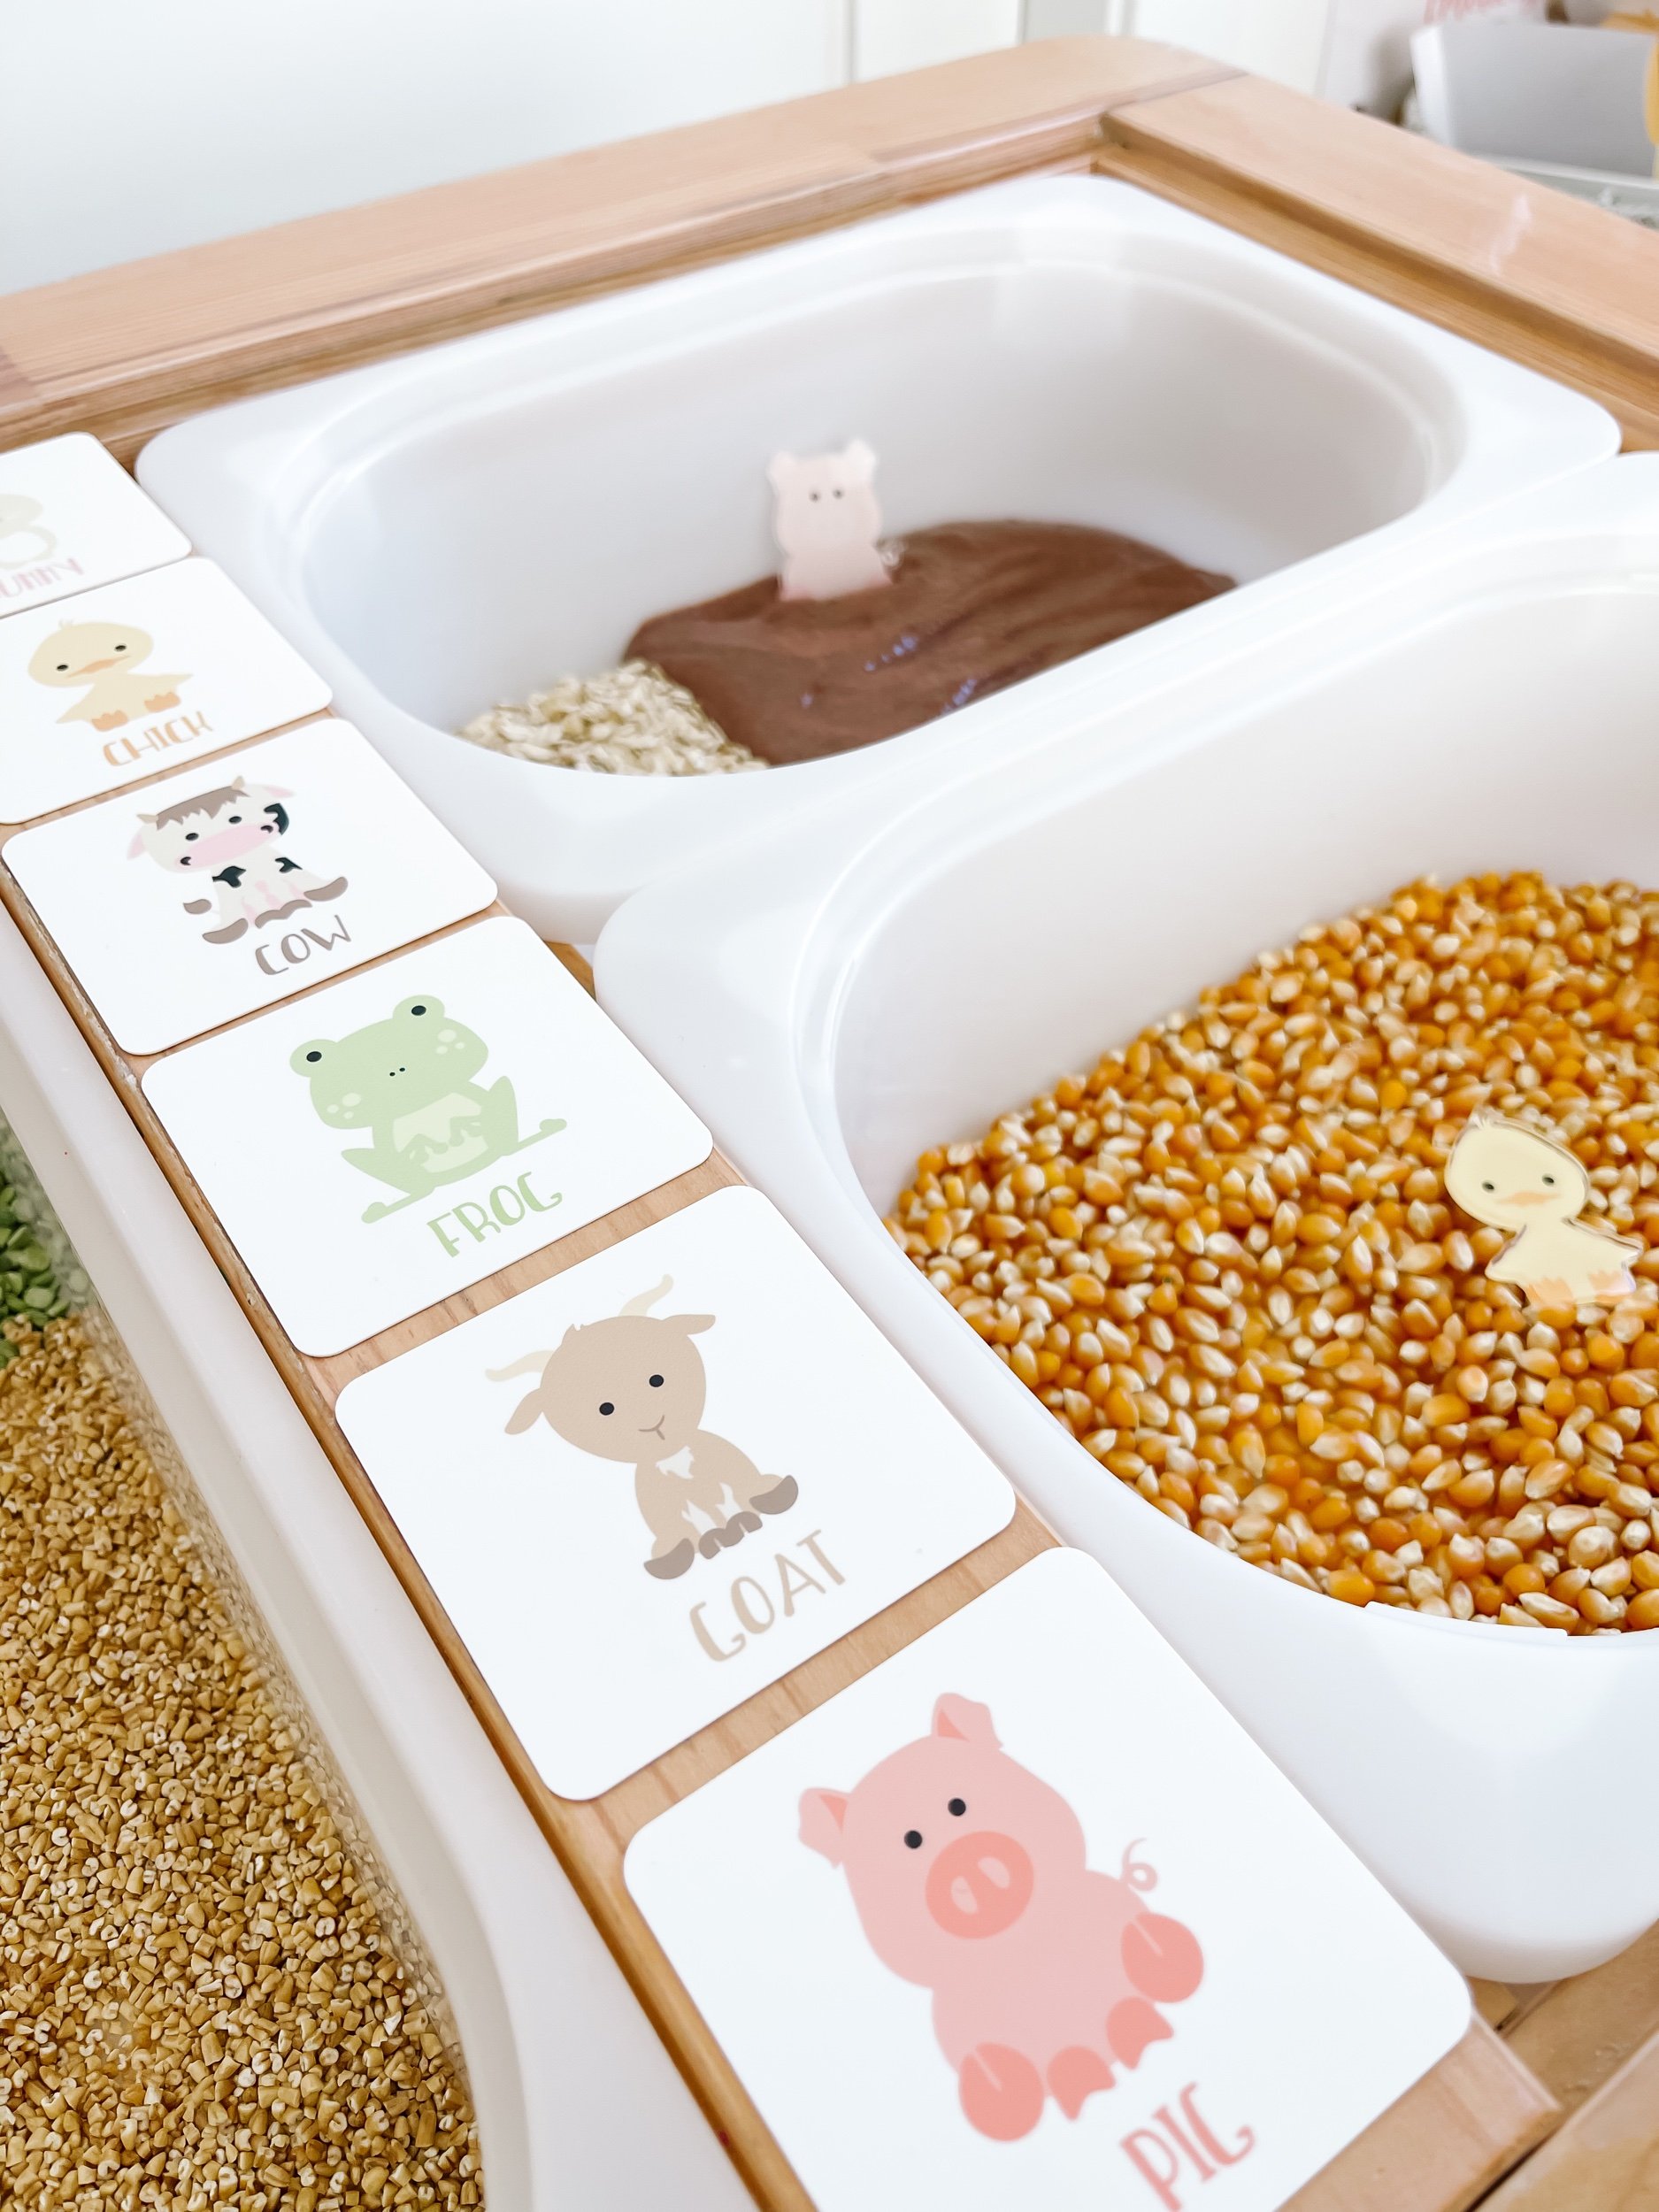
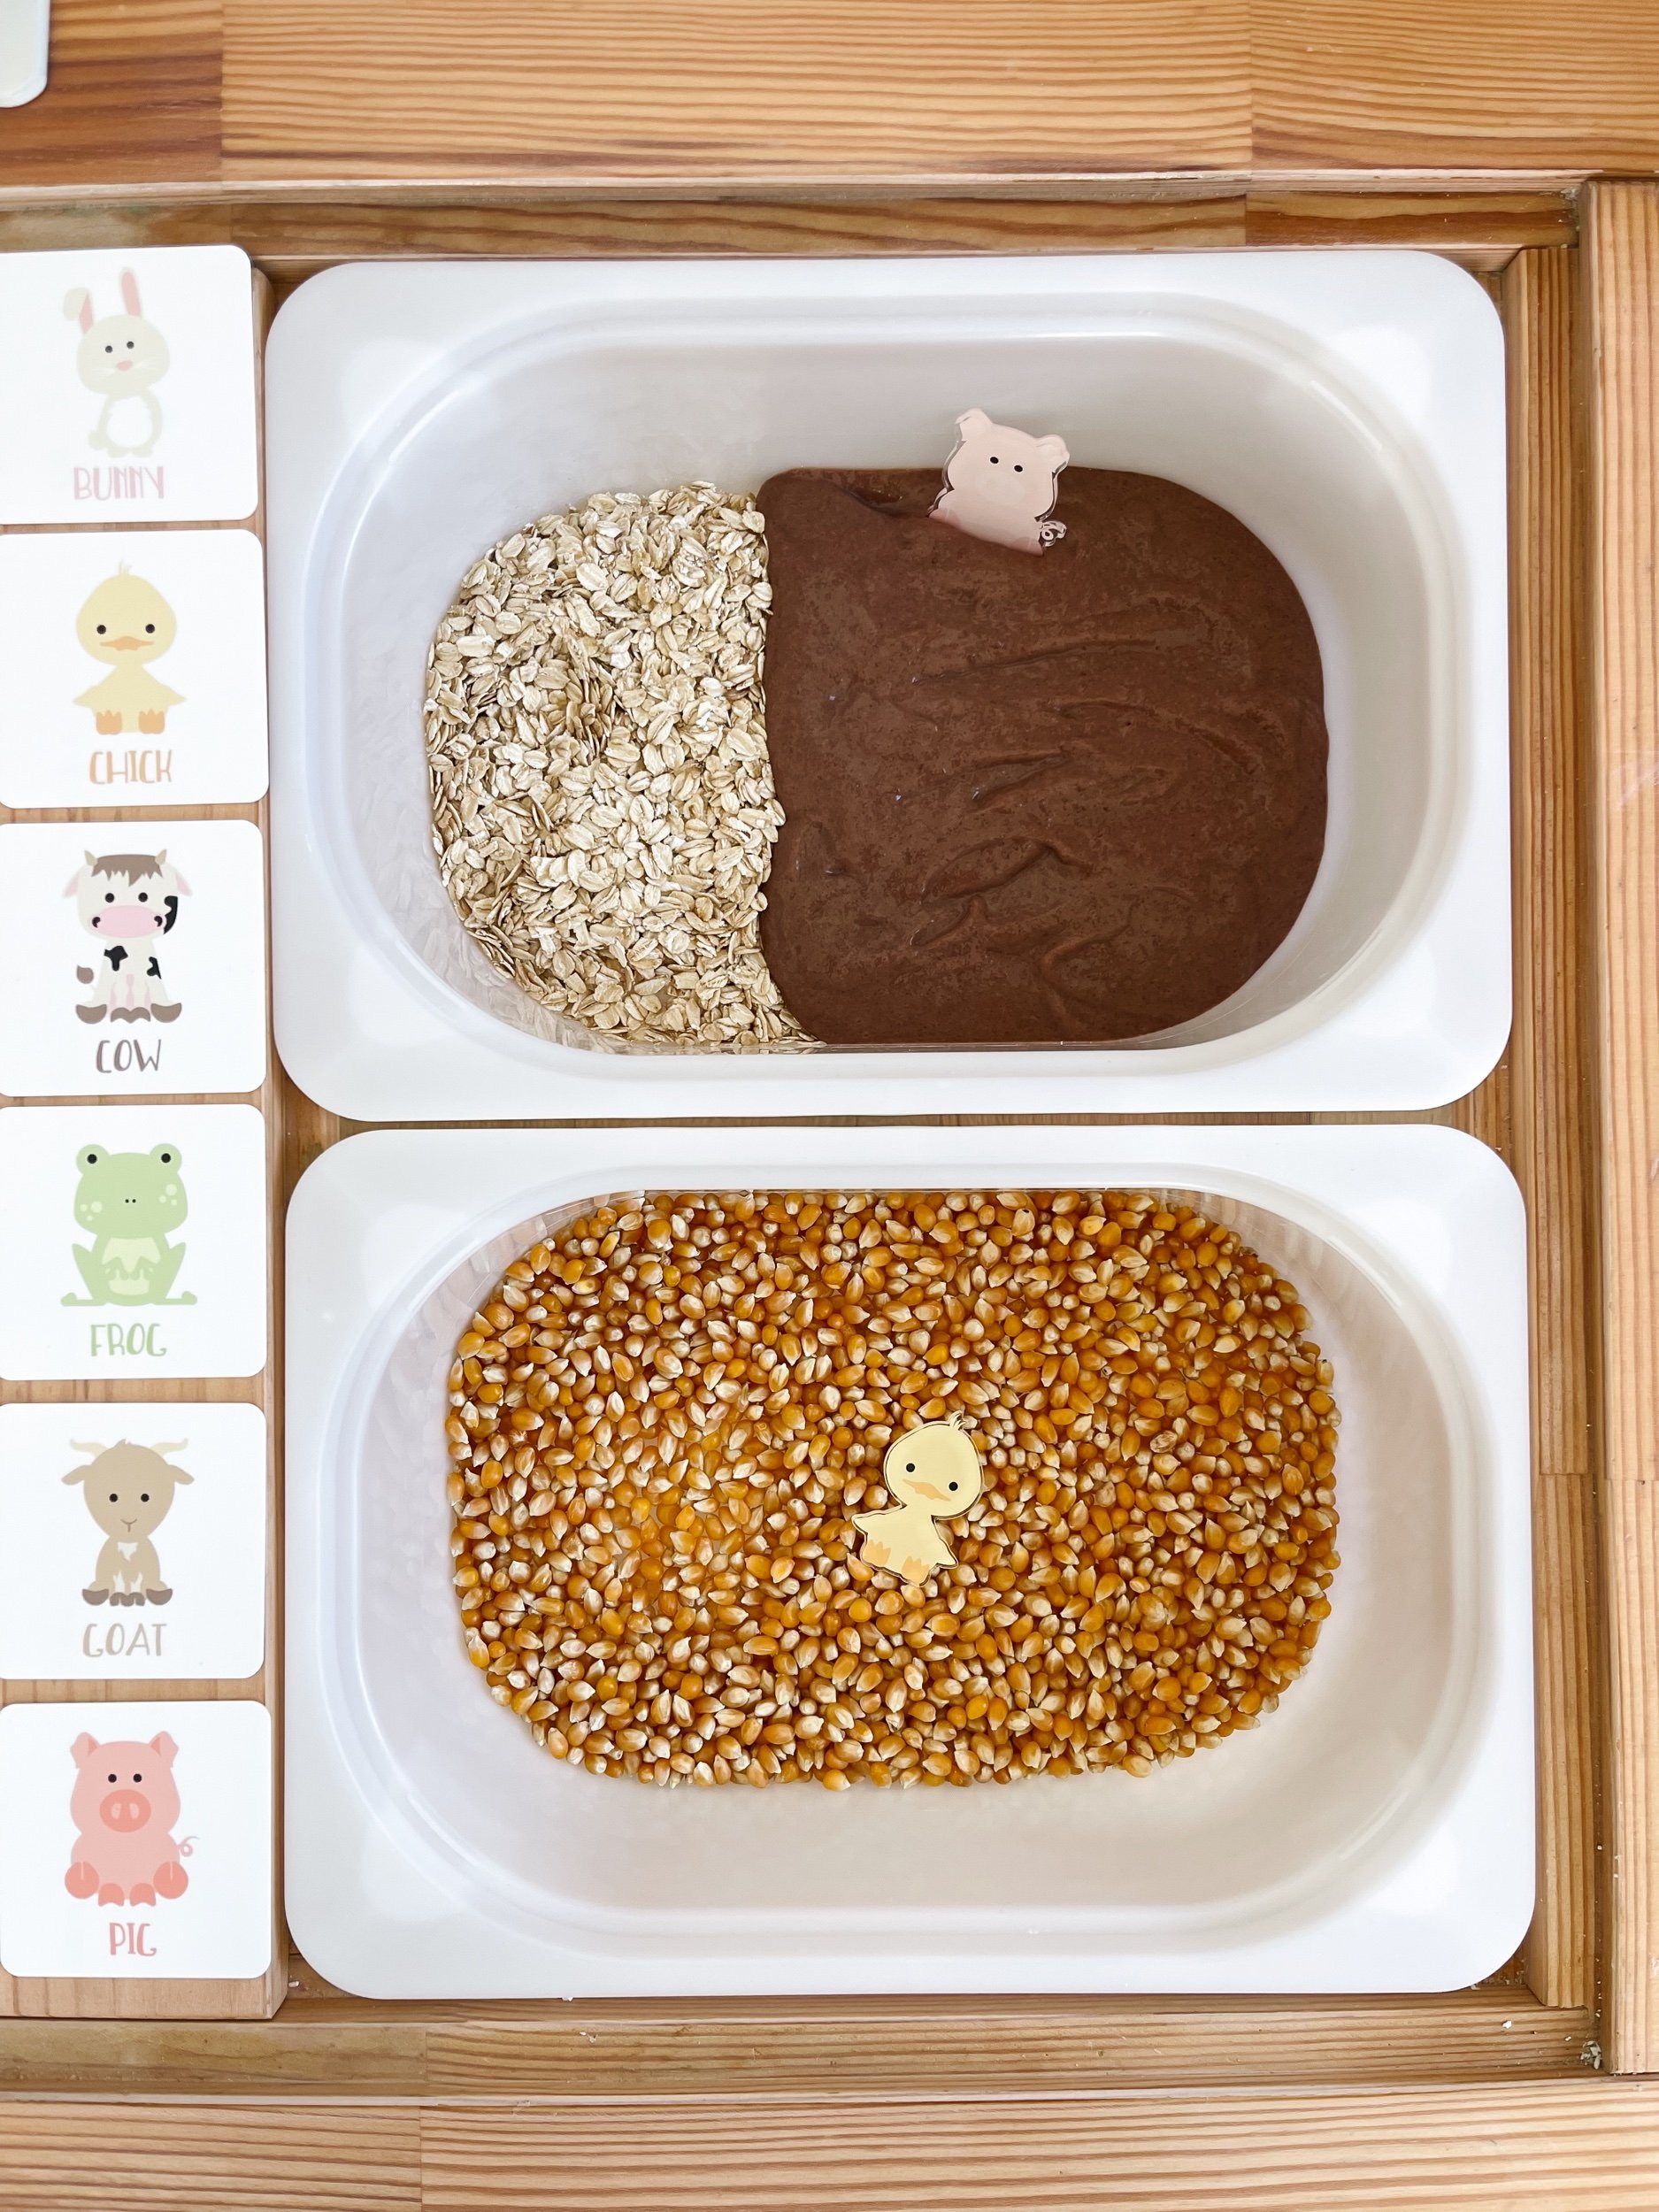
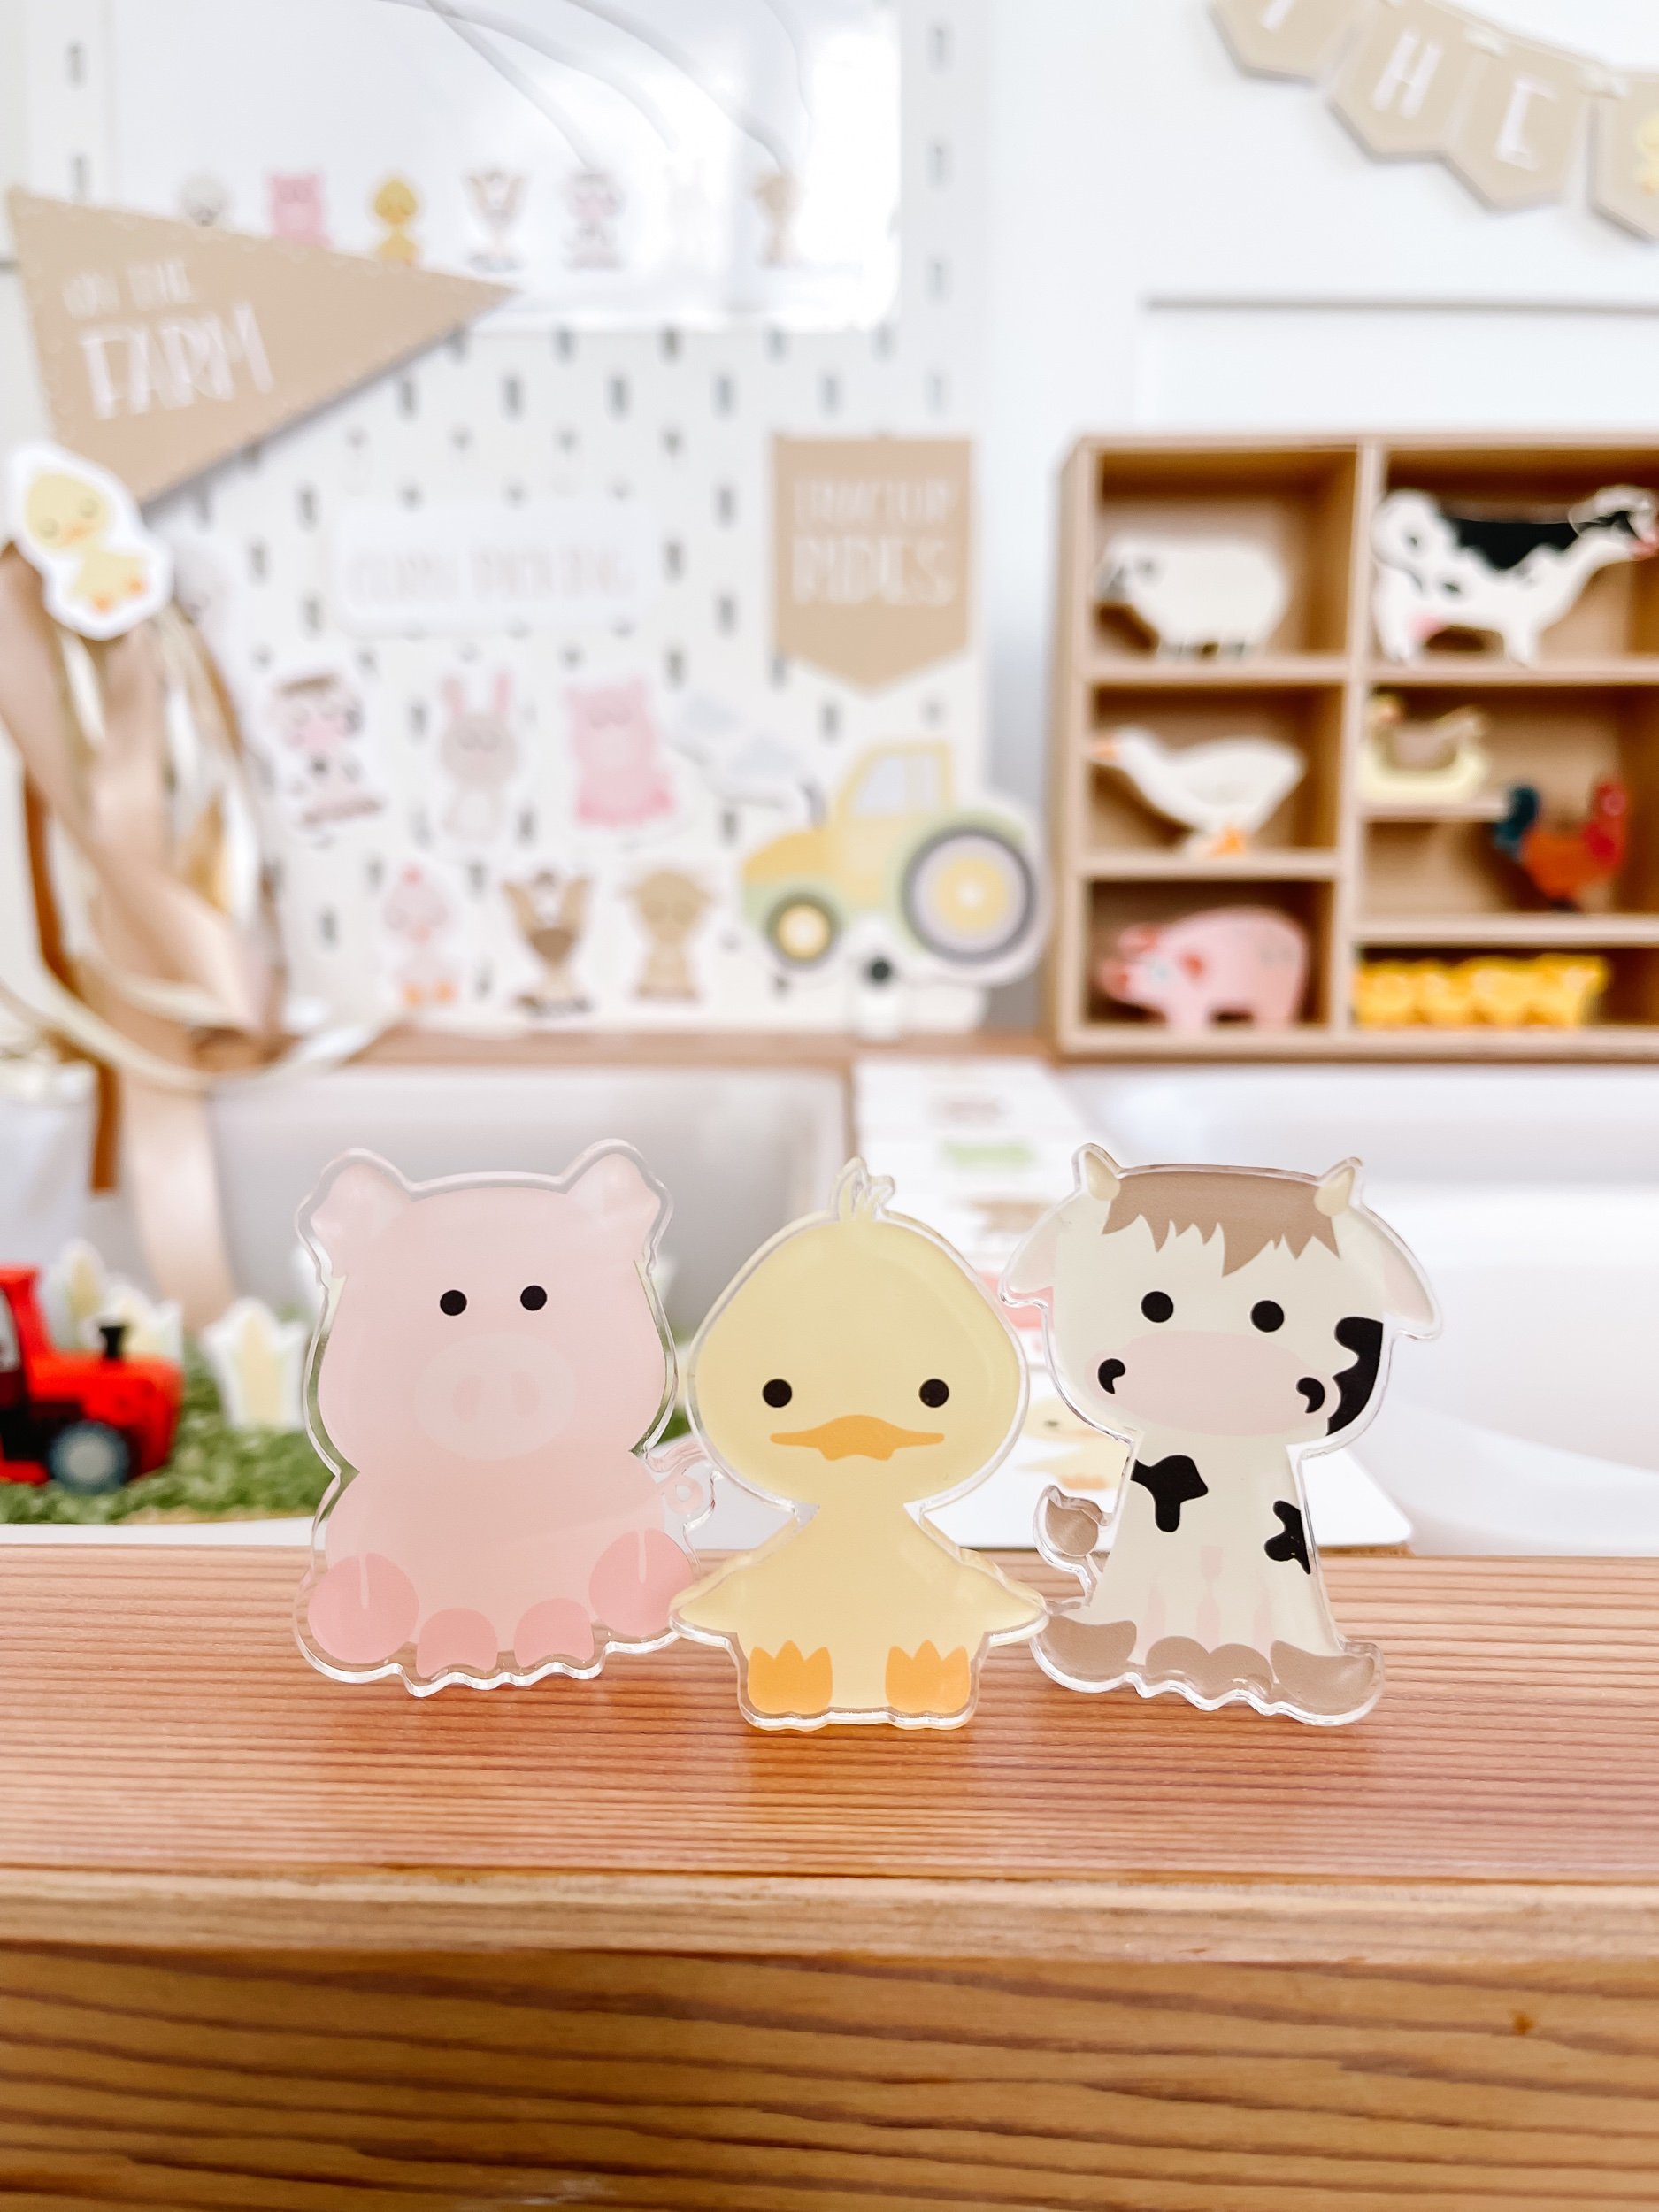
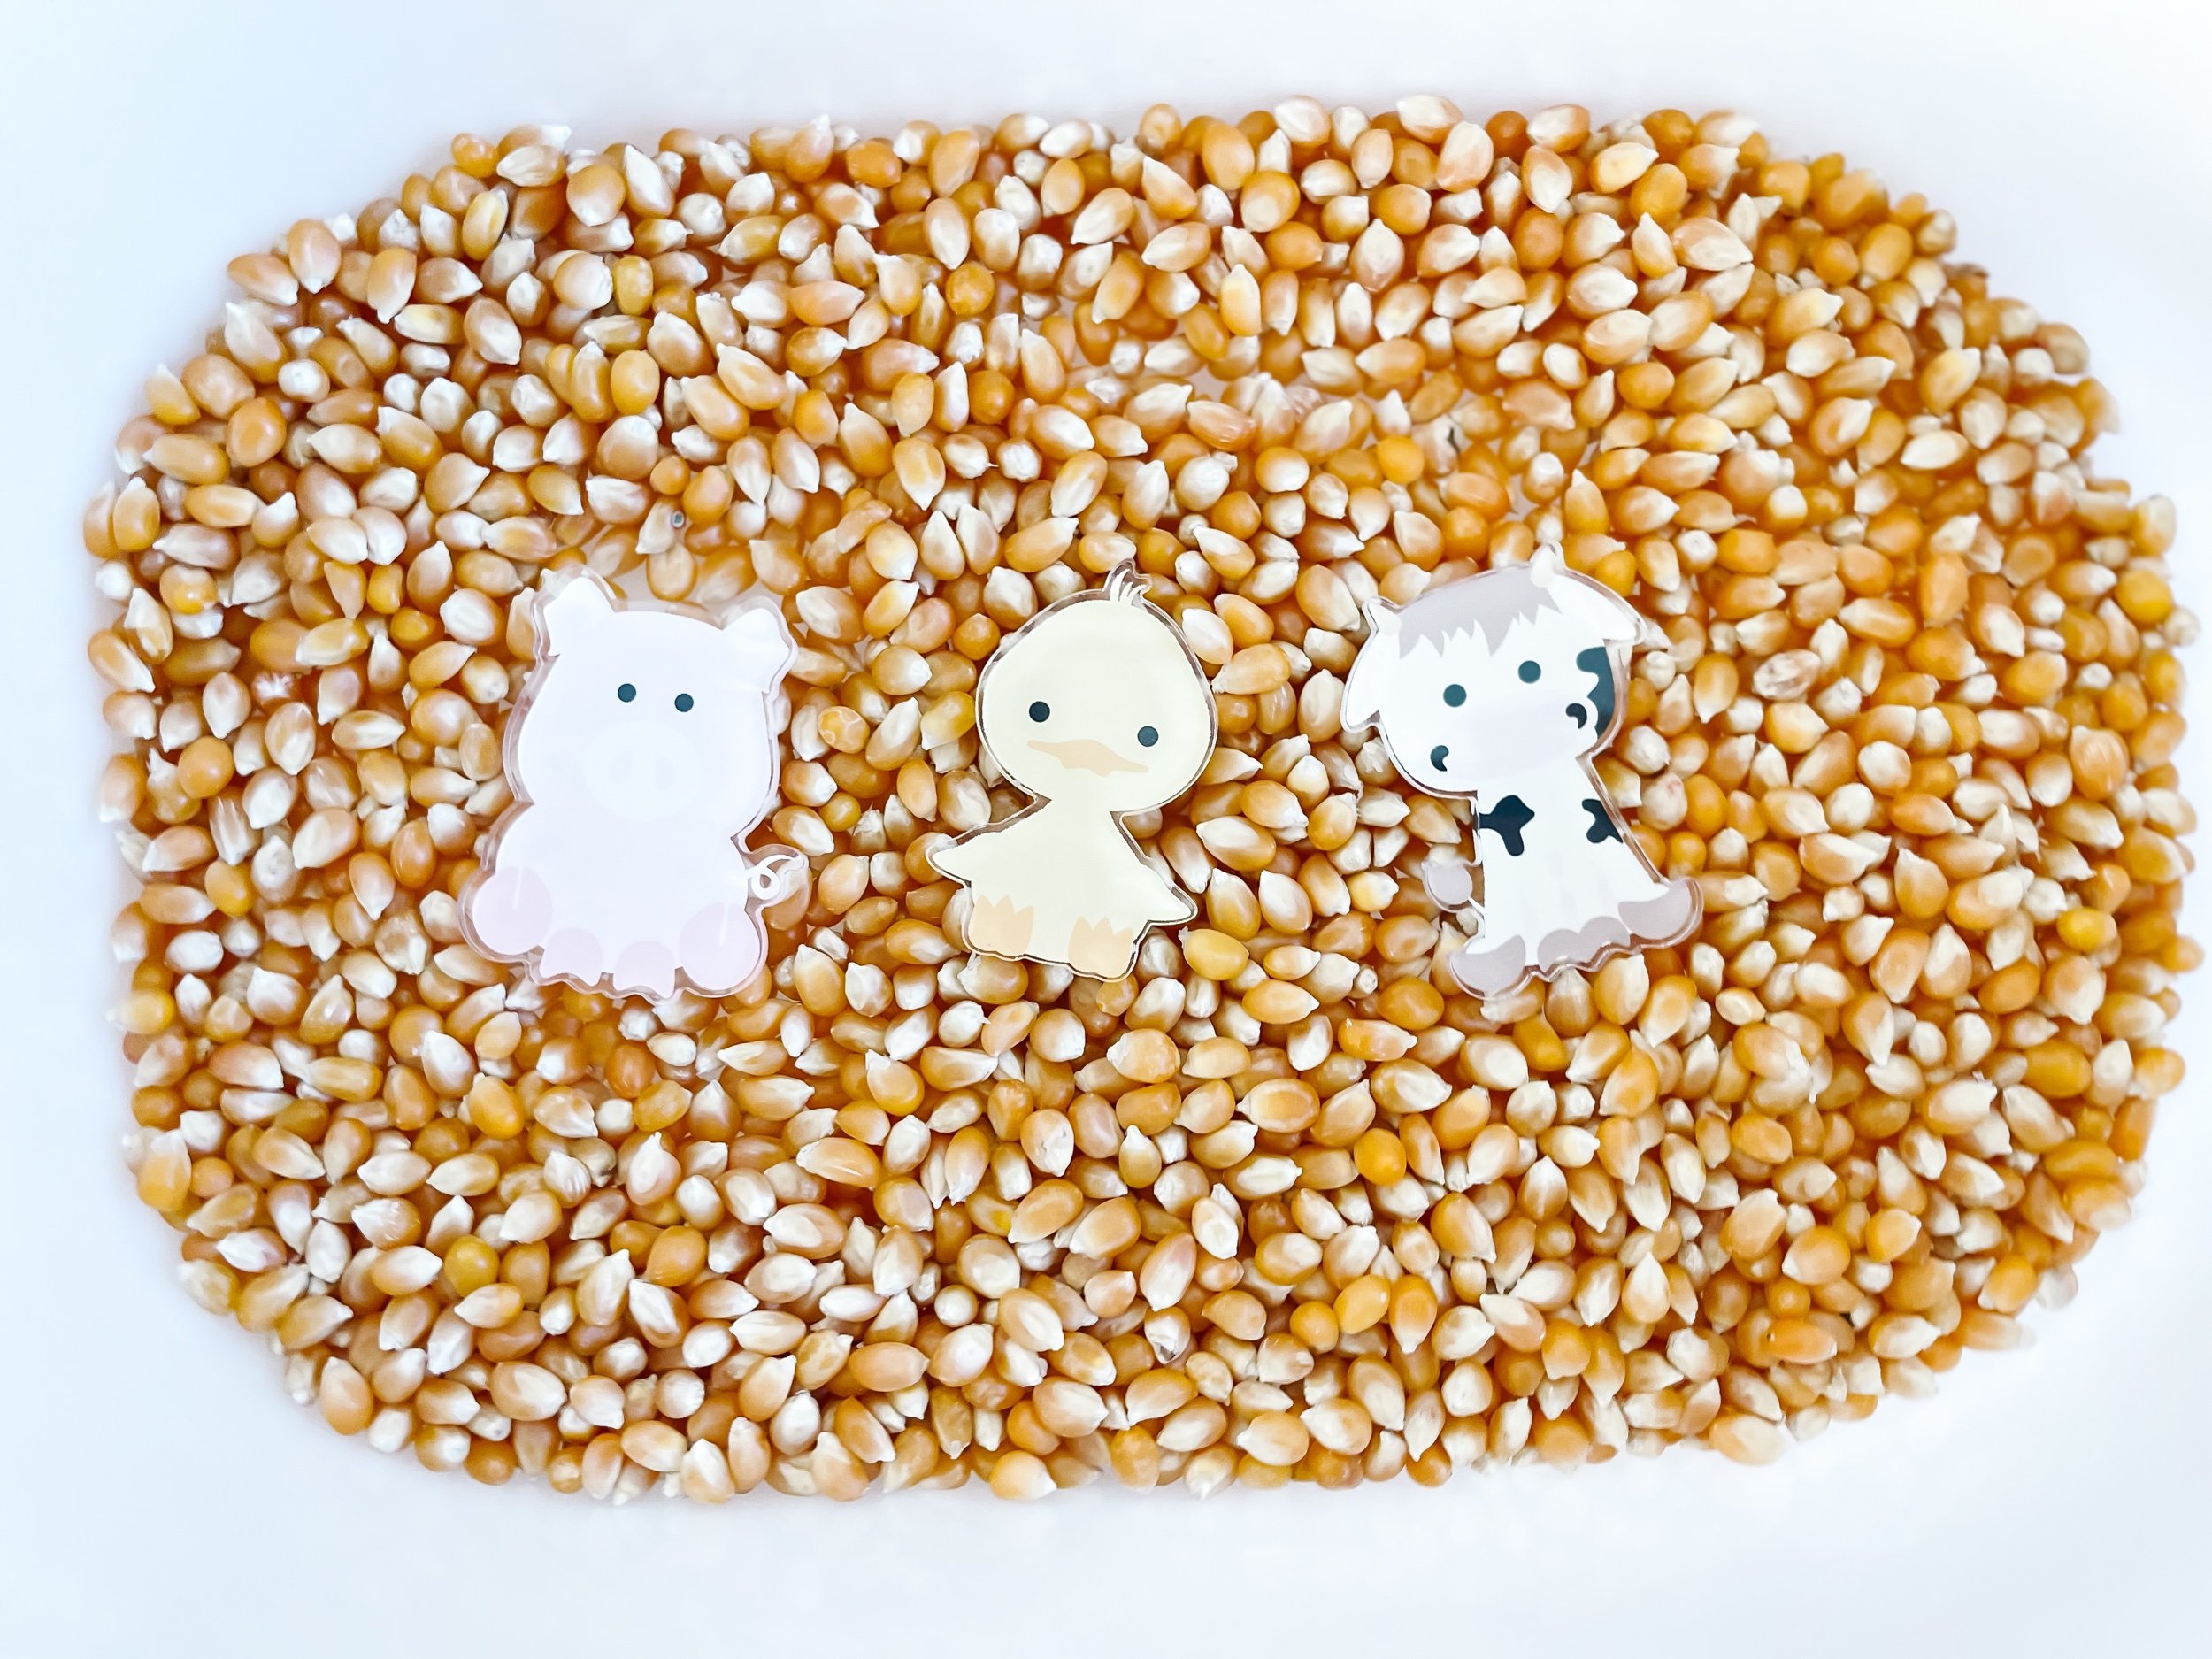
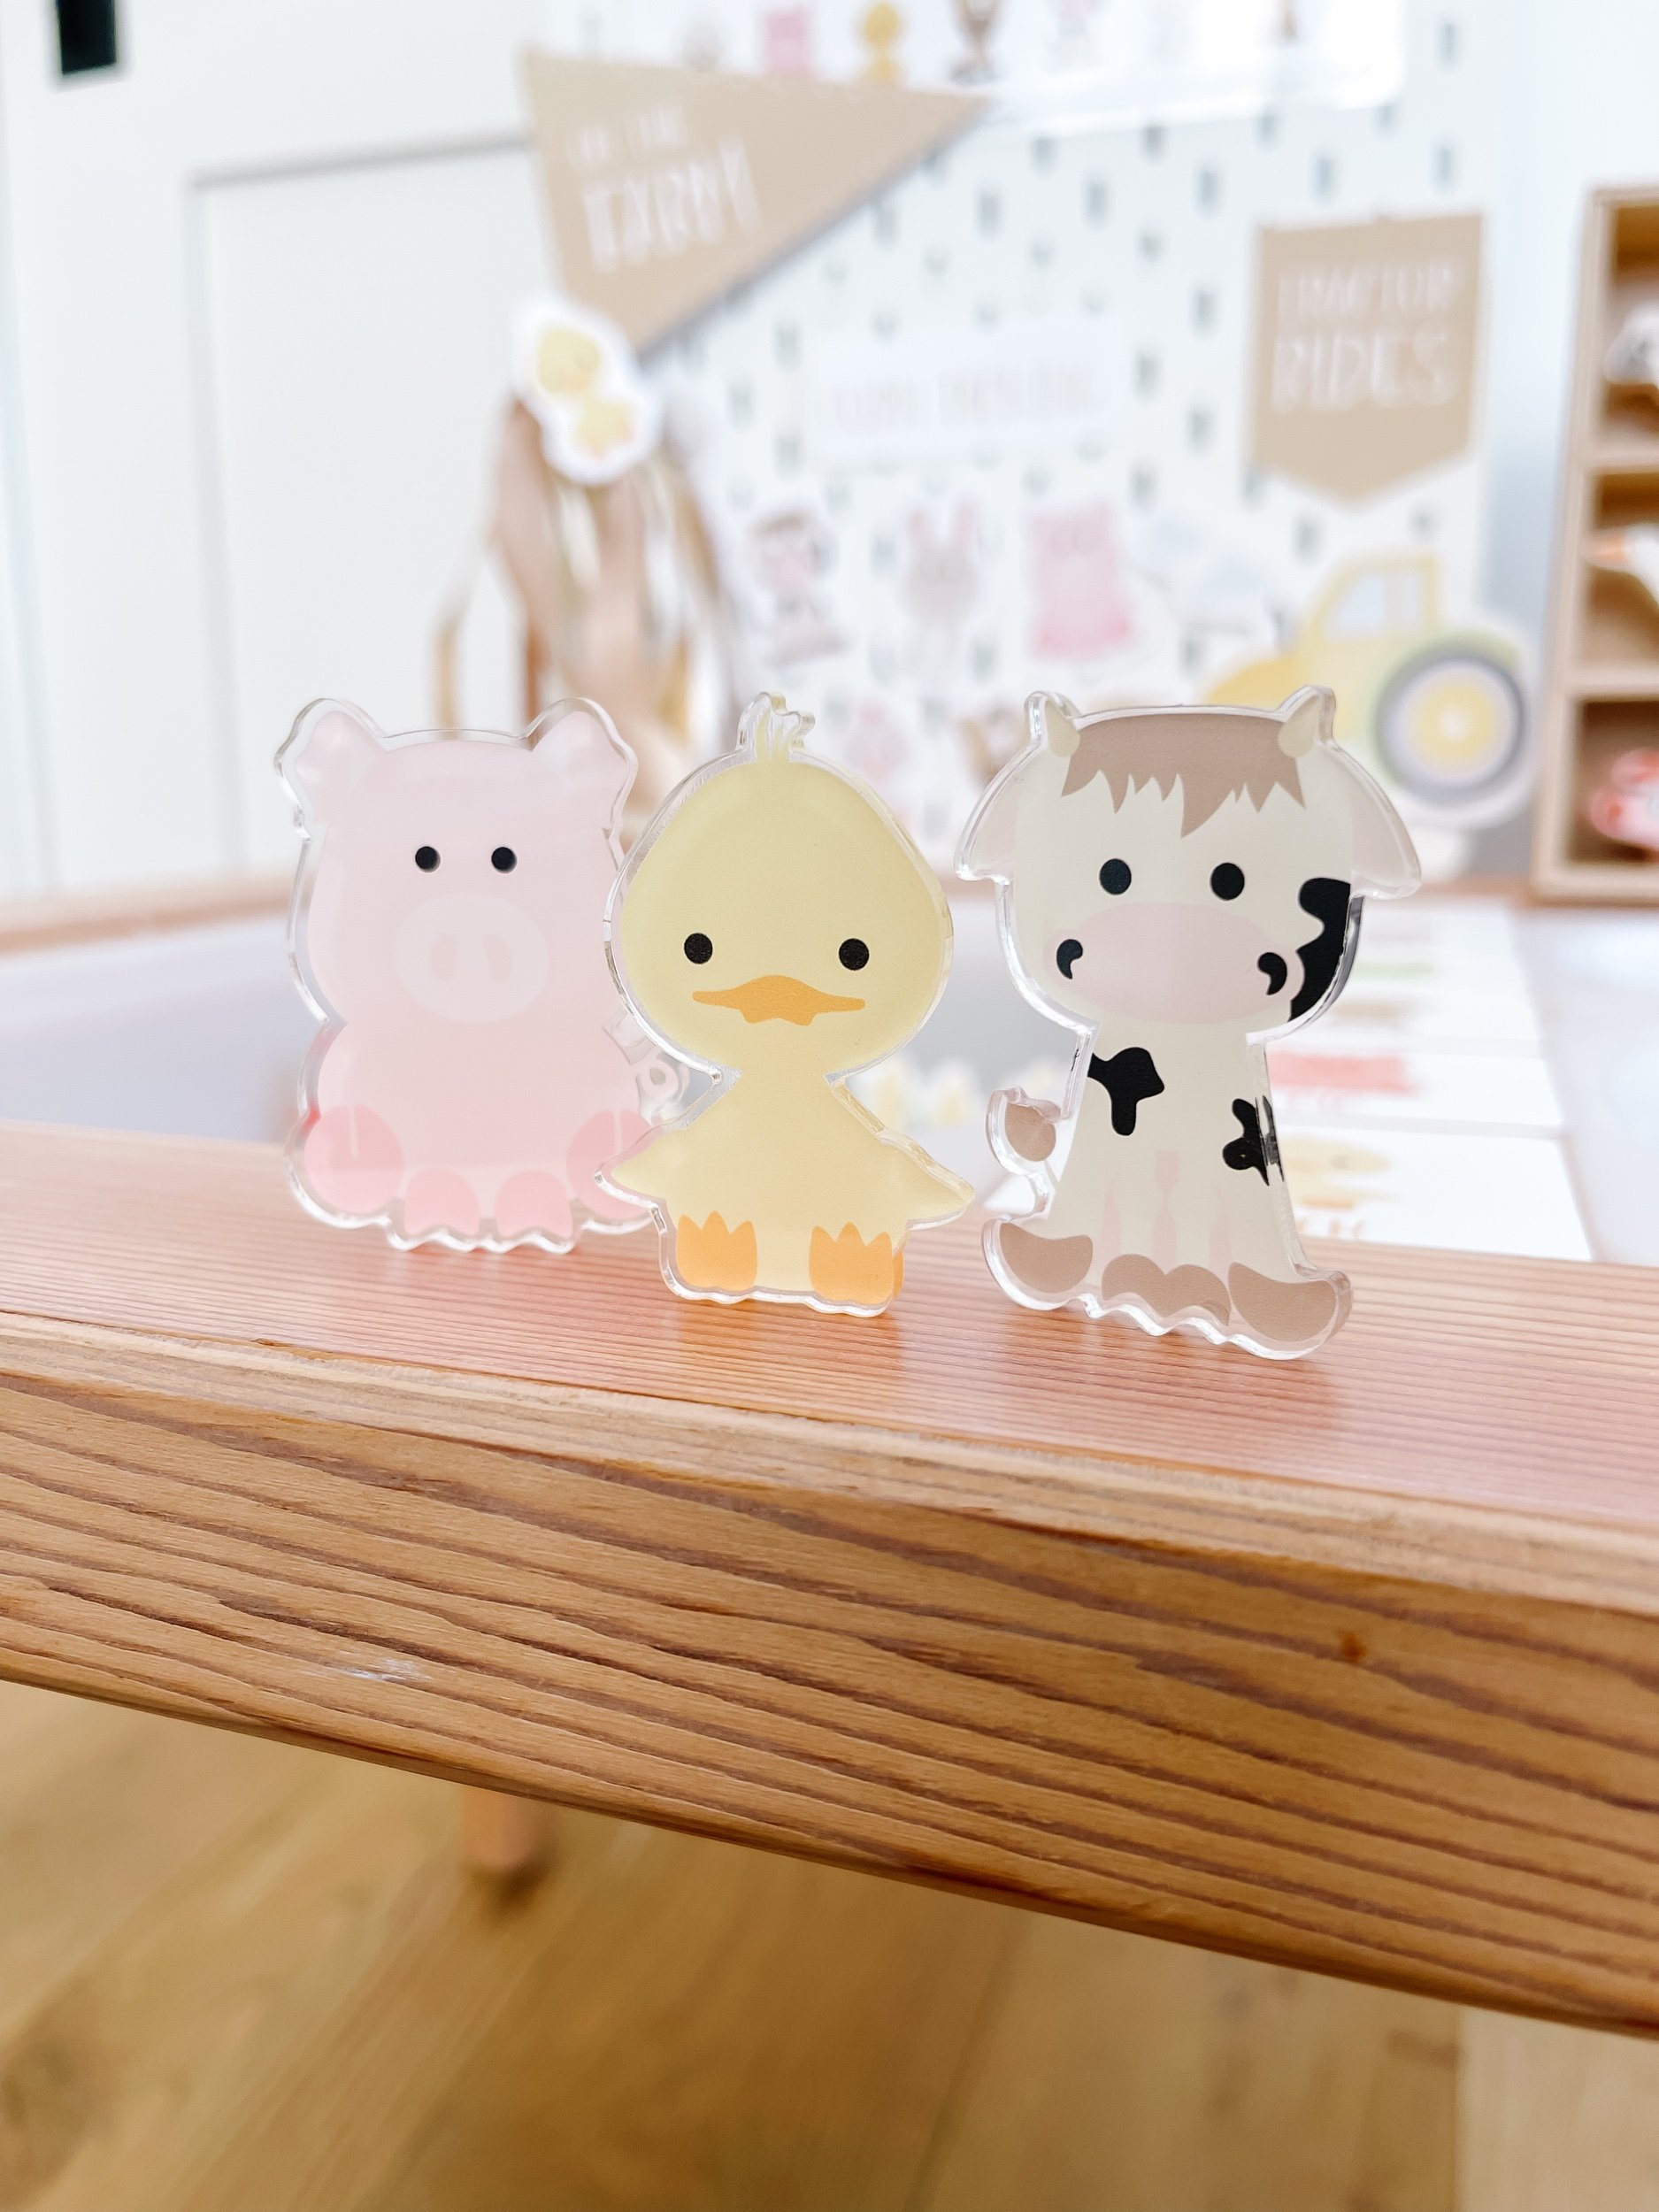
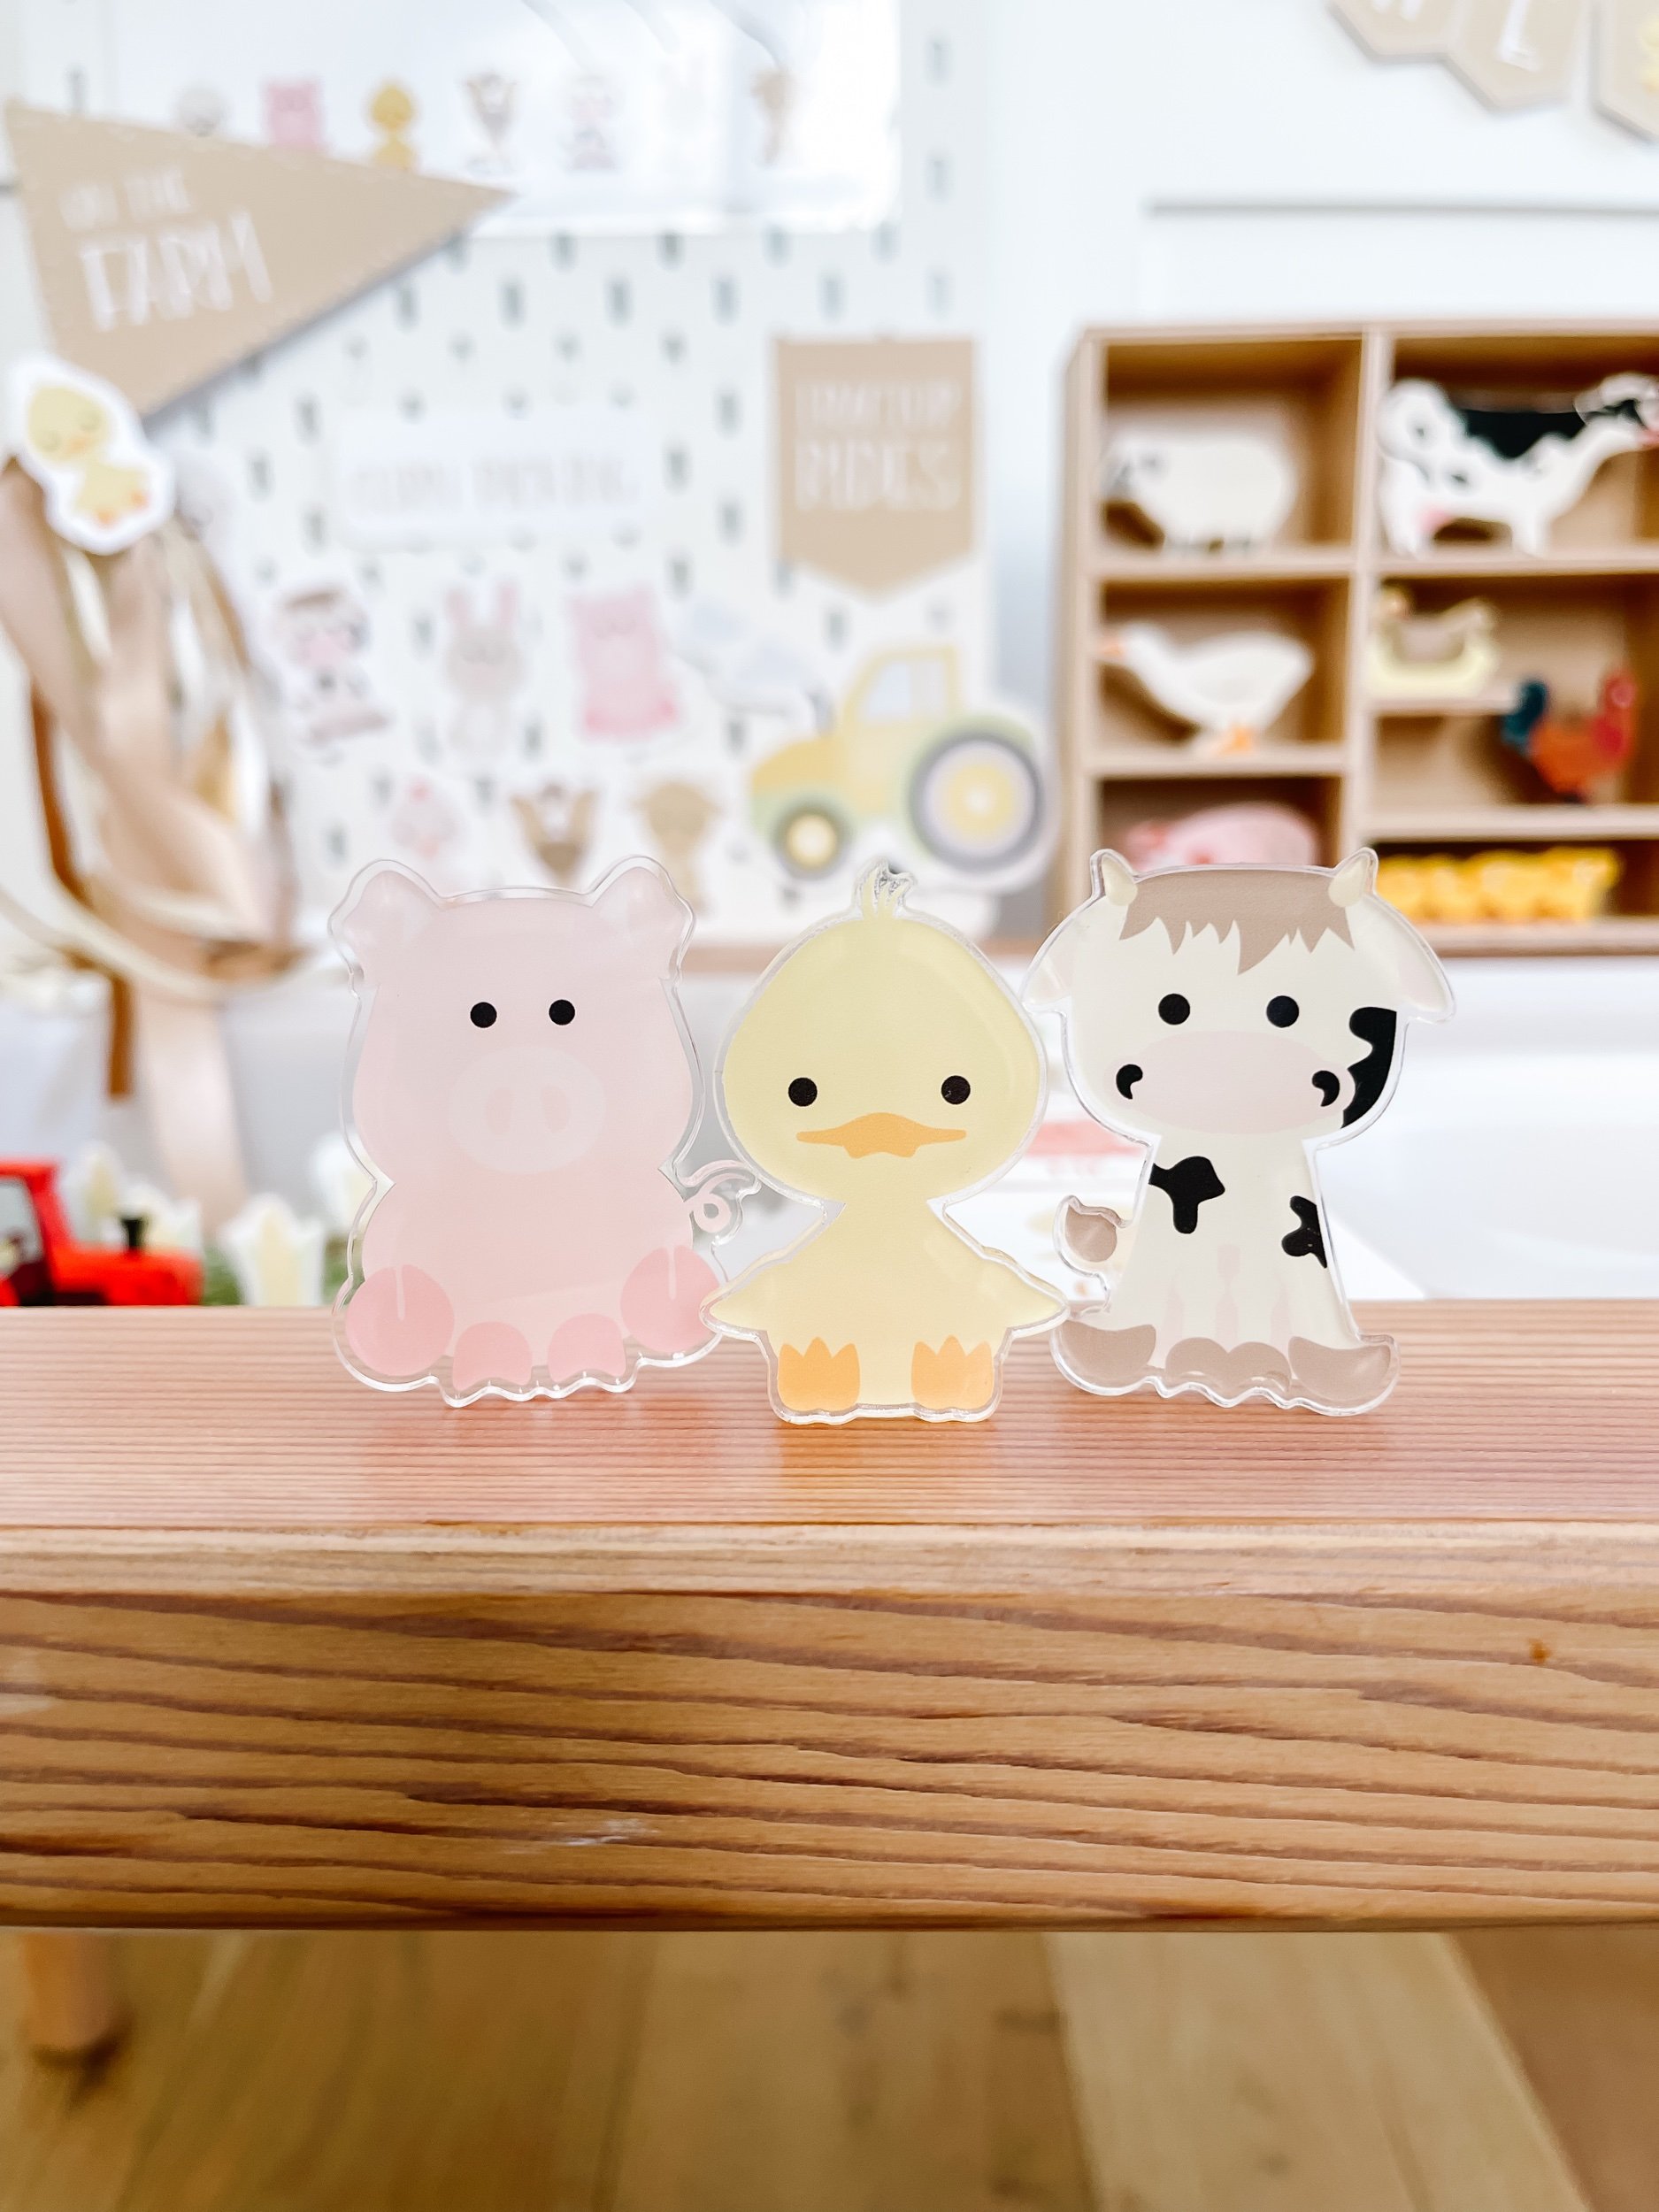
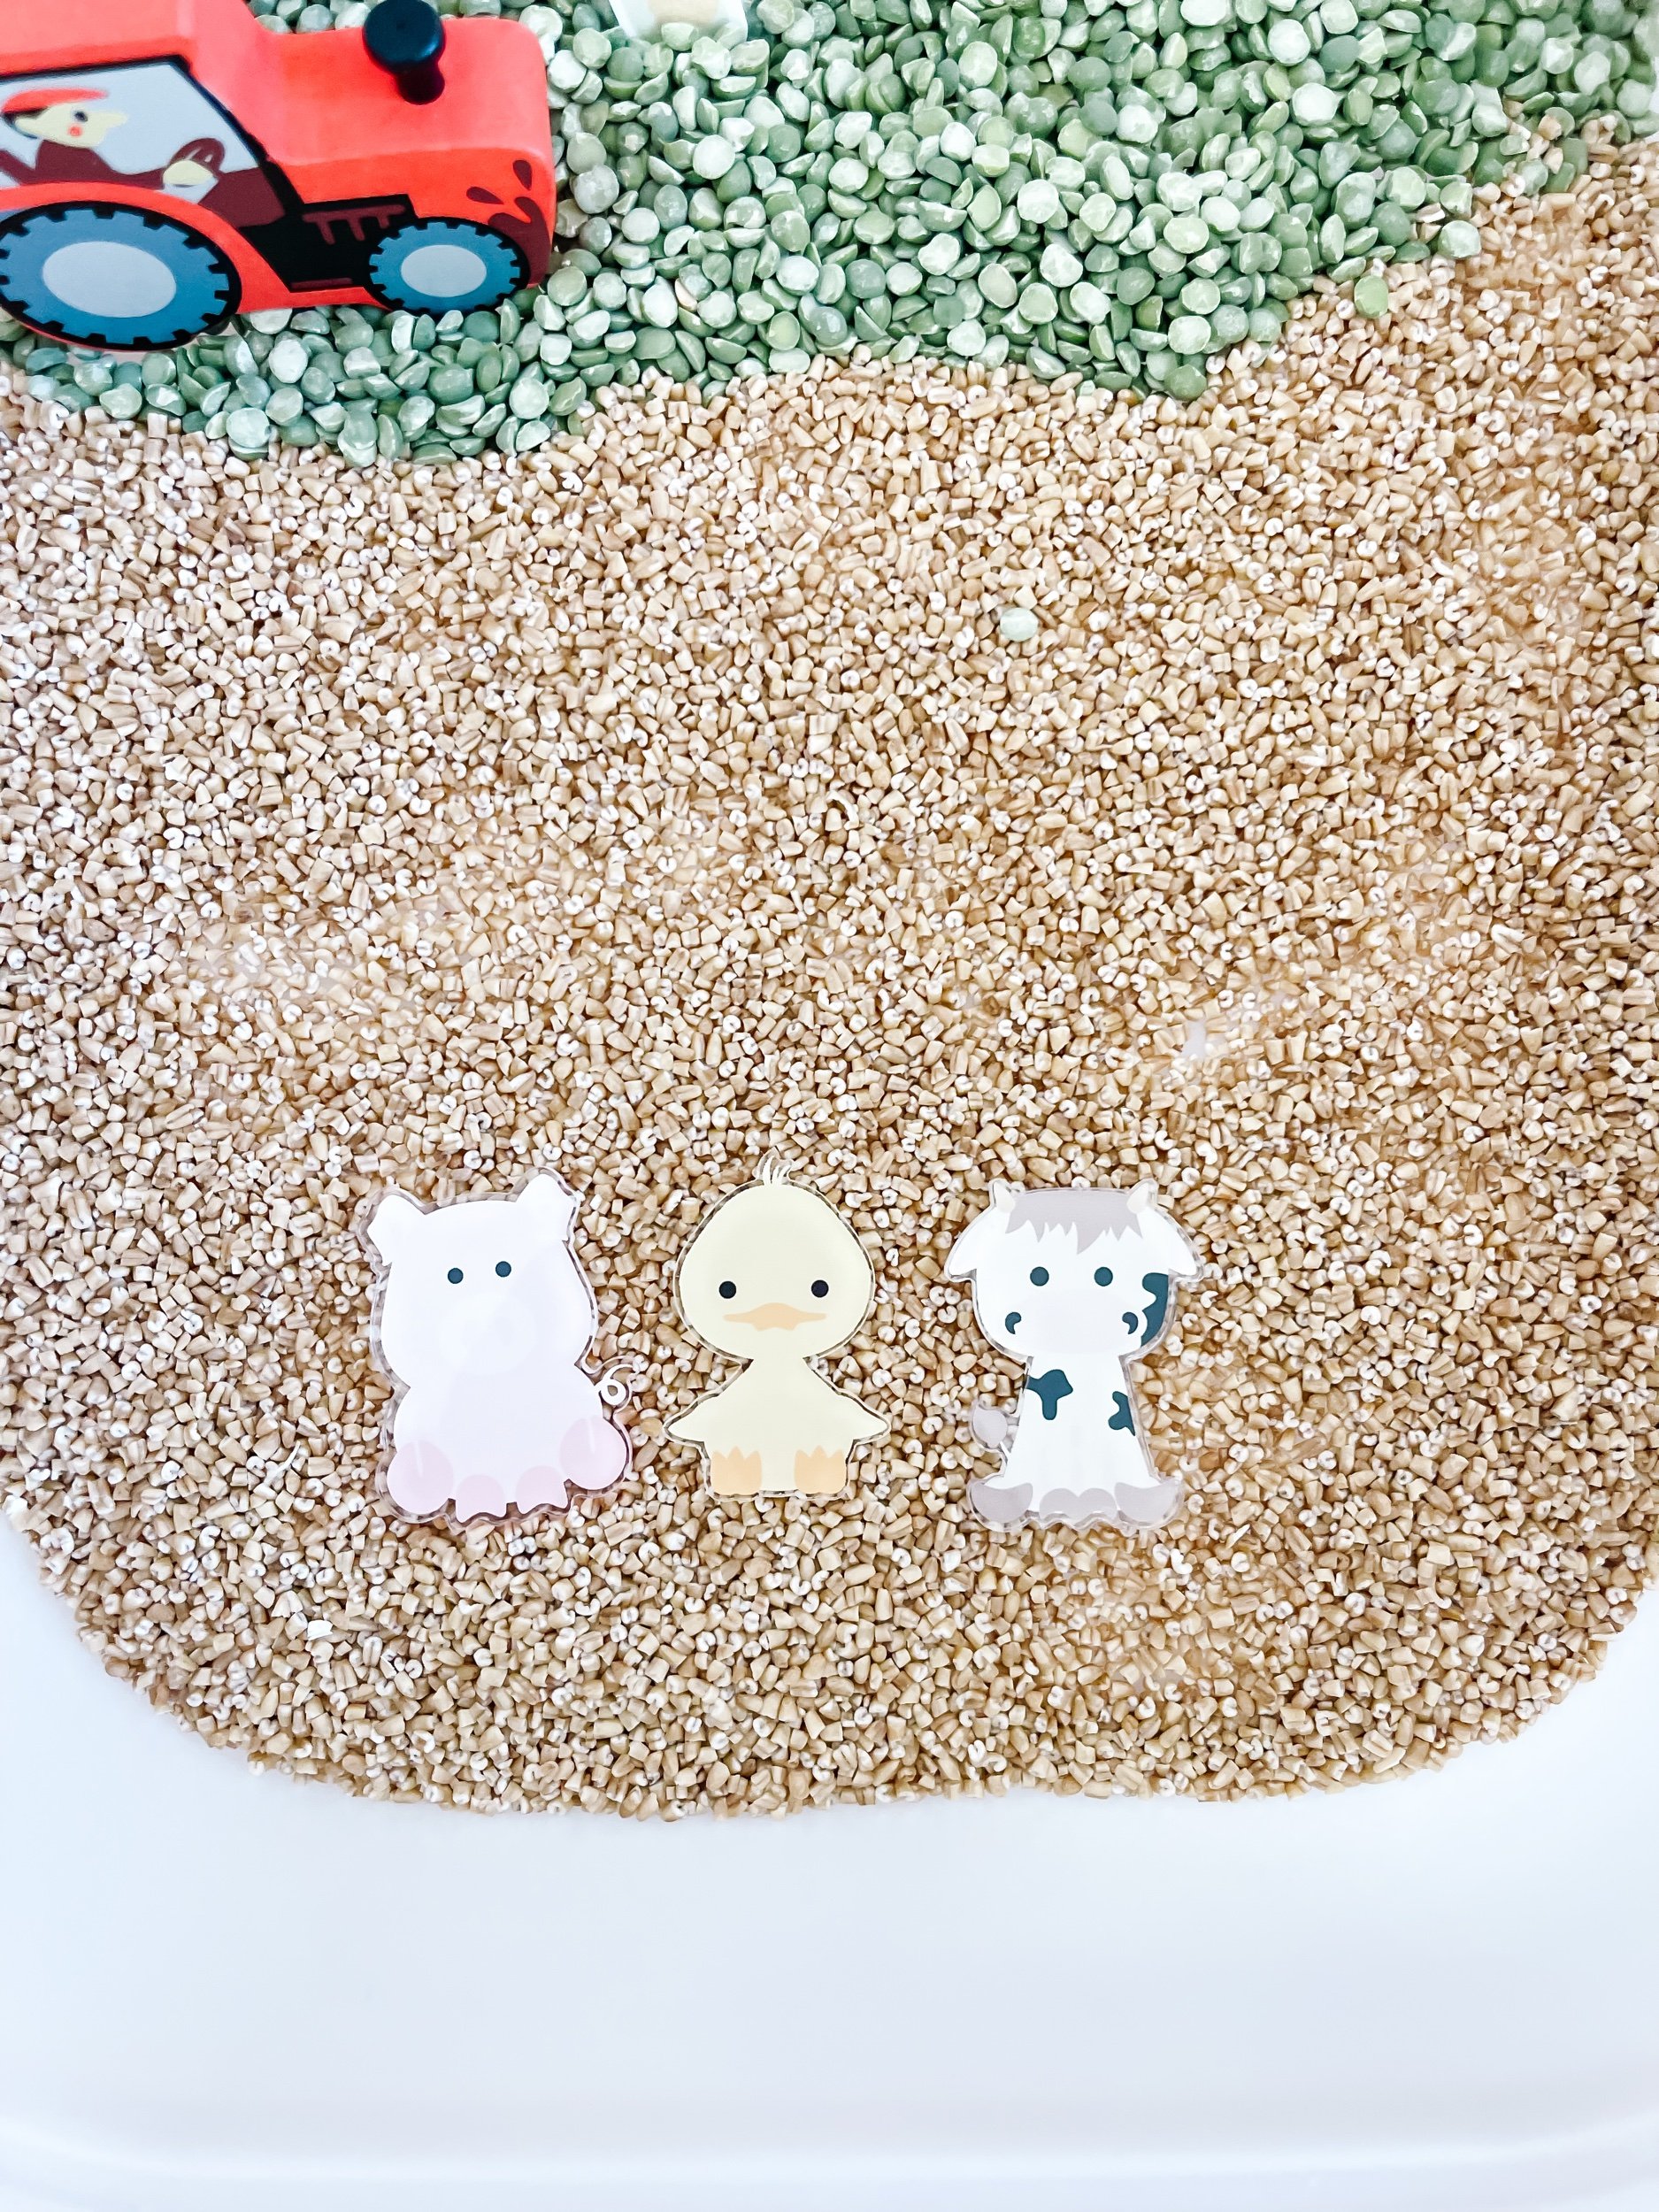
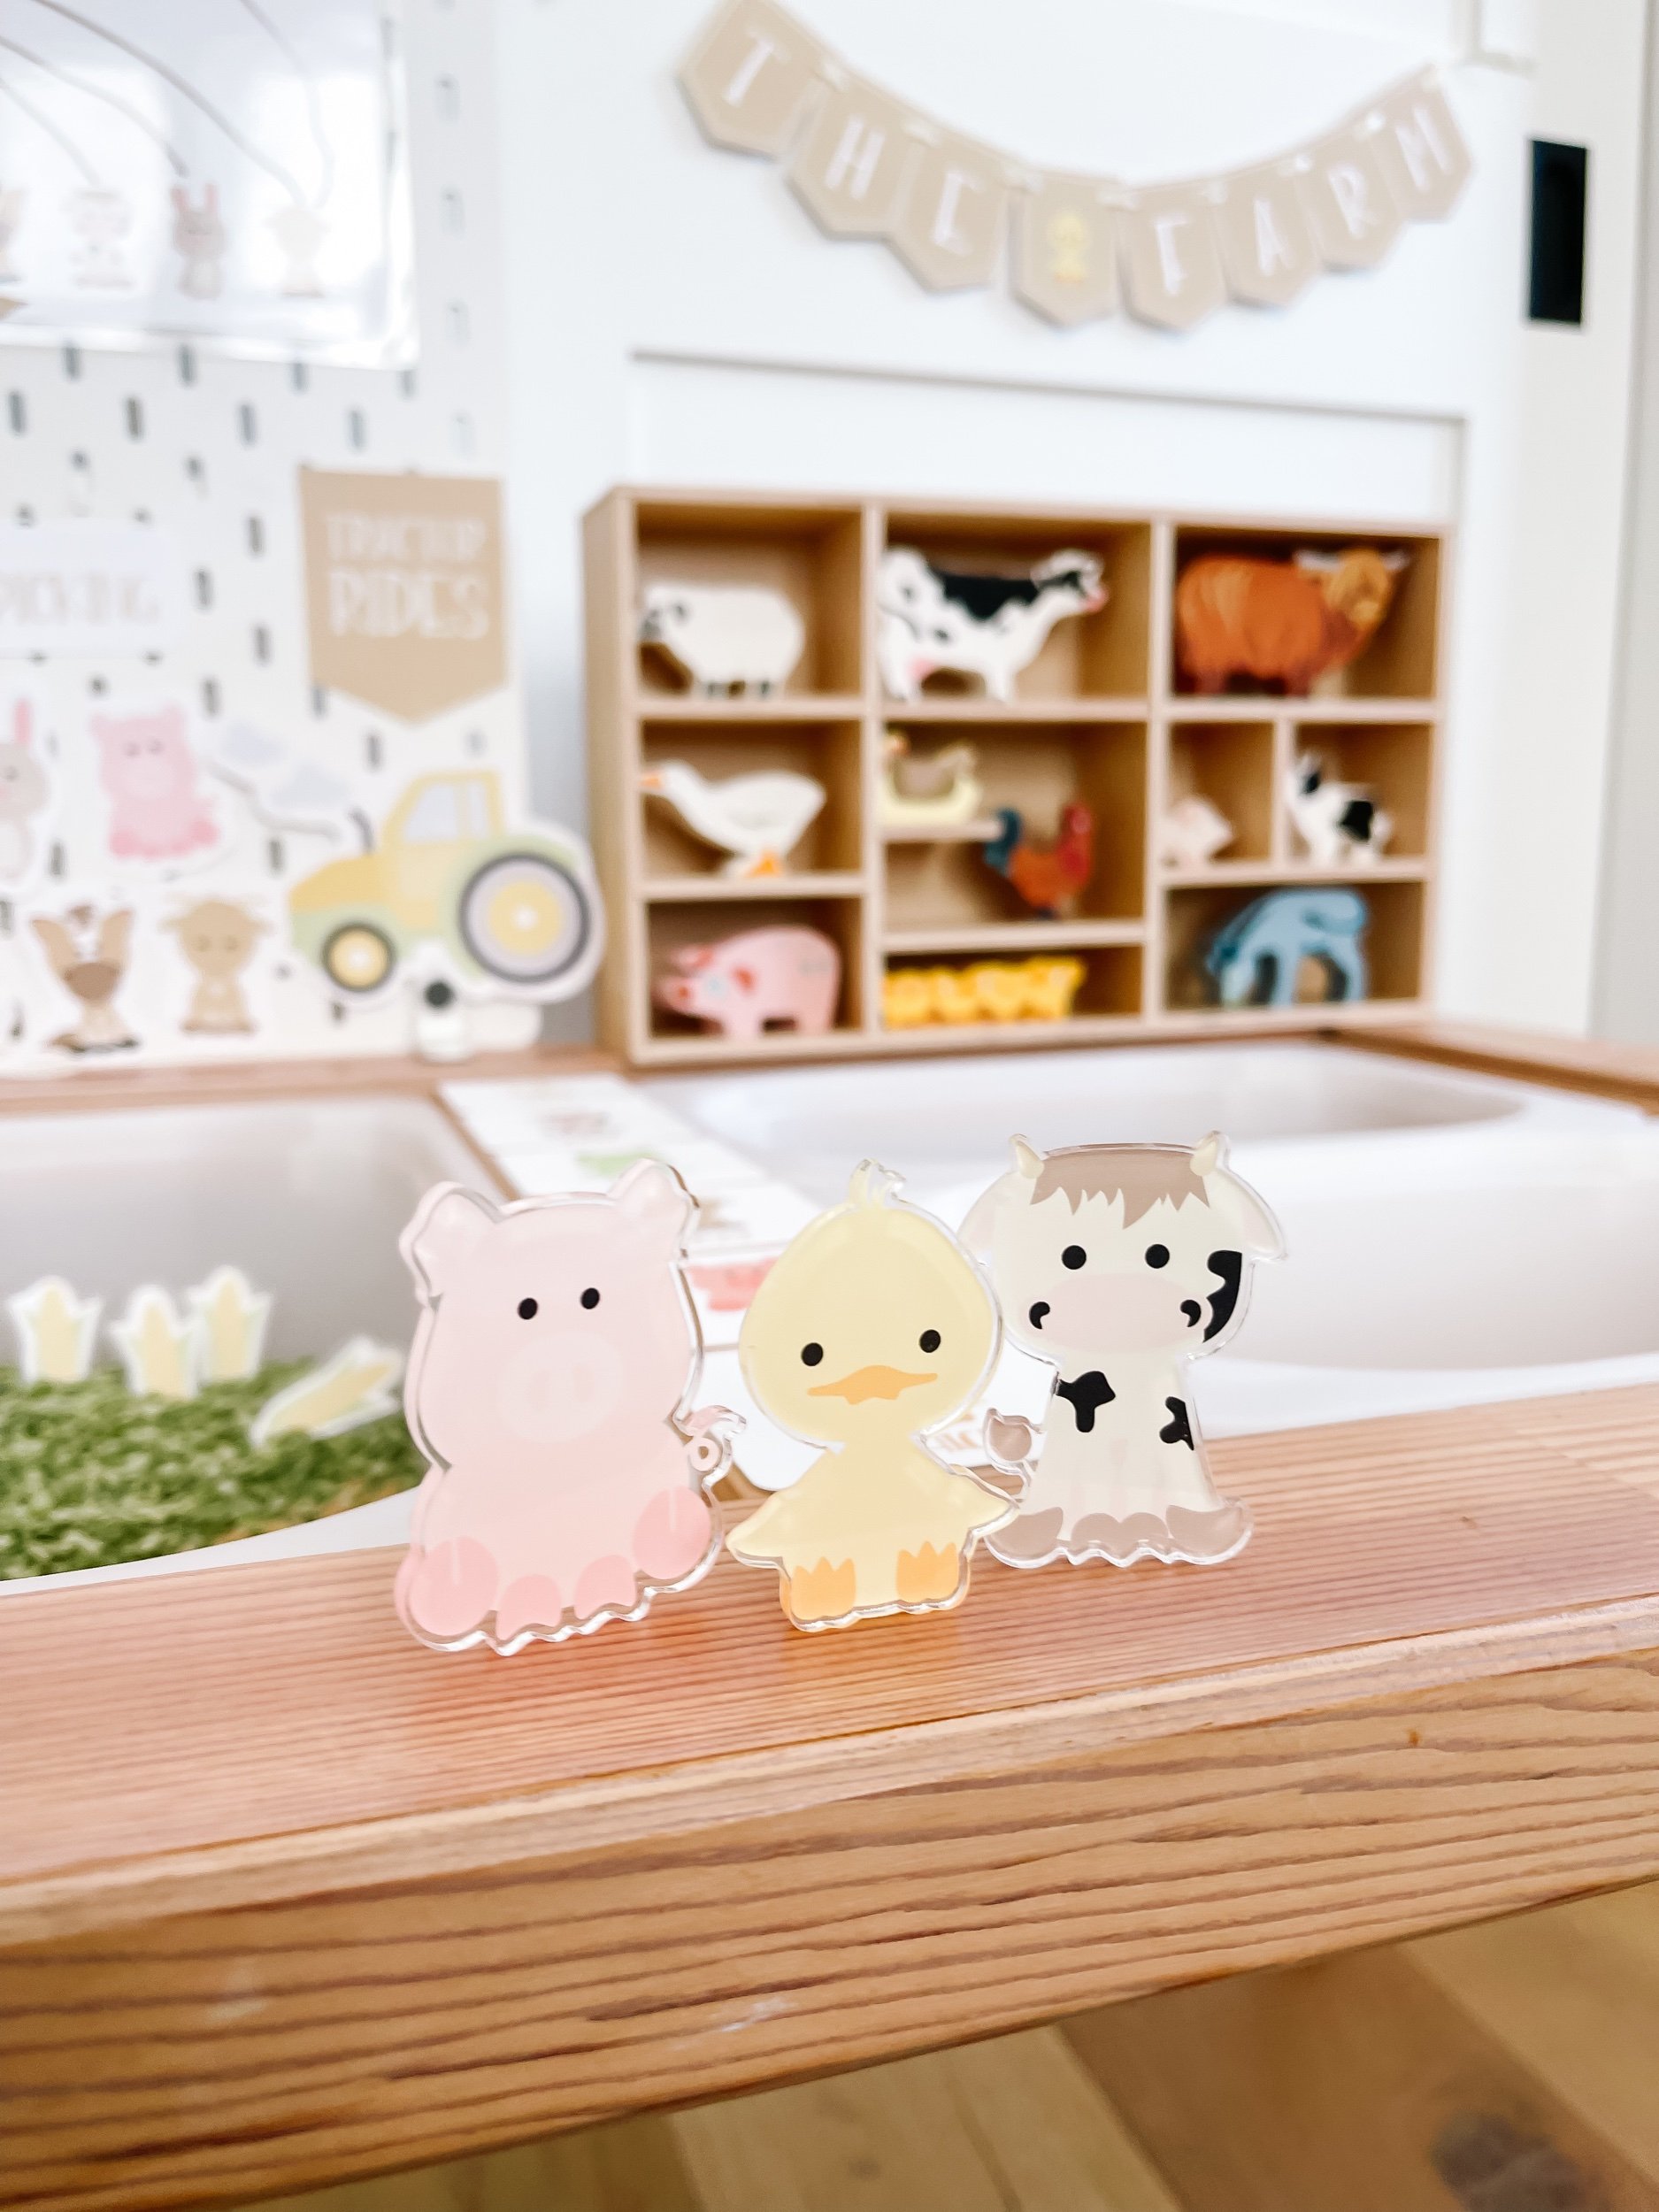
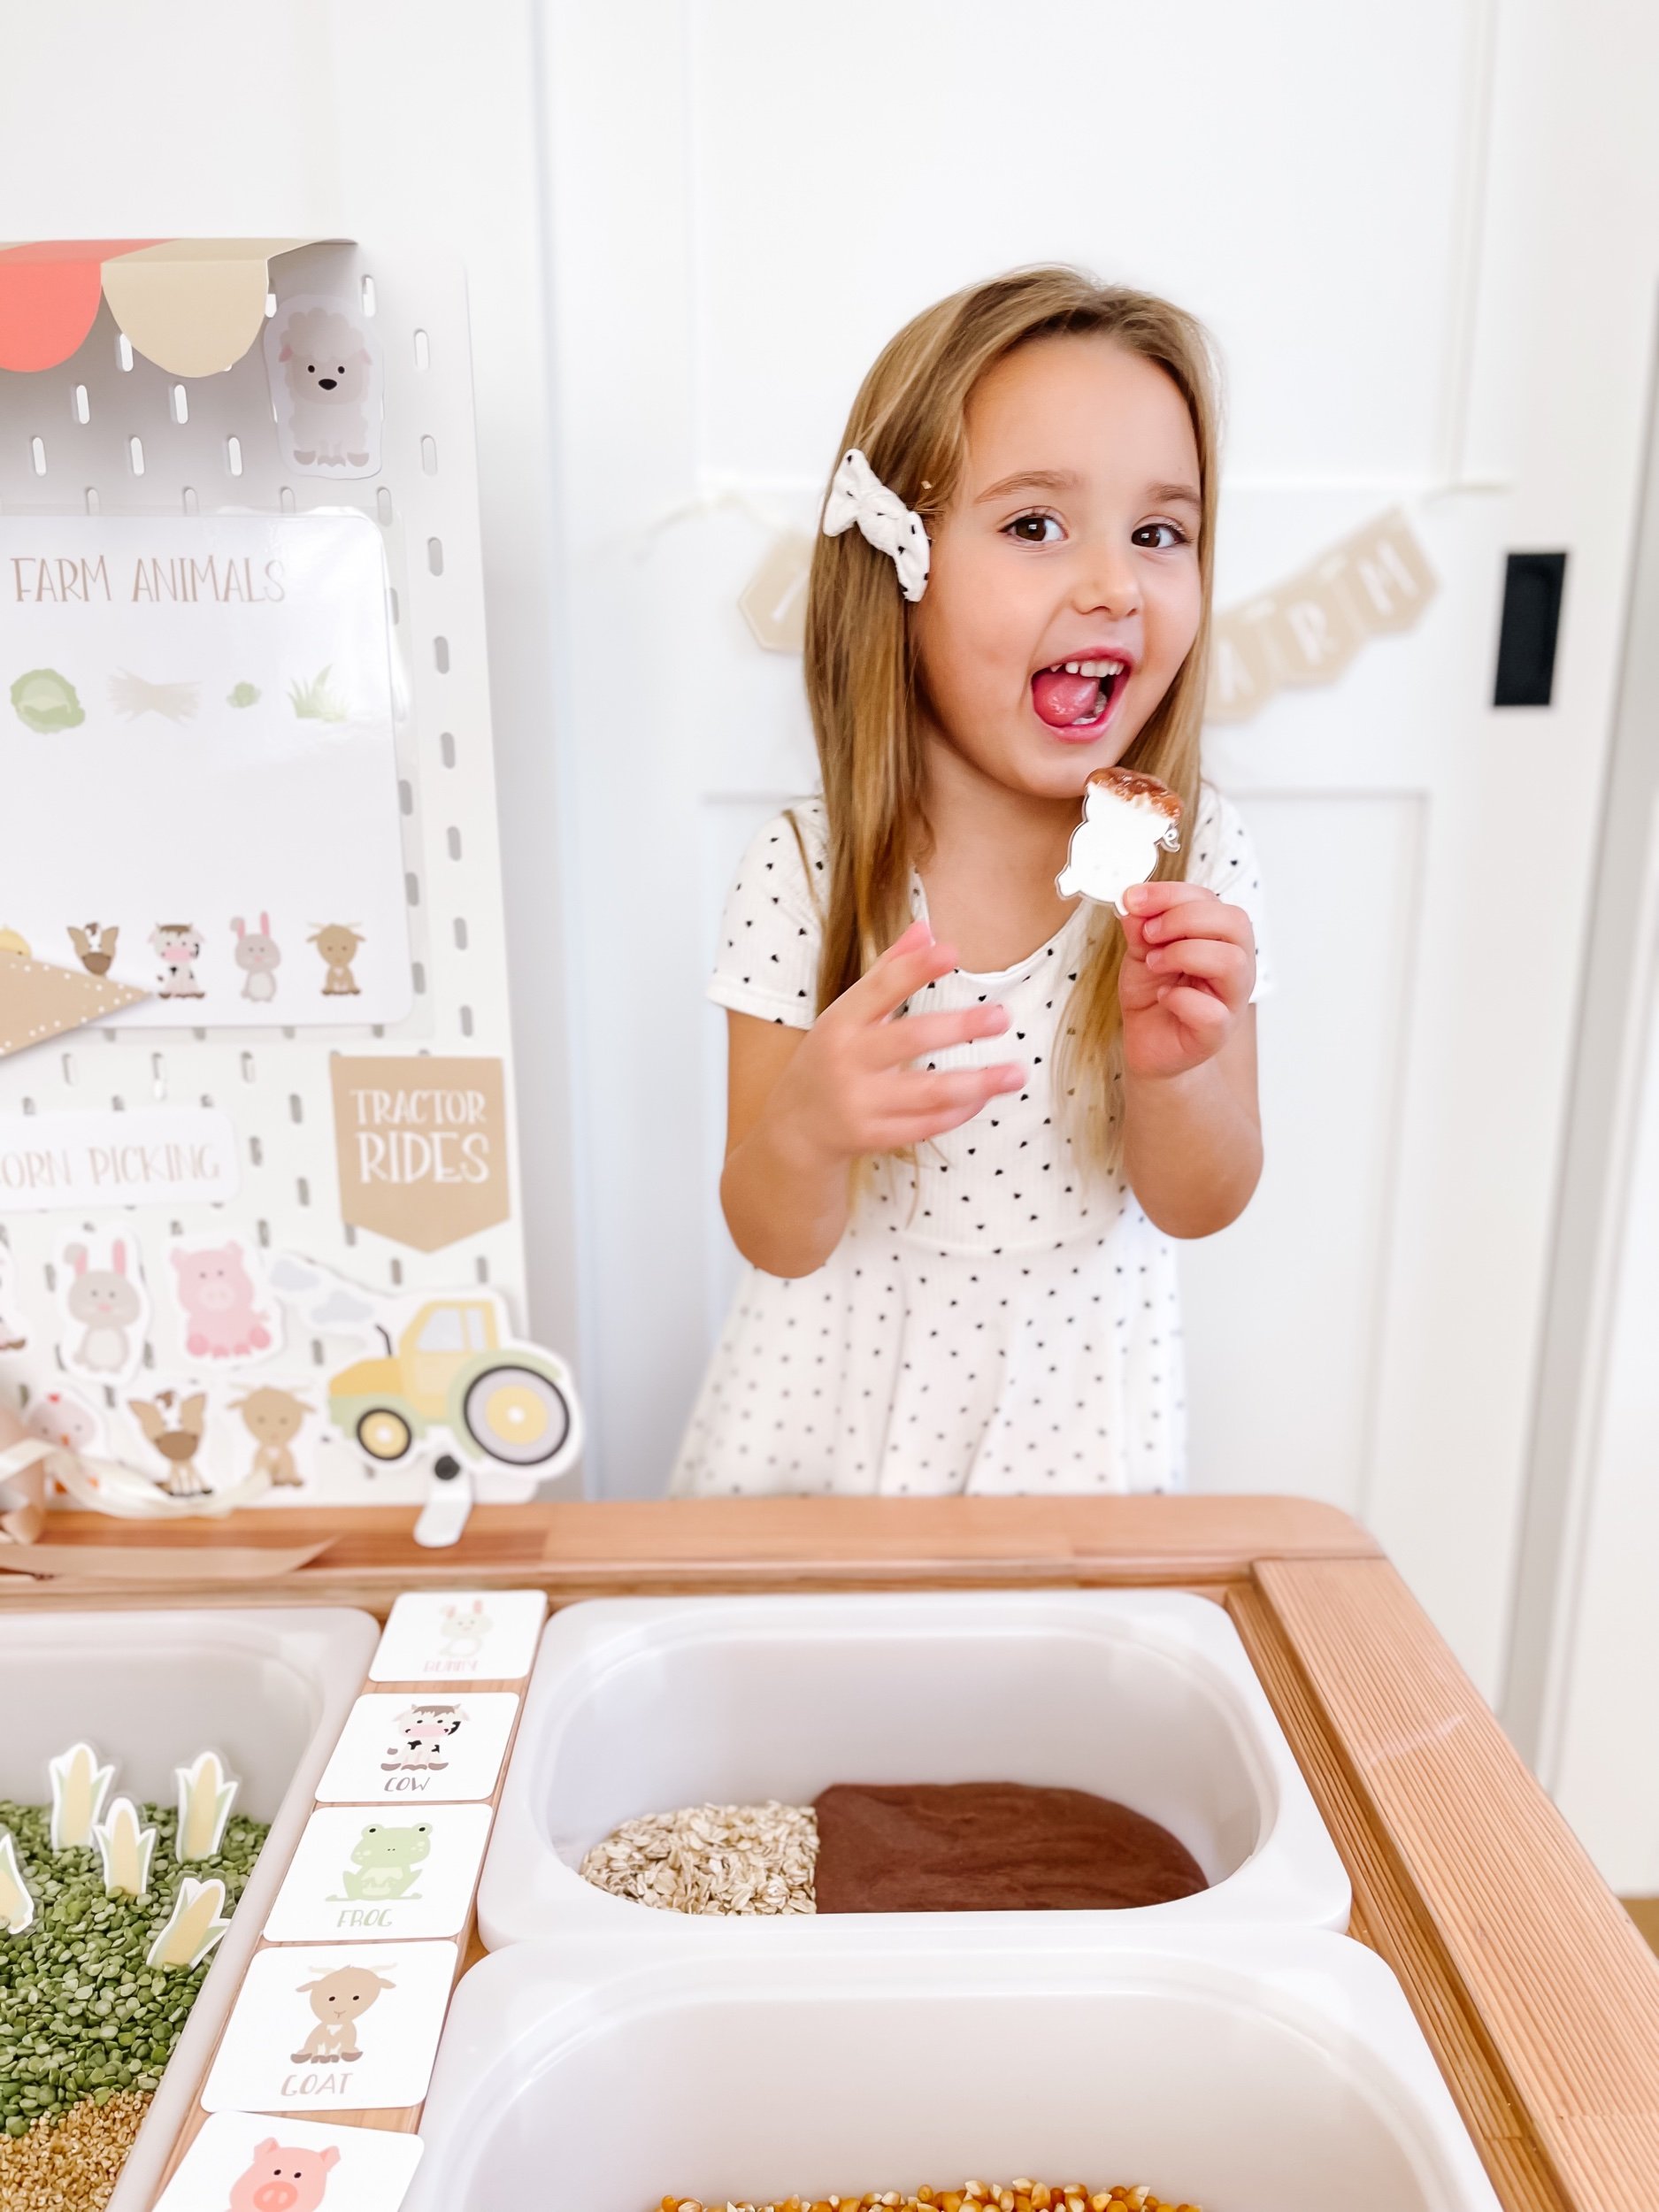
For this activity, I used rolled oats oatmeal and chocolate pudding for the mud. After you mix and chill the chocolate pudding, simply dump it into the Trofast bin for sensory play. I paired this with my farm animal acrylic charms which are easy to dunk and dip and then wipe (or lick) clean. Pudding is a great sensory filler because it’s taste safe — it can be used for mud and dirt in all kinds of play like farm and construction.

1.jpeg 2.jpeg 3.jpeg 4.jpeg 5.jpeg 6.jpeg 7.jpeg

Print and Fold Barn

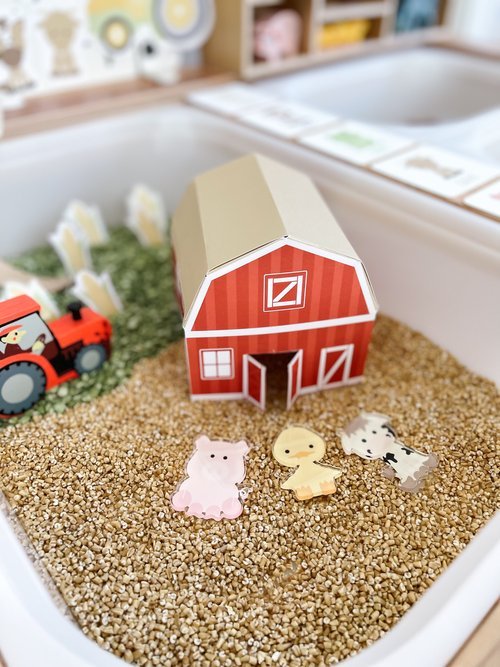
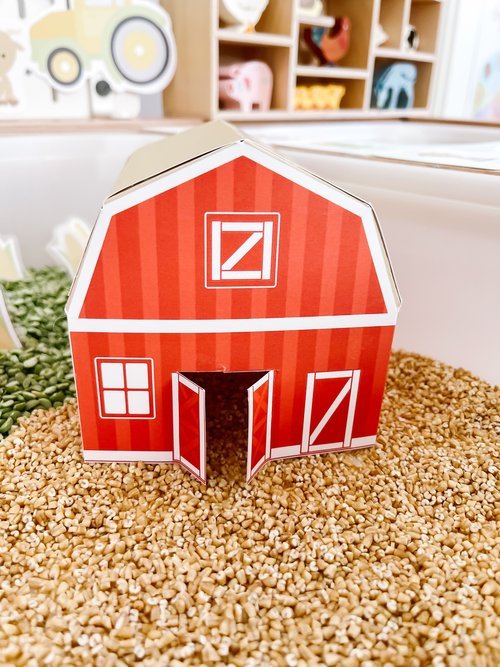
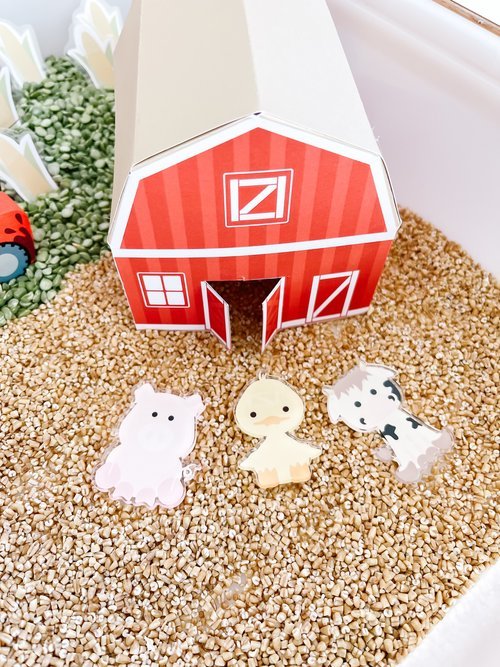
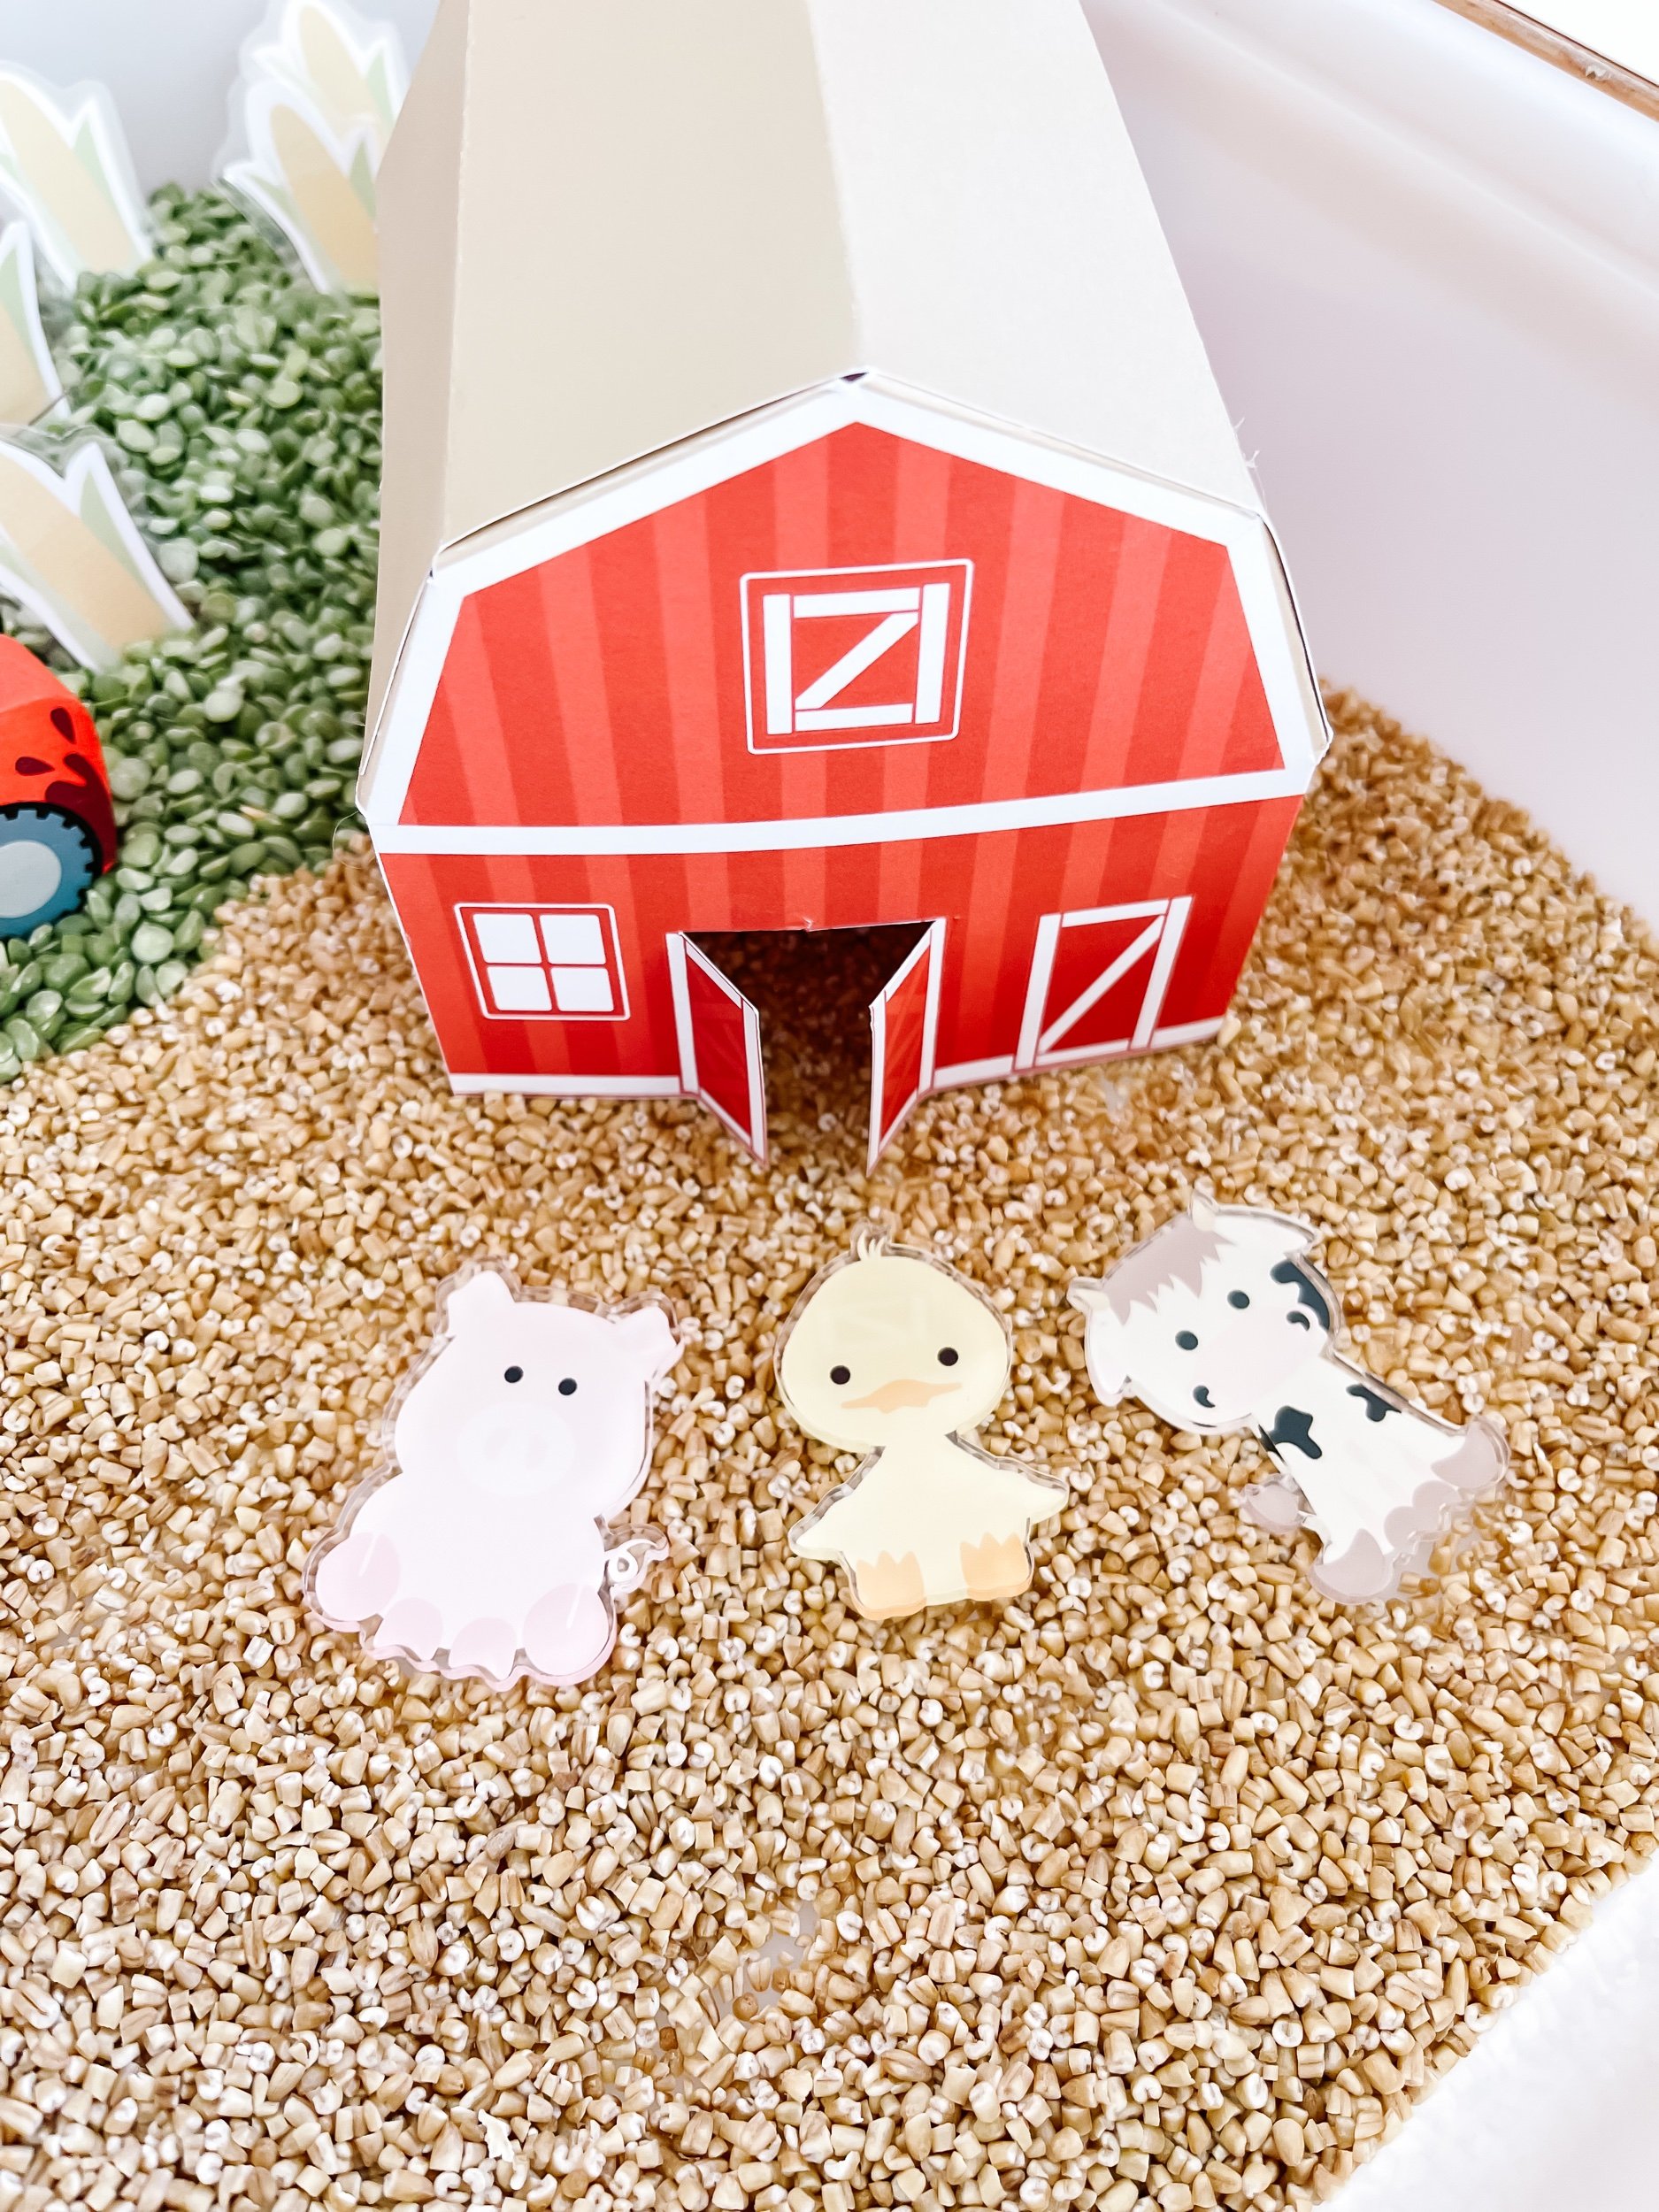
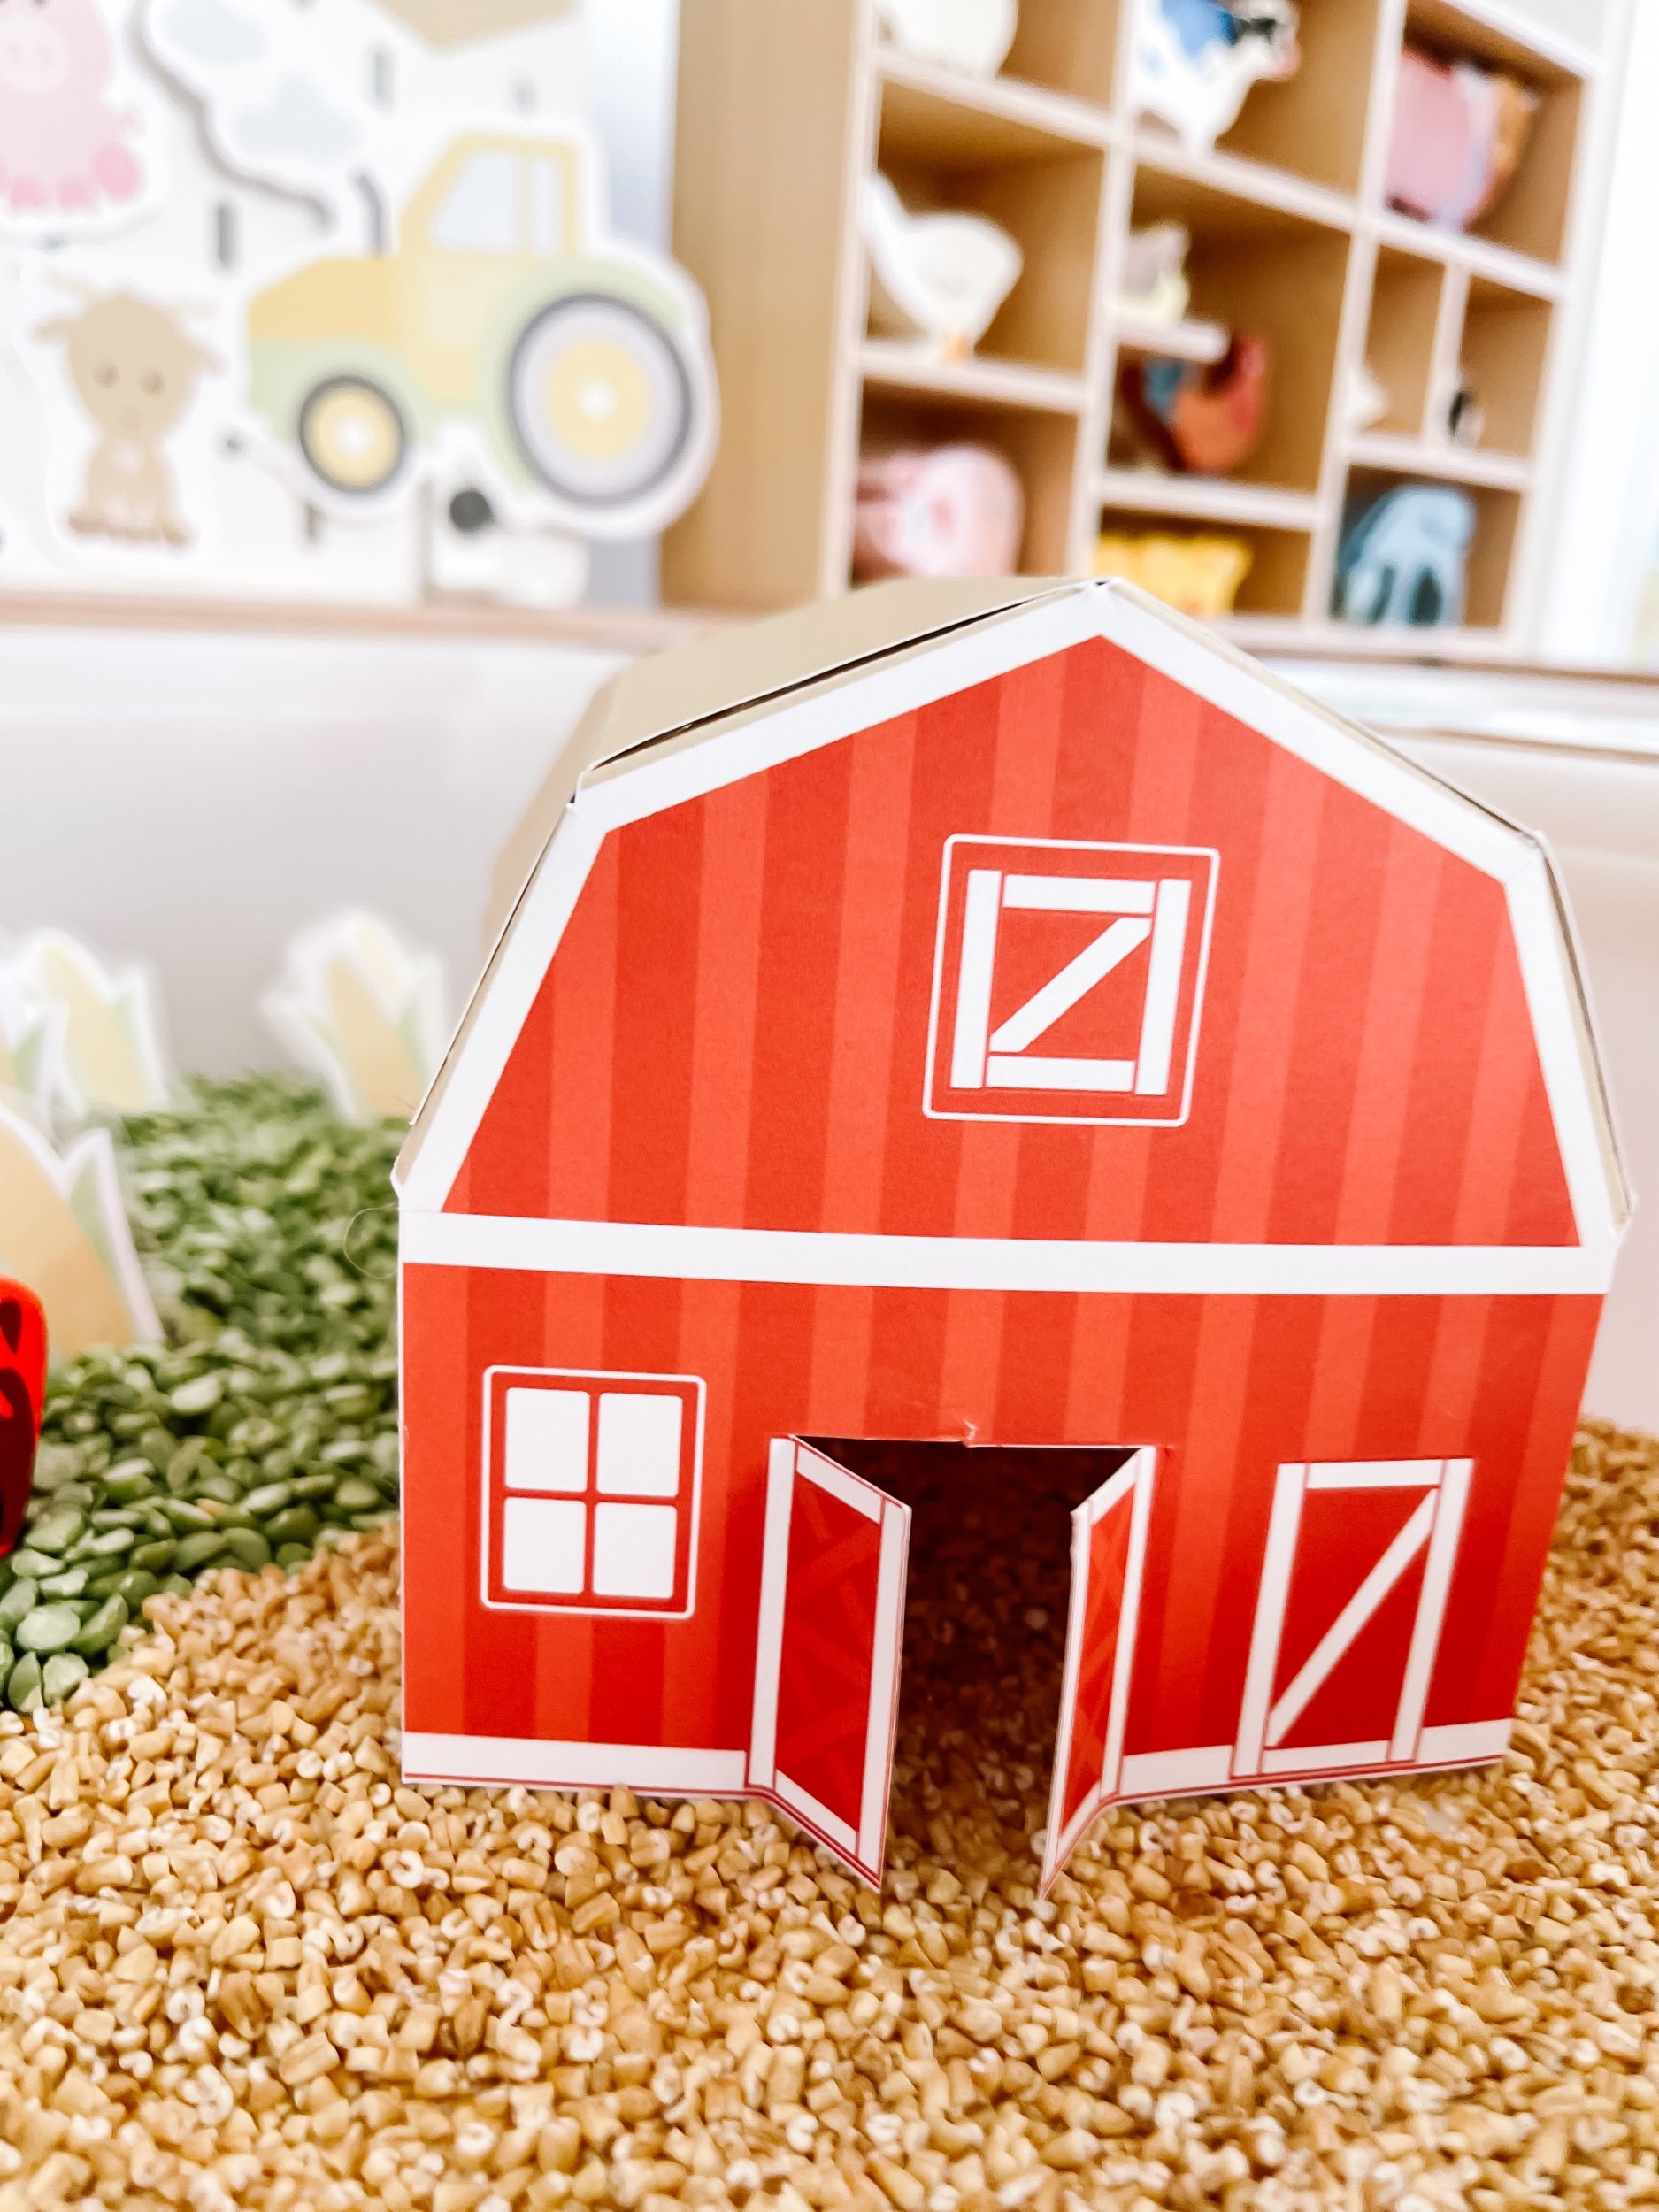
For this activity, you’ll want to cut out the printable barn. Then I recommend scoring along the fold lines to make folding easier. I printed on 80lb cardstock. Once you’ve scored and folded along all of the lines, you can begin assembling from any point adding glue to the brown glue areas. Make sure you trim the top of the bar to fit before you start gluing. Cut the center line and top lives of the barn door if you want it to open and close. Once assembled, you can play with farm animal figurines. A print and fold barn is a great way to enjoy sensory play without investing in a lot of additional toys. If you use tape or velcro dots, you can easily unfold and store flat.

9.jpeg 10.jpeg 11.jpeg 12.jpeg 87.jpeg

Corn Field

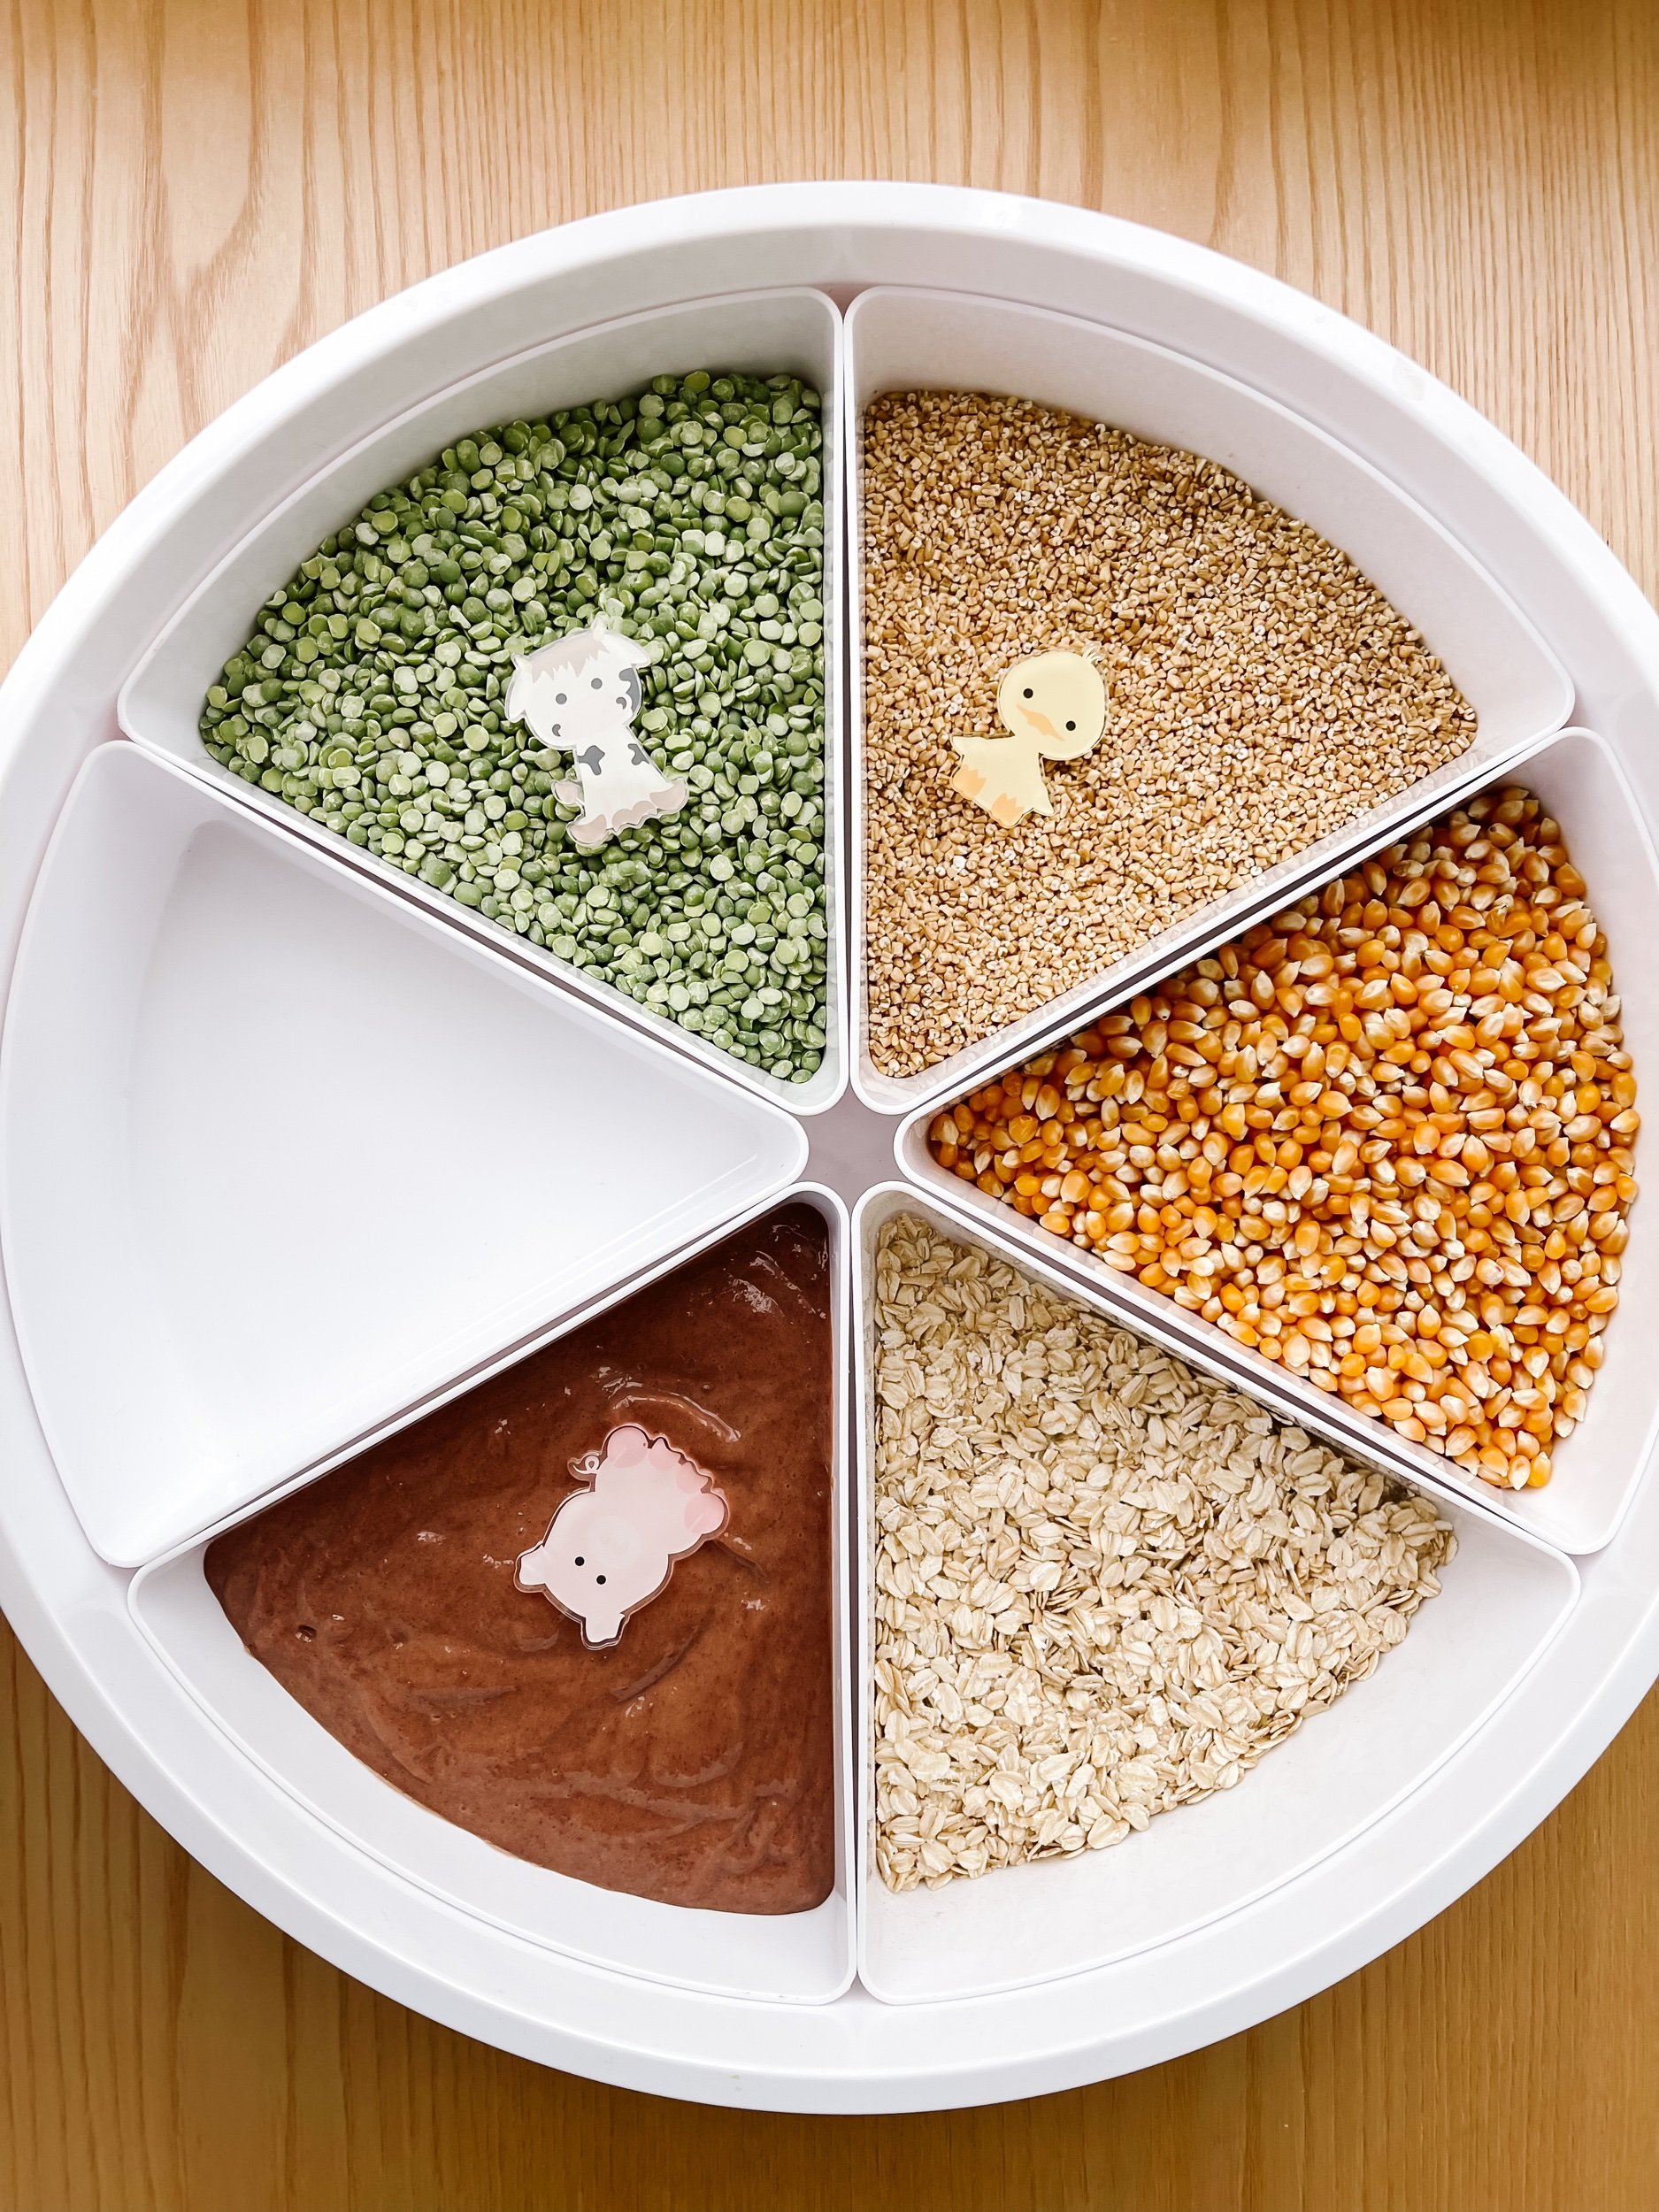
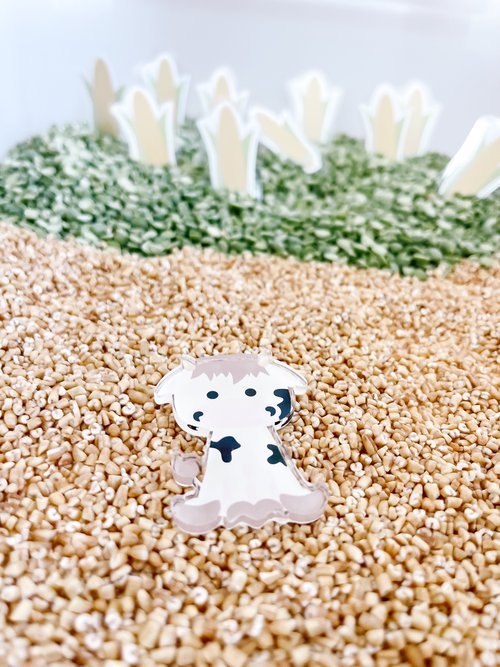
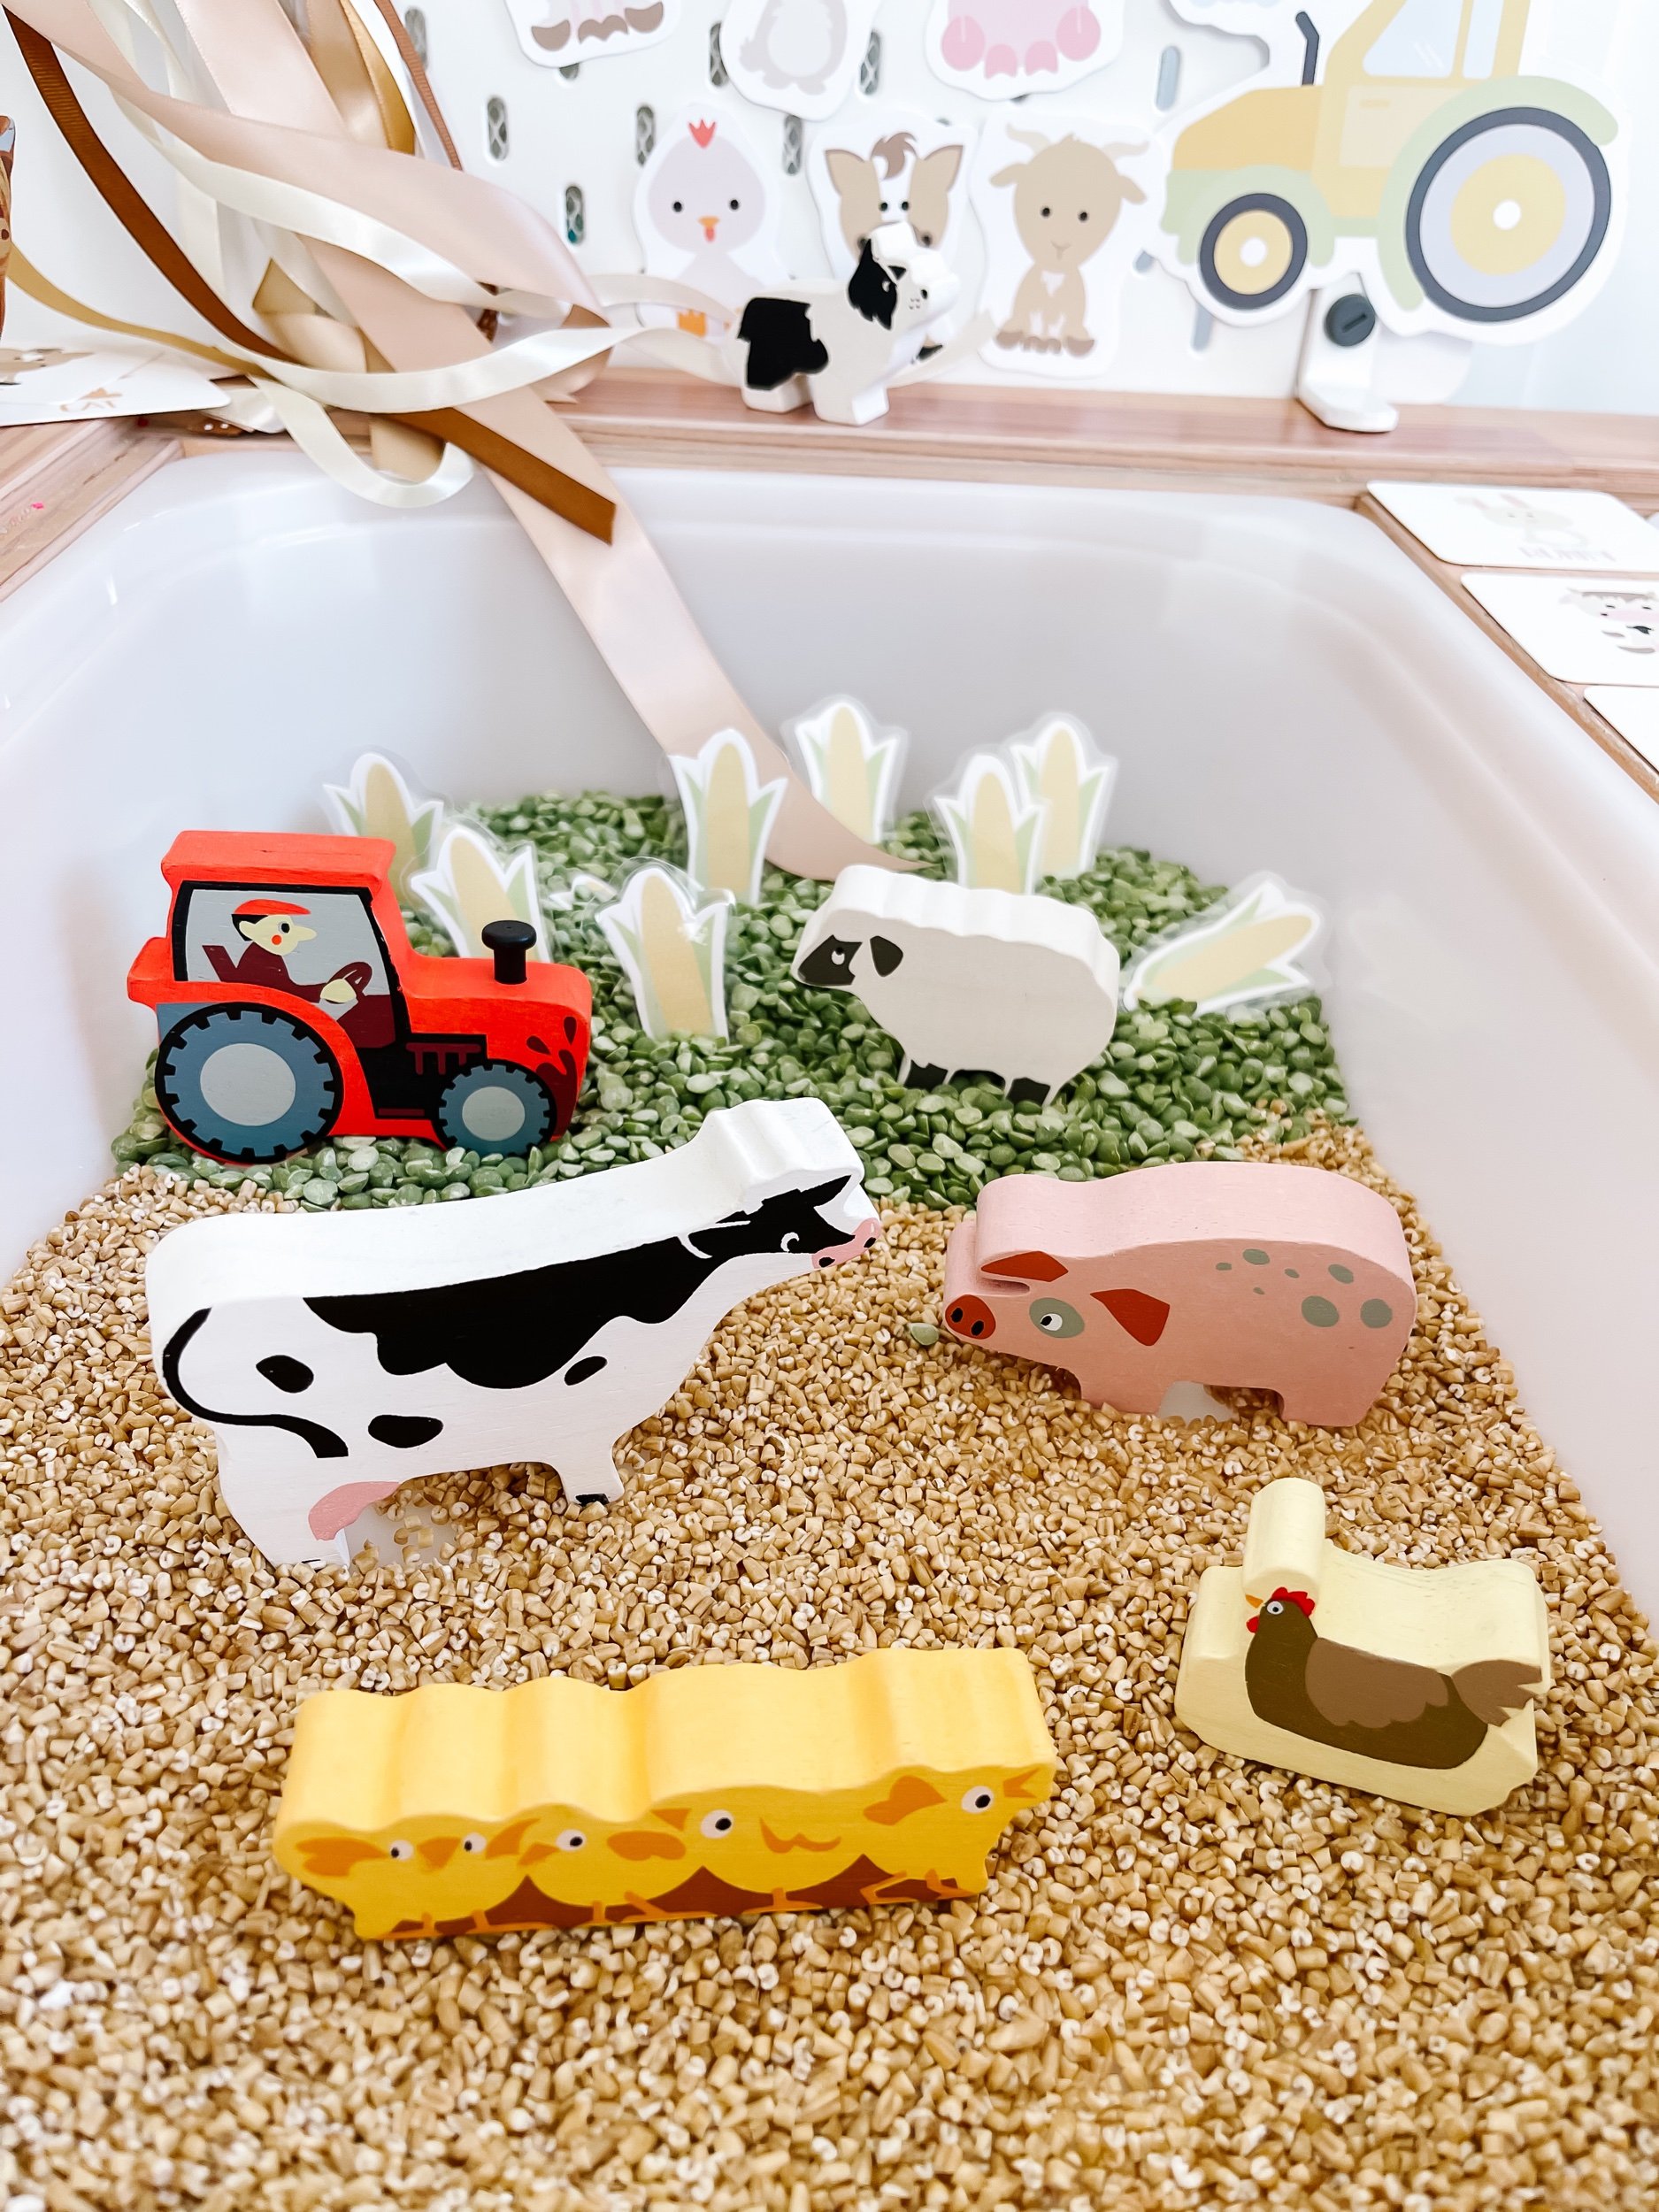
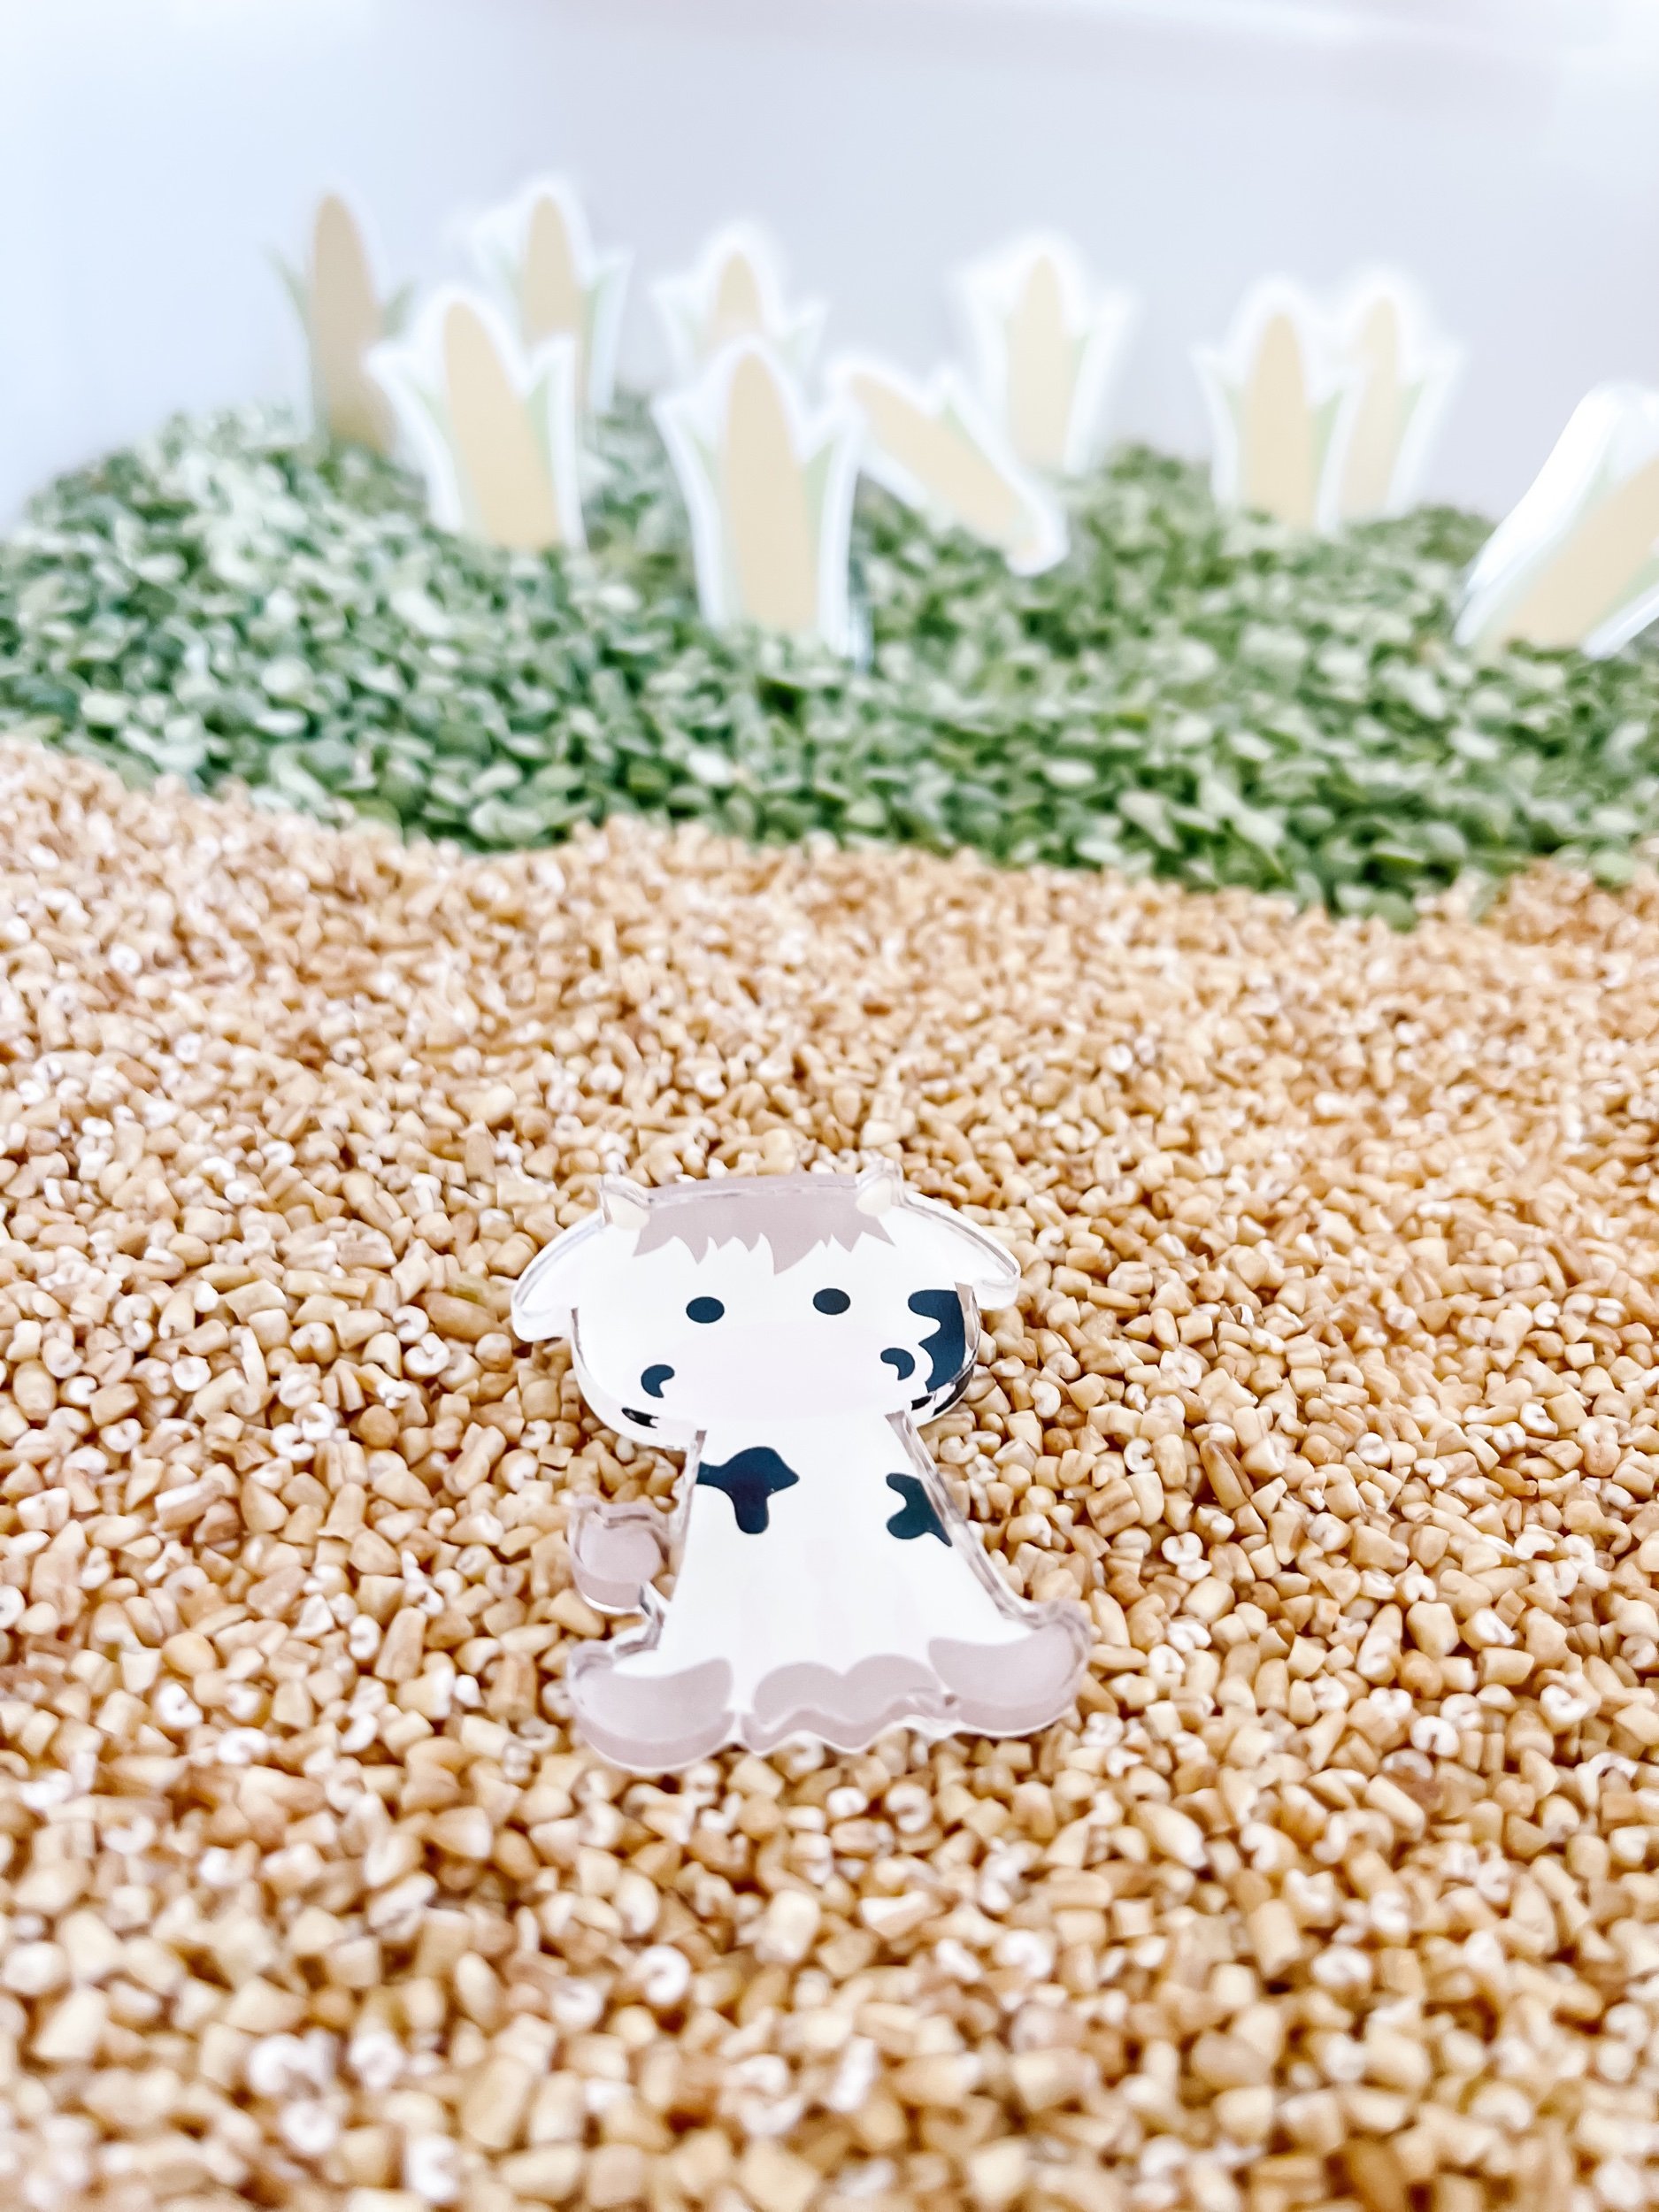
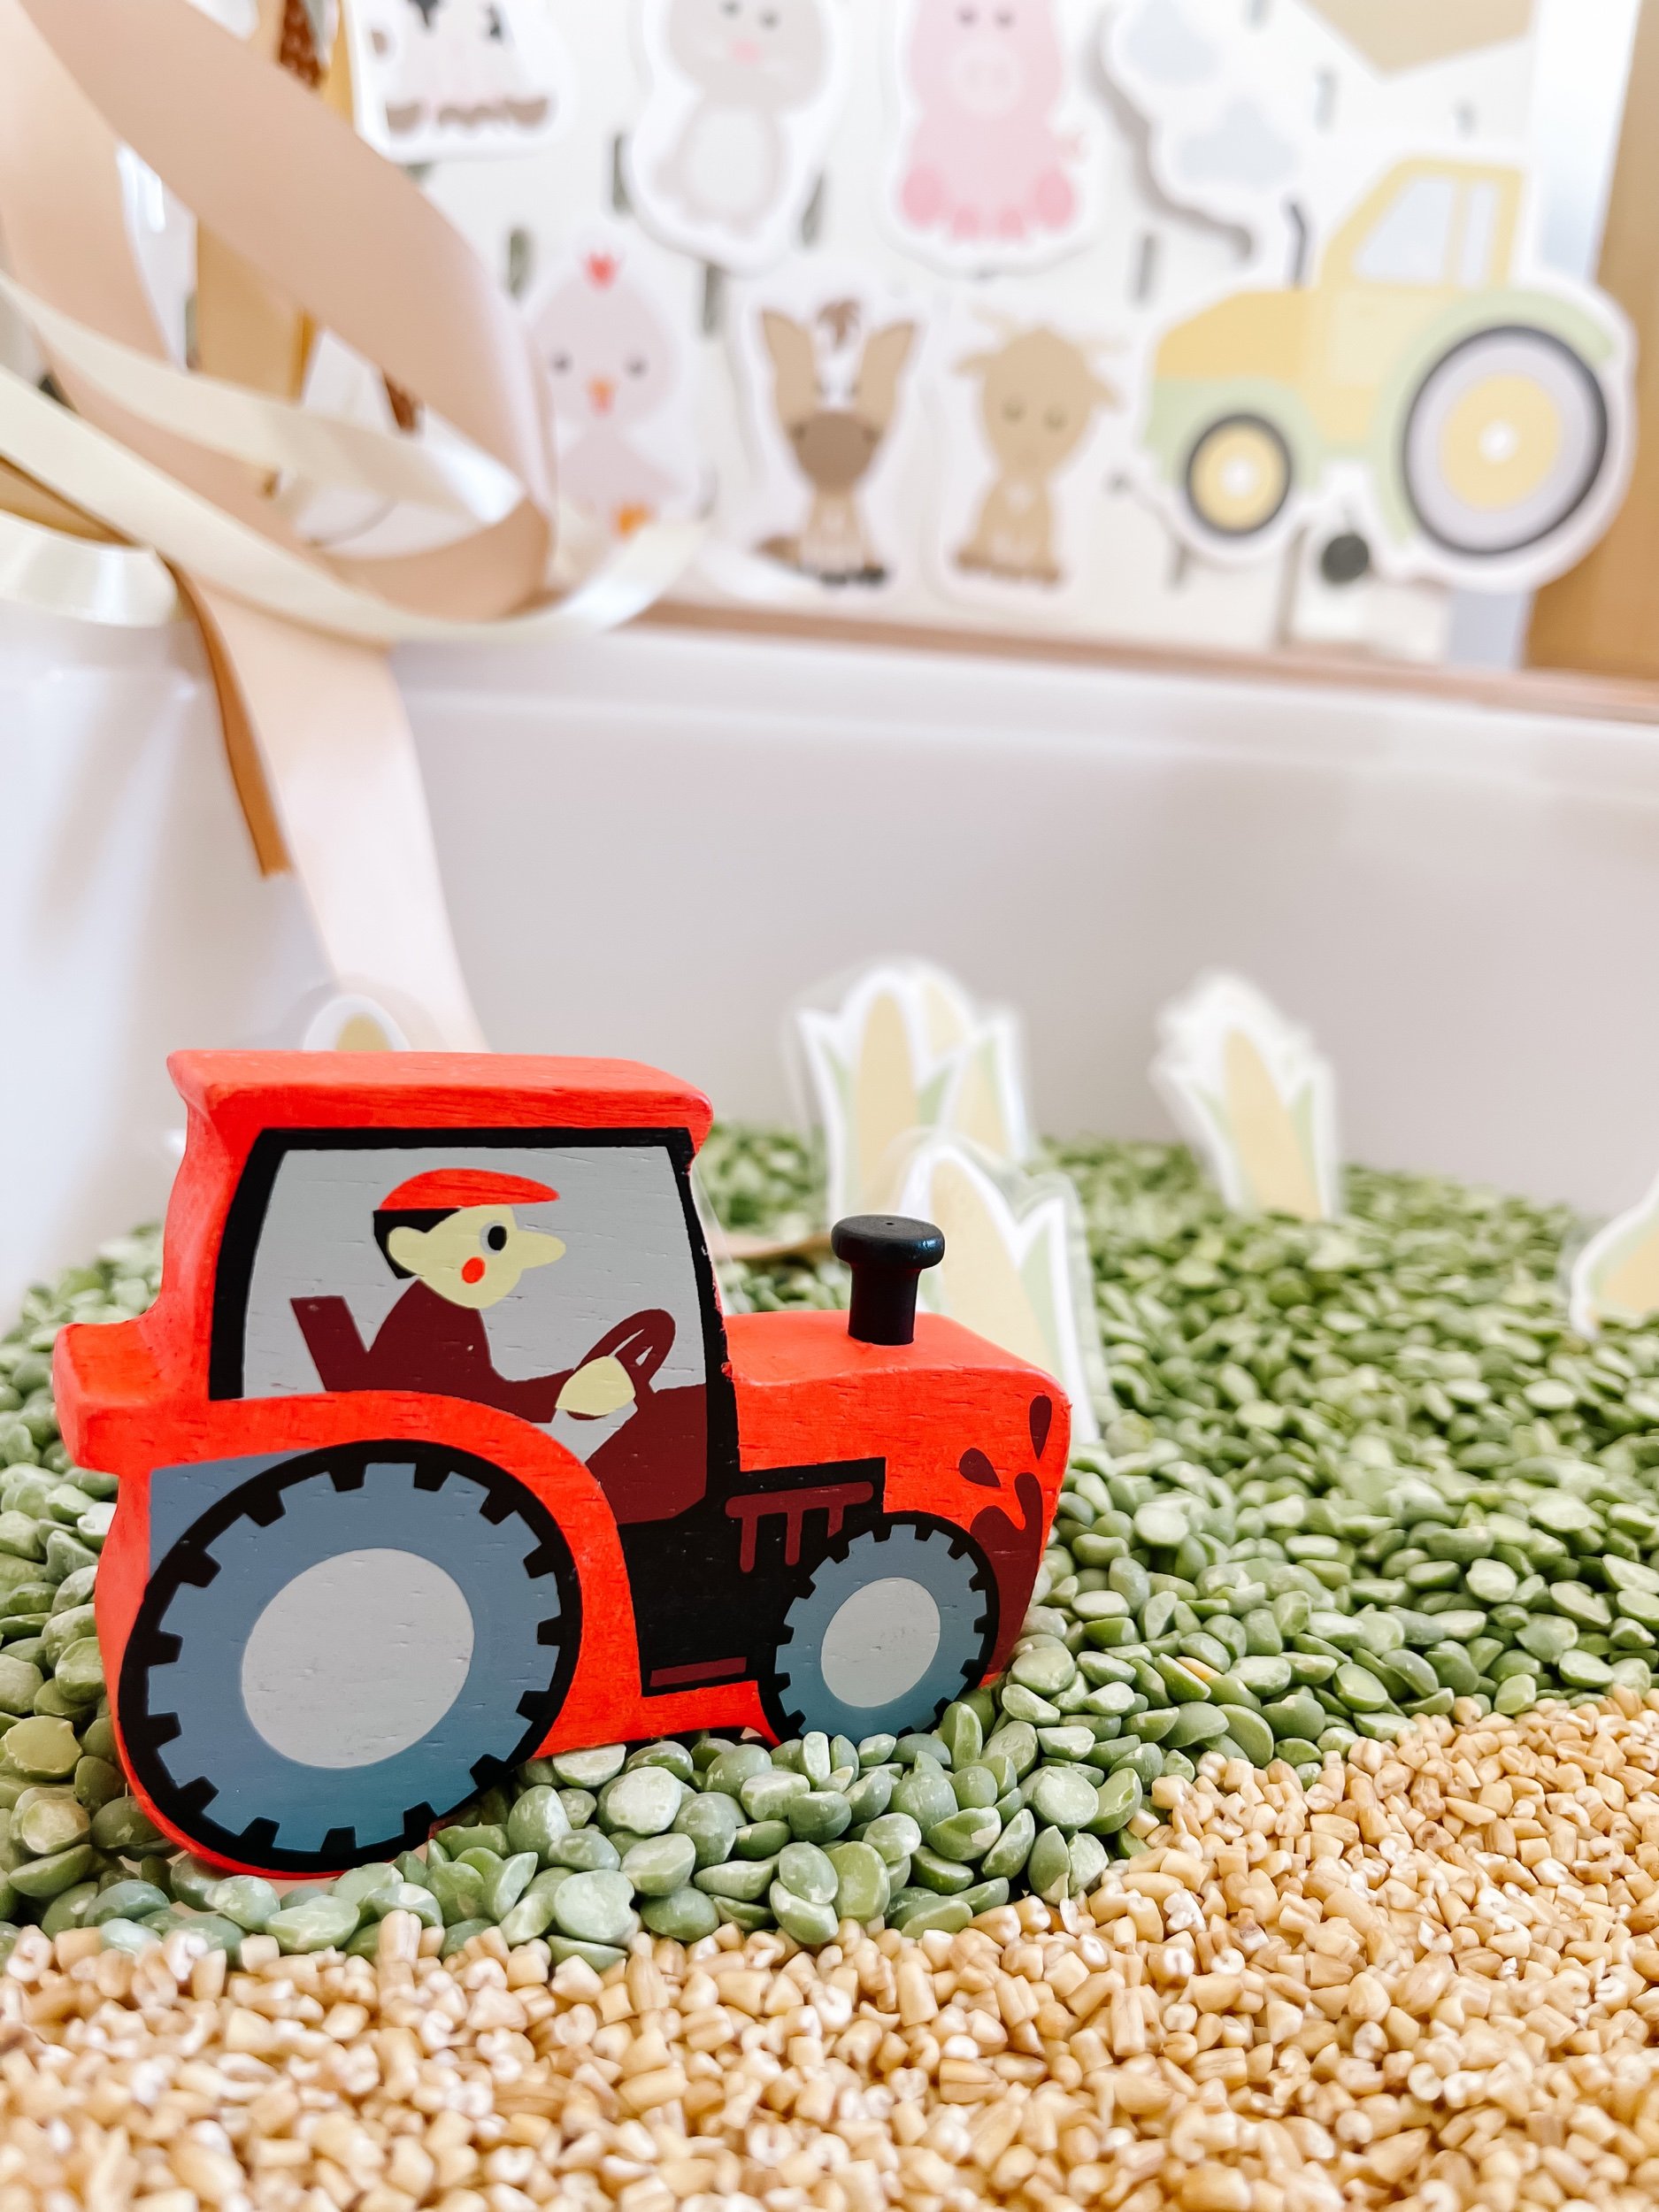
For this activity, we’ll use steel cut oatmeal and dried green peas. You can use this to make a field of grain and also a corn field using the print and cut corn. You can also use these cute little corn erasers if you want a physical corn object to burry and find in the peas. Steel cut outs turned out to be such a satisfying filler -- it’s so small and has a lovely texture. Sofie couldn’t put it down.

13.jpeg 14.jpeg 15.jpeg 16.jpeg

Feeding the farm animals

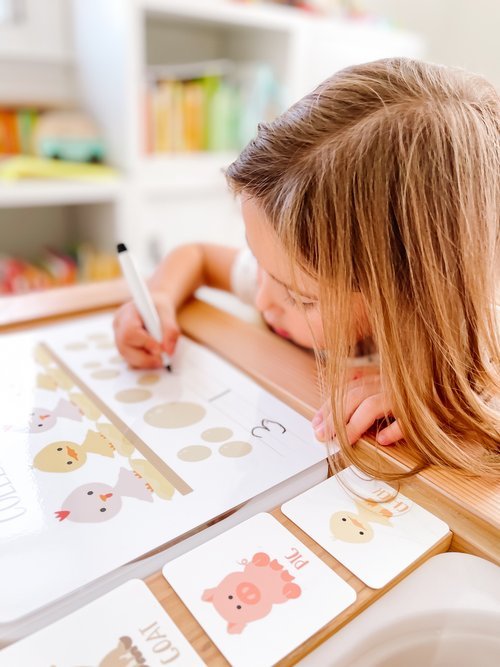
This printable activity is great for early writers who are still learning how to hold a pen. I printed and laminated this activity so that Sofie could do it over and over again. Challenge your kiddo to match each of the foods with each of the animals who eats them and use it as an opportunity to discuss what farm animals eat and how farms can be self-sustaining ecosystems.

17.jpeg 19.jpeg 18.jpeg

Counting and collecting Eggs

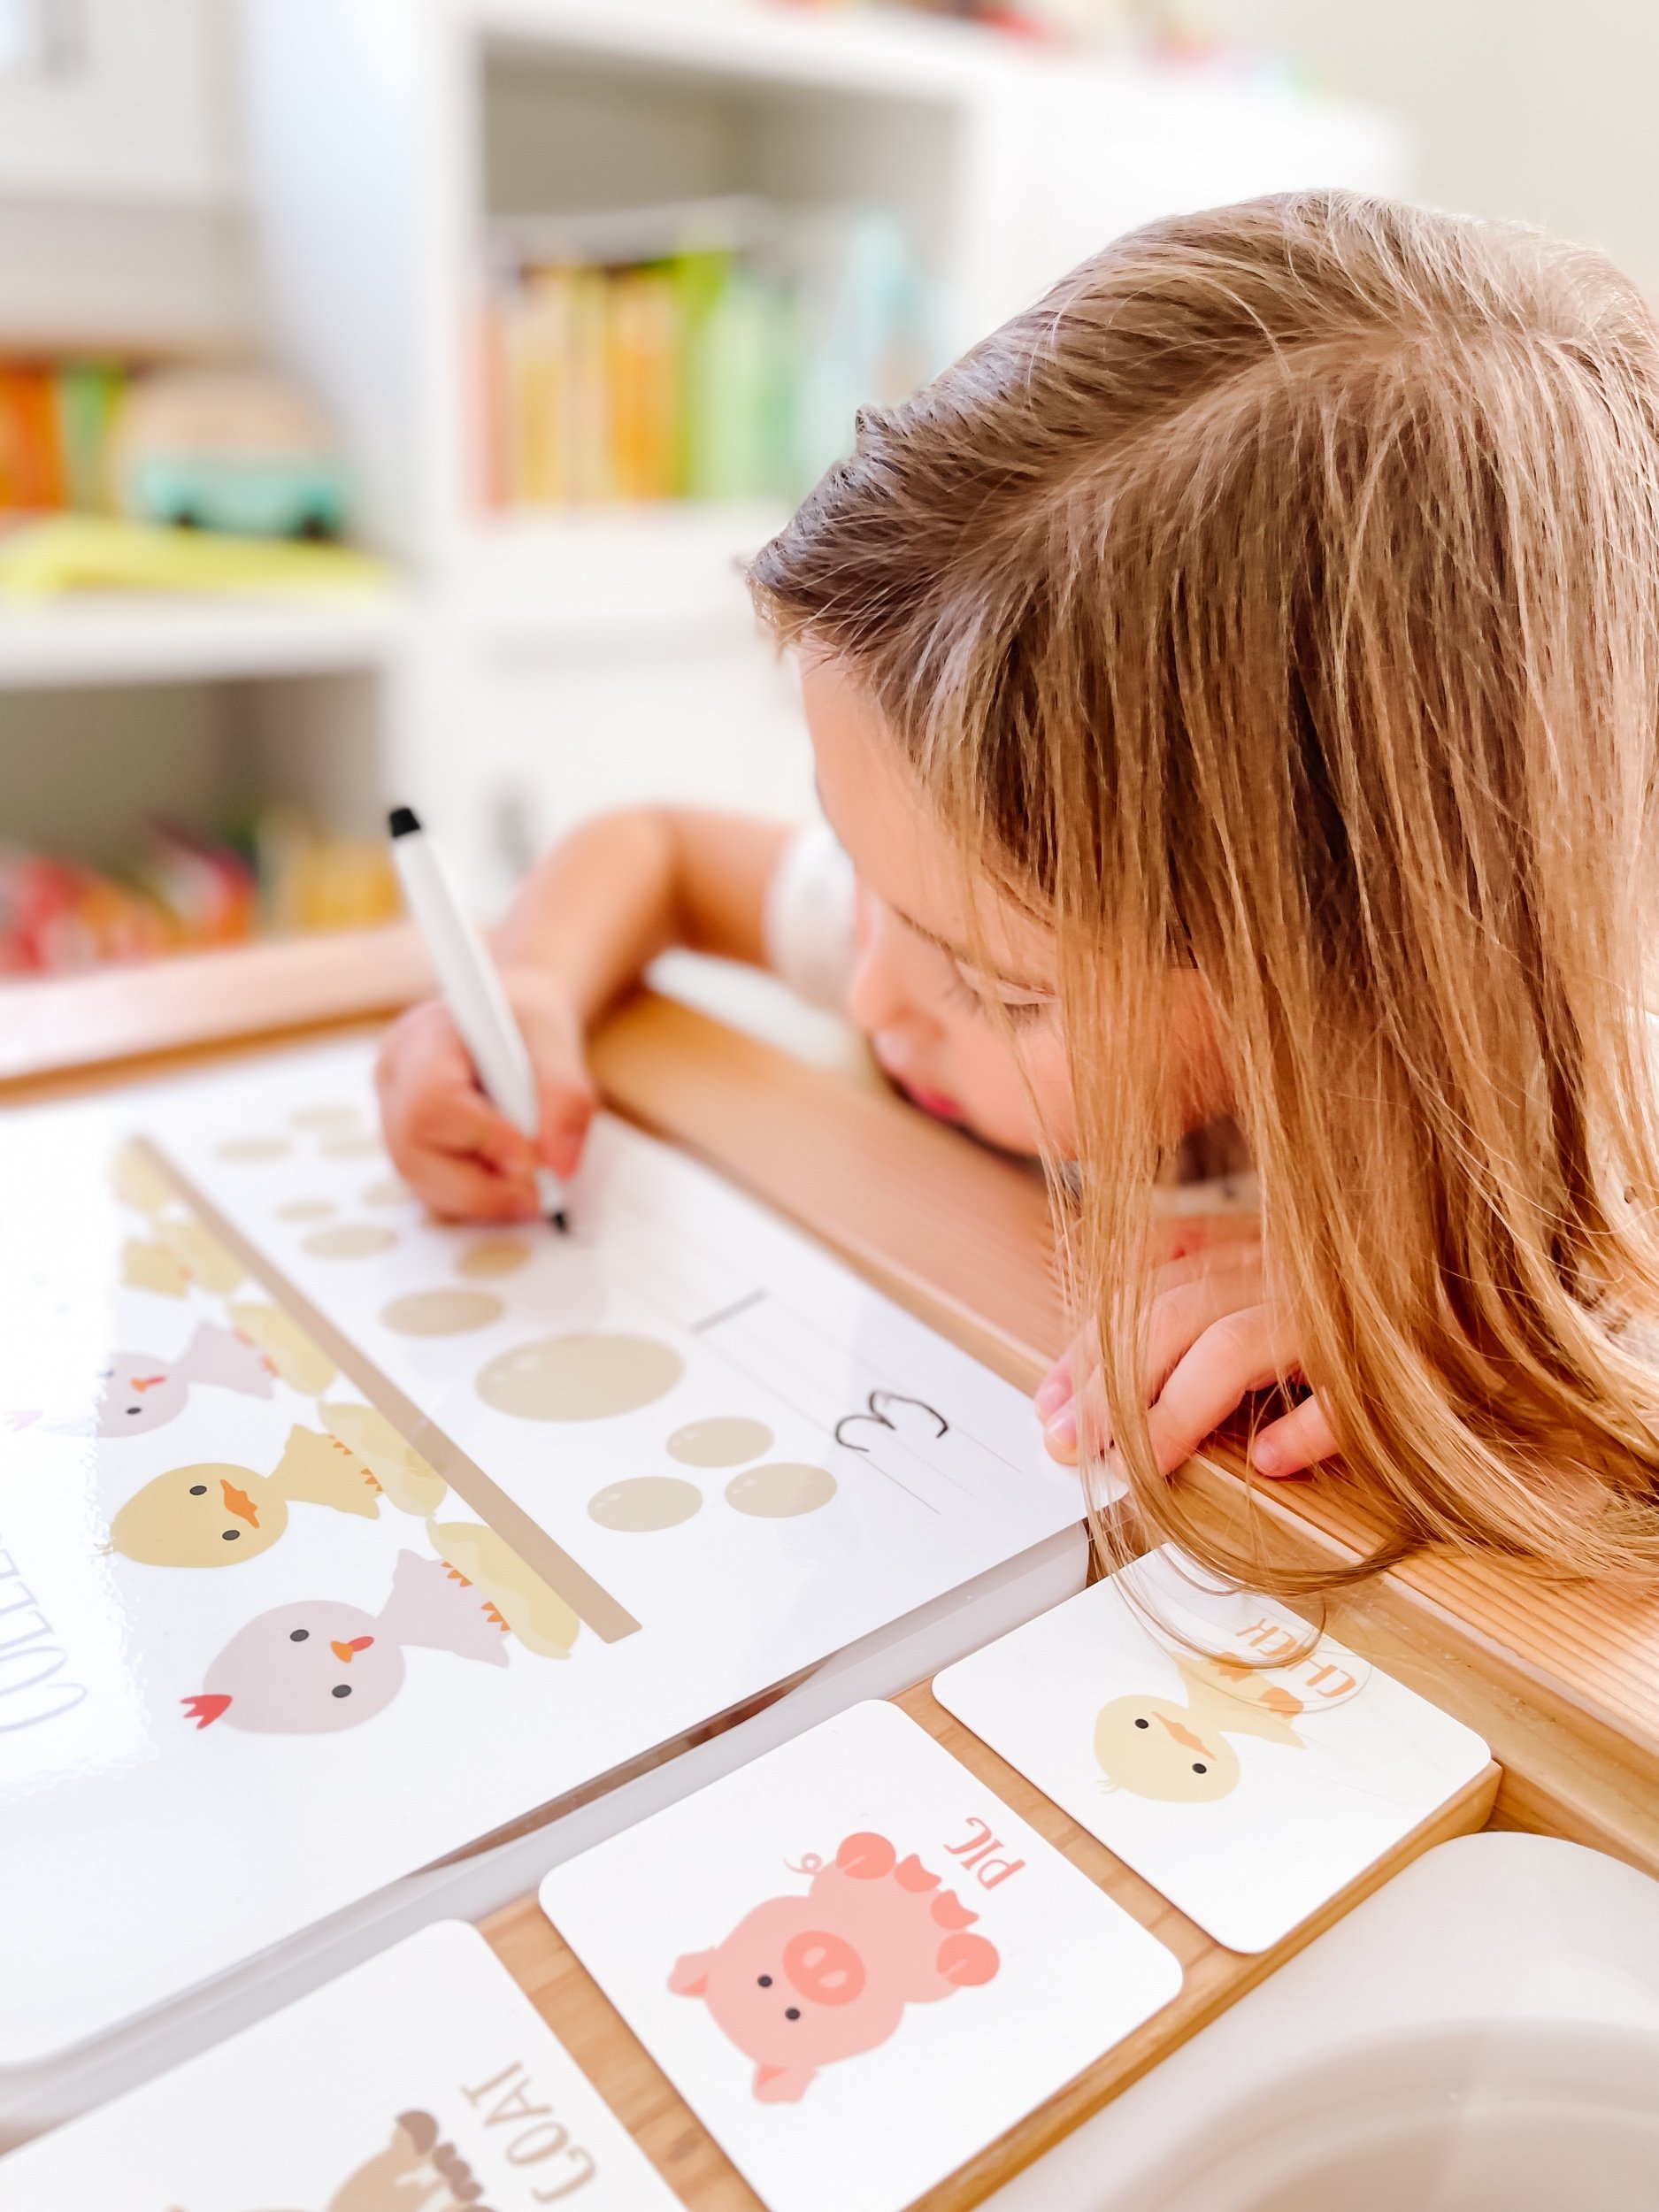
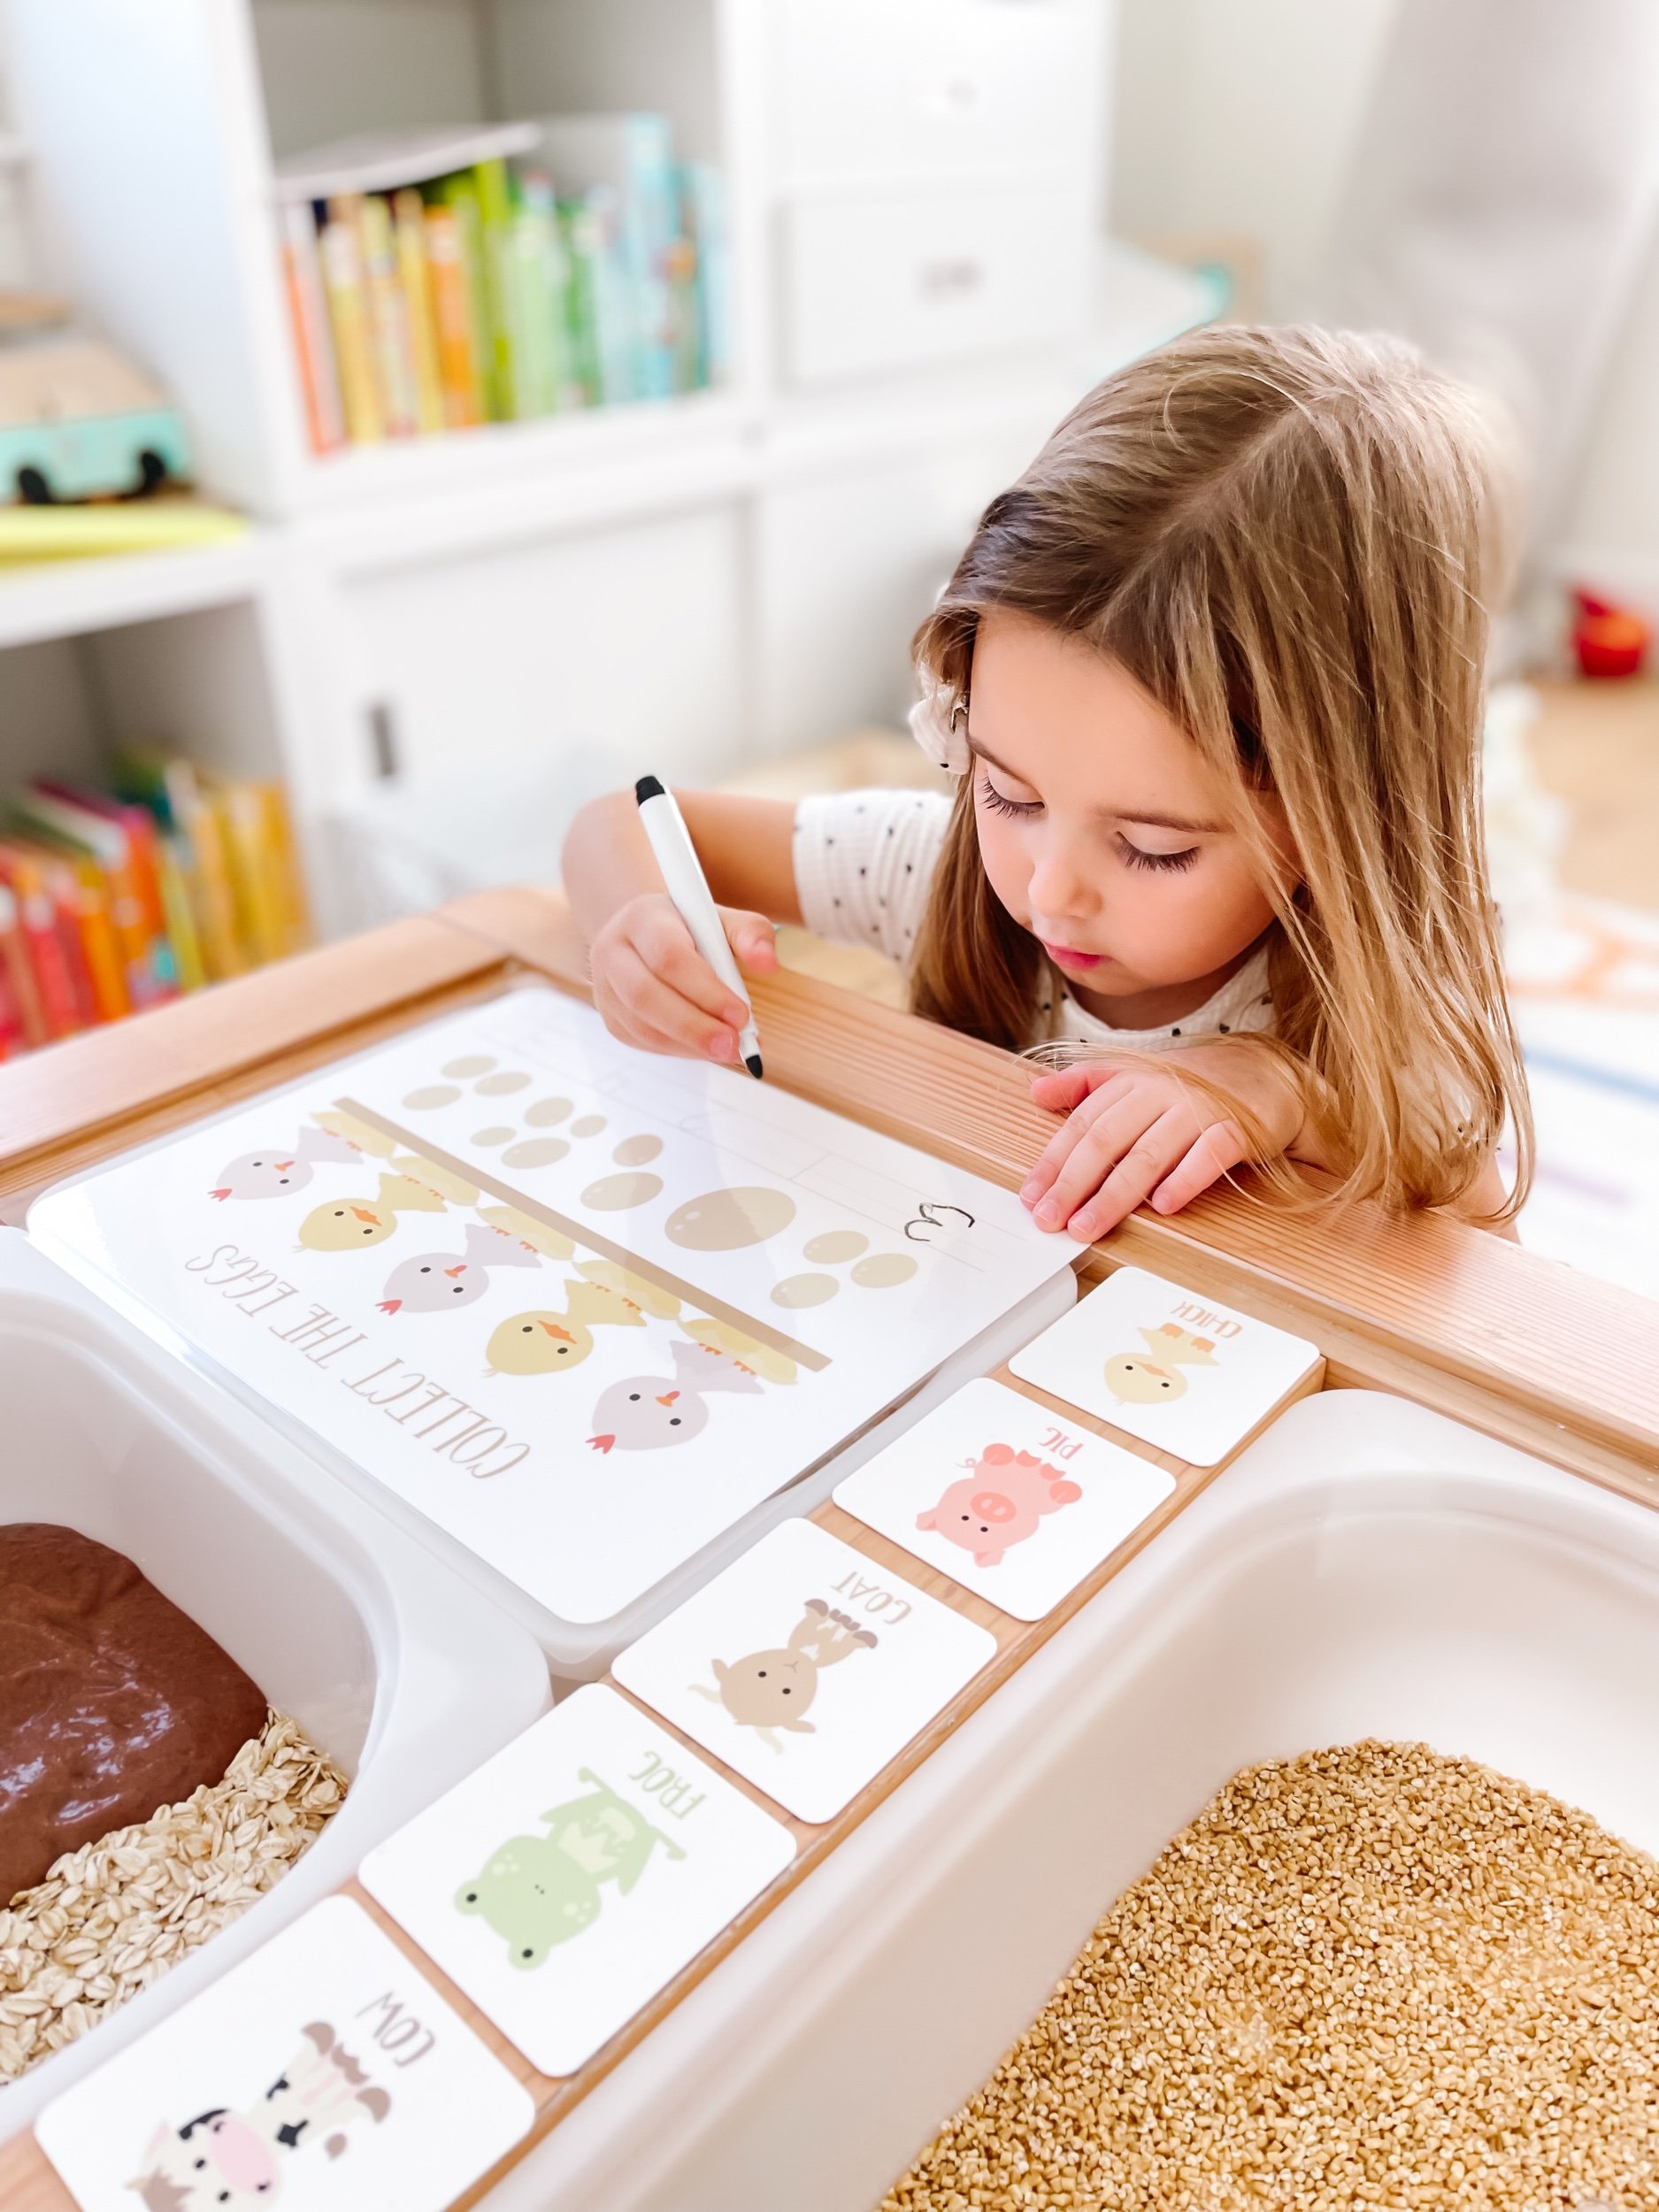
Count the eggs that each chicken lays and write the number on the dotted line! This activity is great practice for more advanced learners who are ready to practice counting and writing. You can make this activity easier or harder by helping your little one with each part. You can also bring this activity to live by hiding some wooden eggs in a bin and having your child collect and count them.

IMG_2879.jpeg IMG_2889.jpeg IMG_2901.jpeg IMG_2860_jpg.jpeg IMG_2865_jpg.jpeg Farm animal sensory bin IMG_2864.jpeg IMG_2846.jpeg IMG_2856_jpg.jpeg IMG_2885.jpeg IMG_2899.jpeg IMG_2894.jpeg IMG_2897.jpeg IMG_2861.jpeg IMG_2872.jpeg IMG_2869_jpg.jpeg IMG_2883.jpeg IMG_2887_jpg.jpeg IMG_2886.jpeg IMG_2890.jpeg IMG_2892_jpg.jpeg IMG_2893.jpeg IMG_2895.jpeg IMG_2888_jpg.jpeg IMG_2891.jpeg IMG_2896.jpeg IMG_2903_jpg.jpeg IMG_2829_jpg.jpeg IMG_2827_jpg.jpeg IMG_2823_jpg.jpeg IMG_2813_jpg.jpeg IMG_2817_jpg.jpeg IMG_2804_jpg.jpeg IMG_2808_jpg.jpeg IMG_2797.jpeg

Farm Pretend Play

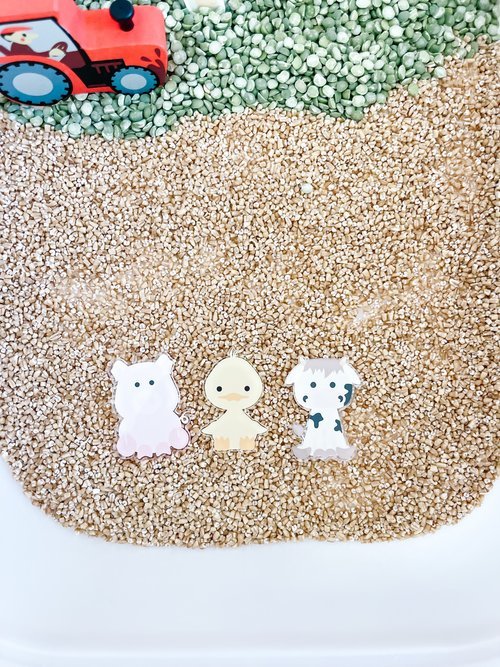
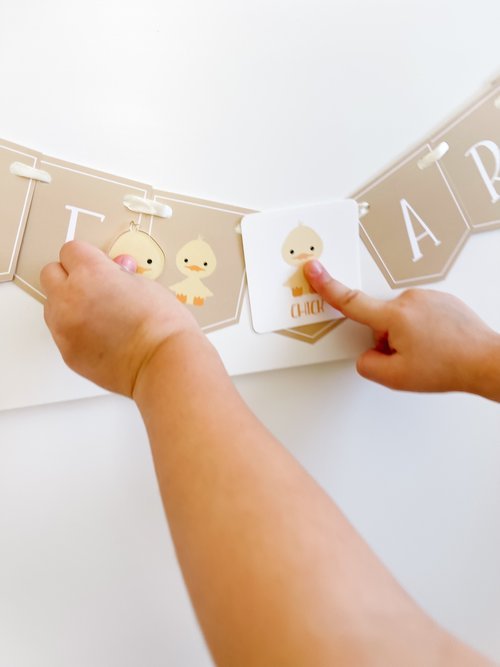
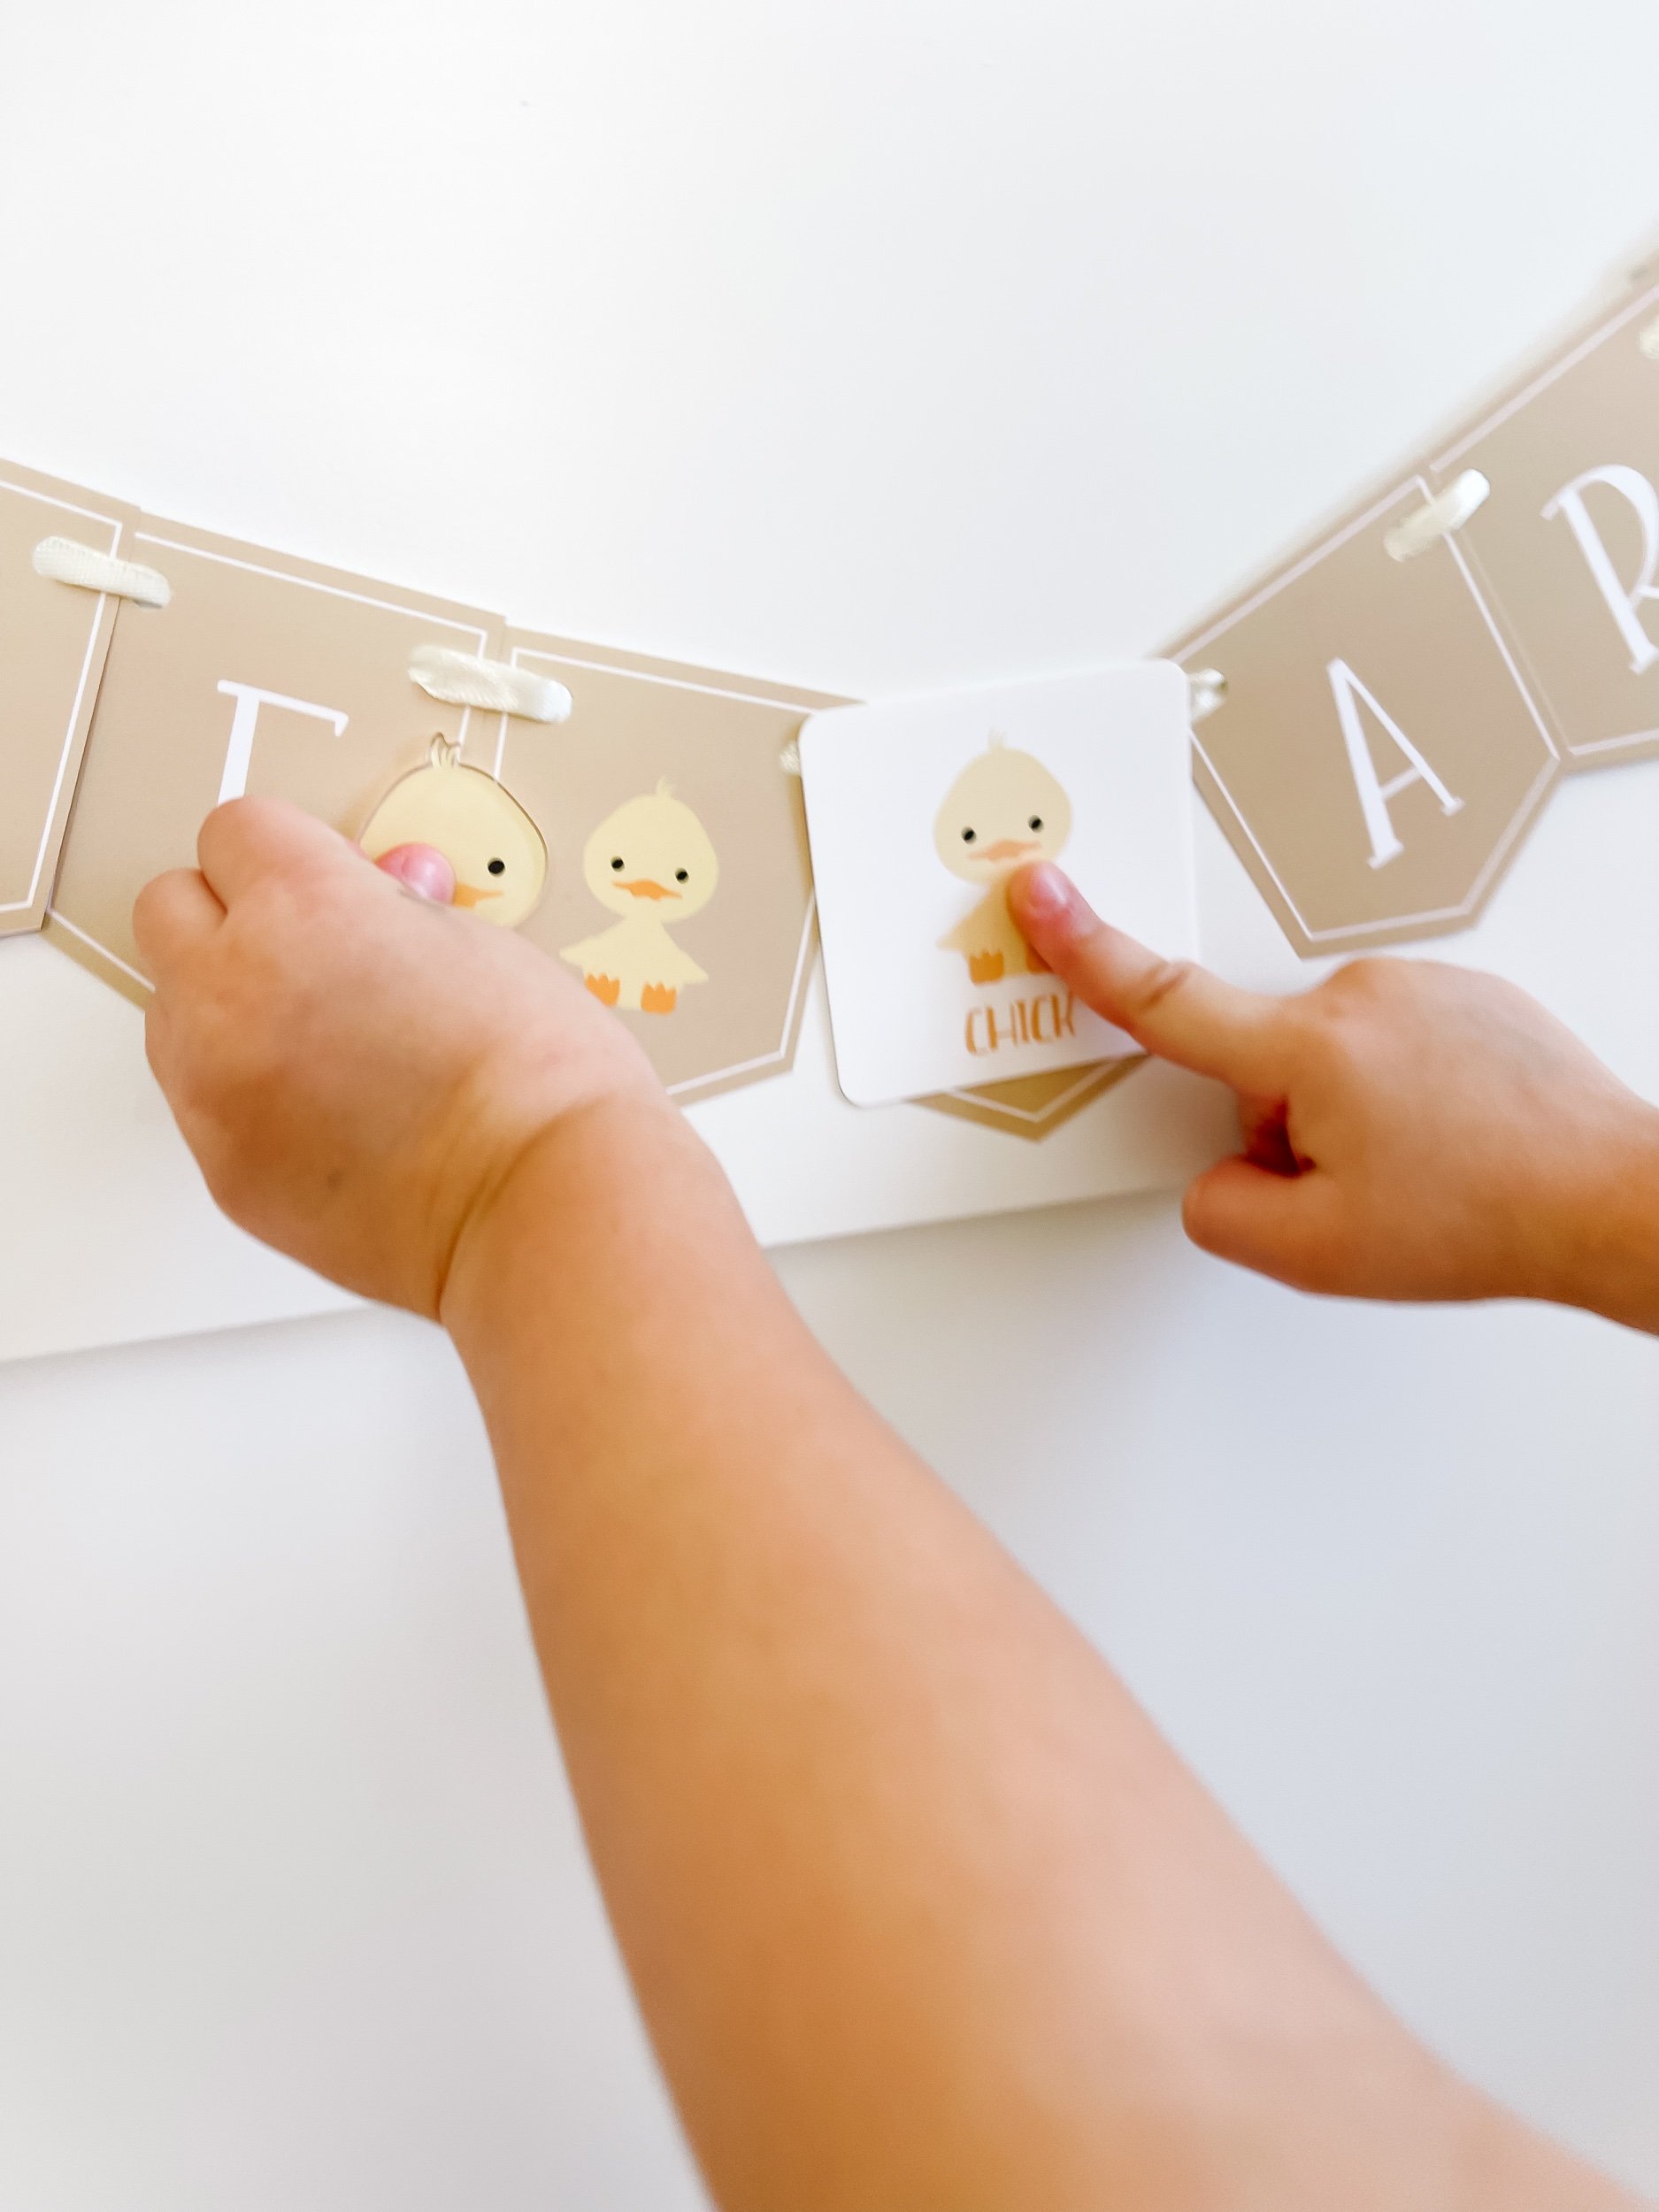
Use the farm animal cut outs to play make believe farm! This is Sofie’s favorite part of play because she loves imaginative play. If you don’t have wooden farm animal figurines, you can use GoodnightFox acrylic farm animals as a great cost-effective alternative, or use GoodnightFox memory game cards. Or just use the cut out version included in the kit. You can laminate them for extra durability, plus they stay flat for easy storage. Here are some ideas for imaginative play if you need help getting started:

  • Have the cows grazing on corn

  • Pretend to shave the sheep for it’s wool

  • Pretend to feed the chickens corn meal

  • Pretend to collect the eggs from the hens

  • Pretend to drive the tractor through the corn field and collect the corn

  • Pretend to have the pigs roll around in the mud

  • Have the farm animals interact with each other


The Benefits of Farm Animal Themed Sensory Play for Toddlers

Sensory play is an excellent way for toddlers to explore and learn about the world around them. It engages their senses, stimulates their brains, and promotes their overall development. One fantastic sensory play theme for toddlers is farm animal themed play. Introducing little ones to the wonders of farm animals through sensory play can offer a wide range of benefits that go beyond mere entertainment. Let's delve into some of these benefits.
1. Cognitive Development: Farm animal sensory play provides toddlers with opportunities to improve their cognitive skills. As they engage in hands-on activities involving farm animal toys, they learn to categorize, sort, and match animals based on their characteristics. This fosters early problem-solving skills, critical thinking, and the understanding of cause and effect relationships.
2. Language and Communication: Sensory play with farm animals also promotes language and communication skills in toddlers. As they play with different animals, parents and caregivers have countless opportunities to engage in conversations, teach new words, and help them develop their vocabulary. Describing the features, sounds, and actions of farm animals enhances their language acquisition and expressive abilities.
3. Sensory Exploration: Farm animal themed sensory play stimulates various sensory experiences for toddlers. The textures of straw, hay, feathers, and faux fur tickle their tactile sense and help develop fine motor skills as they manipulate objects. The sounds of animal noises and the rhythm of songs encourage auditory development. Visual exploration of colors, shapes, and patterns on the animals' bodies enhances visual perception.
4. Emotional Development: Interacting with farm animals during sensory play helps toddlers develop empathy and emotional intelligence. Through caring for and imitating the behaviors of the animals, toddlers learn to recognize and respond to the emotions of others. This fosters kindness, compassion, and an understanding of nurturing relationships.
5. Role-Playing and Pretend Play: Farm animal themed sensory play encourages imaginative and pretend play, which is crucial for a toddler's development. They can engage in role-playing by pretending to be farmers, veterinarians, or animal caretakers. This imaginative play allows them to understand different perspectives, practice social skills, and experiment with problem-solving in a safe and enjoyable way.
6. Connection to Nature: Sensory play with farm animals connects toddlers with nature, even if they don't live near a farm. It helps them develop an appreciation for the natural world and its creatures. Through farm animal-themed play, toddlers learn about the environment, seasons, and the importance of caring for living beings.
In conclusion, farm animal themed sensory play offers toddlers a multi-faceted learning experience that benefits their overall development. As they engage in cognitive tasks, language building, sensory exploration, emotional growth, imaginative play, and nature connection, little ones experience a holistic learning and developmental journey. So, next time you're planning sensory play activities for your toddler, consider the wonders of farm animal-themed play and watch their excitement and growth unfold.


Farm Animal Vocabulary Words for Toddlers

1. Cow: A large domesticated mammal with a characteristic moo sound, often raised for milk and meat.
2. Horse: A four-legged animal that is used for riding, racing, or working on farms, known for its powerful galloping.
3. Pig: A stout mammal with a snout that enjoys rolling in the mud and is often farmed for its meat.
4. Sheep: A fluffy, woolly animal that is raised for its soft wool and often heard baa-ing.
5. Chicken: A small domesticated bird that lays eggs and is often raised for its meat.
6. Duck: A waterbird with flat webbed feet, a quacking sound, and the ability to swim gracefully.
7. Goat: A sure-footed mammal often found on farms, known for eating grass and sometimes kept for milking.
8. Dog: A loyal and friendly domesticated mammal that loves to bark and is often kept for companionship.
9. Cat: A small carnivorous mammal prized for being independent, purring, and engaging in playful antics.
10. Donkey: A sturdy domesticated mammal that resembles a horse but is smaller and usually used for work.
11. Rooster: A male chicken known for its cock-a-doodle-doo crowing in the early morning.
12. Hen: A female chicken that lays eggs and is often seen clucking around the farm.
13. Turkey: A large bird often consumed on special occasions, known for its gobbling sound.
14. Rabbit: A small animal that hops on its hind legs, with long ears and a fluffy tail.
15. Goose: A large waterbird, often raised for its meat, that hisses and honks.
16. Bee: A flying insect known for its buzzing sound, ability to produce honey, and pollination.
17. Piglet: A young pig who is smaller in size and usually found on a farm.
18. Lamb: The young offspring of a sheep known for its soft wool and cute appearance.
19. Chicks: The baby versions of chickens, covered with fluffy yellow feathers.
20. Calf: A young cow that is not yet fully grown, often seen on dairy farms.
21. Duckling: The cute and fluffy baby version of a duck.
22. Kitten: The young offspring of a cat, usually small and playful.
23. Pup: A term for the young of several different animals, but often used to refer to a young dog.
24. Gosling: The young offspring of a goose, often gray and fuzzy.
25. Foal: A baby horse that has not yet reached adulthood, usually found on horse farms.
These vocabulary words will help toddlers familiarize themselves with the farm animal world while engaging in sensory play.

Tags farm animal sensory play, sensory filler ideas for farm, corn picking activity, pigs in mud activity, feed the animals activity, flisat table play ideas, oatmeal sensory filler, green pea sensory filler, corn kernels sensory filler, chocolate pudding sensory filler, oatmeal sensory filler steel cut, rolled oats sensory filler, taste safe sensory bin ideas, Farm themed sensory play, flisat table play
3 Comments

Creating a Weather Station Sensory Play Table: A Dramatic Experience for Kids

December 22, 2023 Kylie Tuosto
Weather station sensory bin ideas and play for kids

Welcome to the immersive world of weather-themed sensory play! As a parent, fostering creativity and exploration is key, and what better way to do so than through a captivating weather station-themed sensory table experience for your little ones?

Setting the WEATHER STATIOn Scene

For this activity, we’ll be using the Weather learning spinner from the printable activity kit. This will serve as the background to your weather board. You can reuse the awning from the Grocery Store printable kit of this setup if you’d like to add a bit more color.

Here are a few other add-ons that I used:

  • Weather board from Lovevery

  • Weather Book

  • Rain sound maker

  • Rainbow Playdoh from @curiouswren

  • Weather match game cards

  • Weather insert from @wonderyearsplay

Weather-Themed Sensory Bins

IMG_0322.jpeg IMG_0316_jpg.jpeg IMG_0331_jpg.jpeg IMG_0317_jpg.jpeg IMG_0318.jpeg IMG_0319_jpg.jpeg IMG_0320_jpg.jpeg IMG_0323_jpg.jpeg IMG_0324_jpg.jpeg IMG_0325_jpg.jpeg IMG_0326_jpg.jpeg IMG_0327_jpg.jpeg IMG_0328_jpg.jpeg IMG_0329.jpeg IMG_0330_jpg.jpeg

1. Rainbow cereal threading (Taste safe)

For toddlers who are still mouthing everything, this activity is awesome. Grab a hoop shaped cereal (I used Fruit Loops) and have your toddler sort them by color. Use pastel or rainbow colored pipe cleaner and hot glue them to a cloud shaped cut out. I bought these puffy clouds from amazon but you can also just cut out a cloud shape from white paper or cardstock. Wrap the pipe cleaner around a pen to create a spiral. Then challenge your toddler to thread the cereal onto the pipe cleaner. For littler kids, keep the pipe cleaners straight for easier threading. Some pipe cleaners have sharp metal edges, so just be sure to fold those into a little loop at the bottom so that no one gets poked.

Porta Etiam Ultricies Vulputate Commodo Ligula Elit Condimentum Aenean eu leo Quam Cursus Amet Pellentesque Risus Ridiculus Porta Etiam Ultricies Vulputate Commodo Ligula Elit Condimentum Aenean eu leo Quam
Gallery Block
These are example images. Double-click here to replace these images with your own content. Learn more

2. Cloudy Exploration Bin (Recommended for Ages 2+):

Fill a bin with used cloud-shaped packing peanuts, simulating a cloudy sky. Introduce small figurines of airplanes or birds for imaginative play if desired. Encourage your child to feel the textures of the packing peanuts, fostering sensory exploration. Some packing peanuts are even bio degradable and you can use colored water to drip onto them and watch them dissolve into a beautiful rainbow.

Aenean eu leo Quam Cursus Amet Pellentesque Risus Ridiculus Porta Etiam Ultricies Vulputate Commodo Ligula Elit Condimentum Aenean eu leo Quam Cursus Amet Pellentesque Risus Ridiculus Porta Etiam Ultricies
Gallery Block
These are example images. Double-click here to replace these images with your own content. Learn more

3. rainbow Packing balls

There’s a few ways to do this activity depending on how mess-averse you are. If you’re not worried about a mess, dump the packing balls directly into a bin and let your child go wild! These are very small and not recommended for mouthing toddlers. But if your child is a bit older, these little foam balls are sensory heaven. Talk about the rainbow colors and even challenge your toddler to sort a few — it’s very tricky because they’re small and cling together.

If you don’t like the mess, then I recommend grabbing some sensory bottles and filling them with the balls. Because the balls have static, they cling to the surfaces of the bottle. You can challenge your toddler to shake them off. Add more or less and experiment with how it looks and feels.

More fun weather sensory bin ideas

IMG_4082.png IMG_4054.png

Rainbow BALL SORT:

This amazing Rainbow Weather Flisat board insert from WonderYearsPlay is the perfect addition to your weather themed sensory play. If you’re going to invest in an insert, this is my favorite one because it’s colorful and there are 3 different ways to play. You can sort rainbow wool balls into each of the holes and they’re the perfect size to rest on top or pop down into the bin. You can use colorful popsicle sticks to match to the rainbow bands and slot into the holes. And you can grab a pack of q-tips and fill the clouds with puffy white fluff. You can also snag these adorable matching felt characters.

Rainbow Rice Storm Bin (Recommended for Ages 3+):

Create a stormy effect using rainbow-colored rice mixed with drops of essential oils like lavender for a calming scent. Include miniature umbrellas, tiny rain boots, and small scooping tools for a tactile experience. Encourage sorting colors or creating patterns in the rice storm.

Foggy Mystery Bin (Recommended for Ages 3+):

Design a misty landscape using a mix of cotton balls, torn cotton pads, and a touch of diluted white paint or essential oils for a subtle fog effect. Hide small objects within the "fog" for a sensory treasure hunt, engaging your child's tactile senses and problem-solving skills.

Sandy Desert Storm Bin (Recommended for Ages 3+)

Create a desert storm experience using kinetic sand as the base. Add in small plastic cacti, toy animals like camels or snakes, and tiny rocks for a textured desert landscape. Encourage imaginative play by burying small treasures in the sand for discovery.

Arctic Ice Exploration Bin (Recommended for Ages 4+):

Construct an Arctic scene using shredded coconut as snow, incorporating frozen miniature animals and objects. Freeze small toys in ice cubes and include them in the bin for an icy excavation experience. Use droppers filled with warm water to melt the ice and uncover the hidden treasures.

Other Weather-Themed Activities

  • Weather-themed sensory bottles (rainstorm, snowstorm, tornado)

  • Taste safe cloud dough sculpting

  • Windy kite-making using tissue paper and sticks

  • Sun catchers with translucent materials

  • Rainbow collage art using assorted colored papers

Weather Vocabulary Words

  1. Cloud: Fluffy, white masses in the sky made of tiny water droplets or ice crystals.

  2. Rain: Water droplets falling from clouds in the sky, often bringing moisture to the ground.

  3. Sun: The star at the center of our solar system, providing light and warmth.

  4. Wind: Moving air in the atmosphere, sometimes gentle and sometimes strong.

  5. Storm: A disturbance in the atmosphere characterized by strong winds, rain, or thunder and lightning.

  6. Rainbow: A beautiful arc of colors in the sky caused by the refraction and dispersion of sunlight in water droplets.

  7. Snow: Frozen precipitation in the form of delicate ice crystals.

  8. Fog: Thick, low-lying clouds on the ground that reduce visibility.

  9. Lightning: A sudden flash of light caused by the discharge of electricity during a storm.

  10. Thunder: The loud sound that follows a lightning strike.

  11. Umbrella: An object used to protect oneself from rain.

  12. Boots: Footwear designed to keep feet dry in wet conditions.

  13. Sky: The expanse above the Earth where clouds, the sun, and stars are seen.

  14. Temperature: A measure of how hot or cold something is.

  15. Forecast: A prediction of the weather conditions.

  16. Meteorologist: A person who studies and predicts the weather.

  17. Barometer: A tool used to measure air pressure.

  18. Anemometer: A device that measures wind speed.

  19. Thermometer: A tool used to measure temperature.

  20. Hail: Frozen balls of ice that fall from the sky during some storms.

  21. Seasons: Different periods of the year characterized by specific weather patterns.

  22. Tornado: A rapidly rotating column of air extending from a thunderstorm to the ground.

  23. Drizzle: Light rain falling in fine drops.

  24. Mist: Water droplets suspended in the air near the ground.

  25. Precipitation: Any form of water, liquid or solid, that falls from the atmosphere and reaches the ground.

These additional sensory bins and descriptive vocabulary will cater to various developmental stages, allowing a broader range of engaging experiences and learning opportunities for children exploring the world of weather.

Creating a weather station-themed sensory table experience not only stimulates sensory exploration but also fosters imaginative play and early interest in meteorology.

IMG_0288.jpeg
IMG_0294.jpeg
IMG_0295_jpg.jpeg
IMG_0296_jpg.jpeg
IMG_0303_jpg.jpeg
IMG_0309_jpg.jpeg
IMG_0318 (1).jpeg
IMG_0319_jpg (1).jpeg
Tags weather sensory play, weather sensory bottles, weather station dramatic play, weather learning spinner, rainbow playdoh, sunshine toys, rain sound maker, lovevery weather station board, lovevery toys, weather cookie cutters, weather activities for kids, weather threading activity
3 Comments
← Newer Posts Older Posts →

Get Featured

Have a shop that specializes in baby gifts? I'd love to feature your shop and products in one of my weekly roundups. Email me at goodnightfoxstudio@gmail.com.

Have a small shop?

Check out GoodnightFox wholesale we’d love to have you carry the GoodnightFox brand.

Free Letter of the Week Guide

Sign up with your email address to get a weekly Letter Guide A-Z for 26 weeks of sensory play inspiration.

You’ll also get access to free printables, new products and promotions.

Thank you! Check your email for your free 26-Letter of the Week activity guide printable poster.


Free Printable Activities

Check out our free printable library of resources. From activity books, dramatic play kits, memory games, flashcards and more, you can try the entire goodnightFox collection free.


GOODNIGHTFOX

Play-based learning resources that help toddlers learn through play. Sensory play ideas, free printables, and hands-on learning tools designed for busy parents and curious little learners.

Get Free Printables →

EXPLORE

  • Start Here

  • Toddler Activities by Age

  • Seasonal Toddler Activities

  • Sensory Play Ideas

All Activity Ideas →

SHOP

  • Flashcards

  • Learning Kits

  • Memory Games

  • Dramatic Play

  • Playschool Planner

Shop All →

ABOUT

  • Our Story

  • Contact

  • FAQ

  • Privacy Policy

  • Terms & Conditions

  • Wholesale

  • Newsletter

© 2026 GoodnightFox
Play-Based Learning for Toddlers