
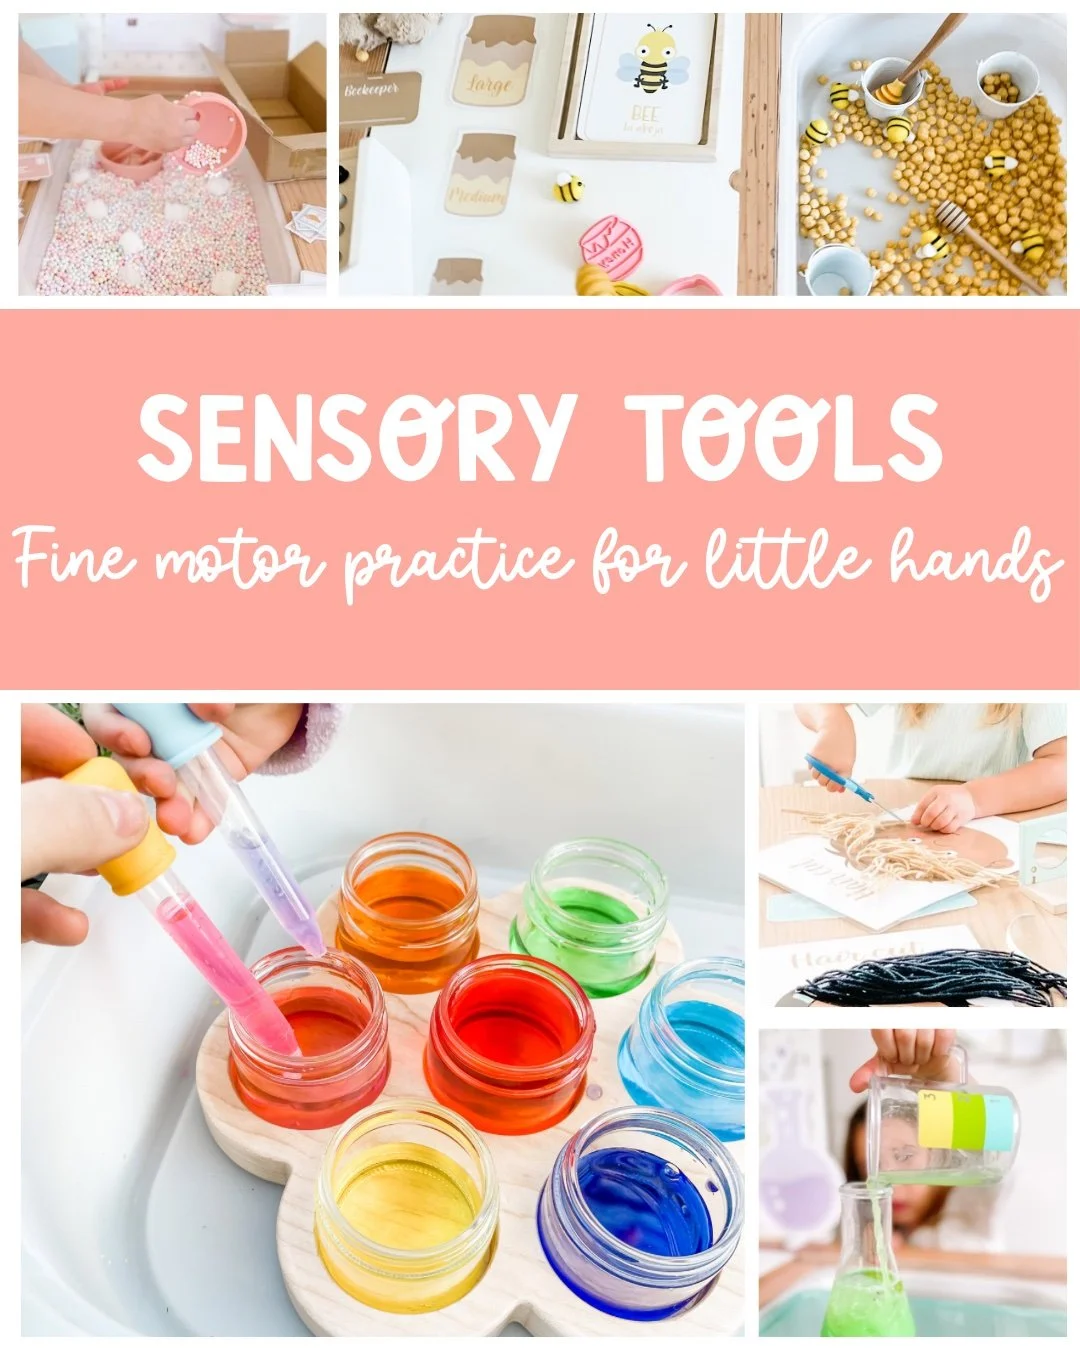
Sensory Bin Tools for Toddlers: 8 Tools That Build Little Hands
A sensory bin is only as good as what's in it — and the tools are the part that does the real work. The filler is the world, but the tongs, the scoop, the jug, and the funnel are how your toddler actually plays in it: grabbing, pouring, sorting, serving, and trying again. When my daughter was little, I learned that a bin full of beautiful fillers and no tools gets dumped in thirty seconds and abandoned — but give the same bin three good tools, and it holds a toddler's attention for half an hour. These are the eight sensory bin tools for toddlers that earned their place in our house: what each one is, what it gives little hands a chance to practice, when to introduce it, and how to rotate it so it stays interesting.
What makes a sensory bin tool a good one
Before the eight tools, it helps to know what you're looking for — because the best sensory bin tools are not the ones in the toy aisle. They're the ones already in your kitchen, your garden shed, and your junk drawer. A good tool for a toddler has four things going for it:
- It fits the hand that's holding it. A one-year-old needs a tool they can grip with a whole fist — a big scoop, a chunky spoon, a small jug with two handles. A three-year-old is ready for tools that ask for finger work — tongs, tweezers, a dropper. The tool should match the hand, not the other way around.
- It does one job. A scoop scoops. A funnel funnels. A tool with one clear job is a tool a toddler can figure out on their own — and figuring it out is the whole point.
- It matches the filler. Dry fillers want scoops, cups, and tongs. Water wants jugs, funnels, and droppers. Sand wants shovels and sifters. When the tool and the filler don't match, the play falls apart, and so does the toddler's patience.
- It can be washed. Everything in a sensory bin gets chewed on, stepped on, and left in the garden. Pick tools that rinse clean and dry fast, and keep a dedicated set in a basket by the bin.
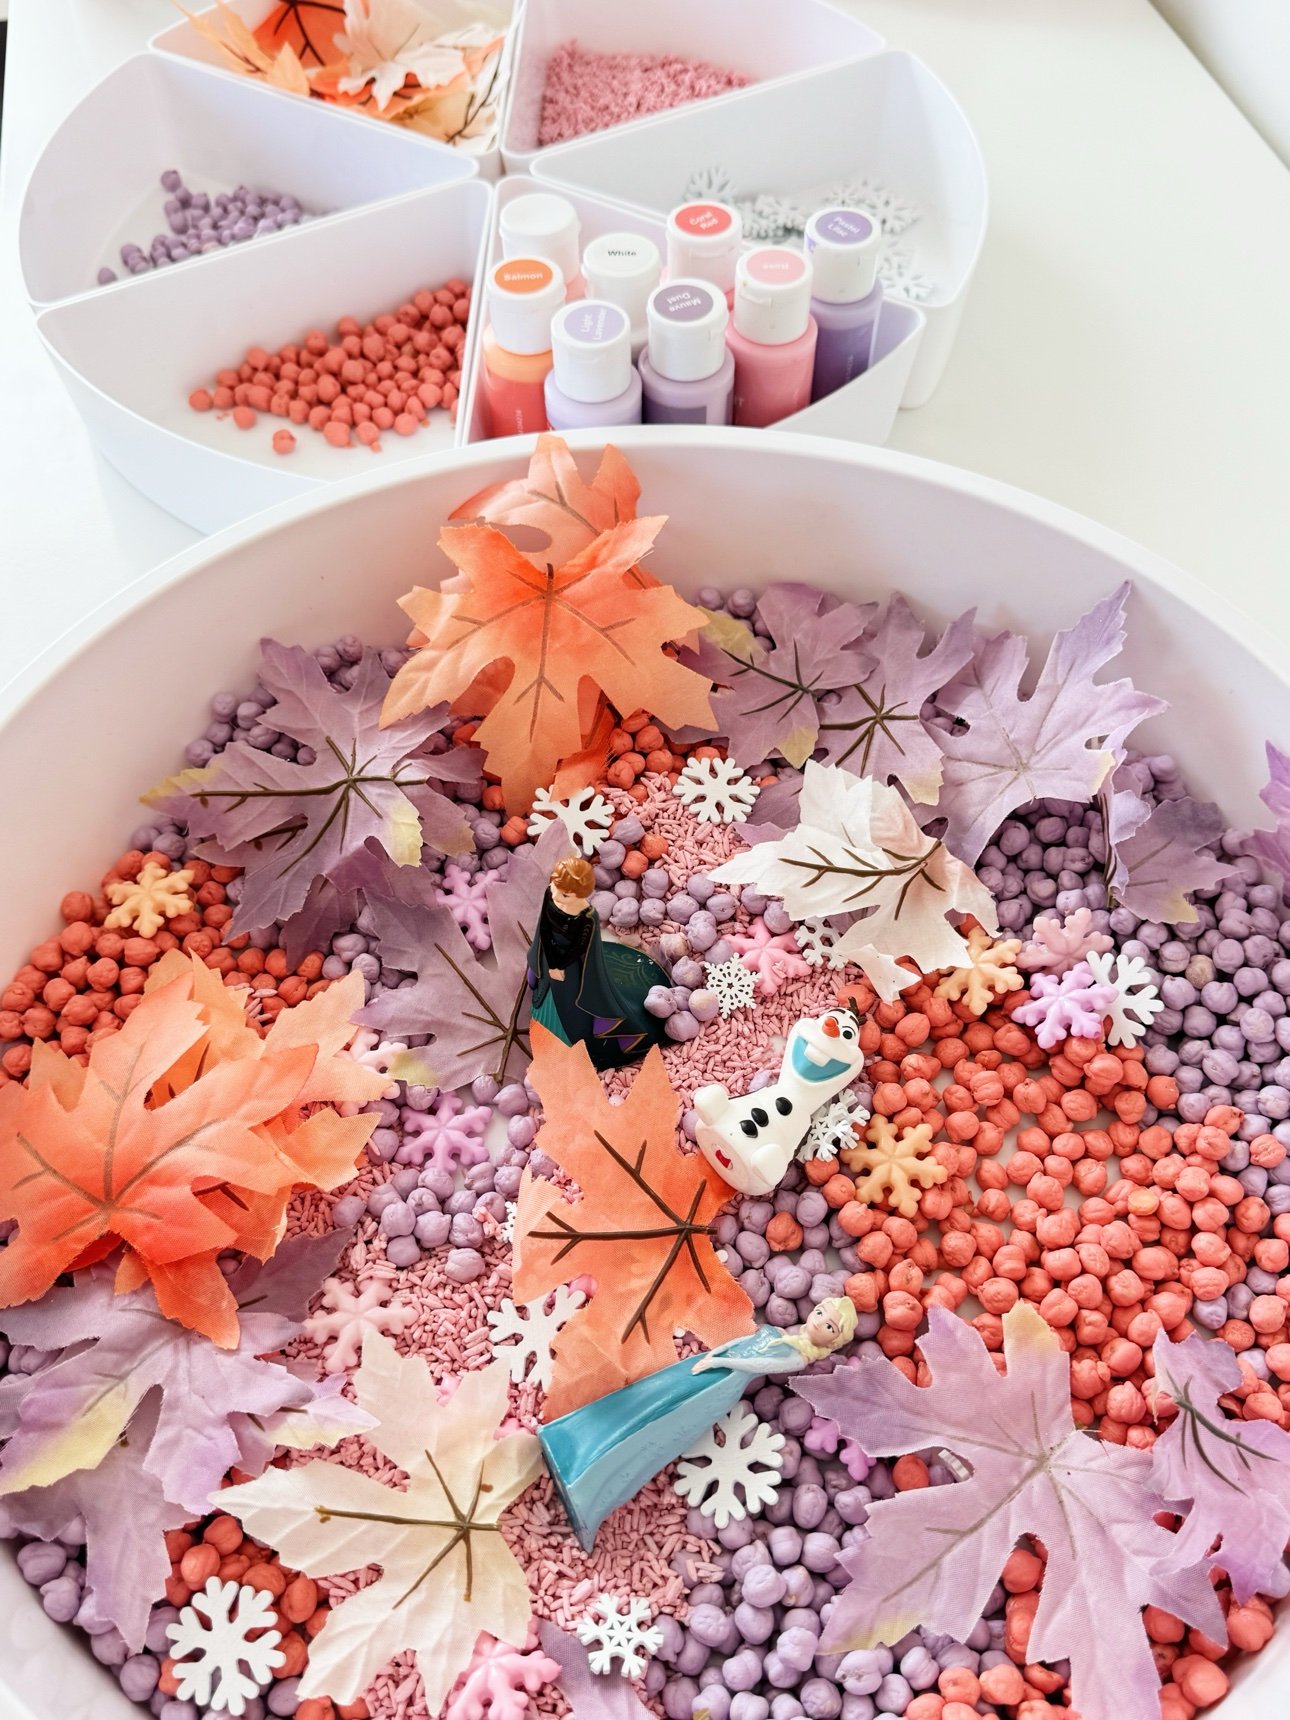
A quick note, the way I'd say it to a friend: stay nearby for every setup here, and size the tools up for younger players — everything large, nothing small enough to be mouthed whole, and never use water beads. Supervise water play closely, and keep it to the tub or outside. If your youngest is still mouthing everything, our sensory play ideas for 1-year-olds has the same spirit with bigger props and sealed-bag play. For the full rundown on every filler before you choose one, our ultimate guide to sensory filler materials covers them all.
8 sensory bin tools for toddlers
1. Tongs — the grab-and-carry tool
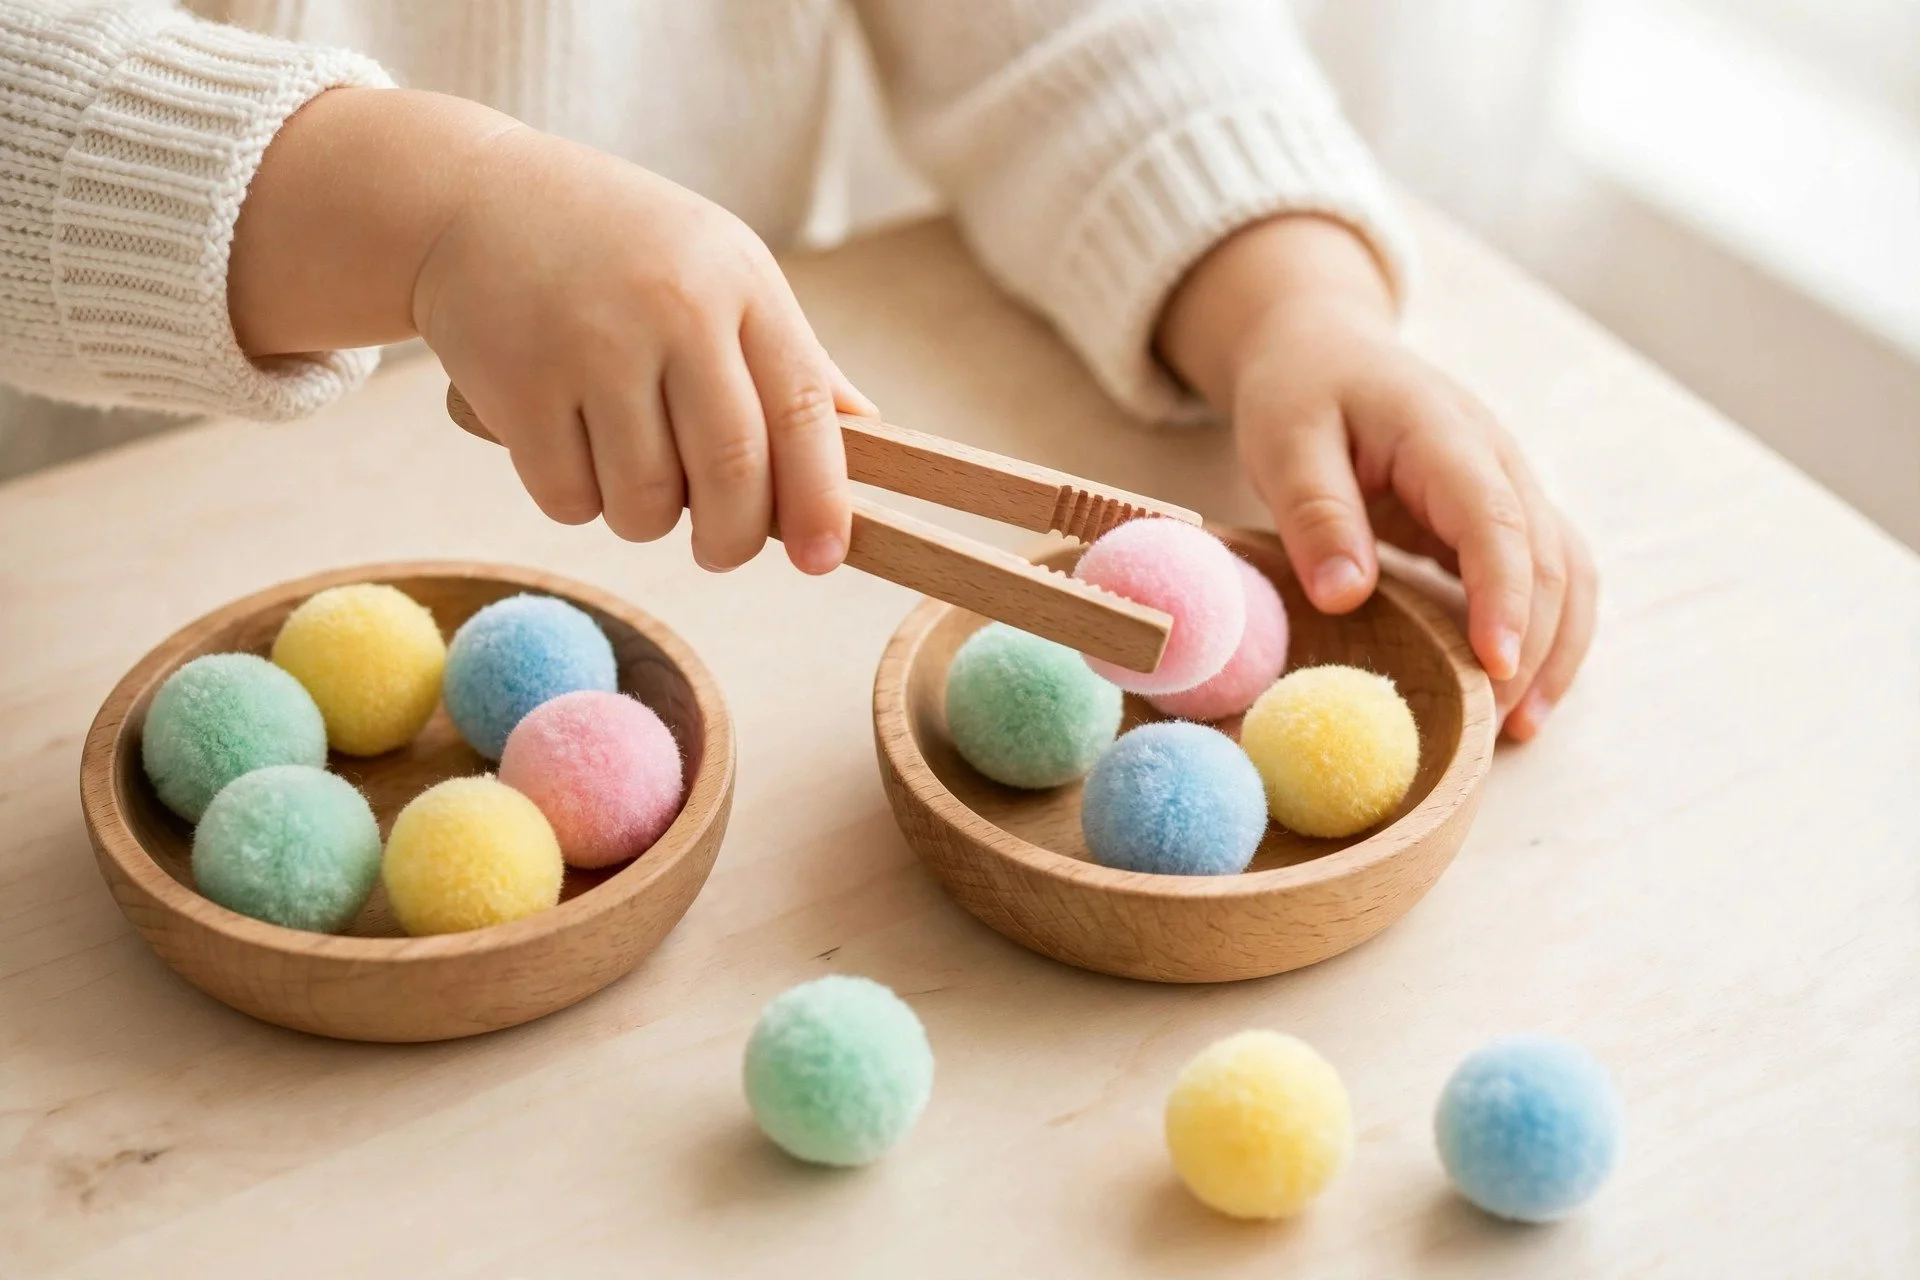
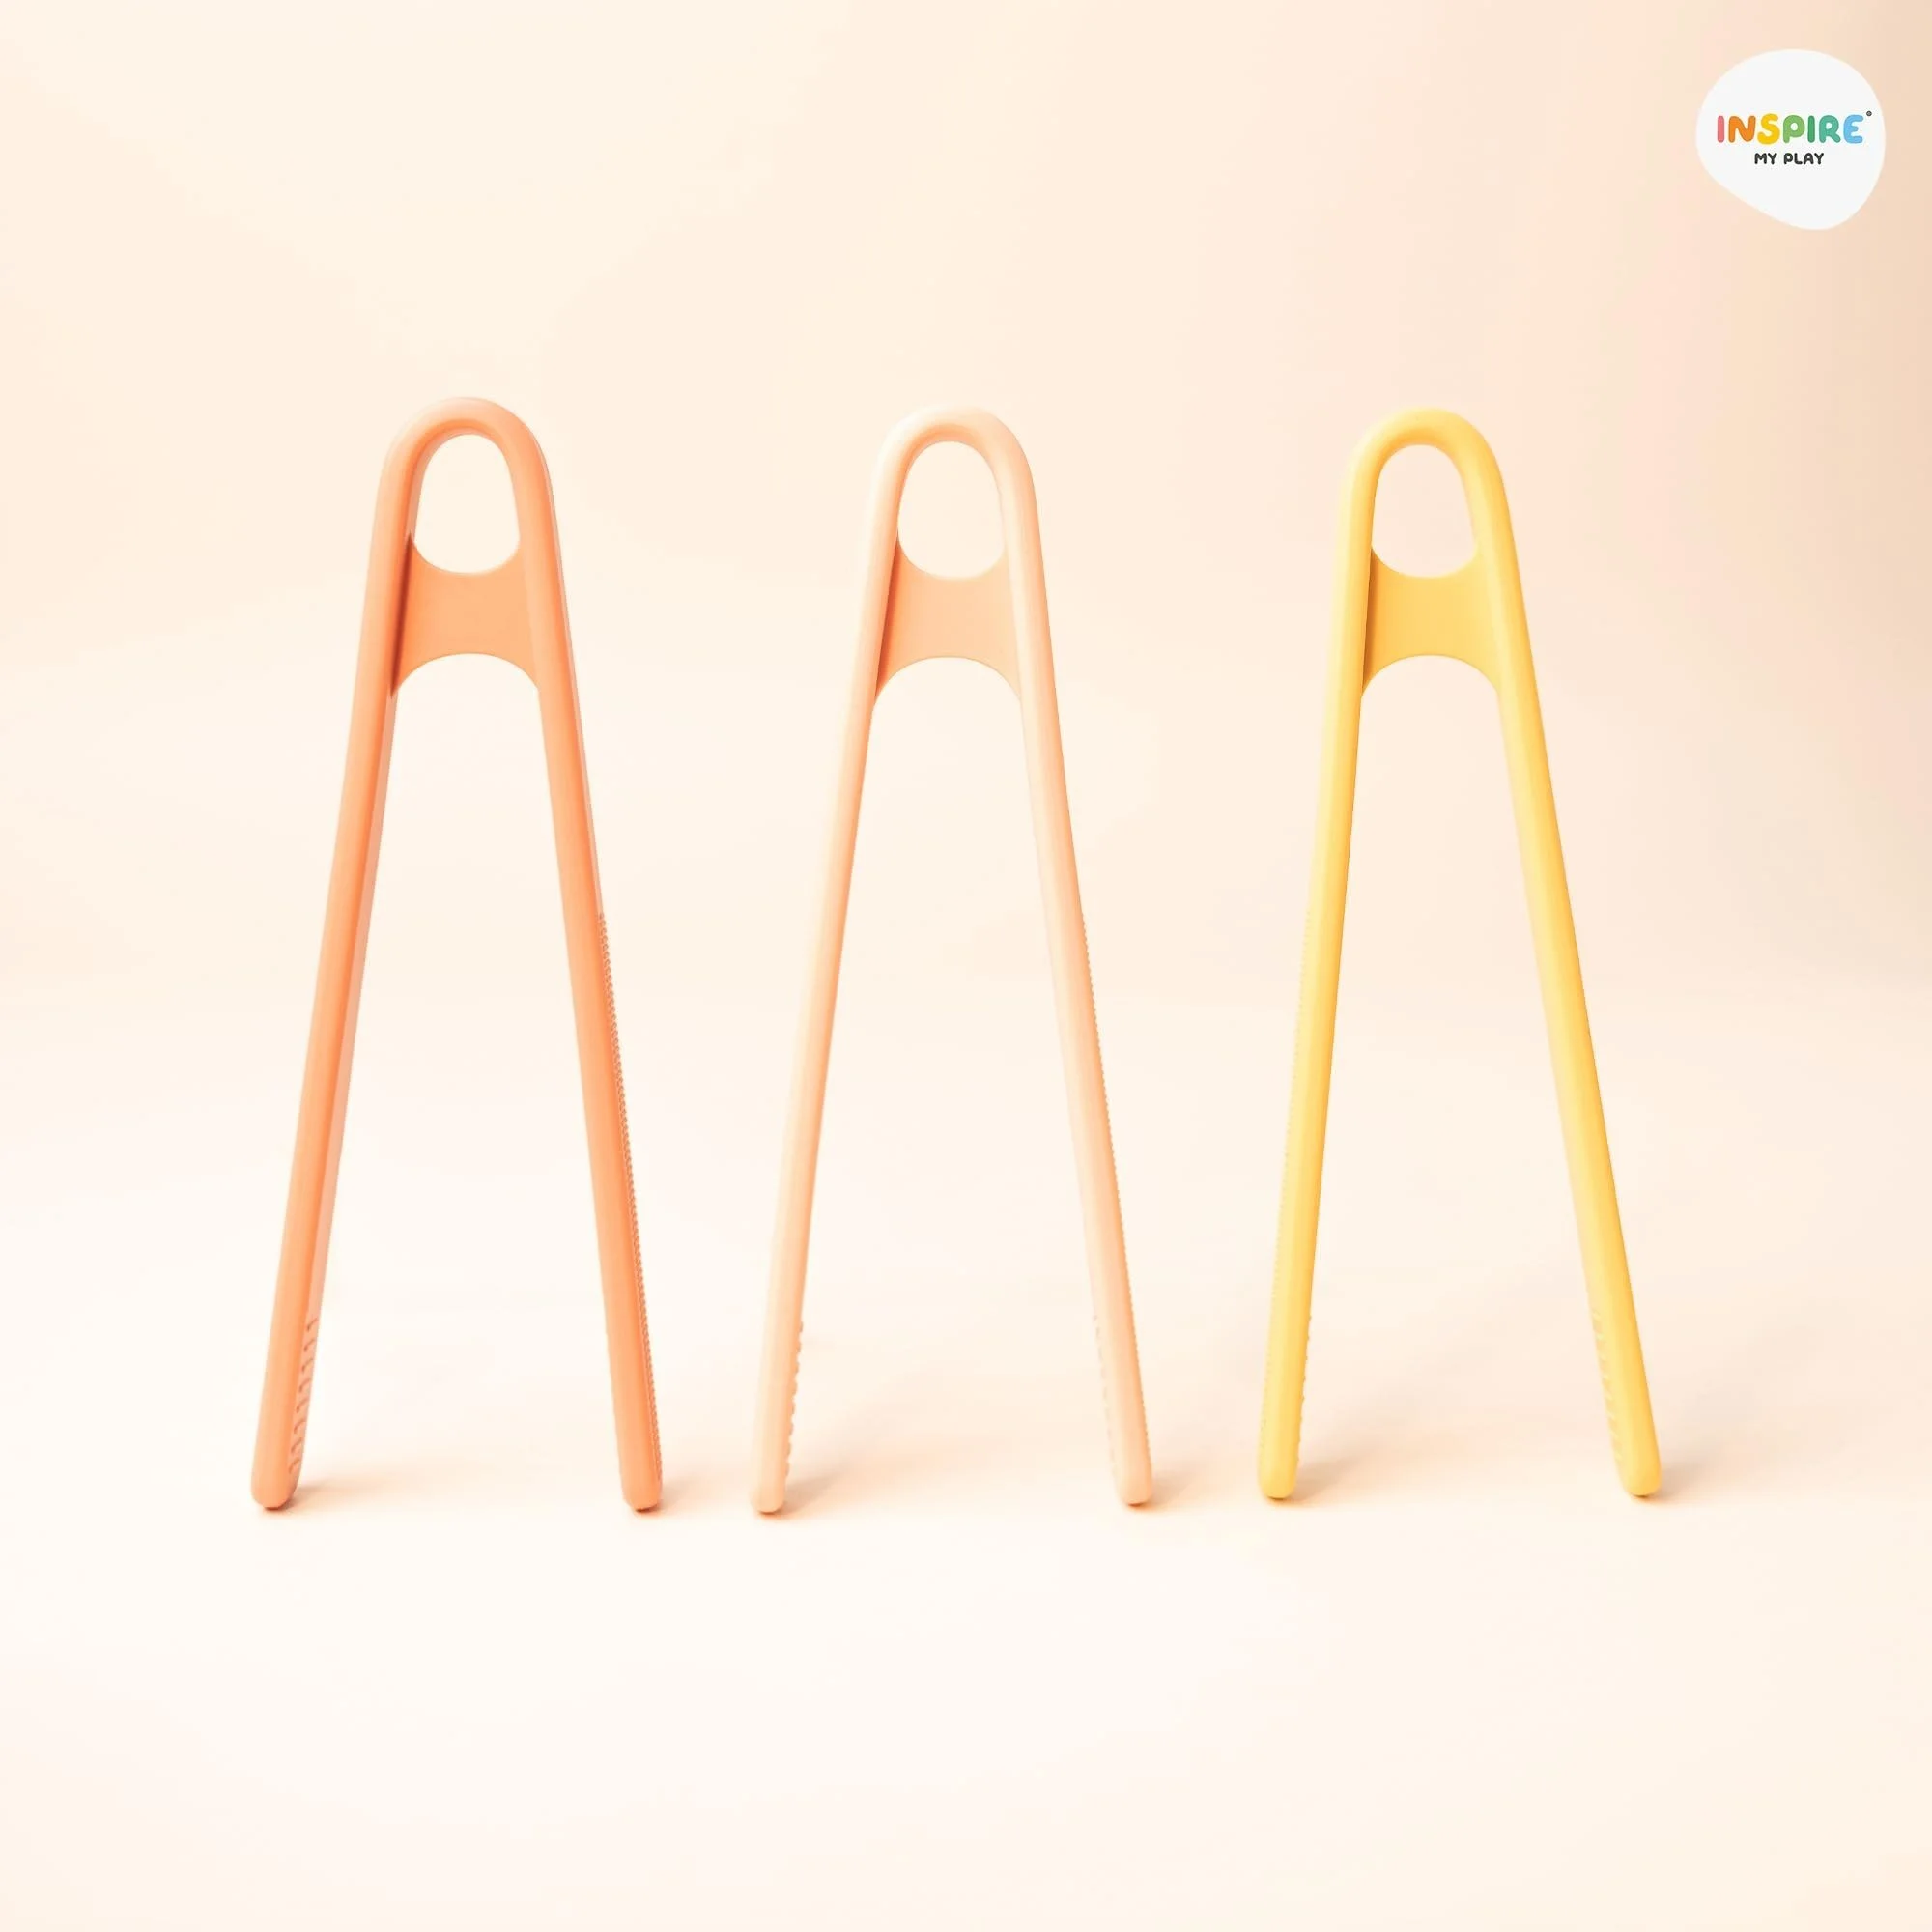
What it is: chunky toddler tongs, silicone-tipped kitchen tongs, or jumbo plastic tongs from the party aisle. The rule is simple: if an adult can use them one-handed without thinking, they're too small. Toddler tongs should take a proper squeeze to close, with tips wide enough to hold a pom-pom without crushing it.
What it gives little hands a chance to practice: squeeze-and-release, two-handed coordination, and patience. Tongs ask both hands to work together — one hand steadies the bowl, the other squeezes — and they slow the play down in the best way. Moving pom-poms one by one instead of grabbing a fistful is a completely different game, and it's the one that keeps a toddler at the bin.
When to introduce it: around age 2, once your toddler can open and close their hand on purpose — squeezing a spray bottle, opening a clothespin, popping a bubble. Start with big, soft targets: pom-poms, large pasta shapes, or cotton balls.
Rotation tip: pair tongs with one target and one destination — pom-poms into a muffin tin, pasta into a bowl. When the transfer gets fast and easy, swap the tongs out for tweezers (tool 6).
Arctic Sensory Kit — $15
The frozen friends bin in the photo above is exactly the kind of setup tongs were made for — big arctic pieces, easy to grab, and a whole frozen world to move around one piece at a time.
2. Scoops + measuring cups — the pour-and-fill workhorse
What it is: a 1/4-cup measure, a small scoop from the pantry, a yogurt tub with the label peeled off. Scoops are the first tool most toddlers reach for, and the one I'd buy first if I were starting from scratch — a set of nested measuring cups costs next to nothing and covers a year of play.
What it gives little hands a chance to practice: volume, full and empty, and steady hands. Scooping is pouring with a middle step: how much fits in the cup, what happens when the cup tips, how many scoops fill the bowl. Counting scoops out loud turns it into a numbers game without anyone noticing.
When to introduce it: from the very first bin, around age 1, with a big scoop and a big filler — oats, large pasta, pom-poms. A one-year-old with a scoop and a bin of oats is playing the same game a four-year-old plays with a measuring cup and dyed rice; only the size changes.
Rotation tip: one scoop size at a time. A bin with three different scoops is a bin where nothing gets scooped properly. Swap the scoop when you swap the filler, and the same bin feels brand new.

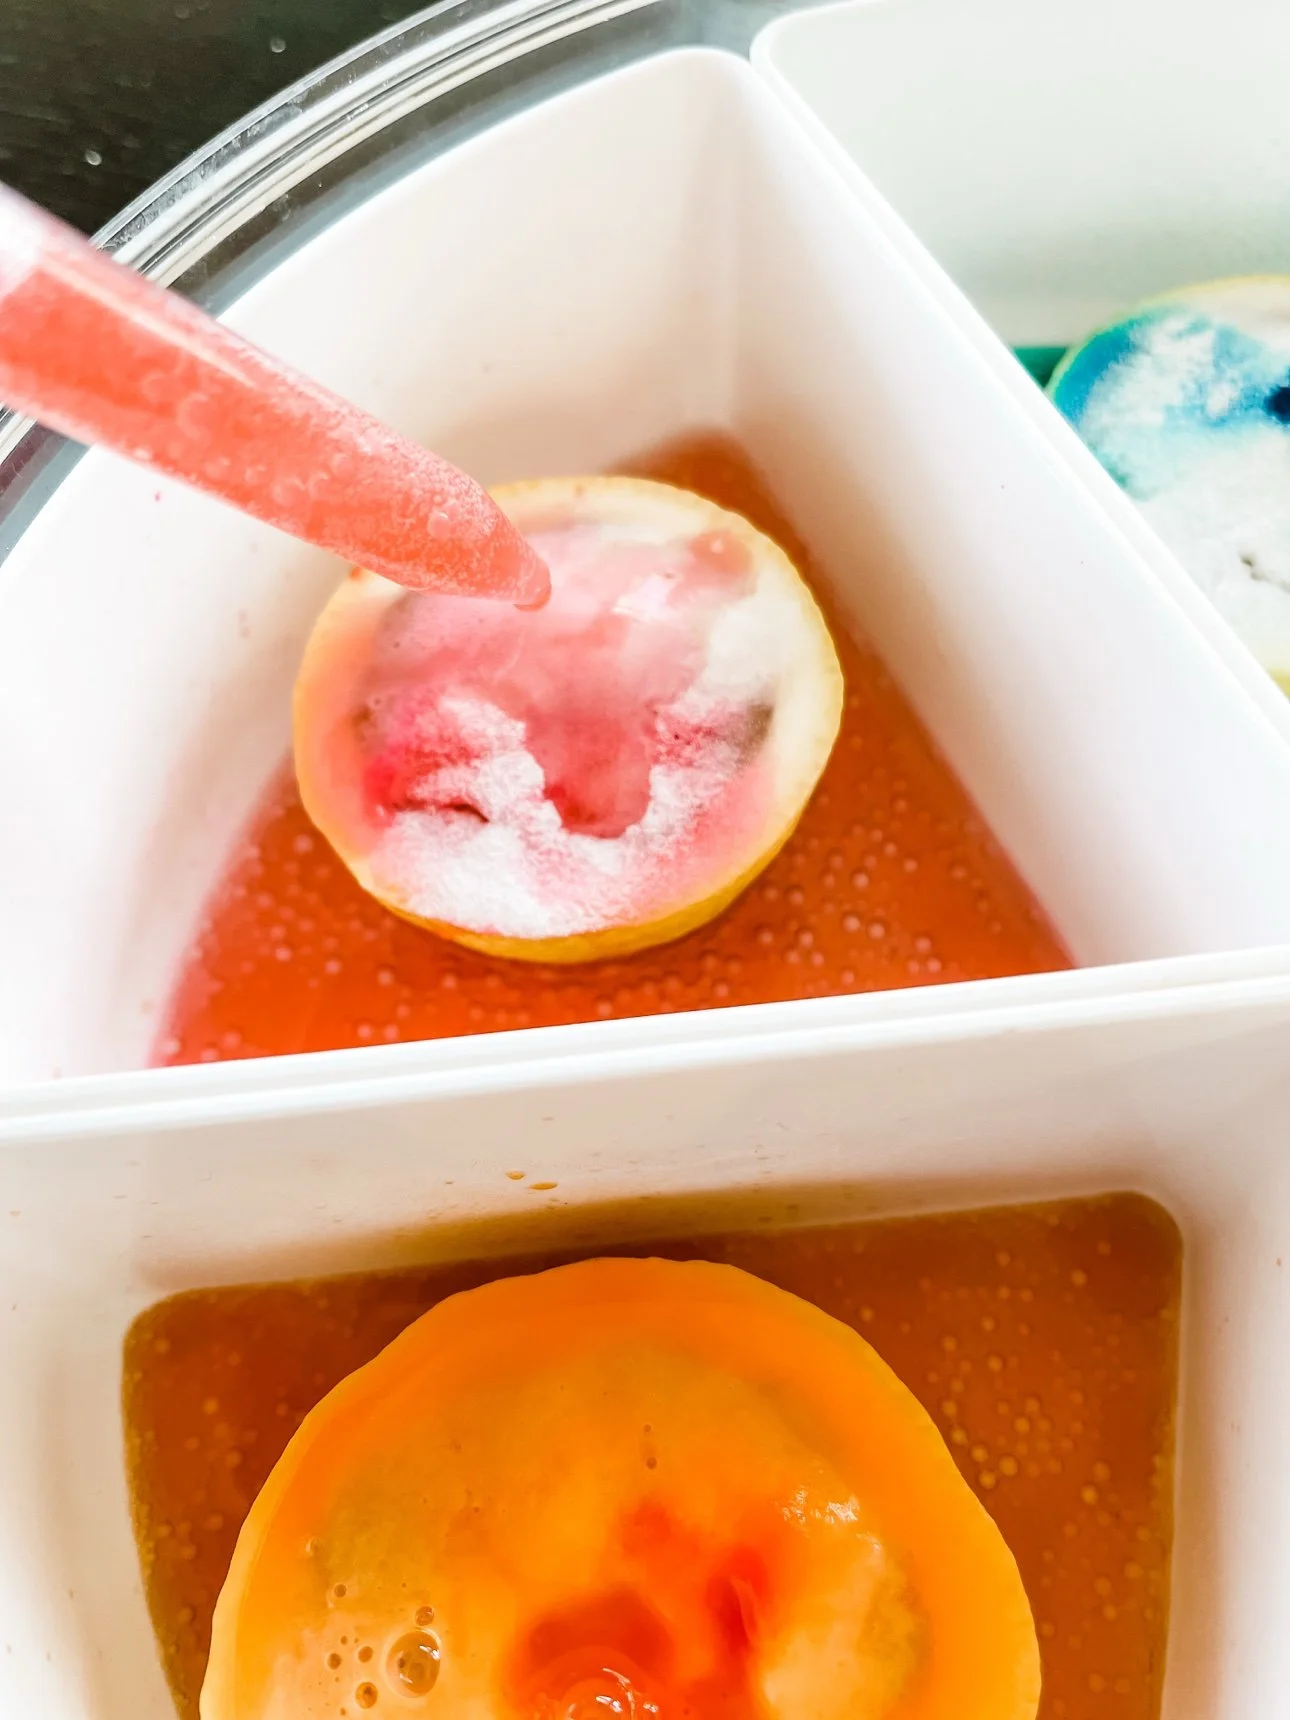
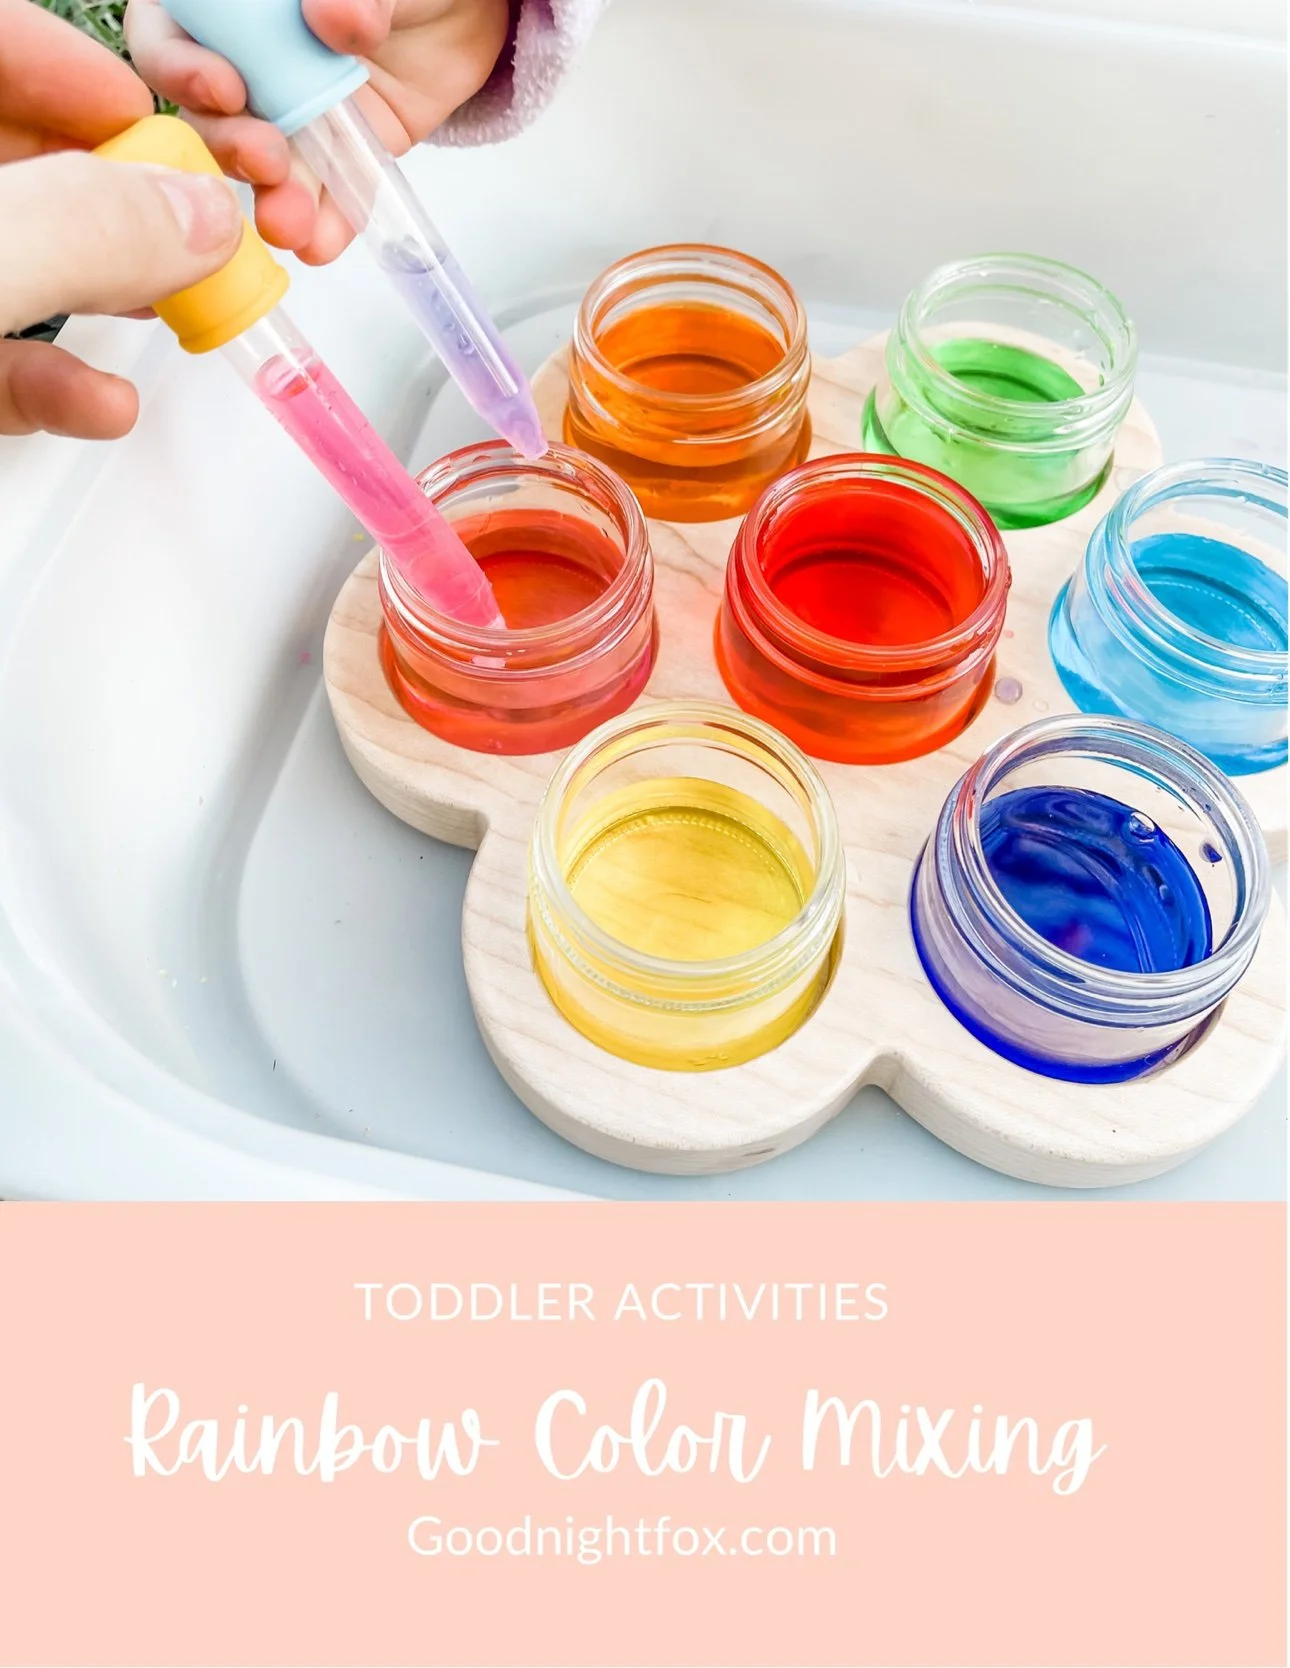
3. Droppers + pipettes — the squeeze-and-squirt tool
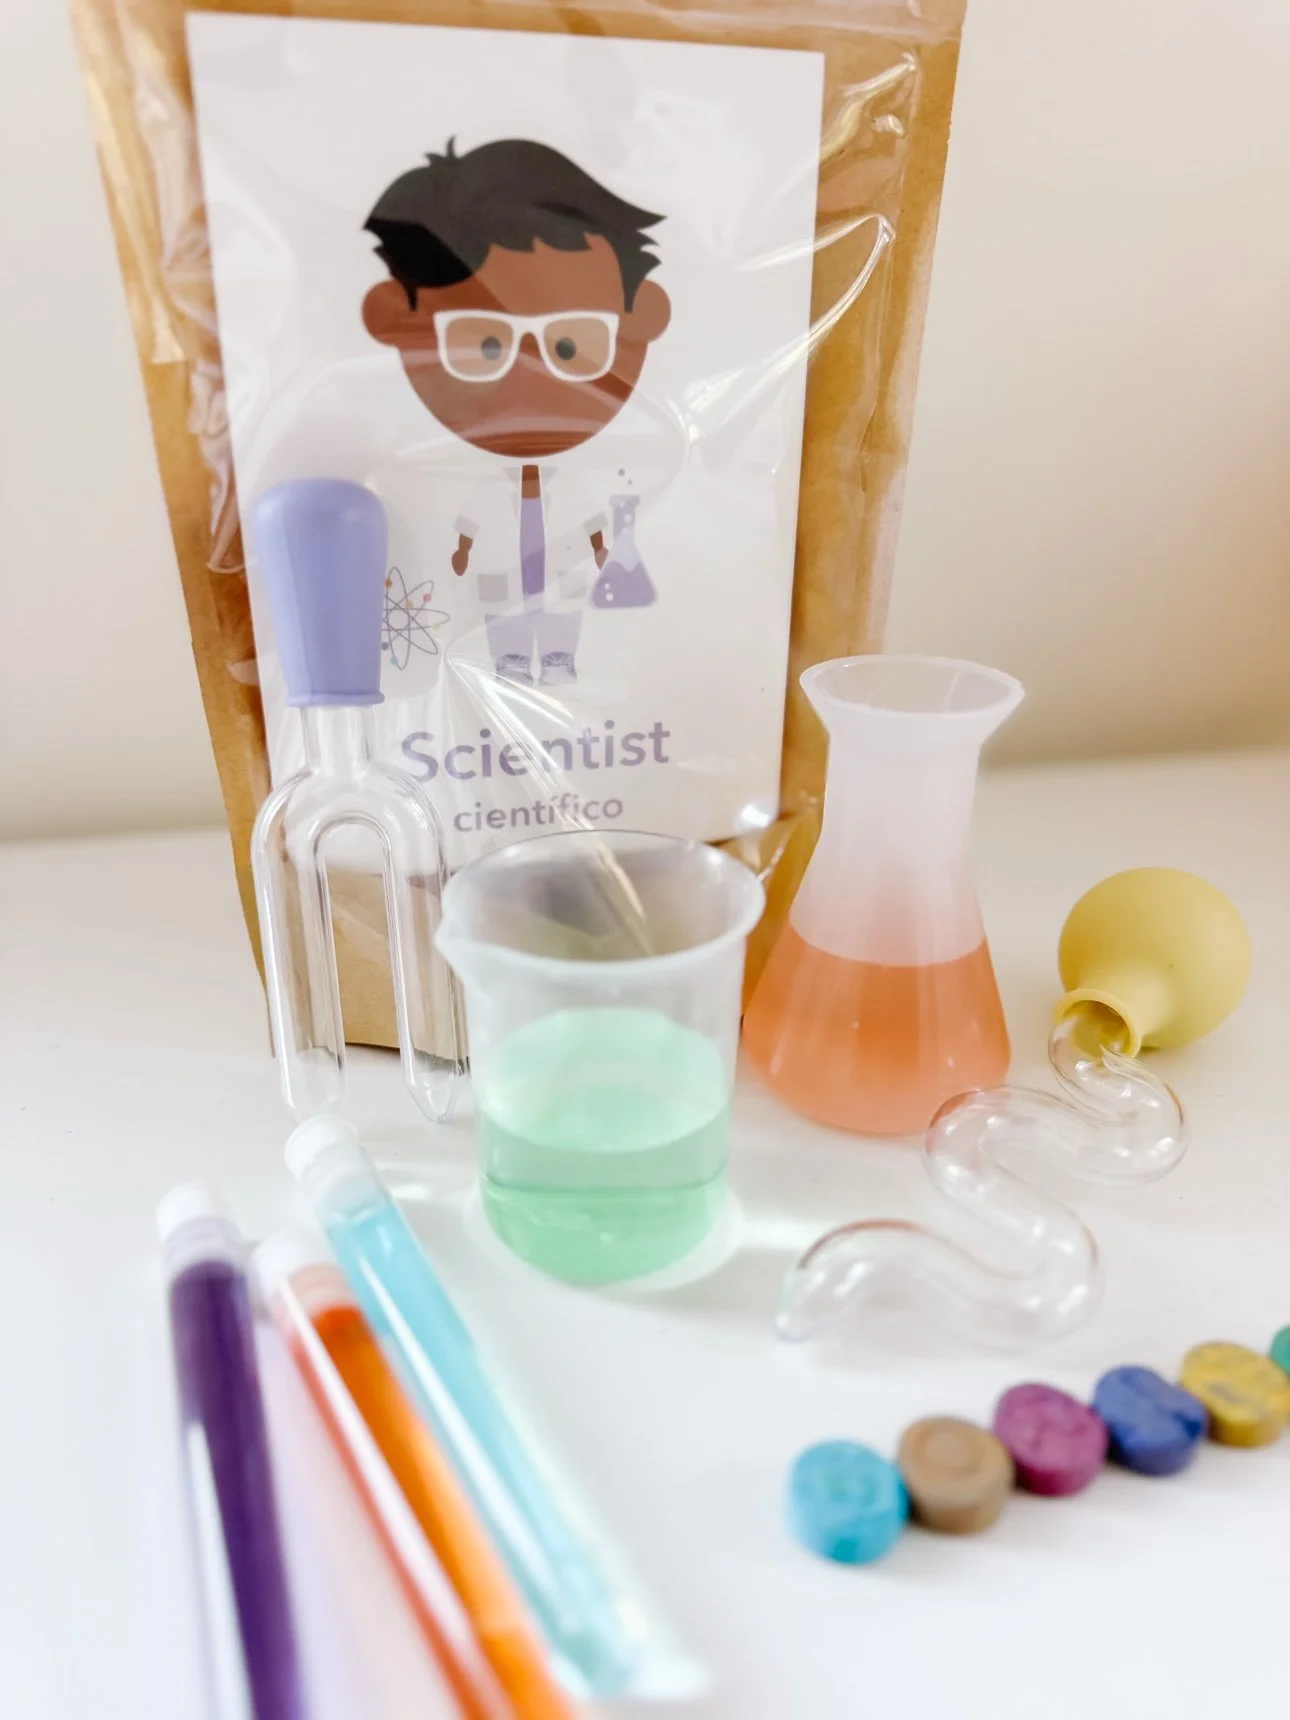
What it is: a chunky medicine dropper, a pipette from the craft aisle, or a turkey baster for older toddlers who want a bigger squeeze. Droppers are a water tool, full stop — they do nothing in dry filler and everything in a water bin.
What it gives little hands a chance to practice: finger-by-finger control and cause and effect. A dropper is the first tool that asks the fingers to work separately — squeeze with two fingers, hold with the rest — and the payoff is immediate: squeeze, and a drop appears. Add food coloring to the water and it becomes a color-mixing game, one drop at a time.
When to introduce it: around age 3, with water play only. Younger toddlers don't yet have the finger separation a dropper needs, and they'll just chew it. When the pincer grip is showing up in other play — picking up small snacks, turning pages one at a time — the dropper is ready.
Rotation tip: droppers need a target. A muffin tin, an ice cube tray, or a row of small cups gives each drop somewhere to go — without a target, the dropper just drips back into the same water, and the game ends in a minute.
4. Funnels — the pour-it-through tool
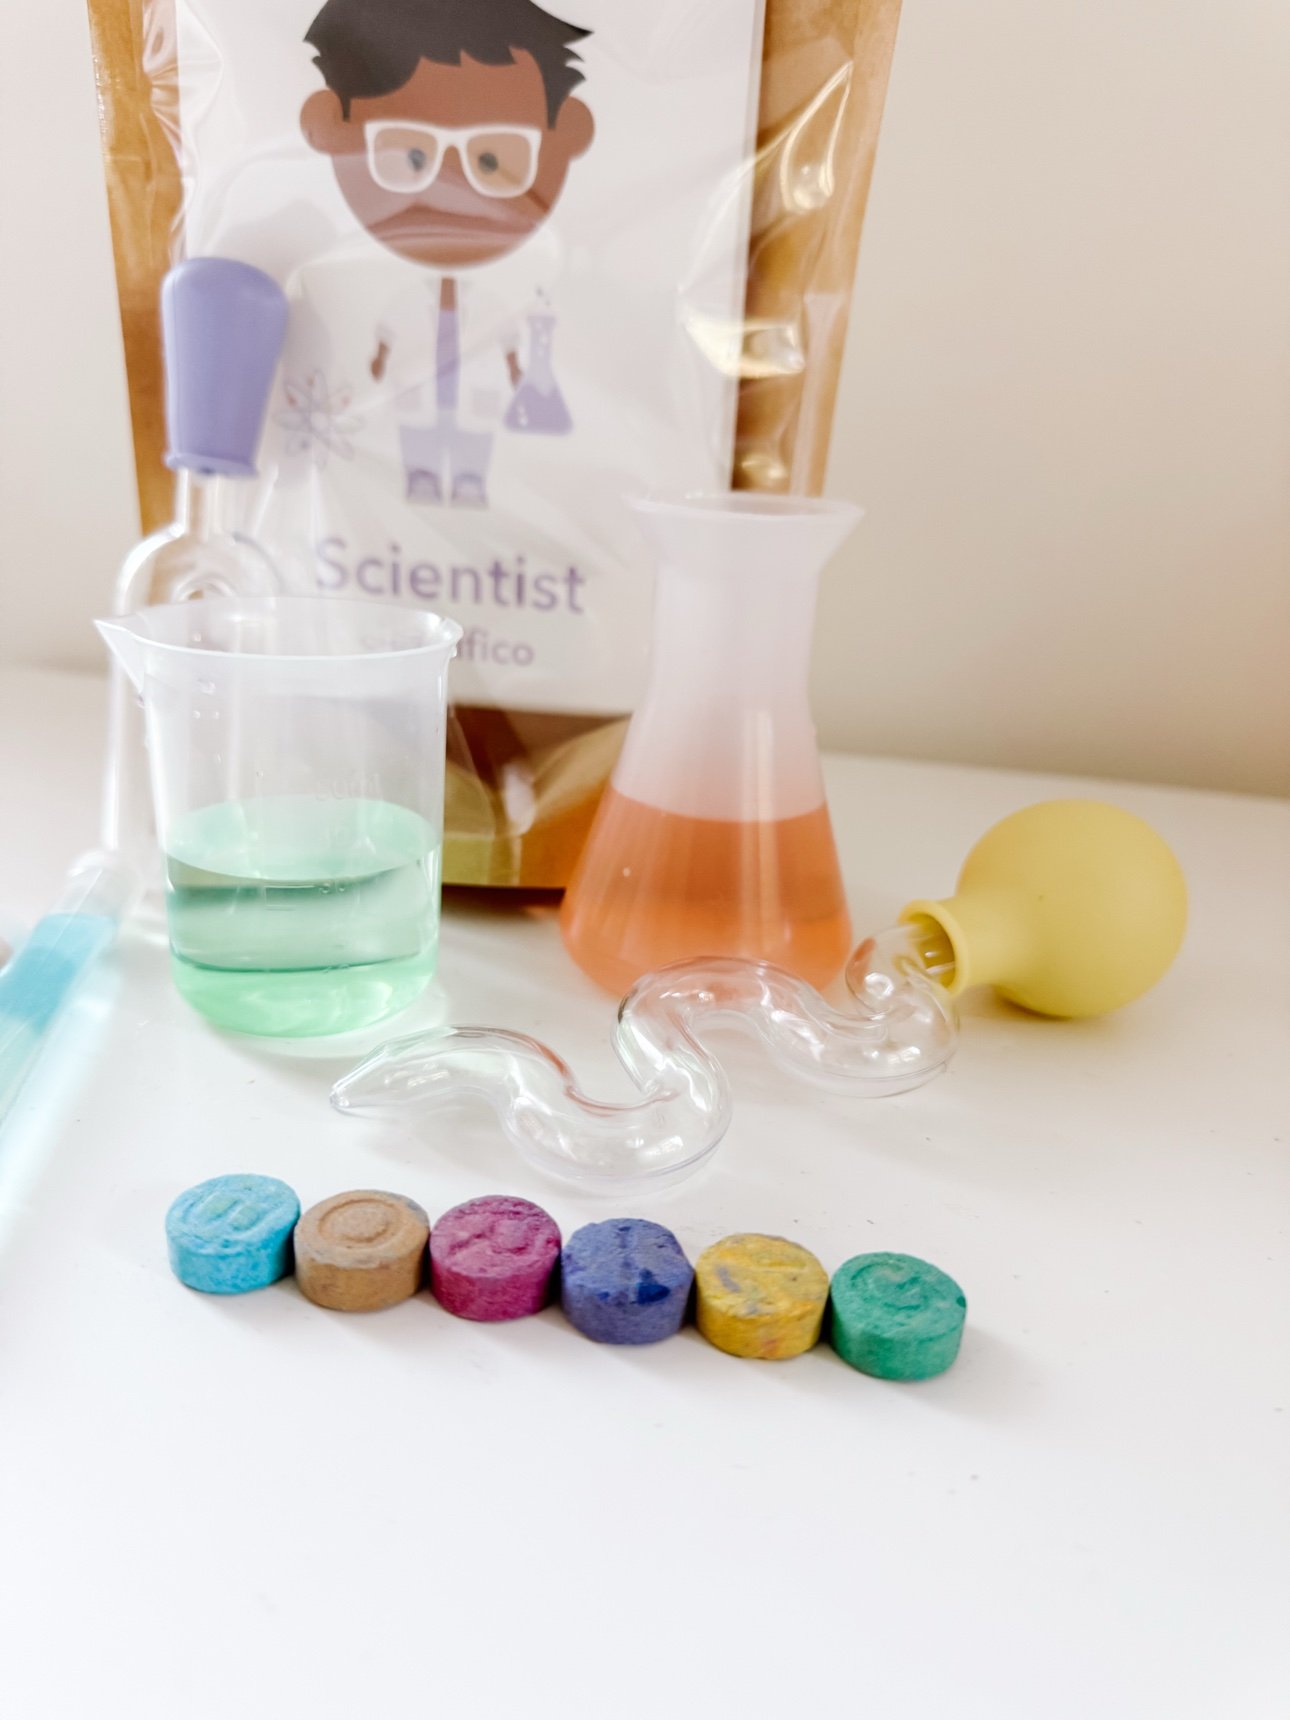
What it is: a kitchen funnel, a cut-down plastic bottle with the bottom removed, or a short length of wide tubing. A funnel is the cheapest tool on this list and one of the most-played-with — there's something endlessly interesting about watching filler disappear into the top and reappear at the bottom.
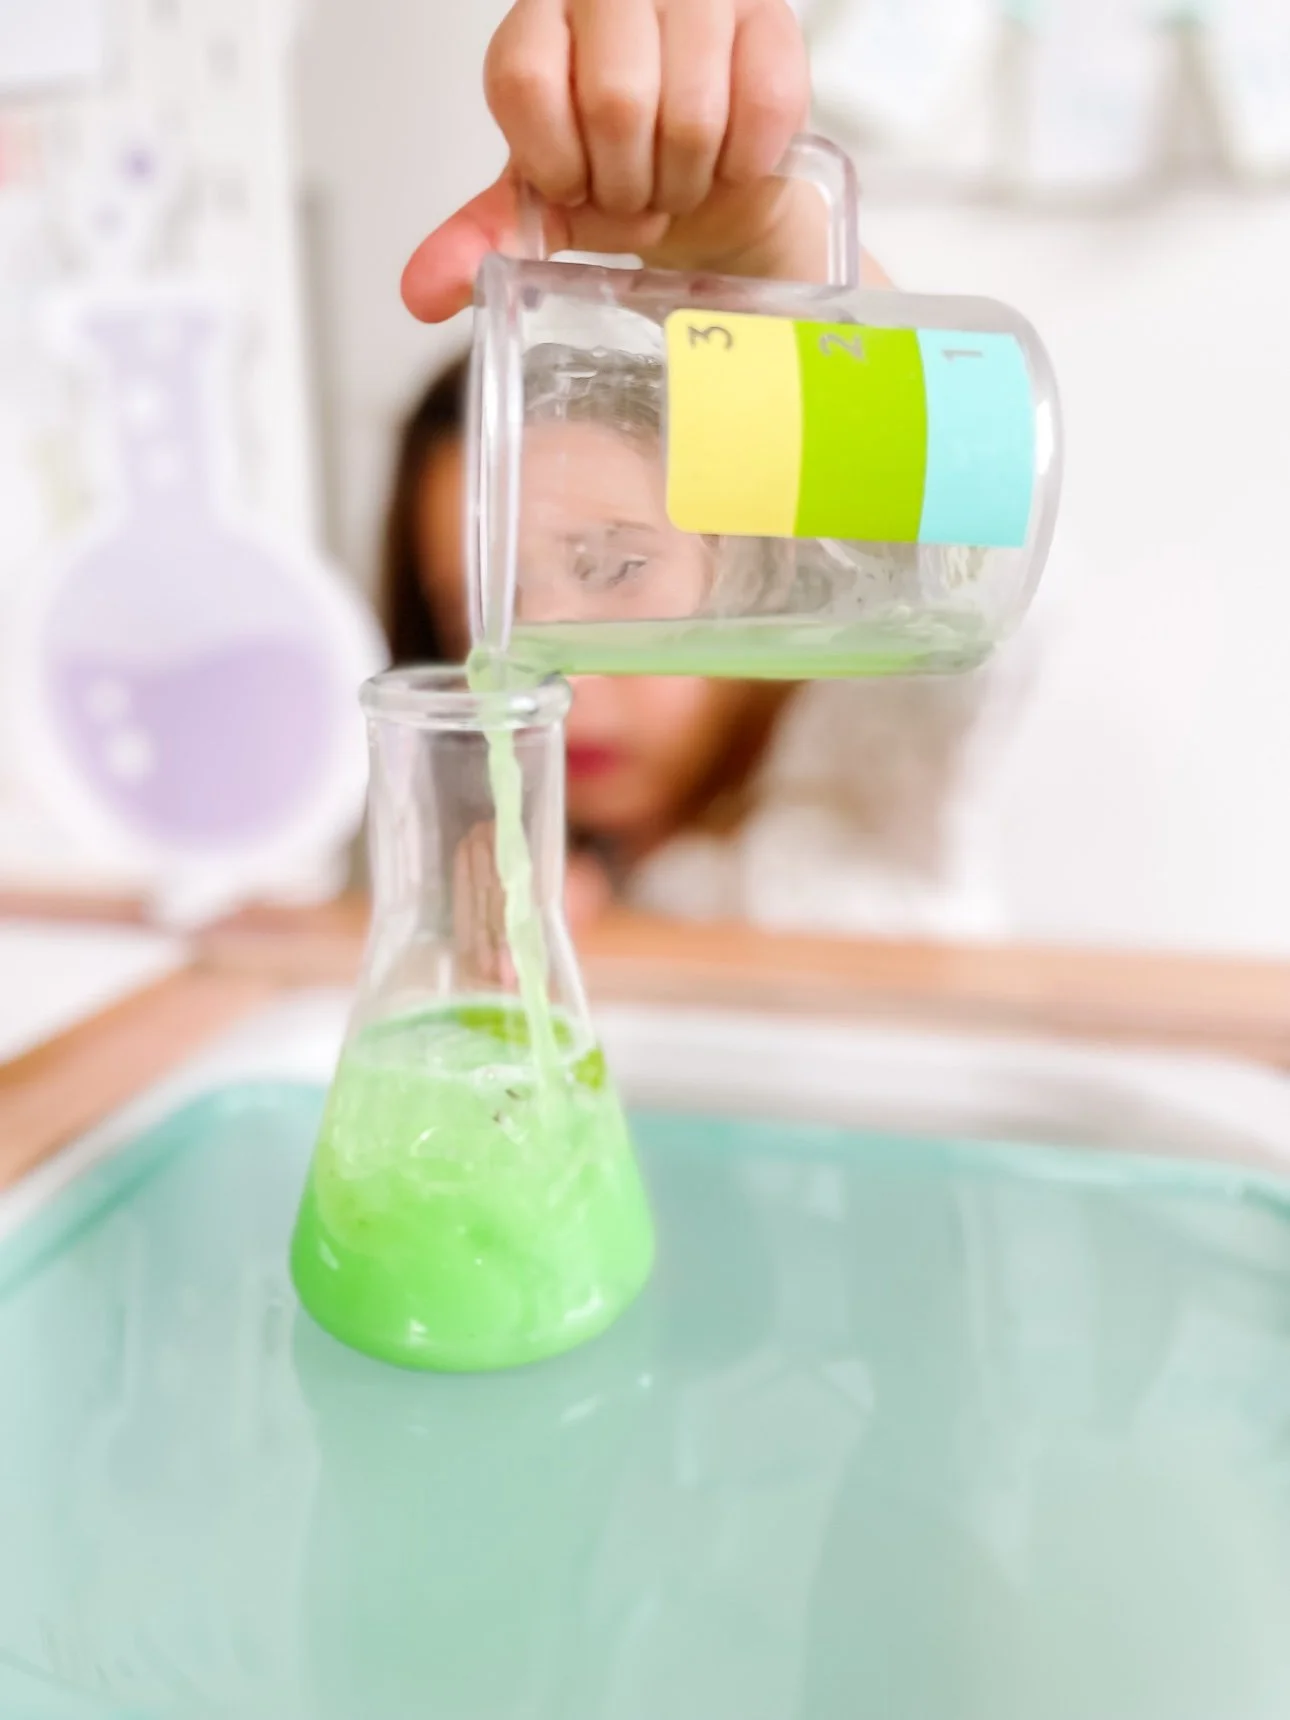
What it gives little hands a chance to practice: aim, patience, and watching a process through to the end. A funnel turns dumping into pouring: the toddler holds the funnel steady with one hand and pours with the other, and the filler only flows if both hands do their jobs. It's also the tool that teaches "slow down" better than any rule — pour too fast and the funnel clogs.
When to introduce it: around age 2 with dry filler — oats, rice, or lentils through a wide funnel is very forgiving. Water through a funnel comes later, around age 3, and belongs in the tub or outside, where a missed pour is just part of the game.
Rotation tip: one funnel per bin, and let the funnel live in the bin between sessions. A funnel that's always there becomes part of the setup. If the funnel clogs, that's not a failure — it's a reason to shake, tap, and try a different filler.
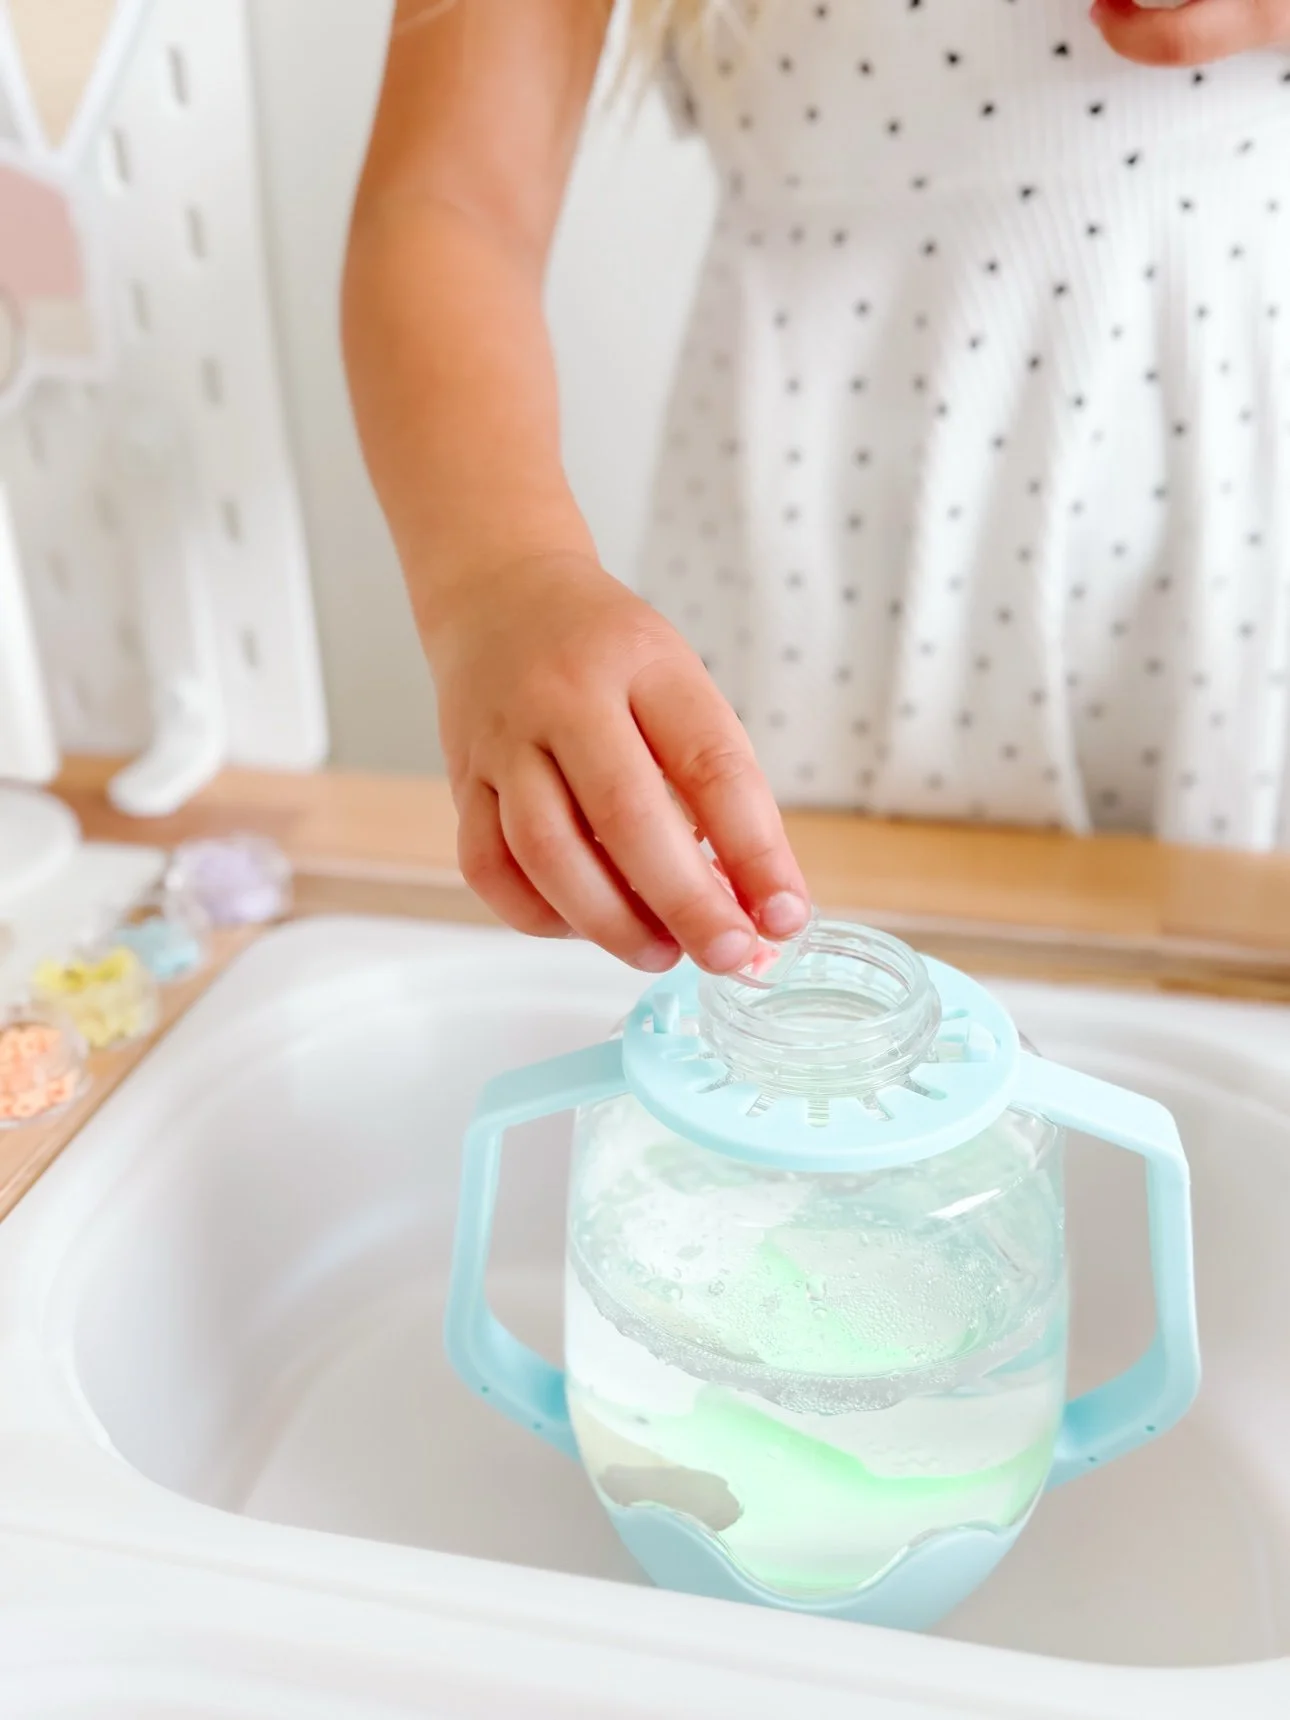
5. Pouring jugs — the two-handed pour
What it is: a small jug, a creamer pitcher, a measuring jug with a spout, or a plastic watering can with the rose removed. The best pouring jugs for toddlers are small — a jug a toddler can lift with two hands when it's half full, with a spout that aims the flow instead of dumping it.
What it gives little hands a chance to practice: two-handed control, judging weight, and pouring without spilling. A jug is heavier when it's full and lighter when it's empty, and a toddler pouring from one learns that in their hands, not from being told. The spout is the teacher: it shows where the water is going, and the toddler learns to aim it.
When to introduce it: from around age 2 with a tiny jug and dry filler — pouring lentils from jug to bowl is the same motion as pouring water, without the wet floor. Water pouring from a jug comes a little later, around age 2-and-a-half to 3, and lives in the tub or outside until the aim is reliable.
Rotation tip: start with the jug half full. A full jug is too heavy to control, and a toddler who can't control the pour will stop pouring and start dumping. Half full means the pour works the first time.
6. Tweezers — the one-at-a-time tool
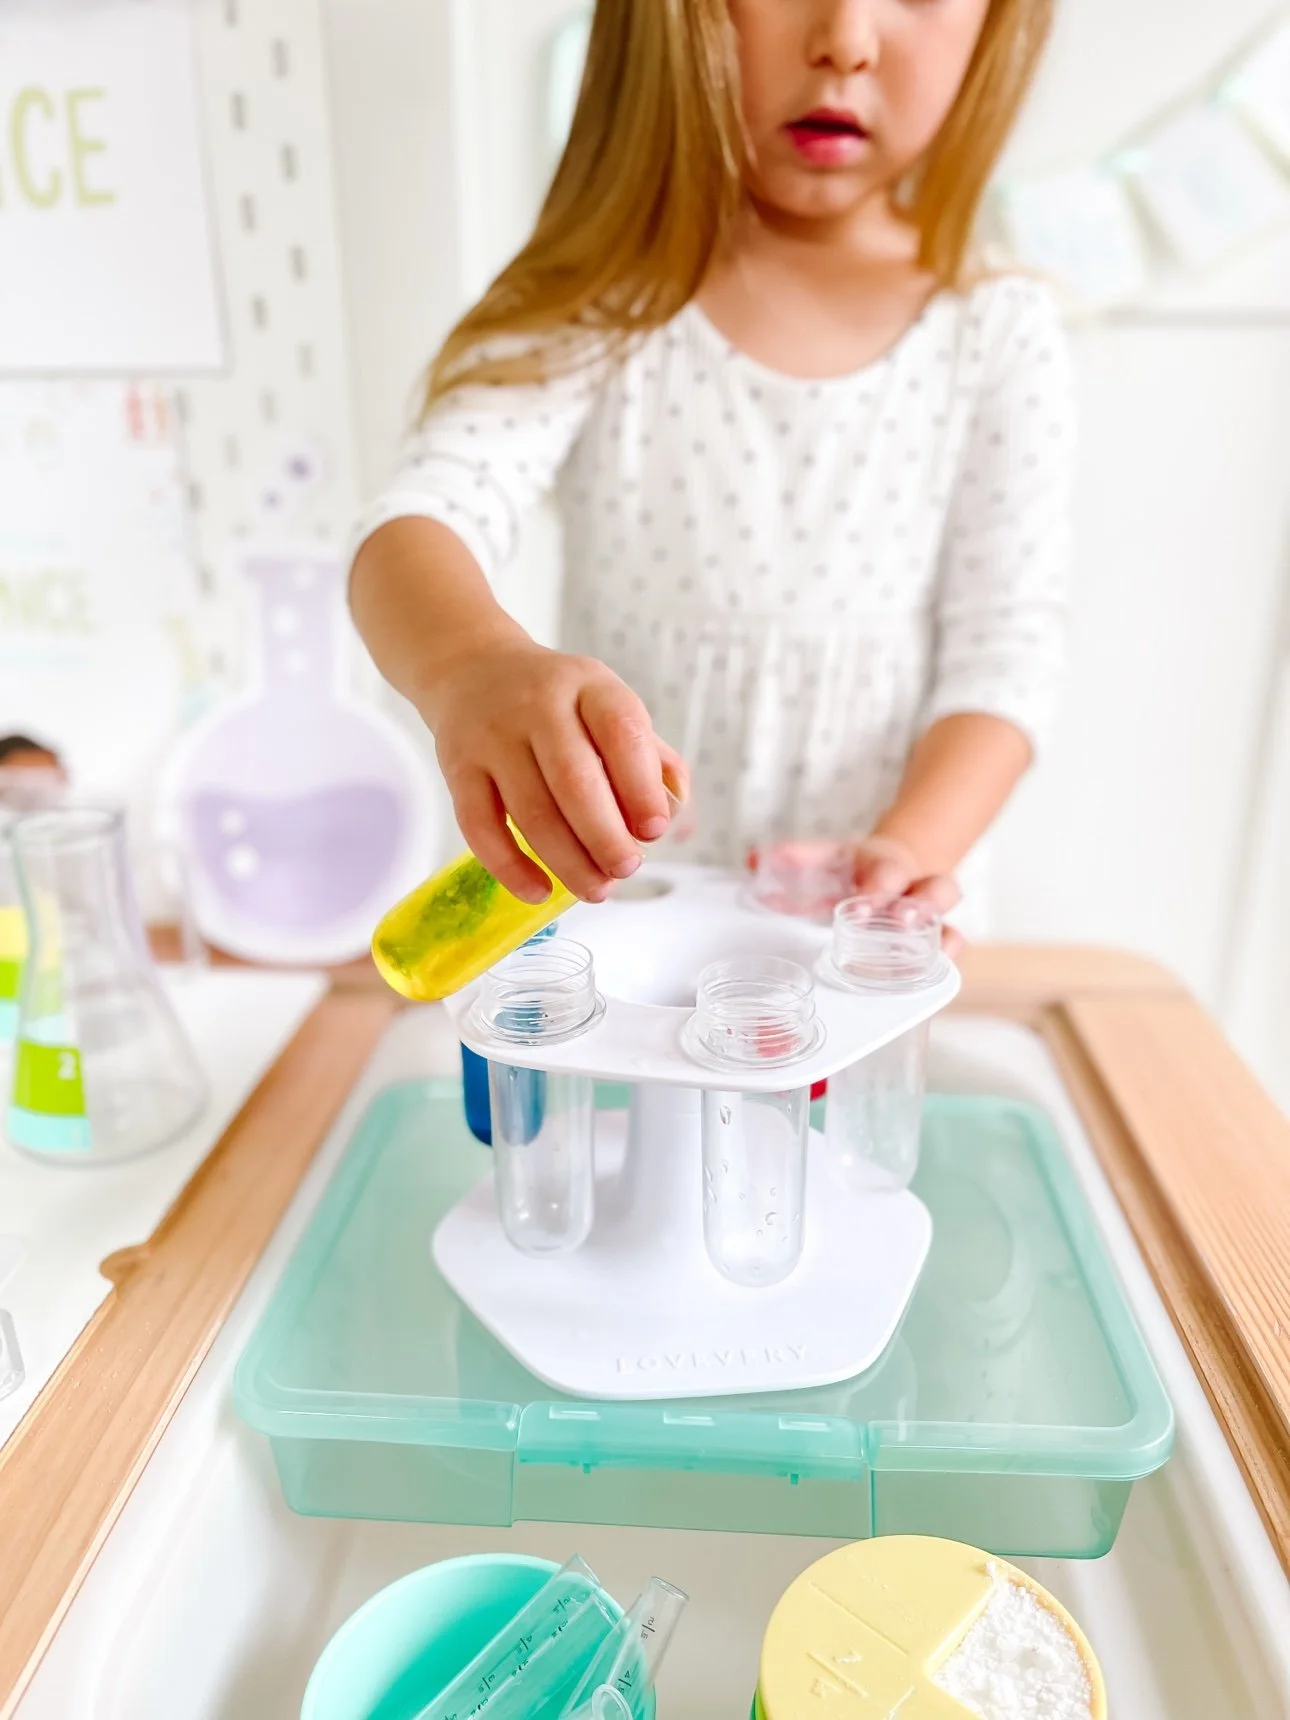
What it is: jumbo plastic tweezers, craft tweezers, or a strawberry huller — anything with two prongs and a squeeze. Tweezers are tongs' smaller, fussier cousin, and they're the tool that turns a transfer game into a sorting game.
What it gives little hands a chance to practice: pincer work, sorting by color or size, and slow, careful play. Where tongs grab, tweezers place. Picking up a single pom-pom with tweezers and setting it on a card takes the kind of focus a two-year-old doesn't have yet and a three-year-old is just growing into — which is exactly why it's the right challenge at the right time.
When to introduce it: around age 3, once tongs feel easy. If your toddler can move ten pom-poms with tongs without dropping one, the tweezers are ready. If they're still dropping every third pom-pom, give the tongs another month — the tweezers will wait.
Rotation tip: tweezers plus one sorting tray plus one kind of object. Too many choices and the game falls apart — one tray, one set of objects, and the tweezers do the rest.
7. Spoons + shovels — the dig-and-serve tools
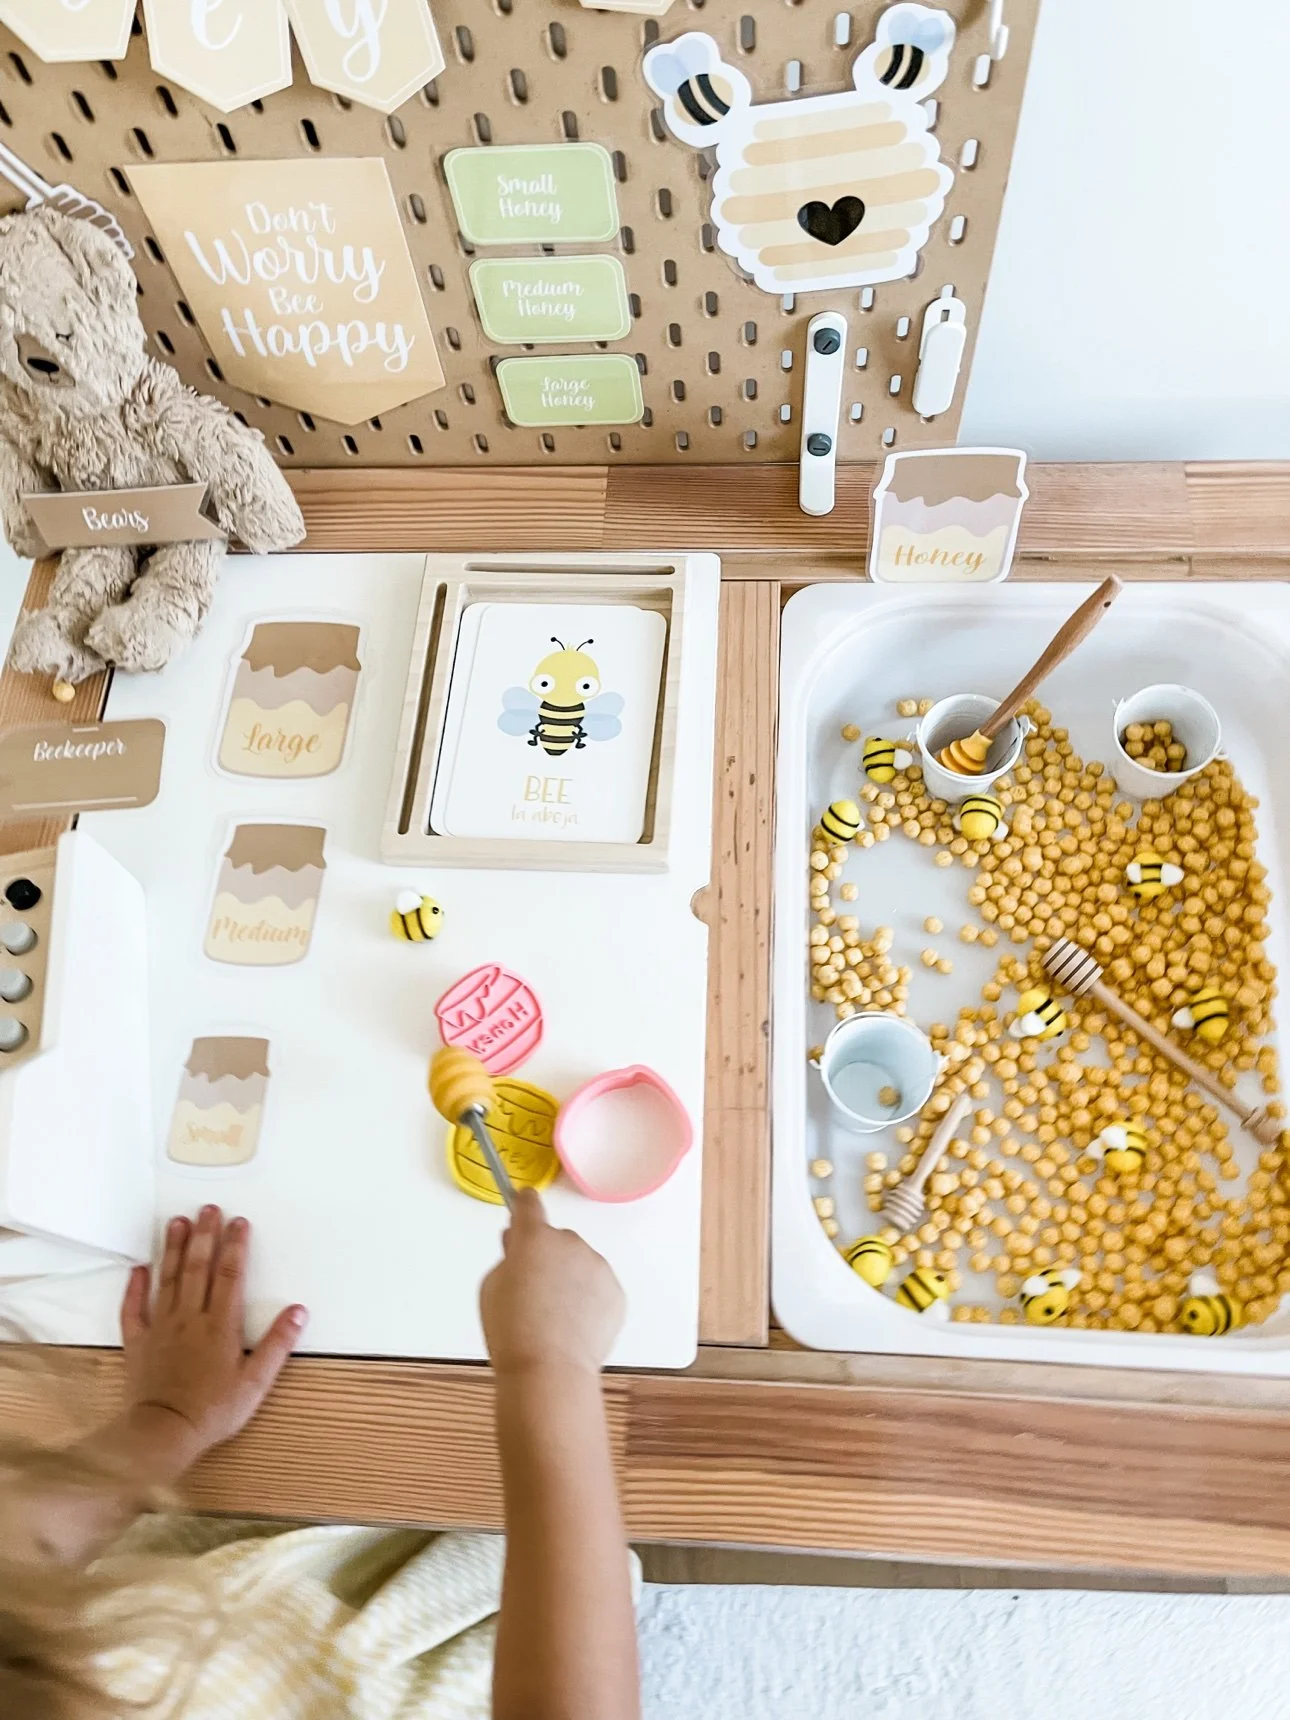
What it is: a wooden spoon, a small garden trowel, an ice-cream scoop, a beach shovel. Spoons and shovels are the digging tools — they go under things, lift things up, and serve things out. A spoon is the first tool most toddlers reach for, because it's the tool they've already seen at the table.
What it gives little hands a chance to practice: digging, serving, stirring, and scooping under something to lift it out. A shovel in sand and a spoon in playdough are the same motion in different worlds — and both of them teach the wrist to turn, which is the motion that later holds a pencil, stirs a bowl, and serves dinner.
When to introduce it: from the first bin — a spoon is the right first tool for a one-year-old, big and familiar and impossible to use wrong. A shovel comes a little later, once the toddler is digging on purpose instead of just patting, usually around age 2.
Rotation tip: a spoon for dry filler, a shovel for sand or dough. Swap them when the filler changes, and the same motion feels like a new game. Keep one spoon in the playdough basket permanently — dough plus a spoon is a bakery, and a bakery is a game that runs itself.

Pie Making Sensory Kit — $32
If the playdough bakery takes hold, our Pie Making Sensory Kit is the next step — a full pie-making setup with recipe cards, so the rolling, cutting, and serving becomes a follow-the-recipe game.
Free: Winter Pie Recipe Cards
Not ready for the full kit? Our free Winter Pie recipe cards walk you through a done-for-you winter pie sensory setup, step by step — free to print and play today.
8. Sorting trays — the put-it-where-it-goes tool
What it is: a muffin tin, an ice cube tray, a divided tray, an egg carton, or a compartmented craft box. A sorting tray isn't a tool you hold — it's a tool you fill, and it's the one that turns a pile of objects into a game with a goal.
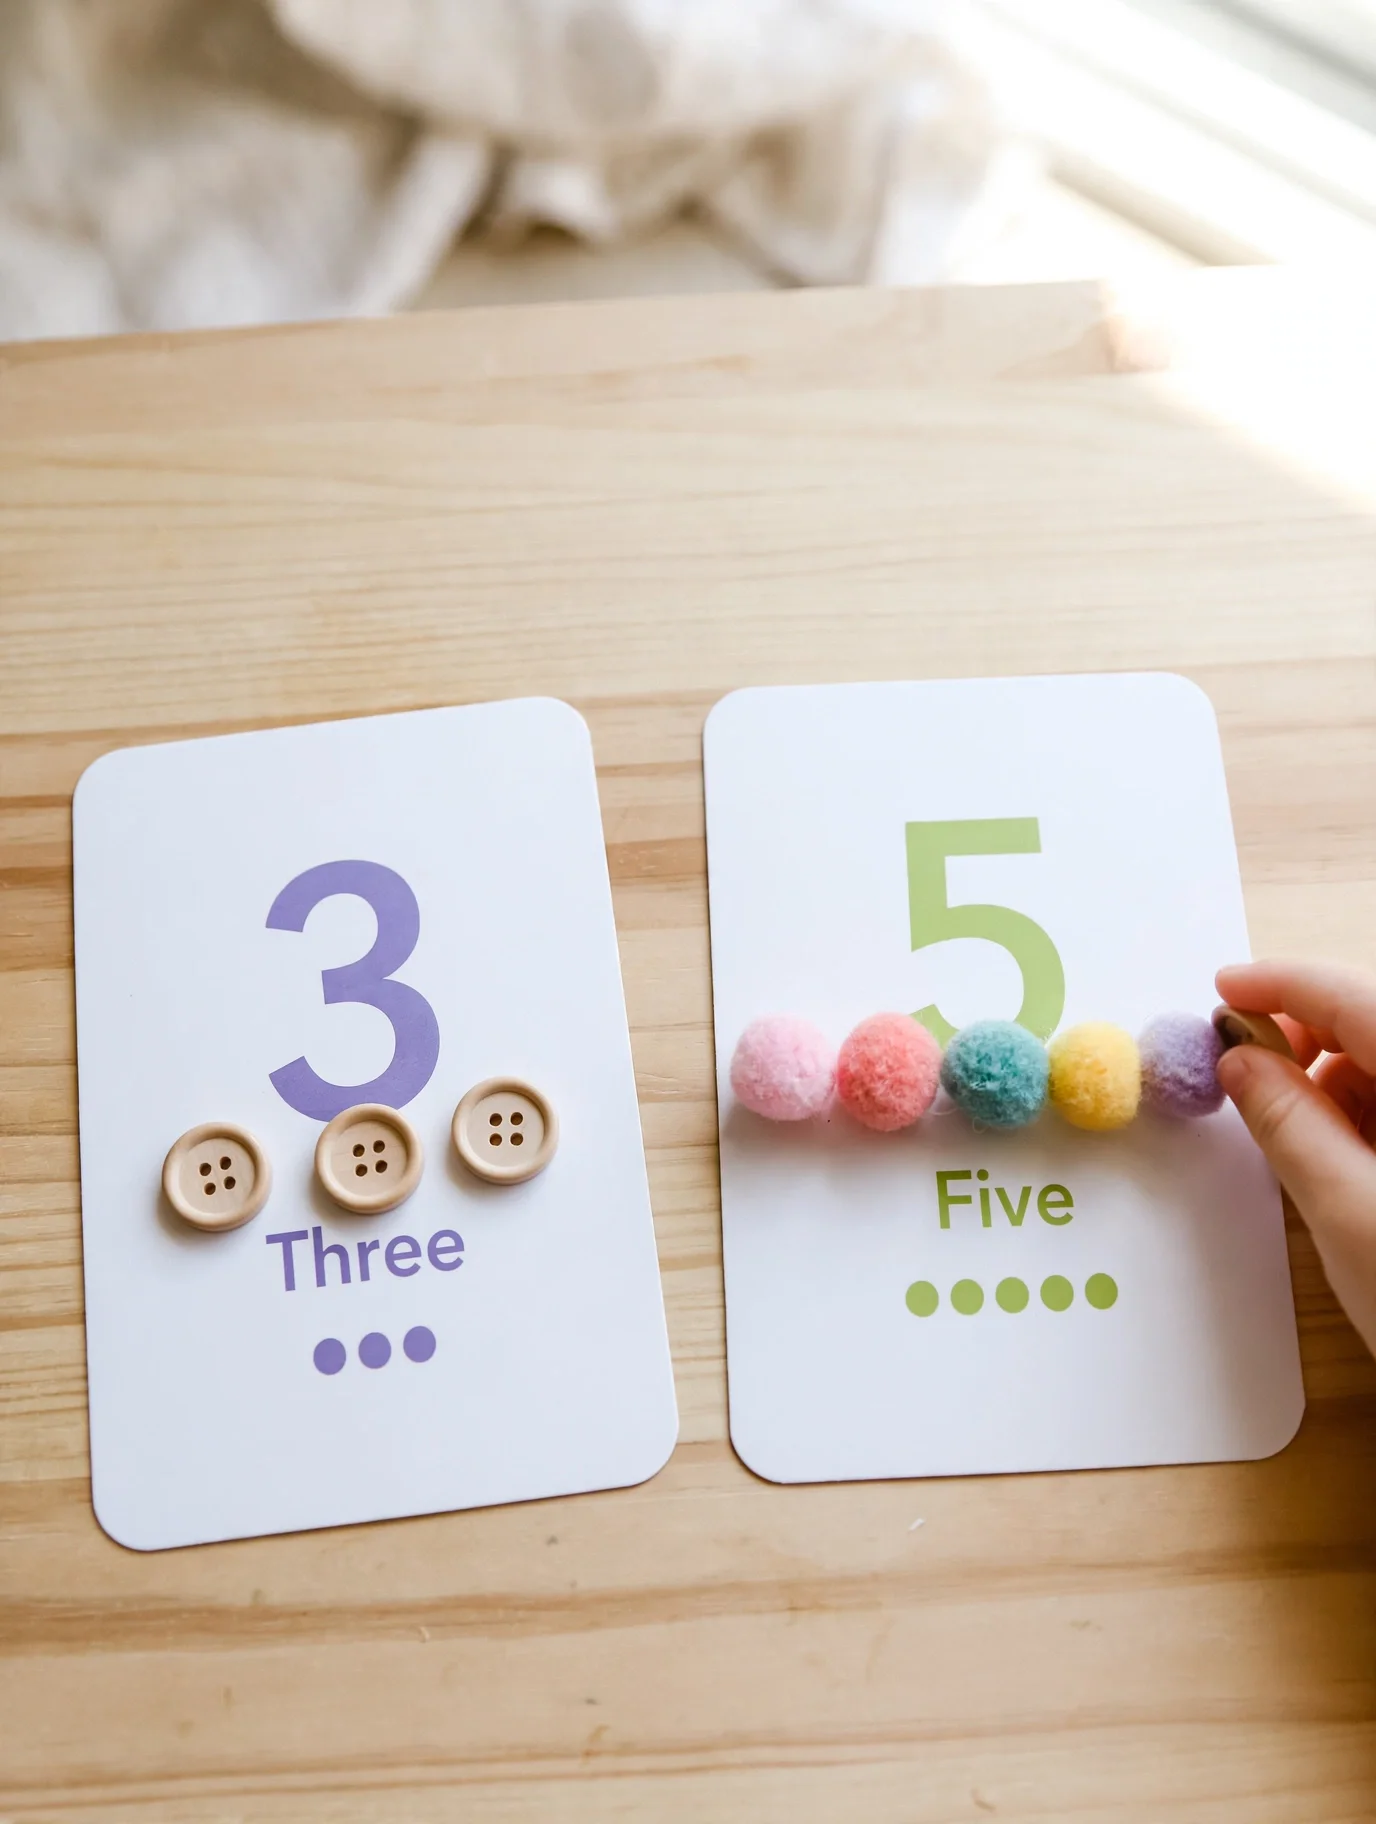
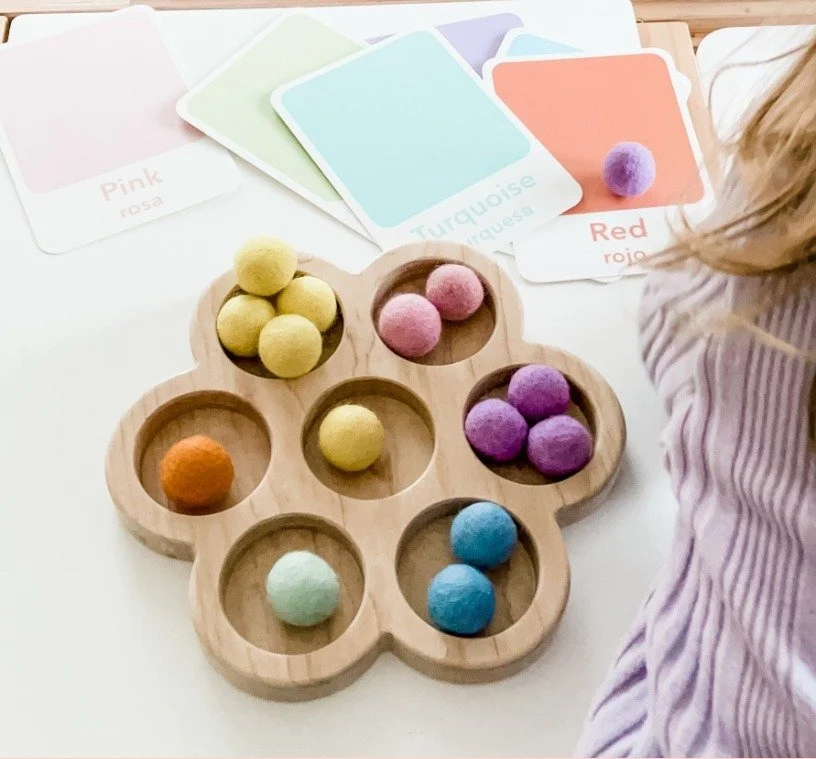
What it gives little hands a chance to practice: sorting by color, size, or type, matching, and counting. A tray with sections is a question — "where does this one go?" — and answering it is the whole game. Put color cards beside the tray and the sorting becomes matching; put number cards beside it and the sorting becomes counting.
When to introduce it: from around age 2 with two sections — big versus small, red versus blue. More sections come as the sorting gets easy: three colors at three, four or five sections at four. A tray with too many sections for the player is a tray that gets dumped, not sorted.
Rotation tip: the tray is the game — change what's sorted, not the tray. The same muffin tin sorts pom-poms on Monday, pasta shapes on Wednesday, and counting objects on Friday, and each time it feels like a new game.
Counting Sensory Kit — $15
When the sorting game clicks, our Counting Sensory Kit gives it somewhere to go — number cards and counting objects that turn sorting into matching and counting, one careful placement at a time.
Shop this bin
Everything in this post in one place — the seven Inspire My Play tools in our bin, plus the table, tray, fillers, and extras from our Sprout supplies library:
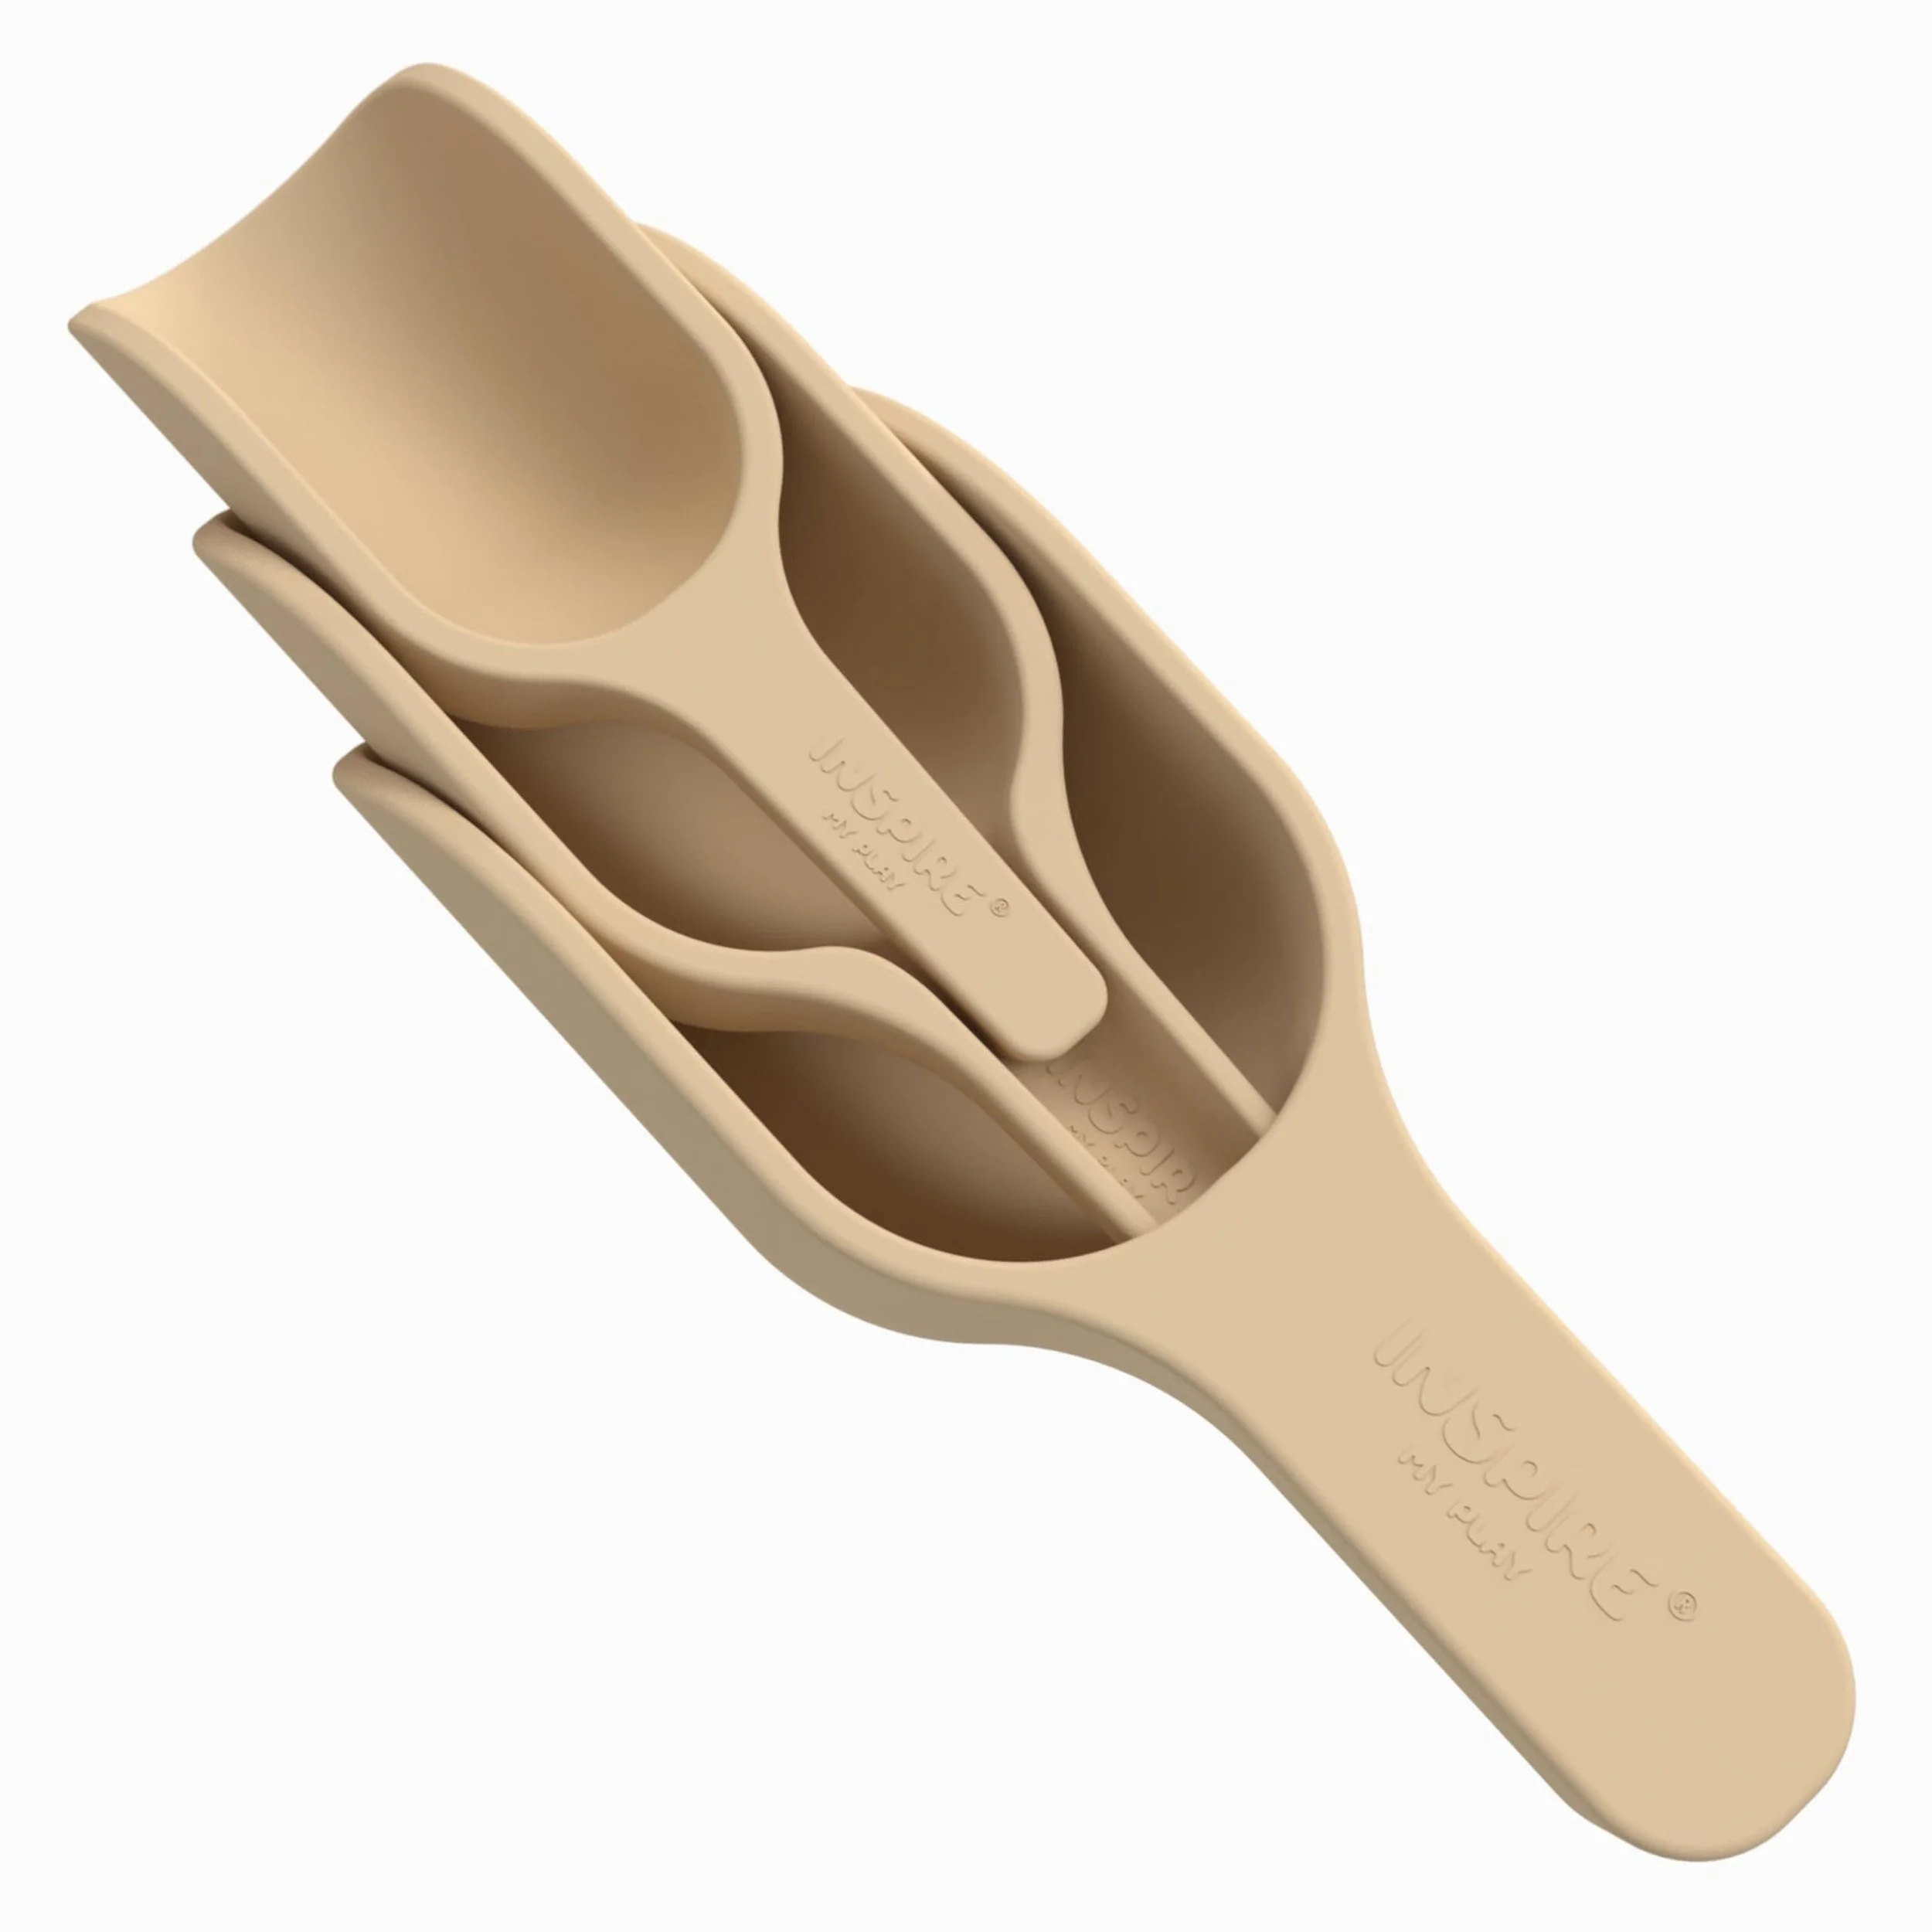
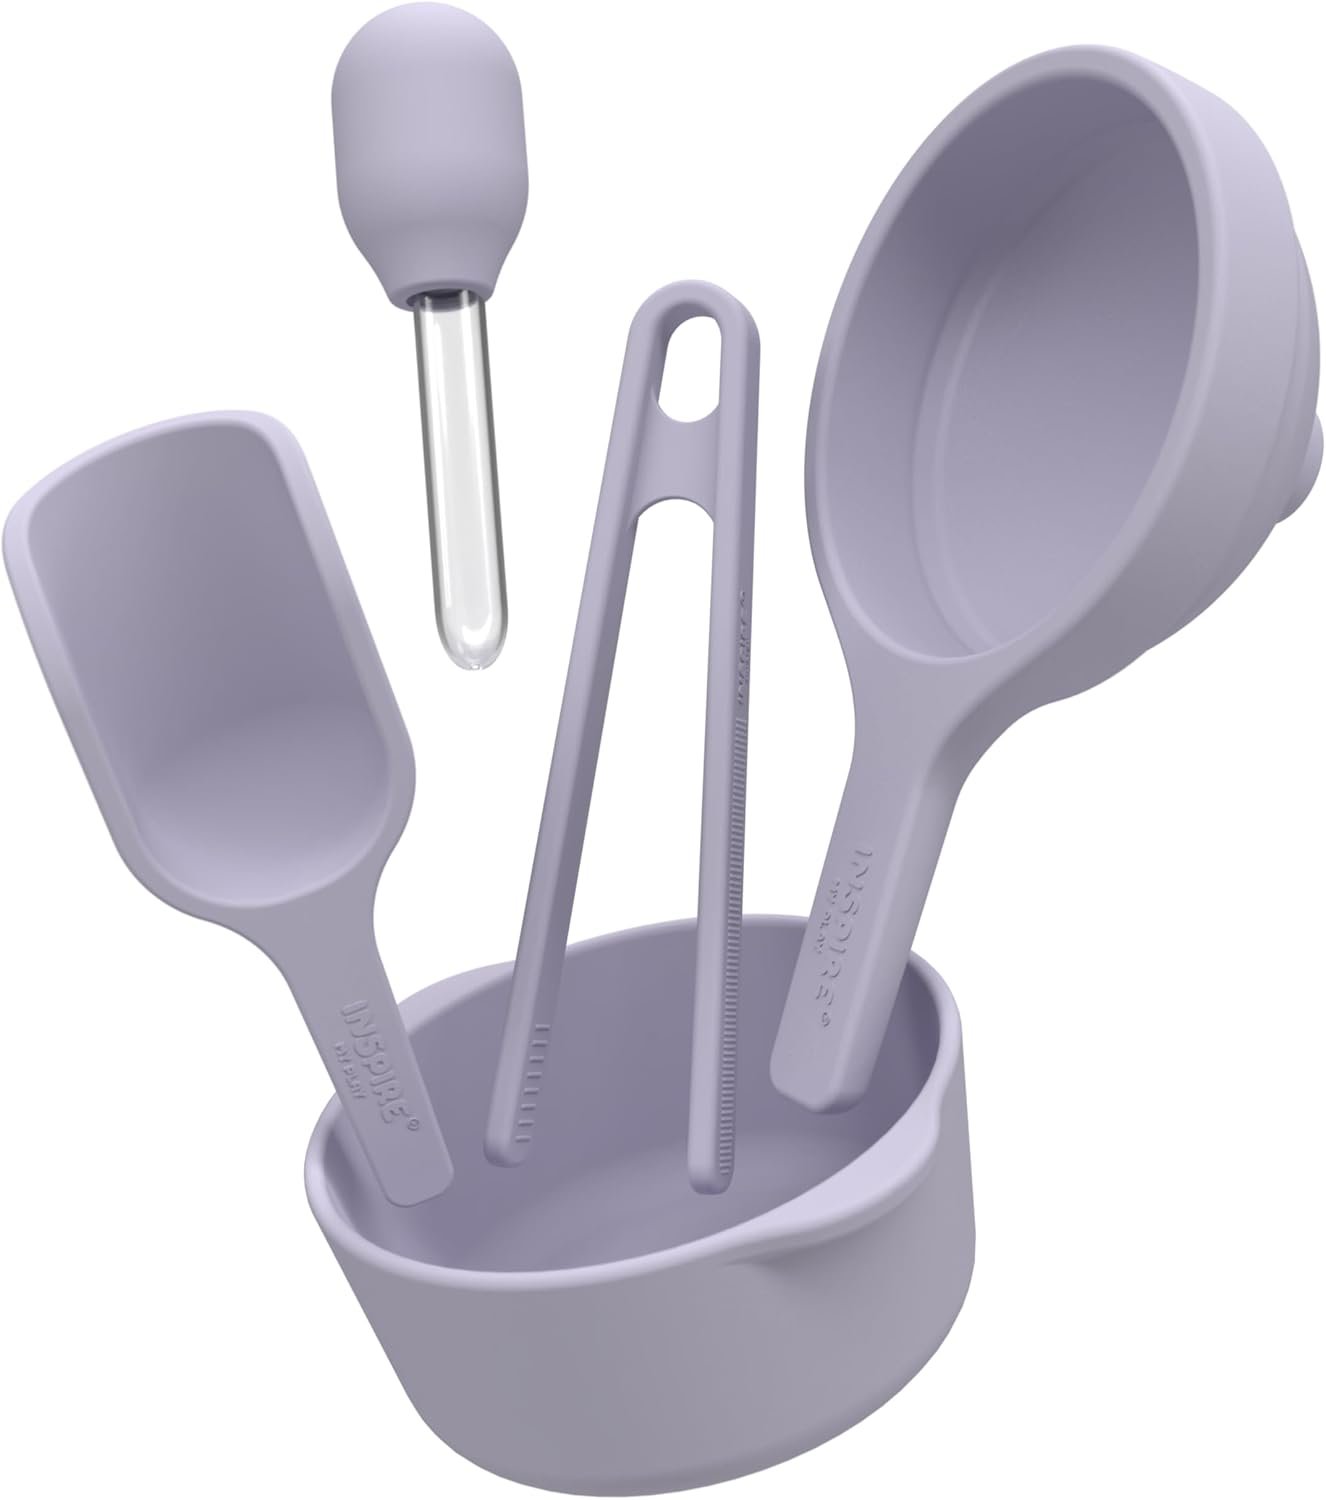
3 x Silicone Nesting Scoops
Three sizes that nest for storage and stack for pouring games.
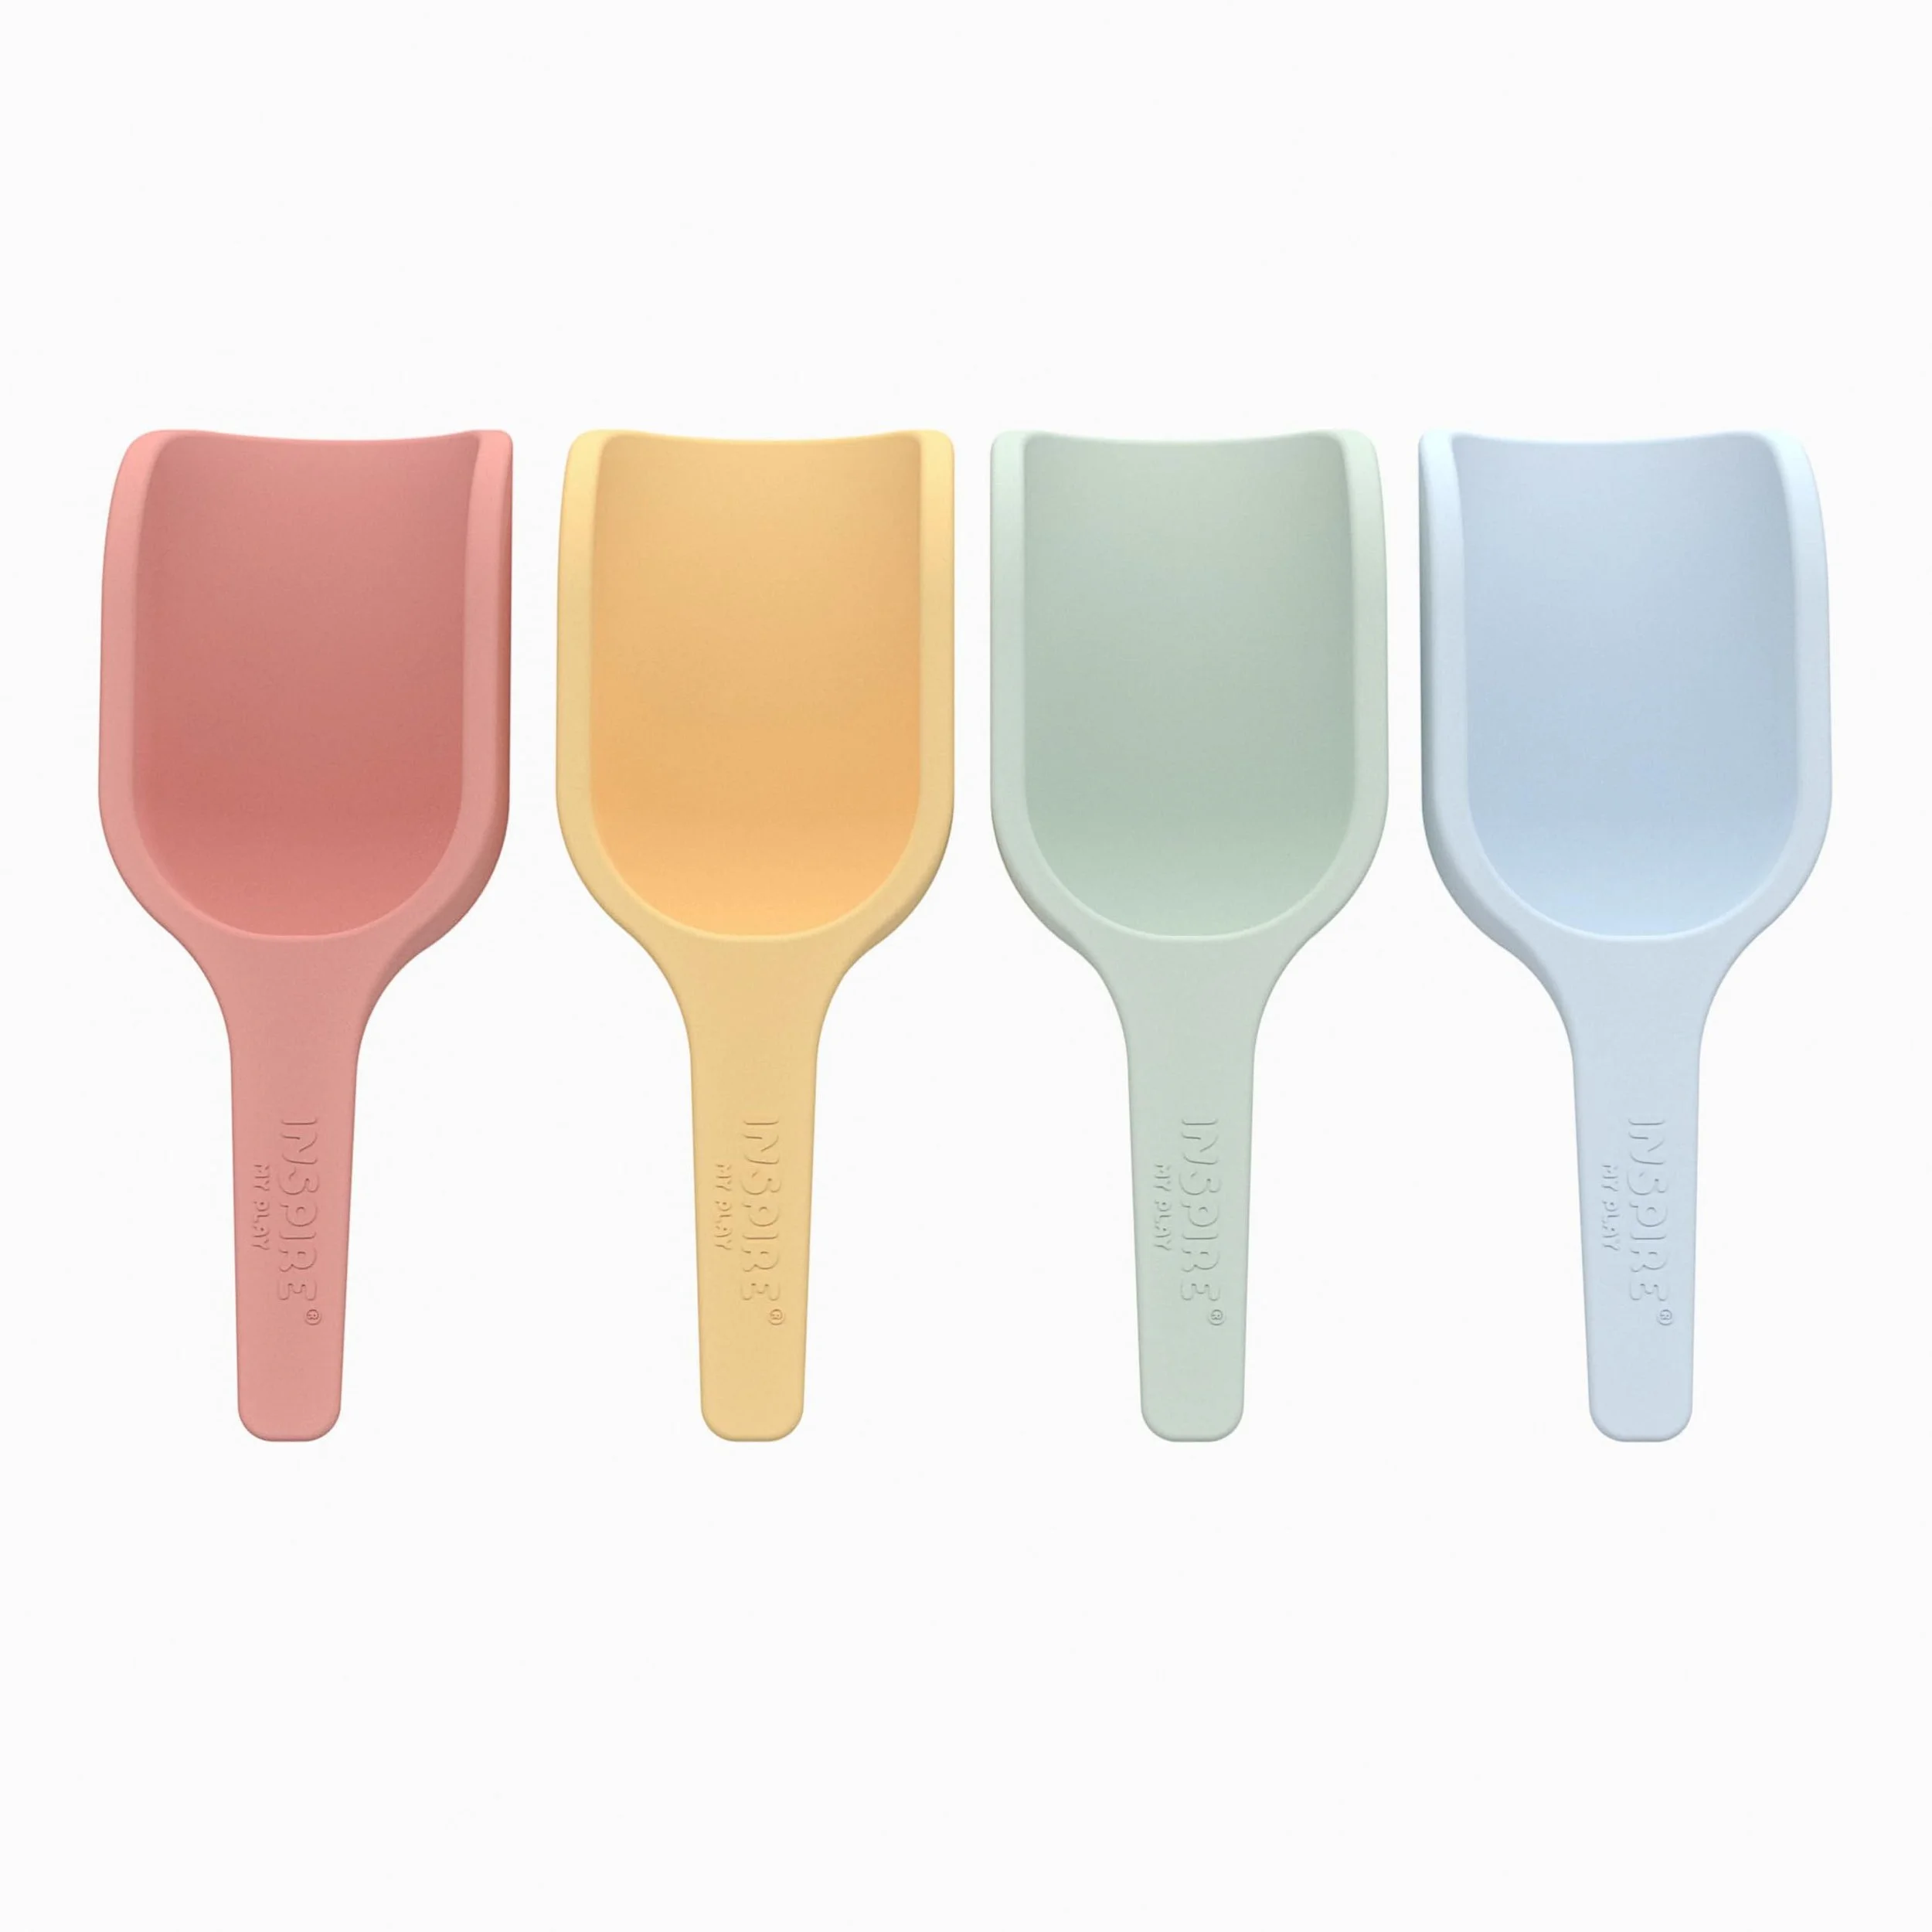
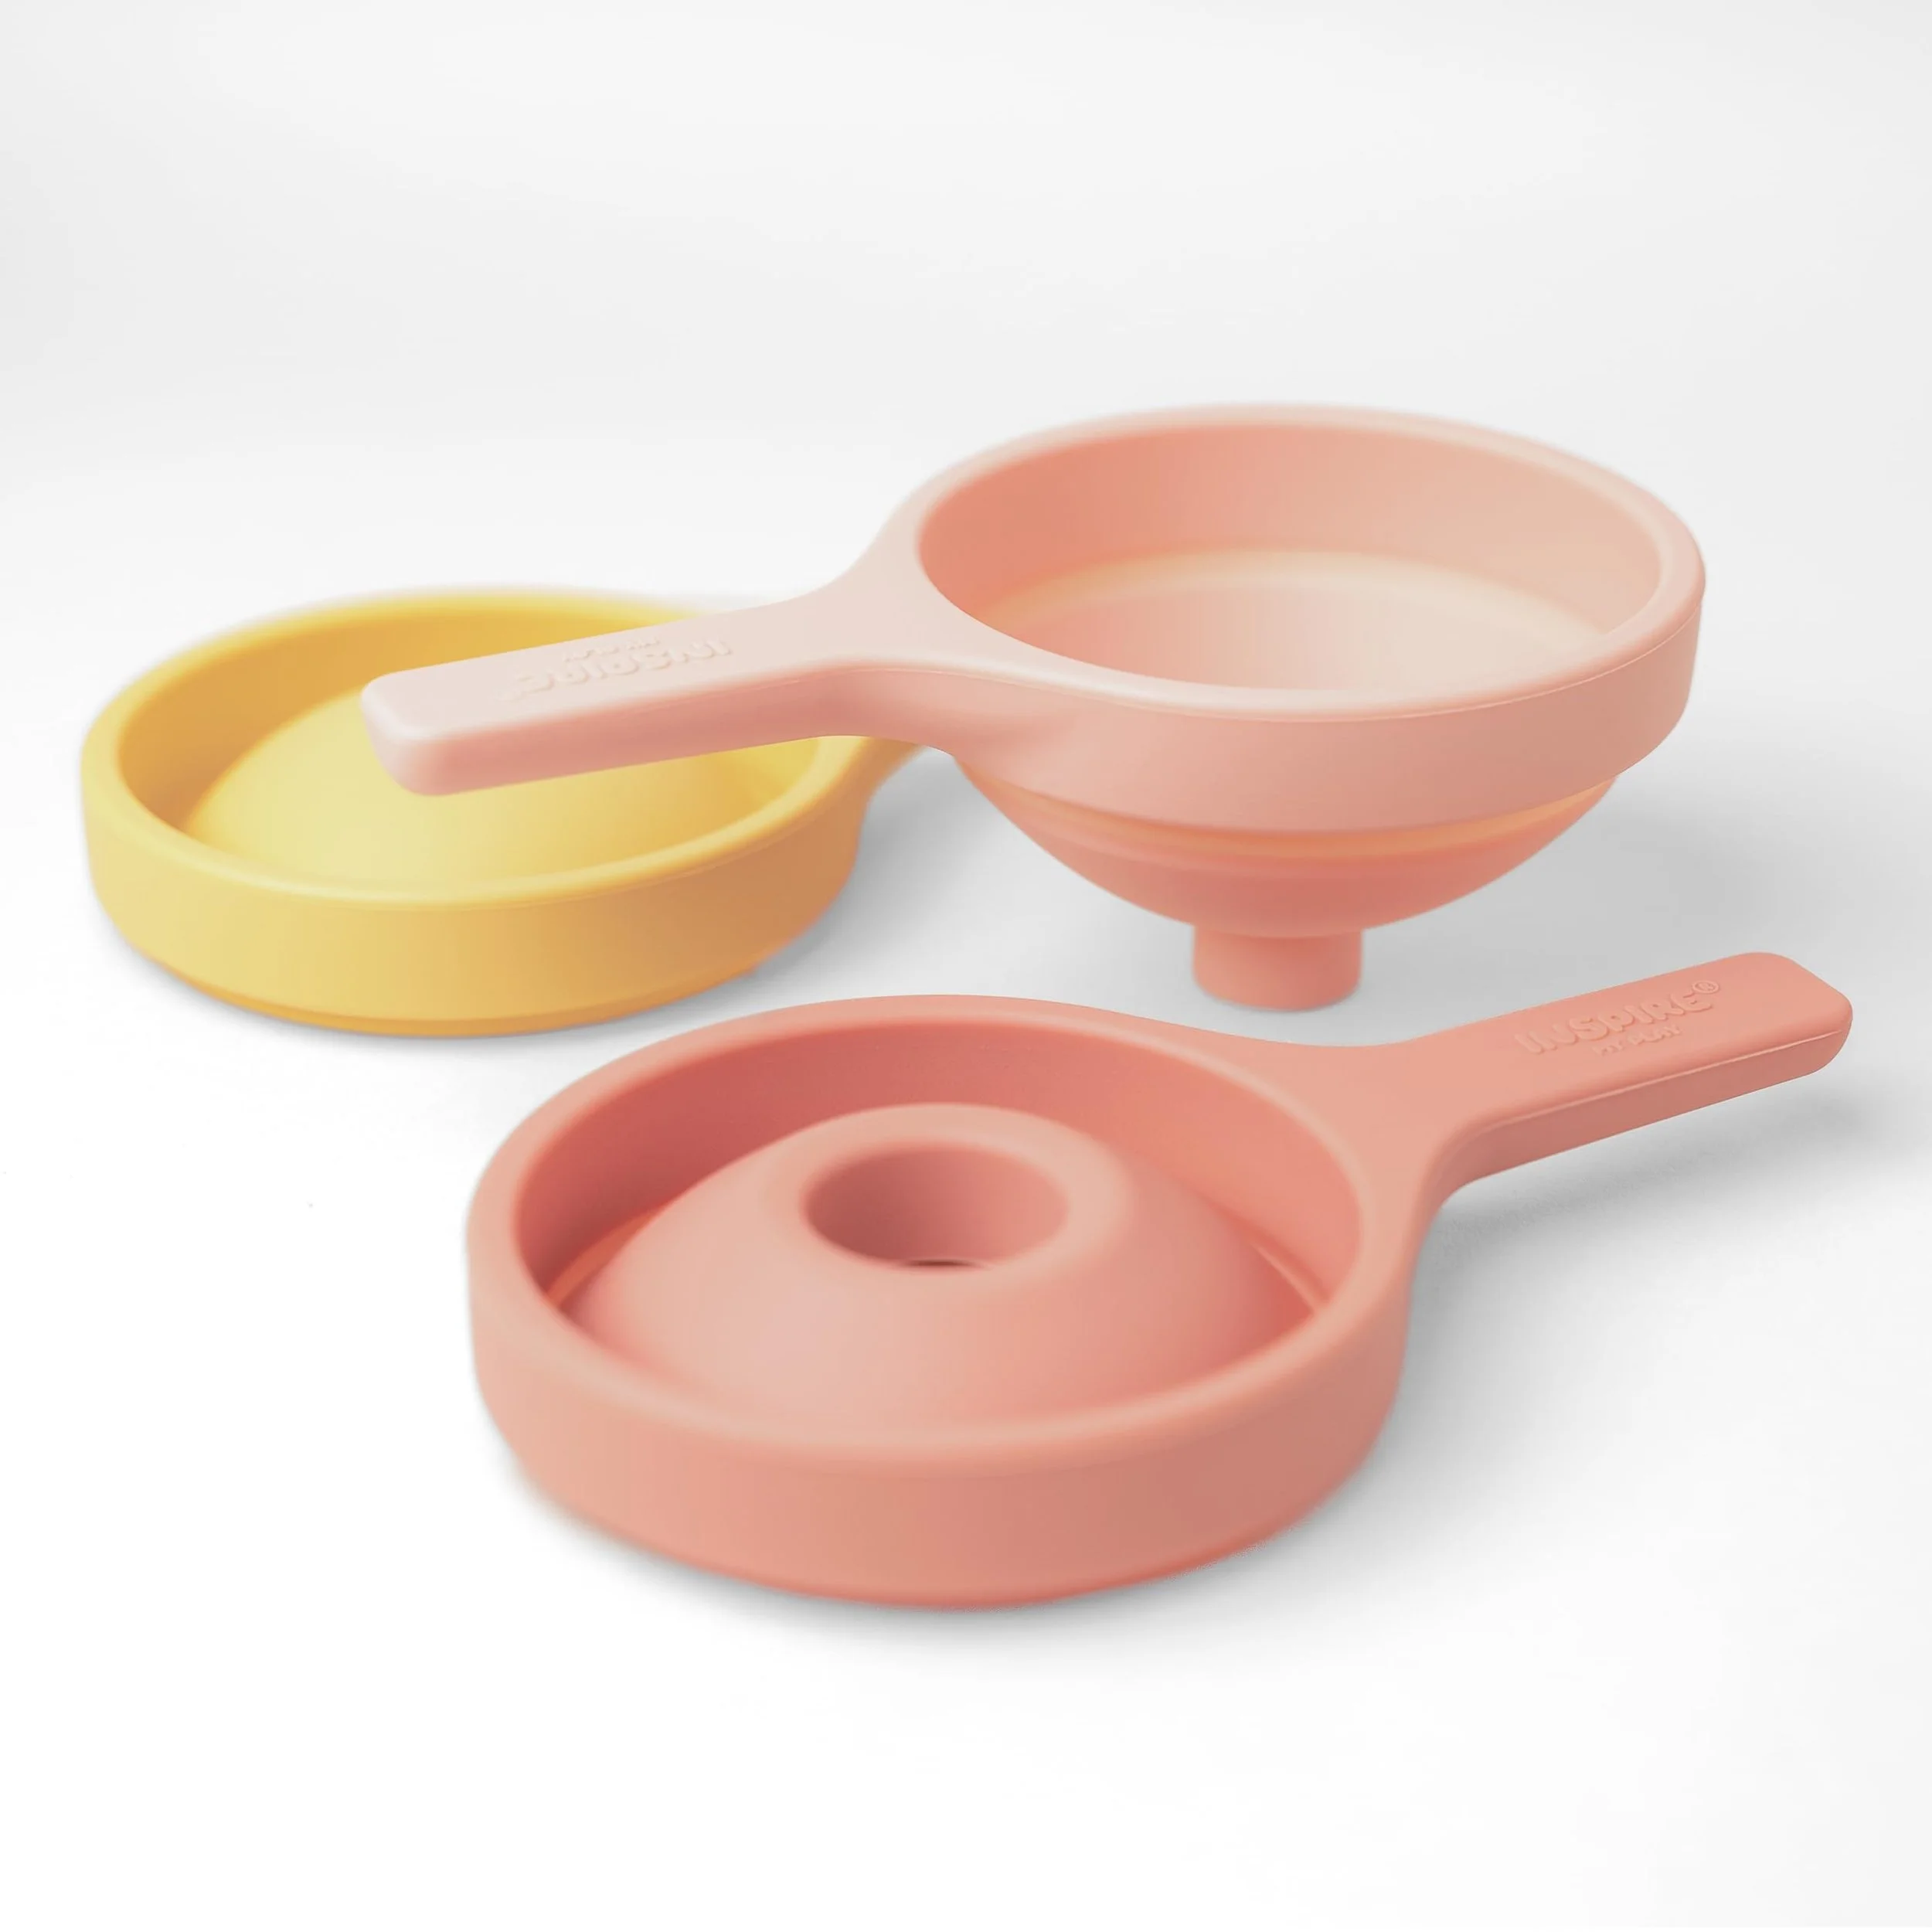
3 x Silicone Collapsible Funnels
Funnels that fold flat for the basket and pop open for pouring.
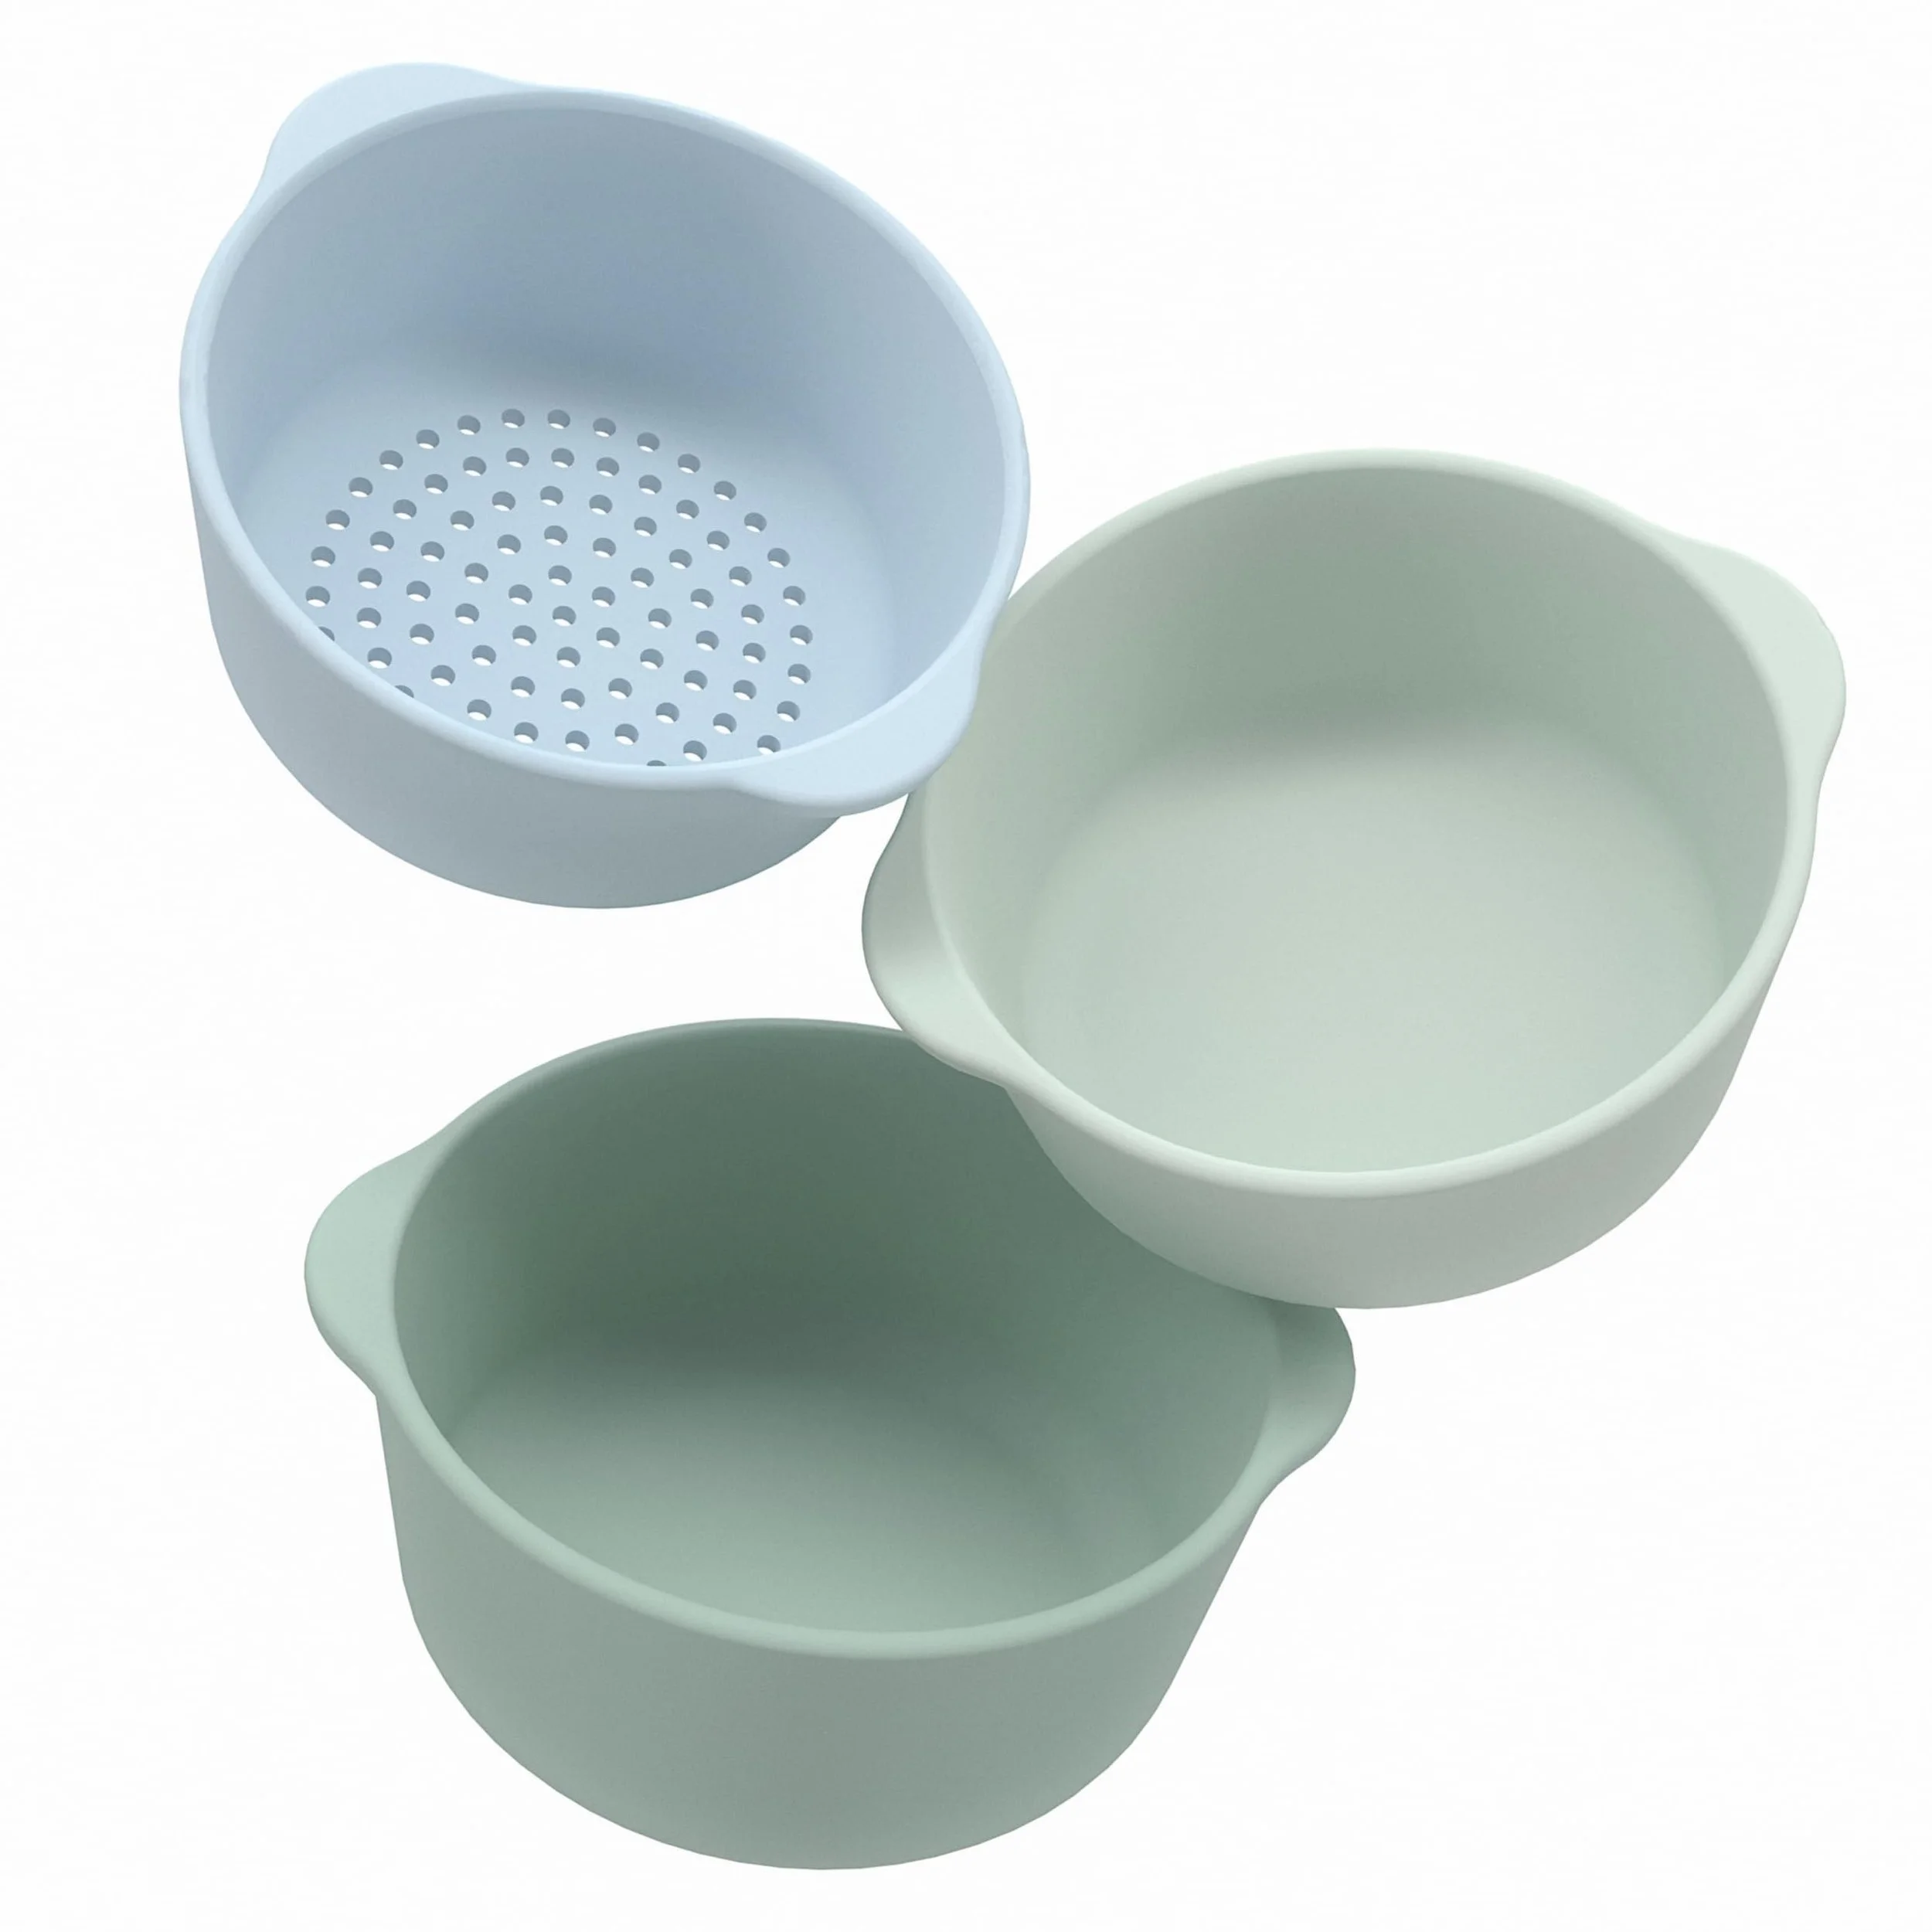
3 x Nesting Bowls and Sieve
Bowls that stack, plus a sieve for the shake-and-sift game.
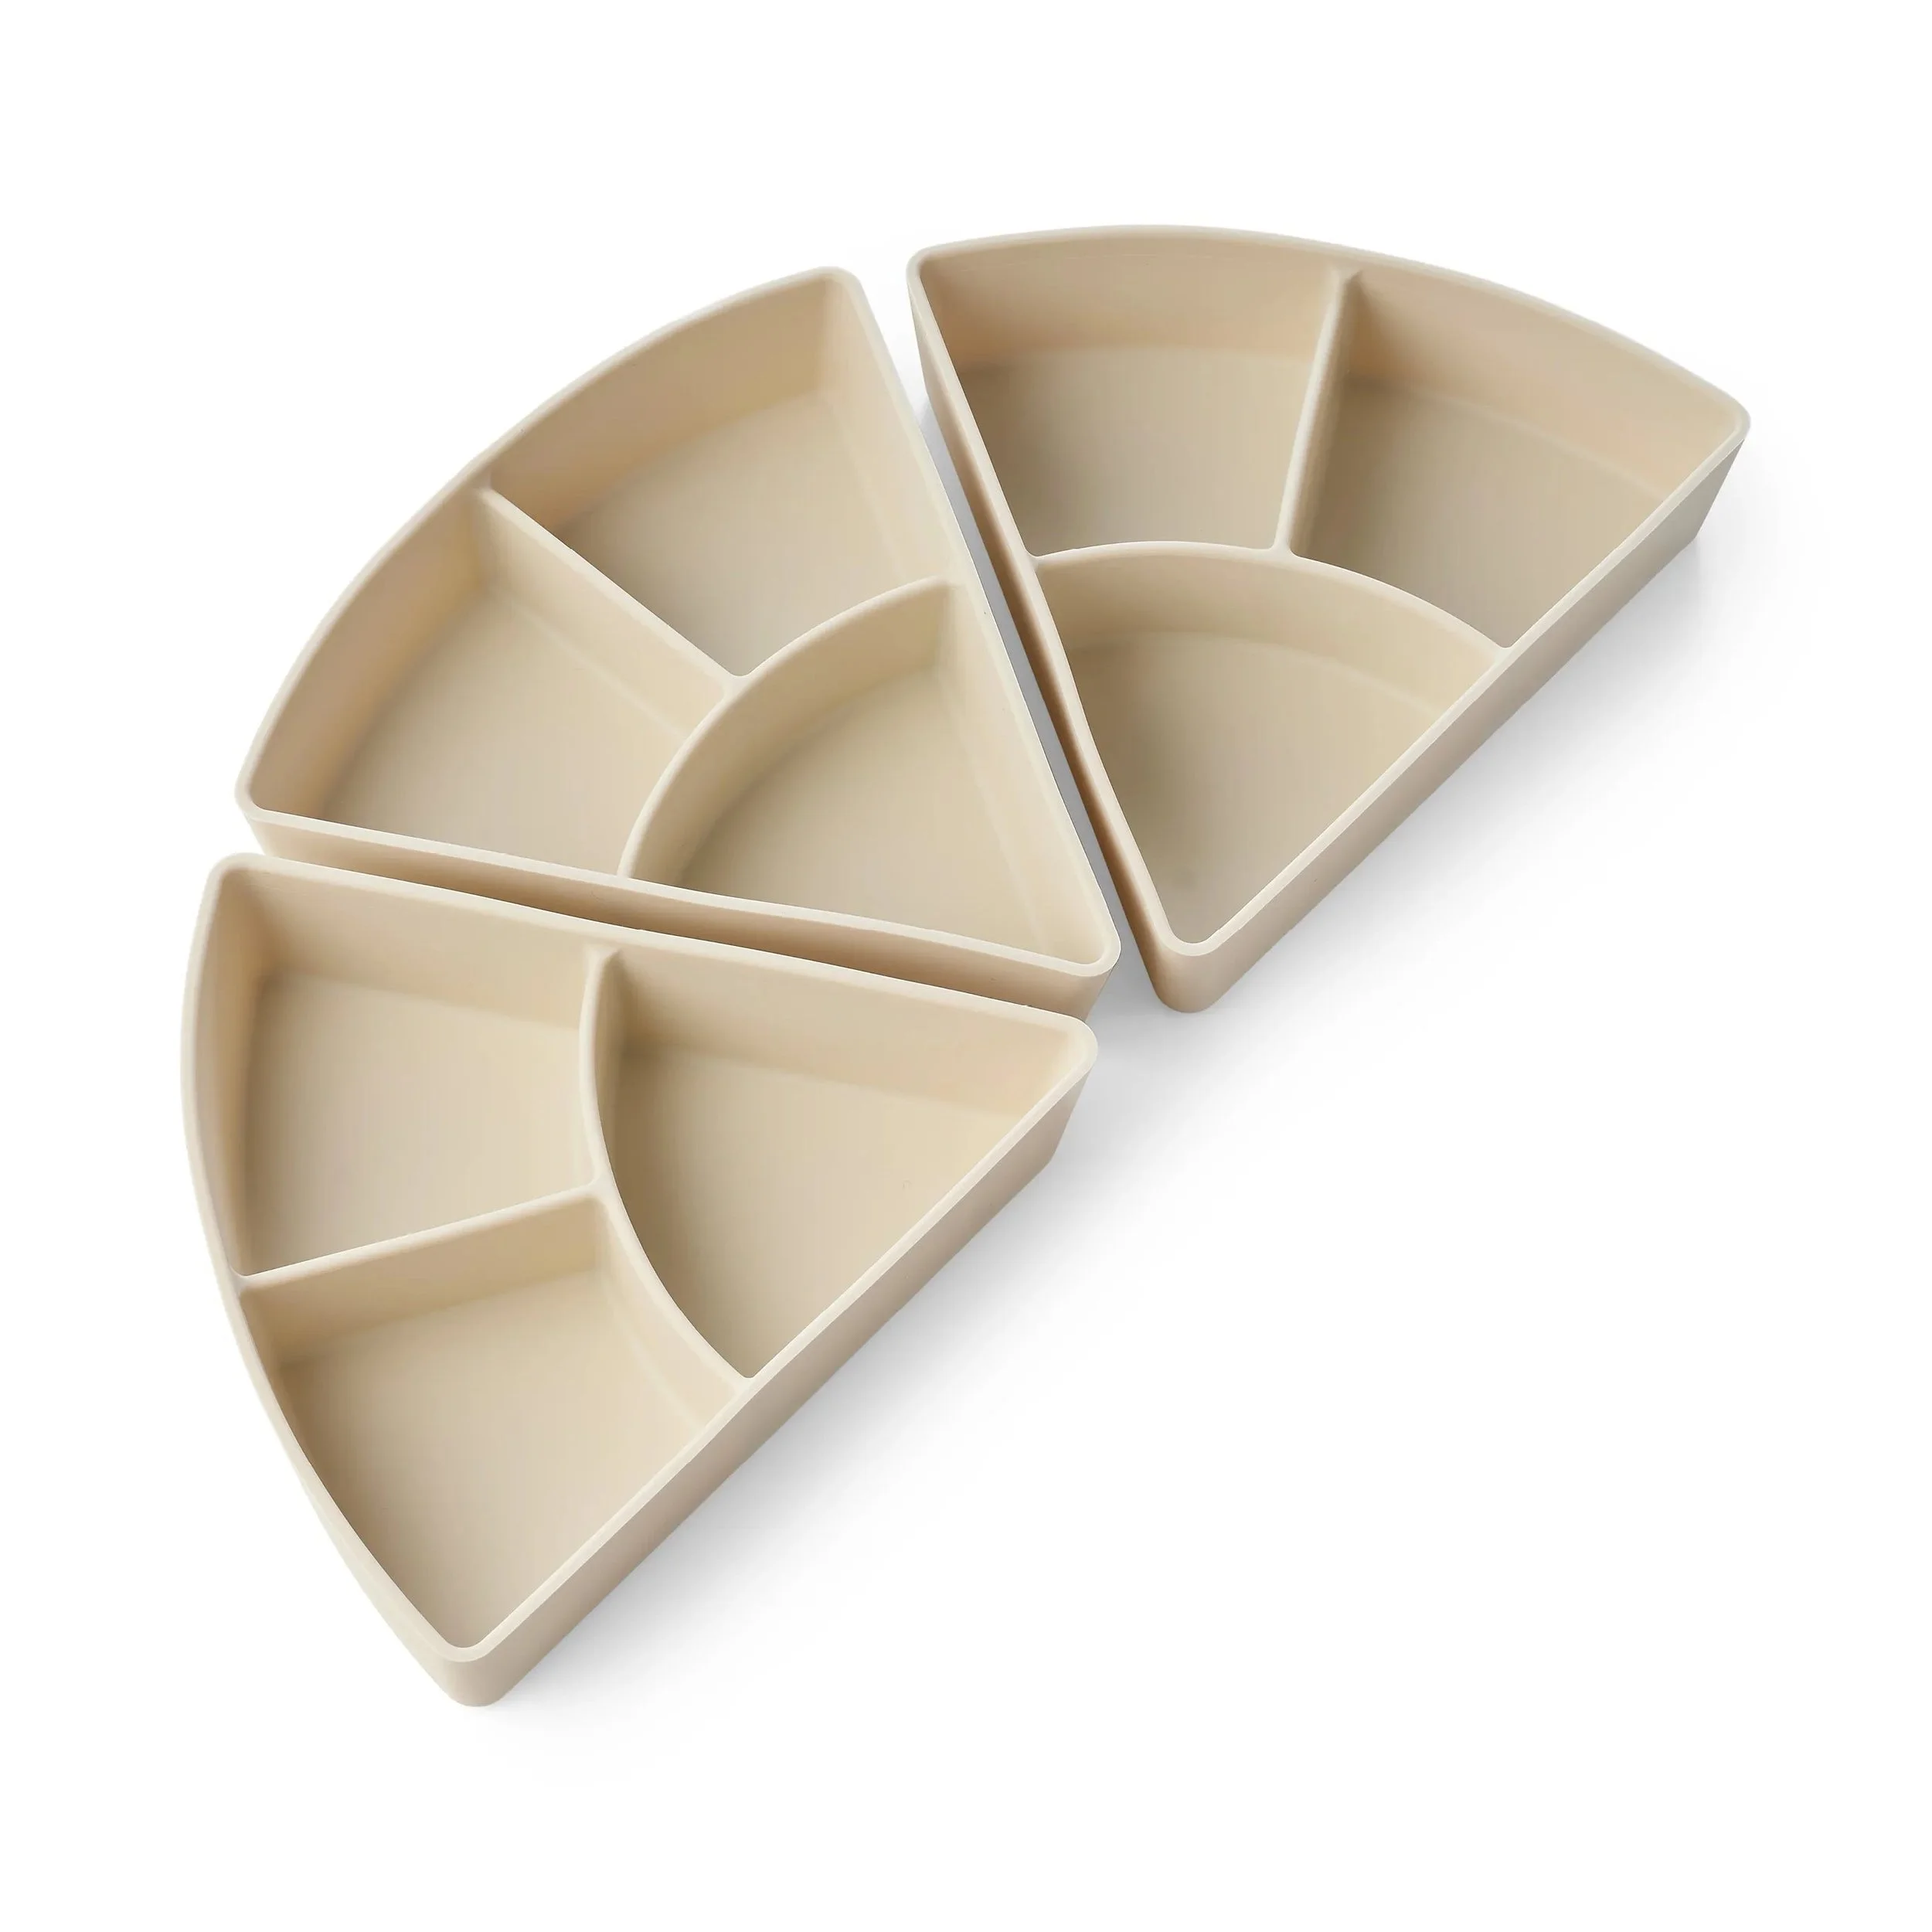
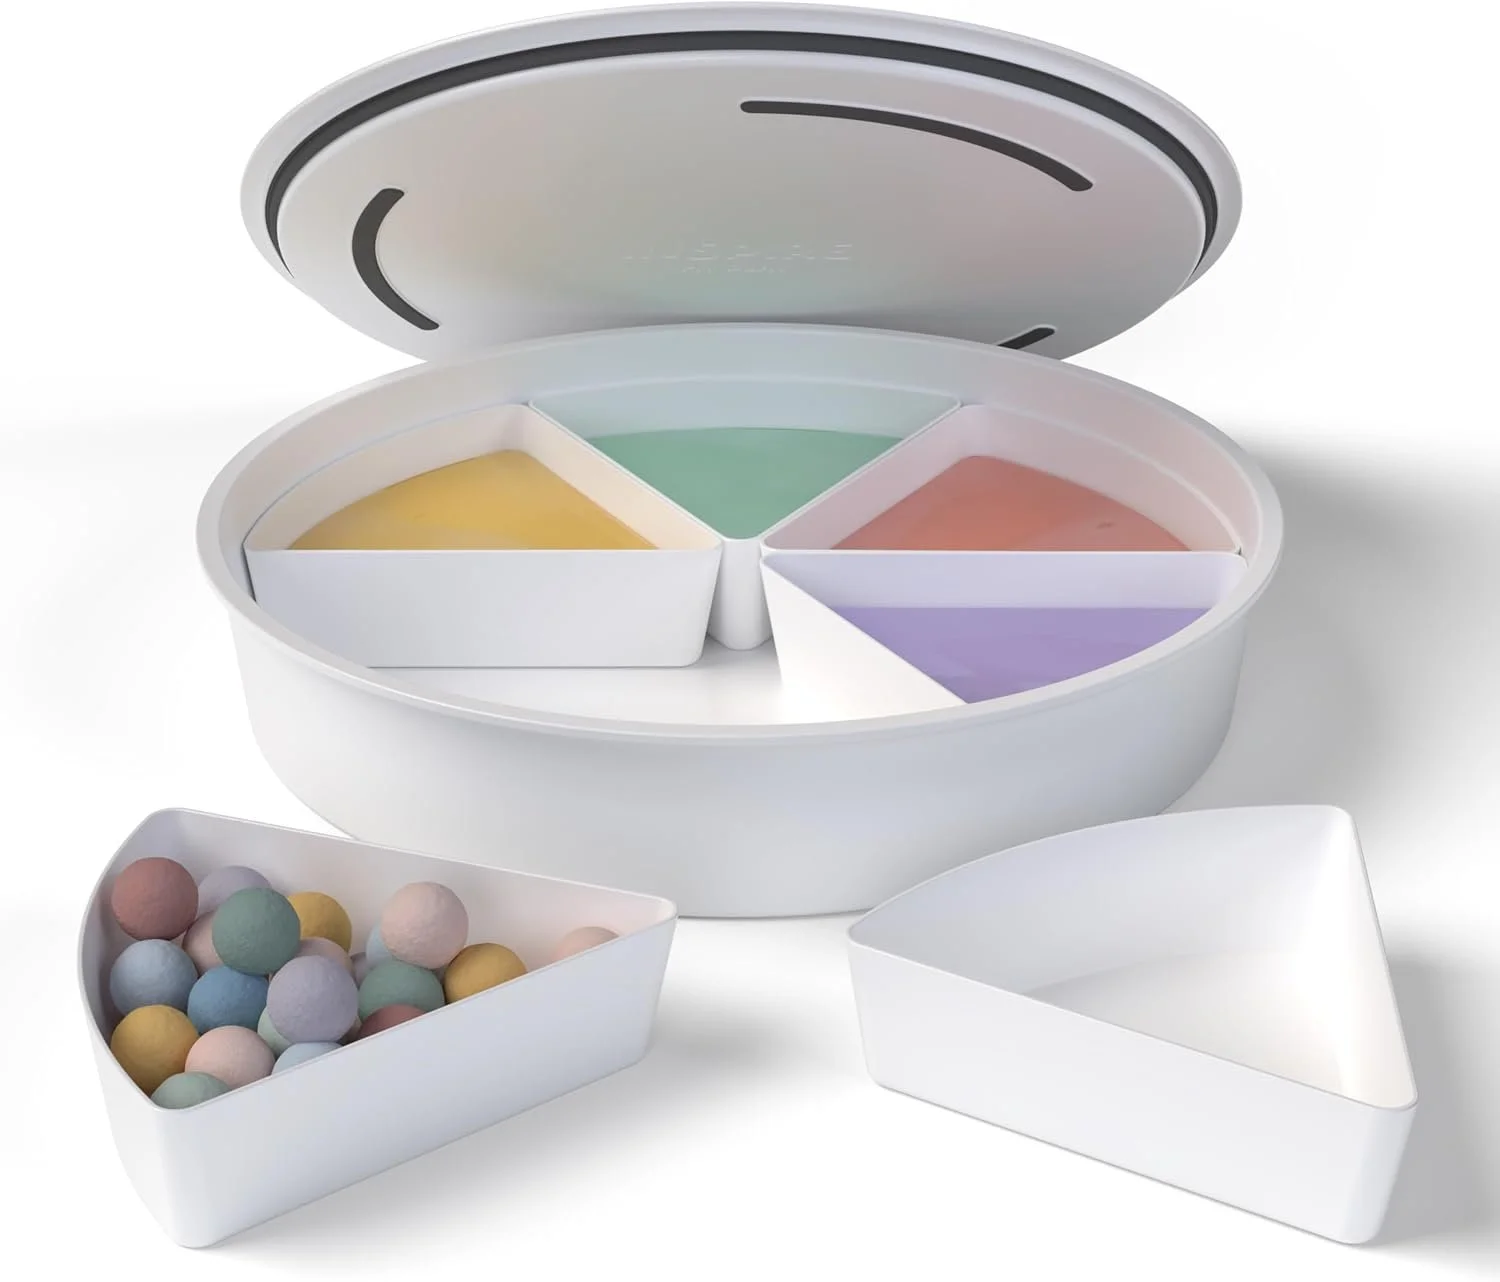
3 x Silicone Sorting and Organising Compartments
Divided inserts that turn any tray into a sorting game.
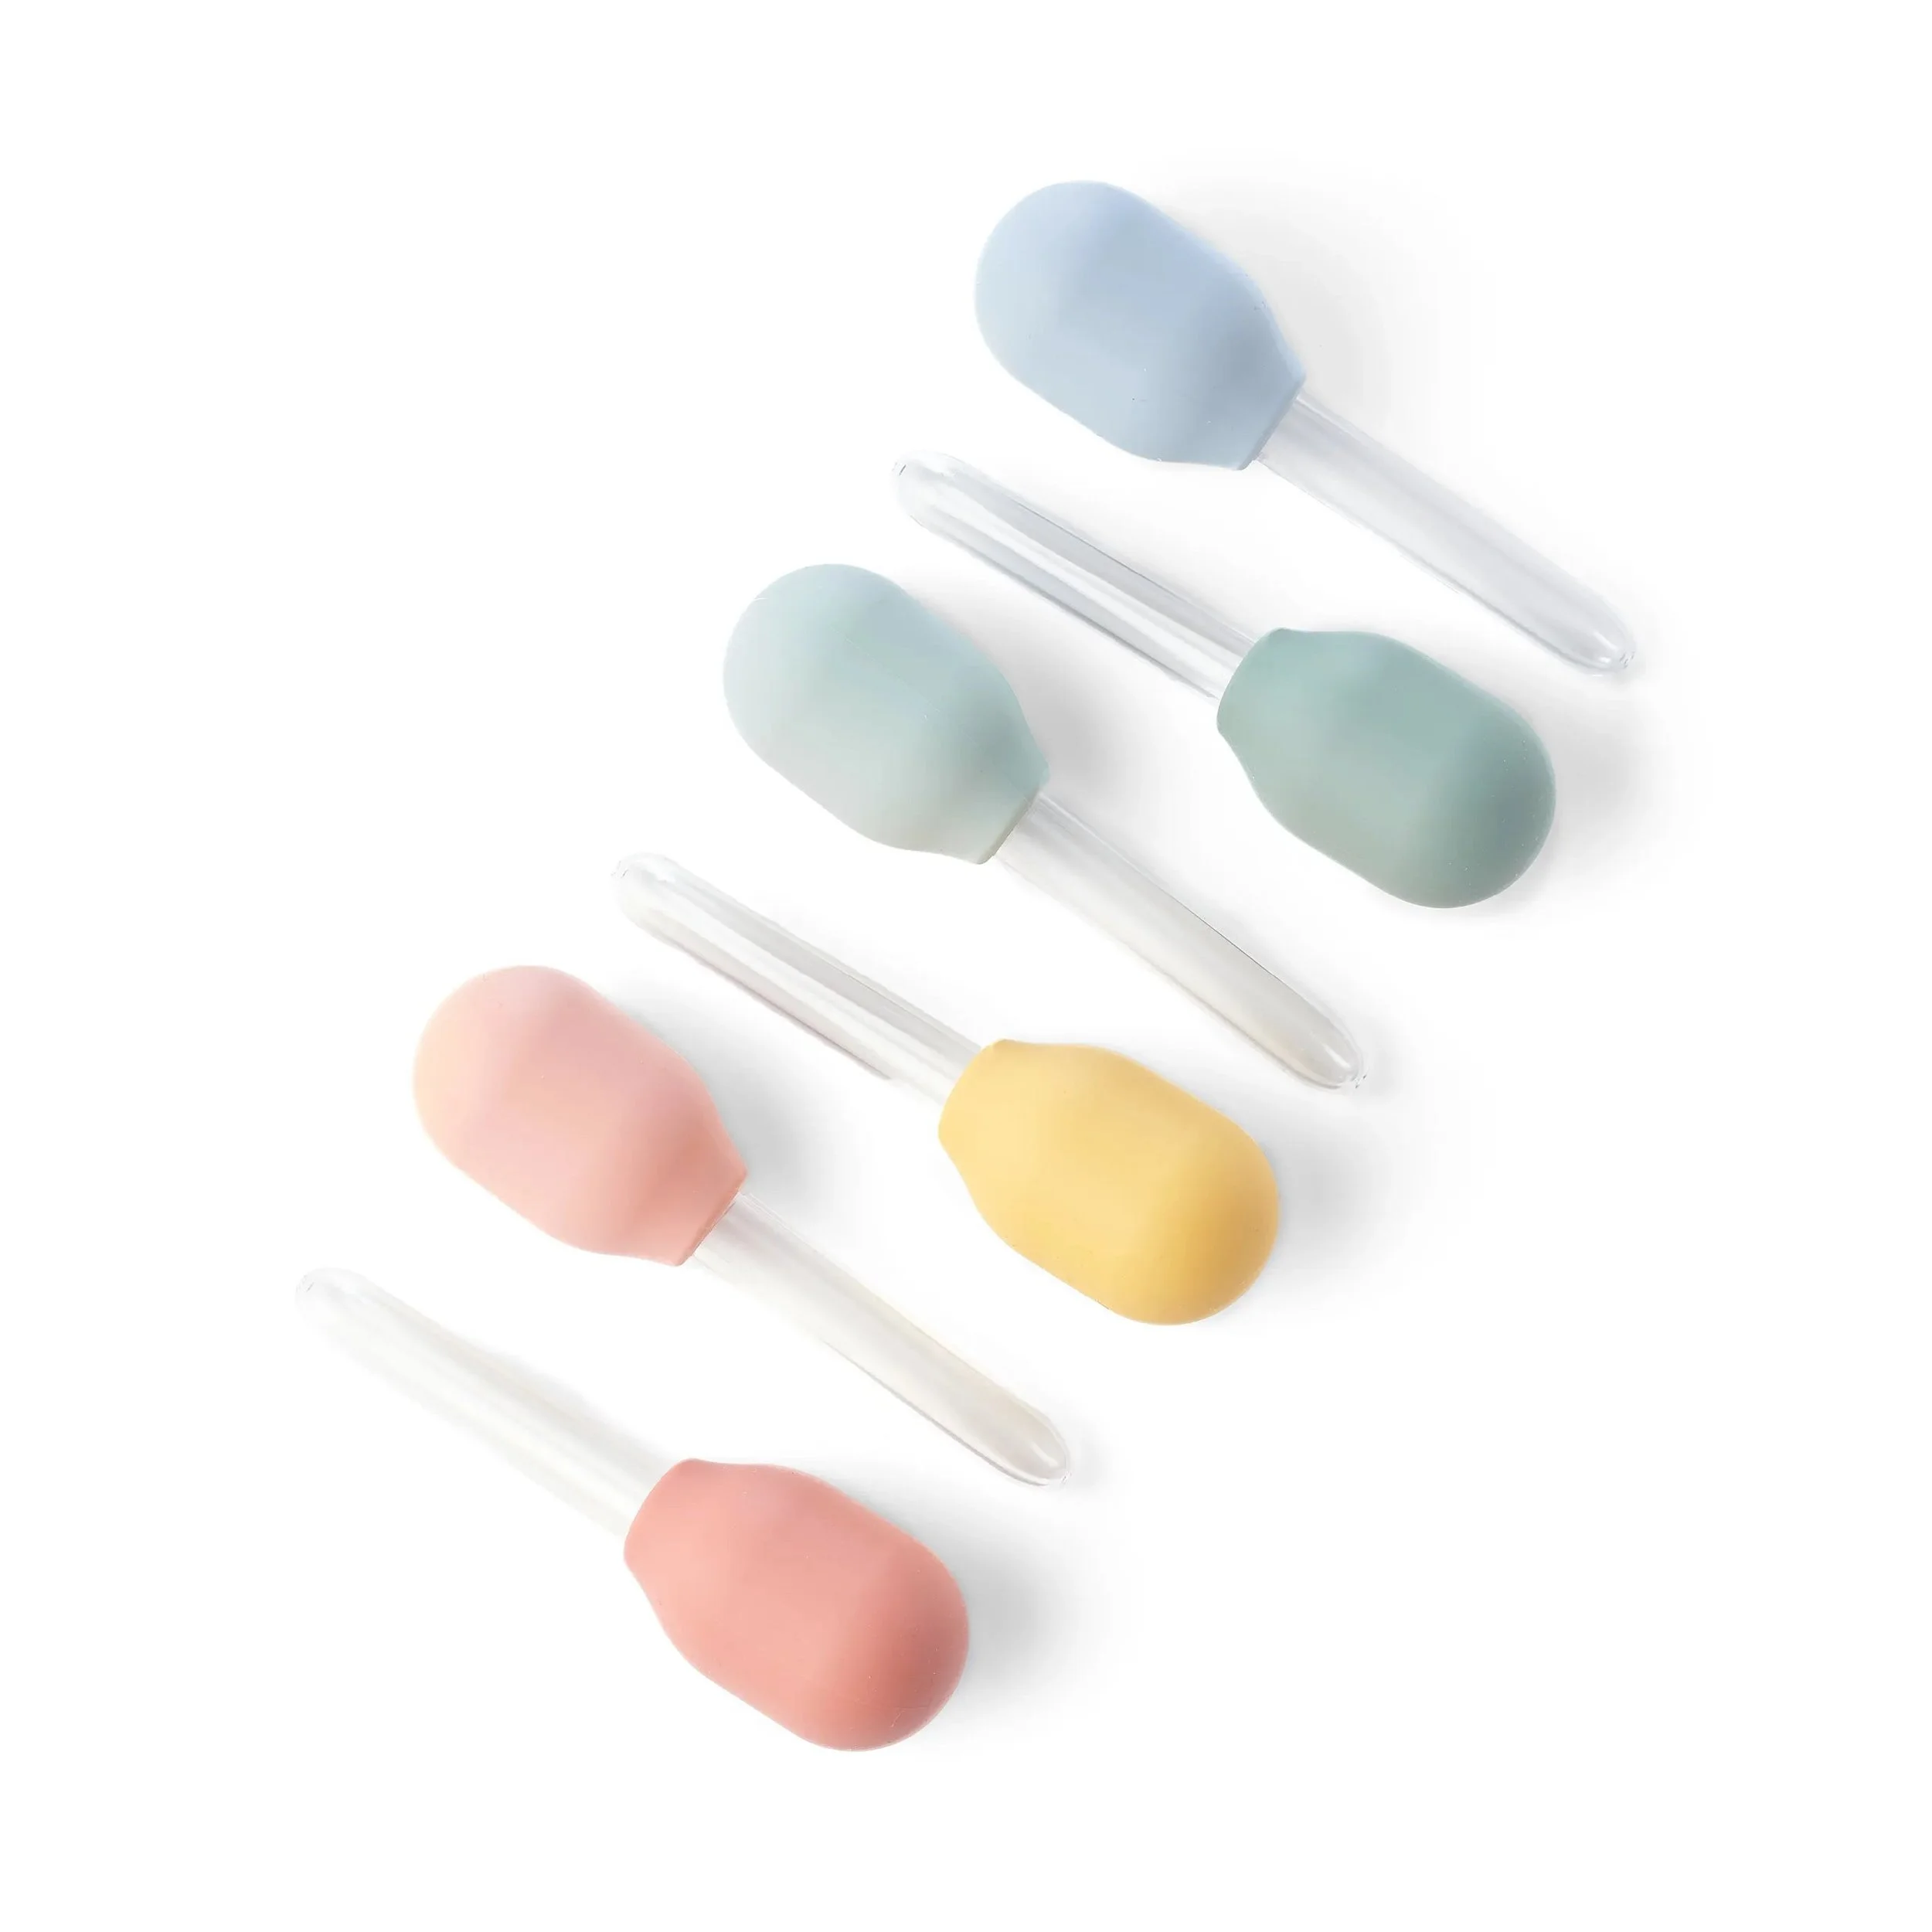
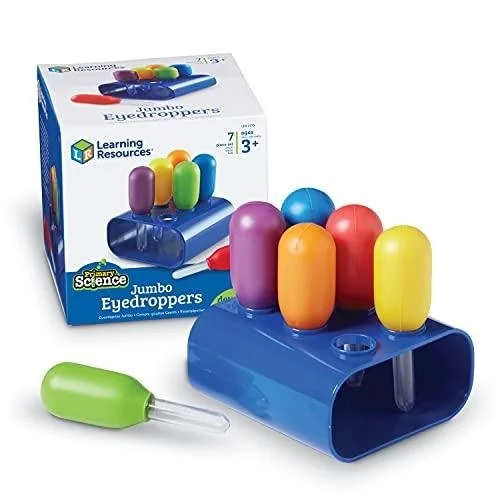
6 x Pastel Liquid Droppers
Droppers for water play and color mixing, sized for small squeezes.
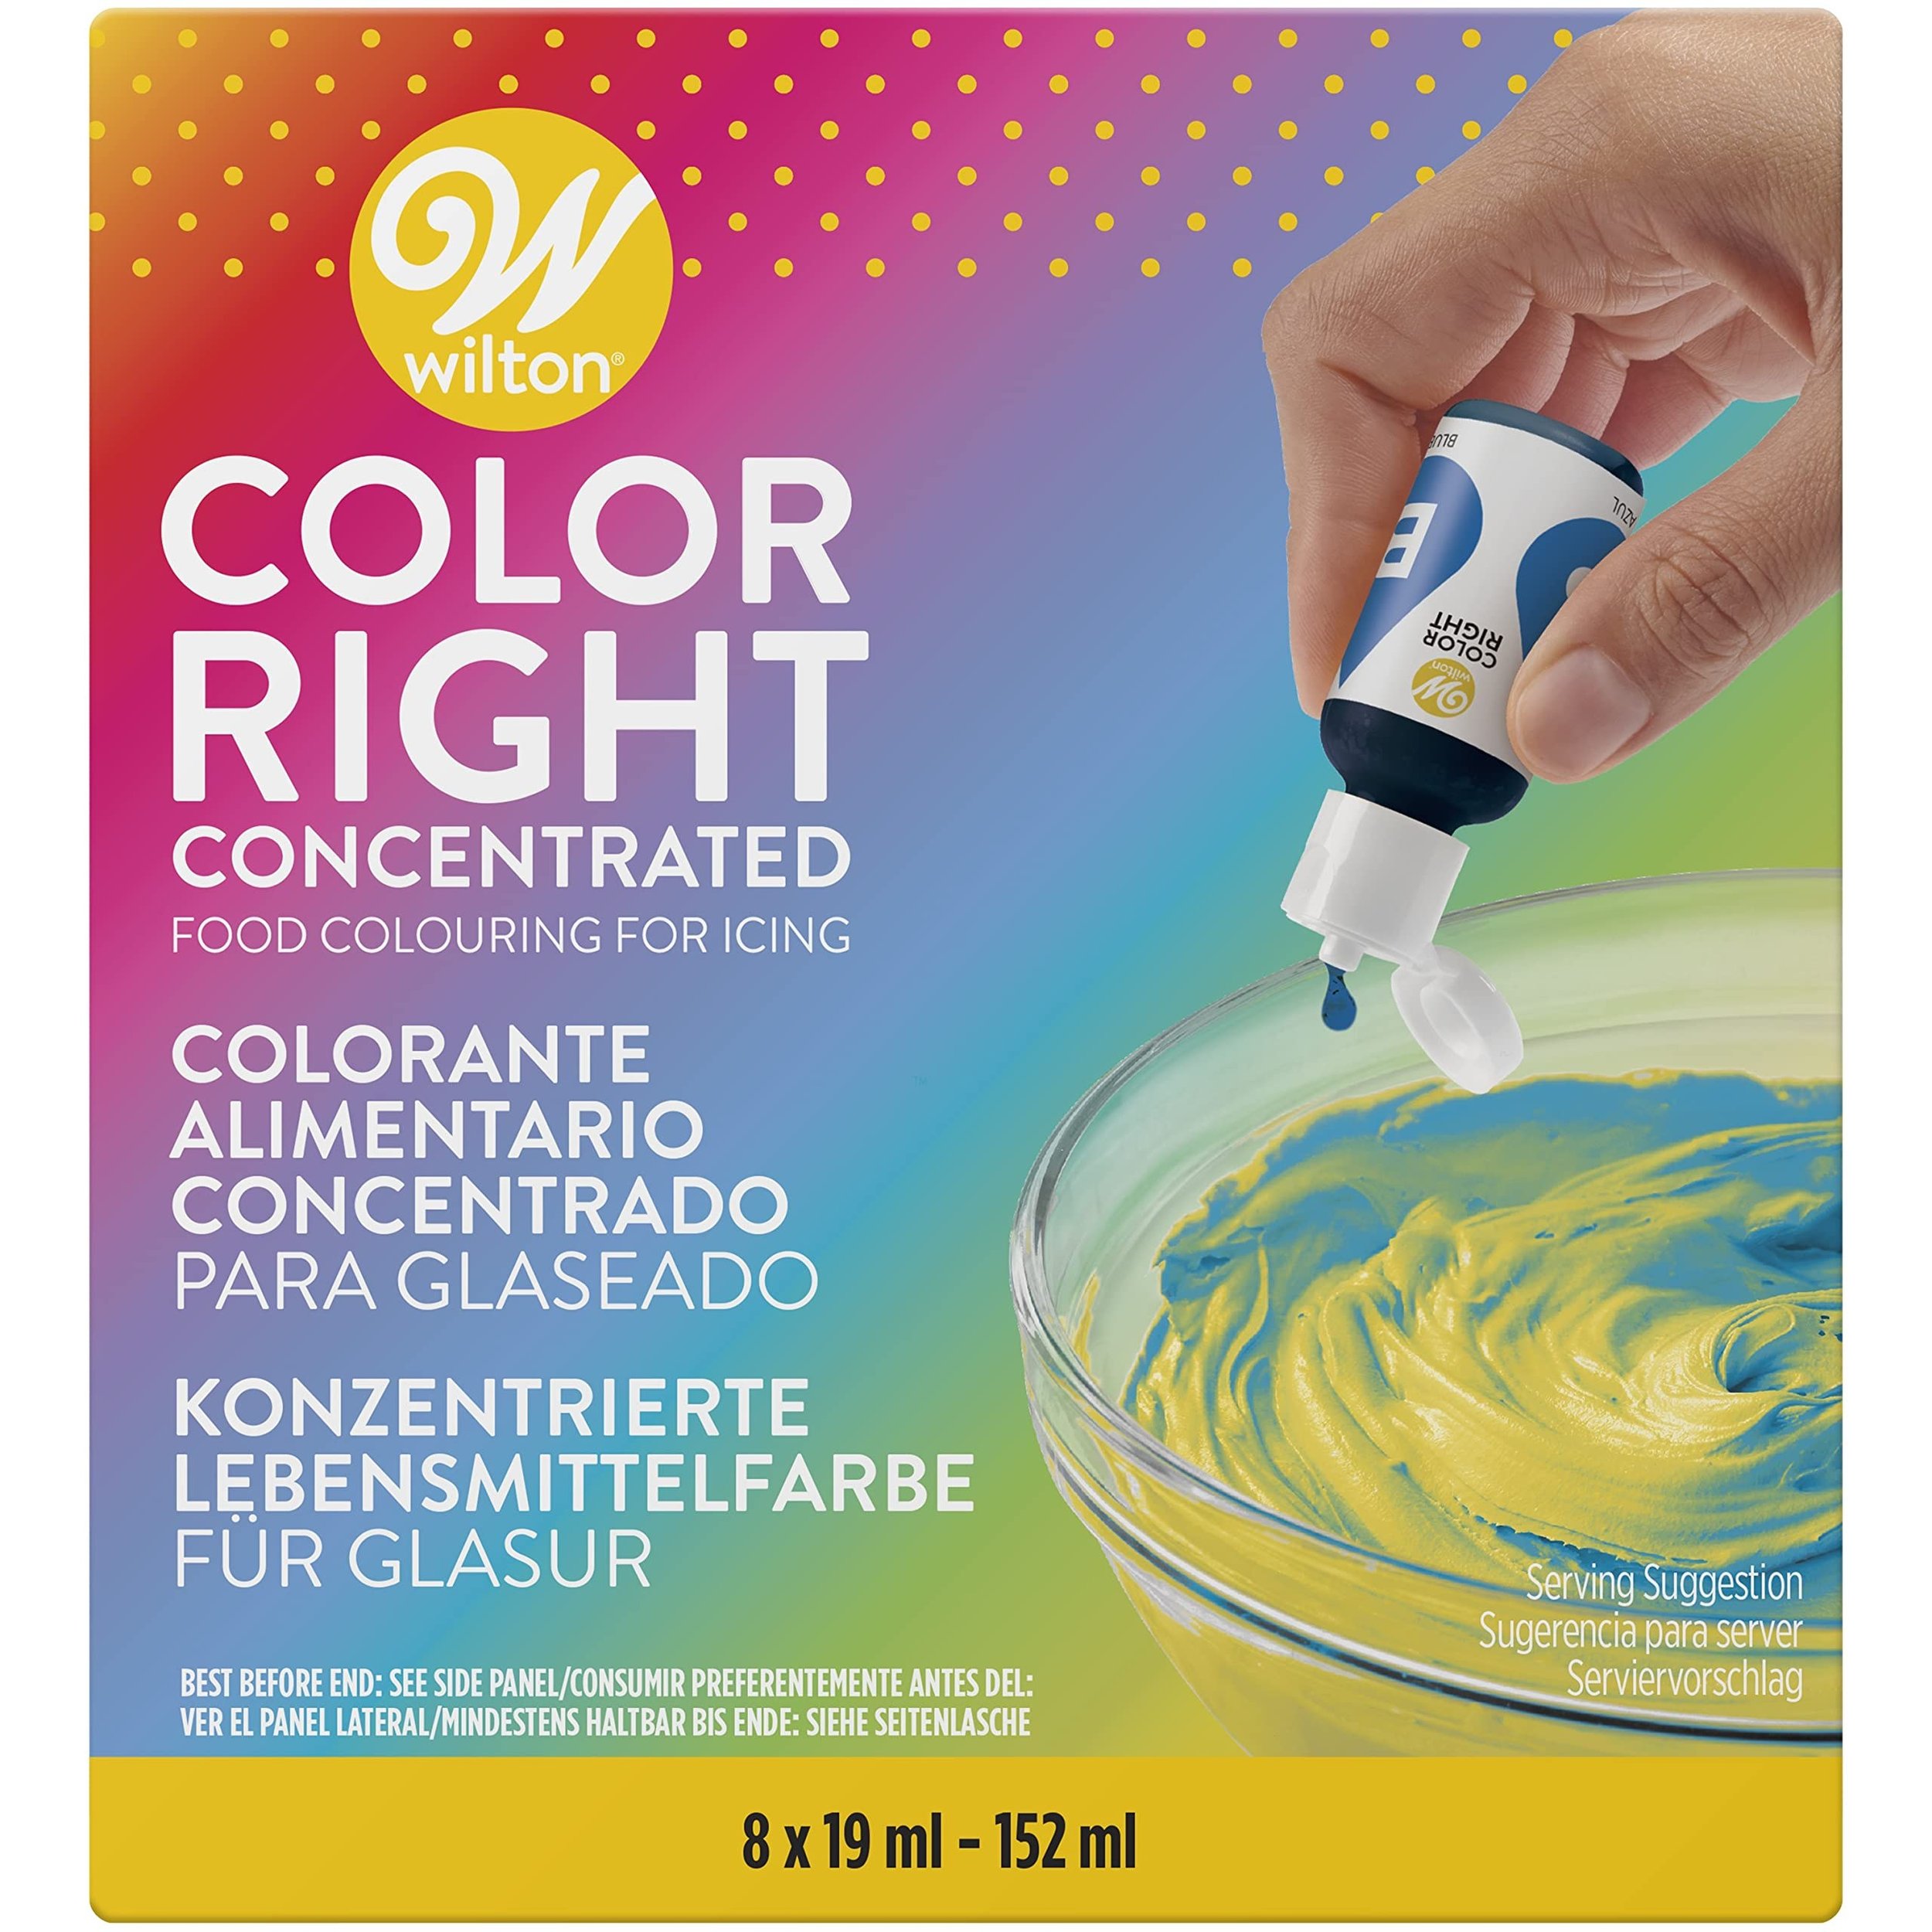
Rainbow Food Coloring (Wilton Color Right, 8 Colors)
Eight concentrated colors for dyed rice, pasta, and water.
Some links are affiliate links. We only share things we actually use.
Start with 3 tools, rotate — don't dump them all in
Here's the mistake I made with our first sensory bins: I put every tool we owned into the bin at once, figuring more tools meant more play. What I got was a toddler who spent ten minutes picking tools up and putting them down, and never actually played with any of them. The bin was a toy shop, not a game.
The rule that fixed it is simple: three tools in the bin, maximum. One for scooping or pouring, one for grabbing or placing, and one for the job of the day — a funnel for a pouring bin, a sorting tray for a counting bin, a shovel for a digging bin. Three tools is enough to give a toddler choices and few enough that every tool gets used. When my daughter was little, the three-tool bin was the one she played with longest, every single time.
And then rotate. A tool that lives in the bin every day stops being interesting, and a tool that disappears for two weeks comes back as a brand-new toy. The rotation that worked for us:
- One new tool at a time. When you introduce a tool, let it be the only new thing in the bin — same filler, same props, one new tool. The toddler's whole attention goes to figuring it out, and the figuring-out is the play.
- Rotate weekly, or when interest fades. A tool that's being ignored is a tool that's ready for a rest. Swap it out, put it in the basket, and bring it back in a fortnight with a different filler — it will feel new again.
- Keep the rest in a basket by the bin. The tools that aren't in play live in one basket, visible and reachable. A toddler who can see the tongs in the basket will ask for the tongs — and a tool a toddler asks for is a tool they'll actually use.
- Match the rotation to the filler. Water week means jugs, funnels, and droppers. Dry-filler week means scoops, tongs, and sorting trays. Dough week means spoons and shovels. When the filler changes, the tools change with it, and the whole setup feels fresh without buying anything new.

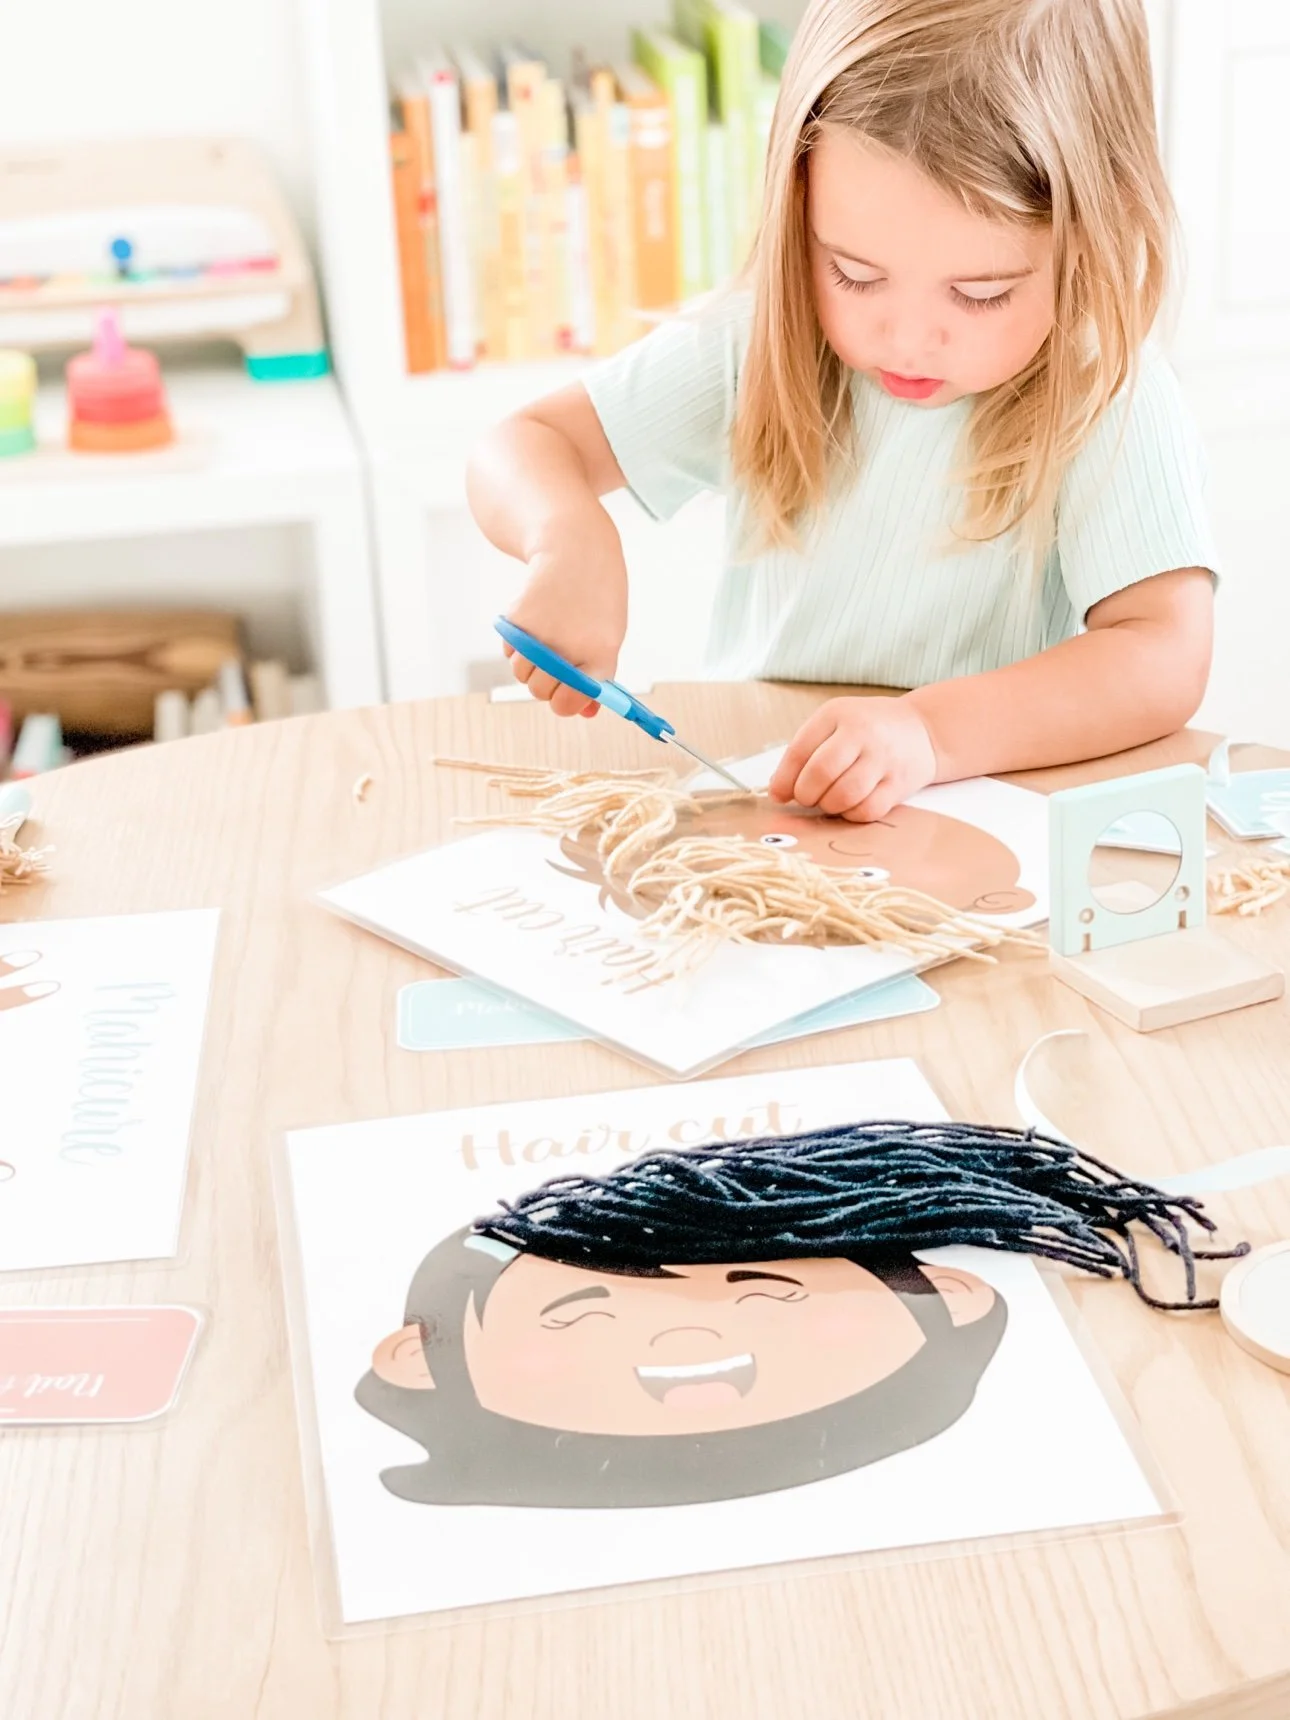
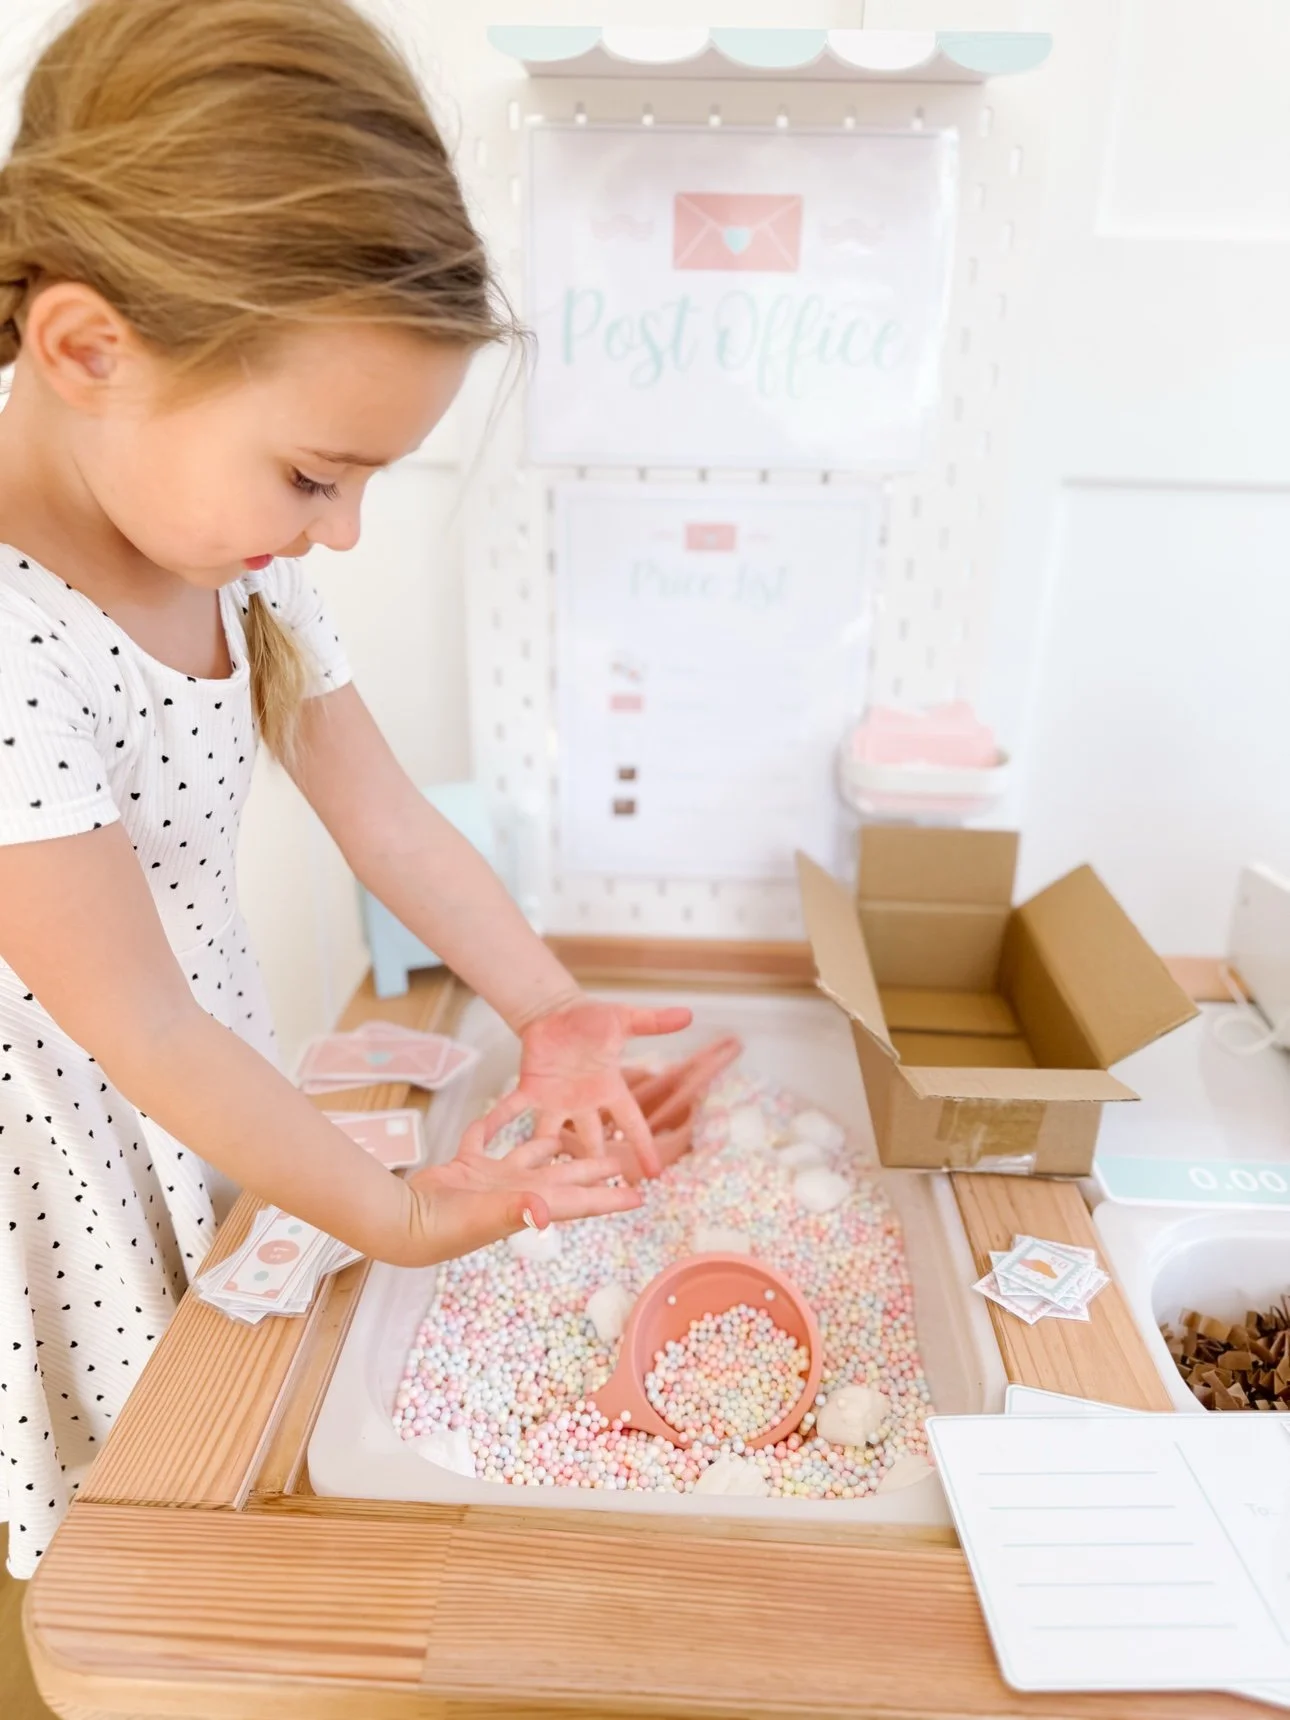
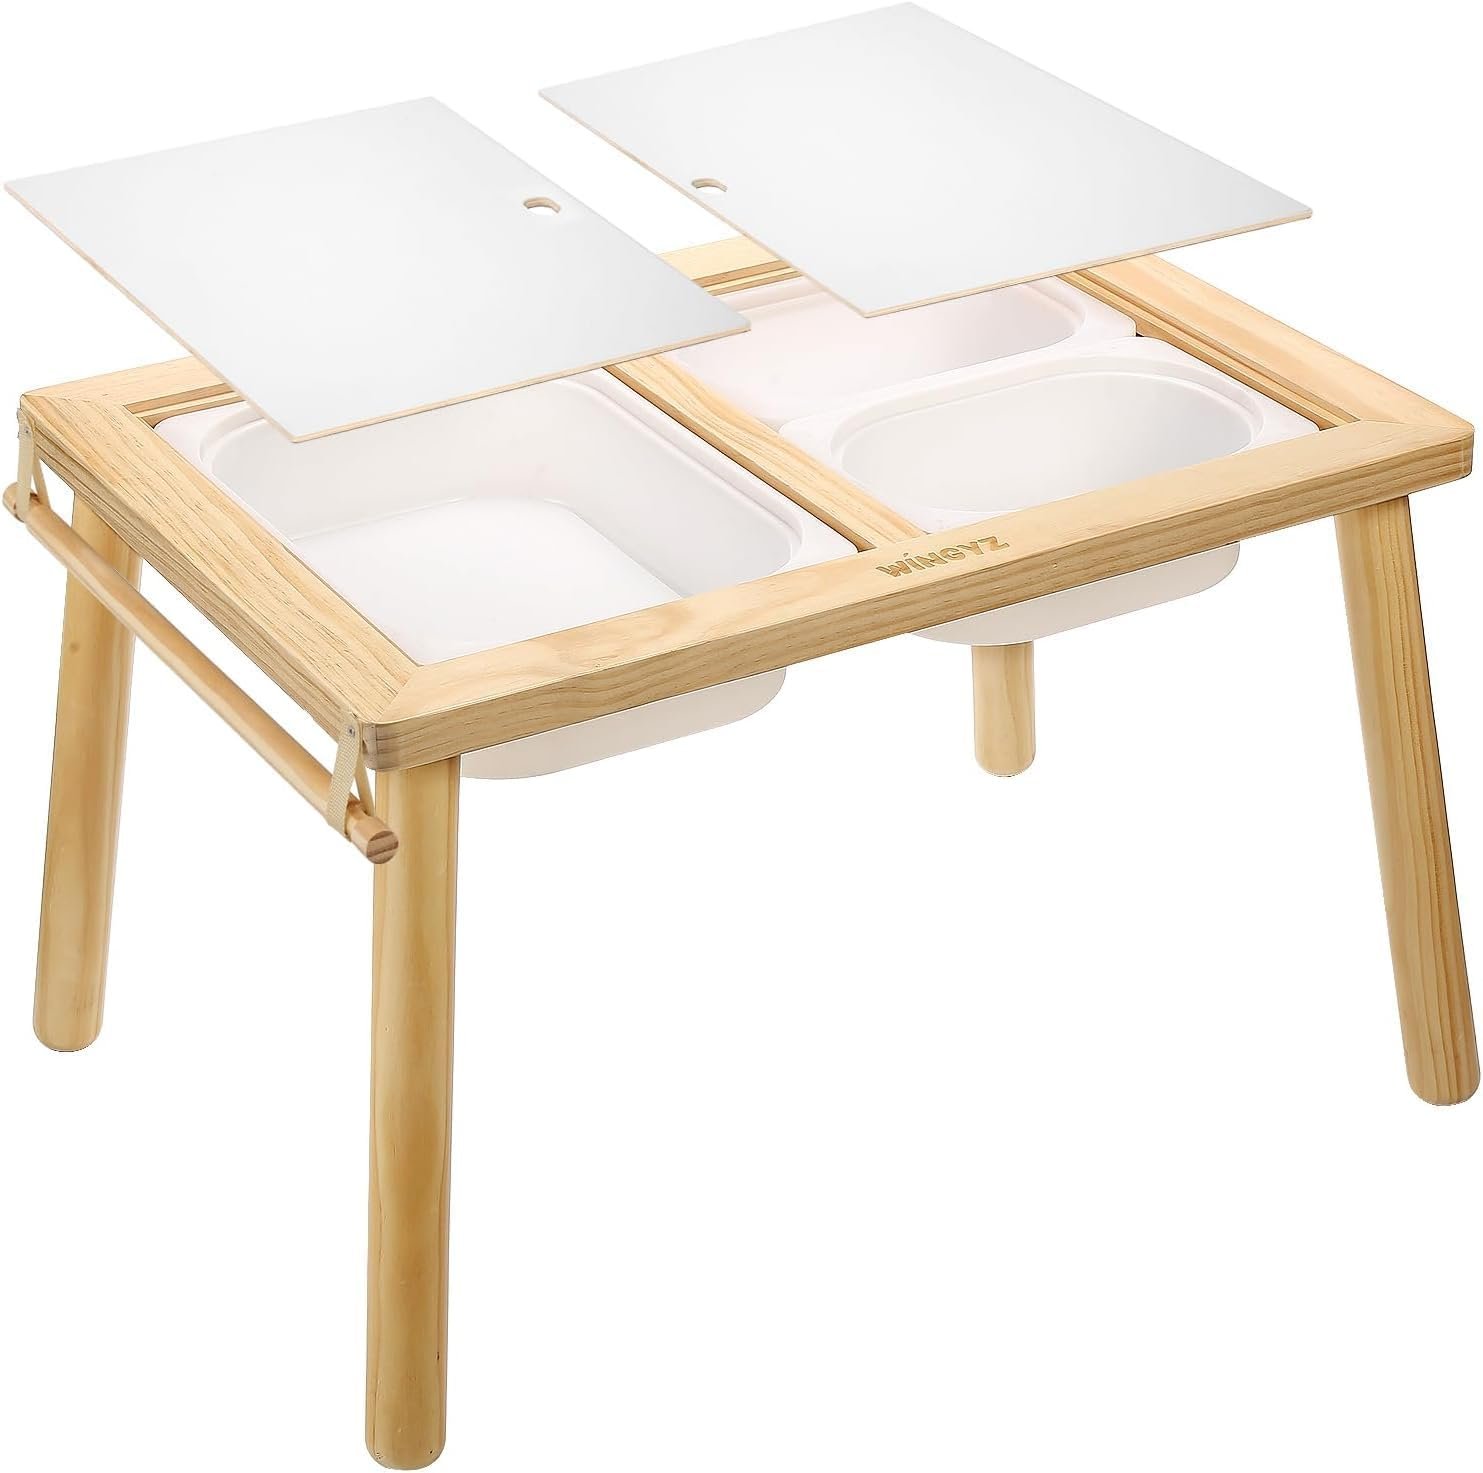
If you have an IKEA FLISAT table, it's the natural home for the three-tool rule: one bin for the filler, one bin for the tools and props, and the table surface between them as the workspace. Our FLISAT beginner guide covers the setup, and our winter FLISAT guide has the seasonal version.
Pick your tools by age
Not every tool fits every age. For the youngest players, still mouthing everything, start with the biggest tools: a scoop, a spoon, a jug. Our sensory play ideas for 1-year-olds has the full rundown. For two-year-olds, the scoop-and-pour tools are the whole game — a scoop, a jug, and a funnel, in a dry filler, on a tray — and our sensory bin ideas for 2-year-olds pairs with this post perfectly. Three-year-olds are ready for tongs, tweezers, and droppers, and for the sorting tray to become a counting game; our sensory bin ideas for 3-year-olds has the sequencing and sorting versions. Four-year-olds can run the whole list, with our sensory bin ideas for 4-year-olds for the bigger storylines and our Christmas sensory bin ideas for the seasonal version. Whatever the age, the rule is the same: start with three tools, start with the one your toddler can already almost do, and let the next tool arrive when the first one gets easy.
Free: Winter Printable Play Mats
Give the scooping and sorting somewhere to go — our free Winter Printable Play Mats are sorting trays and counting mats that sit right in the bin and turn any tool on this list into a sorting game.
Sensory bin tools FAQ
What age can toddlers start using sensory bin tools?
From the very first bin — a one-year-old with a big scoop and a bin of oats is already using a sensory bin tool. Start with the biggest, simplest tools (a scoop, a spoon, a jug) and add finer tools as hands get surer: tongs around age 2, tweezers and droppers around age 3.
What are the best first sensory bin tools?
A scoop, a spoon, and a small jug — the three tools that cover pouring, digging, and serving, and all three come from the kitchen drawer. Add a funnel as the fourth tool once the pouring is steady, and tongs once the grabbing is deliberate.
How many tools should go in a sensory bin?
Three, maximum. One for scooping or pouring, one for grabbing or placing, and one for the job of the day. More than three and a toddler spends the session choosing instead of playing. Rotate the three weekly, or when interest fades, and keep the rest in a basket by the bin.
Can I use kitchen tools in a sensory bin?
Yes — that's the point. Measuring cups, wooden spoons, funnels, small jugs, and muffin tins are the best sensory bin tools there are, because they were designed to be held and used. Keep a dedicated set in a basket by the bin so the kitchen set stays in the kitchen, pick pieces that rinse clean, and size everything up for younger players — large, nothing small enough to be mouthed whole.
What do I do when my toddler just dumps everything out?
Dumping is the play at first, not a problem with it — a one-year-old dumps because dumping is the most interesting thing a bin can do. Keep the filler shallow (two or three cups), give one tool at a time, and put the bin on a tray so the dumping stays contained. The dumping phase passes, and when it does, the tools are waiting. Our guide to sensory filler materials has the shallow-fill rundown, and our sensory bin ideas for 2-year-olds has bins built around it.
The tools were never the expensive part of sensory play — they were the kitchen-drawer part, the three-things-in-a-basket part, the part that turned a bin of lentils into a farm, a bakery, and a counting game. Start with a scoop, a spoon, and a jug this week, add the tongs when the grabbing gets deliberate, and let the rotation do the rest. That's how our sensory play worked when my daughter was little: three tools in the bin, the rest in the basket, and the bin ready for tomorrow because the tools were already there. If you want the full library of bins to try these tools in, start with our ultimate guide to sensory filler materials, then pick a bin from our sensory bin ideas for 2-year-olds and set it up with three tools.