Sensory stress balls are a simple, low-prep sensory activity that supports calm, focus, and fine motor development in young children. Made with everyday household materials, these squishy balls are especially helpful for toddlers who benefit from tactile input during quiet play, emotional regulation moments, or calming corner routines.
This easy DIY project is budget-friendly, customizable, and fits naturally into a sensory-rich home or homeschool environment.


What Are Sensory Stress Balls?
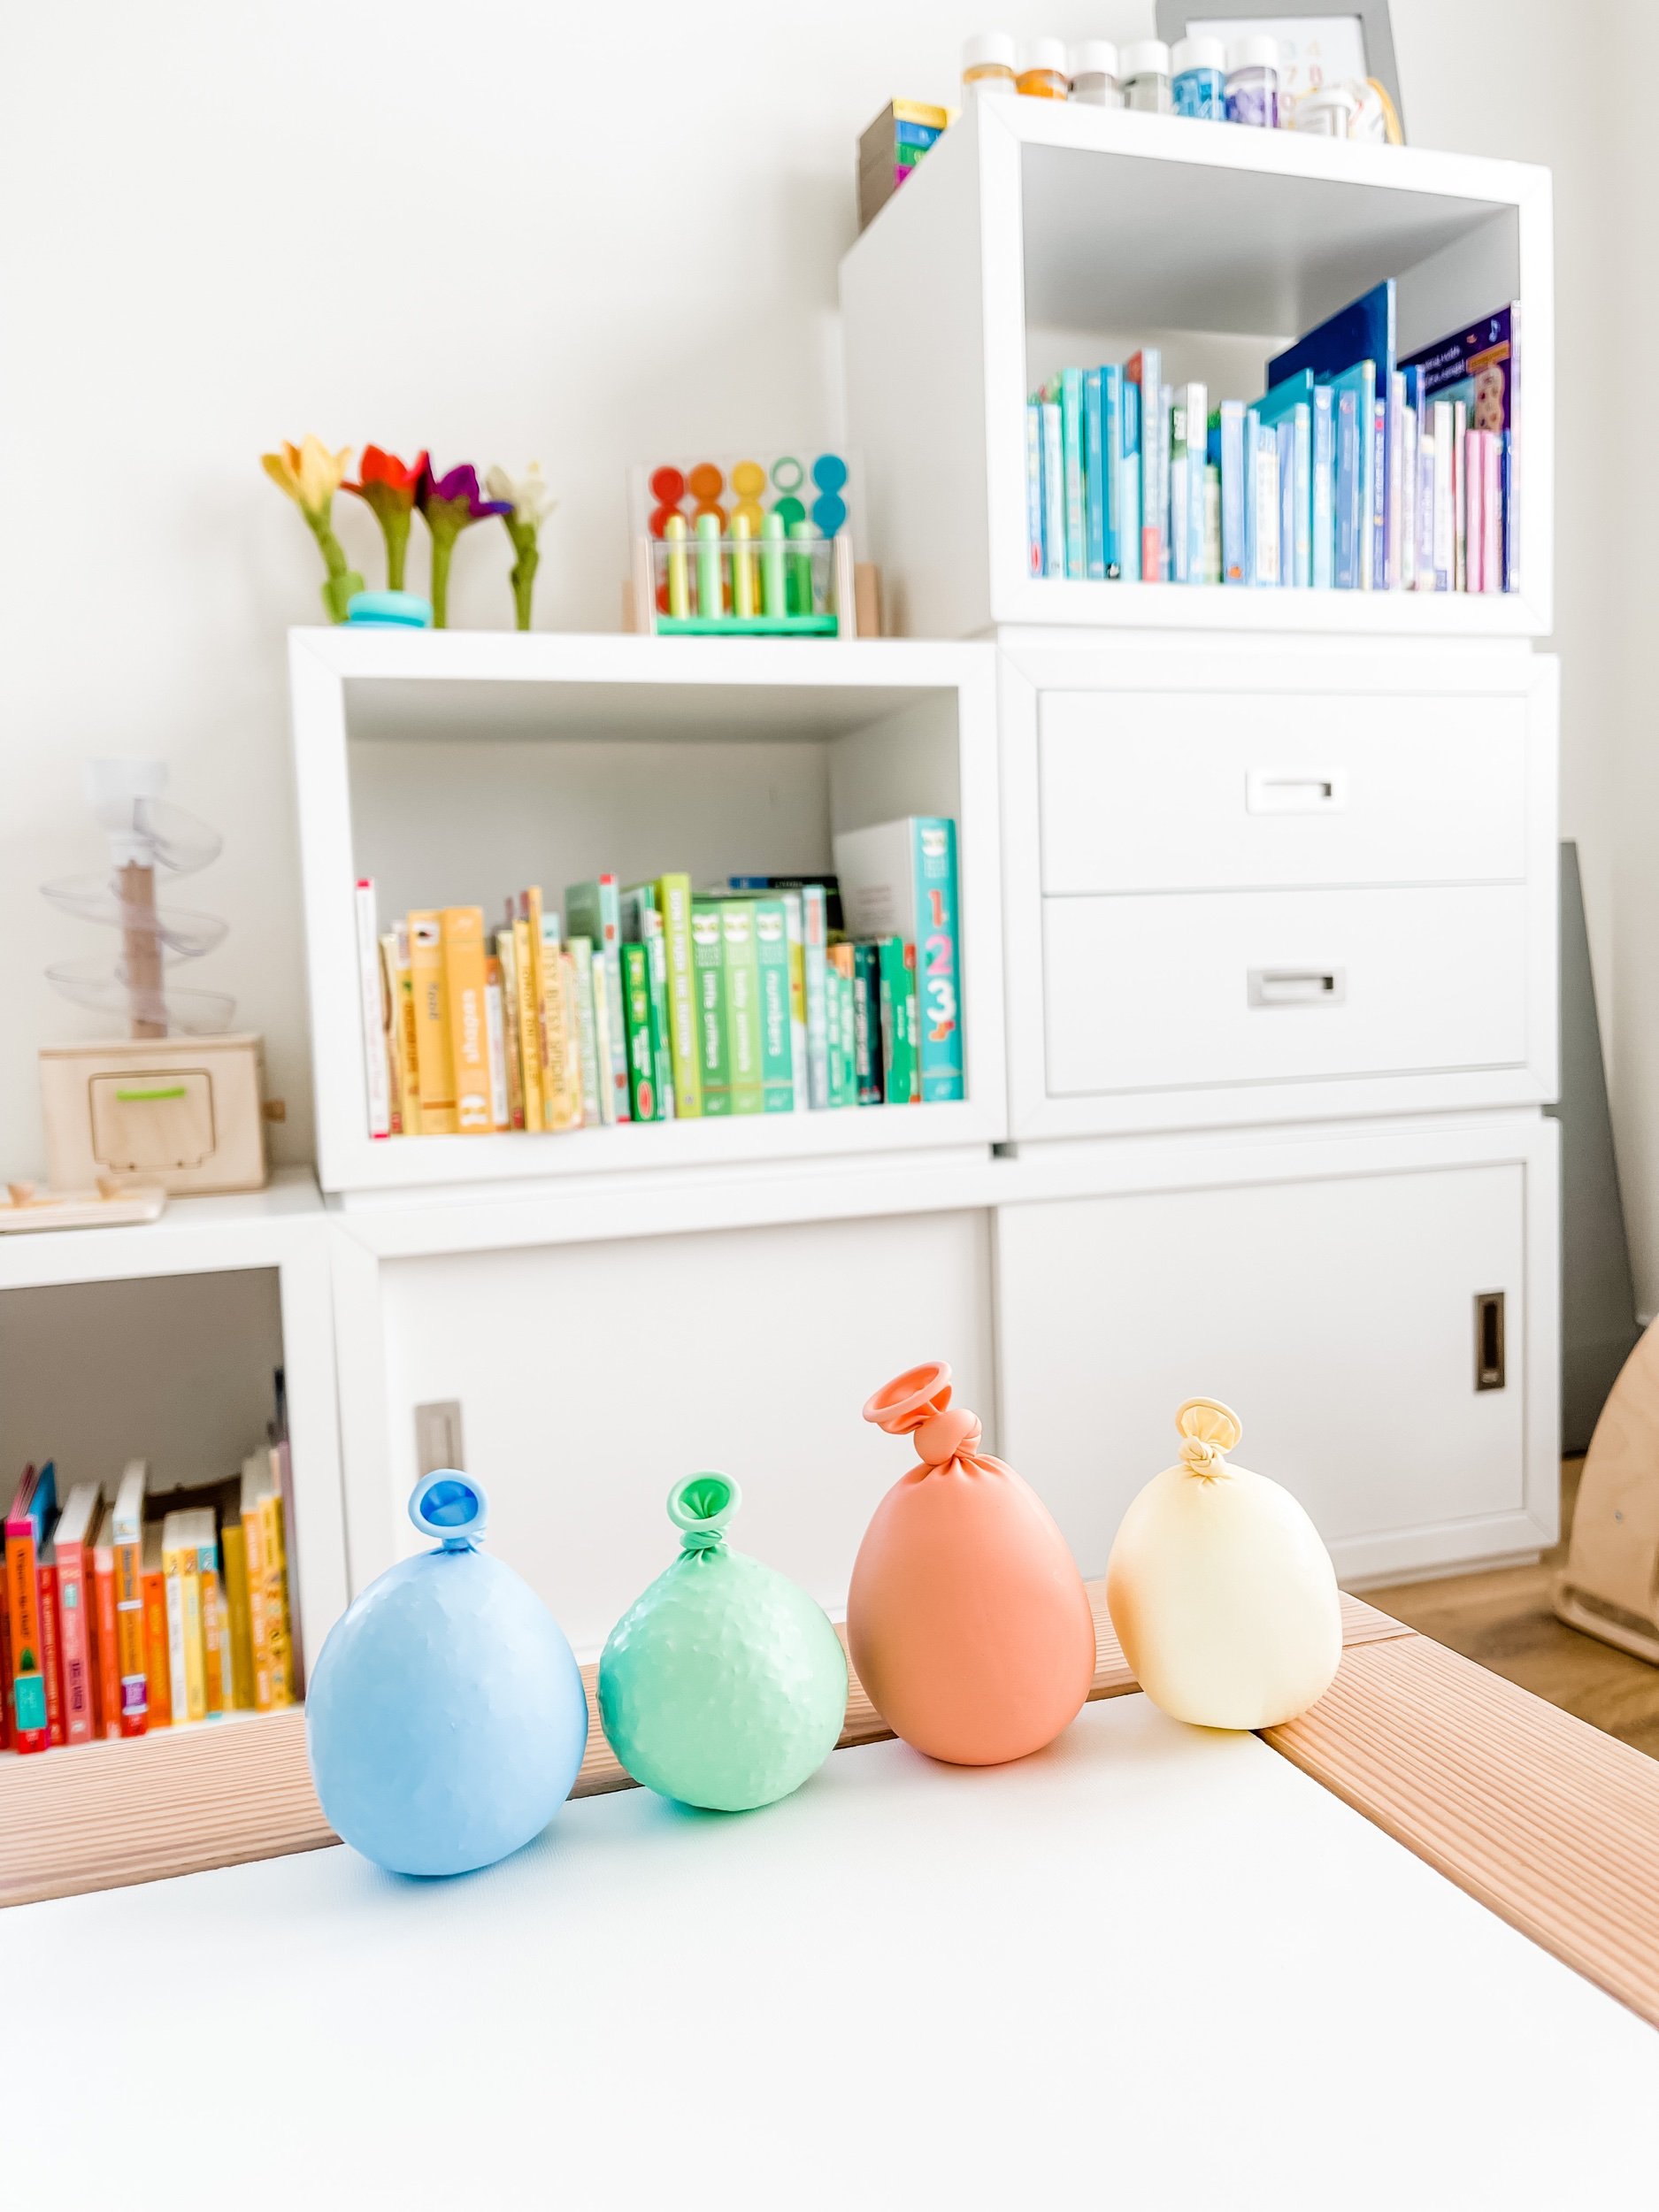
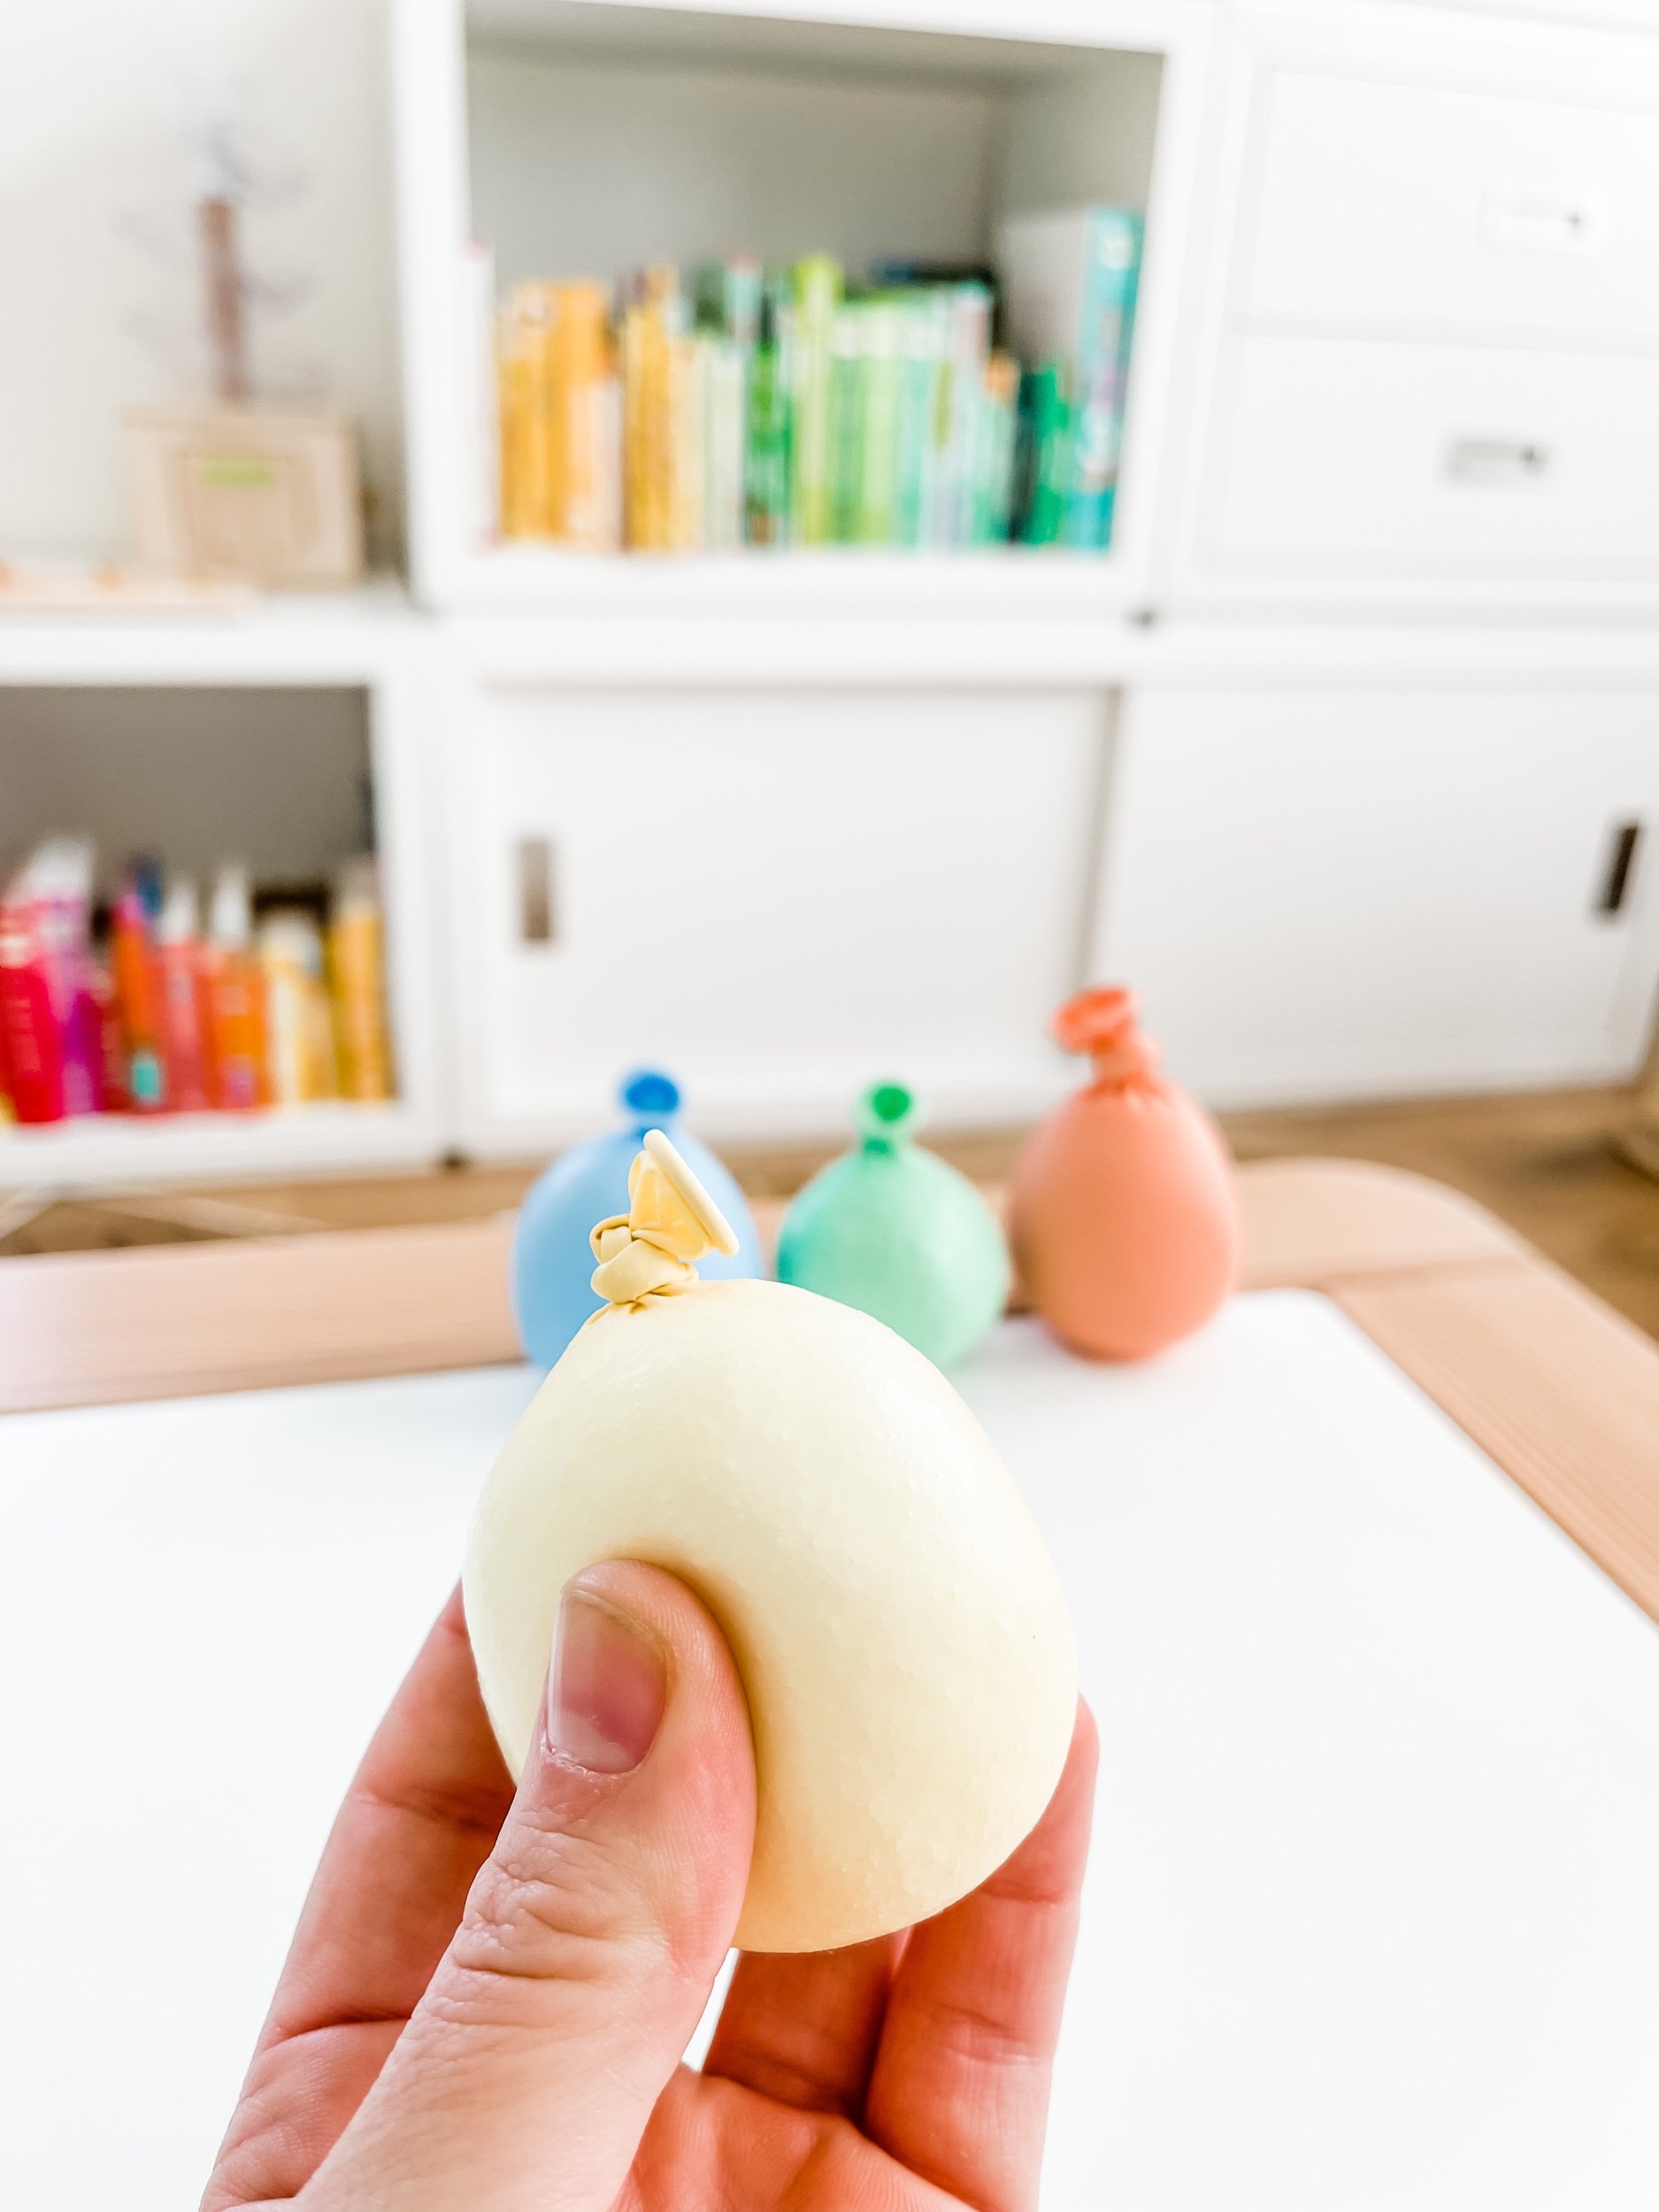
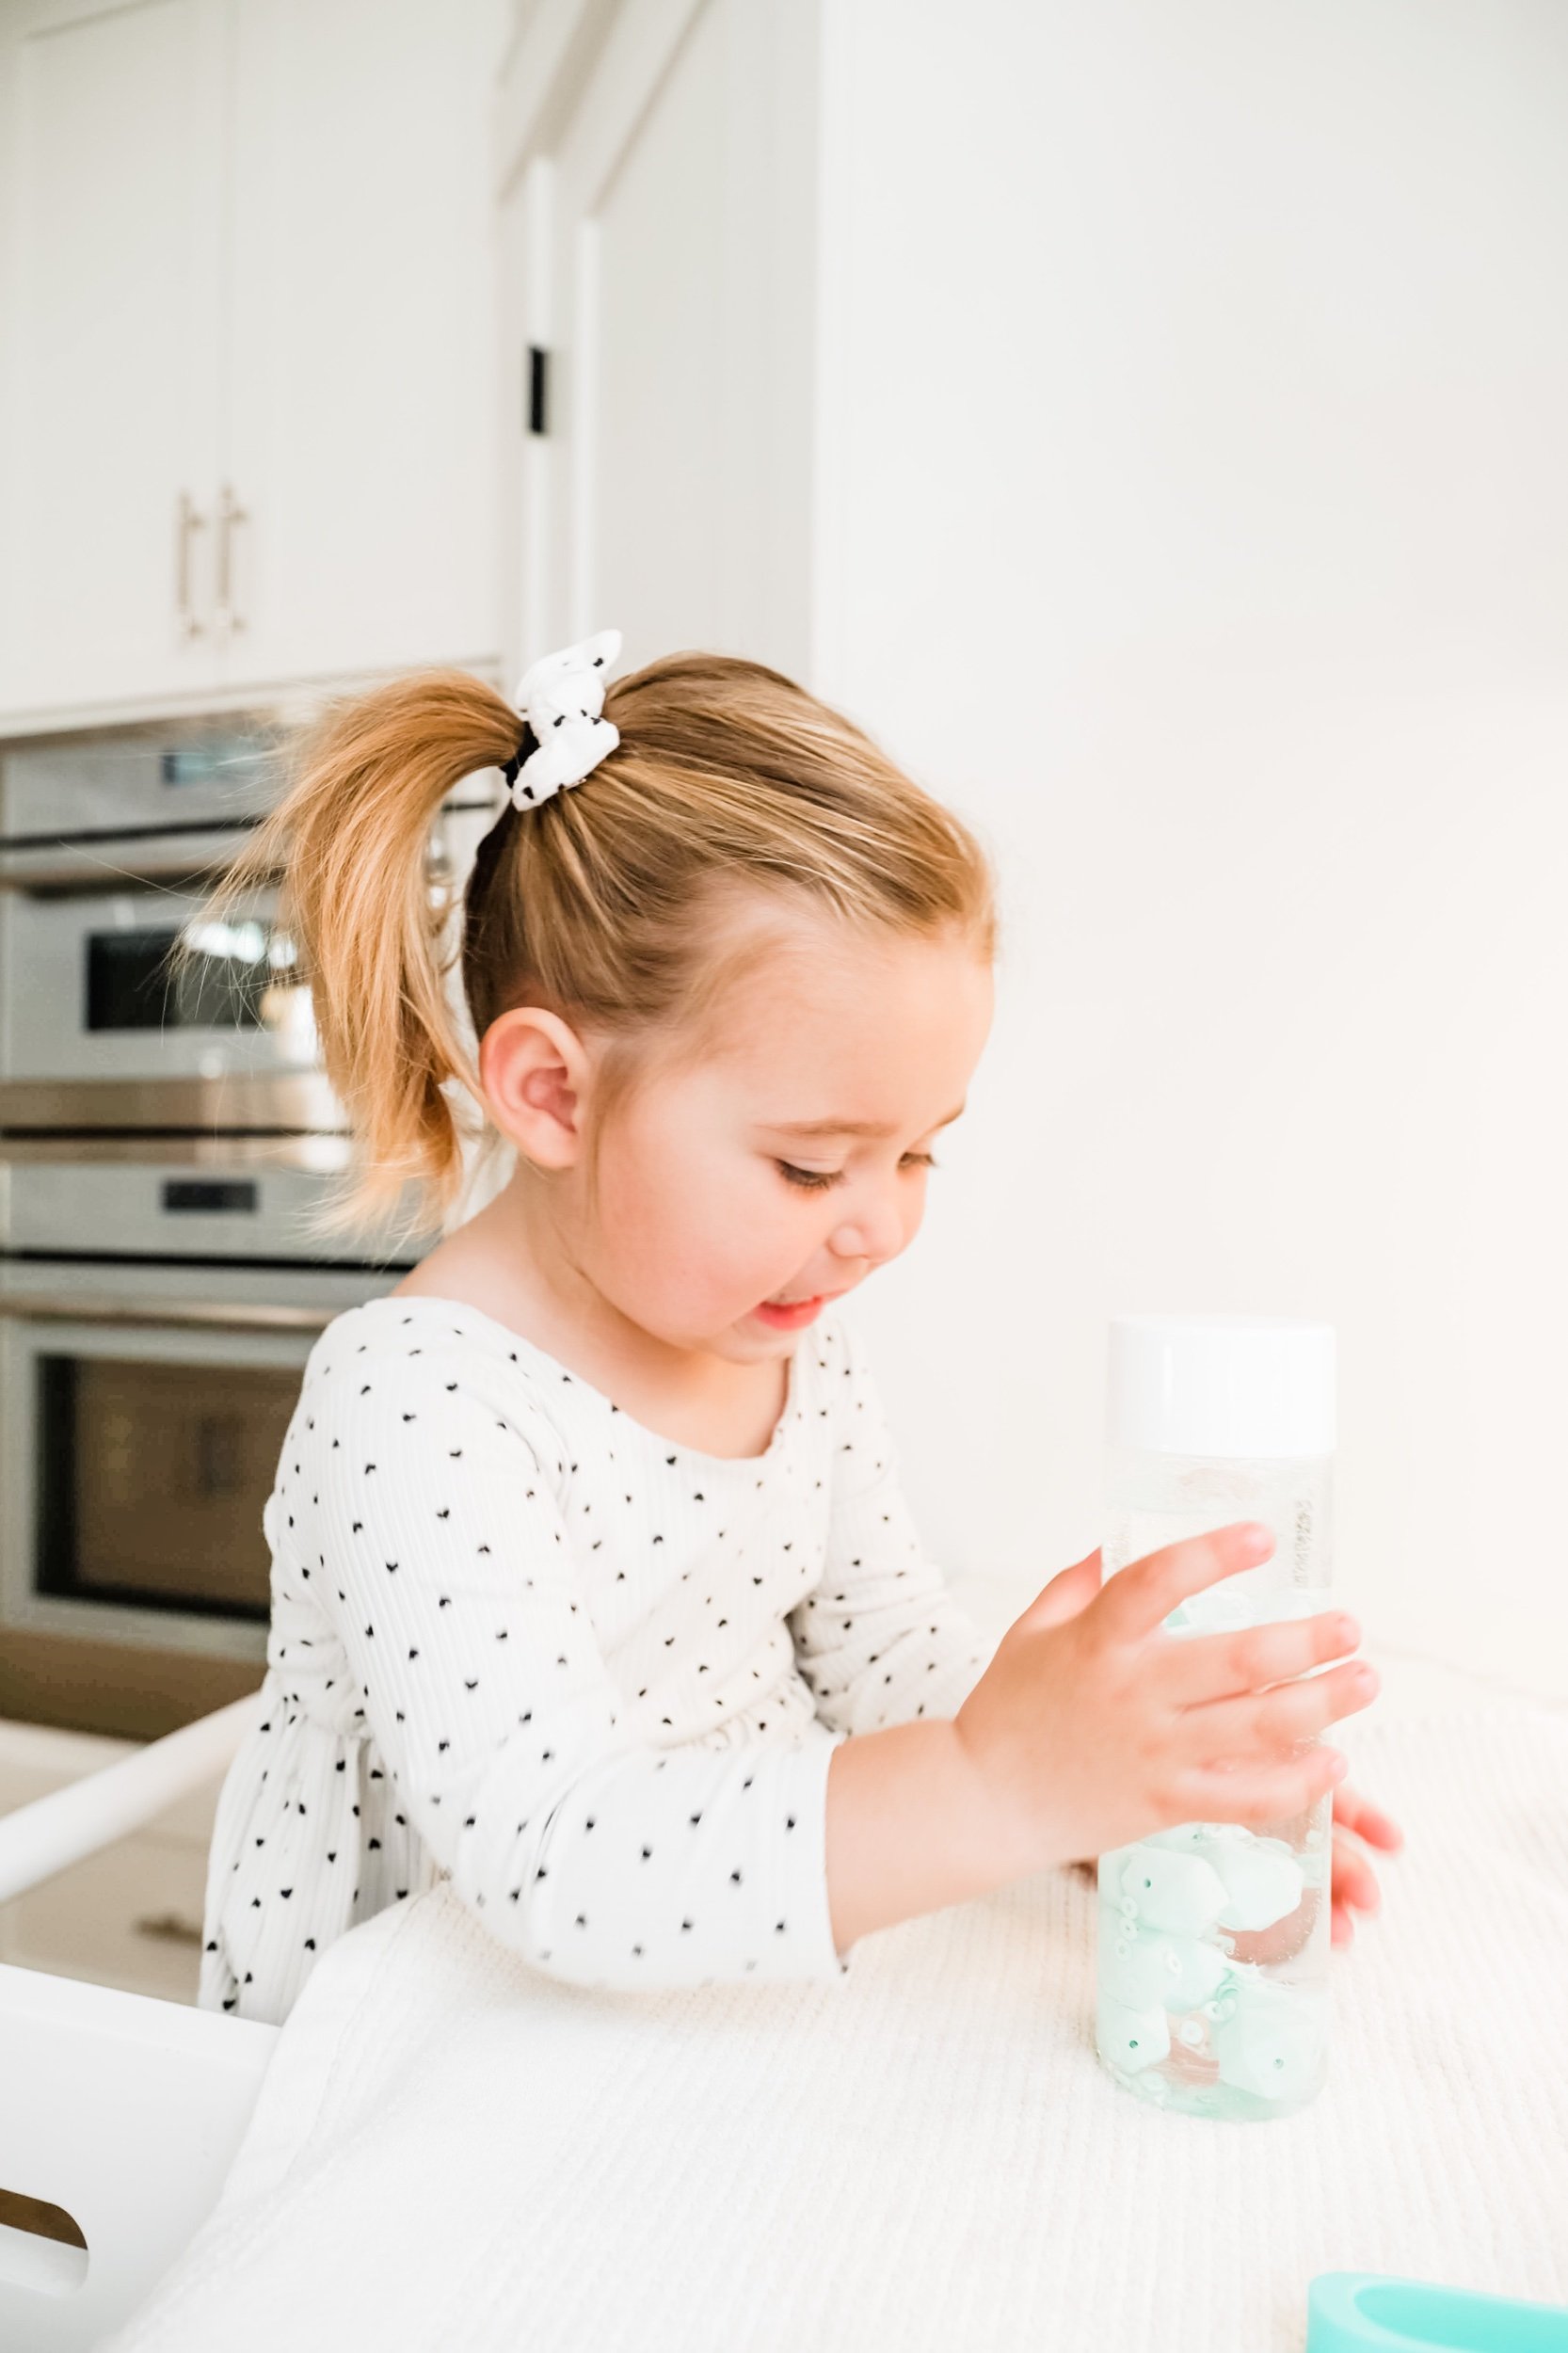
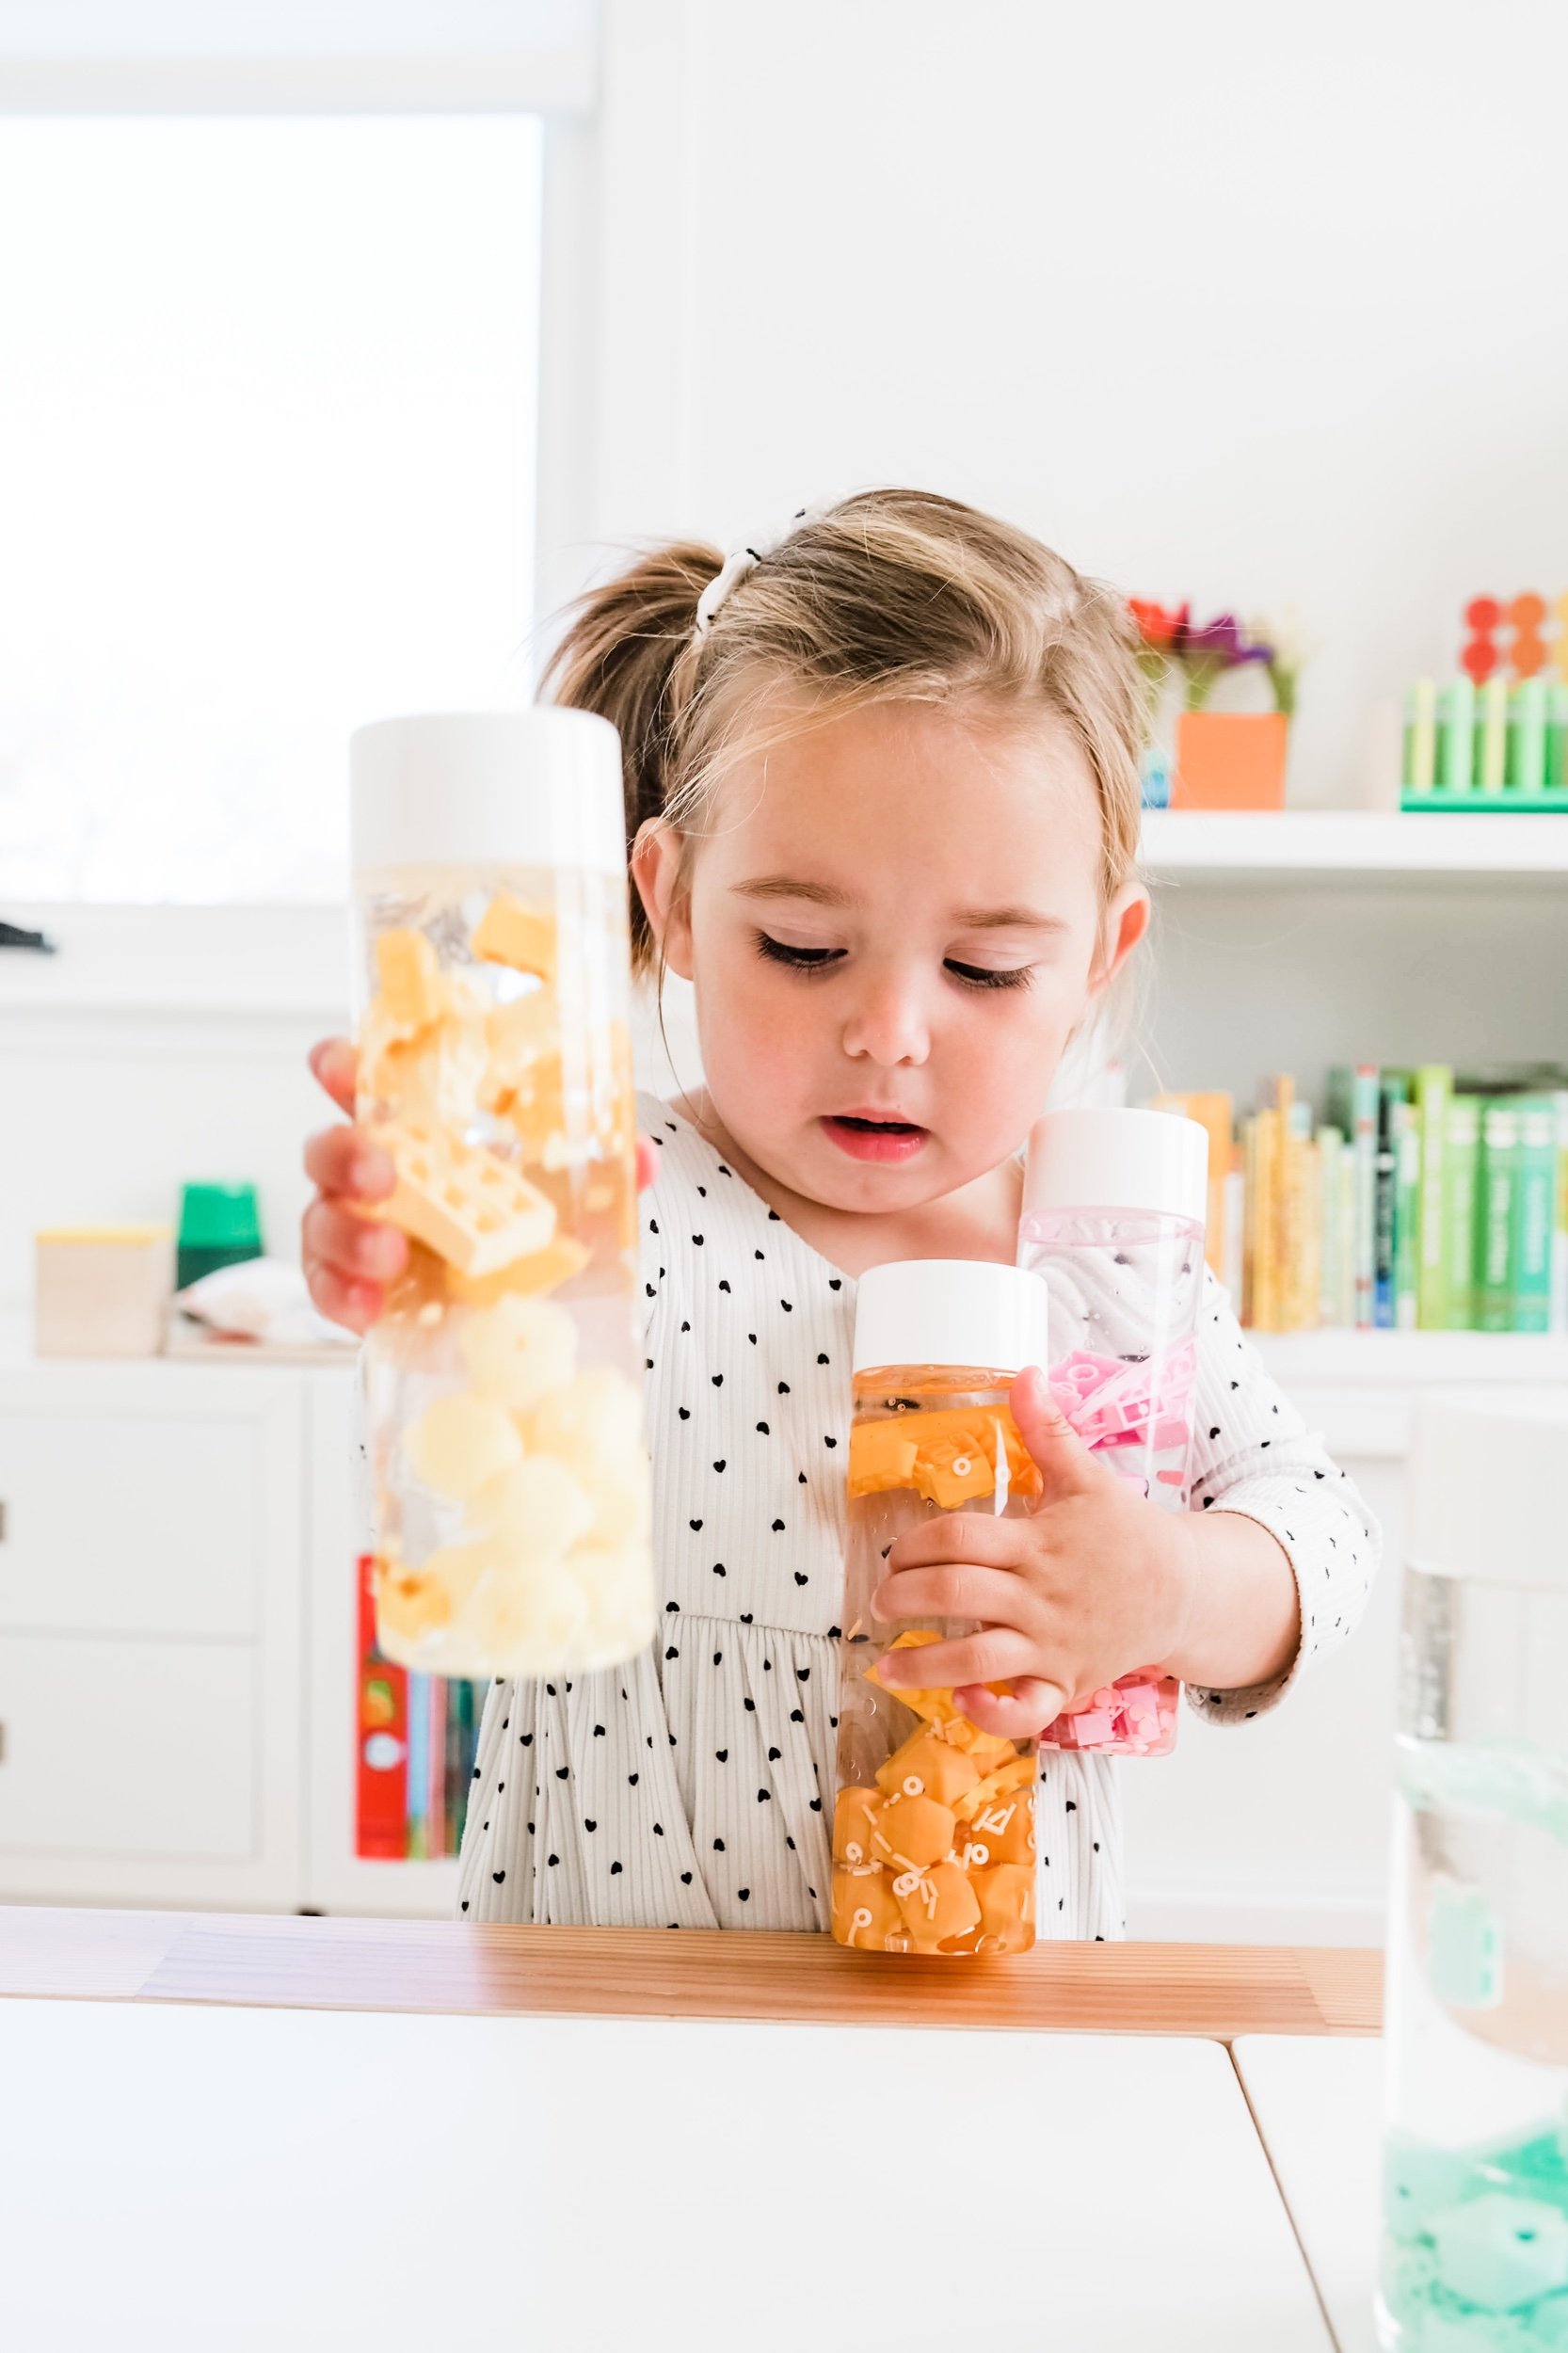
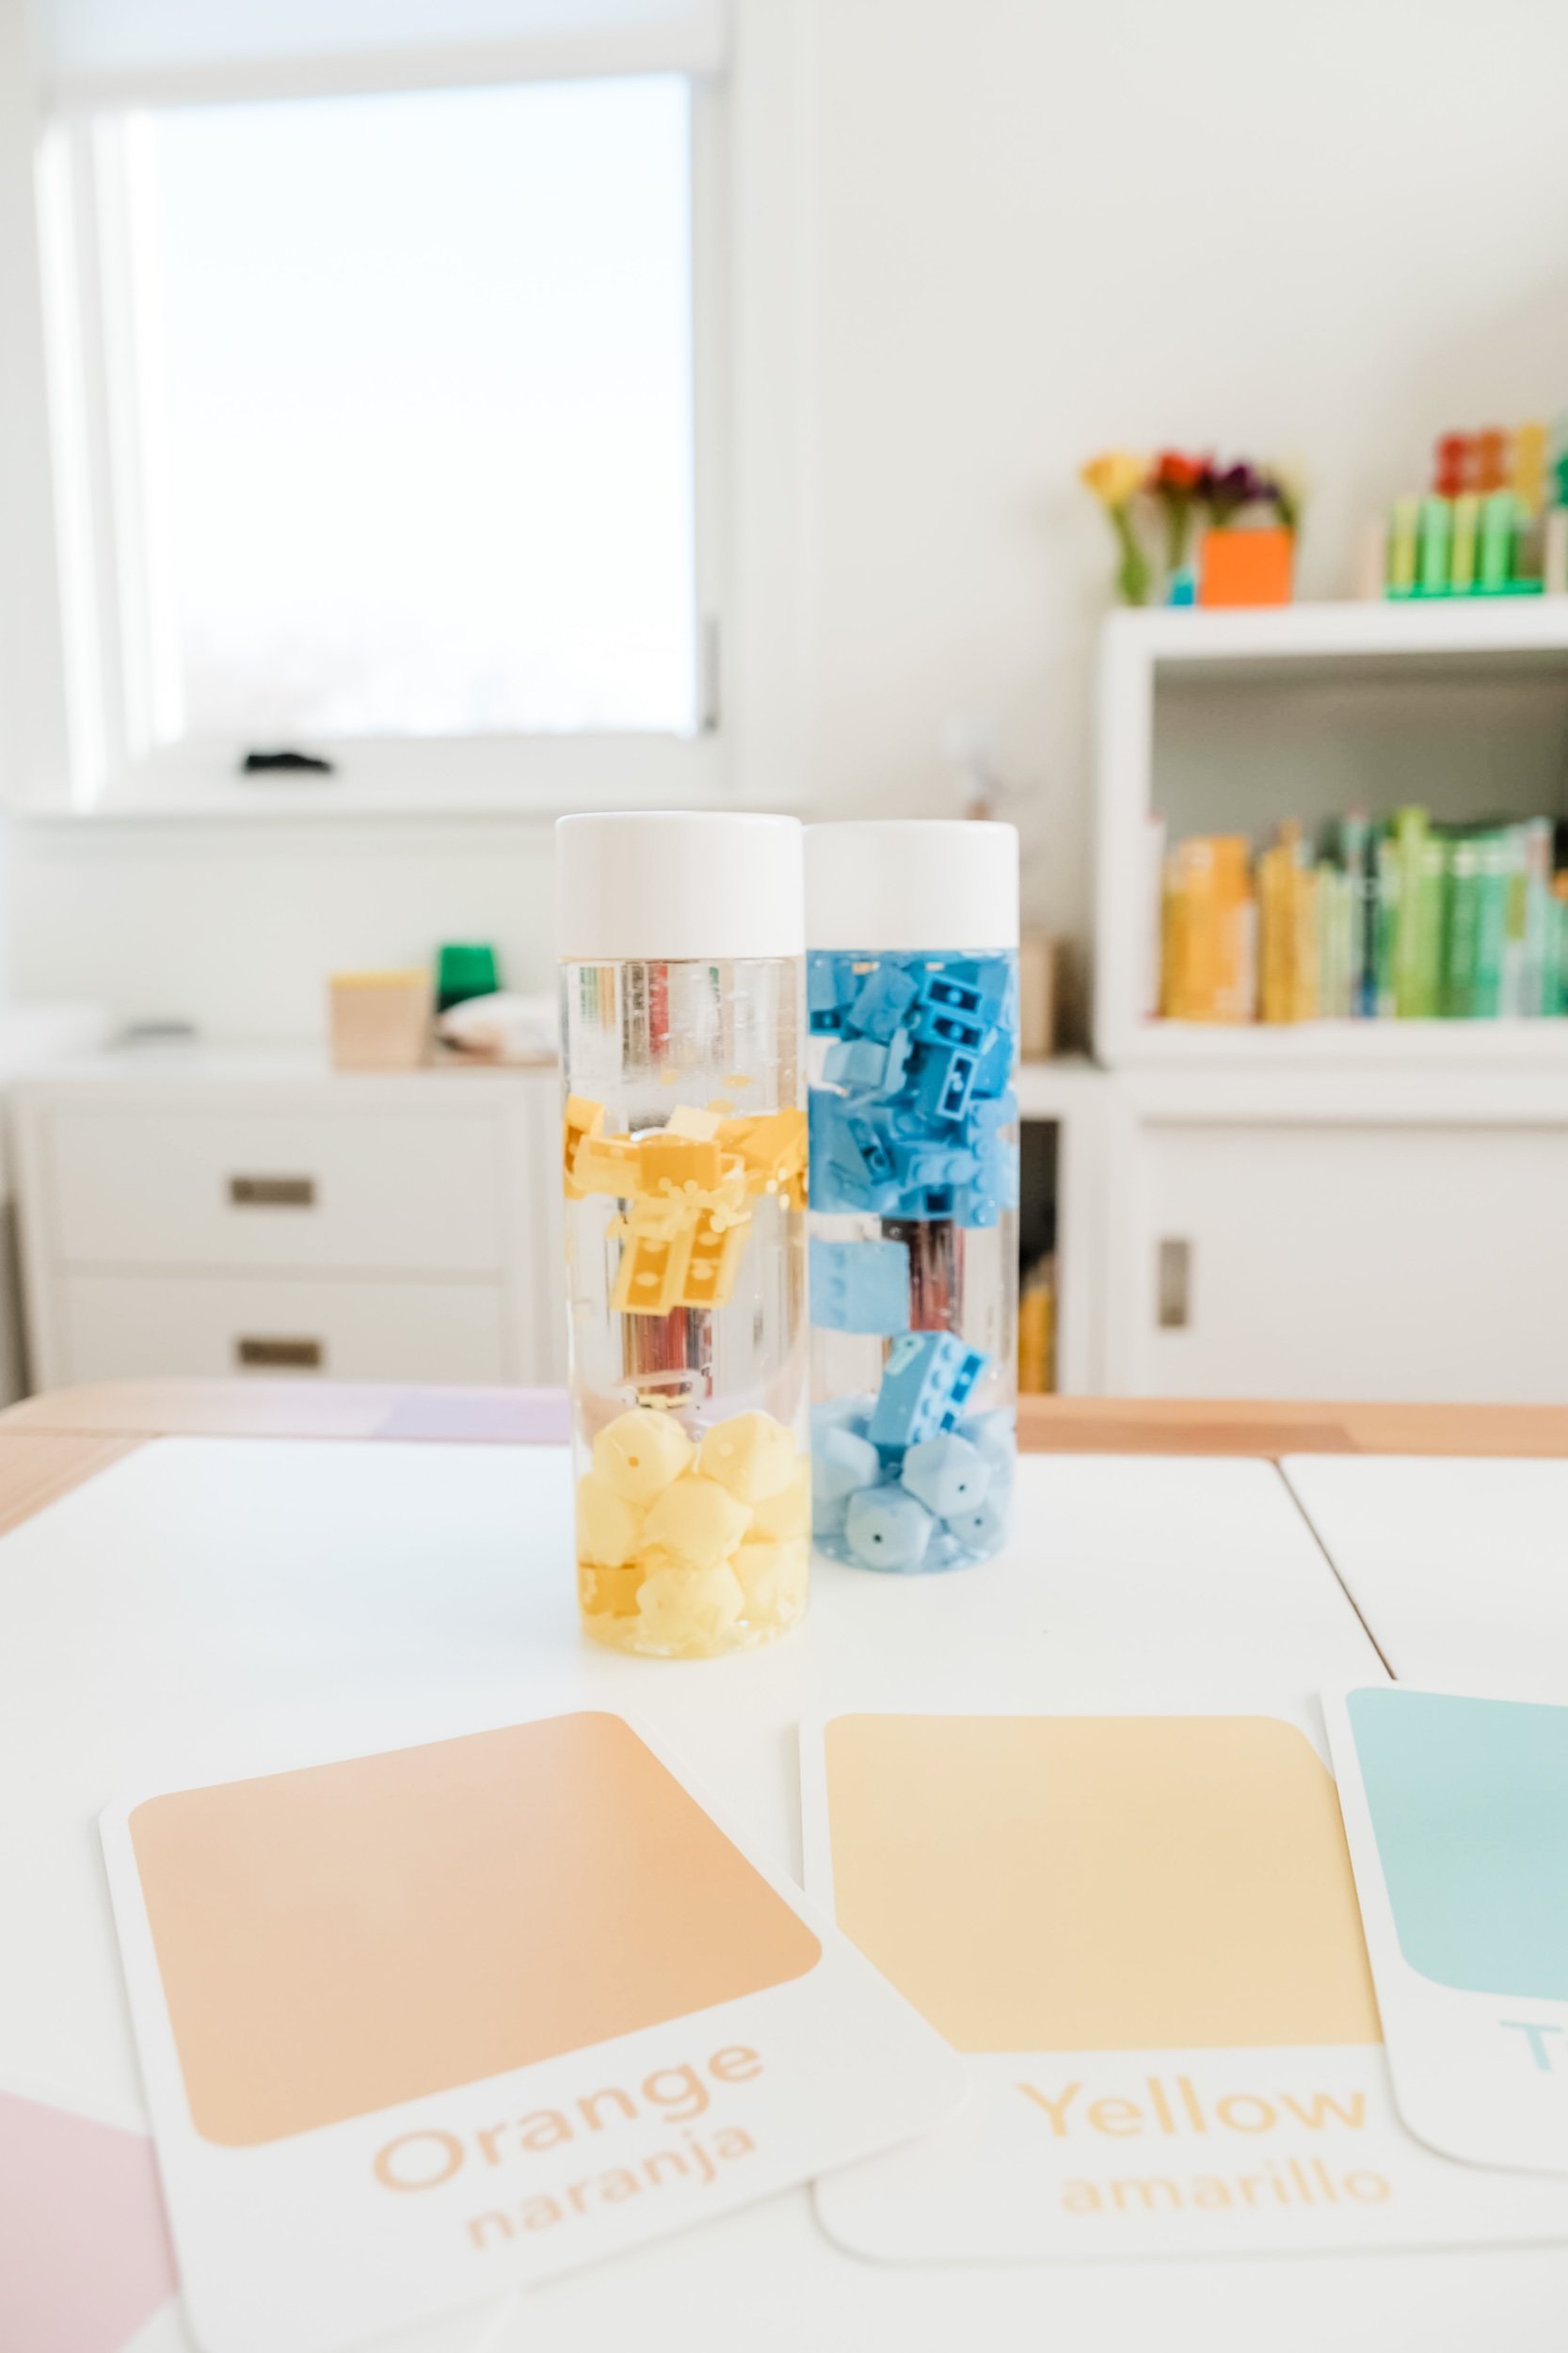
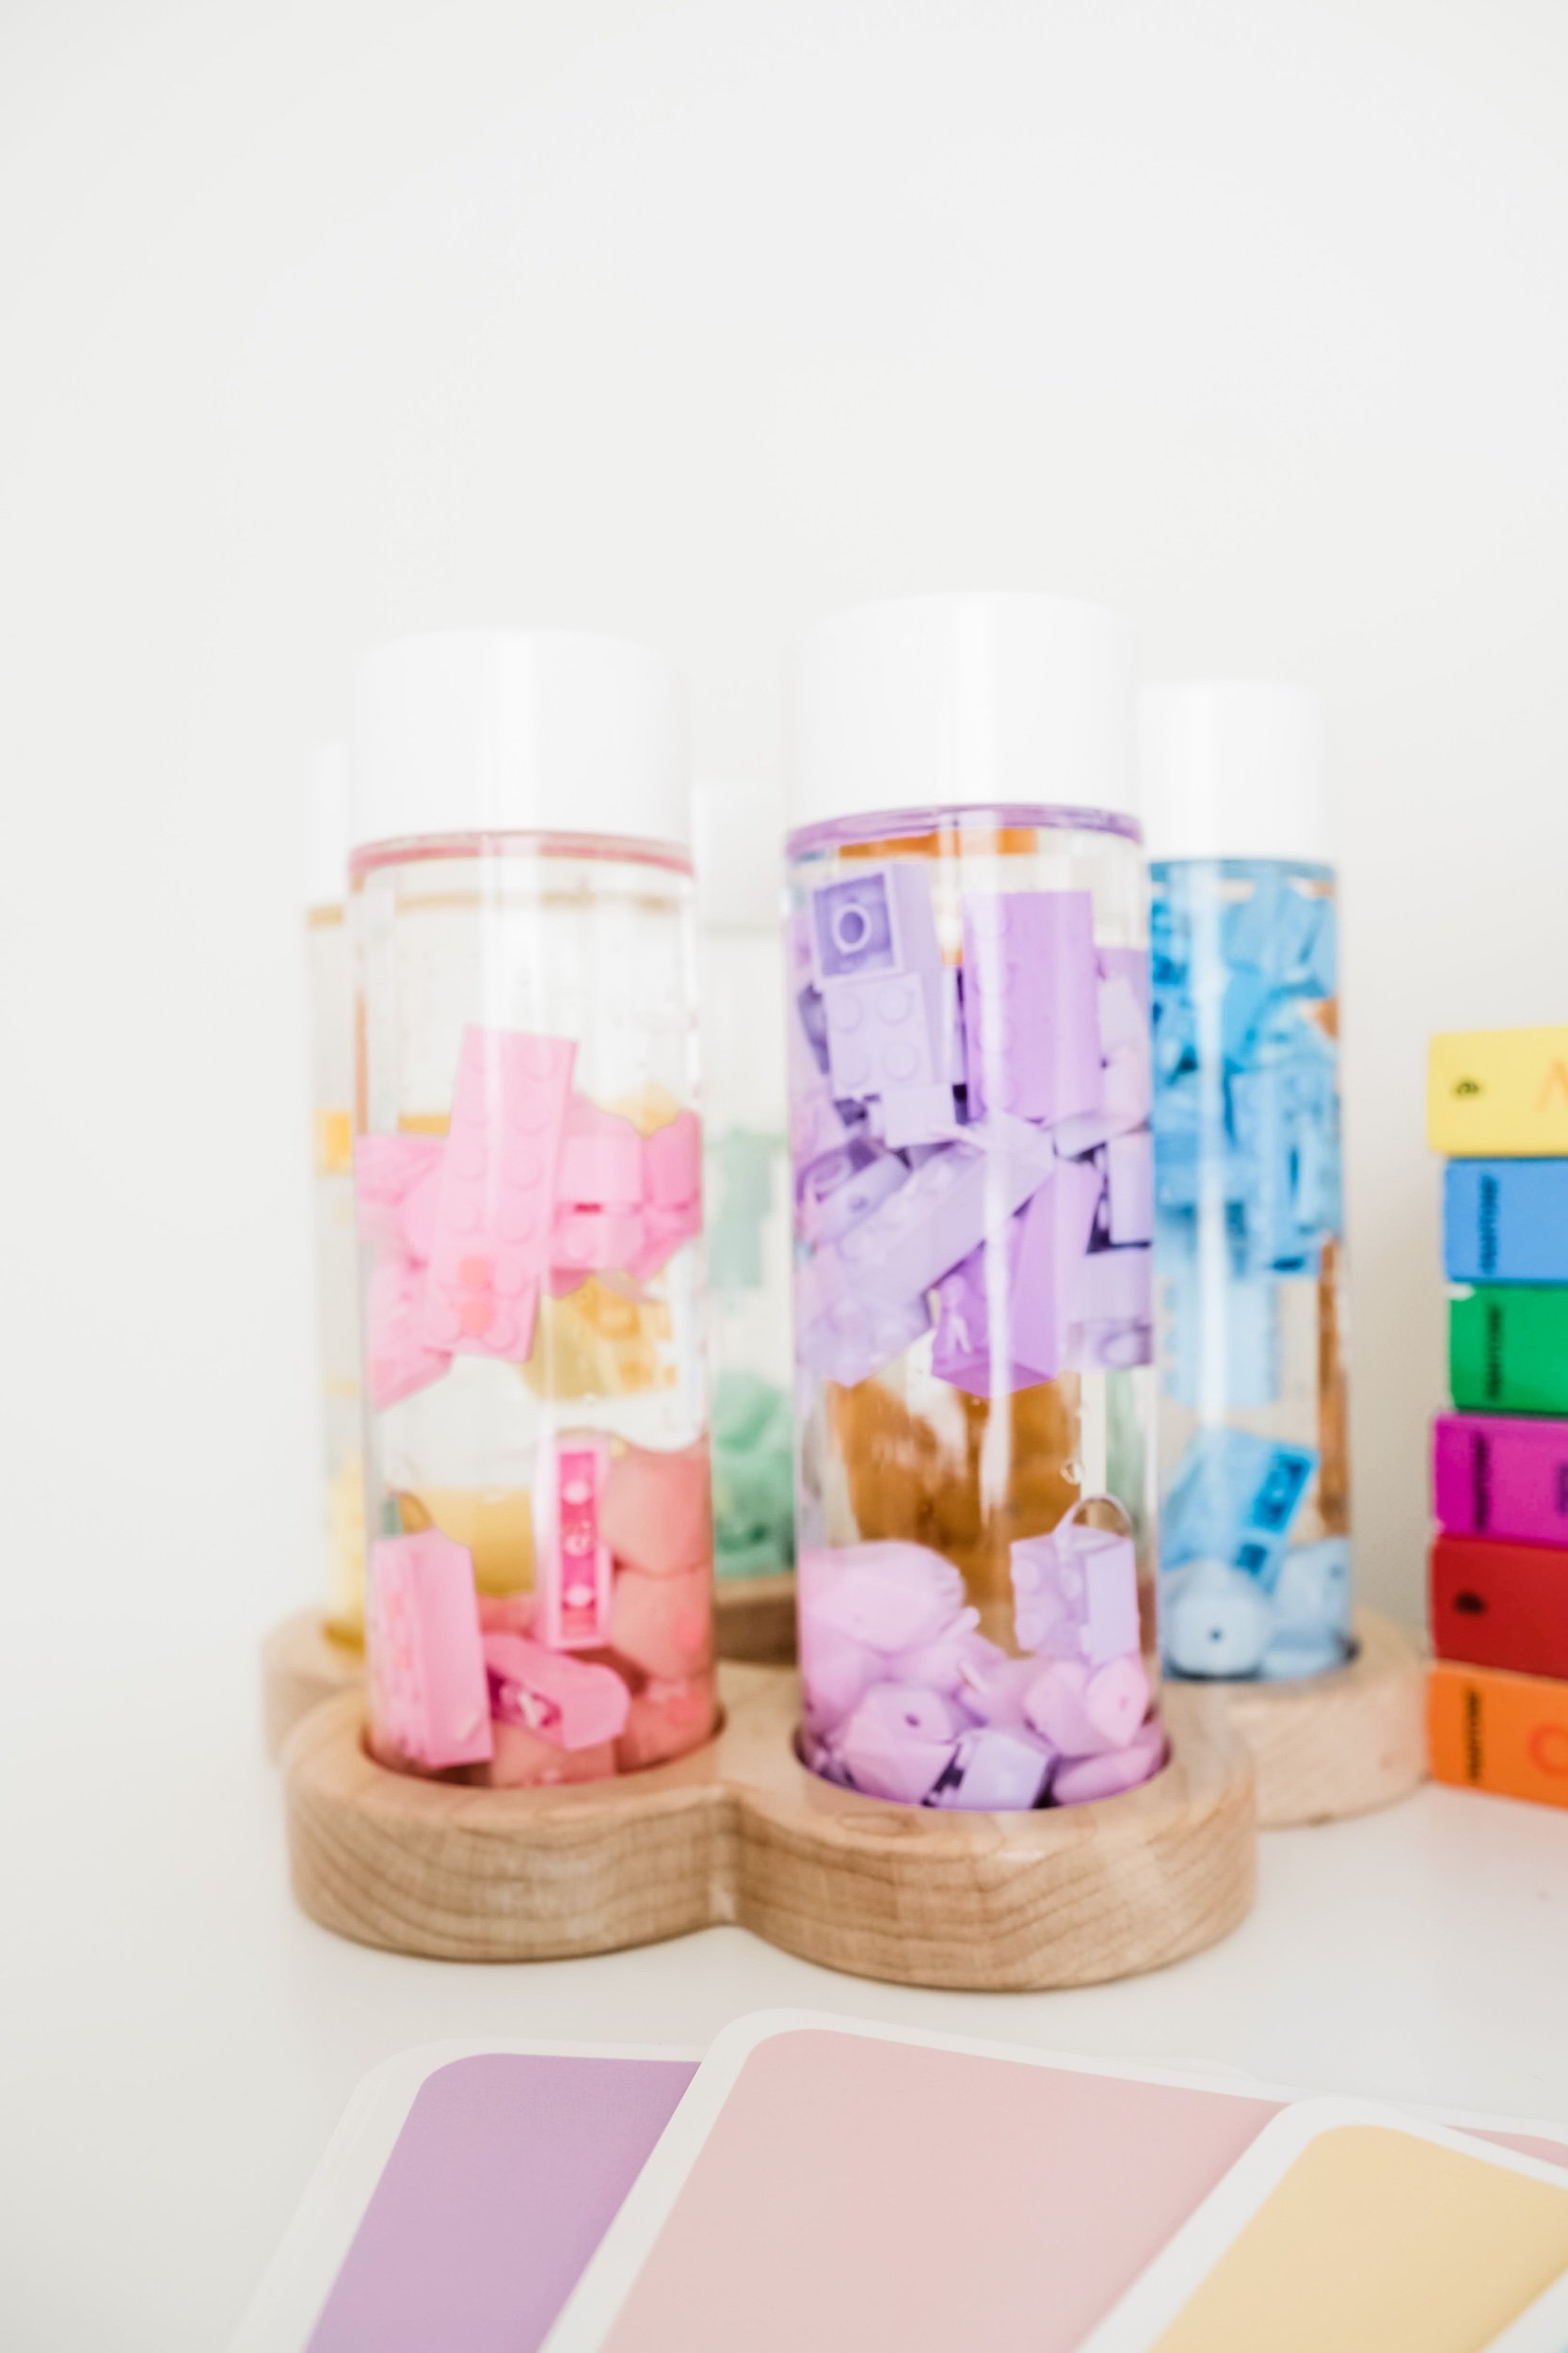
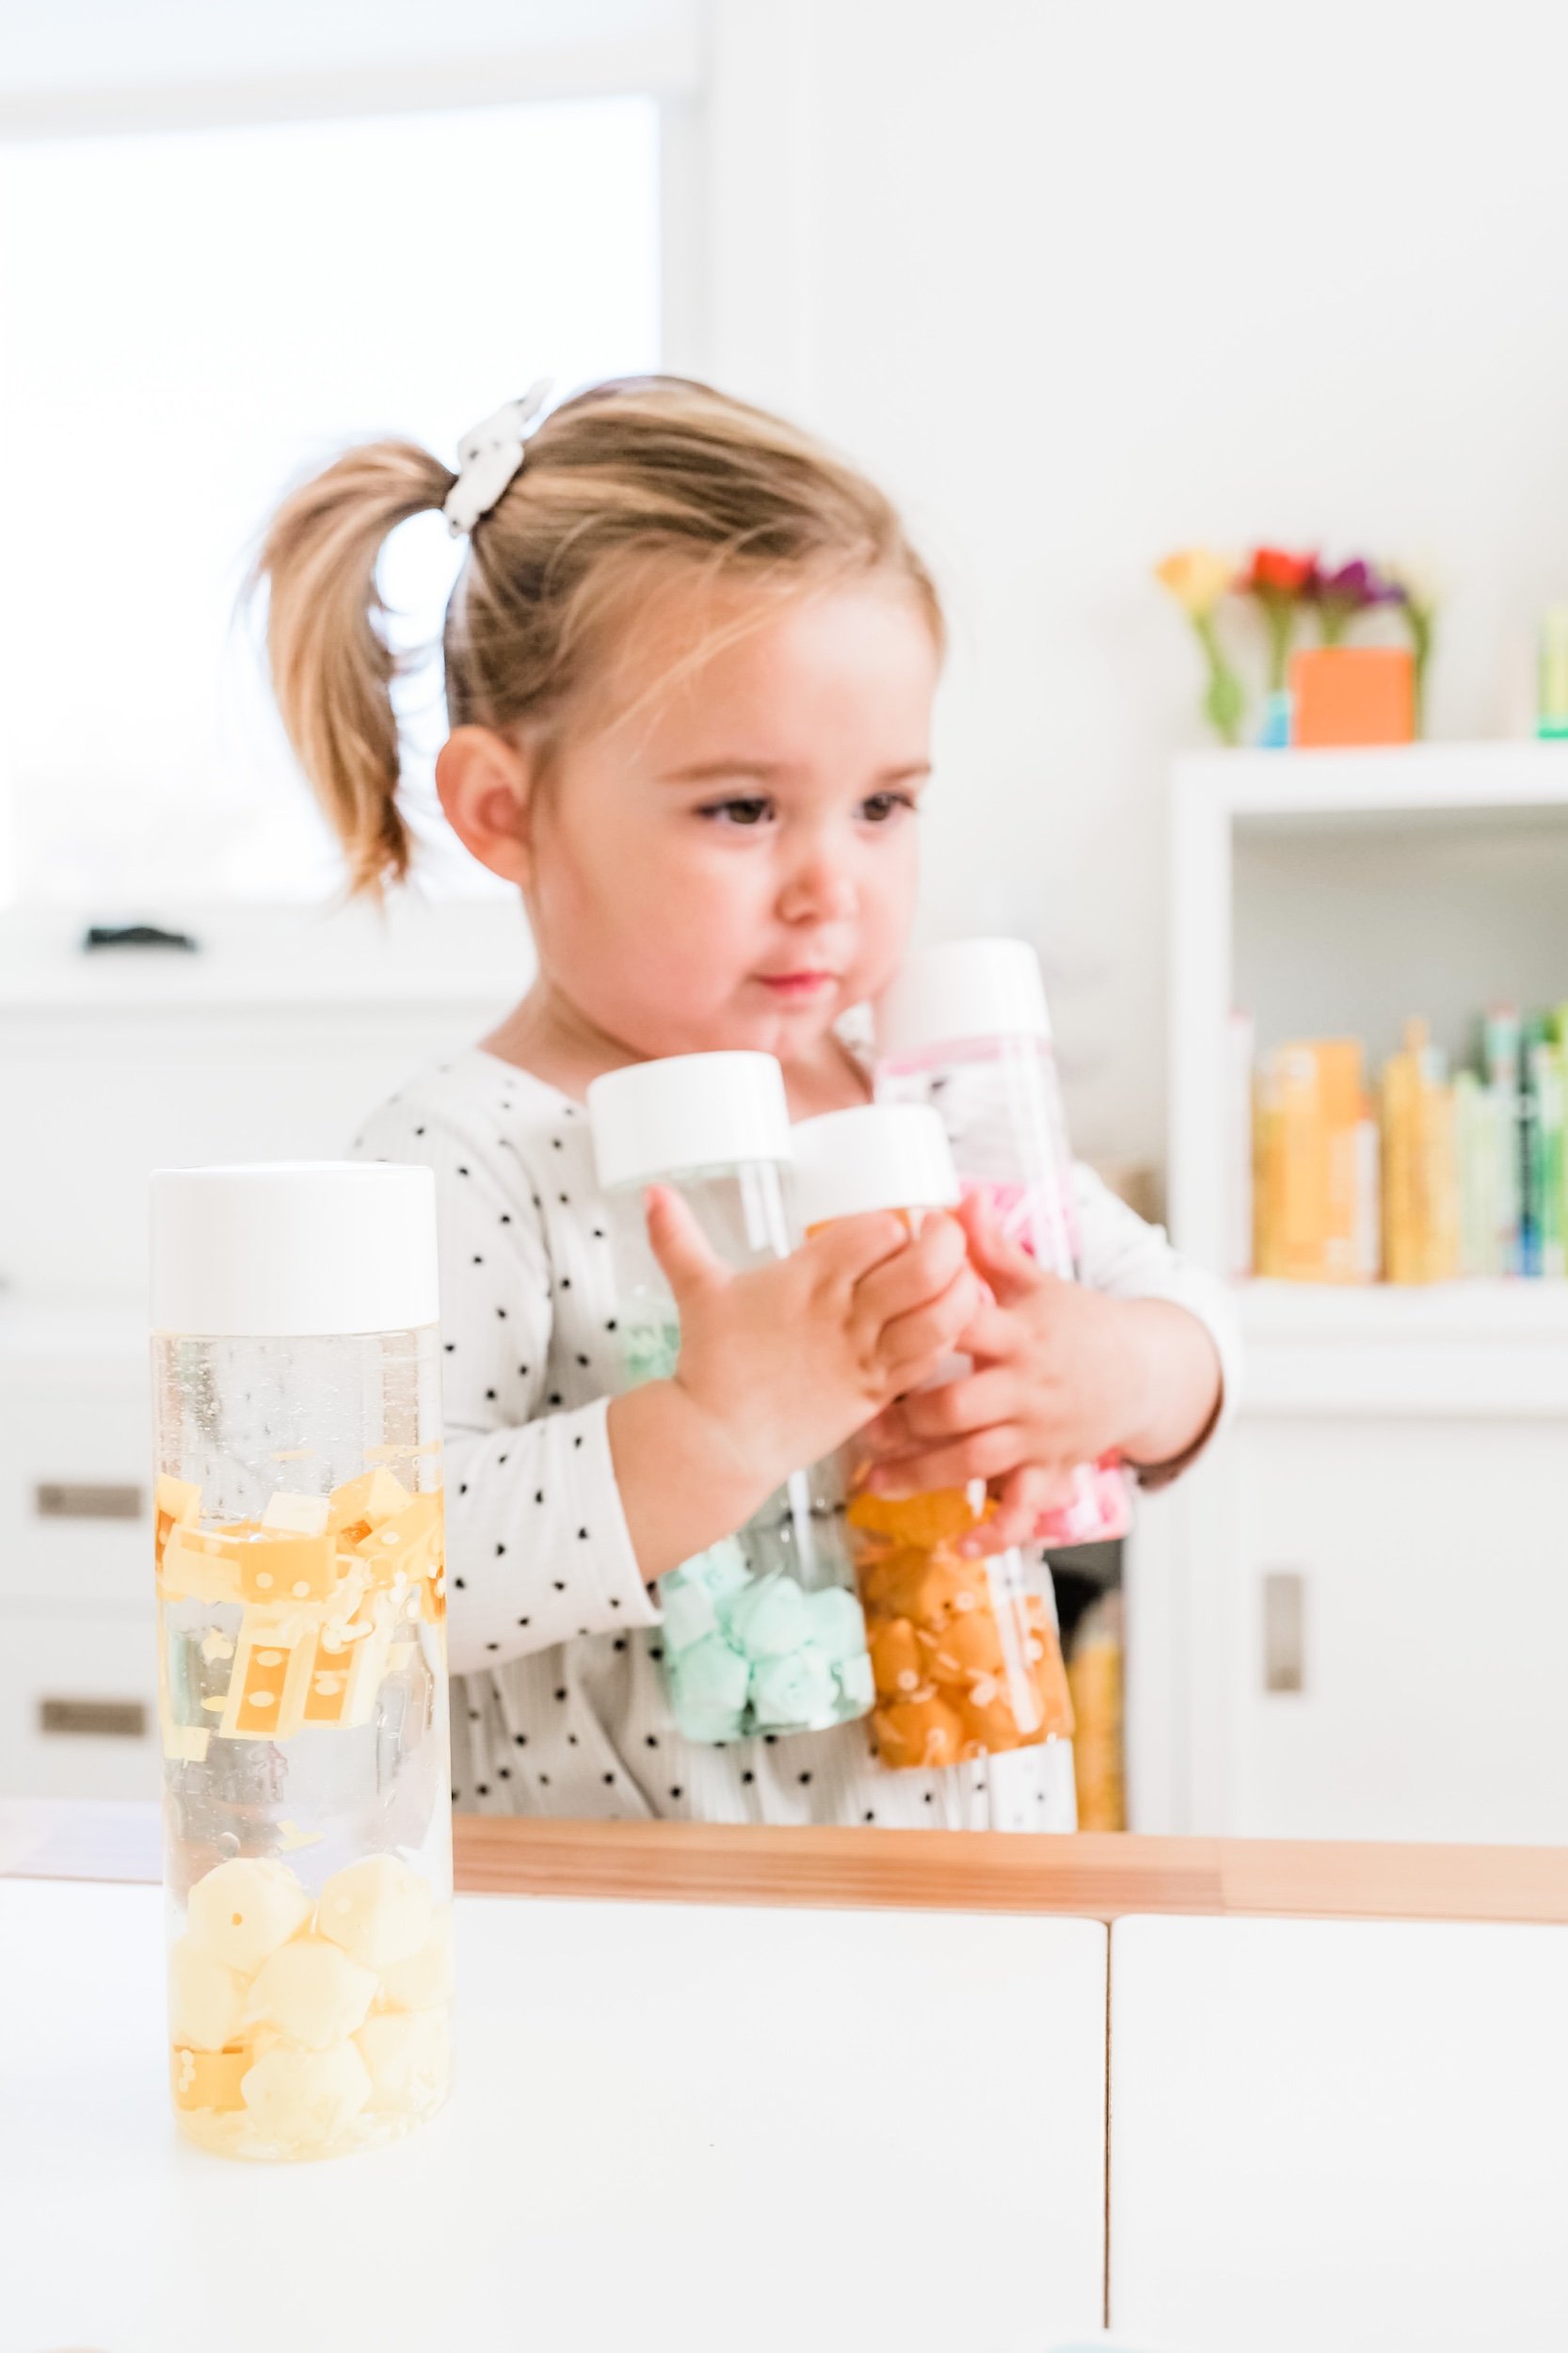
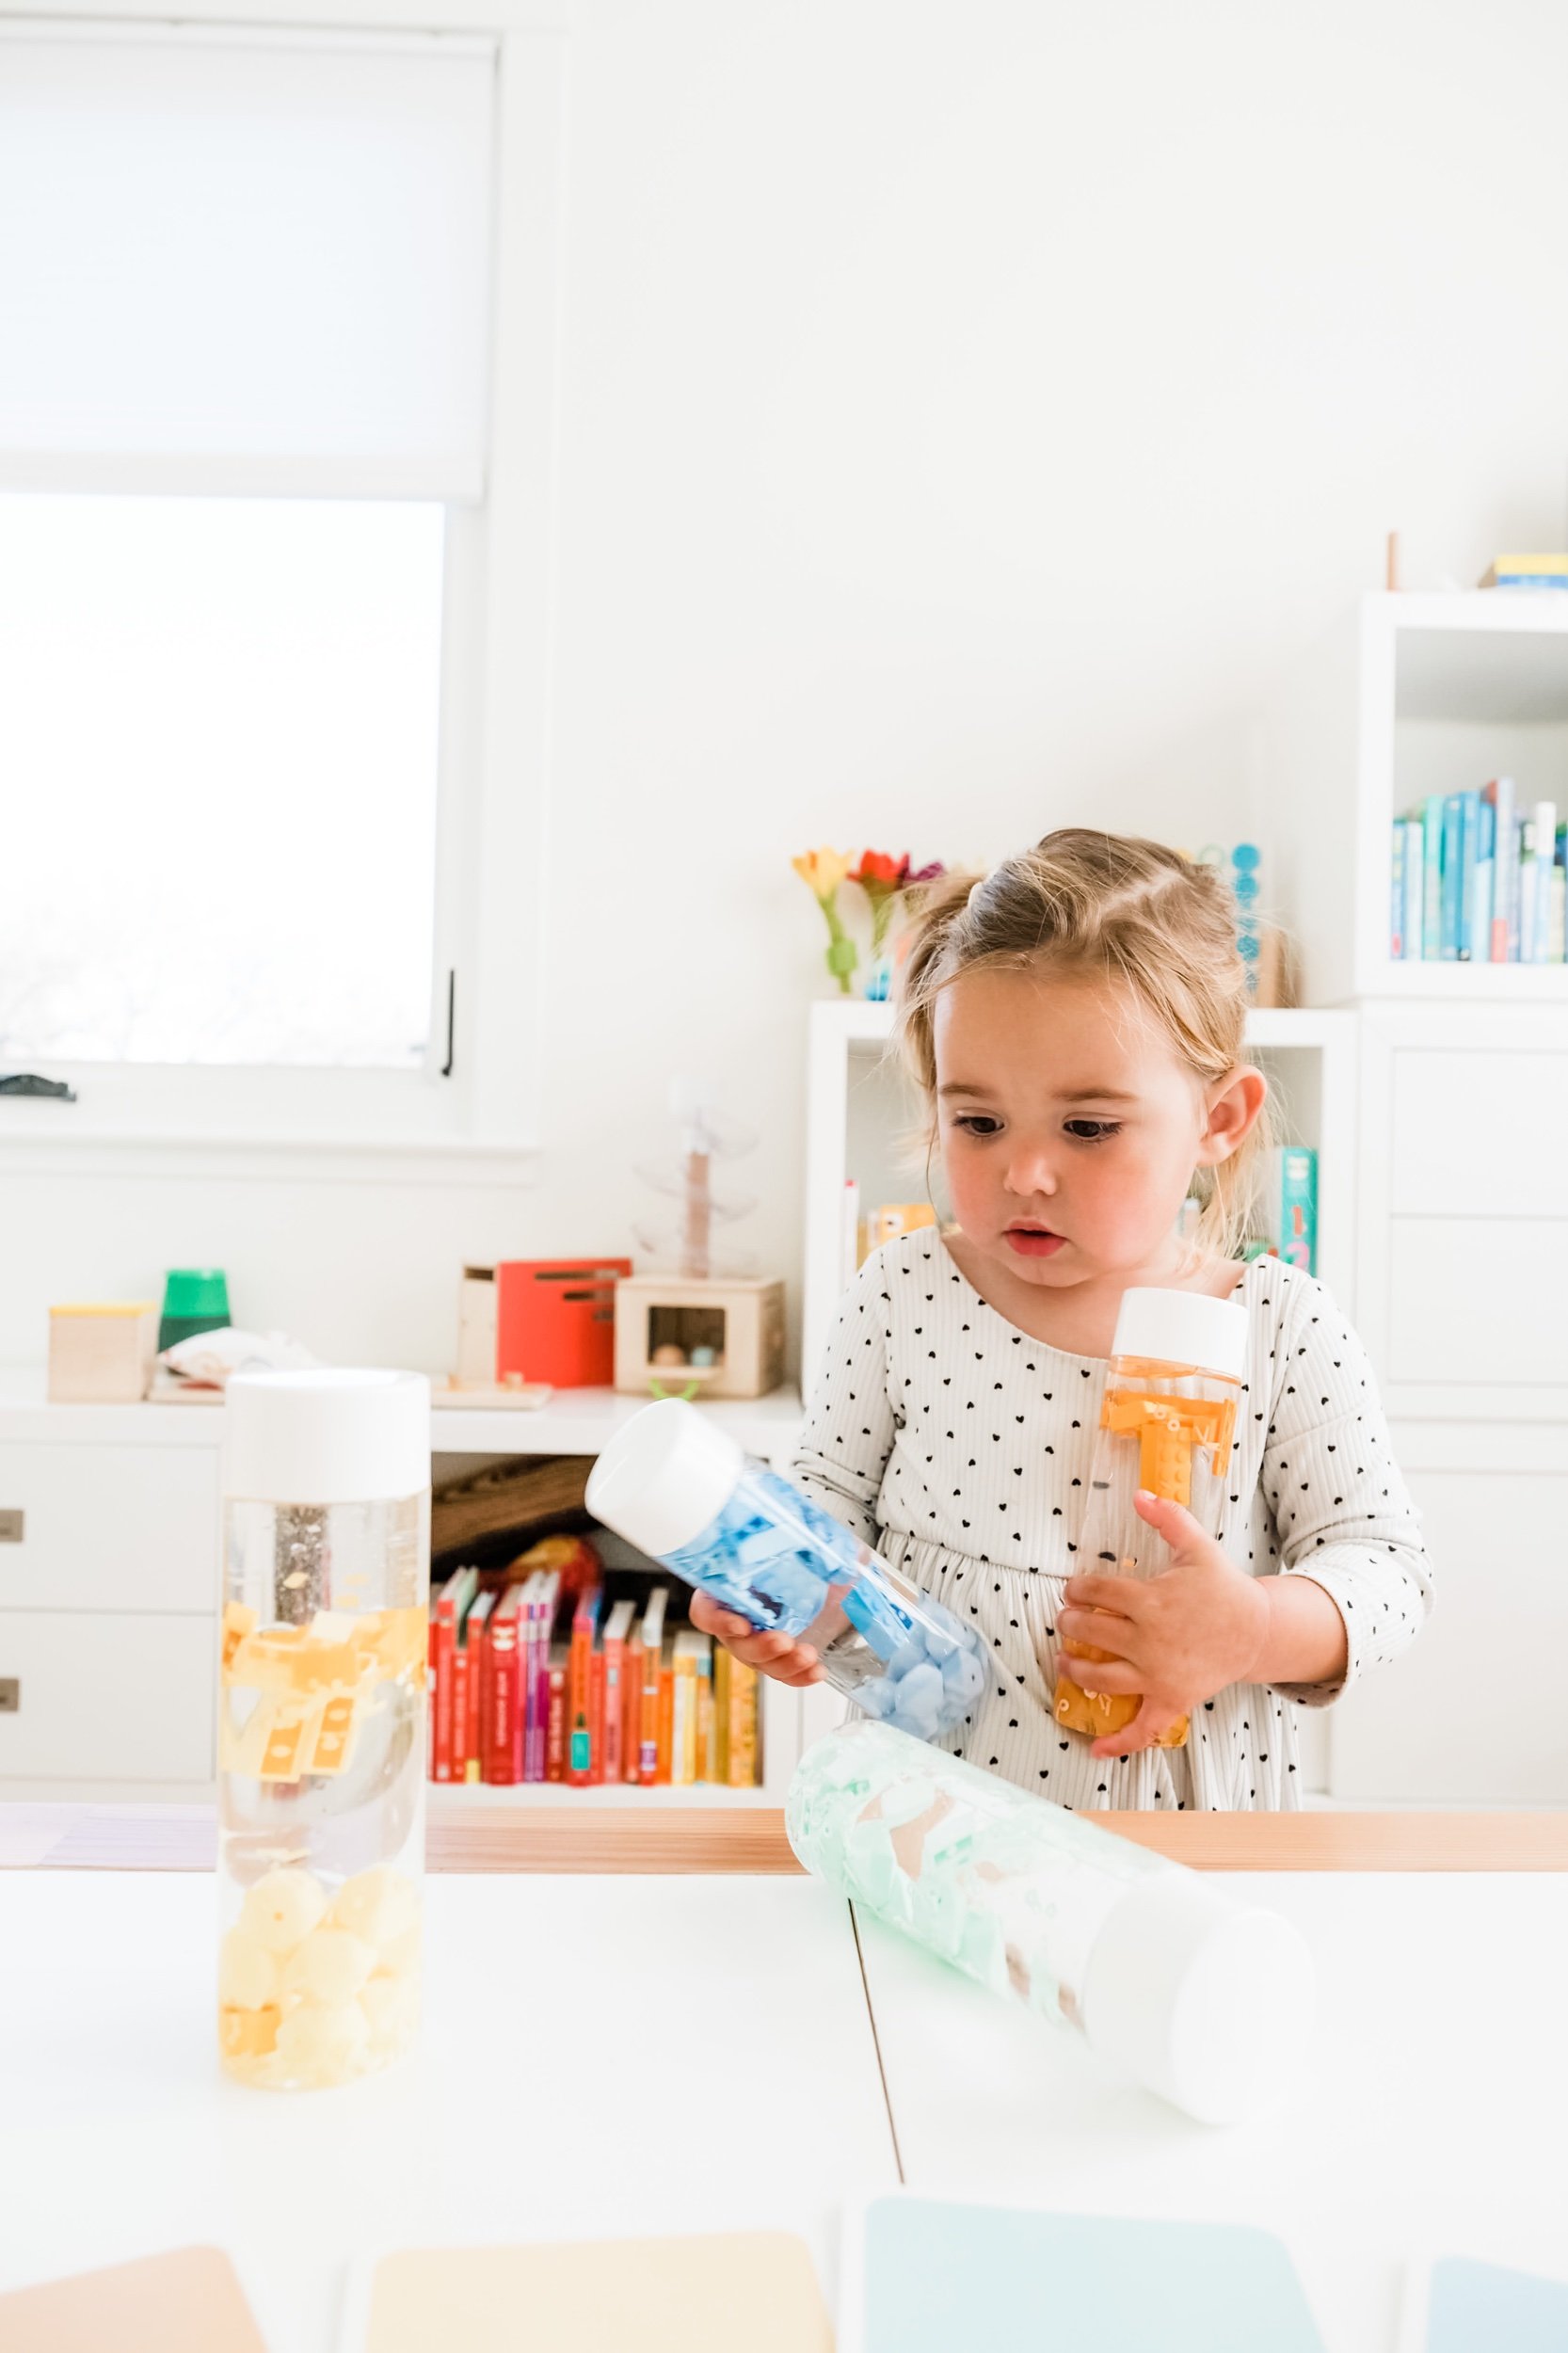
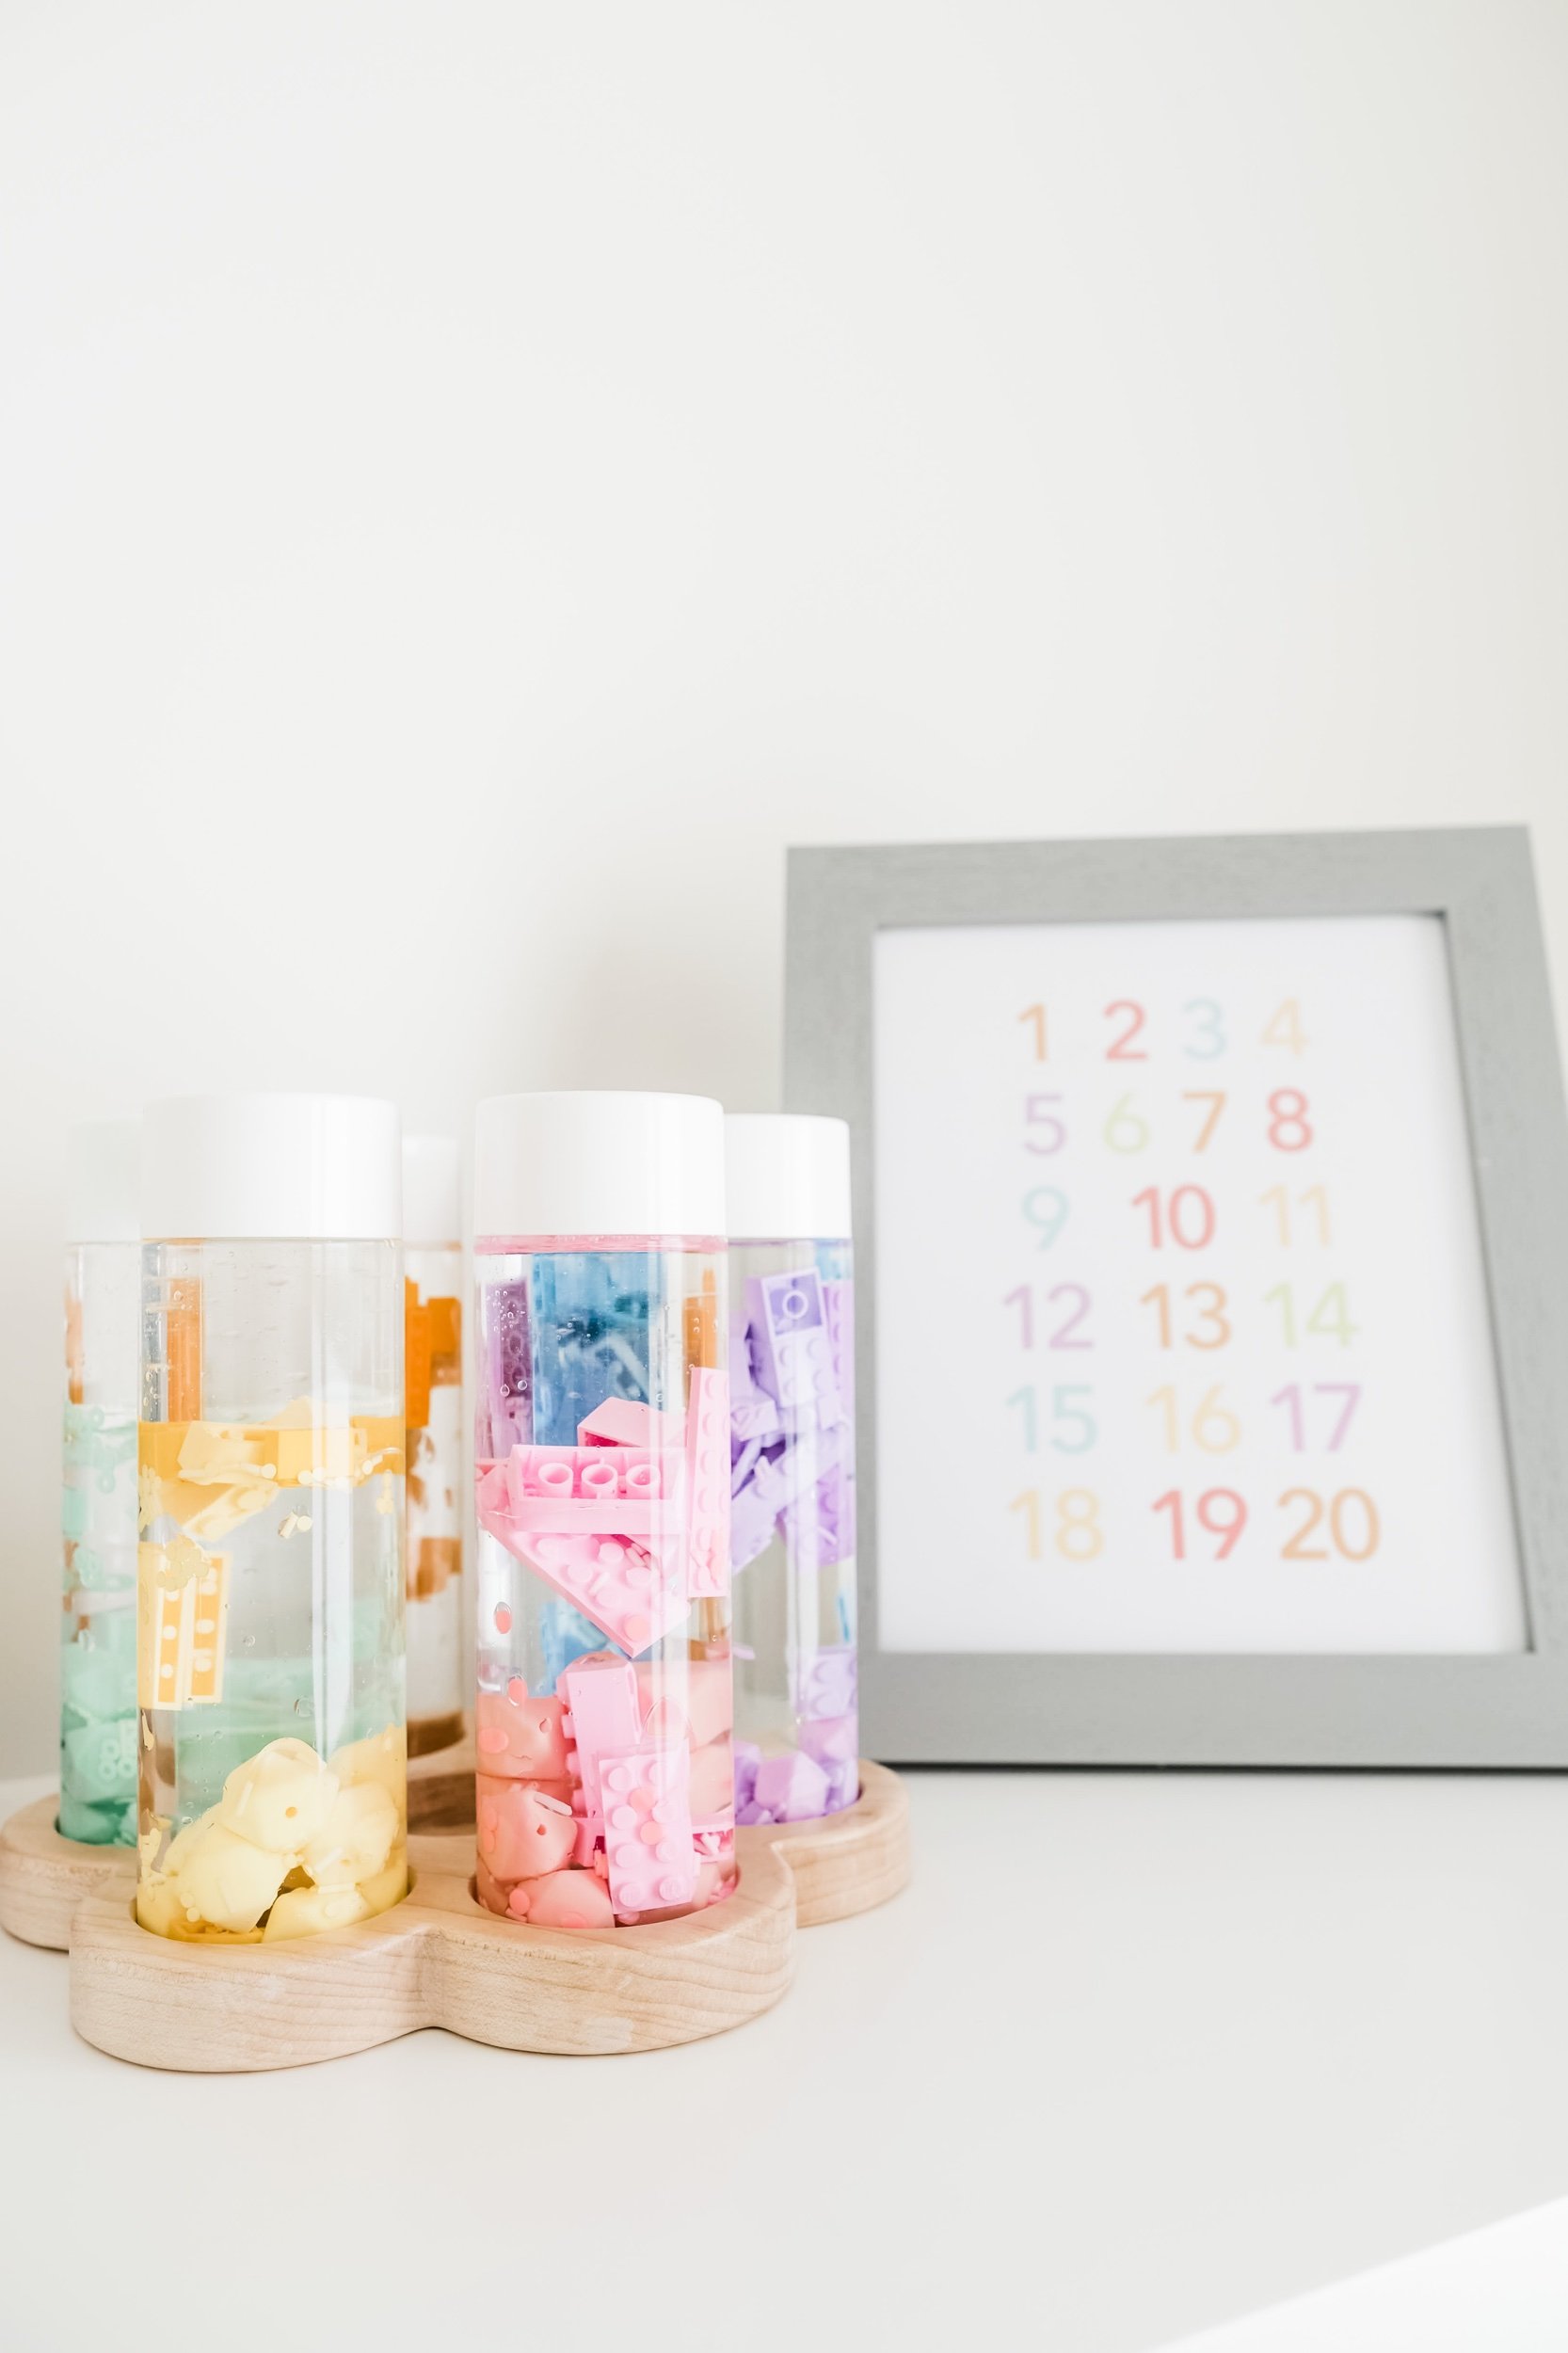
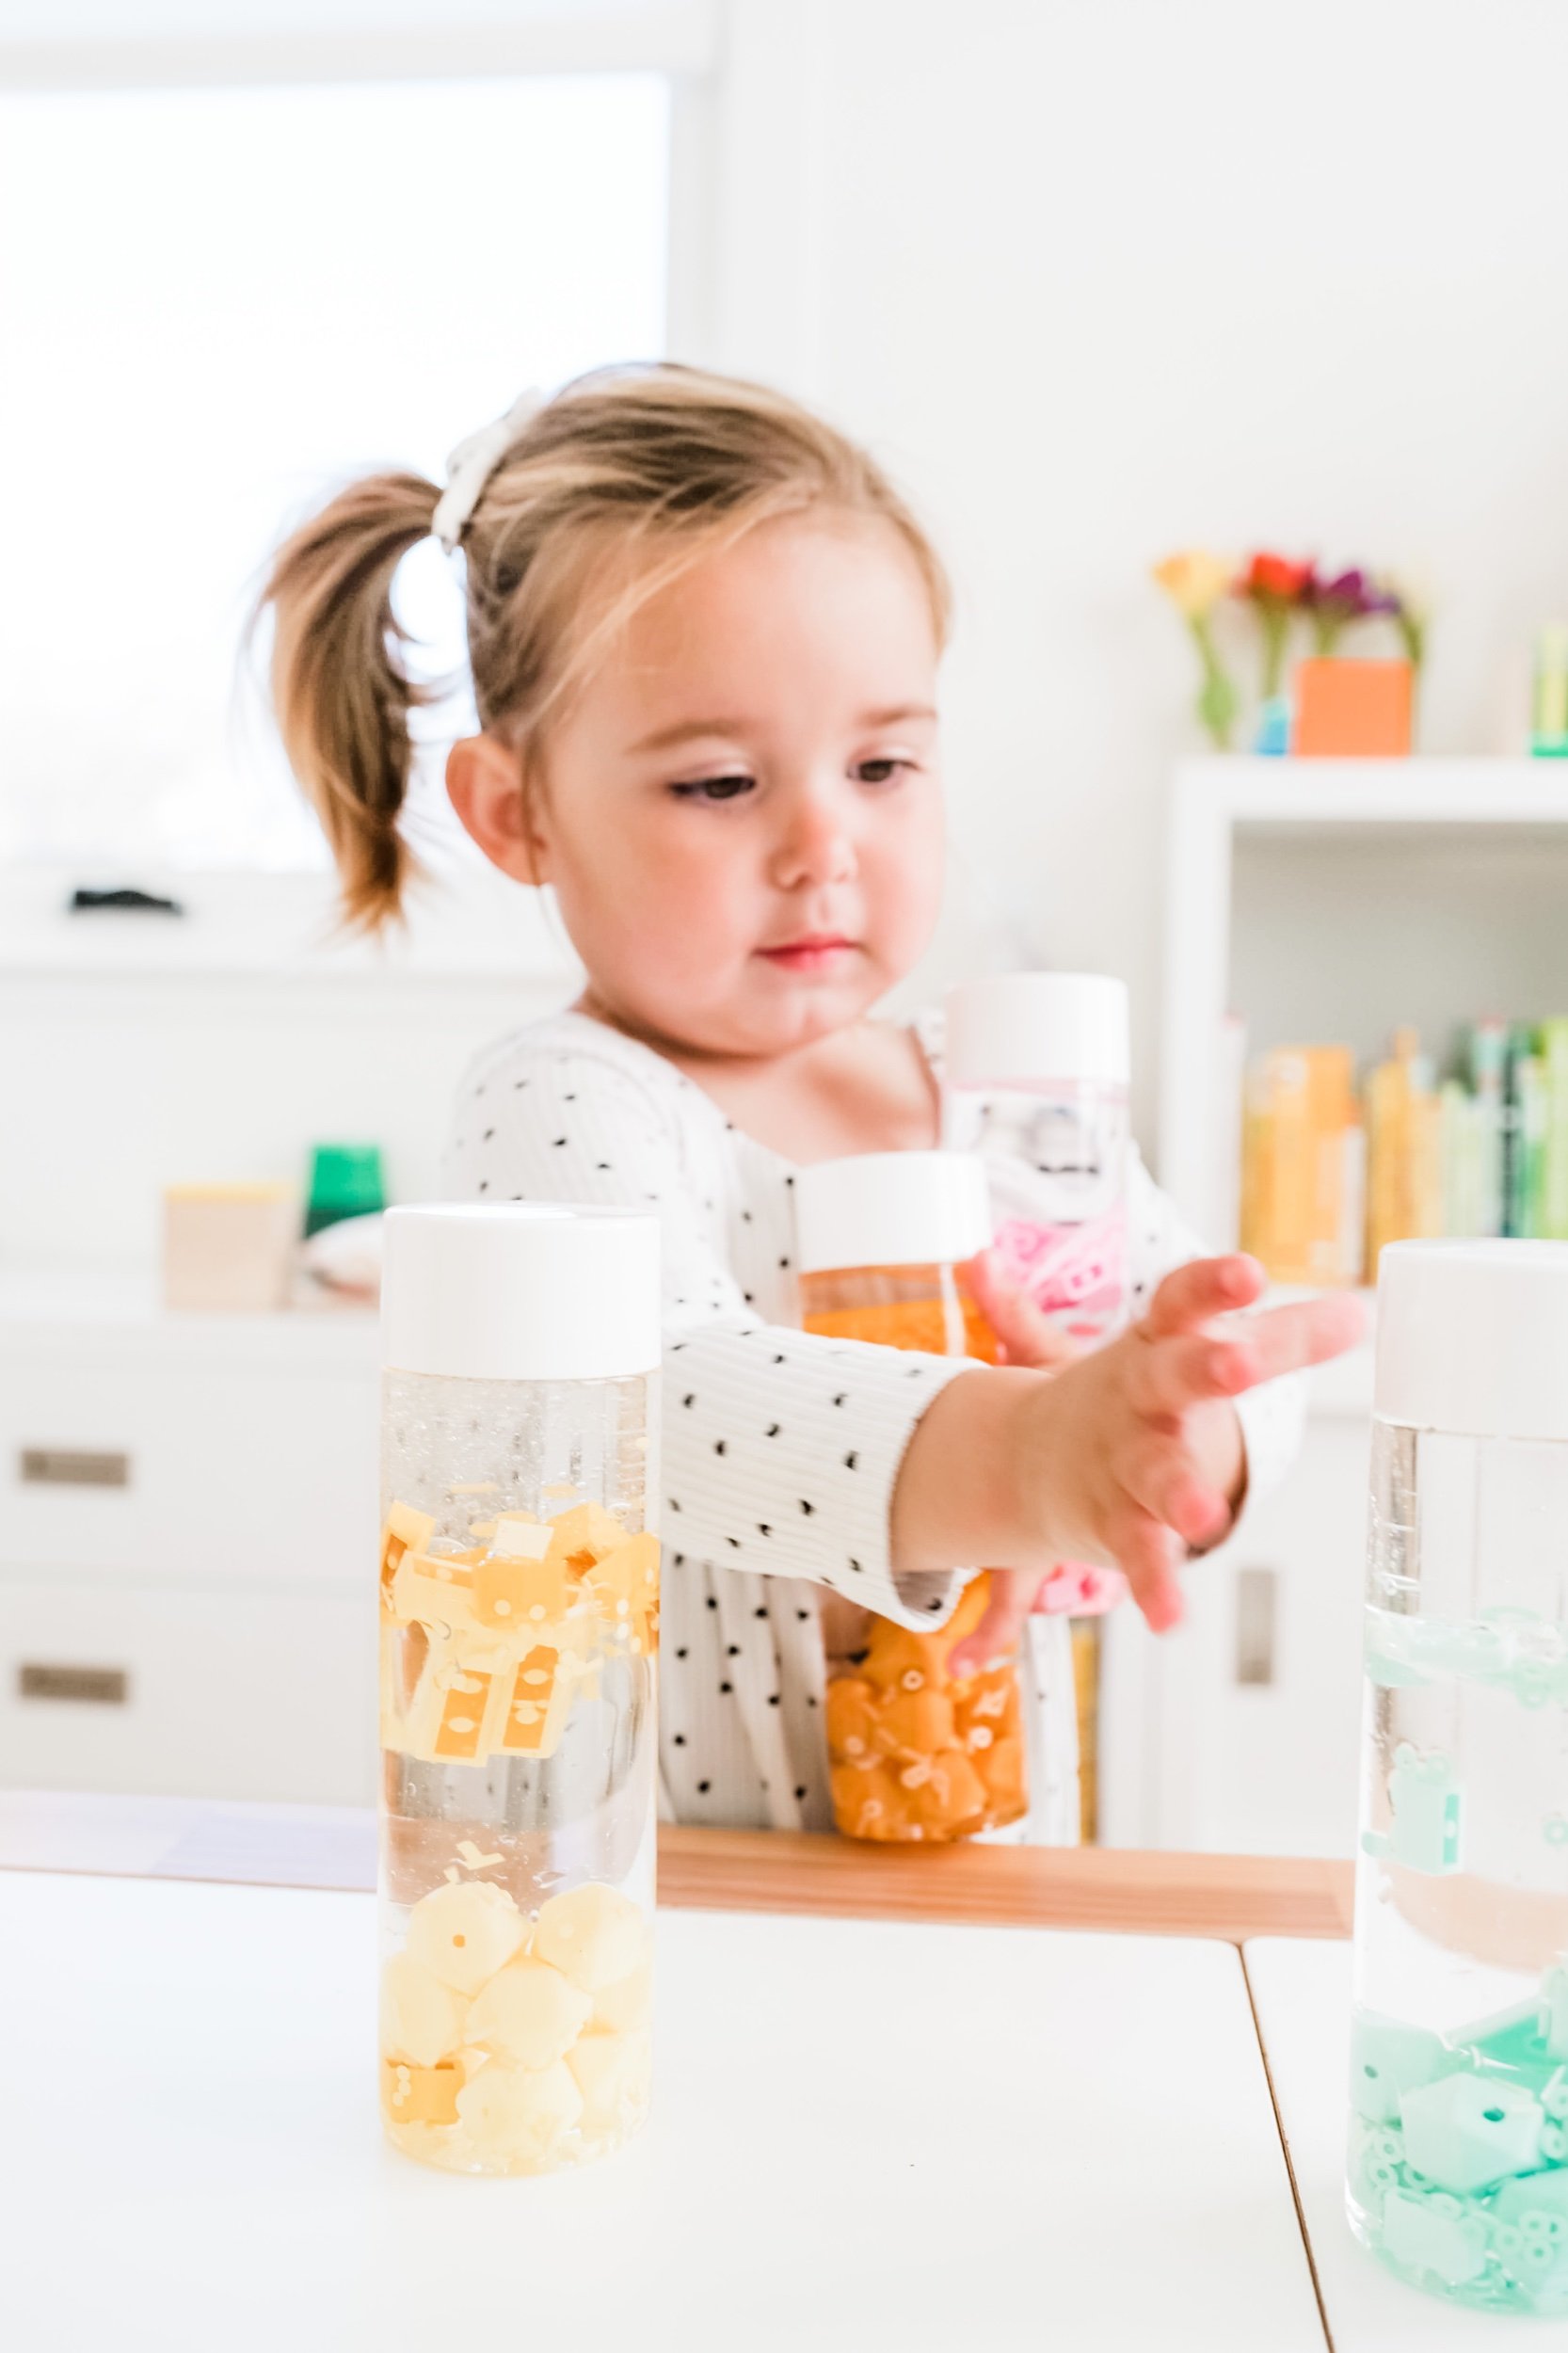
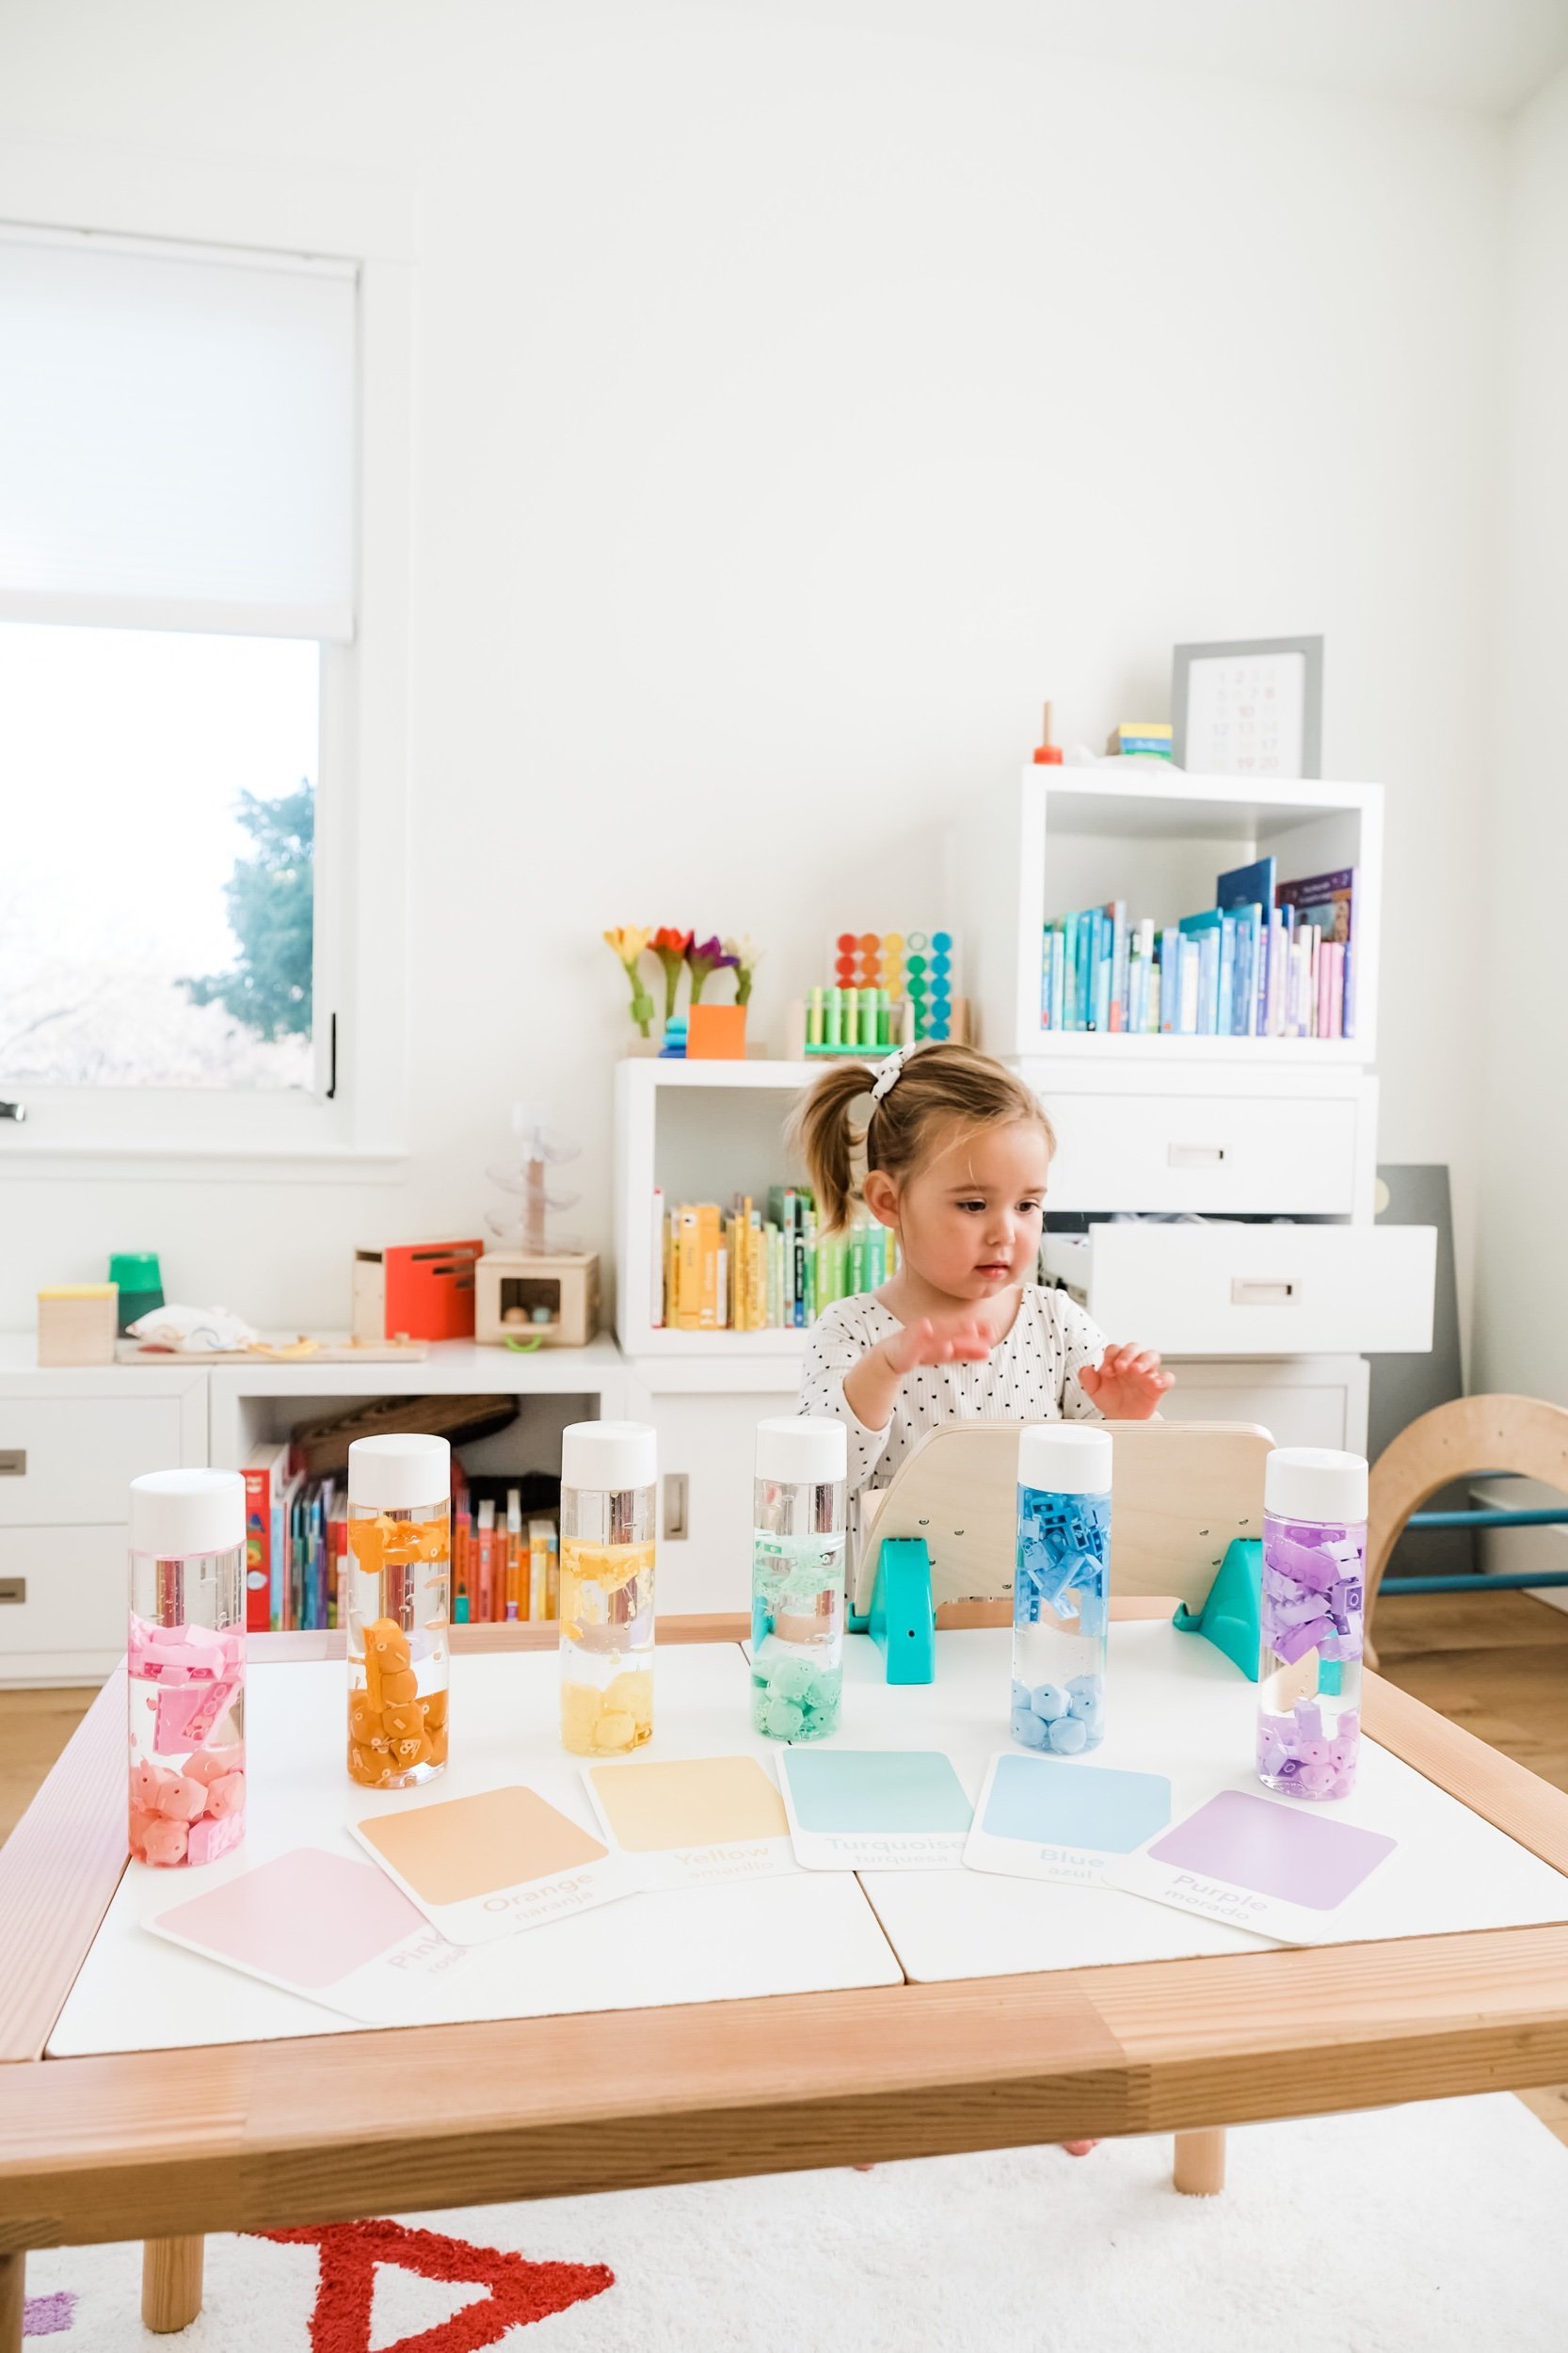
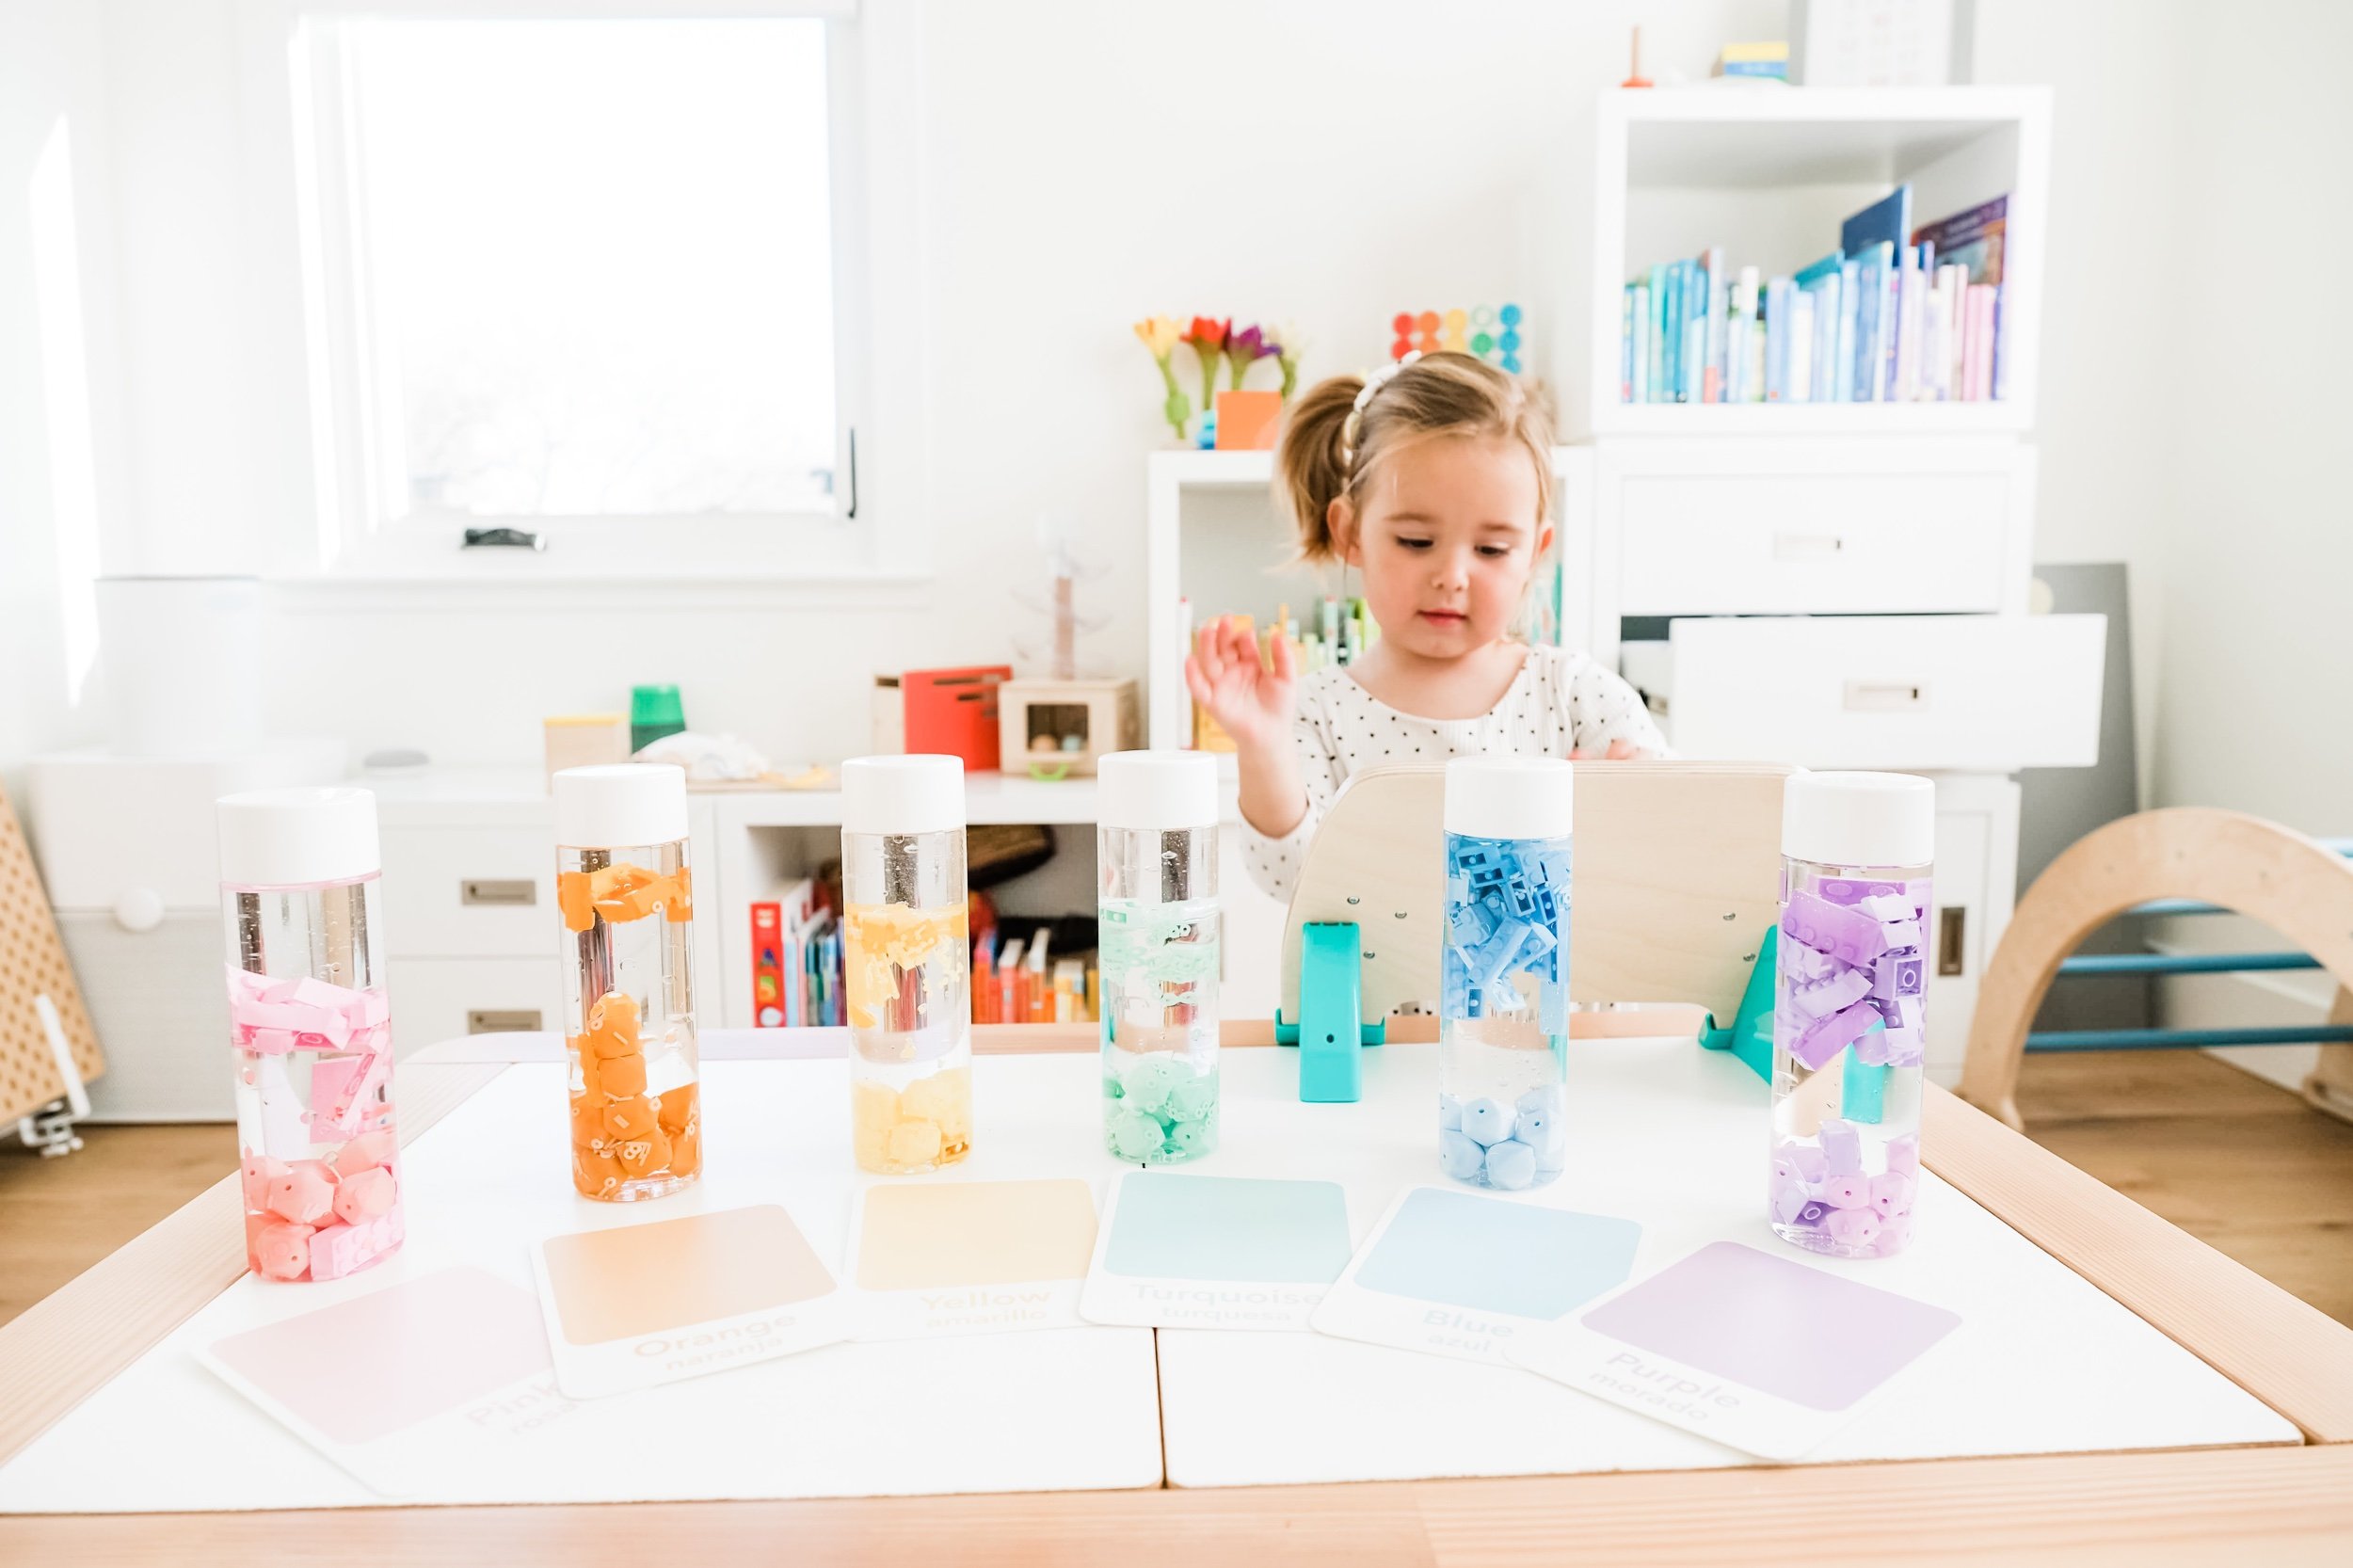
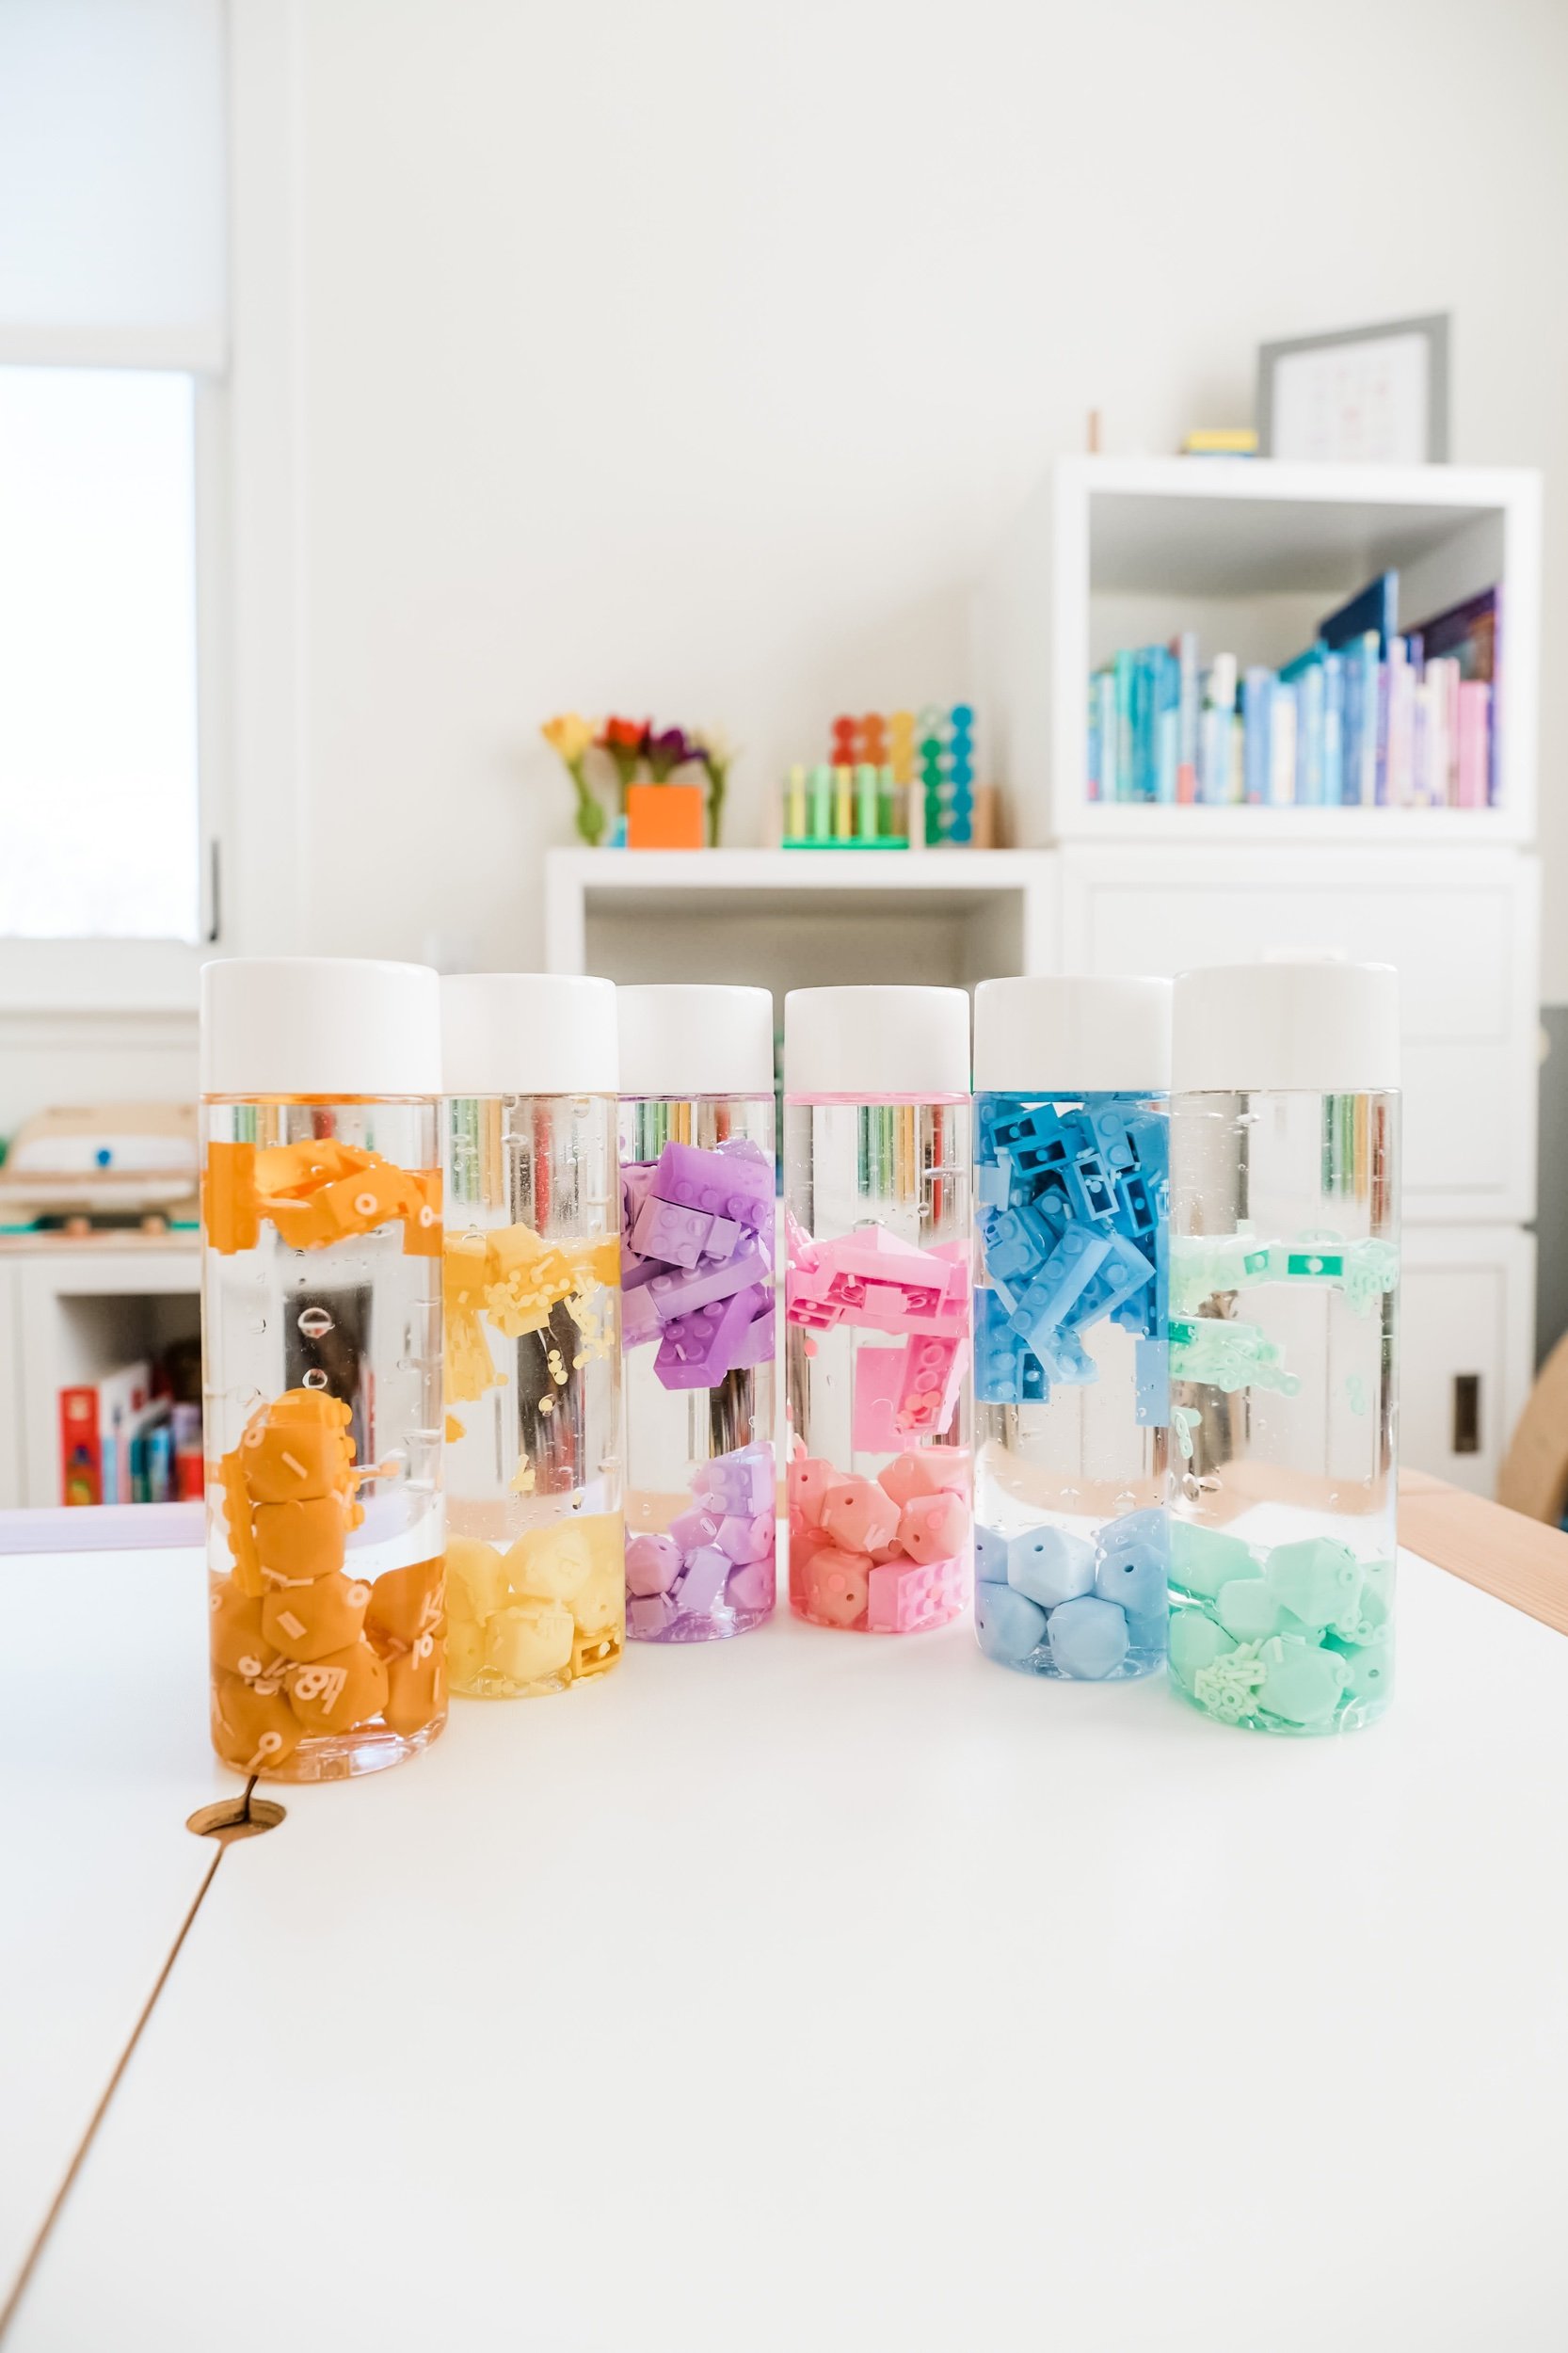
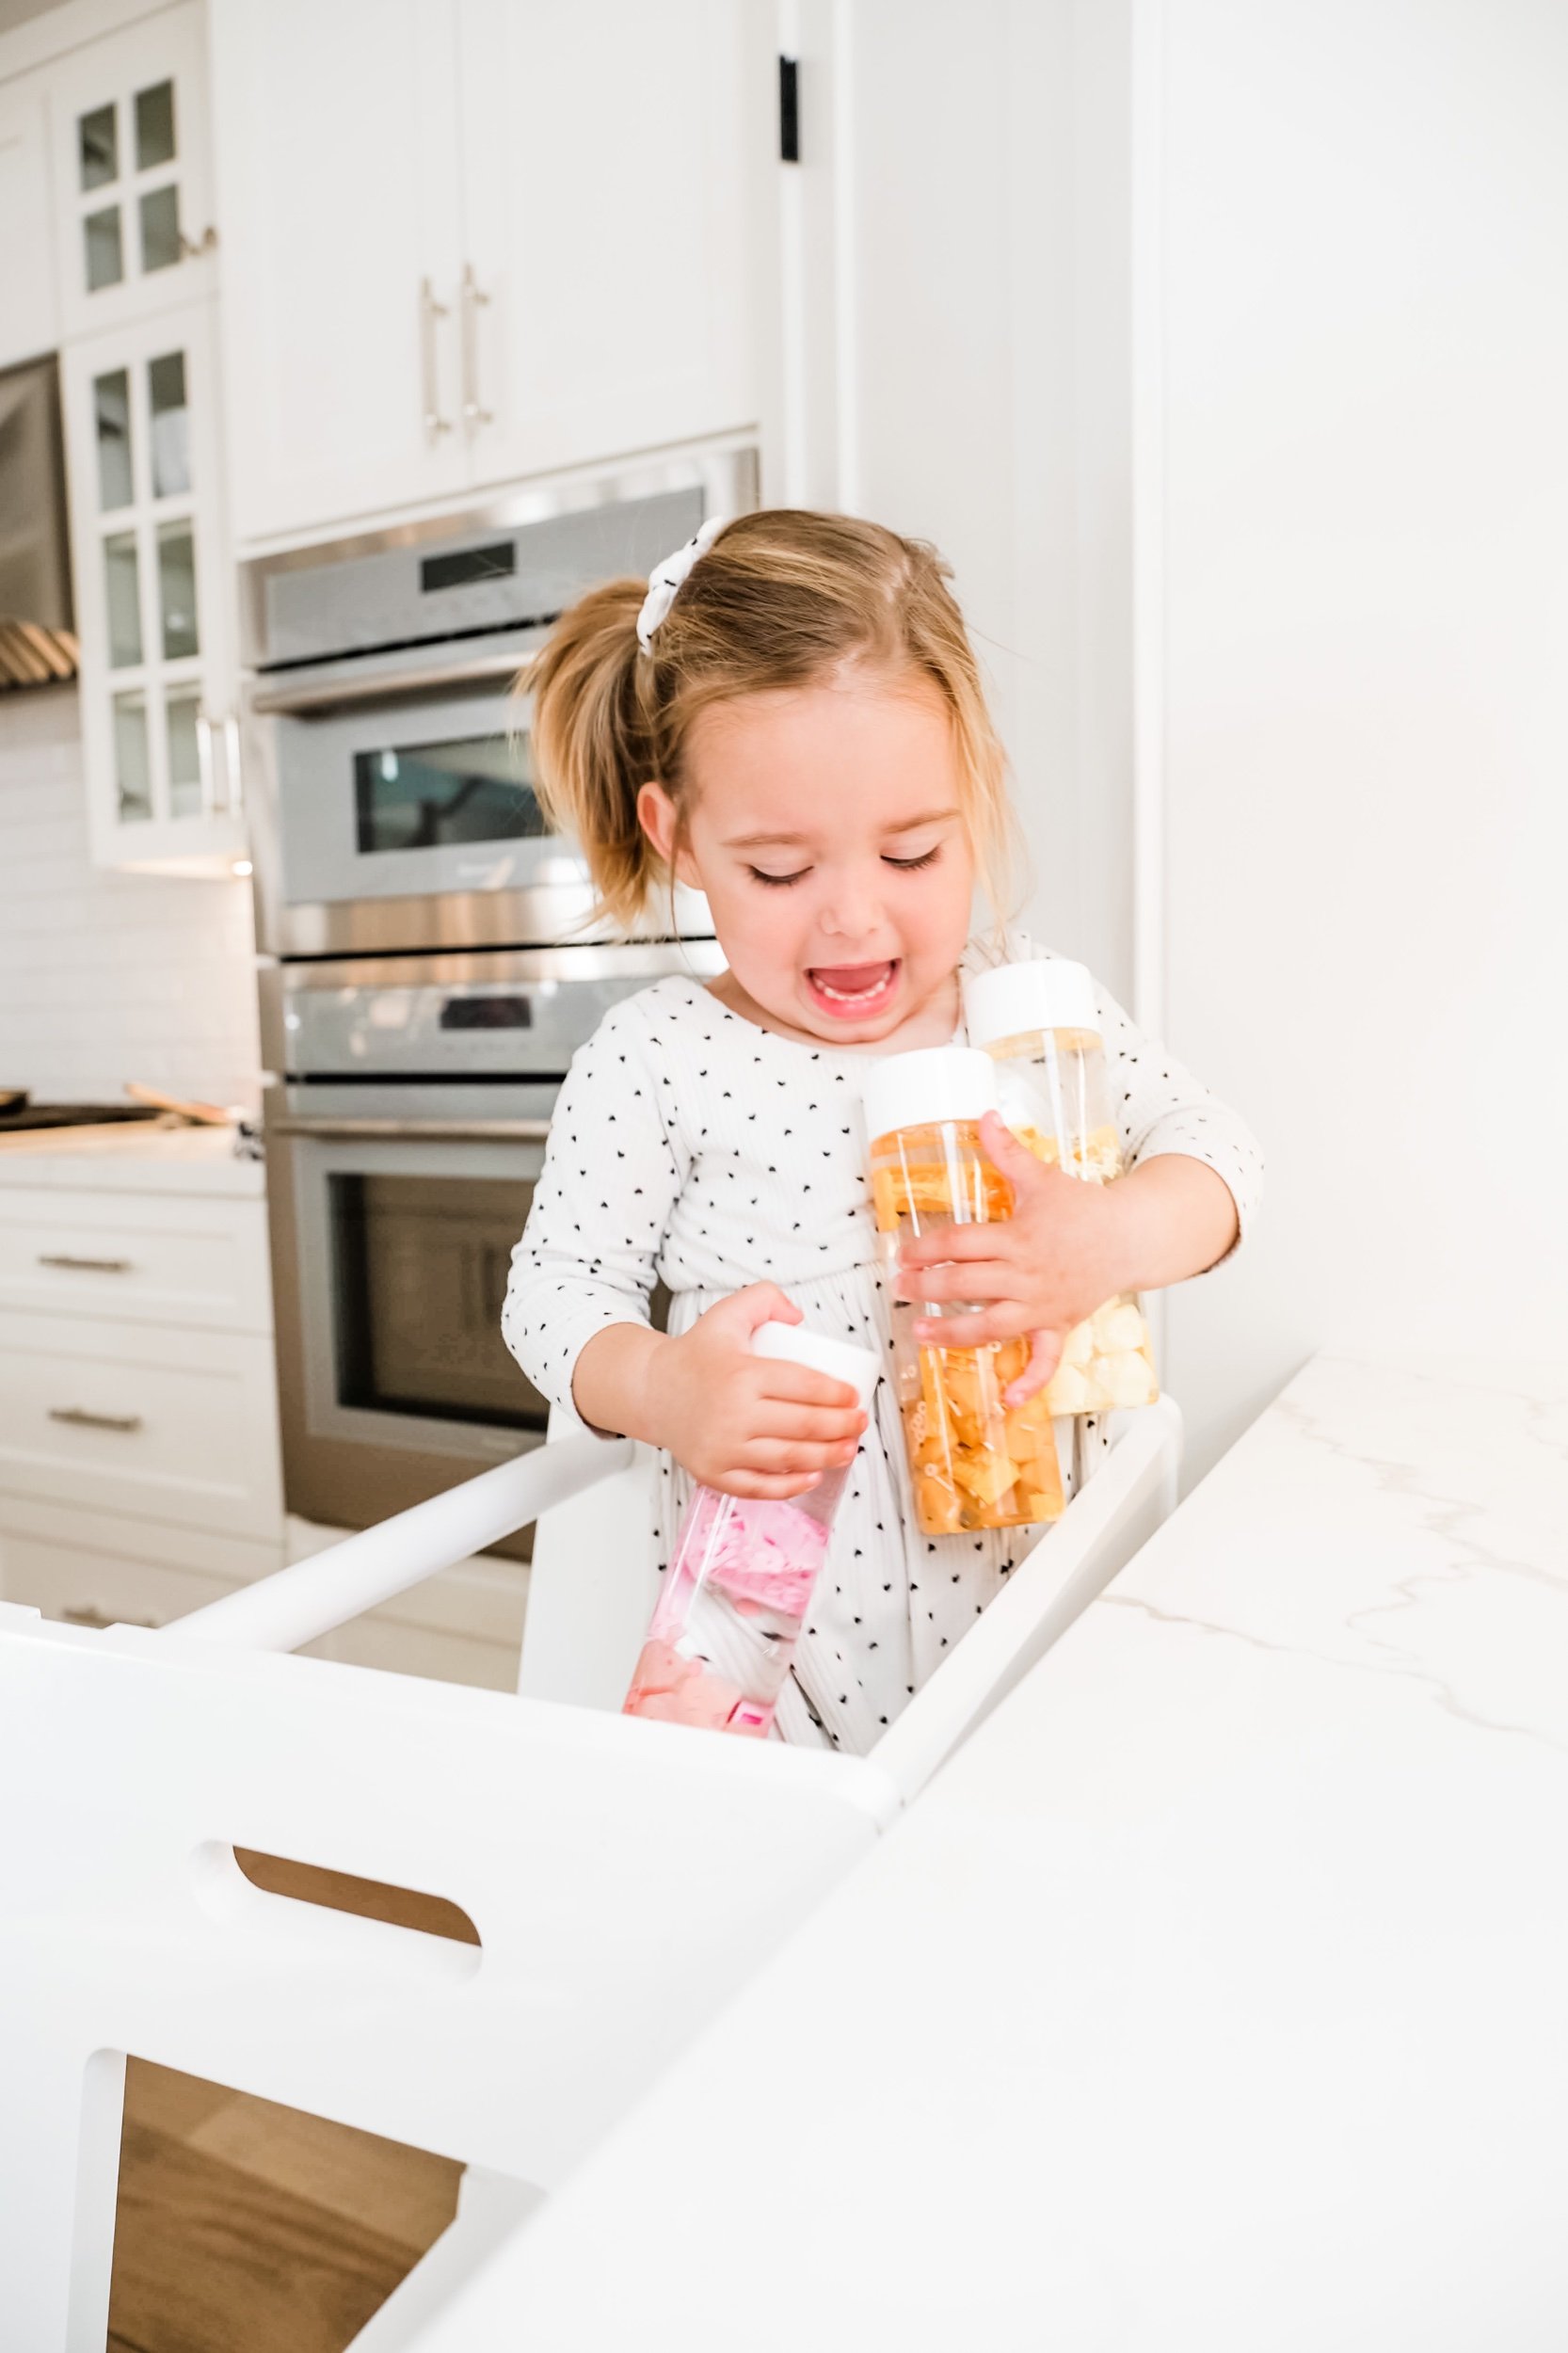
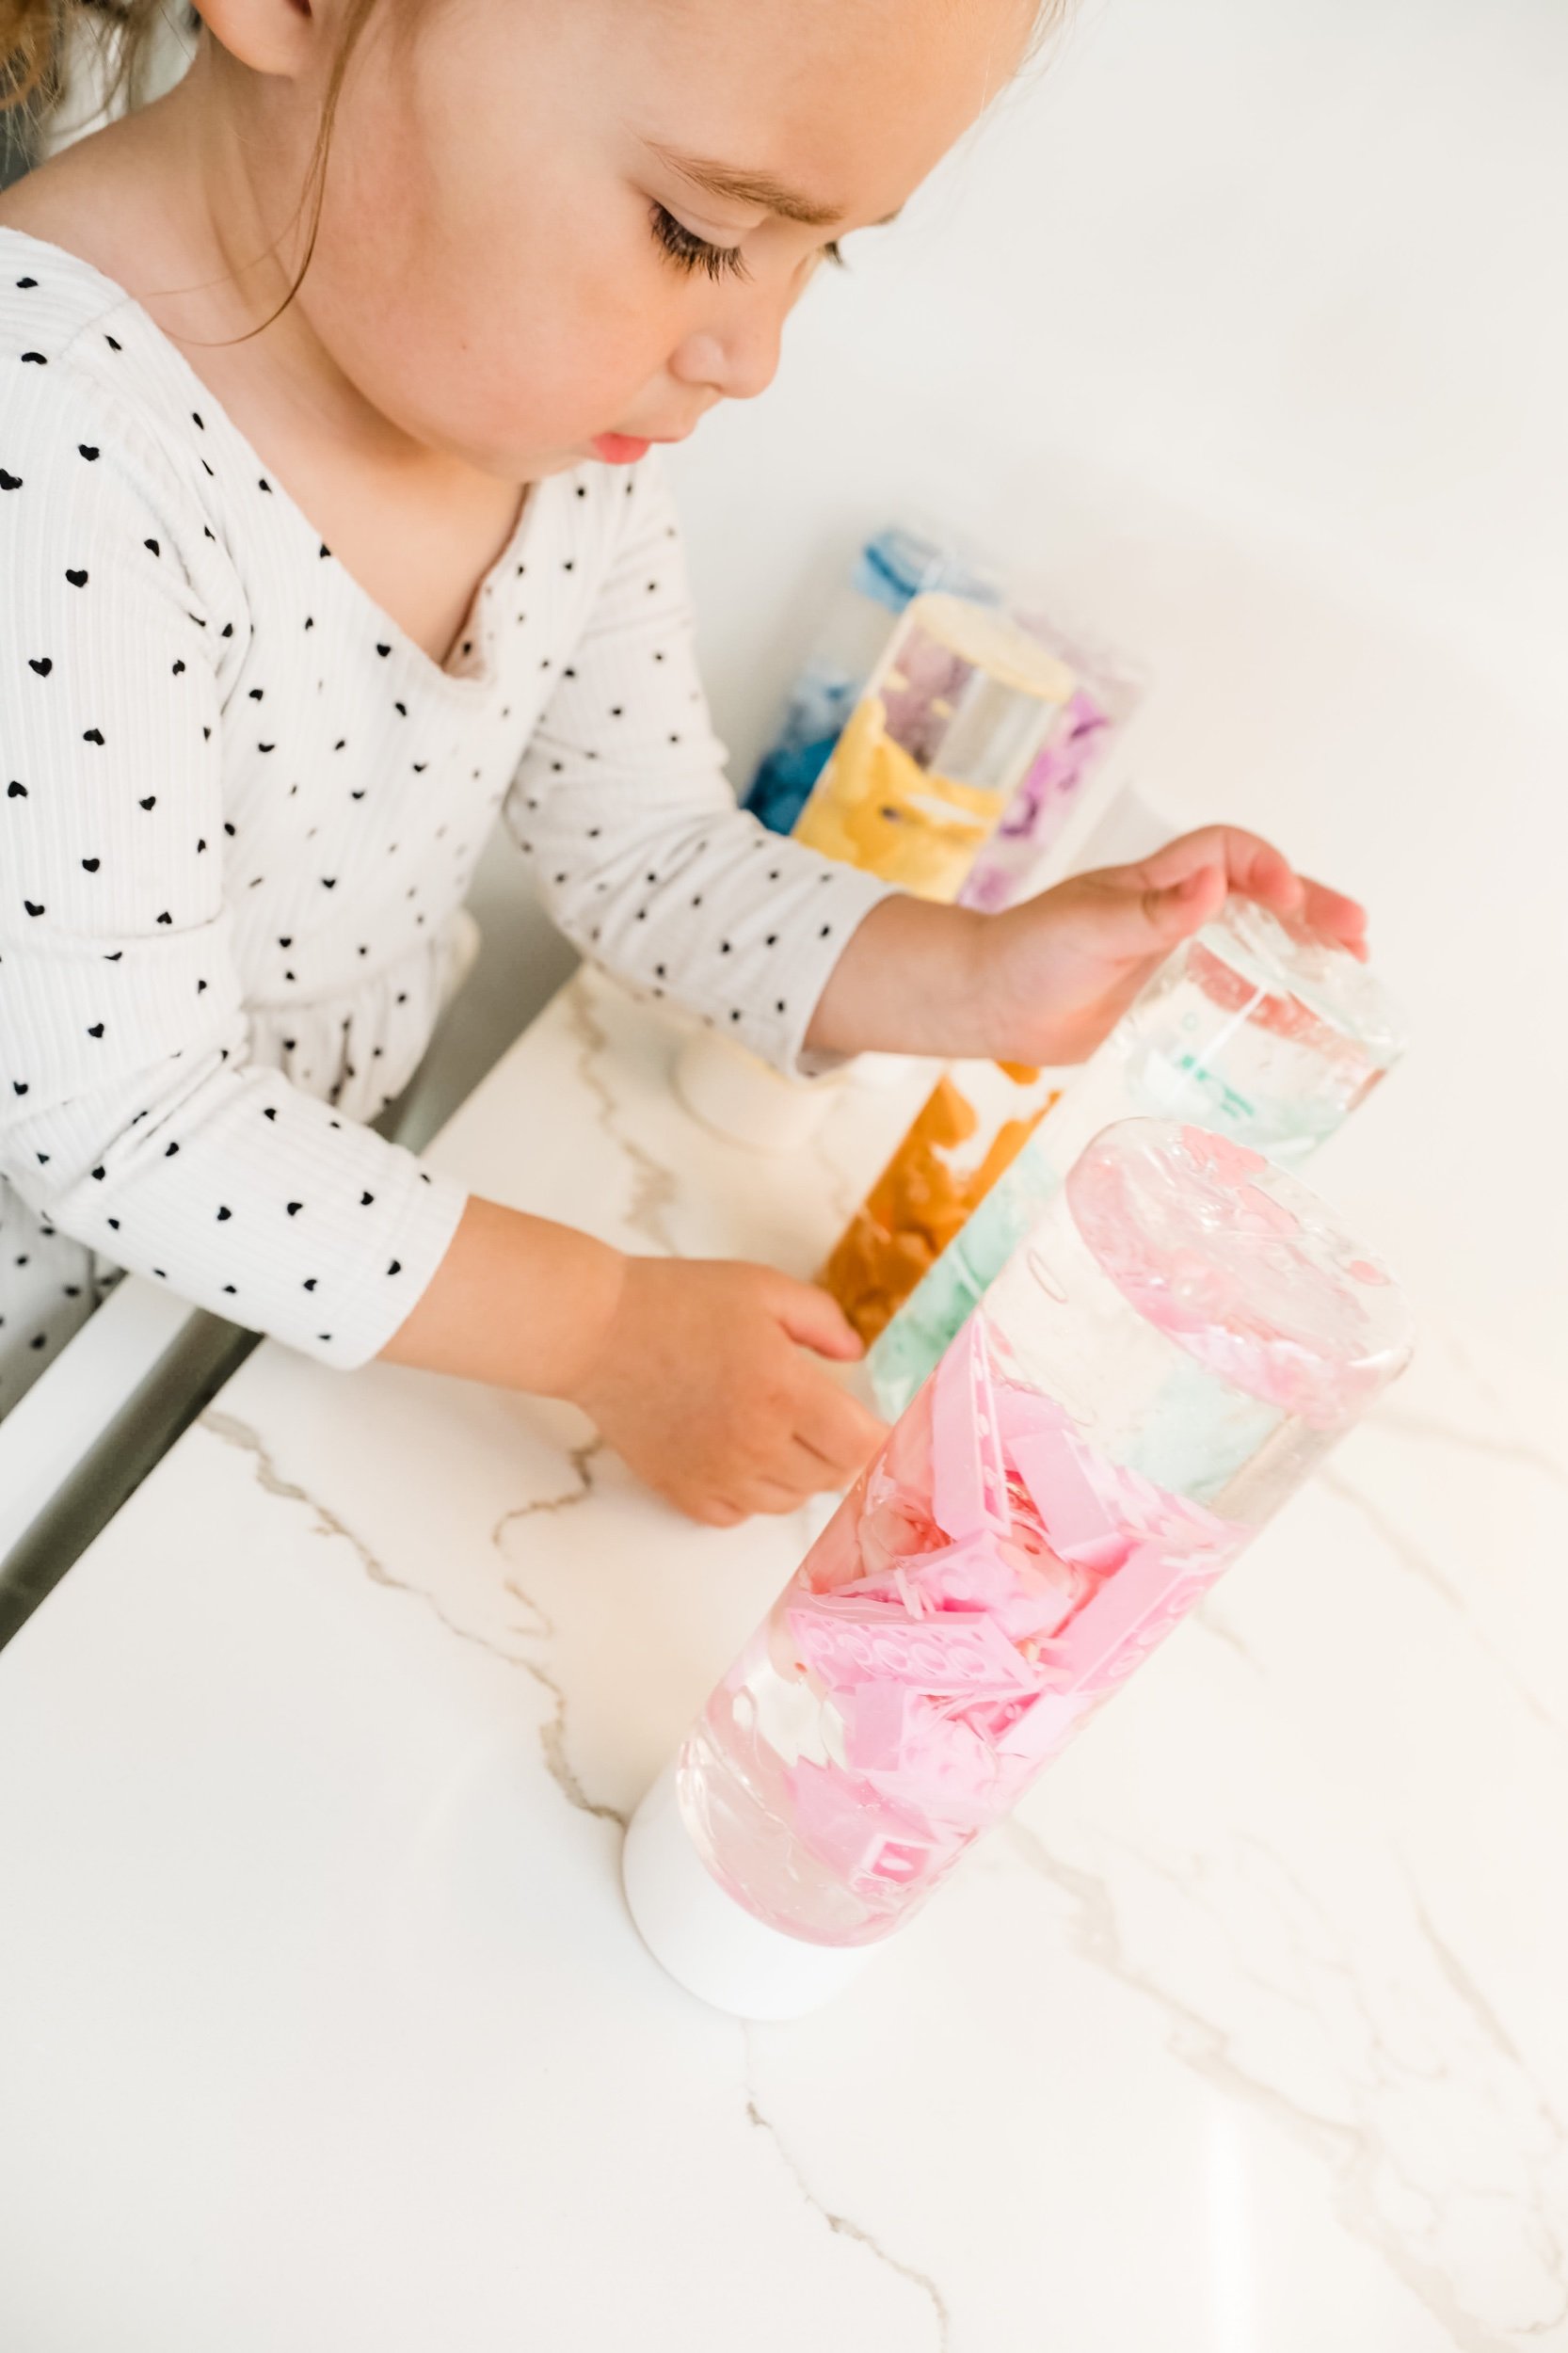
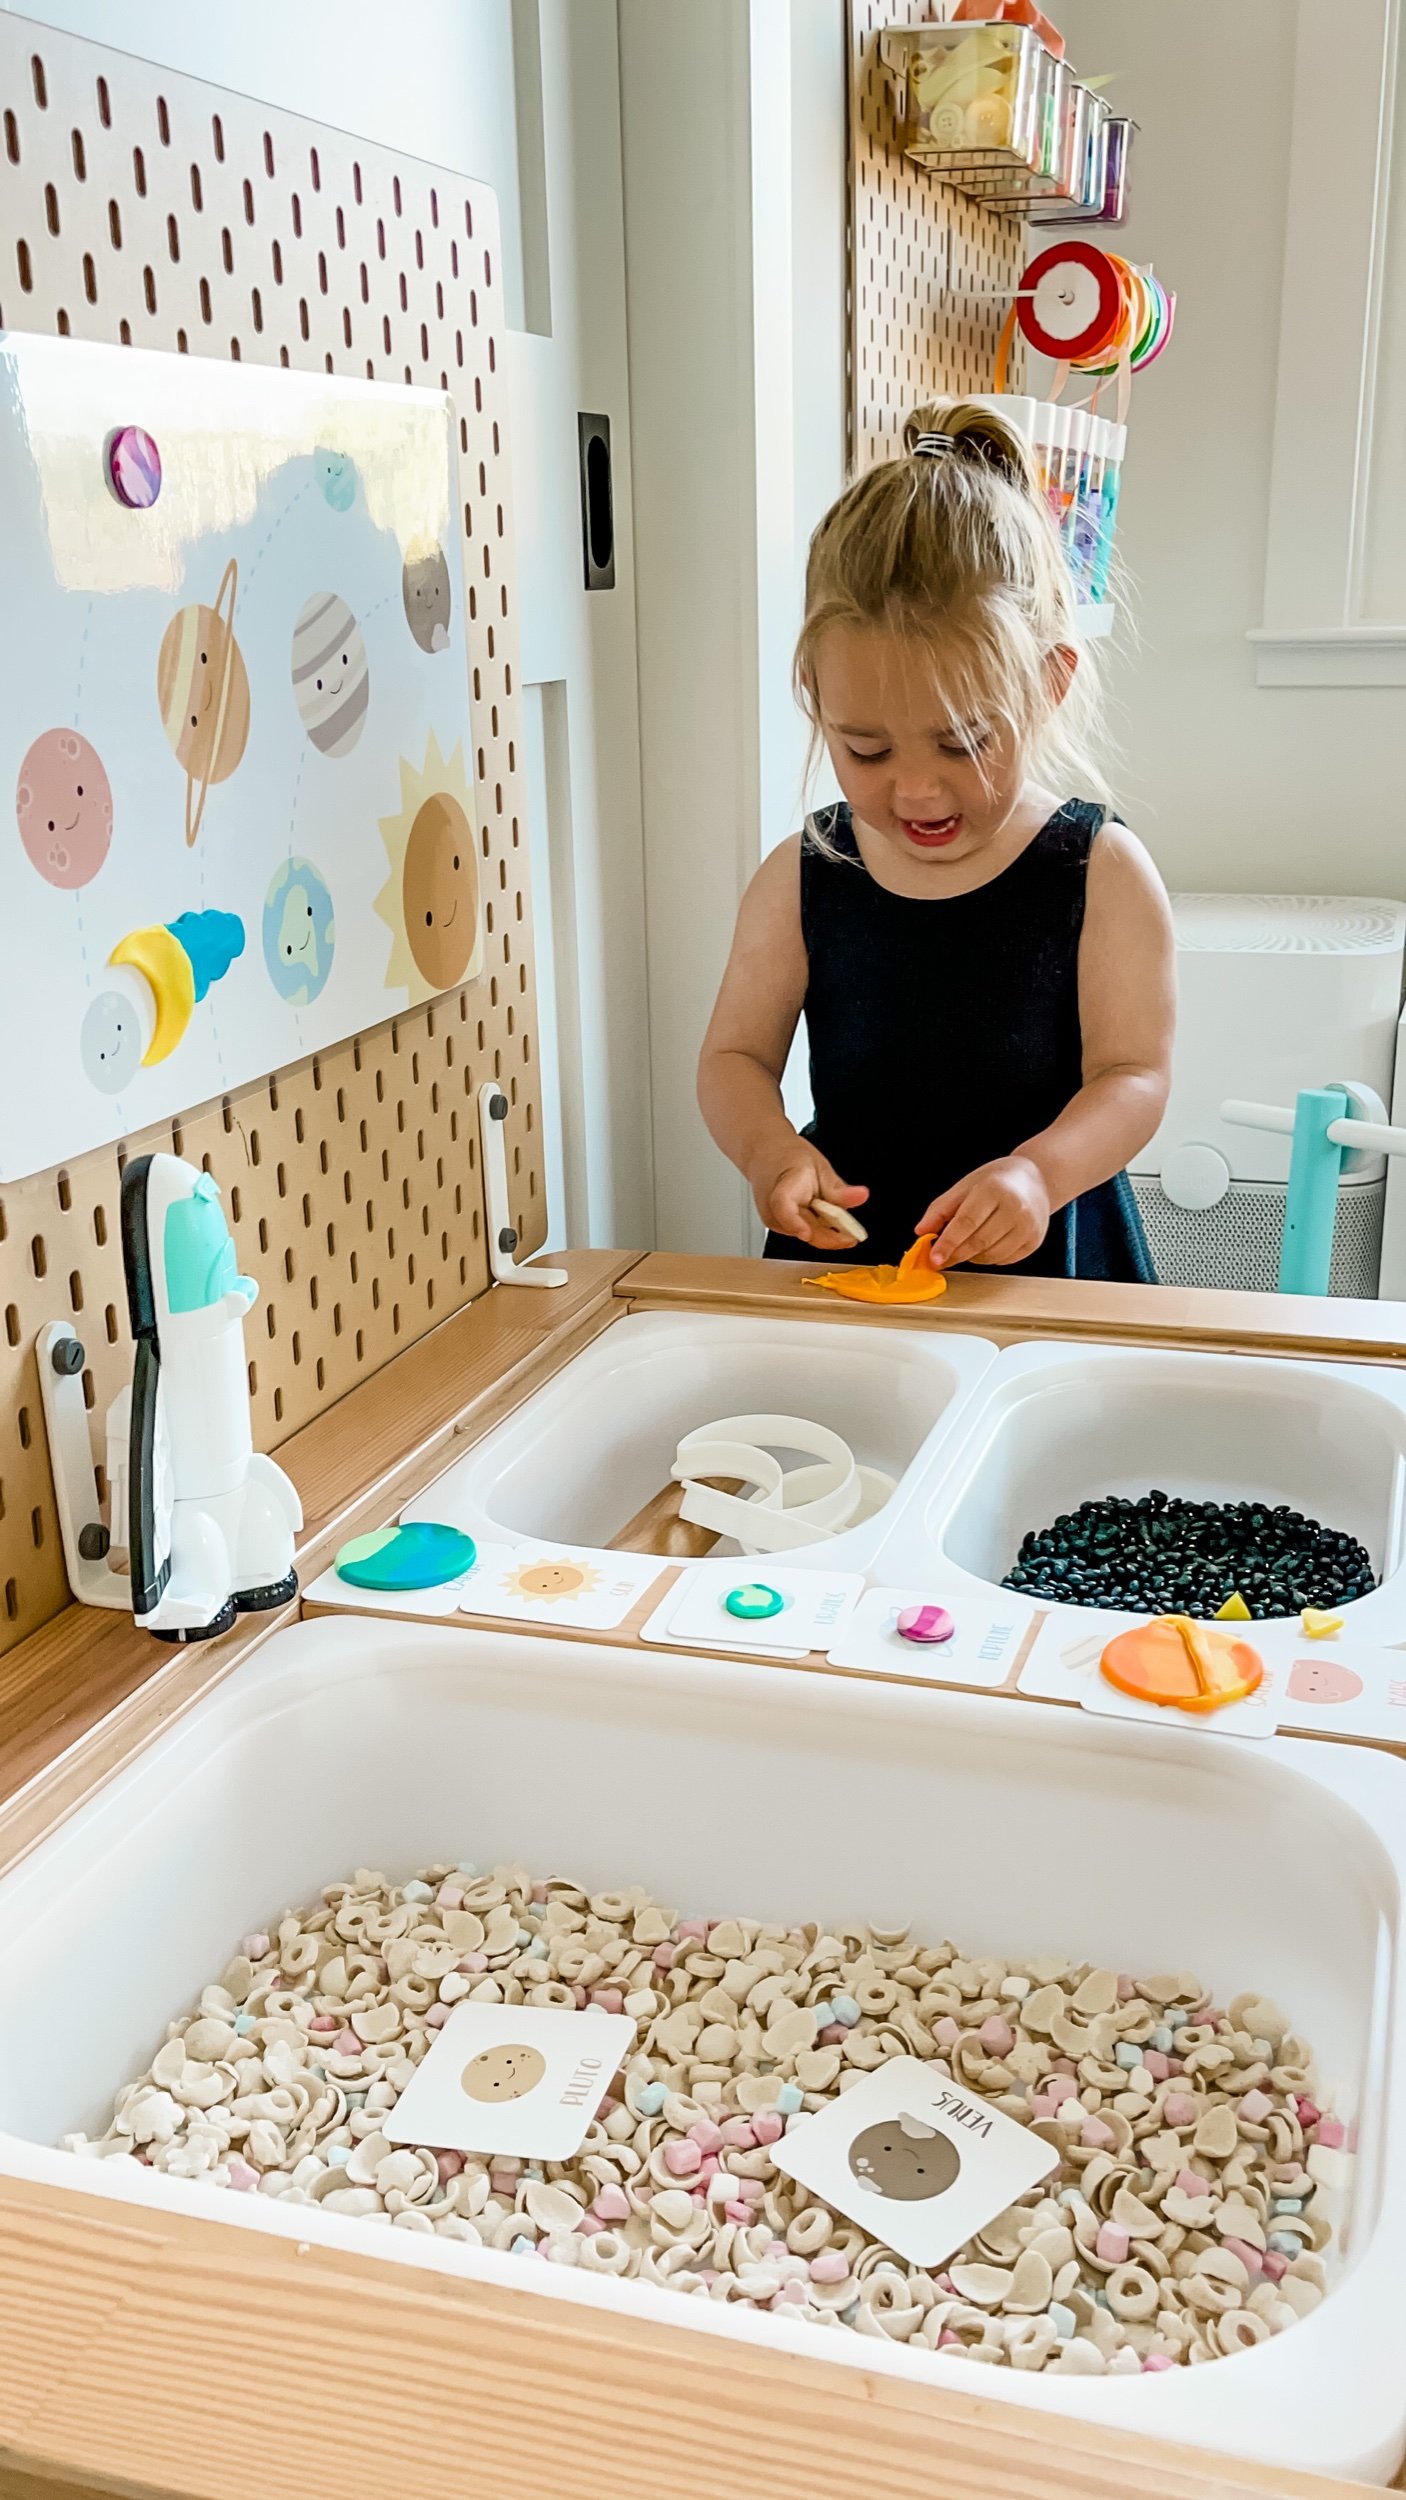
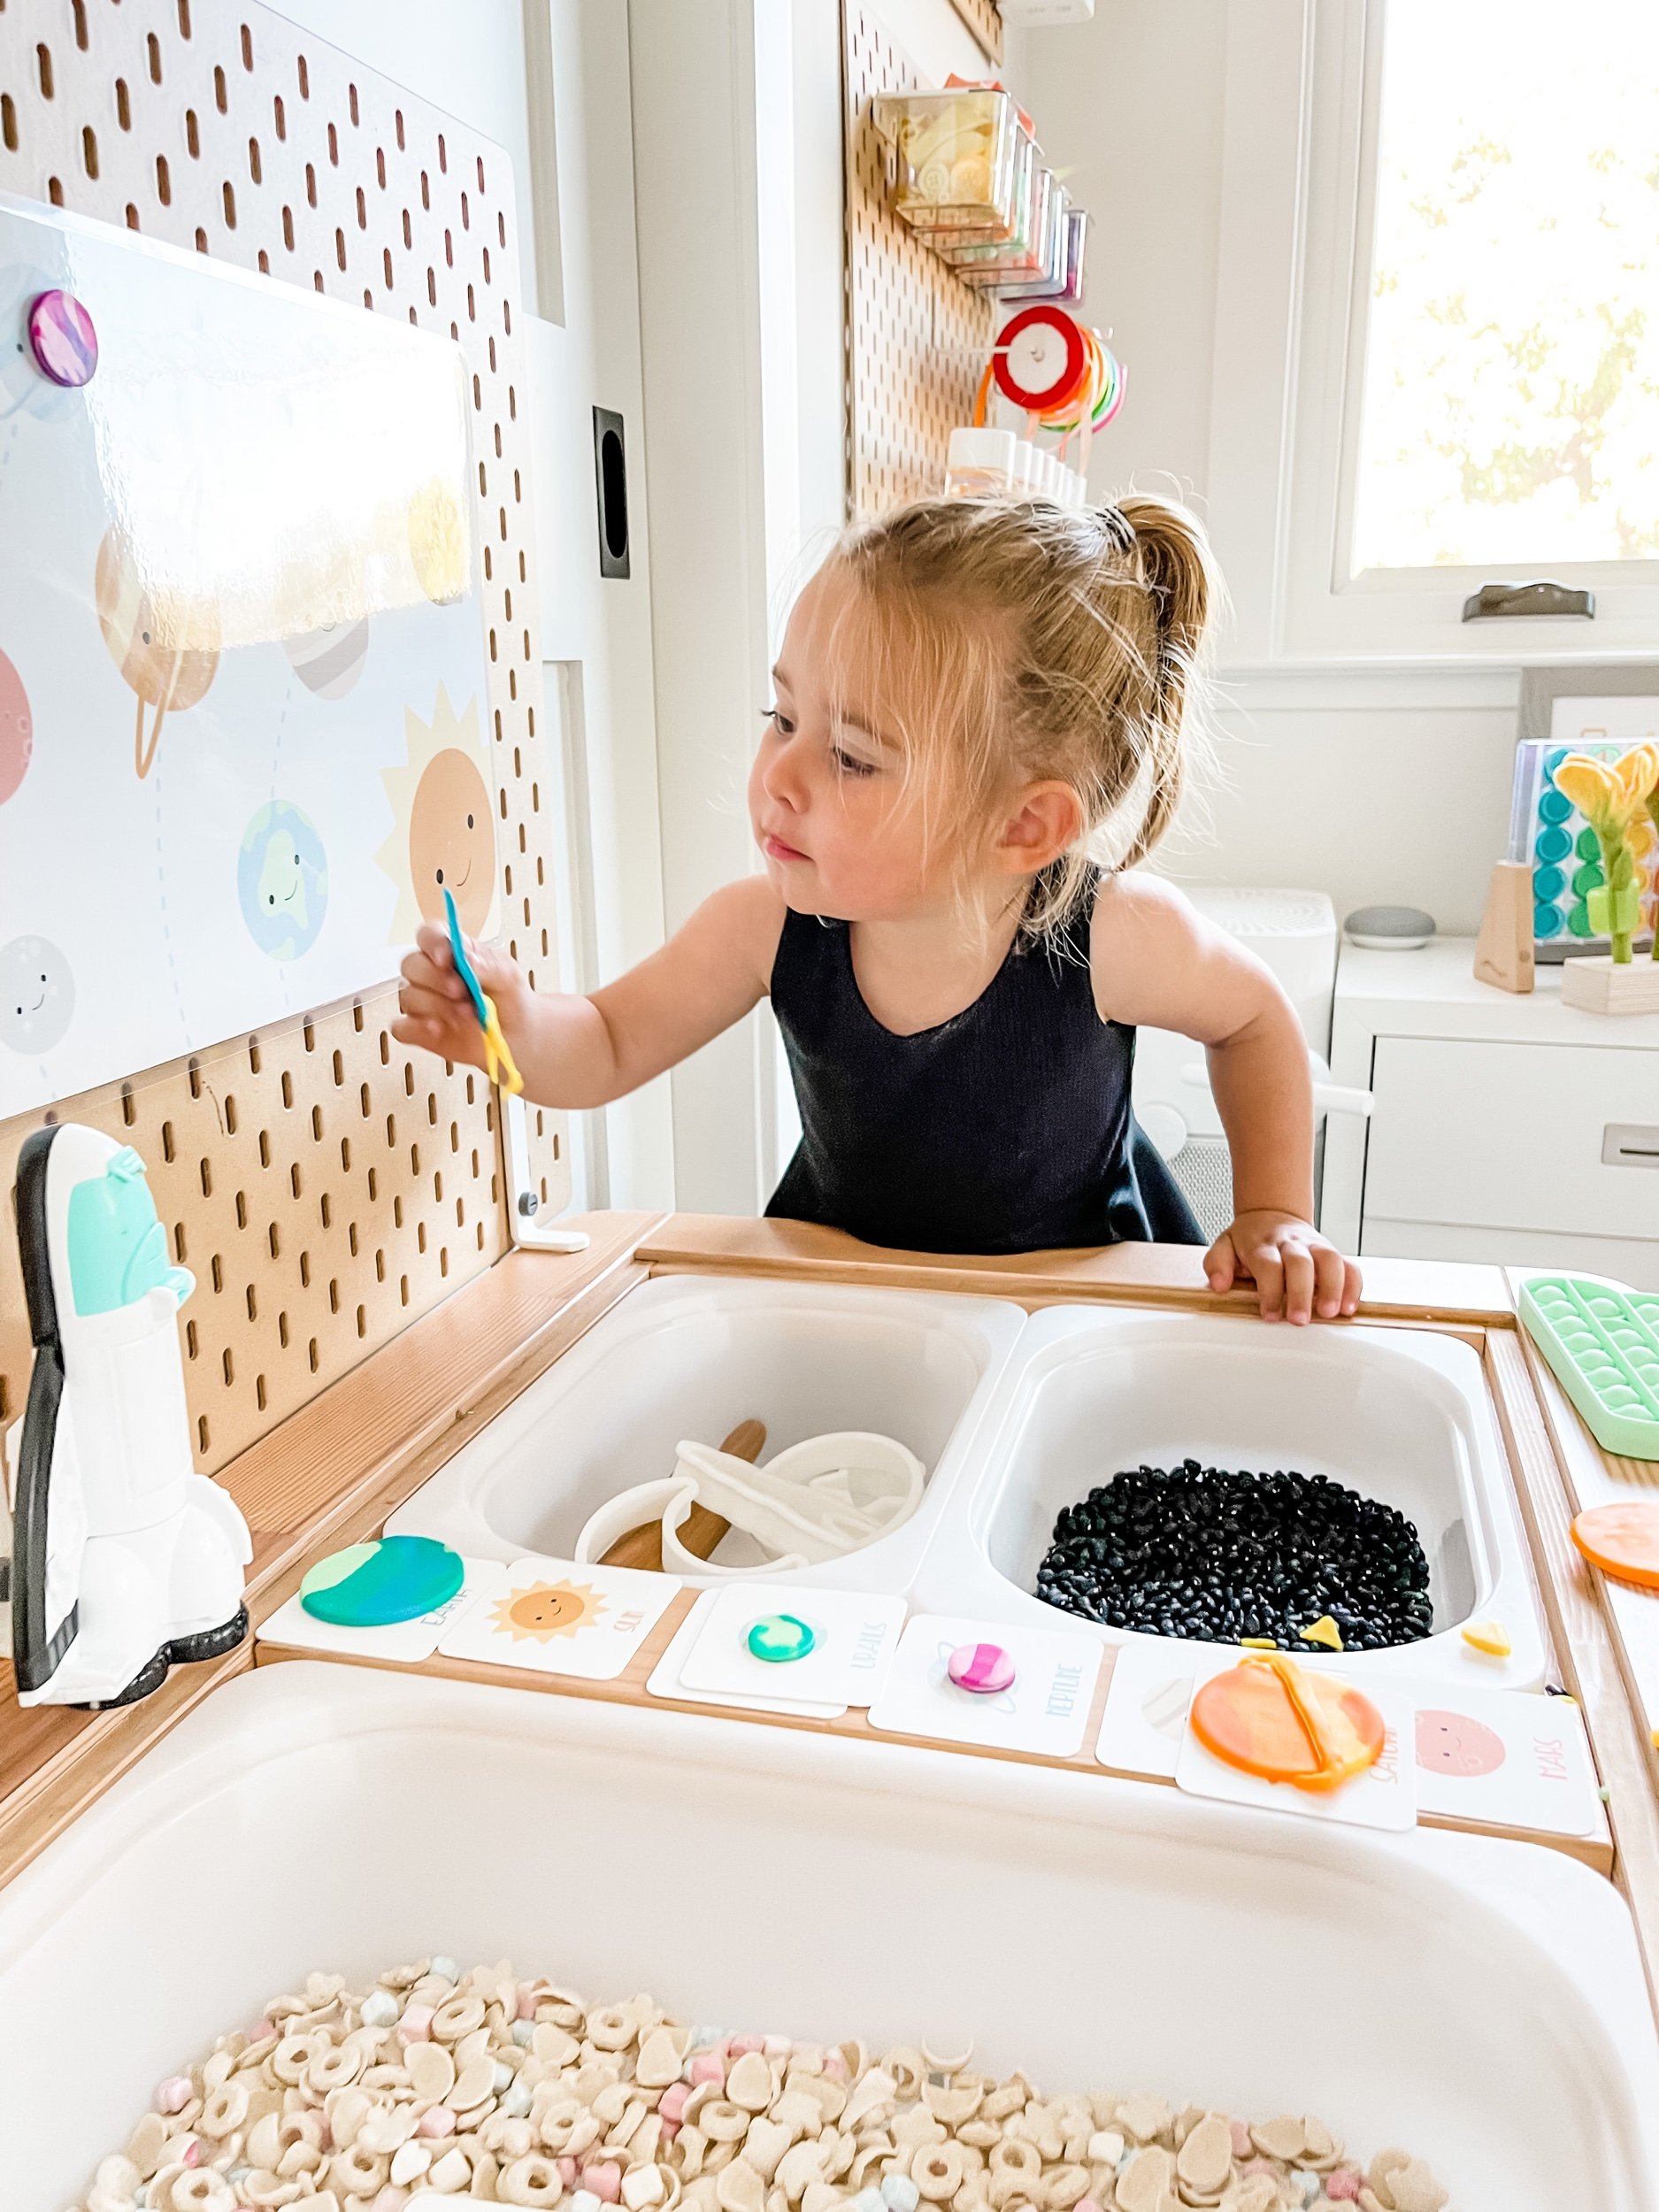
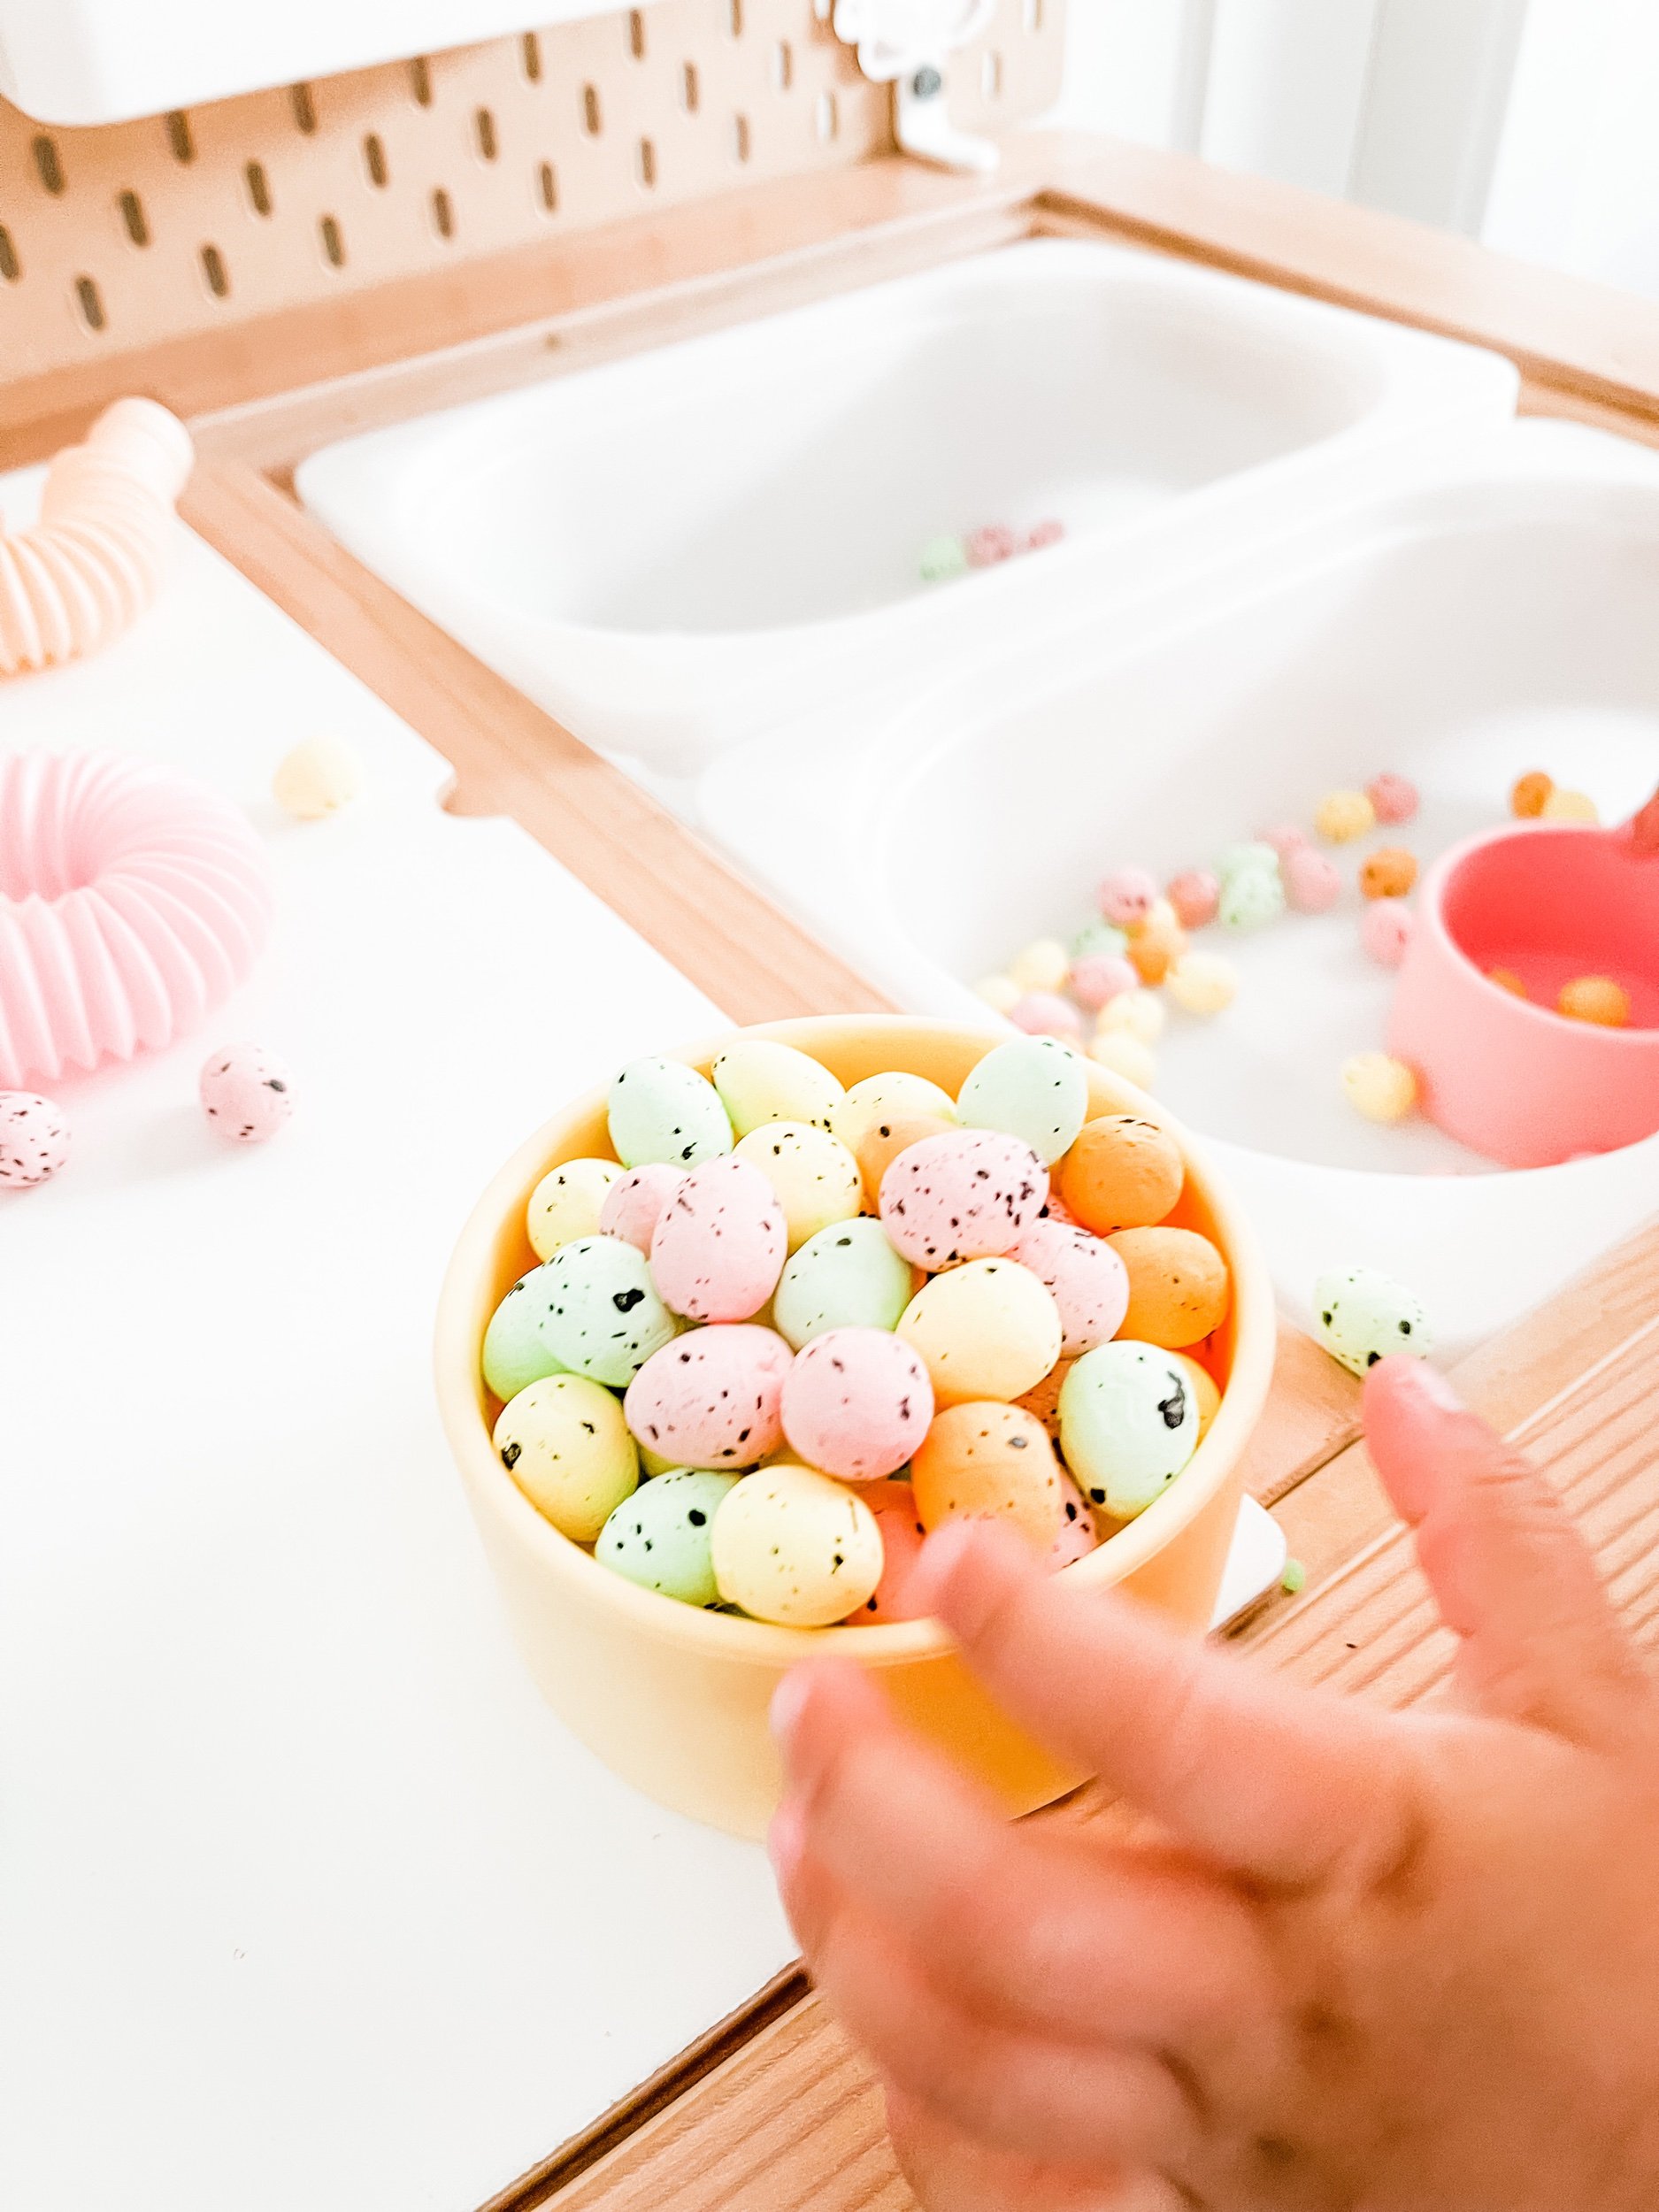
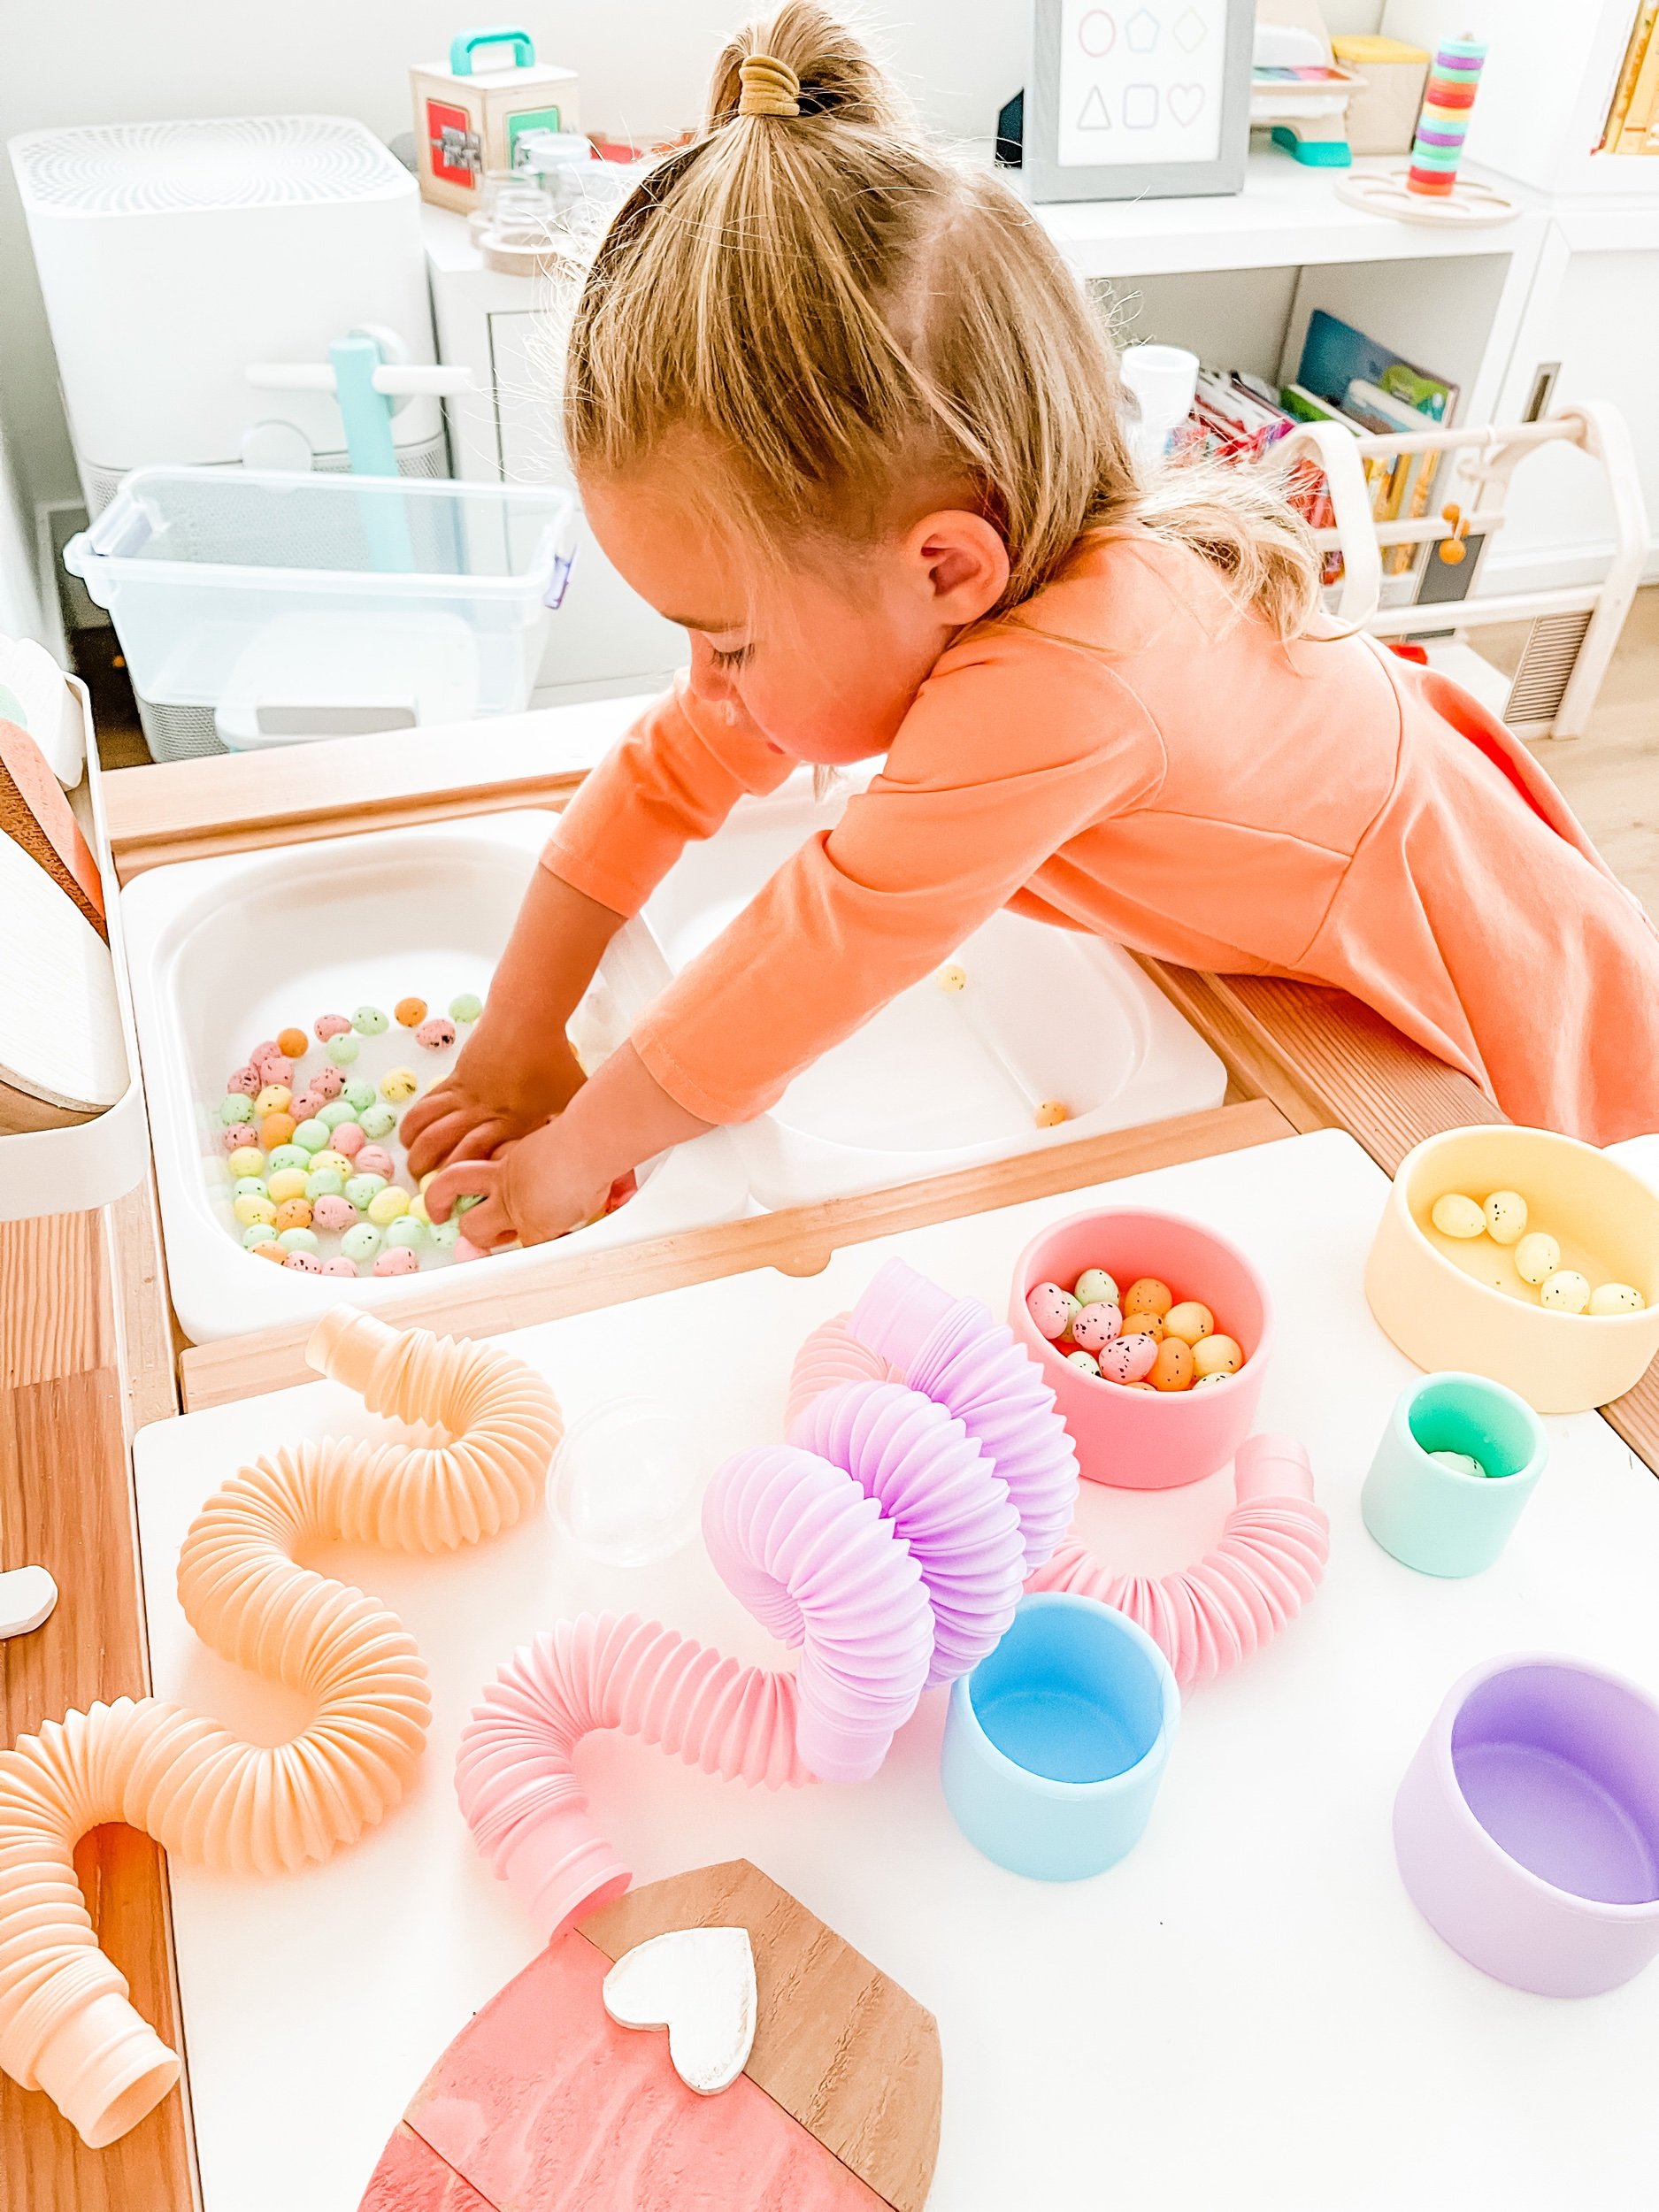
Sensory stress balls are soft, squeezable objects filled with different materials that provide tactile feedback through touch and pressure. For toddlers and preschoolers, this type of sensory input can be grounding and calming, especially during moments of frustration, overstimulation, or transition.
Unlike store-bought versions, DIY stress balls allow you to control the texture, firmness, and size to match your child’s developmental stage and sensory preferences.

Why Sensory Stress Balls Are Helpful for Toddlers
Sensory play is a foundational way young children learn about the world. Stress balls support several key areas of development:
Emotional Regulation
Squeezing and manipulating a stress ball gives children a physical outlet for big feelings. This repetitive motion can help them slow down and reset, making stress balls a useful tool in calming corners or quiet play spaces.
Fine Motor Development
The act of squeezing strengthens hand and finger muscles, which are important for later skills like writing, cutting, and self-help tasks.
Sensory Exploration
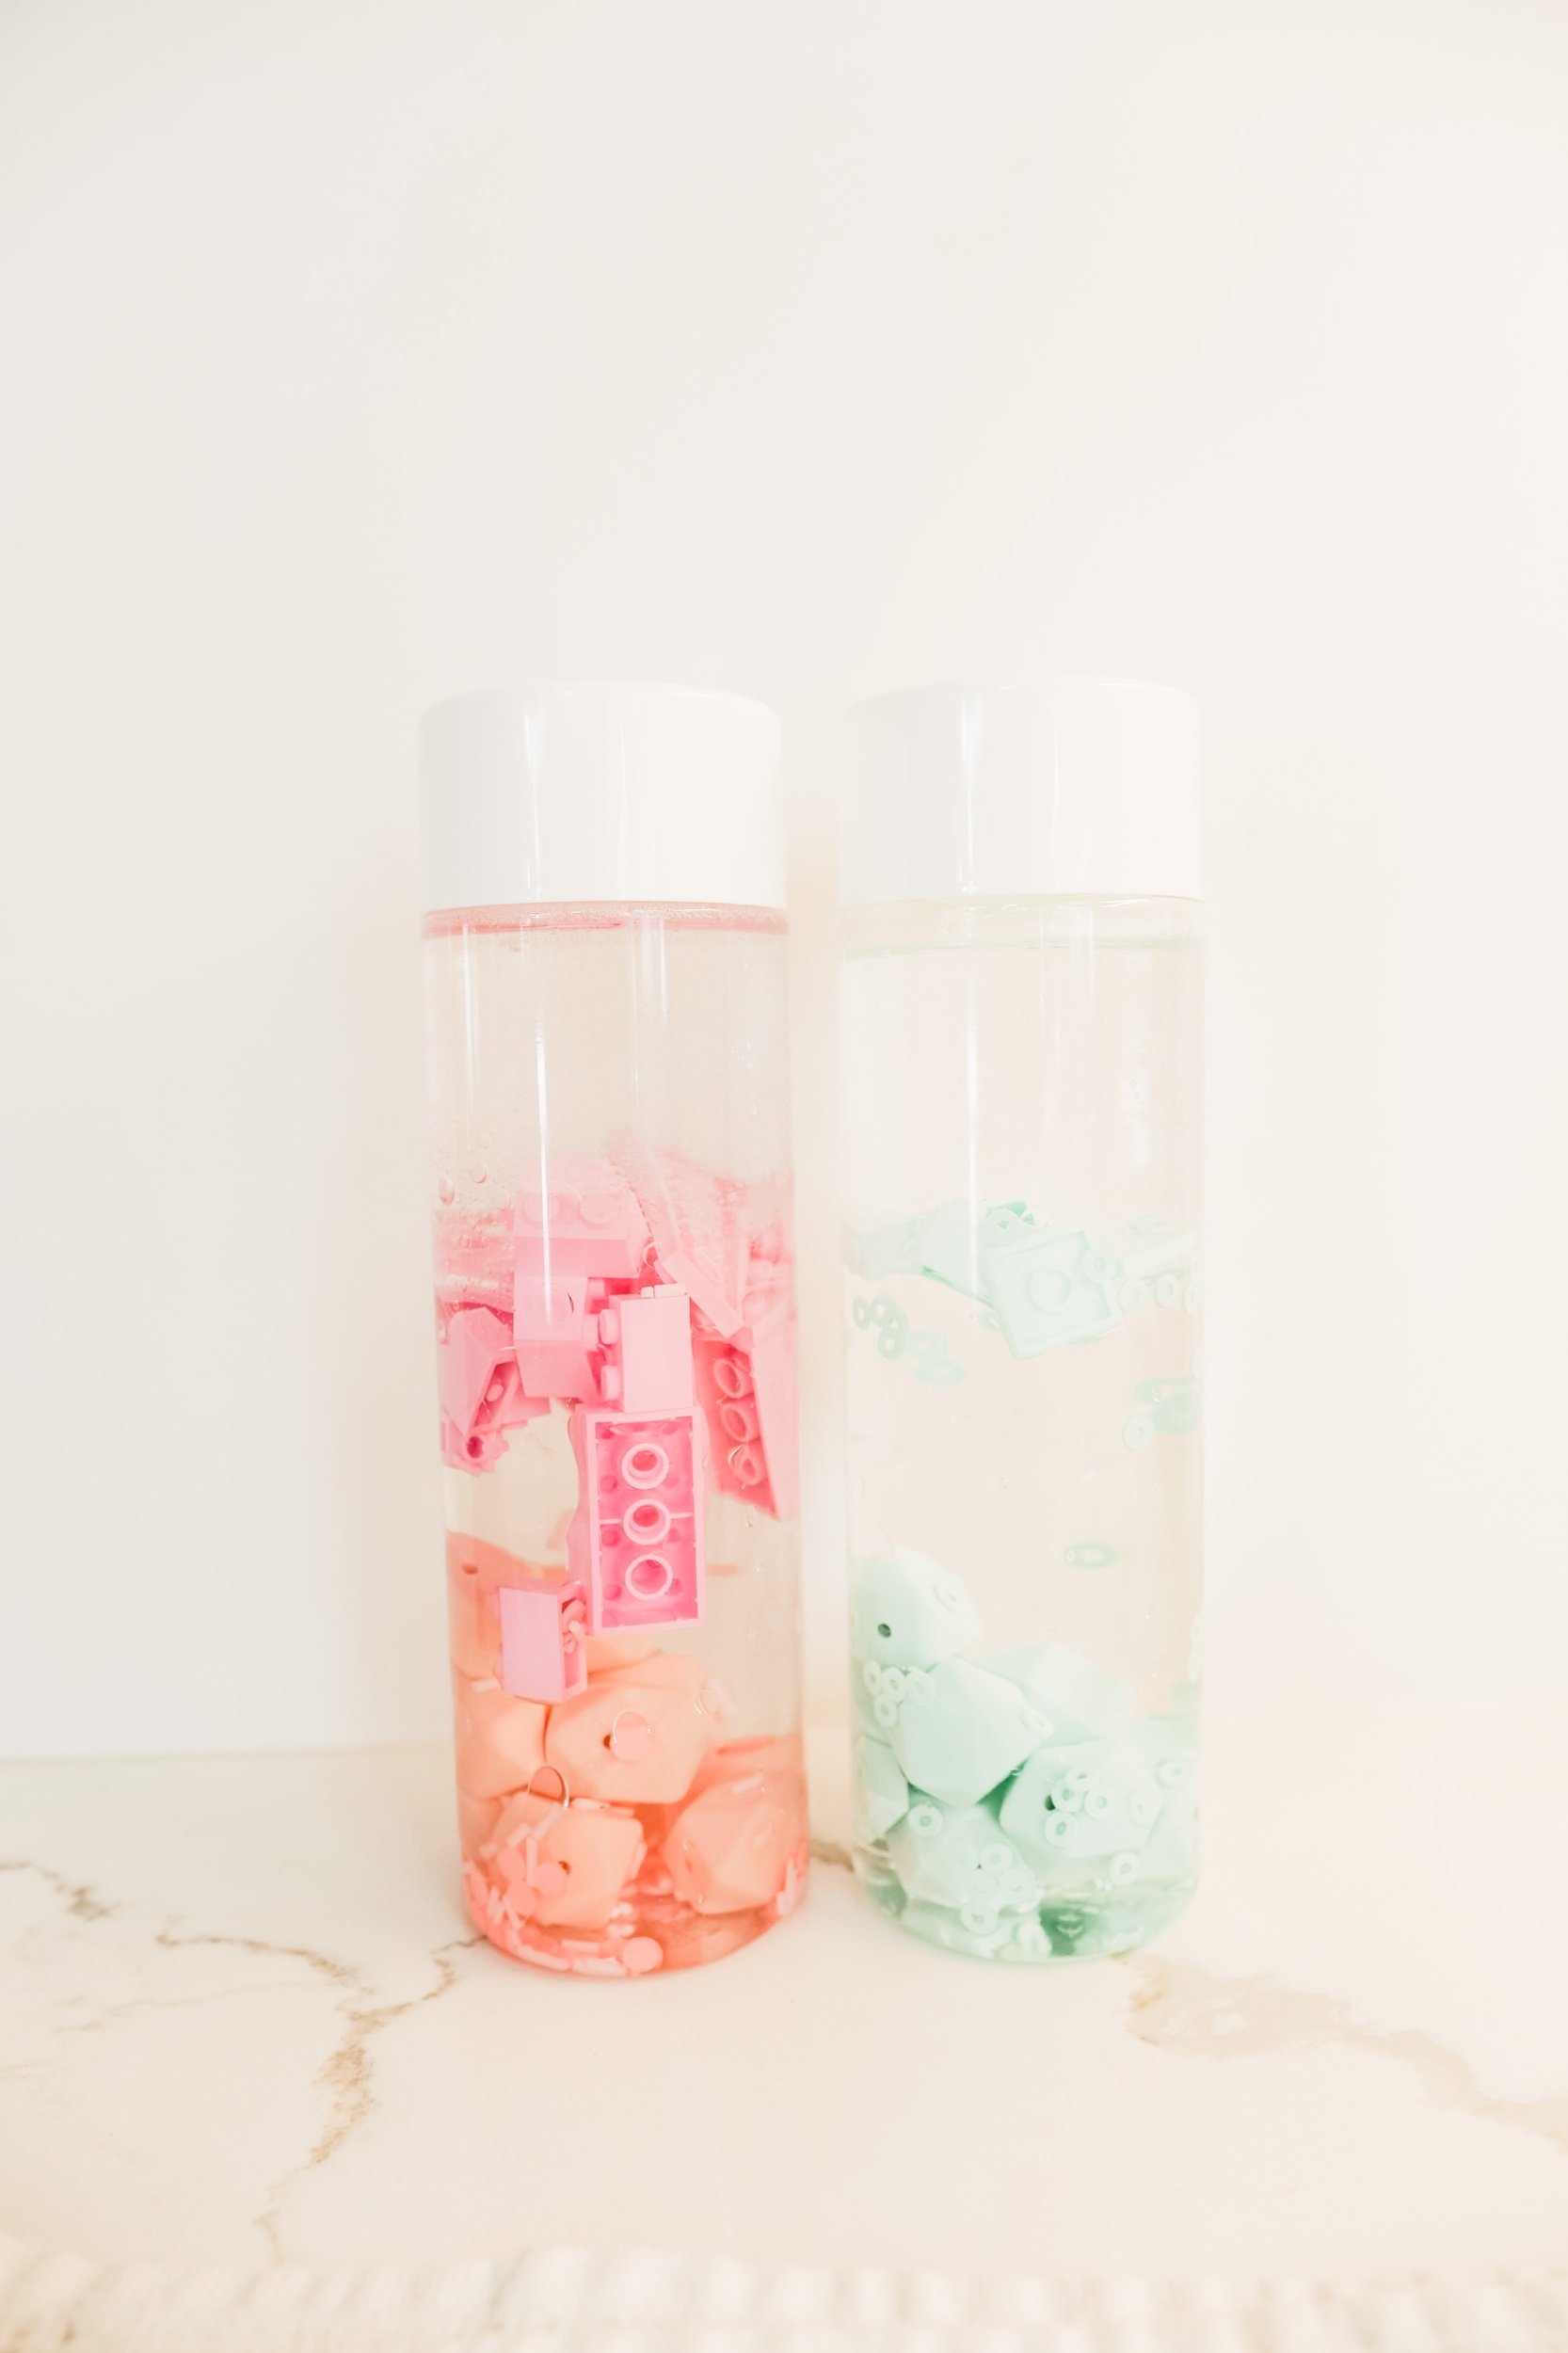
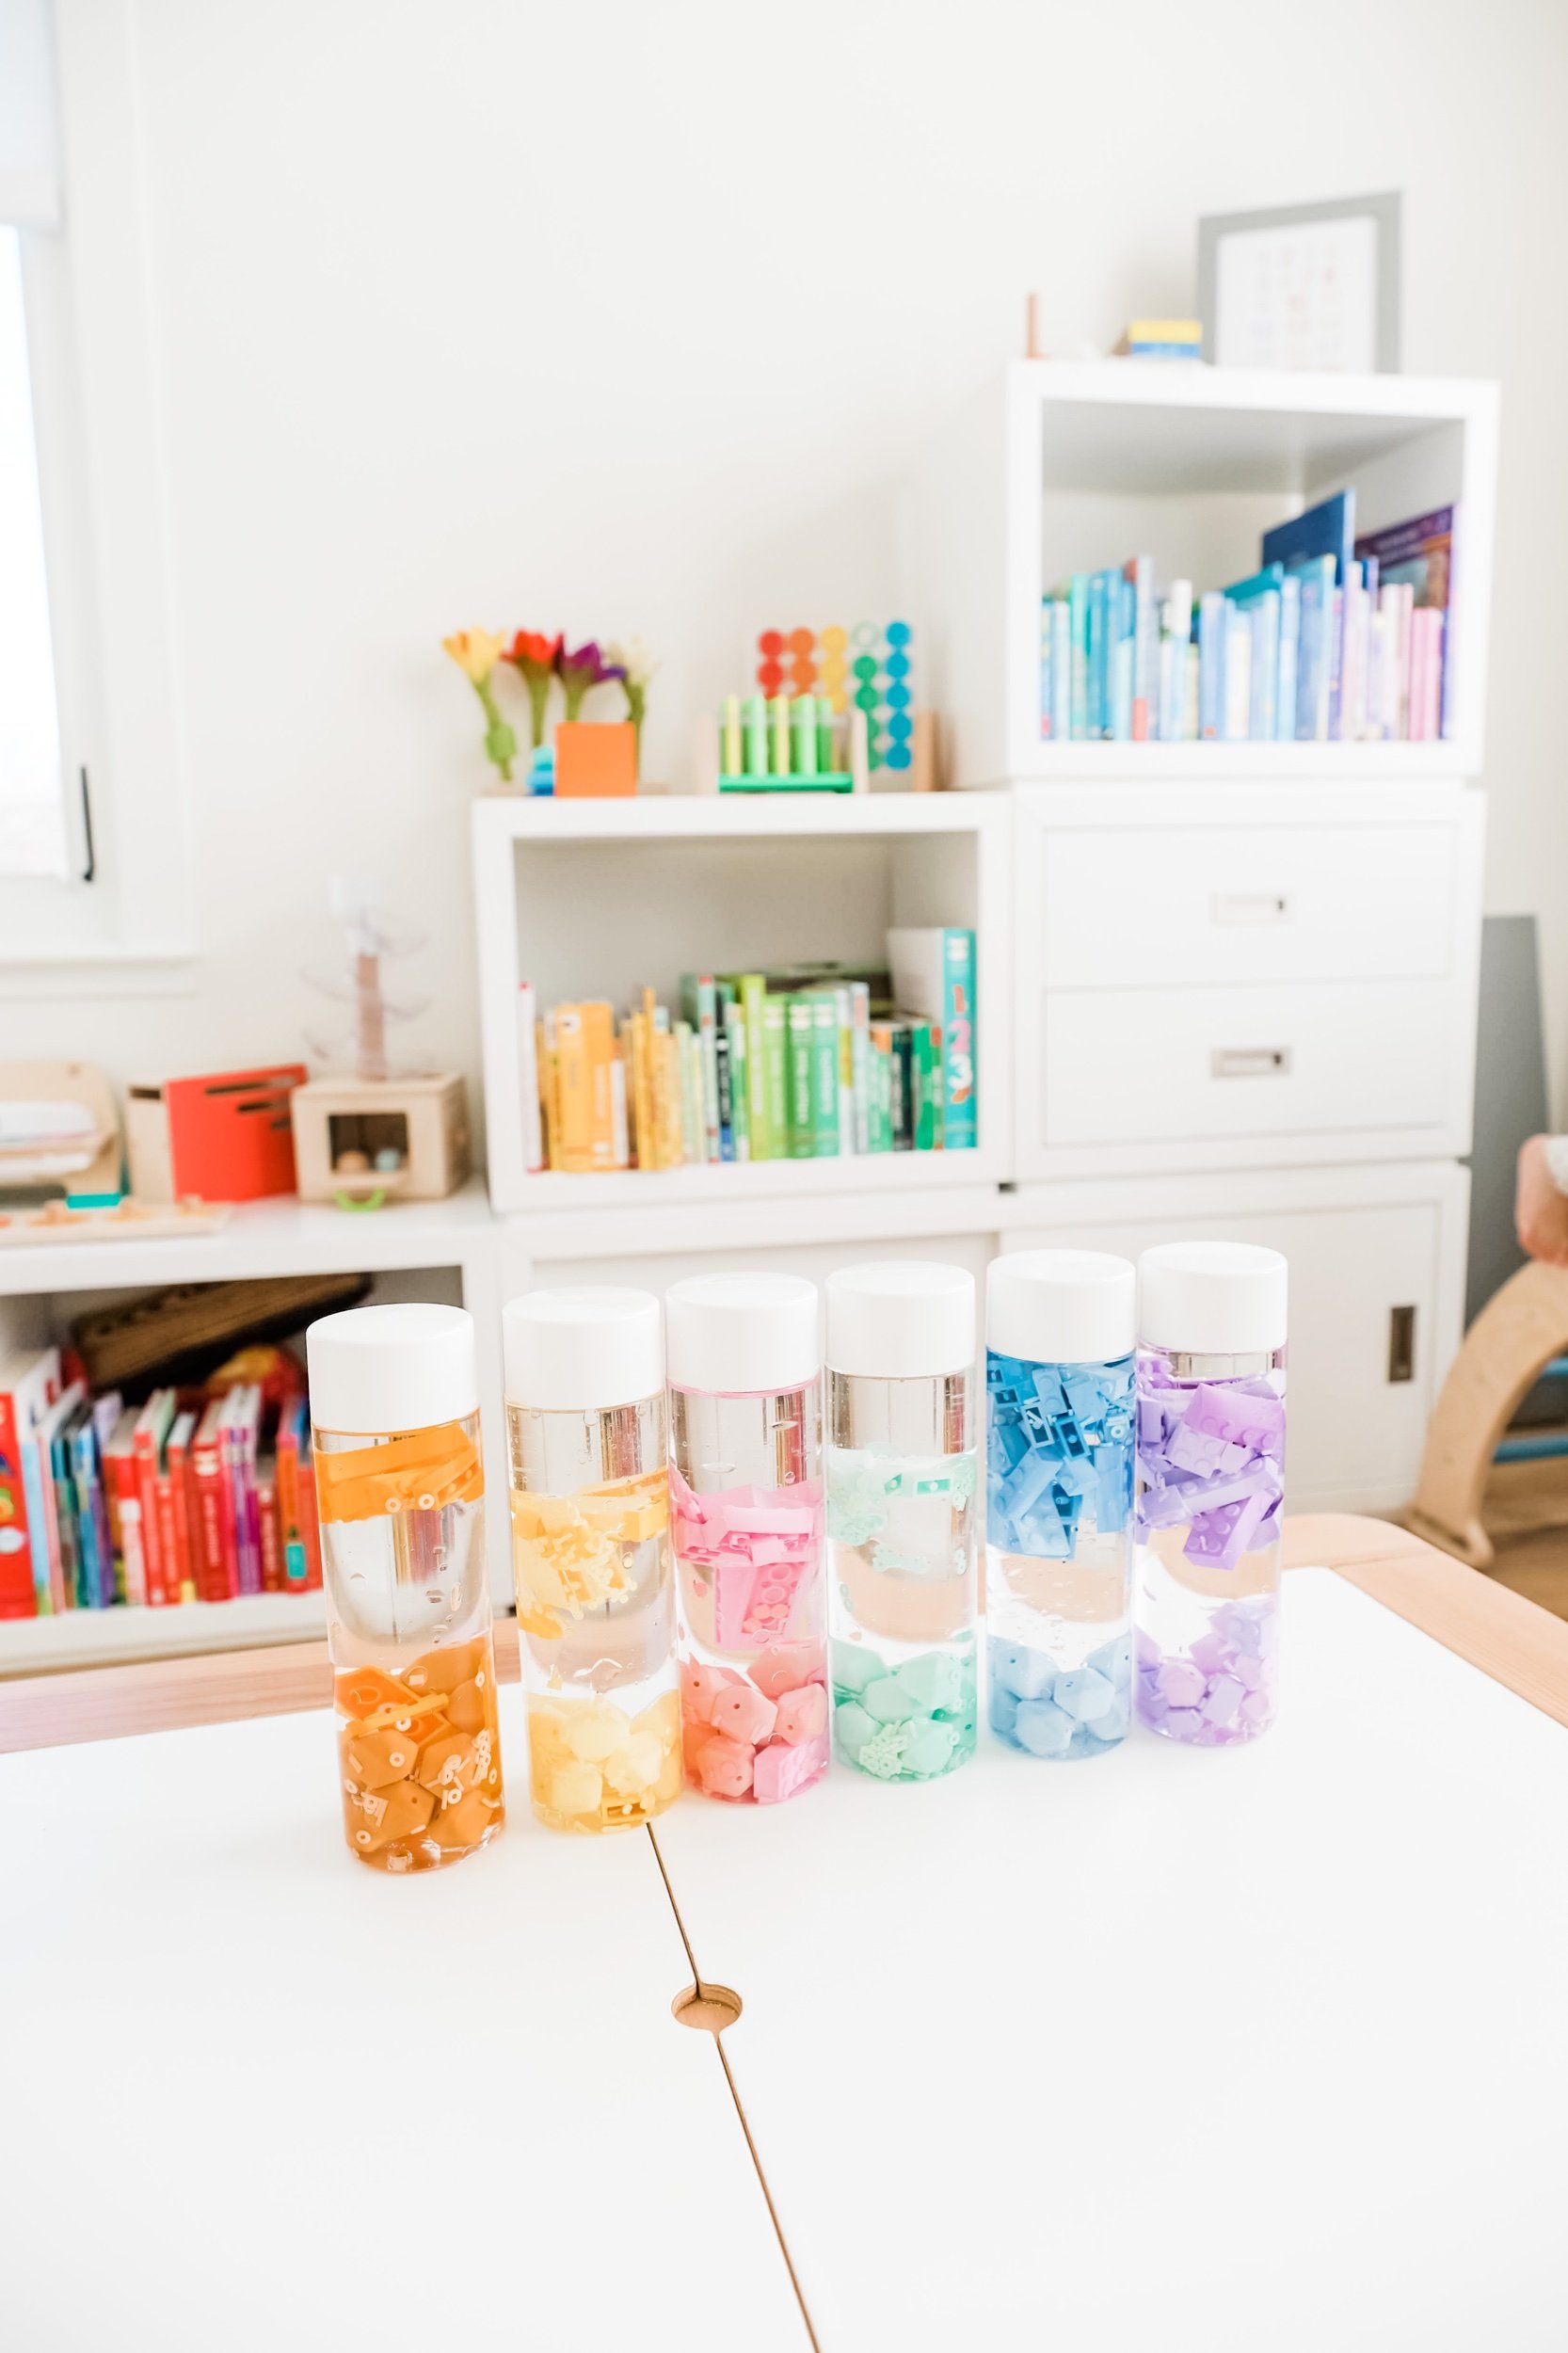
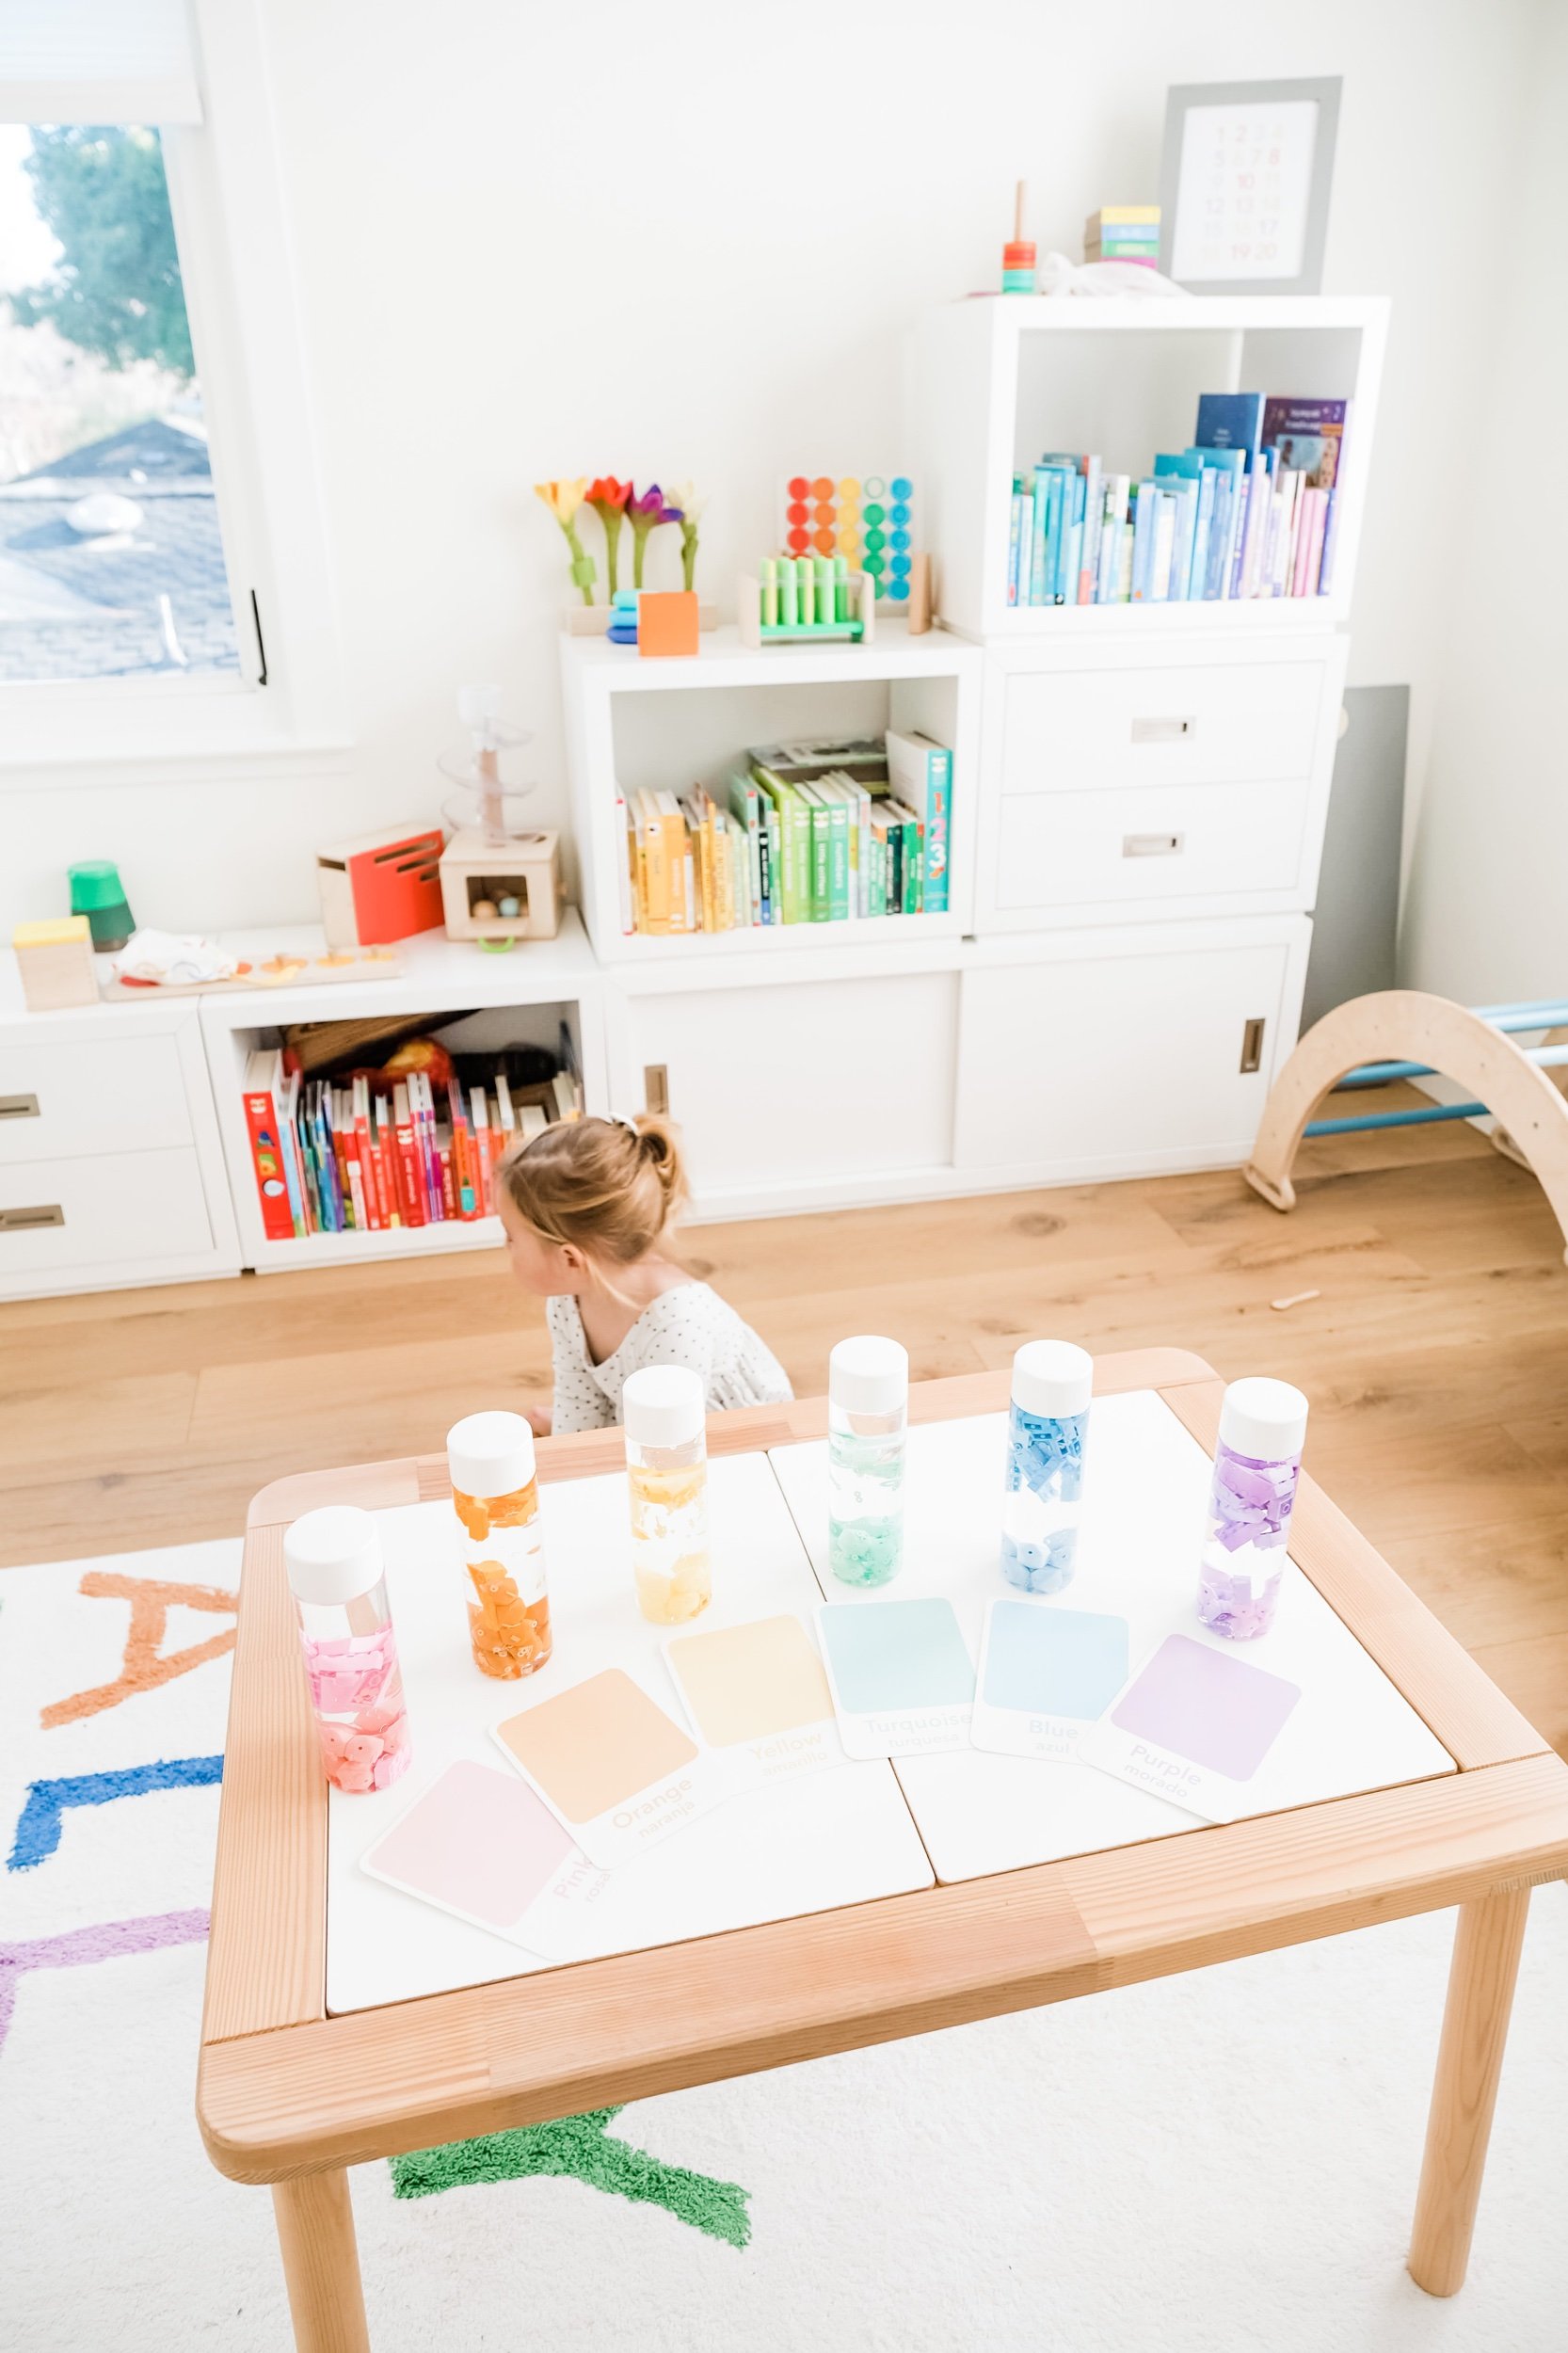
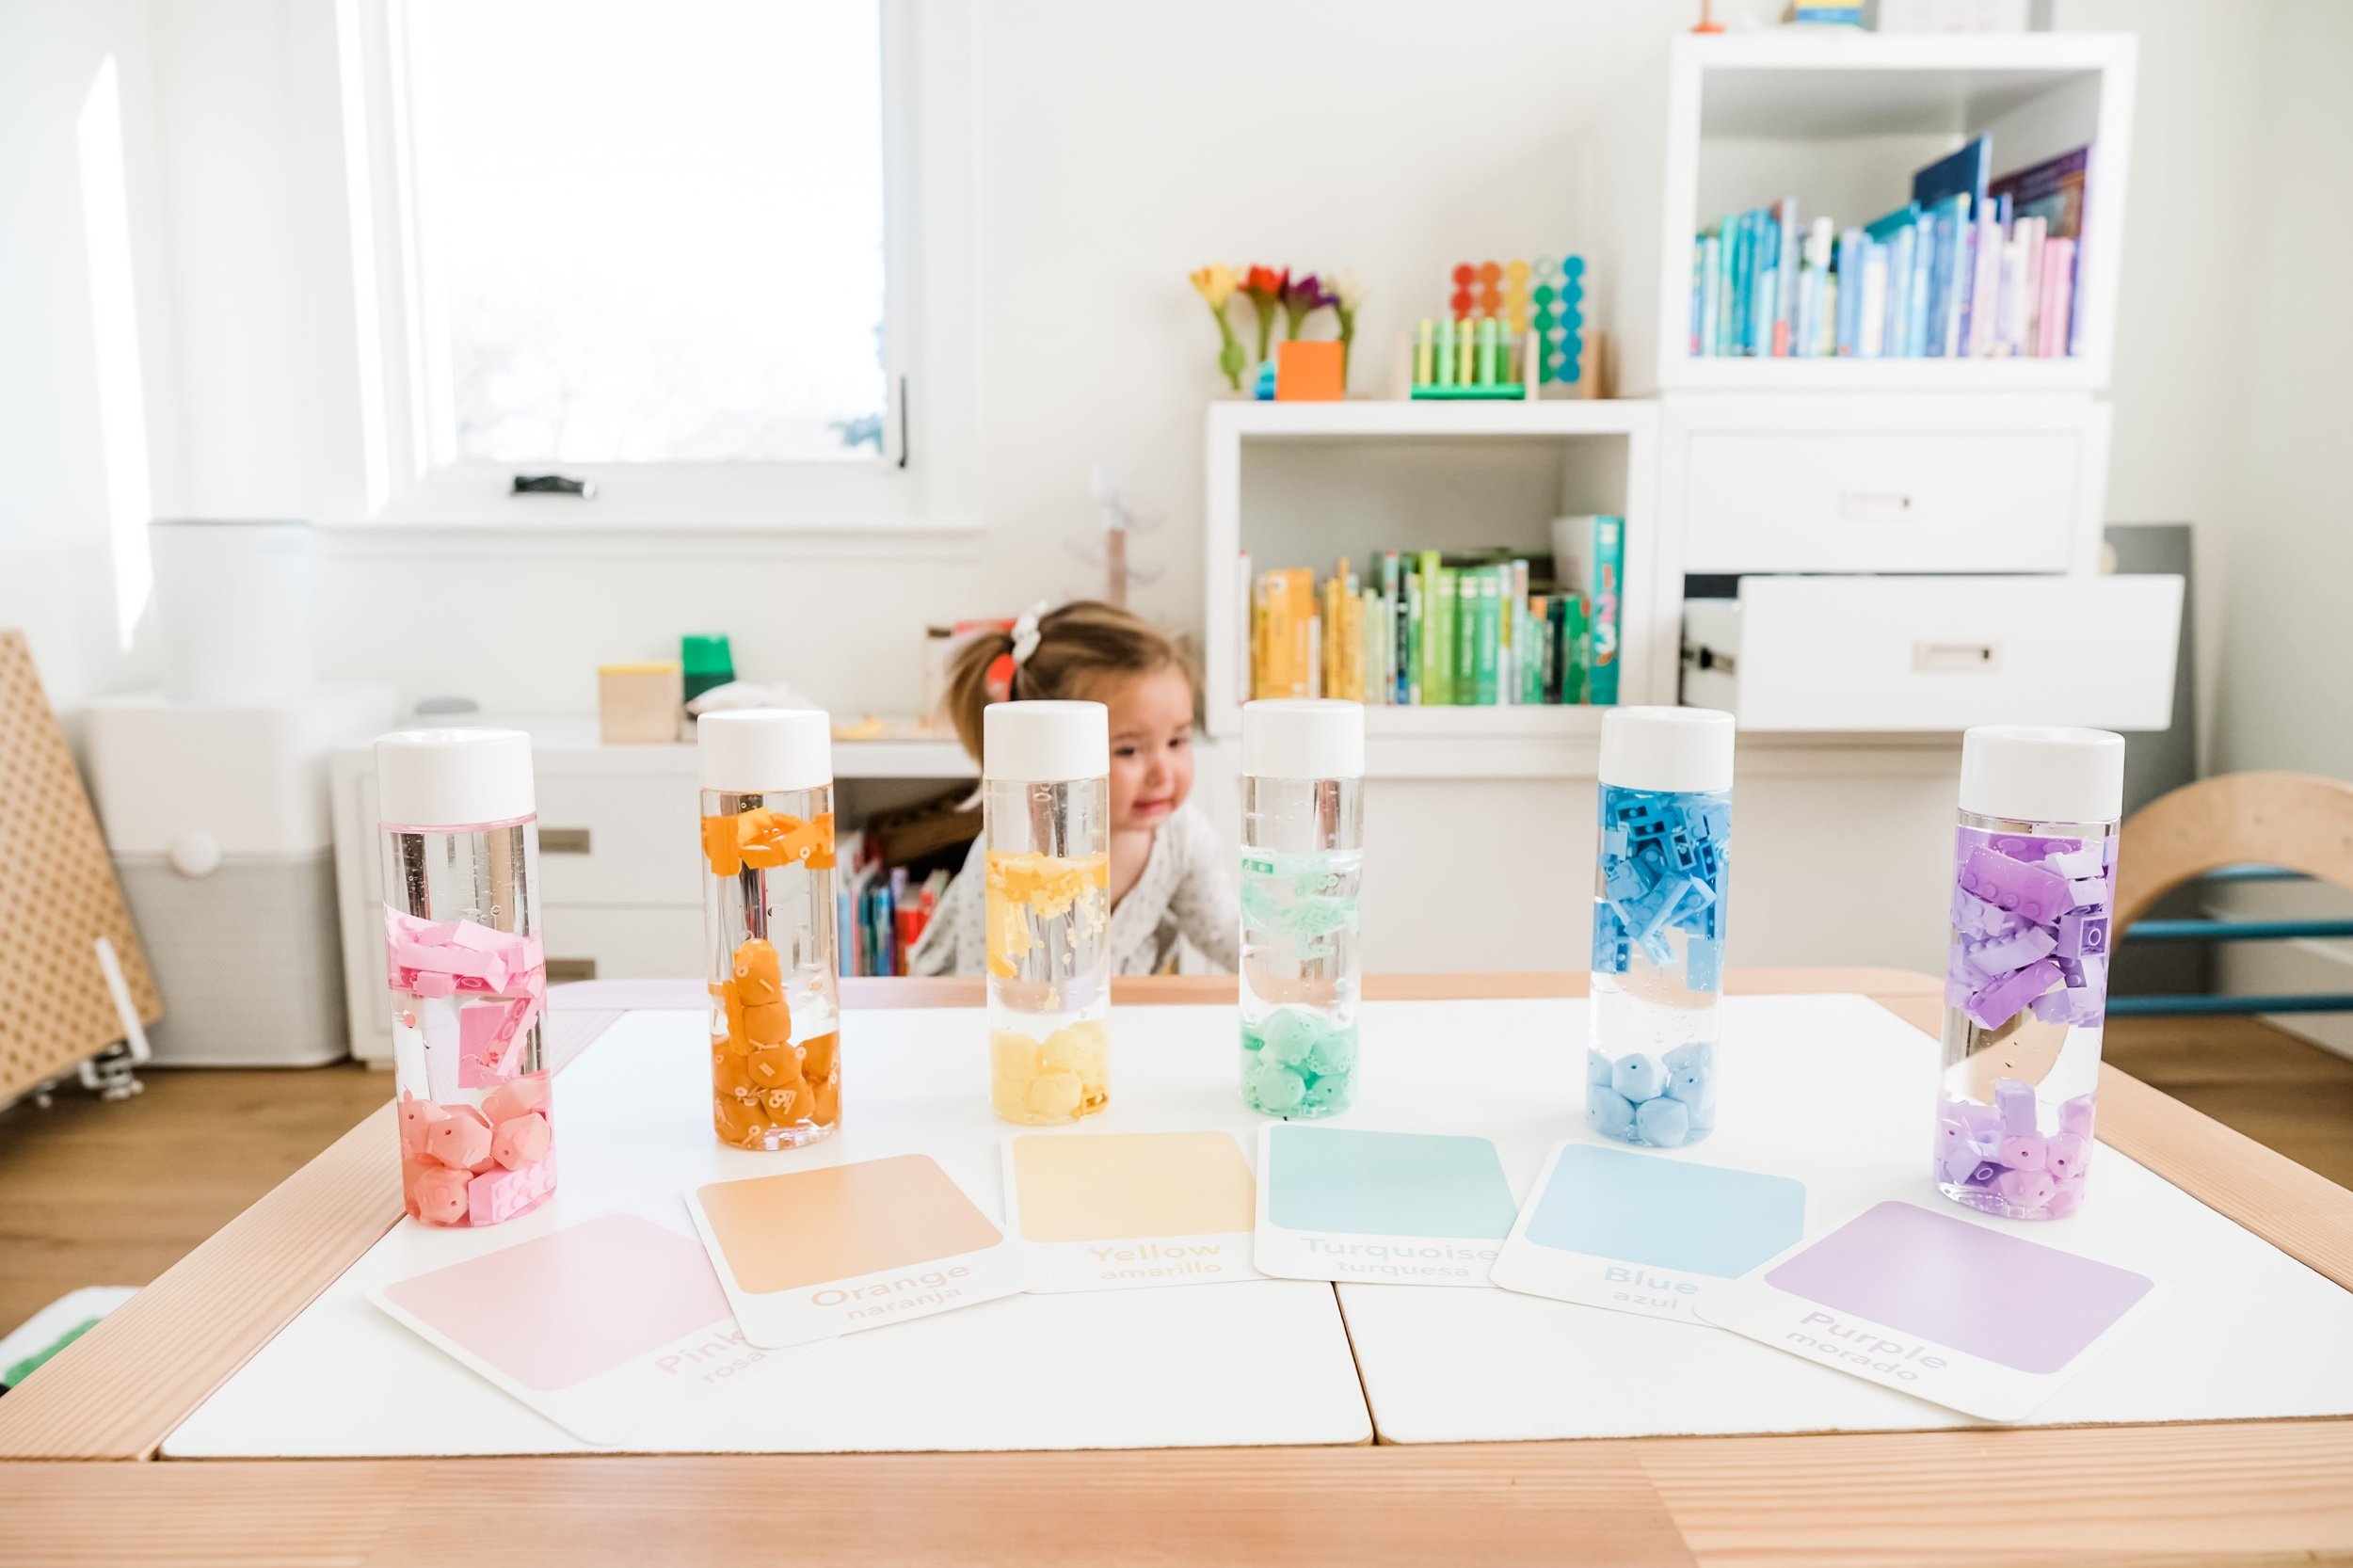
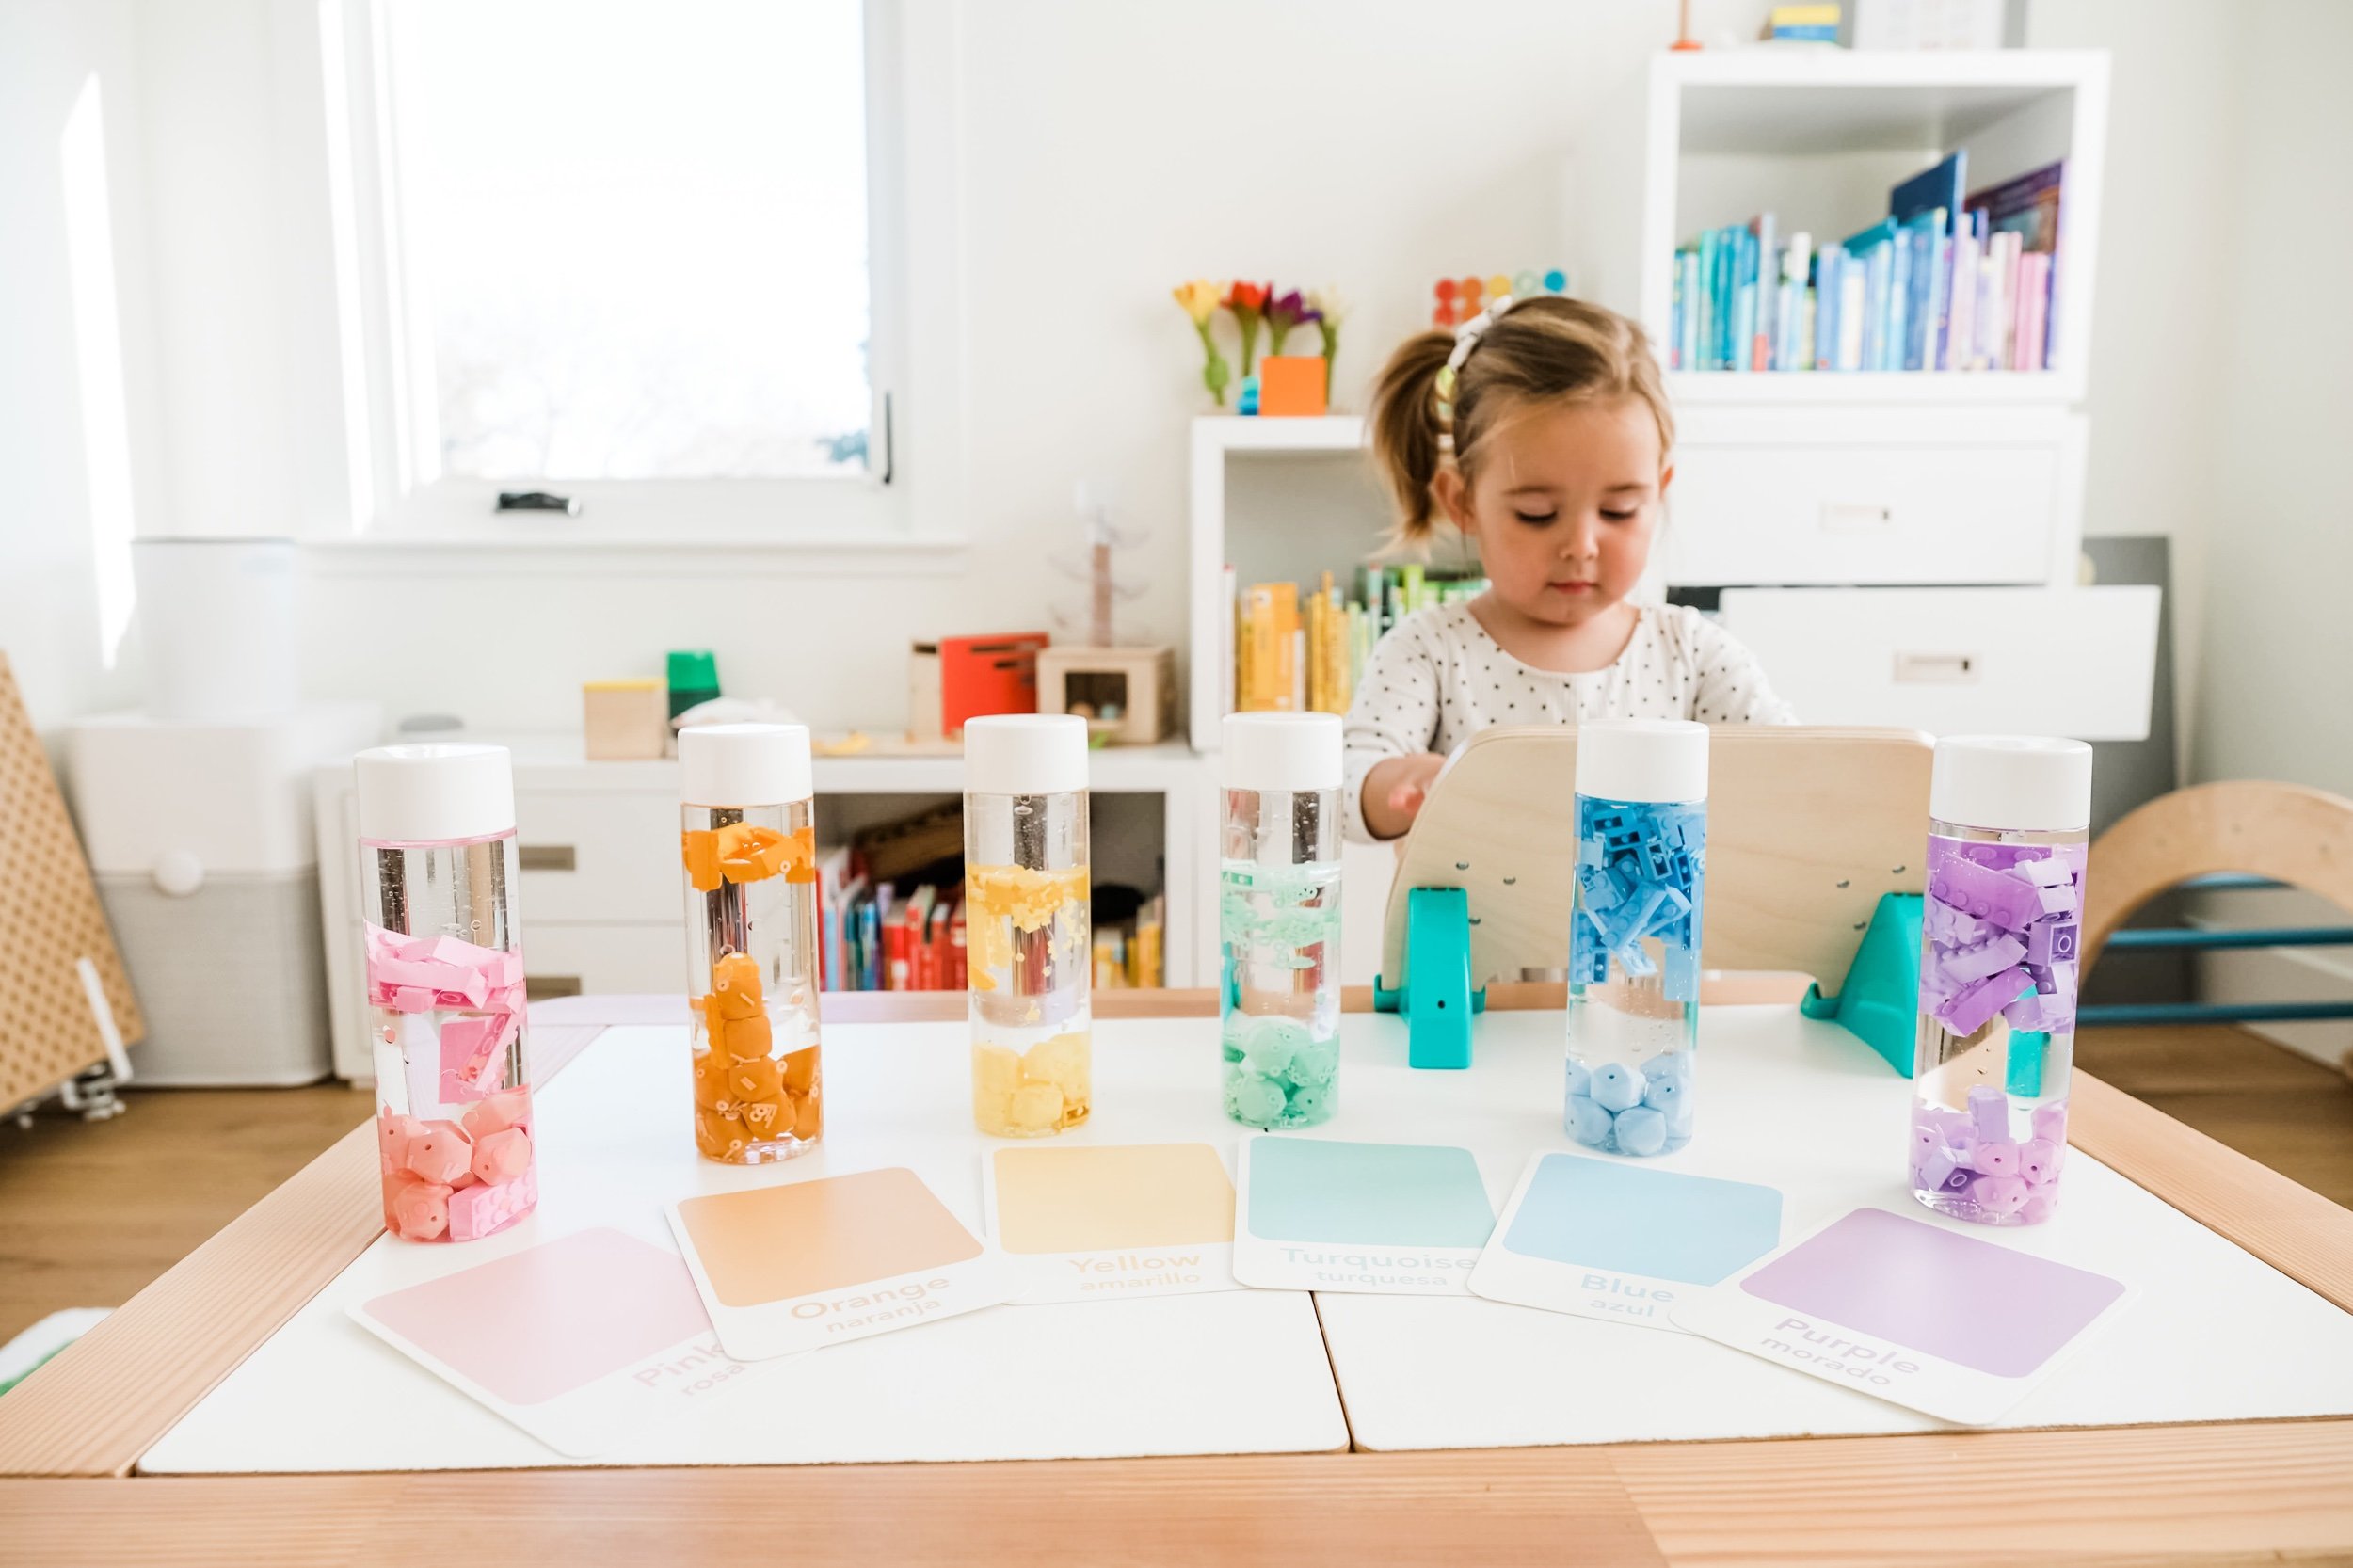
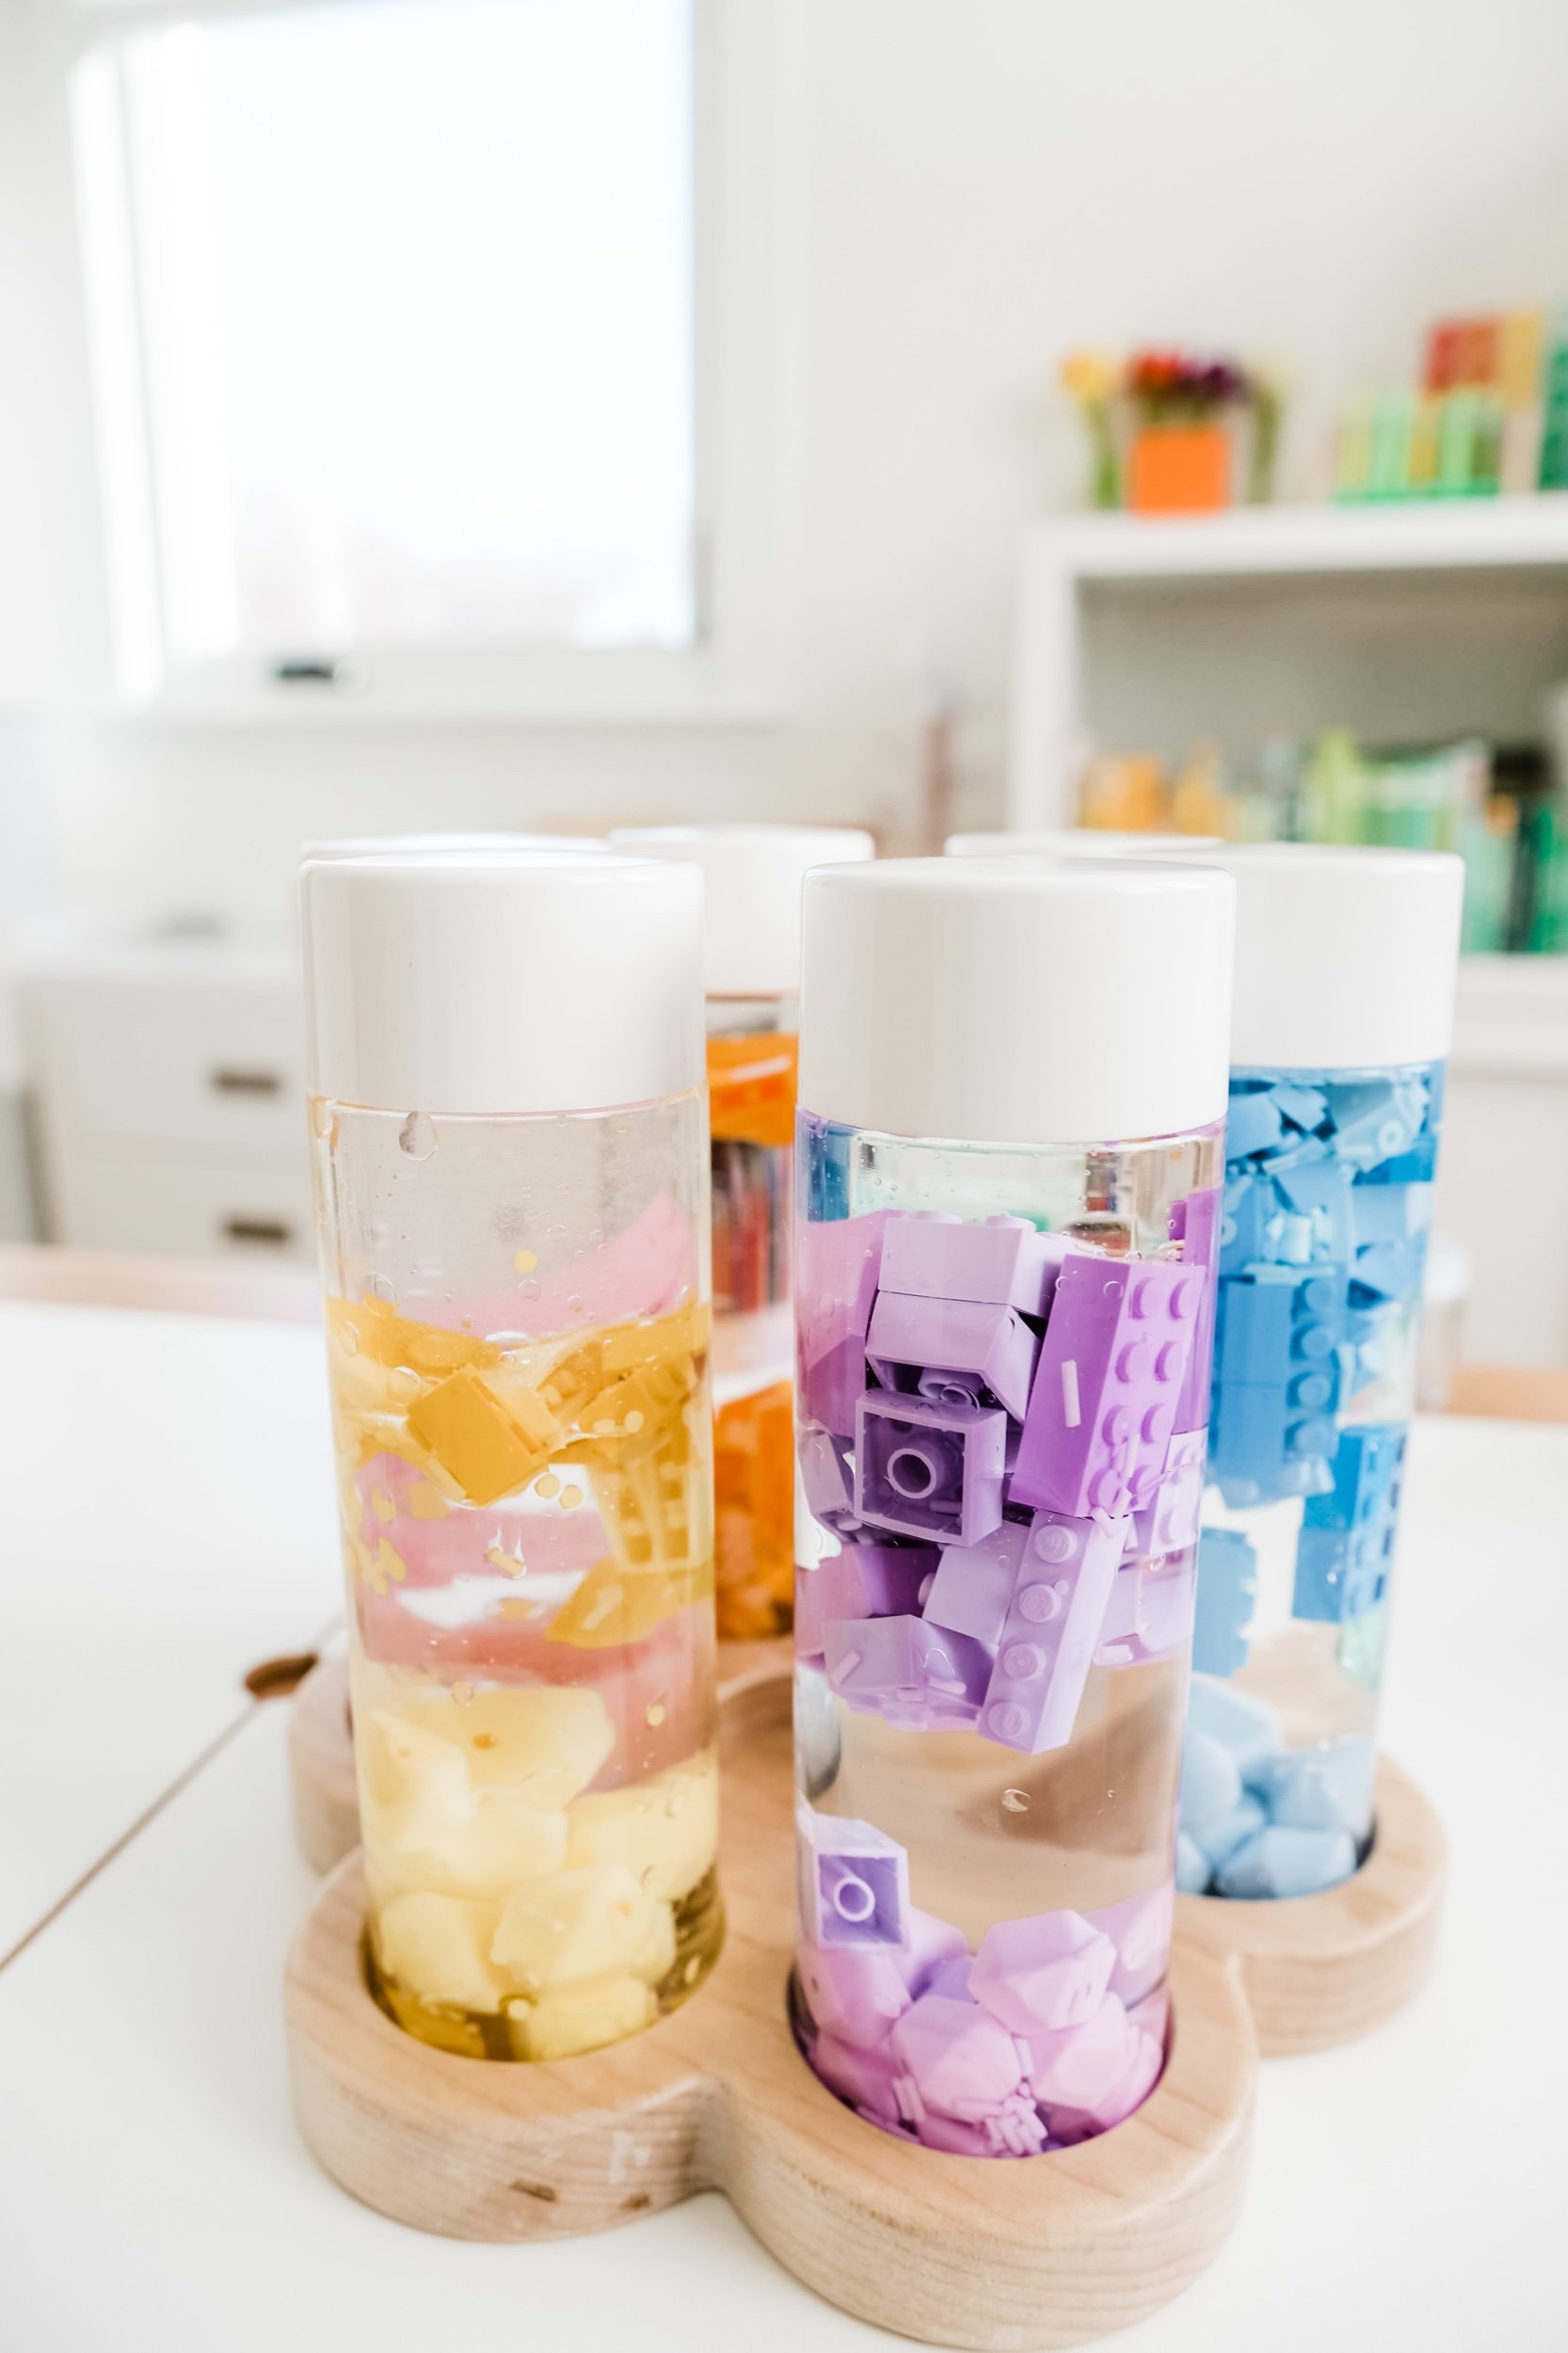
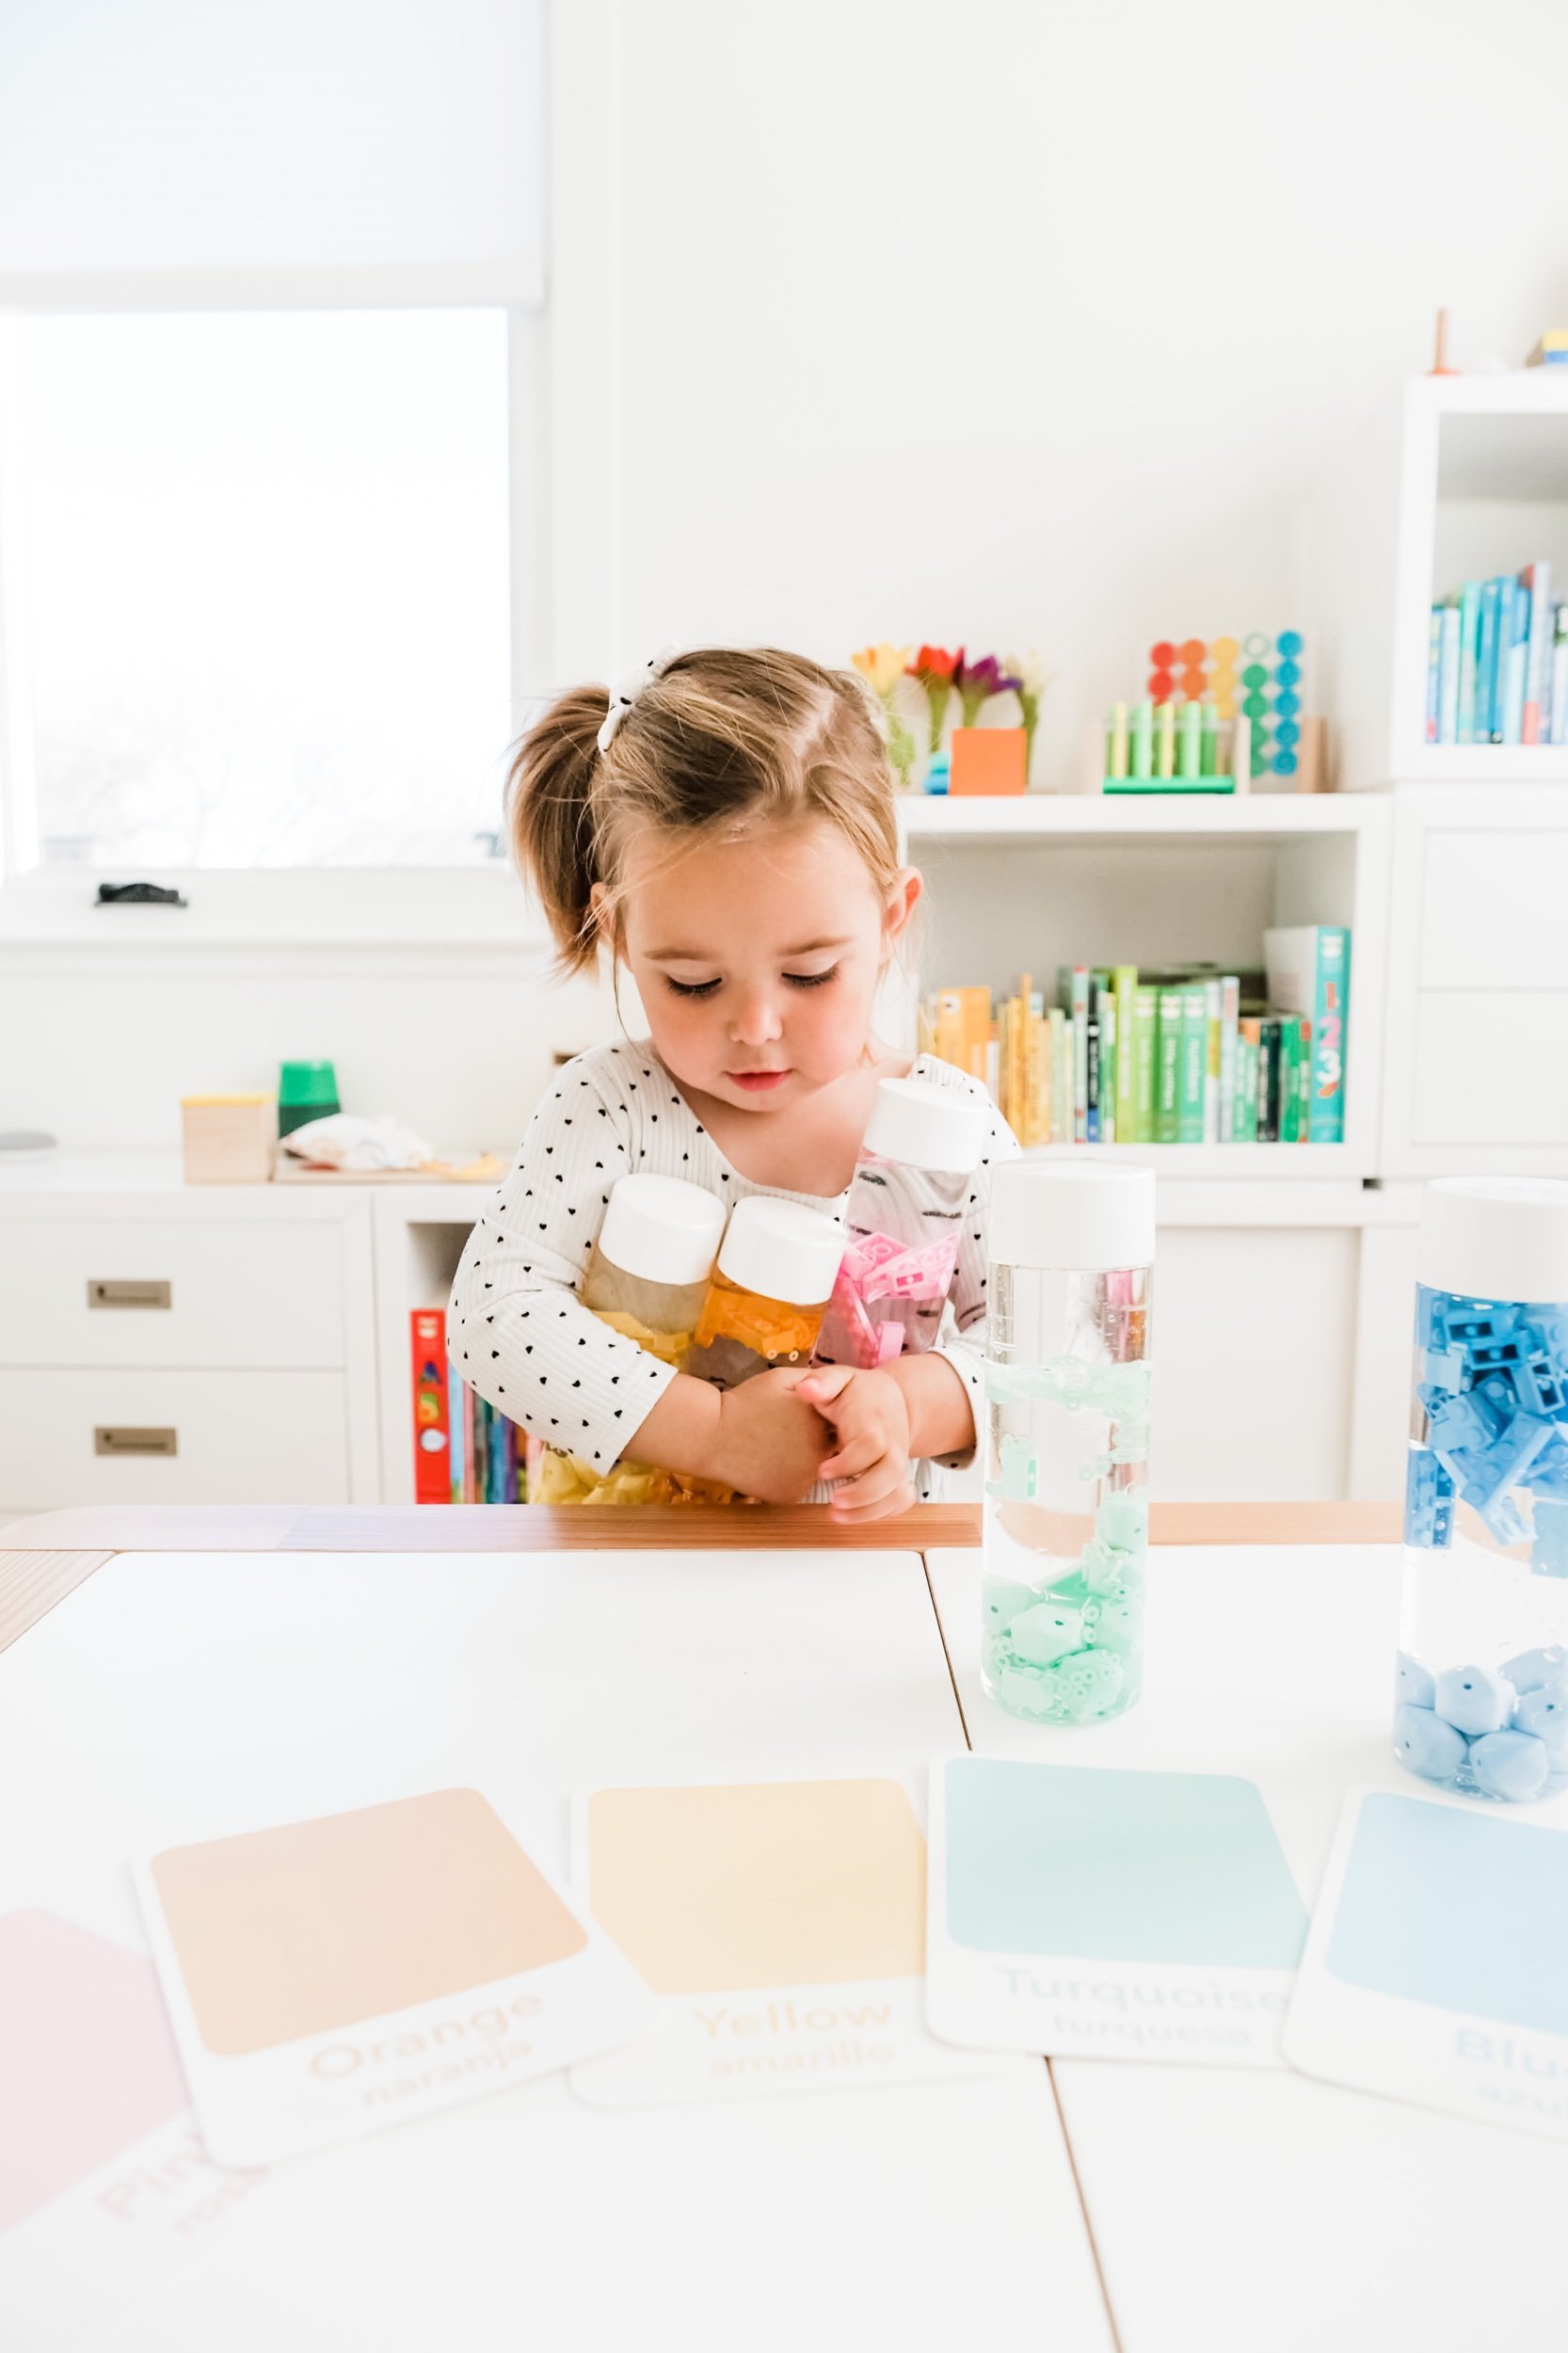
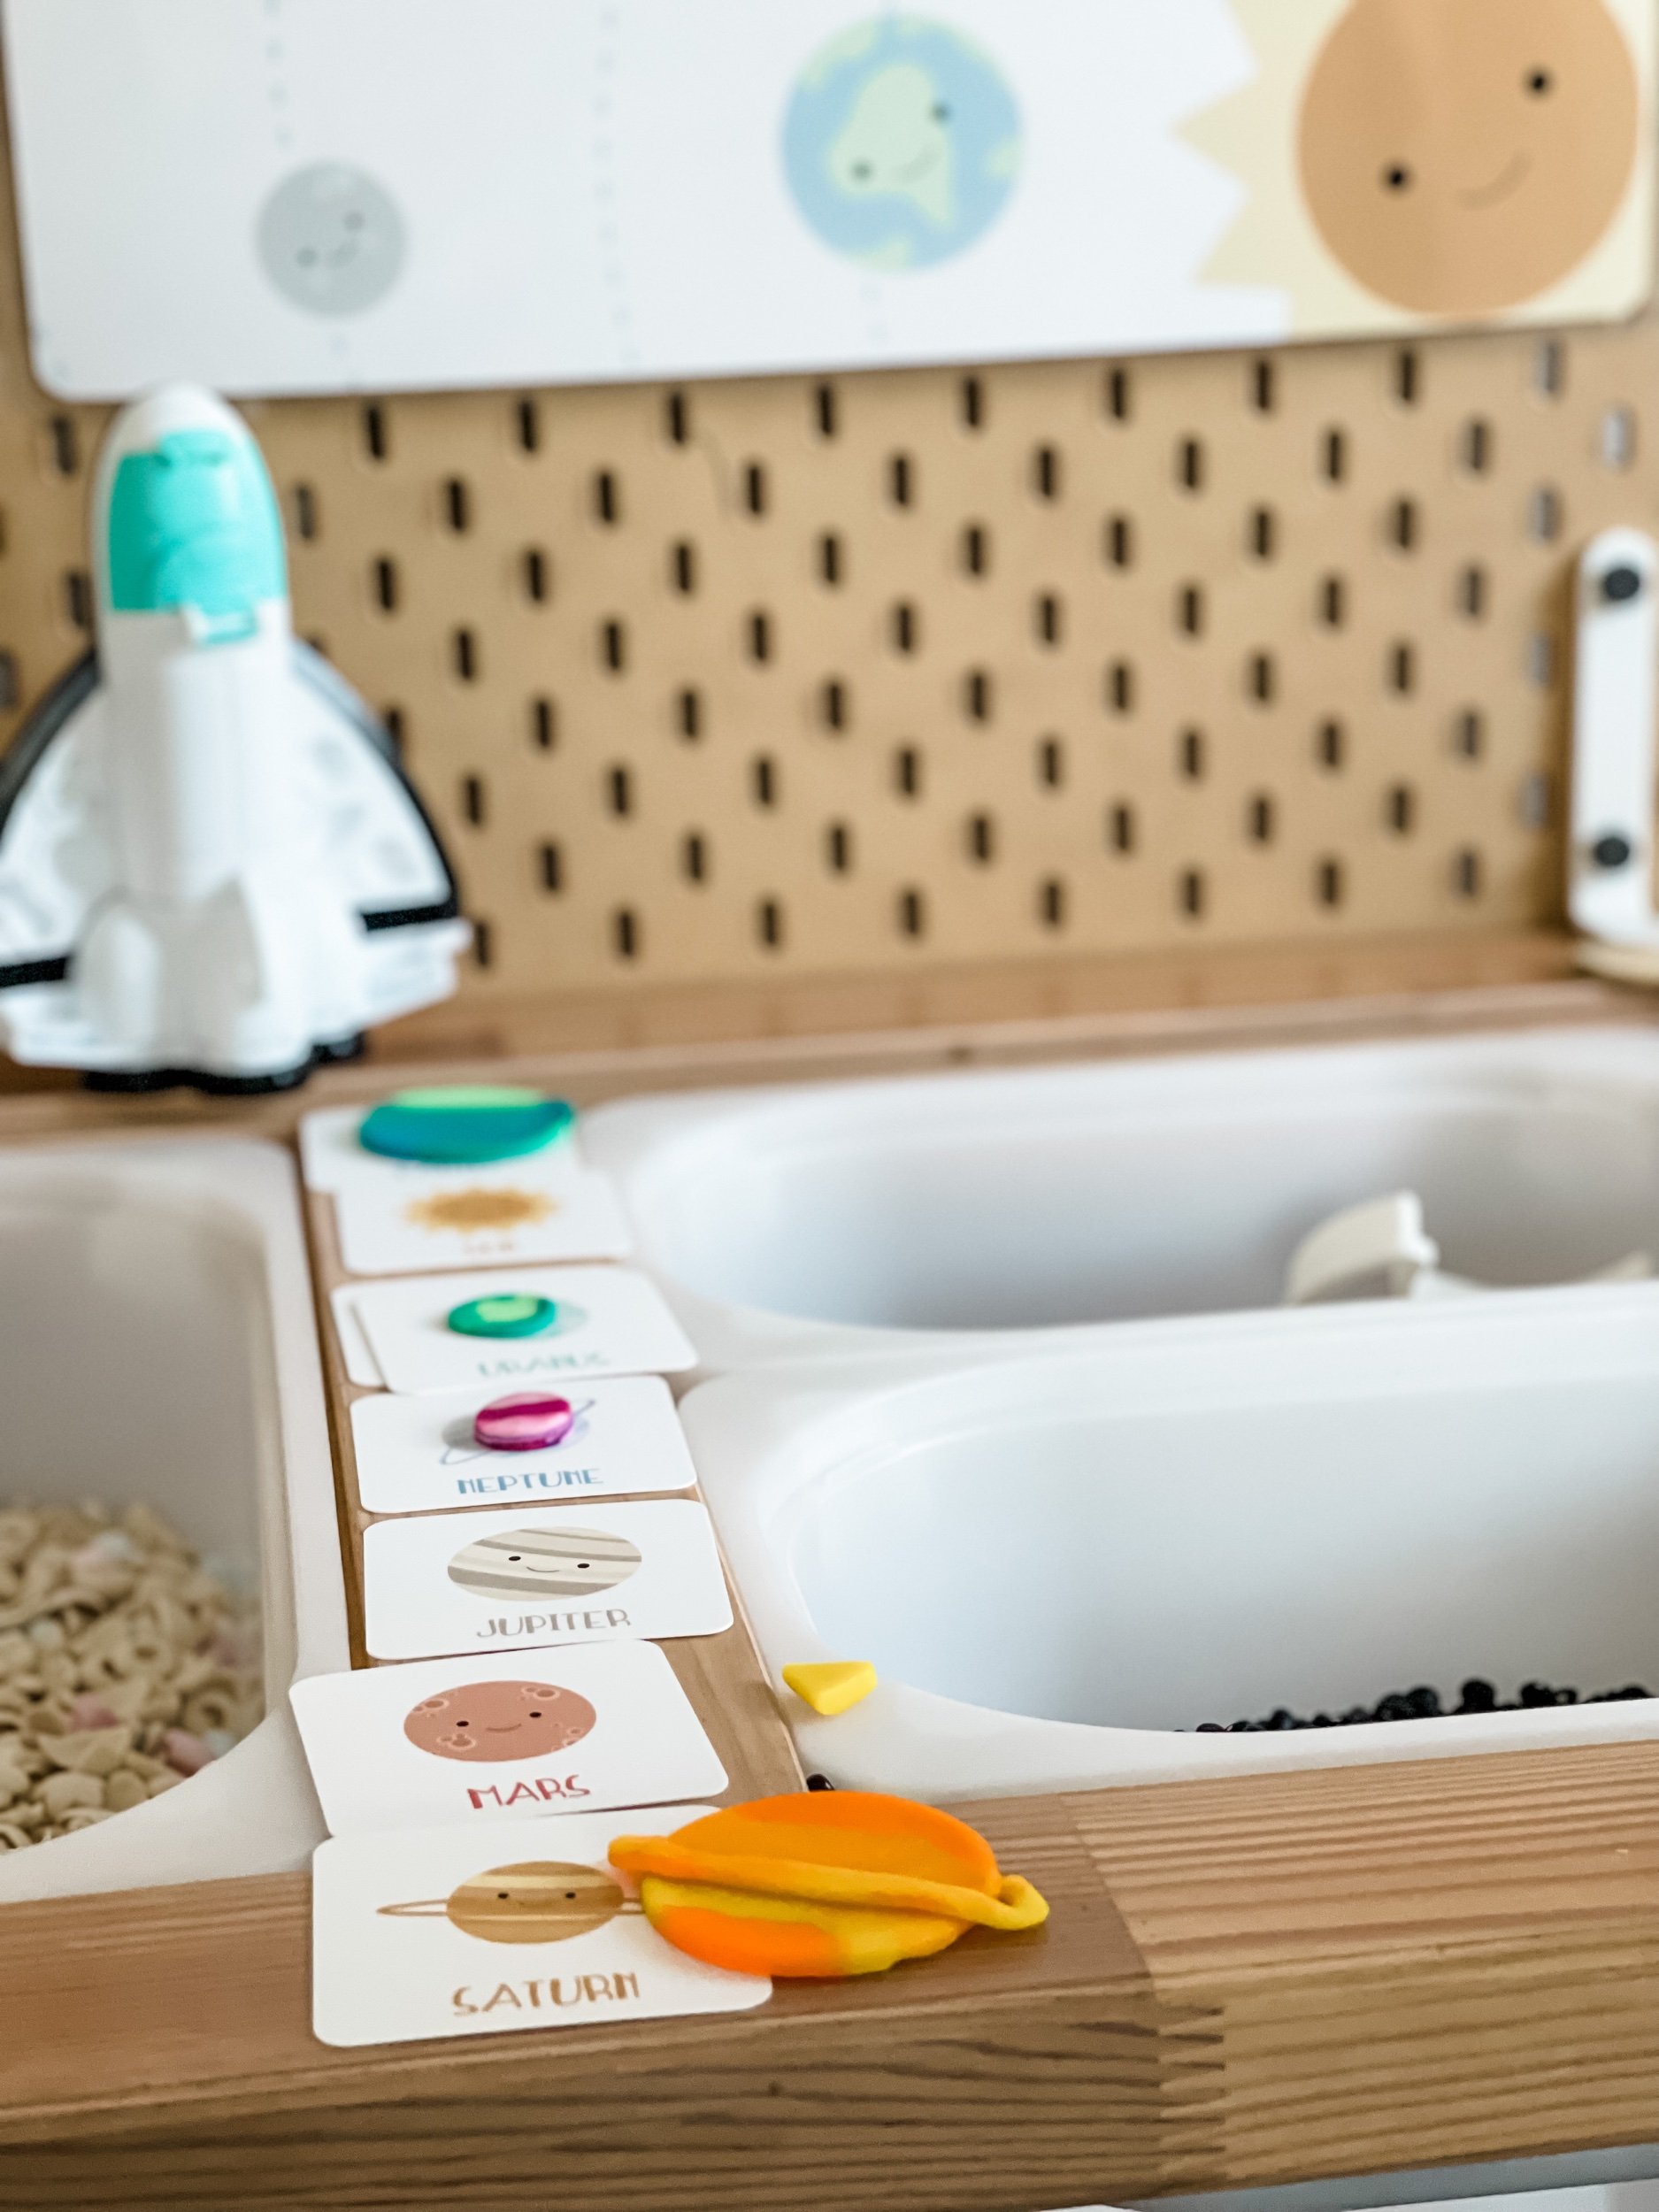
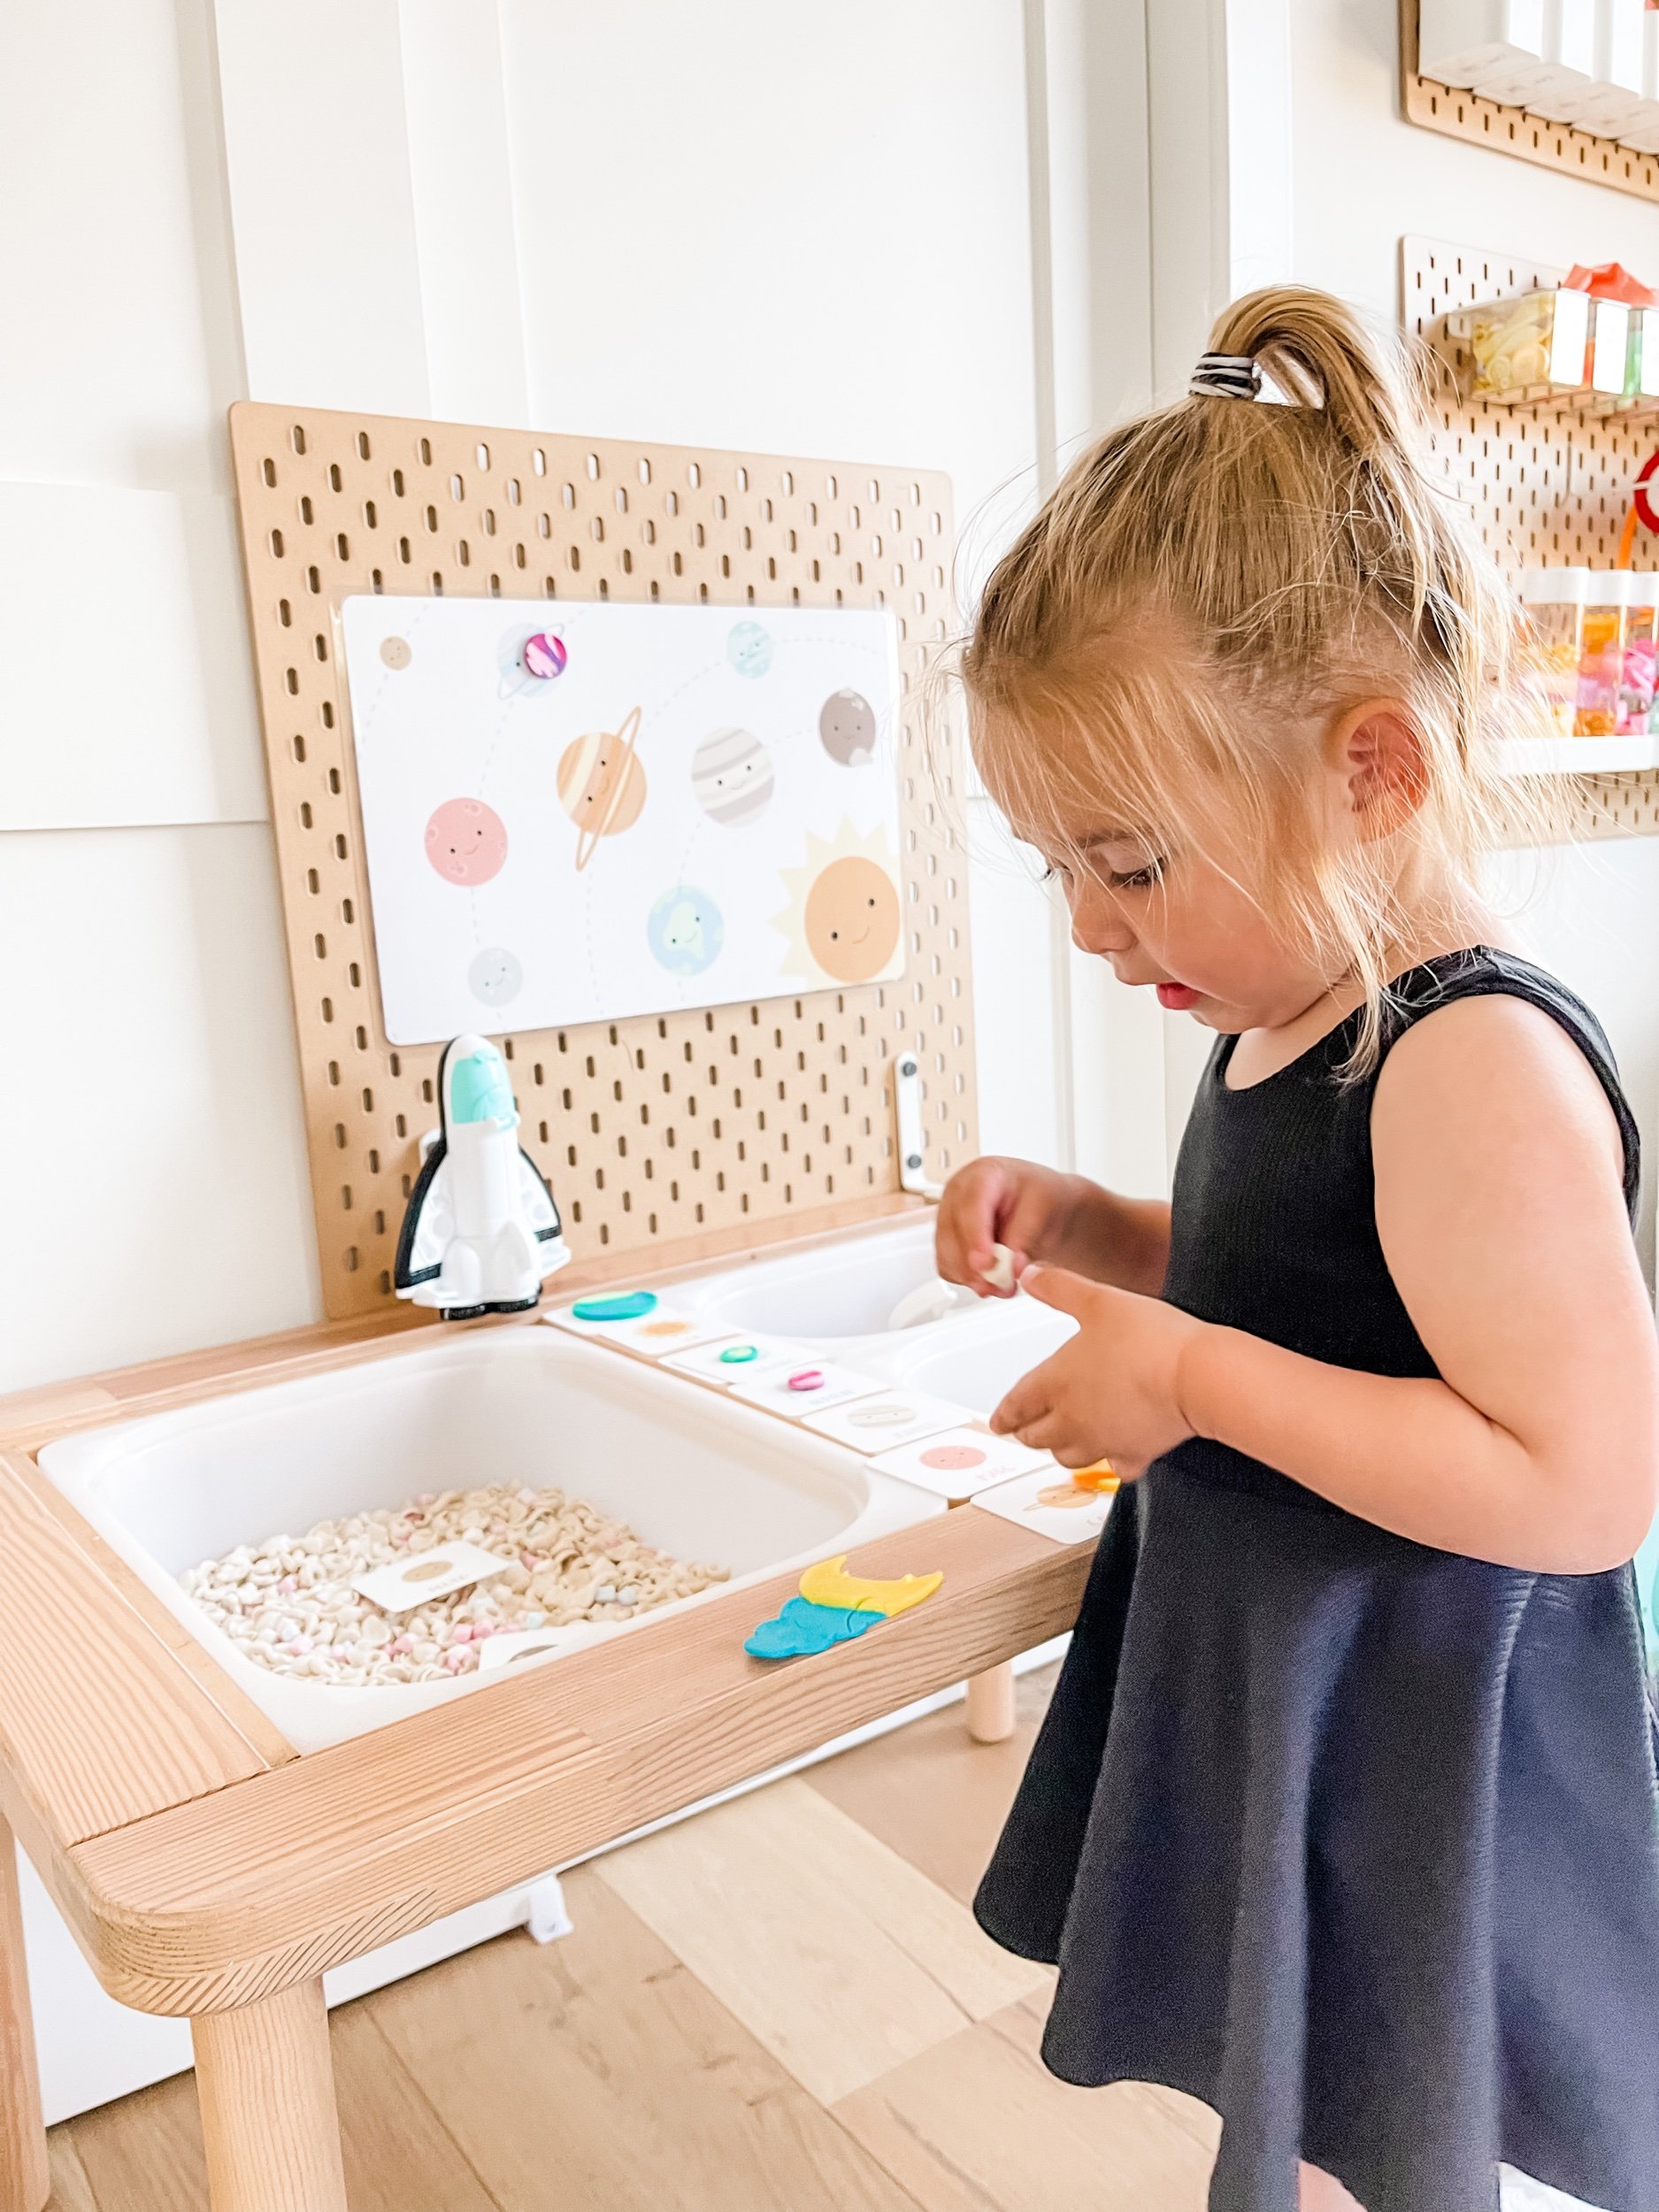
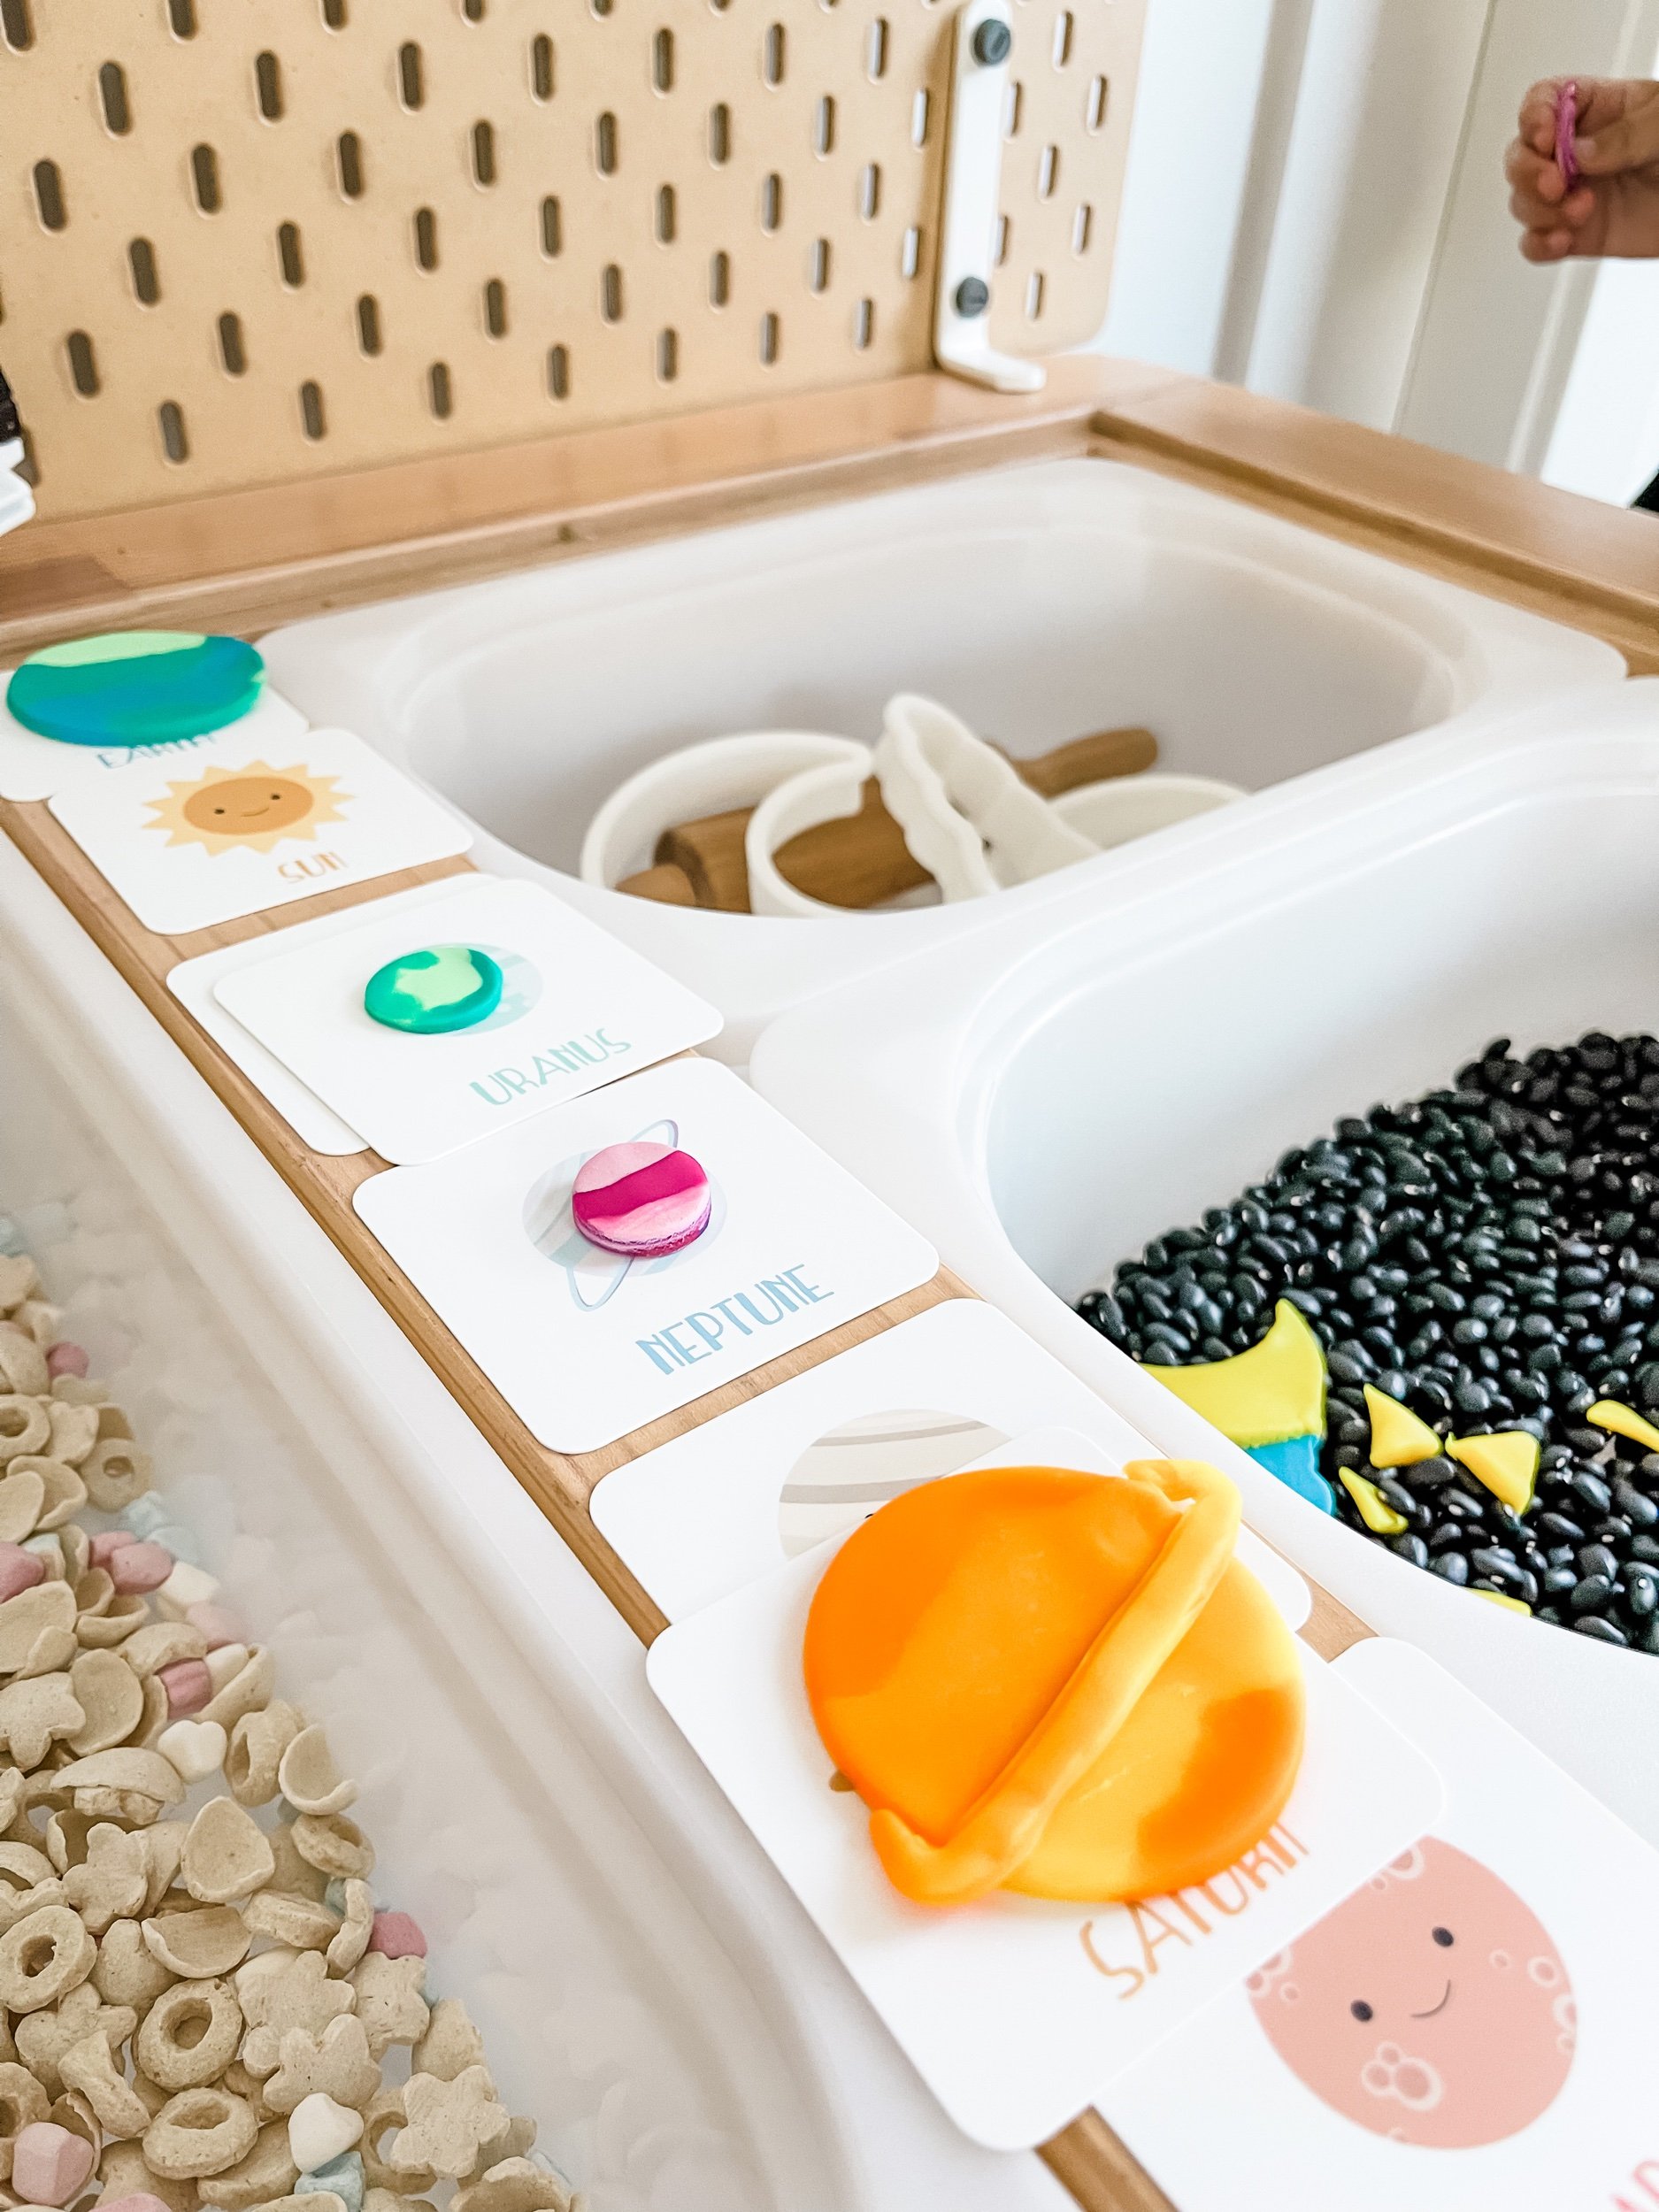
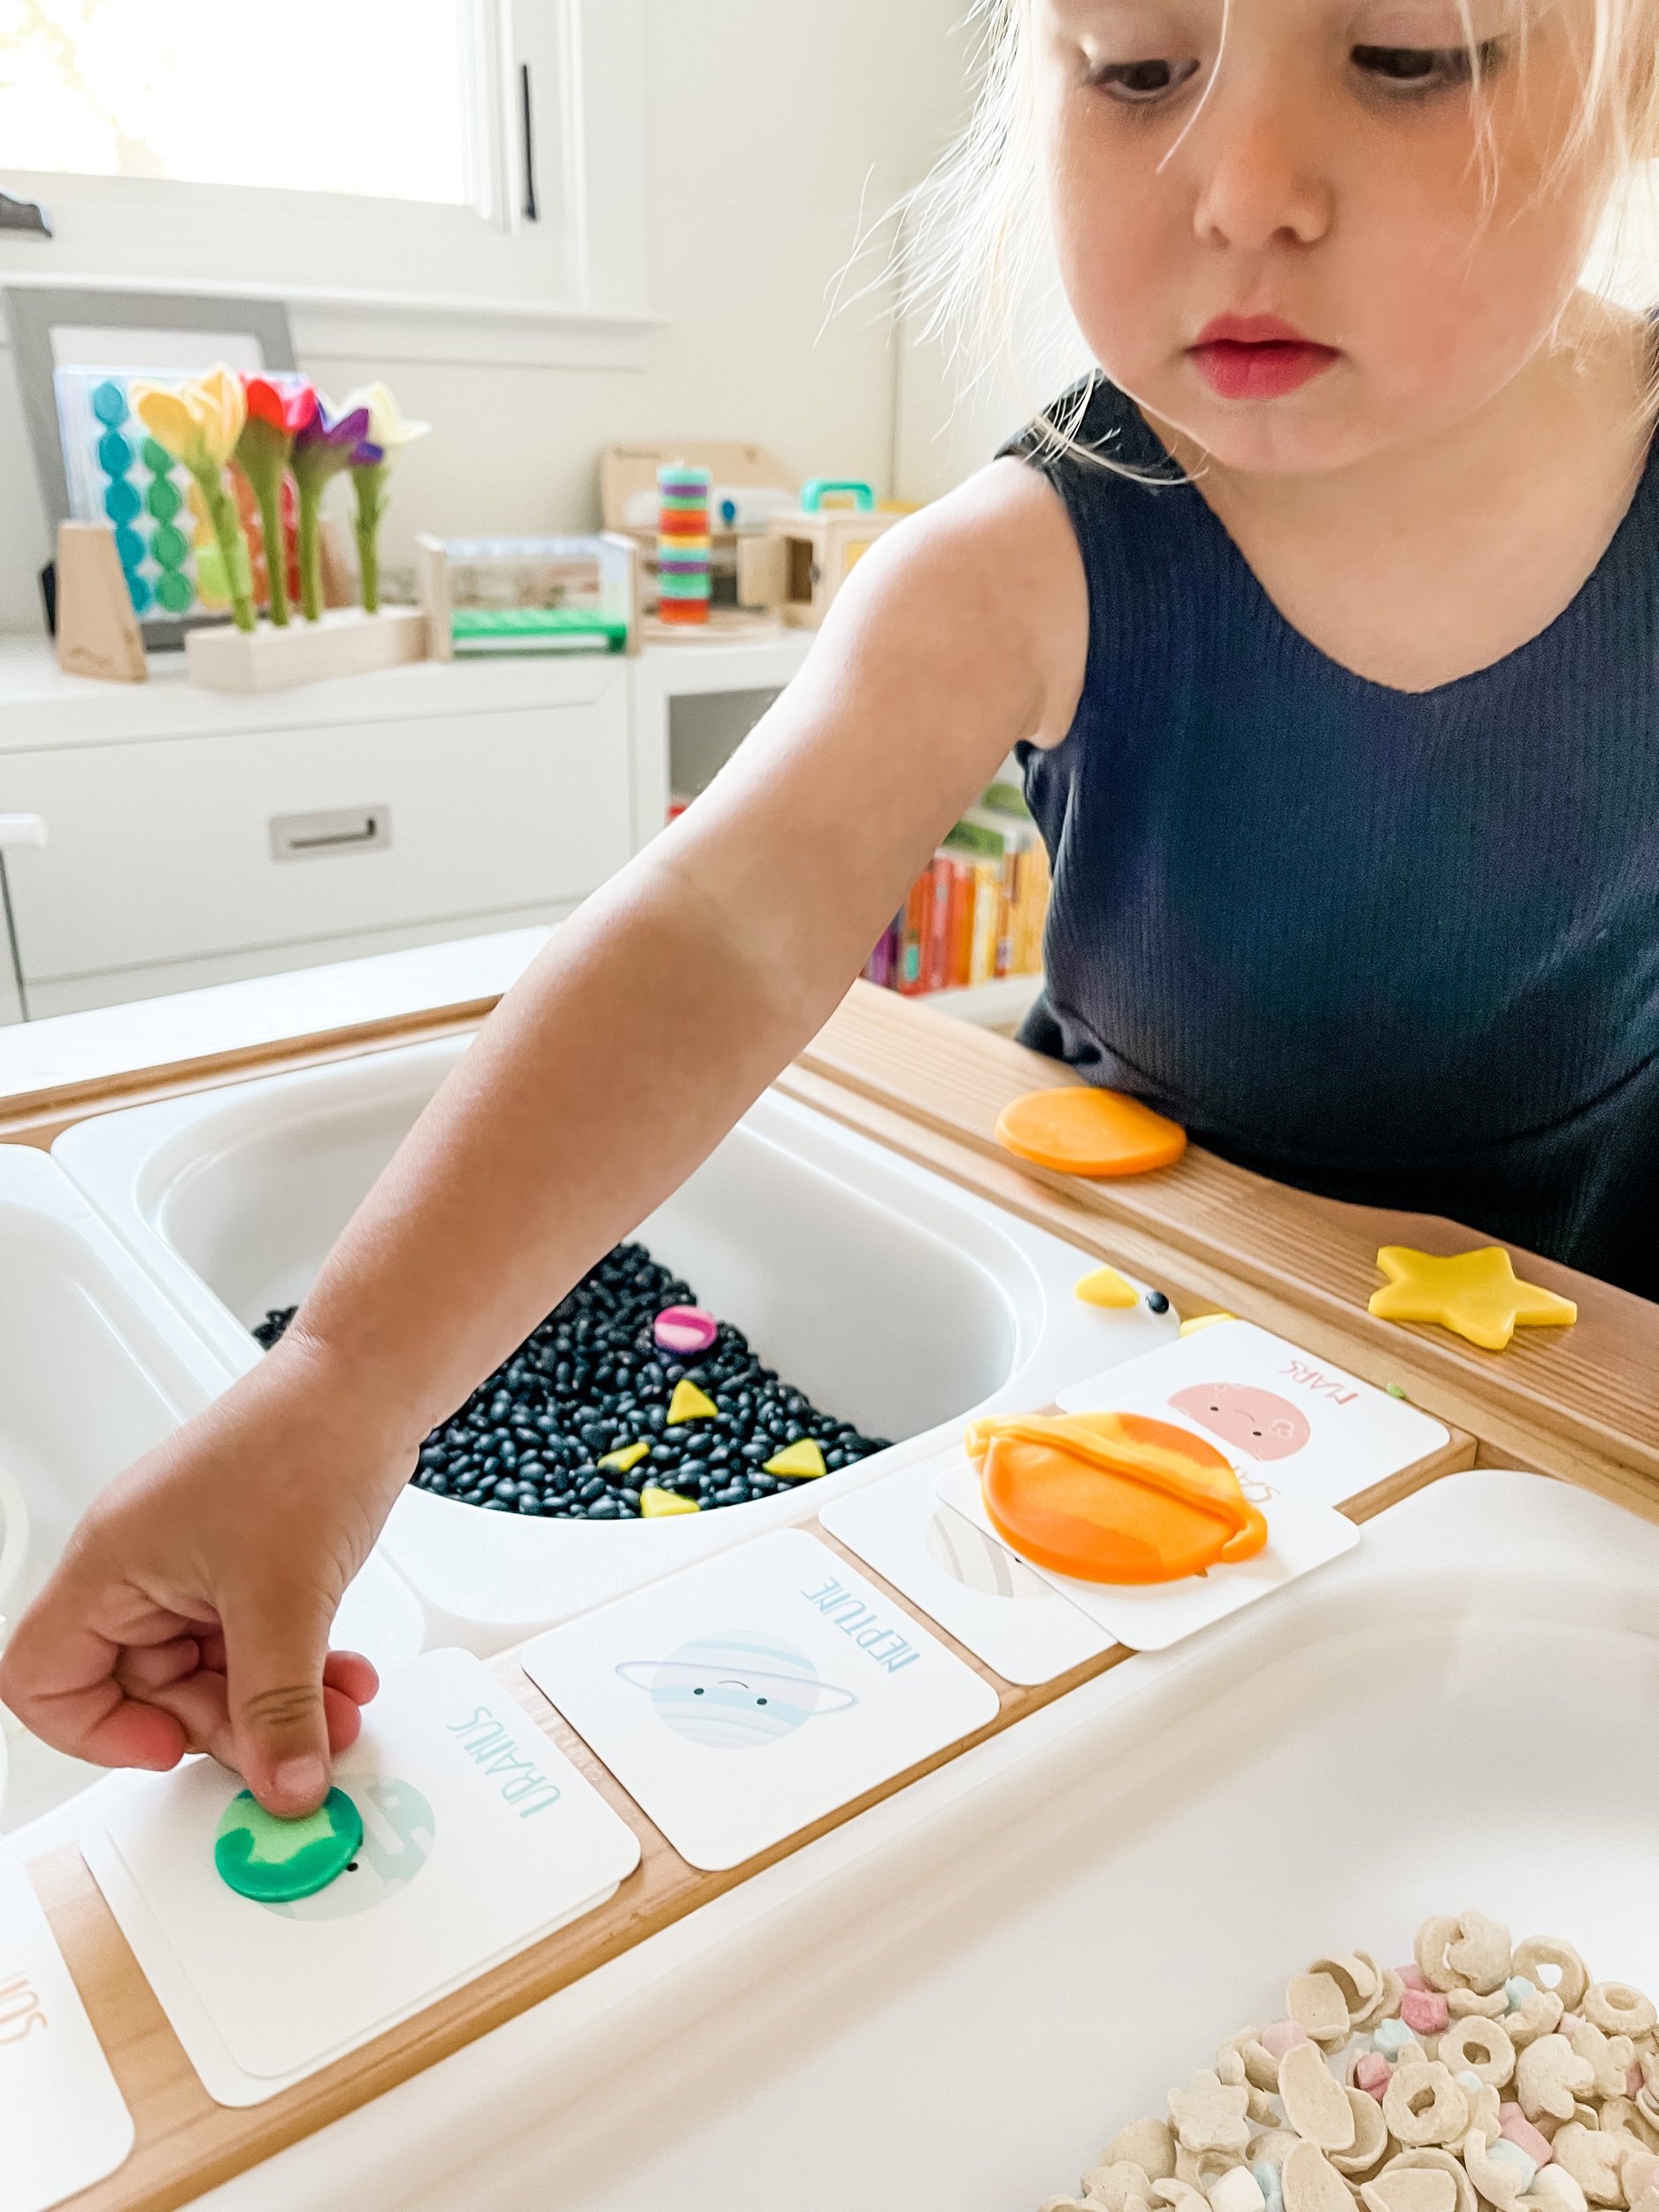
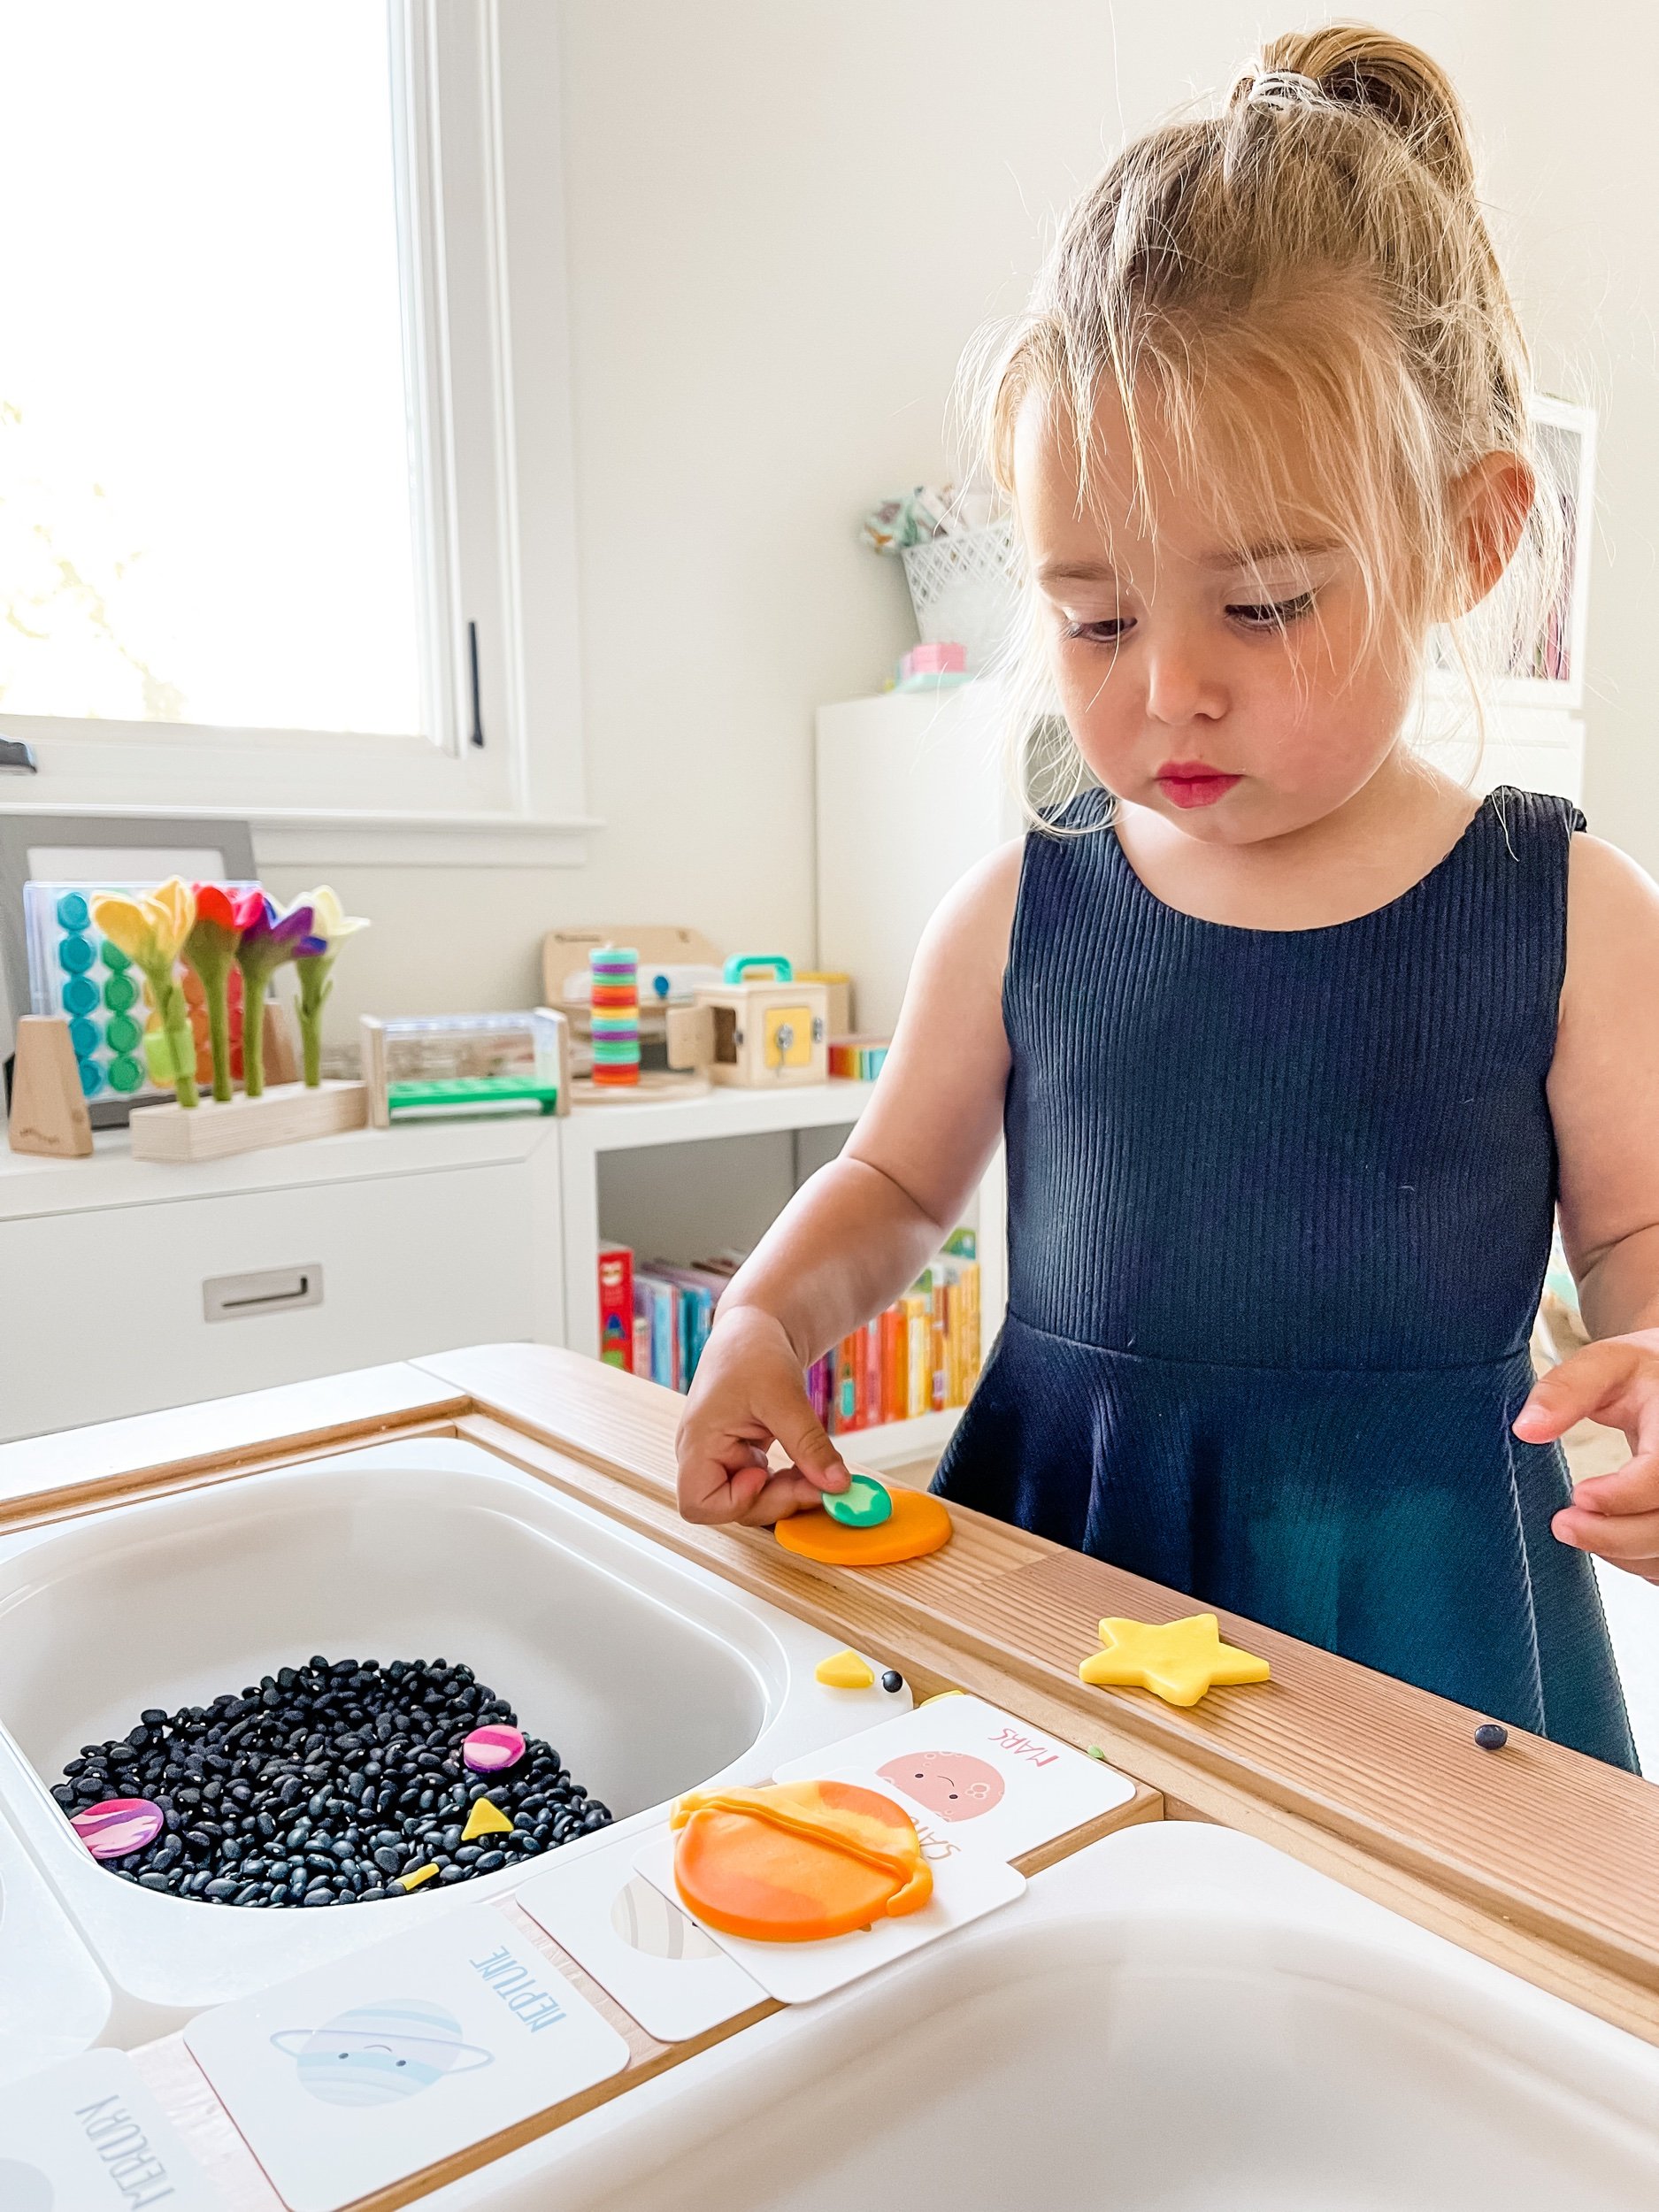
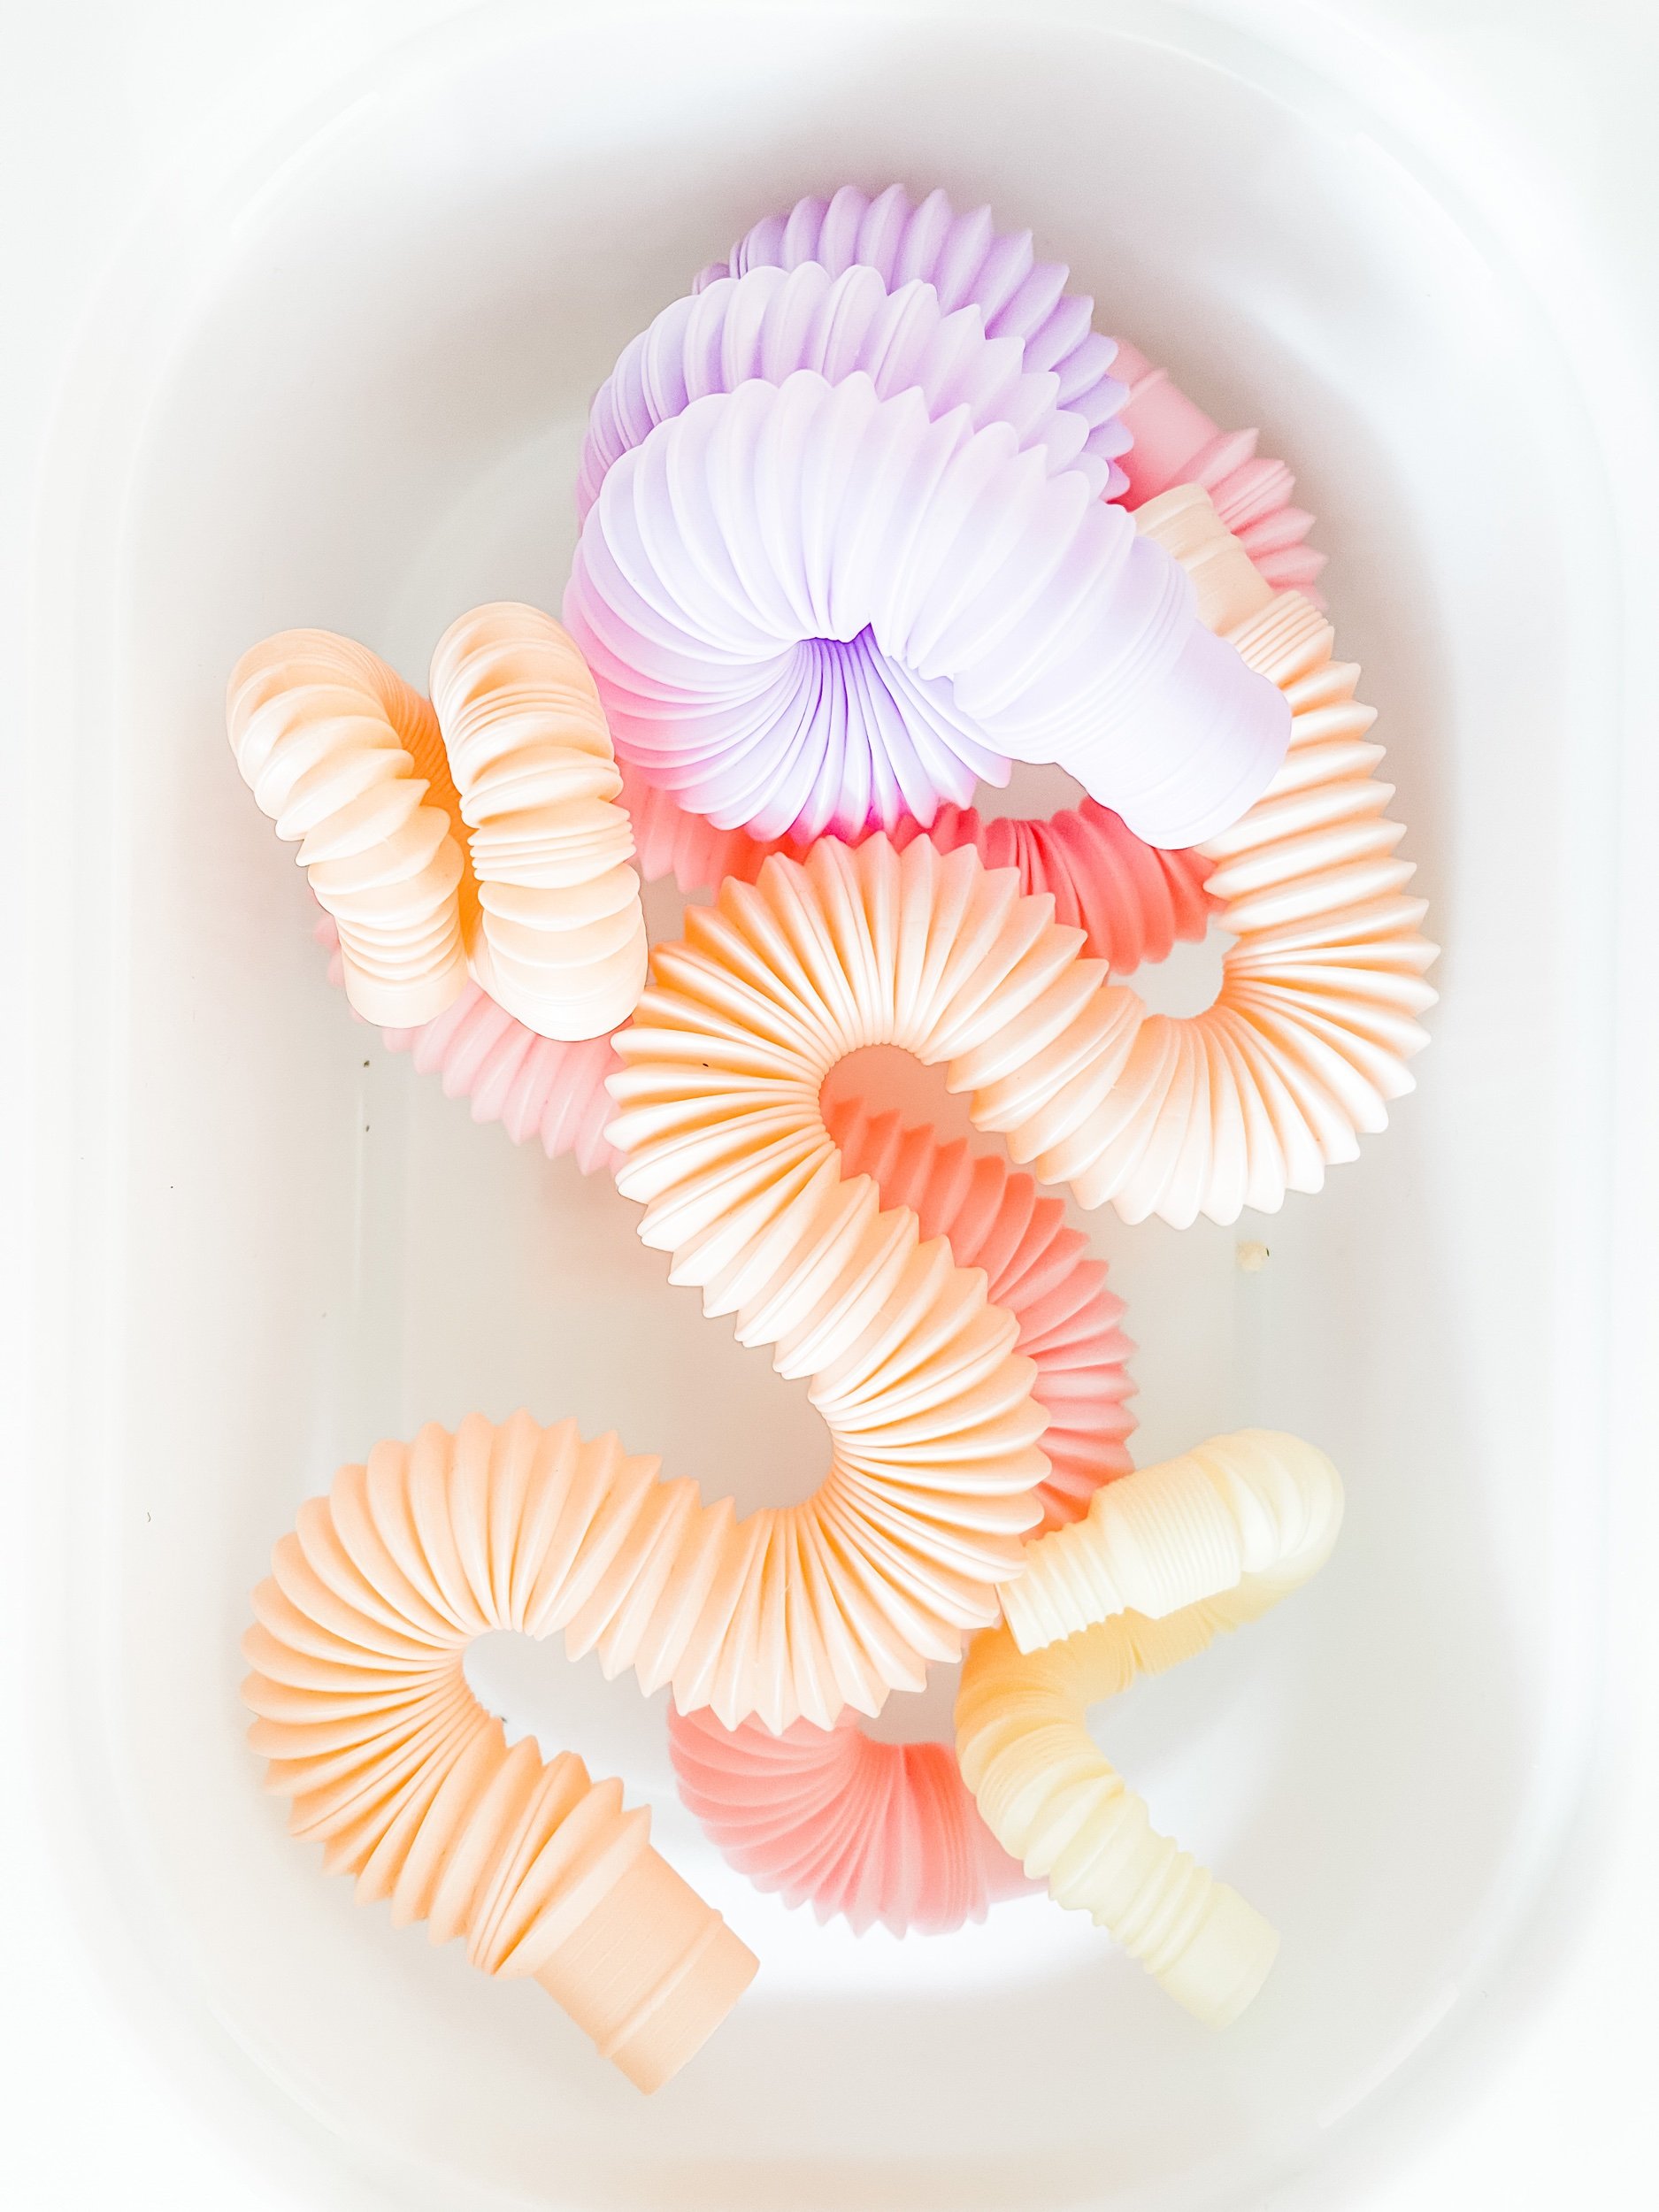
Different fillers create different tactile experiences. Comparing textures helps children build sensory awareness and descriptive language.
Focus and Attention
Tactile input can help some children remain engaged during storytime, transitions, or seated activities.
Recommended Ages and Safety Notes
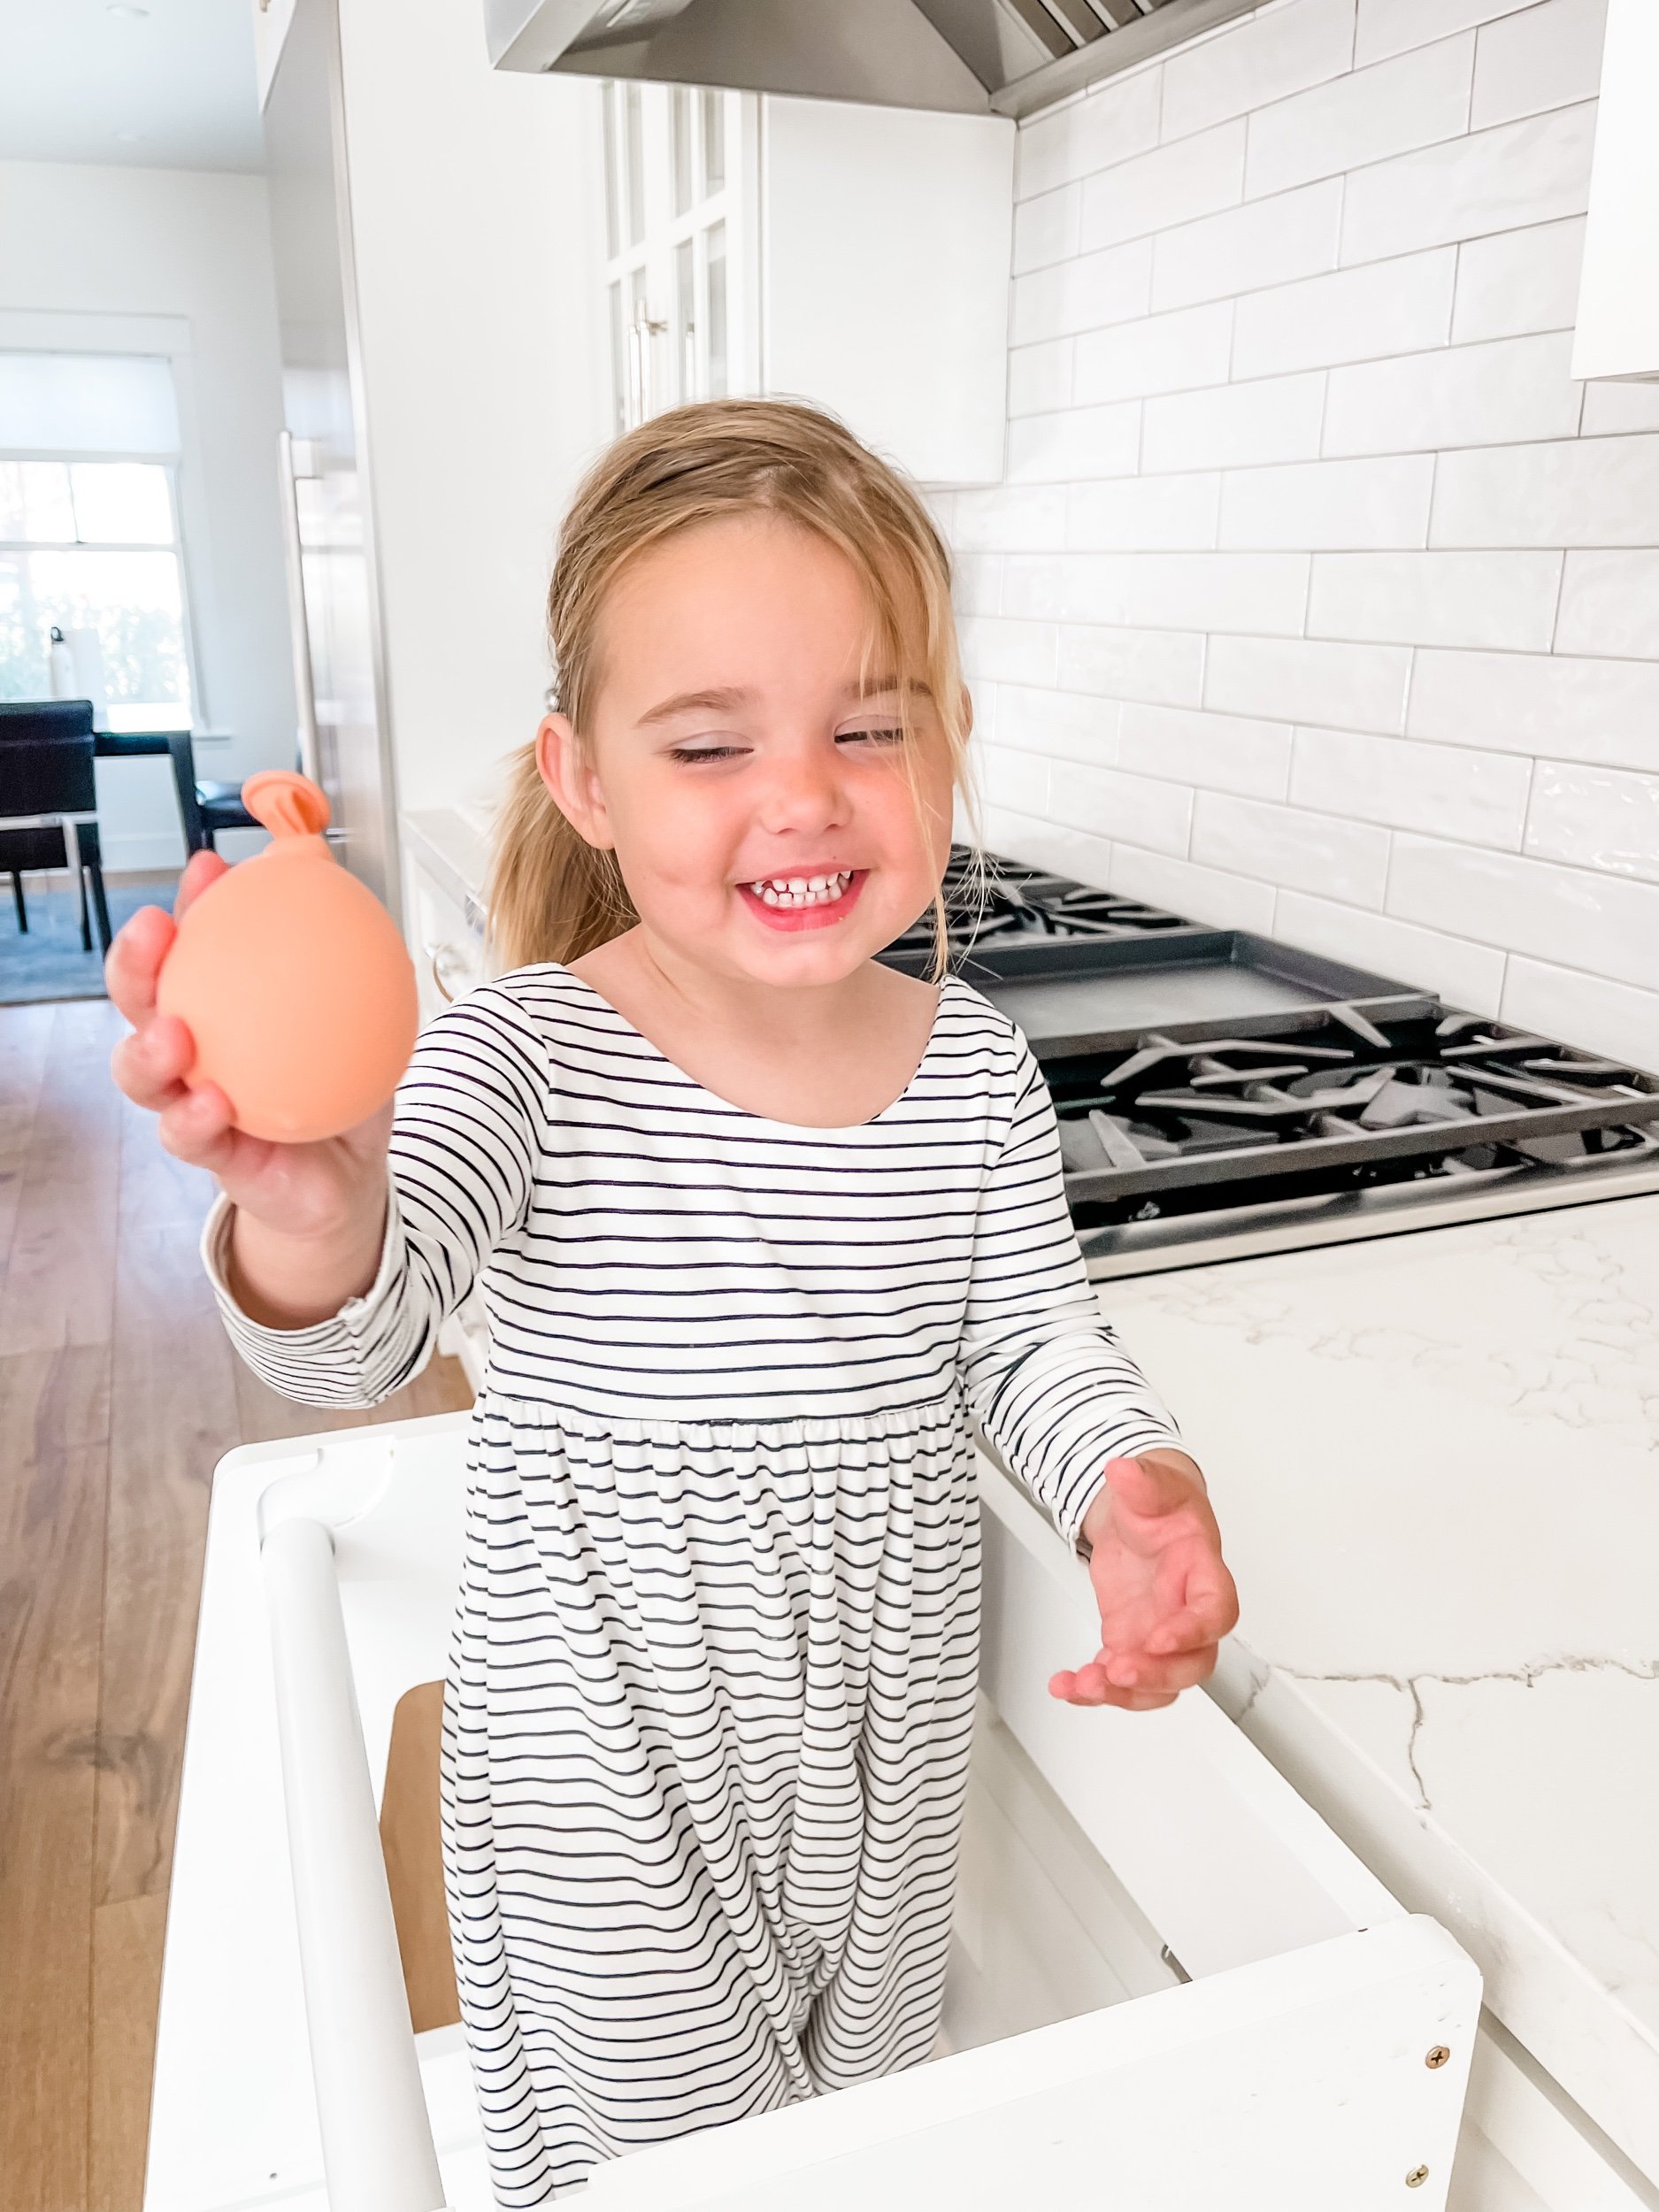
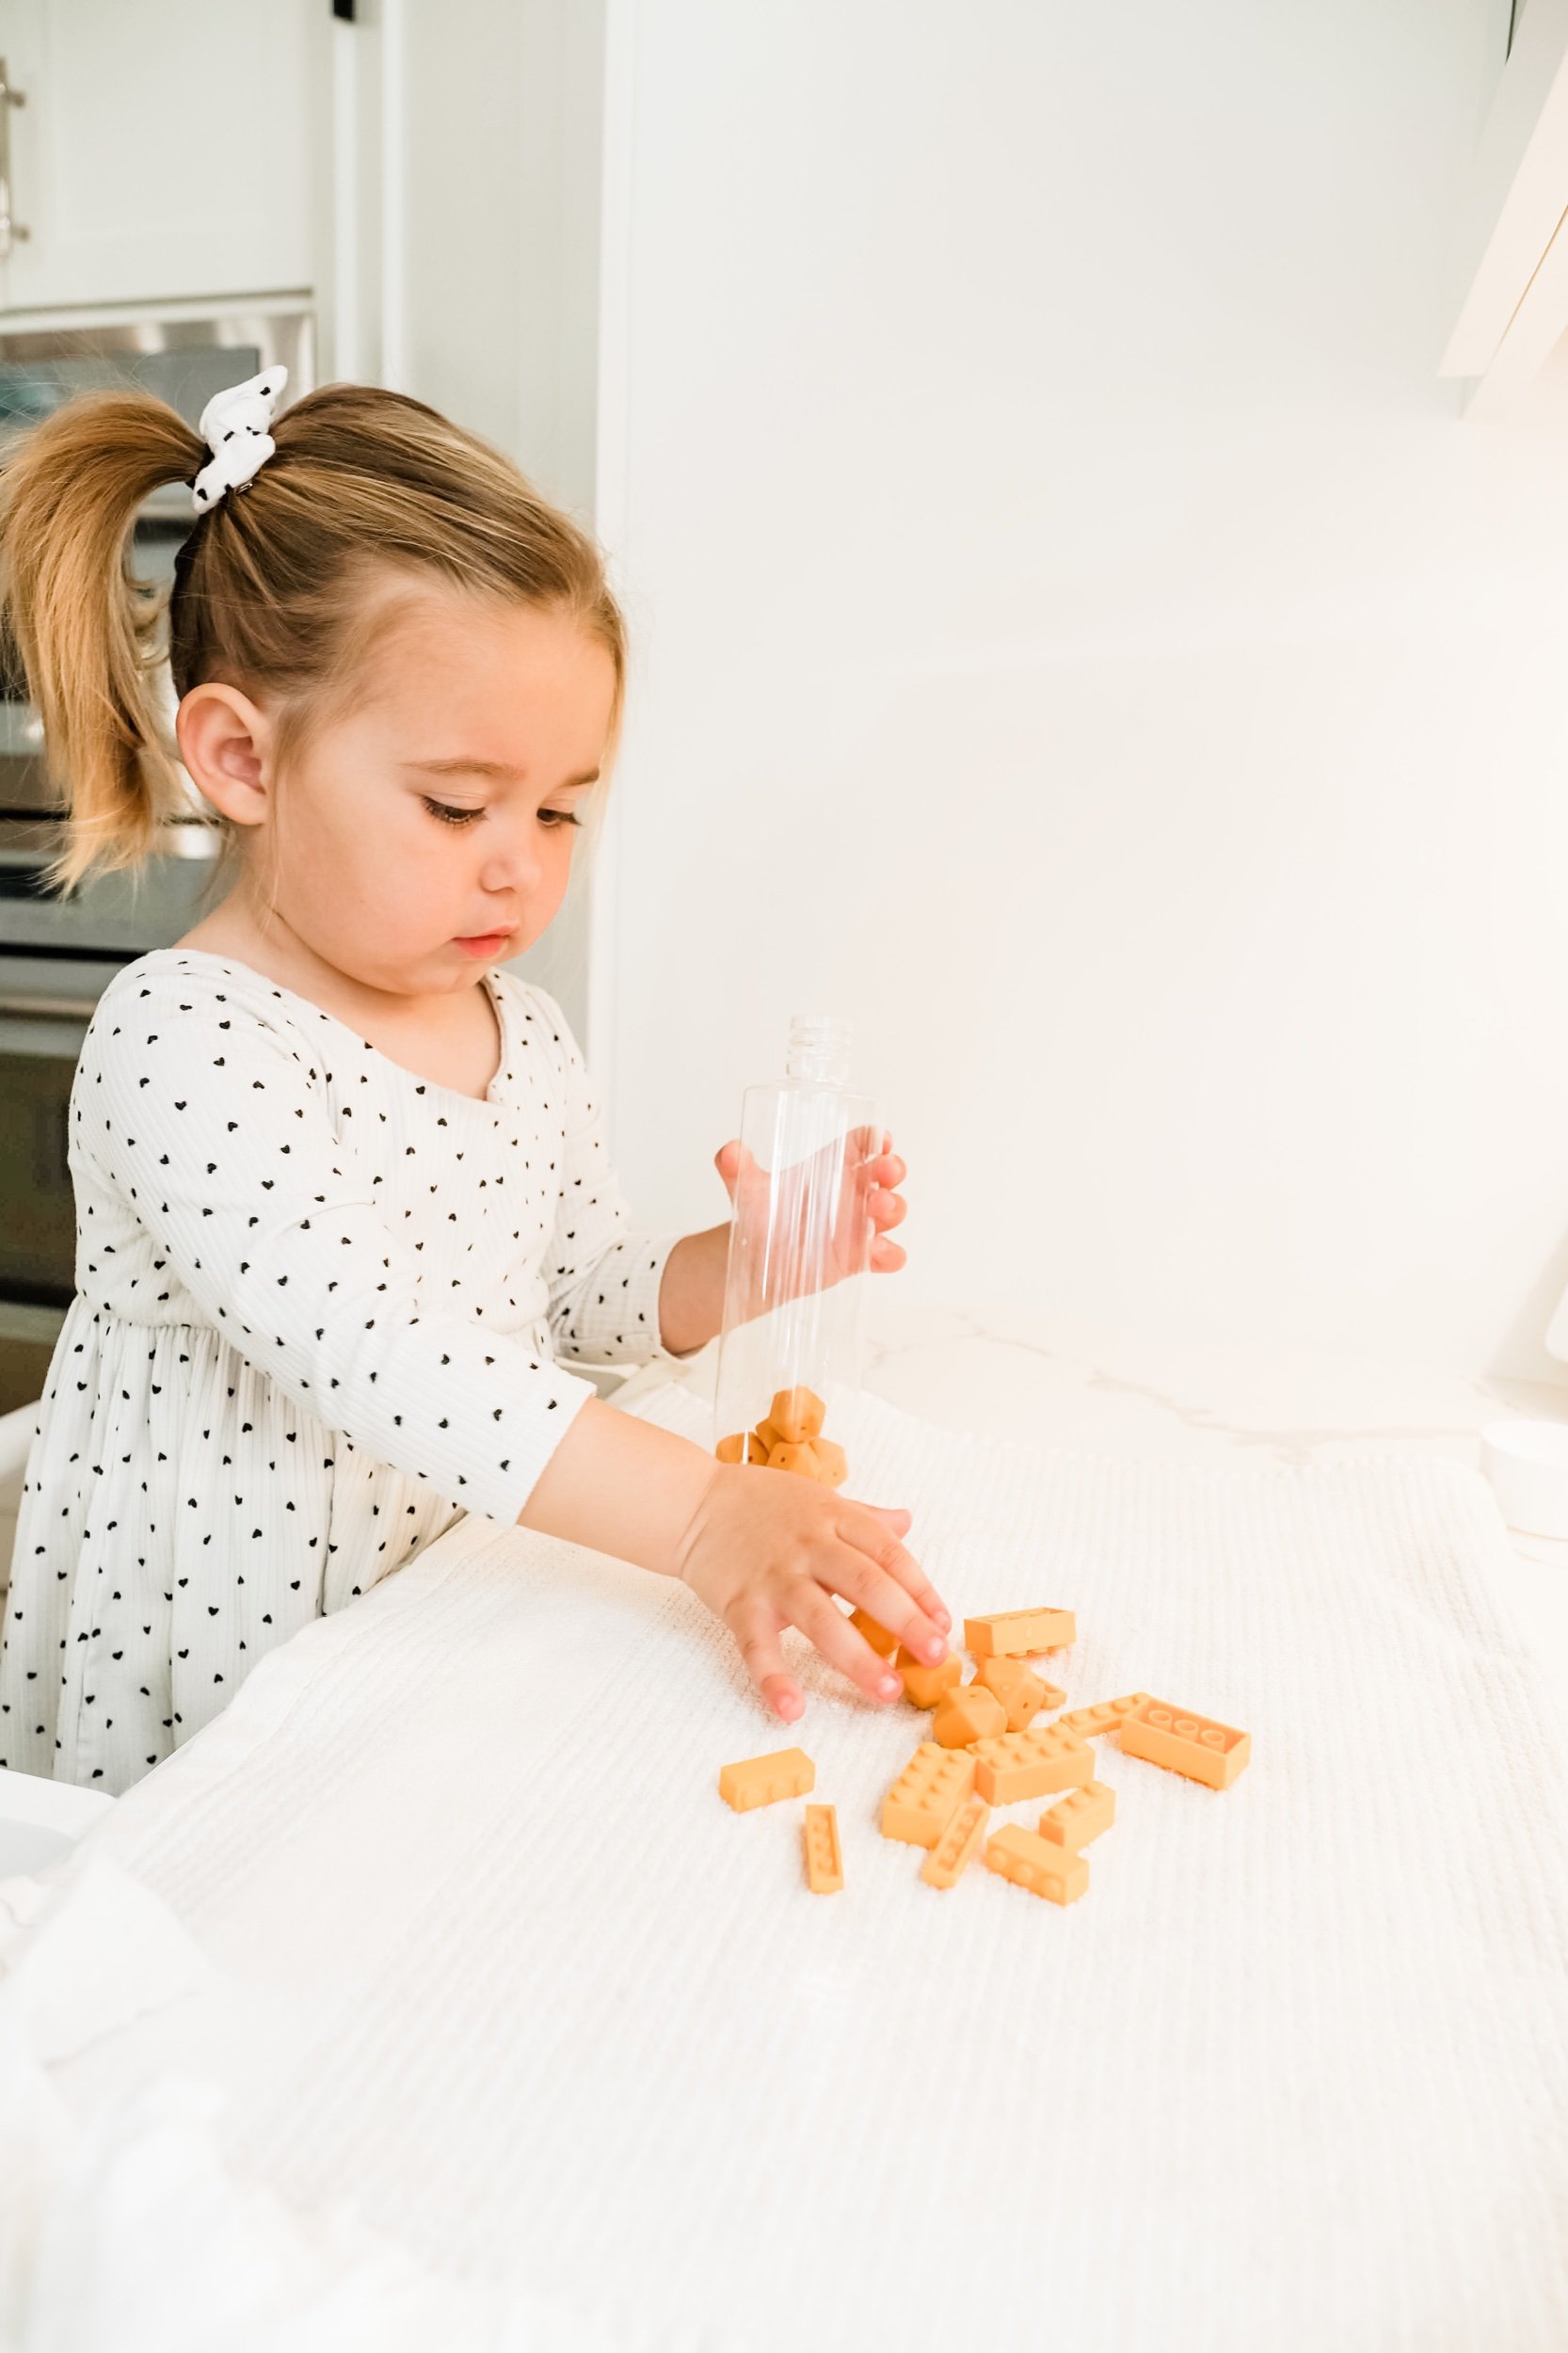
This activity is best for toddlers ages 18 months and up with close supervision.
Younger toddlers benefit from softer fillers and adult-made stress balls.
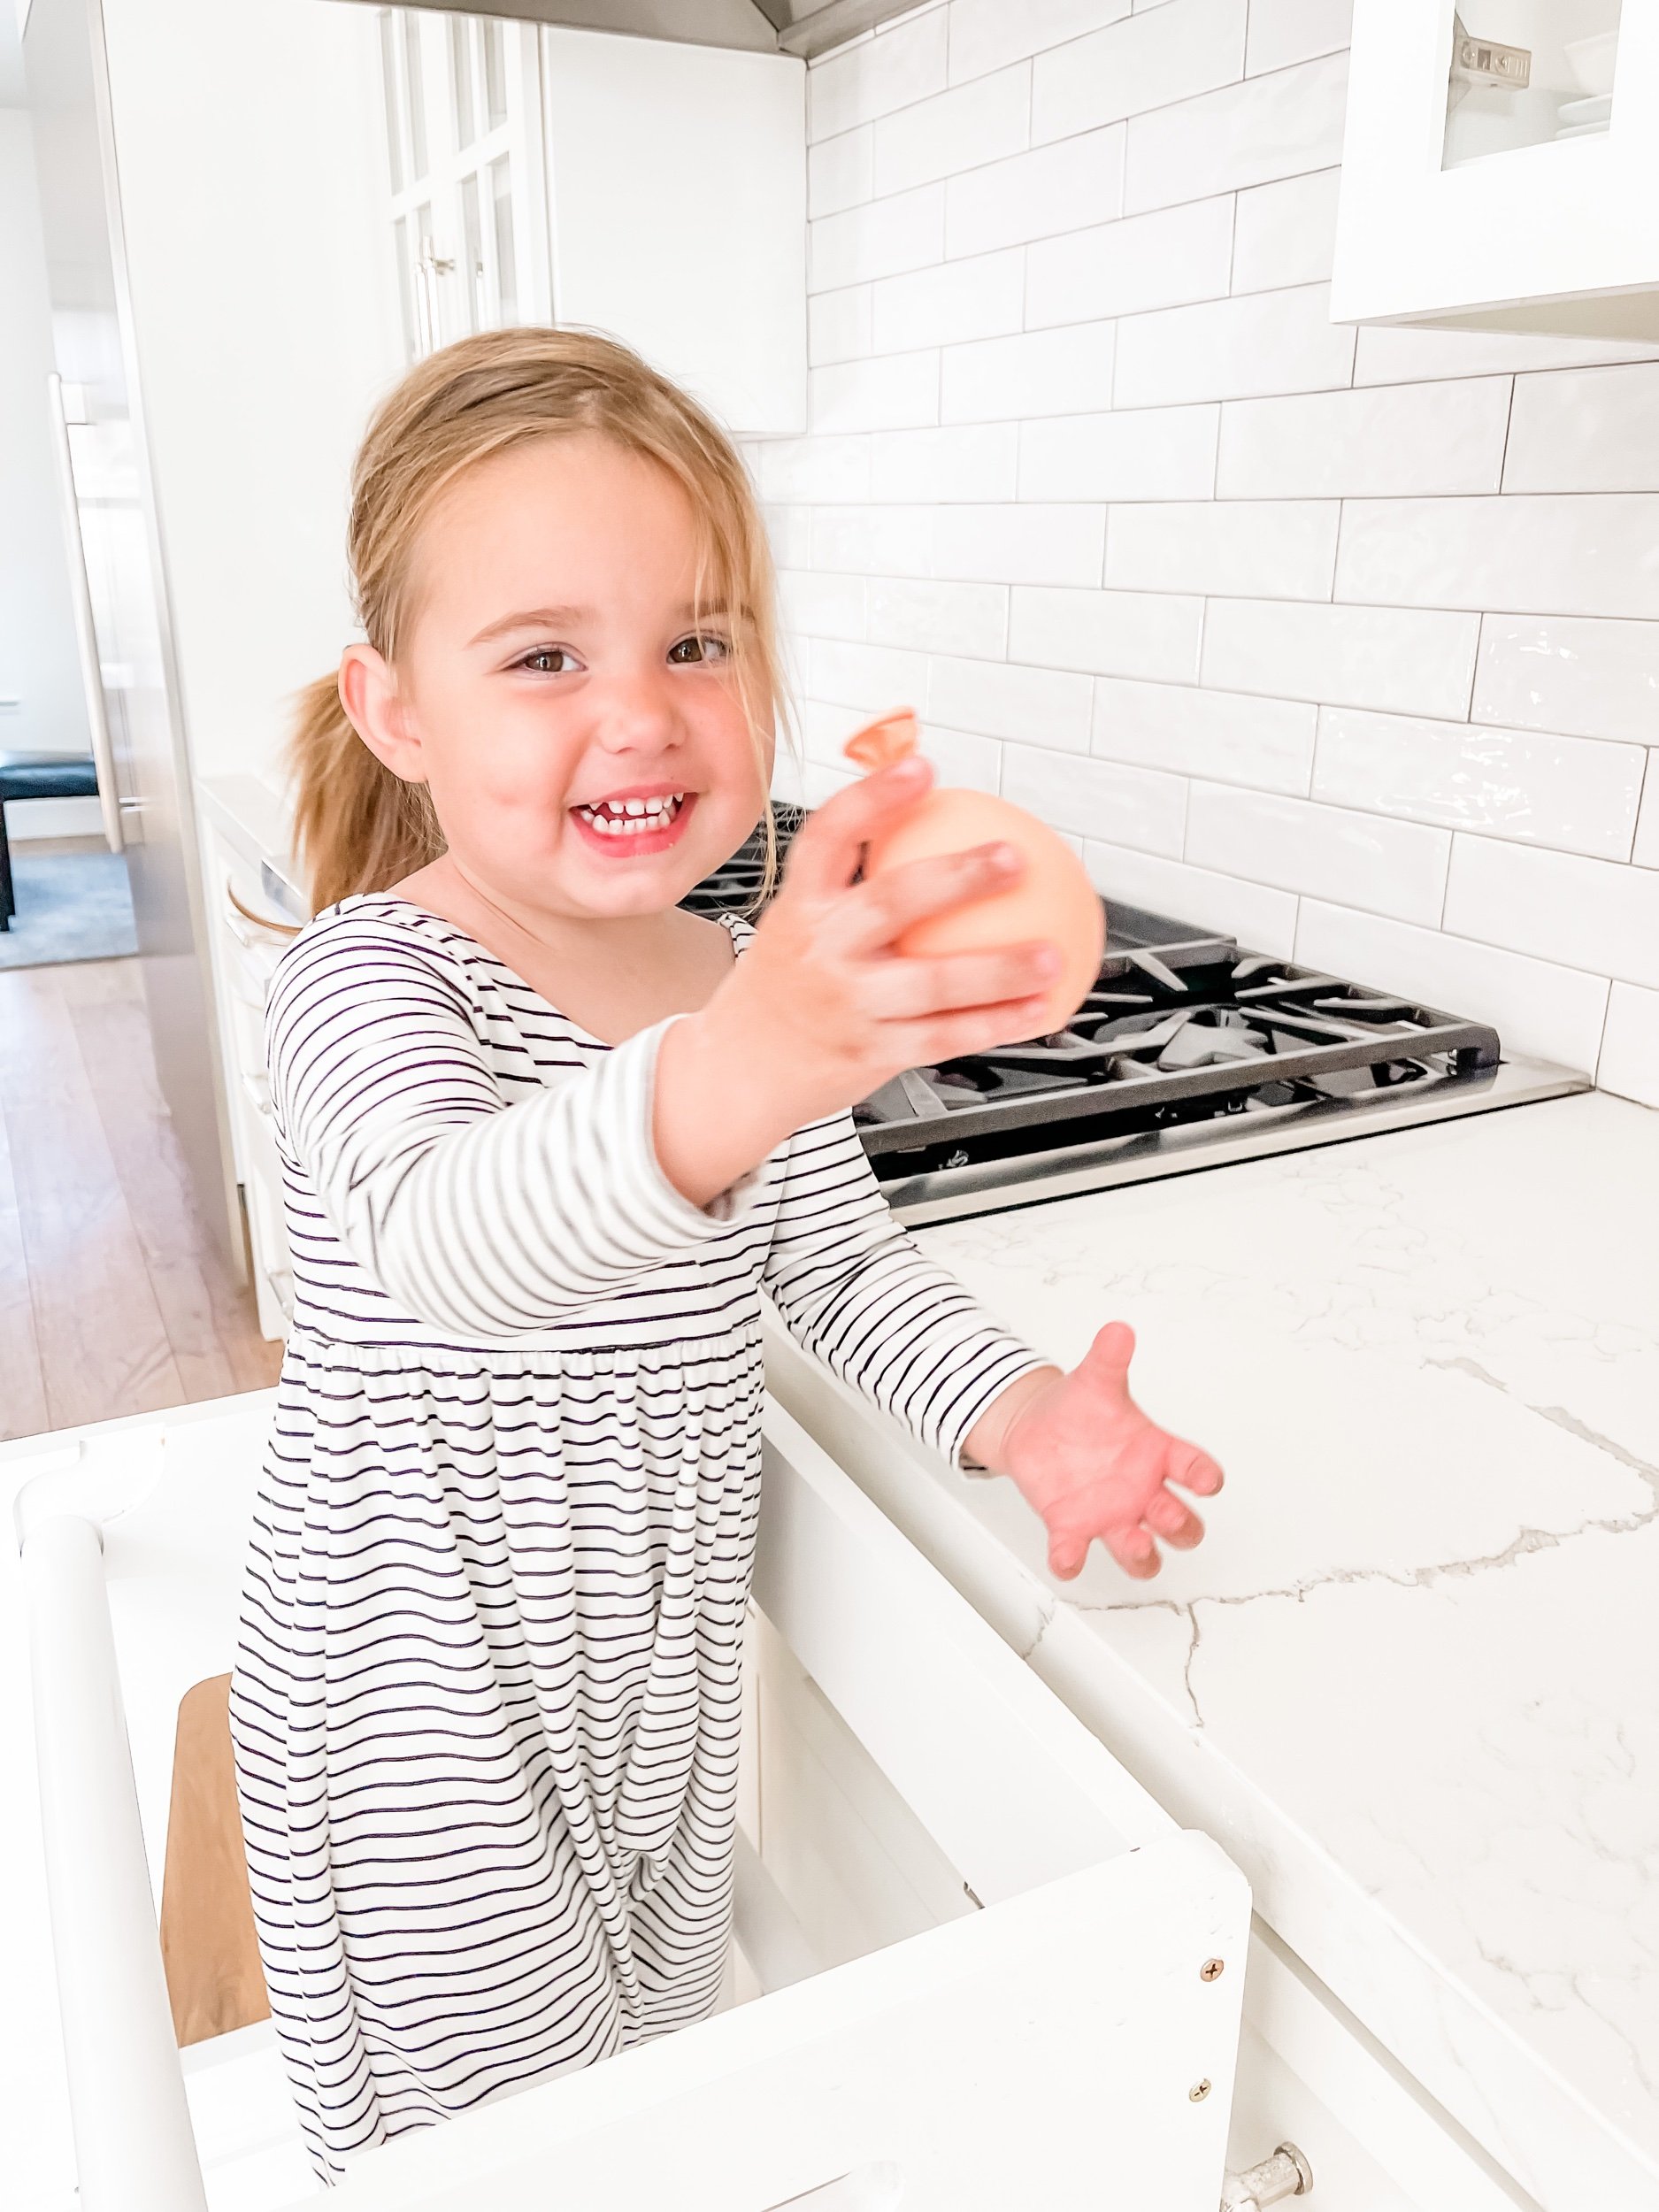
Preschool-age children can help pour and explore textures with guidance.
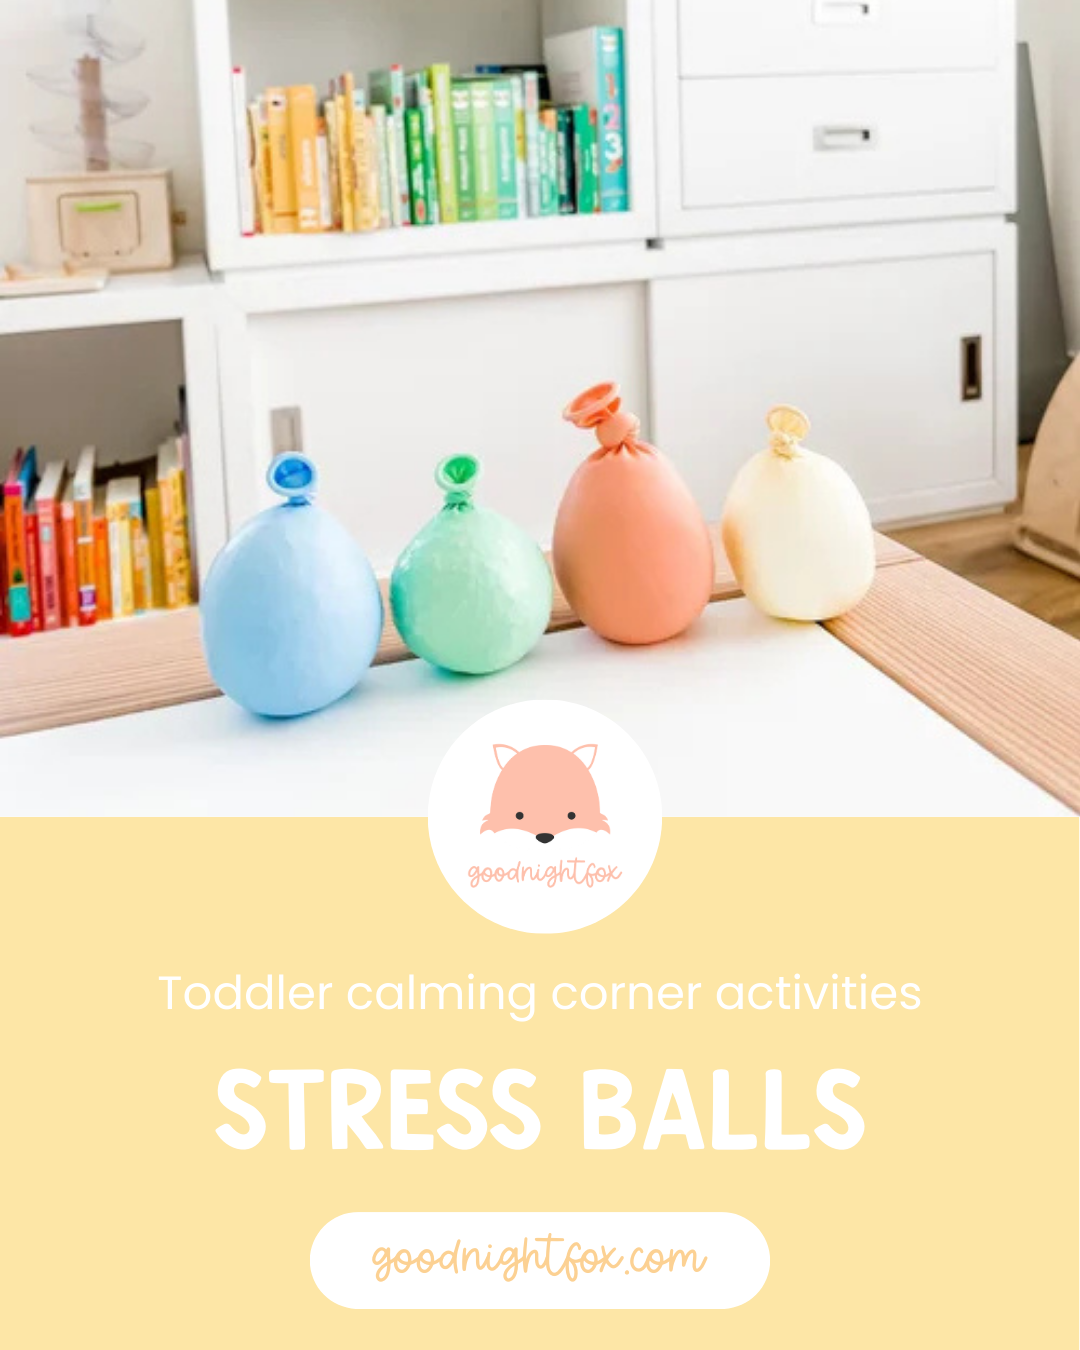
Always double-layer balloons and supervise play to prevent breakage.
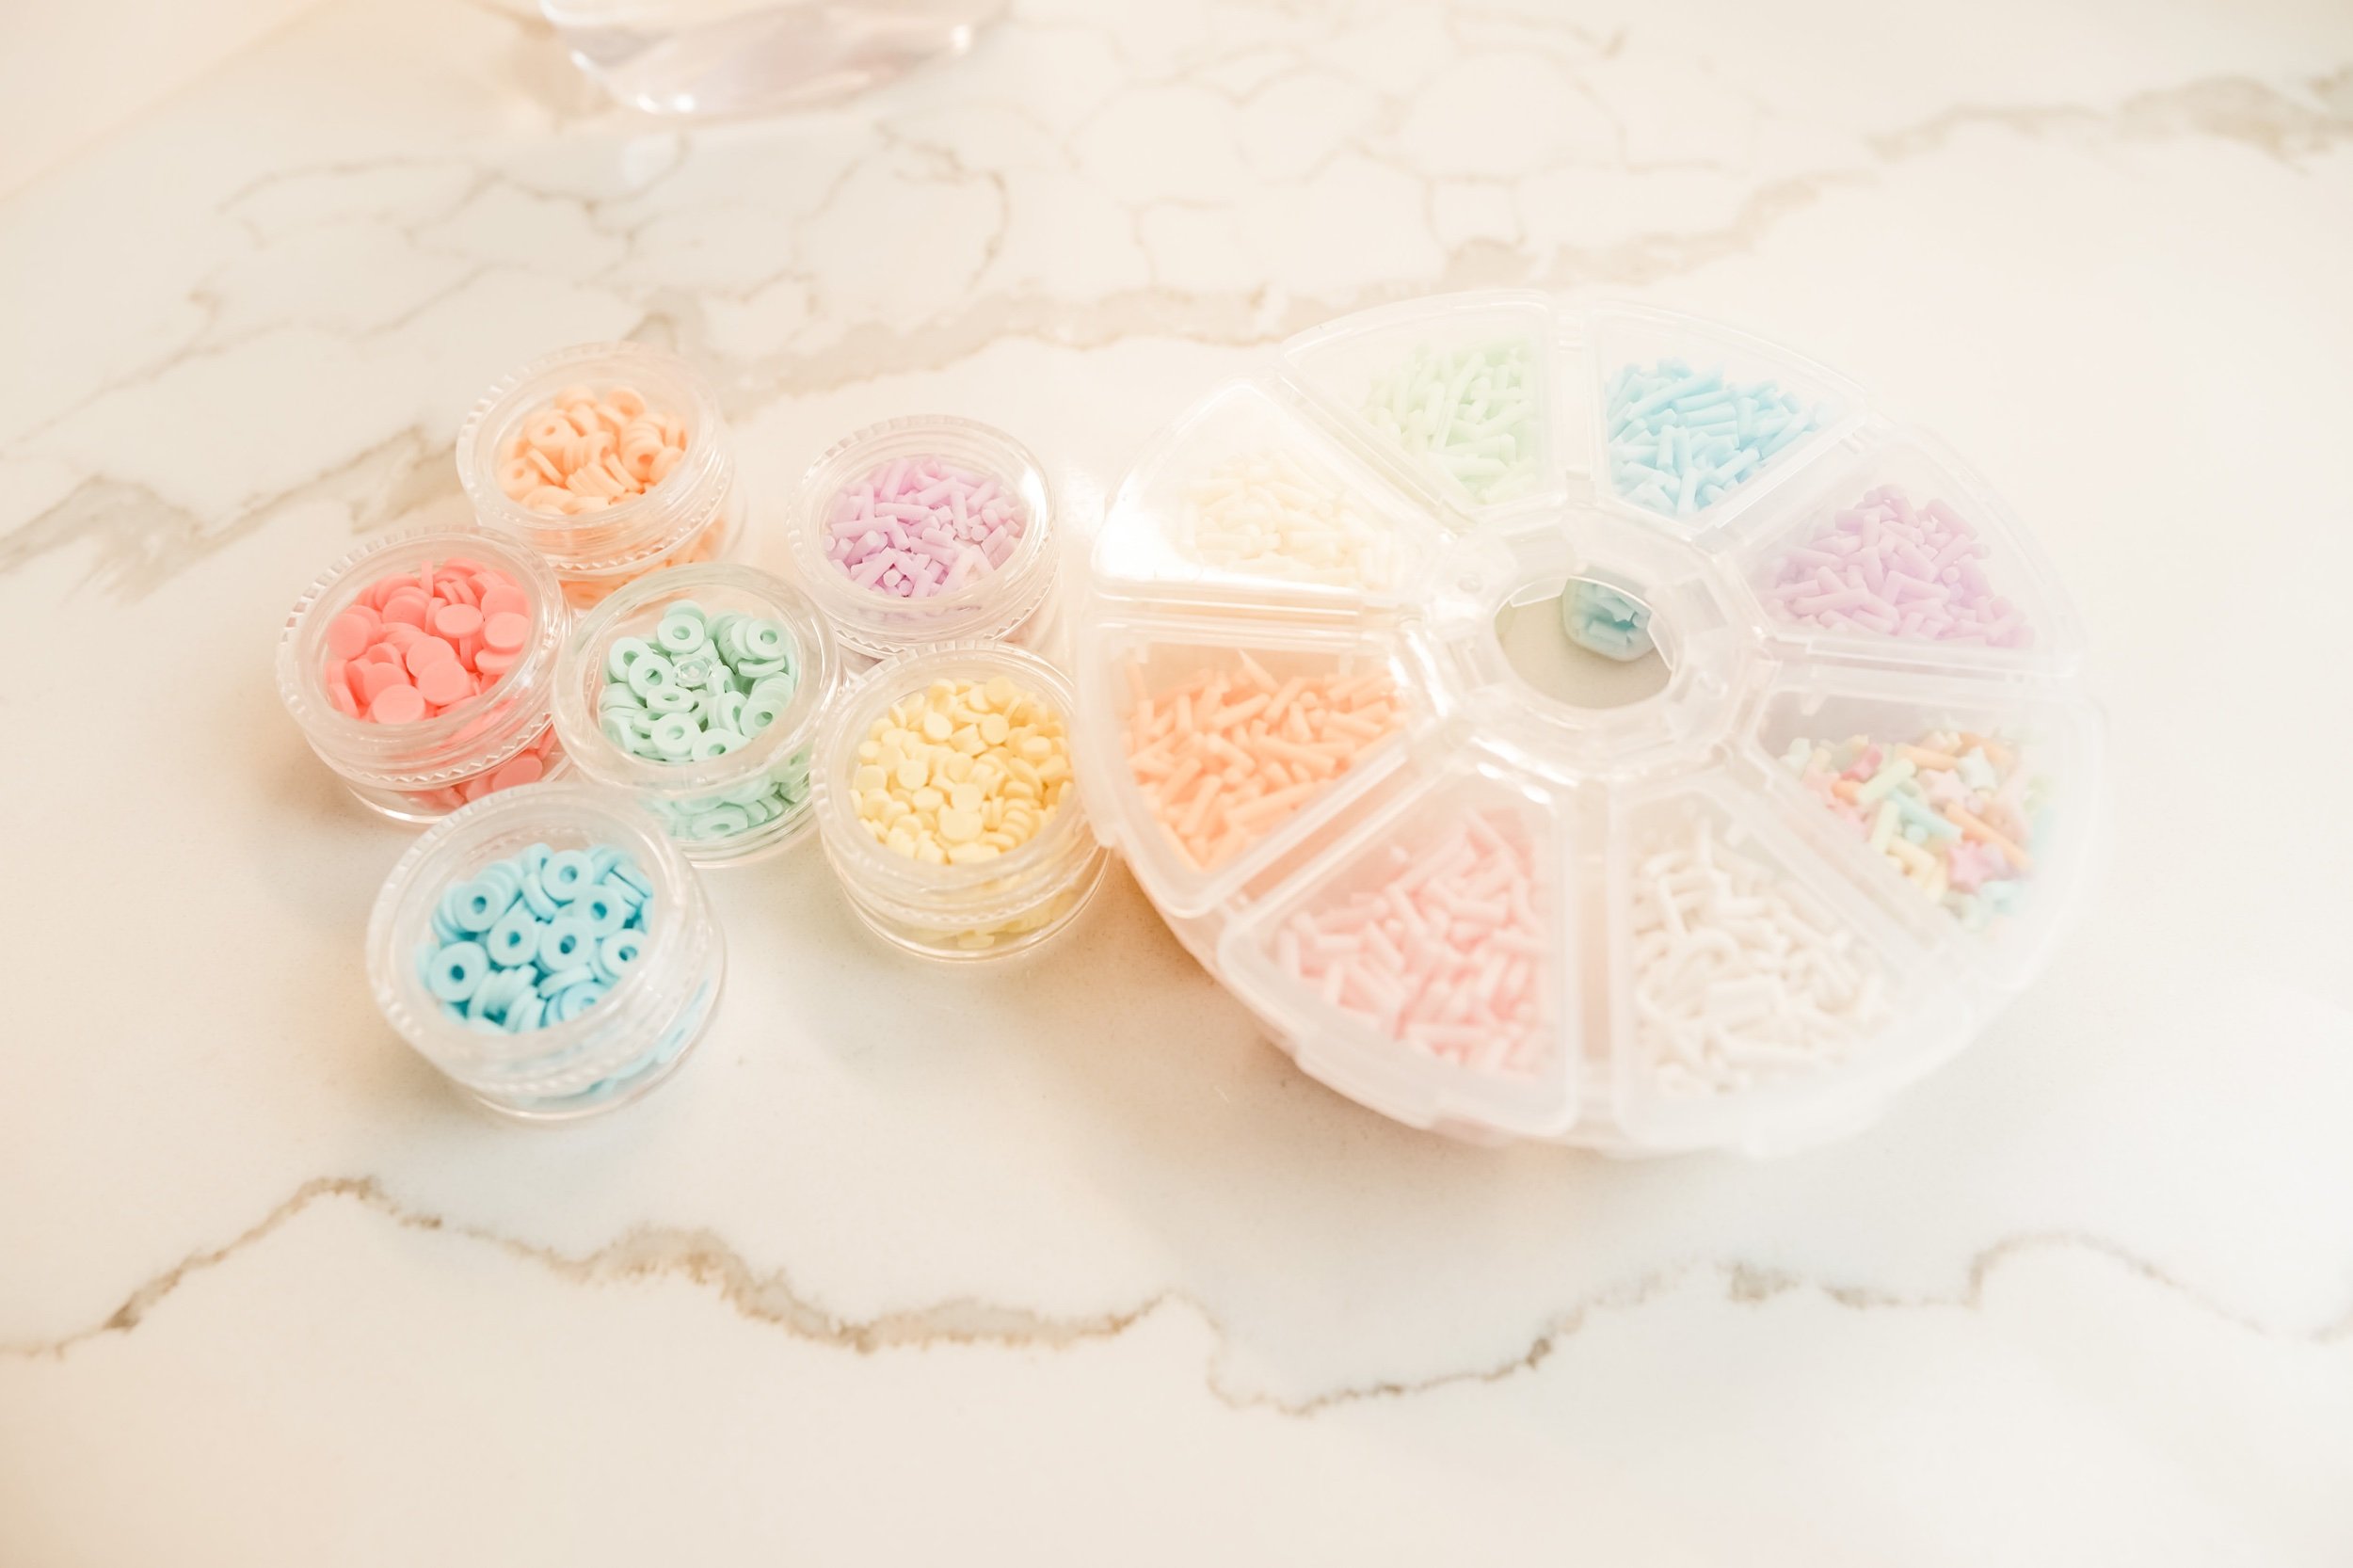
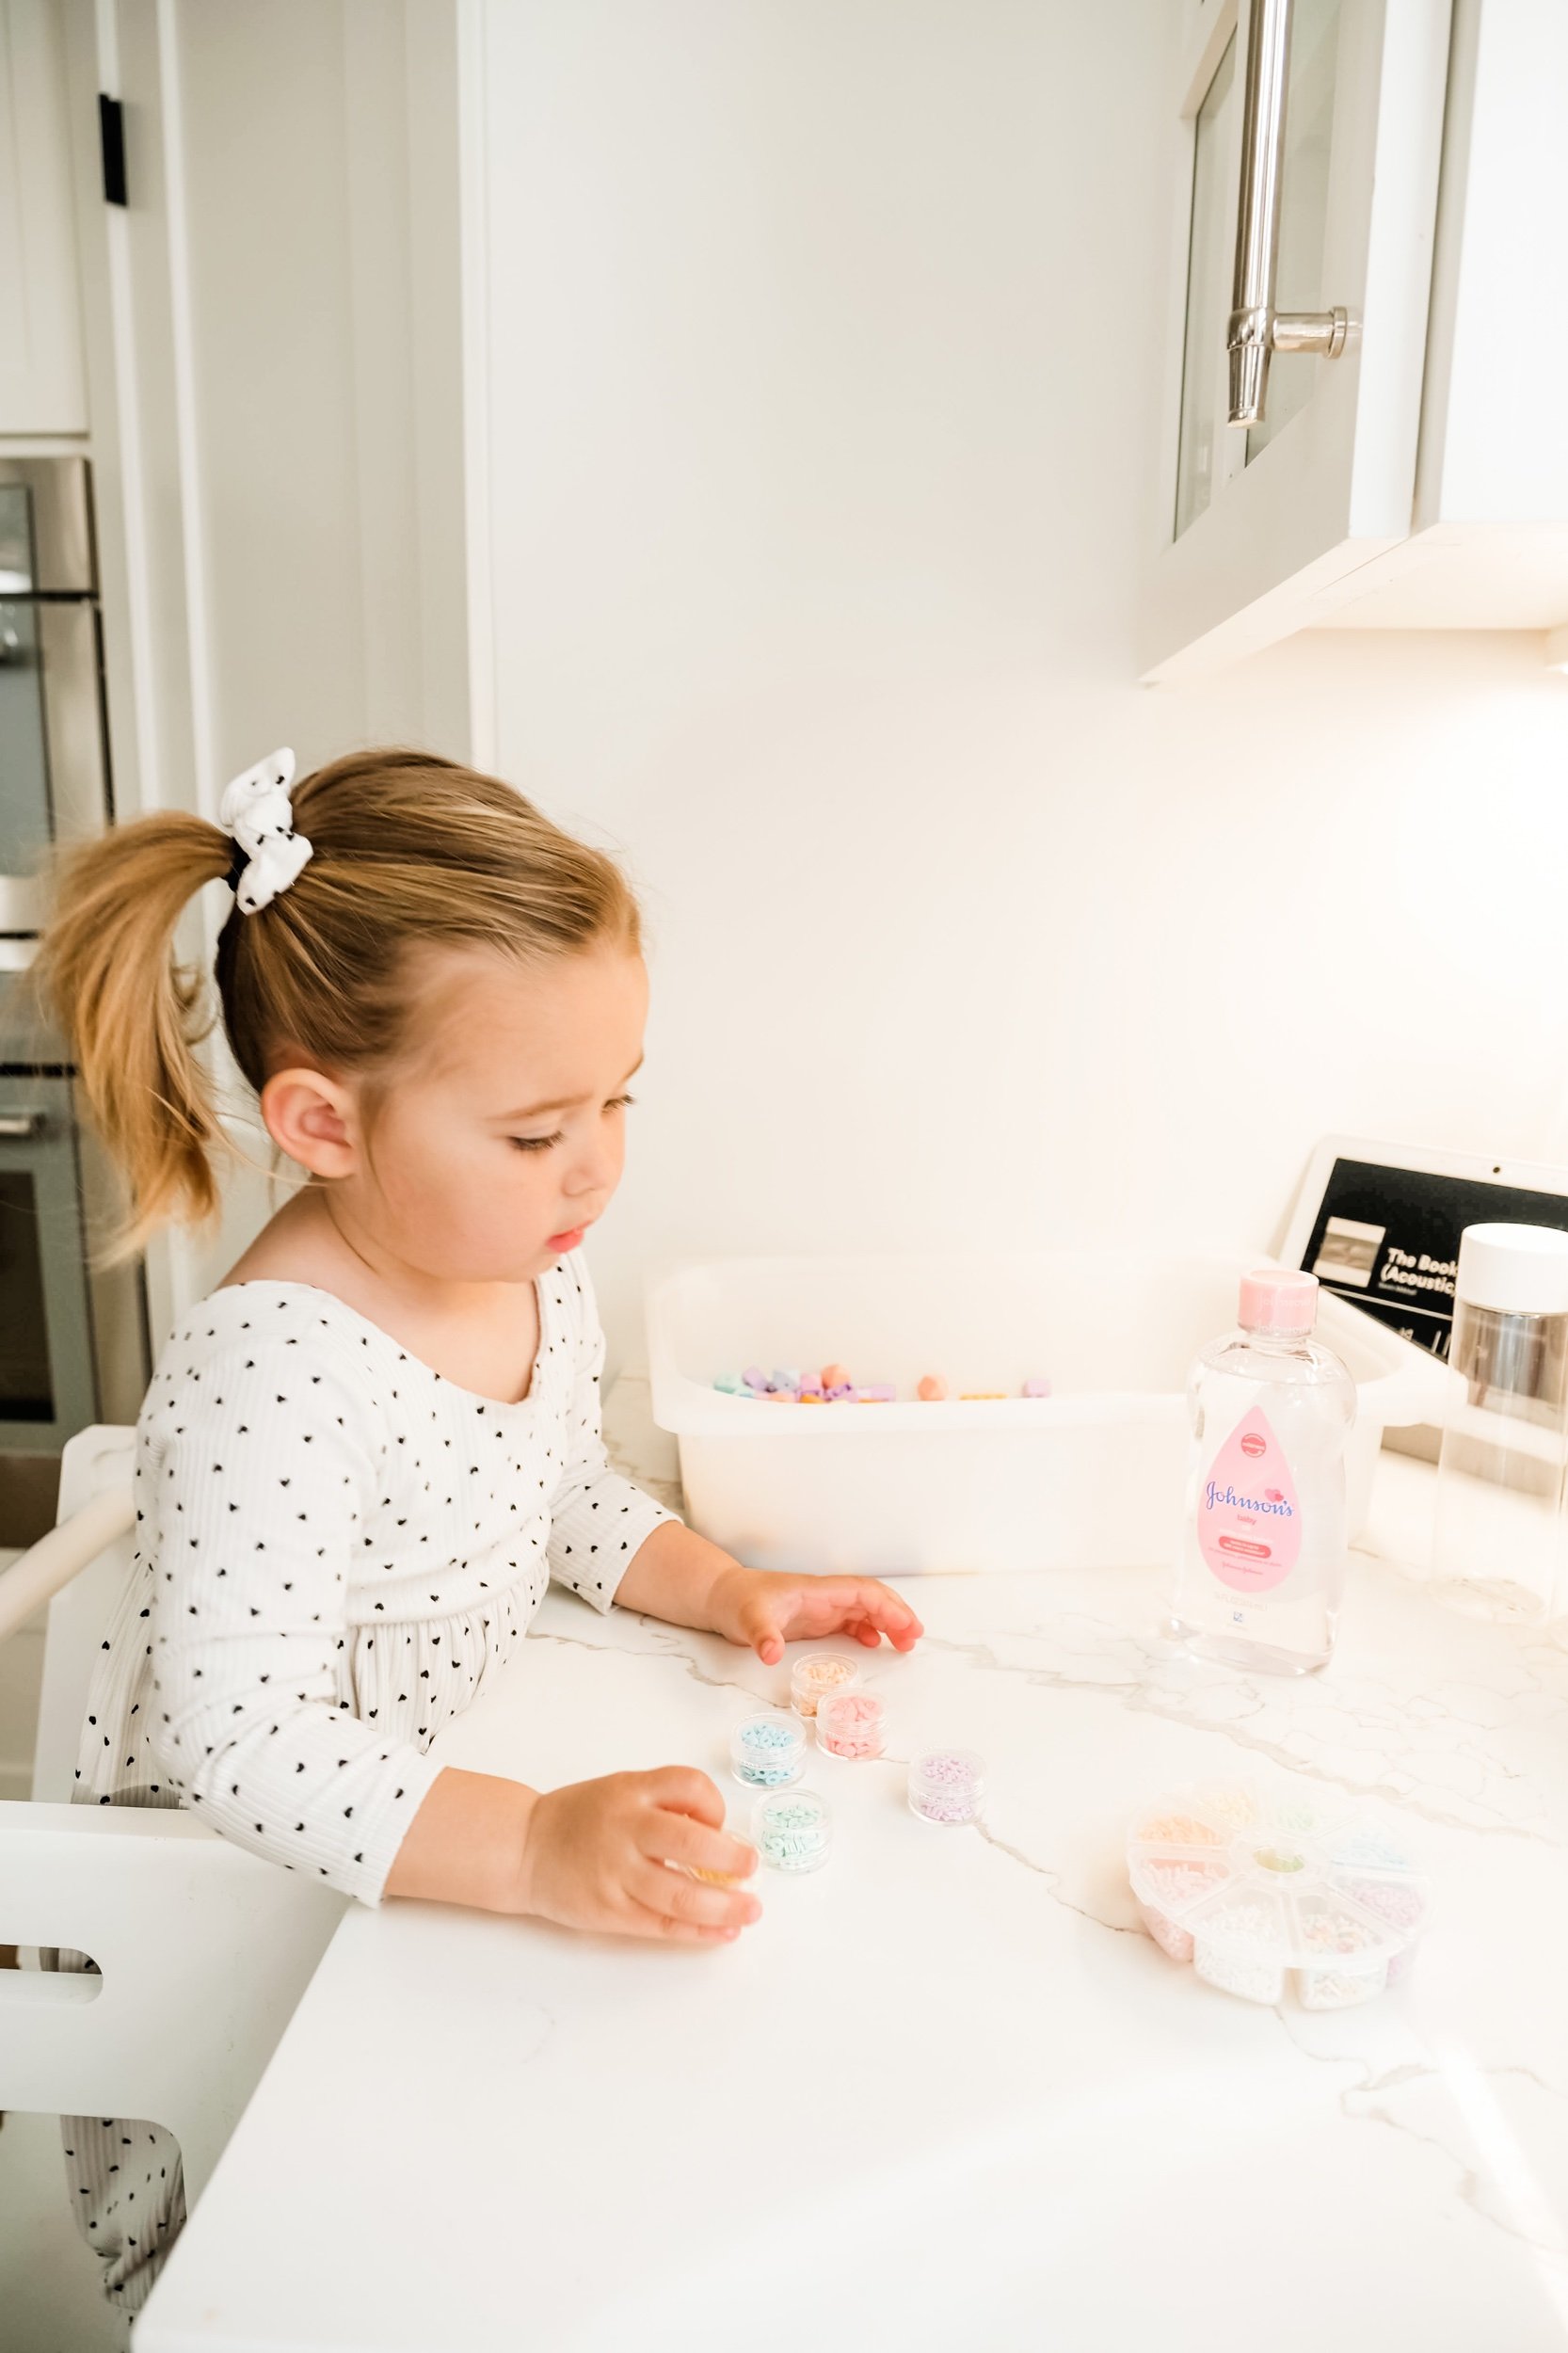
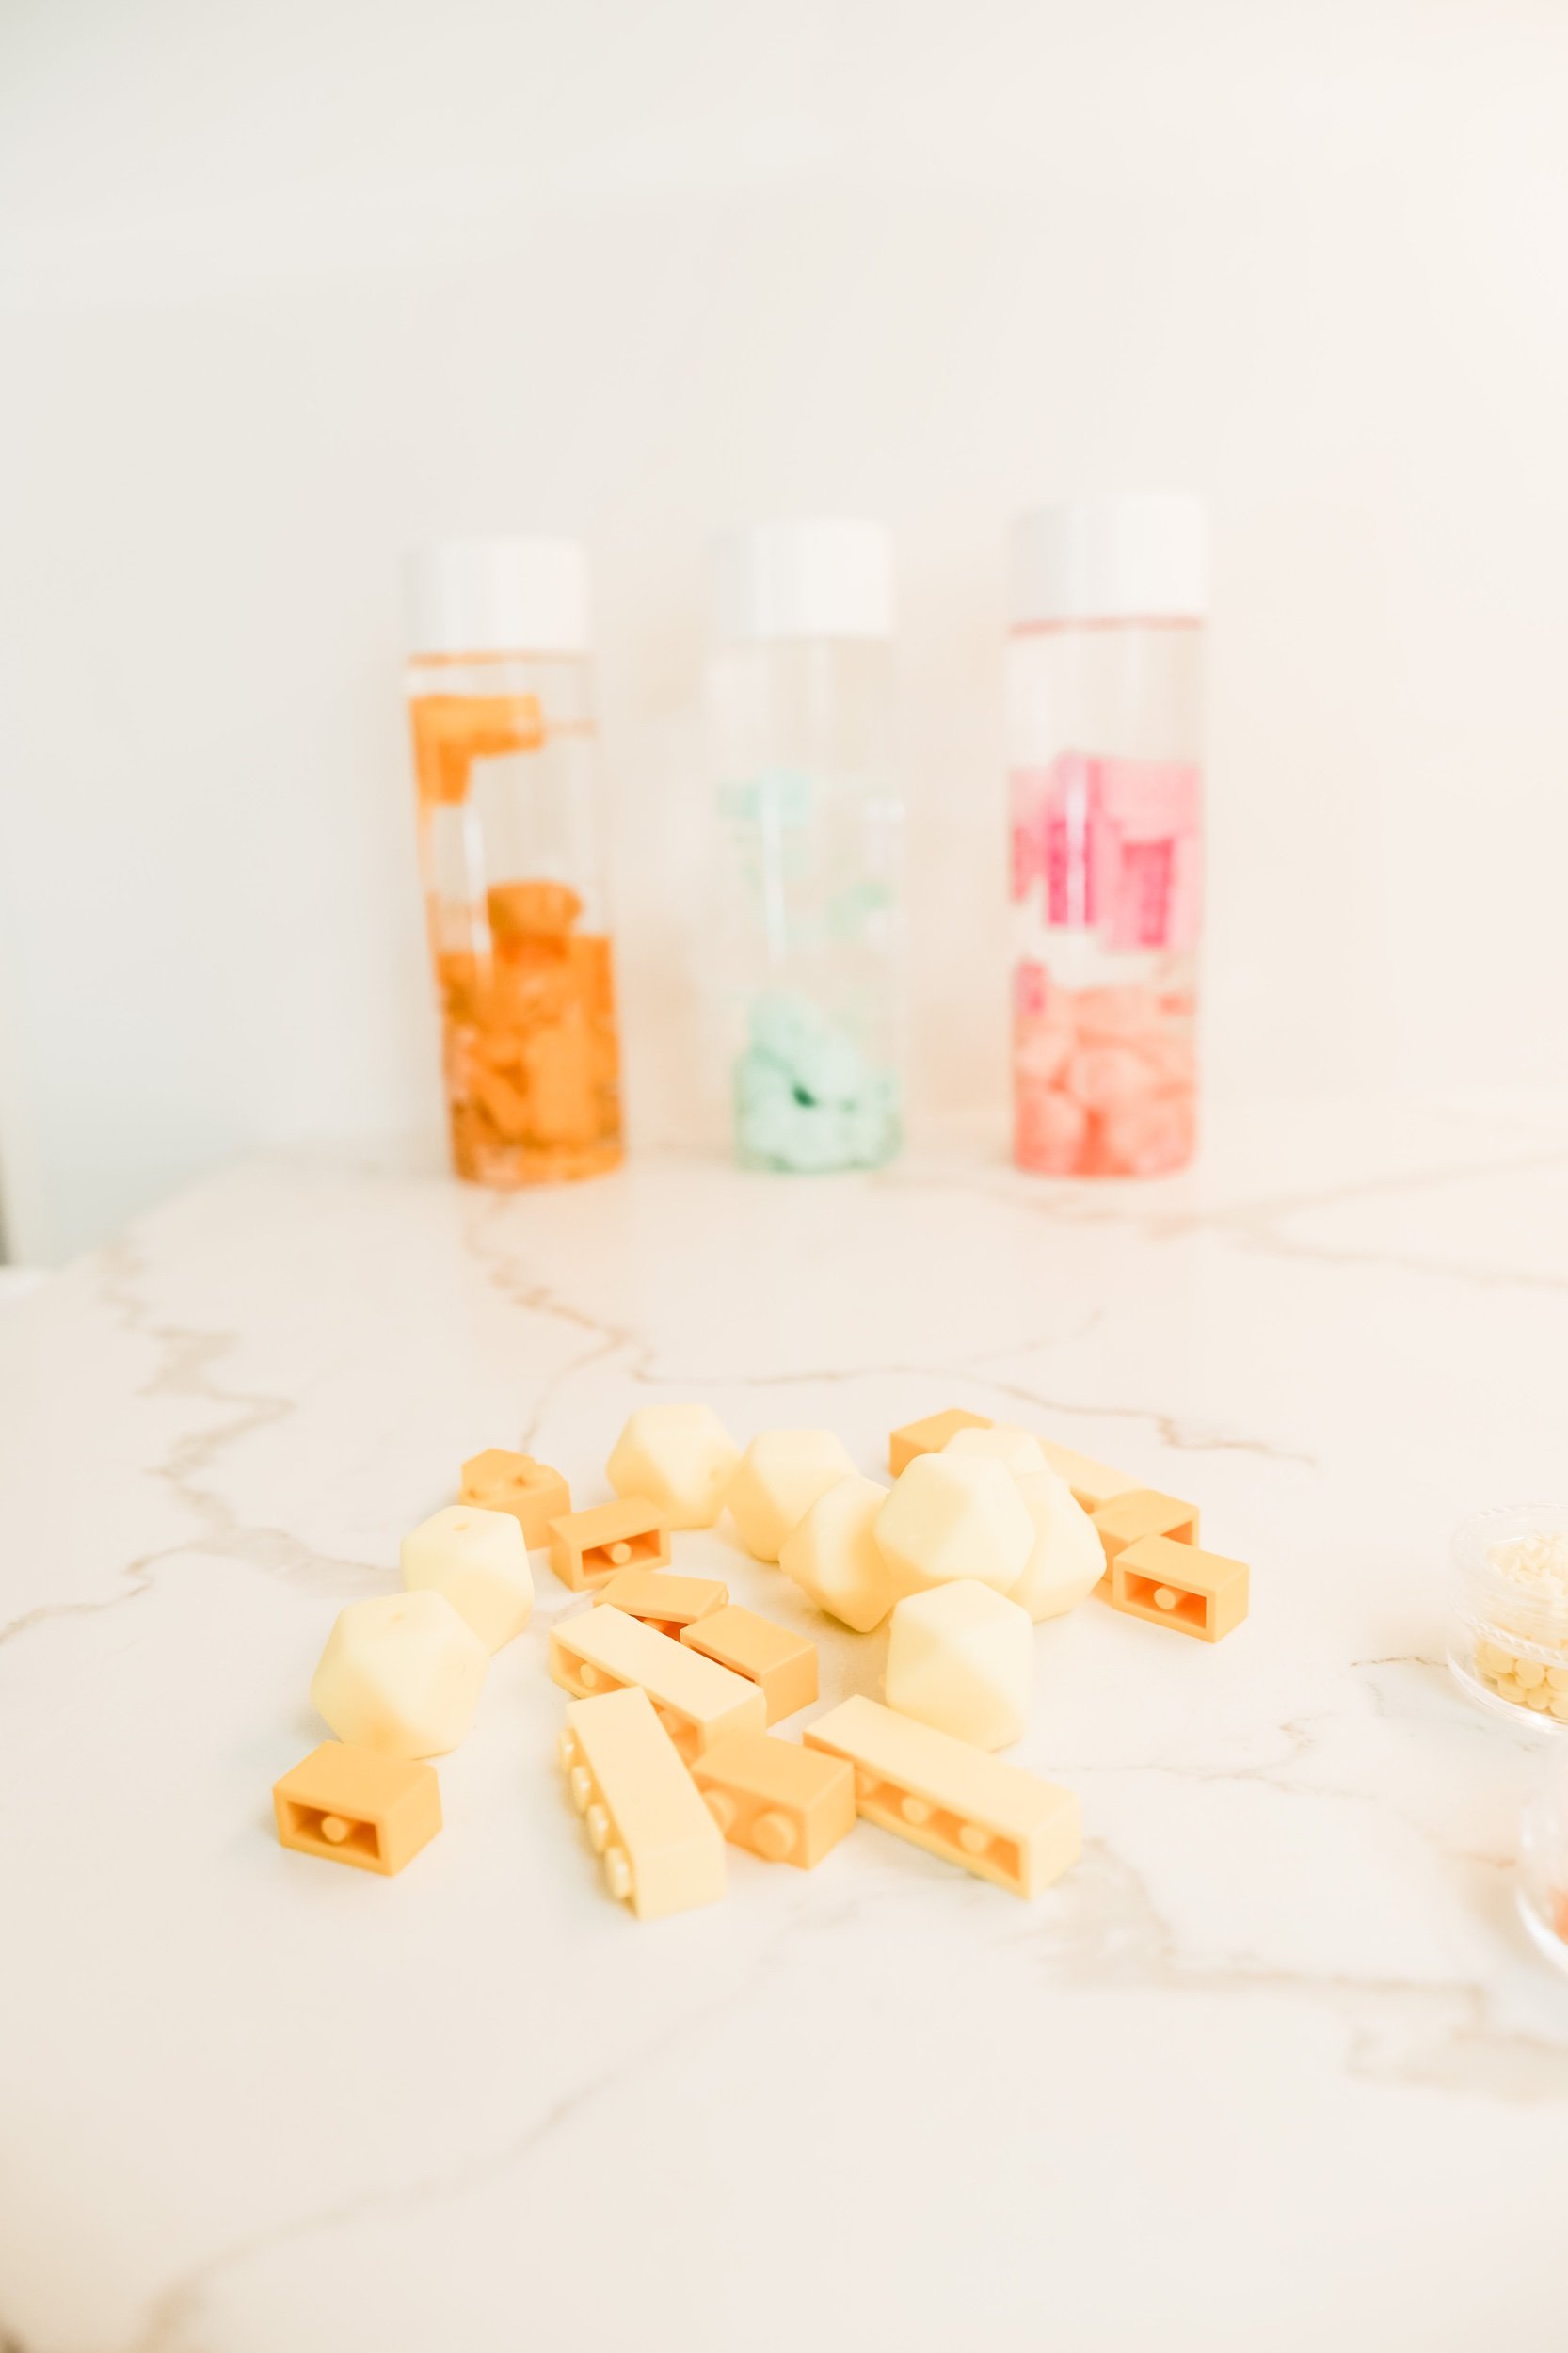
Materials Needed
You likely already have everything you need at home:
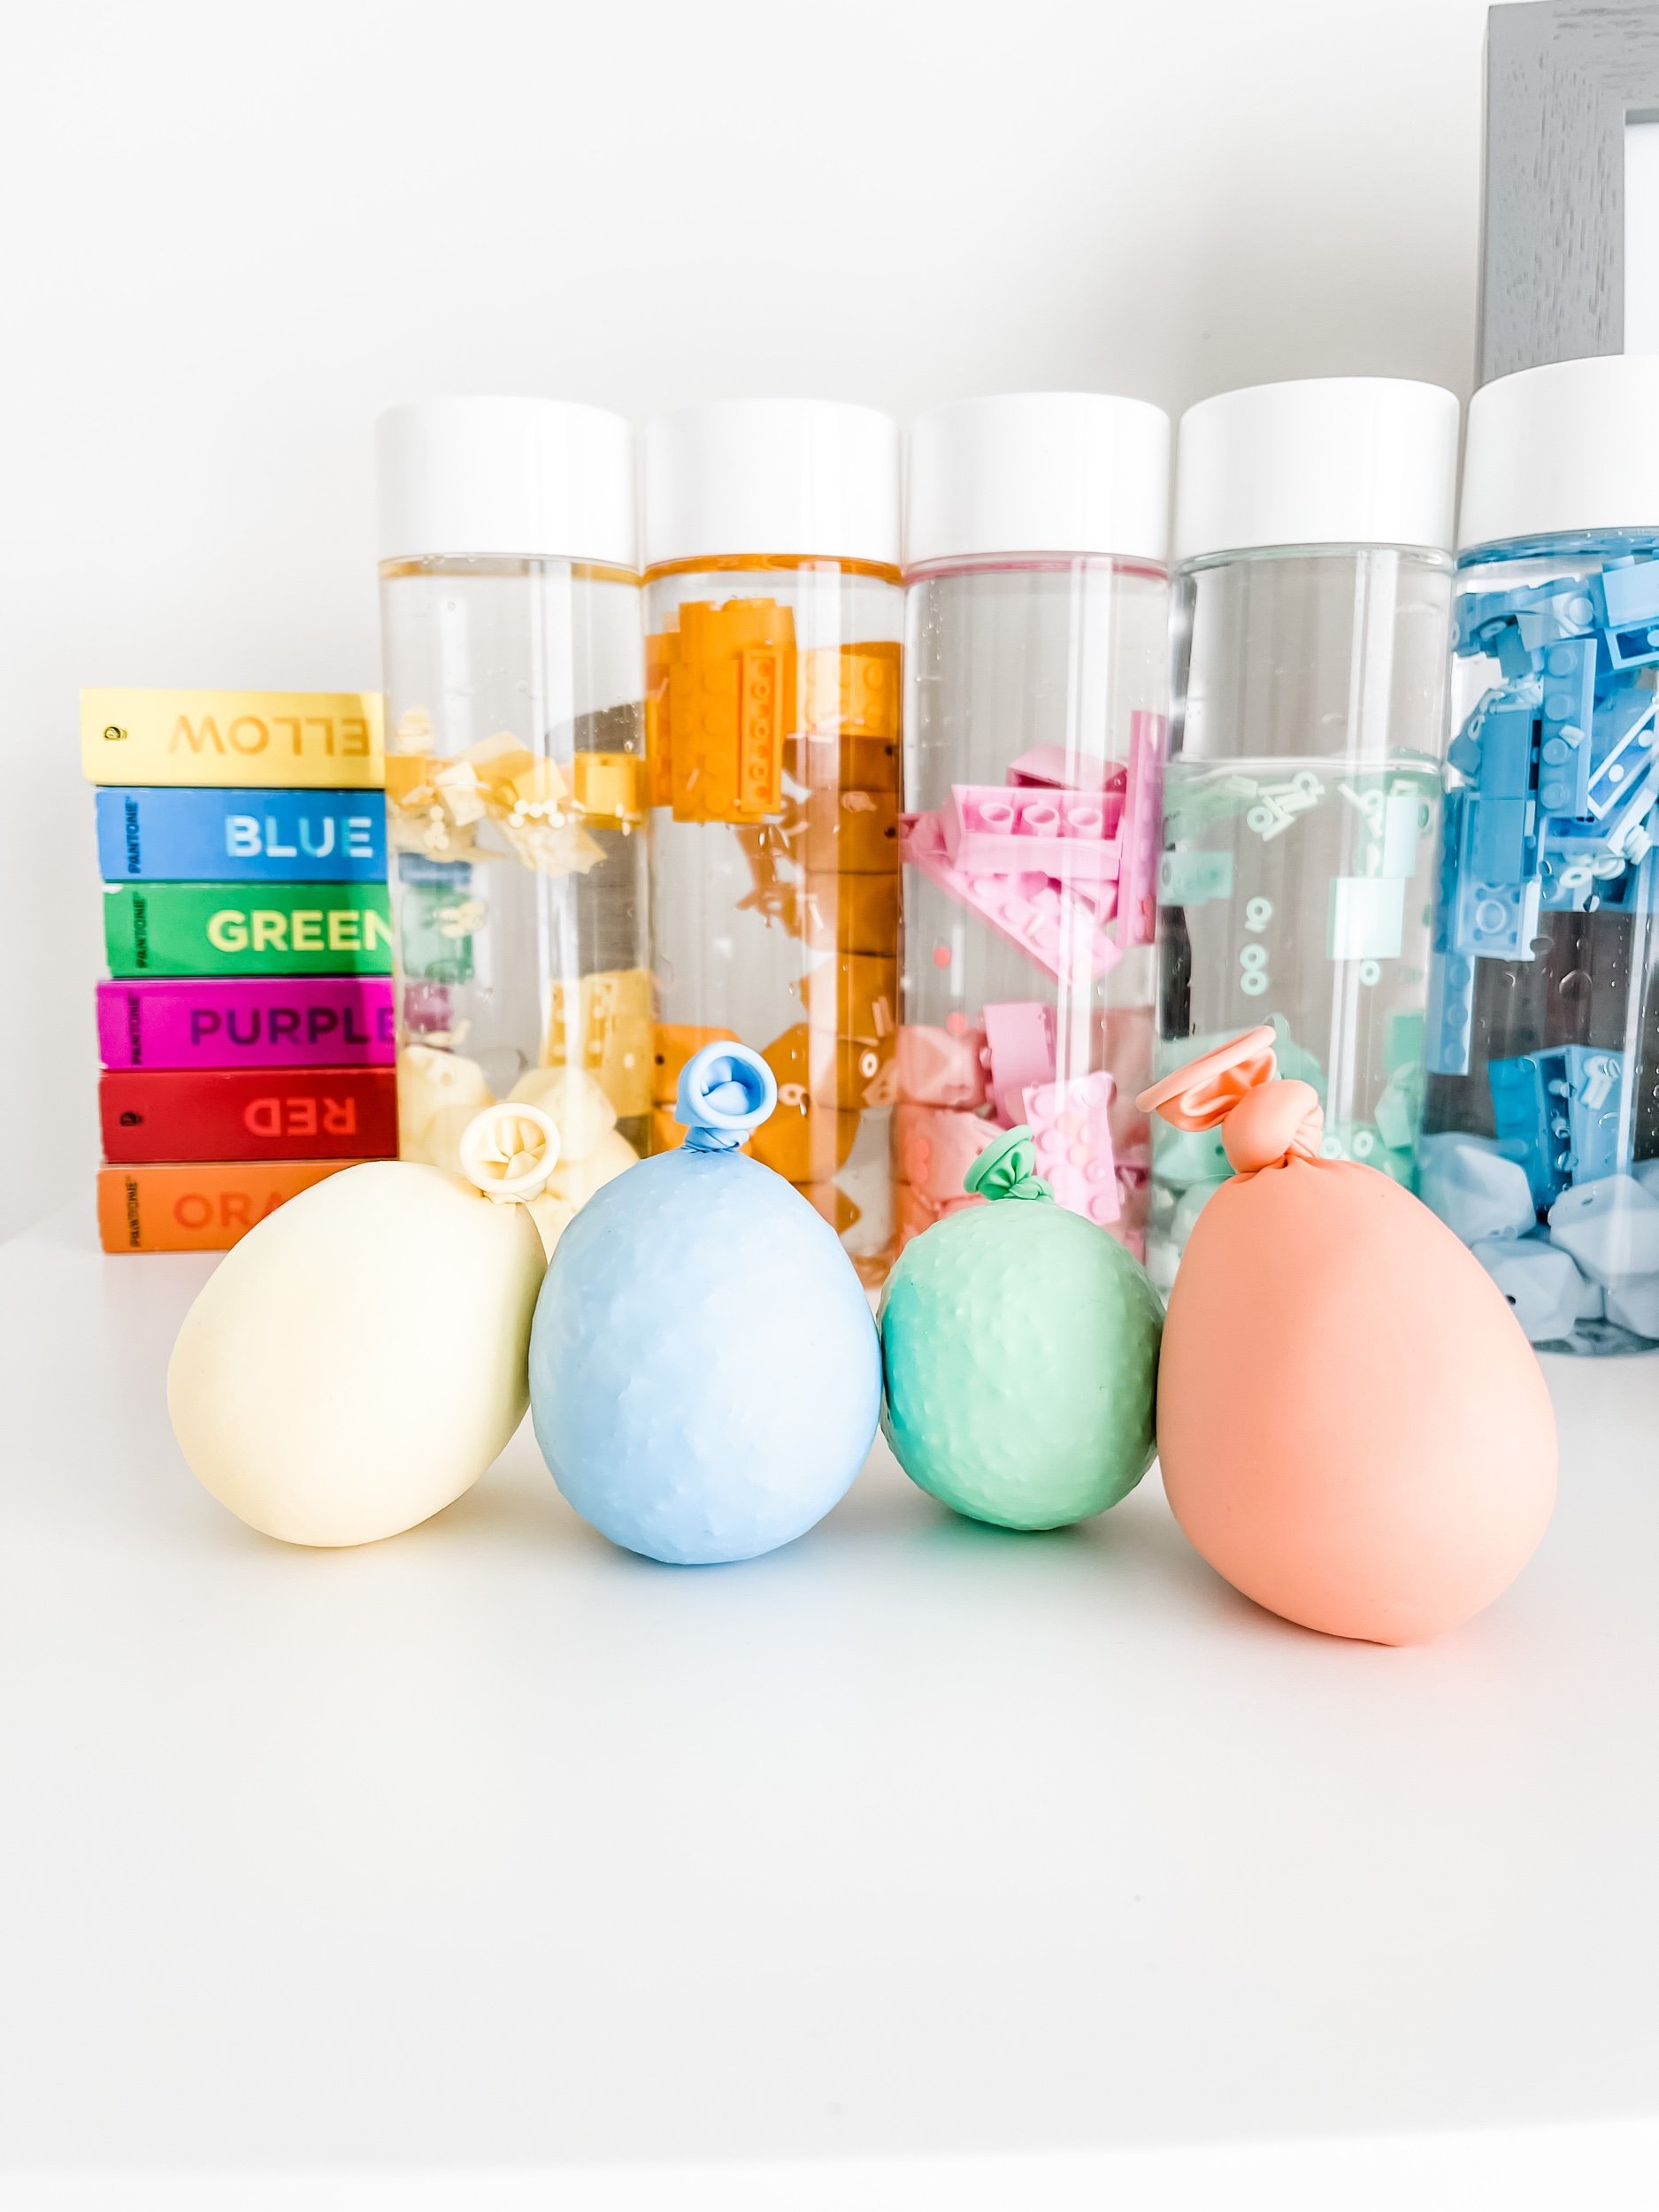
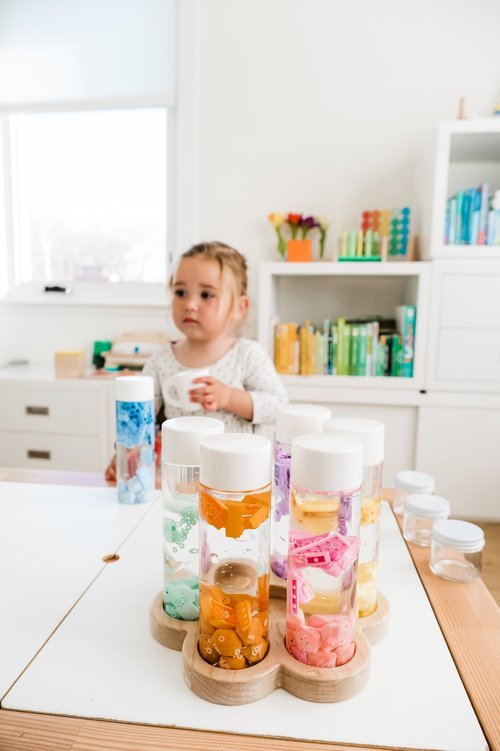
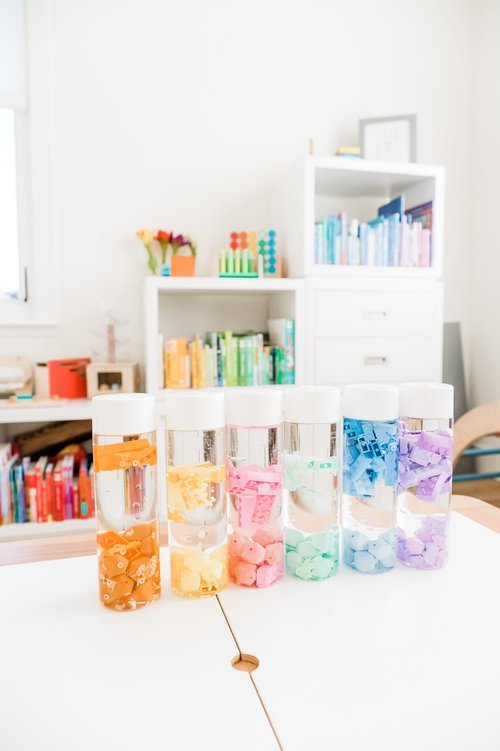
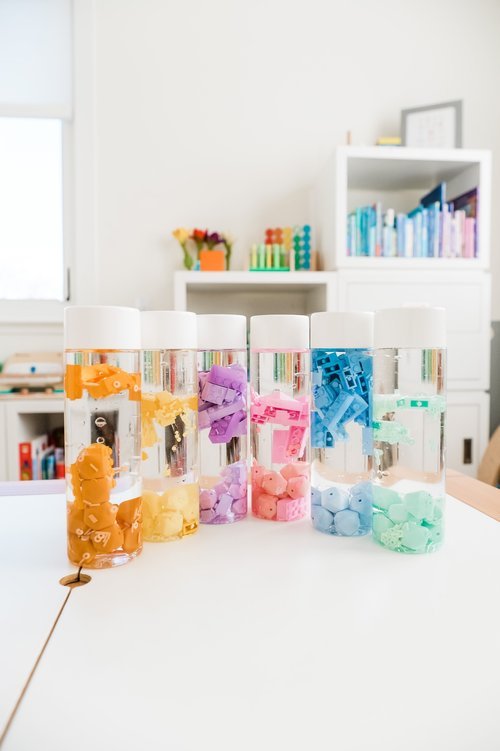
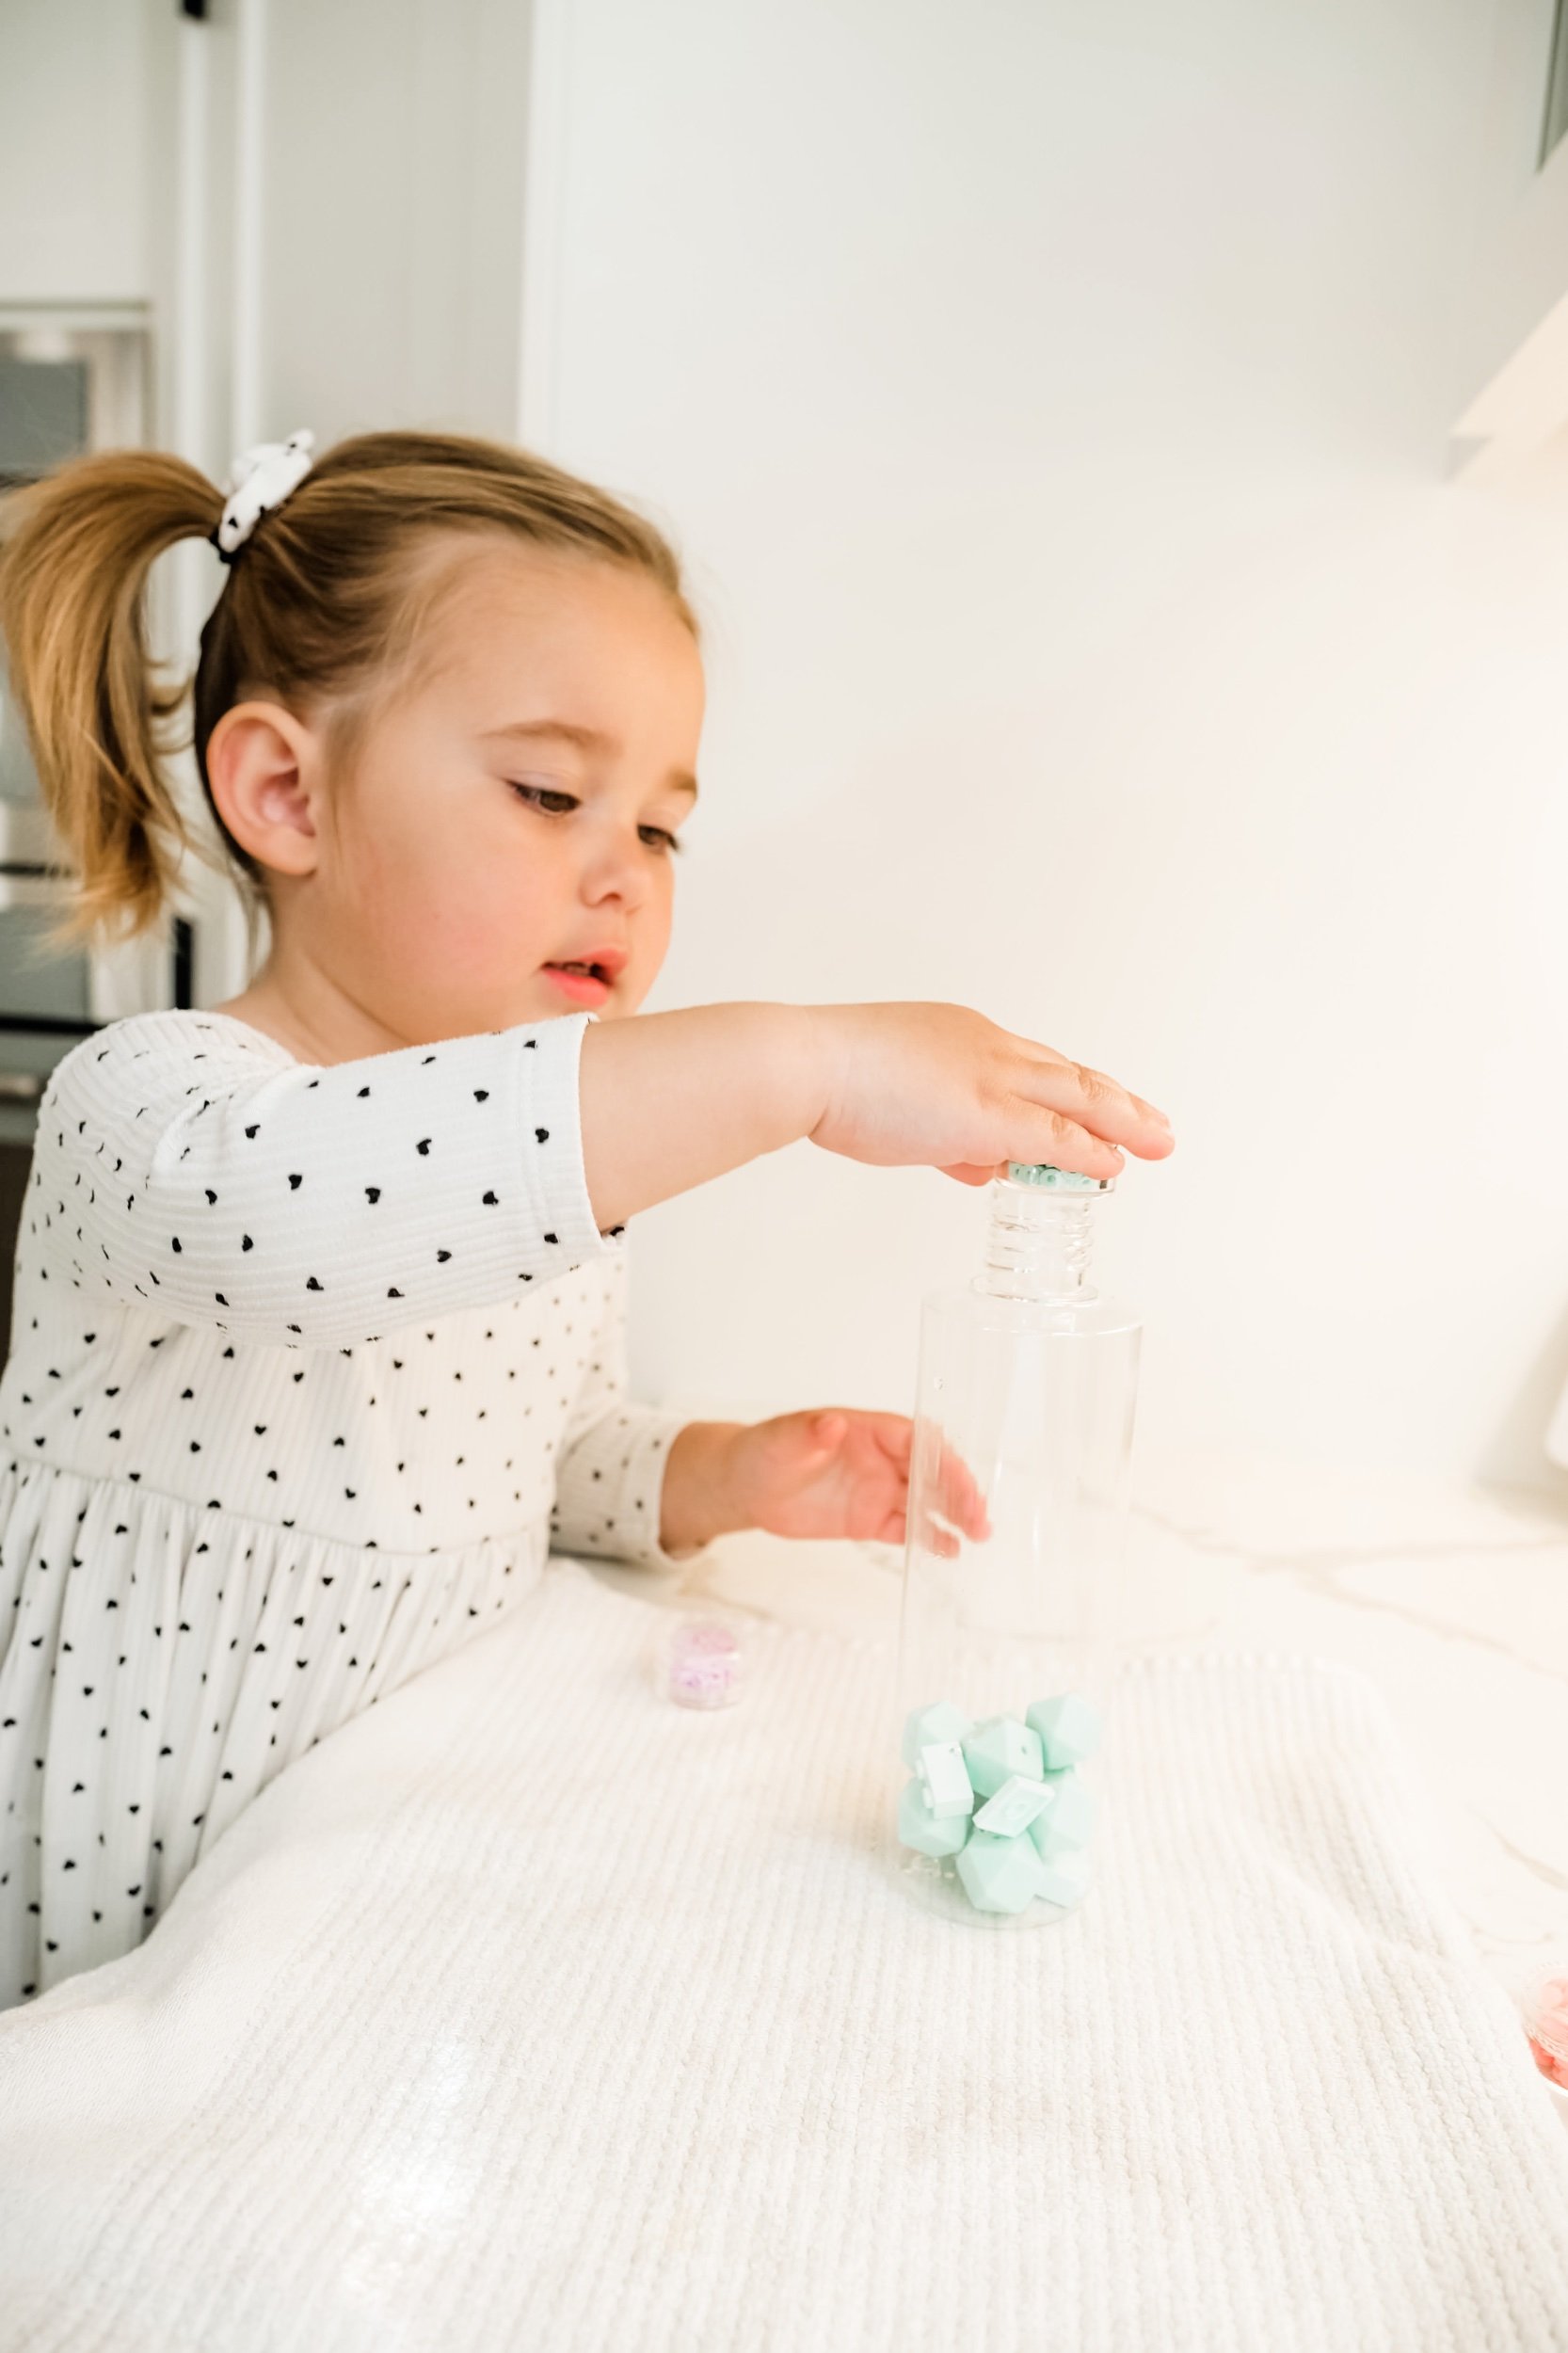
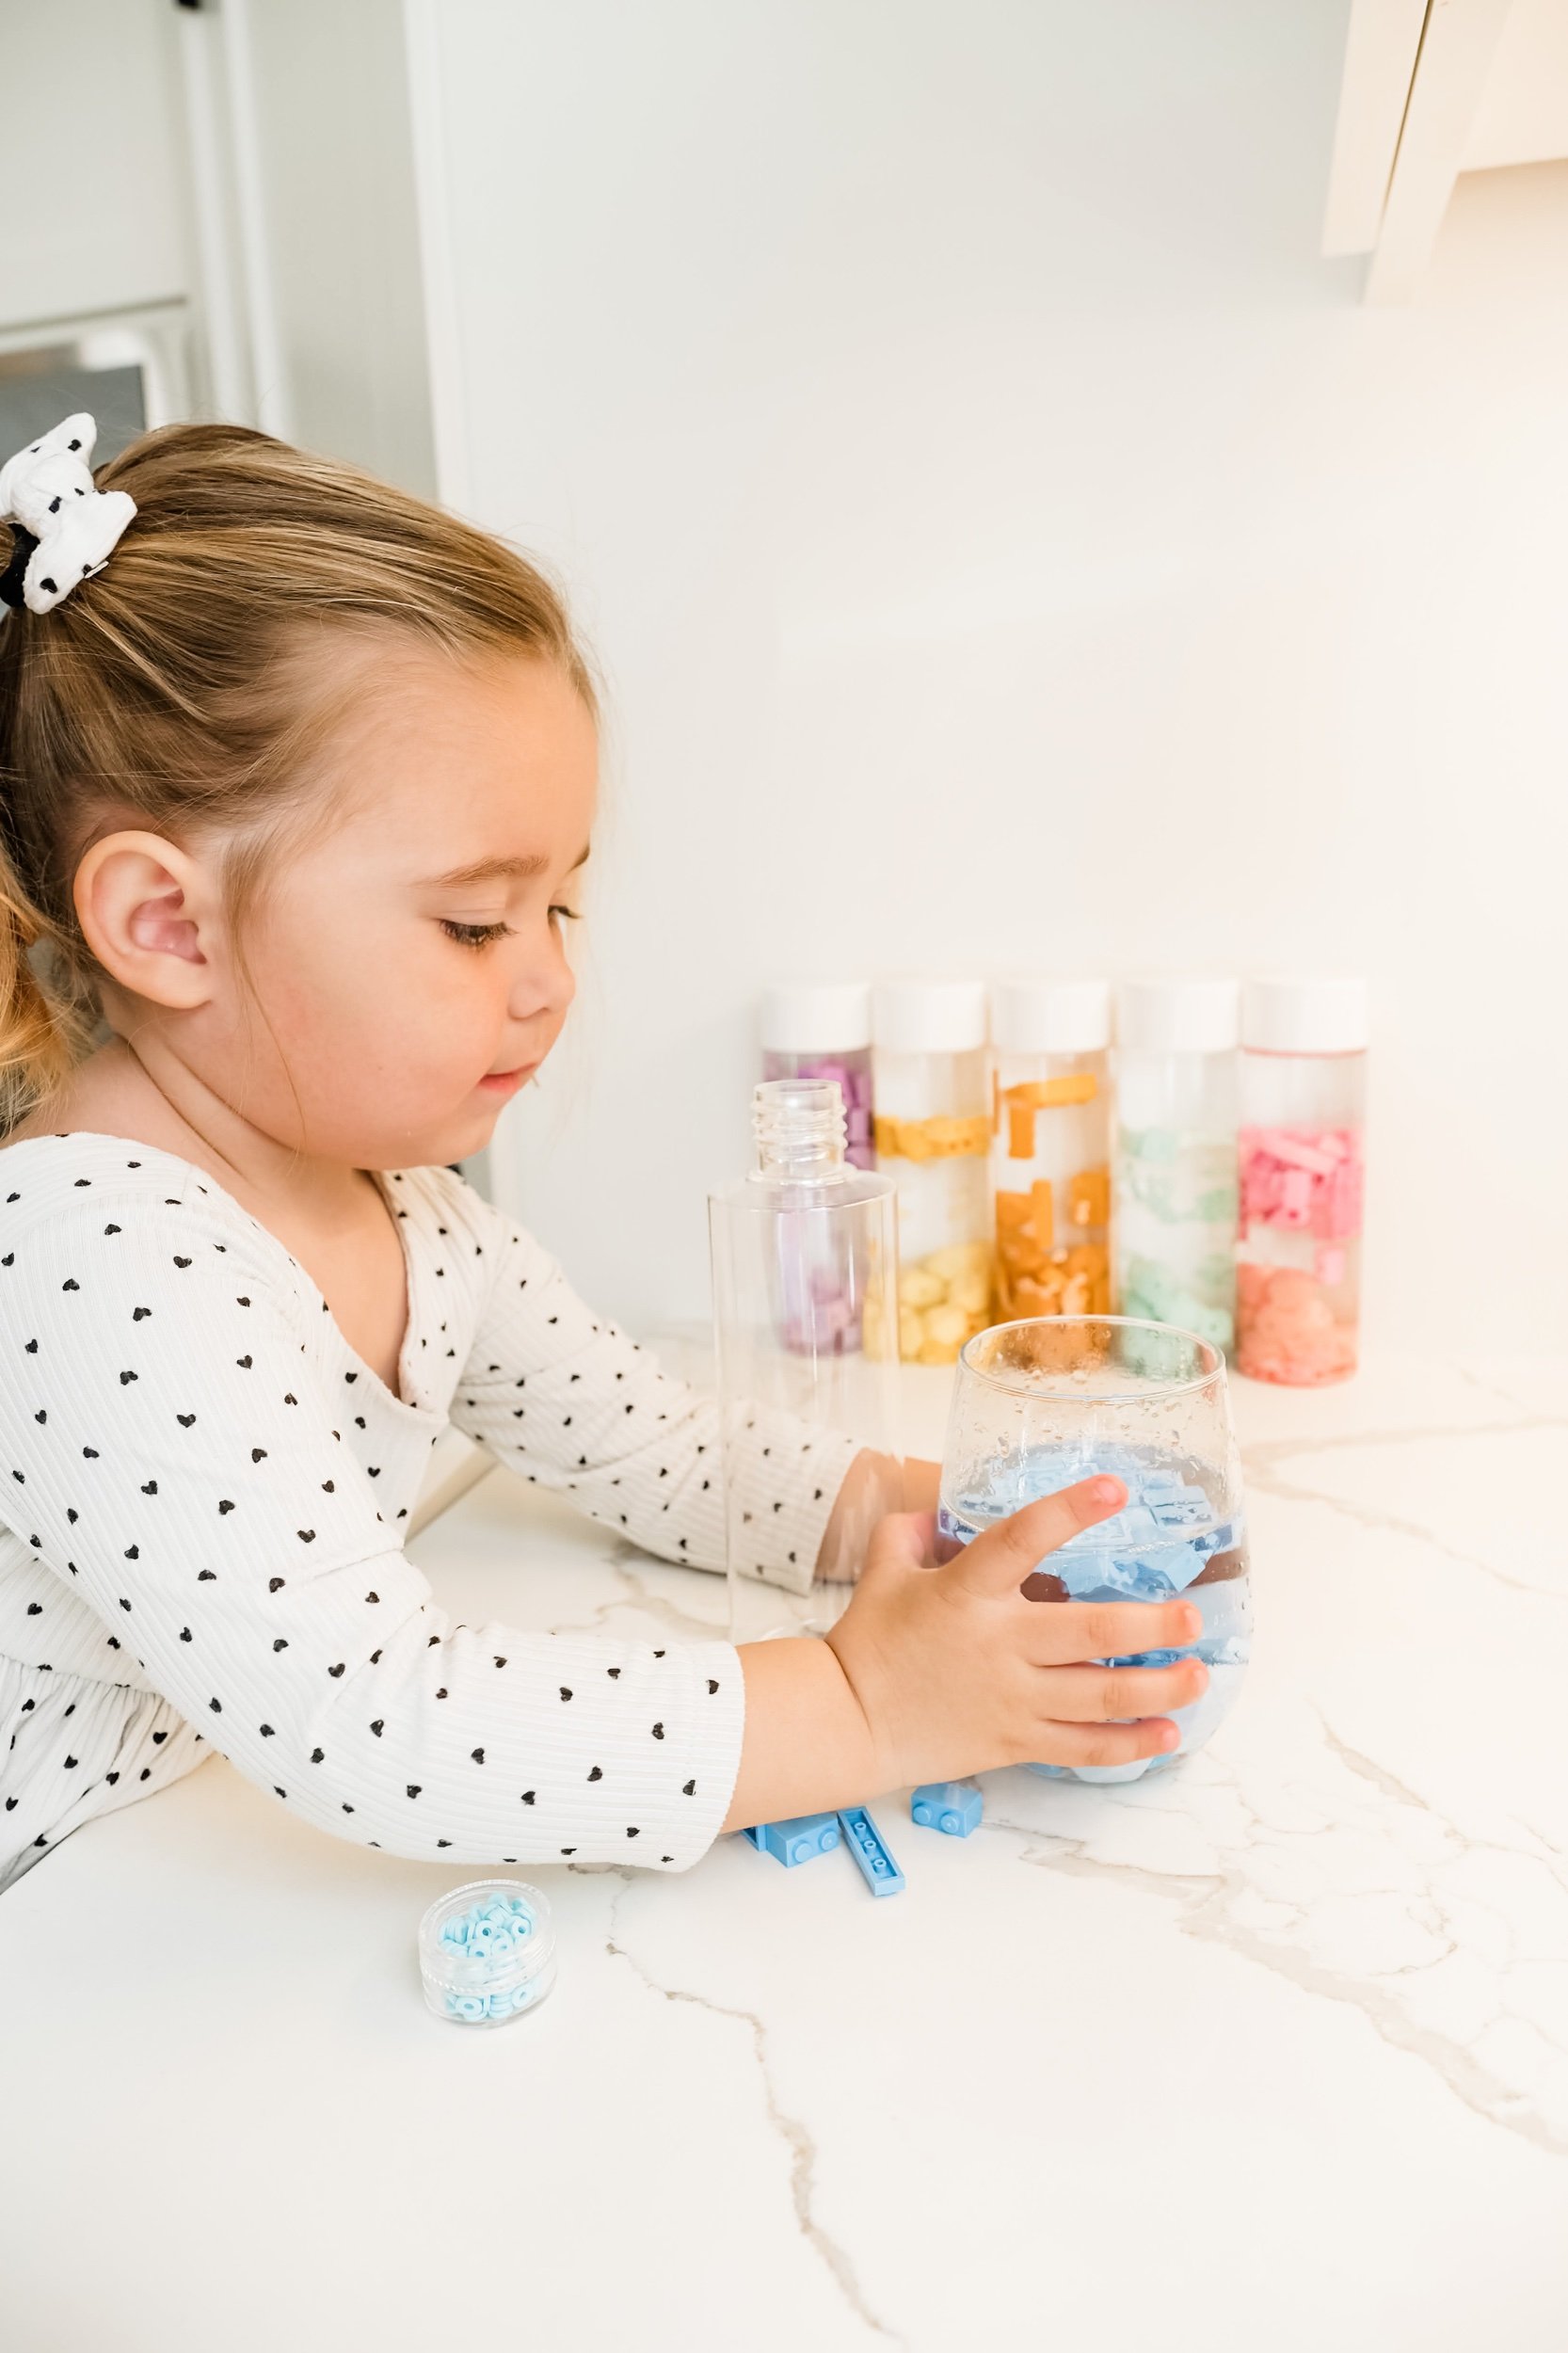
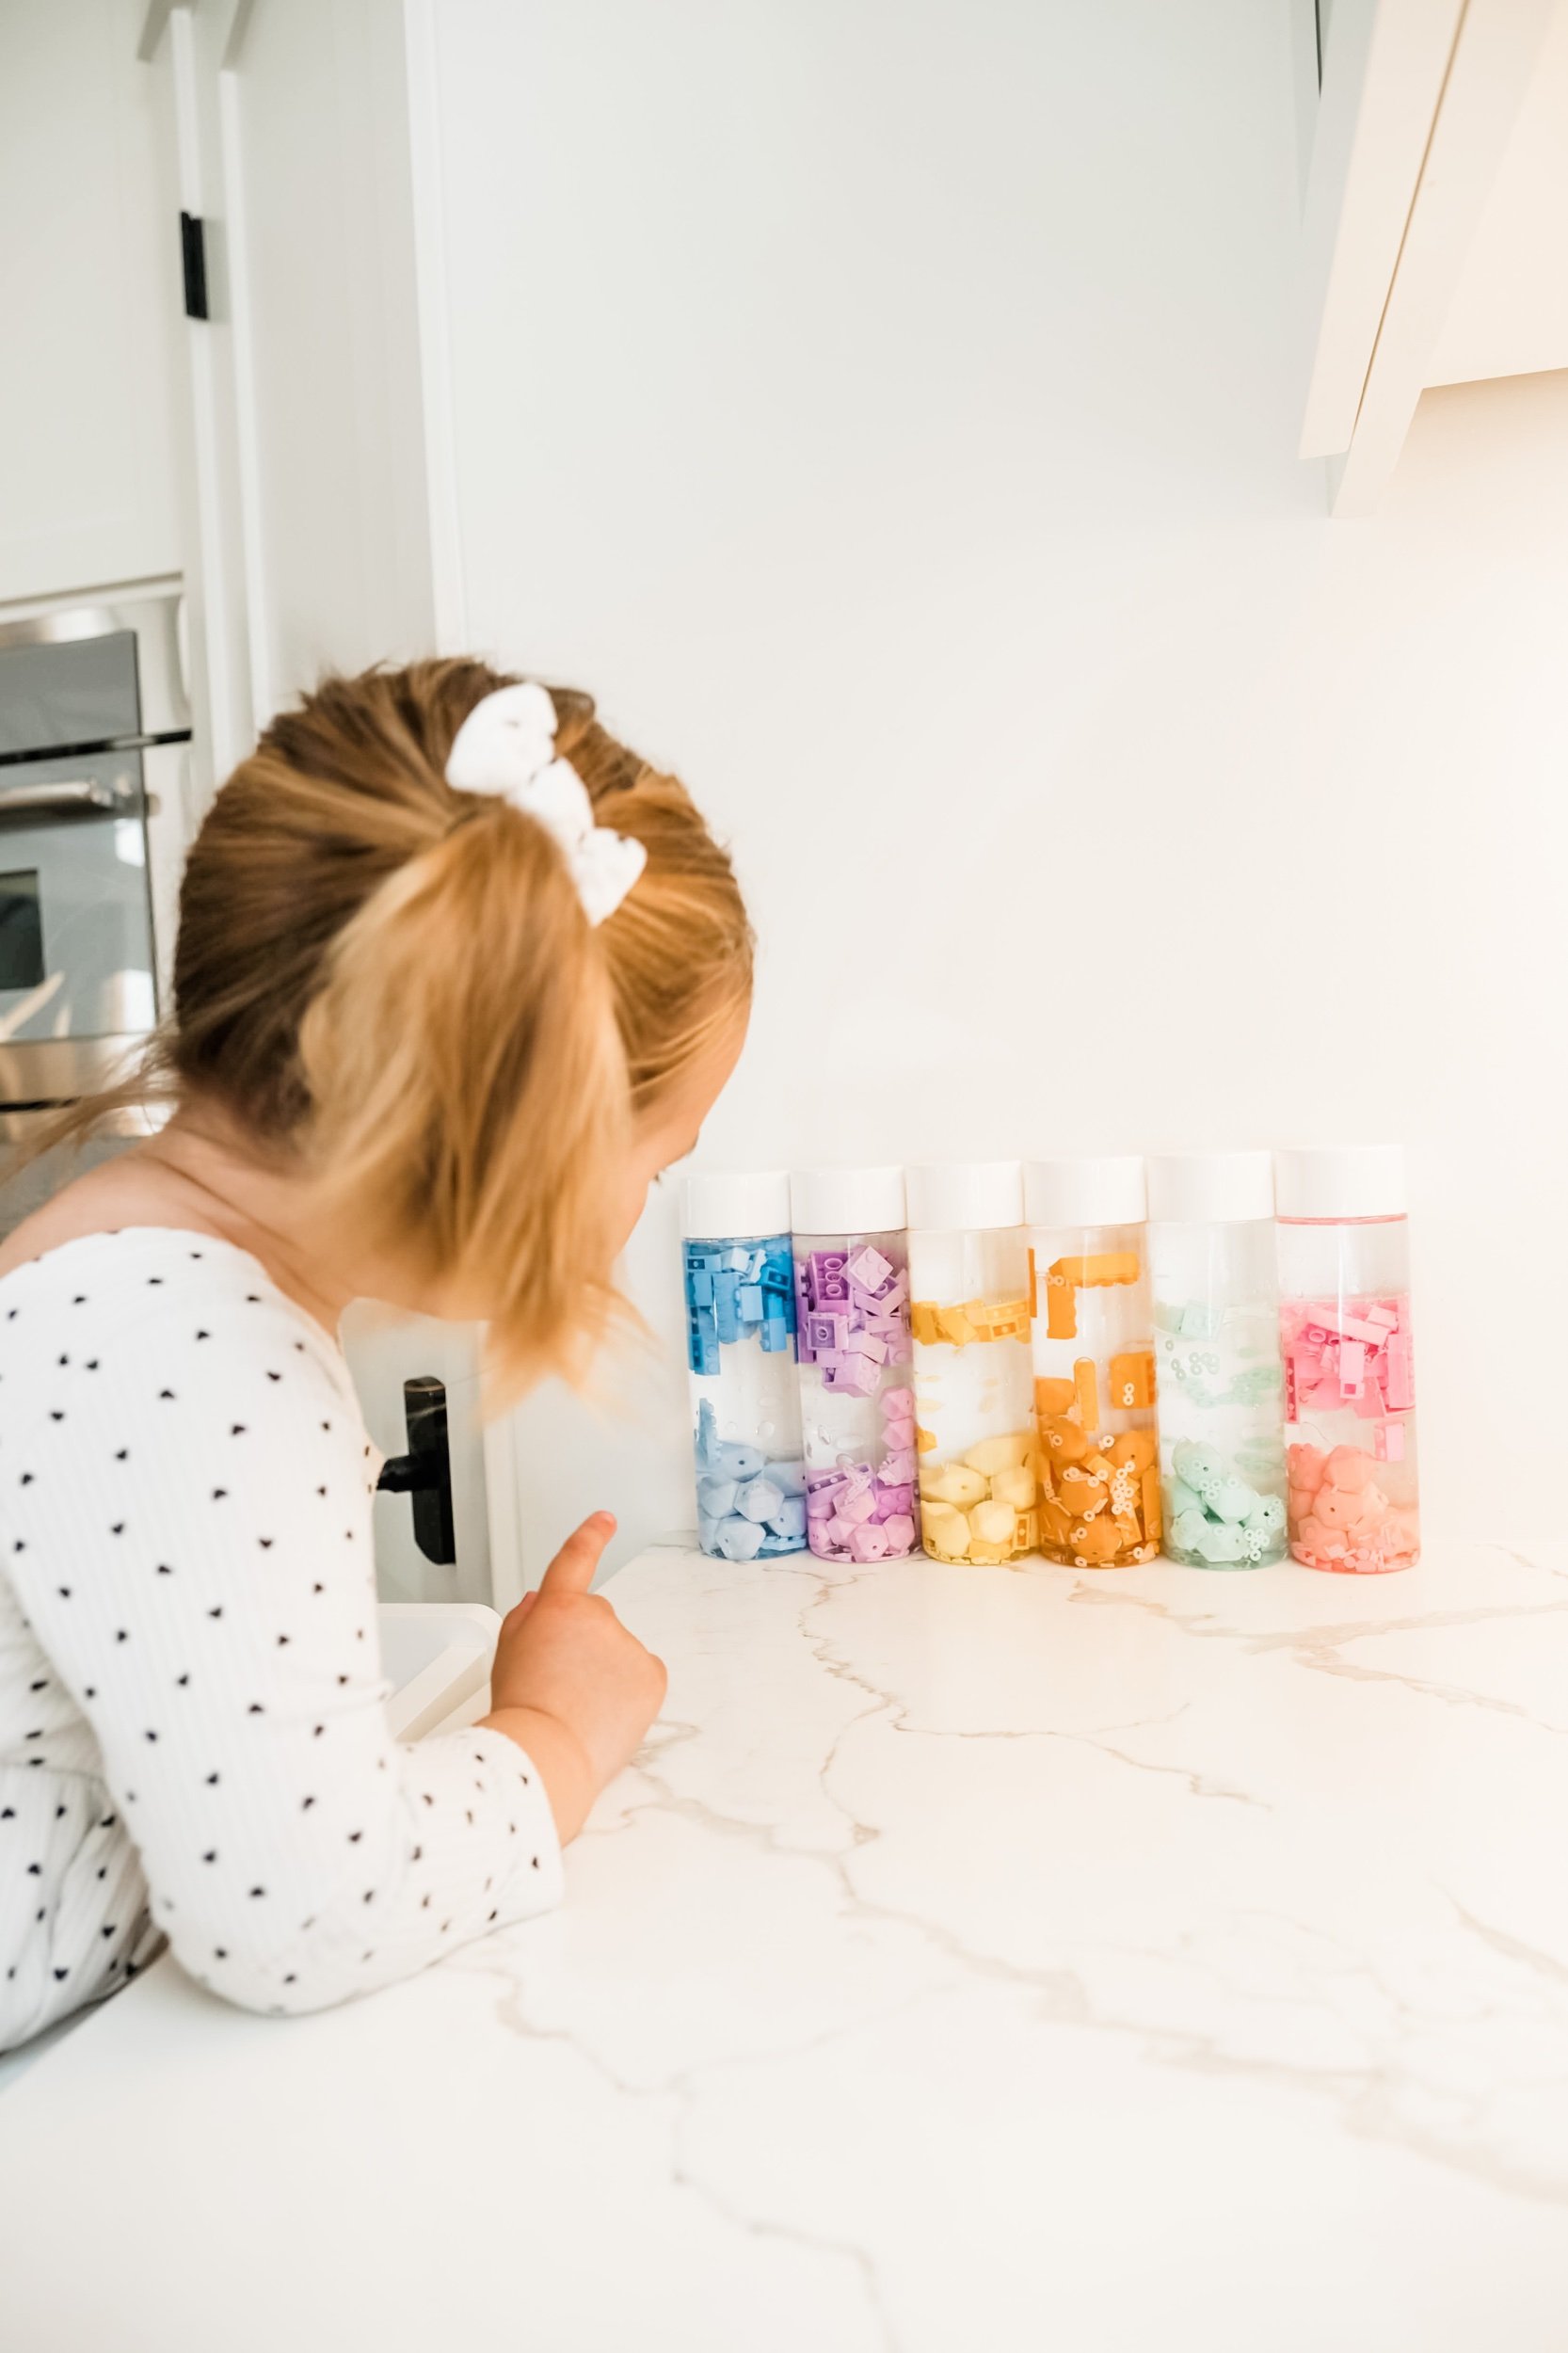
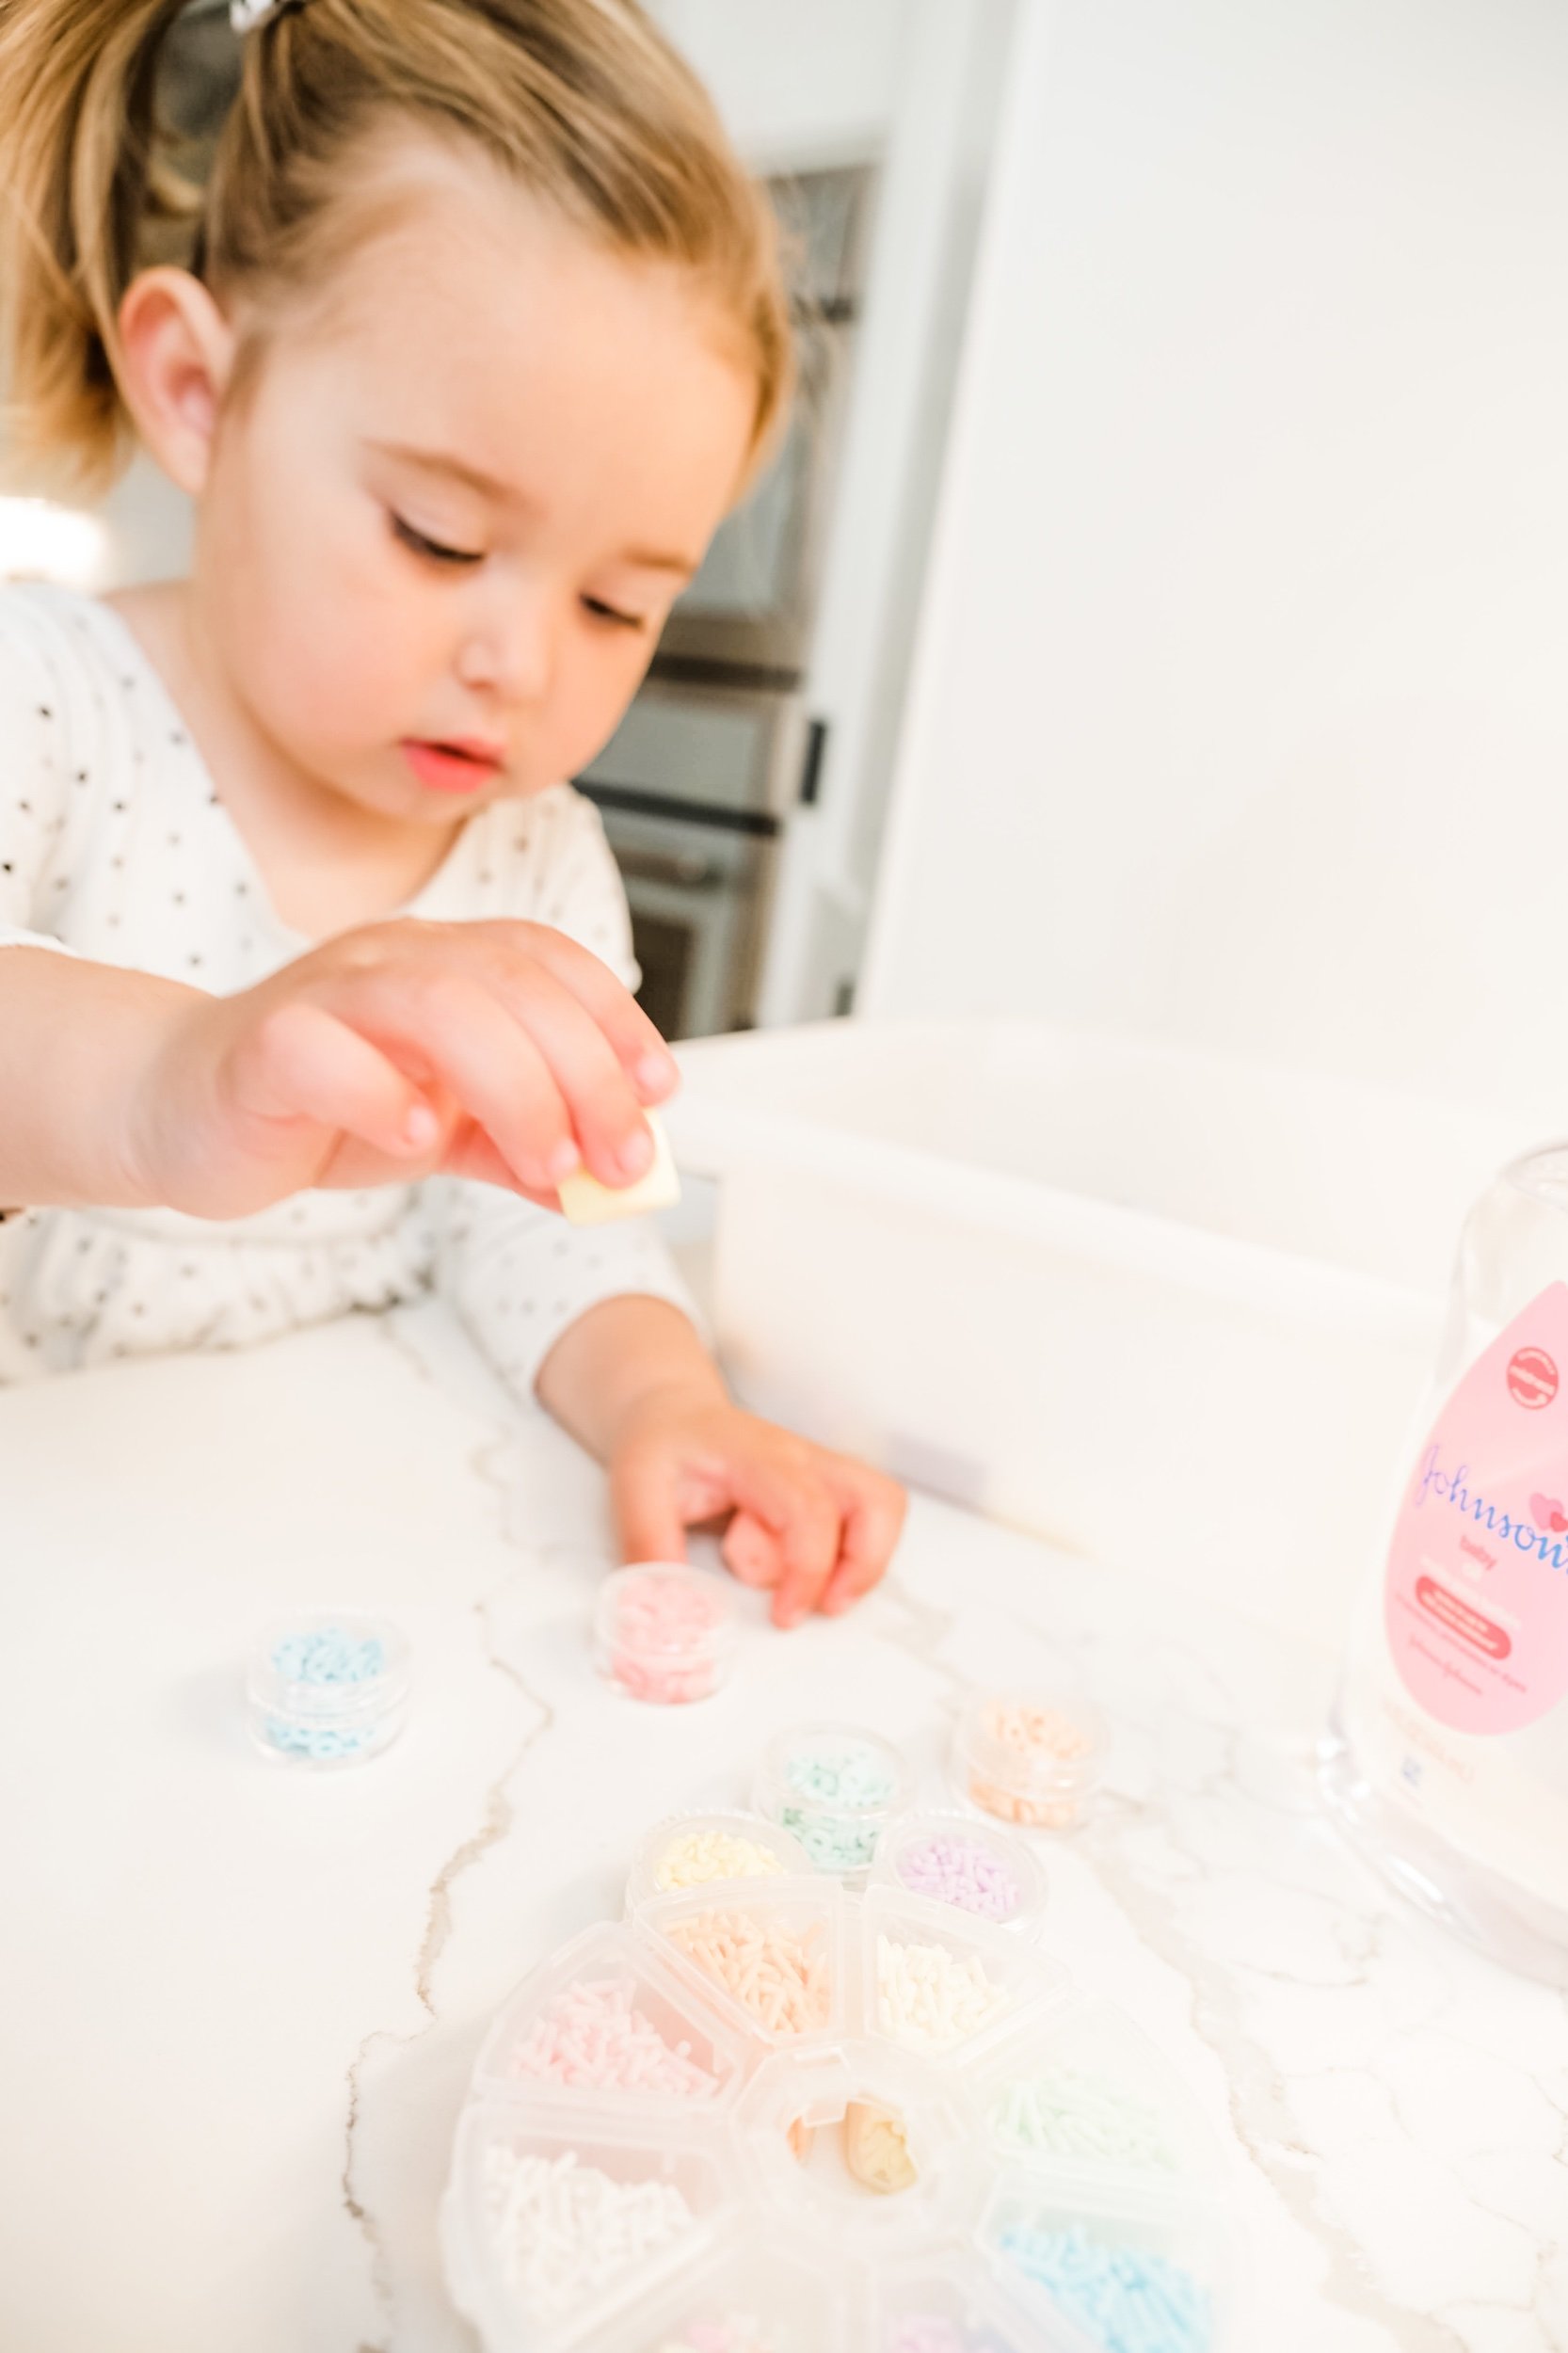
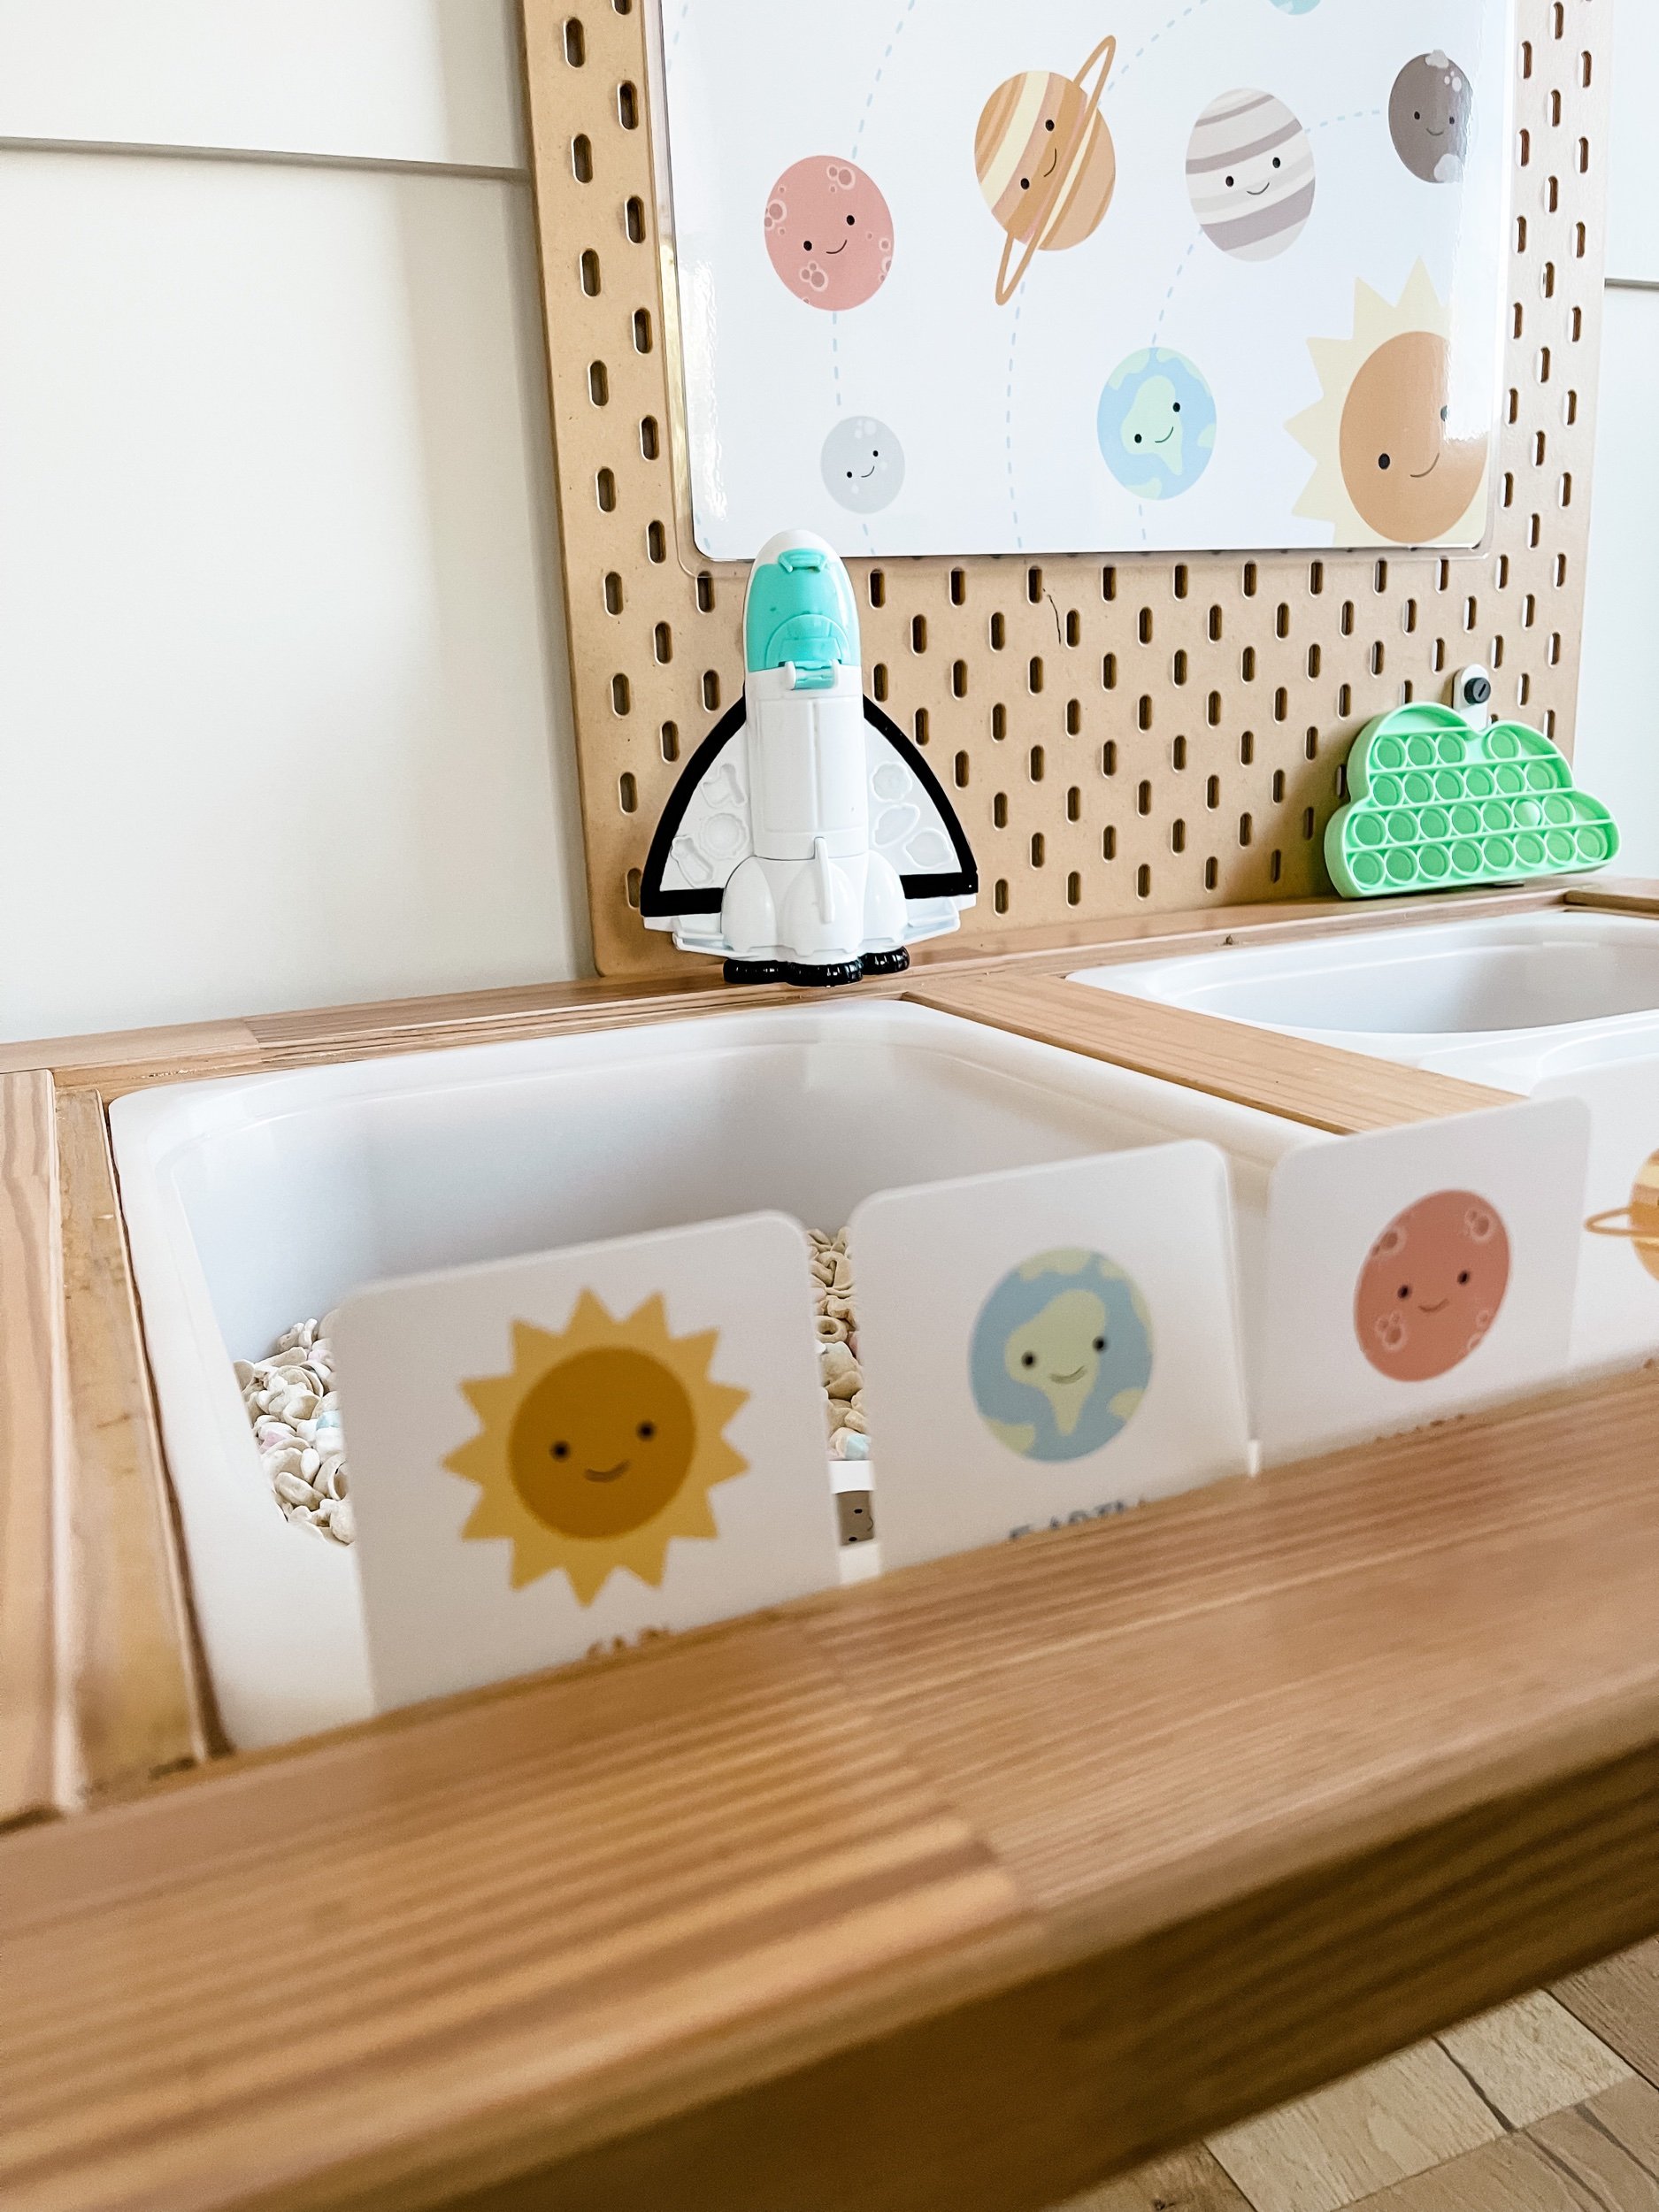
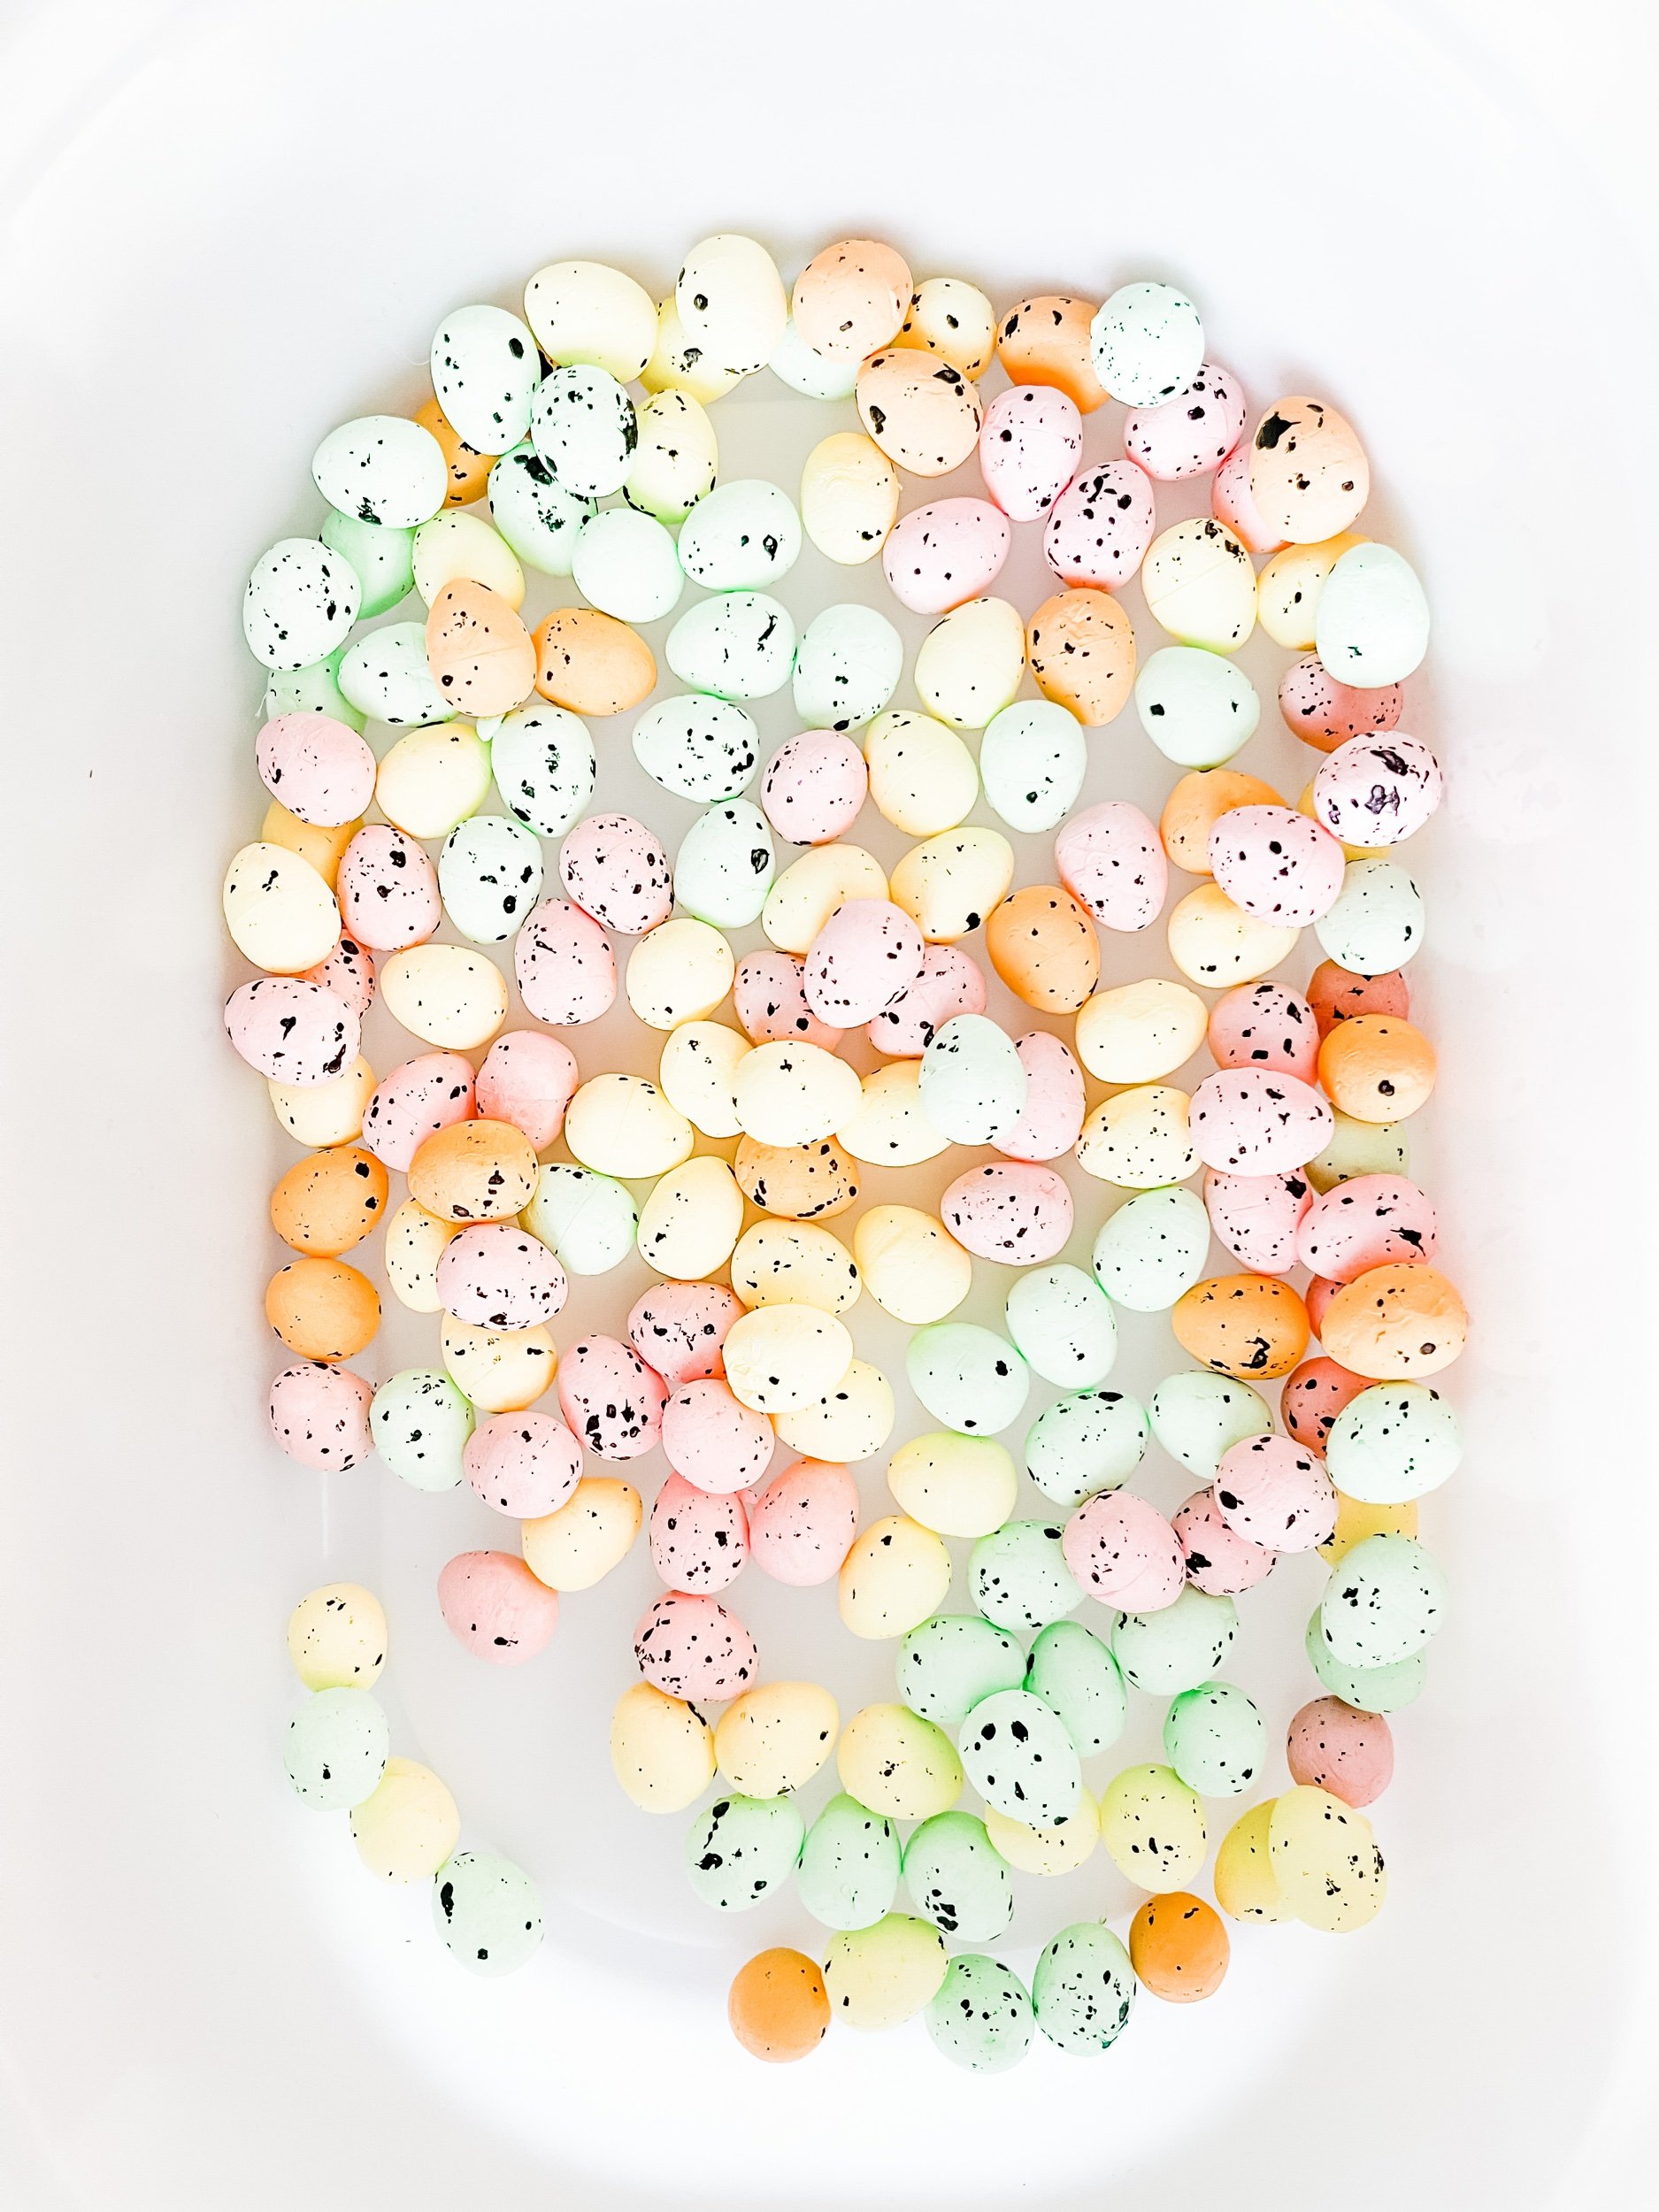
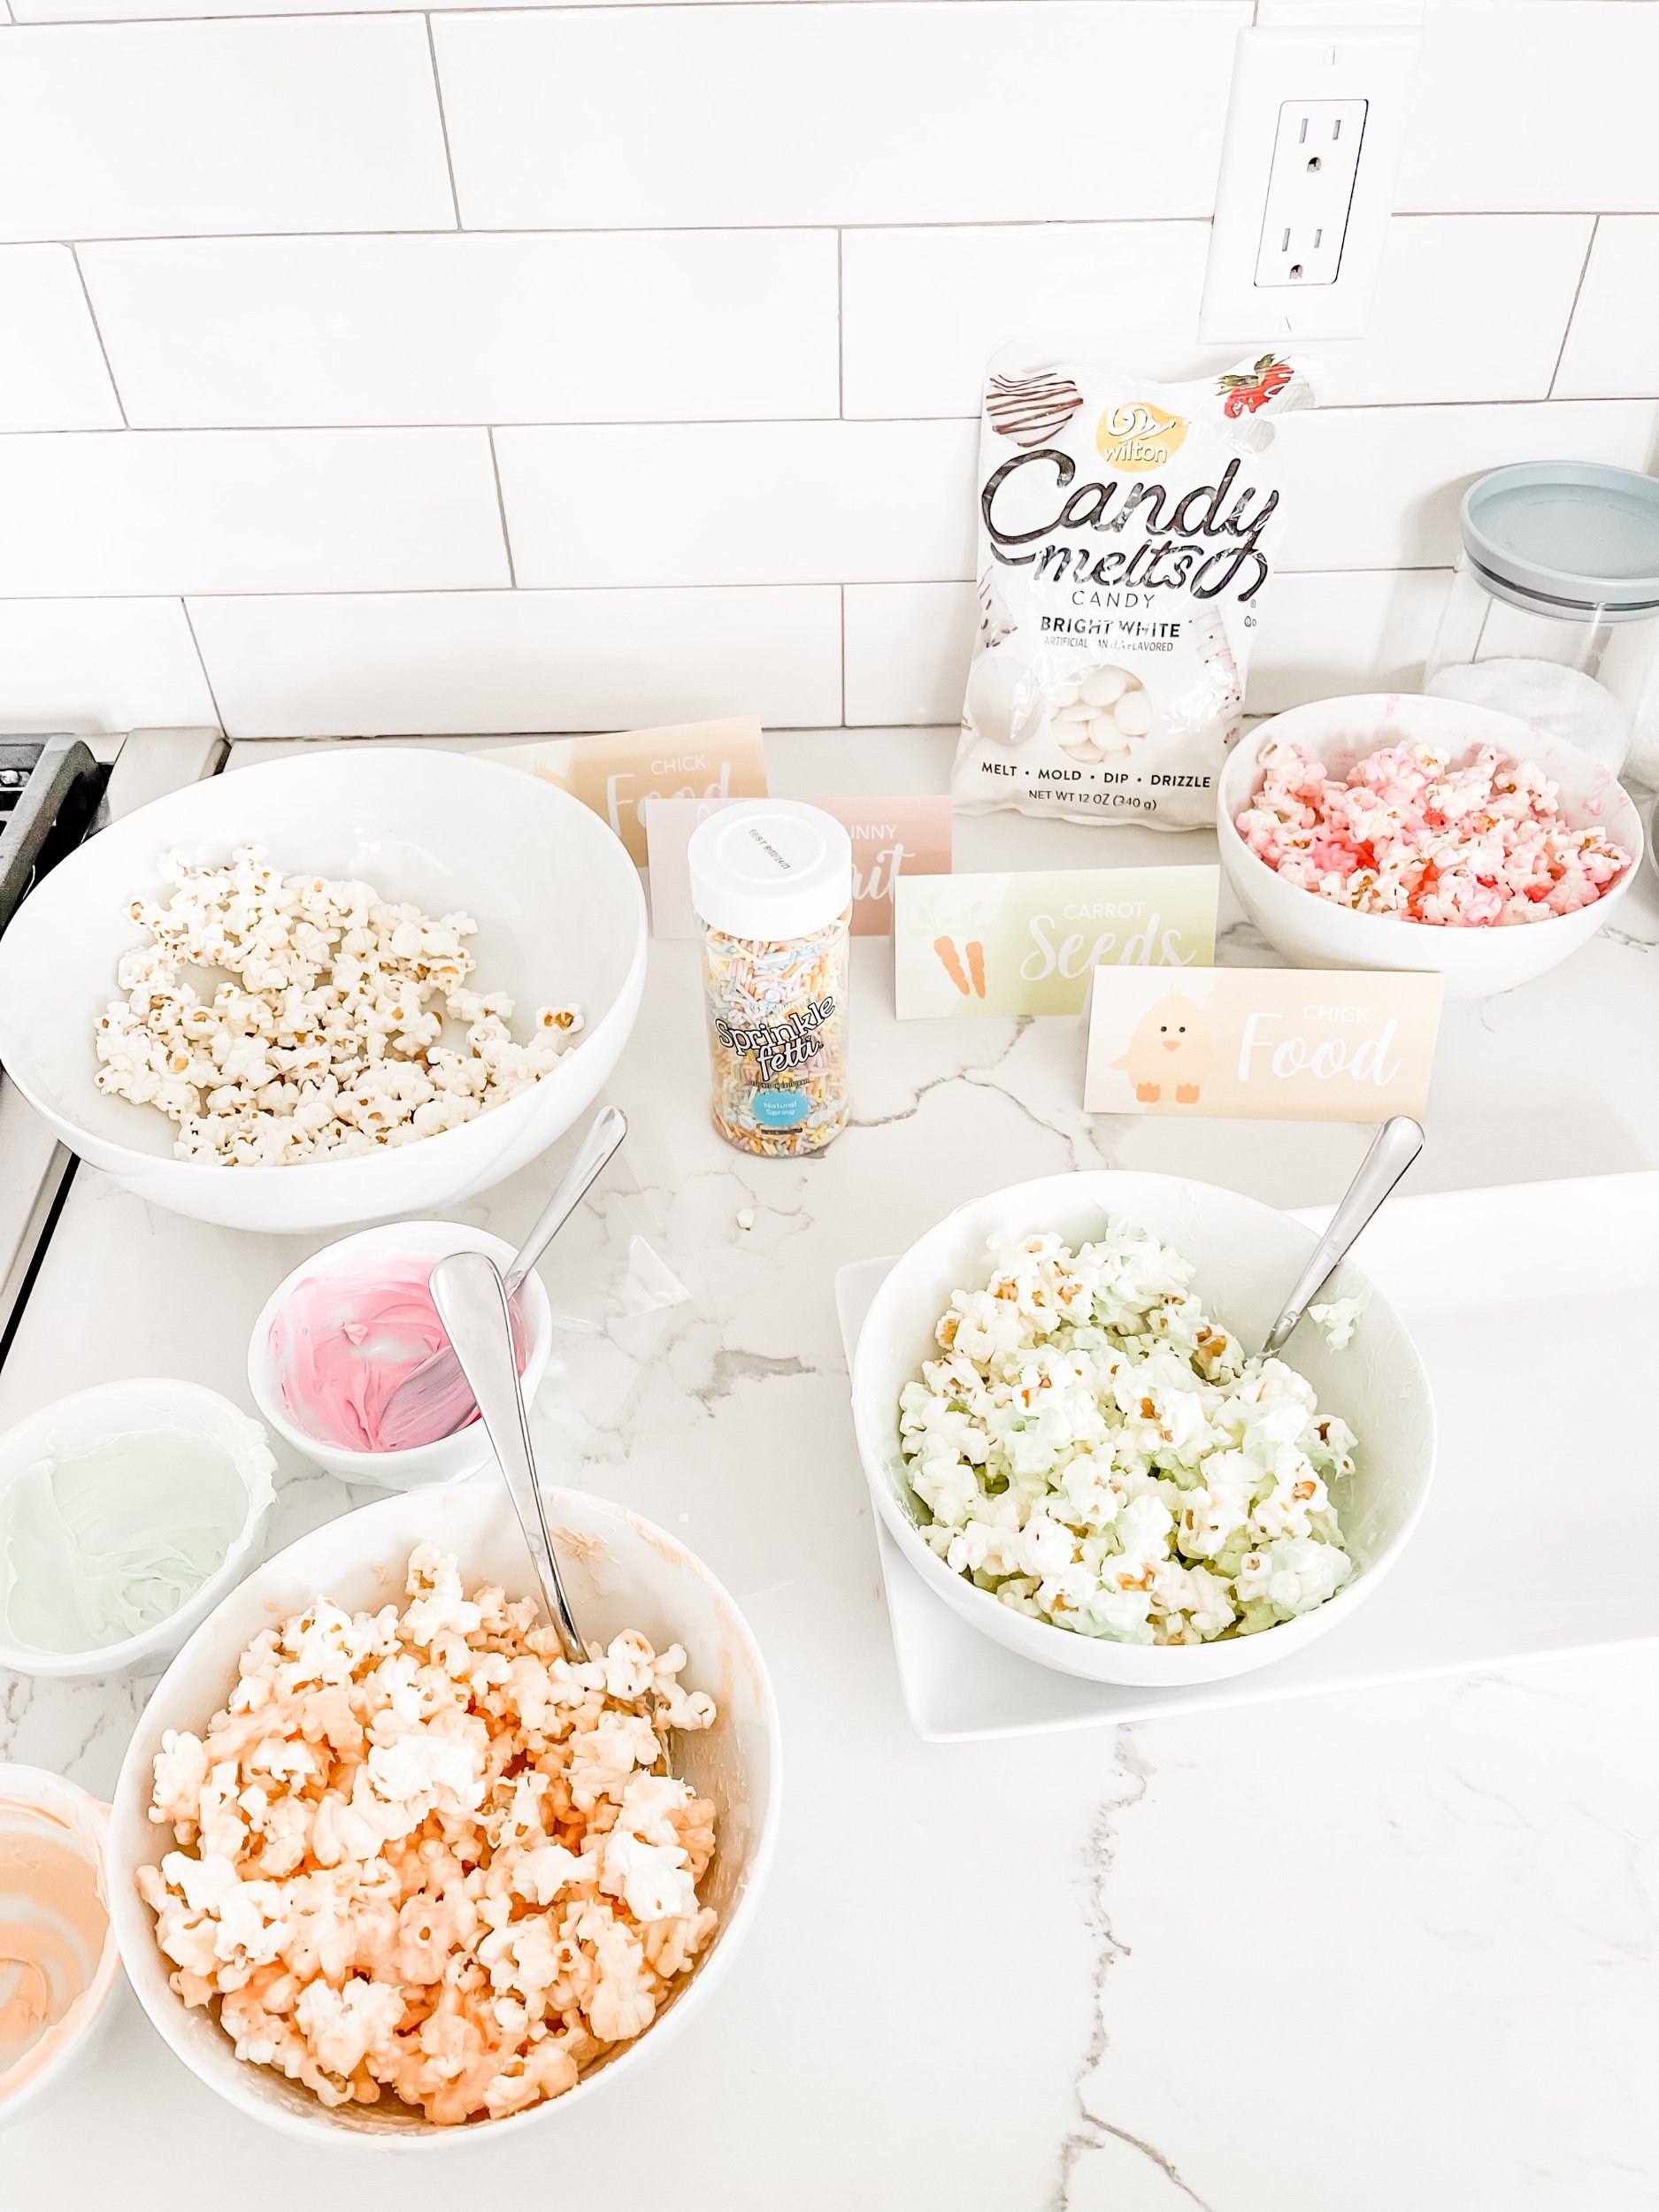
Sensory fillers such as:
Salt
Flour
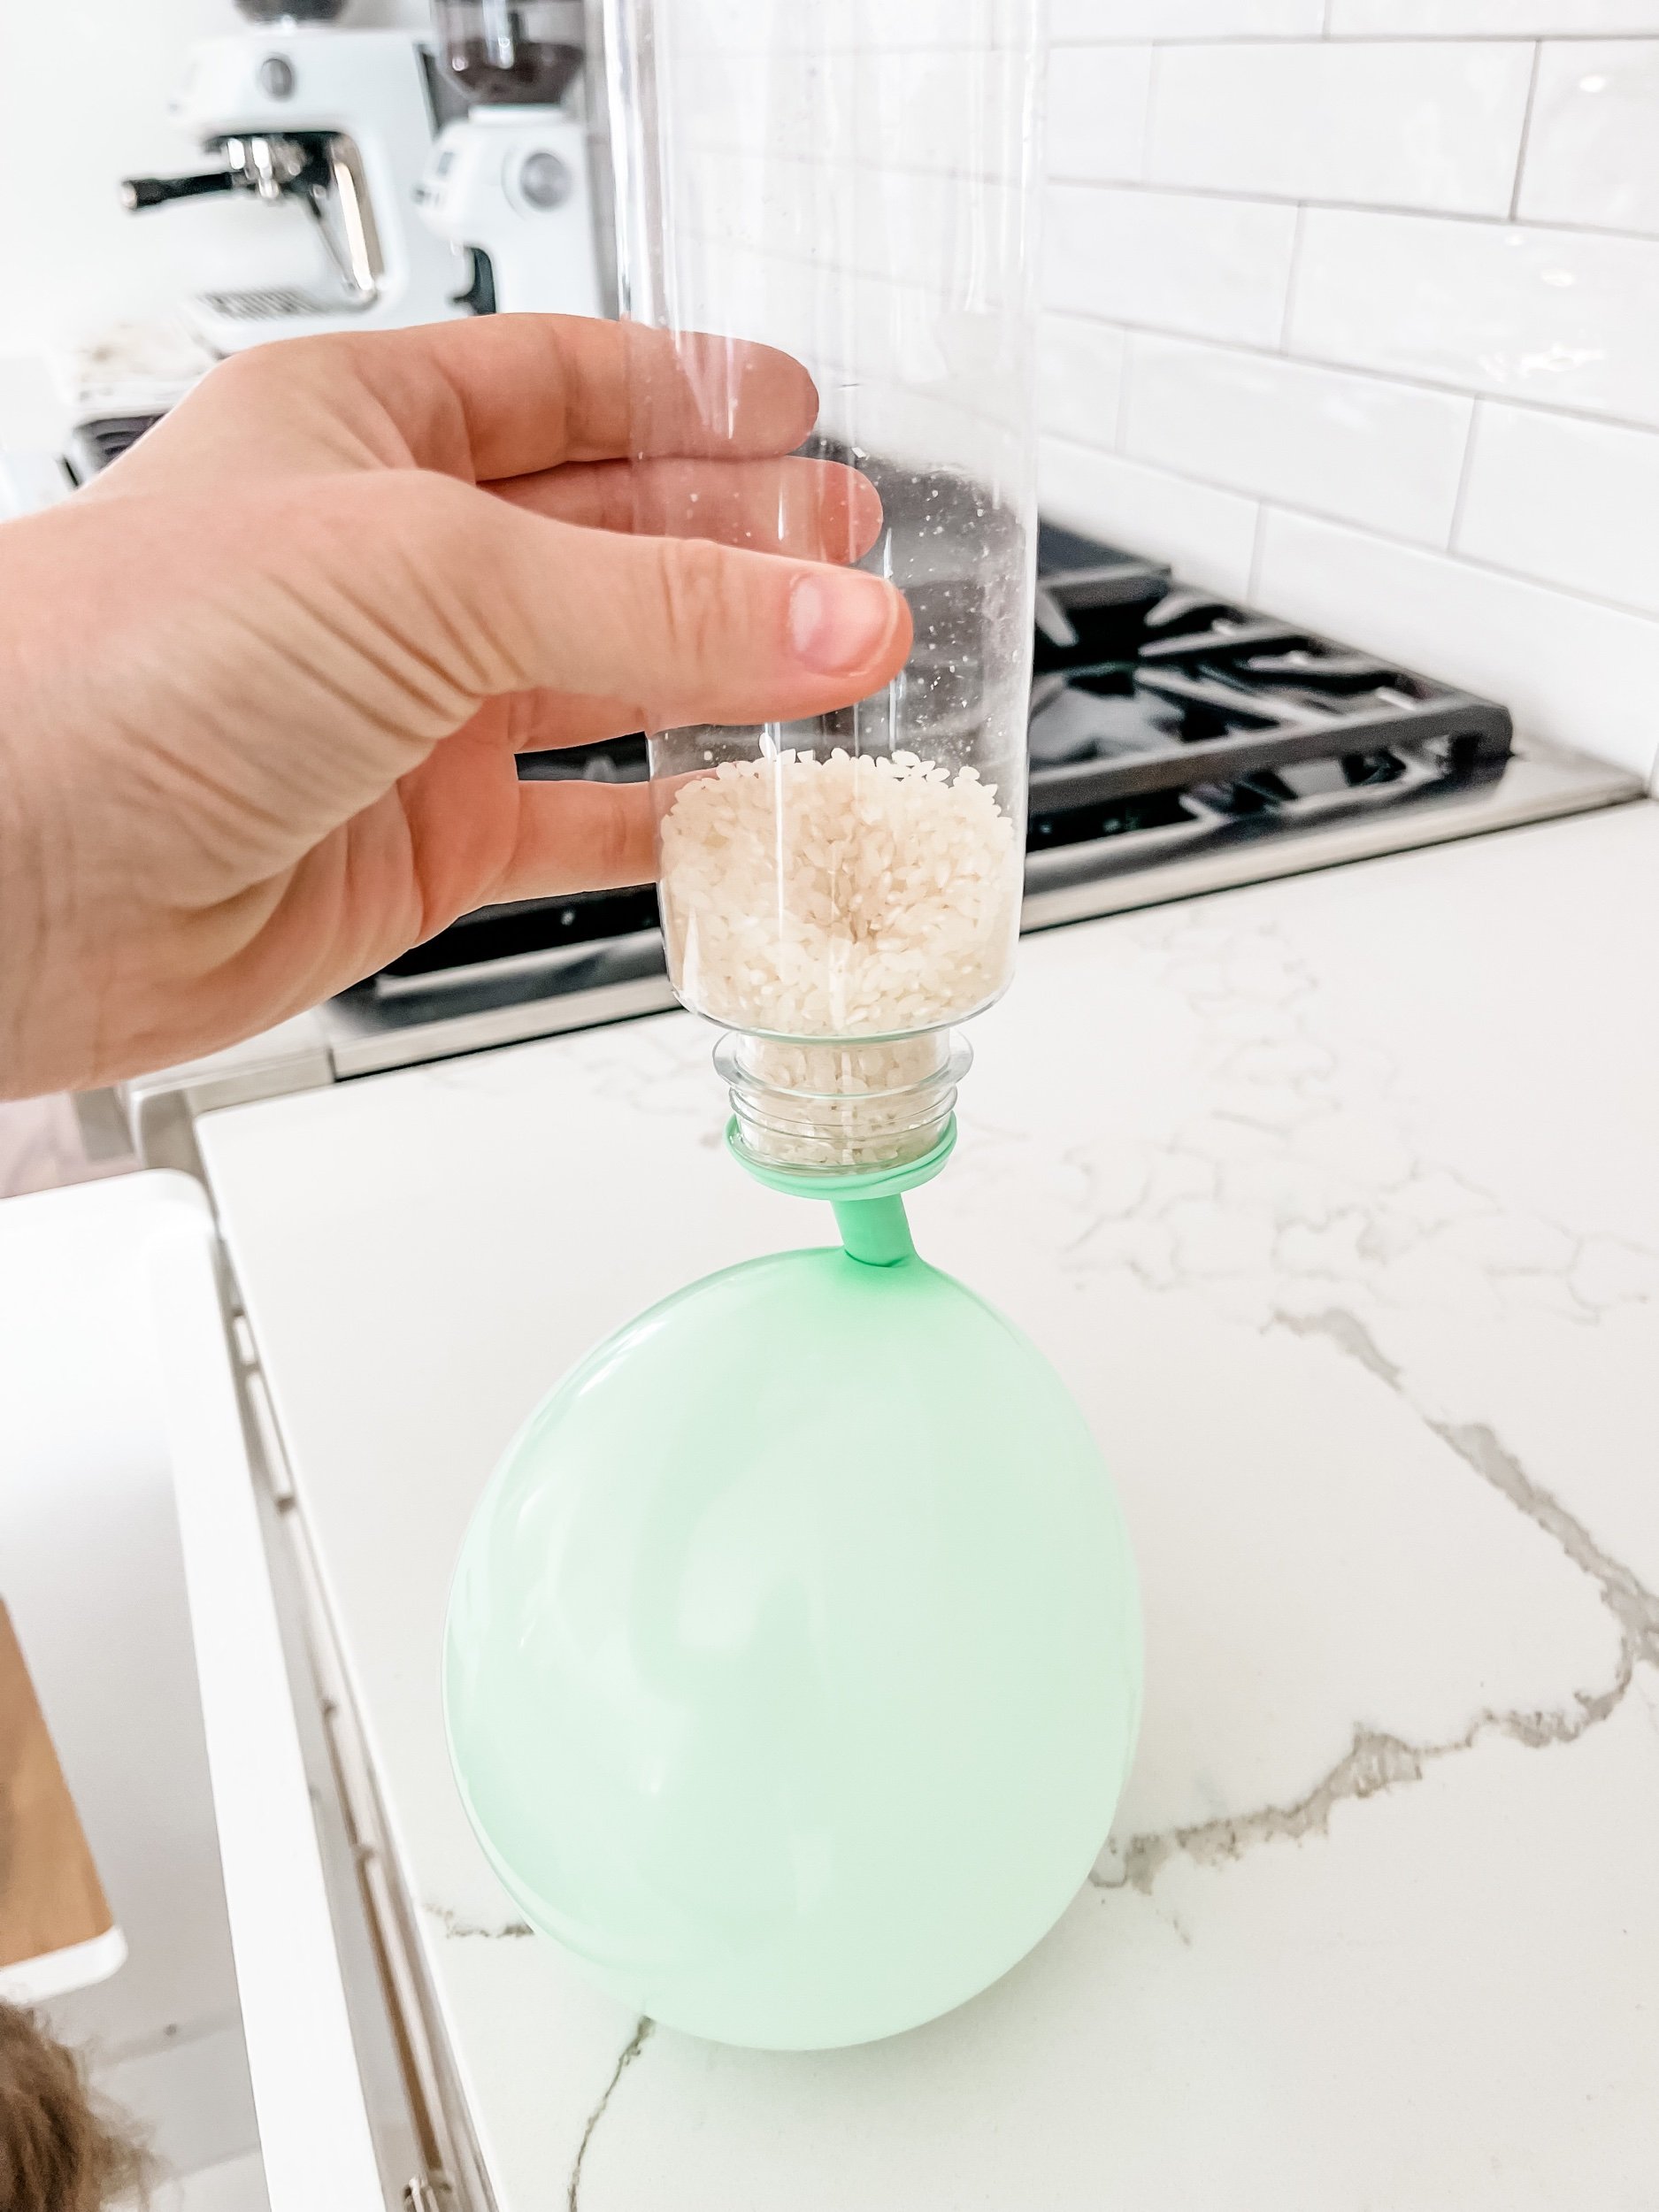
Rice (including sushi rice)
Oatmeal
Optional: markers or stickers for labeling or decorating
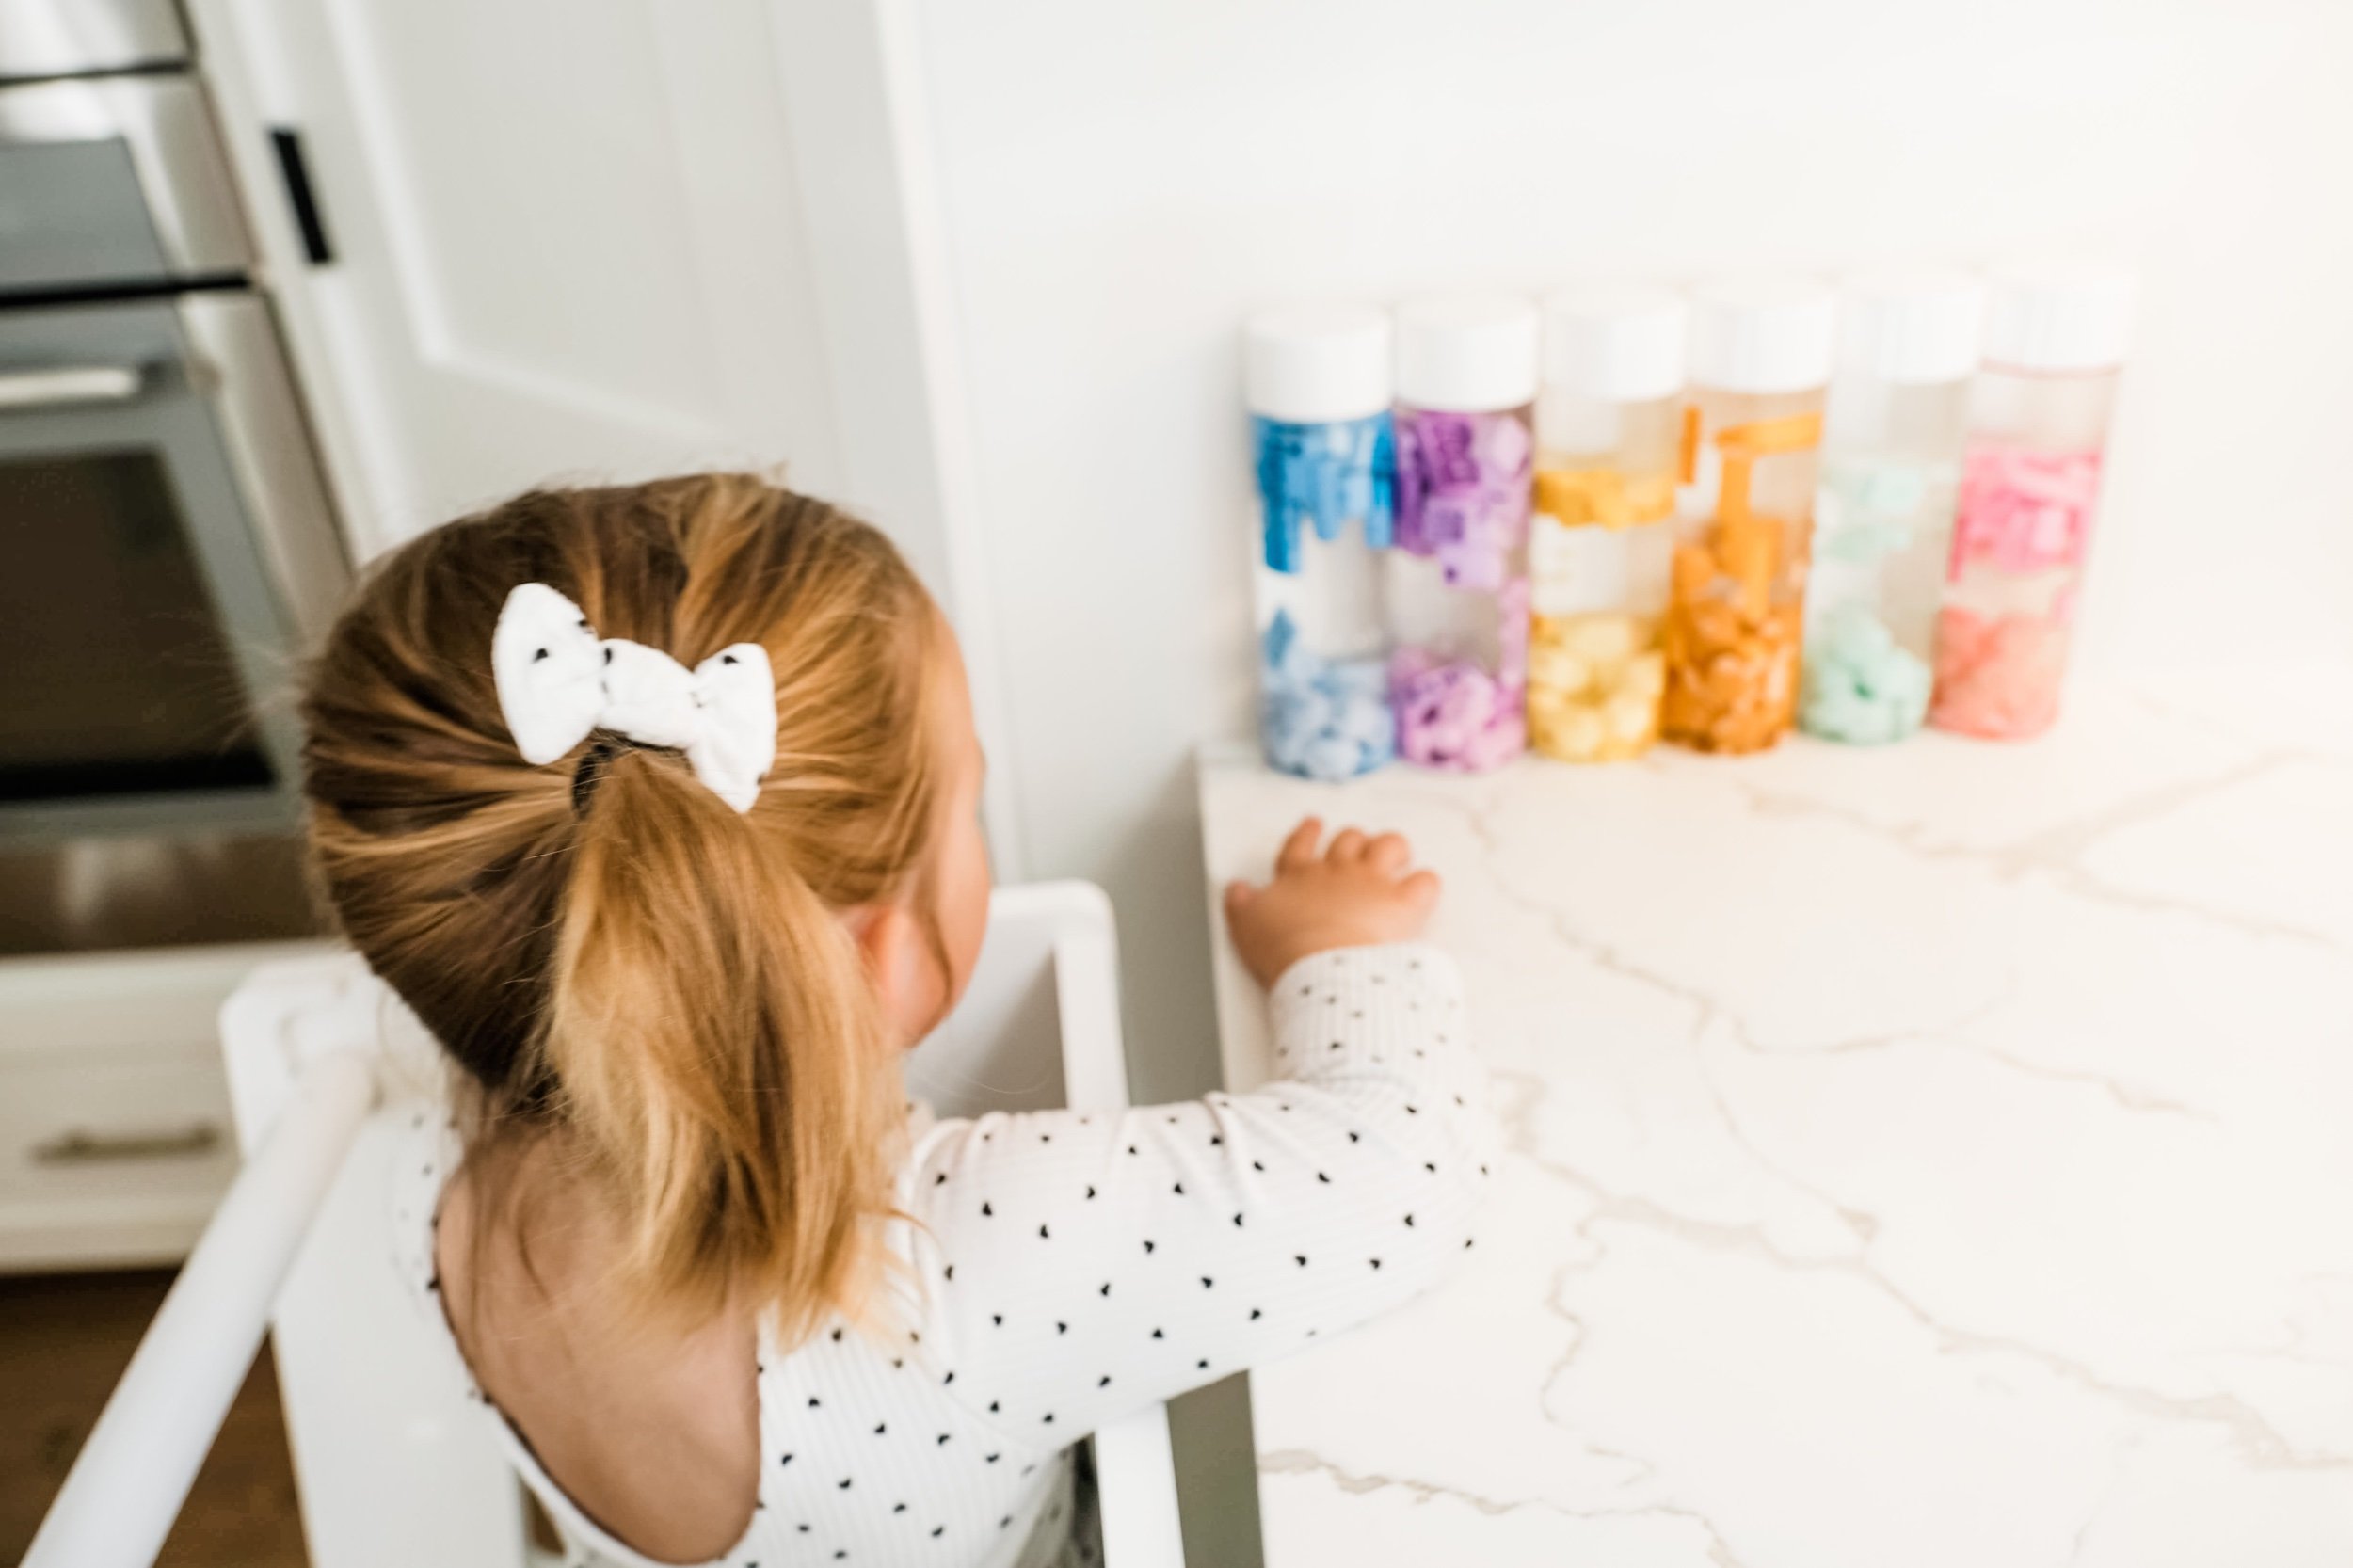
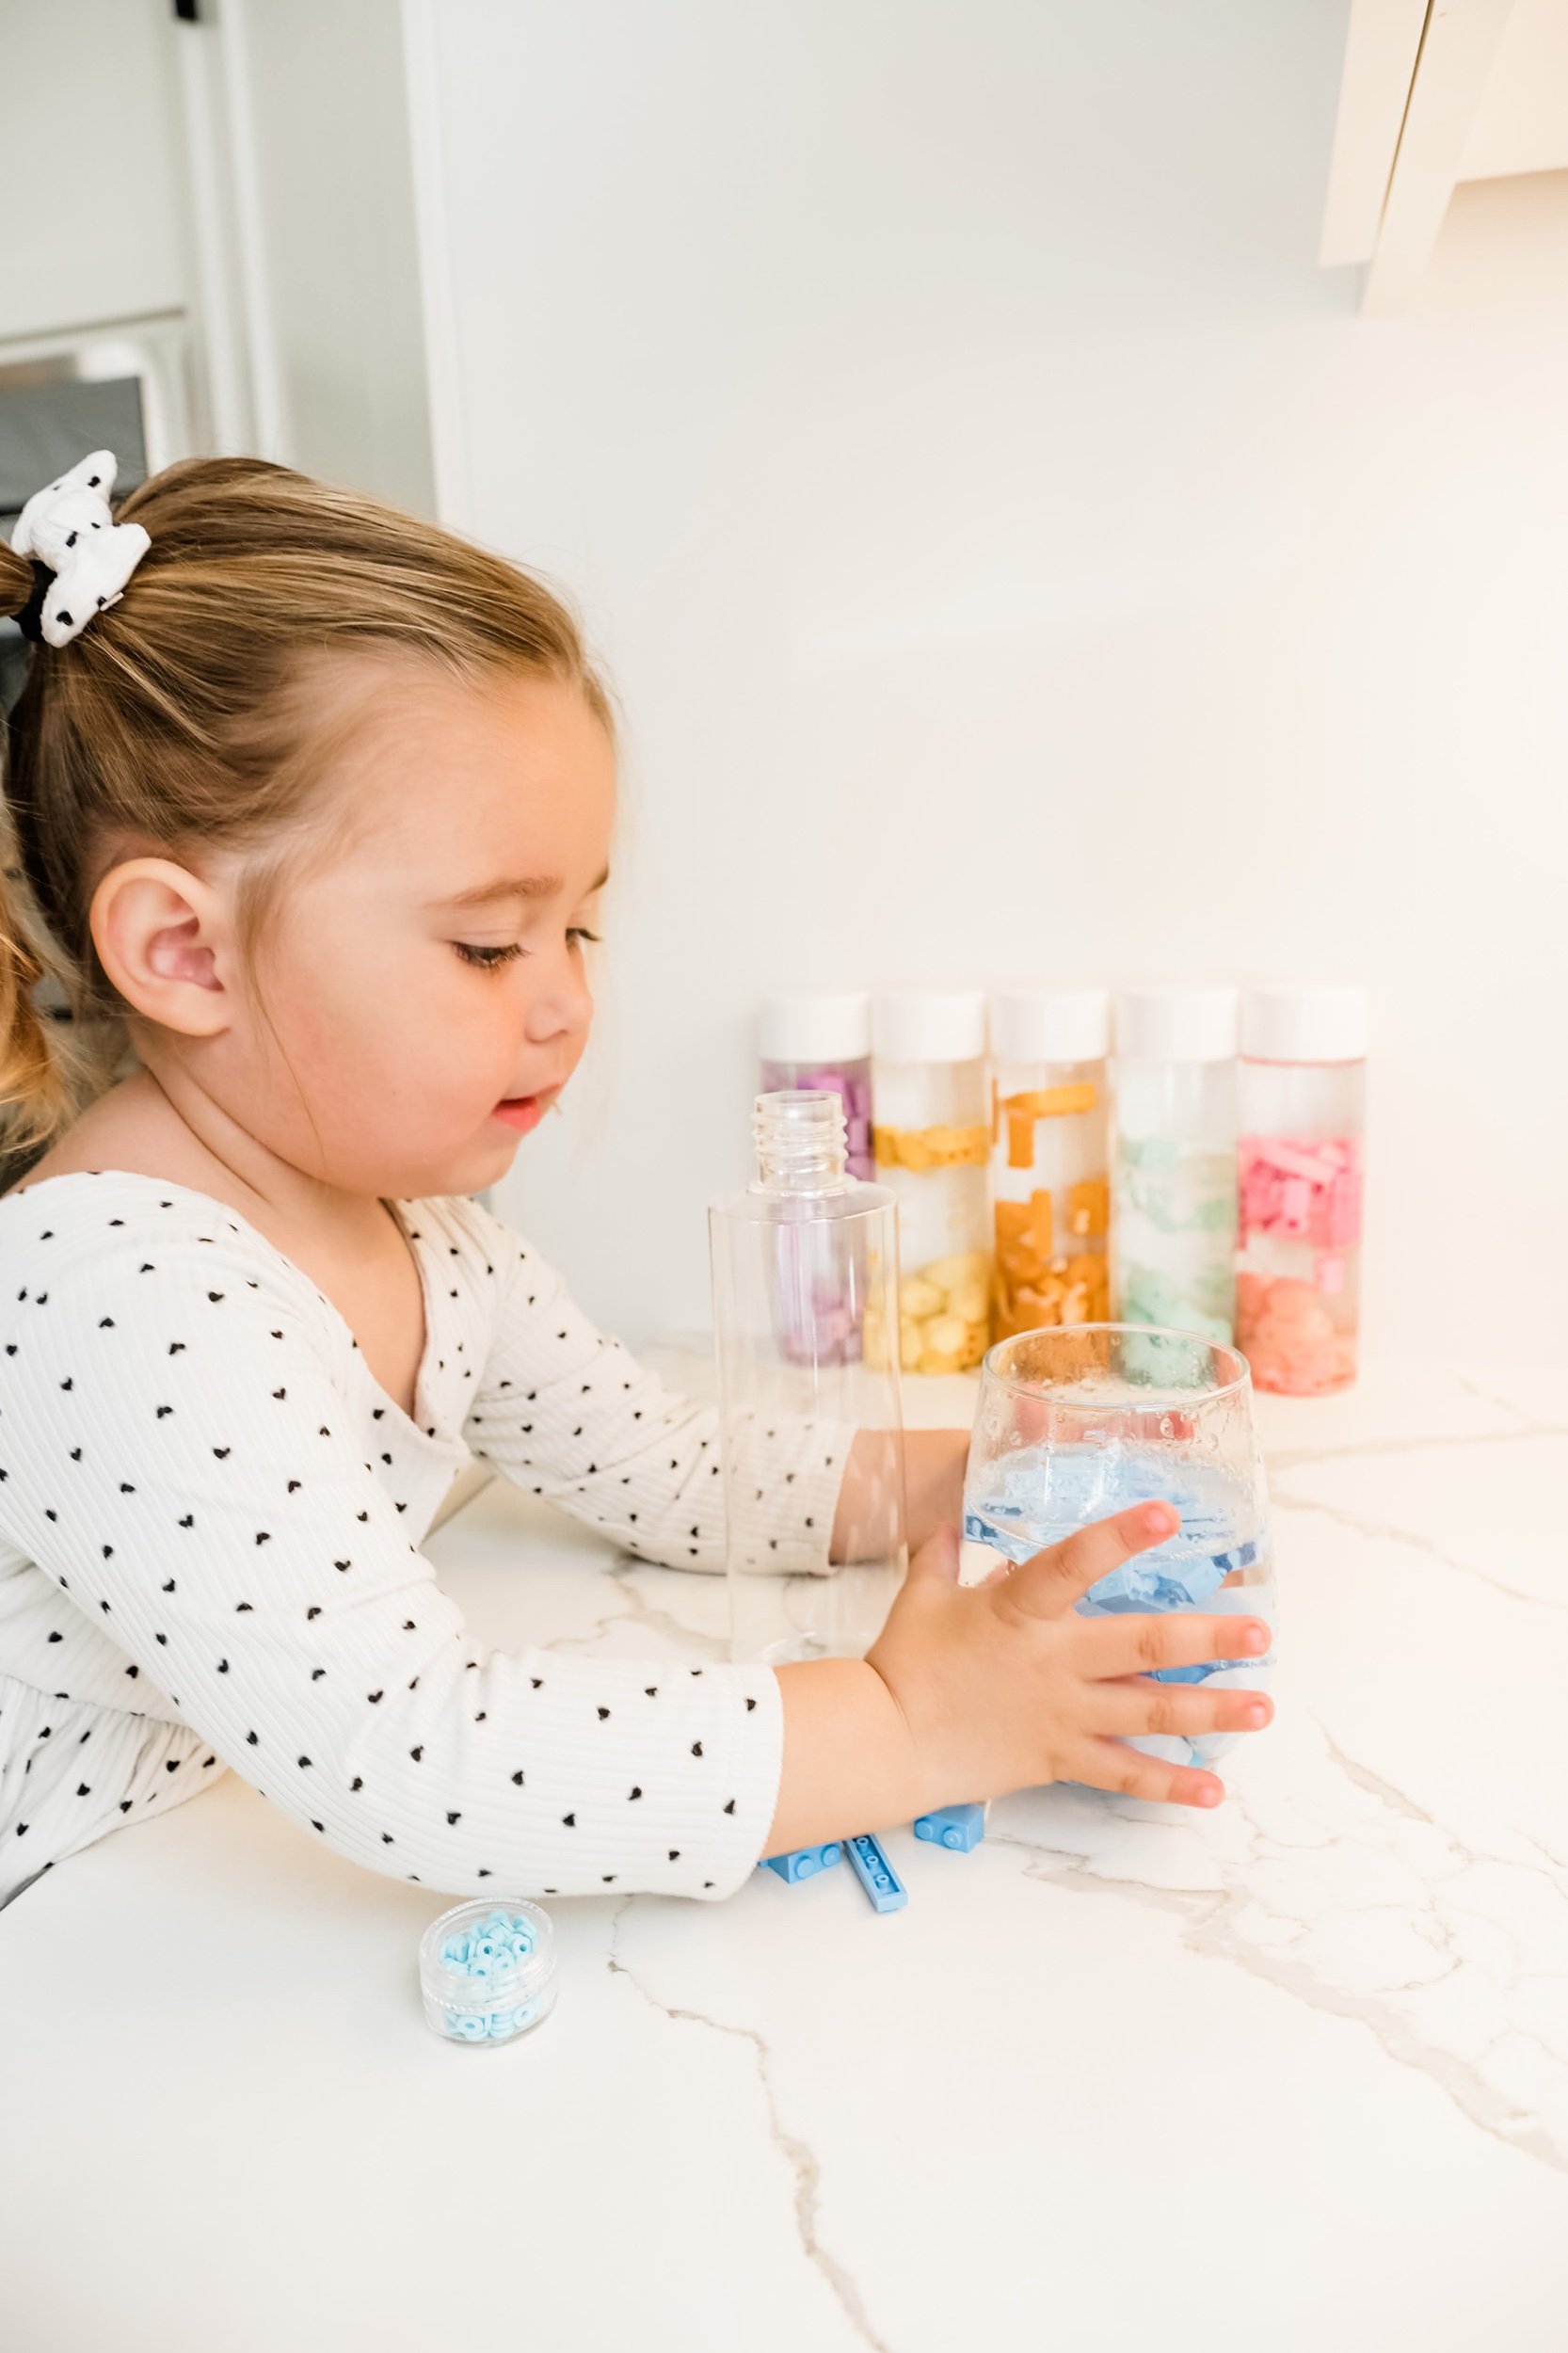
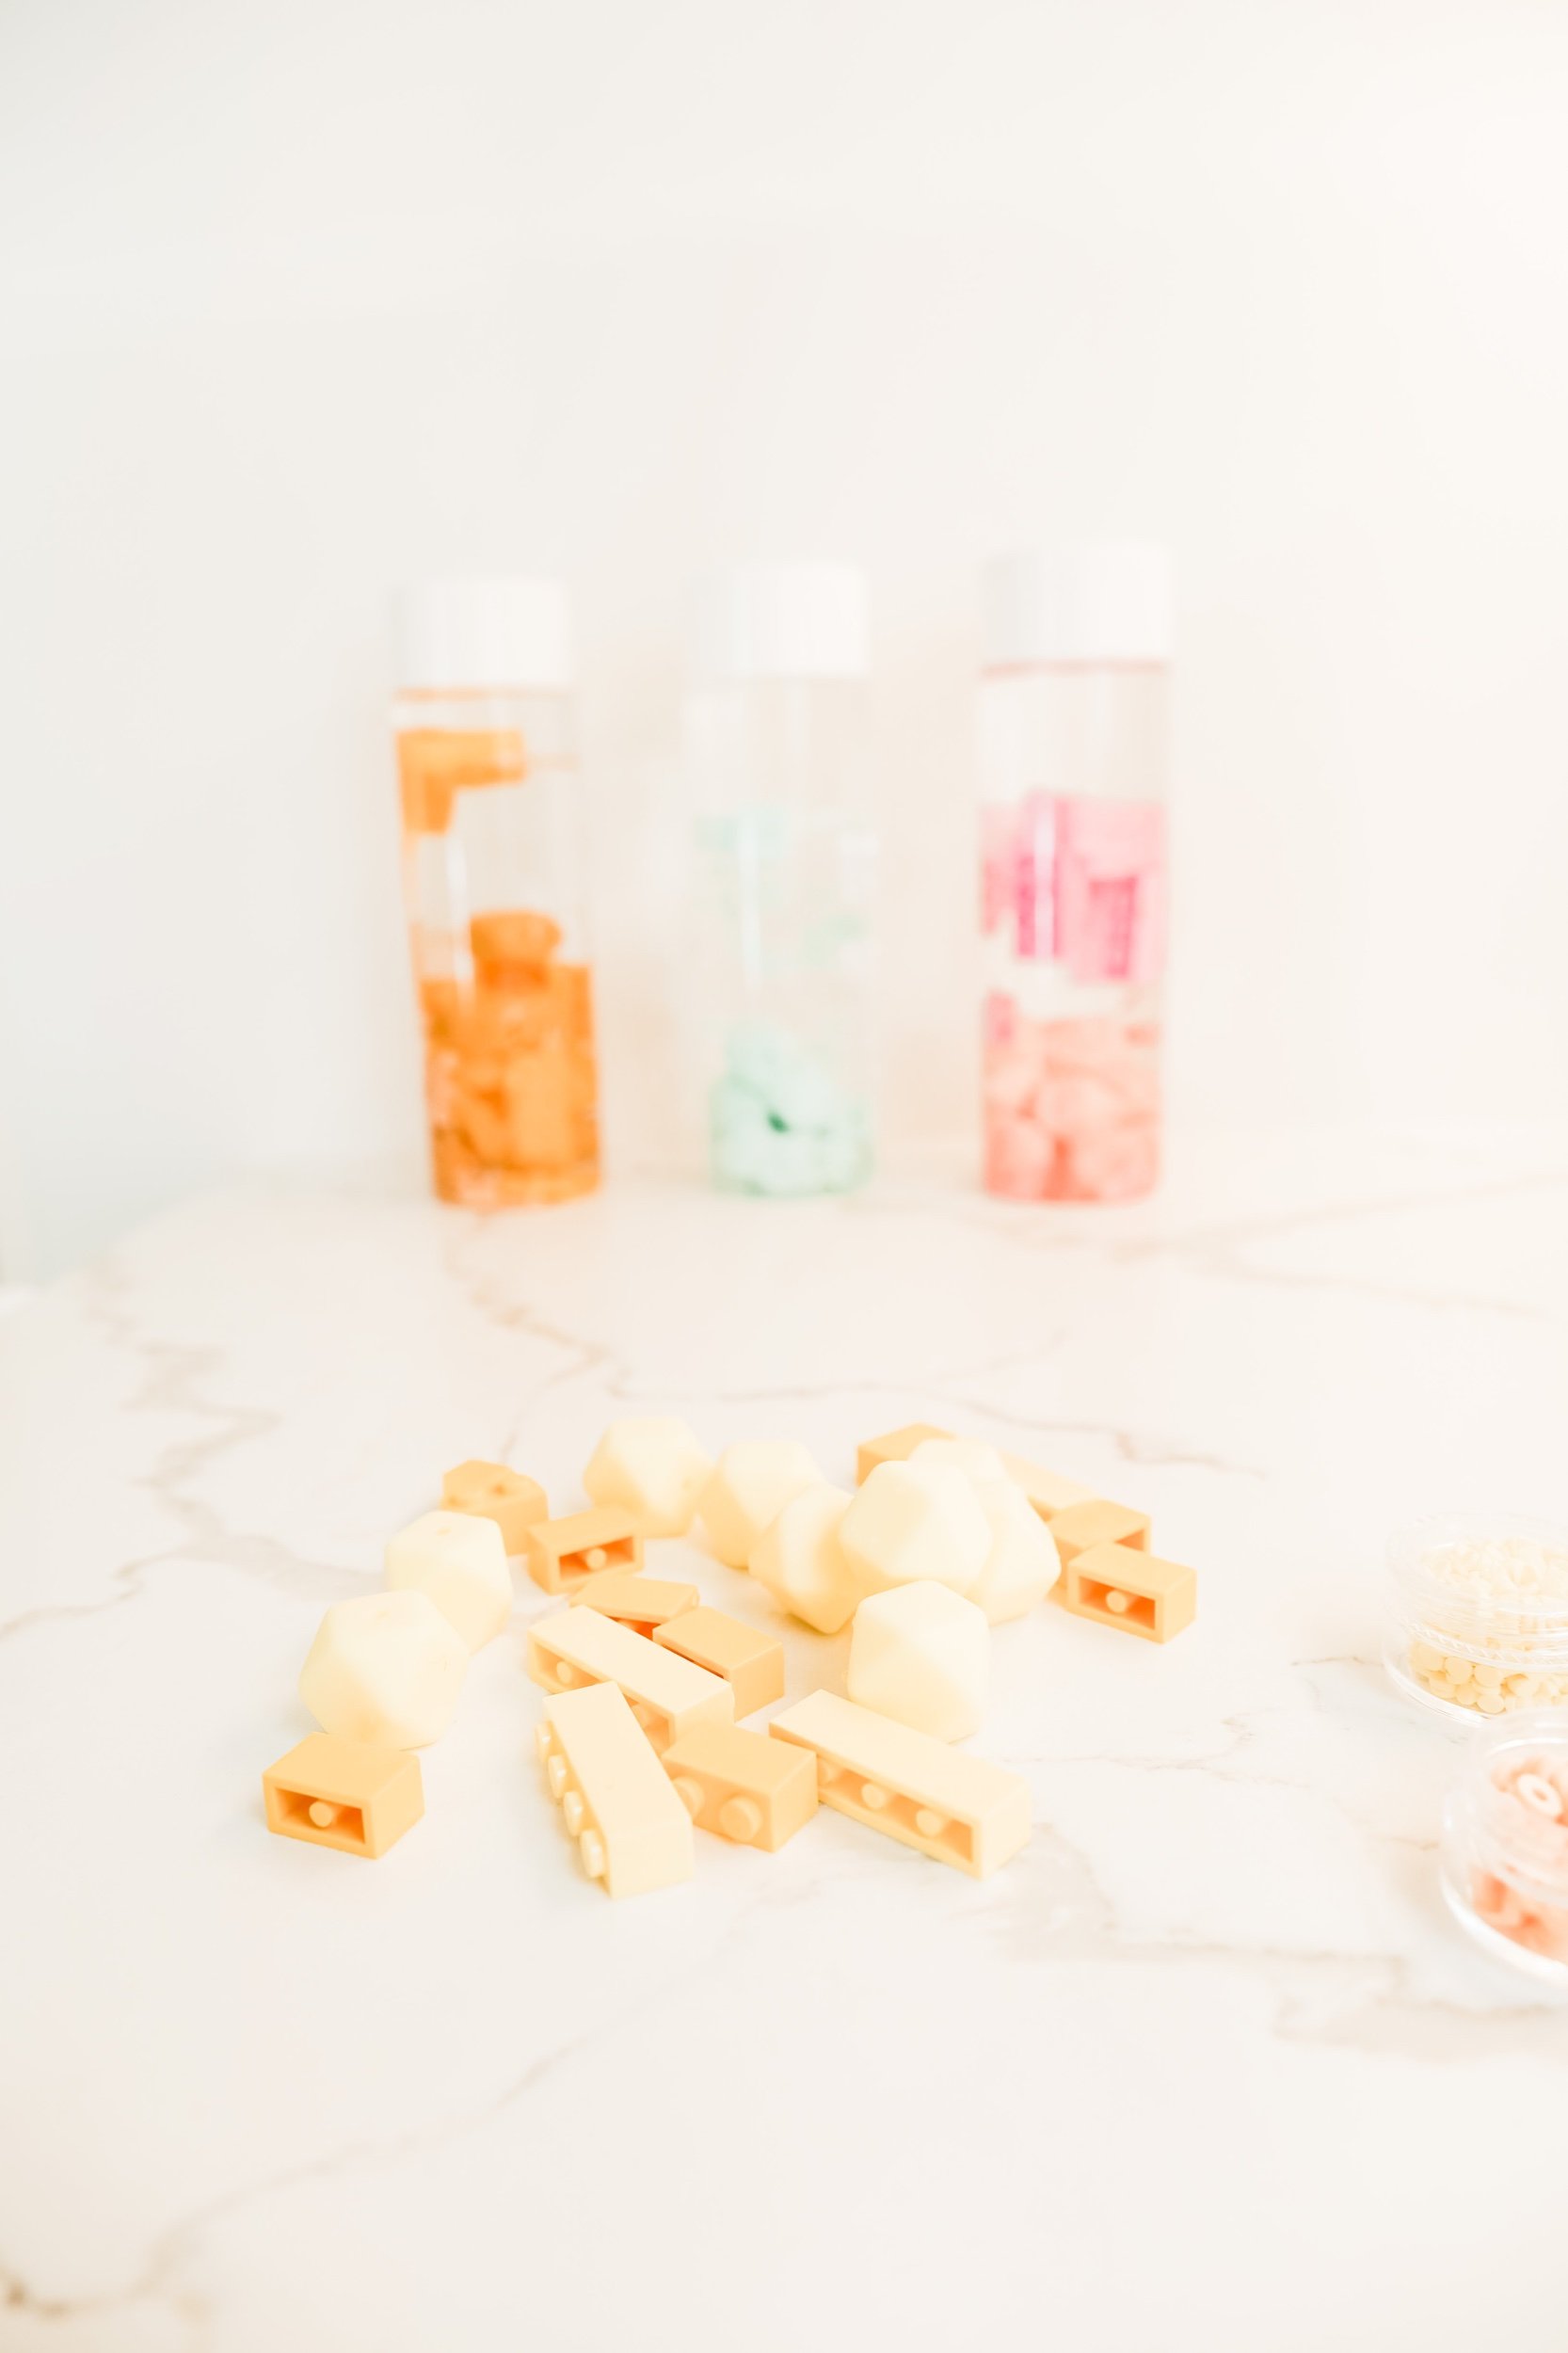
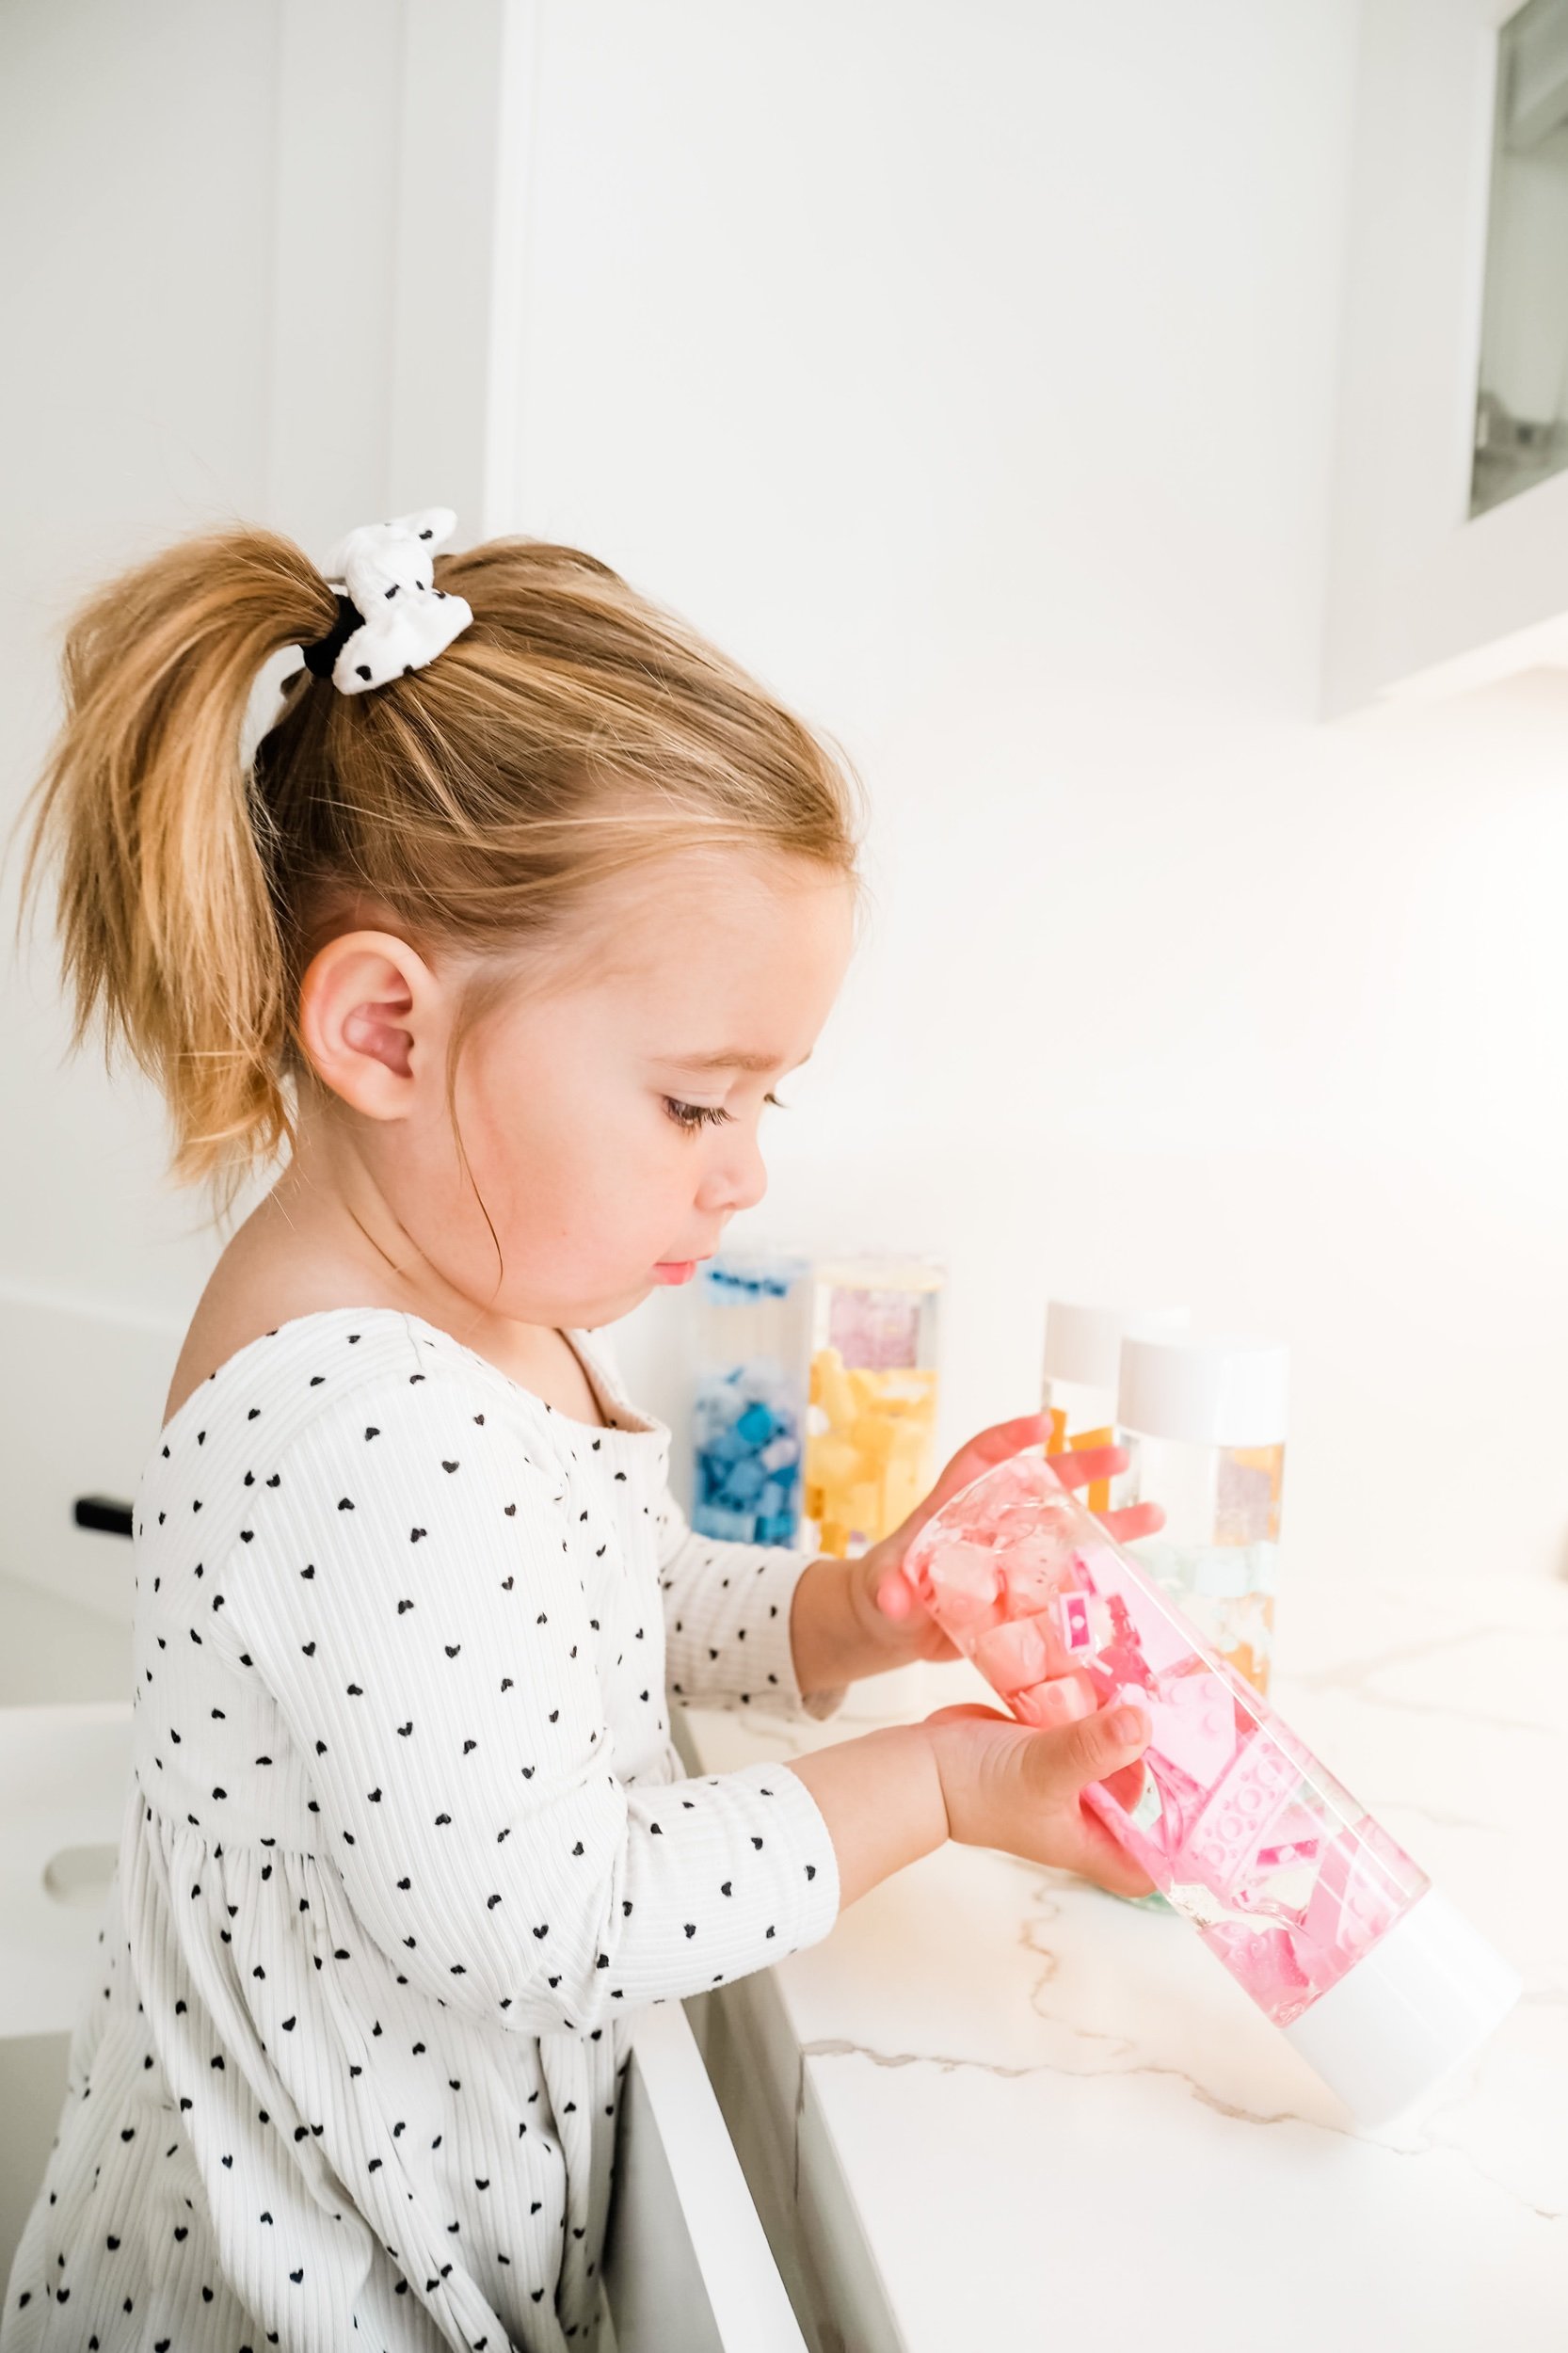
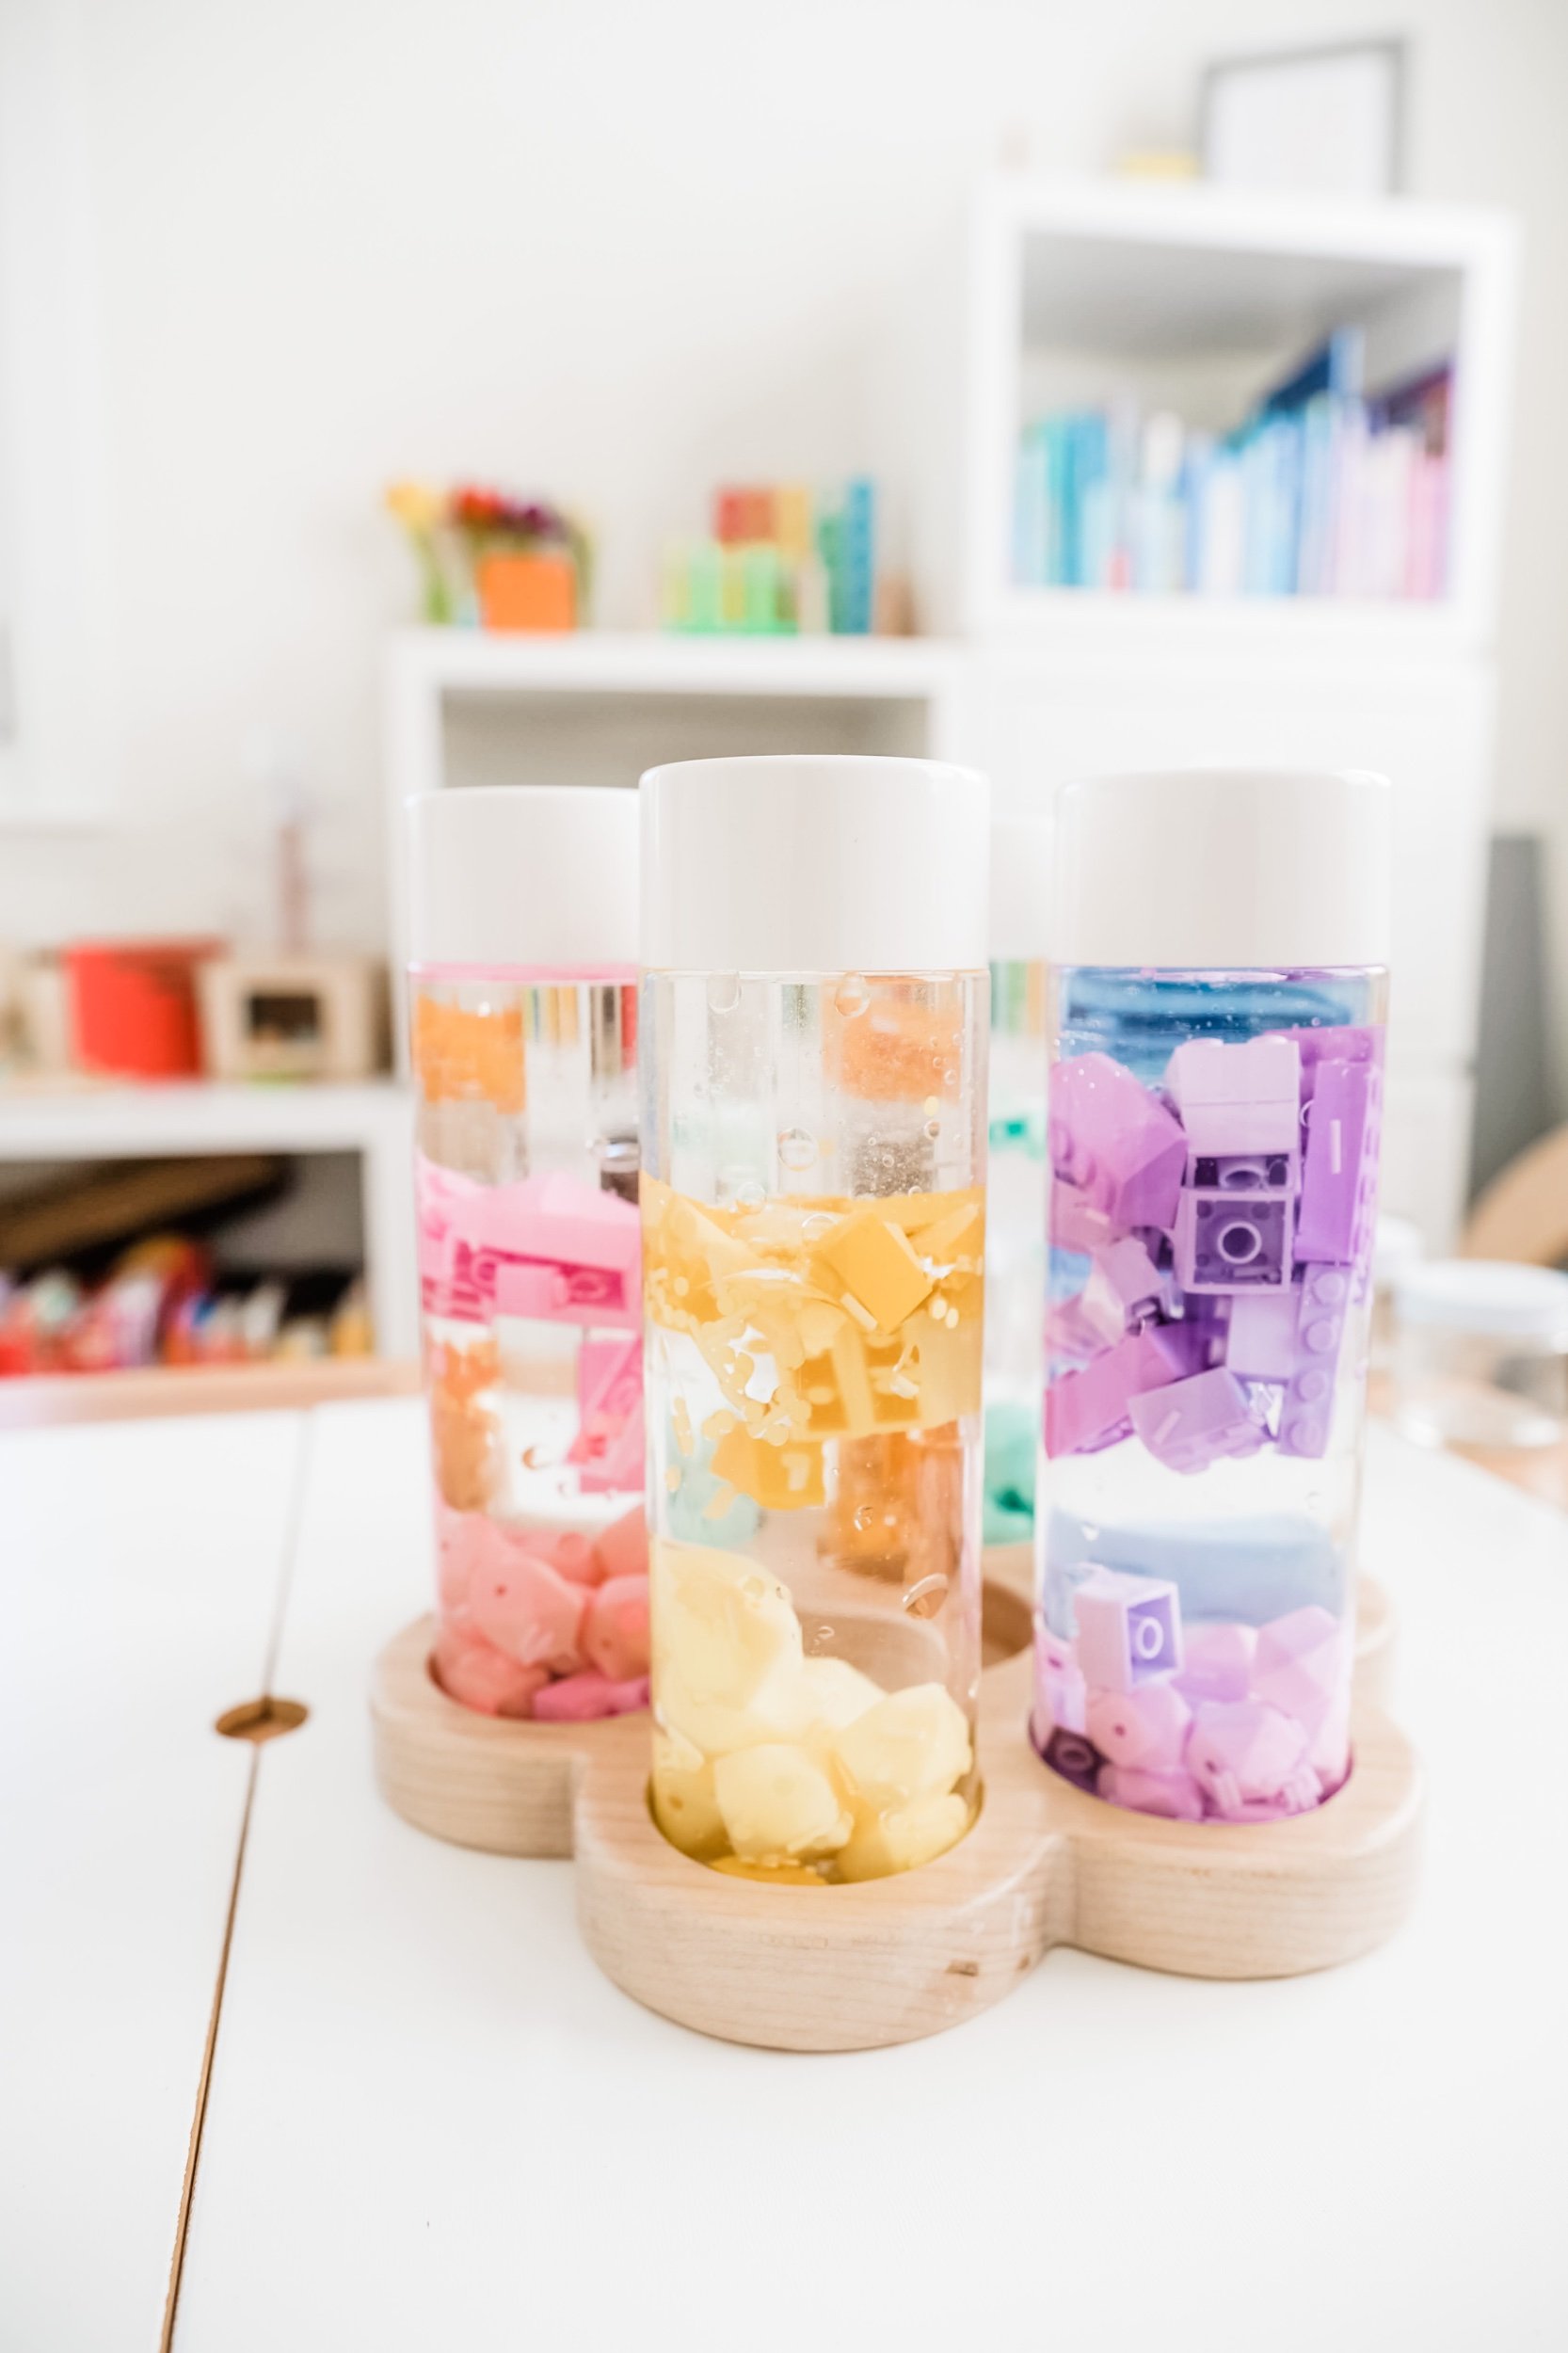
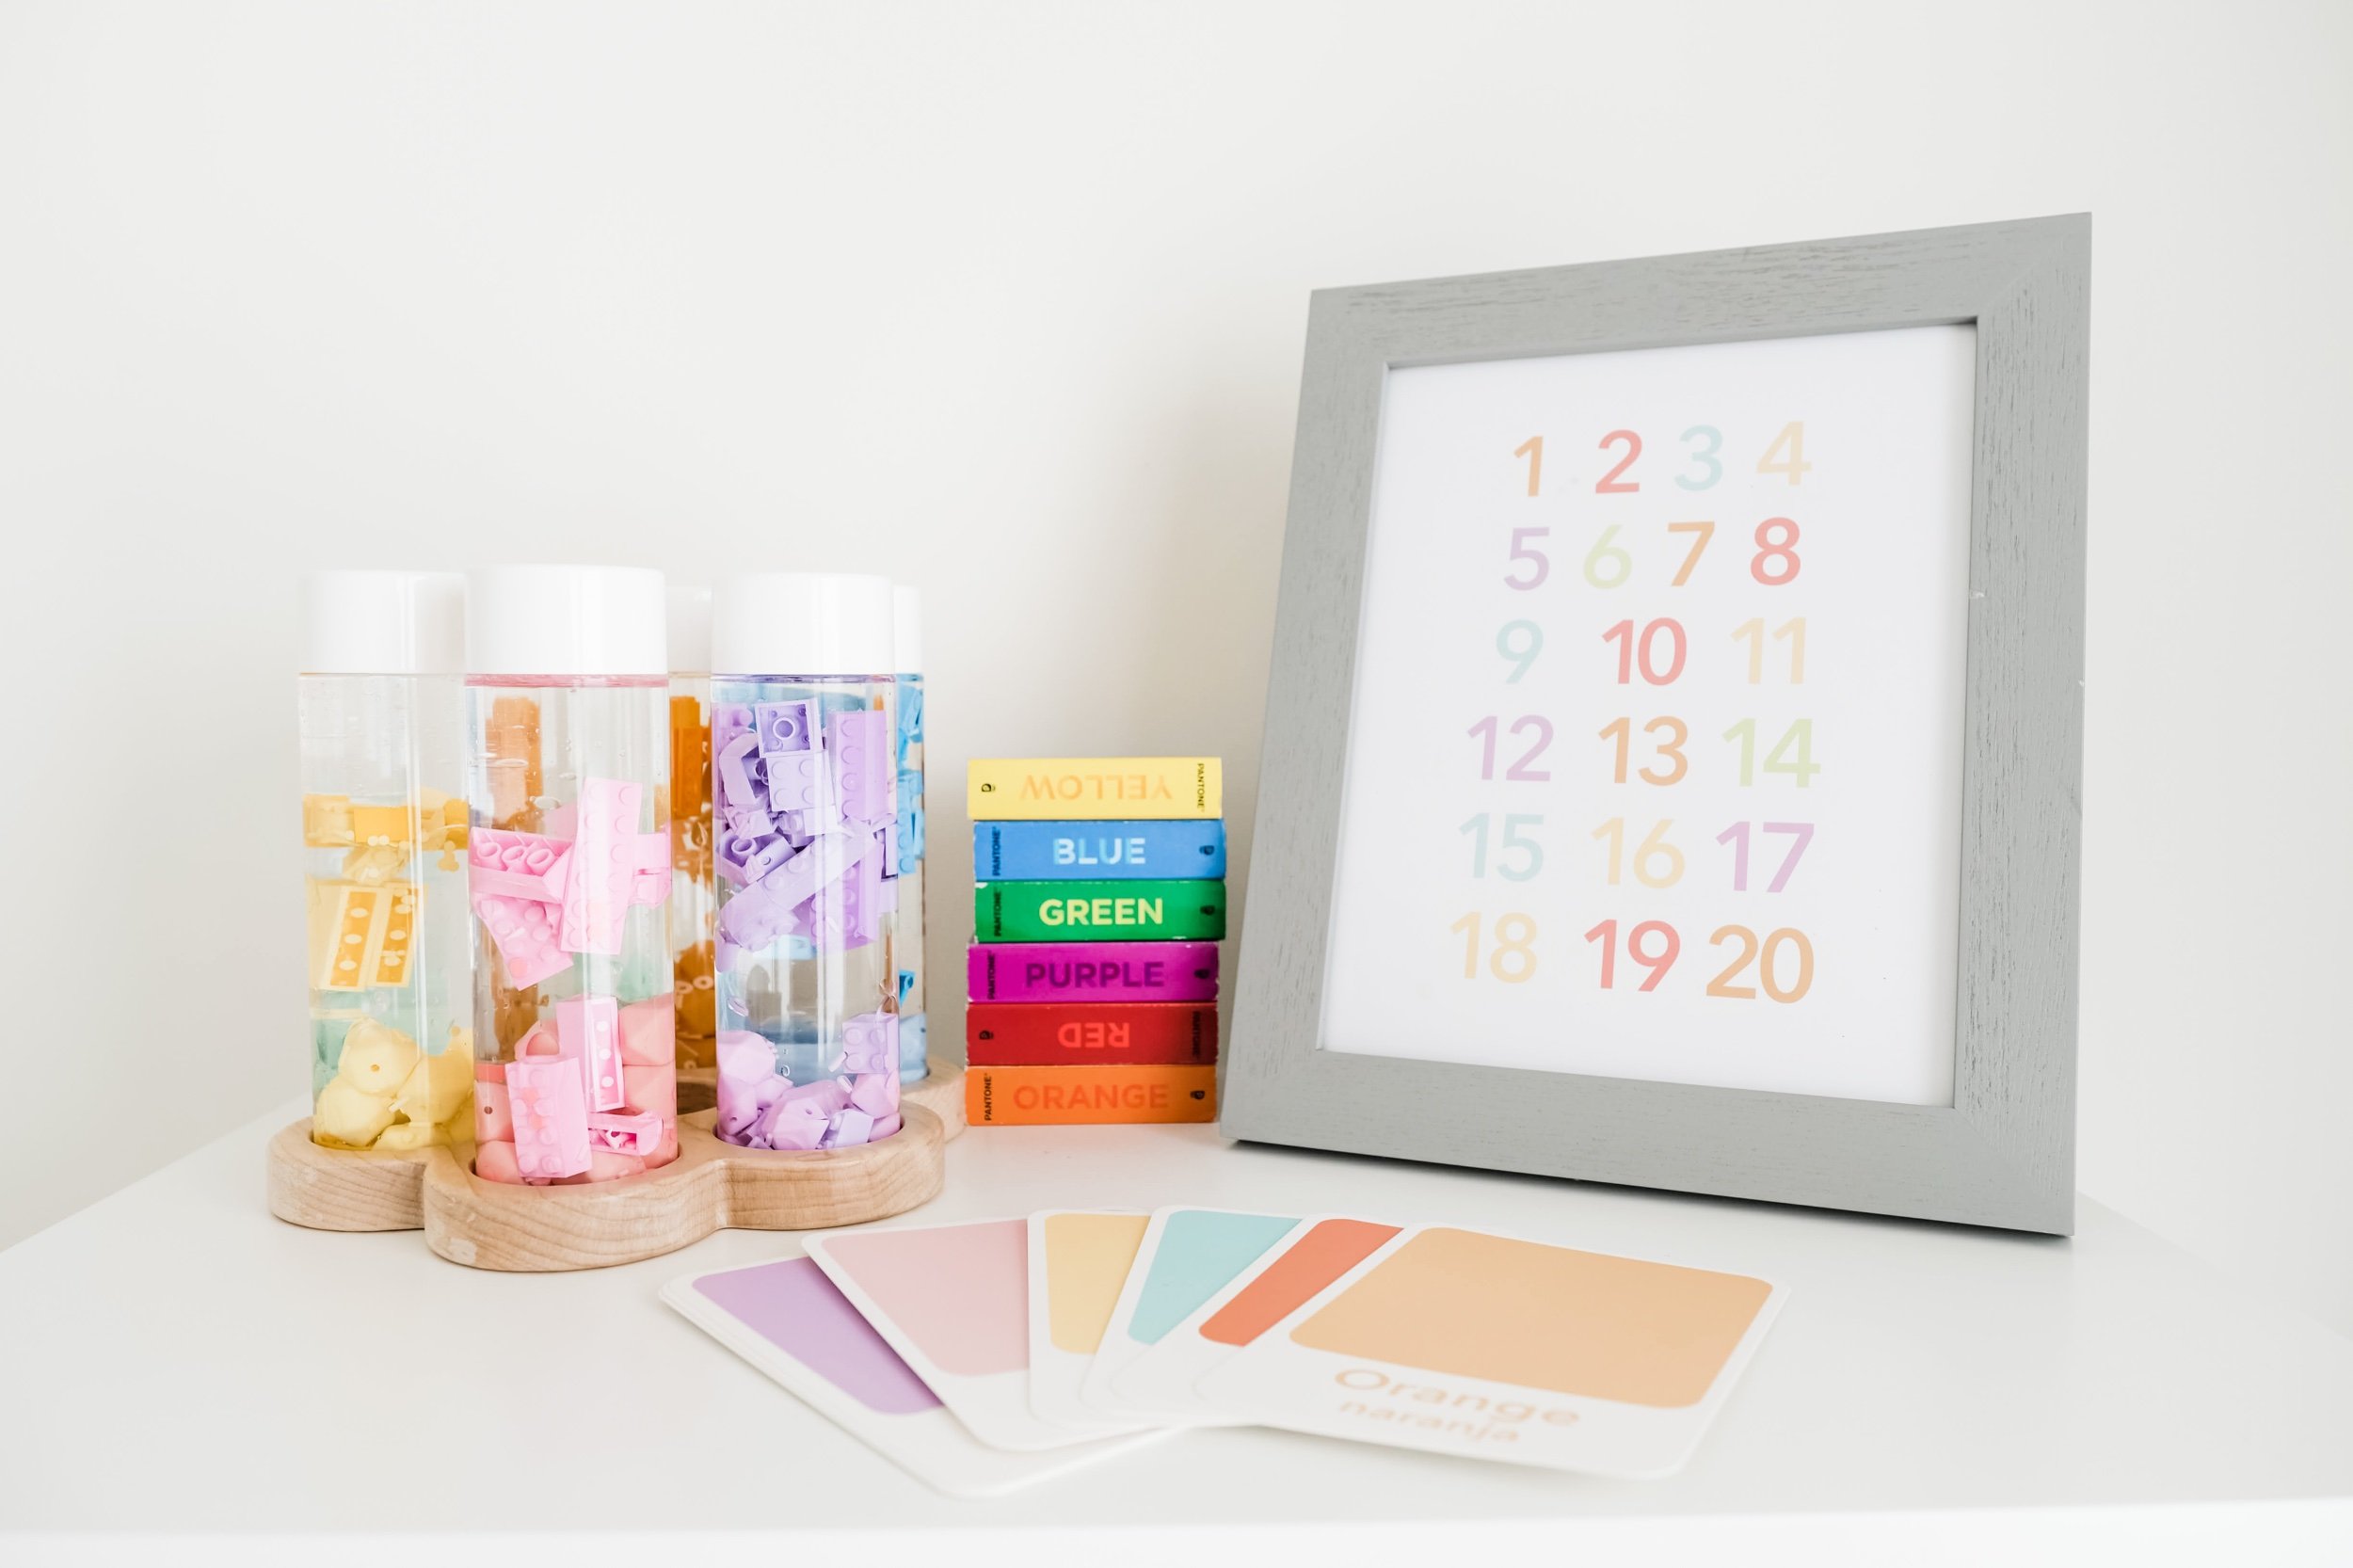
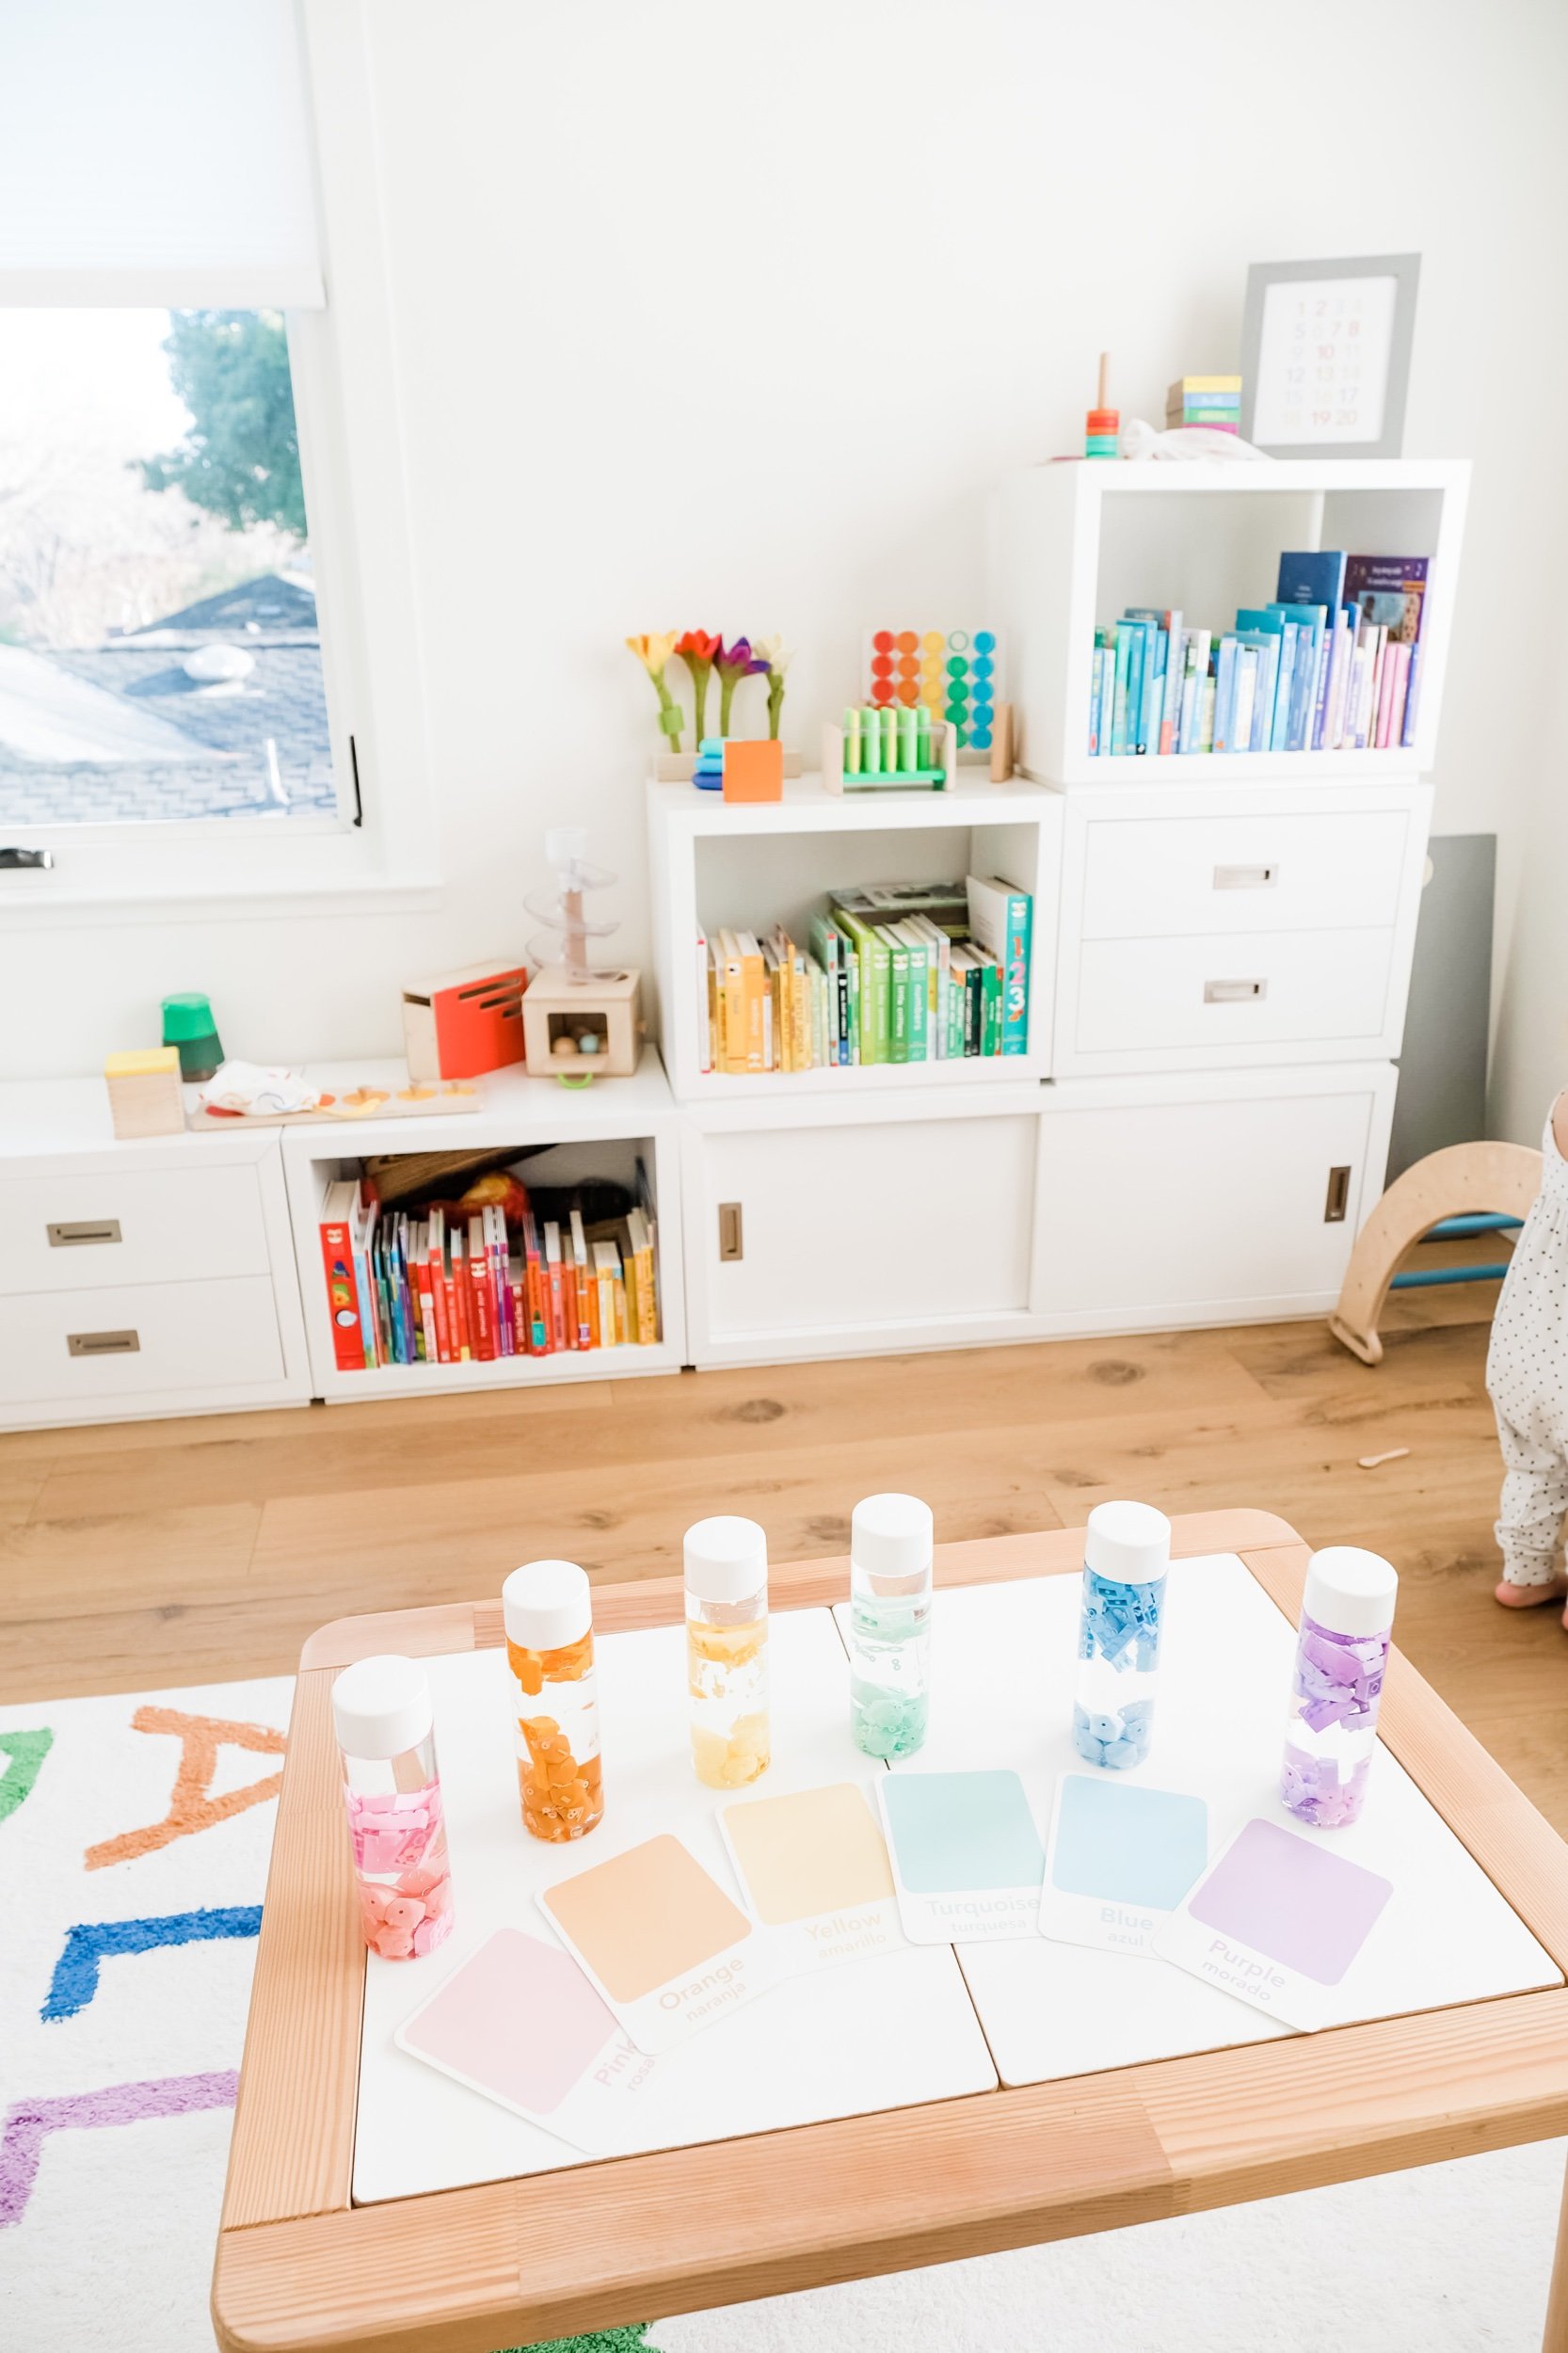
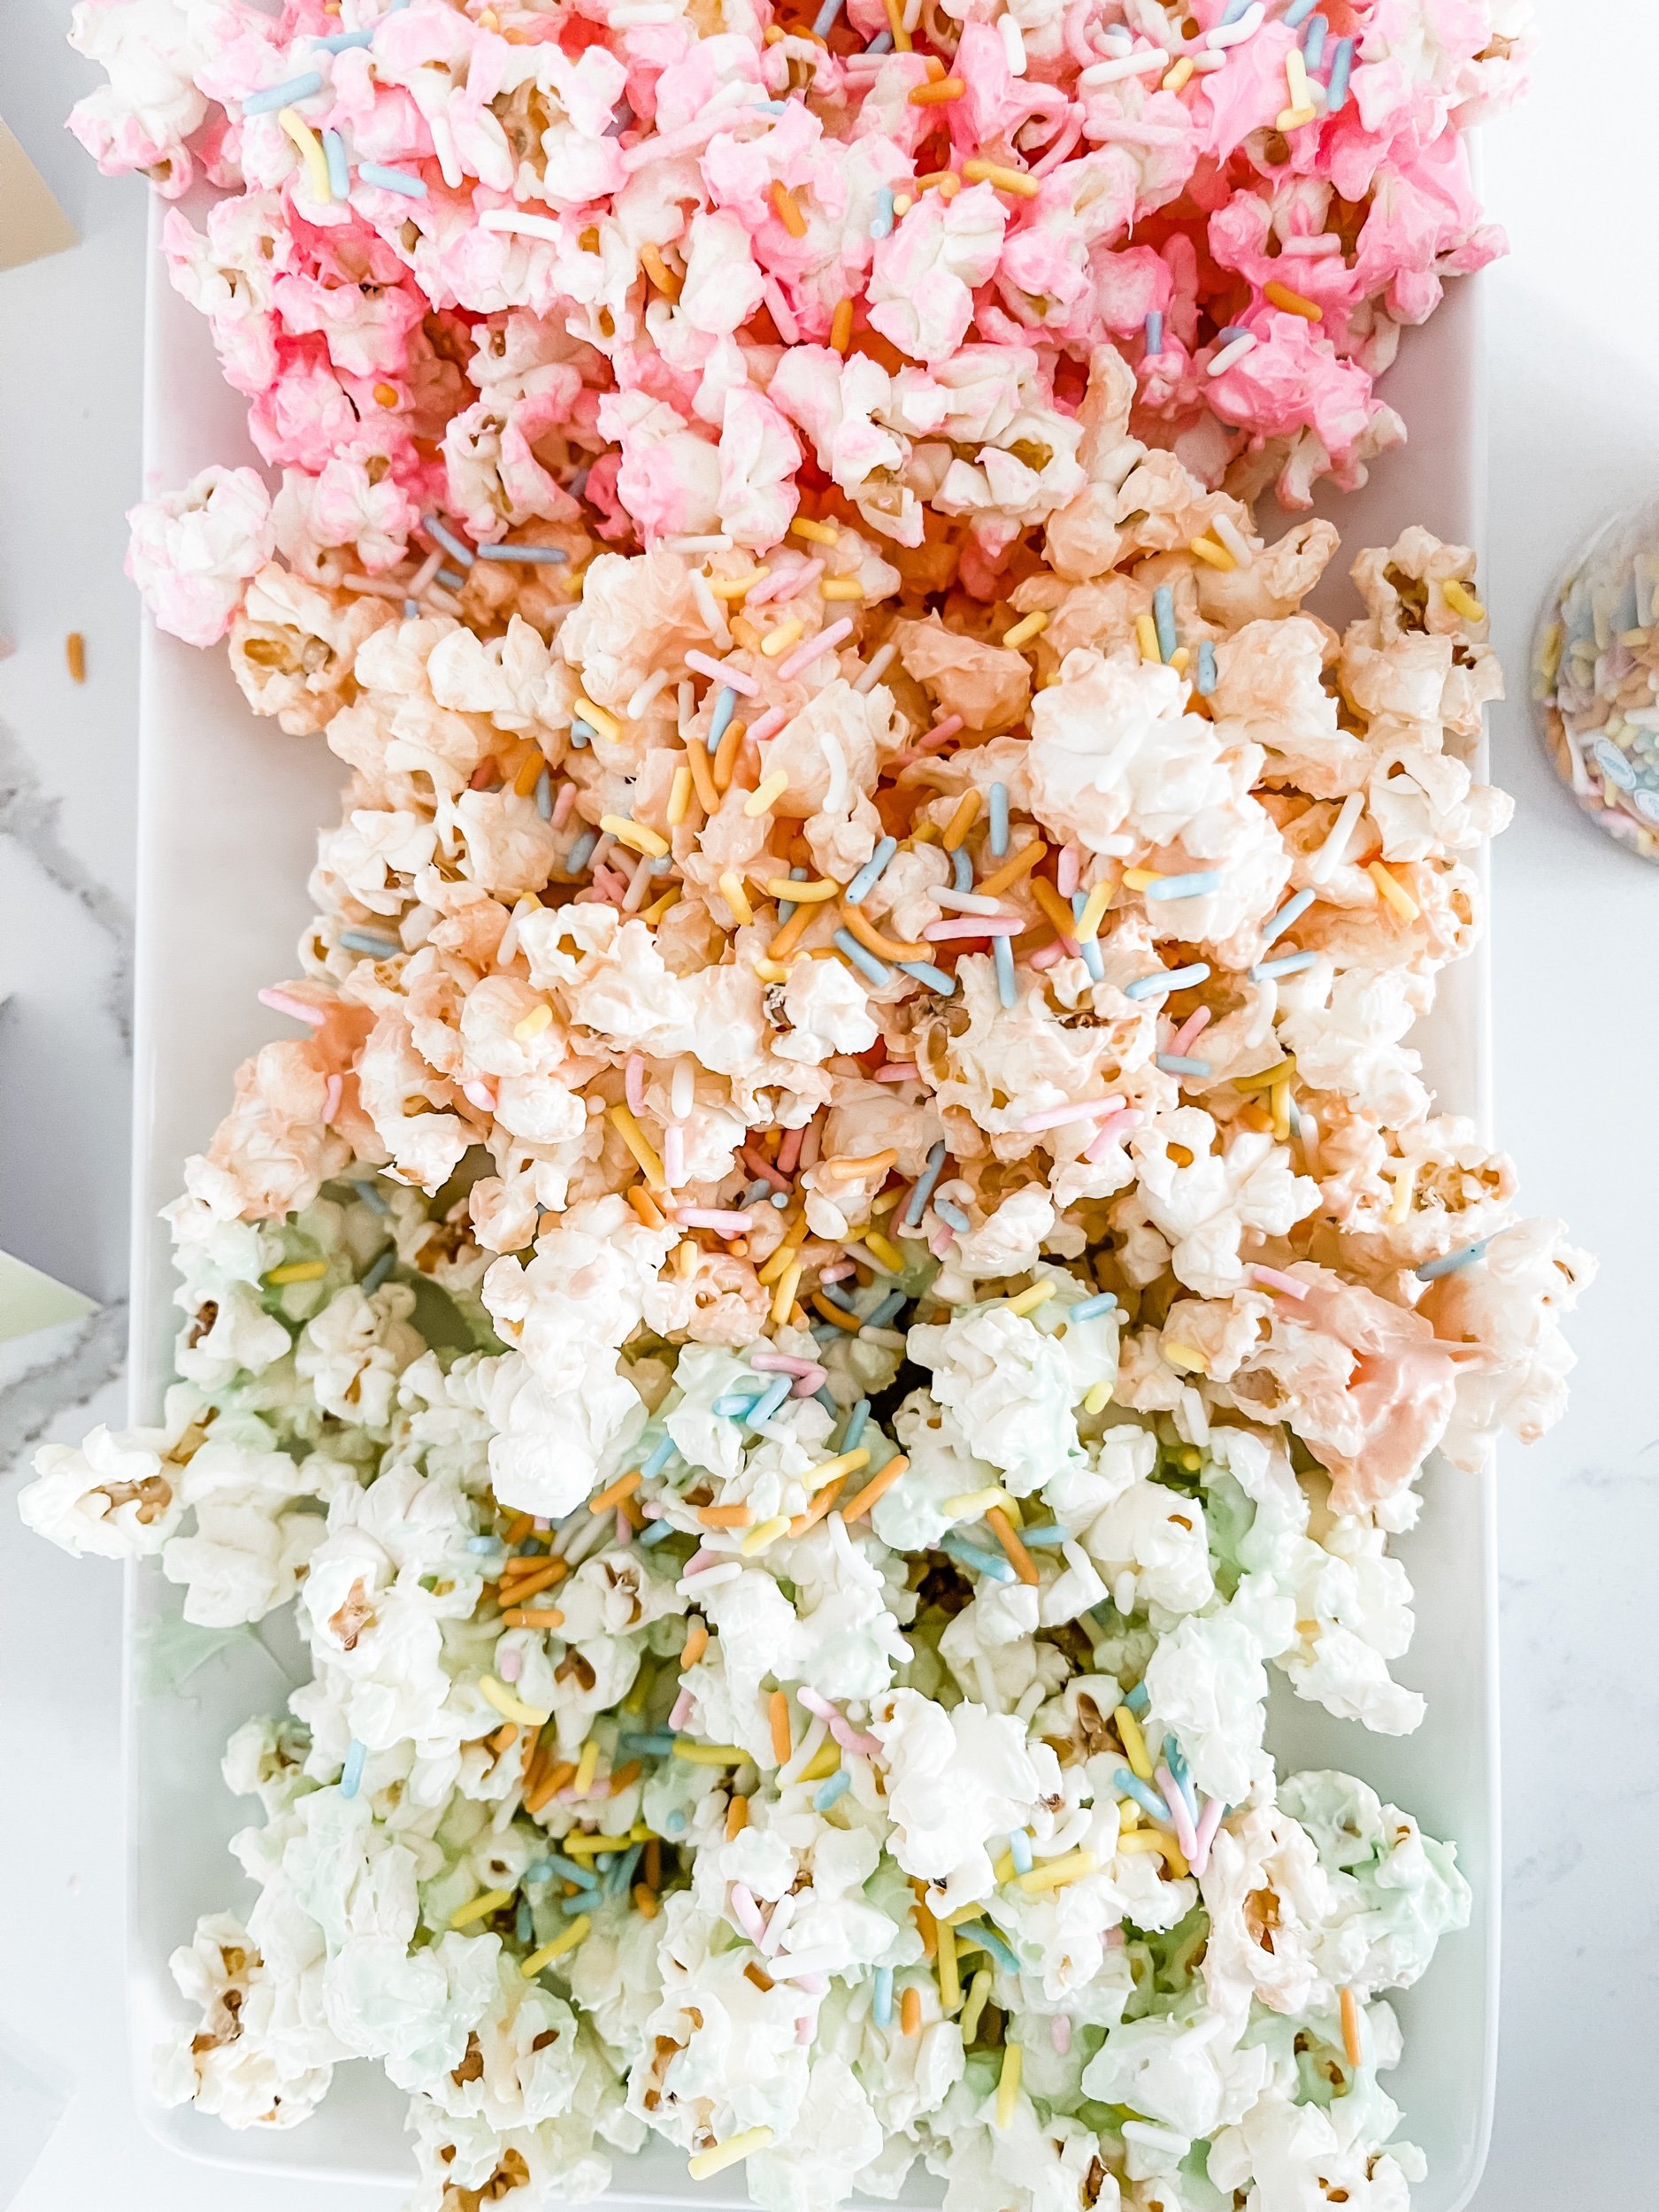
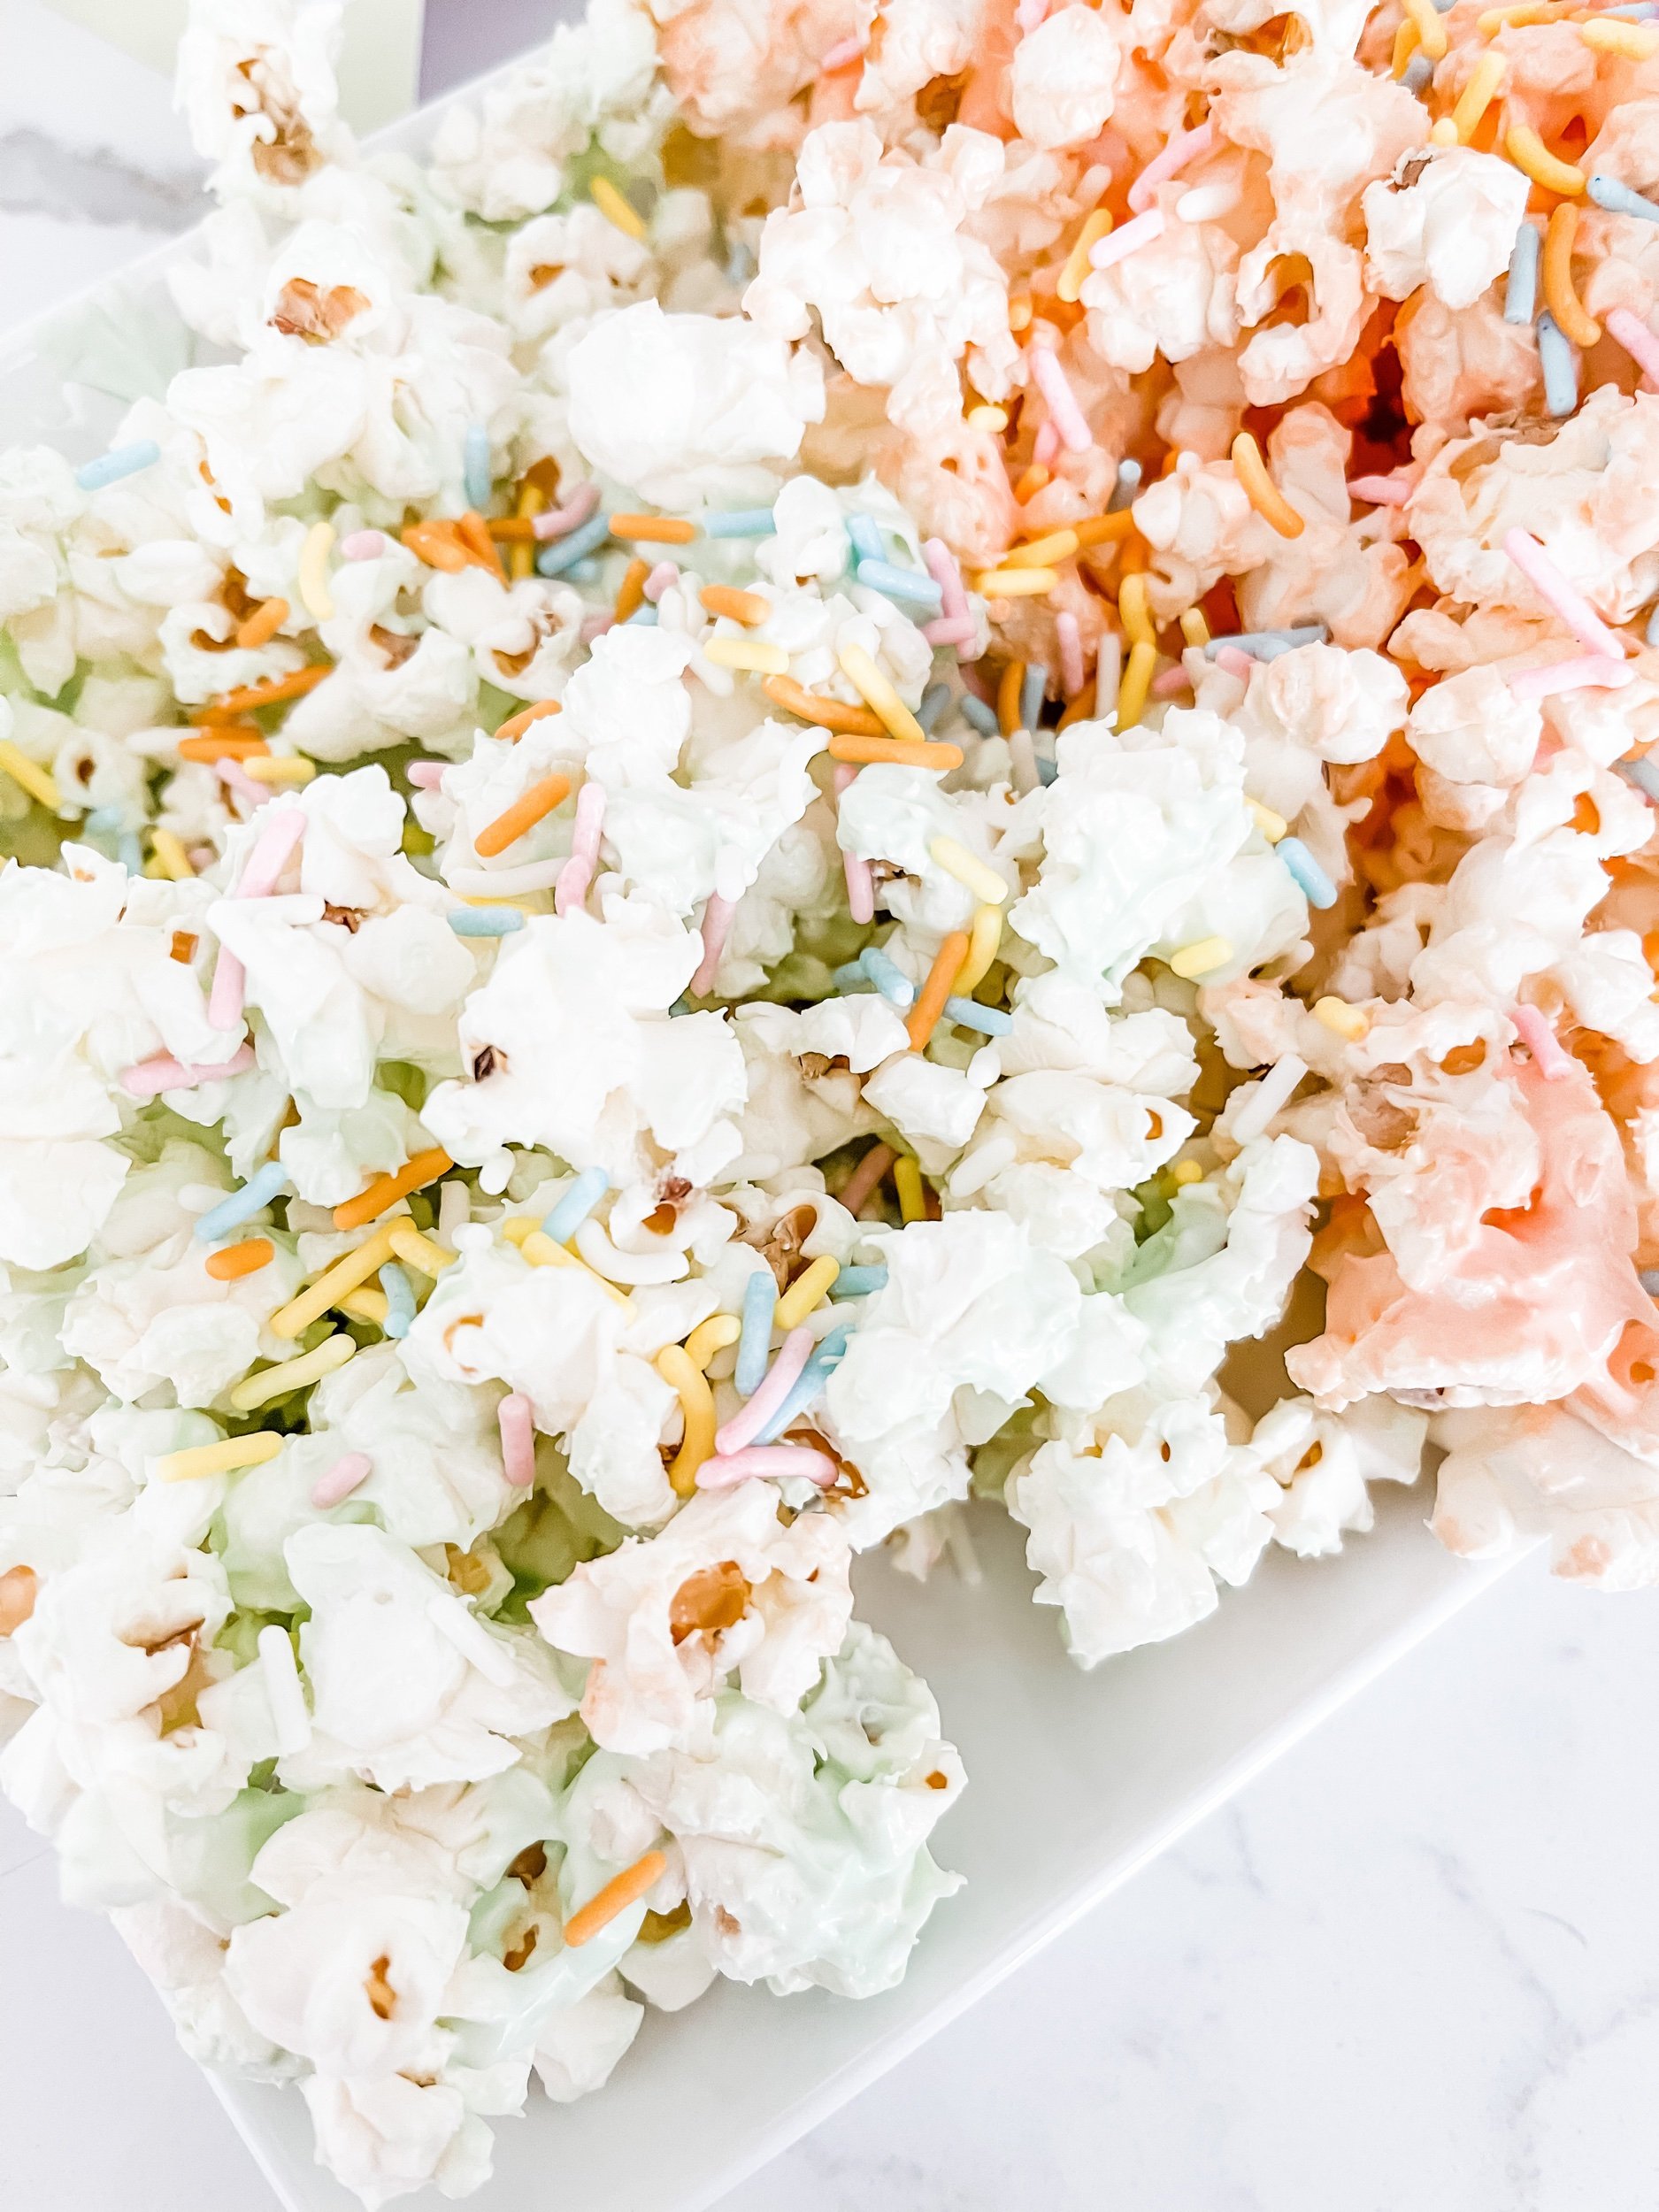
Using different fillers allows you to create a full set of stress balls with varied textures and weights.
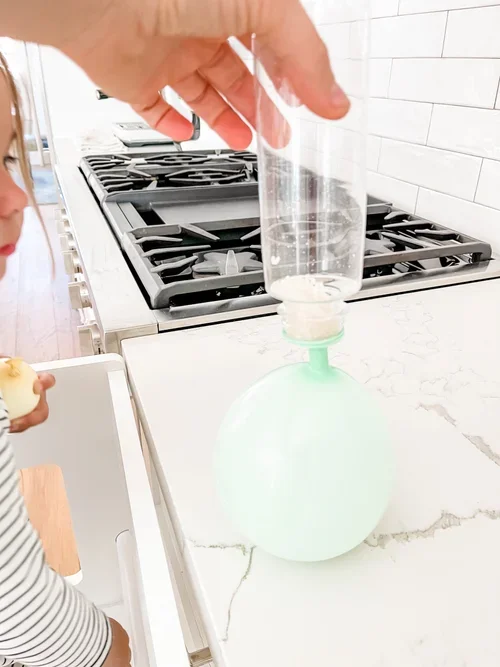
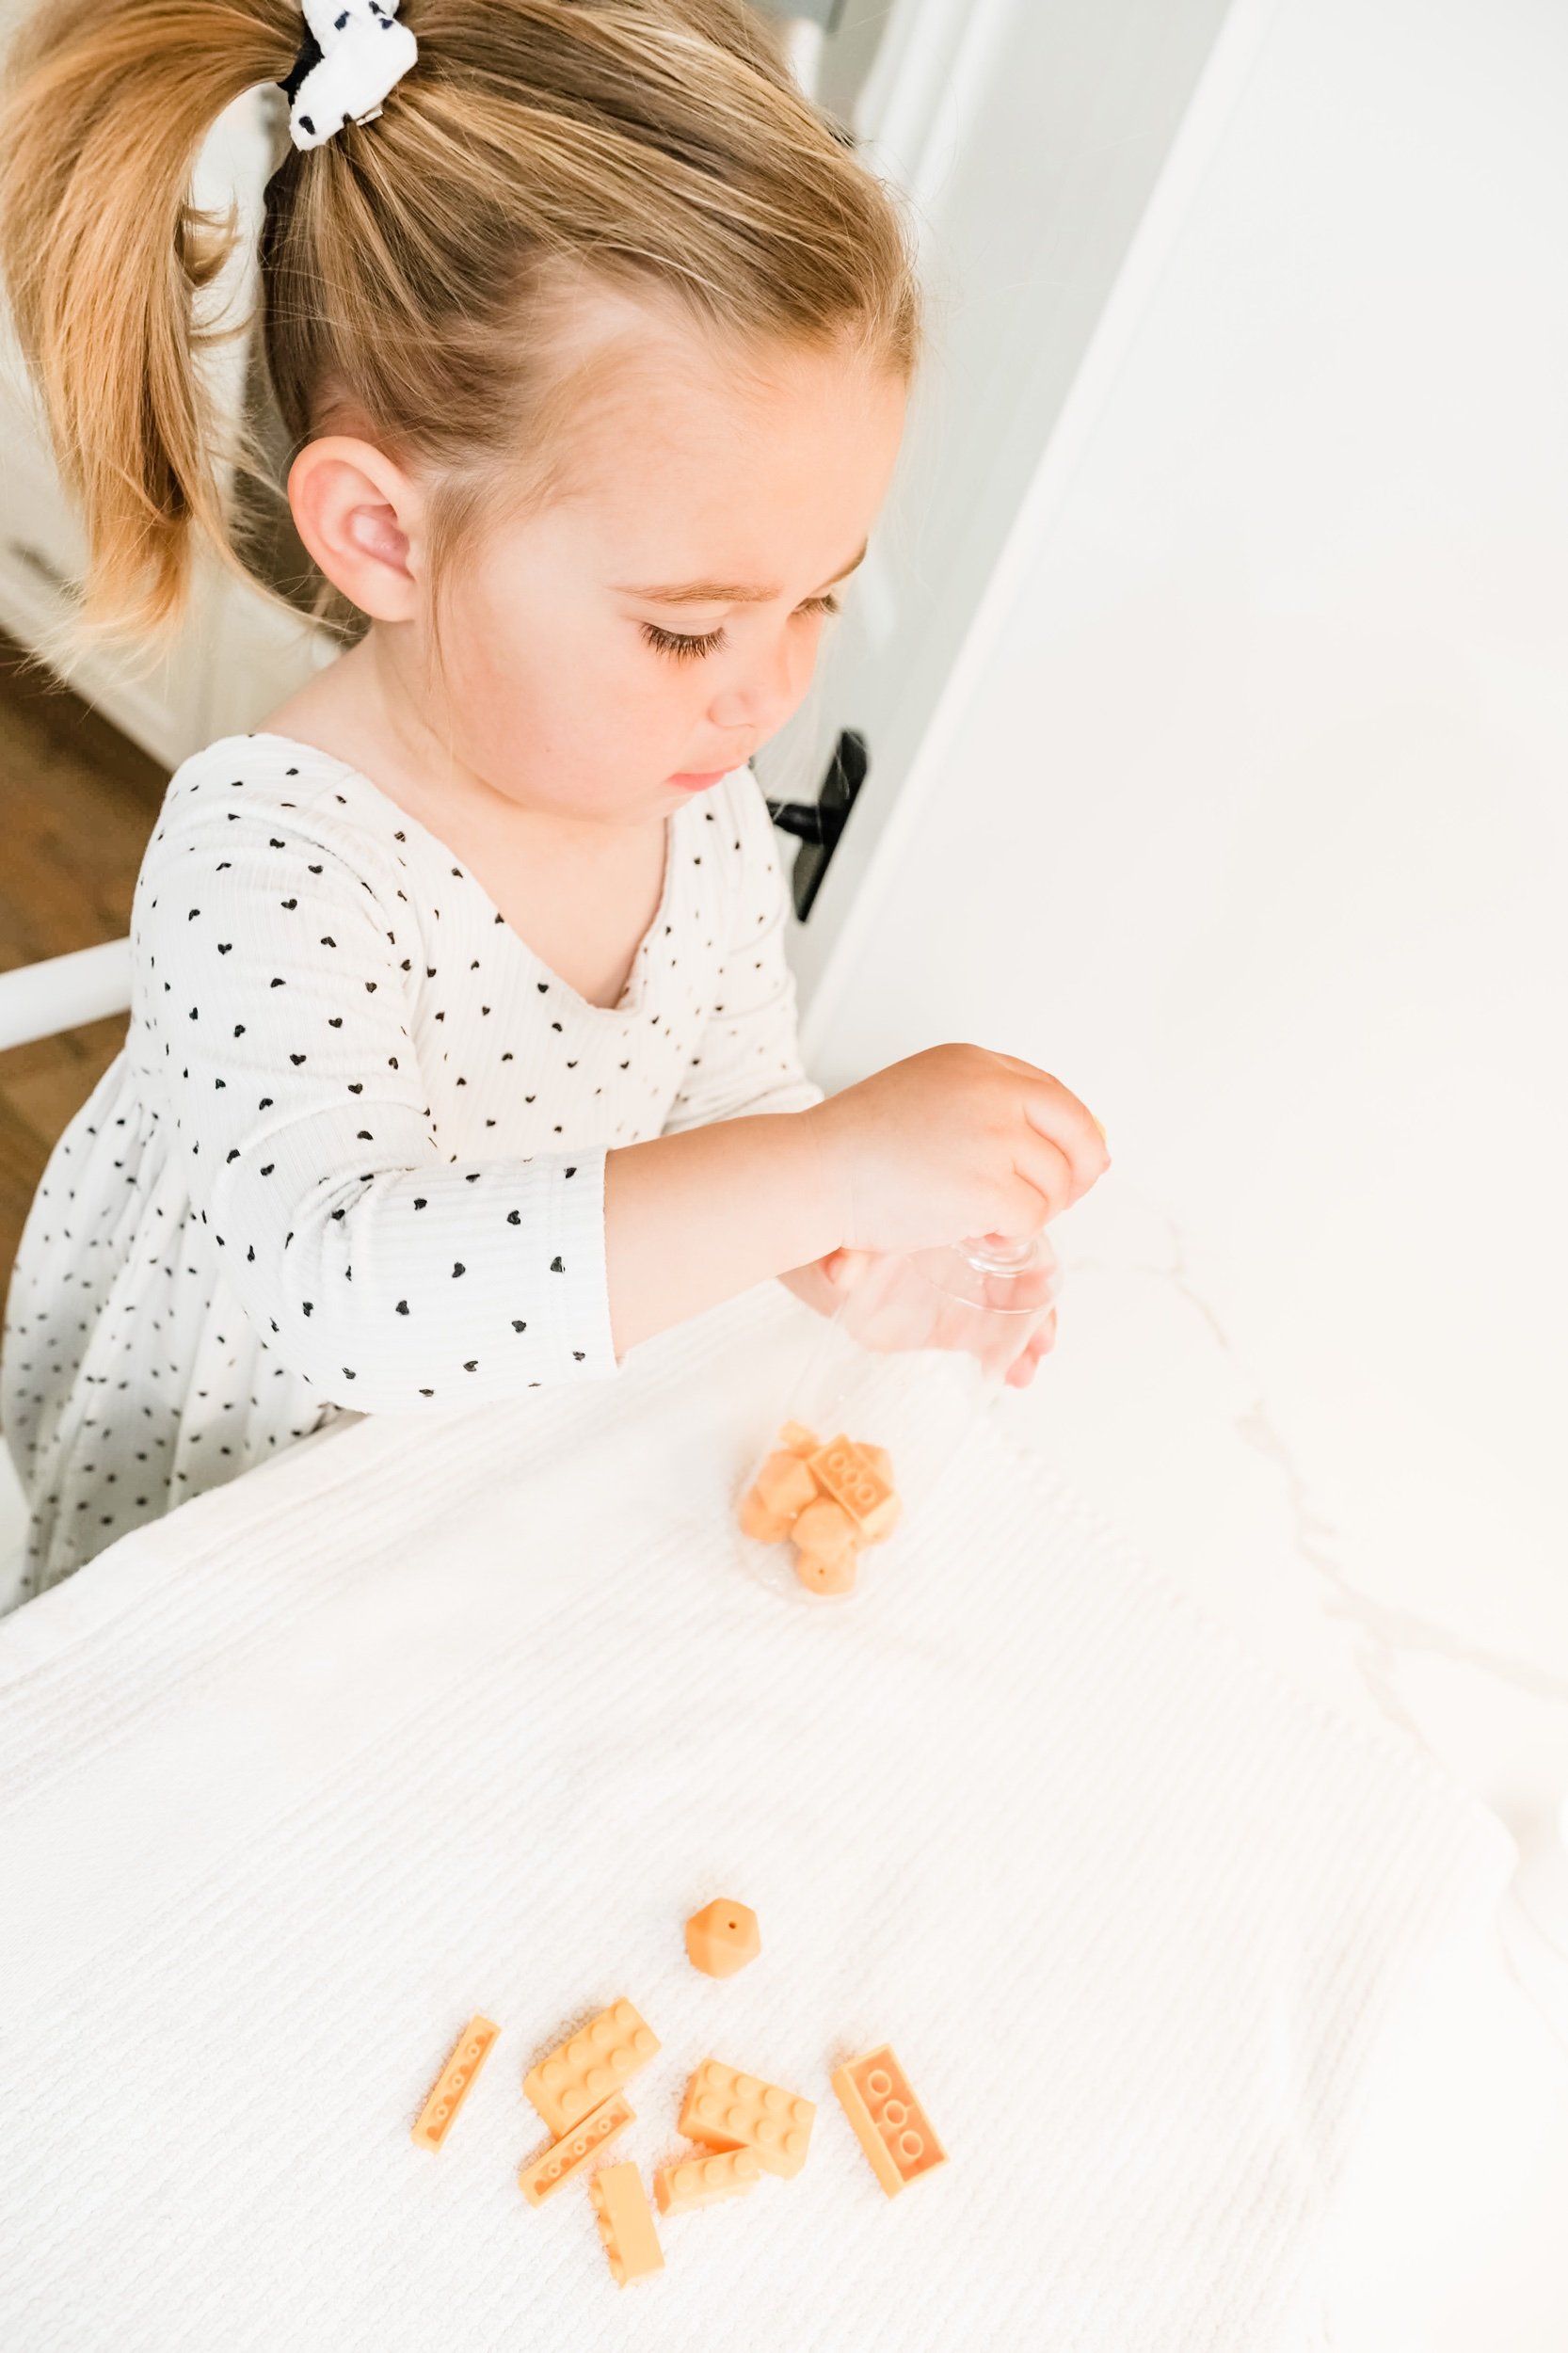
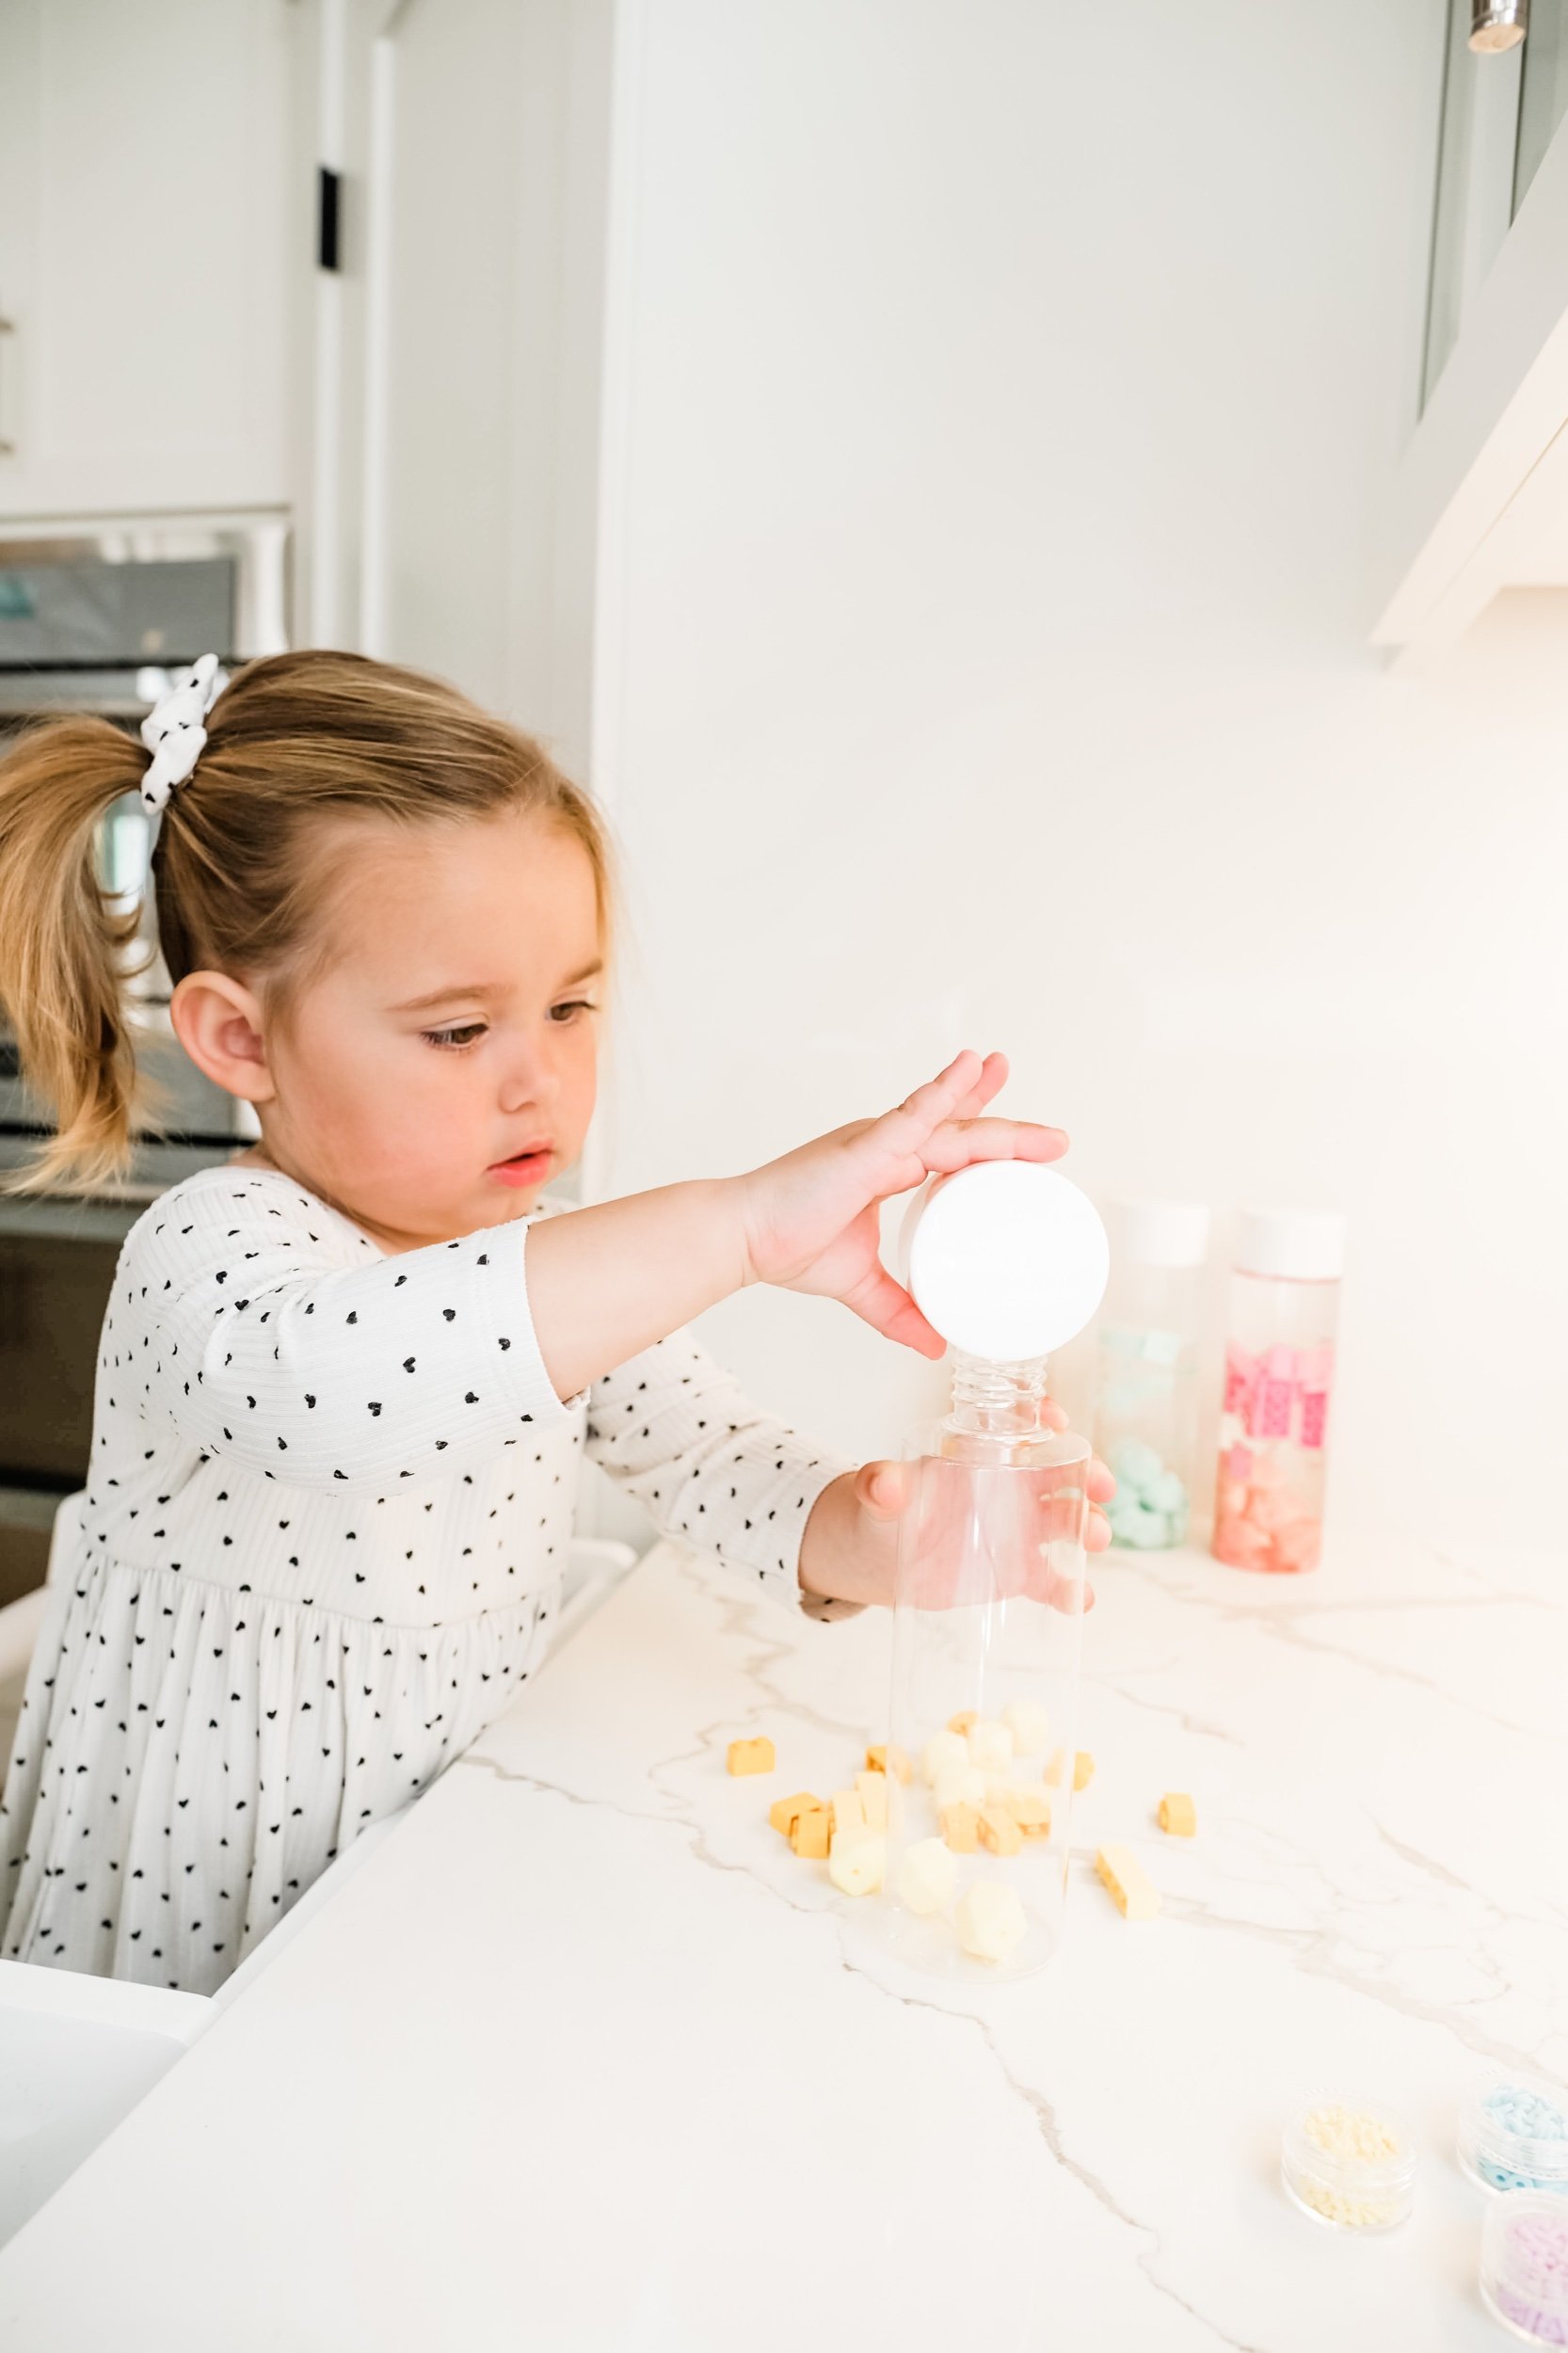
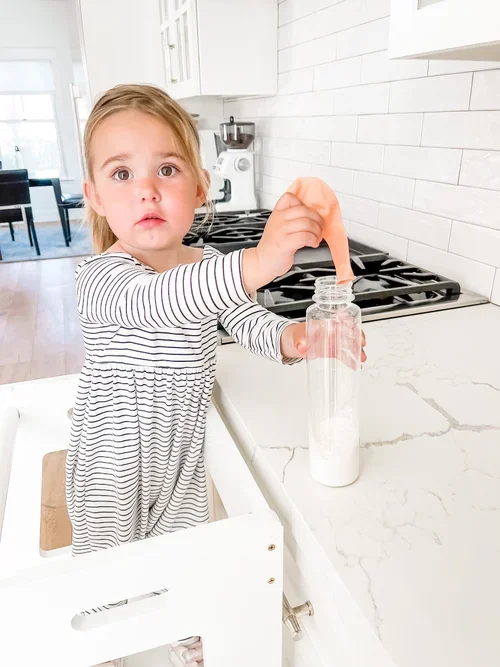
How to Make Sensory Stress Balls
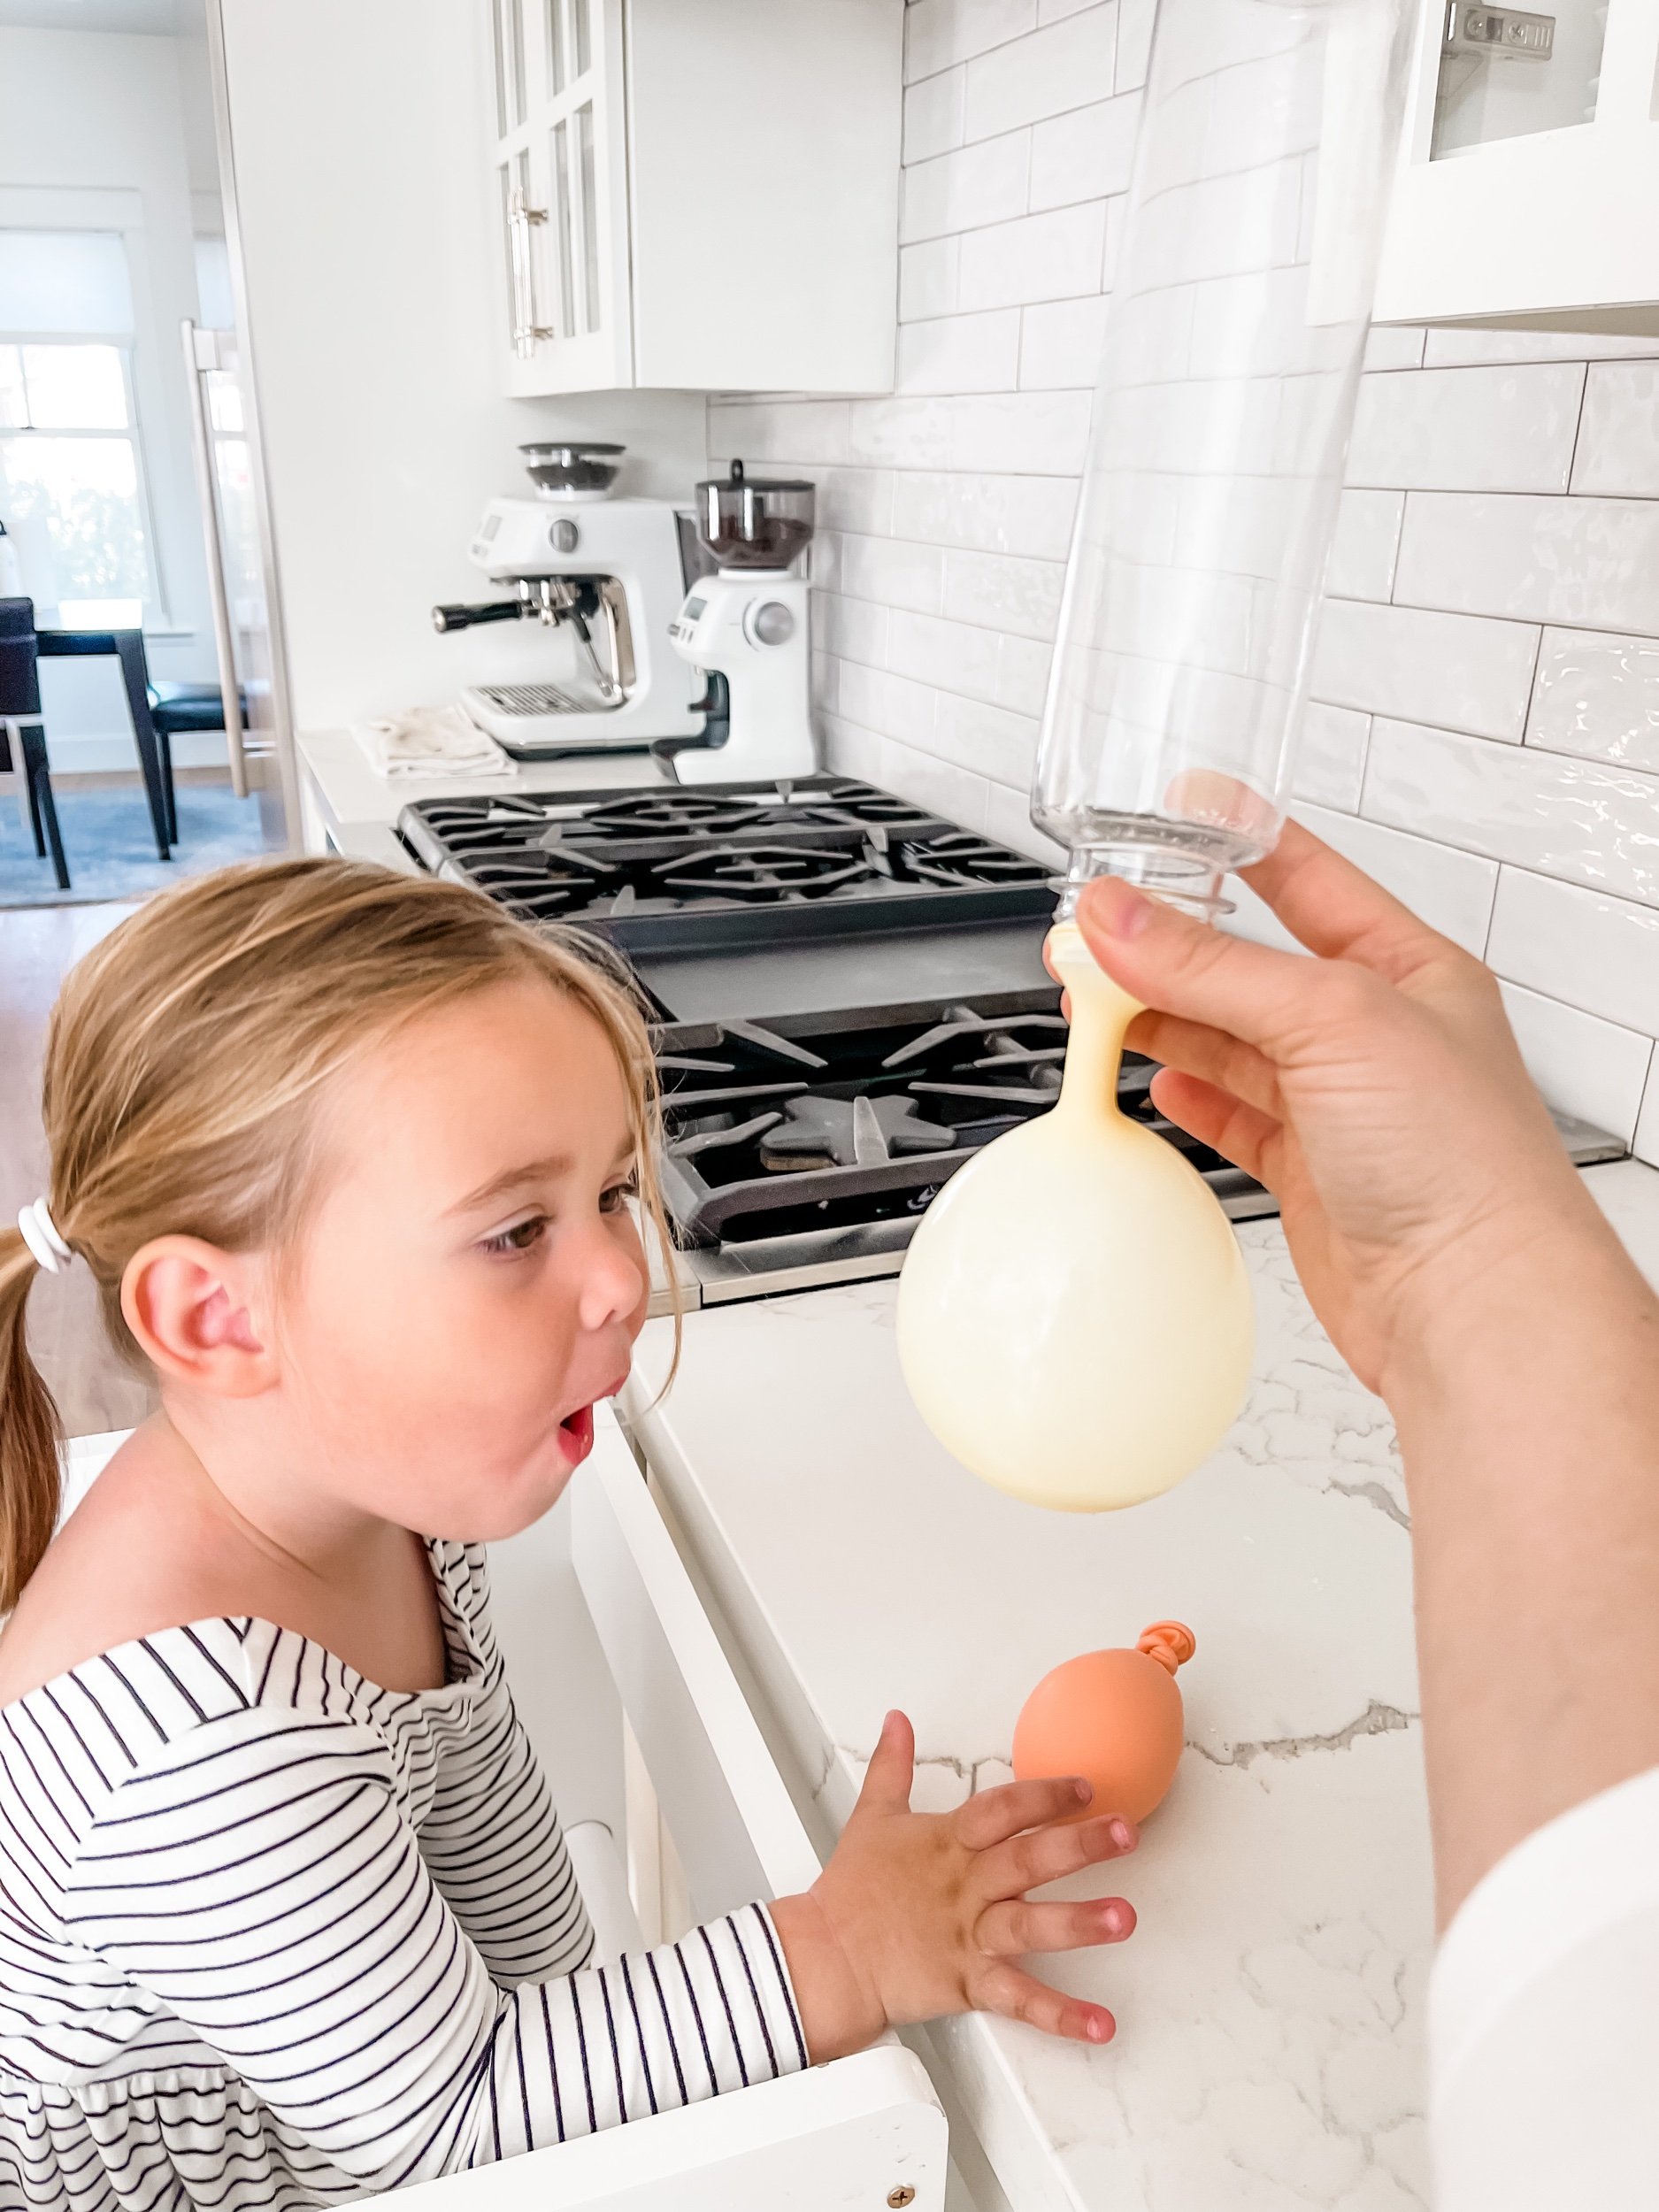
Set up your workspace with a tray or towel to catch spills.
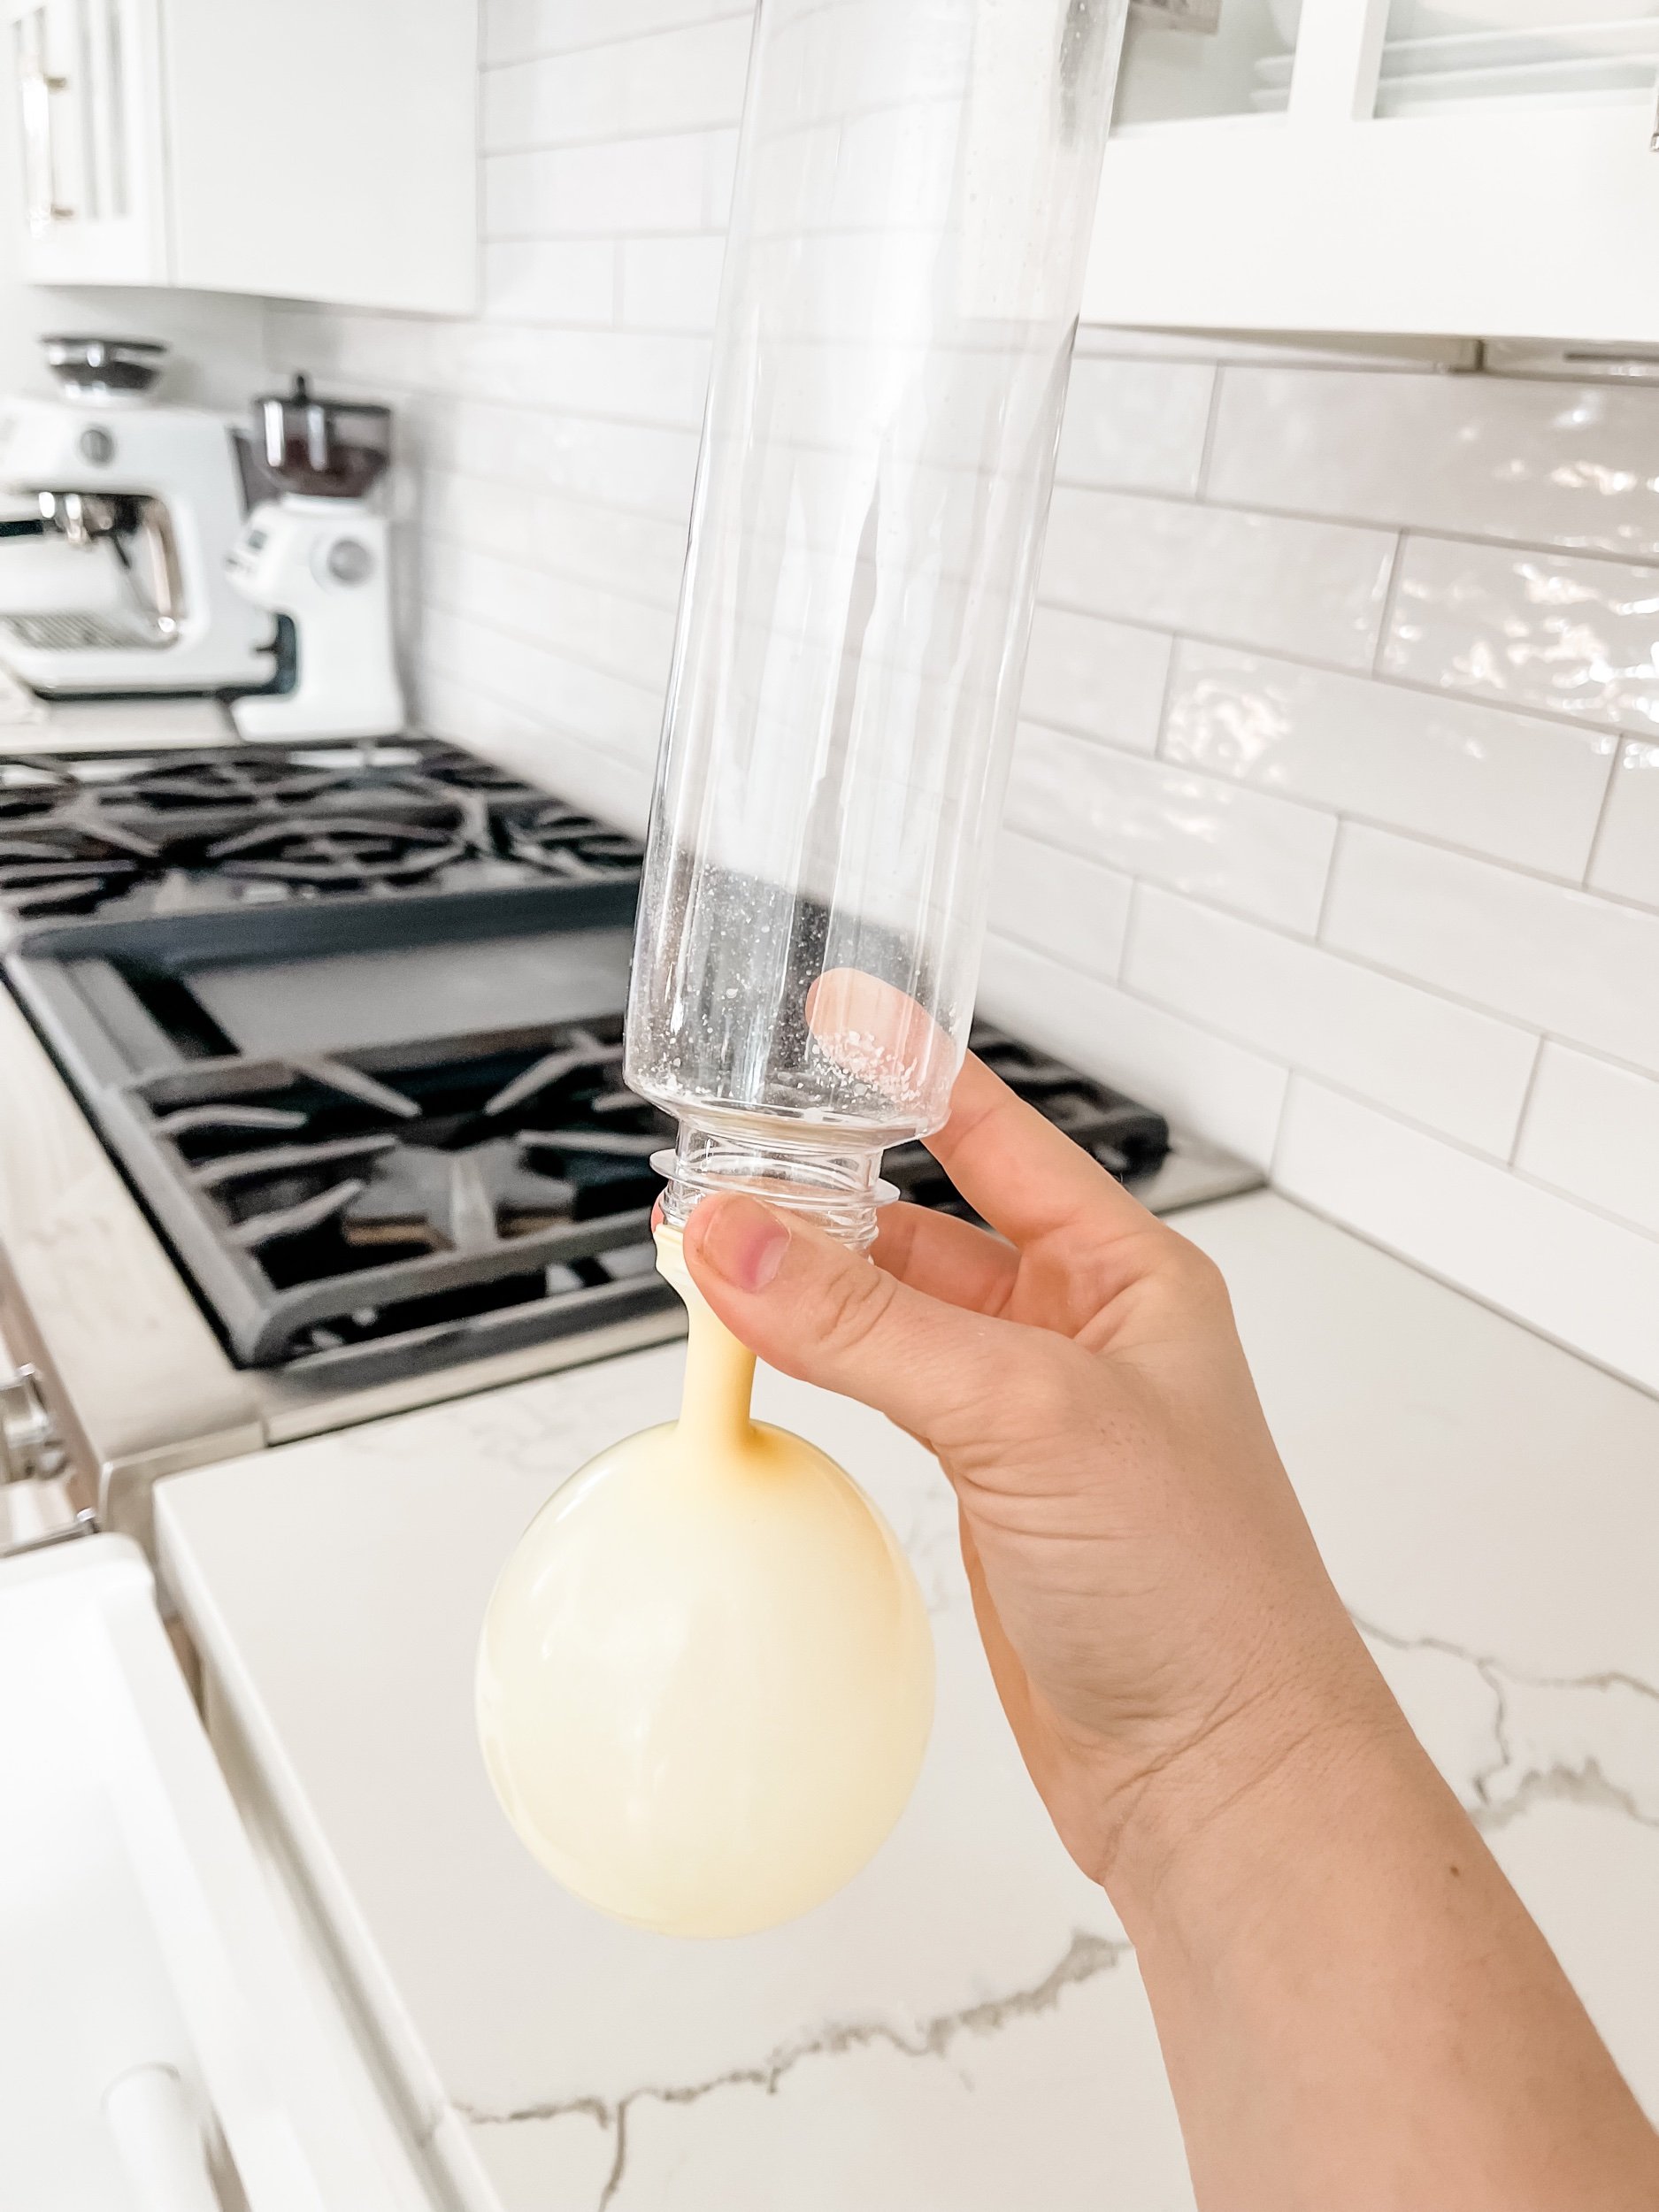
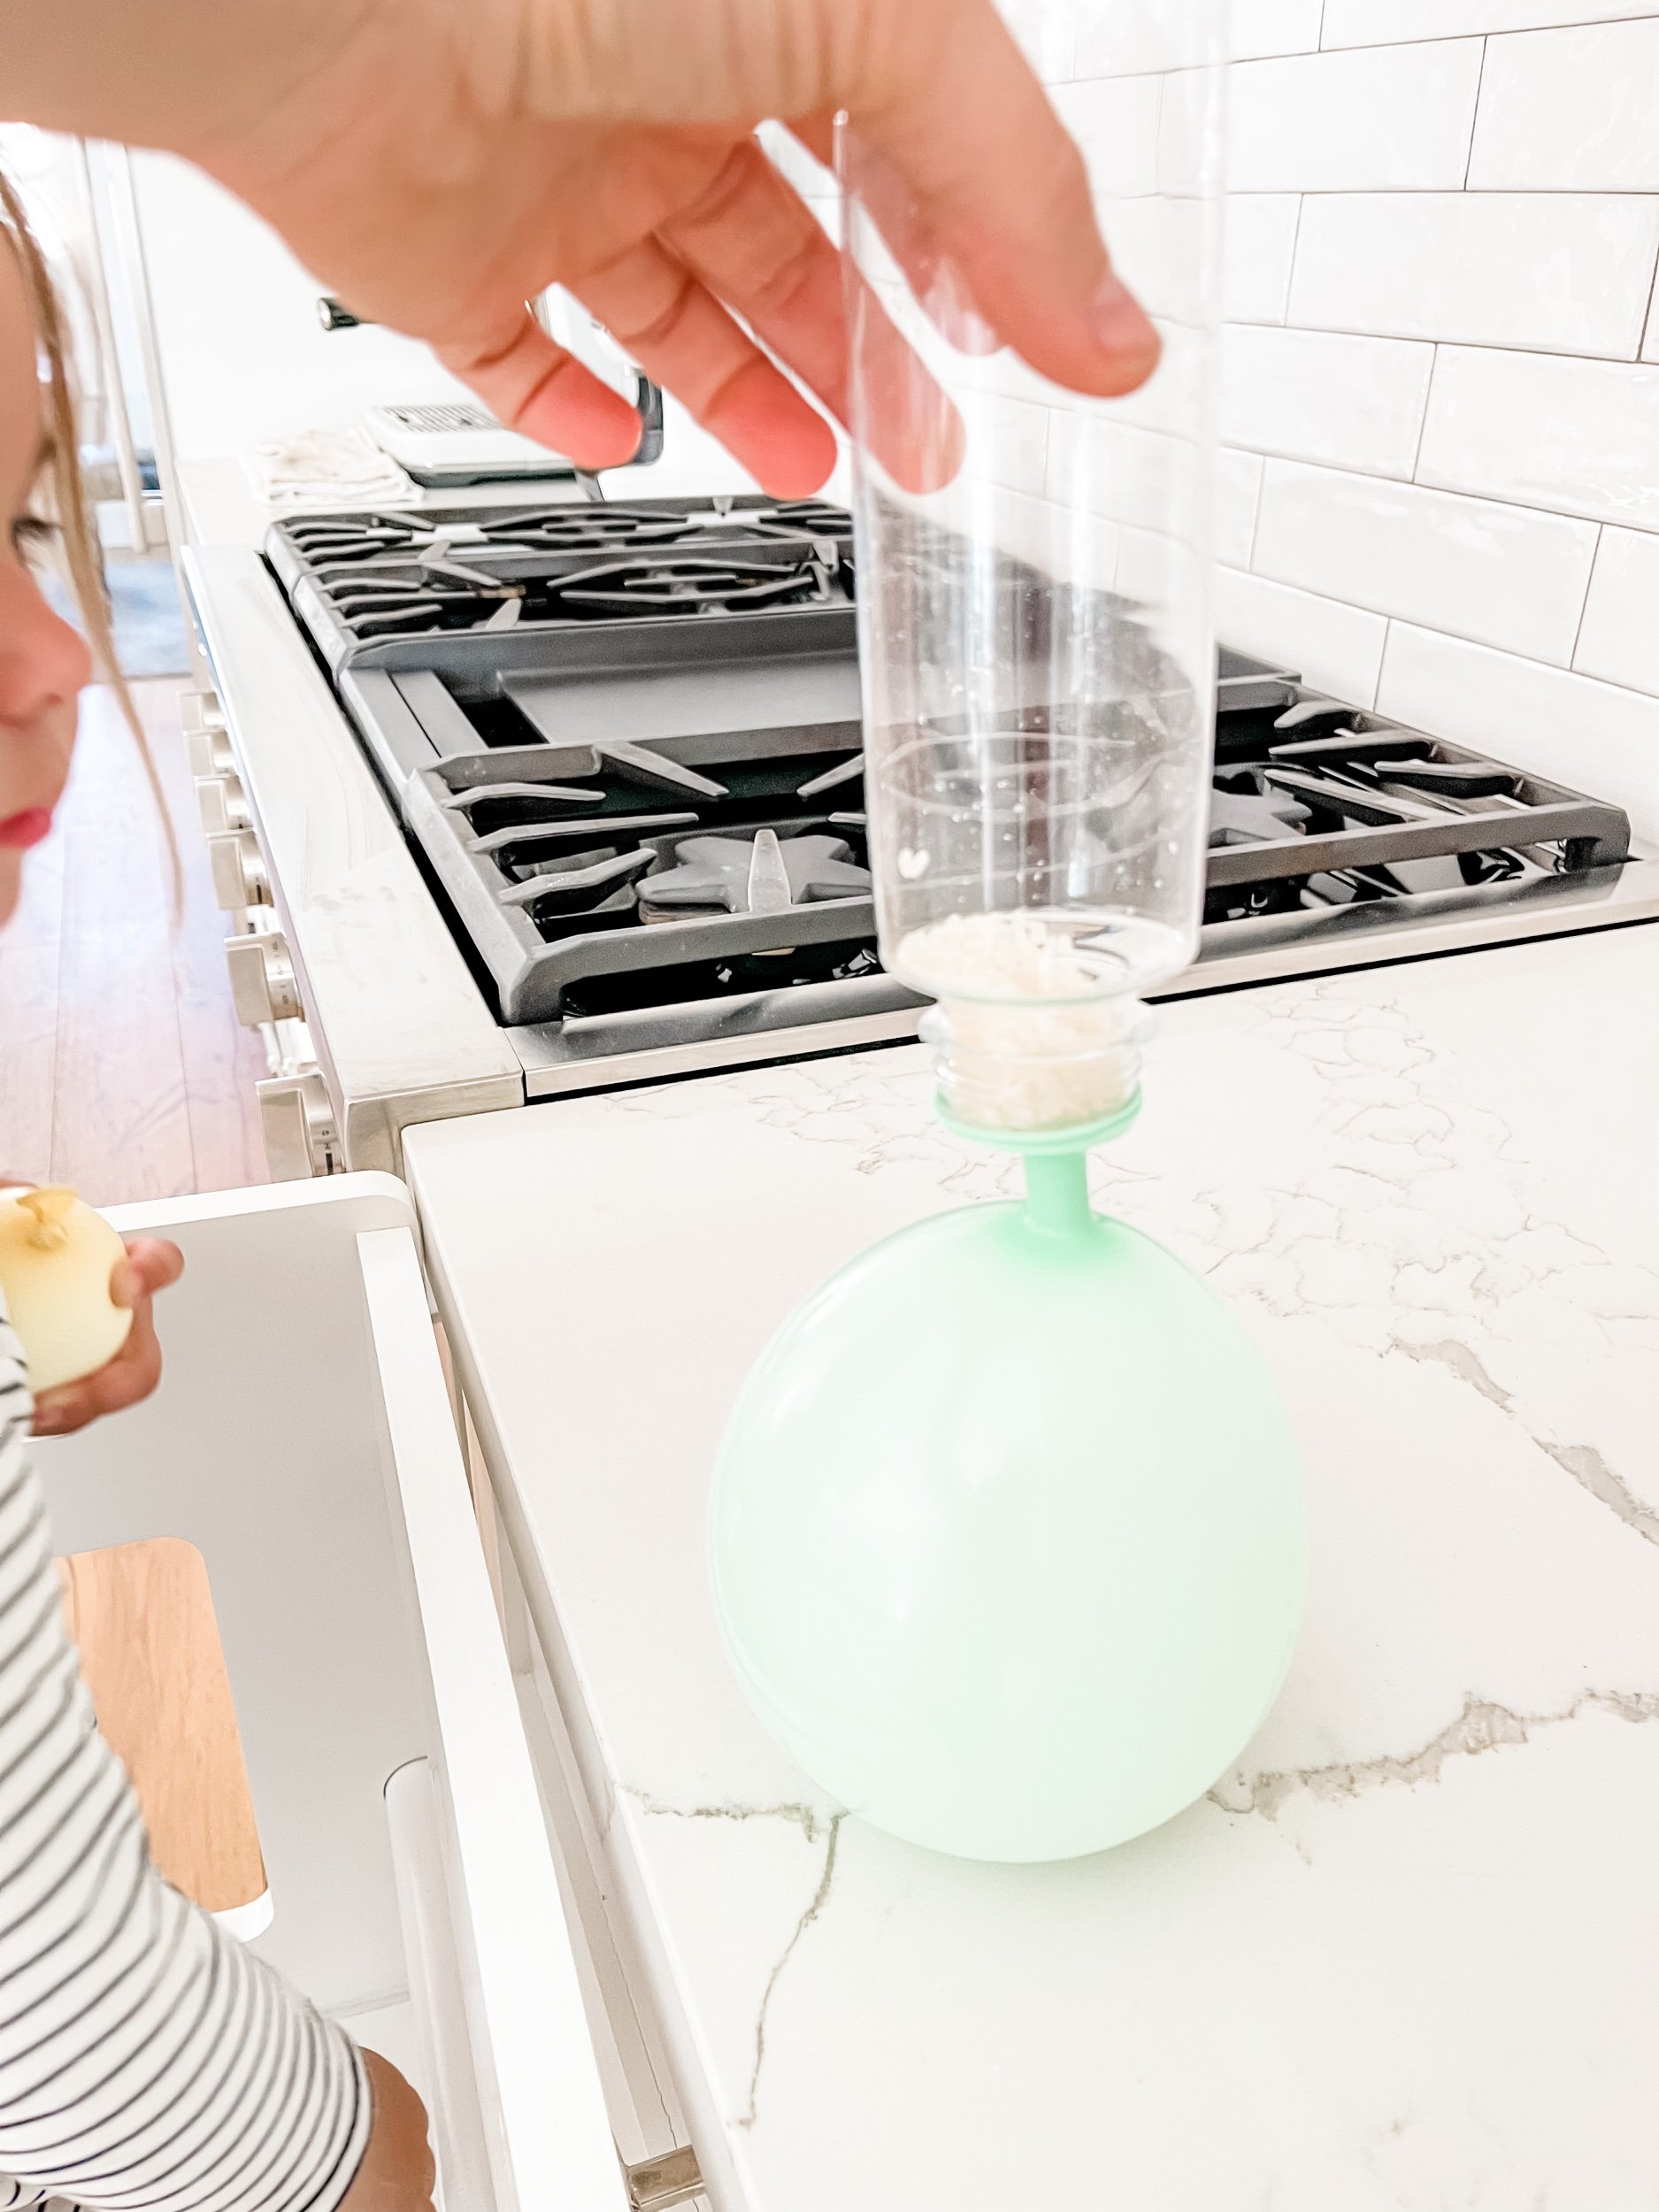
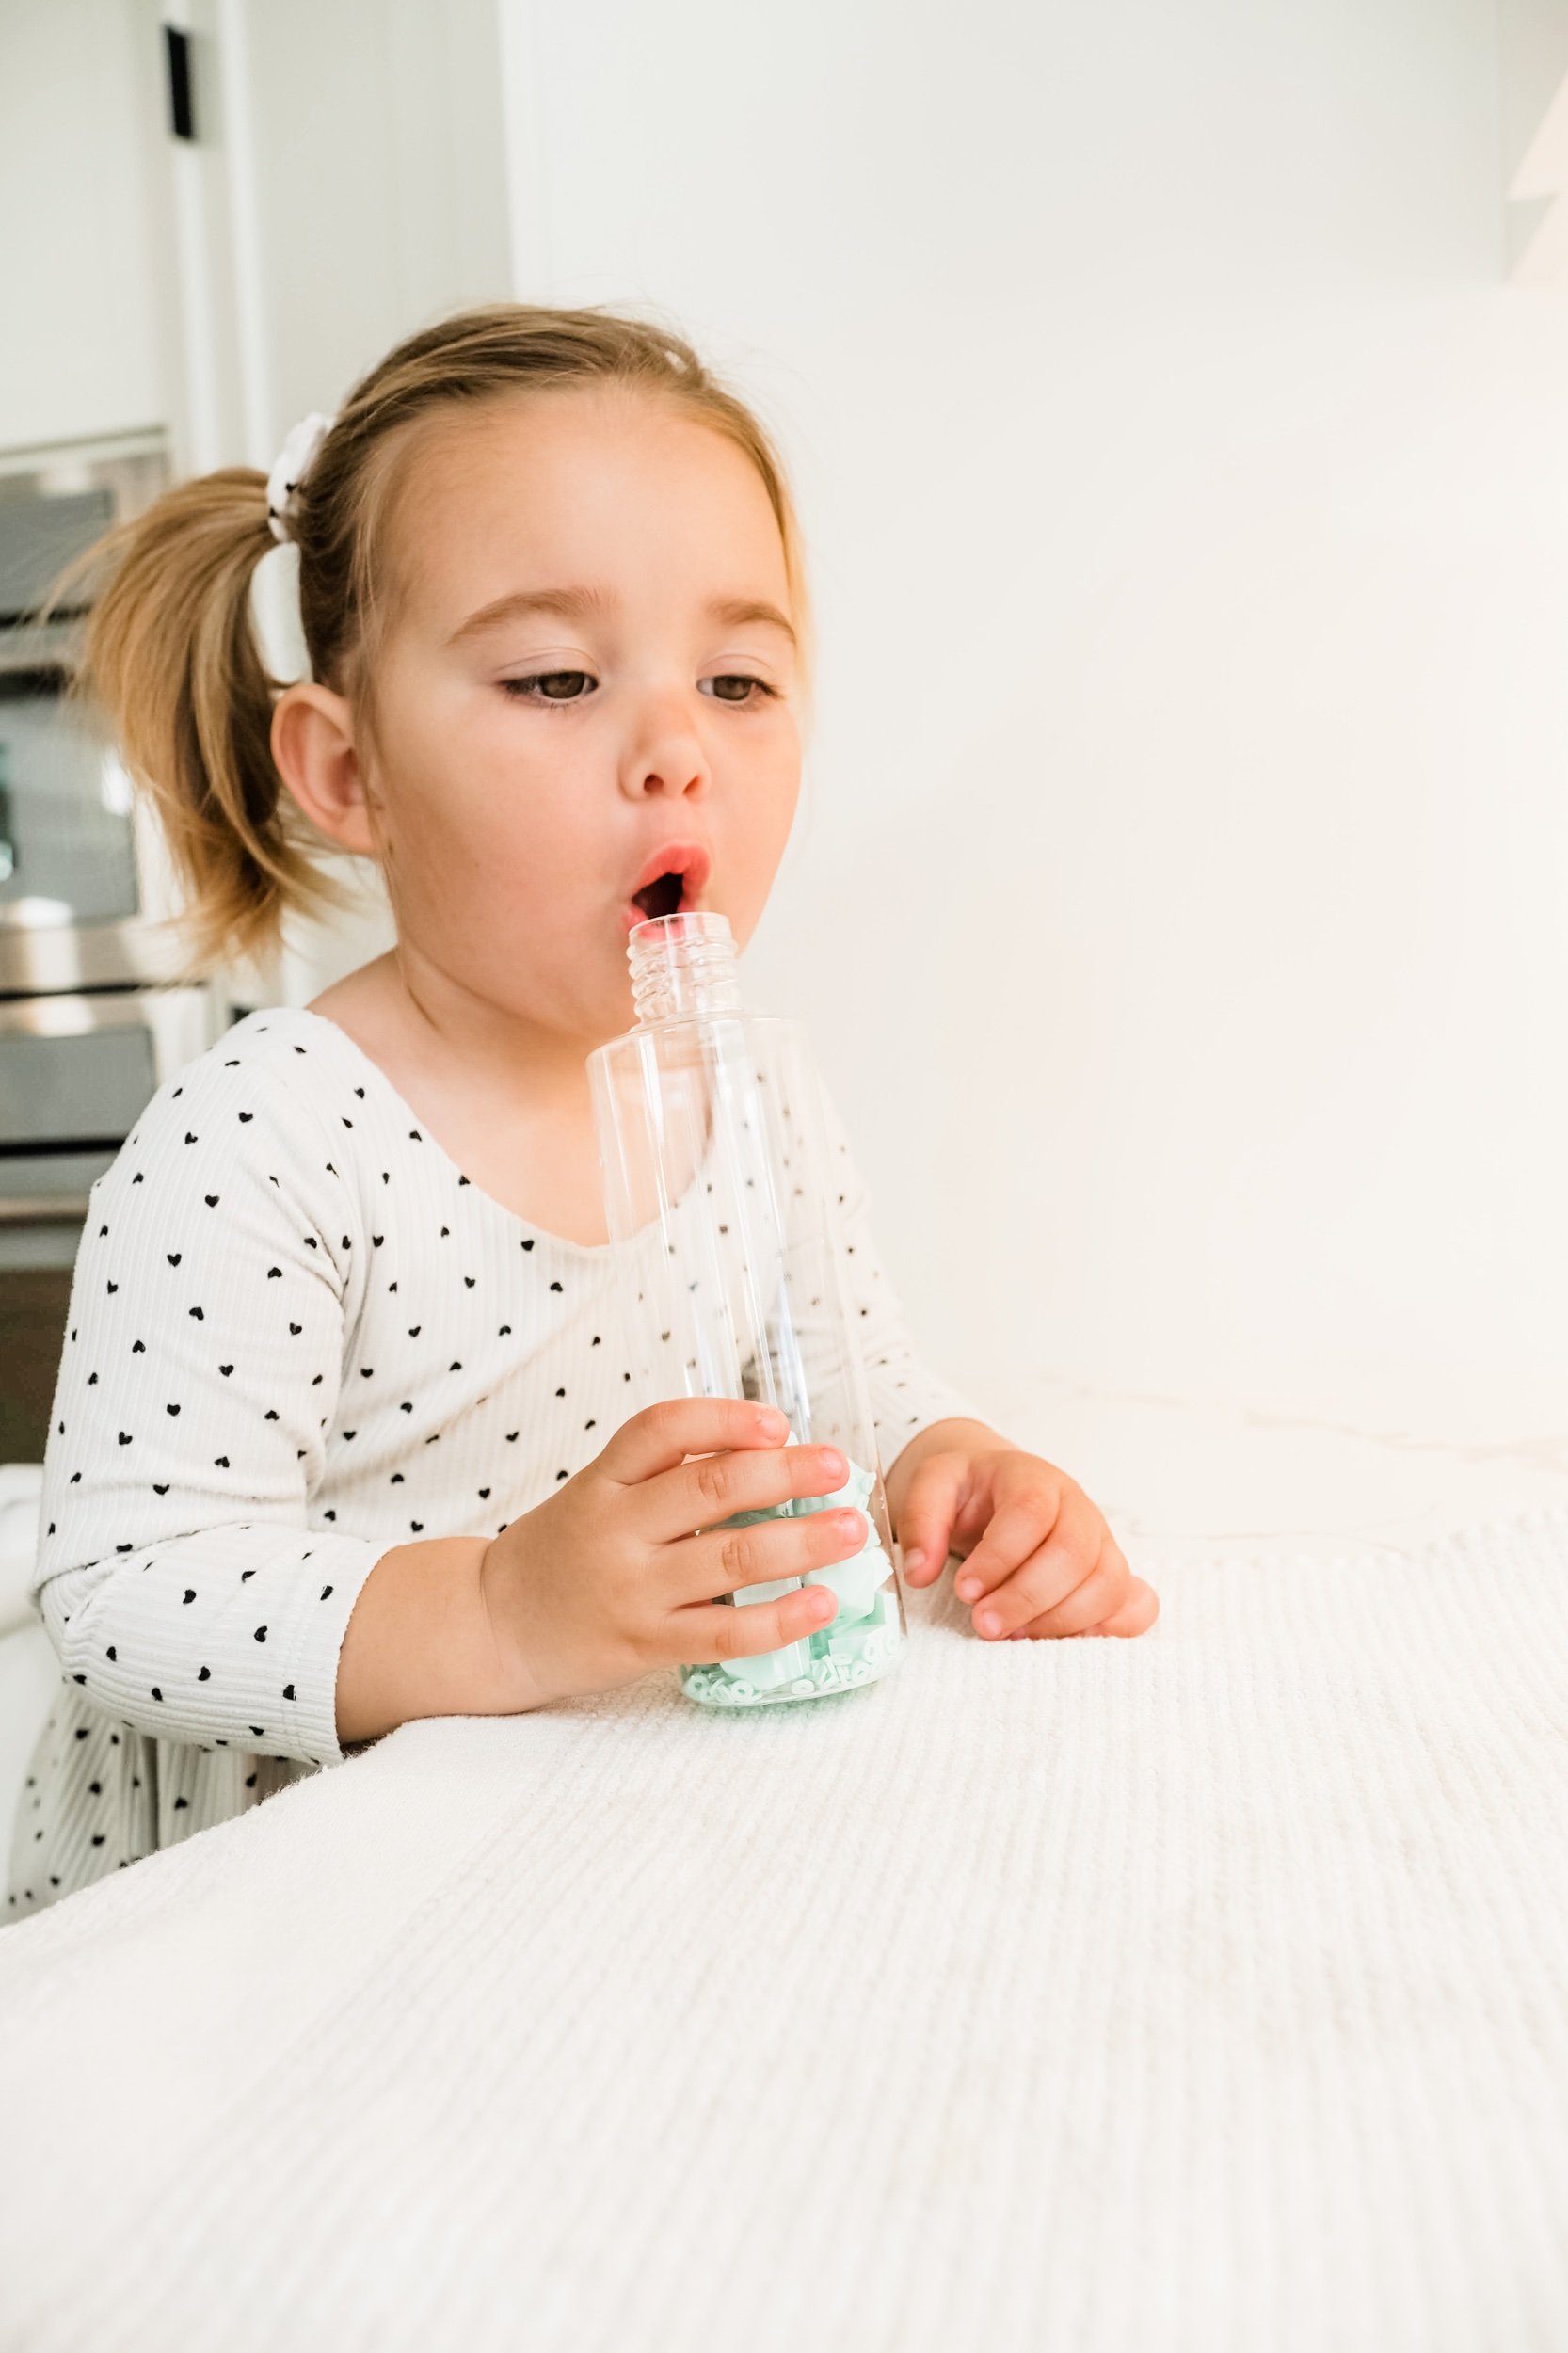
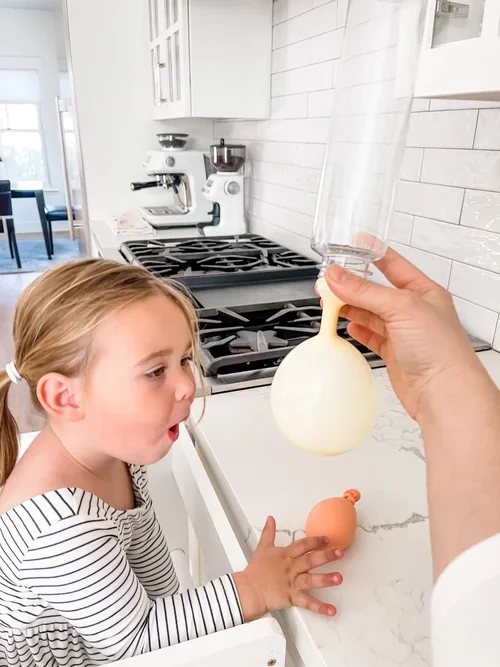
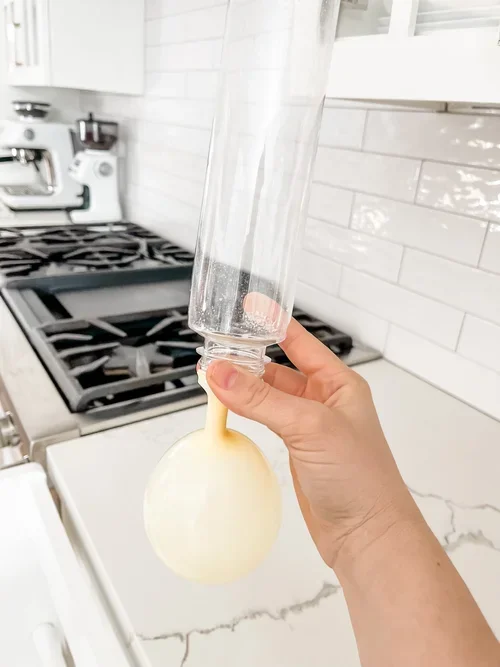
Stretch a balloon over the funnel or bottle opening.
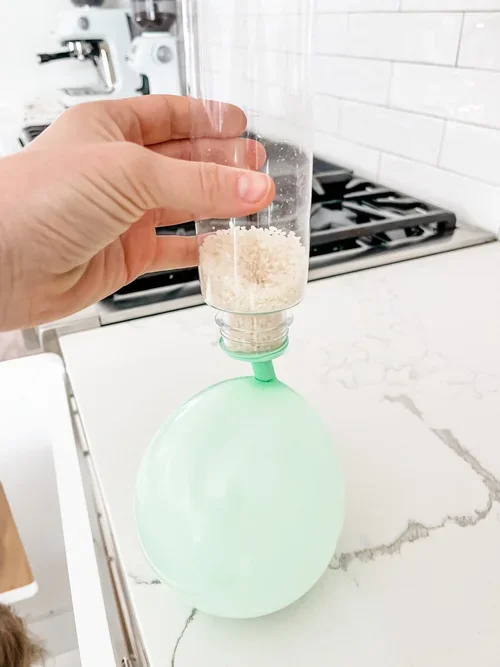
Slowly pour in the chosen filler. Thicker fillers may need gentle tapping or a spoon to help them through.
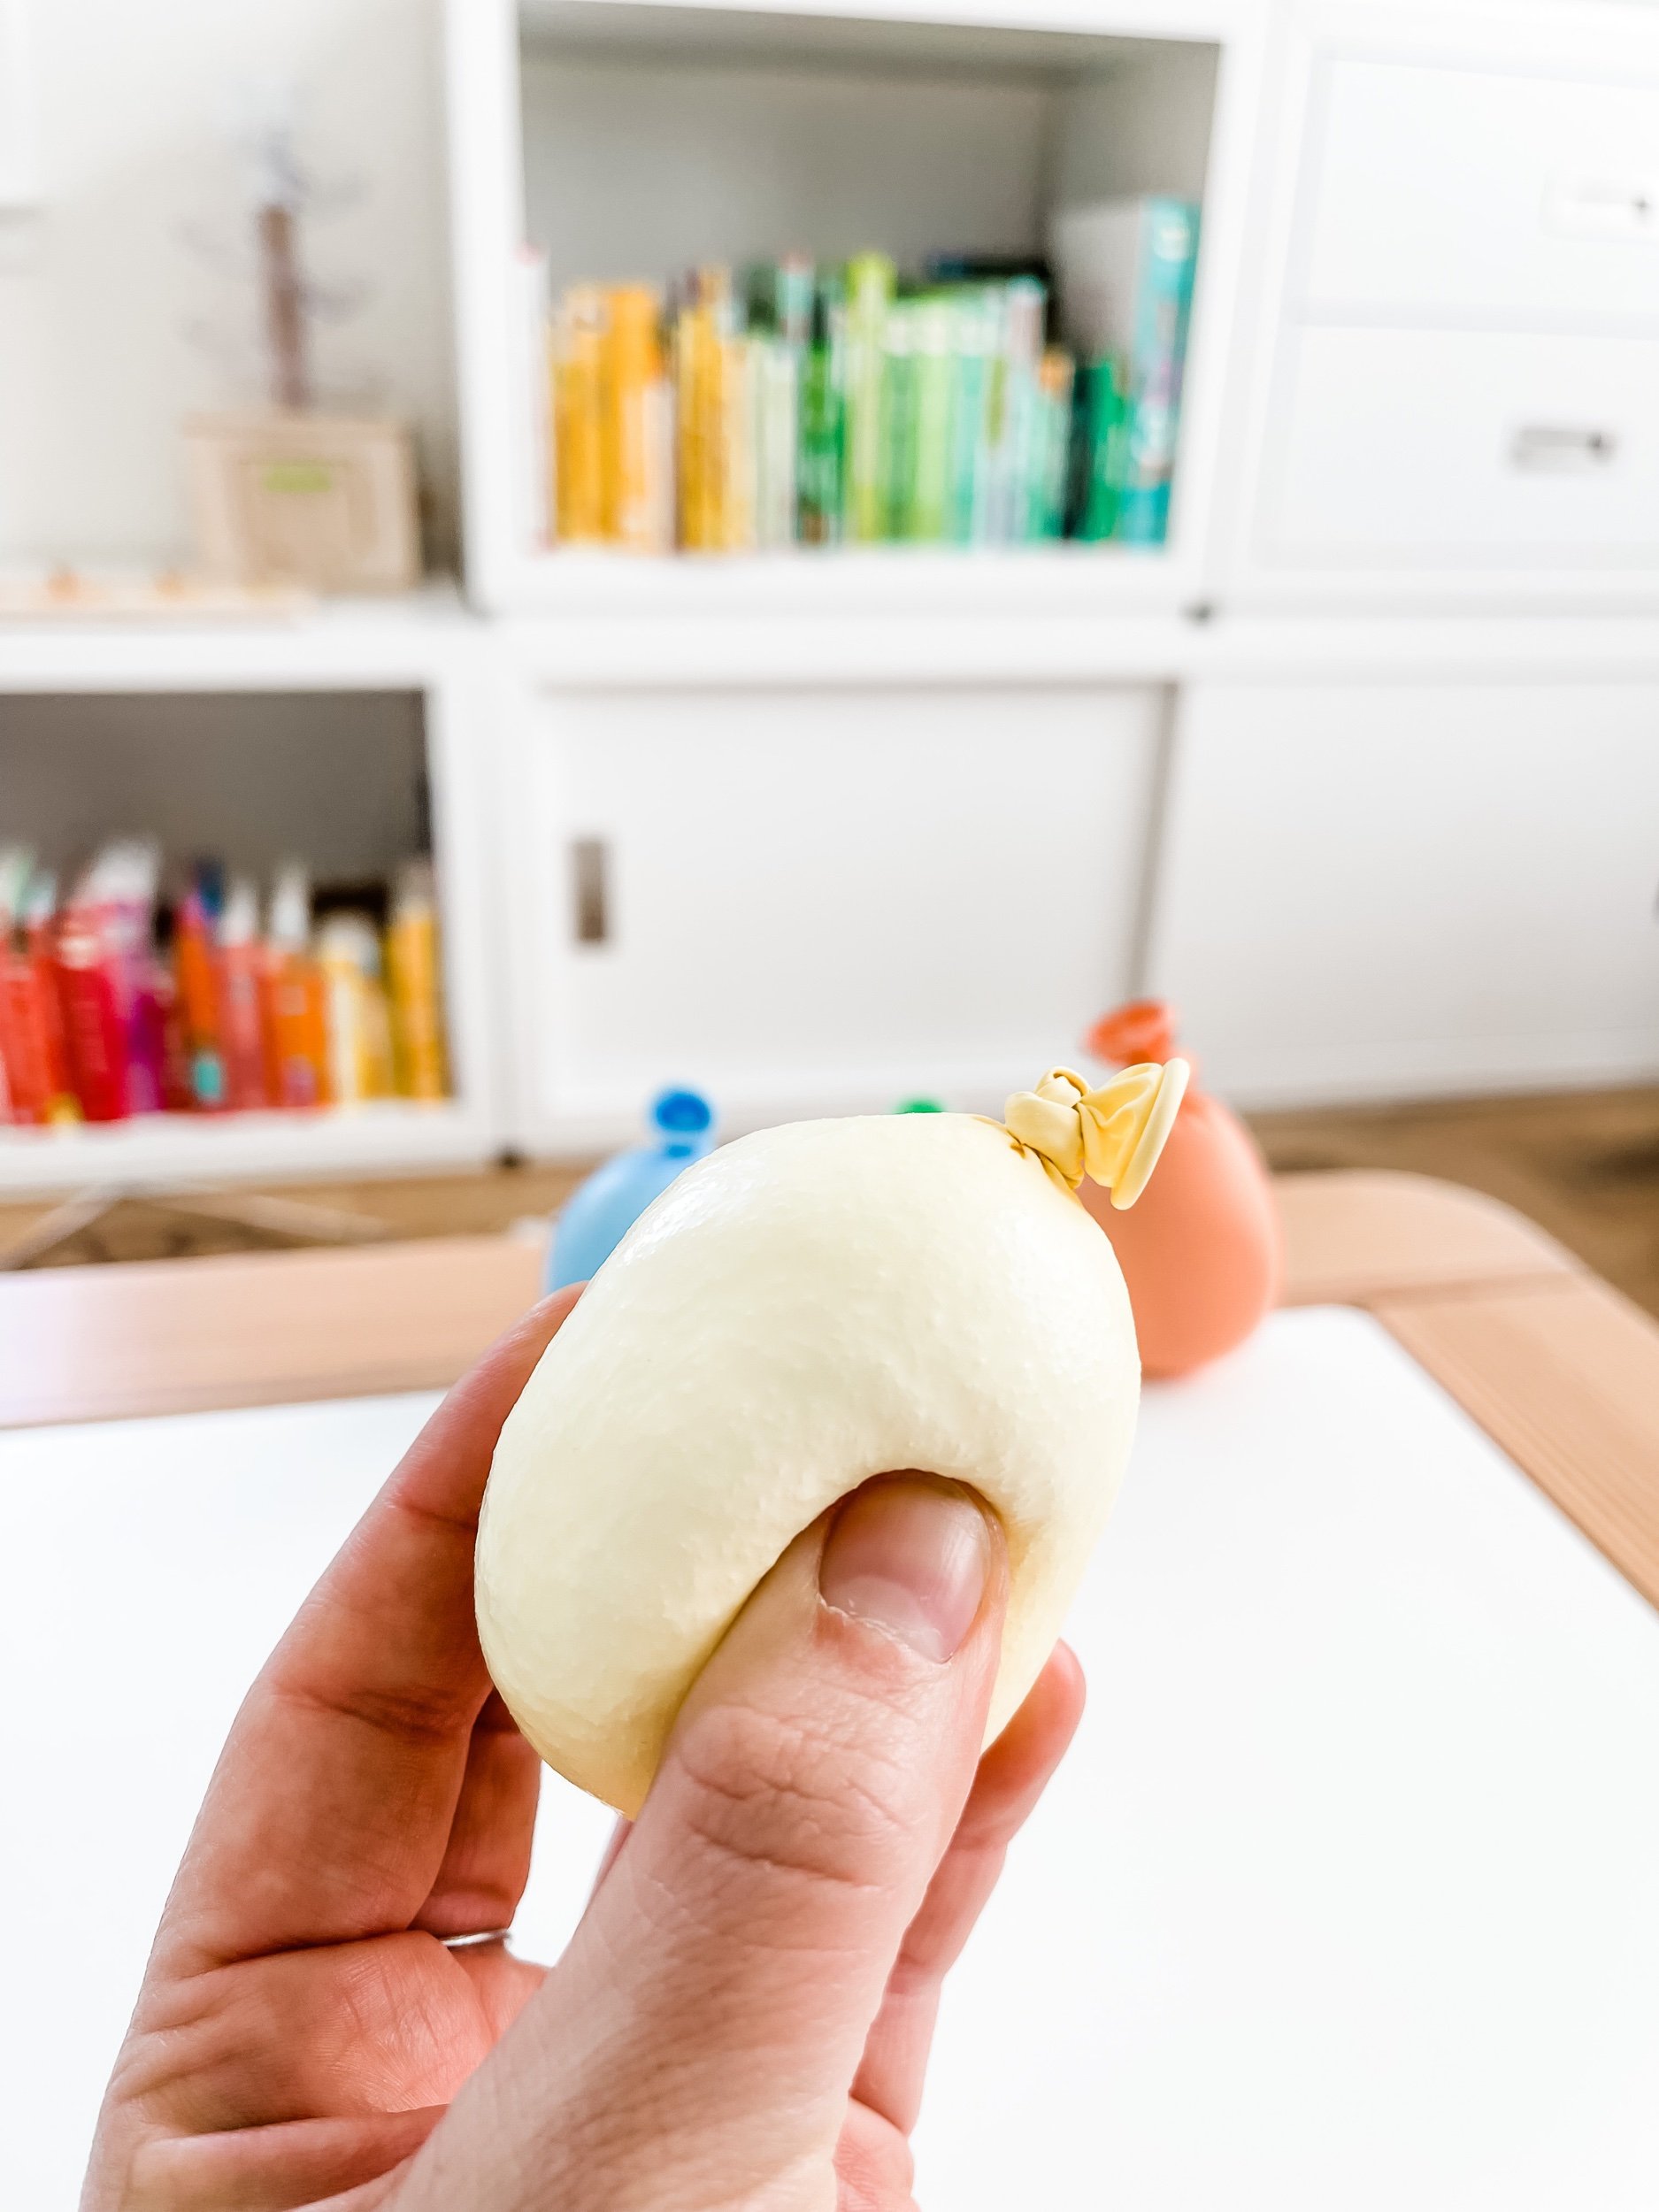
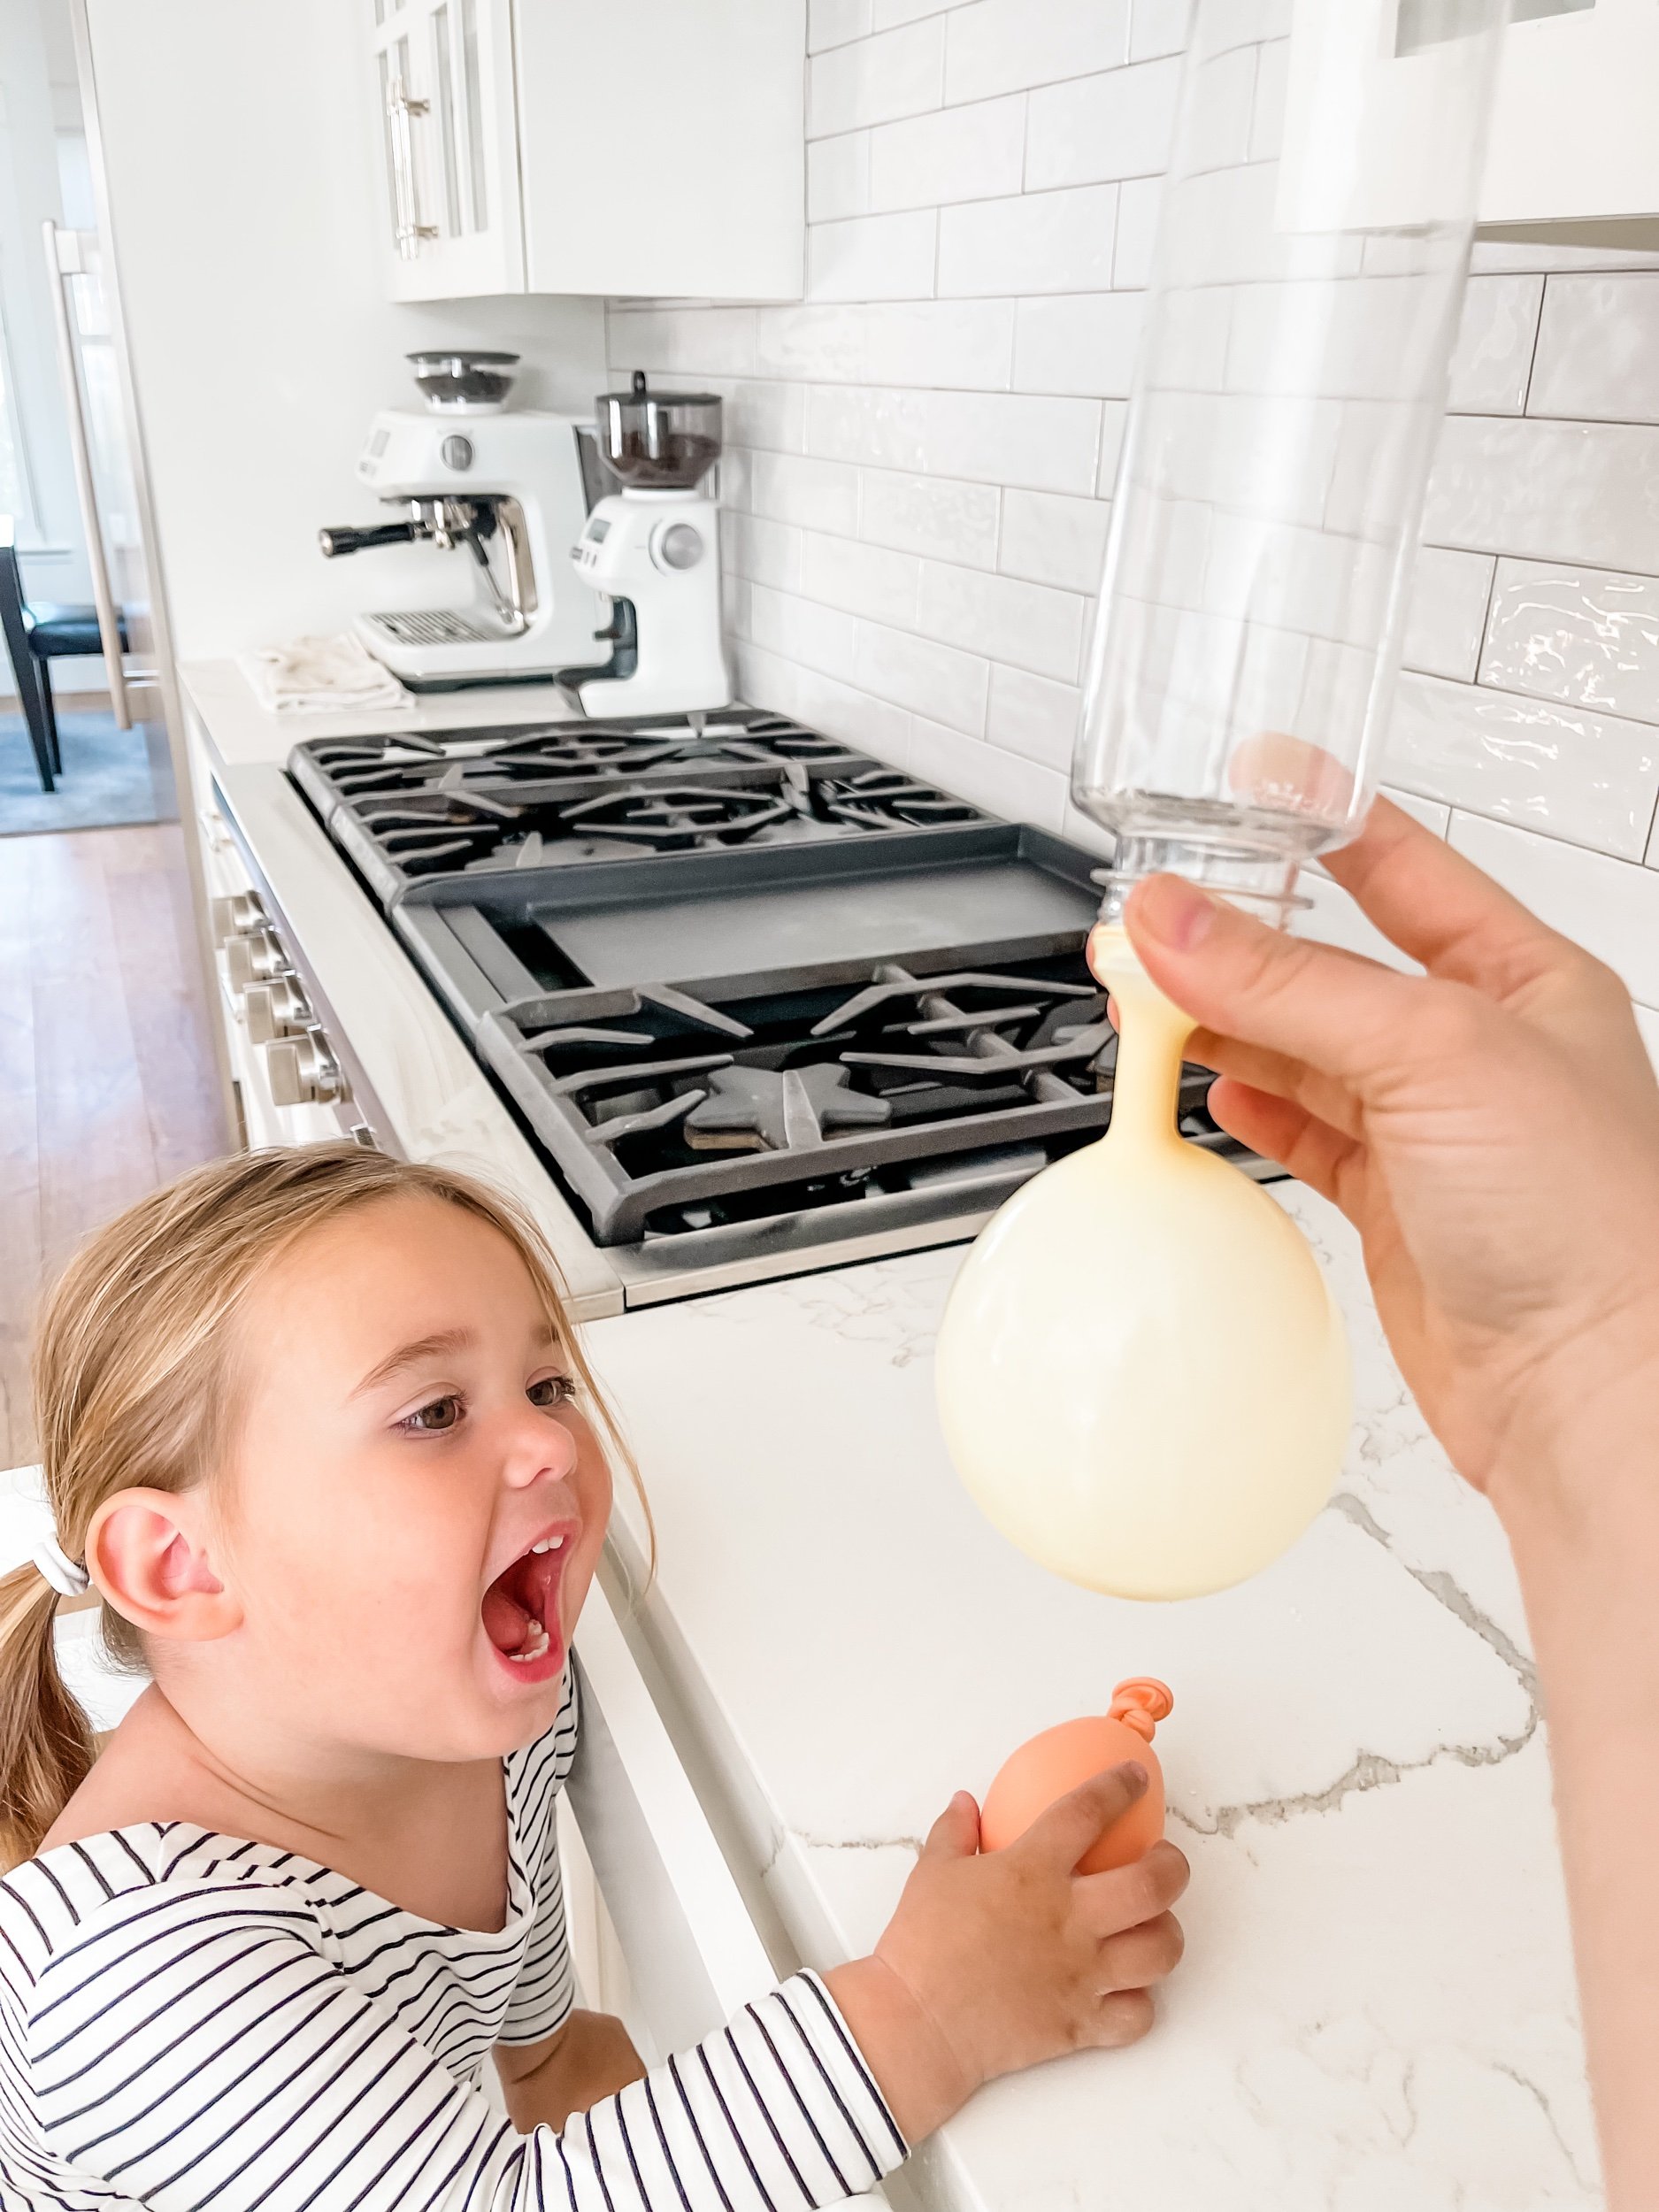
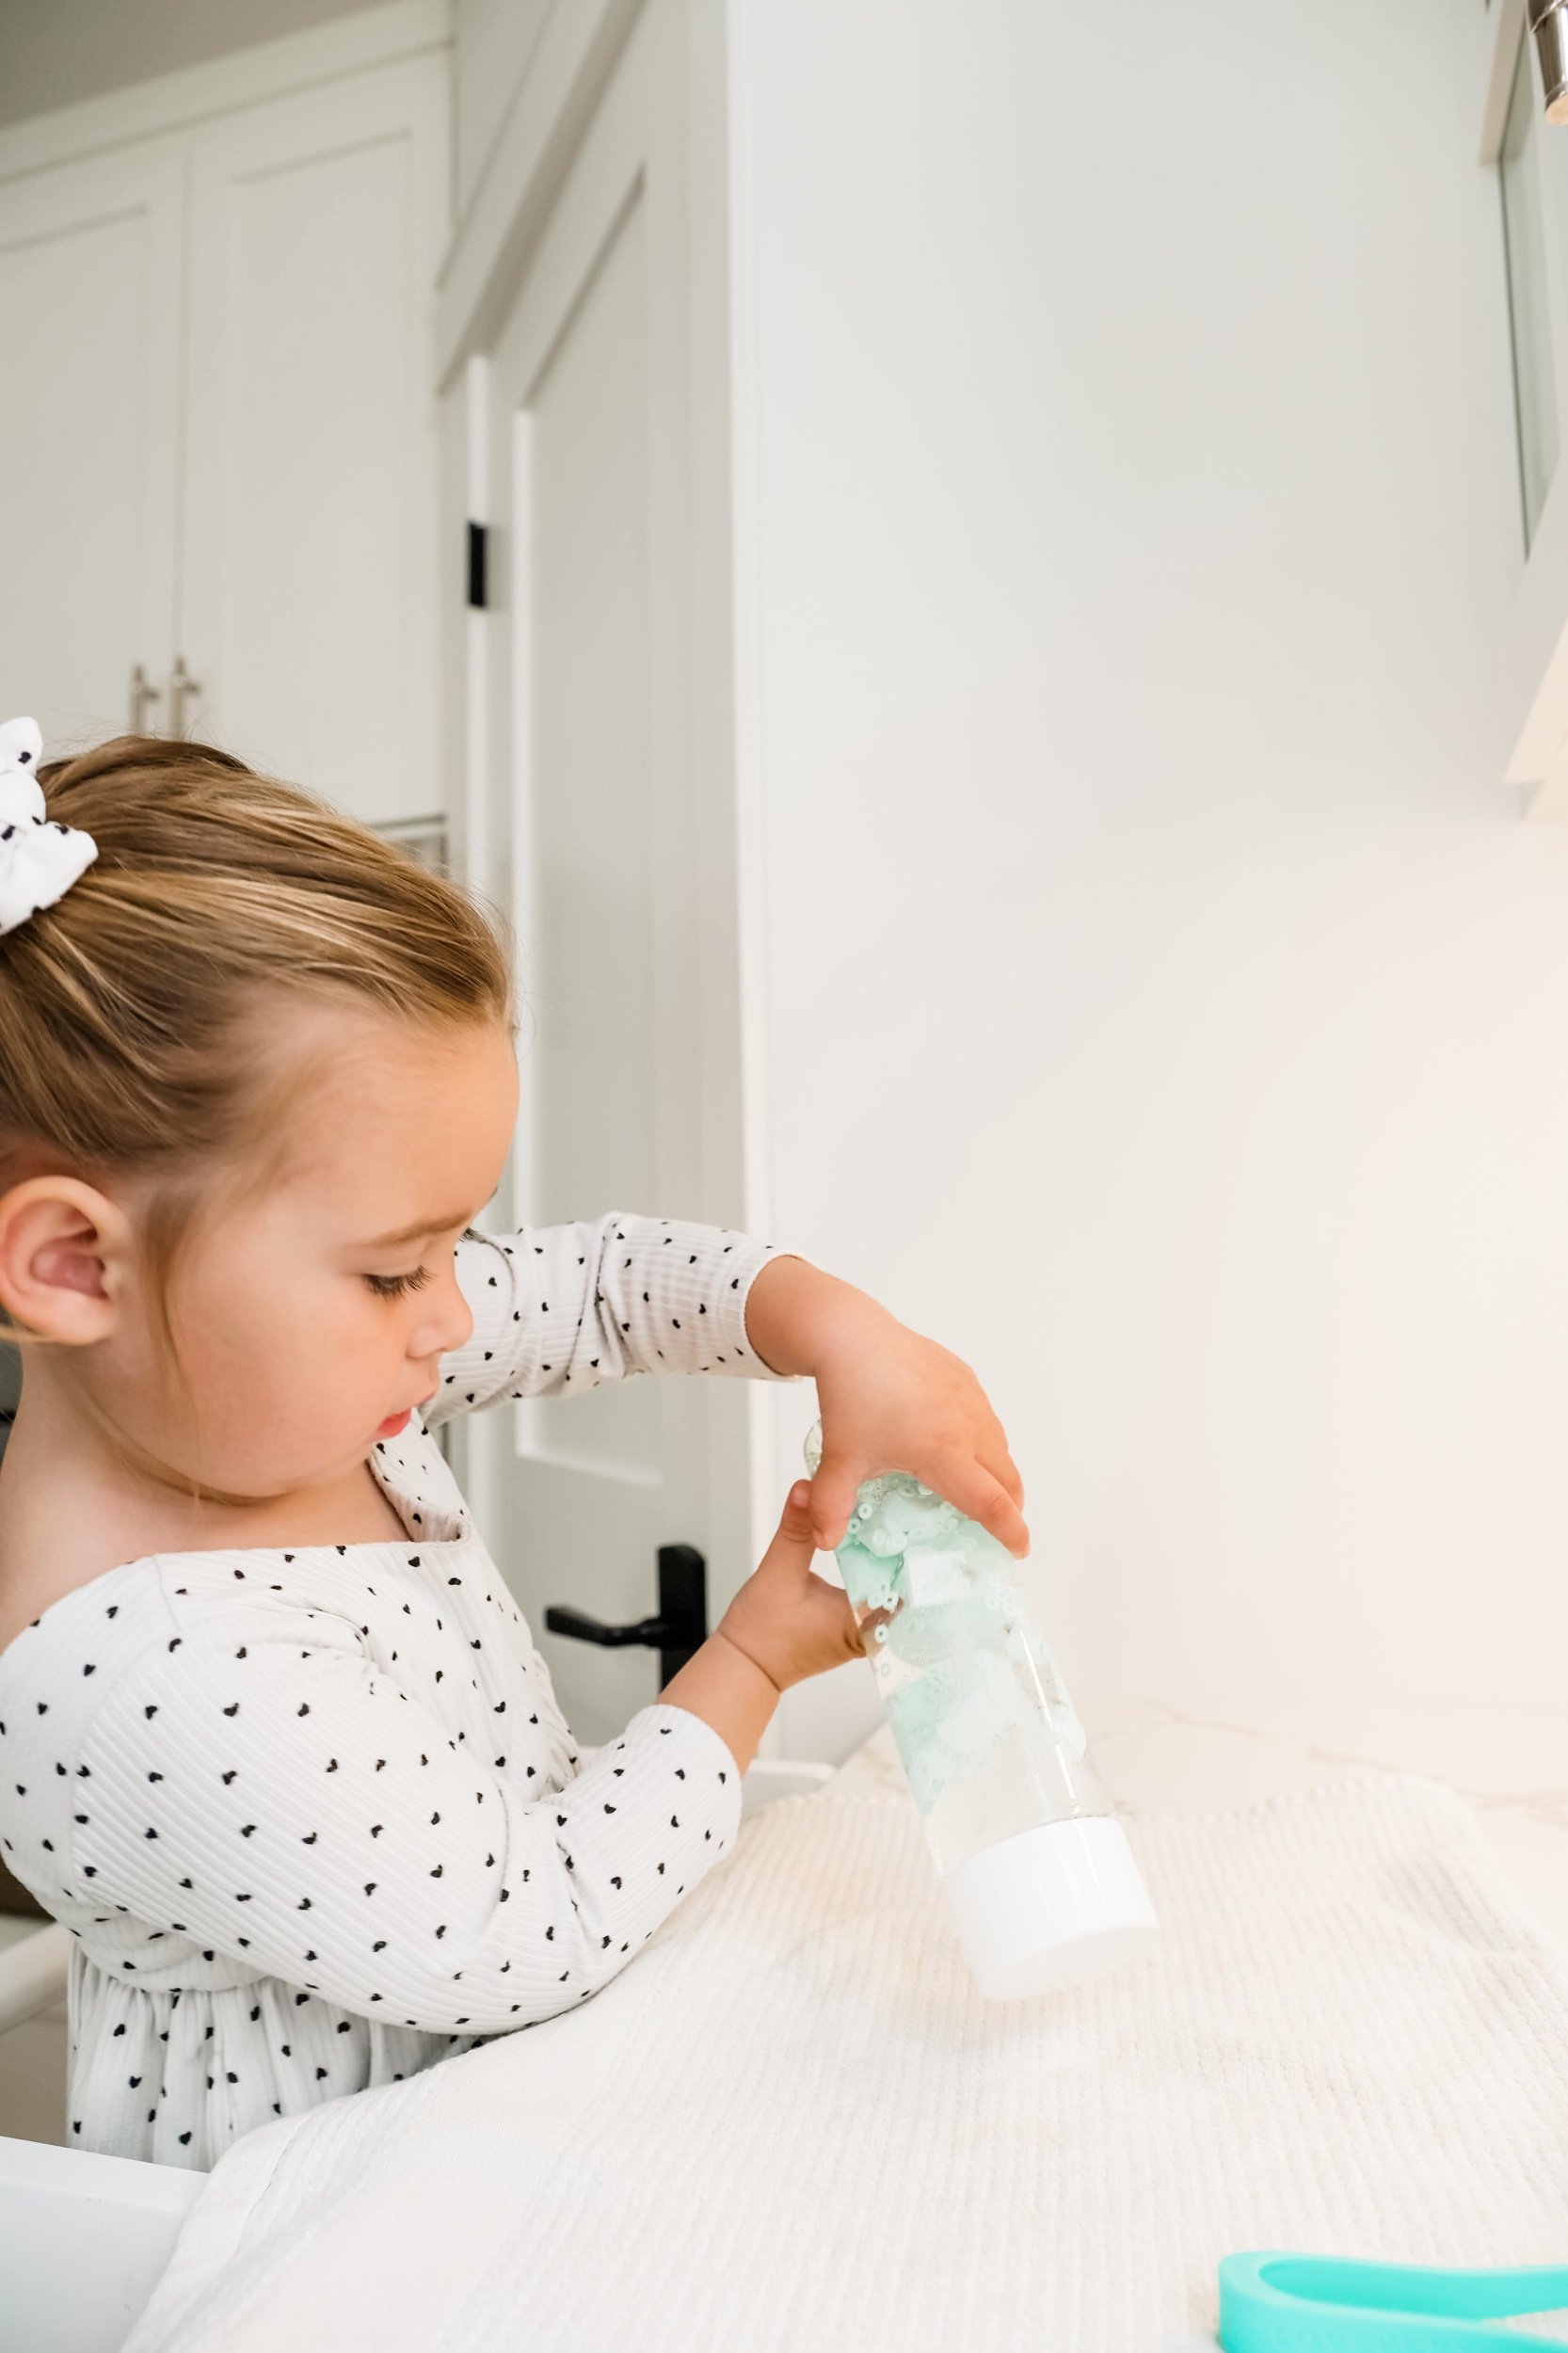
Remove the balloon and tie it securely.
For durability, place the filled balloon inside a second balloon and tie again.
Repeat with different fillers to create a variety of sensory experiences.
Sensory Play and Learning Extensions
Once your stress balls are made, there are many ways to extend the activity:
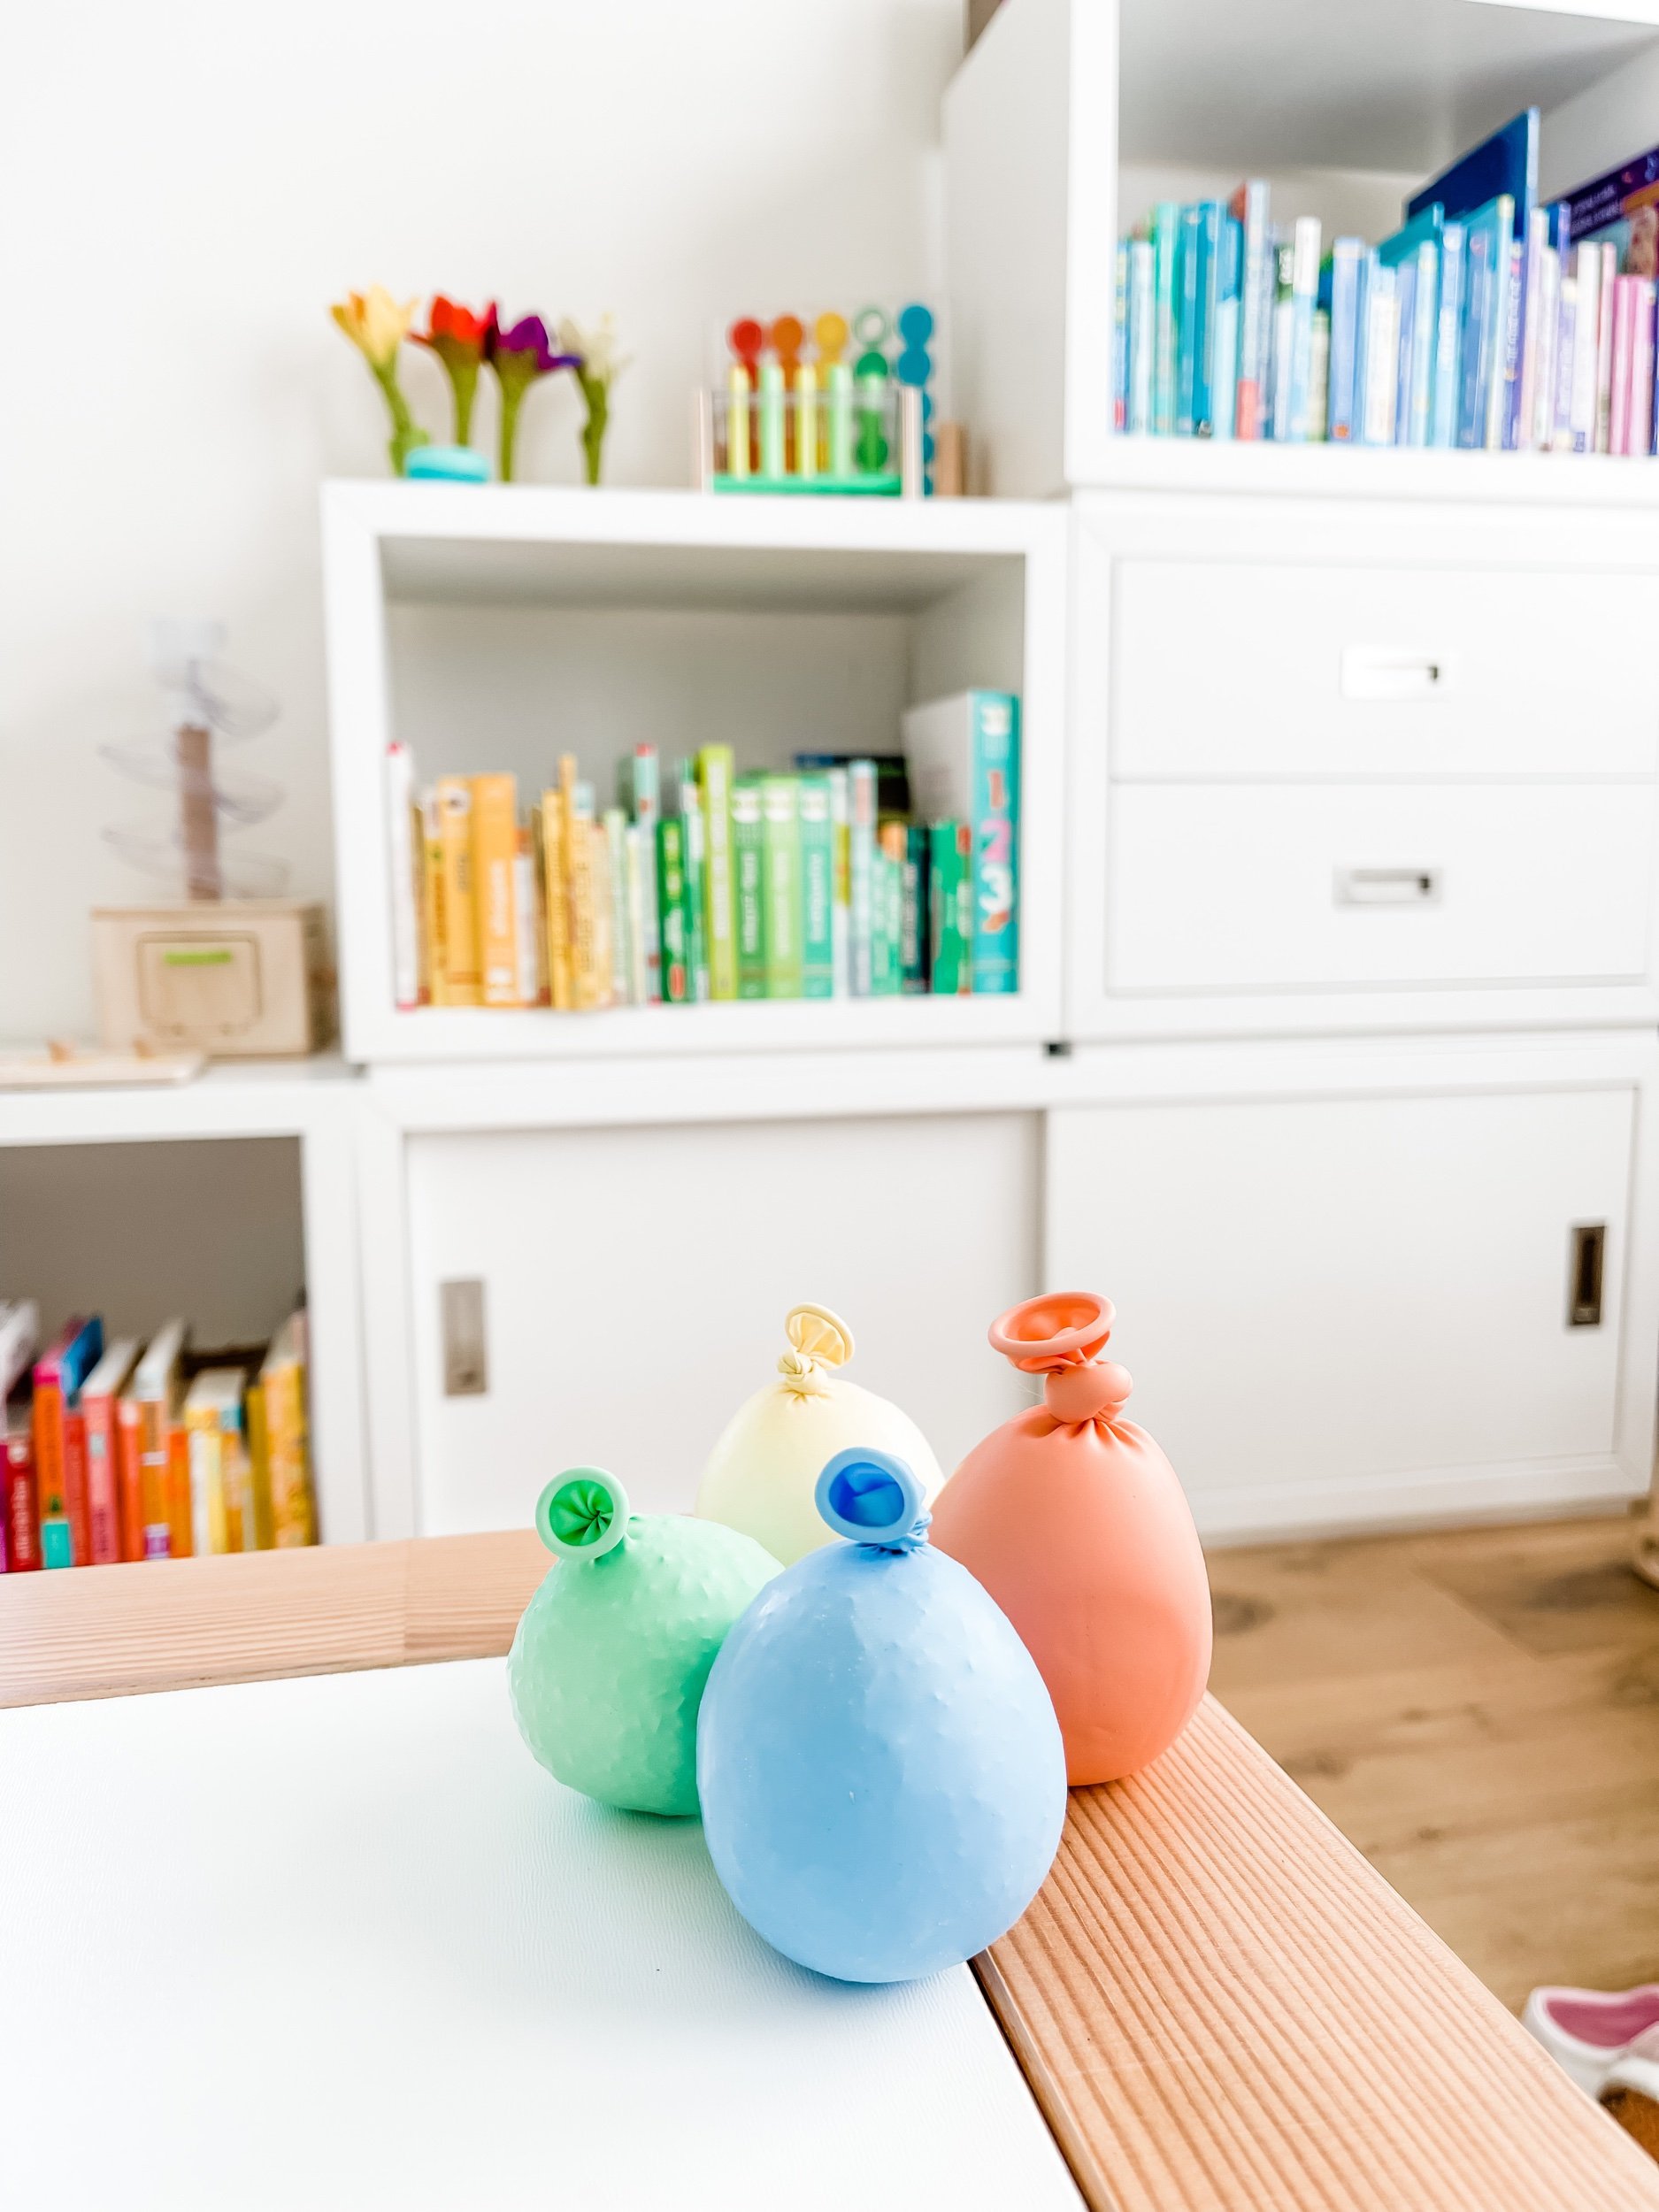
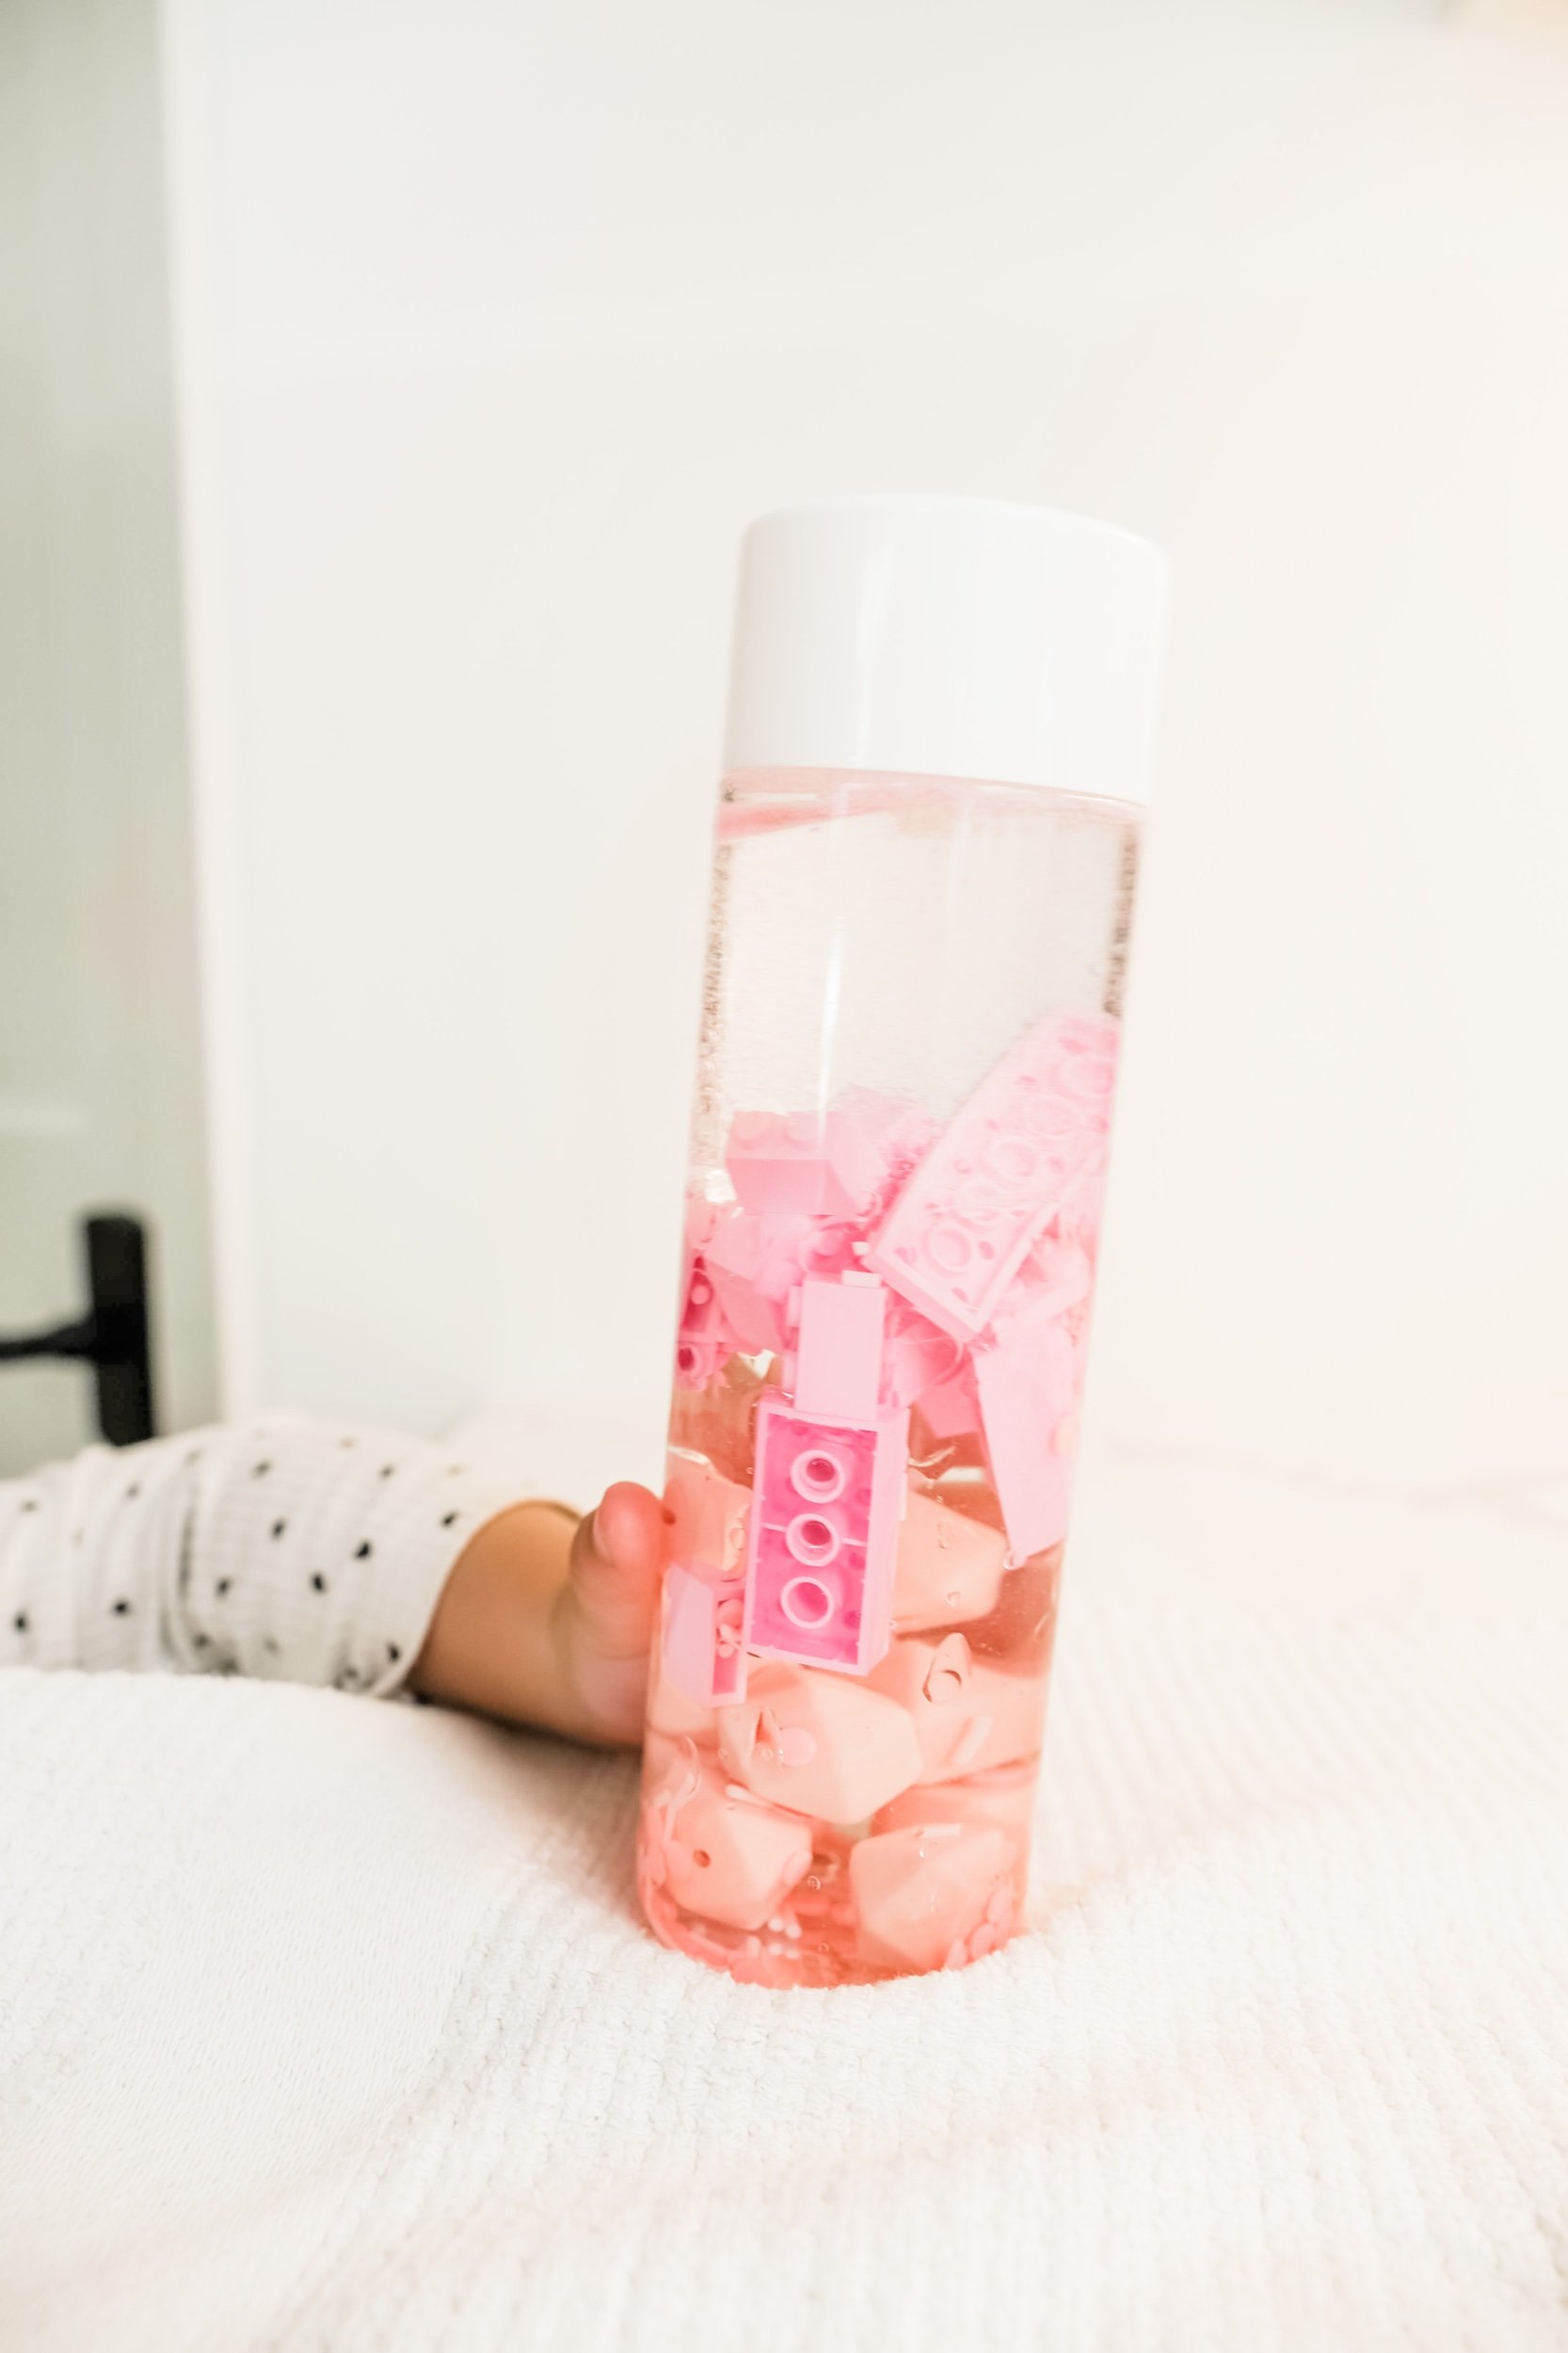
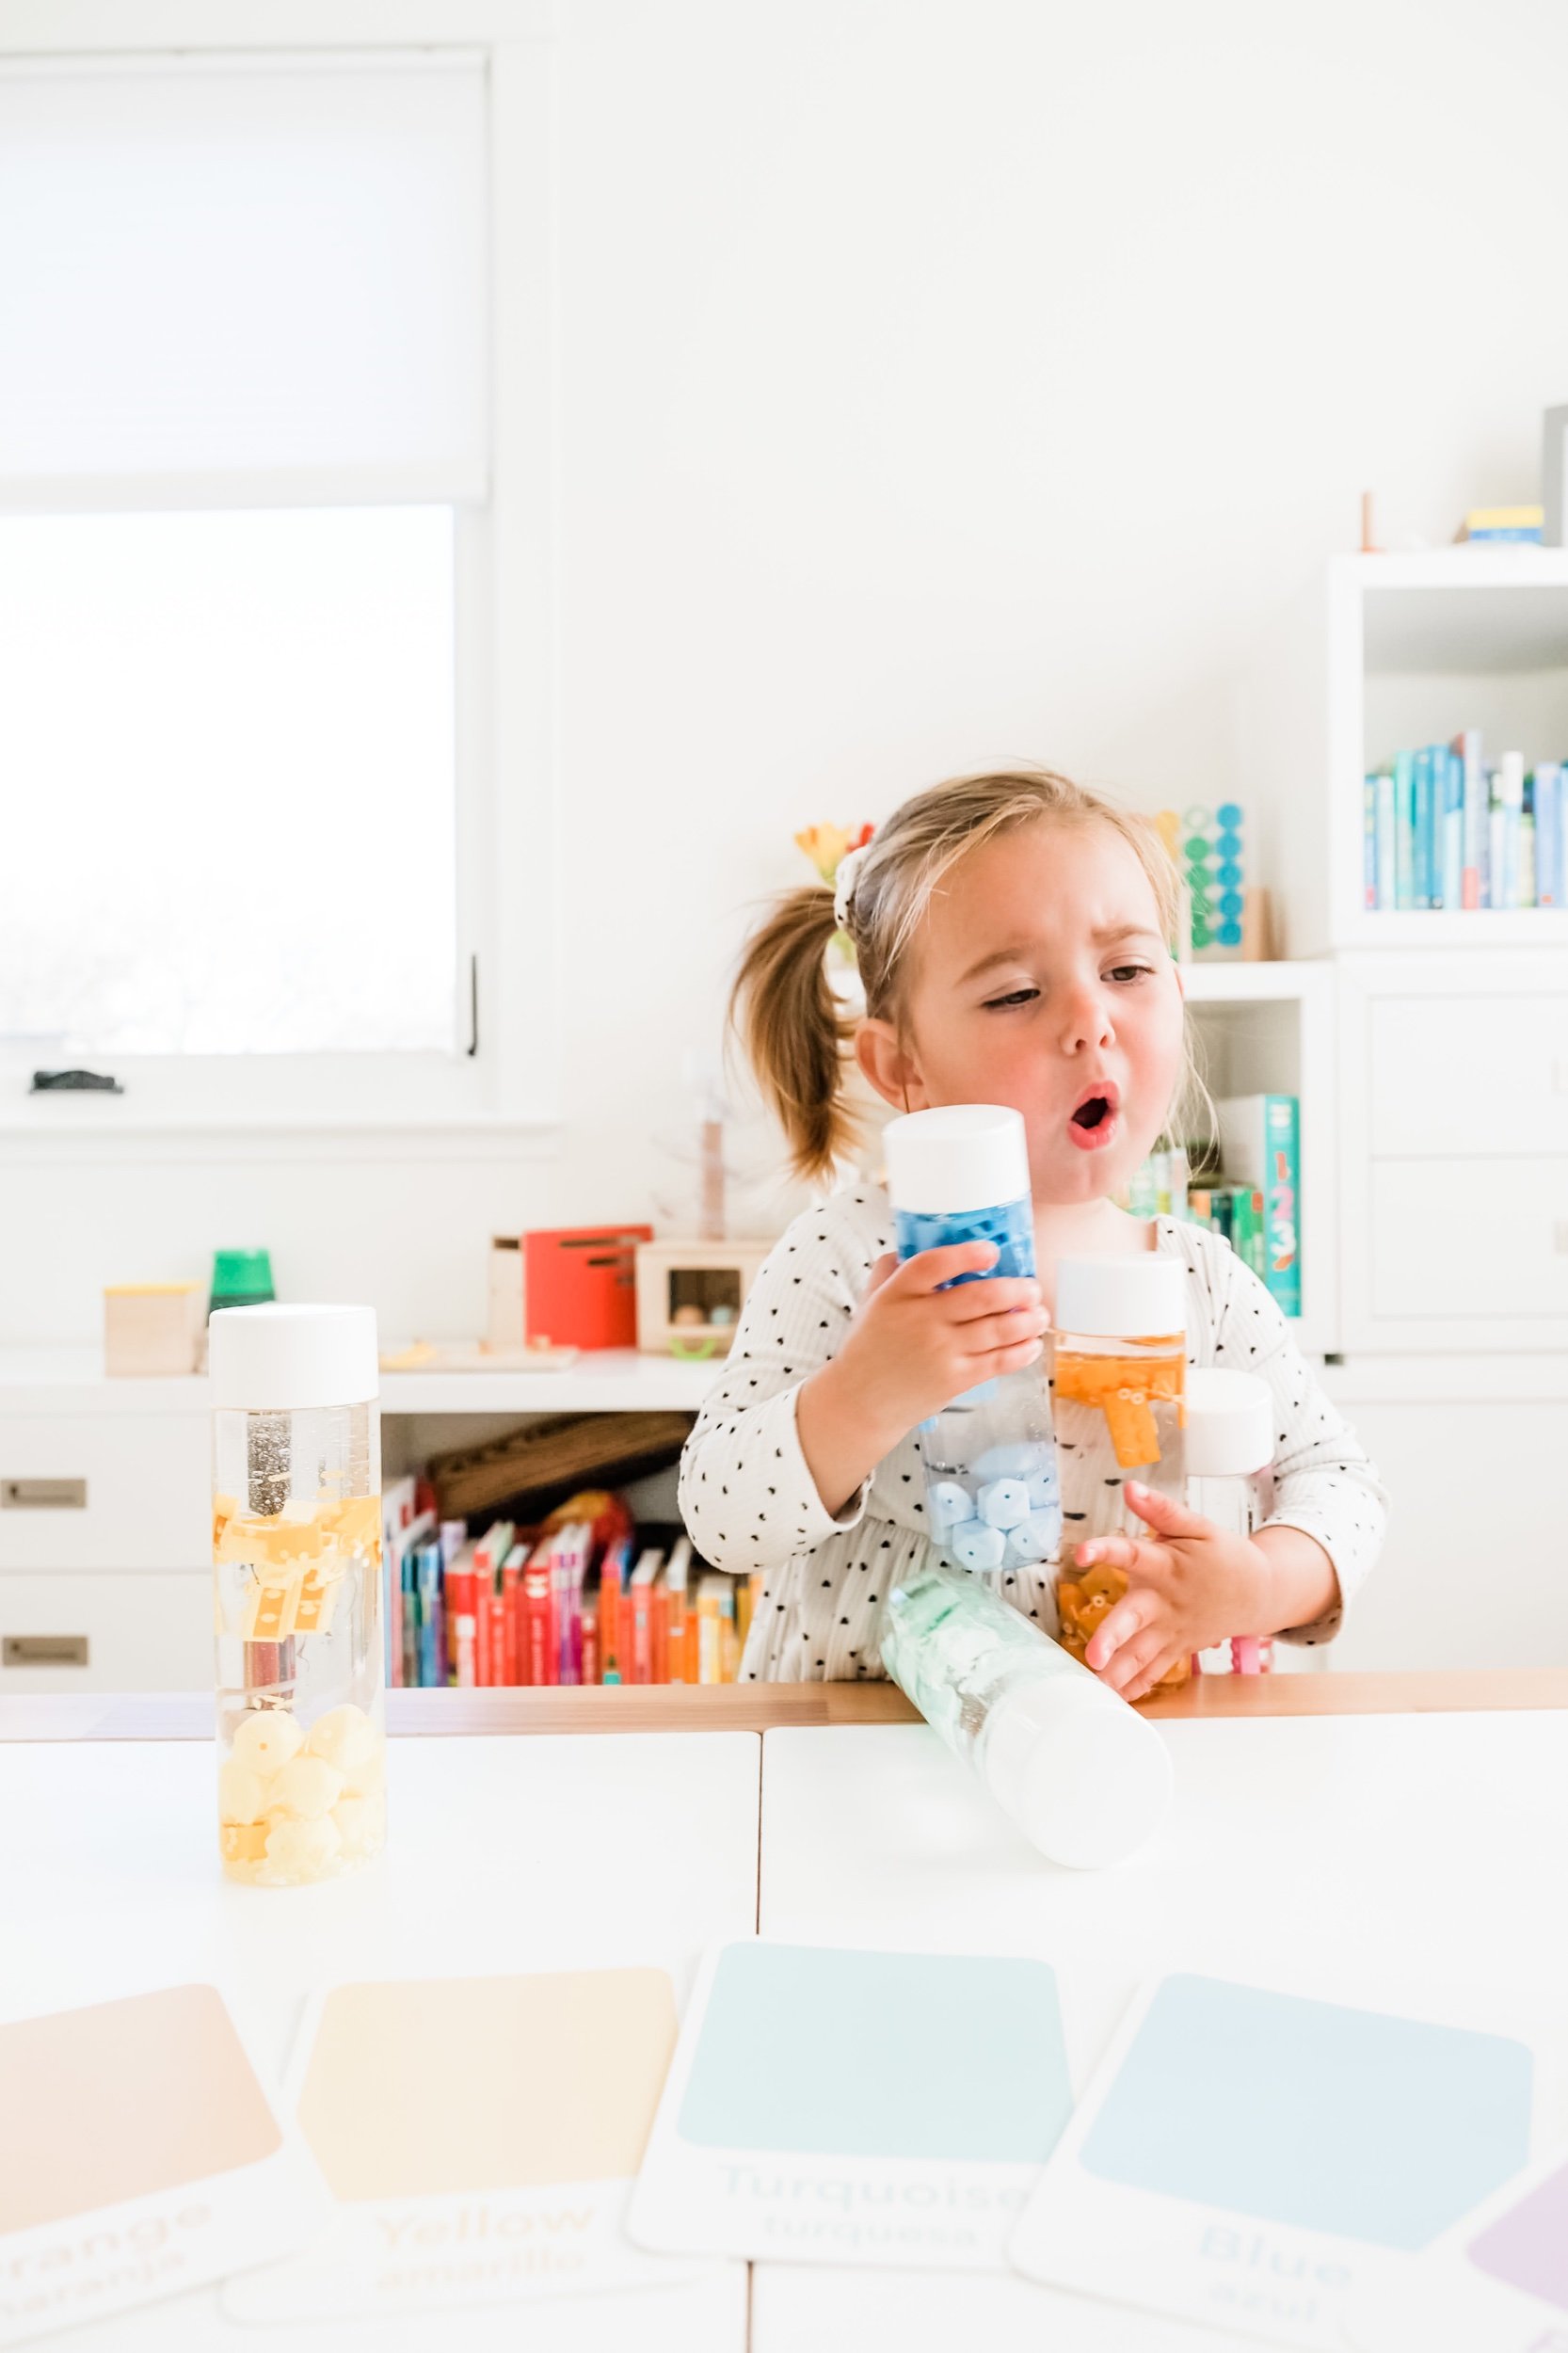
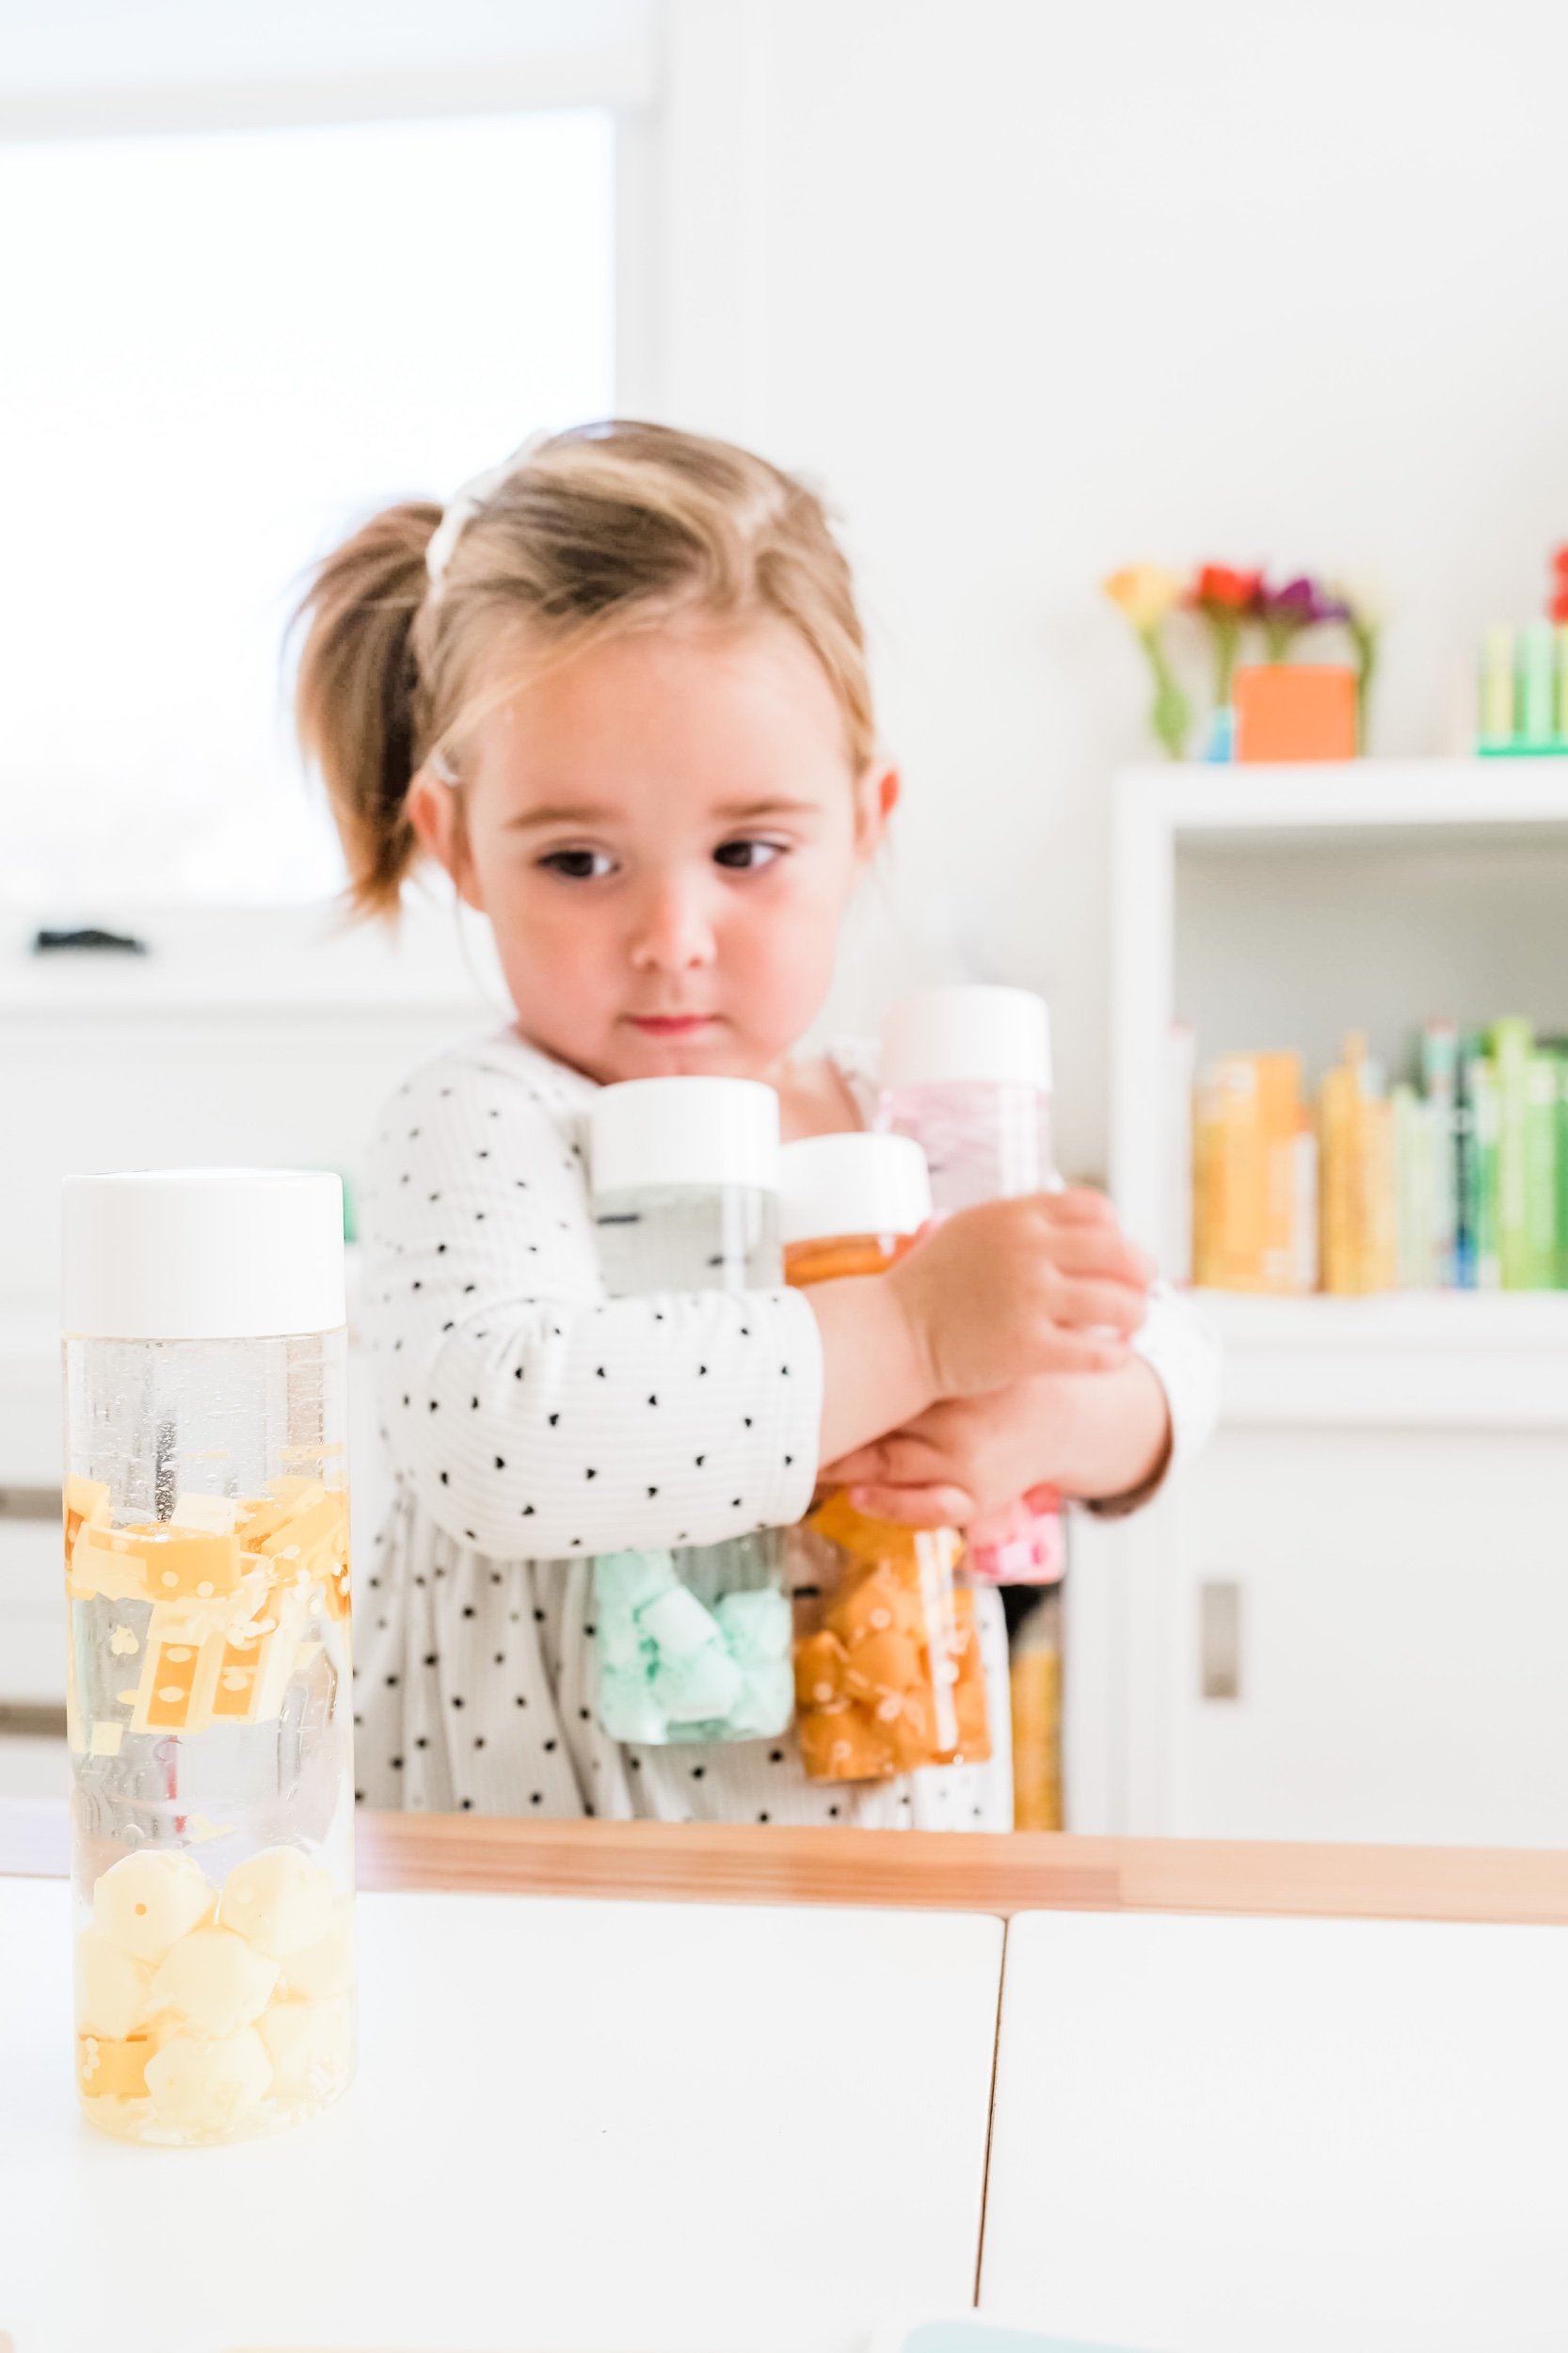
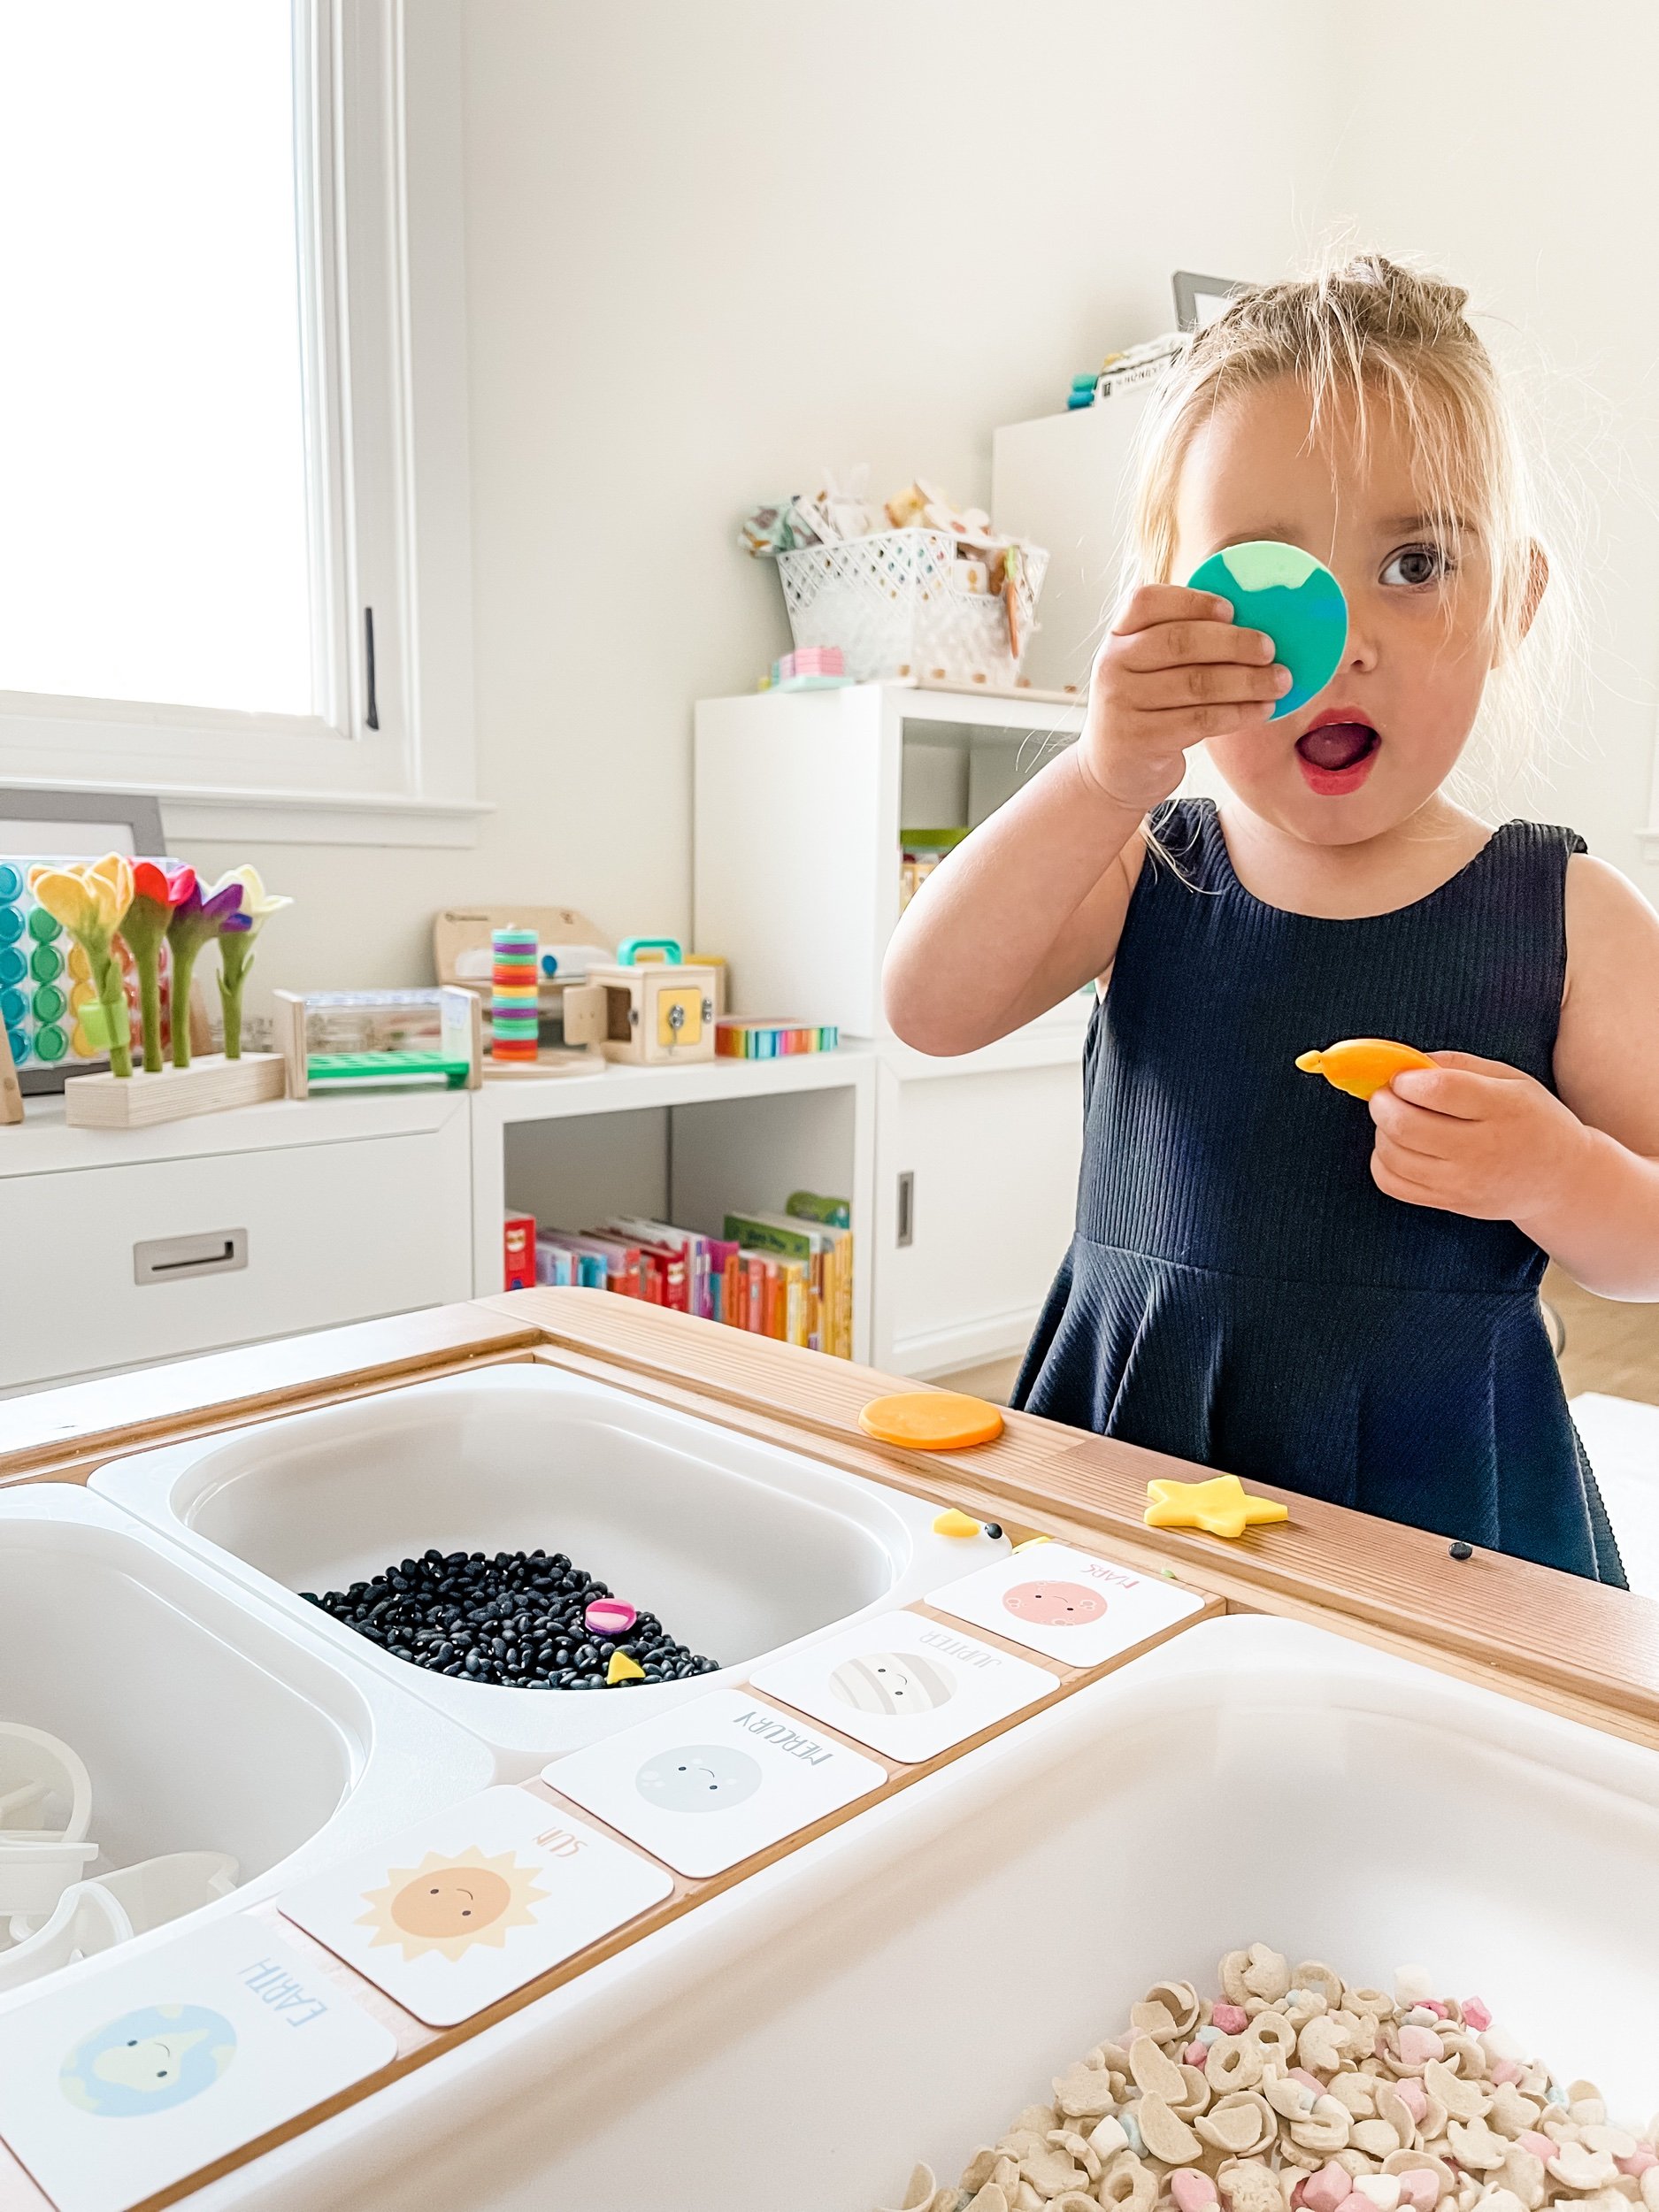
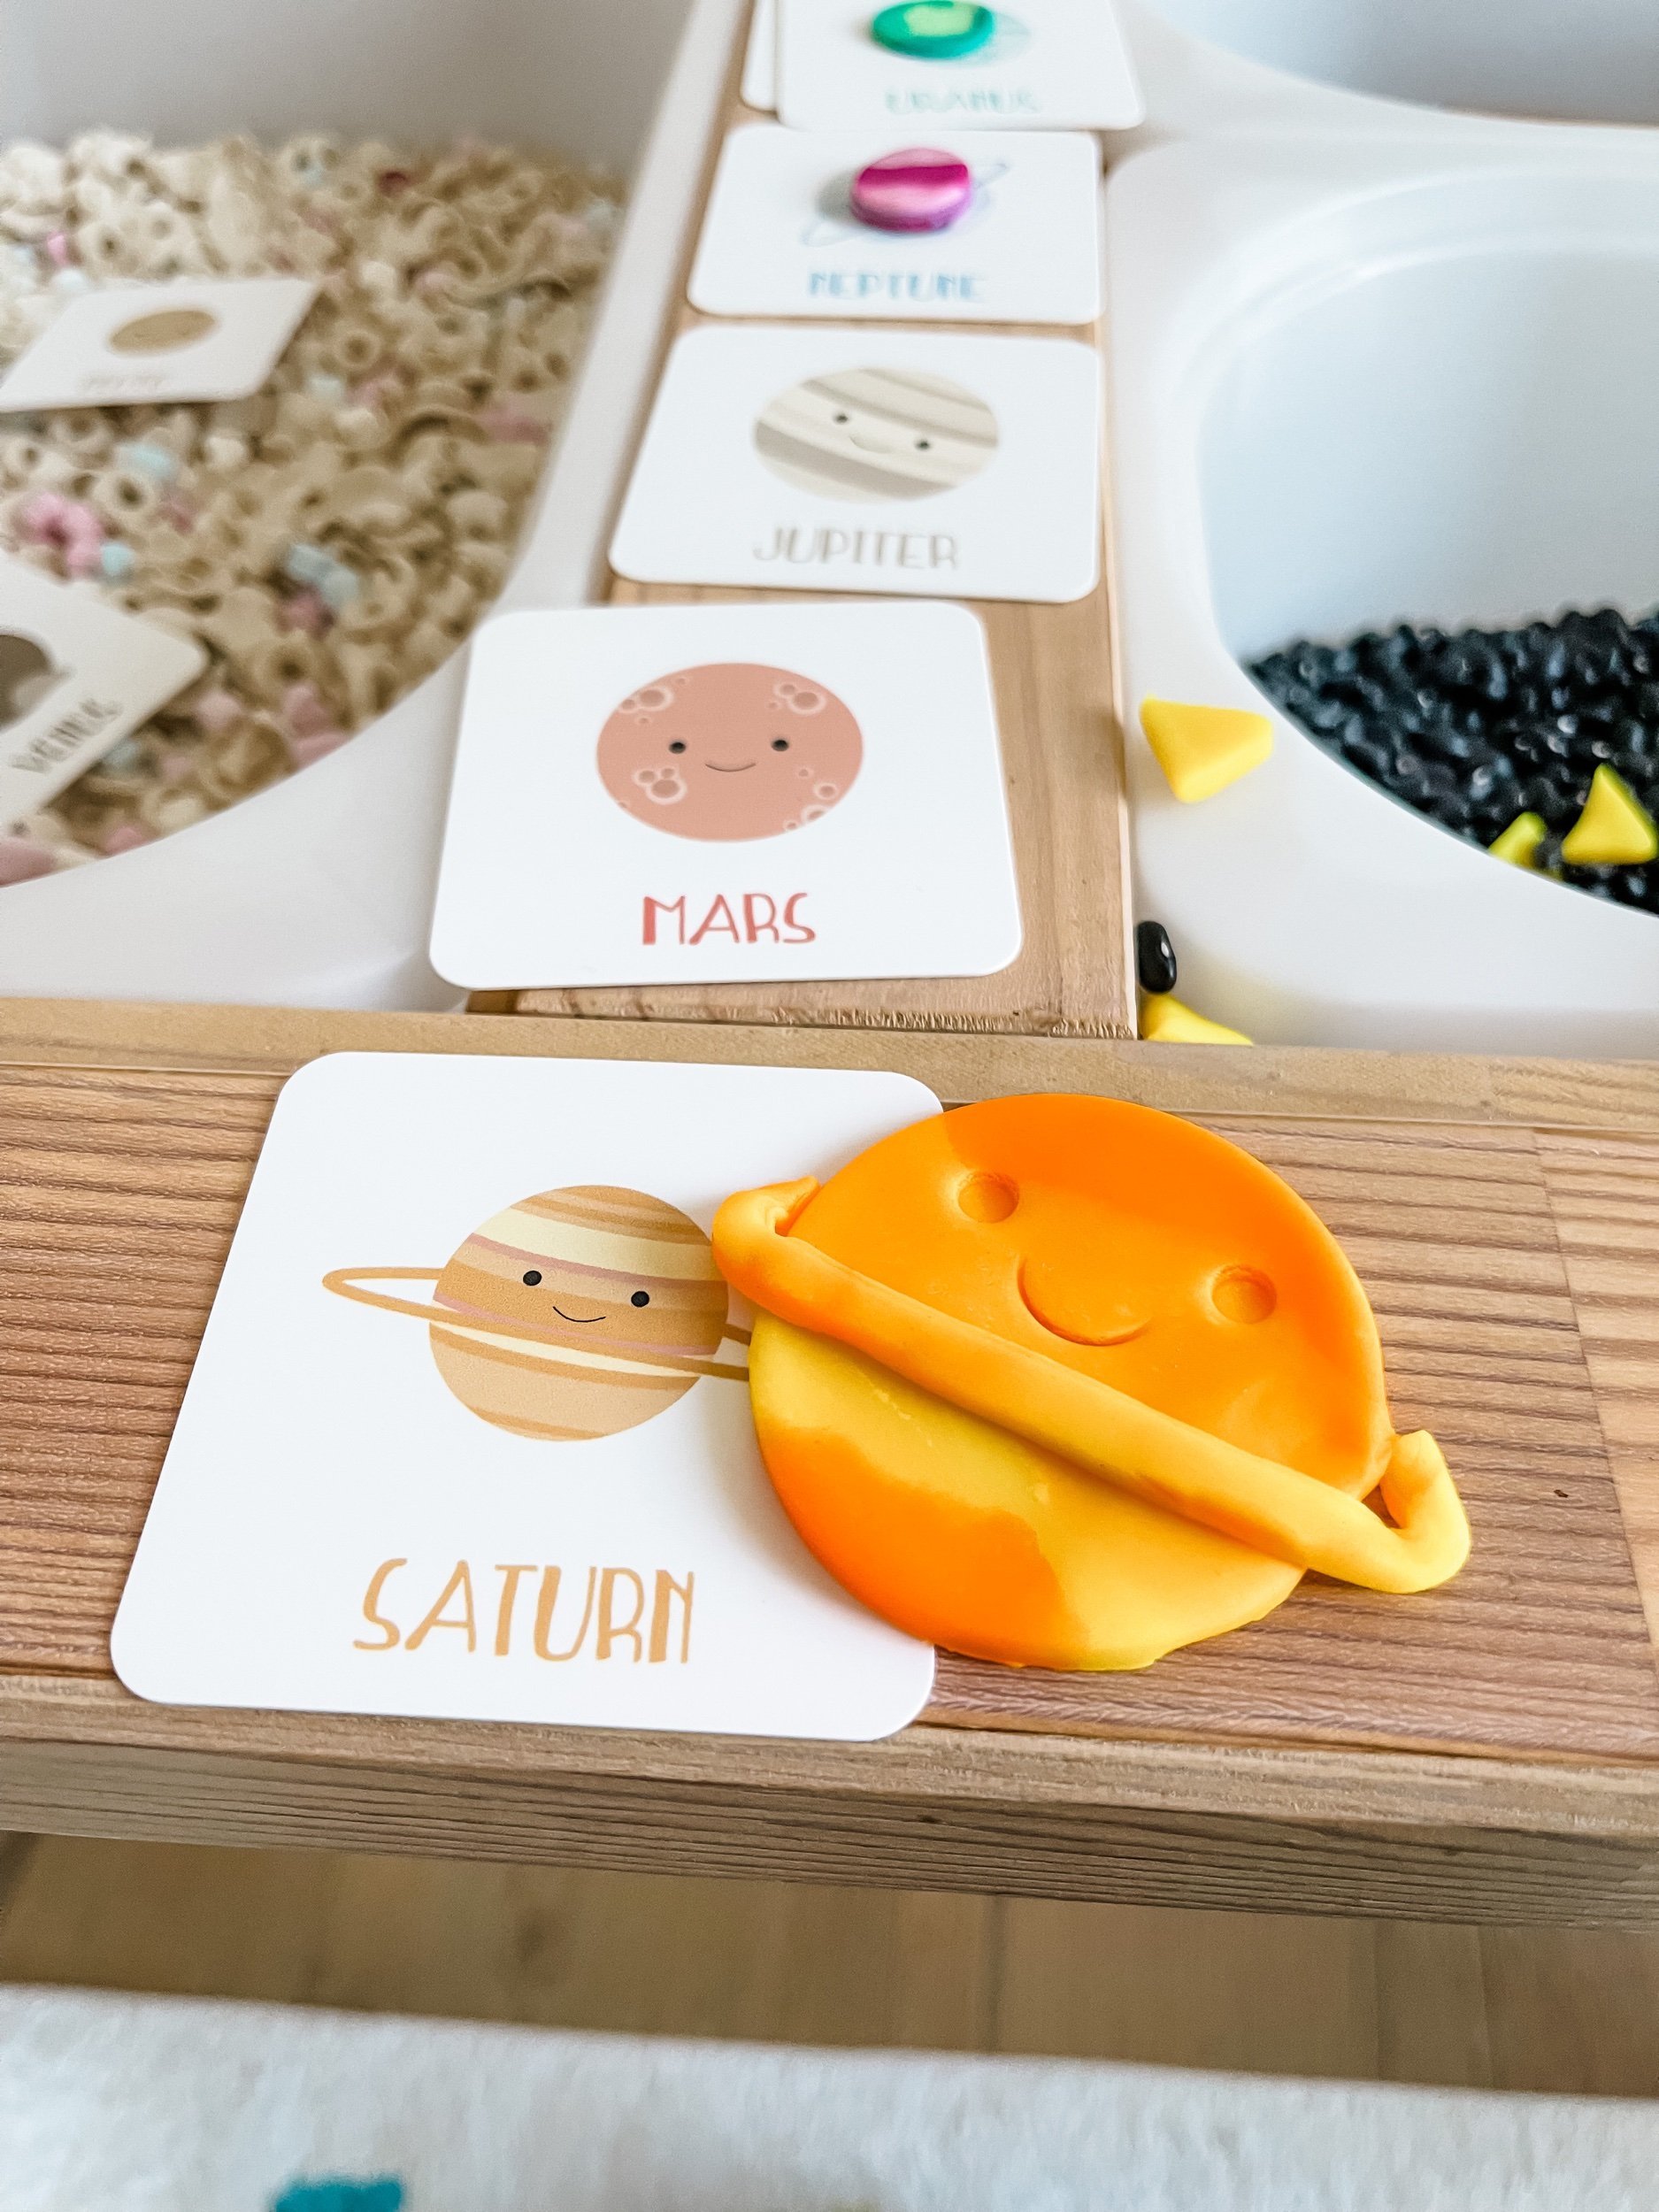
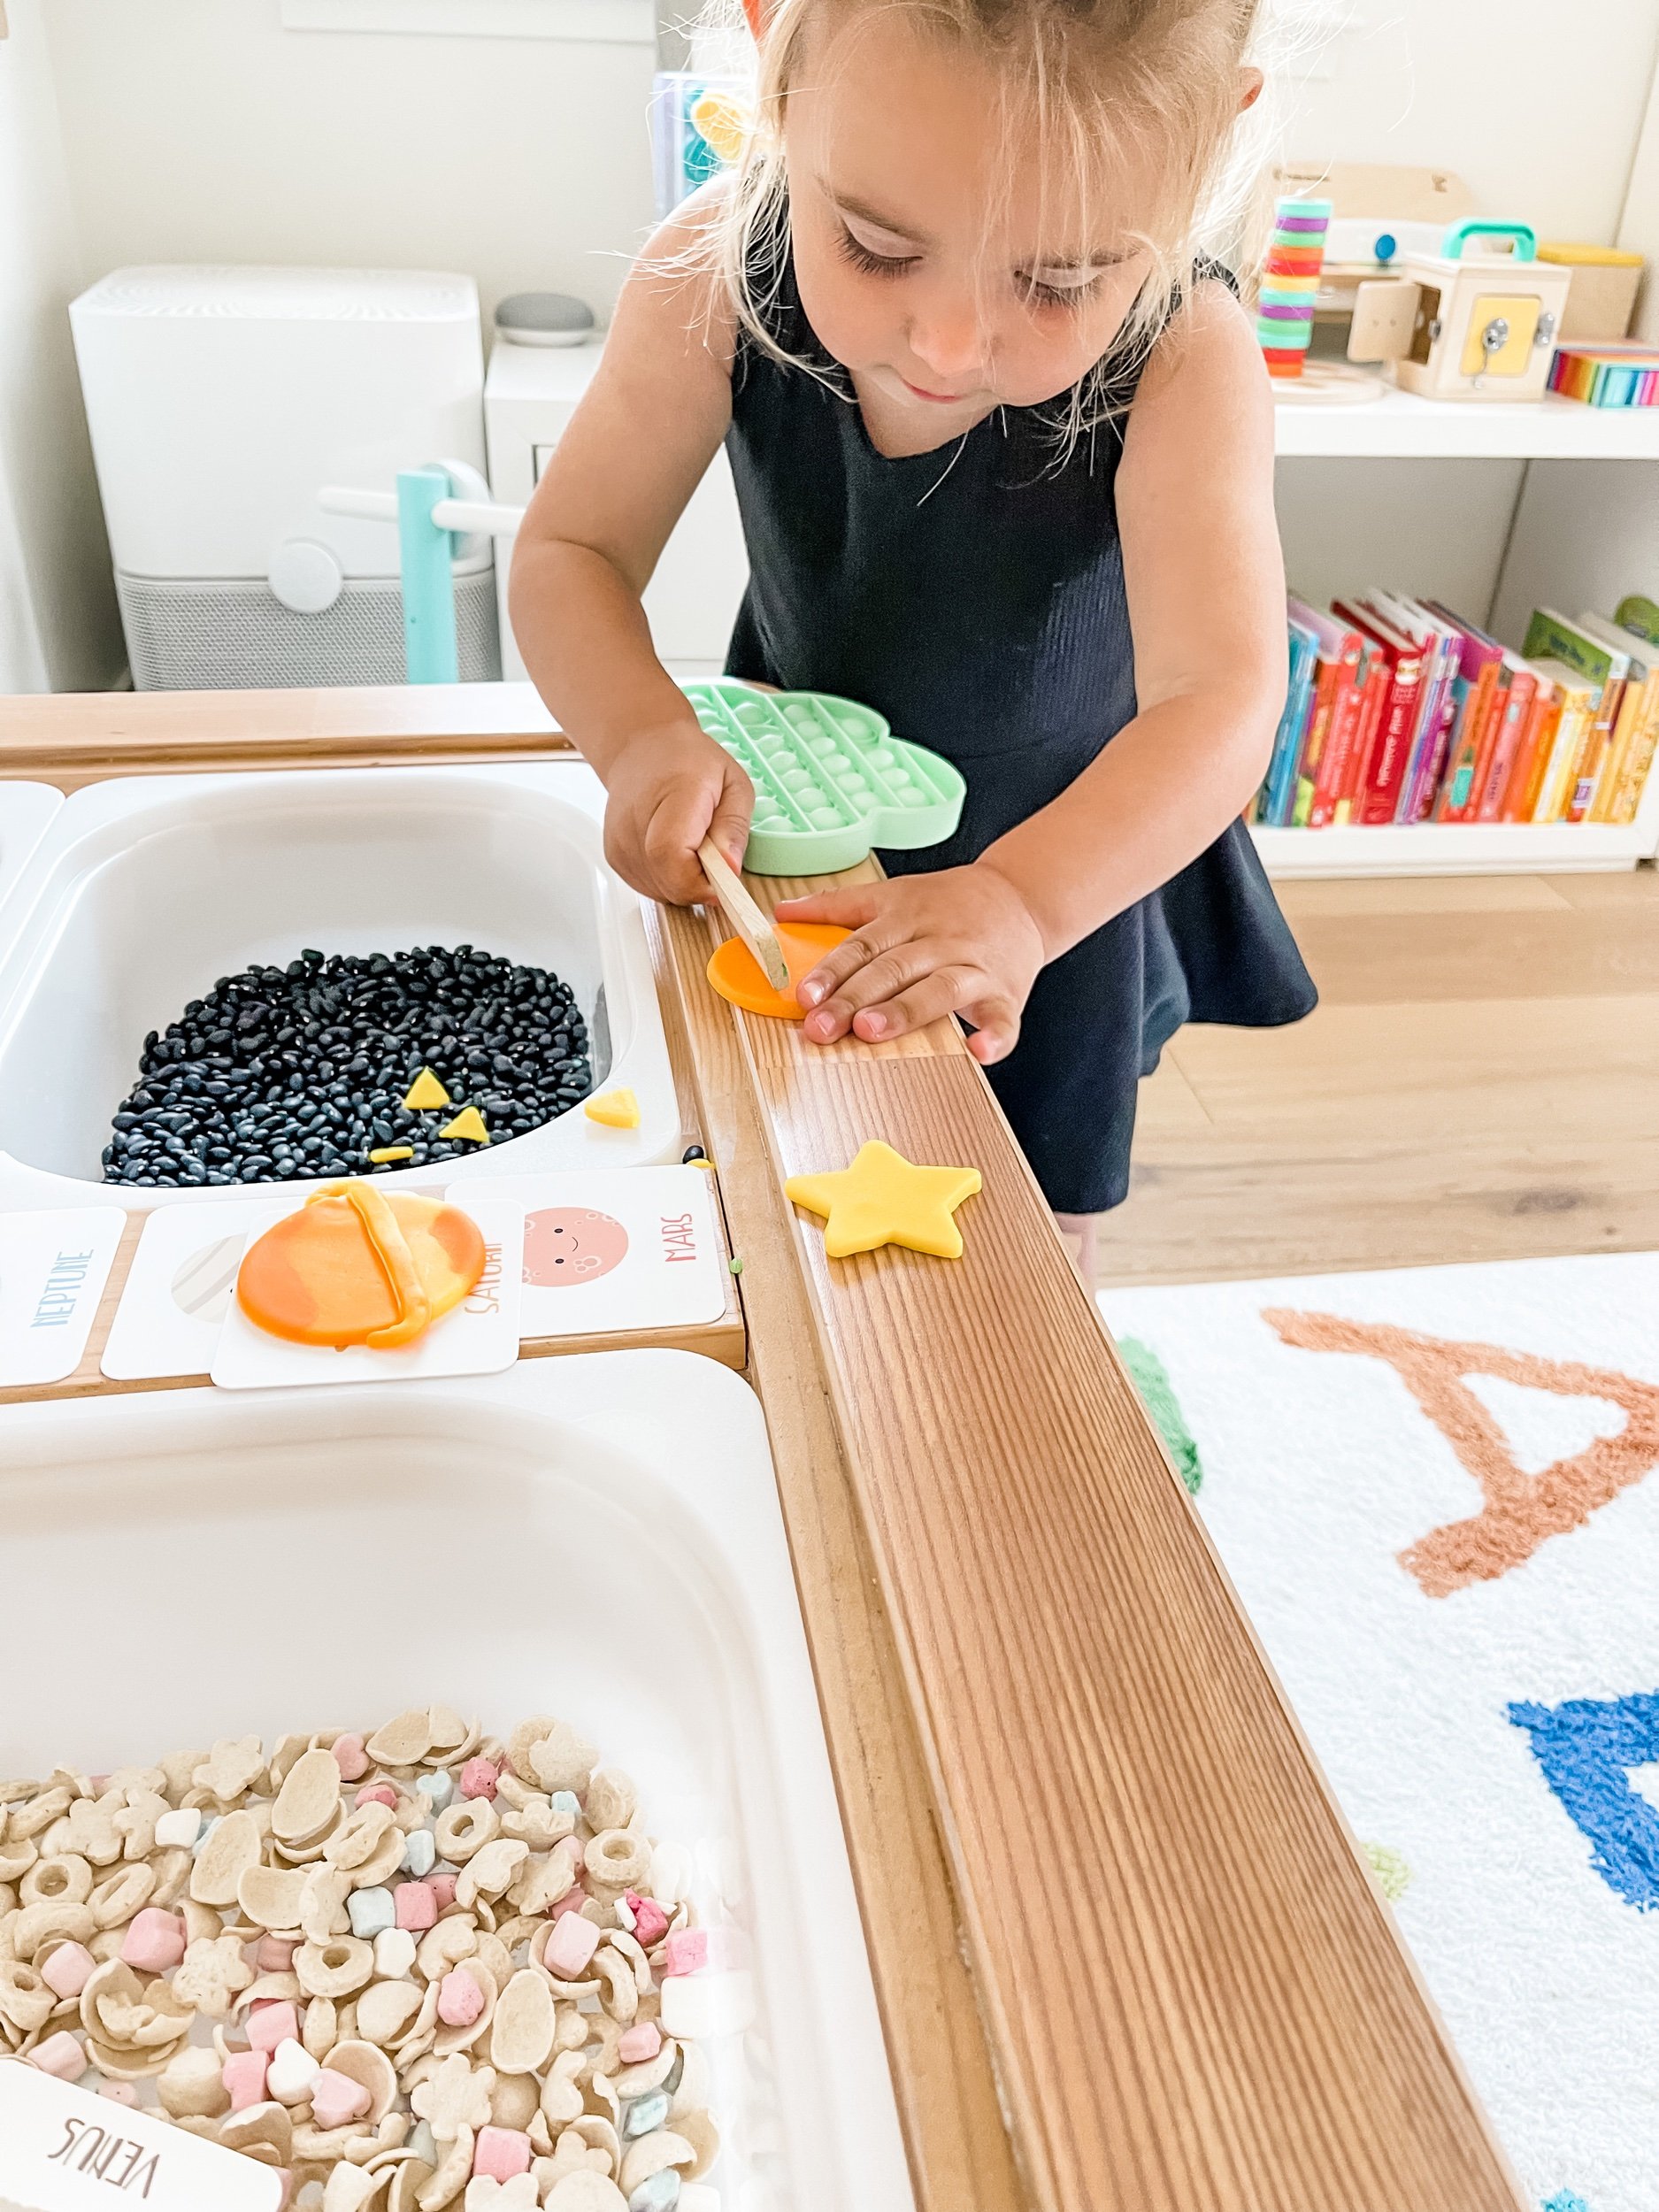
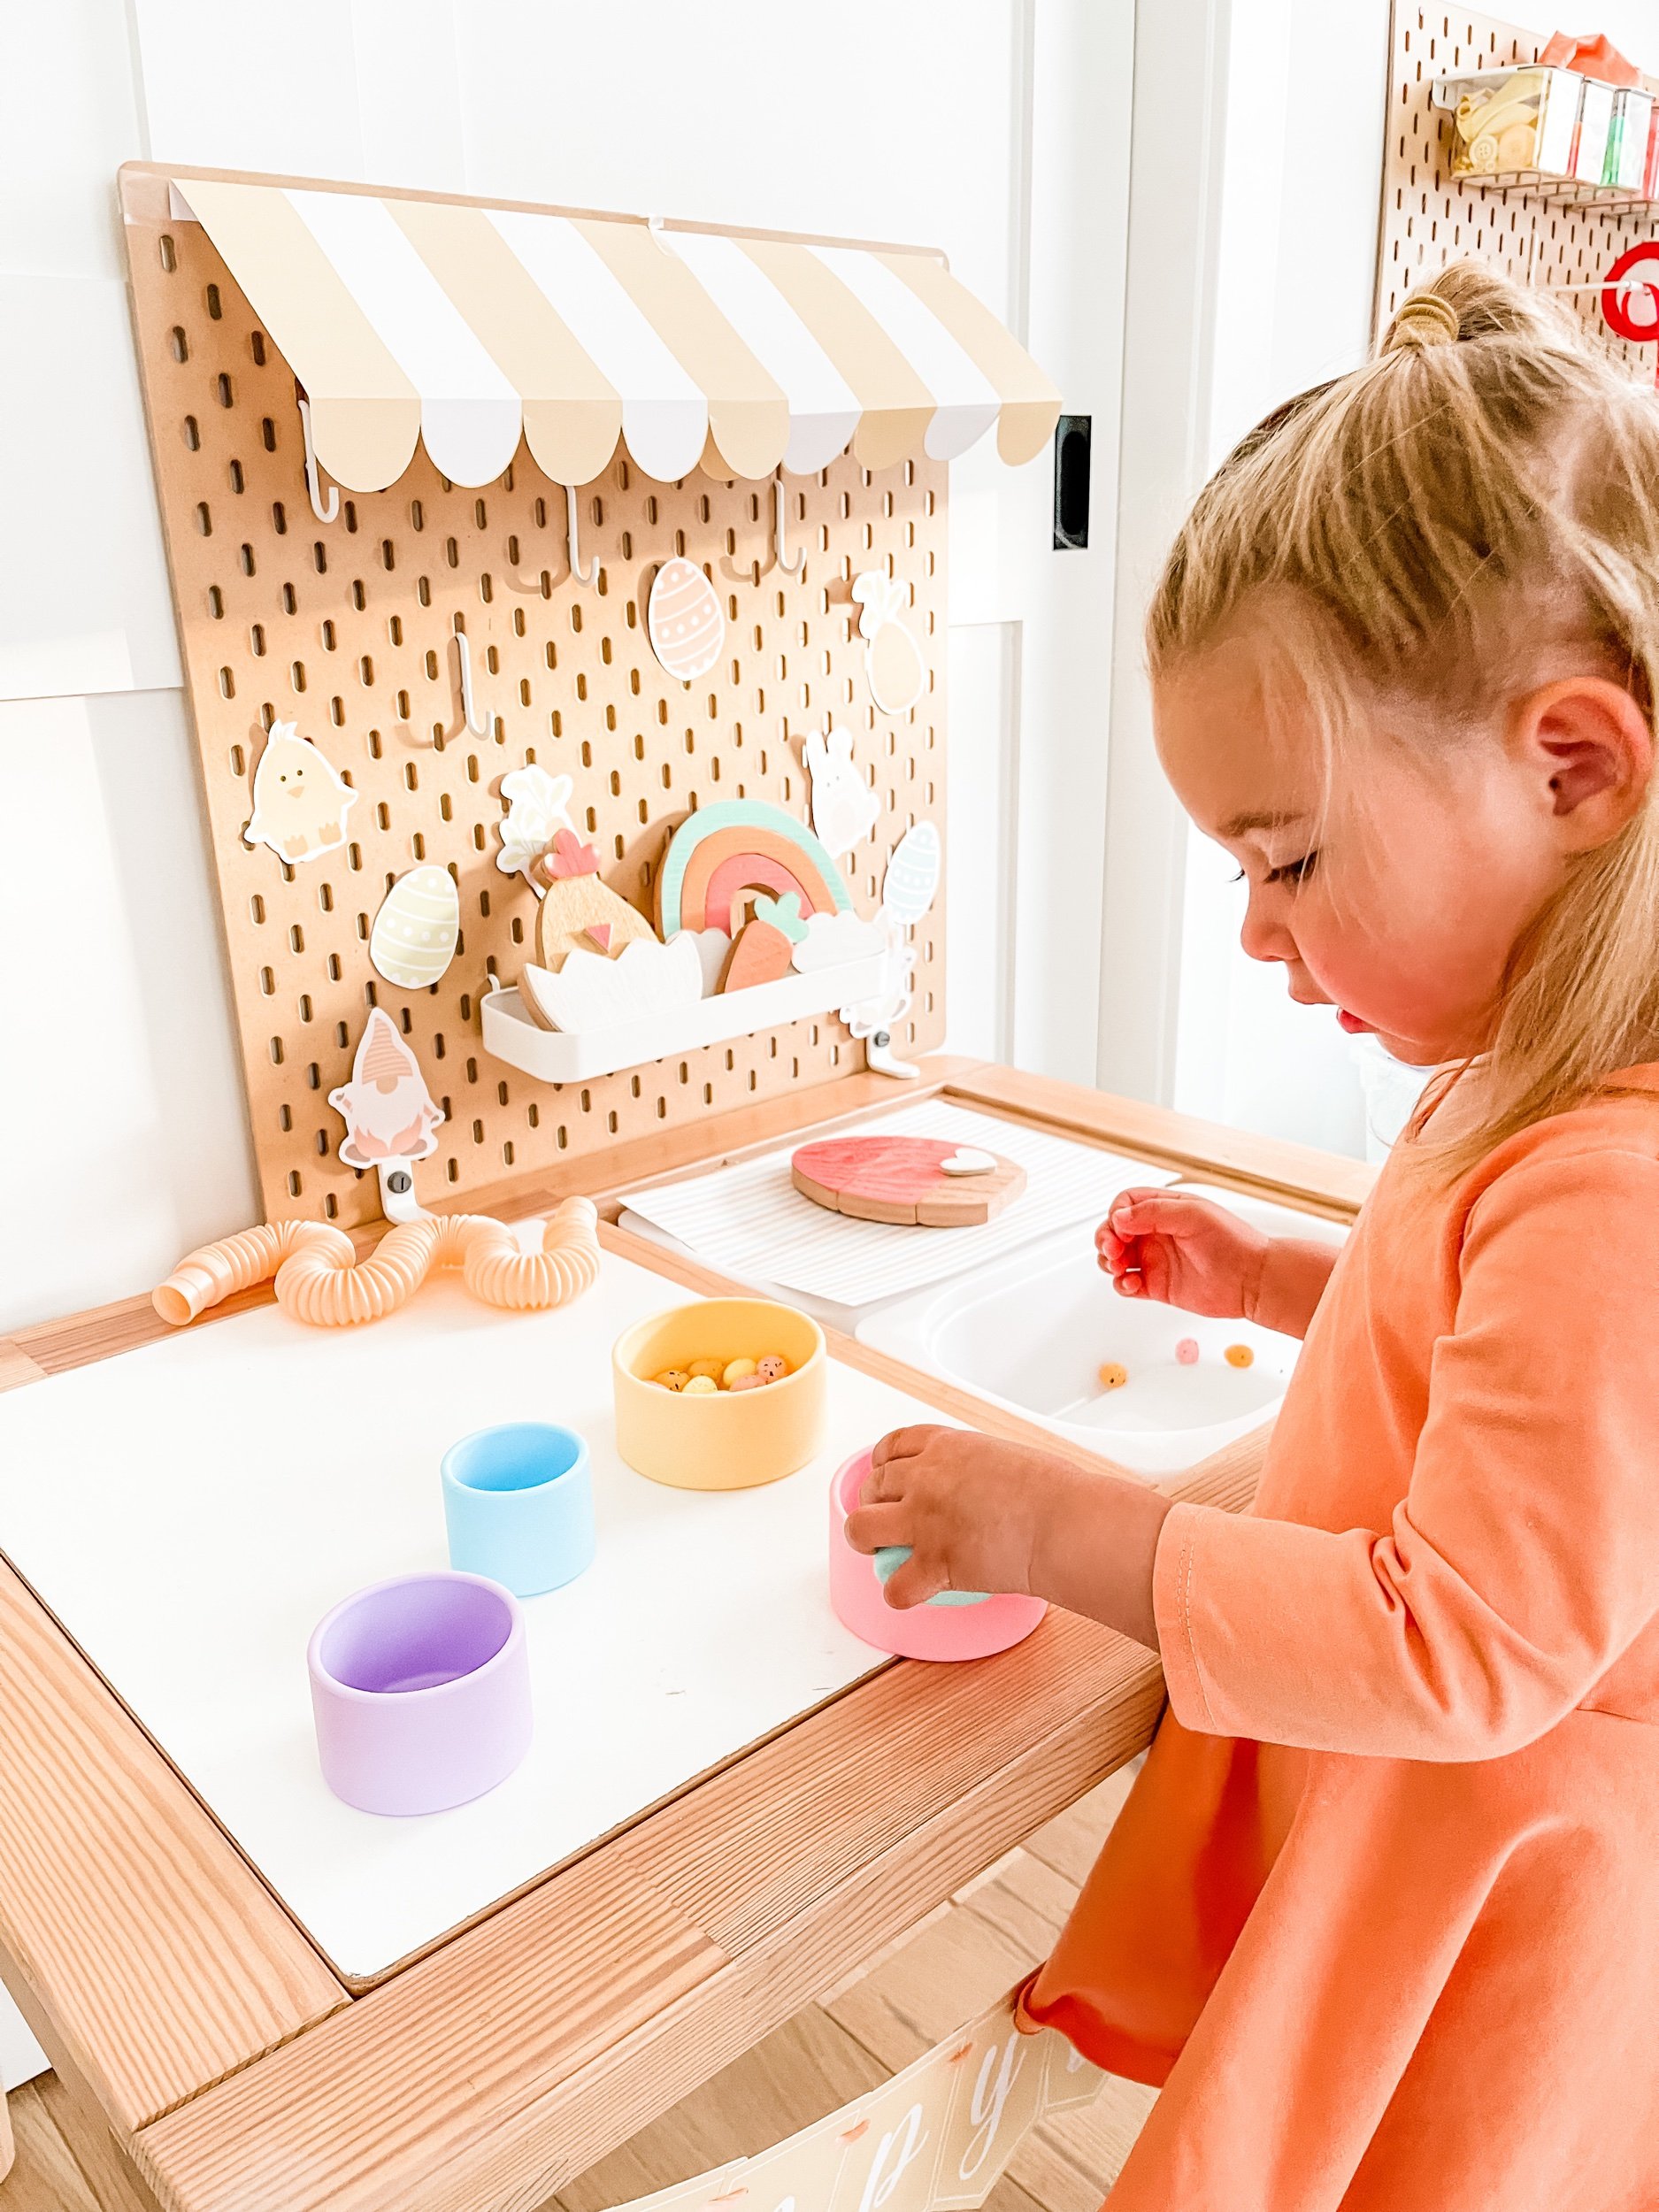
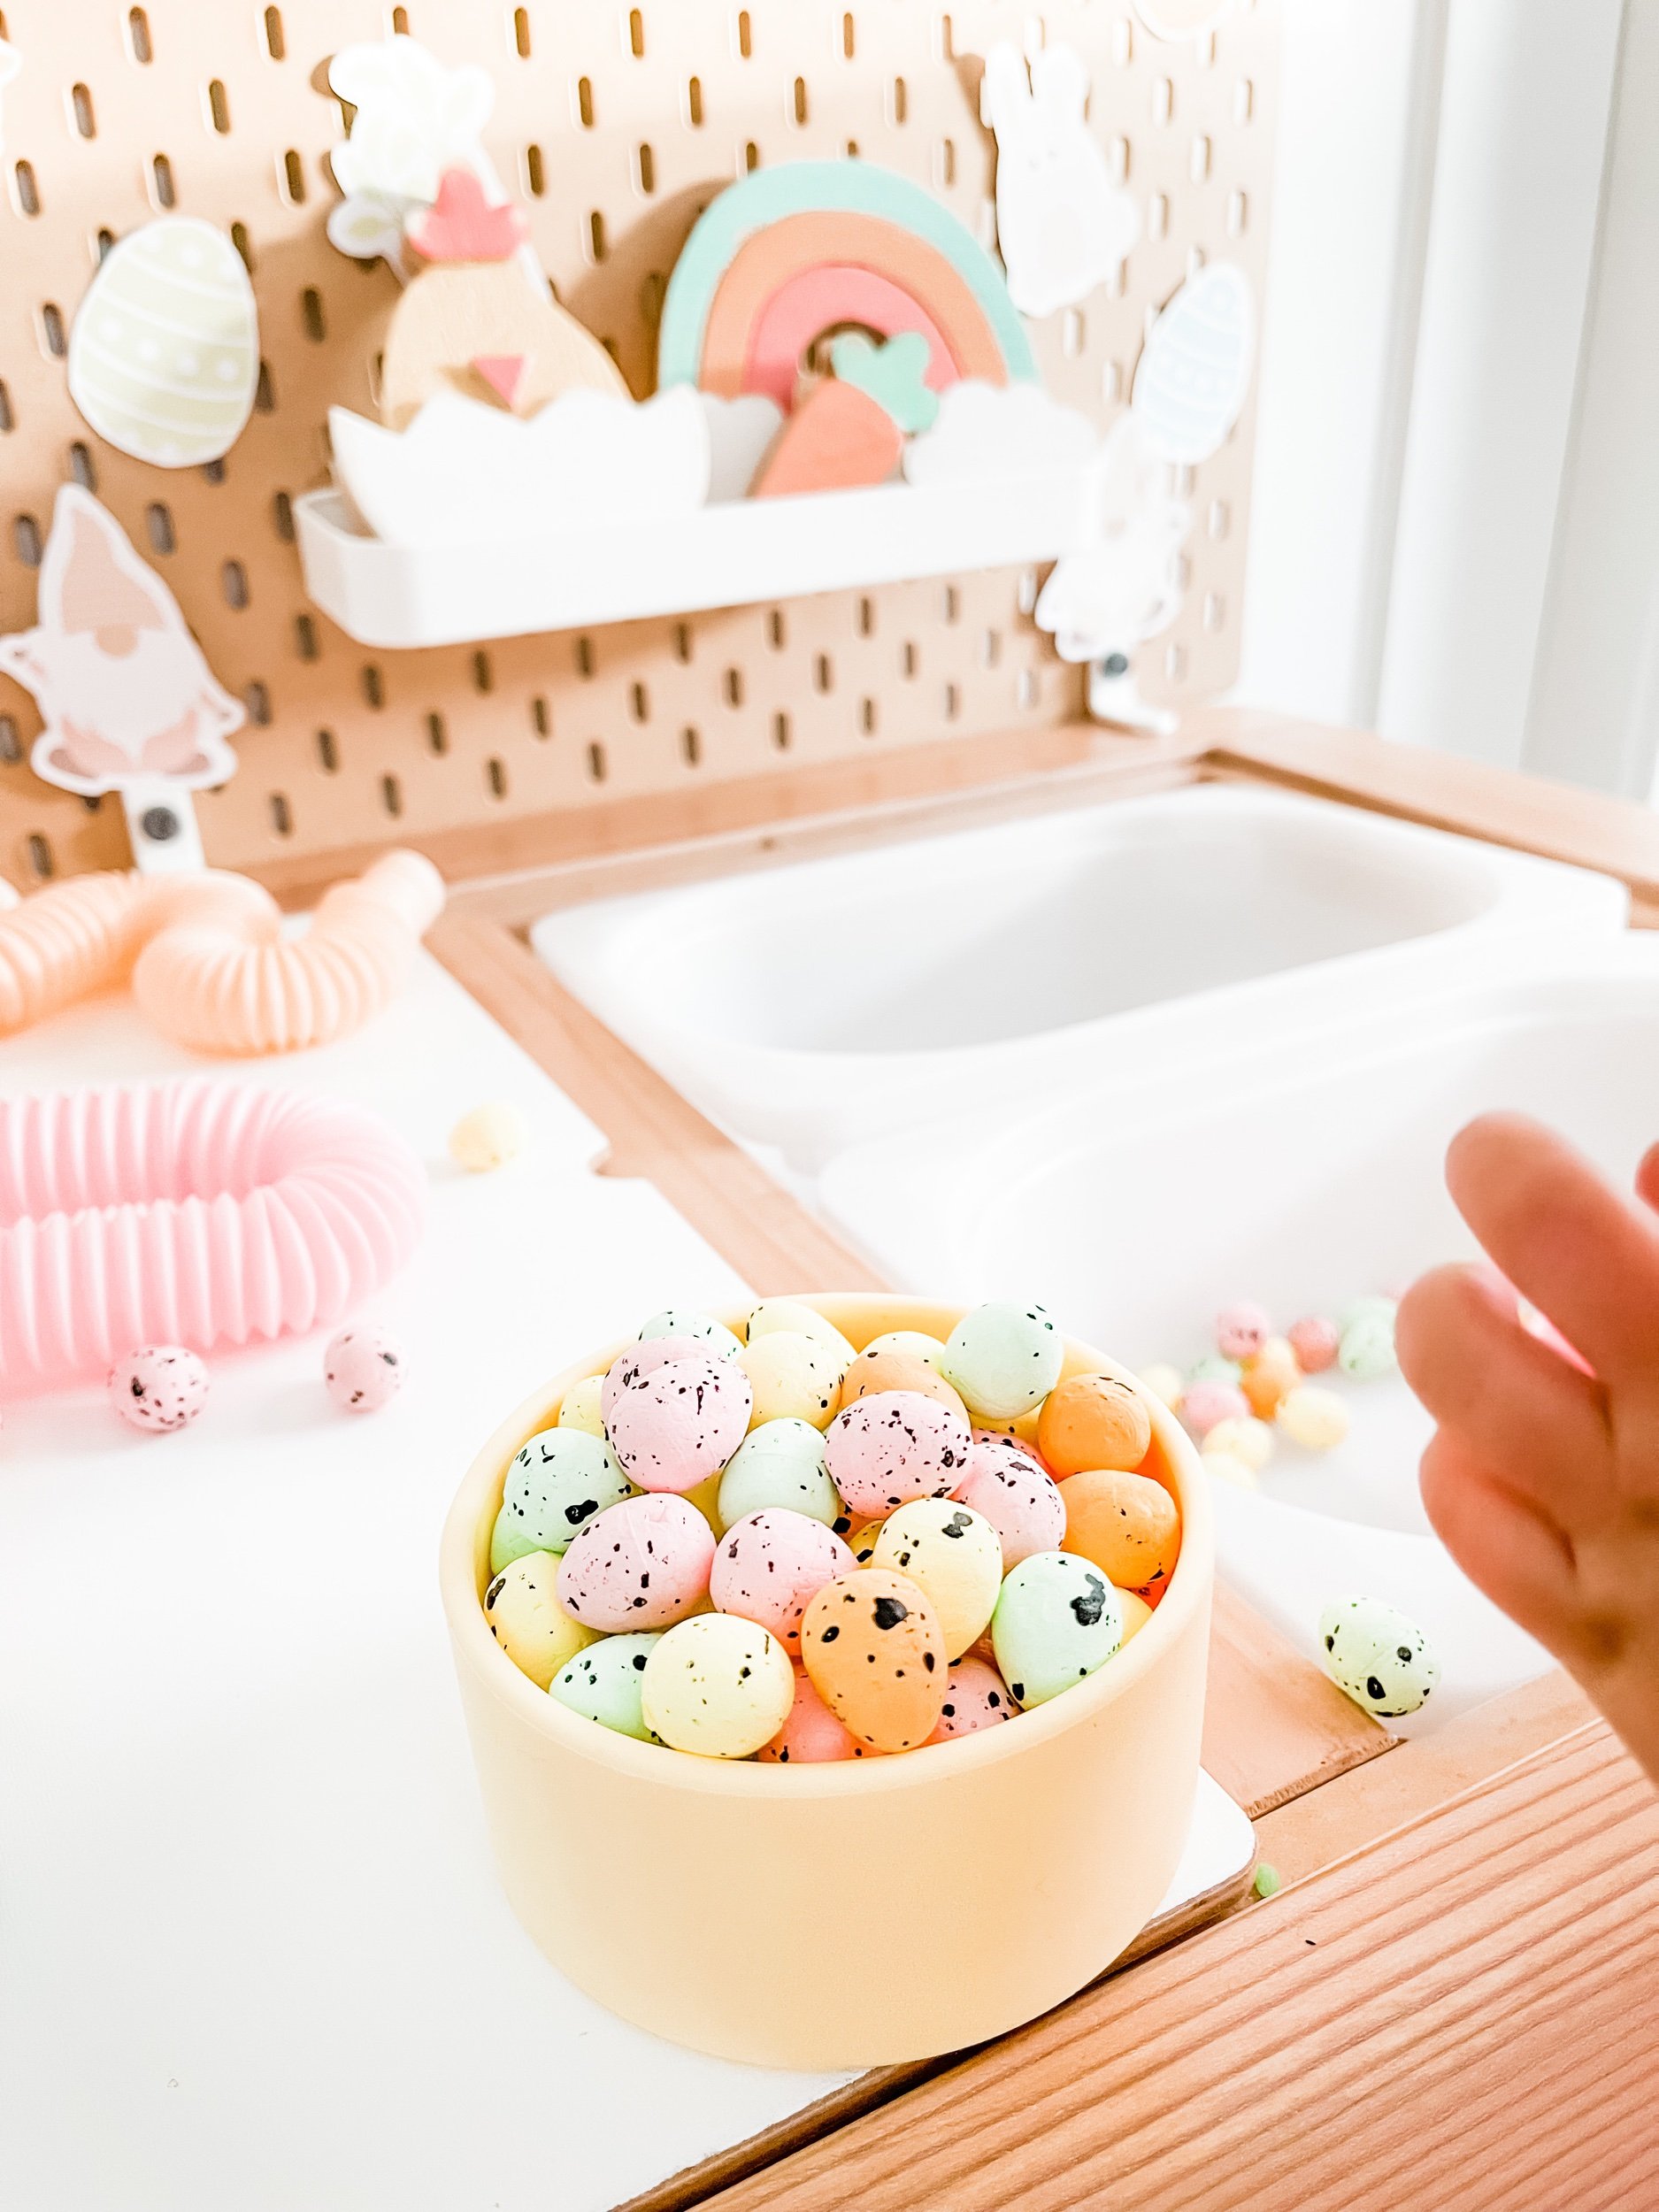
Compare textures by touch and talk about how each ball feels.
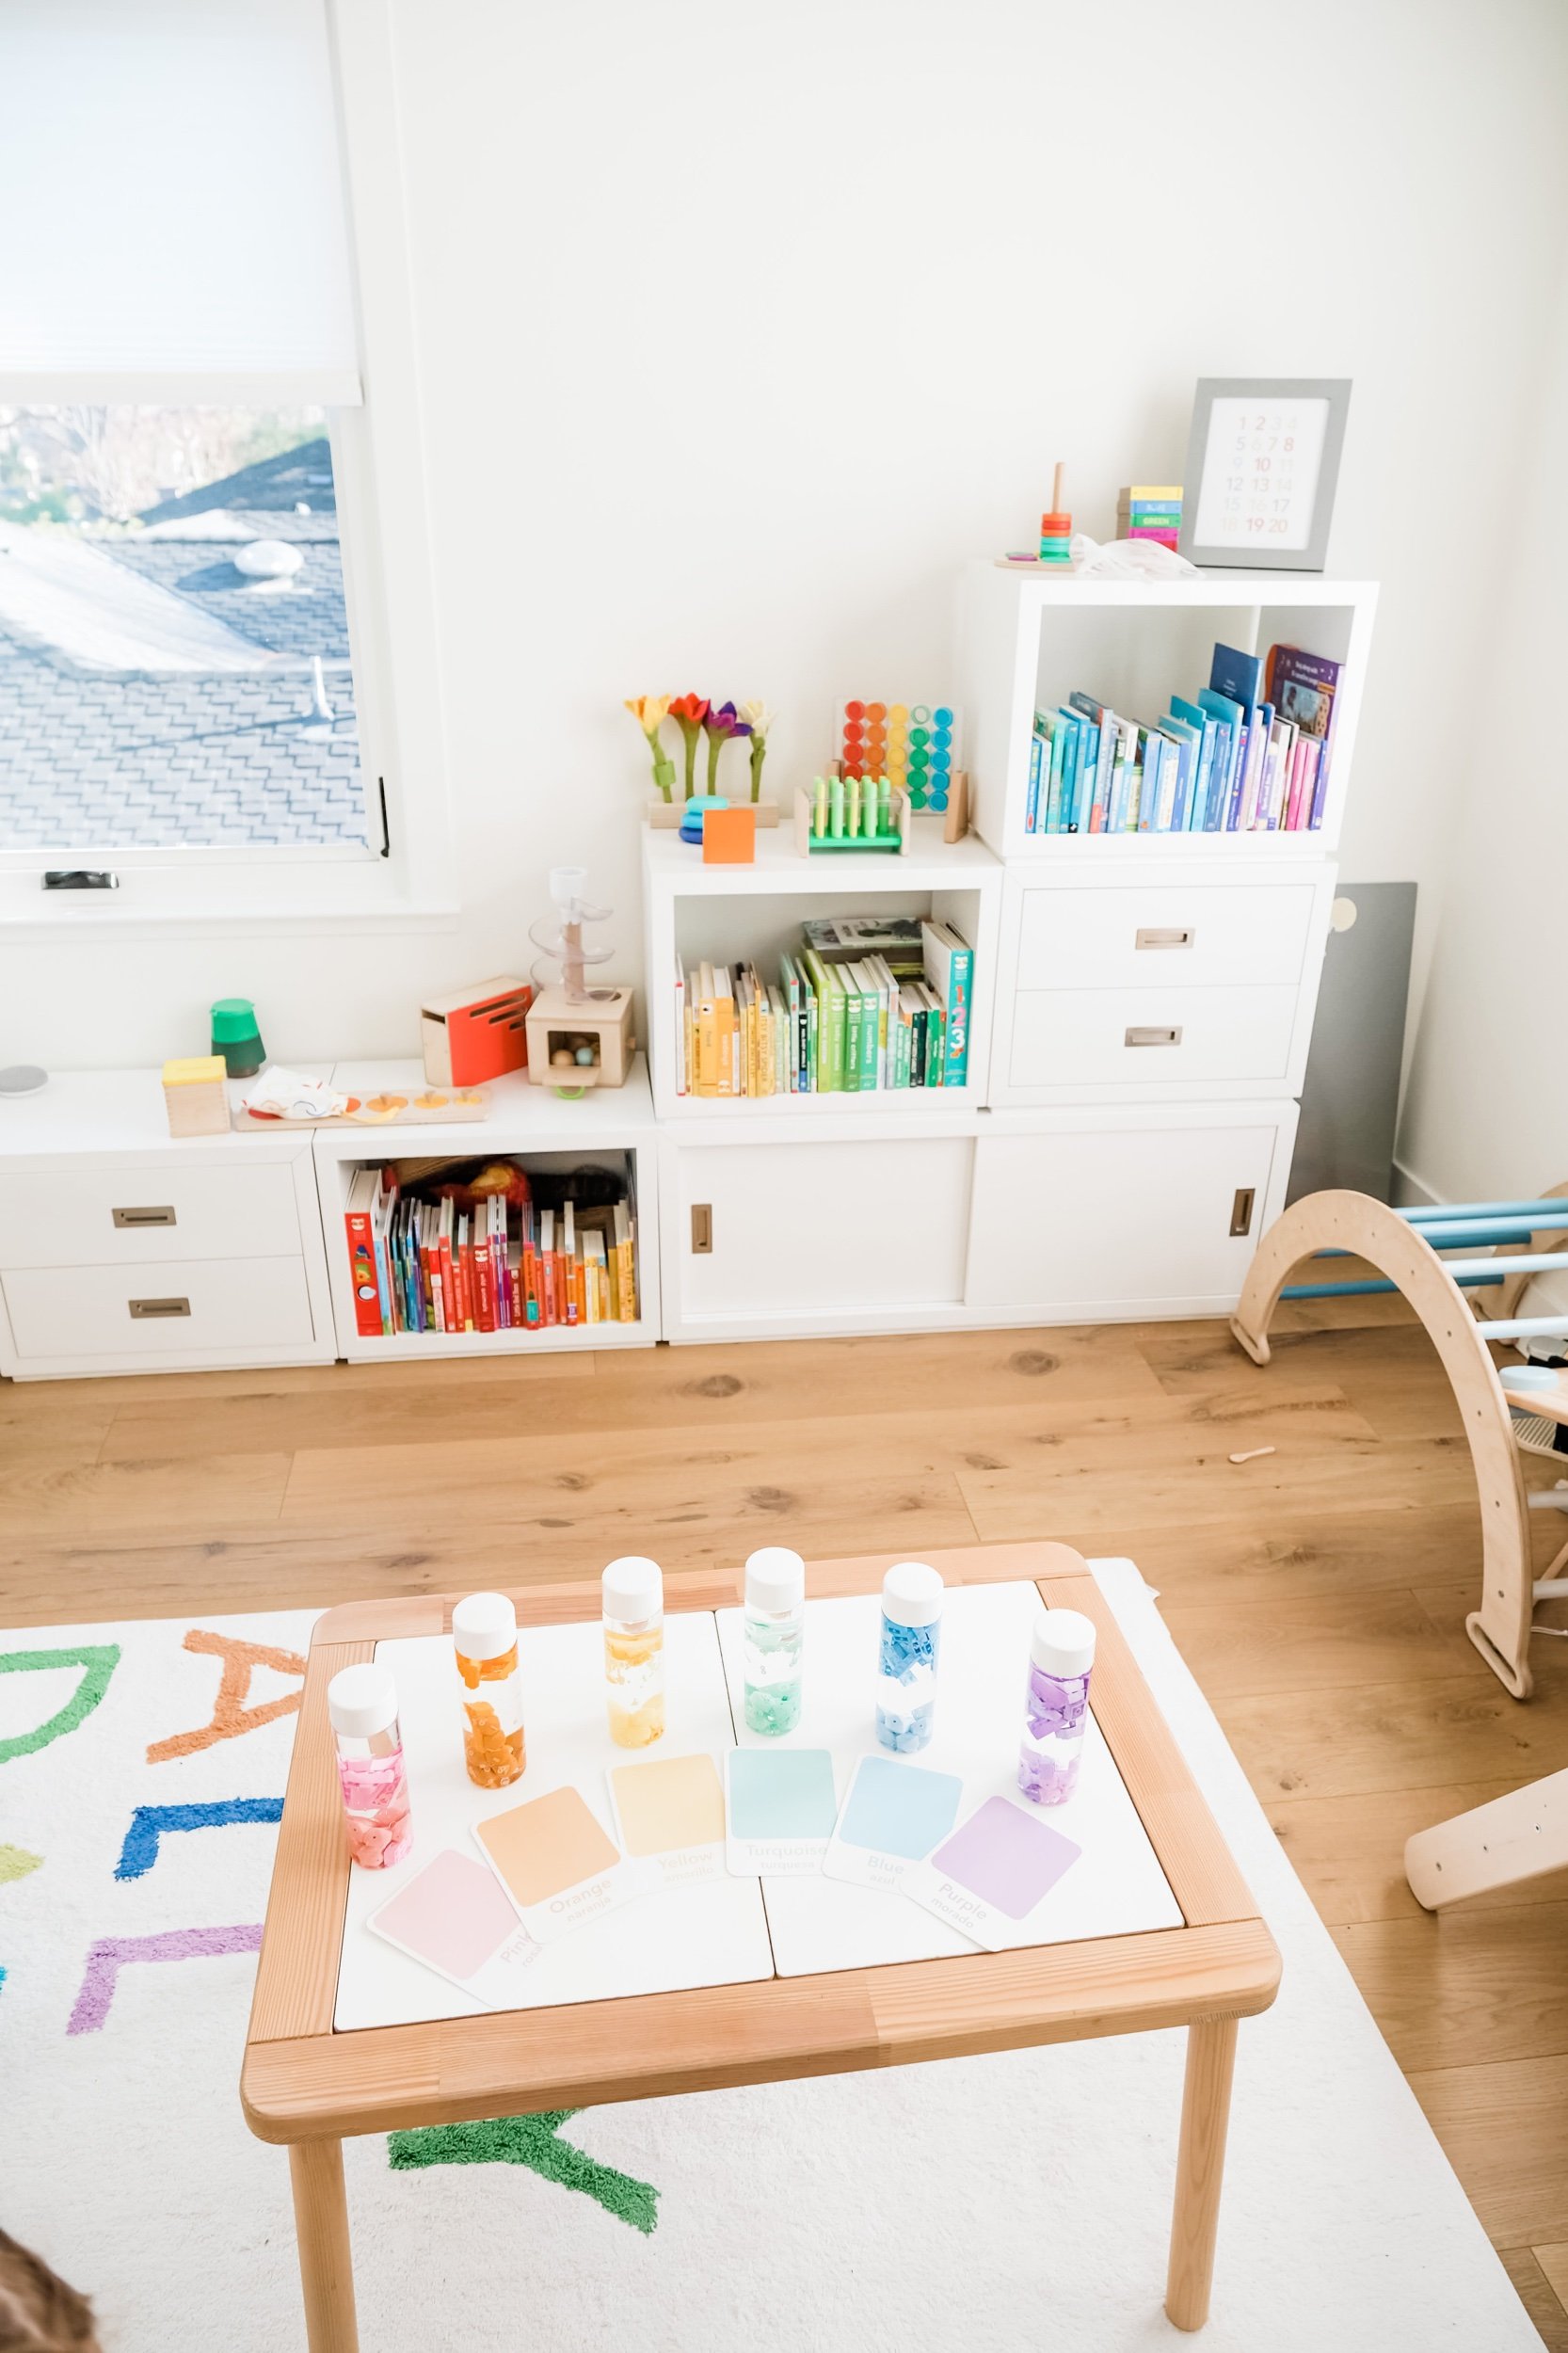
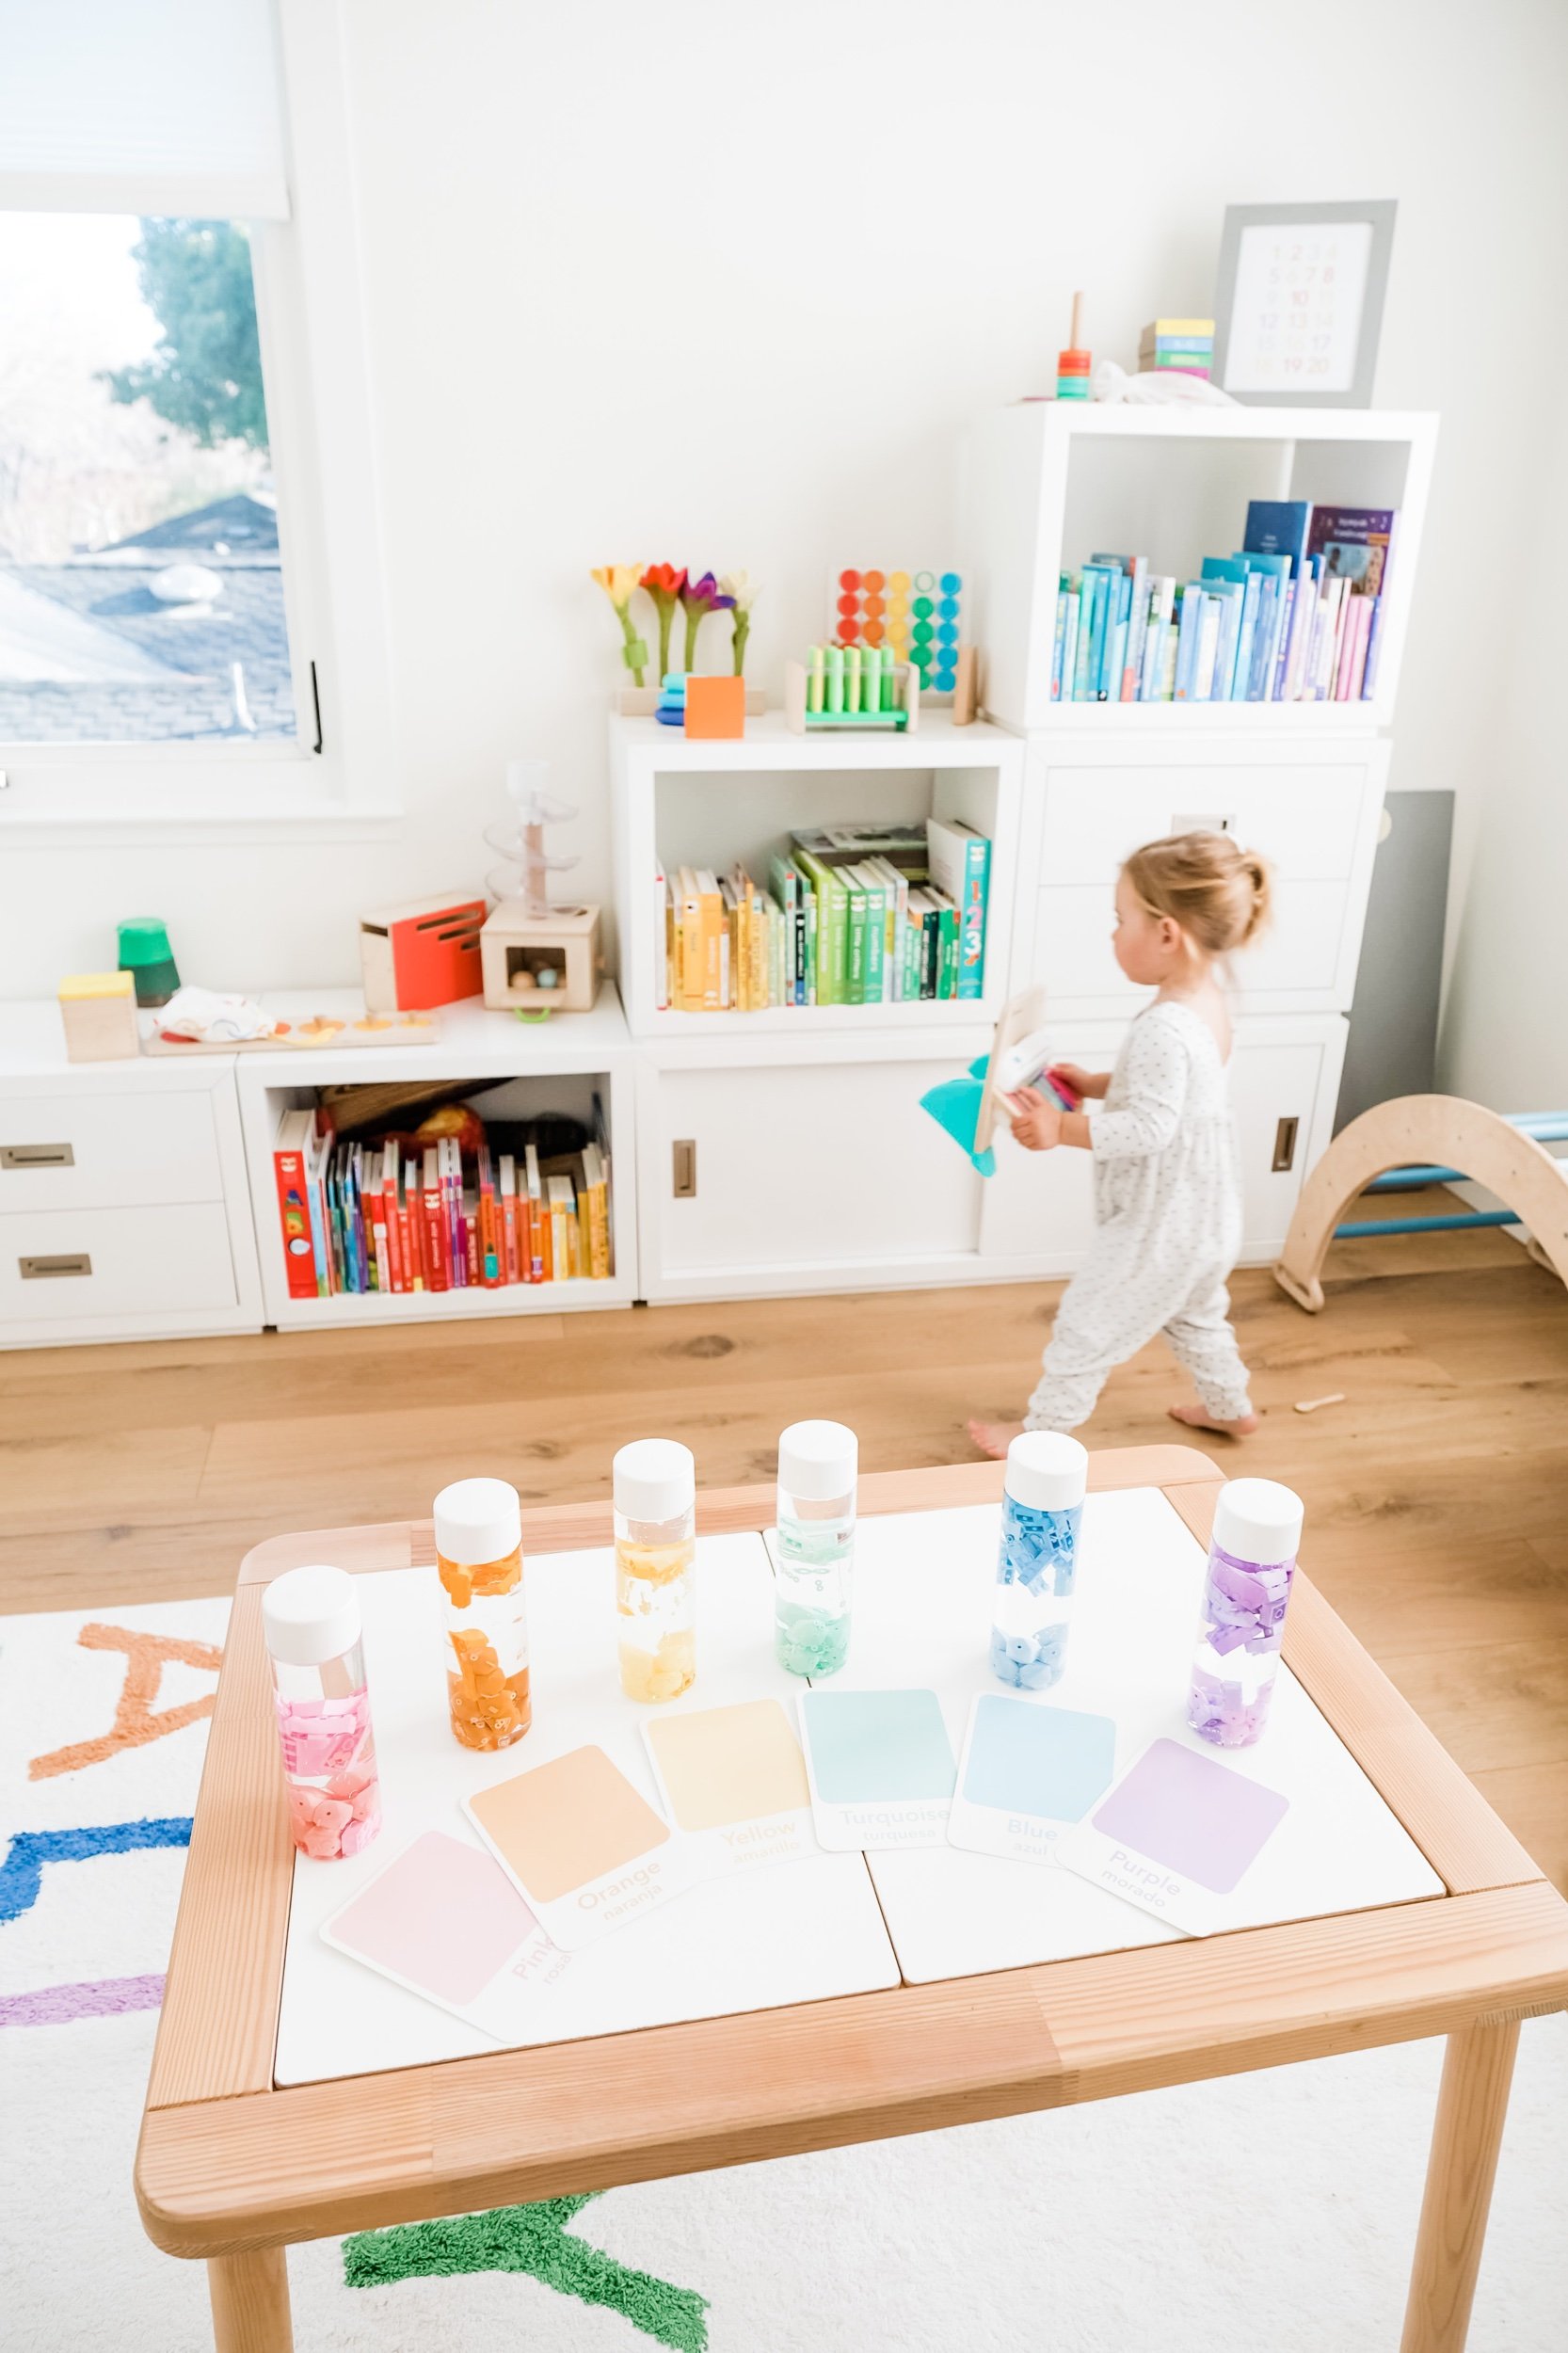
Line them up from softest to firmest.
Use descriptive language such as soft, squishy, heavy, grainy, or smooth.
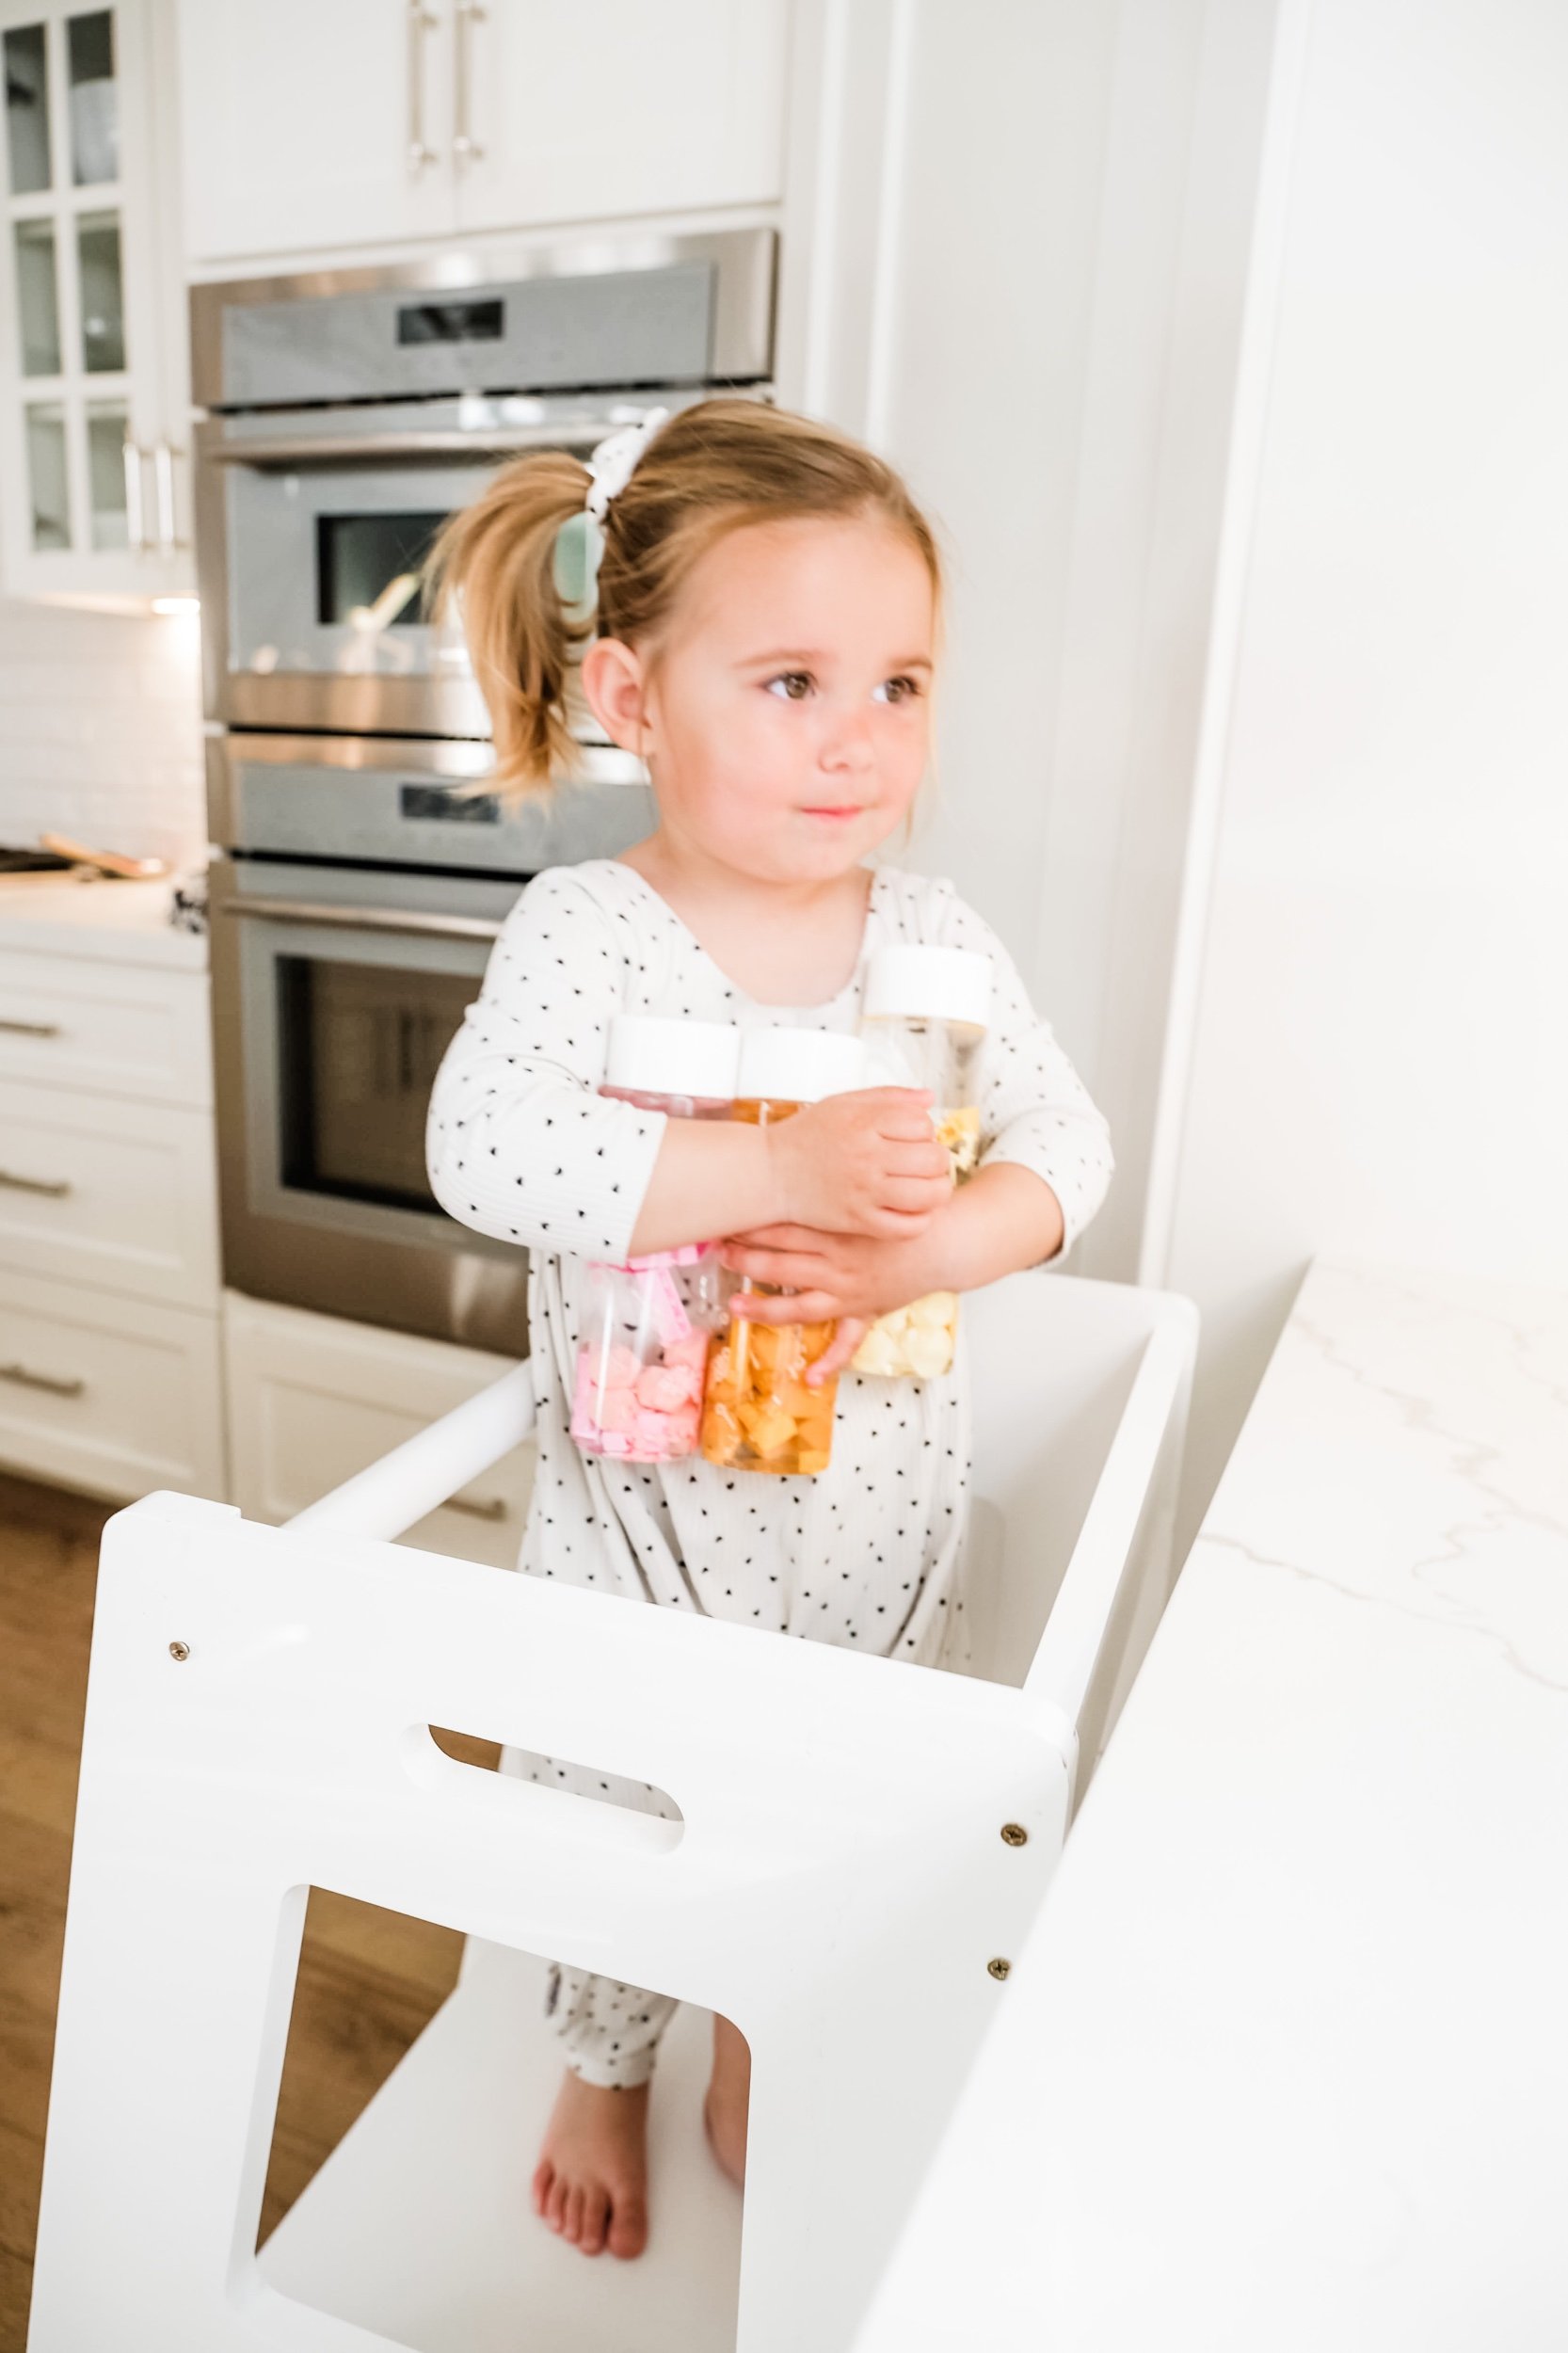
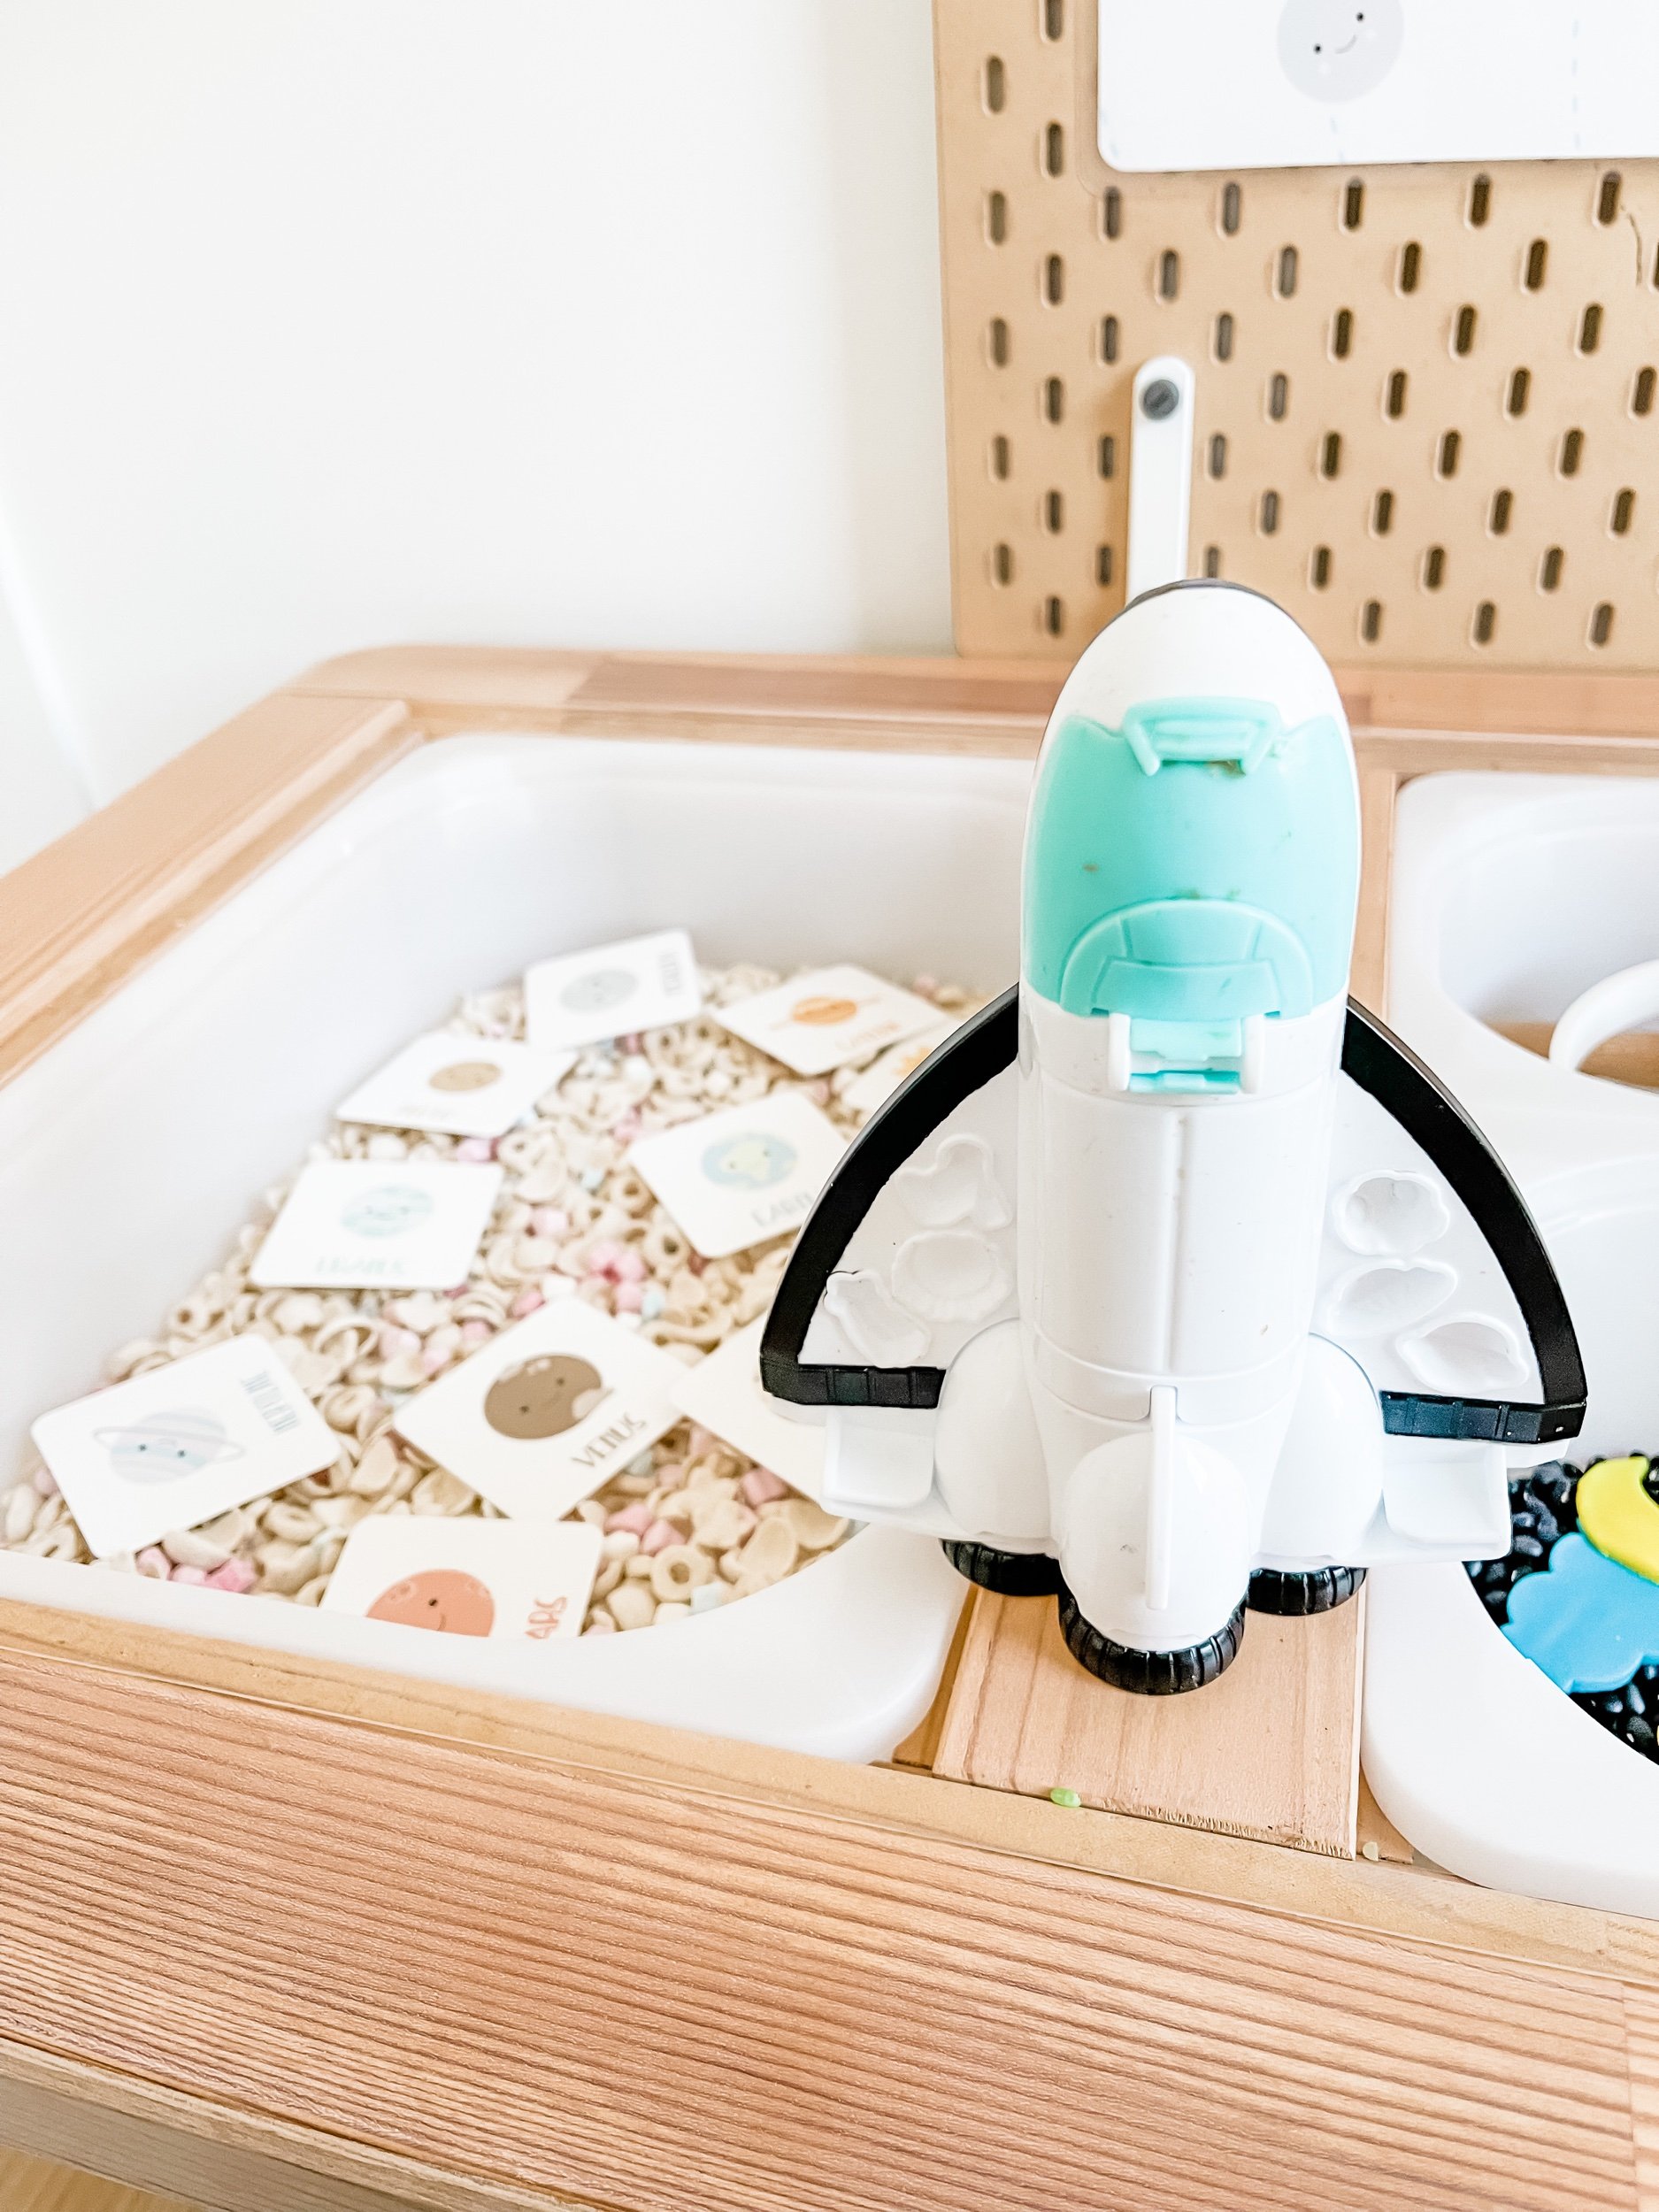
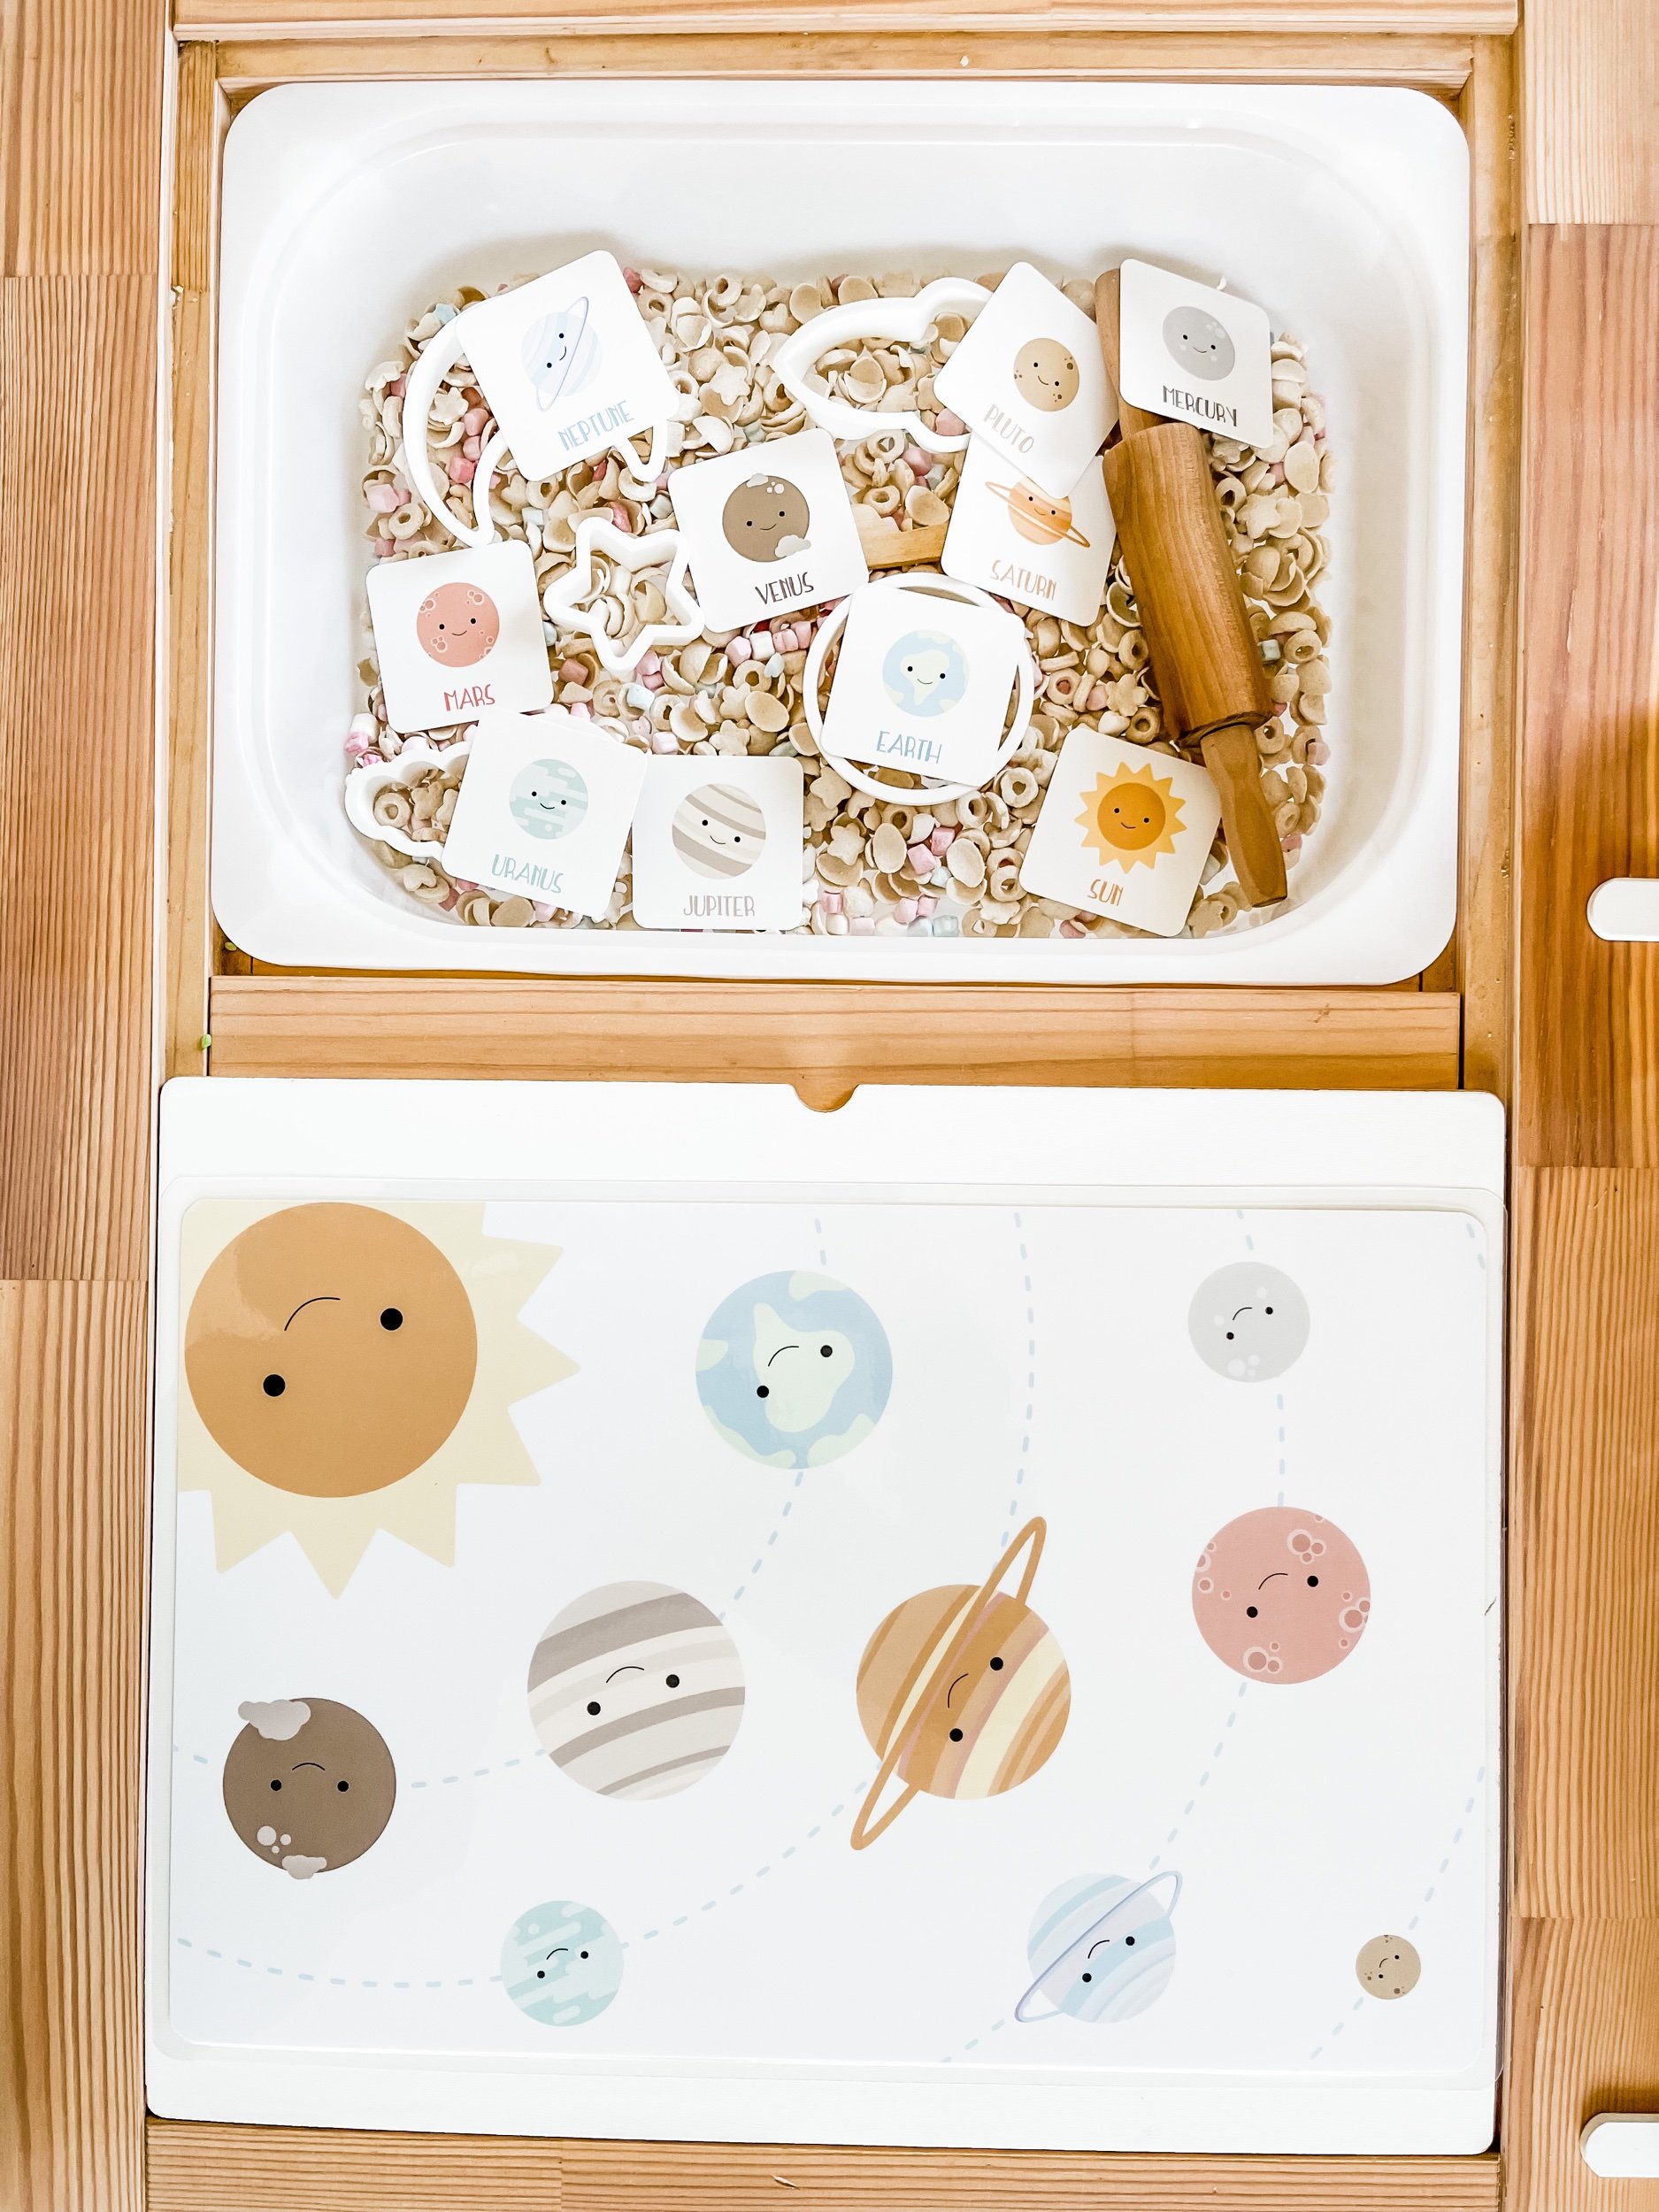
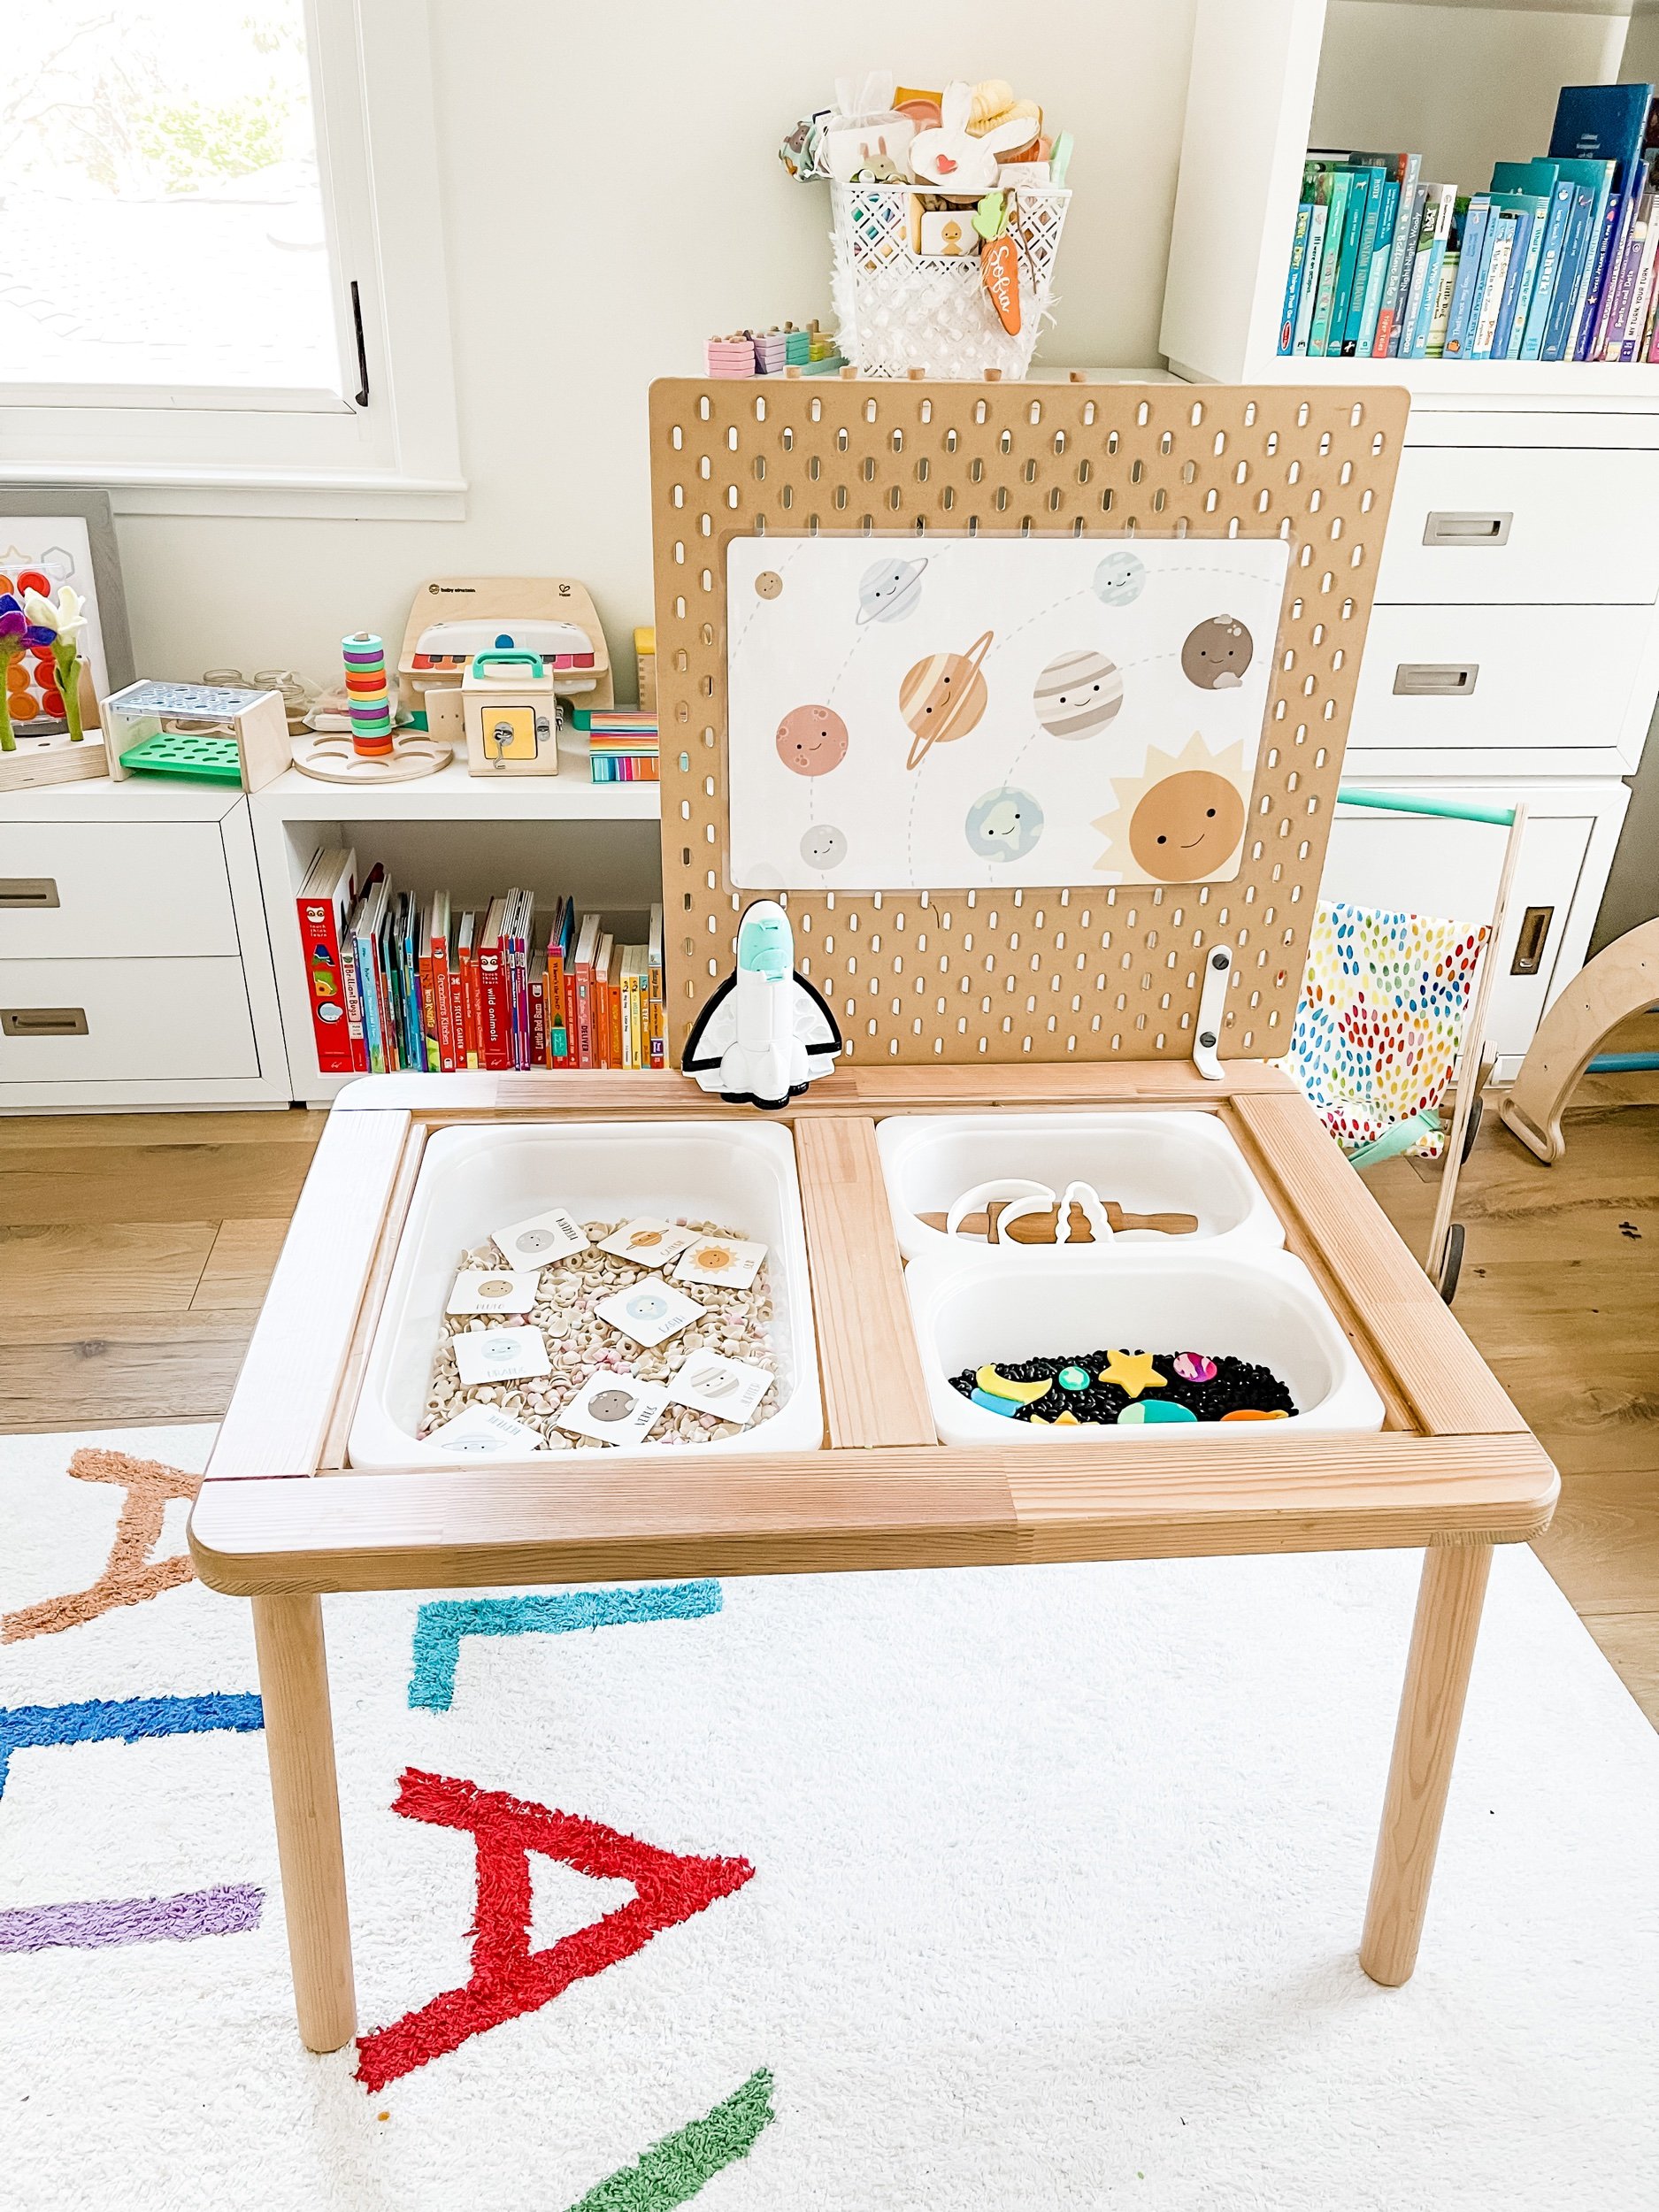
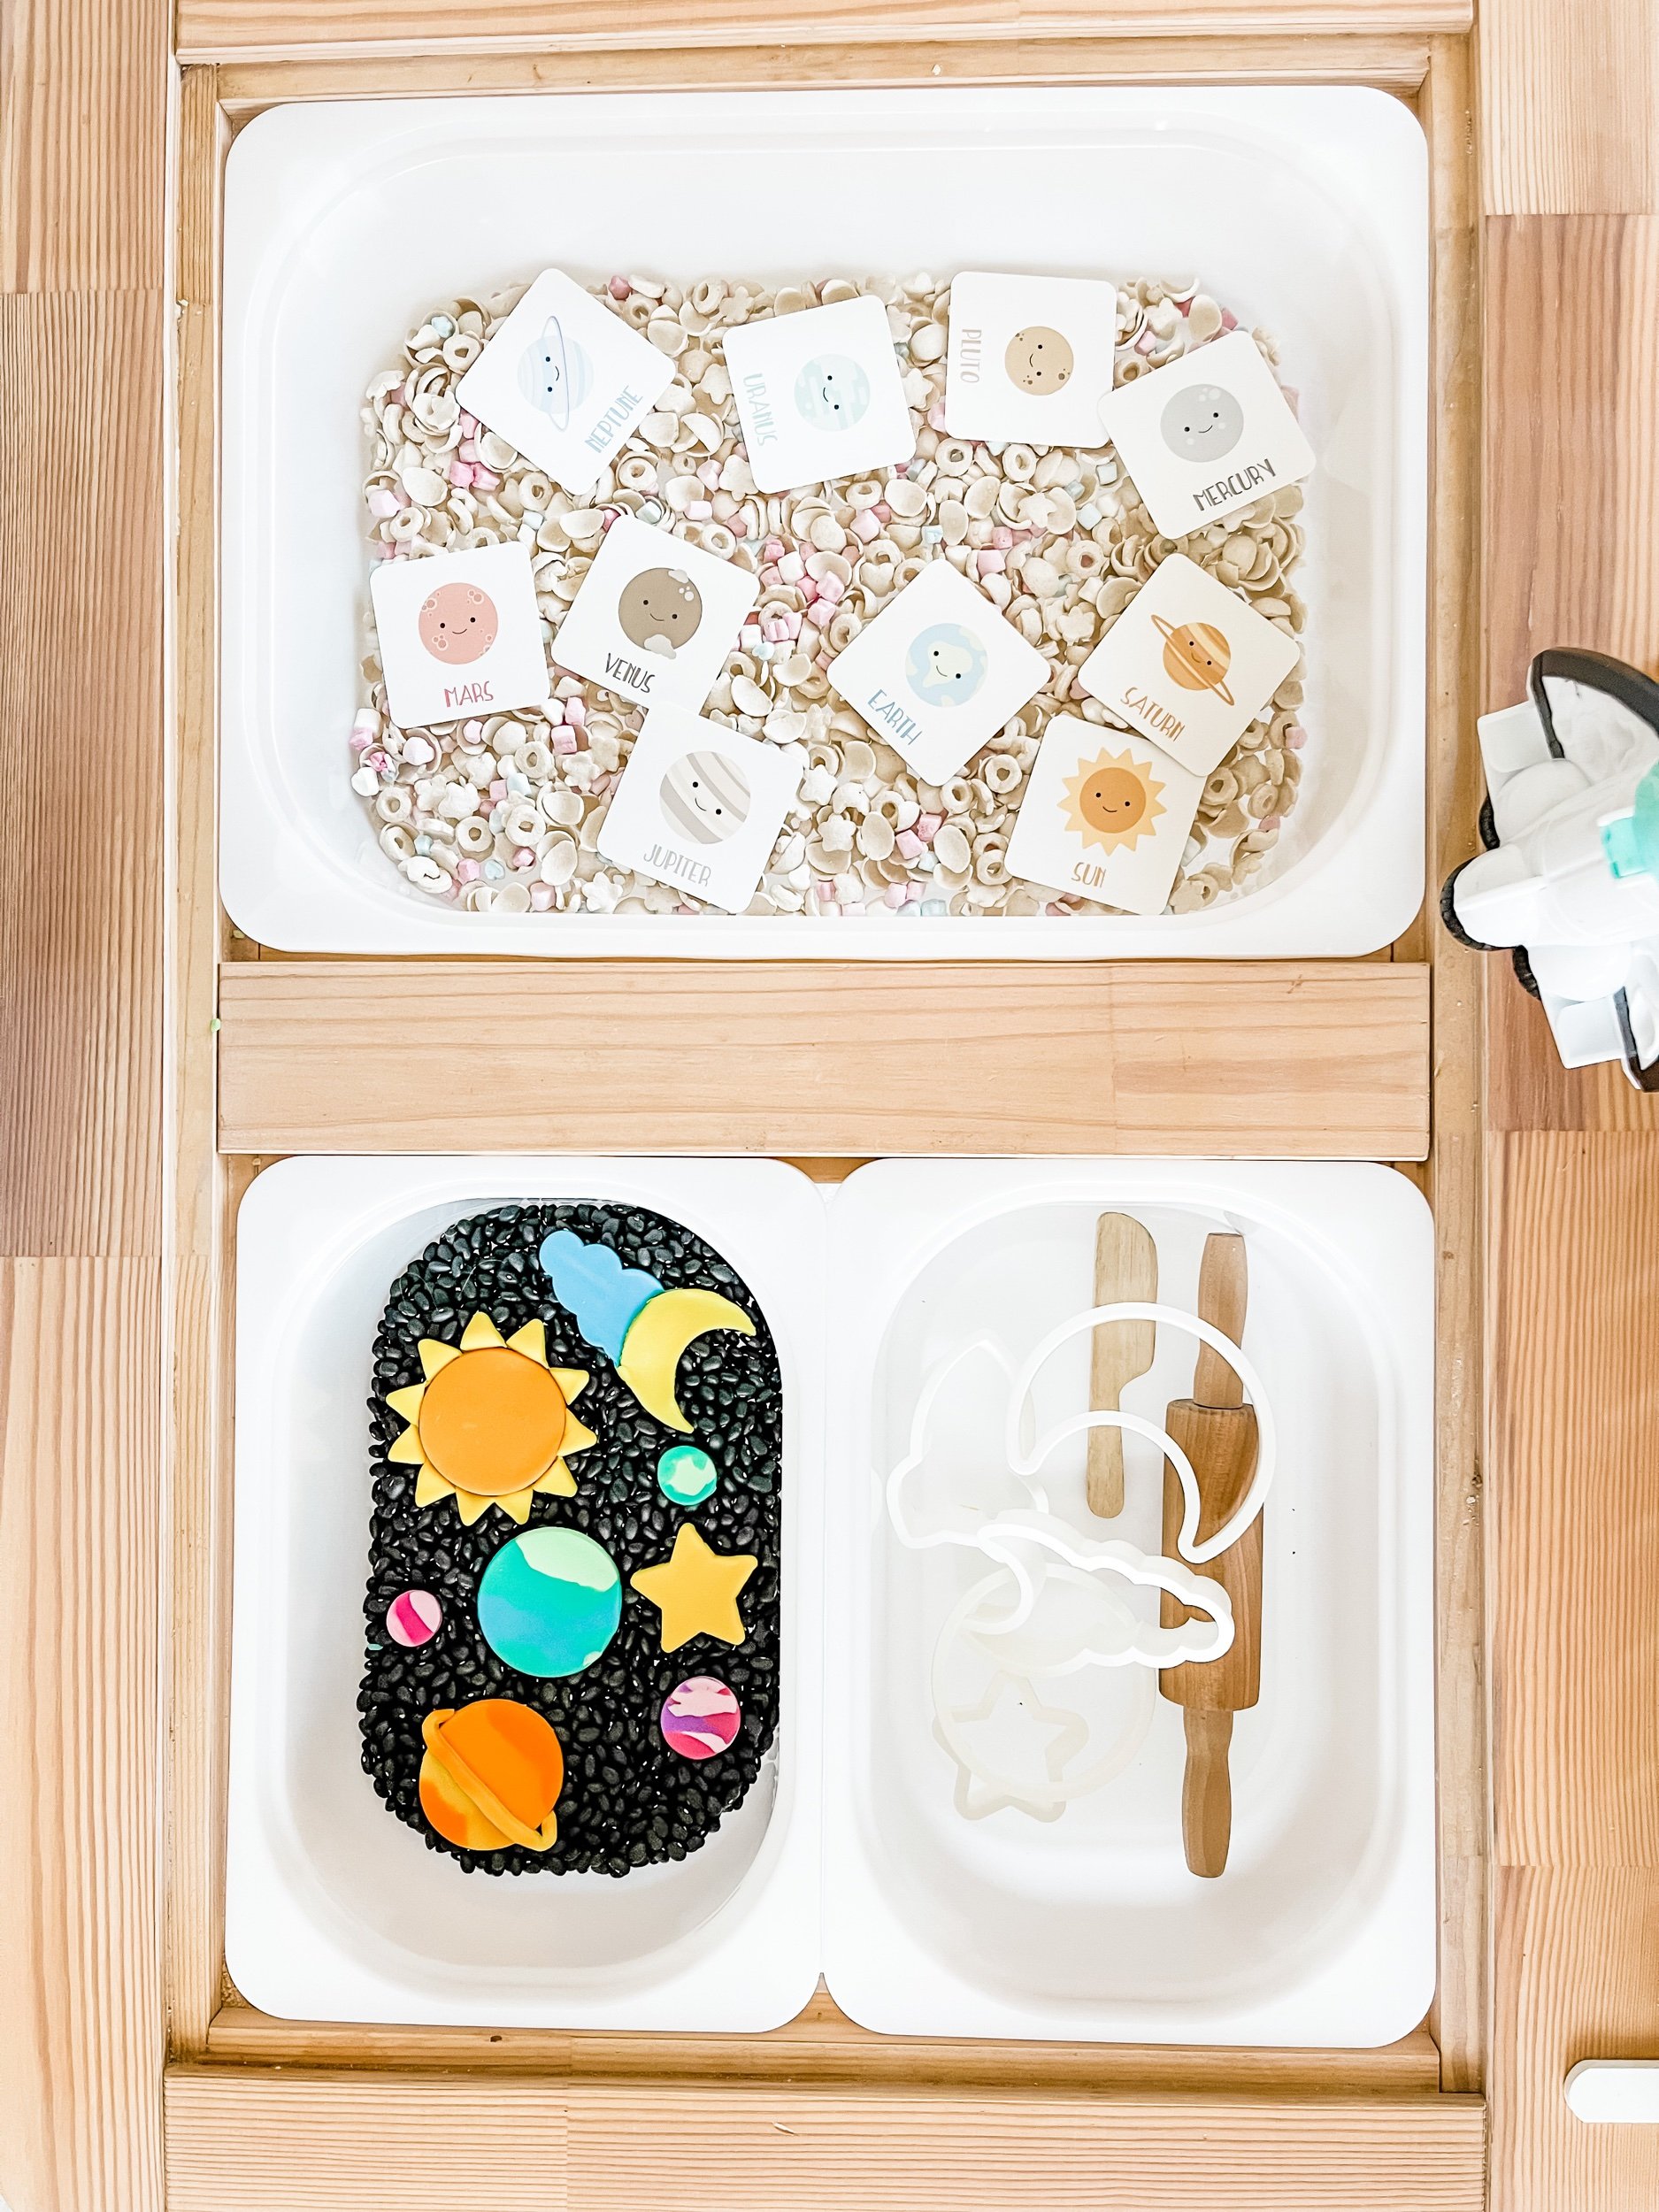
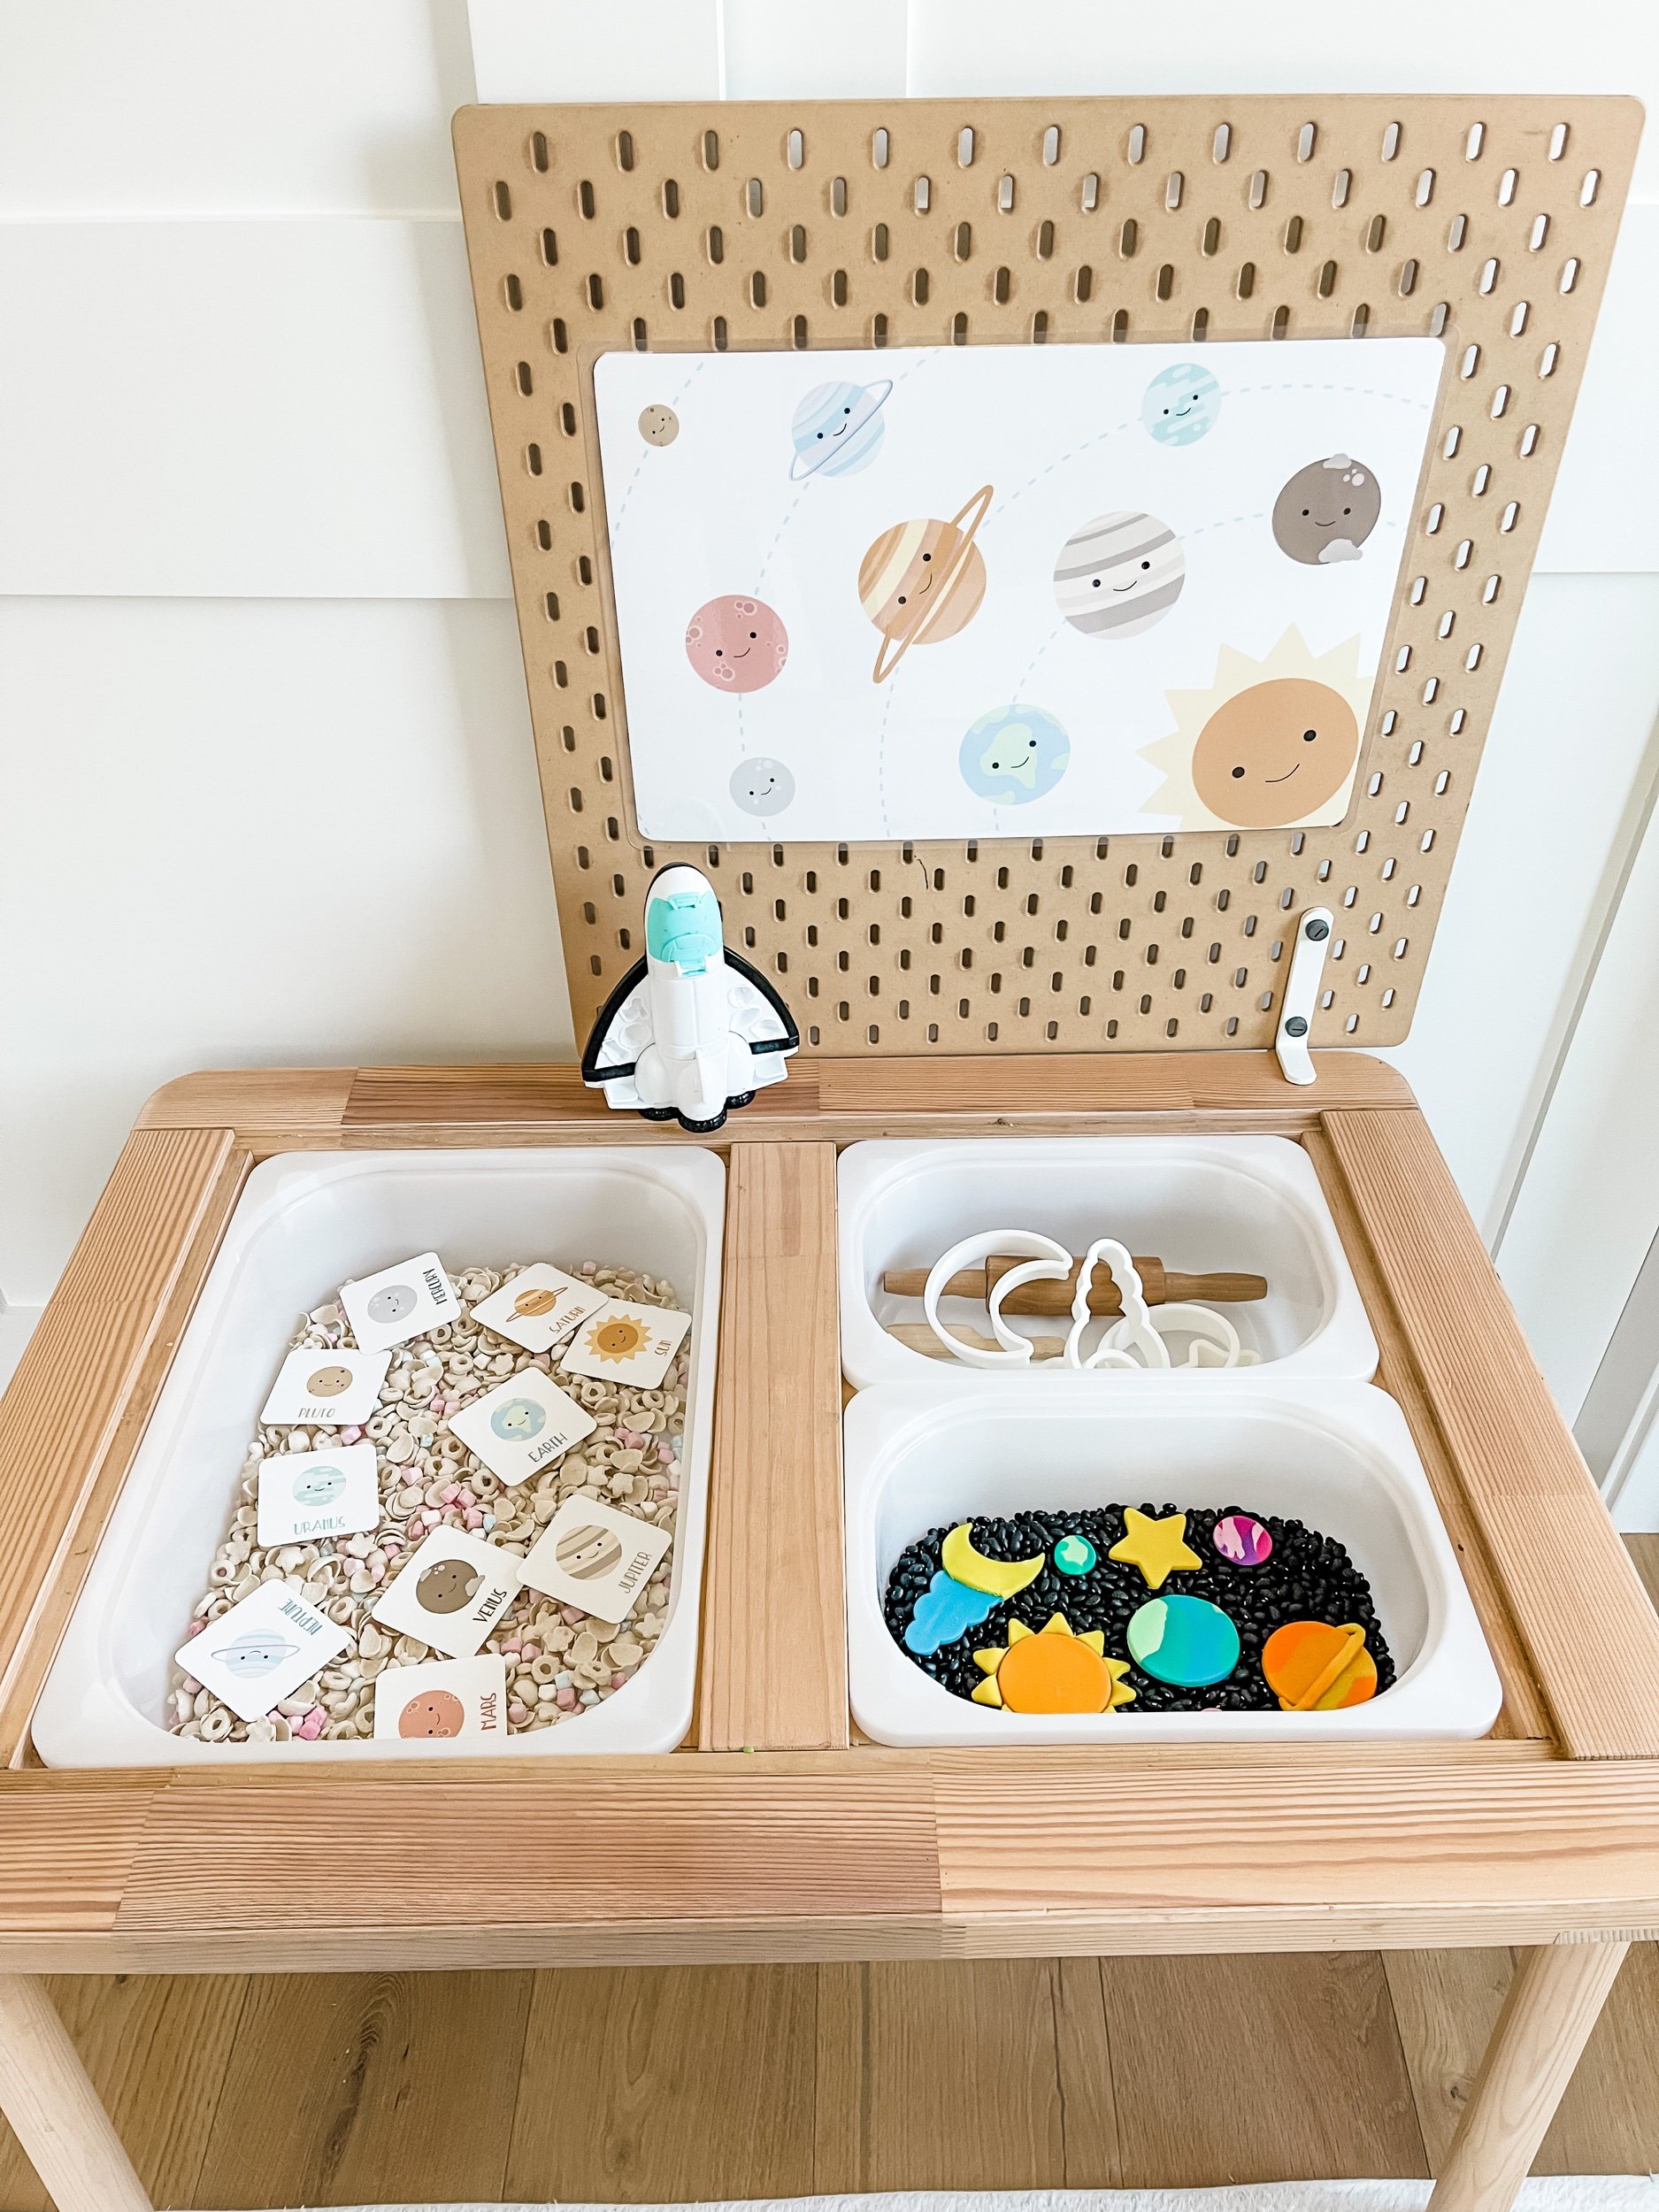
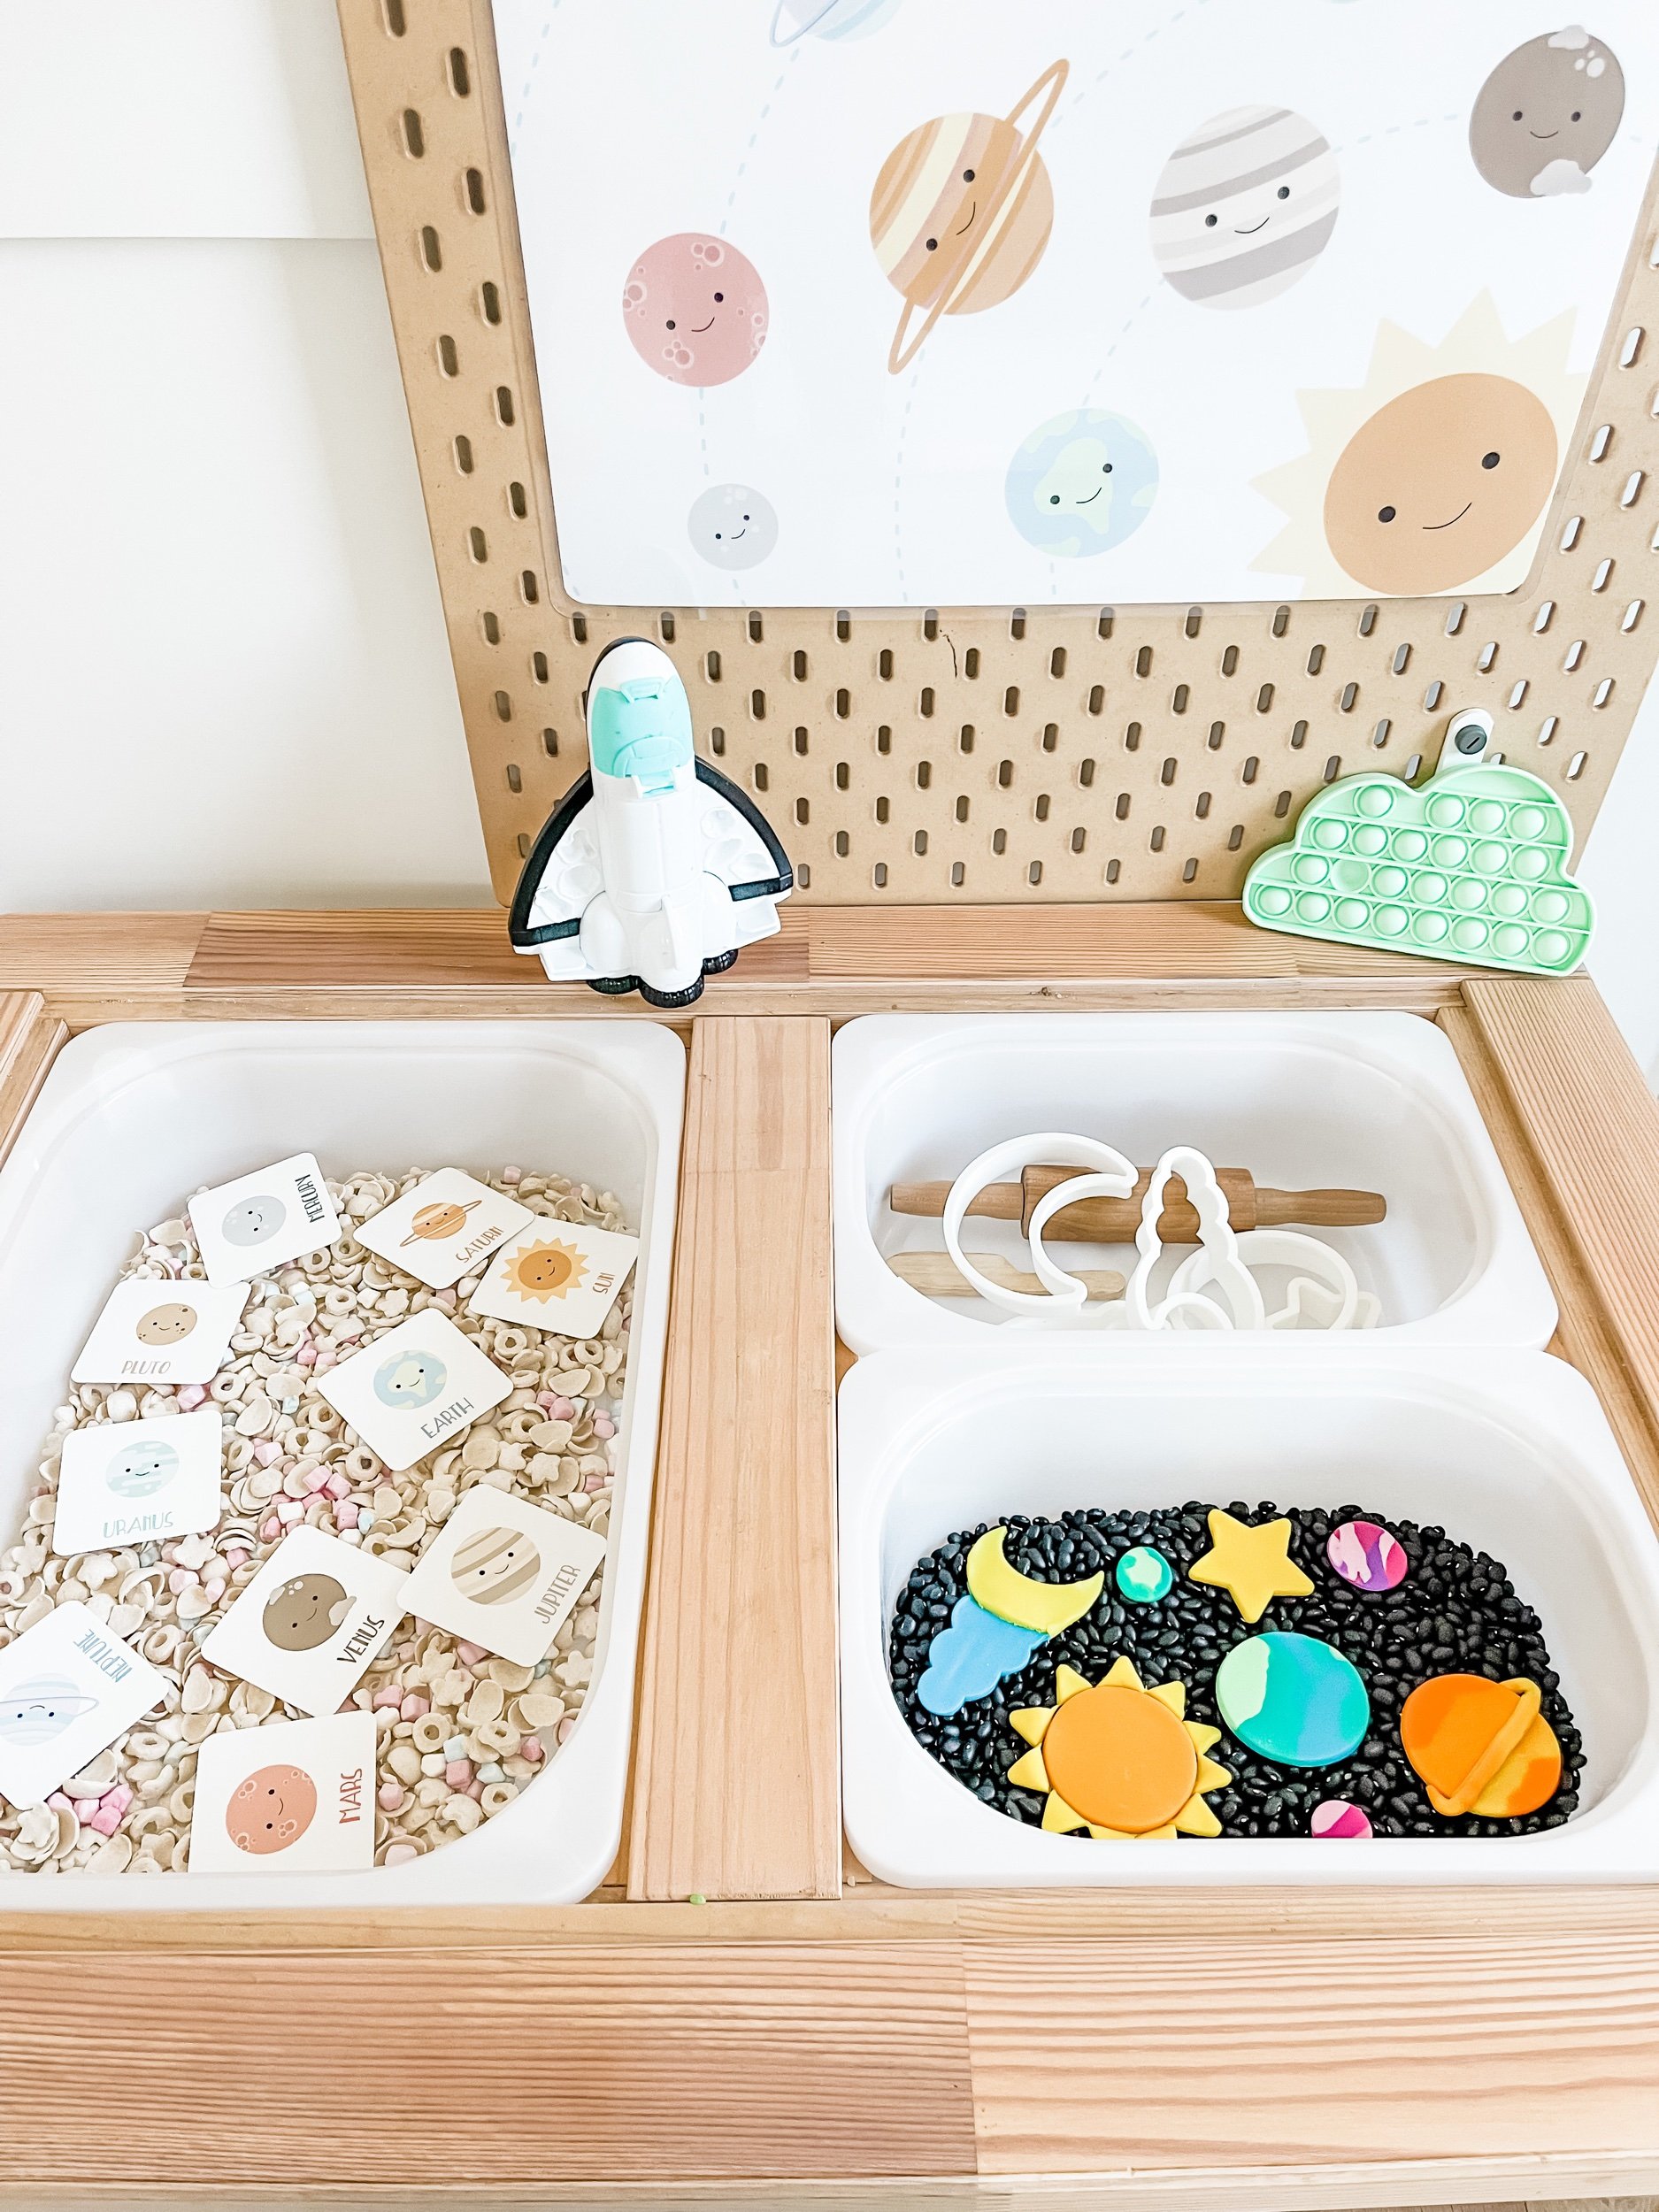
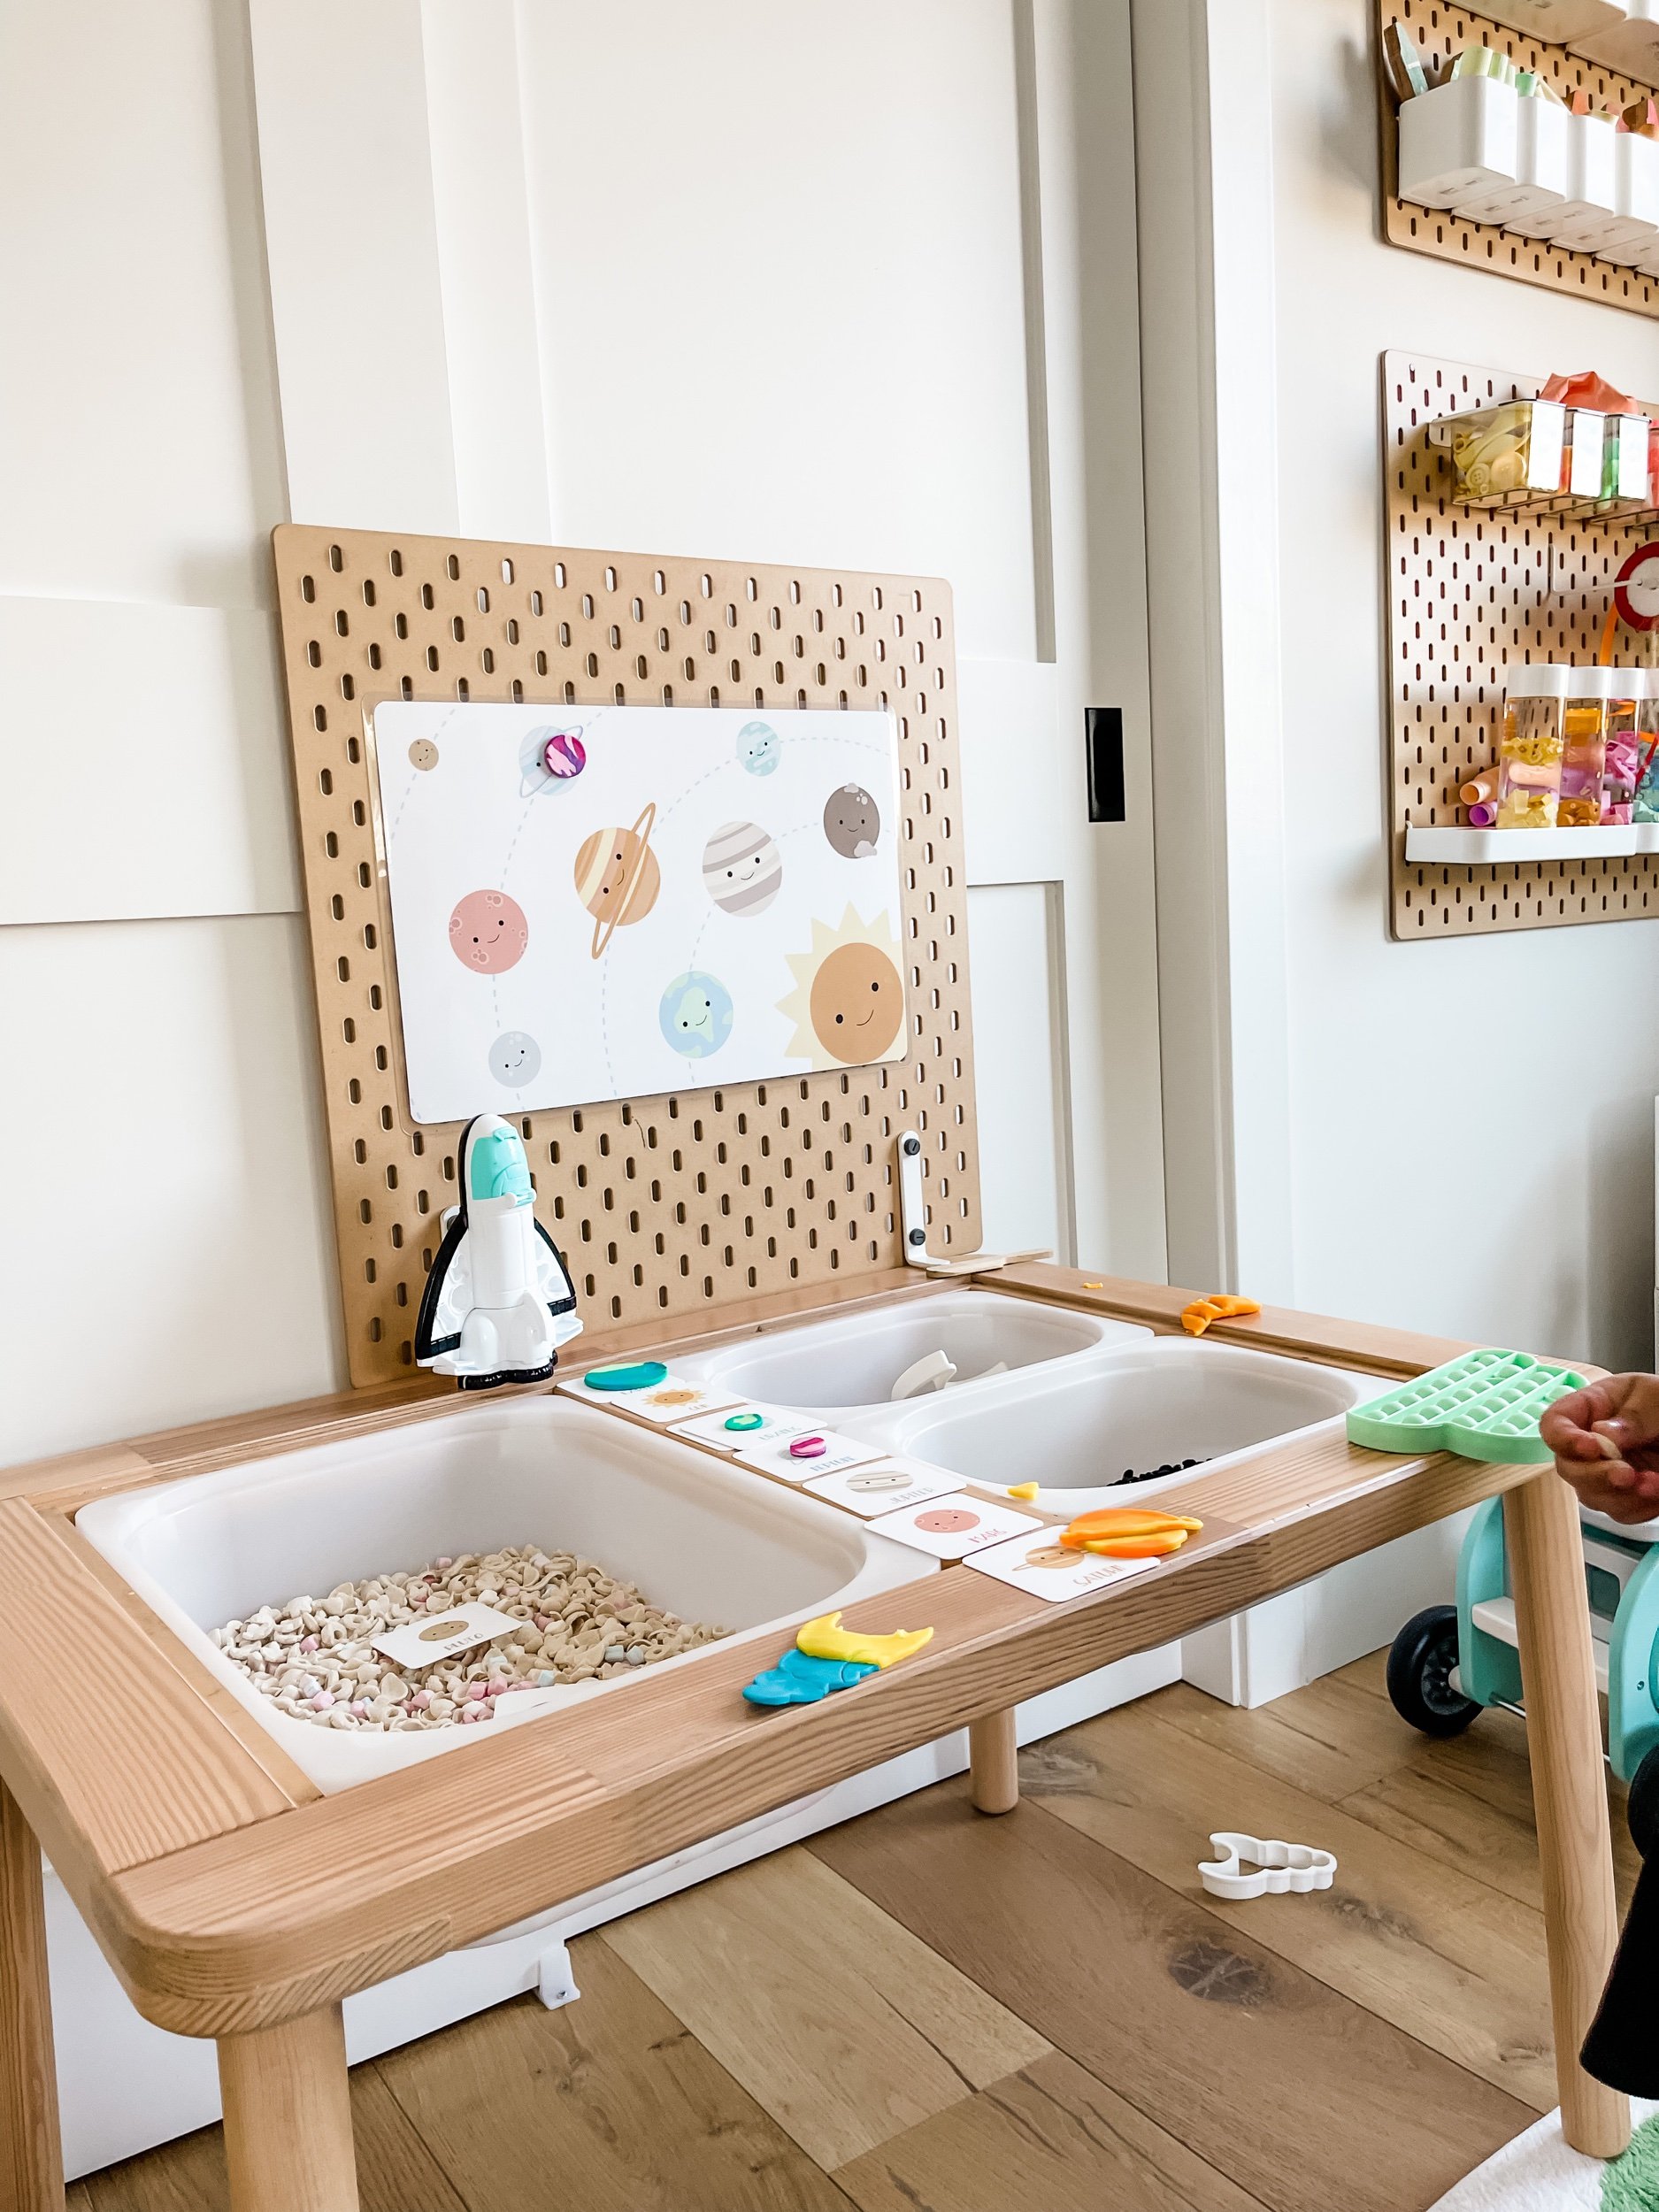
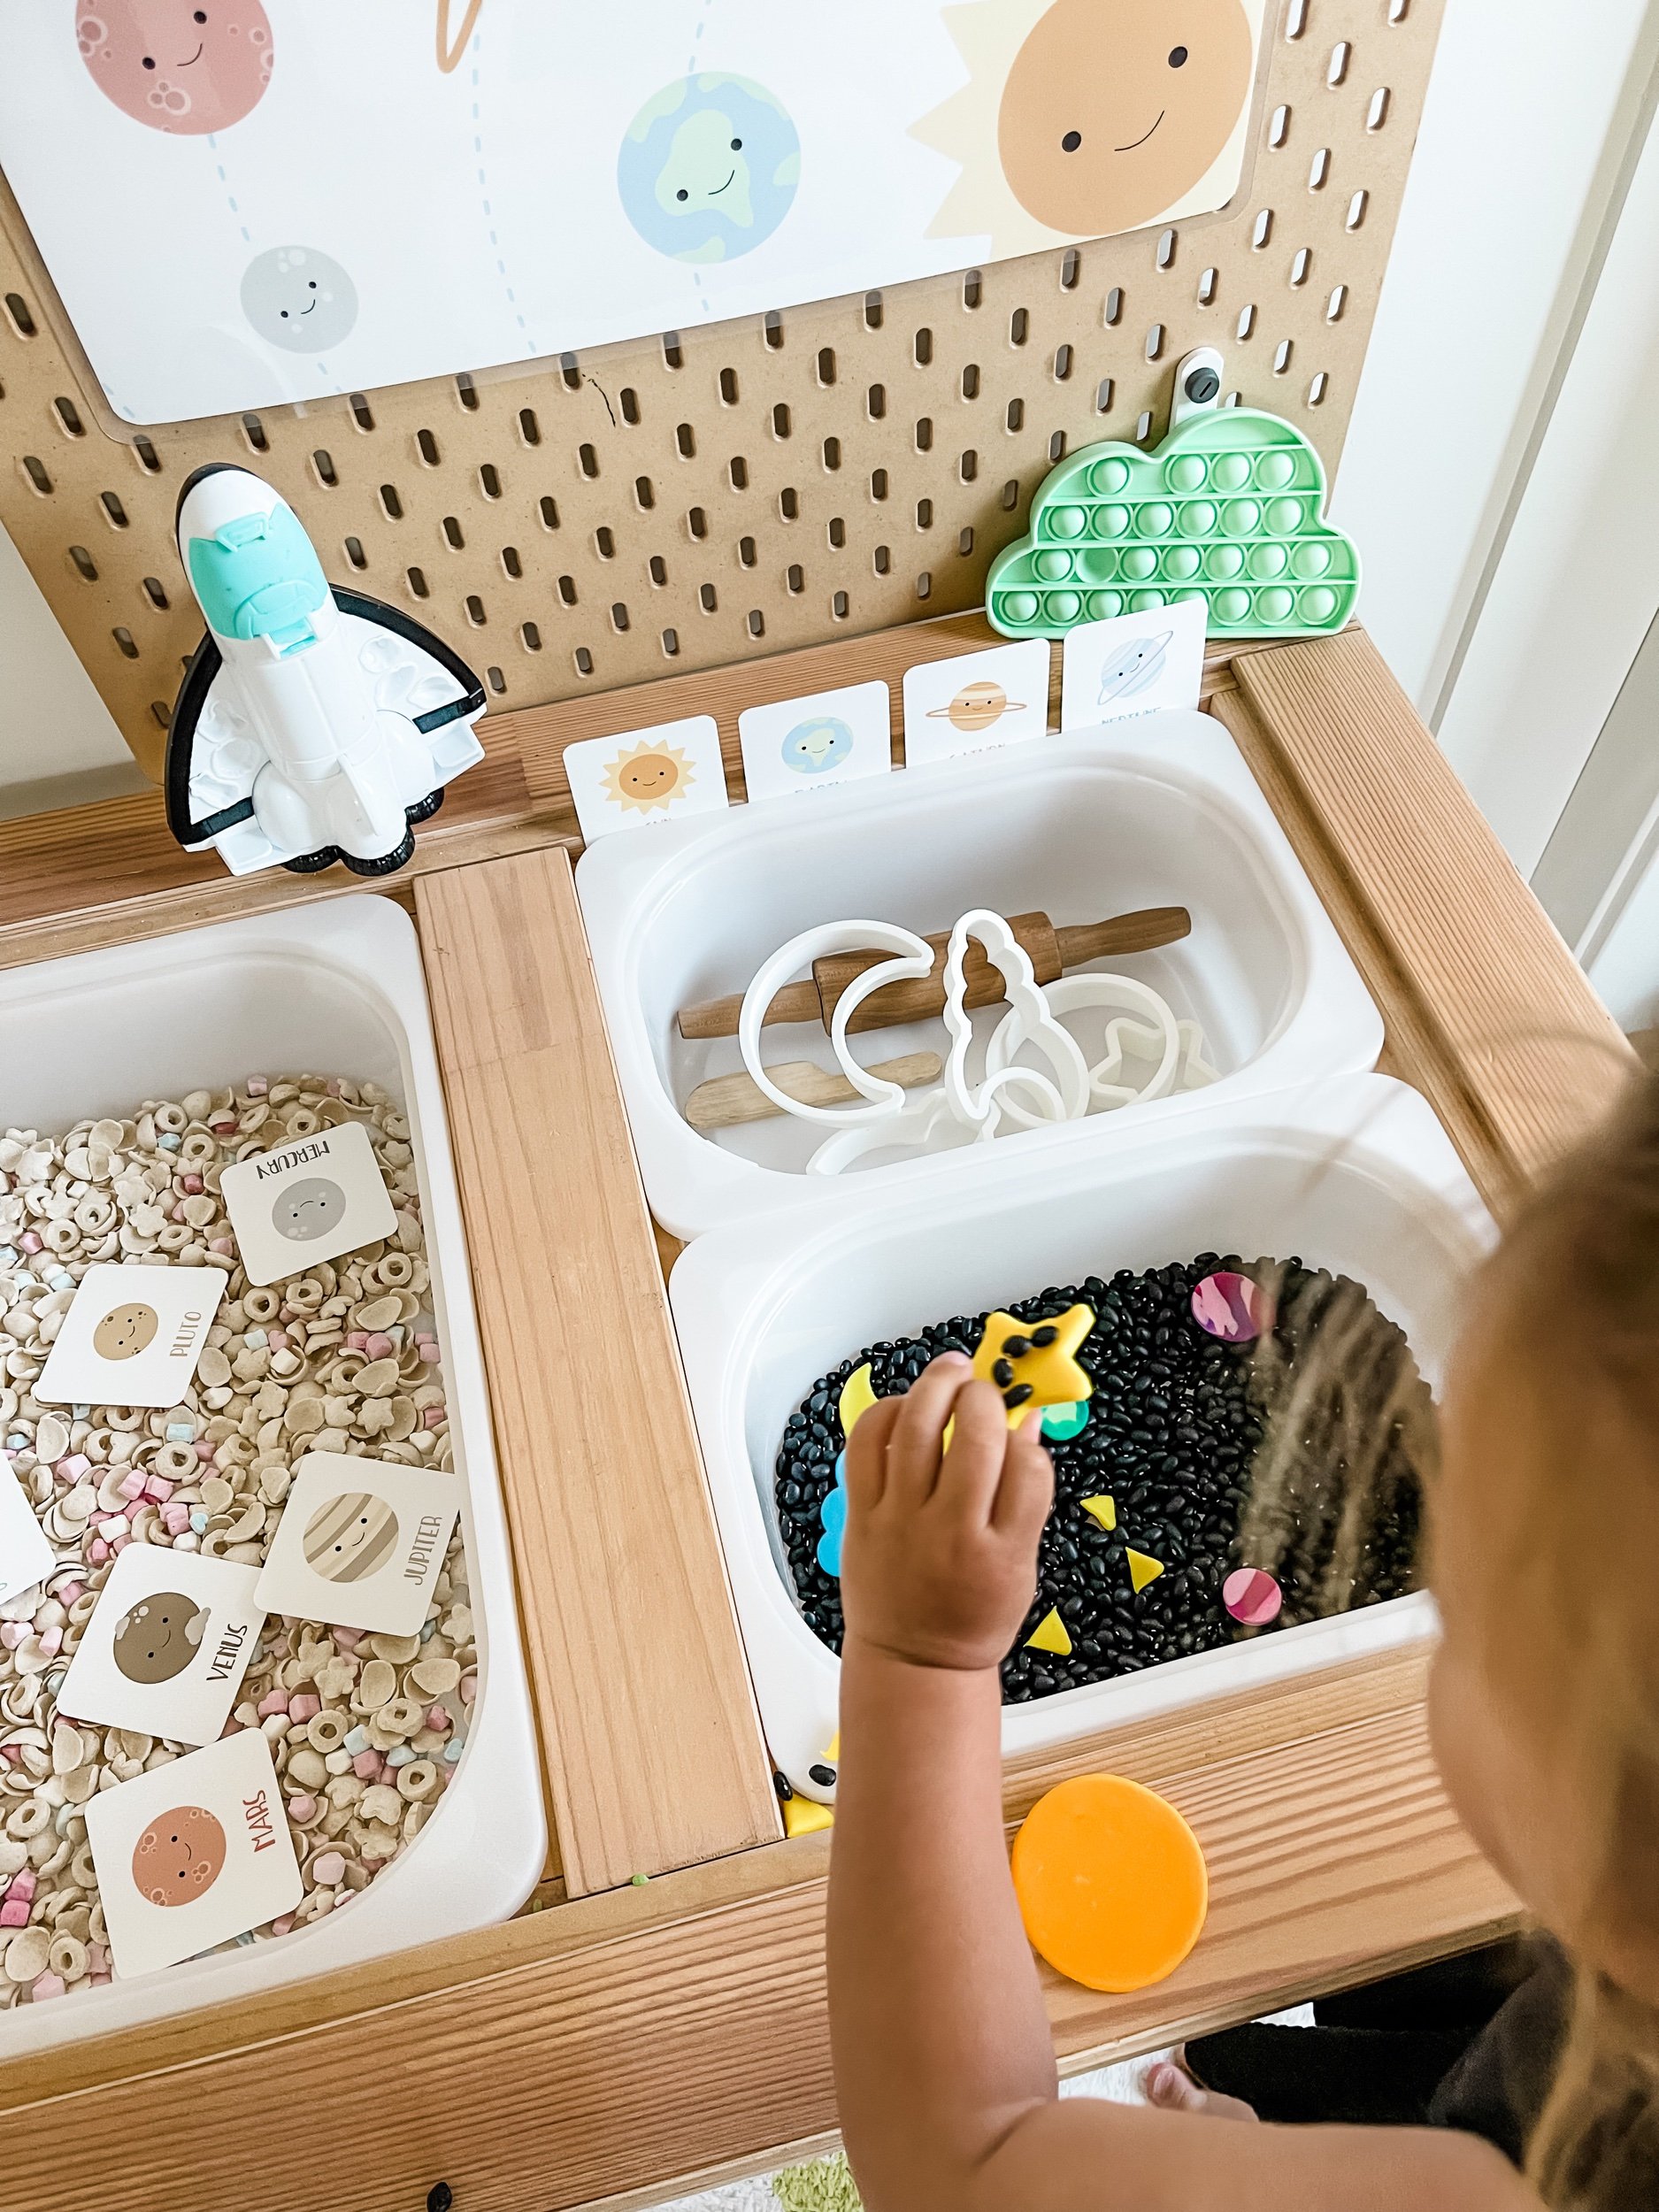
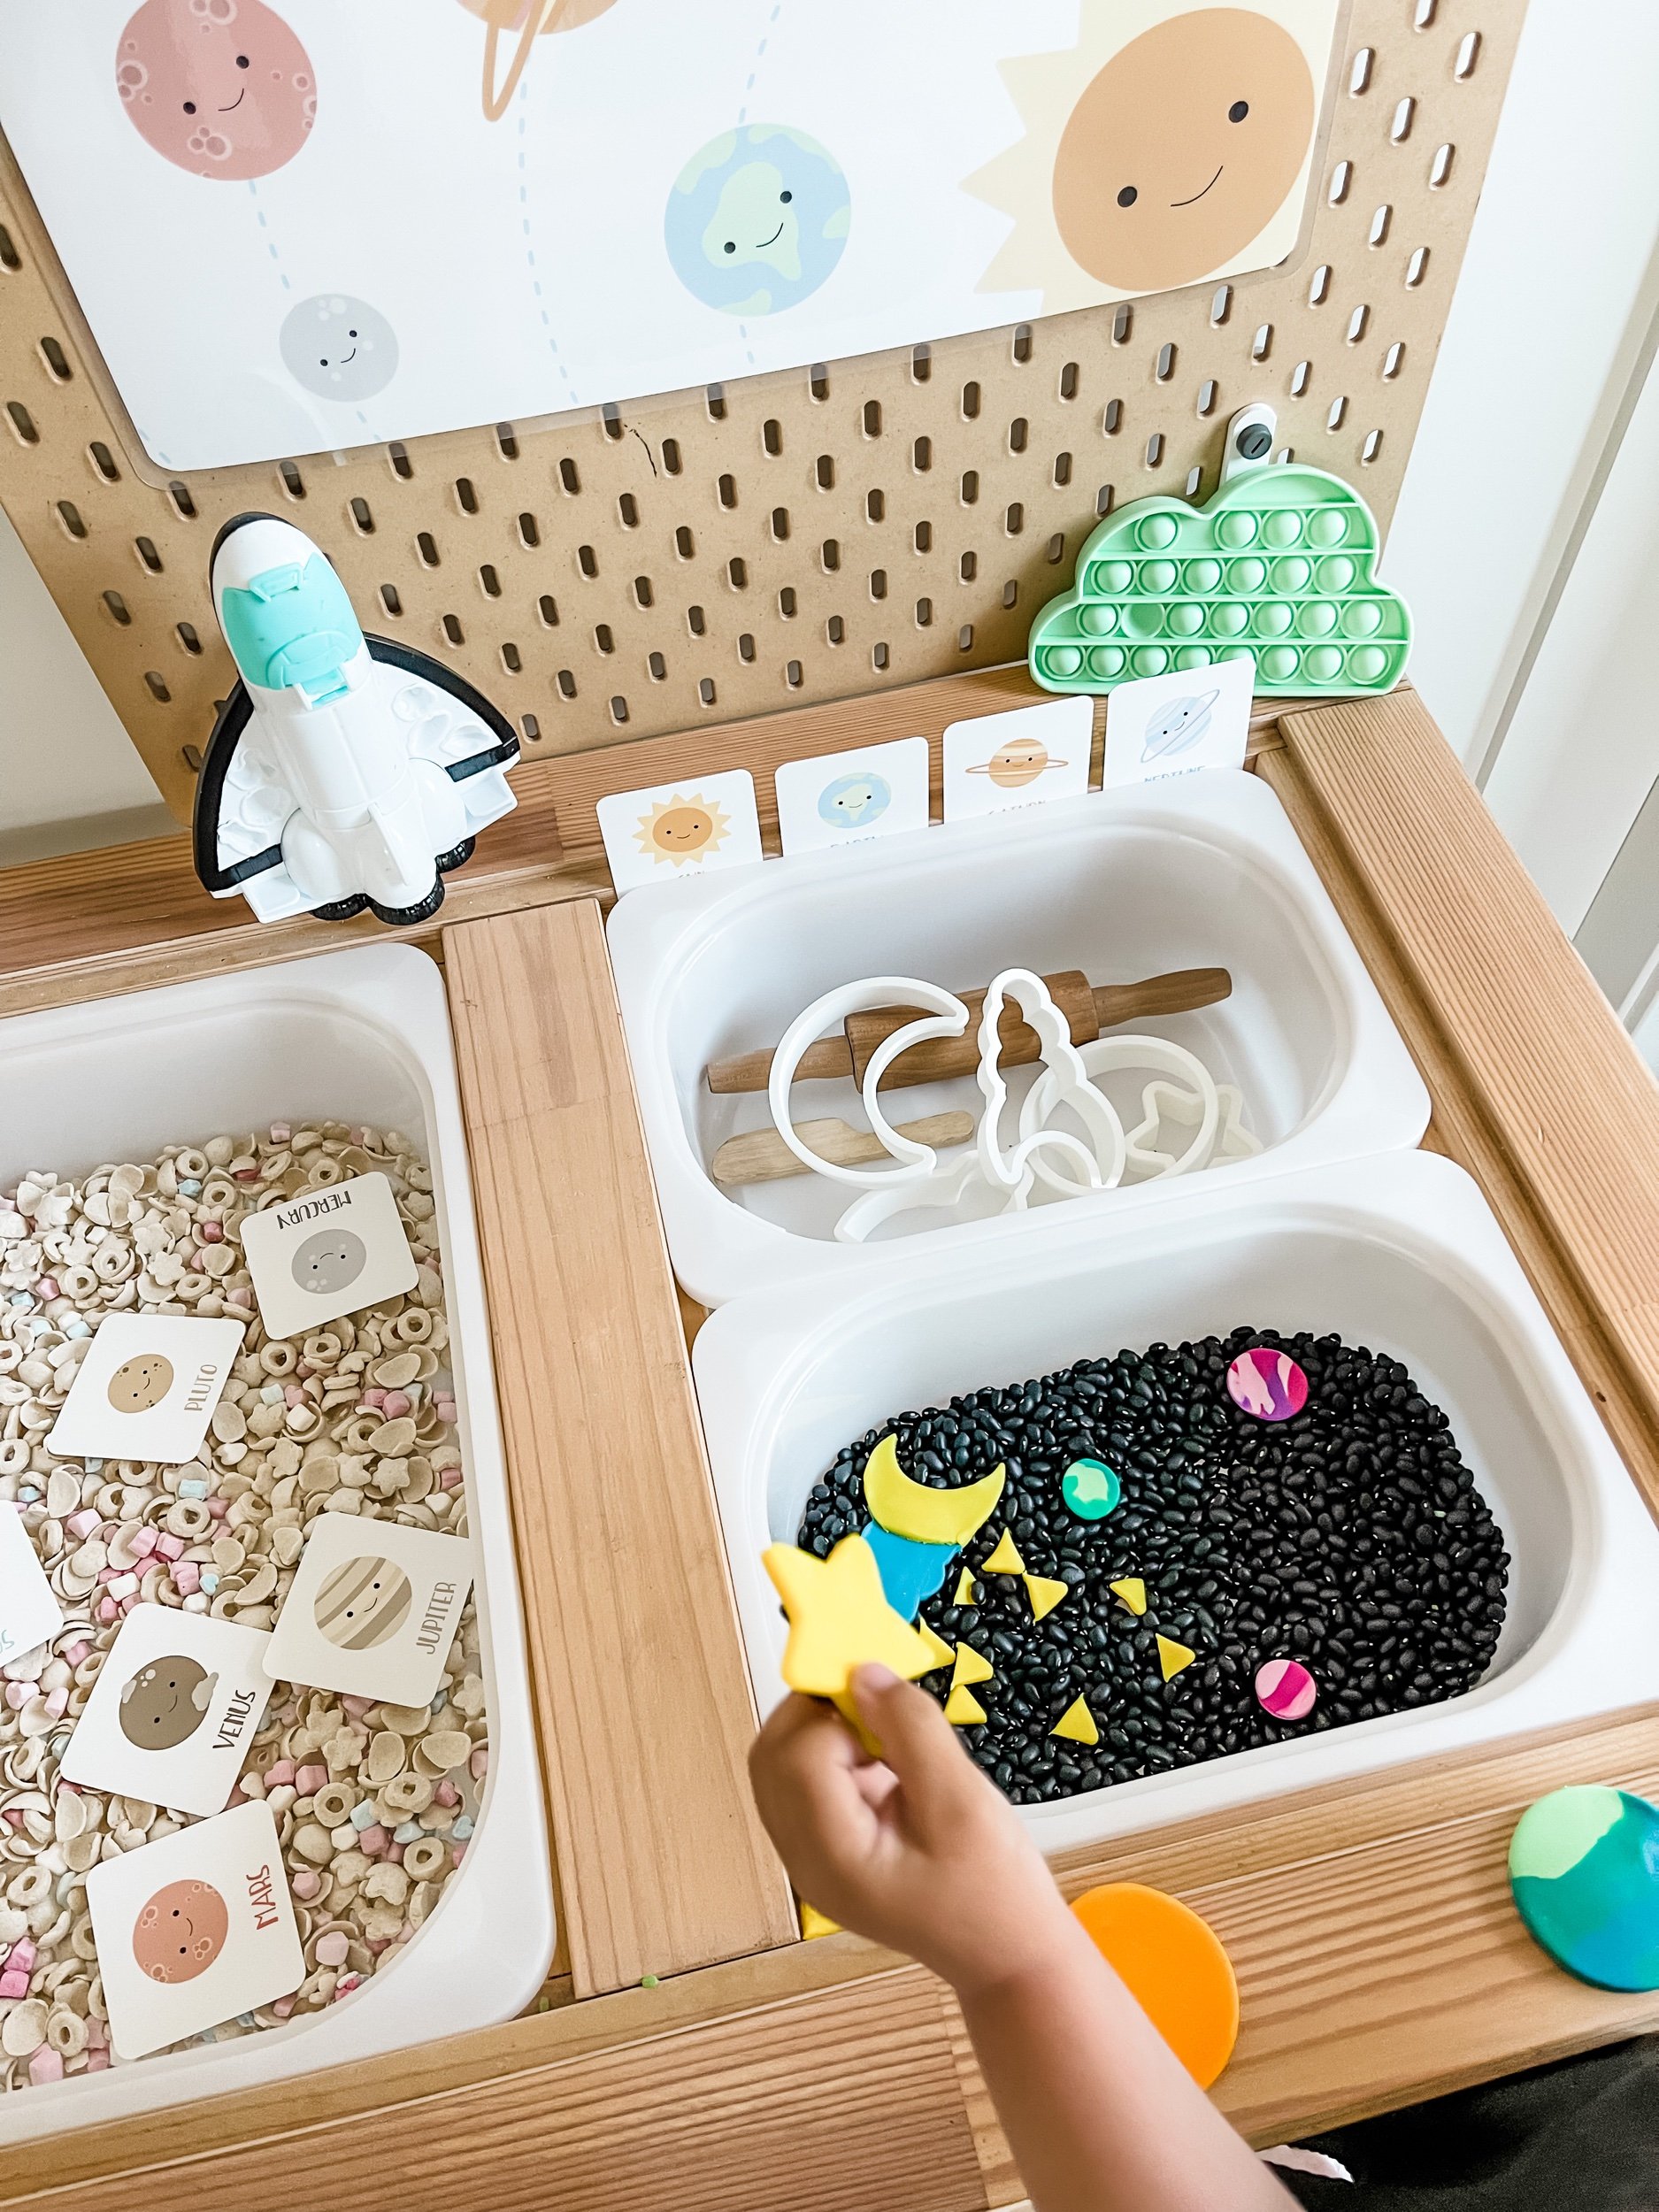
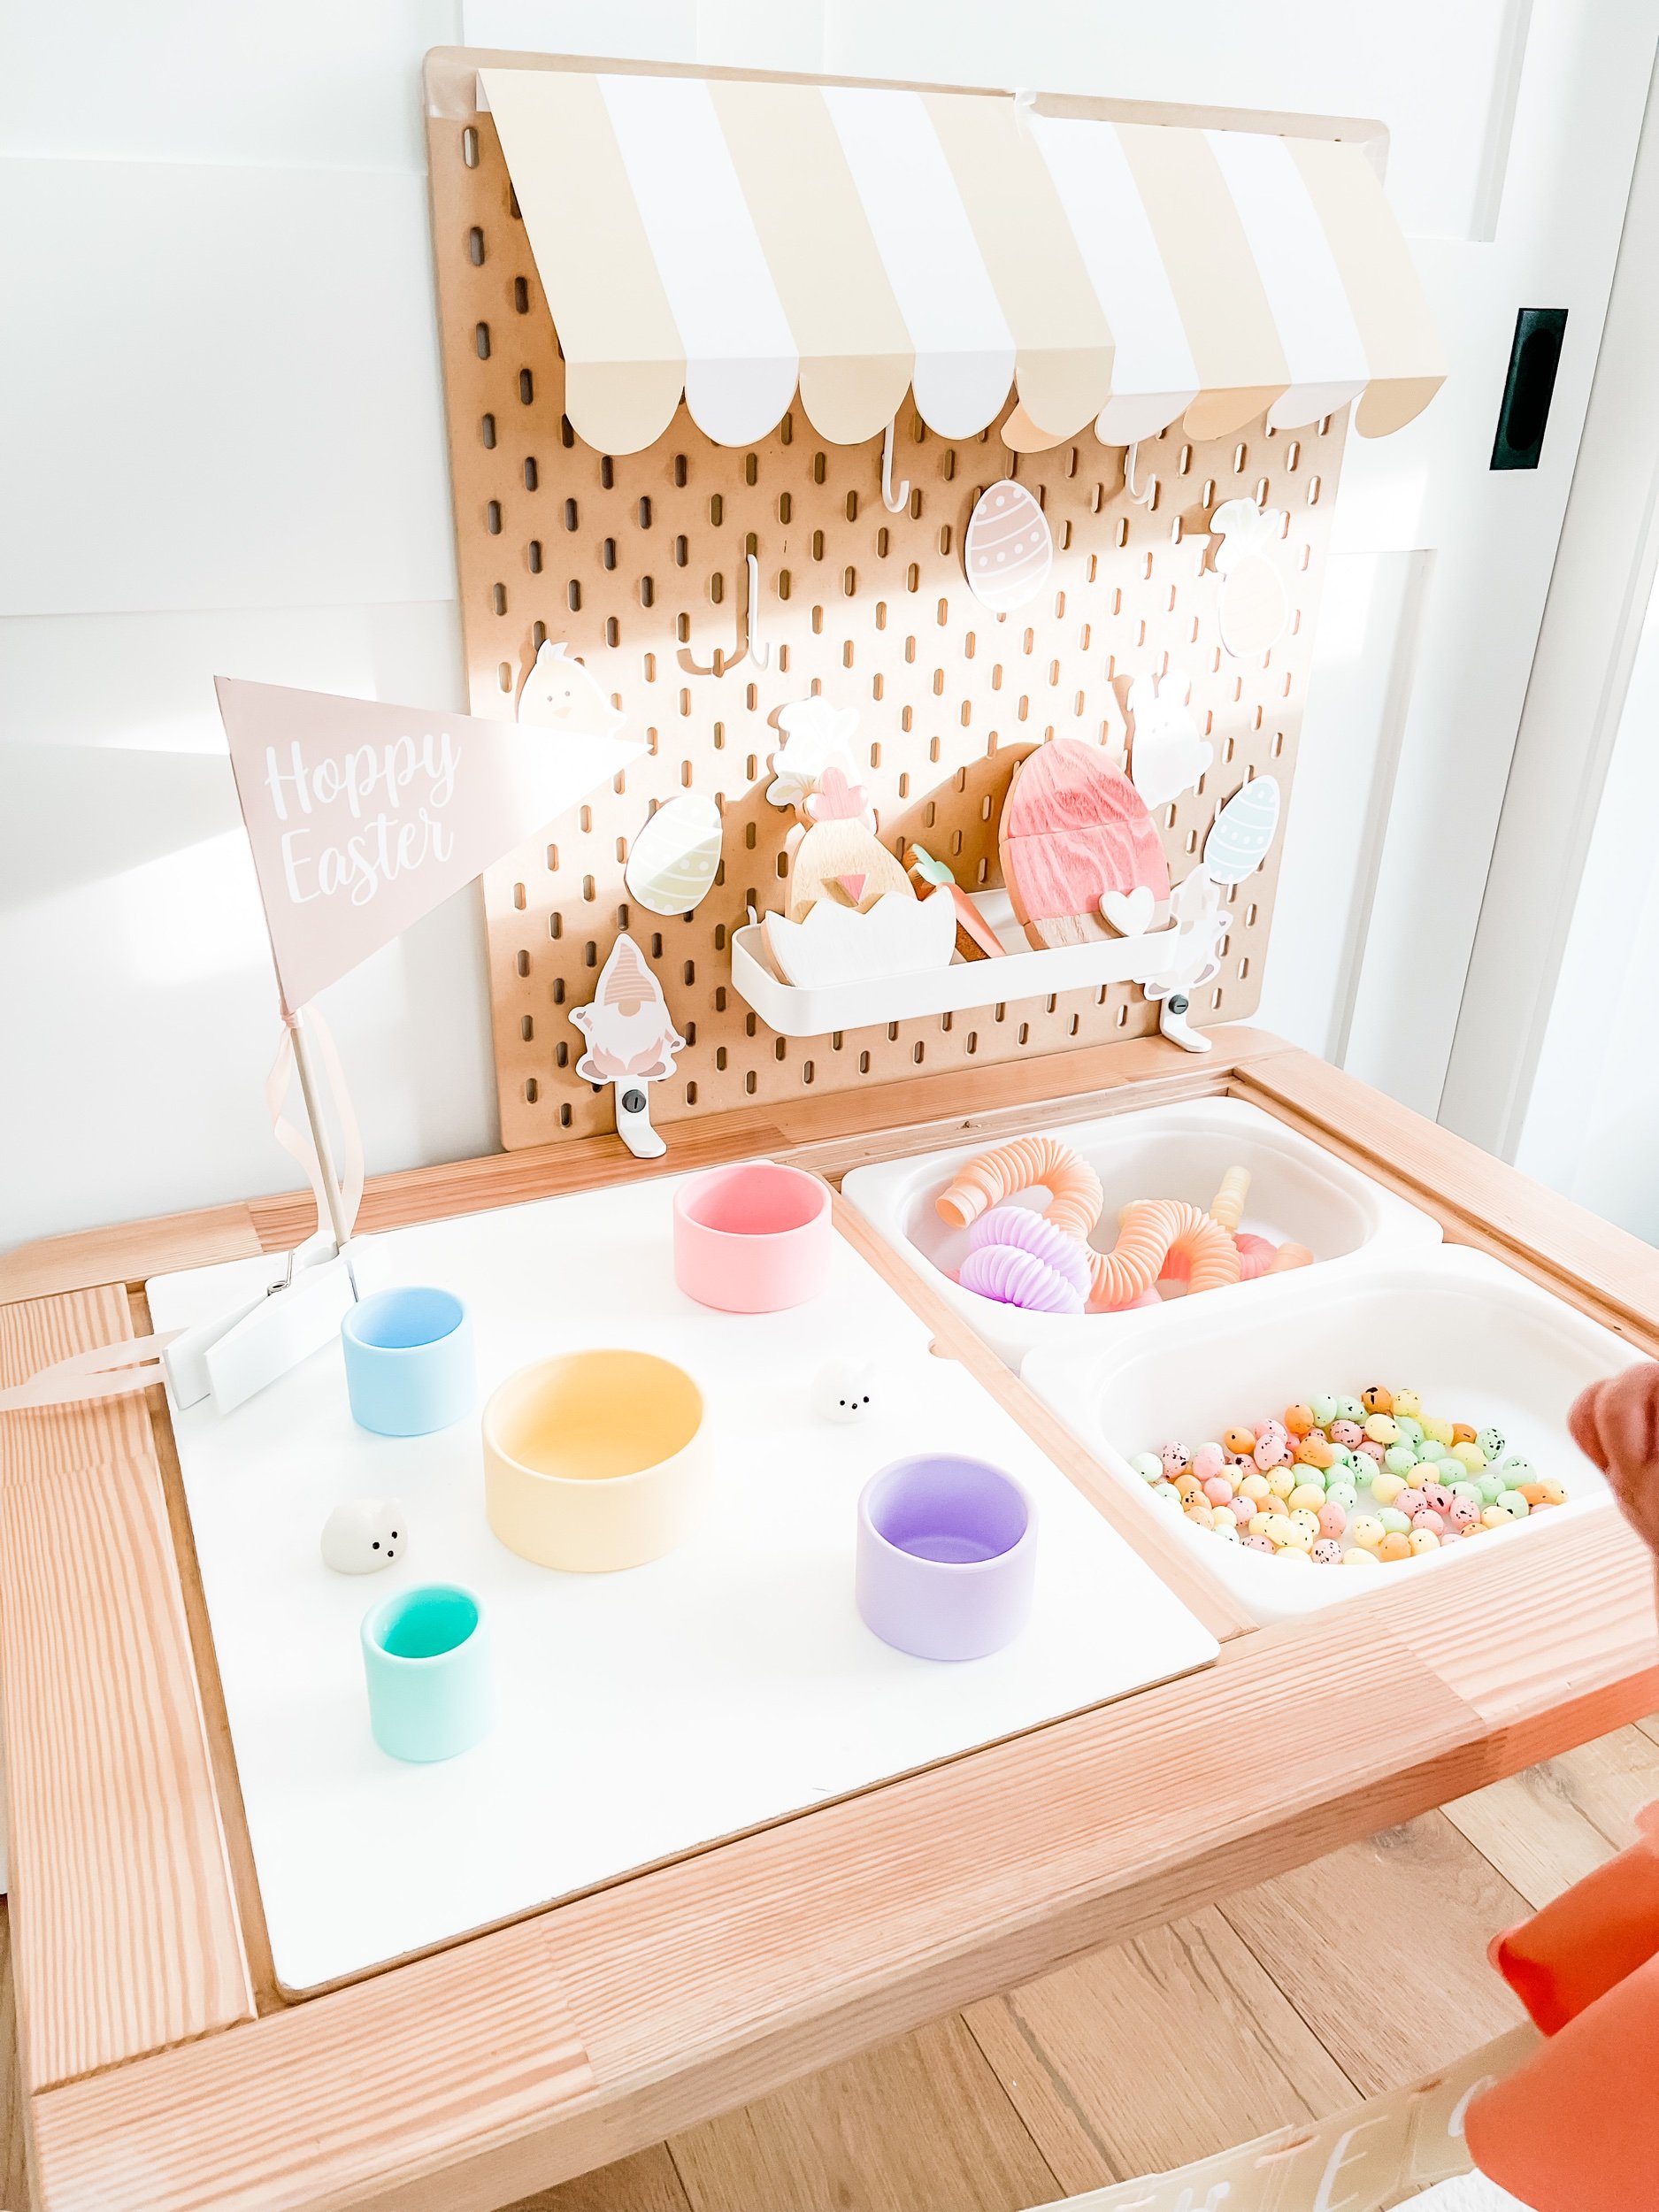
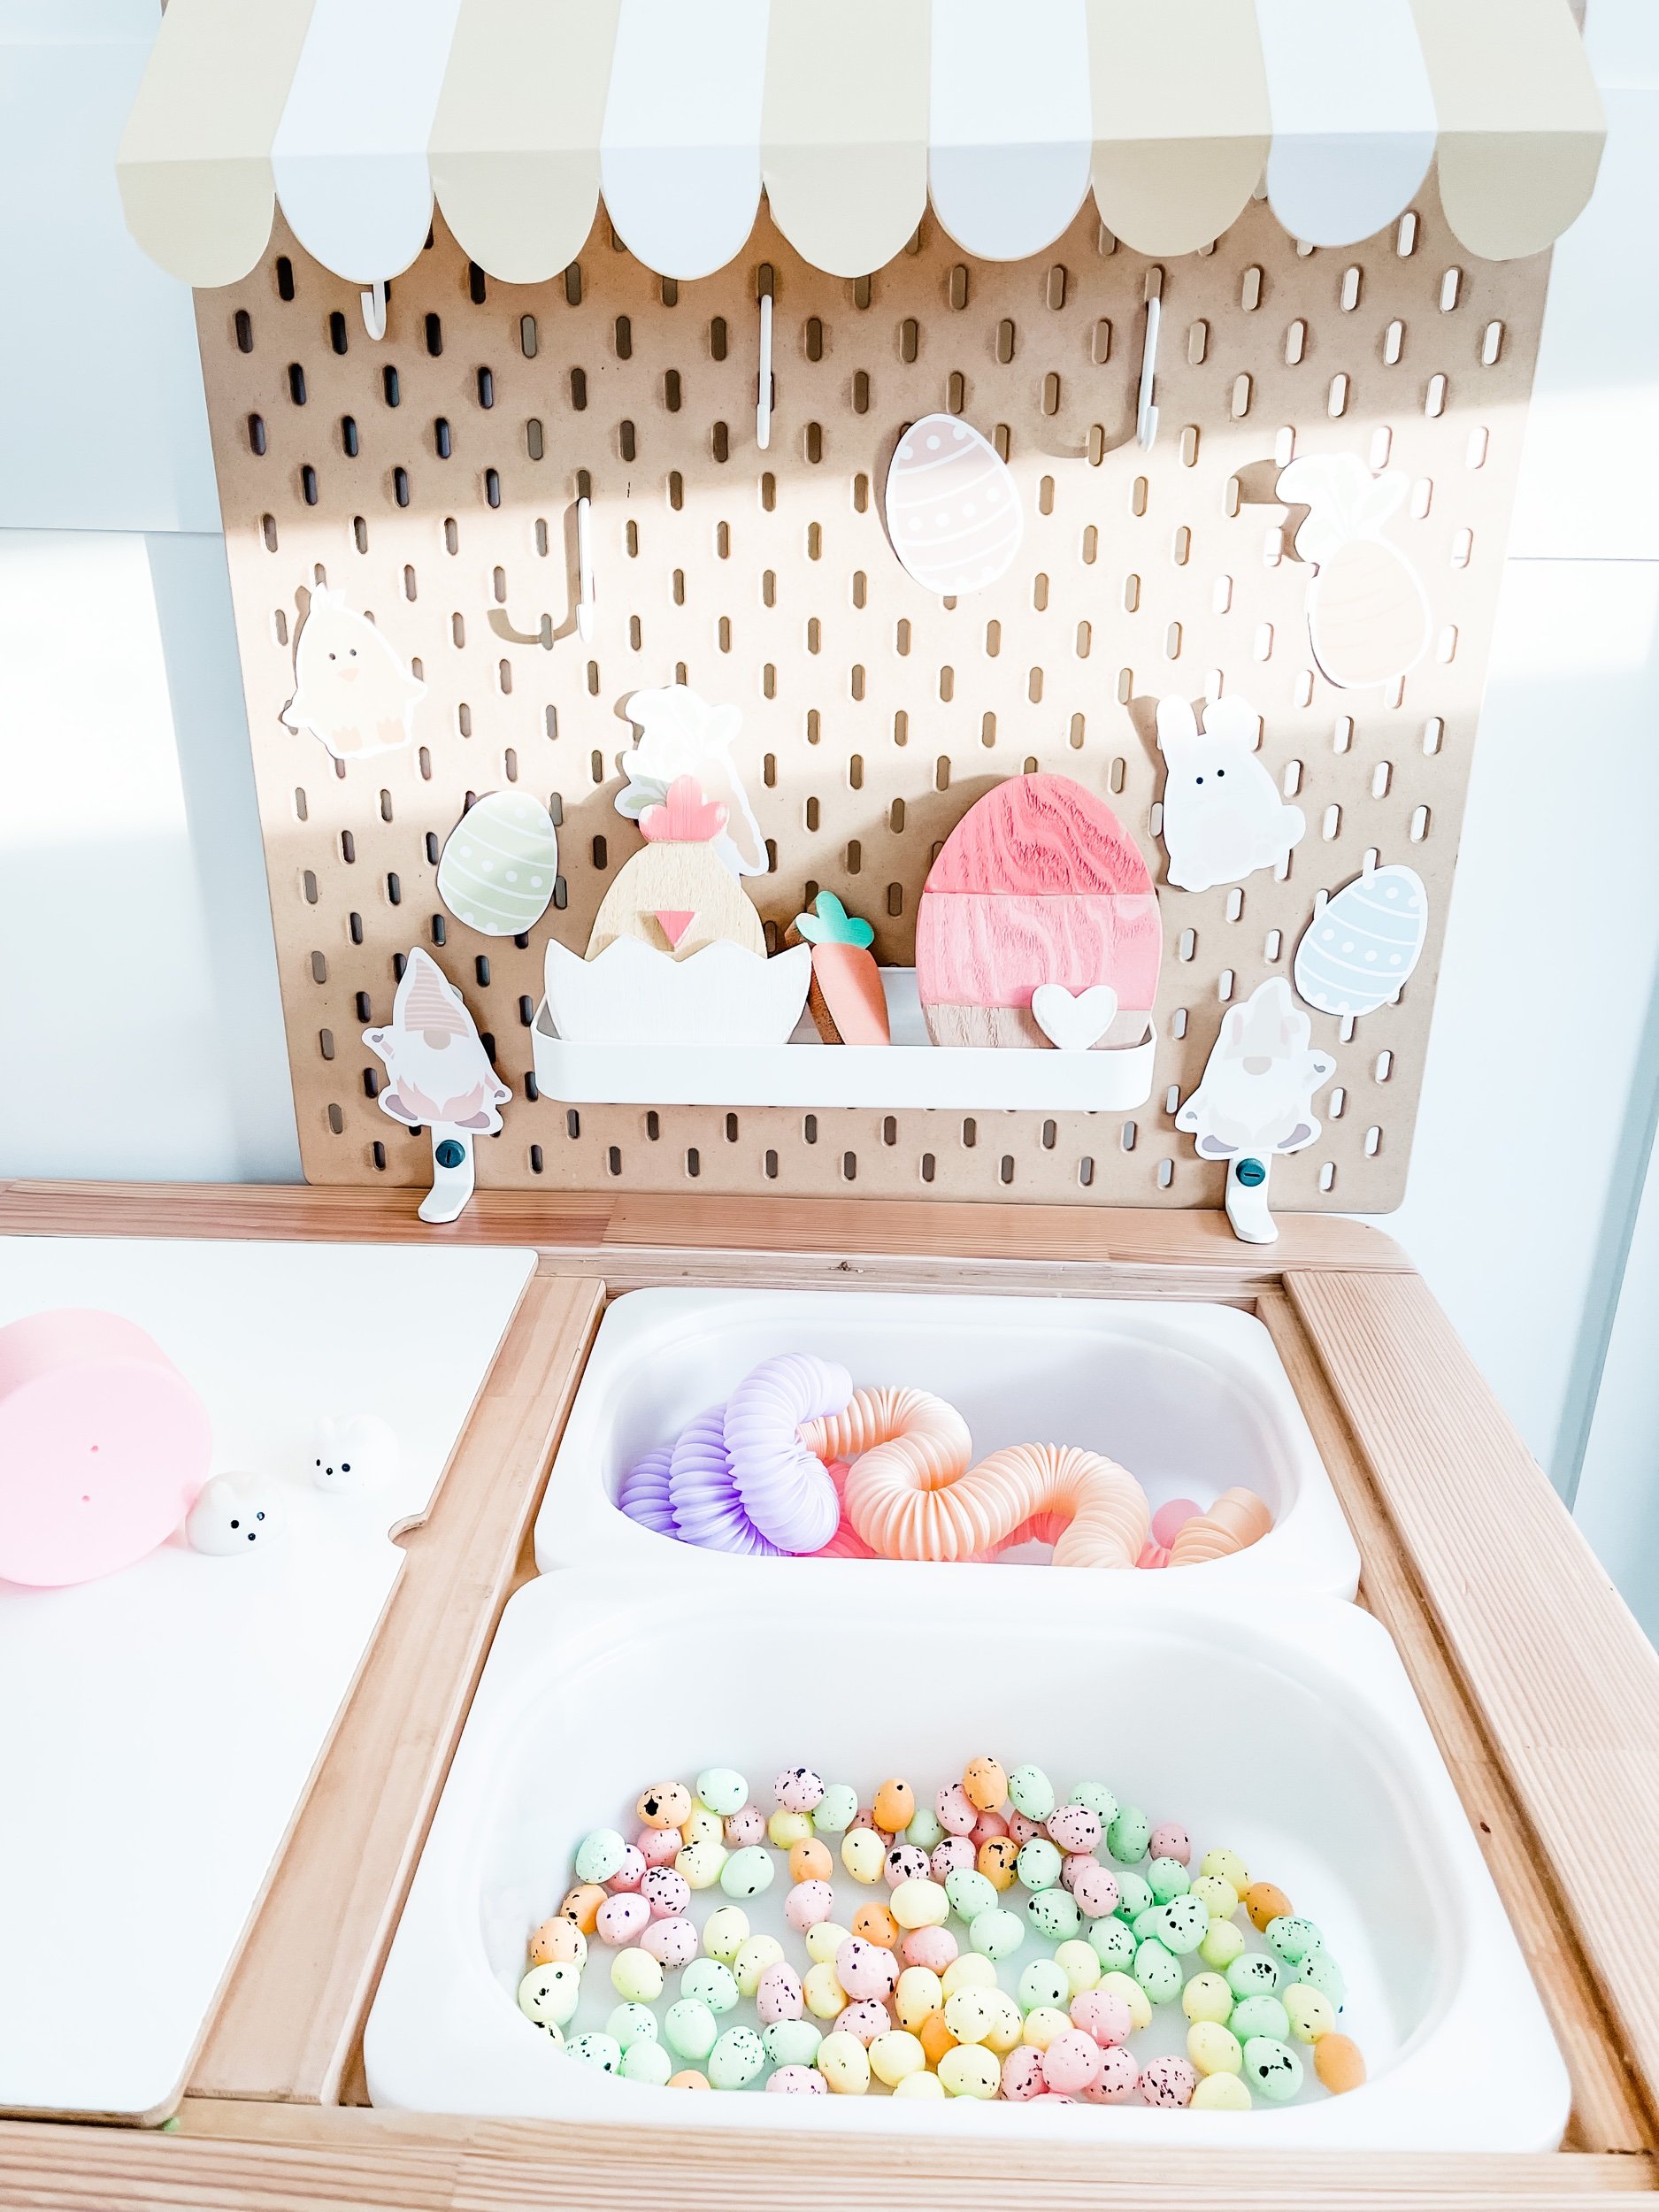
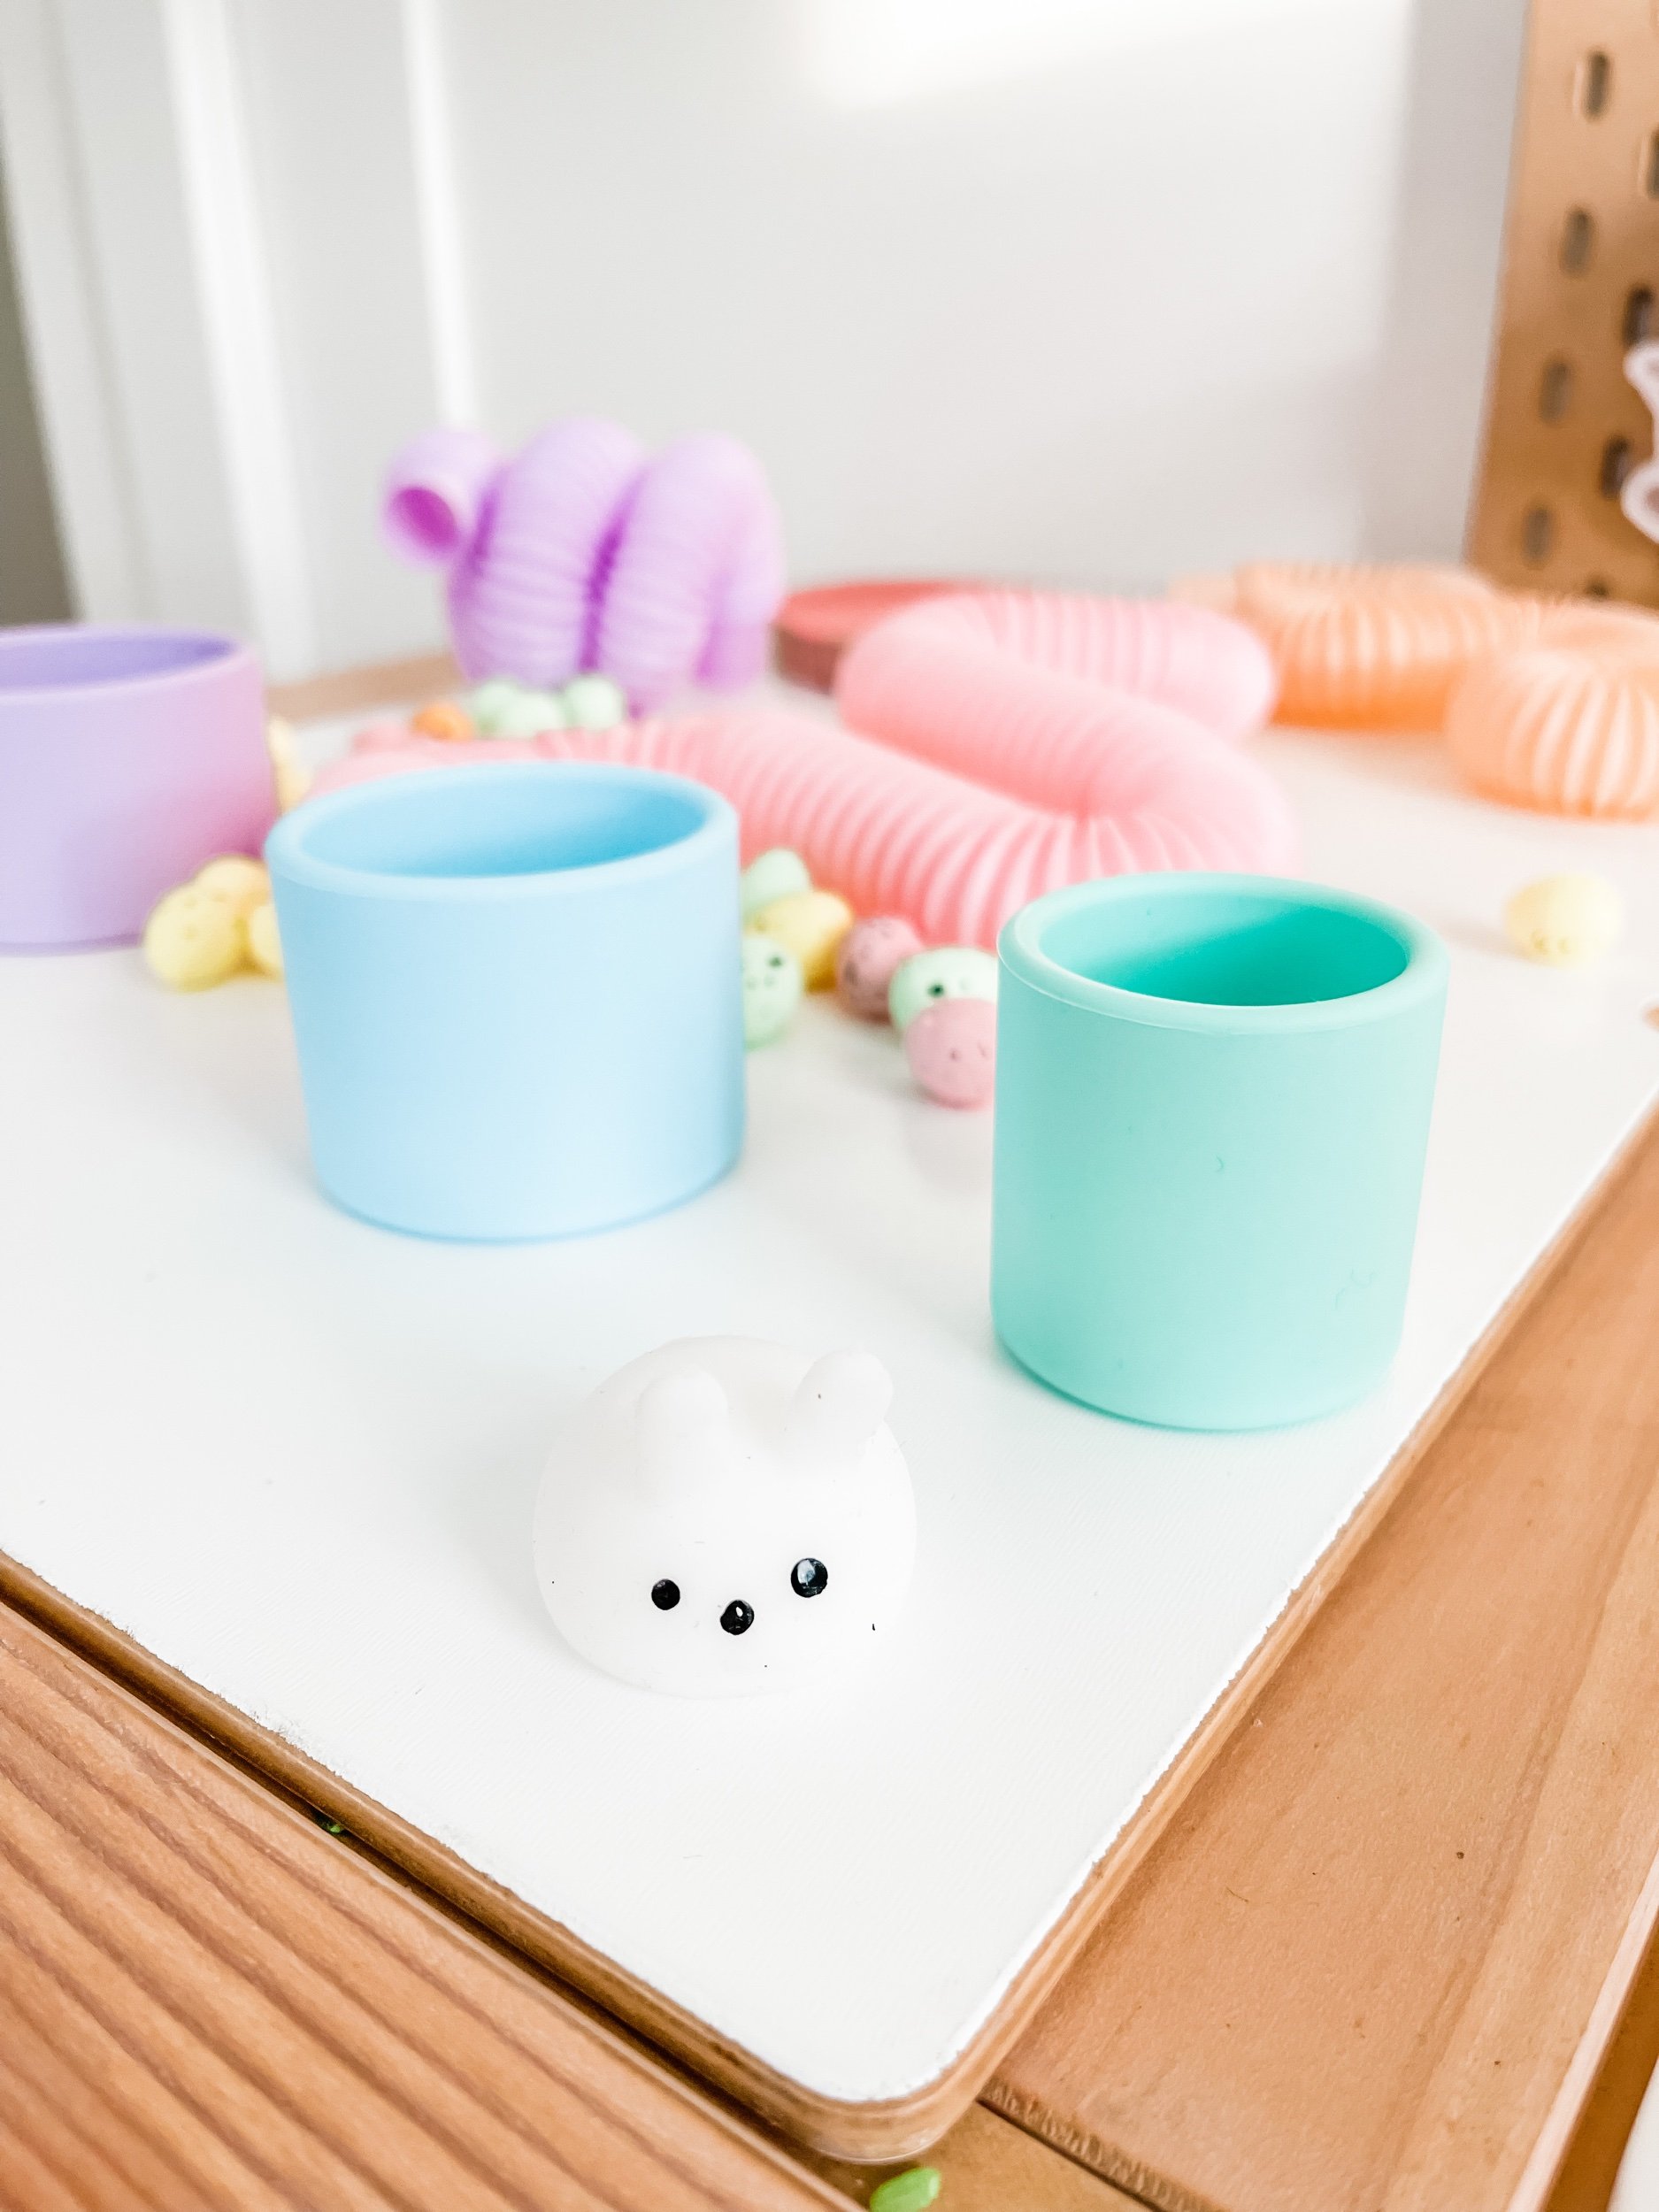
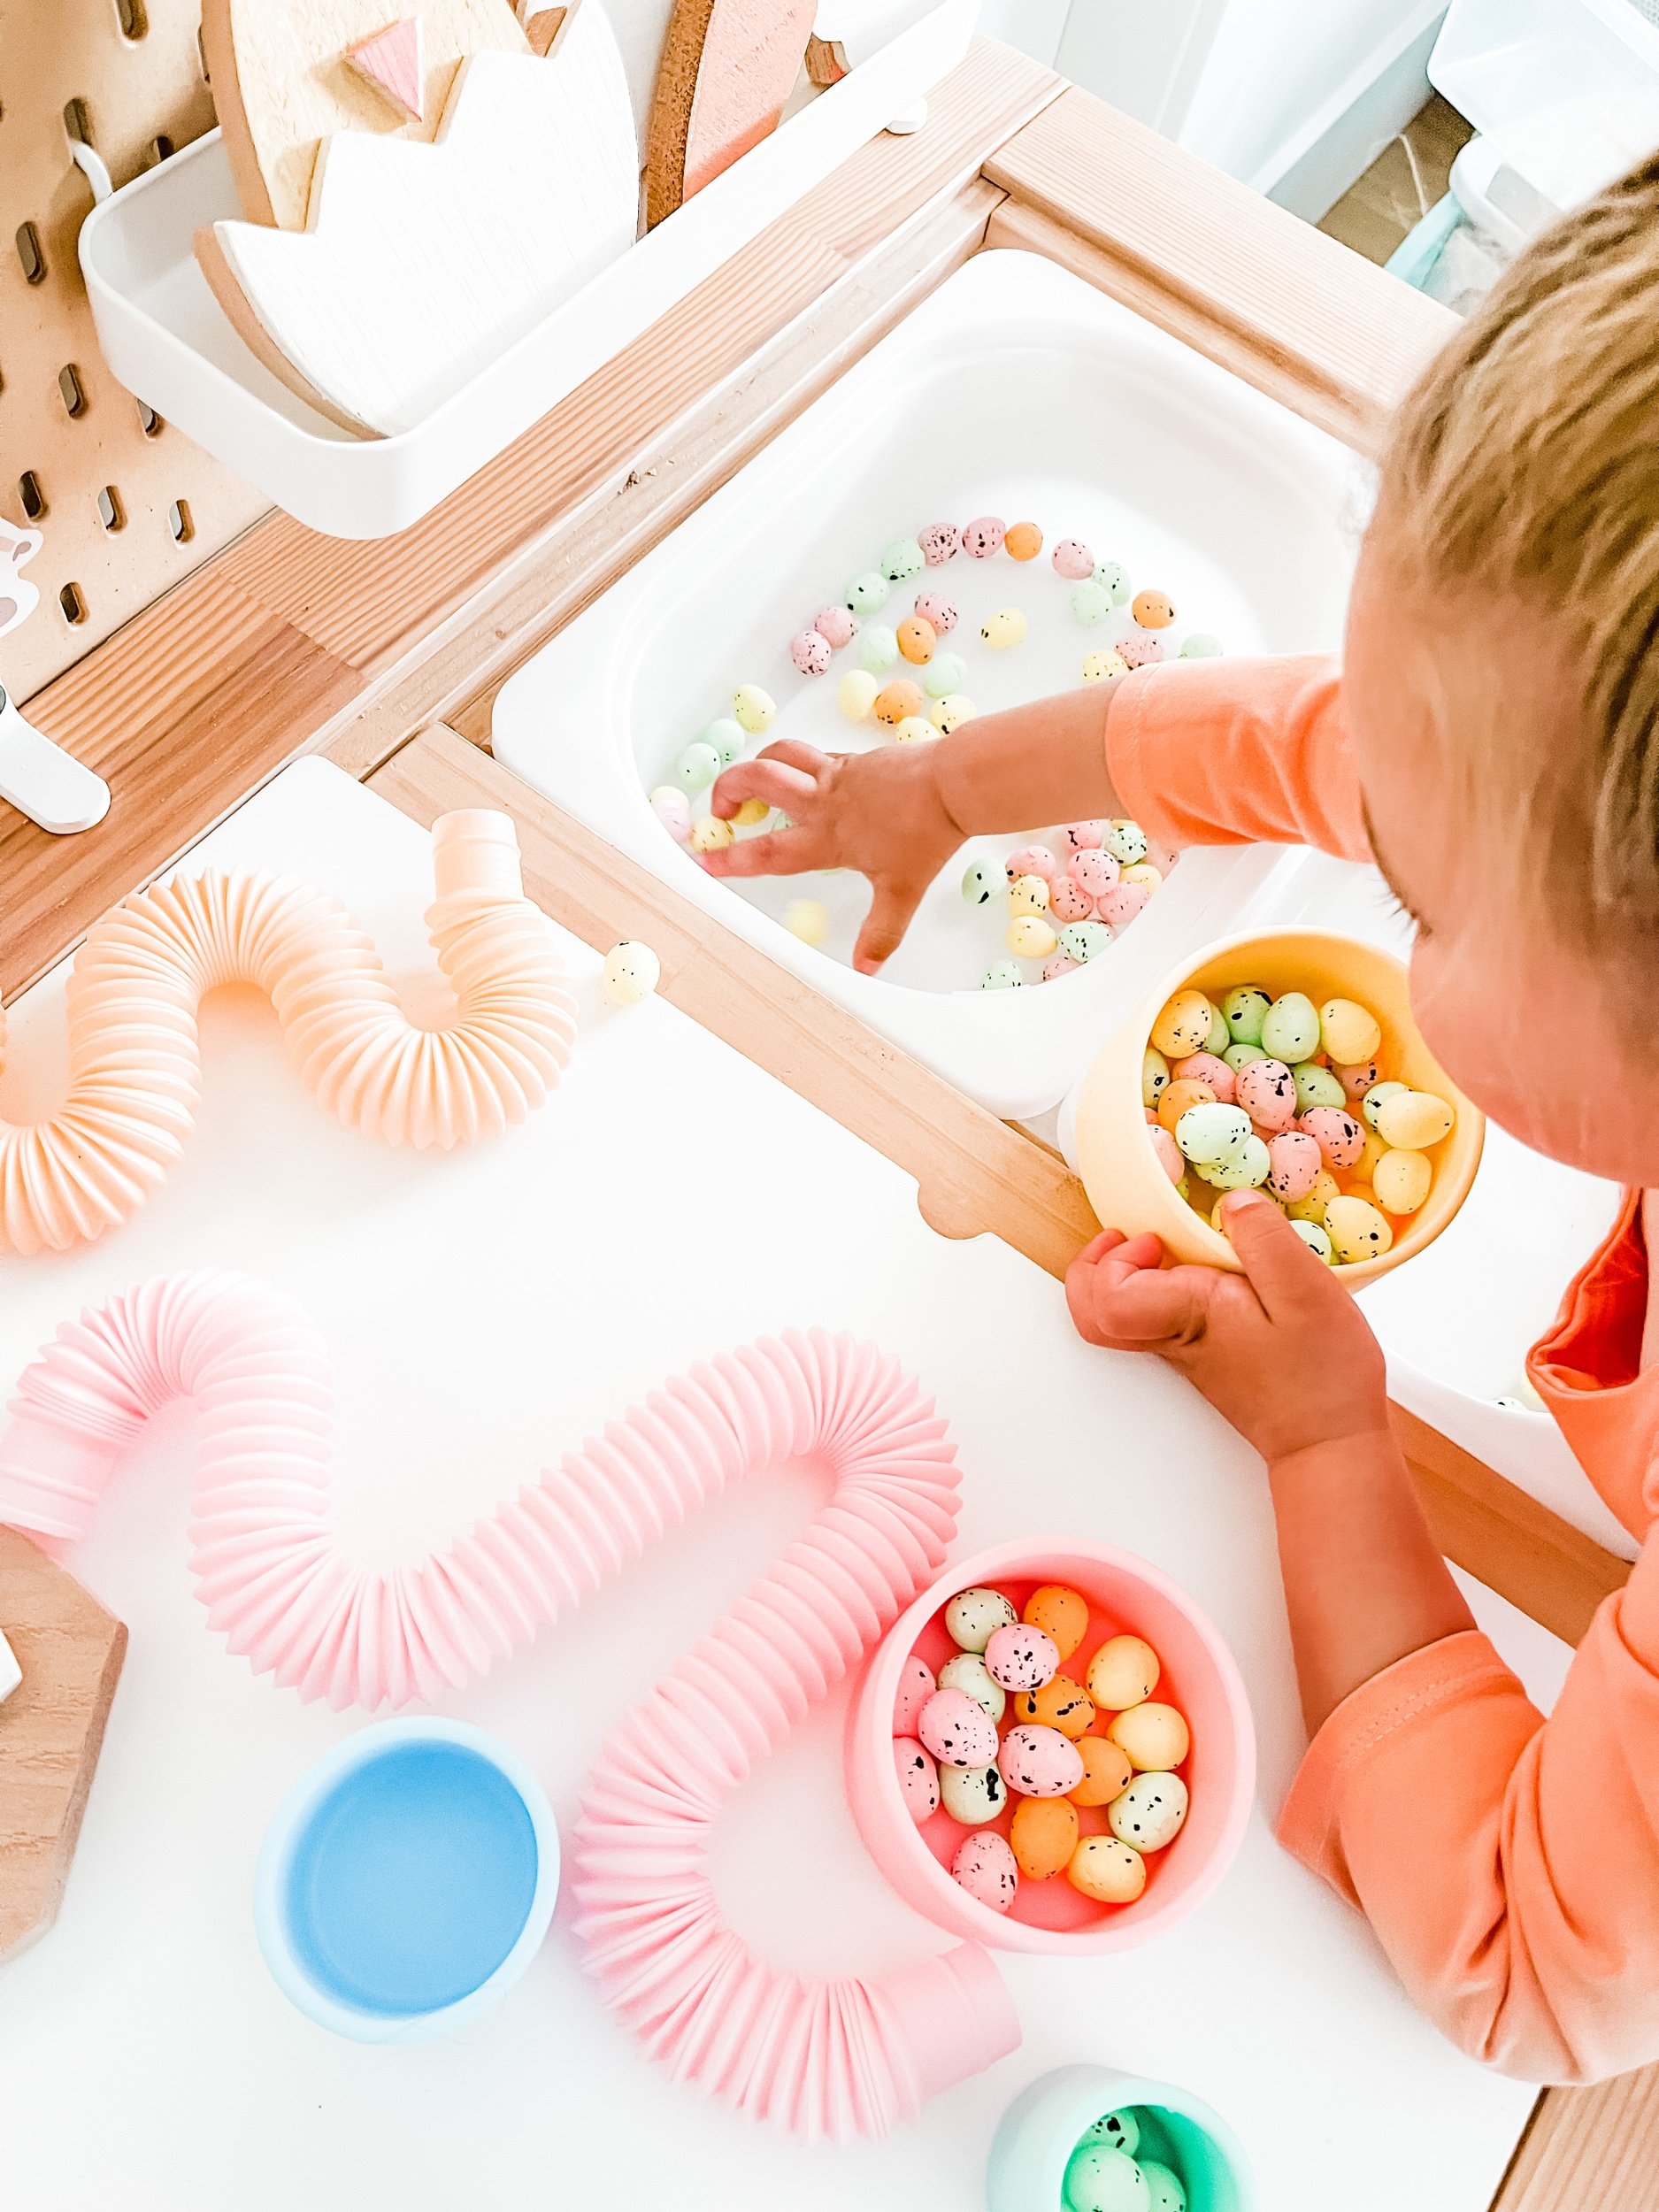
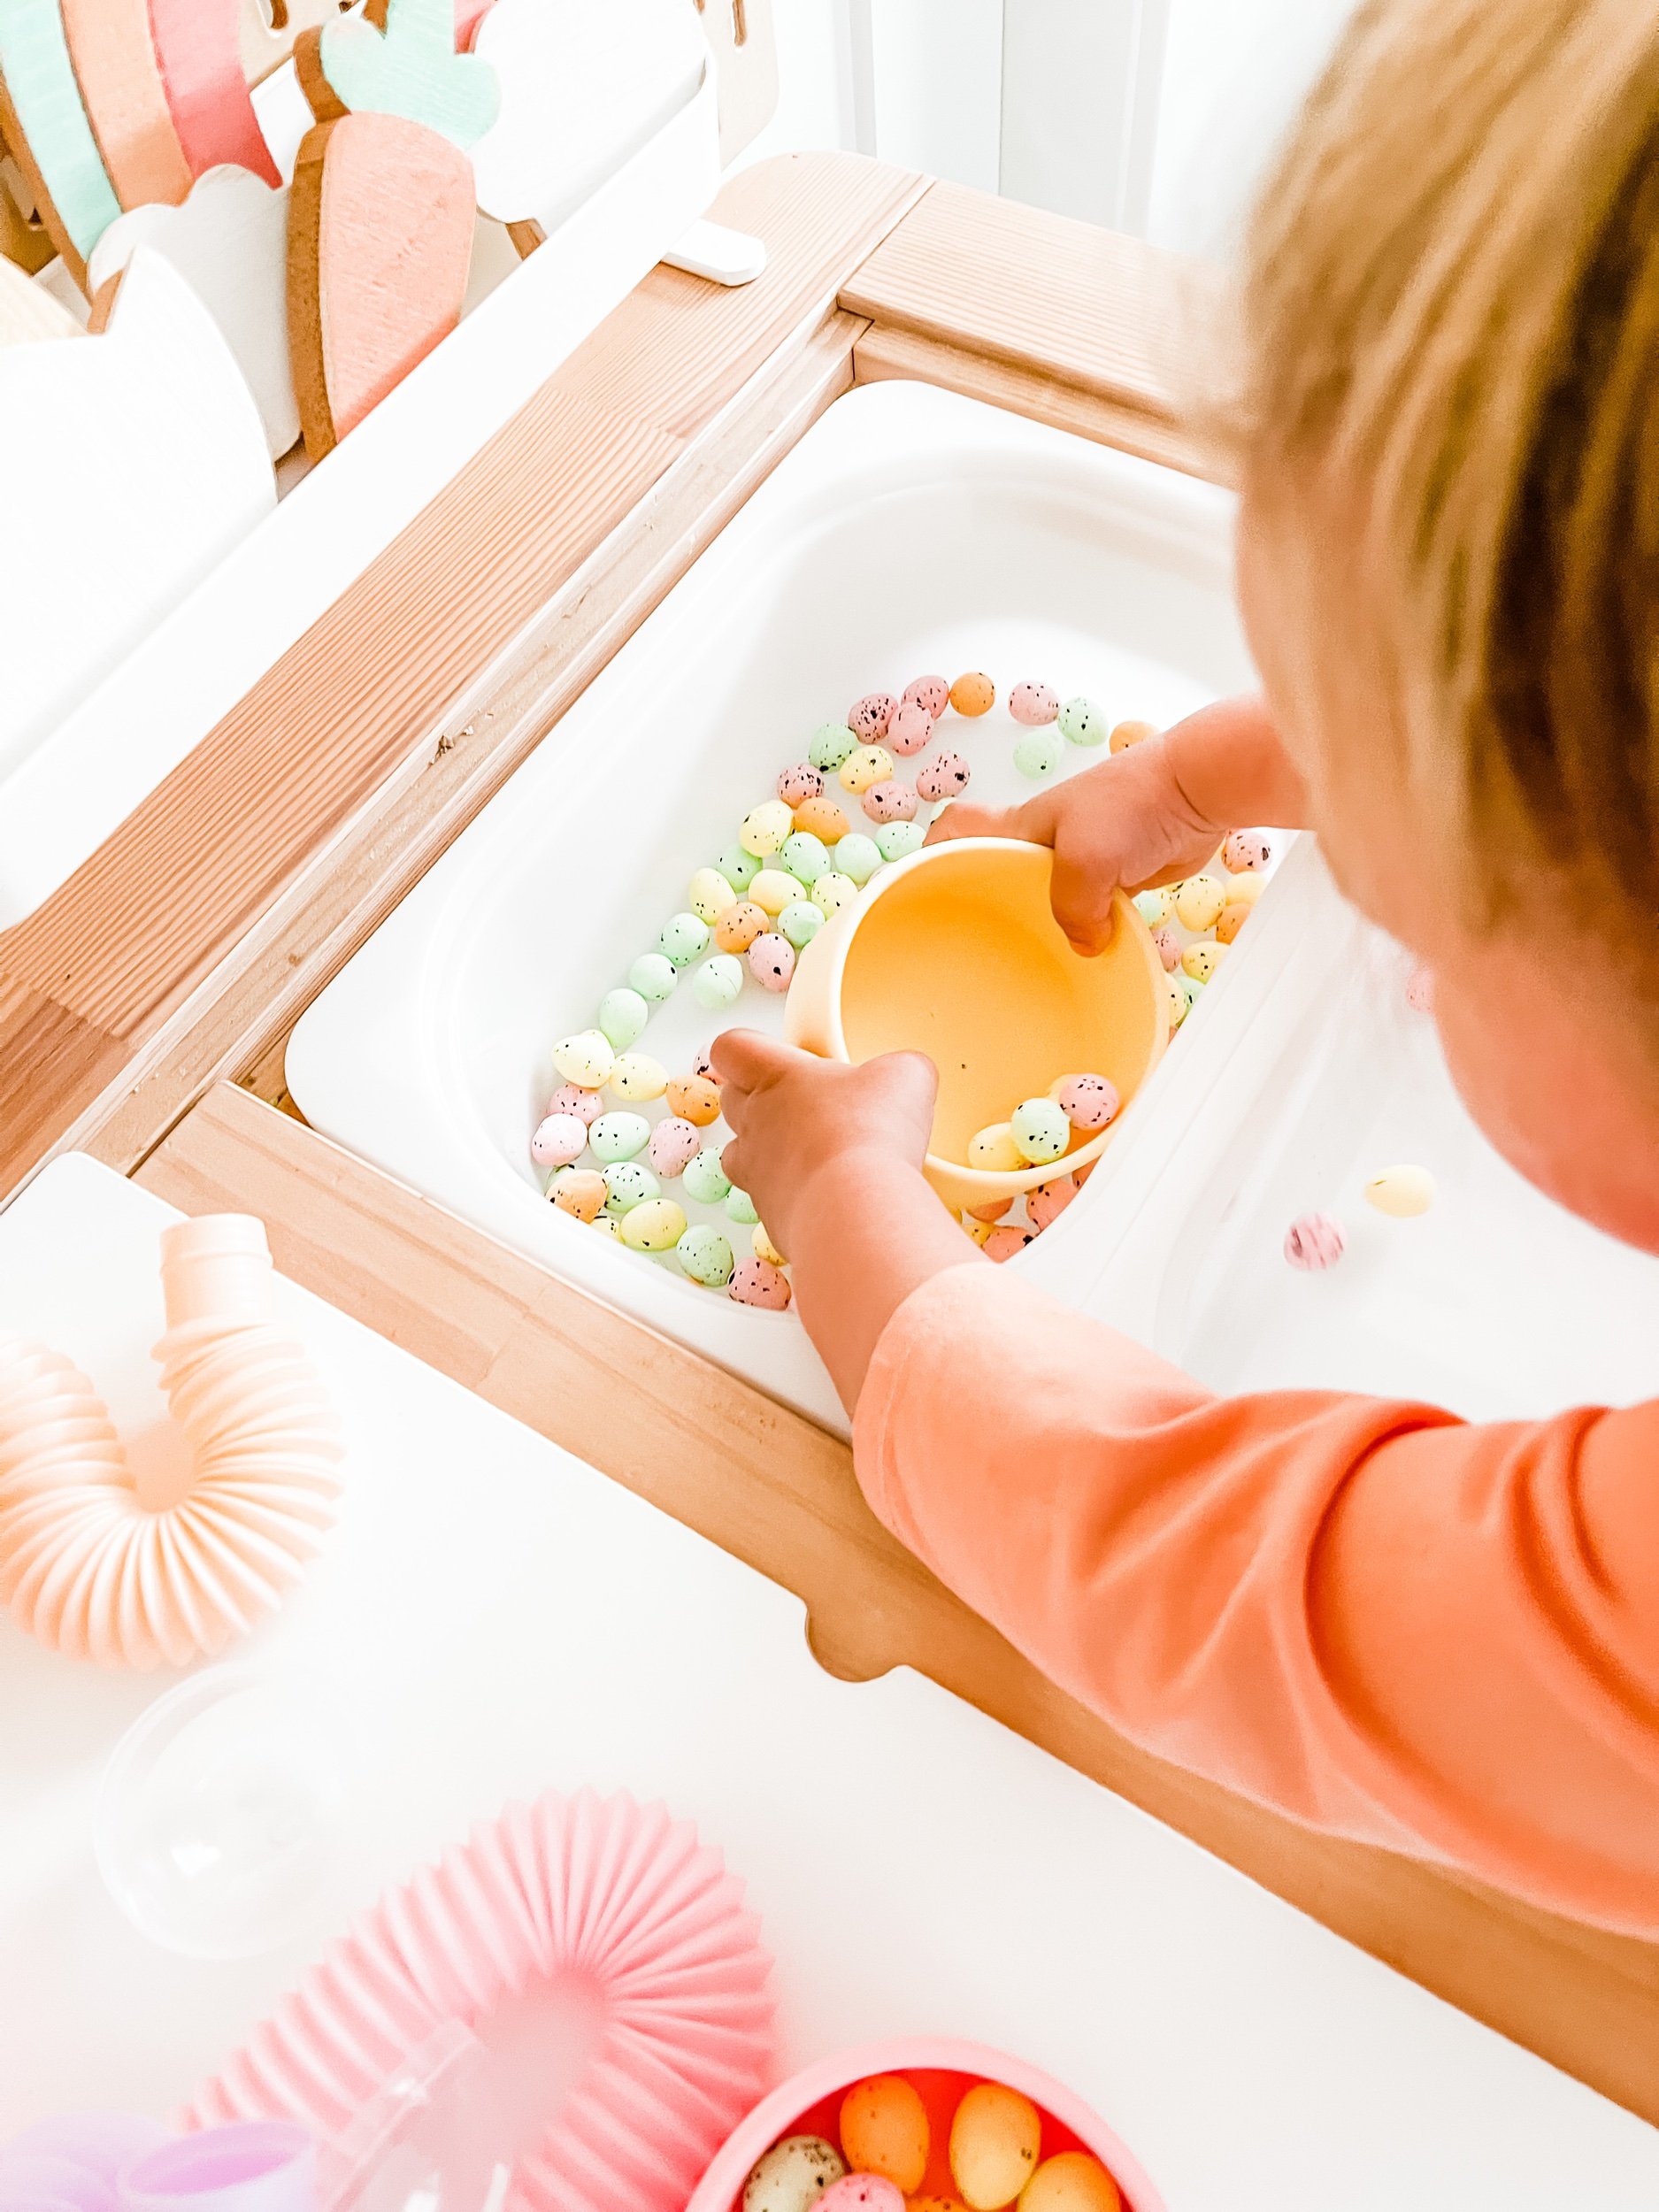
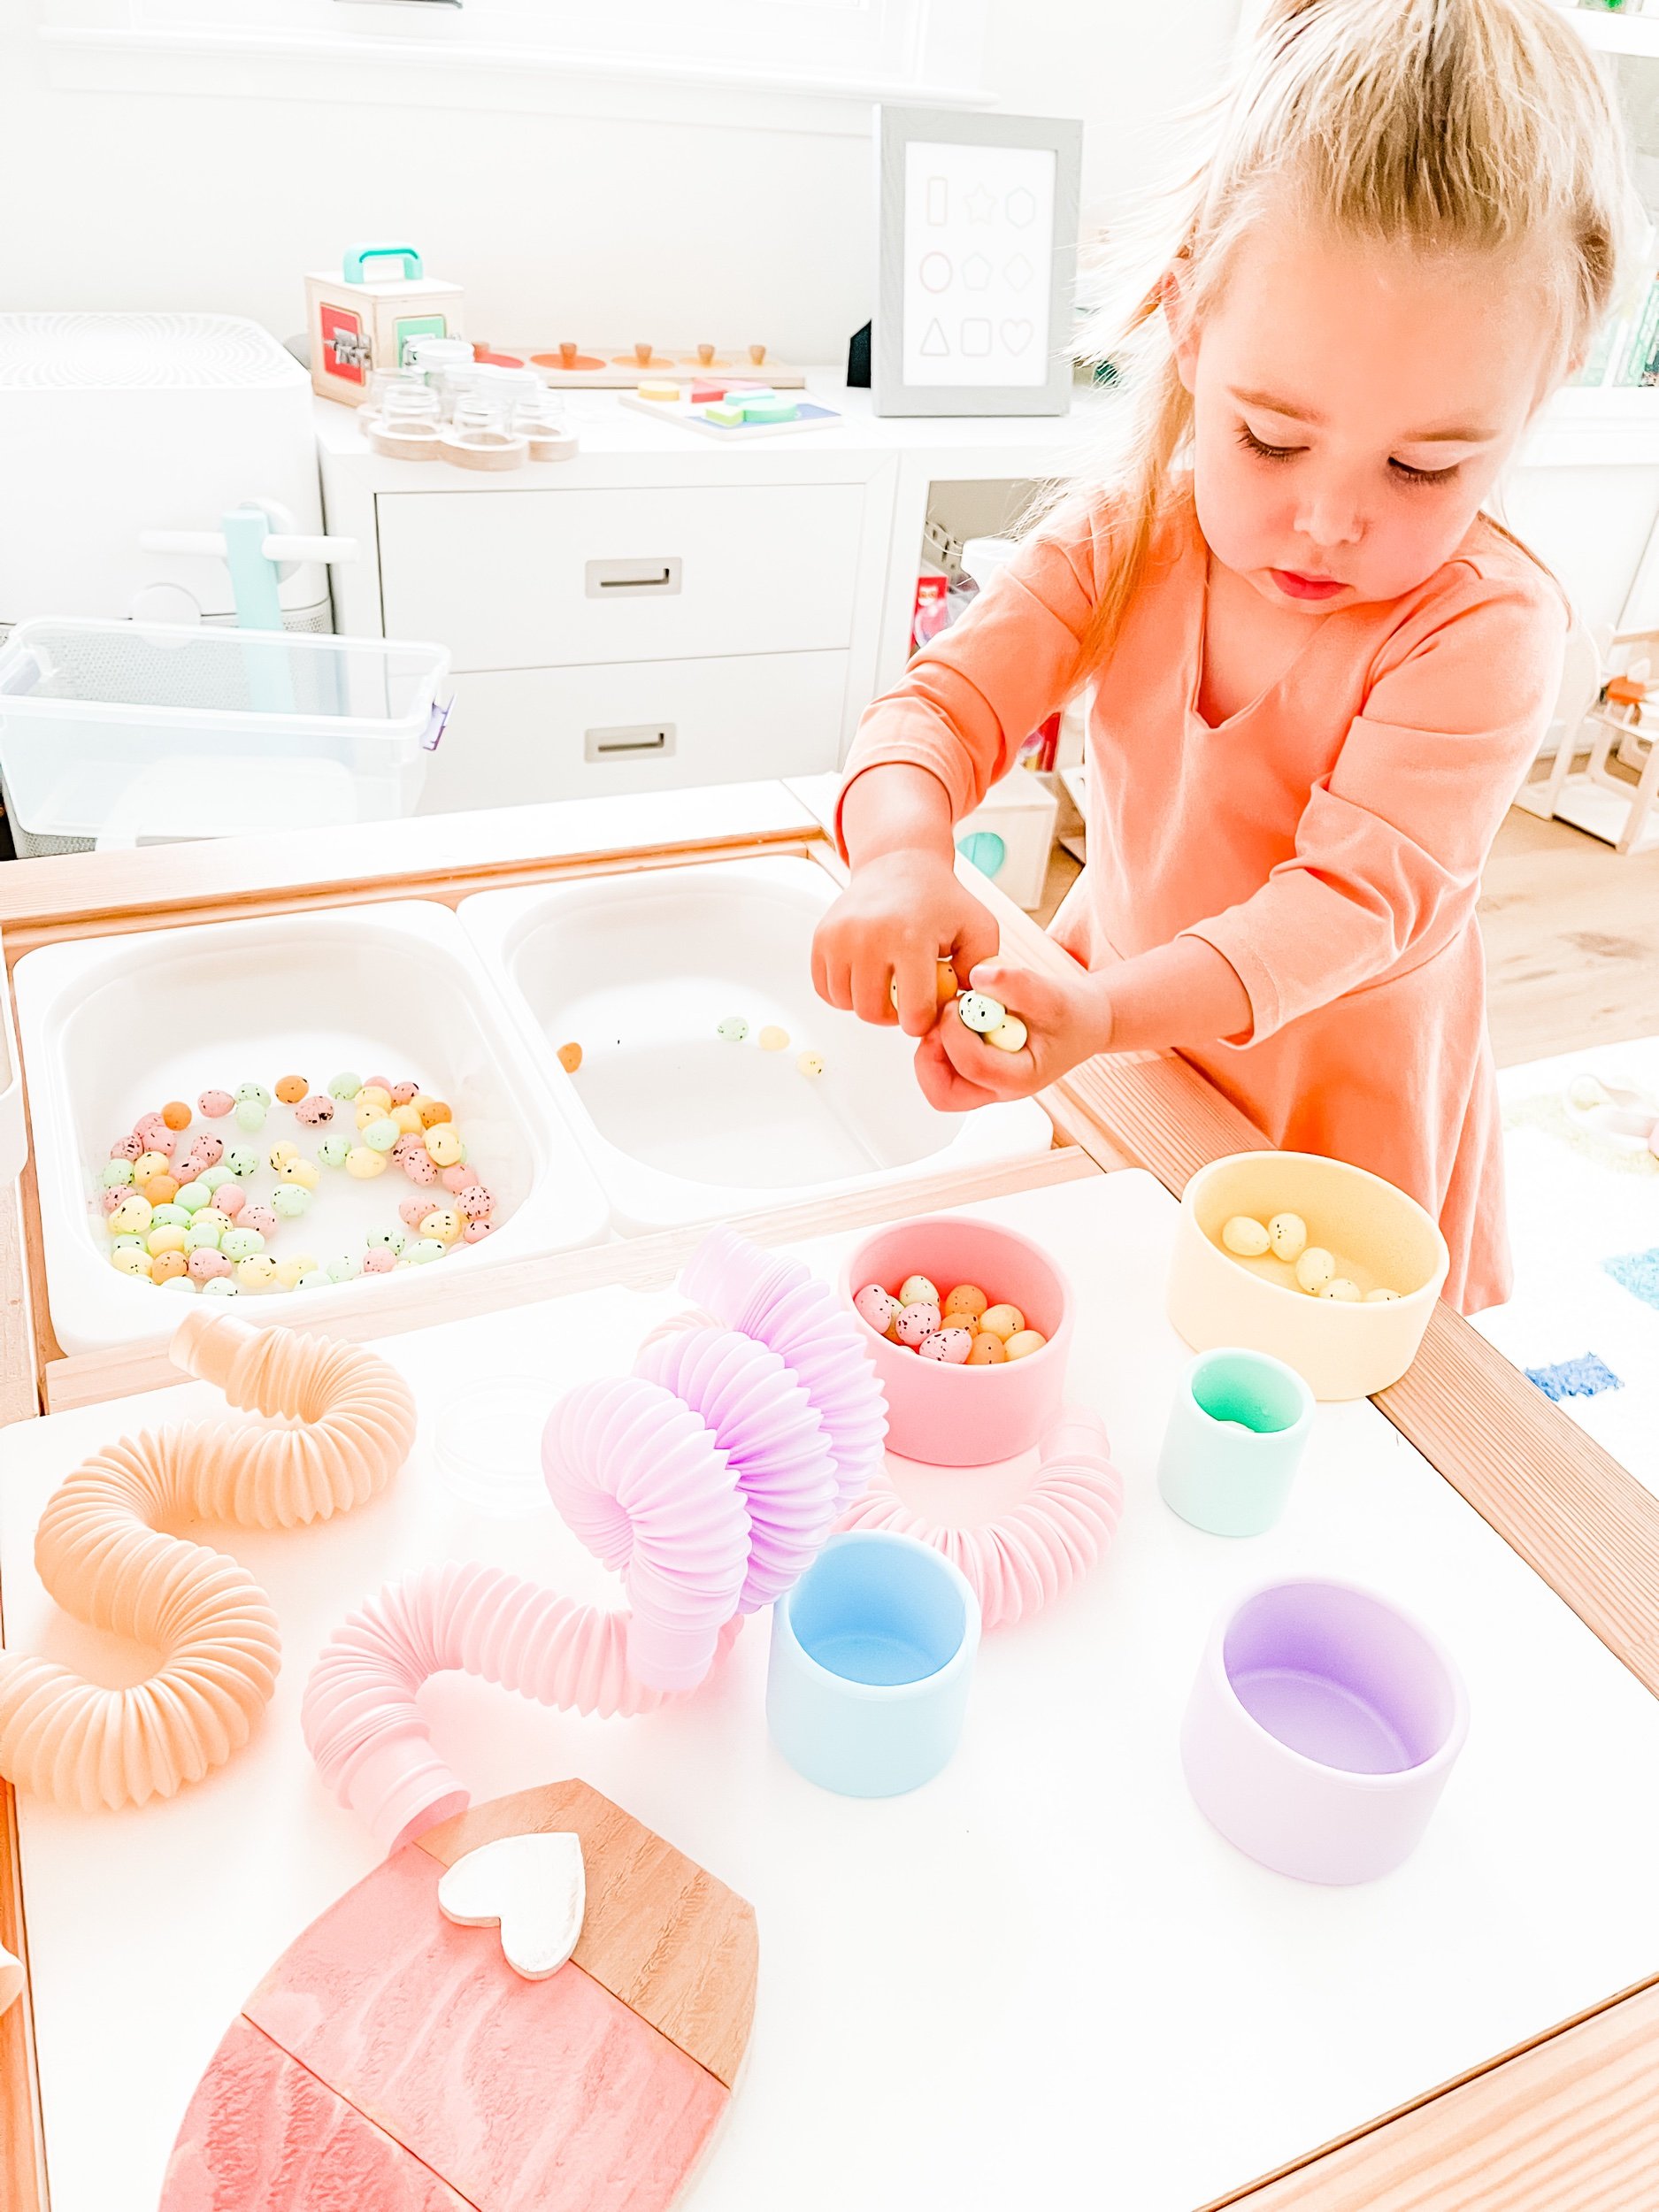
Add stress balls to a sensory tray alongside other tactile materials.
Include them in a calming corner with books, soft seating, and quiet activities.
Stress balls also pair well with sensory bins and fillers found here.
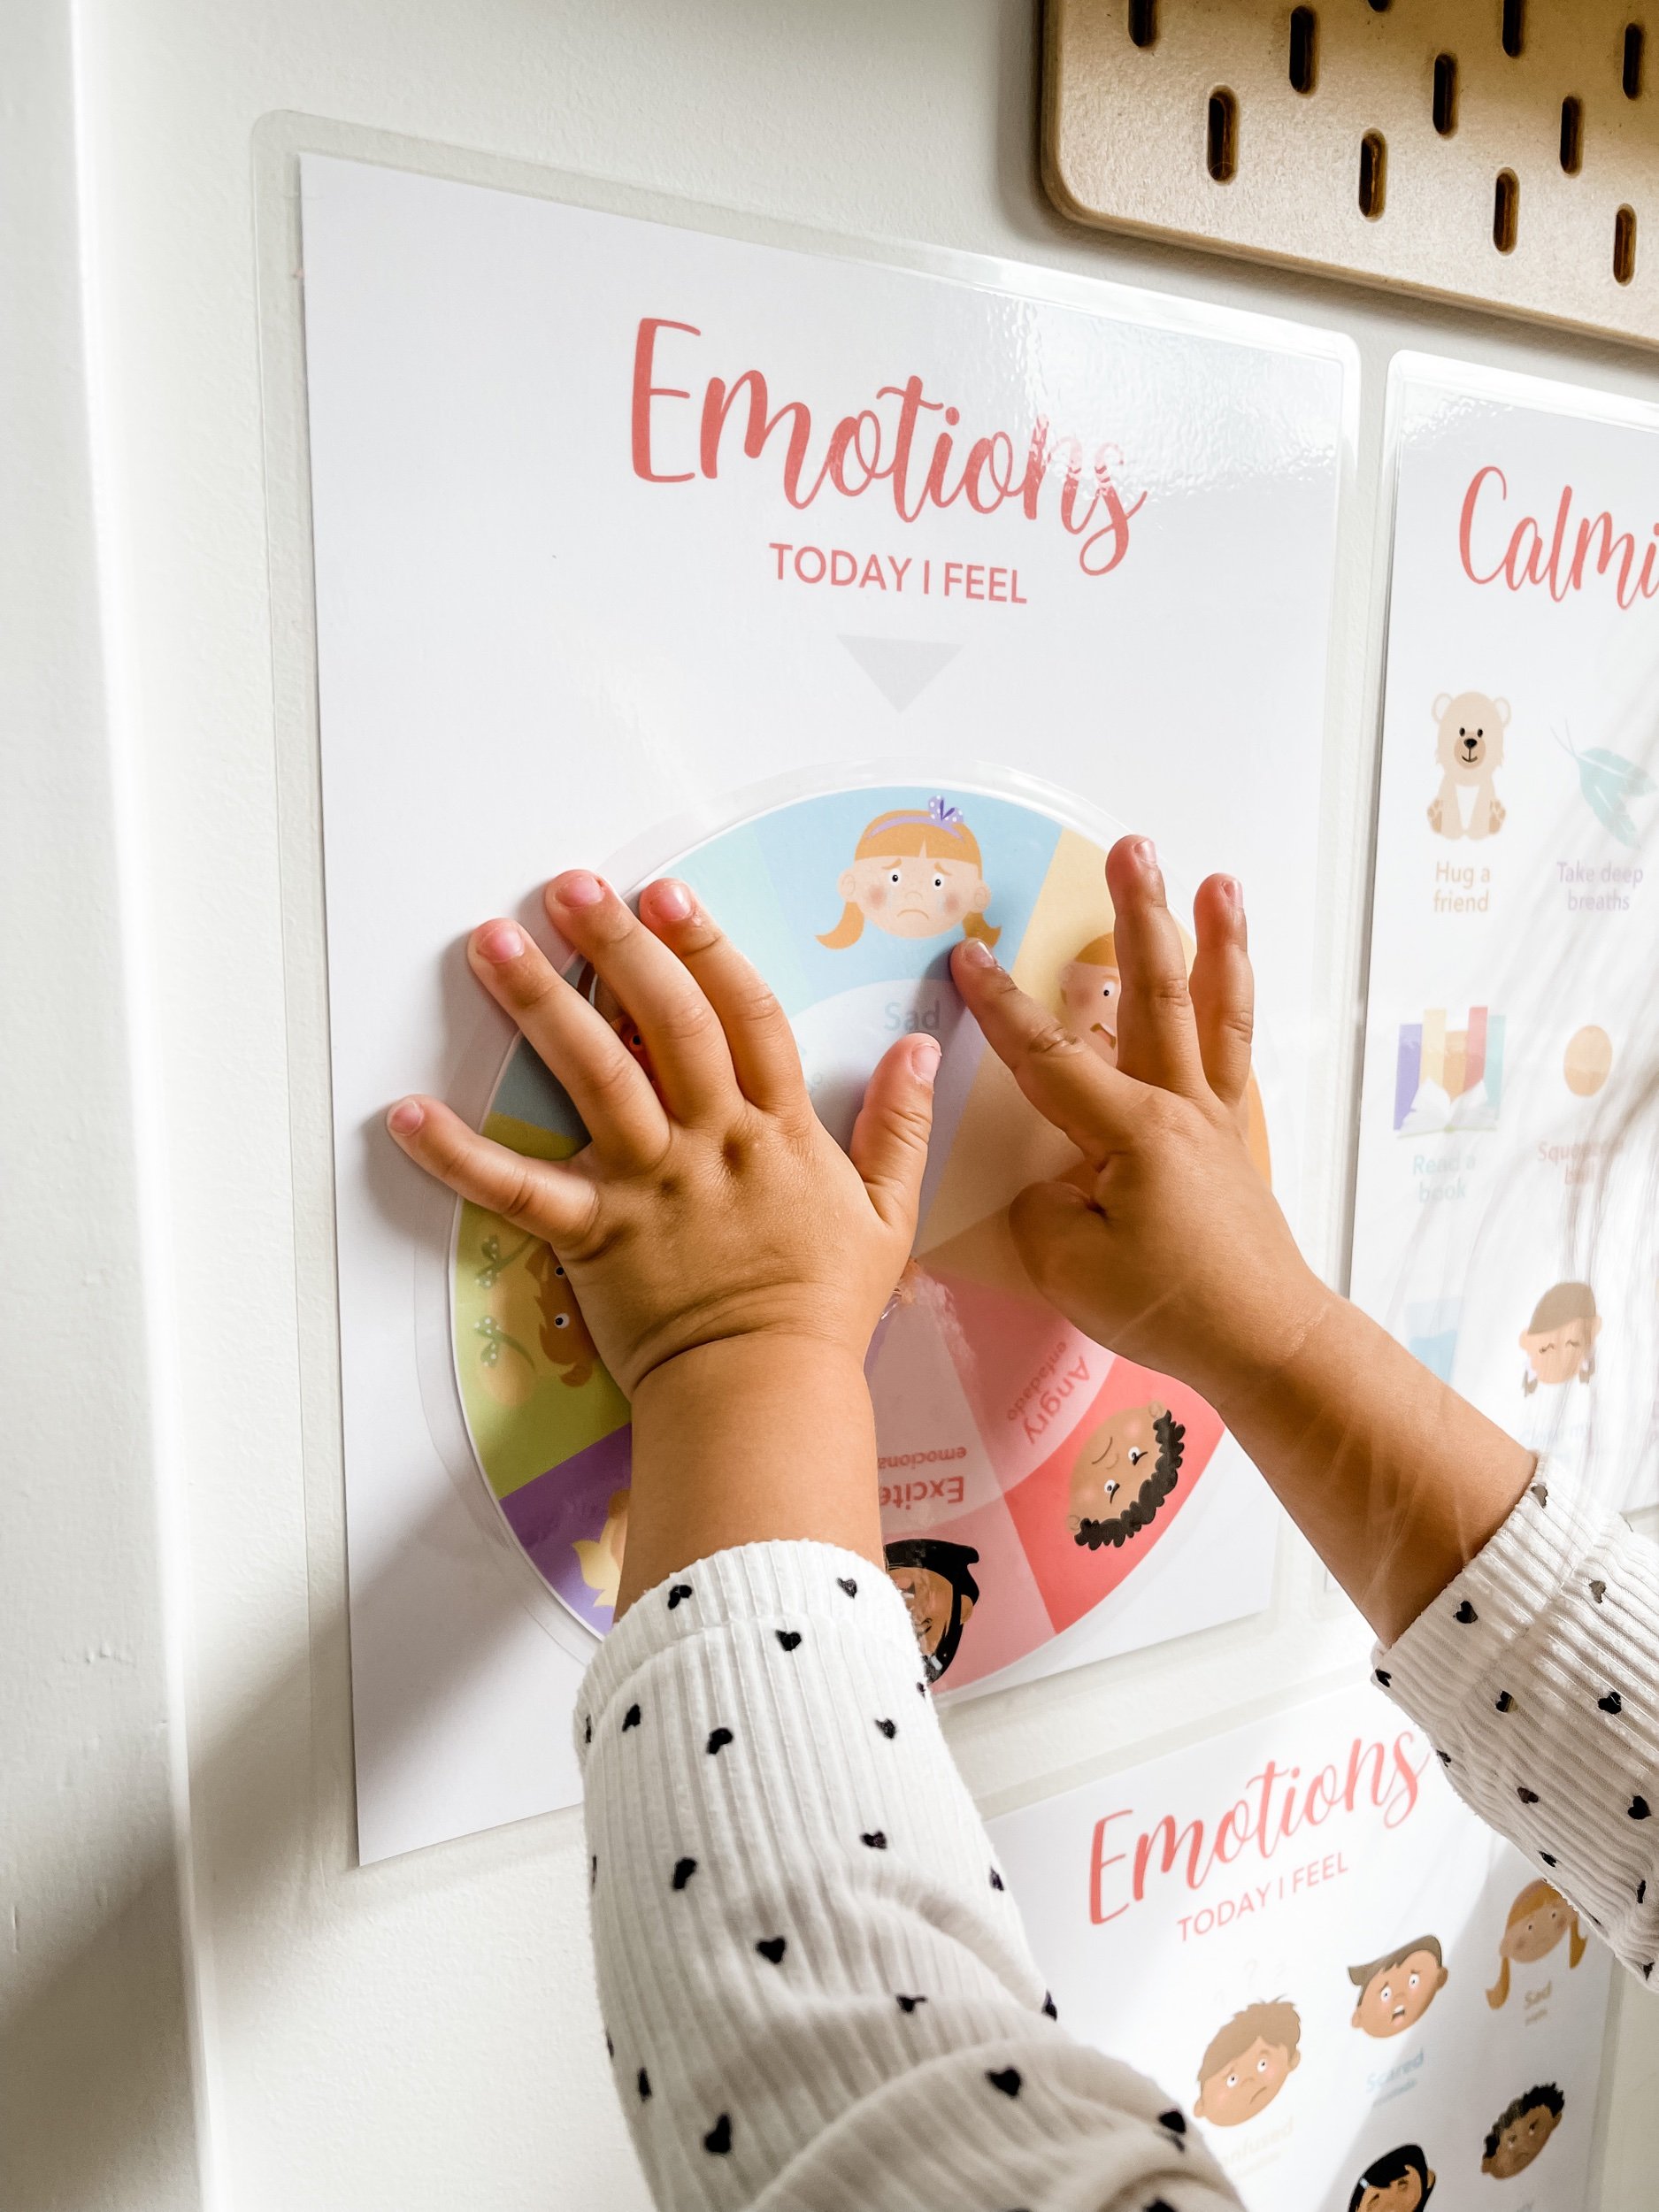
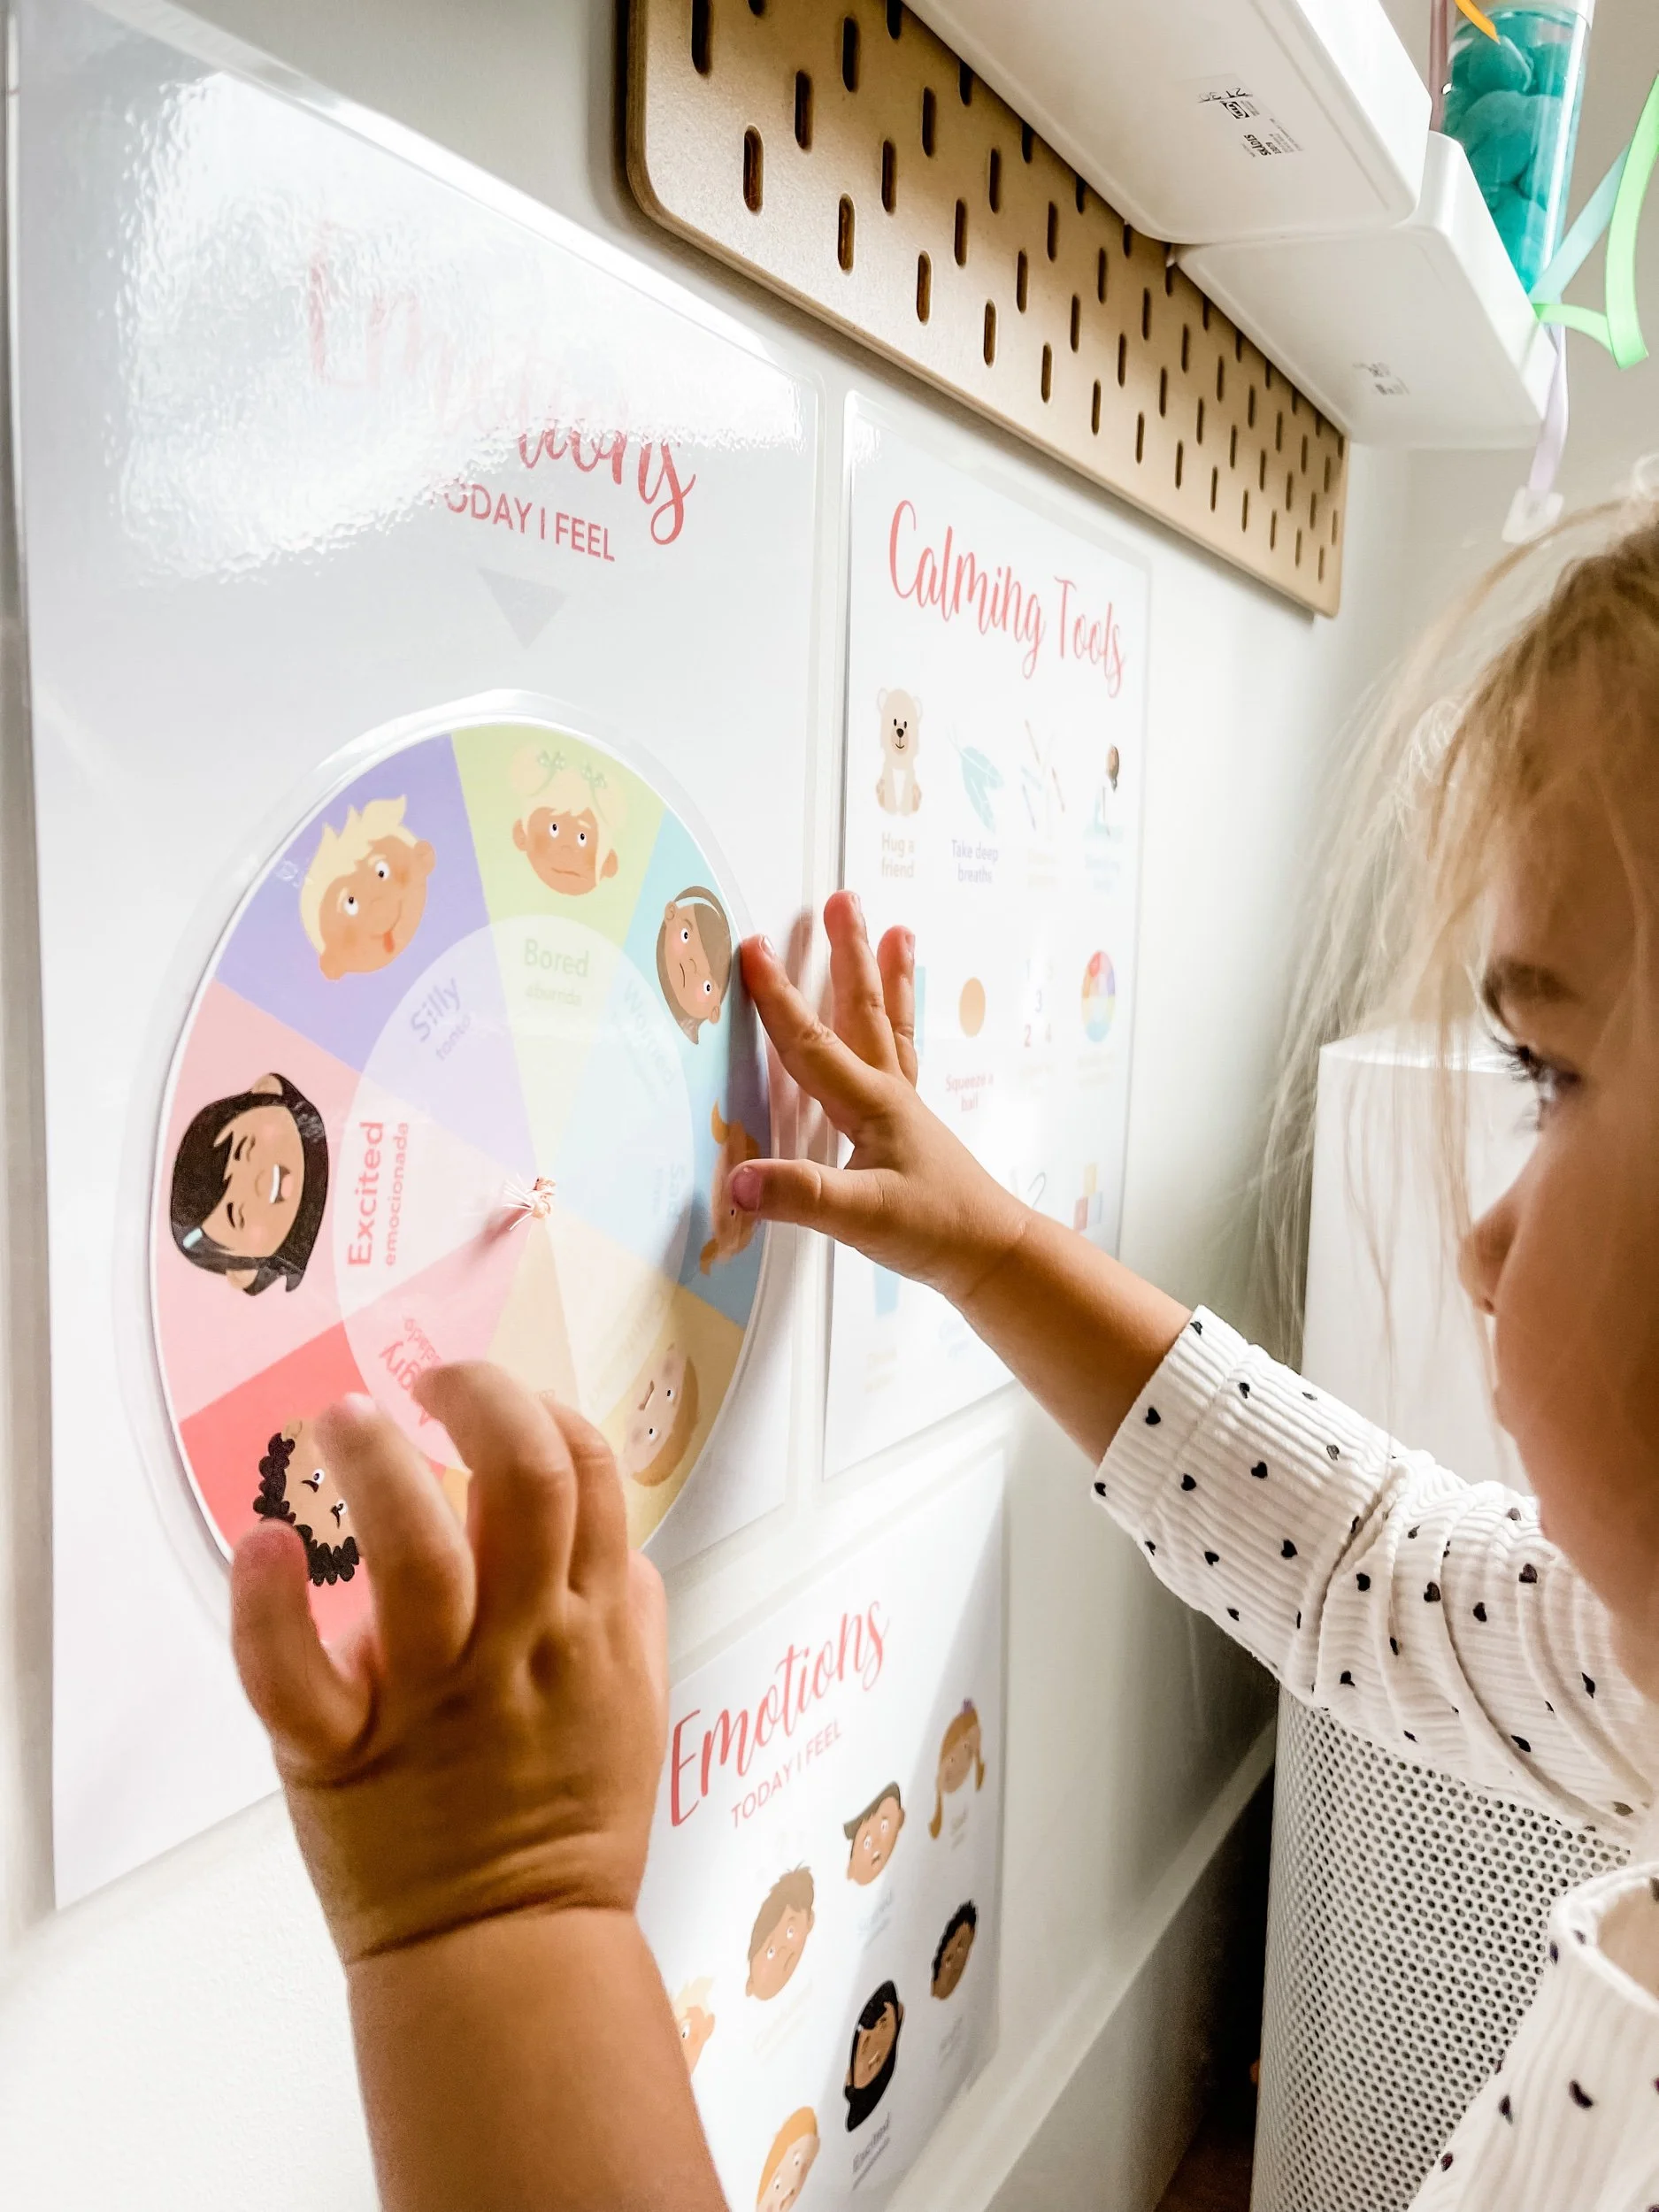
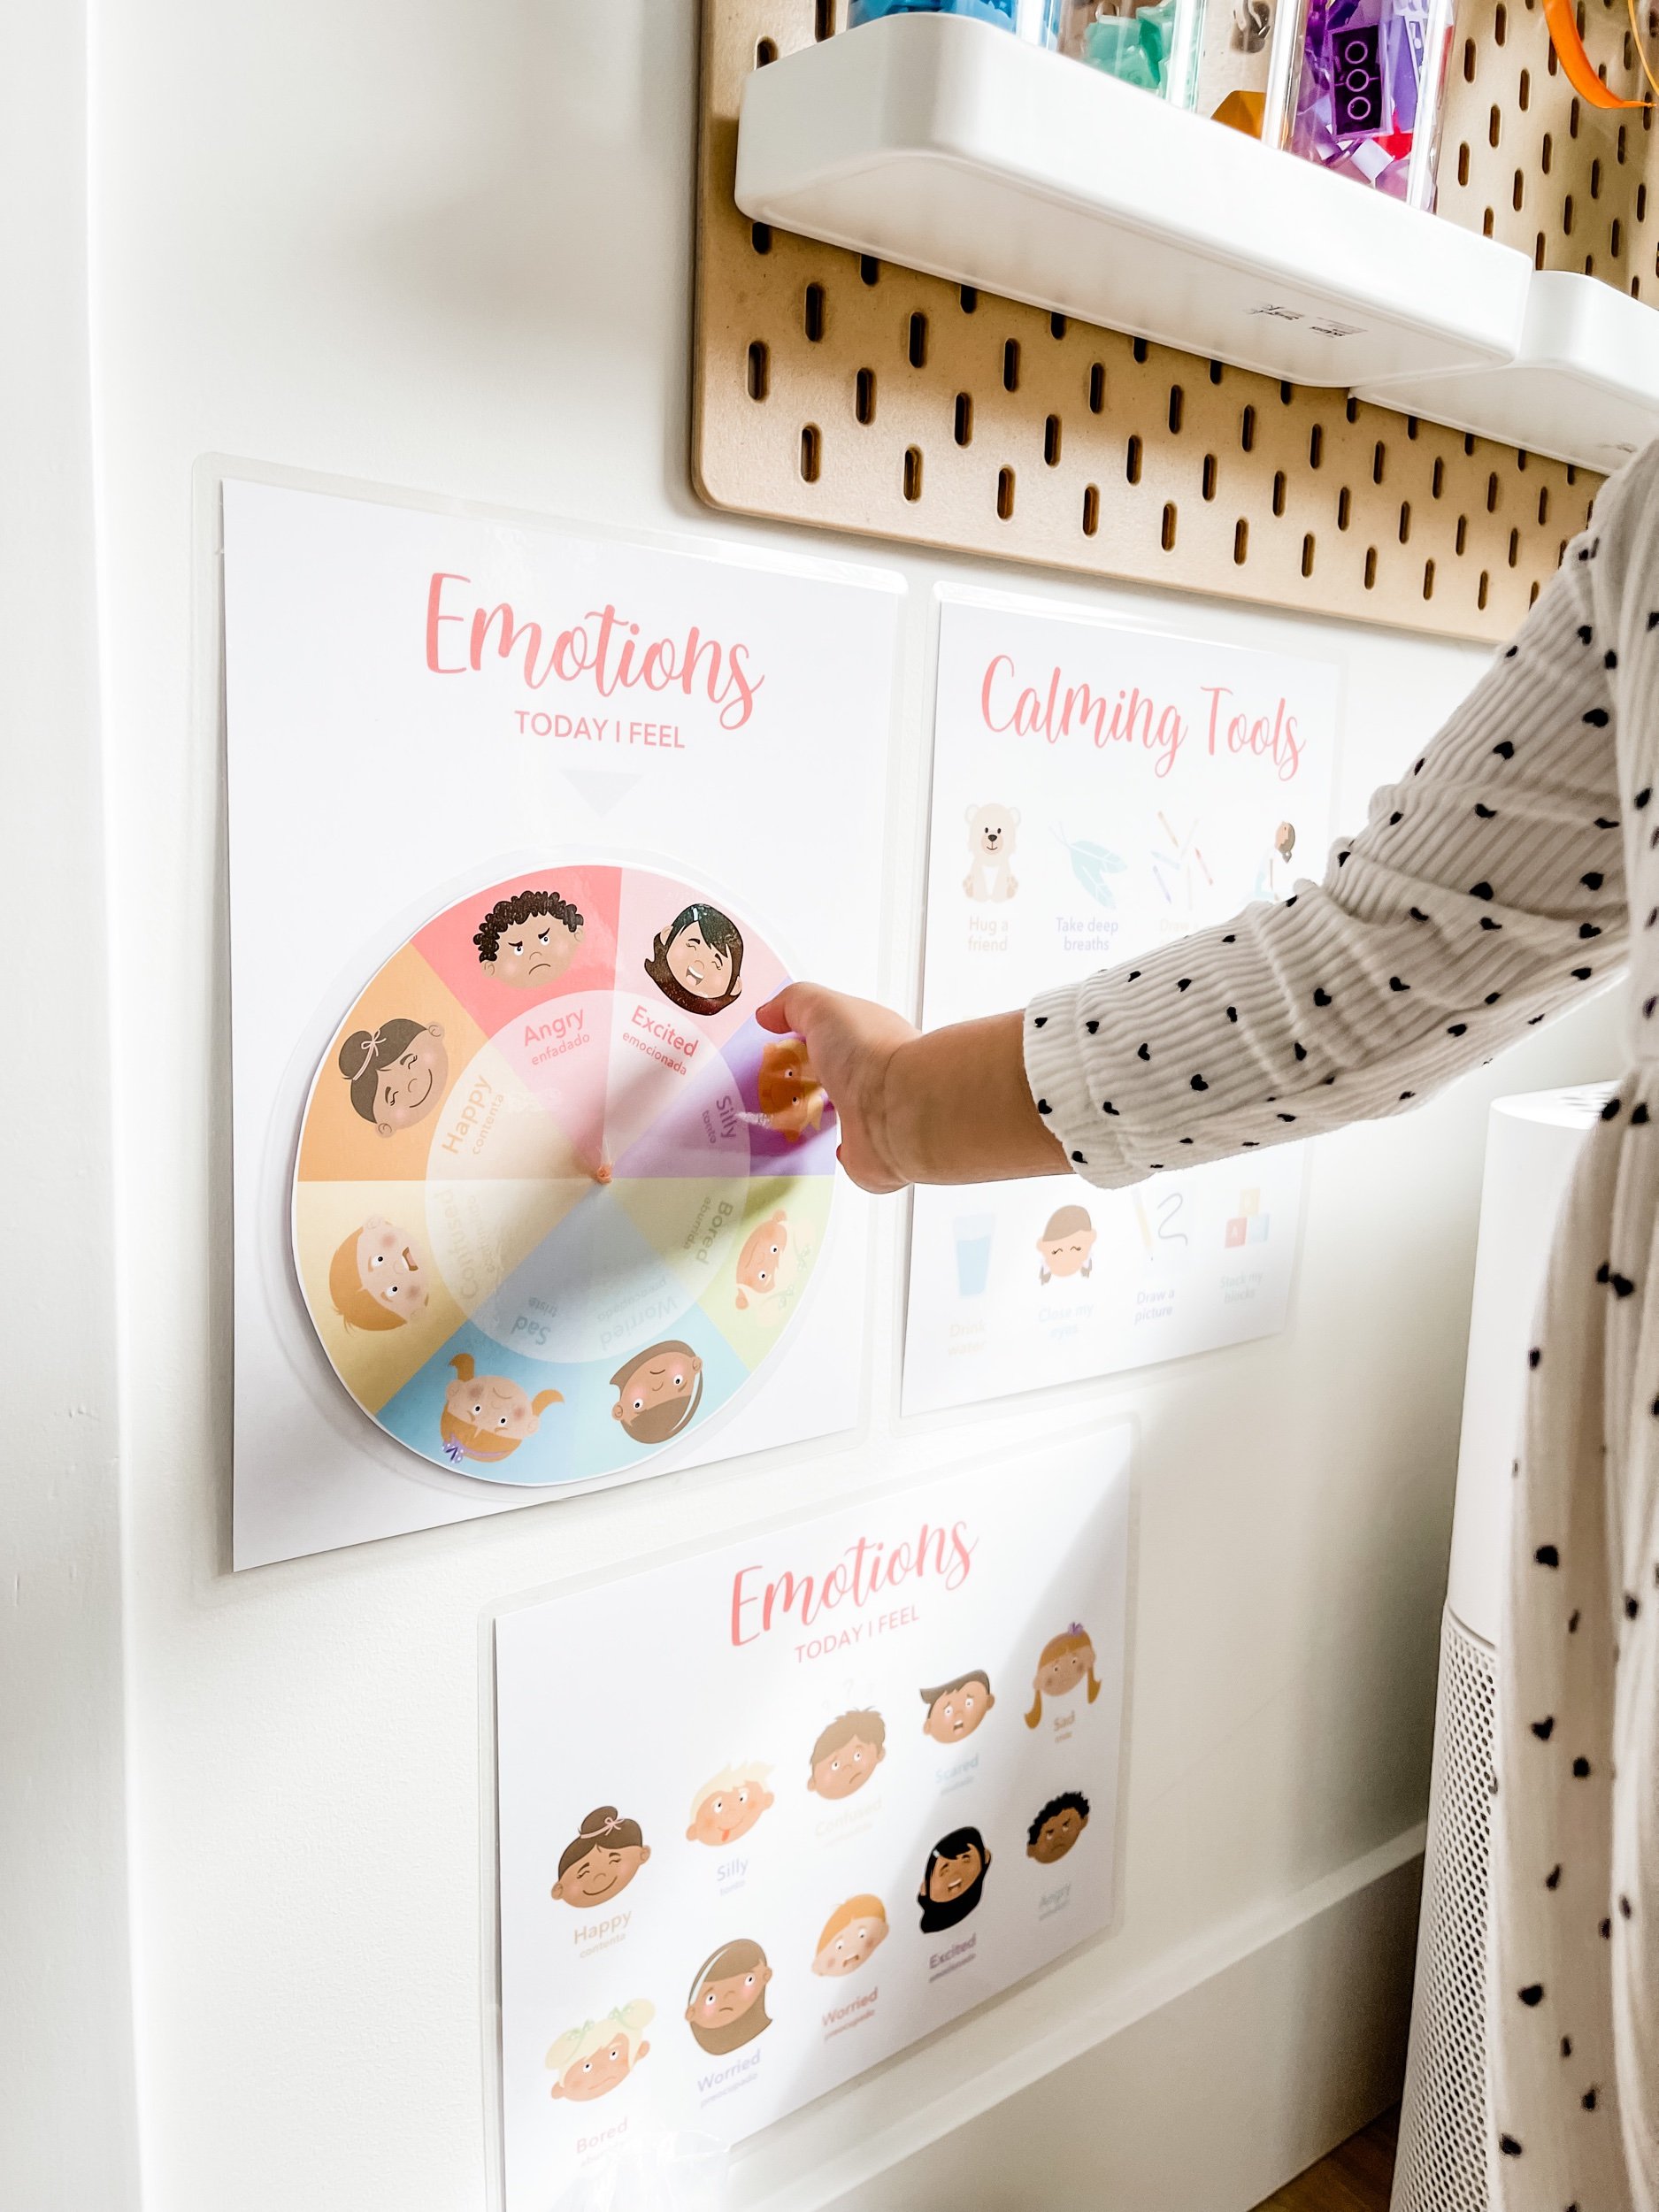
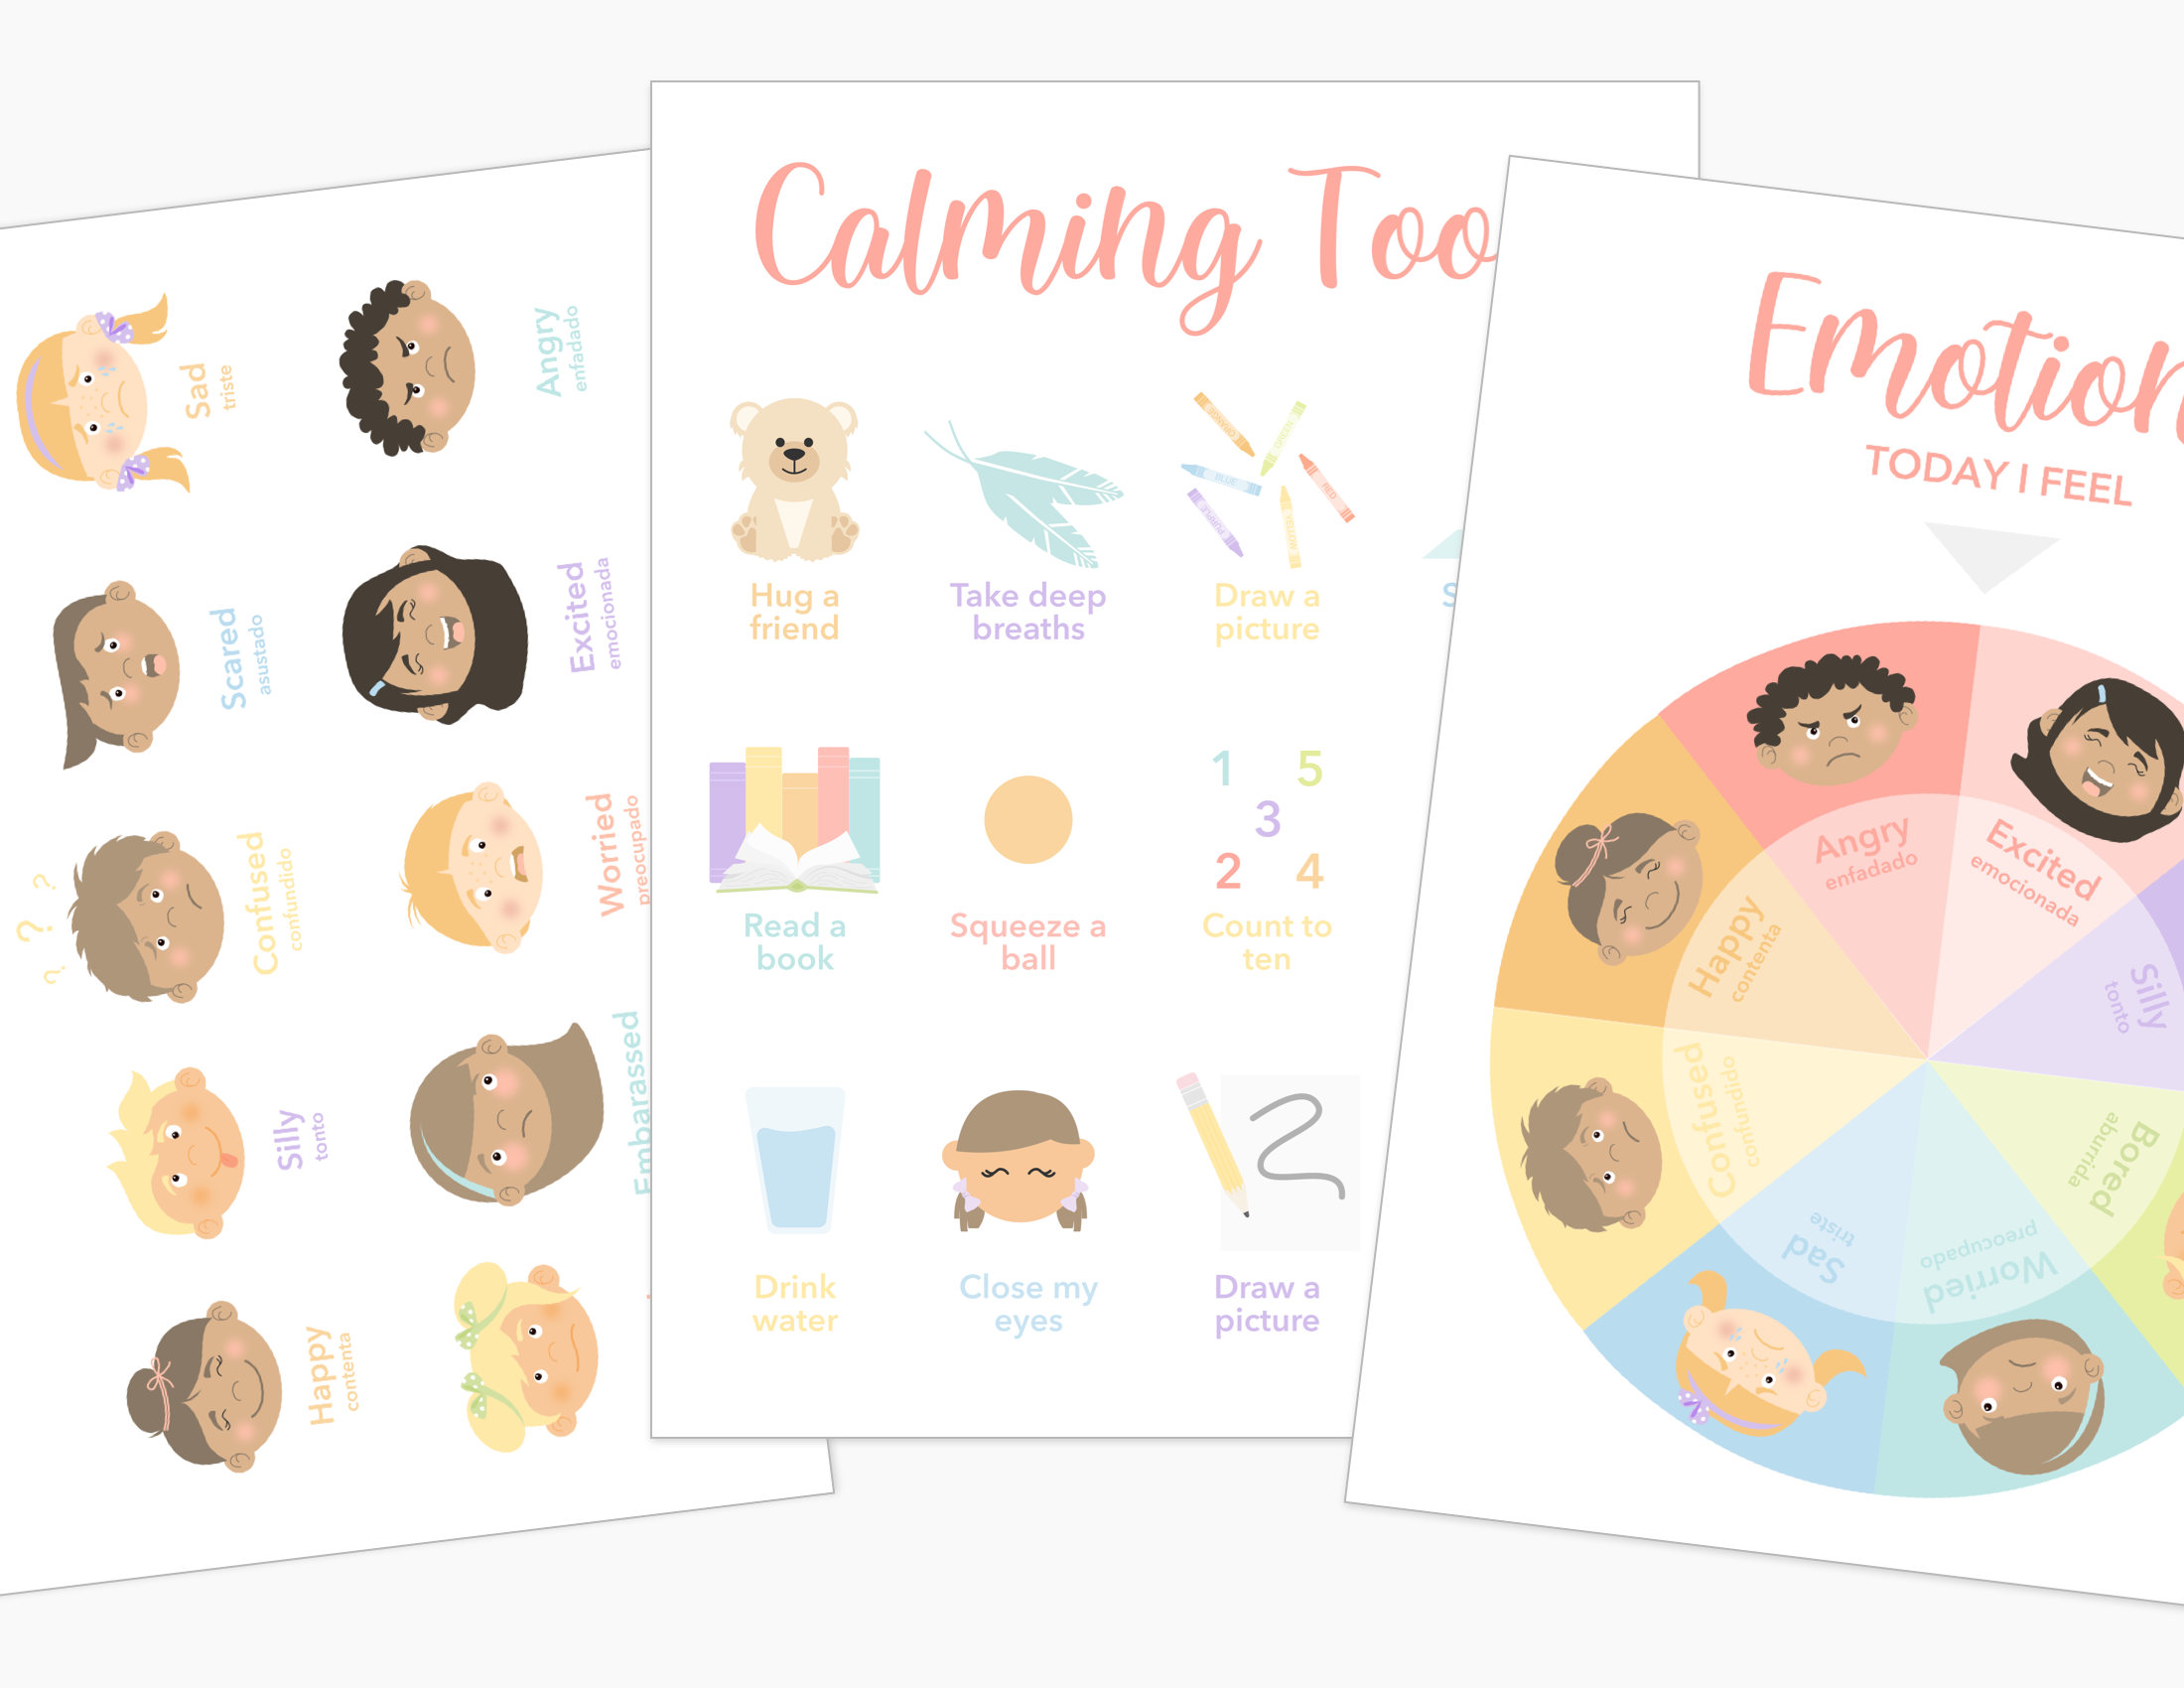
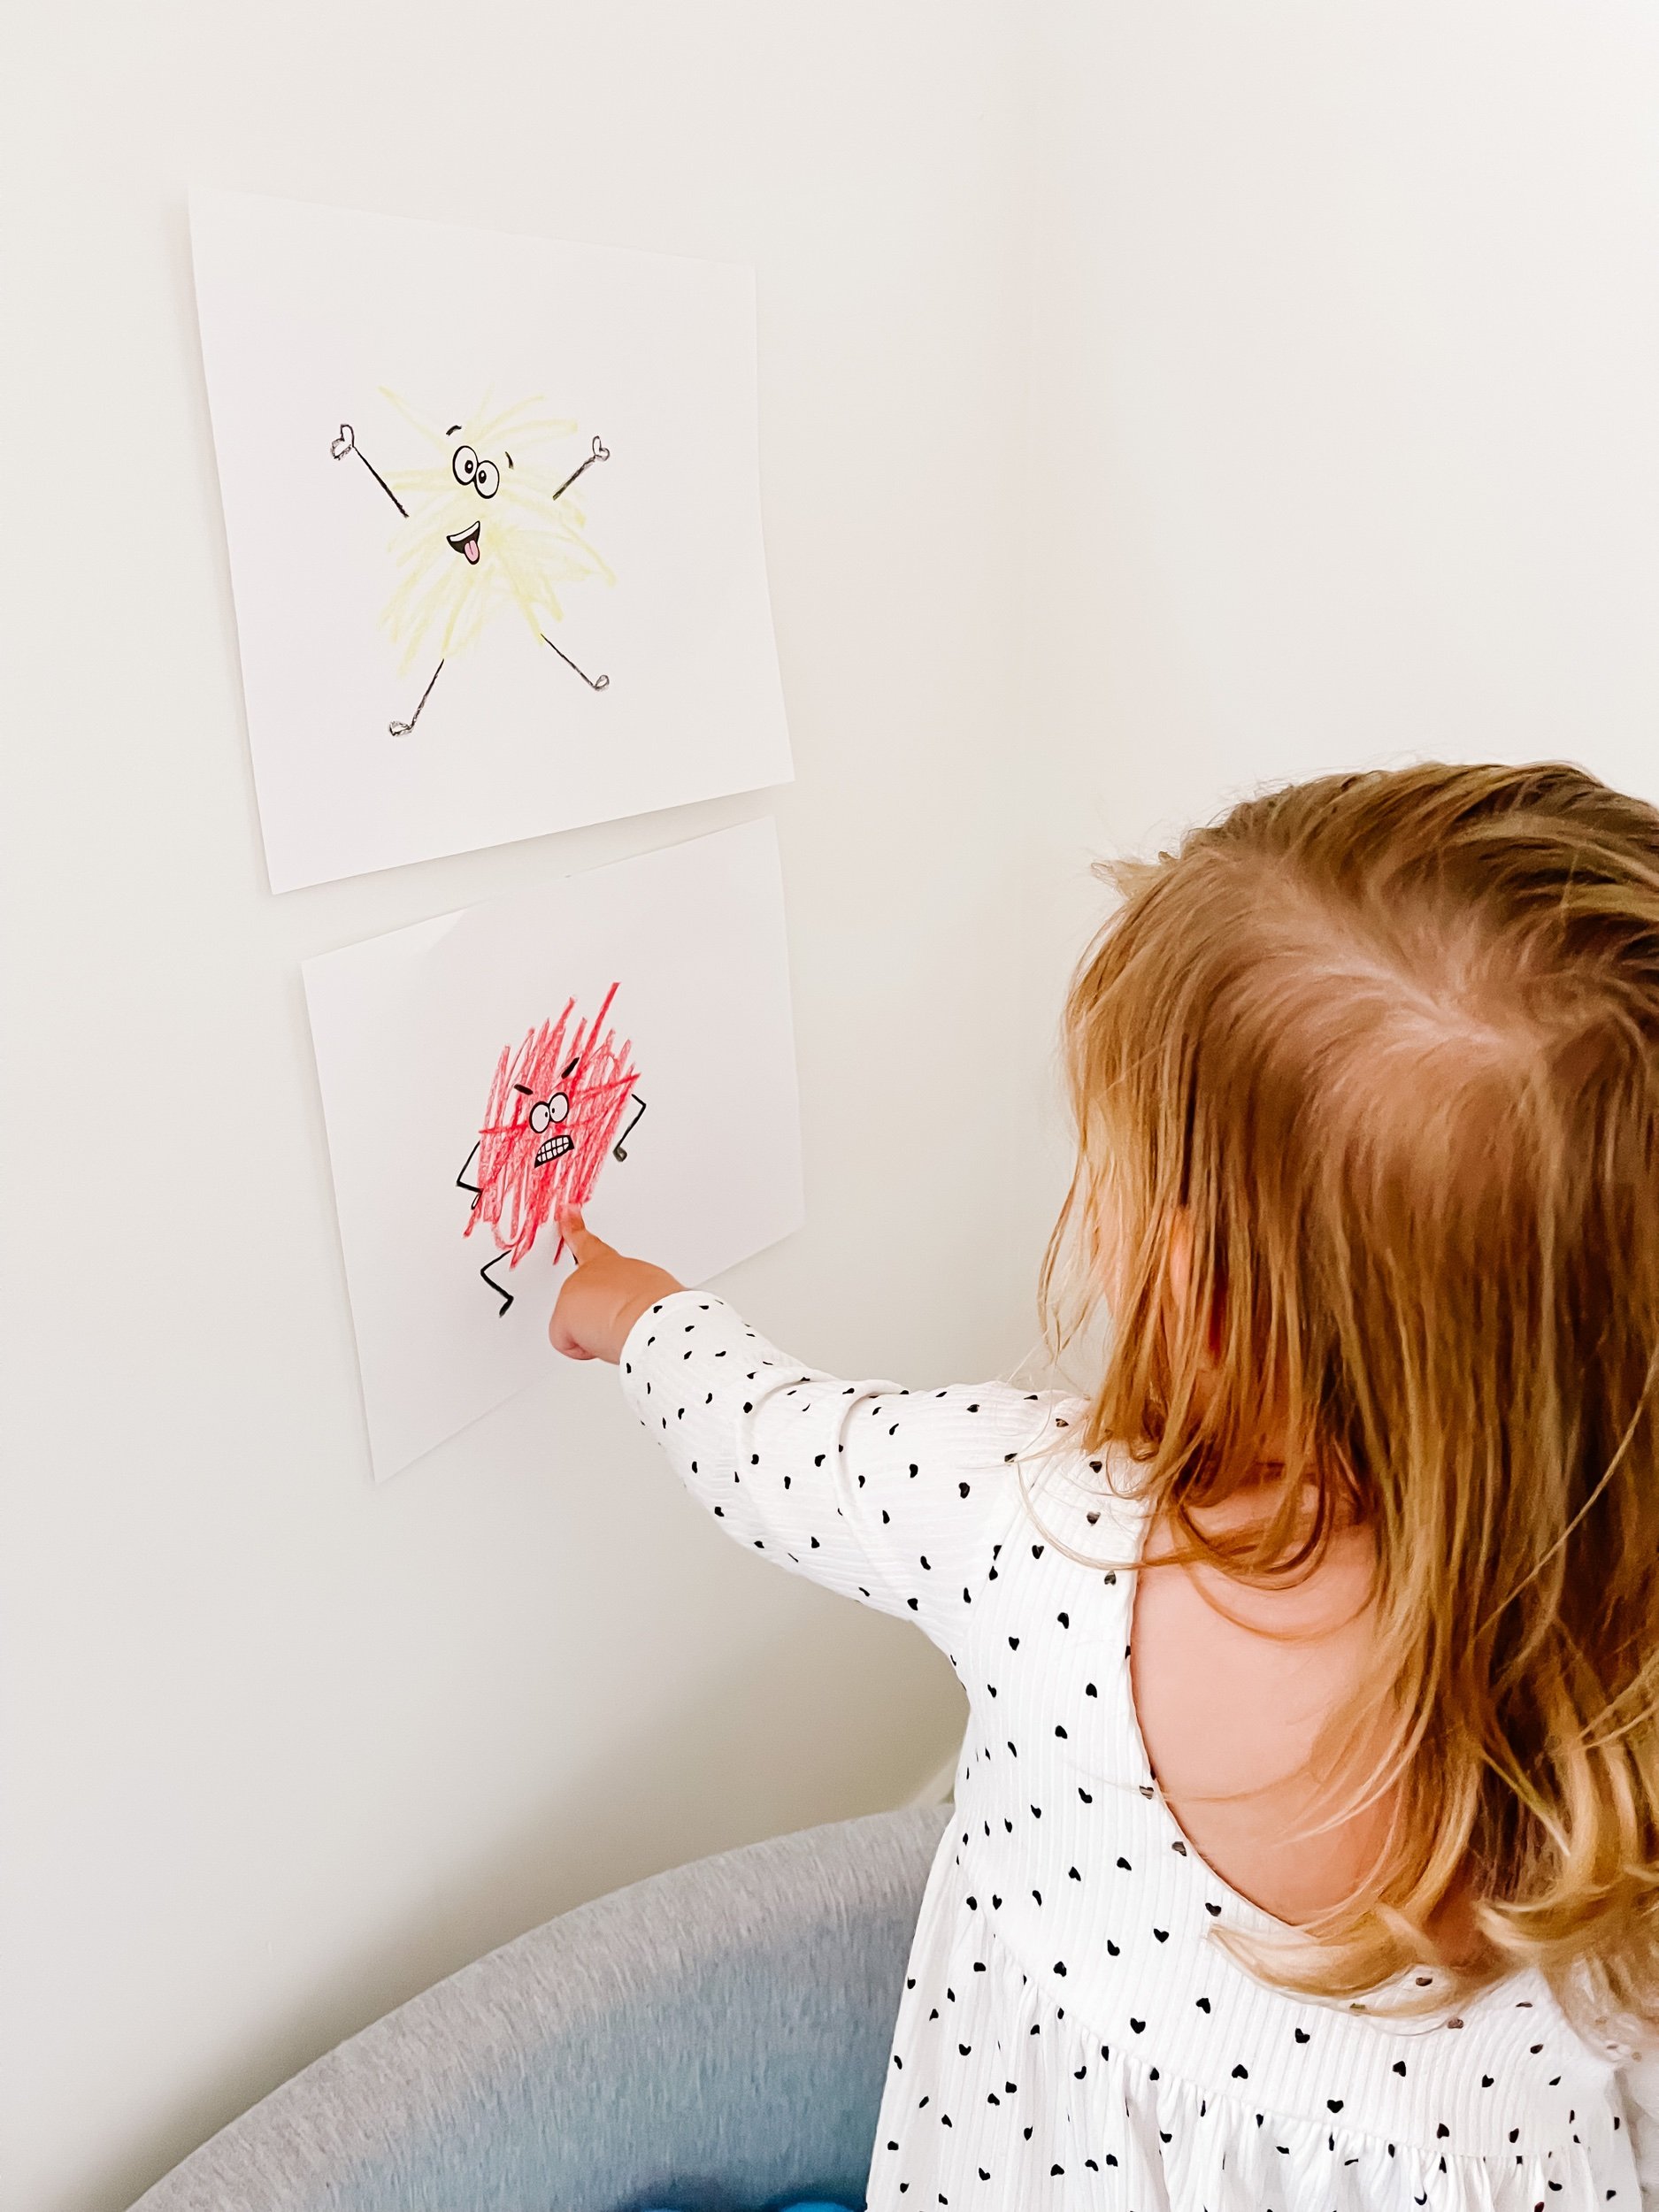
Using Stress Balls in a Calming Corner
Calming corners give children a safe, supportive place to regulate emotions. Stress balls work especially well in these spaces because they are portable, quiet, and intuitive to use.
If you’re building or refreshing a calming corner at home, you may also find this helpful.
For children who benefit from emotional language and mindfulness tools, affirmations and calm-focused activities can complement sensory tools.
Free Resources to Extend Sensory Play
If you’re looking to build a collection of easy, intentional activities for toddlers, you can explore the GoodnightFox free printable library. It includes sensory play ideas, dramatic play kits, and learning tools designed for early childhood.
Final Thoughts
DIY sensory stress balls are a practical, low-cost way to support emotional regulation, fine motor development, and sensory exploration at home. With just a few materials, you can create a versatile calming tool that fits naturally into daily routines, play trays, or calming spaces.
This project is simple to make, easy to adapt, and a meaningful addition to any sensory-rich learning environment.