Featuring the Jellyfish Printable Kit from our Letter of the Week Bundle
This week's theme is "J is for Jellyfish", and we're pairing it with our Jellyfish Printable Pack from the Letter of the Week series, designed especially for sensory play and perfect for decorating your IKEA Flisat table. The Ocean & Surf kit turns your FLISAT table into an underwater world — jellyfish drift above the bins while kids sort, scoop, and explore the deep. New to the table itself? My IKEA FLISAT beginner guide covers the setup these packs decorate.
🛒 What's in the Jellyfish Printable Pack
The Jellyfish pack is one of the 26 nine-page kits in the Letter of the Week Bundle, and includes:
"J is for Jellyfish" banner, awning, and ocean signs
Printable jellyfish and ocean scene pieces
Worksheets: letter J tracing and ocean-themed activity pages
Vocabulary cards: jellyfish, tentacles, ocean, drift, and more
3–4 yrs: Letter J tracing, learning how jellyfish move and drift
4–5 yrs: Ocean habitat talk — who lives near the surface and who lives deep down
💌 Free Bonus: A to Z Letter of the Week Guide
Don't forget your Free Printable Letter of the Week Poster! Download the A–Z Letter of the Week Sensory Guide, with all 26 themes, links to products, and learning goals. You'll also receive the Letter of the Week Email Series, with weekly reminders, bonus activity ideas, and links to new blog content.
Trick-or-Treat Tips for Toddlers: A First-Halloween Survival Guide
Your toddler's first Halloween night is less "epic candy haul" and more "twenty minutes, six houses, done." Here's how to keep them safe and visible, what to expect, and why quitting early counts as a win.
Best forAges 1–4 (first timers)
Time20–45 minutes out
CostFree (beyond the costume)
SkillsIndependence + social practice
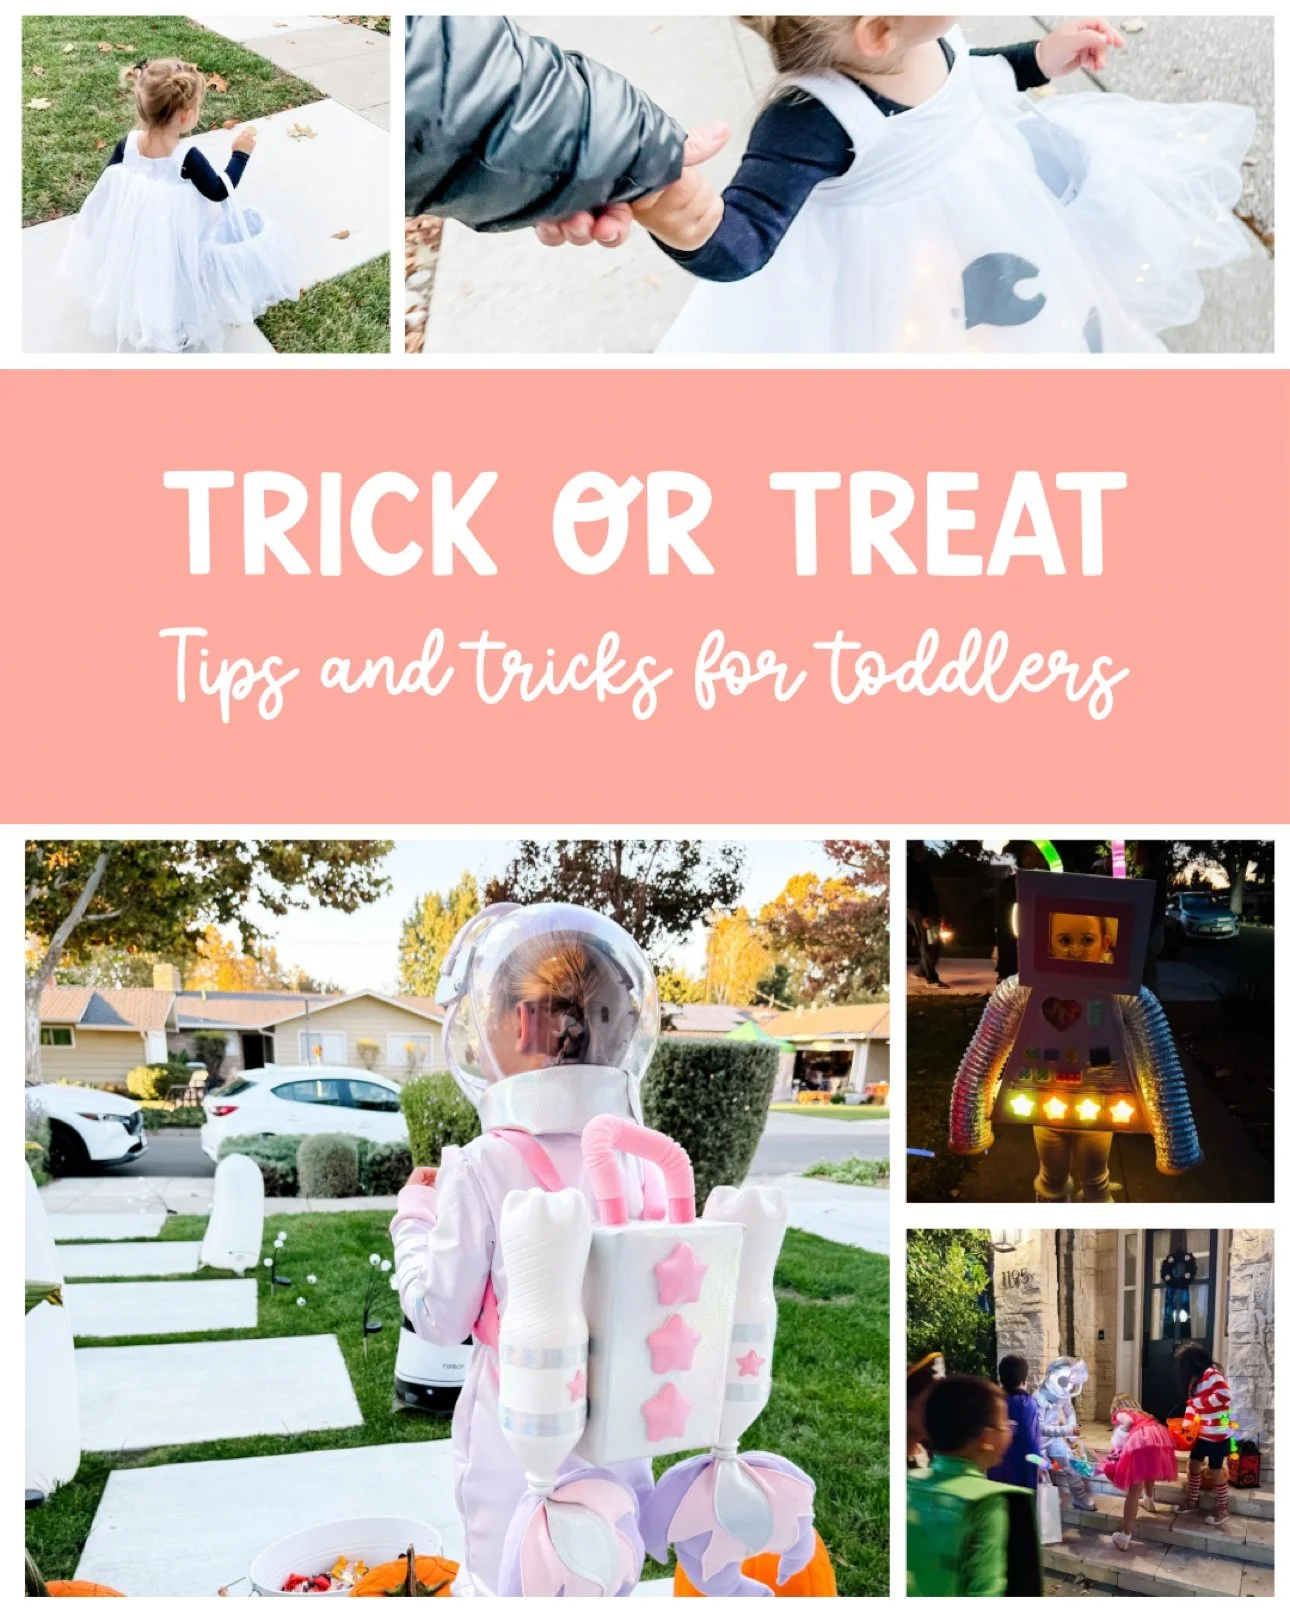
Our favorite toddler costumes over the years — ghost, astronaut, and the robot that lights up after dark.
When she was three, we took my daughter trick-or-treating for the first time. She'd practiced saying "trick or treat!" for a week. She made it six houses, put exactly four pieces of candy in her bucket, sat down on somebody's lawn, and announced she was done. We went home, she ate one lollipop, and she talked about those six houses for a month.
That's the thing nobody tells you: a toddler's Halloween night is small, and small is perfect. The goal isn't a full bucket. It's a first taste of the magic — the doorbells, the porch lights, the neighbors in costumes — without the overtired meltdown. Everything below is what we learned the practical way.
Before the big night
Almost everything that goes wrong on Halloween night can be prevented in the living room, two days earlier. Toddlers don't generalize well — the costume has to be a known, comfortable thing before the porch lights come on.
1. Do a full dress rehearsal
Have them wear the complete costume — shoes, hat, mask, everything — and walk around the house for ten minutes. If the cape drags, if the mask slips, if the shoes pinch, you want to find out now, not at the third house. The American Academy of Pediatrics puts it plainly: costumes should fit well so kids aren't encumbered by them, and they need to see clearly around any masks, hats, or wigs. A toddler who can't see the curb is a toddler who's going to trip on it.
Dress rehearsal at home — the robot head test run, two days before the big night.
2. Face paint beats masks, every time
A mask on a toddler lasts about ninety seconds before it's on the ground — and while it's on, it narrows their vision to a tunnel. Simple non-toxic face paint (a nose, some whiskers, a star on the cheek) stays put, doesn't fog, and lets them actually see the neighbors. When she was little, we did the smallest possible face paint and skipped the mask entirely; she kept the paint on all night and the "costume" was just clothes she could move in.
3. Pick a costume they can move in
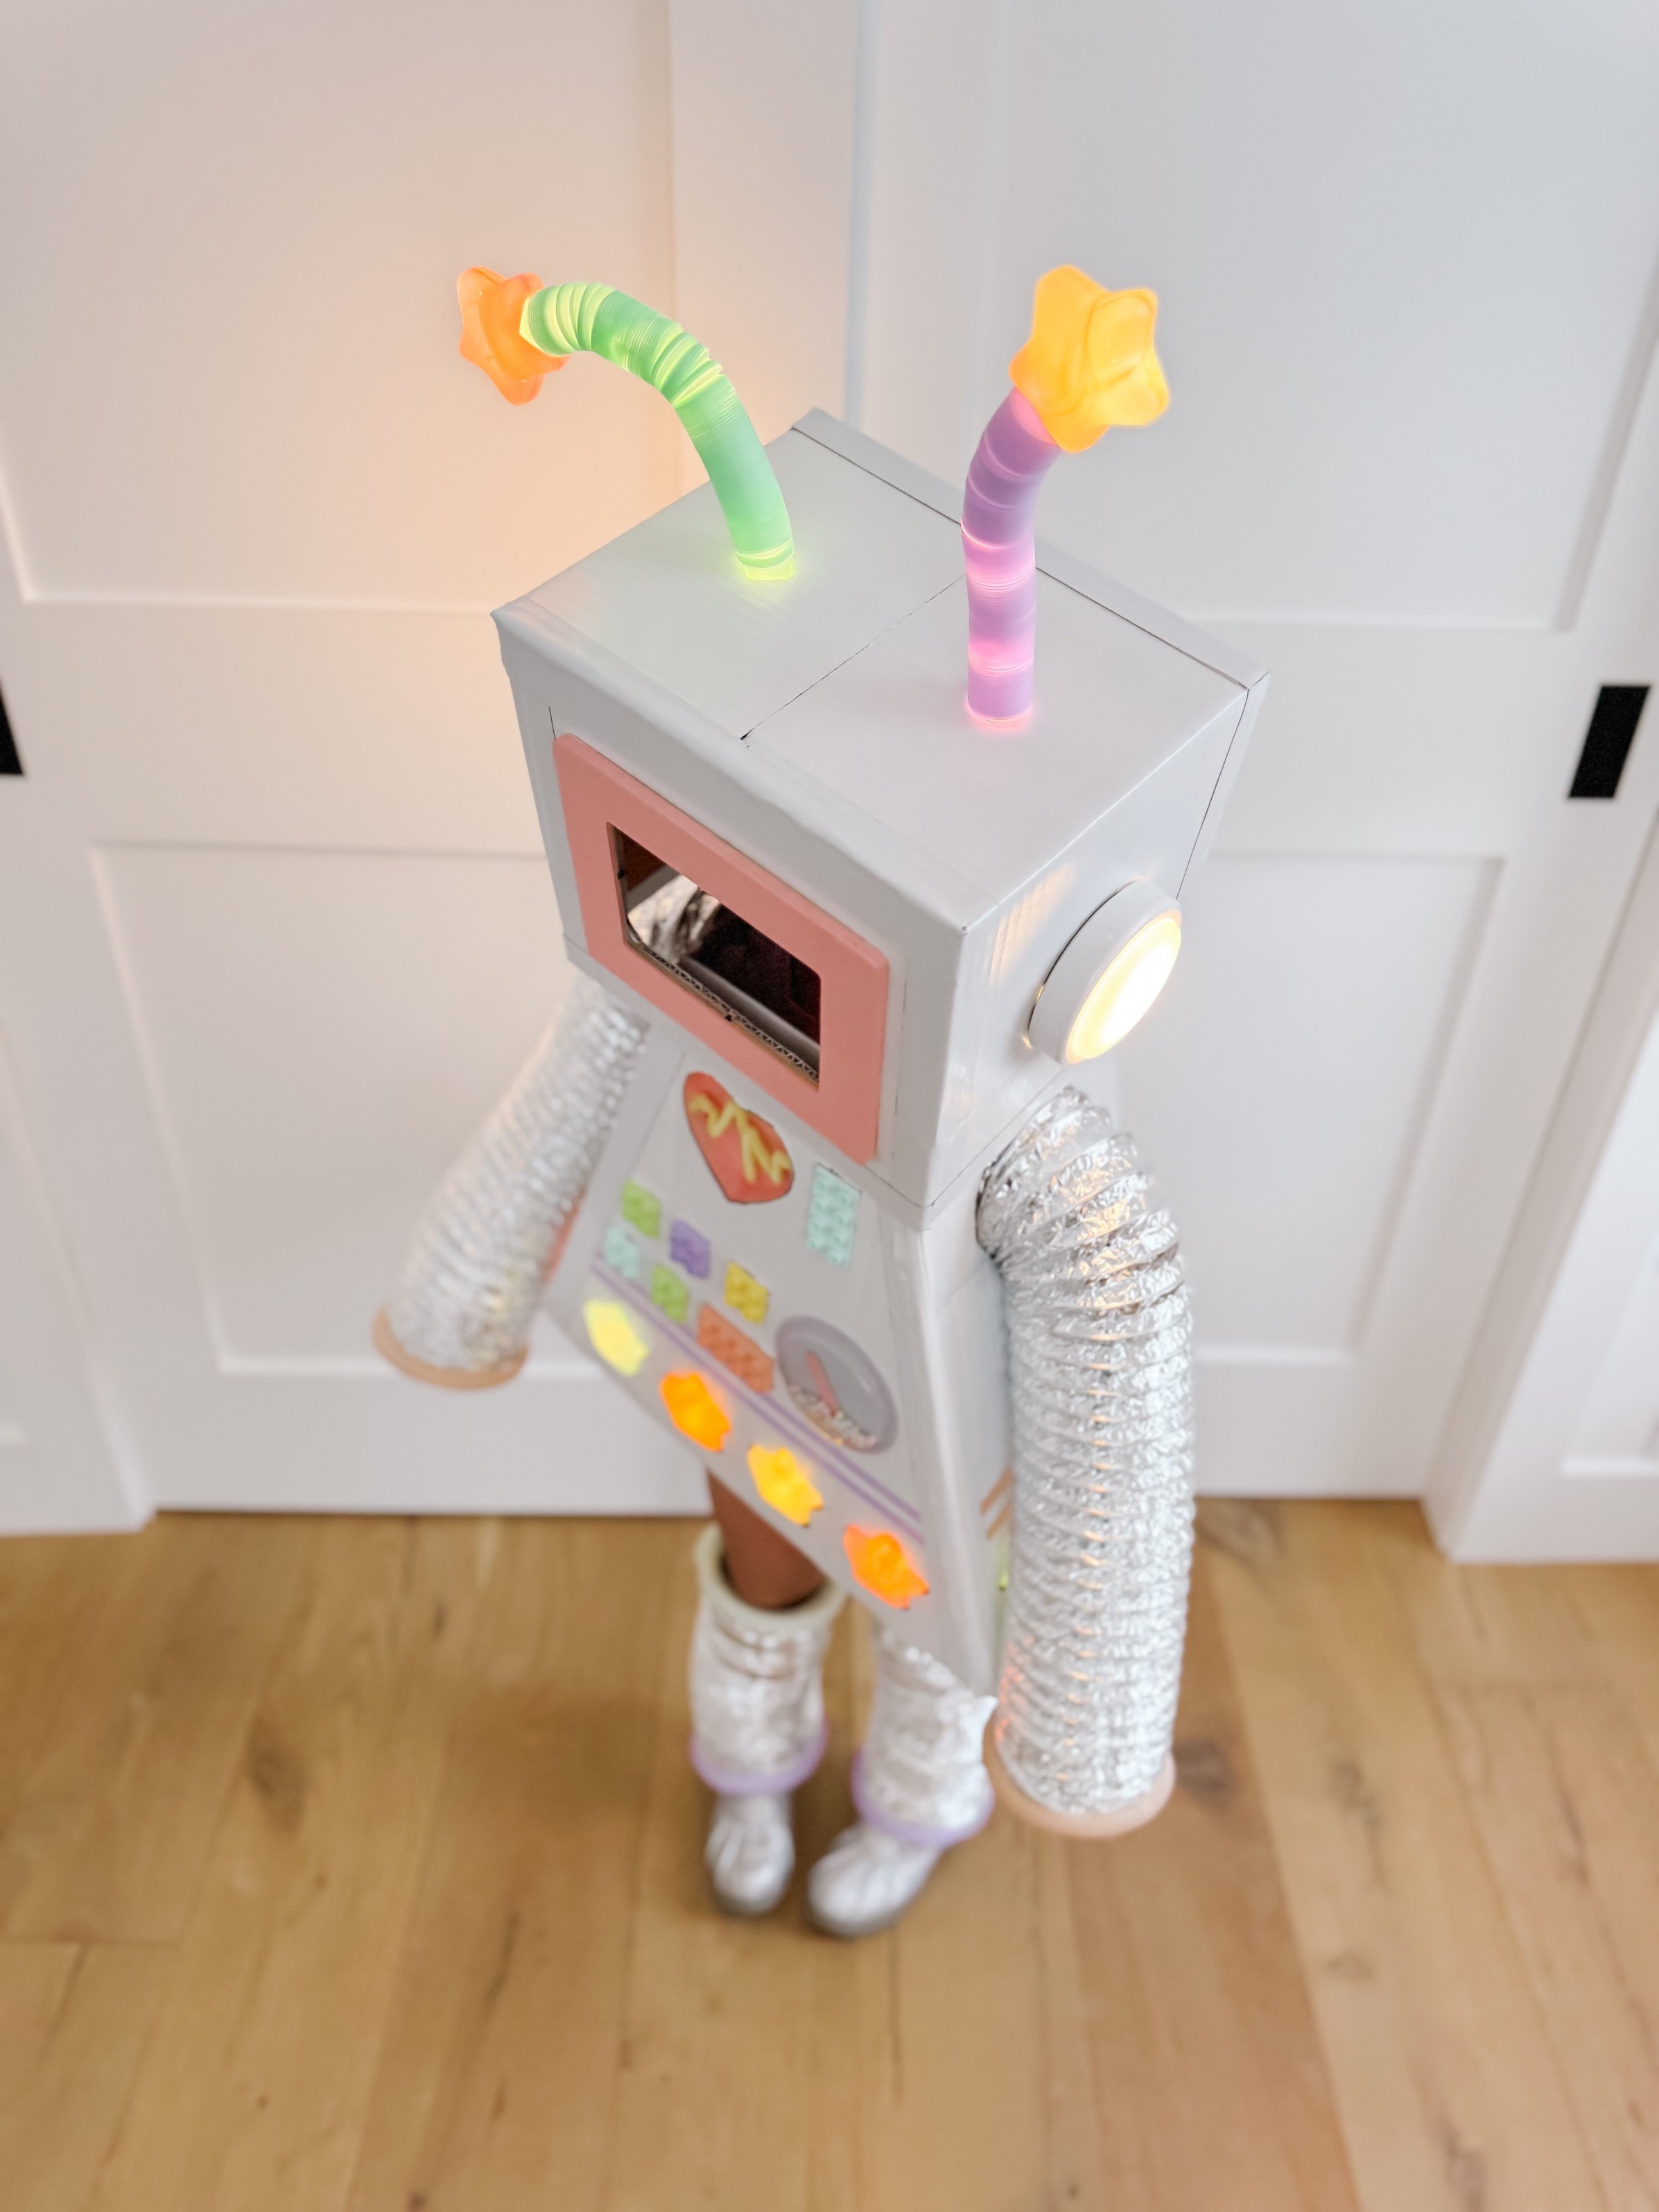
The fanciest costume is the one they'll refuse to wear by house four. Toddlers do best in costumes that are basically pajamas with a theme: a superhero tee over warm layers (our superhero costume tutorial is exactly this), a witch dress over leggings (our pink witch costume with free printable pattern templates), a cardboard robot box they can take off when they're done (our DIY robot costume). If it can't survive sitting on a curb, it's the wrong costume for this age.
The finished robot, checked and ready. If it can't survive sitting on a curb, it's the wrong costume.
Make them visible after dark
This is the one safety section that matters most, and the pediatricians are unanimous about it: after dark, drivers need to see your child. Dark costumes look appropriately spooky and appropriately invisible to cars.
1. A costume that lights up is the gold standard
The best visibility trick we ever used wasn't tape or a flashlight — it was a costume that lit up by itself. Our DIY robot costume has lights built right into the front, and out on the street it did two jobs at once: drivers could spot her instantly, and we could find her in a pack of kids at a glance. If you're choosing or making a costume anyway, built-in lights are the feature to look for — a lit-up kid is a findable kid.
The robot costume after dark — built-in lights make her easy to spot (and easy to find).
2. No lights? Glow sticks are the backup plan
If the costume doesn't light up, a glow-stick necklace and bracelets get you most of the way there — drivers see them, and your toddler won't put down the thing that makes them glow. When she was three, the glow bracelet was honestly the highlight of the night — she forgot about the candy and just admired her wrist. A small flashlight works too, and toddlers love being in charge of the beam.
3. Reflective tape still helps
The AAP's Halloween guidance specifically calls for reflective tape or striping on costumes and trick-or-treat bags when kids are out after dark. A few strips on the back of the costume, one on the bucket — it takes two minutes and it glows in headlights. Silver tape on a dark costume even looks like part of the design.
4. Stay on lit streets, one side at a time
Pick a route on well-lit streets you already know, and work one side of the street down and the other side back — it halves the street crossings. Only visit houses with the porch light on (that's the universal "we're participating" signal), and keep to the sidewalk; don't let them cut across lawns or dart between parked cars.
The route plan
Toddlers don't need a plan — you do. A loose one, held lightly.
1. Go early
Start at dusk, not full dark. The light is better for little legs, the streets are calmer, and you'll be home before the older kids come out in force. Most toddlers are winding down by 7:30 anyway — Halloween night is not the night to fight the bedtime clock.
2. Keep the loop tiny
Your street, or one block. That's it. Tell the other adults the loop in advance so nobody suggests "just a few more houses" when the toddler is clearly fading. Six houses done happily beats twenty houses ending in tears — and next year they'll remember the fun part, not the distance.
3. You go with them. Always.
An adult walks with every toddler, to every door. Toddlers don't go up to doors alone, don't enter anyone's home (even a friendly neighbor's — make it a standing rule now), and stay on the porch while you stand at the bottom of the steps. The AAP guidance is direct: young children should always be accompanied by a responsible adult.
4. Hand-holding is the standing rule
Set it before you leave the driveway: on the sidewalk, in the street, at every crossing — you hold hands. Toddlers accept reminders they hear constantly and cheerfully ("hands!" at every curb becomes a game), and it matters most in the exact moment a car turns the corner or another kid group surges past. Practice the rule on the walk to the first house, not the walk home.
5. Pick a lost-and-found word
Before you go out, agree on one loud, unusual word your toddler can shout if you ever get separated — something that cuts through a street full of "trick or treat!" noise. Pick a word or family call they already know from home, and practice it like a game beforehand: shout it, and a grown-up comes running. A toddler who gets turned around in a crowd of costumes can't describe where they are, but they can be loud on cue — and you'll hear that one word over everything.
6. Feed them dinner first
A toddler hitting the candy circuit hungry is a toddler who will eat six pieces of candy at house three and be miserable by house five. A real dinner first means the candy is a treat, not the meal — and it buys you the whole loop before the sugar crash arrives.
Candy rules that save the night
The candy is the point, for them. The candy management is the point, for you. Set the rules at home, before the first doorbell, when everyone is still rational.
1. Nothing gets eaten until the home inspection
This is straight from the pediatricians: no treats until they're home and an adult has looked everything over. Check for rips or tears in the packaging, toss anything unwrapped or homemade, and skip anything that looks tampered with. When she was little, we made the sorting part of the fun — she dumped the bucket on the rug and we "inspected" together, which felt like a second round of trick-or-treating.
2. Pull the choking hazards
Hard candies, gum, peanuts, and small toys are choking hazards for under-threes — the AAP specifically flags these. Sort them out during the inspection and set them aside for older kids or the trash. Nobody misses what they never saw.
3. Make the candy plan before the big night
Decide the plan at home, days ahead, and tell your toddler what it is — the plan only works if it's not a surprise. Pick the version that fits your family: trade-in (the bucket gets traded for a present the next morning — the "candy fairy" leaves a toy in exchange), a number limit (they keep ten pieces, or one small bowl's worth, and choose them at the sorting table), or a sharing plan (some for them, some for mommy and daddy, some saved for friends). Announce it cheerfully at the sorting table, not mid-loop when they're holding a full bucket. Toddlers accept limits they knew were coming; they rebel against limits that appear mid-hug with a candy bucket.
What you can stop stressing about
The tiny candy haul. Six houses and four pieces of candy is a complete, successful first Halloween. The haul grows with the legs — this year is about the doorbells.
That they won't say "trick or treat." Half of toddlers just stare at the neighbor, grab the candy, and walk away. The neighbors expect it. A wave counts.
The scary house. If a yard looks too intense, skip it — no explanation needed. Toddlers can't tell "fun scary" from "actually scary," and a frightened two-year-old won't be comforted by "it's just pretend."
The perfect costume photo. The porch-light photo where they're mid-blink in a crooked hat is the one you'll actually love. Get the photo, then put the phone away and be on the loop.
Quitting early. Sitting down on someone's lawn and announcing you're done isn't a failure — it's a toddler who had exactly as much fun as they wanted. That is the win.
Some links are affiliate links. We only share things we actually use.
Free Halloween fun to go with the night
The costumes get the photos, but the activities are what fill the week before Halloween. Our free October collection has the season's printables and play ideas — potion trays, pumpkin crafts, and not-too-spooky activities sized for toddlers — so the big night is the finale, not the whole event.
There's no official age — it depends on the child. Most families start around age 2 or 3, when the toddler can walk the loop (or ride in the stroller for part of it) and understands the basic idea. Under-twos do great as passengers: dress them up, carry them to a few doors, and call it a night.
How long should trick-or-treating last with a toddler?
Plan for 20–45 minutes, and let the toddler end it whenever they're done. A short, happy loop beats a long one that ends in tears — and the "we quit while it was fun" version is the one they'll remember fondly.
Should toddlers trick-or-treat in the dark?
Start at dusk while there's still light, and if you're out after dark, make visibility the priority: reflective tape on the costume and bucket, glow bracelets, a flashlight, and well-lit streets only. The pediatric guidance is clear that costumes need reflective elements for after-dark outings.
Can my toddler wear a mask?
They can, but most toddlers won't keep one on — and masks narrow their vision, which matters on dark sidewalks. Non-toxic face paint gives the same effect without the slipping, fogging, or tripping hazard.
What do I do with all the candy?
Inspect everything at home first (toss unwrapped, homemade, or suspicious-looking pieces, and pull choking hazards for under-threes). Then follow the candy plan you made before the night — a trade-in for a present, a number limit they pick at the sorting table, or a sharing plan. Decide it in advance and announce it cheerfully at the sorting table.
Make star shaker wands with toddlers — clear fillable stars, glitter, and wooden dowels become a sparkly sensory craft. Full tutorial, materials list with links, and tips.
Handing a preschooler scissors for the first time can feel like handing them a tiny sword. But with the right progression — snipping before cutting, playdough before paper — those wobbly first cuts turn into real confidence fast.
Emotions on the Go: Teach Feelings Anywhere with Flashcards
The best emotions lesson isn't a lesson at all — it's a card pulled out in the backseat, a silly face in the grocery cart, a matching game while the food arrives. Feelings happen everywhere, so practice them everywhere: here are five easy ways to teach emotions on the go with flashcards.
Best forAges 2–5
Time2–5 min each
CostOne card set
SkillsEmotional vocabulary
Why on the go works so well
Big feelings don't wait for a calm moment at the kitchen table. They show up in the car, in line at the store, in the middle of a restaurant meal. Practicing emotions in those moments — with a card deck that fits in a diaper bag — wires the vocabulary right where your toddler needs it. No prep, no setup, just pull a card and play.
1. Mirror faces
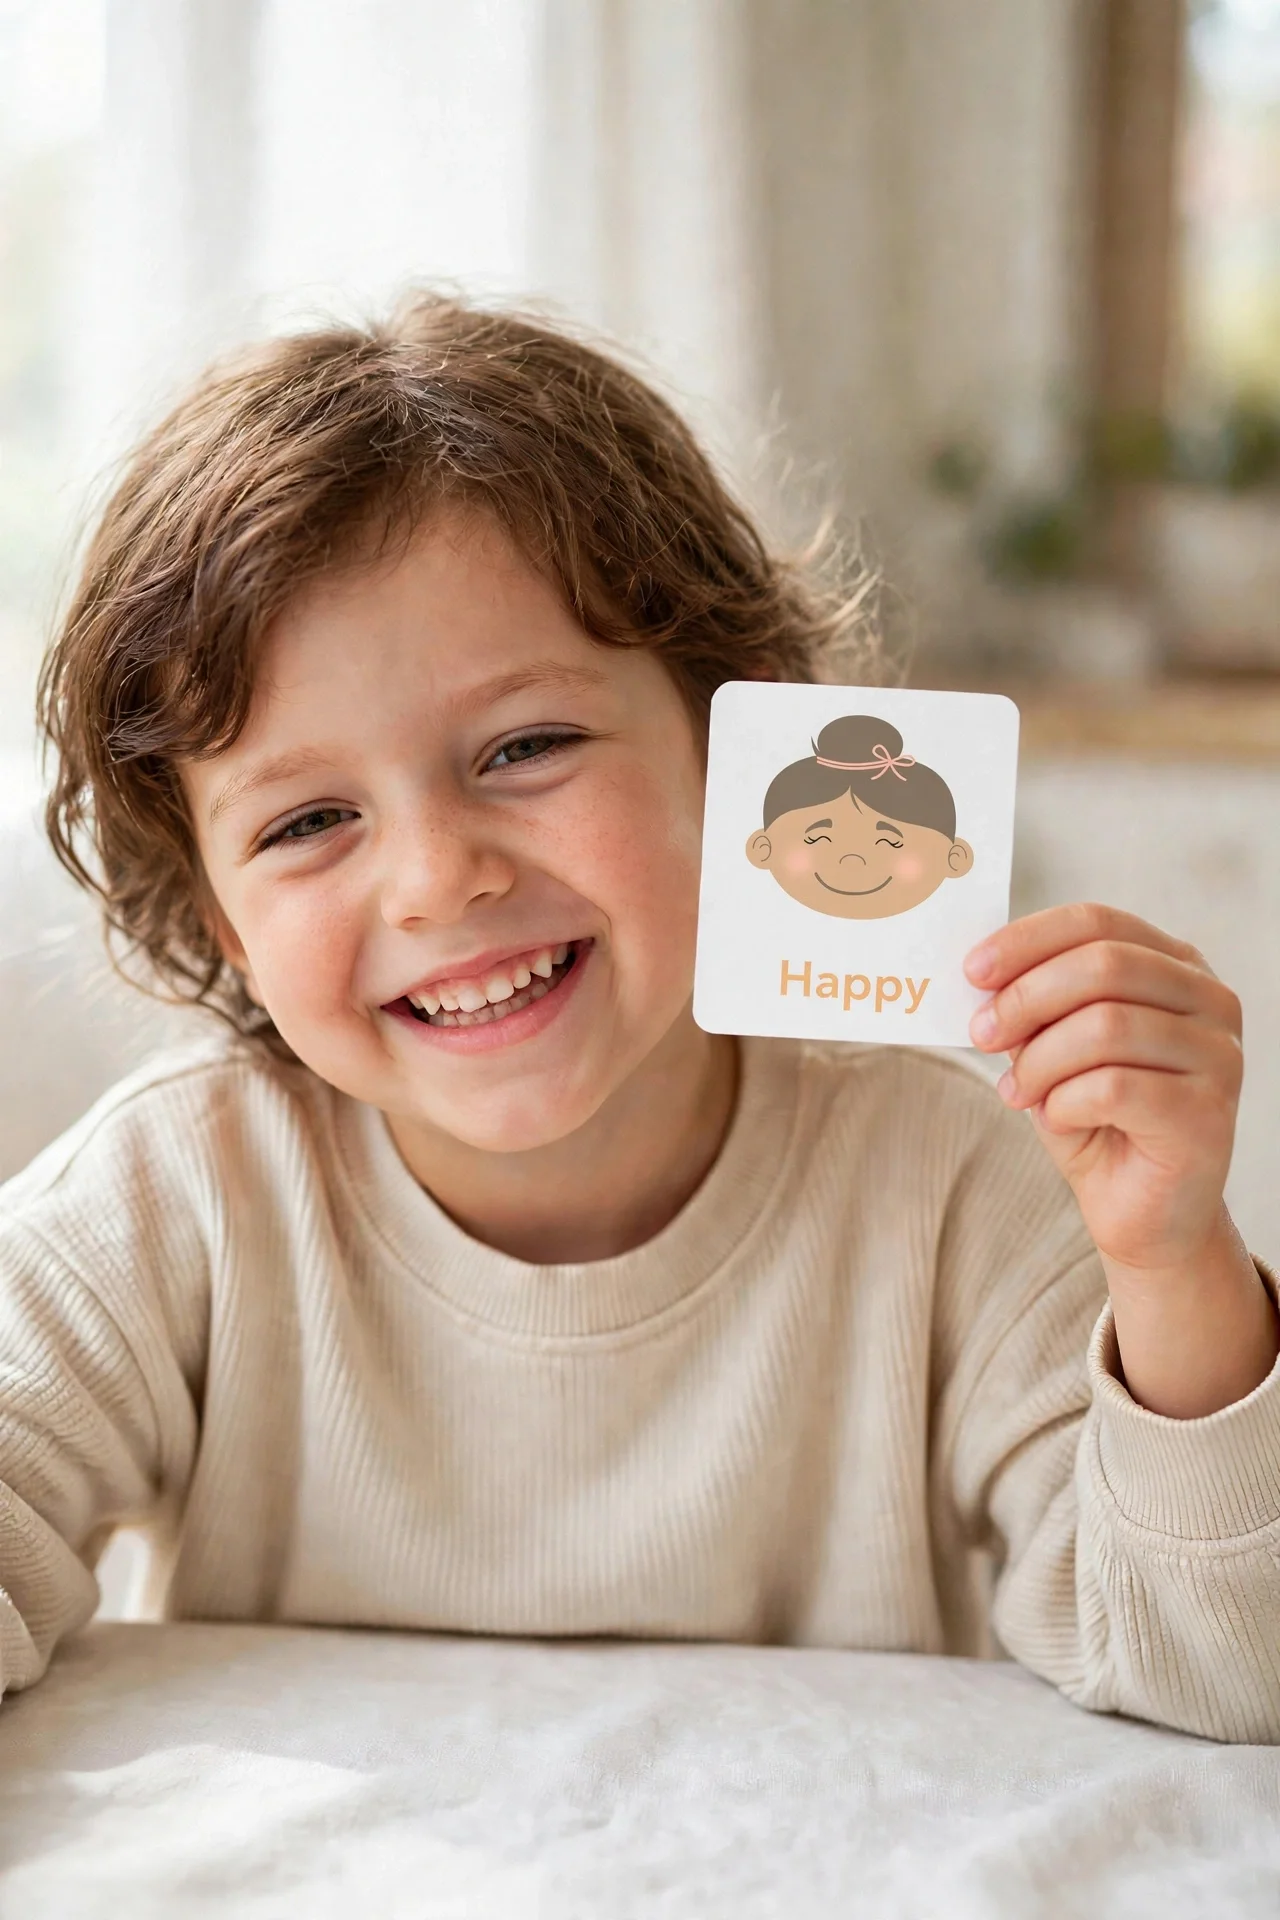
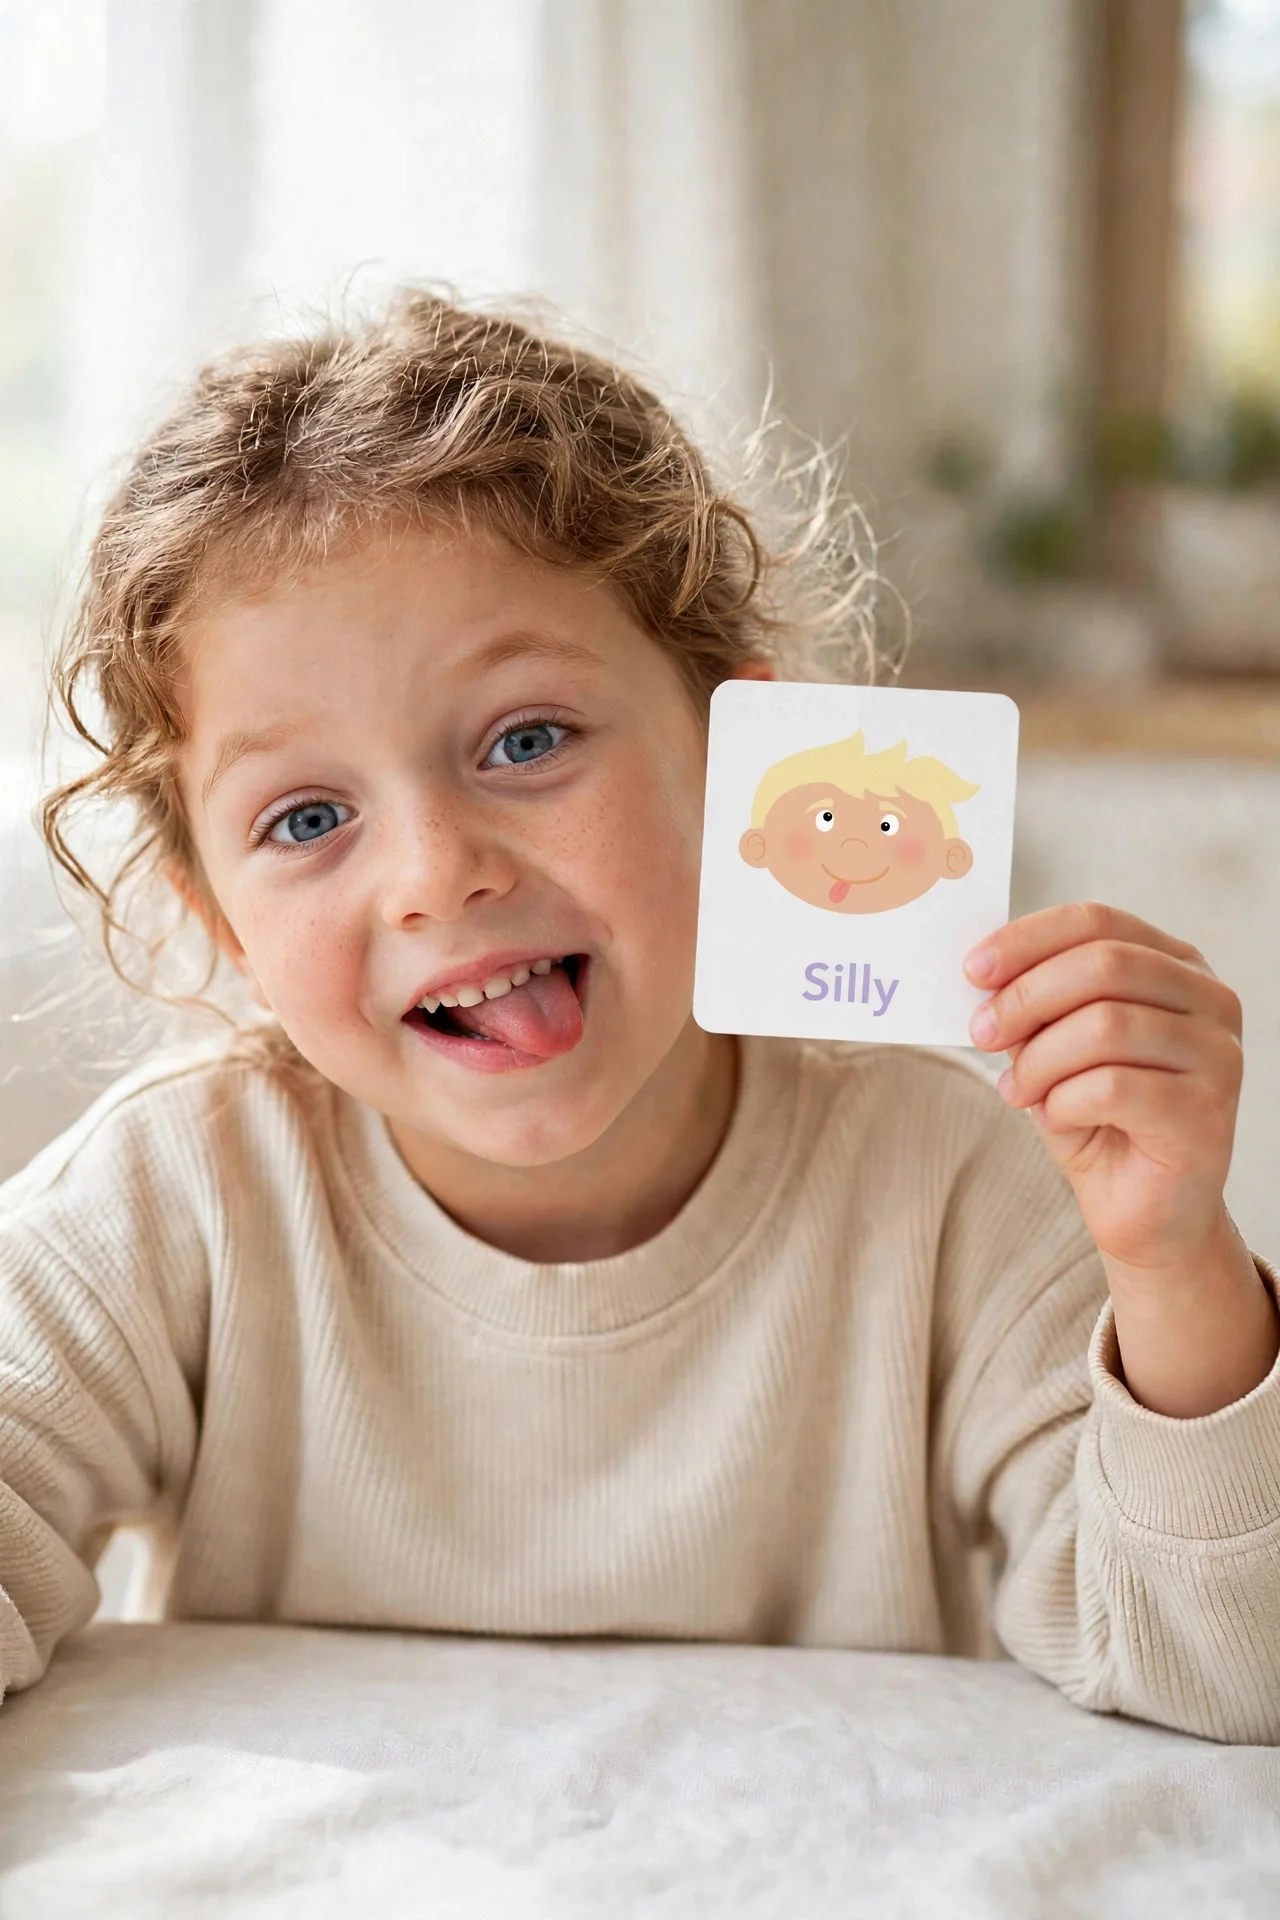
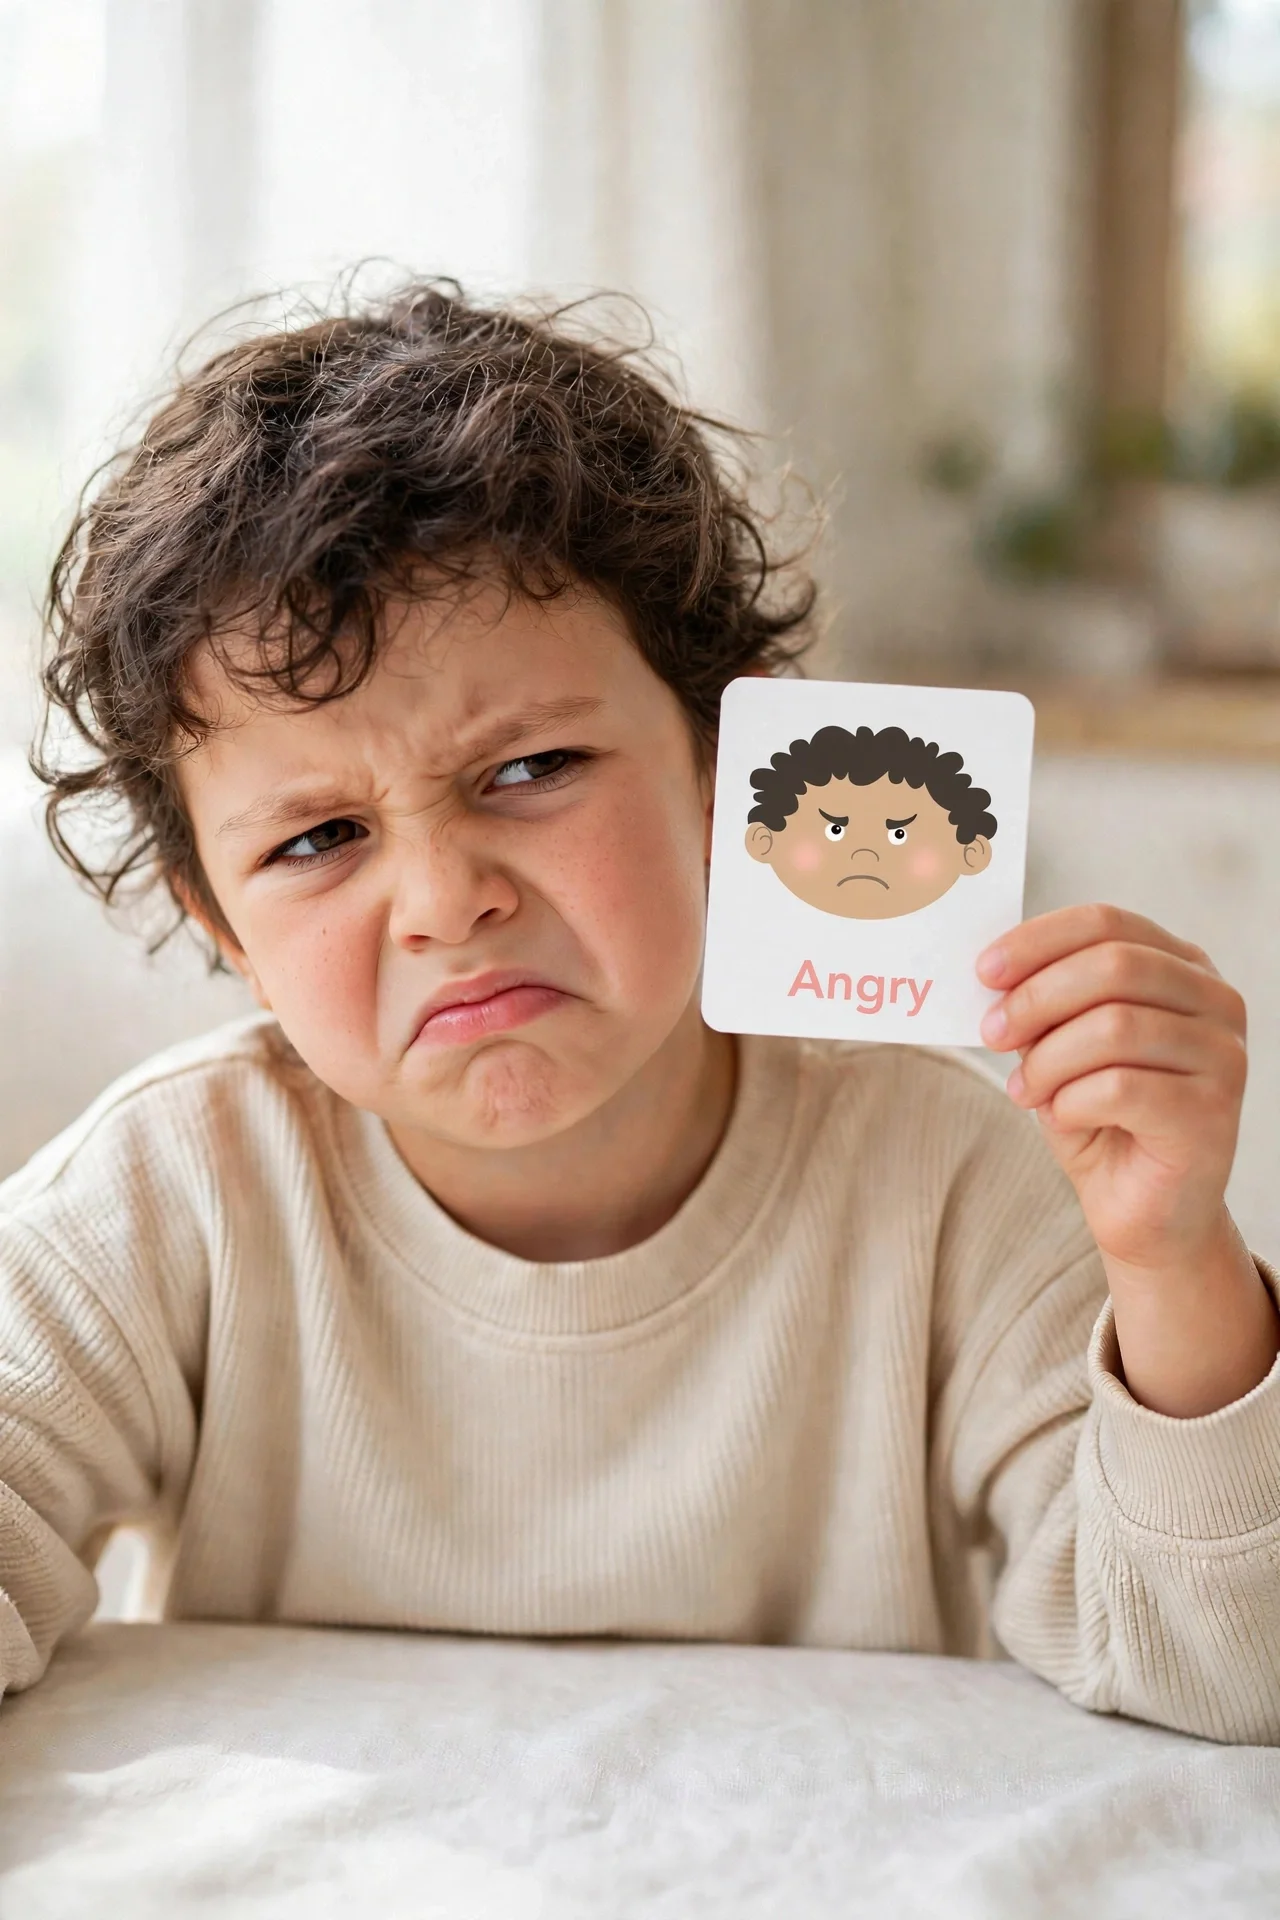
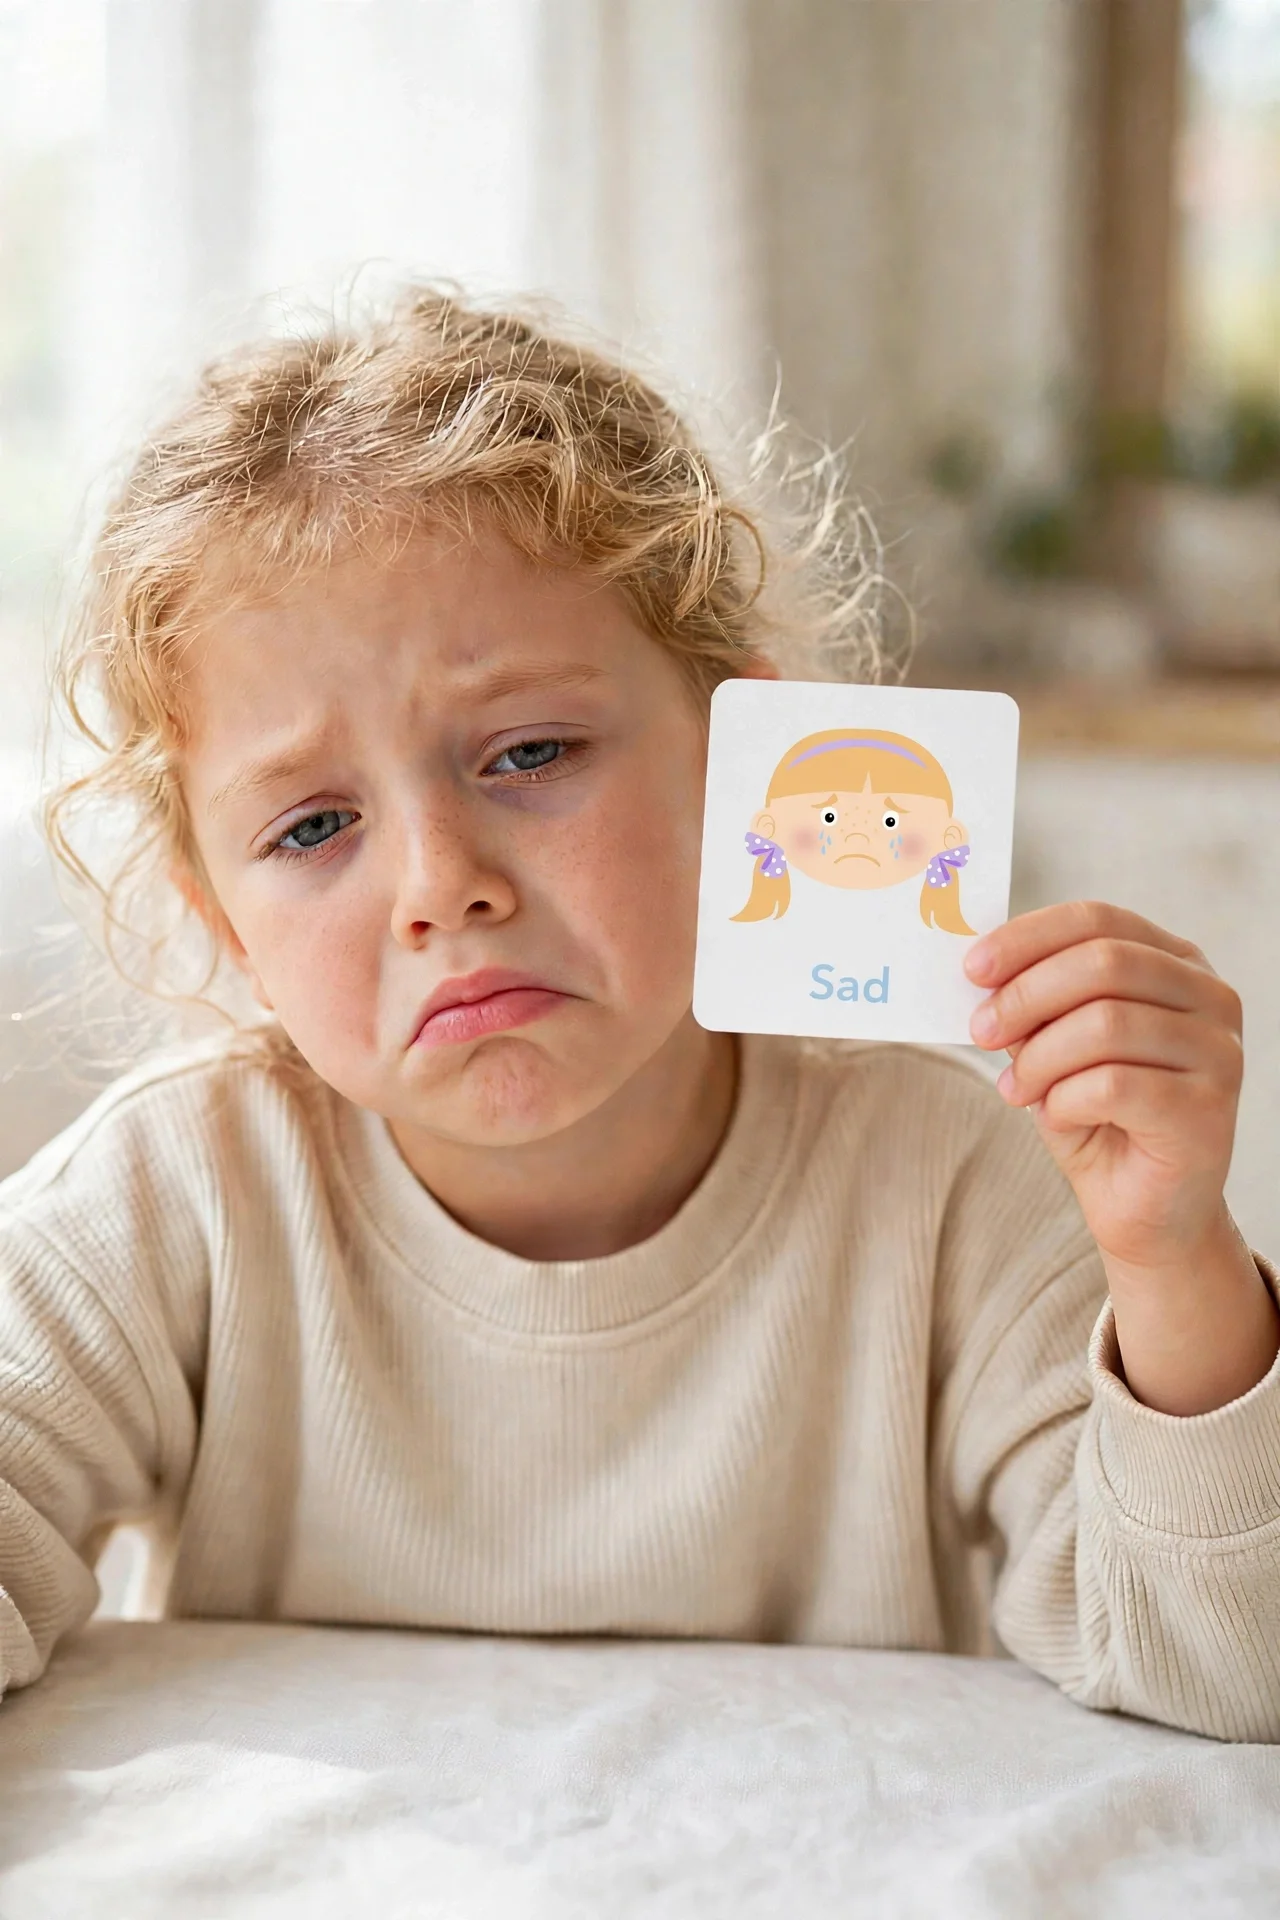
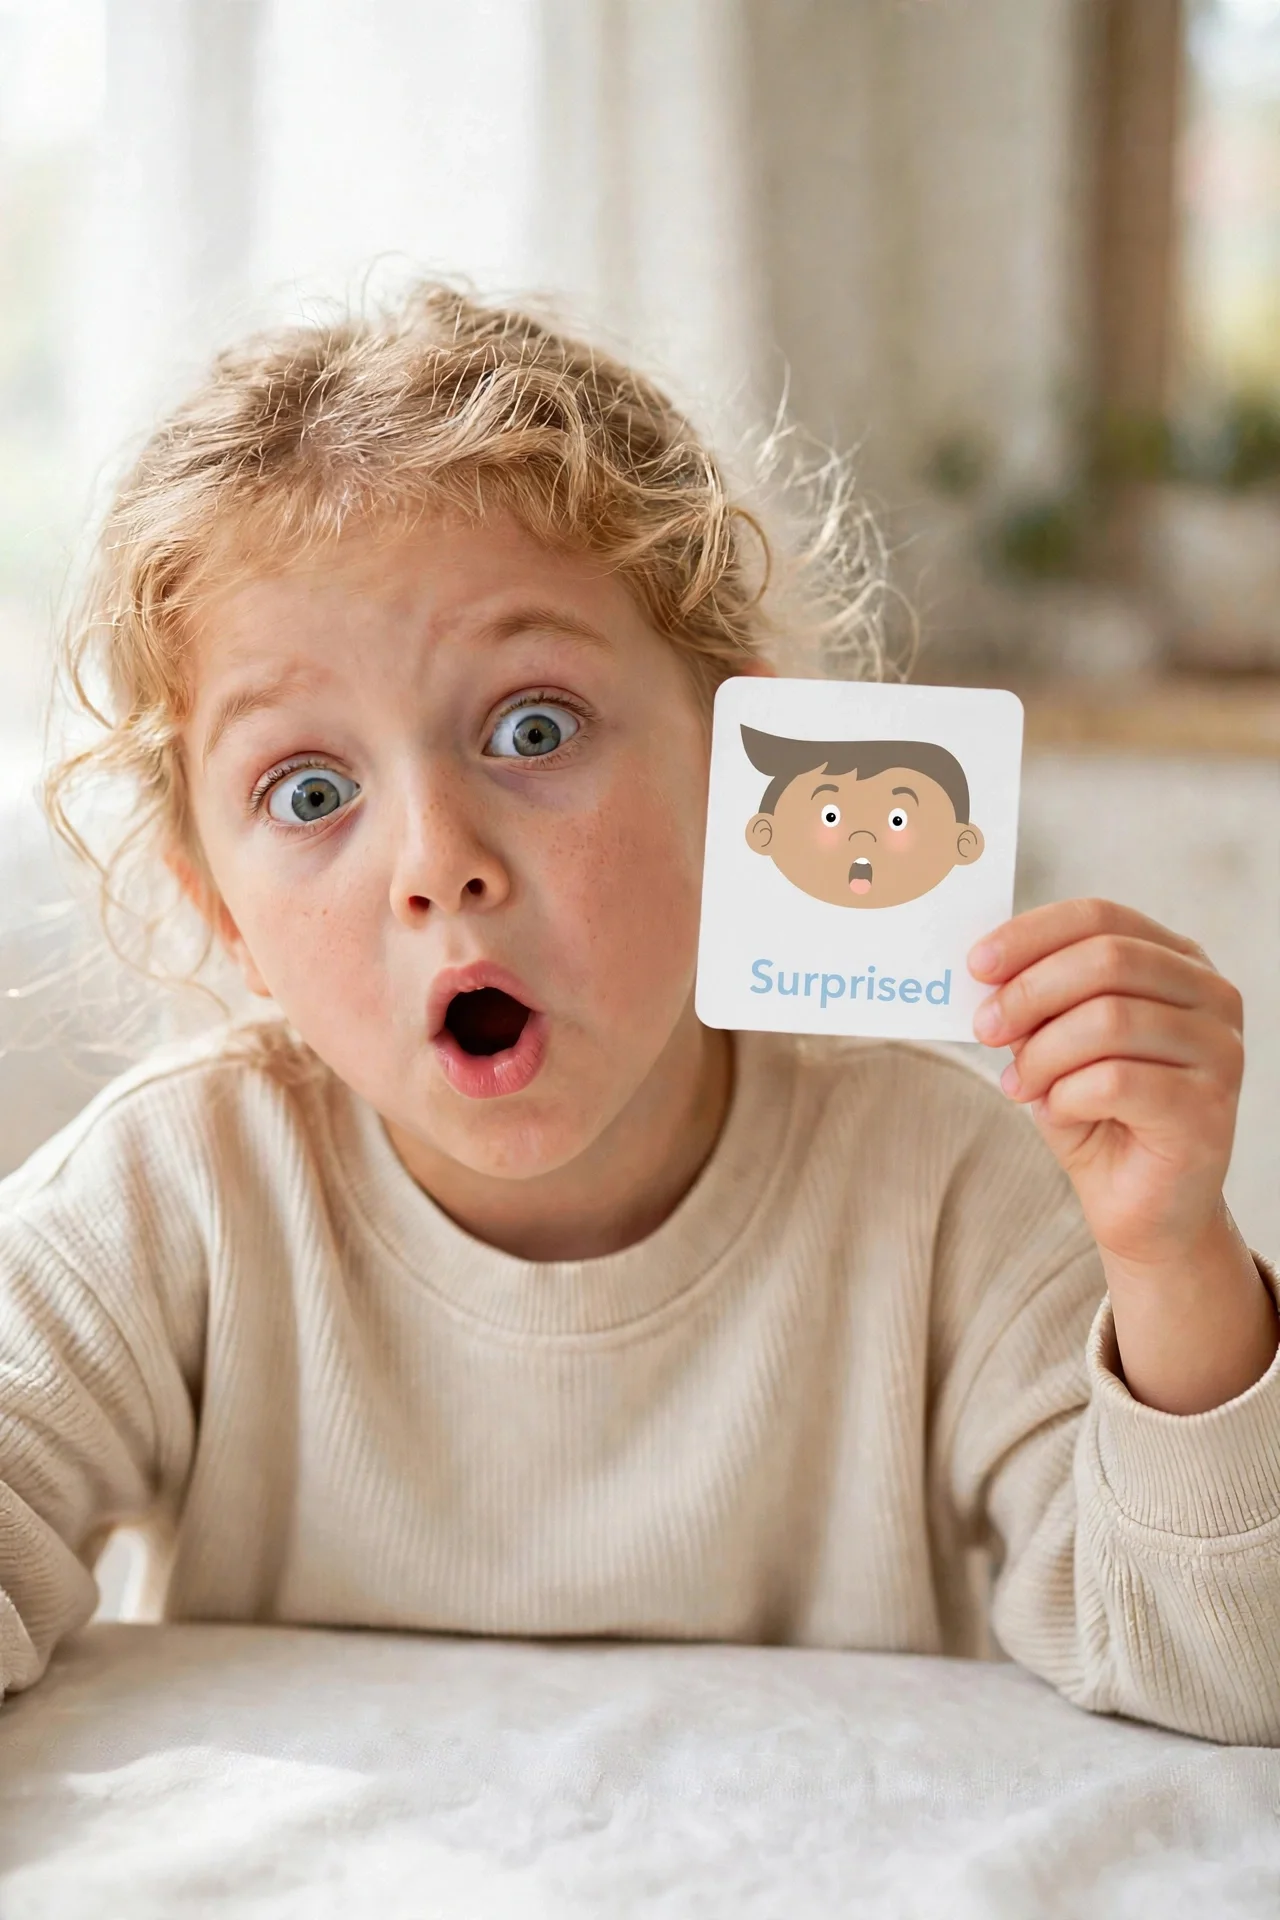
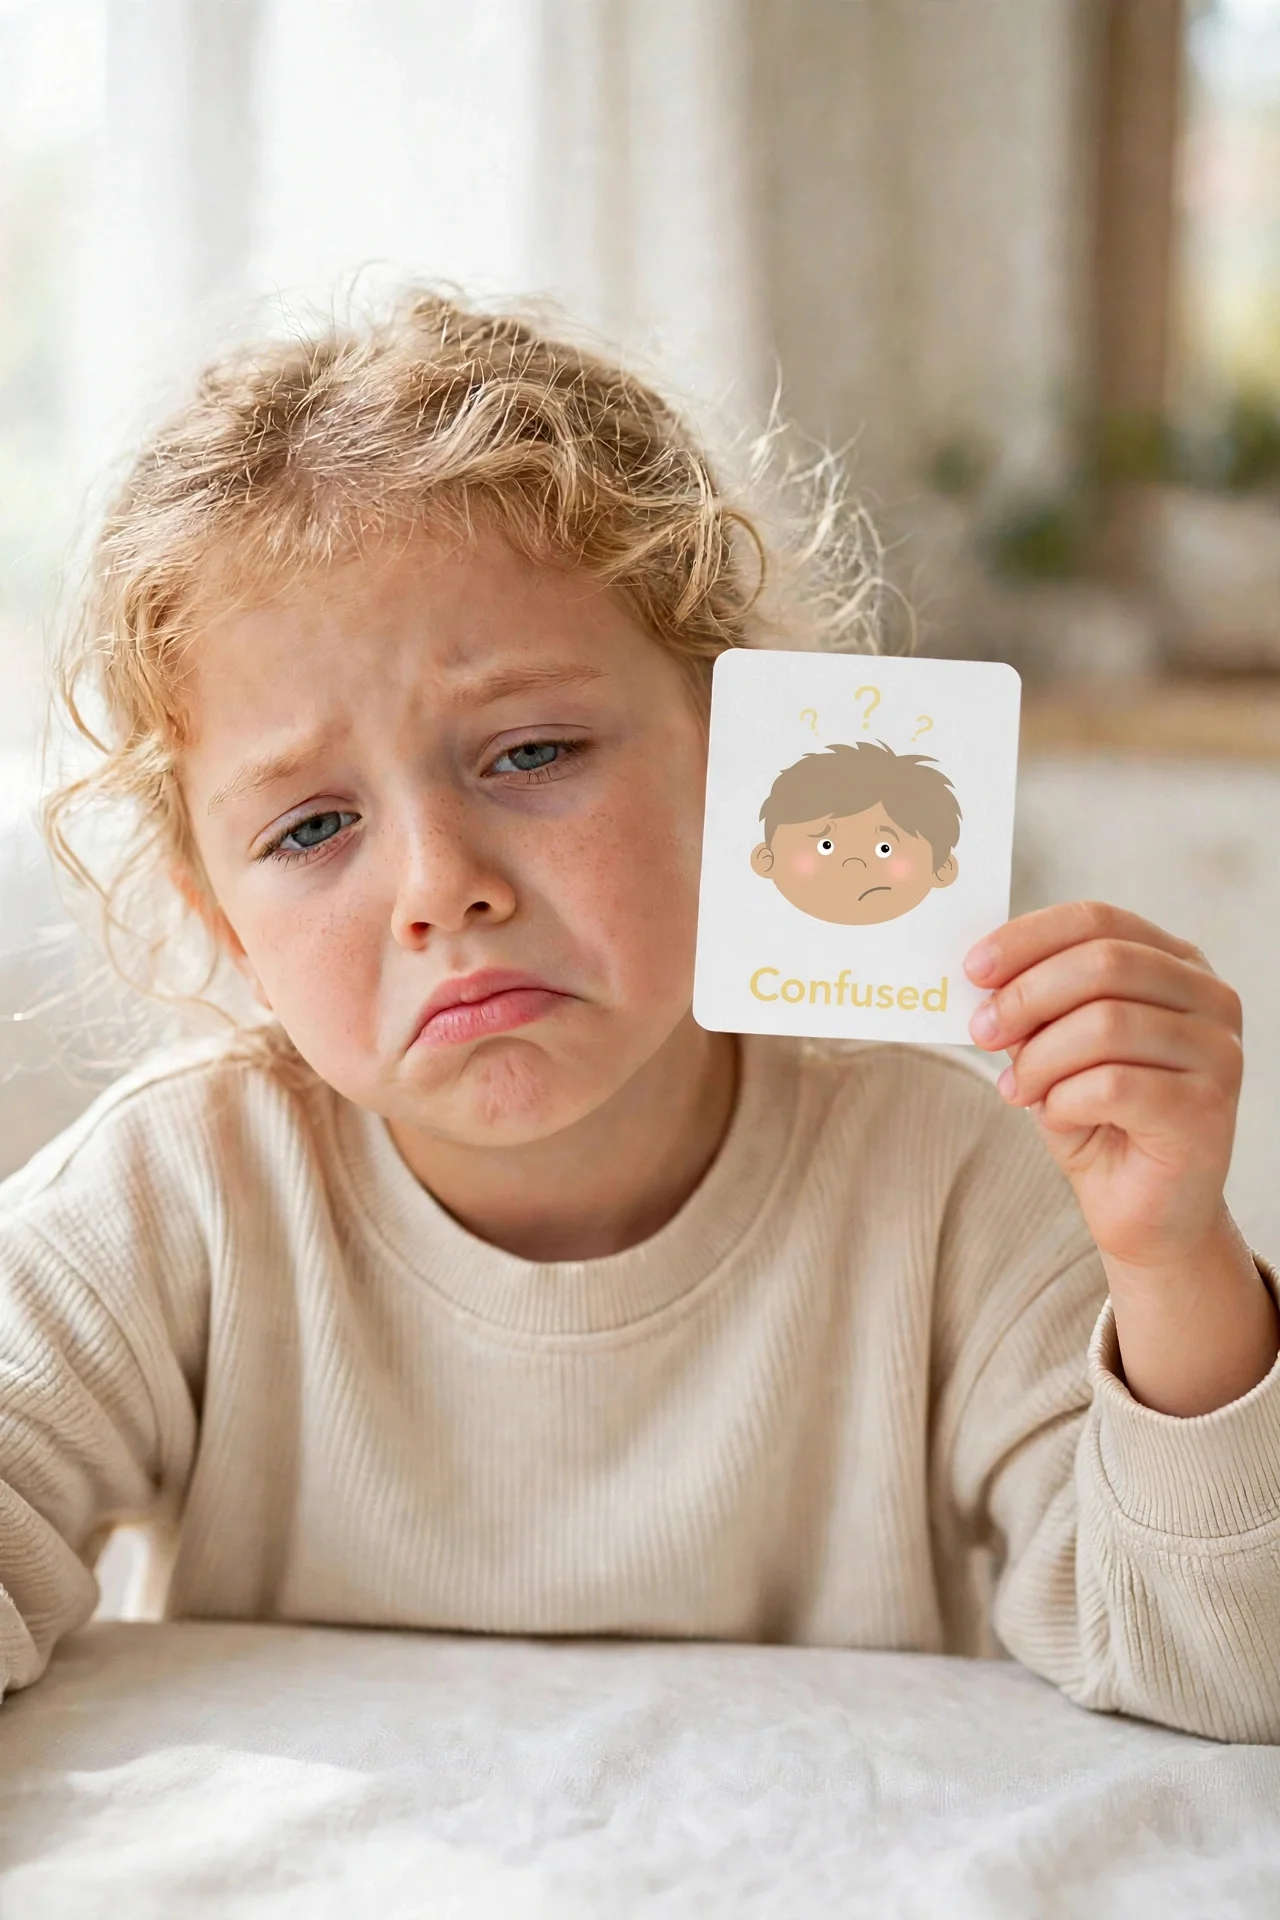
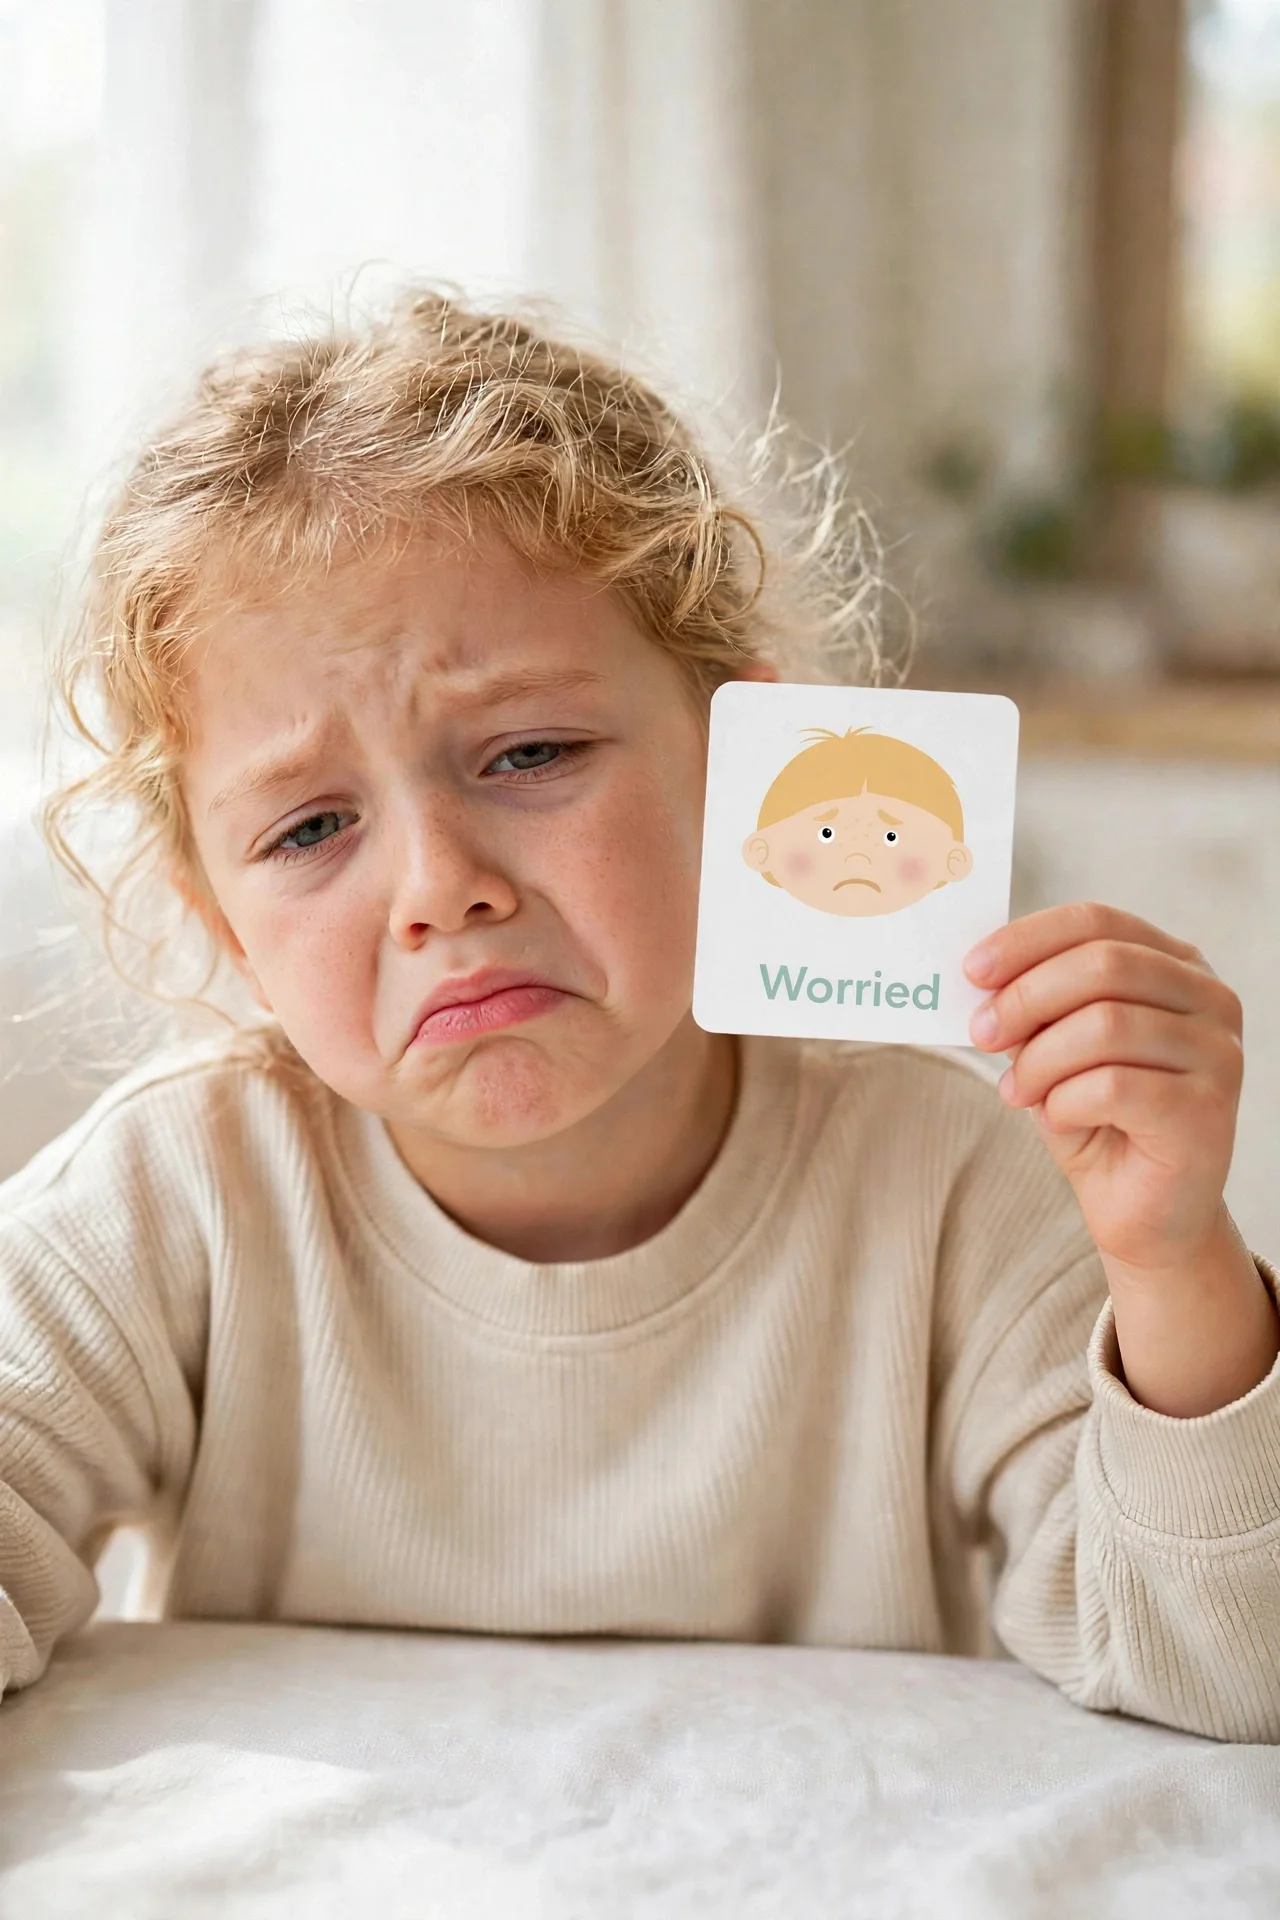
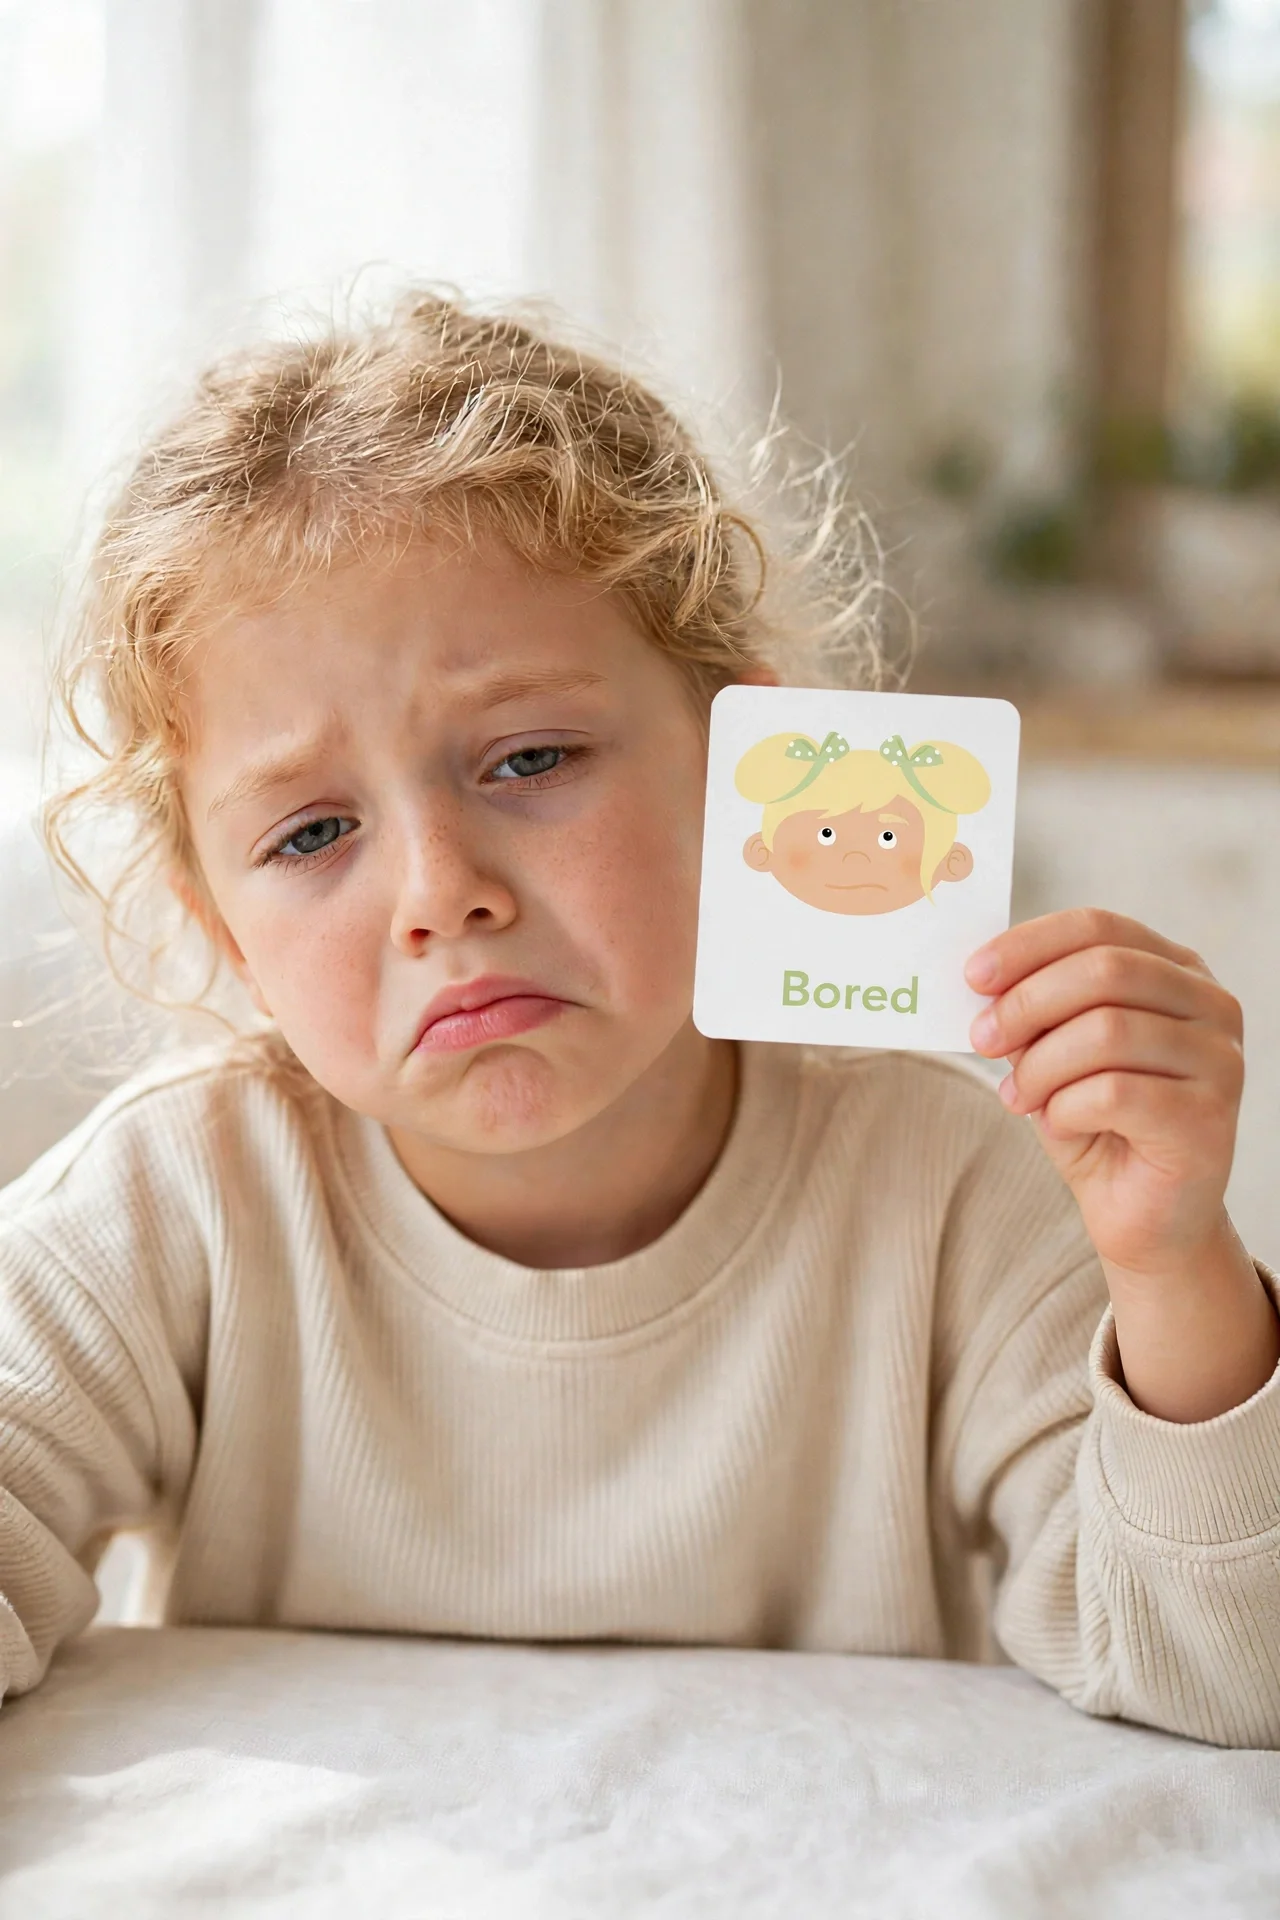
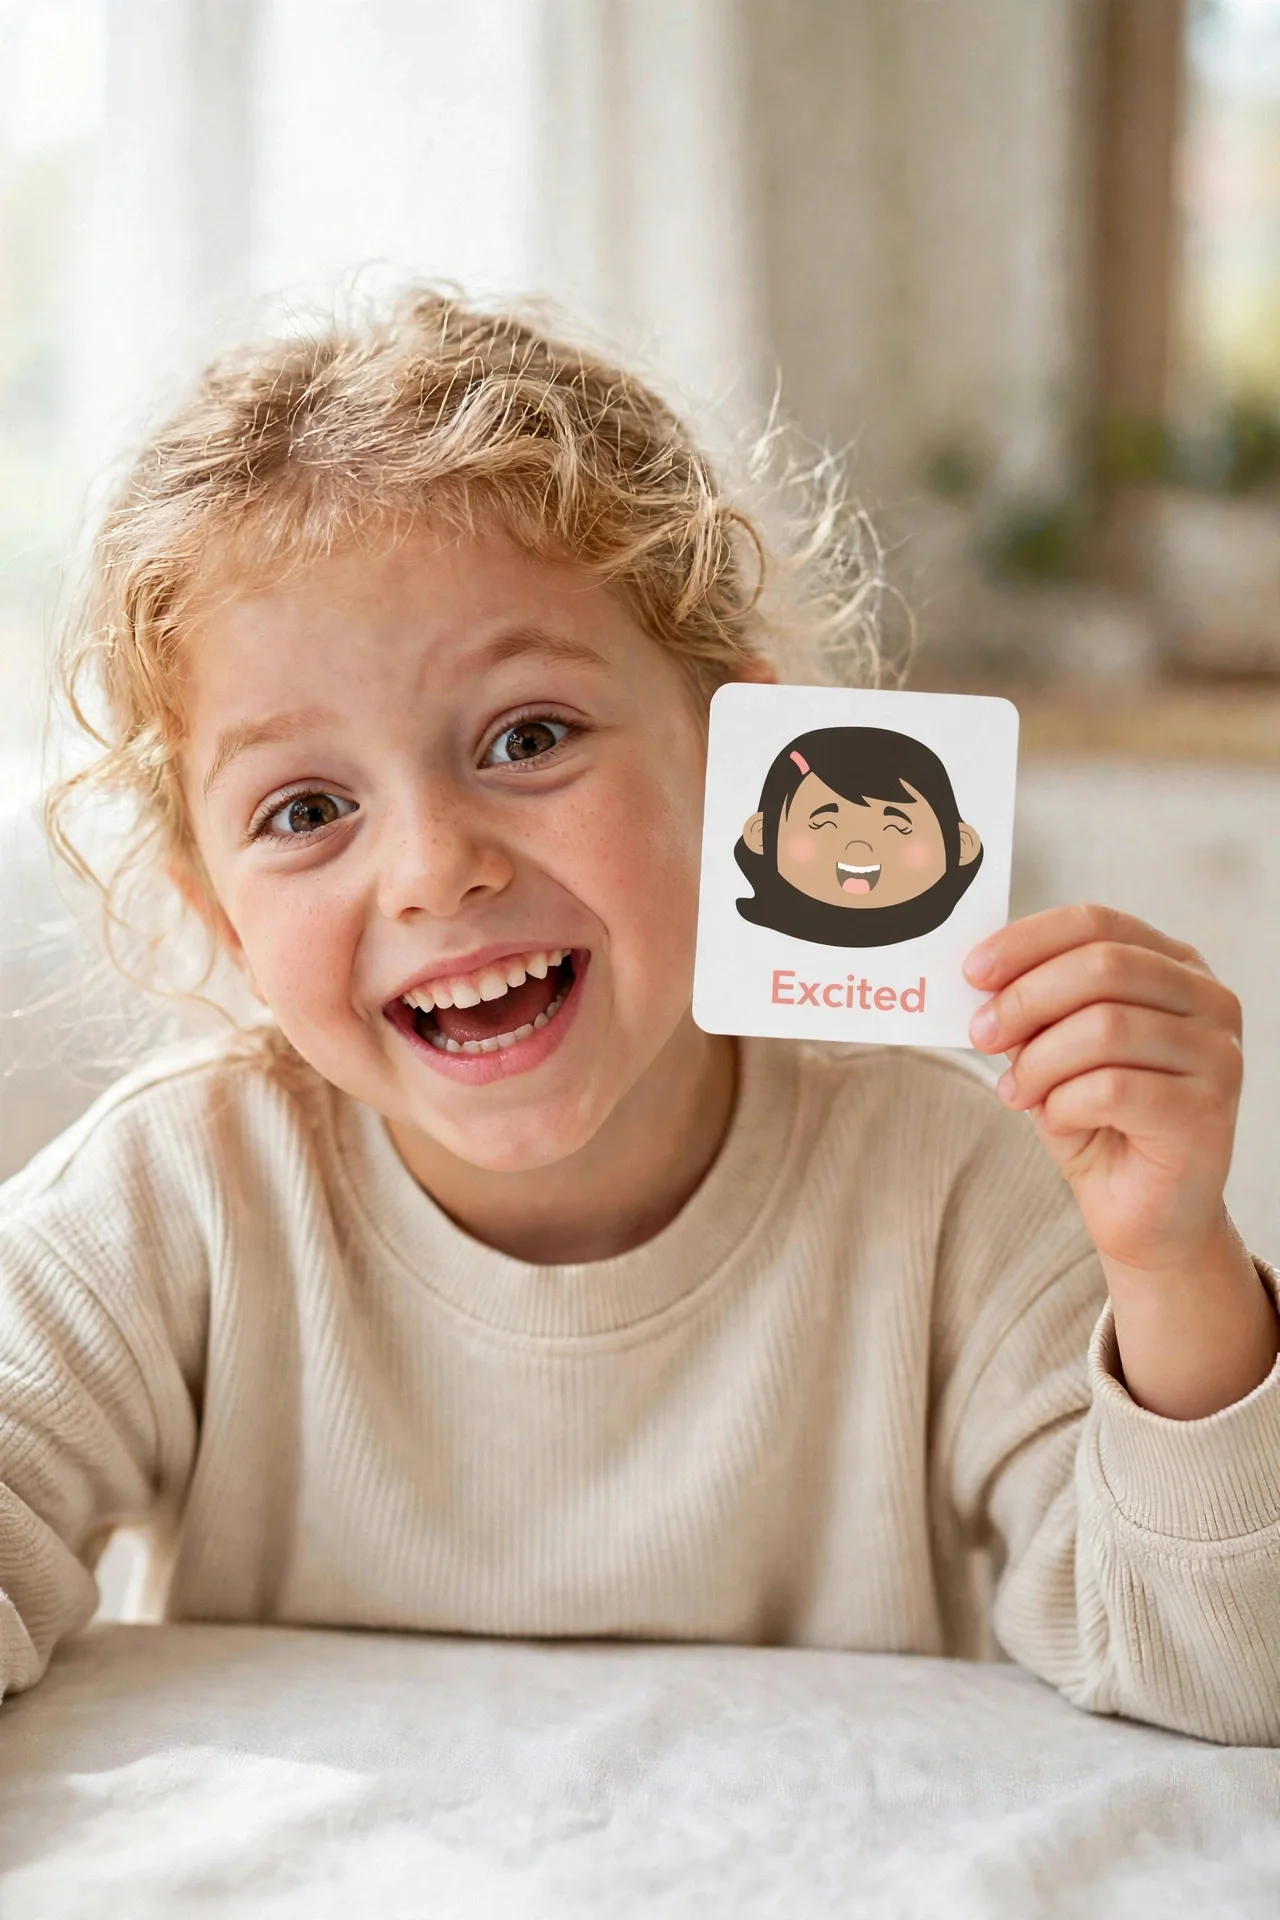
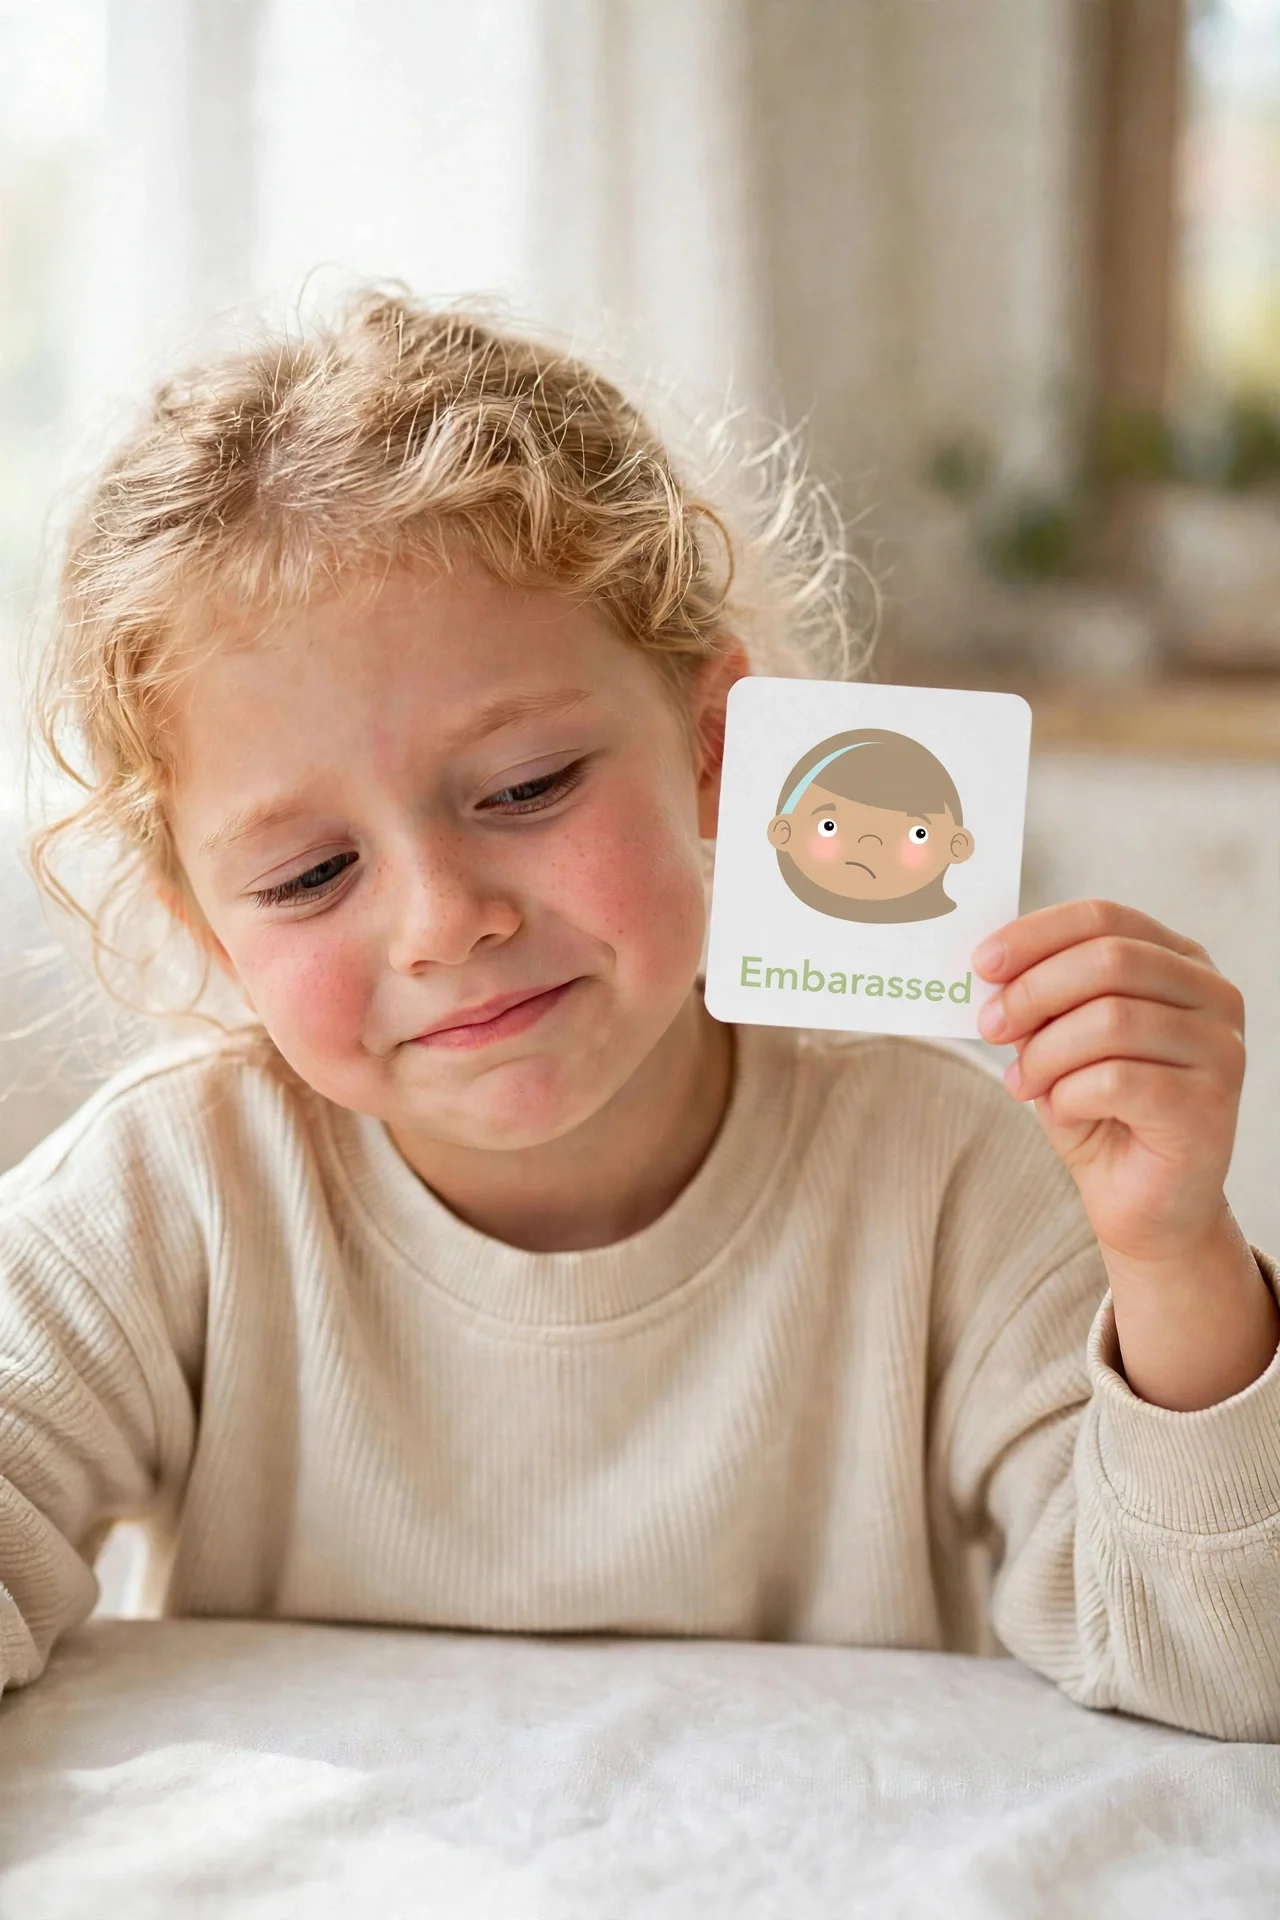
Hold up a card and make the face together — then let your toddler "teach" it back to you. Copying the expression wires the word to the feeling, and the silliness keeps them coming back. Work through the whole deck over a week: happy, sad, angry, silly, surprised, confused, worried, bored, excited, and embarassed.
Mirror the card: make the face, name the feeling, repeat.Silly is always the favorite round.Practicing the hard feelings when everyone's calm makes them easier to name later.
2. Backseat feelings check-in
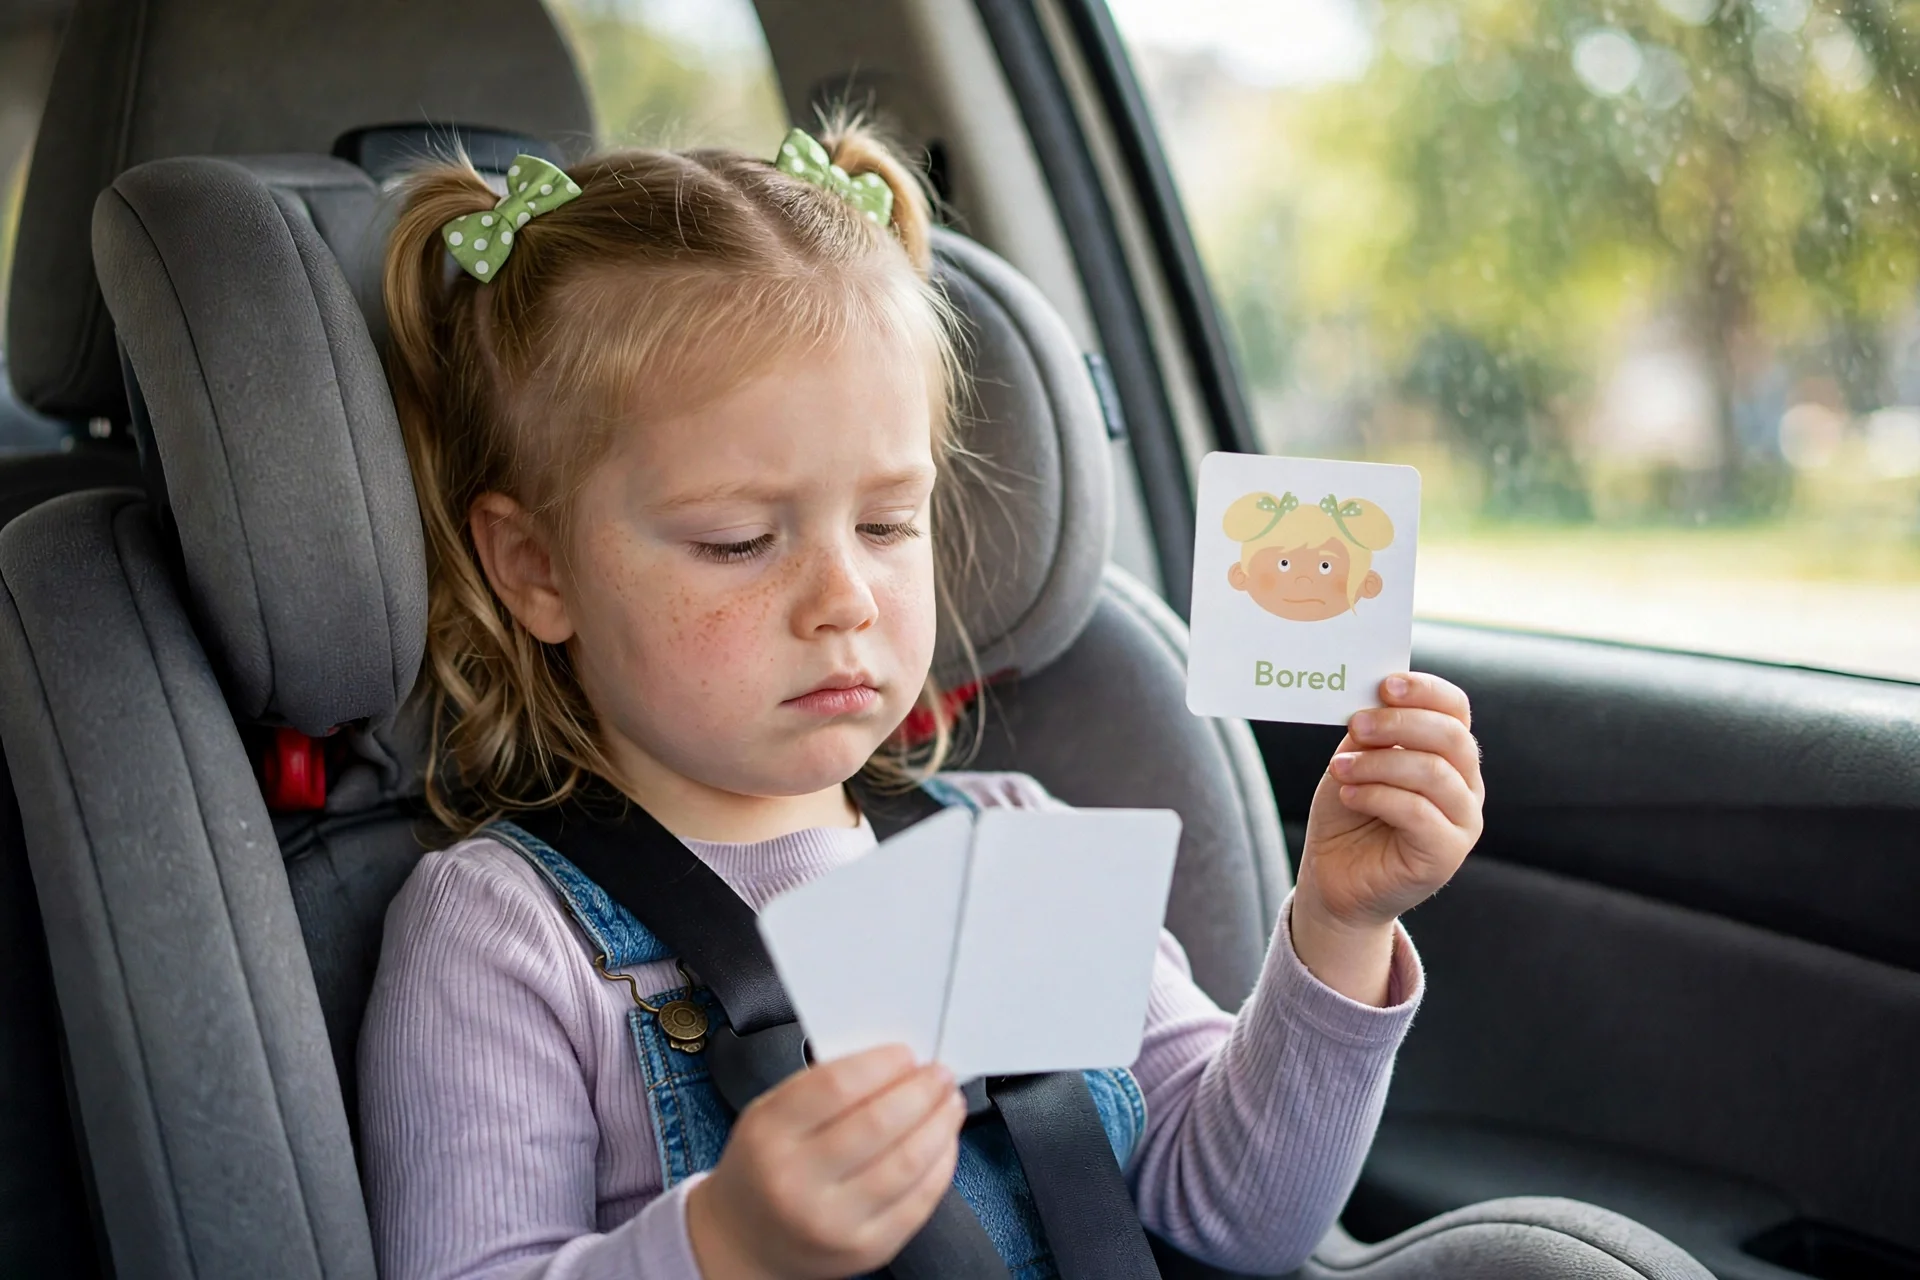
Stuck in traffic? Fan out three or four cards and ask: "How are you feeling right now? Hold one up." No wrong answers, no fixing — just naming. It turns a restless ride into a two-minute vocabulary drill, and over time your toddler starts reaching for the words on their own.
Backseat check-in: "Which face matches how you feel right now?"
3. Grocery cart emotion hunt
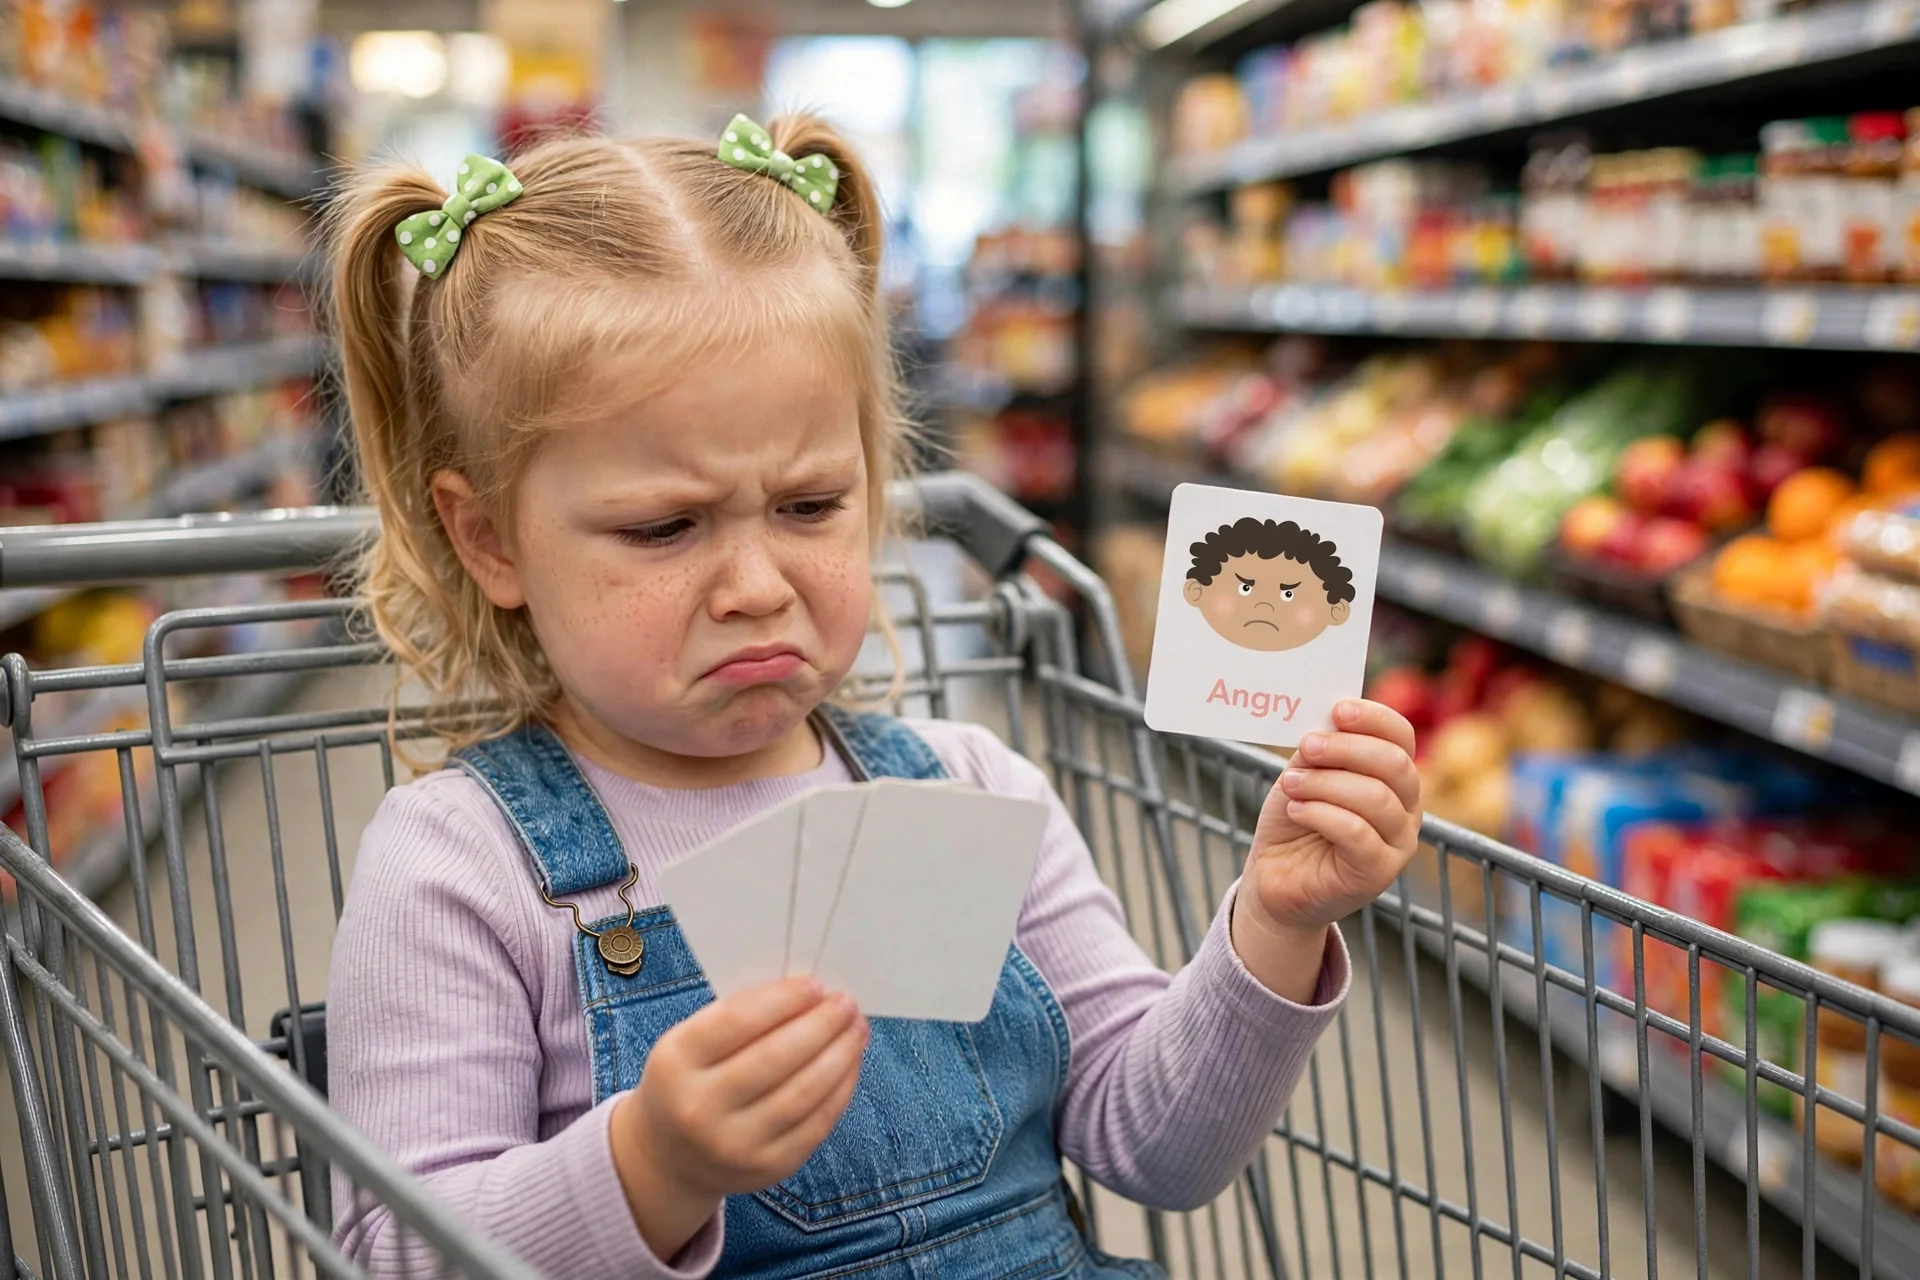
Pull a card in the produce aisle: "Can you find someone who looks surprised?" Your toddler scans the store, studies faces, and connects the card to the real world. It keeps little hands and eyes busy in the cart — and it's genuinely good people-watching practice.
Cart game: hold a card up and hunt for that feeling on real faces.
4. Restaurant wait game
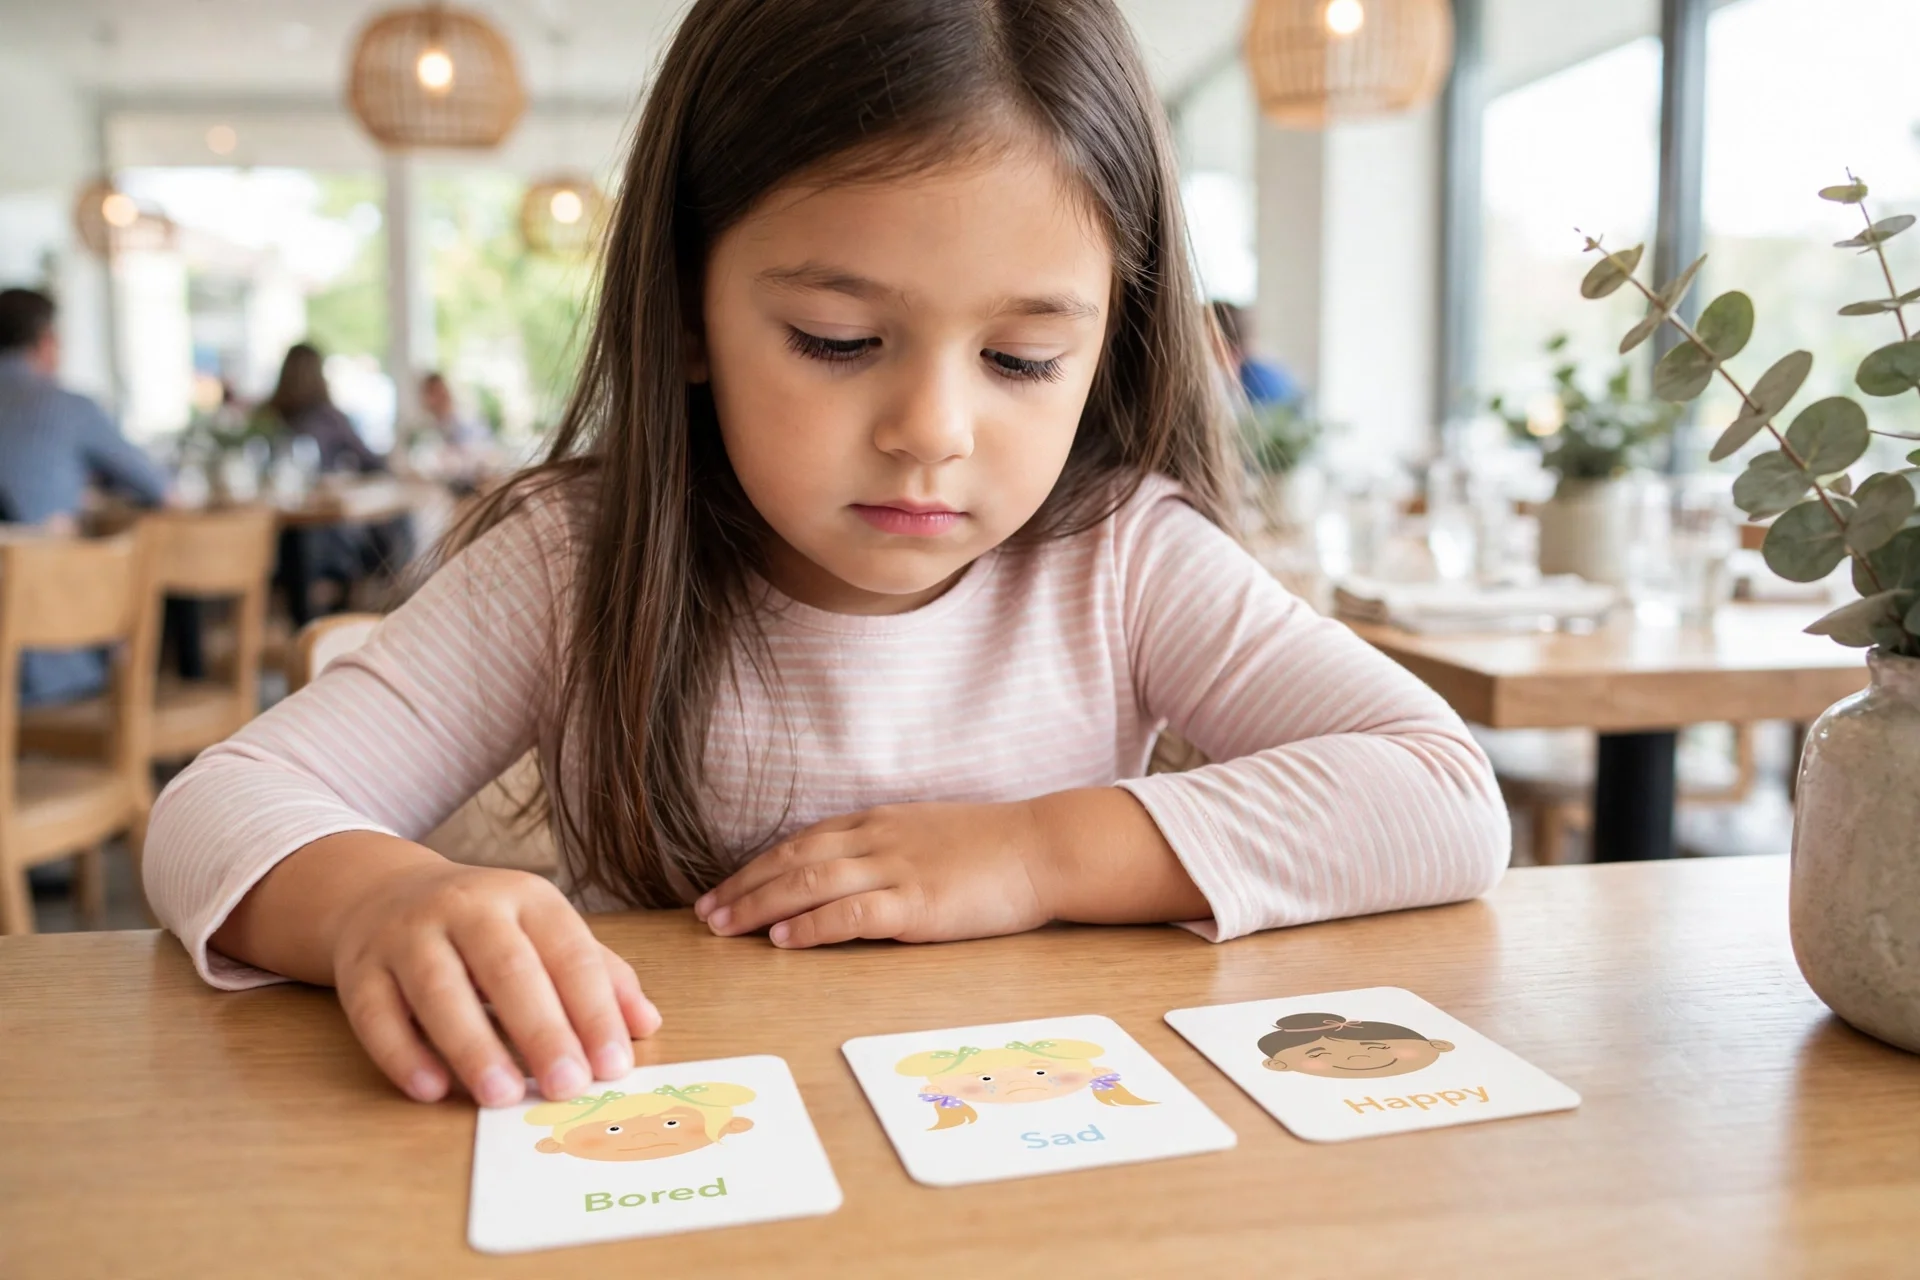
The fifteen minutes before the food arrives are prime meltdown territory. Spread three small cards on the table instead: "Find the worried face." "Show me excited." It fills the wait with a game that builds vocabulary — and it's a lot quieter than a tablet at full volume.
Three cards on the table buys you fifteen calm minutes.
5. Match game, anywhere
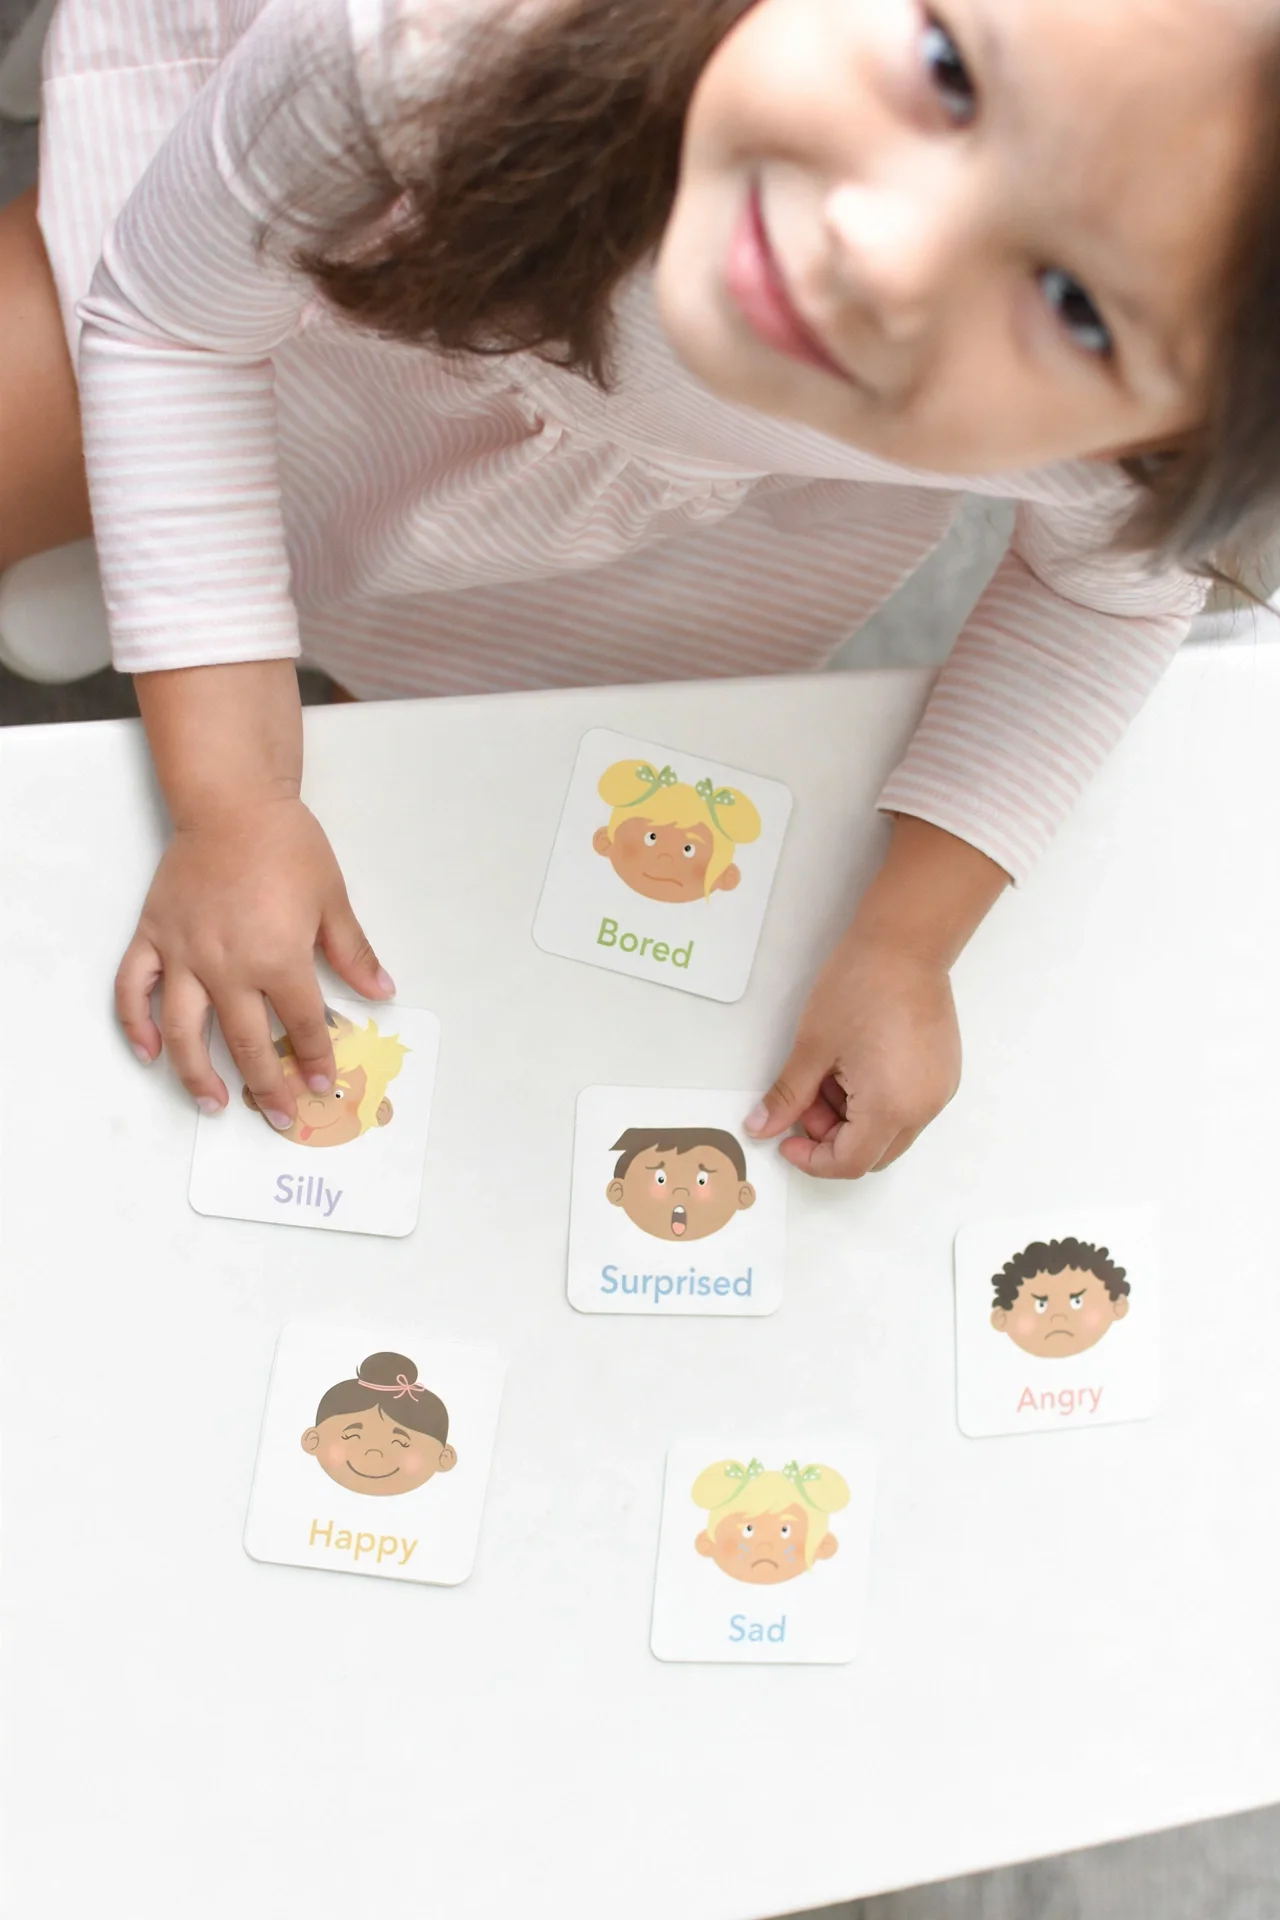
Any flat surface works: lay out pairs face-down and flip two at a time. It starts as a memory game and ends as a feelings conversation — "You found two sads! When do you feel sad?" Our Emotions Flashcards were made for this, with English and Spanish emotion words on every card.
Matching game in action — memory first, feelings talk second.
What age is this best for?
Around age 2 and up. Younger toddlers can start with just happy, sad, and angry; add the trickier ones (confused, worried, embarassed) as their vocabulary grows.
How many cards should I bring?
Three or four is plenty. Too many choices overwhelm a toddler mid-errand — depth beats breadth.
What if my toddler just wants to chew the cards?
Totally normal under two. Hand them one card as the "chew card" and play with the rest — or stick to mirror faces until the mouthing phase passes.
Do I correct wrong answers?
Gently, and rarely. Reflect what you see instead: "Hmm, your face looks a little droopy — could that be sad?" Modeling beats correcting.
The deck that goes everywhere
These games run on good visuals. Our Emotions Flashcards ($15) give toddlers the faces and words — English and Spanish labels, sized for little hands and diaper bags. For the at-home version of this work, see our emotions activities guide and our calming corner setup.
DIY Paper Fan Craft for Kids: Cherry Blossom Hand Fan
One sheet of paper, a handful of popsicle sticks, and a little pink paint — this cherry blossom paper fan is the sweetest spring craft, and it actually fans.
Best forAges 3+
TimeAn afternoon project
CostBudget-friendly
SkillsFine motor + creativity
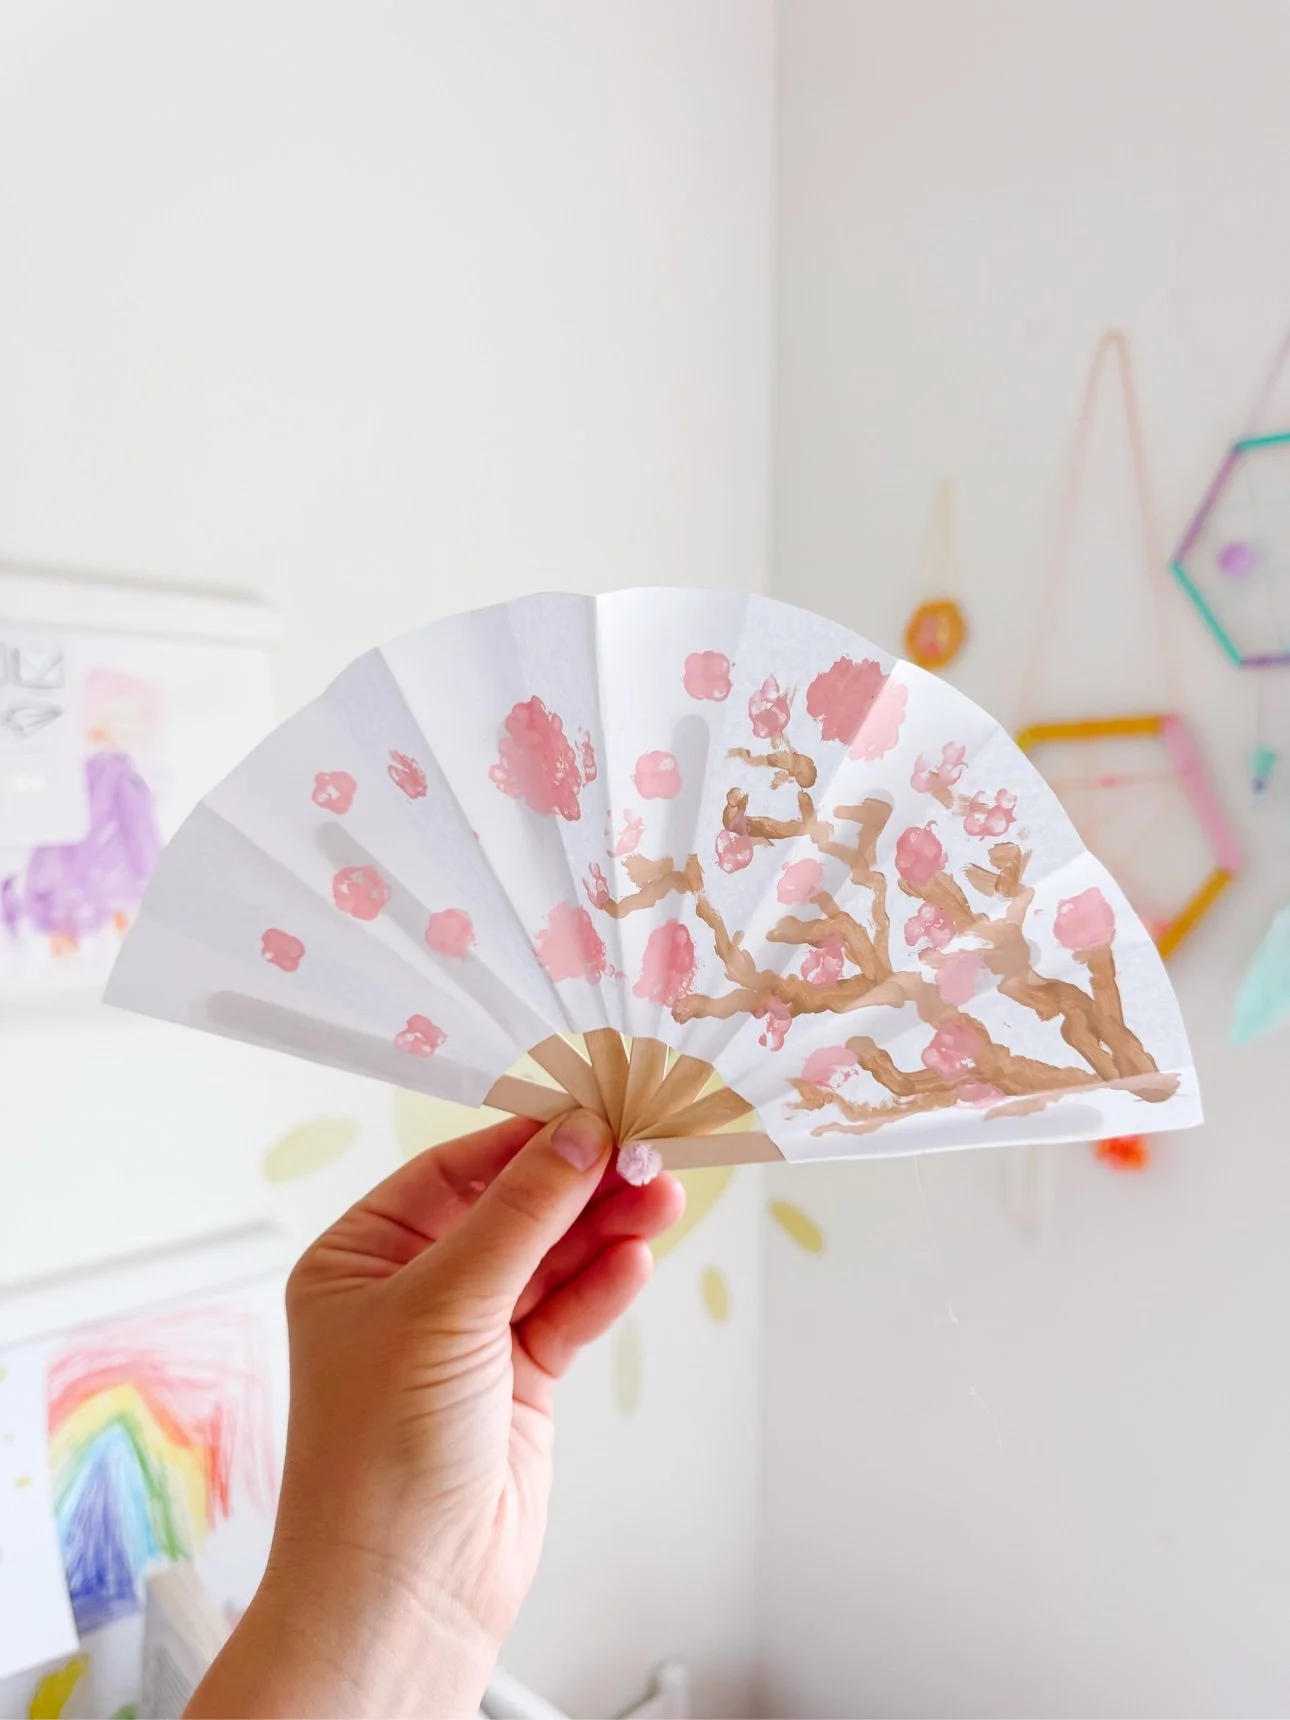
There is something about a paper fan that never gets old — the fold, the flick, the very serious fanning of absolutely nothing. We made this cherry blossom version with accordion-folded paper and popsicle sticks, then painted the blossoms on with pink and brown acrylic. It opens, it closes, and it looks like spring.
The finished fan — cherry blossoms on accordion-folded paper.
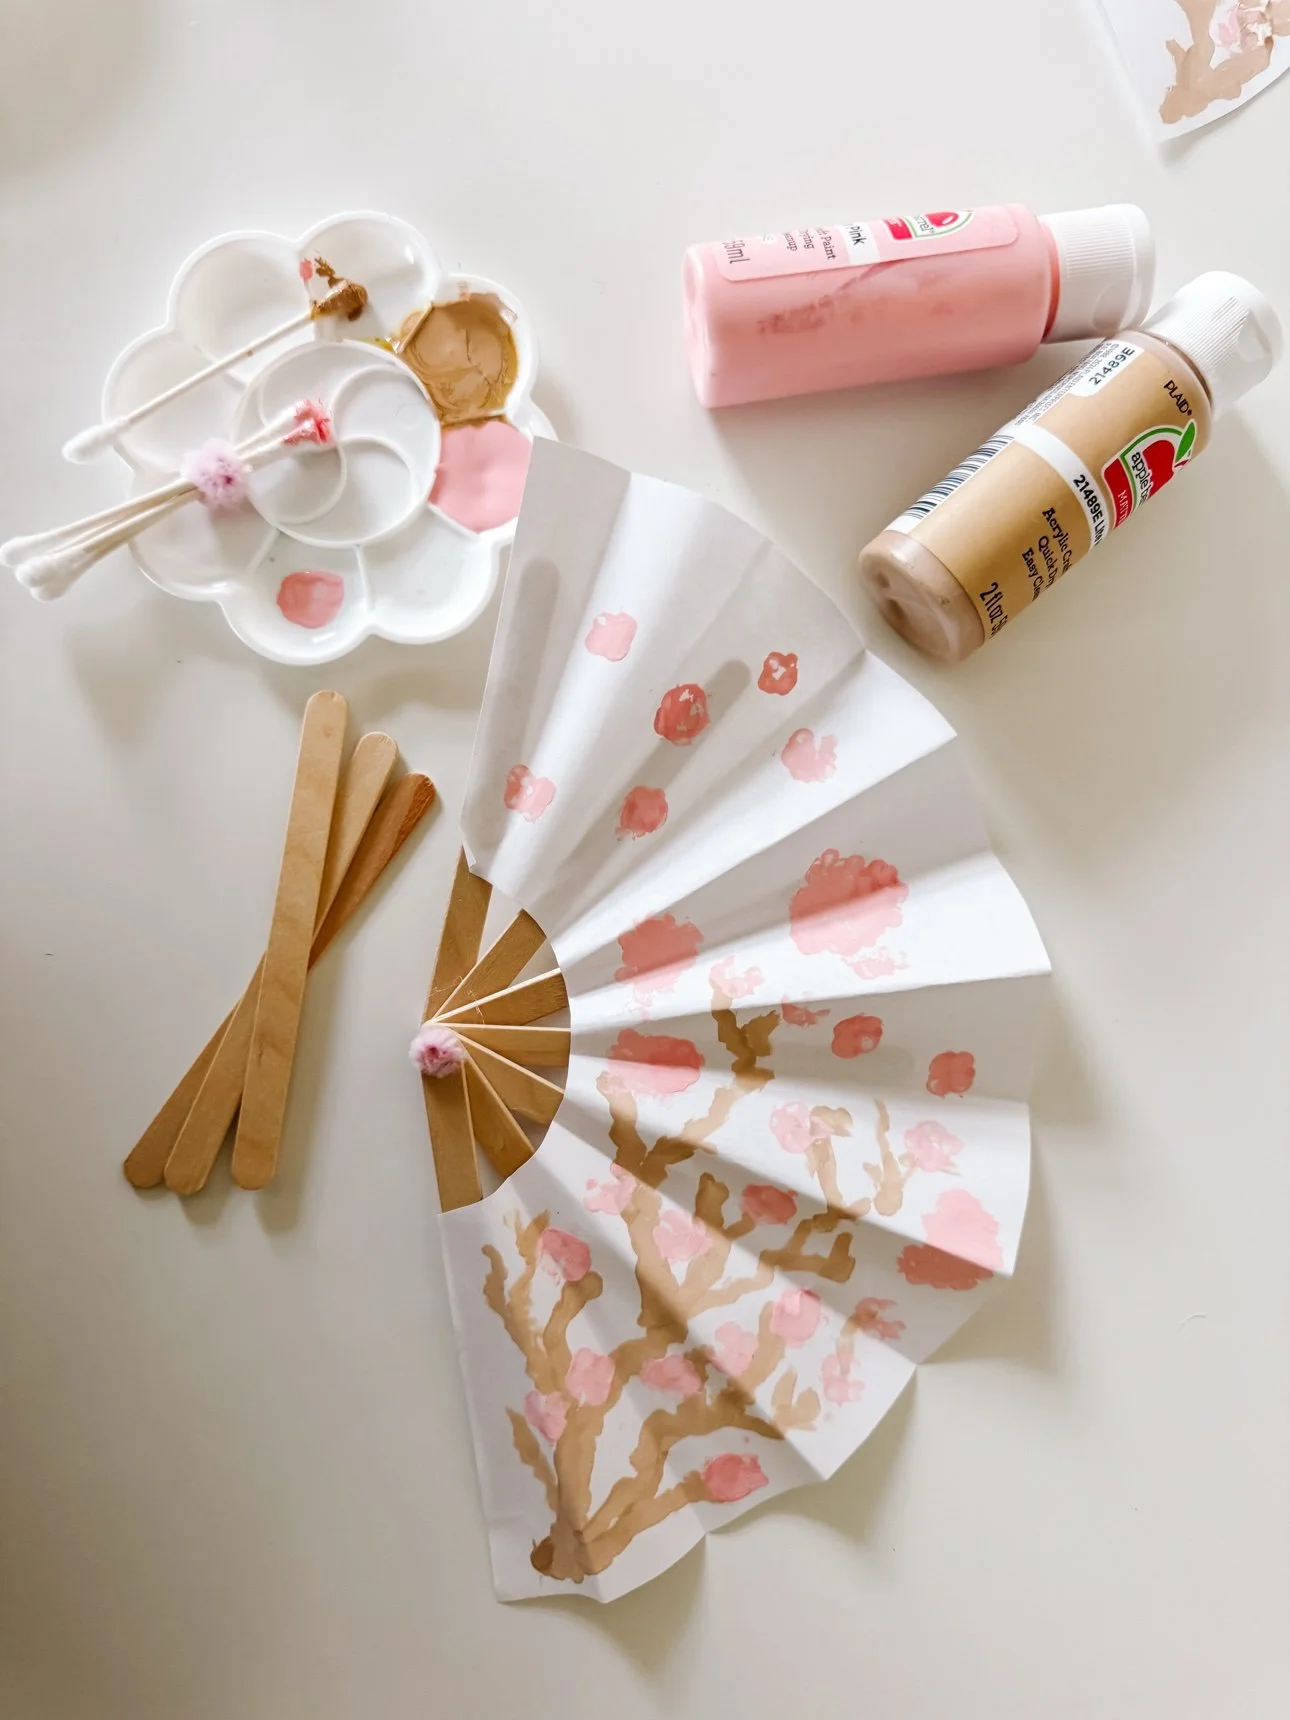
What you need
White paper or light cardstock — one sheet per fan
Popsicle sticks — 7–8 per fan
Pink and tan acrylic paint — we used Apple Barrel
Cotton swabs + string — bundled into a blossom stamper
Glue gun and glue sticks, scissors, pencil and string for tracing the arc
Everything you need: paper, sticks, two paint colors, and cotton swabs.
How to make the paper fan
Step 1: Cut the fan shape
Tie a pencil to a length of string, pin the string end down, and swing a big arc across the paper — then cut it out. Trace a small curve at the narrow end (a tape roll works as a template) and snip that out too. This gives you the classic fan wedge.
Step 2: Paint the cherry blossoms
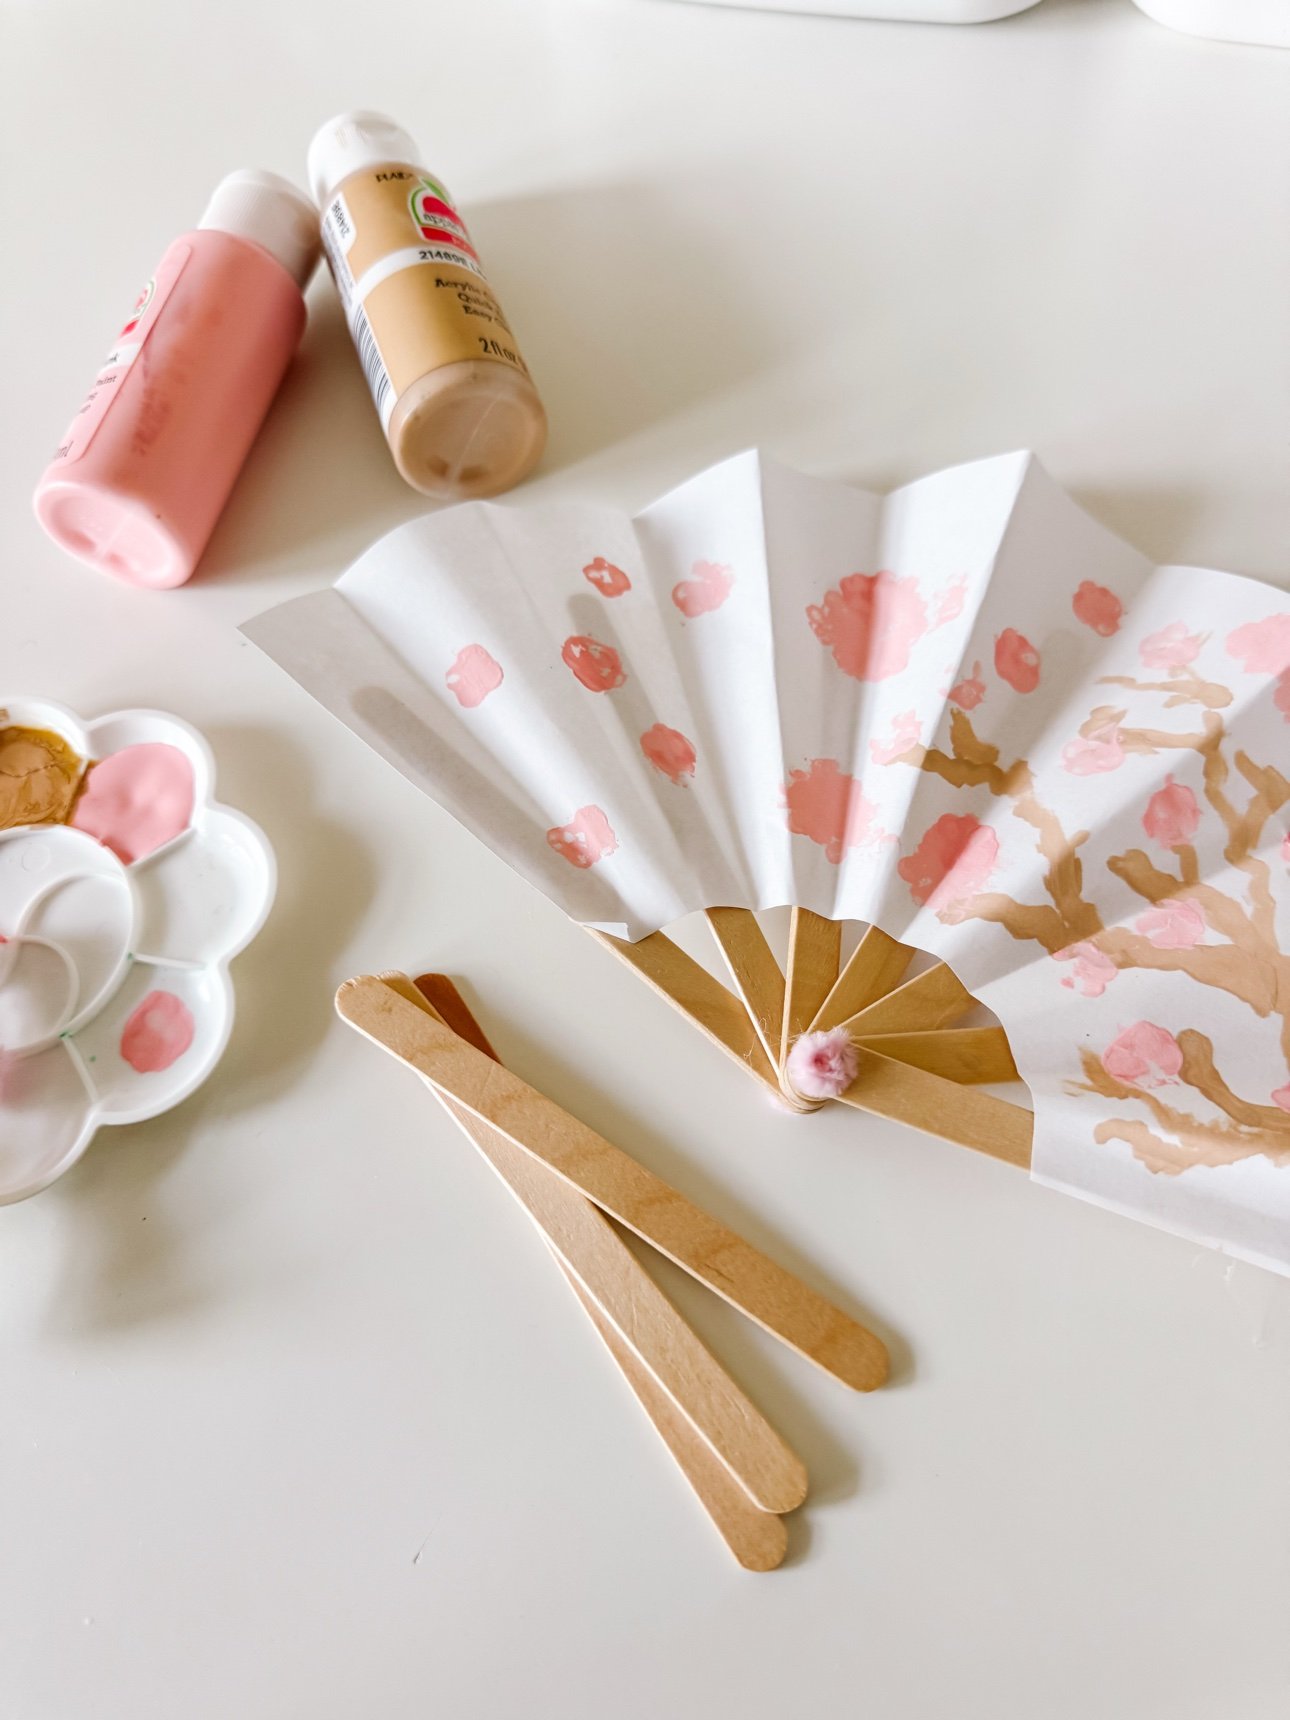
Paint a brown branch sweeping across the paper, then stamp on the blossoms in pink. The trick: bundle a few cotton swabs together with string to make a blossom stamper — it prints perfect little flower clusters, and it is a great job for small hands. Let the paint dry.
Blossoms on: brown branch, pink stamped clusters, done.
Step 3: Glue on the sticks
Flip the painted paper over and fan 7–8 popsicle sticks across the back, spreading them from the narrow point like sun rays. Hot-glue each one in place — adults handle the glue gun.
Step 4: Fold and finish
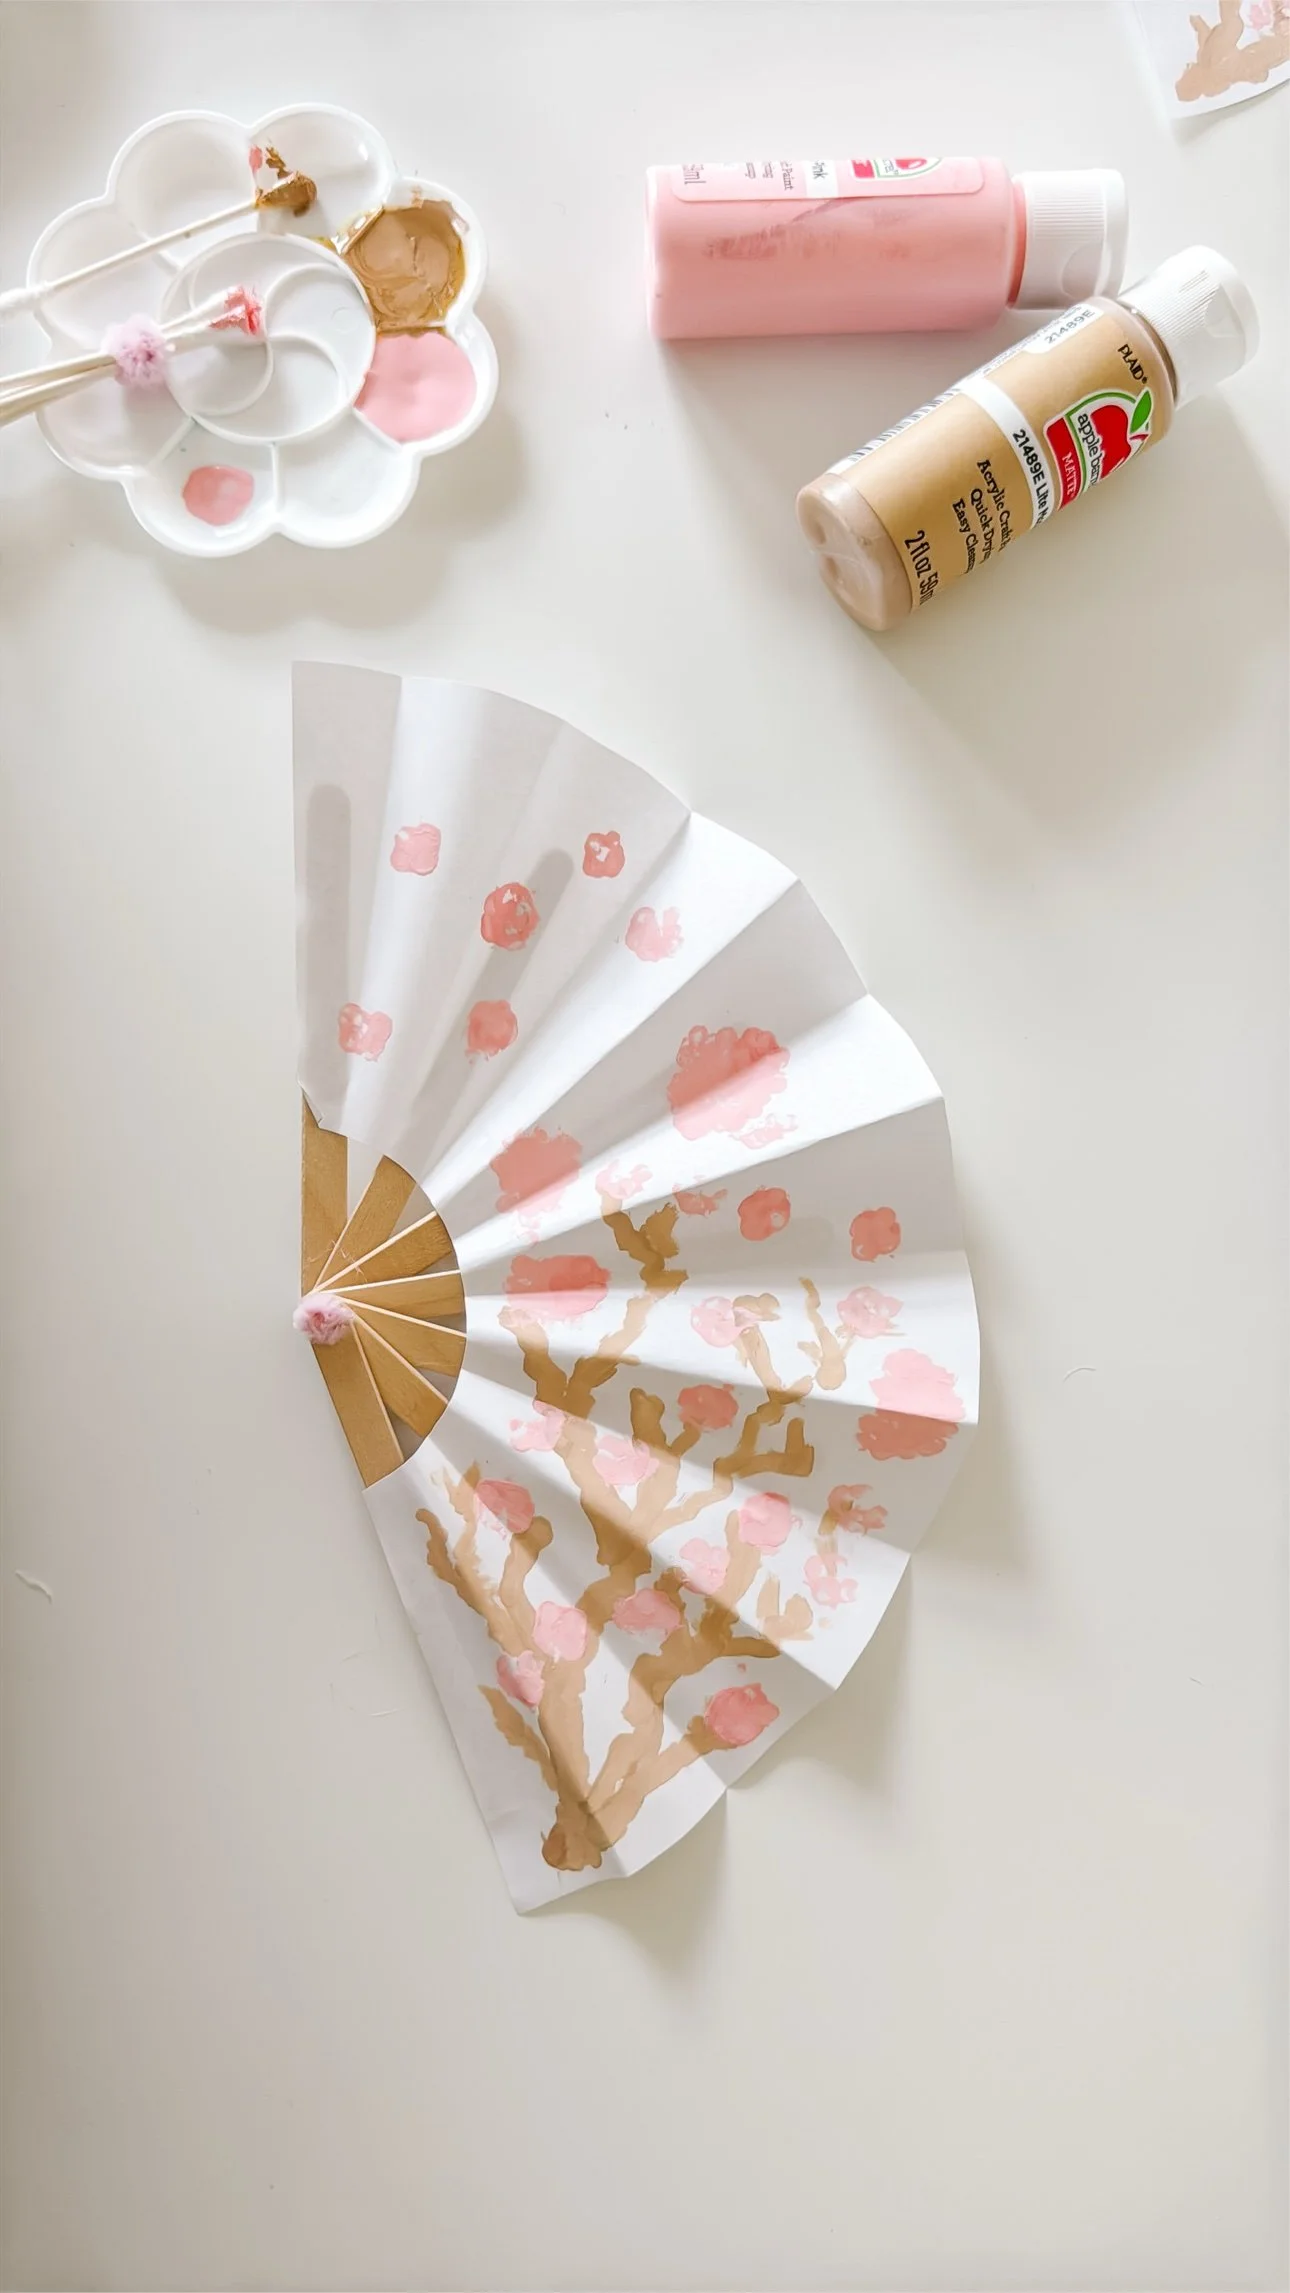
Accordion-fold the paper back and forth around the sticks, creasing firmly between each one, then glue the pinched base together. Open, close, fan — repeat all afternoon.
The finished fan, ready to open and close.
Tips for making it with kids
Let kids do the stamping. The bundled cotton-swab stamper makes blossom clusters easy — no brush control needed.
Adults handle the folds and glue. Crisp accordion folds and the hot glue gun are grown-up jobs; little ones paint.
Paint before folding. It is much easier to paint the flat sheet first, then fold — just let it dry completely.
Make a set. One fan comes together quickly once the shape is cut; they make sweet gifts tucked into cards.
What kind of paper works best?
Regular white printer paper works, but light cardstock holds its folds better and stands up to paint without wrinkling.
How do you keep the fan open?
The glued popsicle sticks hold the fan's shape — open it to the width you like and the sticks keep it there.
What age is this craft best for?
Ages 3 and up. Little ones paint the blossoms while an adult folds; older kids can do the whole thing themselves.
Arctic Animal Snow Globe Ornaments: Winter Photo Craft for Kids
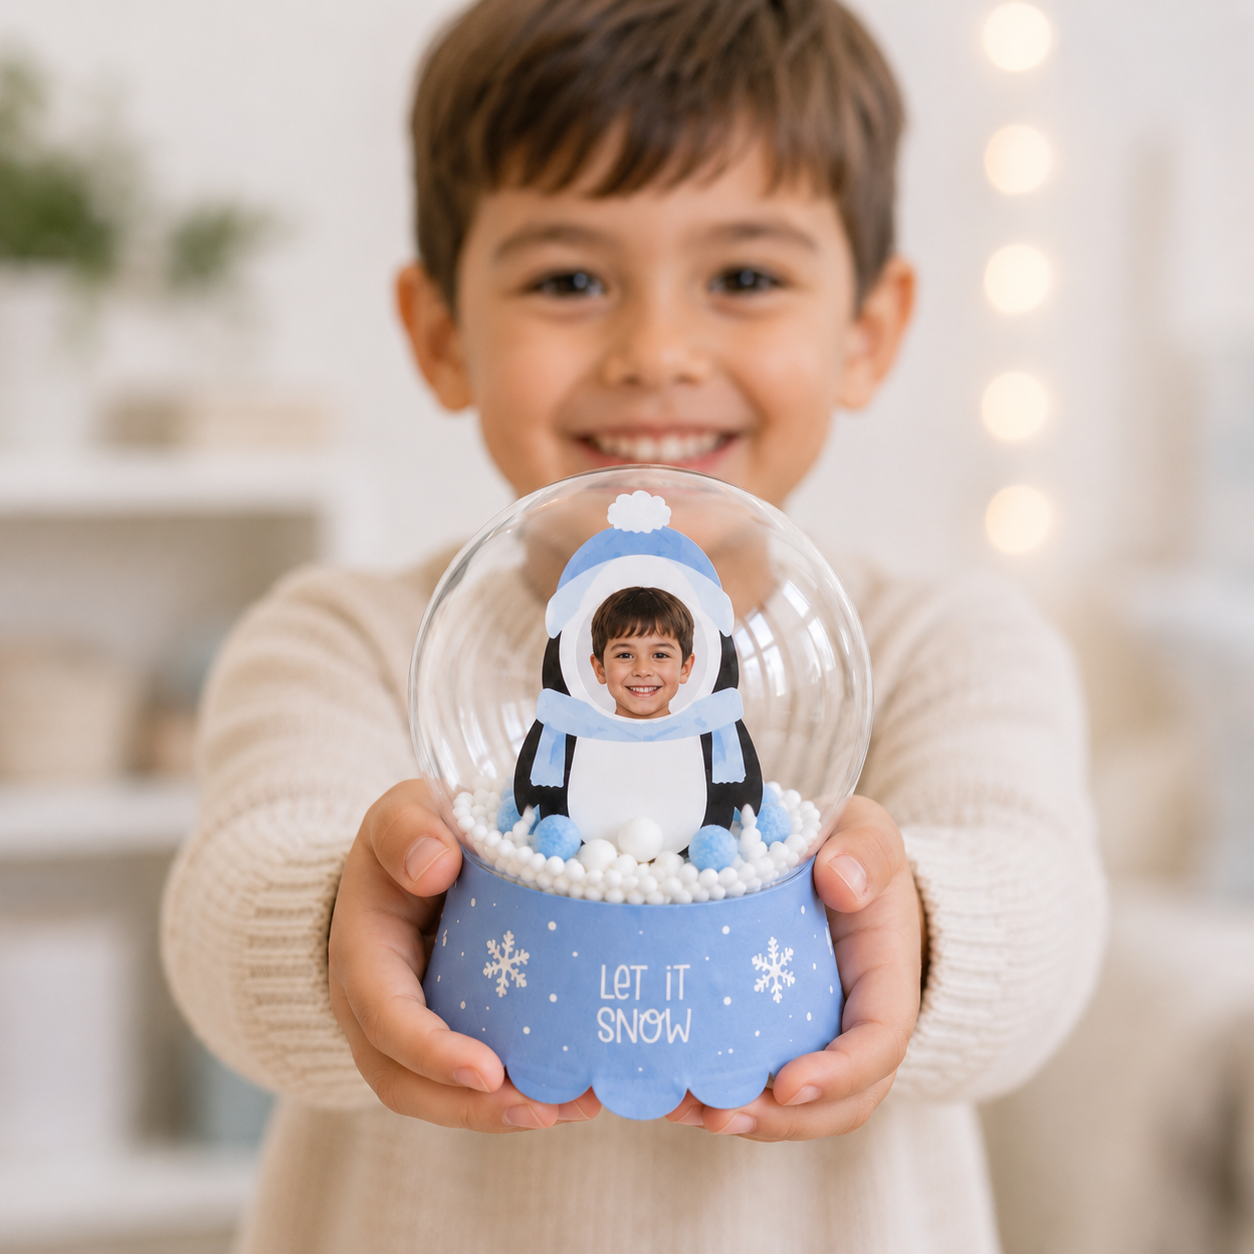
Not every winter craft has to be red and green — these arctic animal snow globe ornaments are the cool-blue alternative we reach for all winter long. A penguin in a bobble hat, a polar bear in earmuffs, and a fluffy arctic fox, each holding a child's photo inside a clear snow-filled ornament. They work for Christmas, for January winter units, and for anyone whose classroom palette runs more "let it snow" than "merry and bright."
Faux snow, white foam beads, or mini pom-poms in white and icy blue
Small printed photos of each child (about 2x2 inches)
Ribbon — icy blue or silver
Scissors and clear tape
Step 1: Print the Kit
Print the arctic animals PDF — page 1 has 12 photo cutouts (penguin, polar bear, and arctic fox), pages 2–3 have the blue "Let It Snow" collar wraps with snowflakes. Cardstock recommended; these get handled a lot.
Step 2: Cut Out the Animals
Cut along the outlines. Kids inevitably have strong opinions about which animal they get — consider letting them choose, or assign one animal per table for a coordinated set.
Step 3: Add Each Child's Photo
Trim each photo to the round cutout and tape it behind the animal. The penguin's bobble hat and the bear's earmuffs frame faces so cutely — winter-craft gold.
Step 4: Fill the Ornament with "Snow"
Spoon in faux snow or foam beads, about a third full. White mixed with icy-blue pom-poms gives the loveliest winter-sky effect inside the globe.
Step 5: Tuck the Animal Inside
Stand the animal in the snow and snap the ornament closed. Tape the back if it leans.
Step 6: Wrap the Collar and Tie the Ribbon
Curl a "Let It Snow" collar around the base, tie an icy-blue ribbon bow, and you're done. These look beautiful grouped on a windowsill where the light catches the "snow."
Why Teachers Love This One
It stretches past Christmas. Use it for December gifts AND January polar-animals units — two crafts in one kit.
Non-denominational. Snowflakes and penguins work for every classroom in December.
Pairs with books. Read a penguin or polar bear story first, then craft — instant lesson plan.
Blue palette photographs beautifully for classroom newsletters and Instagram.
Fine motor practice: cutting, taping, and spooning the snow all build little-hand strength.
Reindeer & Santa Snow Globe Ornaments: Photo Christmas Craft for Kids
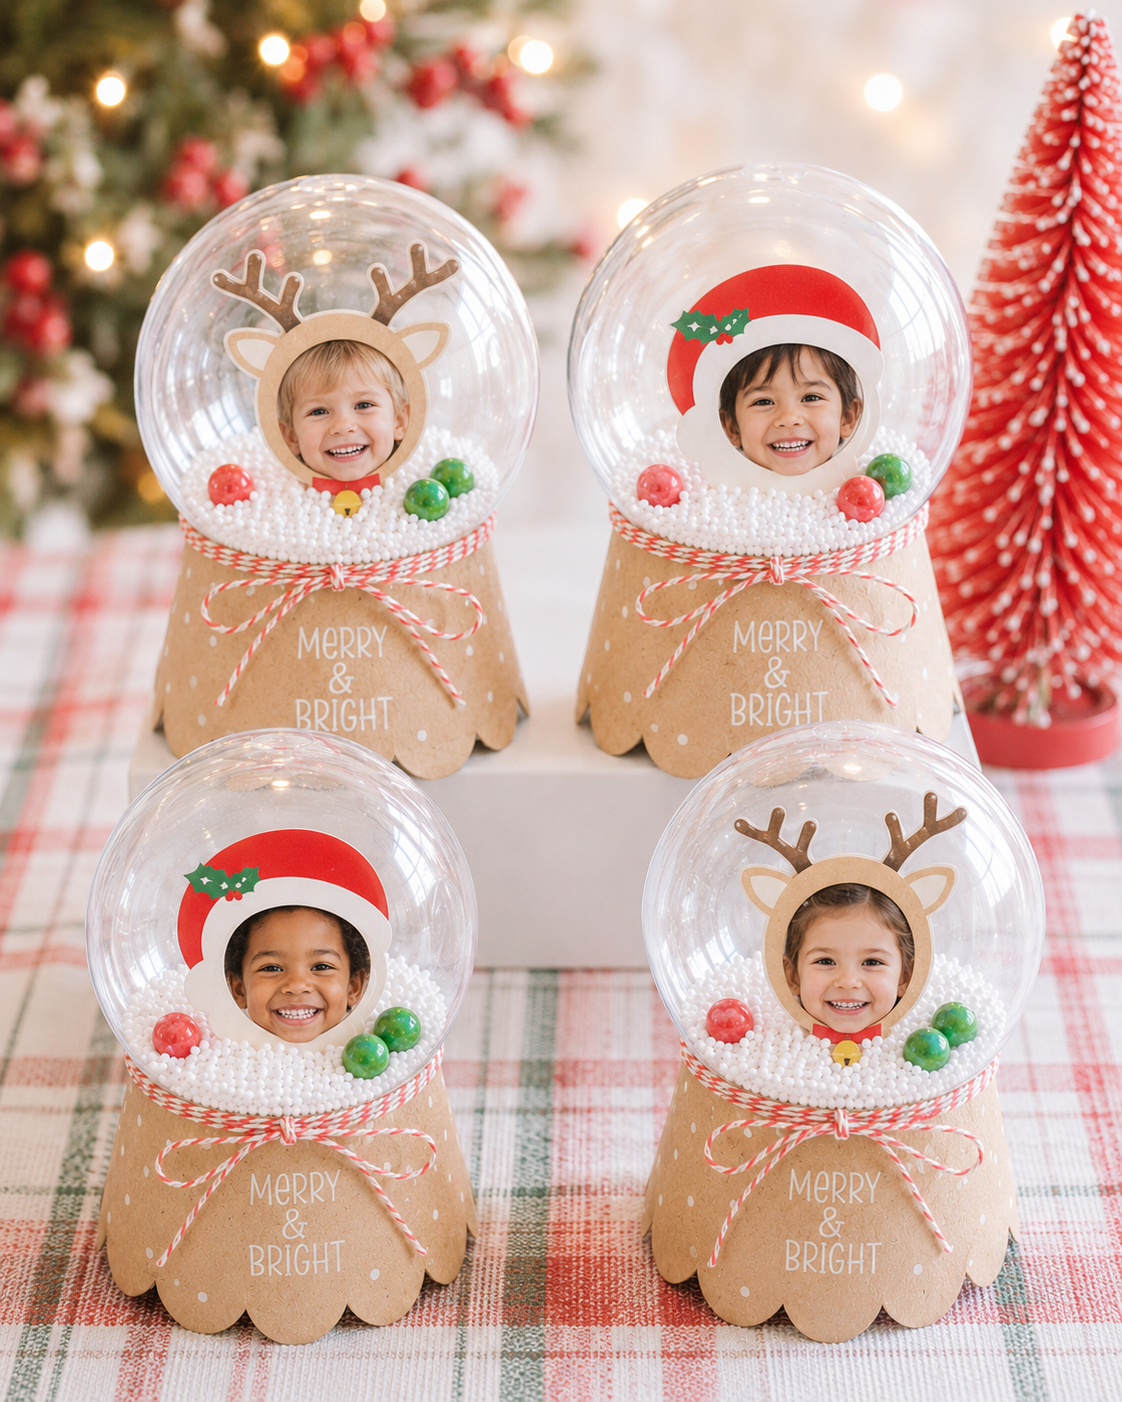
If you're looking for the classic Christmas classroom craft, this is it — reindeer and Santa photo snow globe ornaments. Each child's face peeks through a reindeer with jingle-bell antlers or a jolly Santa hat, all tucked into a clear ornament with faux snow. They look like something from a boutique gift shop, but each one costs very little and takes just minutes to assemble.
Faux snow, white foam beads, or mini pom-poms (red and green poms are extra festive here)
Small printed photos of each child (about 2x2 inches)
Ribbon for the bow — red and white baker's twine is perfect
Scissors and clear tape
Step 1: Print the Kit
Print the reindeer & Santa PDF — page 1 has 12 photo cutouts (reindeer with antlers and bells, plus Santa hats with holly), pages 2–3 have the kraft "Merry & Bright" collar wraps. Cardstock gives the sturdiest characters.
Step 2: Cut Out the Characters
Cut along the outlines. Let kids pick: reindeer or Santa? (In our experience it's about fifty-fifty, and the great debate is half the fun.) Older kids can cut their own; pre-cut for preschoolers.
Step 3: Add Each Child's Photo
Trim each photo to fit the round face cutout and tape it behind the character. The reindeer antlers frame little faces so sweetly — this is the step that gets the "awws" from other teachers.
Step 4: Fill the Ornament with "Snow"
Spoon faux snow or foam beads into the open ornament, about a third full. A few red and green pom-poms mixed into the white snow look incredibly festive against the kraft collar.
Step 5: Tuck the Character Inside
Stand the reindeer or Santa in the snow and snap the ornament closed. A small piece of tape on the back keeps wobbly characters upright.
Step 6: Wrap the Collar and Tie the Ribbon
Curl a "Merry & Bright" collar around the base to hide the seam, then tie your ribbon in a bow over it. These are gift-ready — no wrapping paper needed.
Tips for the Cutest Results
Mix the characters. A mantel with alternating reindeer and Santas looks professionally styled.
Red + green poms in the snow are the secret to the classic Christmas look.
Baker's twine in red and white ties the whole kraft-and-red palette together.
Classroom timing: this is a perfect December craft — it doubles as the parent gift, so it checks two boxes at once.
Photo tip: slightly overexposed, smiley photos read best through the small cutout.
Gingerbread Snow Globe Ornaments for Kids (Easy Photo Christmas Craft)
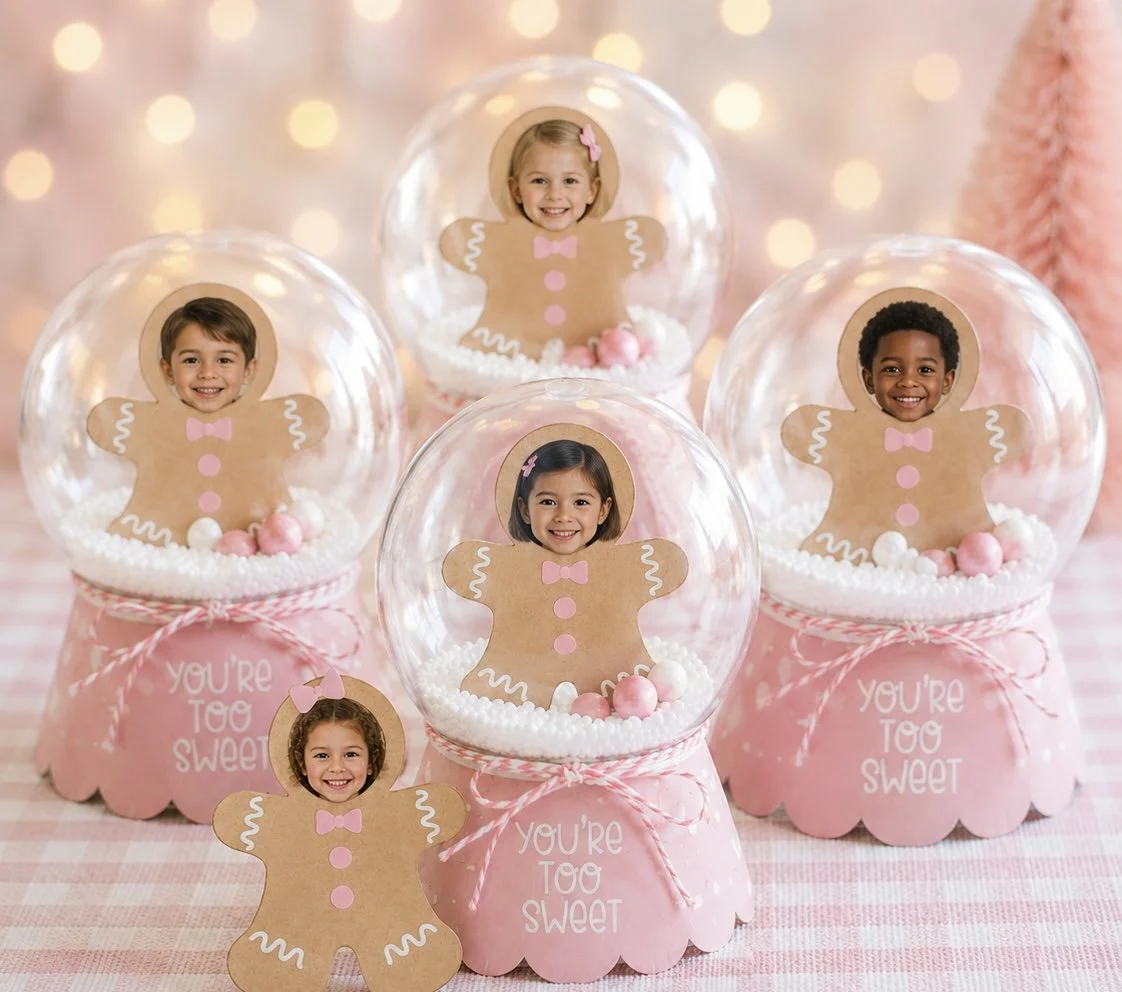
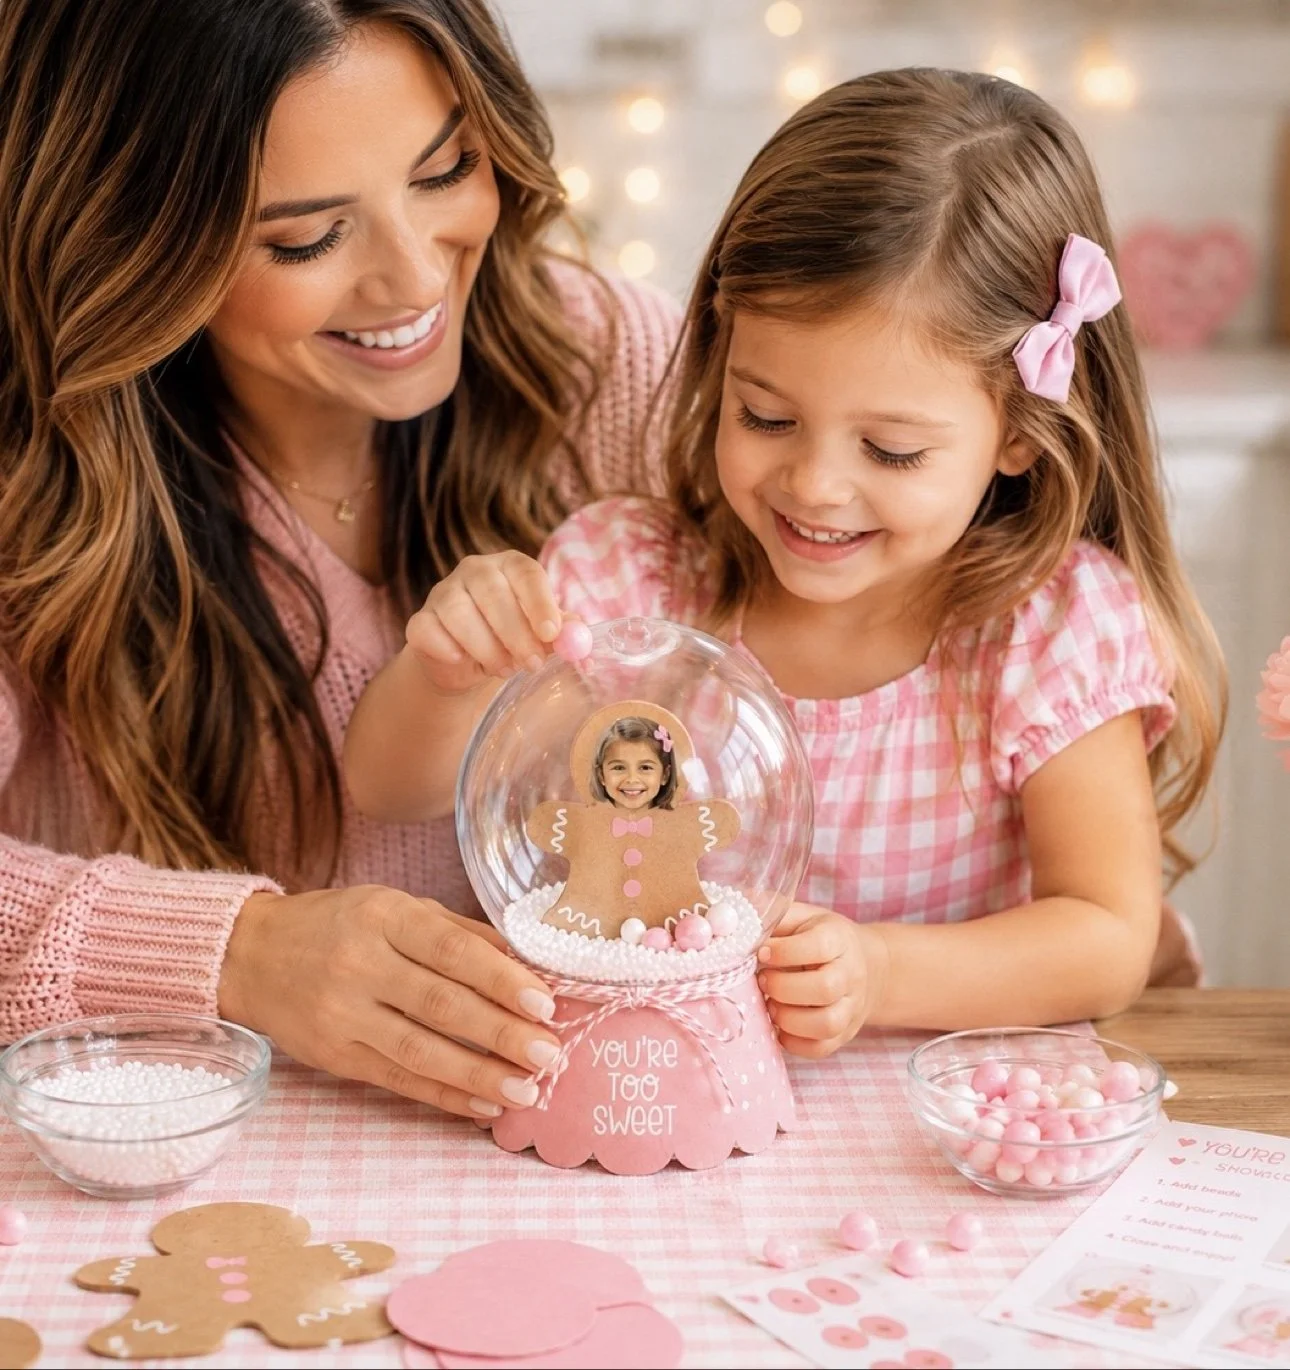
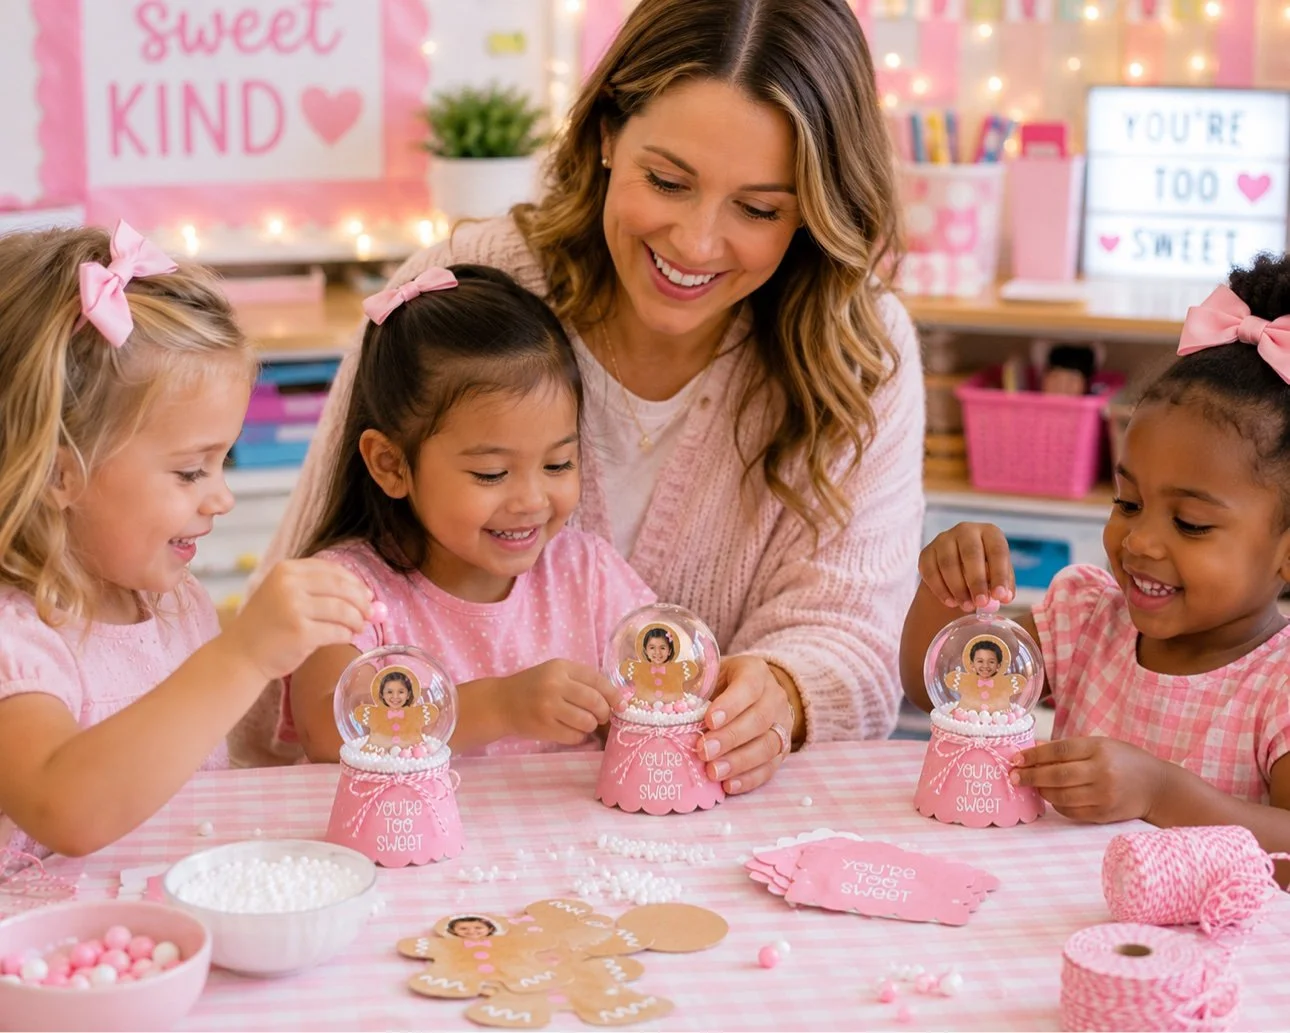
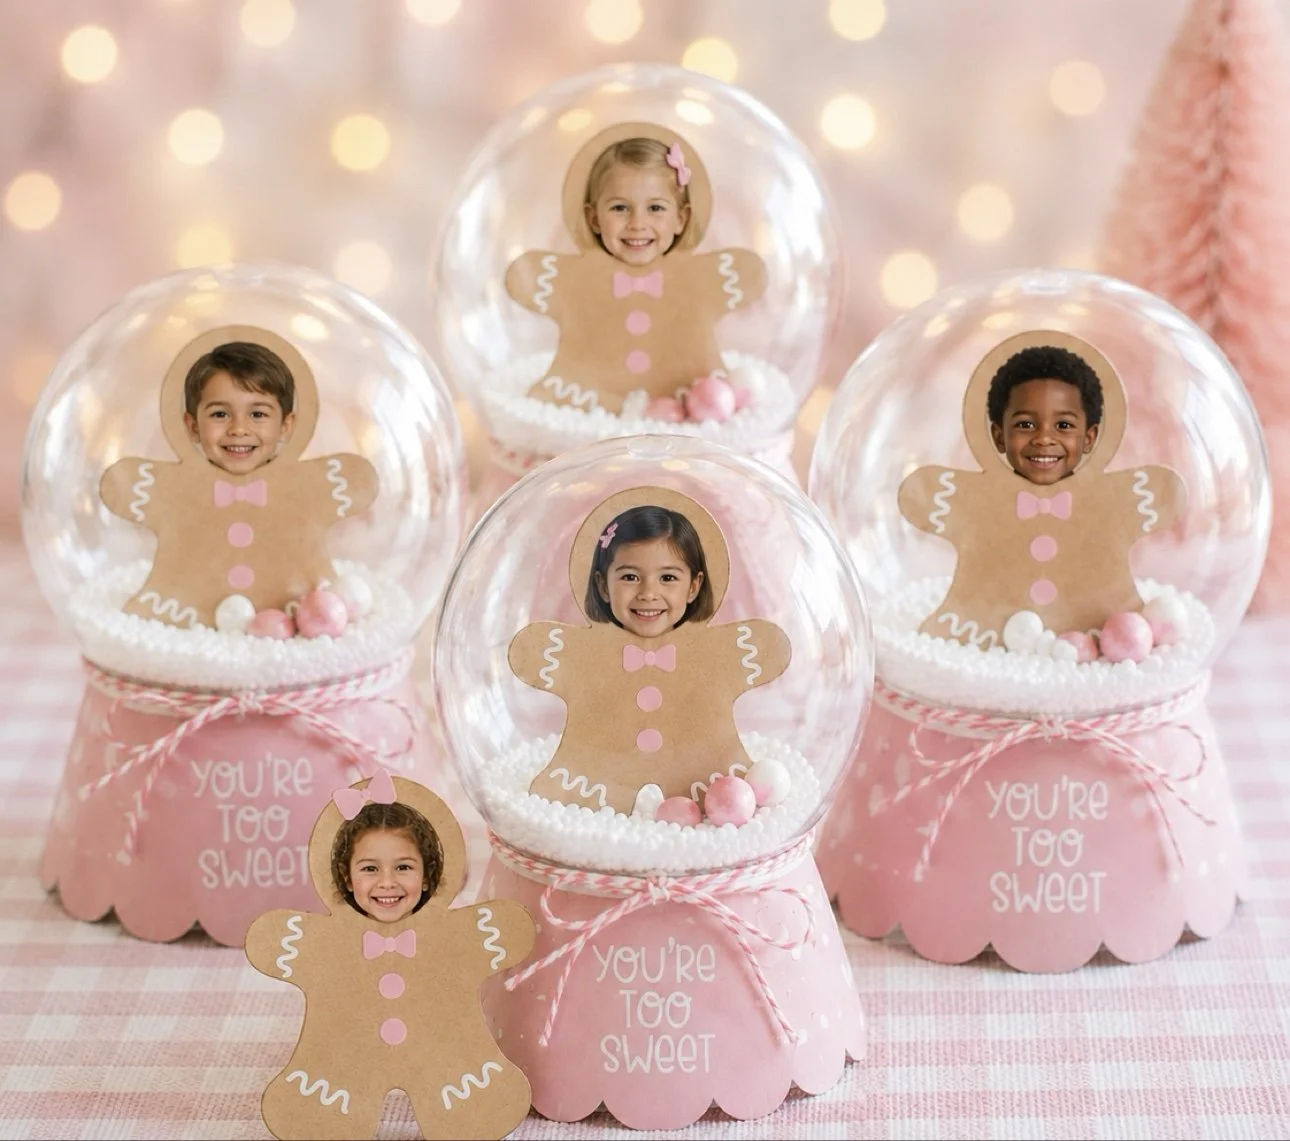
These gingerbread snow globe ornaments might be the sweetest Christmas craft we've ever made — each one holds a child's photo inside a pink gingerbread character, tucked into a clear ornament with faux snow. They take minutes per ornament, they cost very little, and parents absolutely melt over them. When my daughter was little, the photo crafts were always the ones that survived the annual clean-out.
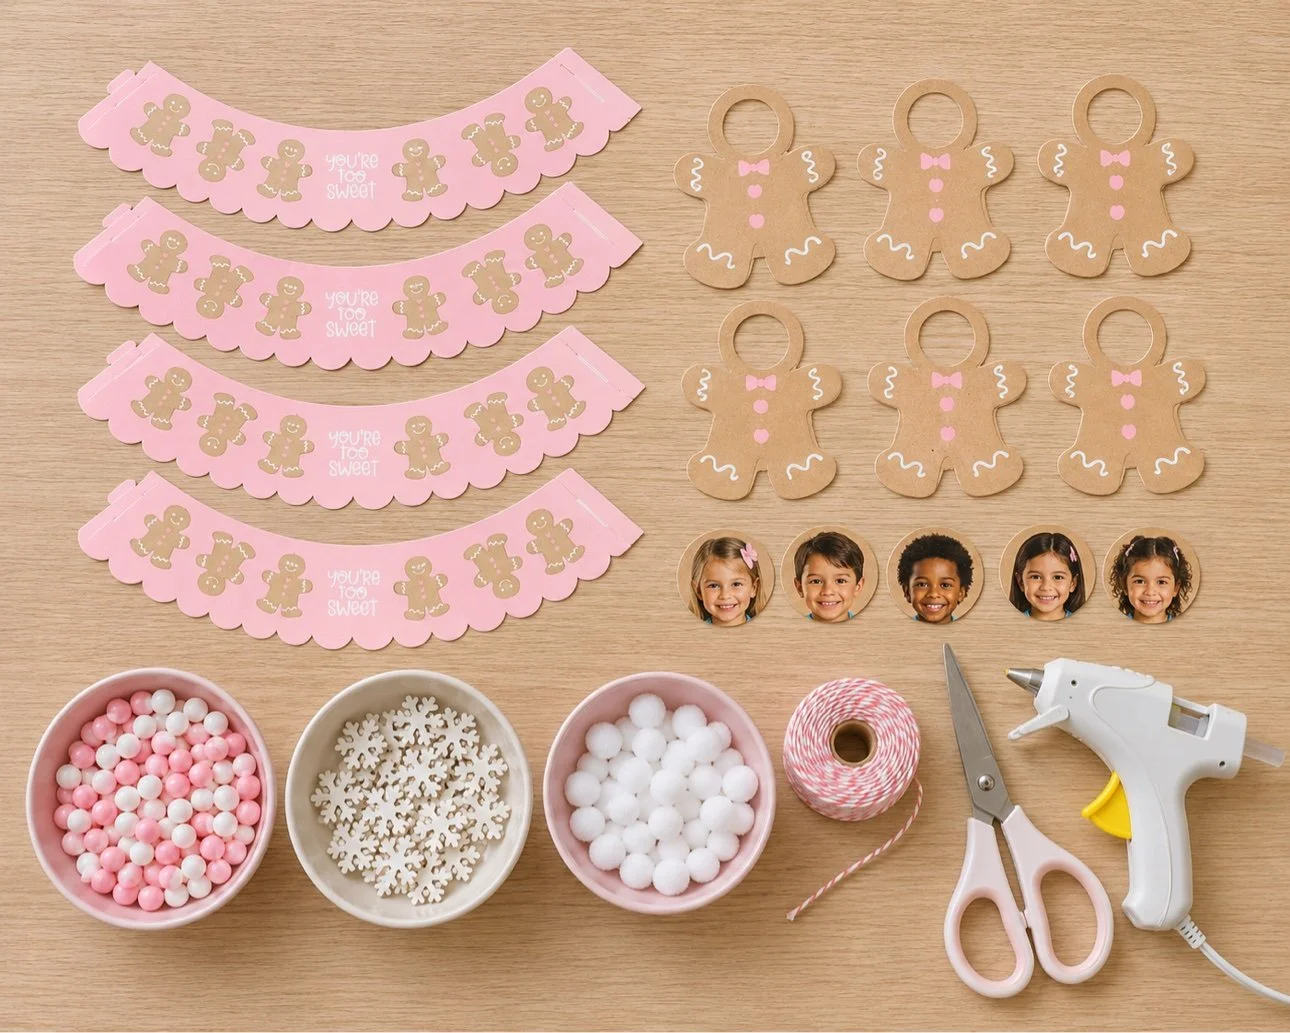
Clear plastic fillable ornaments, 3–4 inch (the two halves snap apart)
Faux snow, white foam beads, or mini pom-poms in white and pink
Small printed photos of each child (about 2x2 inches — school photos trim down perfectly)
Ribbon for the bow
Scissors and clear tape
Step 1: Print the Kit
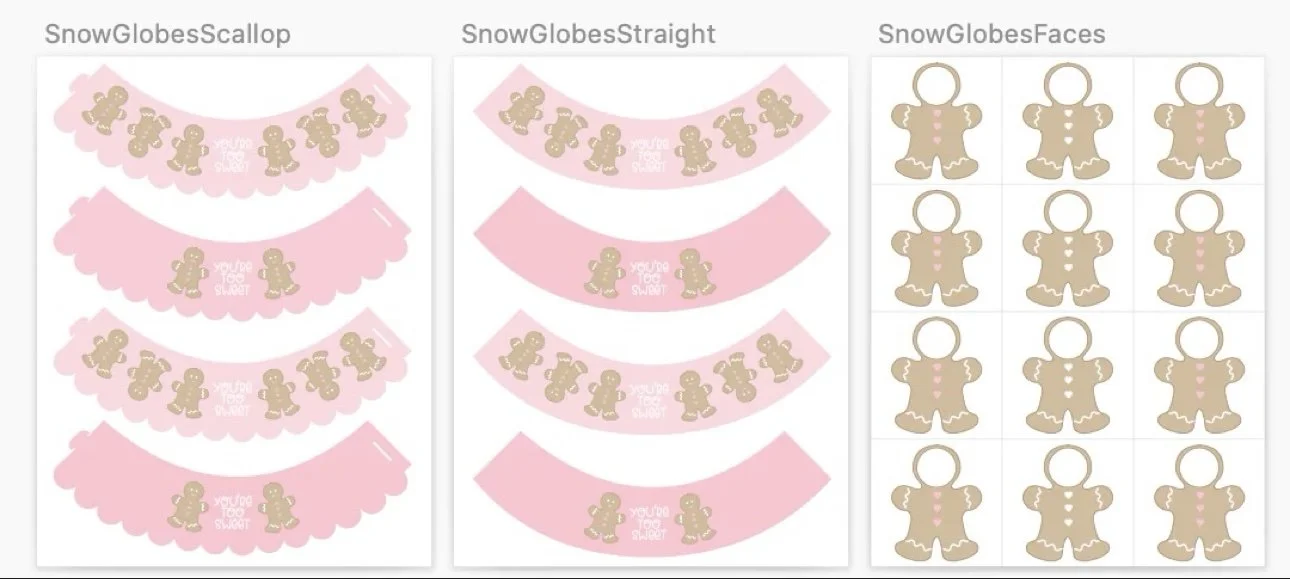
Print the gingerbread snow globe PDF — page 1 has 12 gingerbread photo cutouts, pages 2–3 have the pink "You're Too Sweet" collar wraps. Cardstock makes sturdier characters, but regular paper works fine. Print one cutout sheet per 12 kids, and one collar sheet per 4 ornaments.
Step 2: Cut Out the Gingerbread Characters
Cut out each gingerbread character along the outline. Older kids can do their own cutting (great scissor practice); for preschoolers, pre-cut and let them do the fun parts.
Step 3: Add Each Child's Photo
Trim each photo to fit behind the face cutout and tape it in place from the back. This is the moment the craft turns into a keepsake — kids love seeing their own smile pop through the gingerbread.
Step 4: Fill the Ornament with "Snow"
Open a clear ornament and spoon in faux snow, foam beads, or mini pom-poms — about a third full. Don't overfill; you want the snow to shake around when it's lifted. White and pink poms look especially sweet with the Pinkmas gingerbread.
Step 5: Tuck the Gingerbread Inside
Slide the gingerbread character into the ornament so it stands in the snow, then snap the two halves closed. If it tips, a tiny piece of tape on the back holds it upright.
Step 6: Wrap the Collar and Tie the Ribbon
Cut out a "You're Too Sweet" collar wrap and curl it around the base of the ornament where the two halves meet — it hides the seam and makes it look finished. Tie a ribbon bow over the collar. Done!
Tips for Classroom Batches
Assembly-line it. One station for cutting, one for photos, one for snow-filling — a class of 24 can finish in under an hour.
Pre-cut for little ones. Preschoolers do best with the photo-taping and snow-filling steps.
Photo shortcut: ask parents to send a headshot, or use last year's school photos trimmed down.
Cardstock matters if the ornaments will be handled a lot — the characters stand up straighter.
Make extras. Teachers always wish they'd made one for the classroom tree.
DIY Ghost Wreath: A Light-Up Tissue Ghost Craft for Halloween
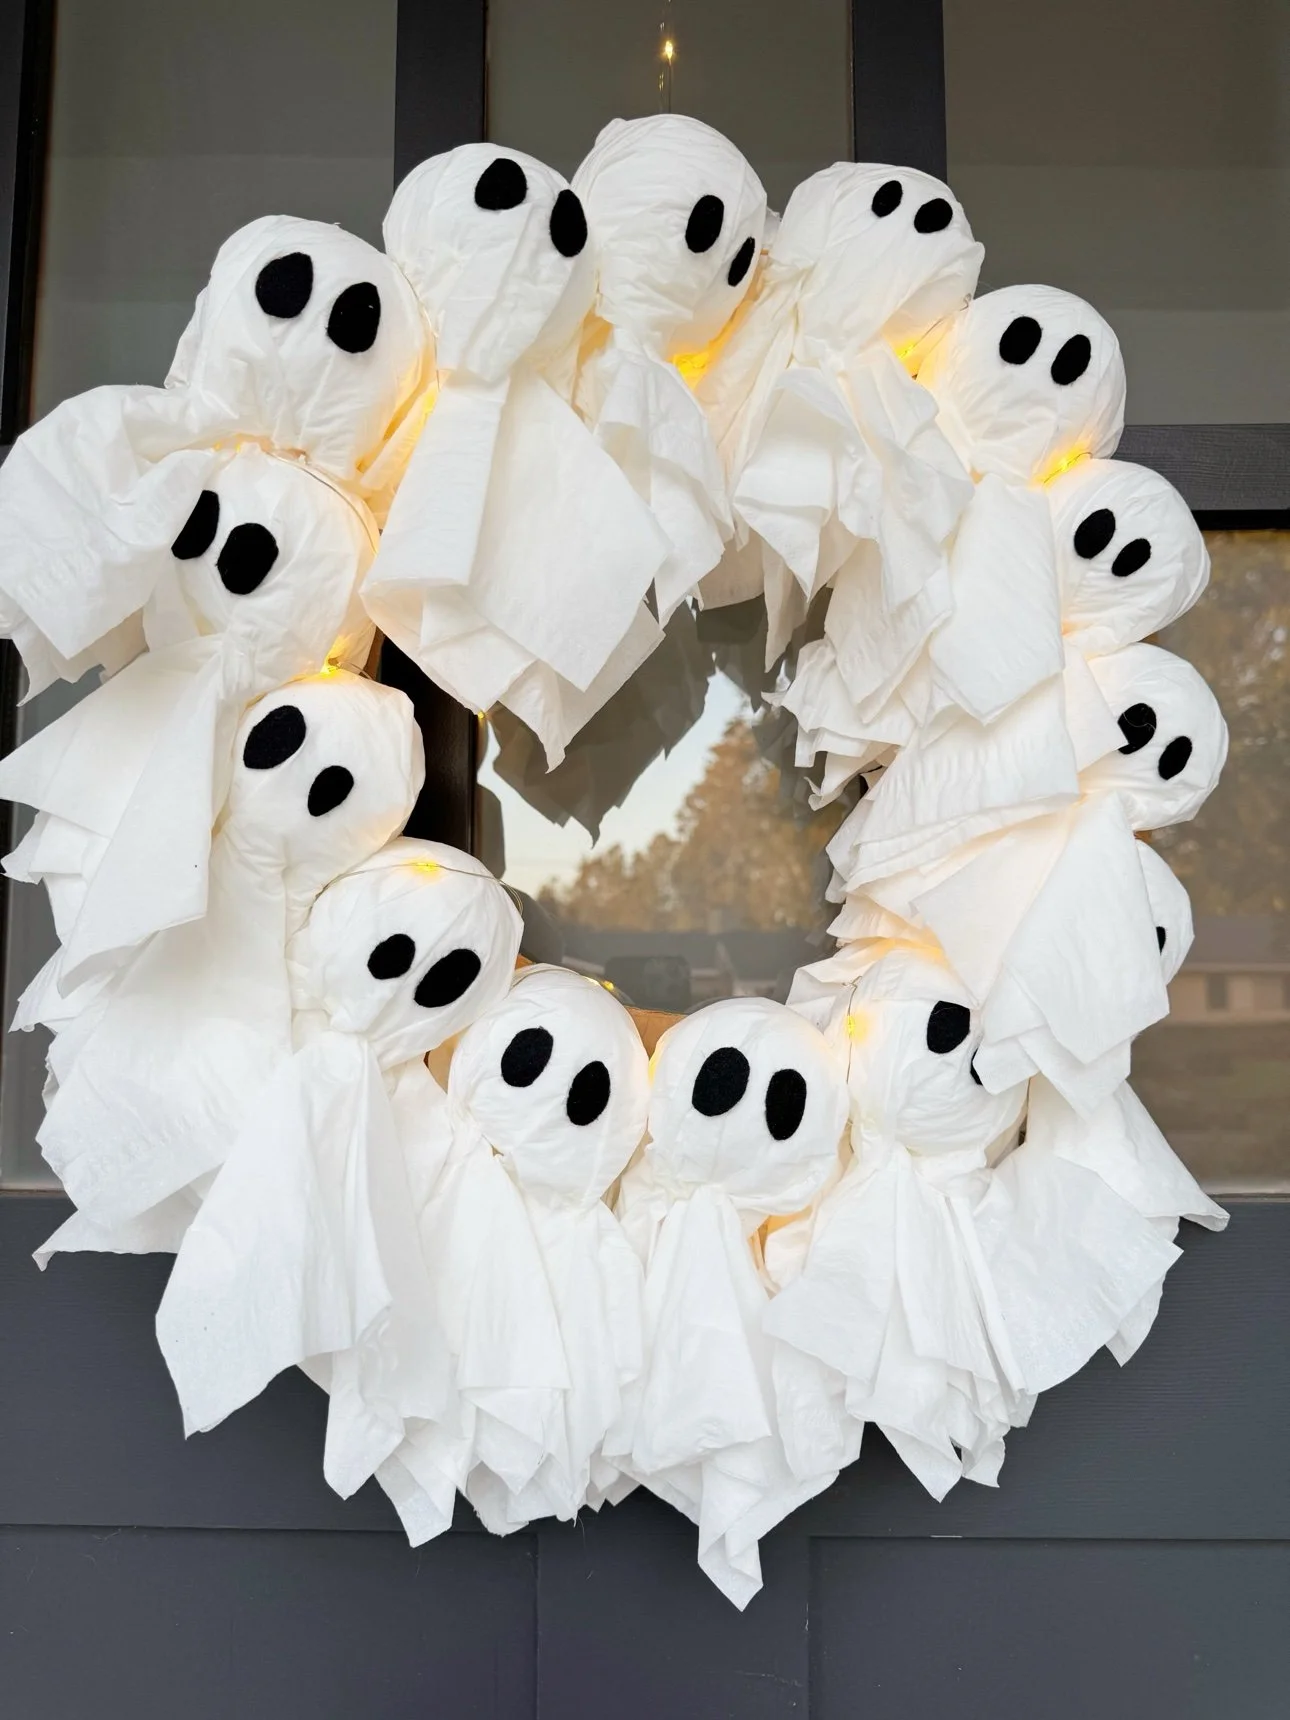
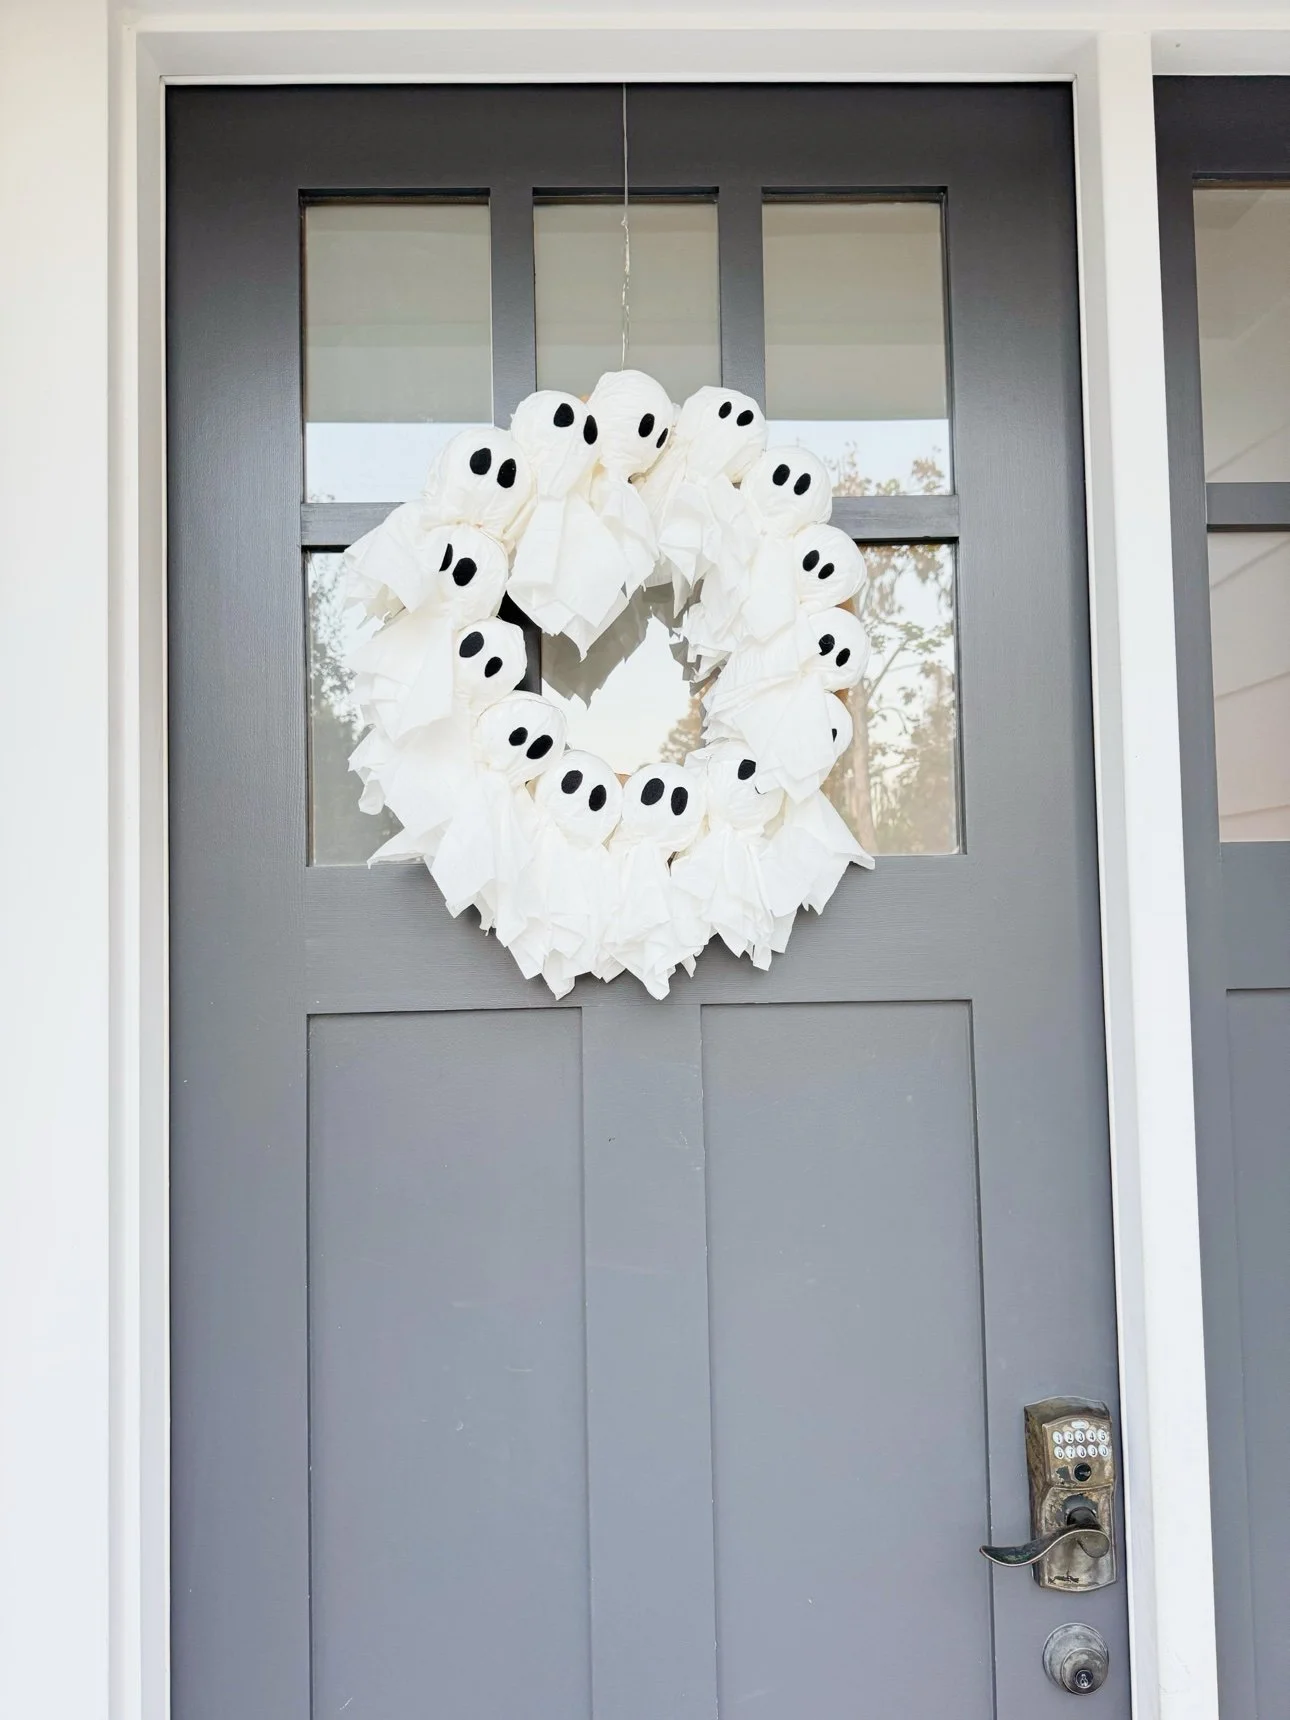
A crowd of little tissue ghosts, a string of fairy lights, and one very happy front door. This light-up ghost wreath is a sweet not-so-spooky Halloween craft — and it genuinely glows at night.
Best forAges 4+ (with adult help)
TimeAn afternoon project
CostBudget-friendly
SkillsFine motor + creativity
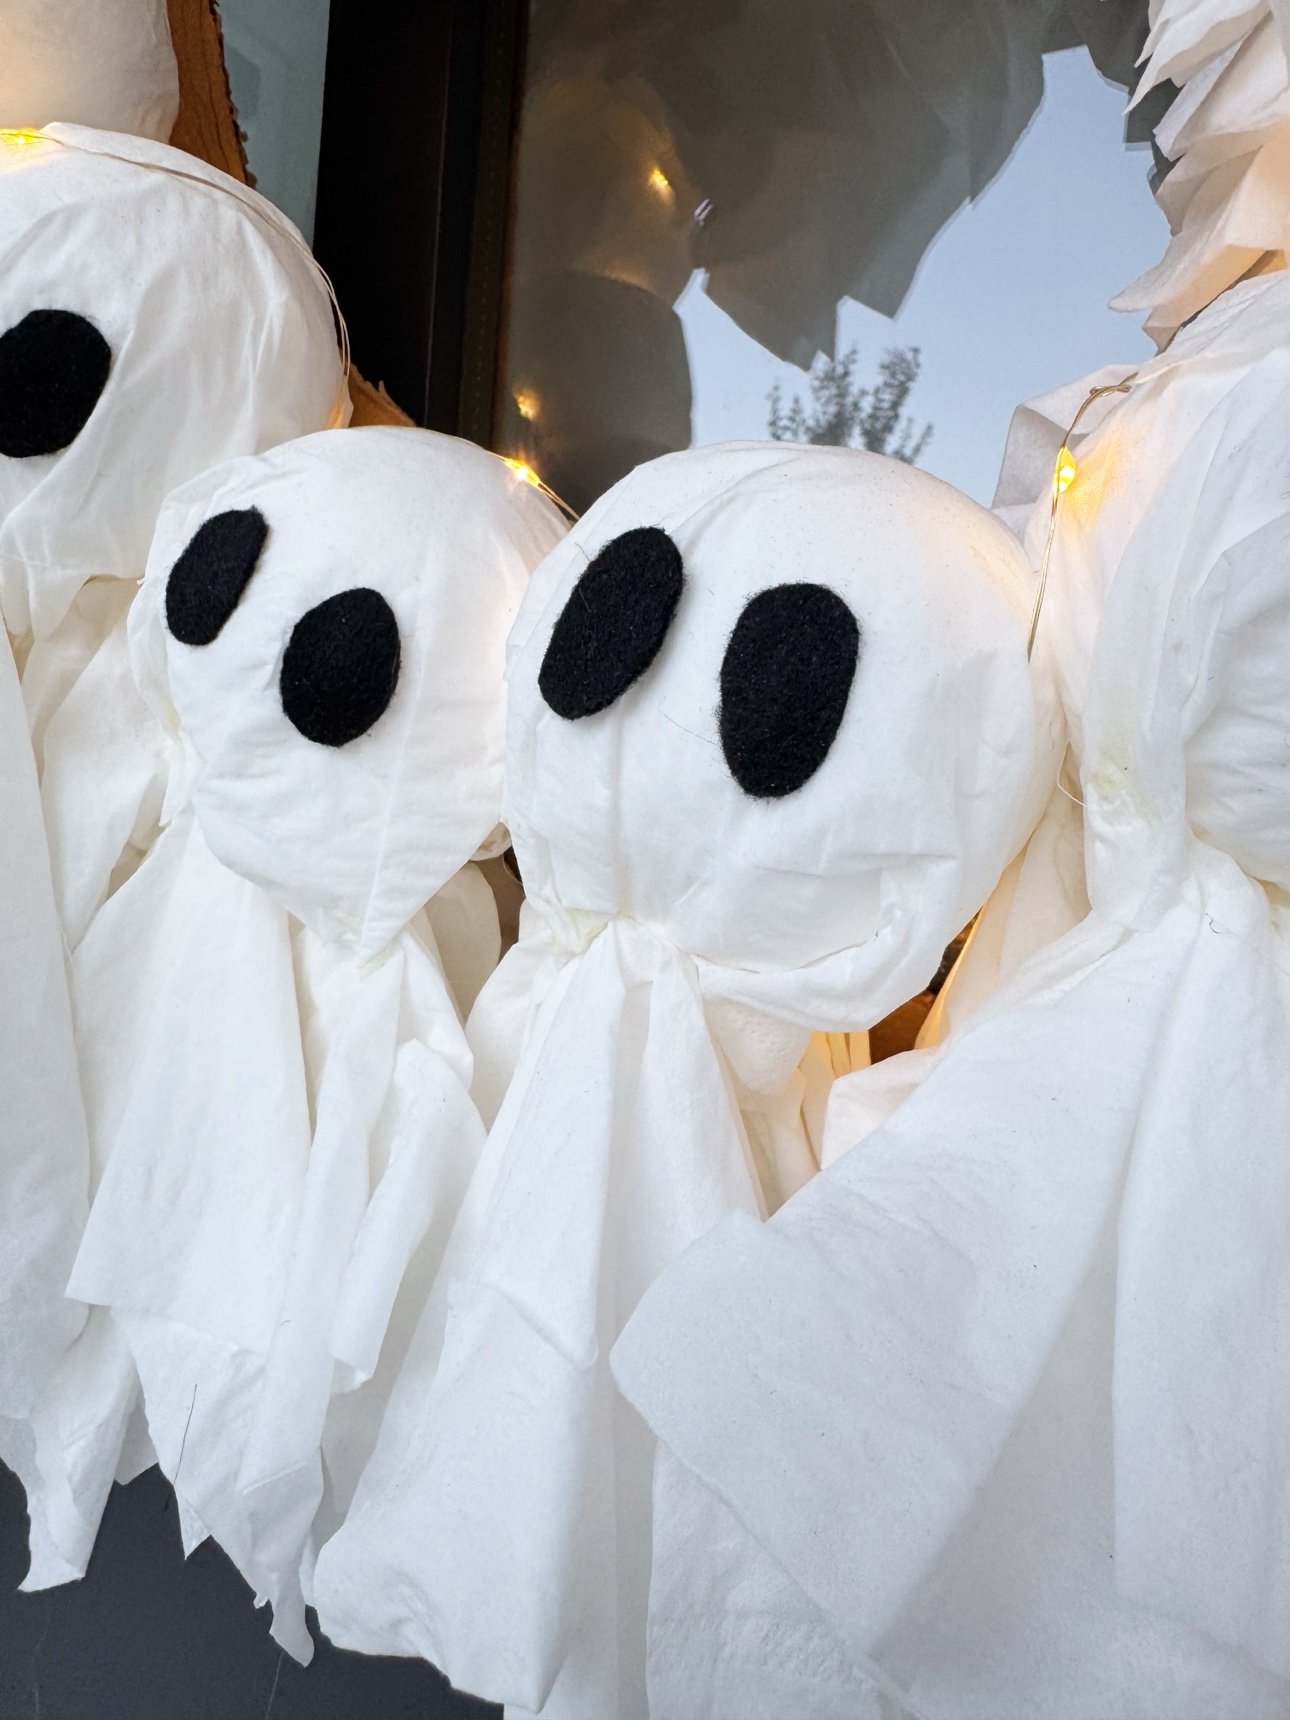
This DIY ghost wreath is made from the simplest supplies — white tissues, foam balls, a cardboard ring, and a strand of battery fairy lights — and when the sun goes down, the little ghosts light up from the inside. Most of the time goes to happily making ghost after ghost.
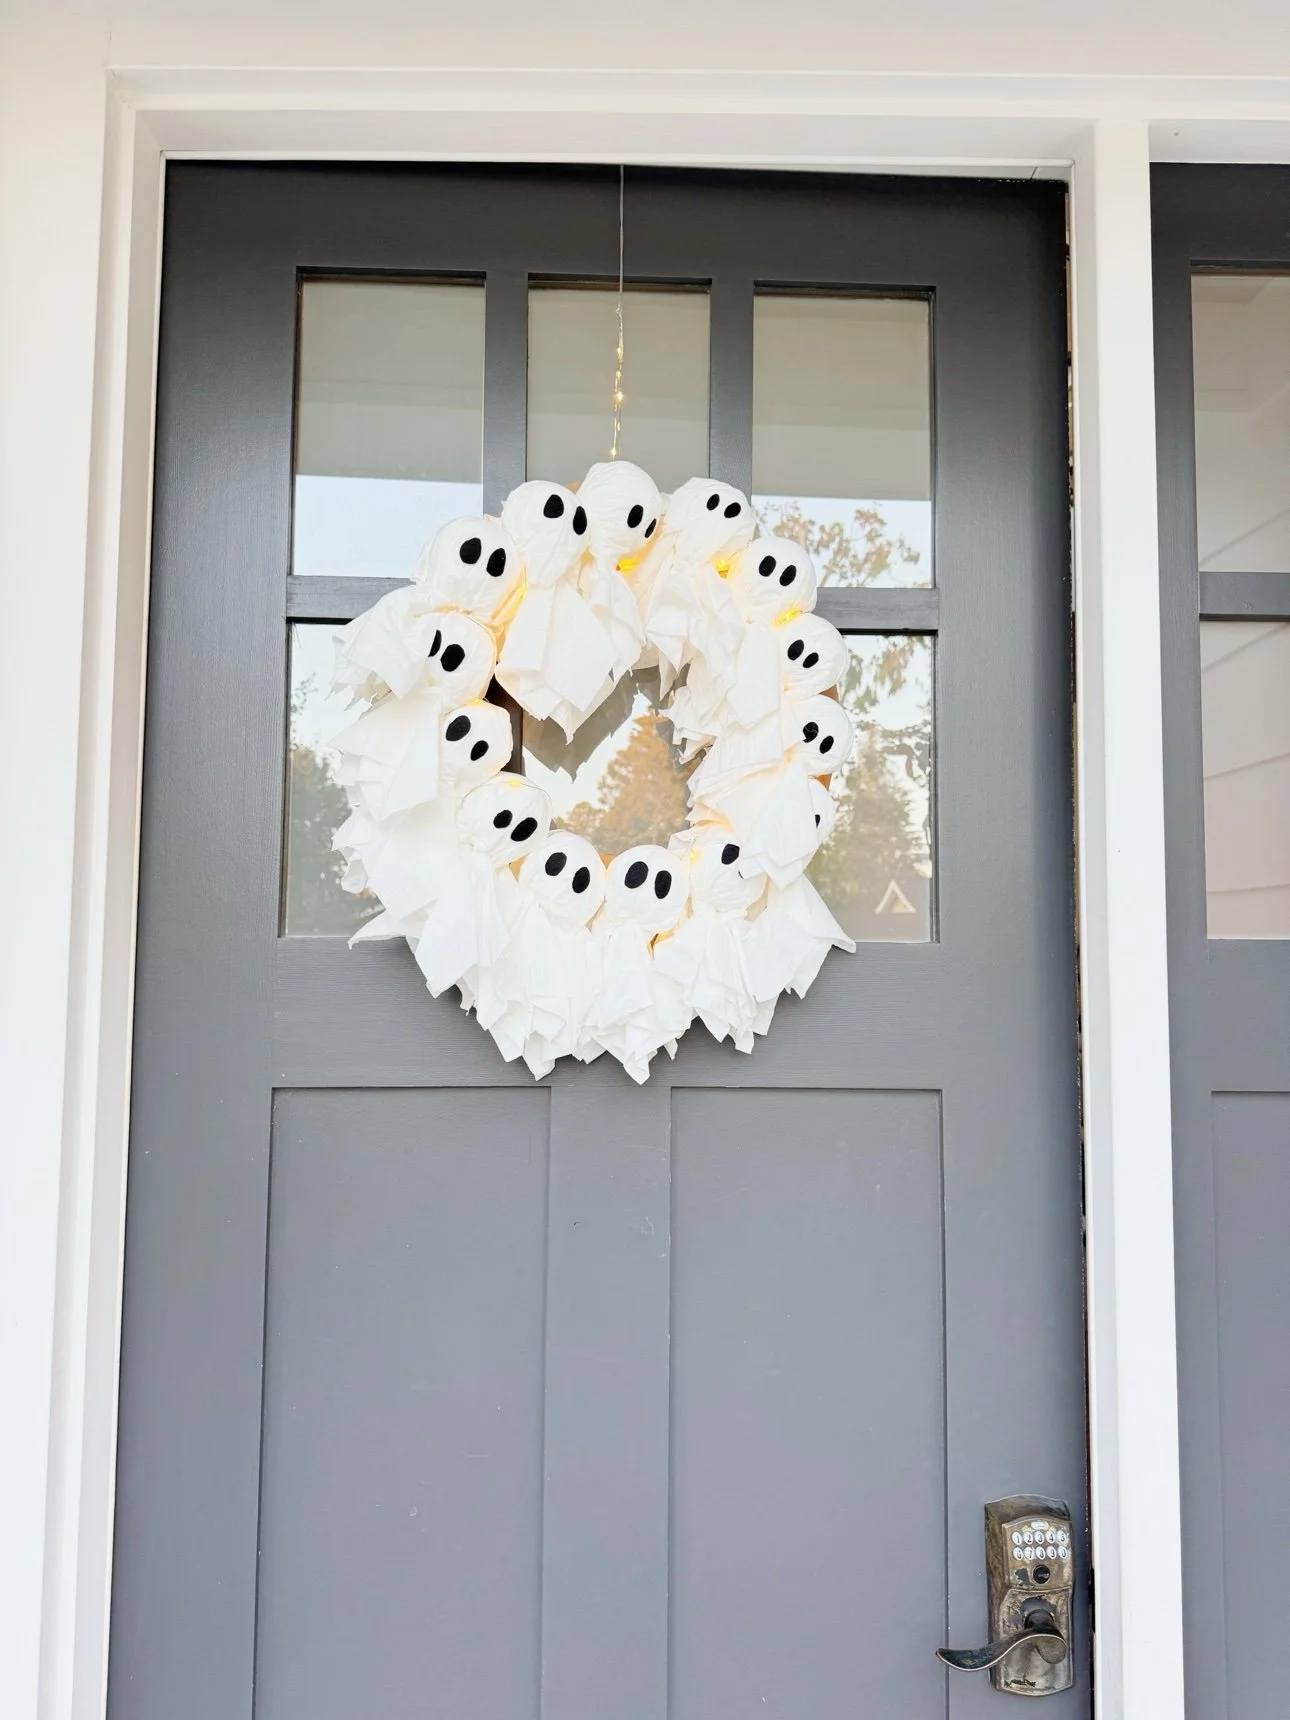
The finished wreath, glowing on the front door.
What you need
White tissues — one per ghost (a dozen or so covers a dinner-plate ring)
Foam balls — about 2 inches, one per ghost
Cardboard — cut into a wreath ring for the base
Craft sticks — to anchor each ghost to the ring
Black felt — cut into little ovals for eyes
Battery-operated fairy lights — warm white, one short strand
Scissors, glue (hot glue for adults), string or ribbon for hanging
How to make the ghost wreath
Step 1: Cut the cardboard ring
Cut a large ring from sturdy cardboard — a dinner plate and a salad plate make good tracing templates. This is the base everything attaches to, so keep it wide enough to glue or poke the craft sticks into.
Step 2: Make the ghosts
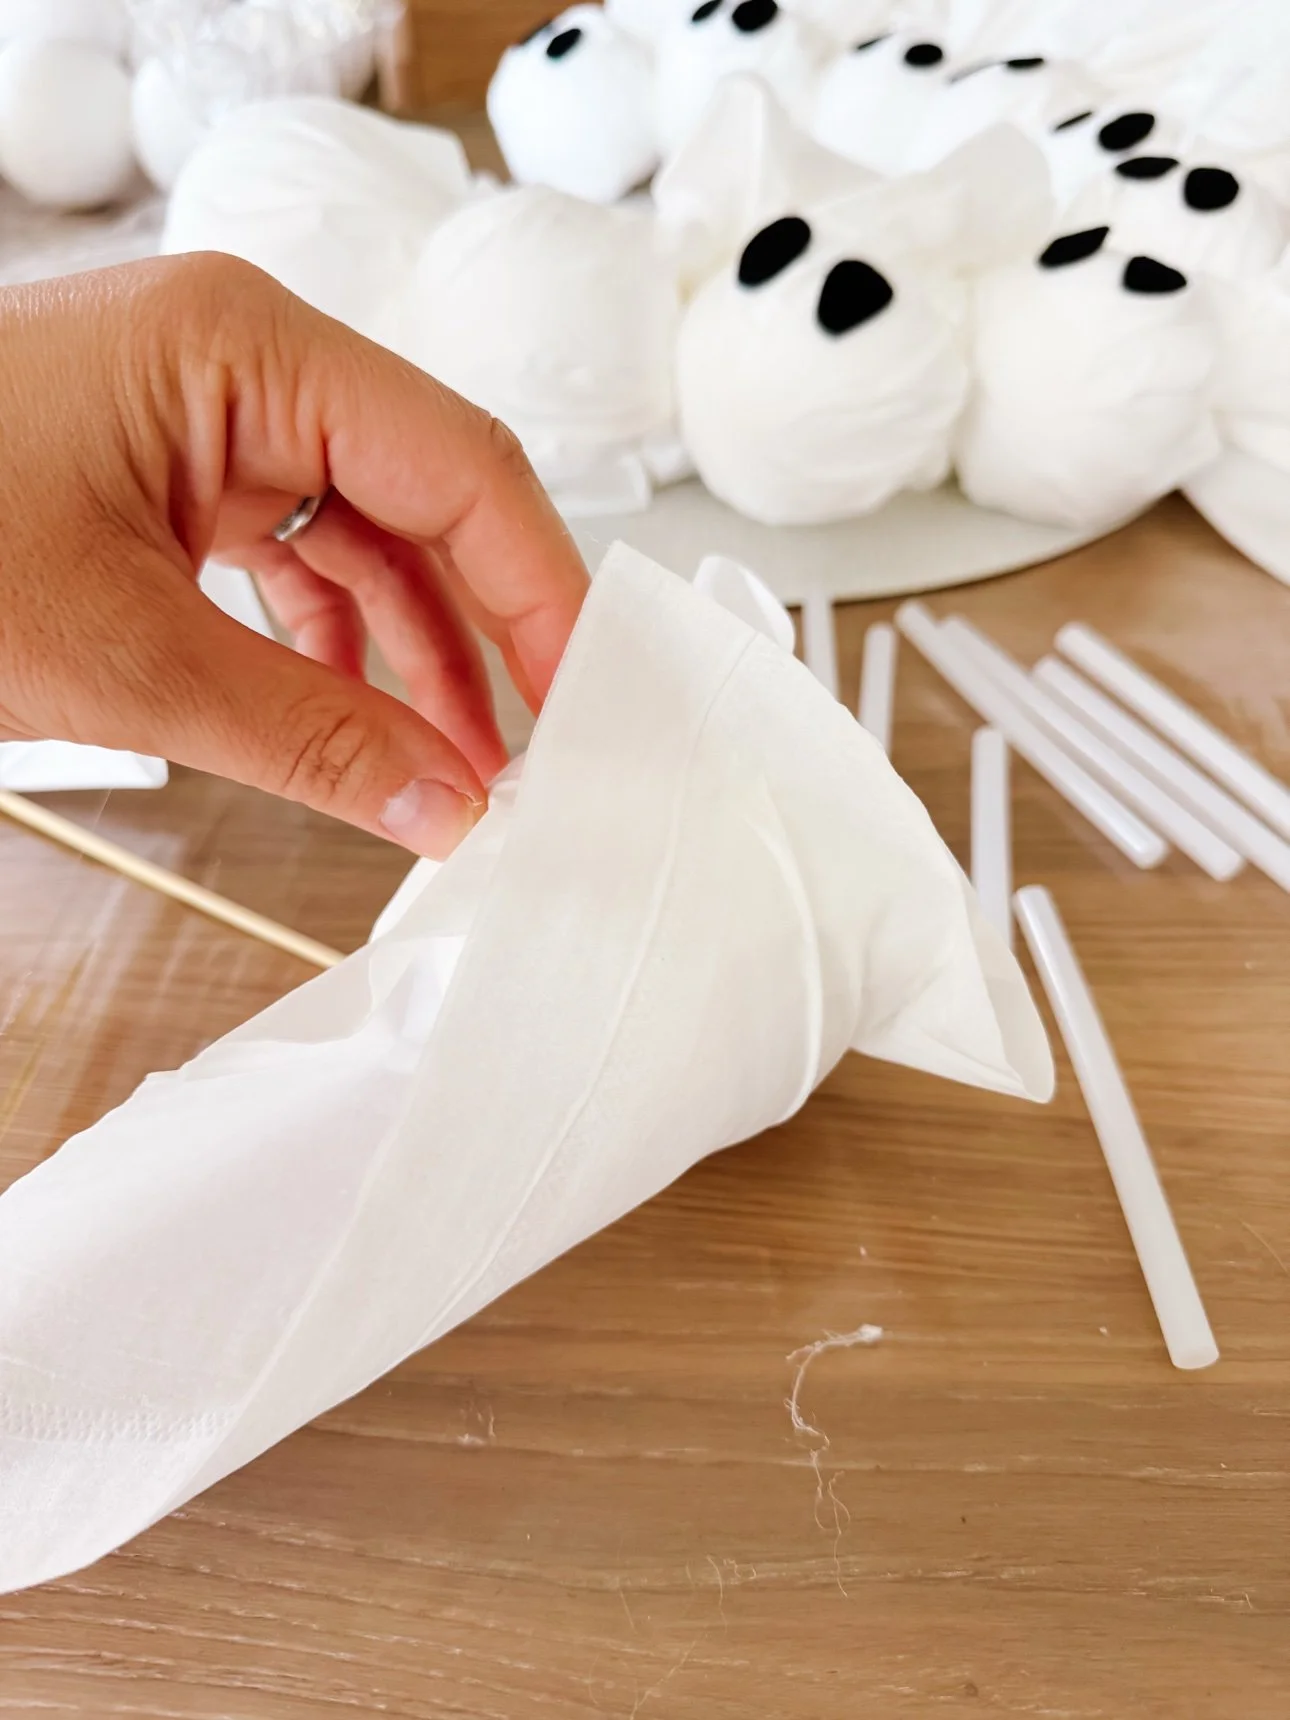
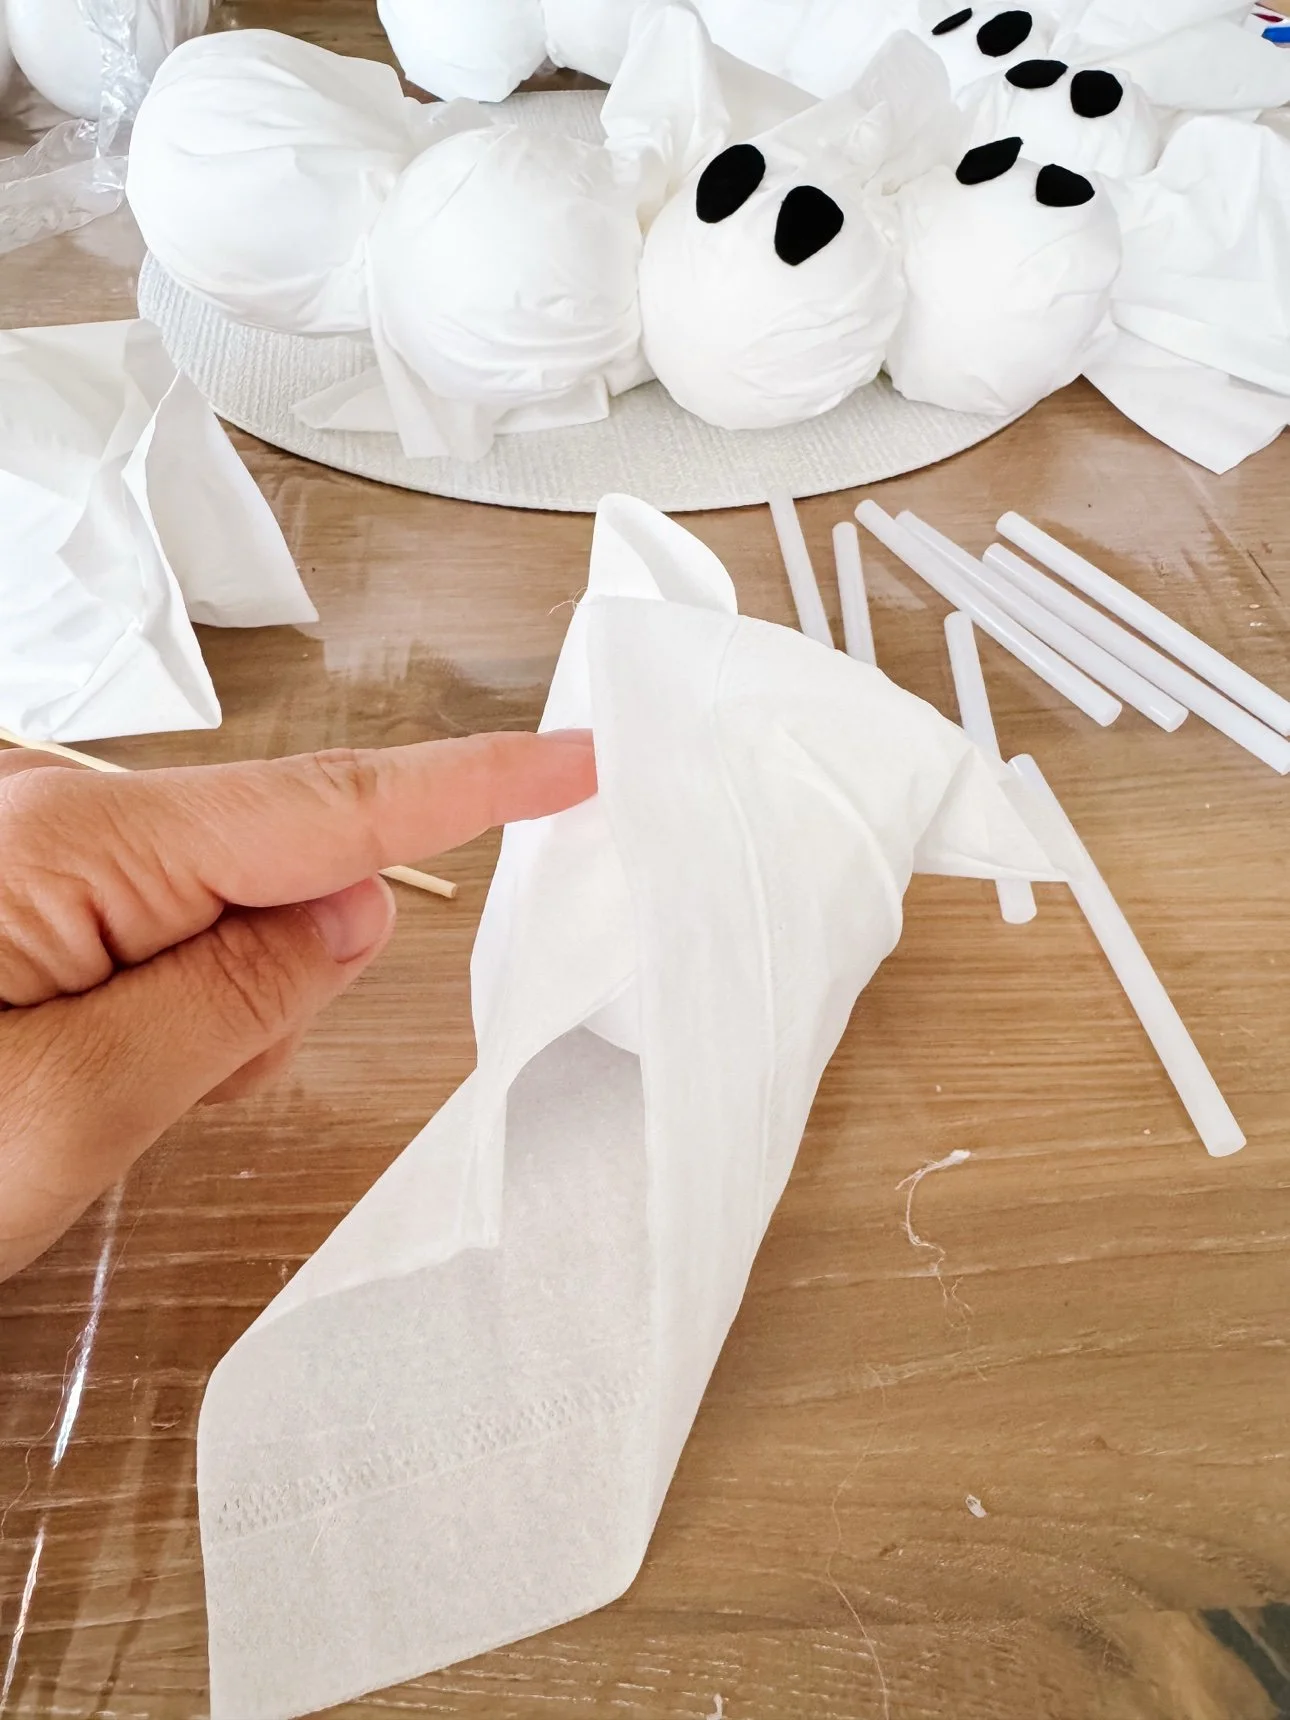
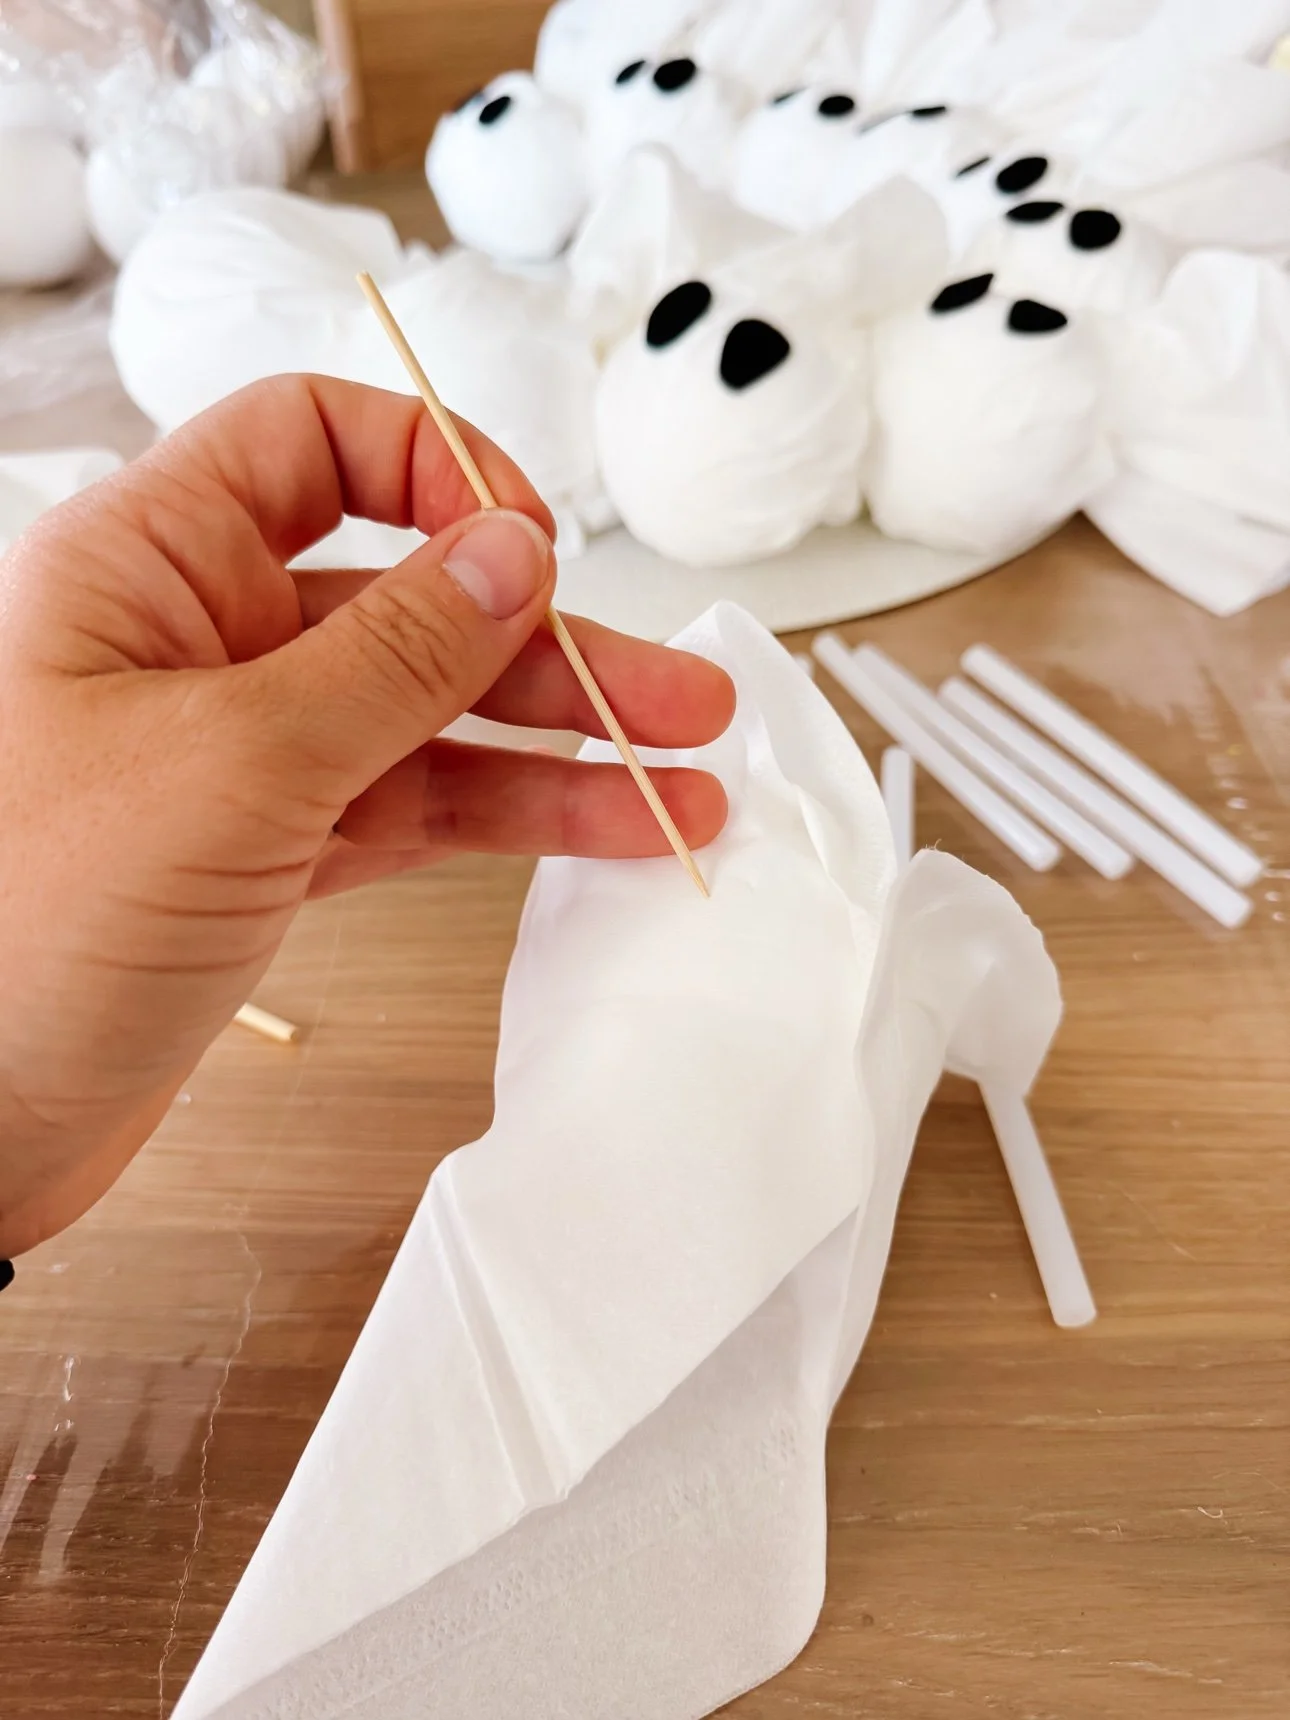
Center a foam ball on a tissue, gather the tissue up around it, and twist gently to form the ghost's head. Poke a craft stick up through the bottom into the foam ball so each ghost has a little handle — this is what you'll use to attach it to the ring. Glue on two black felt ovals for eyes. That is the whole ghost: tissue, ball, stick, eyes.
Ghost in progress: foam ball, one tissue, and a craft stick.Gather the tissue up around the ball and twist — no sewing, no fuss.The craft stick goes up into the foam ball so each ghost can stake into the wreath ring.
Step 3: Build the wreath
Work your way around the cardboard ring, attaching the ghosts close together so the cardboard barely shows — push the craft sticks through or hot-glue them in place (adults handle the hot glue). Slightly overlapping the tissue skirts gives the wreath that full, fluffy look.
Every ghost gets its own expression depending on where you place the felt eyes.
Step 4: Weave in the fairy lights
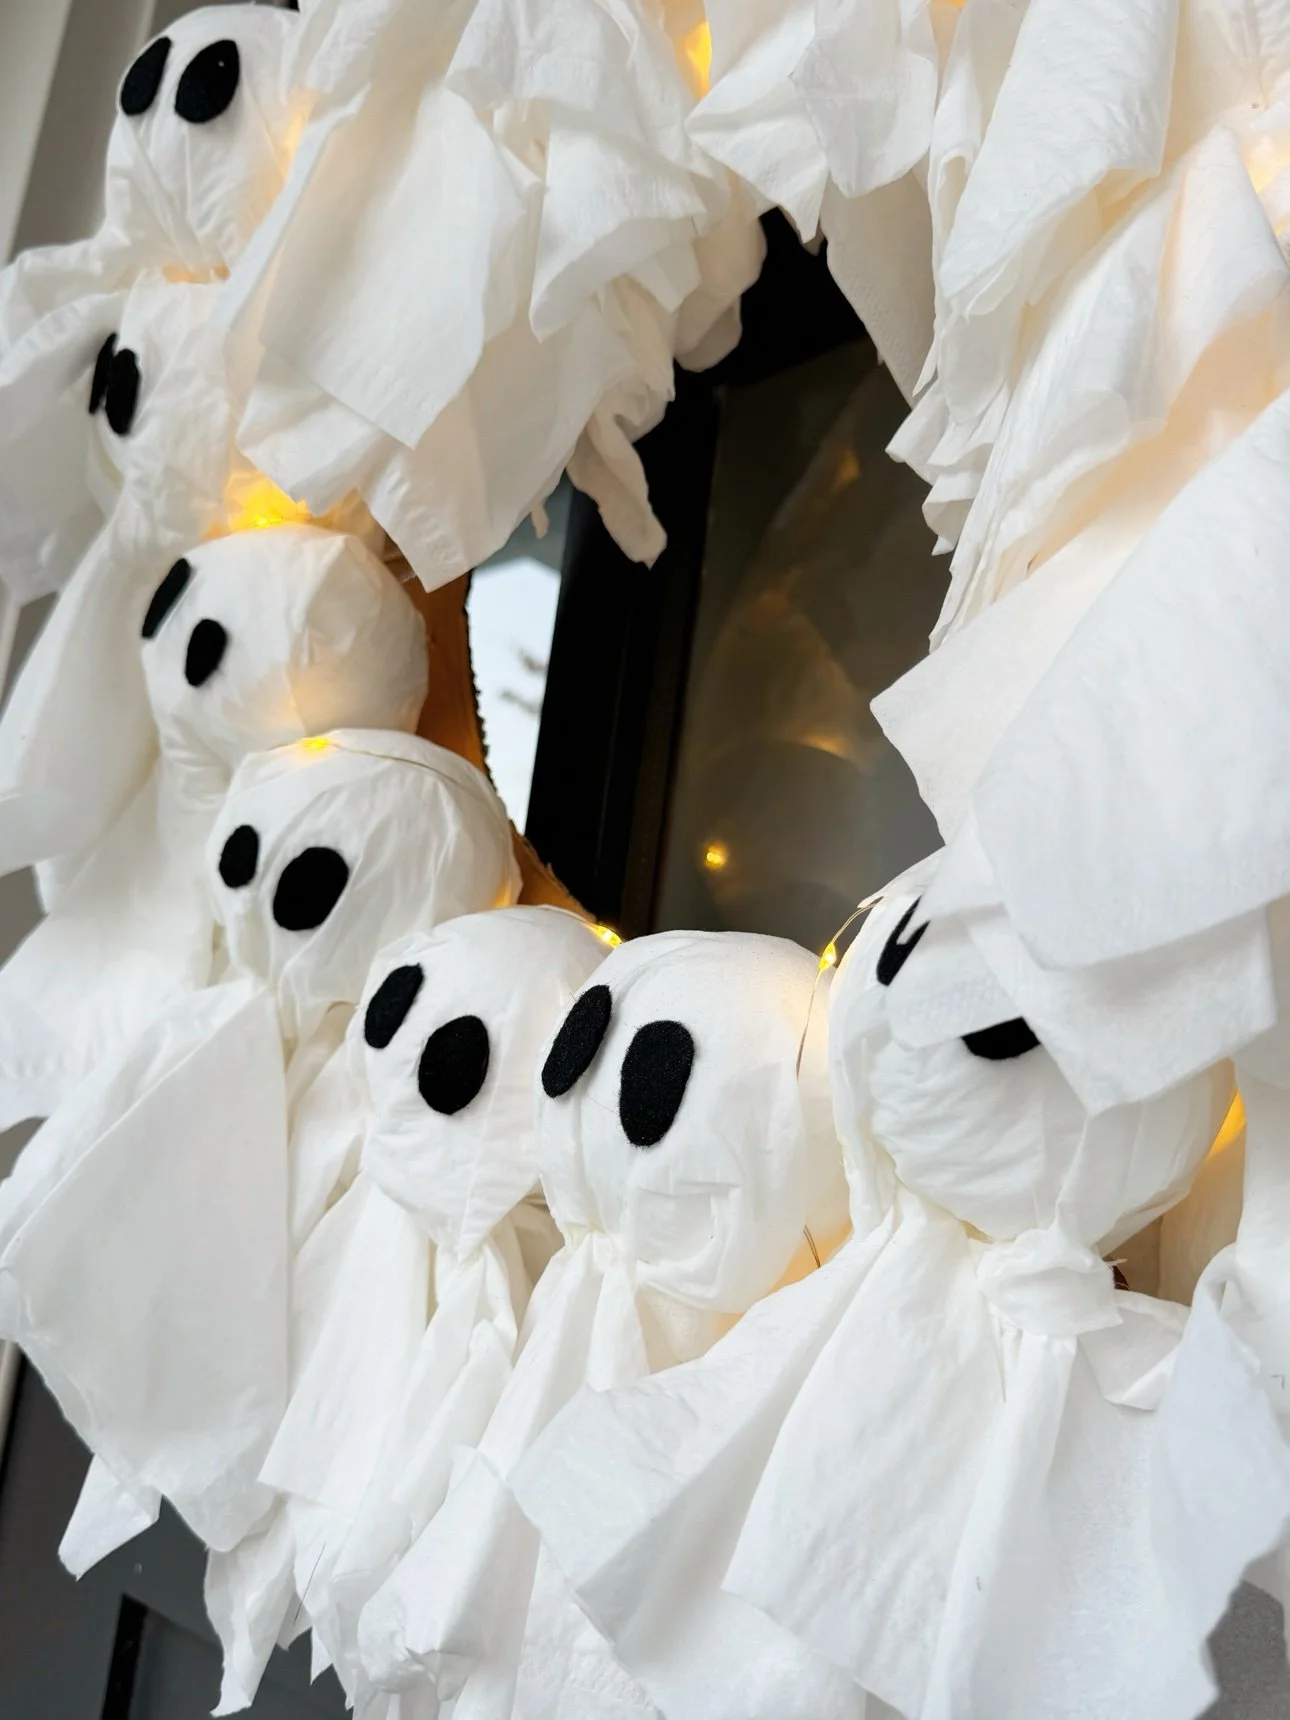
Wind the battery fairy lights through the ghosts, tucking the little bulbs between them so the glow comes from inside the crowd. Tape the battery pack to the back of the cardboard ring where it hides. Flip the switch and step back — this is the best part.
The fairy lights tucked between the ghosts — this is what makes it glow.
Step 5: Hang it up
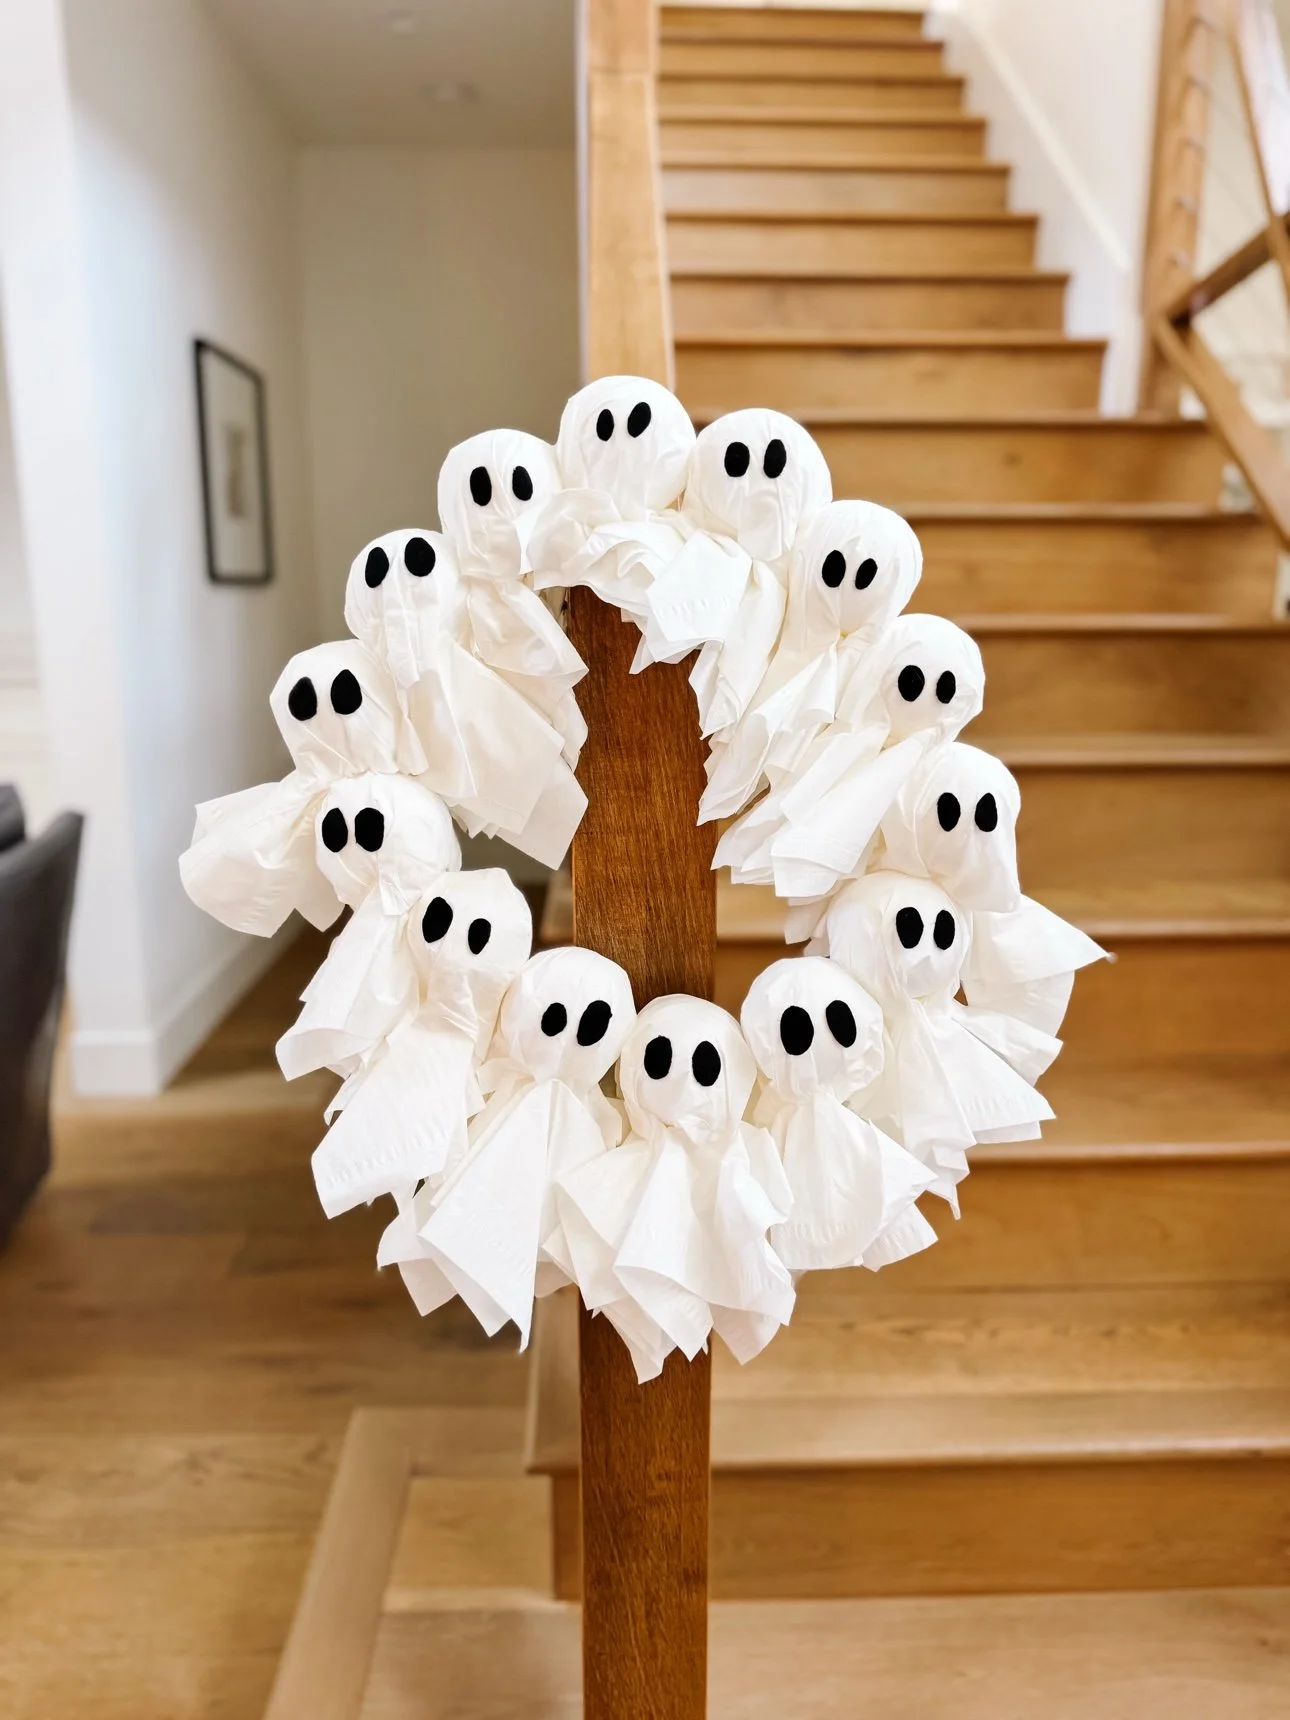
Tie string or ribbon through the top of the cardboard ring and hang the wreath on the door — it is made to be seen by trick-or-treaters. It also looks adorable hung on a stair newel post indoors.
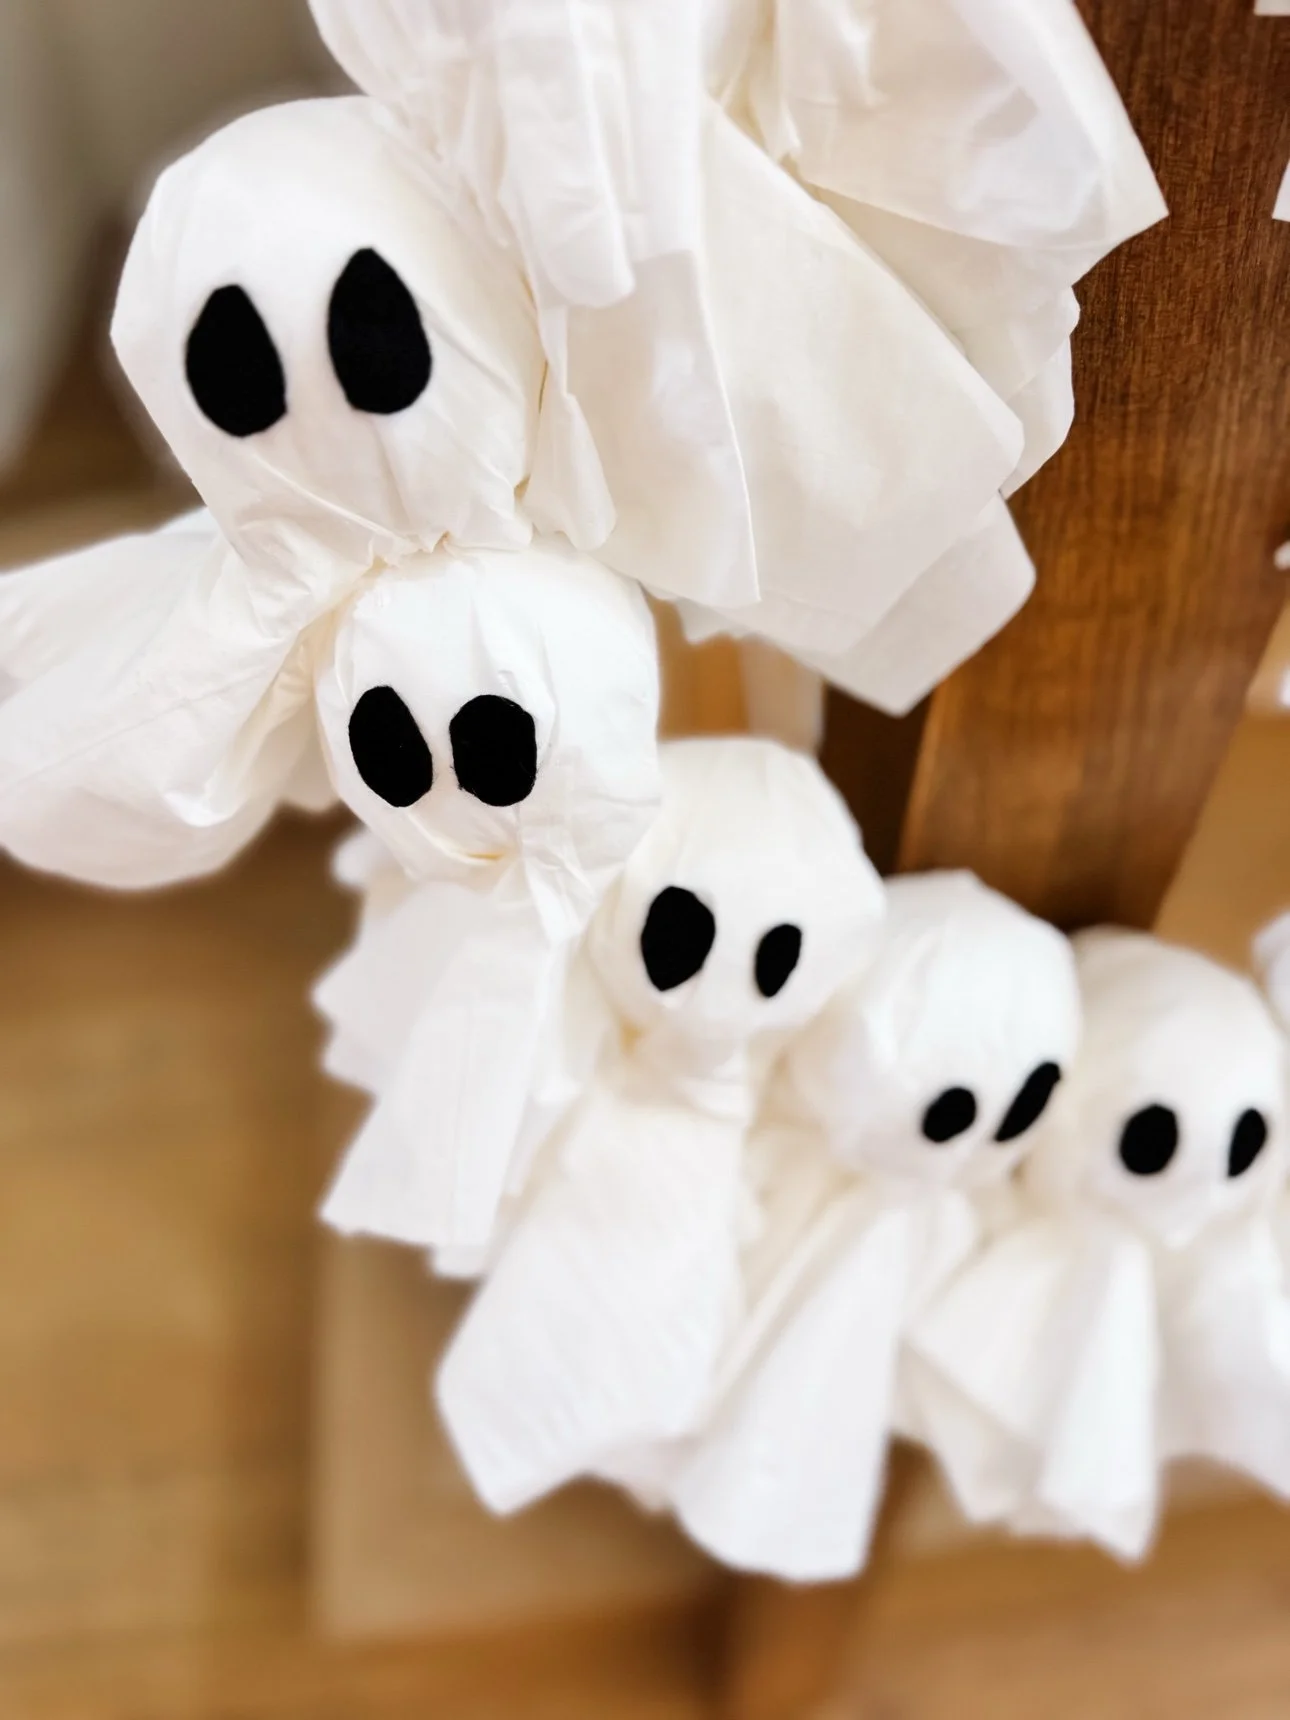
On the front door, ready for trick-or-treaters.It works indoors too — try a stair newel post.The finished wreath, ready for Halloween night.Up close: just tissues, felt eyes, and fairy-light glow.
Tips for making it with kids
Give kids the ghost-making station. Wrapping the tissue, twisting, and gluing on the felt eyes are all perfect kid jobs. Adults handle the hot glue and the cardboard cutting.
Cut all the felt eyes first. A little pile of black ovals keeps the assembly line moving.
Hide the battery pack. Tape it flat to the back of the ring so the front stays all ghosts.
Porch, not rainstorm. Tissues and fairy lights are happiest under a covered porch or indoors.
Shop the materials
Some links are affiliate links. We only share things we actually use.
Keep the Halloween afternoon going after the wreath is hung — our free Pin the Bone on the Skeleton printable party game is perfect for a classroom party, a playdate, or family game night. Print it, blindfold the players, and see who gets the bone closest.
It depends on your ring size — twelve 2-inch ghosts filled a dinner-plate-sized ring with the tissue skirts overlapping. Make a few extra; they are quick once you get the rhythm.
Can the wreath go outside?
A covered porch is fine. Tissues do not love direct rain, so bring it in during storms.
What age is this craft best for?
Kids around 4 and up can make the ghosts with a little help. Adults should handle the hot glue and cutting the cardboard ring.
How long do the fairy lights last?
A fresh set of batteries in a short LED strand usually runs several evenings. Switch it on at dusk for trick-or-treat season and off before bed.
Get Featured
Have a shop that specializes in baby gifts? I'd love to feature your shop and products in one of my weekly roundups. Email me at goodnightfoxstudio@gmail.com.