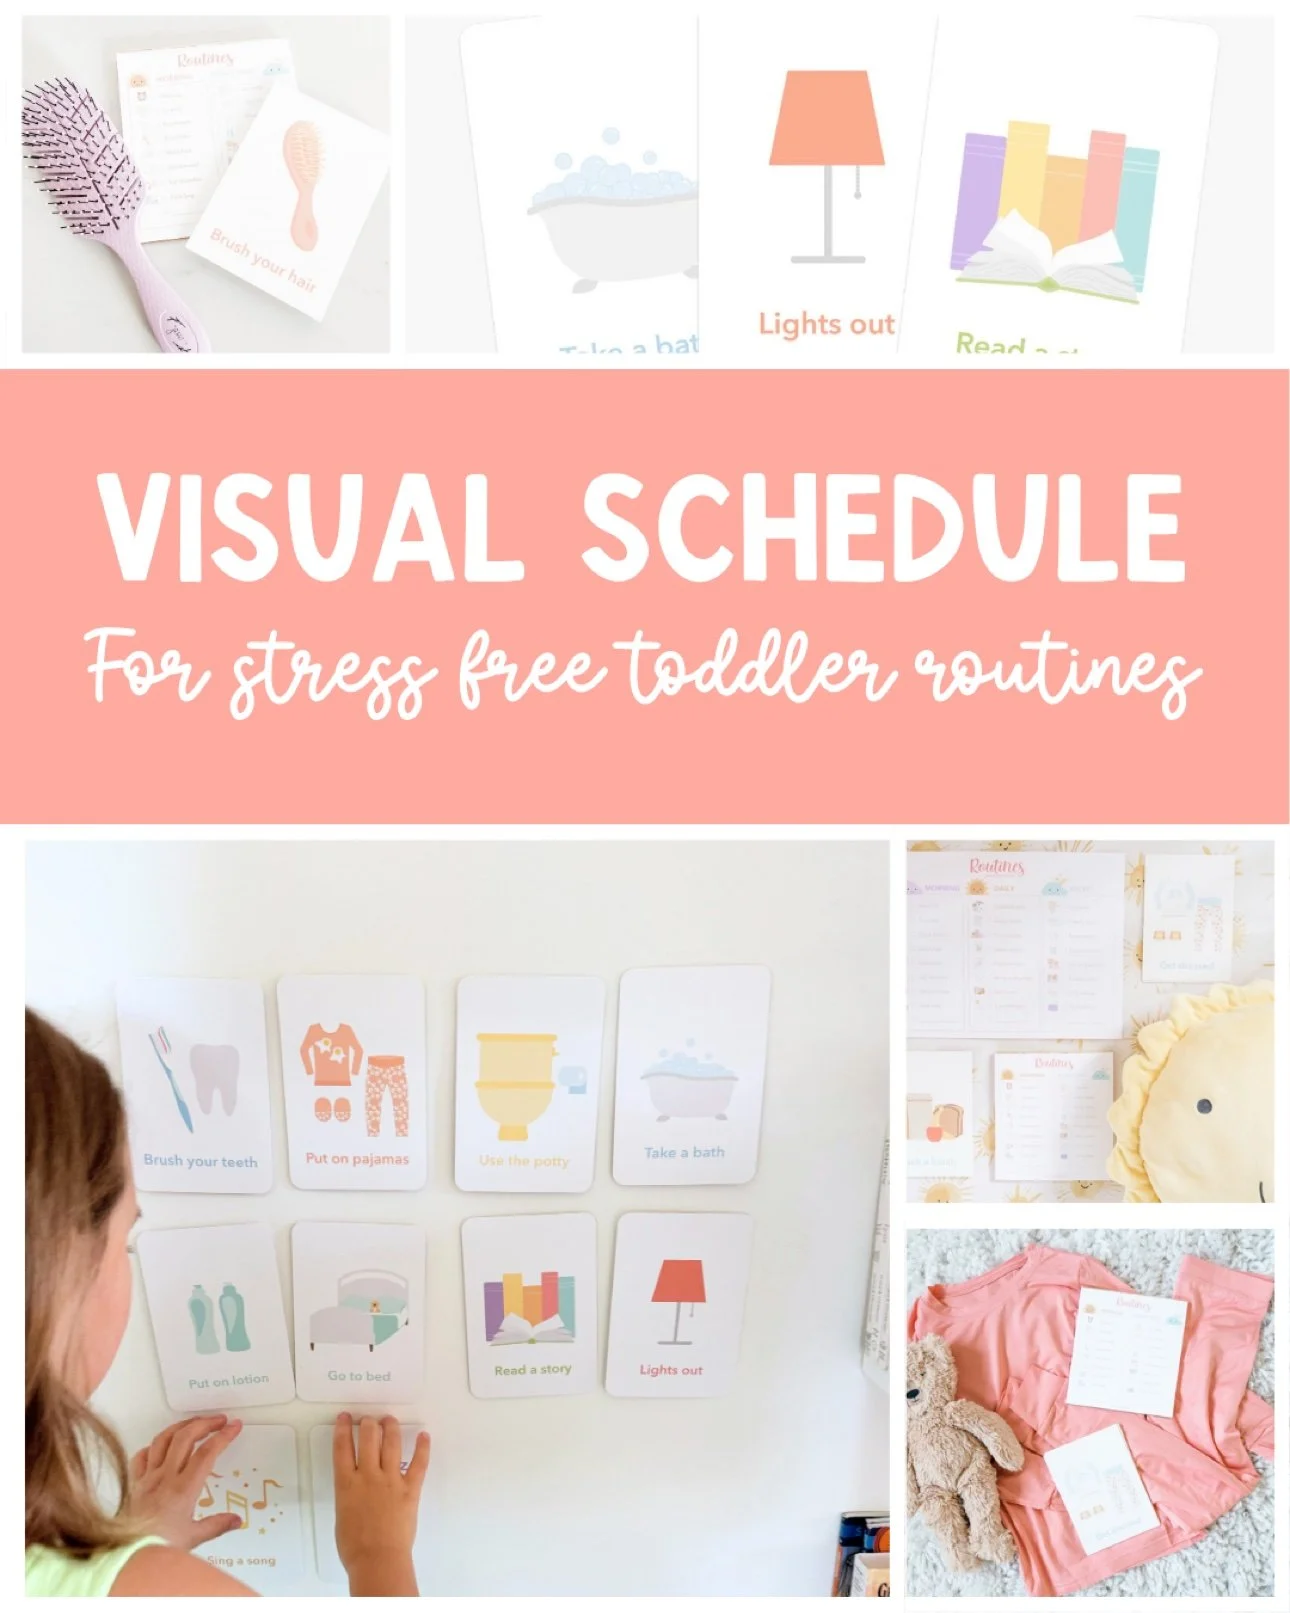
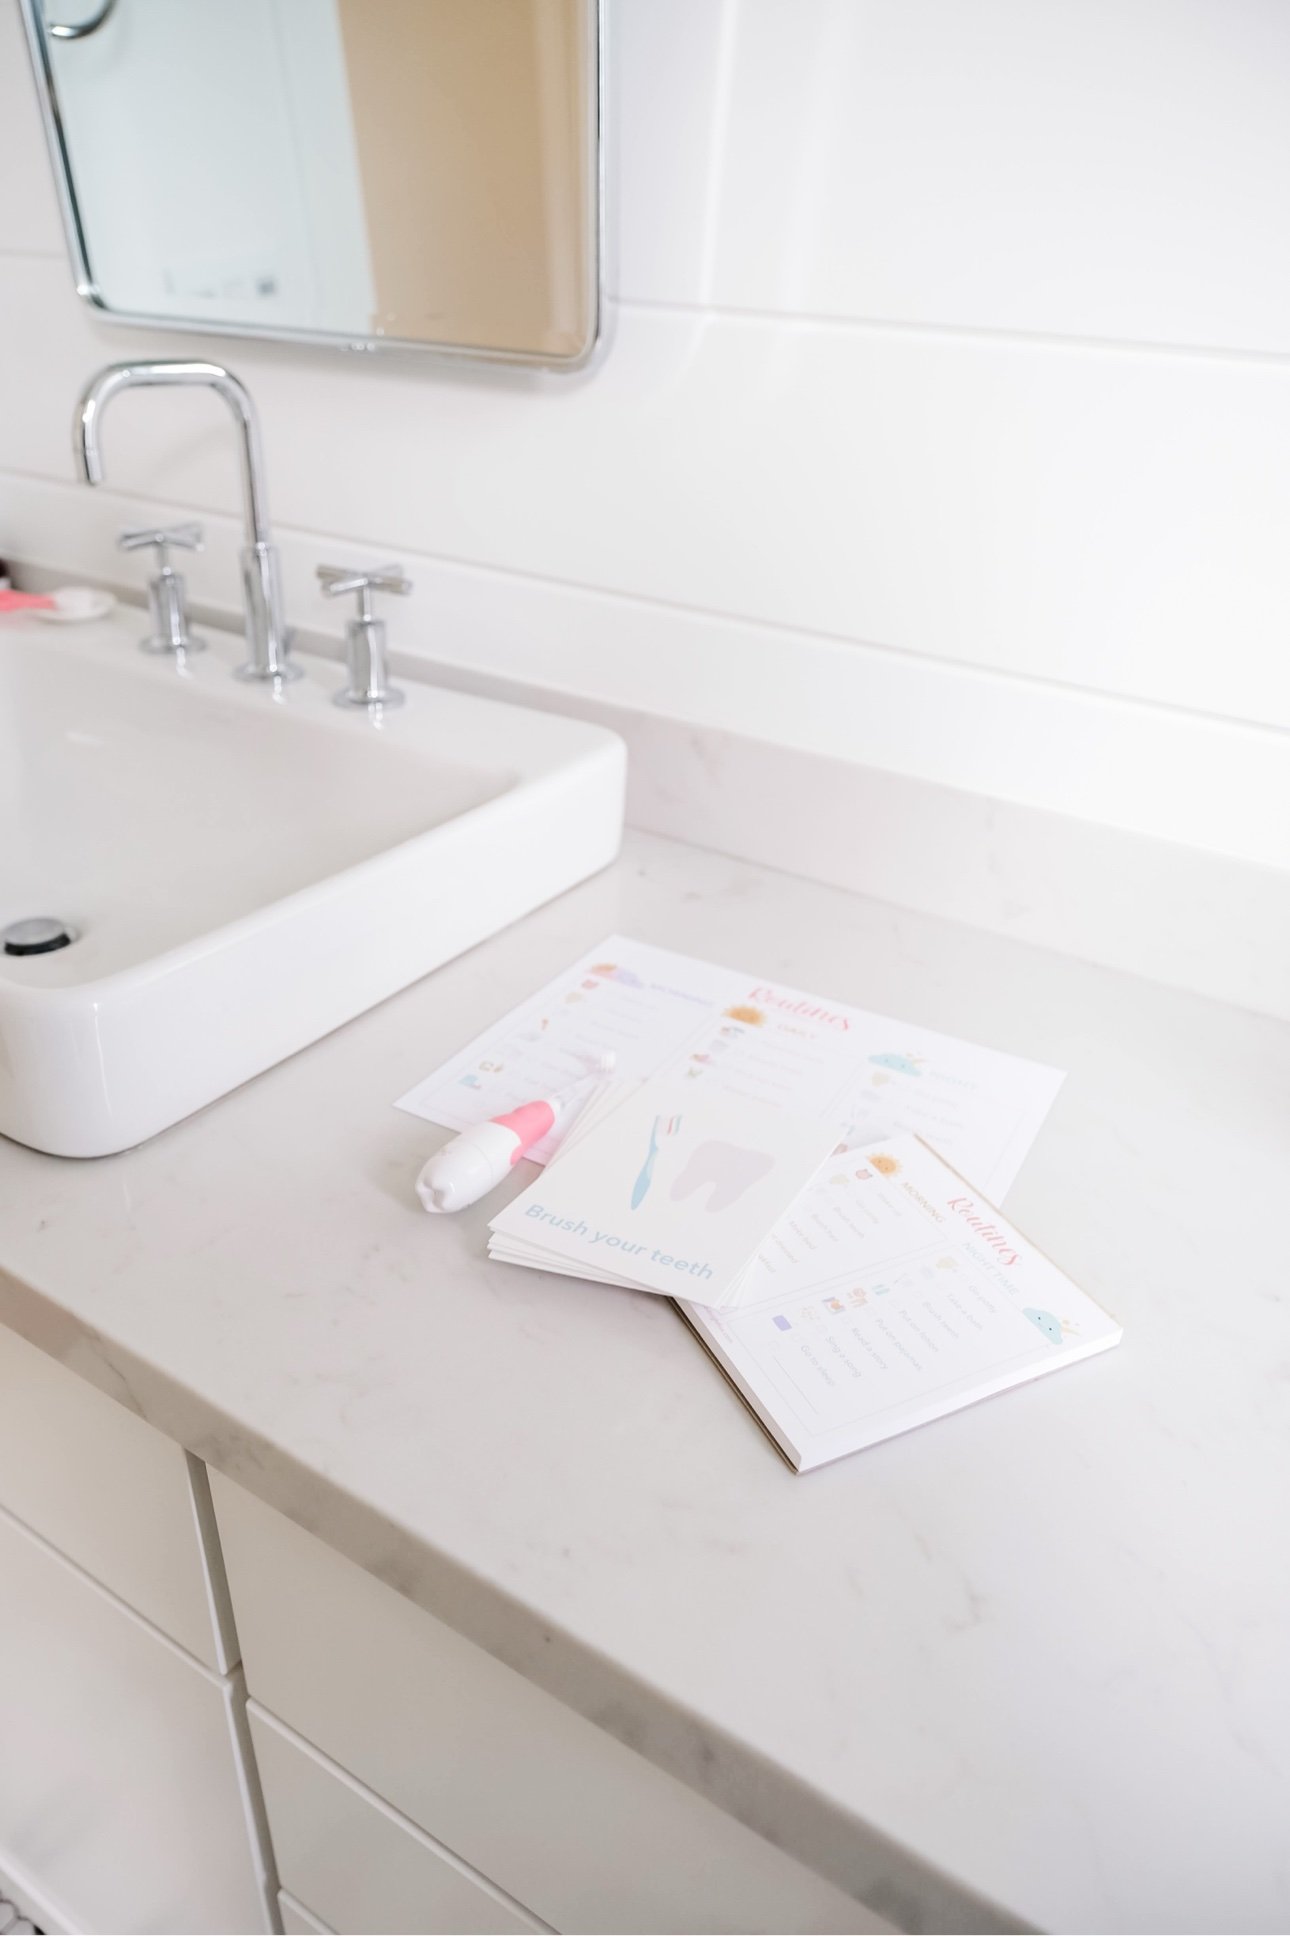
Bedtime Routine for Toddlers: A Calm 7-Step Visual Routine That Ends the Battles

Bedtime Routine for Toddlers: A Calm 7-Step Visual Routine That Ends the Battles

If bedtime at your house currently involves forty-five minutes of negotiations, three extra glasses of water, and a toddler who suddenly needs to discuss every stuffed animal's feelings — you are not doing it wrong. Bedtime falls apart for a simple reason: the sequence only exists in your head. Your toddler can't see what's coming, so every step feels like a surprise ending. A visual bedtime routine fixes exactly that — same steps, same order, every night, on cards your child can flip themselves.

Best forAges 1–4
Time20–30 minutes, nightly
CostFree (plus optional routine cards)
SkillsSequencing + independence

Why bedtime falls apart (and why a routine fixes it)

Toddlers don't stall at bedtime because they're difficult. They stall because transitions are hard and the evening sequence is invisible to them — bath, then teeth, then story feels like a series of ambushes when you can't see the plan. A predictable routine turns those ambushes into a path they can walk themselves, and that predictability is exactly what pediatric guidance points to: a consistent, calming pre-sleep routine — reading, bathing, quiet play — signals to a child that it's time to wind down (paraphrased from Sun Pediatrics' AAP-cited sleep hygiene guide).

The stakes are real but simple: the American Academy of Pediatrics recommends 11–14 hours of total sleep per day for ages 1–2 and 10–13 hours for ages 3–5, including naps (AAP News). A routine that starts at the same time every night is how those hours actually happen — not through willpower, but through rhythm. And a visual version of the routine does something extra: it hands the sequence to your child. Flipping each card is a tiny job with a visible finish line, and toddlers who feel in charge of the steps argue about them far less. Our visual schedule guide covers the daytime version of the same idea.

When she was little, our bedtimes ran on a picture chart long before I ever made routine cards to sell — a row of little drawings taped to the hallway wall, and she marched down that hallway flipping each one like it was her job. Because to her, it was. That's the whole method below: seven steps, same order, visible to the smallest person in the house.

The 7-step bedtime routine

Twenty to thirty minutes, same order, same time (within about half an hour), every night. The steps matter less than the sameness — pick your version of each and then don't improvise for two weeks.

1. The 10-minute wind-down warning

Bedtime starts before bedtime. About ten minutes out, dim the lights, turn off screens — pediatric guidance advises no screens in the hour before bed, since light and content both keep young brains wired — and announce the plan: "In ten minutes we start our bedtime steps." This is the runway, not the takeoff. When she was little, we'd do this with a silly "sun's going to bed too" announcement at the window, which bought us a surprising amount of cooperation for something so simple.
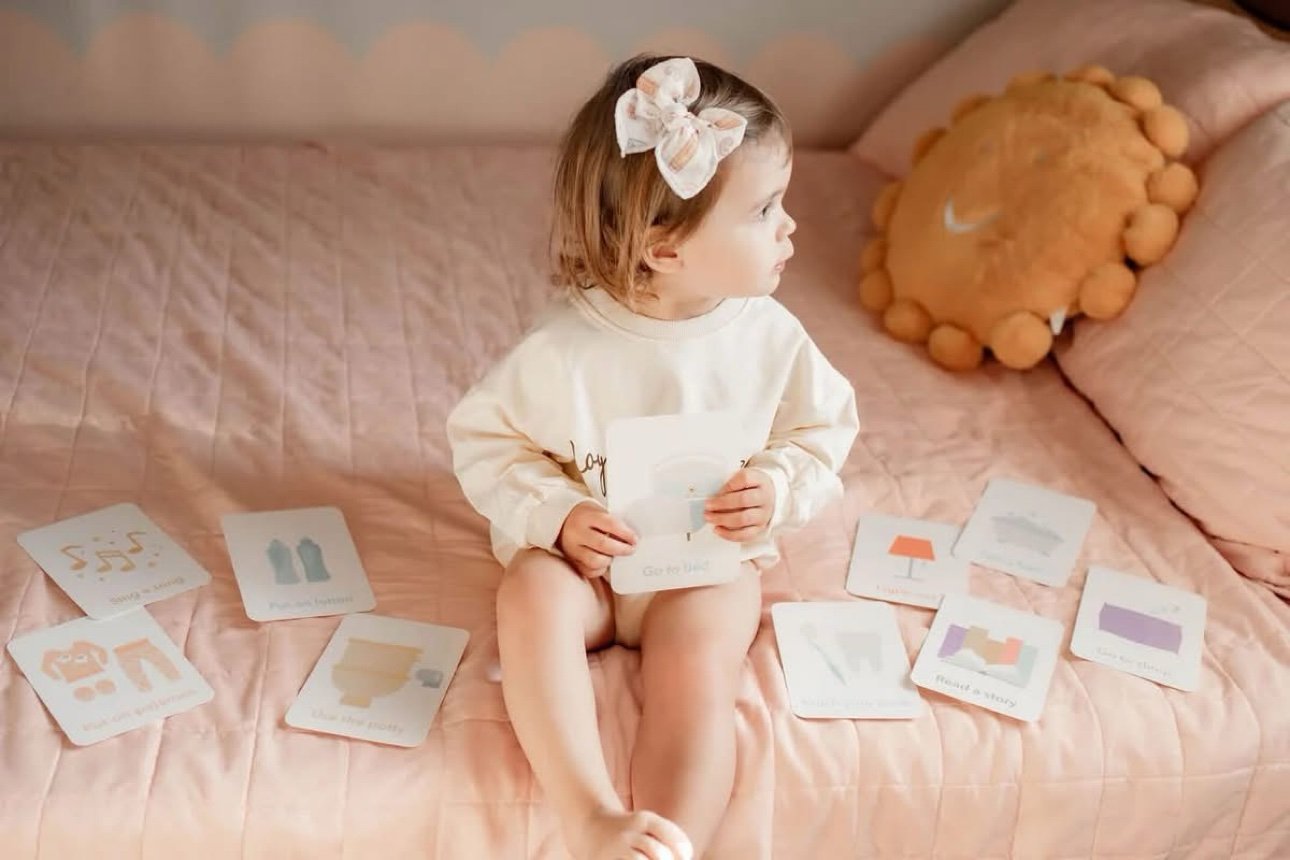
Toddler sitting on a bed looking at bedtime routine cards during wind-down
Wind-down looks like this: lights low, cards out, no screens.

2. Bath or wash-up

A warm bath is the classic sleepy cue, and it doubles as the last big sensory play of the day. You don't need one every night — a warm washcloth on the face and hands does the job on off nights — but keep the slot in the routine either way, so the sequence never changes. Bath toys stay simple at night; this is floating-and-pouring time, not new-toy time.

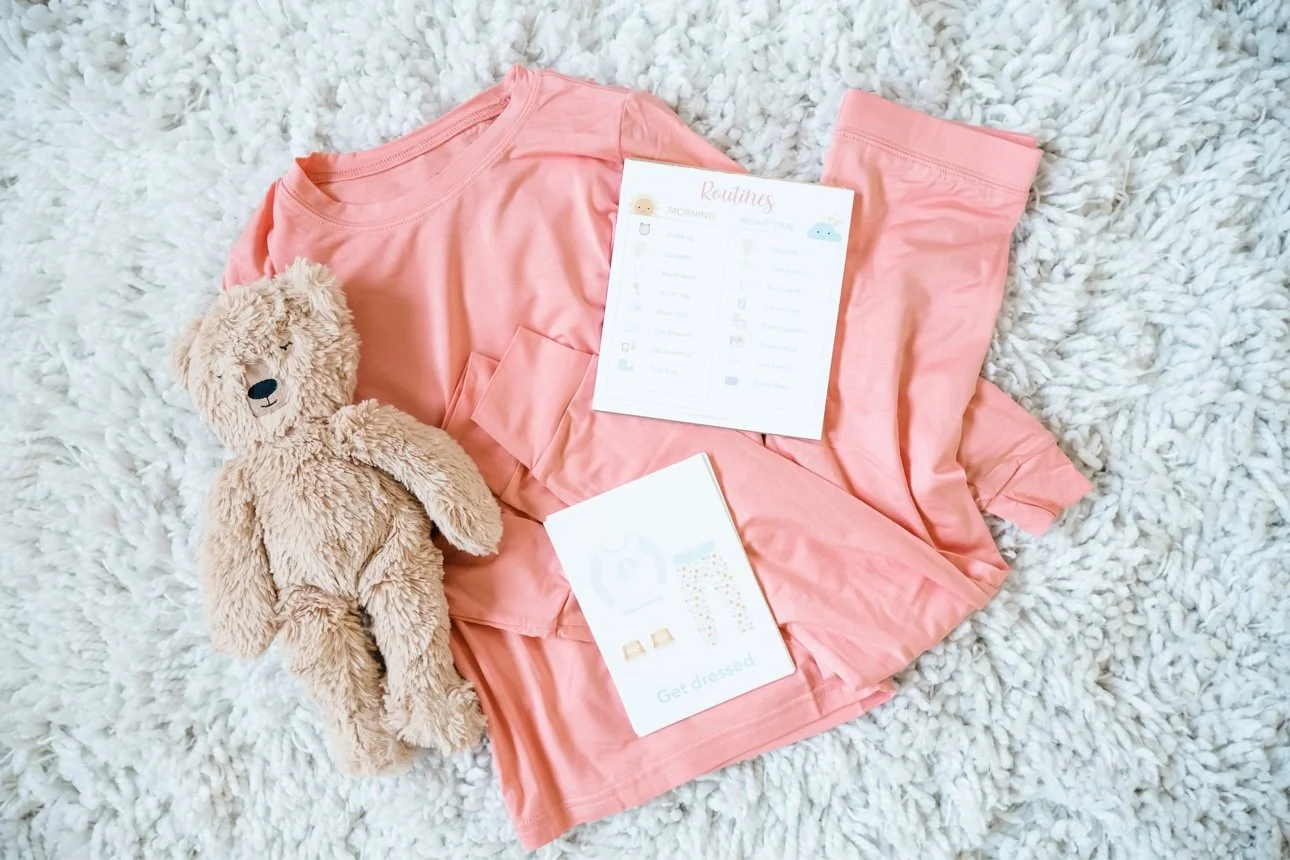
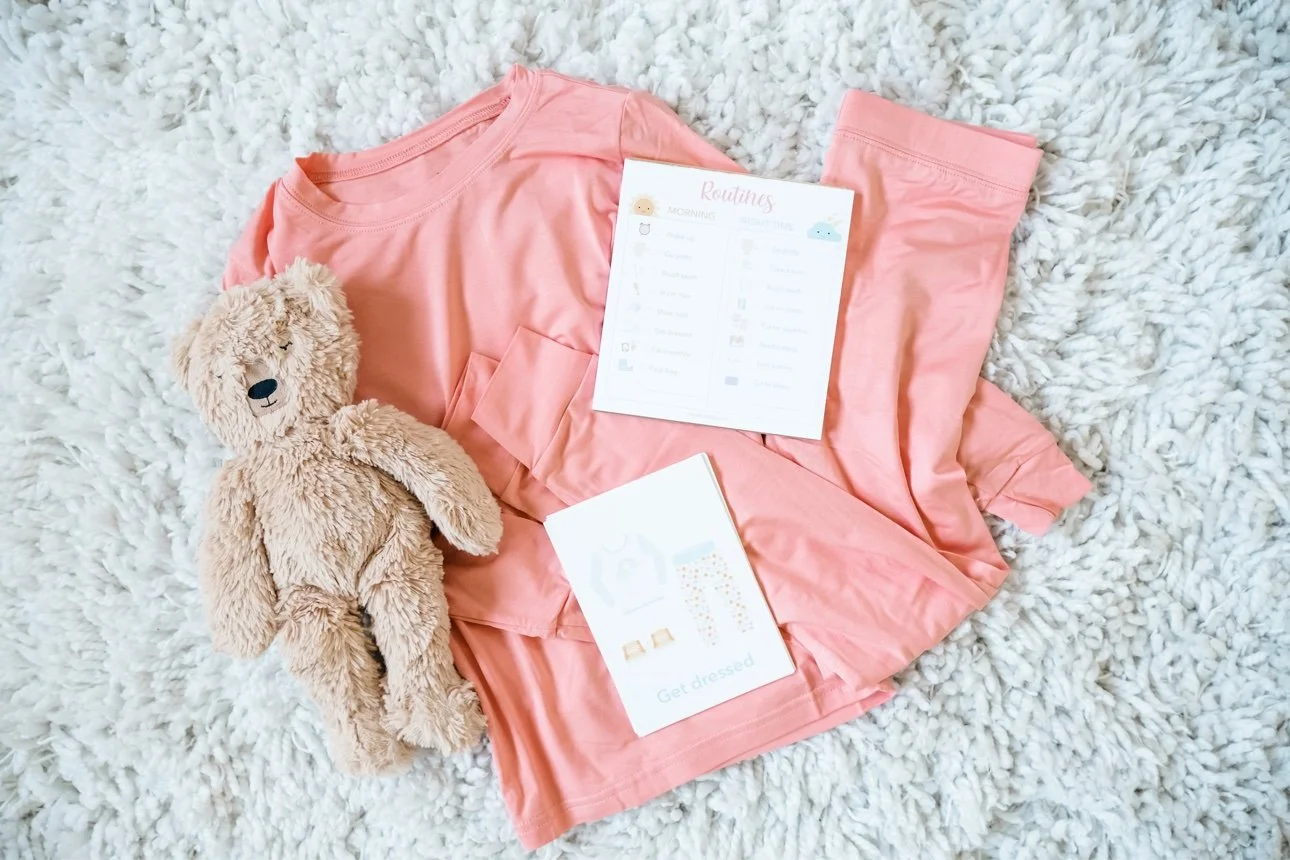
3. PJs (with a two-choice vote)

Hand your toddler exactly two pajama options and let them choose. This is the autonomy deposit that pays off later: a child who picked their own PJs has one less thing to protest. Lay them out in the same spot every night so the choice is part of the path, not a detour through the dresser drawers.
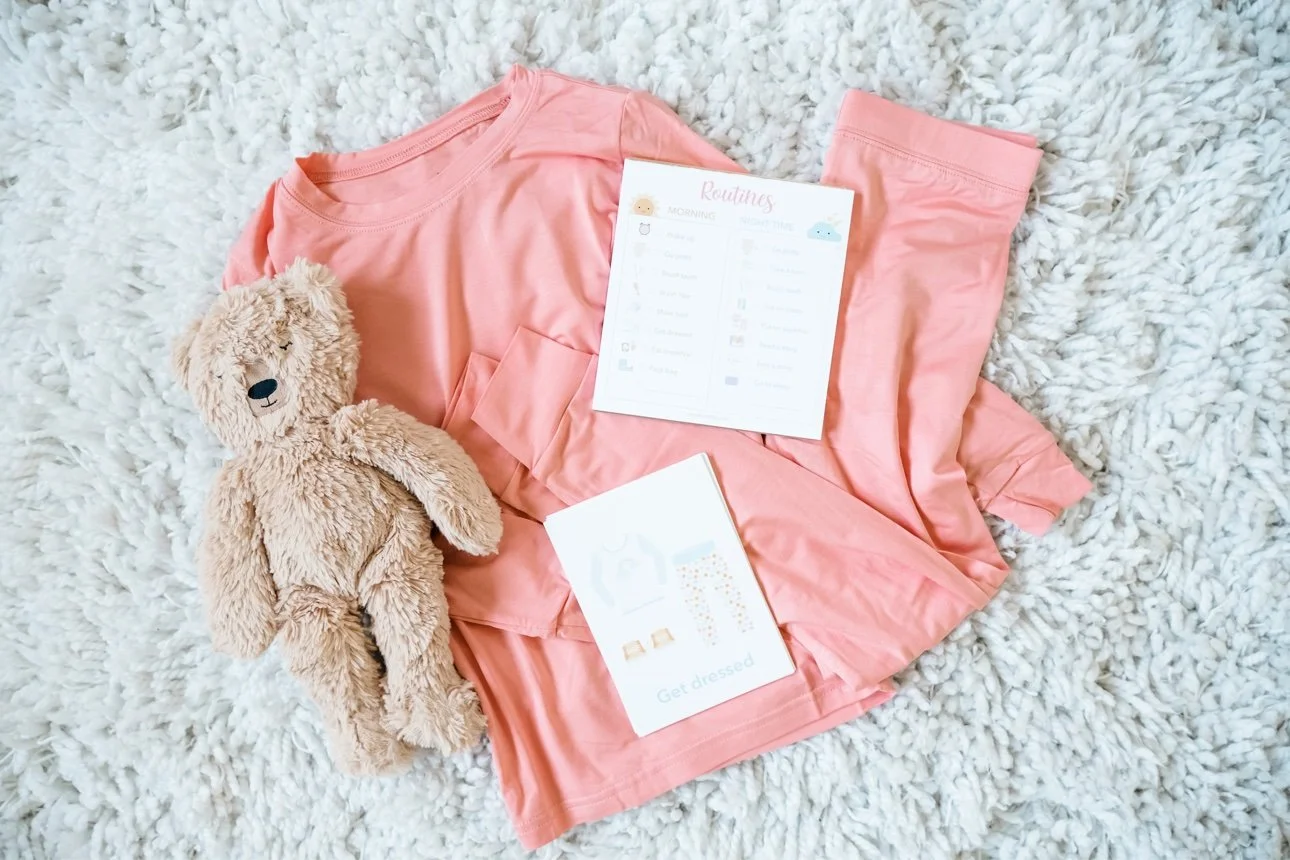
Pink pajamas and a teddy laid out for a toddler's bedtime routine
Two choices, same spot every night — autonomy without the dresser-drawer detour.

4. Brush teeth (same song, two minutes)

Same brush, same spot, same silly song or timer — the ritual is the point. Toddlers tolerate toothbrushing far better when it's step four of seven than when it appears out of nowhere. Let them "start" and you "finish," and keep it boring and quick.
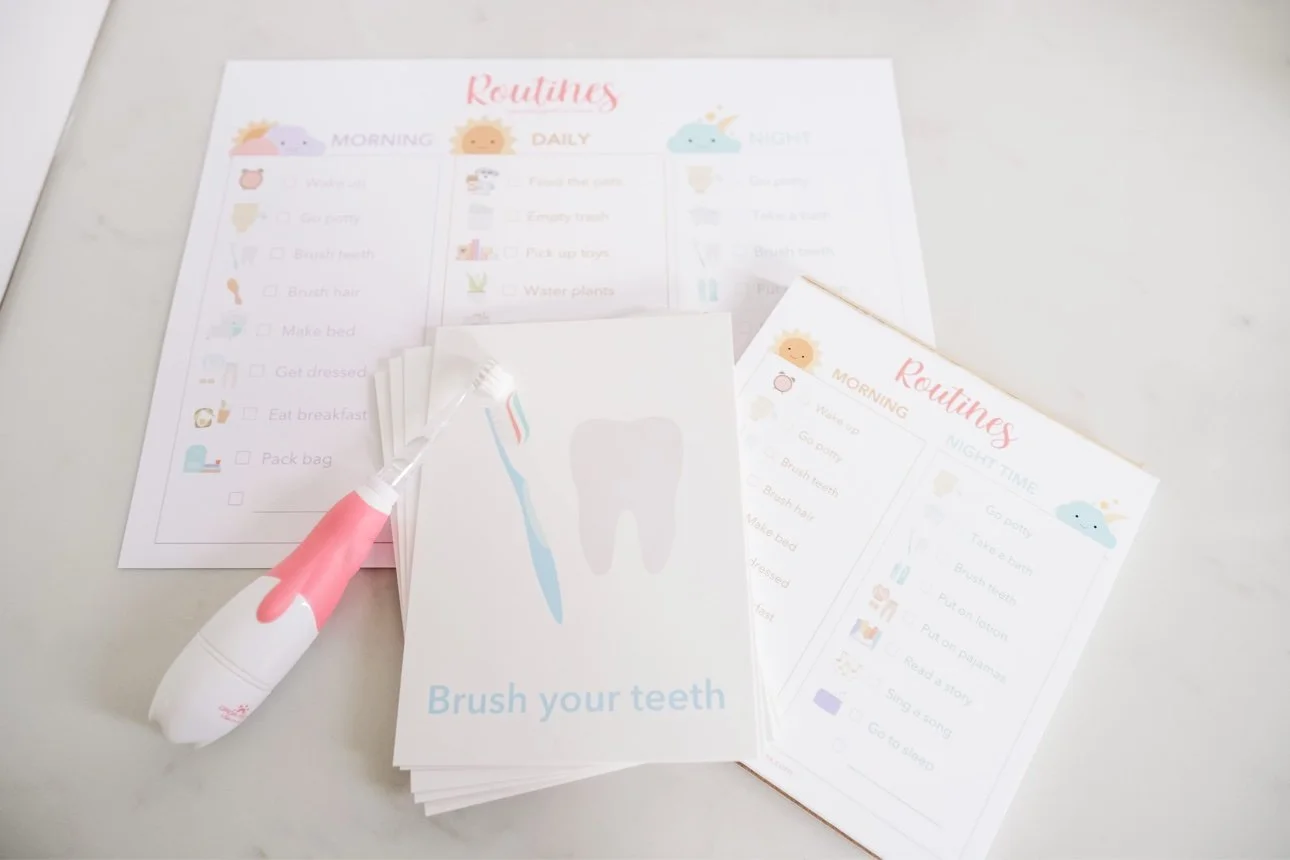
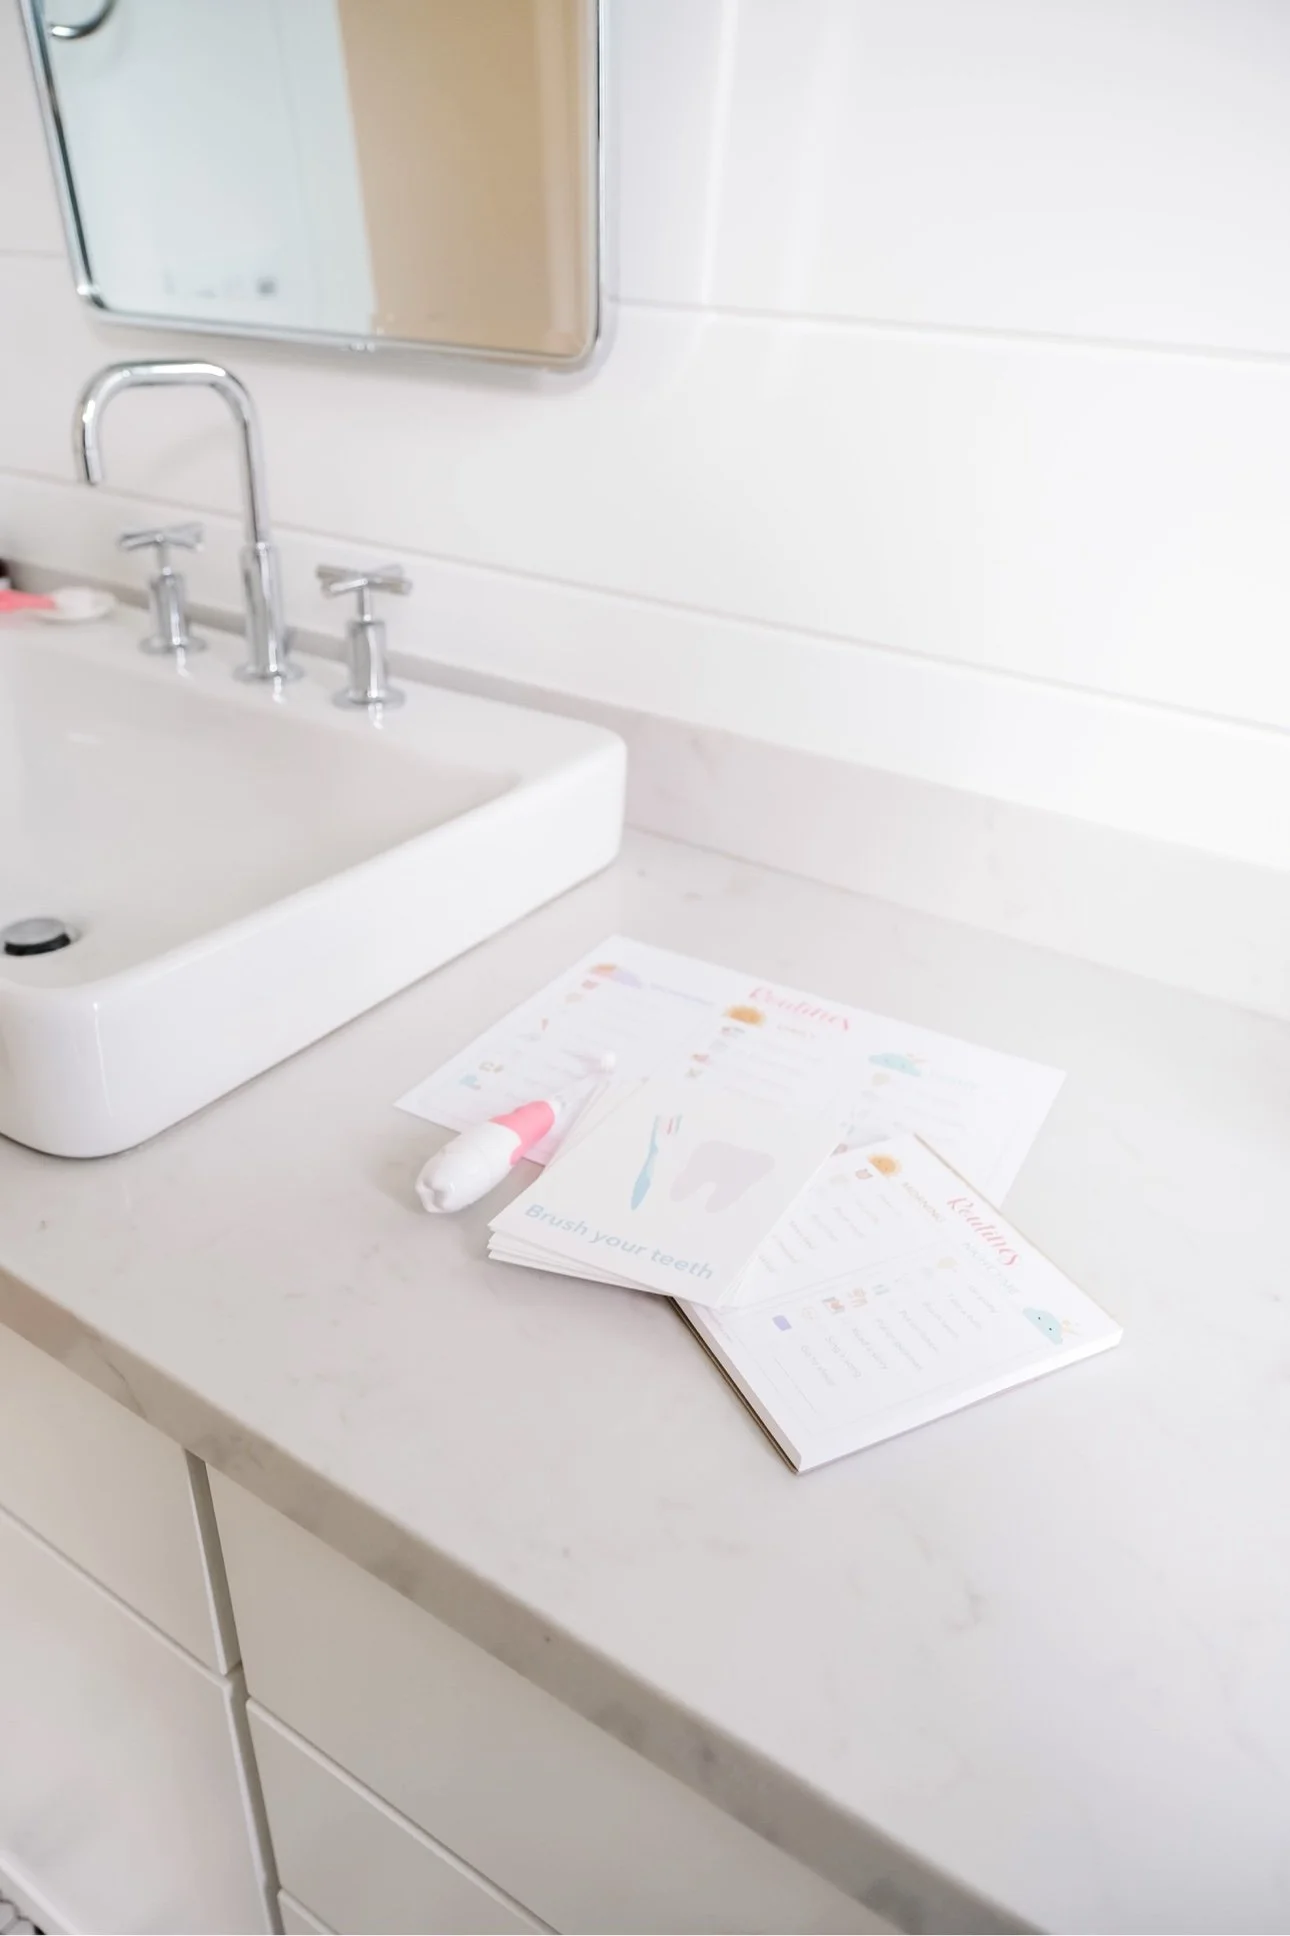
Brush your teeth routine card with a toddler toothbrush
Same brush, same spot, same song — the ritual is the point.

5. Potty or fresh diaper

Last bathroom trip, last diaper change — handled now, in the routine, so it can't become a 9pm negotiation tactic later. If your toddler is potty training, this is also where the routine quietly does its work: same time, same expectation, no fanfare.

6. Story + the goodnight phrase

One or two books, in bed, read — not a tablet. Then the same short goodnight phrase every single night. Ours was short and always identical, and the identical part is what matters: a predictable phrase is a finish line your toddler can hear coming. When she was little, the phrase mattered more than the books — she'd recite it back at us before we finished, which told us the routine had officially moved into her head, where it belongs.
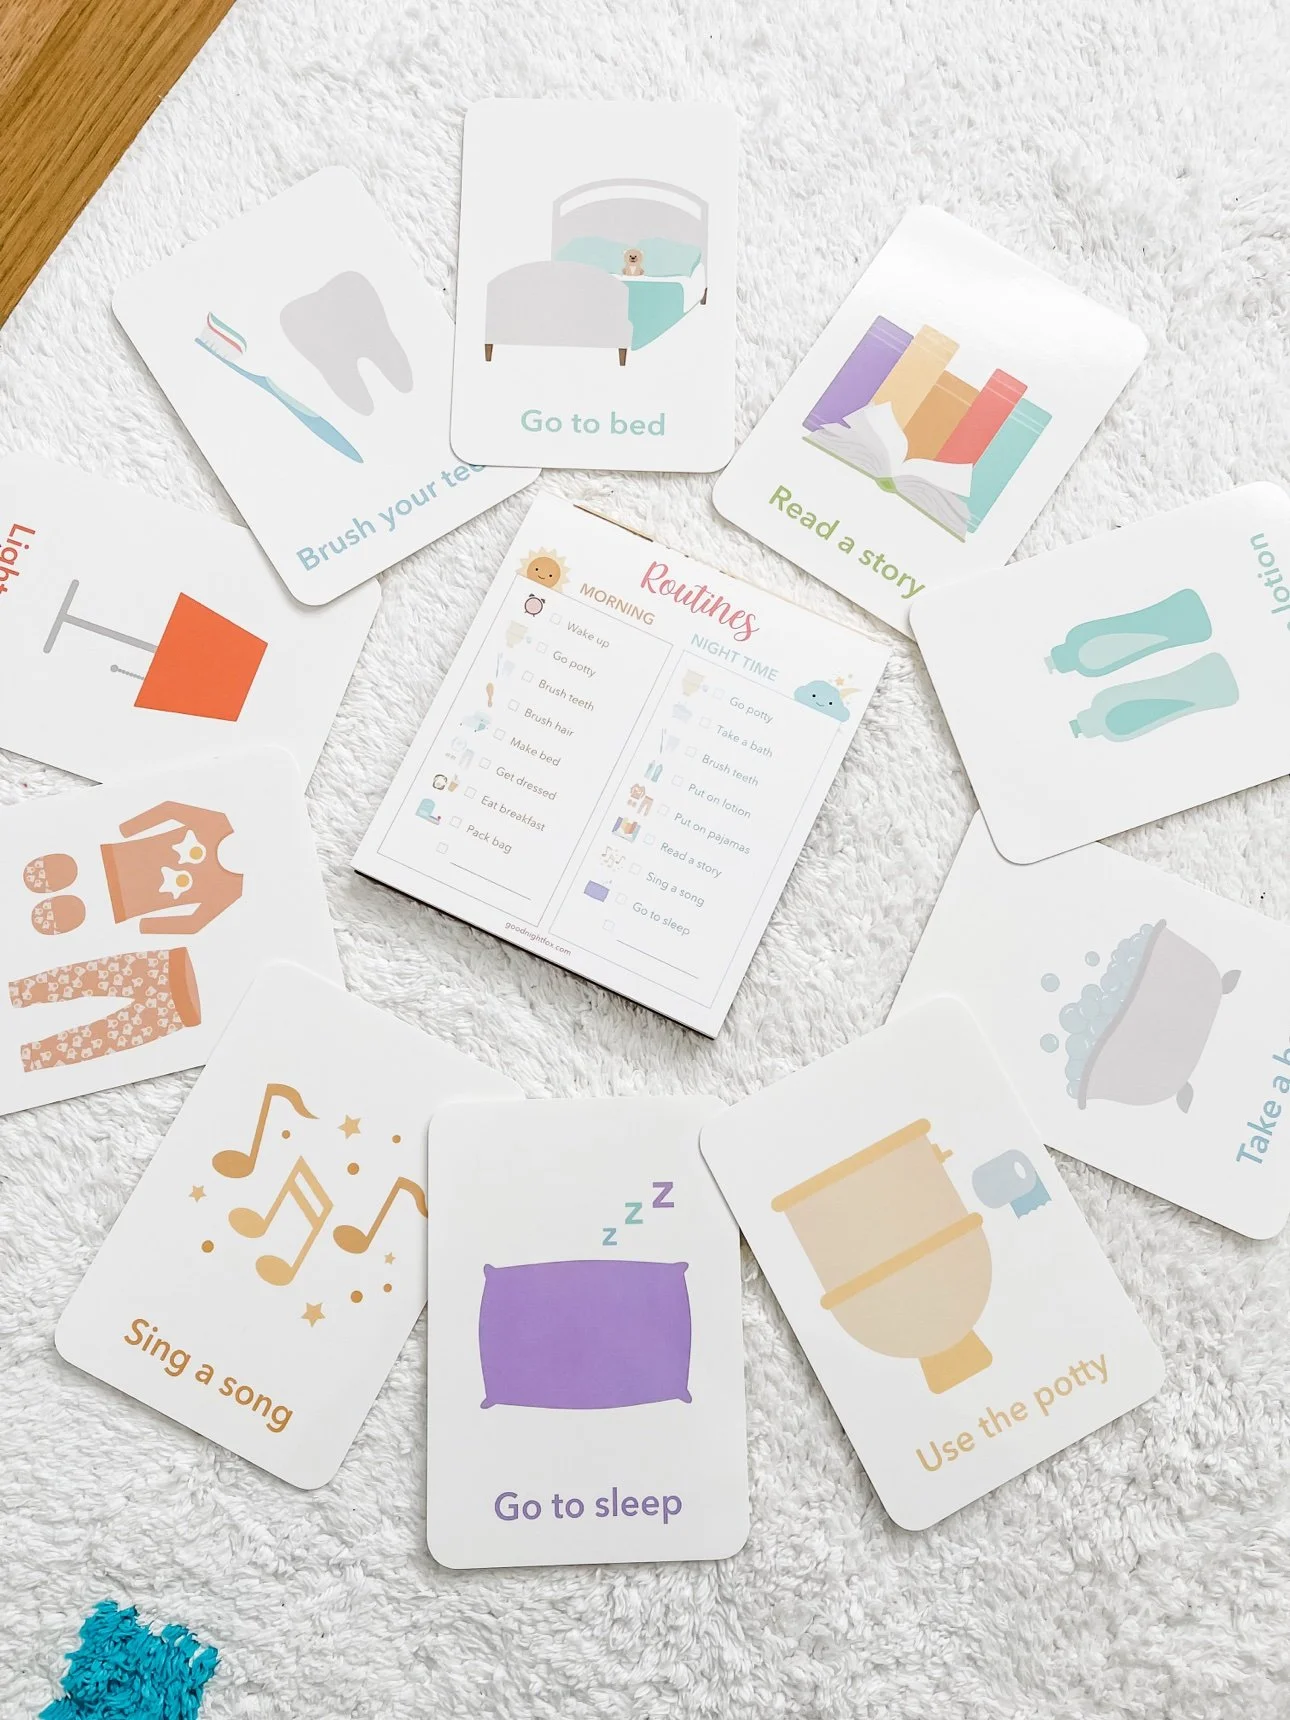
Bedtime routine cards for toddlers showing read a story and go to sleep
The last two flips of the night: one story, then sleep.

7. Lights out — and the chart's last flip

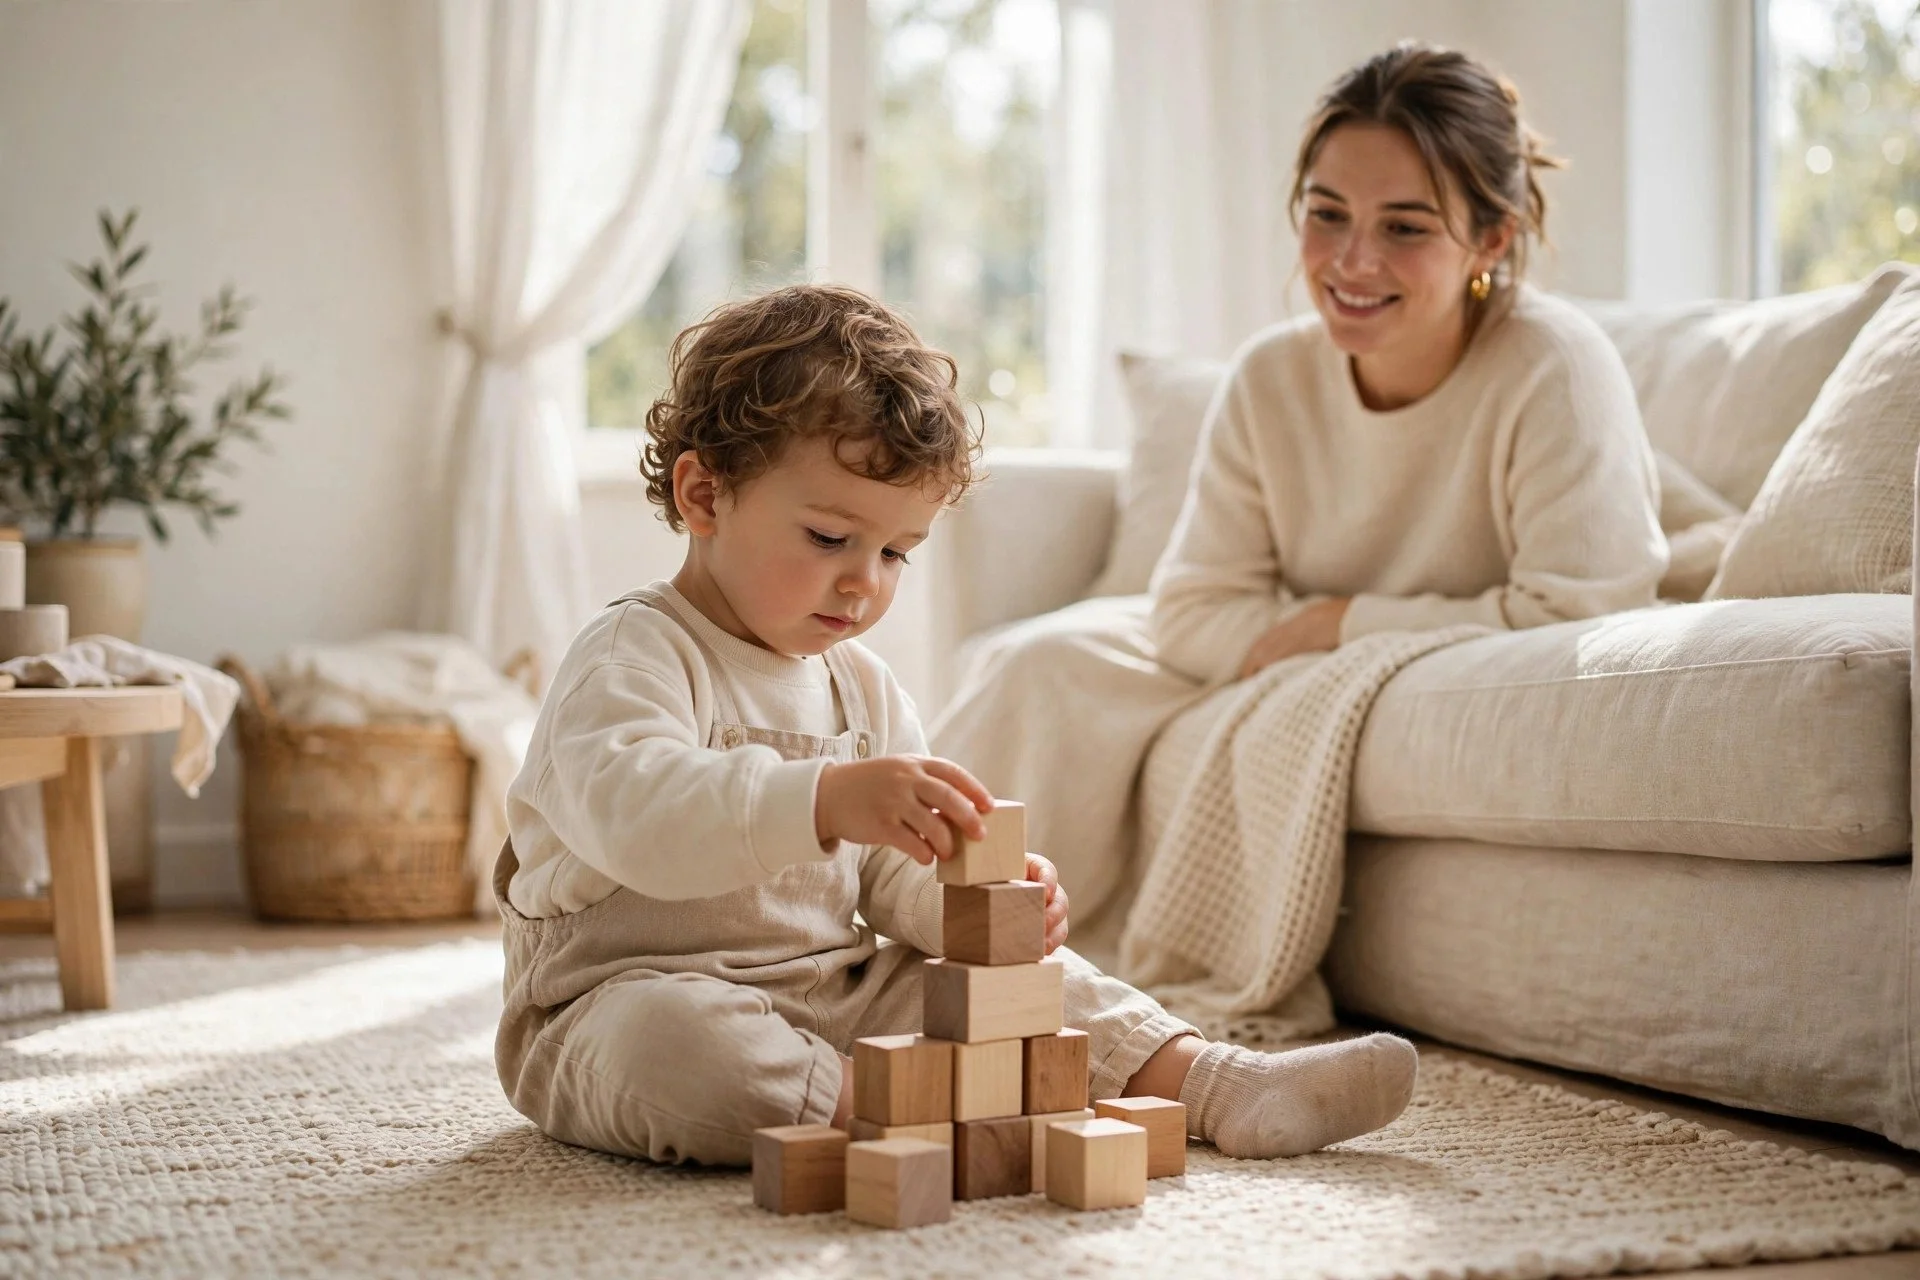
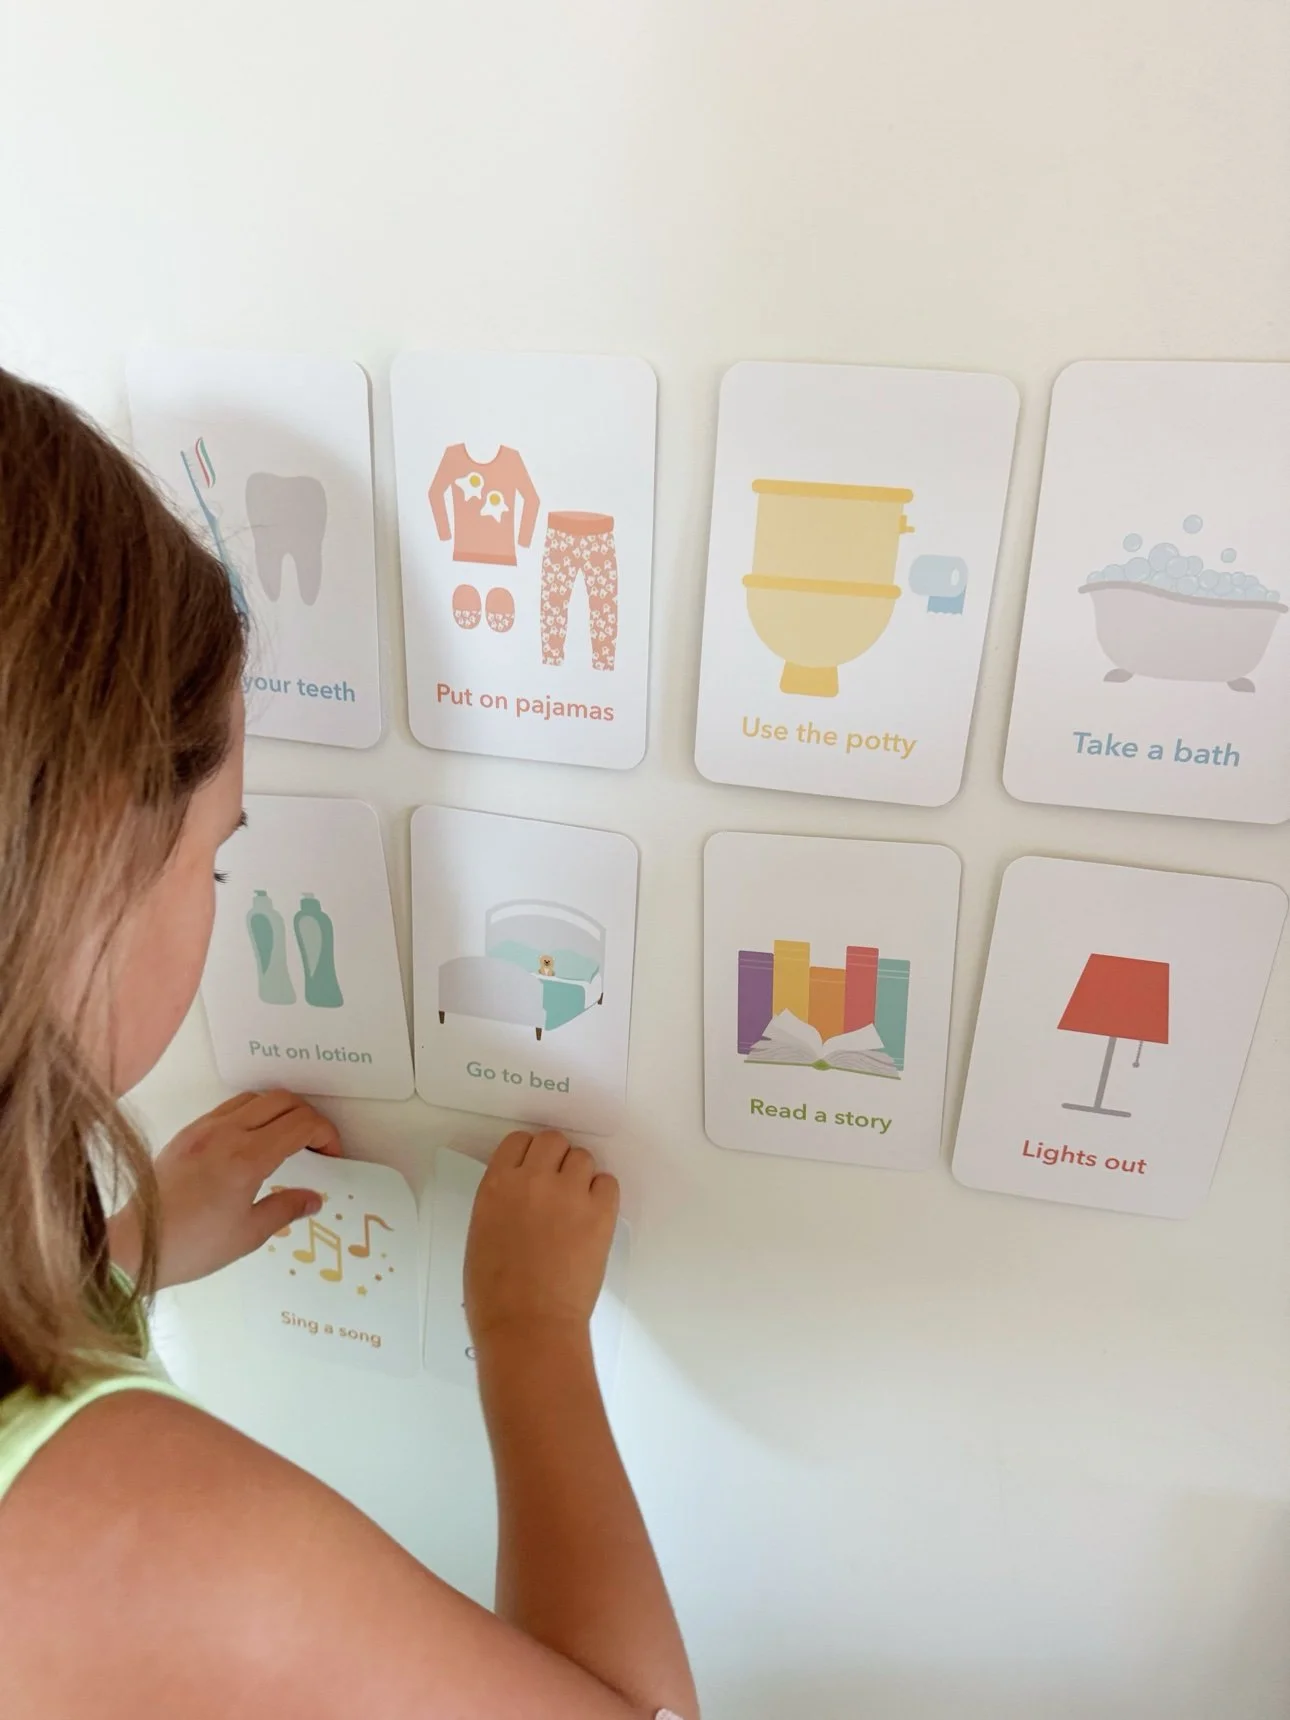
This is where the visual routine earns its keep. Line the steps up where your child can reach them — on the wall, on a ring, on the dresser — and let your toddler flip, check off, or turn over each card as you go. The last flip is lights-out, and they get to do it. A child who ends the routine themselves starts it more willingly tomorrow.
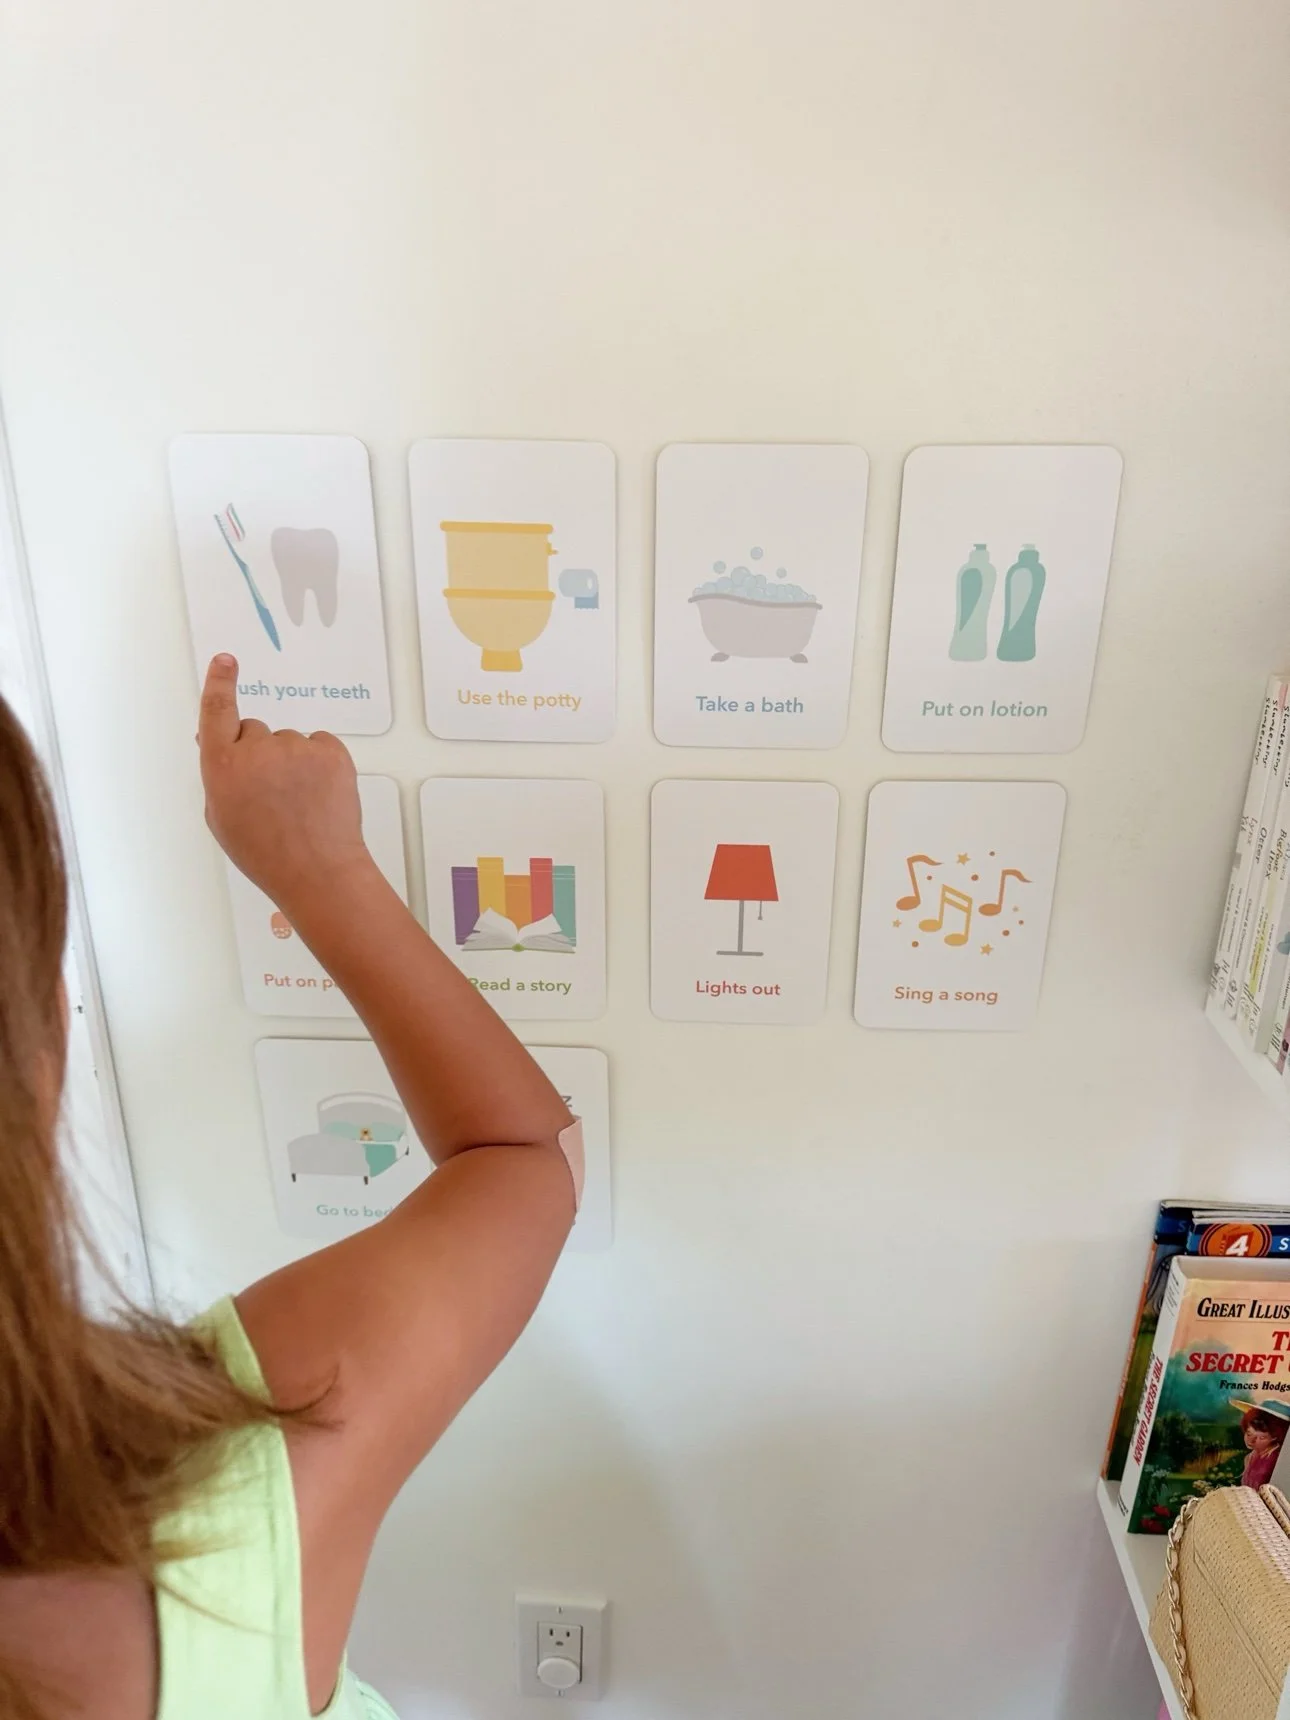
Toddler pointing to bedtime routine cards on the wall
The chart on the wall at toddler height — she ran this part herself.
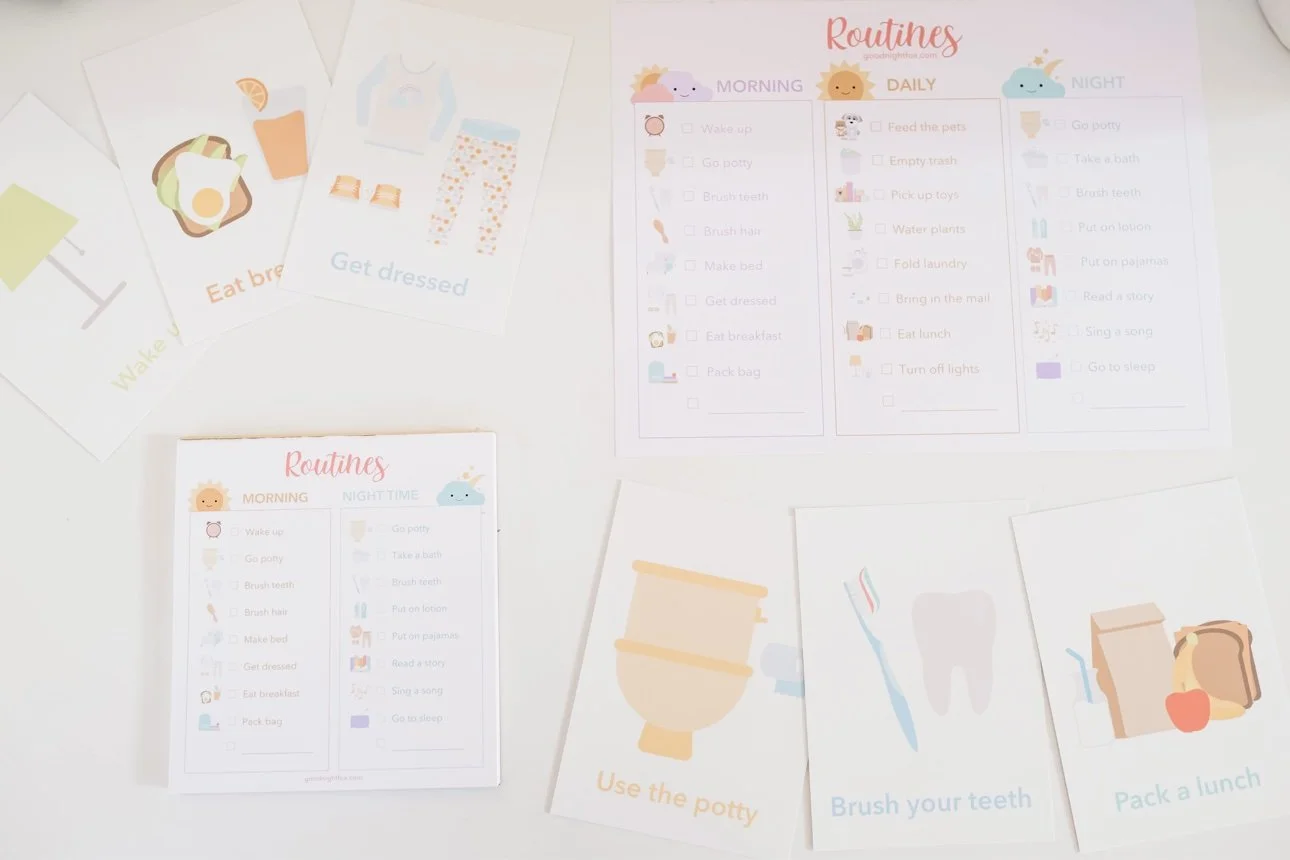
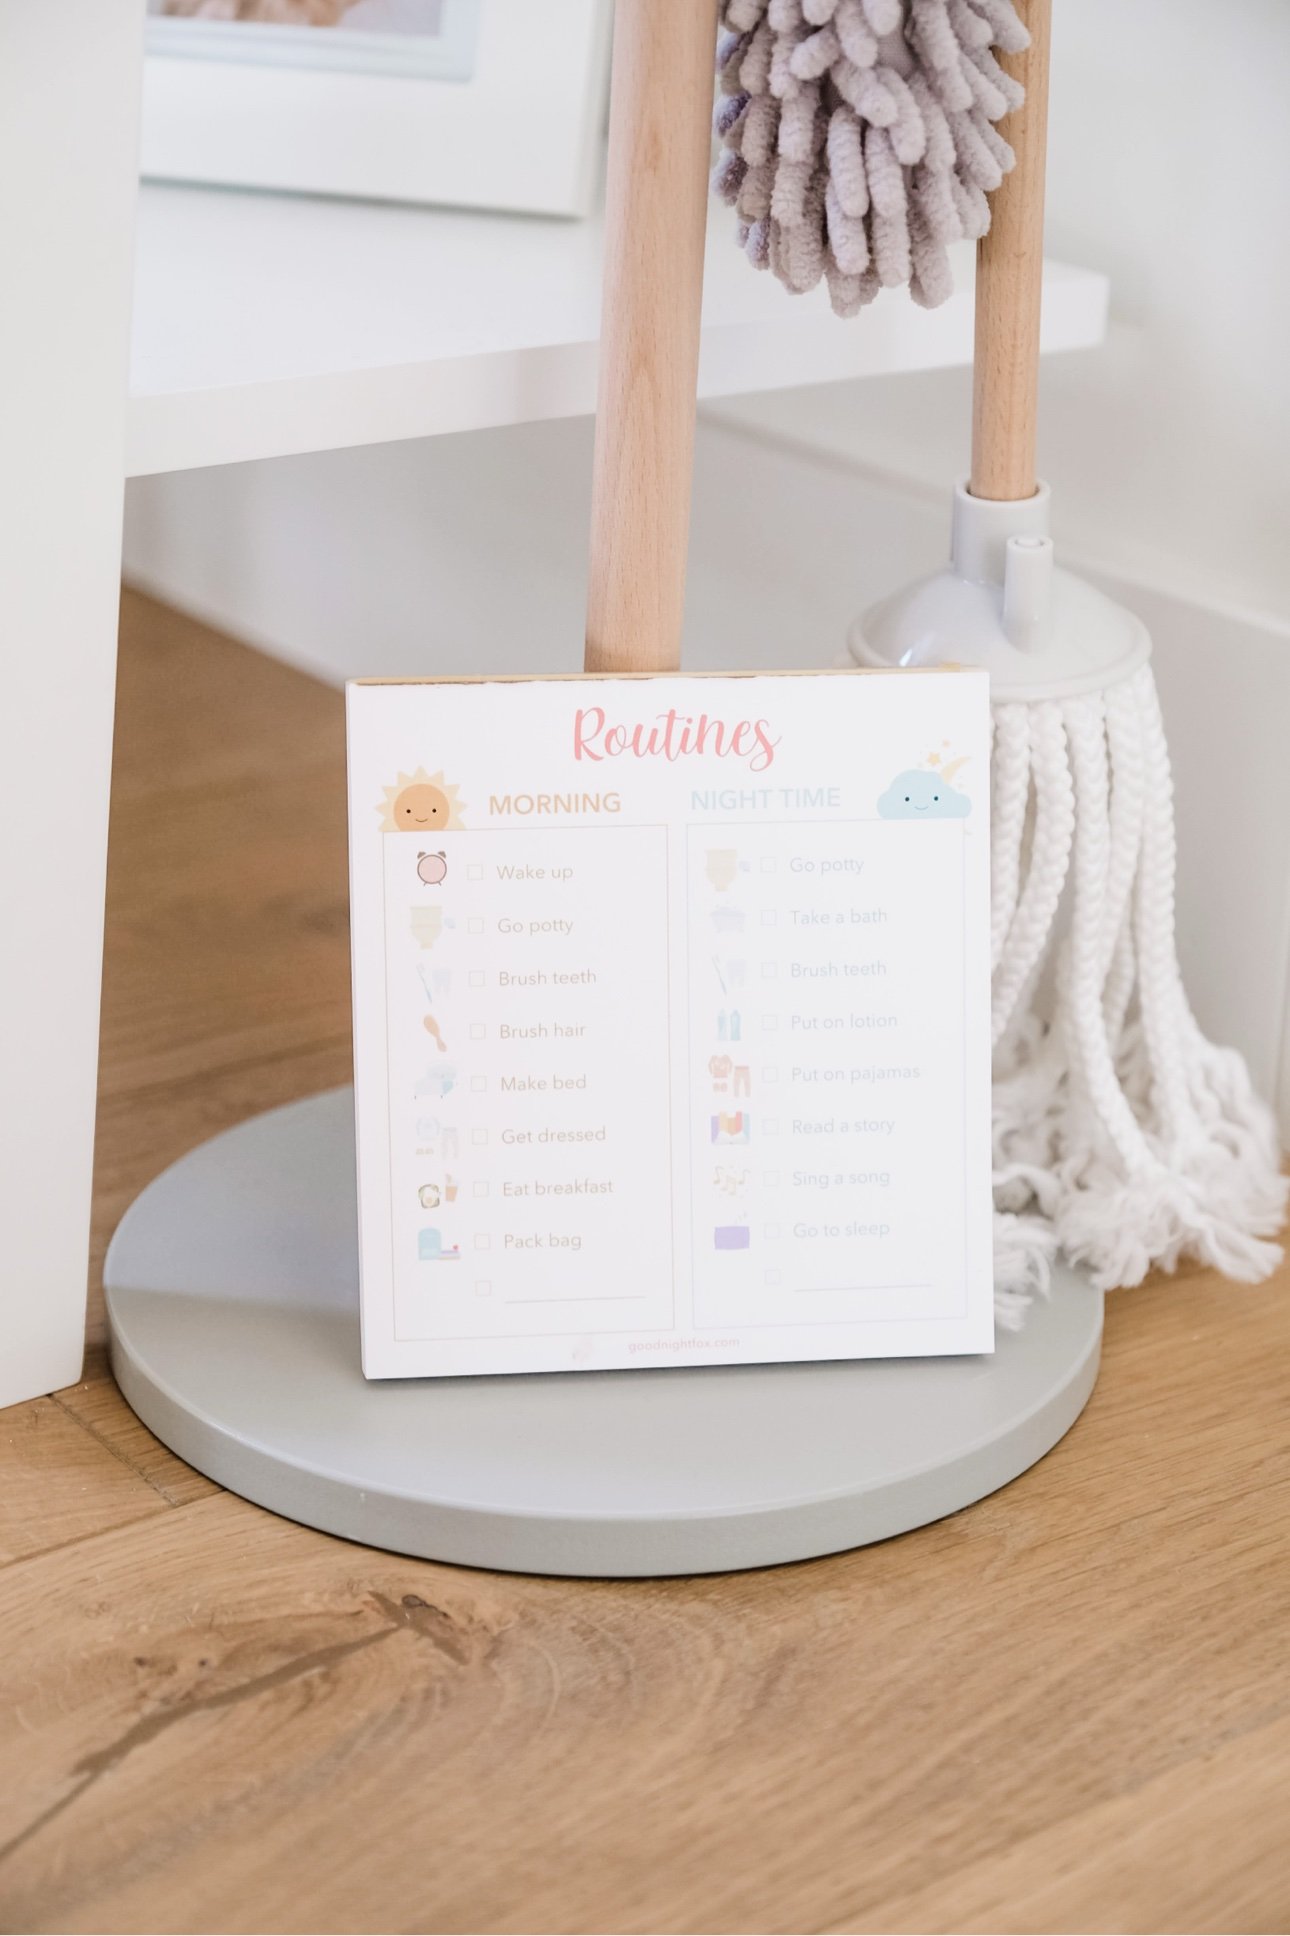
Night Time Routine Flashcards showing the bedtime steps
The evening steps on sturdy cards — flipped one by one from wind-down to lights out.

When they stall anyway (the greatest hits)

Even a good routine meets the classics. The answer to all of them is the chart, delivered on broken record:

  • "One more story." "The chart says story is done — tomorrow we read two again." Then stop talking about it. Every extra word is a negotiation opening.
  • "I'm thirsty." Build the water into step 5 — a small cup with the potty trip — so the request is already answered before it's asked.
  • "I'm scared" / monsters. Validate briefly, keep the lights low and your voice boring, do one quick room check together as part of the routine — not as a new step invented at 9:15.
  • Endless curtain calls. One calm return, one short phrase, no new steps. The routine is over; you're just the usher now.

The through-line: the chart is the authority, not you. "The chart says" ends arguments that "I said" starts.

What you can stop stressing about

  • The "perfect" bedtime hour. Count backward from wake-up time using the AAP ranges above — the right bedtime is the one that delivers enough total sleep, not a number from a chart.
  • A bath every single night. The slot stays; the water is optional. Nobody's sleep was ever ruined by a washcloth night.
  • Doing the steps in textbook order. Your order is the right order, as long as it's the same order.
  • Weekends. Pediatric guidance suggests holding the schedule within about 30 minutes even on weekends — close enough counts.
  • Starting "late." A routine started at age three works fine. The best night to start was months ago; the second-best night is tonight.

Setup rules that make the routine stick

  • Same order, same time, two weeks. Don't tweak it for fourteen days — the repetition is the method.
  • Keep it to 20–30 minutes. Longer than that and the routine becomes the activity; the winding down should happen during it, not after.
  • End in the bed. The last step happens where sleep happens — no couch-to-bed transfers after lights-out.
  • Let them run the chart. Flipping the cards is the job; the job is the buy-in.
  • Start on a calm night. Don't launch a new routine after a travel day or during an illness — begin when everyone's baseline is normal.
  • Pair it with the morning. A visual morning routine bookends the night one, and the two charts together teach the full day's rhythm. Our general toddler routines guide covers the philosophy behind both.

What time should my toddler go to bed?

Work backward from wake-up time: ages 1–2 need about 11–14 hours of total sleep per day and ages 3–5 about 10–13 hours, including naps (AAP). For a 6:30am riser who naps 90 minutes, that usually lands lights-out somewhere between 7:00 and 8:00pm — but your child's actual sleep totals matter more than any posted bedtime.

How long should a toddler bedtime routine take?

About 20–30 minutes. Shorter than that and there's no real wind-down; much longer and the routine itself becomes the entertainment. If yours is running 45 minutes, something in the middle is a stall tactic wearing a routine costume — tighten it.

What if my toddler keeps stalling after the routine?

Make the chart the authority: "the chart says story is done." Build the usual requests (water, potty) into the steps so they're pre-answered, keep your voice boring after lights-out, and do one calm return with one short phrase. Consistency for a week or two is what retires the stalling — the routine has to outlast the testing.

Do we really need a bath every night?

No — but keep the bath slot in the routine every night, even if it's a warm washcloth on off nights. The sequence staying identical matters more than the water.

What if travel or illness breaks the routine?

It will, and that's fine. Bring the cards (or a photo of the chart) when you travel — the visual sequence survives new bedrooms surprisingly well. After an illness, just restart the same steps; most toddlers fall back into a known rhythm within a few nights.

The cards that run our bedtime

The whole method above runs on a visual chart — and our Night Time Routine Flashcards are exactly that: the evening steps on sturdy cards your toddler flips one by one, from wind-down to lights out. When she was little, the card-flip was the entire game — being in charge of the sequence turned bedtime from something done to her into something done by her.

Pair them with the Morning Routine Flashcards and the day has bookends: the night chart teaches the wind-down, the morning chart teaches the wake-up, and together they give your toddler the full day's rhythm at a glance.
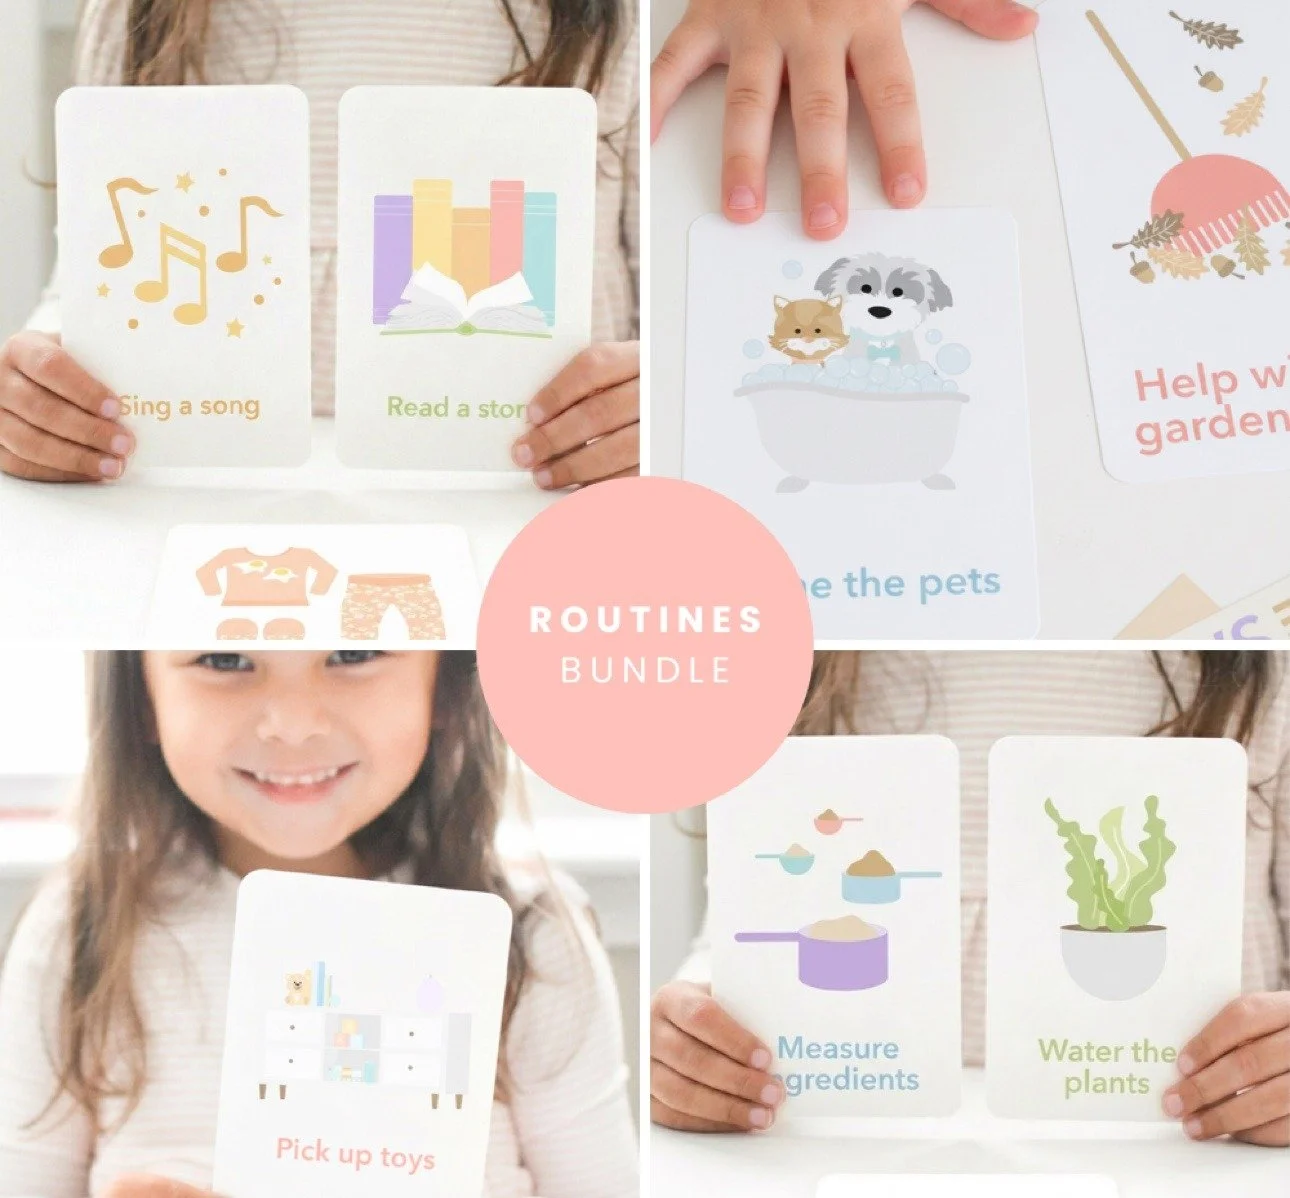
Shop Night Time Routine Flashcards

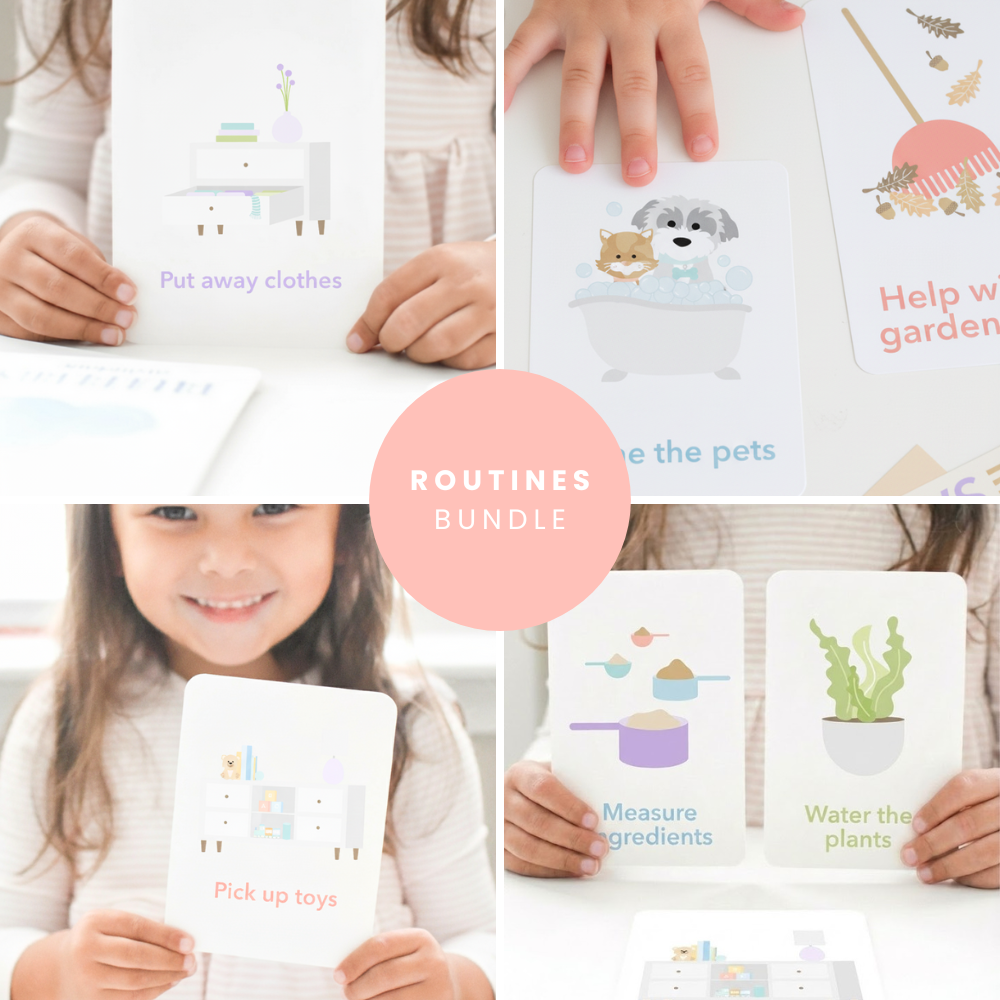
Collage of Goodnight Fox toddler routines bundles

All of our routines bundles in one place — mix and match the cards your family actually uses.
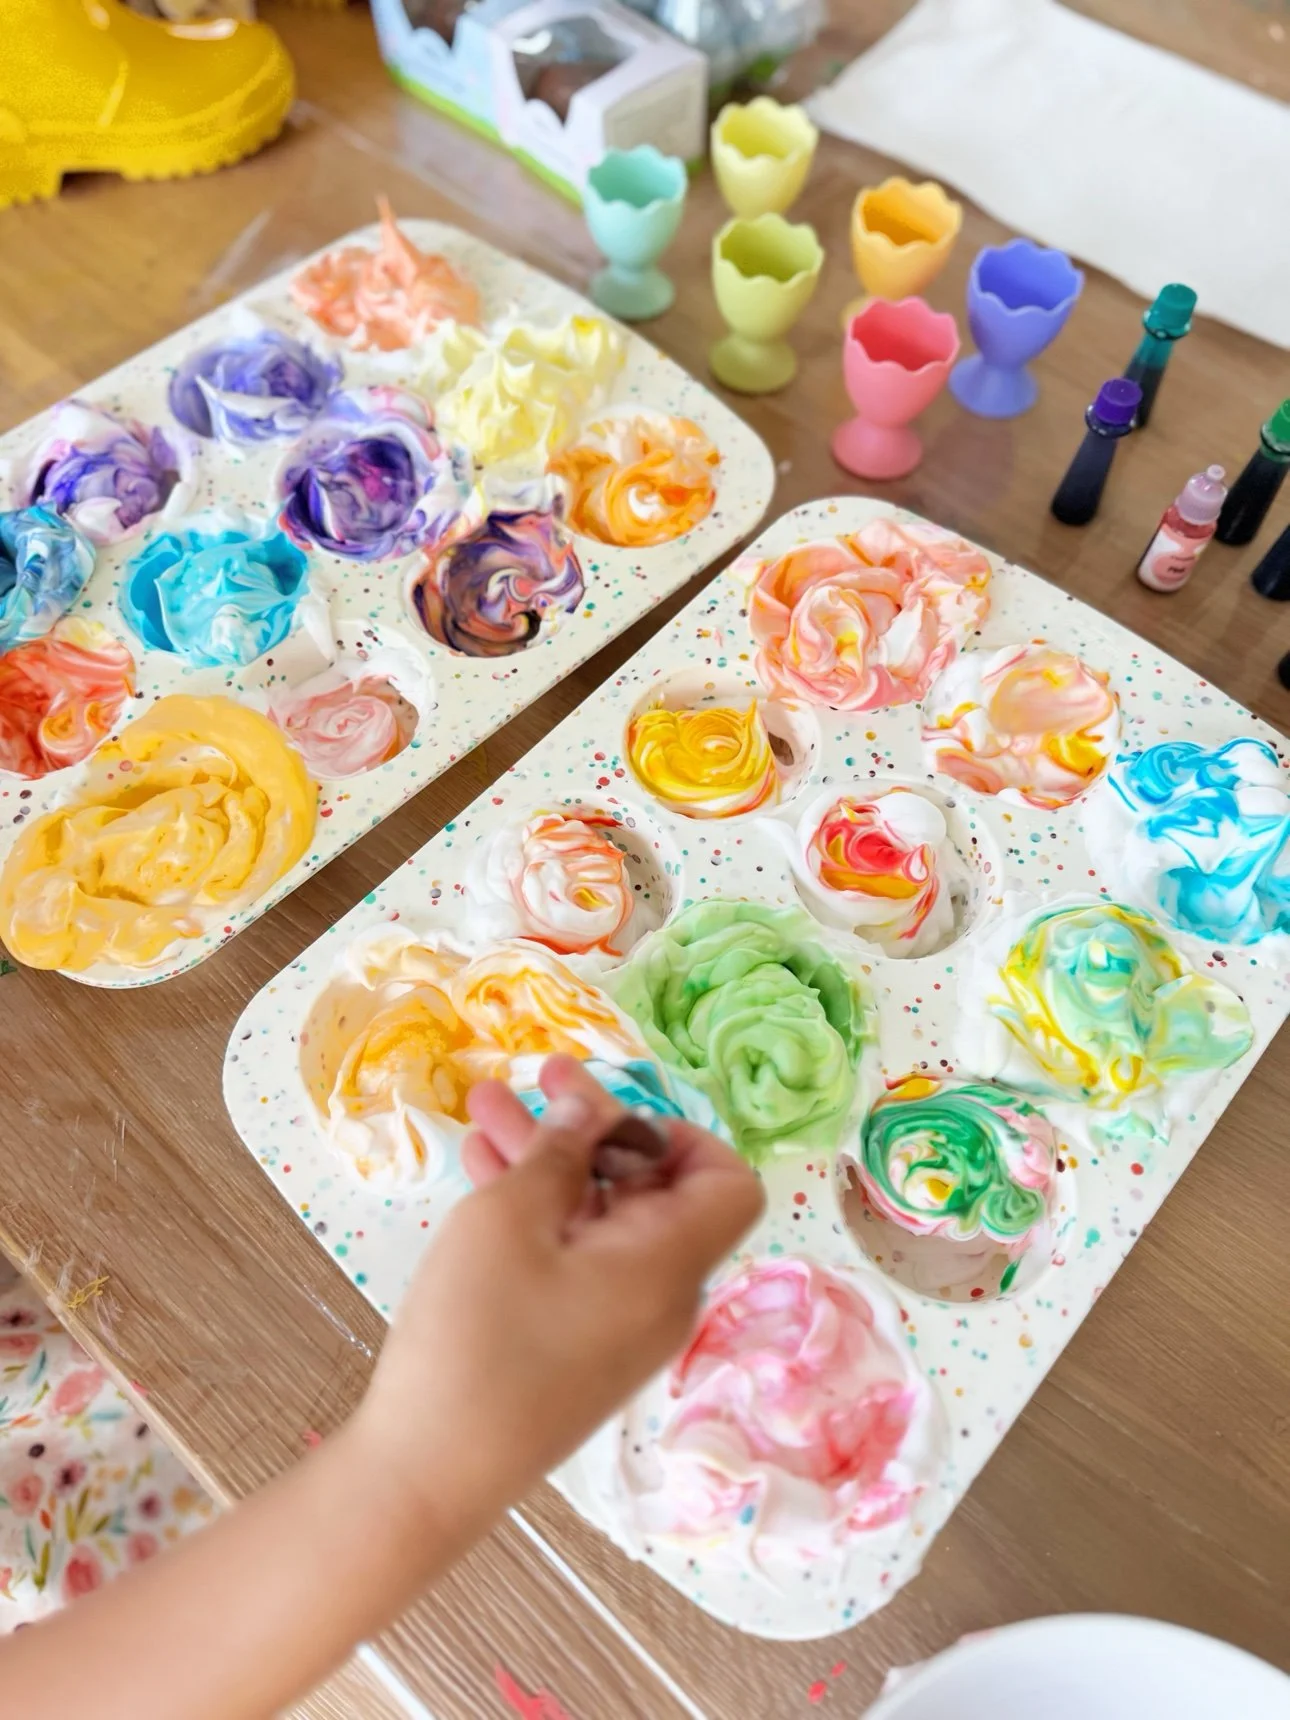
Shaving Cream Easter Eggs: Marbled Eggs with Shaving Foam

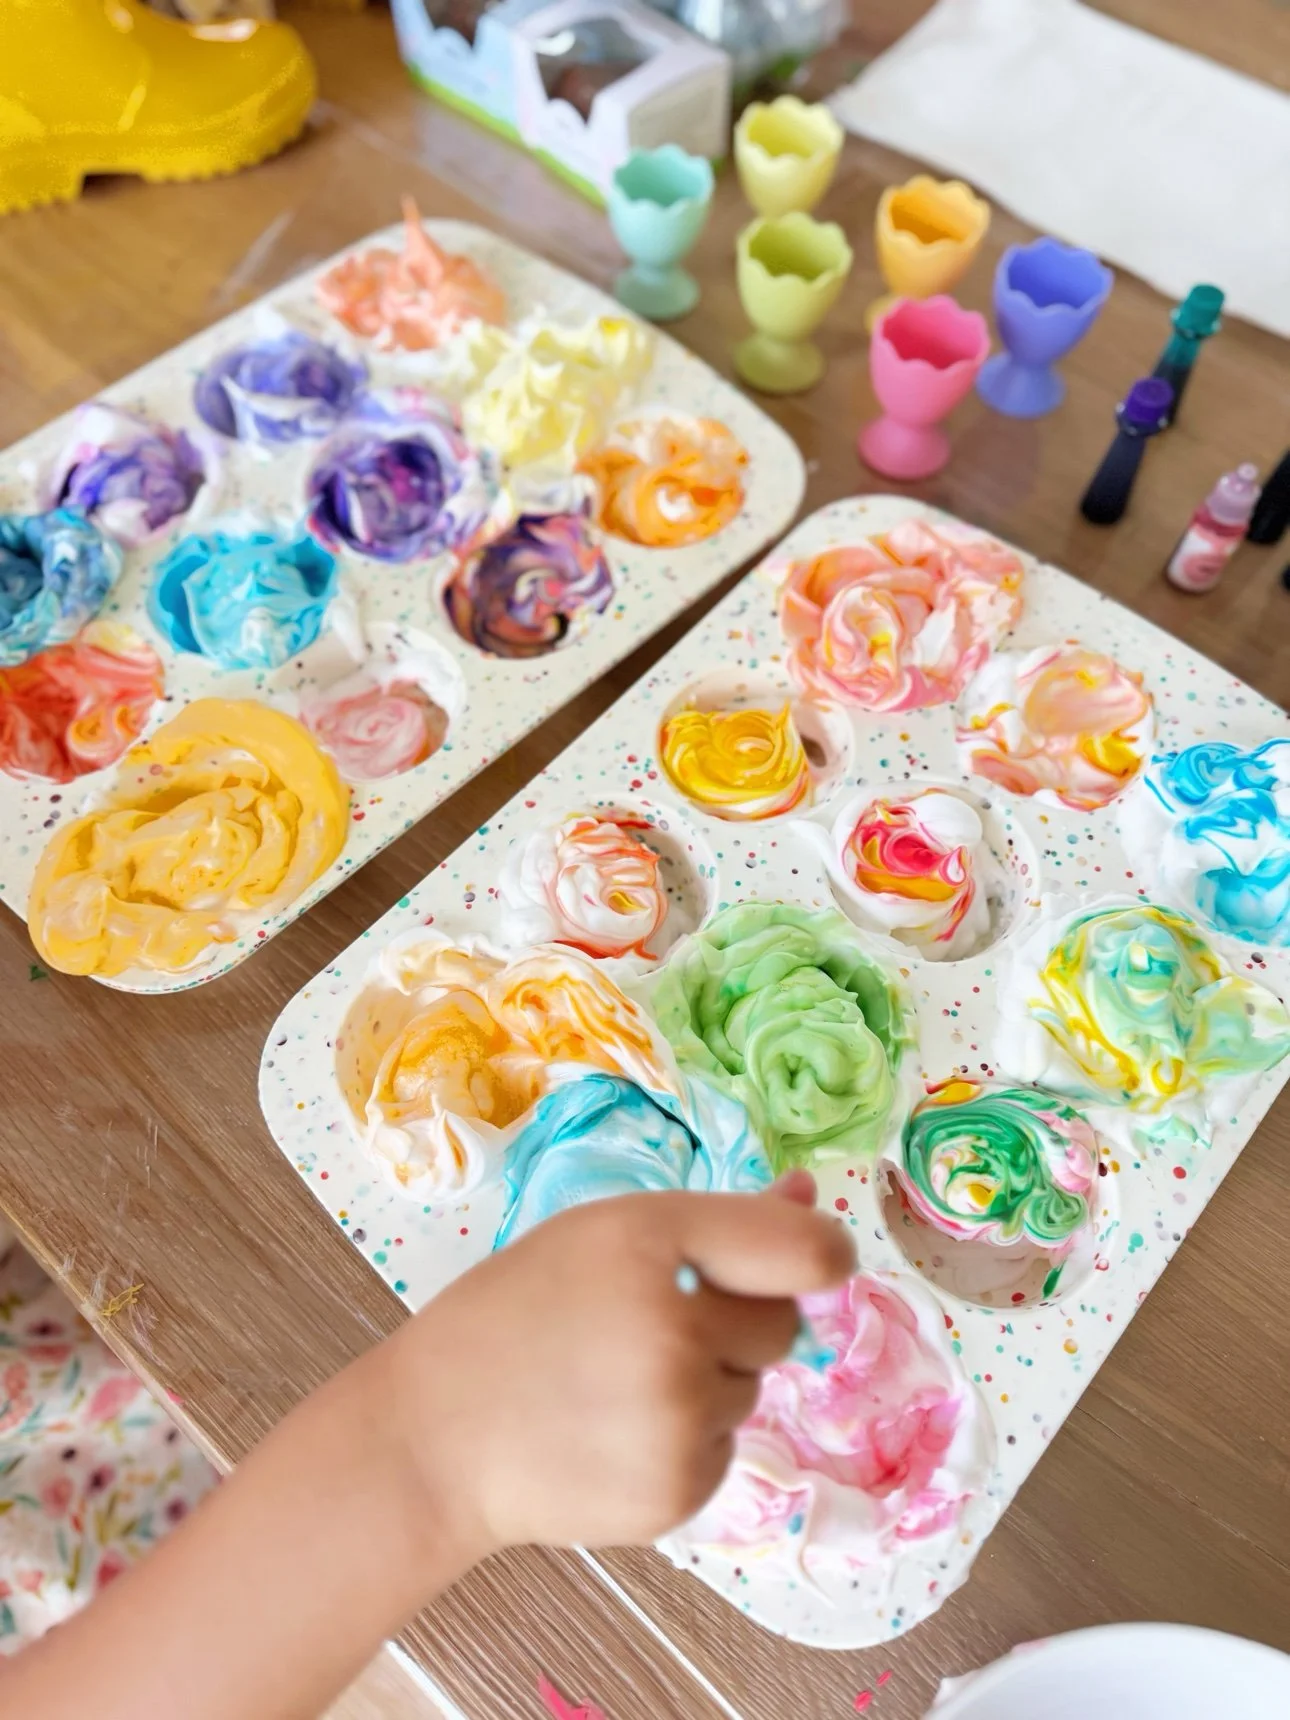
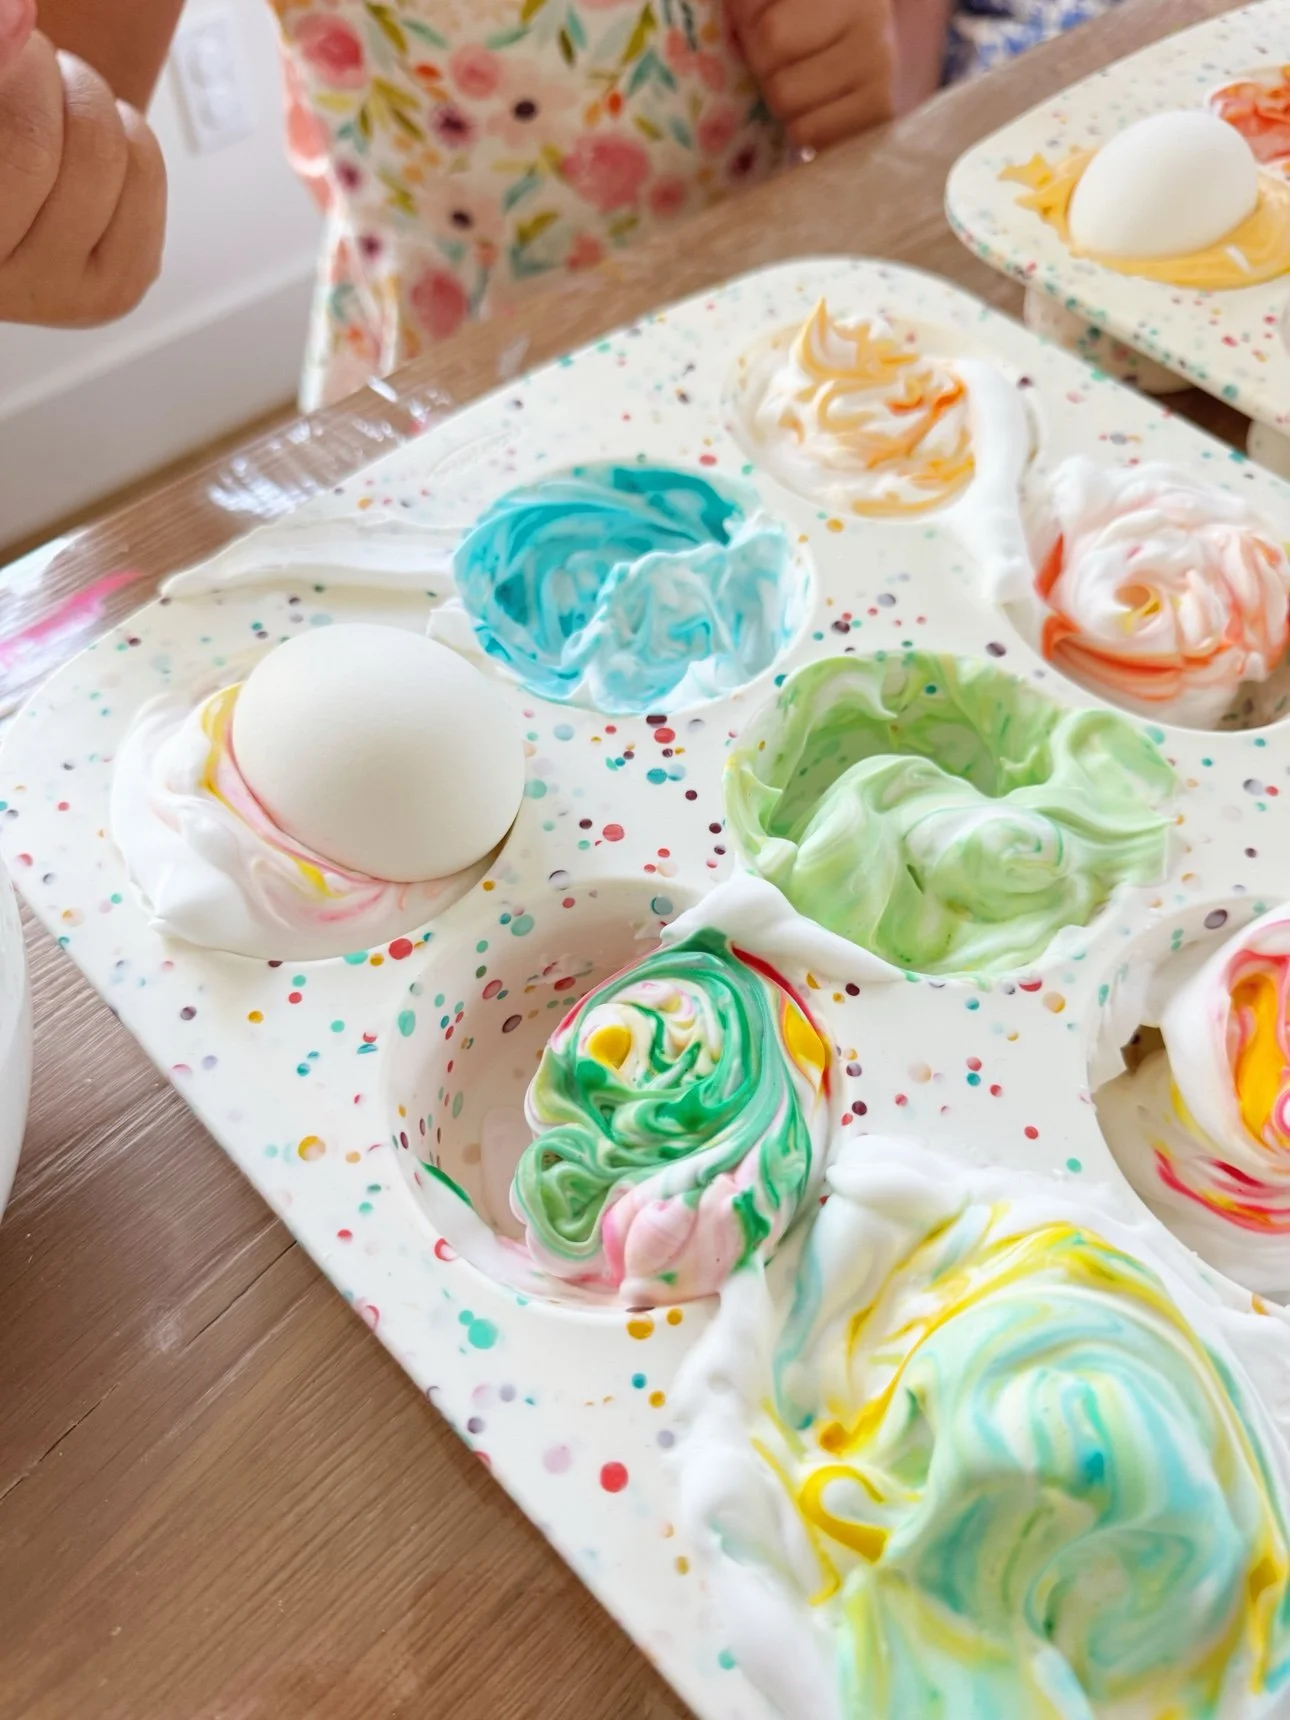
Muffin tins filled with swirled rainbow shaving foam for dyeing Easter eggs

Shaving Cream Easter Eggs: Marbled Eggs with Shaving Foam

These shaving cream Easter eggs are the prettiest eggs we've ever dyed — swirly, marbled, watercolor-soft, and every single one is different. The secret is a muffin tin, a can of shaving foam, and a few drops of food coloring. It takes about ten minutes of hands-on time, and the reveal never gets old.

If you've never tried the shaving foam method, this is the year. It's the easiest "wow" Easter craft we know, and toddlers can do most of it themselves.

What You'll Need

  • Hard-boiled eggs (cooled completely)
  • White shaving foam — not gel, not menthol. Plain foam works best.
  • Liquid food coloring
  • A muffin tin (or a baking dish)
  • Toothpicks or a skewer for swirling
  • Paper towels and gloves or an apron

Safety note: shaving cream isn't food-safe, so treat these as decoration eggs — don't eat them. Grown-ups should handle the can, and little hands should be washed well afterward. If you want to eat your eggs, blow them out first and dye just the shells.

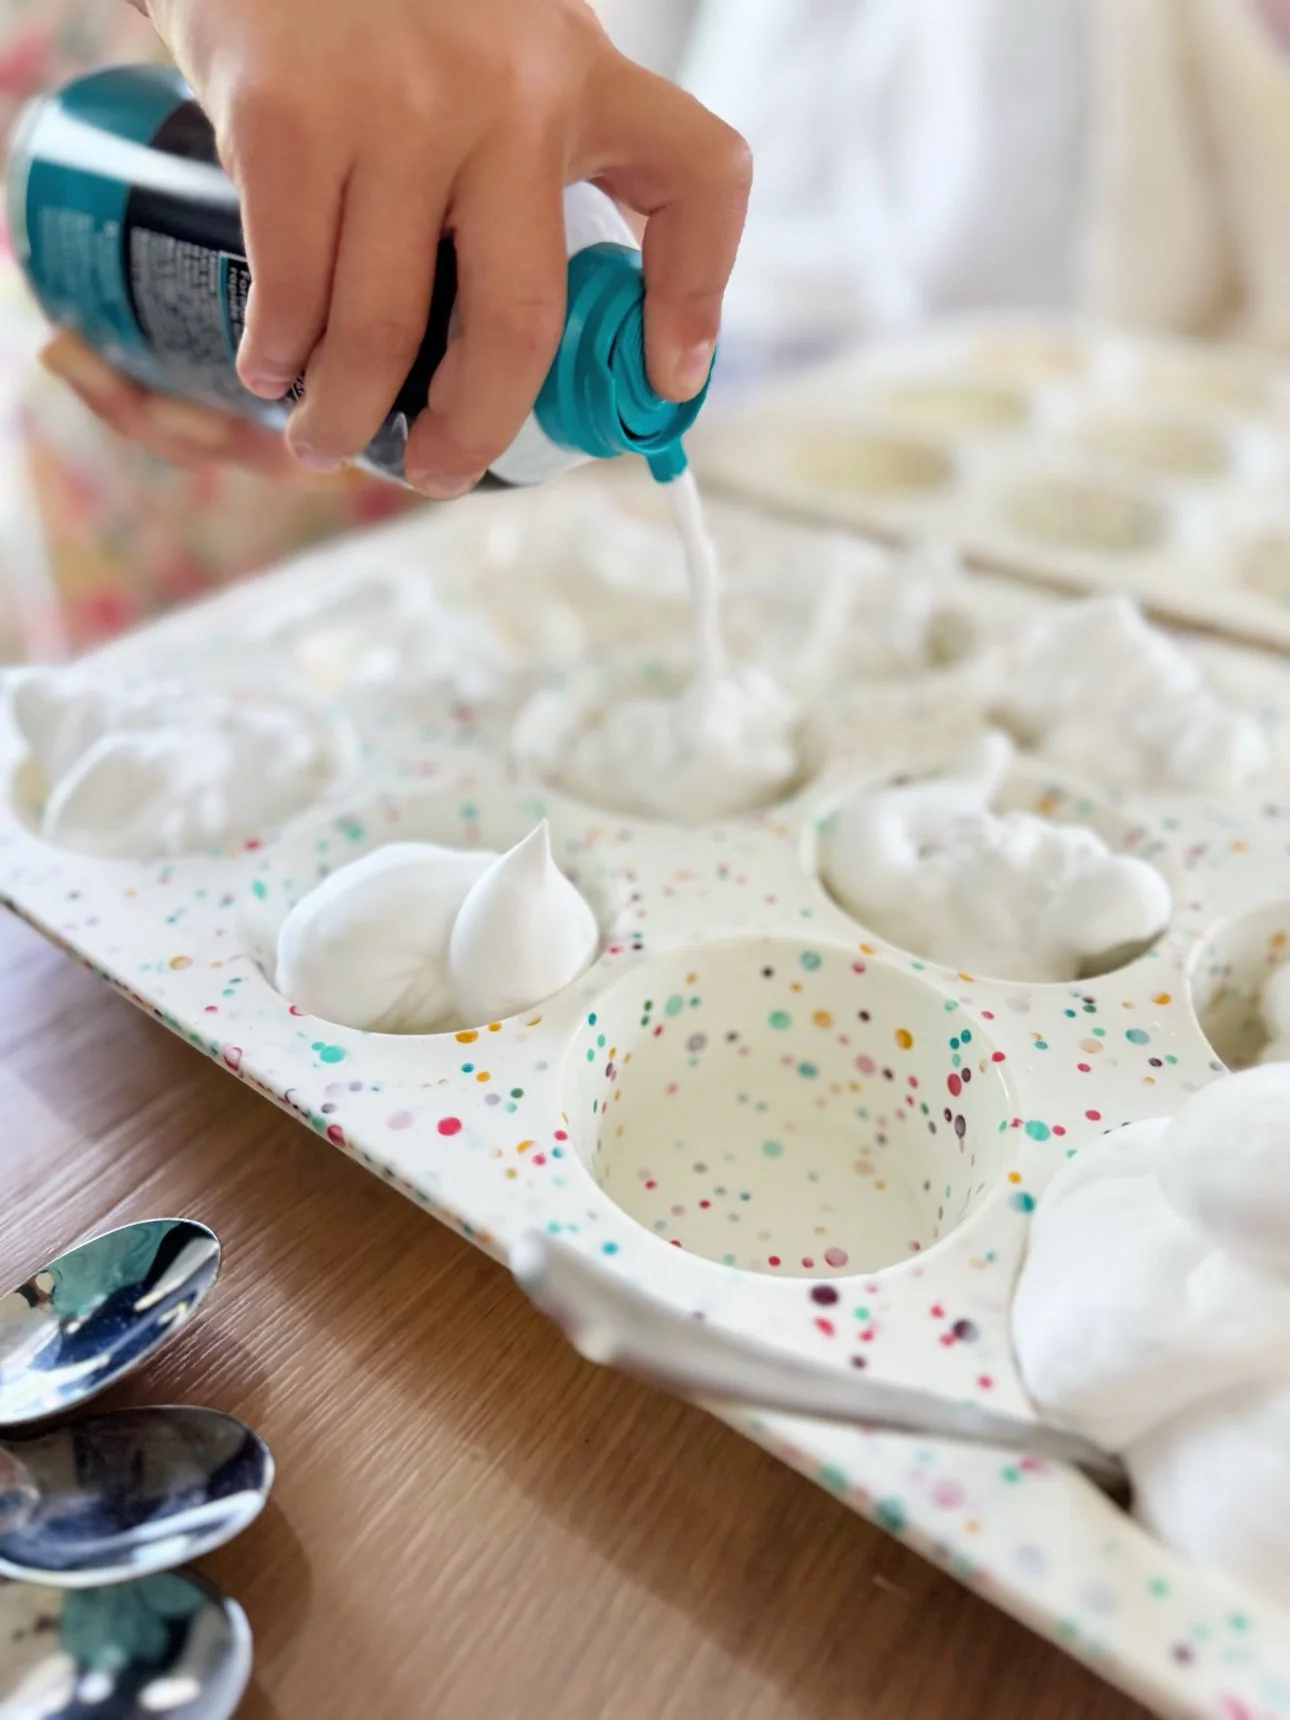
Spraying white shaving foam into a muffin tin

Step 1: Fill the Muffin Tin with Shaving Foam

Spray a generous dollop of shaving foam into each cup of the muffin tin — enough to nestle an egg into. Smooth the tops lightly with the back of a spoon. This is the part kids love most, so let them go for it.

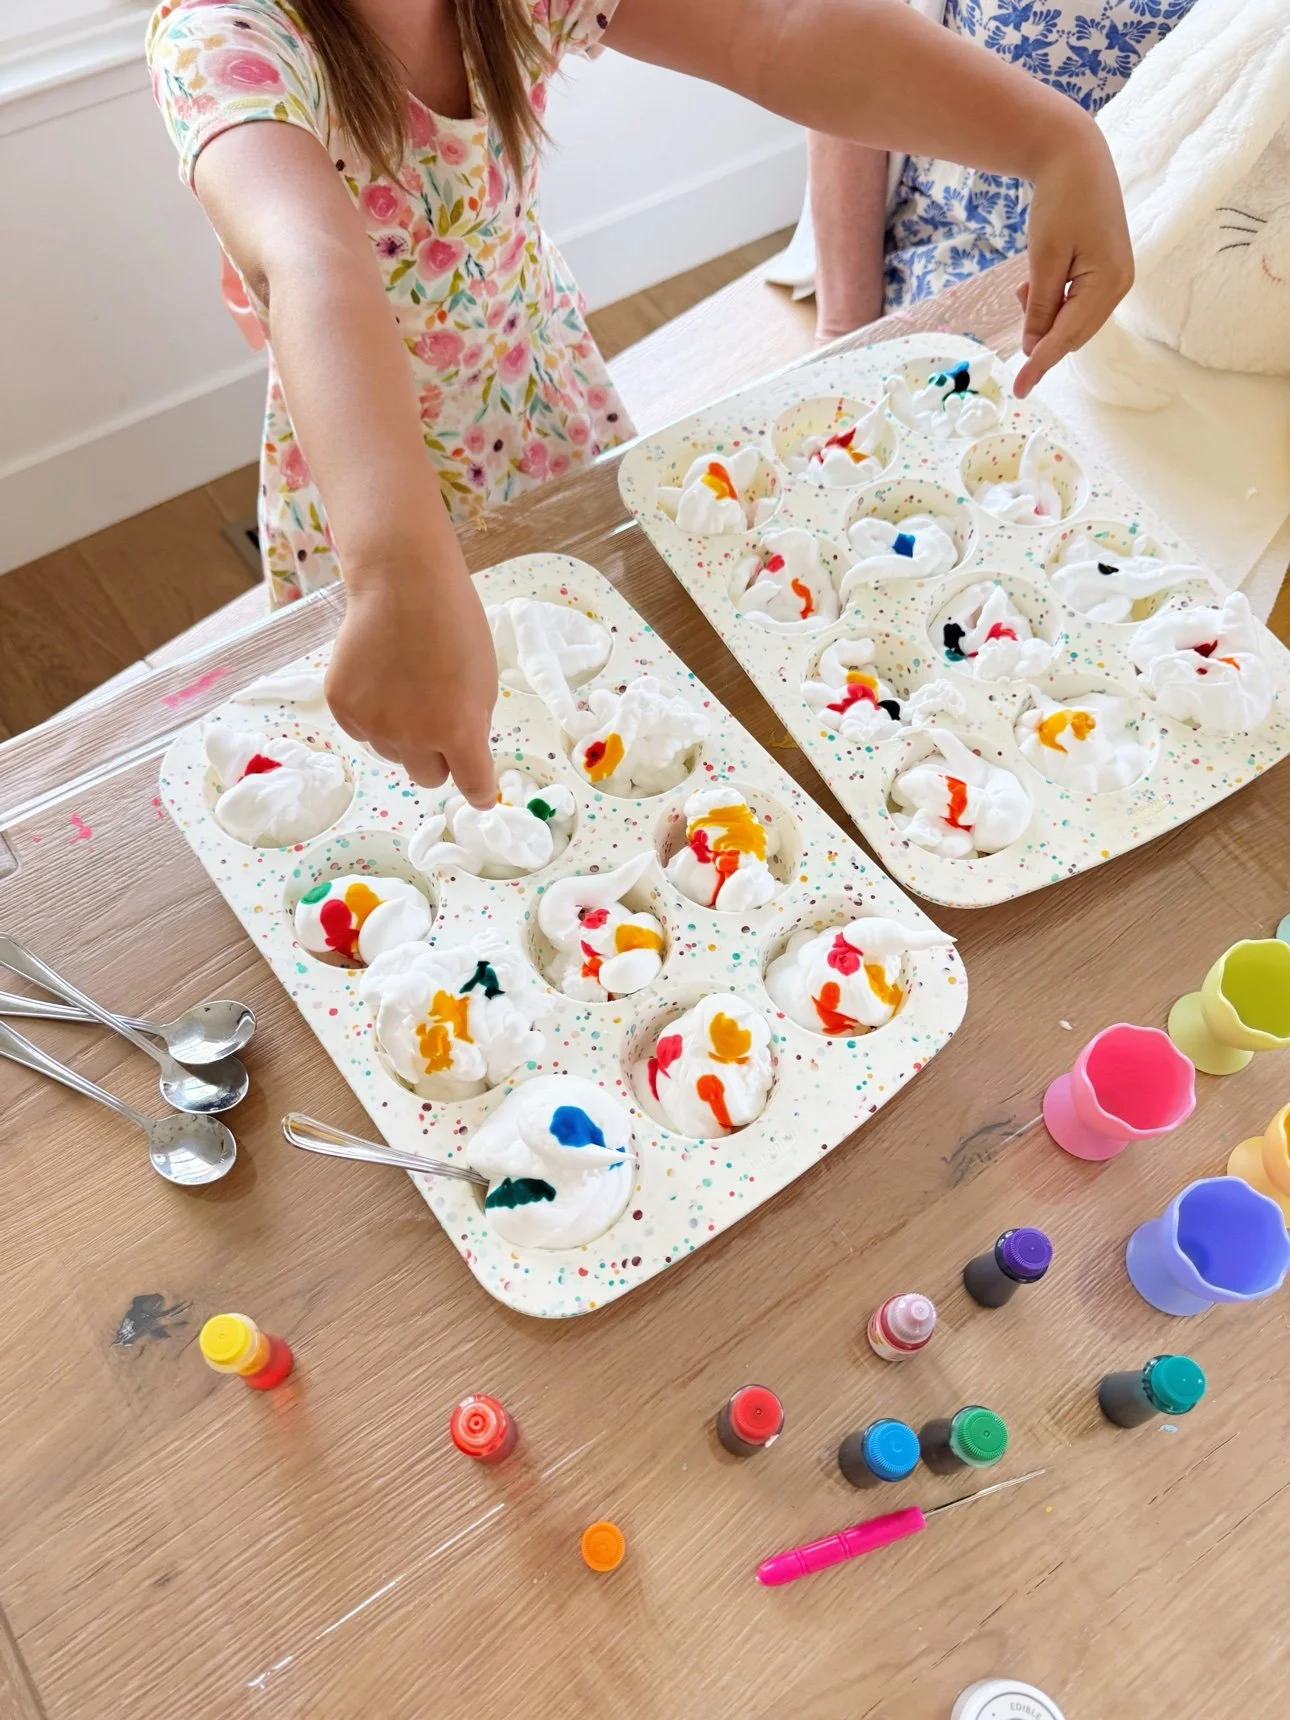
Adding drops of food coloring to shaving foam in a muffin tin

Step 2: Add Drops of Food Coloring

Add 3–5 drops of food coloring to each cup. Use 2–3 colors per cup for the prettiest marbling — pastels turn out dreamy, brights turn out bold. Don't overthink the color combos; they all work.

Step 3: Swirl — But Not Too Much

Drag a toothpick through the foam in lazy S-curves, just a few passes per cup. The magic rule: less swirling = more marbling. If you stir too much, the colors blend into one muddy shade. Stop while you can still see distinct ribbons of color.

Swirling food coloring through shaving foam in a muffin tin Rolling a hard-boiled egg through colored shaving foam

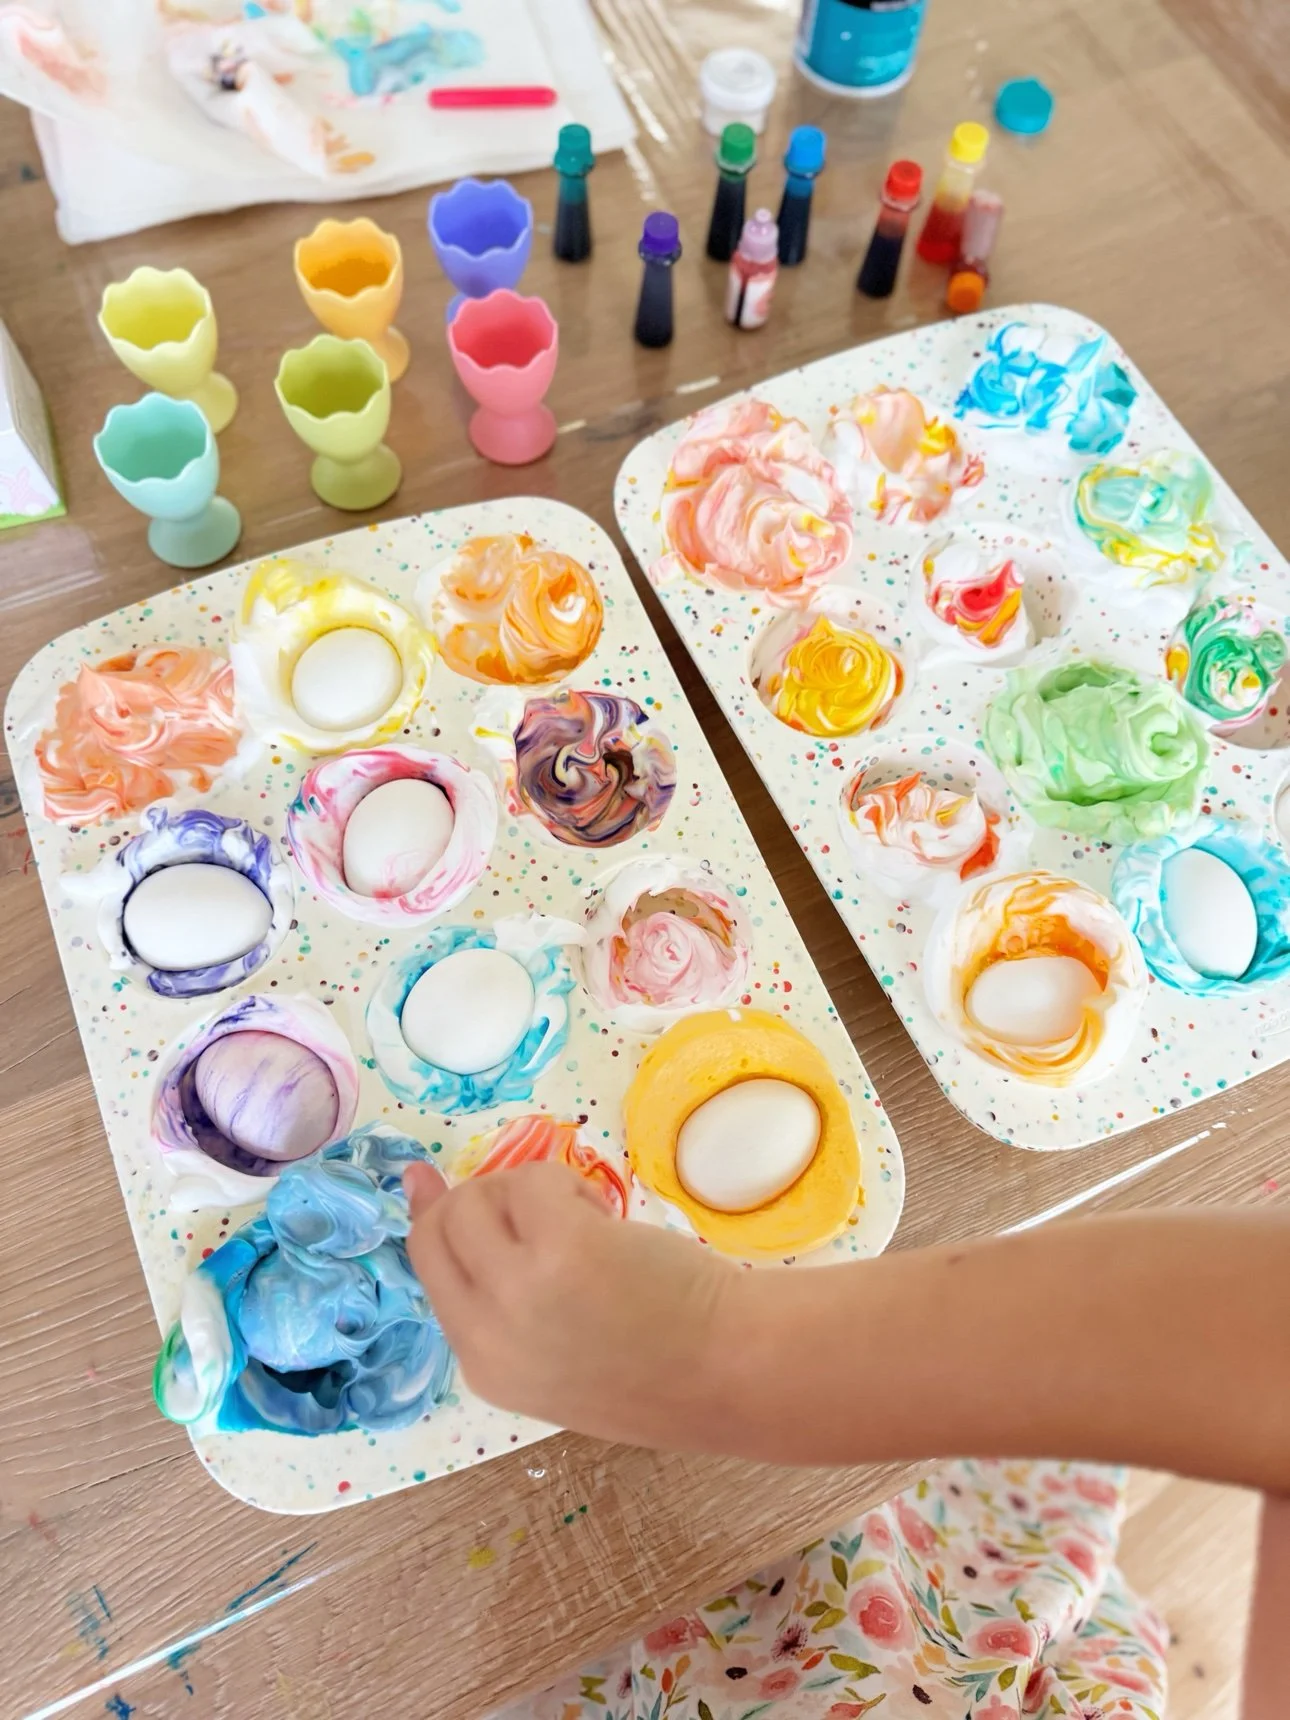
Step 4: Roll the Eggs in the Foam

Set a cooled hard-boiled egg into each cup and roll it gently through the colored foam until it's coated all over. Gloves help here — the food coloring will stain little fingers for a day or two otherwise (ask me how I know).

Eggs resting in swirls of colorful shaving foam

Step 5: Let Them Sit, Then Wipe Clean

Let the eggs sit in the foam for 10–15 minutes — the longer they sit, the deeper the color. Then lift each egg out and wipe the foam off with a paper towel. Don't rinse under water; wiping keeps the marbled pattern crisp.

Set the finished eggs on a rack or in egg cups to dry completely.

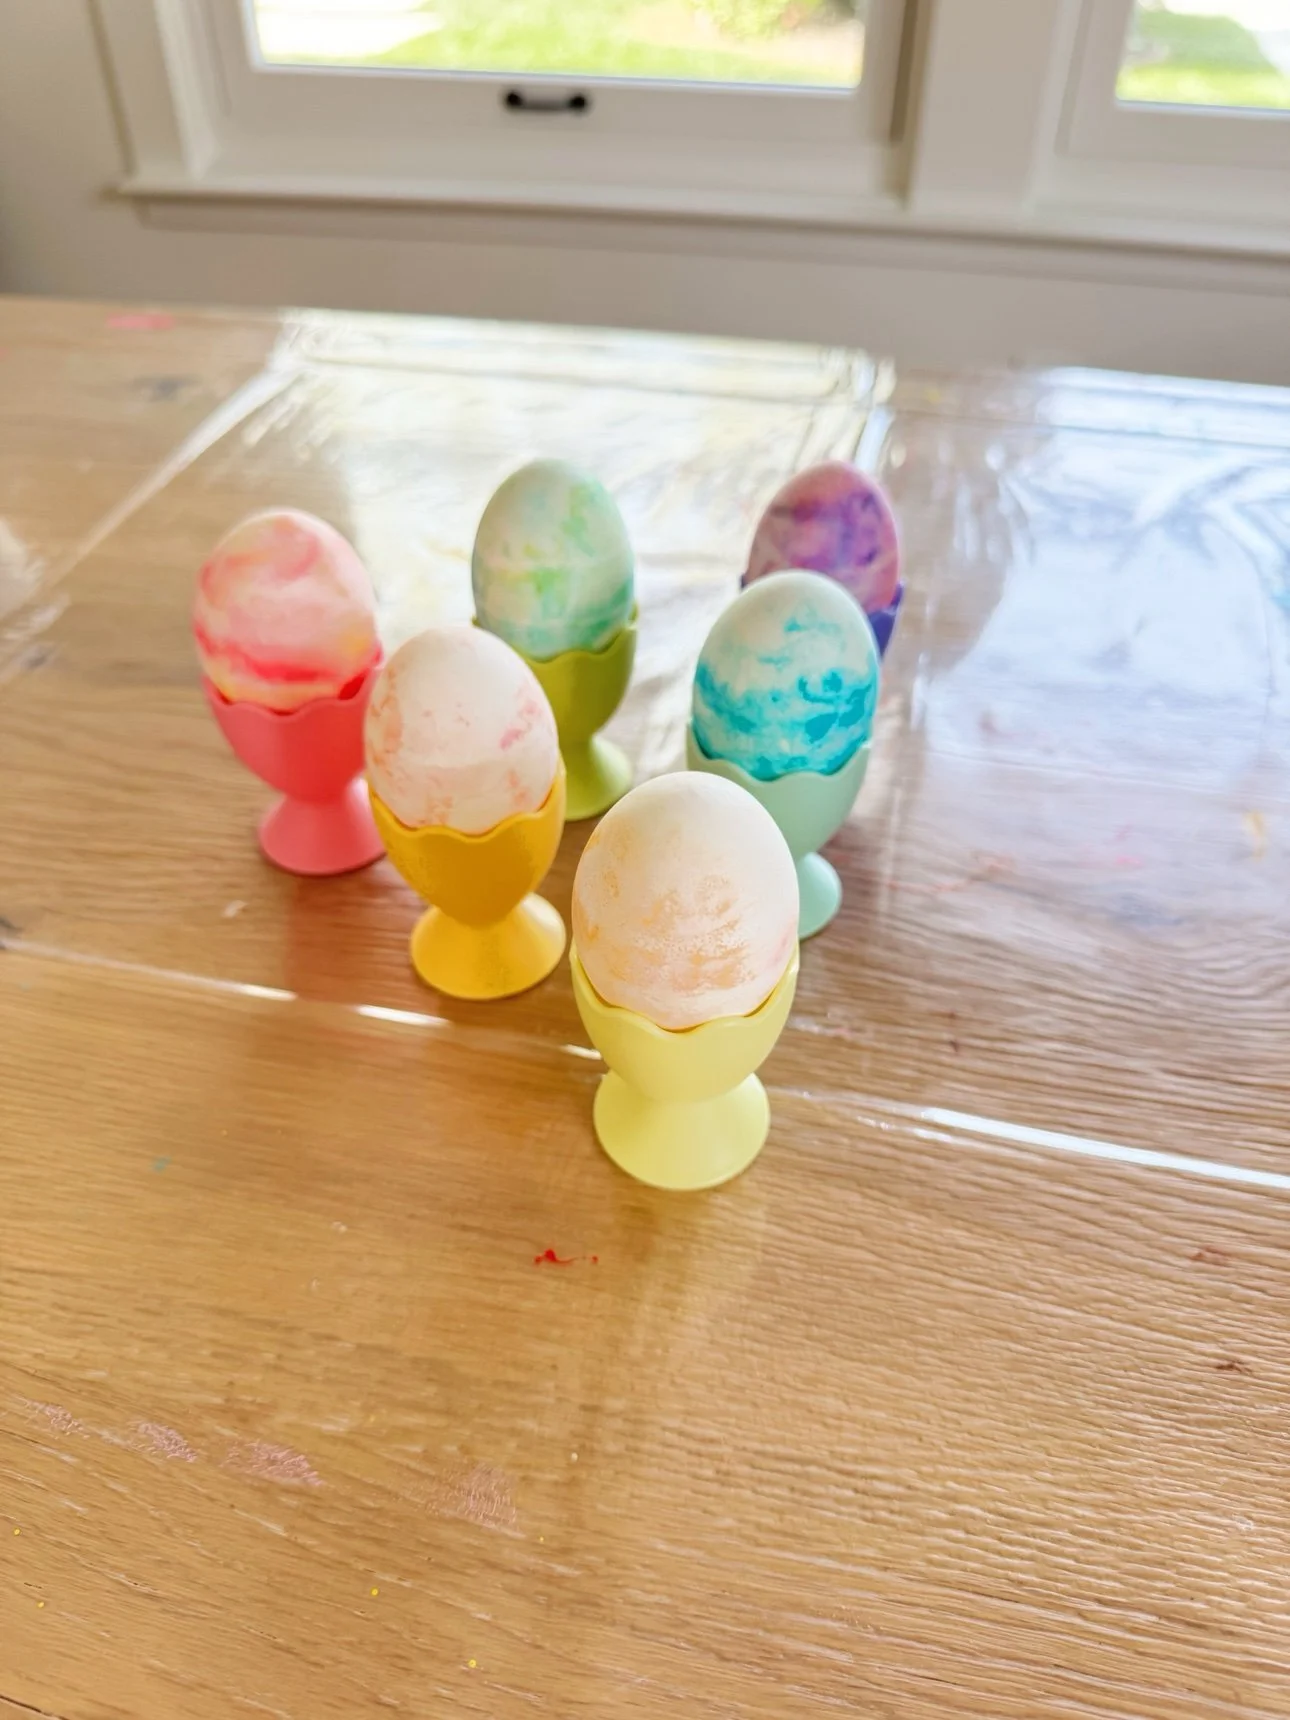
Finished marbled Easter eggs displayed in pastel egg cups

The Reveal

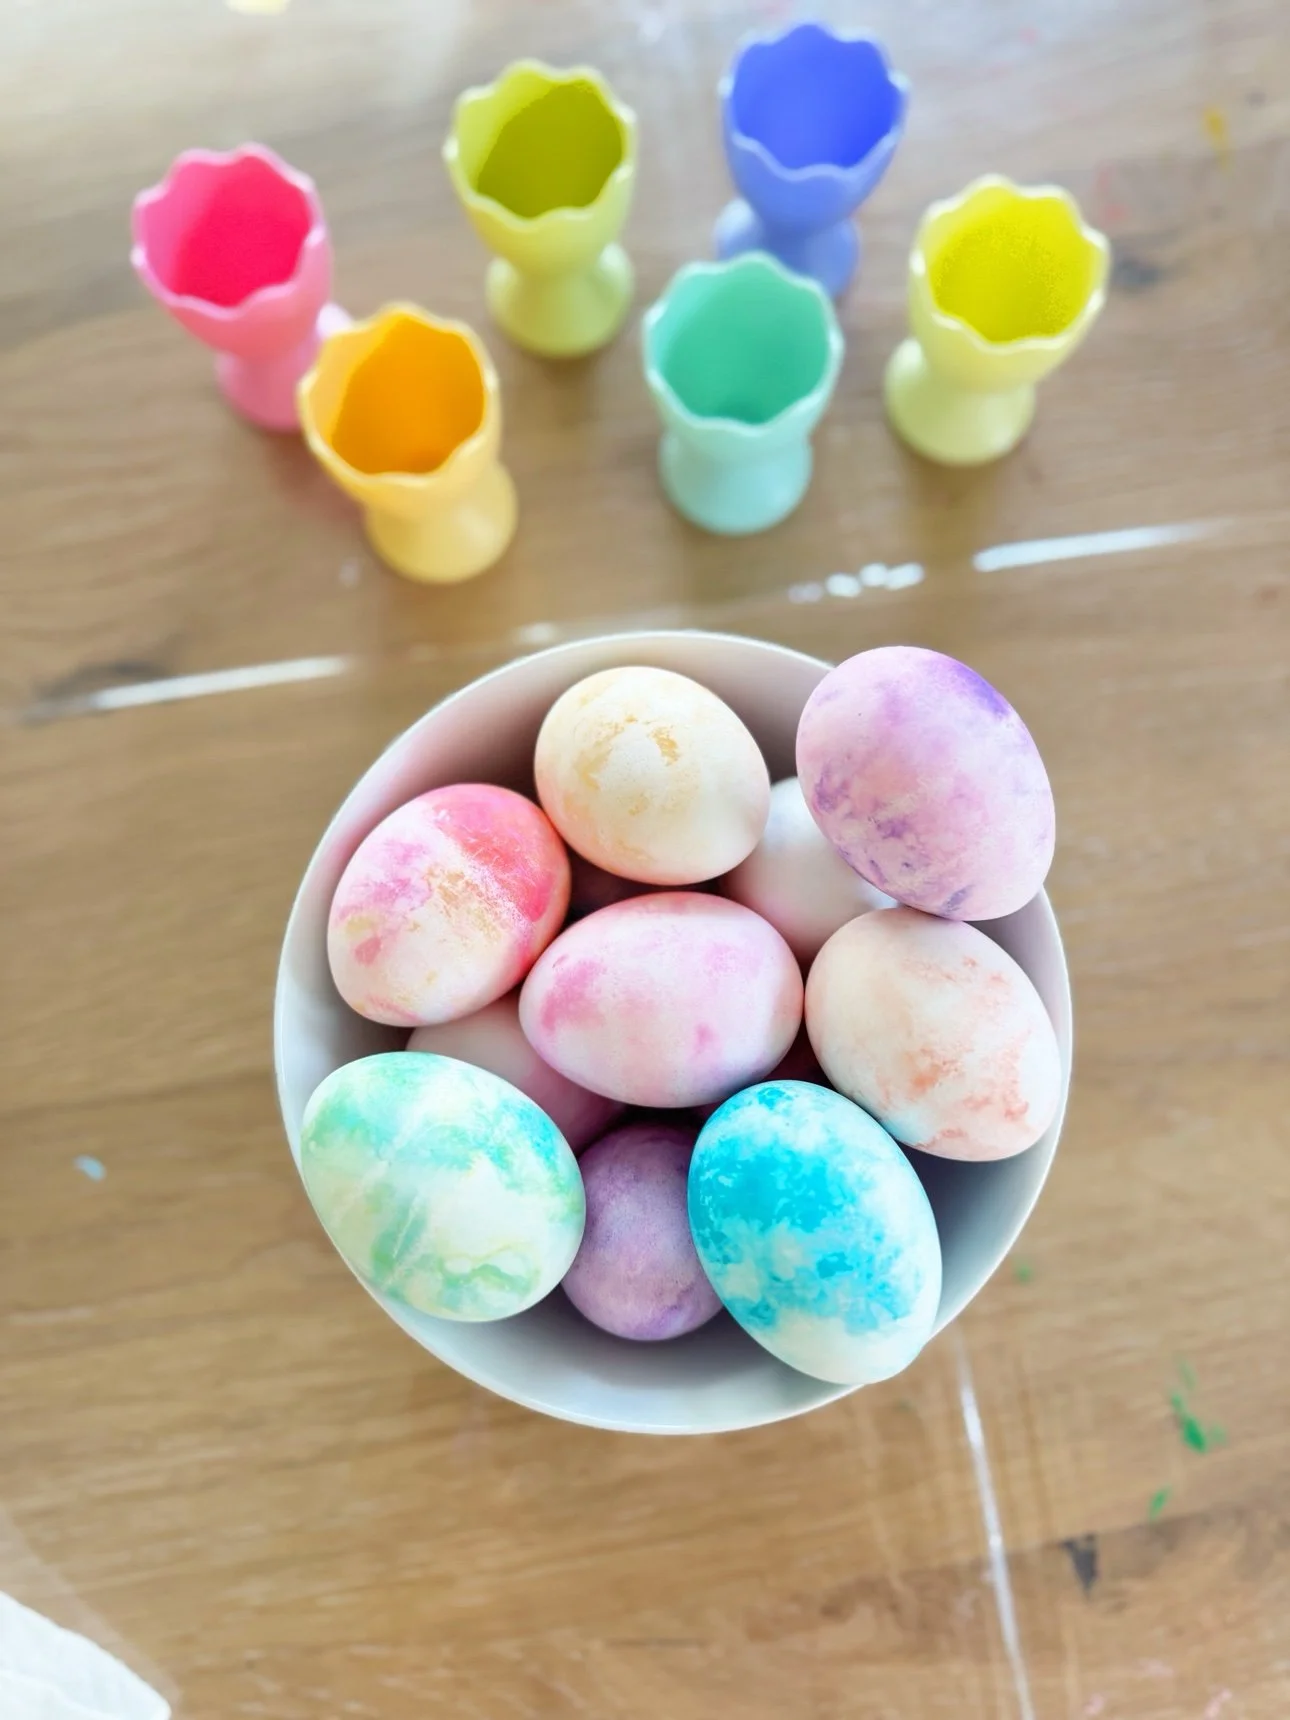
This is the best part. Every egg comes out completely different — soft watercolor swirls in pink, mint, sky blue, and lavender. No two alike, and somehow all of them gorgeous. We lined ours up in these little pastel egg cups and they looked like a candy shop.

A bowl of finished pastel marbled Easter eggs

Tips for the Prettiest Eggs

  • White eggs only. Brown eggs mute the colors.
  • Cool eggs completely before dyeing — warm eggs melt the foam.
  • Use foam, not gel. Gel shaving cream won't hold the swirls.
  • Under-swirl. Two or three lazy passes with the toothpick is plenty.
  • Wipe, don't rinse. Water washes the marbling away.
  • Work fast-ish. The foam starts to deflate after about 30 minutes, so dye in batches if you're doing a lot of eggs.

Cleanup

The foam rinses right out of the muffin tin with hot water — it's actually easier cleanup than traditional dye cups. Wipe the table with a damp cloth before the food coloring sets, and toss stained paper towels. Hands wash clean with soap; any lingering color fades in a day.

Happy Easter, friends — tag us if you try these! We'd love to see your marbled masterpieces.

Fall Frozen Sensory Bin: A Pastel Fall + Frozen Sensory Bin for Little Hands

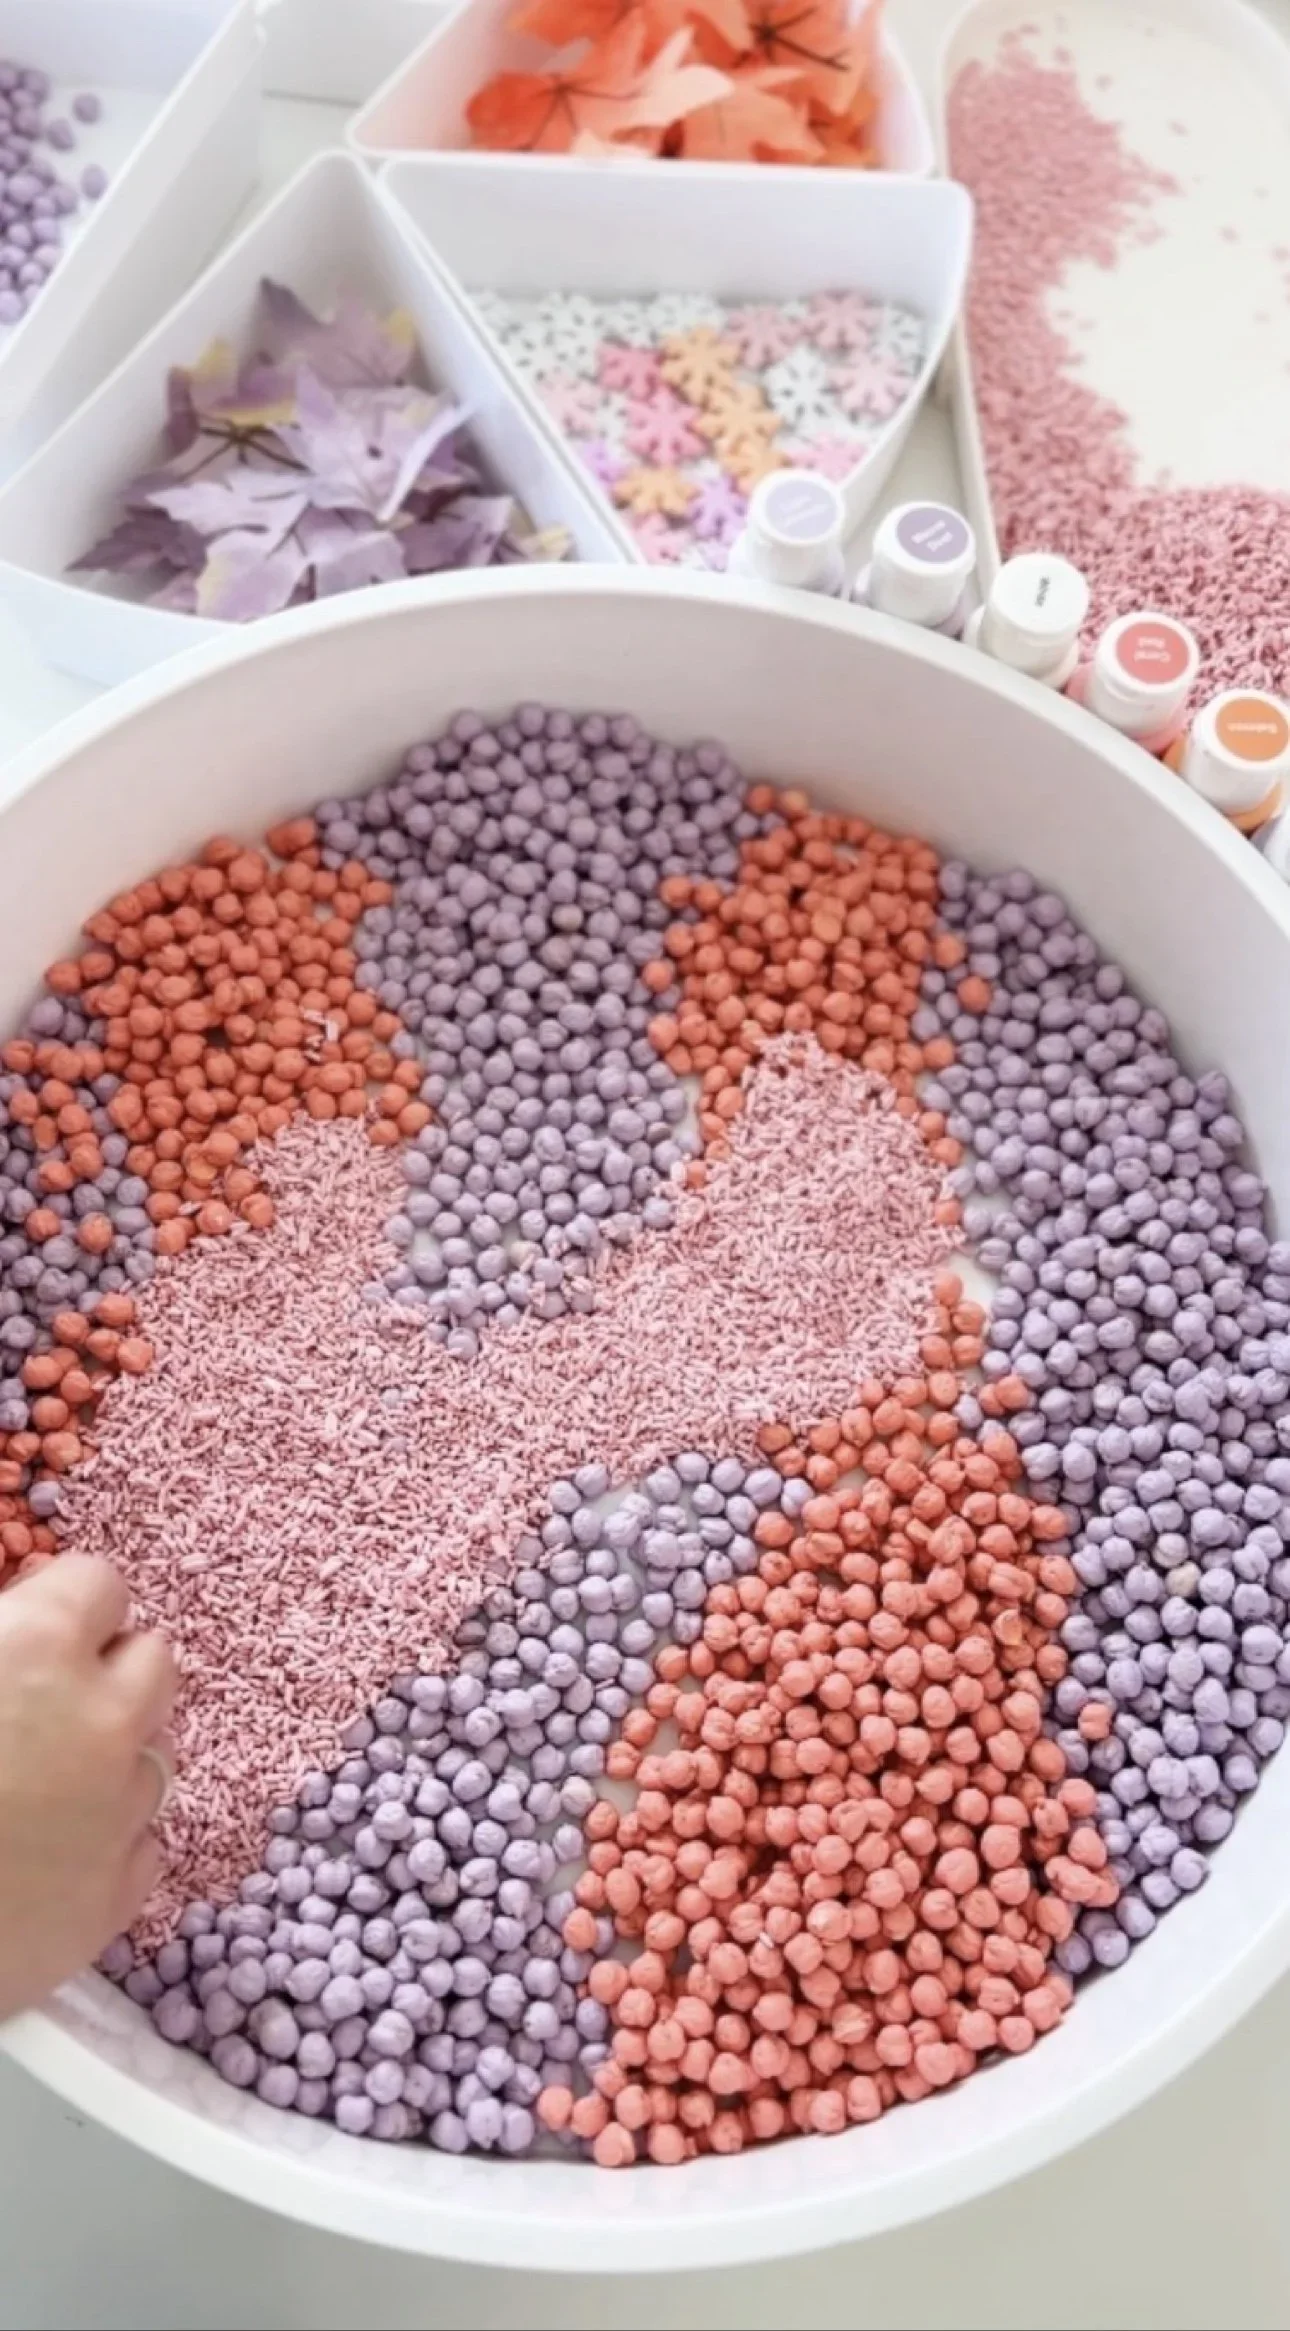
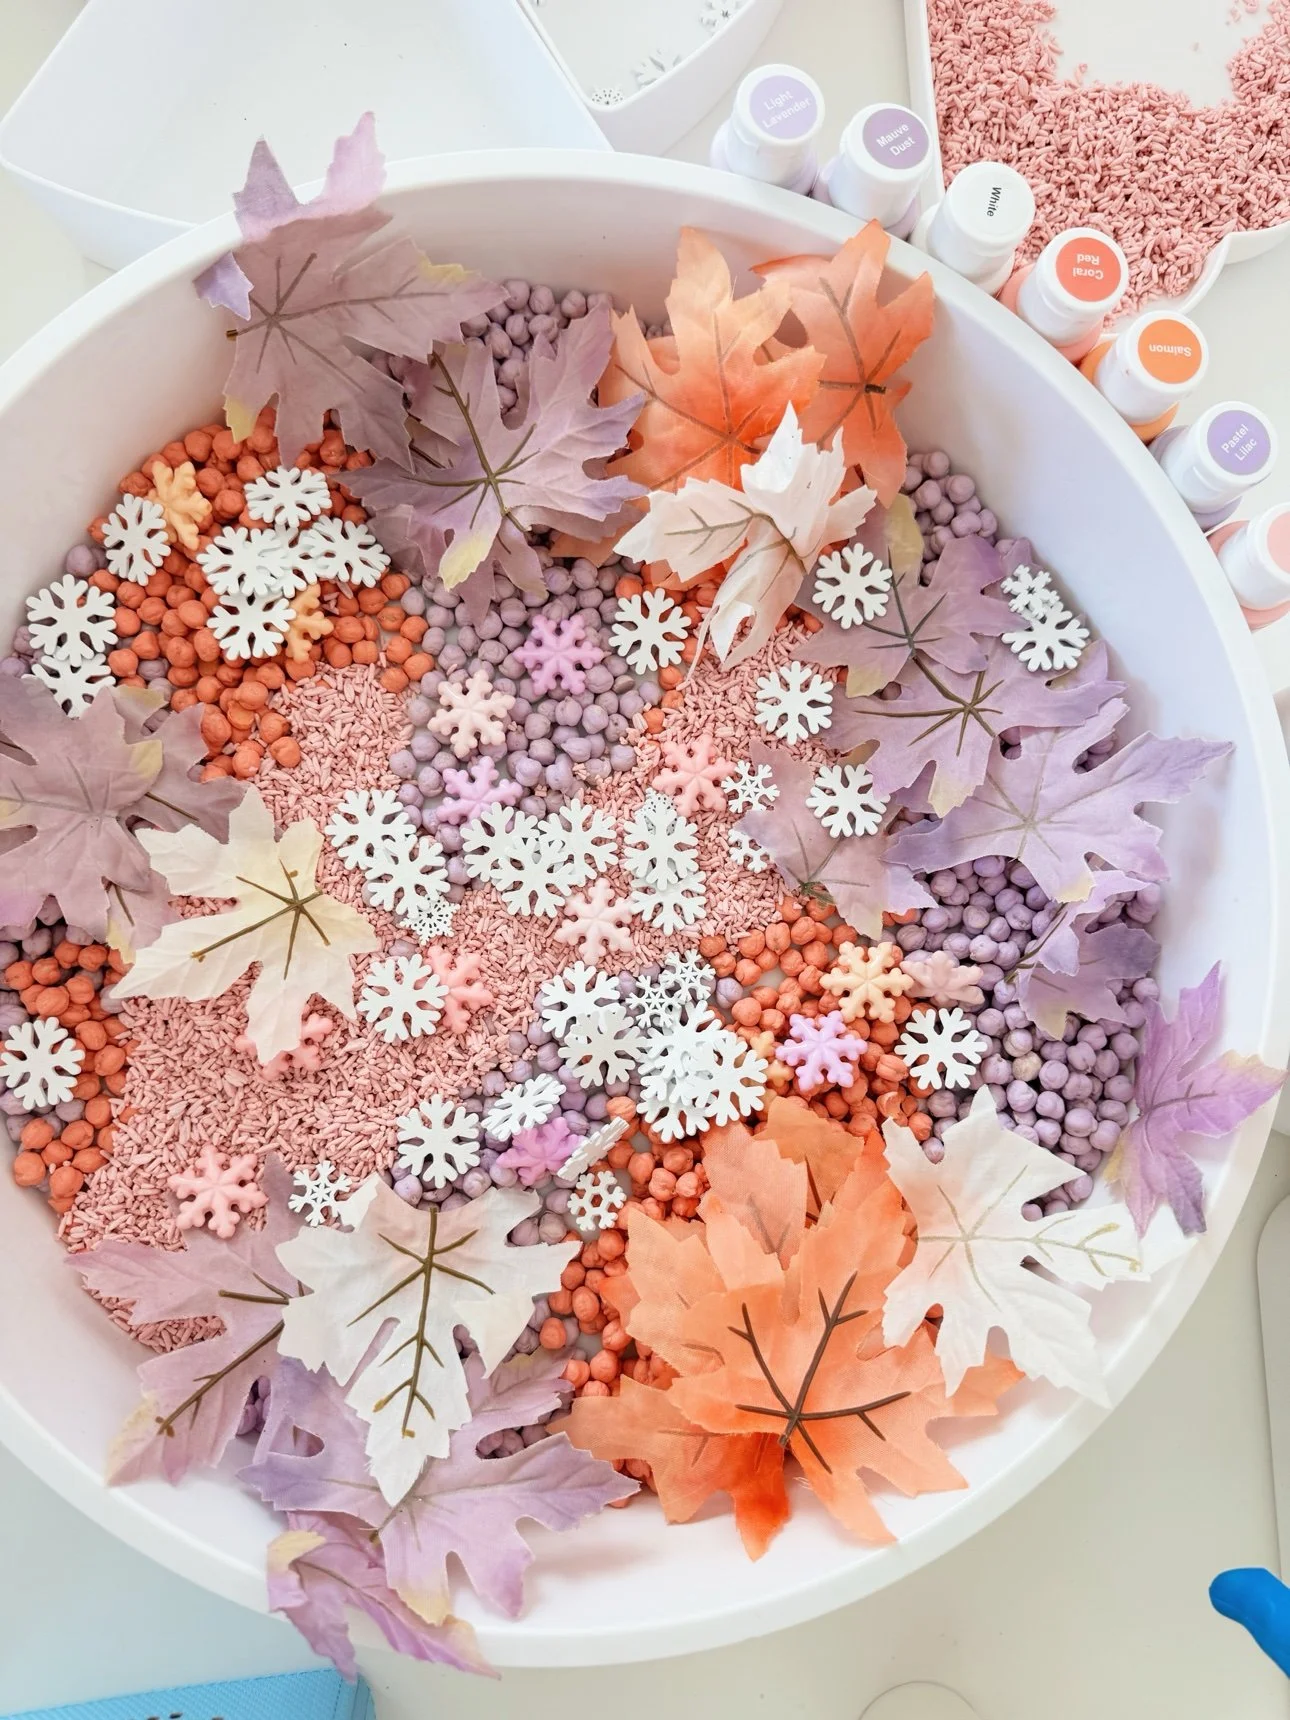
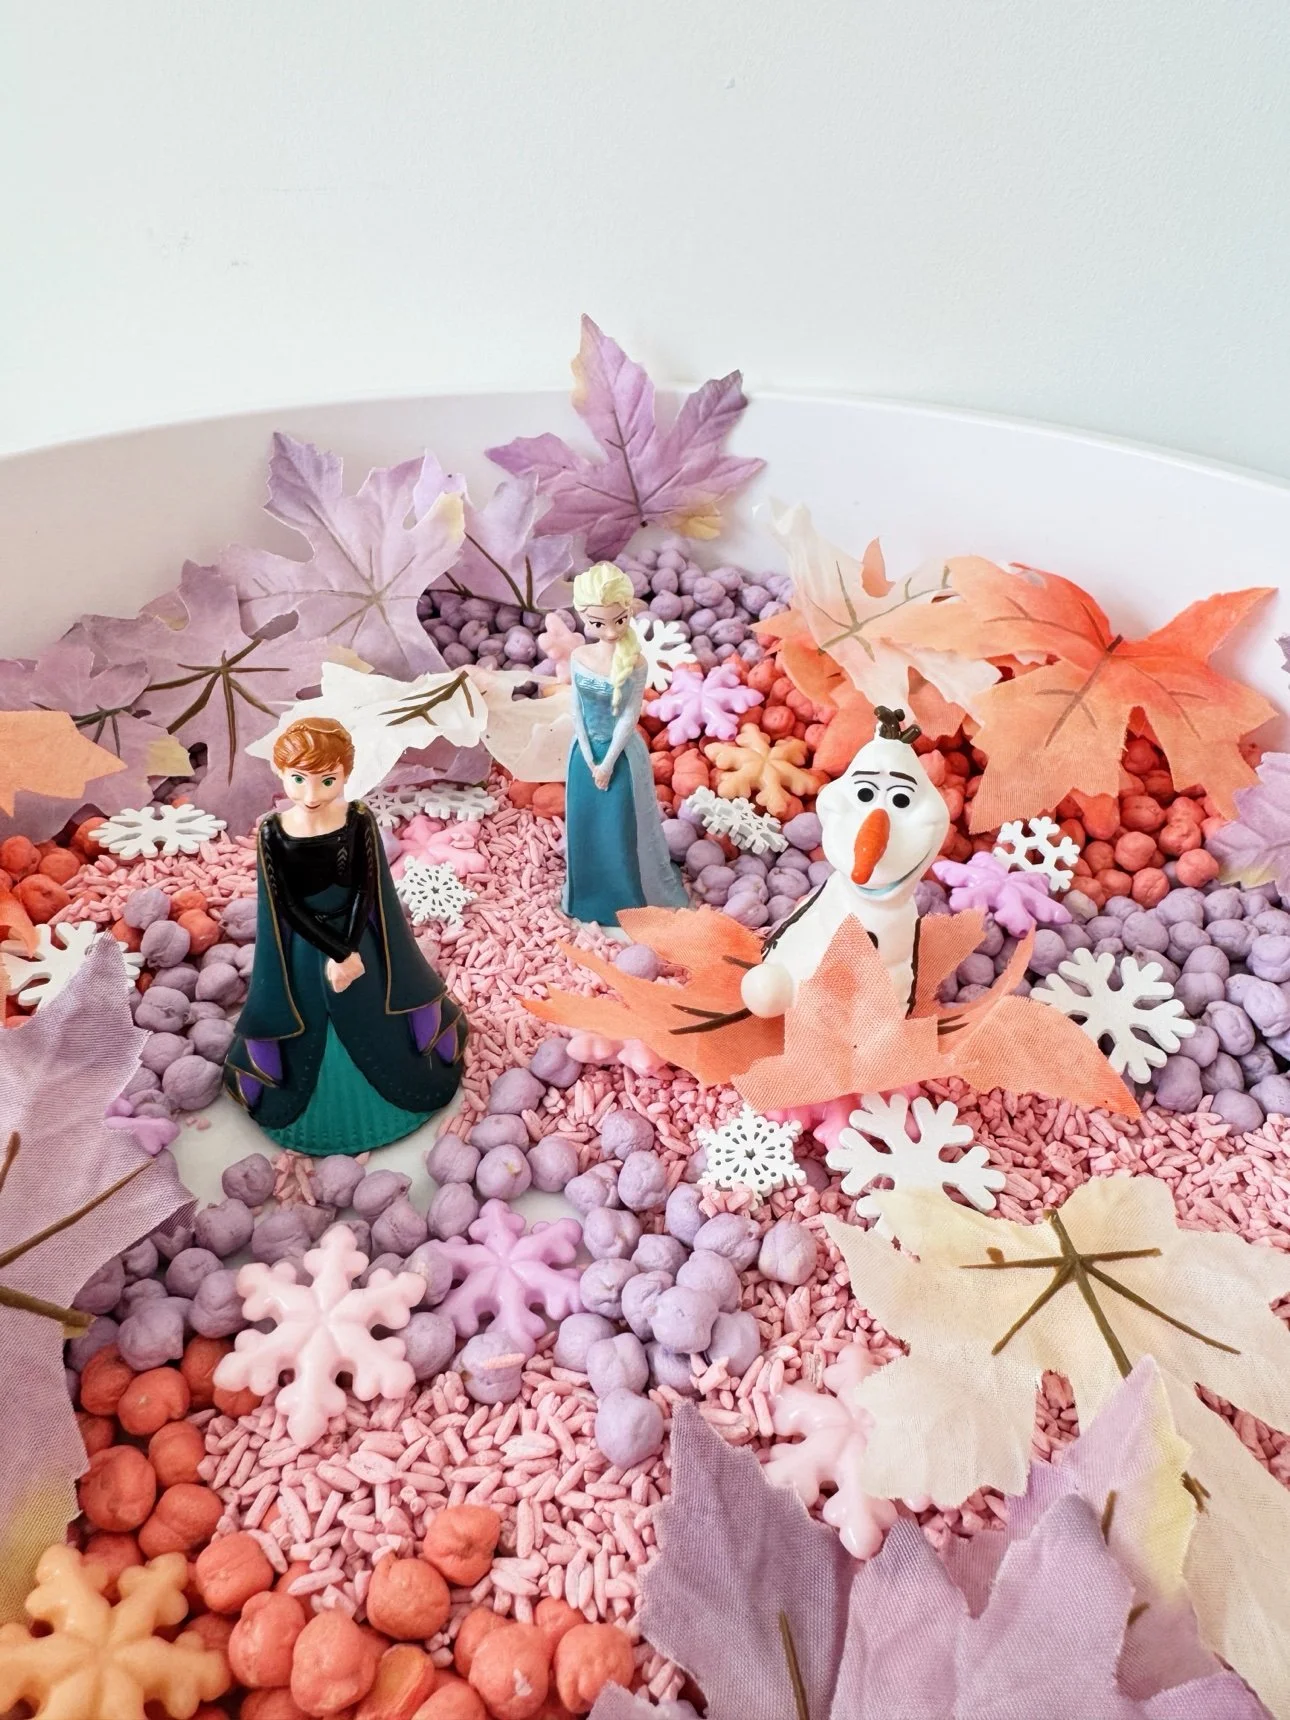
Pastel fall frozen sensory bin with dyed chickpeas and pink rice in a white tray

Fall Frozen Sensory Bin: A Pastel Fall + Frozen Sensory Bin for Little Hands

Half falling leaves, half swirling snow — this fall frozen sensory bin mashes up autumn and Frozen into one pastel bin your kids will want to dig into for weeks. Pastel dyed chickpeas, blush pink rice, faux fall leaves, snowflake sprinkles, and a few favorite Frozen characters. We set this one up today and it stayed a play table favorite well past lunch.

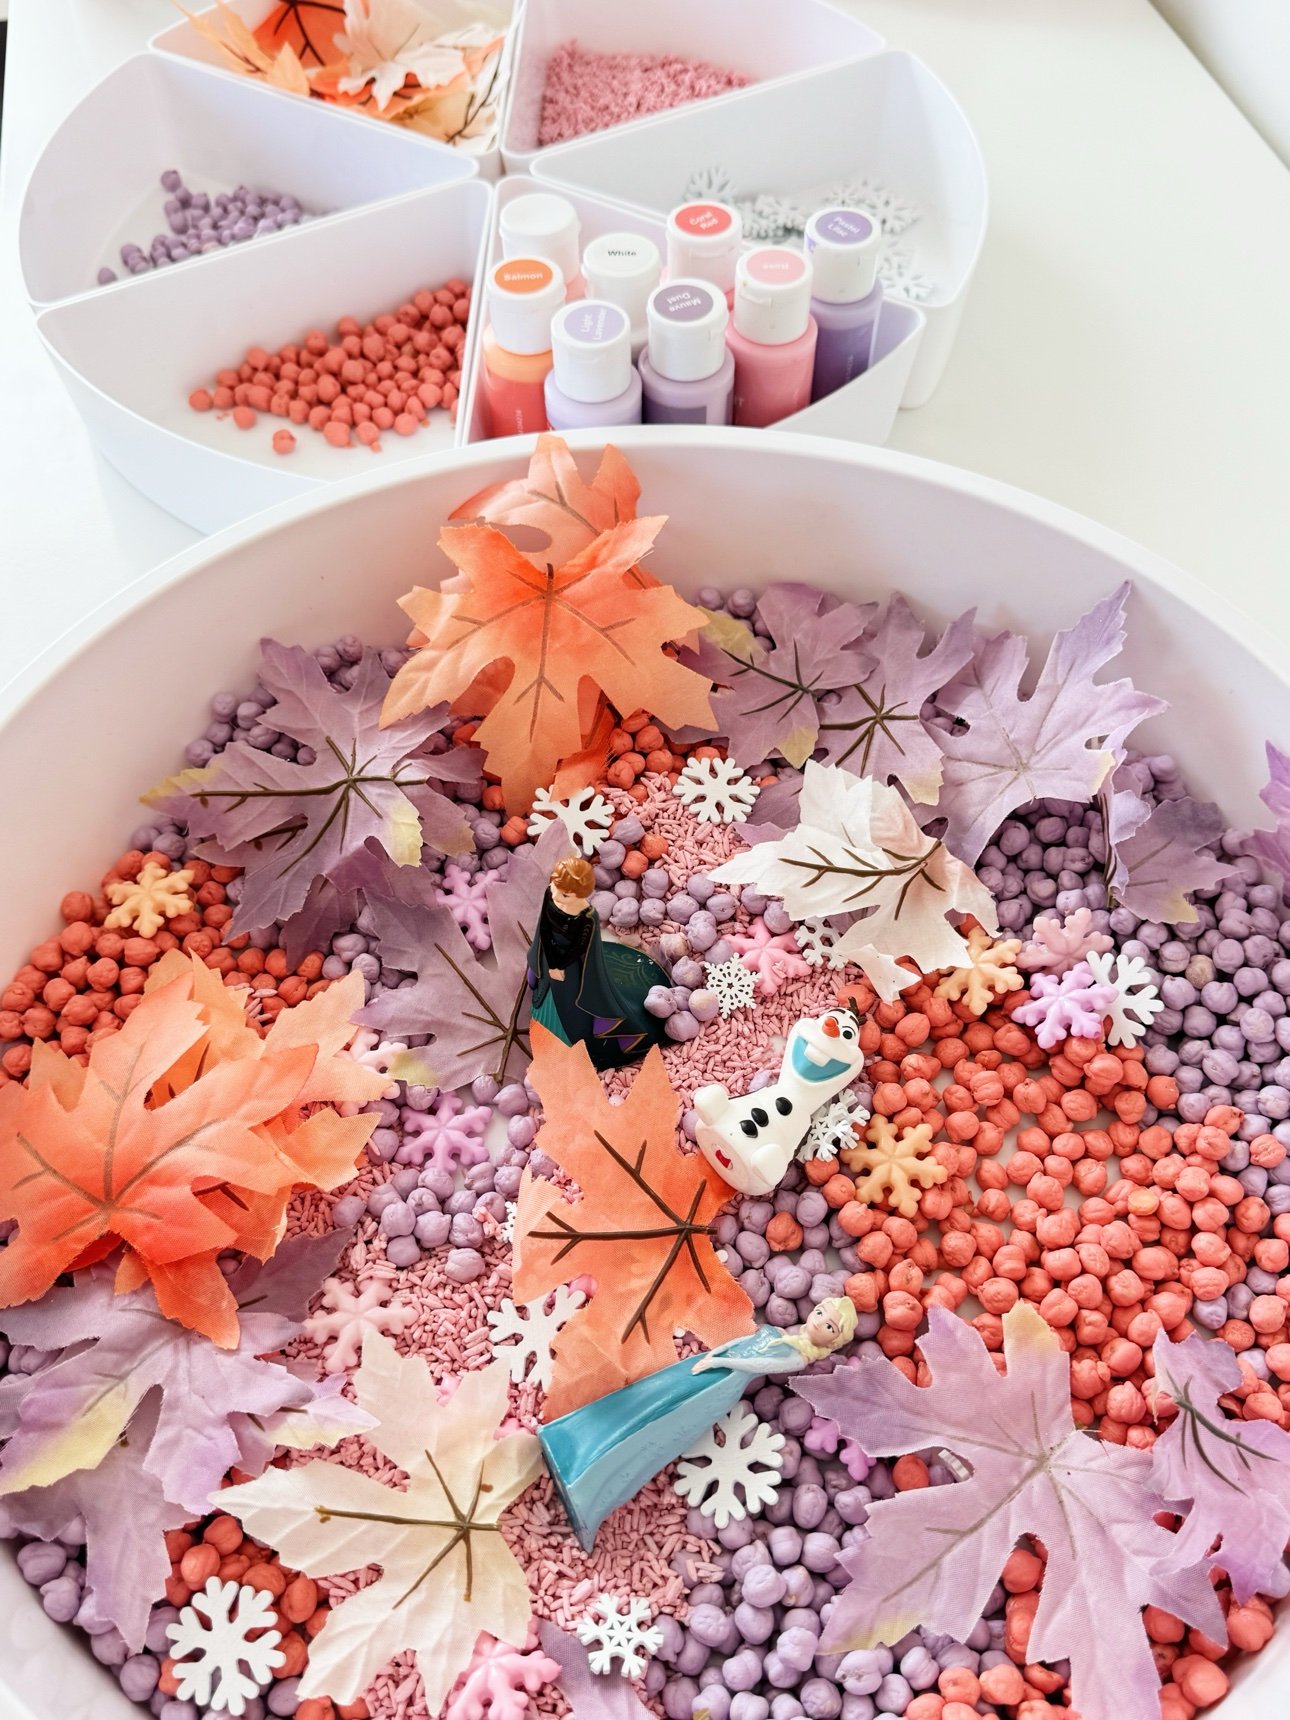
Fall frozen sensory bin: pastel dyed chickpeas, pink rice, faux fall leaves, snowflakes, and Frozen figurines in a white bowl
The finished bin — every color mixed together is even prettier than the neat compartments.
Best forAges 2–6 (taste-safe swaps below)
Time20 min setup + dry time
CostPantry staples + a few craft buys
SkillsFine motor + imaginative play

What makes this bin special

Most Frozen sensory bins are all winter — blue rice, silver glitter, done. This one borrows the fall half of the Frozen 2 palette: salmon and lilac chickpeas, pink rice, and fall leaves in ivory, blush, and burnt orange, with snowflake accents scattered in like the first frost. It's the exact color story from our pantry and craft bin, and it photographs like a dream without a single drop of glitter glue.

What you need

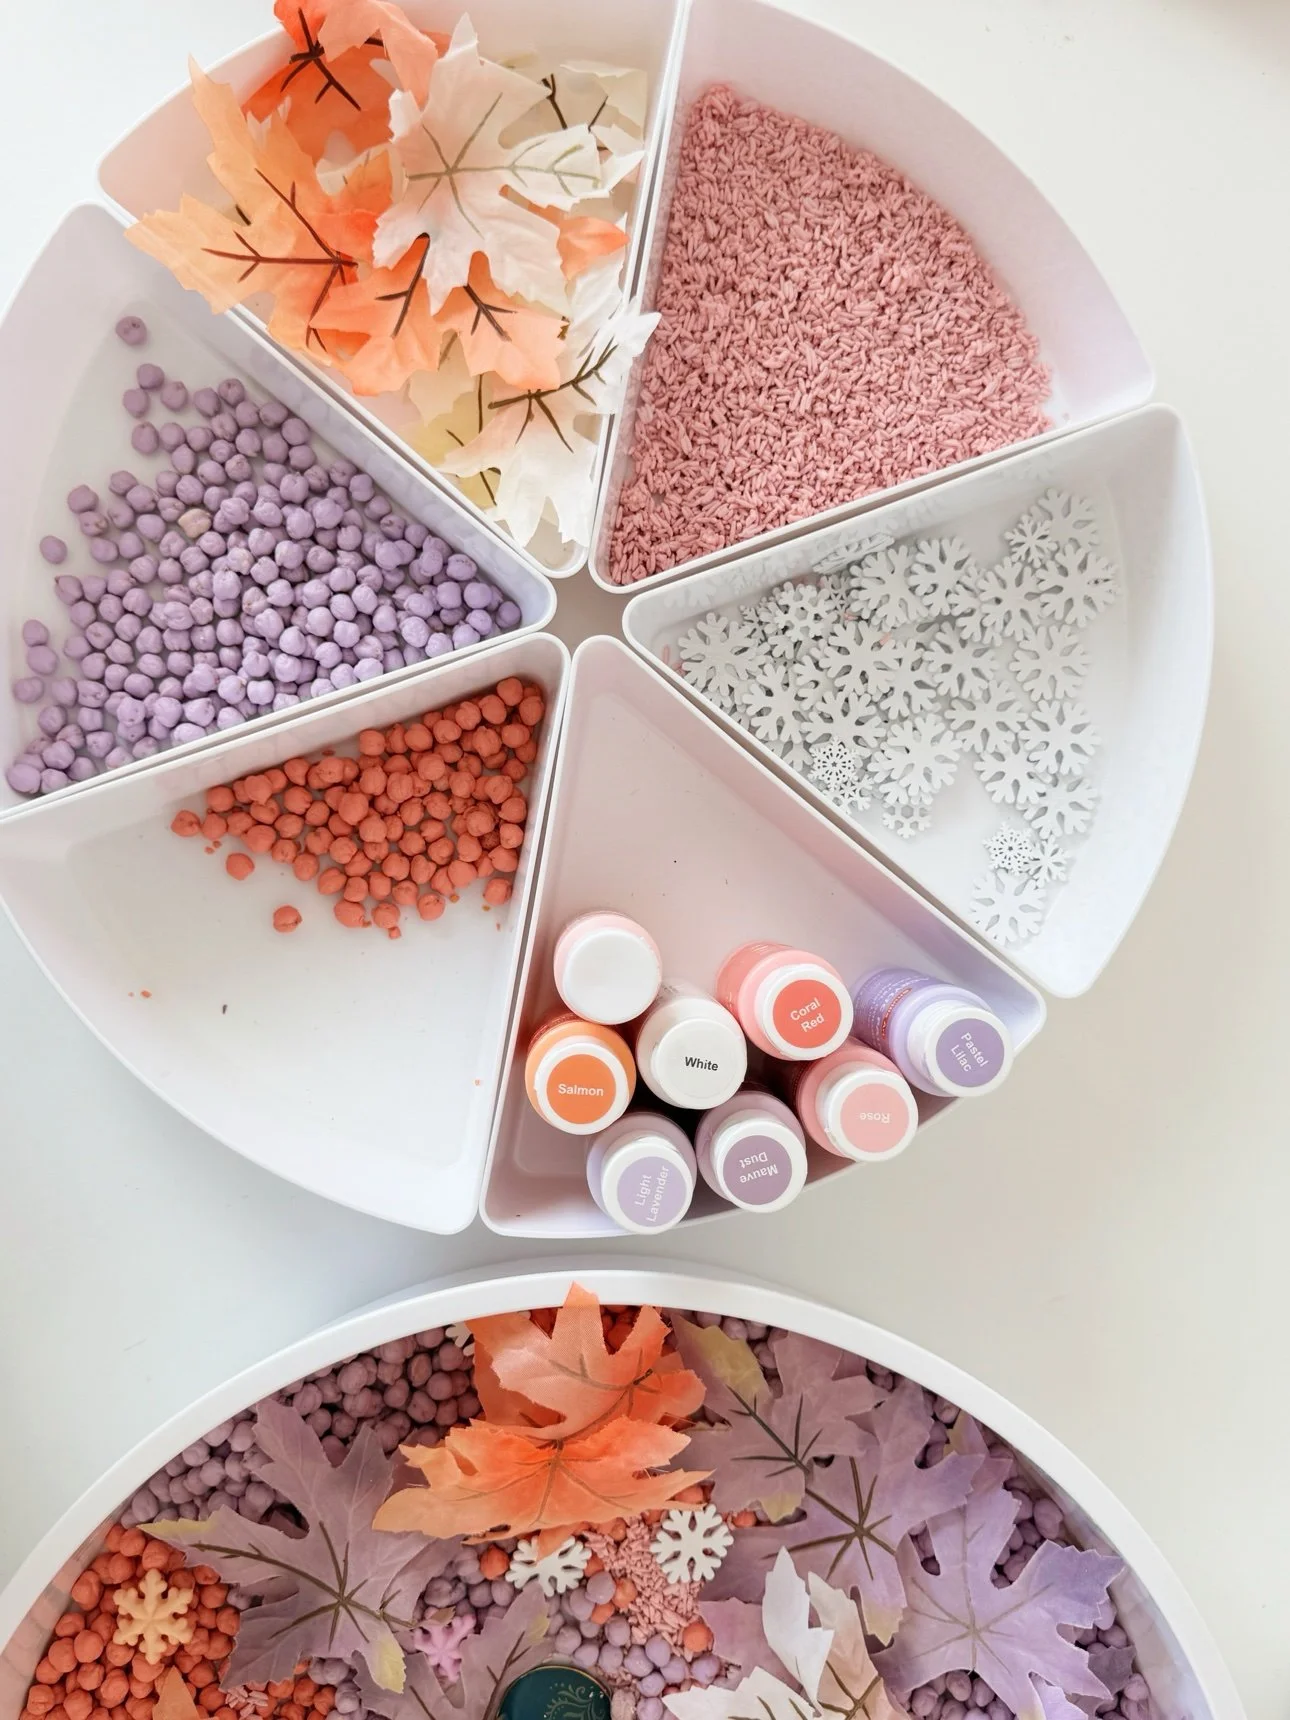
  • Large white bowl or tray — the bin itself (we used a big white serving bowl)
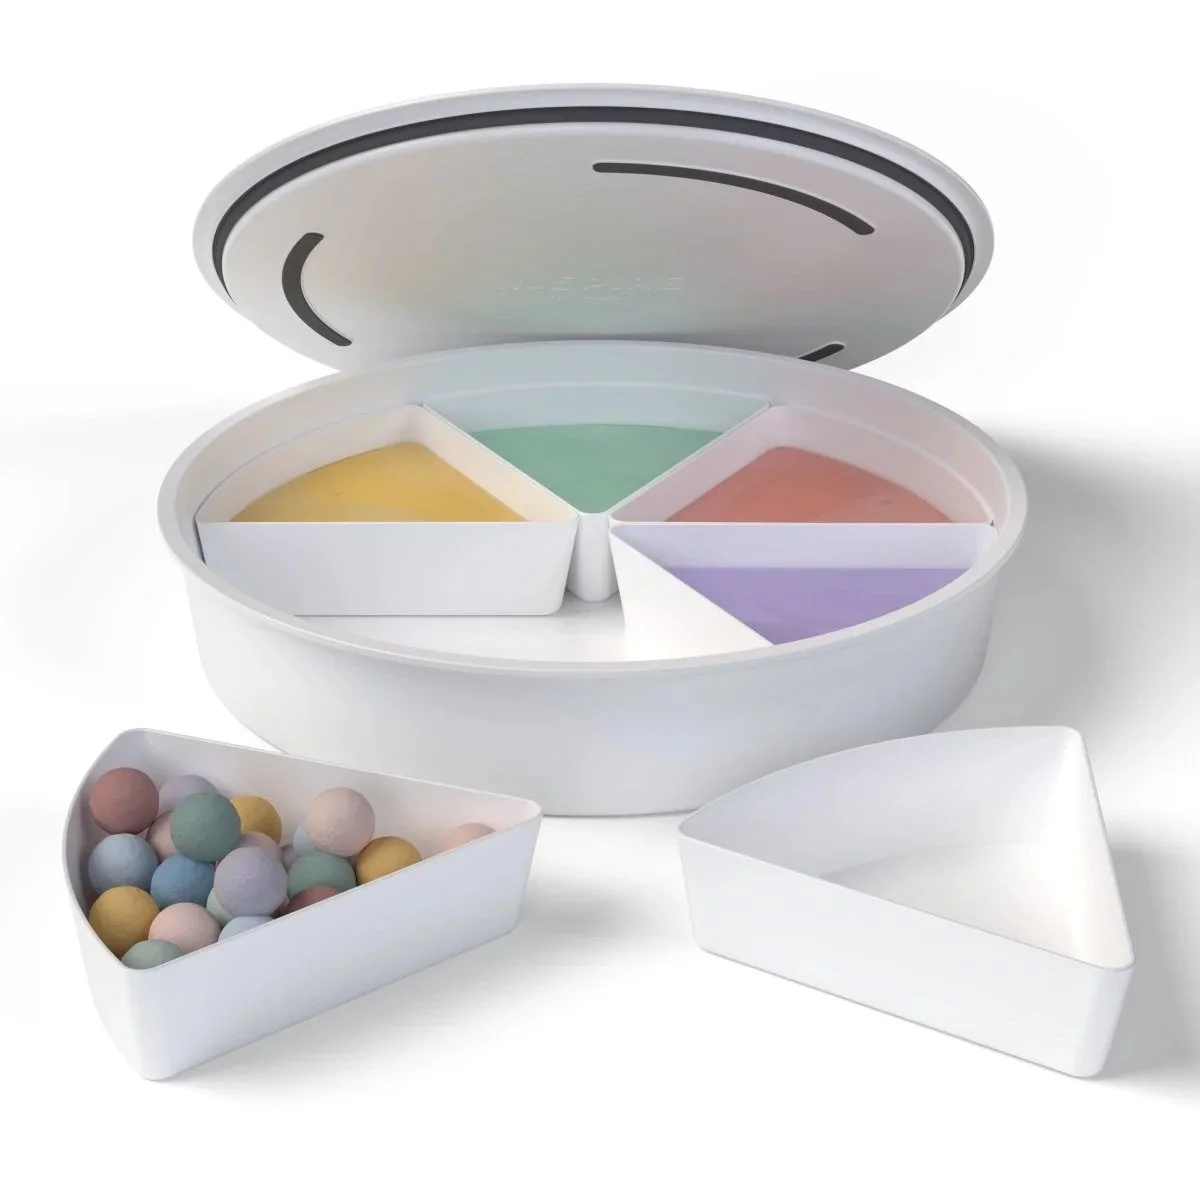
  • White compartment tray — for the pre-mix display + ongoing refills
  • Dried chickpeas — about 2 cups each for salmon and lavender
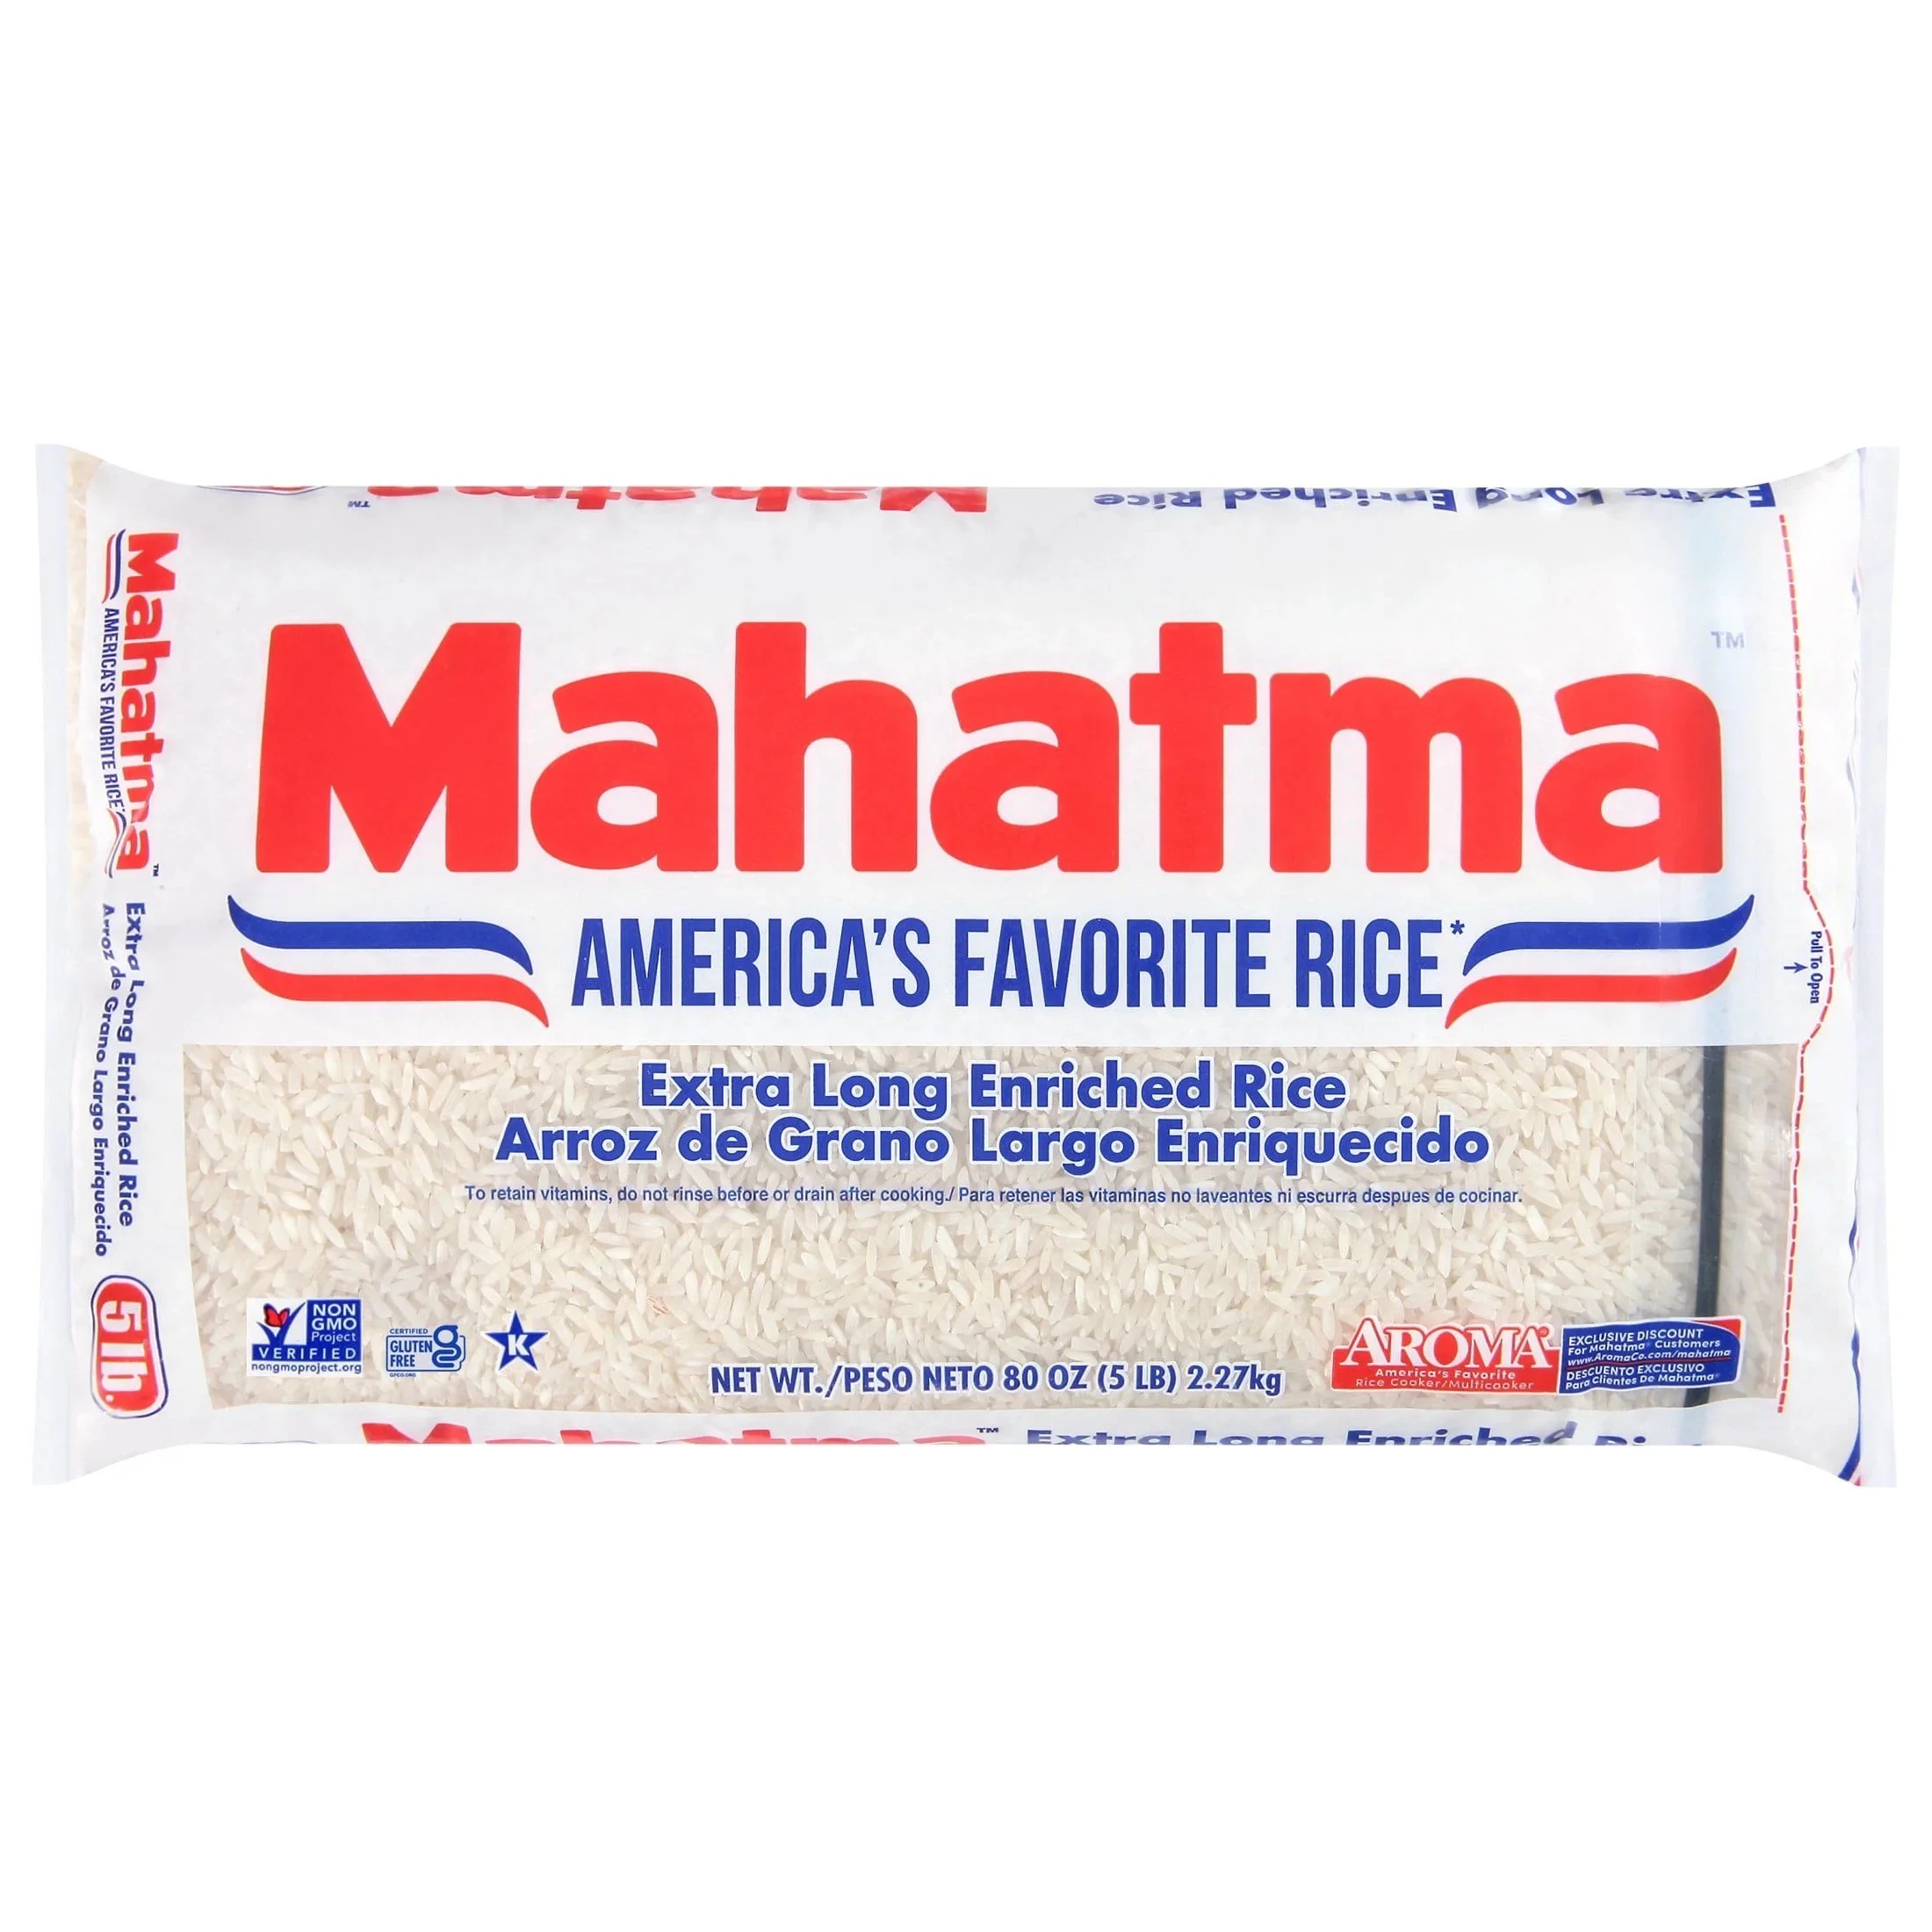
  • White rice — about 2 cups for the blush pink rice
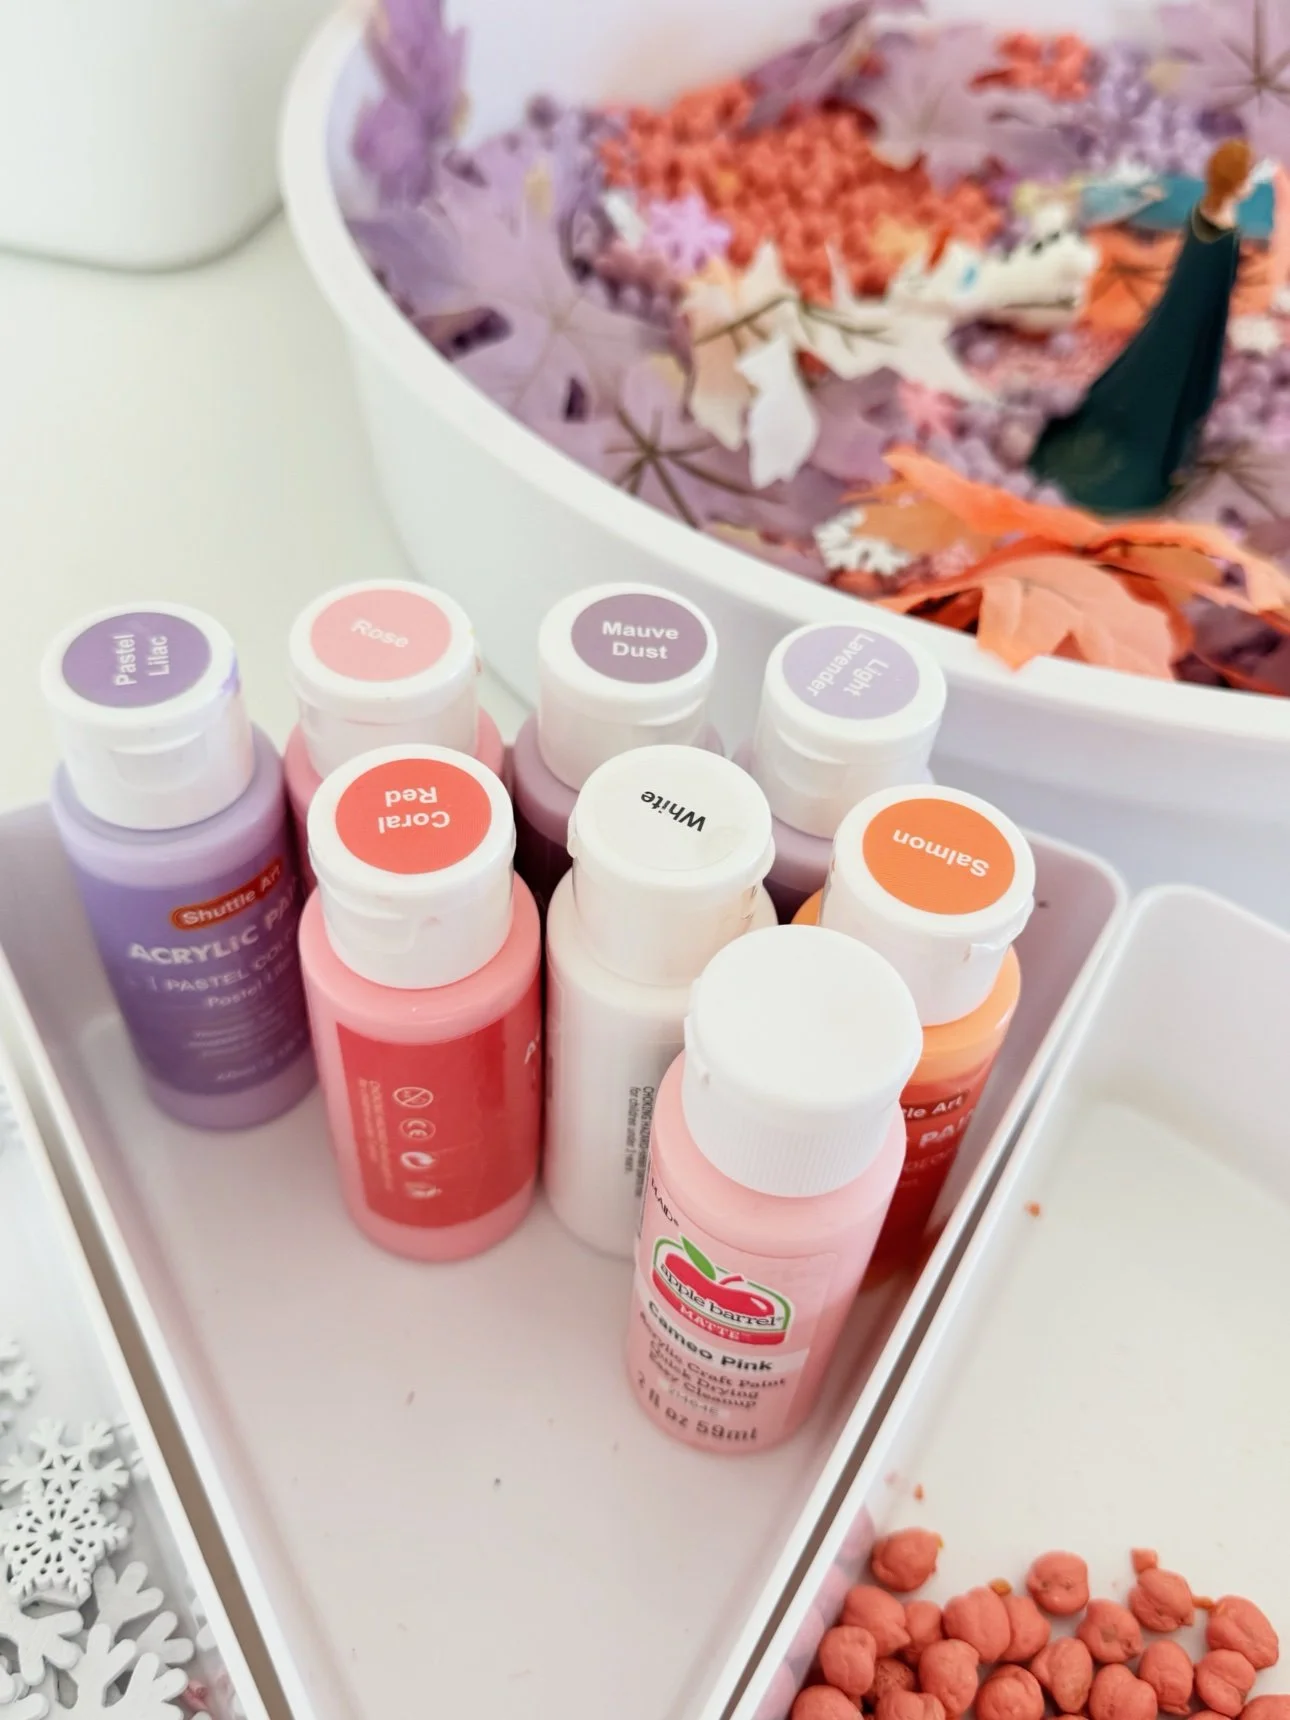
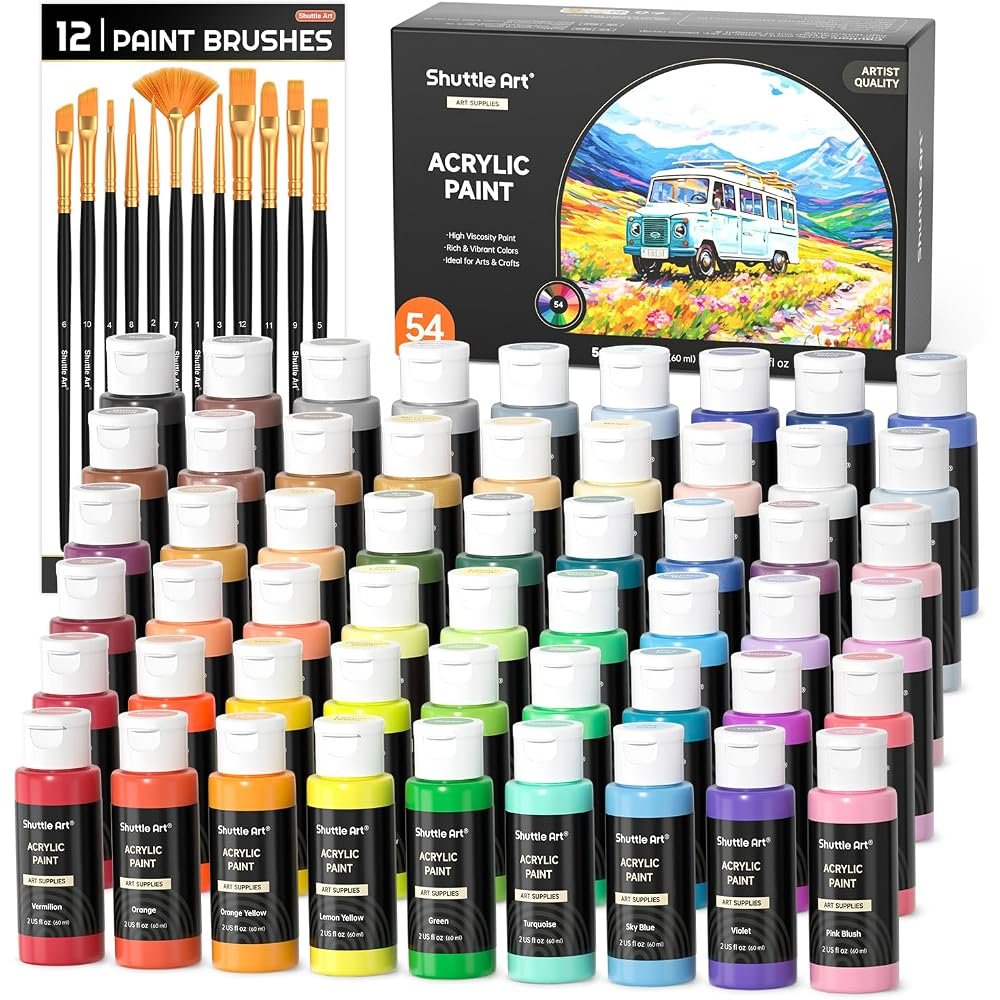
  • Pastel acrylic paint — we used coral red (for the salmon chickpeas), pastel lilac/lavender, rose, white, and cameo pink
  • Faux fall leaves — ivory/cream, blush, lavender, and orange sets
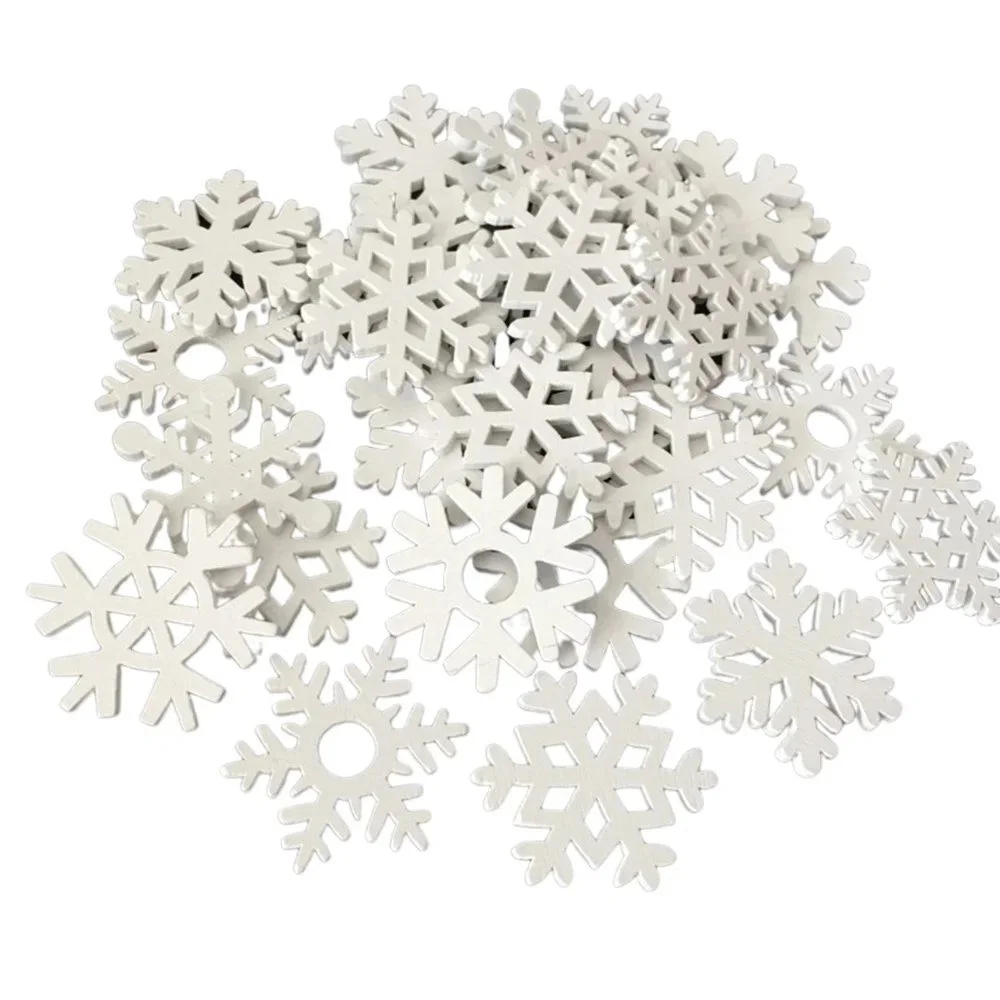
  • Snowflake accents — white wooden snowflakes + pastel snowflake buttons
  • Frozen figurines — Anna, Elsa, and Olaf for small-world play
  • Ziplock bags + a lined tray — for dyeing and drying the fillers
Fall frozen sensory bin ingredients in a round white segmented play tray: dyed lilac chickpeas, coral chickpeas, blush pink rice, pastel fall leaves, white wooden snowflakes, and pastel acrylic paint bottles
Everything laid out before the mix — color-coding the compartments makes setup feel like its own little project.

How to dye the chickpeas and rice

Dyed fillers are the whole secret of this bin, and they take about 15 minutes of active work plus drying time. One method for both:

  1. Pour 2 cups of dried chickpeas (or white rice) into a large ziplock bag.
  2. Add a generous squirt of acrylic paint — coral red for the salmon chickpeas, pastel lilac for the lavender, rose/cameo pink for the rice. Start with less; you can add more.
  3. Seal the bag and shake and squish until every piece is evenly coated. Add a splash more paint for deeper color.
  4. Spread in a single layer on a parchment-lined baking tray and let dry completely — usually 1–2 hours. Give them a stir halfway so no side stays damp.
Pastel acrylic paint bottles used to dye the fall frozen sensory bin fillers
The palette: coral red, salmon, rose, cameo pink, pastel lilac, mauve dust, and white.

Taste-safe swap: acrylic paint is not edible. If your player still mouths everything, dye with food coloring + a splash of white vinegar instead of acrylic — the color won't be quite as matte-pastel, but the bin stays mouth-safe.

How to set it up

  1. Pour the salmon chickpeas, lavender chickpeas, and pink rice into the big bowl in drifts — don't mix yet, the color bands are half the fun.
  2. Tuck in the faux leaves around the edges in little clusters — orange by the salmon chickpeas, ivory and lavender leaves wherever they land prettiest.
  3. Scatter the wooden snowflakes and pastel snowflake buttons over the top like the first frost.
  4. Stand Anna, Elsa, and Olaf in the middle and let the scene tell itself.
Finished fall frozen sensory bin with the segmented tray of extra dyed fillers, leaves, snowflakes, and paints behind it
Finished bin with the refill tray behind it — topping up takes ten seconds.

Ways to play

  • Sort by color: scooping all the lilac chickpeas into one compartment is sneaky math (sorting + classifying).
  • Rescue mission: bury Olaf in the pink rice and dig him out with little hands — no tools needed, fingers do the work.
  • Snowfall leaves: drop leaves from above and narrate the "first frost" — instant small-world storytelling with Anna and Elsa.
  • Snowflake counting: pull out the pastel snowflake buttons one at a time and count them — the chunky buttons are perfect for little pinch grips.
  • Pour and refill: transfer fillers between the bowl and the compartment tray with scoops or cups for scooping practice.
Child's hands playing in the fall frozen sensory bin with Anna, Elsa, and Olaf figurines among the pastel fillers
Little hands in the bin — digging, pouring, and staging scenes with the Frozen figures.

Skills hiding inside the play

  • Fine motor: scooping, pouring, pinching snowflake buttons, and digging out buried figures build hand strength and control.
  • Color recognition + sorting: naming and separating salmon, lilac, pink, and white is early math disguised as play.
  • Imaginative play: Frozen characters in a fall landscape invite original storytelling, not just movie retelling.
  • Sensory exploration: smooth chickpeas vs. grainy rice vs. papery leaves vs. chunky snowflakes — four textures in one bin.
Anna, Elsa, and Olaf figurines standing in the fall frozen sensory bin
Anna, Elsa, and Olaf, mid-scene.
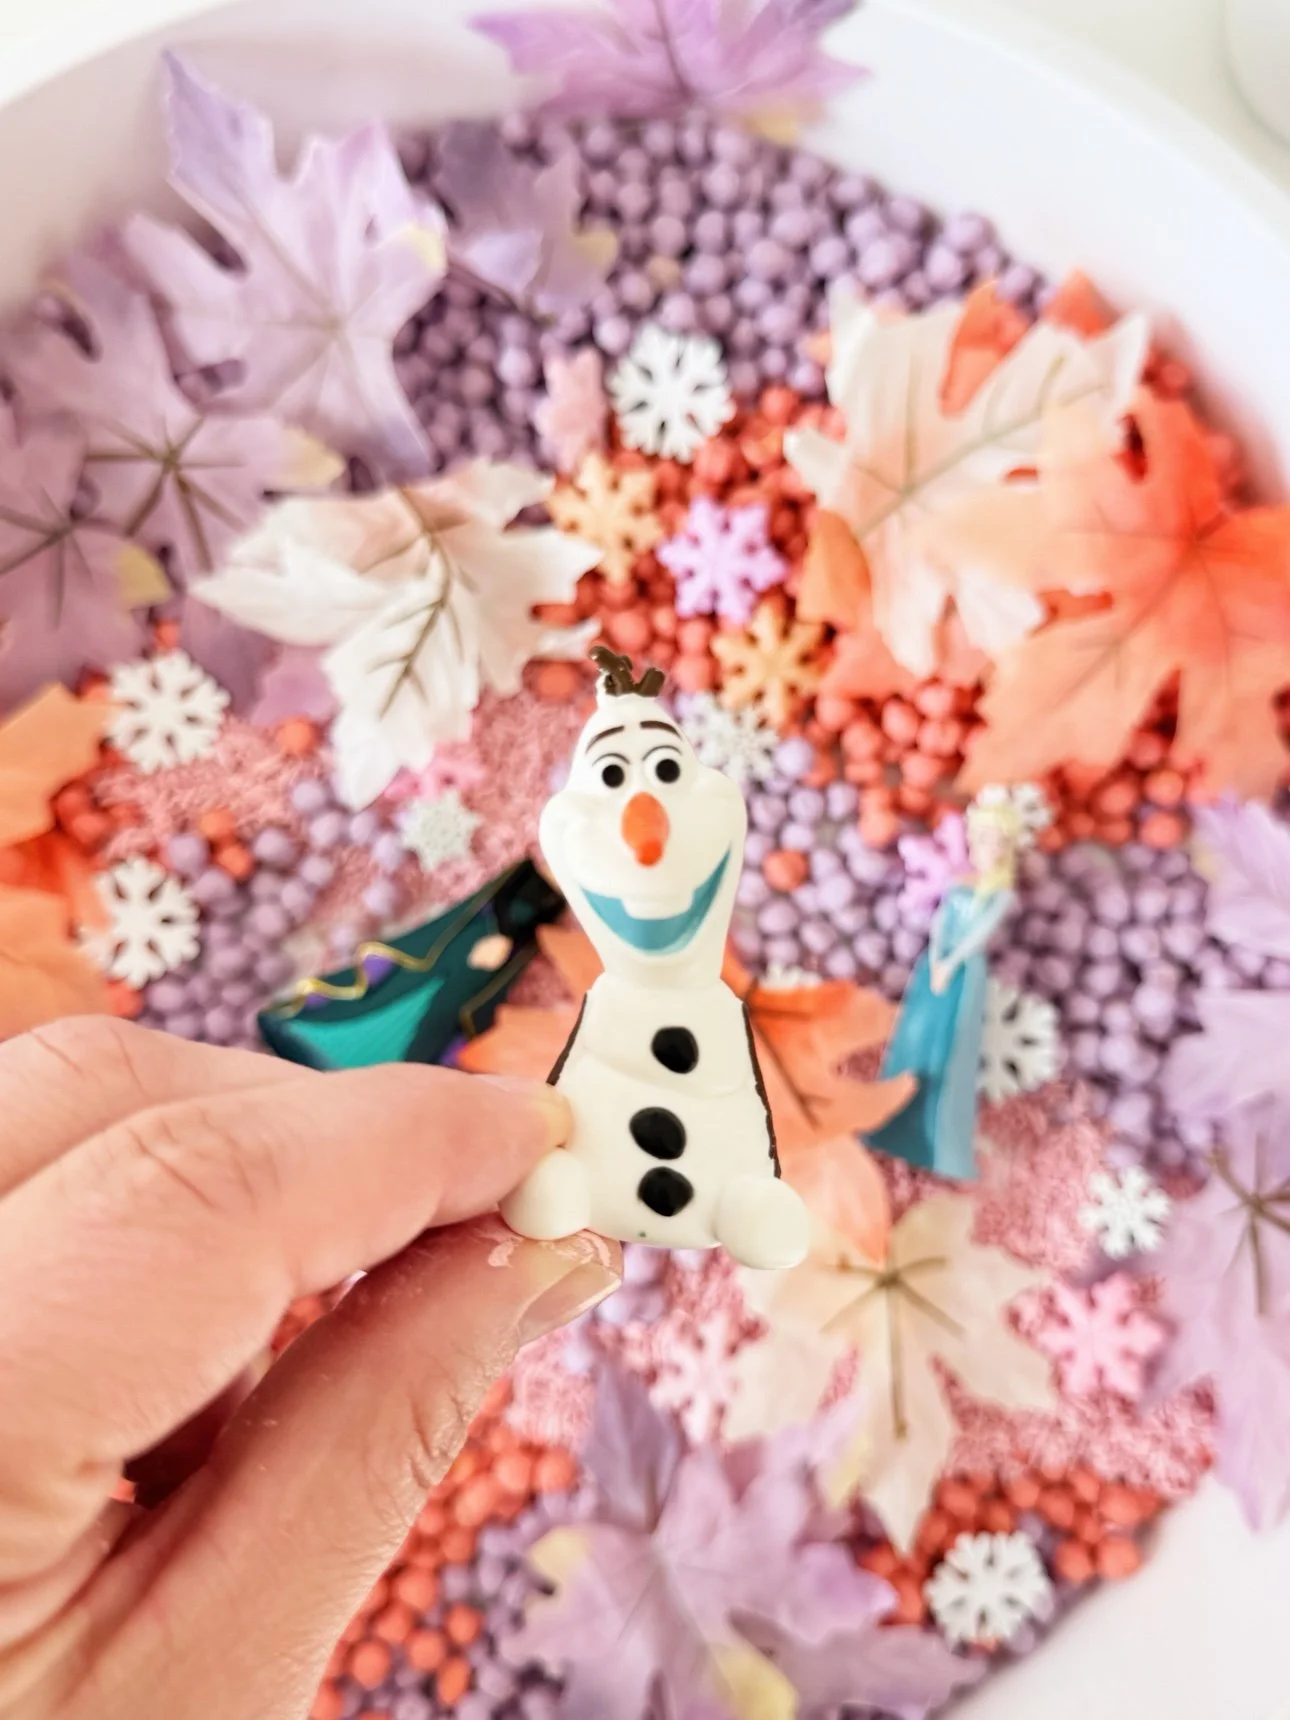
Olaf figurine held over the fall frozen sensory bin
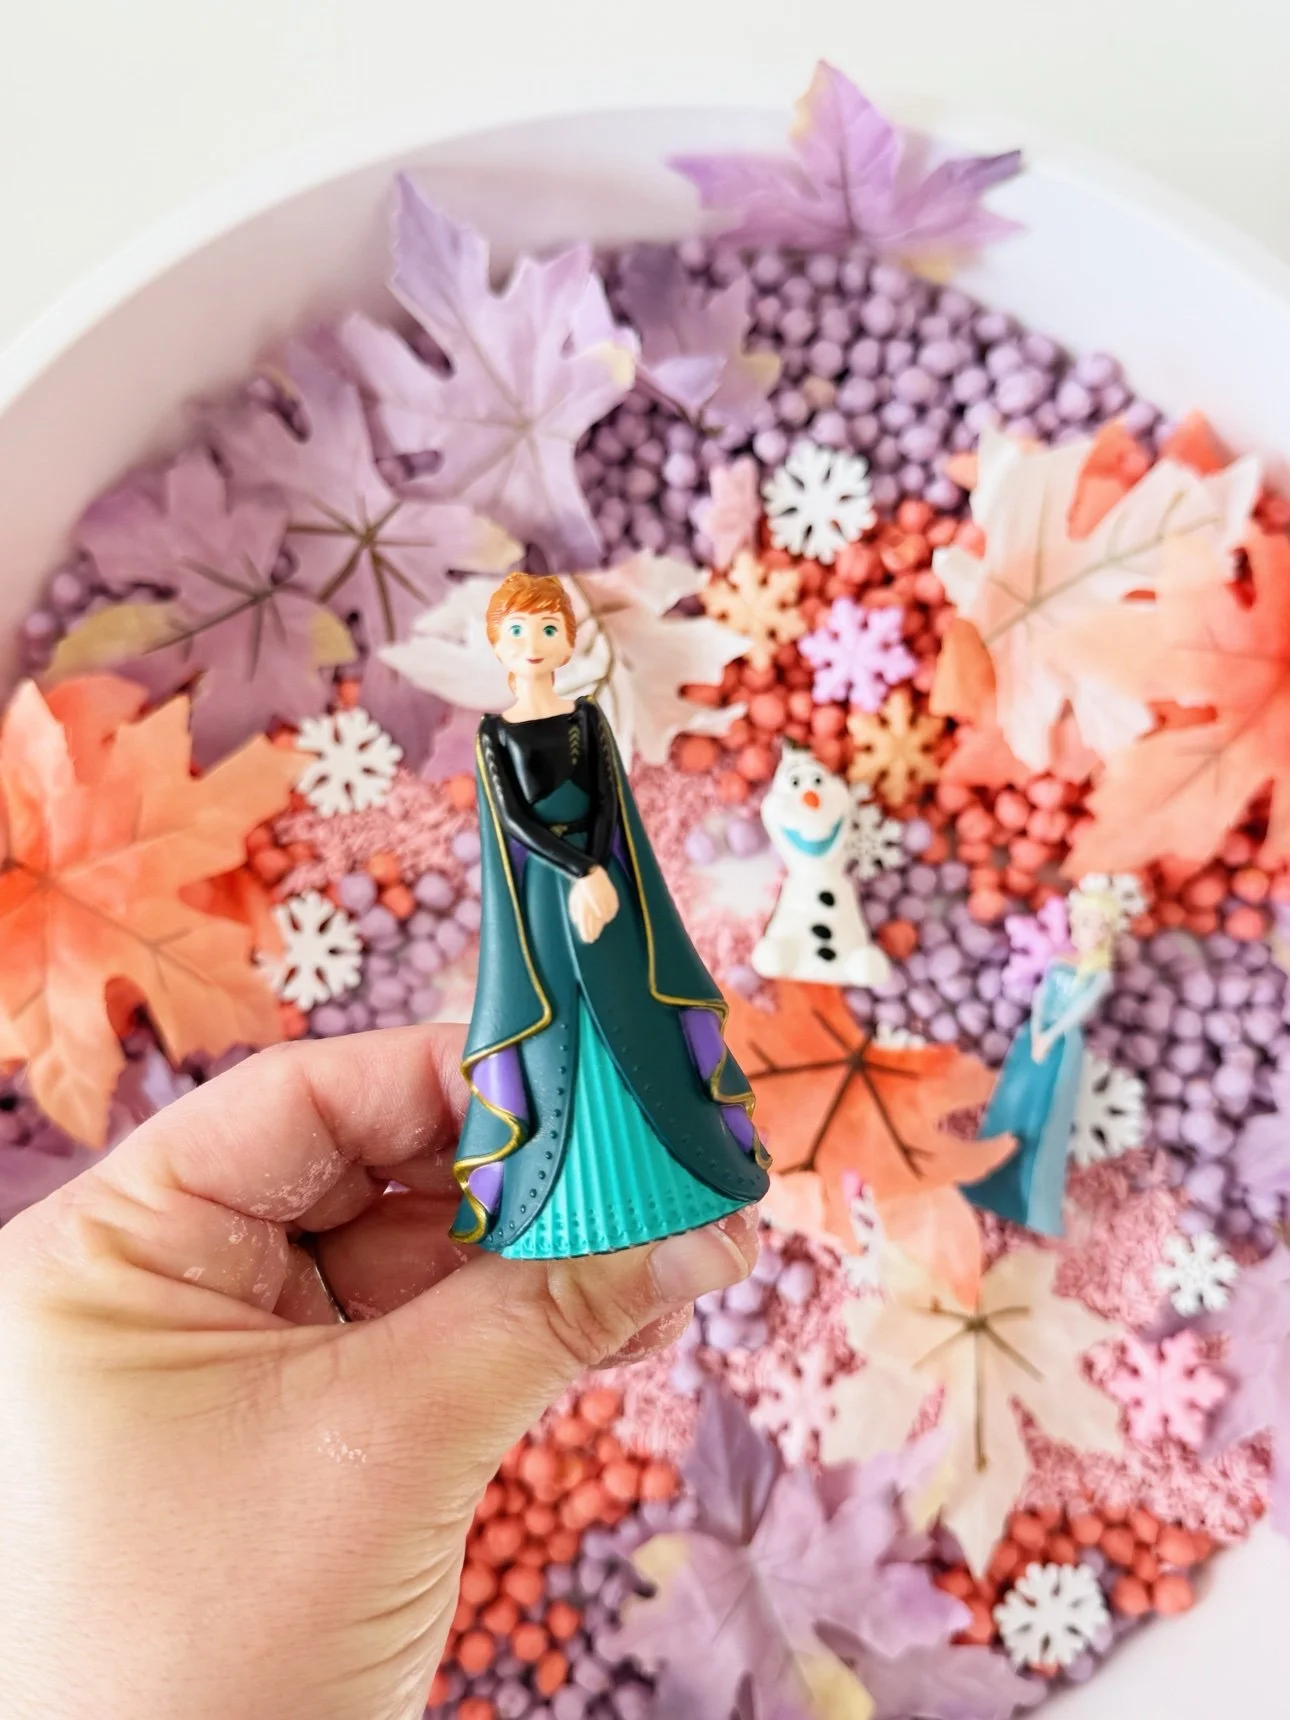
Anna figurine held over the fall frozen sensory bin
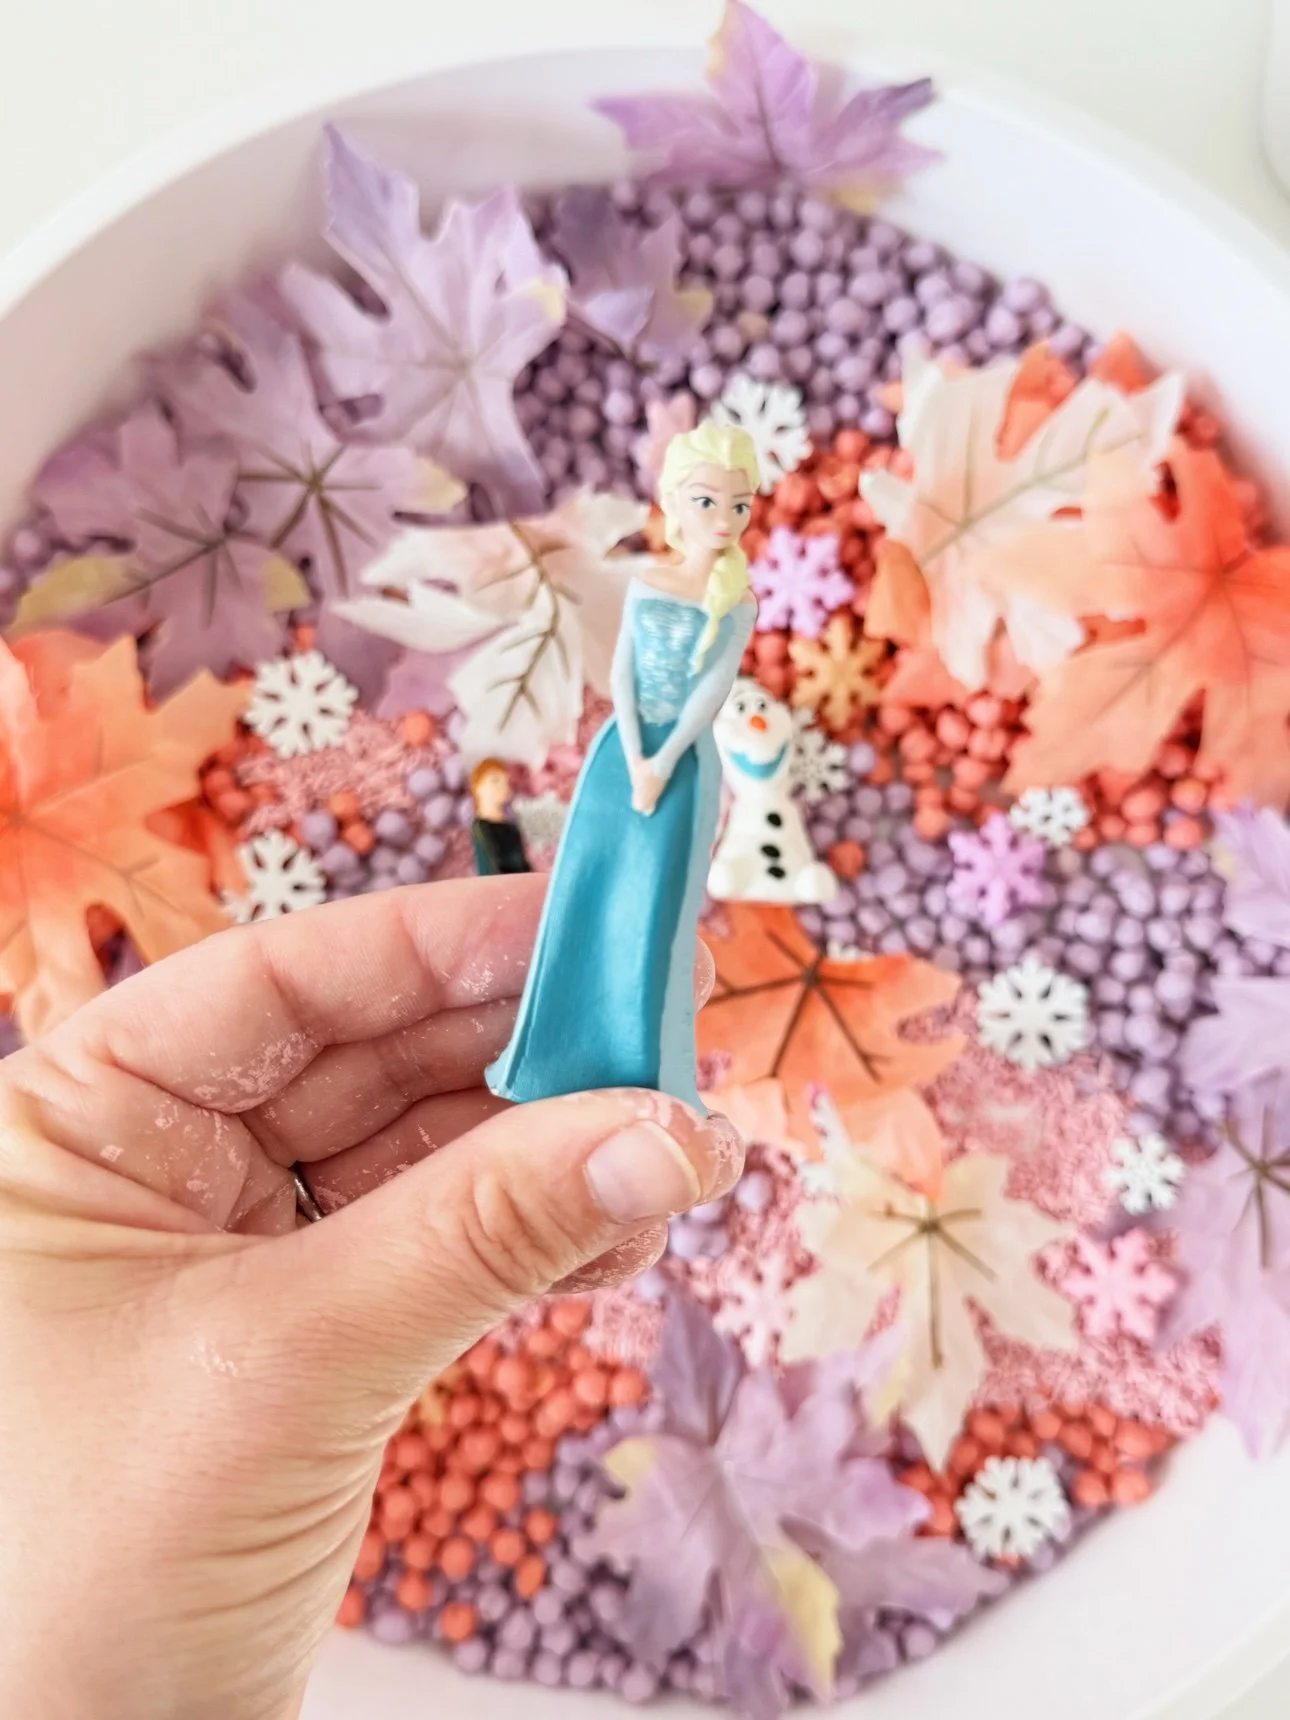
Elsa figurine held over the fall frozen sensory bin

Meet the Frozen crew — Olaf, Anna, and Elsa.

Storage + cleanup tips

  • Store dry fillers in jars or ziplock bags — dyed chickpeas and rice keep for months and re-set beautifully.
  • Keep a refill tray: we left the compartment tray loaded so topping up the bowl takes ten seconds.
  • Play on a sheet: chickpeas roll. A flat bedsheet under the bin catches escapees and makes cleanup a two-minute shake-out.
  • Refill the leaves seasonally: swap in evergreen sprigs for winter or pastel eggs for spring and the bin gets a second life.

Shop this bin

Everything we used to make this fall frozen sensory bin — if you'd rather not hunt it down. (Send me your exact product links anytime and I'll swap them in.)

Inspire My Play PlayTRAY white sensory play tray with six removable compartments

Inspire My Play PlayTRAY

The white sensory tray with six removable compartments we stage everything in — also doubles as refill storage.

View on Amazon

LEHAHA 12 inch white melamine serving bowls, set of two

Large white serving bowl

The bin itself — wide and shallow so little hands can reach everything.

View on Amazon

Goya dried chickpeas garbanzo beans, one pound bag

Dried chickpeas

Dried chickpeas for dyeing — the salmon and lavender fillers.

View on Amazon

Mahatma extra long grain white rice, five pound bag

White rice (for dyeing)

Plain white rice dyes beautifully into that blush pink filler.

View on Amazon

Shuttle Art pastel acrylic paint set, 40 pack

Pastel acrylic paint set

We used Shuttle Art pastel acrylics — lilac, rose, mauve, coral red, salmon, and white for the whole palette.

View on Amazon

Whaline 300 piece assorted faux fall maple leaves

Faux fall leaves (assorted)

Mixed-color faux fall leaves — the fall half of the bin.

View on Amazon

PPhtony 80 piece white wooden snowflake decorations

Snowflake decorations

White wooden snowflakes — scatter them over the top like the first frost.

View on Amazon

Disney Store Frozen figure set with Anna, Elsa, and Olaf

Frozen figurines (Anna, Elsa, Olaf)

A Disney Store Frozen figure set — the stars of the small-world scenes.

View on Amazon

Some links are affiliate links. We only share things we actually use.

How do you dye chickpeas for a sensory bin?

Shake dried chickpeas in a ziplock bag with acrylic paint until evenly coated, then spread in a single layer on a parchment-lined tray to dry for 1–2 hours. For a taste-safe version, swap the acrylic for food coloring + a splash of white vinegar.

How long does this sensory bin take to set up?

About 20 minutes once your fillers are dyed and dry. Dyeing the chickpeas and rice is 15 minutes of active work plus 1–2 hours of drying time, so do the fillers the night before.

Is this sensory bin taste-safe?

As shown, no — acrylic paint is not edible, so it's best for kids who don't mouth play materials, with active adult supervision. For mouthers, dye everything with food coloring + vinegar instead.

How long do dyed chickpeas and rice last?

Months. Store them dry in jars or ziplock bags and they'll re-set beautifully for future bins — swap the leaves and figurines and you have a whole new theme.

What ages is a fall frozen sensory bin good for?

Ages 2–6 is the sweet spot. Toddlers scoop, pour, and explore textures; preschoolers add sorting, counting, and elaborate small-world stories with the Frozen characters.

Toddler Memory Games: 8 Simple At-Home Ways to Build Focus and Recall

Toddler Memory Games: 8 Simple At-Home Ways to Build Focus and Recall

If your toddler can remember exactly where you hid the snacks but forgets what you asked them to do thirty seconds ago — congratulations, you have a completely normal toddler. These 8 toddler memory games turn that sharp little brain toward focus, matching, and recall, one short game at a time.

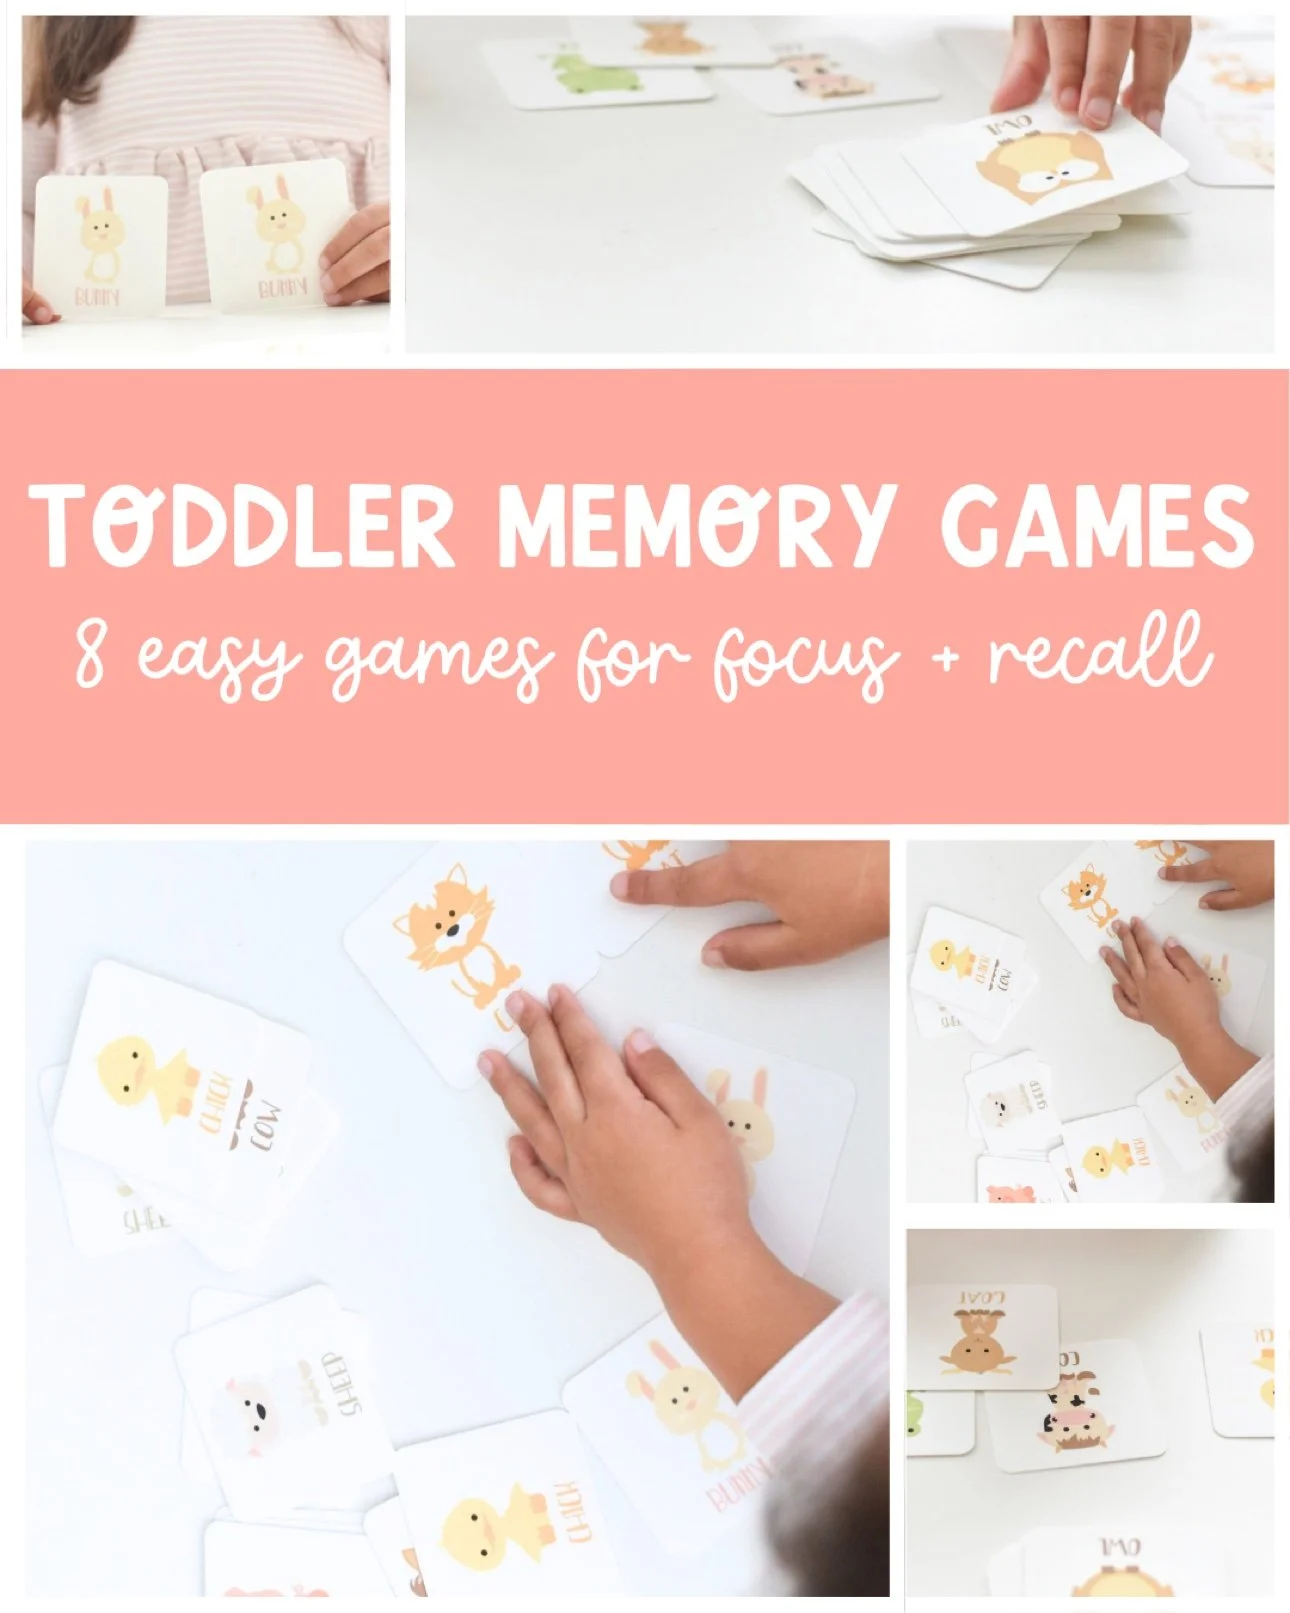
Toddler memory games: 8 easy matching games for focus and recall
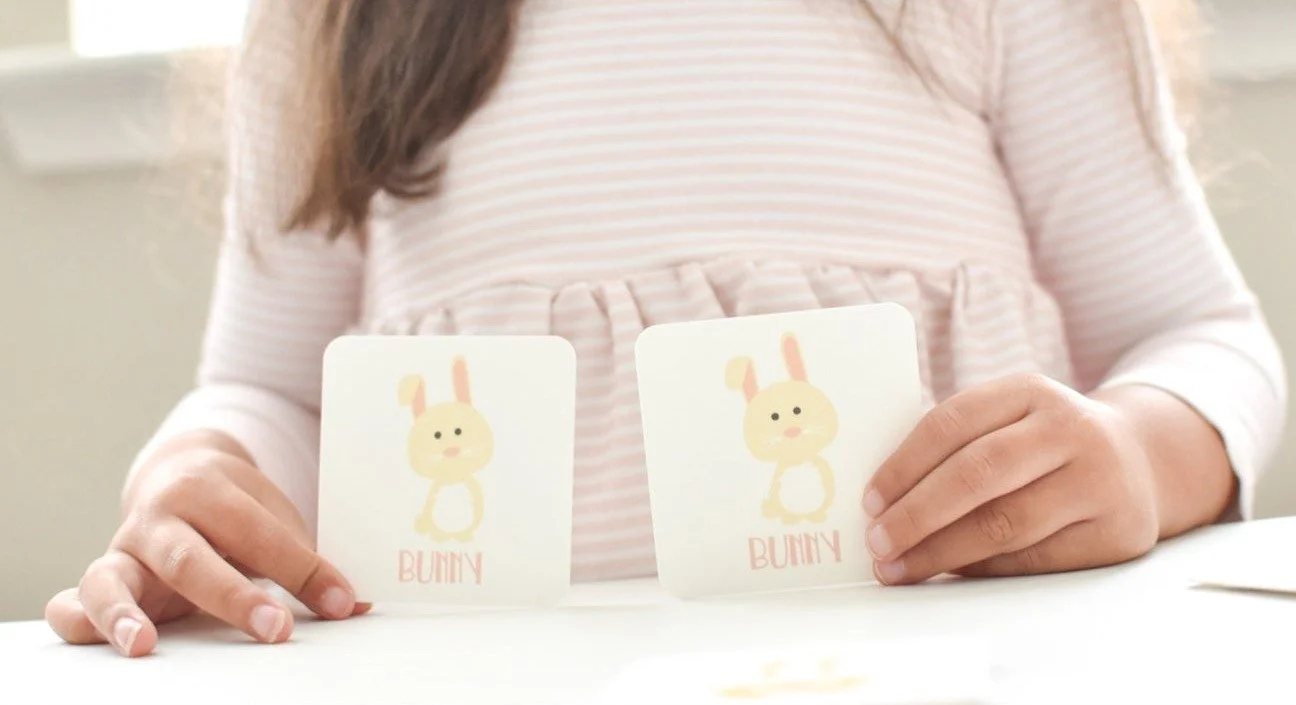
Matching games were our rainy-day staple — the same cheerful faces every time made remembering easier.
Best forAges 18 months–4 years
Time5–10 minutes per game
CostMostly free
SkillsMemory + focus

Why memory games are worth your 10 minutes

Here's the thing nobody tells you about toddler attention spans: they're supposed to be short. A two-year-old focusing for five solid minutes is doing exactly what two-year-olds do. Memory games aren't about forcing longer focus — they're about giving that little brain fun reasons to practice paying attention, noticing details, and holding one small thing in mind while doing another.

When she was little, matching games were one of our rainy-day staples. Not because I was running some kind of brain-training program — honestly, I just needed something that kept her seated for more than four minutes while I drank my coffee while it was still warm. But I noticed something: the more we played, the longer she'd stick with puzzles, the better she got at finding things we'd "lost," and the more she started narrating what she was doing out loud. Play was doing the work all by itself.

These toddler memory games start dead simple (no reading, no rules to memorize) and build from there. Most use things you already own. And every single one sneaks in bonus skills — vocabulary, turn-taking, fine motor — without your toddler ever suspecting they're learning a thing.

8 toddler memory games to play at home

1. Face-up matching (the starter game)

Forget everything you know about how memory games "should" be played. For toddlers under two, flip the cards face up and just match the pairs. Same pictures together — that's the whole game. It teaches the core idea (these two go together) without the frustration of hidden cards. We started here when she was about eighteen months, with just three or four pairs, and she loved the satisfaction of finding the match. When face-up matching gets easy, you're ready for the real flip-and-find version.

2. The tiny-grid classic

Once face-up matching clicks, try the traditional game — but shrink it way down. Three or four pairs, laid out in a small grid, cards face down. Take turns flipping two. Narrate everything: "I got the cow… and the pig! Not a match. Your turn — where do you think the cow is?" That running commentary is half the learning: it models the thinking-out-loud strategy older kids use to remember. Quit after a few rounds, while it's still fun — ending on a high note means they'll ask to play again tomorrow.

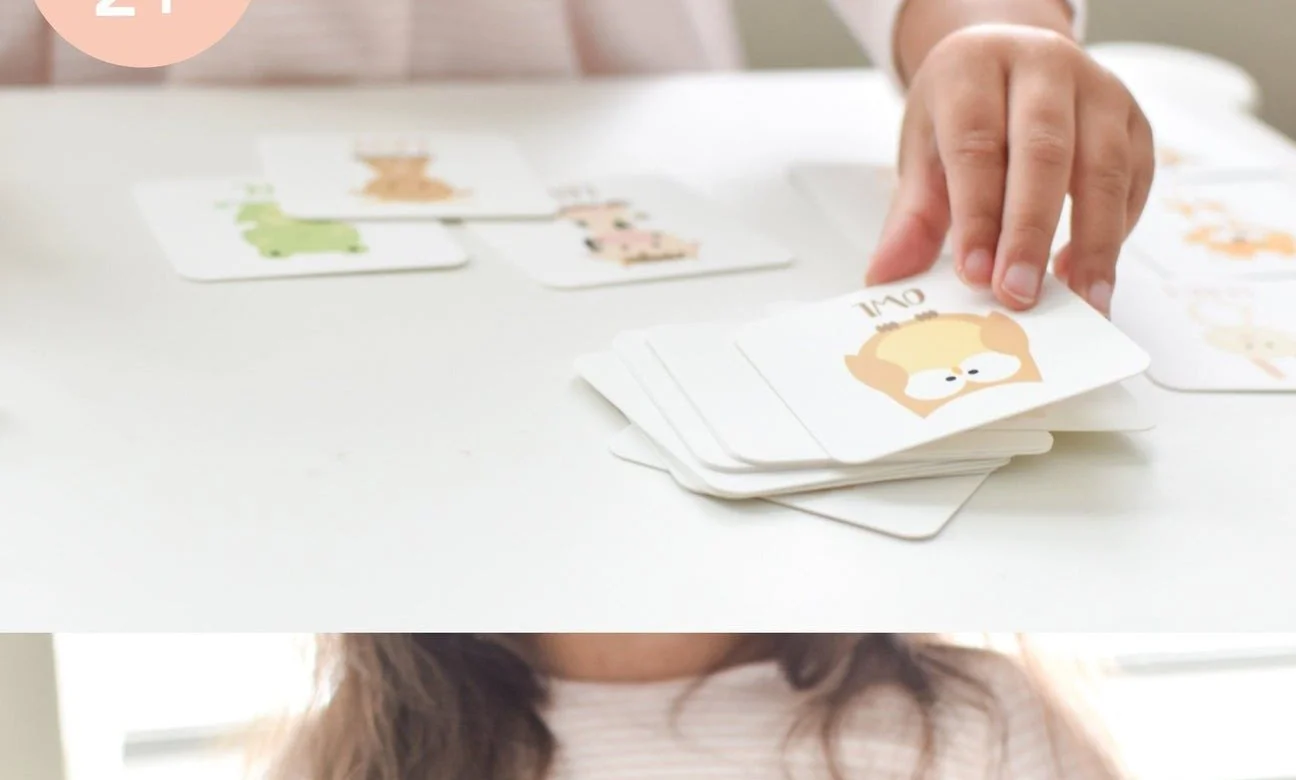
Toddler playing a face-up matching memory game, flipping a card to find its pair
We started with the cards face up — just matching the pairs, no flipping from memory yet.

3. The tray game ("what's missing?")

This one's a classic for a reason. Lay three or four familiar objects on a tray — a spoon, a toy car, a ball, a block. Let your toddler look at them for a few seconds, name each one together, then cover the tray with a tea towel. Sneak one object away, uncover, and ask: "What's missing?" Start with just three objects and build up. The naming-together step matters — it gives their brain a verbal hook to hang the memory on.

4. Muffin-tin pair hunt

Hide matching pairs under the cups of an overturned muffin tin (or plastic cups on the table). Your toddler lifts two cups to find the pairs hiding underneath. The lifting and peeking adds a motor element that keeps wiggly kids engaged longer than flat cards do, and you can swap what's hidden — stickers, pom-poms, small toys, picture cards — so the game feels brand new every time you set it out.

5. Card hide-and-seek around the room

Take one card from each matching pair and hide them around the room — on the couch, behind a pillow, under the table (keep them visible-ish for little ones). Hand your toddler the other half of each pair and send them hunting: find the hiding card that matches the one in your hand. It pairs memory with movement, which is a magic combination for toddlers who can't sit still. We played versions of this constantly when she was little — the sillier the hiding spots got, the harder she laughed and the longer she played.

Toddler holding matching memory game cards during a card hide-and-seek game
One card from each pair in her hand, the matches hidden around the room — her favorite version.

6. Sound shaker pairs

Fill pairs of small opaque containers (old spice jars or Easter eggs taped shut work perfectly) with matching fillings — rice and rice, beans and beans, bells and bells, pom-poms and pom-poms. Shake one, then hunt for its sound-alike. This one's wonderful because there's no "right picture" to find — it's pure listening and remembering, and toddlers find it genuinely thrilling when they get it right. Just make sure everything is sealed well enough to survive enthusiastic shaking.

7. Photo pairs of real life

Print double copies of a few favorite photos — the dog, grandma, their best friend, their own shoes — and play matching with those. Toddlers are wildly more motivated to remember faces and things they love than generic pictures. It's also the sweetest game to watch: the delight when they match the two grandmas is something else. Bonus: naming everyone in the photos sneaks in vocabulary and family connection at the same time.

8. Story re-tell from pictures

After reading a favorite book, lay out three or four picture cards (or just point at the illustrations) and re-tell the story together out of order: "What happened first? And then what?" Remembering a story's sequence is memory work in disguise — and it's one of the earliest building blocks of both comprehension and storytelling. Start with books they practically have memorized; the familiarity is what makes it feel like a game instead of a quiz.

Bonus tip: keep a set where the waiting happens

The games above all work with household objects, but there's a real case for one dedicated matching set: consistency. When she was little, we kept a small set of animal matching cards in the kitchen drawer — the same pictures every time — and pulled them out during those in-between moments: waiting for pasta to boil, sitting at a restaurant, the last ten minutes before naptime. Because the pictures never changed, she started remembering where specific cards were, which turned every game into a little victory. Familiar materials build confidence; novelty builds interest. You want both.

Tips that make every game work better

  • Start tiny. Three pairs beats ten pairs for a beginner. Add more only when they're winning easily.
  • Let them win — sometimes. A toddler who never finds a match stops playing. A little strategic "forgetting" on your part keeps them coming back.
  • Narrate everything. Saying what you see and what you're thinking models the exact mental strategies memory relies on.
  • Quit while it's fun. Five great minutes beats fifteen minutes that end in tears. You can always play again after snack.
  • Follow their lead. If they want to line the cards up instead of playing properly, that's fine — they're still looking, comparing, and noticing. That's the work.

What age can toddlers start playing memory games?

Around 18 months, most toddlers can handle simple face-up matching — finding two cards that look the same. The classic face-down flip-and-find game usually clicks between ages 2½ and 3, and even then, start with just three or four pairs. There's no rush; matching at any level is building the same skills.

How many pairs should I start with?

Three to four pairs is the sweet spot for beginners. It keeps the game short enough to finish and easy enough to win. Add one or two pairs at a time as it gets easy — you'll know it's time when they start finishing the game and immediately asking to play again.

My toddler just flips cards randomly. Is that normal?

Completely normal — and actually part of the process. Random flipping is how toddlers explore the materials and the rules. Keep modeling your own turns out loud ("I'm looking for the other cow… is it this one? No!"), and over a few weeks you'll see the randomness turn into genuine searching.

Do I need to buy special cards for memory games?

No — most of the games above use things you already own. But a dedicated set has real advantages: the same pictures every time let your child build genuine recall (not just matching), the cards survive toddler handling, and having a "game set" makes it feel like an event. If you go that route, look for big, clear illustrations with no visual clutter.

Our go-to matching cards

When she was little, our kitchen-drawer set was a small stack of animal matching cards — the same cheerful faces every time, sturdy enough to survive being chewed on, loved on, and dragged around the house. Big, clear illustrations were the key: no clutter, just the animal, so all her attention went to looking, comparing, and remembering. If you want the same setup, our memory game cards were made exactly for this.

Shop Farm Animal Memory Game

Shop Planets Memory Game

Toddler Speech Delay Activities: 10 At-Home Ways to Encourage Talking

10 toddler speech delay activities to encourage talking at home

Toddler Speech Delay Activities: 10 At-Home Ways to Encourage Talking

If your toddler understands everything but isn't talking yet, you're not alone — and there's so much you can do at home. These 10 play-based toddler speech delay activities fit into your normal day, no special training required.

Best forAges 18 months–3 years
Time5–10 minutes, woven into your day
CostMostly free
SkillsLanguage + connection

Why making talking fun worked for us

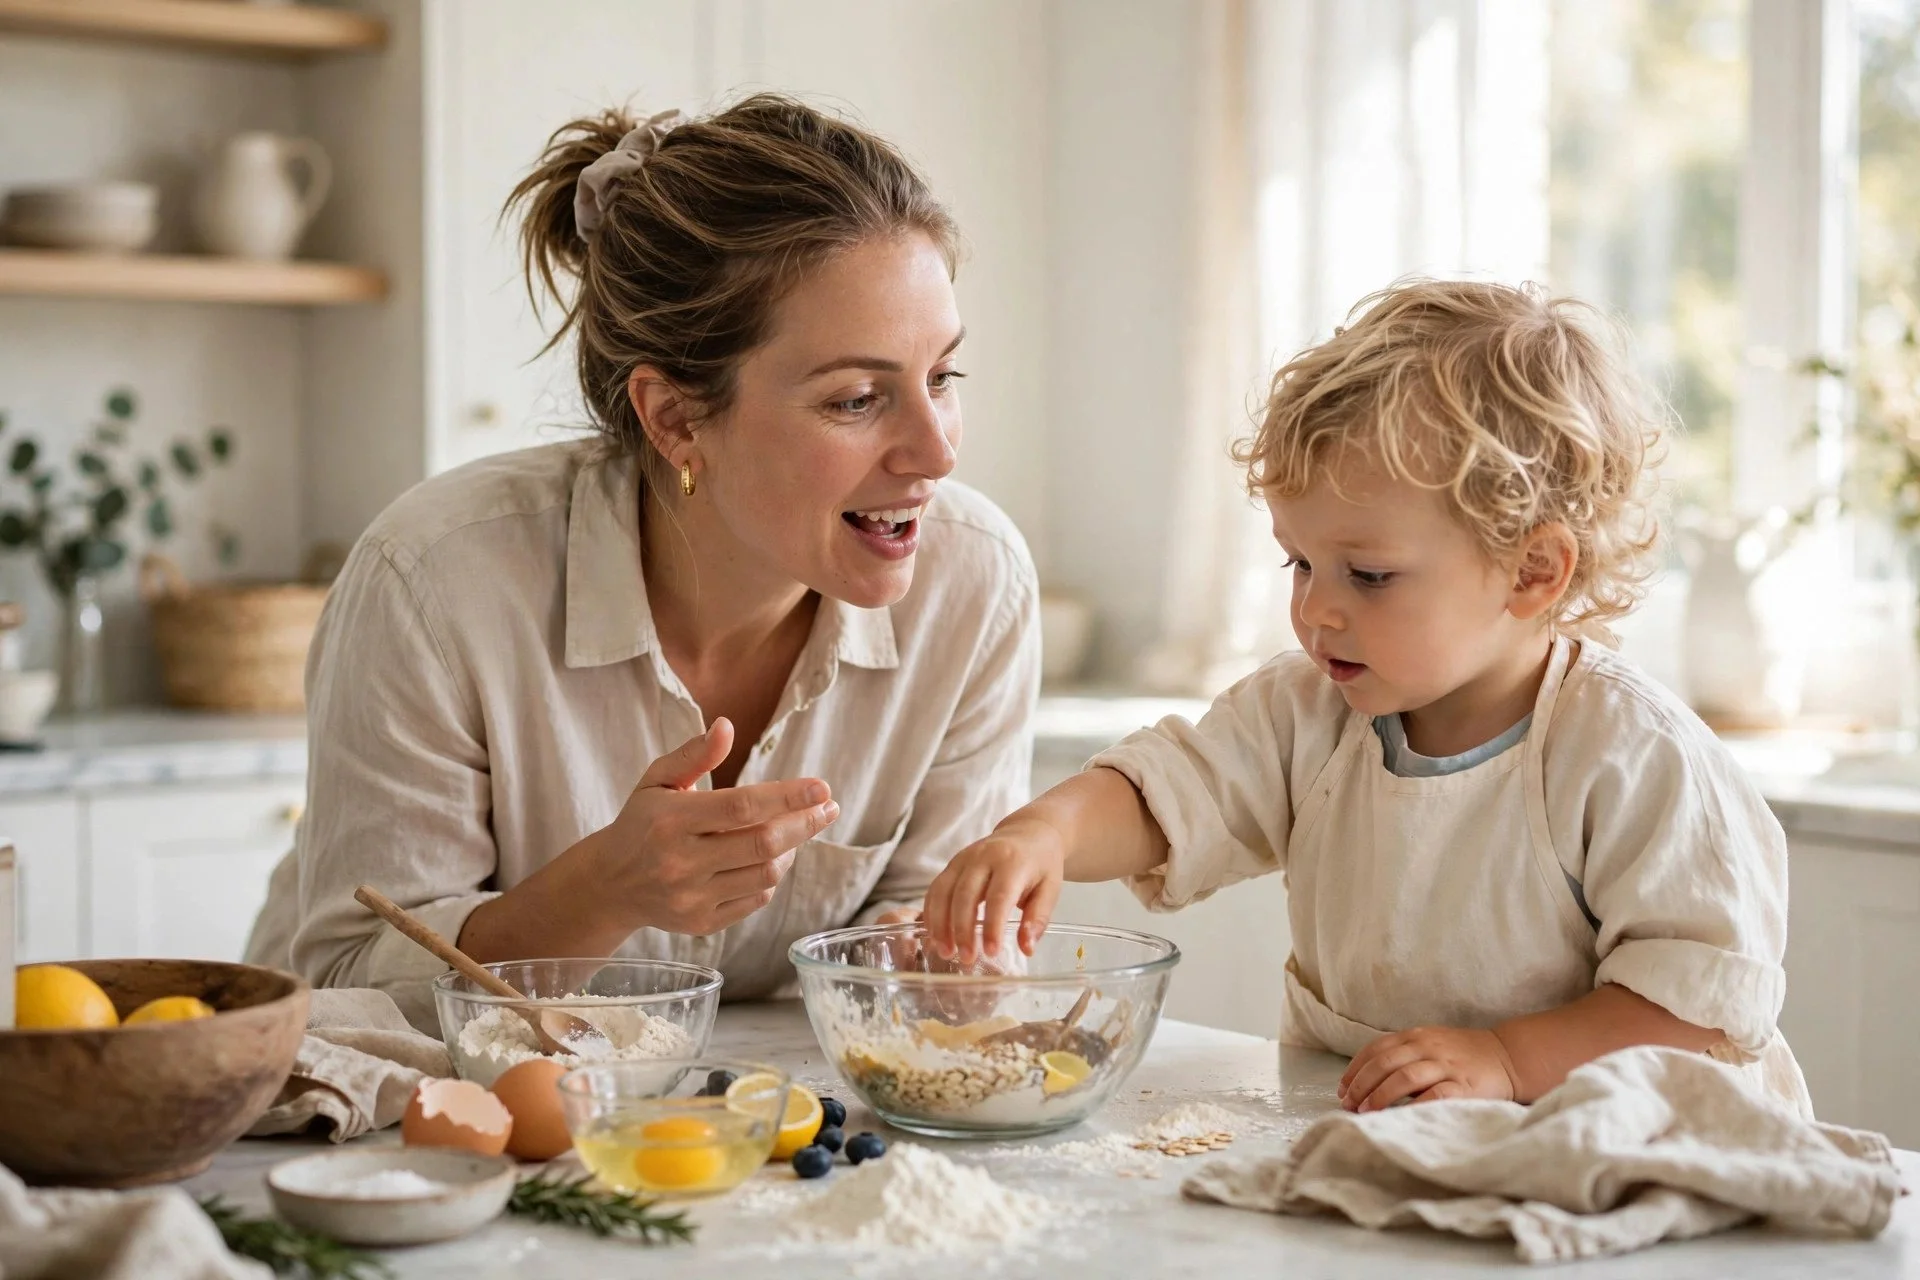
I'll be honest with you: my daughter didn't have a speech delay — she started talking early. And I'm convinced a big reason why is that we turned talking into the best game in the house. Narrating everything, being gloriously silly with animal sounds, pausing mid-song so she could shout the missing word — talking was never a lesson, it was play.

If you're here because you're worried about your toddler's speech, I understand — the worry is real, and I've watched mom friends carry it. Here's what I want you to know: it's incredibly common, and the everyday moments you already share with your child are the most powerful place to build language. These toddler speech delay activities aren't drills or flashcard marathons. They're small shifts in how you play, talk, and go about your day — the same strategies speech-language pathologists coach parents to use at home.

What does a speech delay look like in toddlers?

Every child develops on their own timeline, but in general, a speech delay means a child's spoken language is behind what's typical for their age — even though their understanding (receptive language) may be right on track. You might notice:

  • Using gestures and pointing more than words to communicate
  • Saying fewer words than peers the same age
  • Not yet combining two words together by around age two
  • Getting frustrated when you can't understand what they want

Important: I'm a mom, not a speech therapist. If you have concerns about your child's speech, talk to your pediatrician — they can refer you for a hearing screening and a speech-language evaluation. Early support makes a real difference, and there's no downside to asking. The activities below are wonderful for all toddlers building language, whether or not a delay is ever diagnosed.

10 toddler speech delay activities to try at home

1. Narrate your day out loud

Speech therapists call this "self-talk," and it's one of the simplest language builders there is. Just describe what you're doing as you do it: "I'm peeling the banana. Peel, peel… now I'm cutting it. One slice, two slices!" Your toddler hears vocabulary connected to real actions, dozens of times a day, with zero pressure to perform.

Mom narrating daily activities to encourage toddler talking — toddler speech delay activities
She narrated everything — peeling bananas, pouring water — and the words soaked right in.

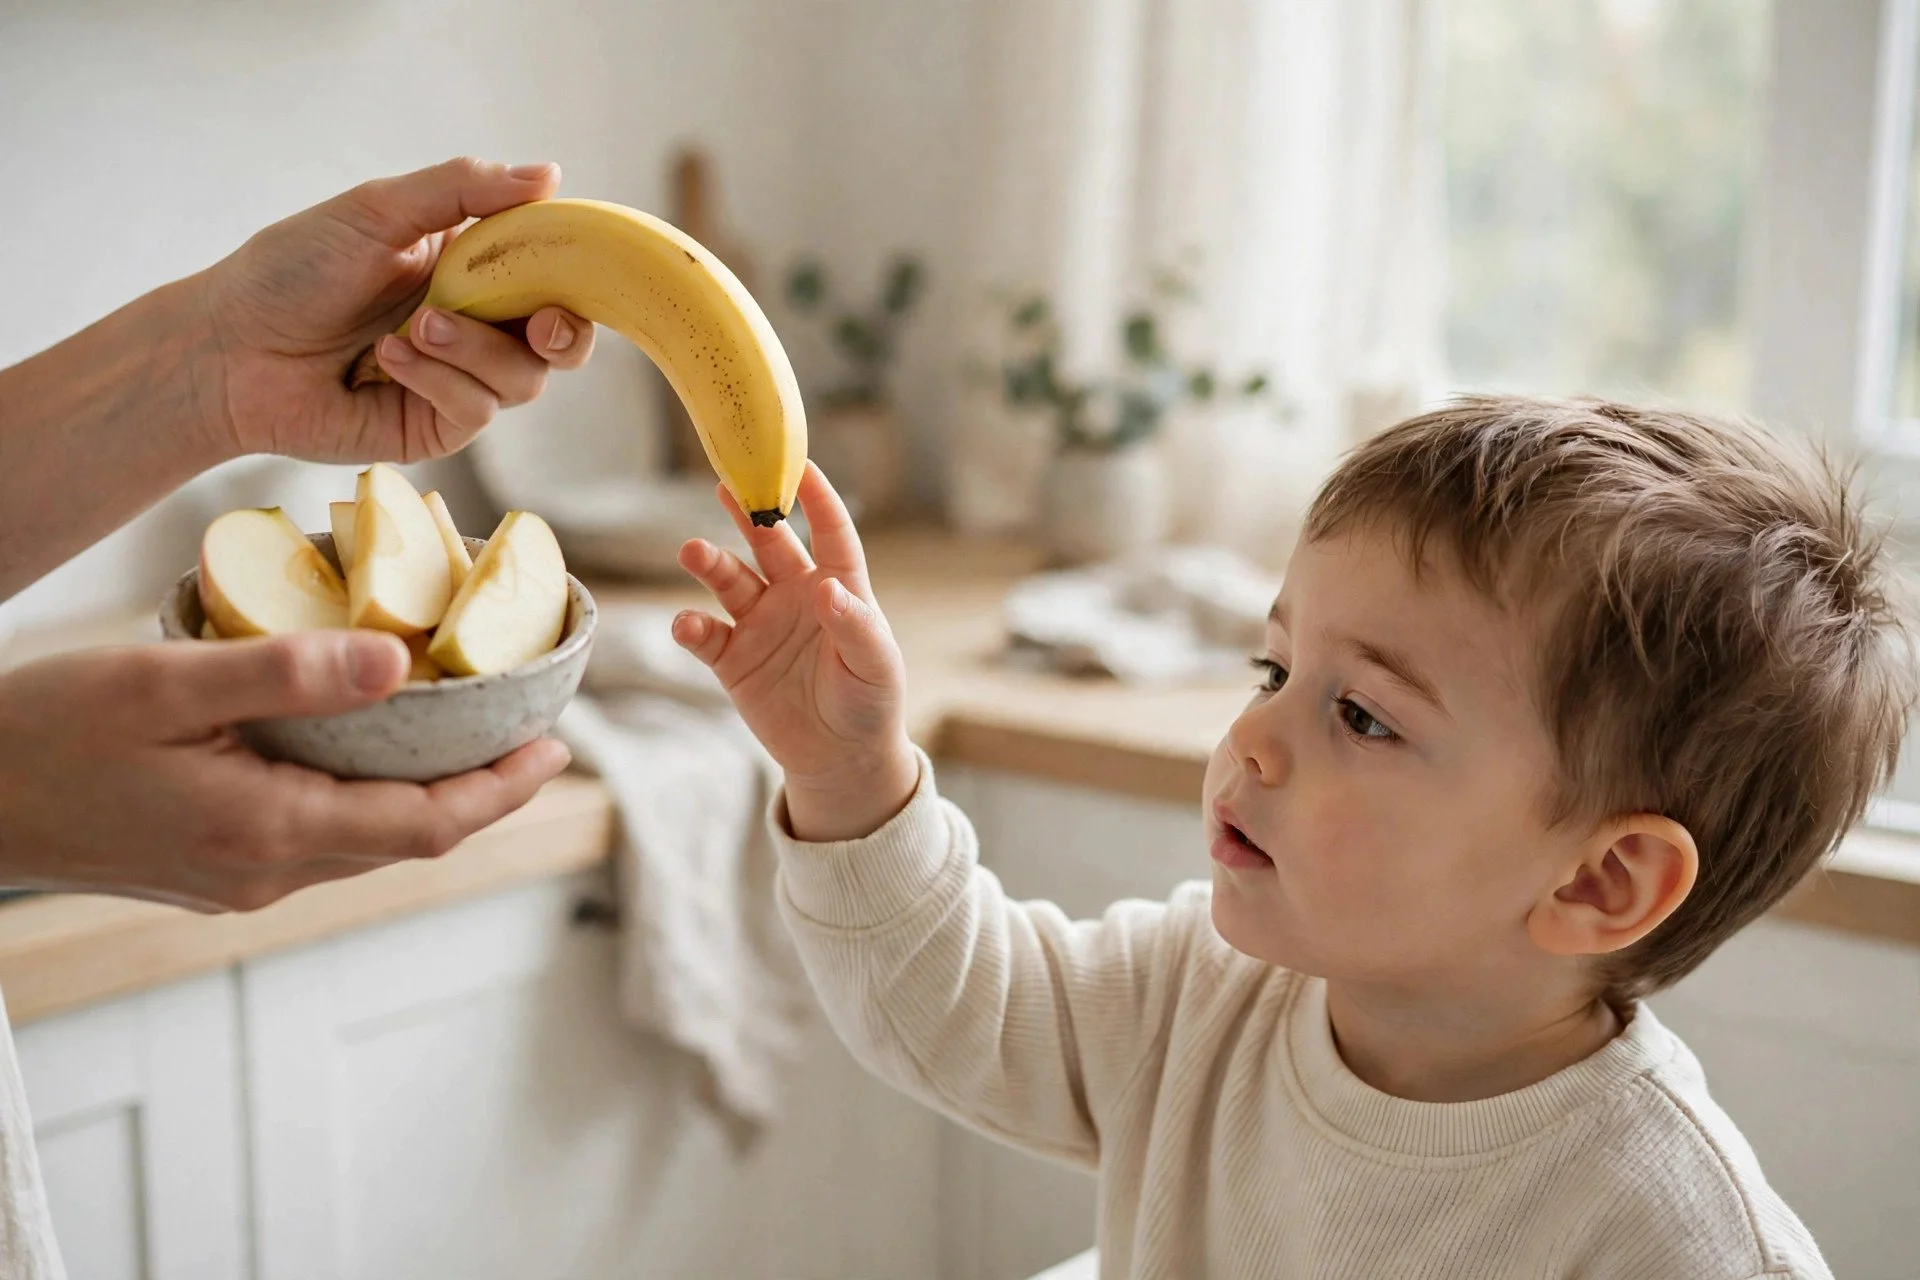
2. Offer choices instead of guessing

It's faster to hand your child what they want before they ask — but that removes their reason to communicate. Instead, hold up two options: "Do you want the apple or the banana?" Even if they just point at first, you've created a moment of communication. Then model the word back: "Banana! You chose the banana."

Offering a toddler two snack choices to encourage communication — toddler speech delay activities
Two options, held up side by side. Pointing counted as talking at first.

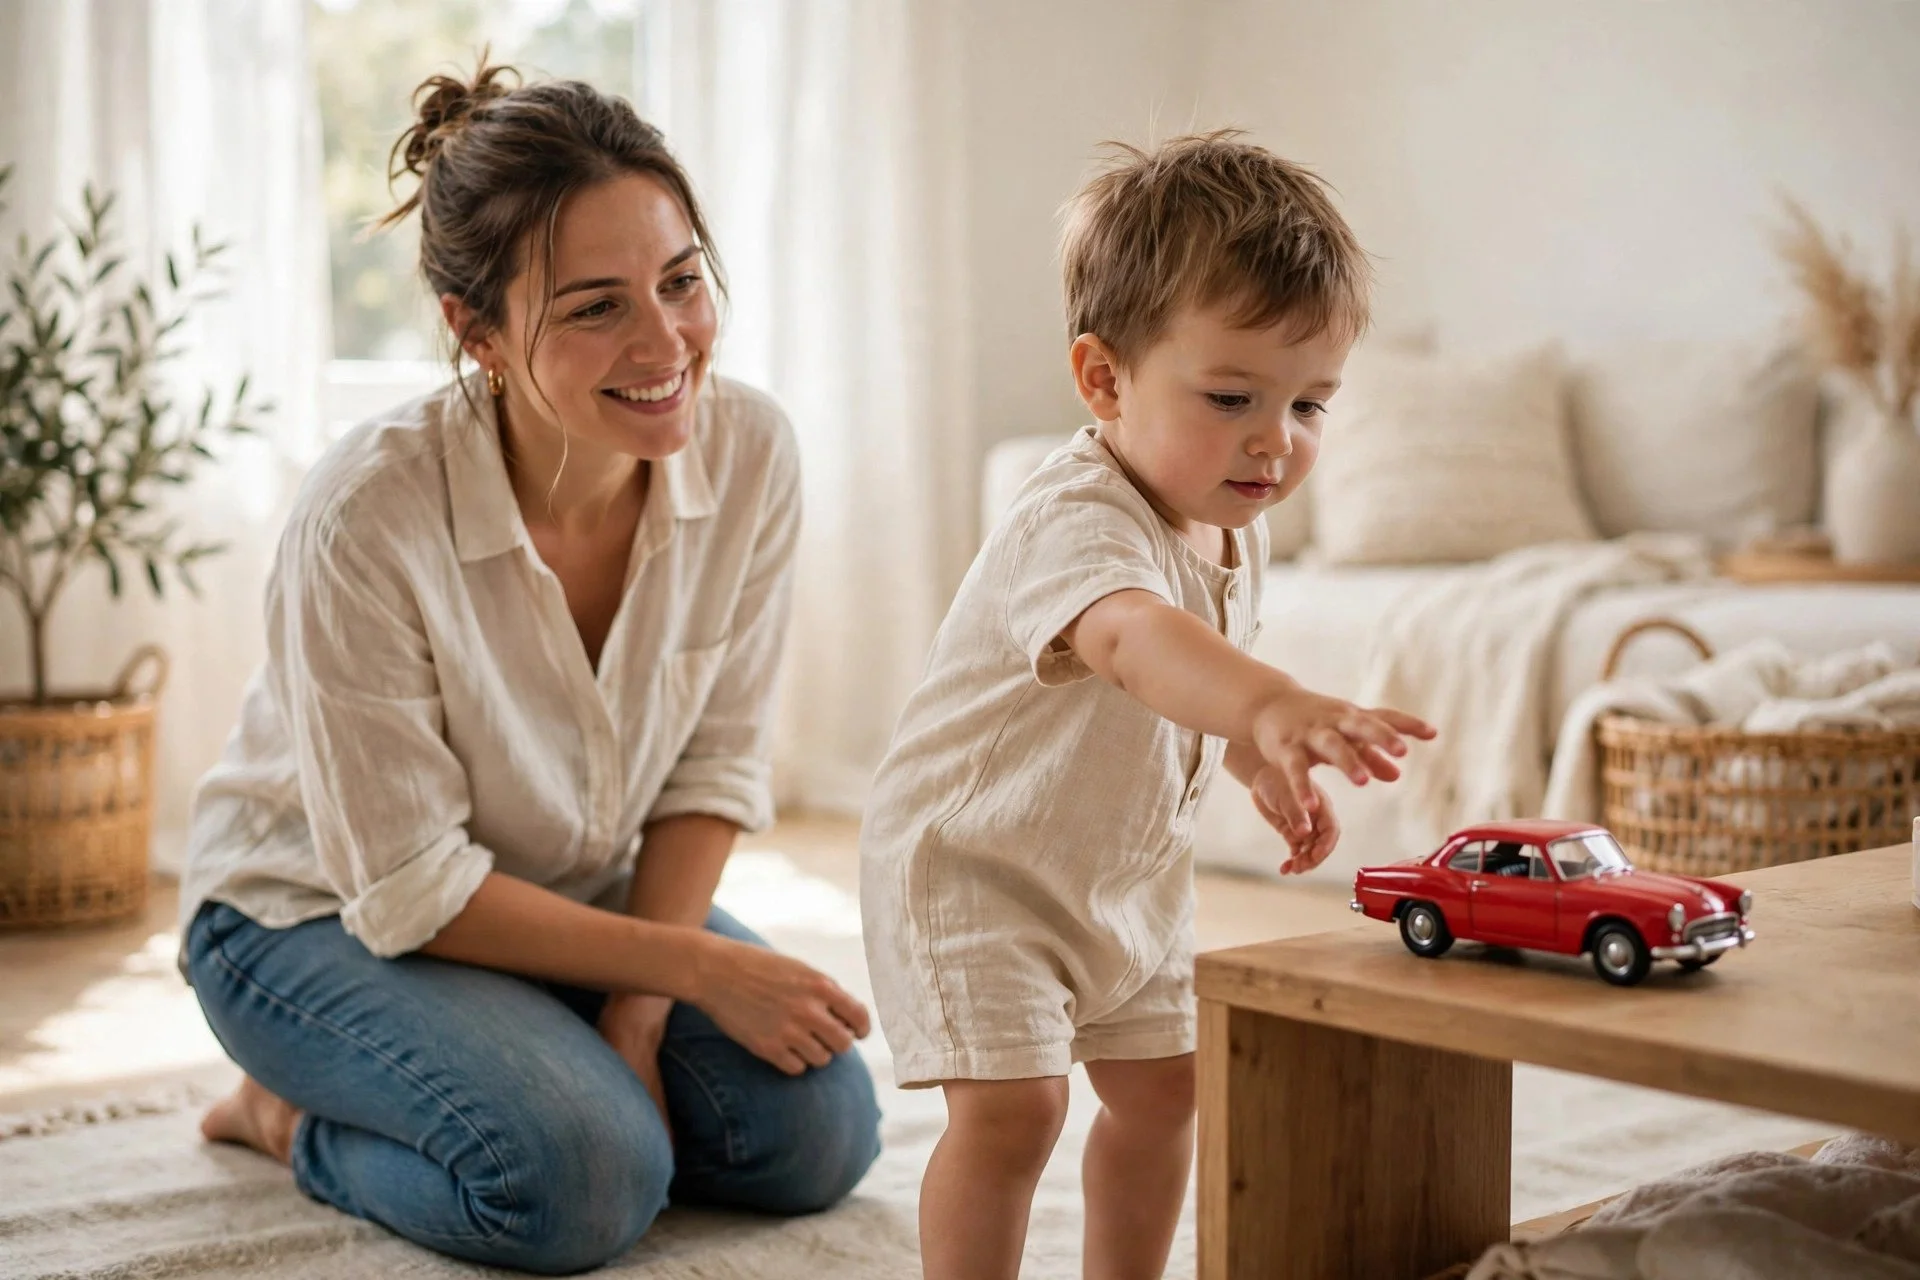
3. Create "communication temptations"

Put a favorite toy slightly out of reach — somewhere they can see it but can't grab it alone. When they look, point, or fuss, that's your opening to model the word: "Car! You want the car!" You're manufacturing joyful reasons to talk, several times a day.

Communication temptation with toy car in sight to prompt toddler speech — toddler speech delay activities
The red car sat just out of reach where she could see it. She learned fast that words made it come to her.

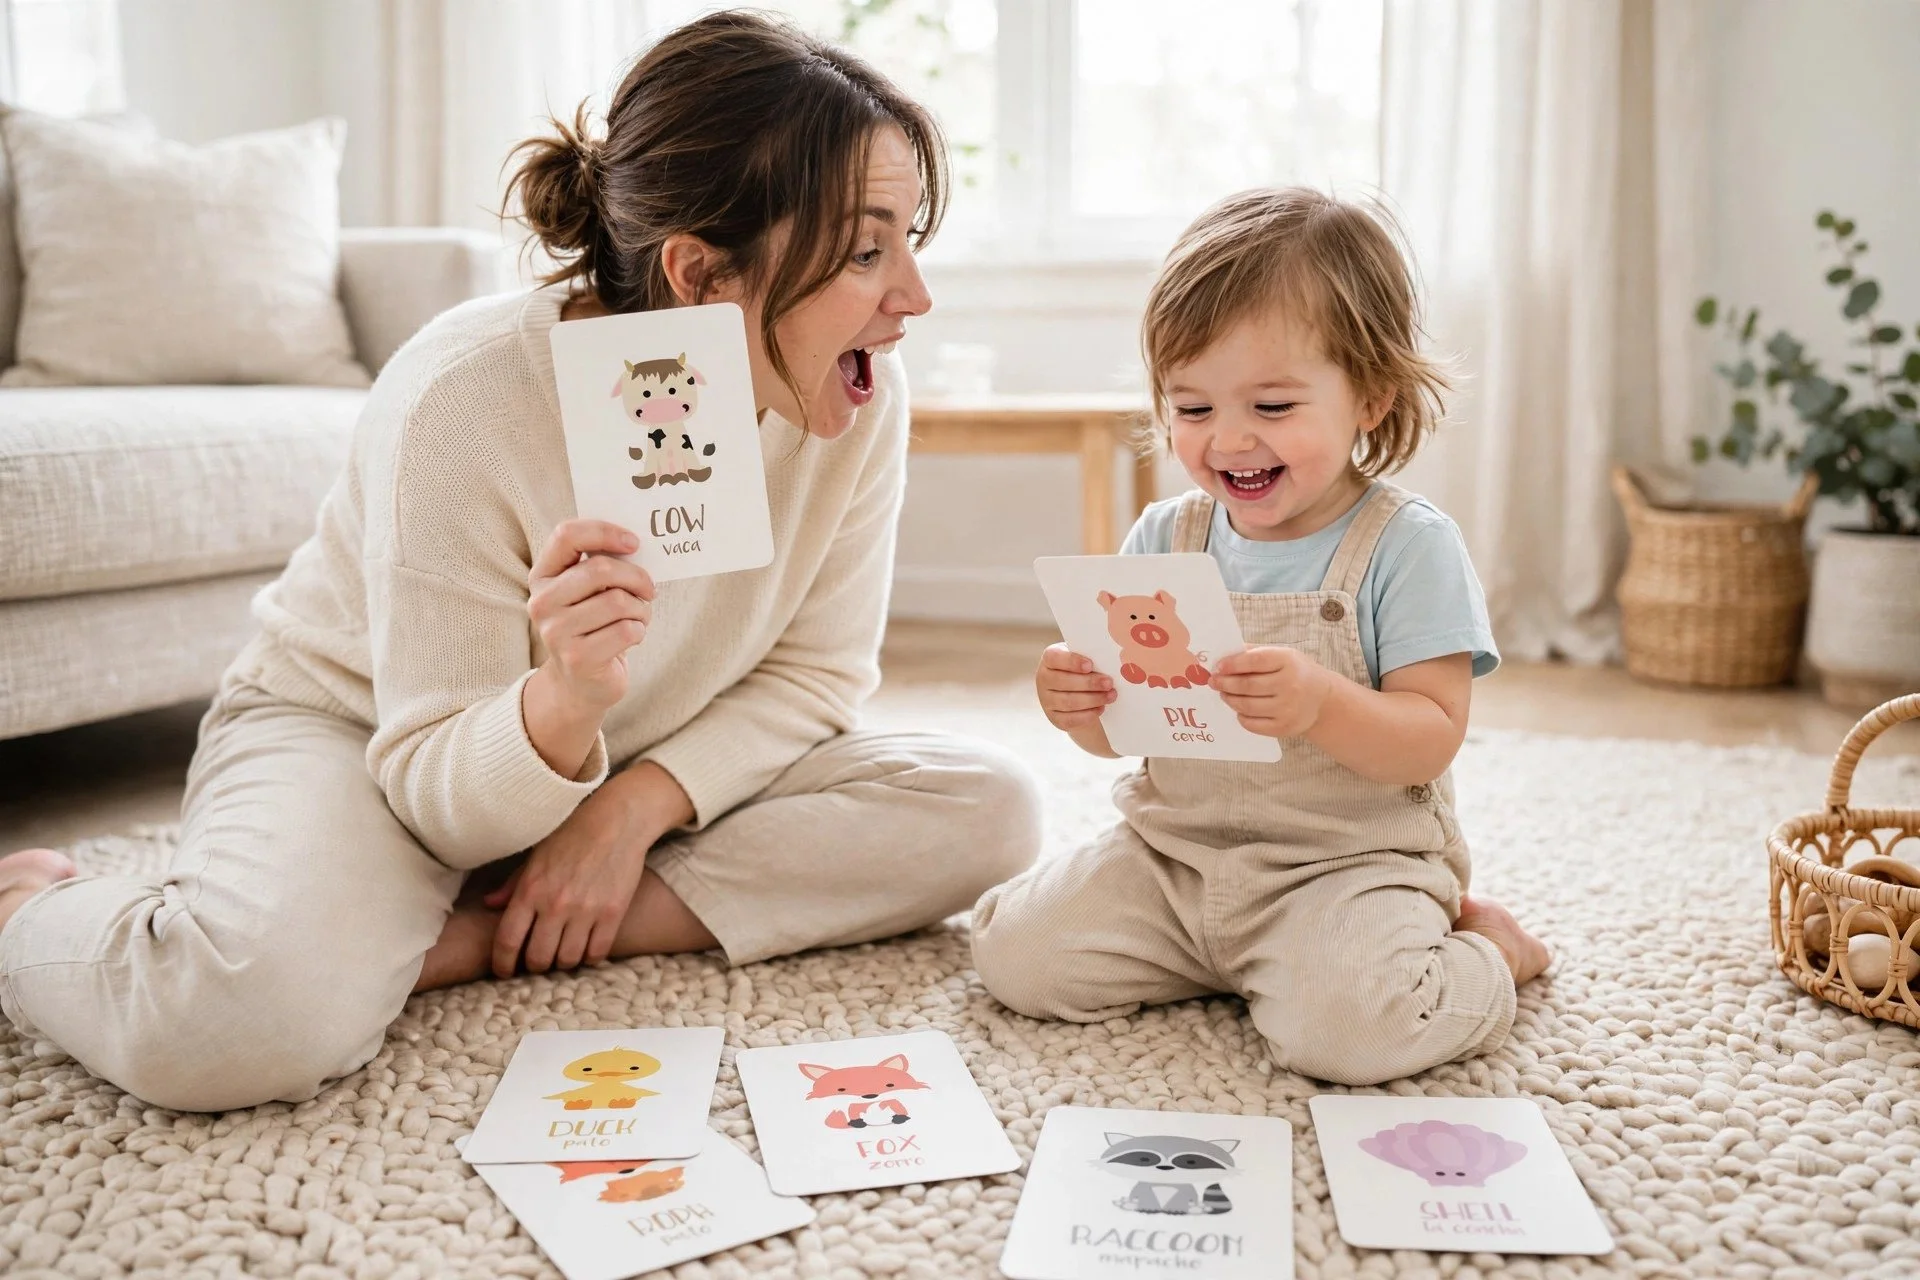
4. Practice animal sounds with picture cards

Animal sounds are often a toddler's very first "words" — moo, woof, roar — because they're fun to say and easy to imitate. Hold up an animal card, make the sound with big exaggerated expression, and wait. That pause matters: count silently to five in your head to give them time to try. We played this game constantly when she was little, a few cards at a time, a few times a day — short and silly beat long and serious every time.

Animal sound flashcards for toddler speech delay activities
A few animal cards at a time, big silly sounds, and a long pause to let her try.

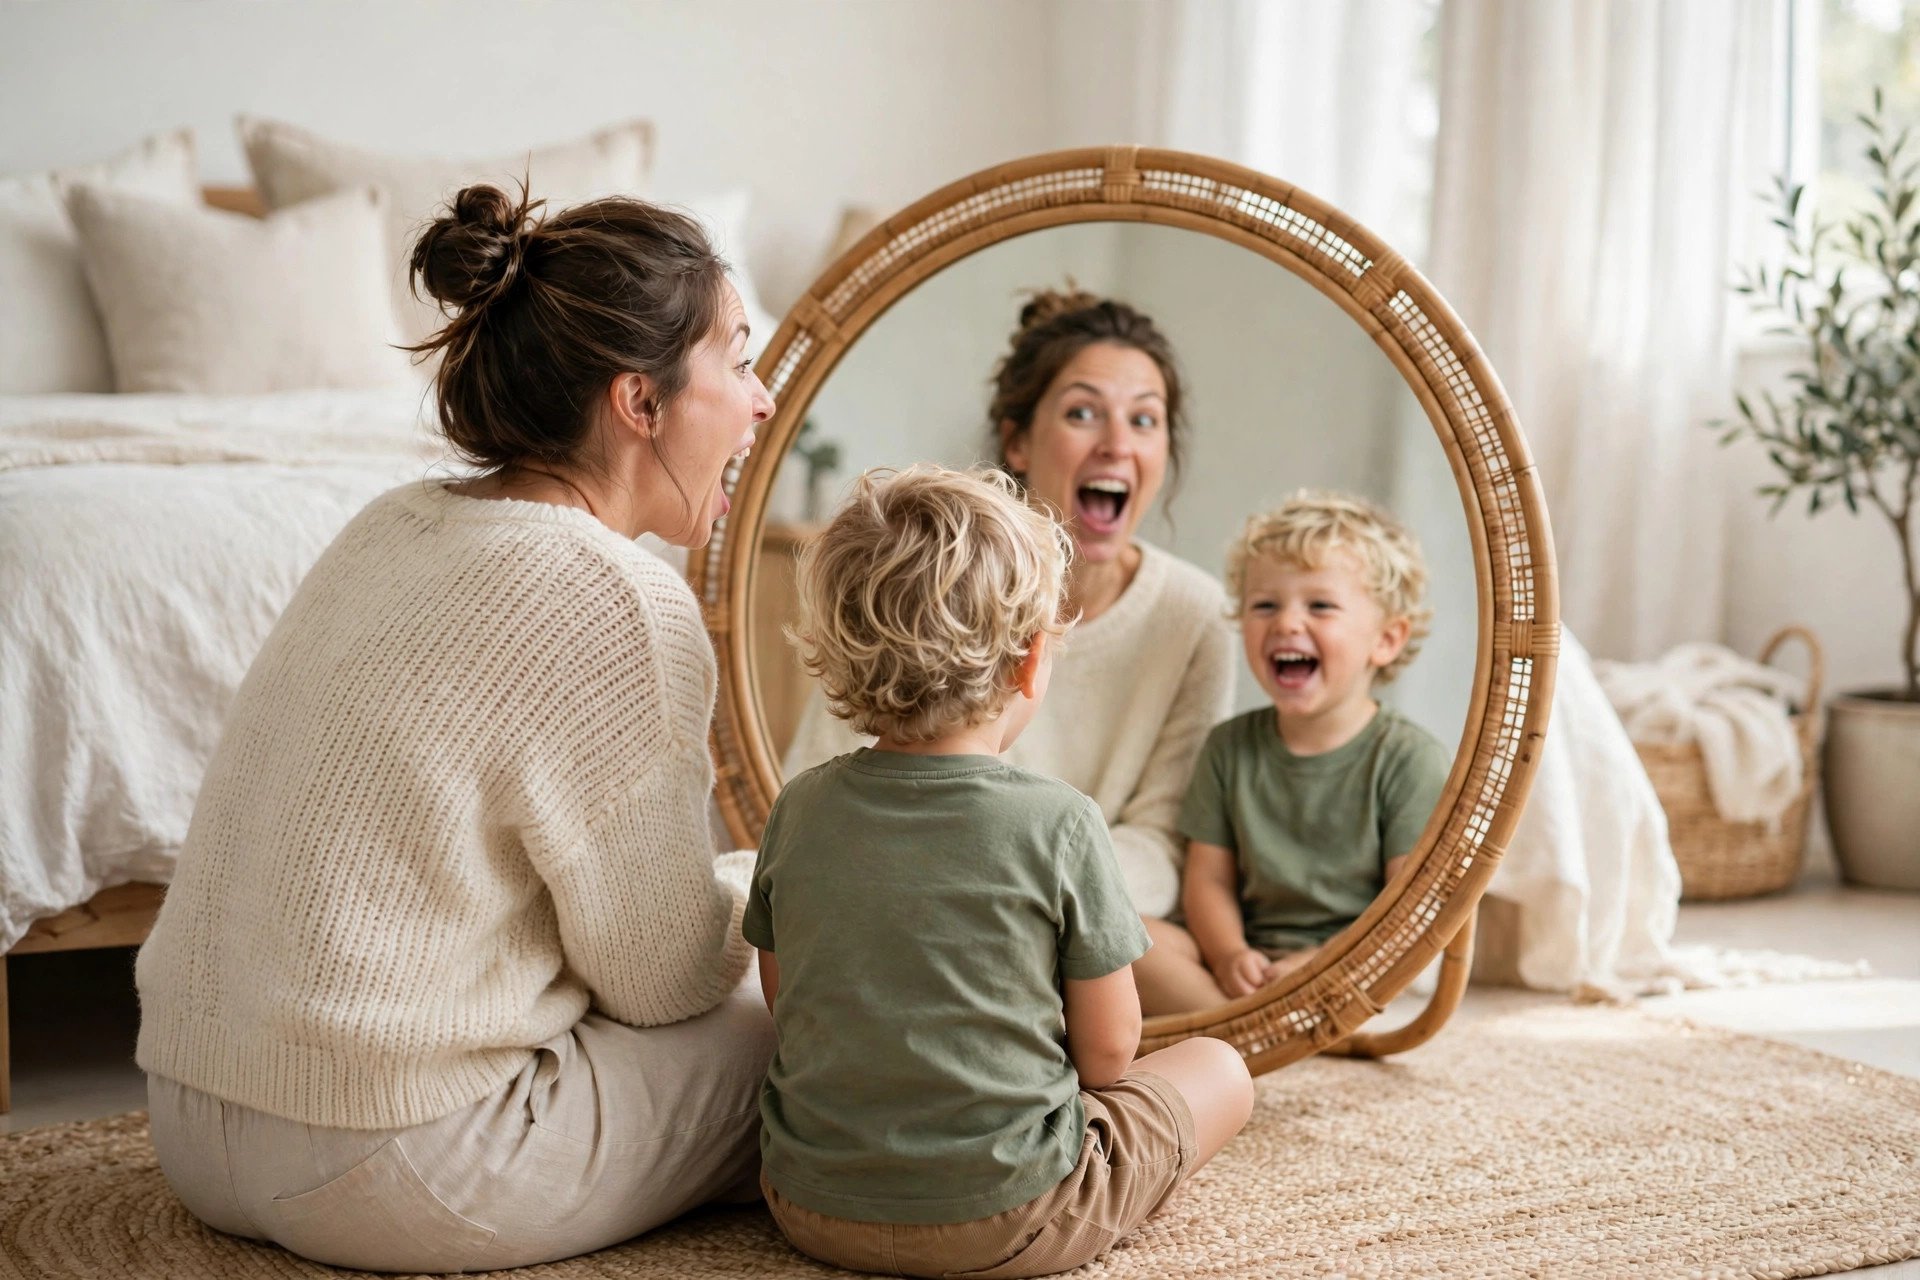
5. Try mirror play

Sit with your toddler in front of a mirror and make faces and sounds together. Watching their own mouth move helps them connect what speech feels like with what it sounds like. Stick out tongues, pop lips, say "ma-ma-ma" and "ba-ba-ba" — keep it goofy.

Mom and toddler doing mirror play together for speech development — toddler speech delay activities
Goofy faces in the mirror, side by side — she could watch her own mouth figure it out.

6. Sing songs — and then stop

Songs with repetitive phrases are language gold. Sing a favorite like "Wheels on the Bus," then pause before a key word and let your child fill it in: "The wheels on the bus go round and…" That expectant pause is an invitation, not a test. Celebrate any attempt — a sound, a gesture, a grin.

Singing with a toddler and pausing for them to fill in words — toddler speech delay activities
We'd stop right before the best word and wait. She always filled it in eventually.

7. Read with intent, not just the words

Don't just read the story straight through. Point at pictures and talk about them: "Look at the big yellow bus! Vroom vroom!" Ask simple questions, even if they can't answer yet: "Where's the doggy?" Books with repetitive phrases or lift-the-flap surprises give toddlers natural reasons to participate.

Reading together with a toddler to build language skills — toddler speech delay activities
Pointing at every picture, making the sounds — the story was just the excuse.

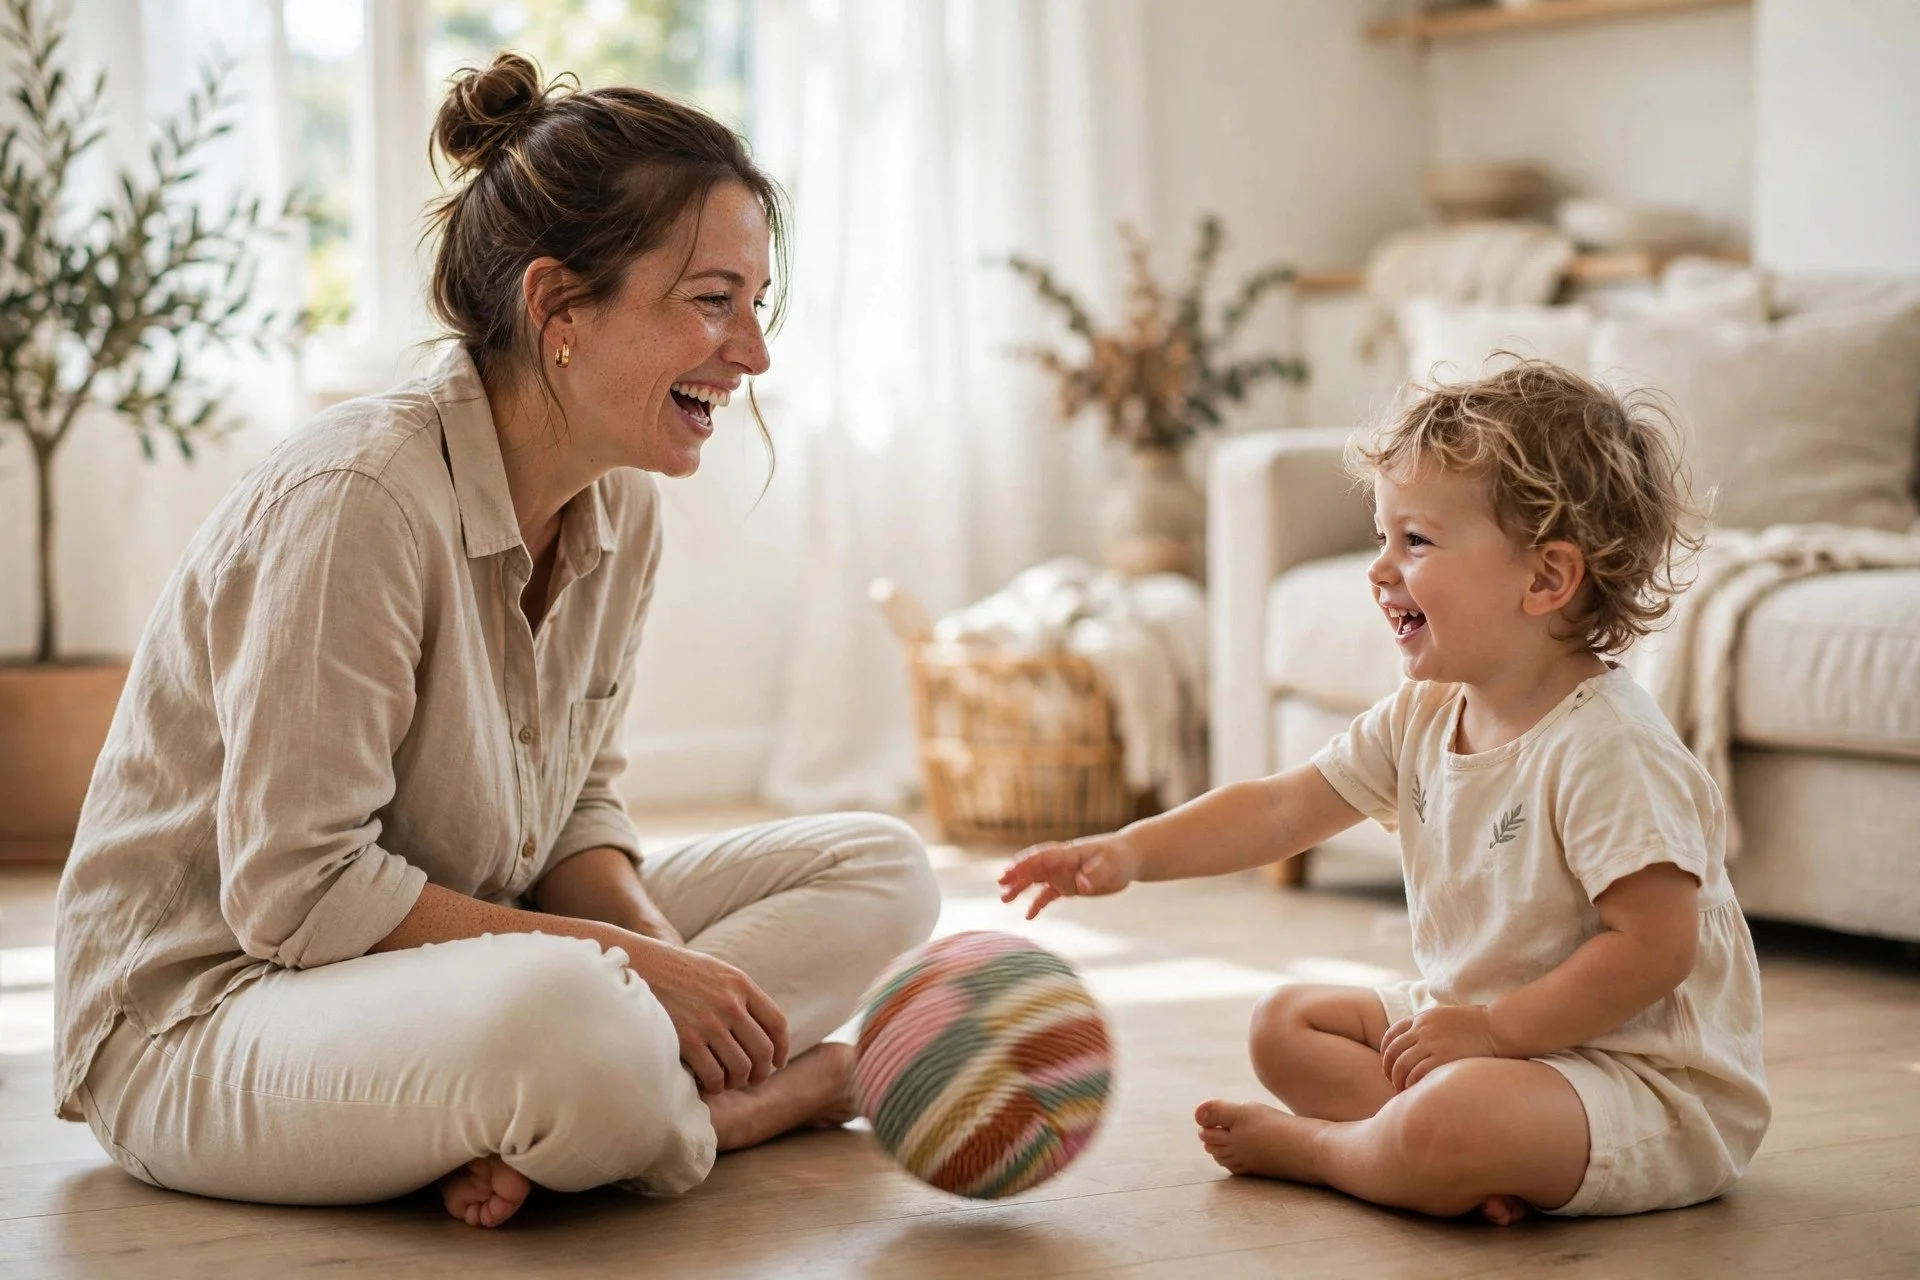
8. Play imitation games

Before words come sentences, and before sentences comes back-and-forth interaction. Roll a ball to each other, take turns clapping, copy each other's silly faces. These turn-taking games teach the rhythm of conversation — I do something, you do something — which is the foundation talking is built on.

Mom and toddler playing imitation games for speech development — toddler speech delay activities
Back-and-forth ball rolling and silly-face copying — the rhythm of conversation before the words.

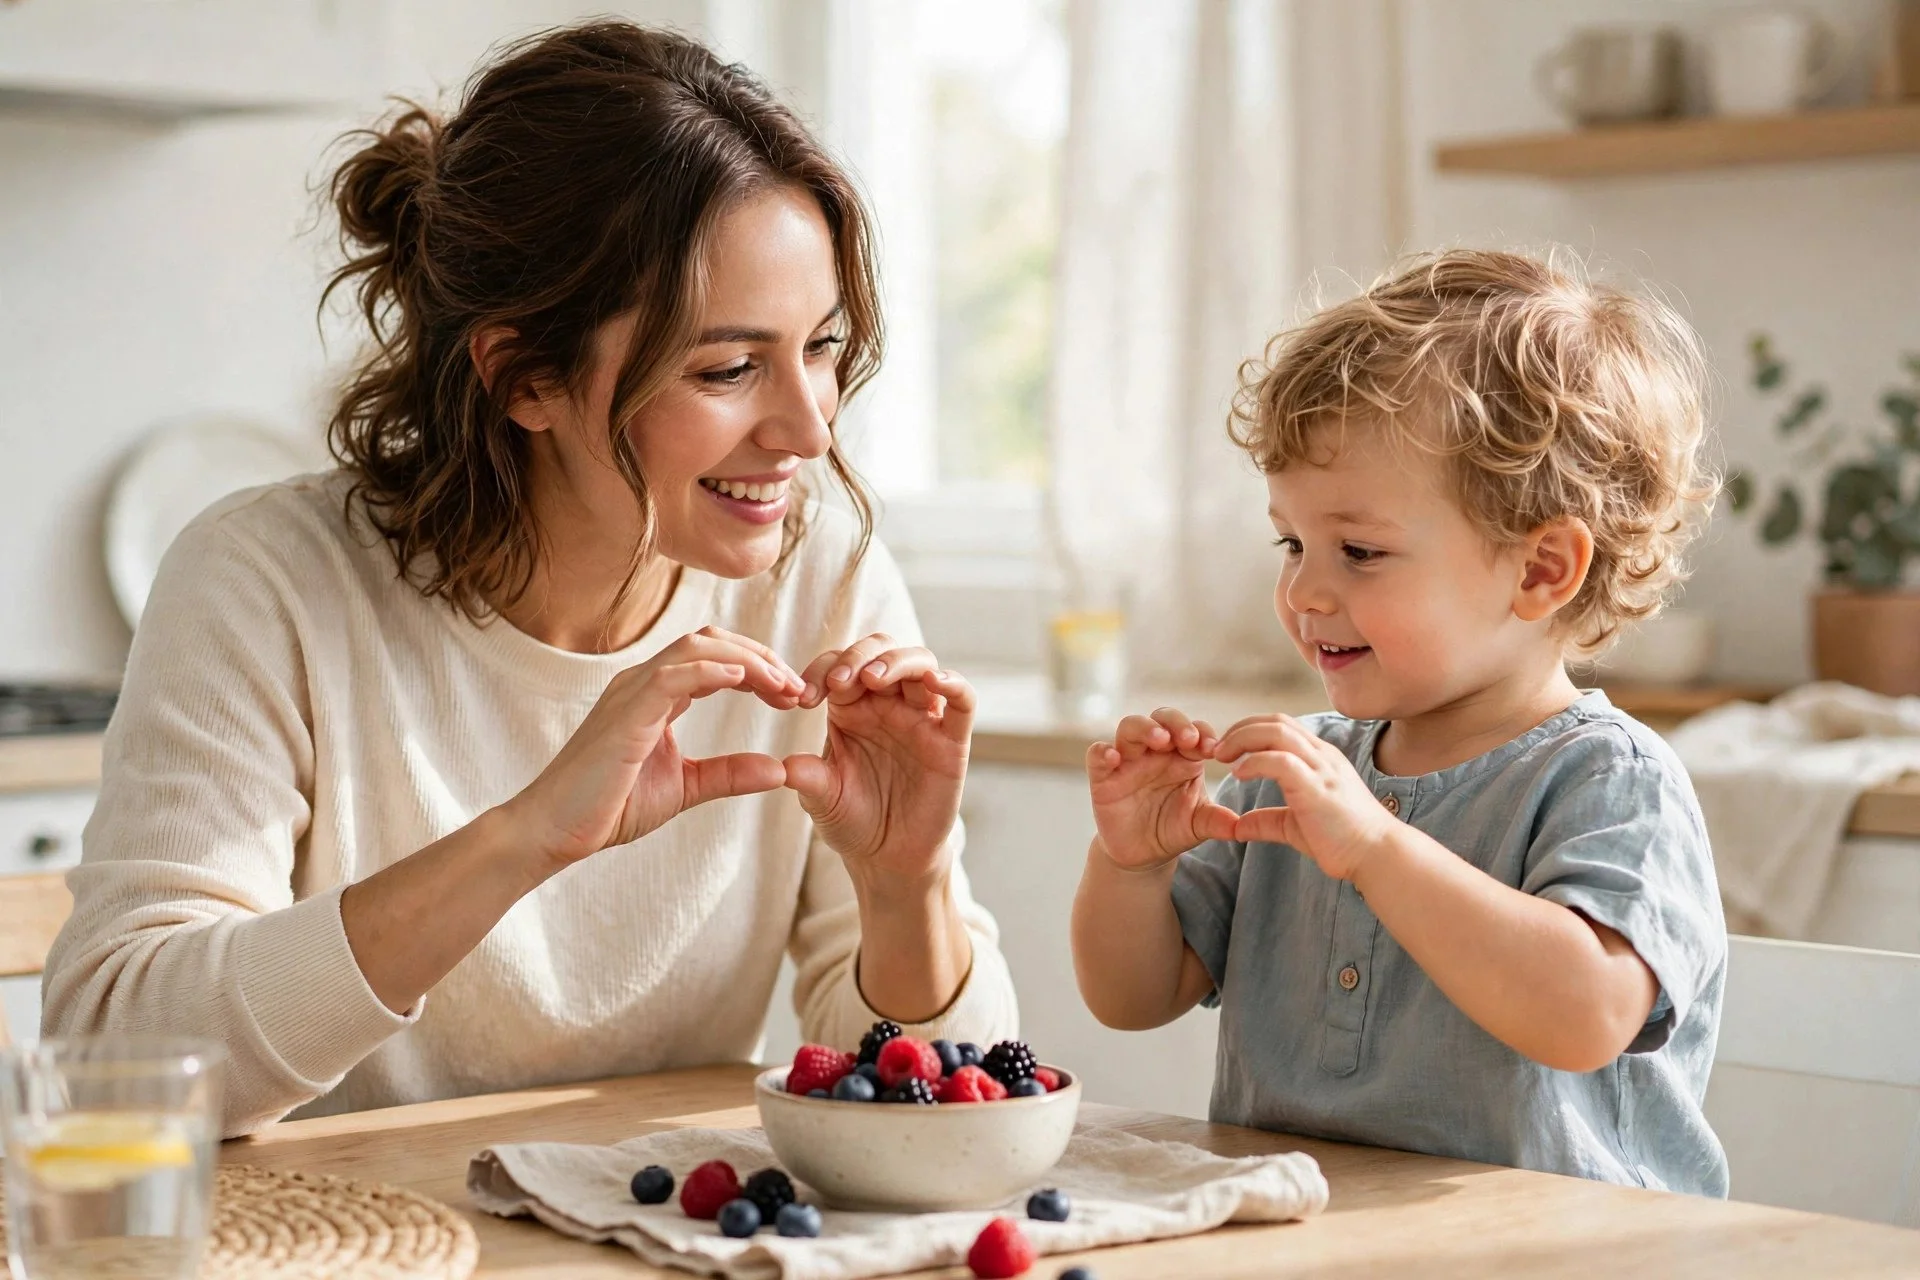
9. Teach a few simple signs

Signs like more, all done, and help give a frustrated toddler a way to be understood right now, which reduces meltdowns while spoken words catch up. Using signs doesn't delay speech — it gives language a bridge to cross.

Teaching baby sign language more to a toddler — toddler speech delay activities
A few simple signs gave her a bridge — less frustration while the words caught up.

10. Turn down the background noise

This one's easy to miss. When the TV or music is on, your voice competes with it — and your toddler talks to you less because you're talking to them less. During play and mealtimes, turn the background noise off. Quiet space invites conversation.

Quiet playtime without background noise to encourage toddler talking — toddler speech delay activities
TV off, music off. The quiet made room for her voice.

Bonus tip: turn flashcards into a full-body game

Language sticks better when the whole body is in on it. Try flashcard hide-and-seek: tuck a few animal cards around the room and let your toddler hunt them down — every find is a chance to name the animal and roar, moo, or woof like it. Or lay the cards face-up on the floor and call out, "Can you jump to the animal that says moo?" Hopping, stomping, and pouncing to the right card burns off energy while cementing the word-sound connection. We invented versions of this game on the fly when she was little — and the sillier it got, the more she talked.

When to talk to your pediatrician

Trust your gut. Consider asking for a referral if your toddler:

  • Isn't using any words by 16 months, or isn't combining two words by 24 months
  • Seems not to hear or respond to sounds and voices
  • Has lost words or skills they previously had
  • Doesn't point, wave, or use gestures to communicate by 12–15 months

Many school districts offer free speech and language screenings for preschool-age children, and a hearing check is always a sensible first step — even mild hearing issues can slow language down. Seeking an evaluation isn't overreacting; it's good parenting.

Do flashcards actually help with speech delays?

They can, when used the right way. The trick is keeping it playful and pressure-free: show the card, say the word clearly, make the sound fun, and wait to see if your child tries. Short sessions — just a few minutes, a few times a day — work far better than long drills. Picture cards are also one of the tools speech therapists themselves use, because pairing a clear image with a spoken word strengthens the connection.

Will using sign language delay my toddler's speech?

No — research consistently shows signs support language development rather than replacing it. Signs reduce frustration by giving toddlers a way to communicate now, and most children naturally drop signs as spoken words take over.

How long should I try home activities before seeking help?

You don't have to choose one or the other. Start the home activities today and talk to your pediatrician about your concerns — evaluations often have waitlists, so getting on the schedule early costs you nothing.

My toddler understands everything but won't talk. Is that normal?

Understanding words (receptive language) almost always develops before speaking them (expressive language), so this pattern is very common. Still, mention it to your pediatrician so they can track it with you — that's what they're there for.

Our favorite tool for first words

When she was little, we kept a small stack of animal cards in the kitchen for those in-between moments — waiting for pasta to boil, sitting in the high chair. Big, clear photos were the key: no clutter, just the animal, so all her attention went to the word and the sound. If you want the same setup, our First Words Animals cards were made exactly for this.

Shop First Words Animals Flashcards

Shop Animal Alphabet Flashcards

Visual Schedule for Toddlers: End Morning & Bedtime Battles

Visual Schedule for Toddlers: End Morning & Bedtime Battles

Tired of repeating yourself forty times before breakfast? A visual schedule for toddlers shows them what comes next — so you can stop narrating the whole morning and start enjoying it.

Visual schedule for toddlers — stress-free morning and bedtime routine cards
I stuck the cards on her bedroom wall with Velcro dots when she was six. She loves seeing it and moving the cards herself — all I do is ask, “What’s the next step in your routine?”
Best forAges 2–5
Setup timeAbout 10 minutes
CostFree with cards you already have
SkillsIndependence + smoother transitions

The morning I stopped repeating myself

Here's my confession: I designed these routine cards for other moms — and never put them on my own wall. For years they lived in the shop while our mornings ran on a soundtrack of me saying the same things on loop: "Shoes on. Shoes on, please. SHOES. ON." Bedtime wasn't much better — every step was a negotiation.

Then, when she was six, I finally practiced what I'd been preaching and stuck the cards on her bedroom wall — using Velcro dots. It made a HUGE difference. Within days she was checking the schedule herself — seeing it, moving the cards, running her own routine — and all I do now is encouragingly ask, “What's the next step in your routine?” I only wish I'd hung them up years earlier.

Toddler's bedroom wall with routine cards stuck on using Velcro dots — visual schedule for toddlers
The cards went up on her bedroom wall with Velcro dots — she rearranges them herself.

A visual schedule for toddlers works because it translates your words — which vanish the second you say them — into something they can see, touch, and follow on their own.

Why toddlers fight transitions (it's not defiance)

Toddlers live entirely in the present moment. When you announce "time to leave!", you're asking them to drop something wonderful for something unknown — and their brain genuinely can't picture what comes next. That's why transitions spark the biggest battles of the day.

A visual schedule fixes this by making the invisible visible. When a child can see that snack comes after shoes, and playground comes after snack, the day stops feeling like a series of ambushes. Predictability is calming — for toddlers especially.

What is a visual schedule, exactly?

It's simply a sequence of picture cards — one per step of a routine — arranged in order where your child can see them. Each card shows one activity: wake up, brush teeth, get dressed, eat breakfast. Your child moves through the cards as the routine happens, flipping, removing, or checking off each one.

Speech therapists, occupational therapists, and preschool teachers have used visual schedules for years, including with autistic children and kids with ADHD — but they're just as powerful for any toddler who thrives on knowing what comes next (which is nearly all of them).

How to build a visual schedule in 4 steps

Step 1: Pick one routine to start

Don't schedule the whole day on day one — that's overwhelming for everyone. Start with the routine that causes the most friction: usually mornings or bedtime. Master one, then add another.

Step 2: Choose 4–6 steps, in the same order every day

Fewer steps is better. For mornings: wake up → potty → brush teeth → get dressed → eat breakfast → shoes on. Keep the order identical daily — the power is in the predictability.

Toddler brushing teeth as one step in a visual schedule morning routine
Brush teeth sat in the same slot every morning and every night. Same step, same place, no surprises.
Step 3: Put it at their eye level

Tape the cards to the wall by their bed, stick them on the fridge with magnets, or line them up on a low shelf. If they can't see it without asking you, it can't do its job.

Visual schedule for toddlers displayed at toddler eye level
Stuck right where she could see it without asking — if they can't reach it, it can't do its job.

Step 4: Let your child work the schedule

This is the magic part. After each step, let them flip the card over, move it to a "done" pile, or slide it down. That small act of control transforms them from a passenger in your routine into the driver of it. Point to the schedule instead of repeating yourself: "Check your cards — what's next?"

A sample morning routine

Morning routine cards laid out for a toddler visual schedule
Our morning lineup: six cards, same order every day. She took it over within days — now I just ask what’s next.
  • Wake up — card one sets the tone: the day has a plan
  • Go potty — non-negotiable step two, before anything fun
  • Brush teeth — two minutes, same song every day if it helps
  • Get dressed — lay clothes out the night before to remove the decision
  • Eat breakfast — the natural reward in the middle
  • Shoes on — the finish line they can see coming

A sample bedtime routine

Bedtime routine cards laid out for a toddler visual schedule
The bedtime row ended the negotiations — bath, teeth, jammies, book, goodnight, done.
  • Bath time — the signal that the day is winding down
  • Brush teeth — two minutes, same song every day if it helps
  • Pajamas on — let them pick between two options for buy-in
  • Read a book — one or two, decided in advance (not at 8:45pm)
  • Say goodnight — same phrase, same order, every night

Tips that make it actually stick

Keep it positive. The schedule shows what to do, not what not to do. "Gentle hands" beats "don't hit" on a card every time.

Be boringly consistent for two weeks. The first few days, you'll still be doing most of the work — pointing, prompting, celebrating. Around day 5–7, most toddlers start running the schedule themselves. That's when it pays off.
Let them help build it. Choosing which cards go on the schedule (from your pre-approved options) gives them ownership. A child who built the routine defends the routine.

Adjust as they grow. When a step becomes automatic, swap in a new challenge — pouring their own water, picking tomorrow's clothes. The schedule grows with them.
Use it for the hard outings too. A 3-card schedule — store → playground → home — can prevent a grocery store meltdown better than any bribe. They can see the fun part is coming.

What age should I start a visual schedule?

Around age 2 is the sweet spot for most toddlers — they're old enough to recognize pictures and follow a sequence, and young enough that the routine becomes second nature quickly. Even 18-month-olds can follow a simple 3-card routine with help.

Do visual schedules only work for autistic children?

Not at all. Visual schedules are widely used in autism and ADHD support because they're so effective — but every toddler benefits from seeing what comes next. Preschool classrooms use them for entire classes of neurotypical kids.

What if my toddler ignores the schedule?

Totally normal in week one. Keep pointing to it cheerfully instead of repeating verbal instructions, and celebrate every time they engage with it — even just touching the next card counts. Most kids come around within a week or two once they realize the schedule is reliable.

Should I use photos or illustrations?

Either works. Real photos of your own child doing each step can be extra motivating ("that's YOU brushing teeth!"), while clear illustrations are easier to read at a glance. The key is that each card shows one obvious action.

Skip the DIY — use cards made for this

I designed these routine cards for other moms — then finally stuck them on her bedroom wall with Velcro dots when she was six, and the difference was huge. They're thick, wipeable, kid-proof cards covering morning, bedtime, and everything between. She loves seeing her schedule and manipulating the cards herself — all I do is ask, “What's the next step in your routine?”

Routines flashcards bundle for building a toddler visual schedule
Designed for other moms, finally stuck on her bedroom wall — and she runs the whole thing herself.

Shop Routines Flashcards

Shop Morning Routine Cards Shop Bedtime Routine Cards

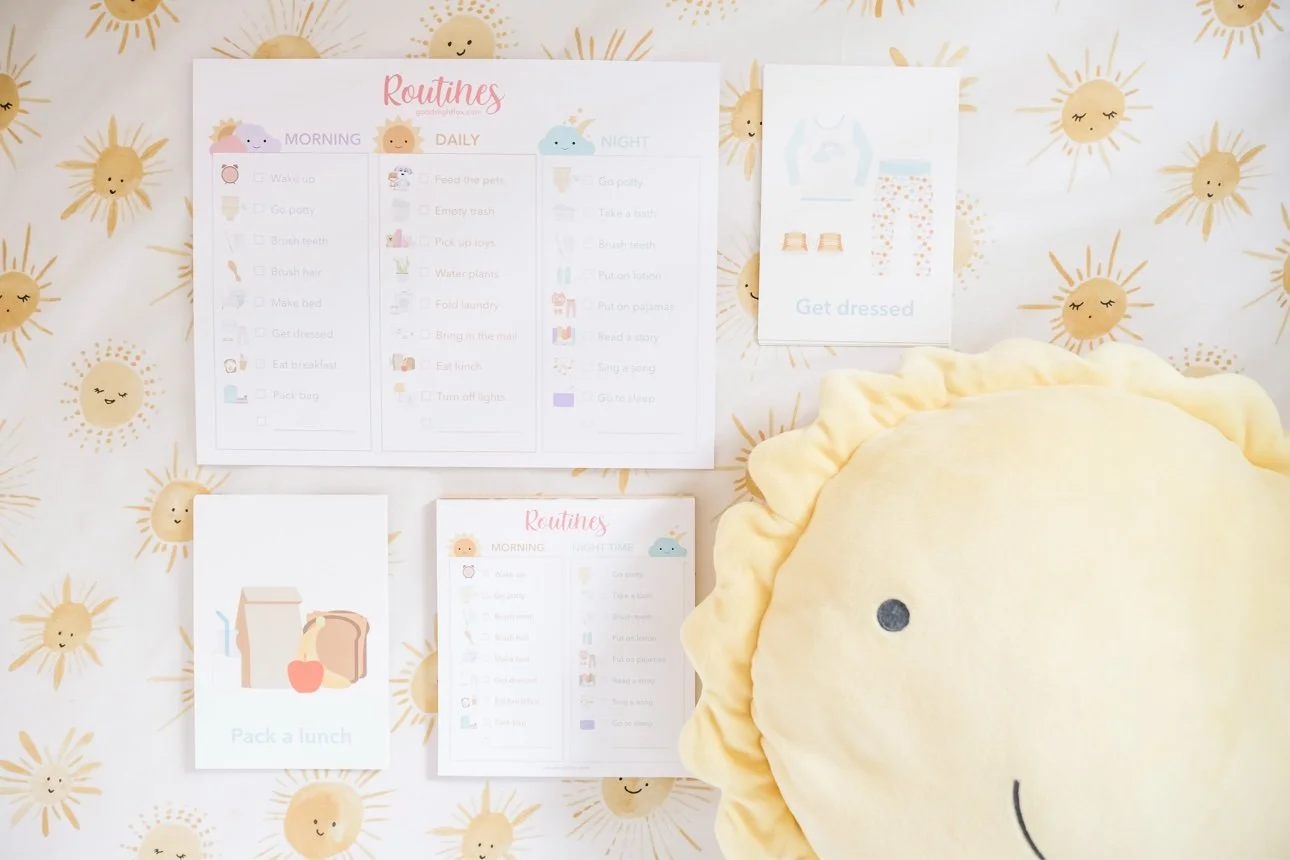
Routines checklists and cards laid out on sunny fabric

Visual schedule for toddlers: morning and bedtime routine cards

Brush your teeth routine card by the bathroom sink
Pajamas, teddy bear, and bedtime routine checklist laid out