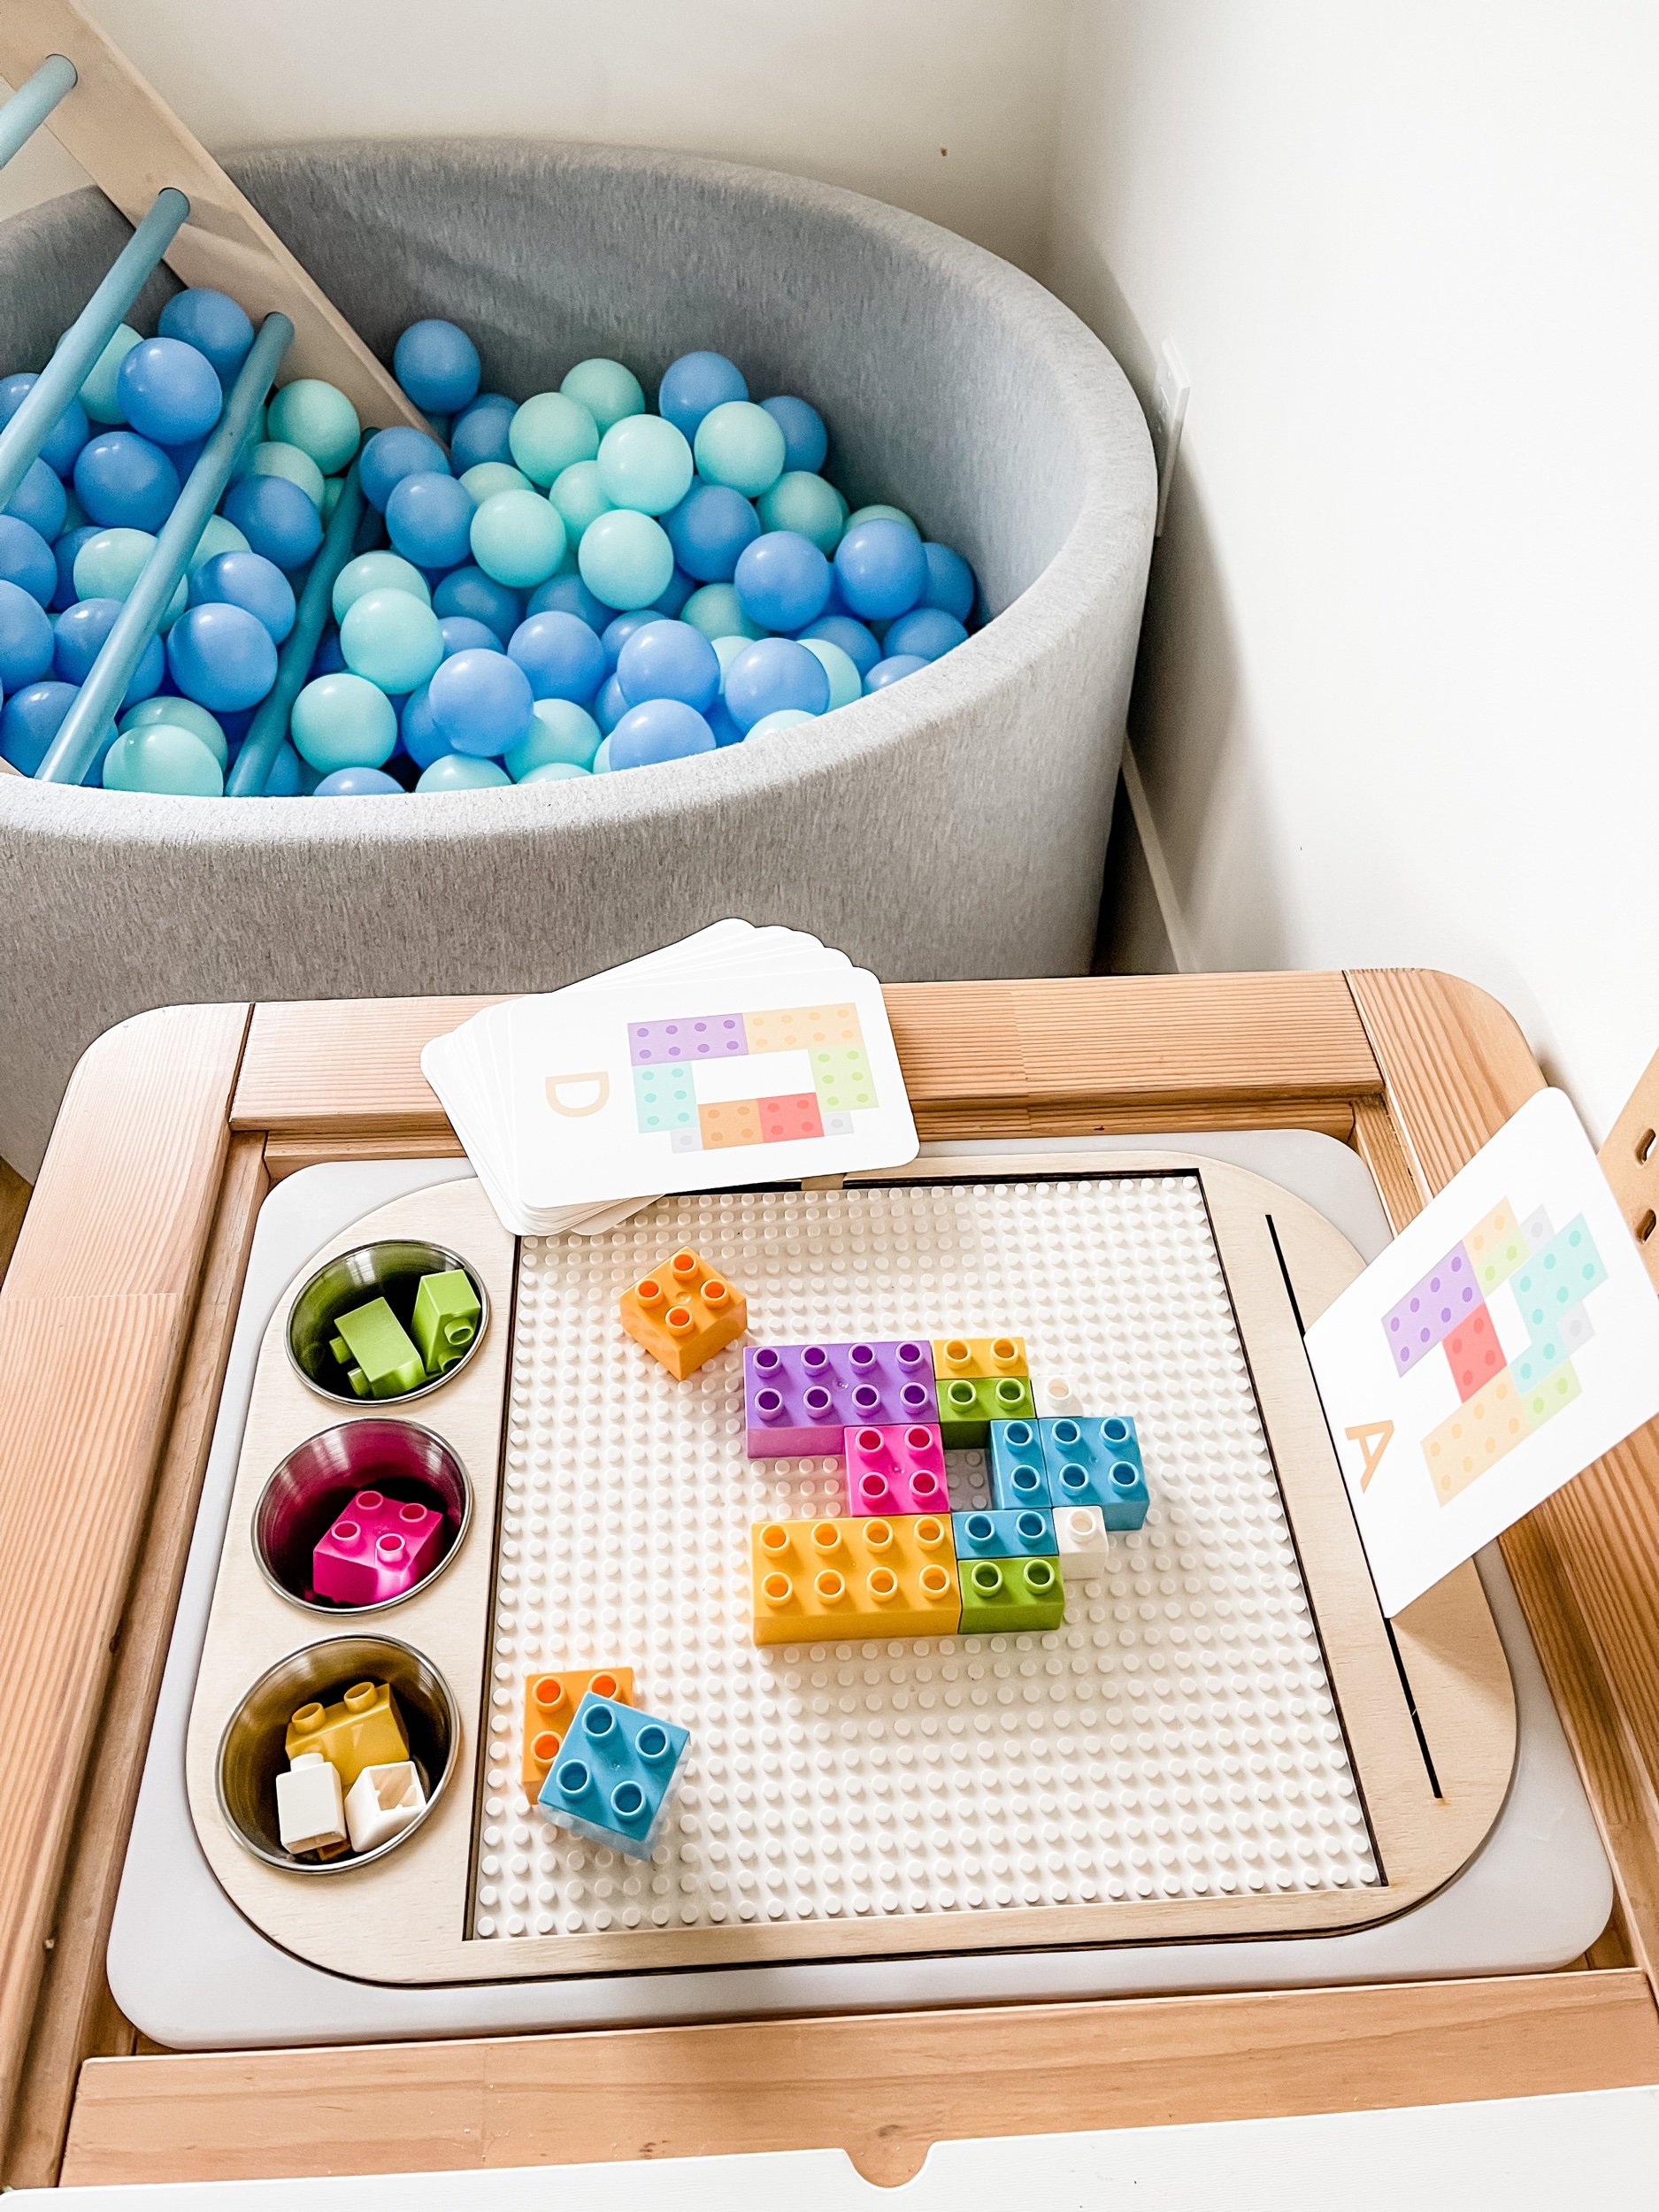
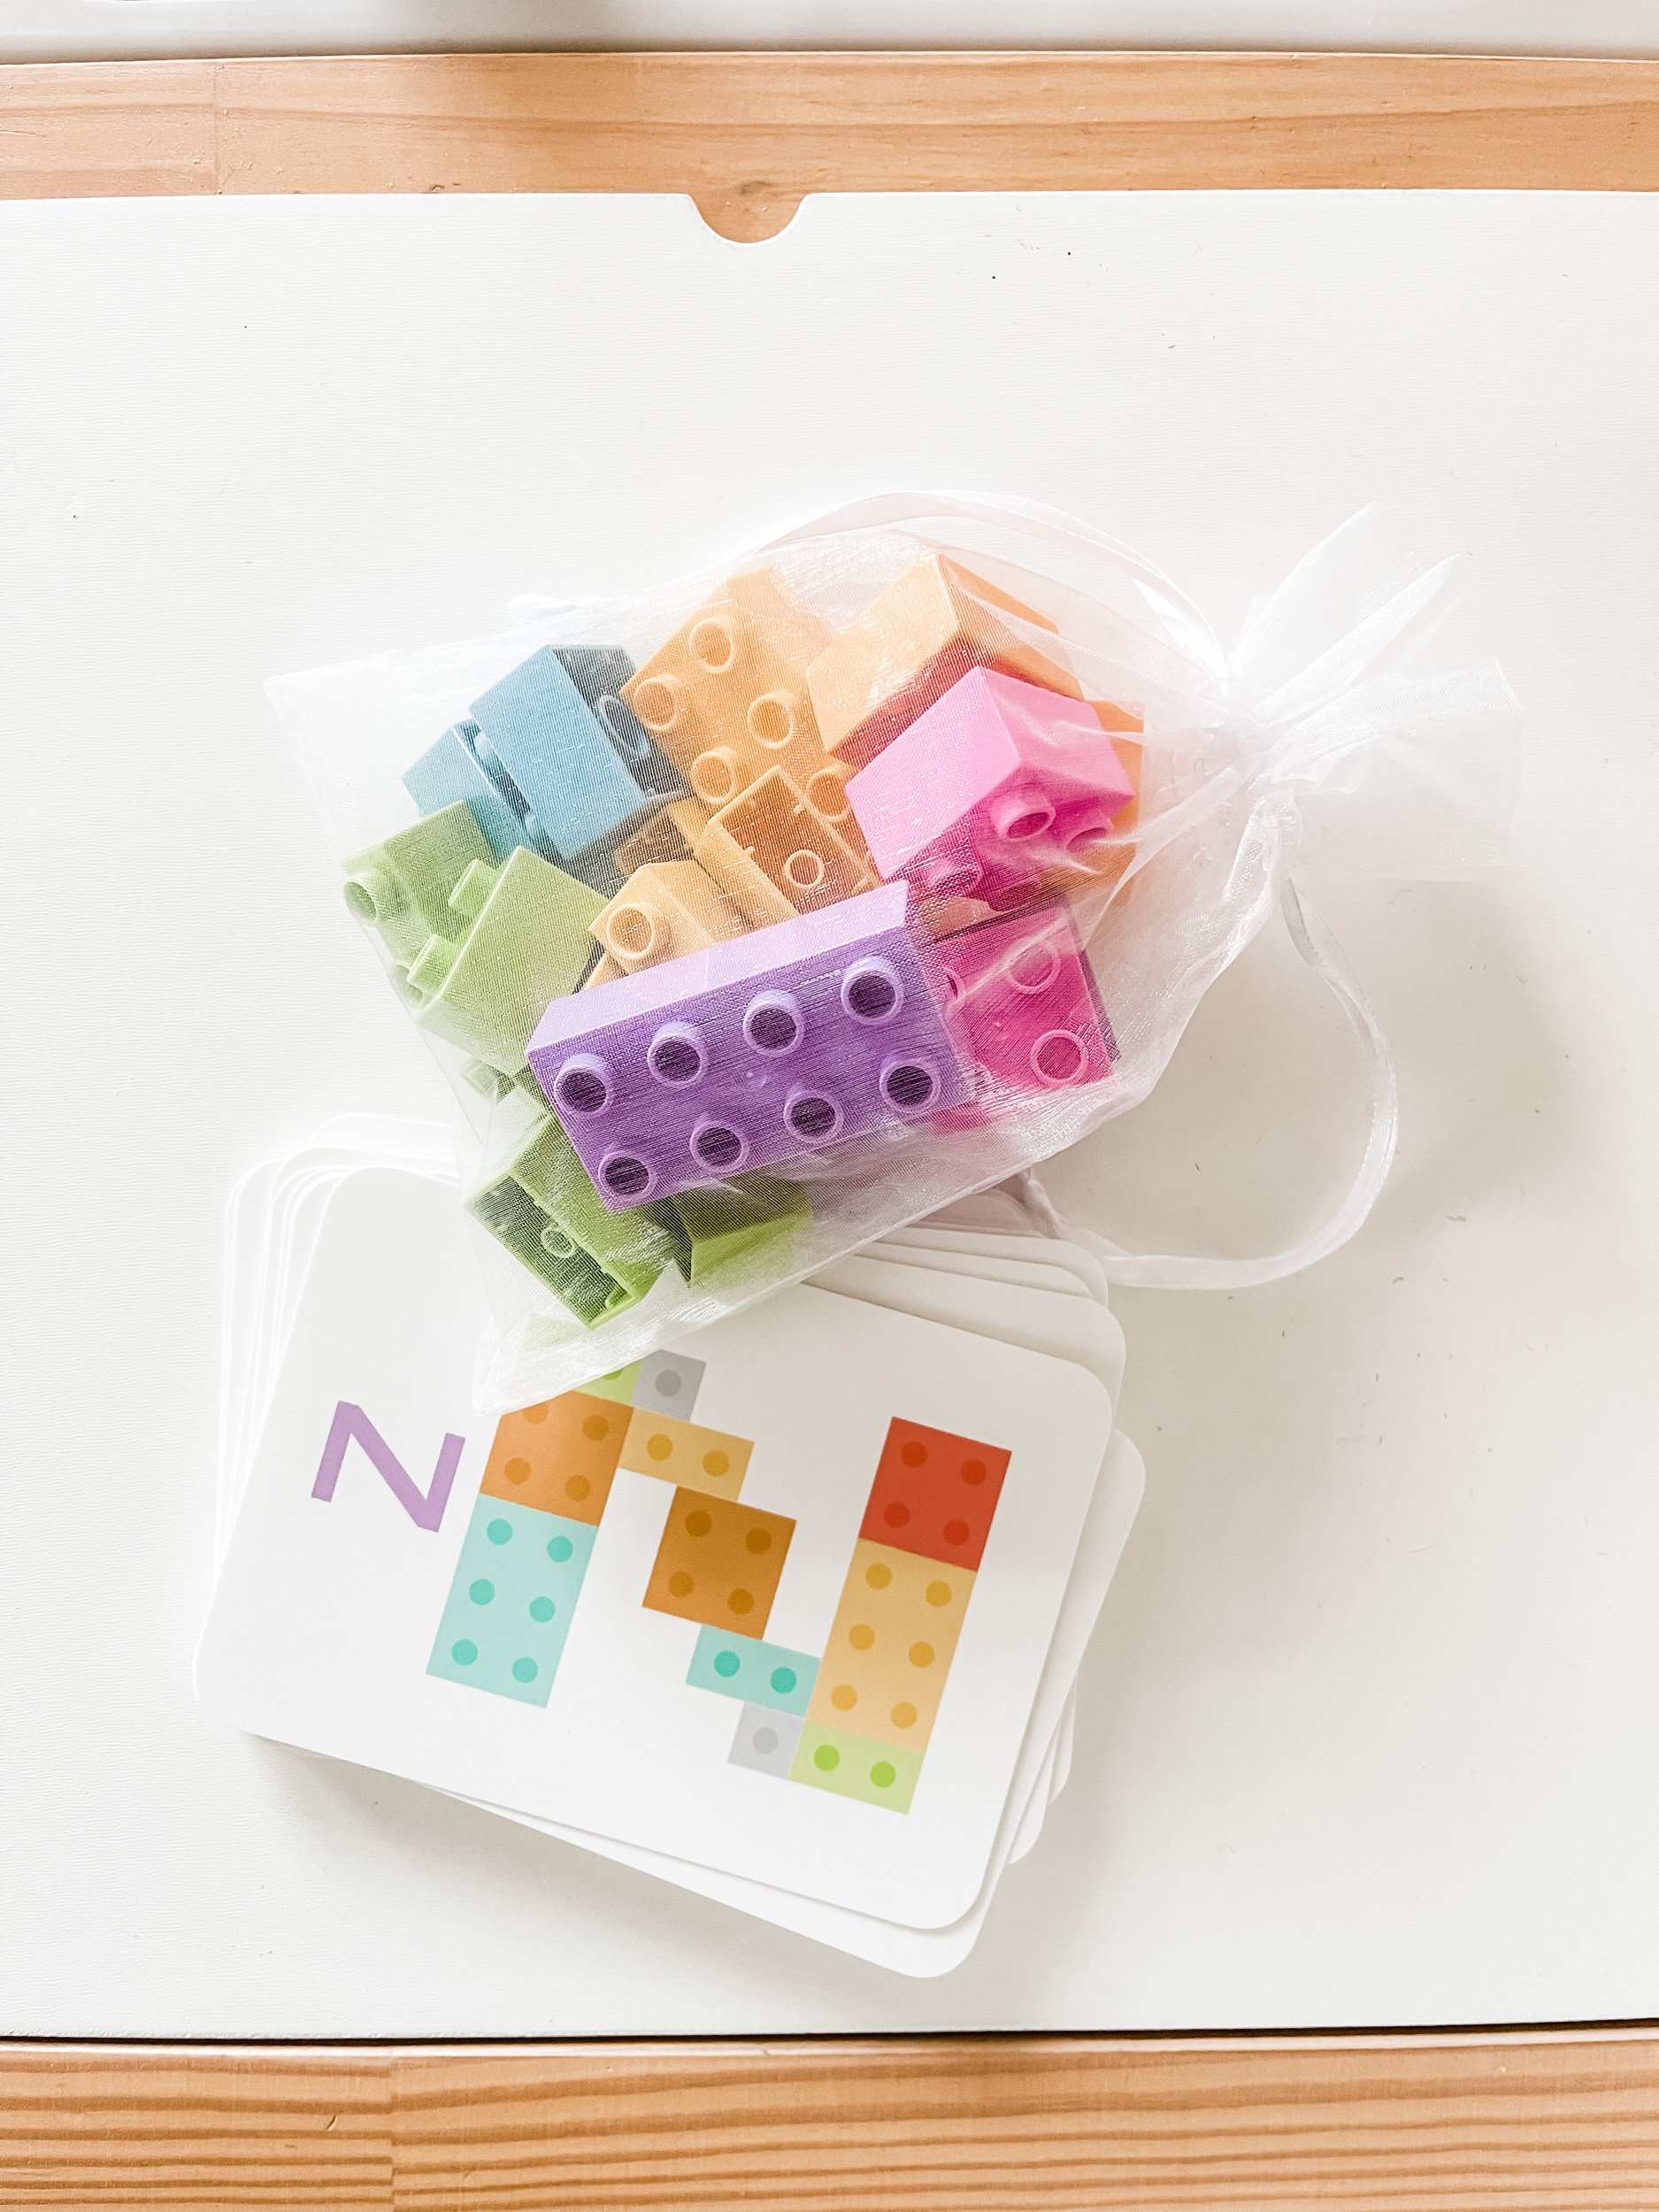
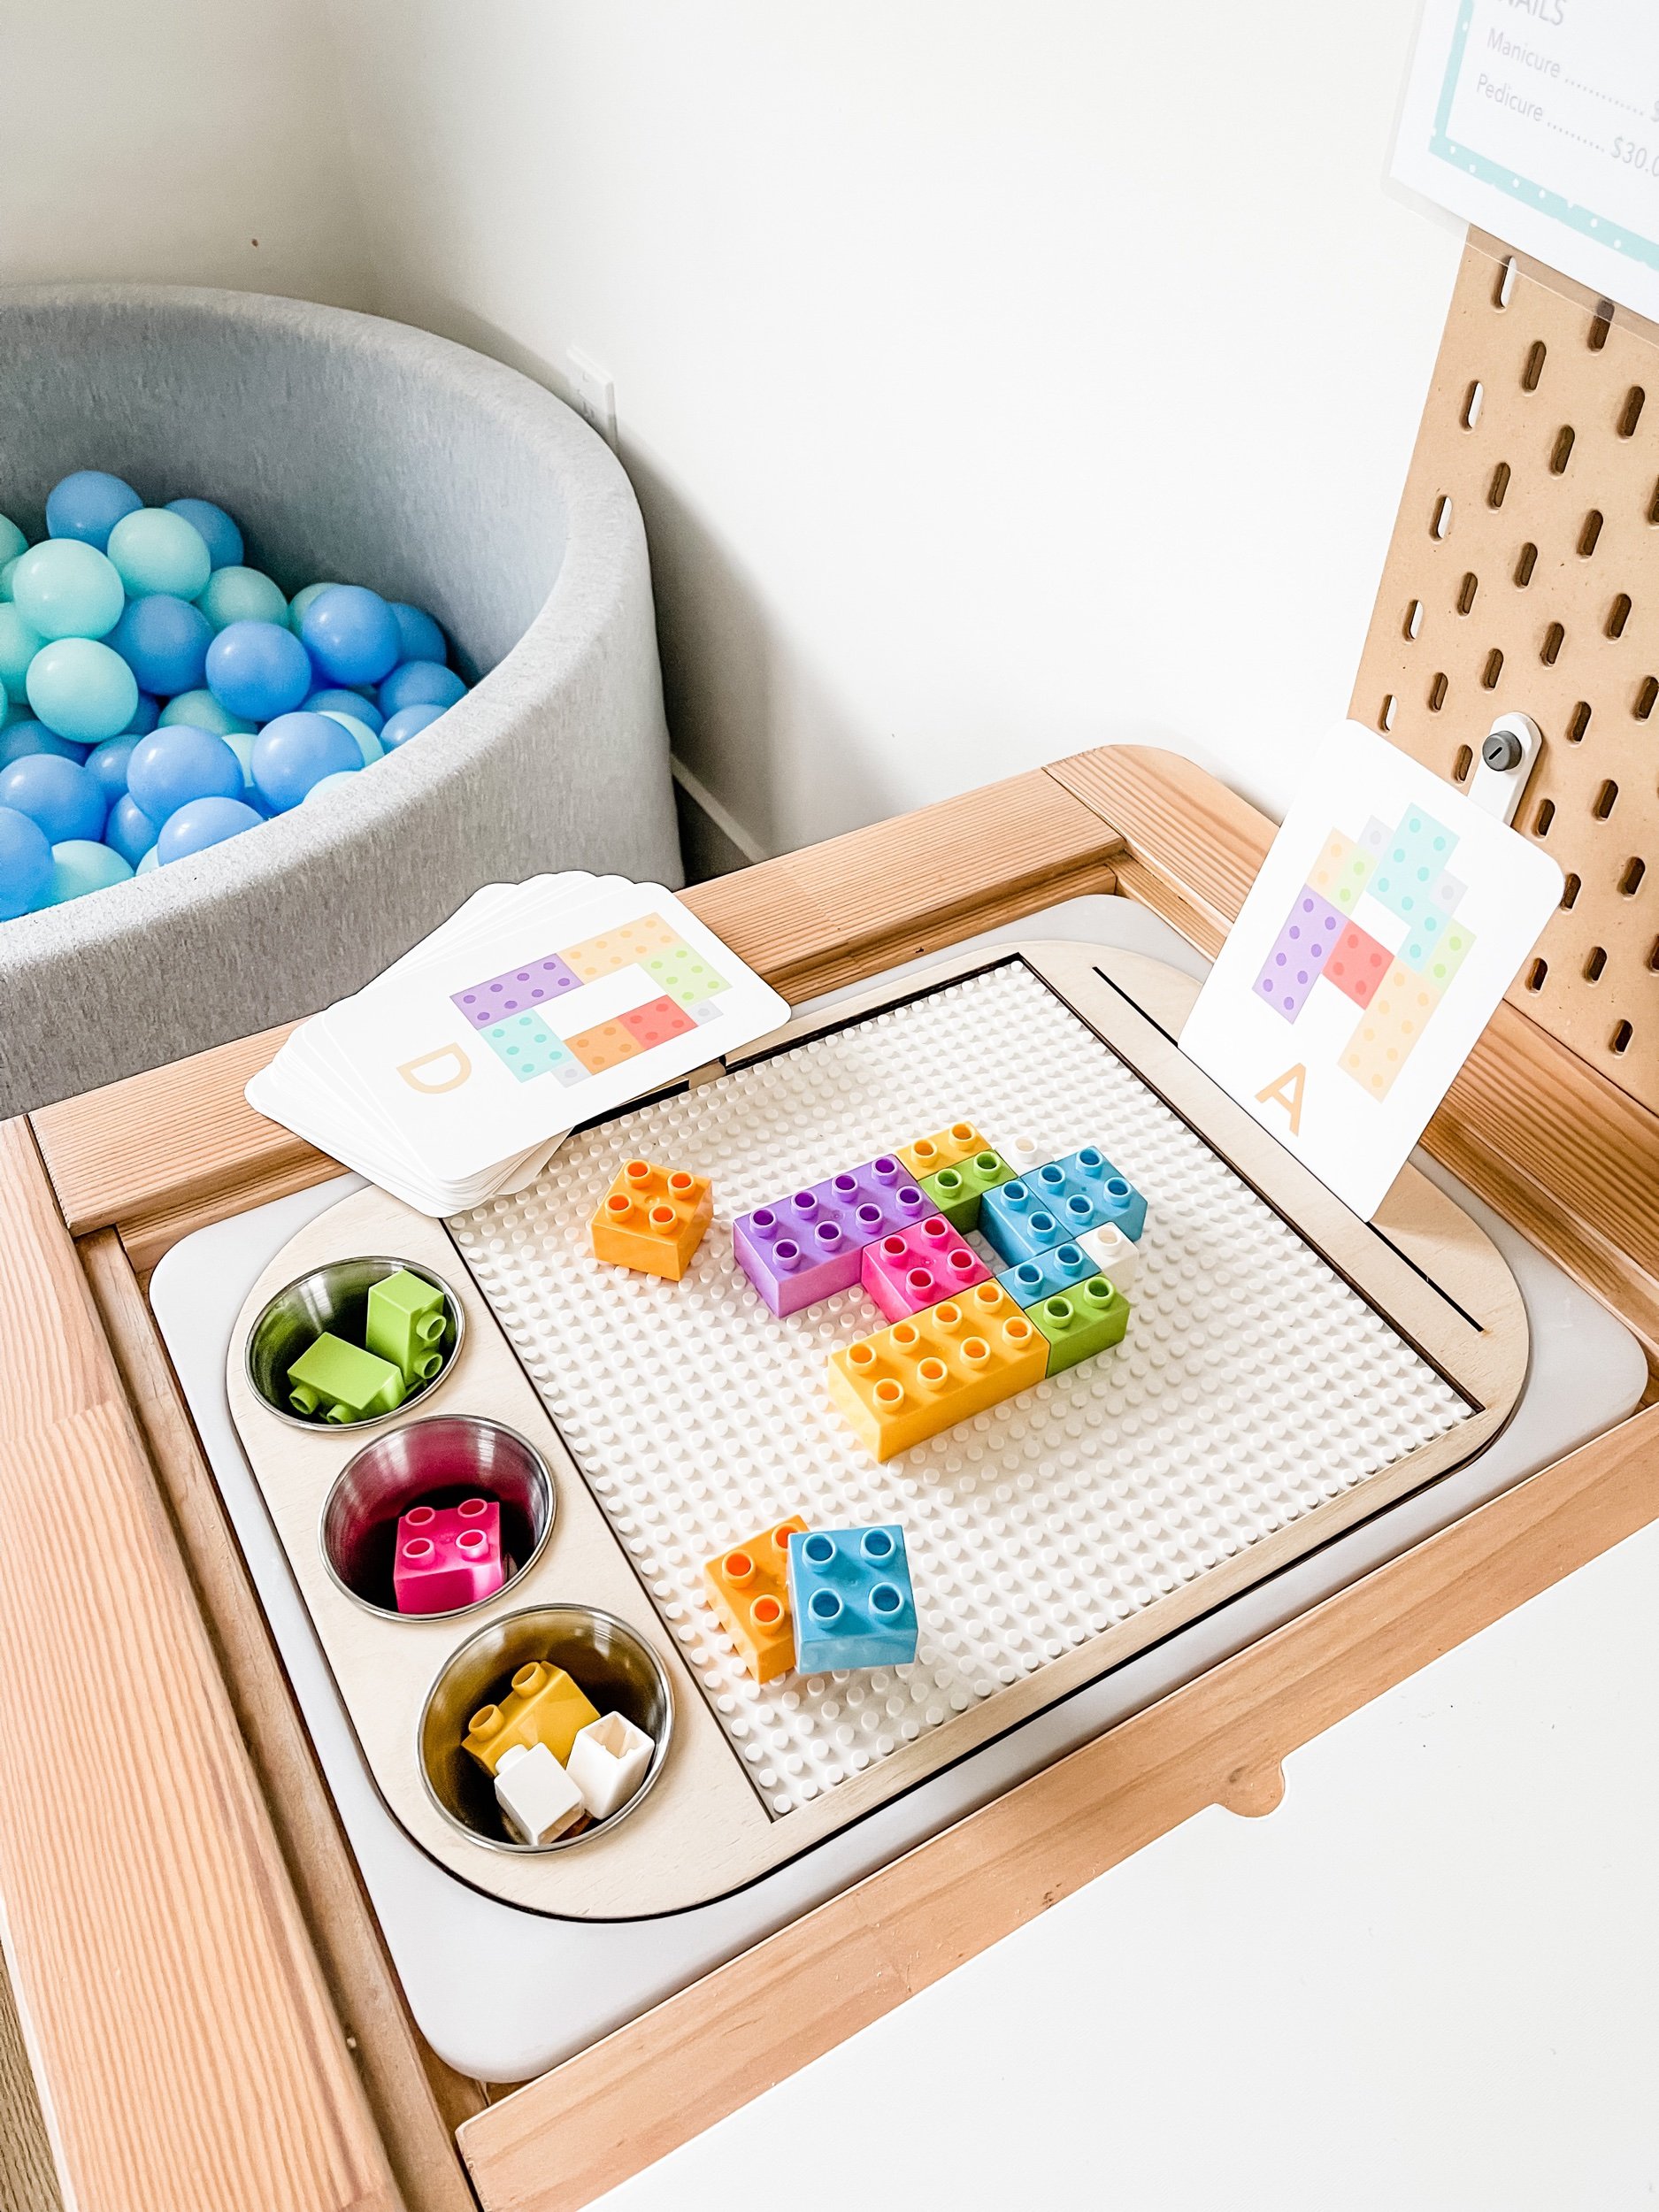
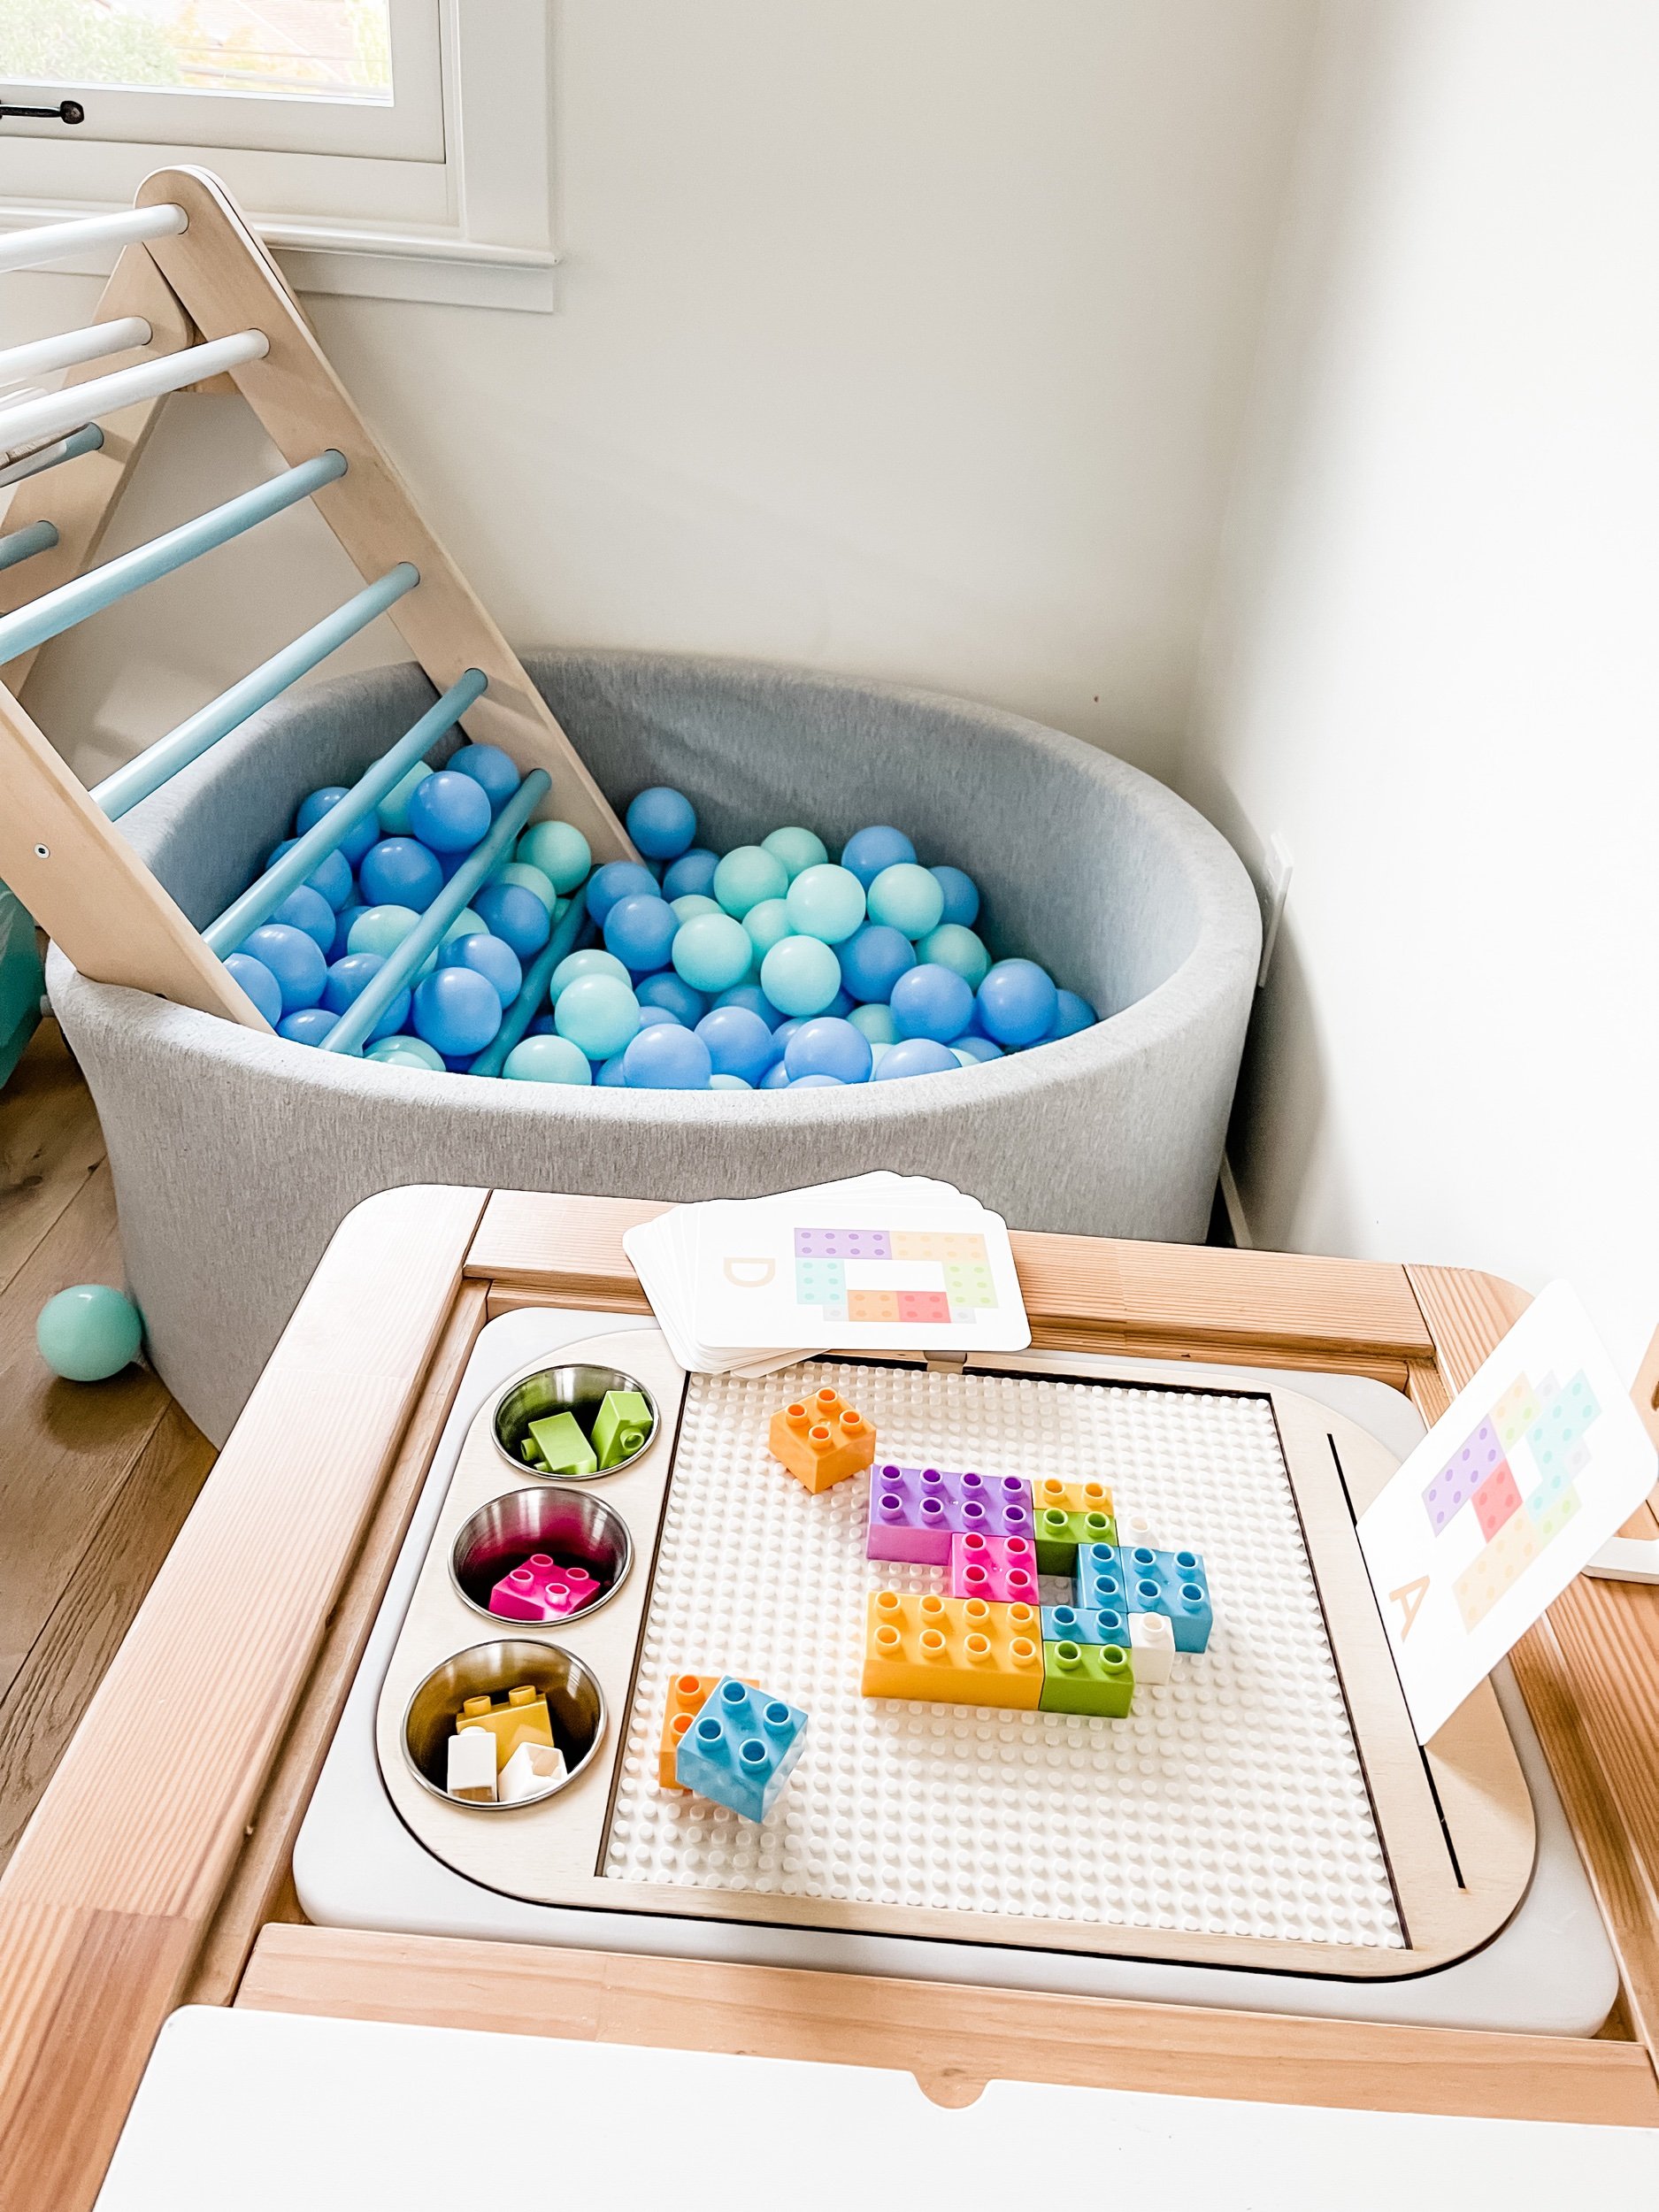
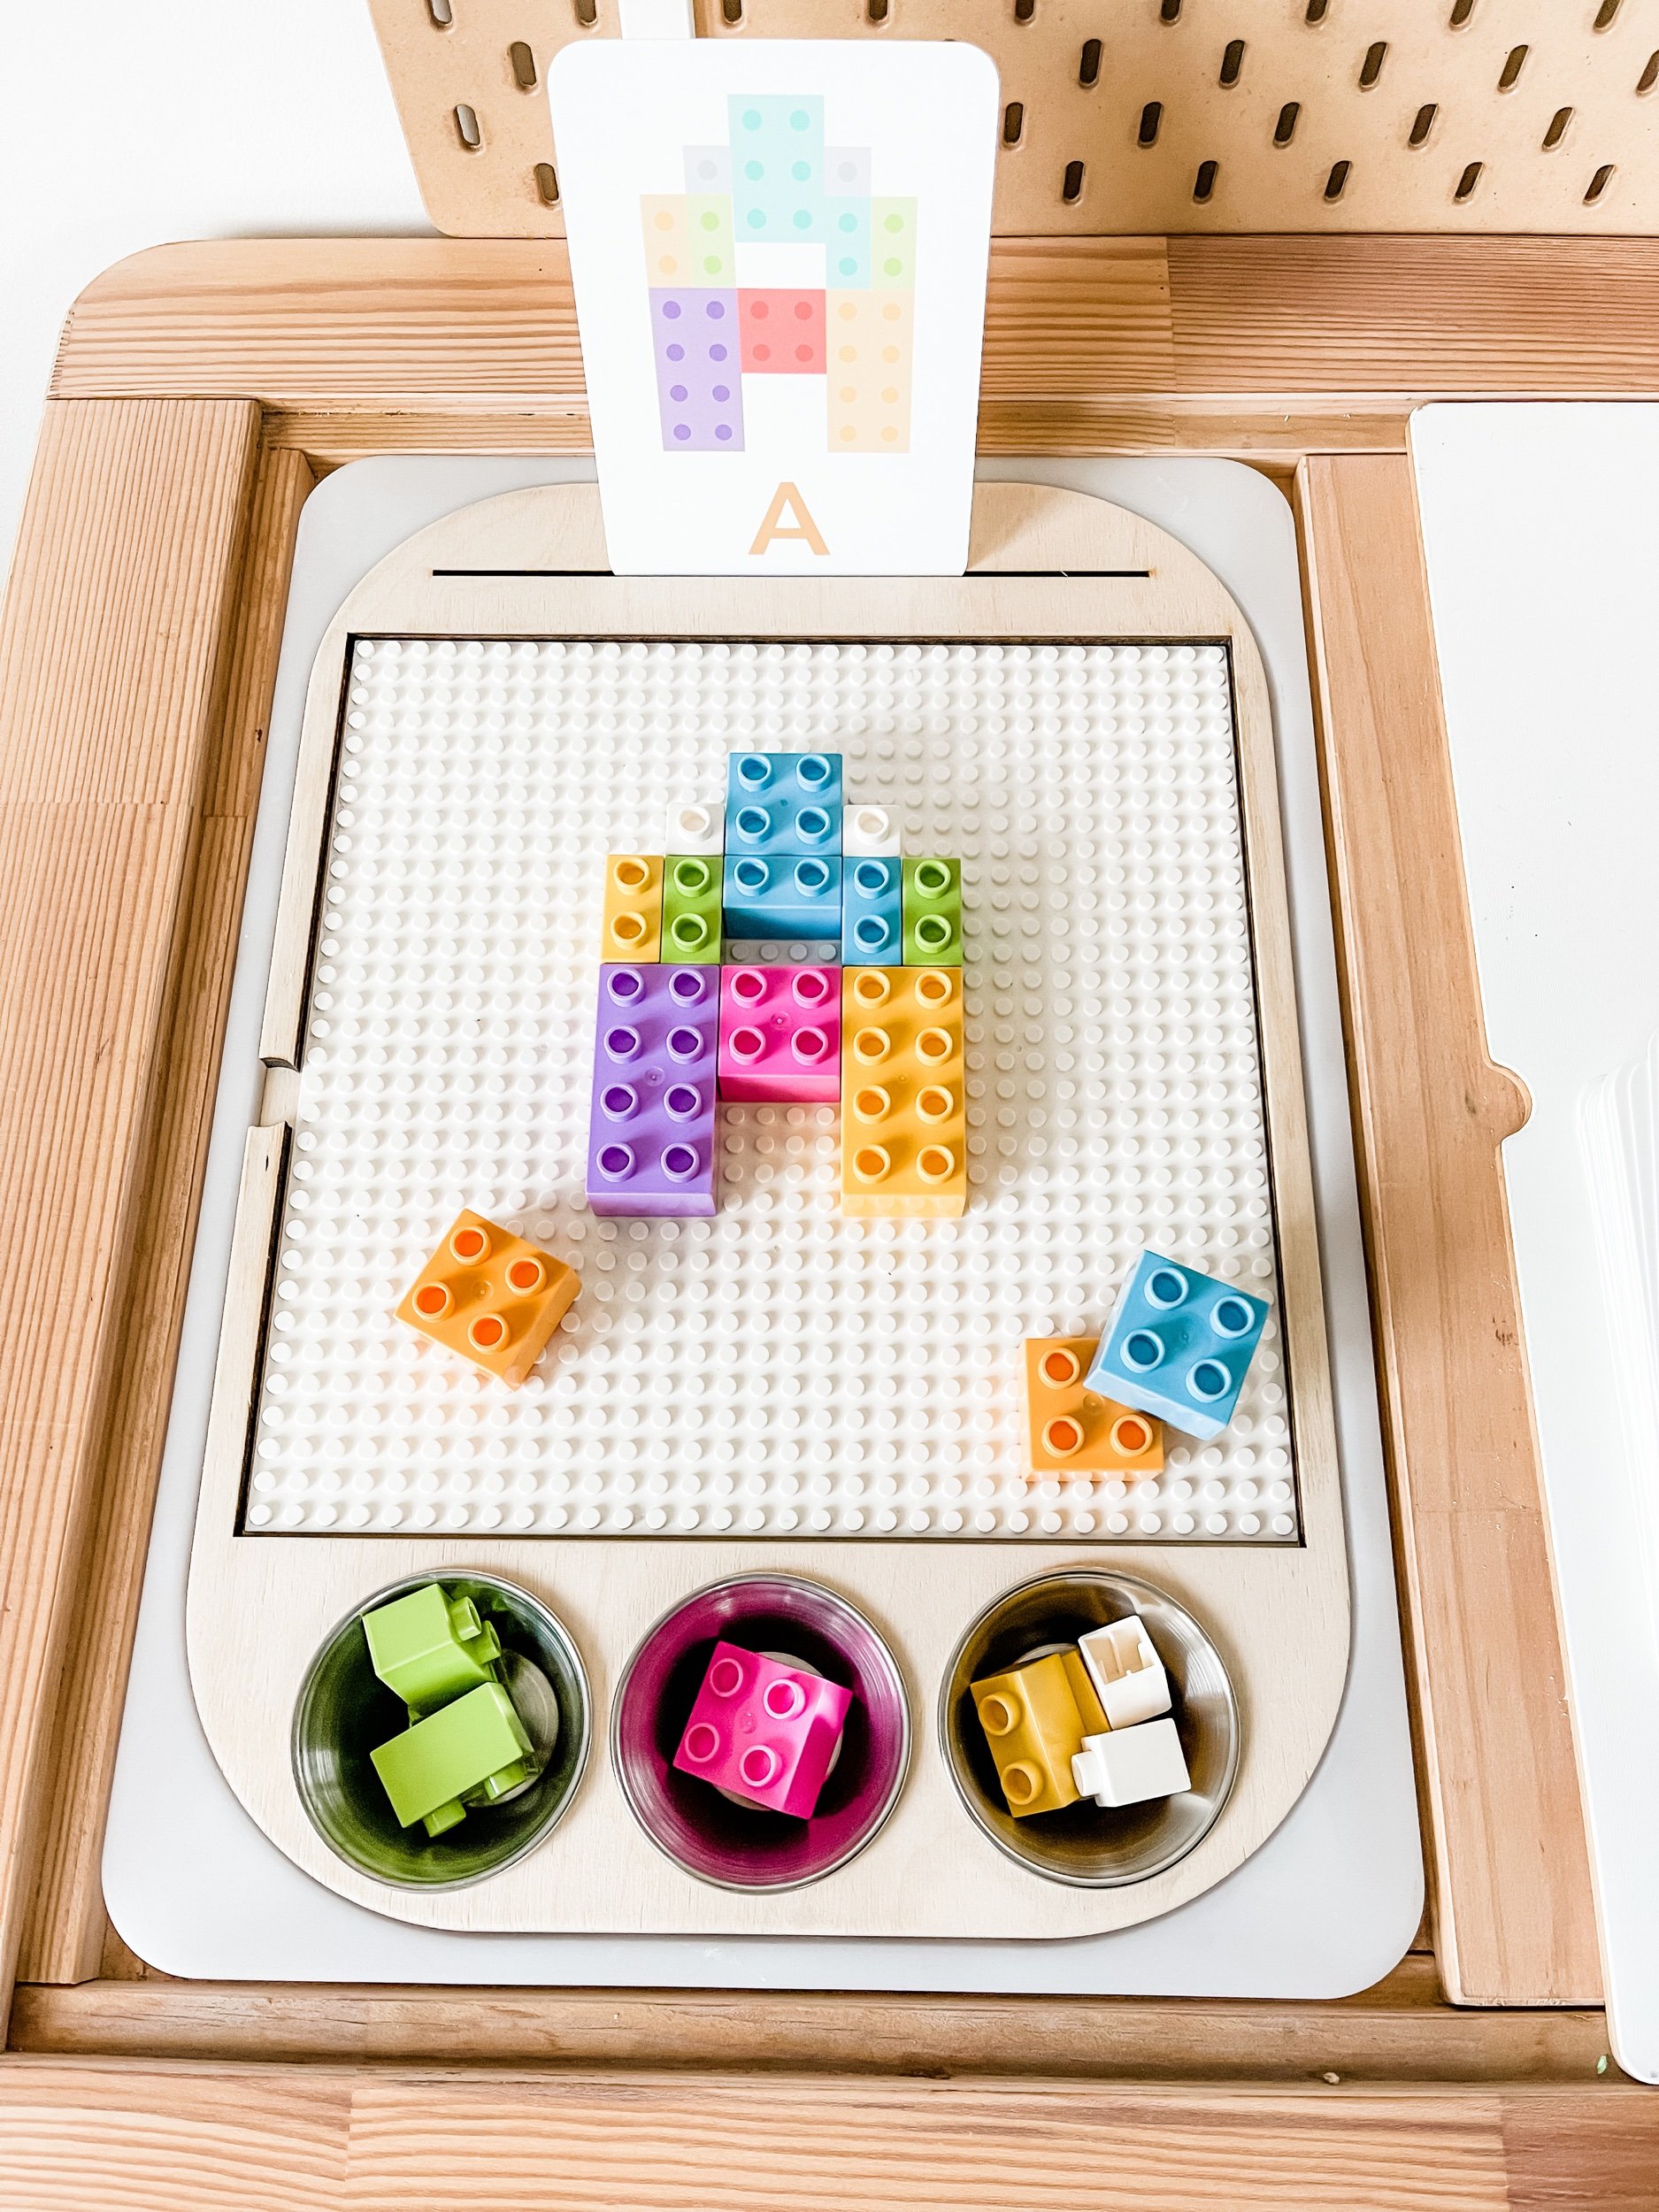
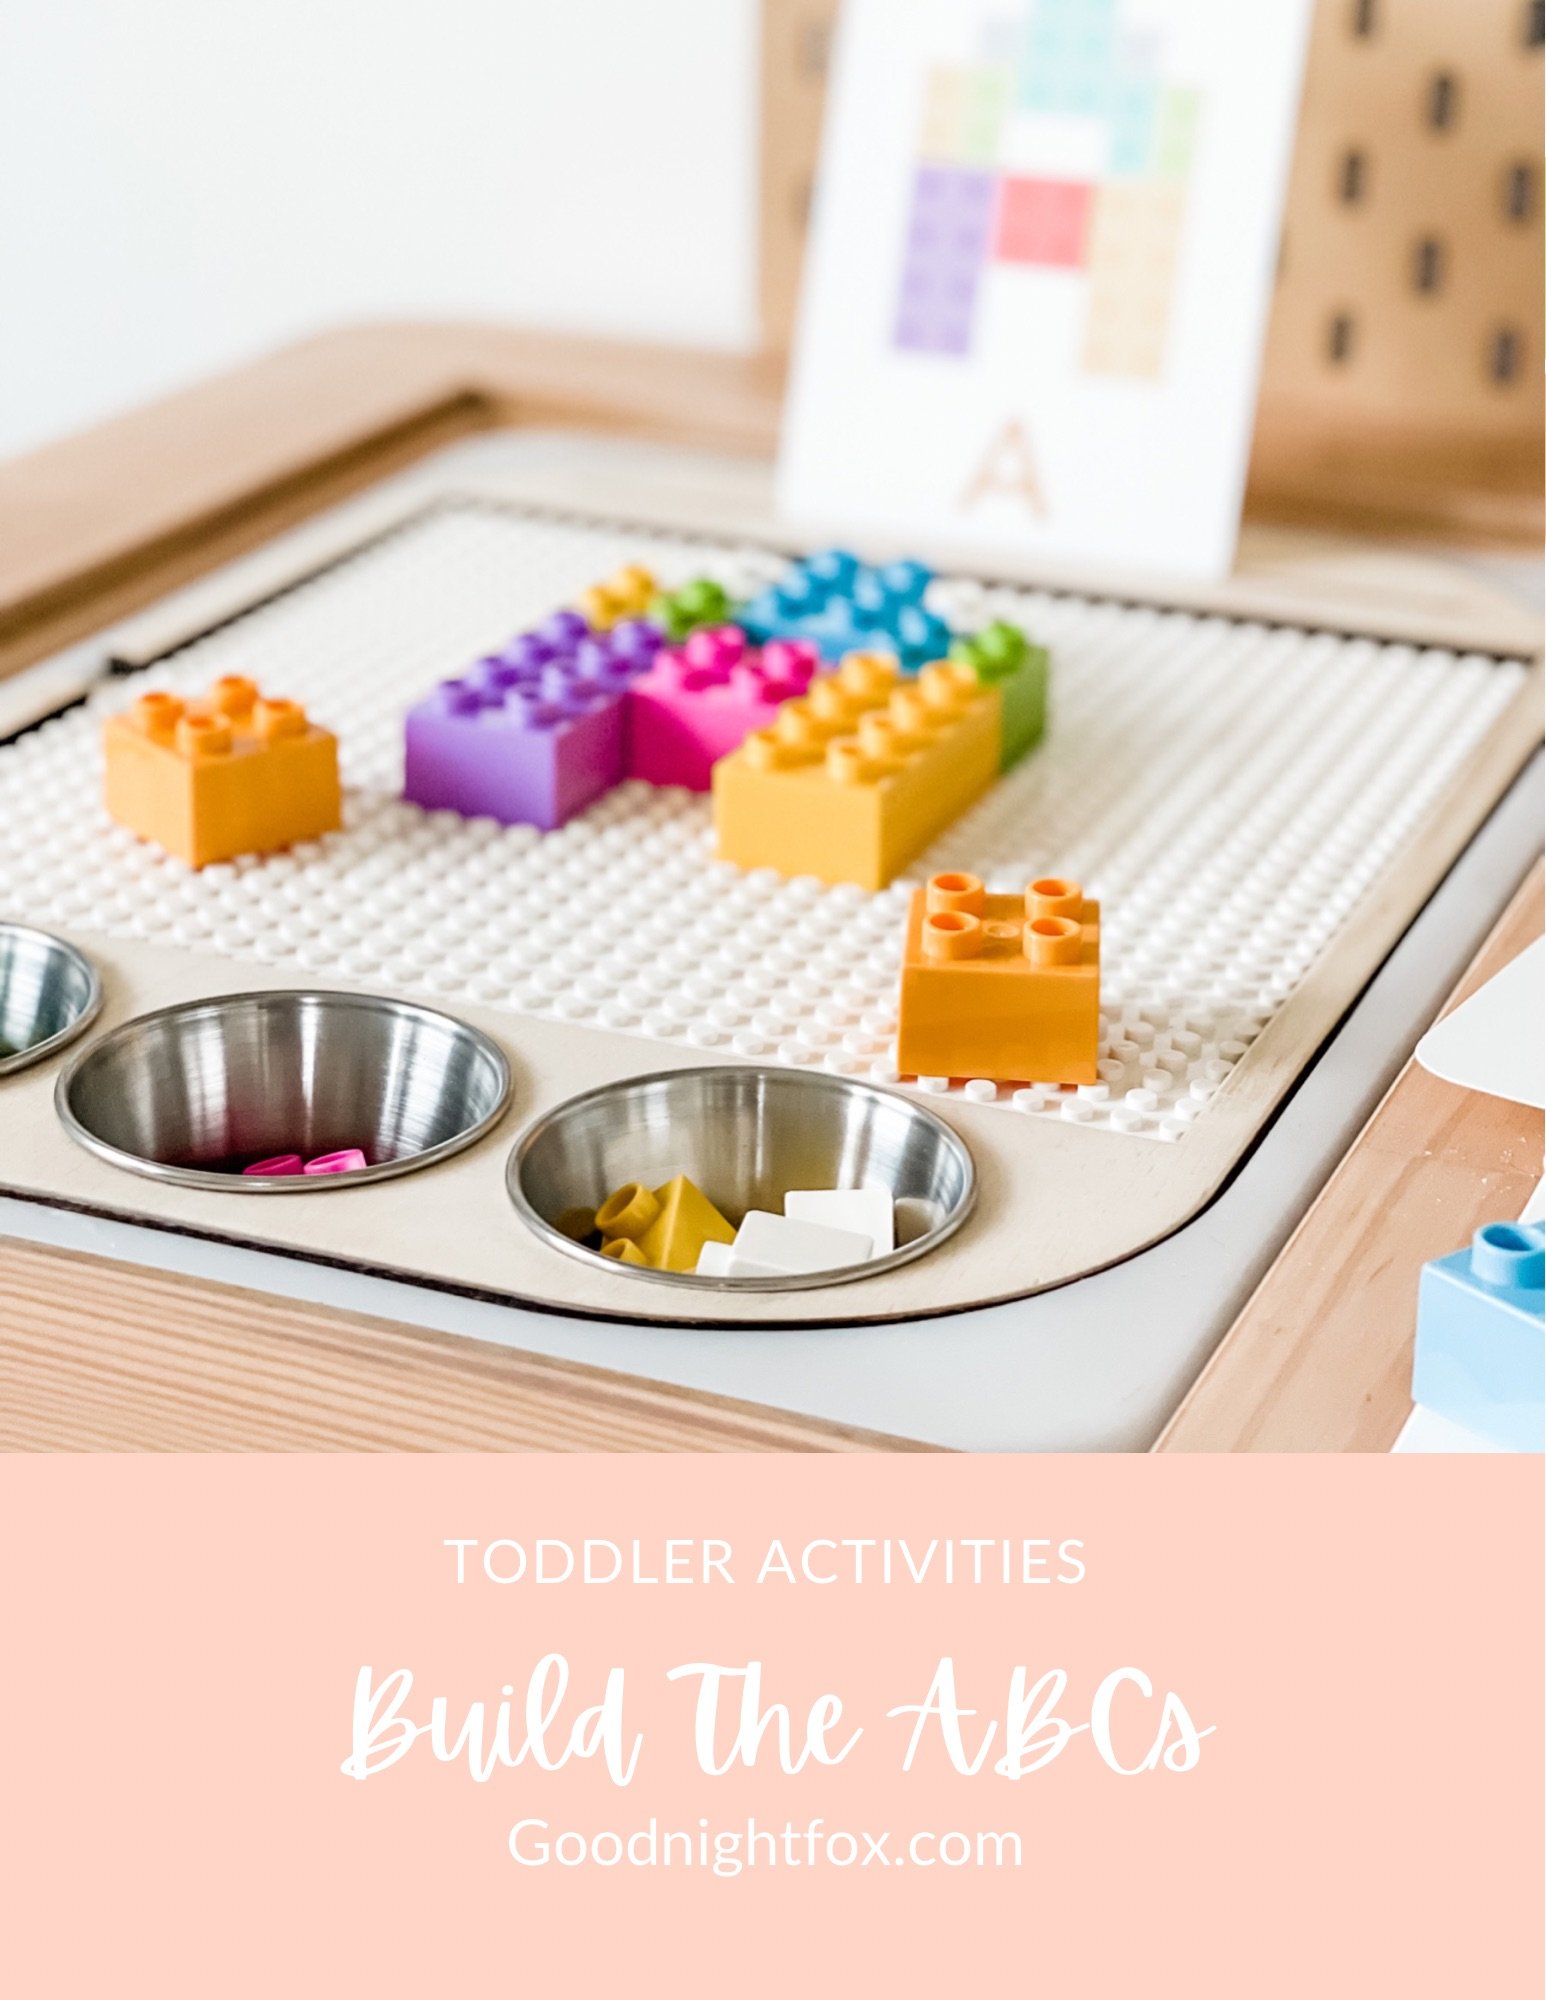
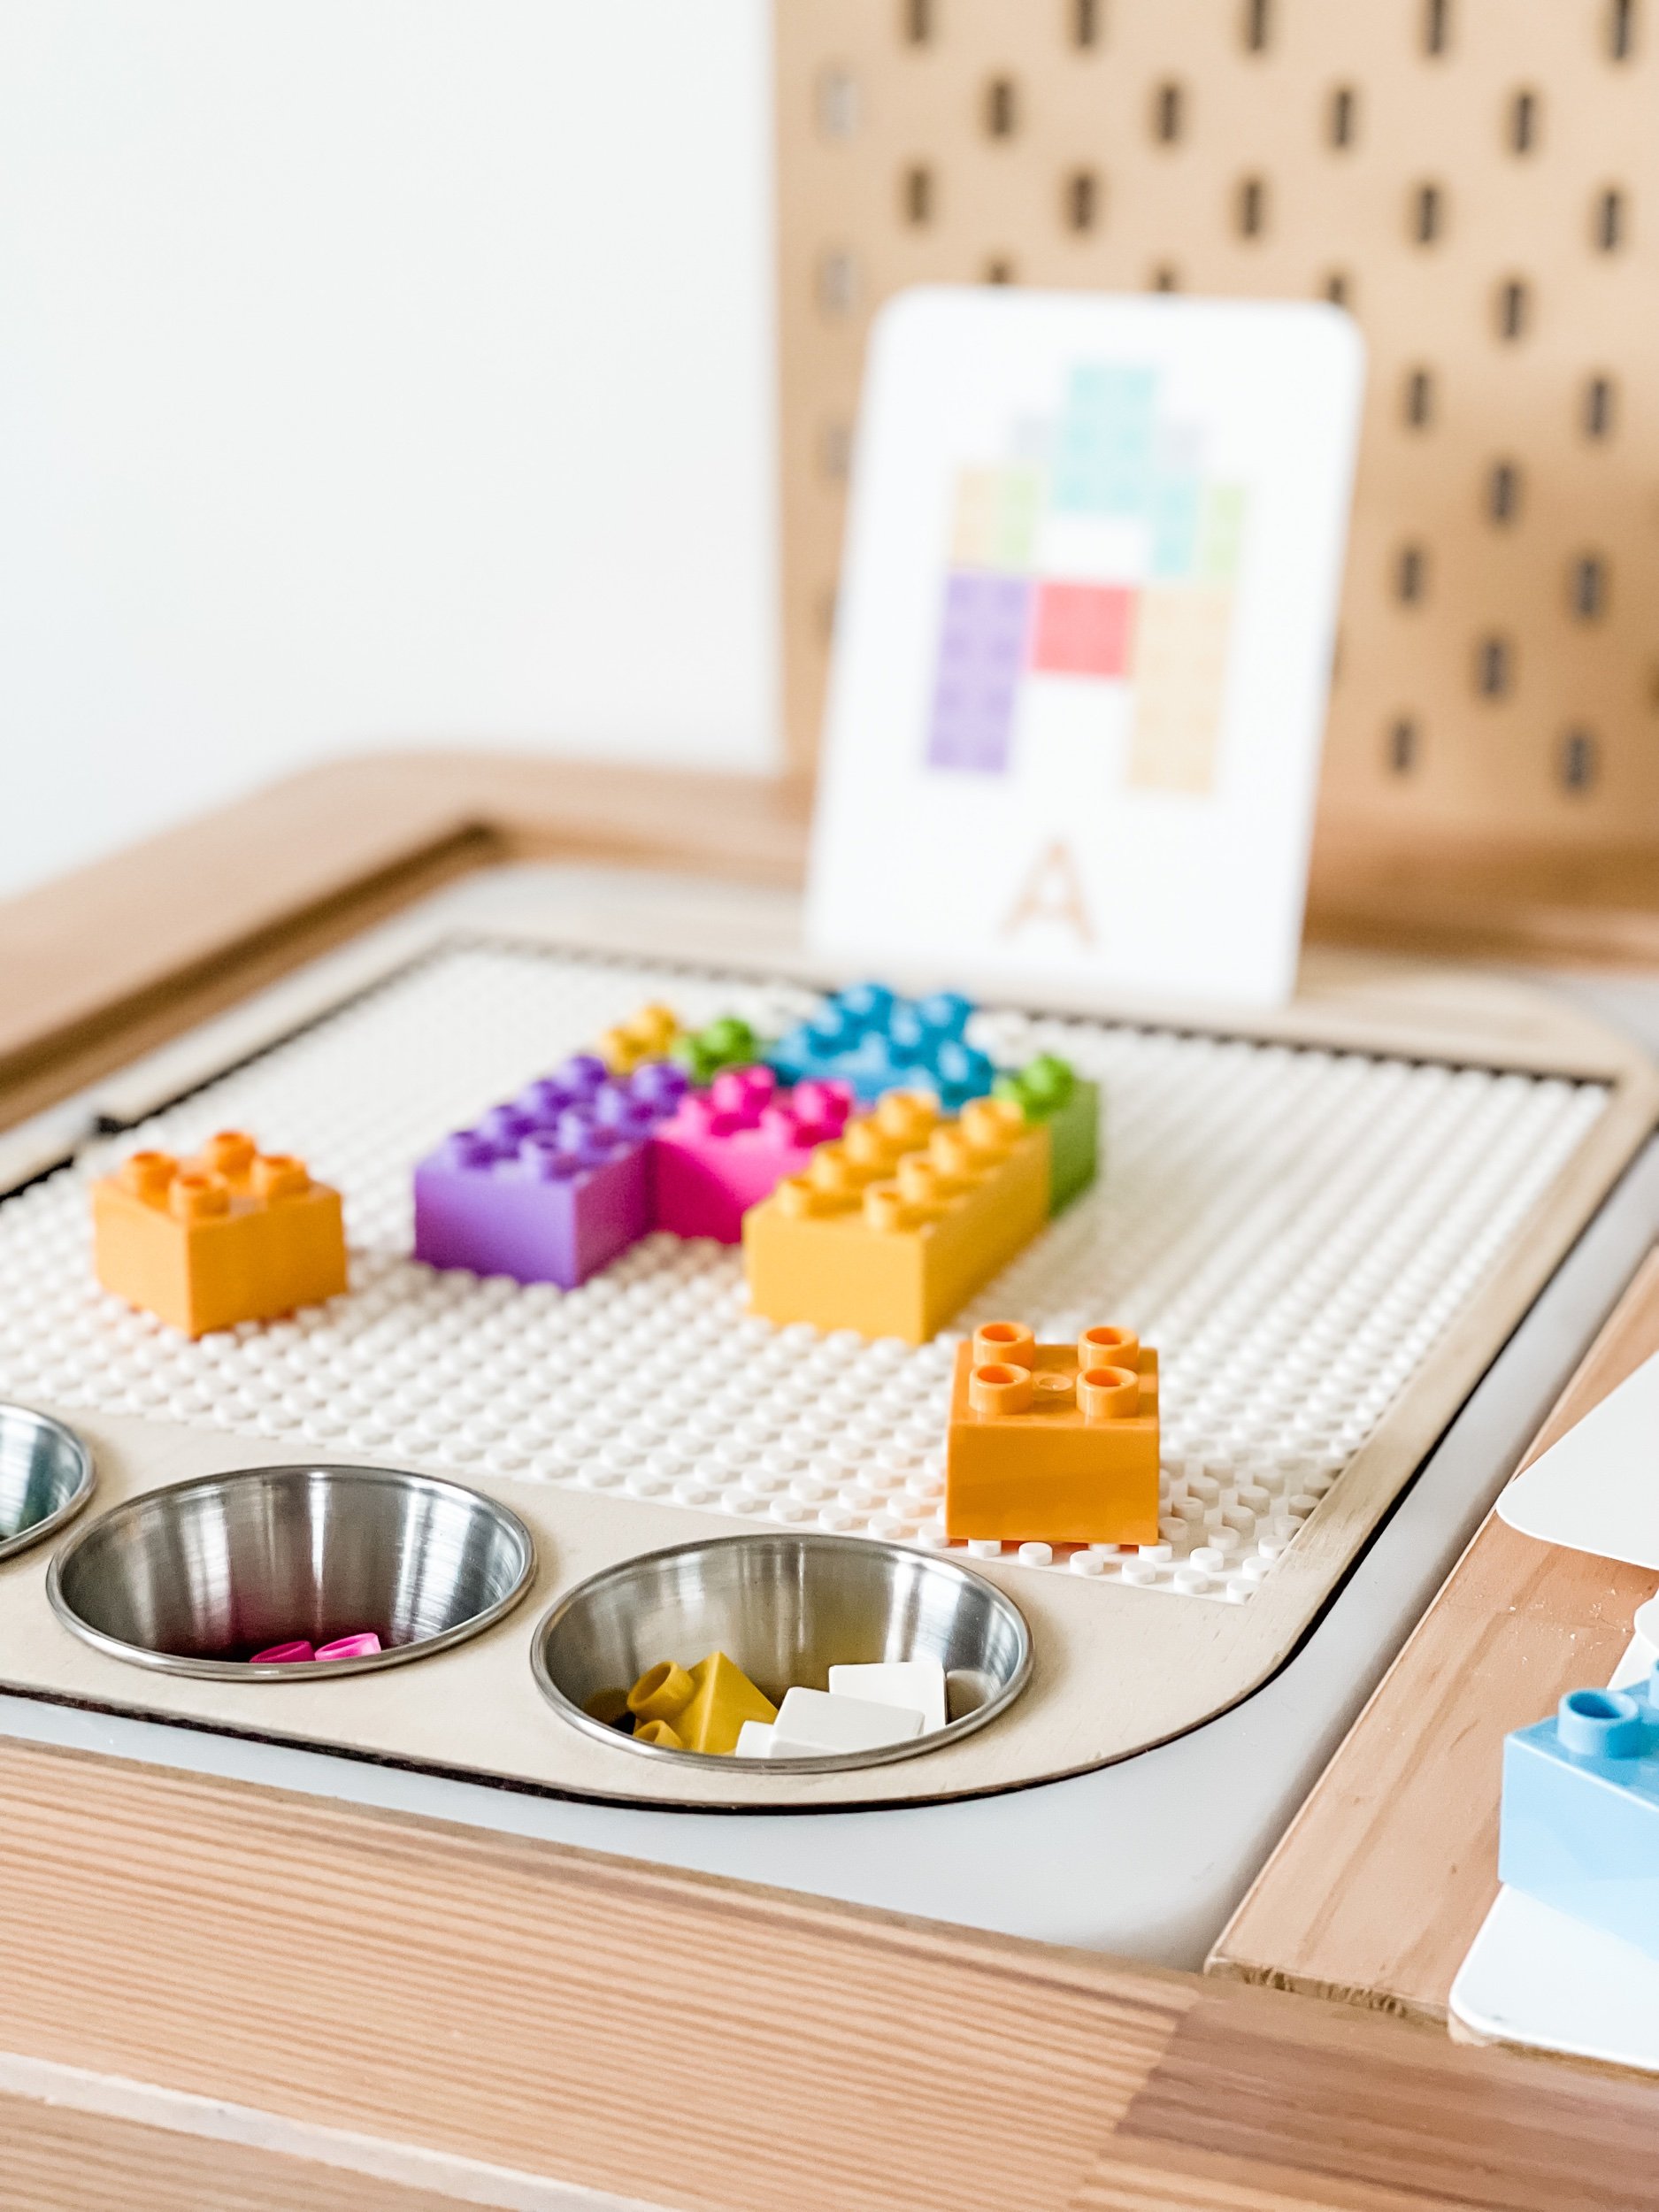
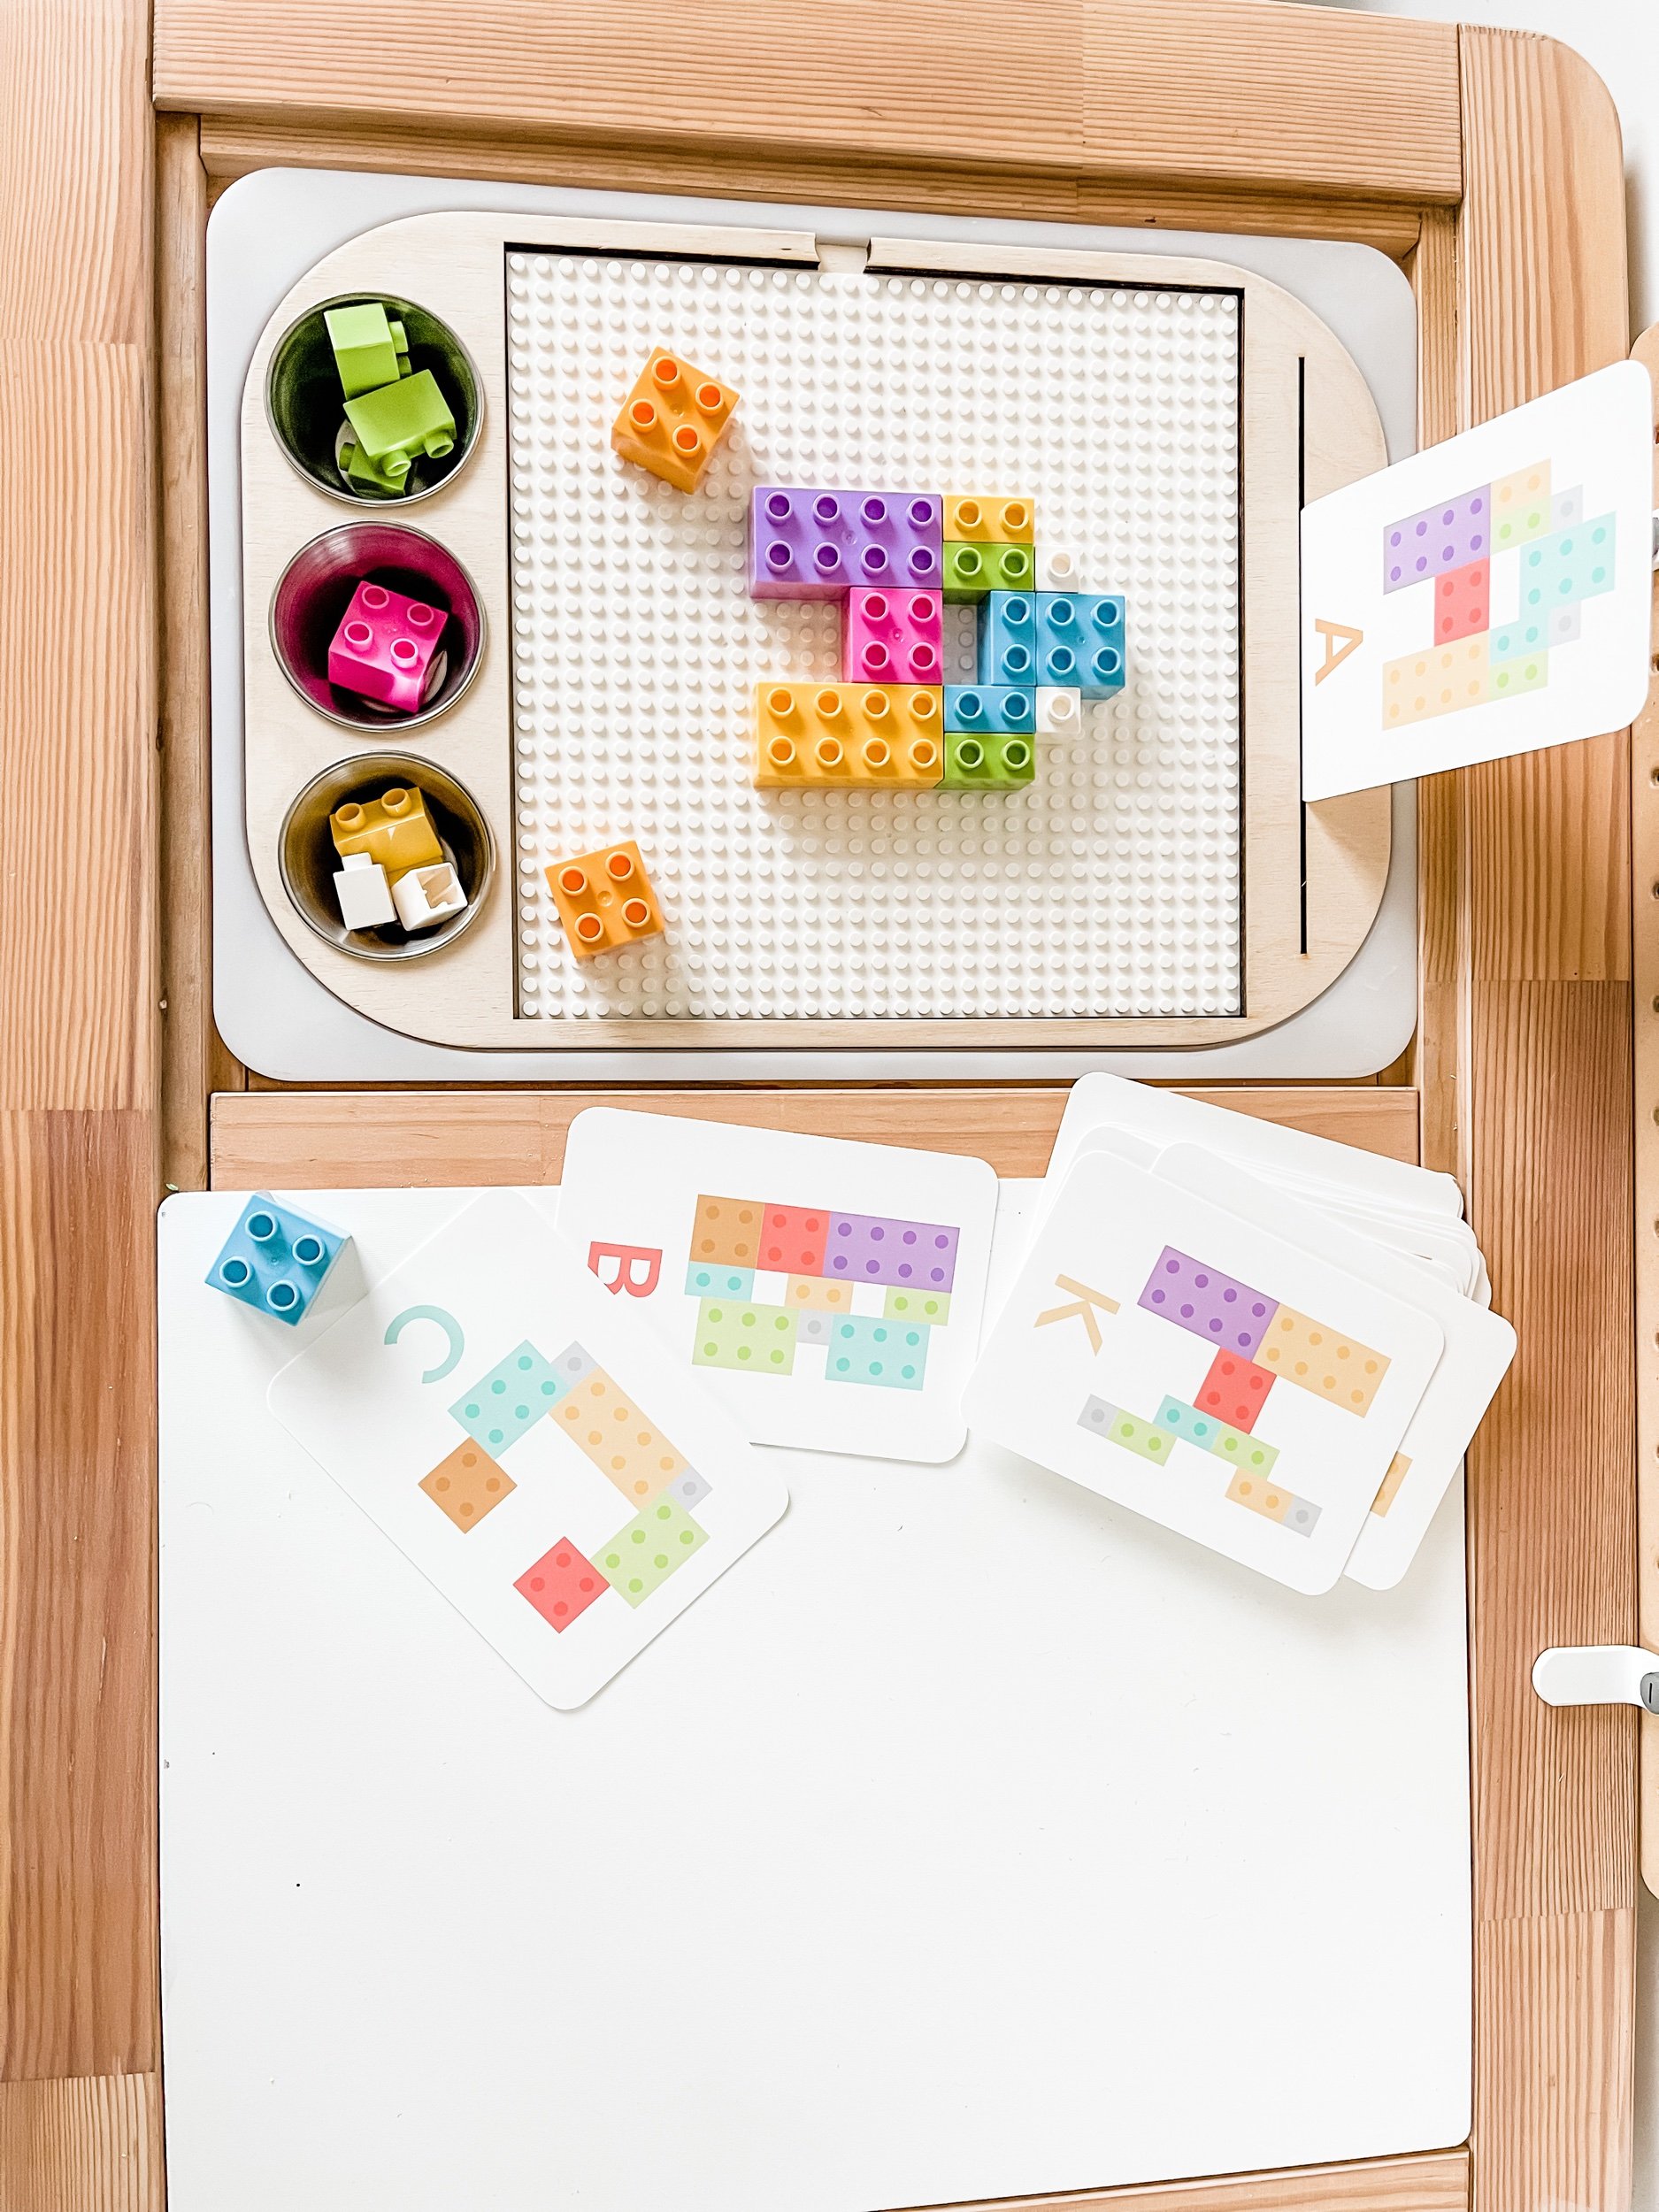
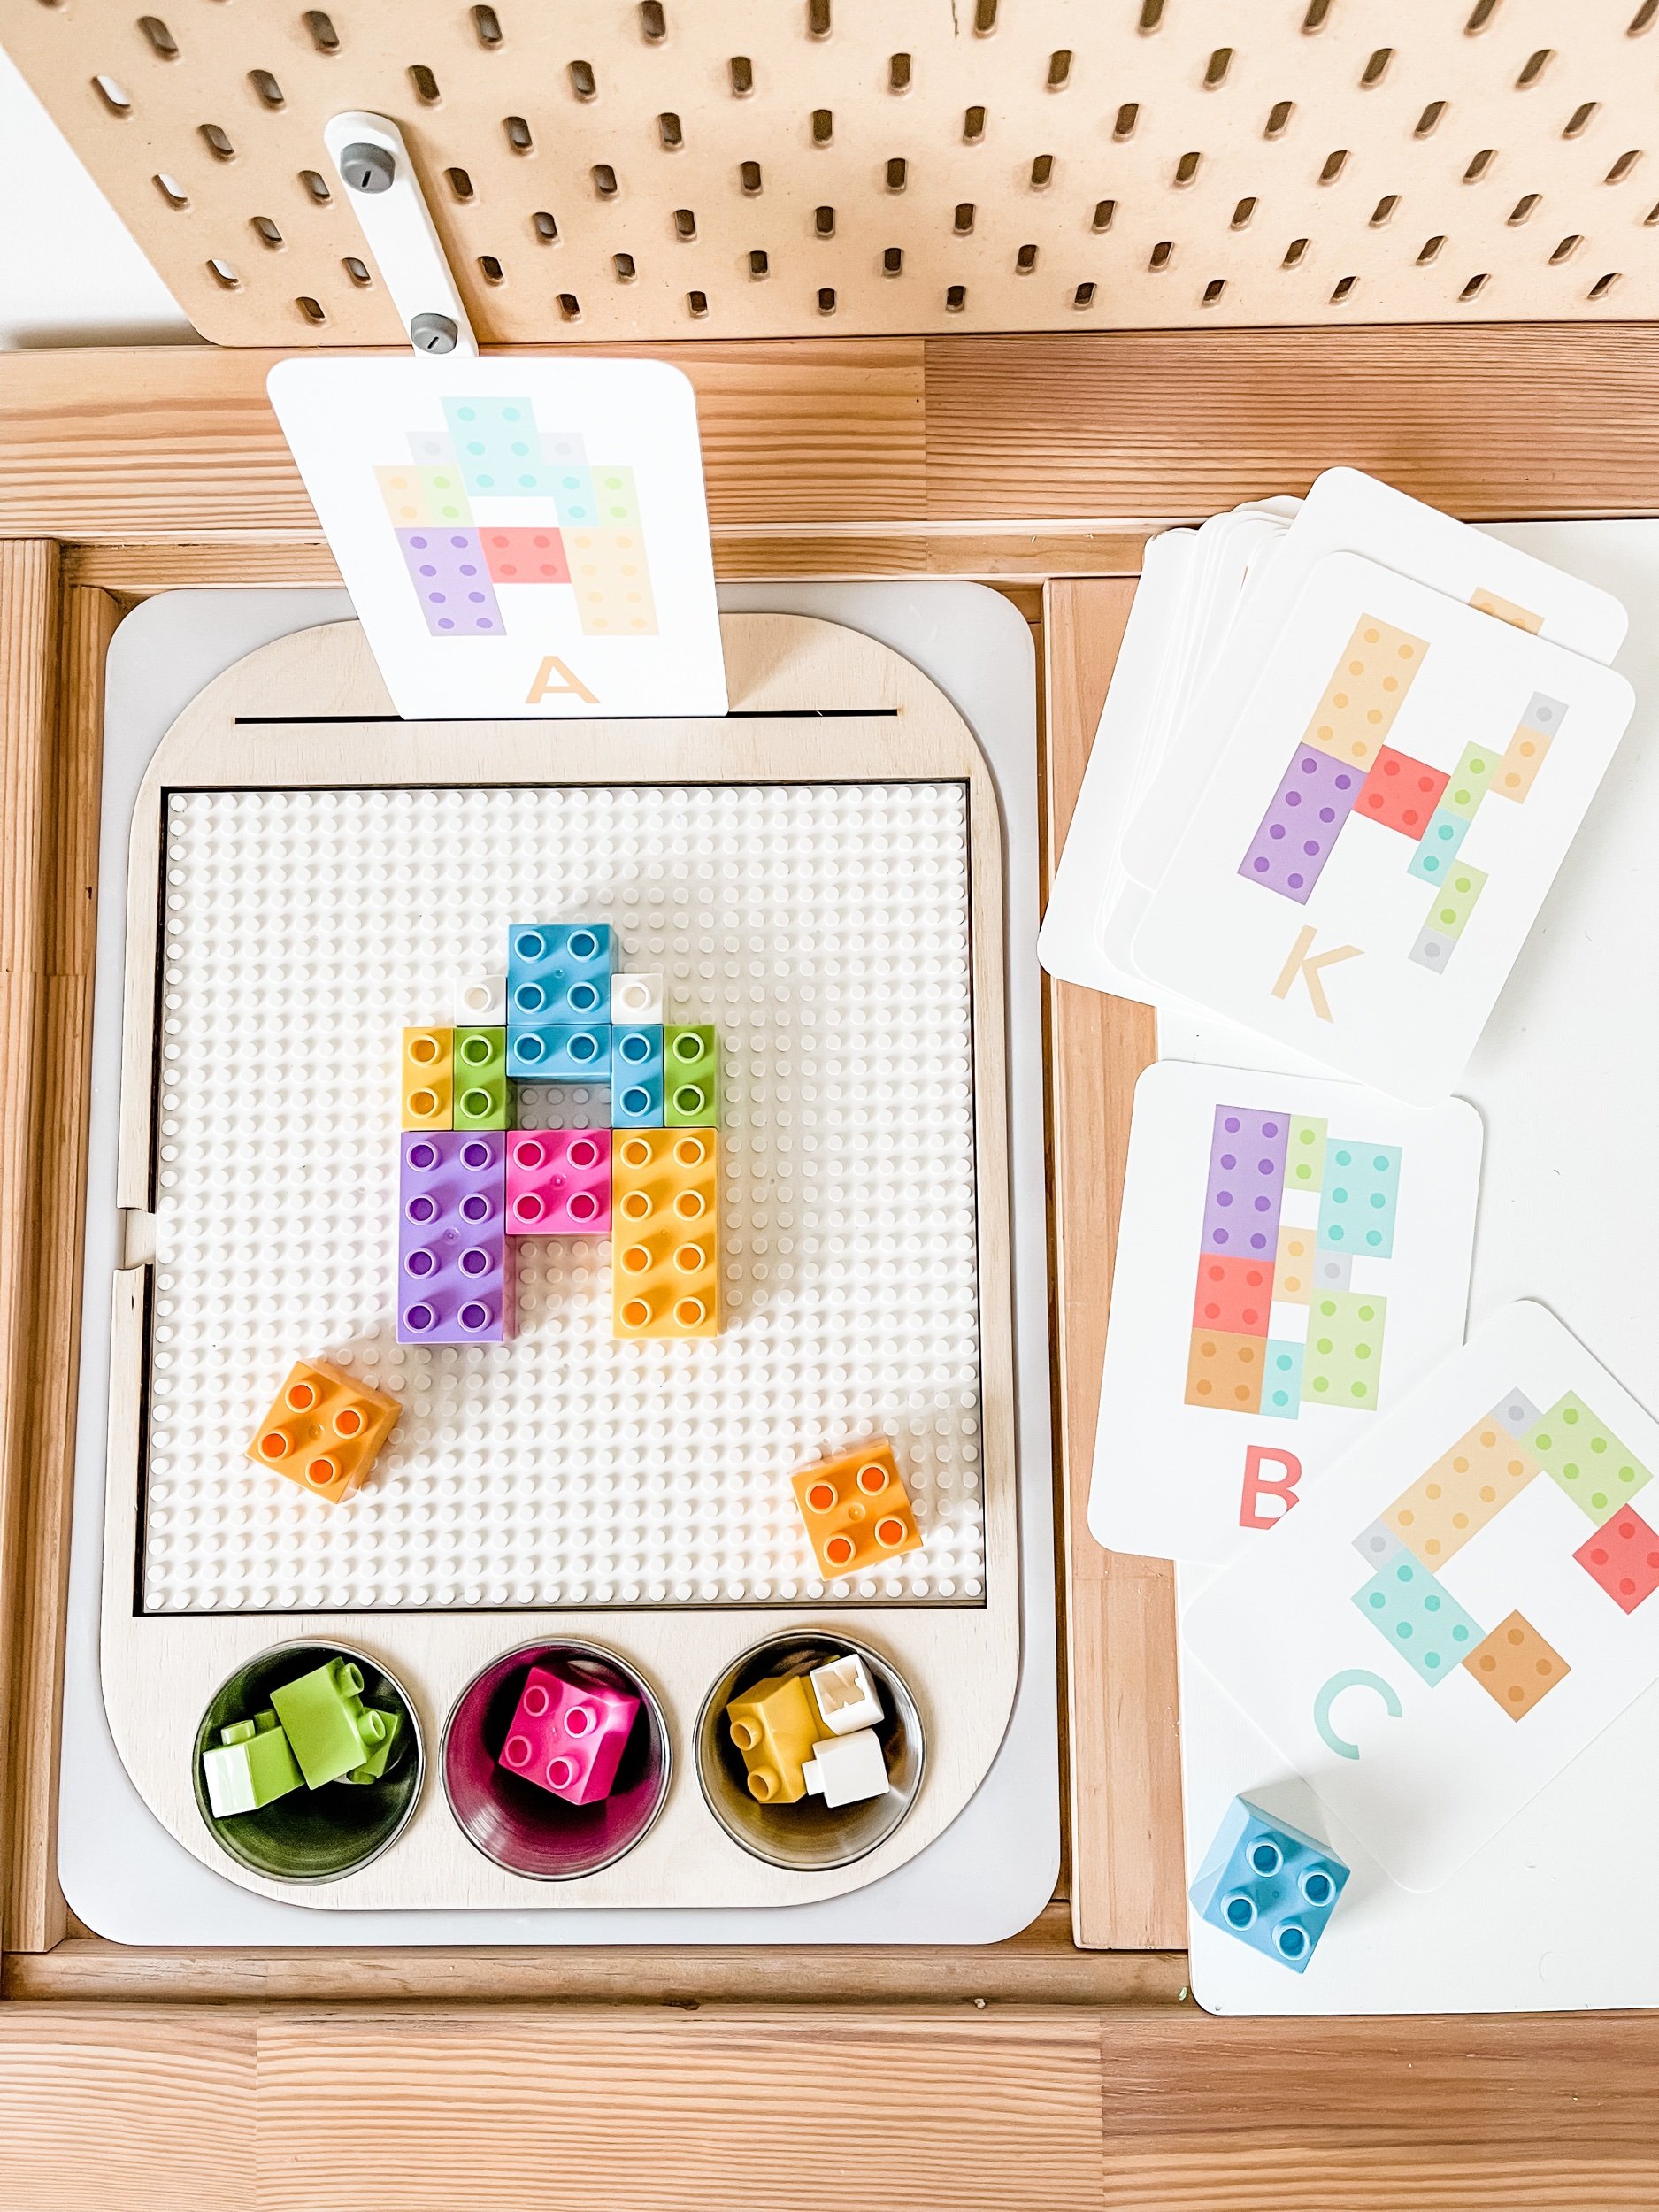
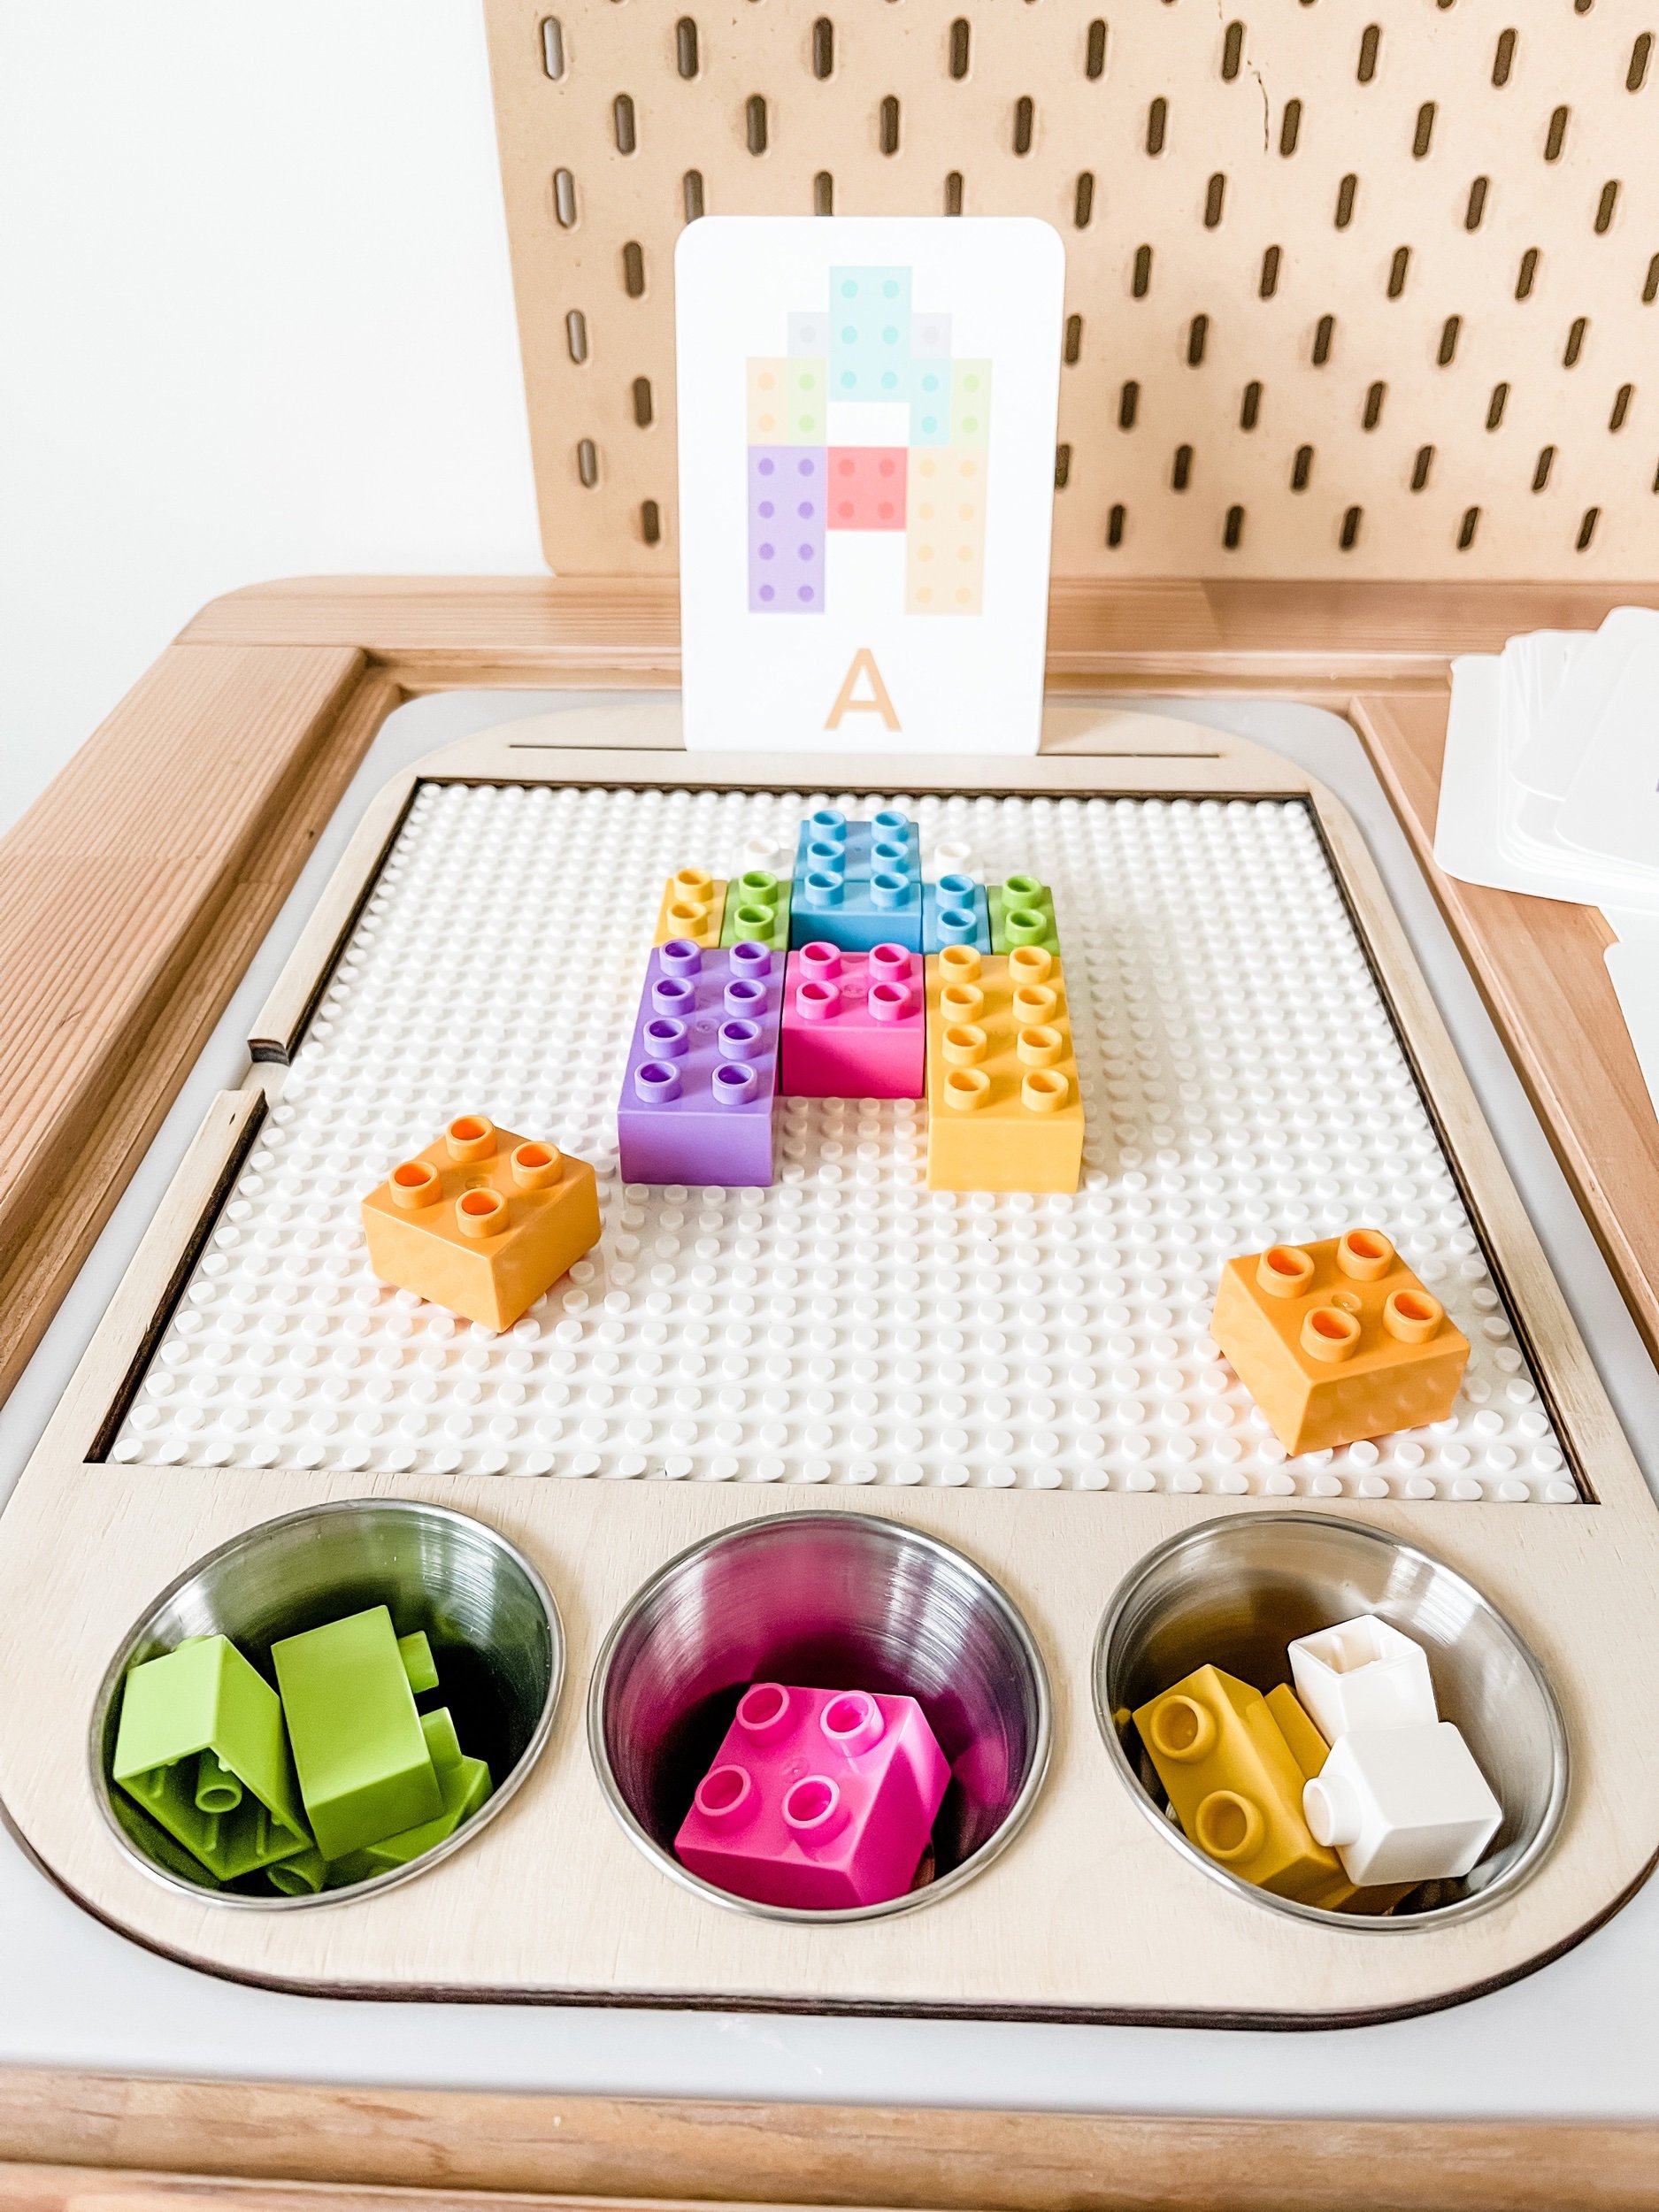
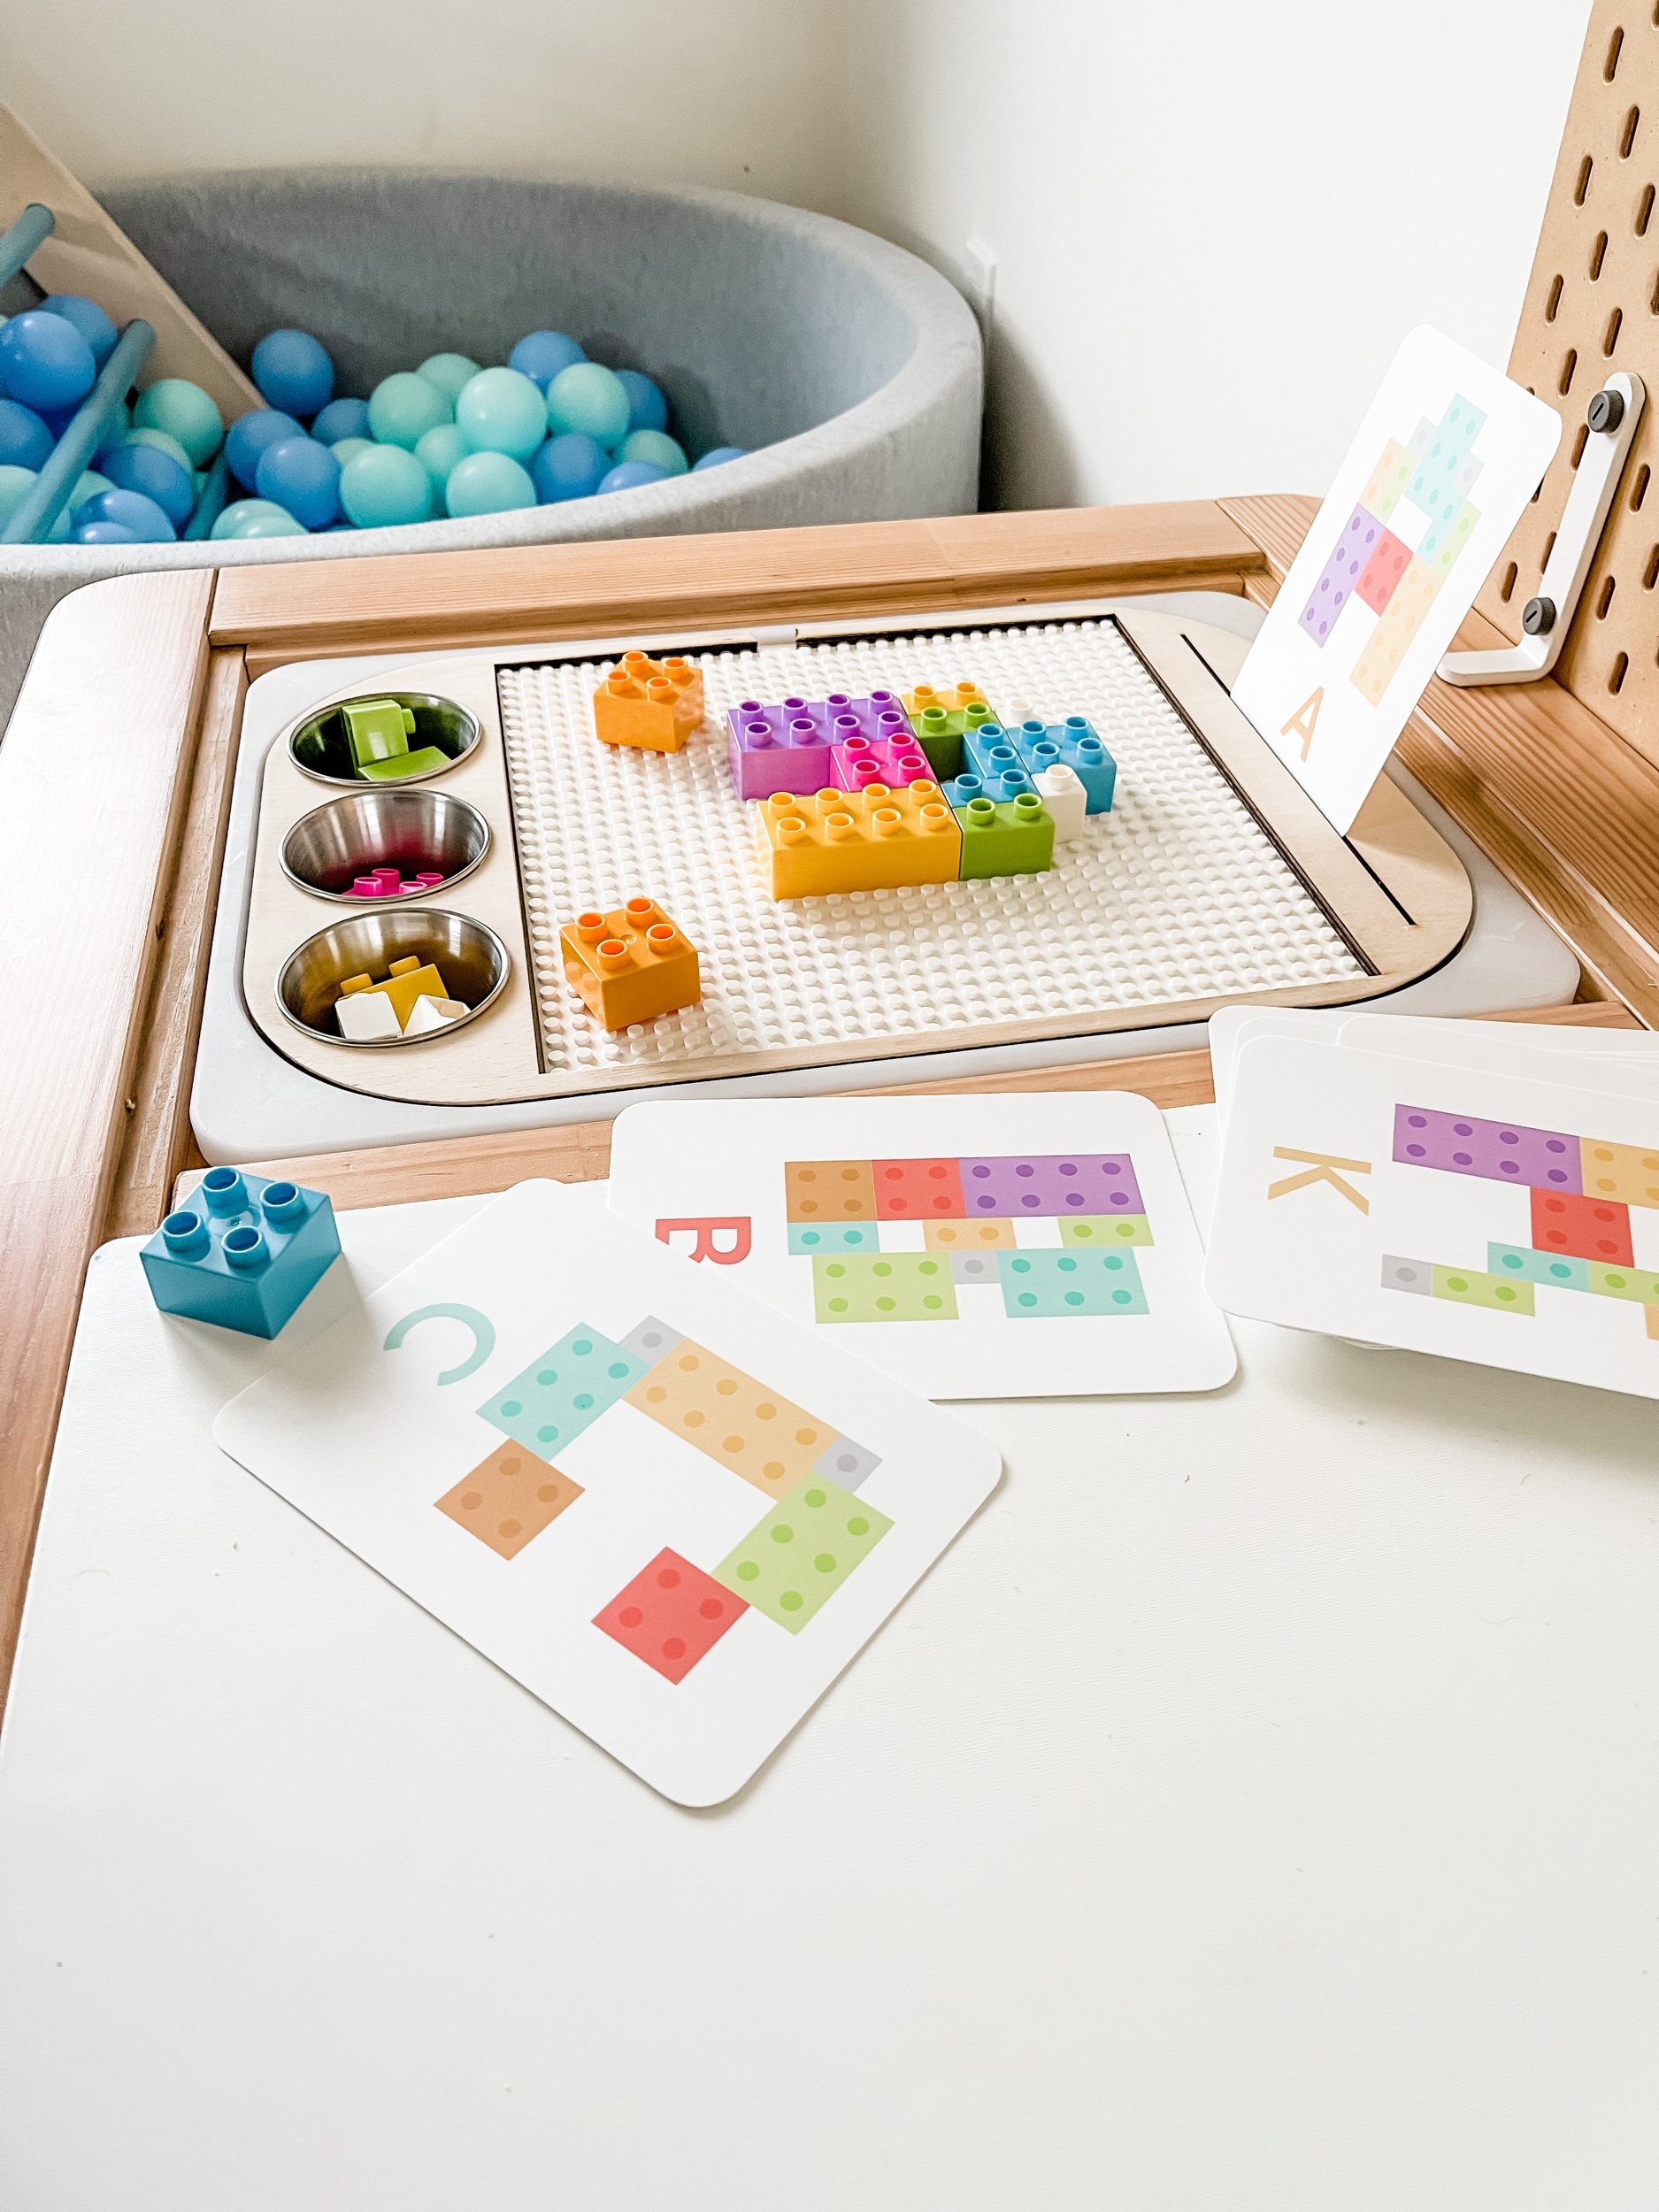
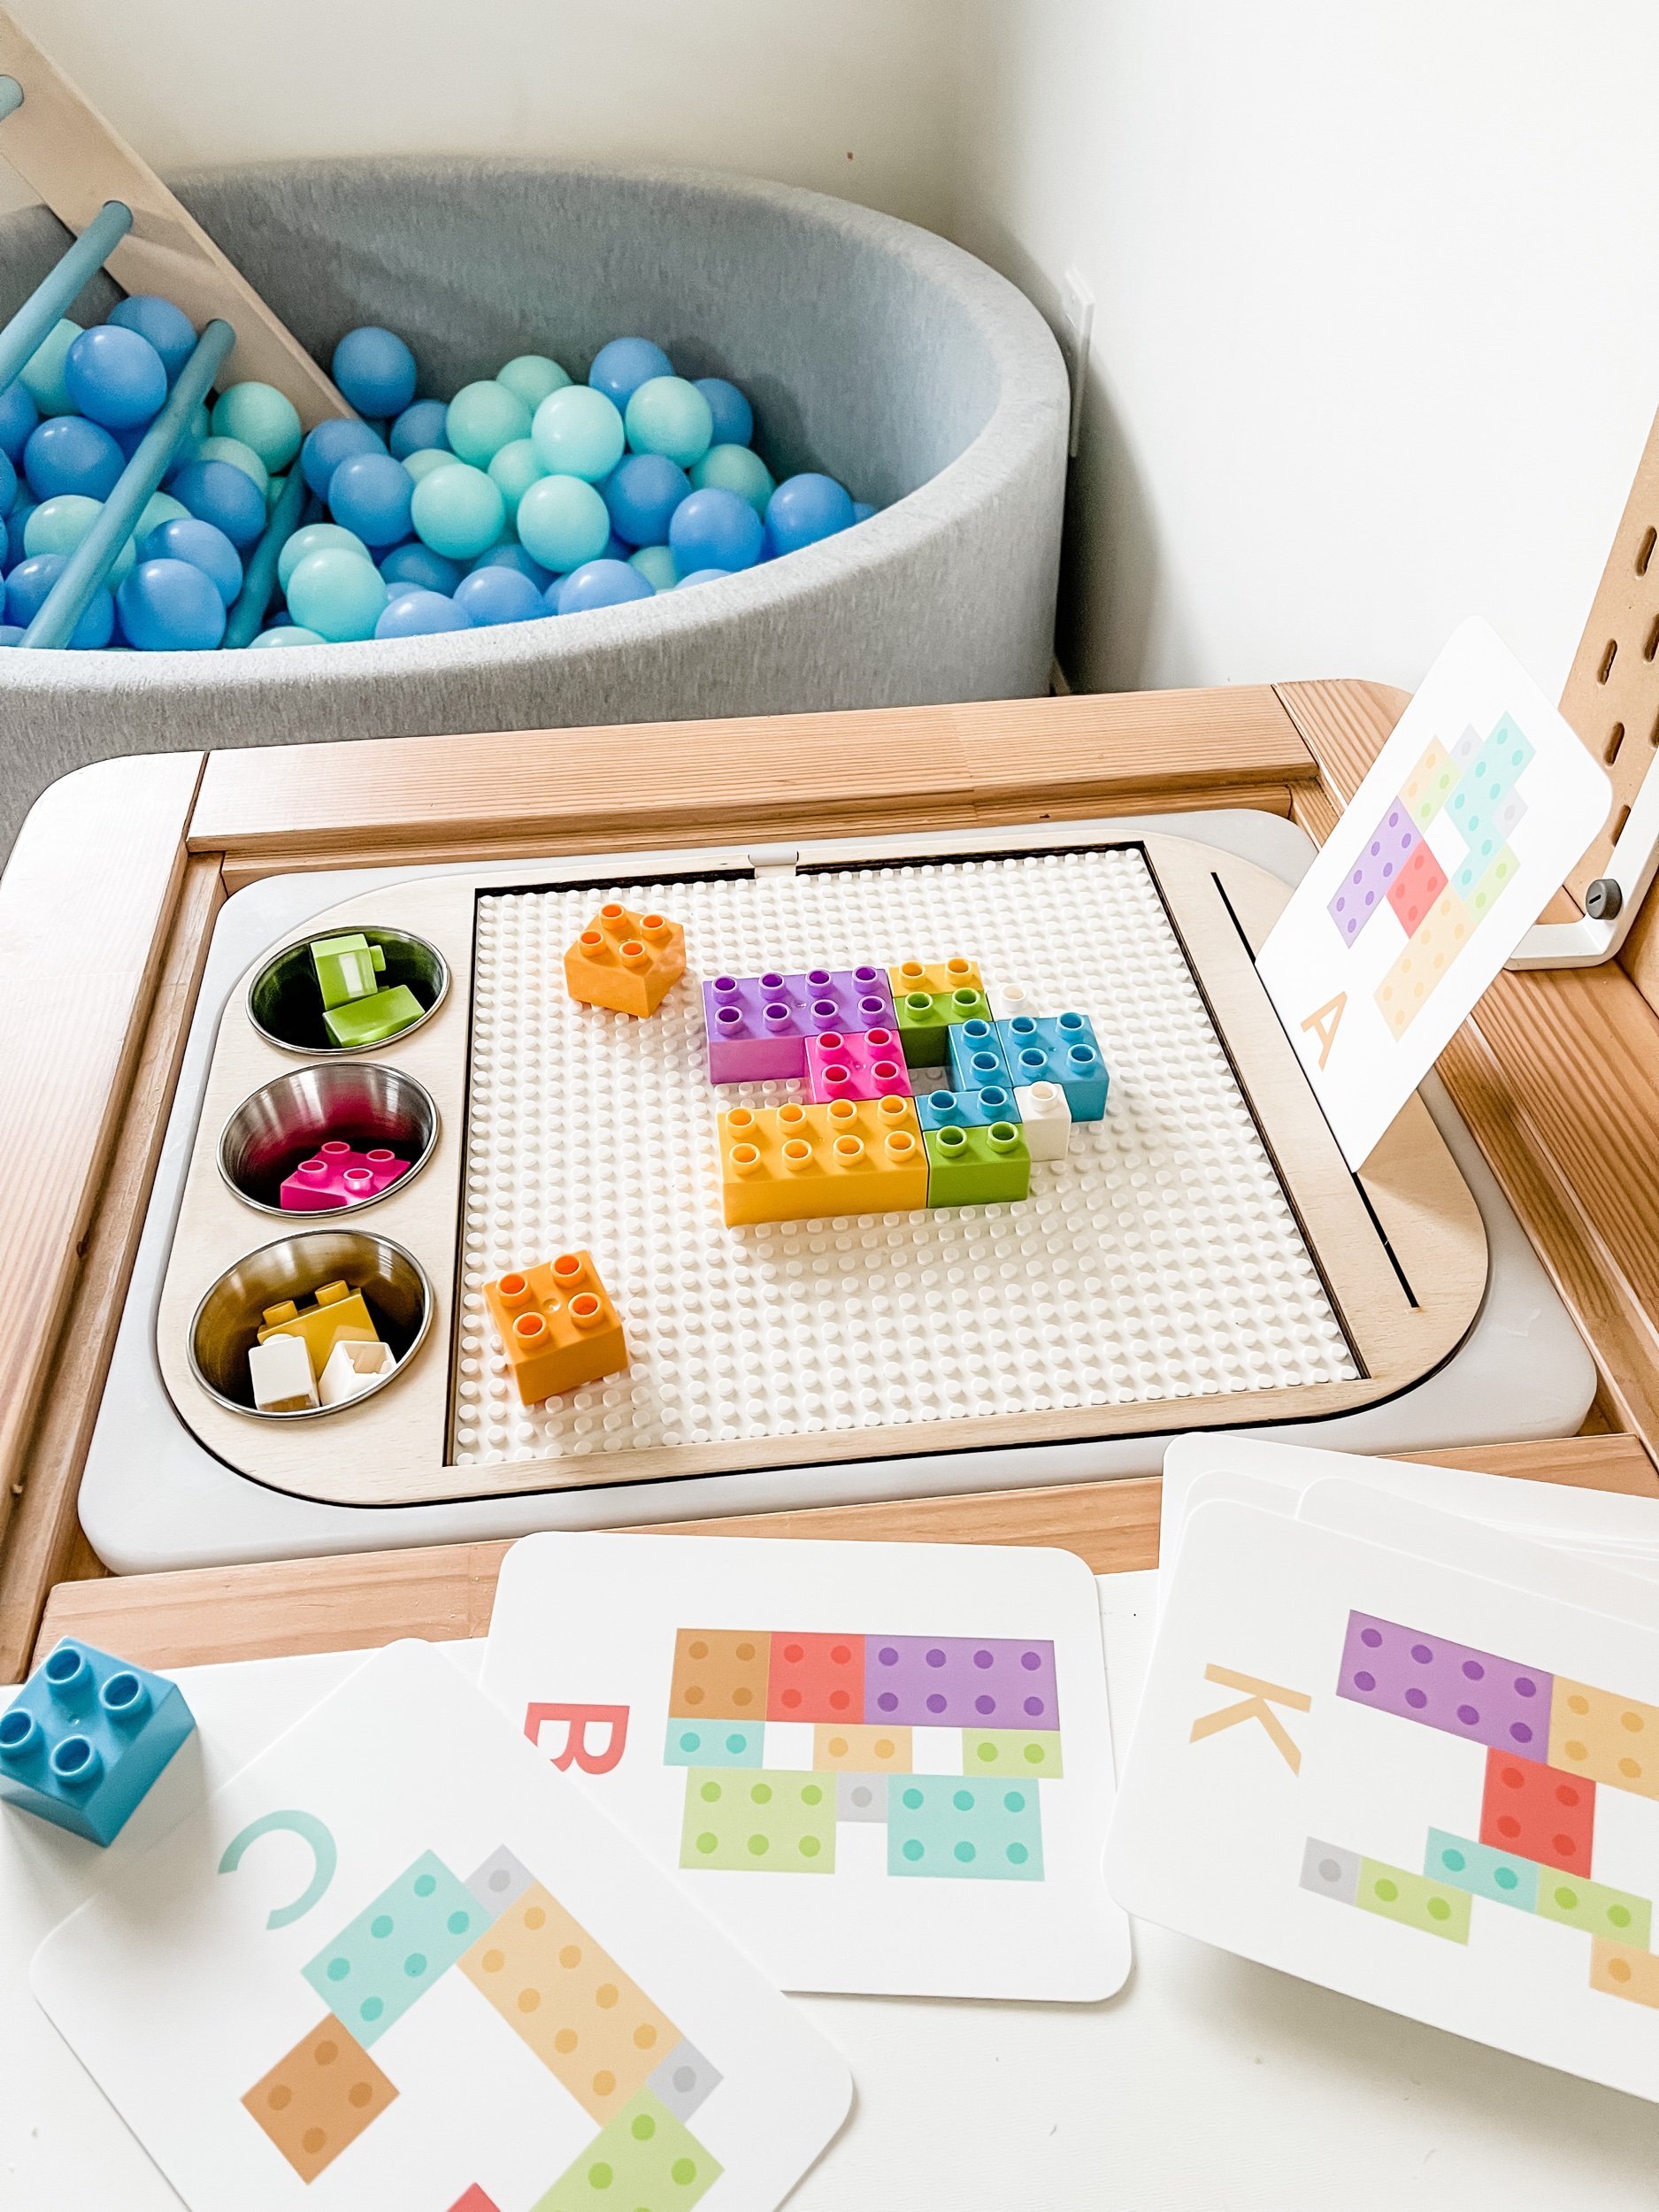
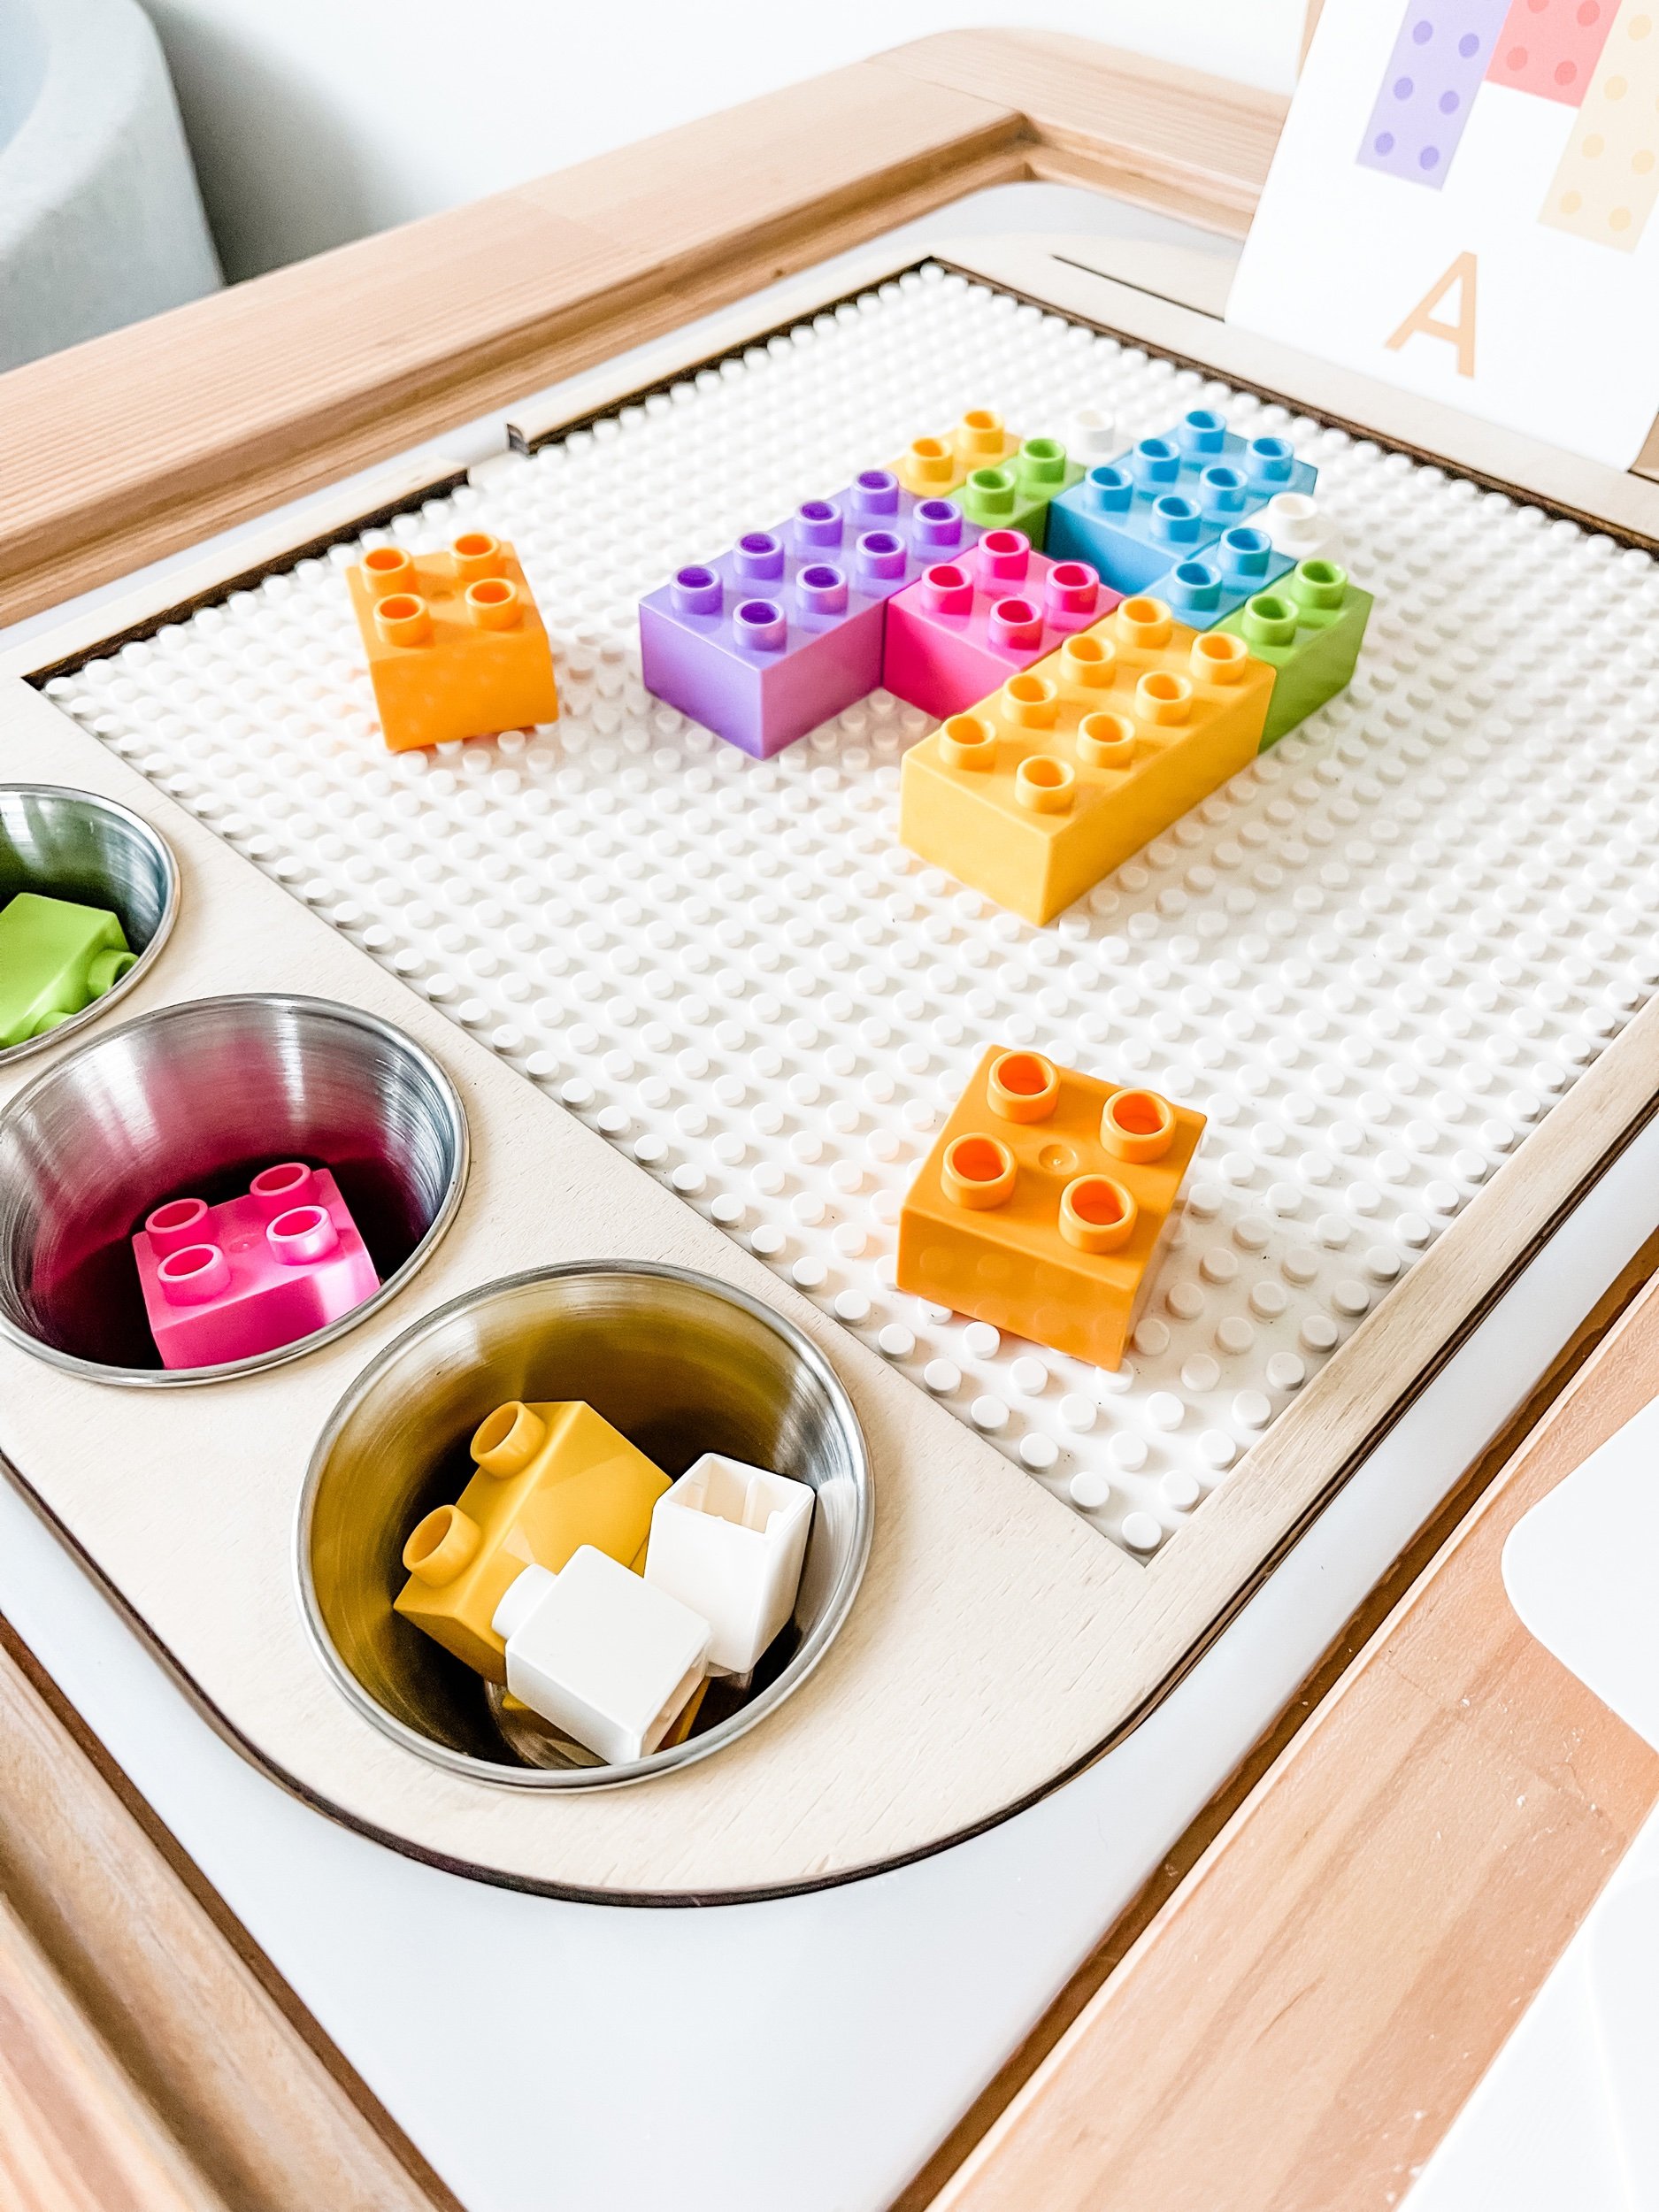
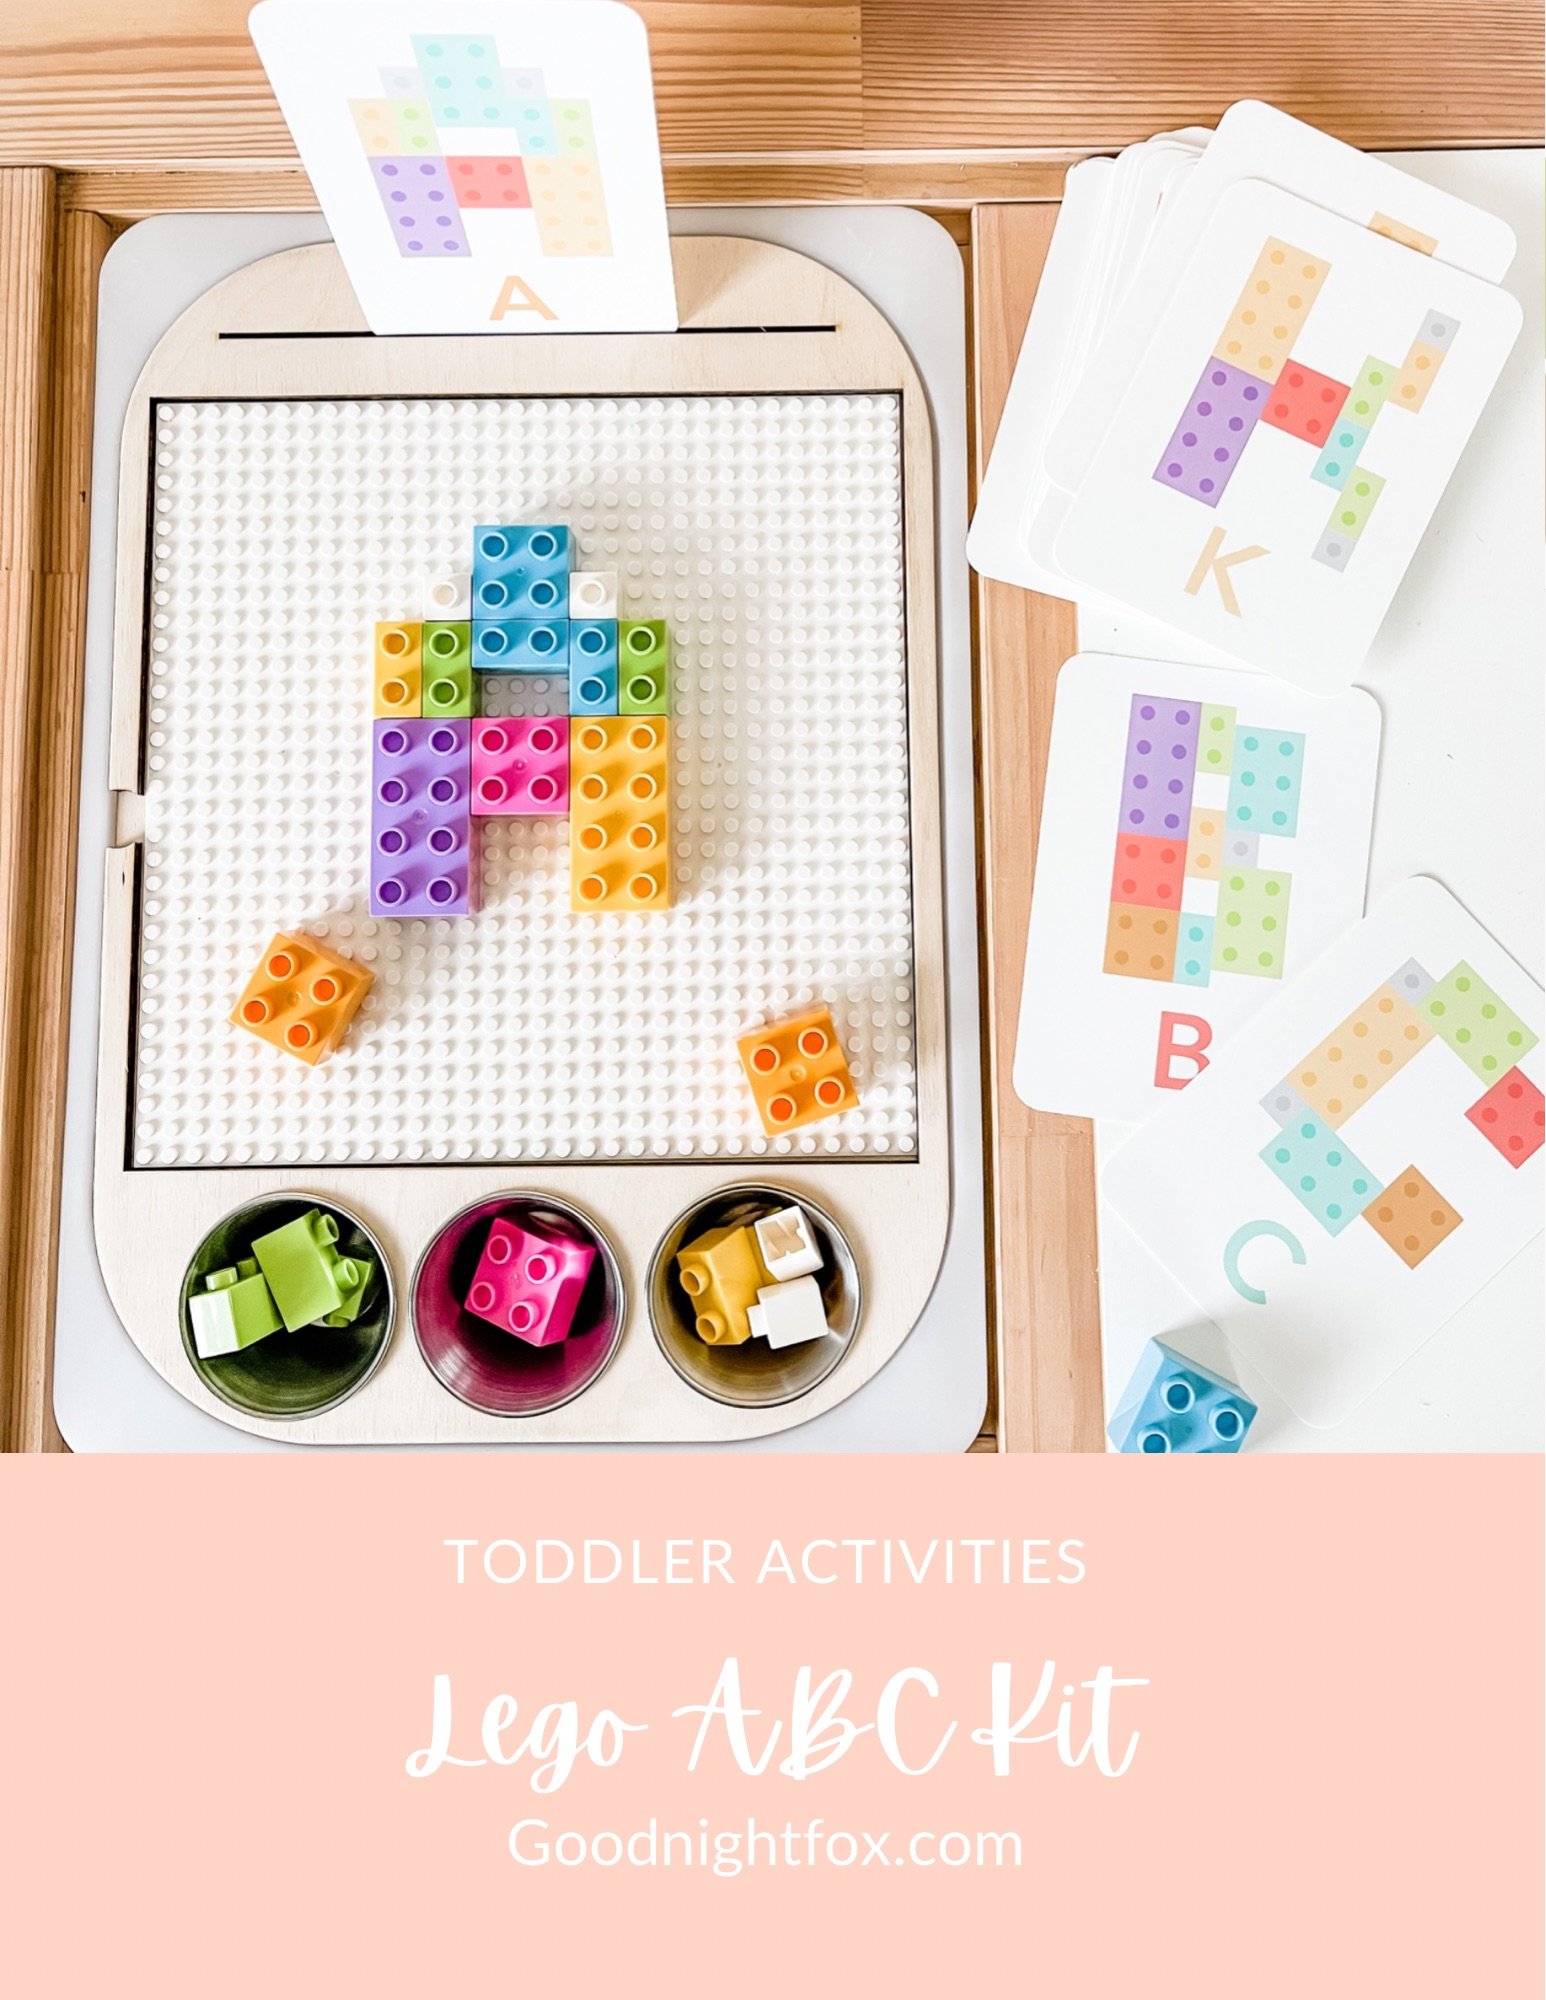
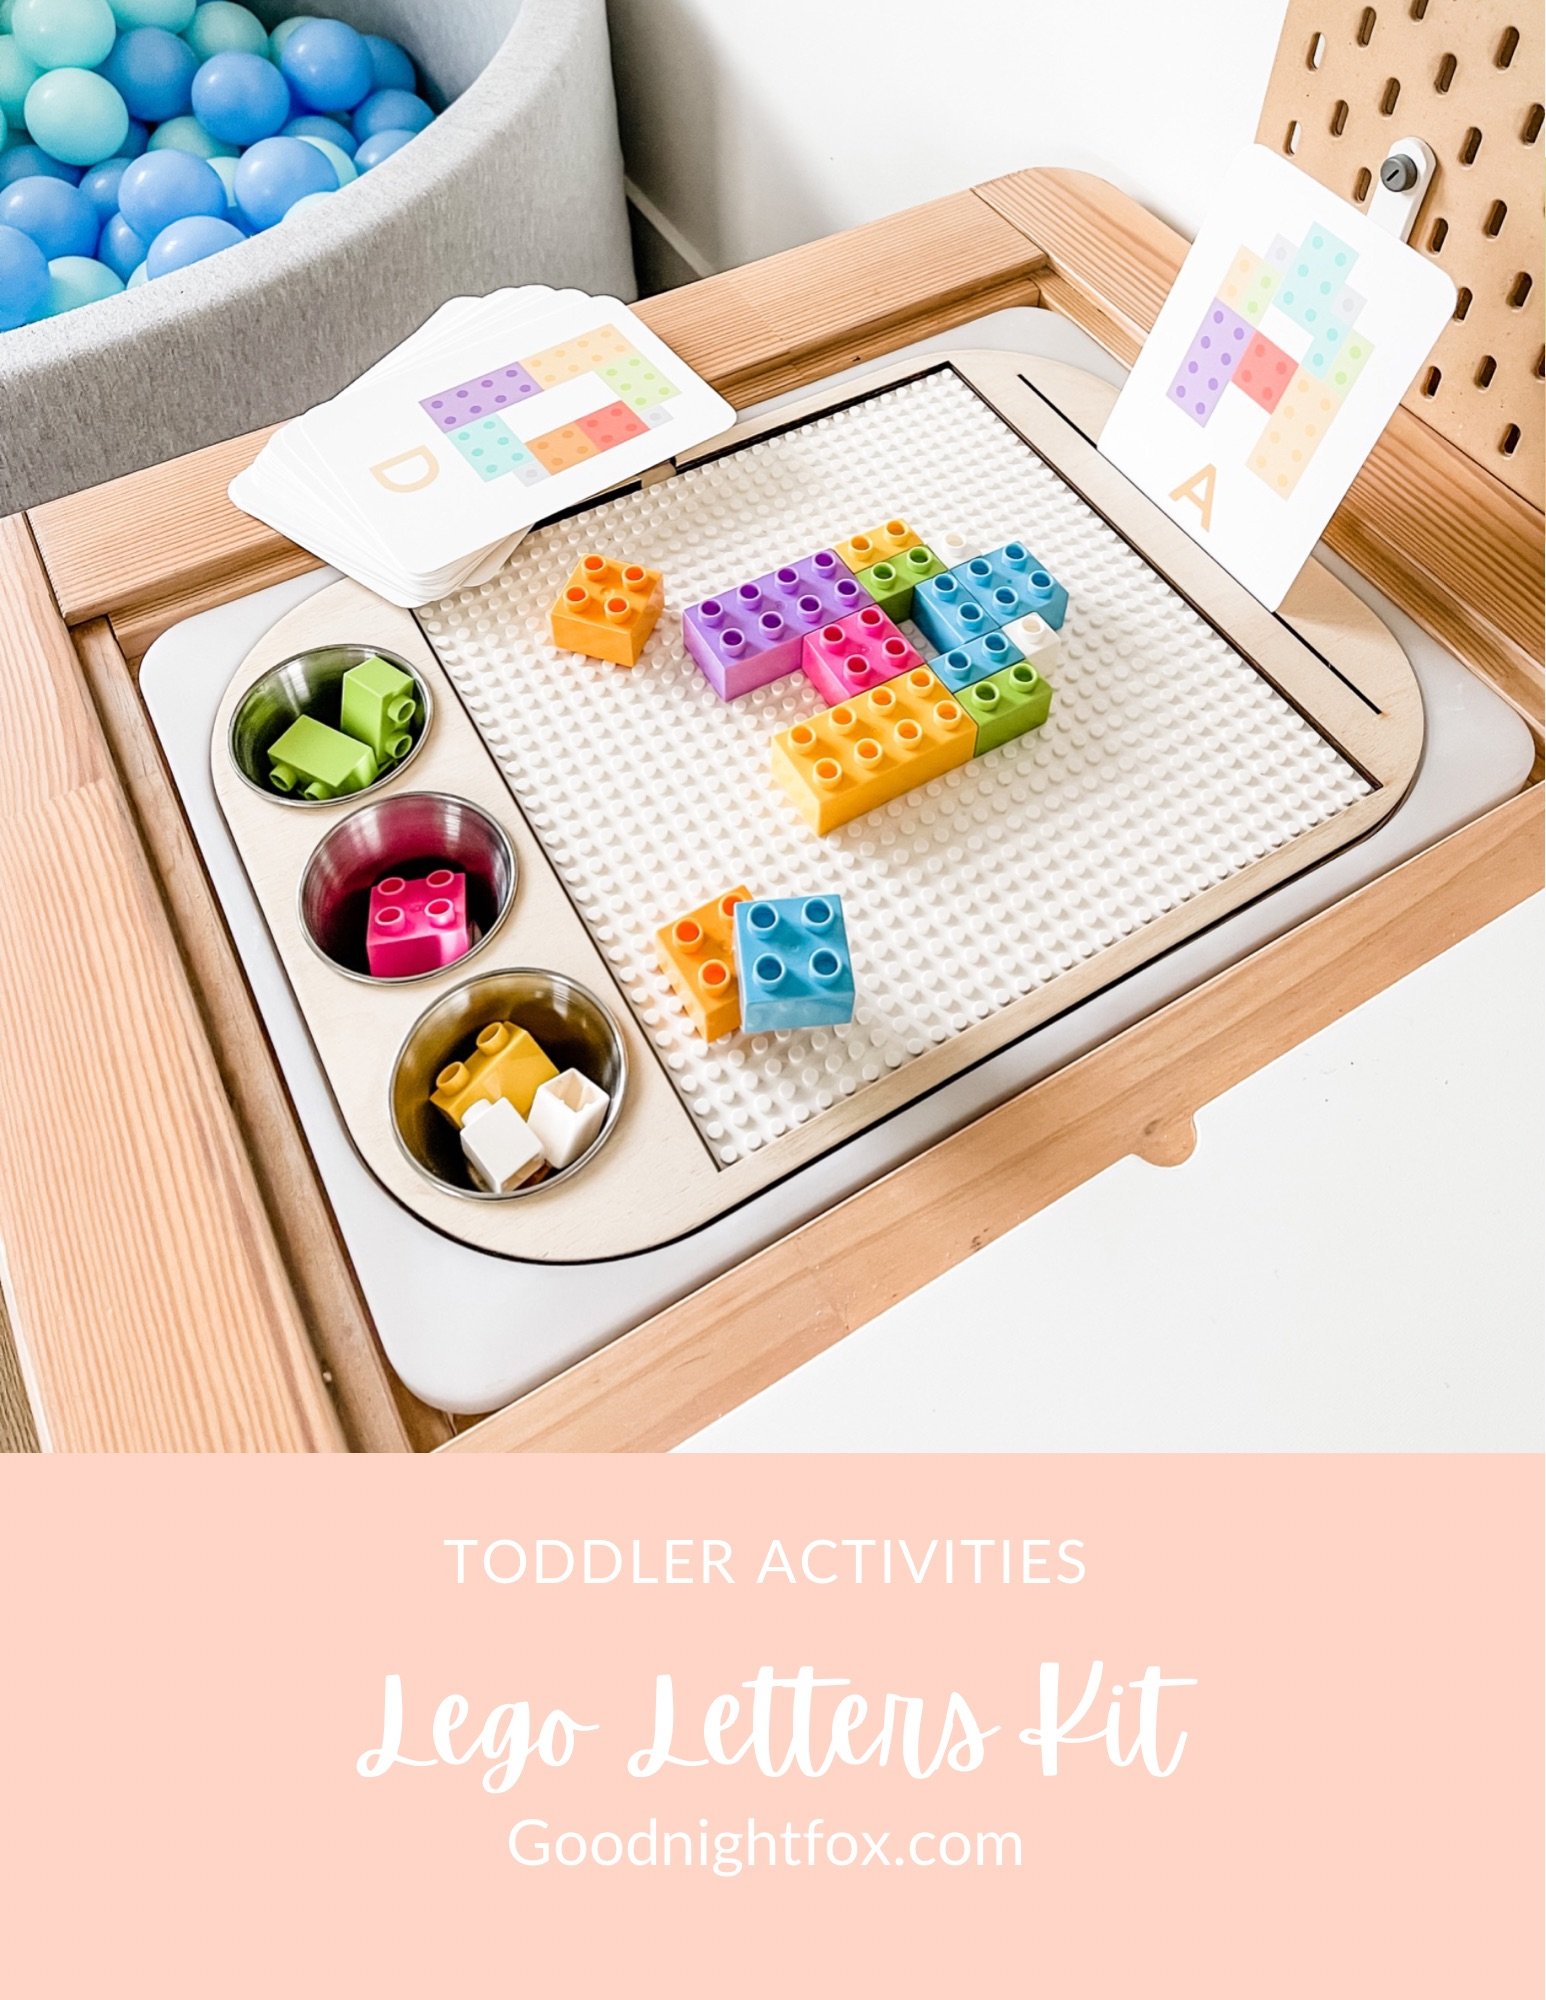
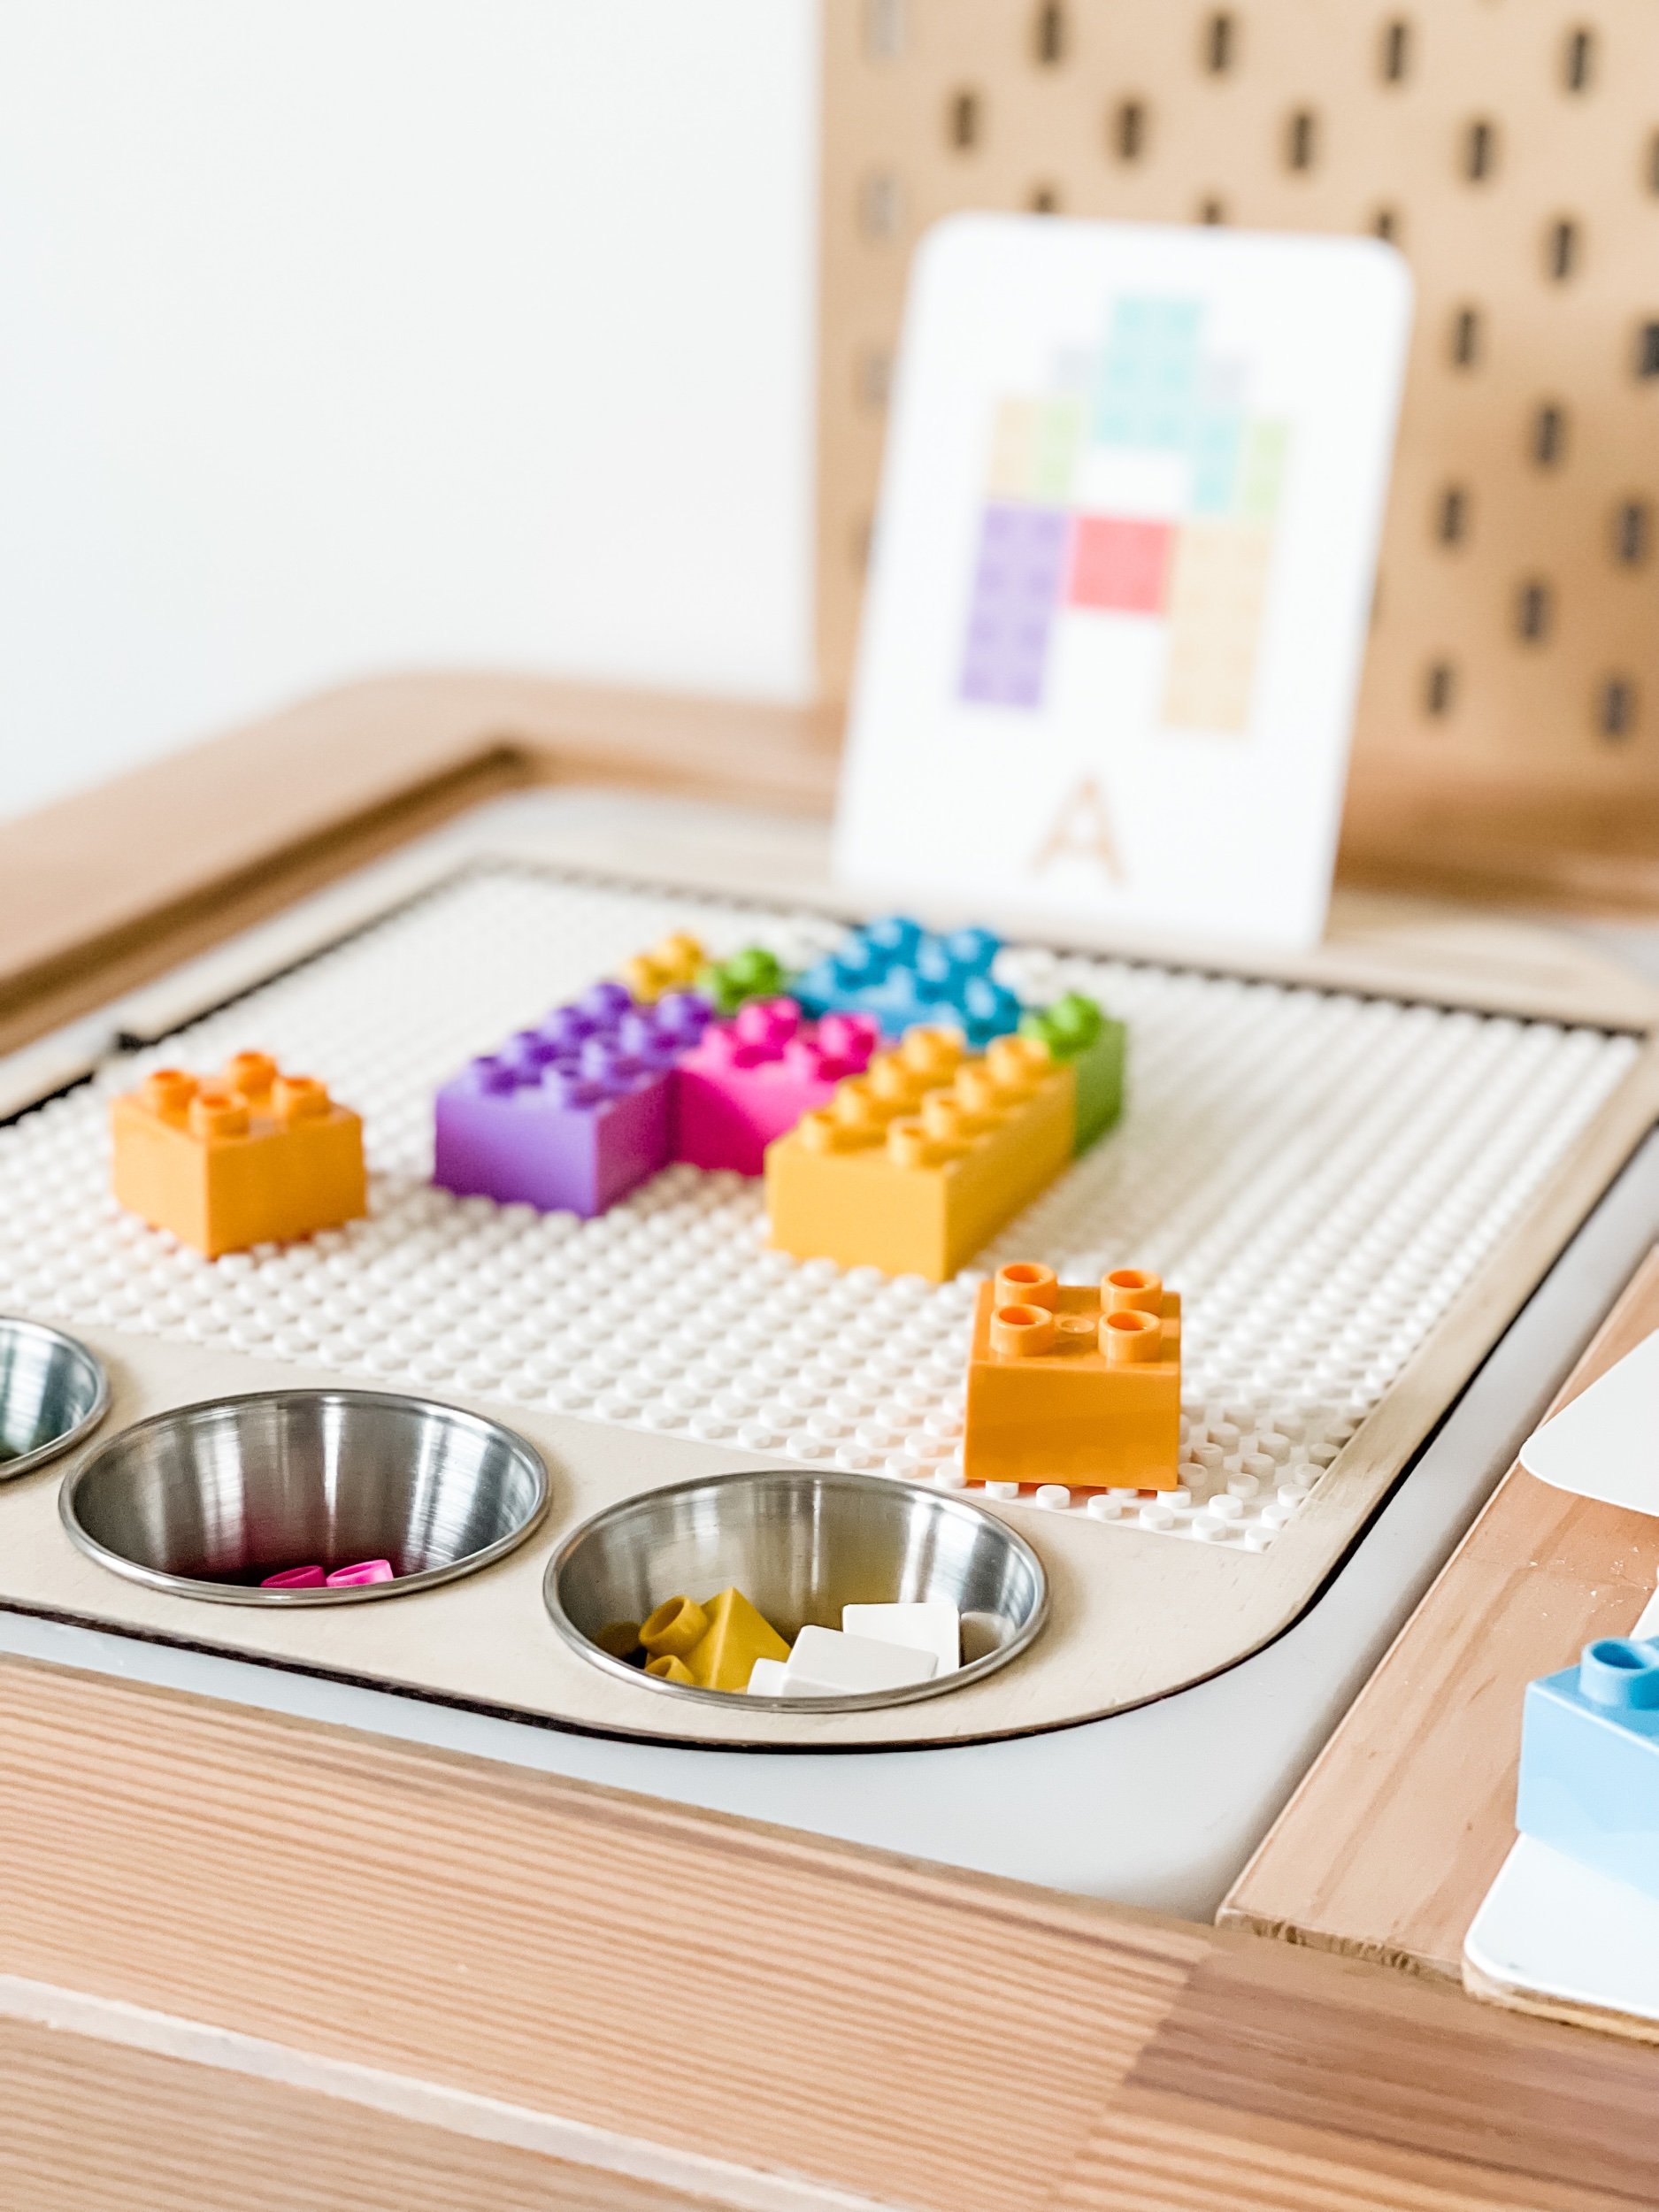
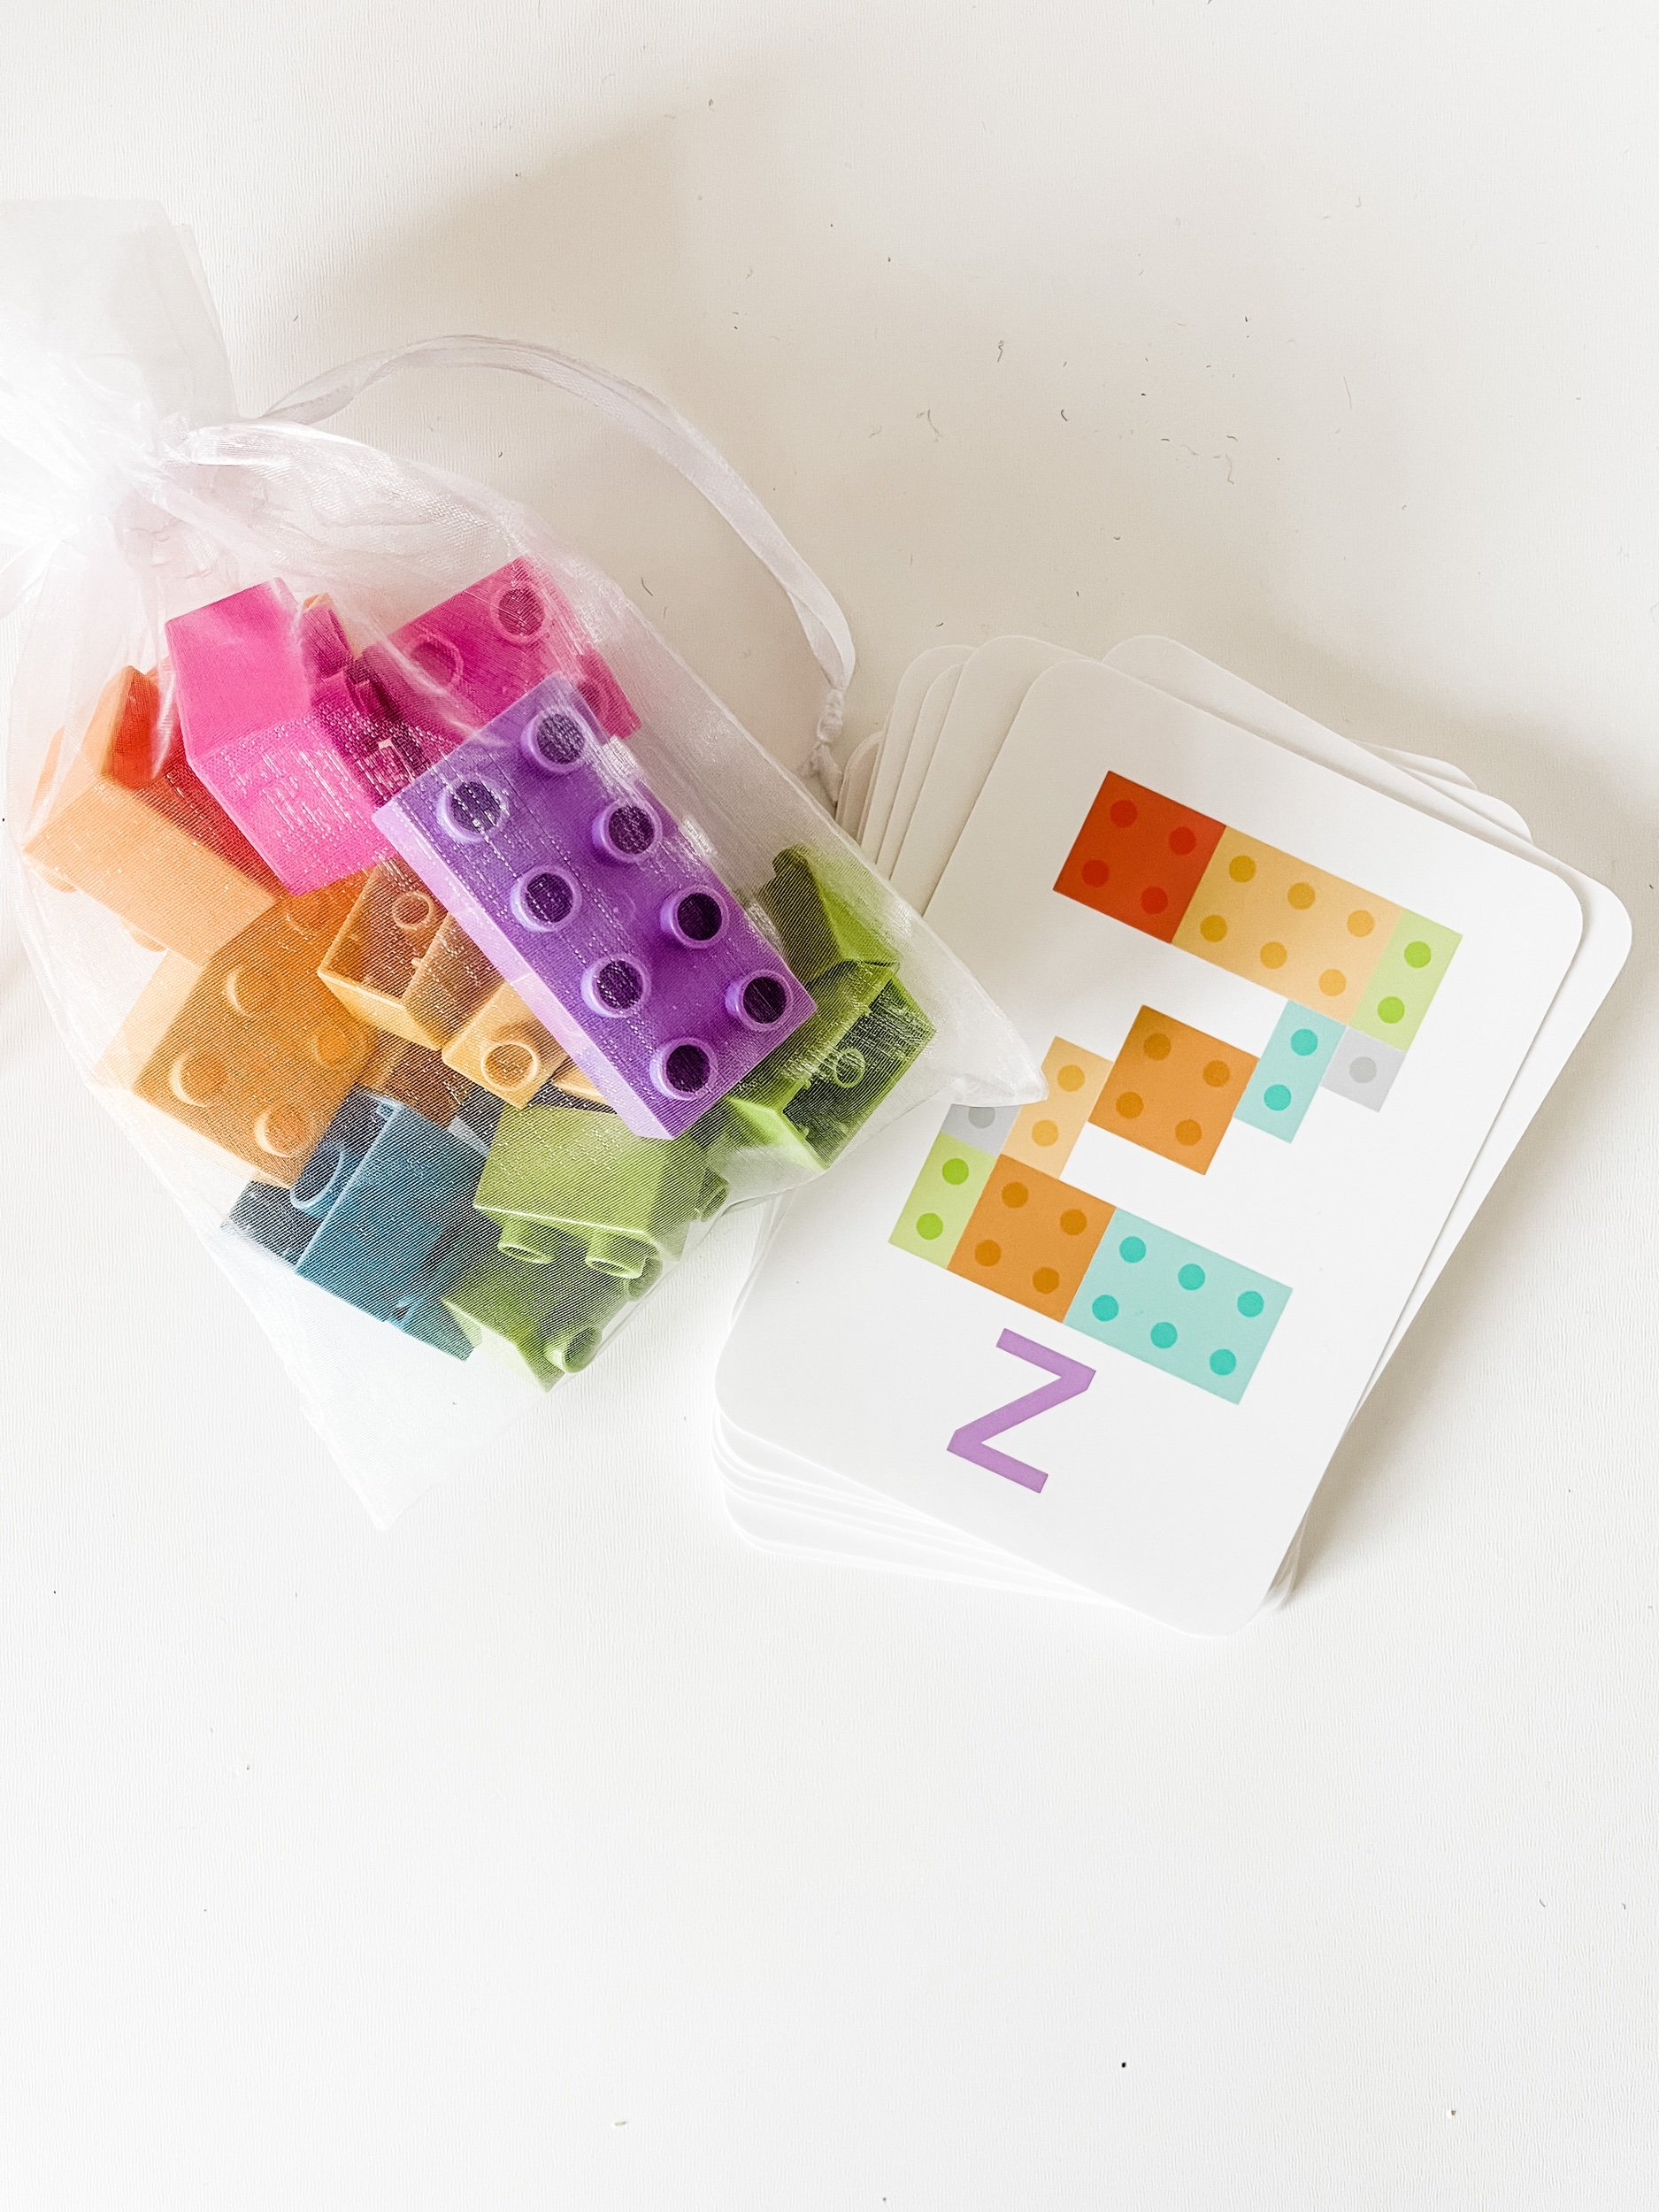
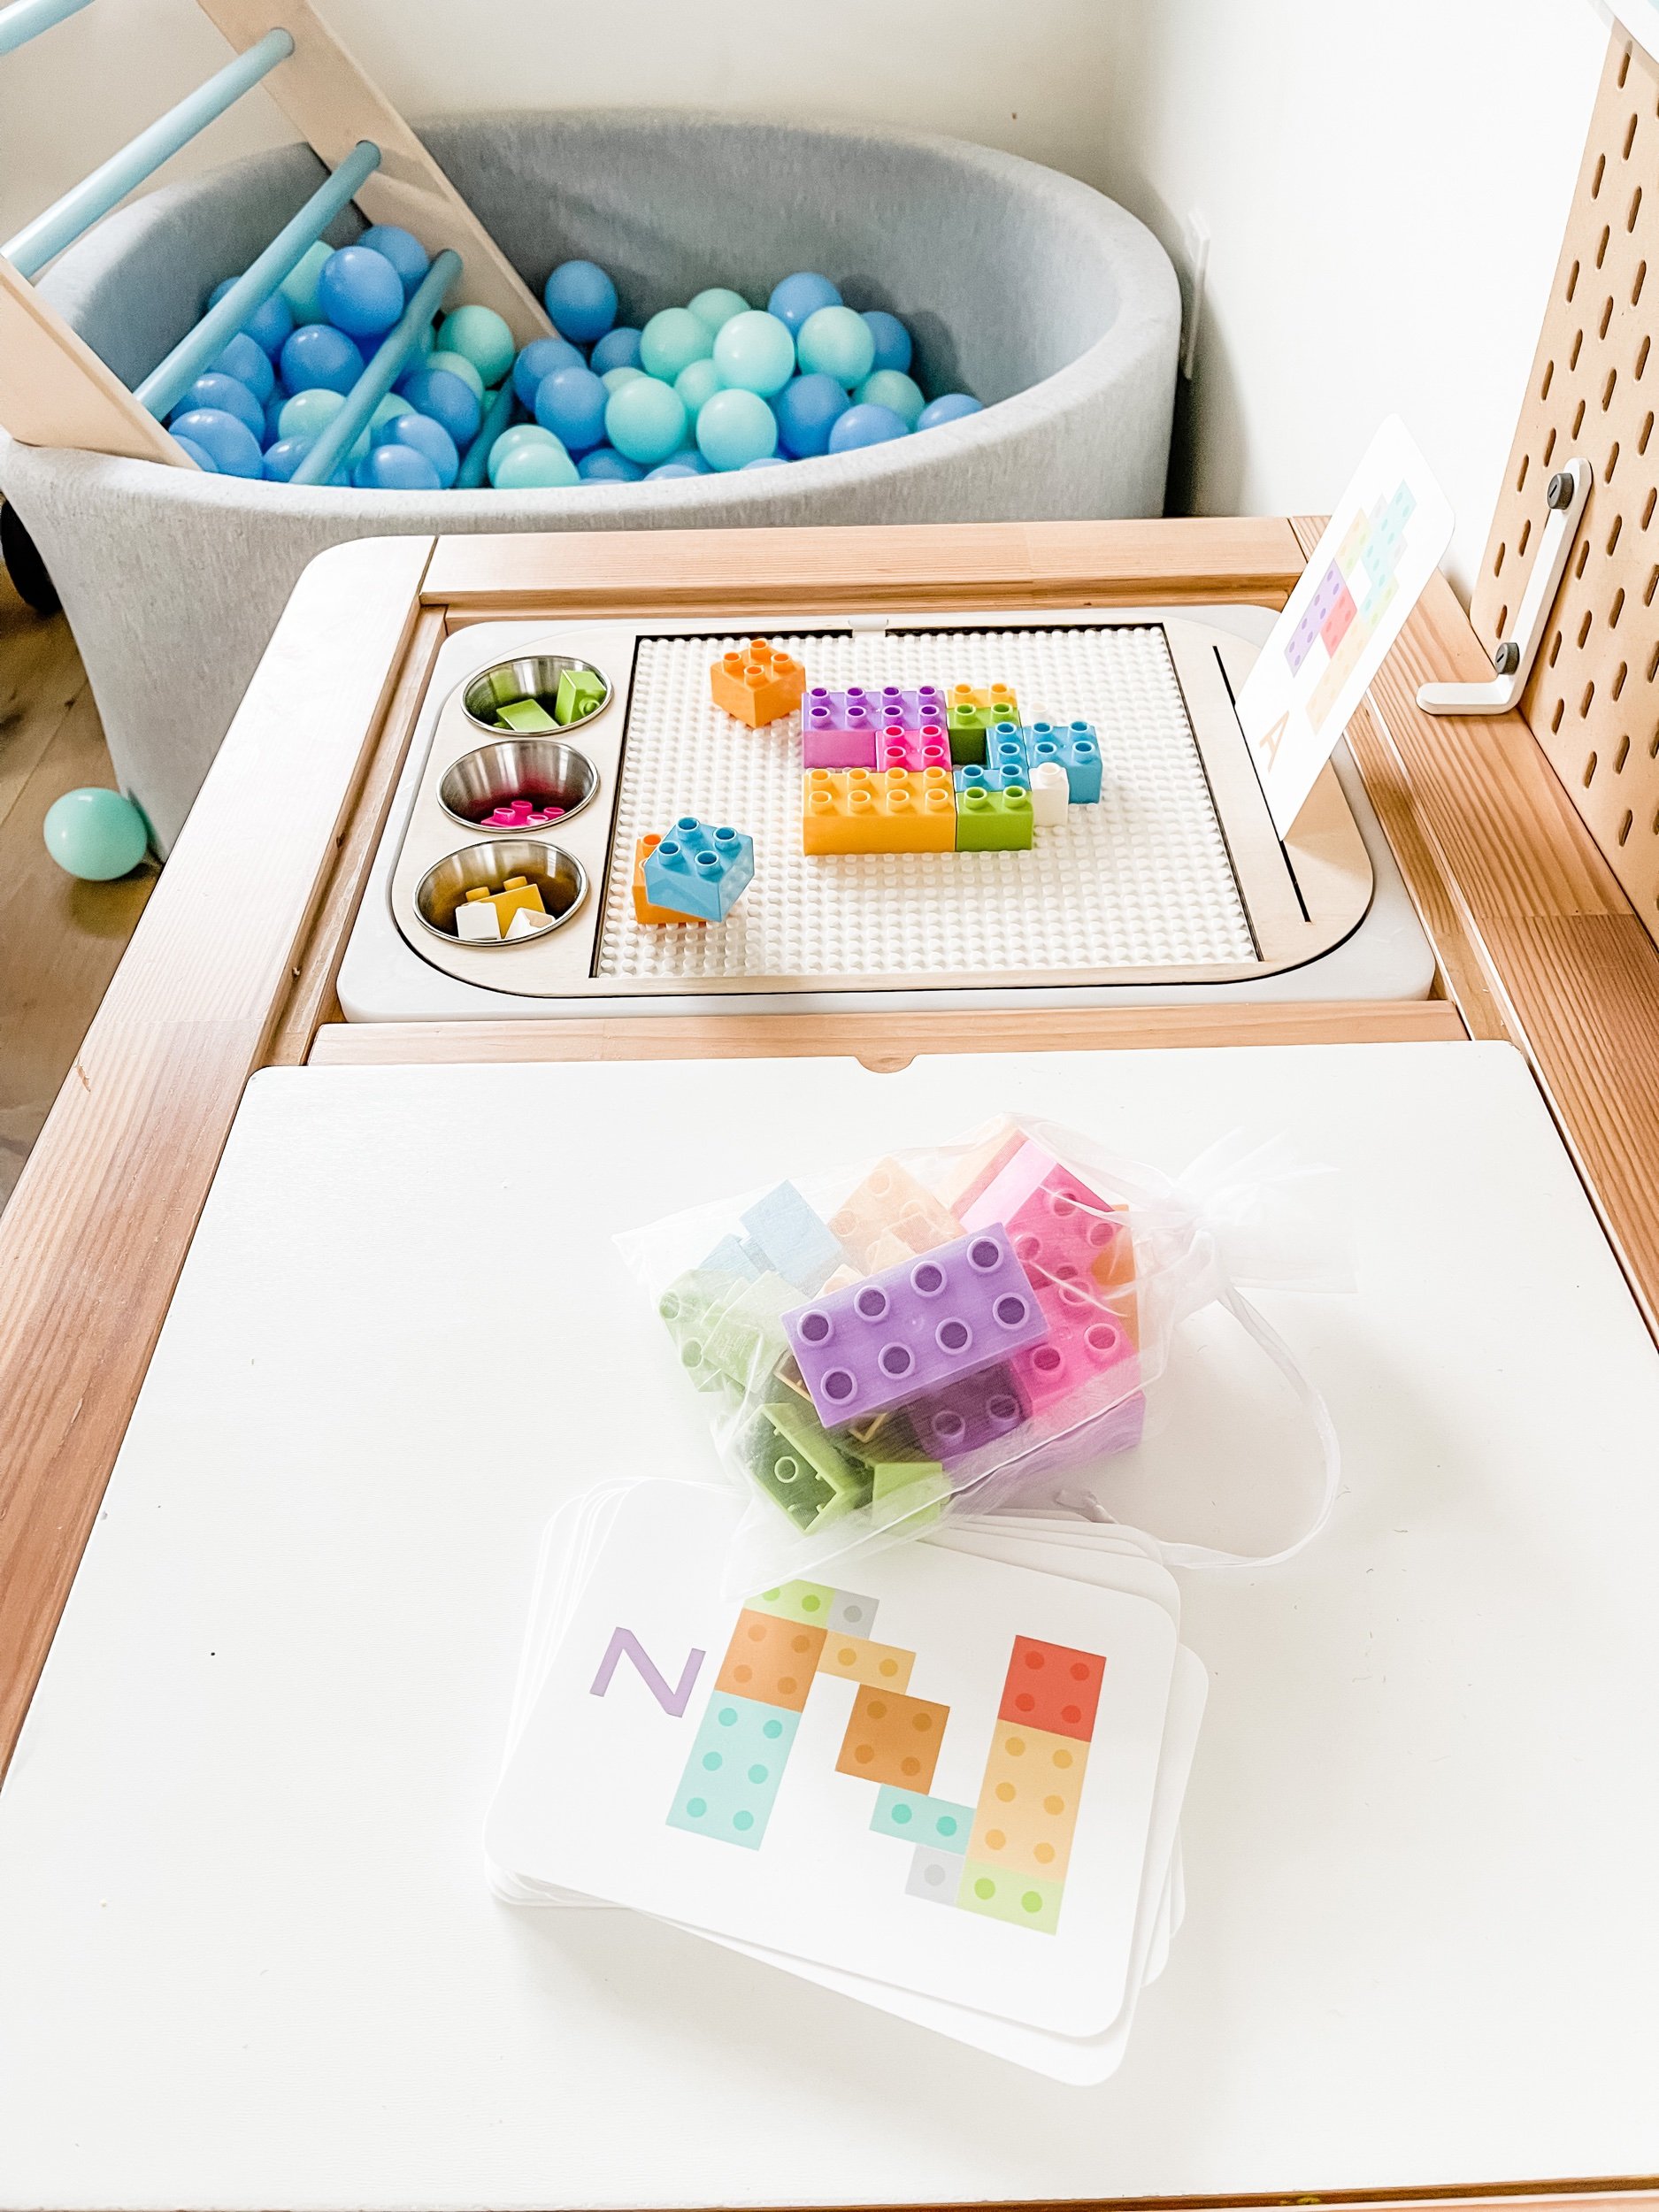
If you’re in the alphabet learning stages or even just the early building phases, this Lego Alphabet Kit is an absolute must have. And with the holiday season coming up, your kiddos are sure to love unwrapping this one. This set comes in both standard lego sizes for ages 5-8 and duplo size (2 times the size bricks) for your littler ones 1-4 who still like to mouth small objects. You can pair these up with base plates and build at your Flisat table, or you can take them on the go with the on-the-go kit. We took this set with us on the long flight to Pittsburgh and it kept Sofie in her chair, entertained for 30min.
Enjoy building and learning at the same time with this awesome kit!
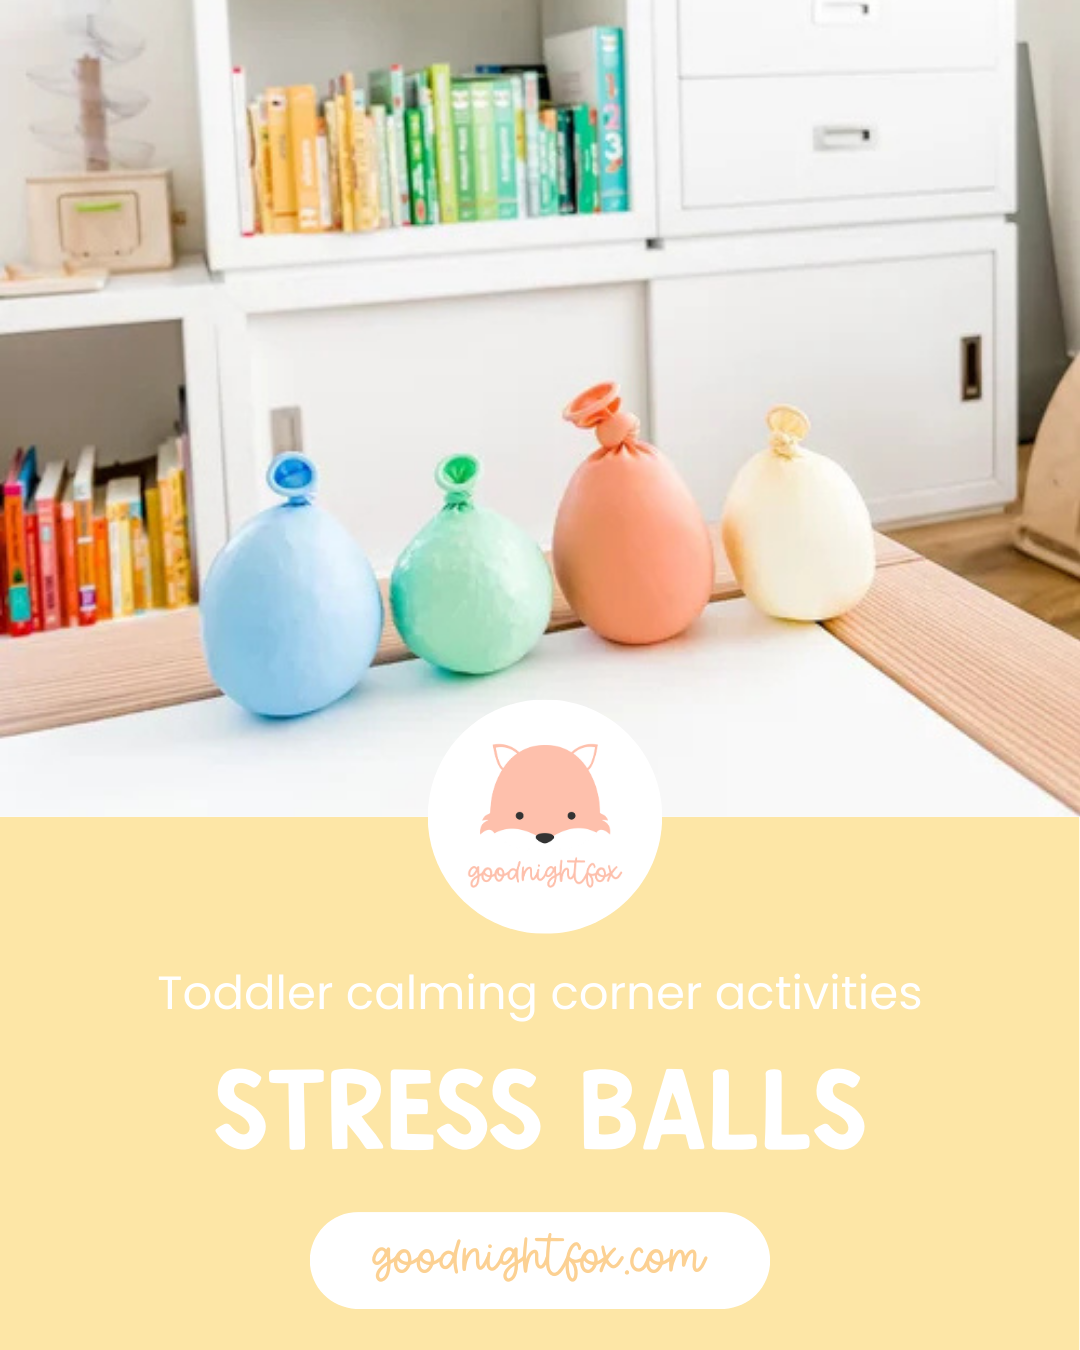
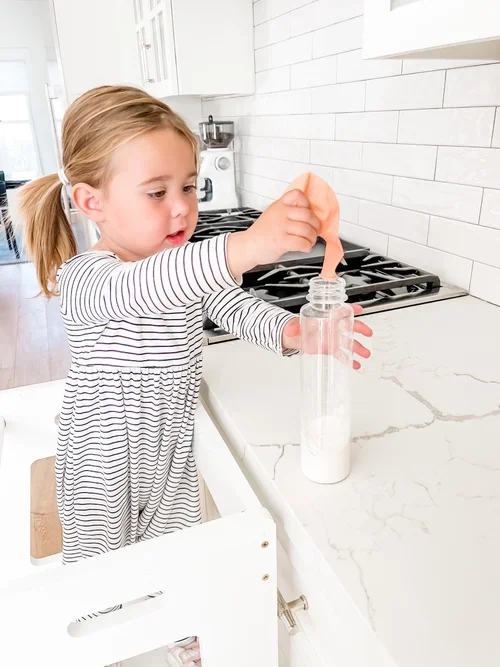
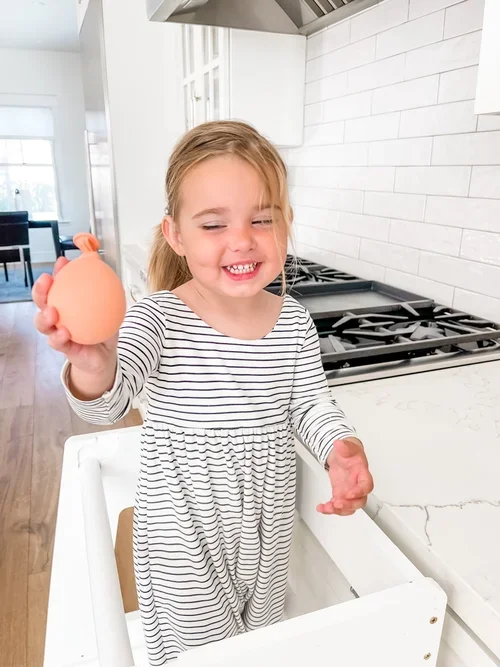
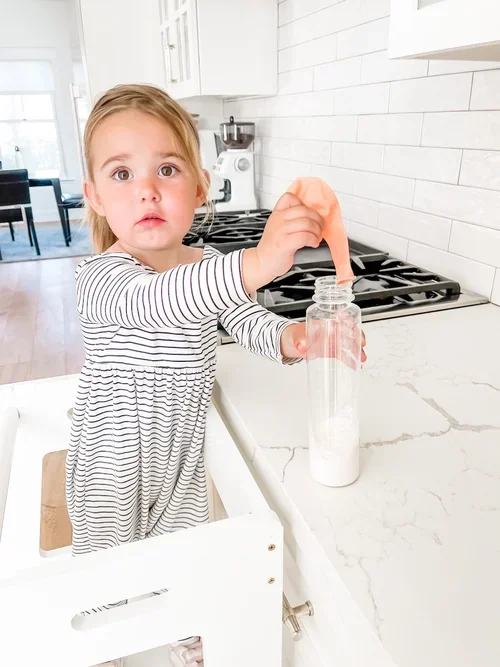
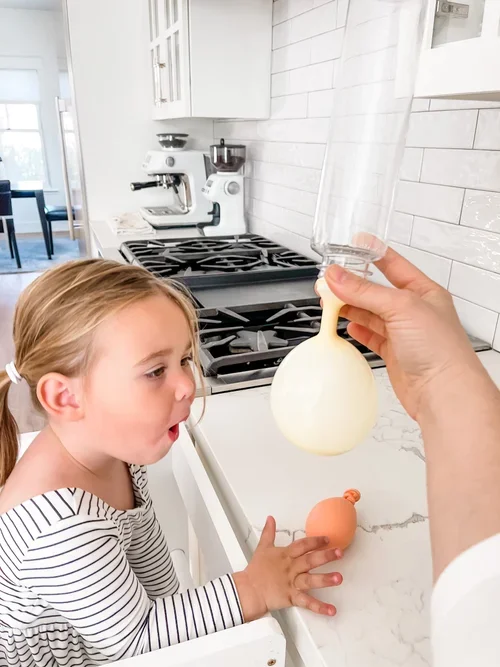
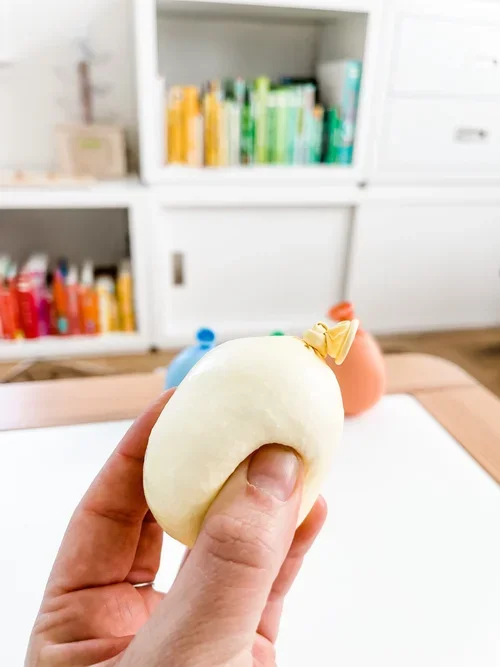
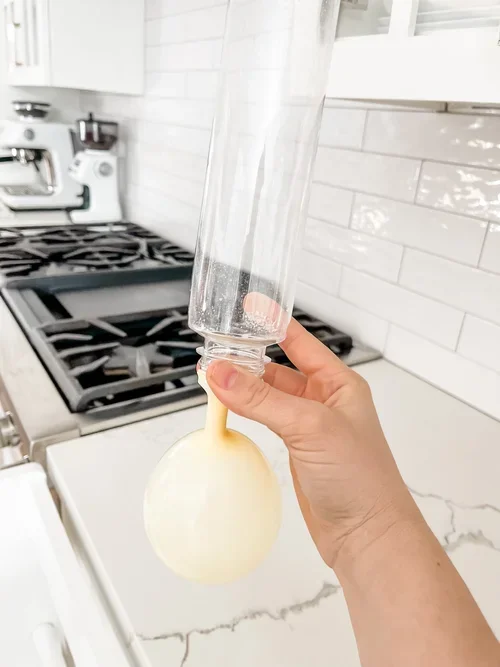
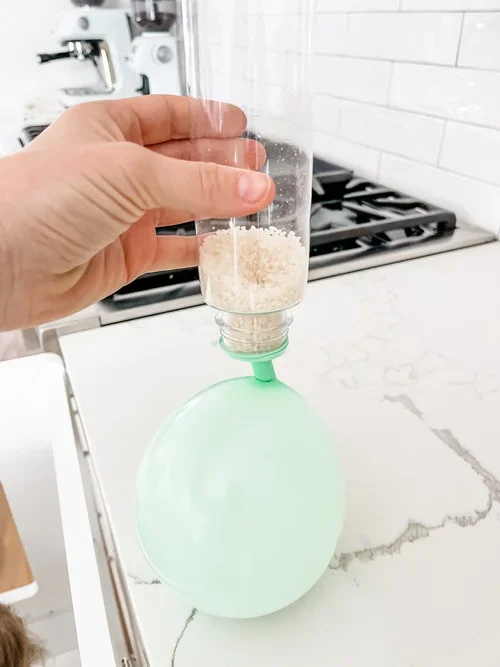
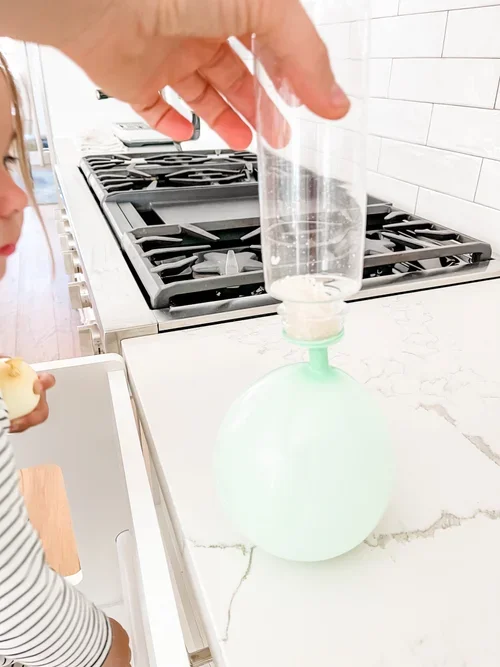
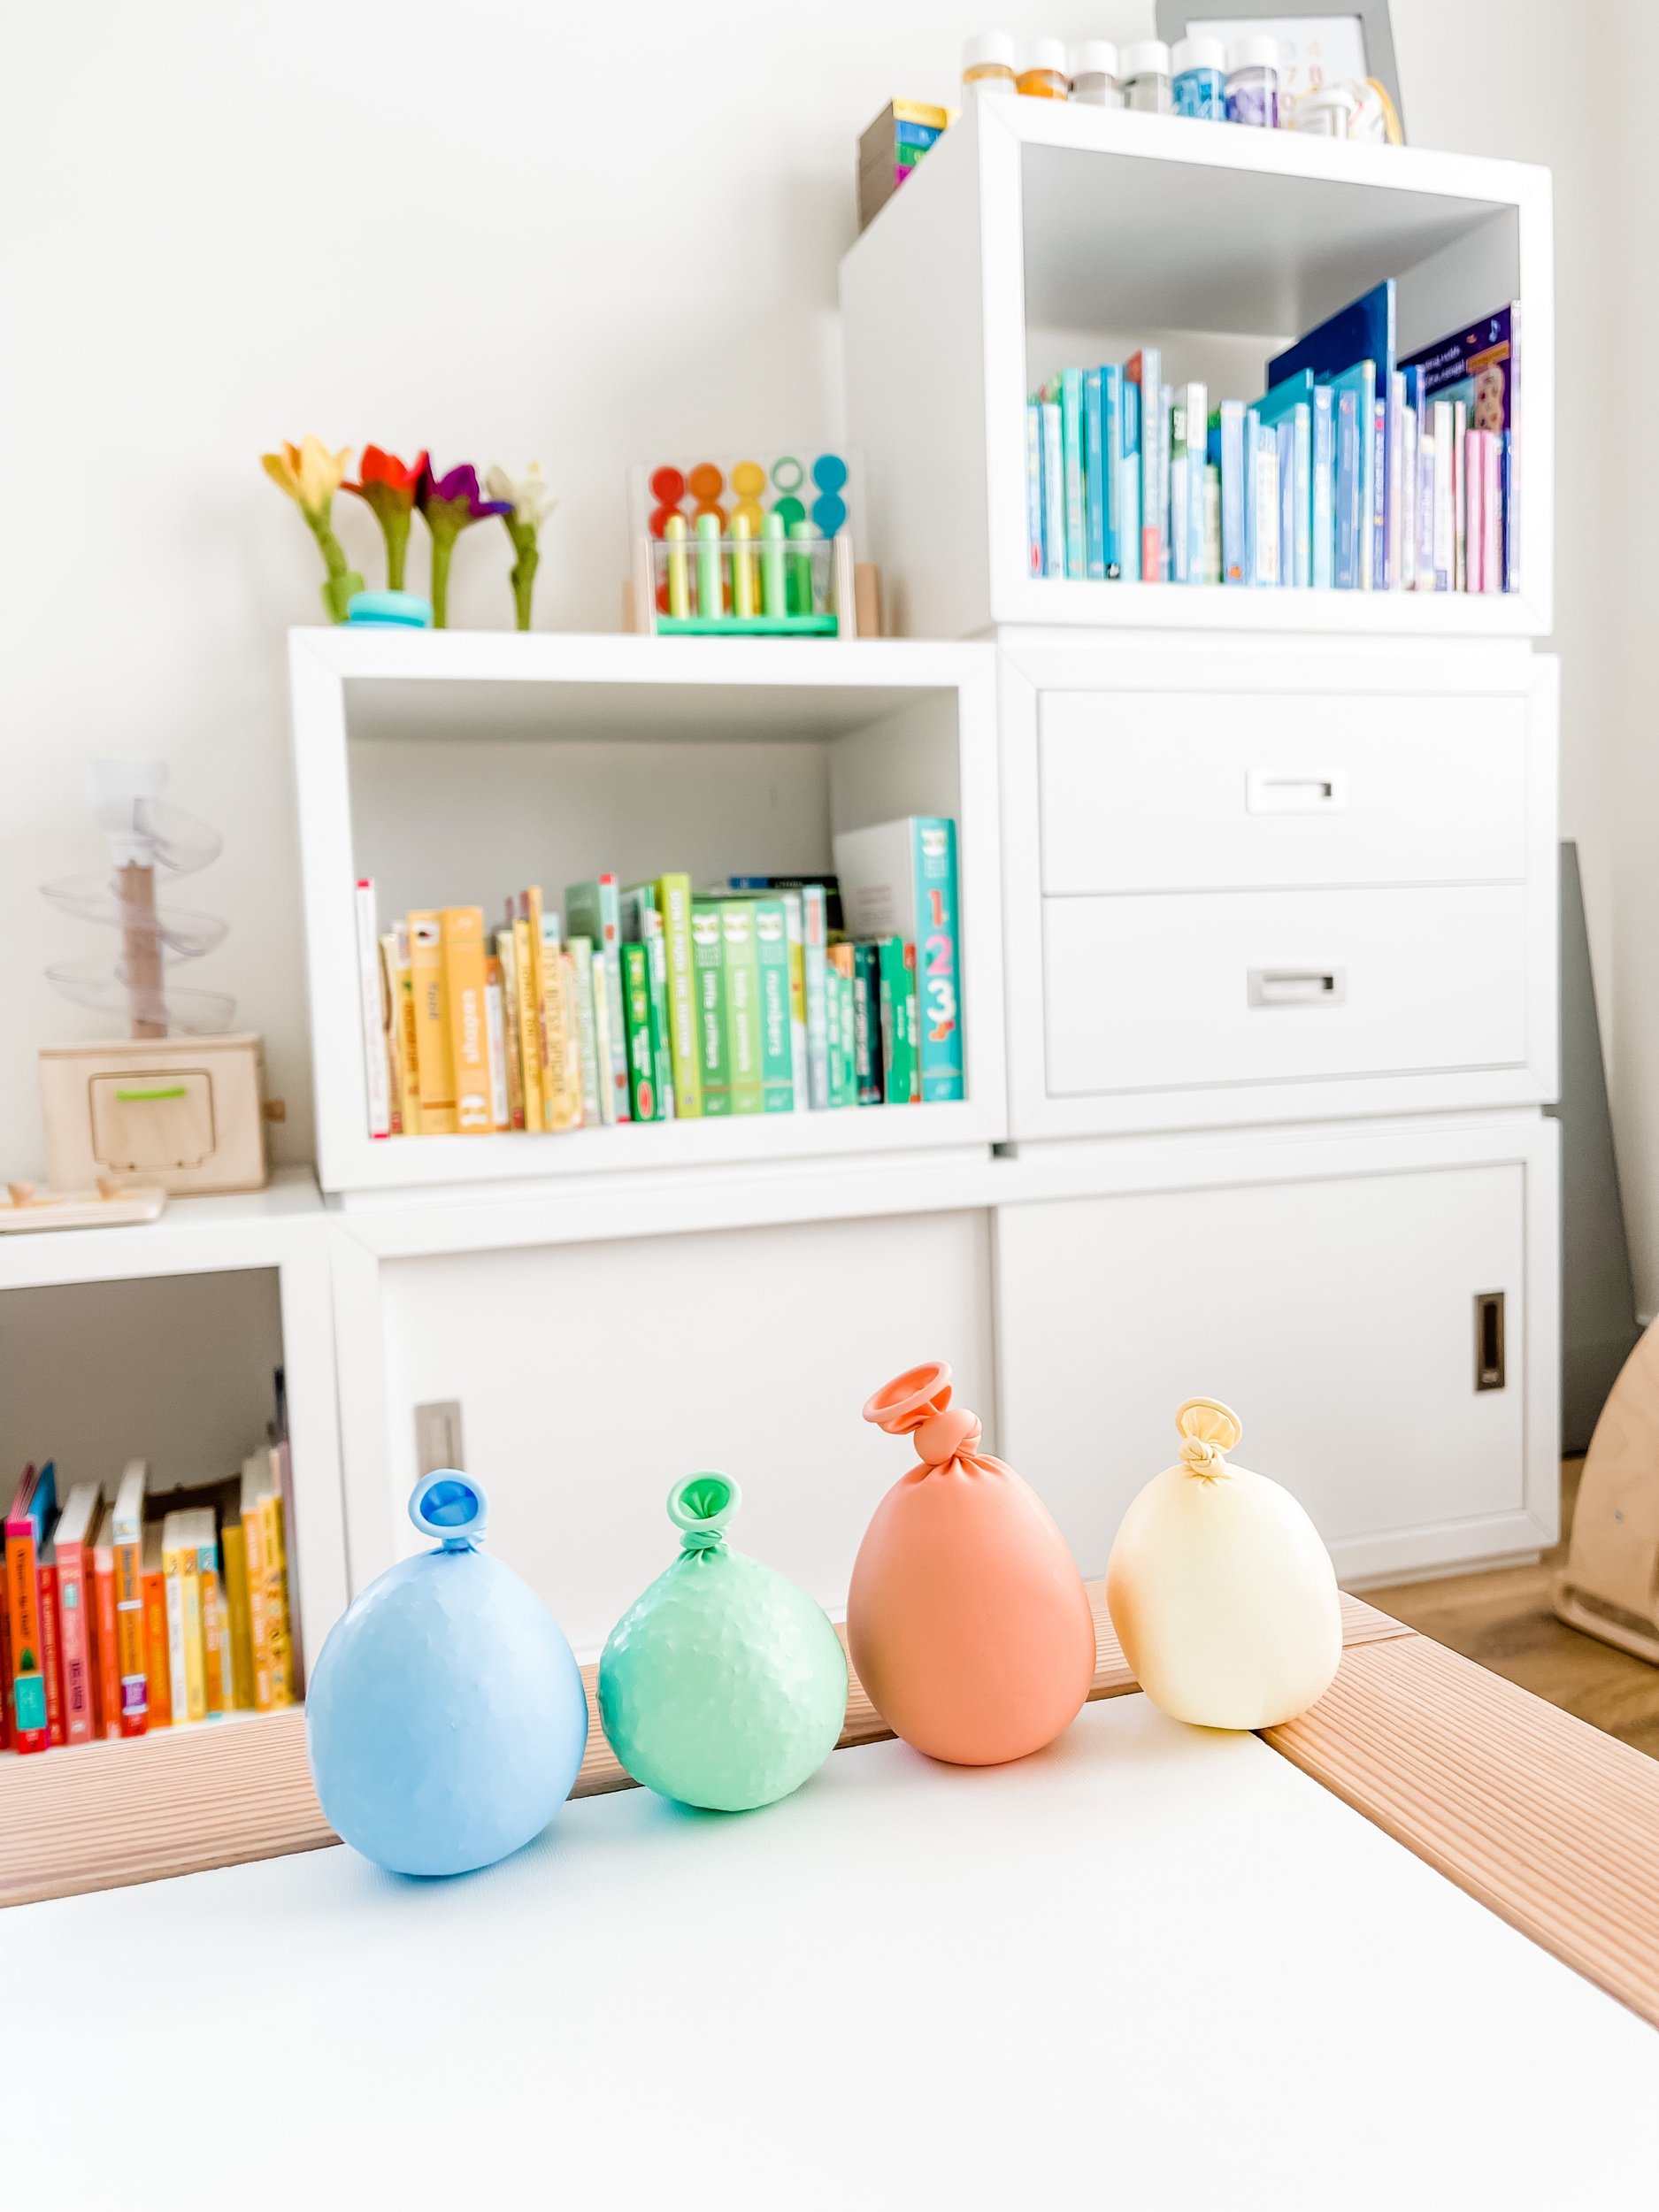
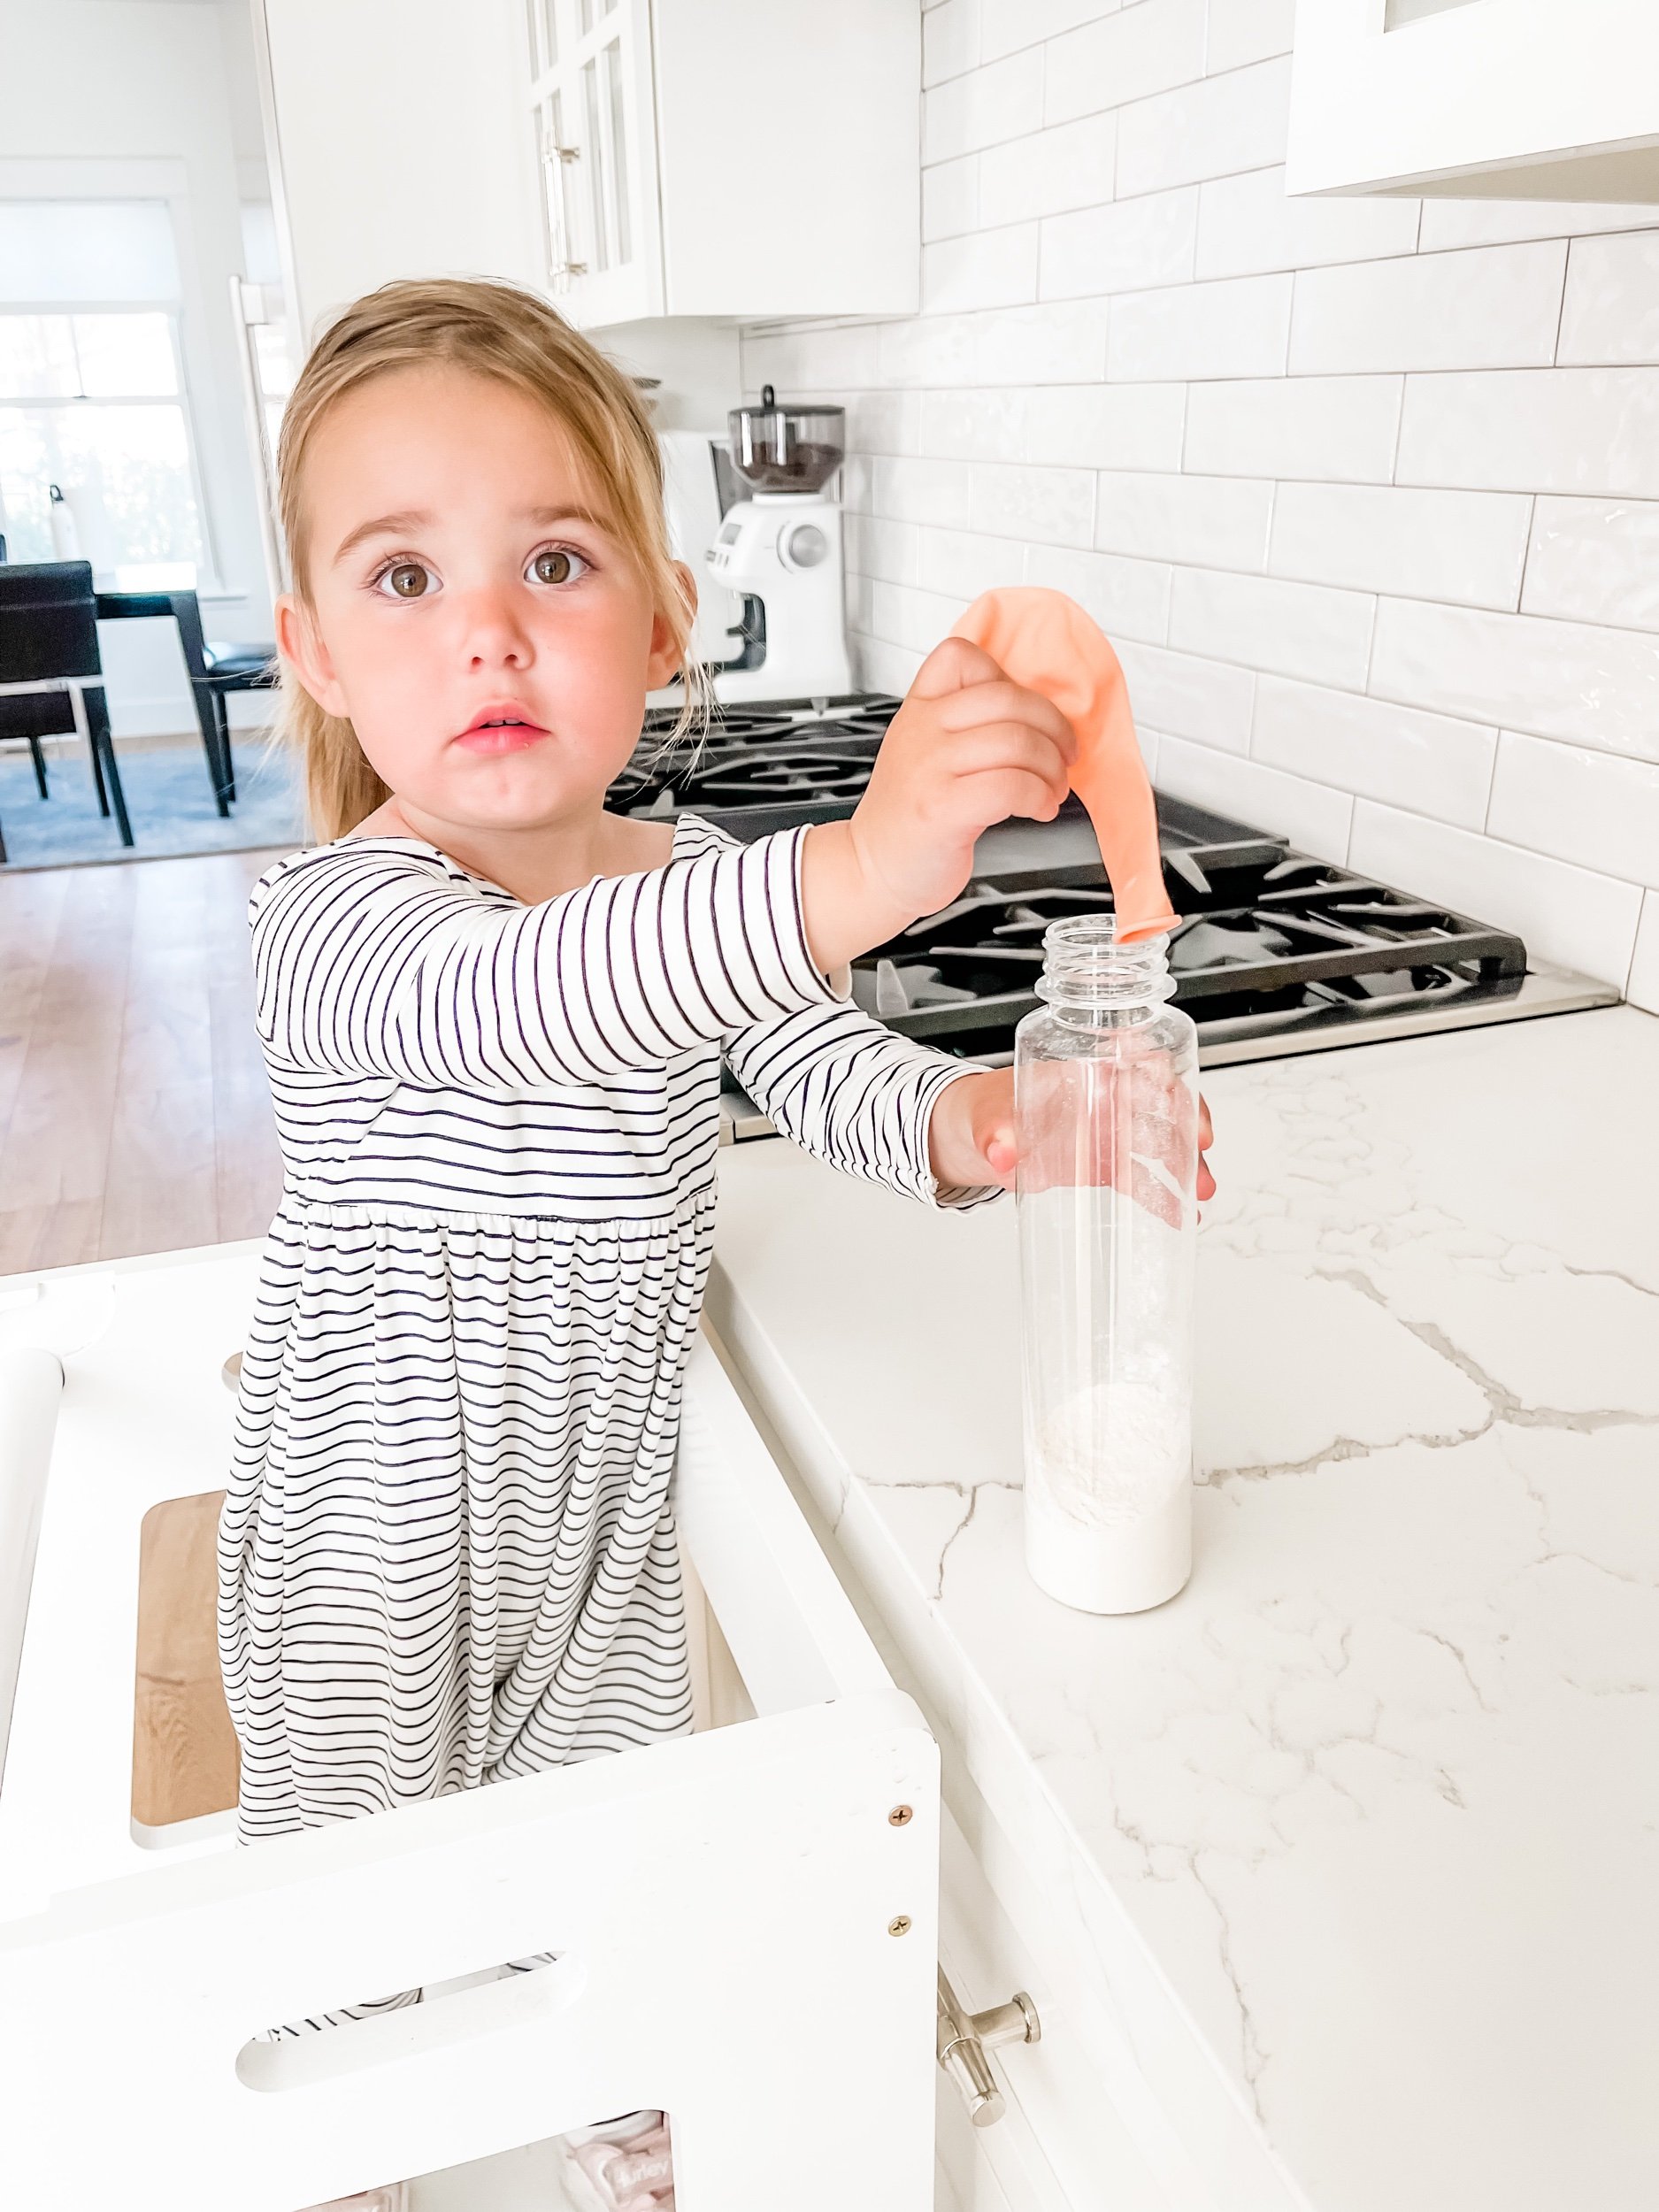
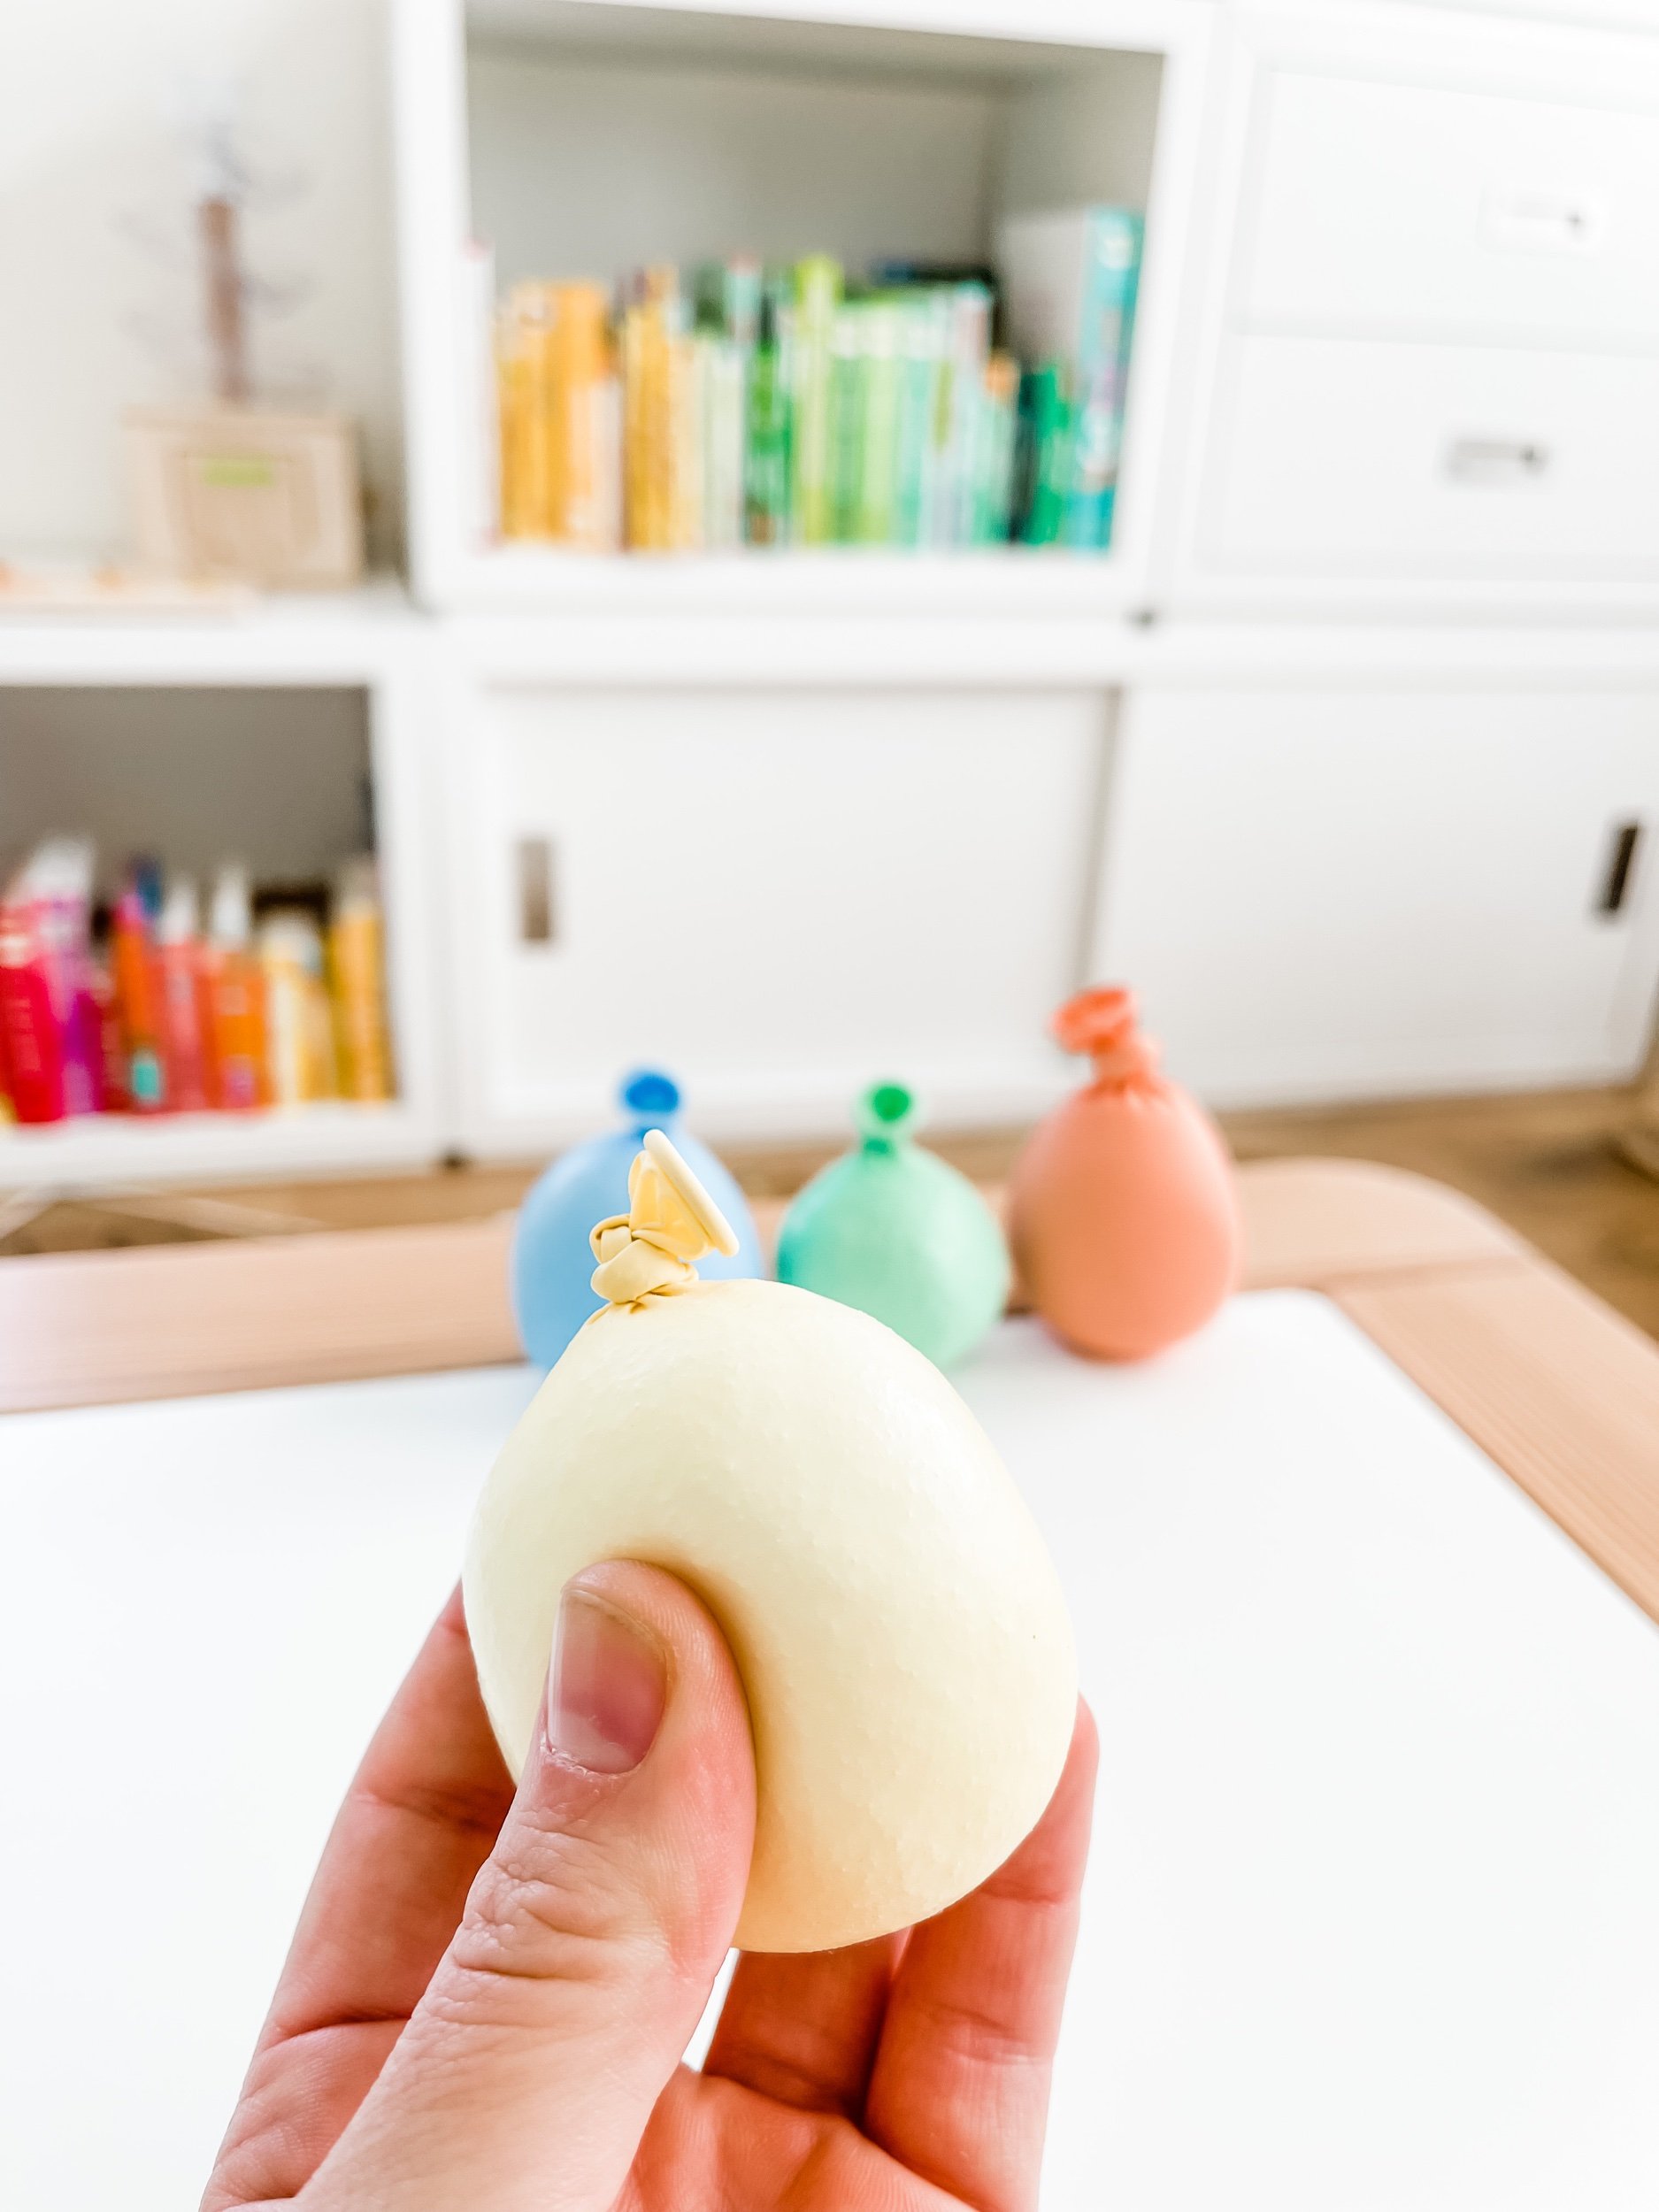
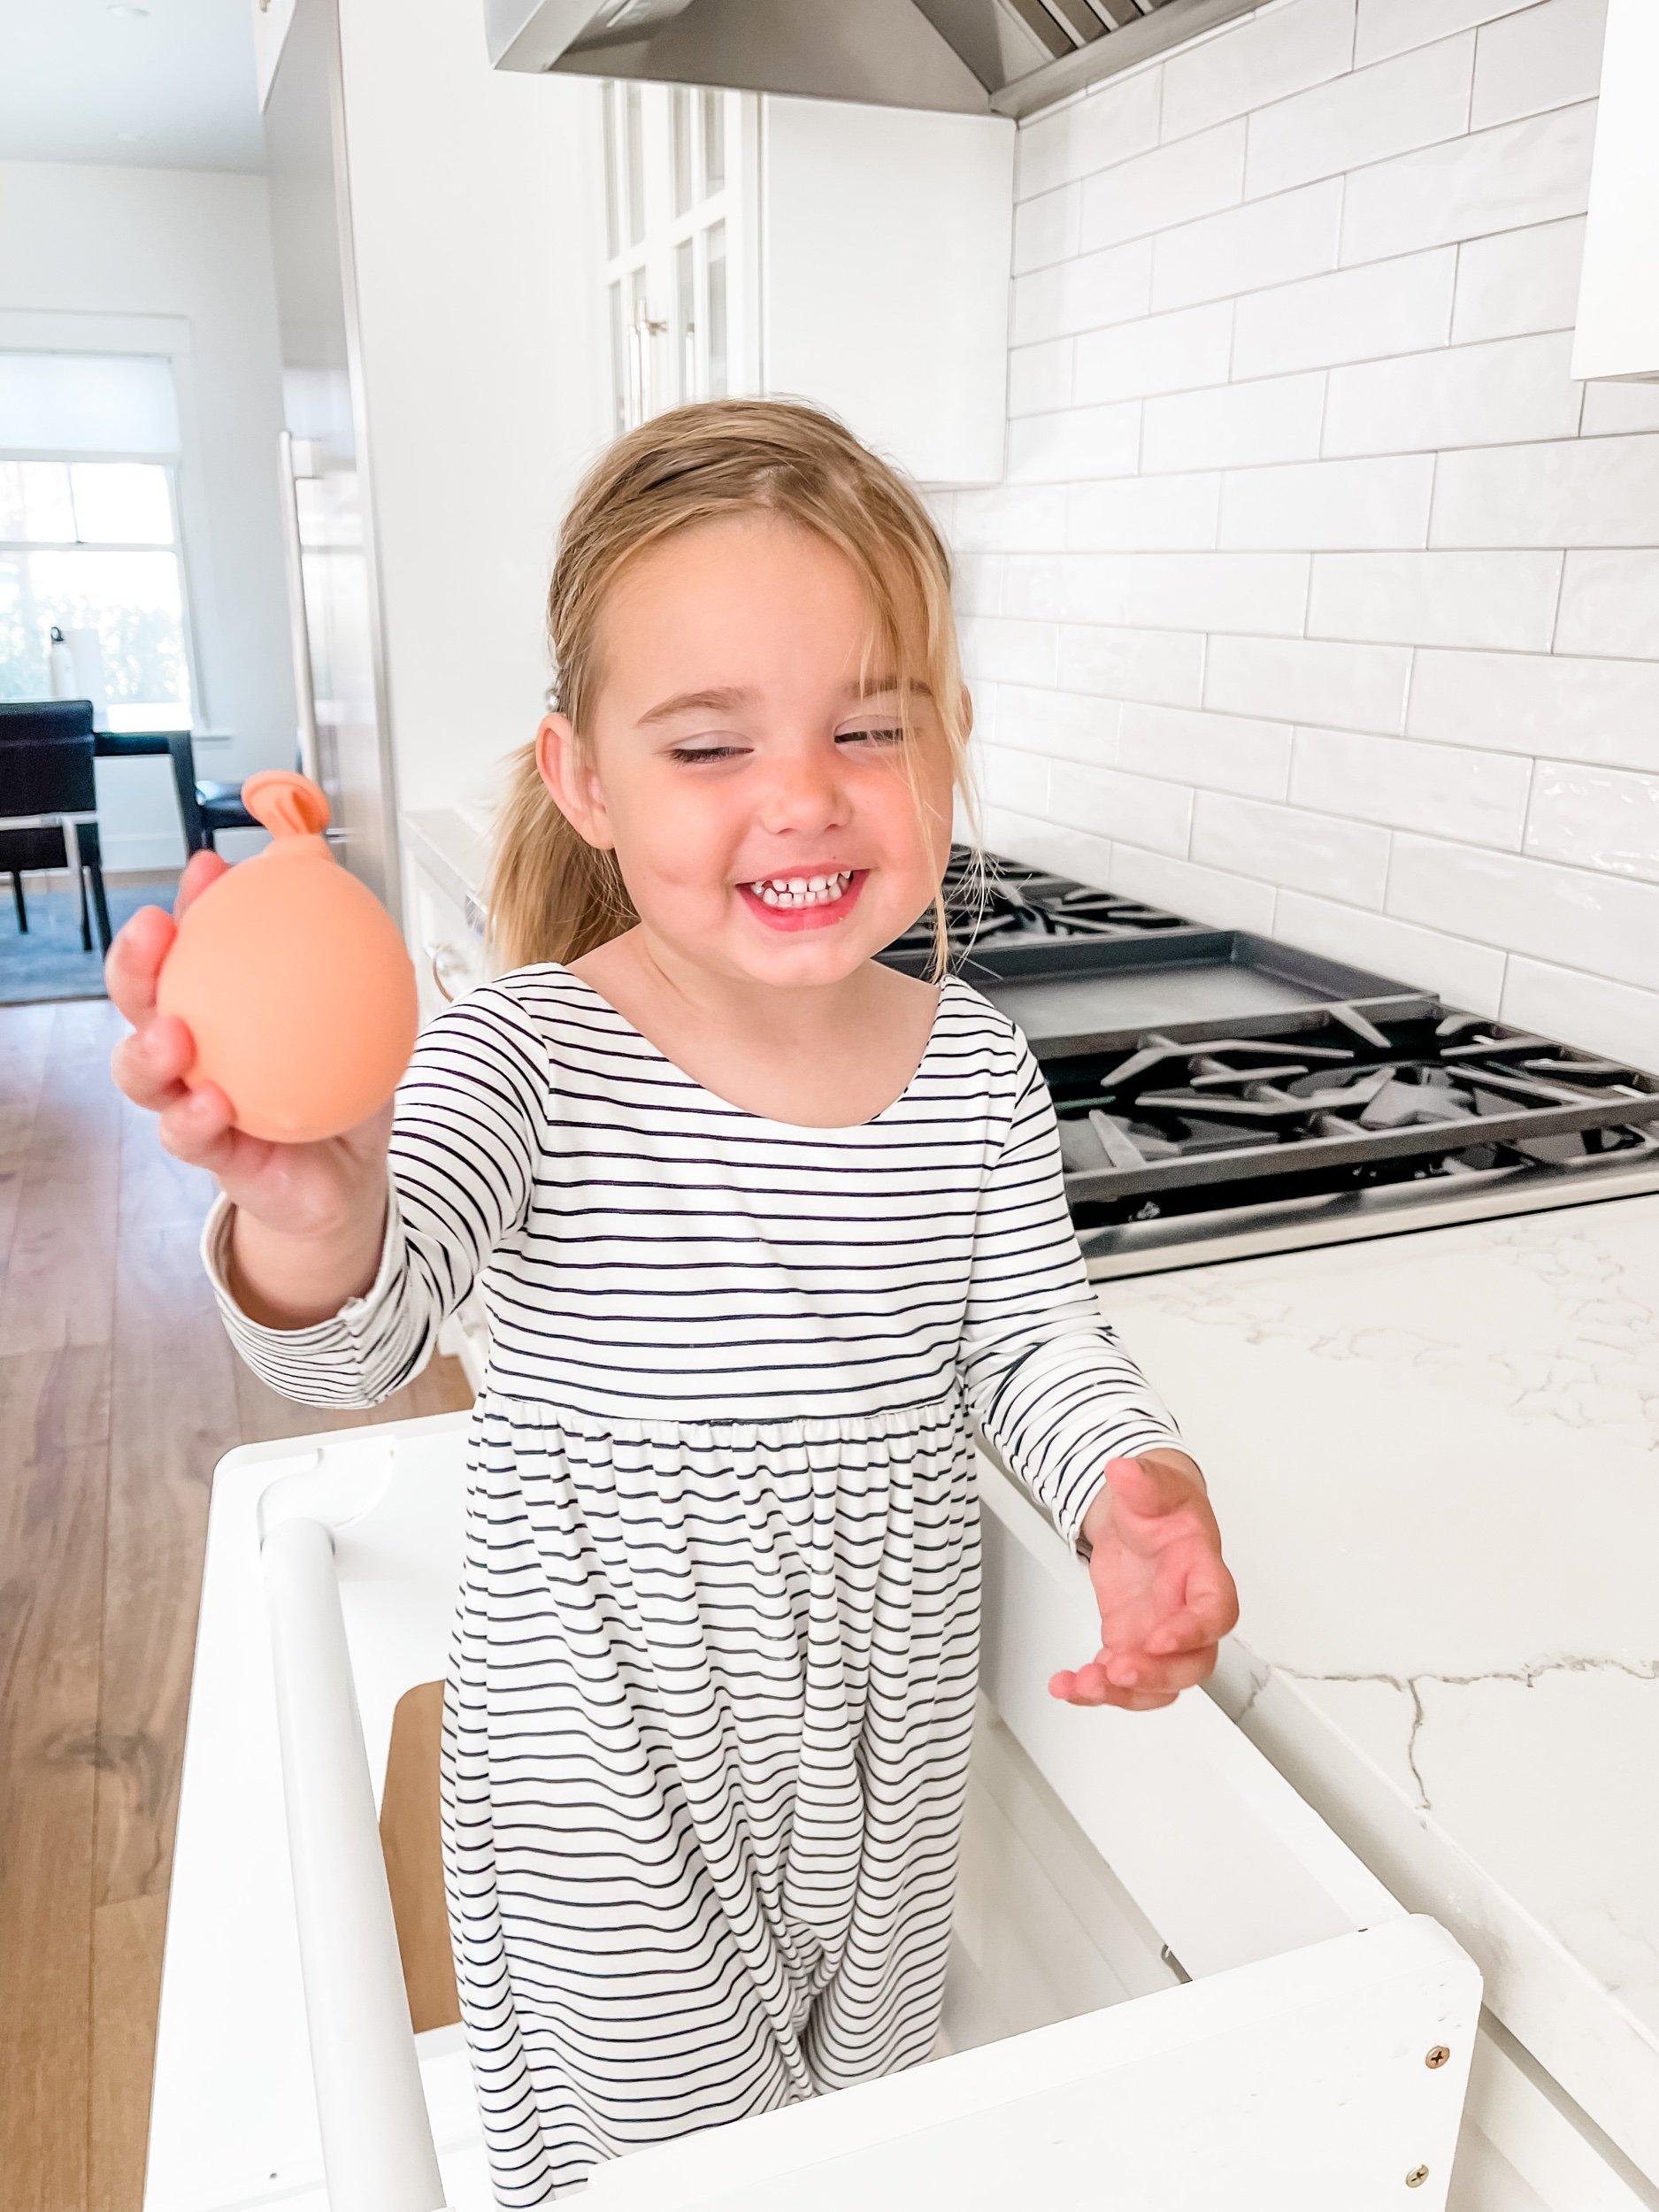
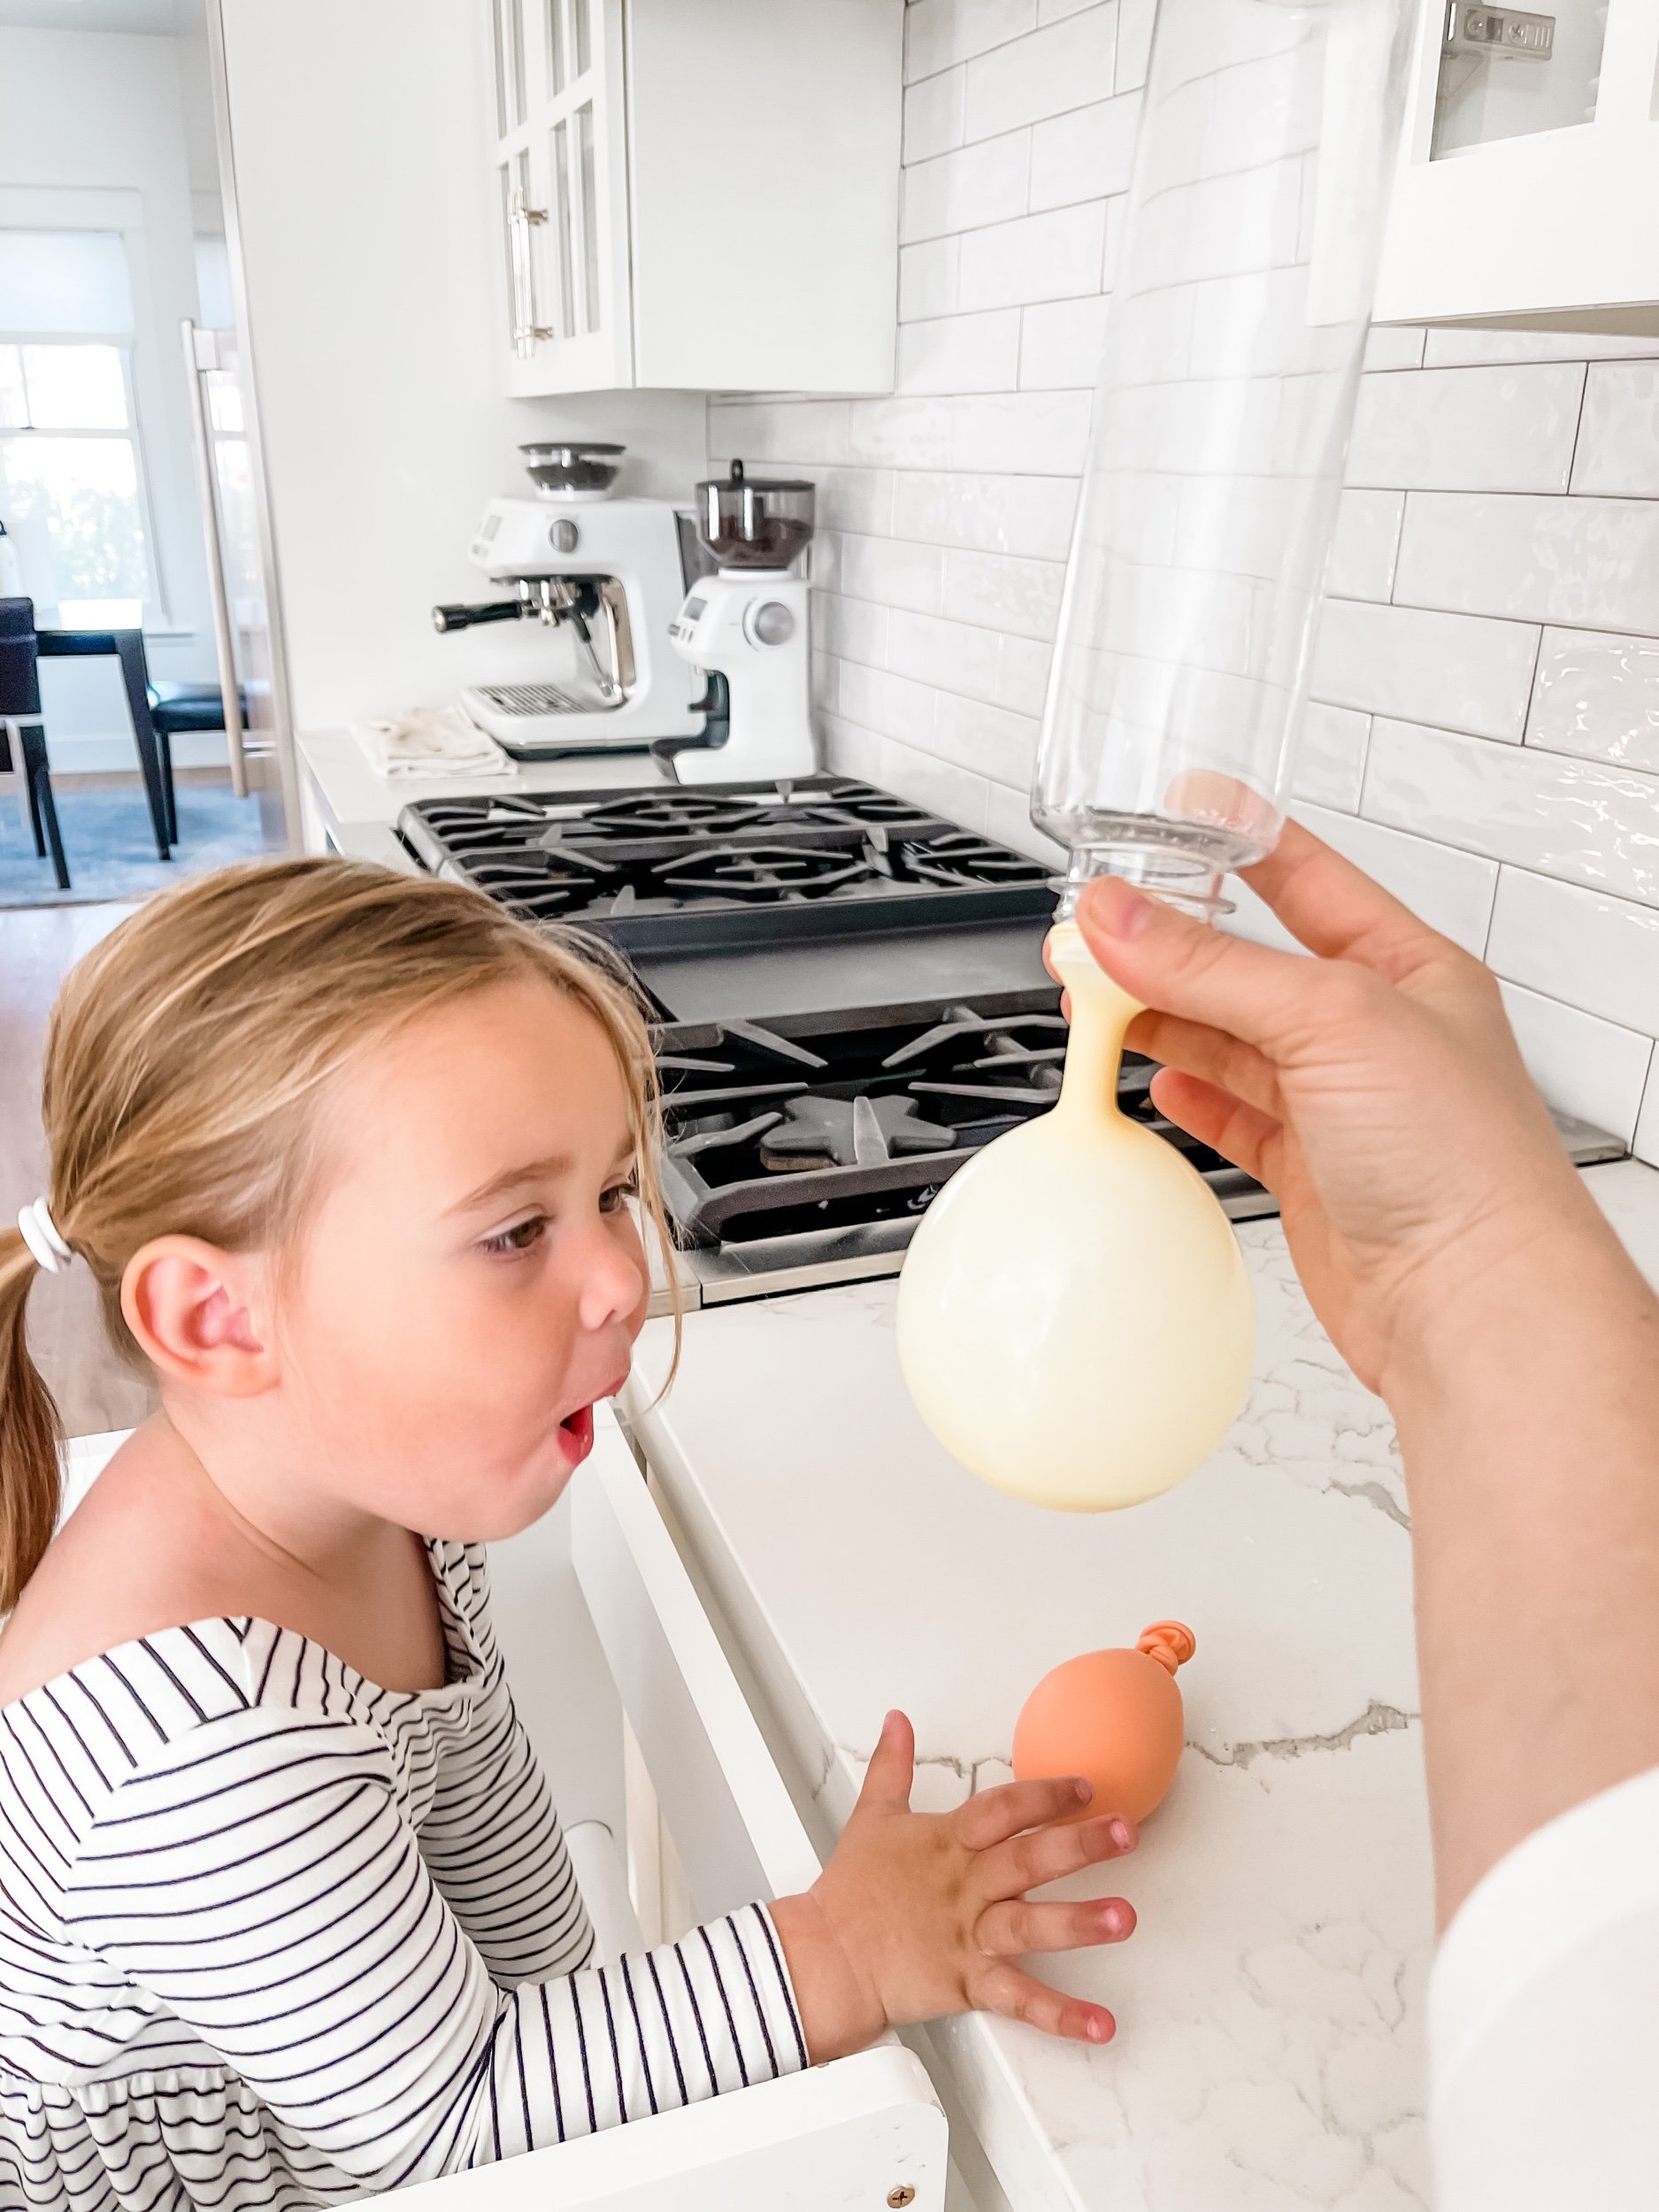
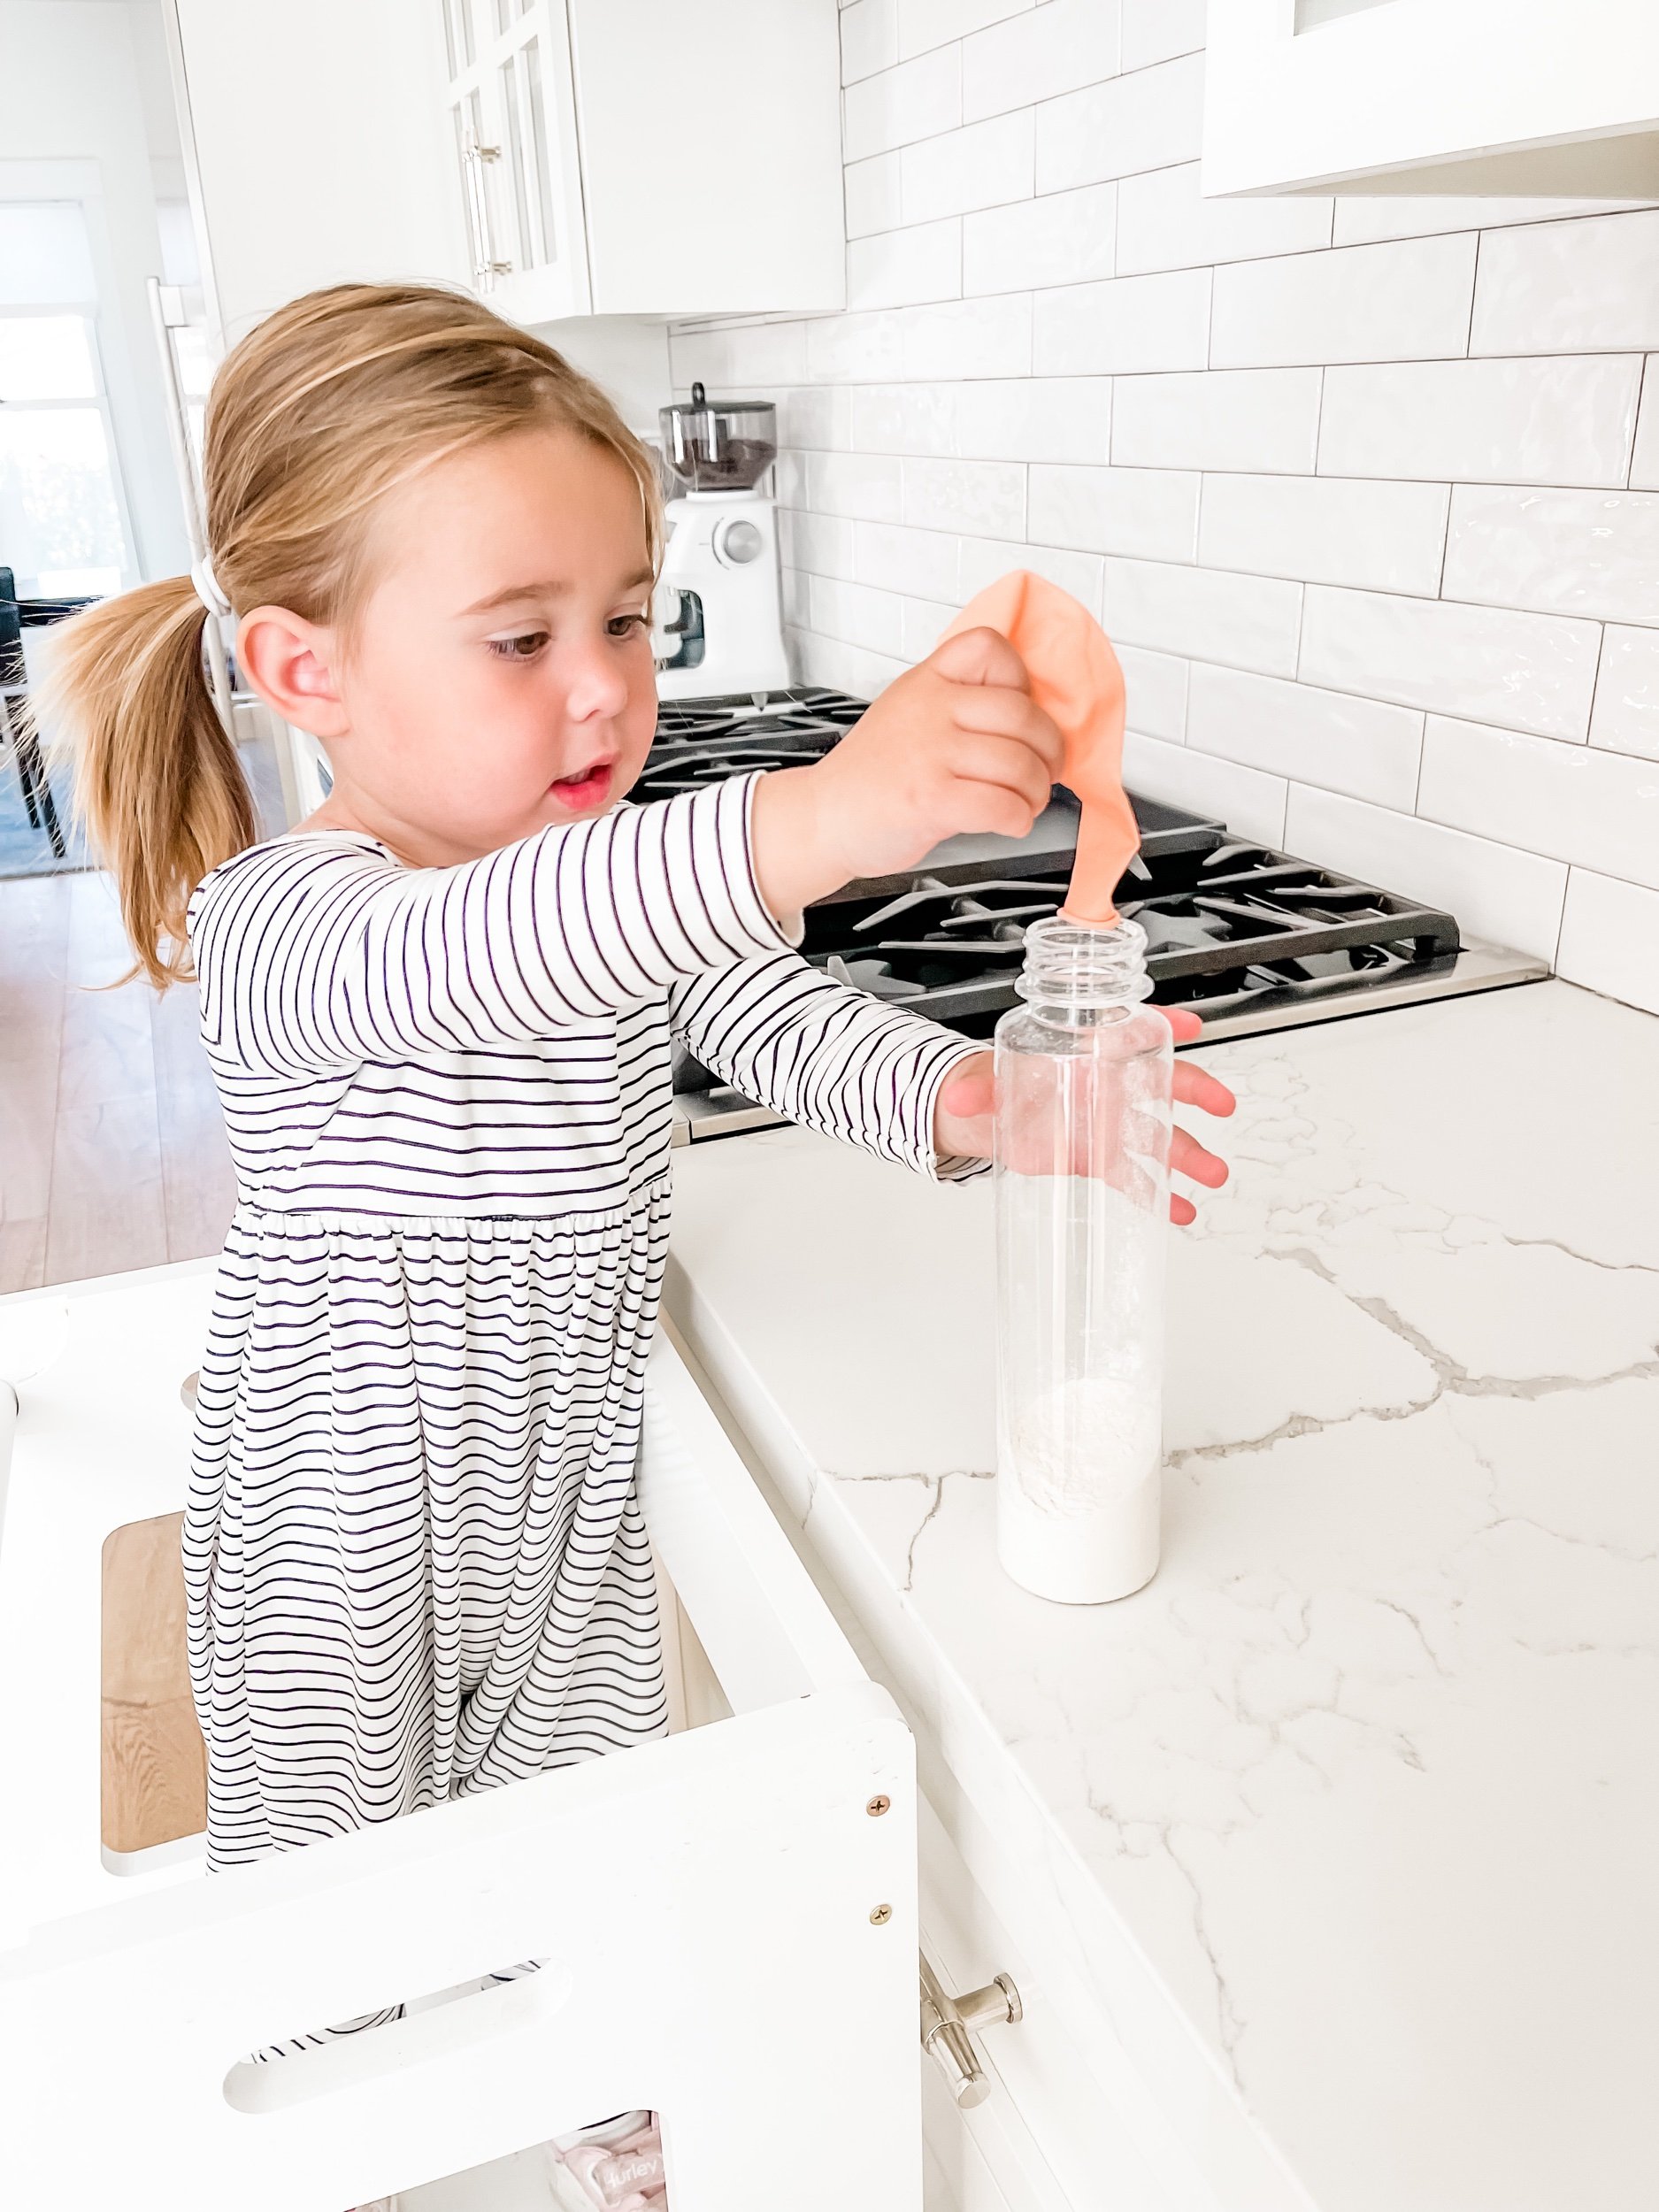
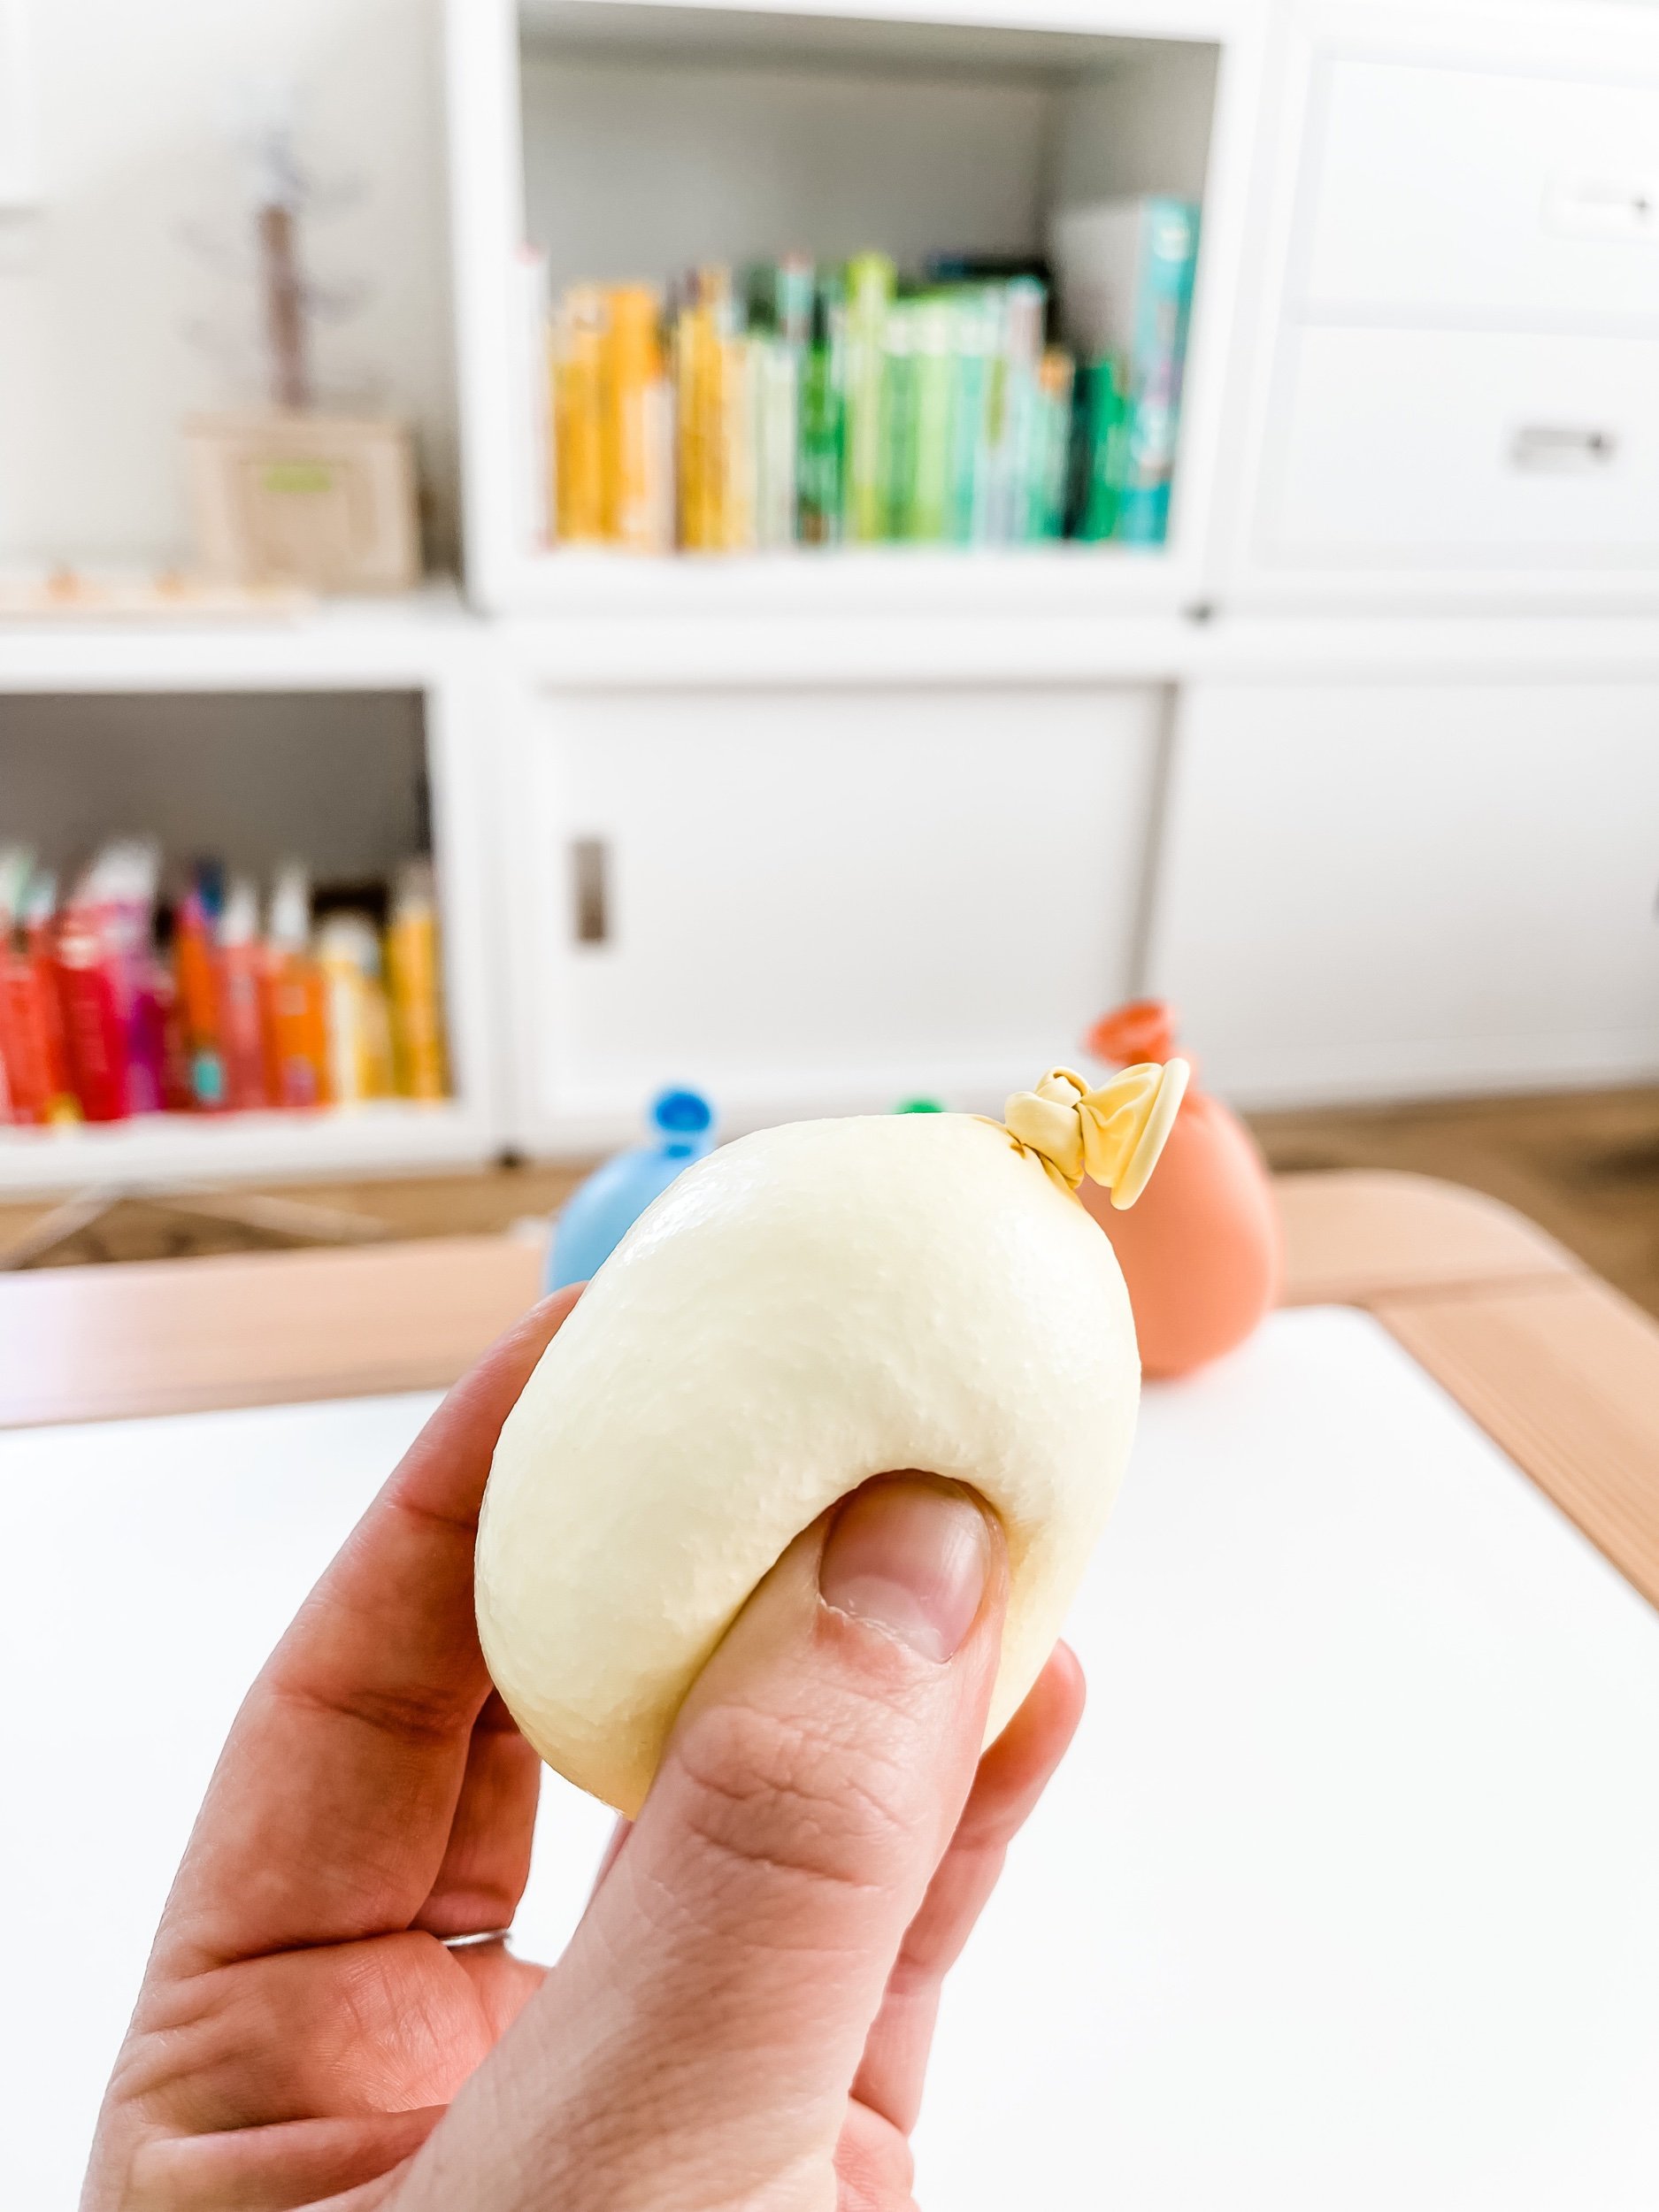
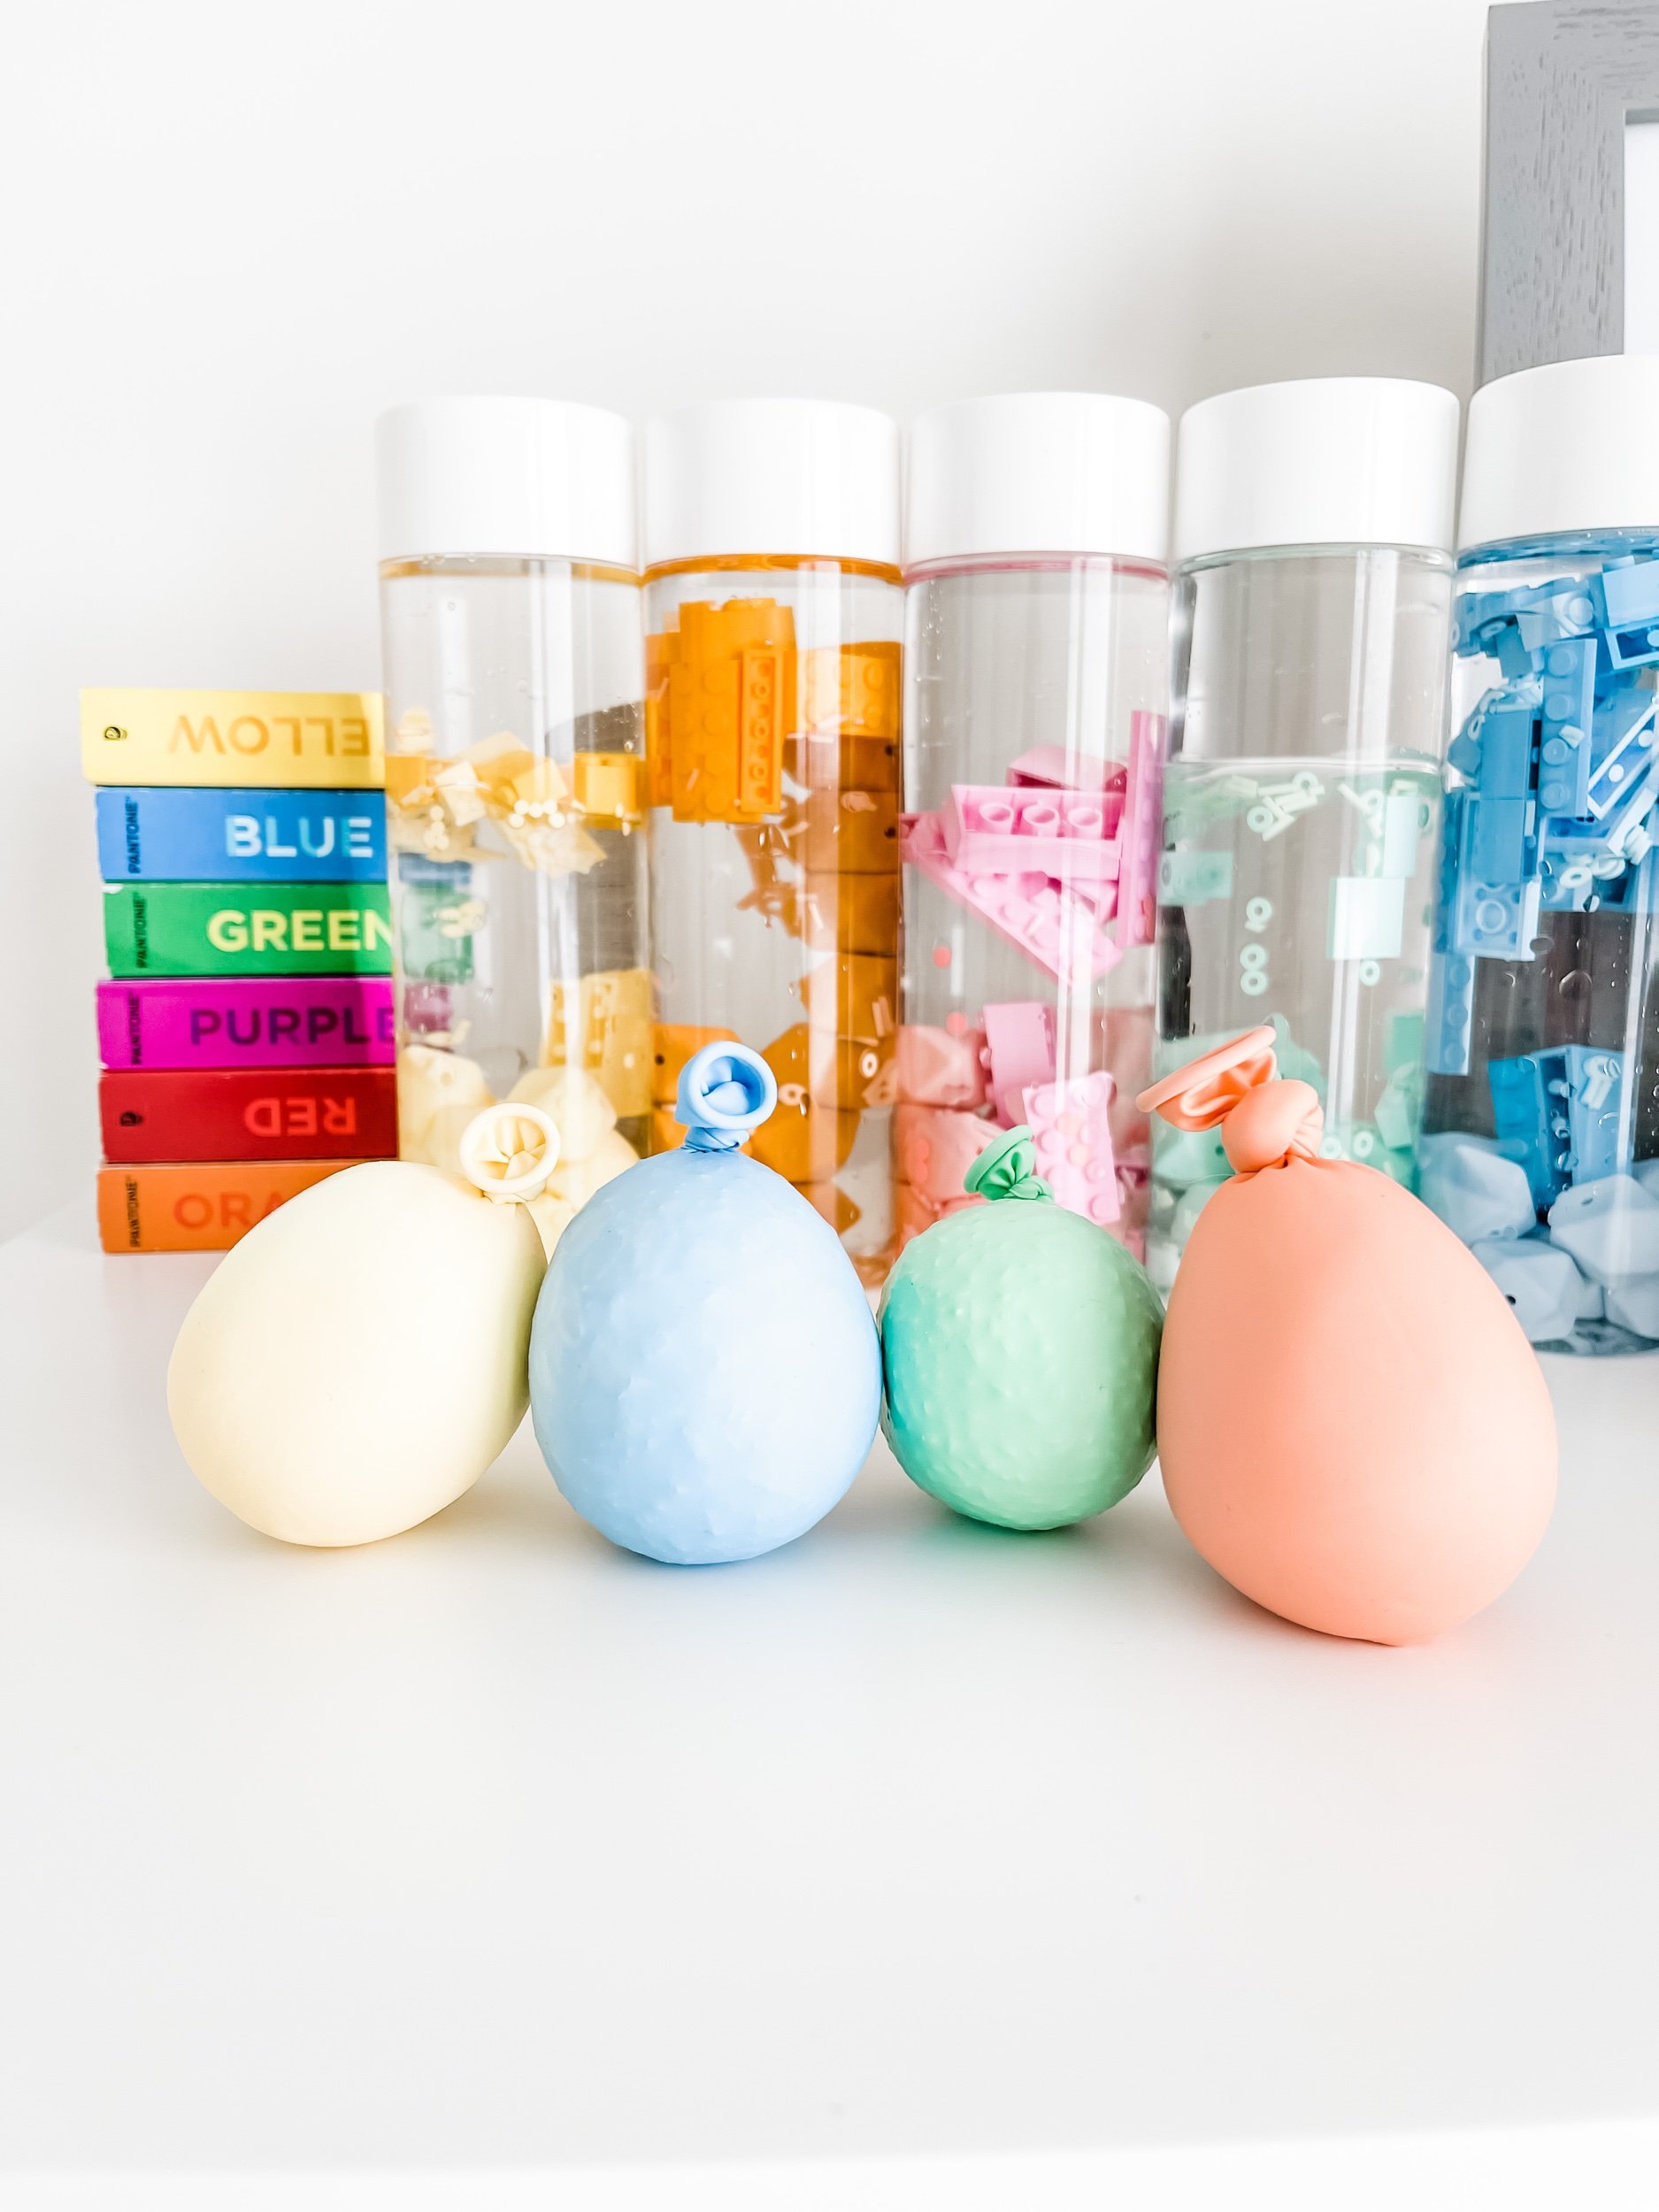
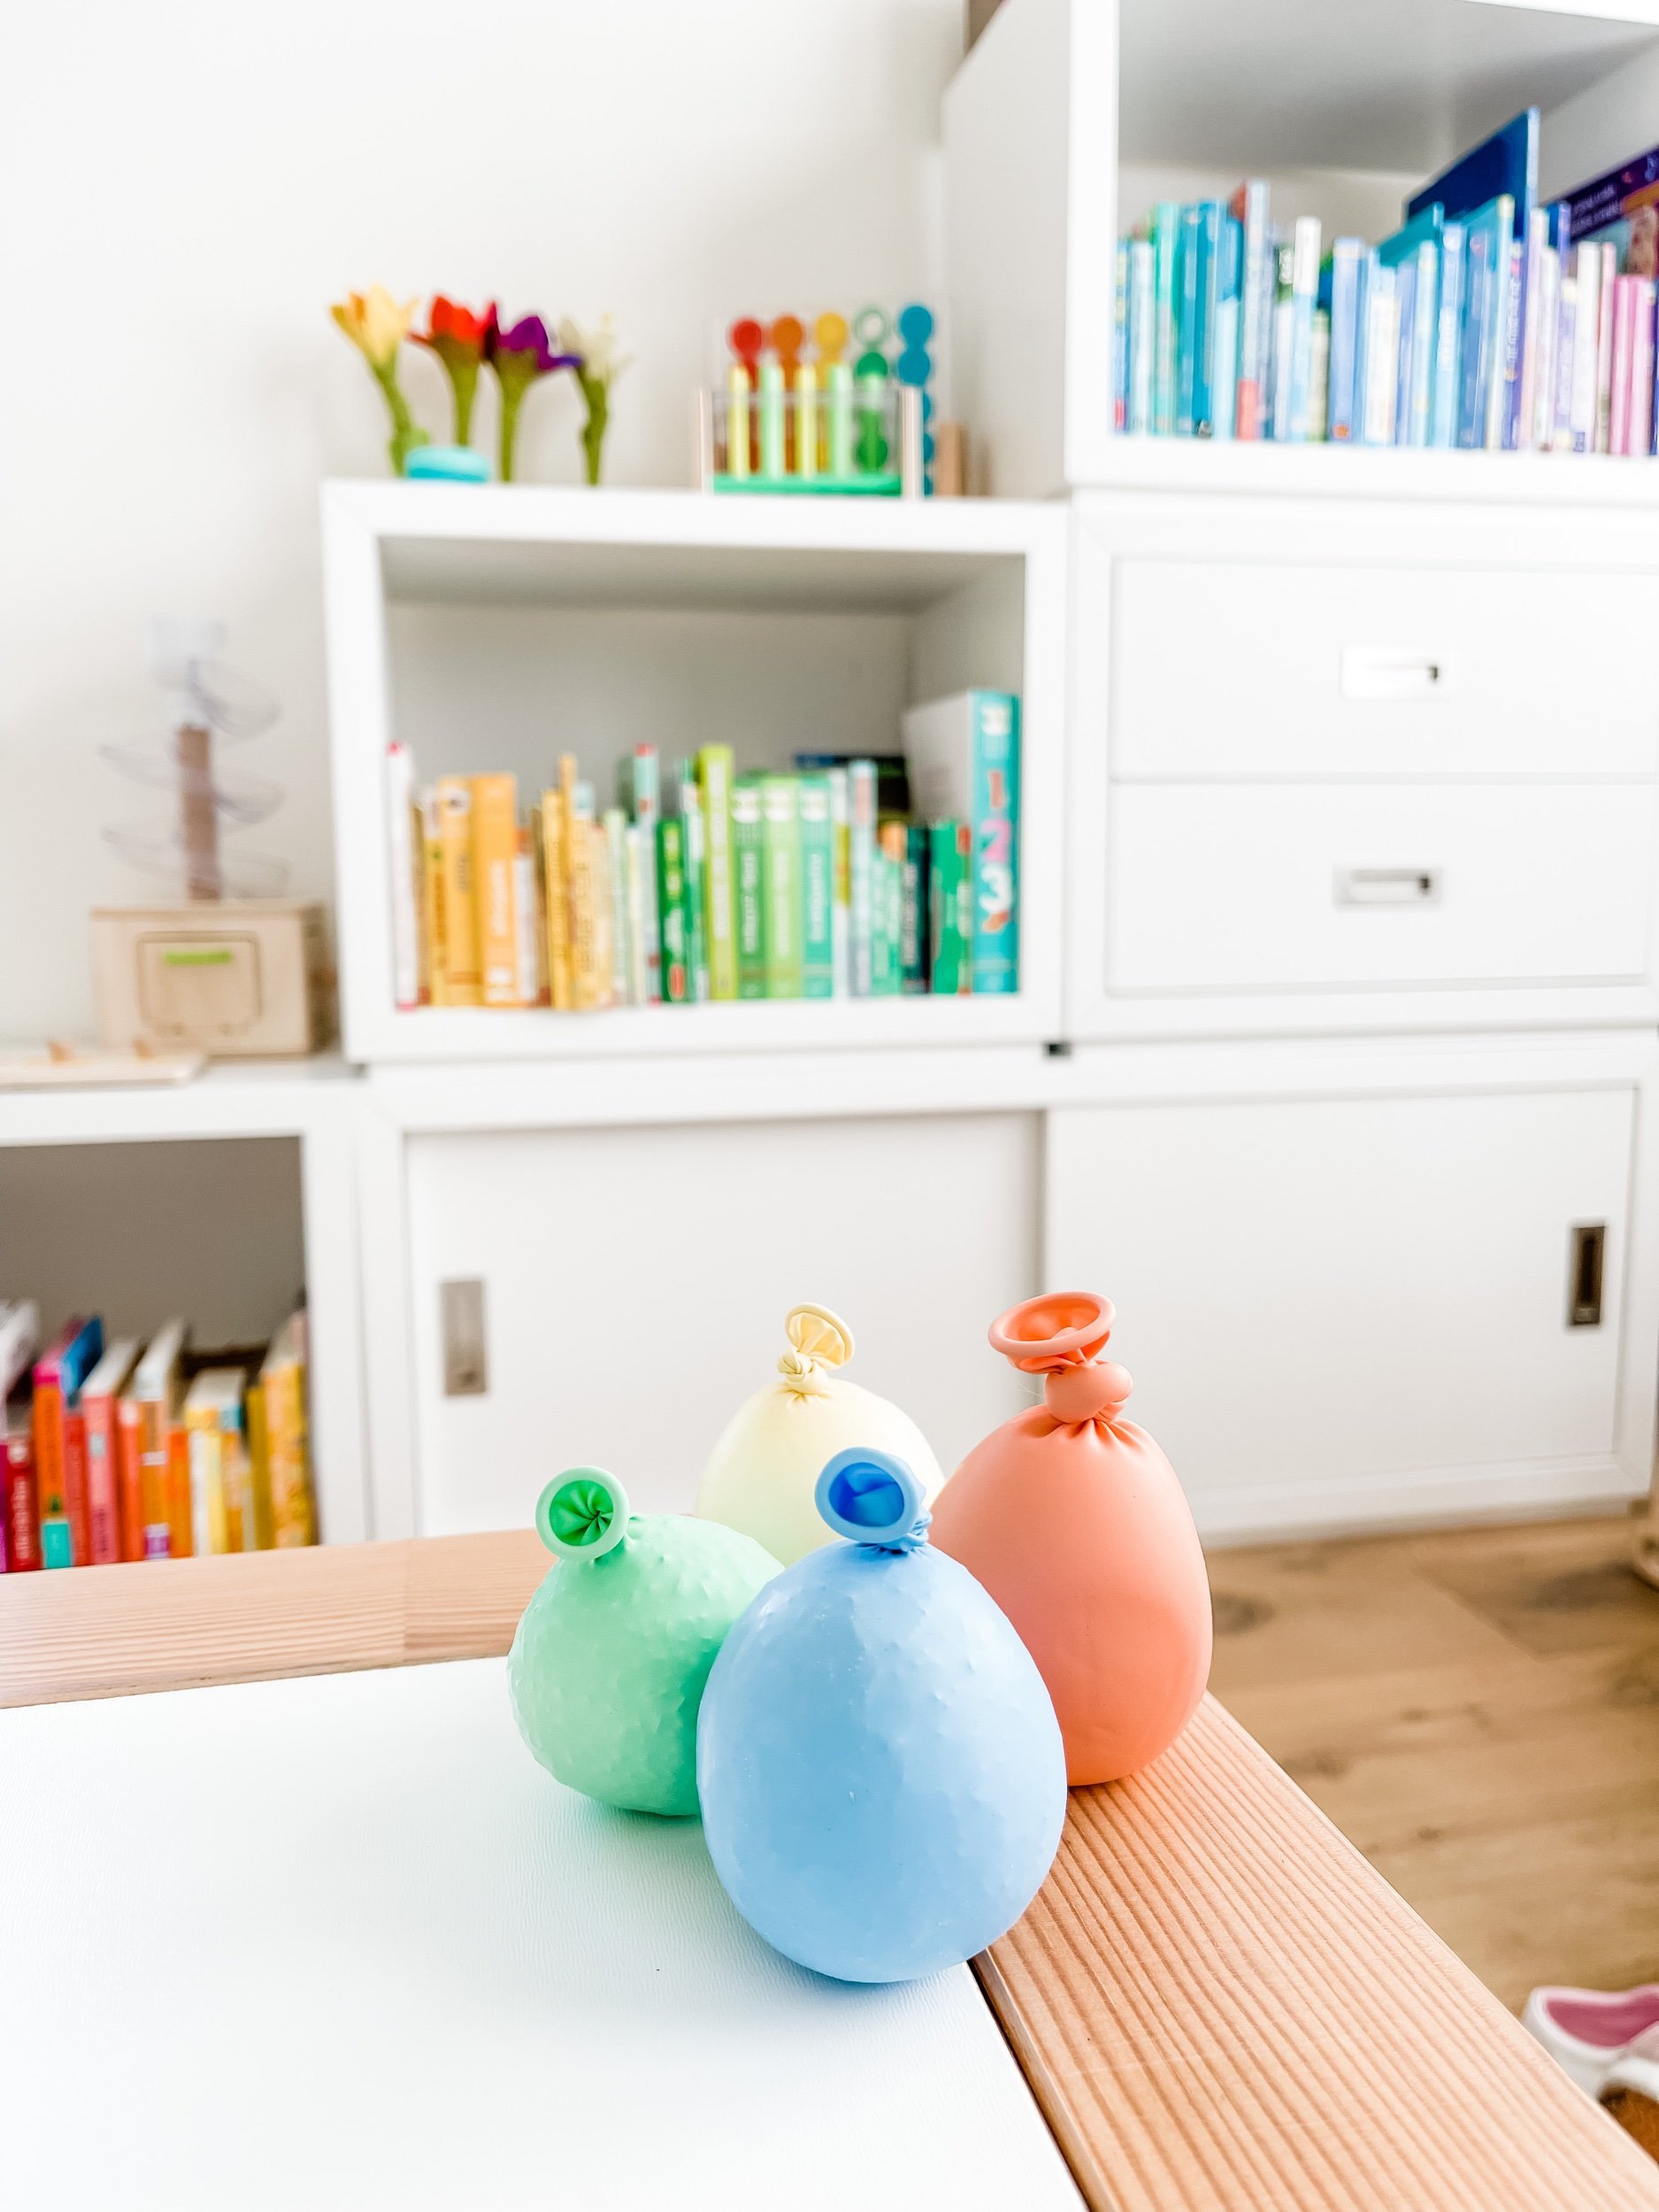
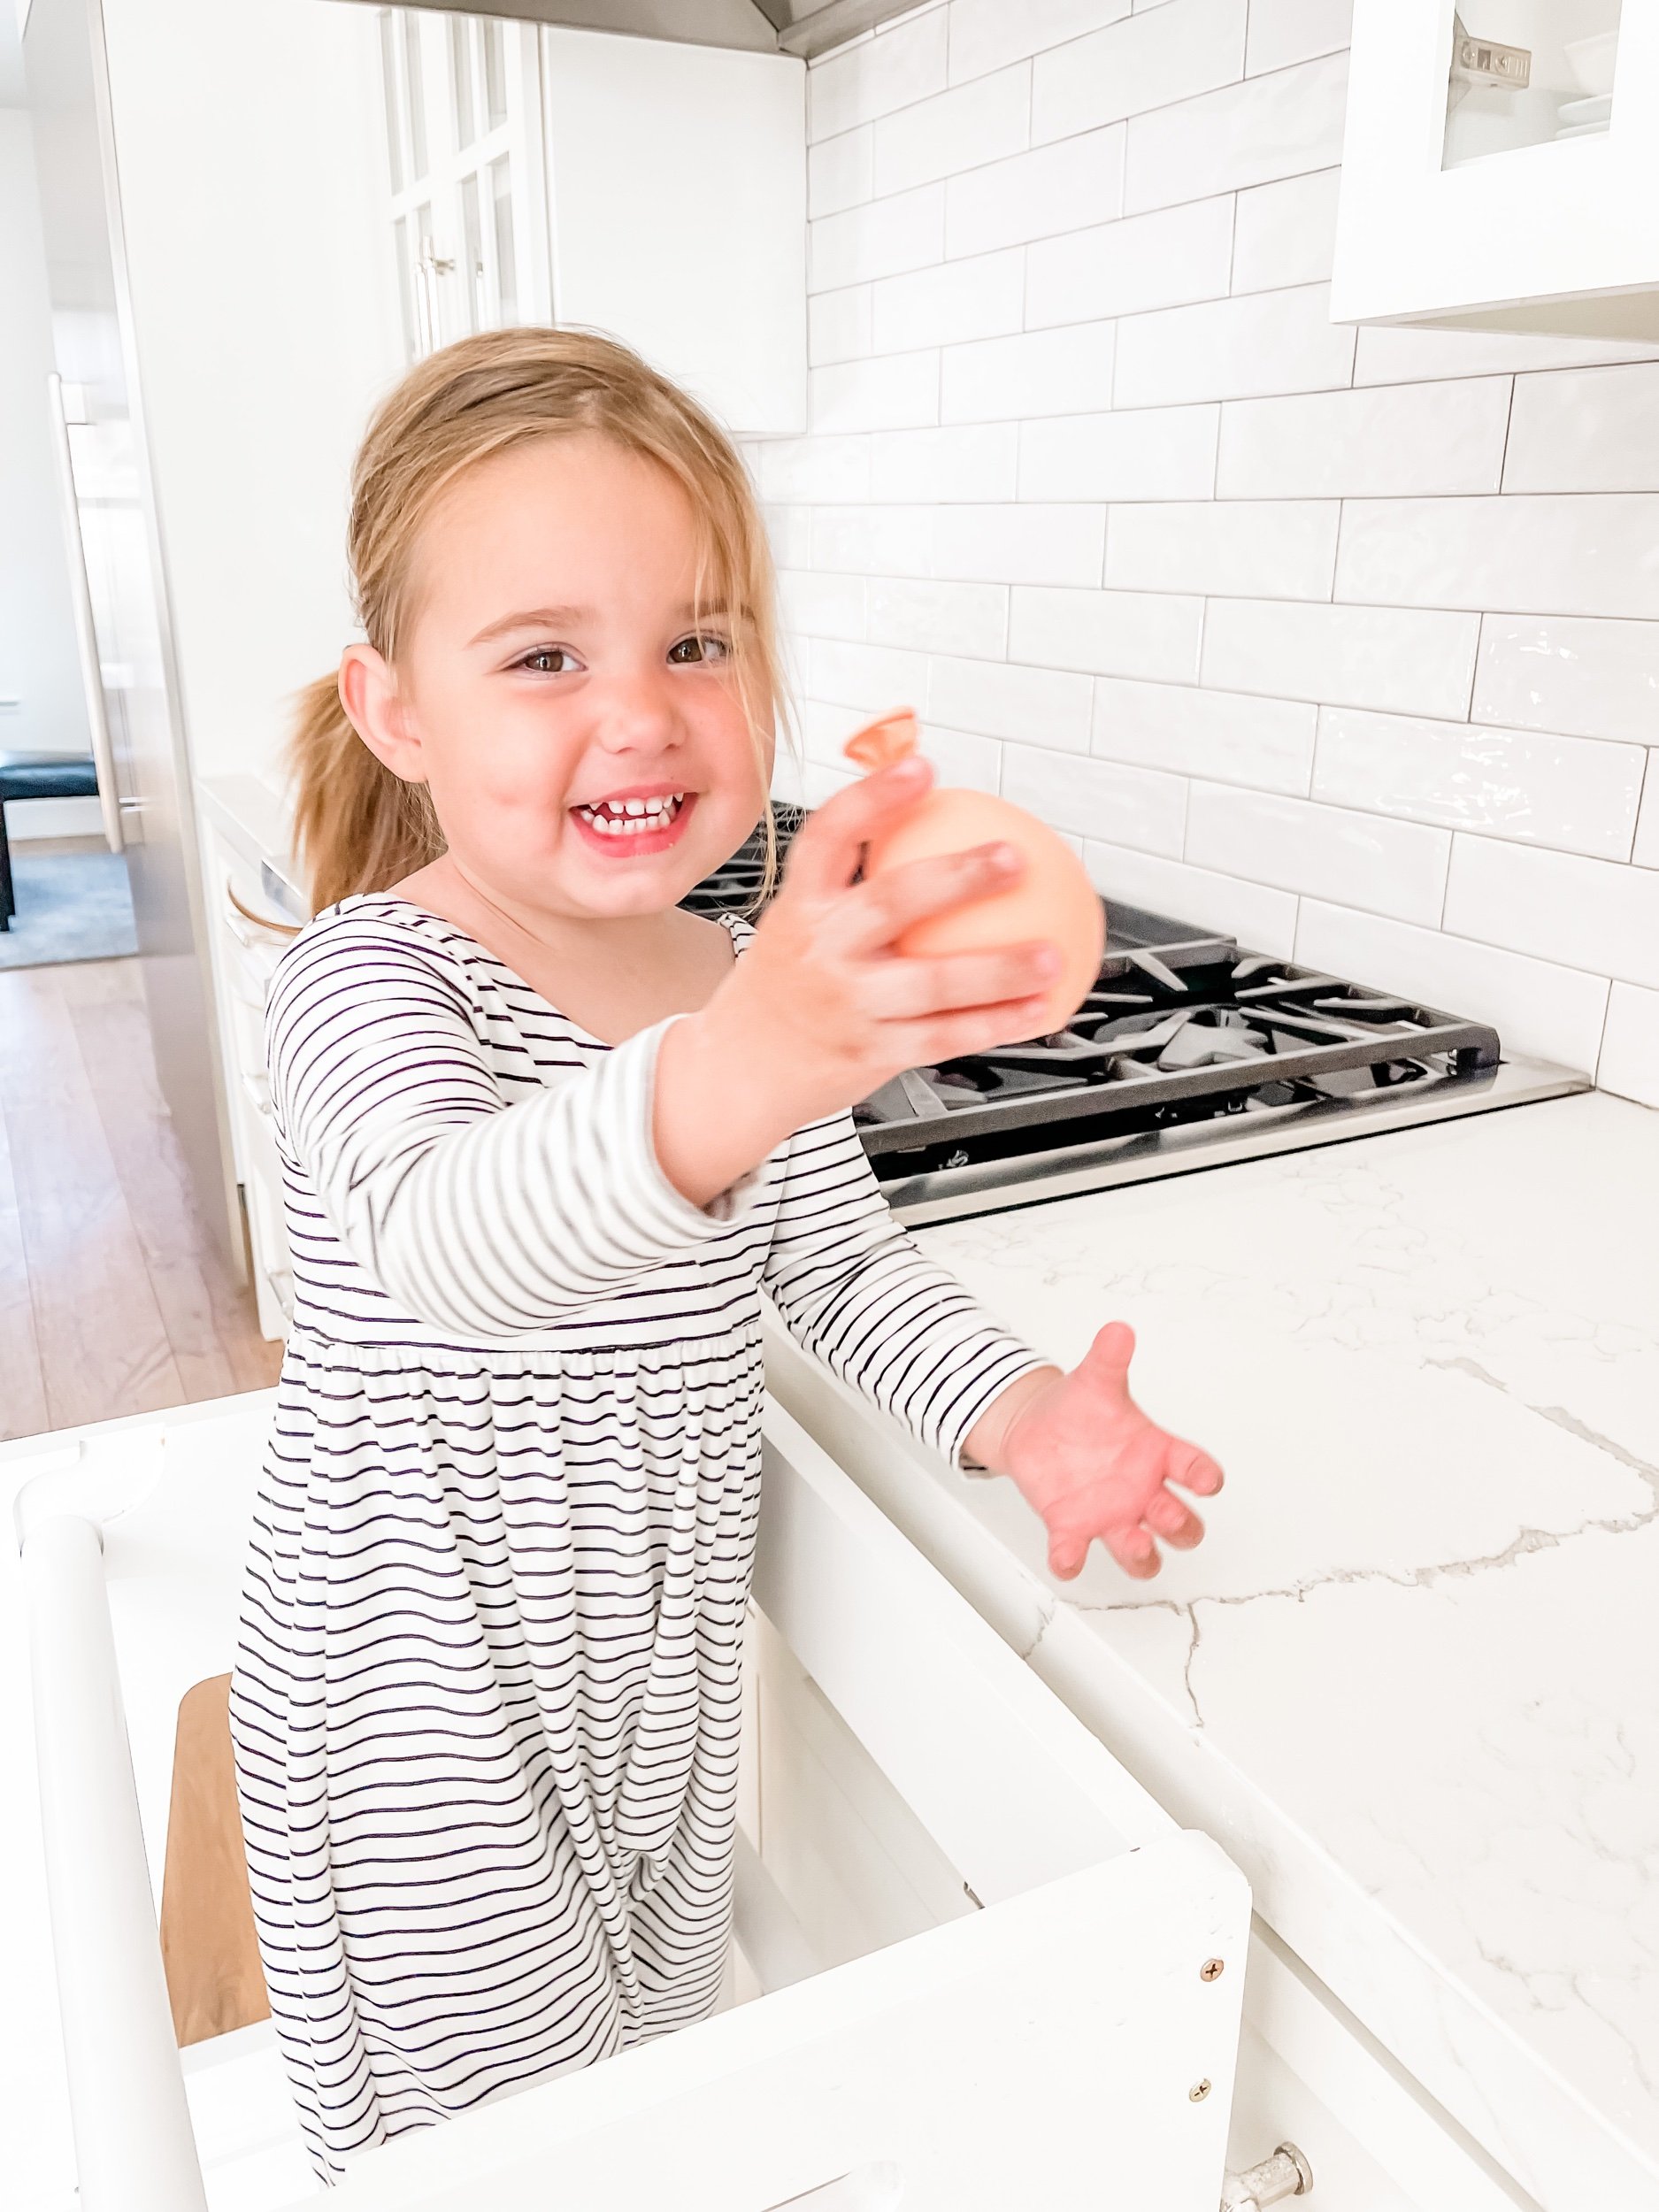
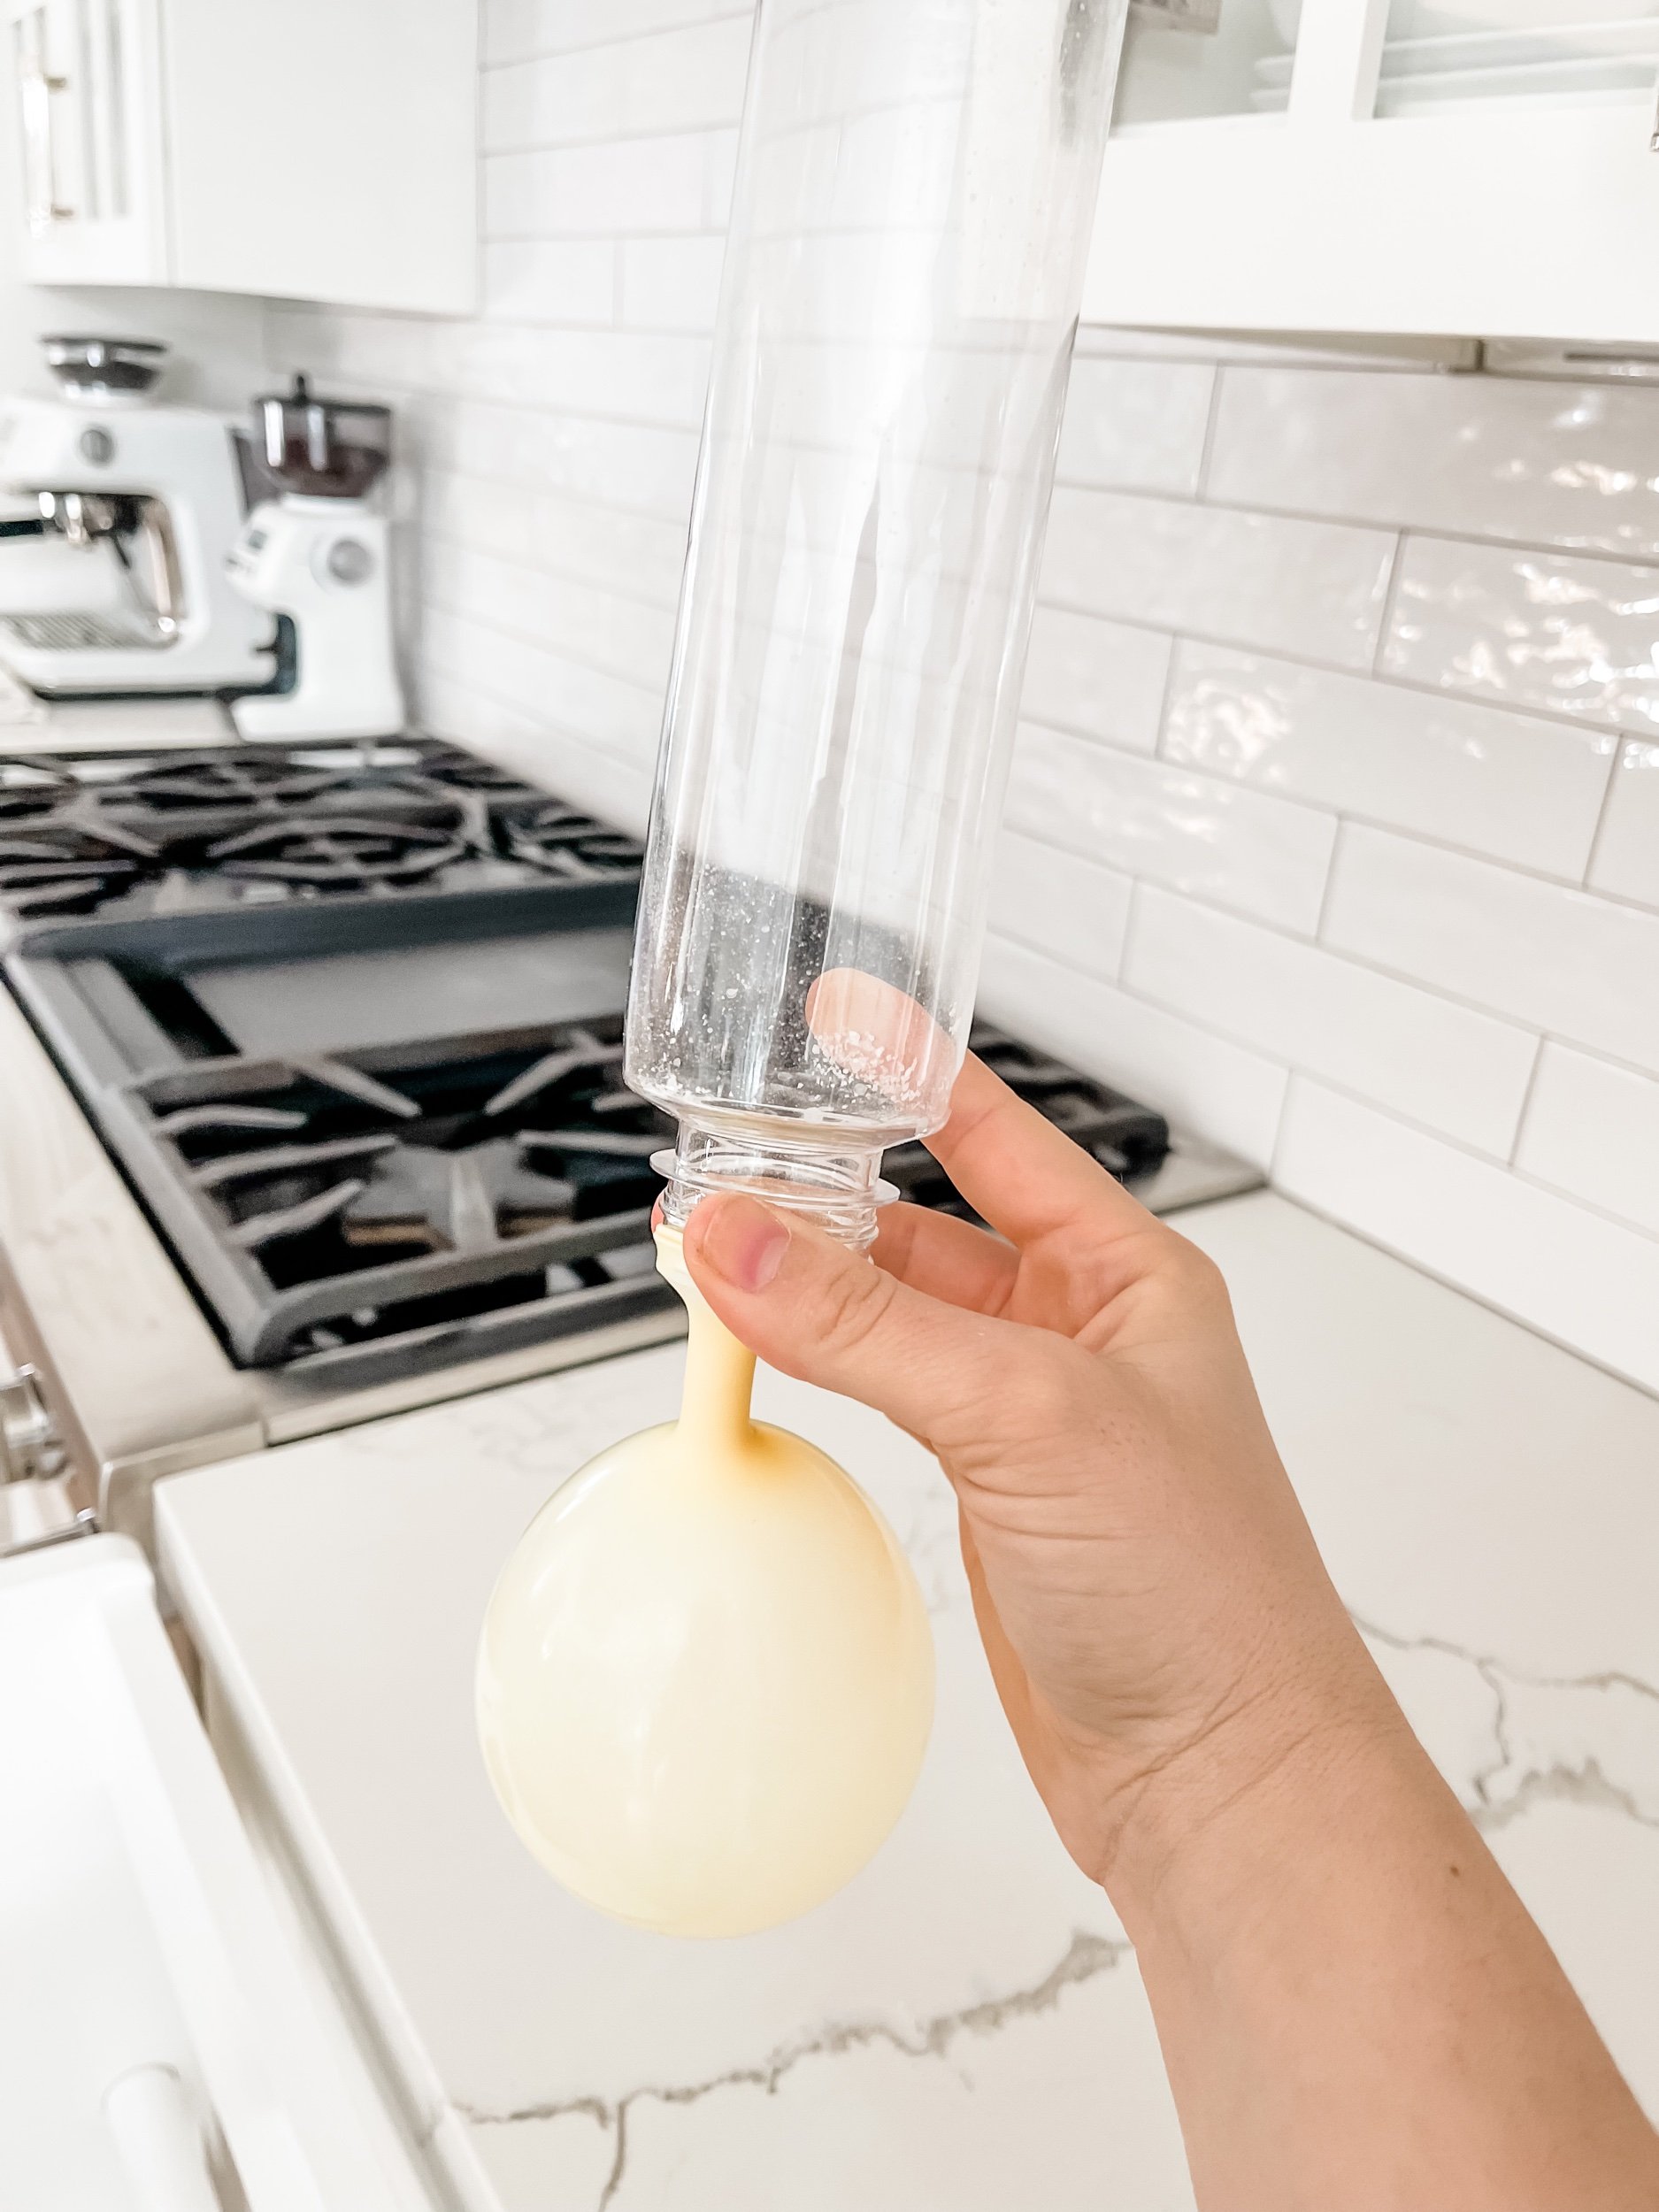
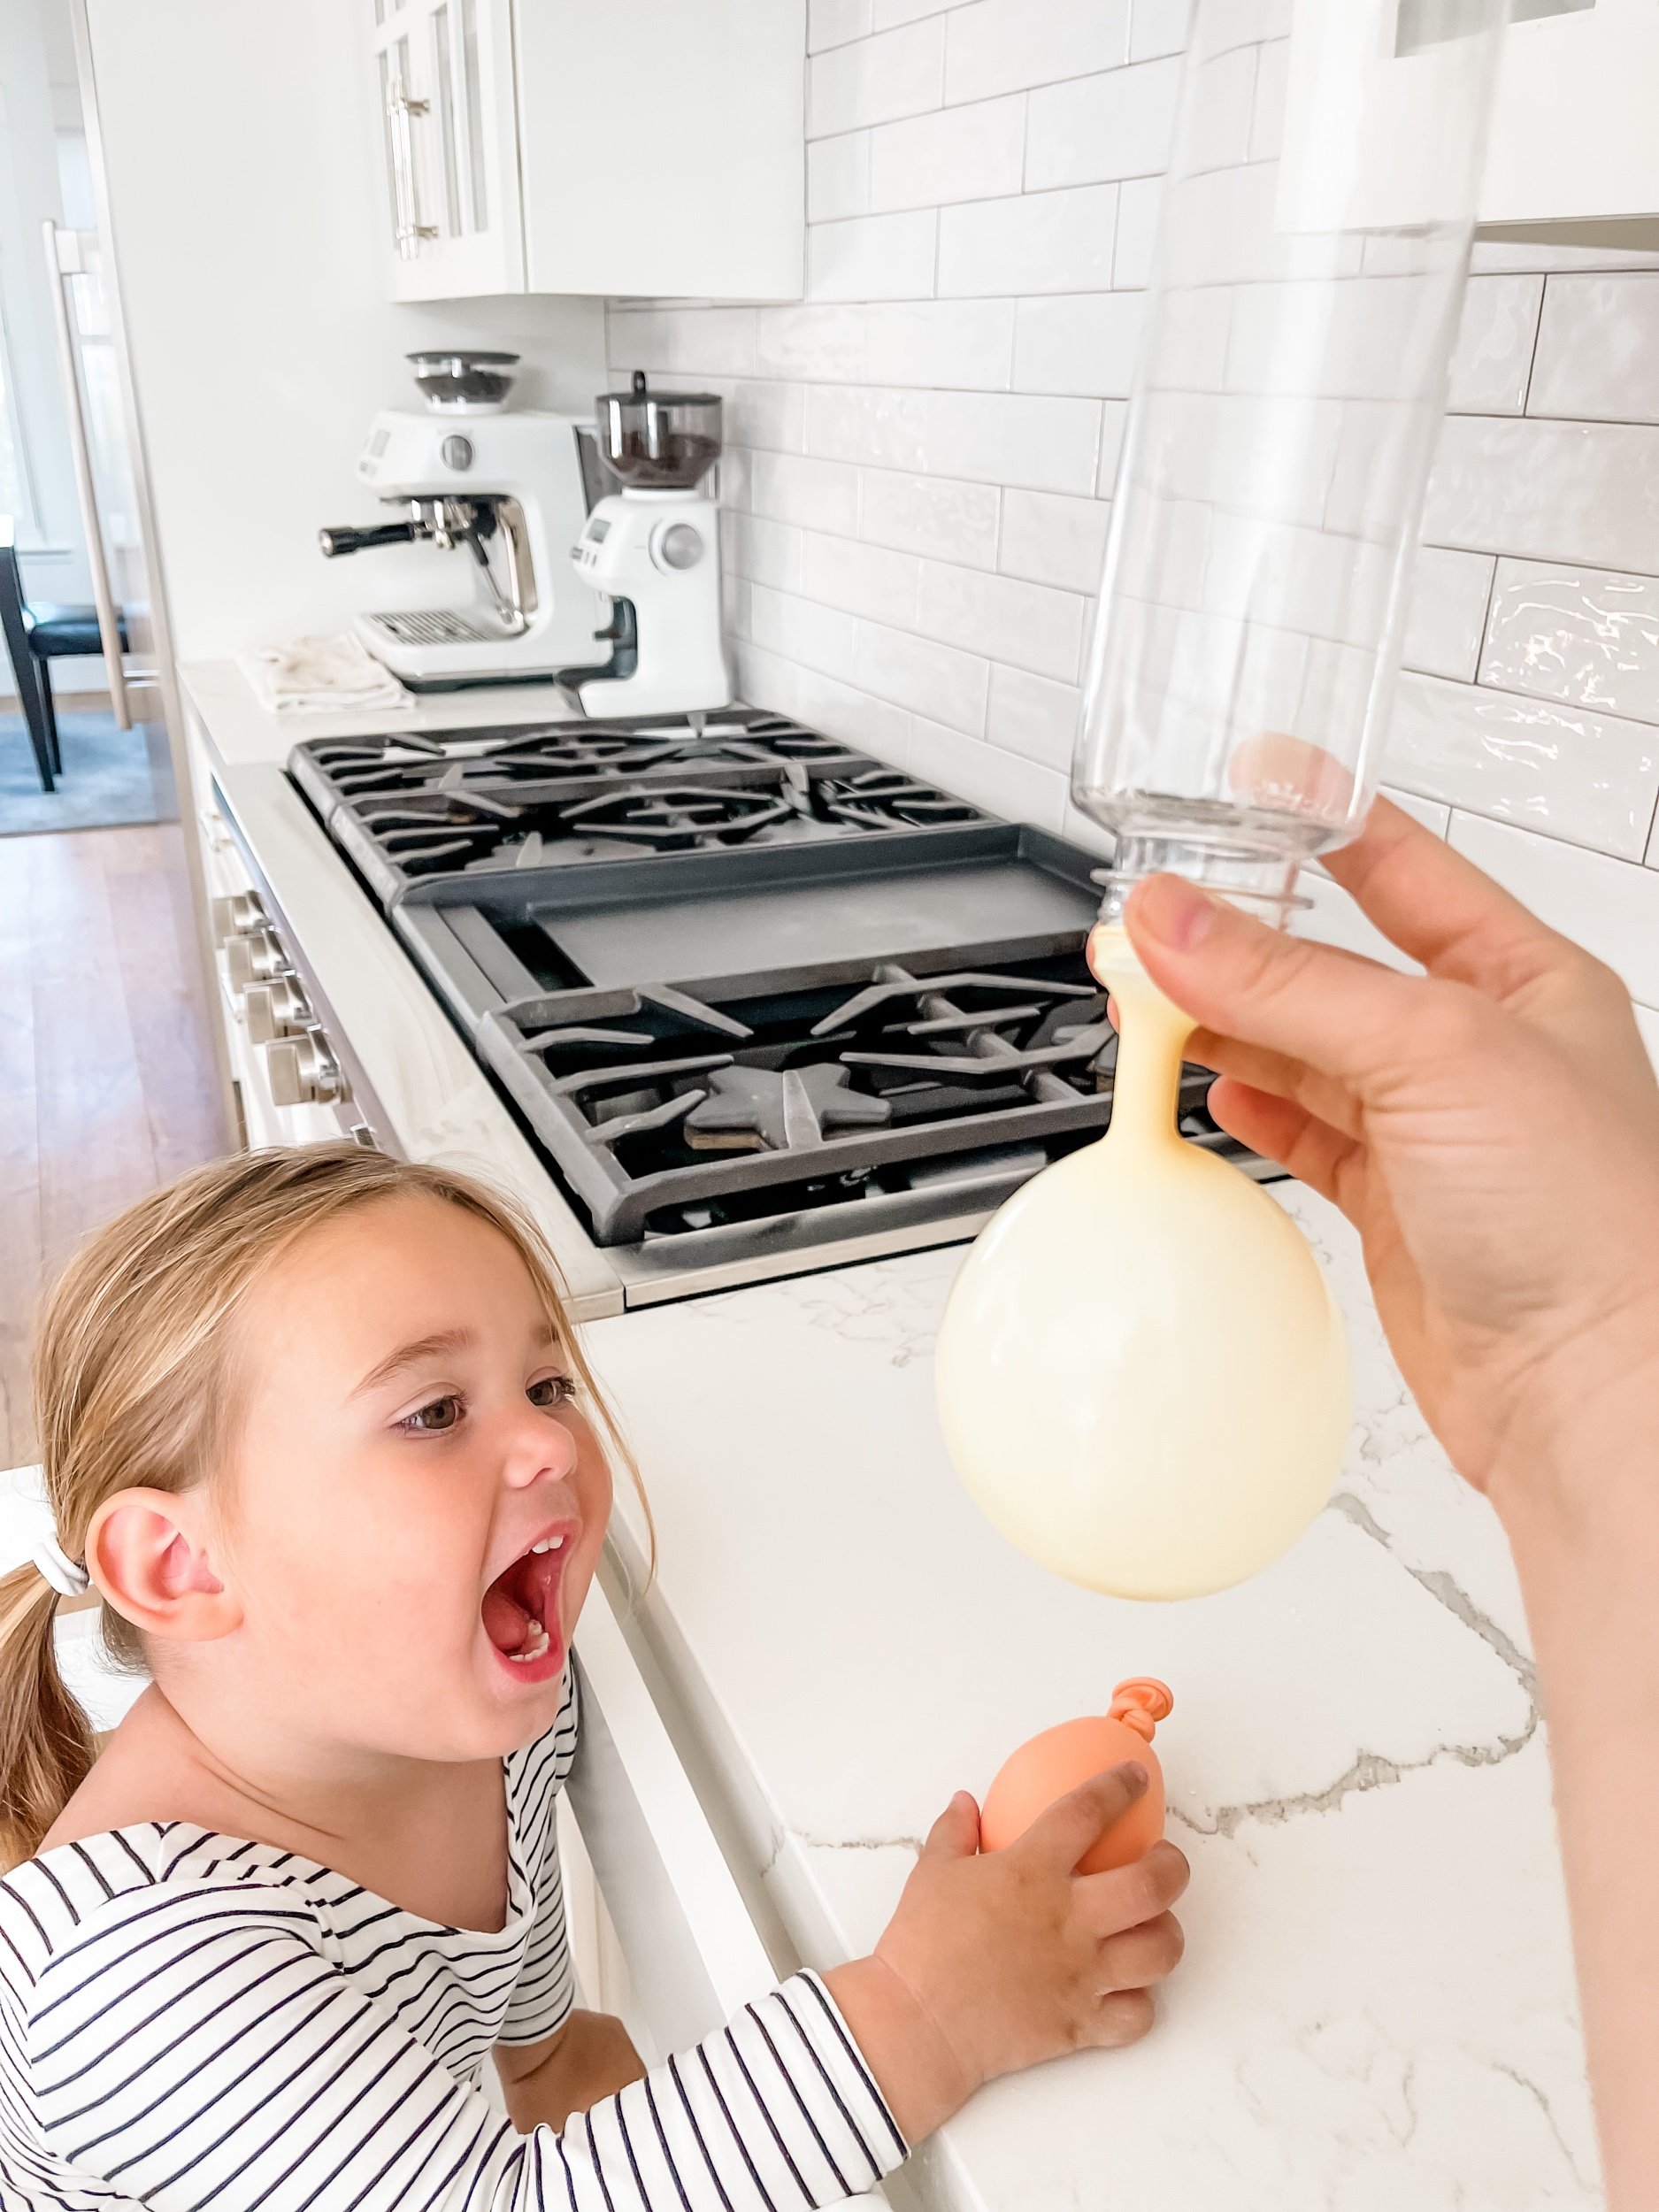
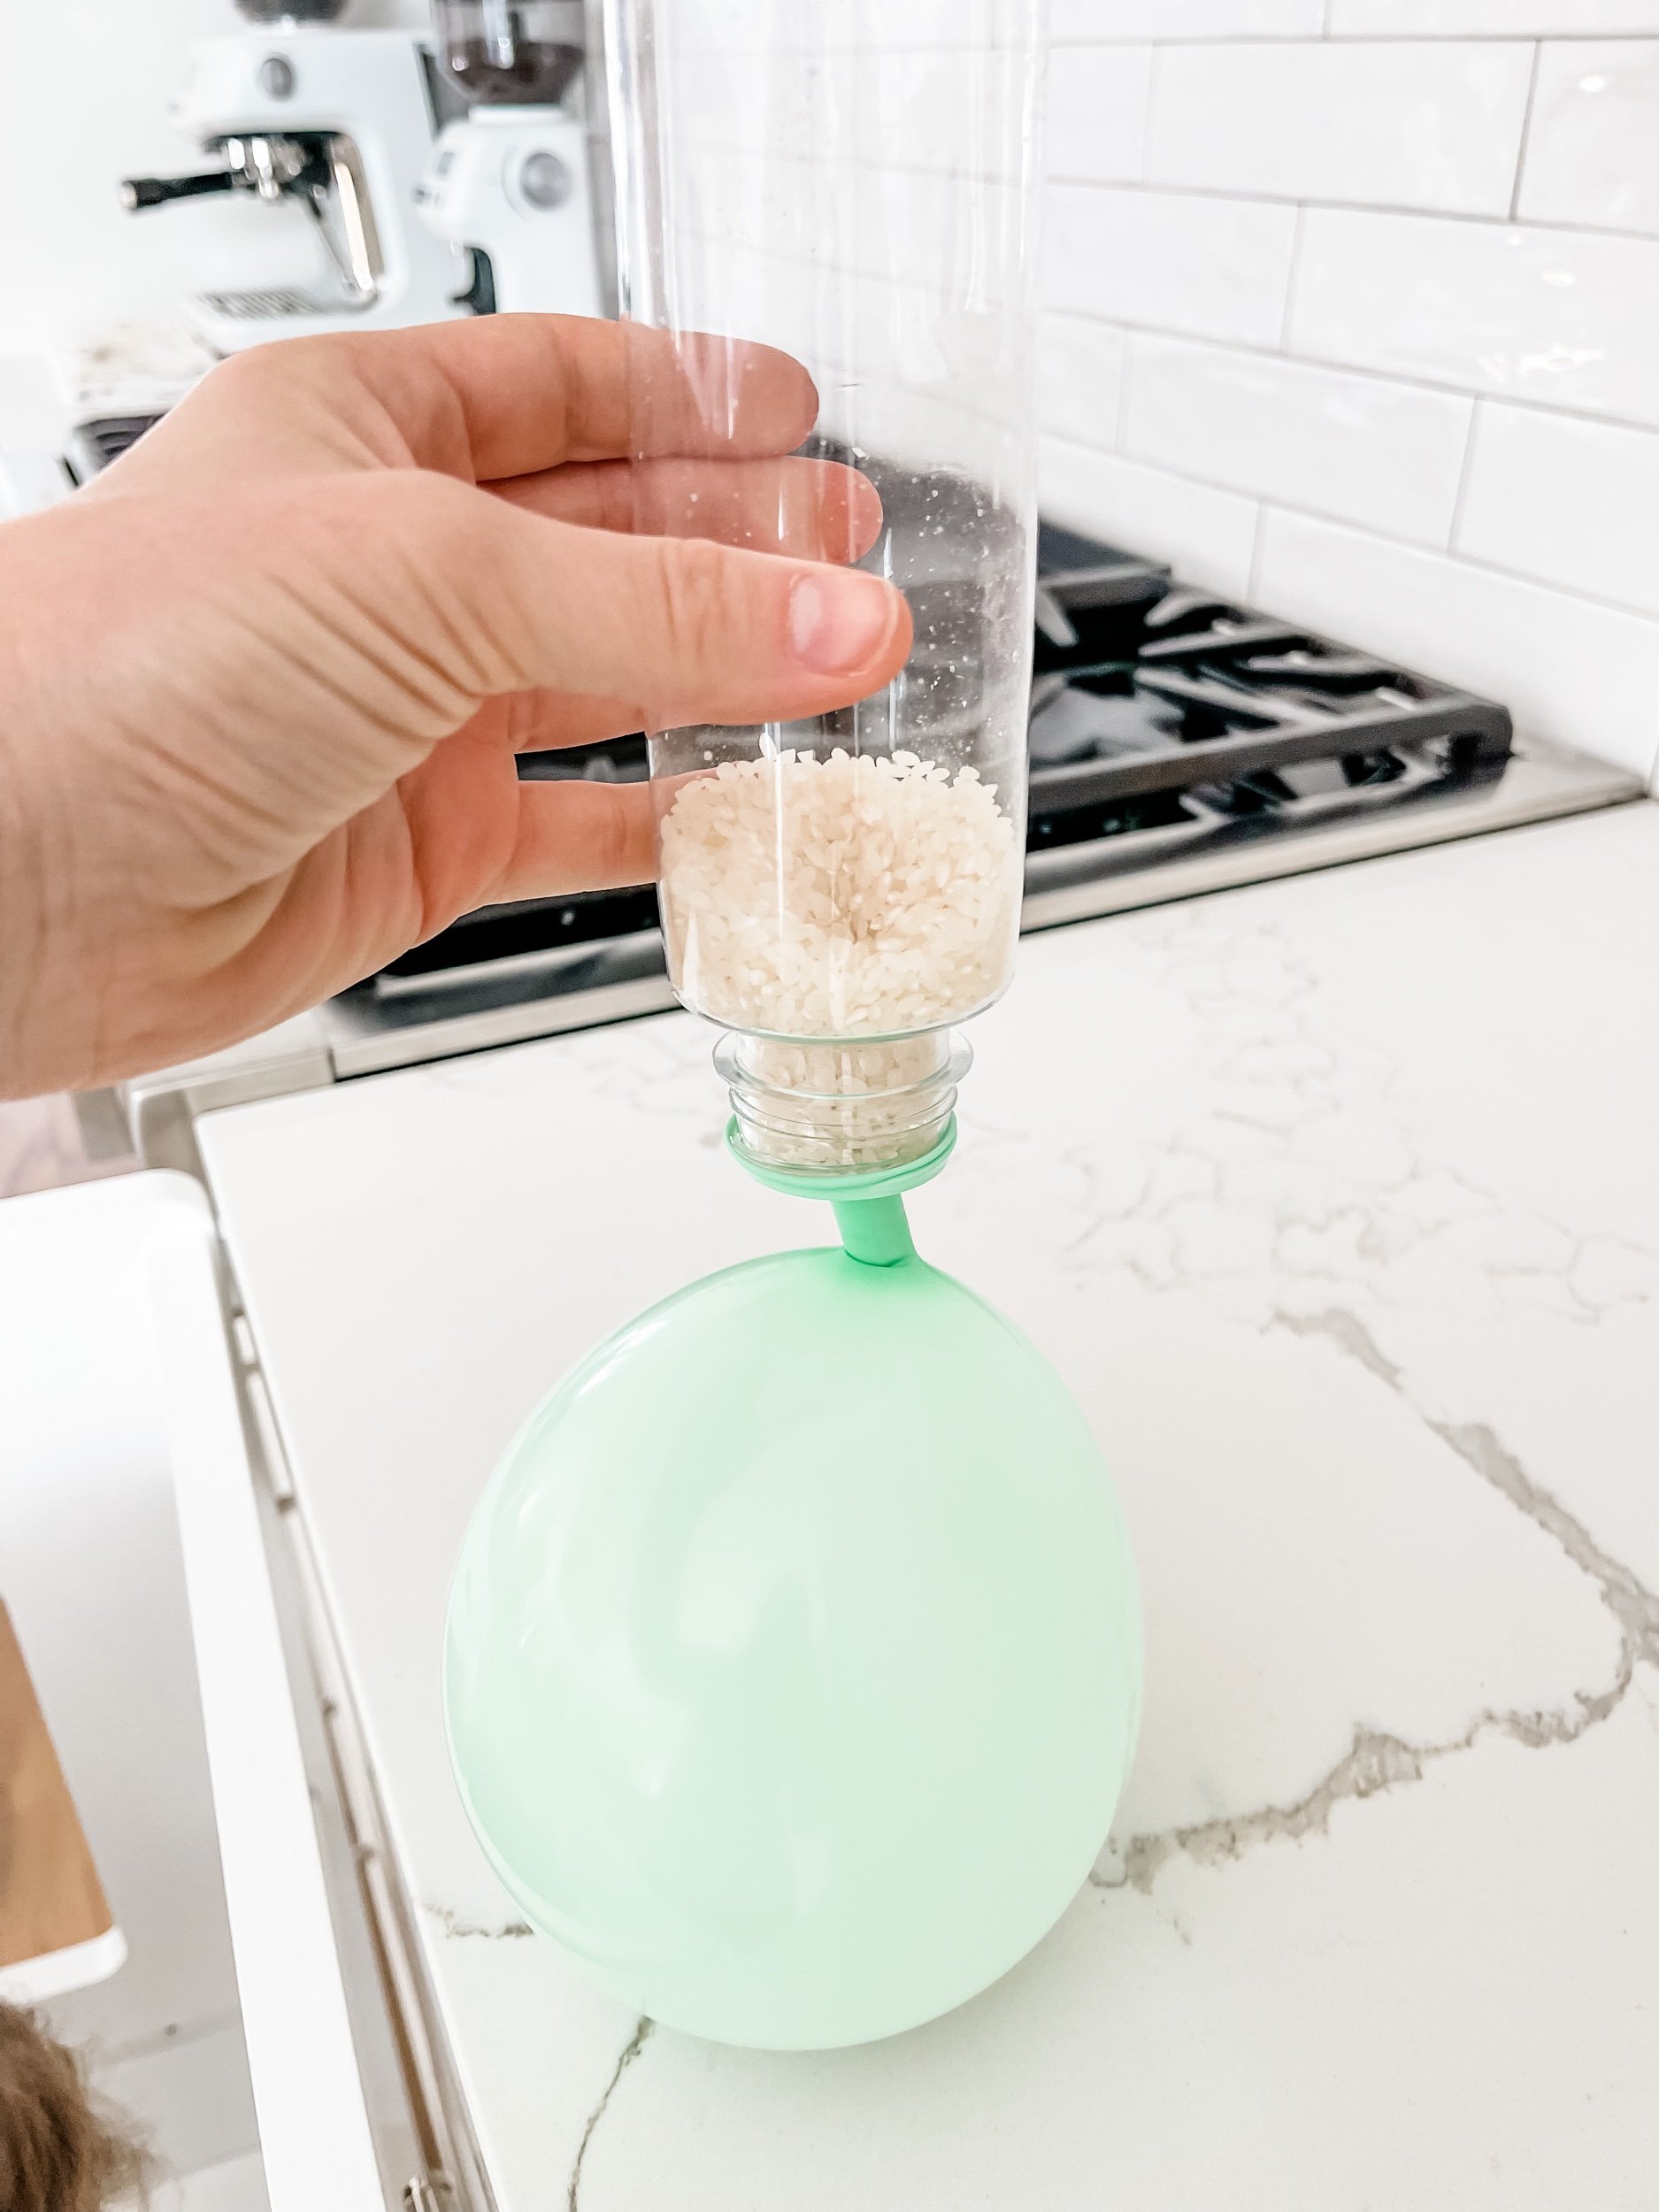
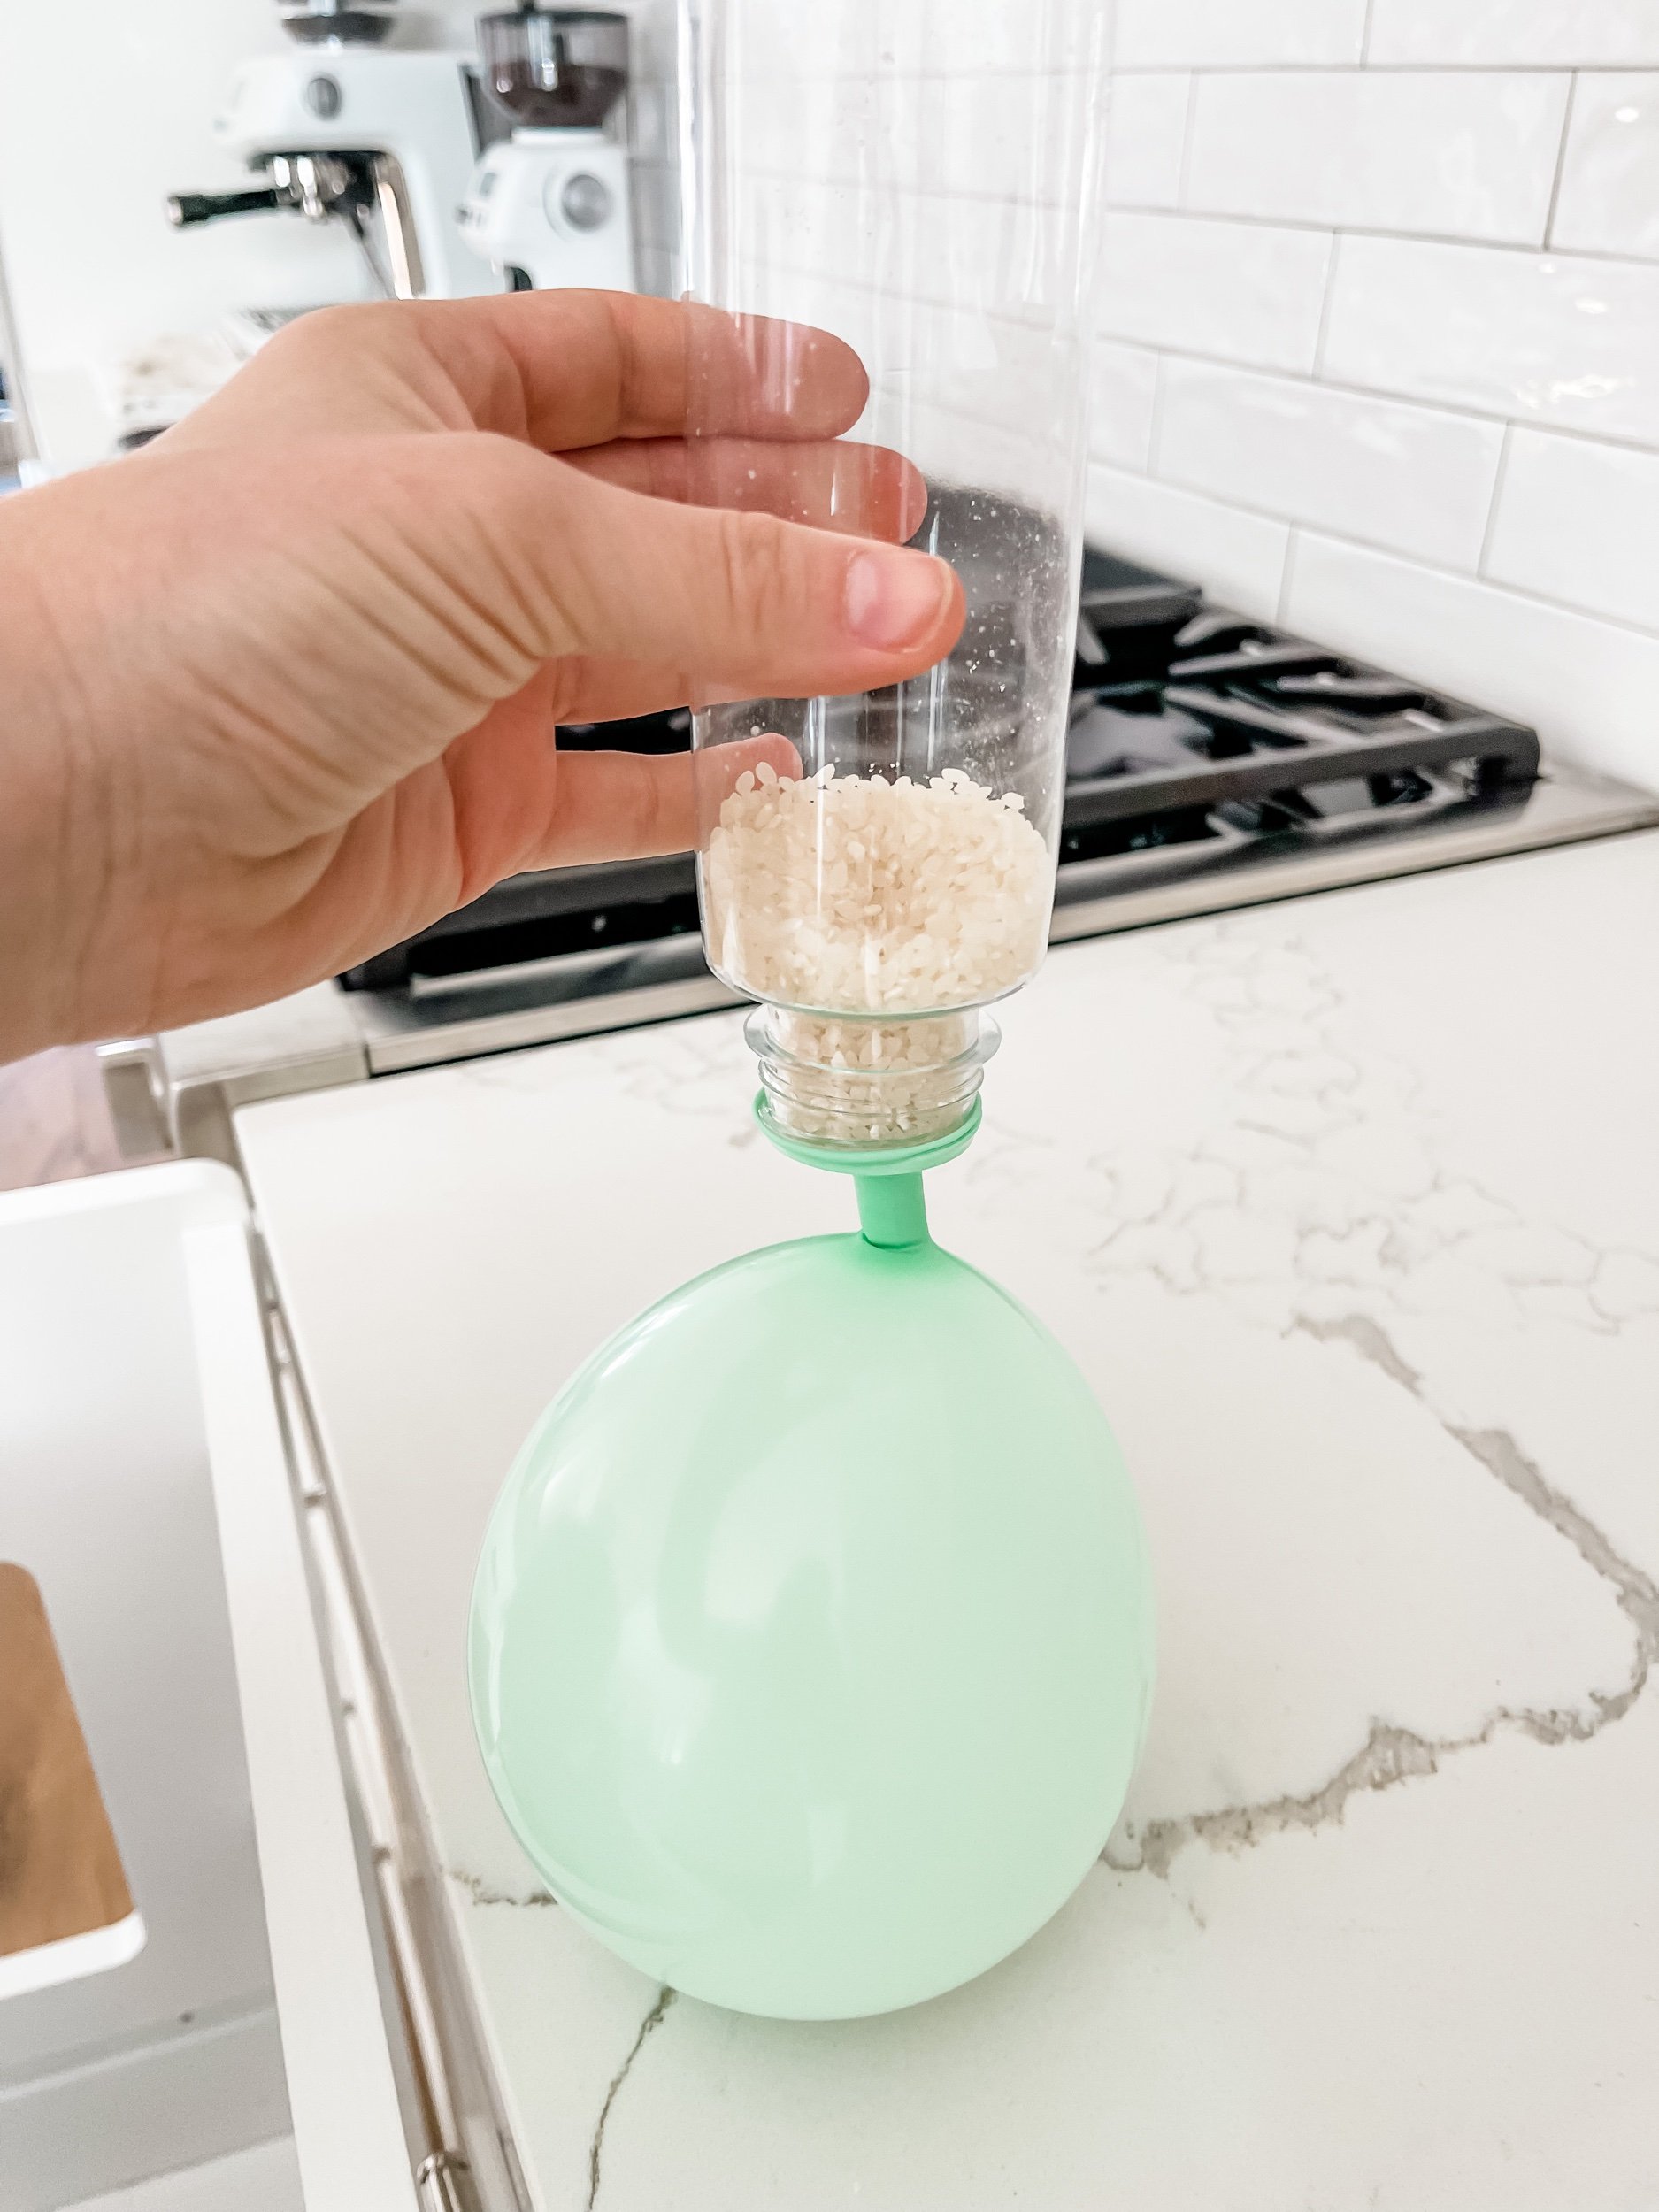
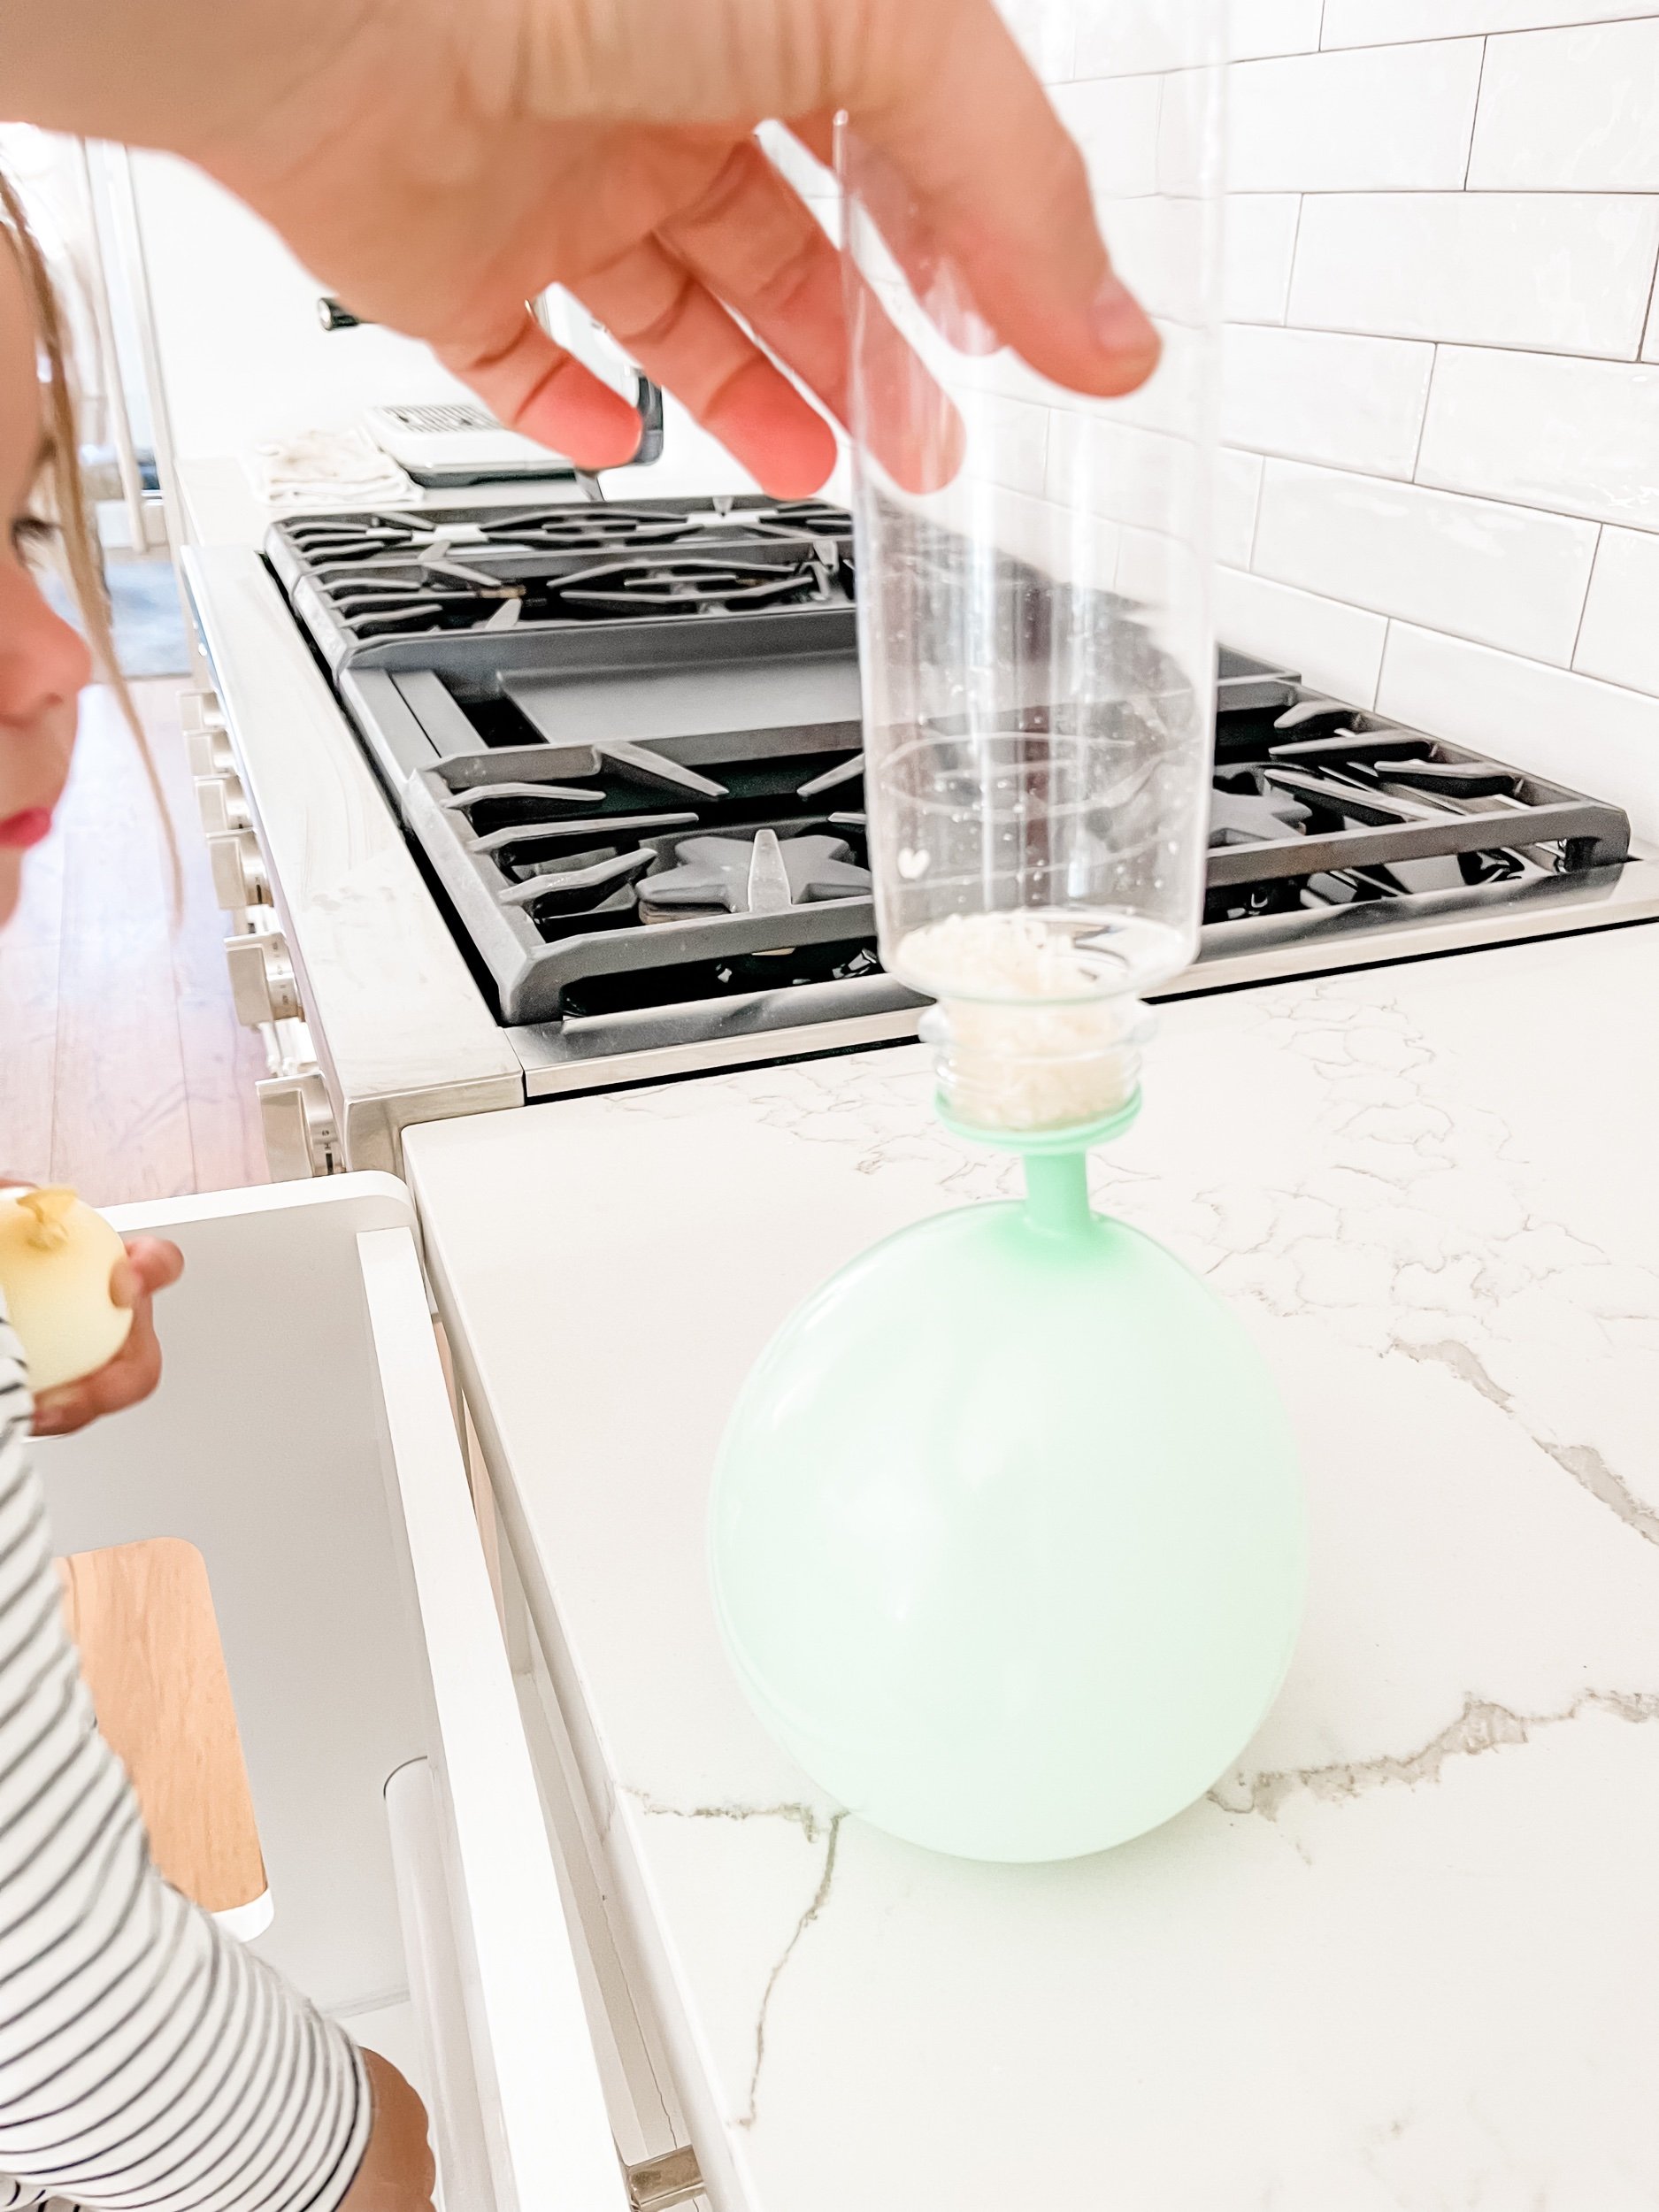
Sensory stress balls are a simple, low-prep sensory activity that supports calm, focus, and fine motor development in young children. Made with everyday household materials, these squishy balls are especially helpful for toddlers who benefit from tactile input during quiet play, emotional regulation moments, or calming corner routines.
This easy DIY project is budget-friendly, customizable, and fits naturally into a sensory-rich home or homeschool environment.
What Are Sensory Stress Balls?
Sensory stress balls are soft, squeezable objects filled with different materials that provide tactile feedback through touch and pressure. For toddlers and preschoolers, this type of sensory input can be grounding and calming, especially during moments of frustration, overstimulation, or transition.
Unlike store-bought versions, DIY stress balls allow you to control the texture, firmness, and size to match your child’s developmental stage and sensory preferences.
Why Sensory Stress Balls Are Helpful for Toddlers
Sensory play is a foundational way young children learn about the world. Stress balls support several key areas of development:
Emotional Regulation
Squeezing and manipulating a stress ball gives children a physical outlet for big feelings. This repetitive motion can help them slow down and reset, making stress balls a useful tool in calming corners or quiet play spaces.
Fine Motor Development
The act of squeezing strengthens hand and finger muscles, which are important for later skills like writing, cutting, and self-help tasks.
Sensory Exploration
Different fillers create different tactile experiences. Comparing textures helps children build sensory awareness and descriptive language.
Focus and Attention
Tactile input can help some children remain engaged during storytime, transitions, or seated activities.
Recommended Ages and Safety Notes
This activity is best for toddlers ages 18 months and up with close supervision.
Younger toddlers benefit from softer fillers and adult-made stress balls.
Preschool-age children can help pour and explore textures with guidance.
Always double-layer balloons and supervise play to prevent breakage.
Materials Needed
You likely already have everything you need at home:
Calming corners give children a safe, supportive place to regulate emotions. Stress balls work especially well in these spaces because they are portable, quiet, and intuitive to use.
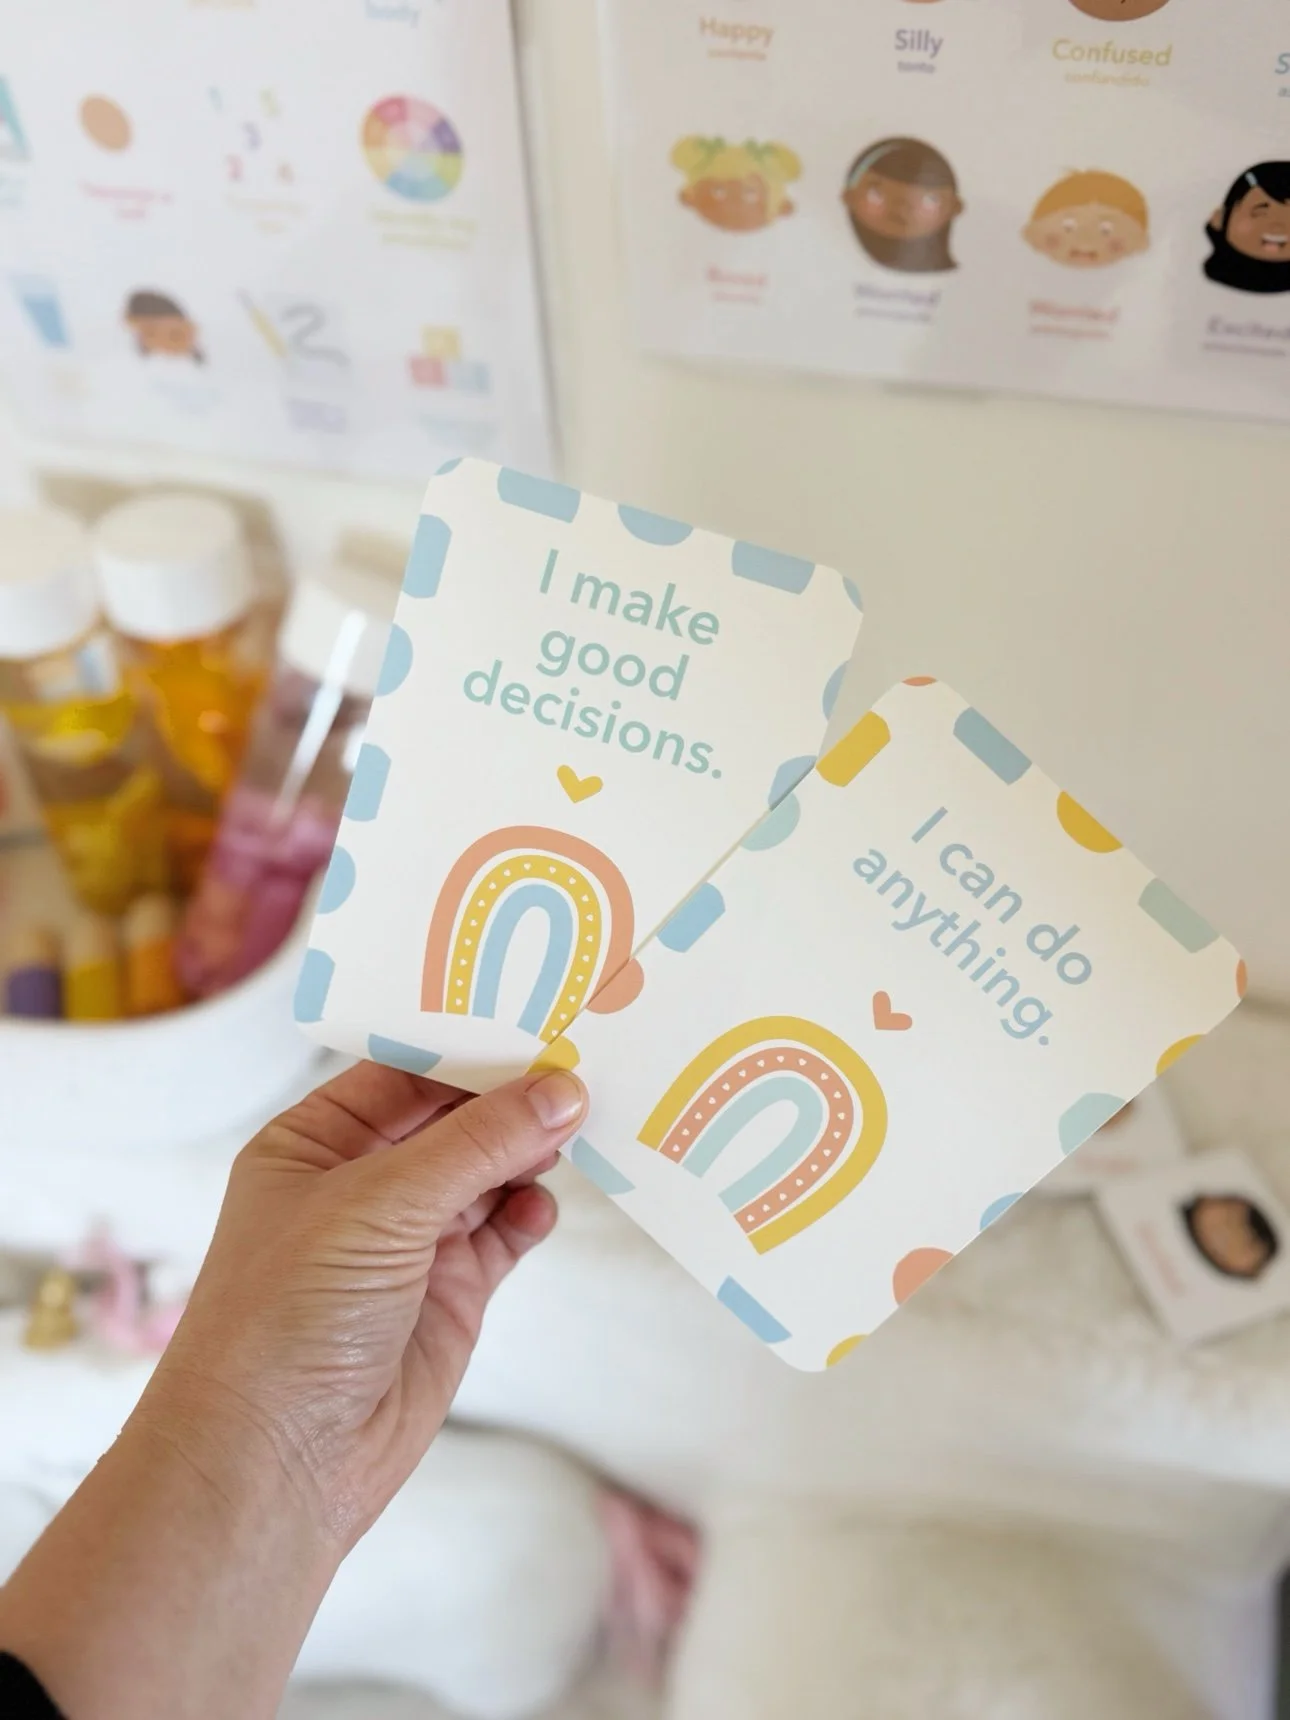
For children who benefit from emotional language and mindfulness tools, affirmations and calm-focused activities can complement sensory tools.
Free Resources to Extend Sensory Play
If you’re looking to build a collection of easy, intentional activities for toddlers, you can explore the GoodnightFox free printable library. It includes sensory play ideas, dramatic play kits, and learning tools designed for early childhood.
DIY sensory stress balls are a practical, low-cost way to support emotional regulation, fine motor development, and sensory exploration at home. With just a few materials, you can create a versatile calming tool that fits naturally into daily routines, play trays, or calming spaces.
This project is simple to make, easy to adapt, and a meaningful addition to any sensory-rich learning environment.
DIY Sensory Bottles: How to Make Sensory Bottles for Toddlers
A clear bottle, some water, and a handful of treasures — sensory bottles are the easiest calm-down tool you'll ever make, and kids are mesmerized by them.
Best forAges 1–6
Time15 minutes per bottle
CostA few dollars each
SkillsCalm-down tool + visual tracking
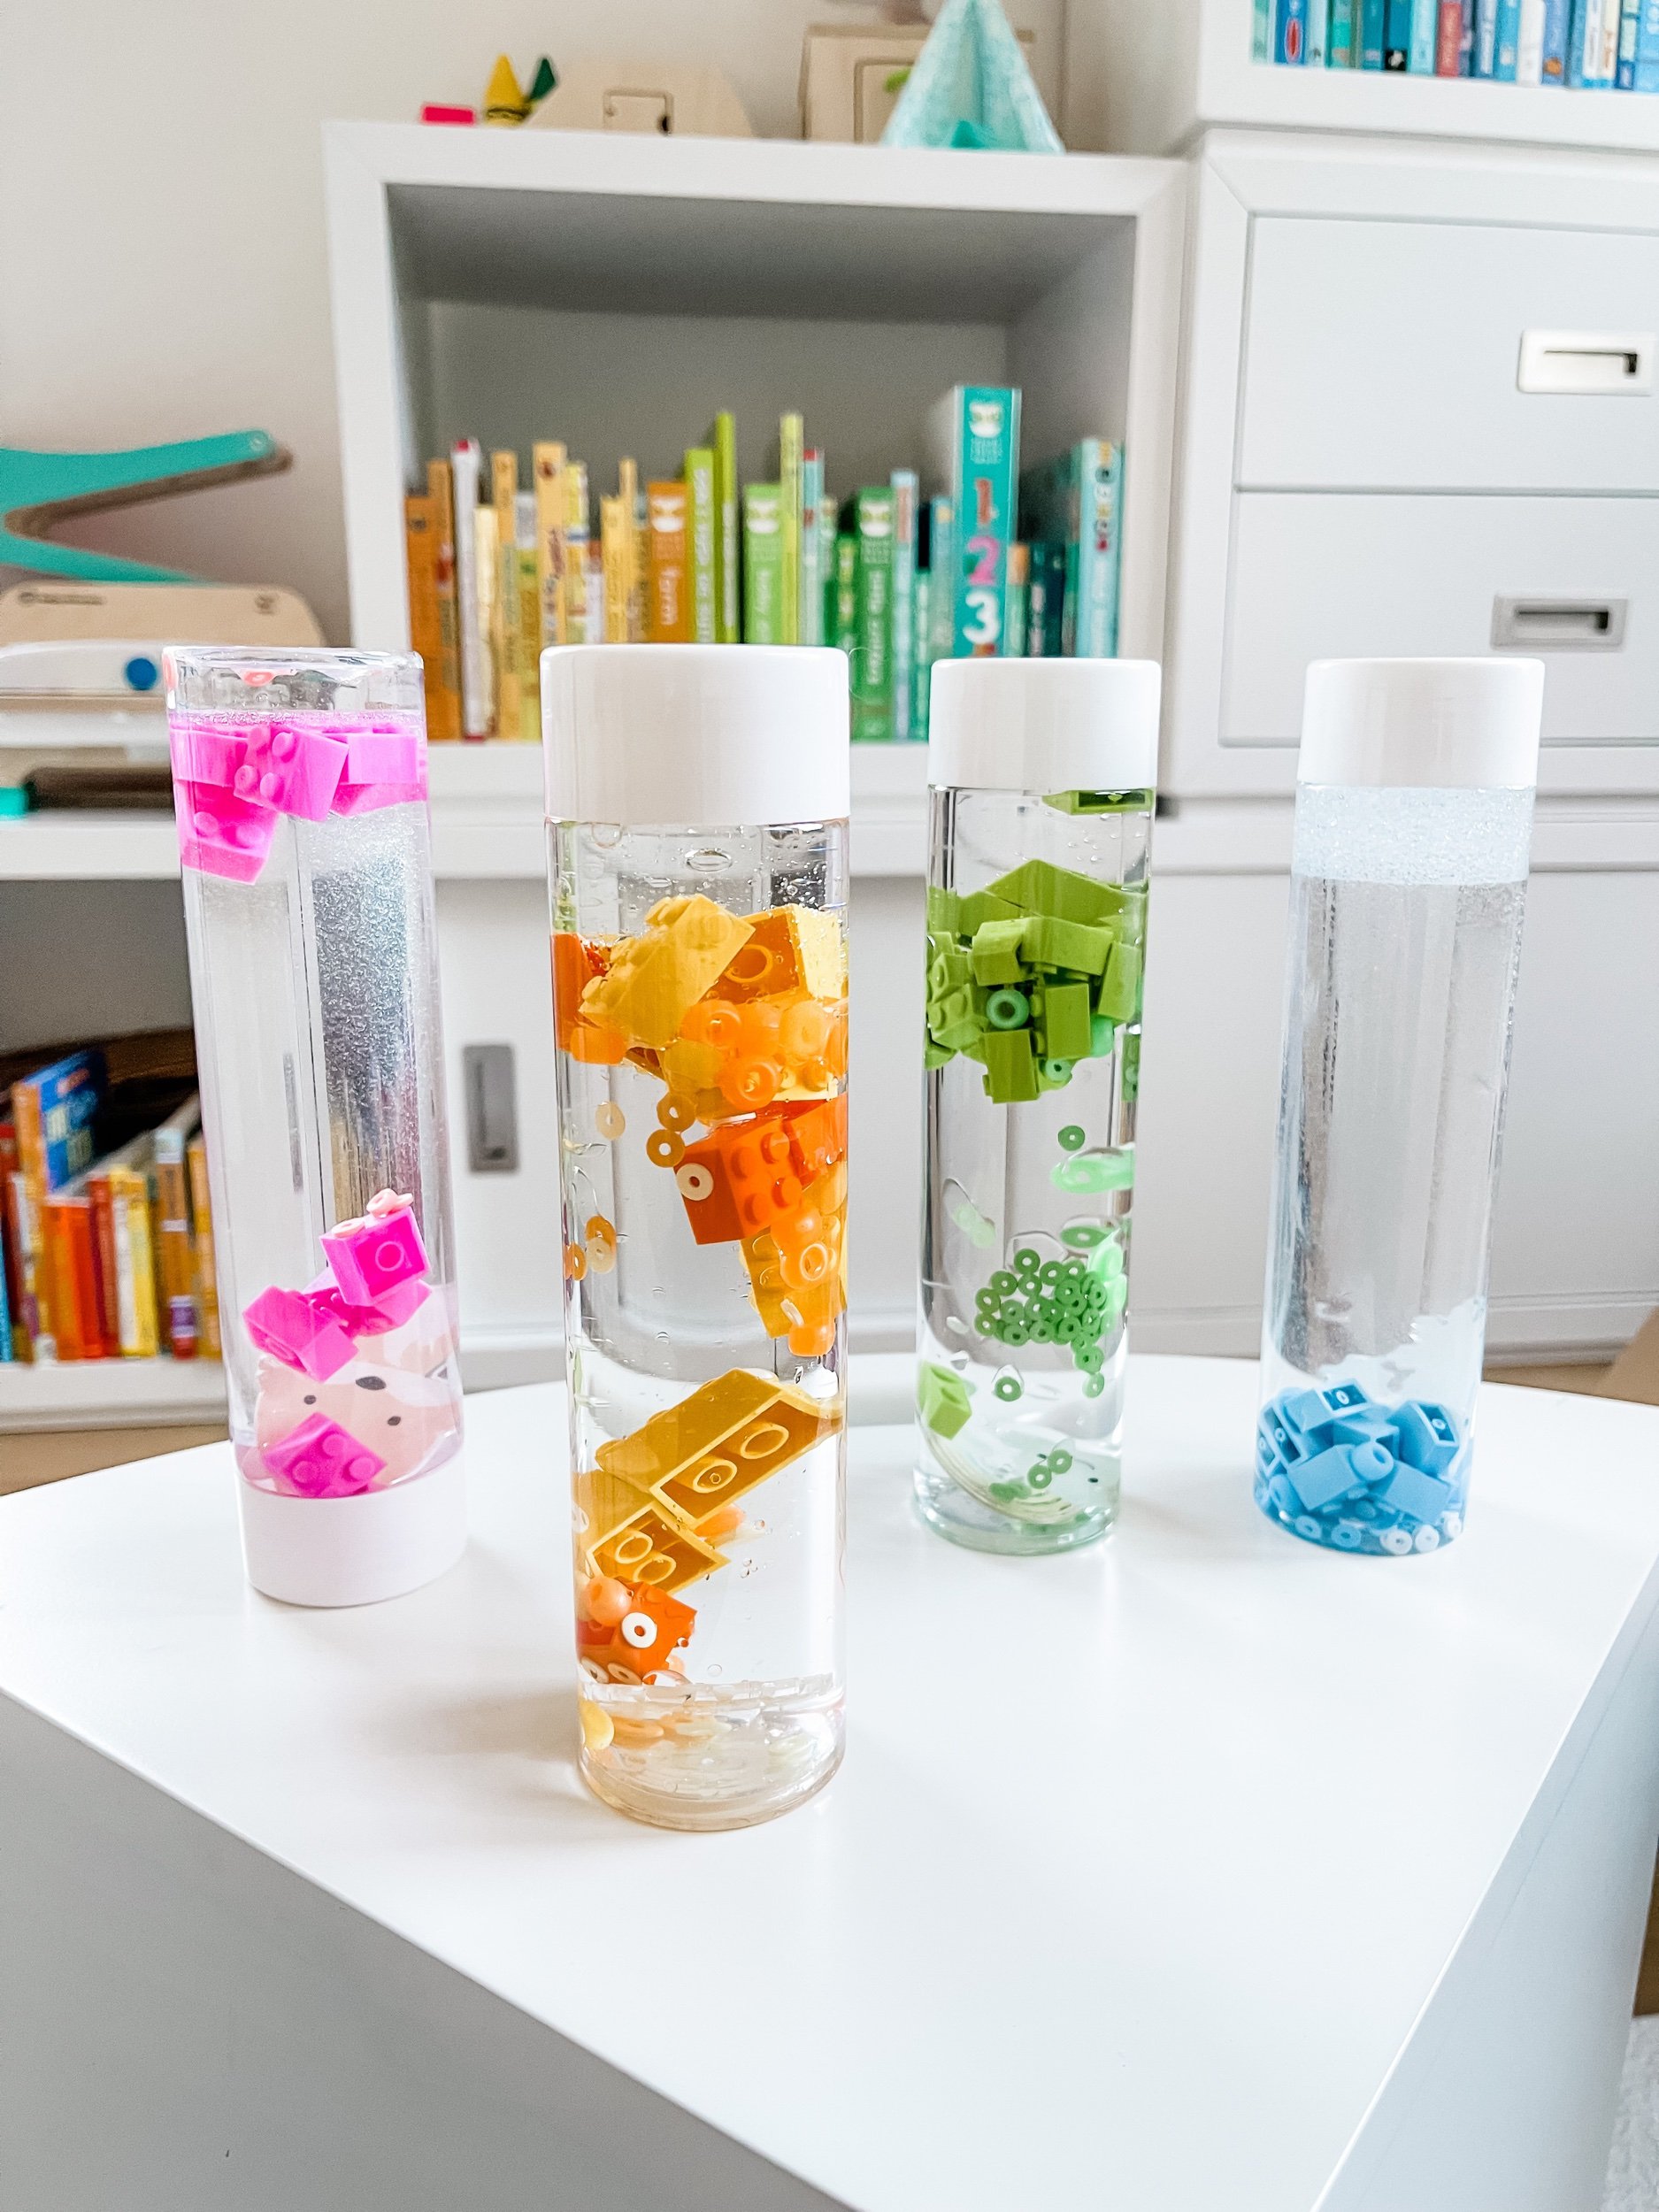
A sensory bottle is exactly what it sounds like: a sealed bottle filled with things to watch. Shake it, flip it, roll it — beads swirl, glitter drifts, little charms tumble slowly to the bottom. They are wonderful for car rides, waiting rooms, quiet time, and the top of a calming corner, because they give busy hands and busy minds one slow, beautiful thing to follow.
Four bottles, four color themes — pink, sunshine yellow, green, and blue.
What you need
Clear plastic bottles with caps — tall, slim bottles show off the swirl best
Water — fill nearly to the top
Clear glue or glitter glue — thickens the water so everything drifts slowly
Small treasures: pony beads, LEGO bricks, acrylic charms, sequins
Food coloring (optional, for tinted water)
Hot glue or super glue — to seal the cap (adults only)
The whole materials spread — everything gets sorted by color first.
How to make a sensory bottle
Step 1: Pick a theme and a color
One color per bottle keeps it beautiful instead of muddy. We did pink, sunshine yellow, green, and blue — each with matching beads, bricks, and charms. Let your child pick their color; choosing is half the fun.
Sorted and ready: beads, bricks, and charms in every color.
Step 2: Add the glue
Squeeze a generous ribbon of clear glue into the empty bottle — about a quarter of the bottle. More glue means slower, dreamier movement. Then fill almost to the top with warm water and shake gently to mix.
Step 3: Drop in the treasures
Add a small handful of beads, a few LEGO bricks, and one or two acrylic charms. Less is more — you want to watch each piece drift, not a traffic jam. Our favorites were the little fox, sun, rainbow, and snow-cloud charms.
The treasures: rainbow beads and the sweetest little acrylic charms.Pink bottle ingredients: bricks, beads, and one fox charm.
Step 4: Seal it tight
Top off with water, leaving just a finger of air at the top. Run a ring of hot glue around the inside of the cap (adults only), screw it on tight, and let it set. This is the step that keeps the bottle a toy instead of a spill.
Sealed and ready — shake, flip, and watch everything drift.
Four seasons sensory bottles
One of our favorite versions of this craft: a set of four bottles, one for each season. Same method, different treasures — and a lovely way to talk about the seasons with toddlers.
Spring: pastel beads, flower sequins, a butterfly or bunny charm
Summer: blue water, shell beads, a sun charm, extra glitter for sparkle
Fall: orange and red beads, tiny leaf shapes, a fox charm
Winter: white and silver beads, snowflake sequins, a snow-cloud charm
Spring, summer, fall, winter — one bottle per season.
More theme ideas
Rainbow bottle: a pinch of beads in every color, no glue — everything falls fast and bright
Weather bottle: cloud, sun, and rainbow charms with blue beads for rain
LEGO bottle: bricks in one color plus matching beads — great for little builders
Calm-down bottle: extra glue, fine glitter, and one charm to follow with sleepy eyes
Find-it bottle: hide one tiny charm among plain filler and make a game of spotting it
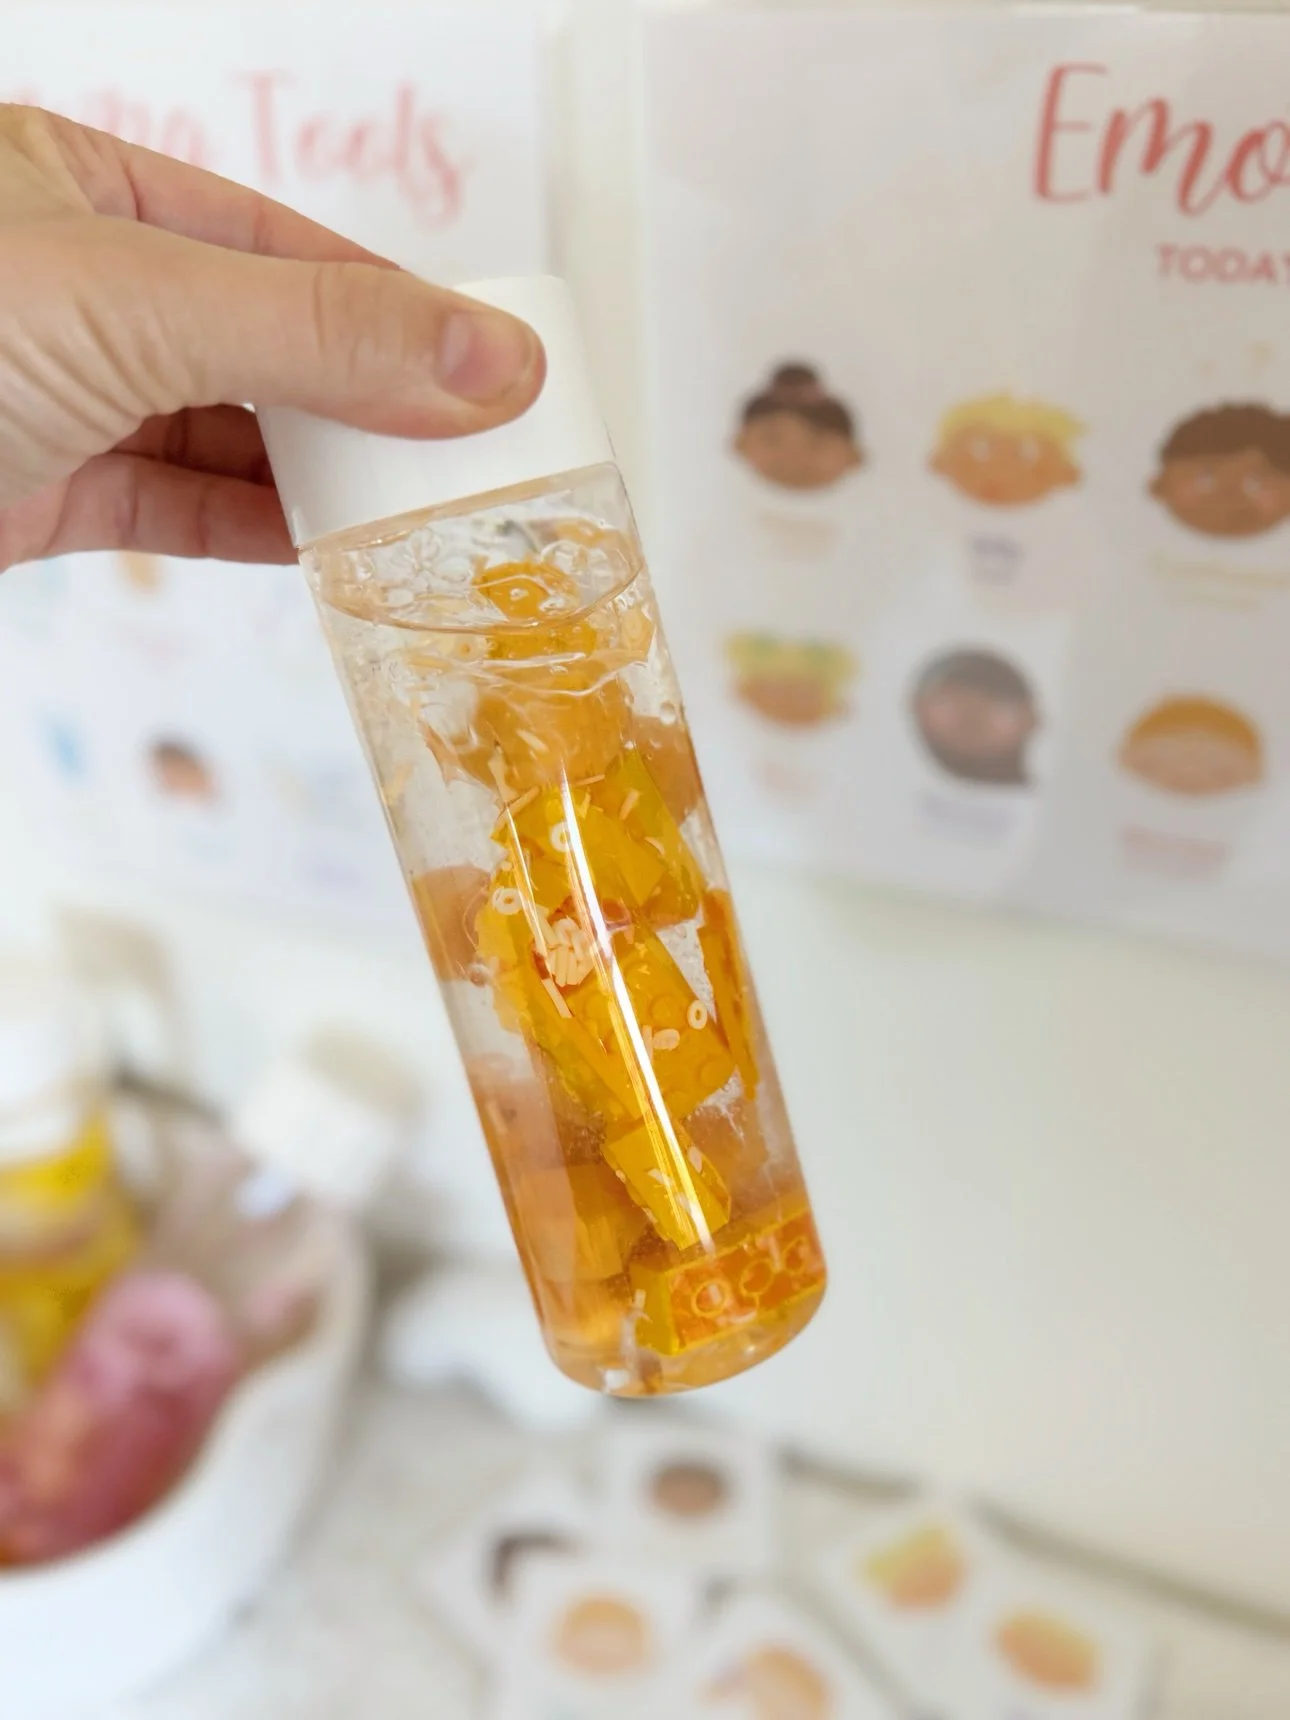
The sunshine bottle: yellow bricks, beads, and a smiling sun.Finished bottles up close: orange and green, packed with LEGO bricks.
How do you keep sensory bottles from leaking?
Hot-glue the cap on — run glue around the inside rim, screw it tight, and let it cure. Check the seal every few months with heavy use.
What liquid goes in a sensory bottle?
Warm water plus clear glue. More glue = slower movement. A drop of dish soap can help glitter spread instead of clumping.
Are sensory bottles safe for toddlers?
Yes once sealed — there are no small parts accessible. Always supervise, and retire any bottle with a cracked cap or cloudy seal.
How long do they last?
Months. If the water gets cloudy, unscrew, rinse, and refill — the treasures can be reused.
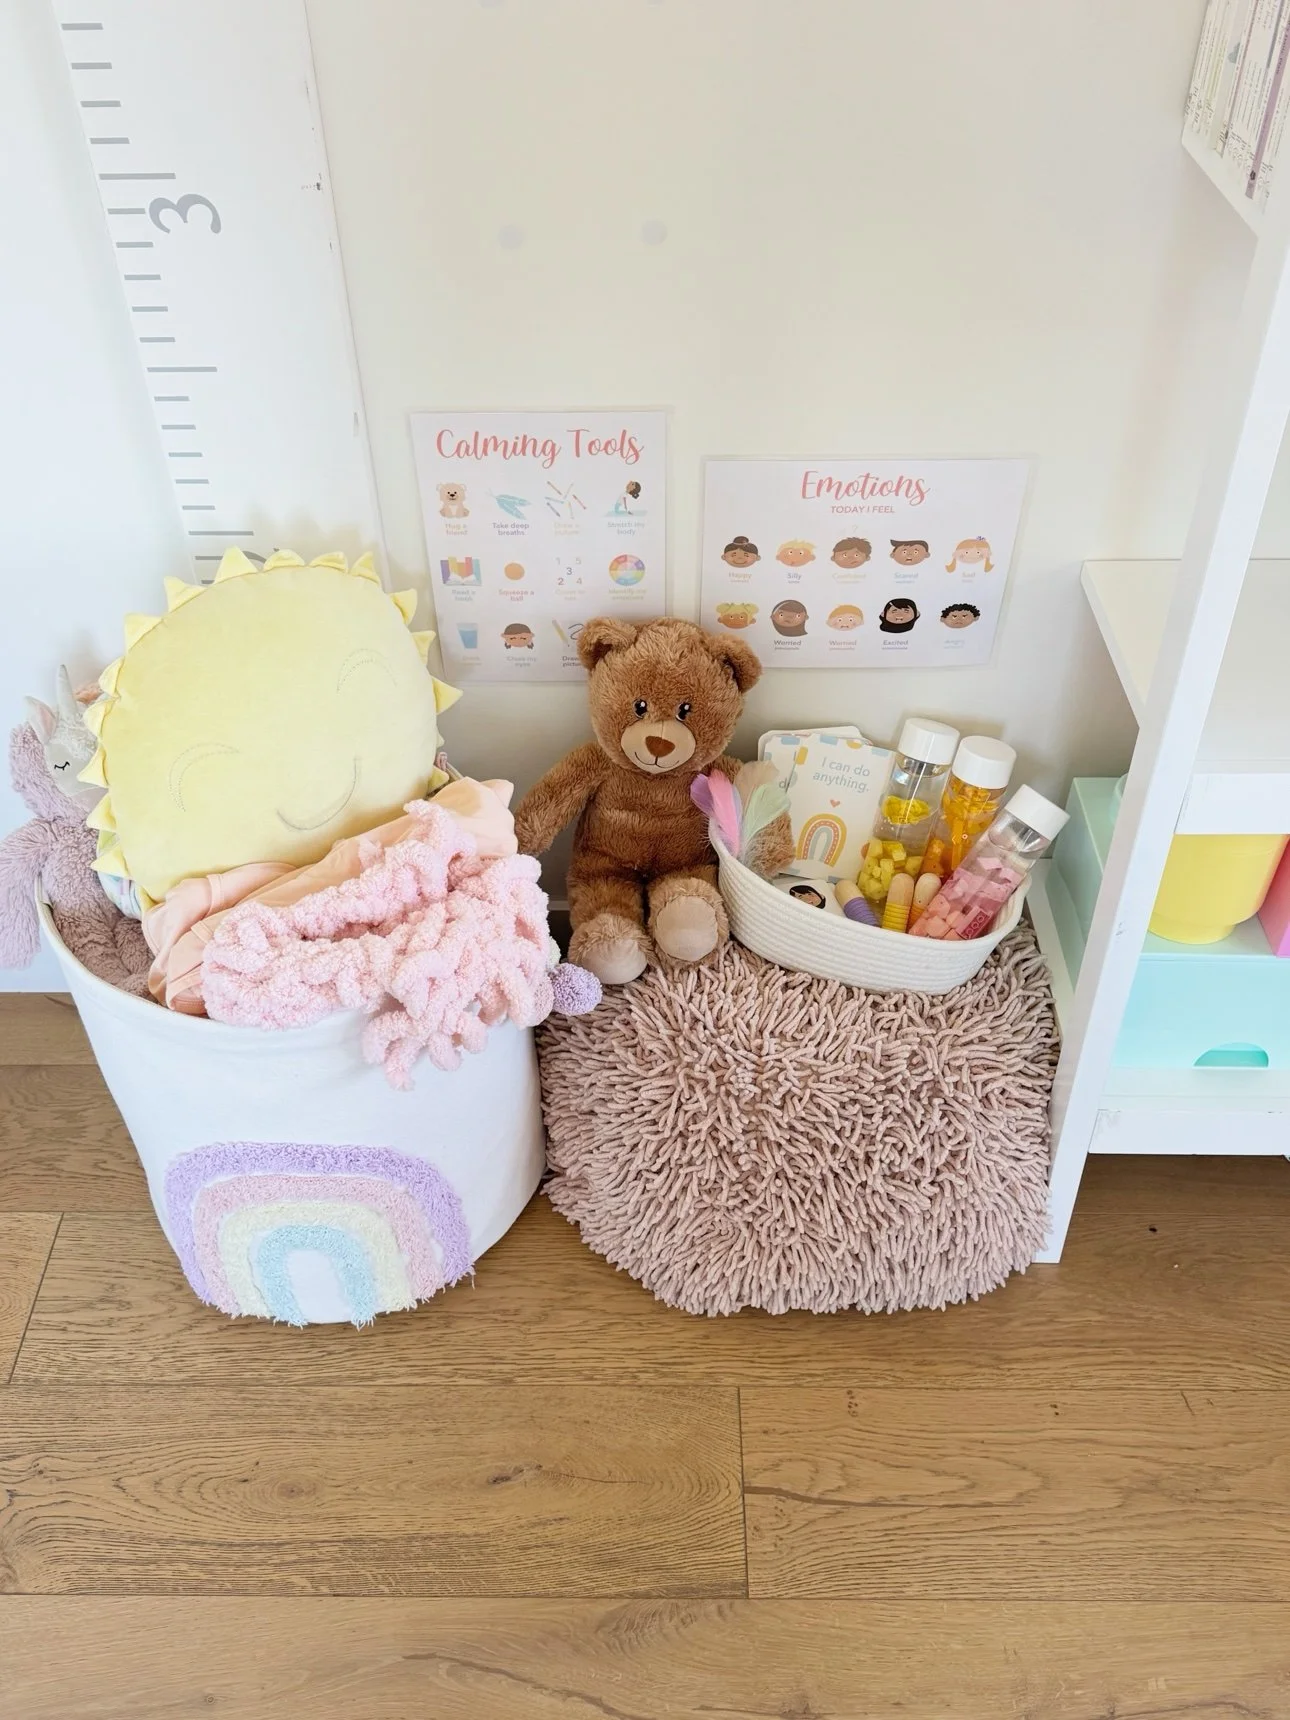
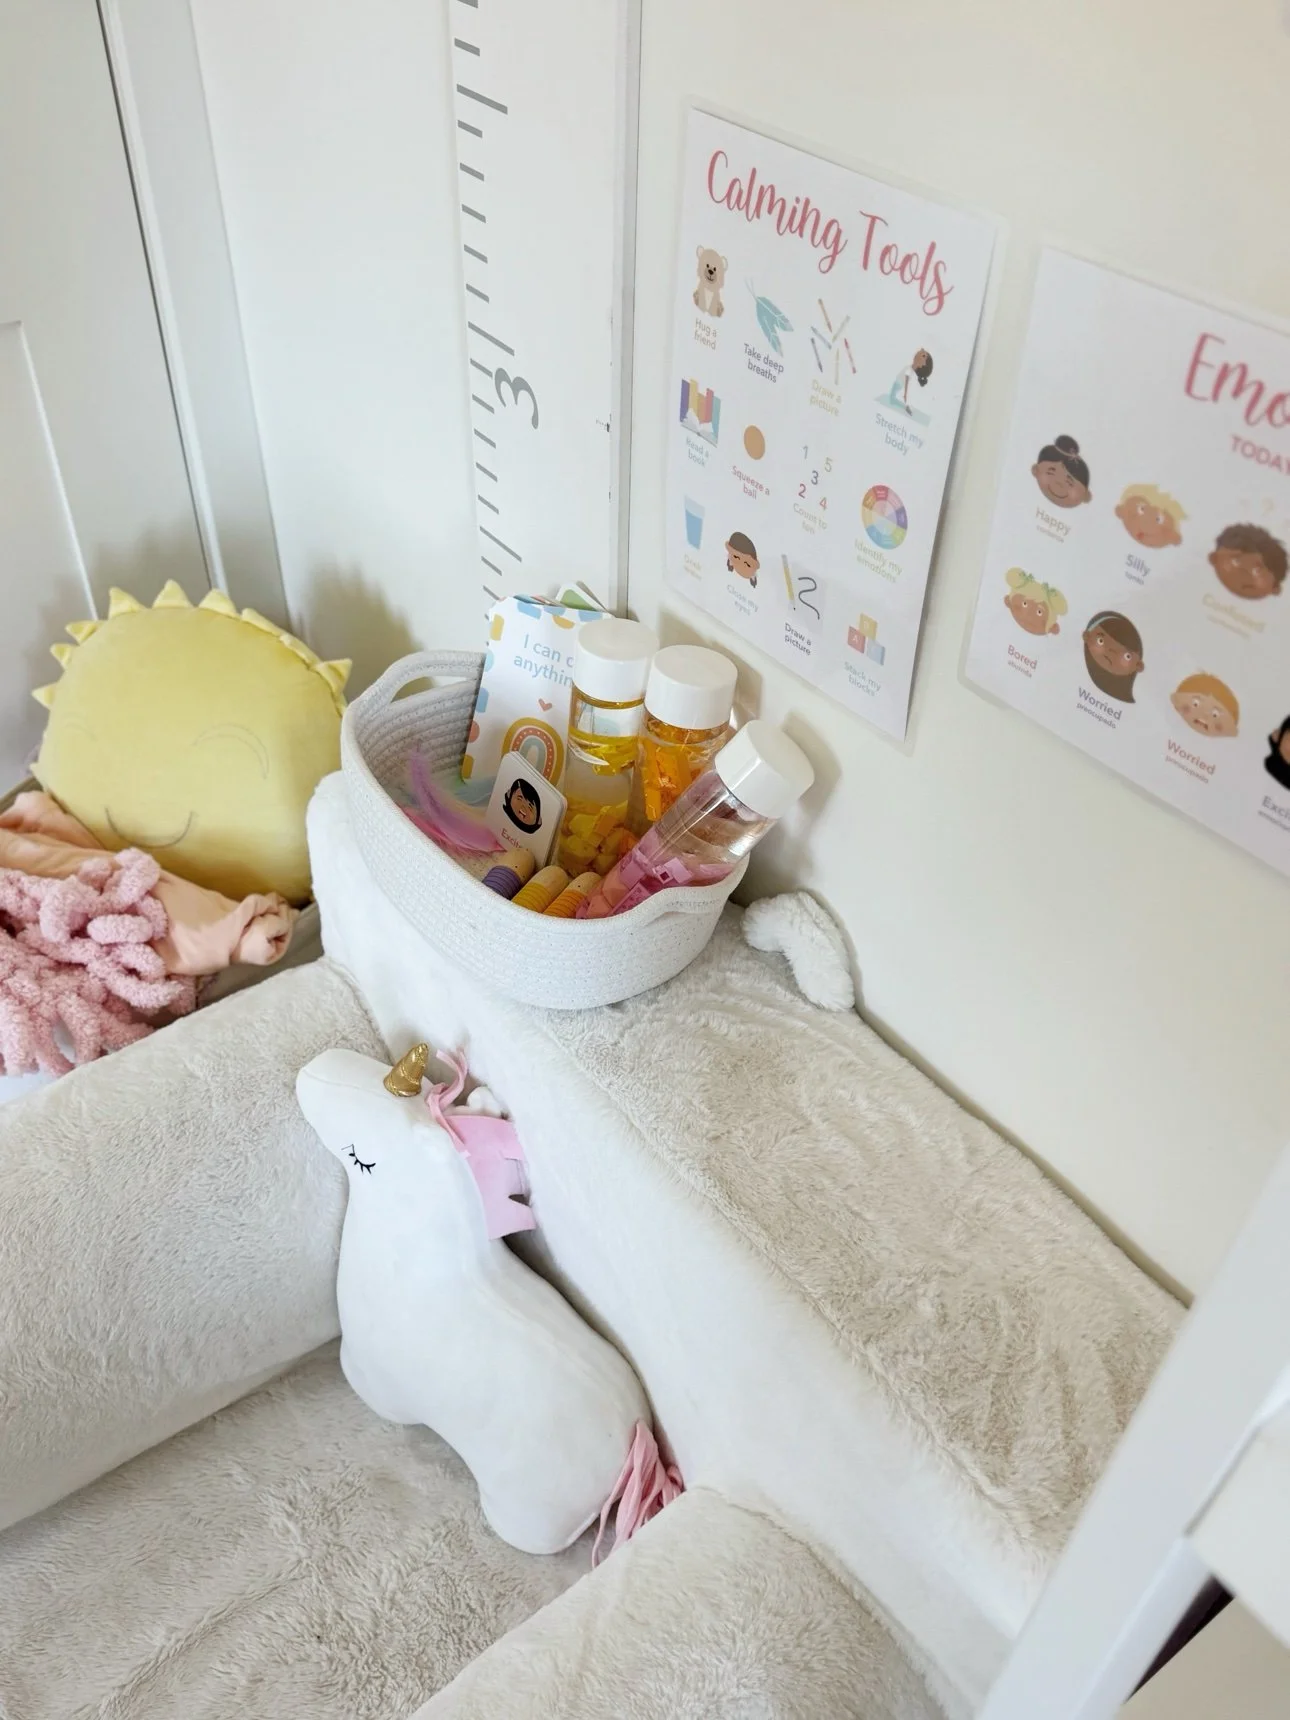
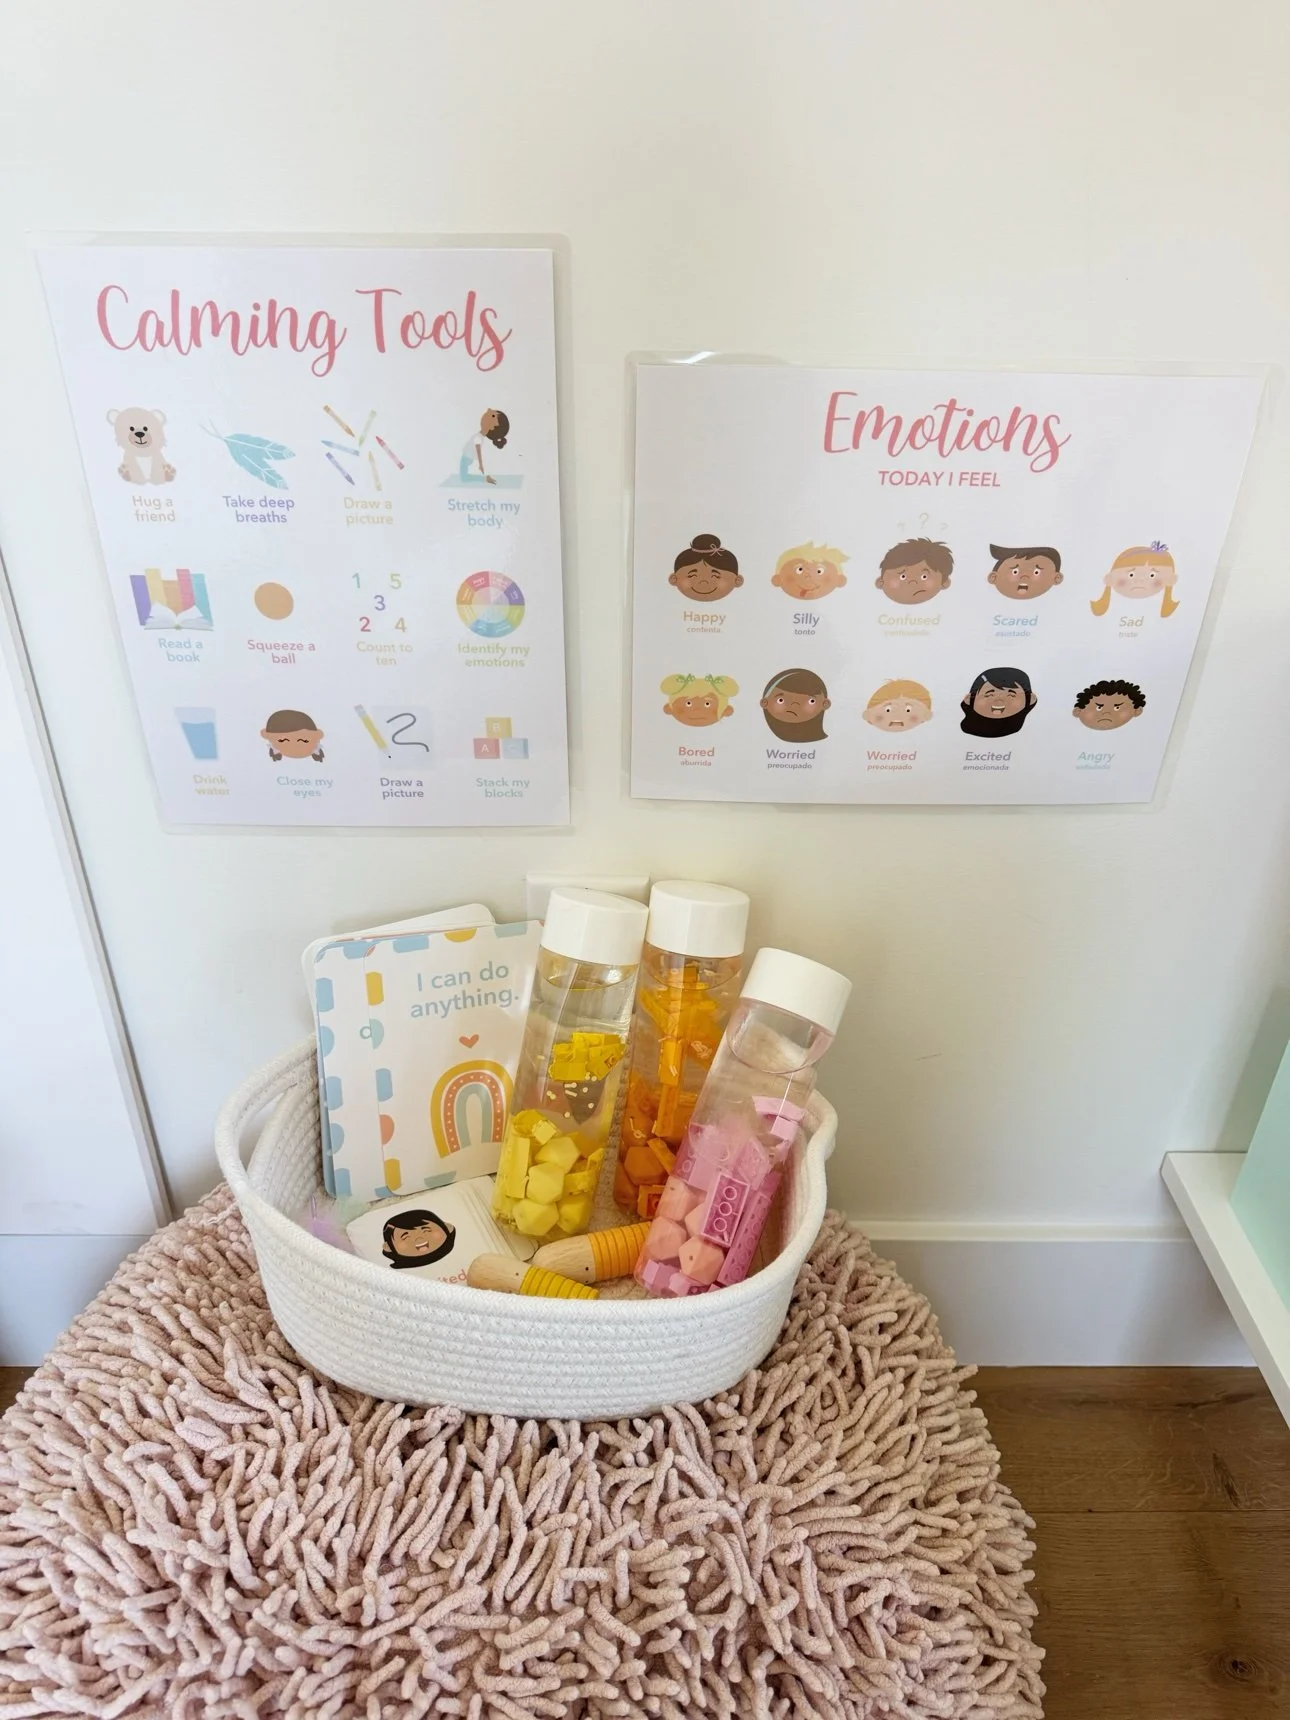
Calming Corner for Toddlers: How to Set Up a Calm Down Corner
When your toddler's emotions go from zero to sixty — the hitting, the screaming, the full-body meltdown over the wrong color cup — what they need isn't a lecture or a time-out. They need a place. A calming corner is a small, cozy spot where big feelings are allowed and calming tools are within reach, so your child can learn to settle their own storm instead of weathering it alone.
Best forAges 2–6
TimeOne afternoon to set up
CostFree to ~$30
SkillsEmotional regulation + independence
What a calming corner is (and isn't)
A calming corner is not a punishment spot. Nobody gets "sent" there. It's an invitation — a soft landing pad your child can choose when feelings get too big. The difference matters: a time-out says "go away until you're calm," while a calming corner says "here are your tools; I'll help you use them." When she was little, ours lived in the corner of the living room, and the rule was simple: anyone could use it, including grown-ups.
The whole setup rests on three pieces: something that helps your child name the feeling, something that helps them settle their body, and a space that feels theirs. Here's how to build each one.
Step 1: Give feelings names with emotions posters
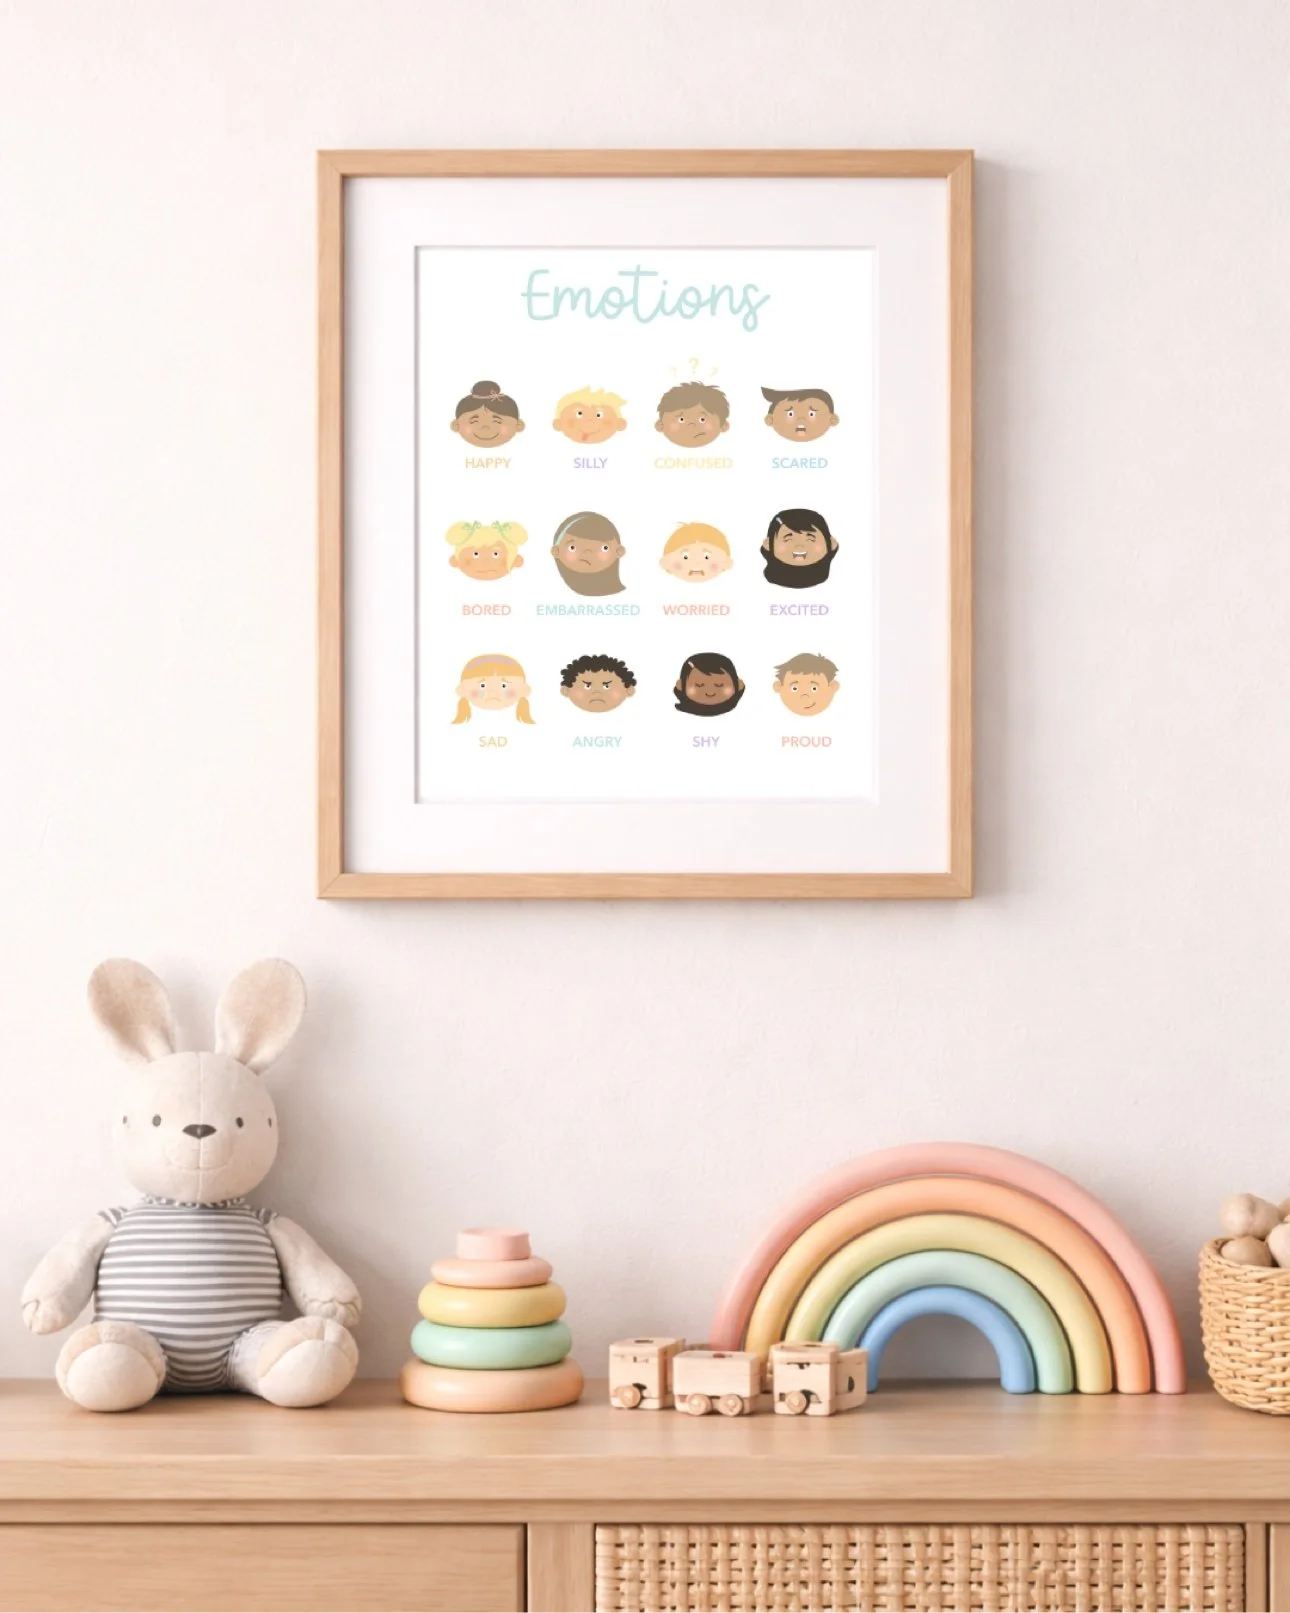
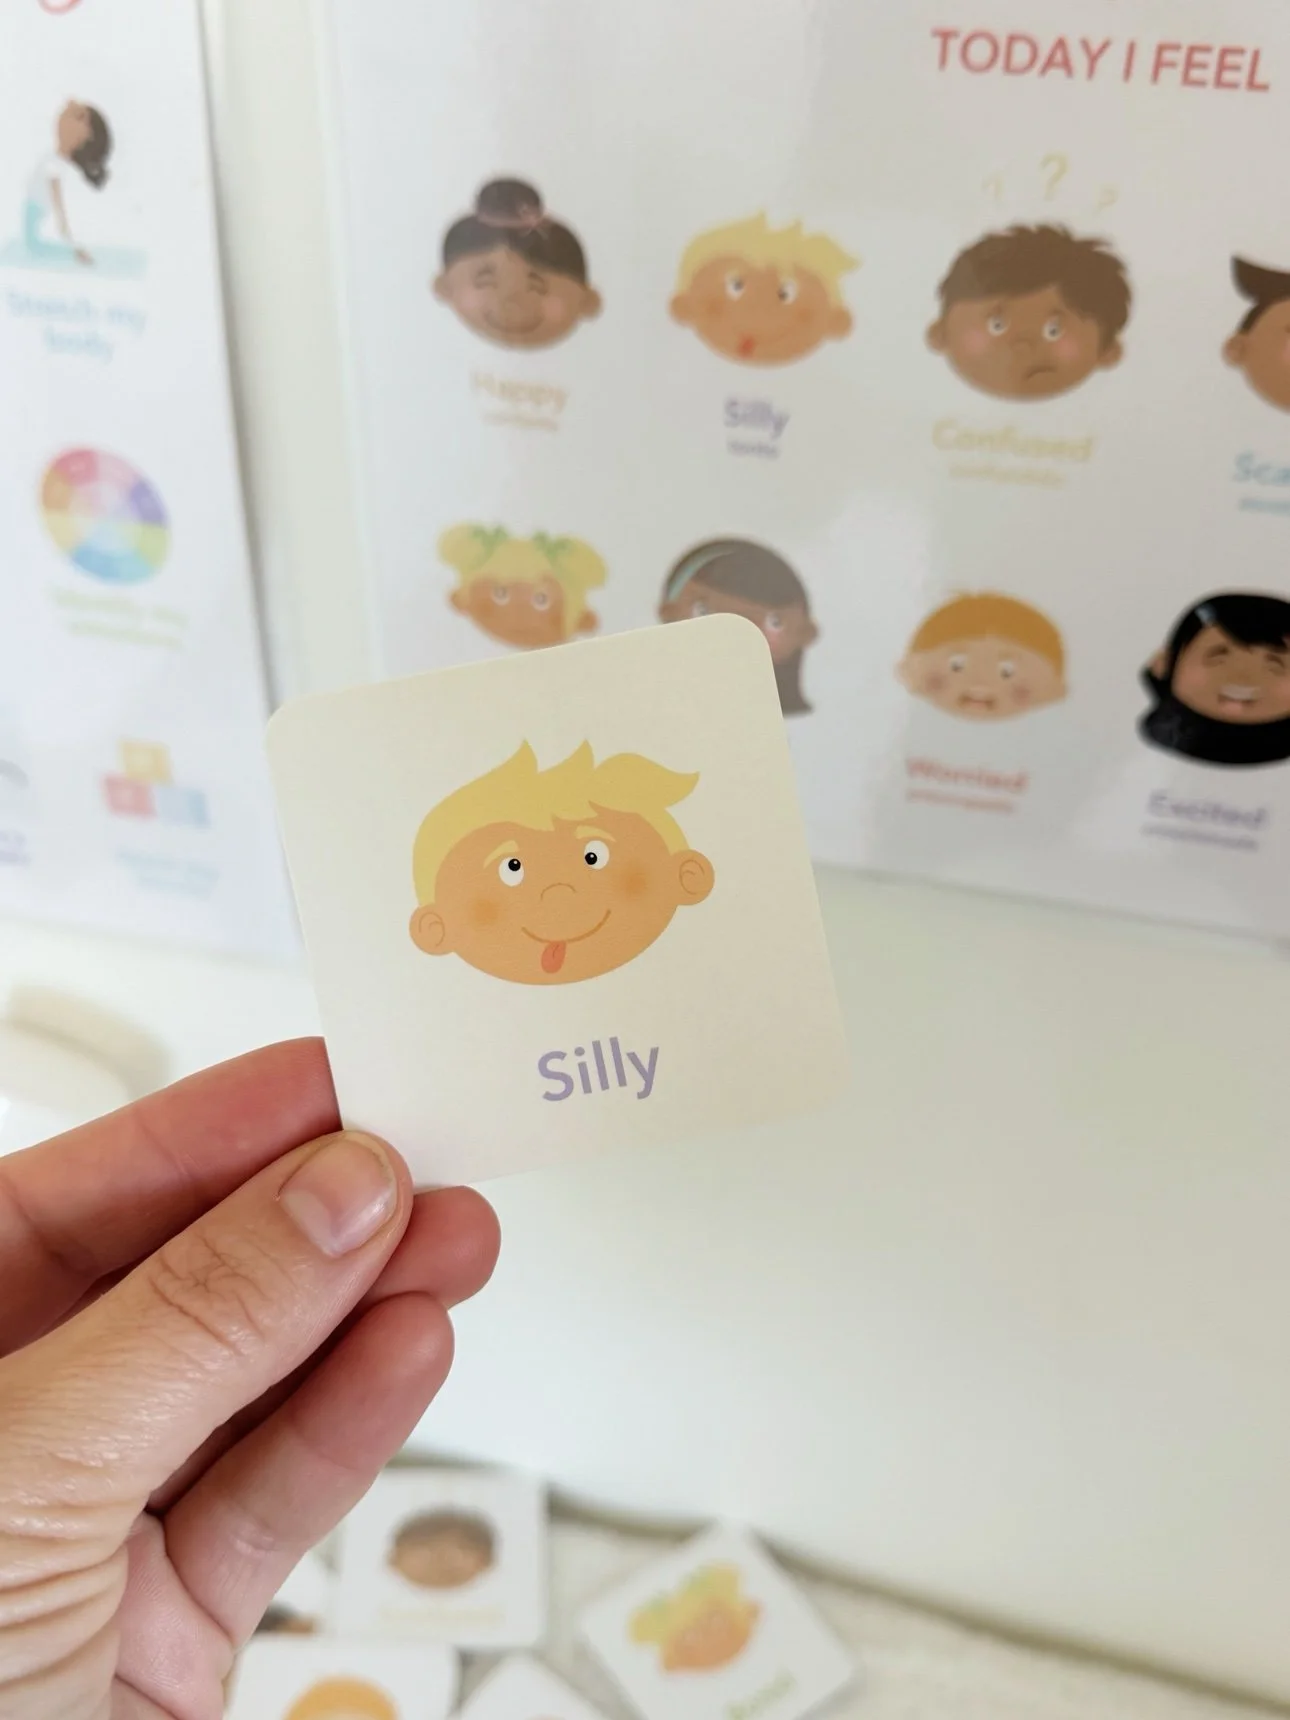
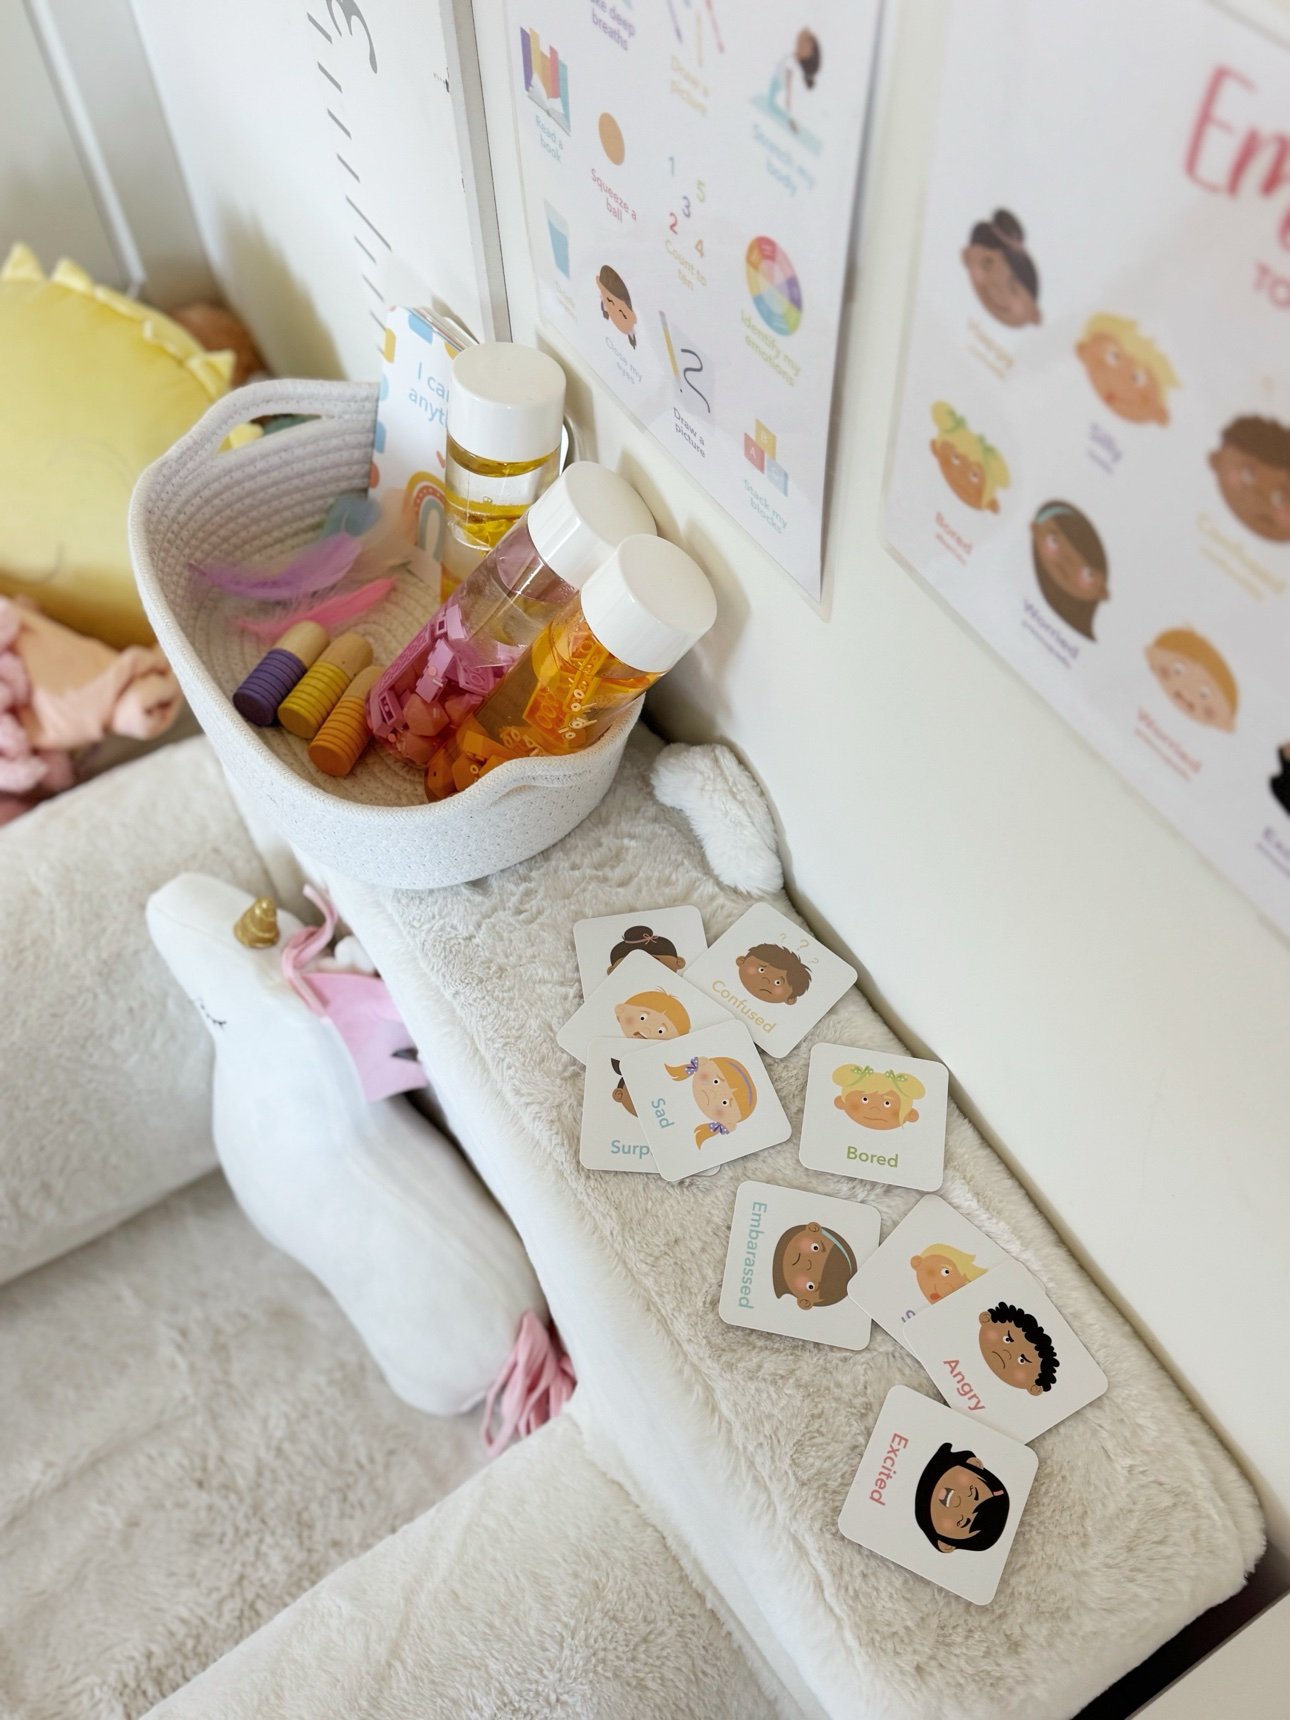
Before a child can calm down, they need words for what's happening inside. An emotions poster or set of emotions cards on the wall turns "I'm just MAD" into "I'm frustrated" — and that specificity is the first calming tool. Point to the faces together during calm moments first, so the vocabulary is already there when the storm hits.
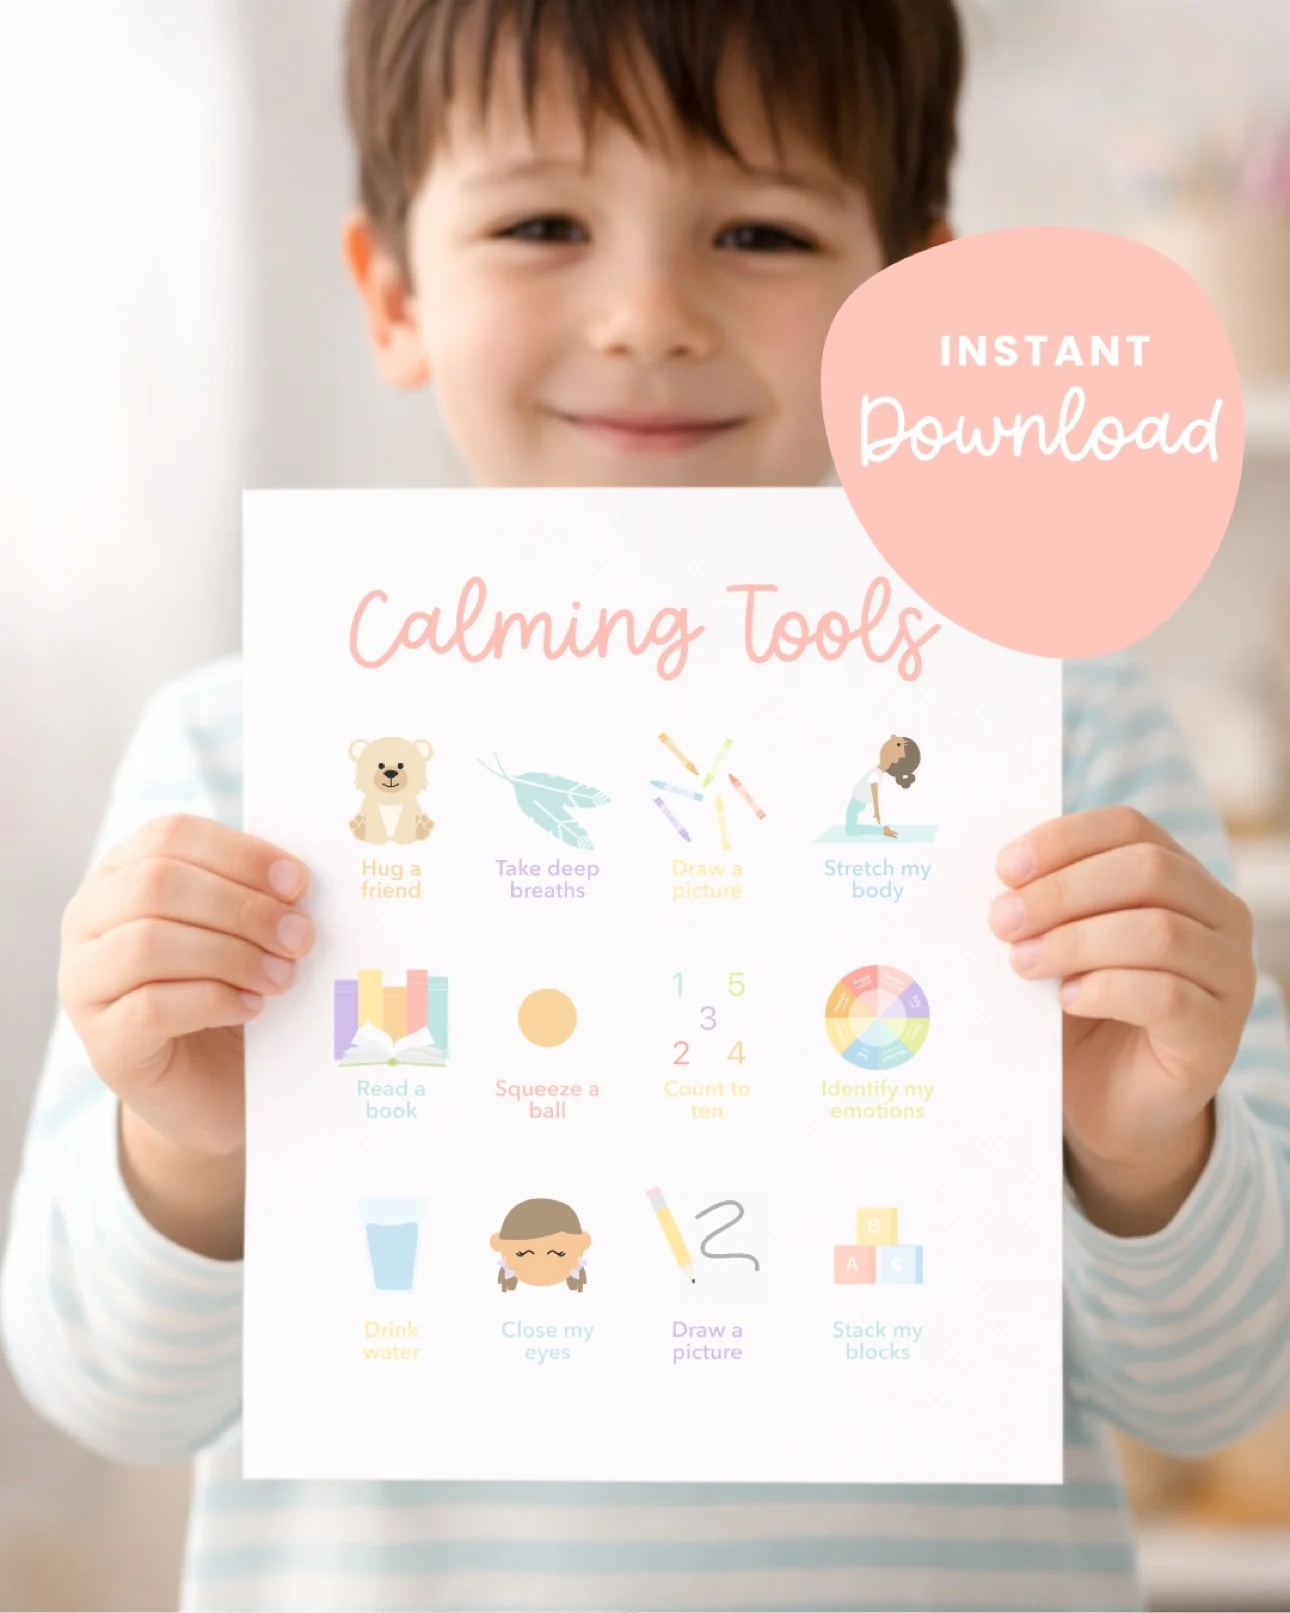
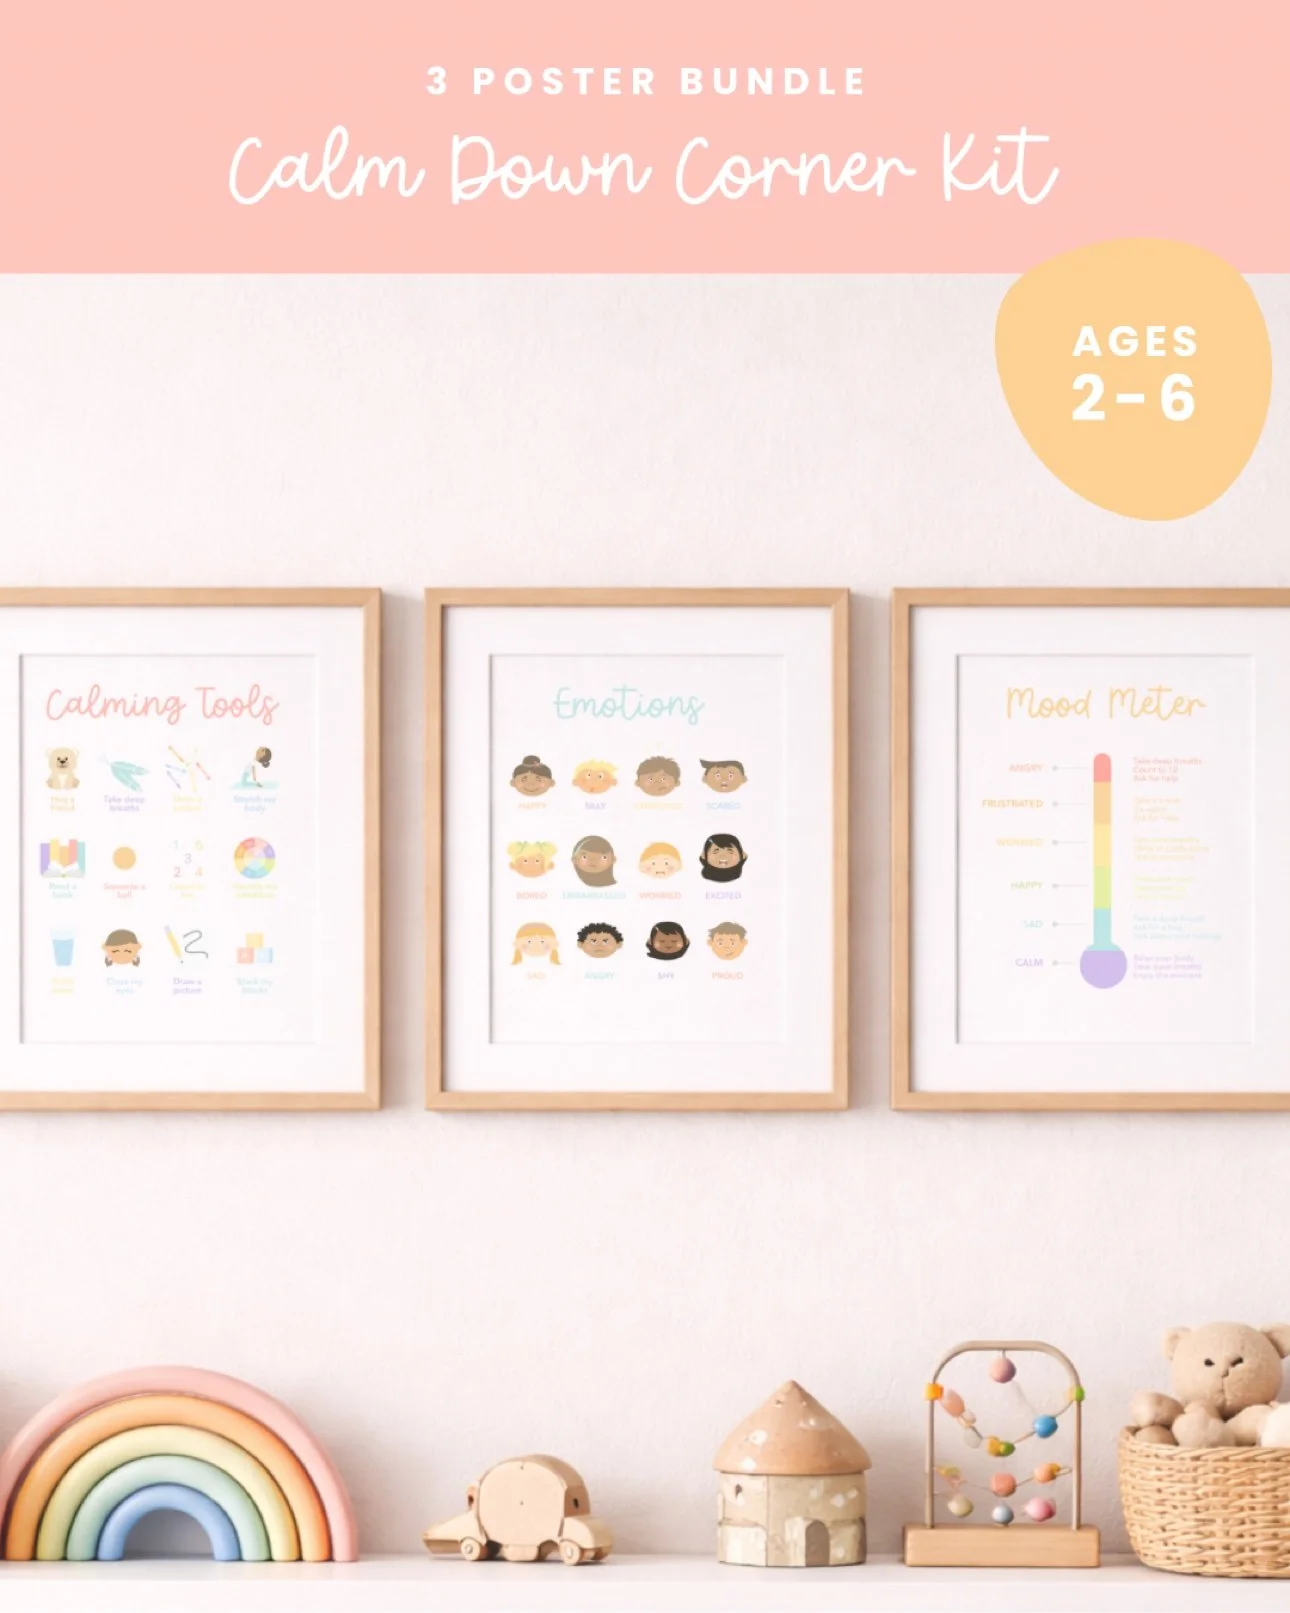
Our Emotions Posters (Set of 3) were made for exactly this: a framed emotions chart, a feelings check-in wheel, and a calming tools poster that live on the calming corner wall. Pair them with a simple check-in — "show me which face matches yours right now" — and you've built the naming habit before you ever need it mid-meltdown.
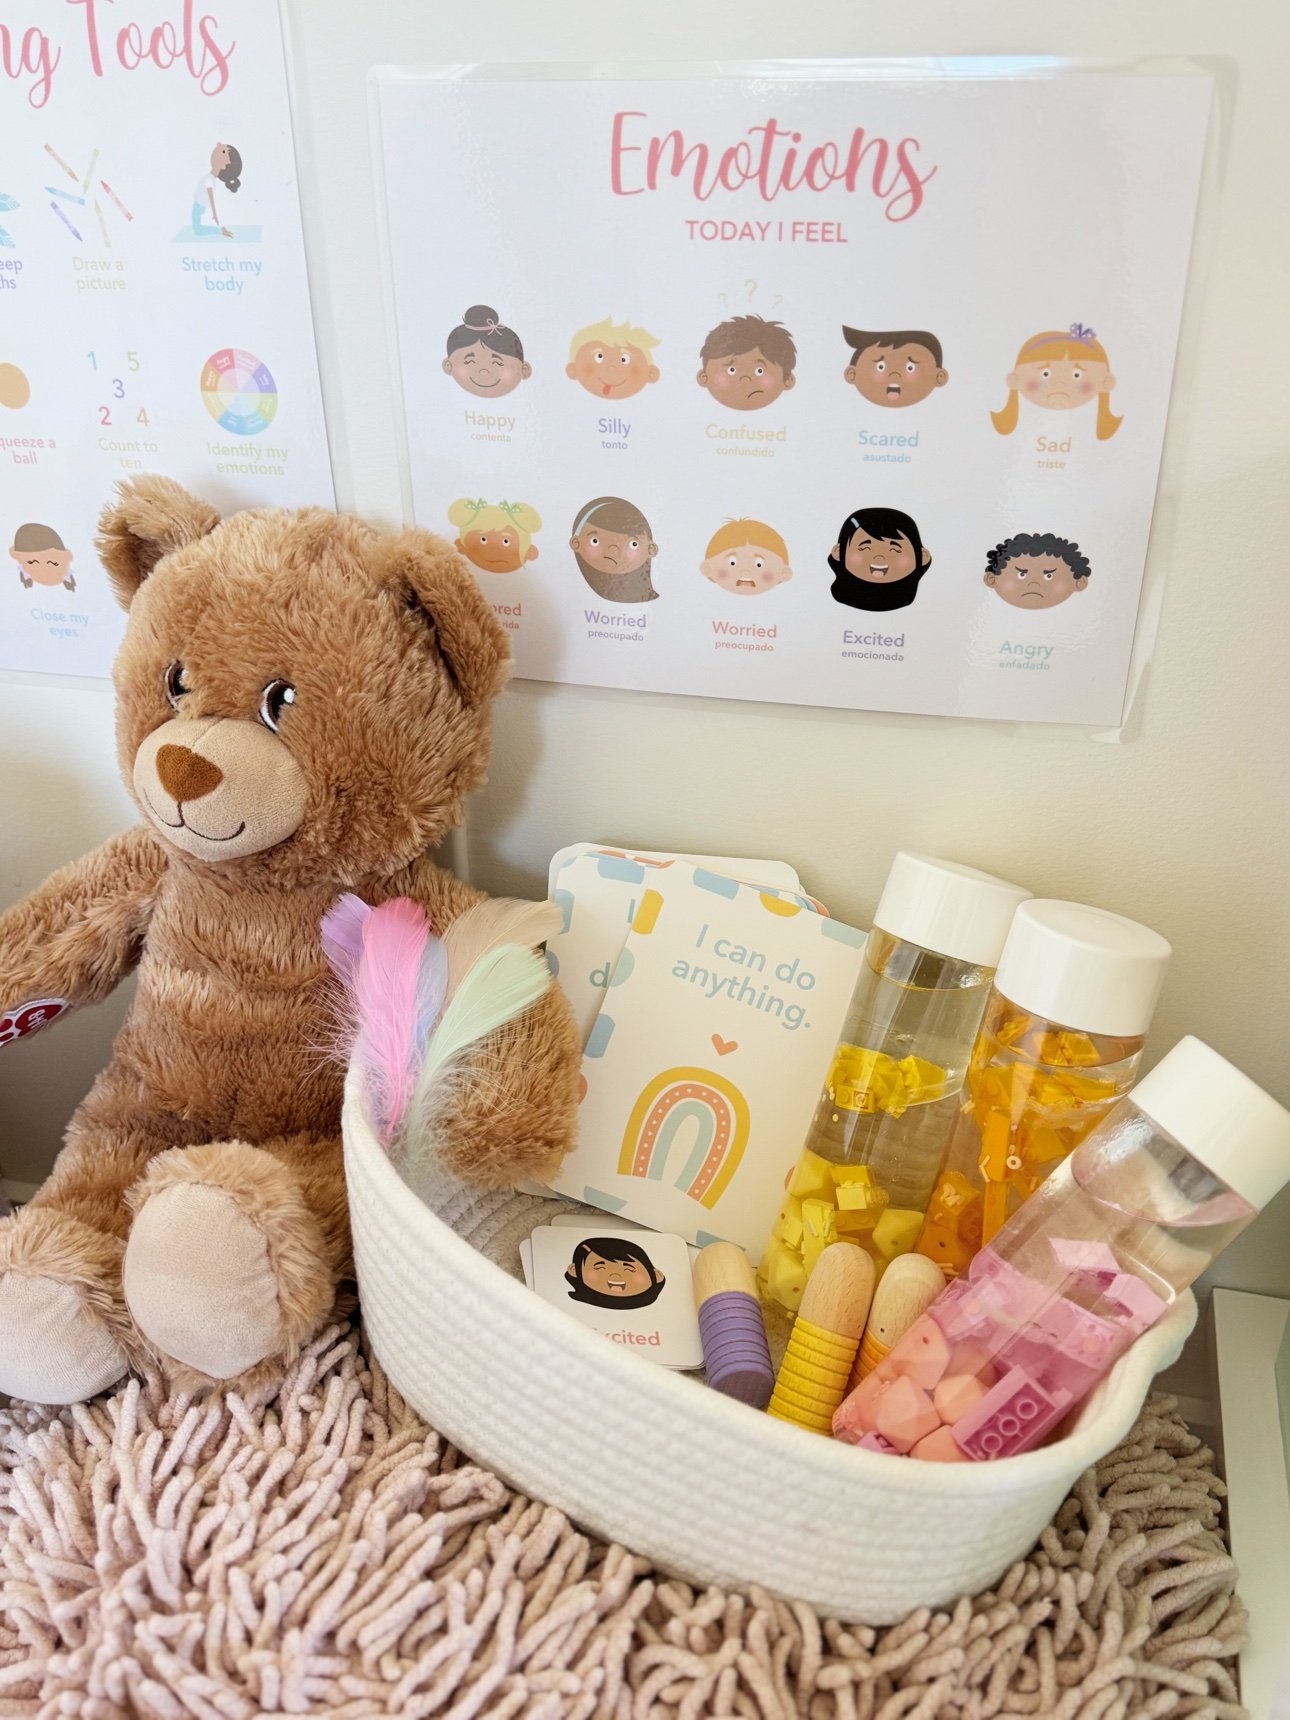
The emotions poster on the wall: twelve faces, twelve words, zero mid-meltdown lectures.
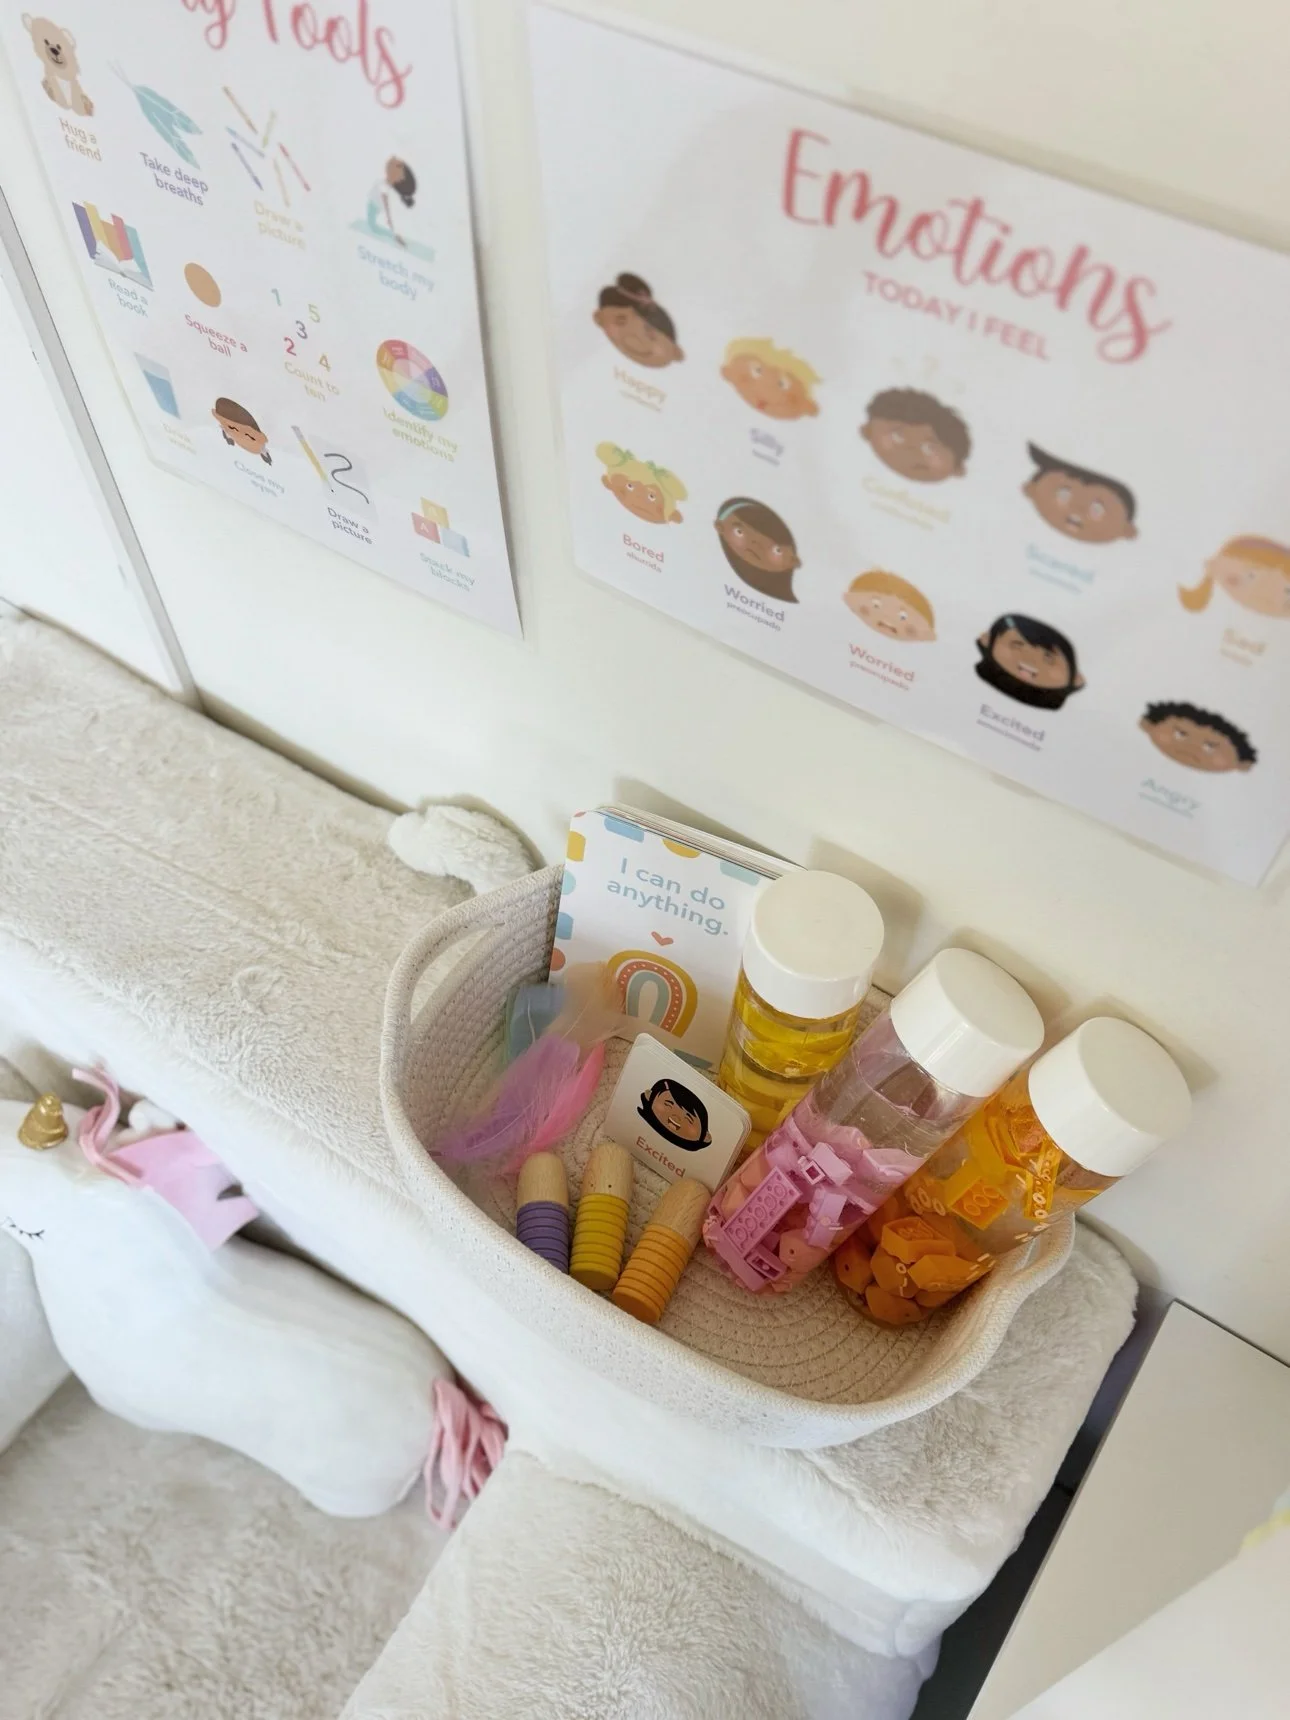
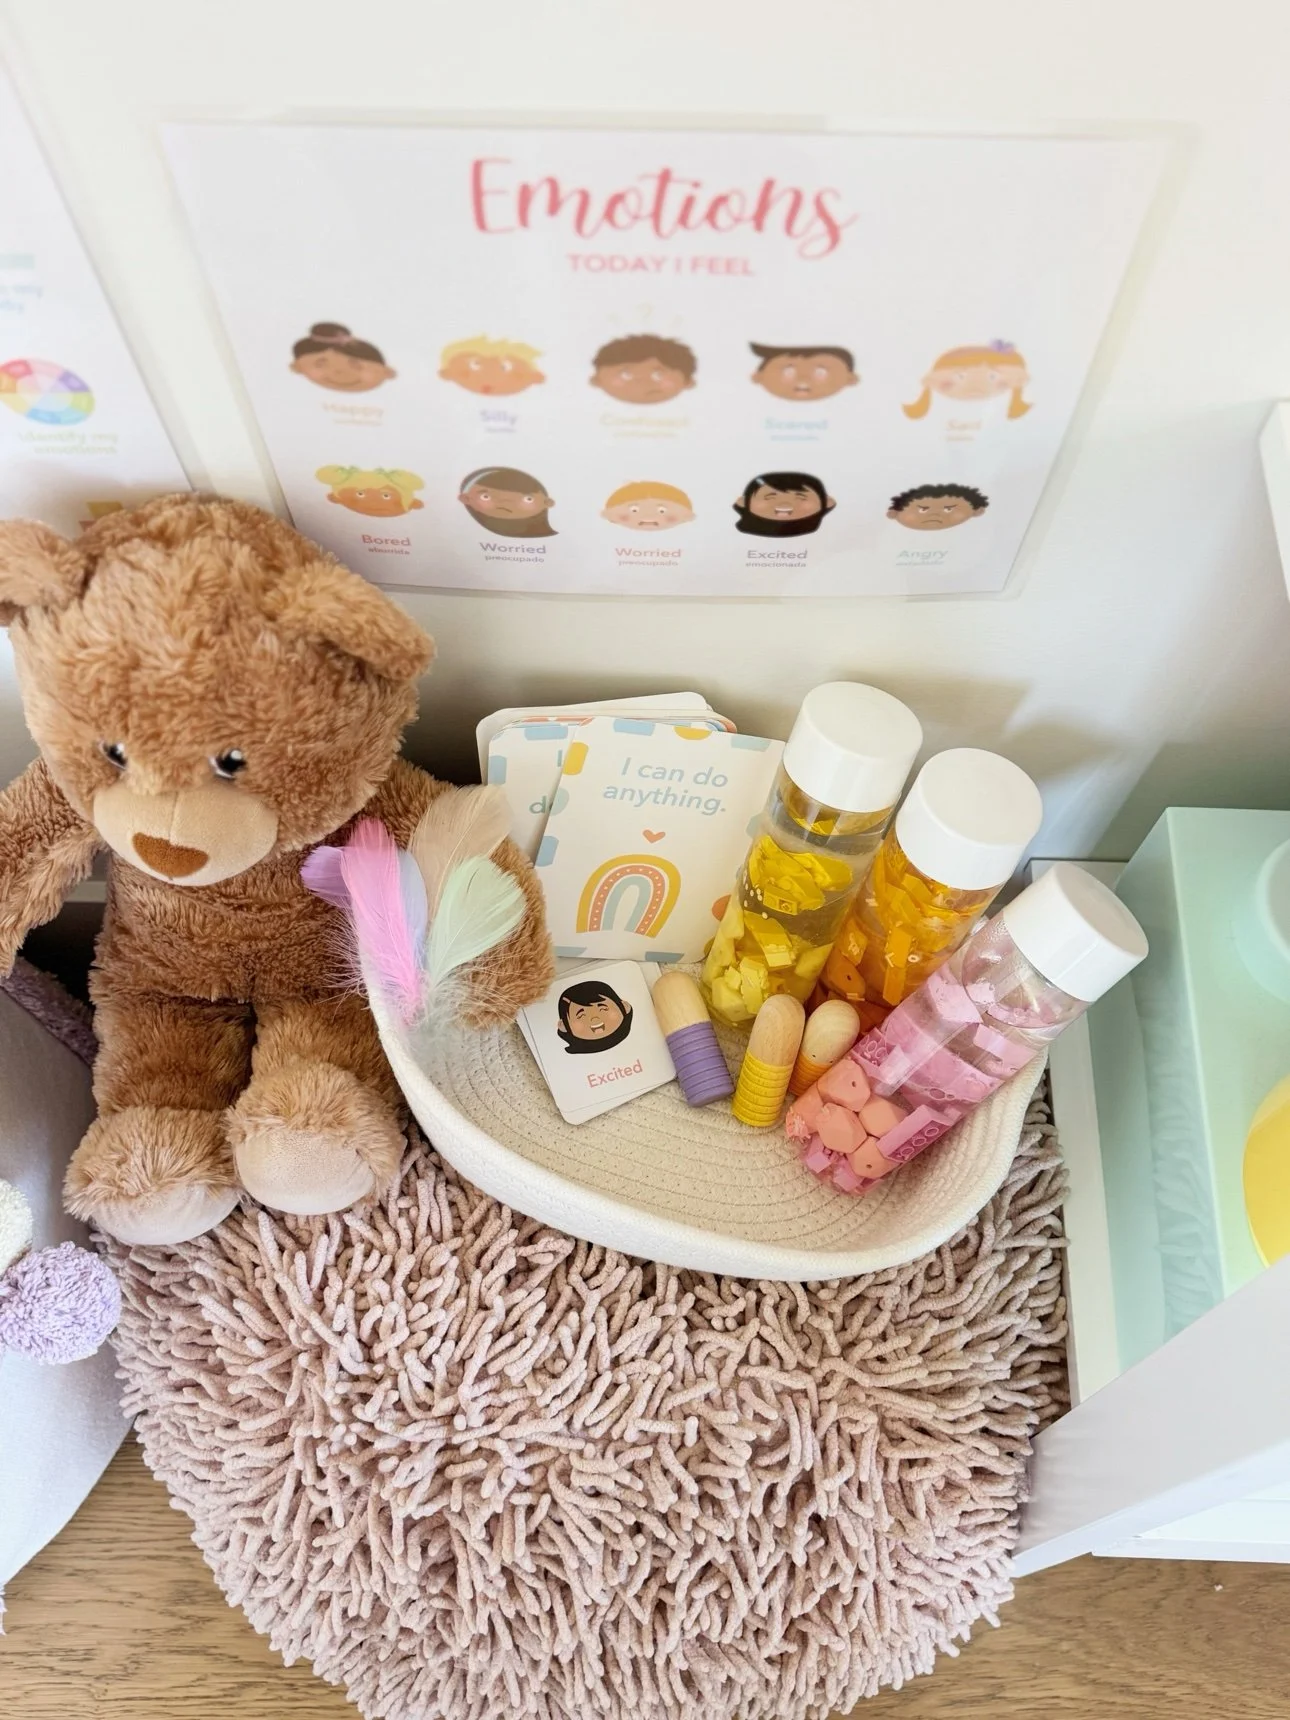
Step 2: Stock a calming tools basket
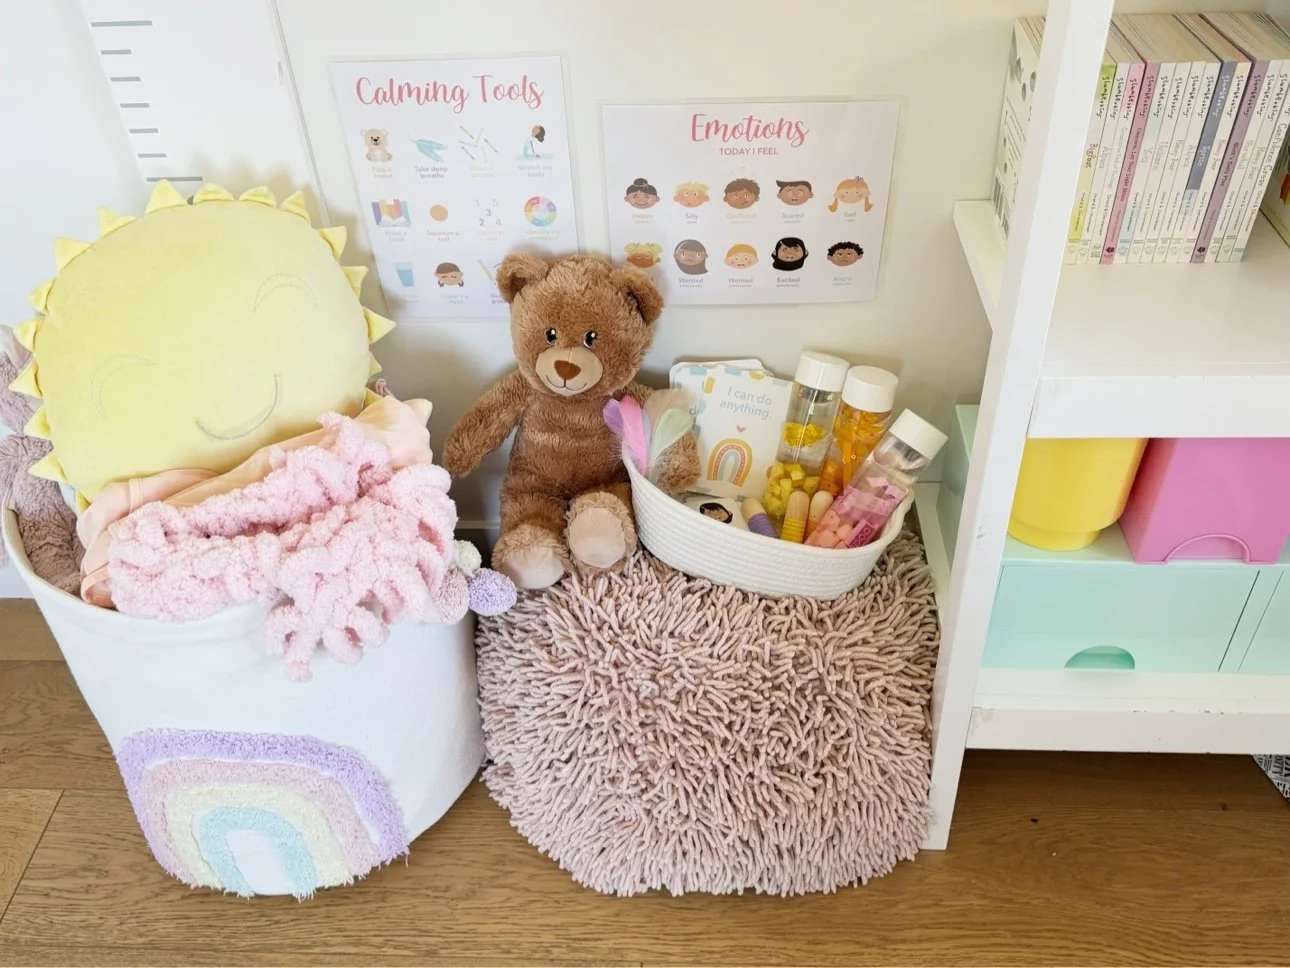
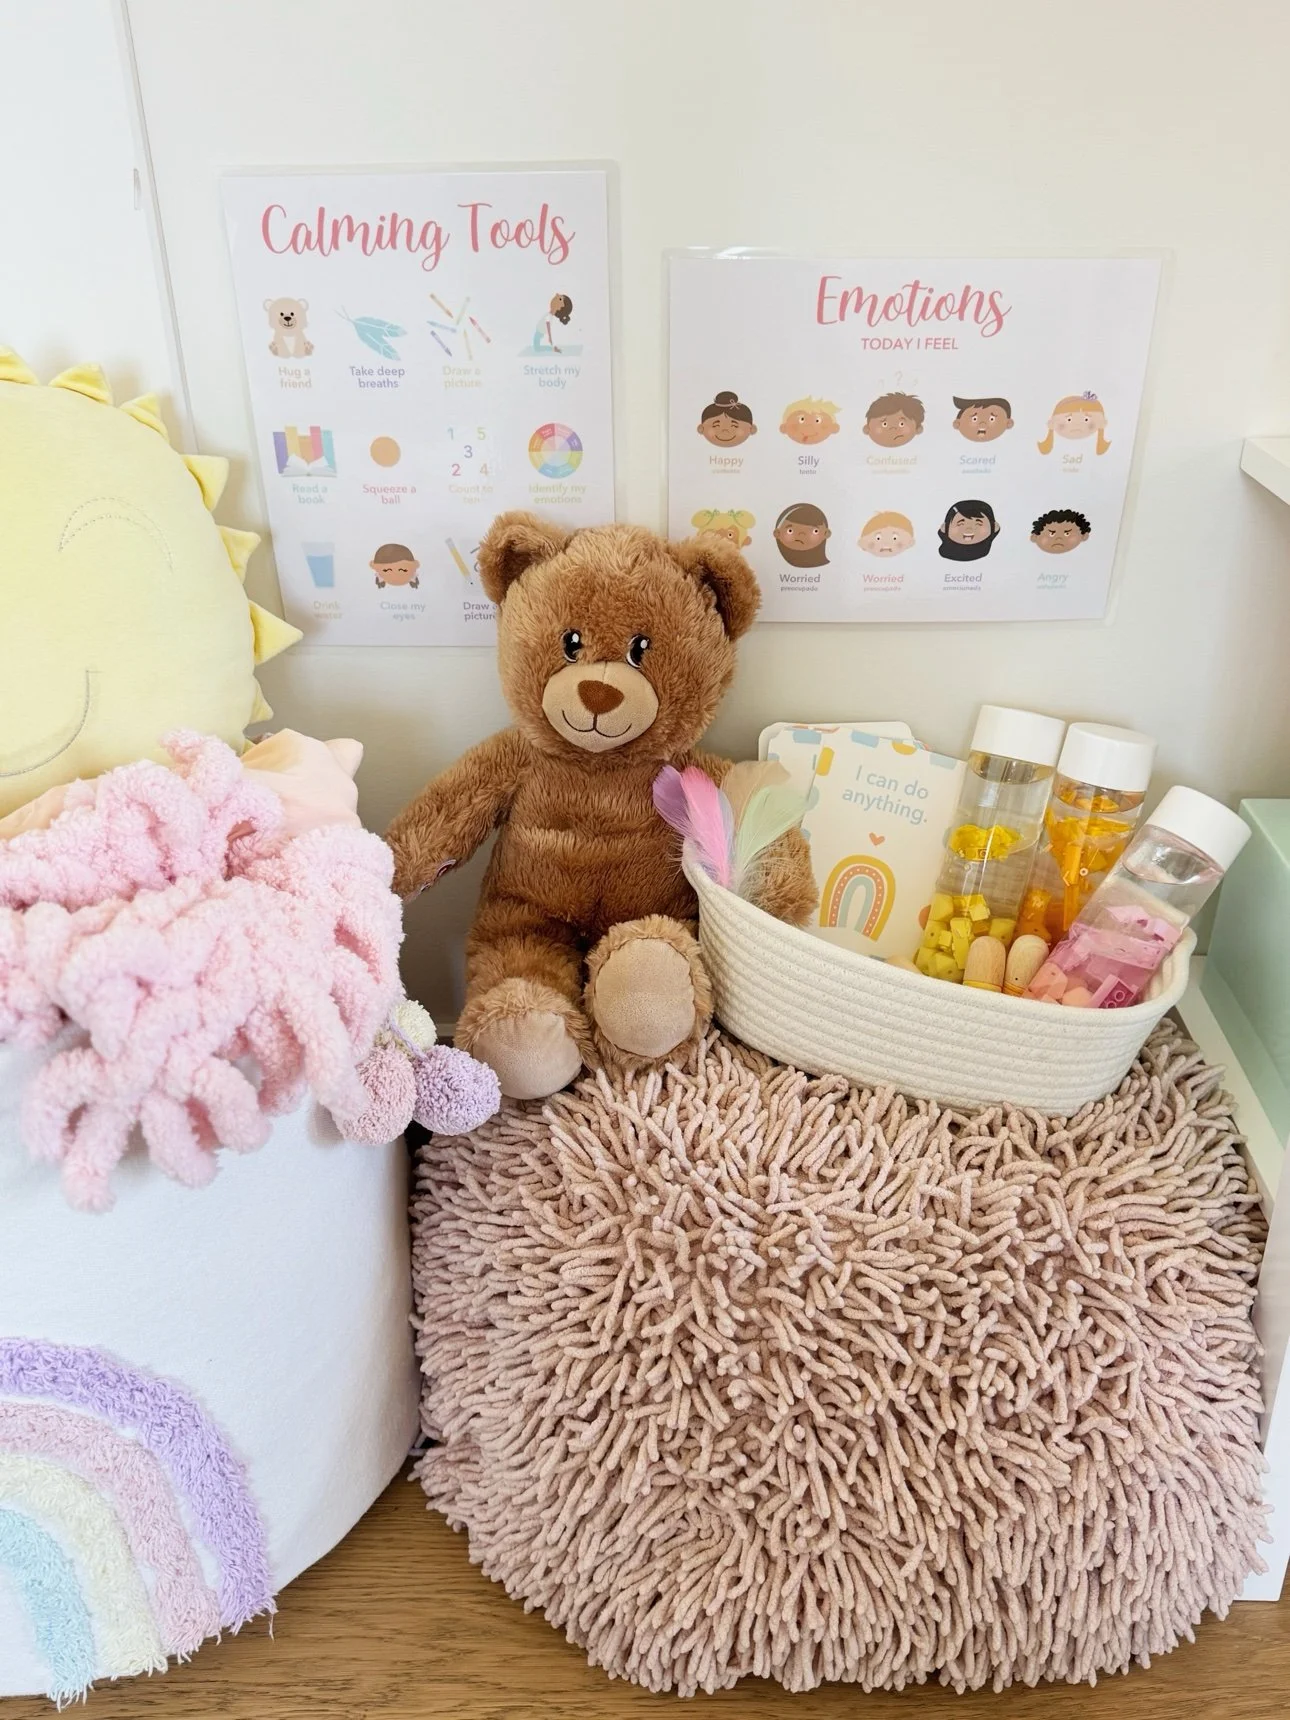
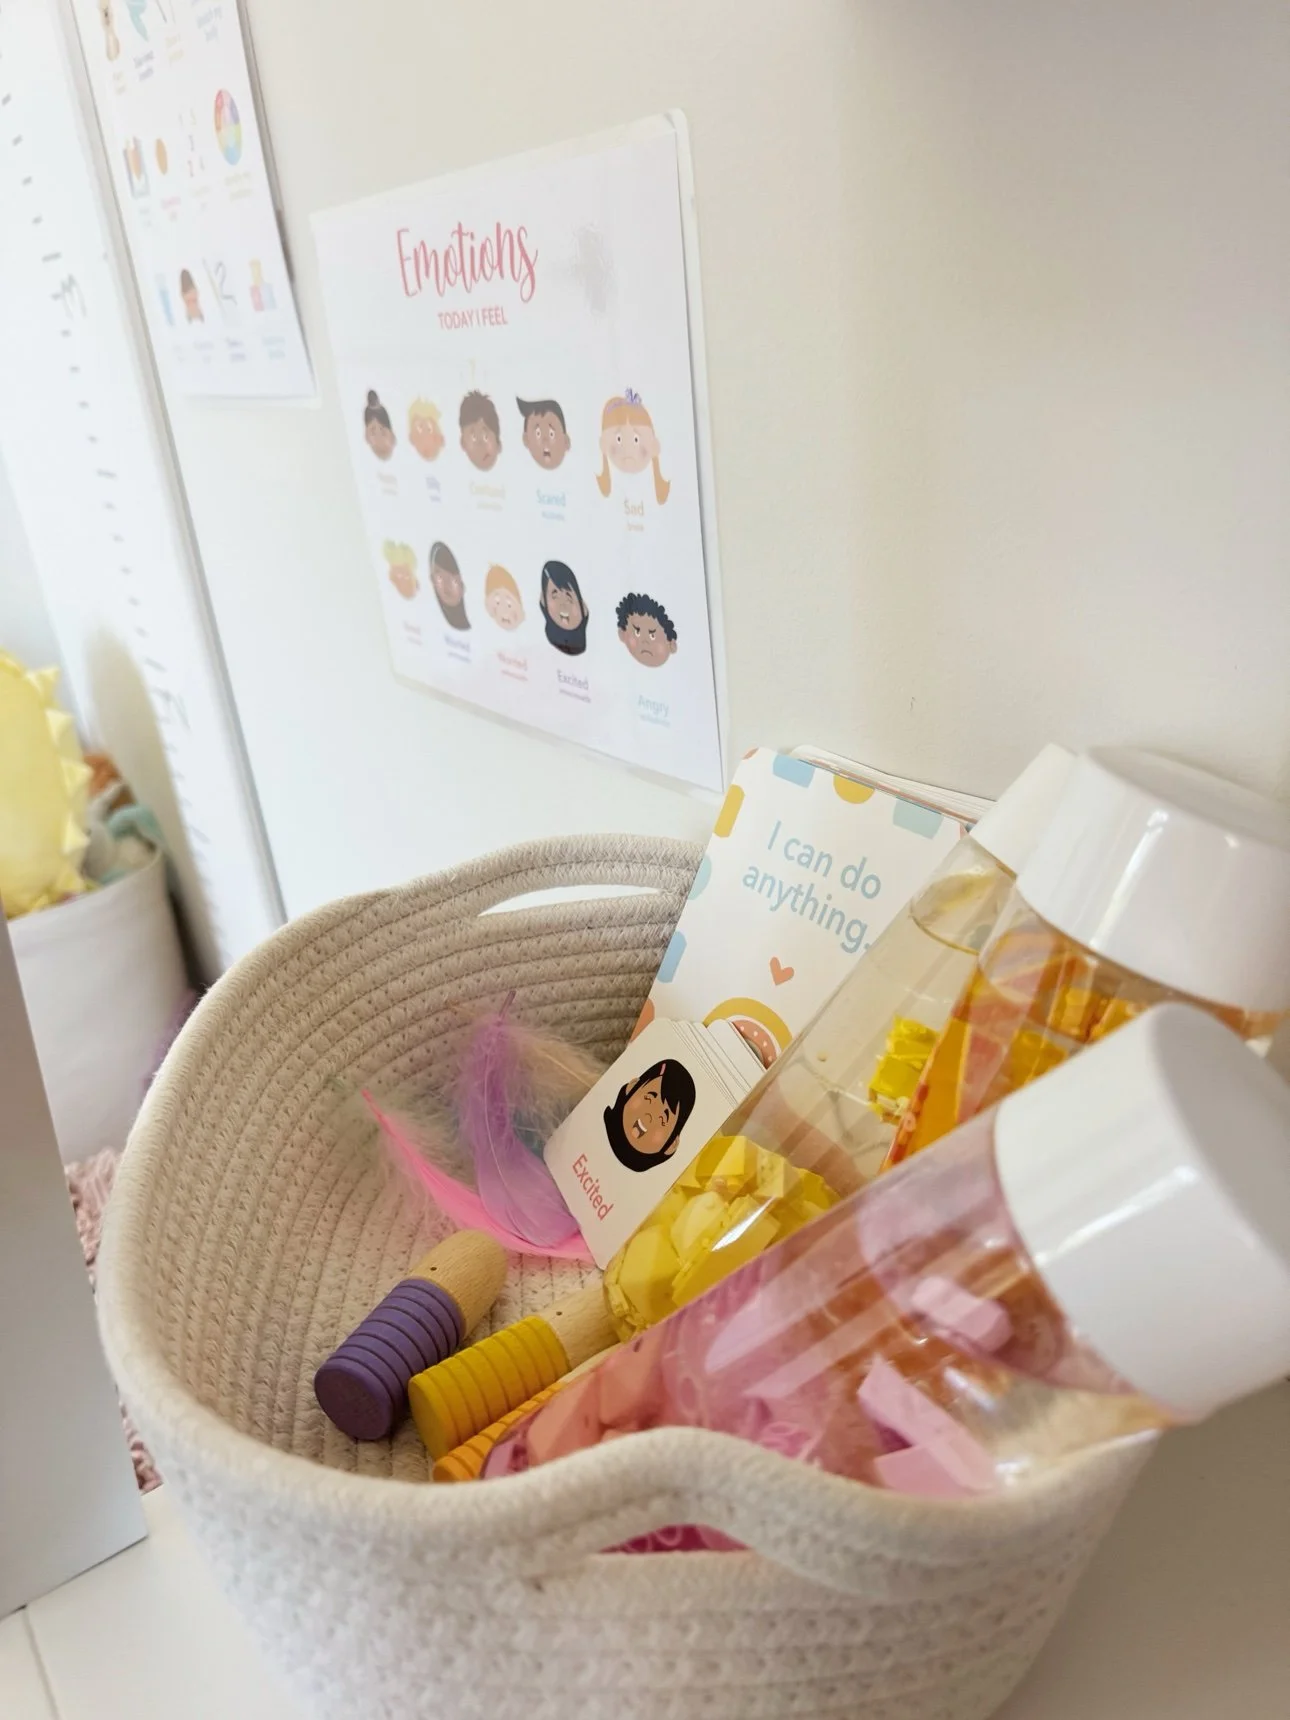
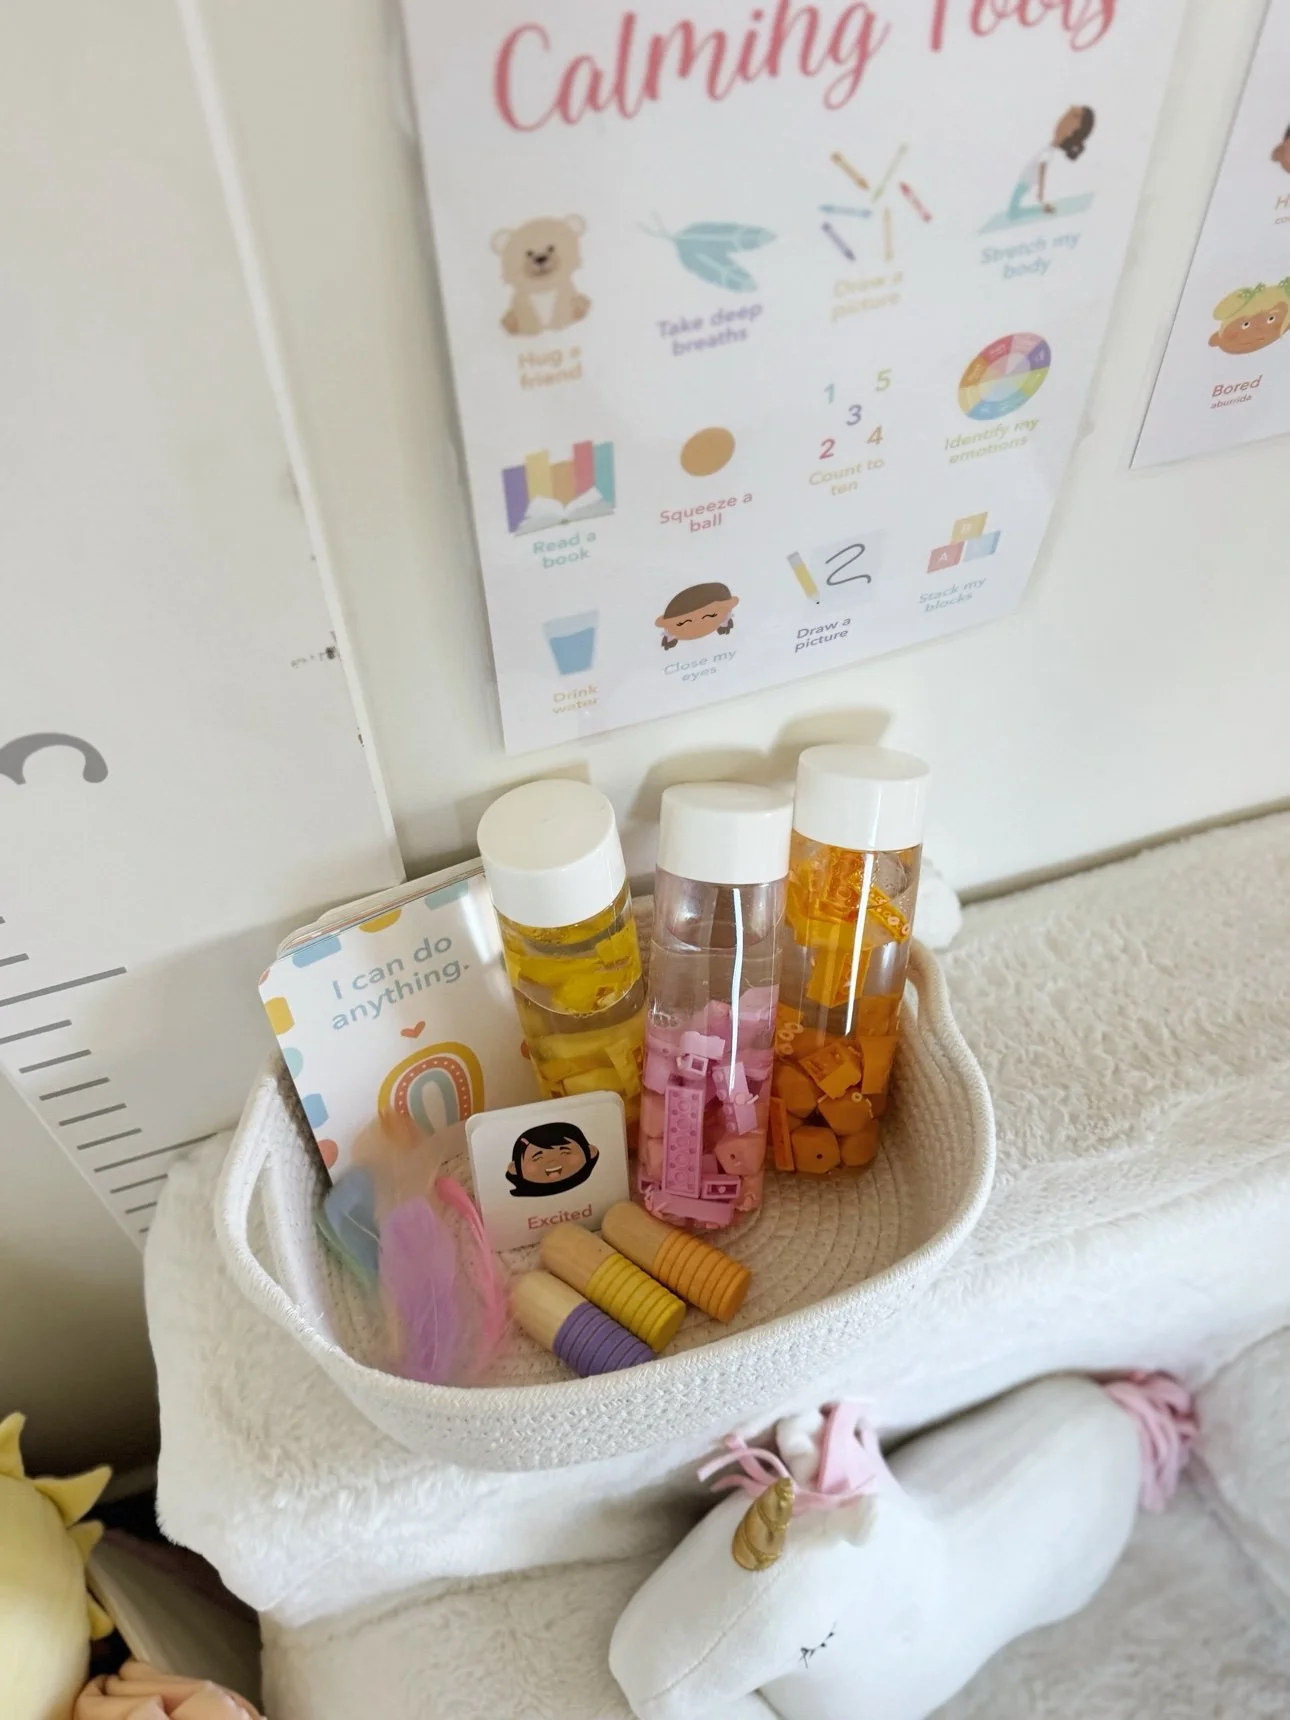
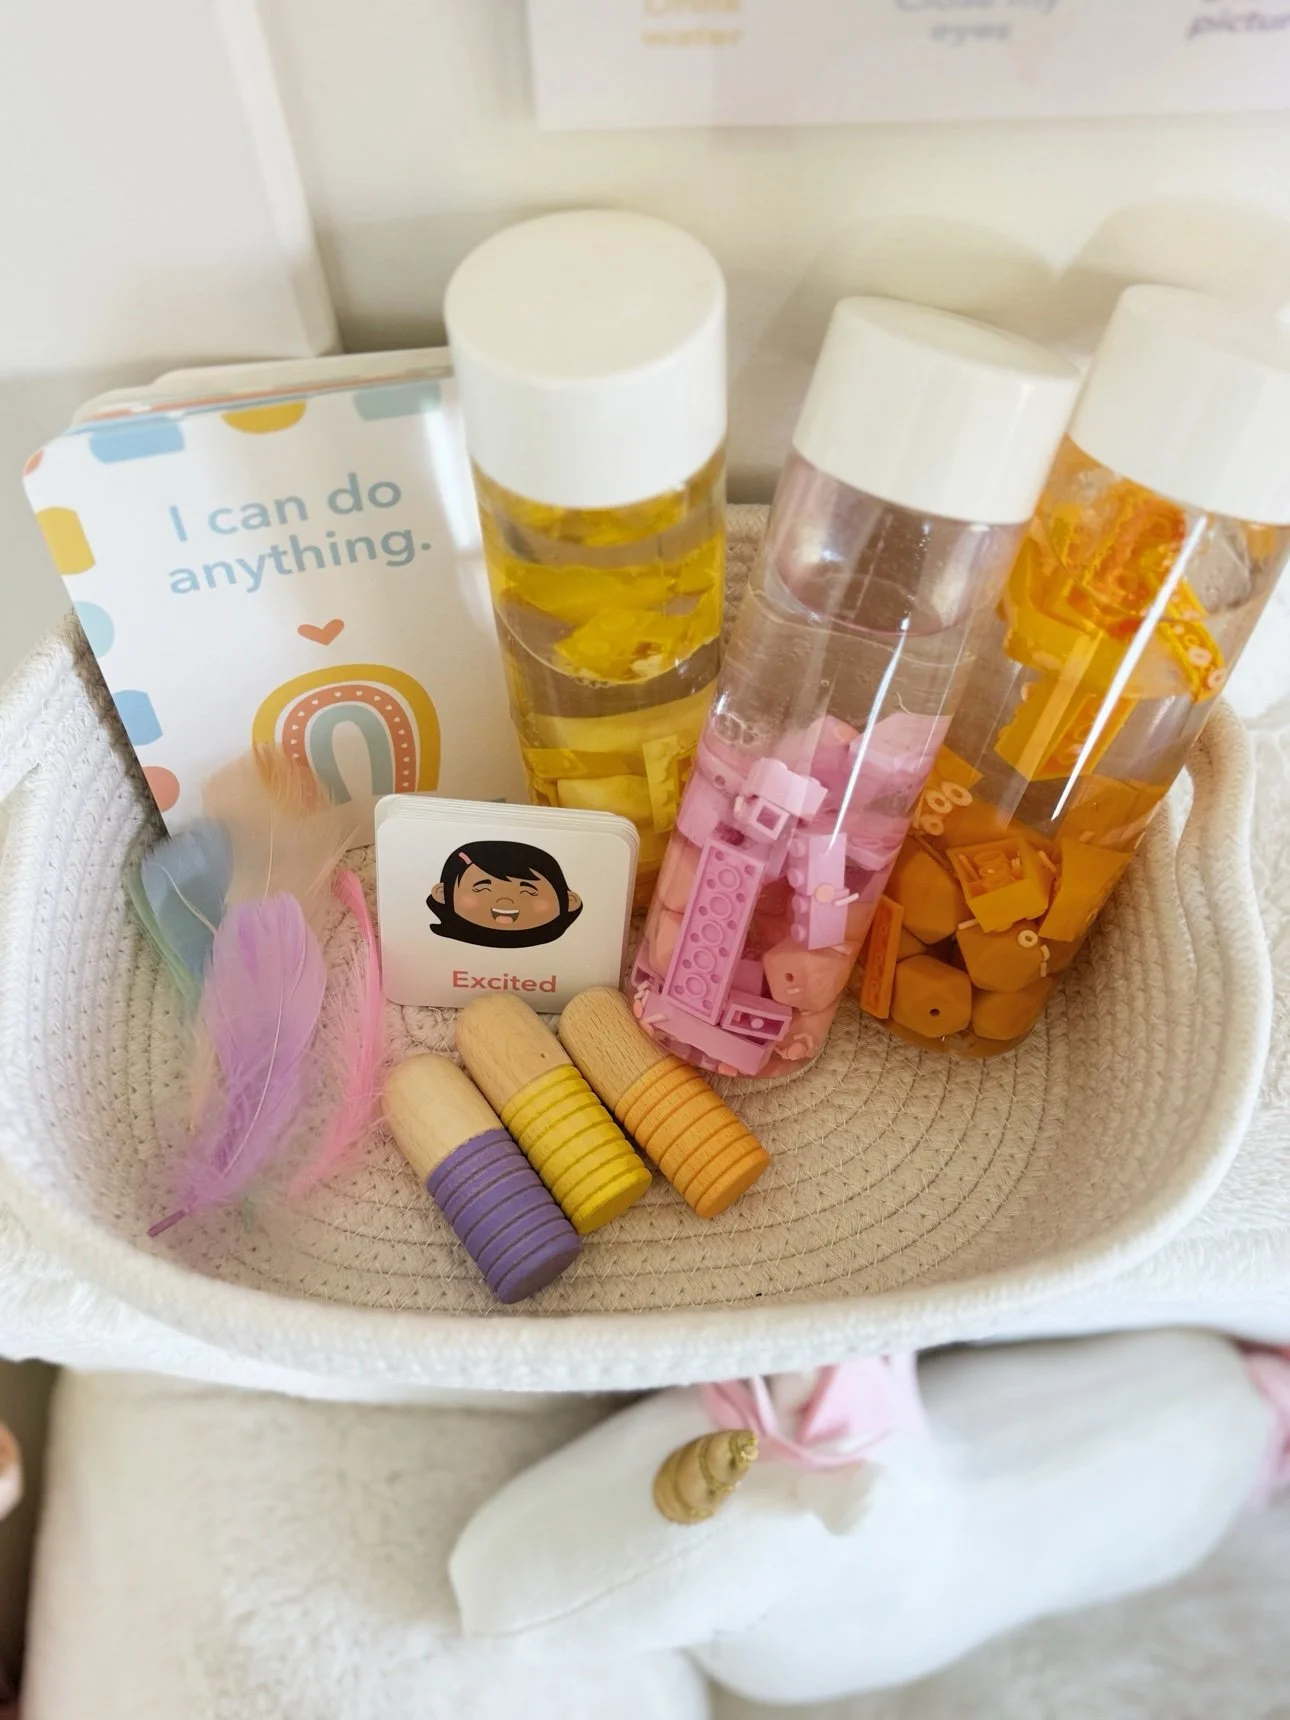
This is the heart of the corner: a basket of sensory tools your child can reach for when their body needs help settling. The rule is variety — different tools work on different days, and part of the learning is discovering which one helps this feeling. Keep it small enough to tidy in a minute; a basket that overflows becomes its own overwhelm.
What actually earns its spot in the basket:
A sensory bottle — watching the glitter settle gives racing minds something slow to follow. Our DIY sensory bottles take ten minutes to make.
Something squeezy — a stress ball or playdough; big feelings need somewhere physical to go.
Something soft — a stuffed animal or silky fabric for comfort.
Breathing cards — simple visual breathing prompts. Our Toddler Mindfulness Flashcards pair each calming strategy with a warm illustration, so "take a breath" becomes something they can see and copy.
Drawing supplies — a small notepad and crayons; some kids process feelings best through their hands.
A book or two — feelings-themed favorites for reading together after the storm passes.
The calming tools poster — twelve strategies on one page, ready for the basket.
Step 3: Make the space theirs
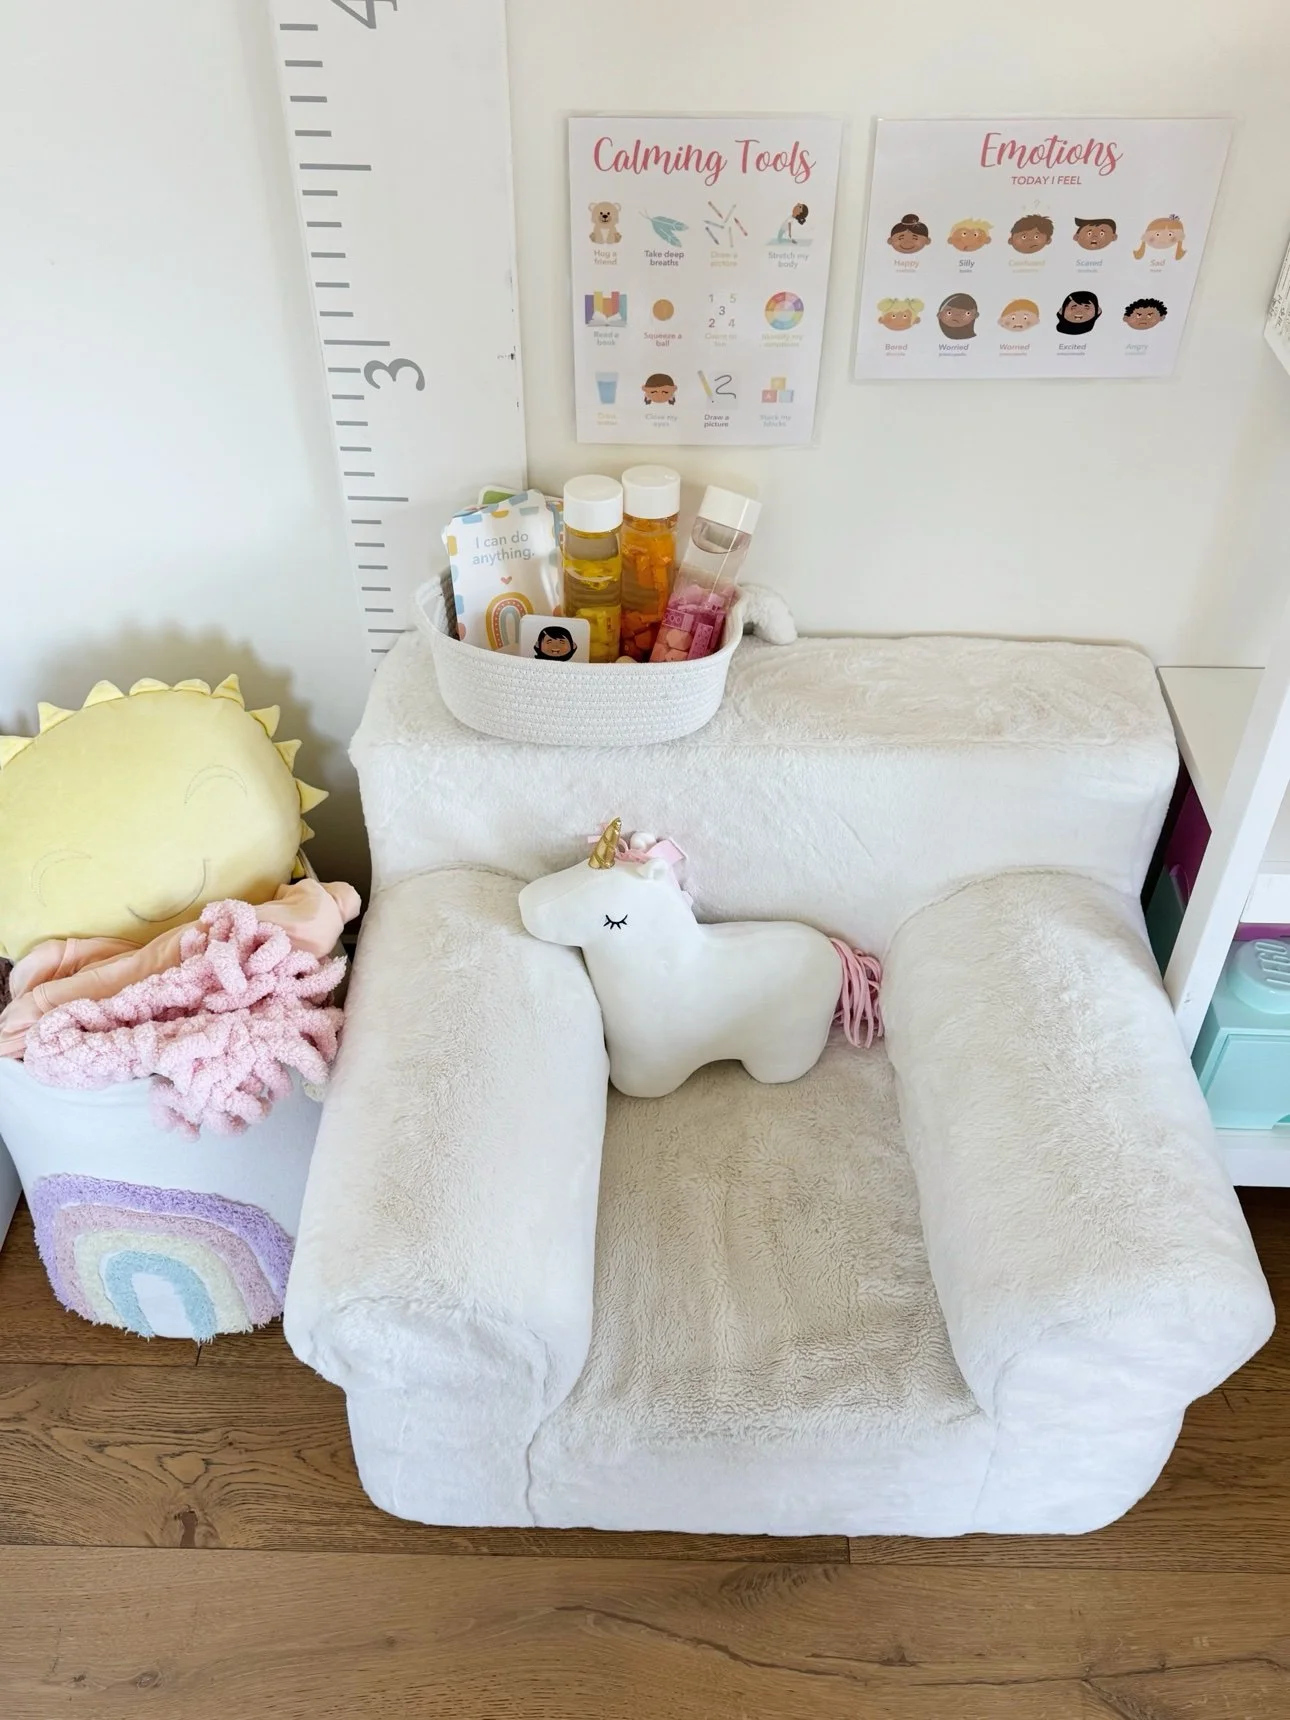
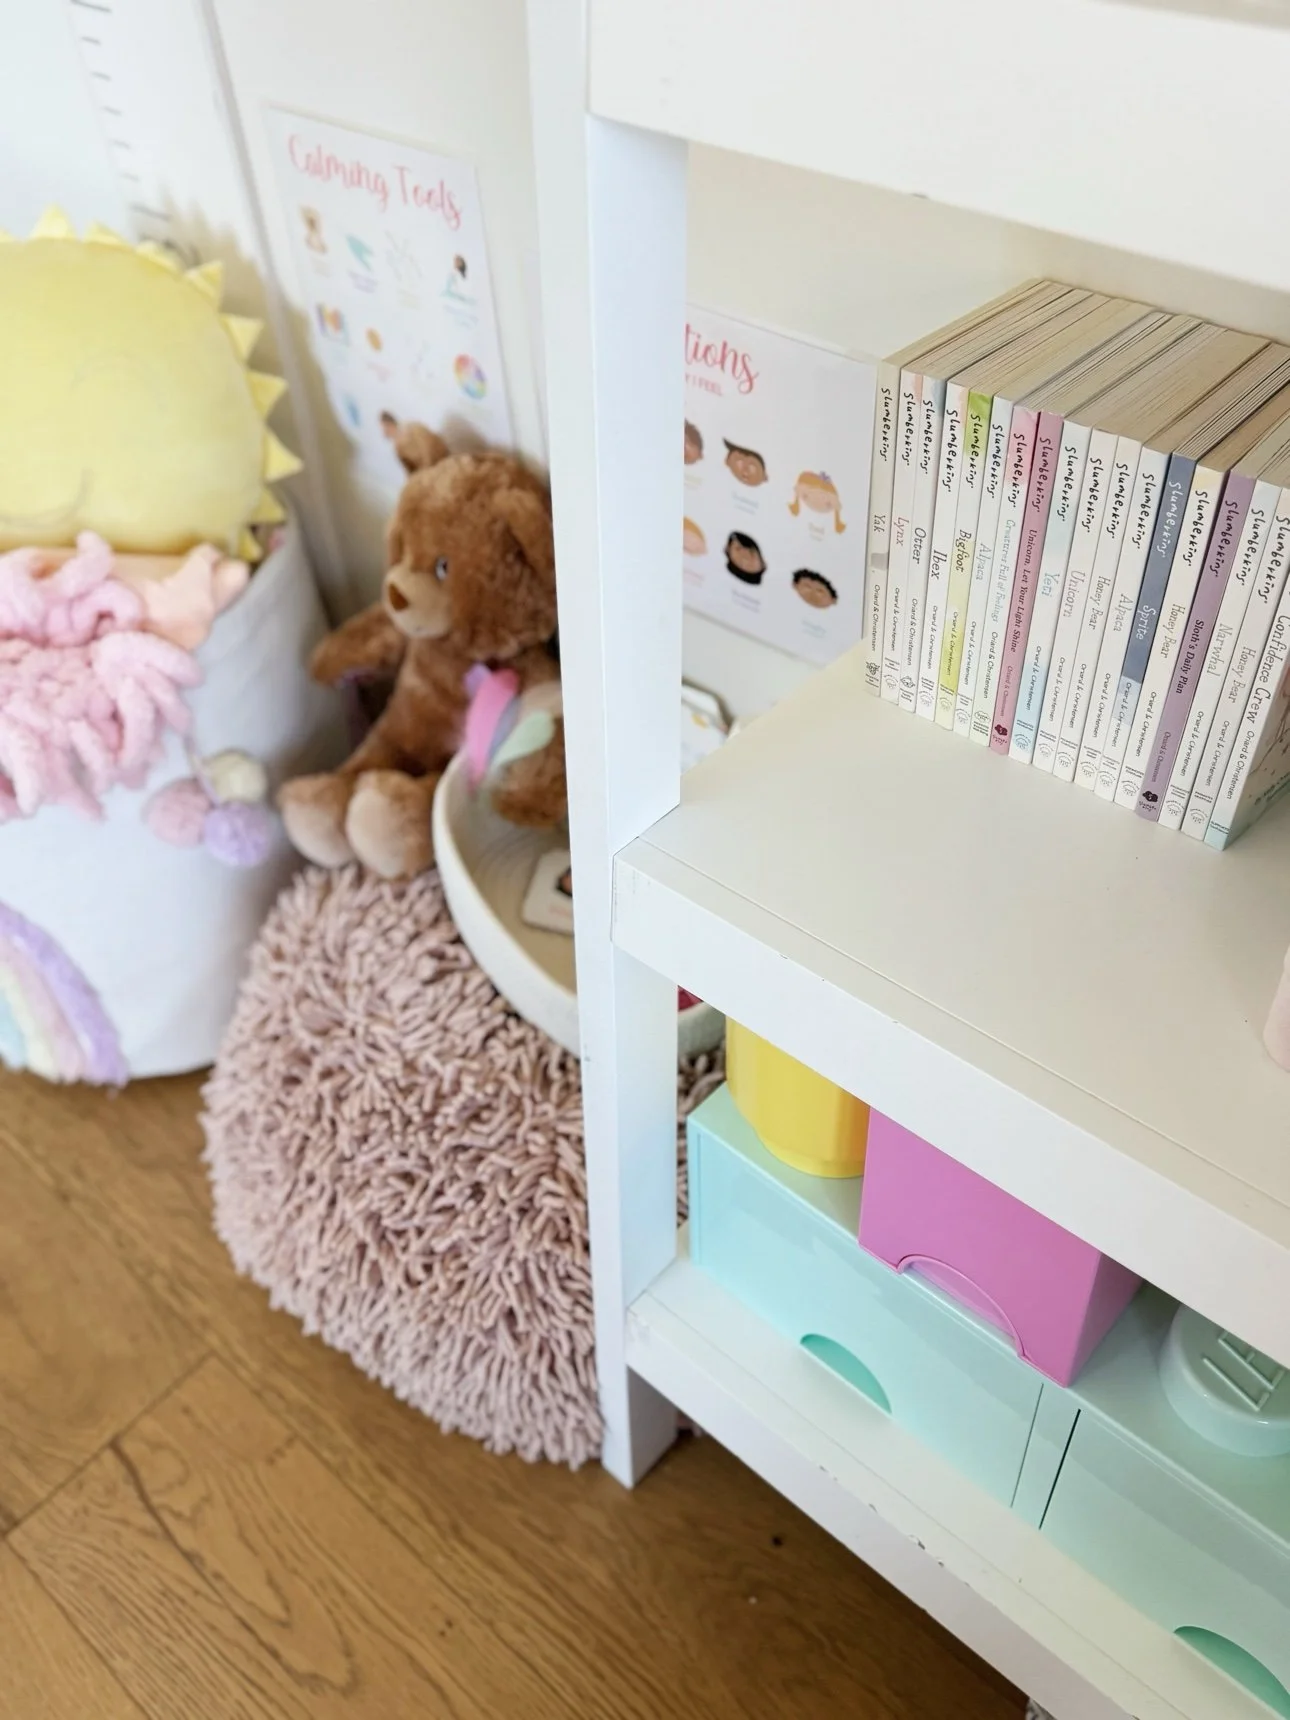
A calming corner works because it feels different from the rest of the room. You don't need much: a soft rug or cushion, a pillow, maybe a stuffed animal that "lives" there. Let your child help arrange it — choosing where the basket sits and which stuffed animal guards the corner is the buy-in that makes them actually go there later.
When she was little, we added her own artwork to the wall — scribbles where she'd matched colors to feelings, which doubled as decoration and as proof that the corner was hers. A space they helped build is a space they'll use.
The corner, done: a soft chair, books within reach, and tools on the wall.
How to introduce it (before anyone's upset)
Never debut the calming corner mid-meltdown. Tour it together on a calm afternoon: name each tool, practice the breathing cards, pick a stuffed animal. Role-play with a stuffed animal having "big feelings" and walking it through the steps. The first dozen visits should be playful and voluntary — you're building a positive association, not a procedure.
Then, when the real storm comes, keep your script short: "You're having big feelings. Let's go to the calming corner together." Go with them at first. You're teaching a skill, not assigning a location.
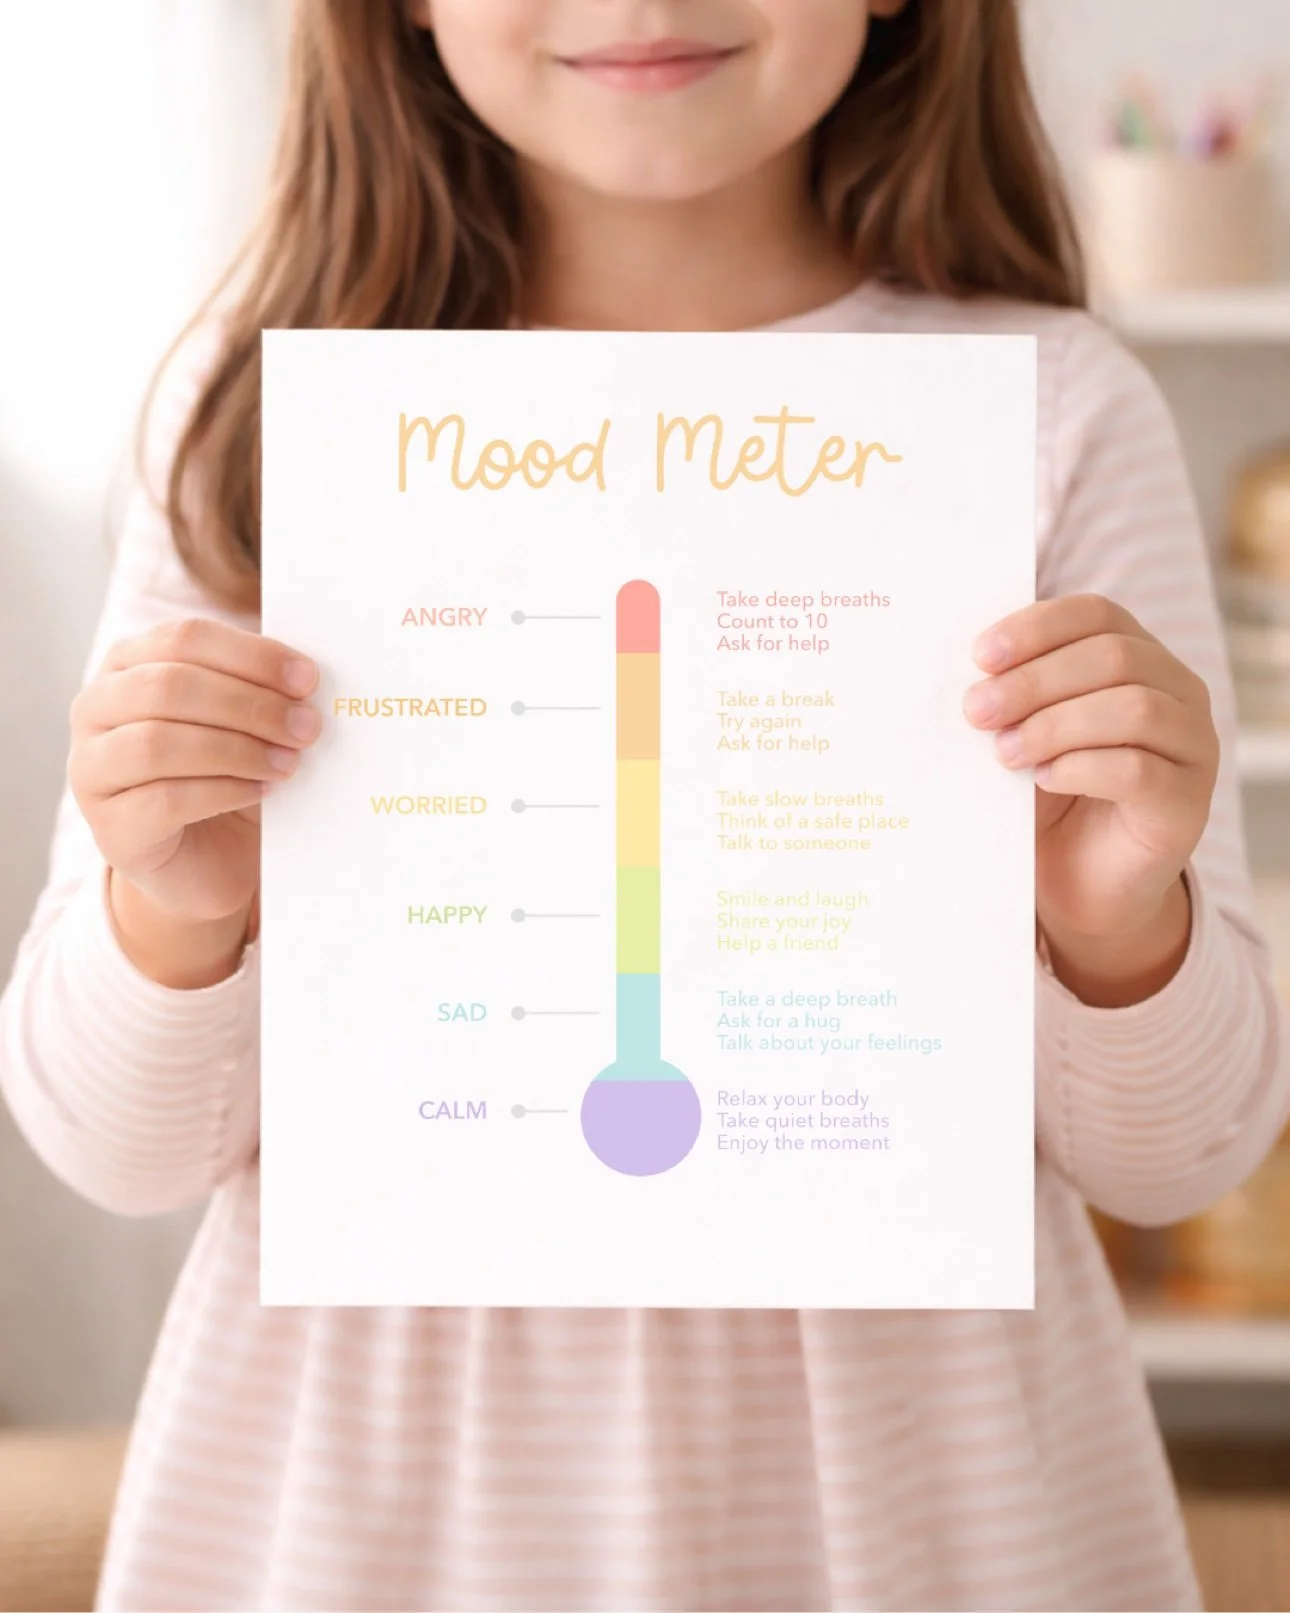
The mood meter: point to where you are, read what helps, start there.
When they won't use it
Totally normal, especially at first. A few things that help:
Use it yourself. Nothing sells a calming corner like watching a parent take three breaths in it. Modeling beats instructing every time.
Don't force it. A calming corner your child is dragged to becomes a time-out with cushions. Invite, don't require.
Shrink the ask. "Just hold the sensory bottle for one minute" is easier than "go calm down."
Check the tools. If the basket's been ignored for weeks, swap two items. Novelty reopens curiosity.
What's the difference between a calming corner and a time-out?
A time-out isolates the child until they're calm; a calming corner equips them with tools and (at first) your company while they learn to settle. One punishes the feeling, the other teaches through it.
What age is a calming corner for?
It works from about age 2 through early elementary. Toddlers use it with a parent's help; preschoolers start going independently; older kids adapt it into their own regulation toolkit.
How big does the space need to be?
Two square feet is plenty — a corner of the living room or bedroom with a cushion, a basket, and wall space for the posters. Cozy beats spacious here.
What if my child destroys the calming corner instead of using it?
That's information, not failure — it means they're not ready to be there alone yet. Go with them, keep visits short, and remove anything throwable until the throwing phase passes.
The set that started it: emotions, calming tools, and a mood meter, framed and hung at kid height.
The tools for the corner
A calming corner runs on two things: words for feelings and tools for settling. Our Emotions Posters (Set of 3) ($9) cover the wall — an emotions chart, a feelings check-in wheel, and a calming tools poster, all printable. Our Toddler Mindfulness Flashcards ($12) fill the basket — ten illustrated breathing and calming prompts little hands can hold.
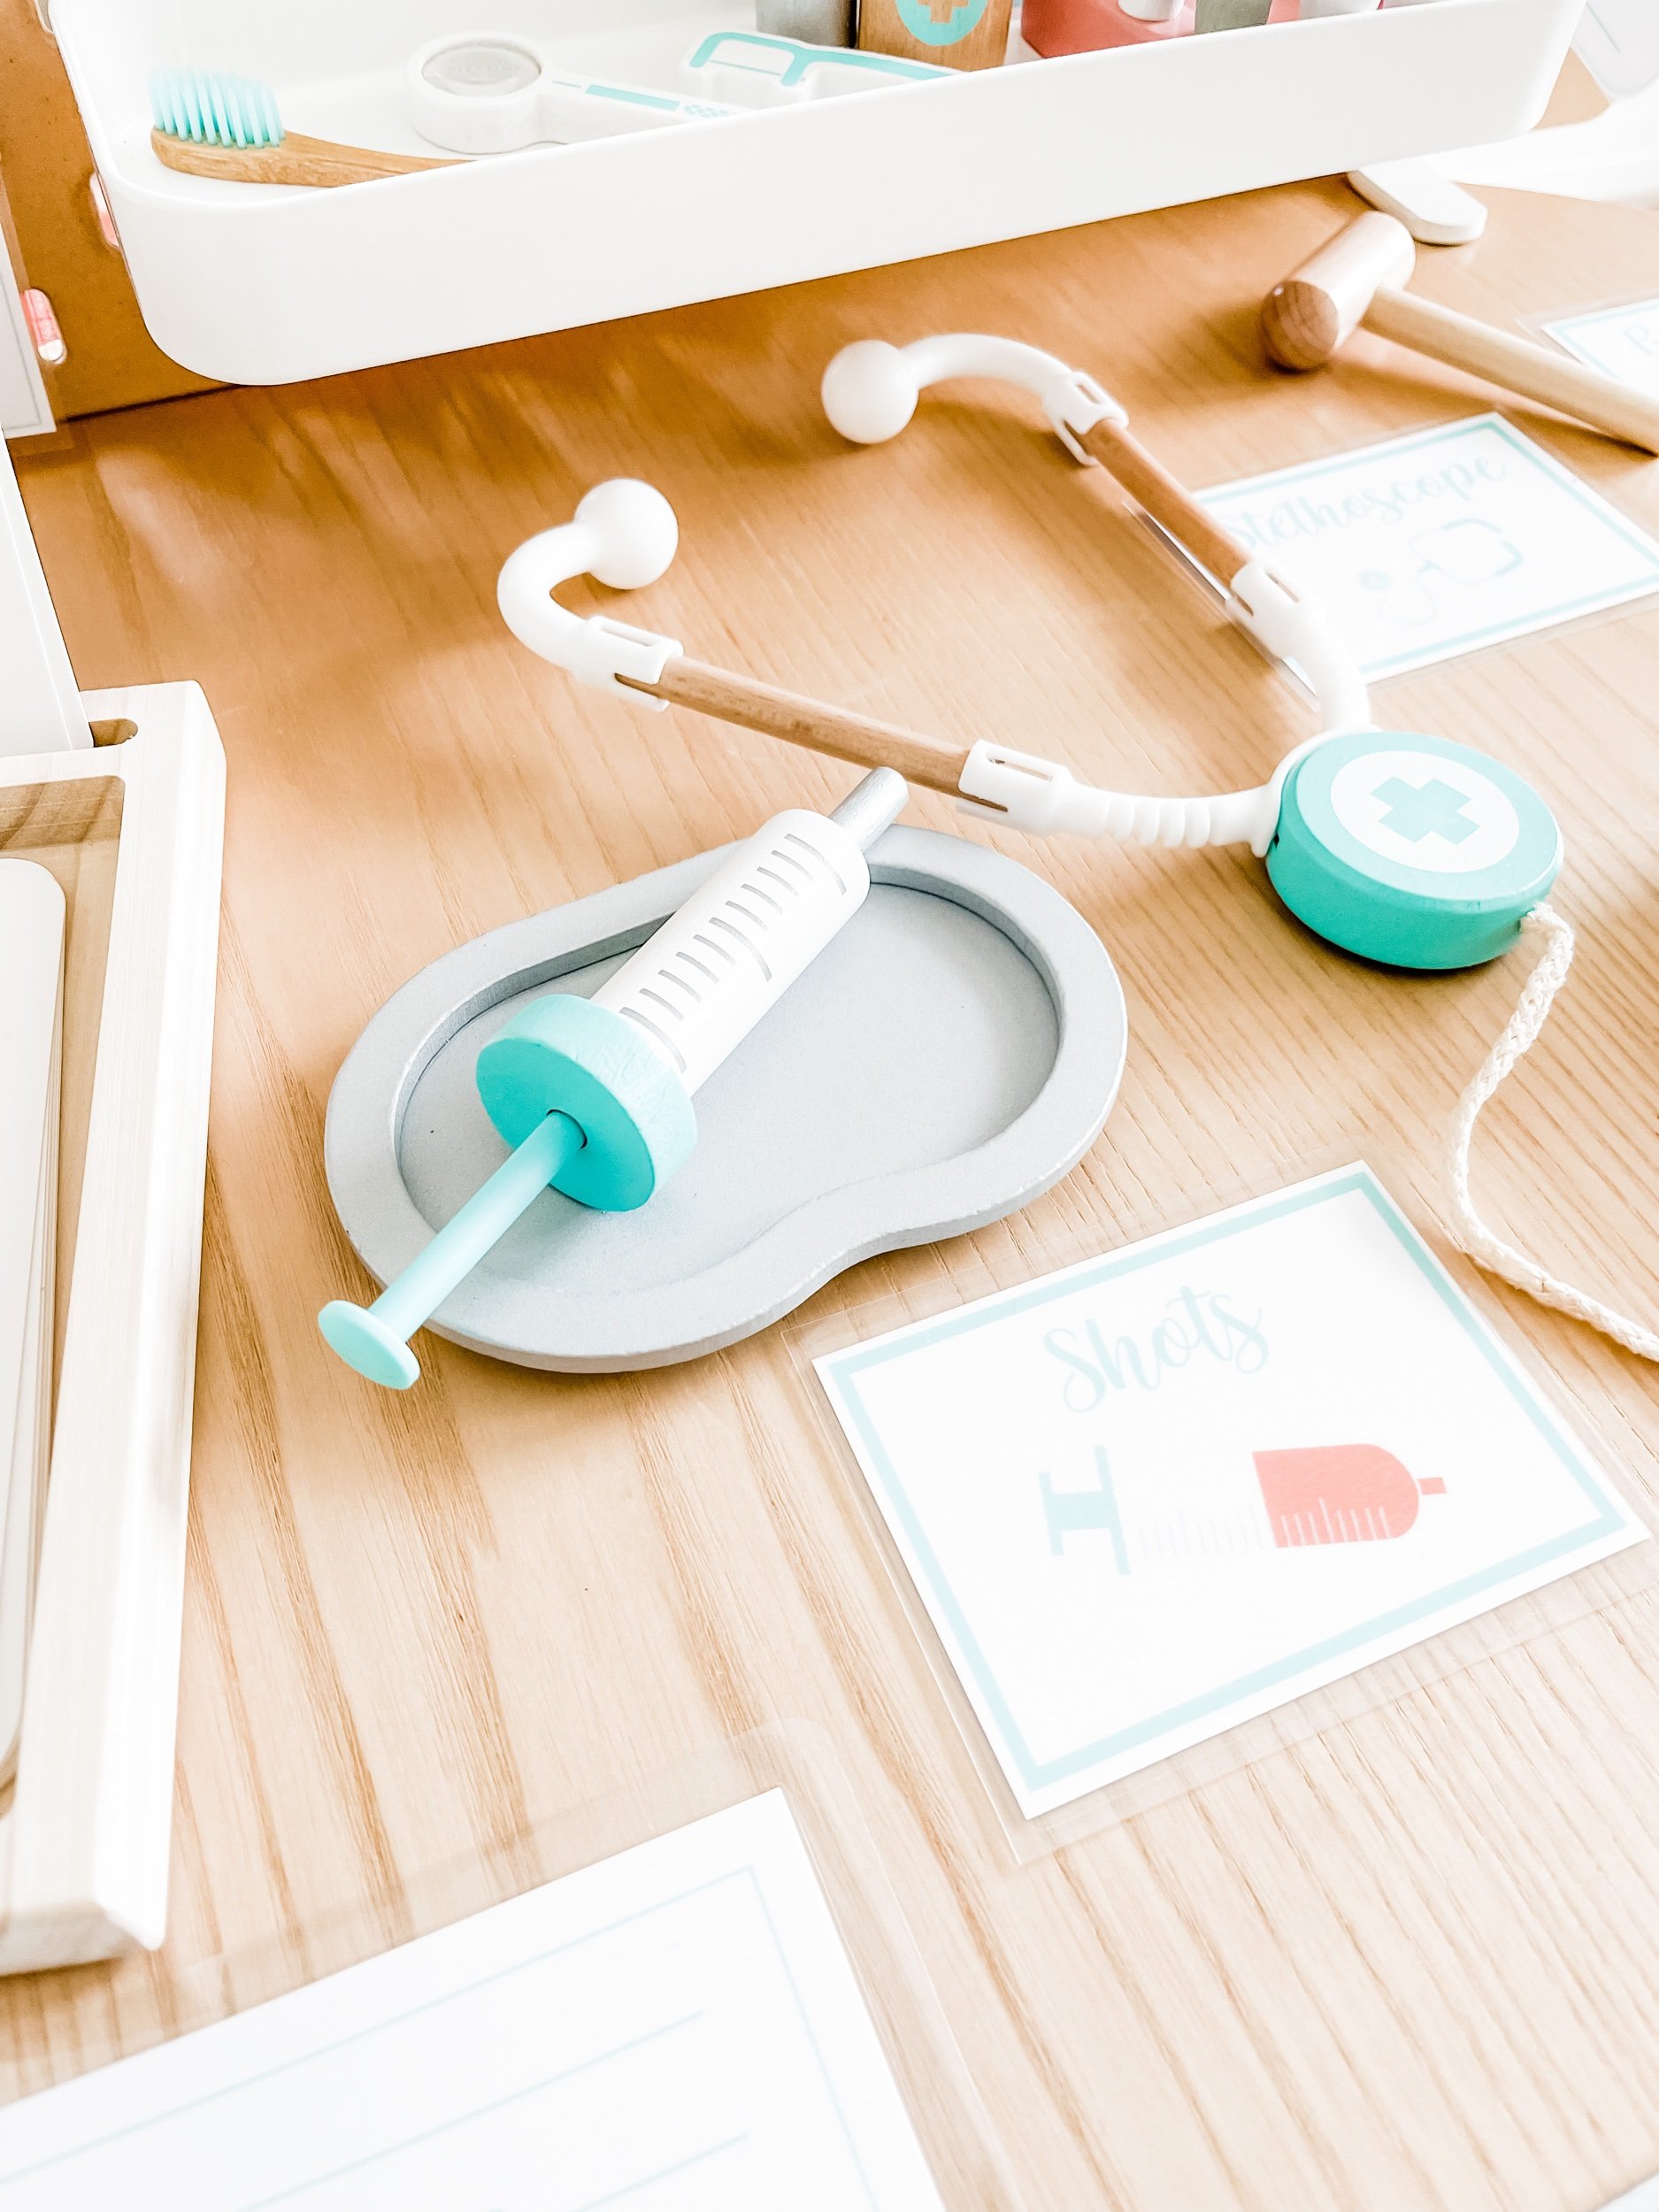
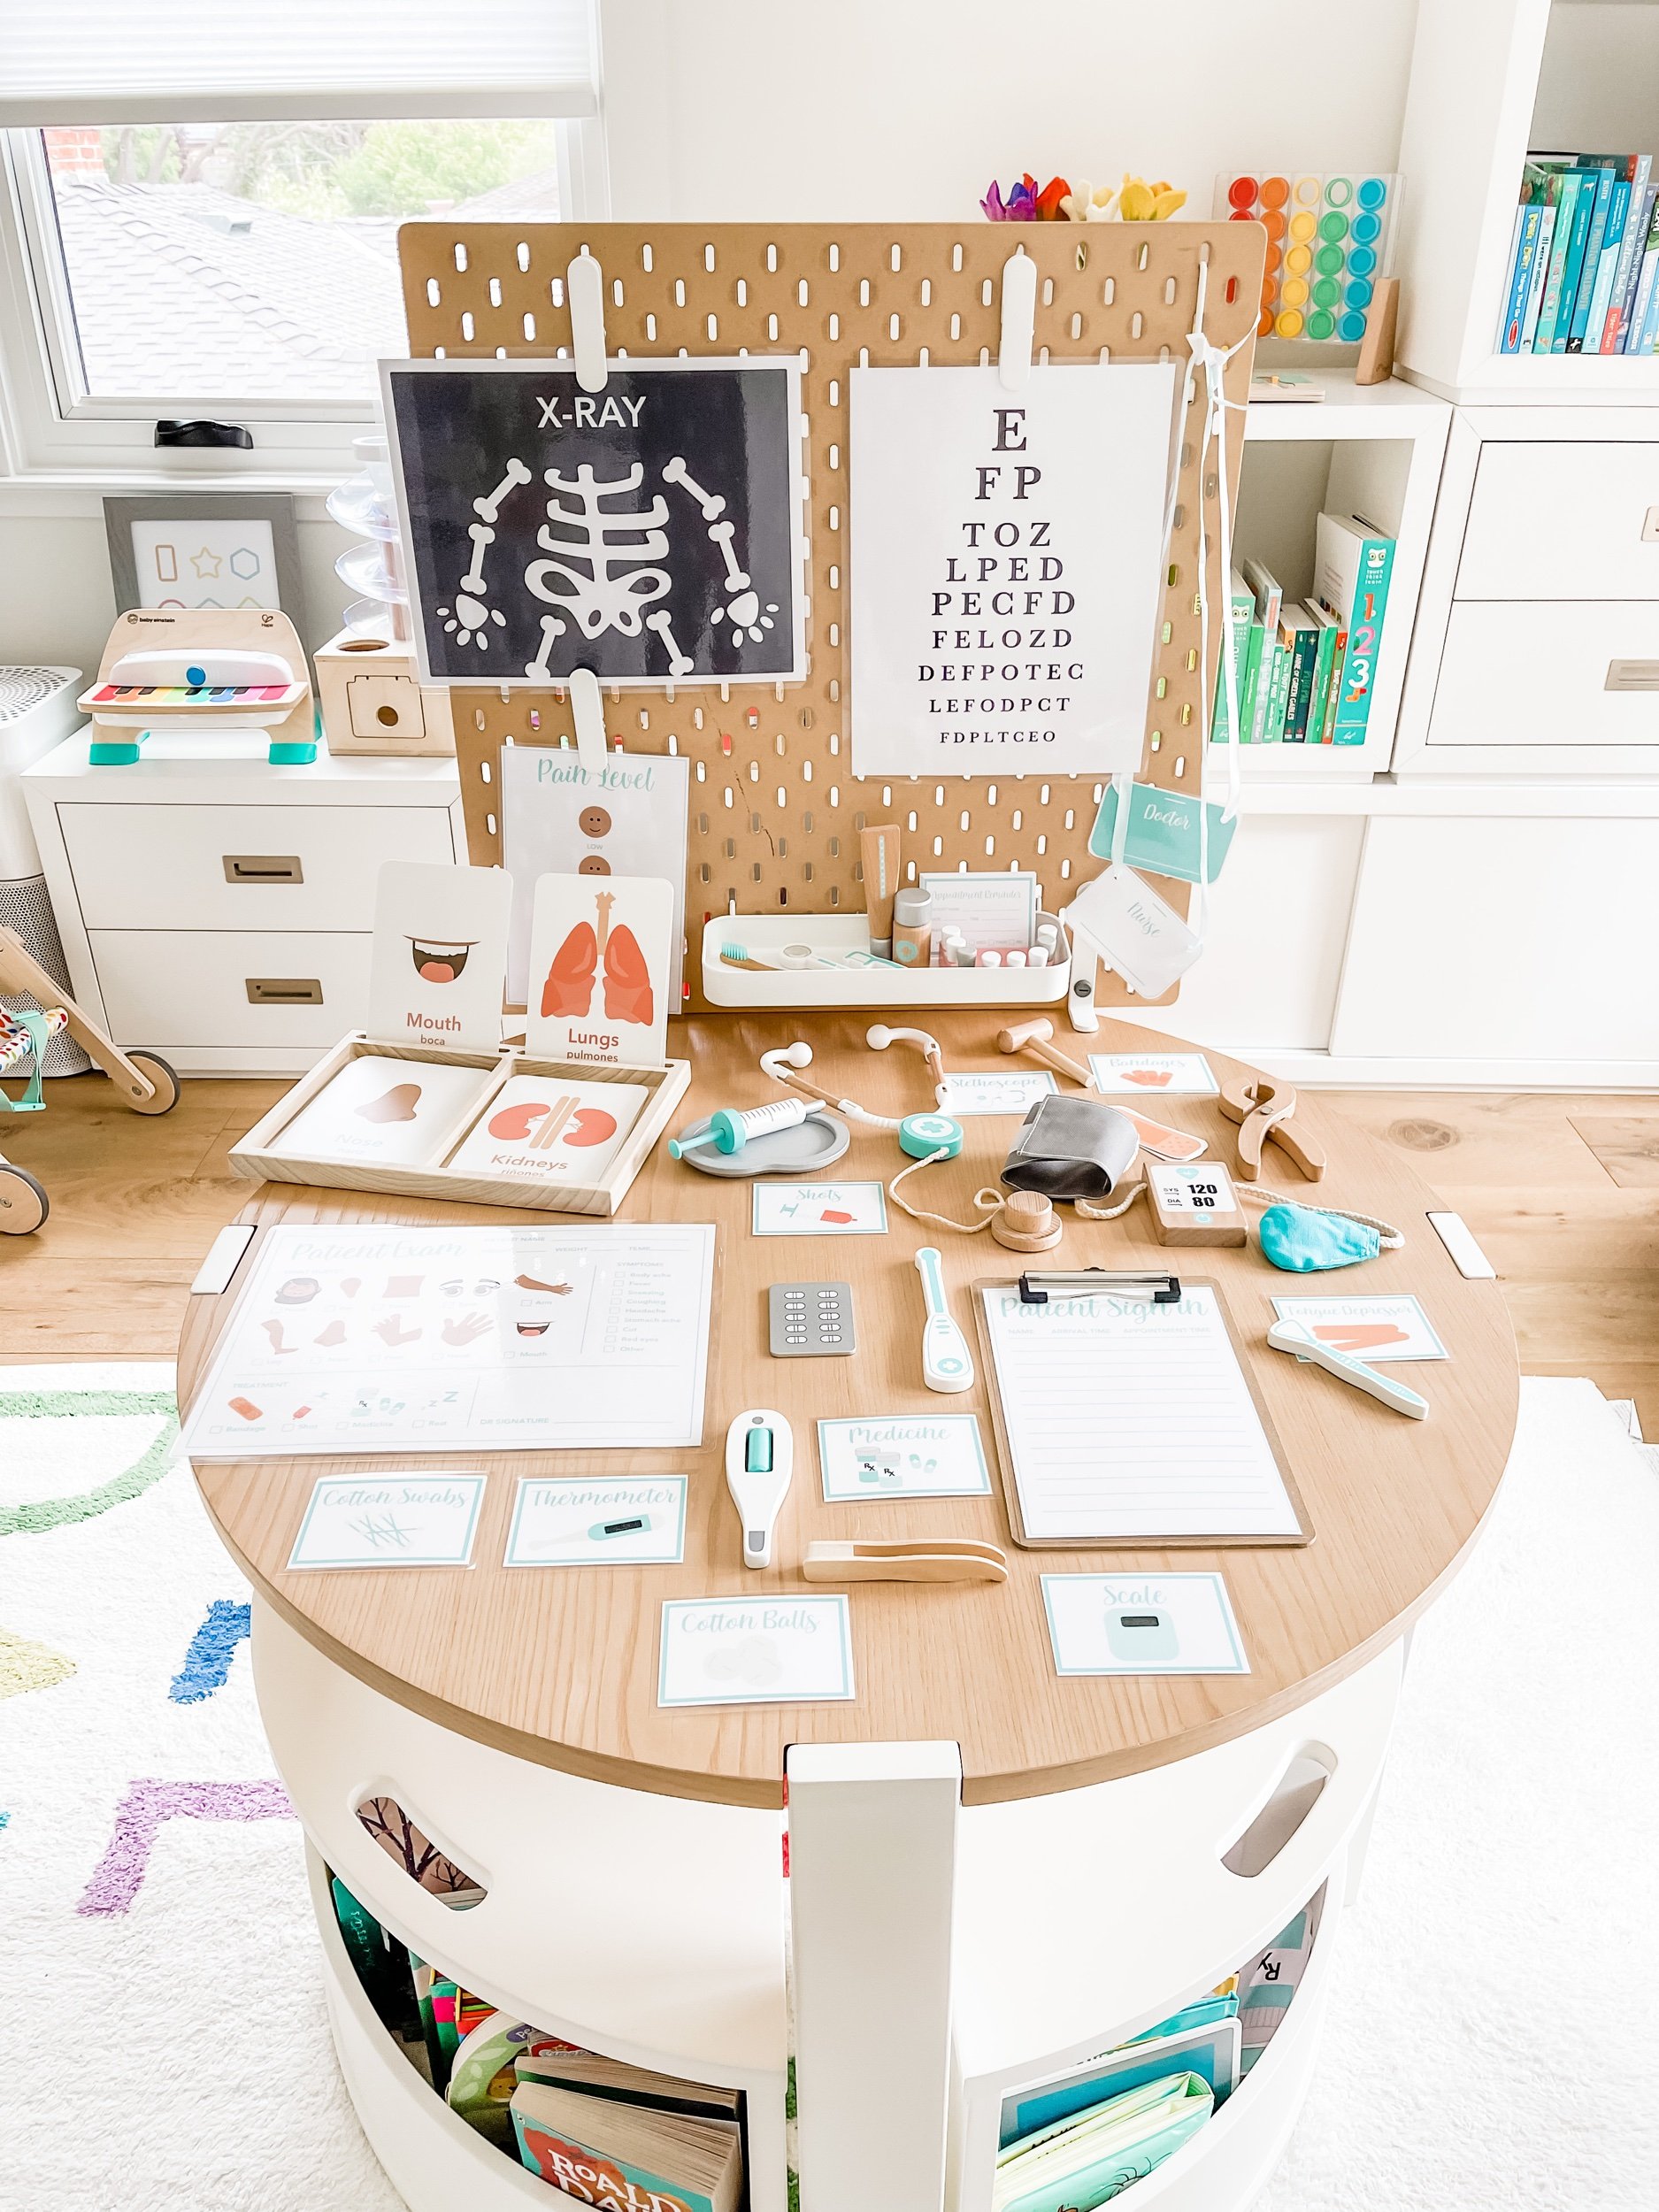
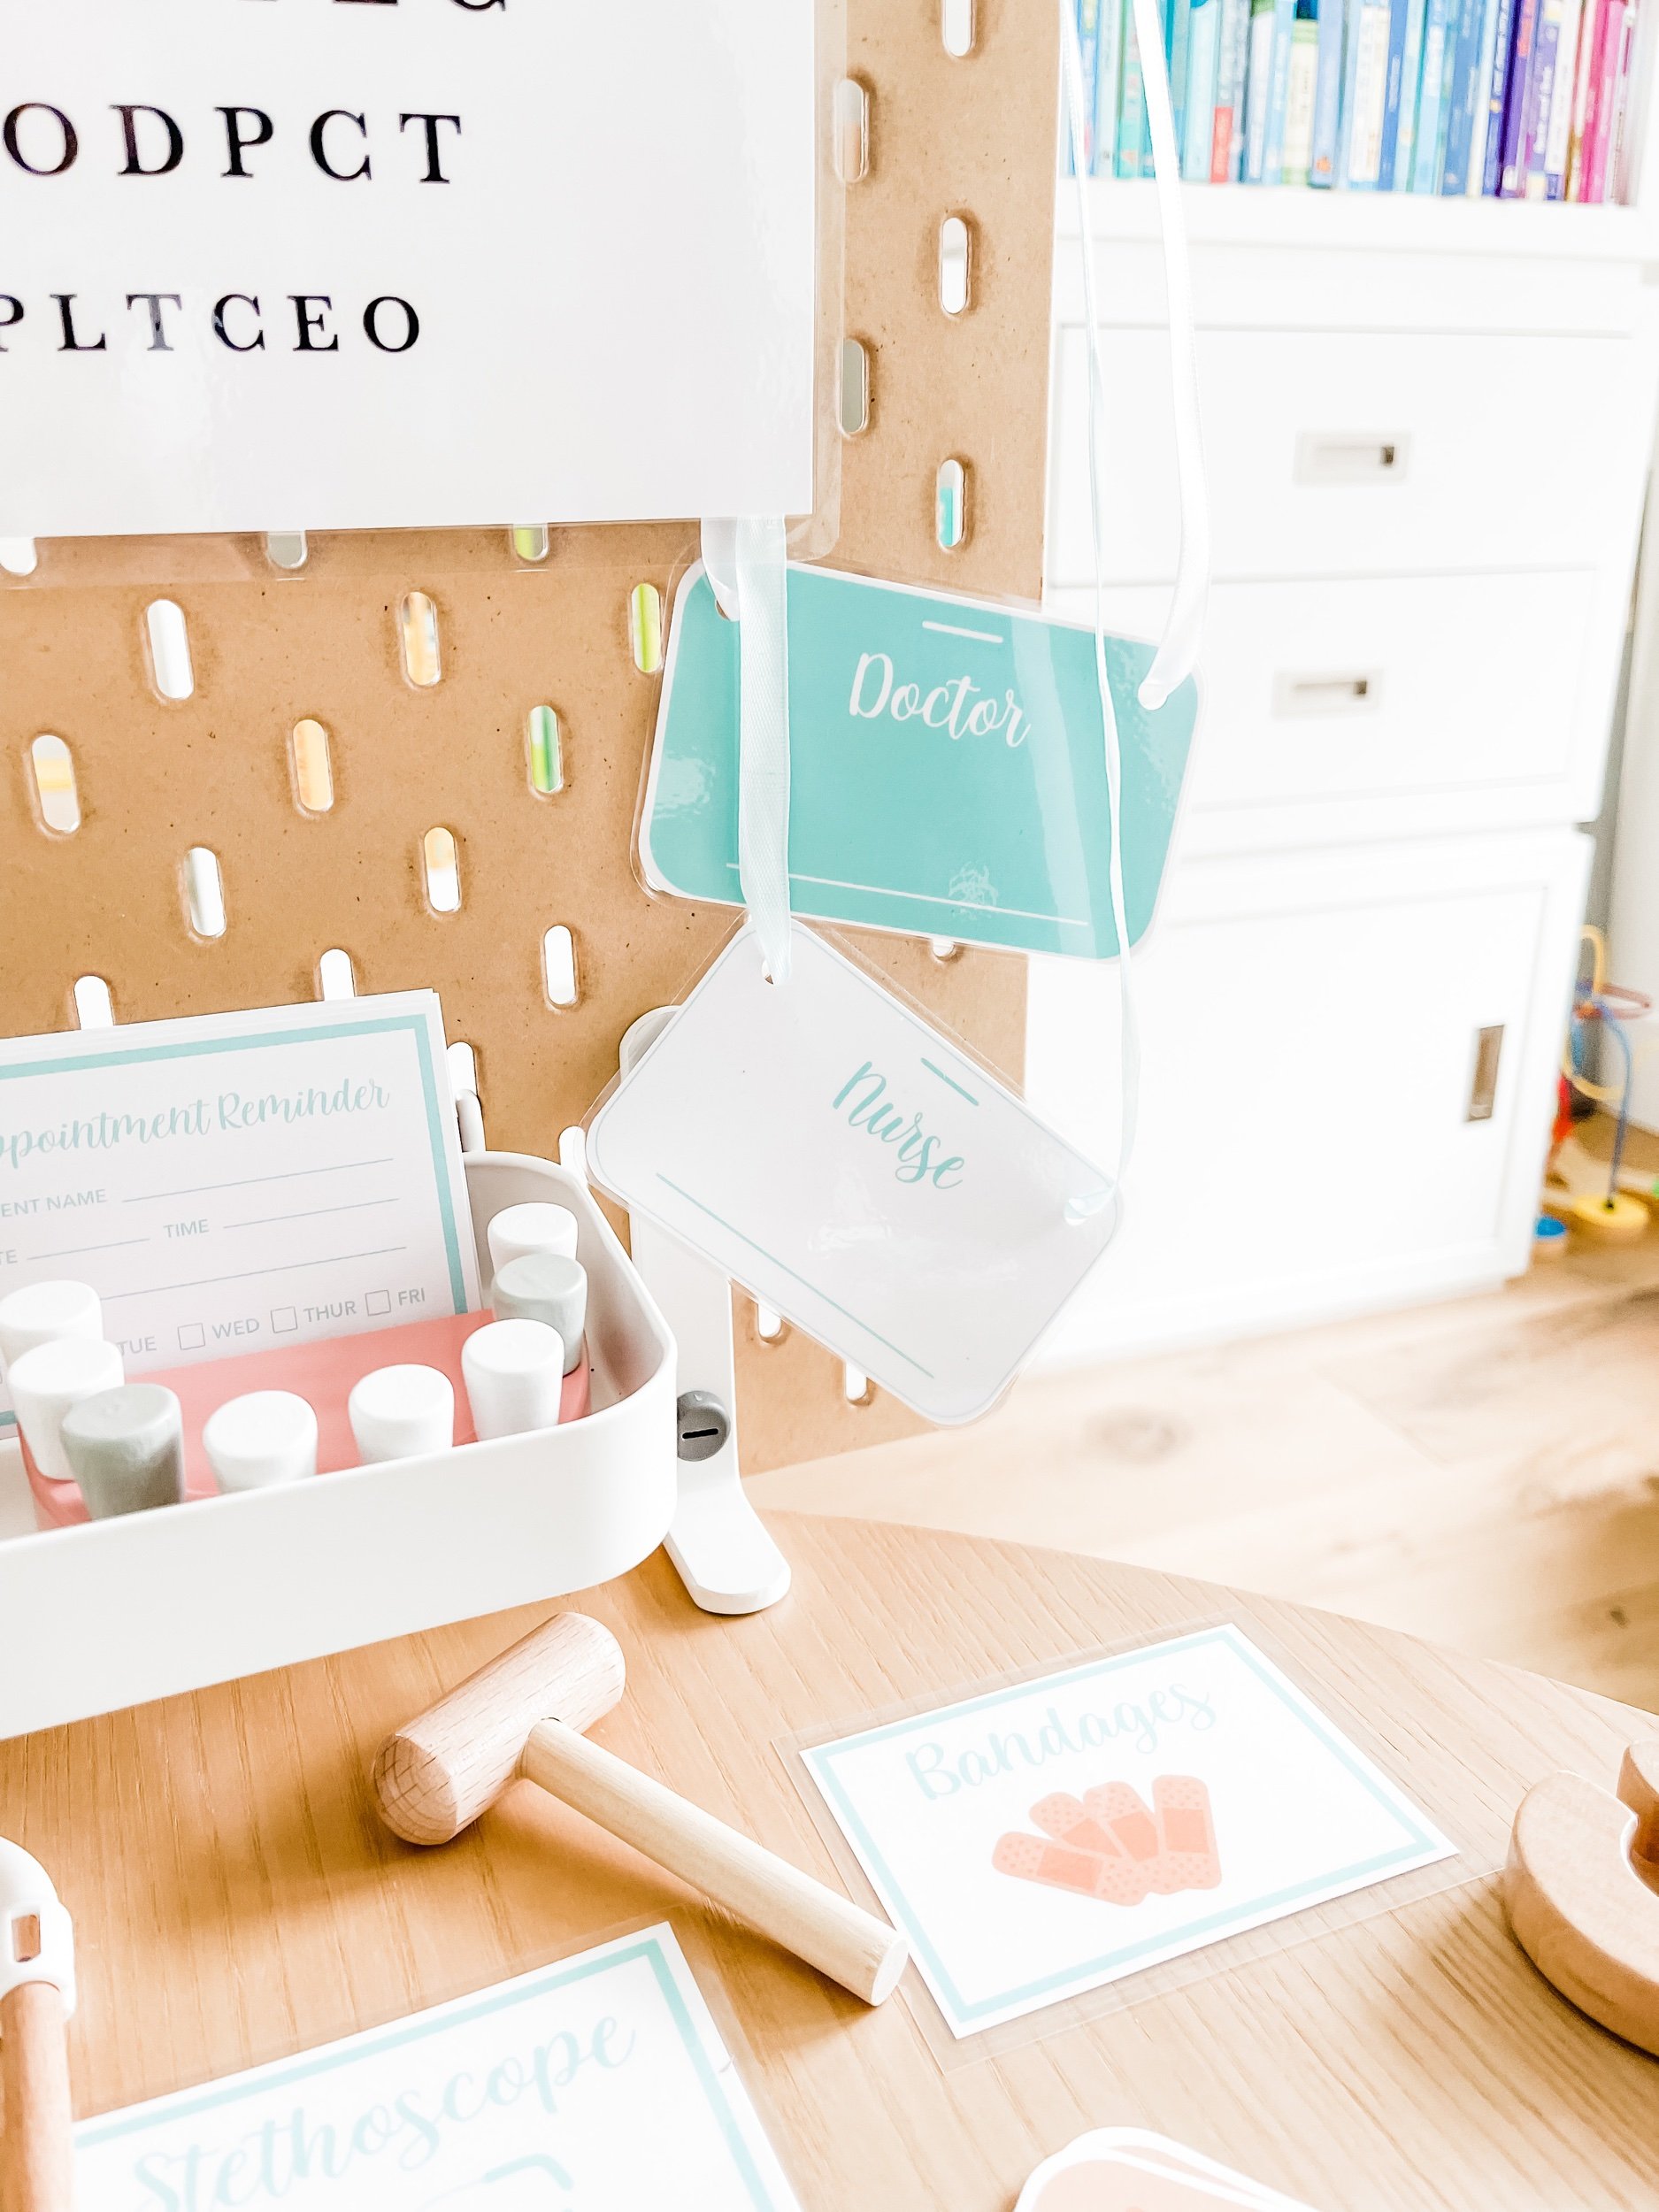
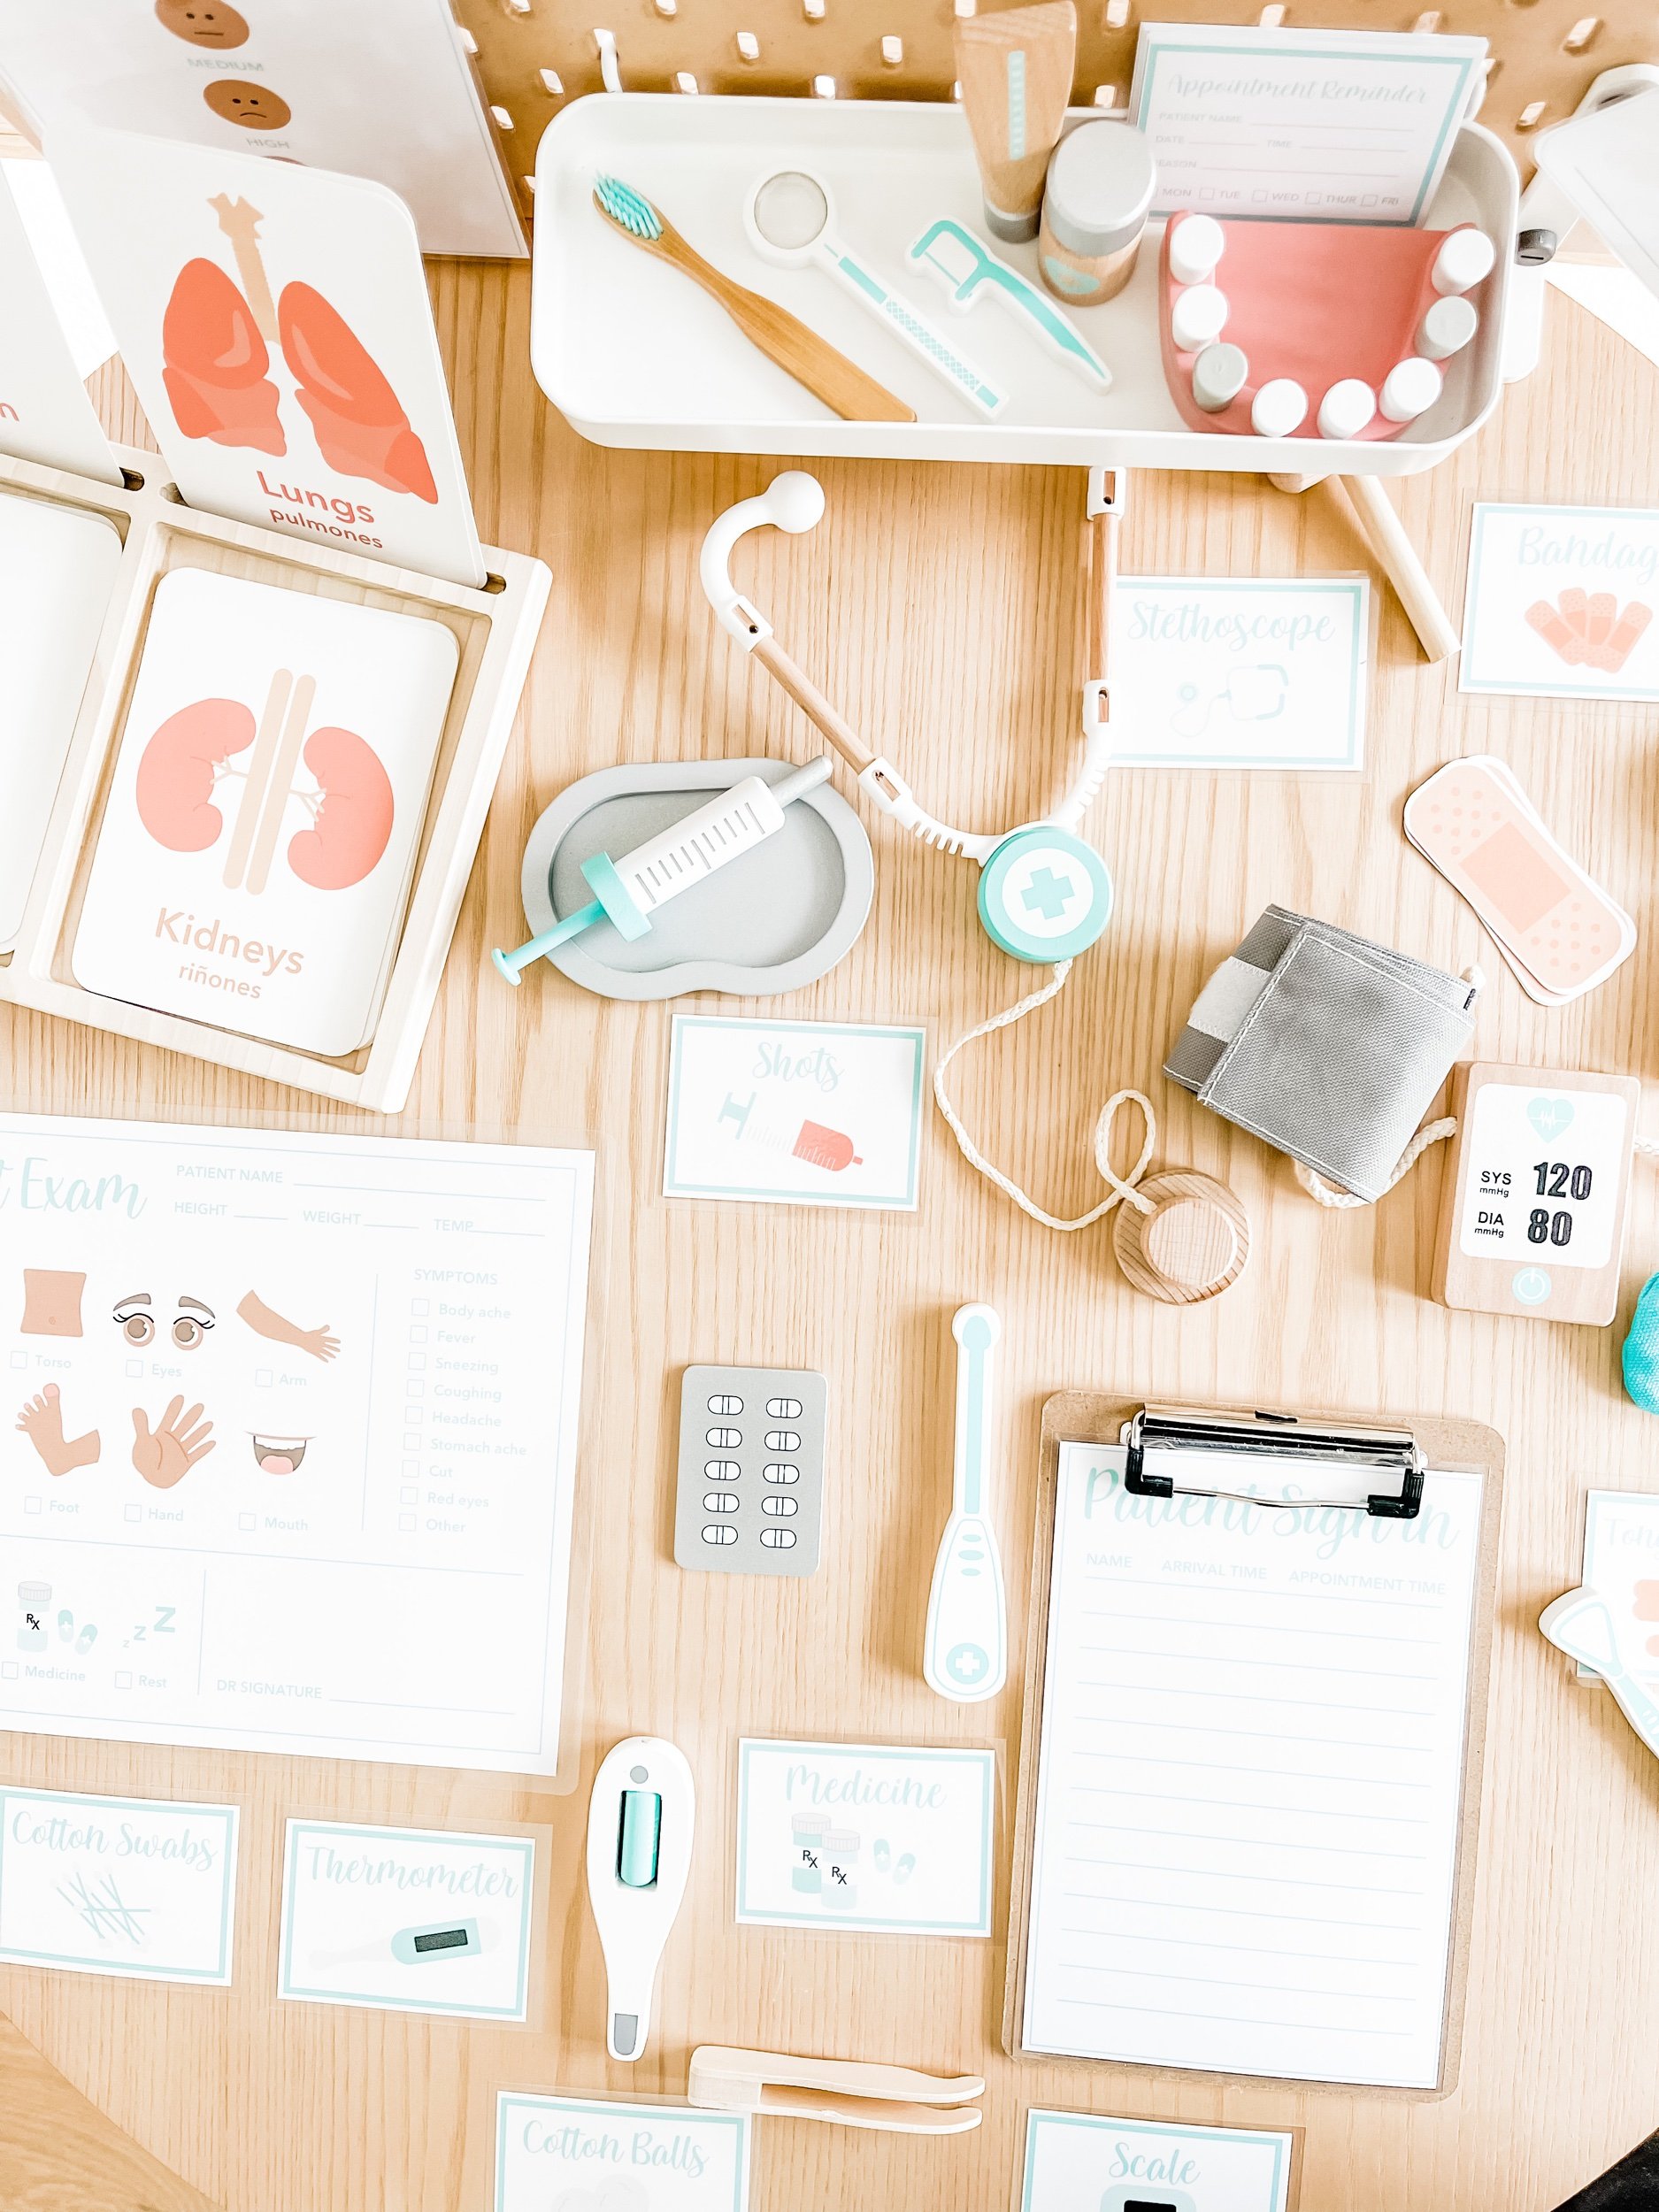
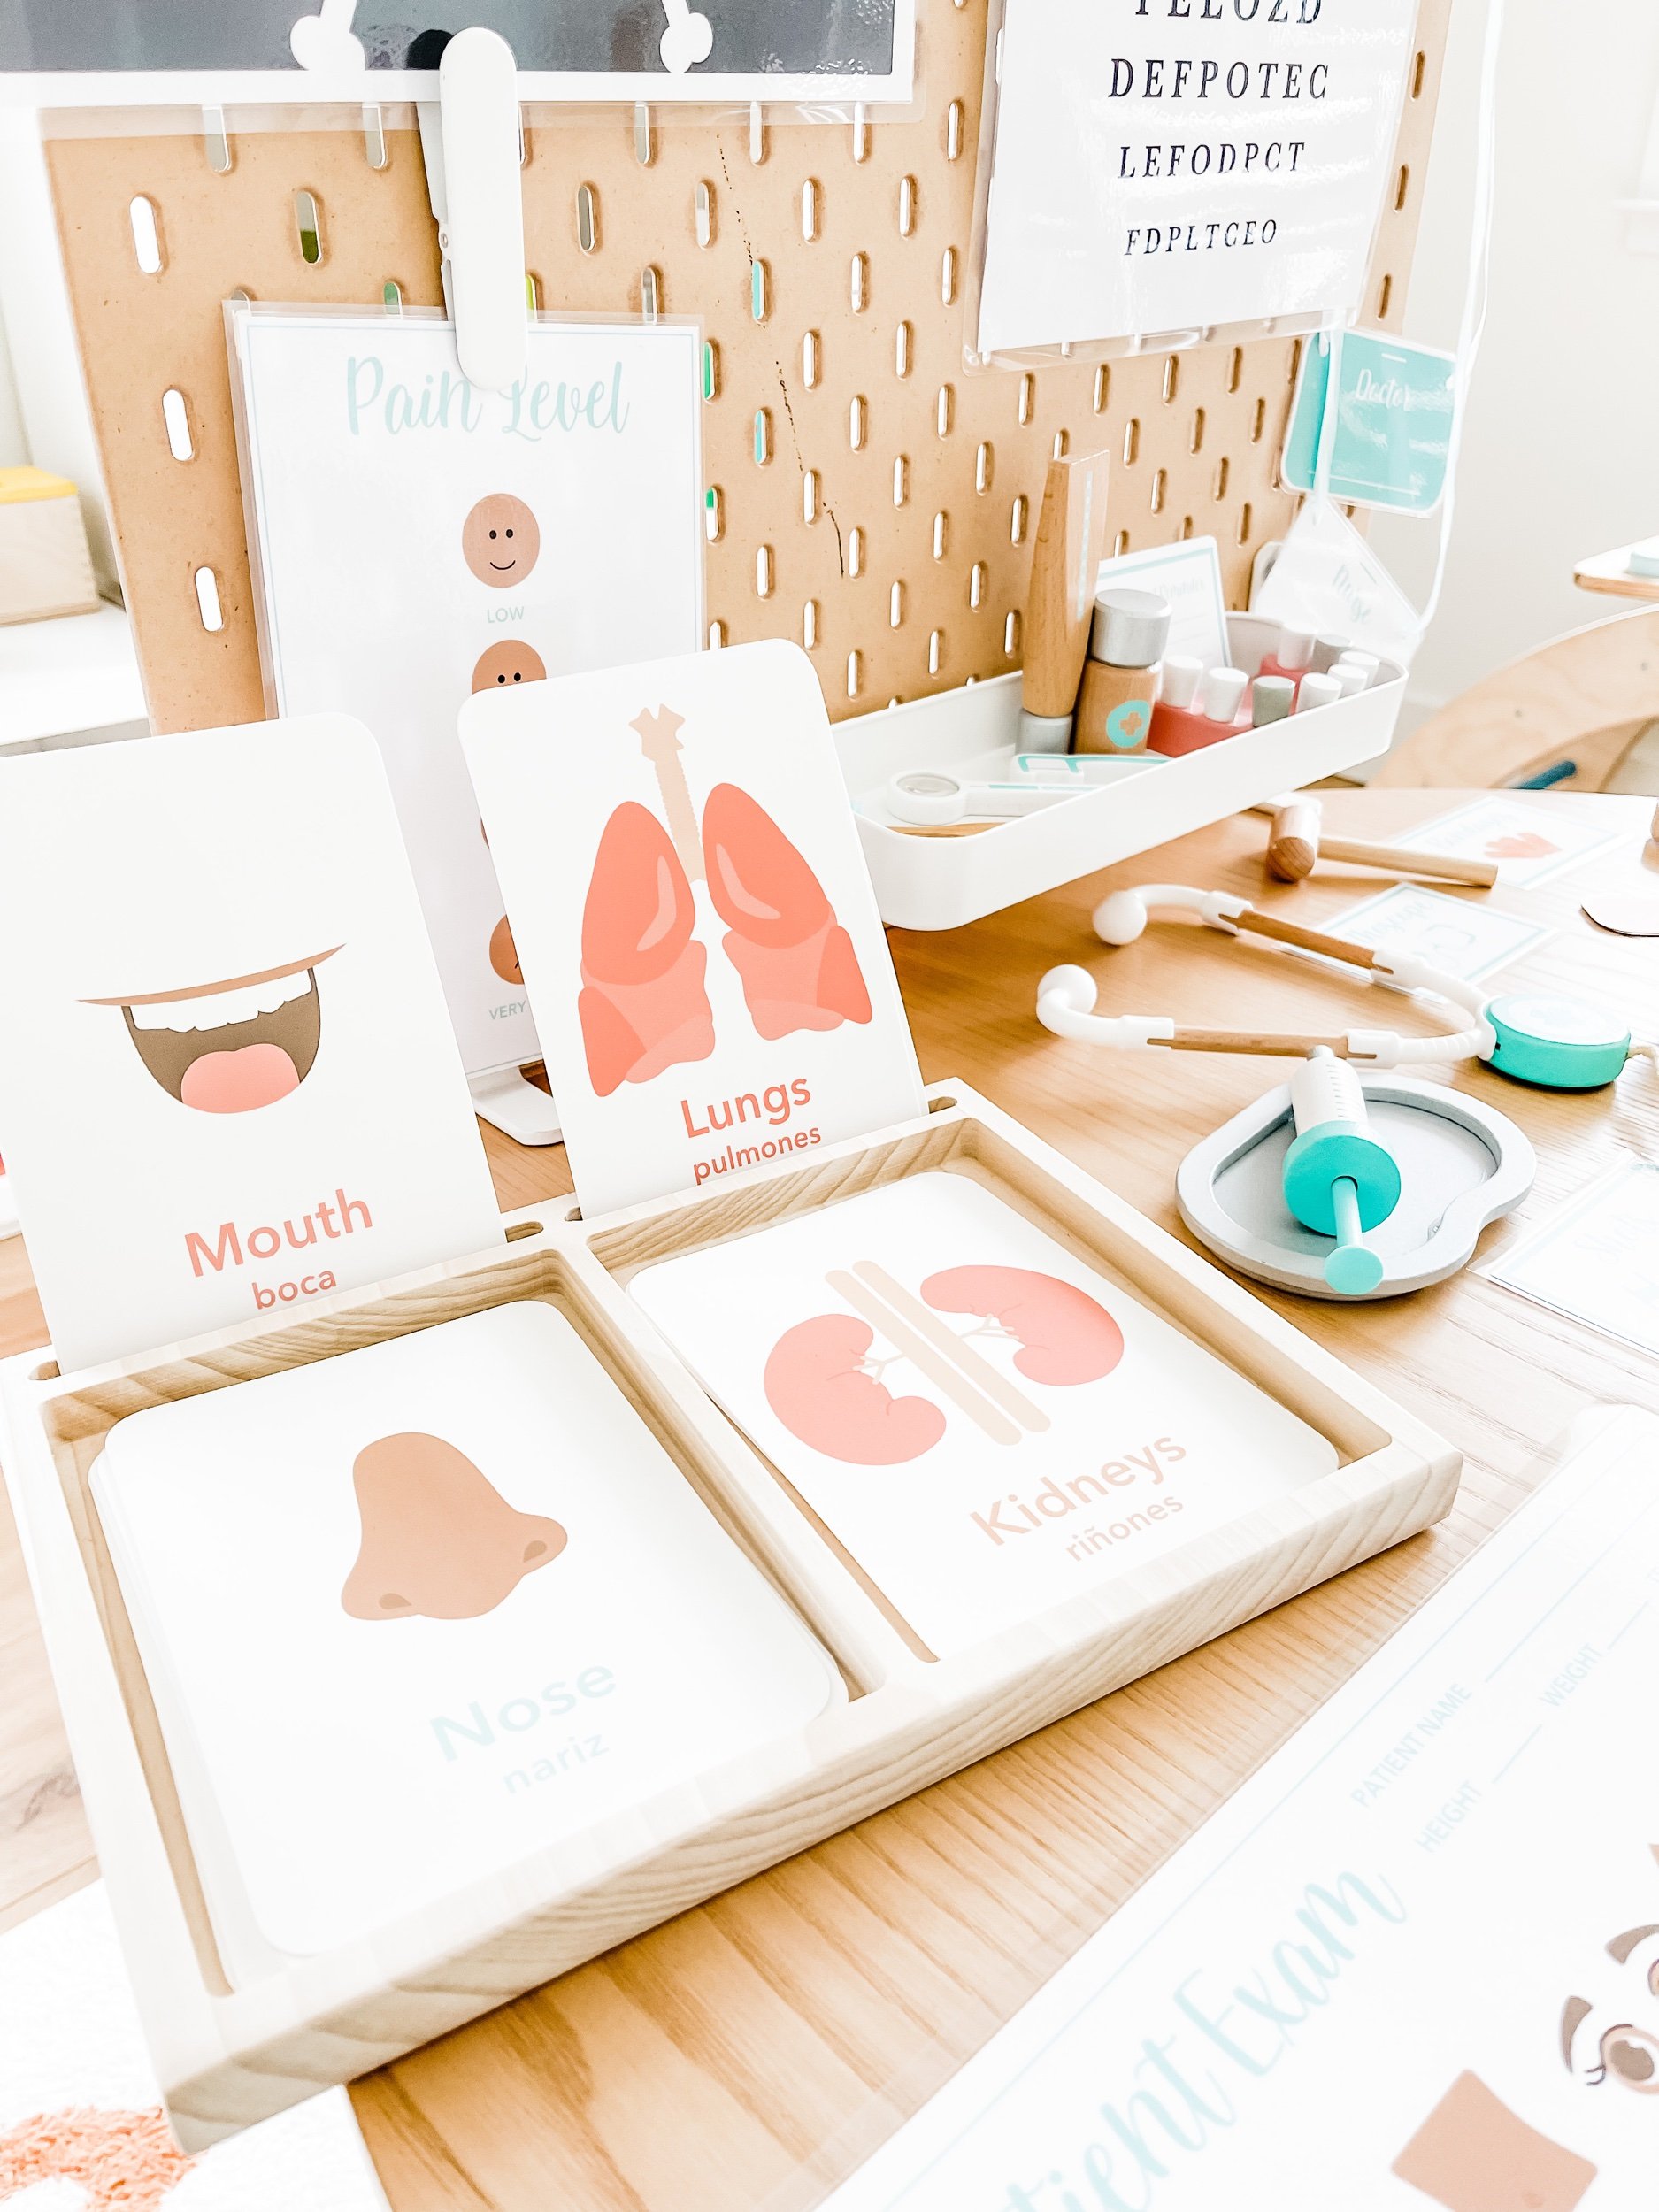
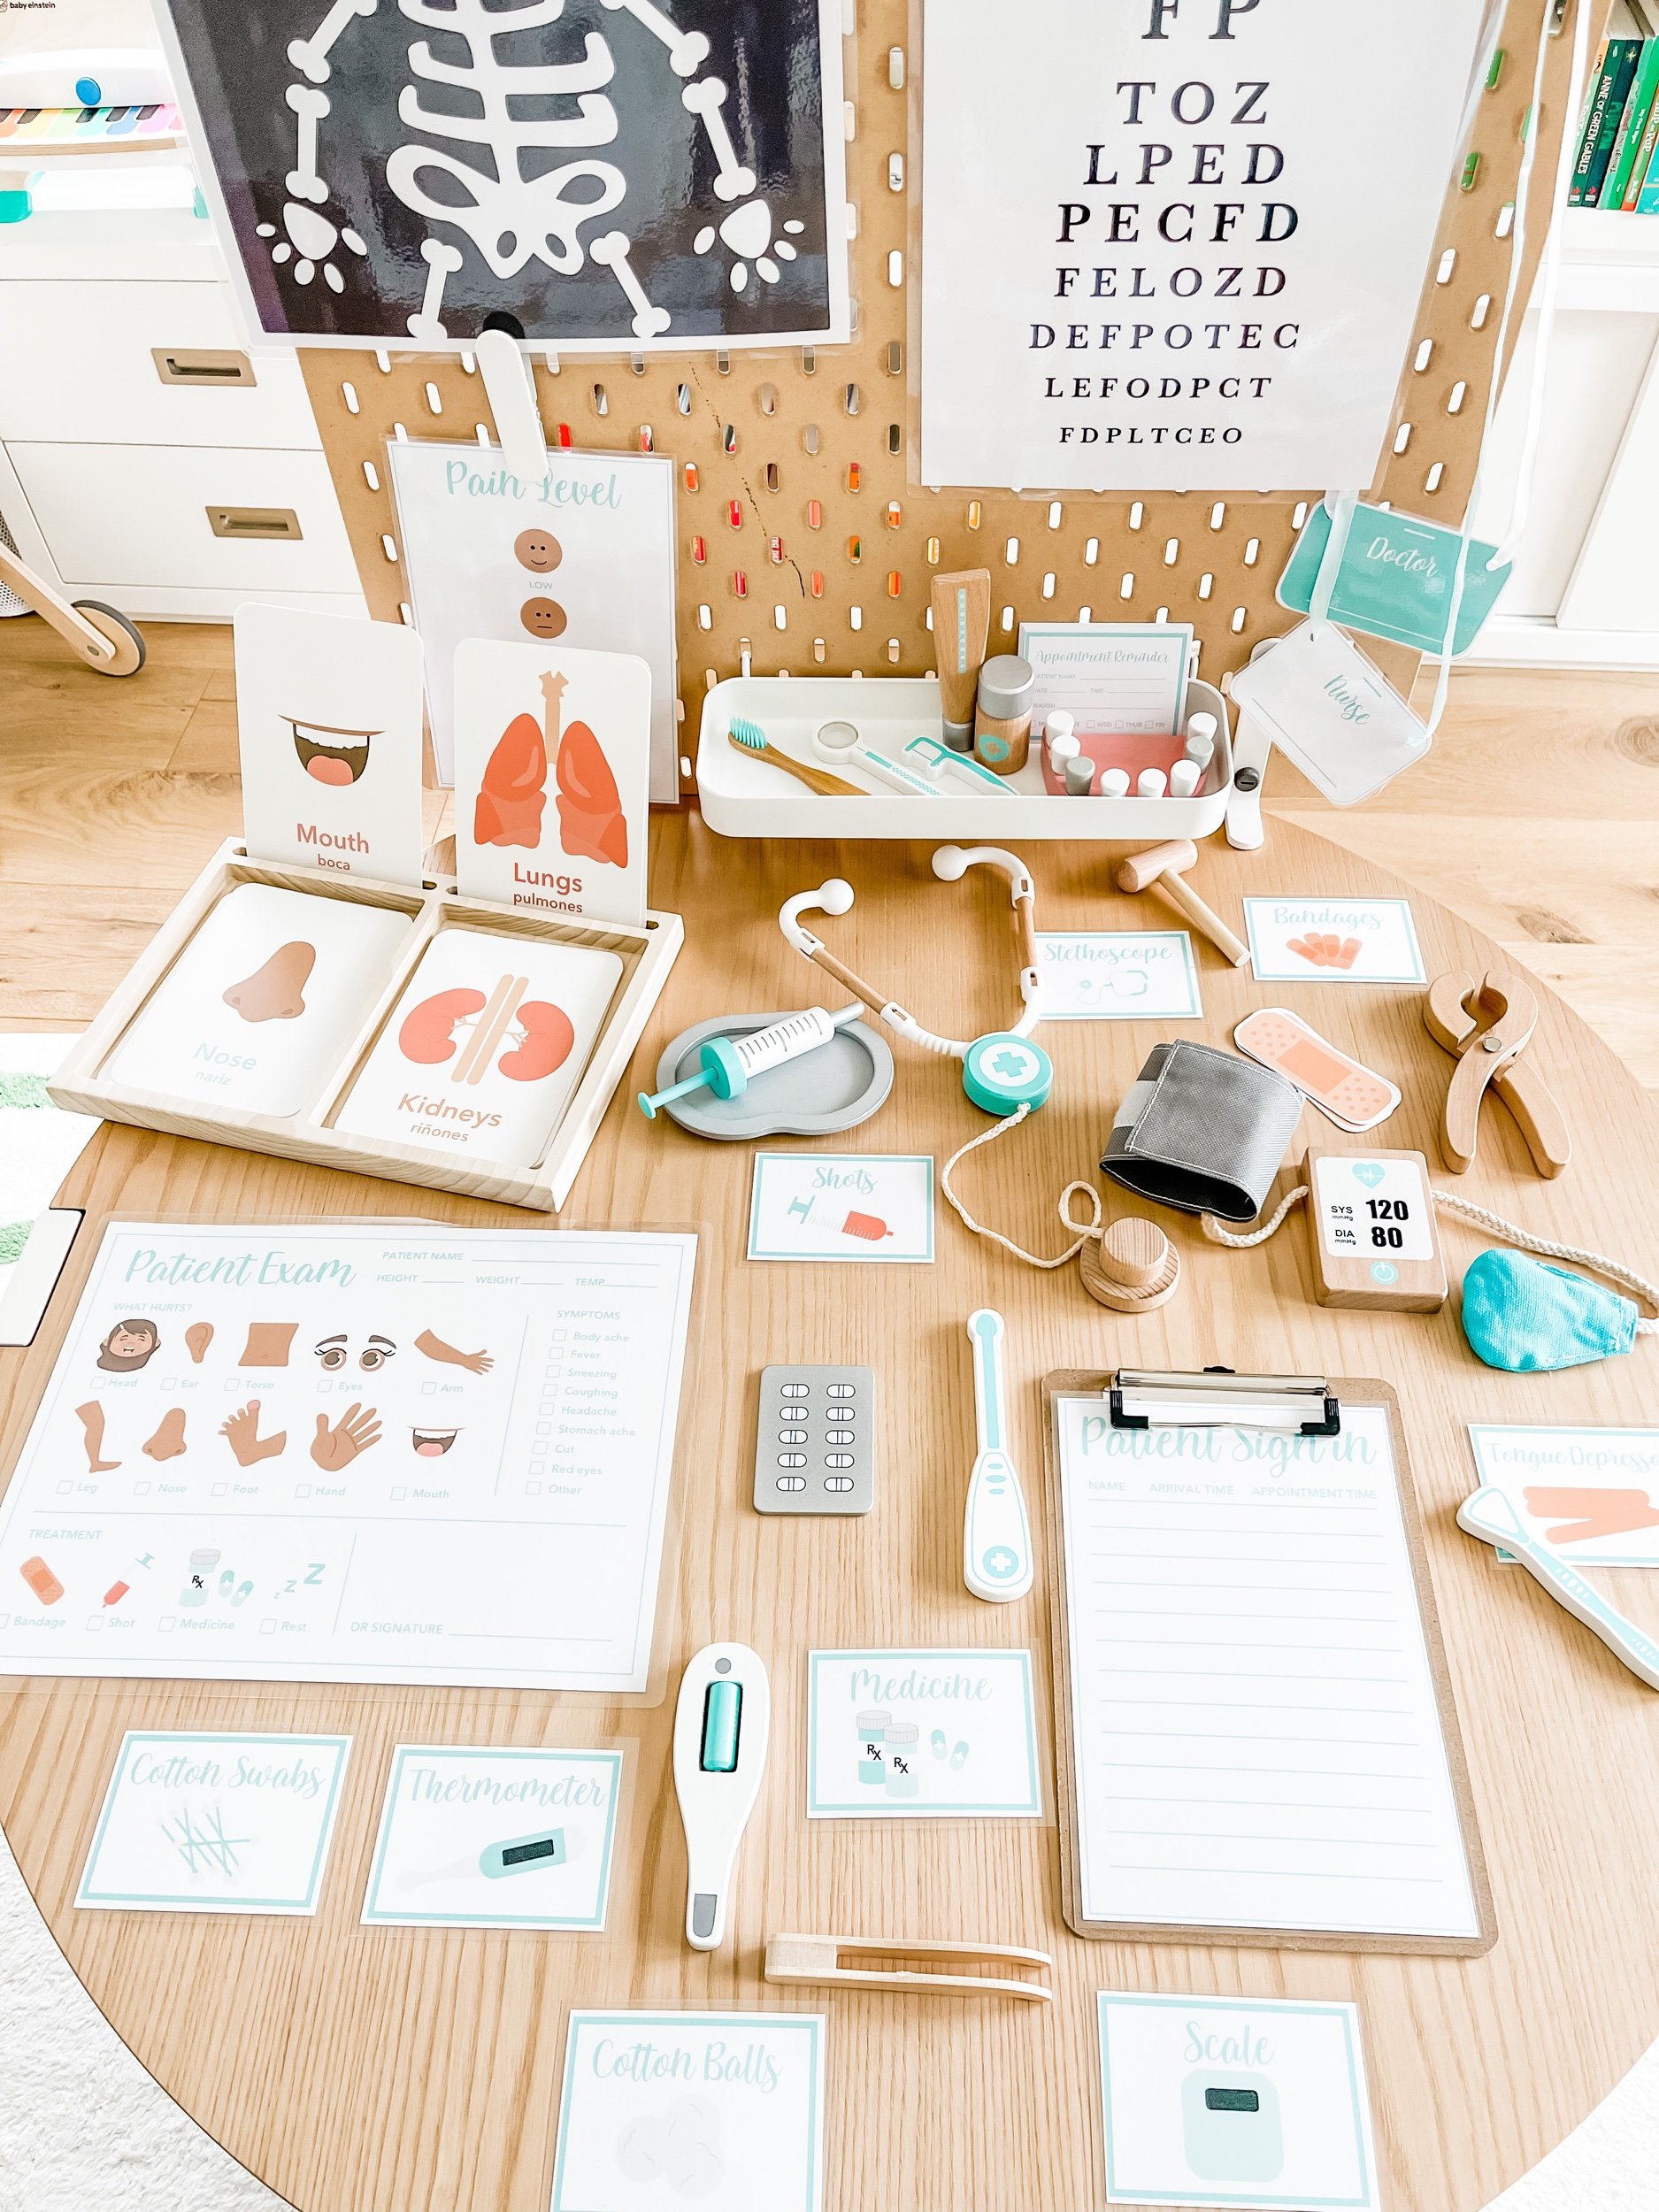
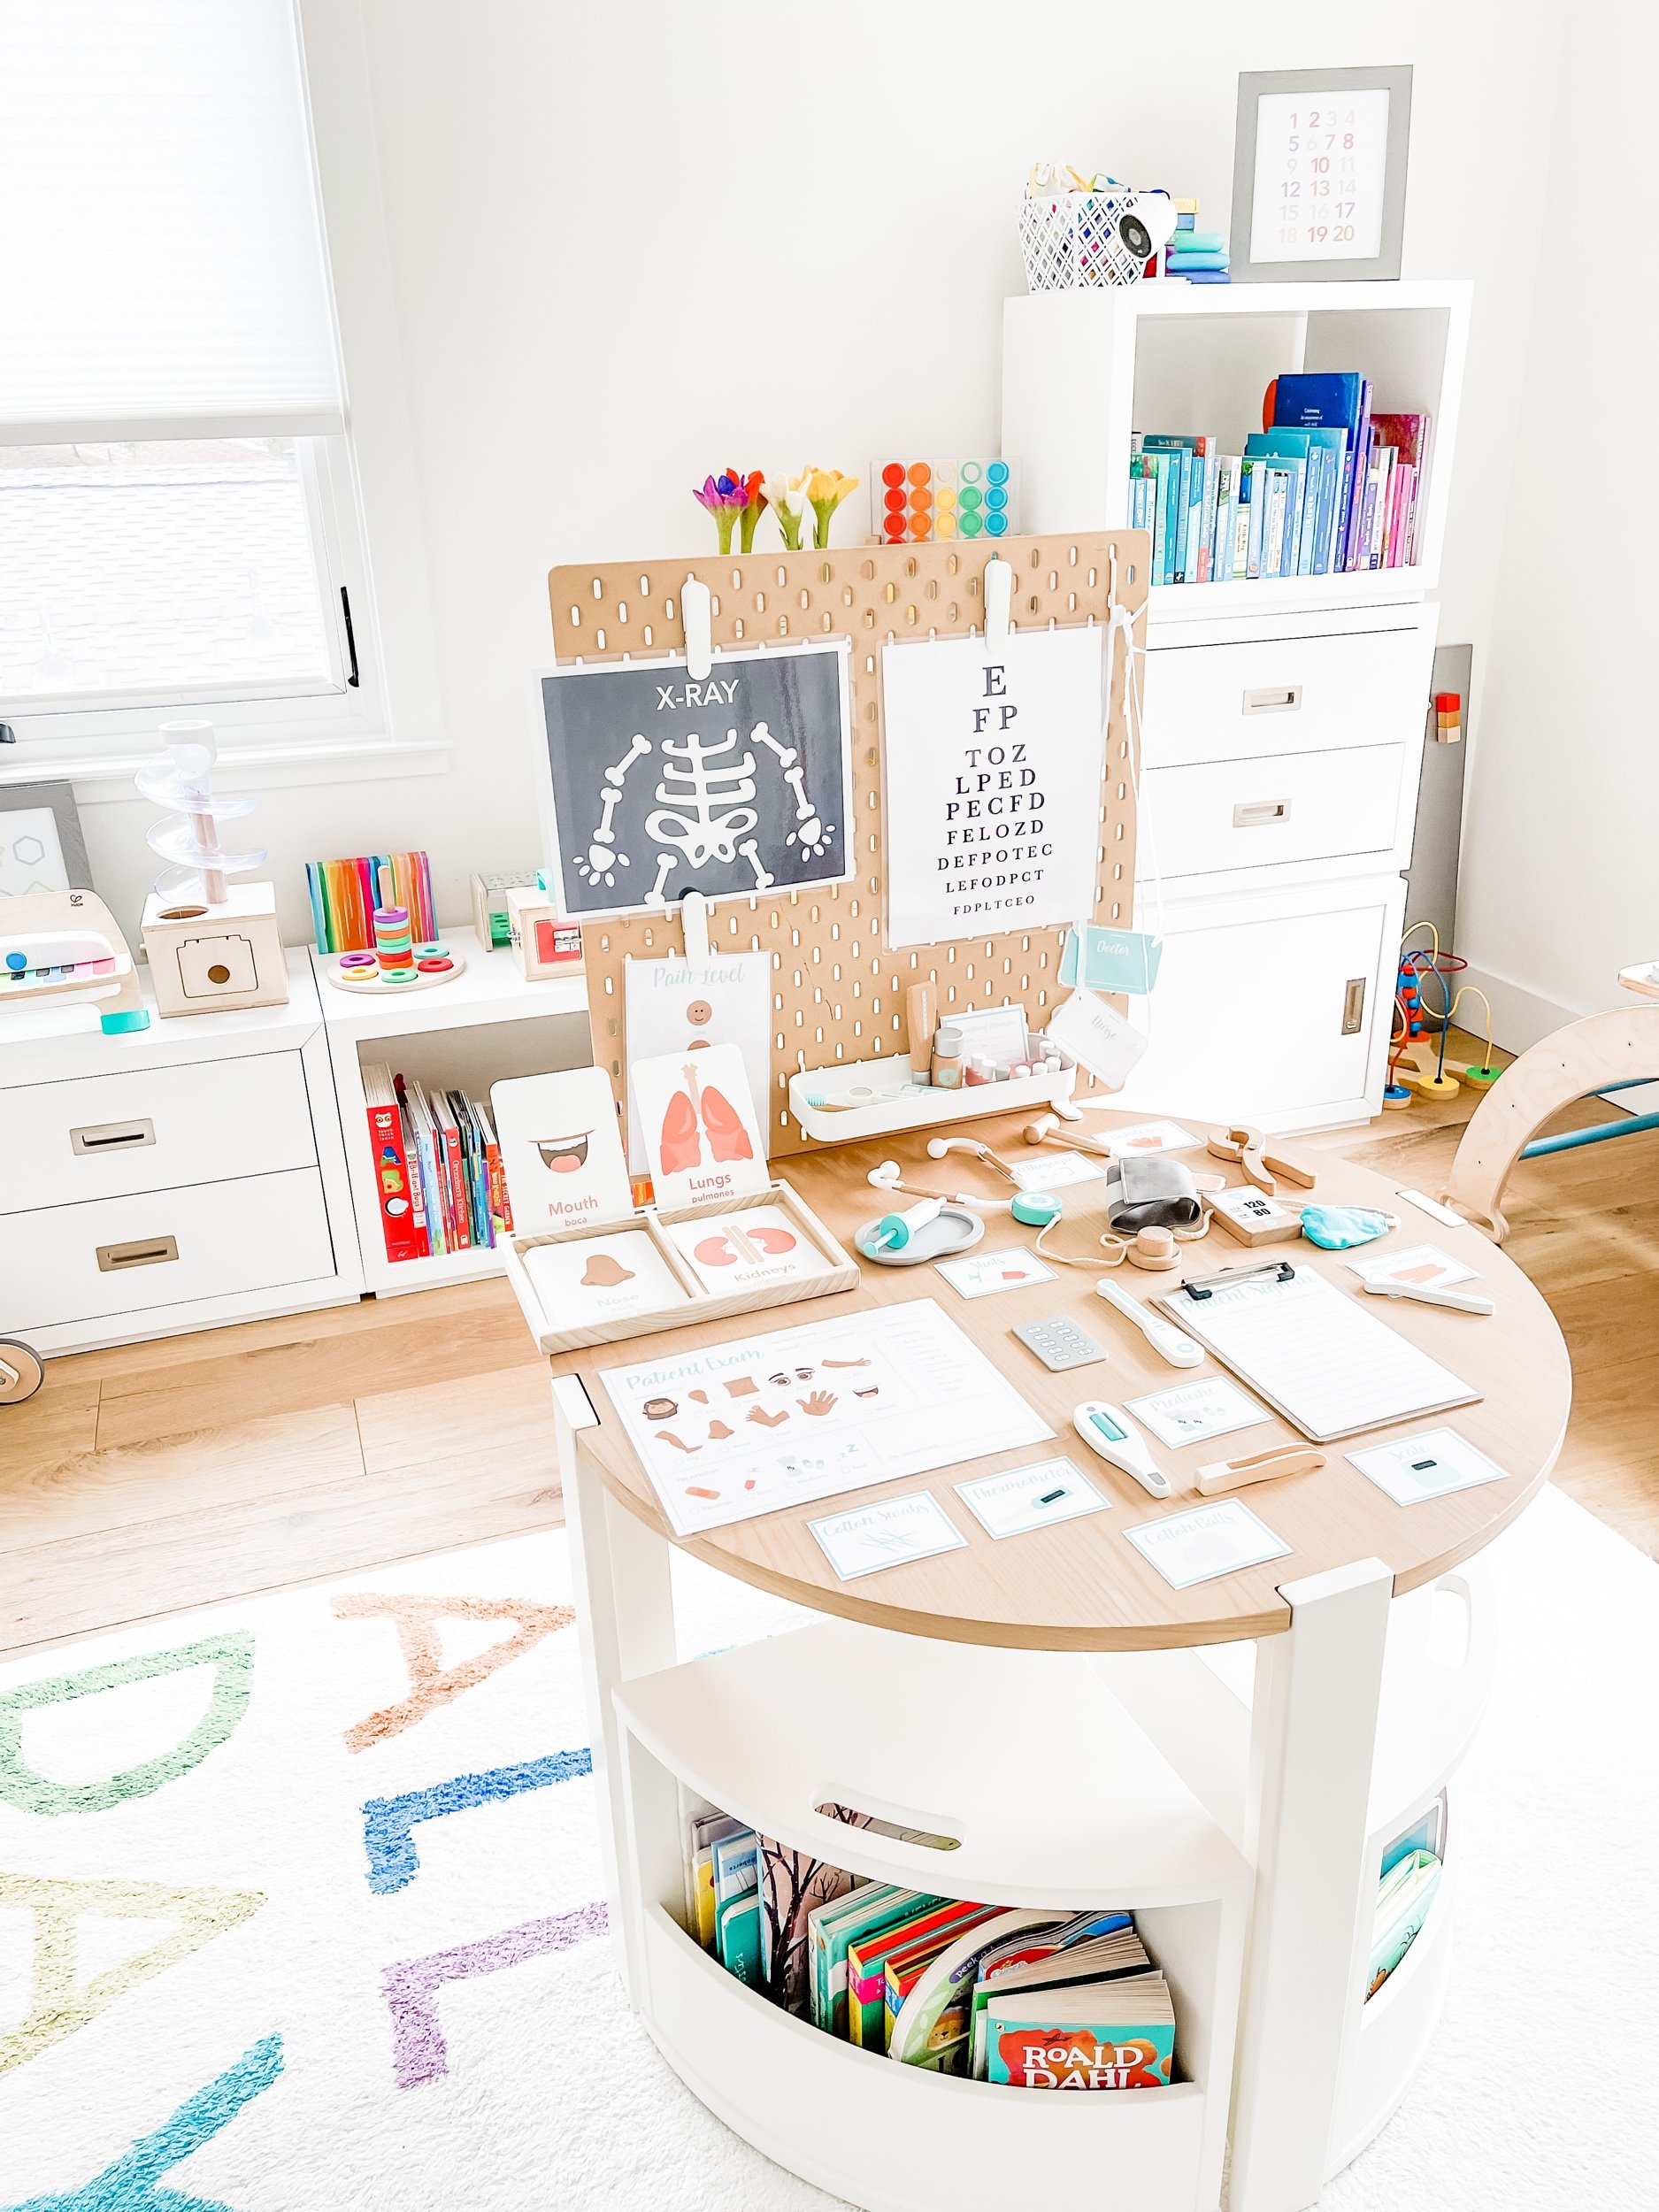
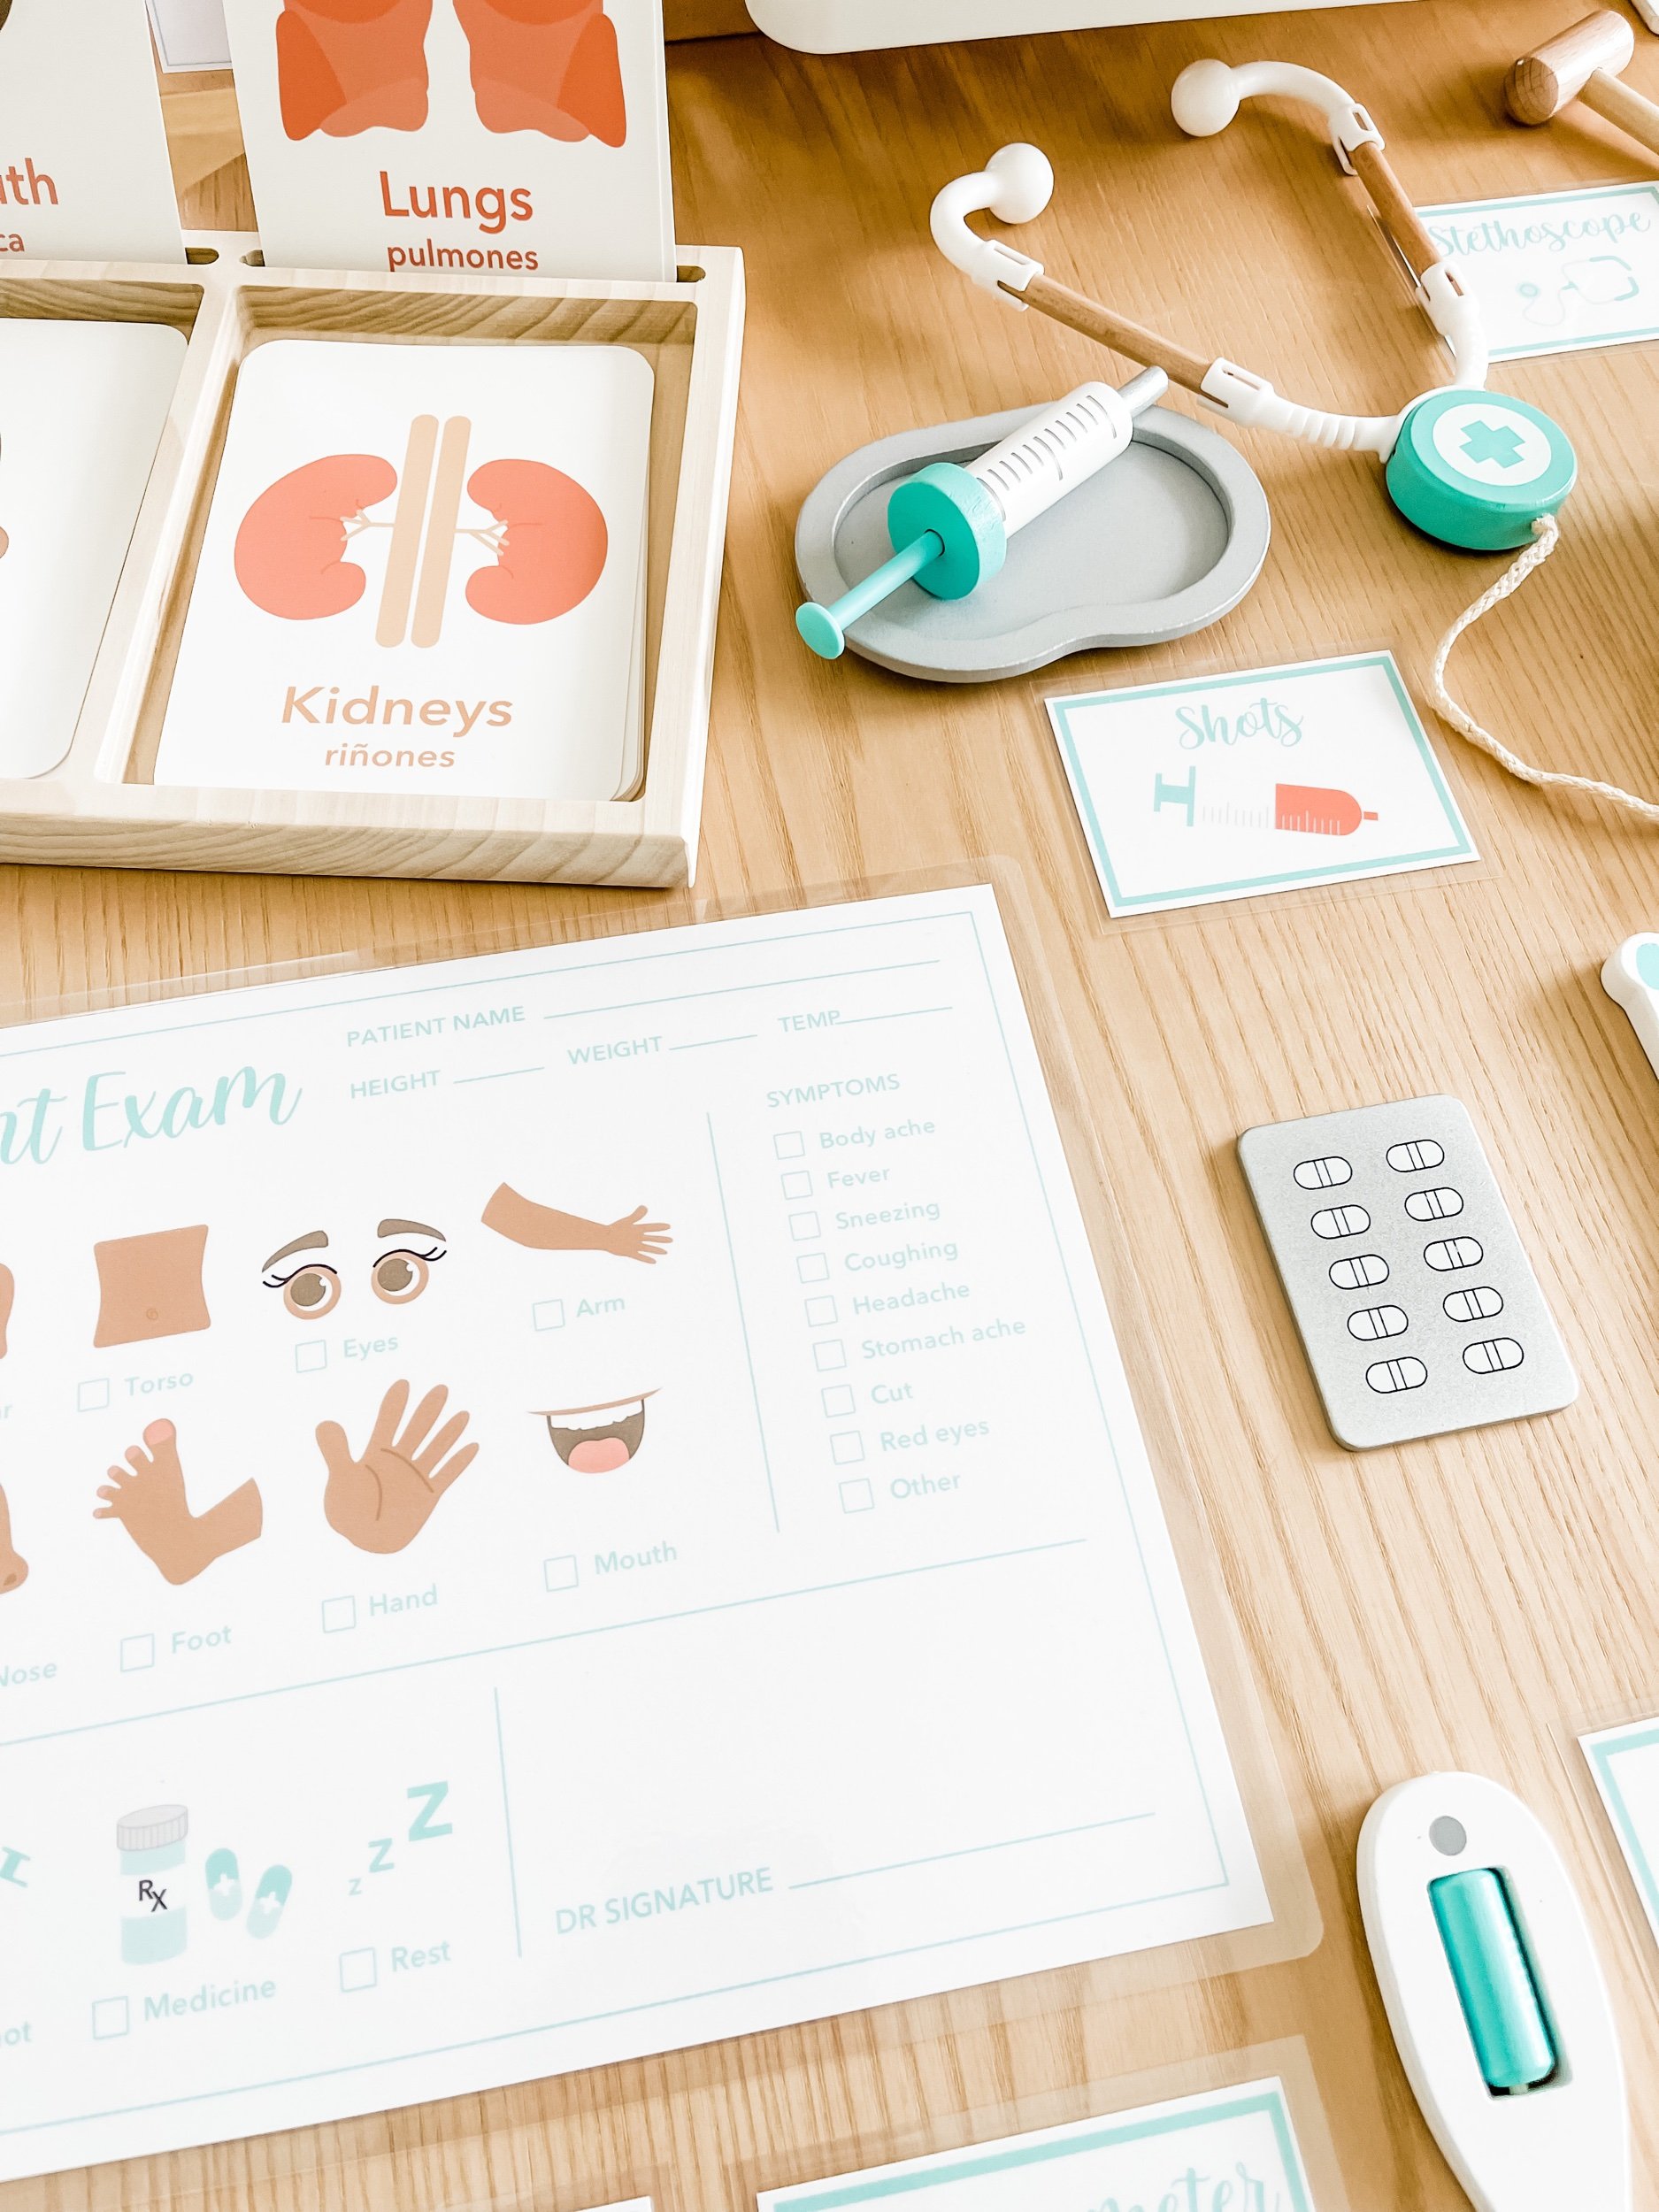
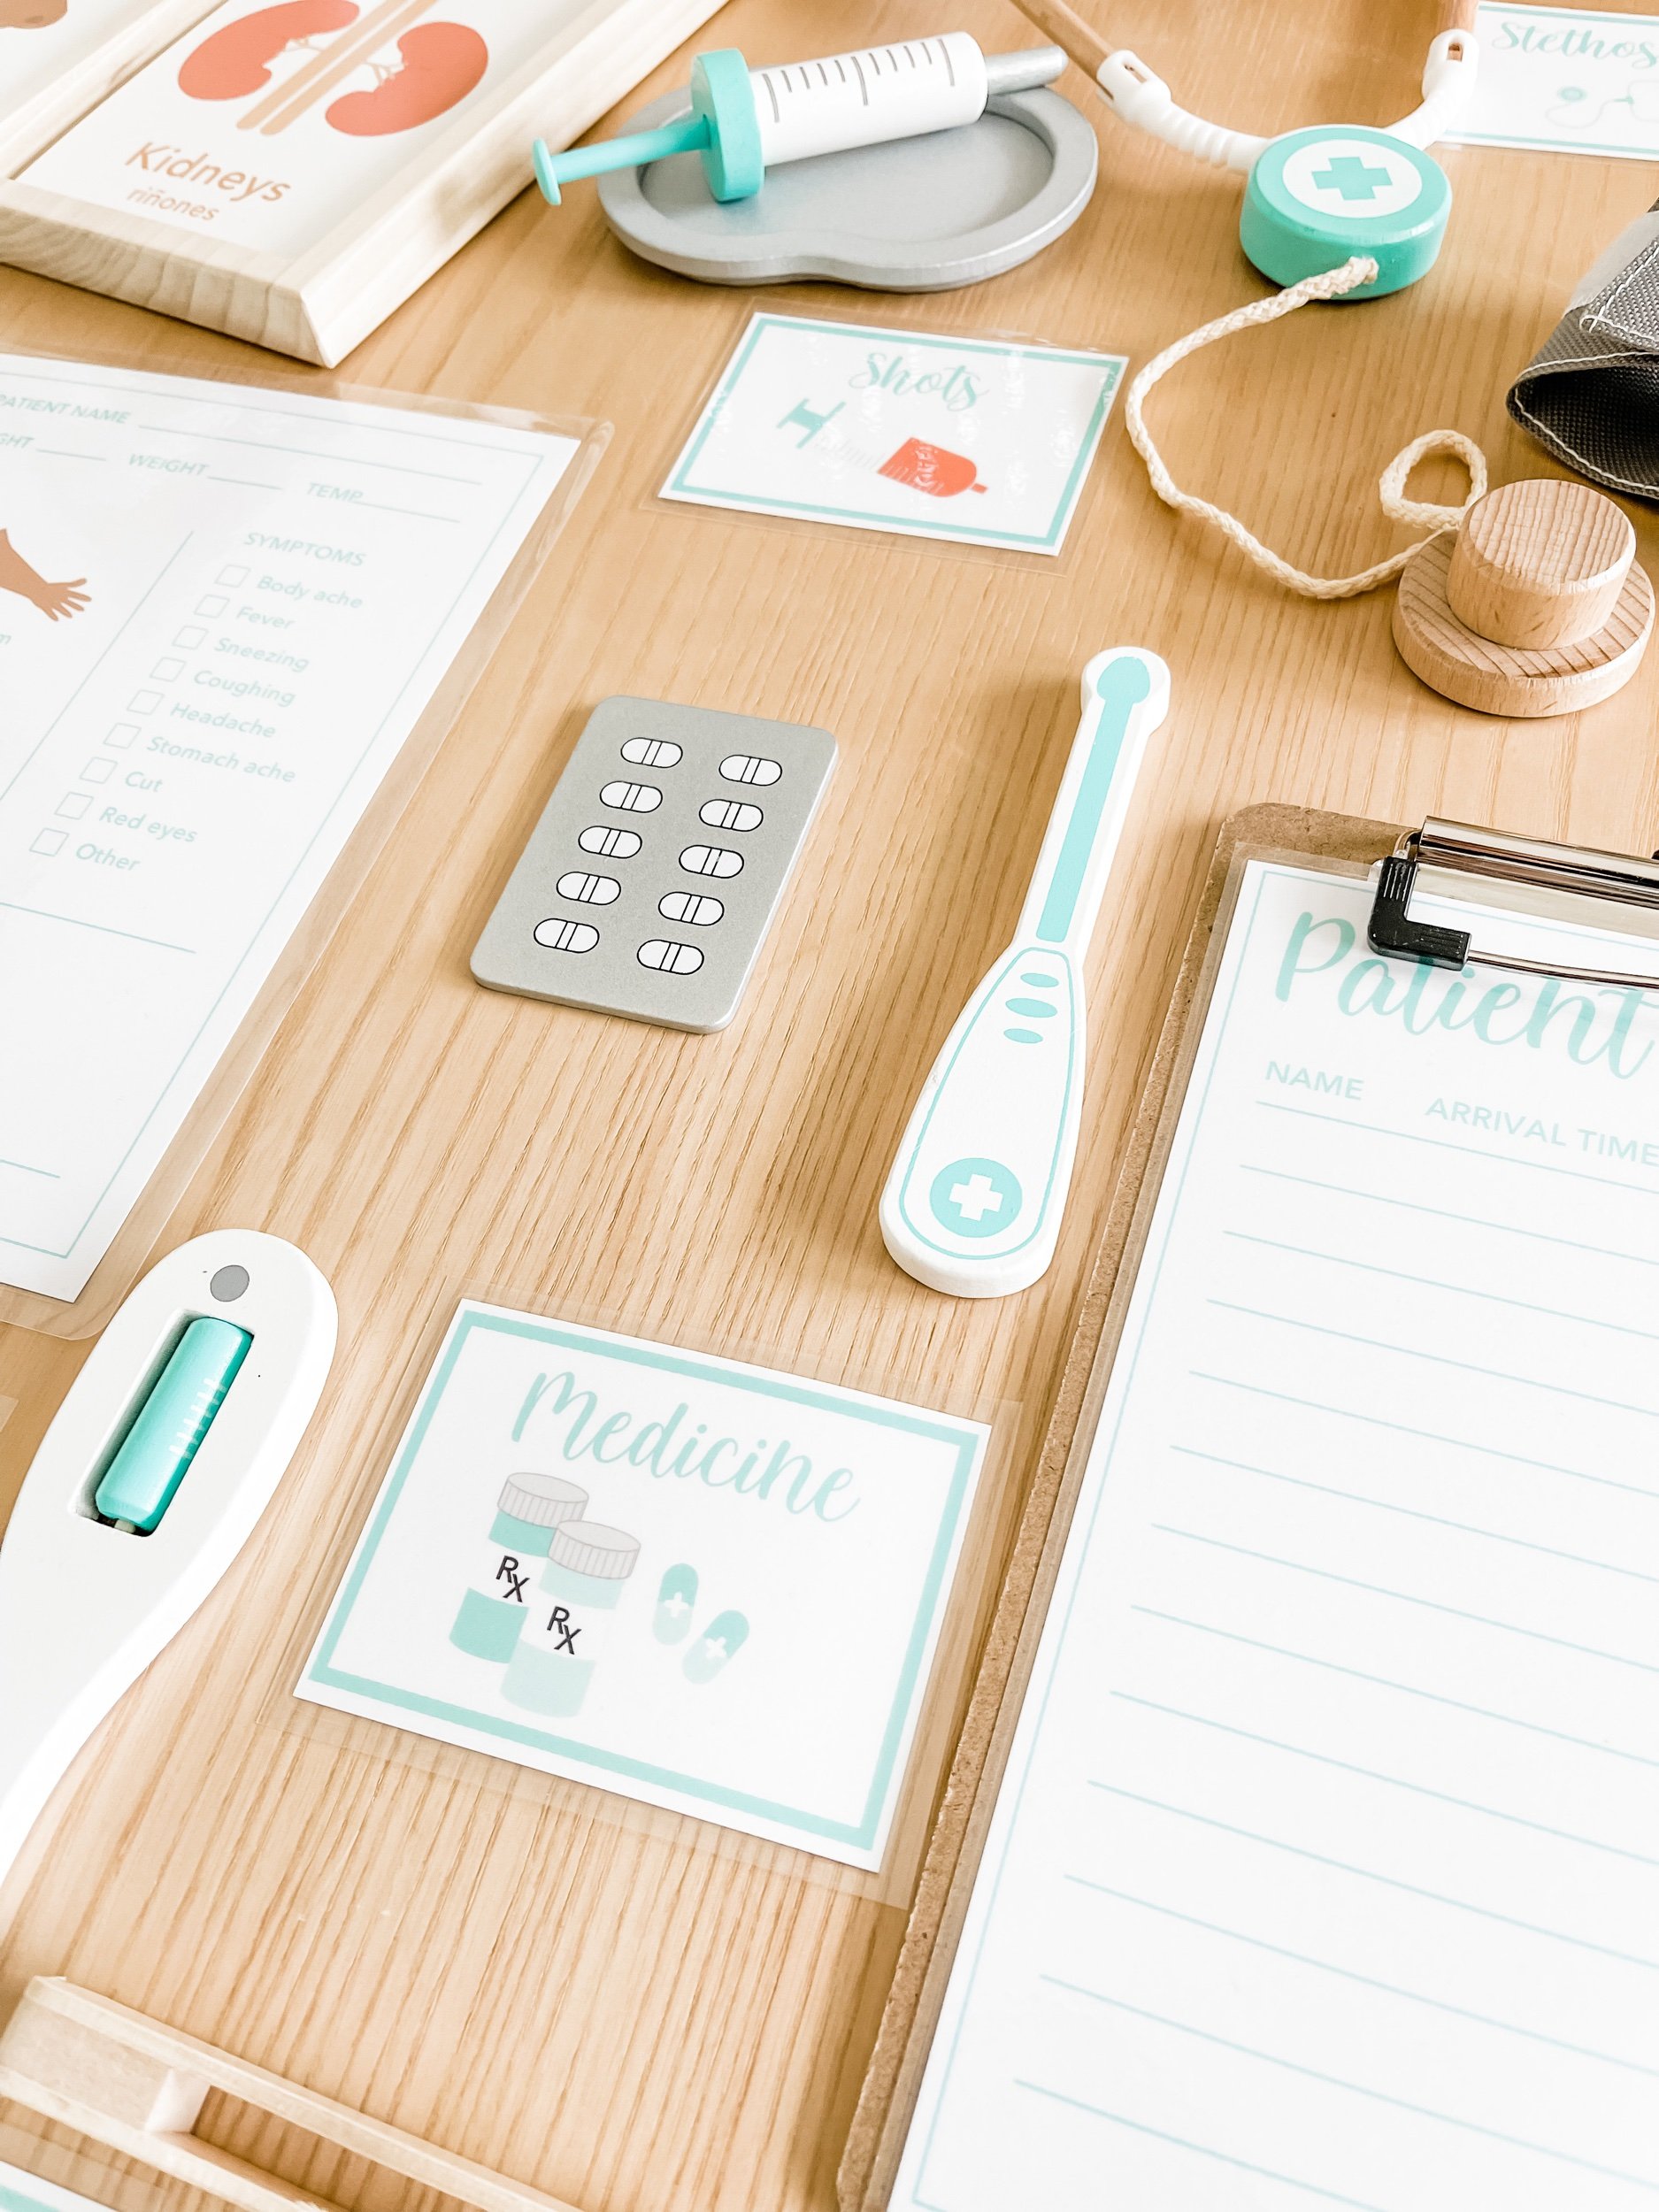
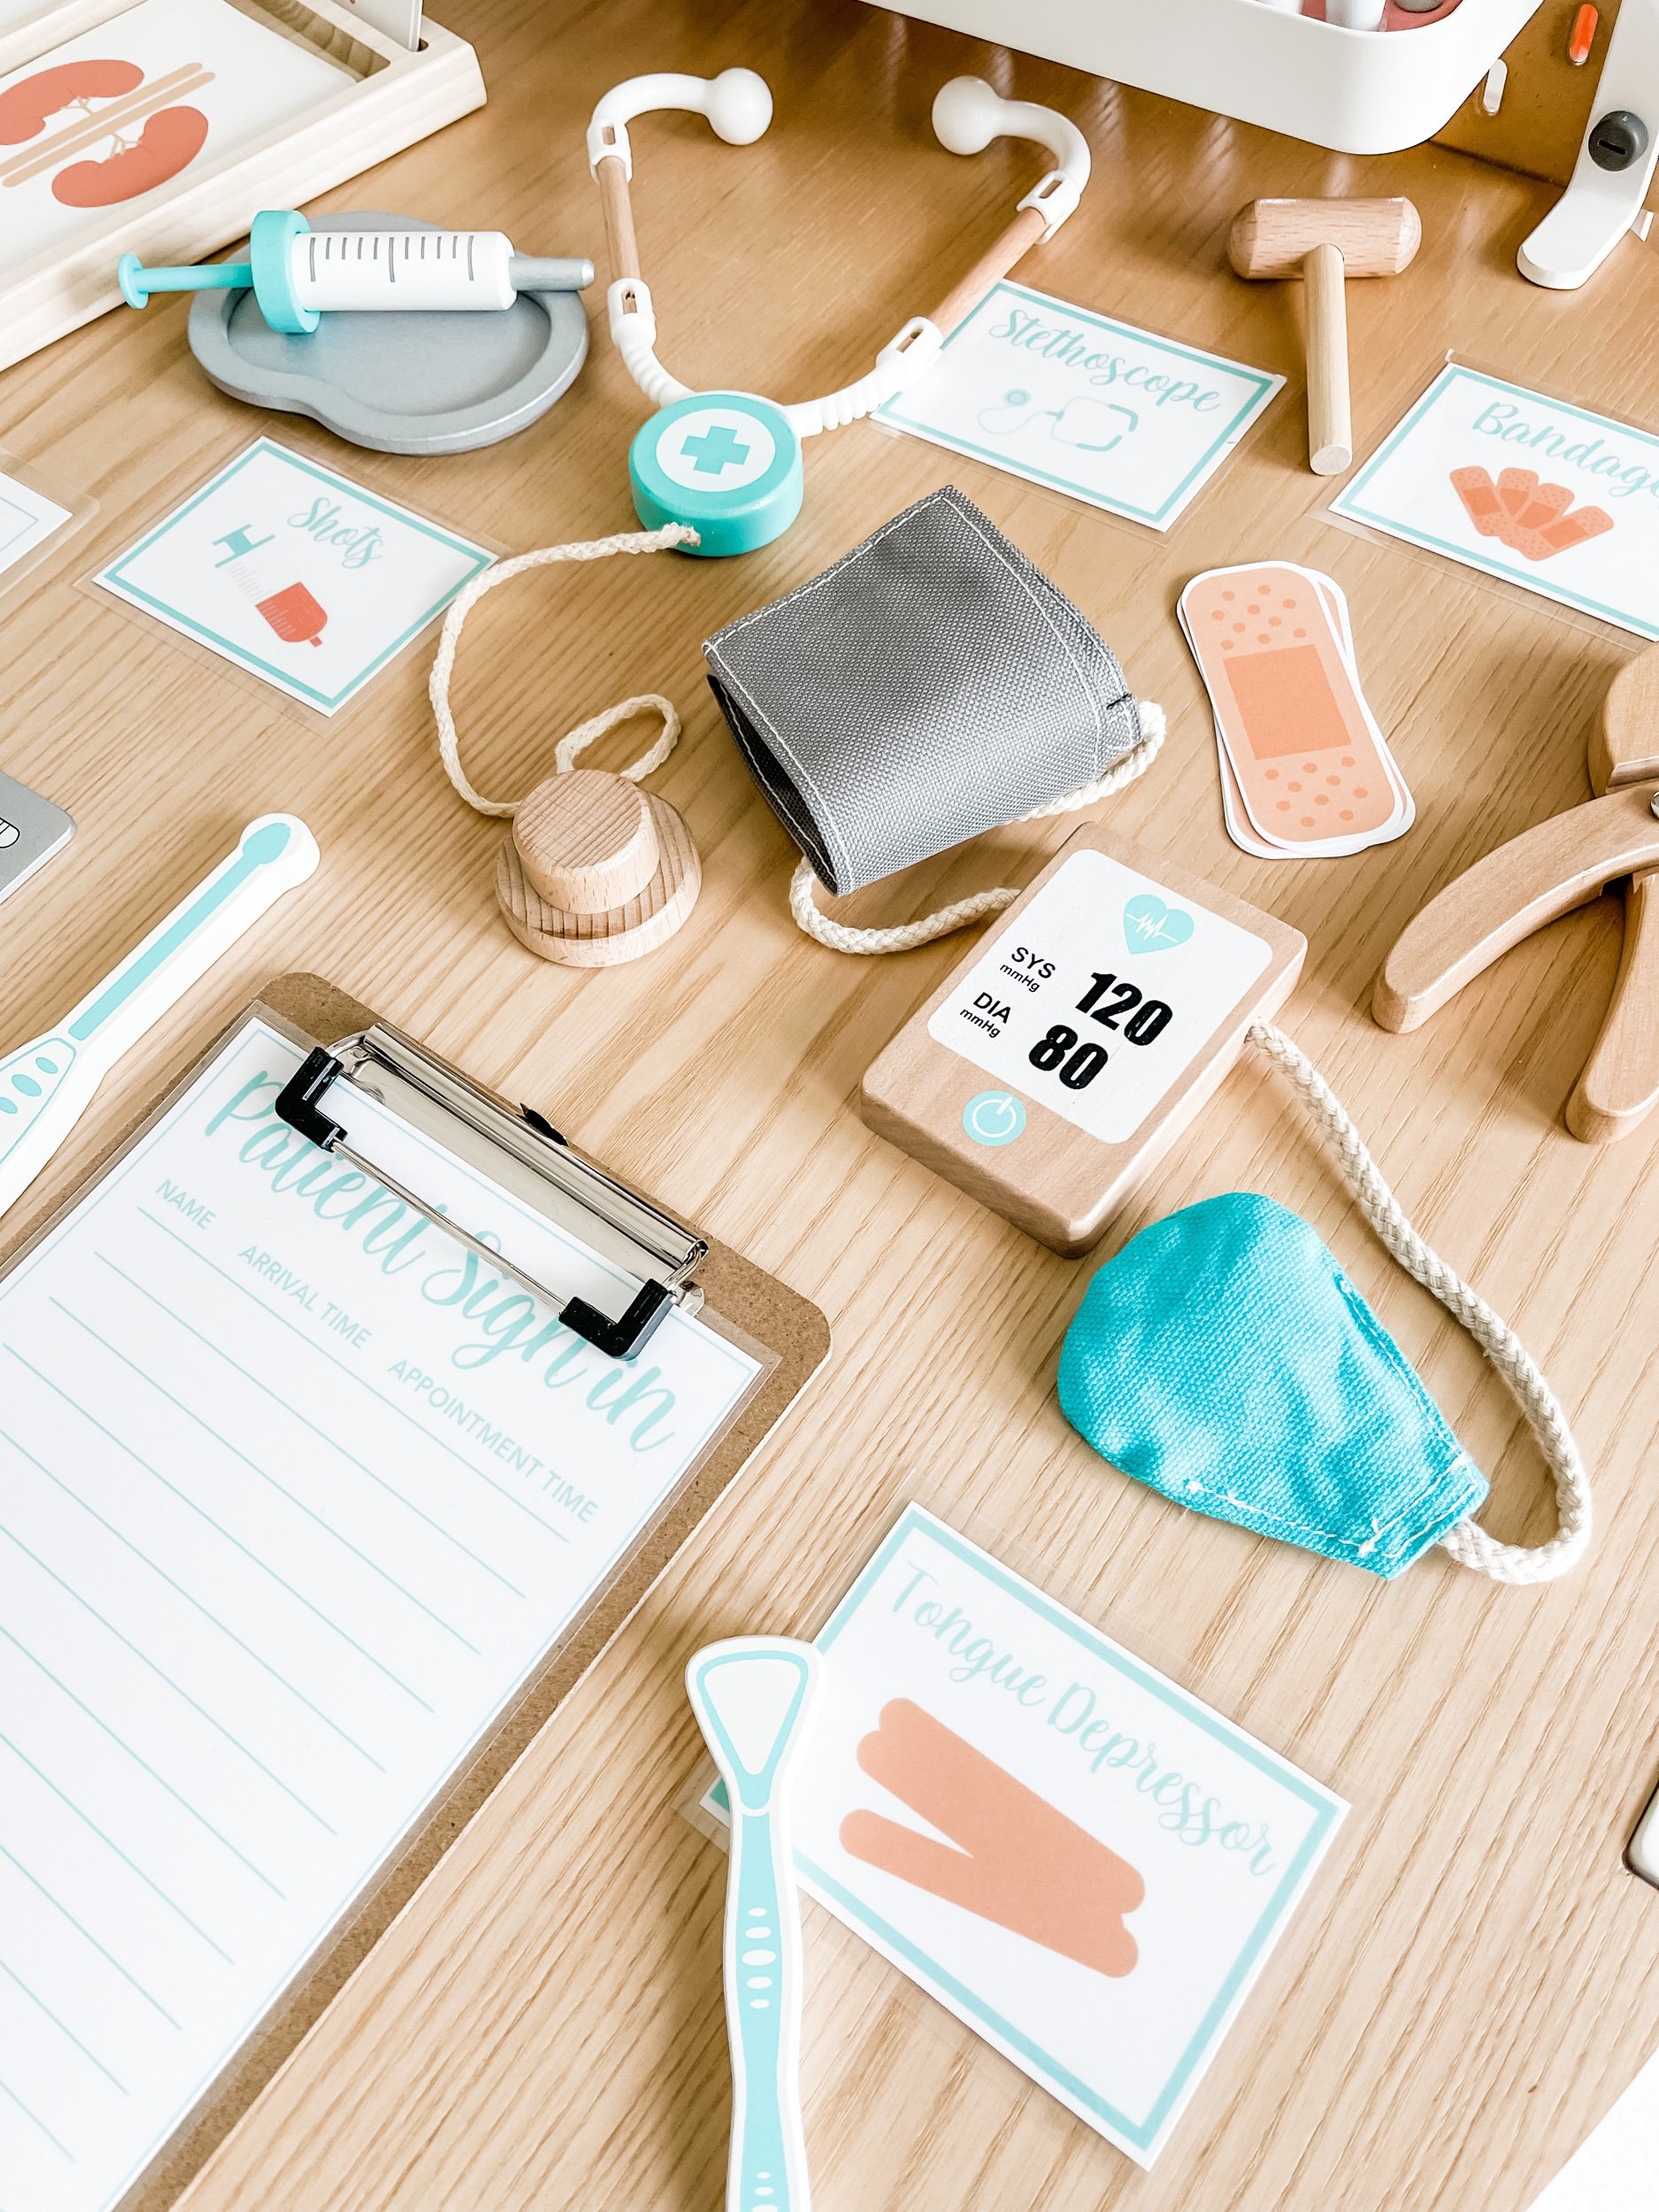
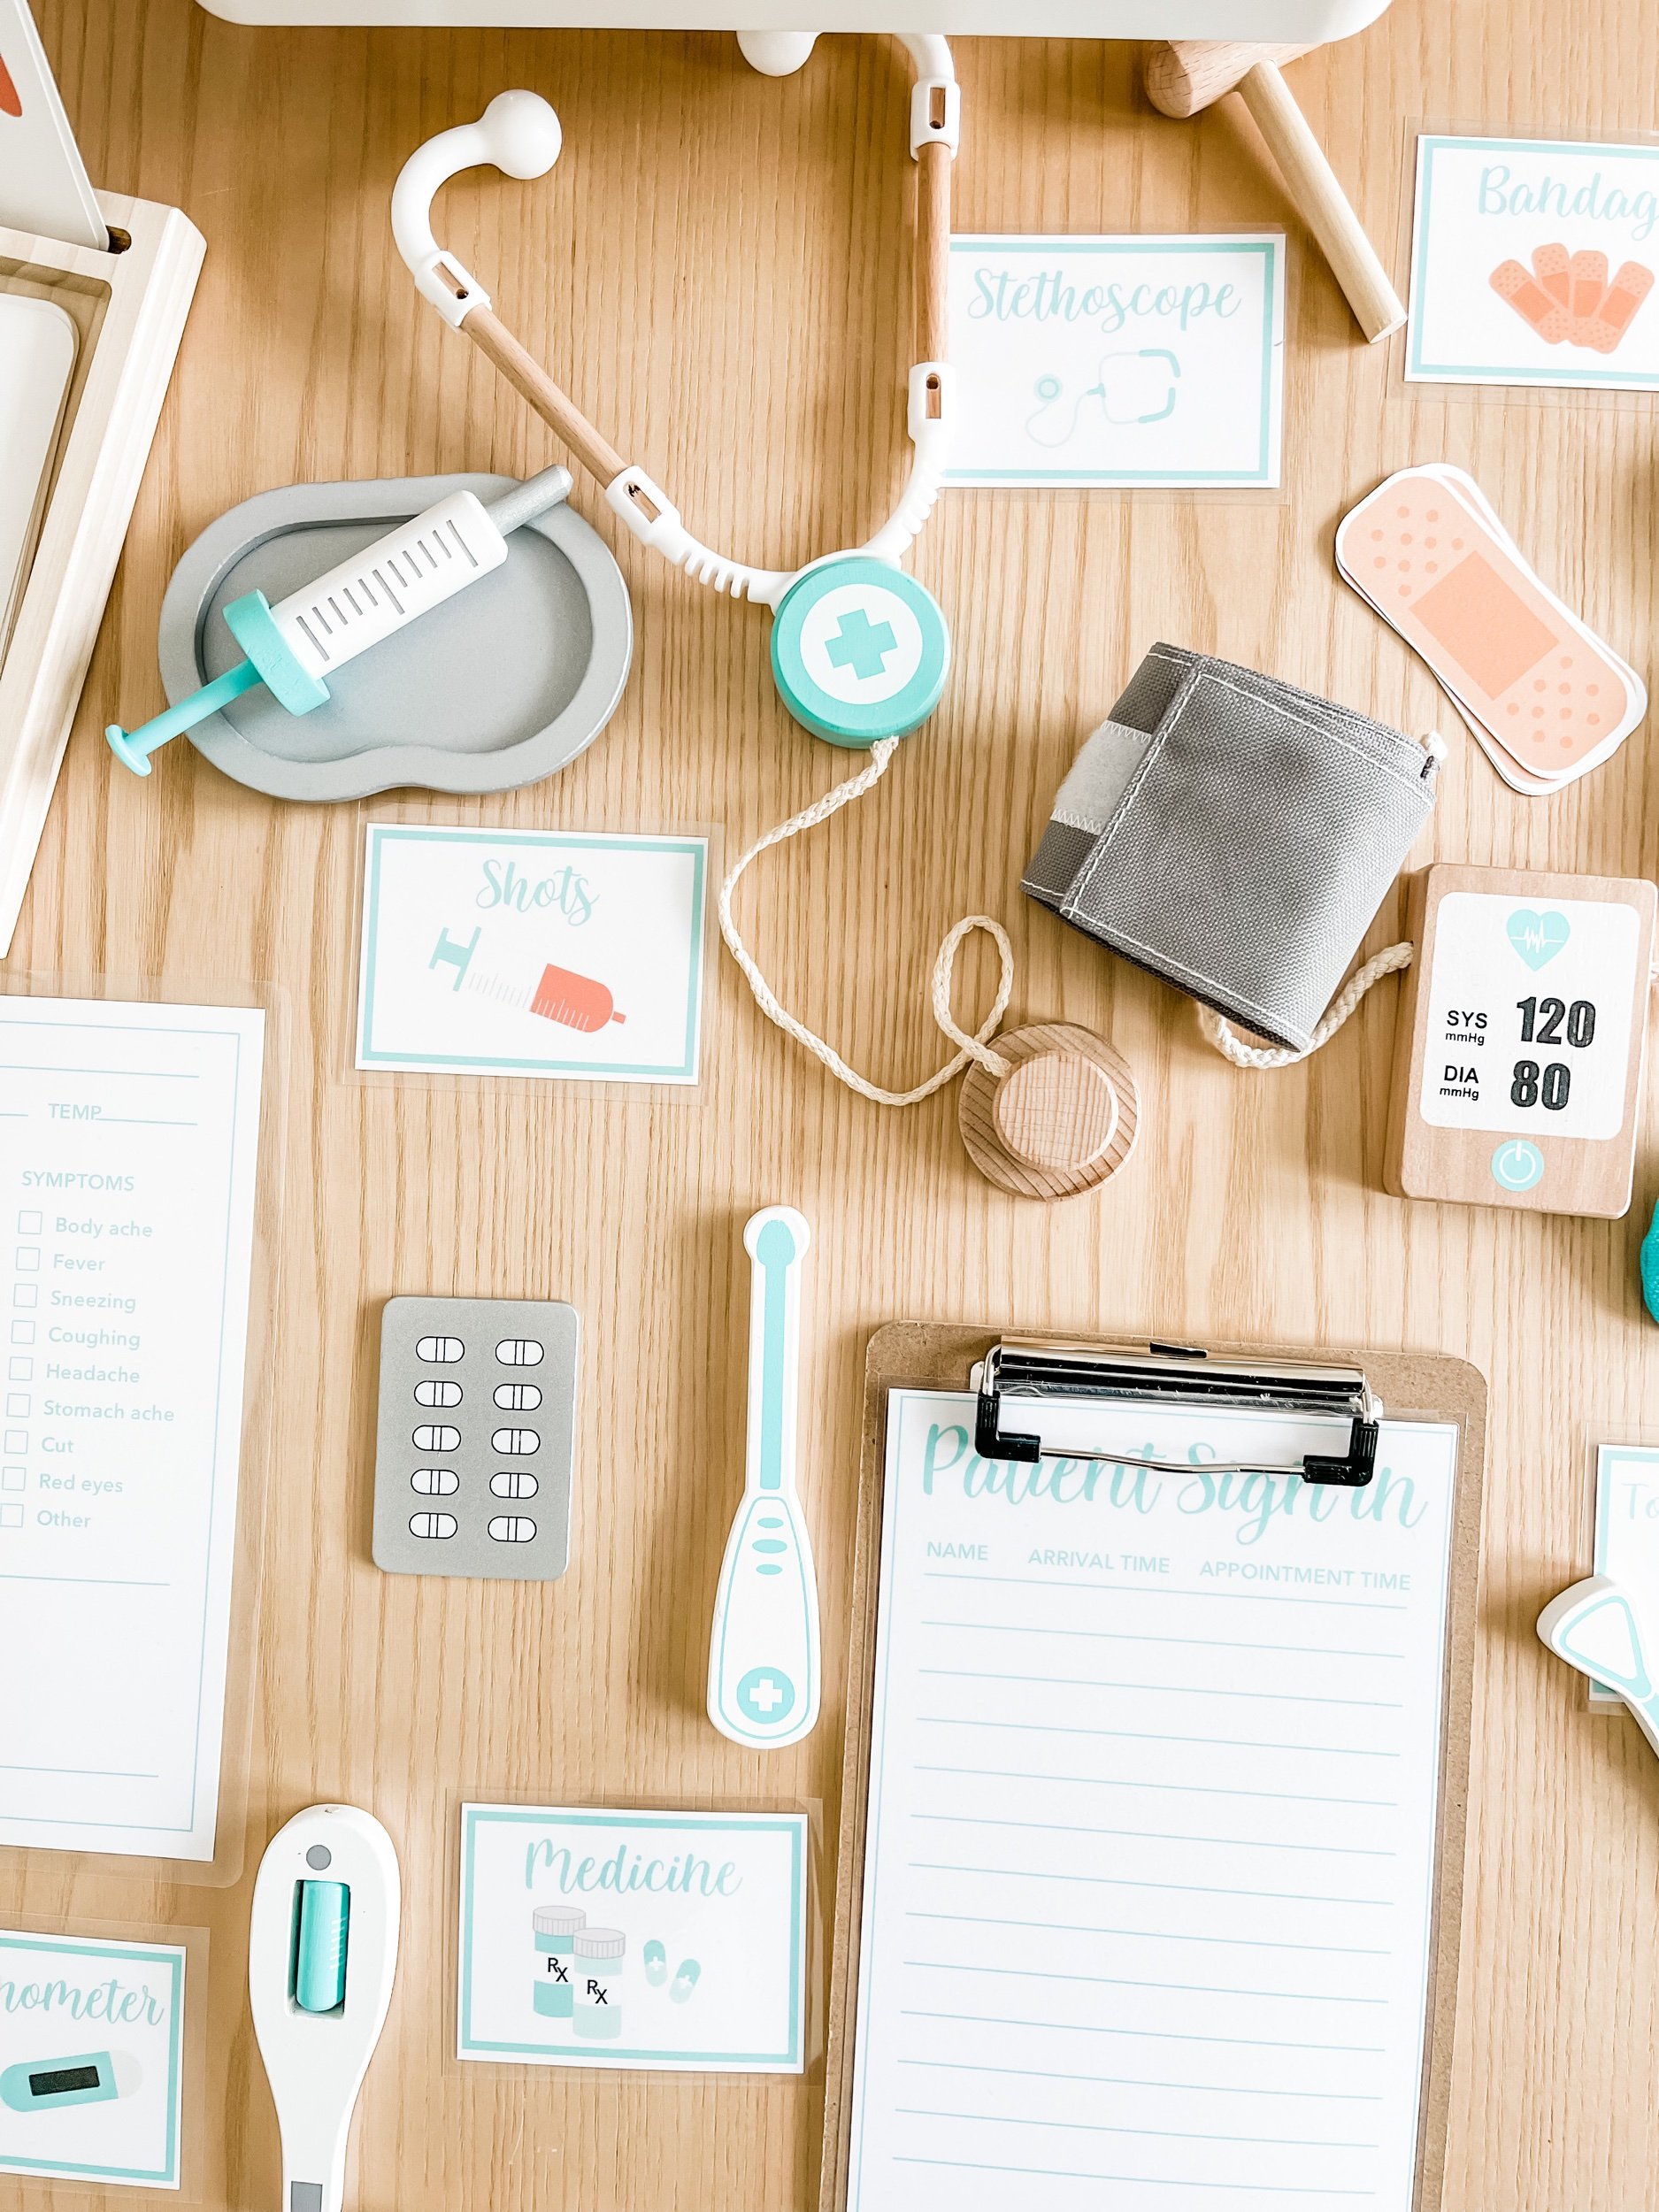
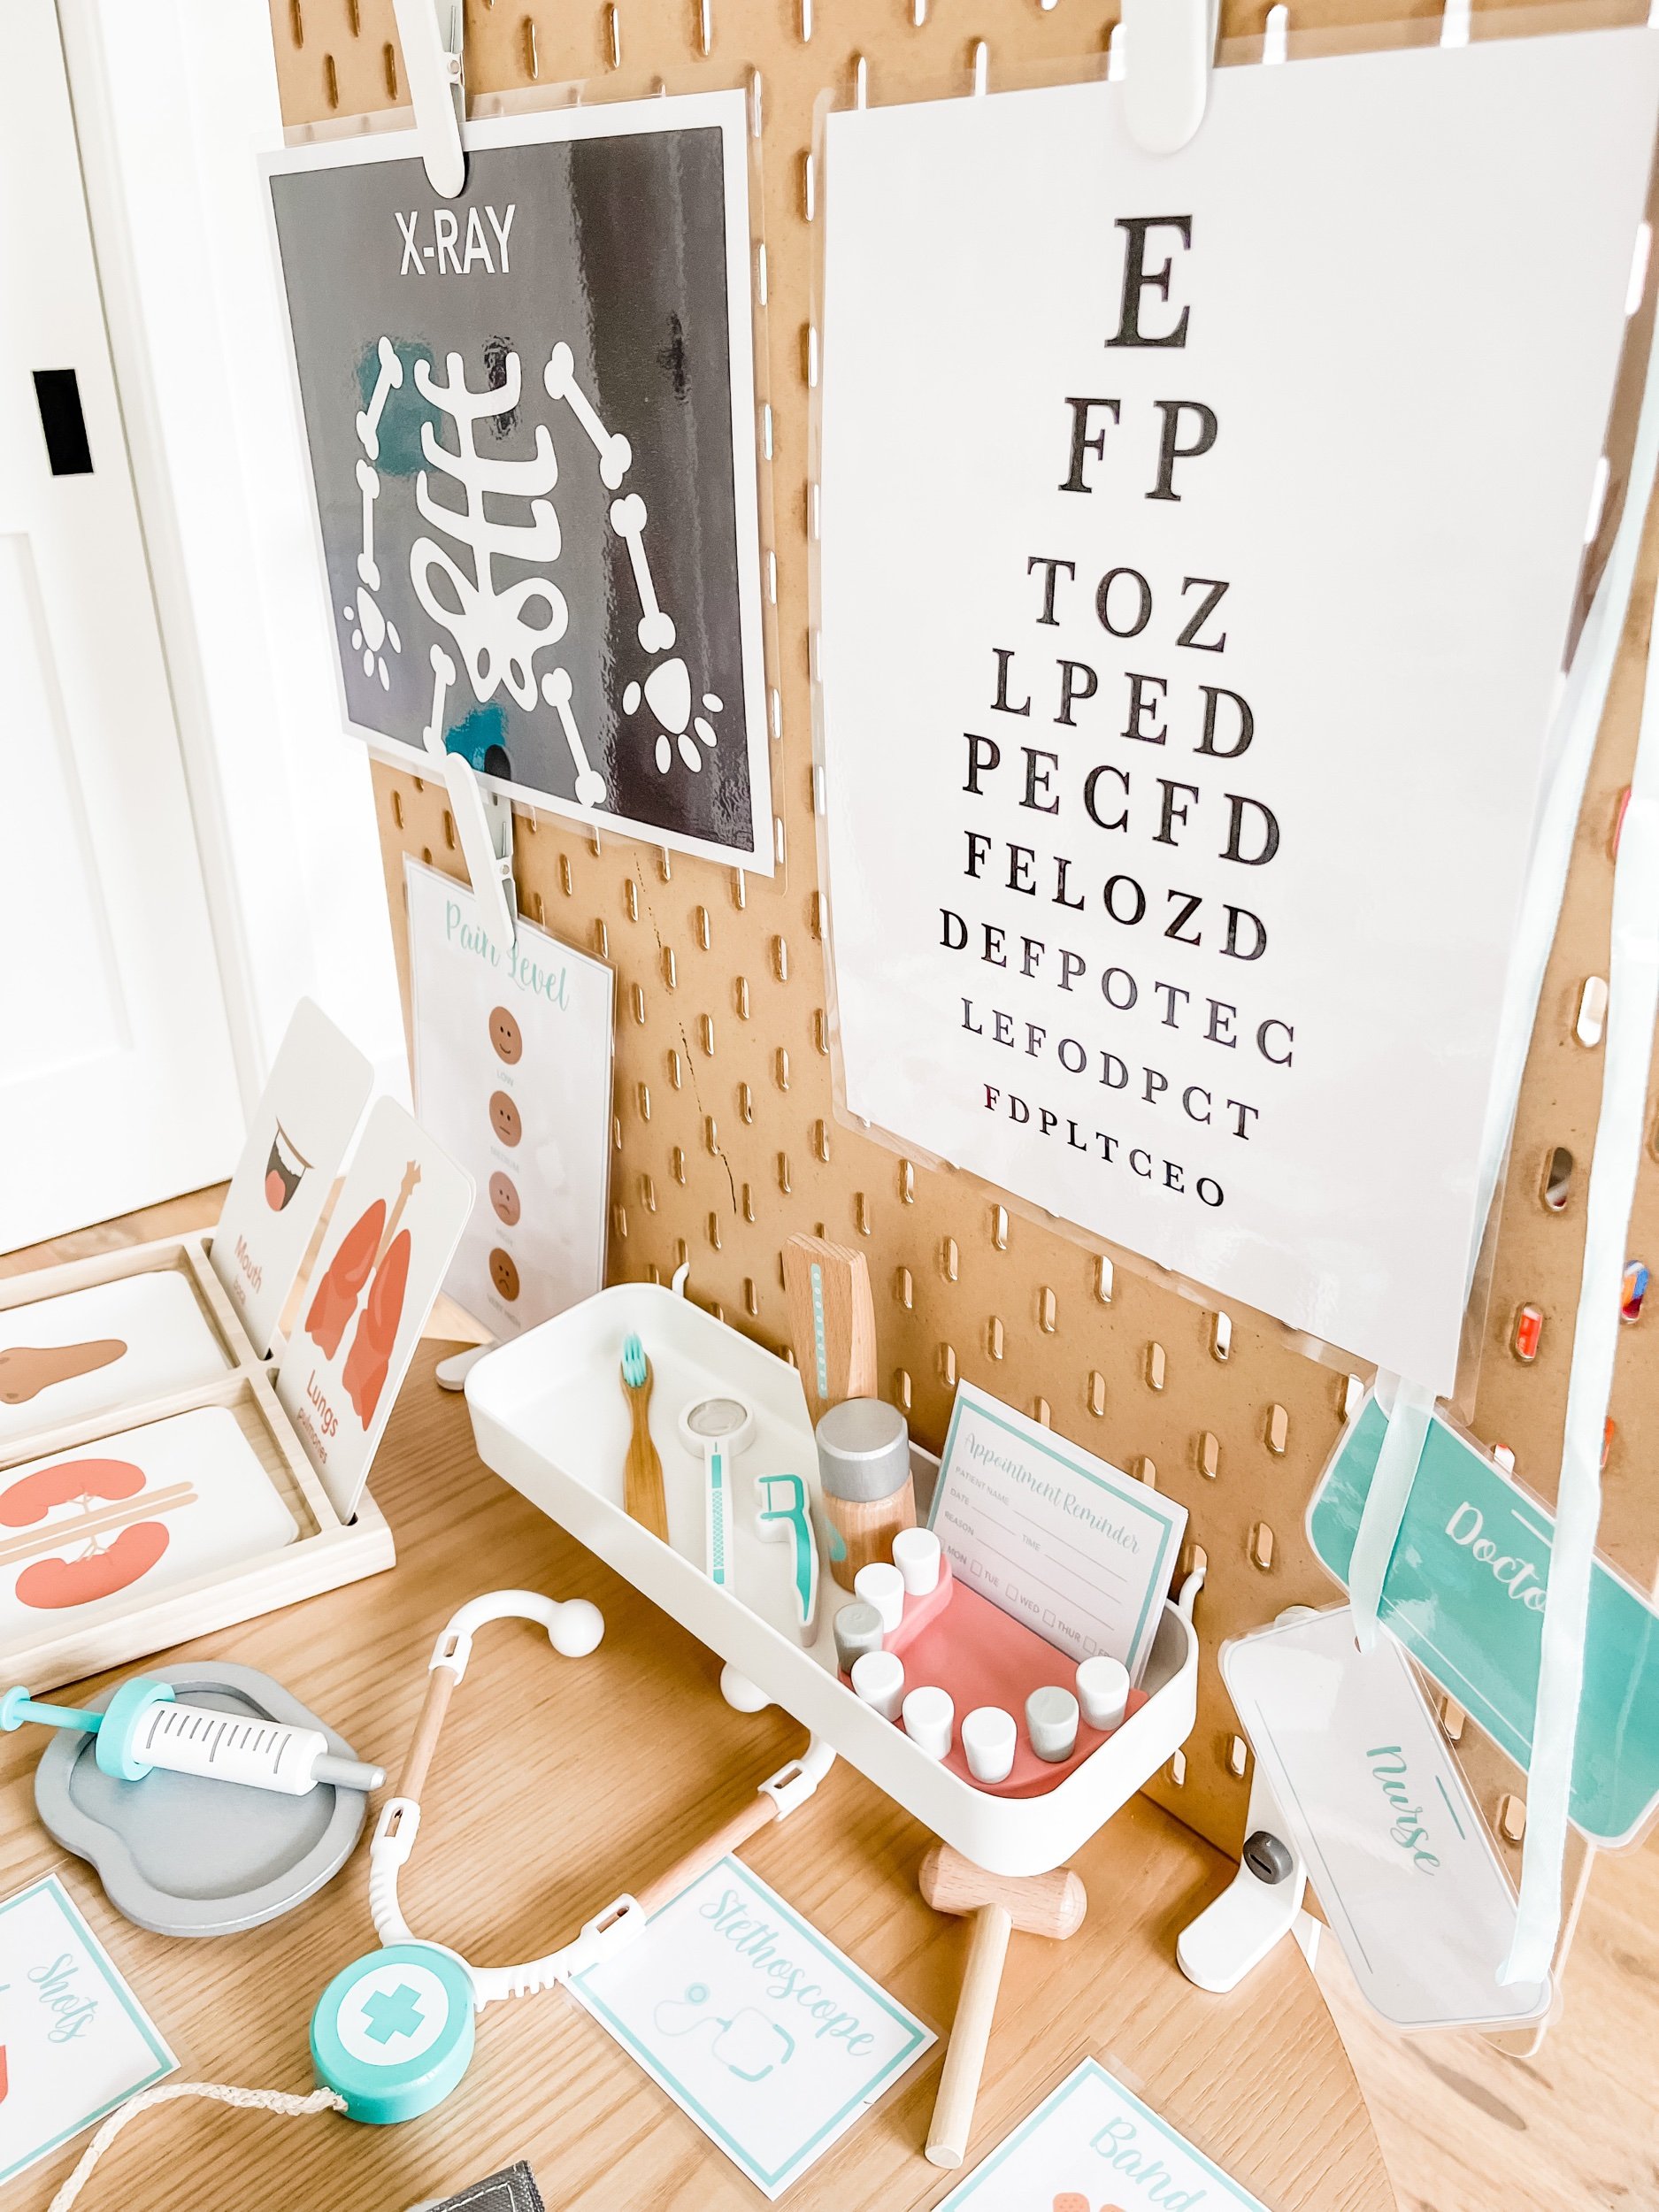
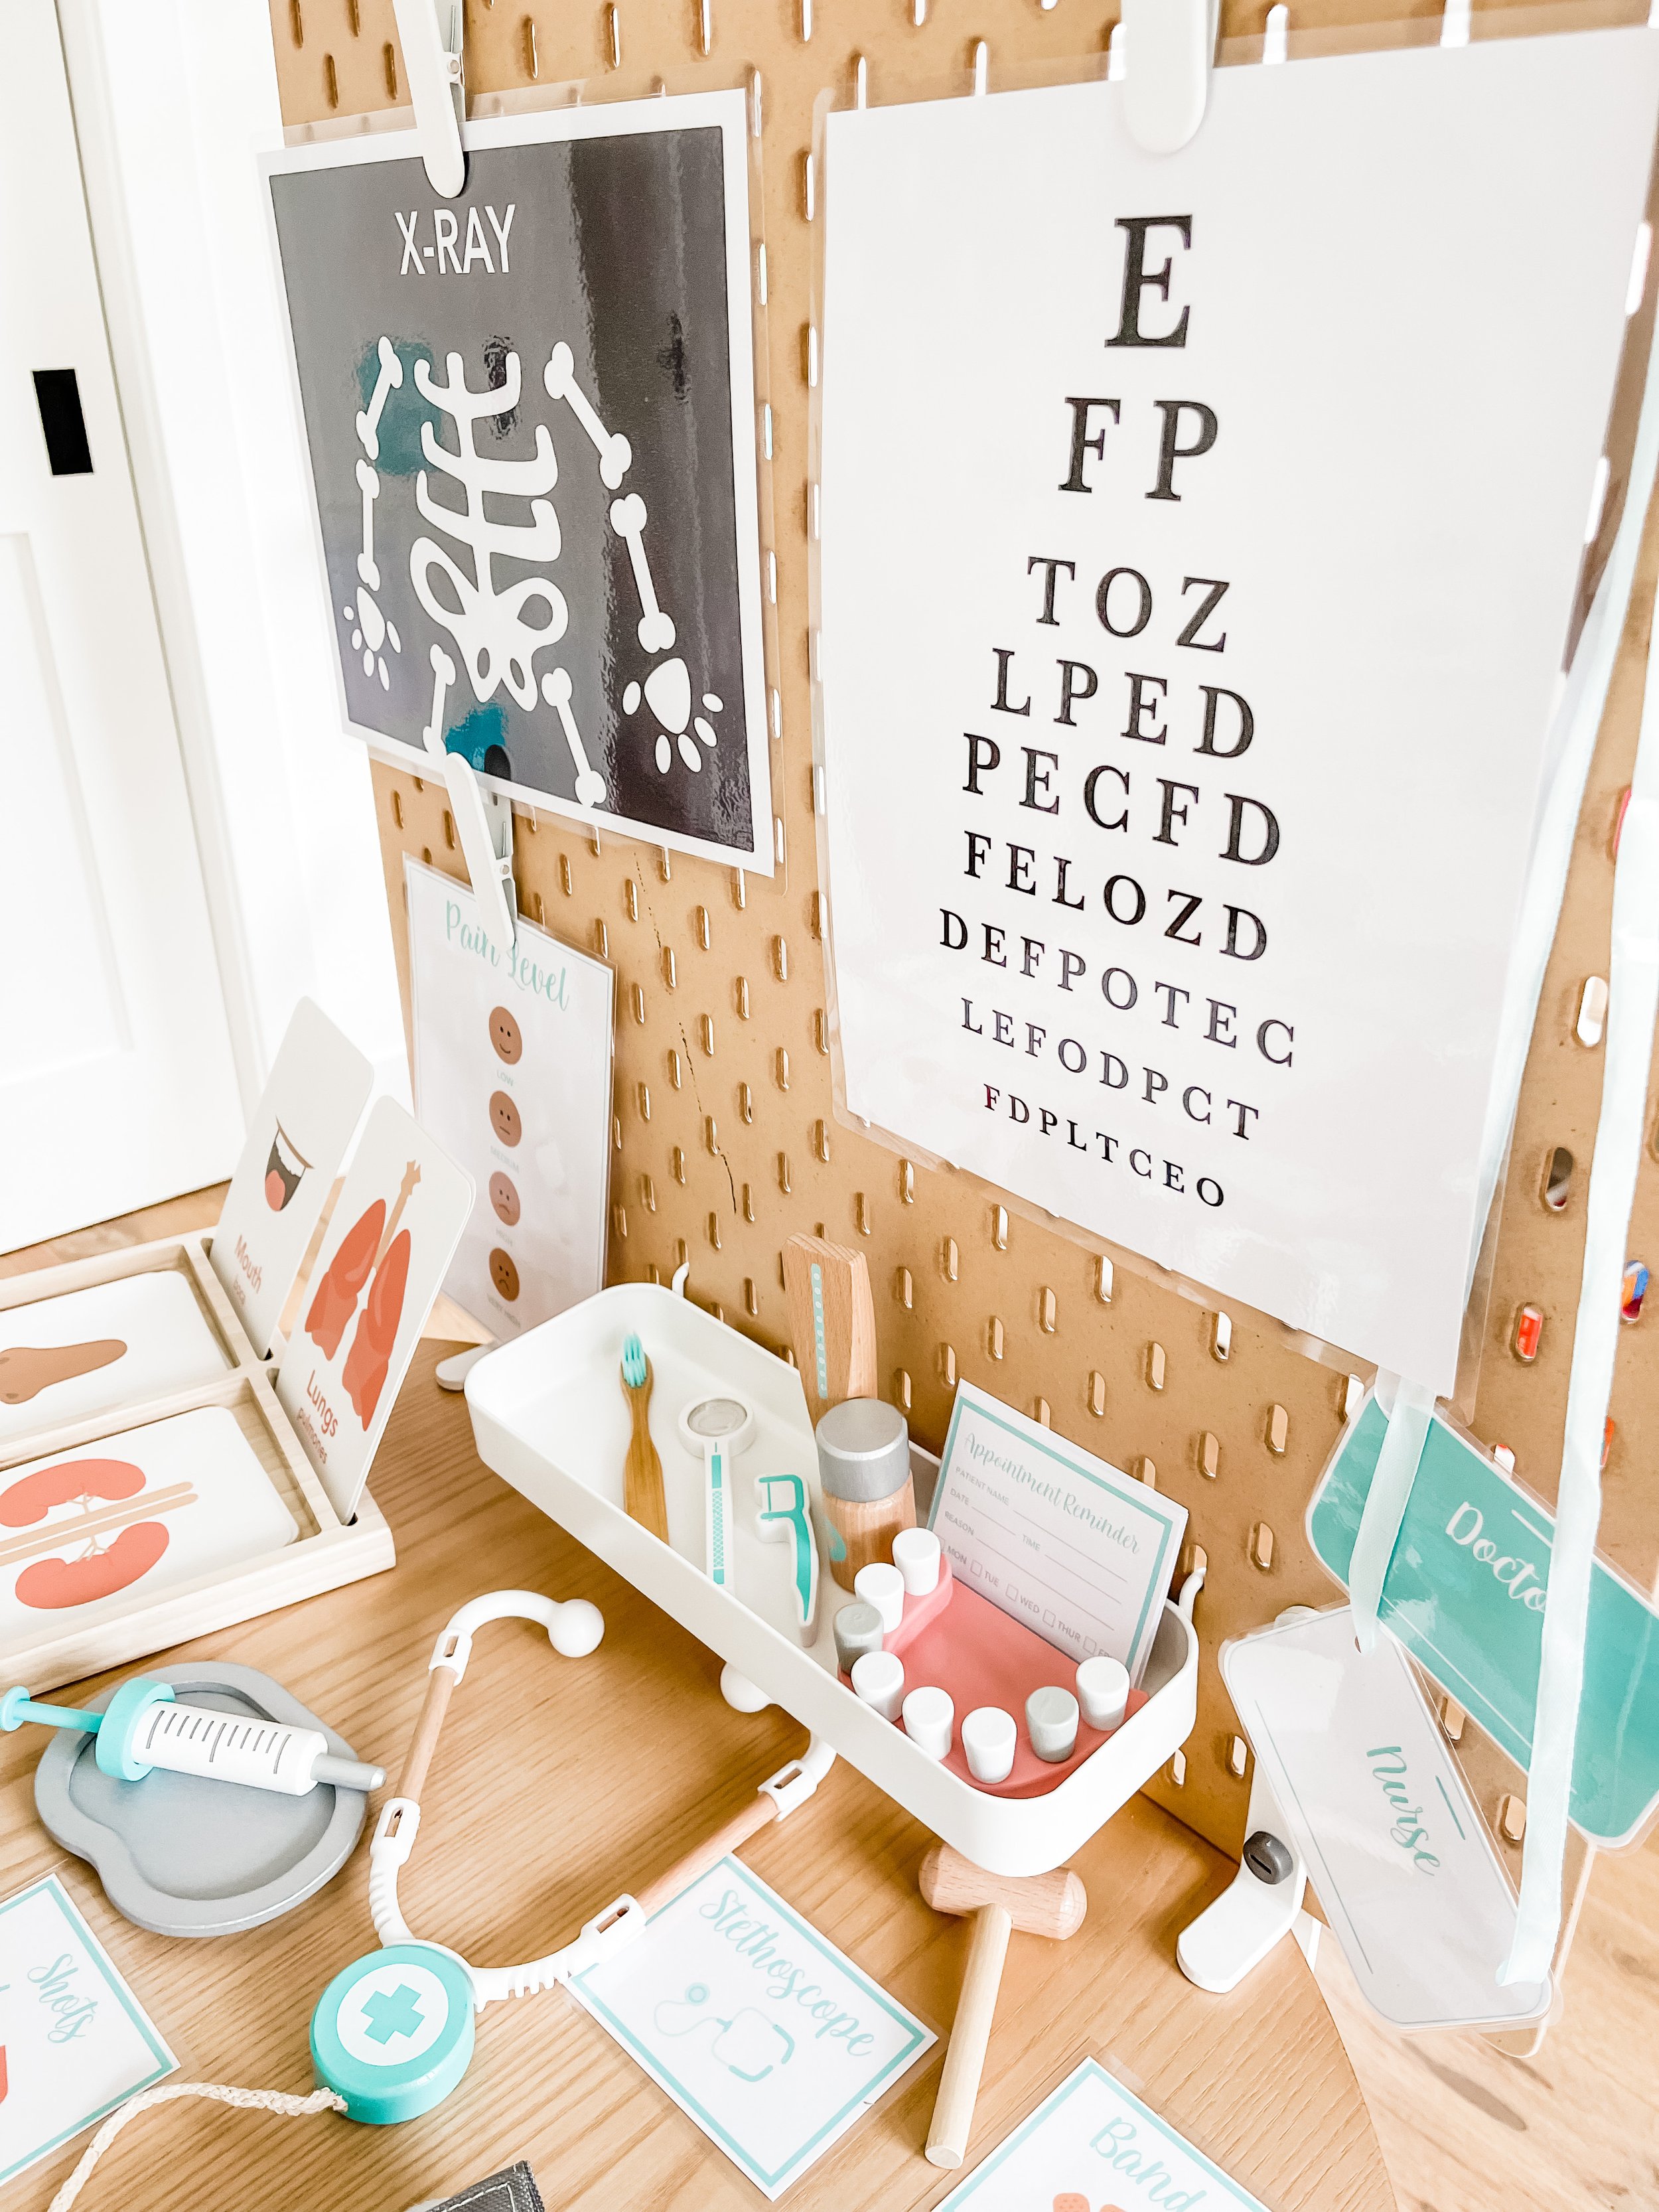
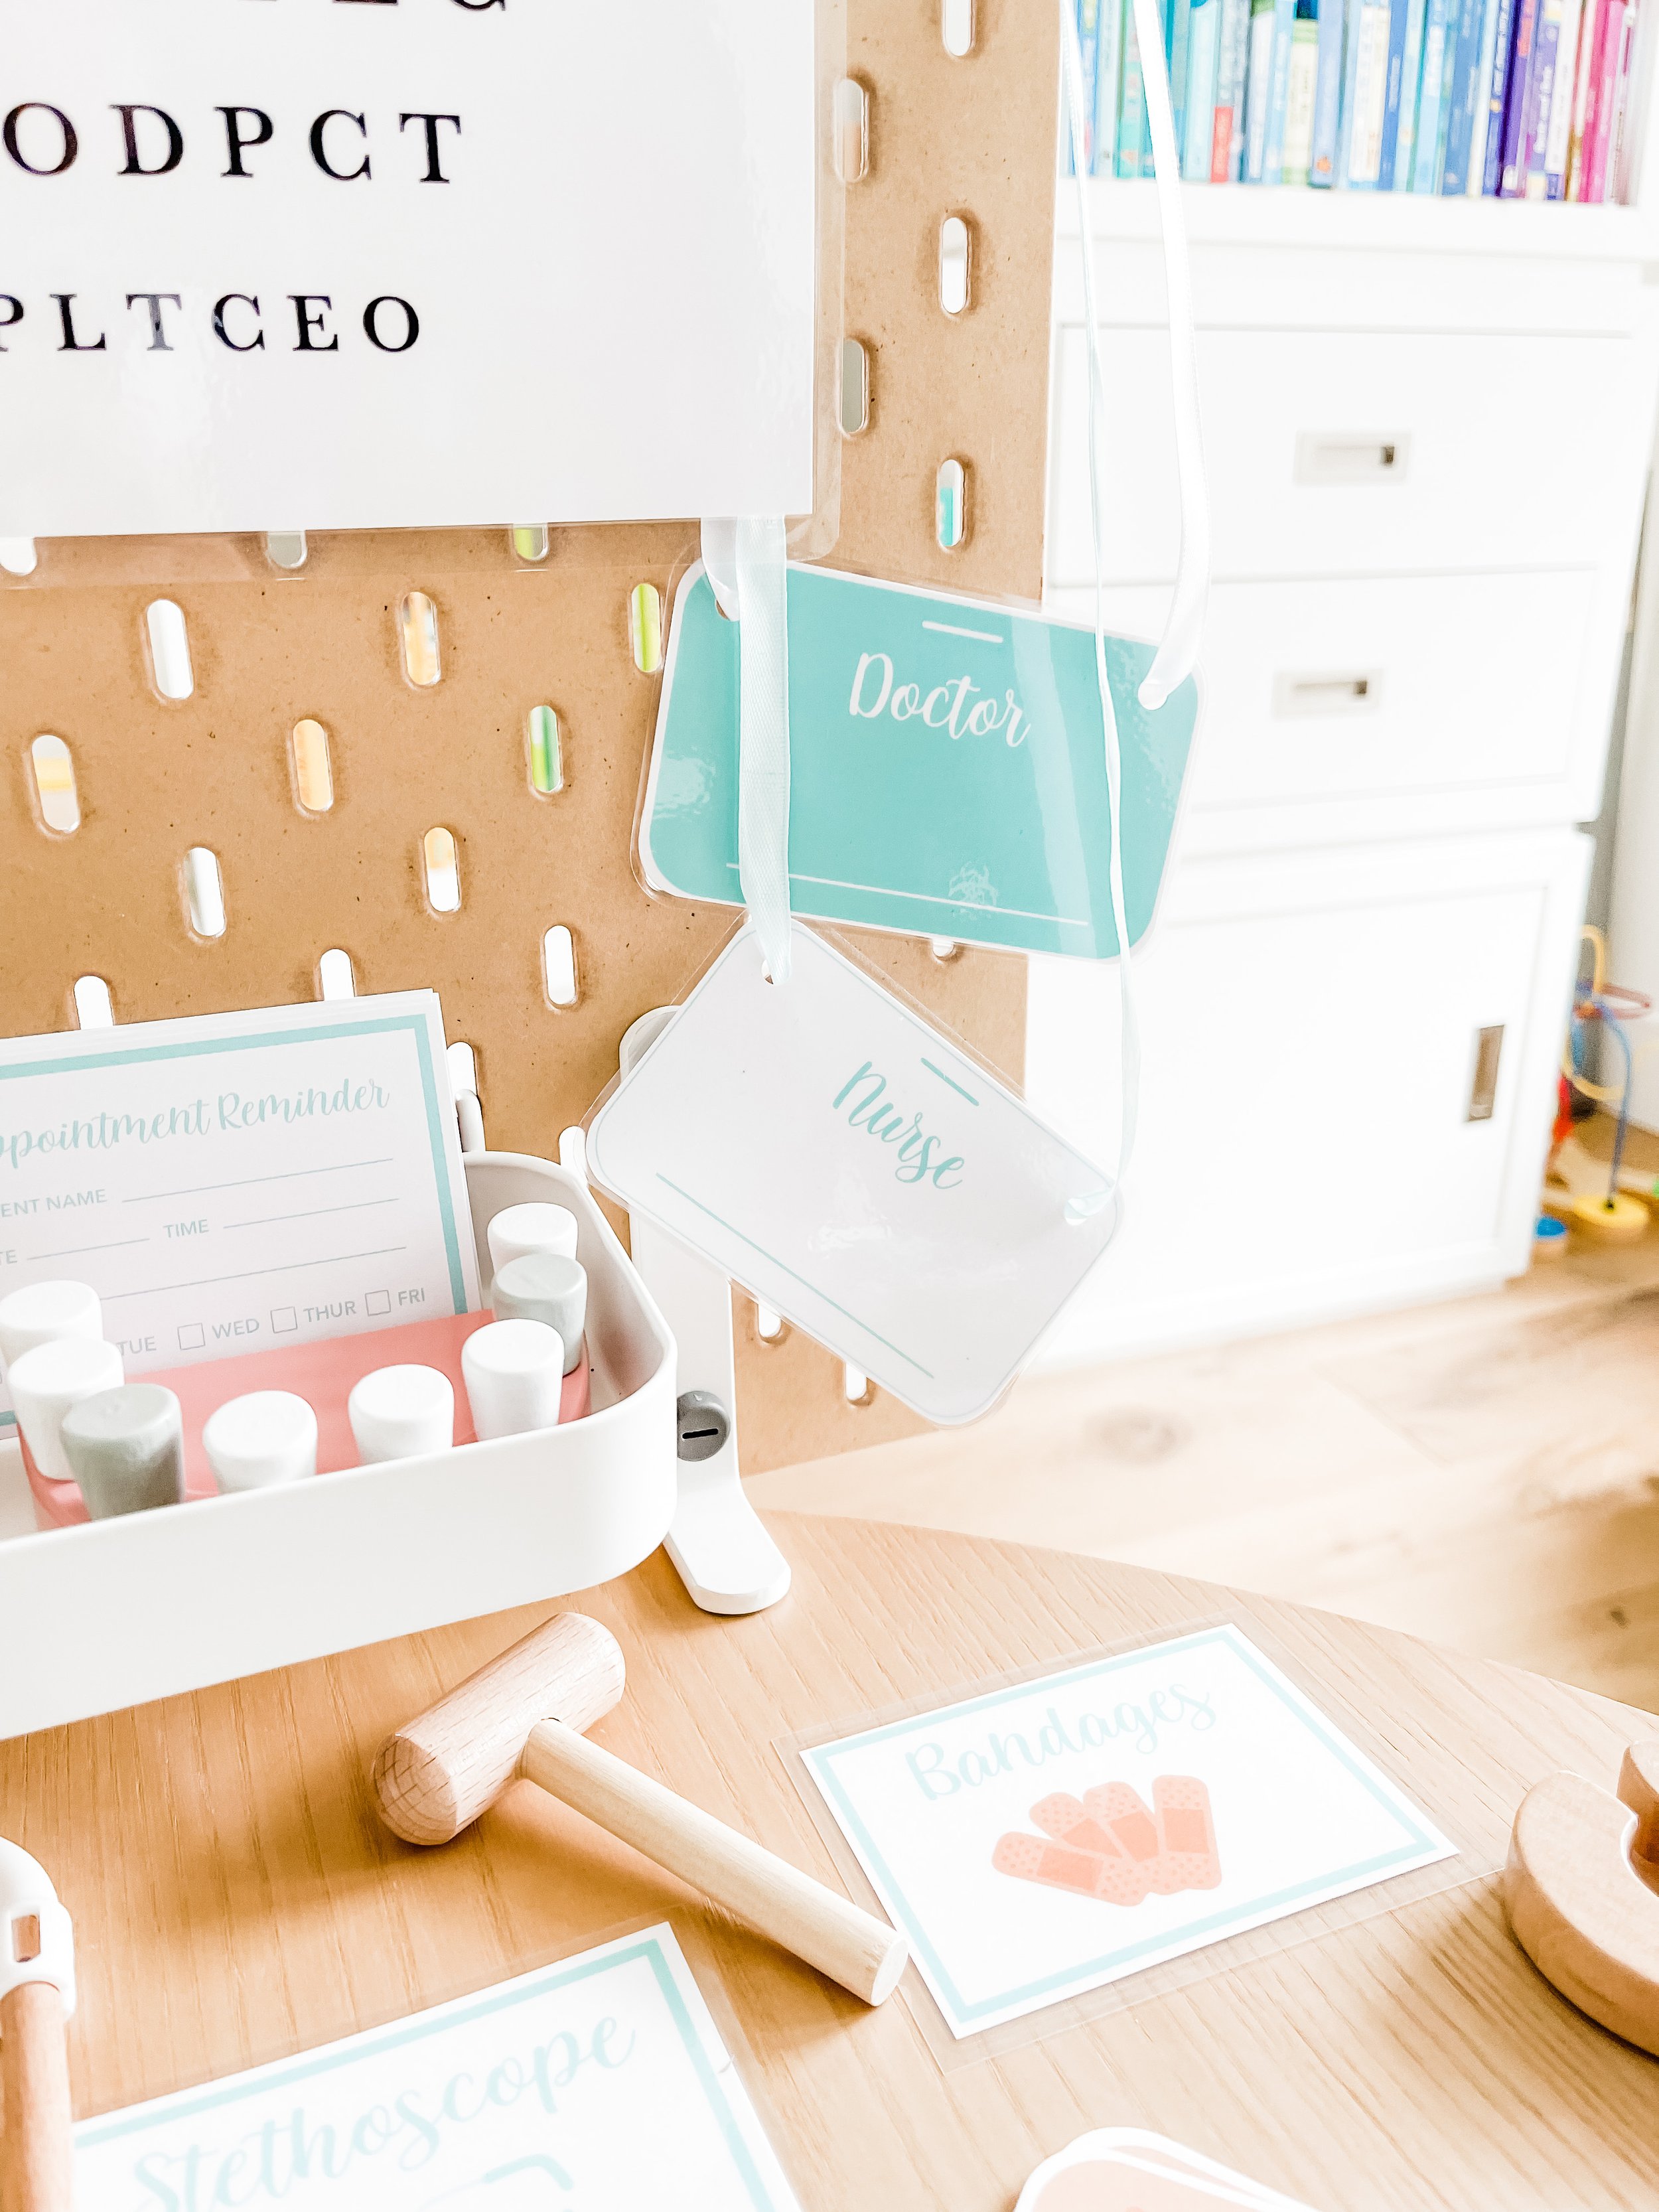
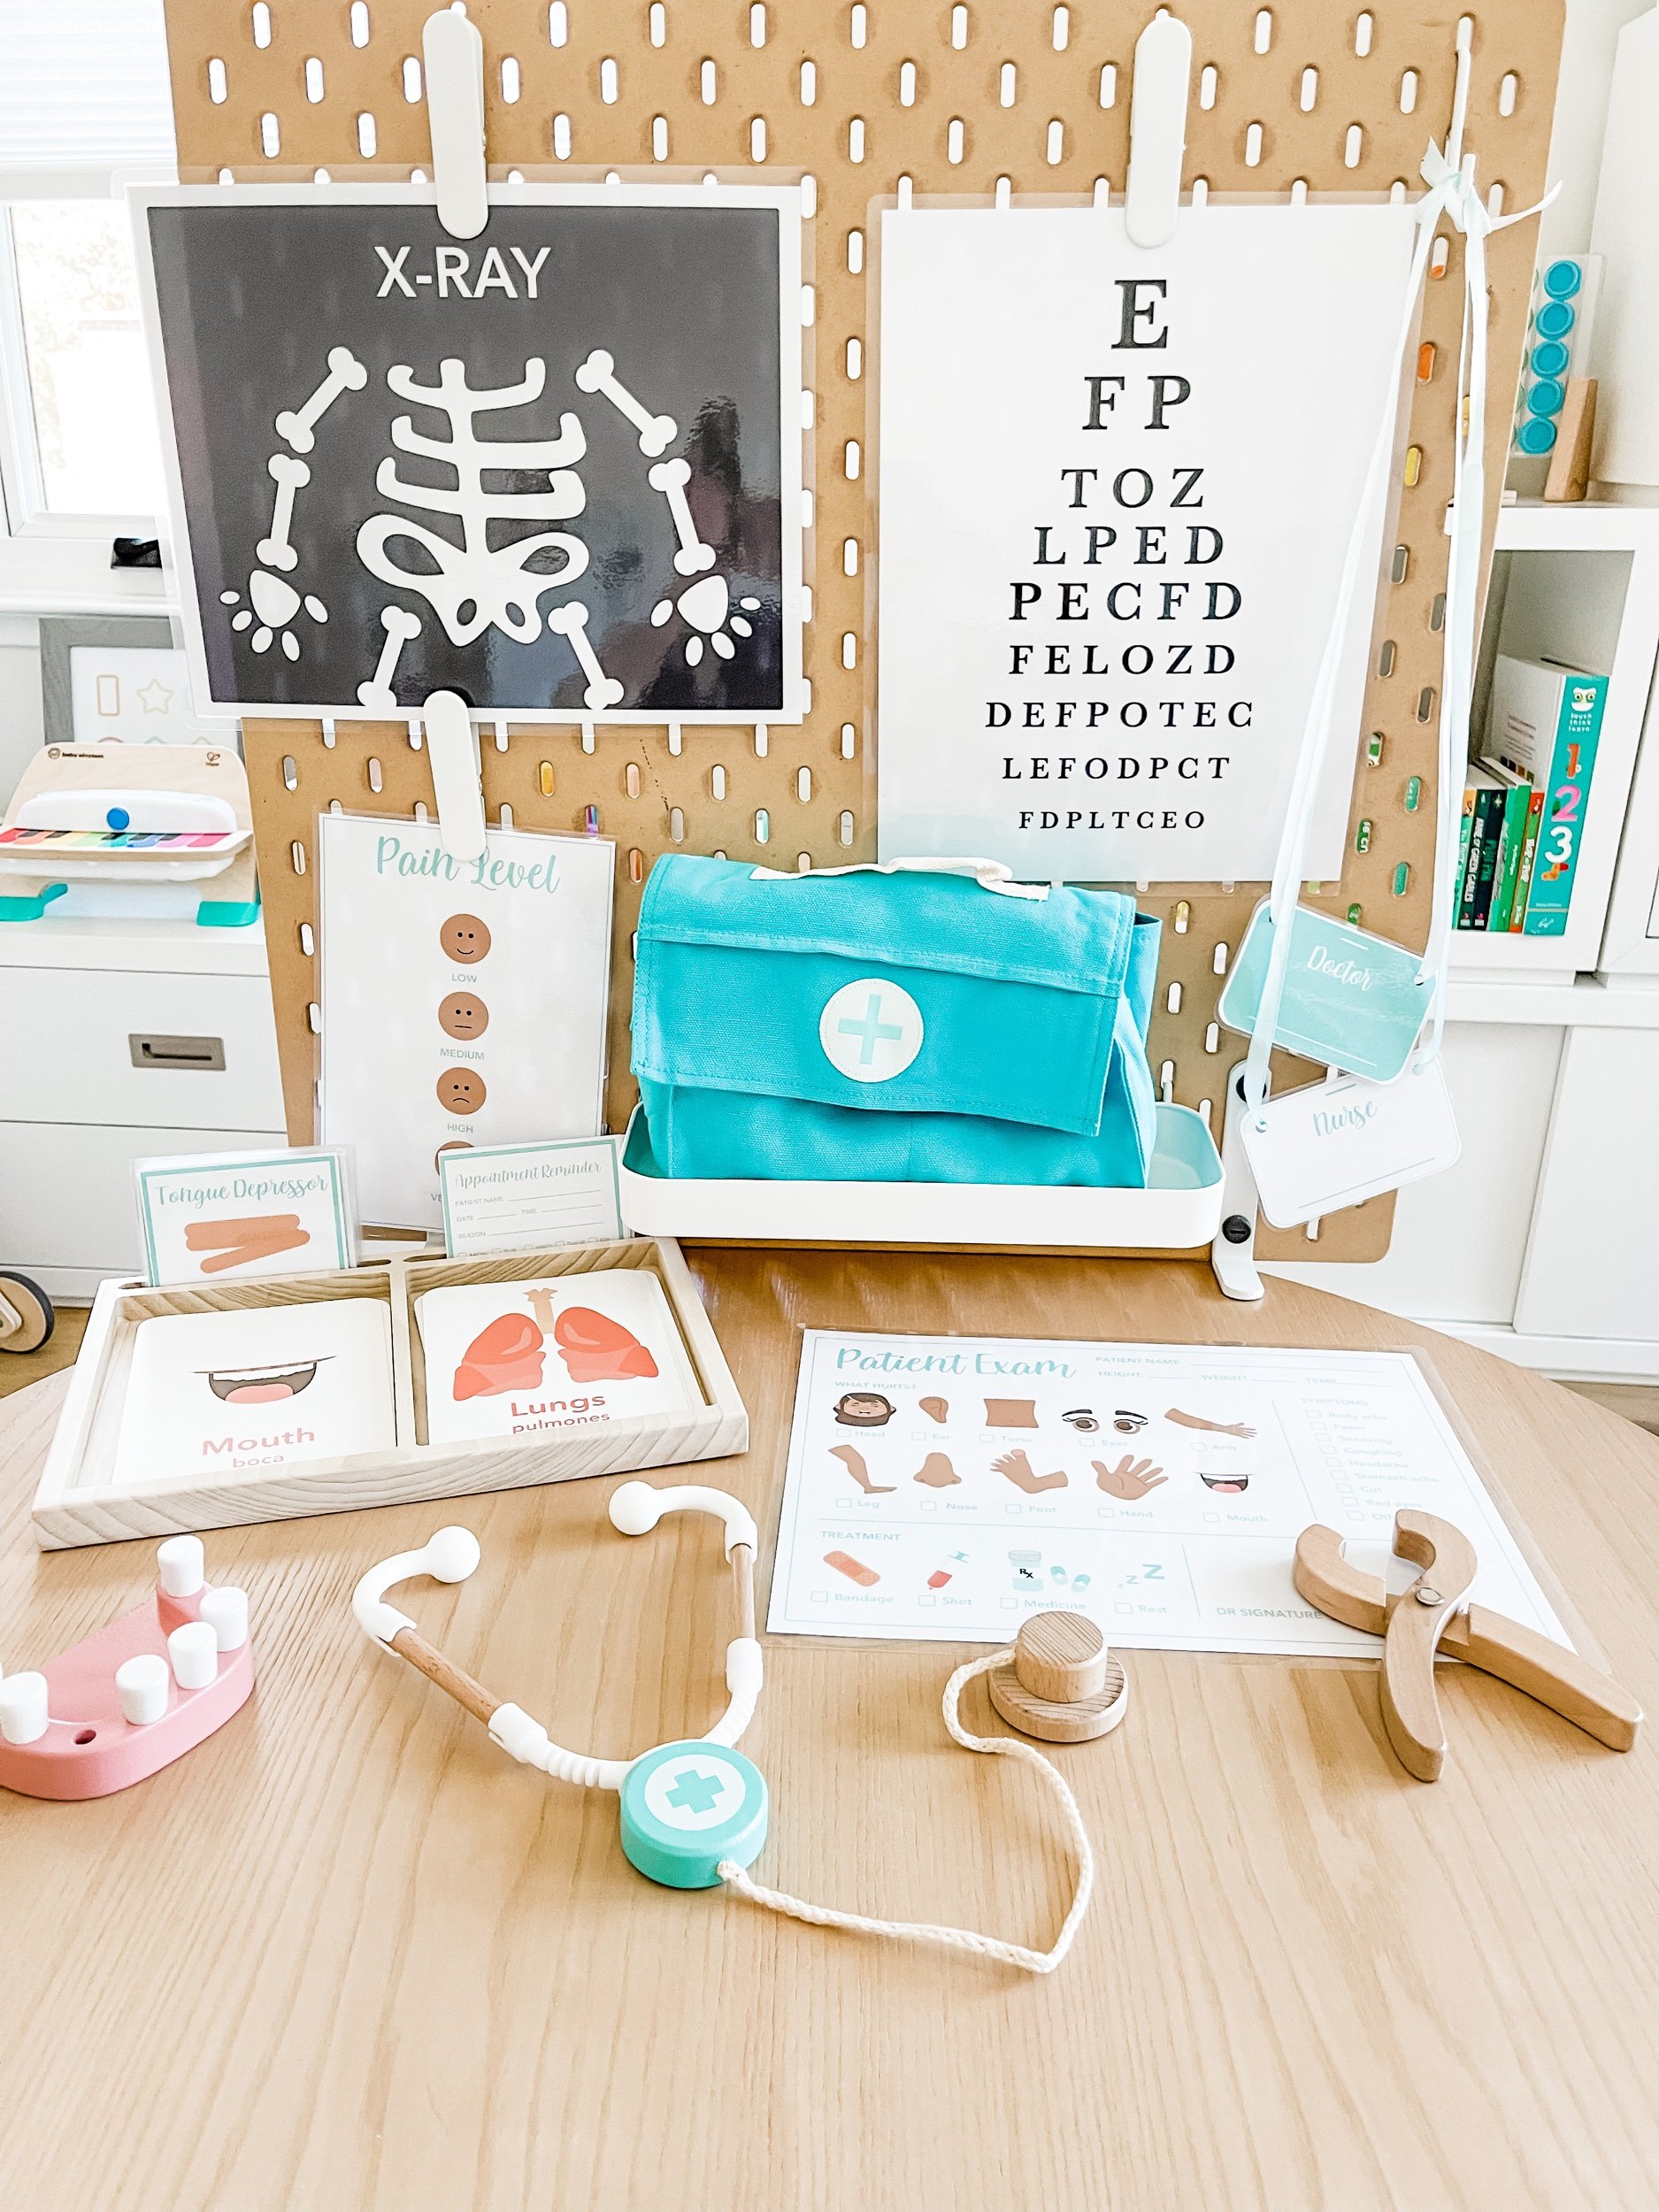
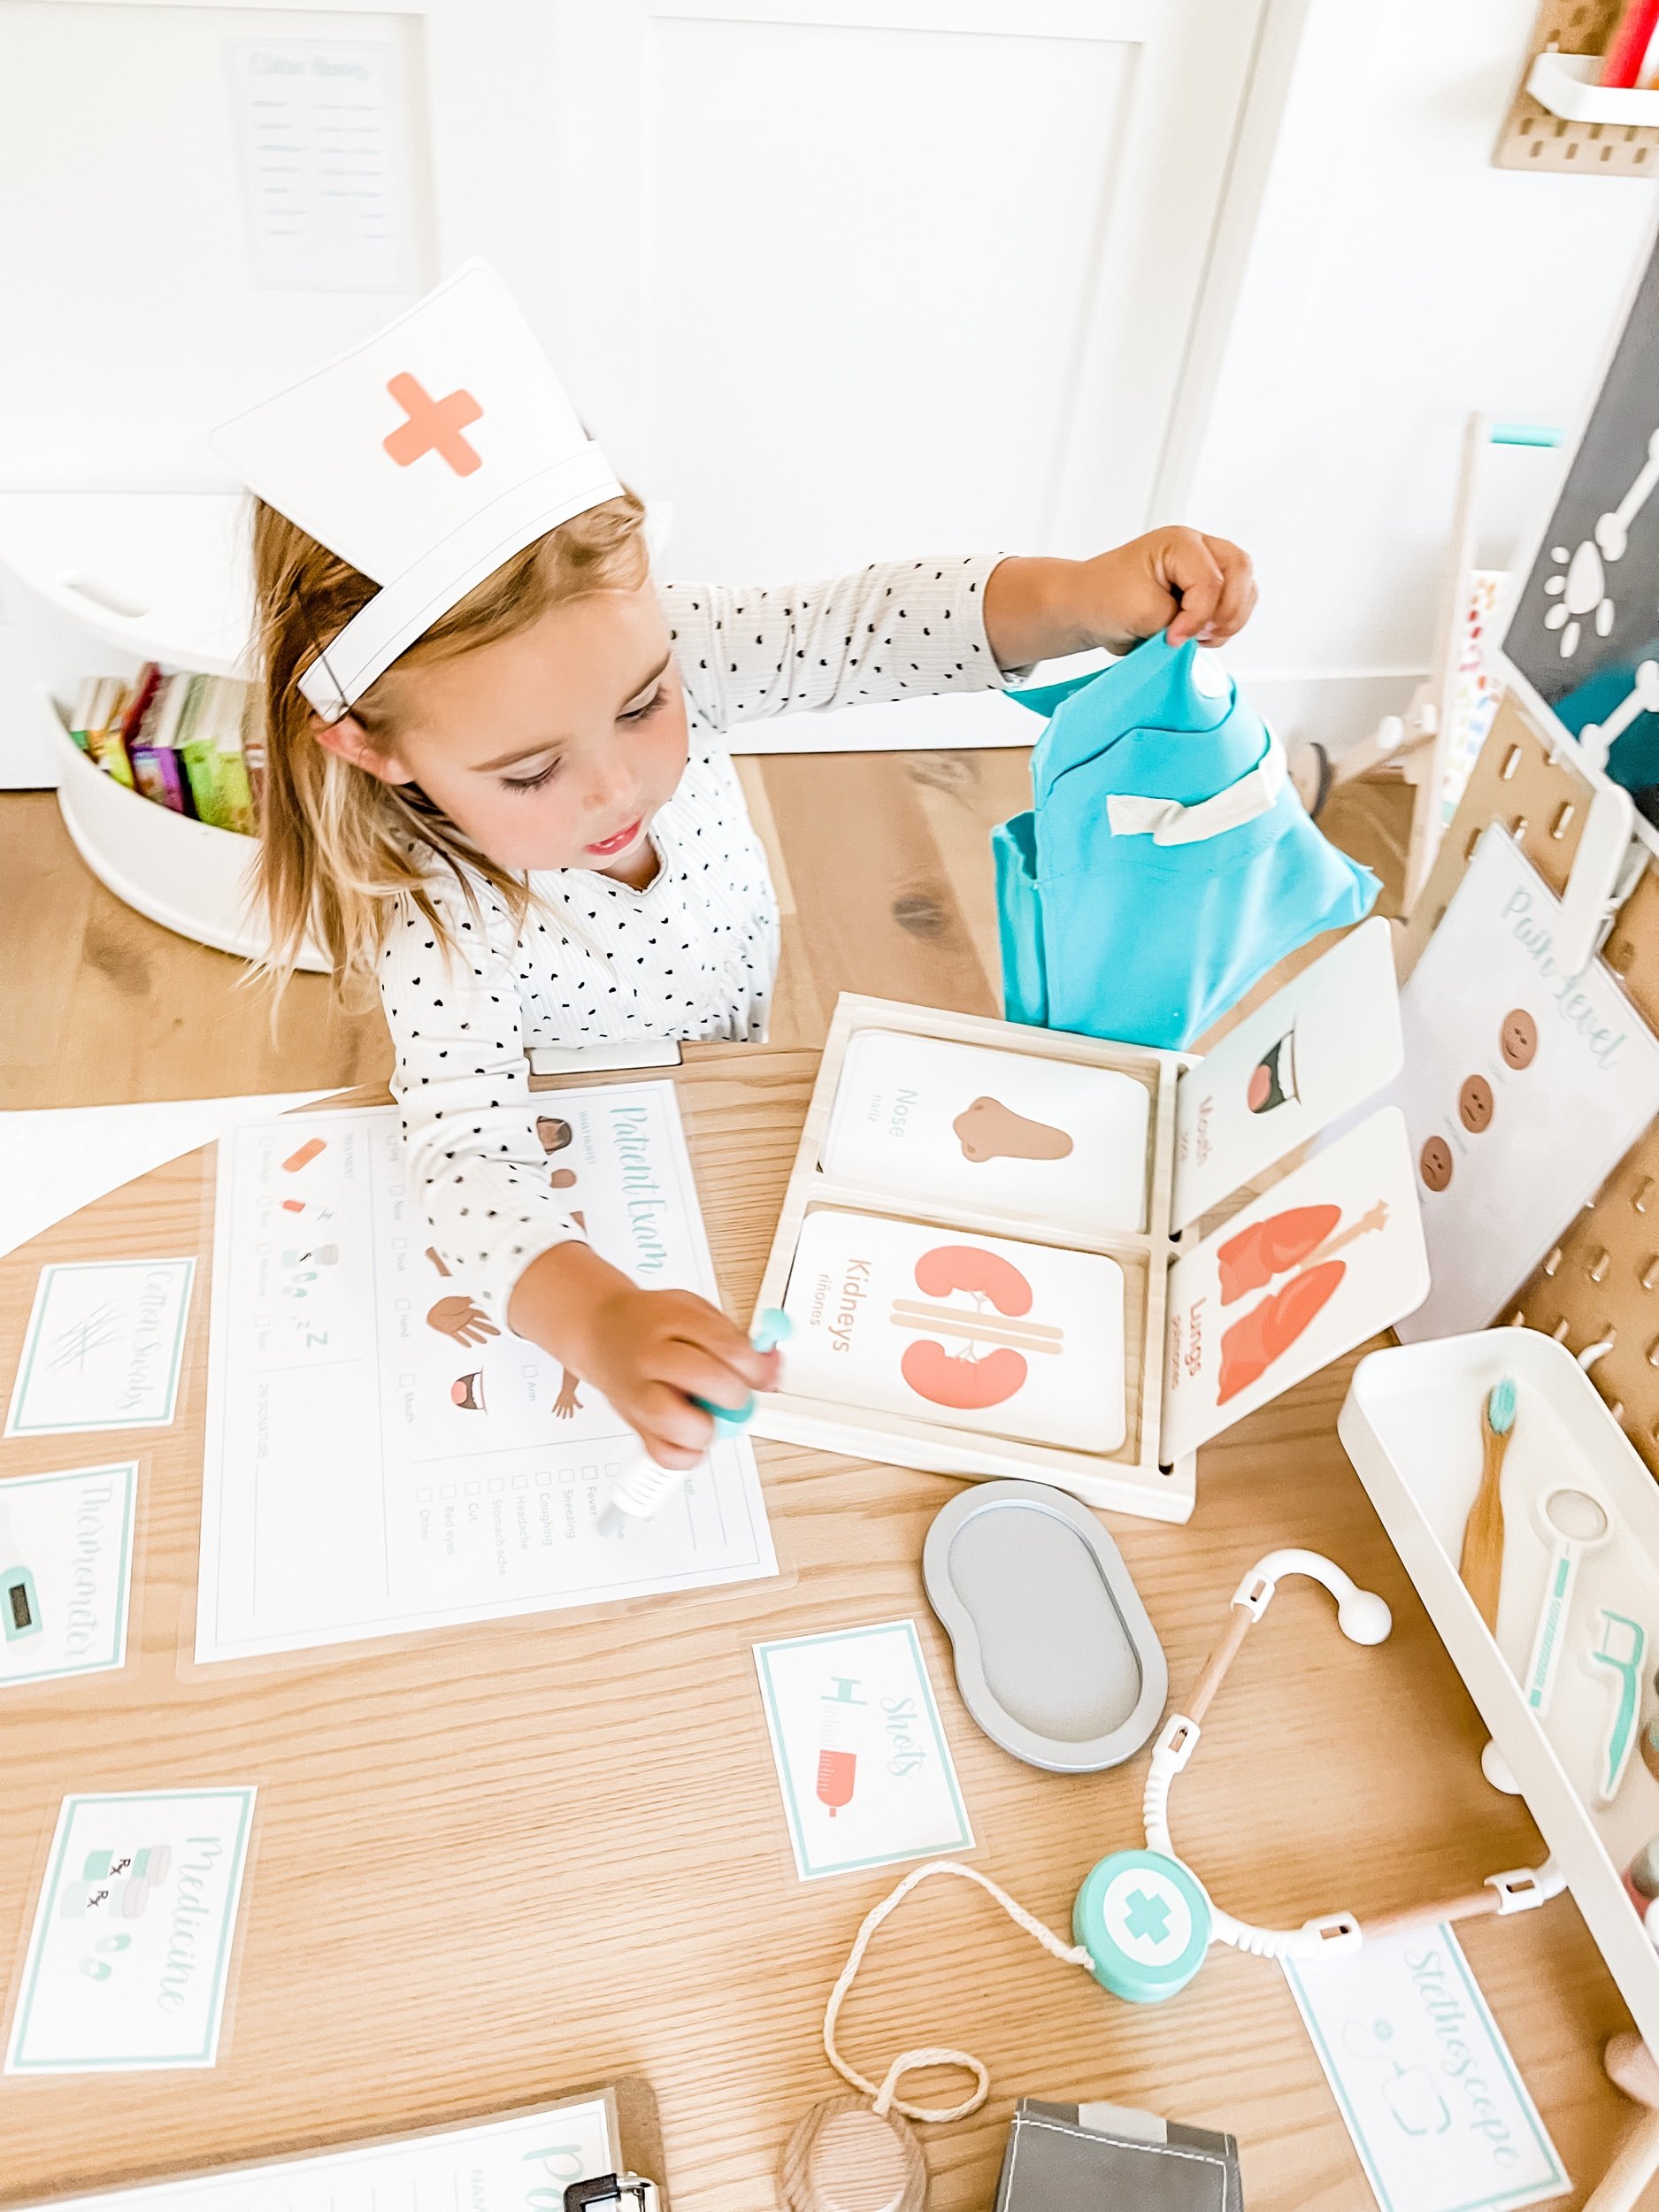
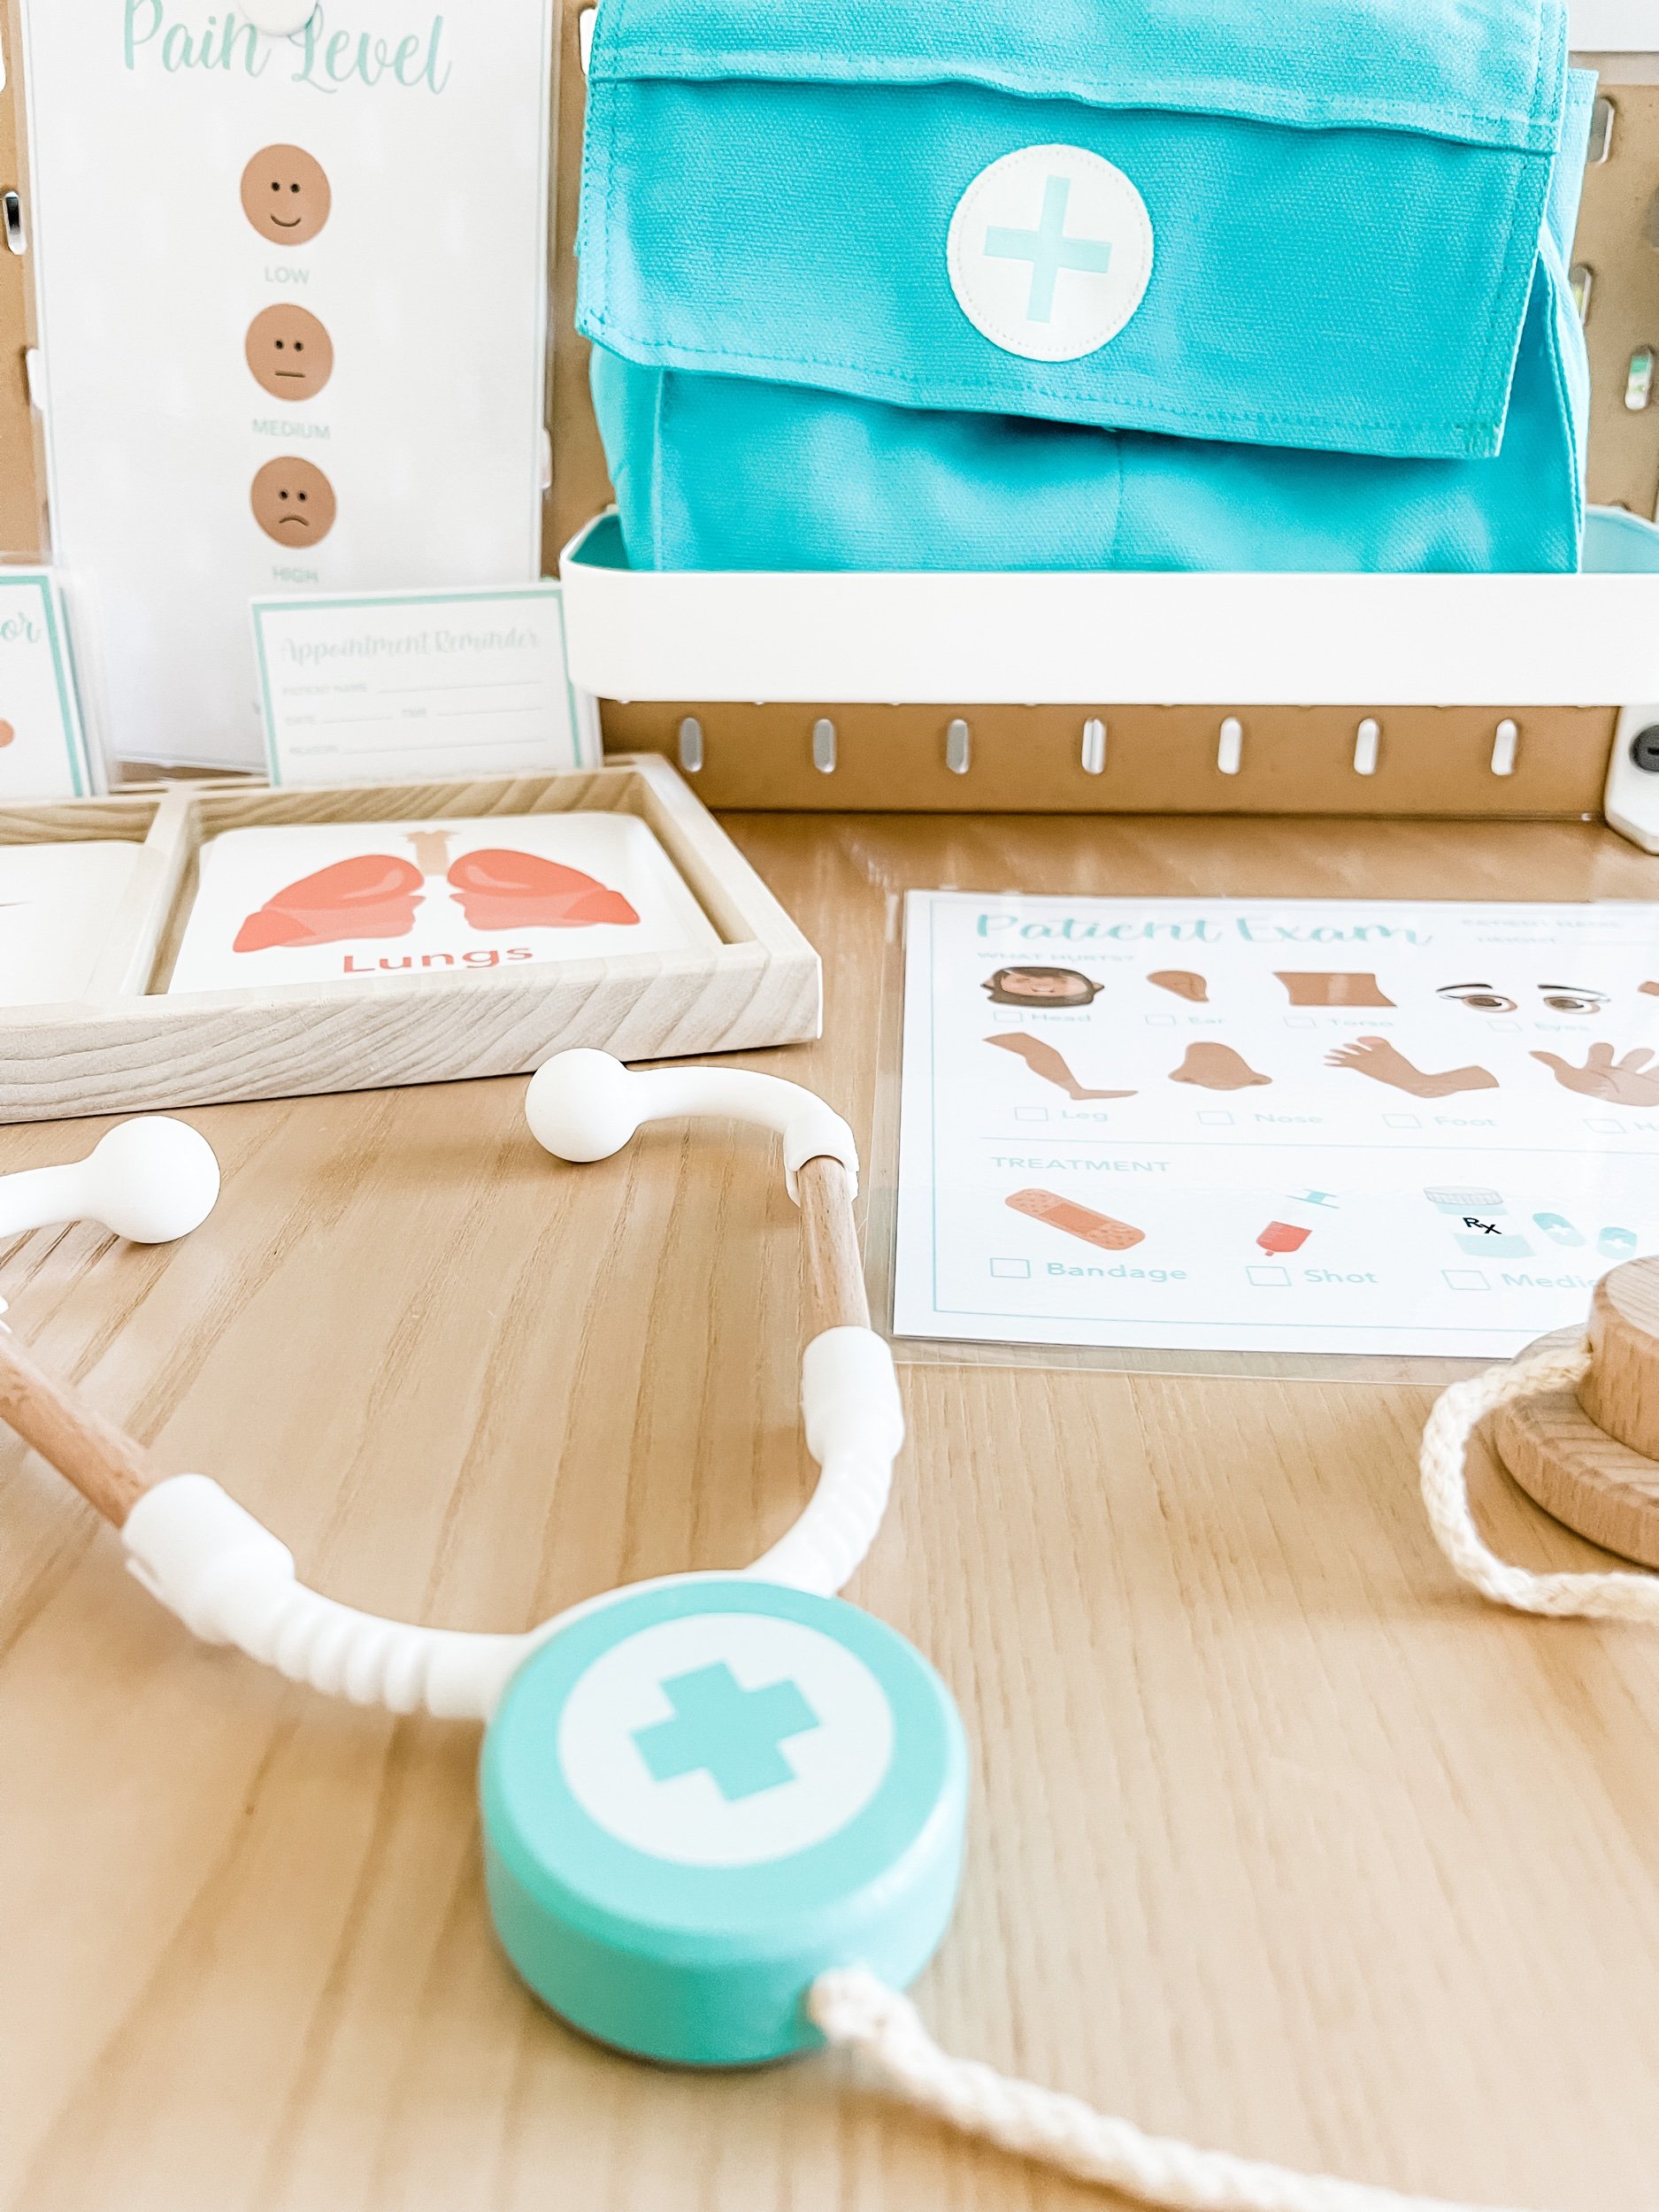
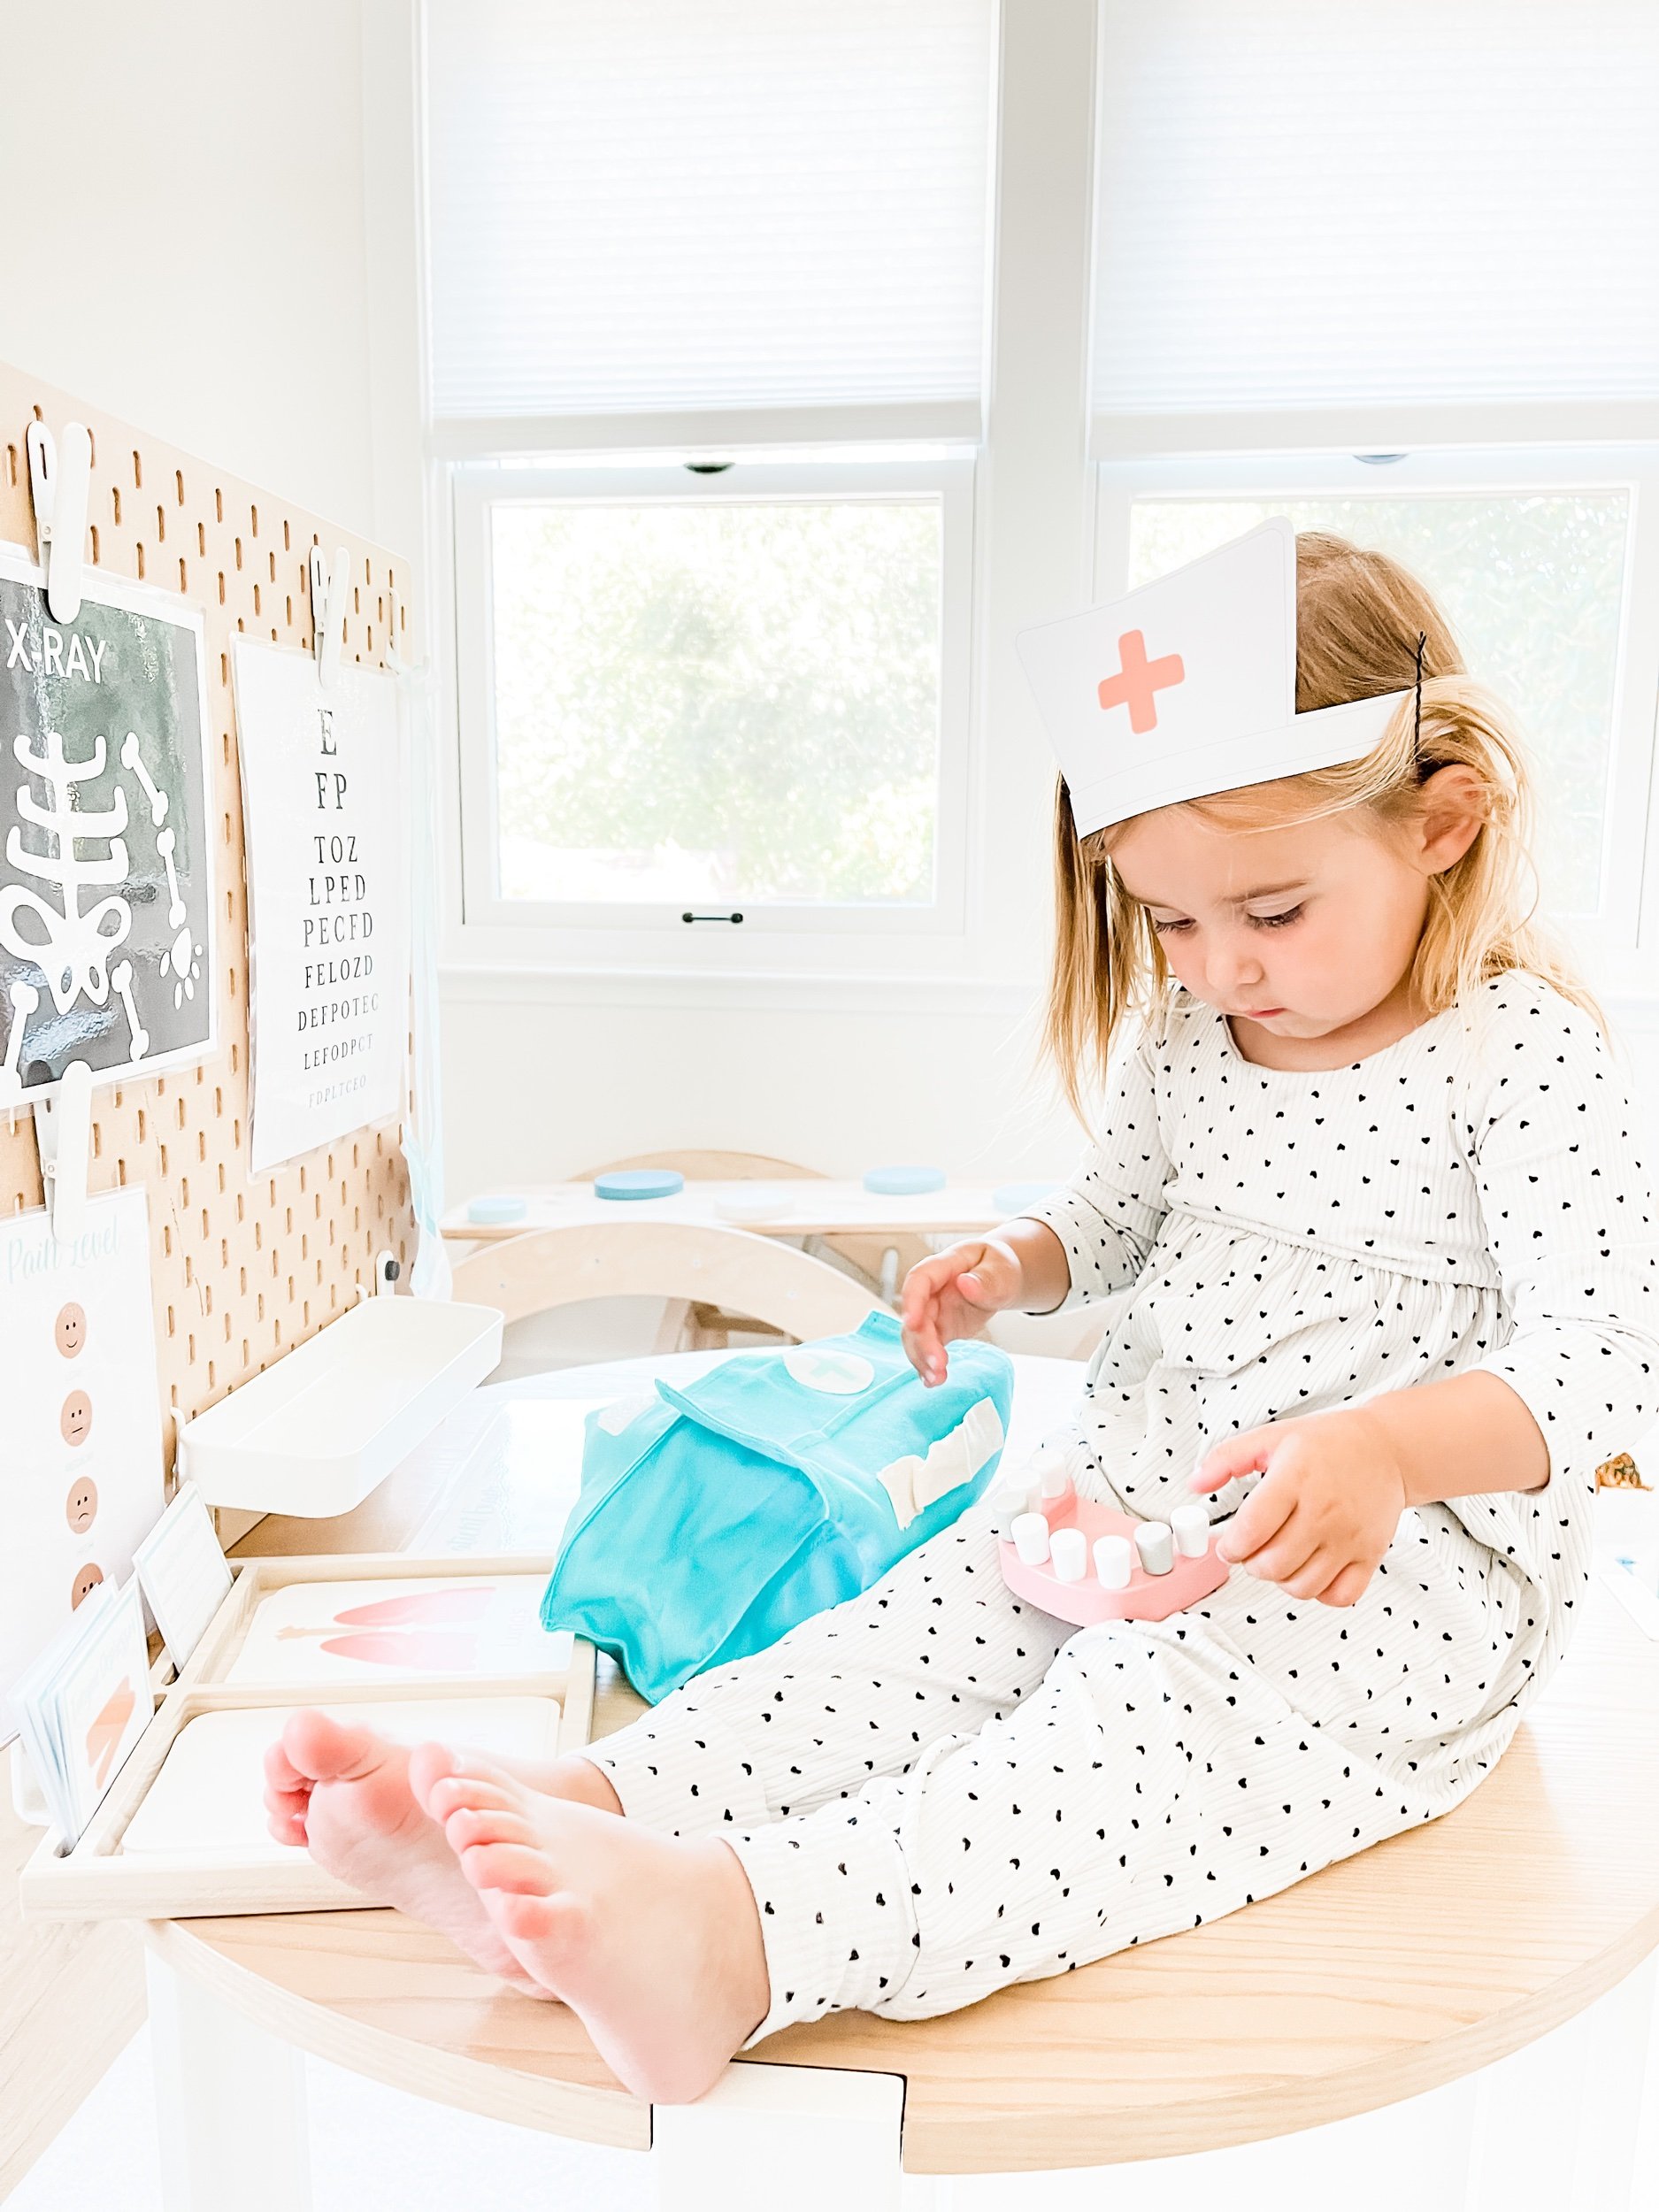
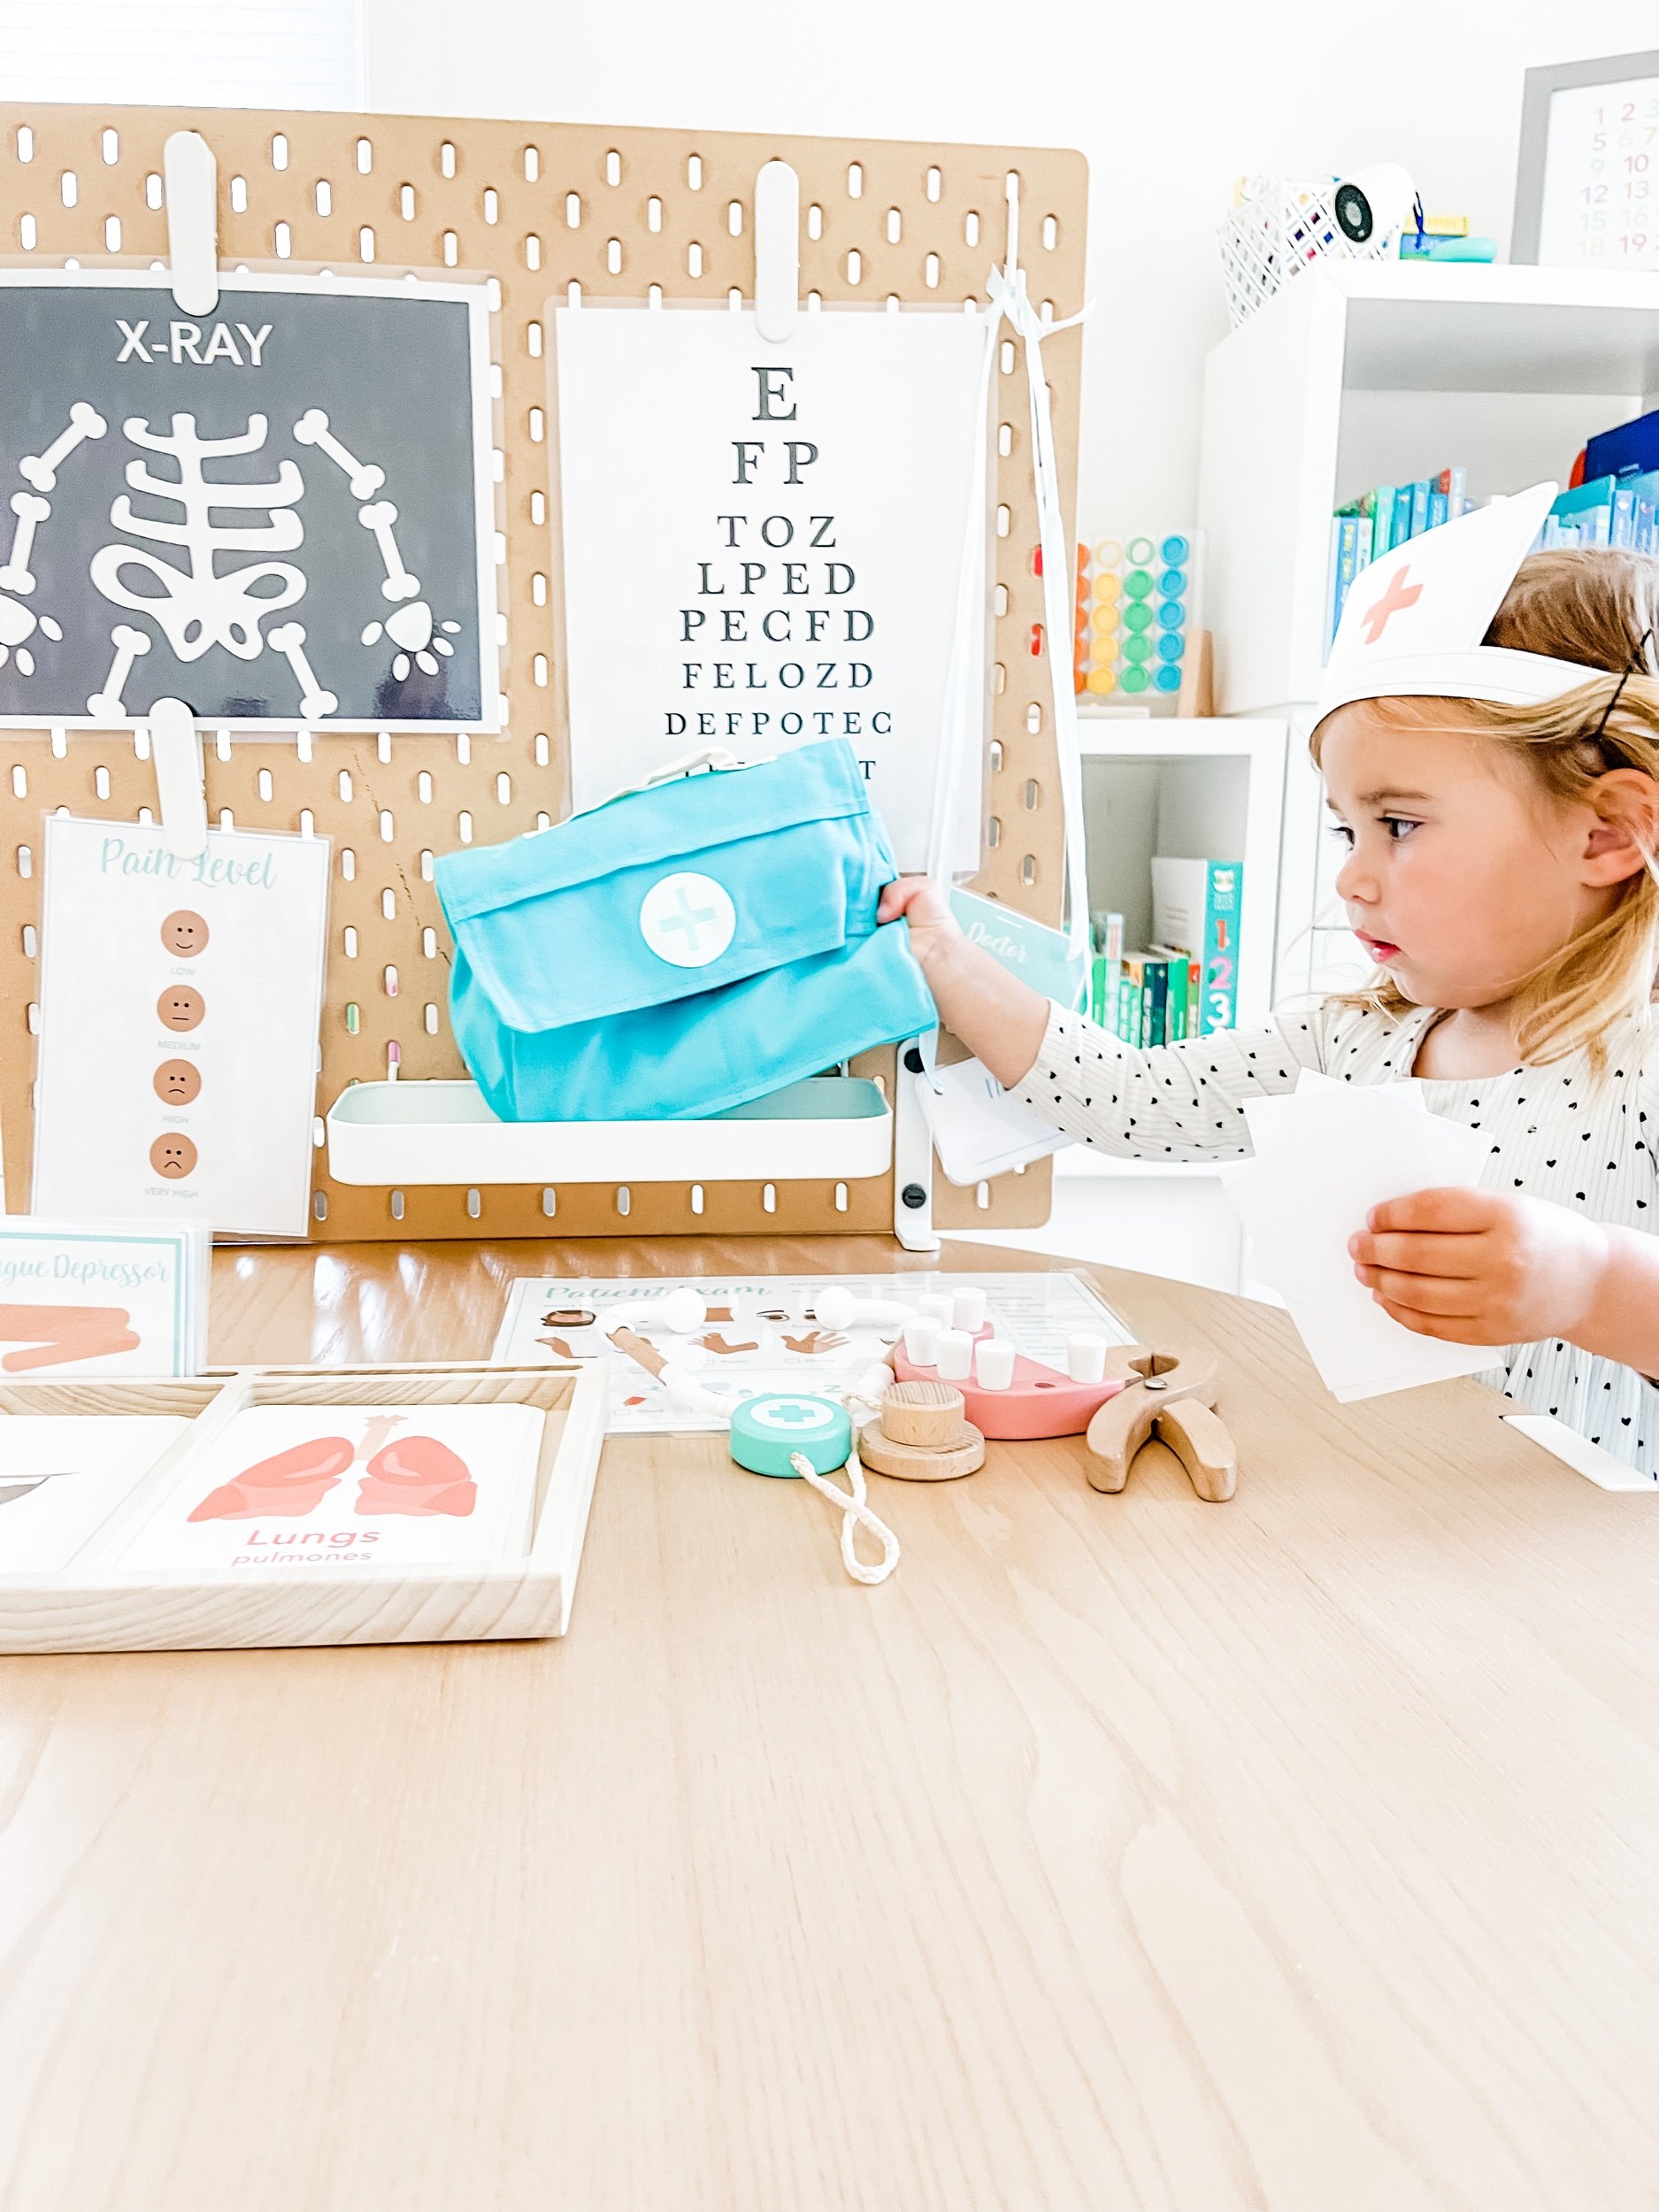
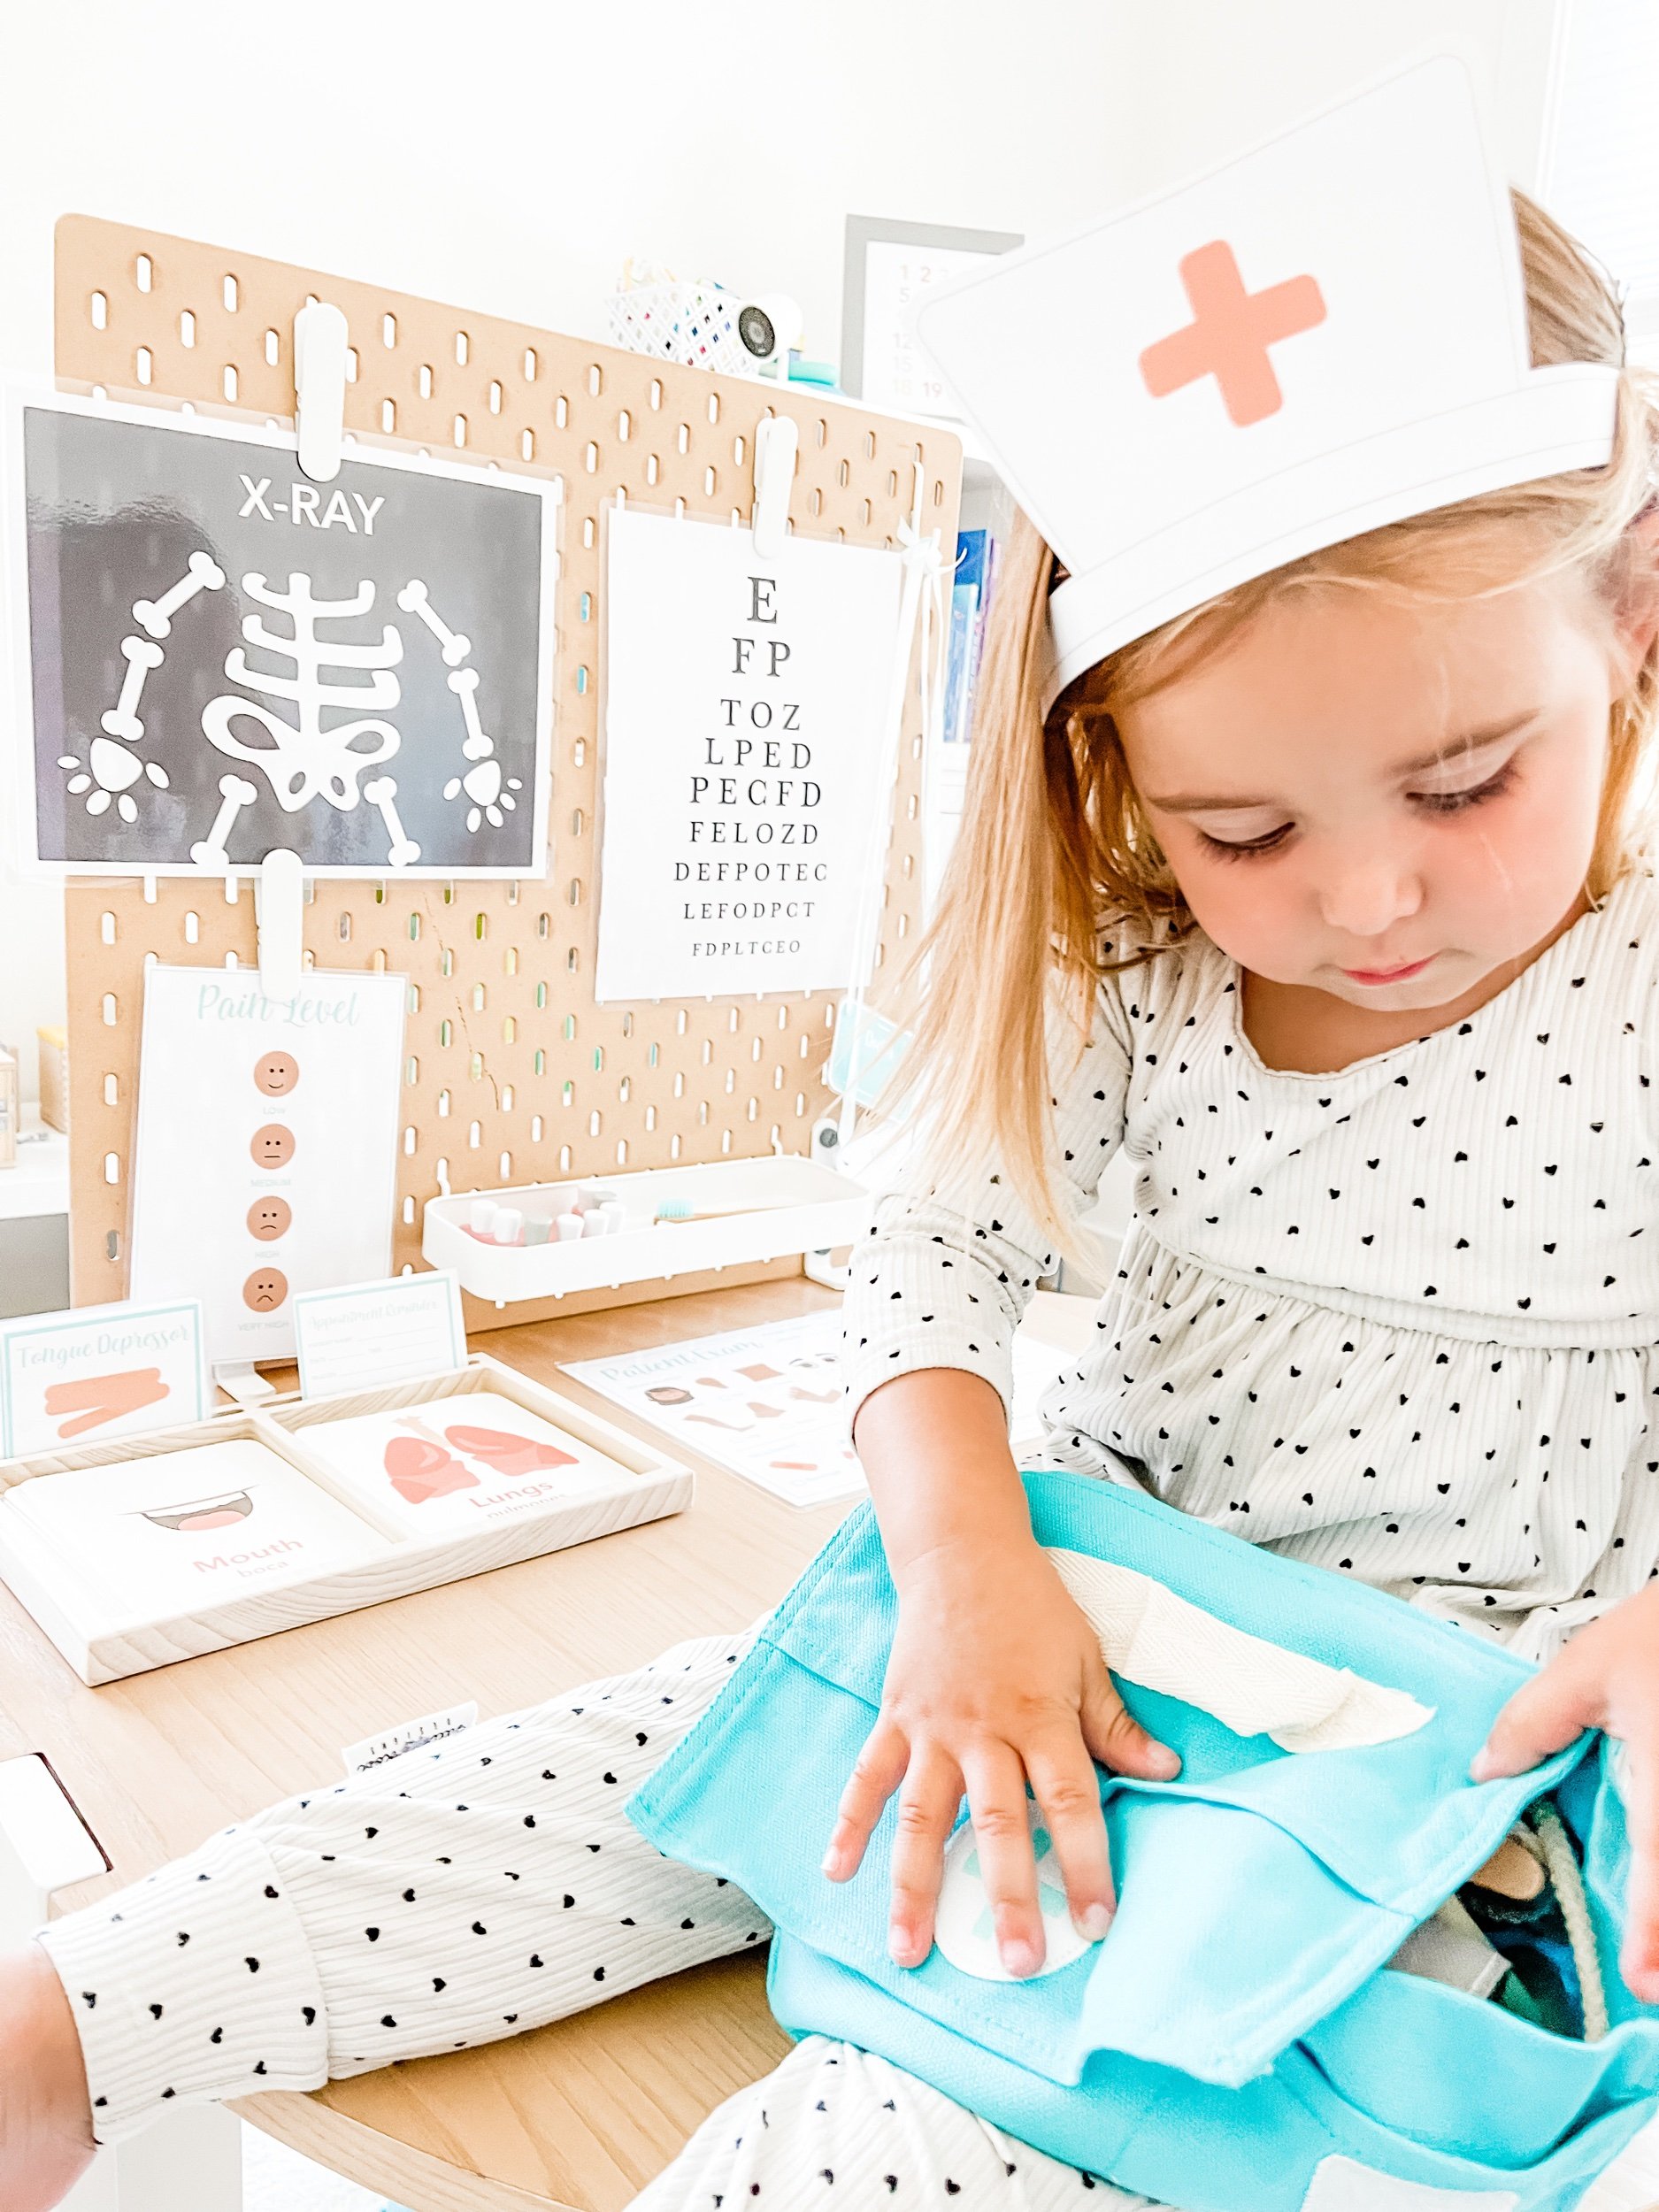
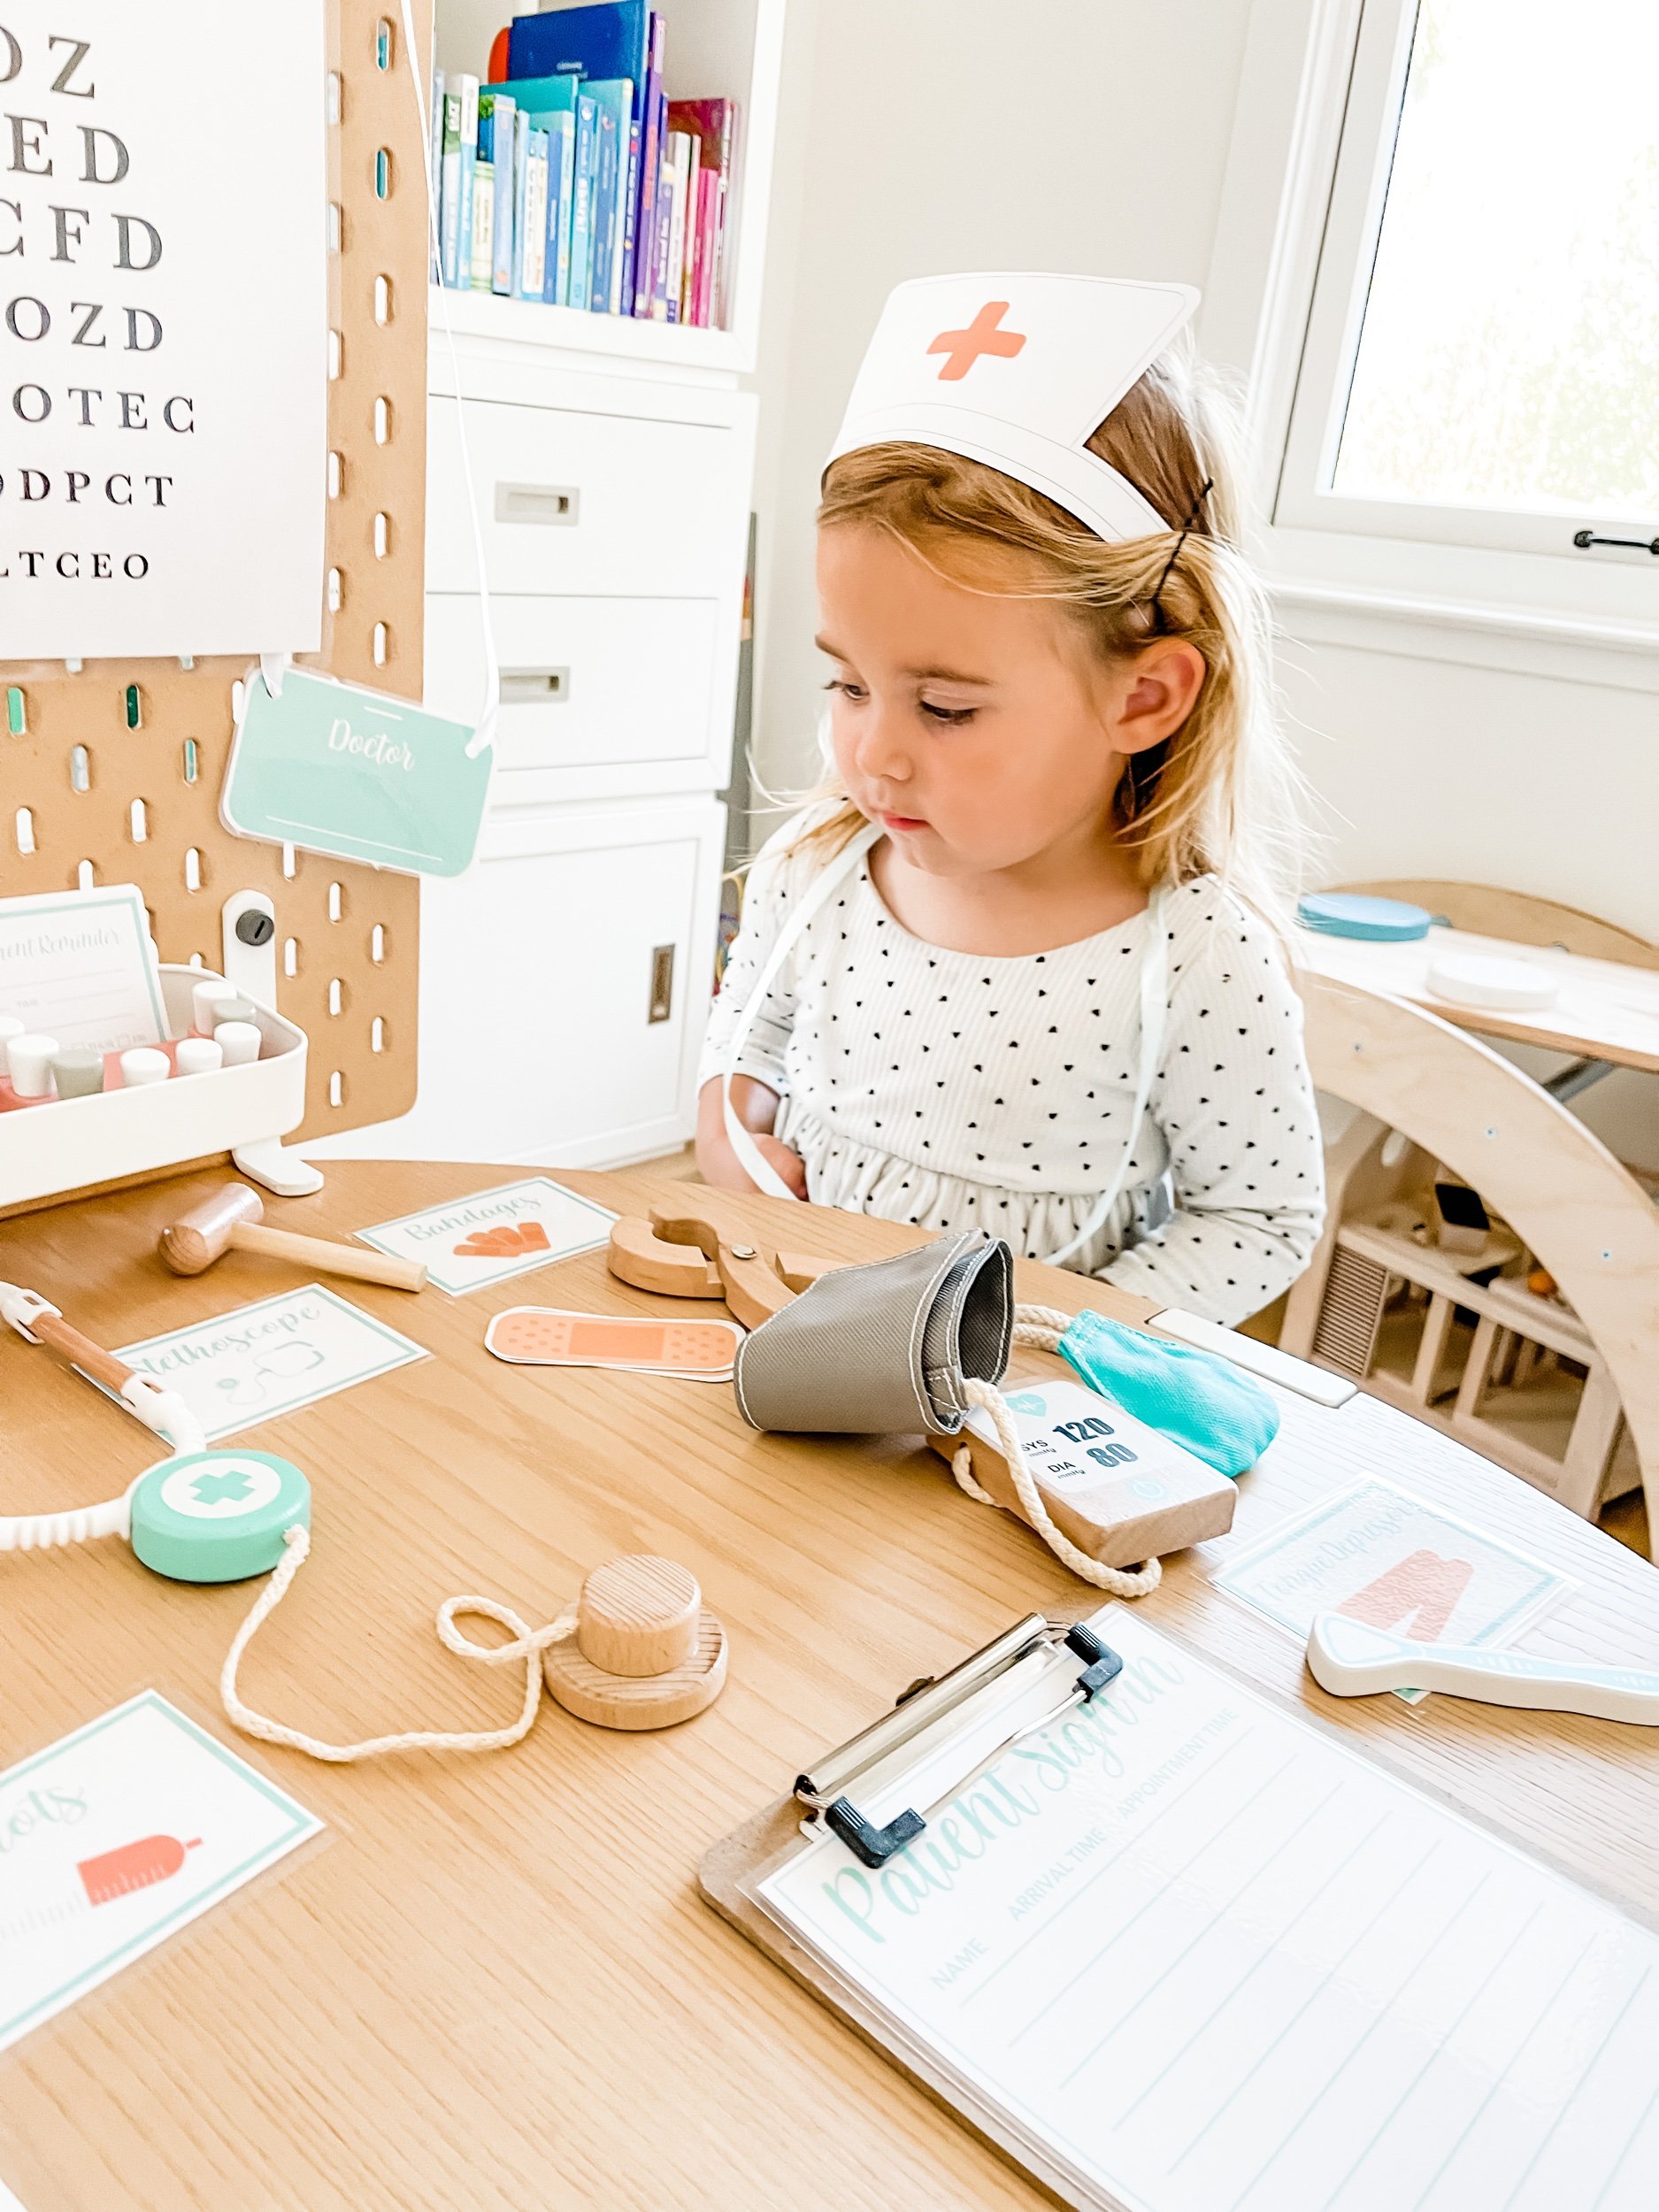
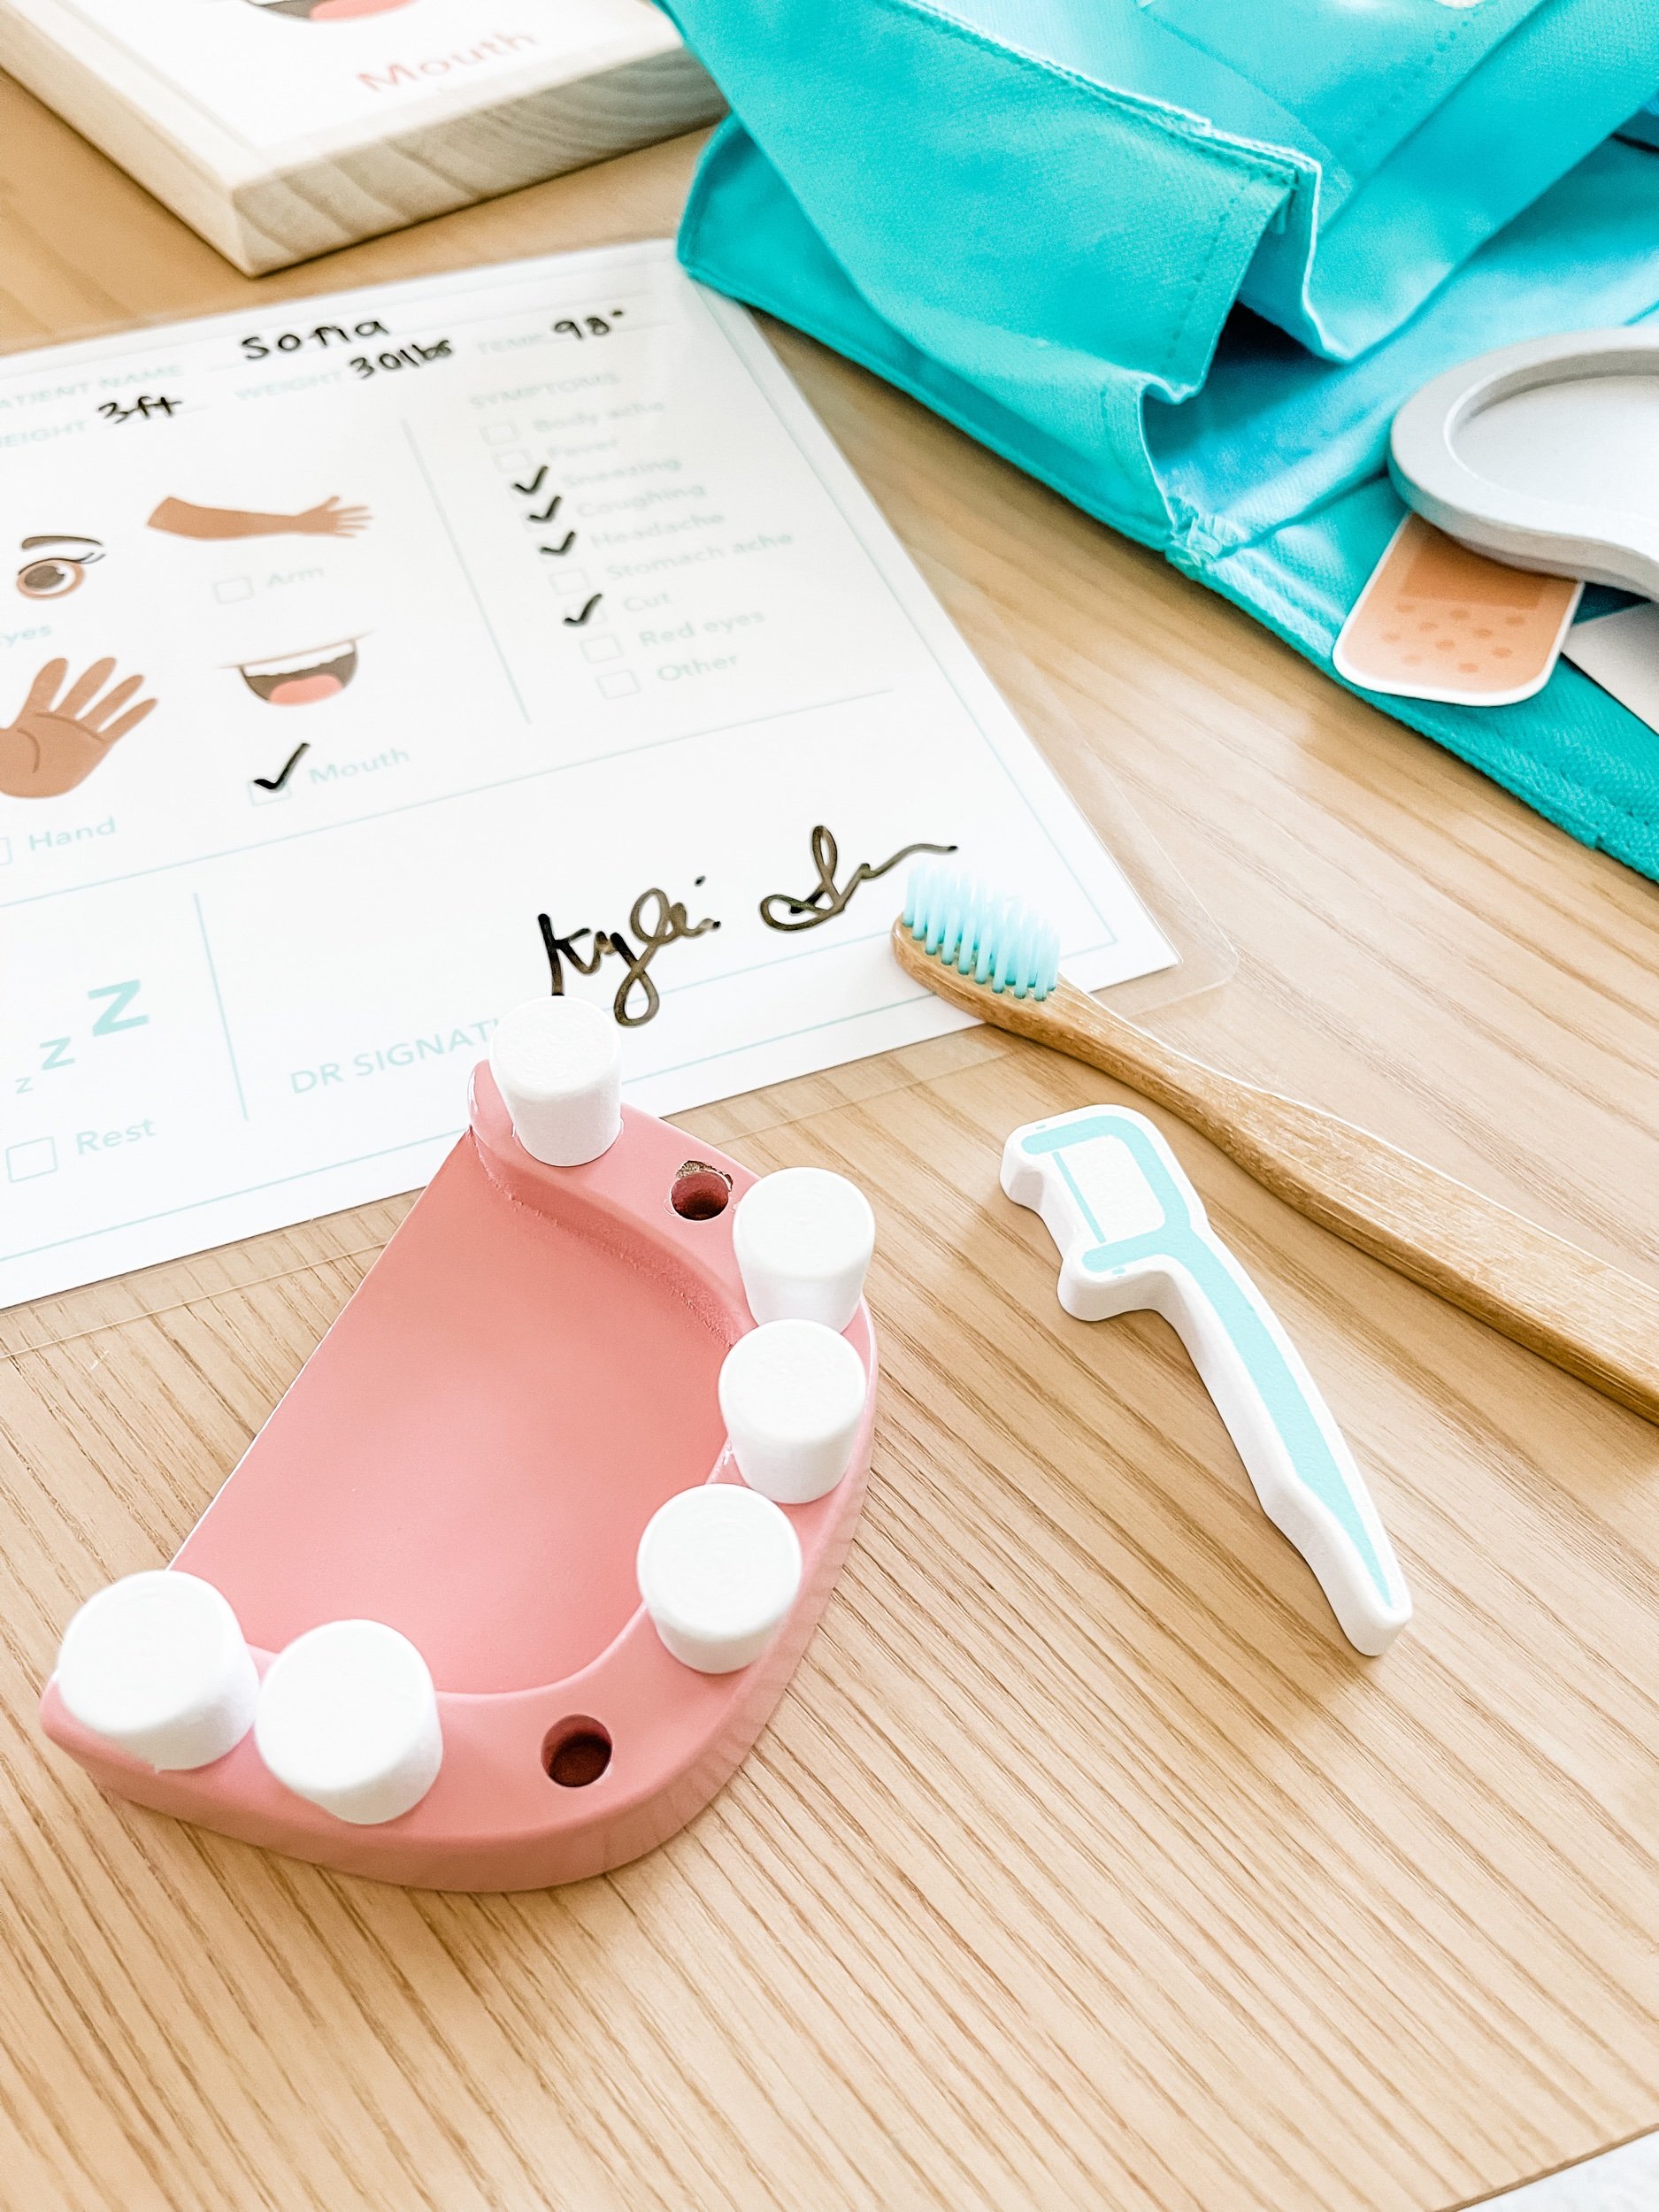
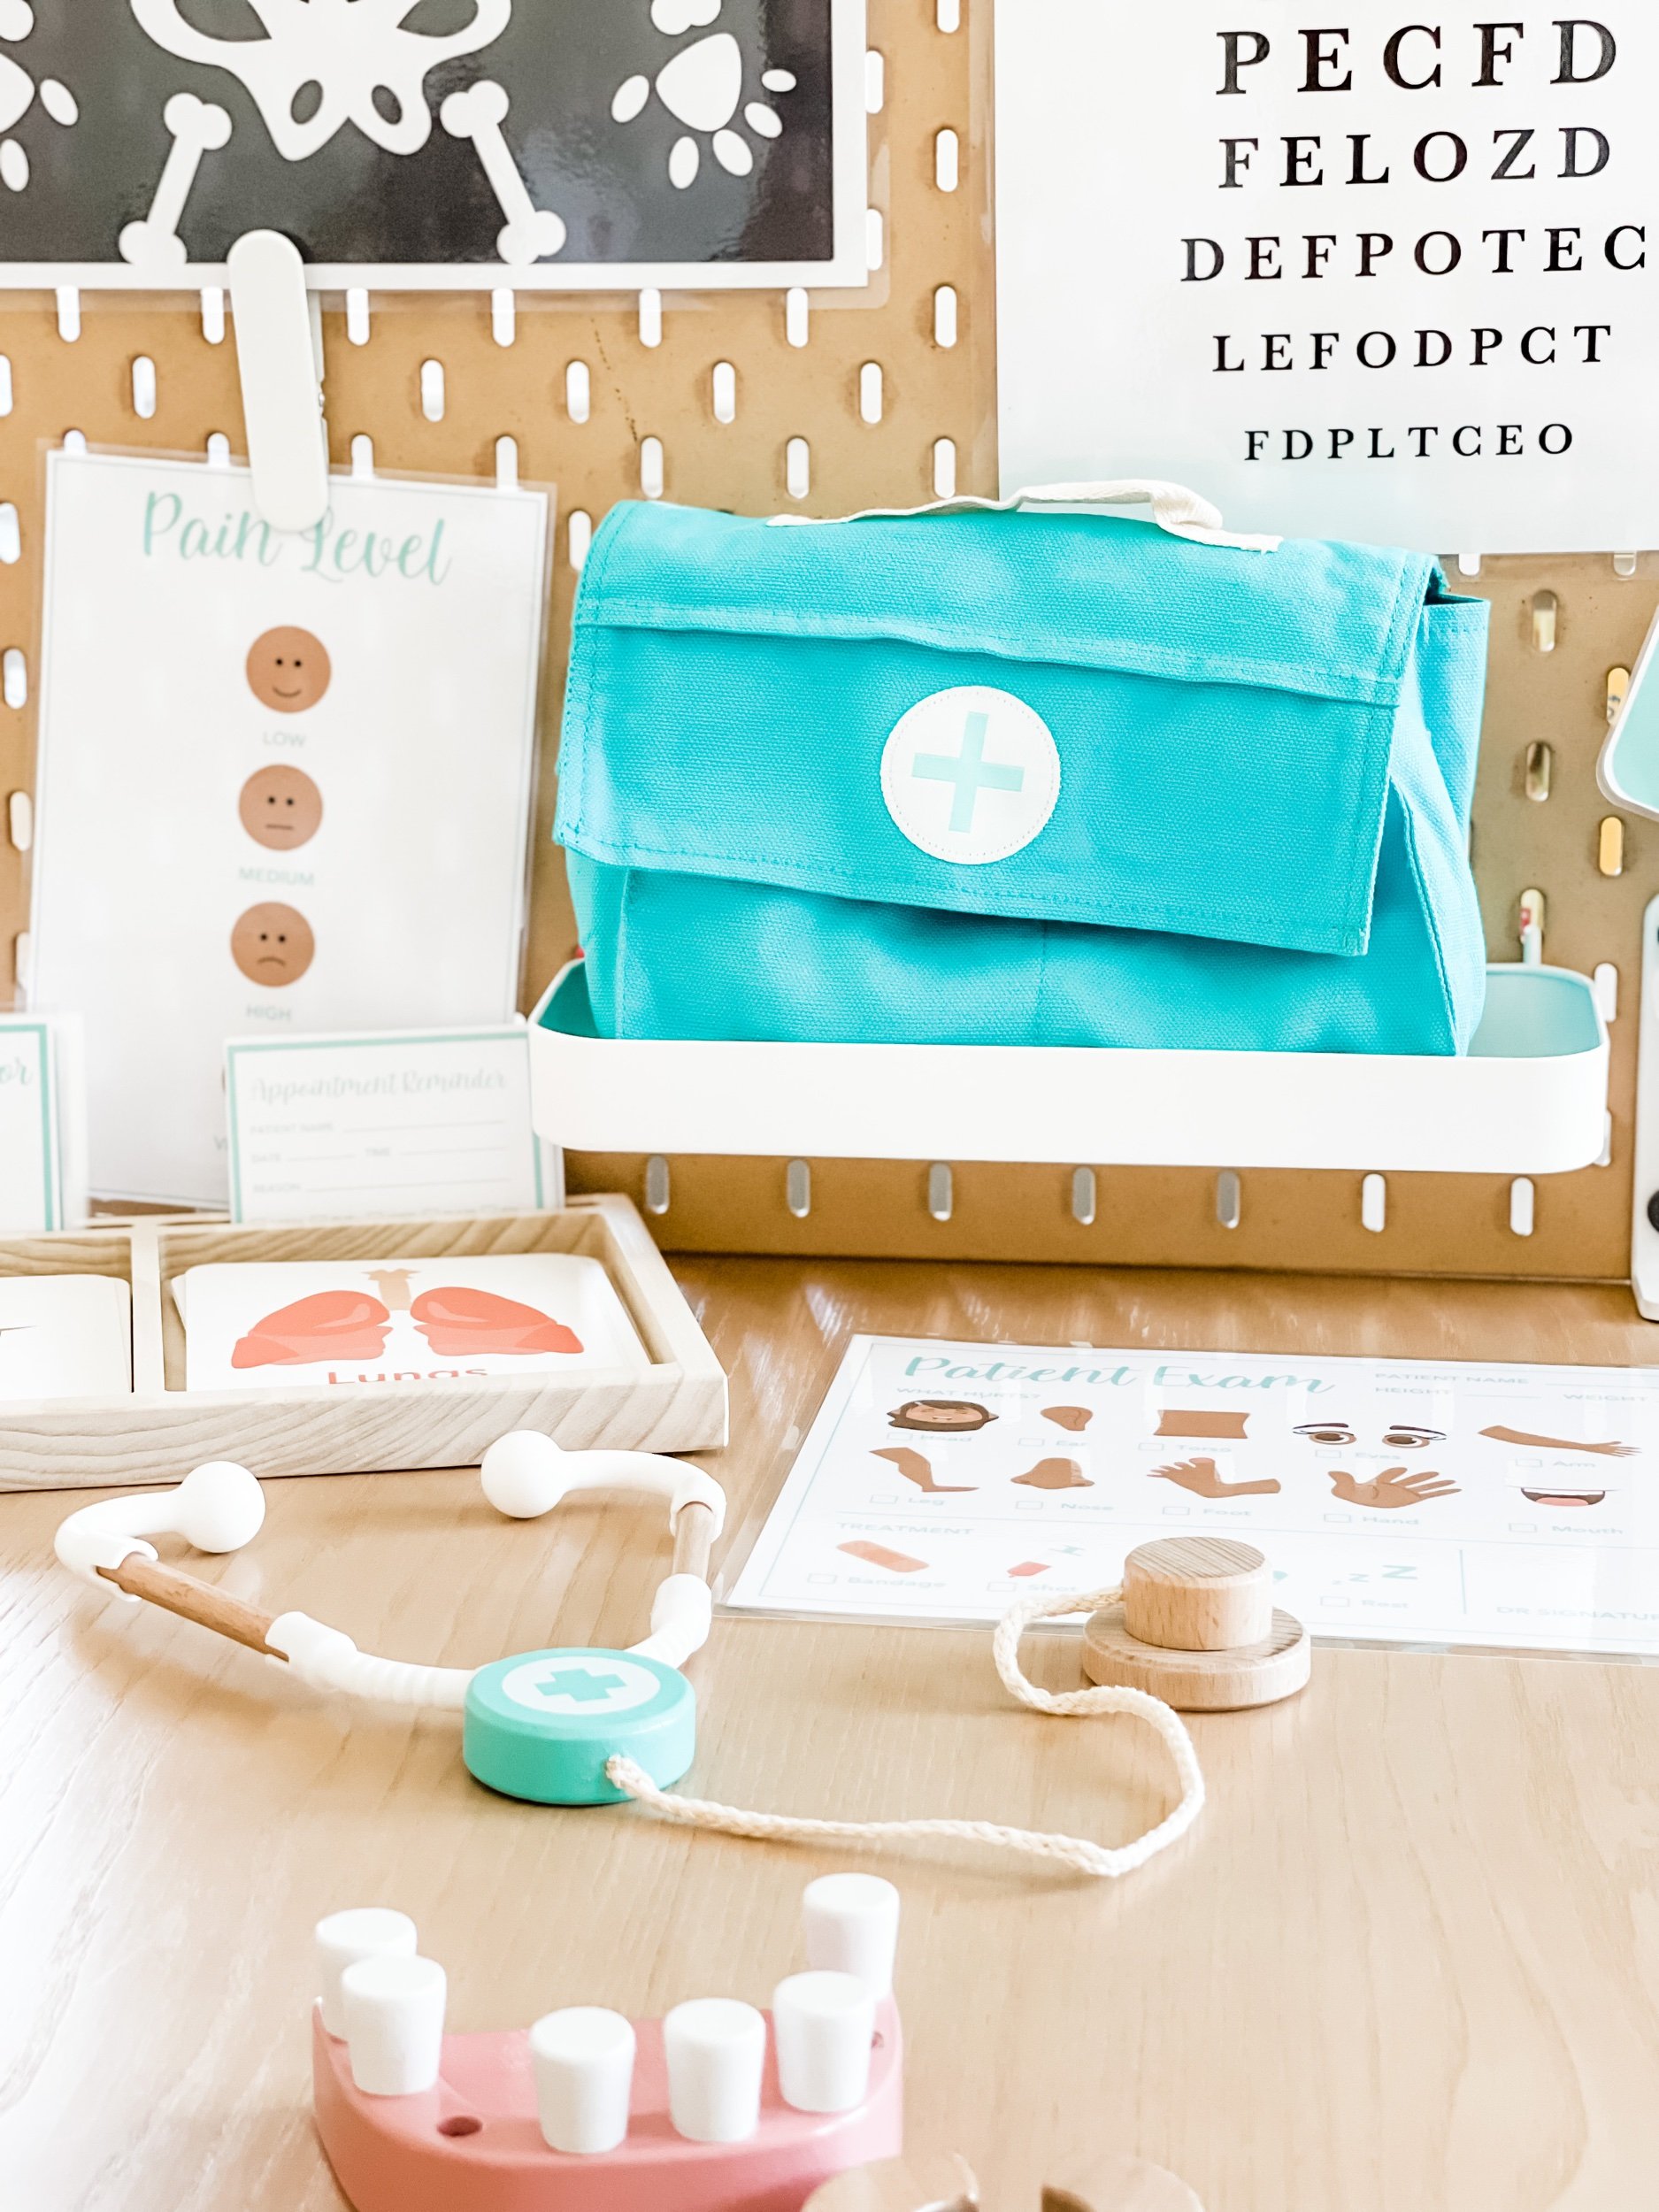
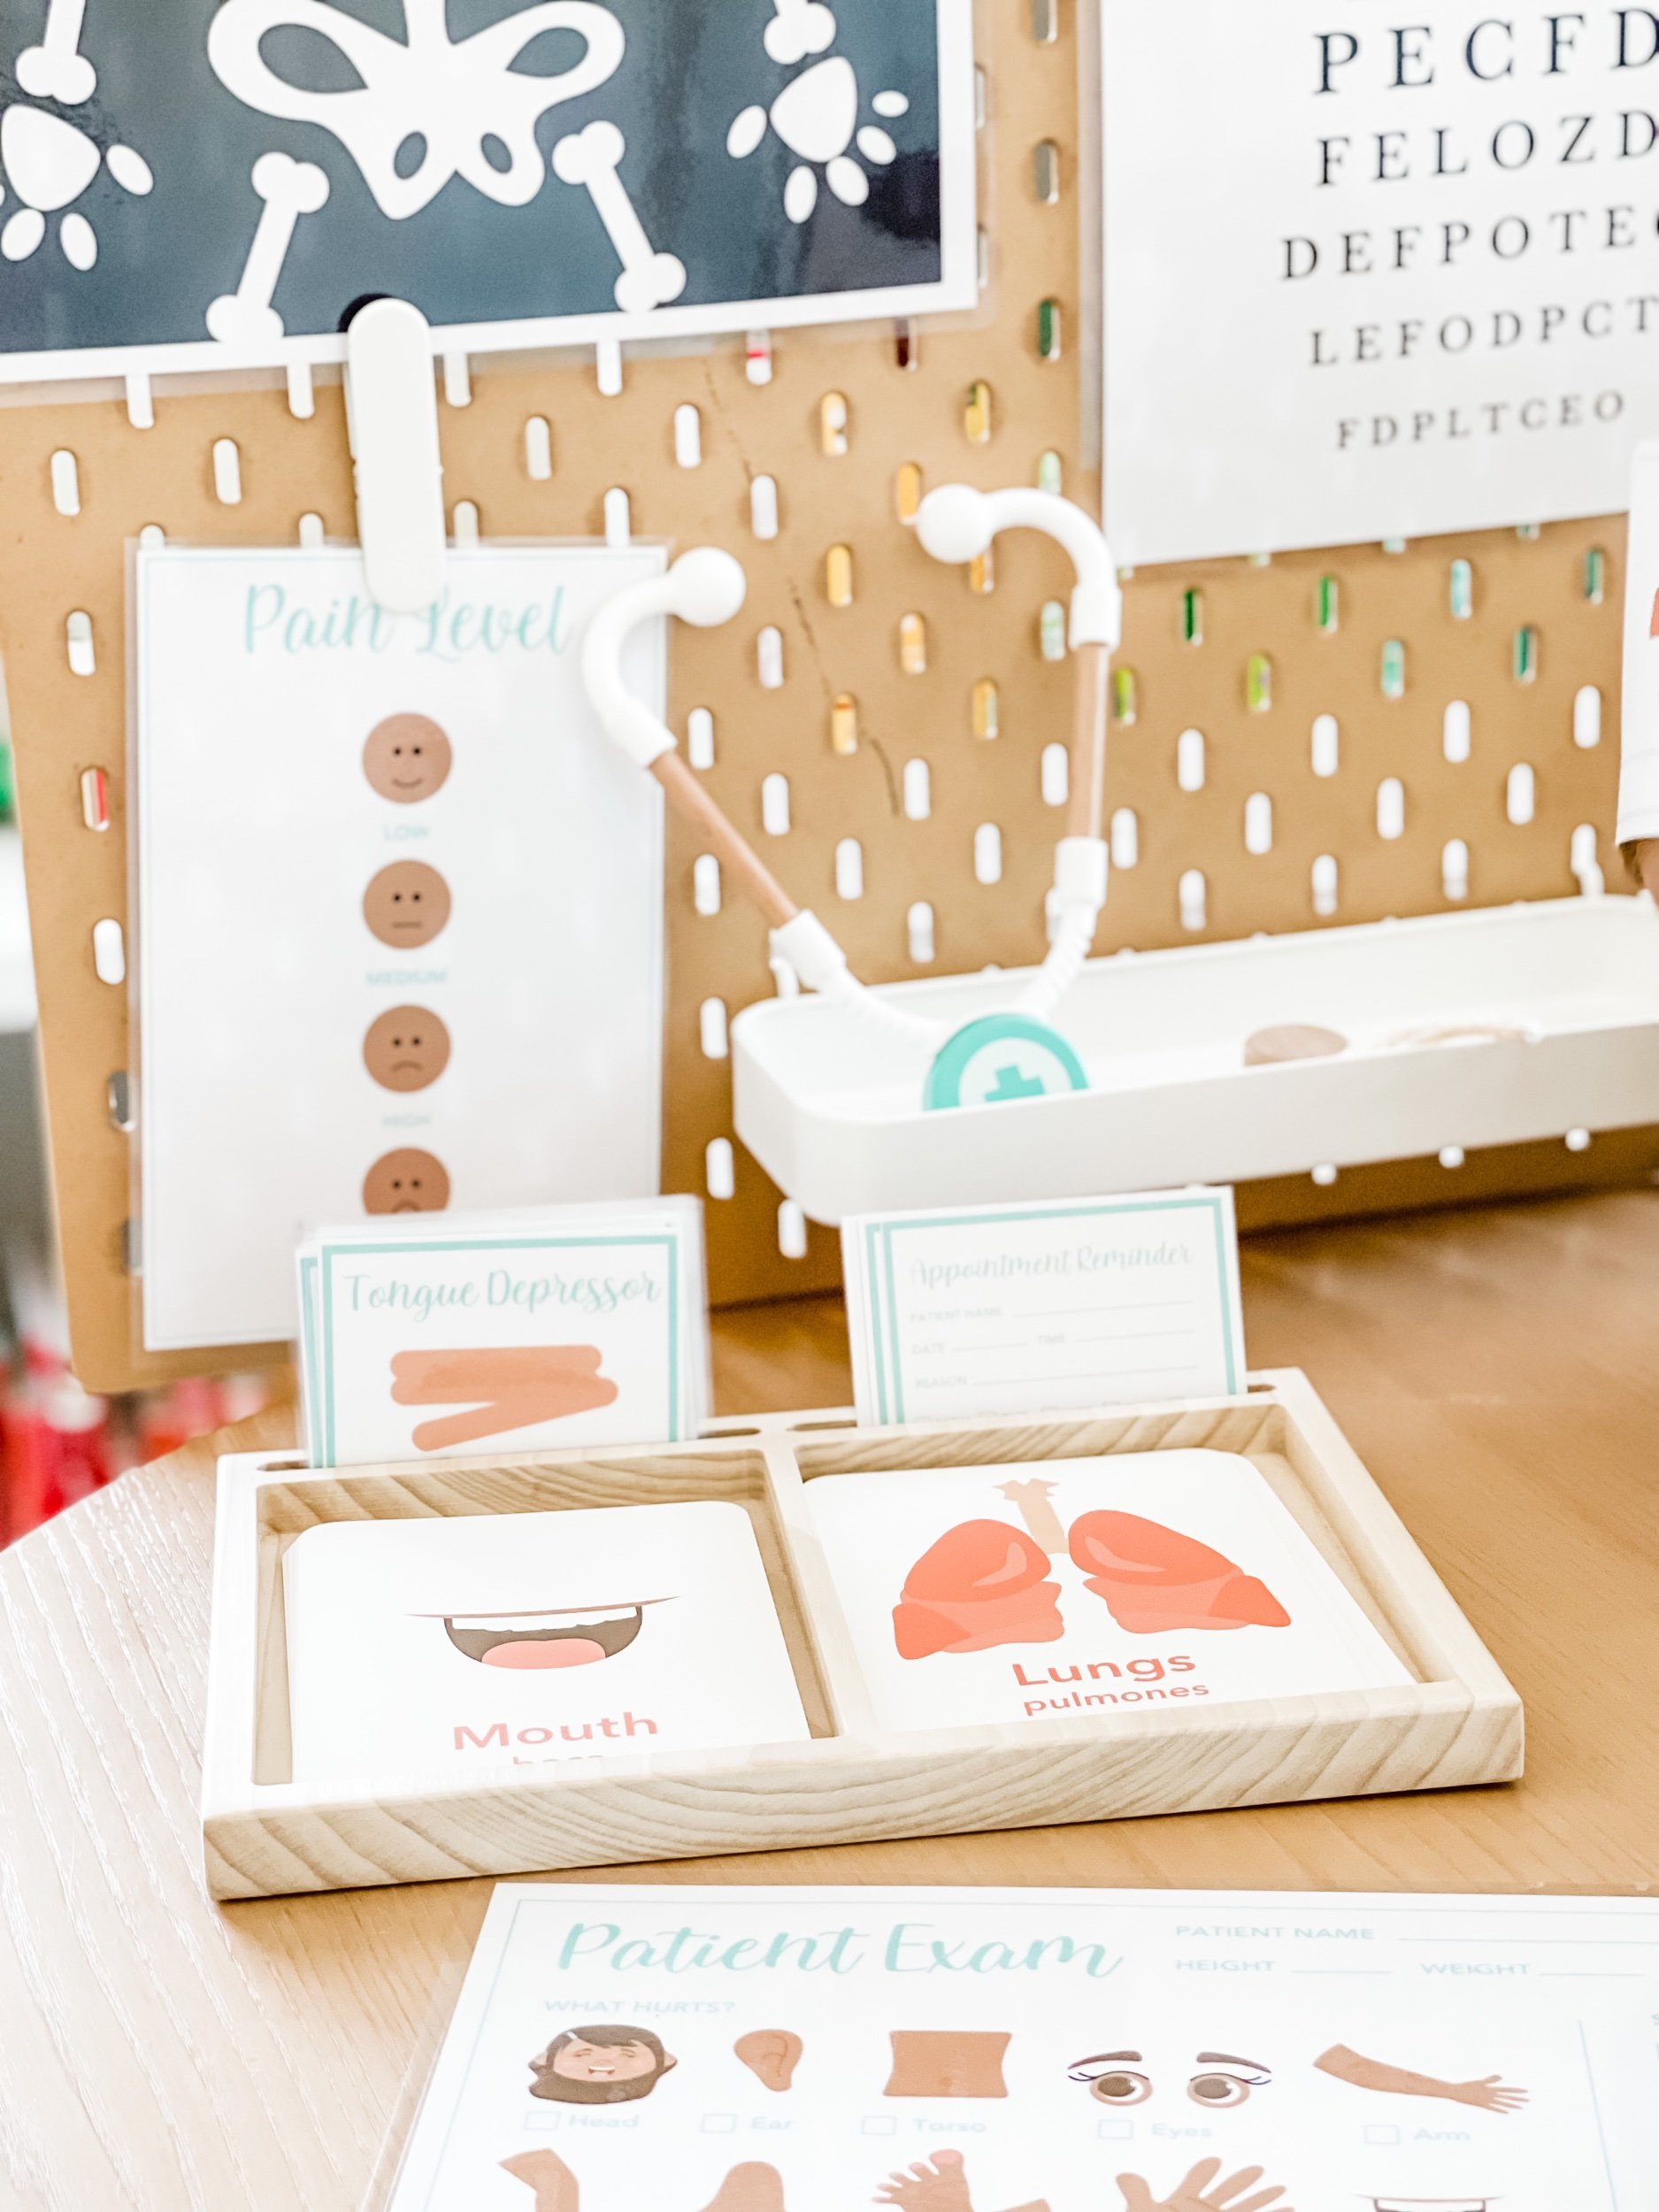
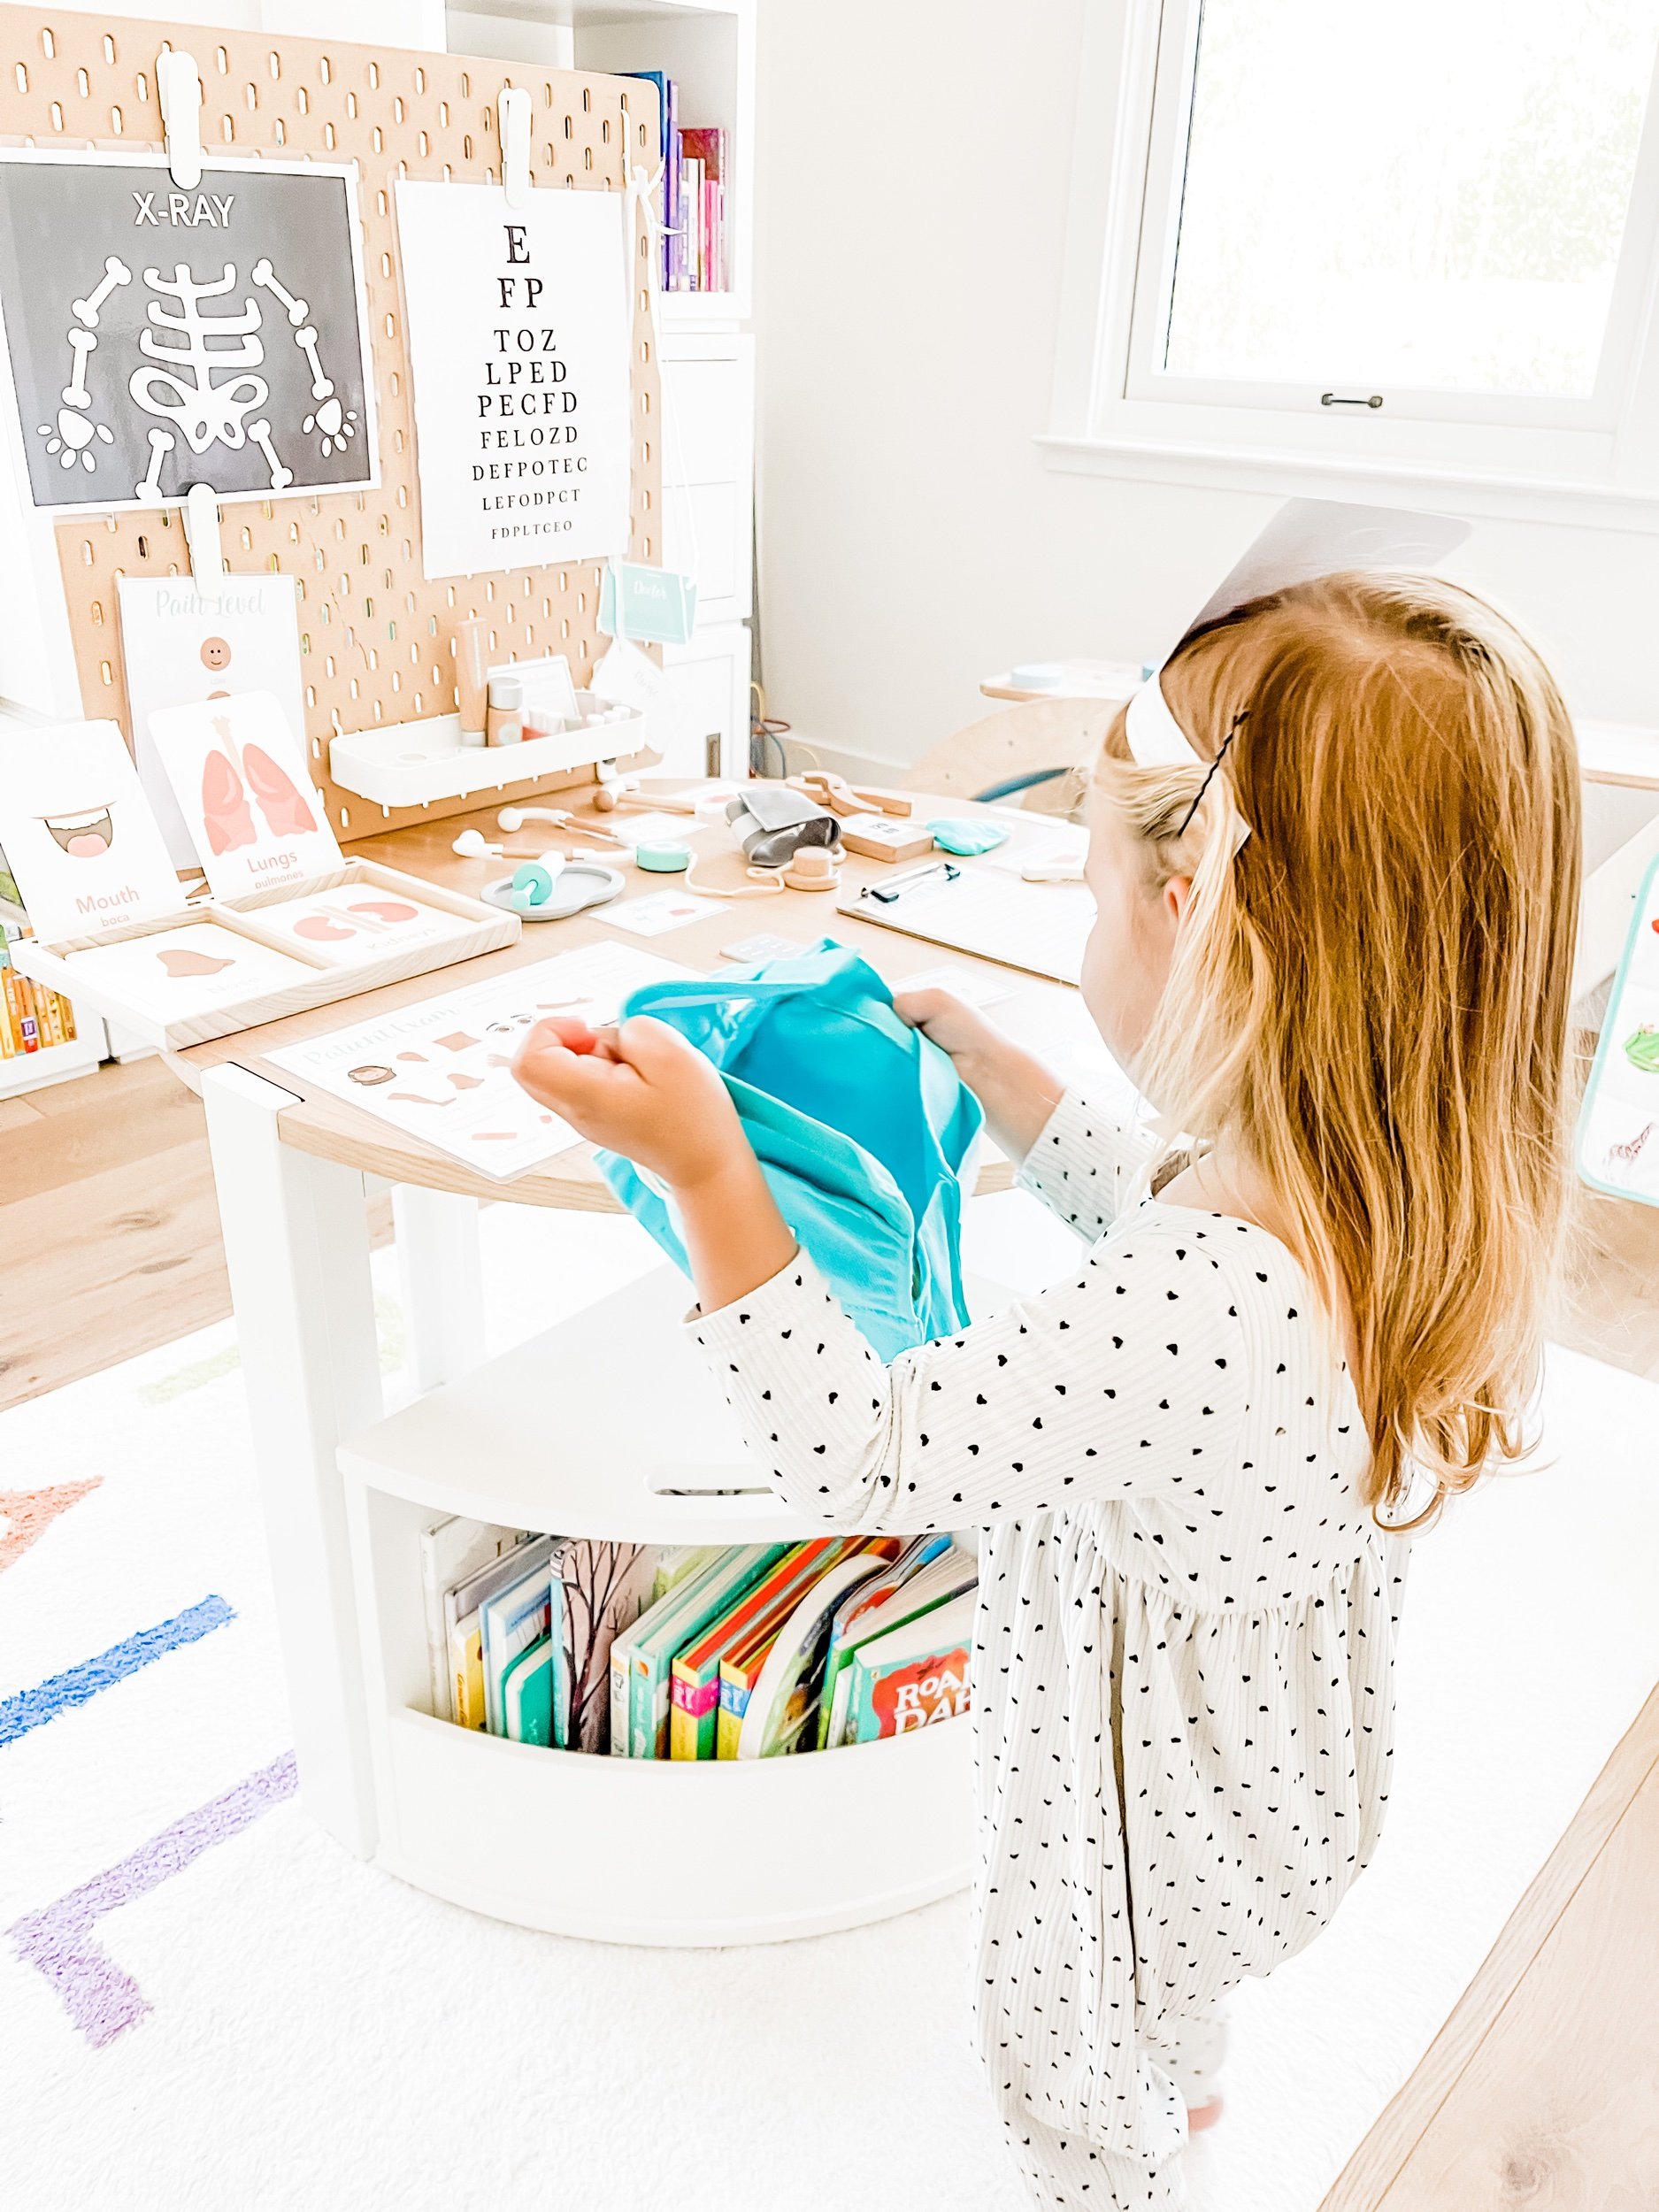
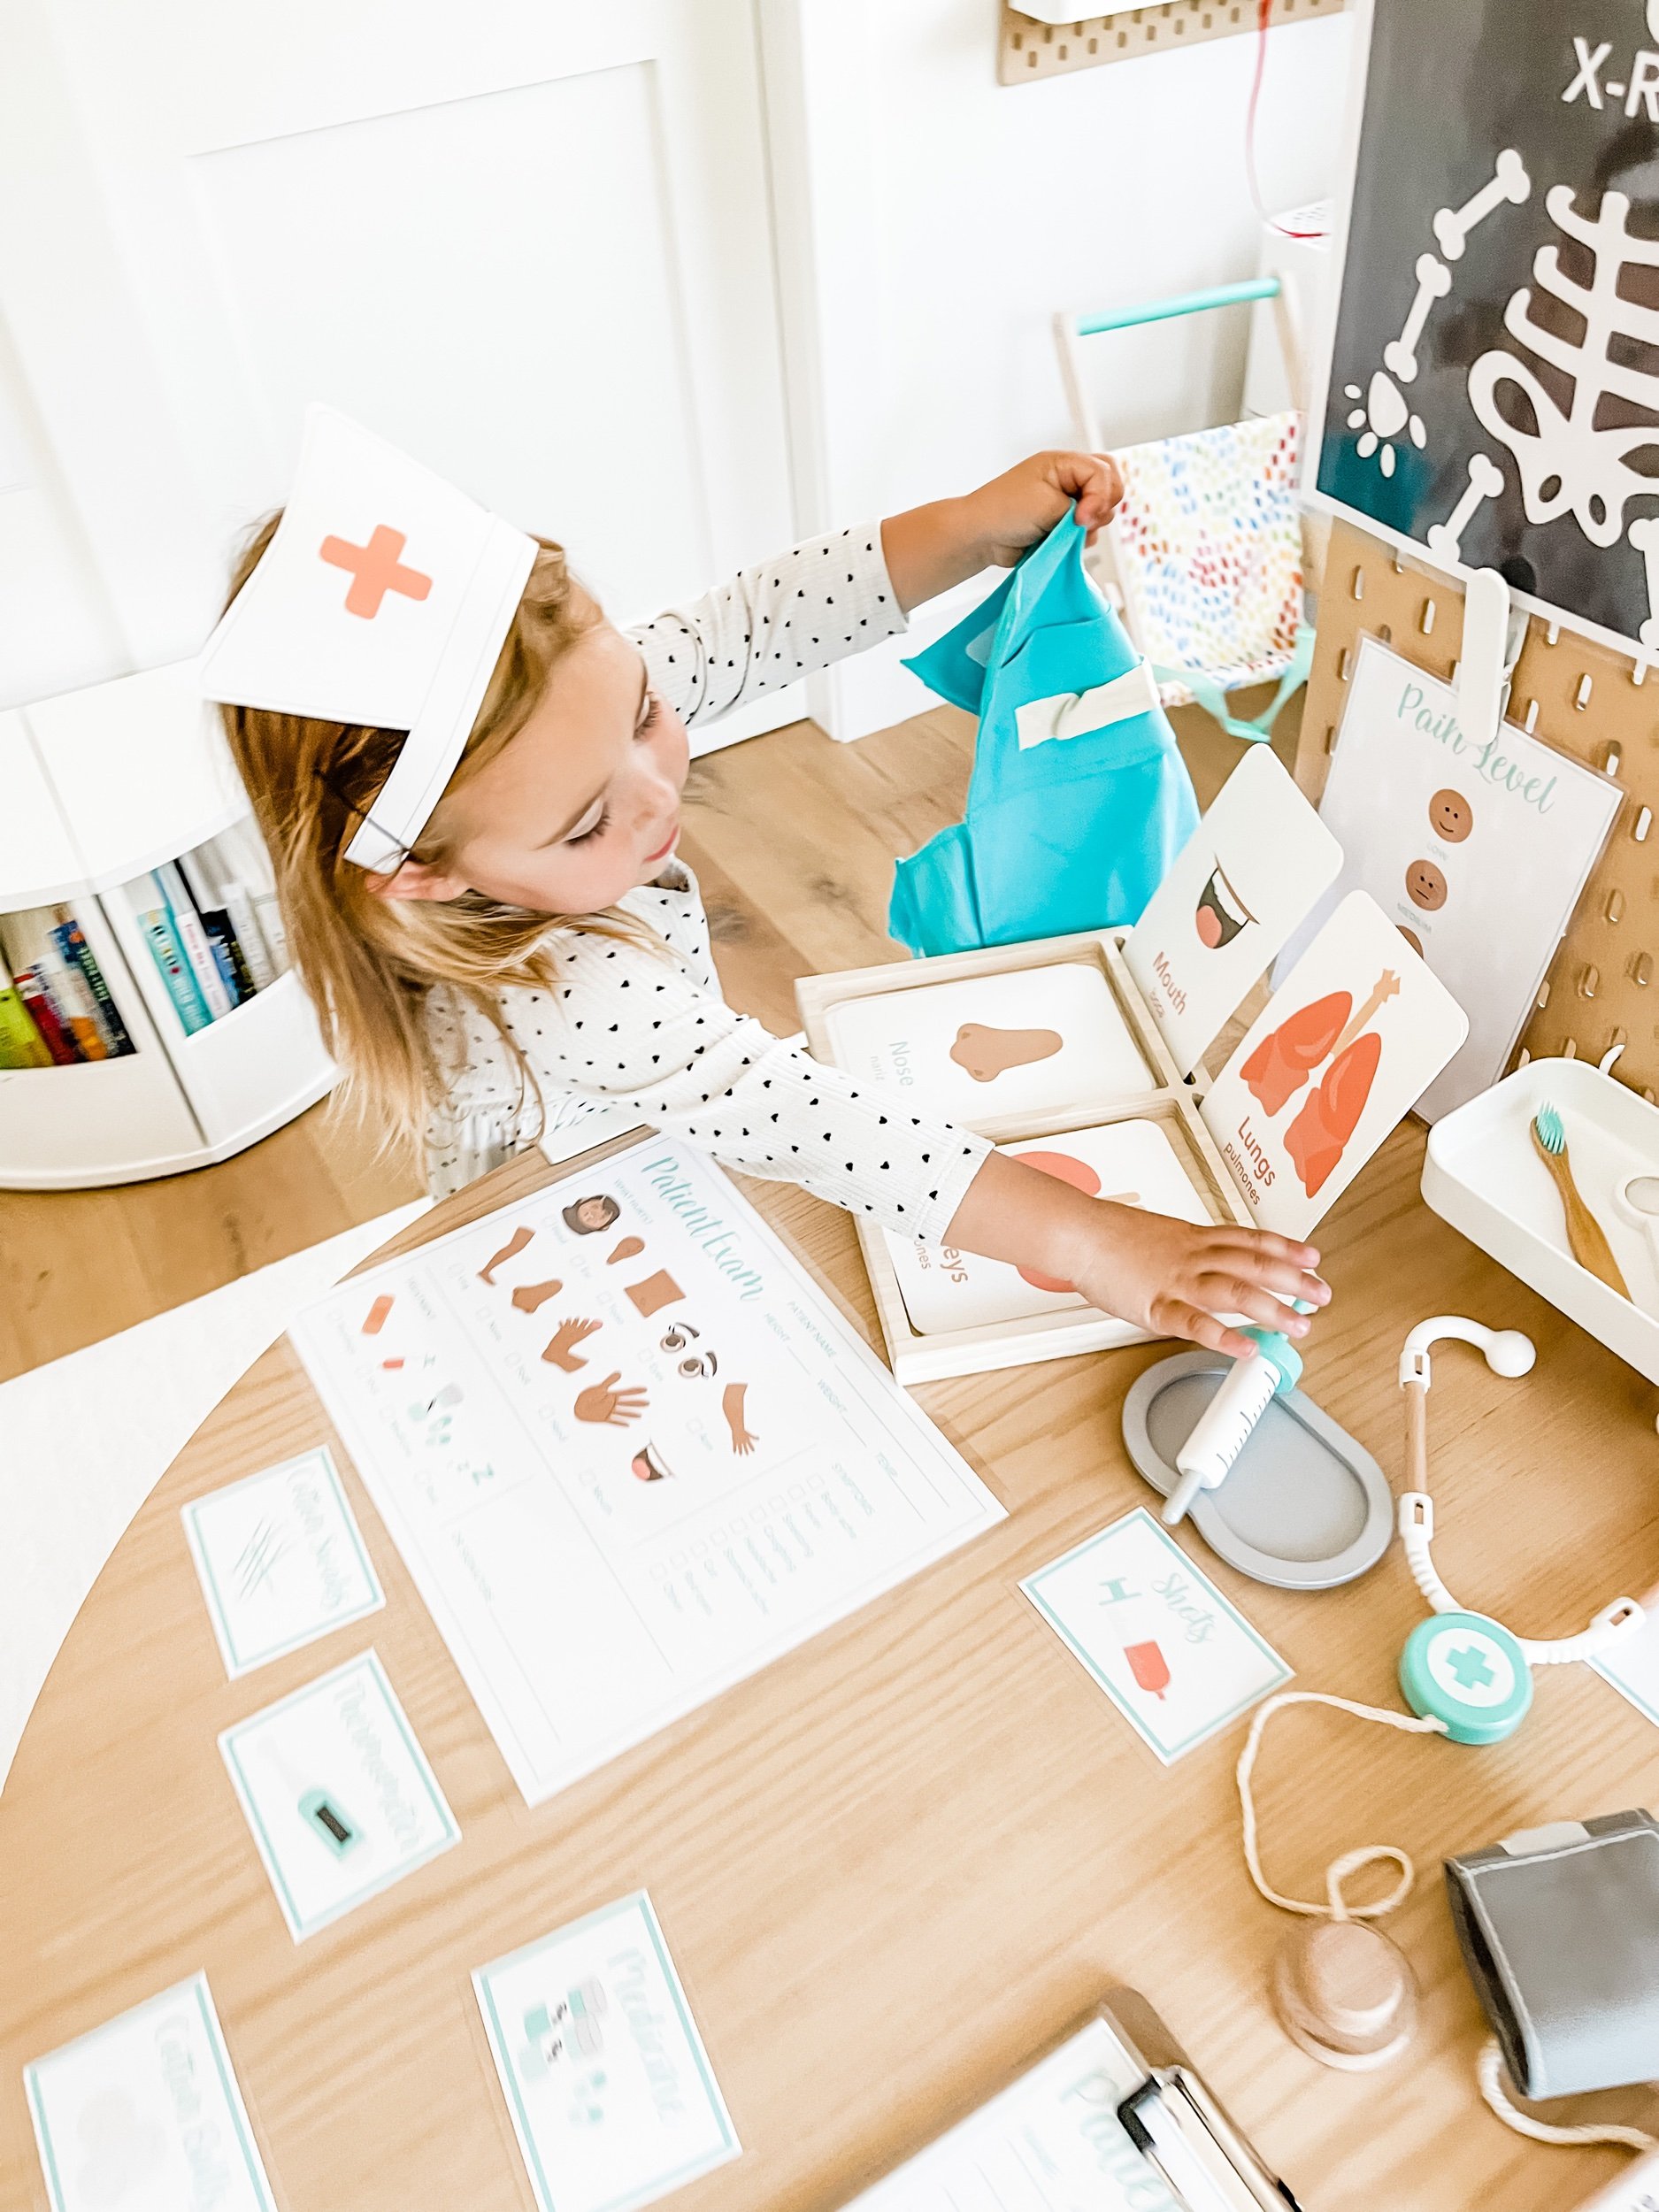
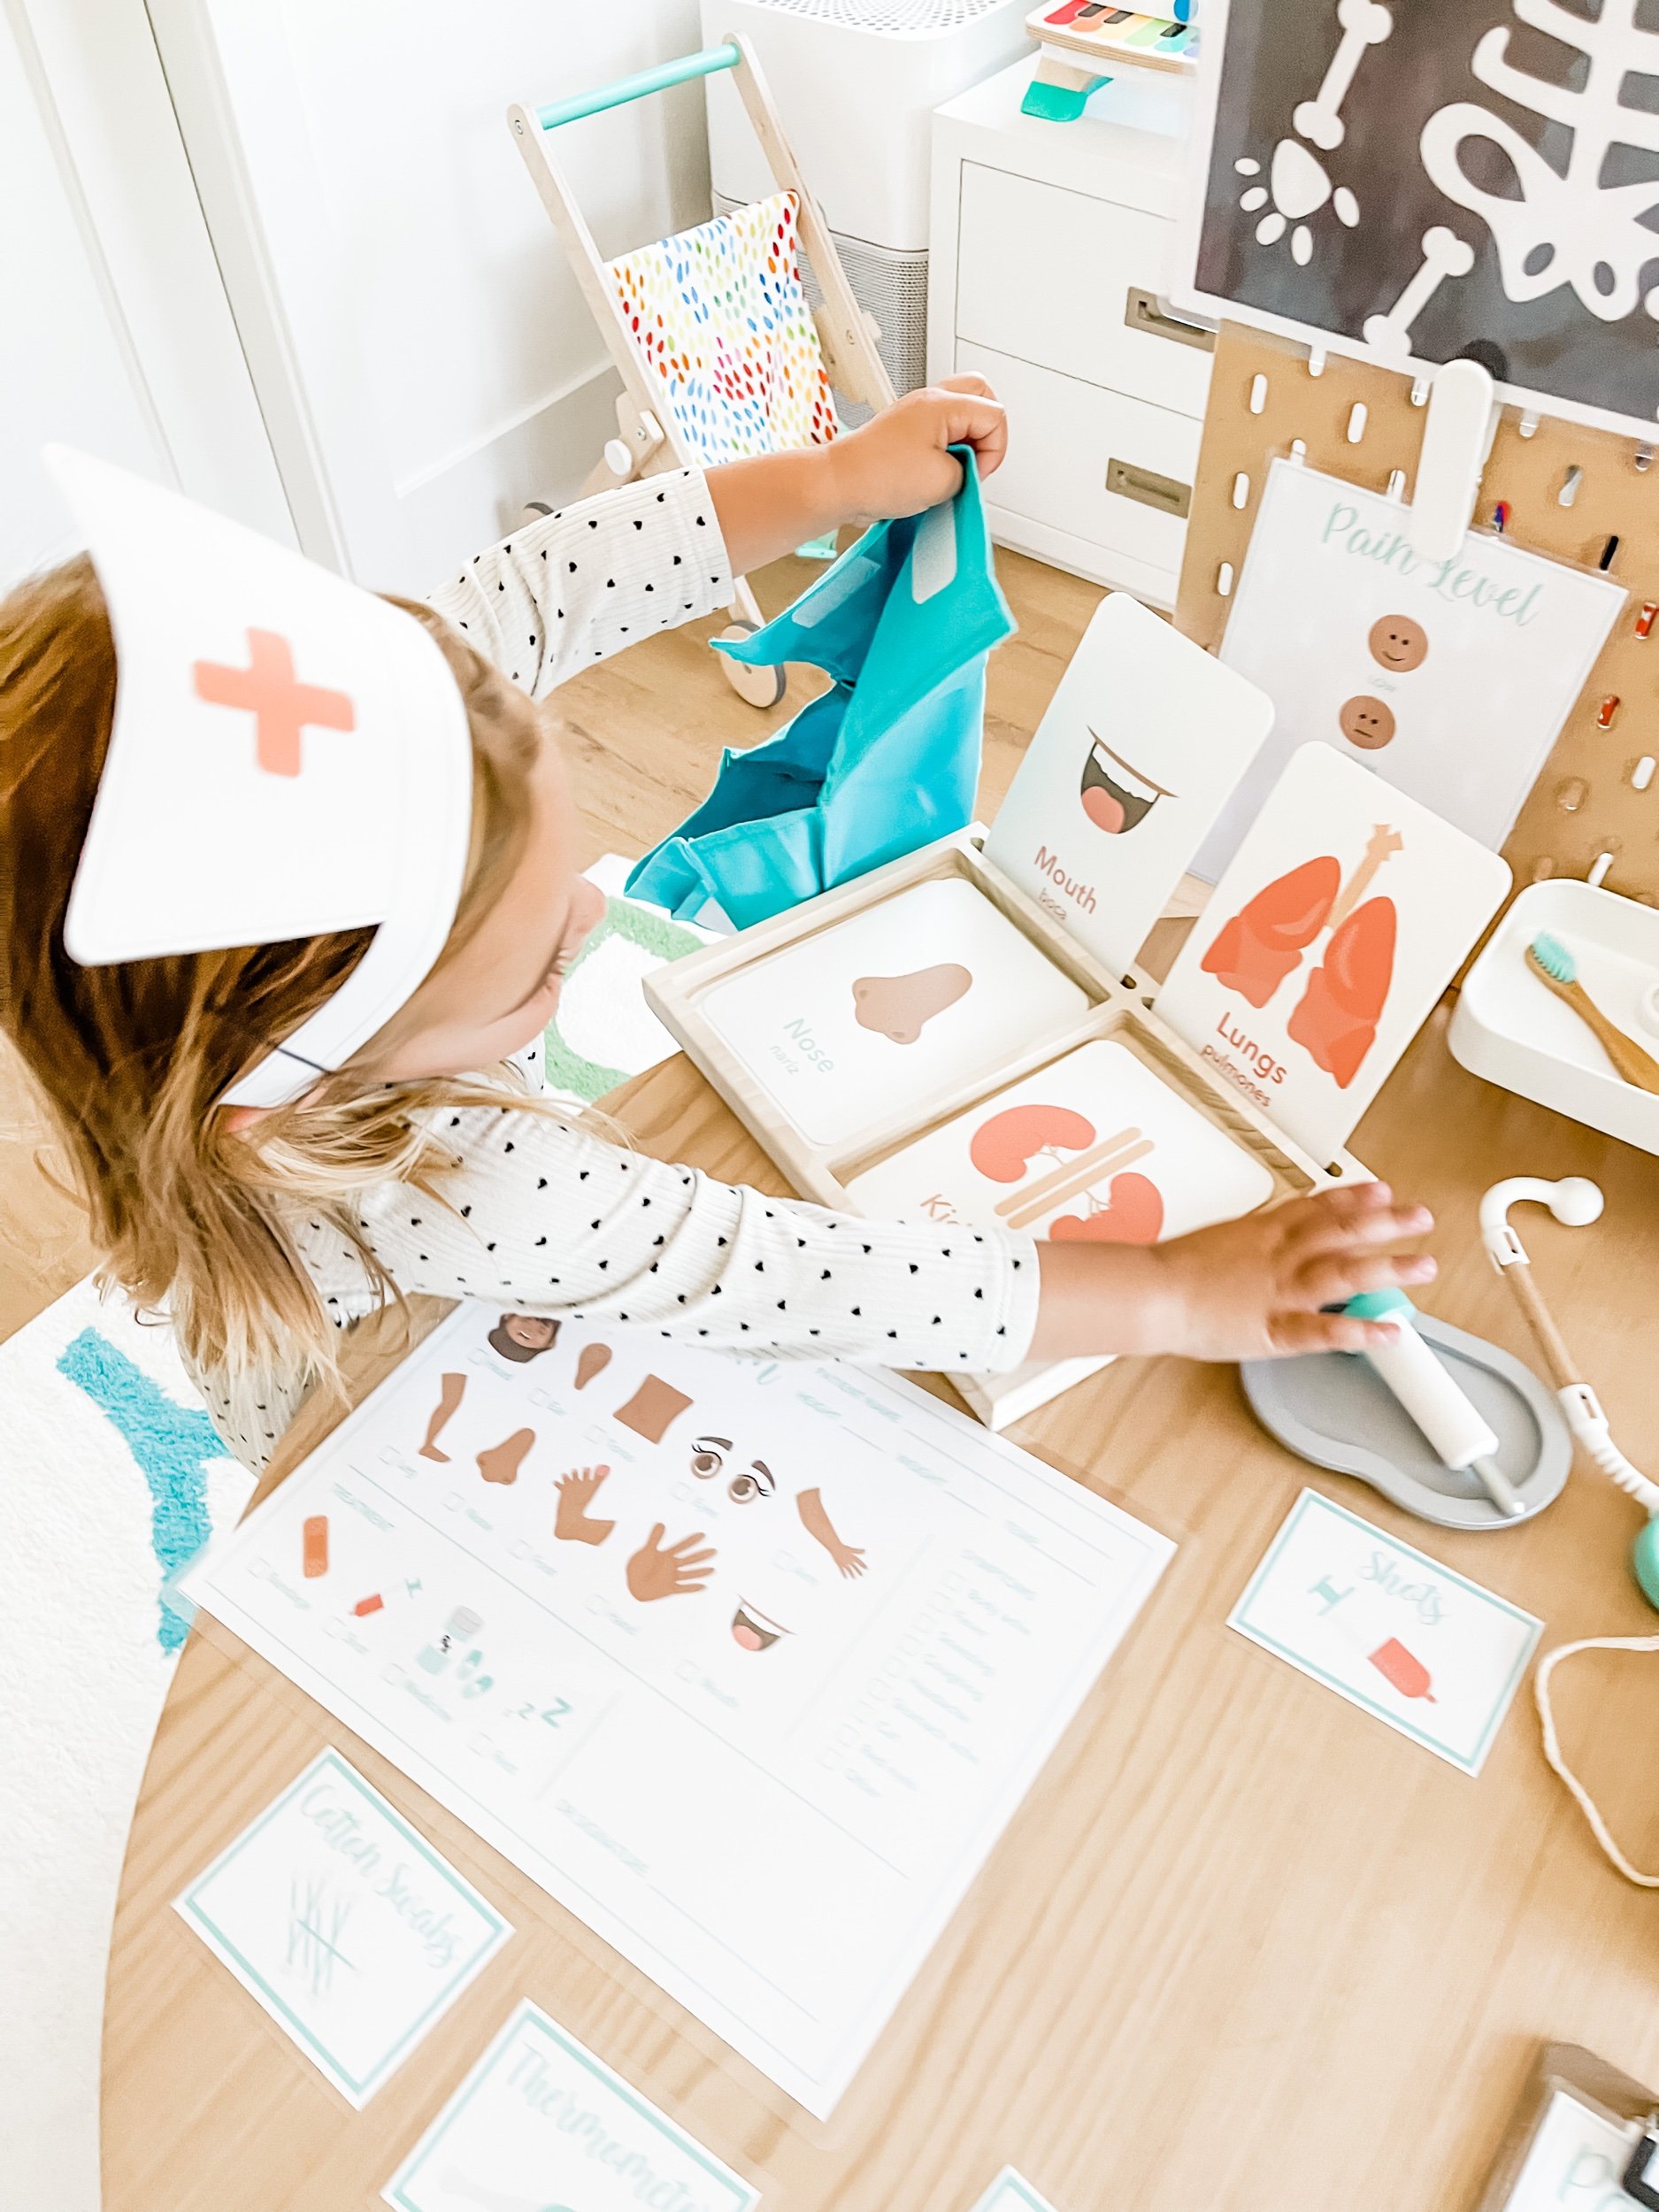
Sofia loves pretend play so I knew this doctors office dramatic play setup would be a huge hit. This time I laminated all of the materials so that they would last longer and I’m glad I did because Sofia loved pretending to be a doctor. Dramatic play is so great for expanding toddler’s minds and exposing them to new words, phrases, and objects. Here’s a little more about what’s included in this kit:
Transform Your Play Space with a Doctor-Themed Dramatic Play Setup
Creating a doctor-themed dramatic play setup can be an engaging and educational experience for children. Using our printable doctor dramatic play materials, you can set up an immersive and fun play area that encourages learning and creativity. Here’s how you can create three exciting bins to enhance the experience:
Bin 3: Doctor Supplies
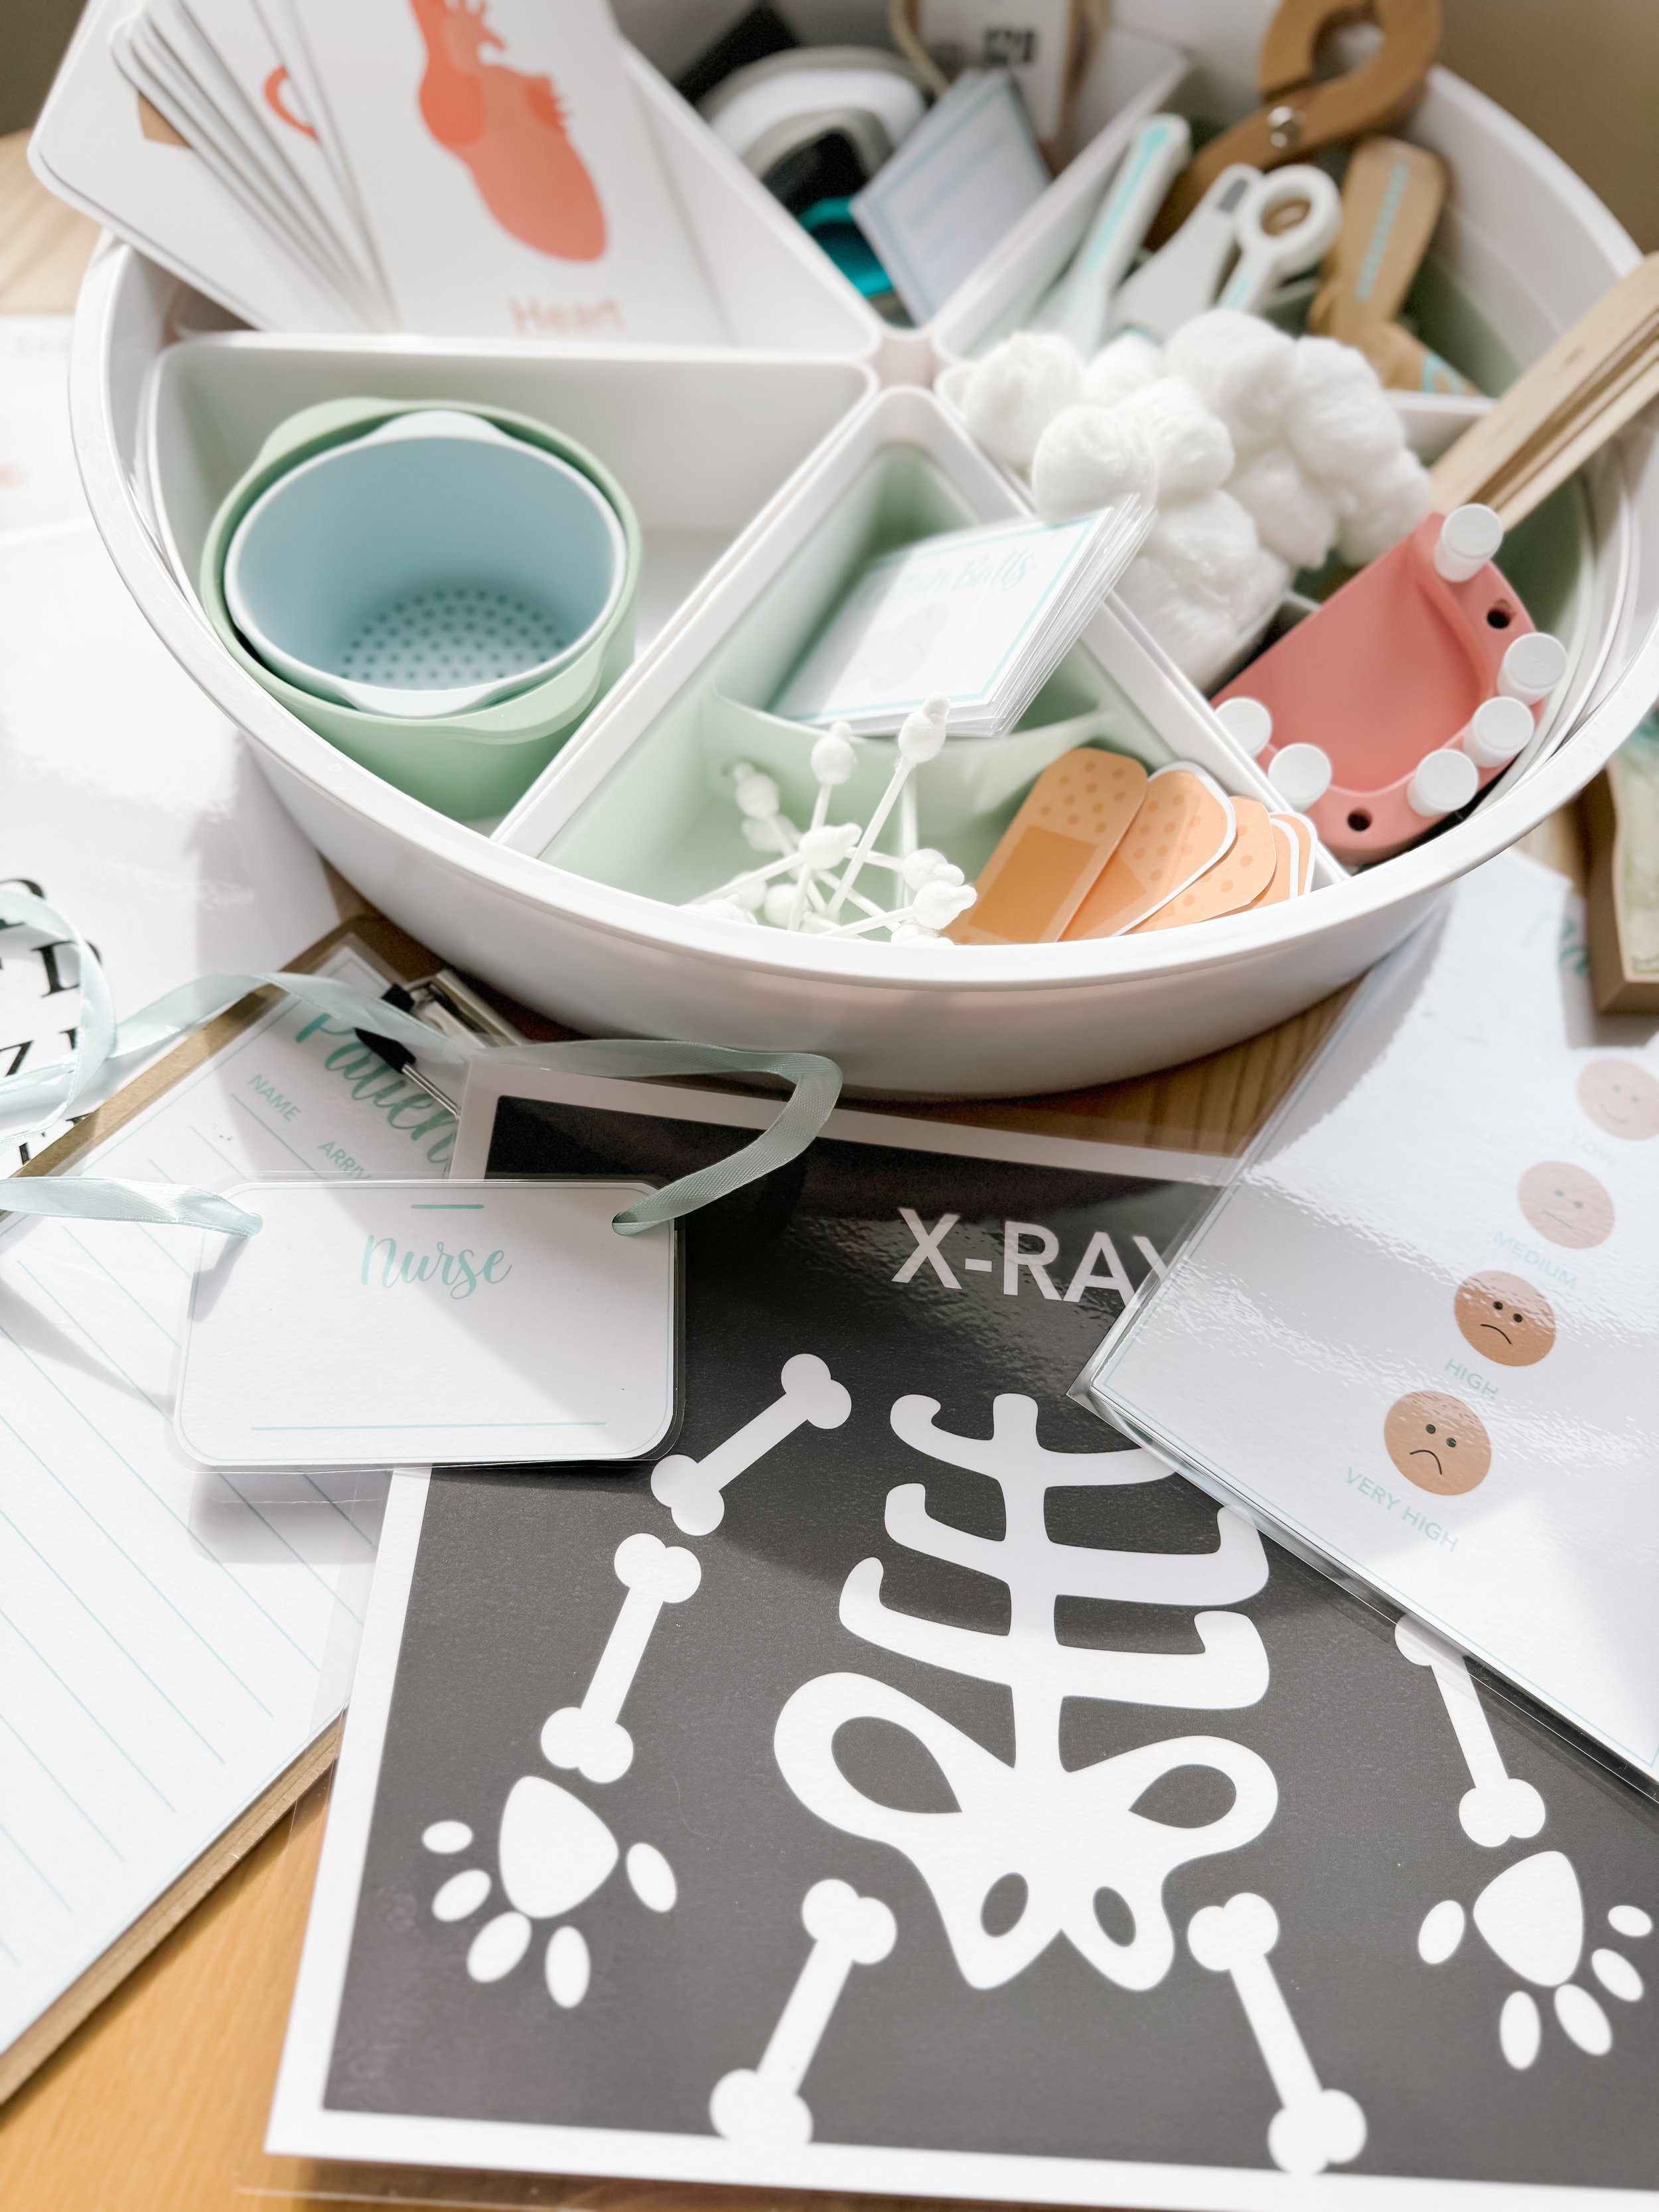
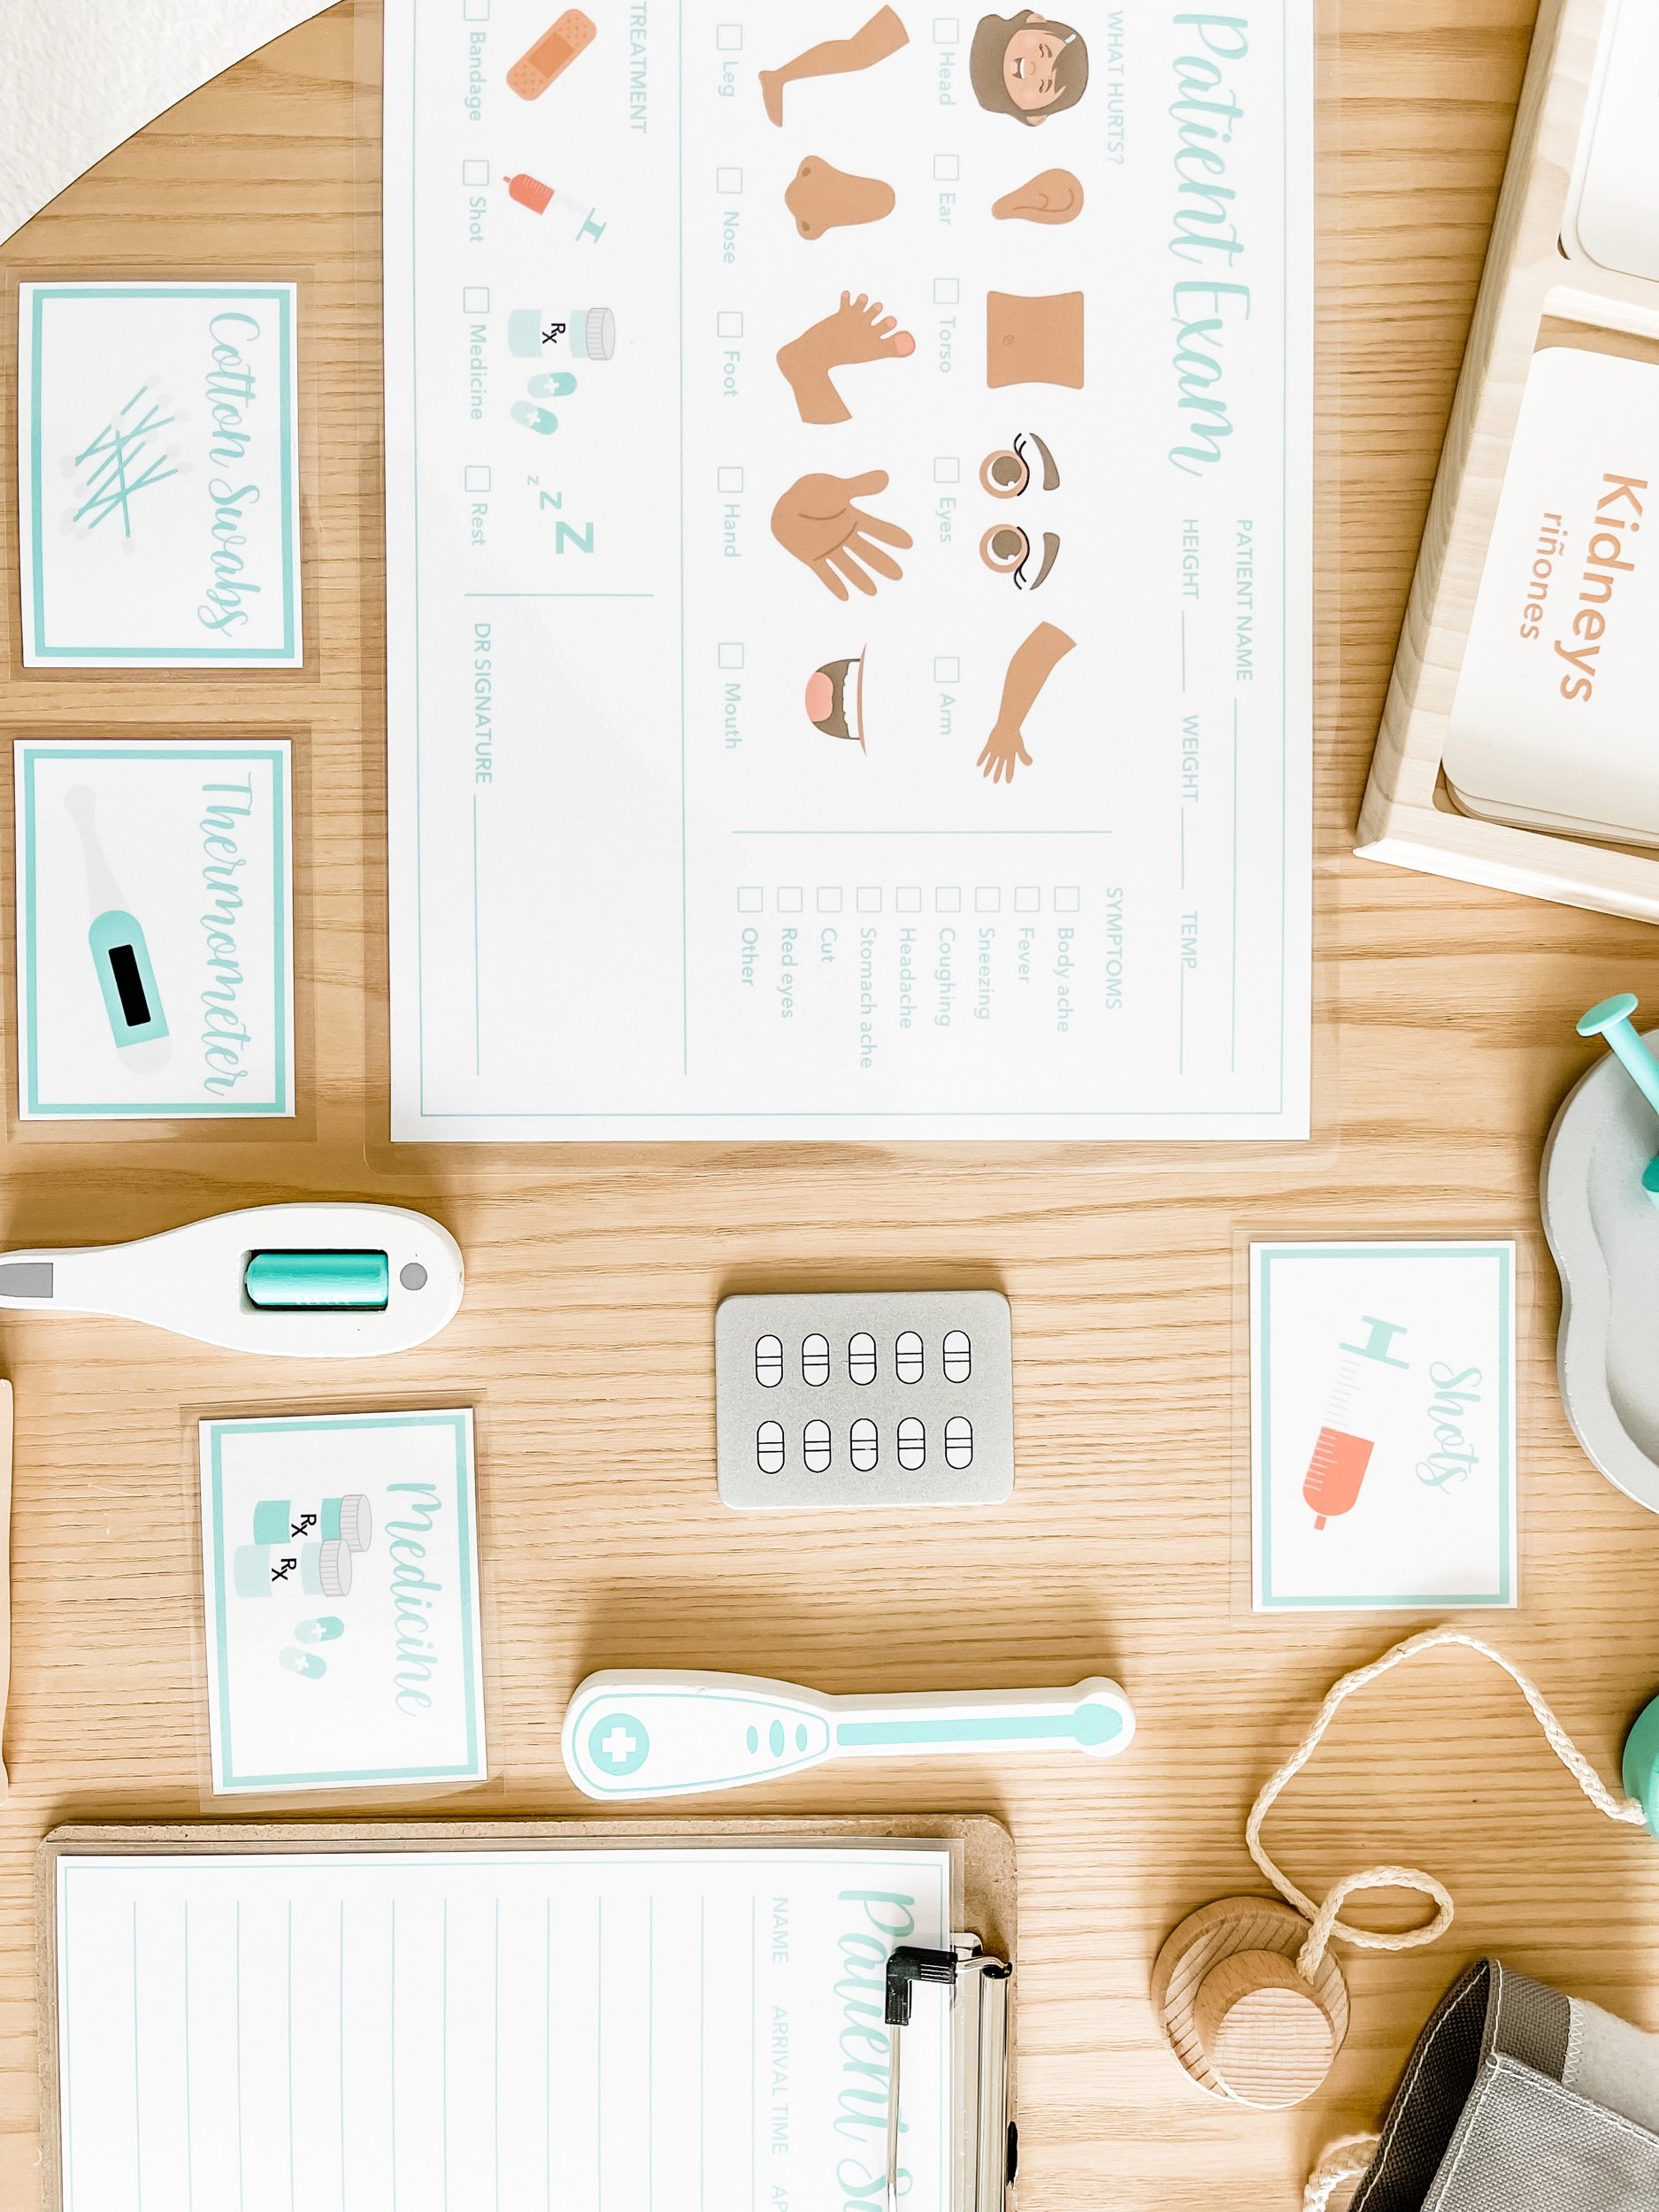
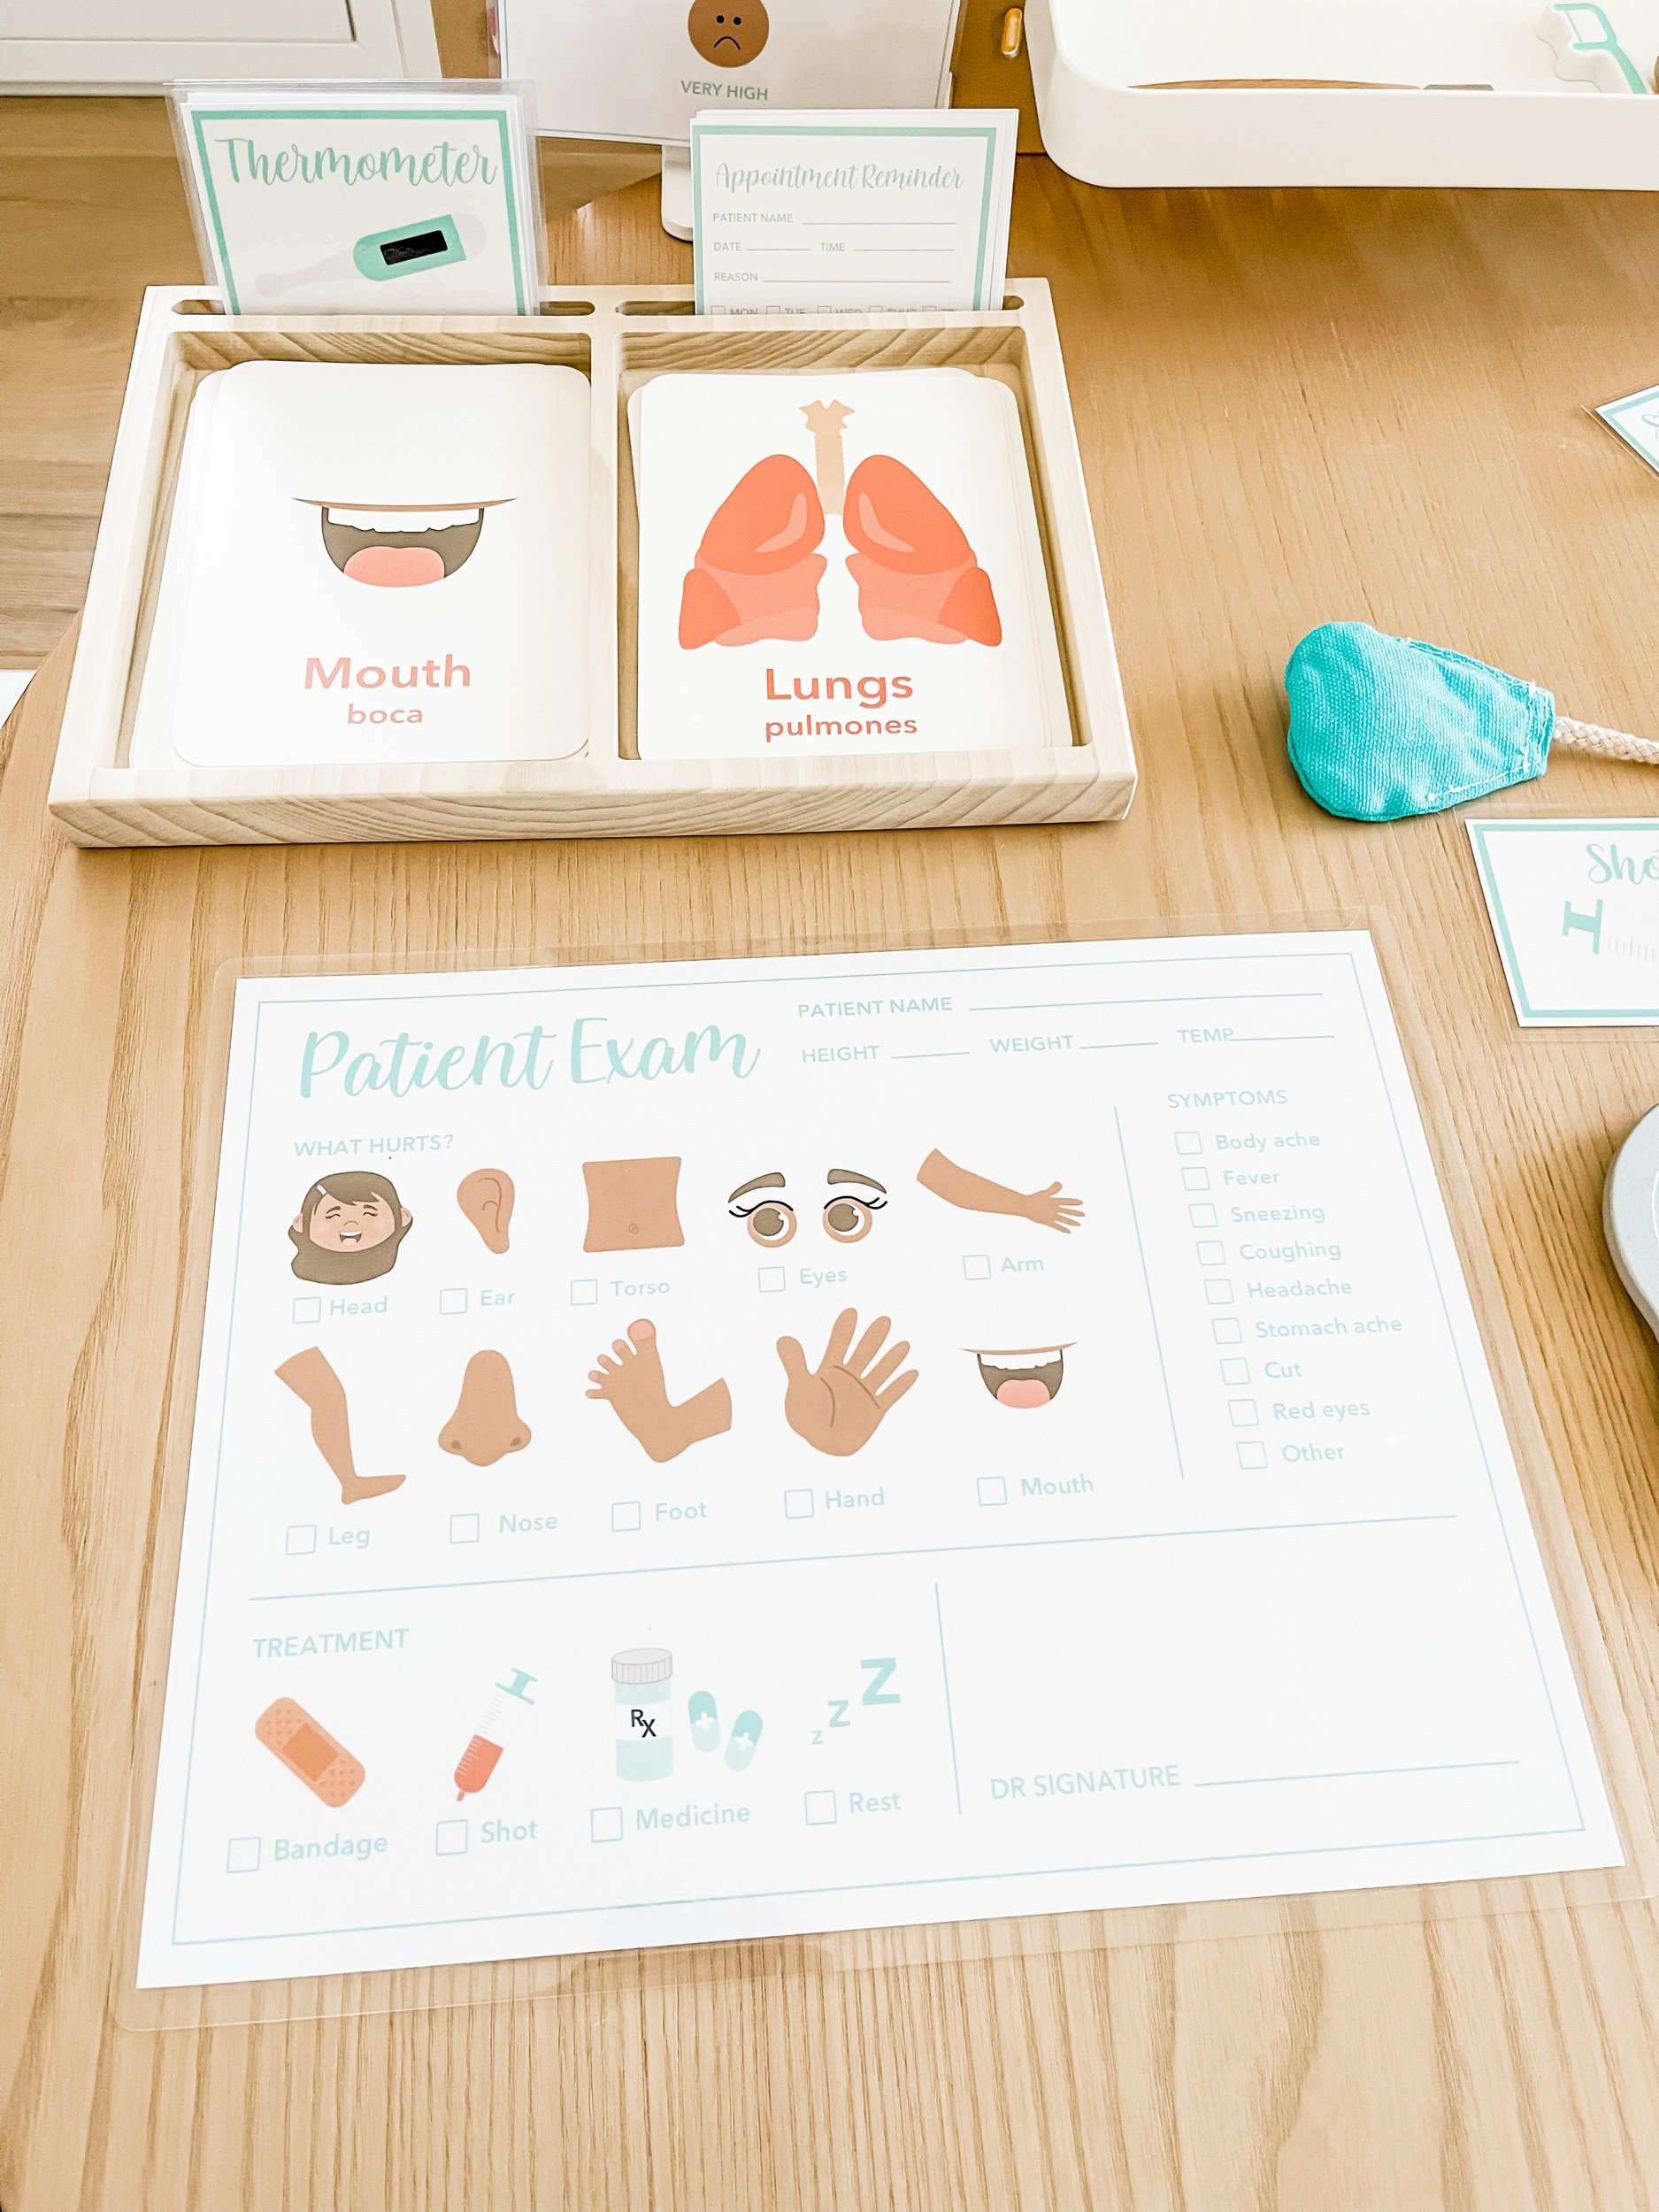
Here’s everything you need to setup your doctor supplies bin! This one is great for dramatic play — pretend to be the doctor and patient with the printable intake form. Use the cotton swabs and tongue depressors to treat minor illnesses!
Cotton balls
Swabs
Tongue depressors
Bandaids
Instructions:
Collect Supplies: Gather all the doctor supplies and organize them in a bin.
Set Up Stations: Create different stations for each type of supply, encouraging kids to use them in their pretend play.
Role Play: Children can use cotton balls for cleaning wounds, swabs for checking ears and throats, tongue depressors for oral exams, and bandaids for treating pretend injuries.
Bin 2: Blood and Guts
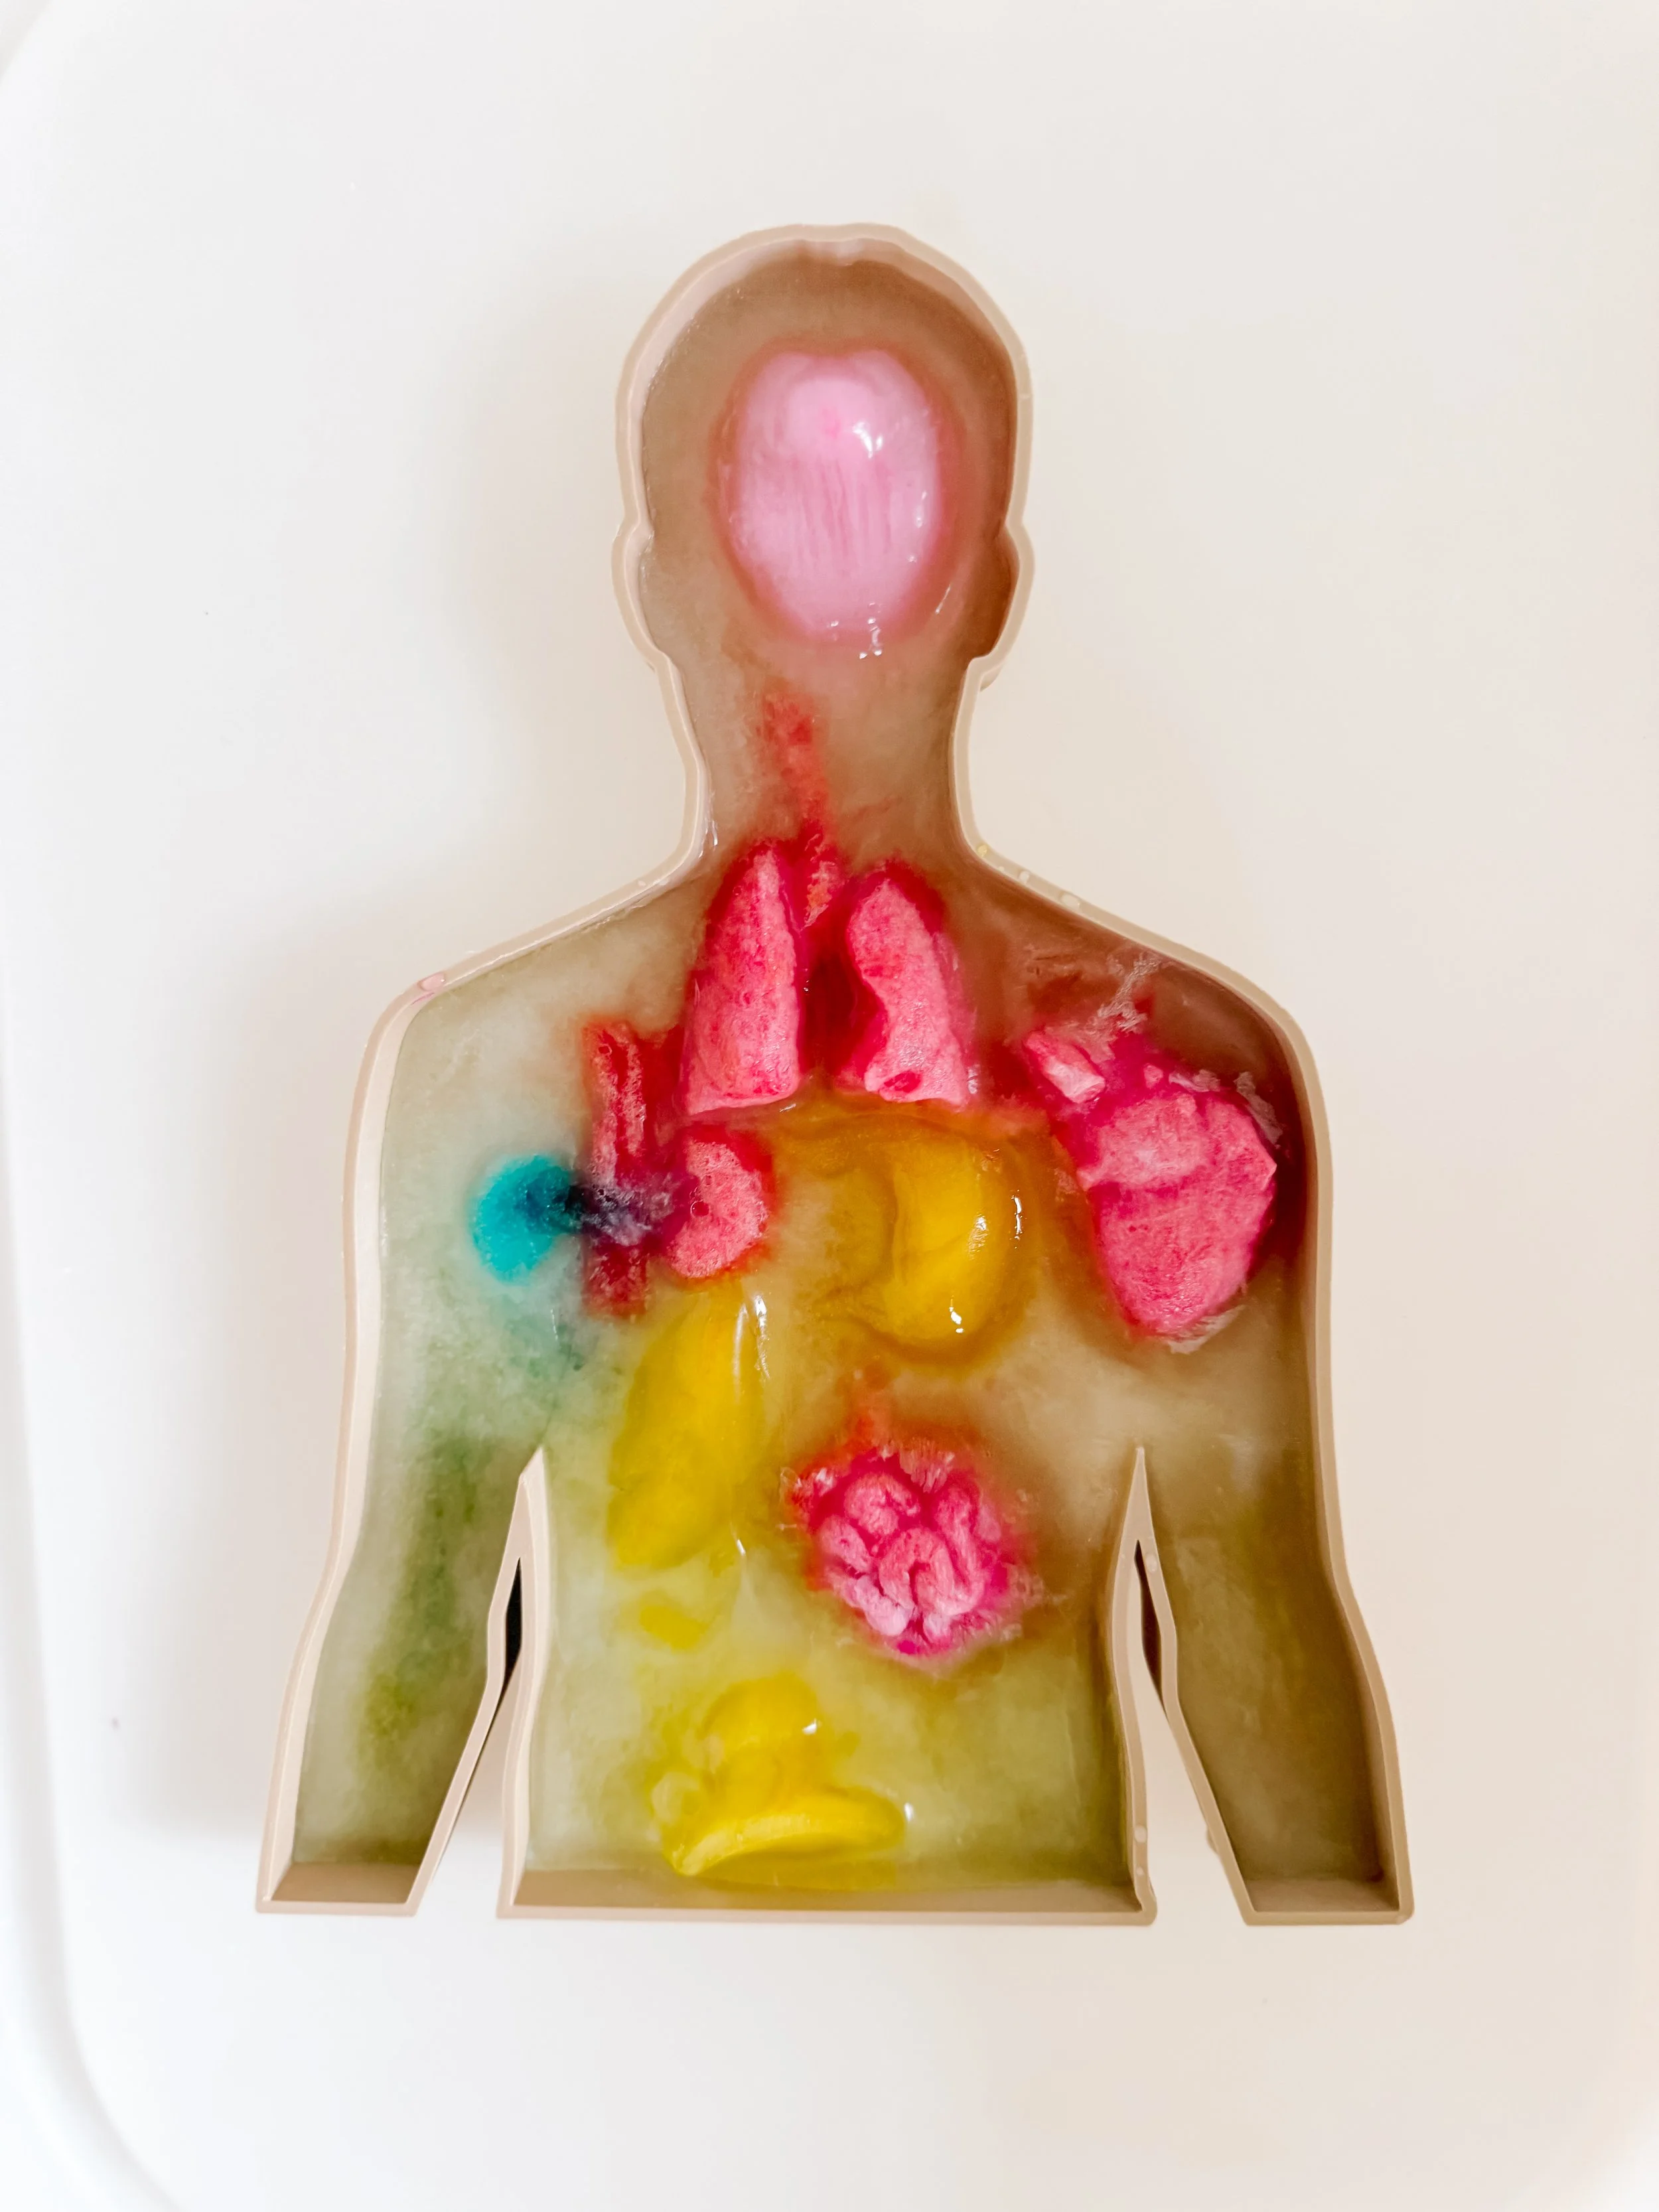
Here’s everything you’ll need to create a blood and guts sensory plan bin. This one is perfect for little ones who like to get their hands dirty! Especially perfect because it’s taste safe — and dare I say yummy!
Prepare the Jello: Follow the instructions on the Jello mix to prepare the solution.
Pour into Molds: Pour the Jello into the human organ silicone molds and let it set in the refrigerator.
Create the Frozen Body Tray: Once the Jello organs are set, place them in a human body tray filled with ice.
Freeze: Place the entire tray in the freezer until the organs and ice are completely frozen.
Play Time: Let kids explore the frozen organs, encouraging them to identify and "operate" on the different body parts.
Gallery Block
These are example images. Double-click here to replace these images with your own content.
Learn more
25 Doctor Themed Vocabulary Words for Preschoolers
Expand your child's vocabulary with these doctor-themed words:
1. Stethoscope
2. Thermometer
3. Syringe
4. Patient
5. Bandage
6. Prescription
7. Diagnosis
8. Heartbeat
9. Checkup
10. Nurse
11. Medicine
12. Hospital
13. Exam
14. Treatment
15. Cure
16. Infection
17. Virus
18. Vaccine
19. Pulse
20. X-ray
21. Surgeon
22. Emergency
23. Cast
24. Chart
25. Clinic
Creating a doctor-themed dramatic play setup with these bins is a fantastic way to combine fun and learning. Don’t forget to download our printable doctor dramatic play materials to complete your setup. Visit the link in our bio to get started!
Benefits of Doctor Themed Sensory Play
Engaging in sensory play, especially with themed setups like our doctor dramatic play, provides numerous benefits for children:
Fine Motor Skills: Handling small items like cotton balls and swabs helps improve dexterity and hand-eye coordination.
Imaginative Play: Pretend play scenarios foster creativity and imagination, allowing children to explore different roles and scenarios.
Language Development: Using themed vocabulary during play helps expand a child’s language skills and comprehension.
Social Skills: Playing in a group setting encourages teamwork, communication, and sharing.
Cognitive Growth: Sensory play stimulates brain development by engaging multiple senses at once.
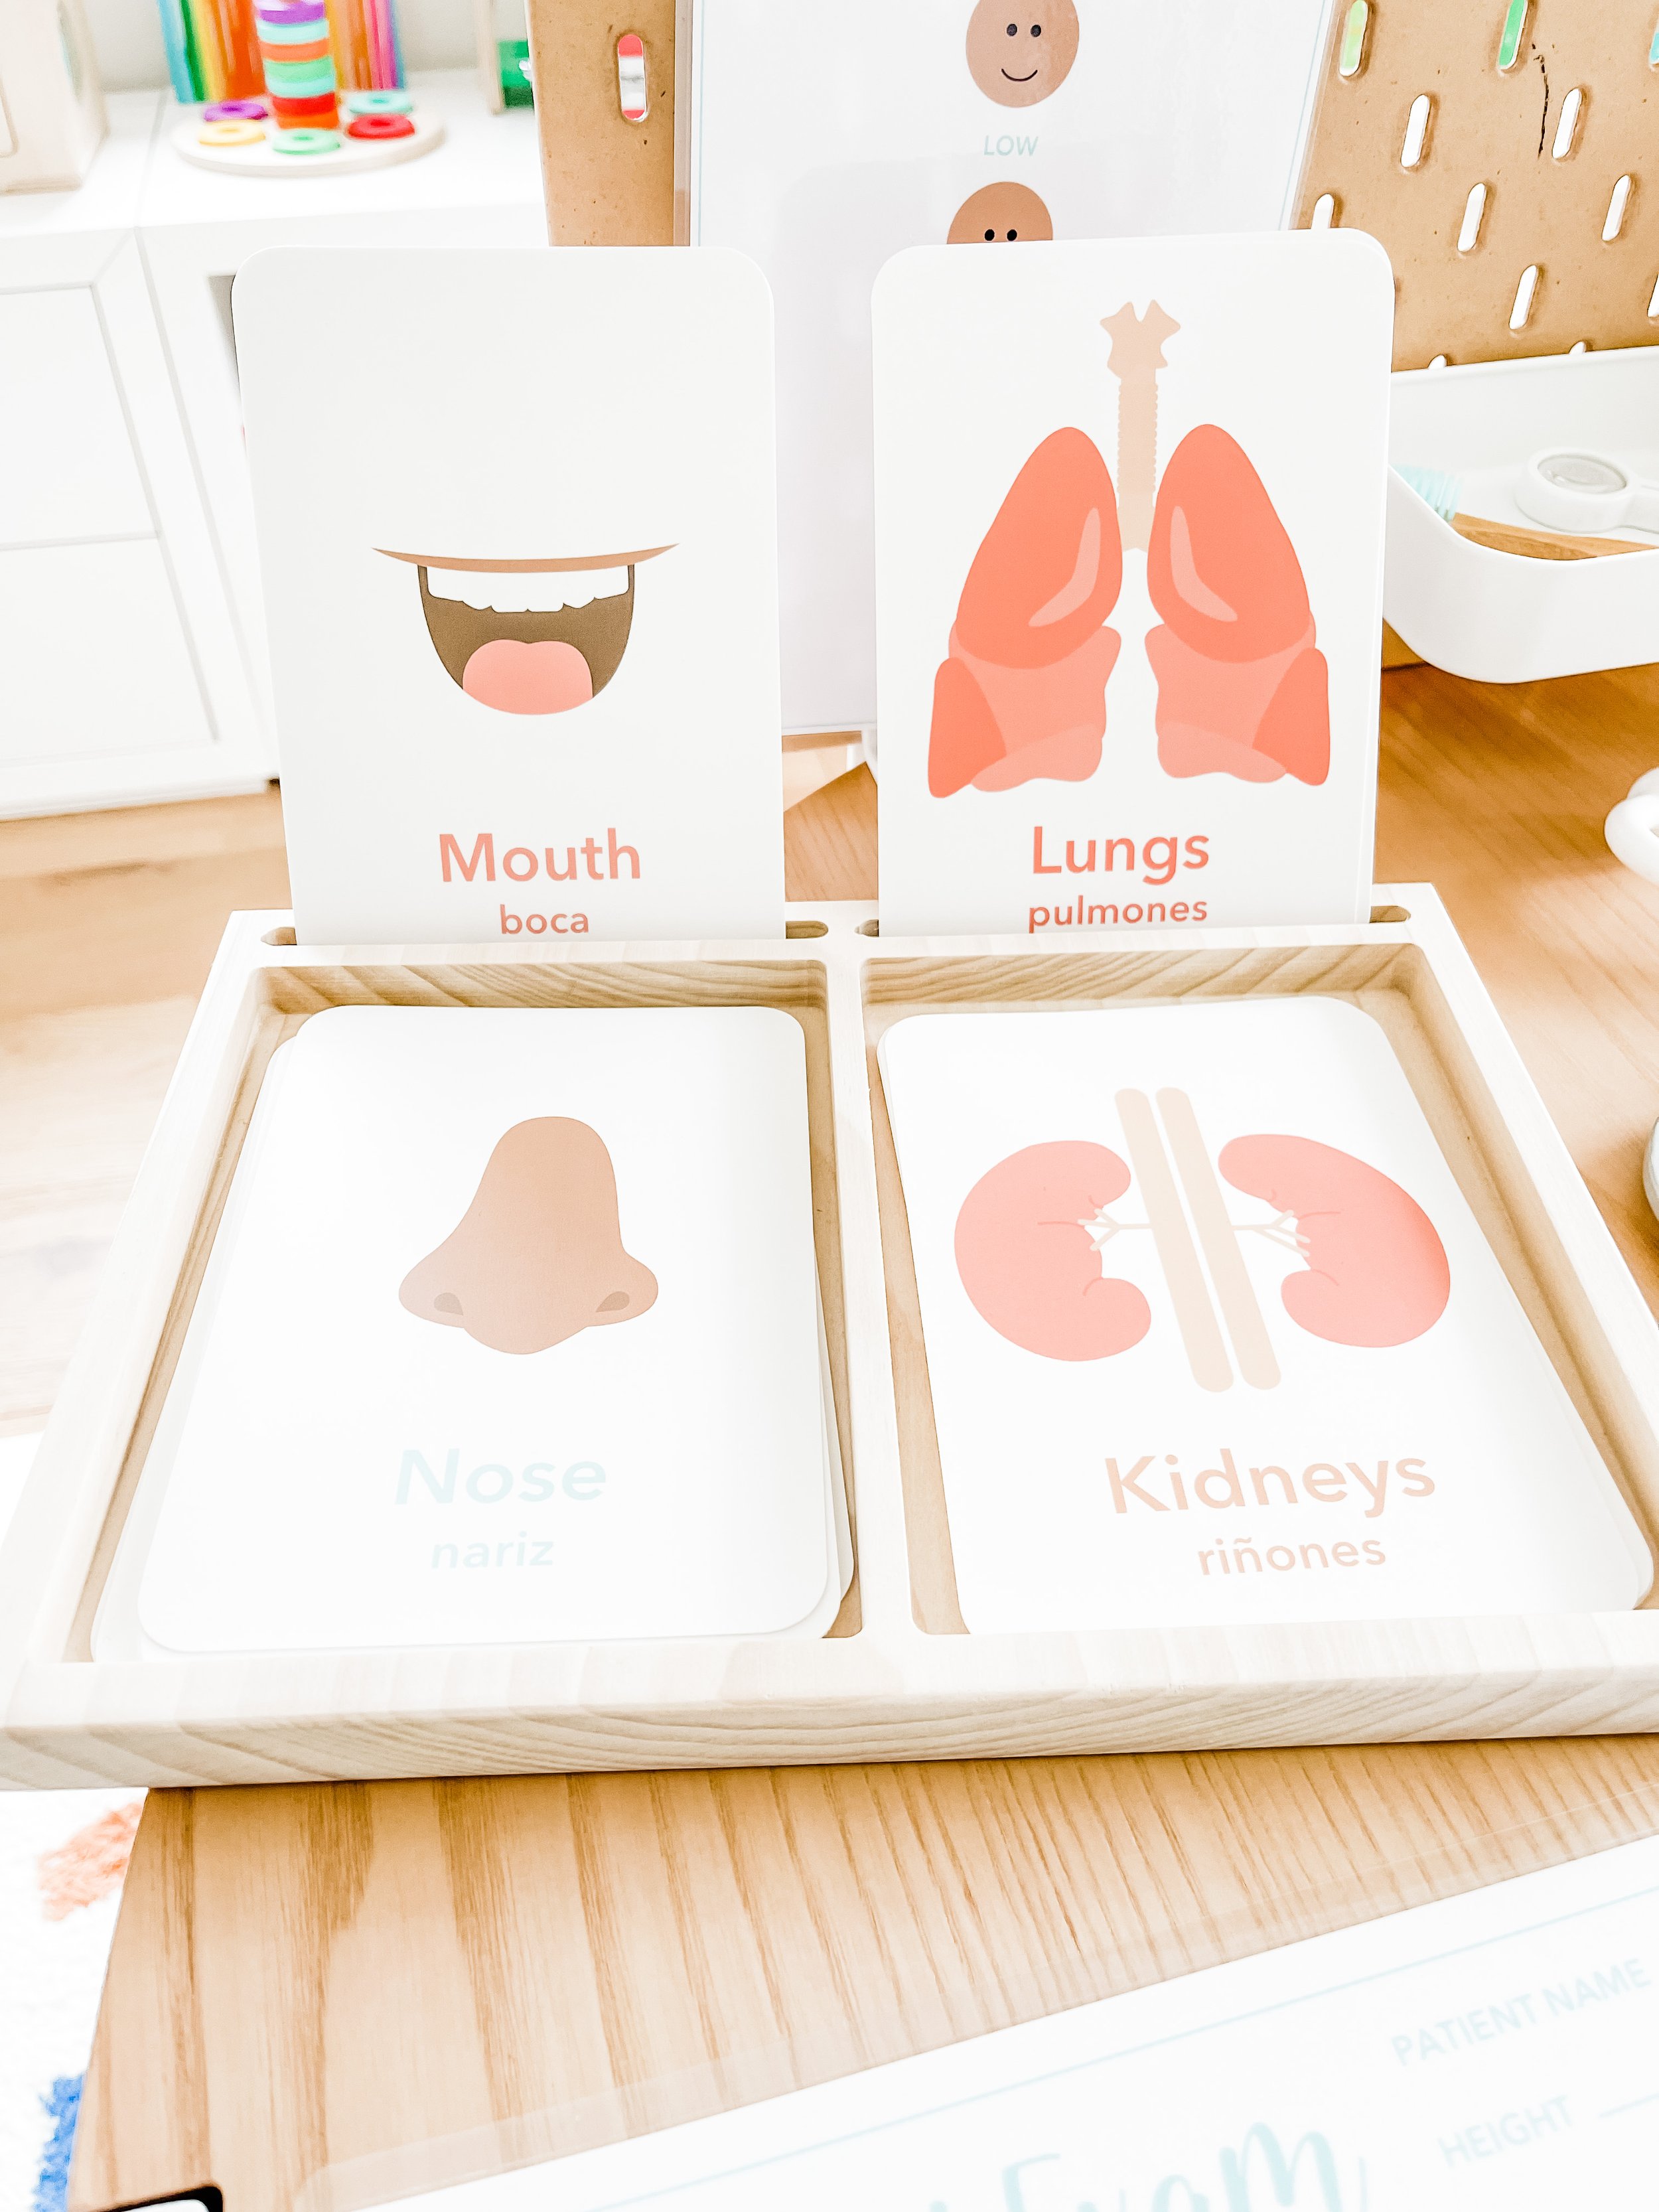
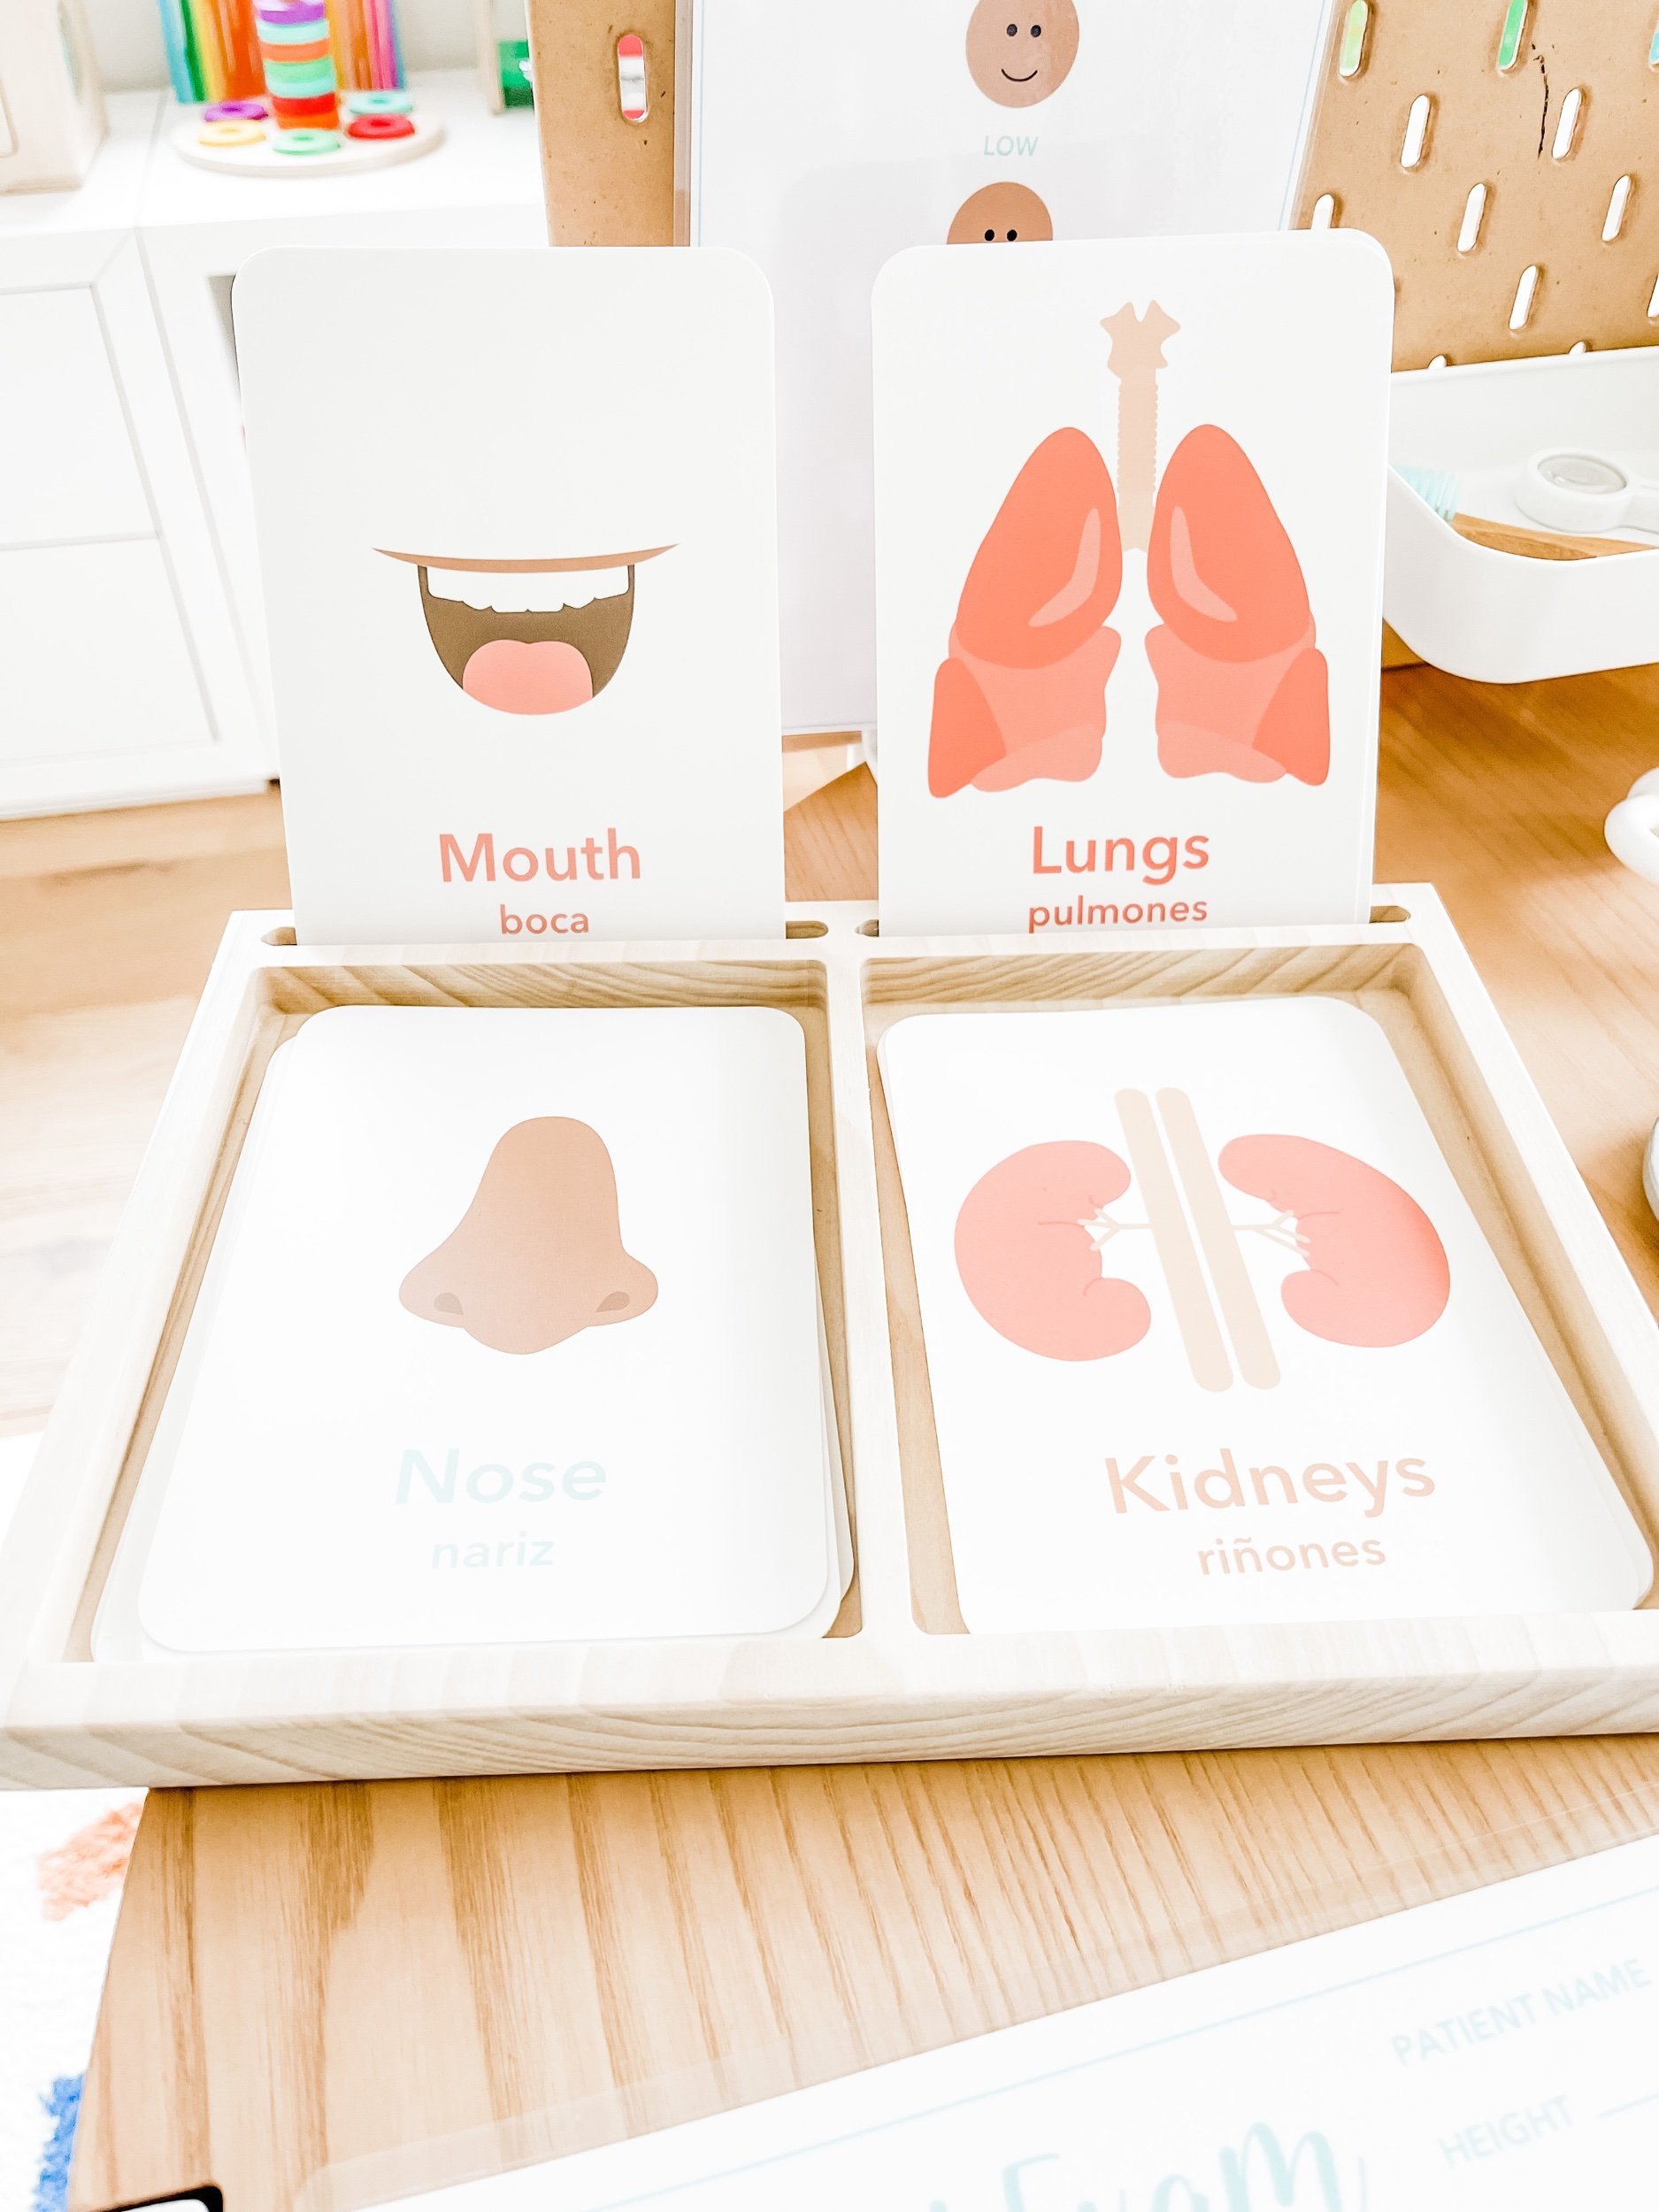
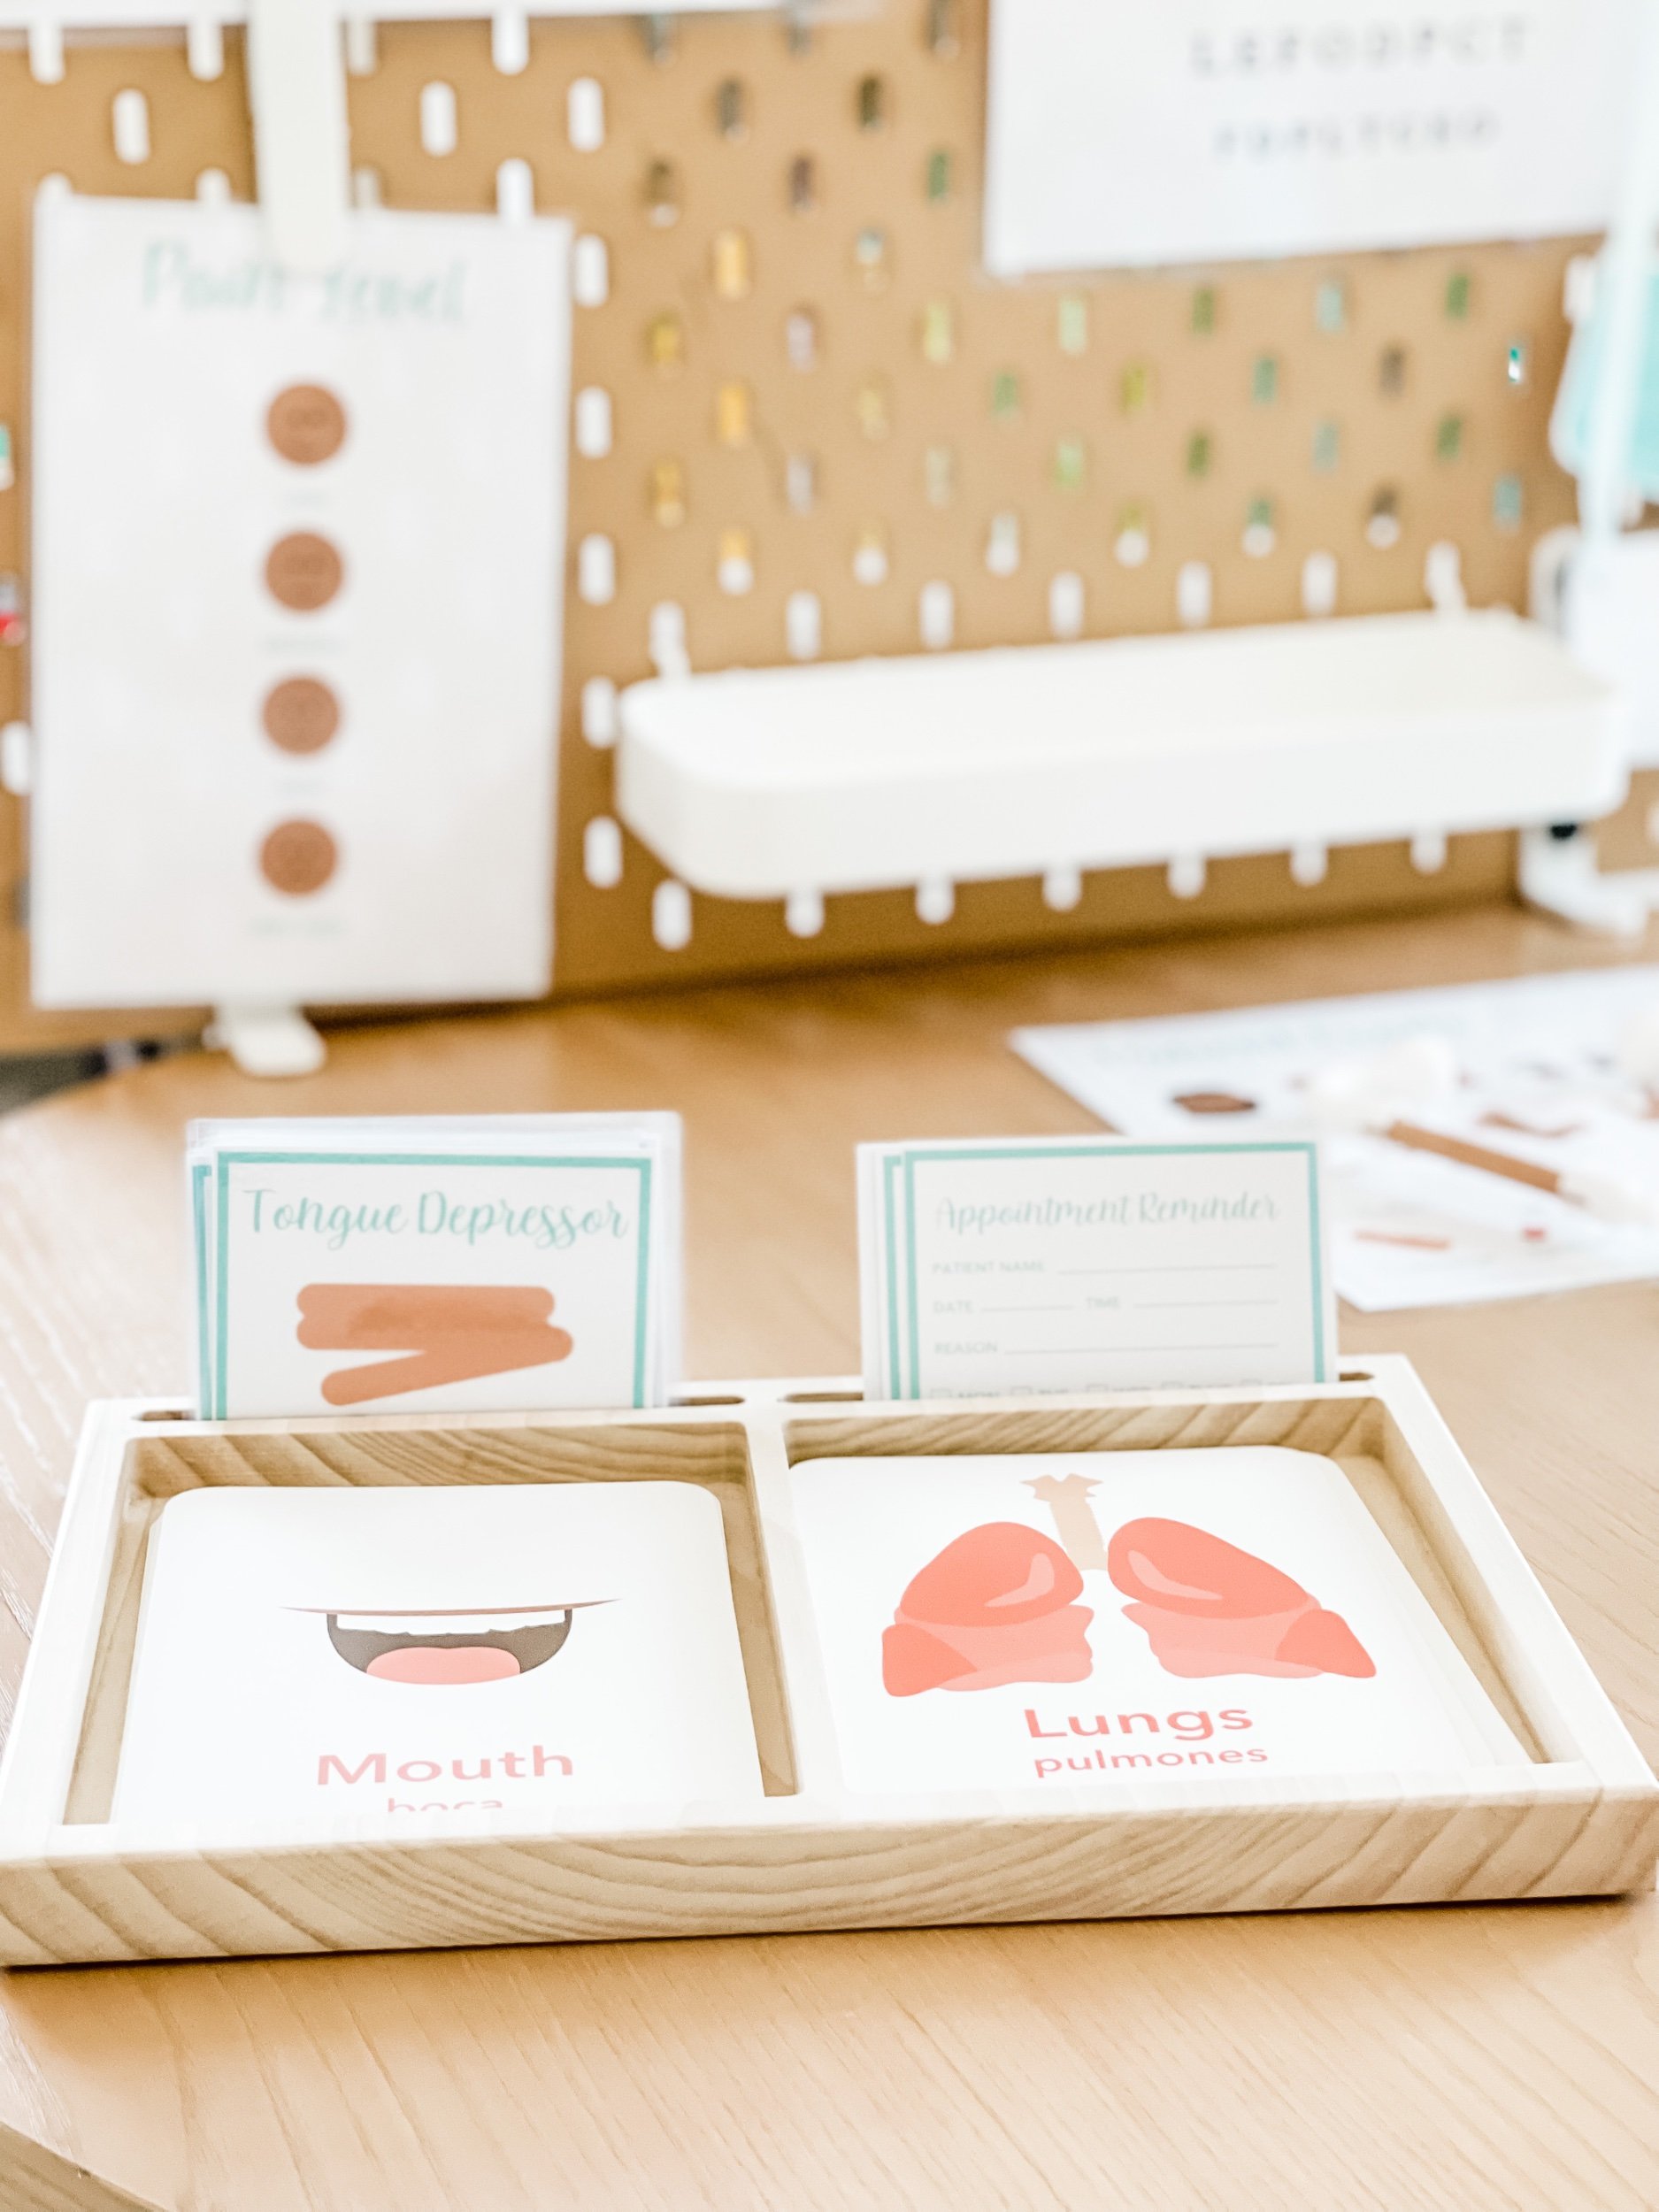
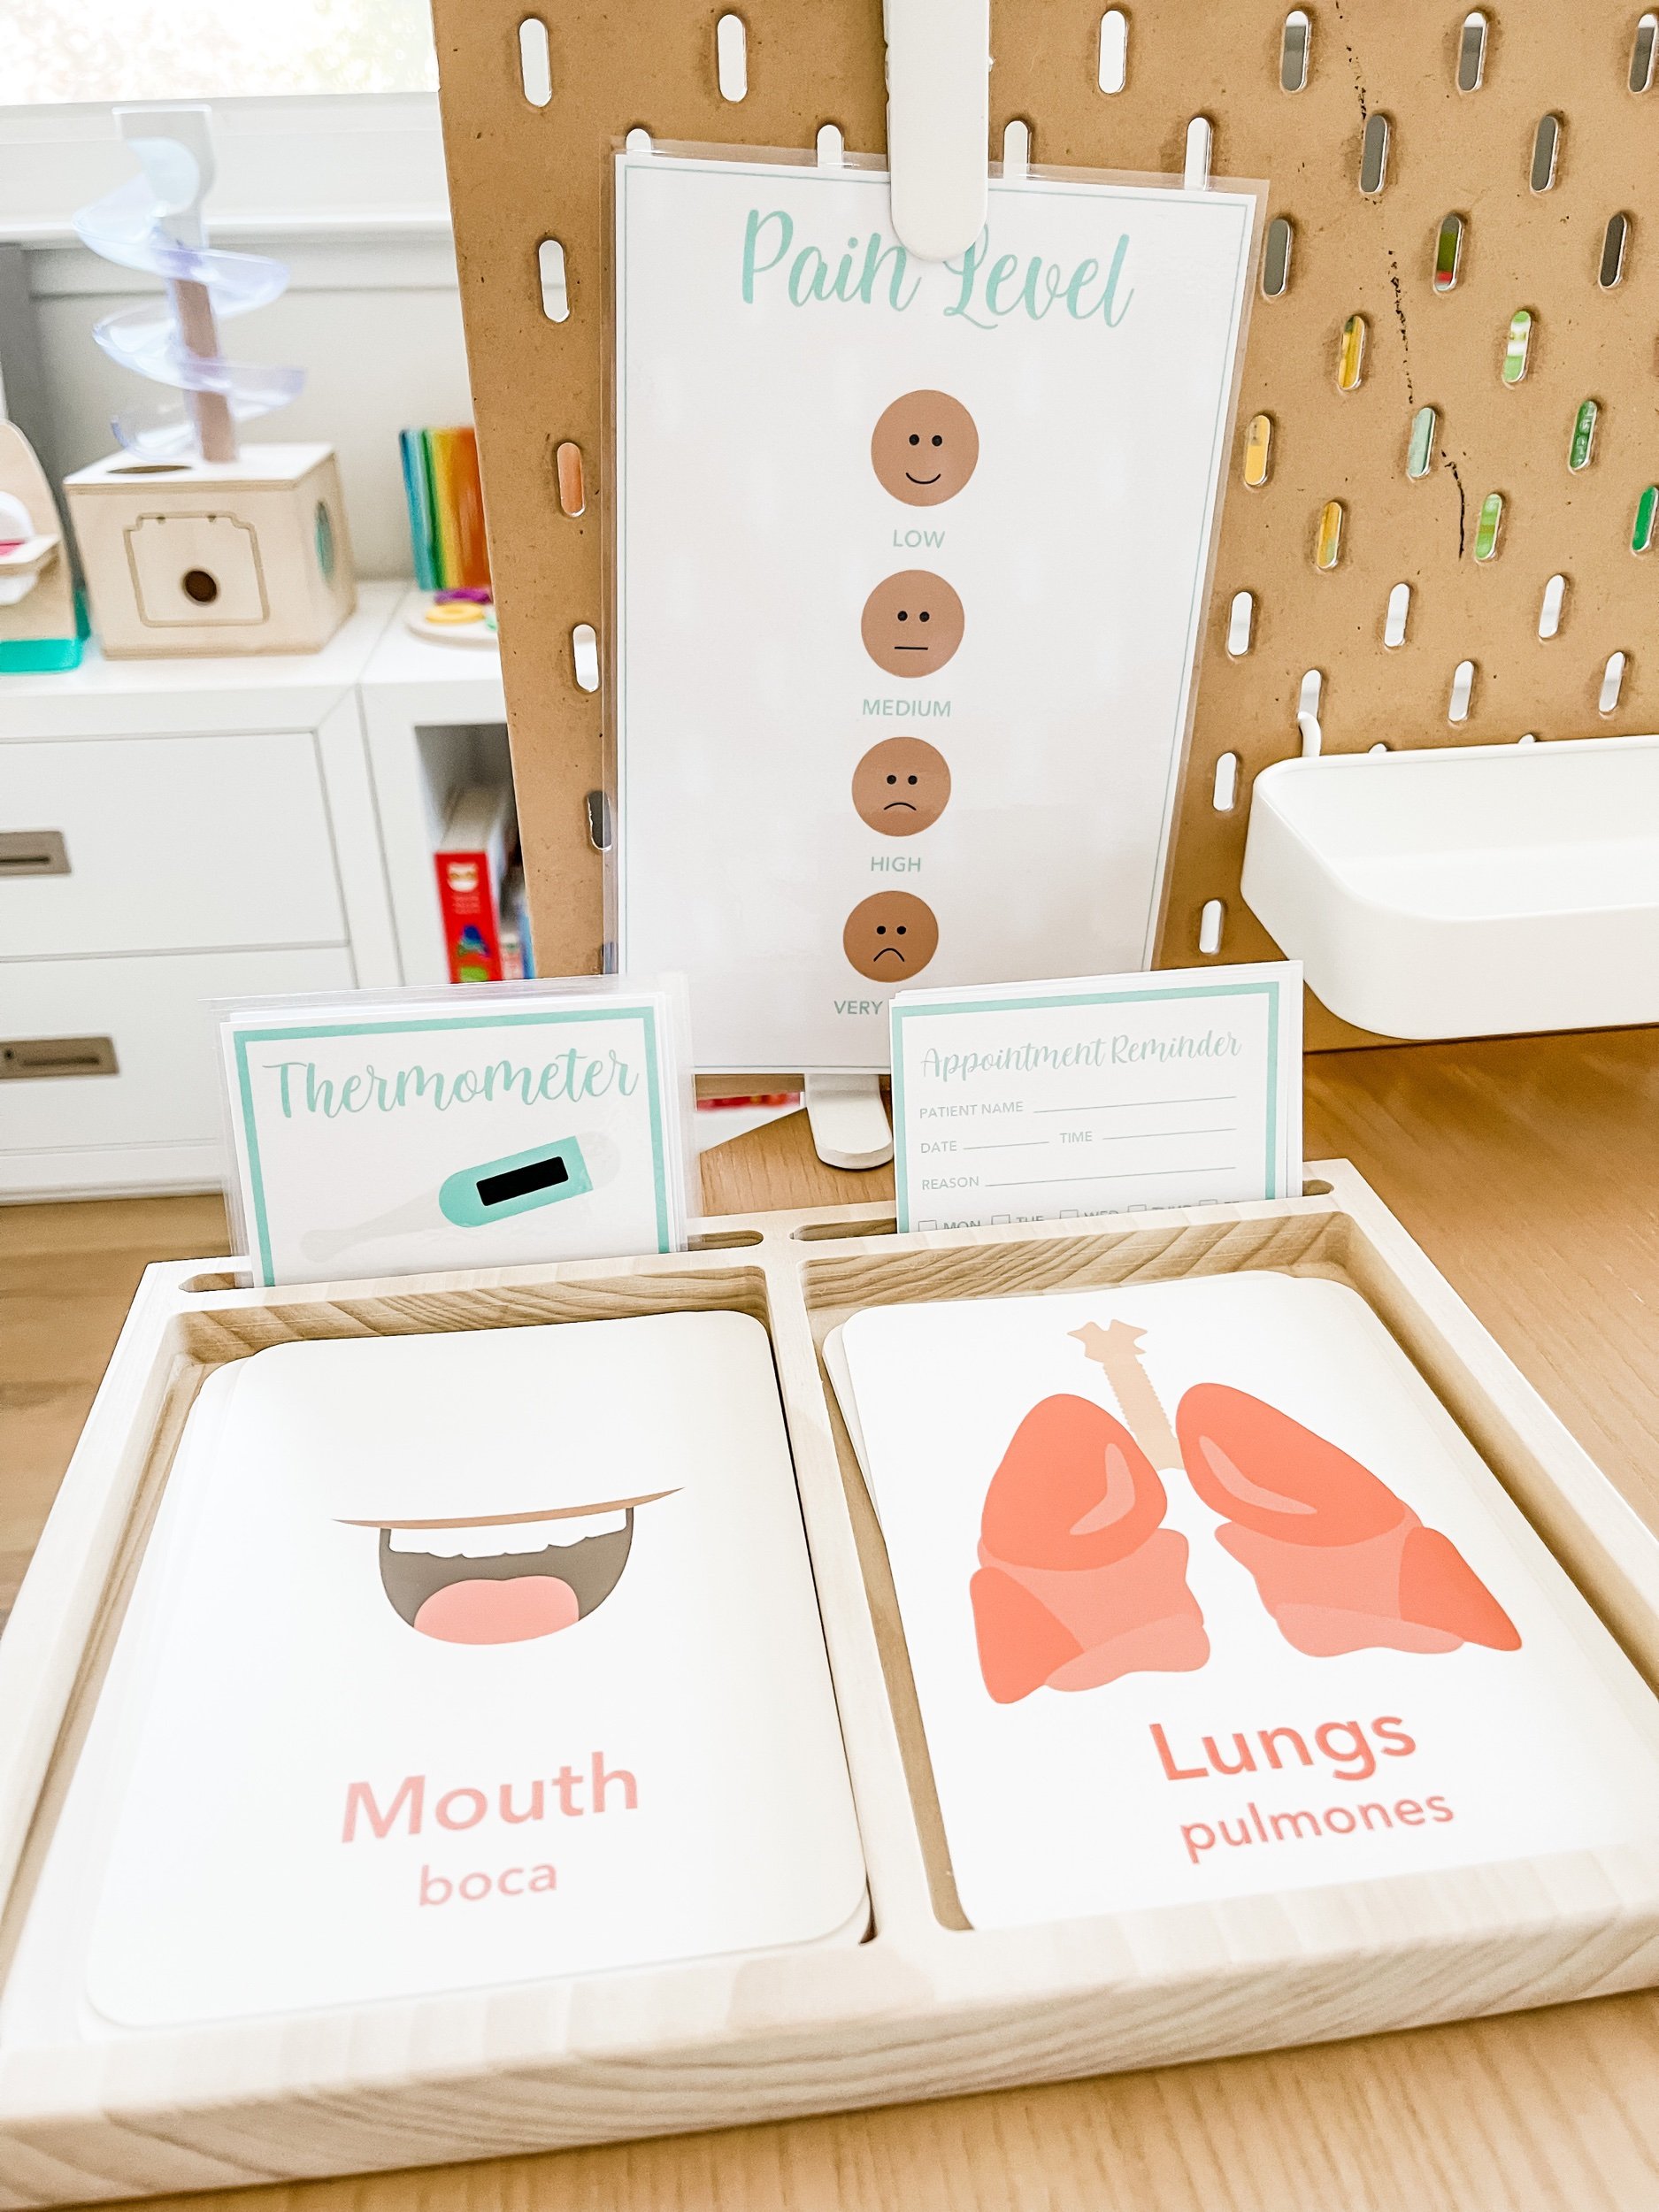
First off, these Body Parts Flashcards and Human Organs Flashcards were a great introduction to everything inside and outside of the body. These are super basic human anatomy, but Sofia loved pointing them out on her own body. And internal organs are challenging because she can’t see them, but we used phrases like “this is a stomach, like when your tummy is saying it’s hungry” and that really helped her imagine where they were.
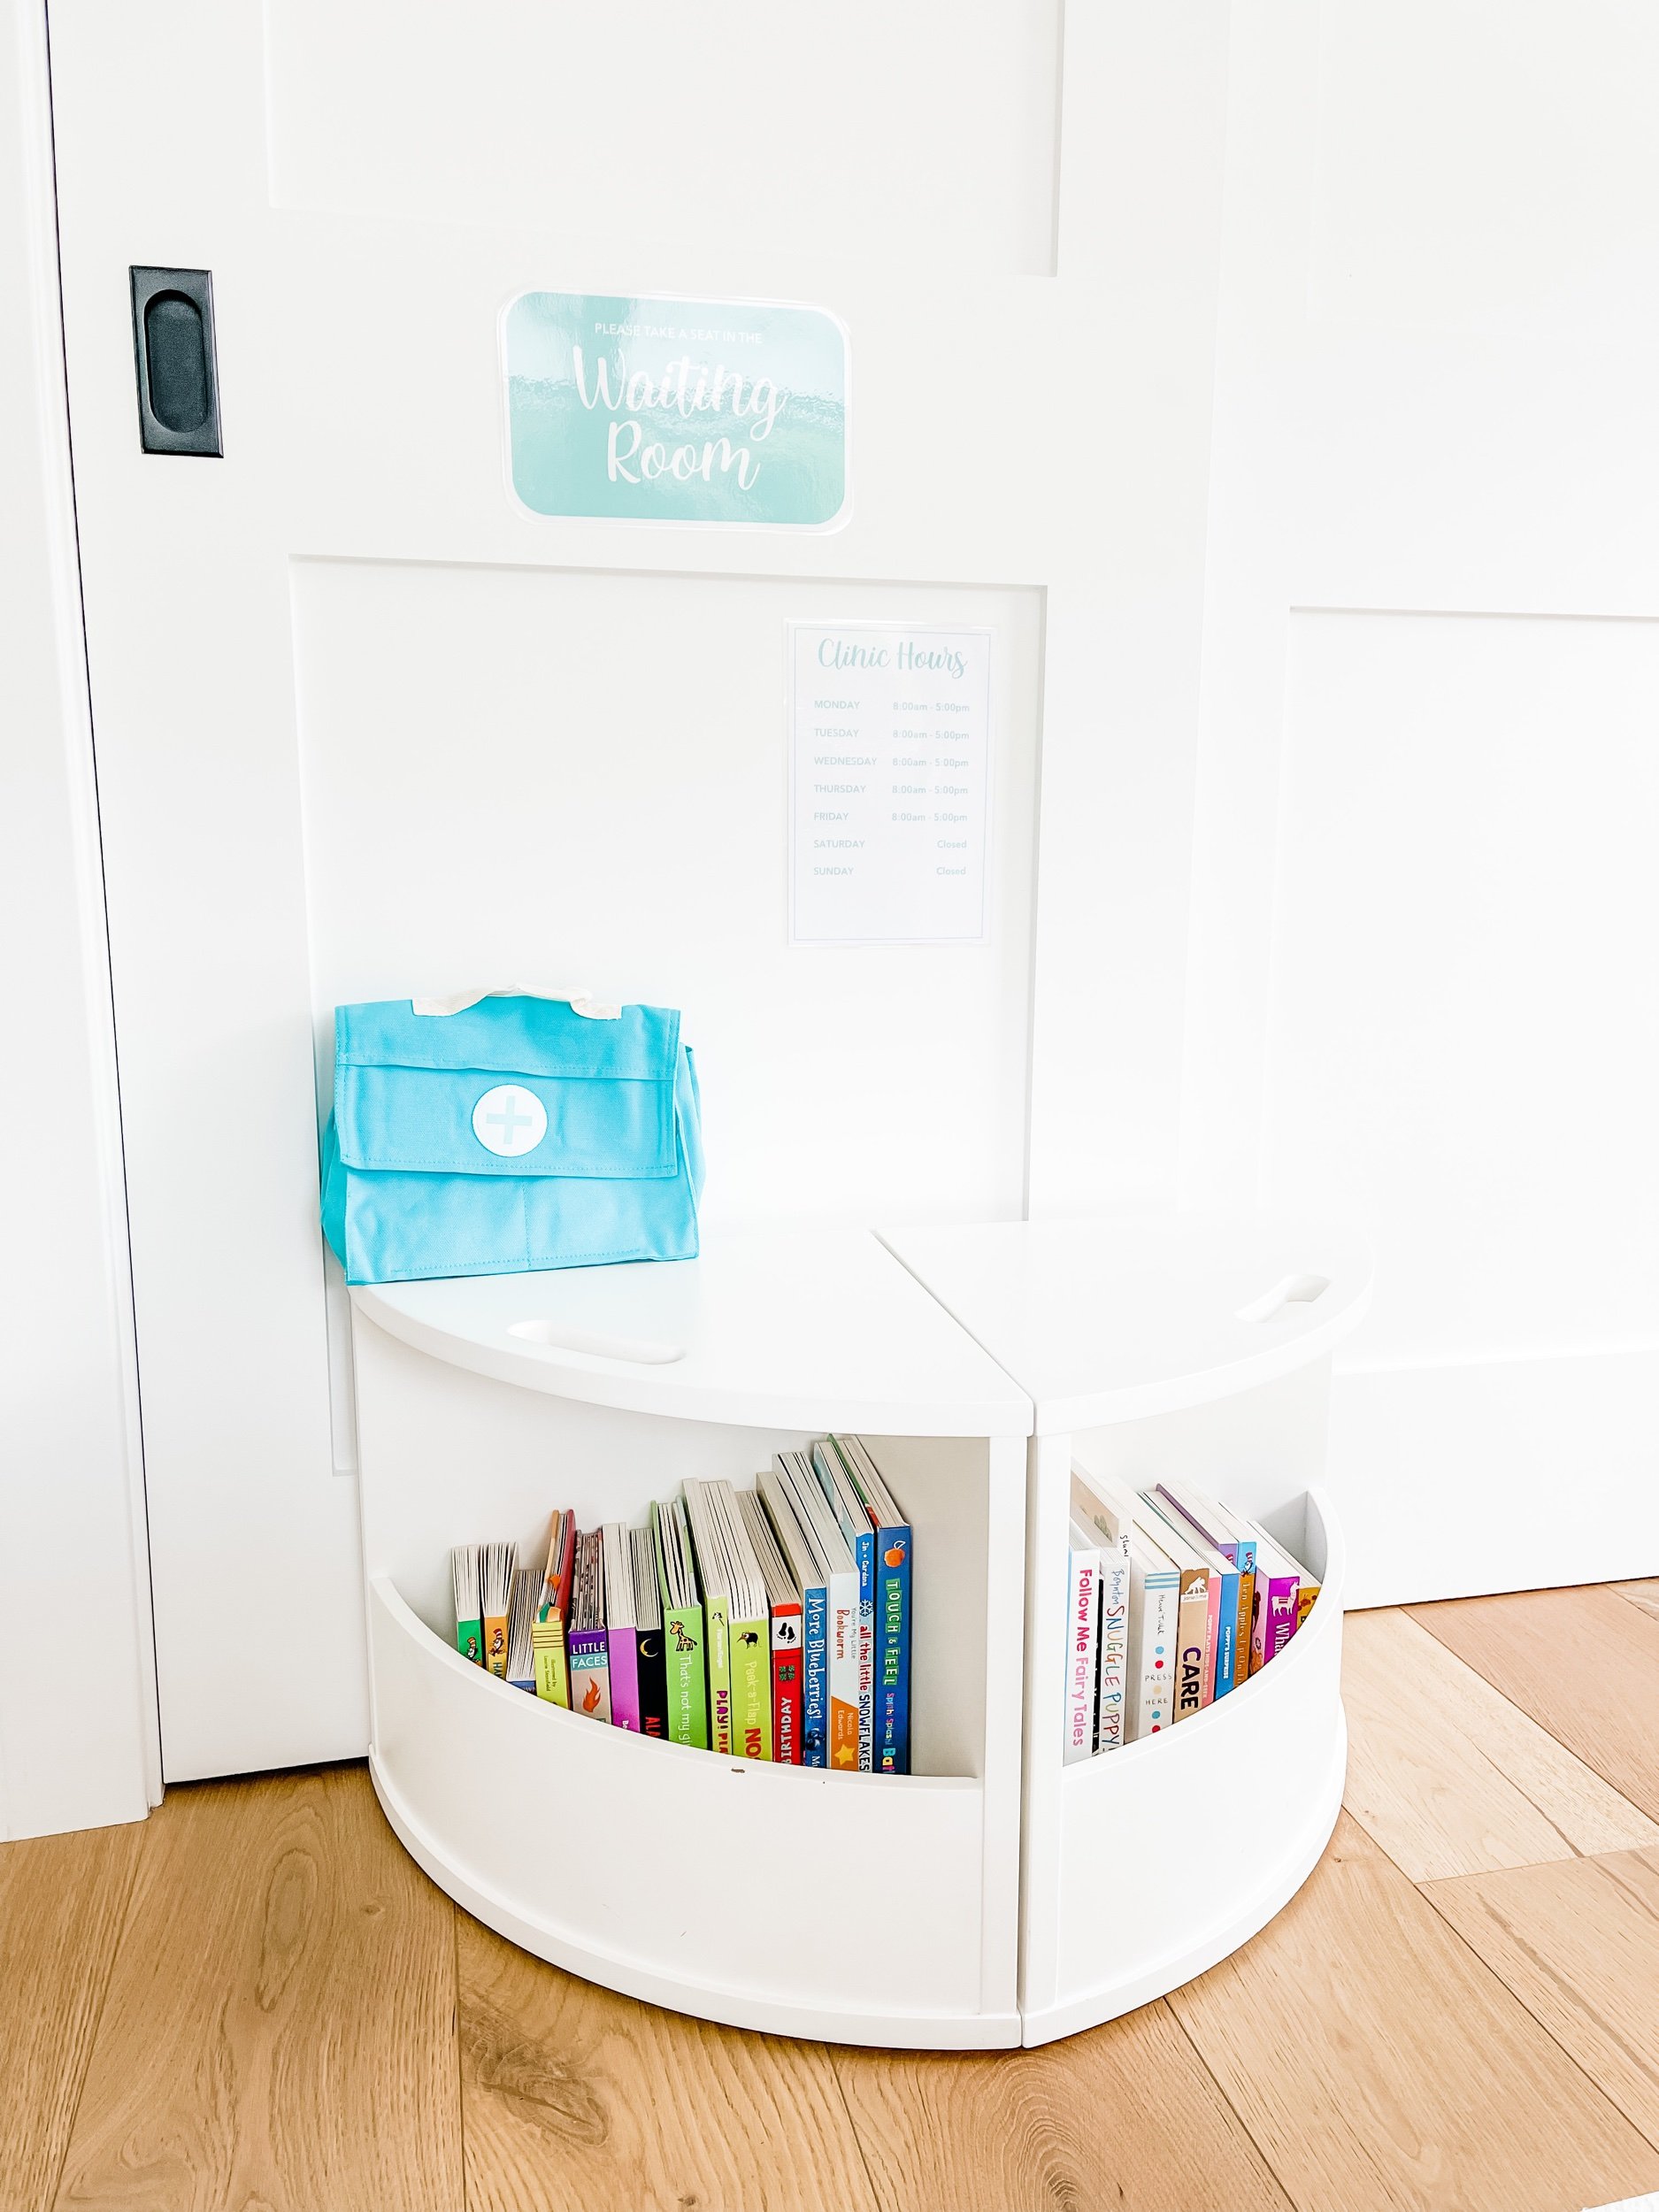
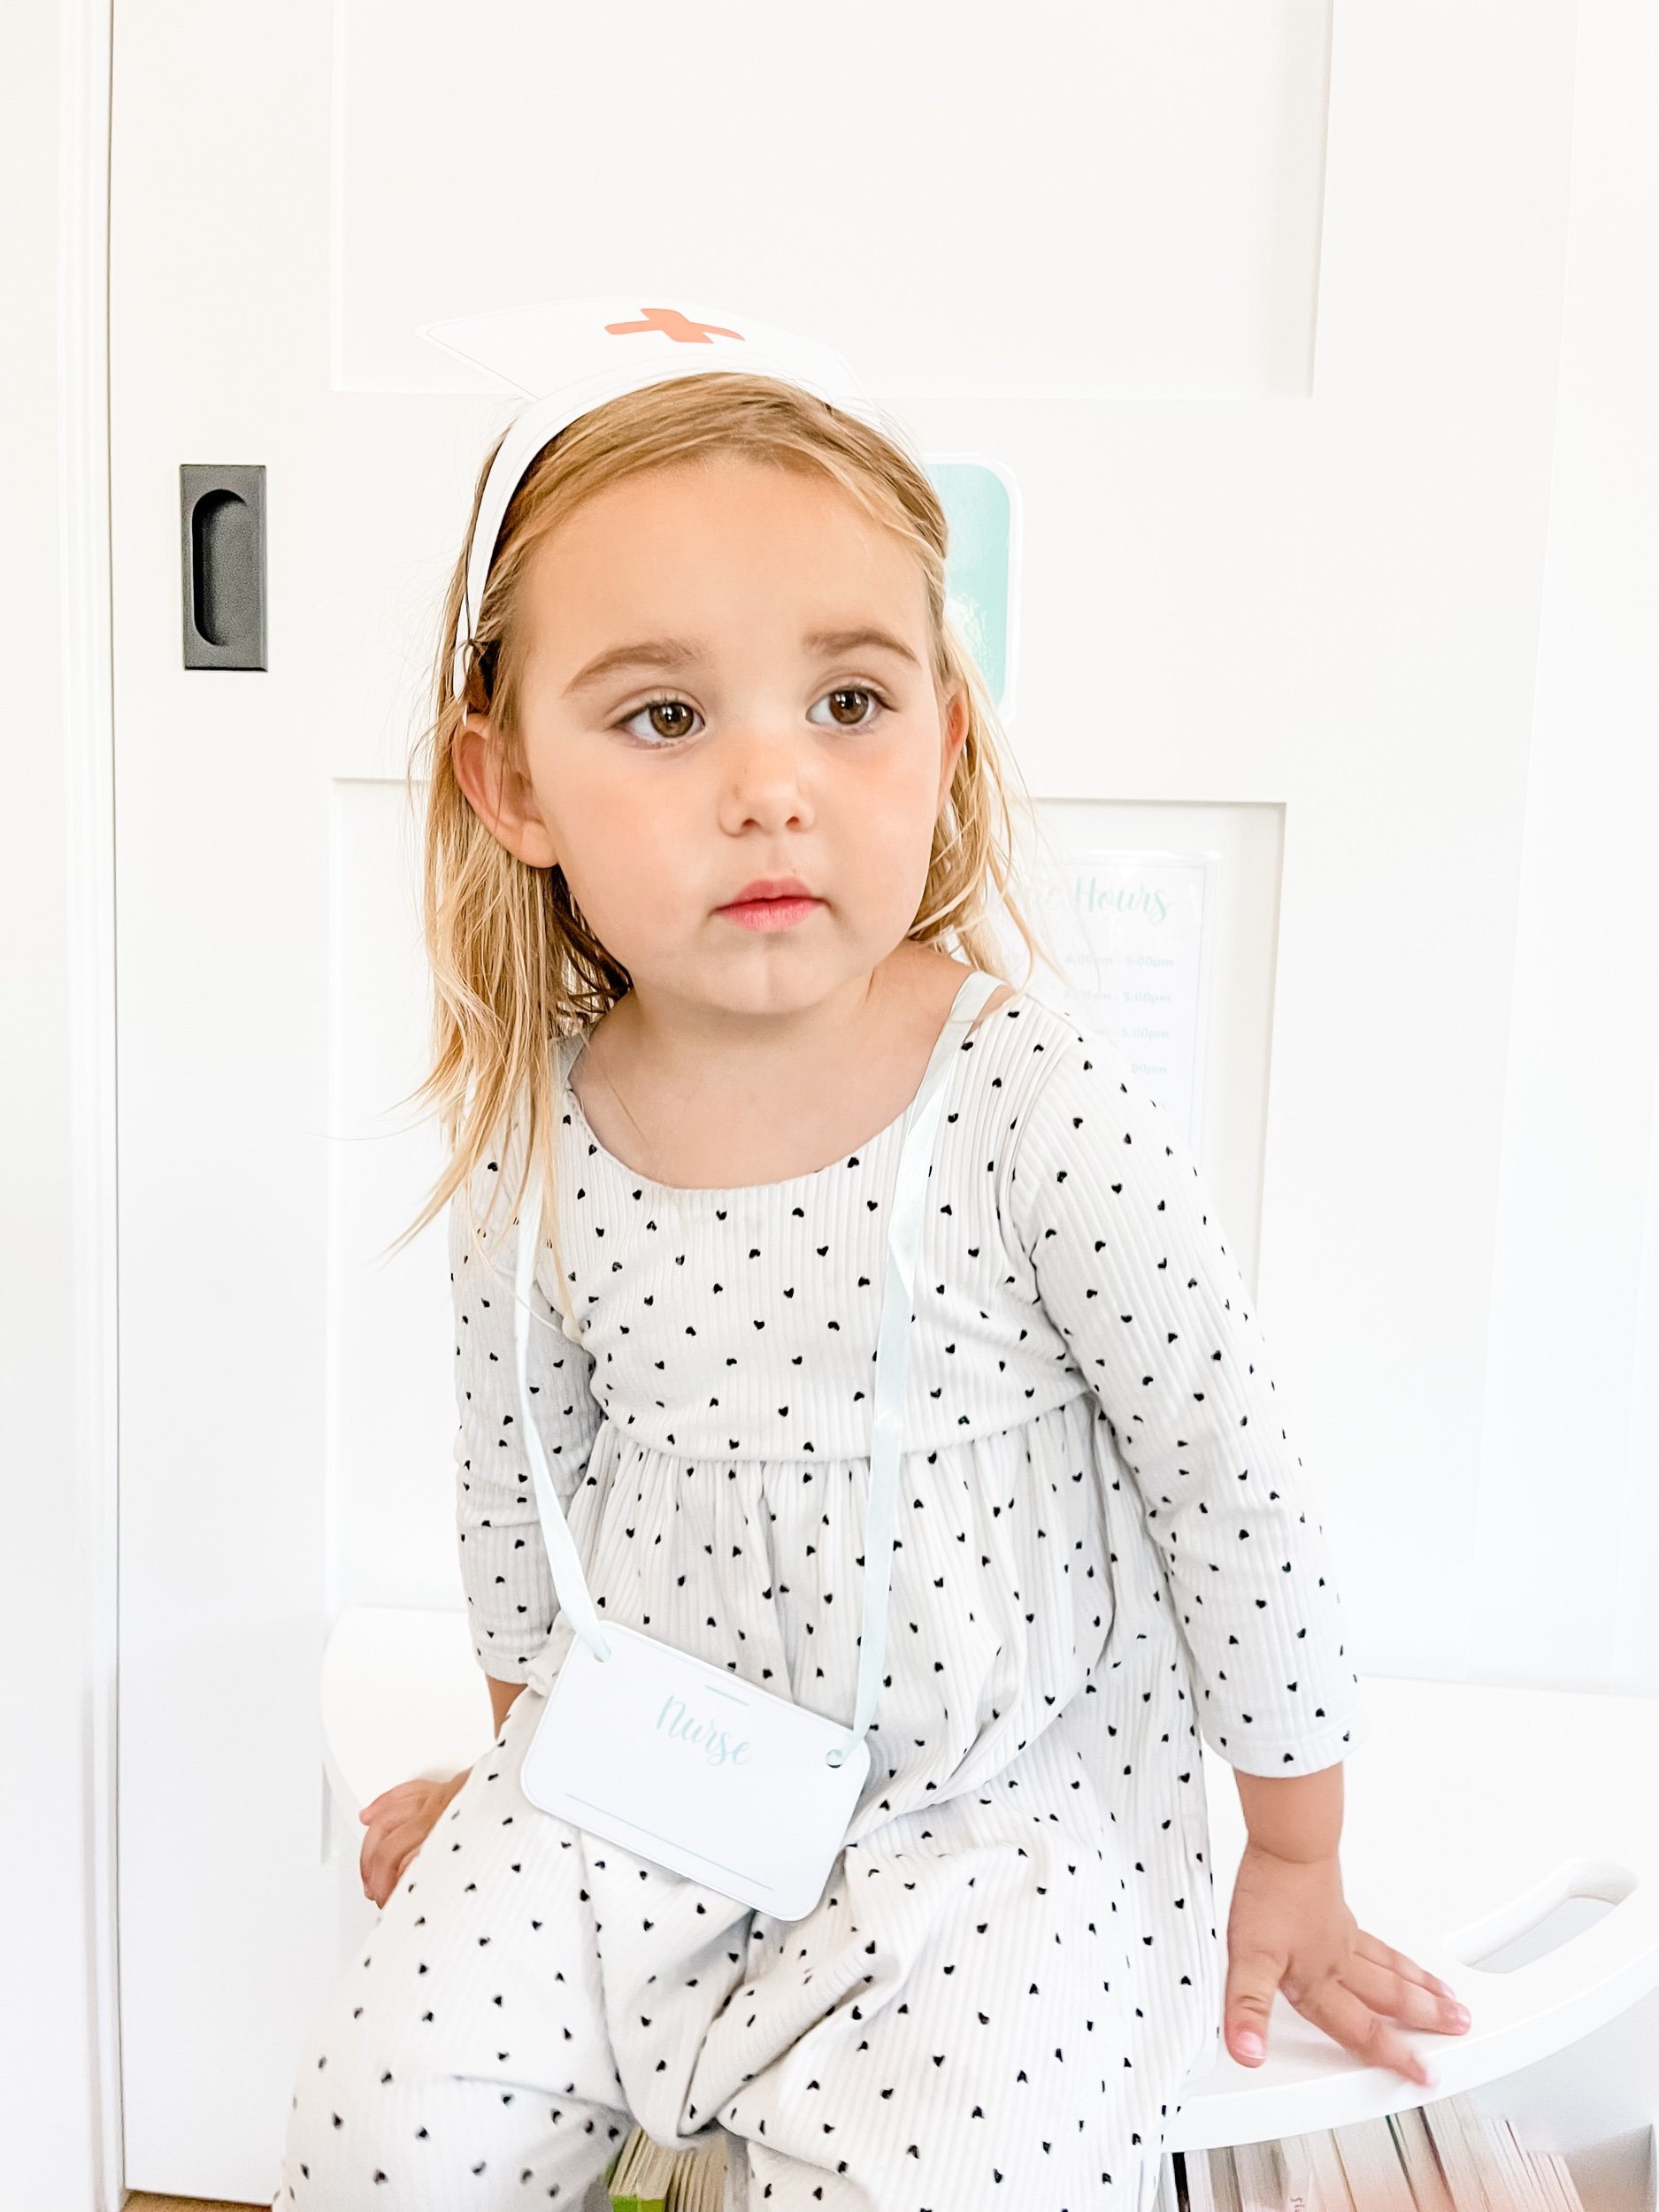
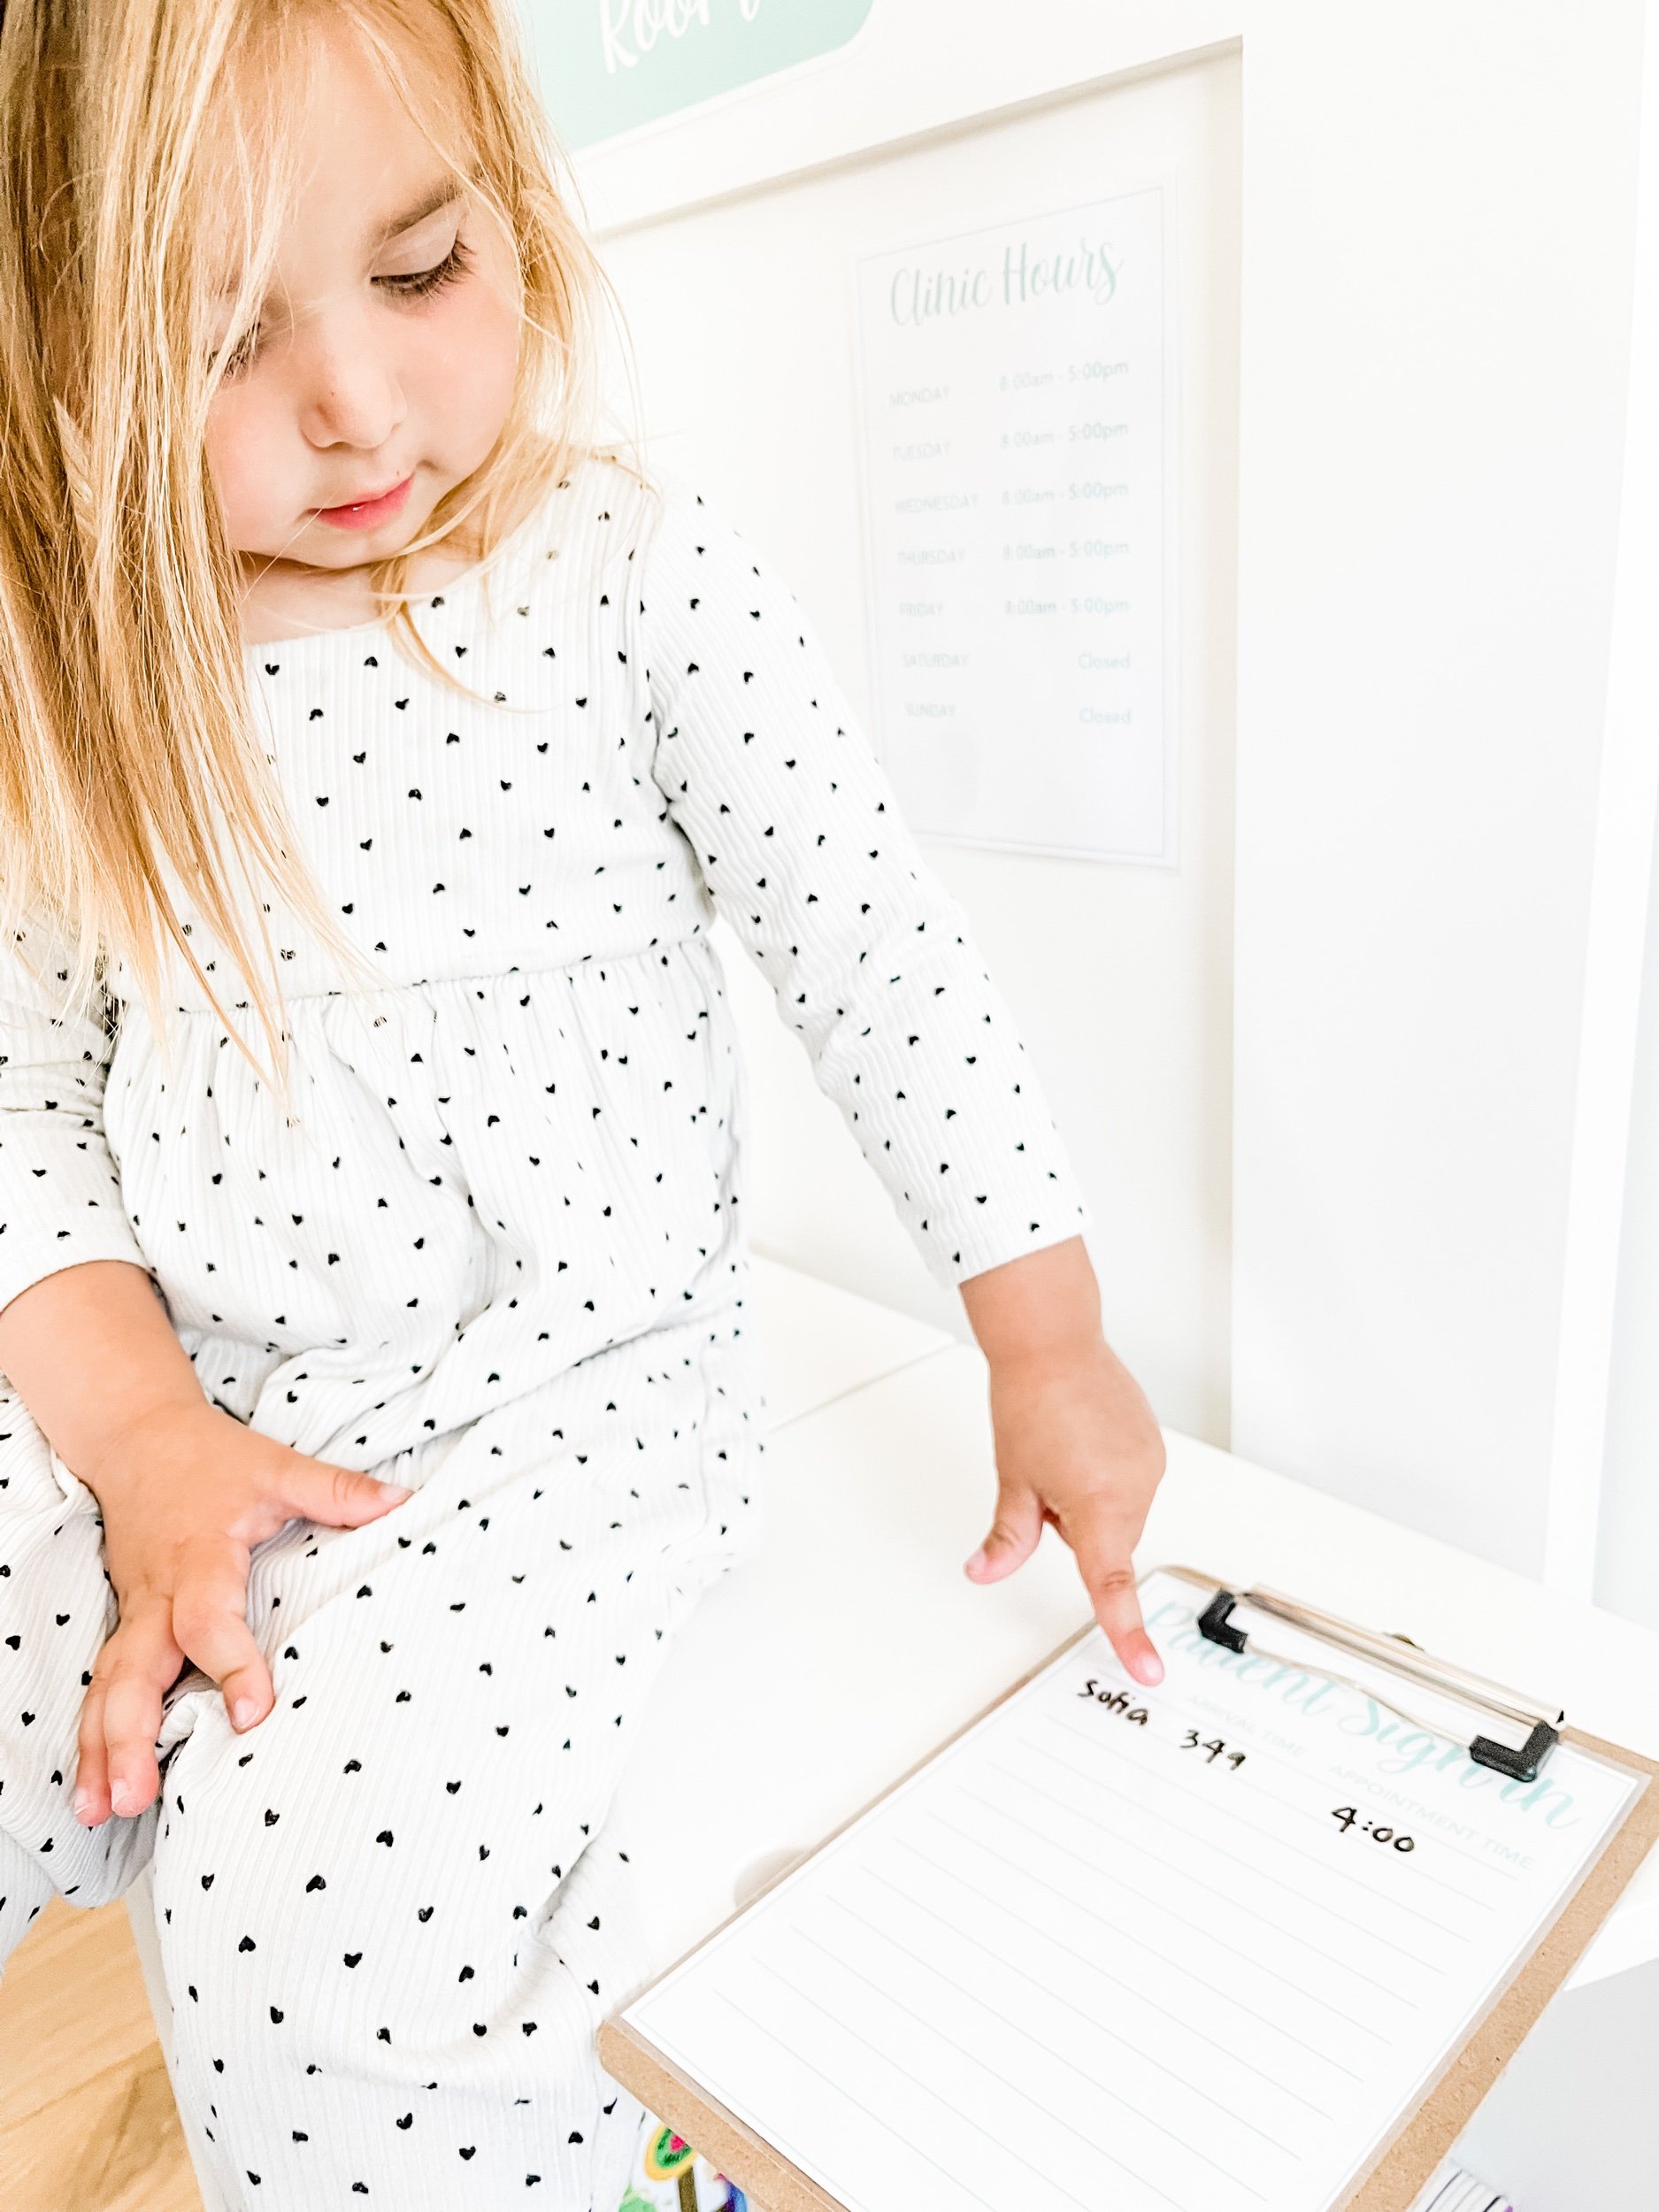
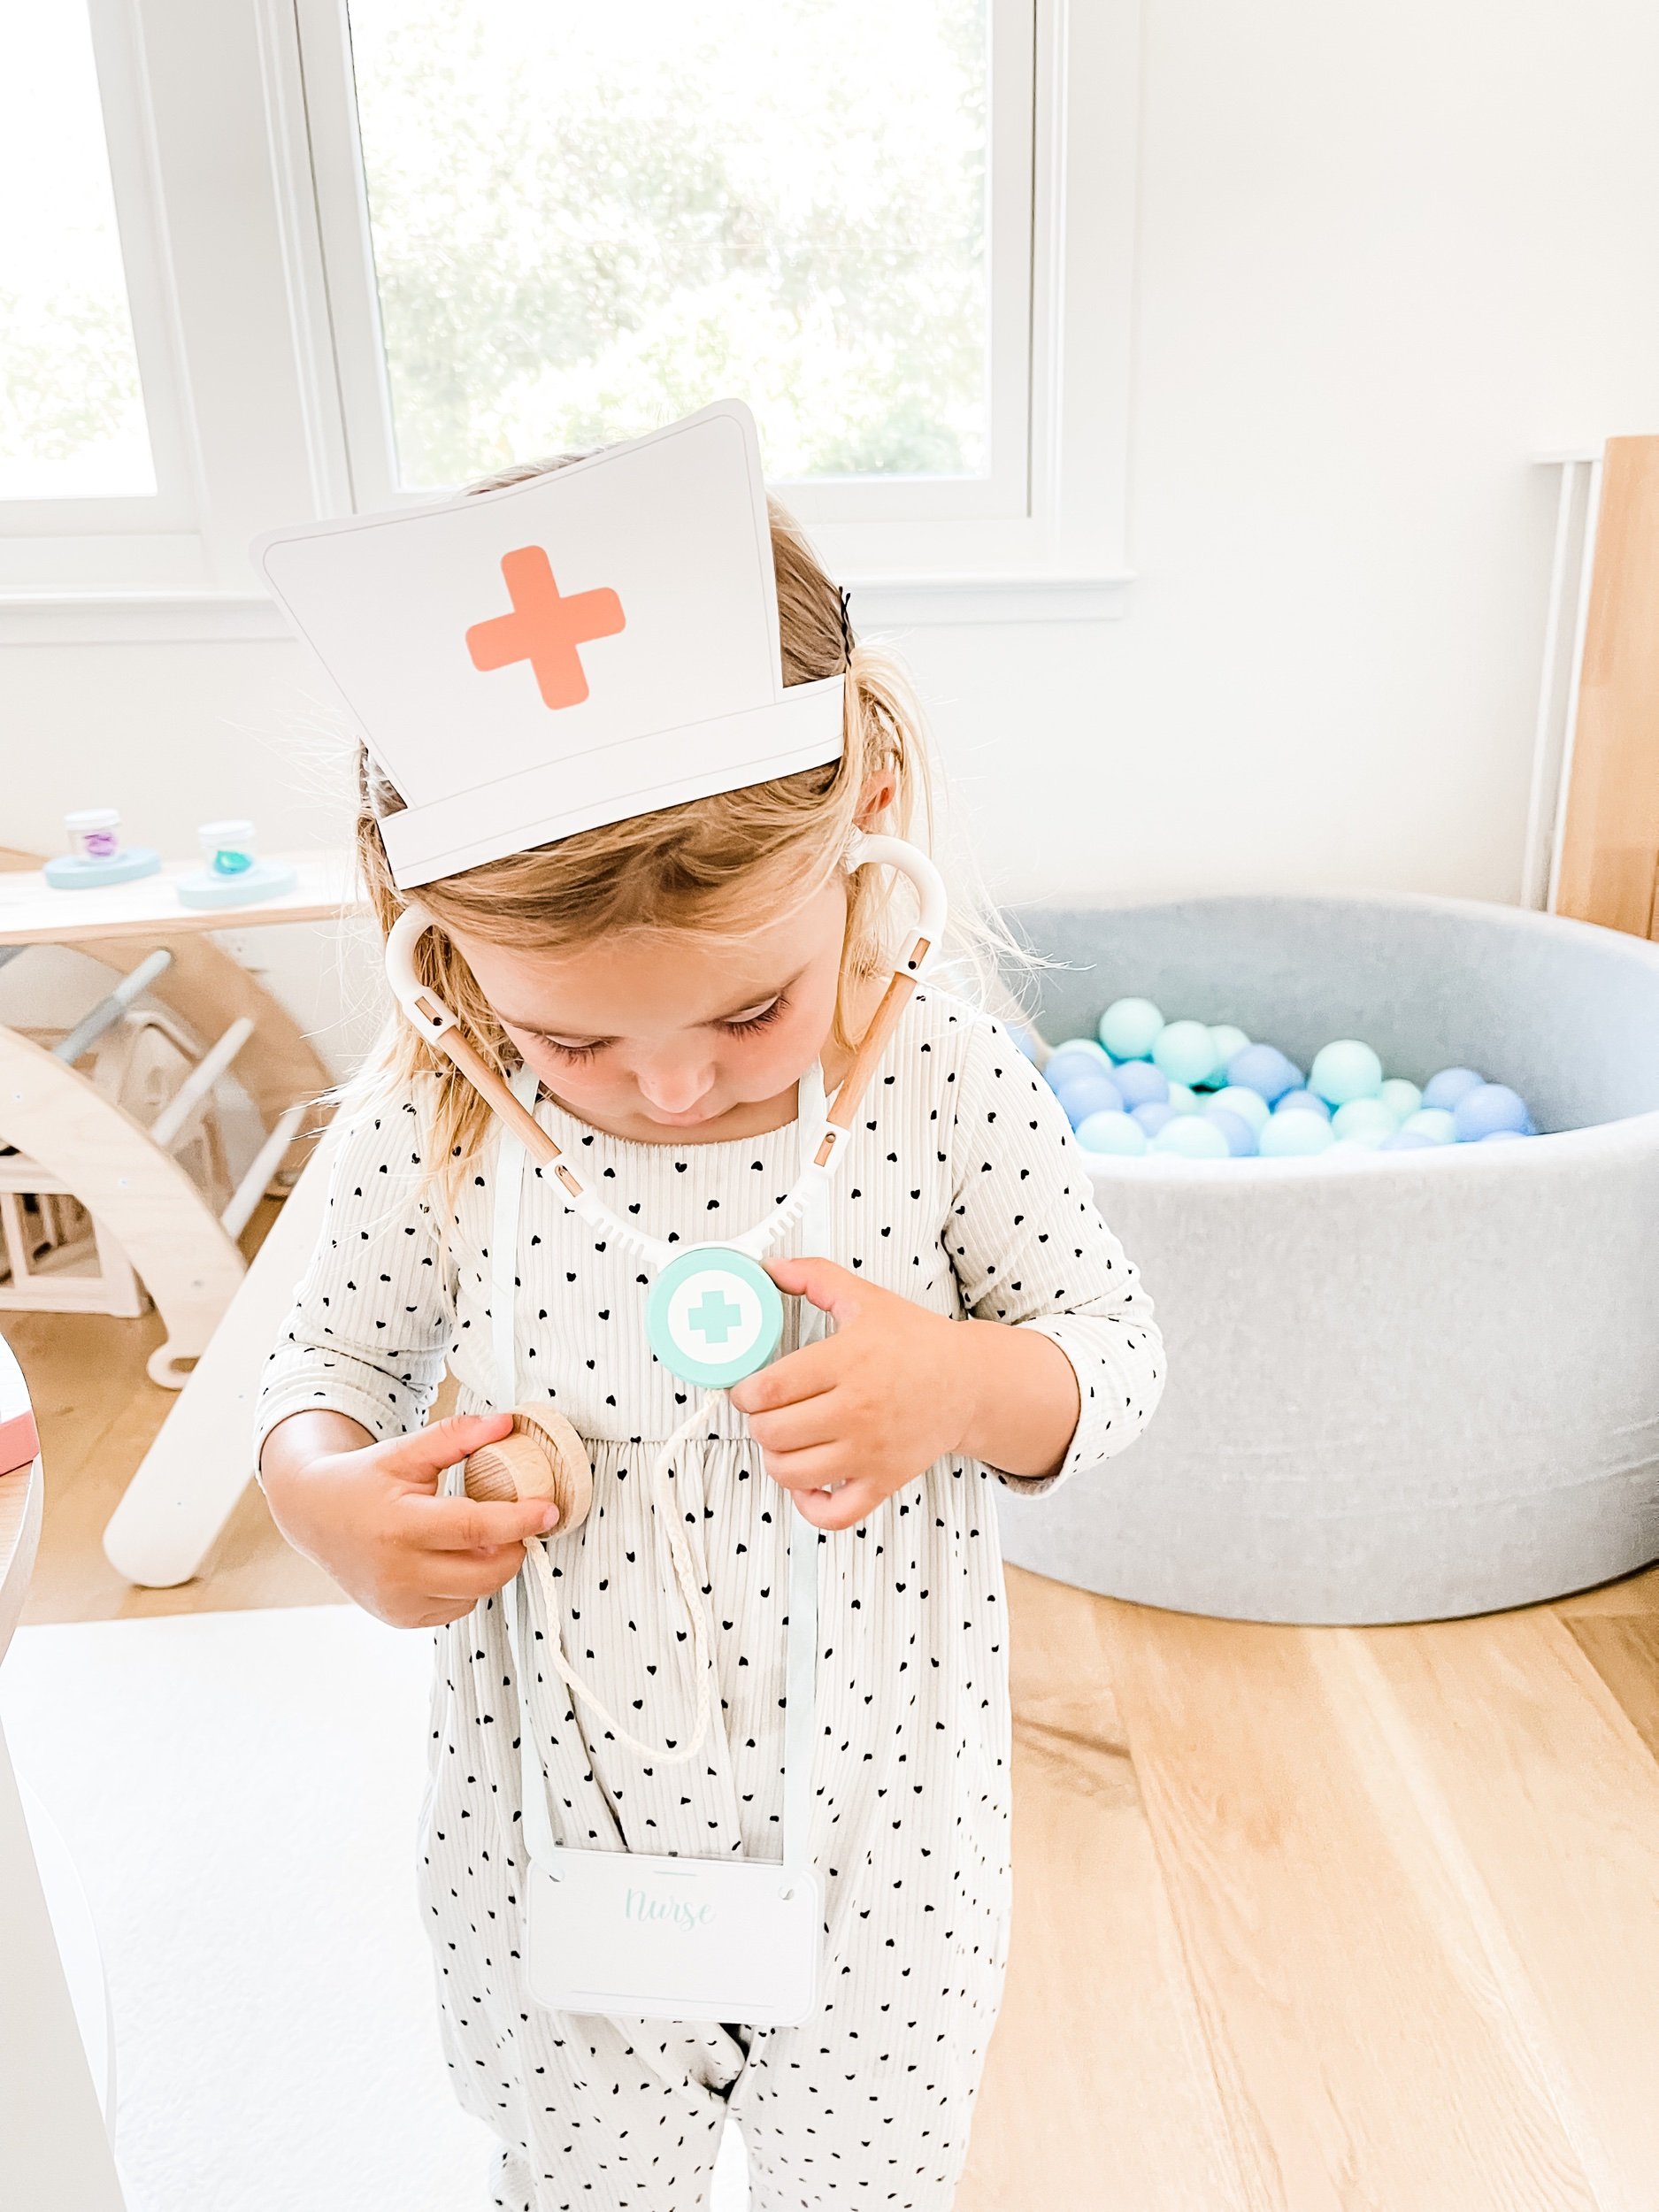
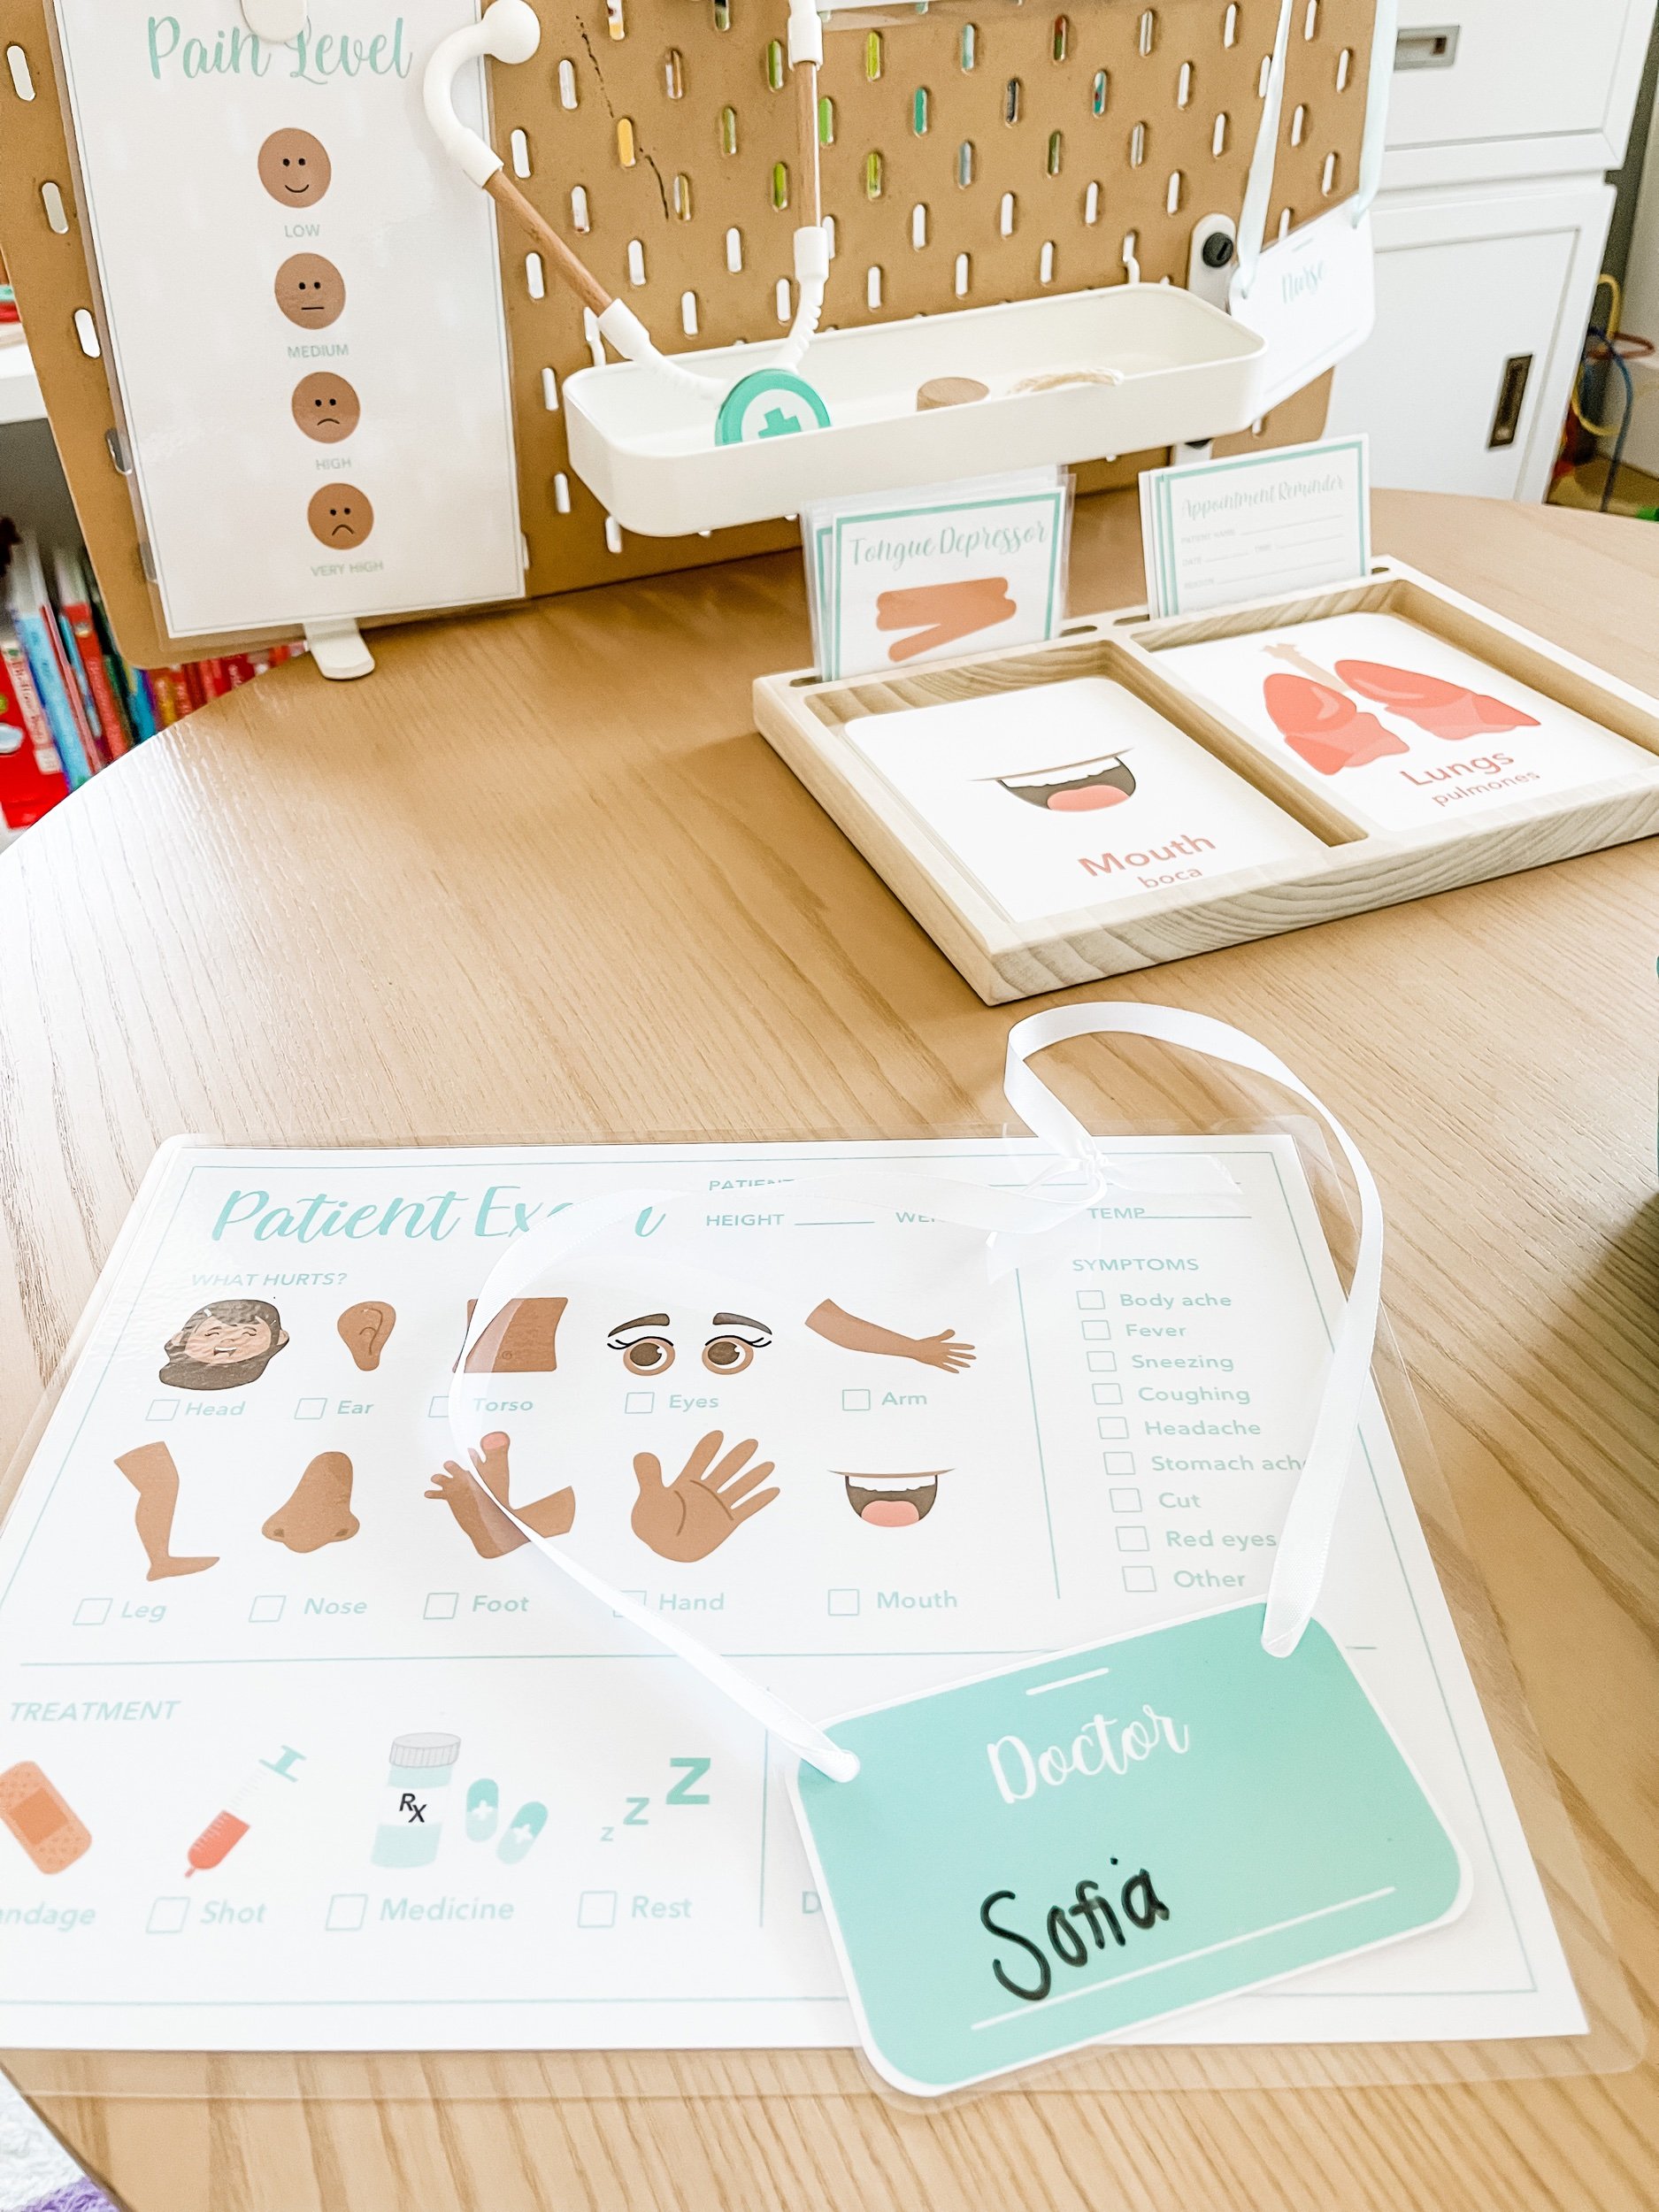
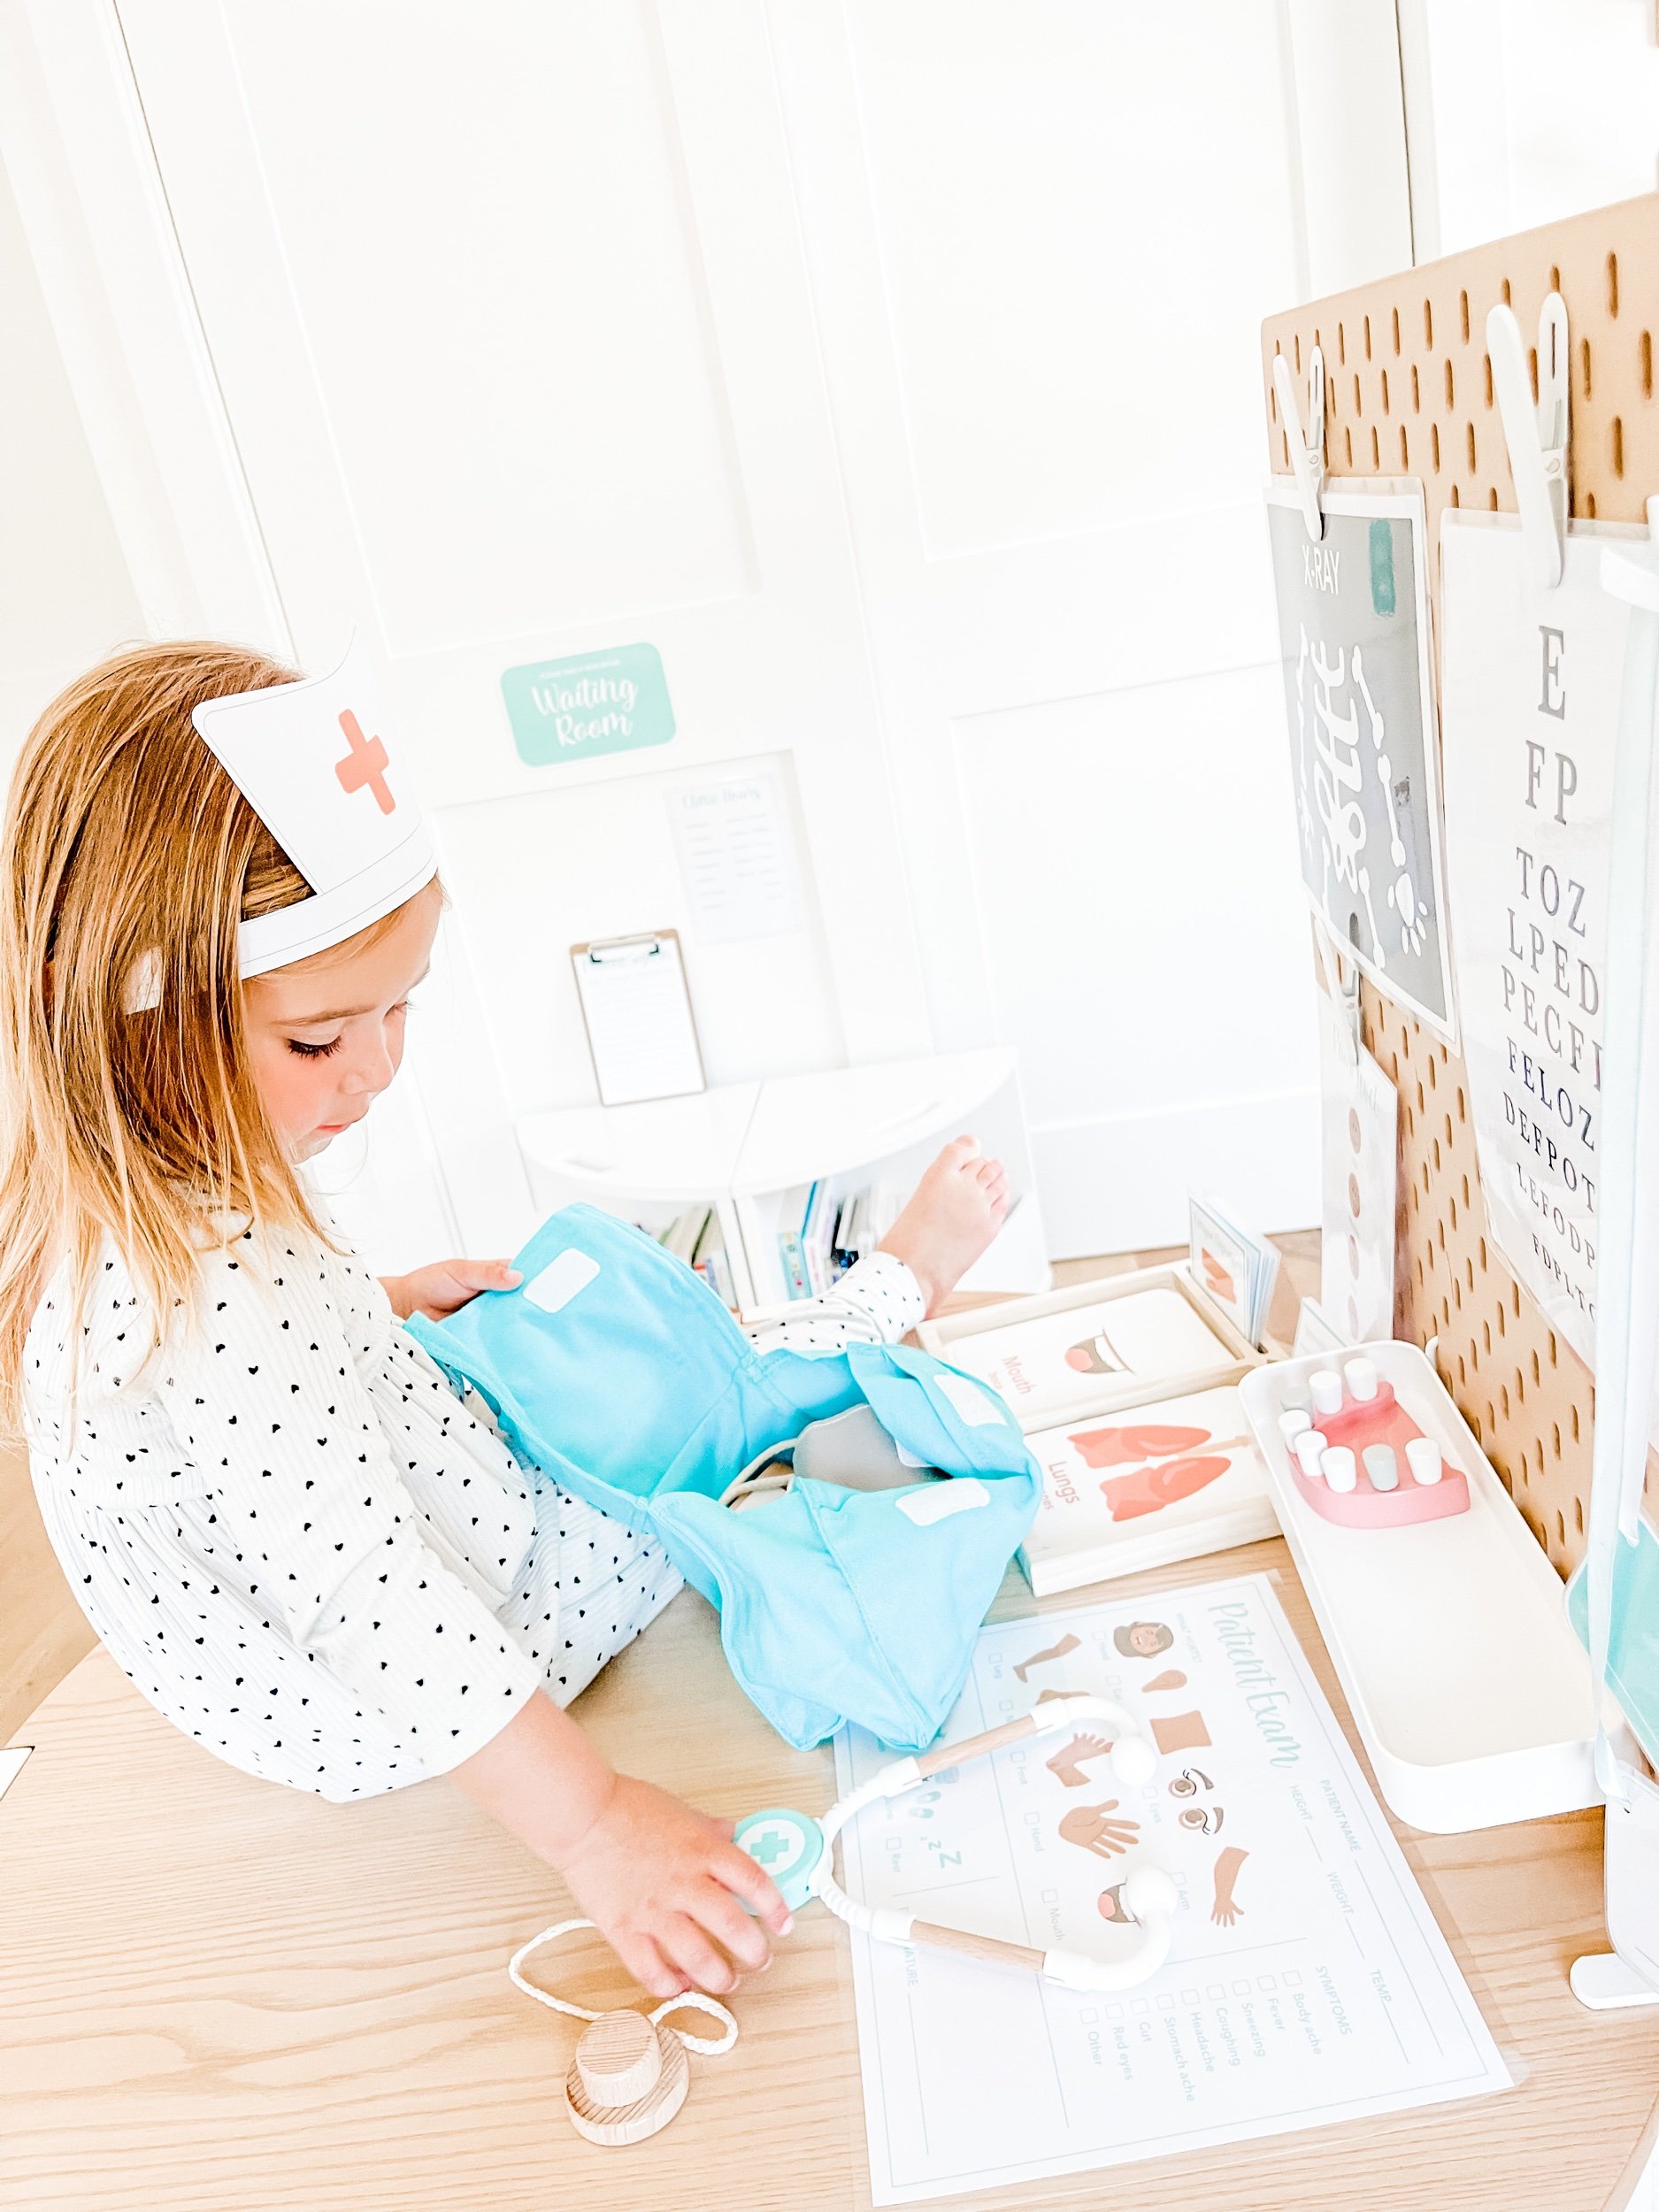
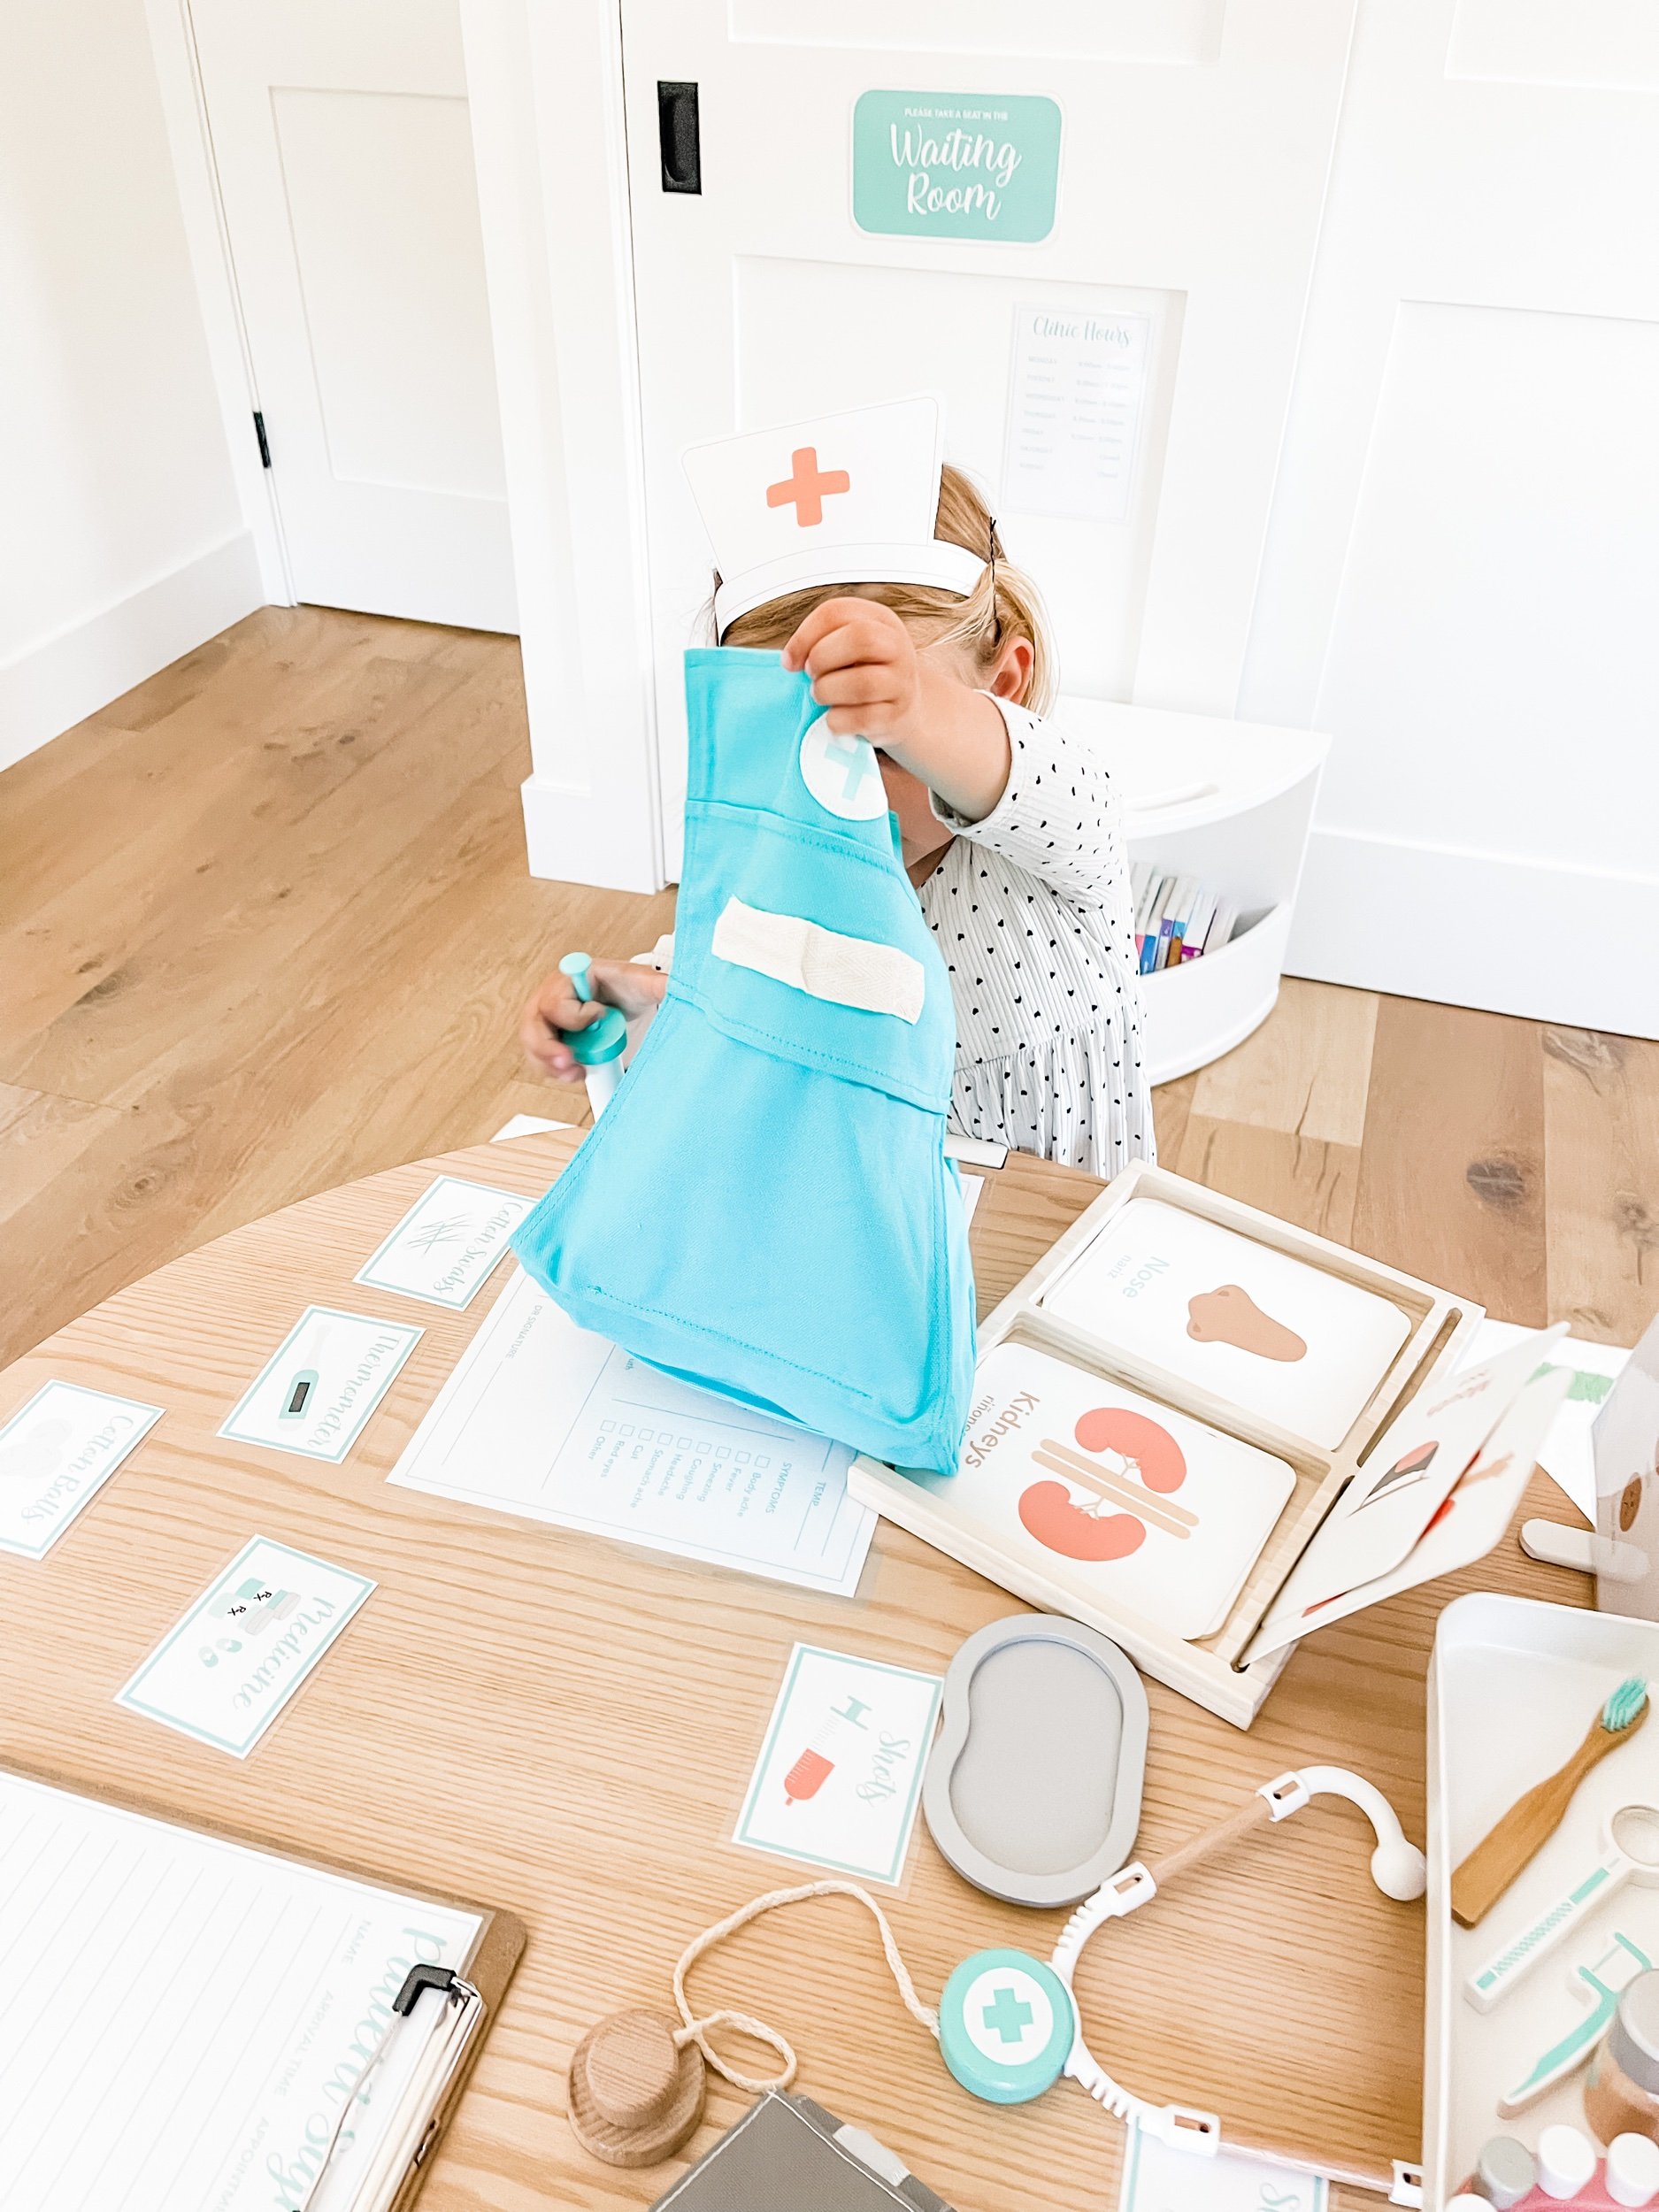
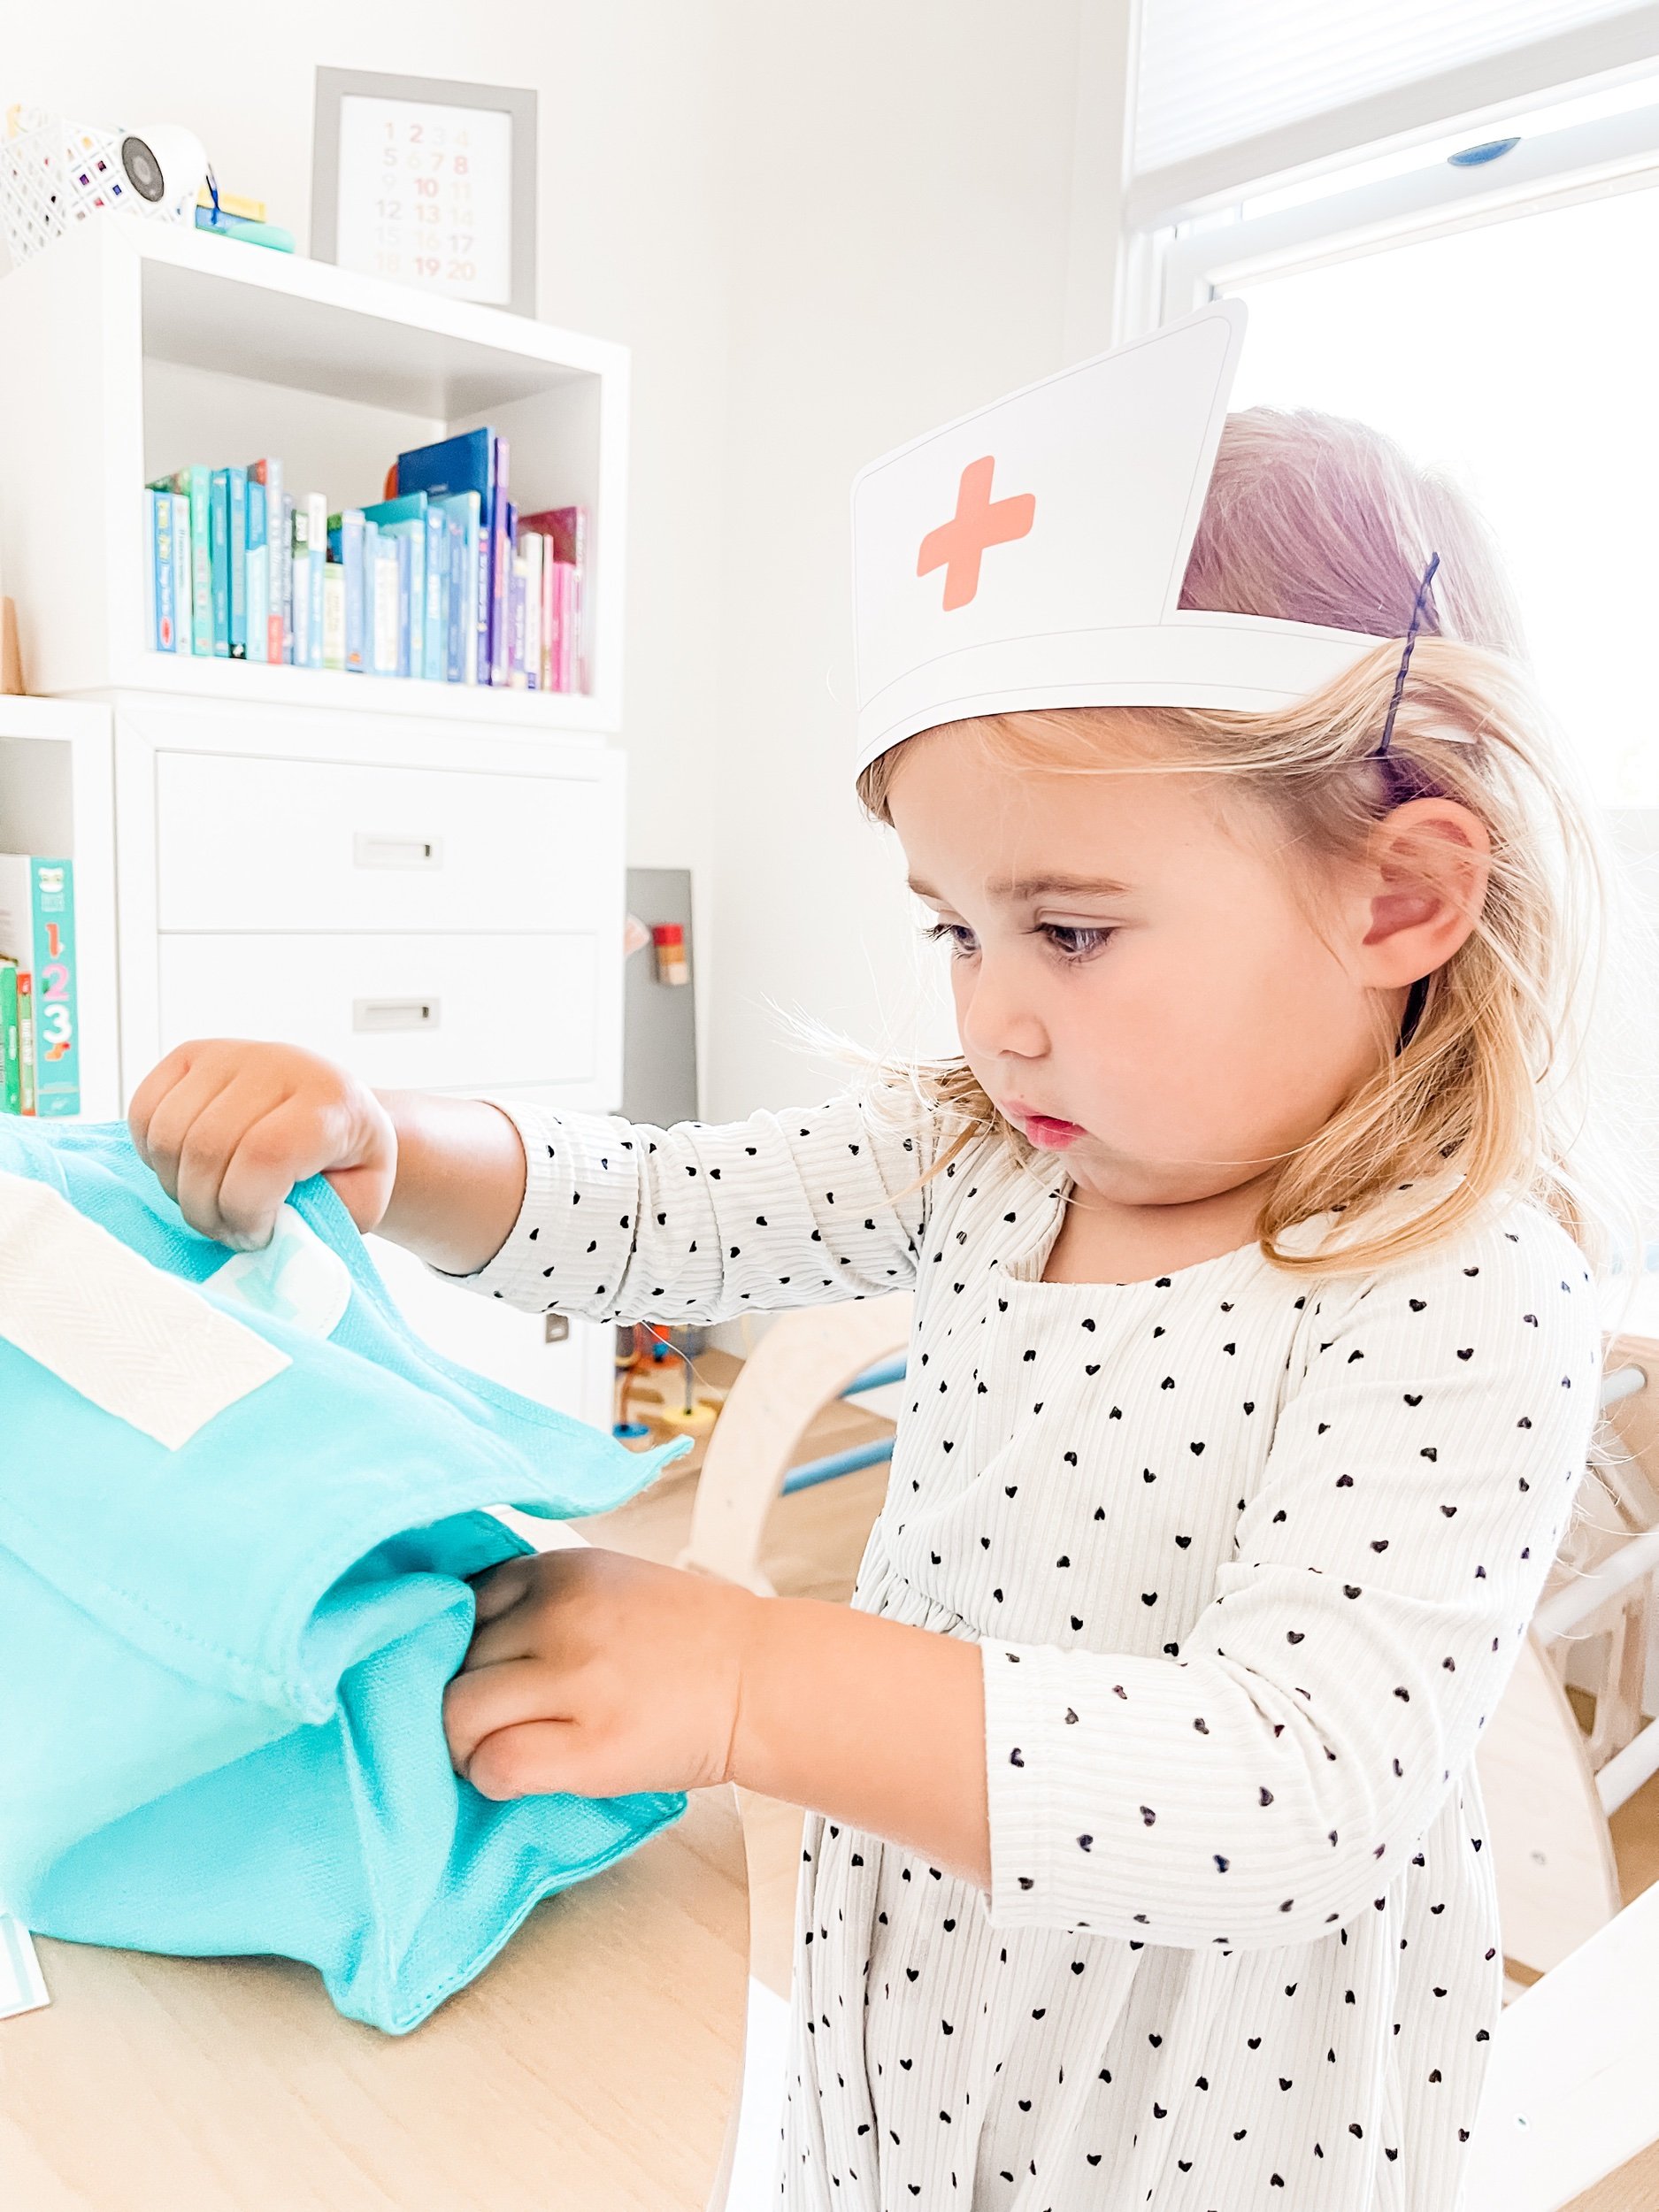
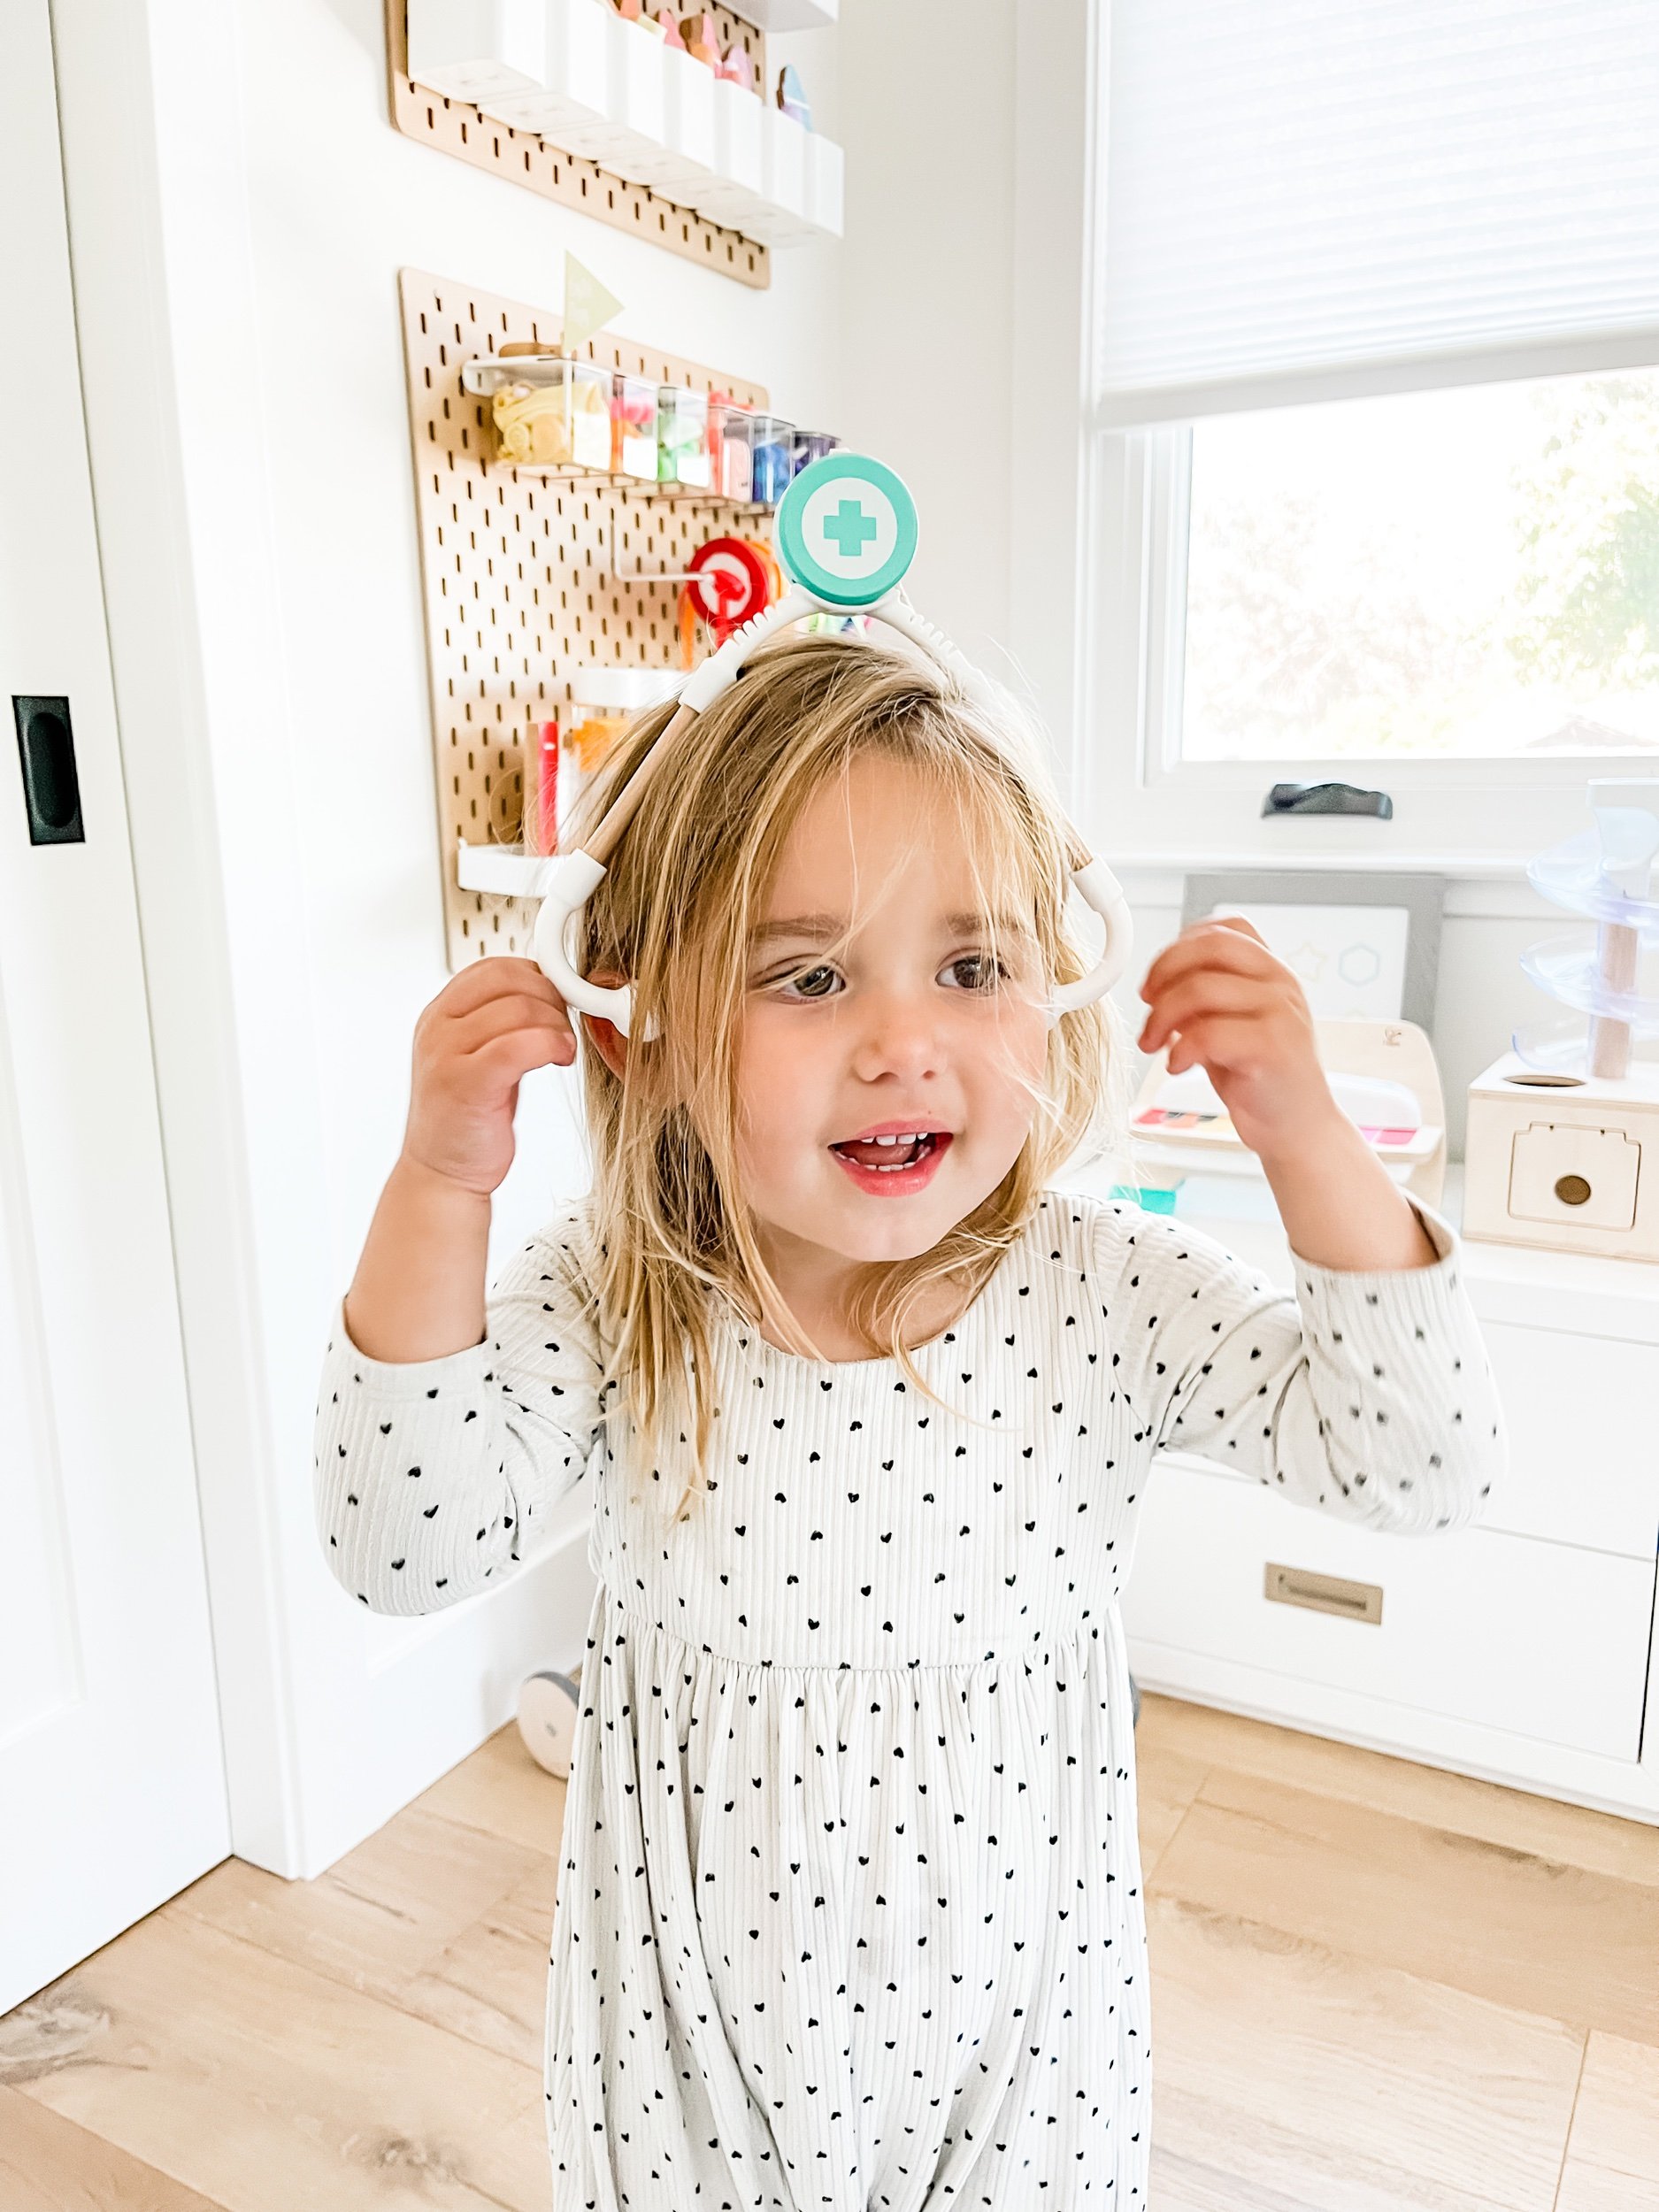
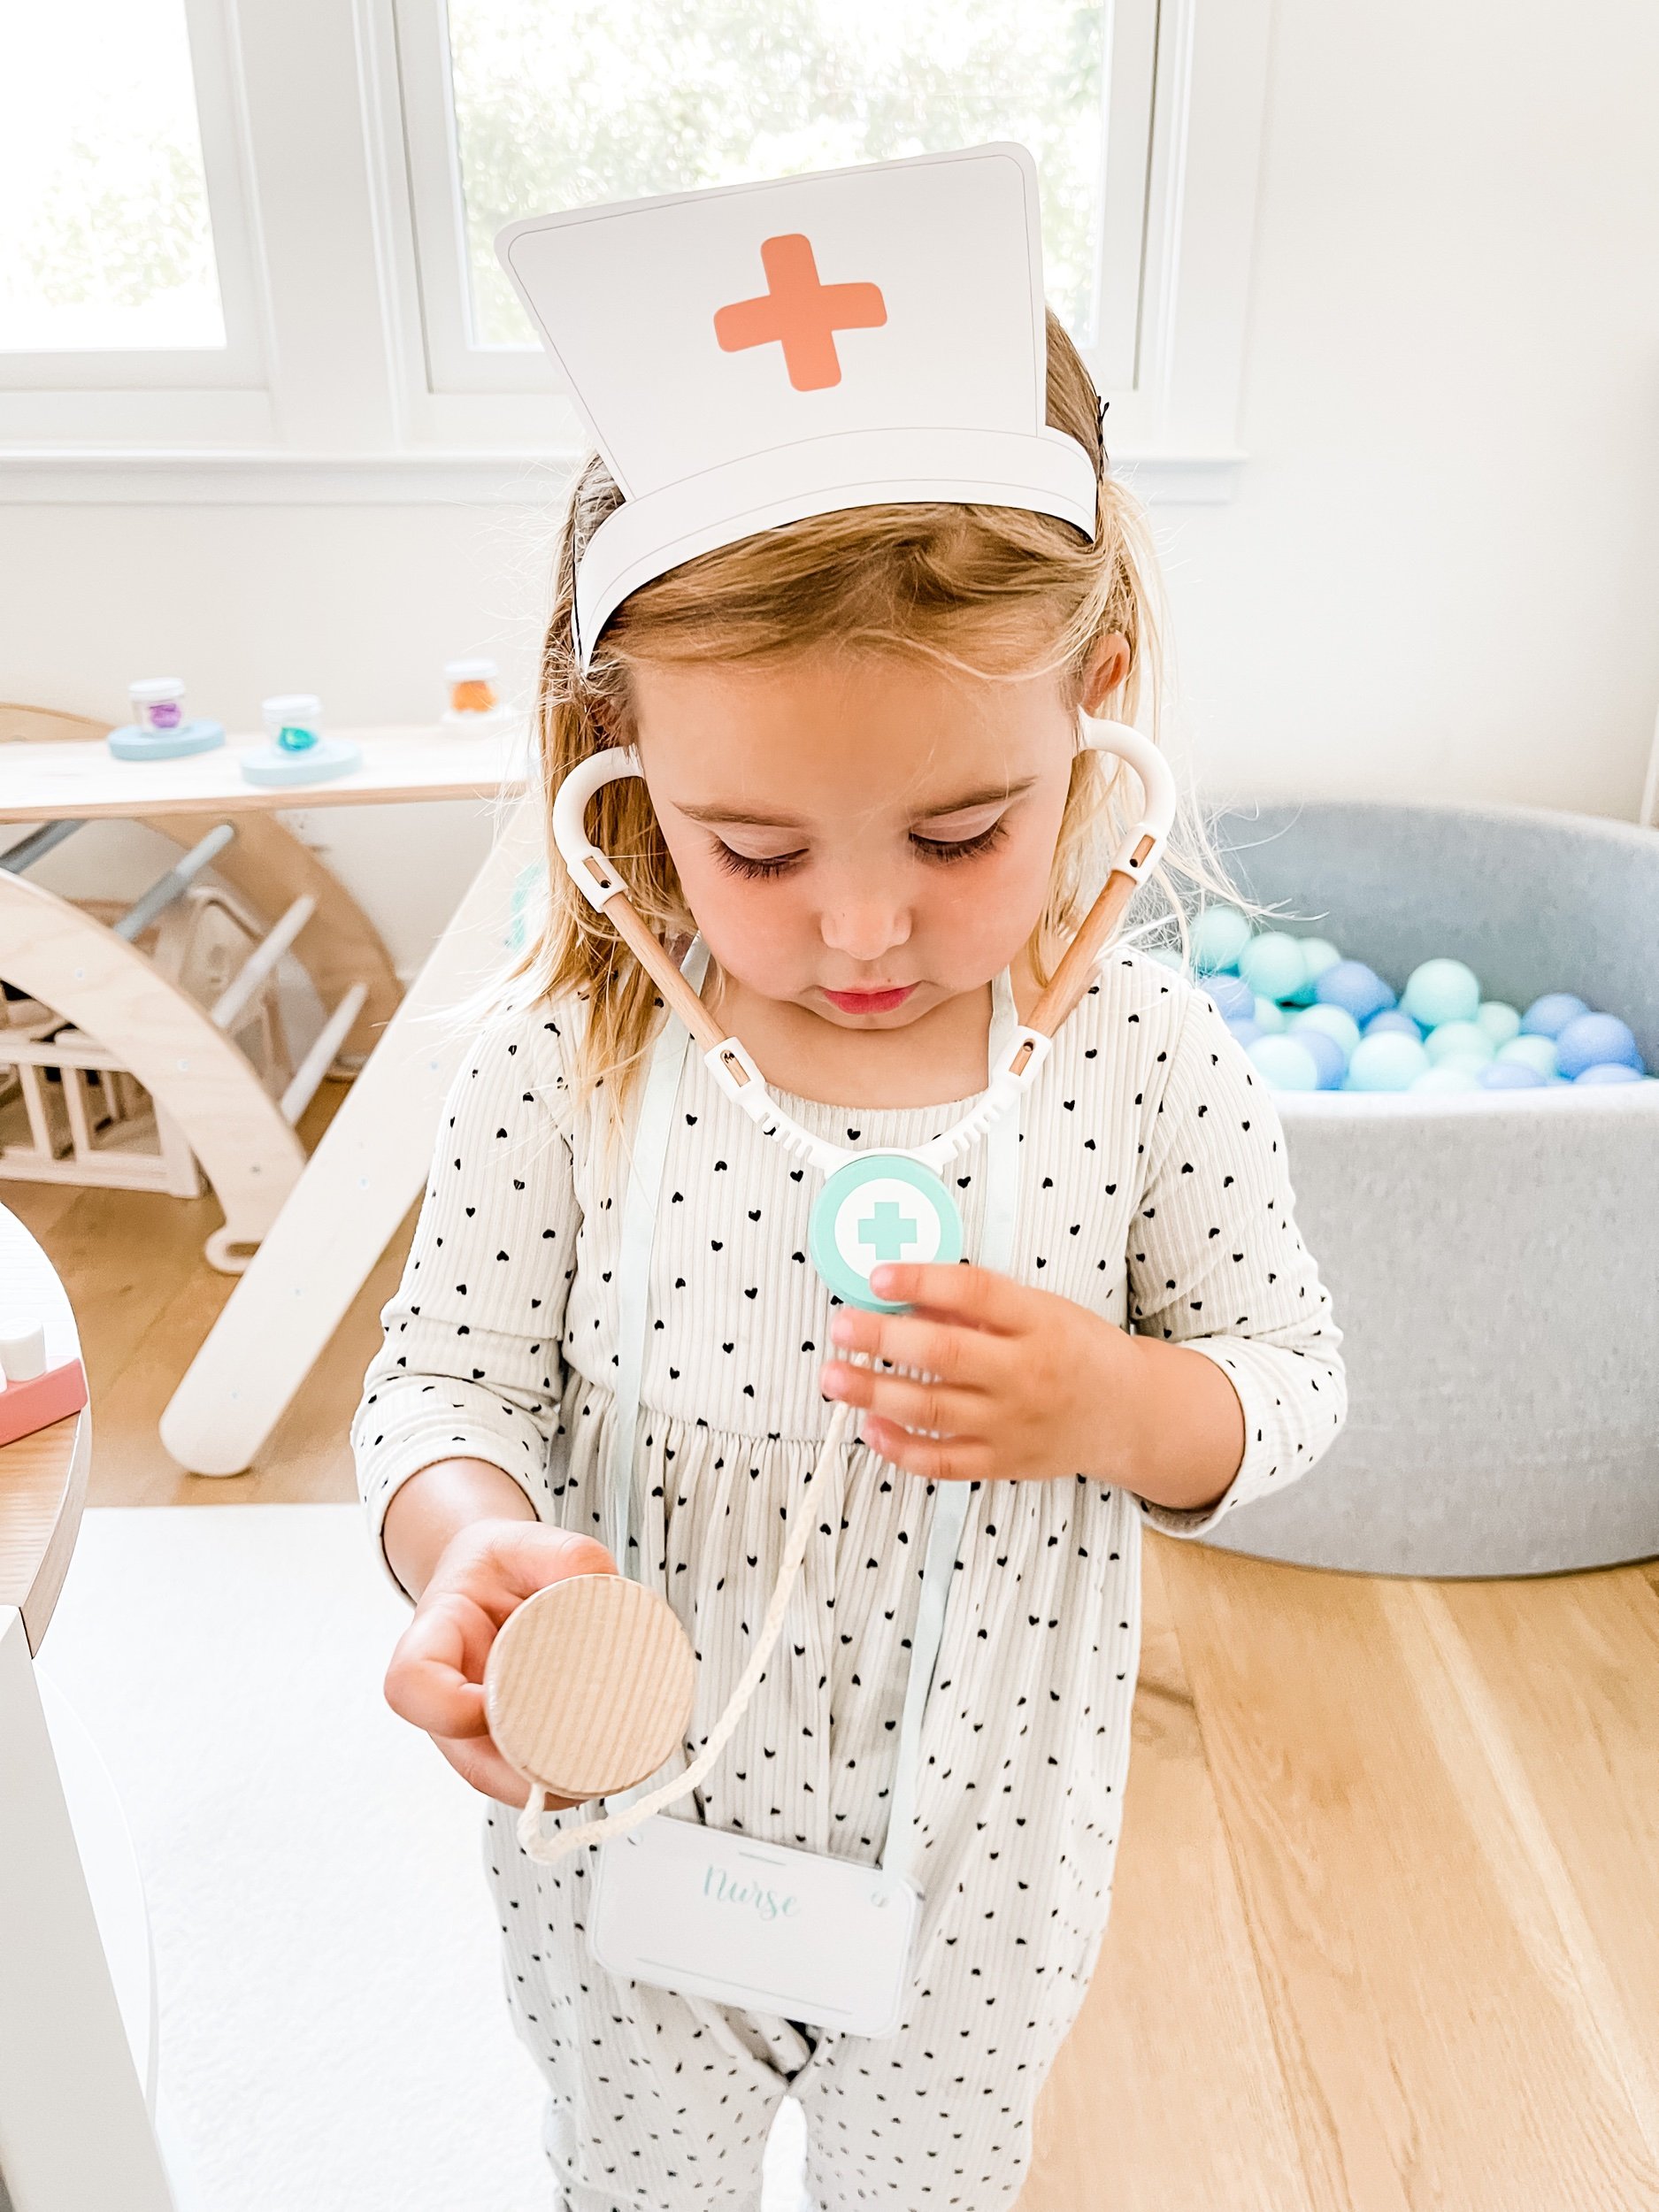
The dramatic play all starts with the waiting room. Sofie put on the nurse badge and nurse hat and asked us to wait in the waiting room while she prepped the doctors office. She loved tidying up and getting everything ready. Then when we came in, she started by asking about my pain level using her pain level chart. This was a great way for us to discuss when it’s okay to be really upset vs when a boo boo is no big deal.
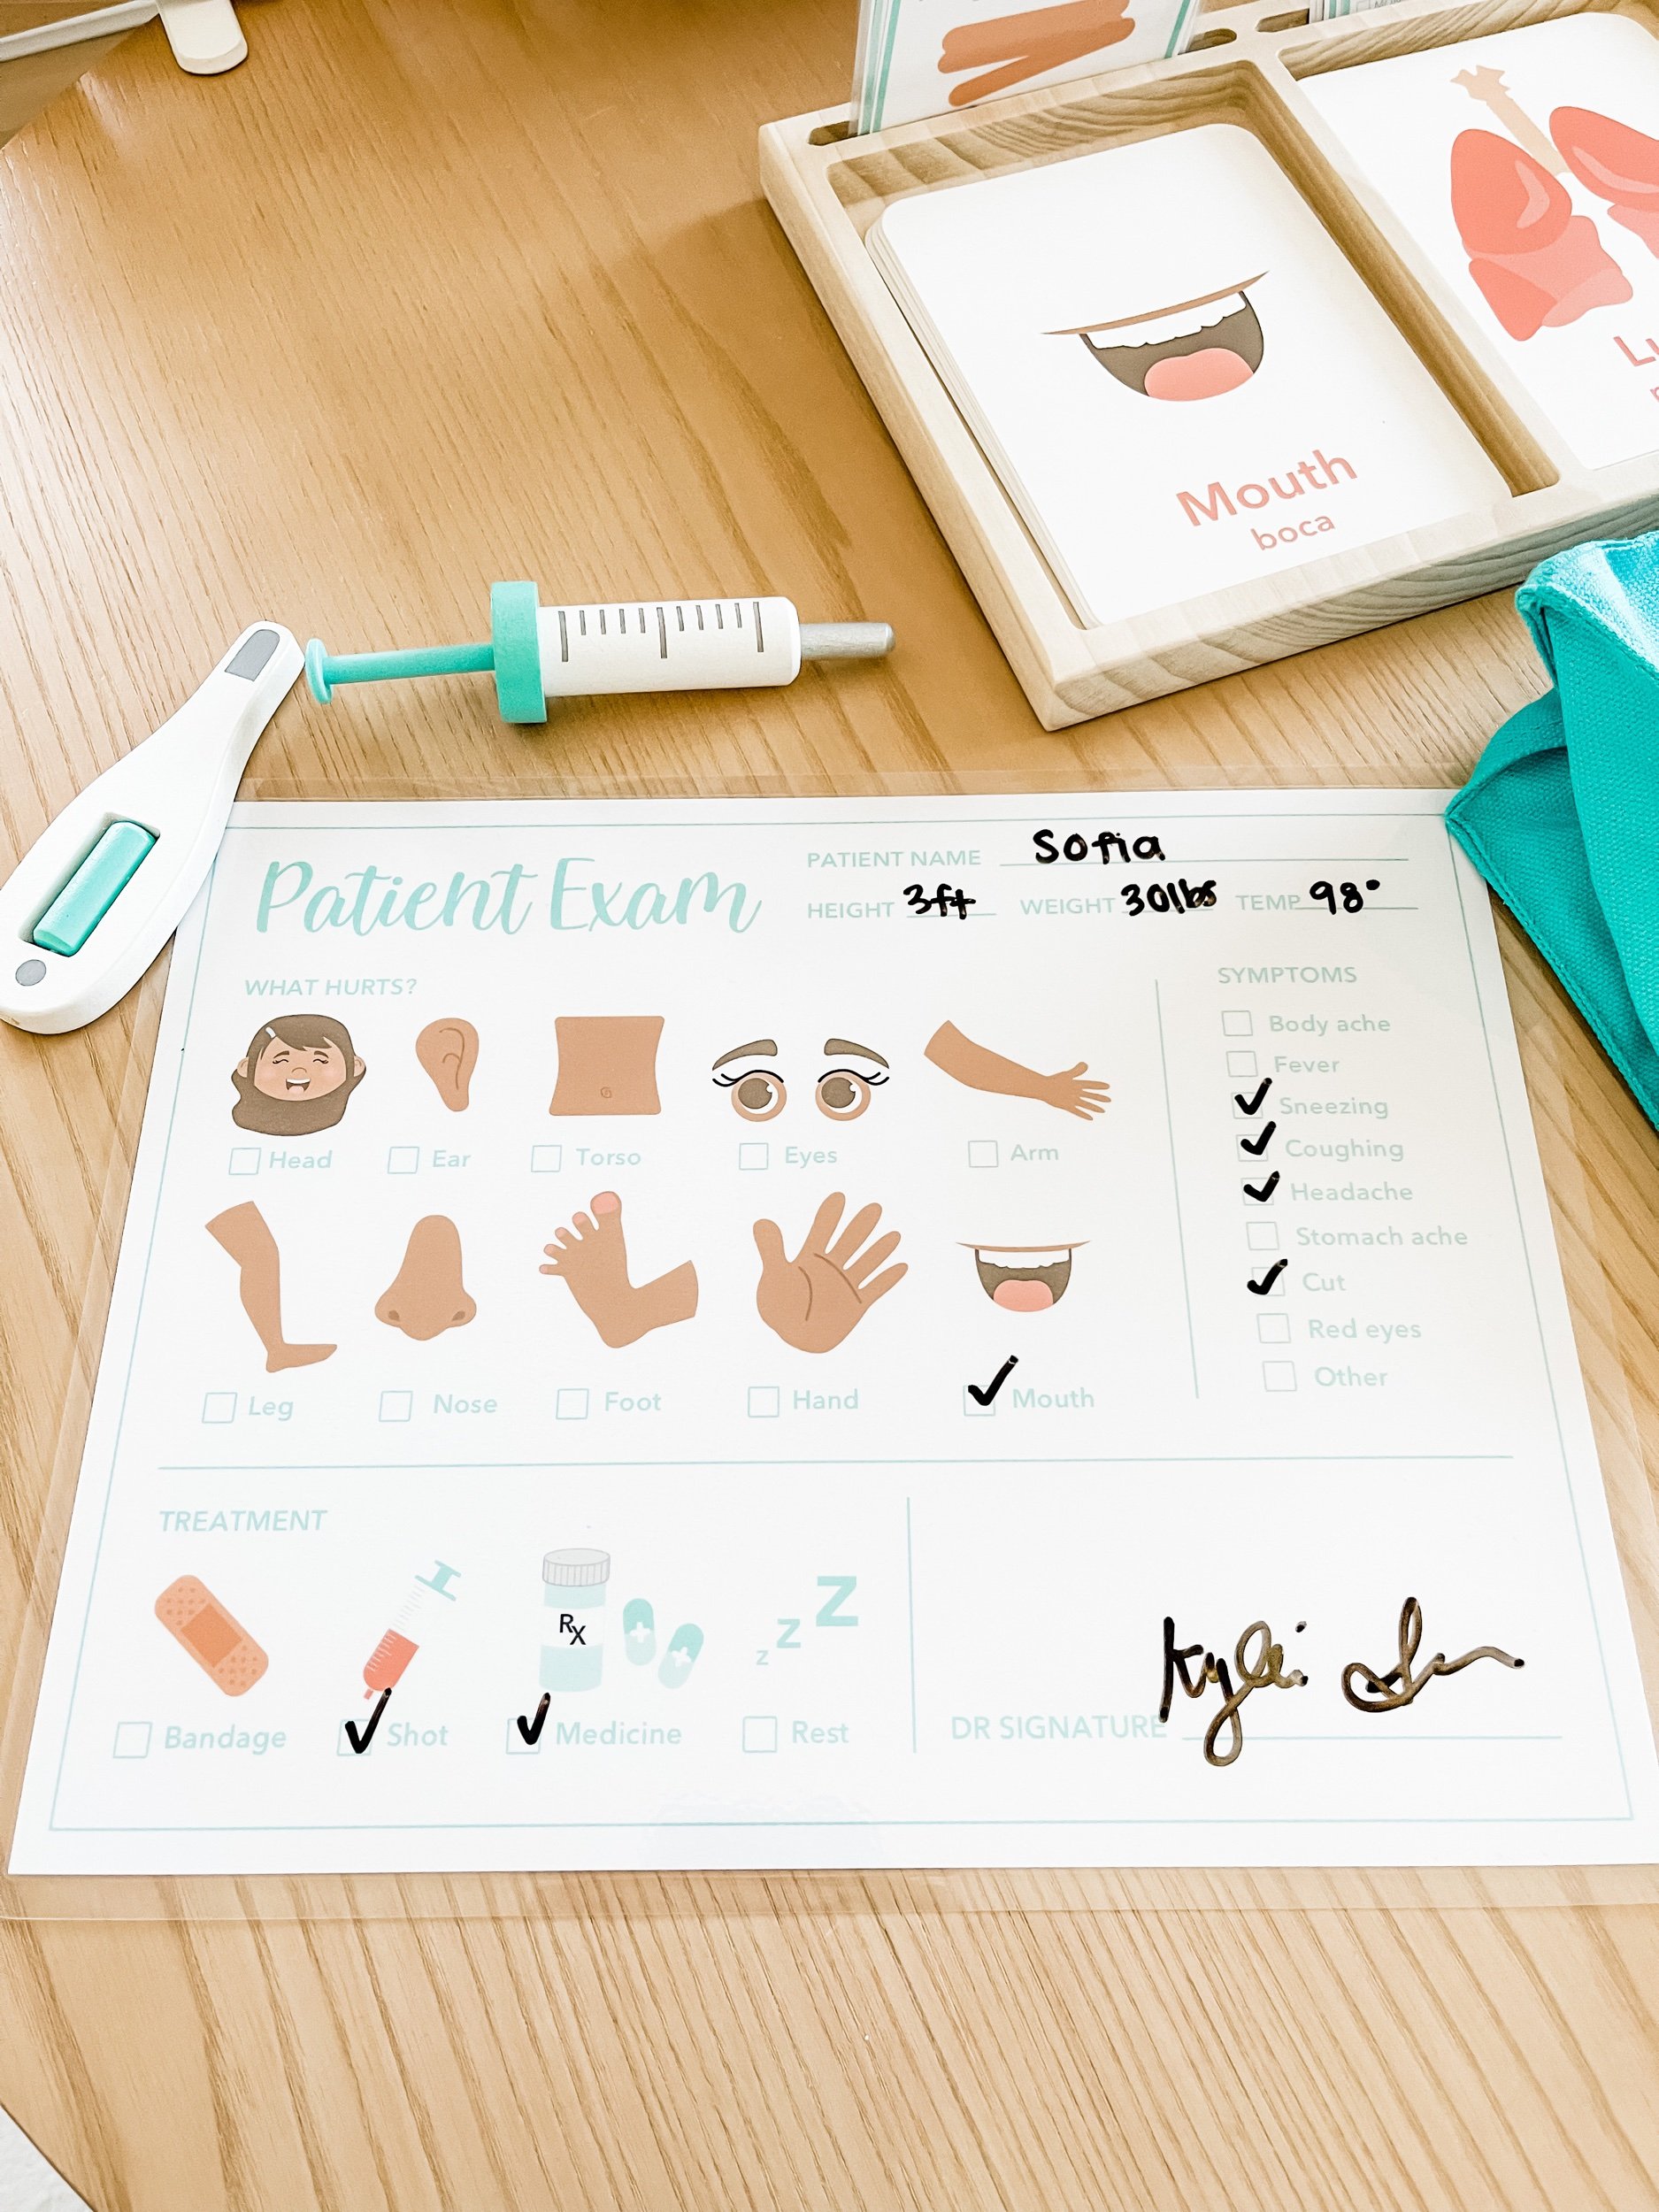
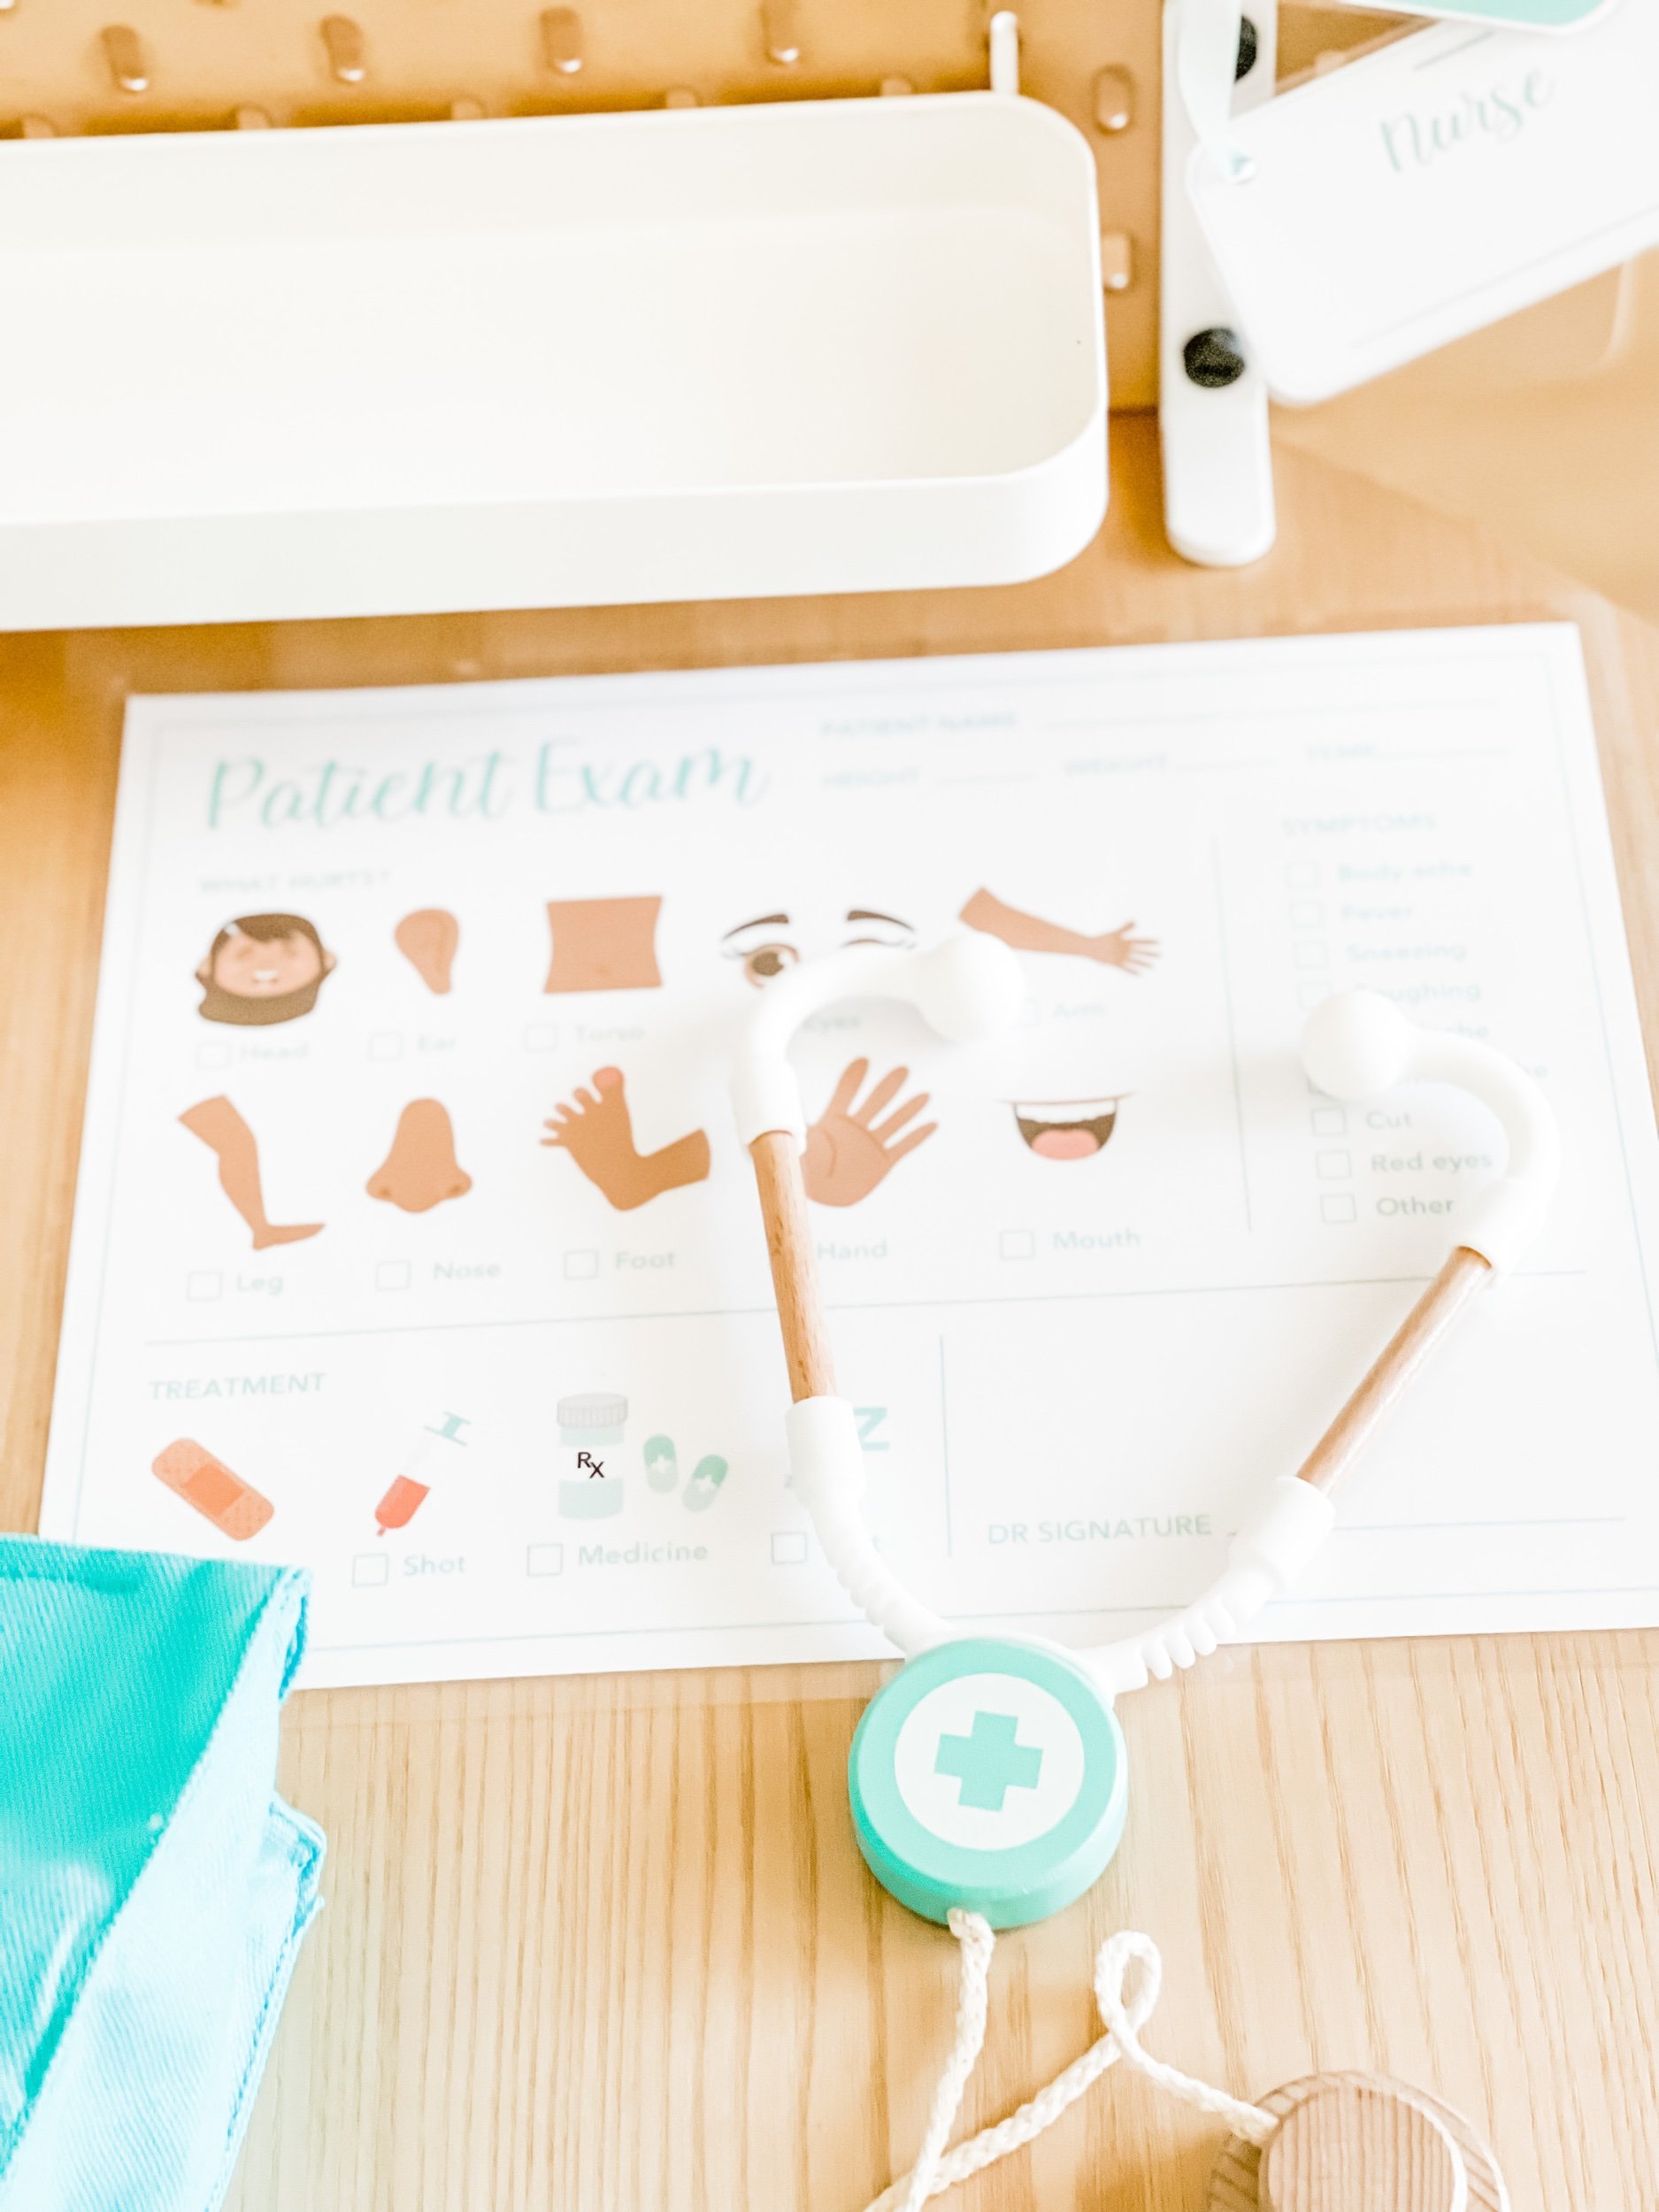
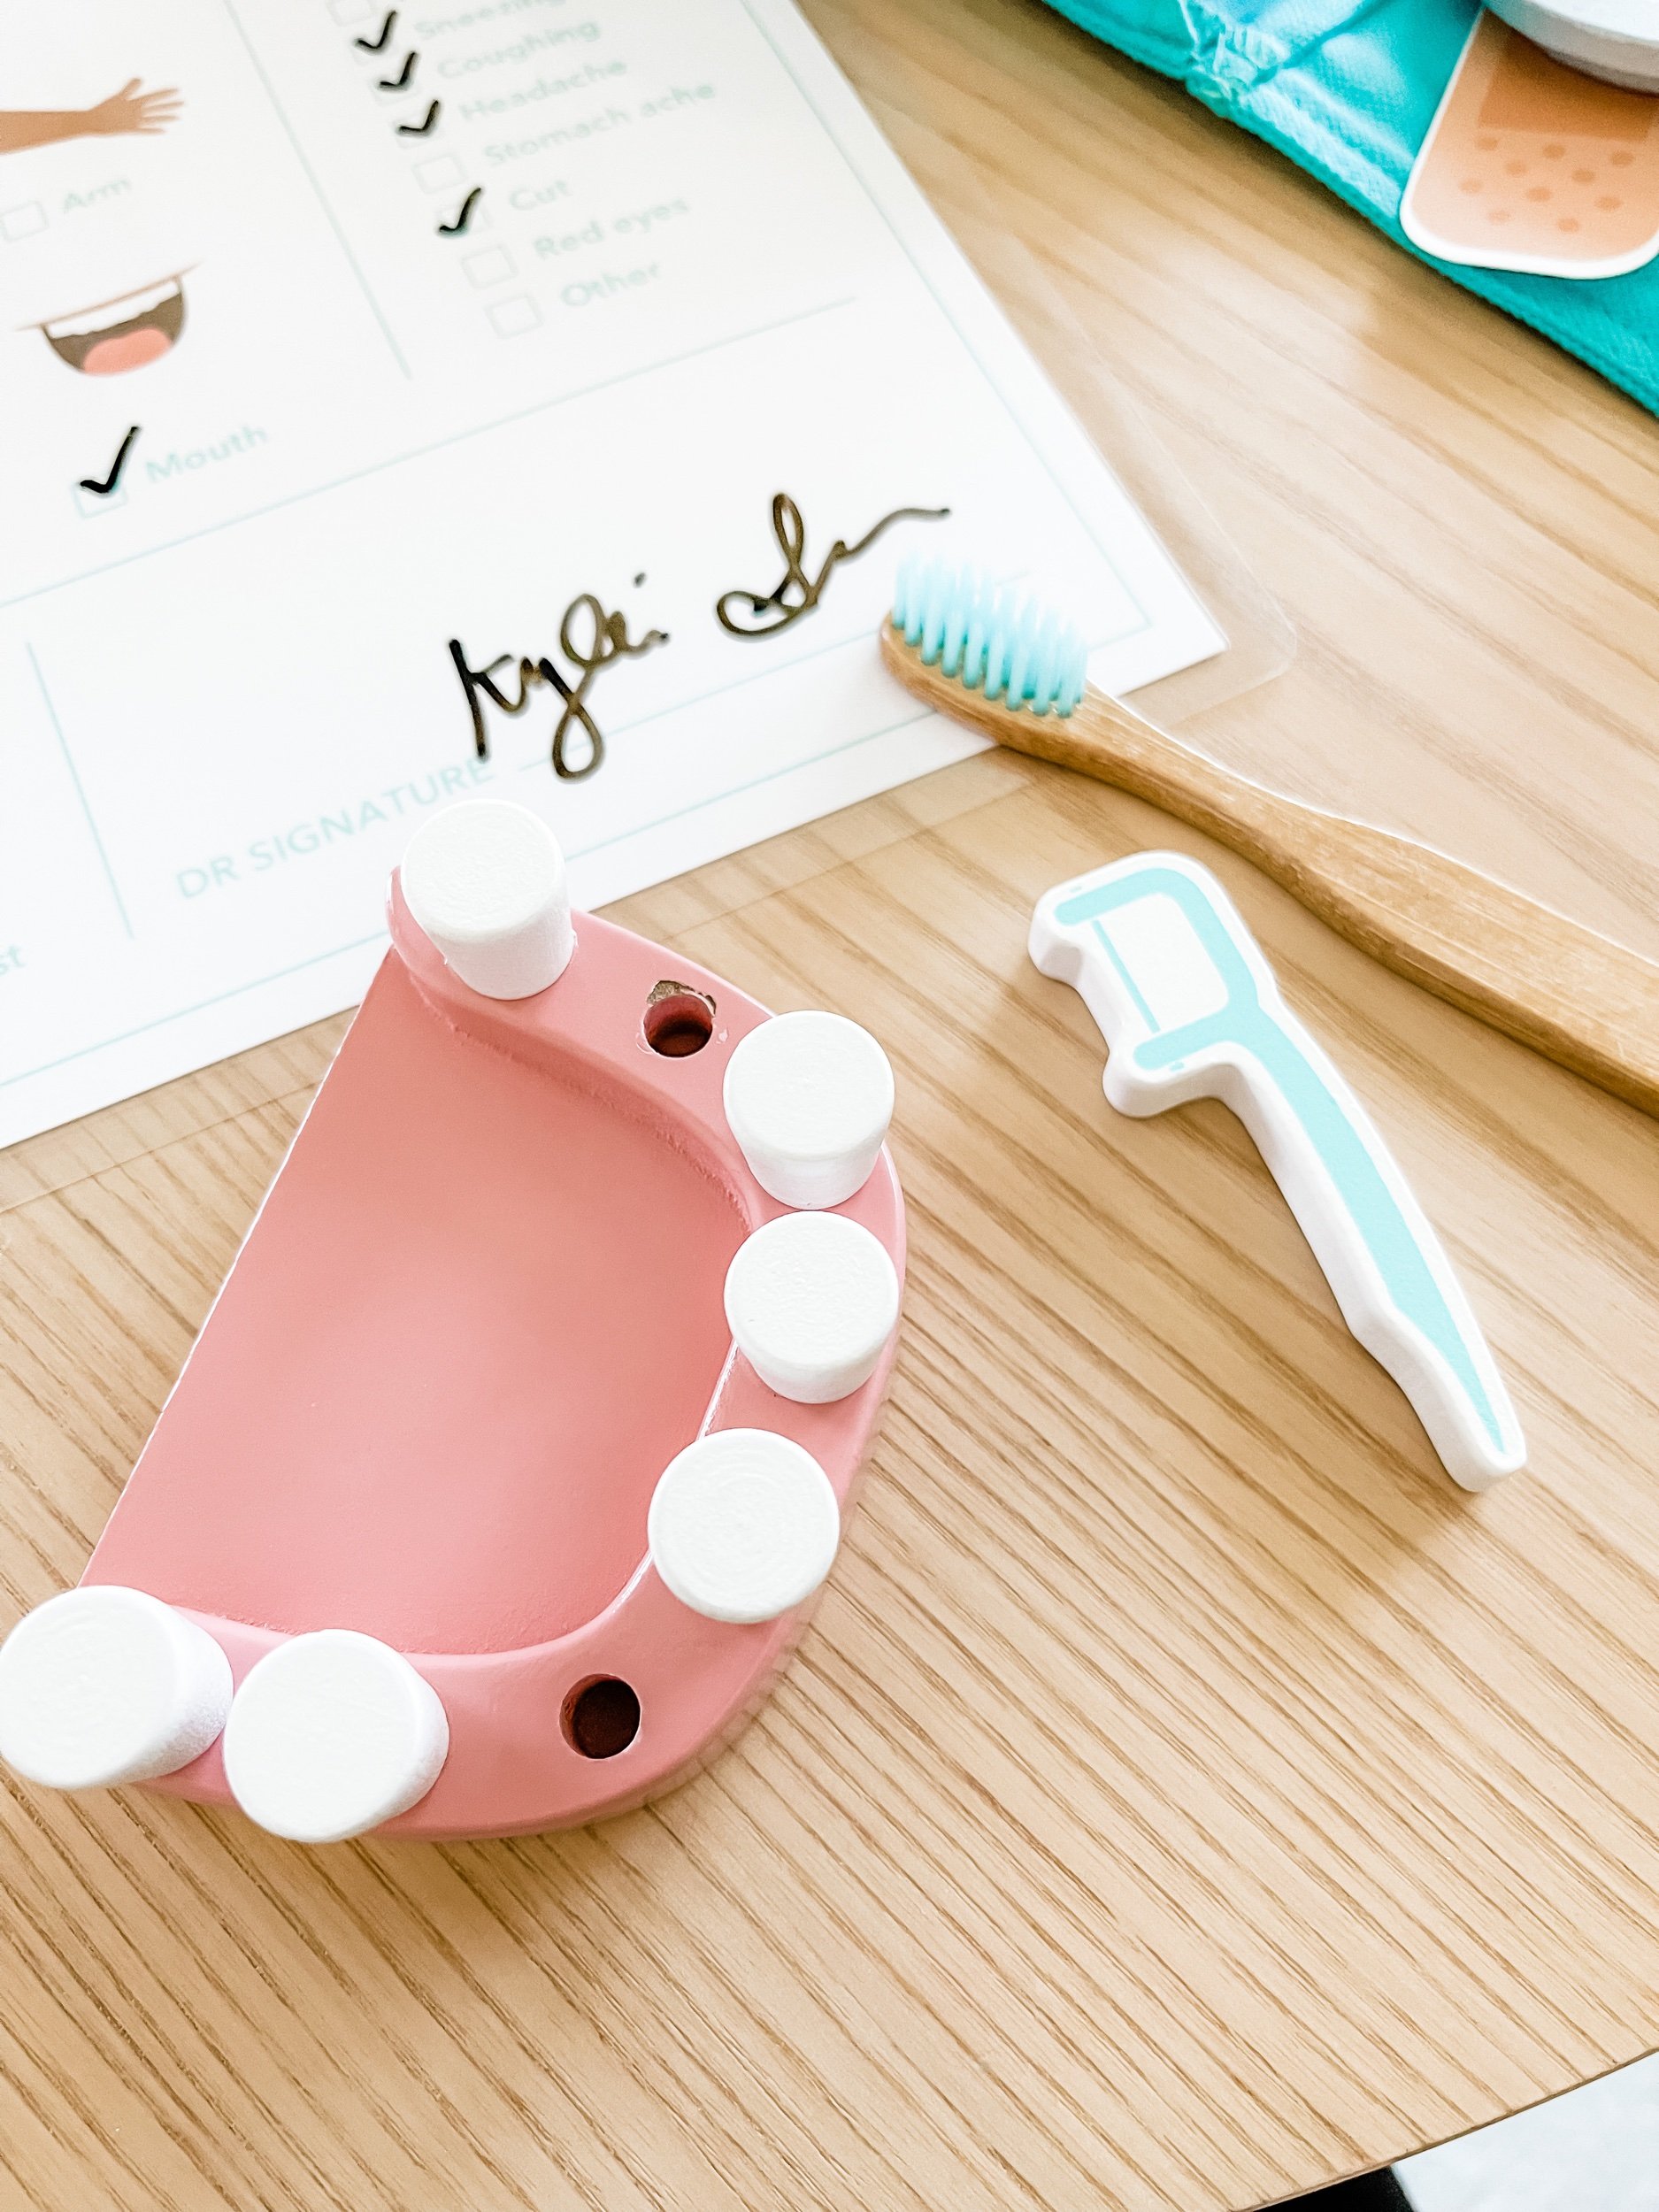
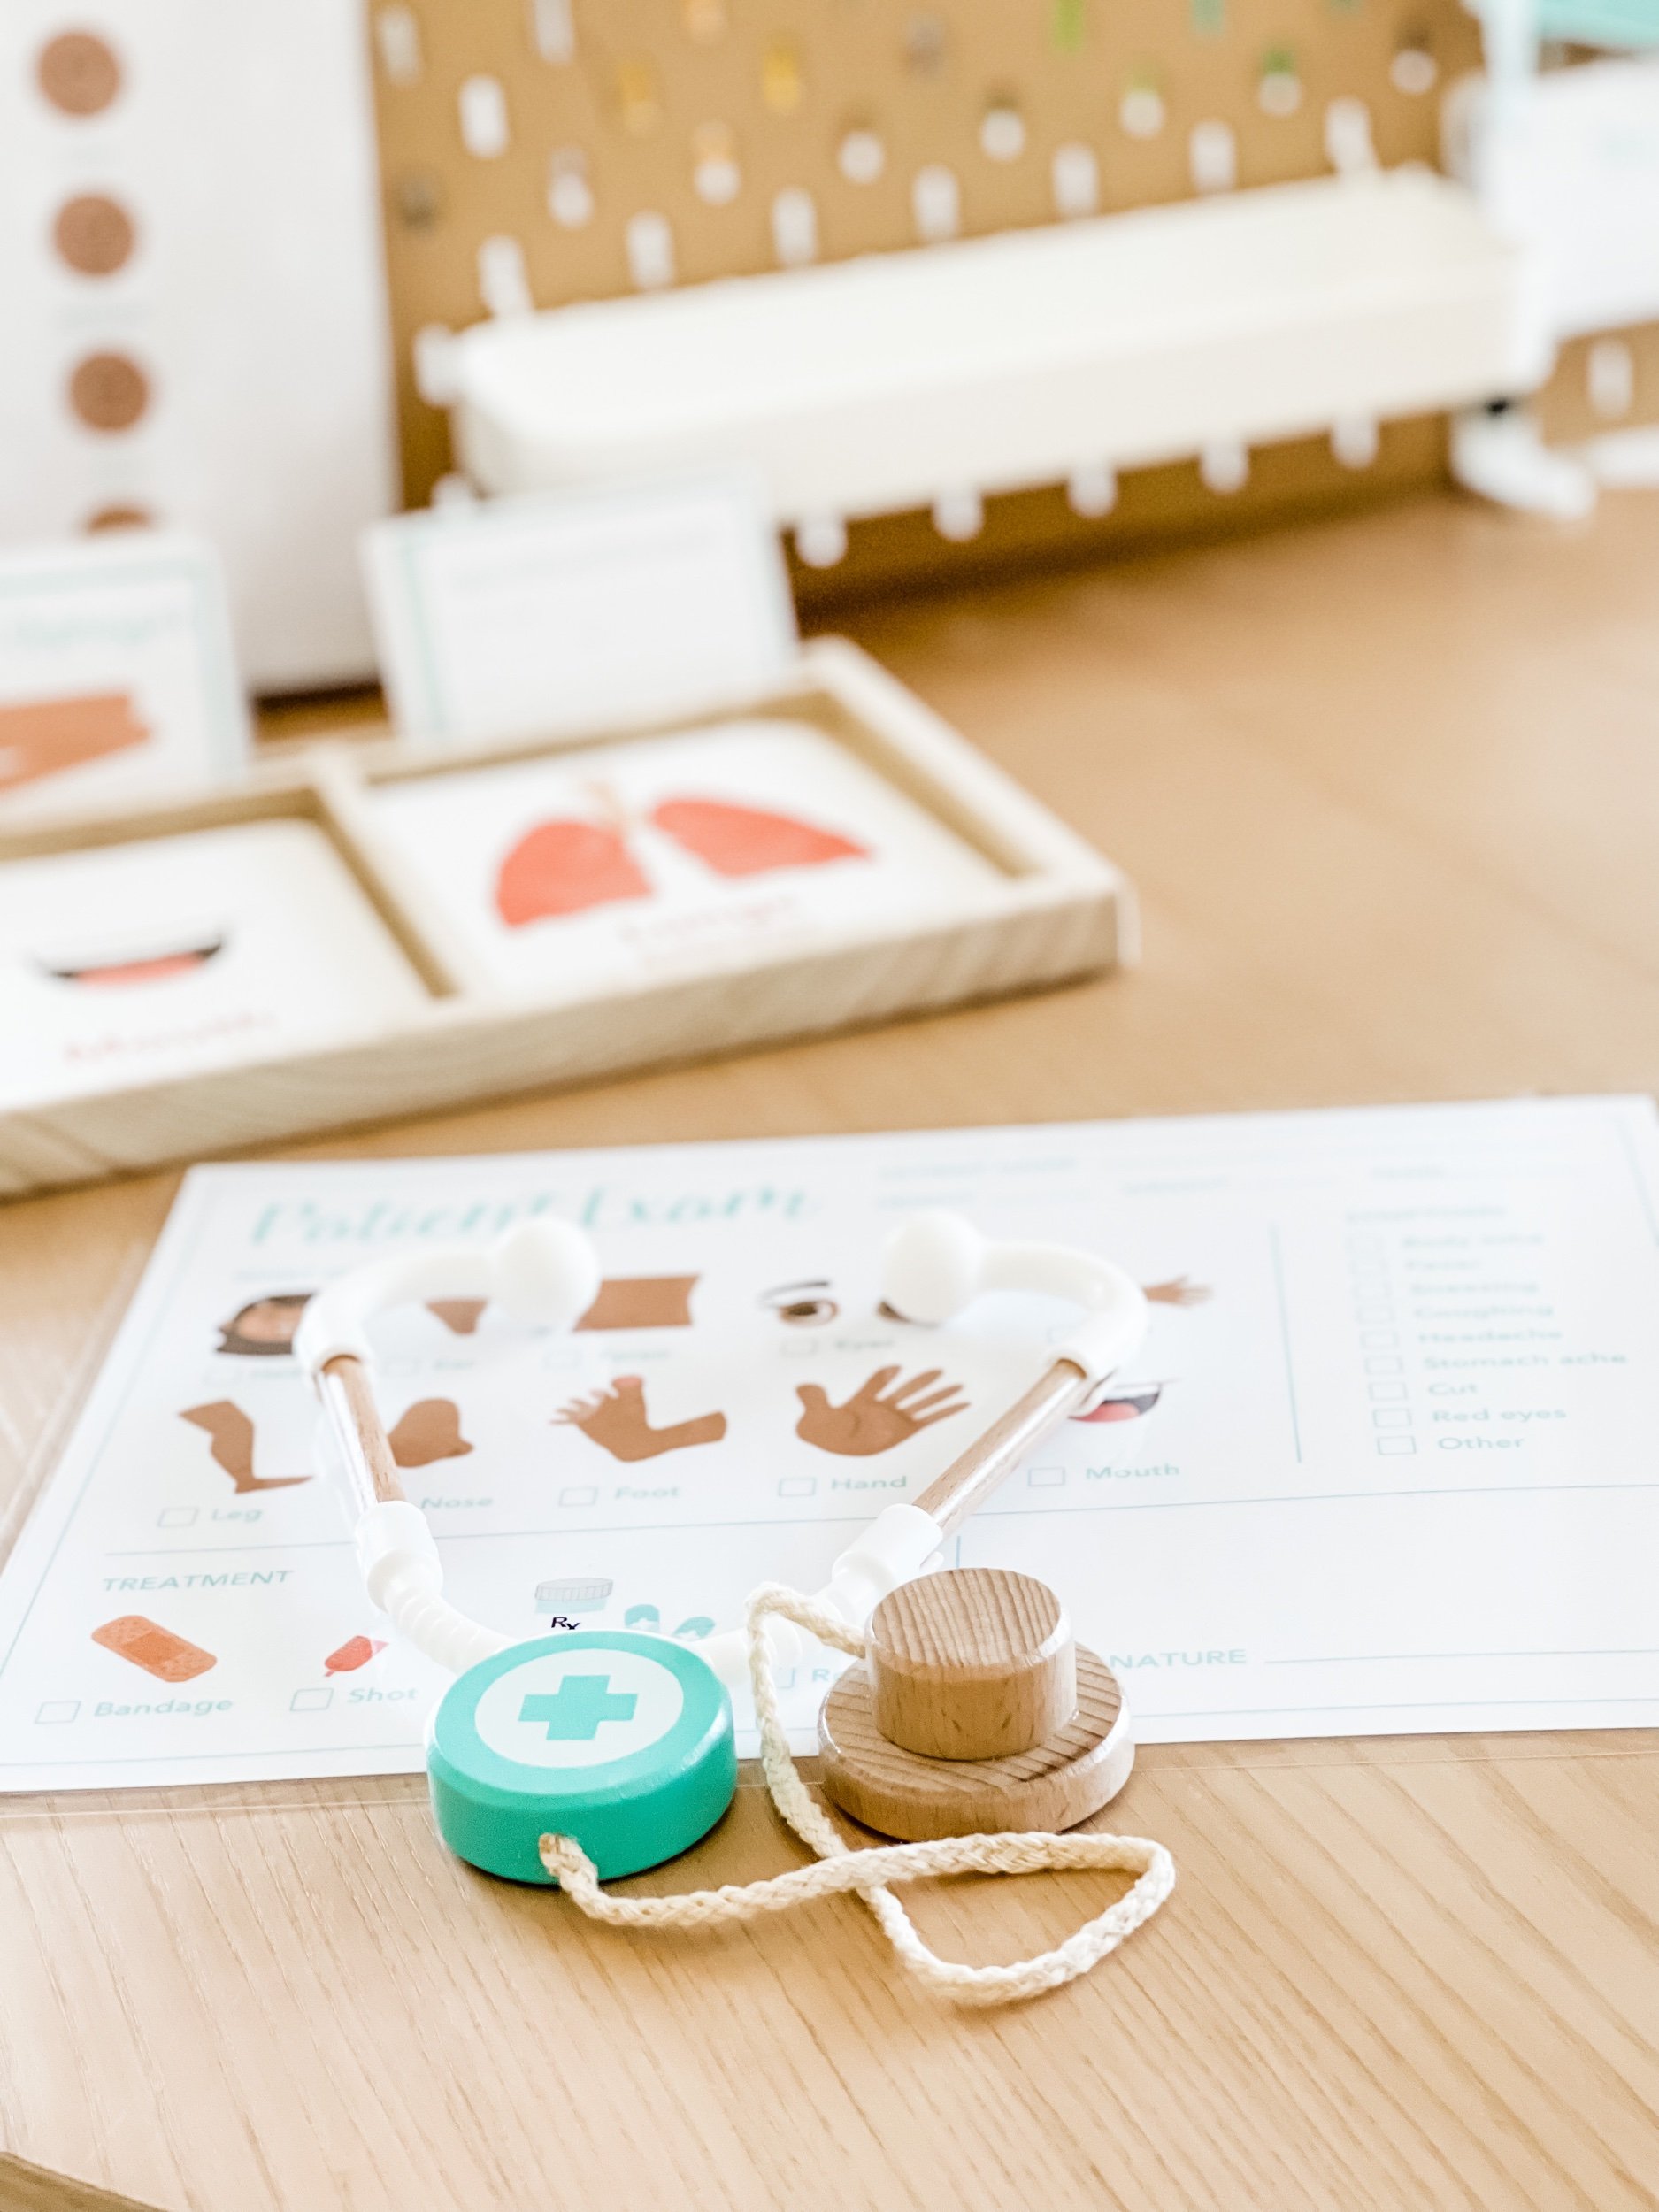
After assessing my pain level, Sofie proceeded with the patient exam. She started by getting my name and birthdate and all of the details and then filled out the form. She asked me where it hurt and today I told her my eyes were itchy and throat itchy from allergies. So she marked that down on her form and got to practice identifying her body parts.
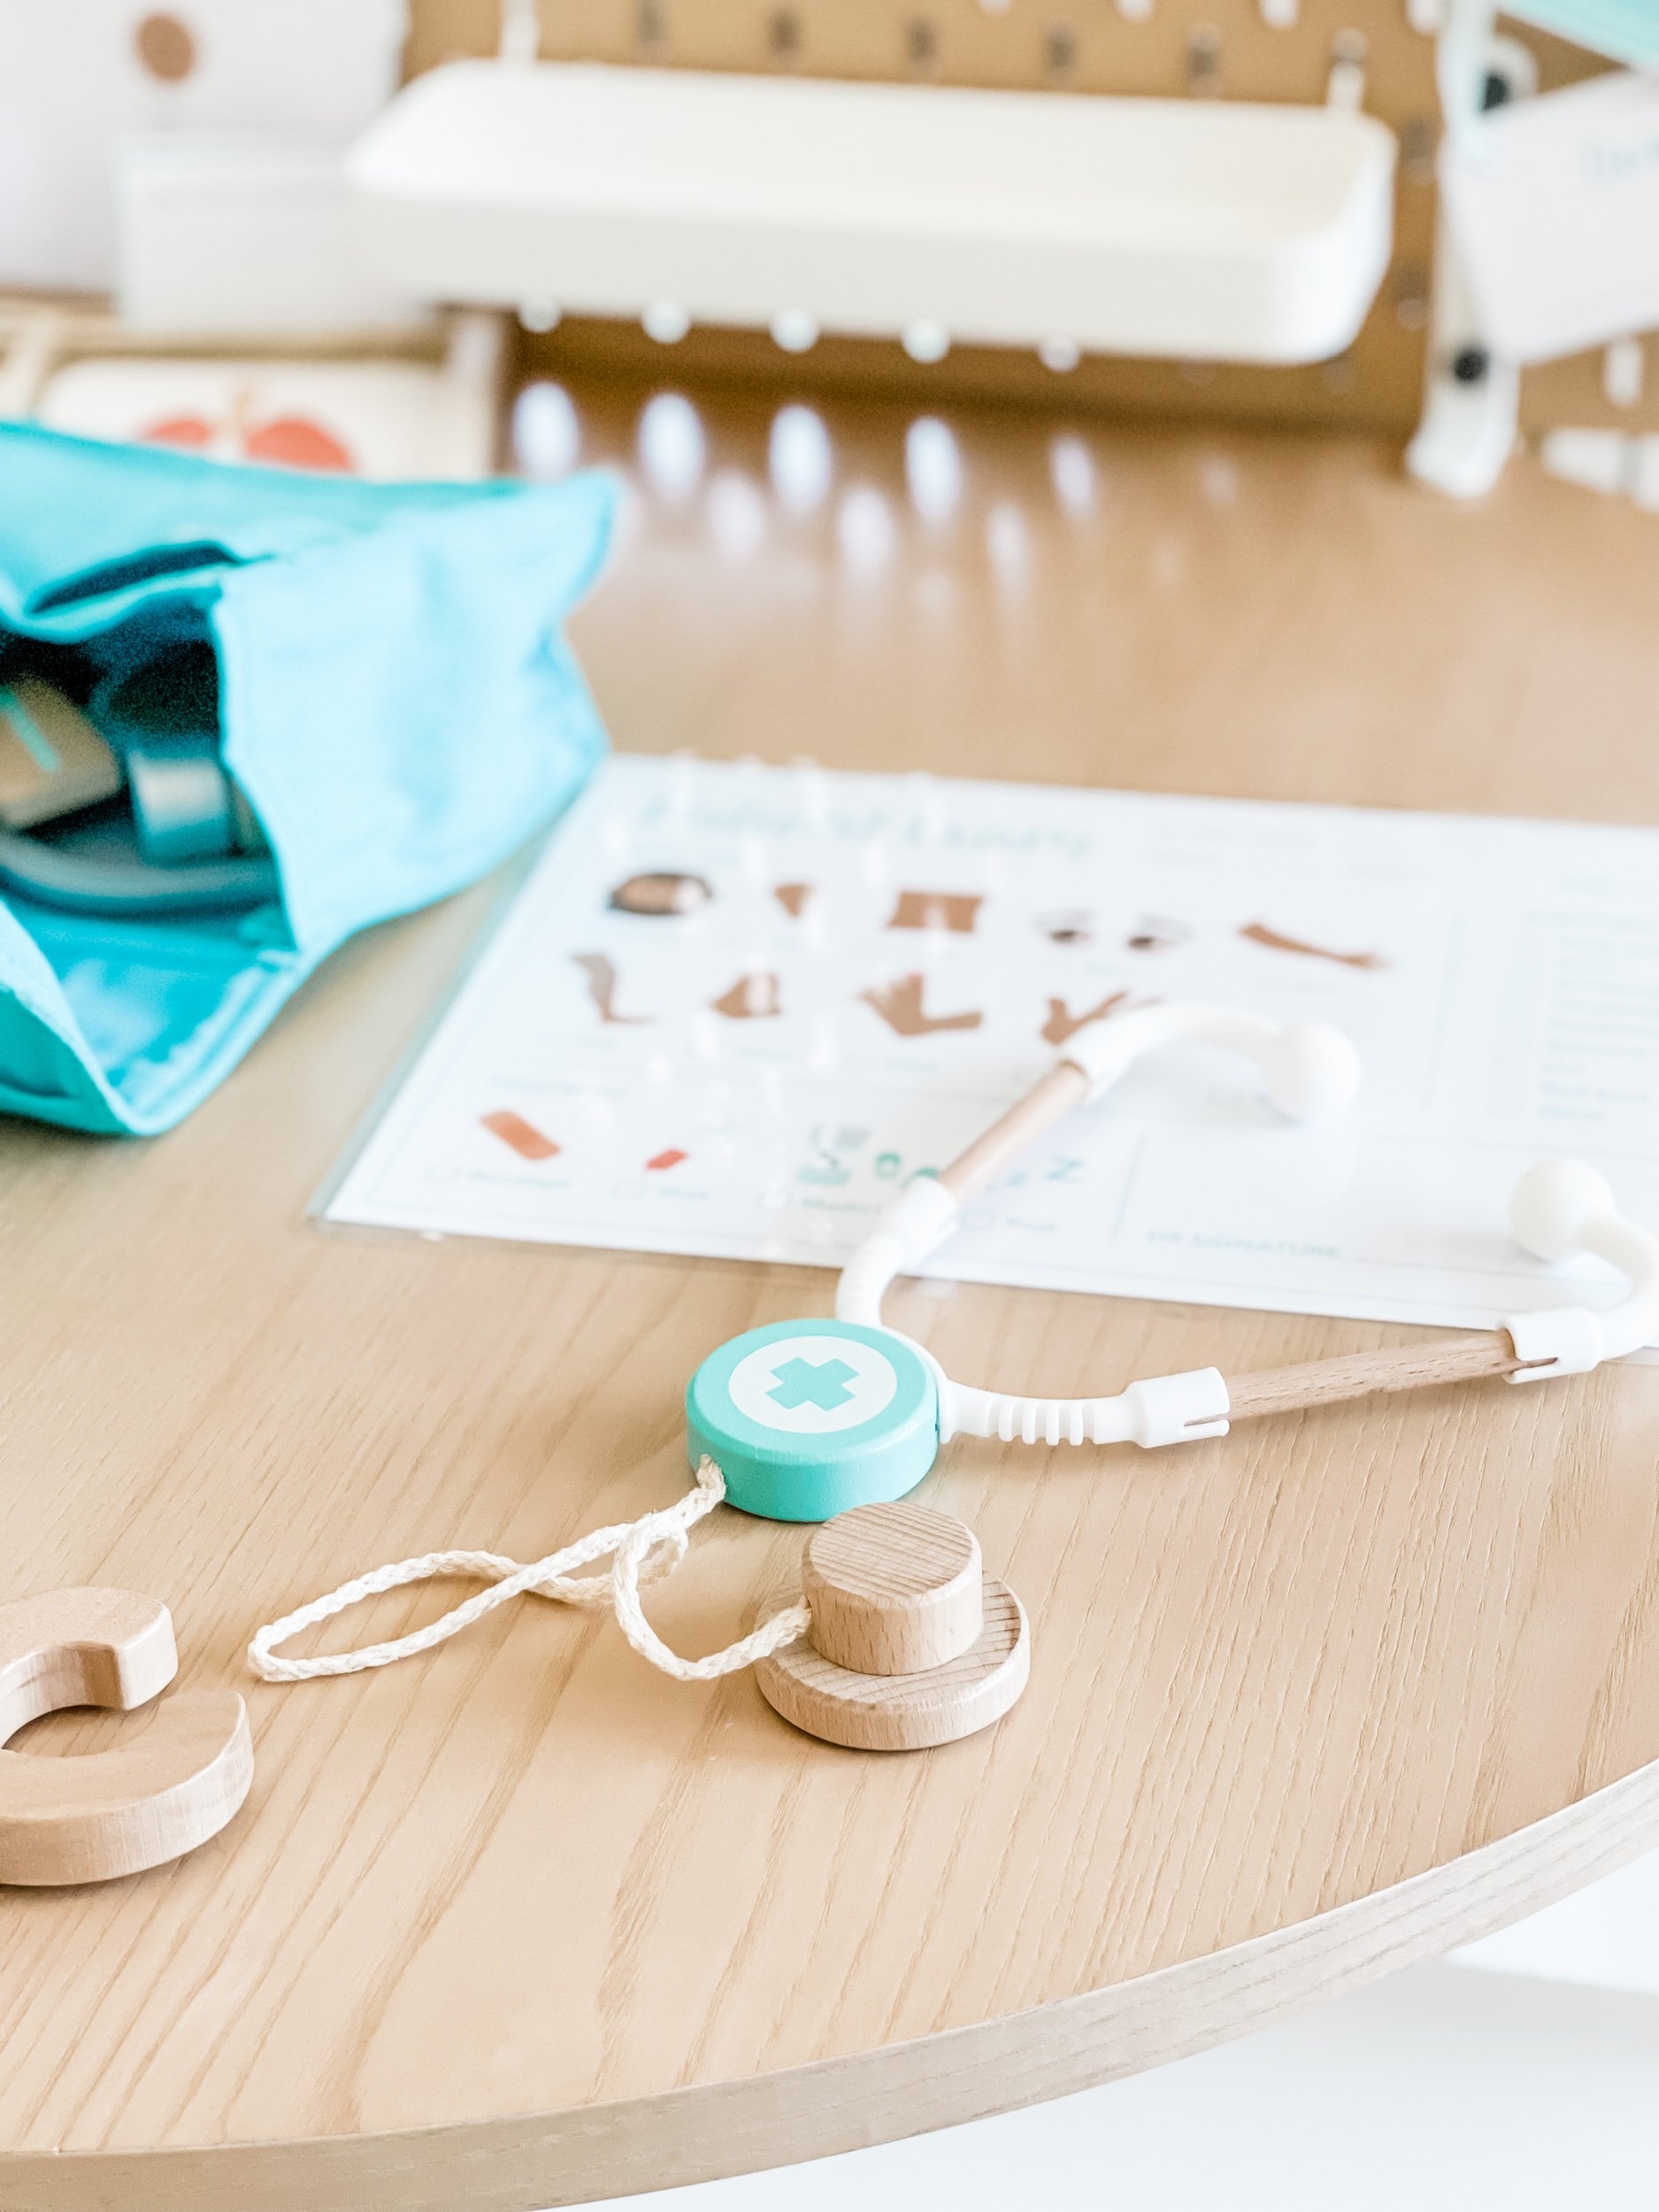
After asking her up front exam questions, Sofie proceeded to checking all of my vital signs. She started with the blood pressure monitor which she loved wrapping around my arm. Then she moved on to her stethoscope (which she’s always afraid of at the doctor) and she used it to listen to my lungs.
Then she moved on to her diagnosis and of course wanted to use everything in her doctors toolkit to remedy my allergies. She started by giving me a shot in my arm (which she also hates at the doctor) so it was nice for her to get to be the one to administer the shot. Then she gave me a bandaid to cover up my shot, just like they do at the doctors.
After that she decided I should probably take some medicine to make me feel better and she gave me the little tray of pills and the pill bottle. Then she remembered she forgot to take my temperature so she used her thermometer to do that. She loves the real thermometer we have at home so it was great to see her interacting with the fake one.
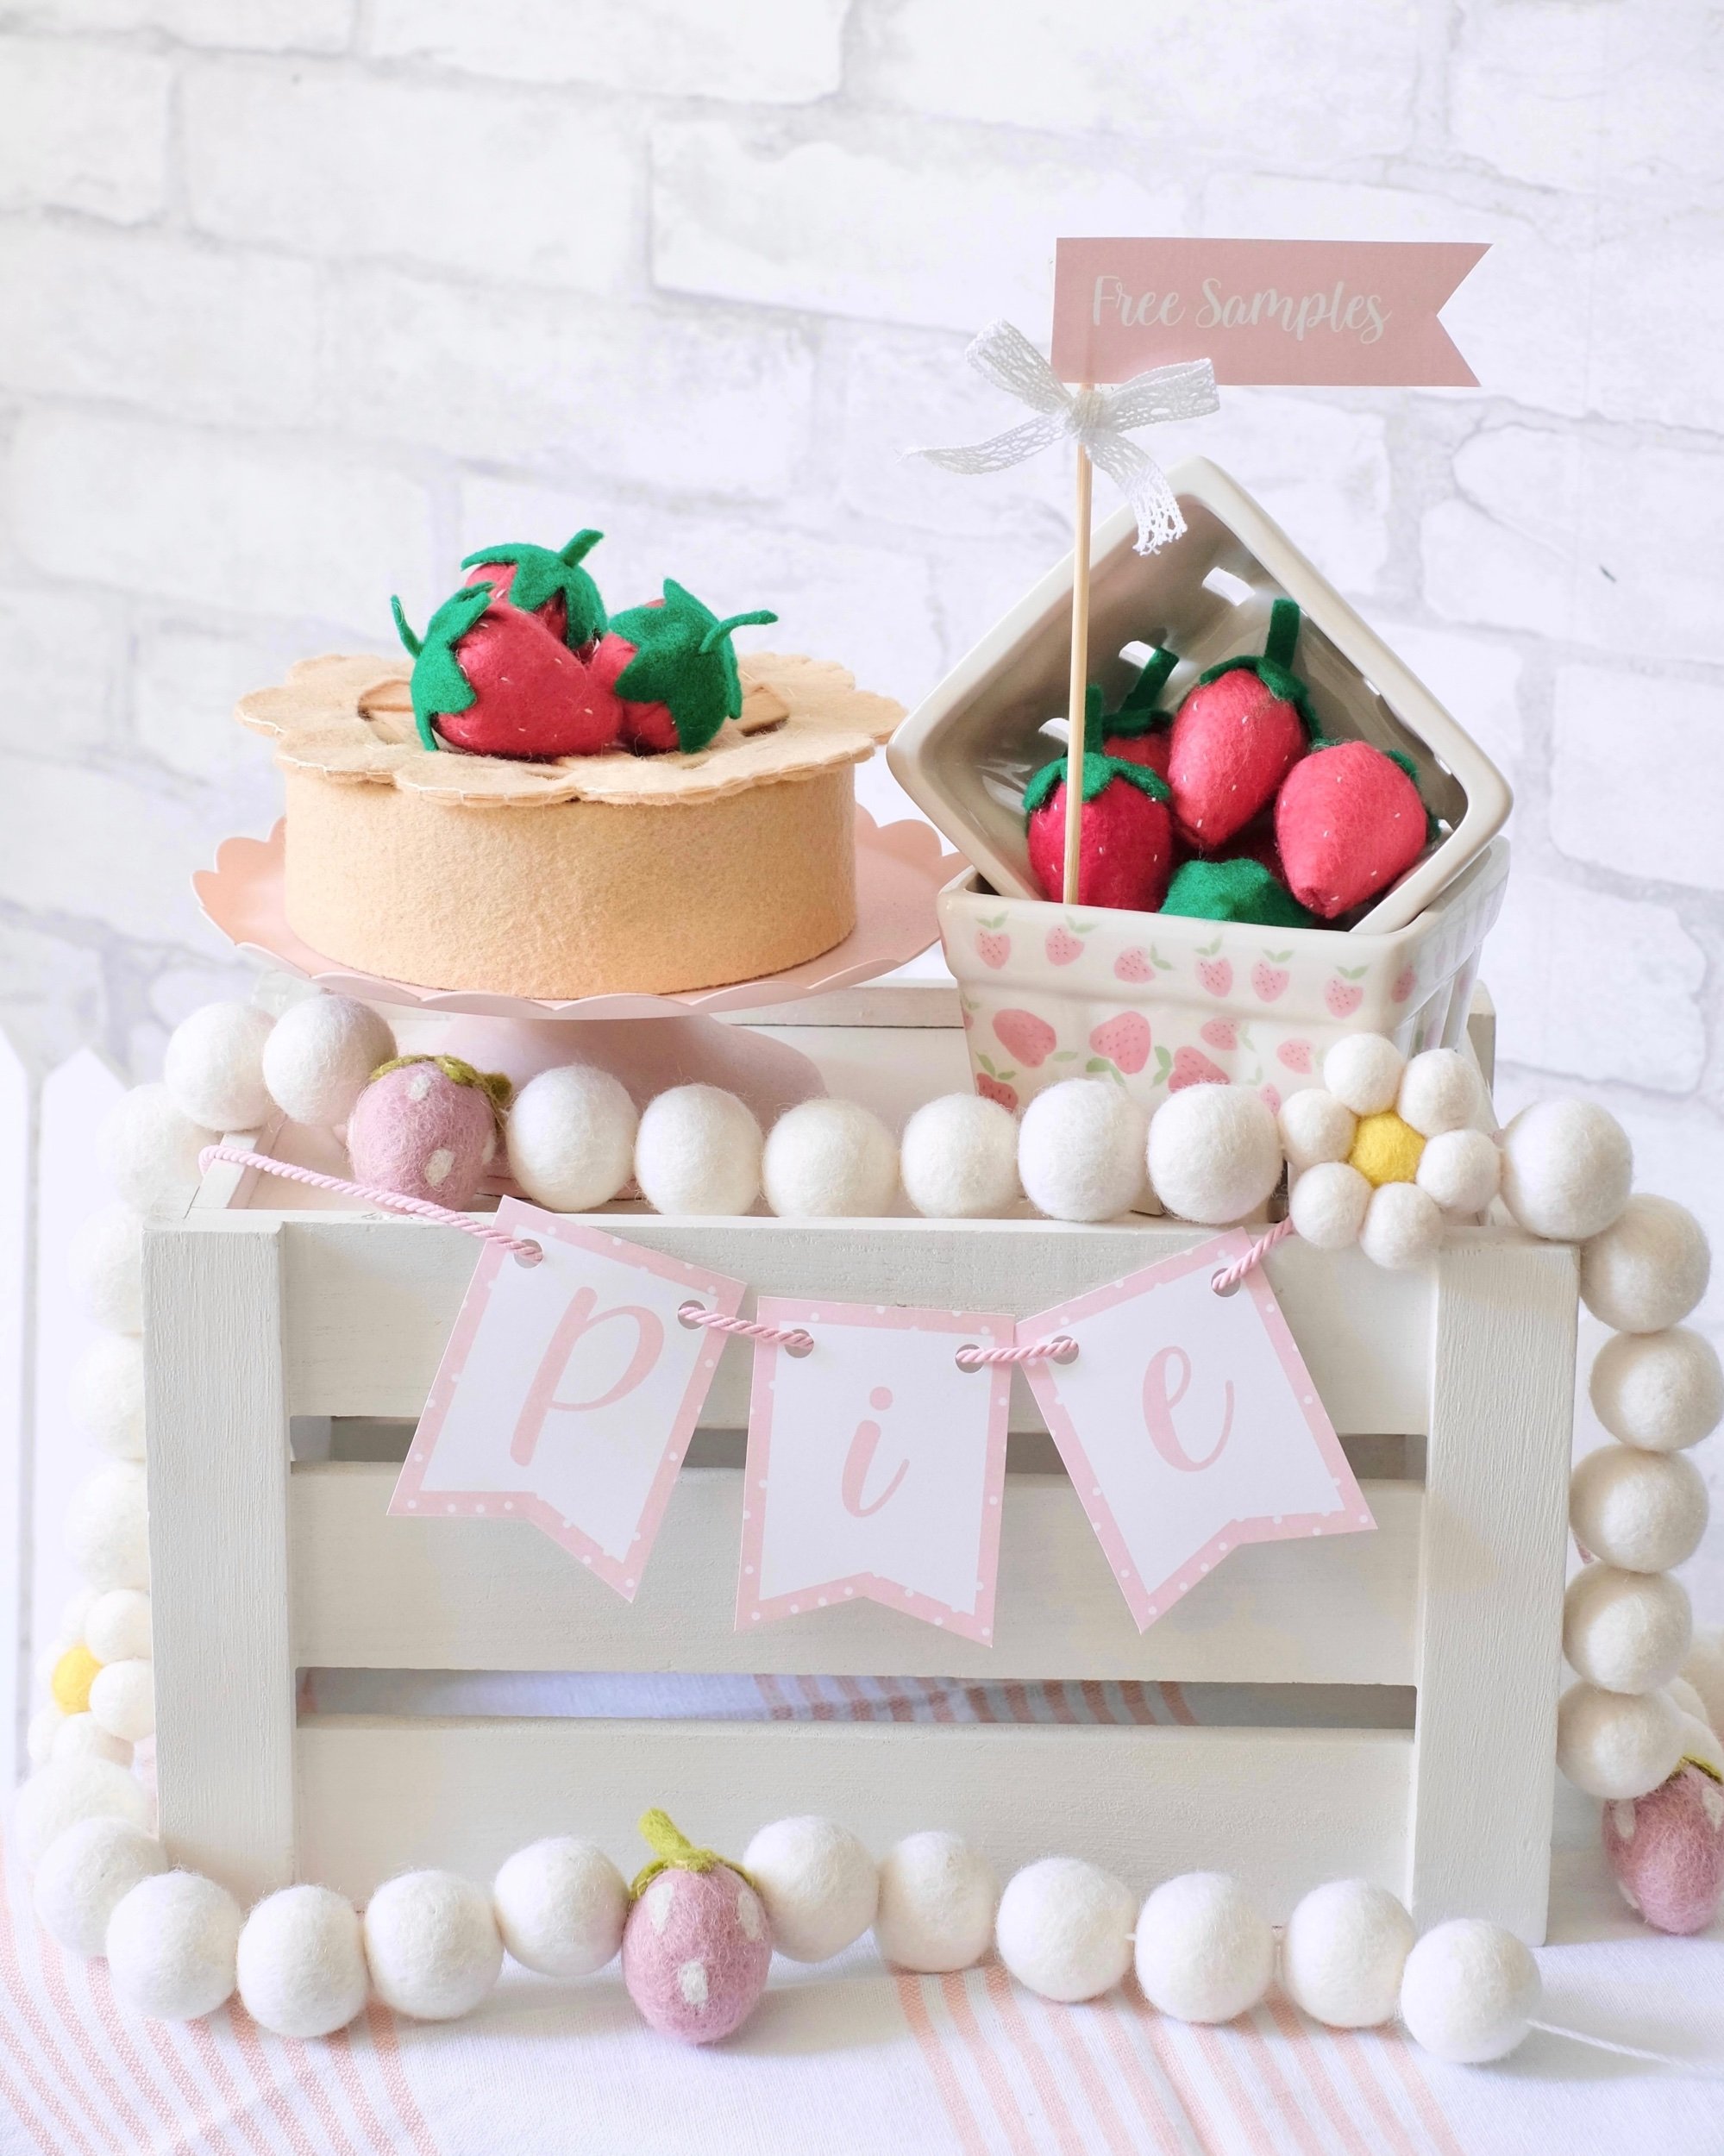
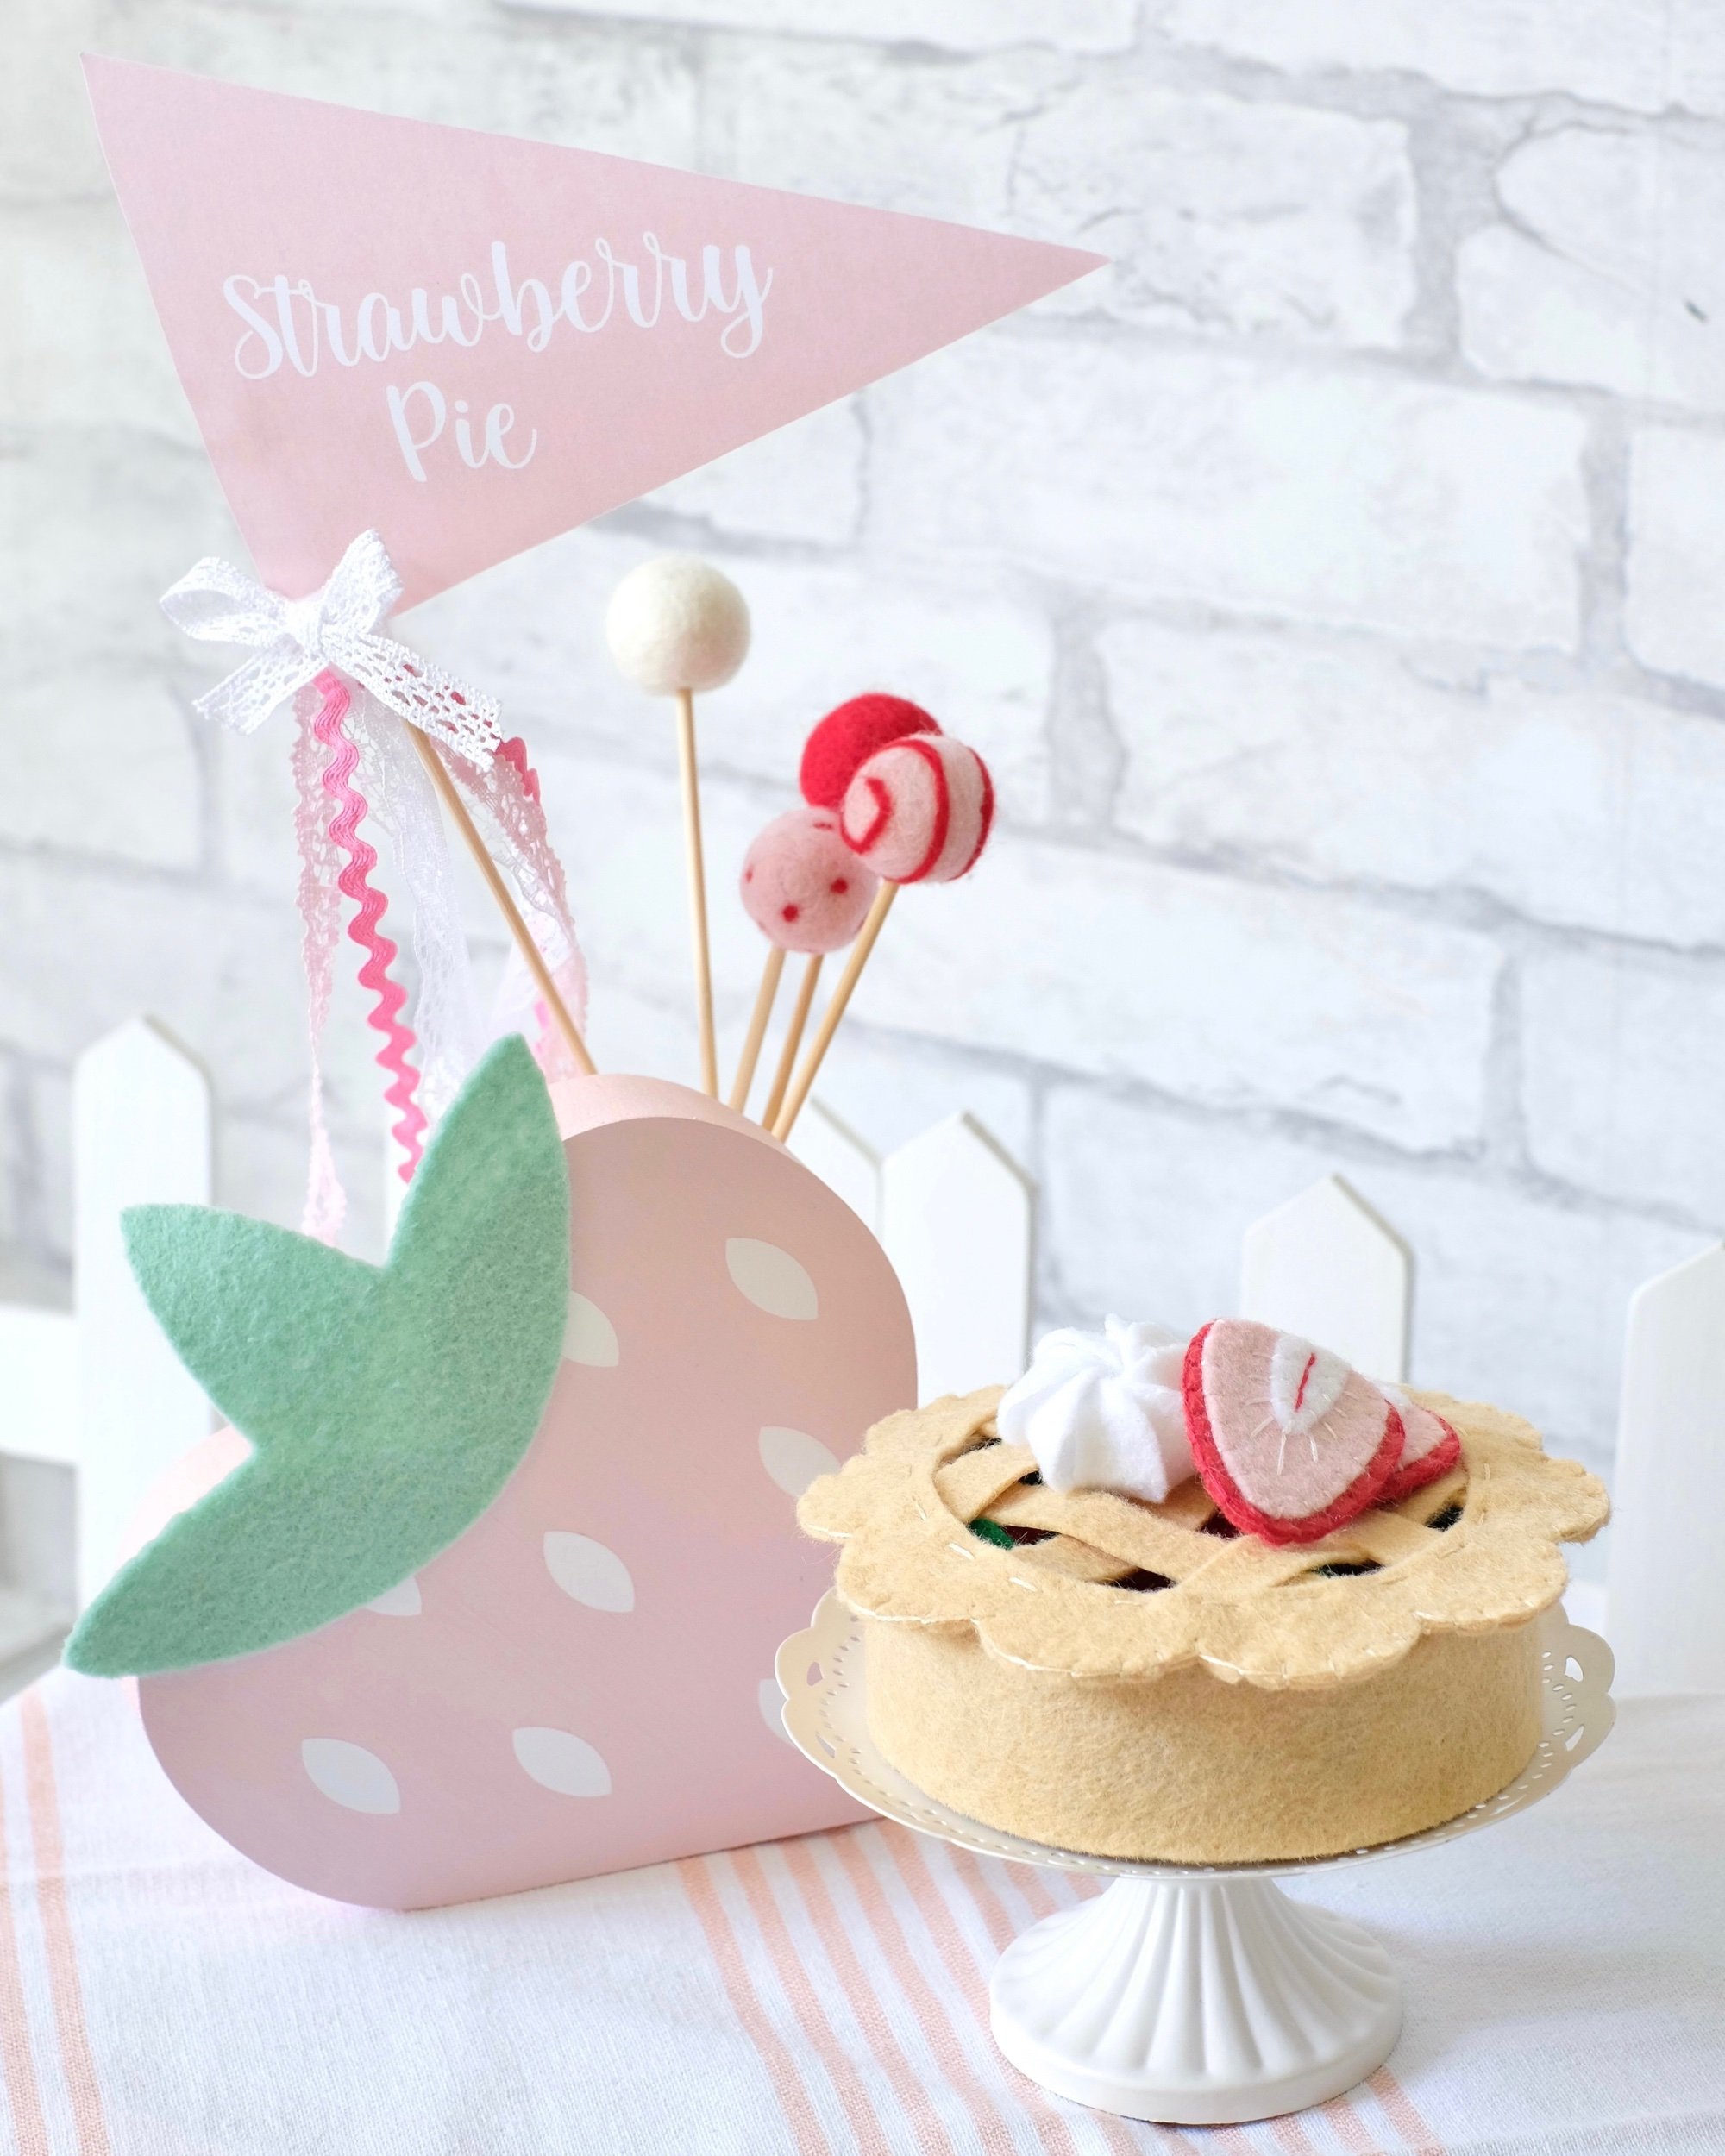
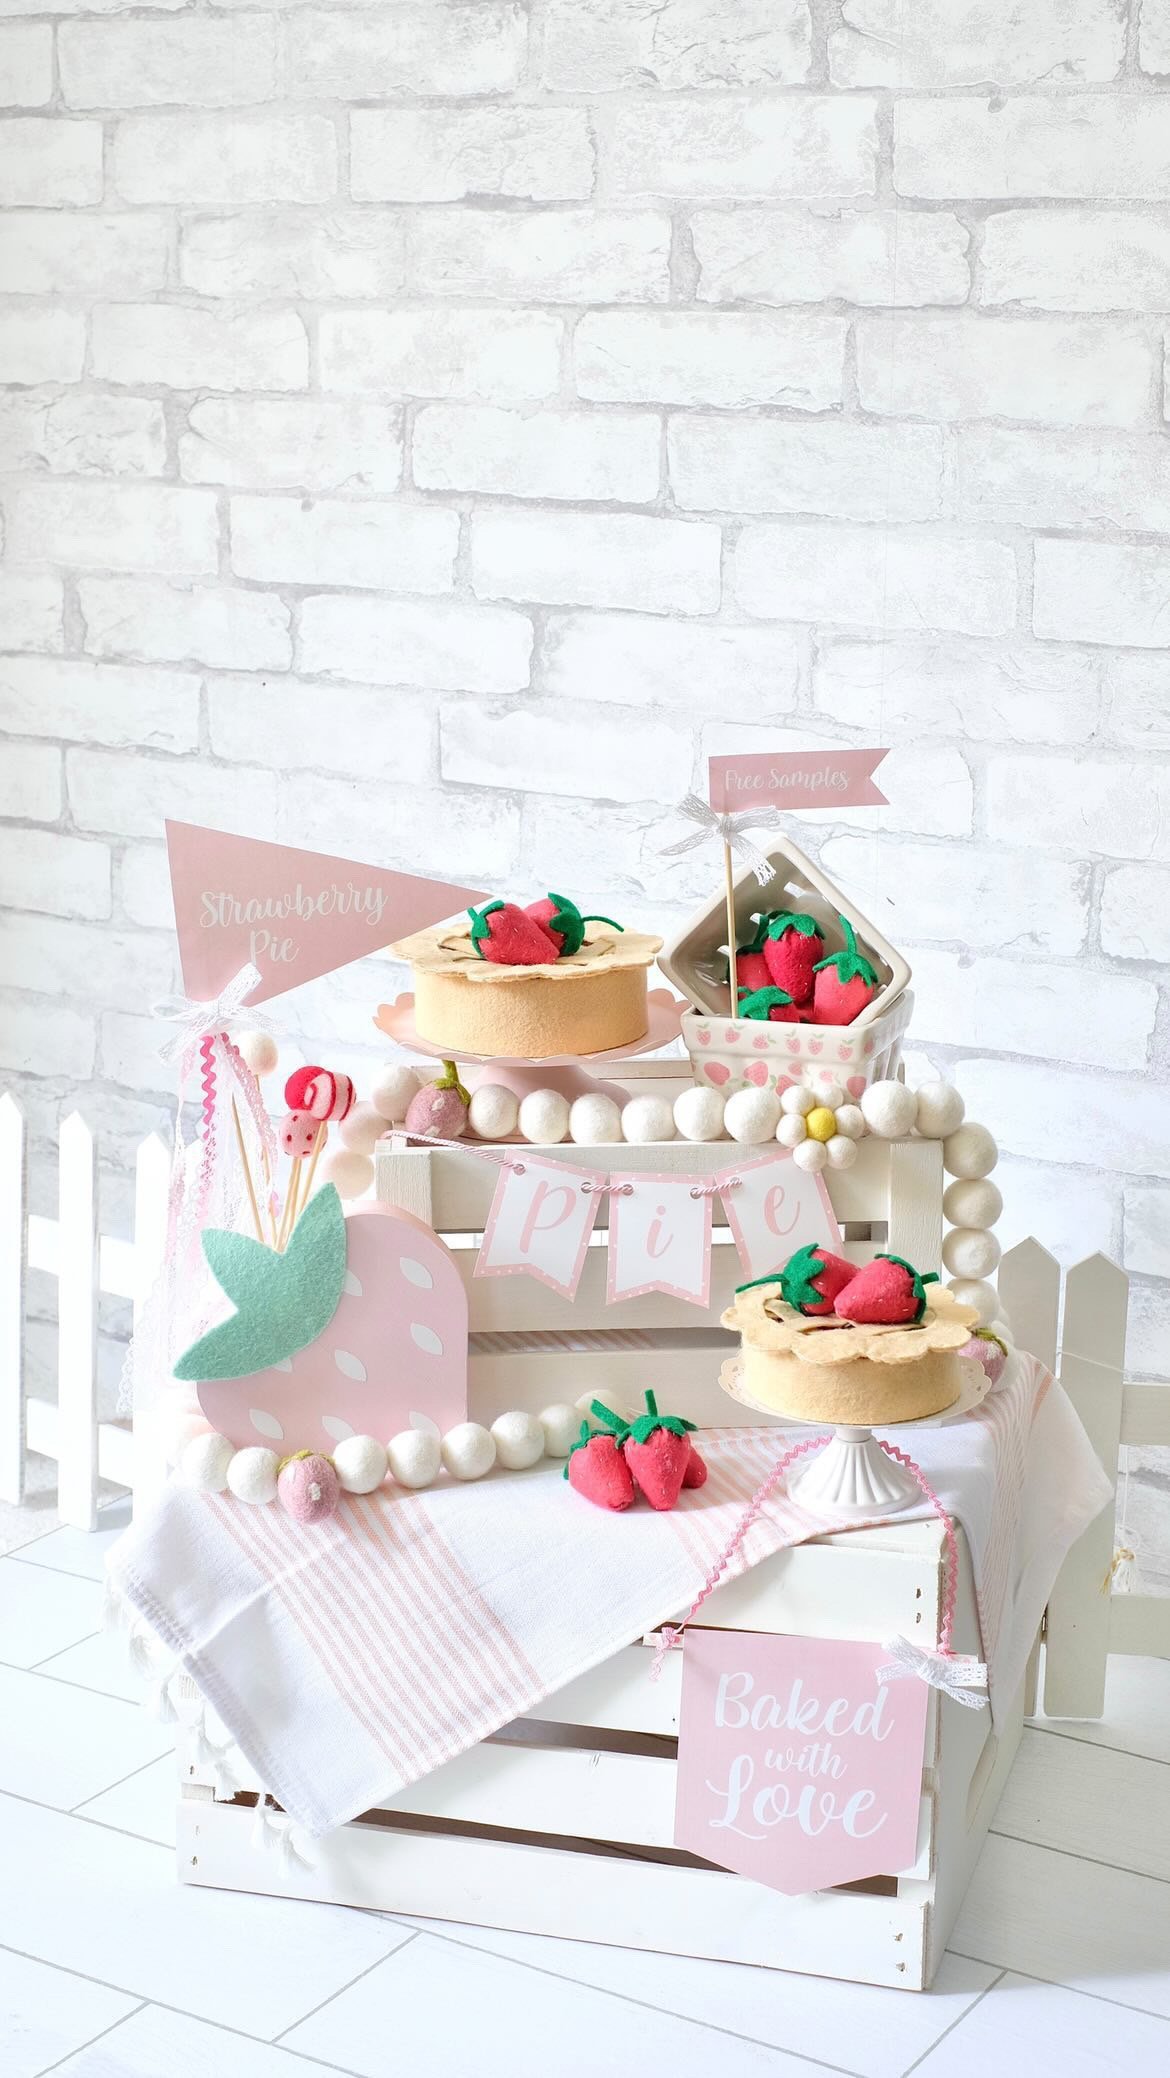
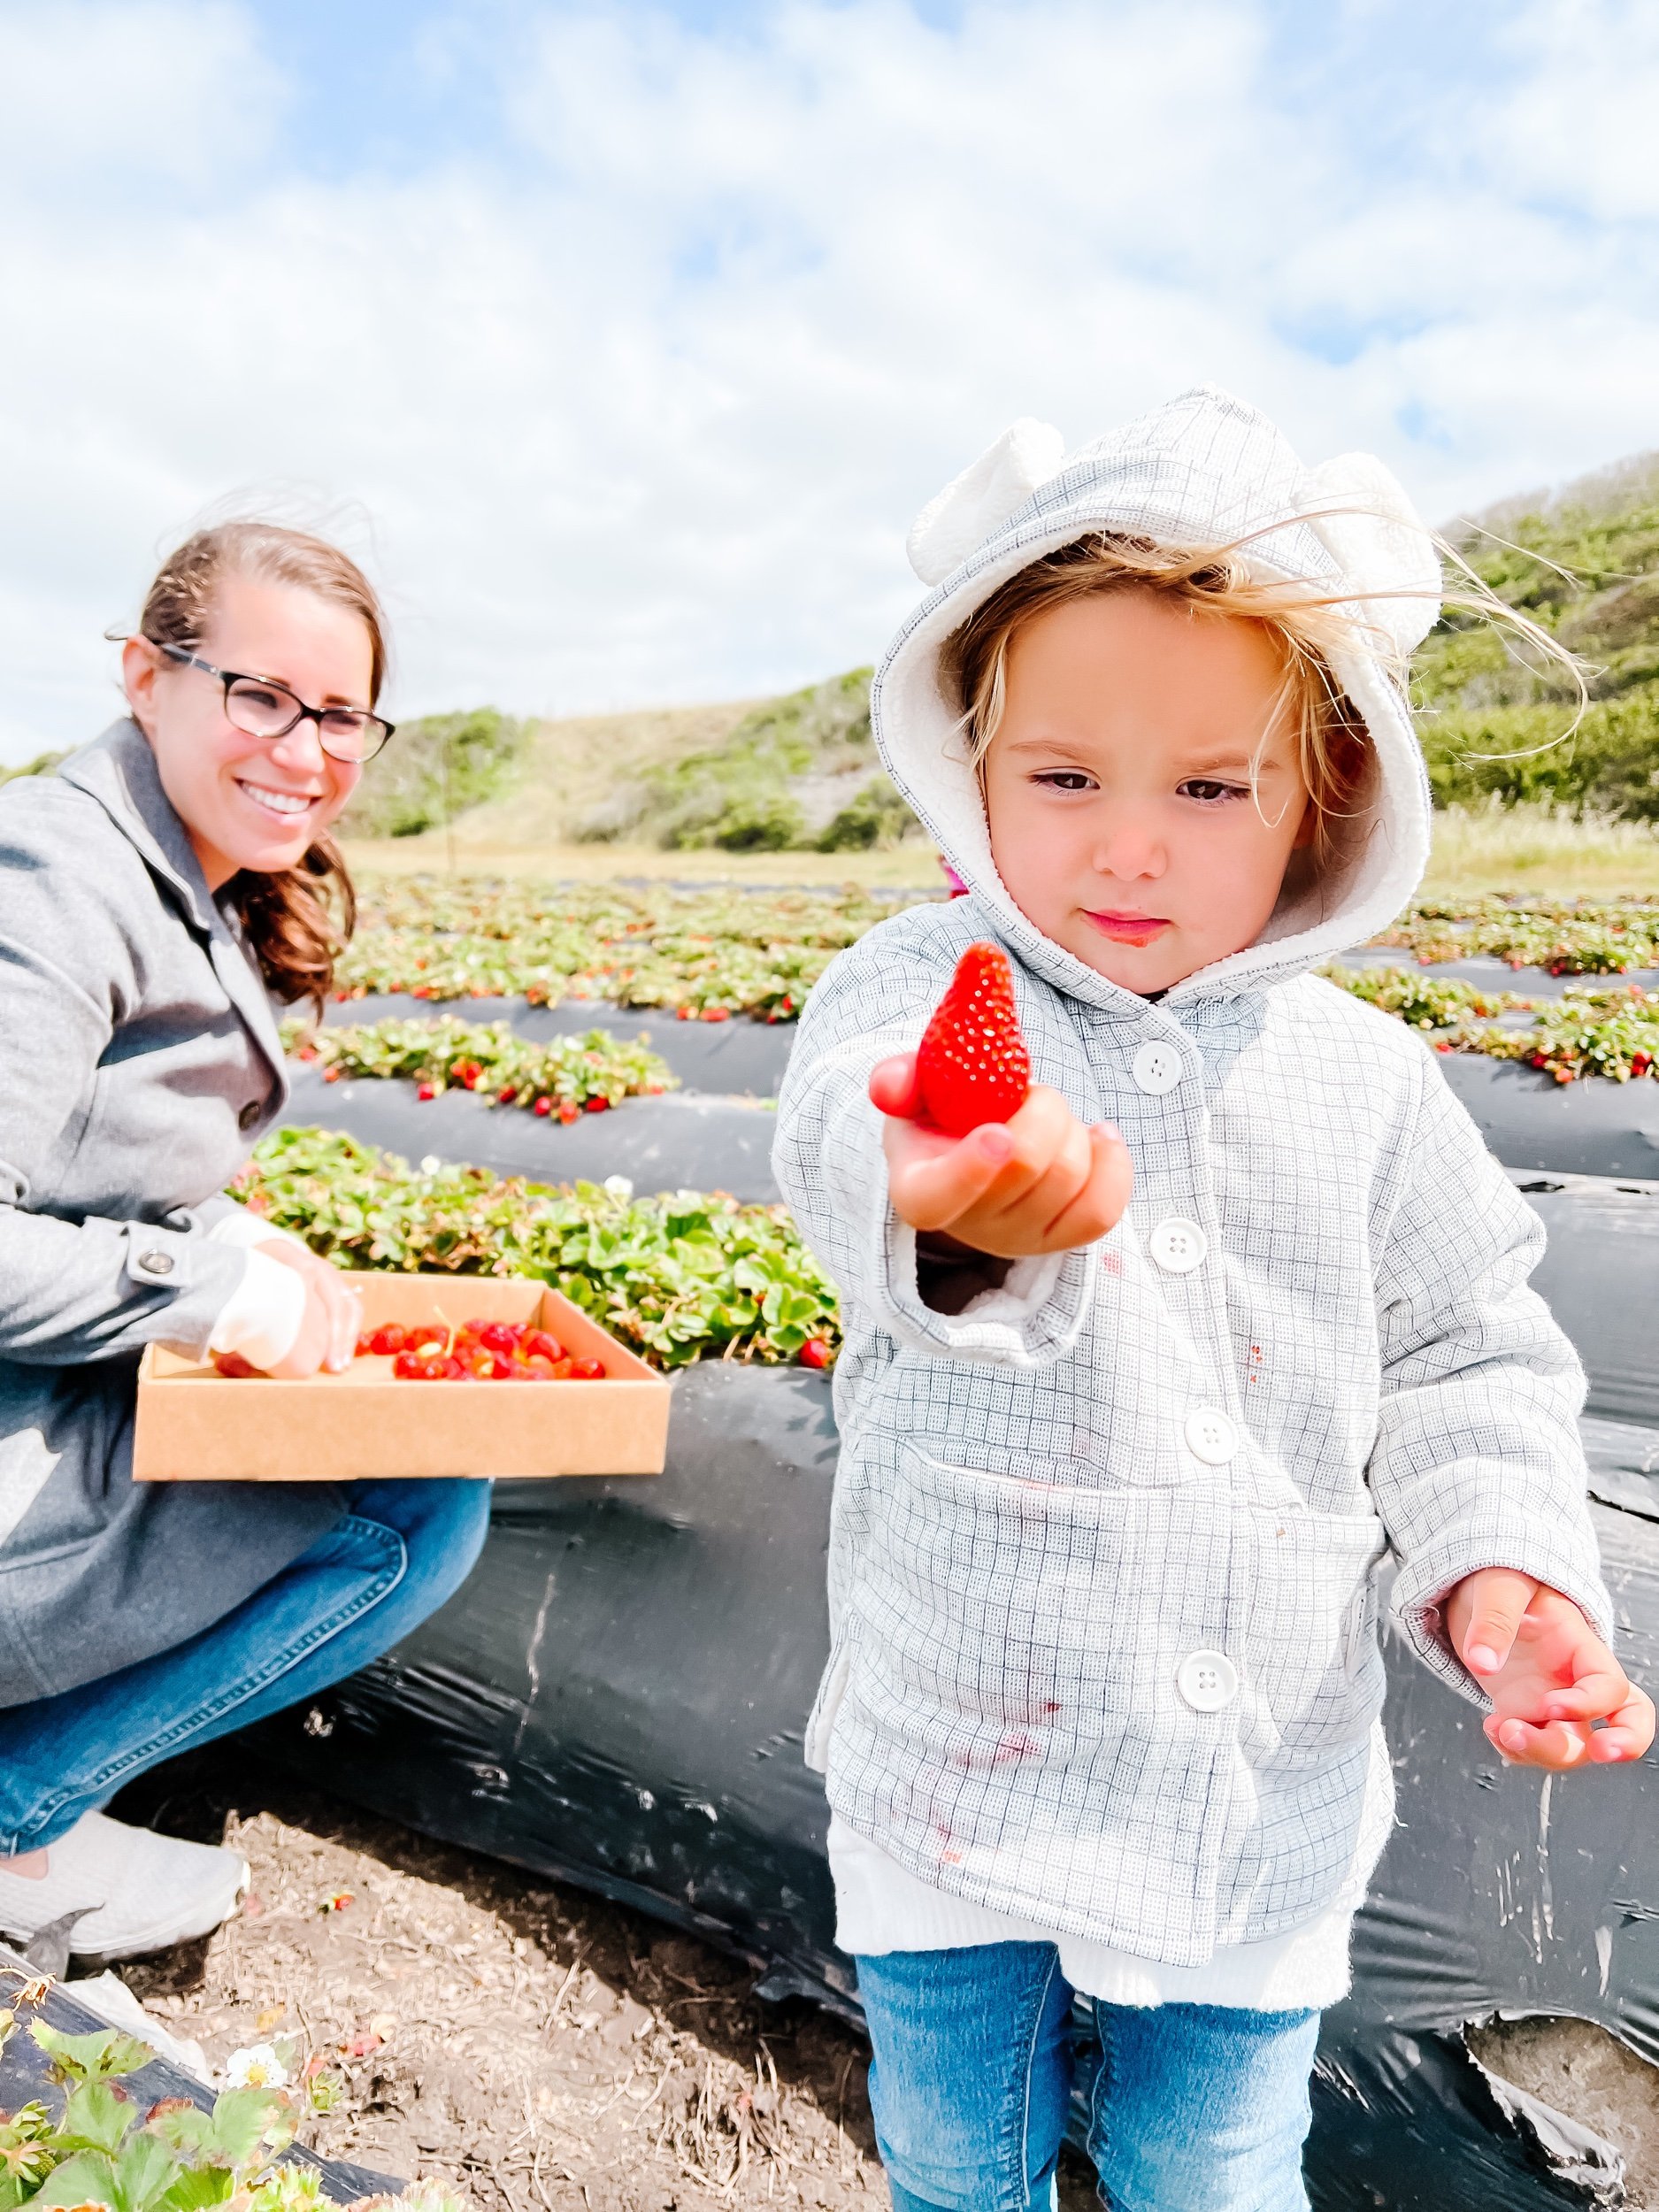
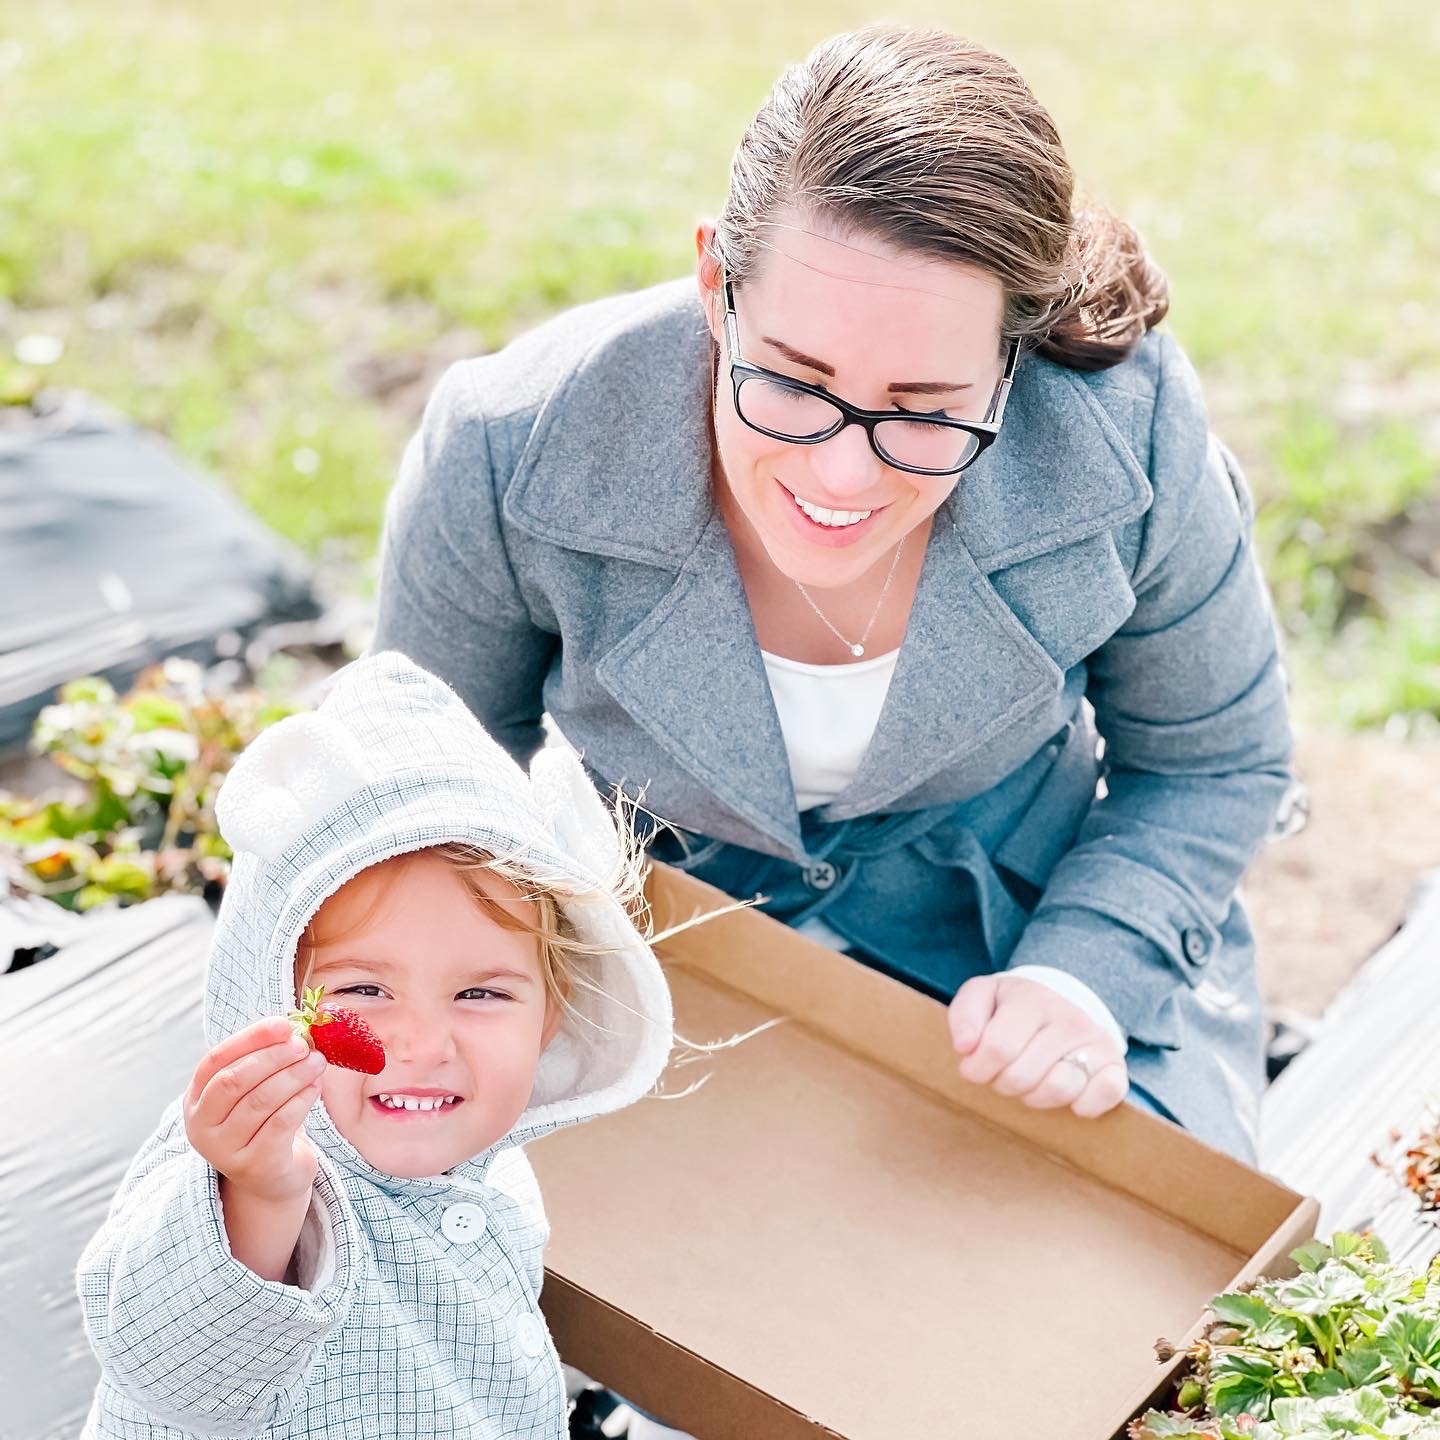
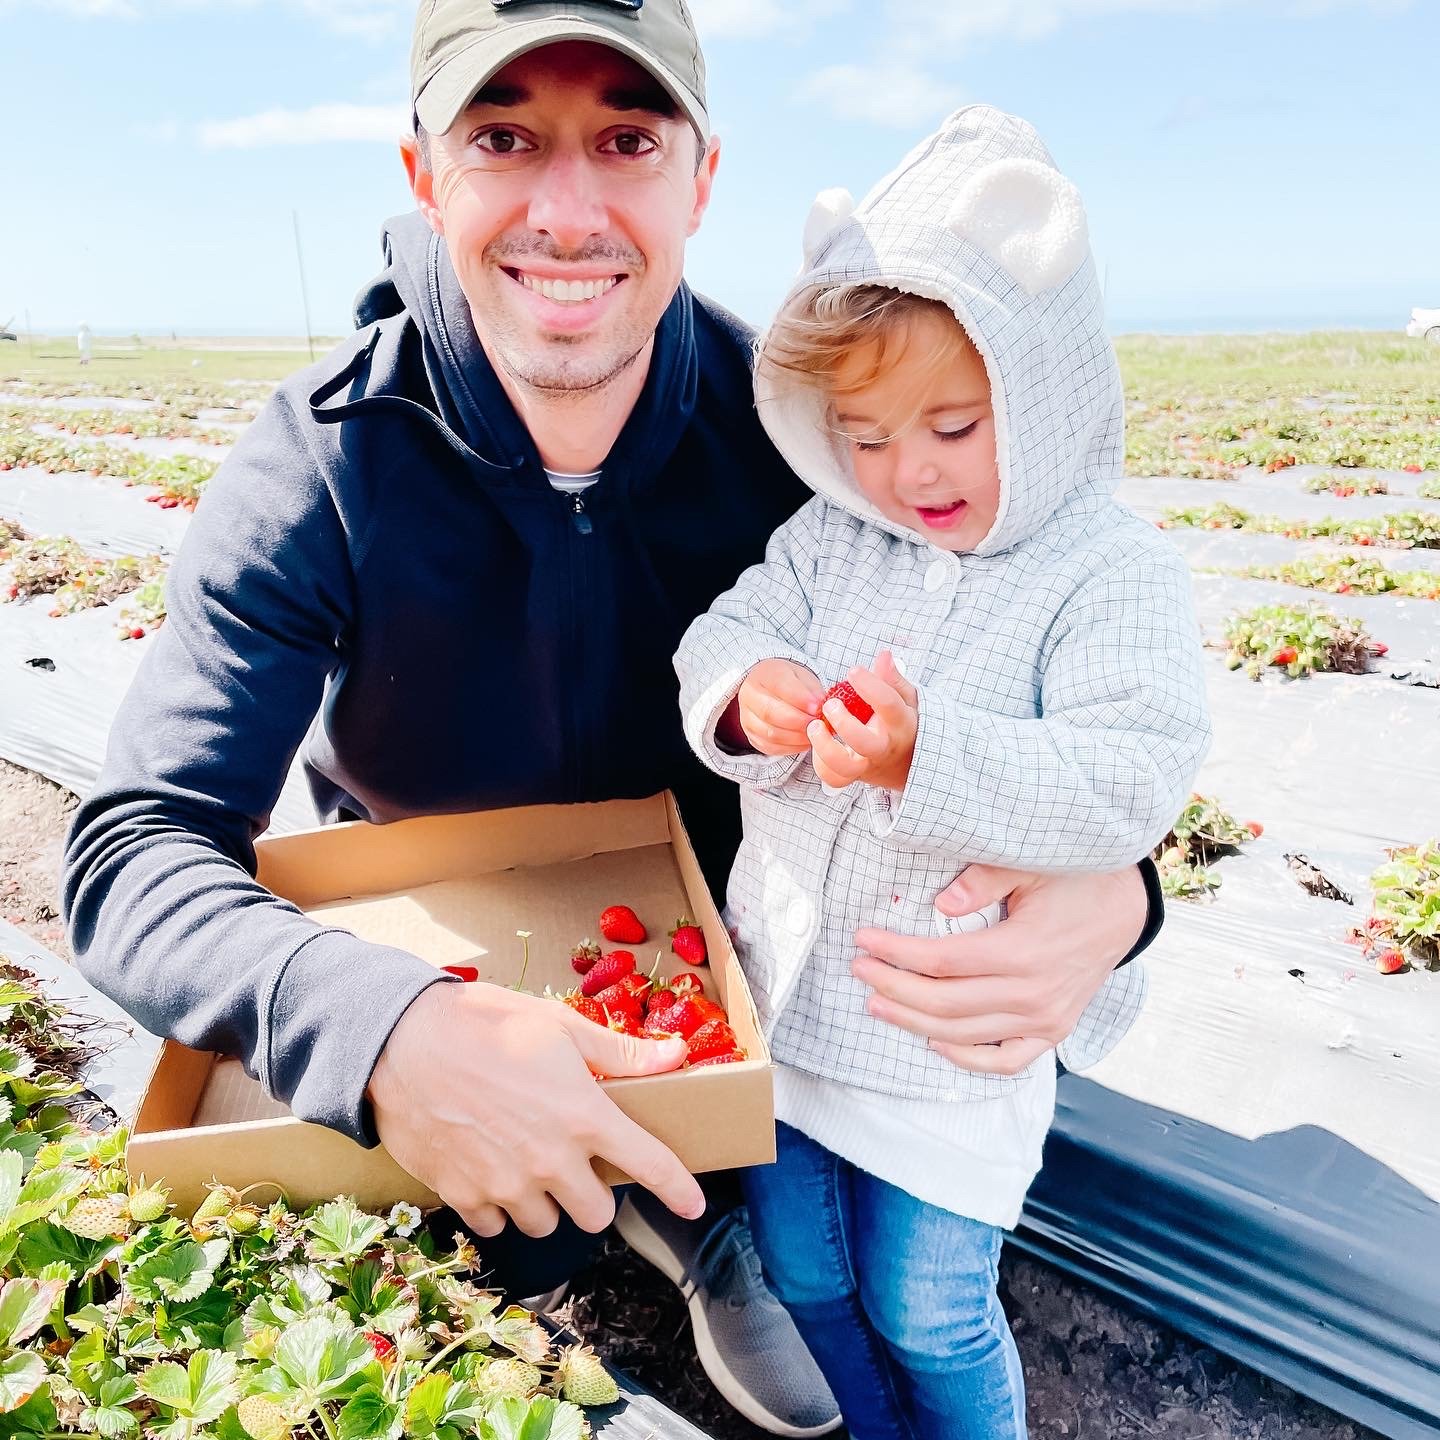
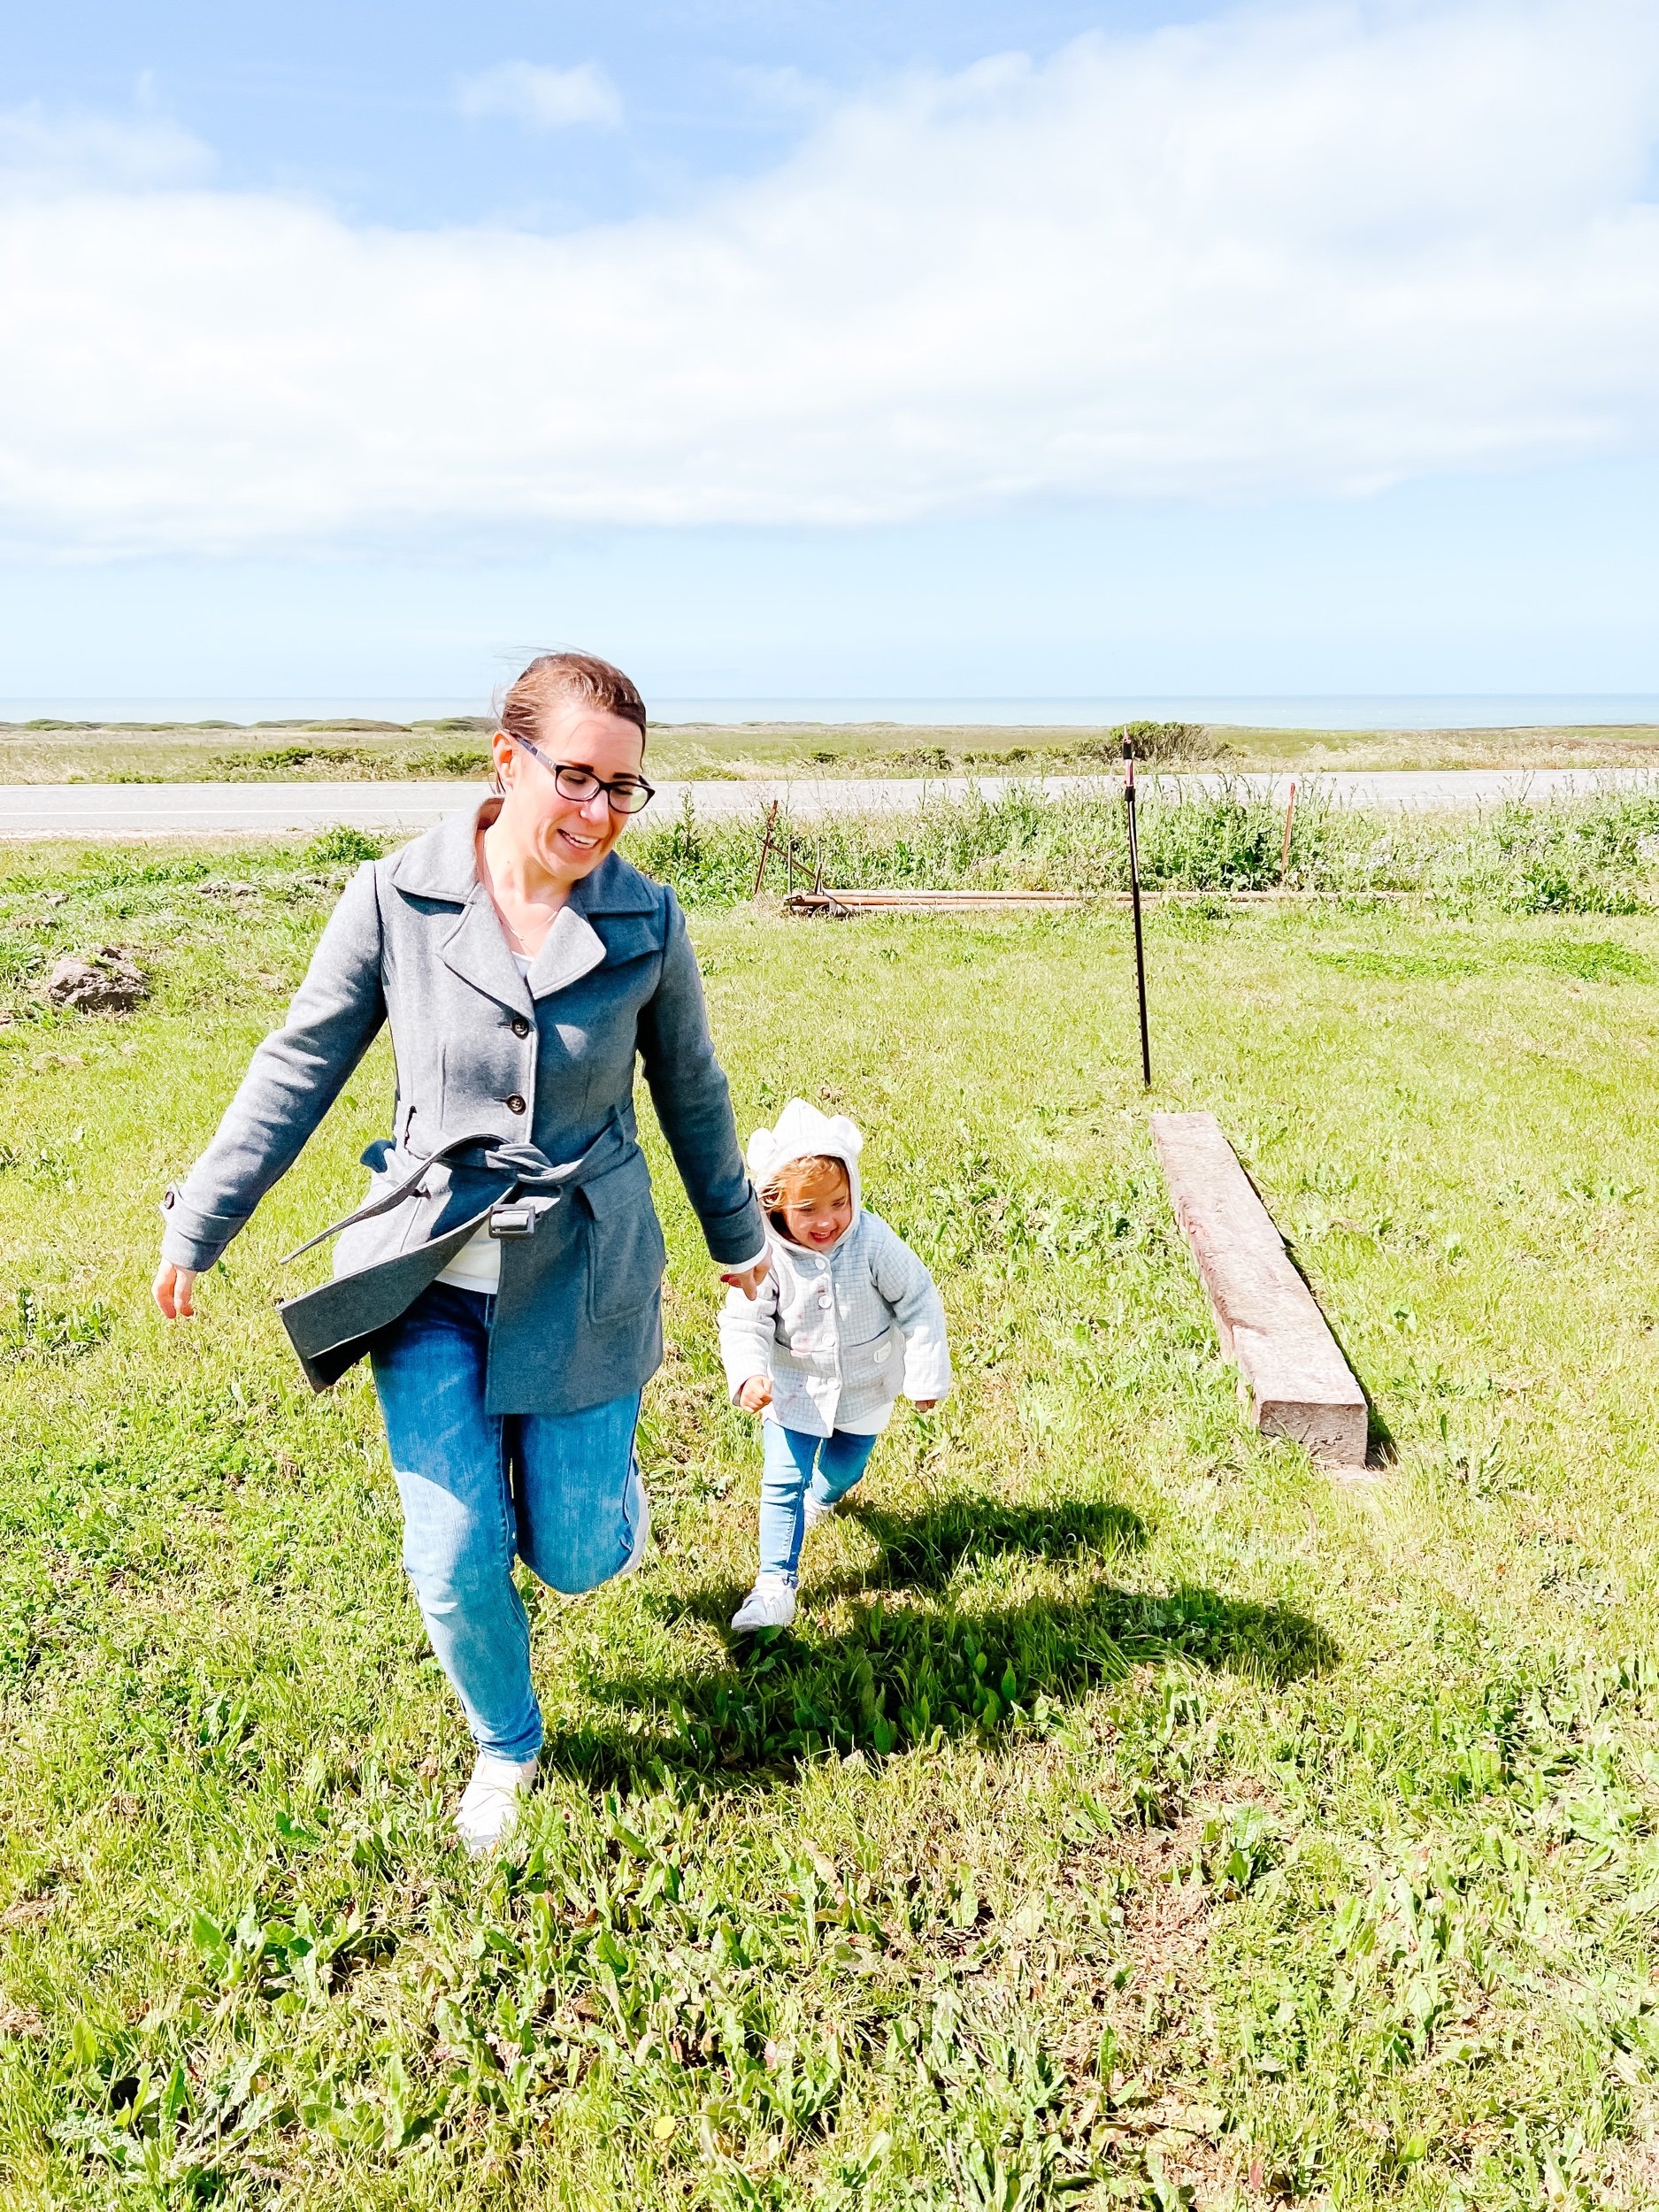
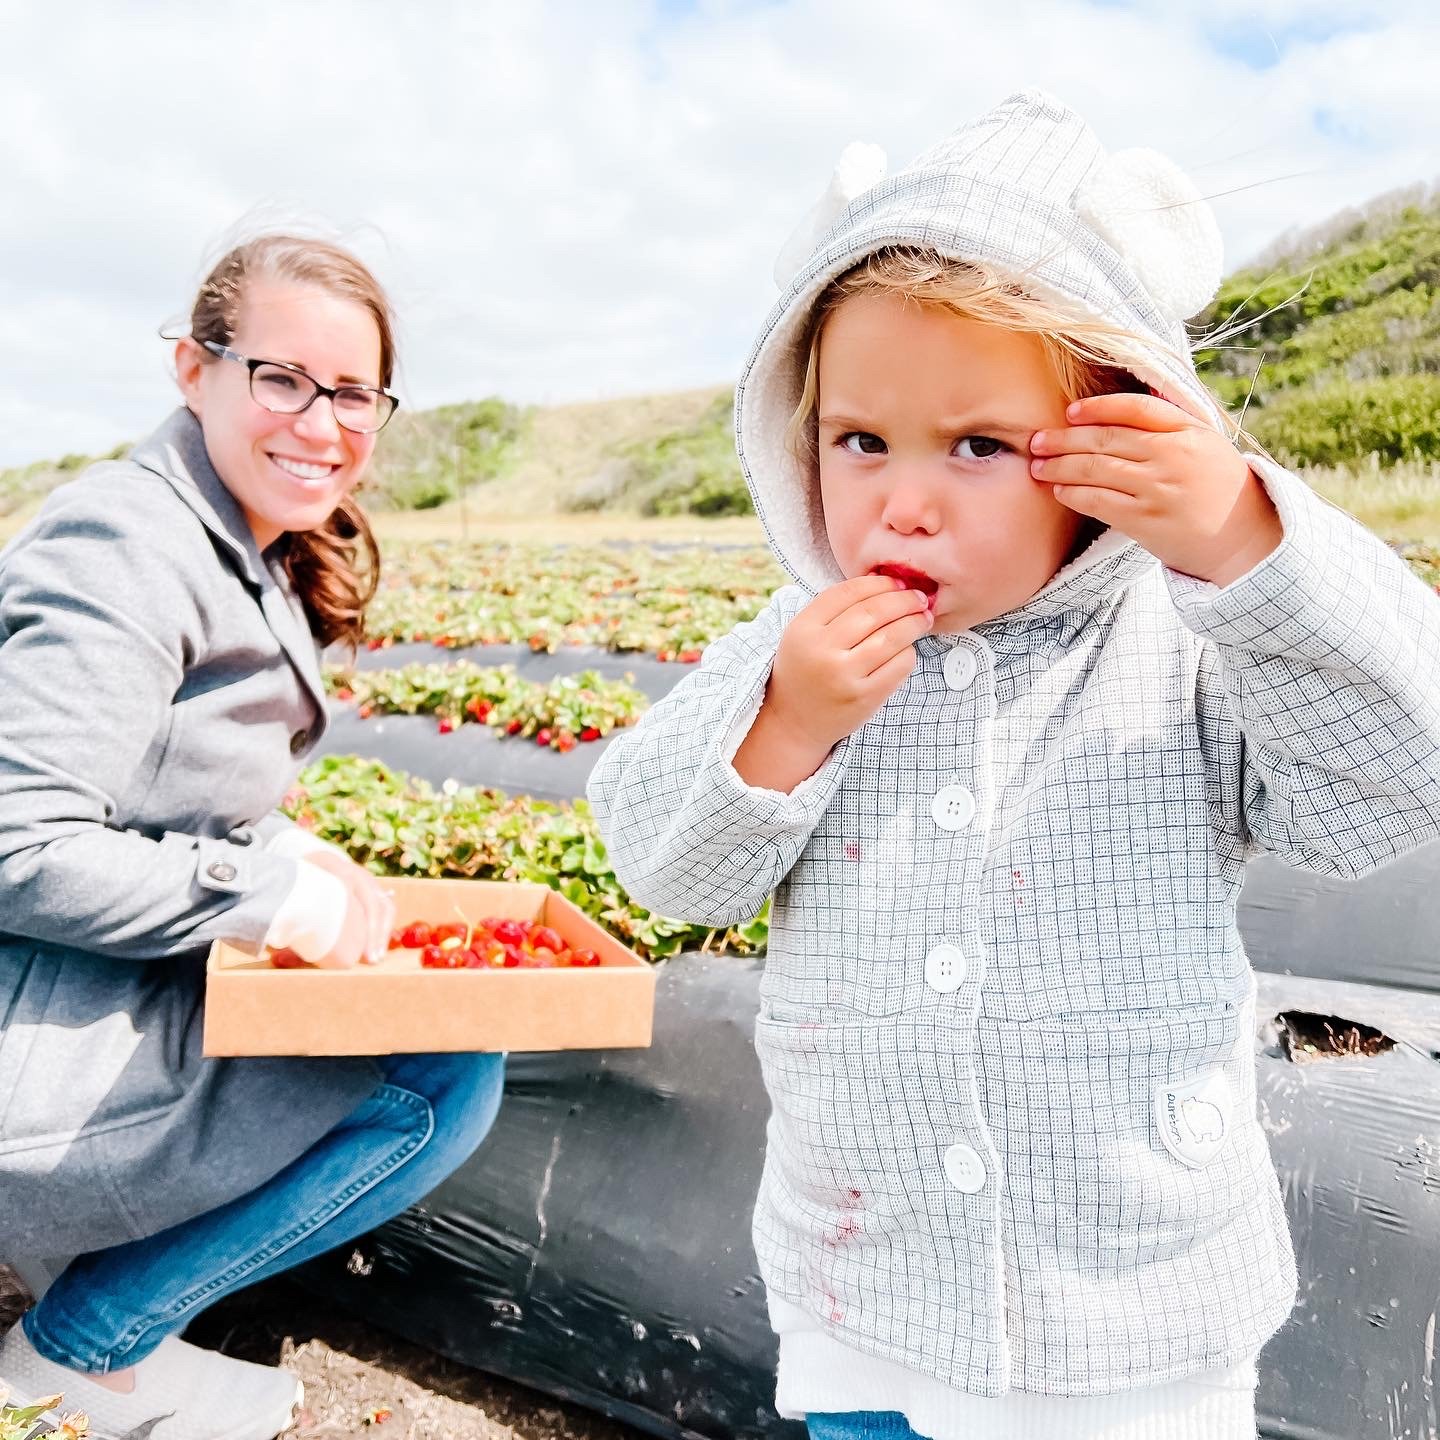
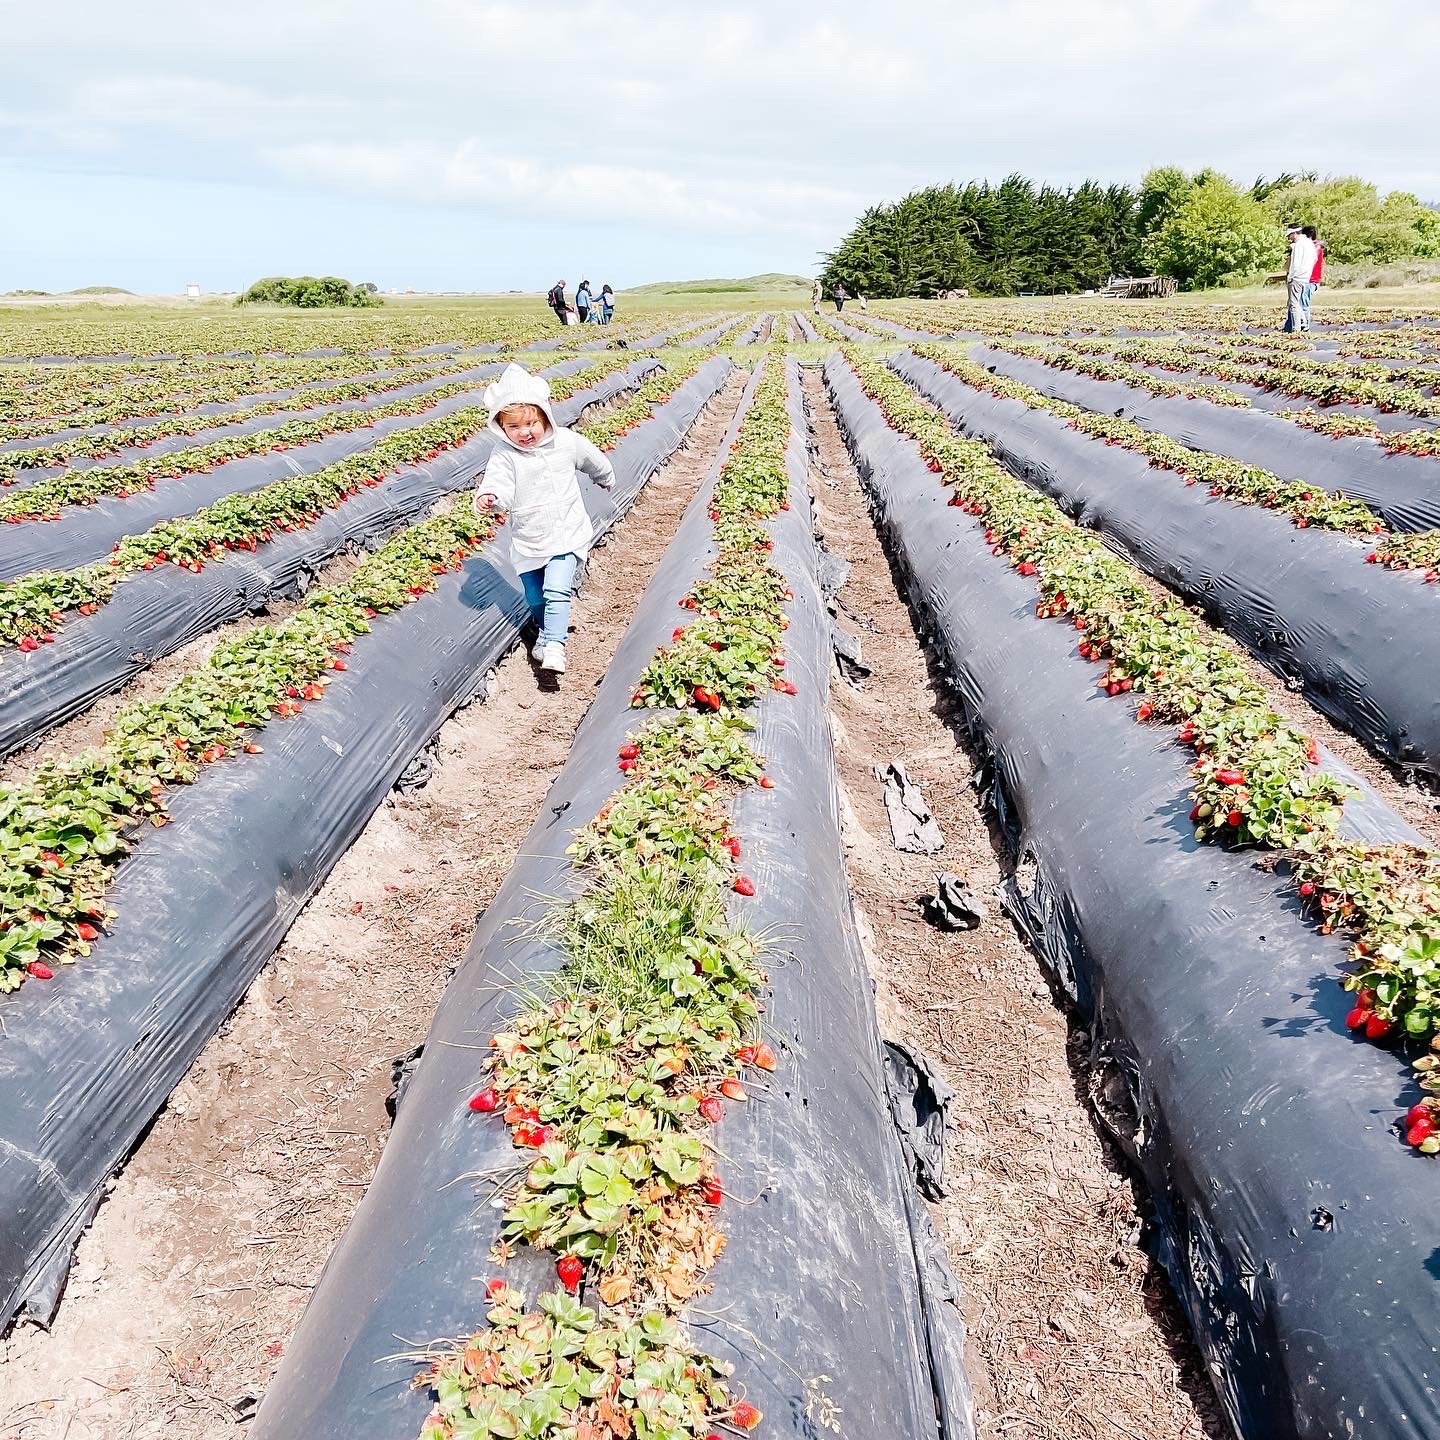
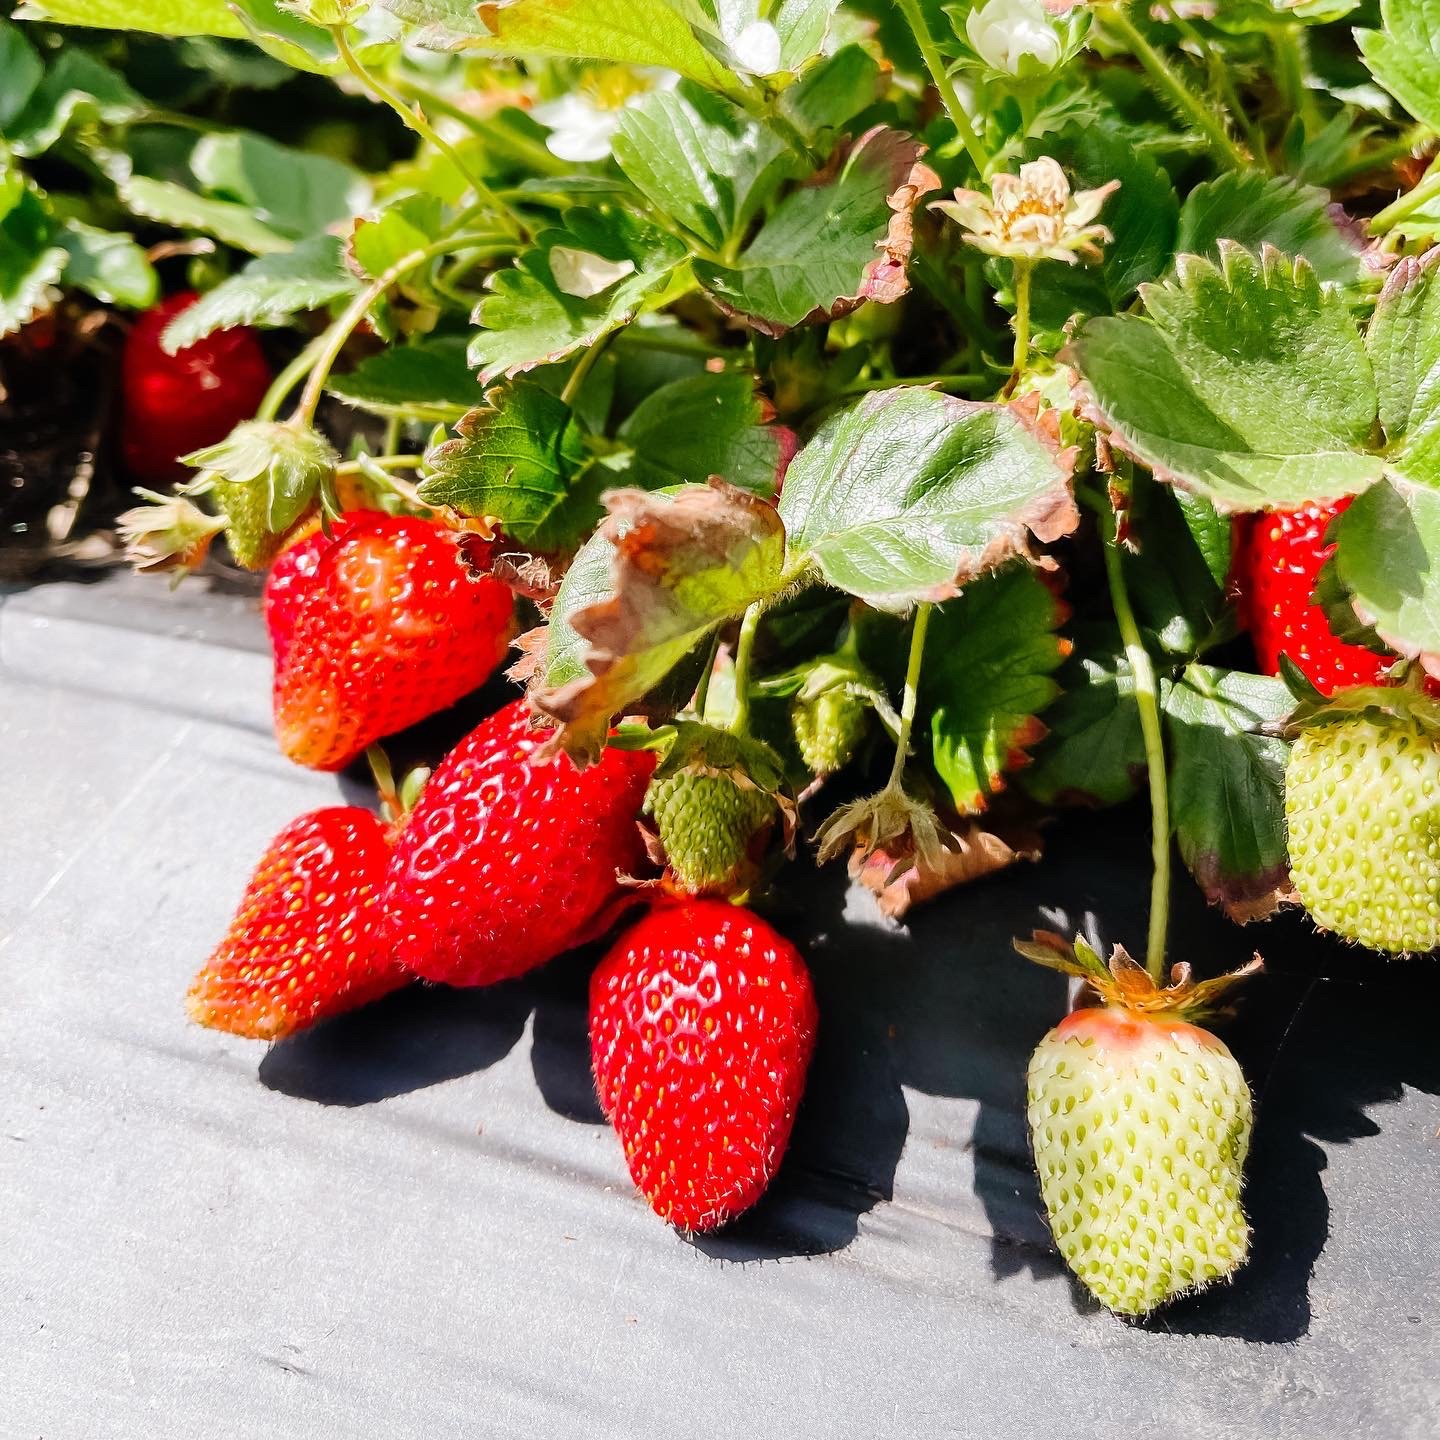
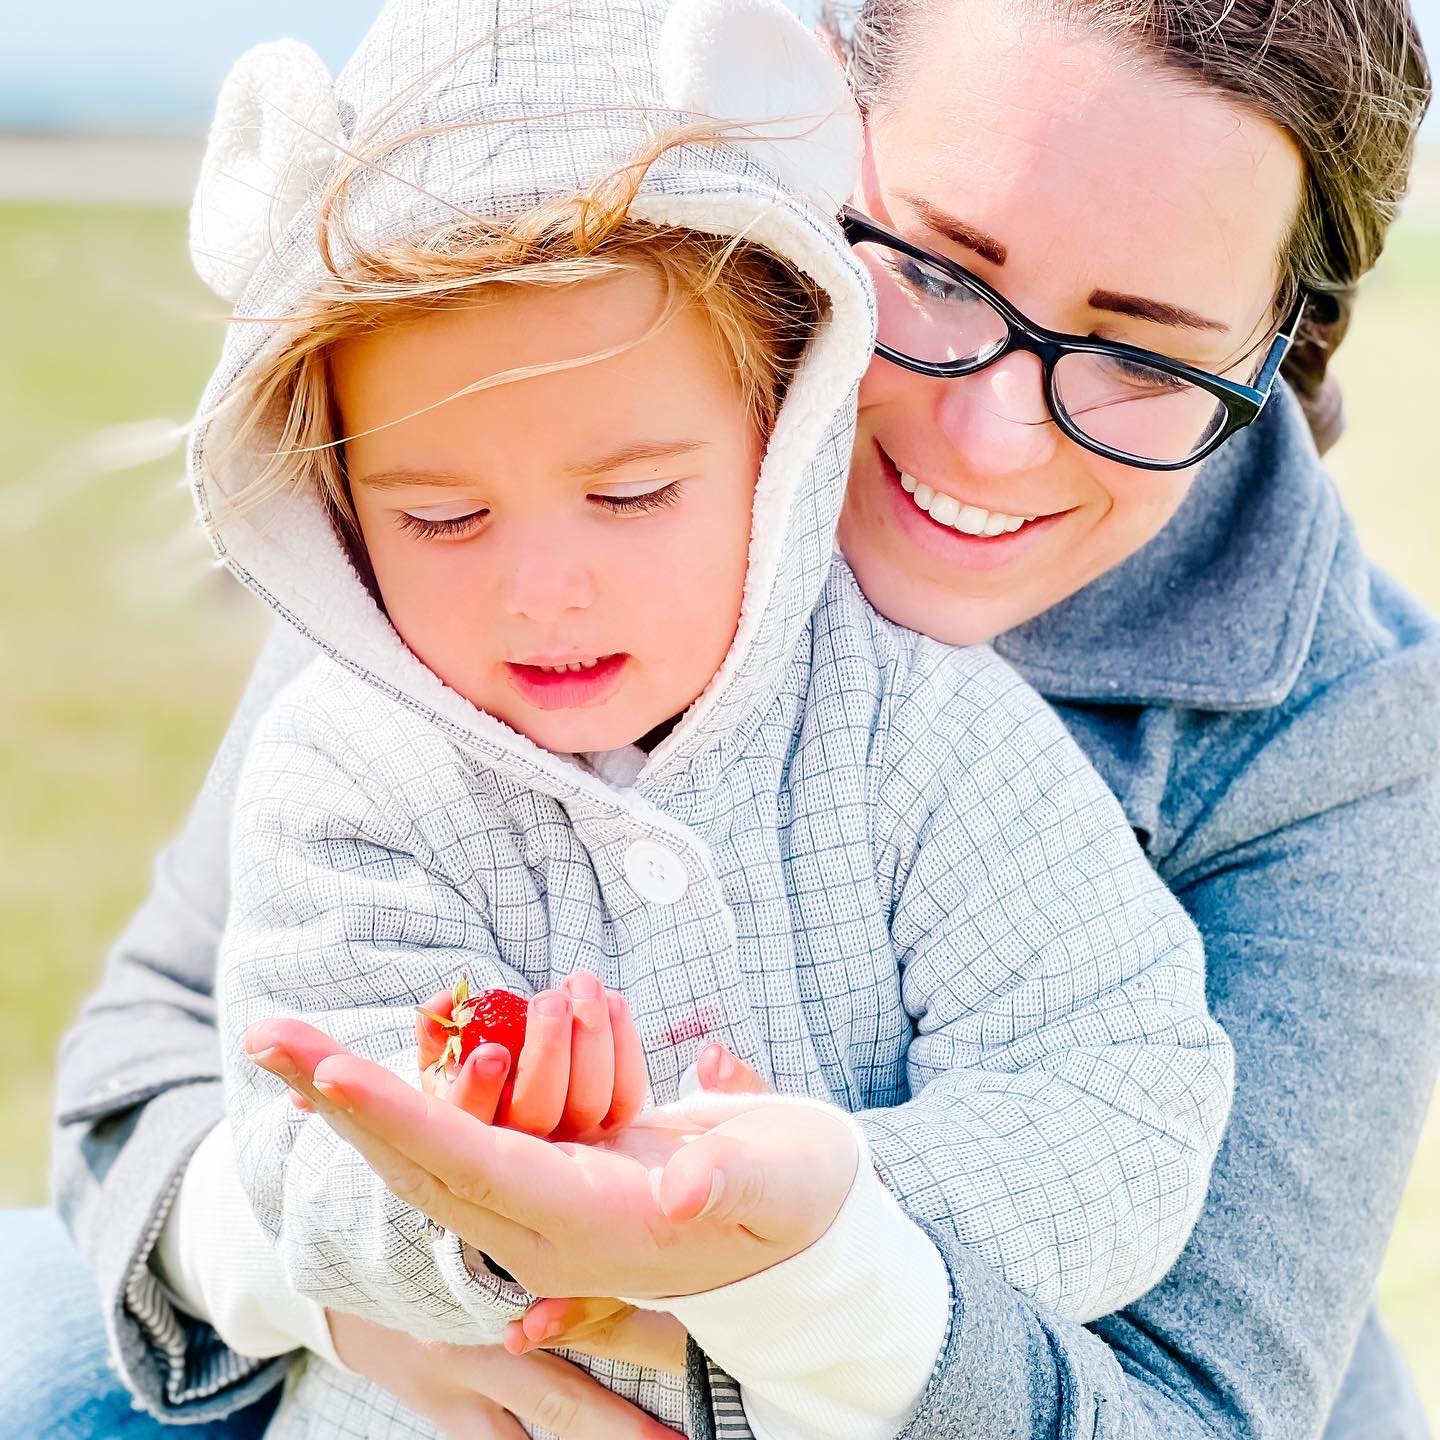
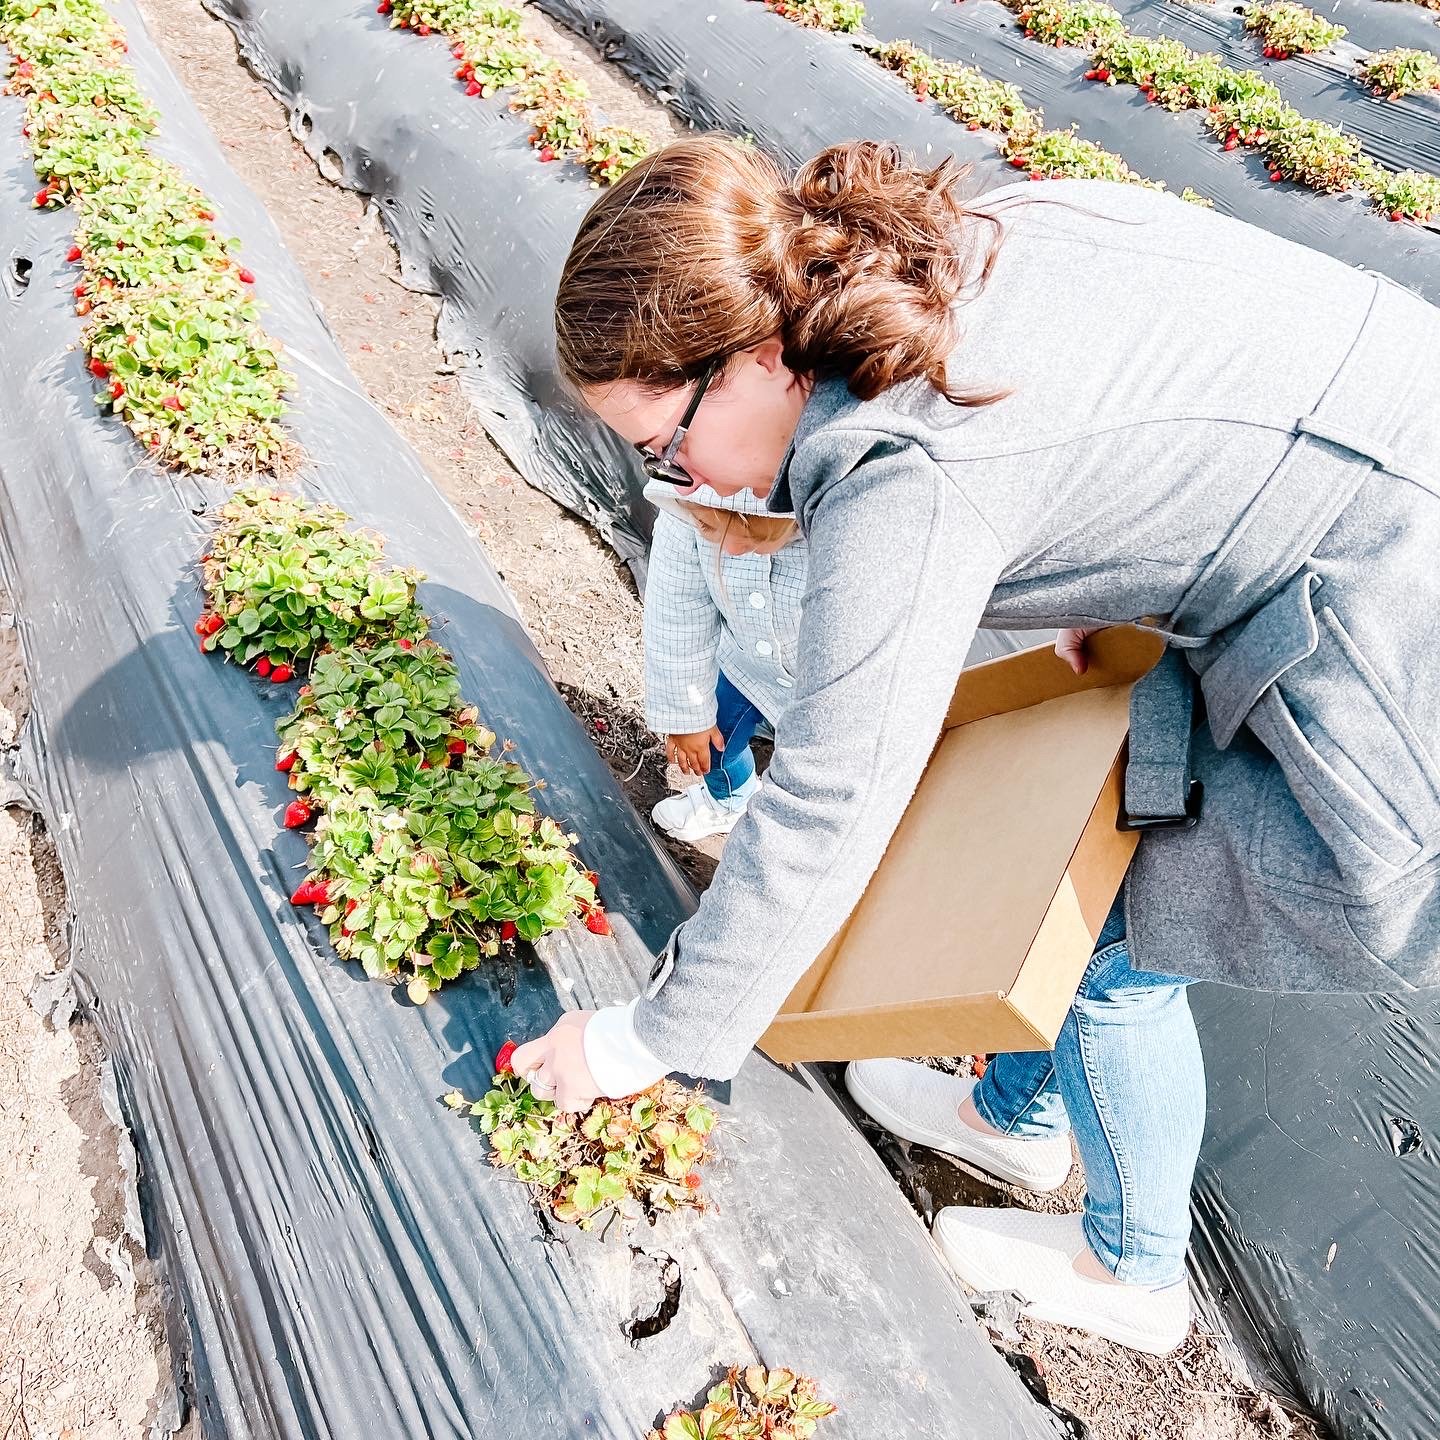
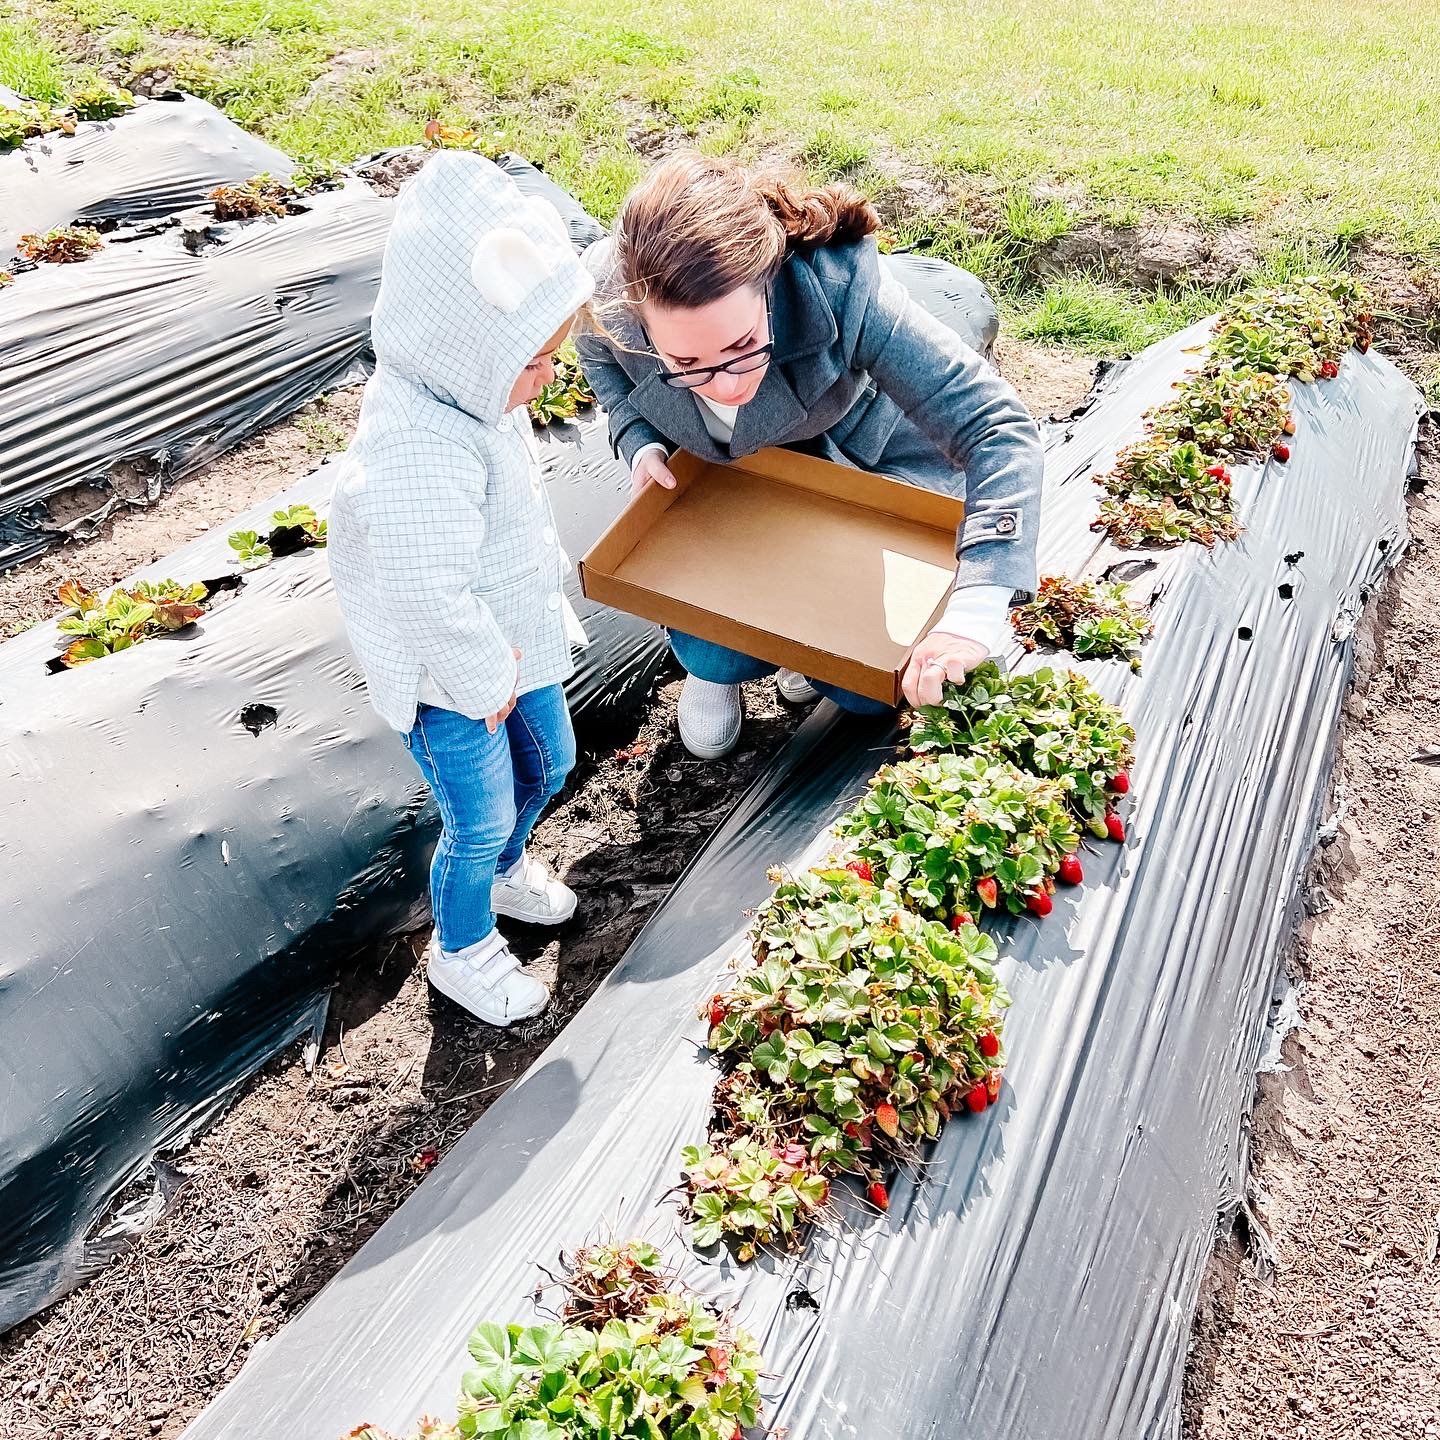
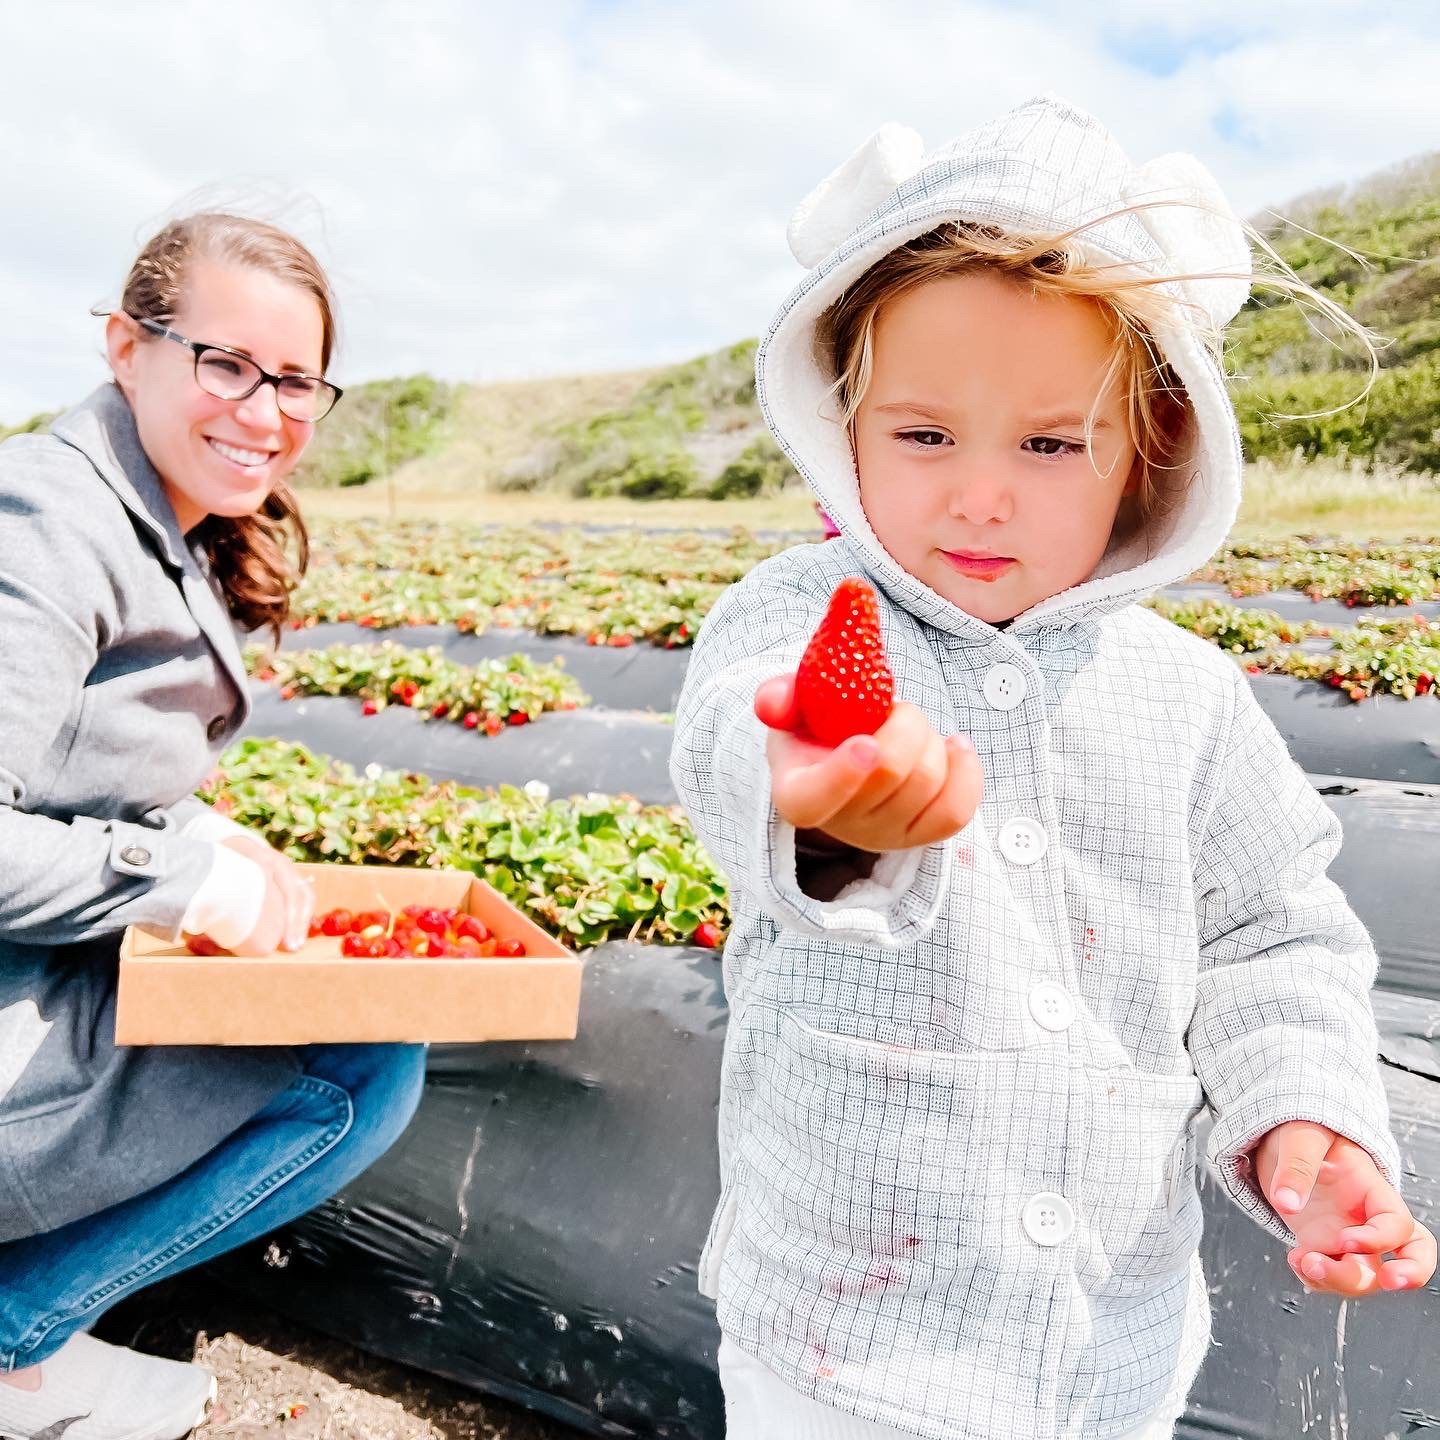
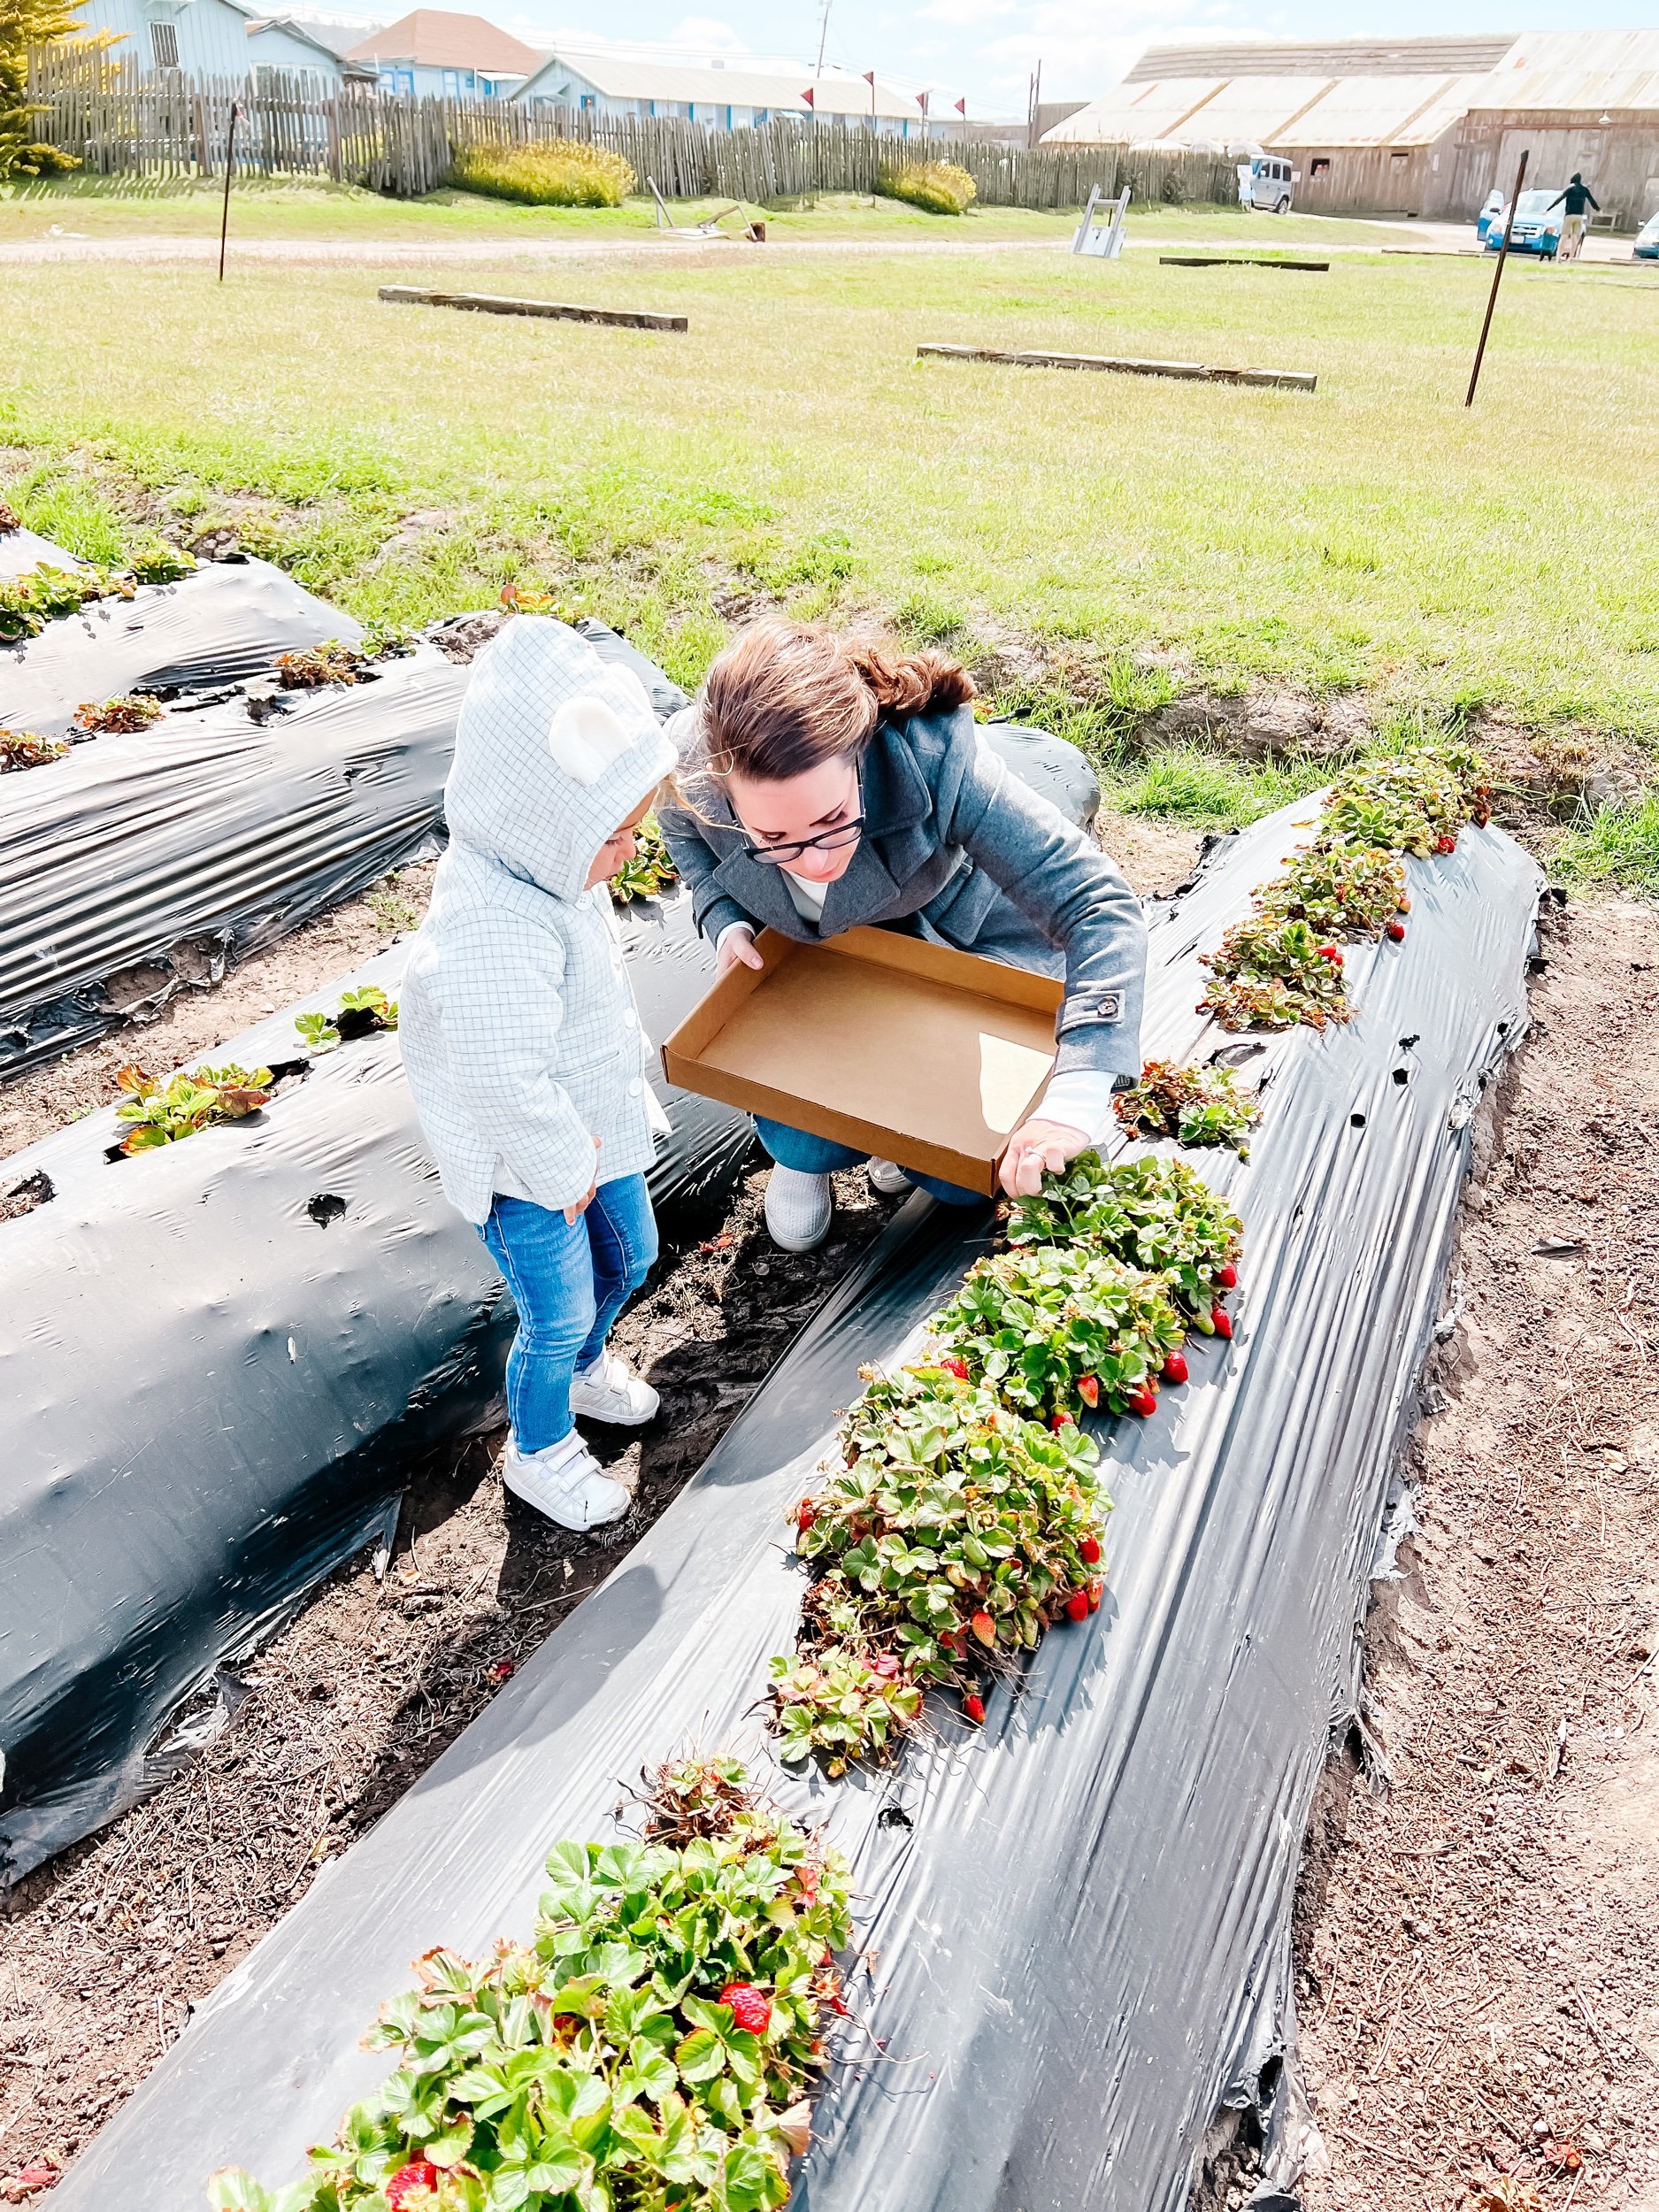
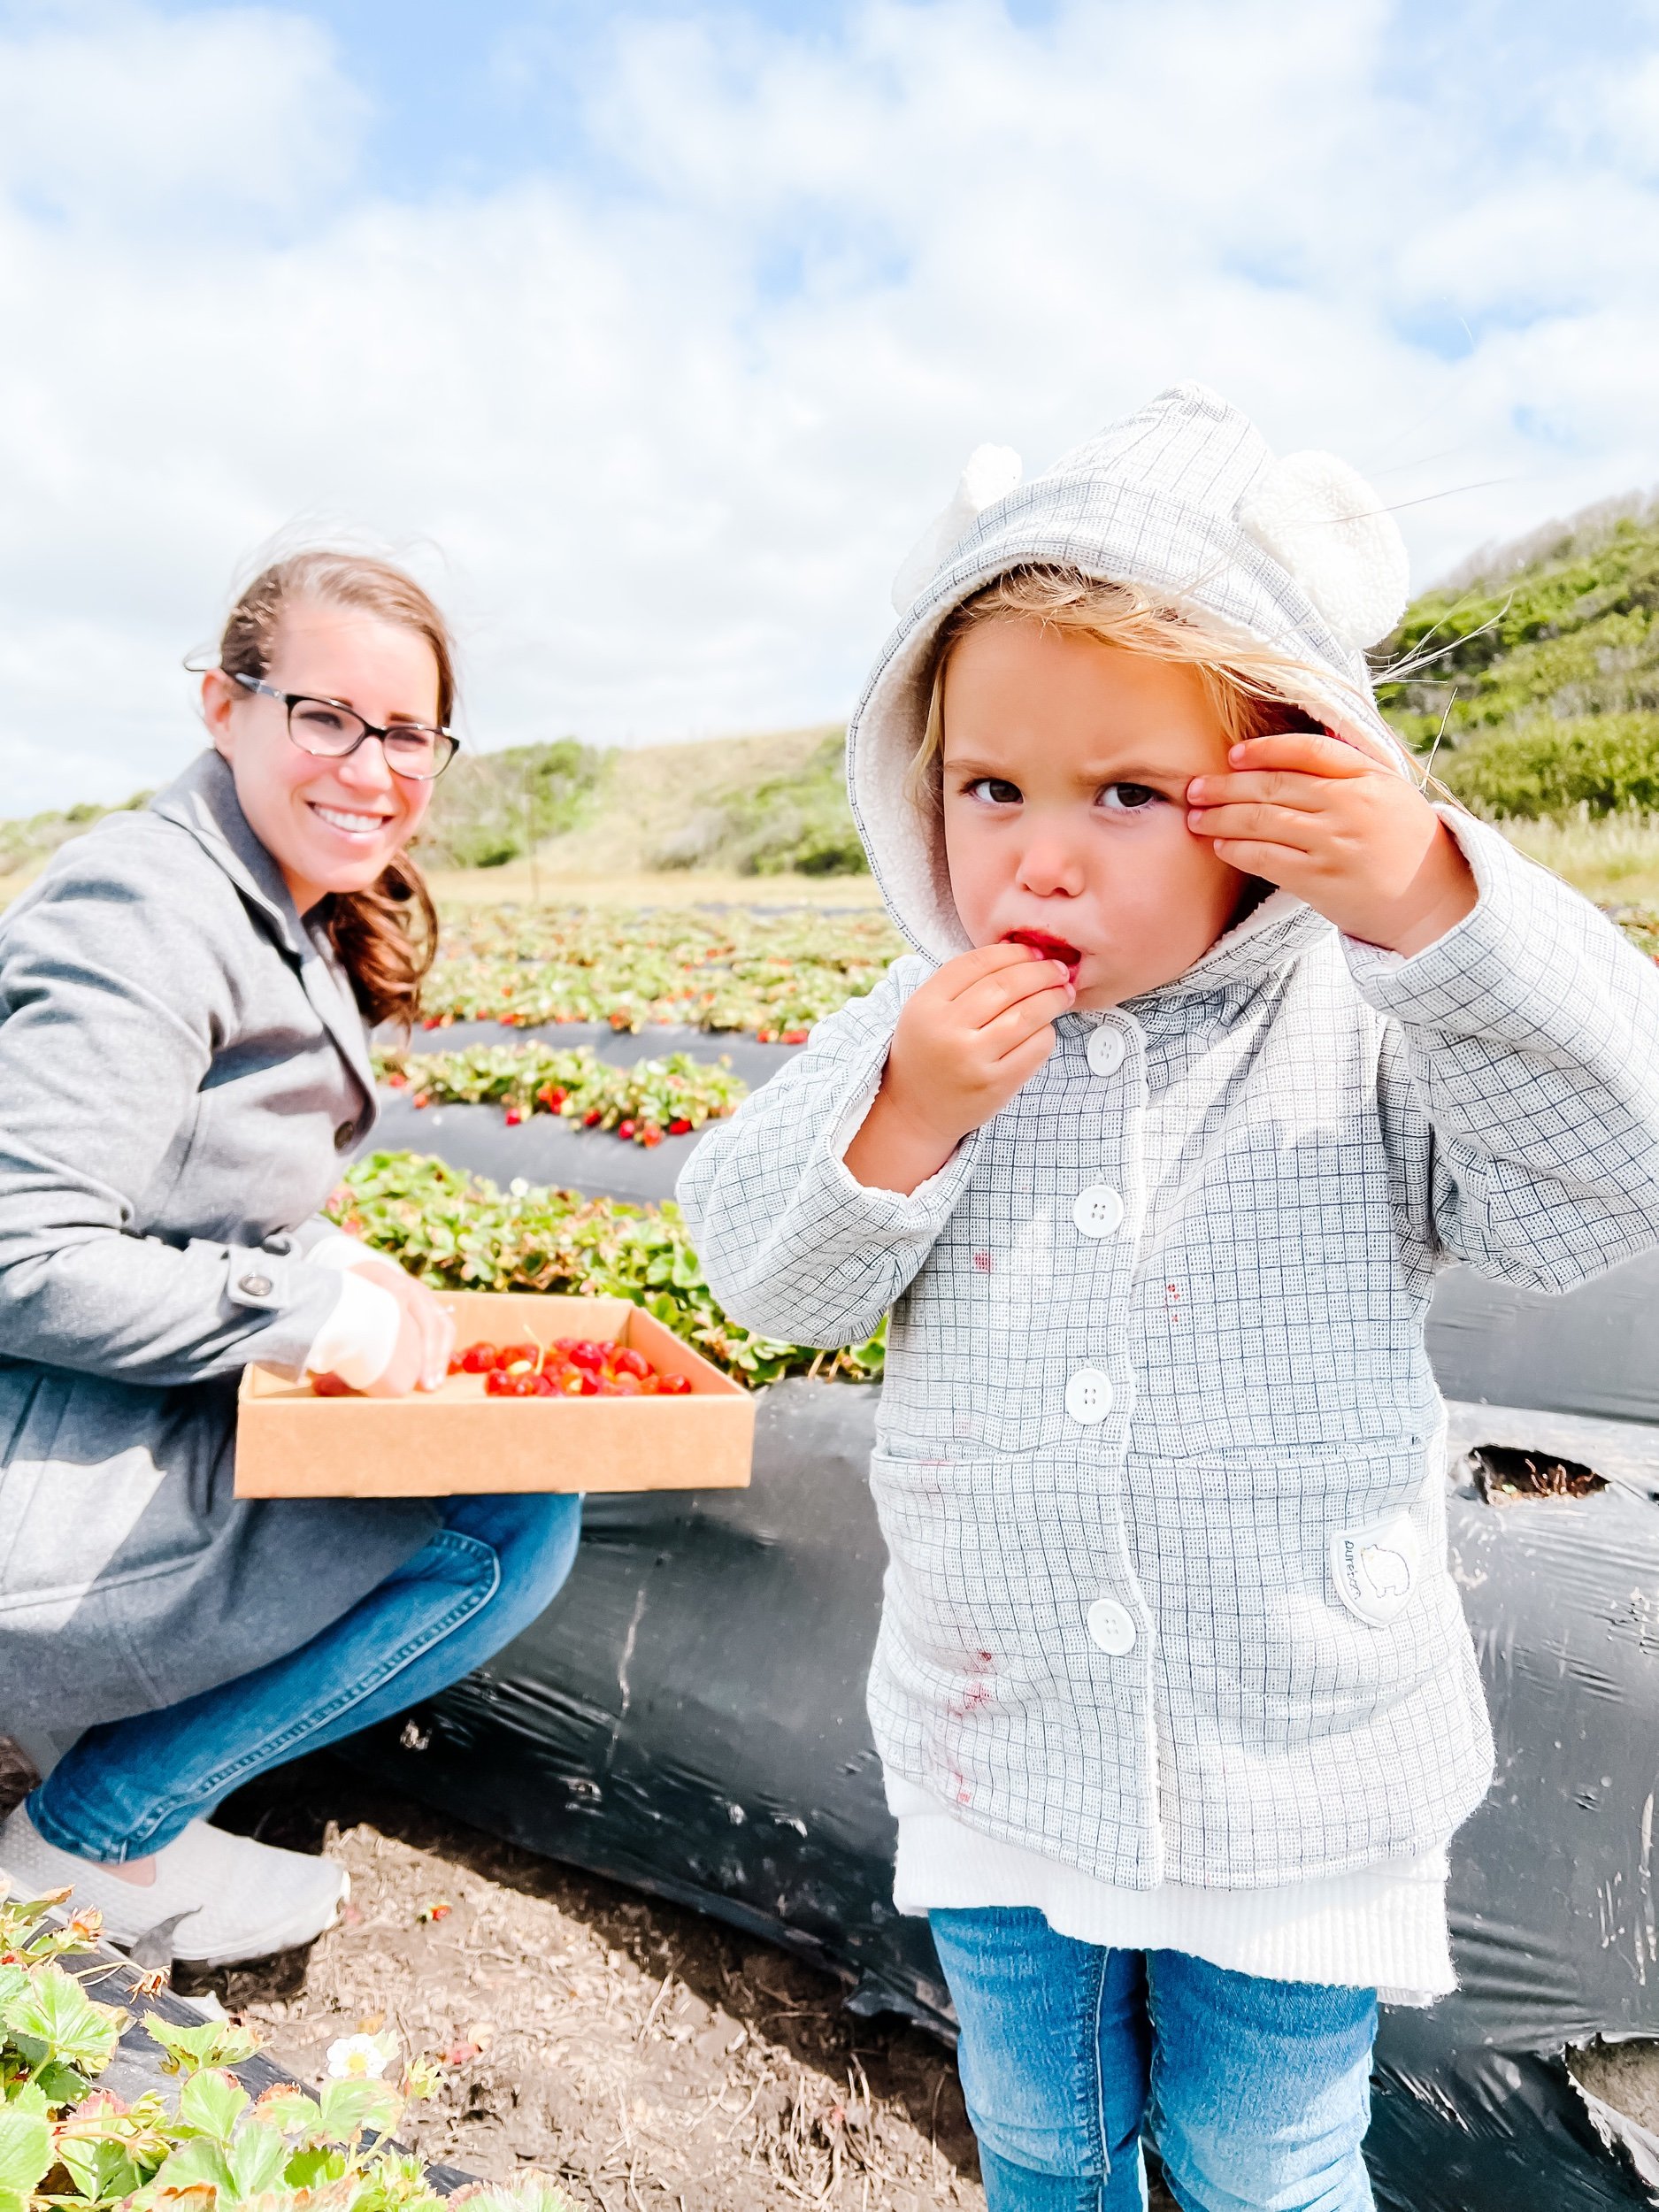
Happy National Pick Strawberries Day! We’re so lucky in that we live right next to Watsonville which is the strawberry capital of the US. And for Mother’s Day this year we took Sofie strawberry picking as a family. It was so much fun to watch her snag all of the strawberries and eat them as we went. The whole trip inspired me to design this adorable Strawberry Picking Dramatic play kit. How cute are these sensory set ups by @allthibgslambandroo and @pockets.of.sweetness!?
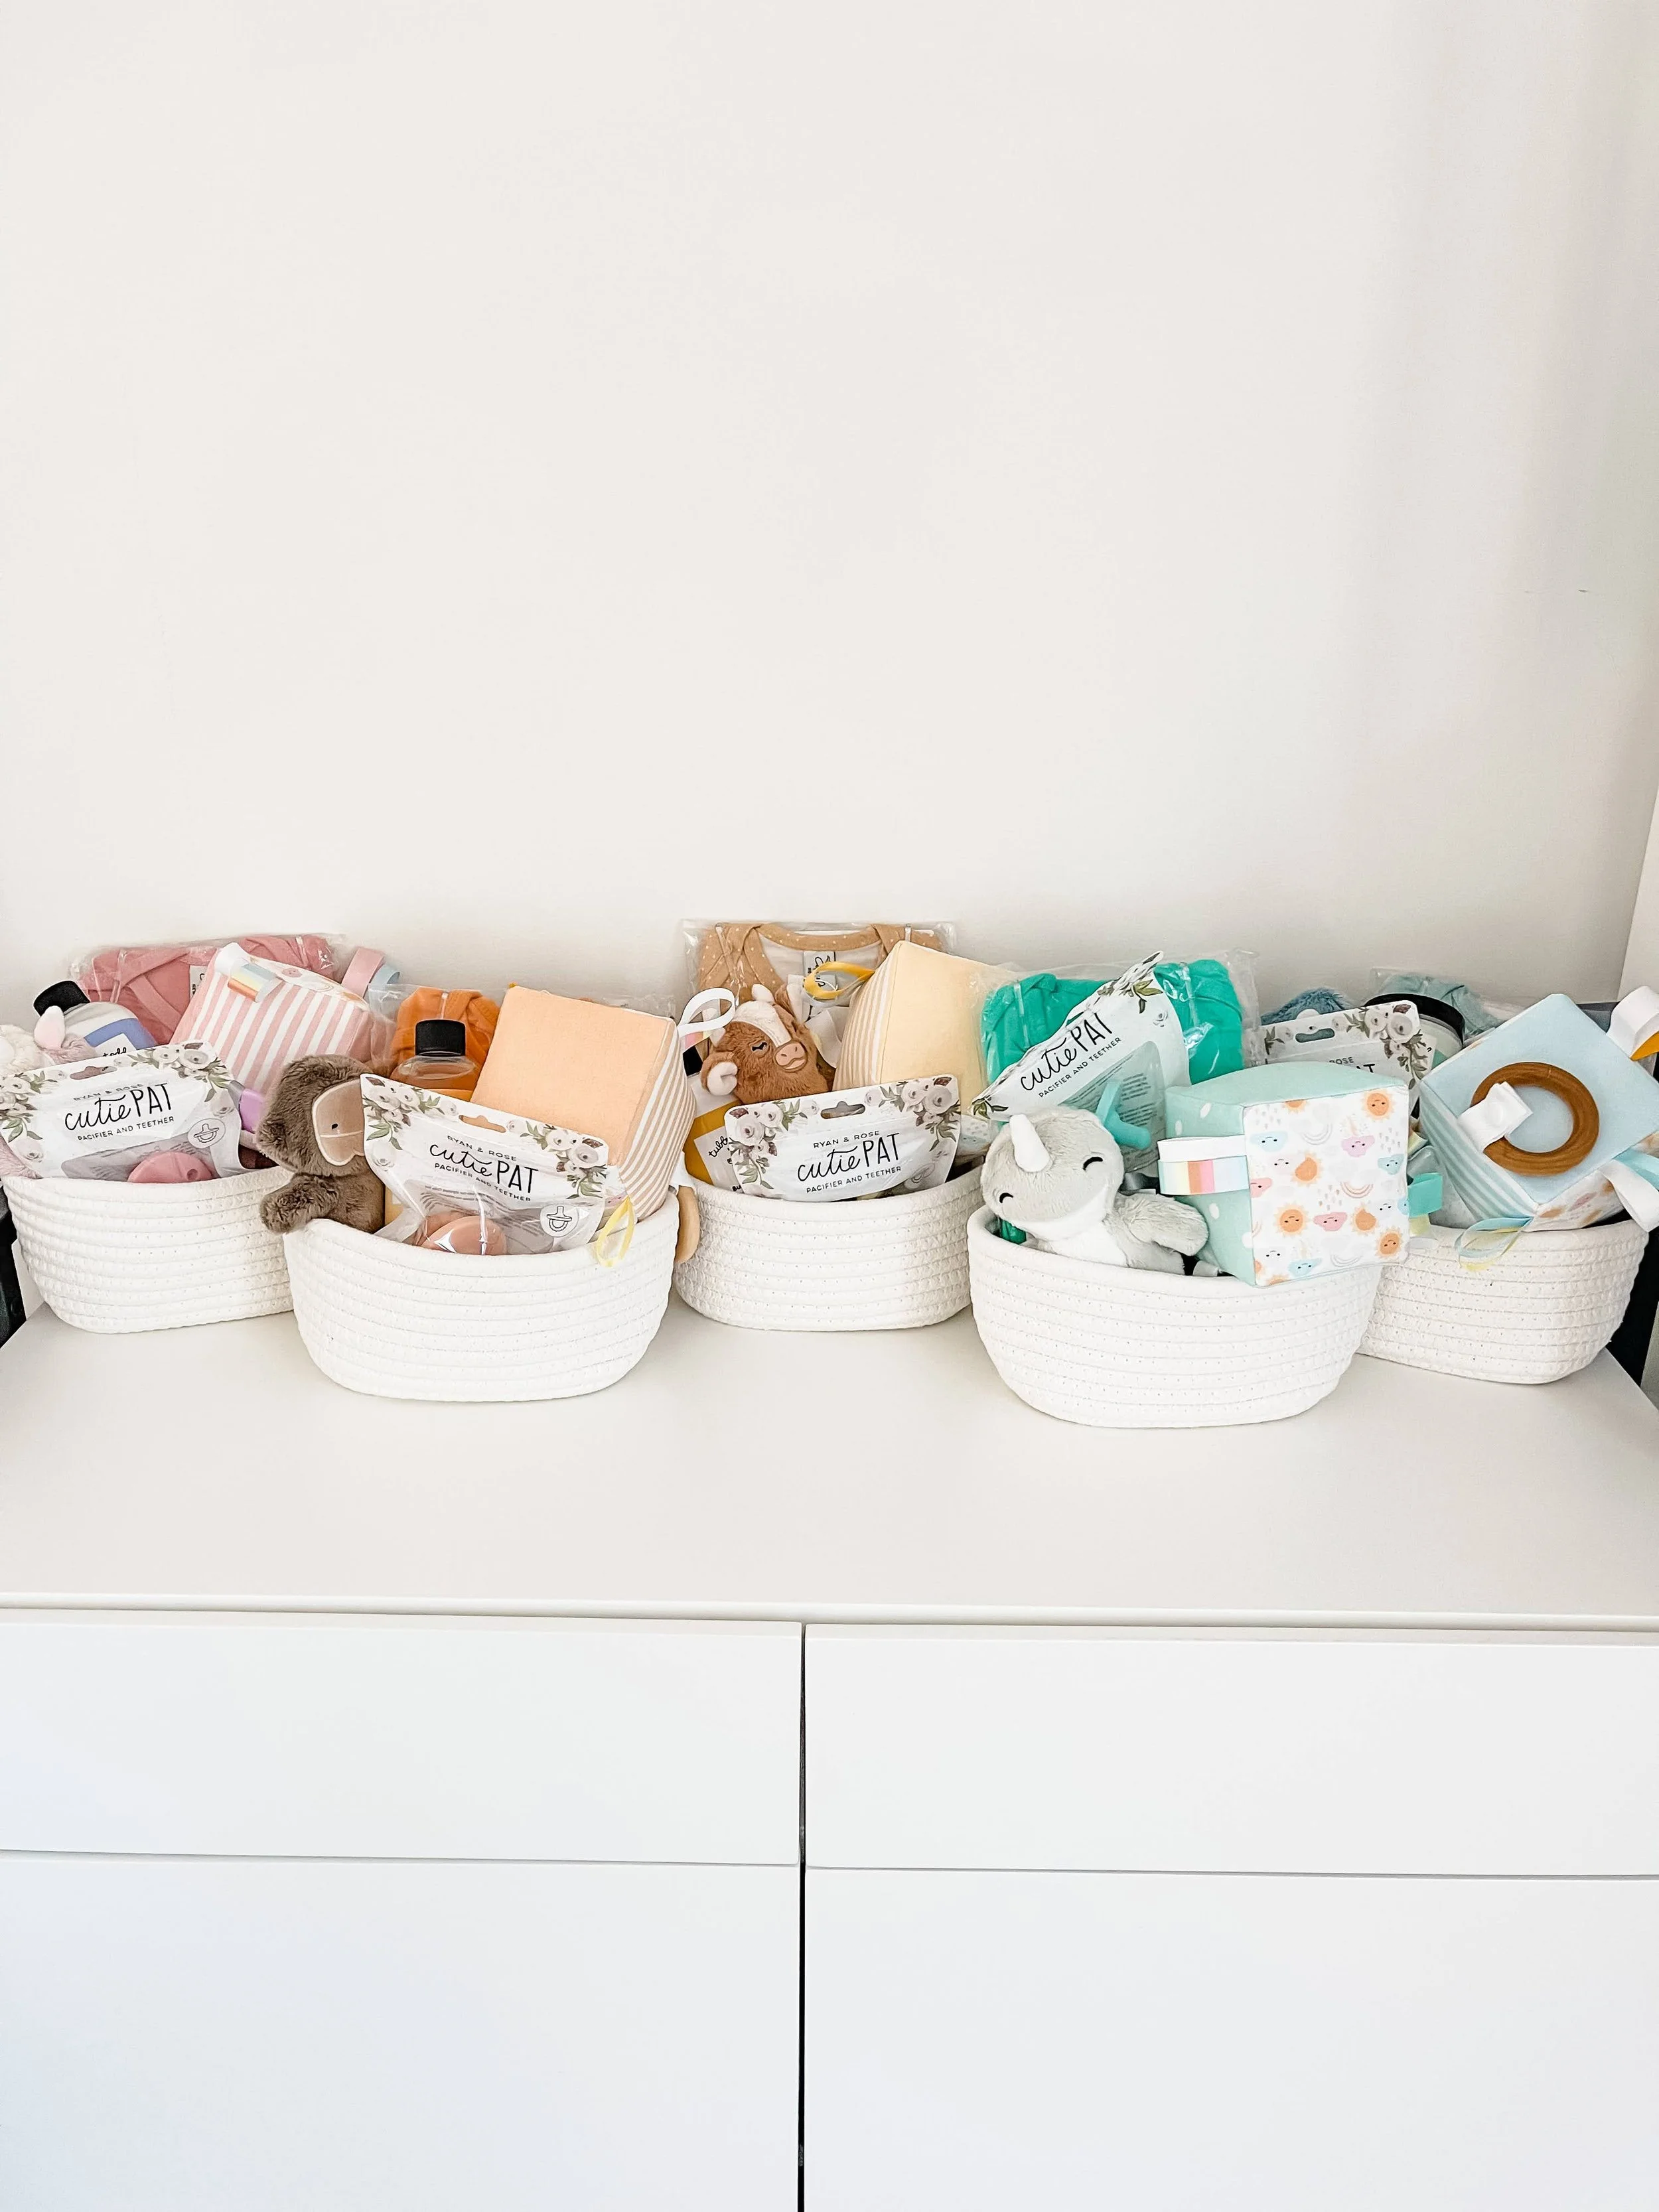
This spring five of my friends were having babies so I had to pull together the cutest little gift baskets to share all of my favorite small shops. And of course I wanted to make them all themed to bring them together. And luckily, because I was doing all five at once, I was able to make it more cost-effective. Check out all of the amazing shops below for the cutest baby gifts.
Copper Pearl Knotted Gowns — These are so adorable and we absolutely loved Copper Pearl bibs when Sofie was a baby. And now that they have gowns and onesies, I had to snag them in these adorable rainbow colors.
Tubby Toddy— When Sofie was a baby she had such terrible dry itchy skin. We tried everything to clear it up and eventually found the All Over Ointment from Tubby Todd and within two days her skin was perfect. Highly recommend trying it out if you haven’t already! Get 10% off your order!
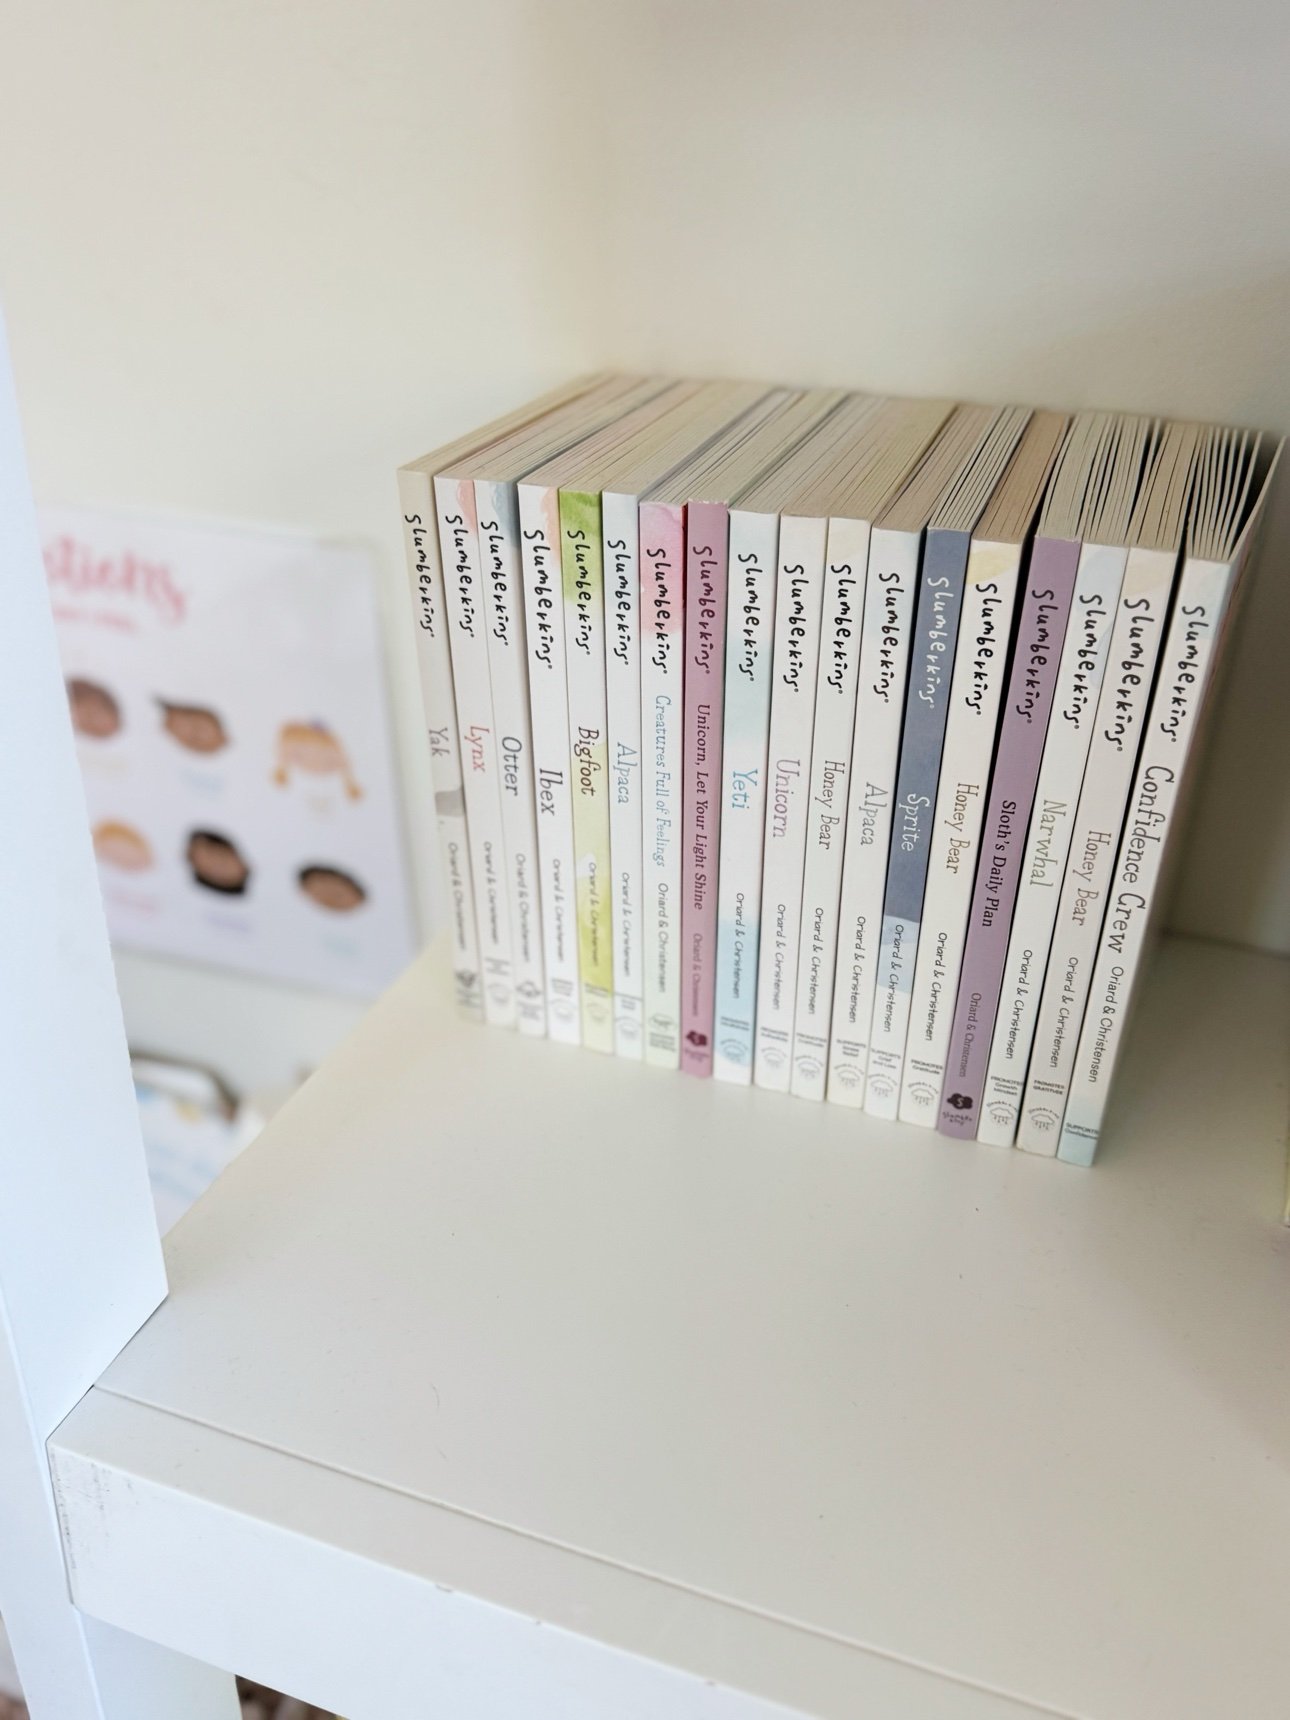
Slumberkins — Sofie loves her Honey Bear and she sleeps with them every night. So when I saw that Slumberkins had the five packs of friend, I thought it would be the perfect way to get my friends hooked on Slumberkins too. If you haven’t already seen these gift sets for the minis, you should definitely check them out. Sofie loves the books and the stories that go with each friend.
Little Cozy Fox — I teamed up with Little Cozy Fox to create the fabric for these custom baby blocks and they do not disappoint! I love them so much they’re just so adorable. And perfect for those little teethers.
Ryan & Rose — When Sofie was a newborn these little CutiePat pacifiers were amazing. The clips kept them attached so that she could retrieve them herself and helped her self-sooth. And I don’t know, maybe we just got lucky, but she never got addicted or attached to them! Get $5 off your first purchase with this link: Get $5 Off
Memory Game Cards — Of course I had to throw in some GoodnightFox goodies and I picked a memory game card set to match each color basket.
Woven Baskets - Okay, these ones aren’t from a small shop, but they were the cutest little way to bundle everything together.
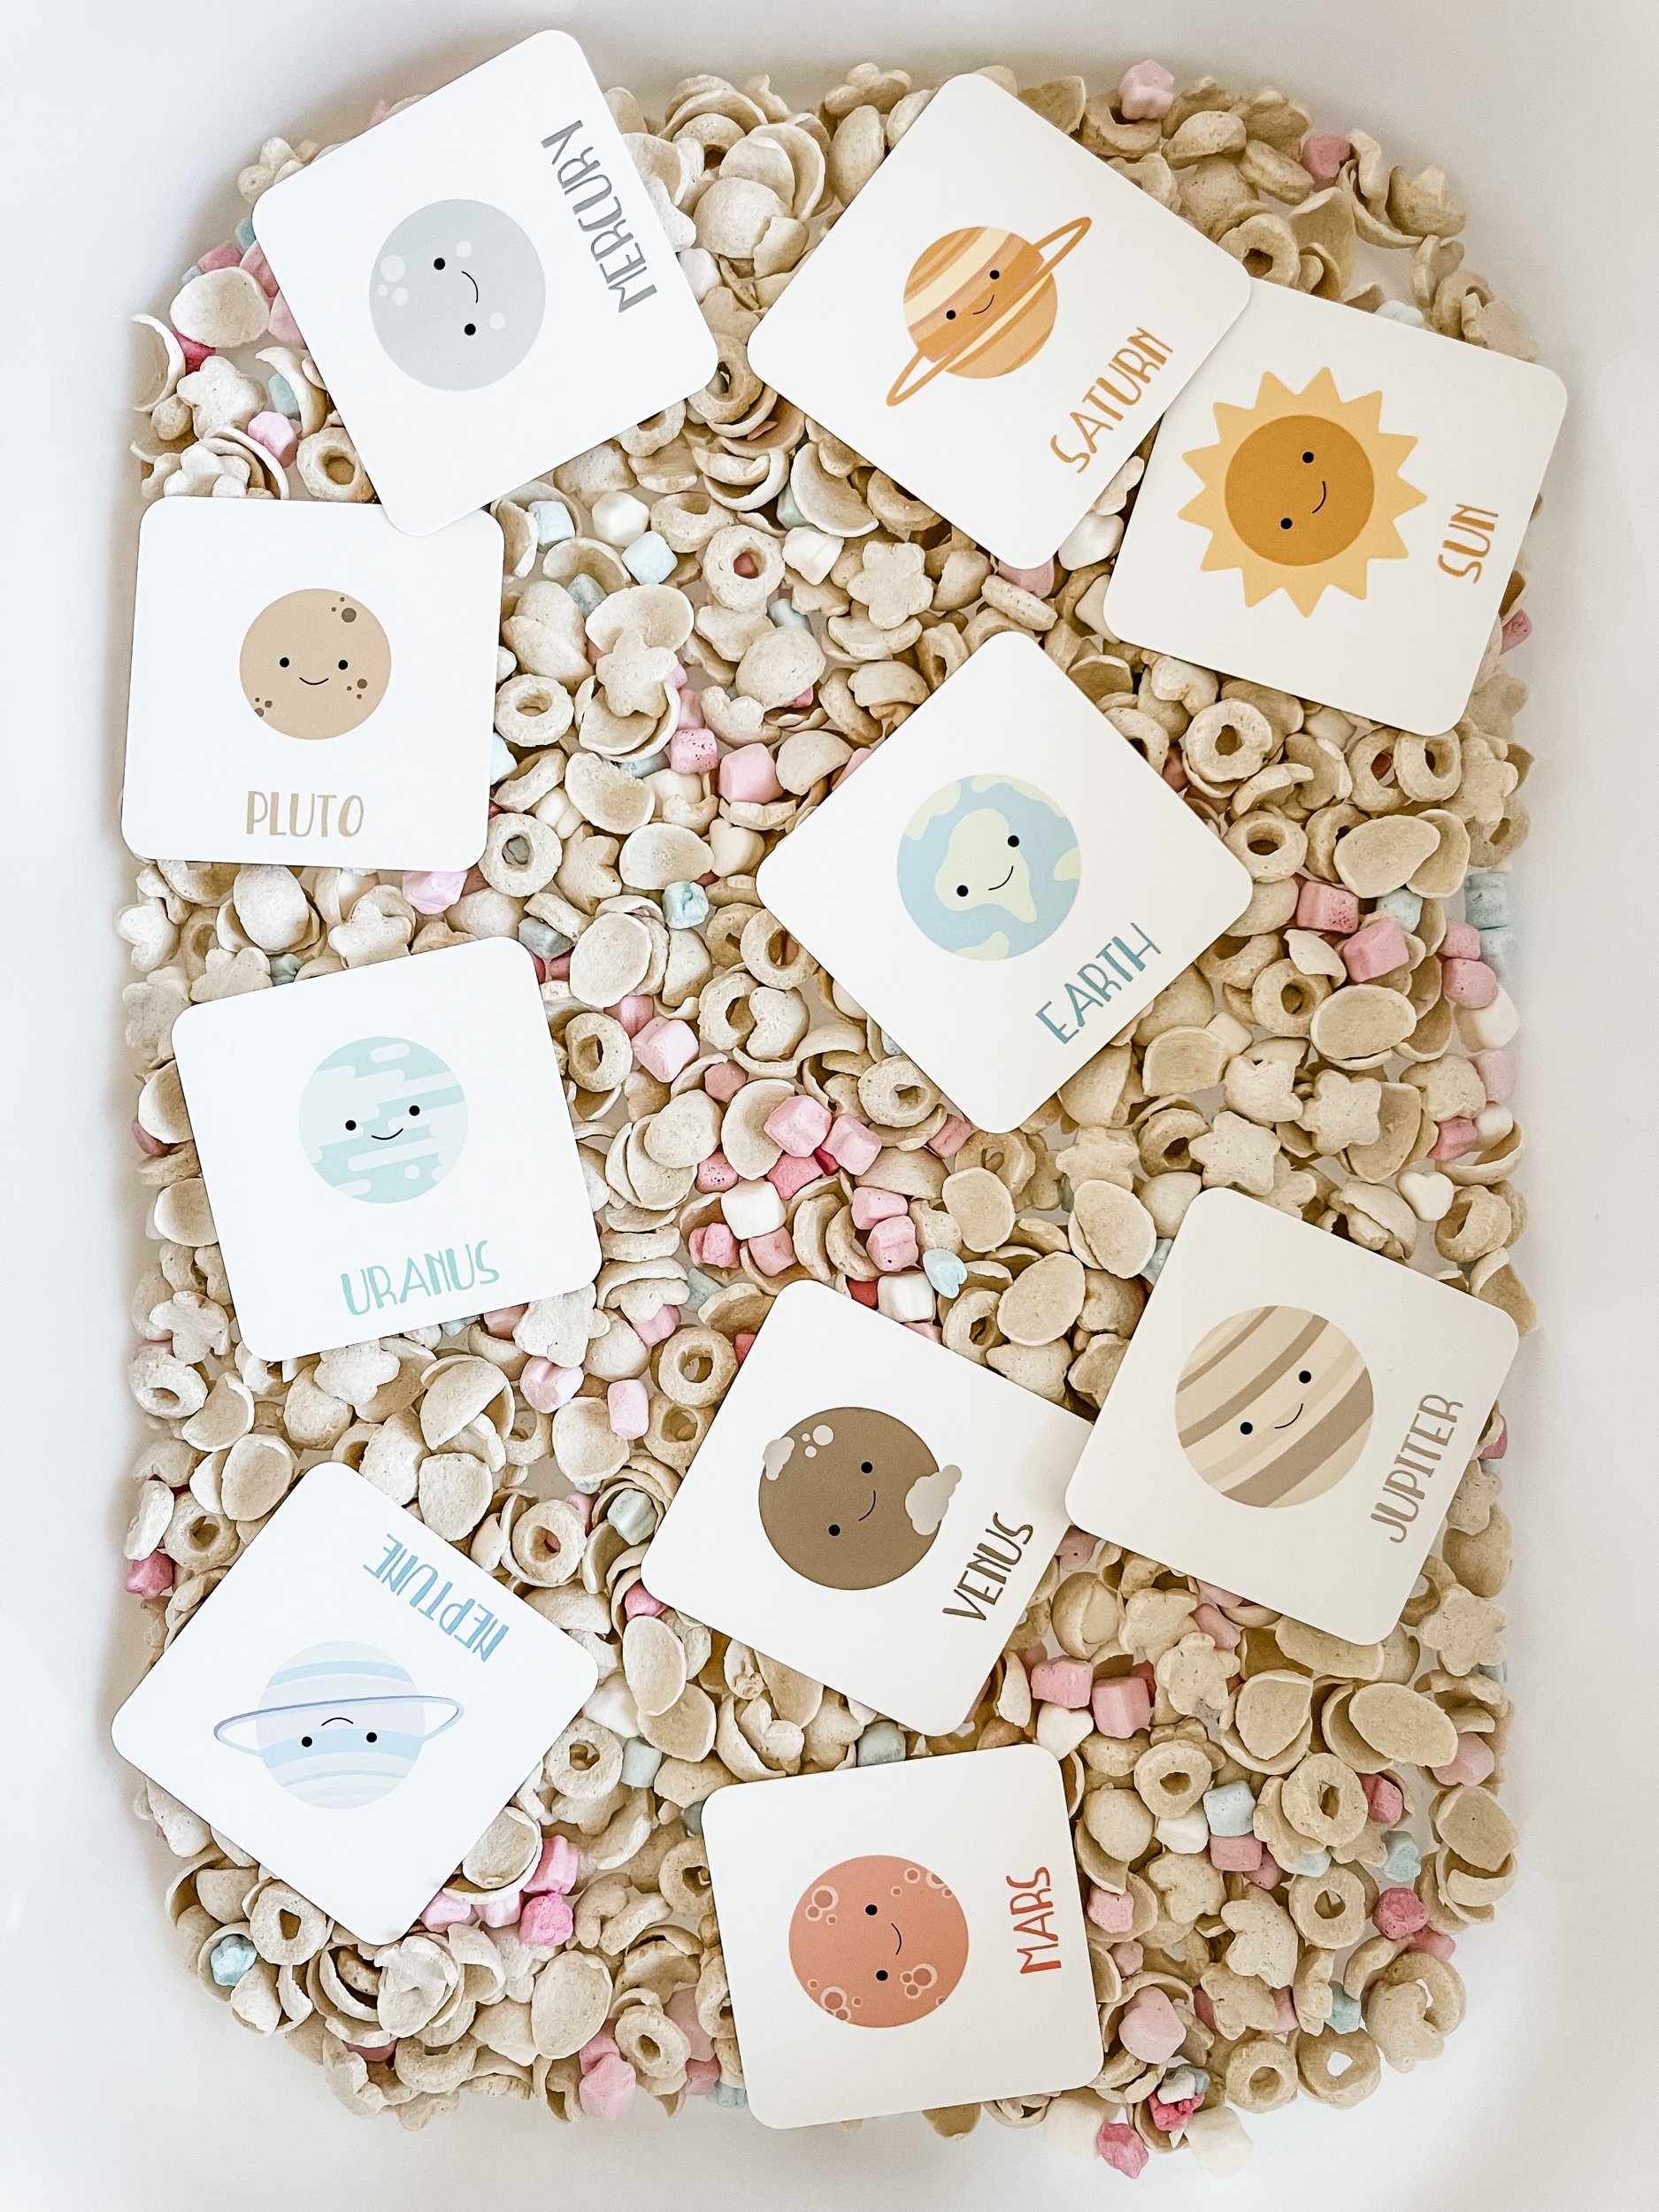
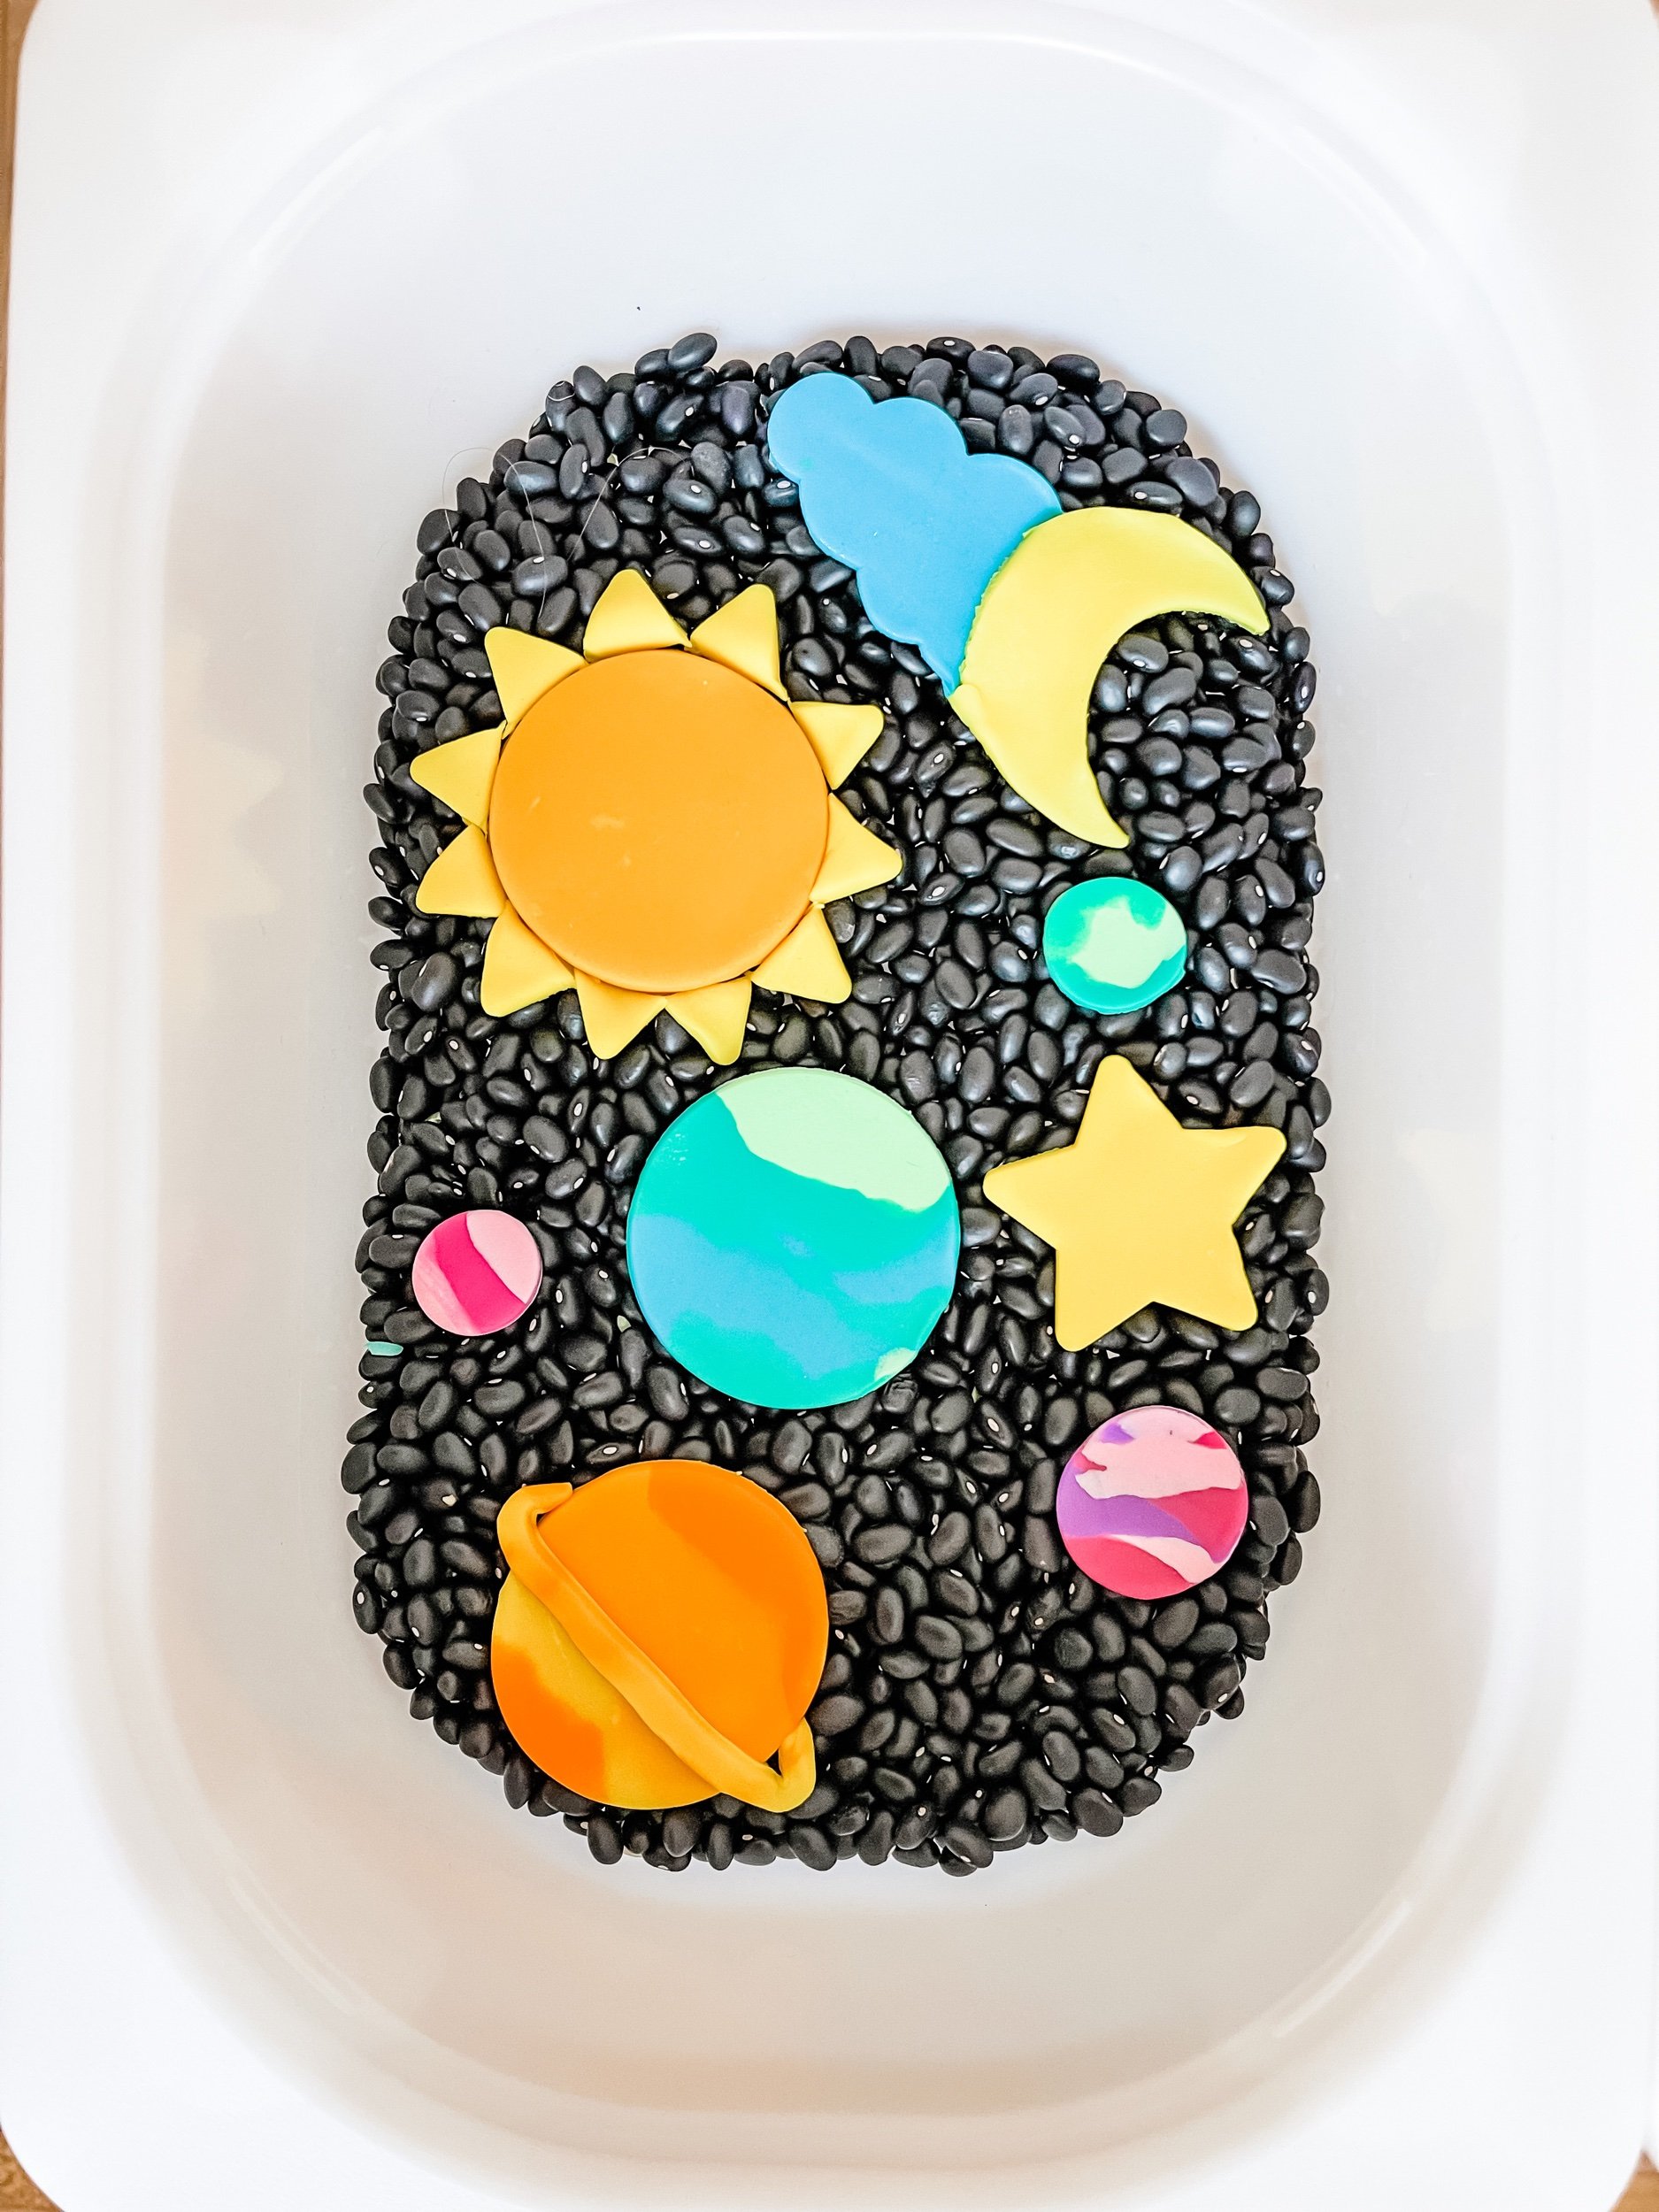
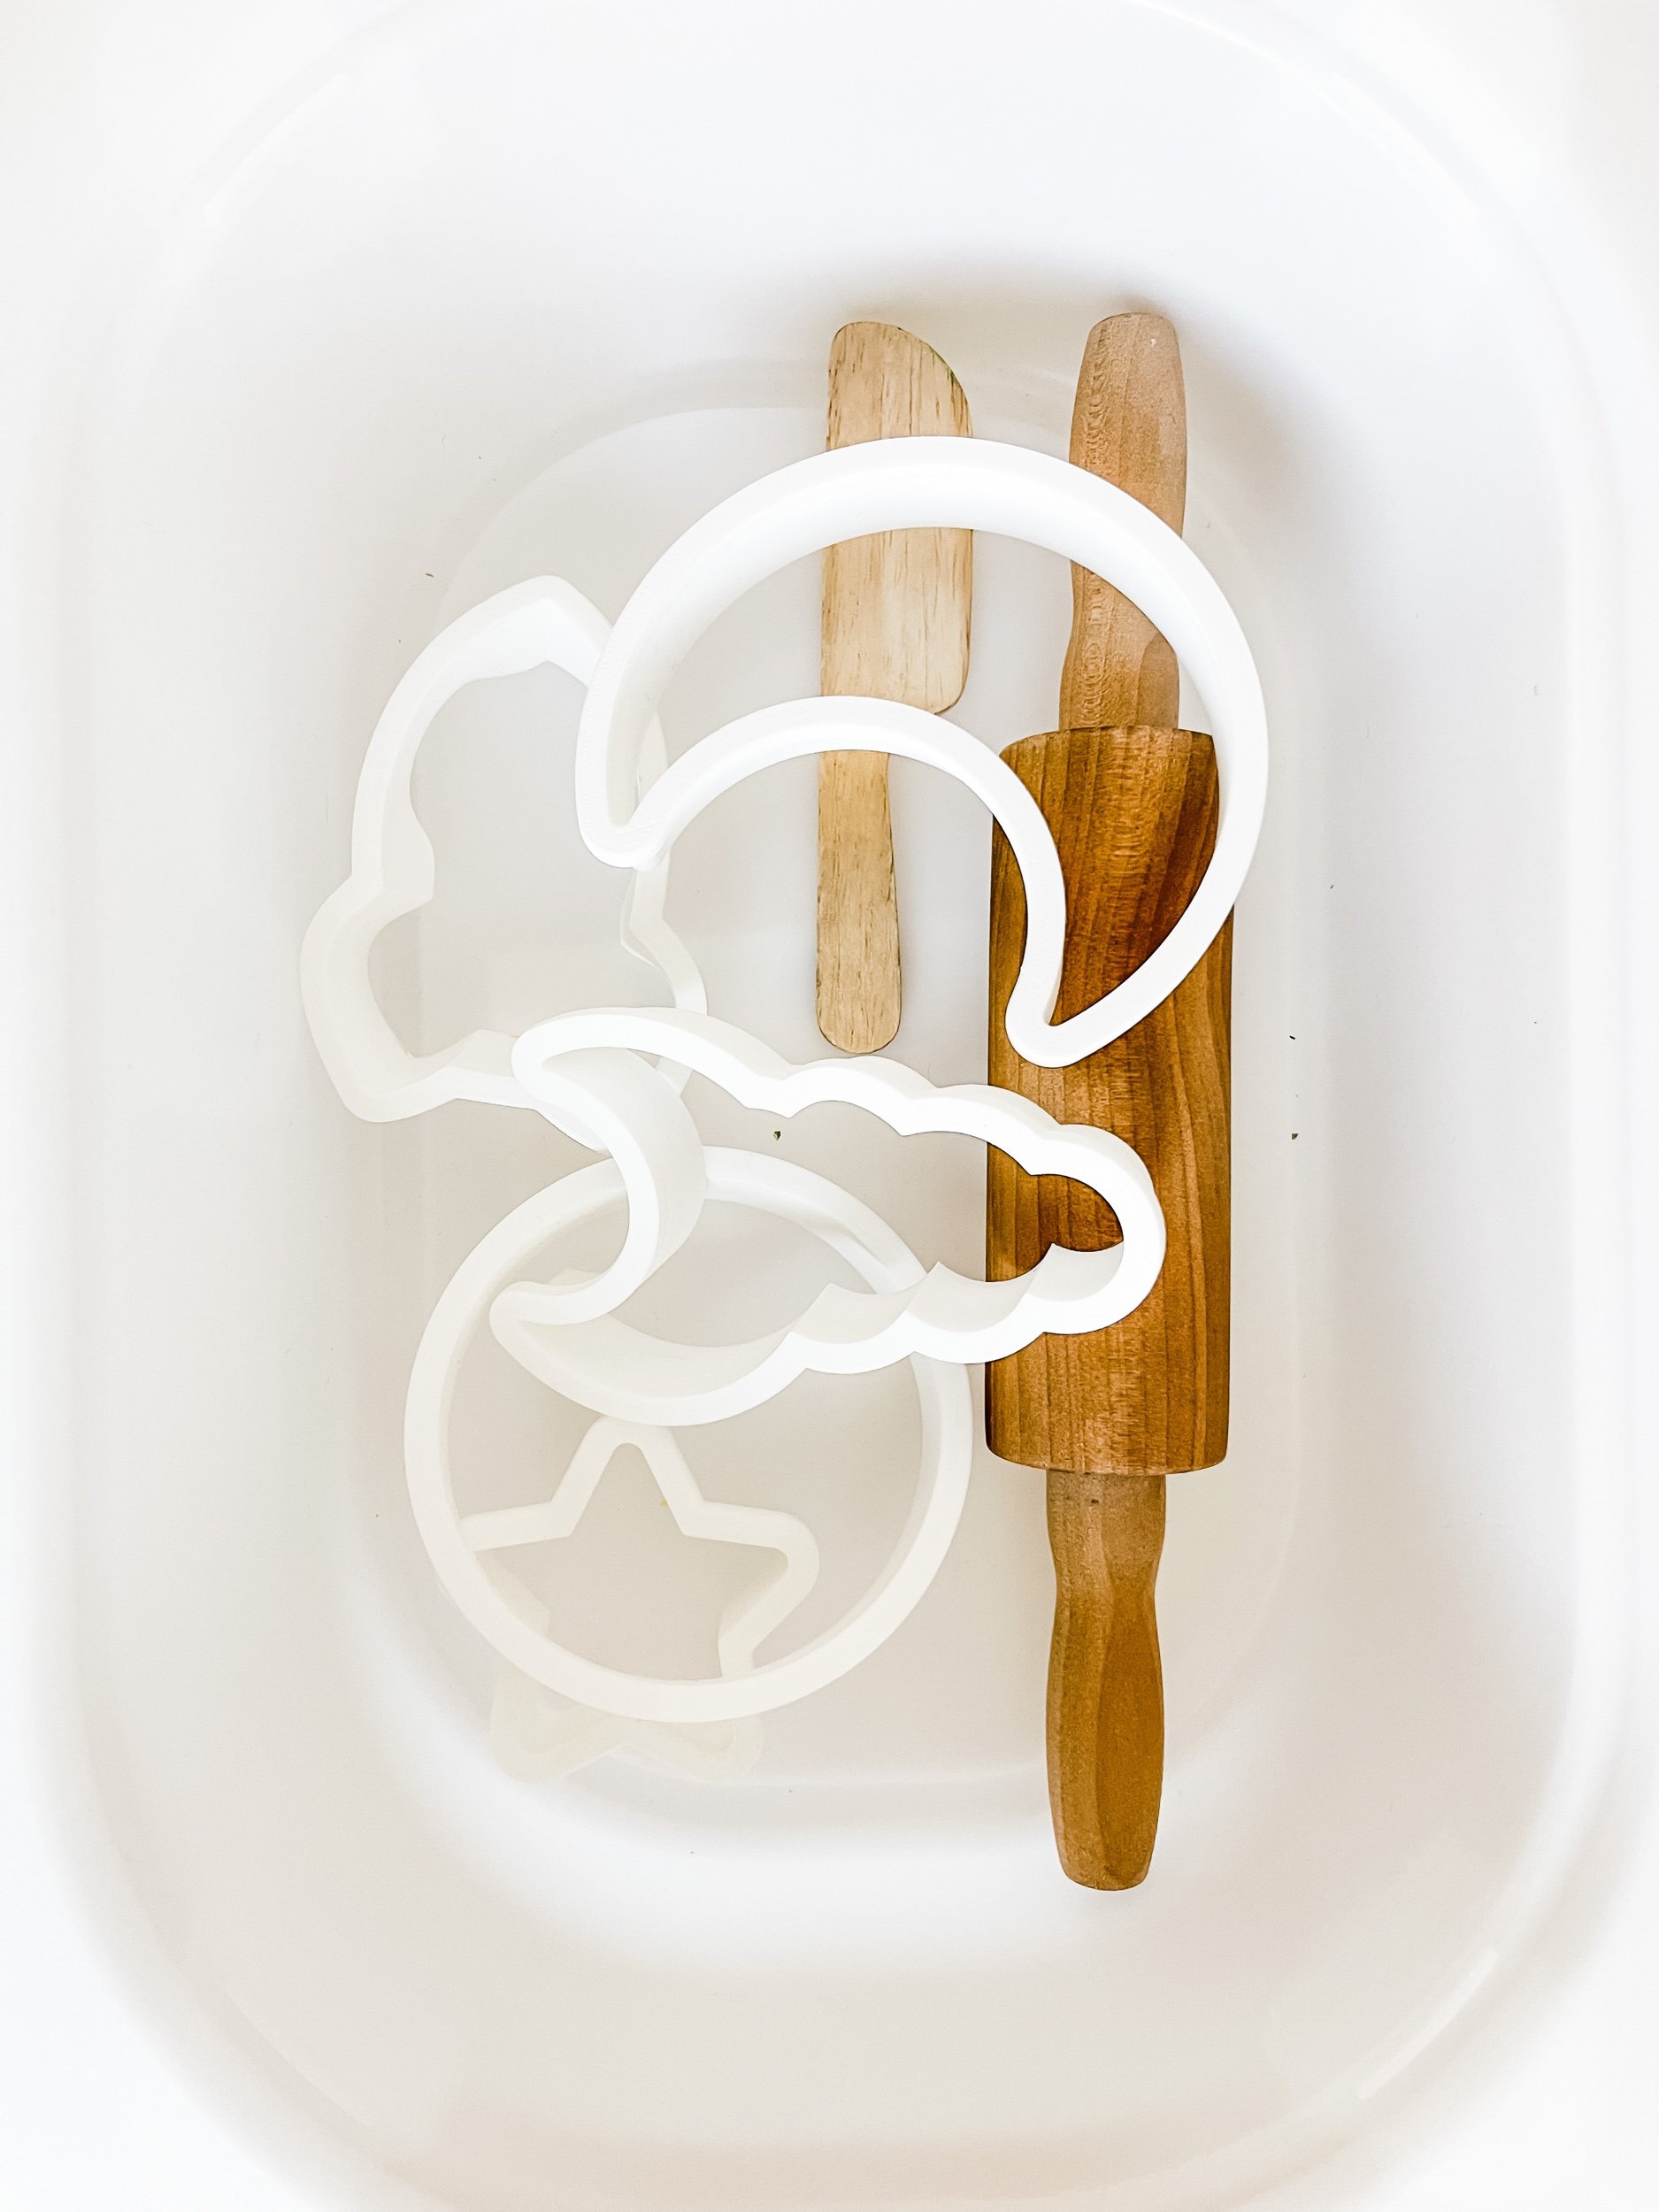
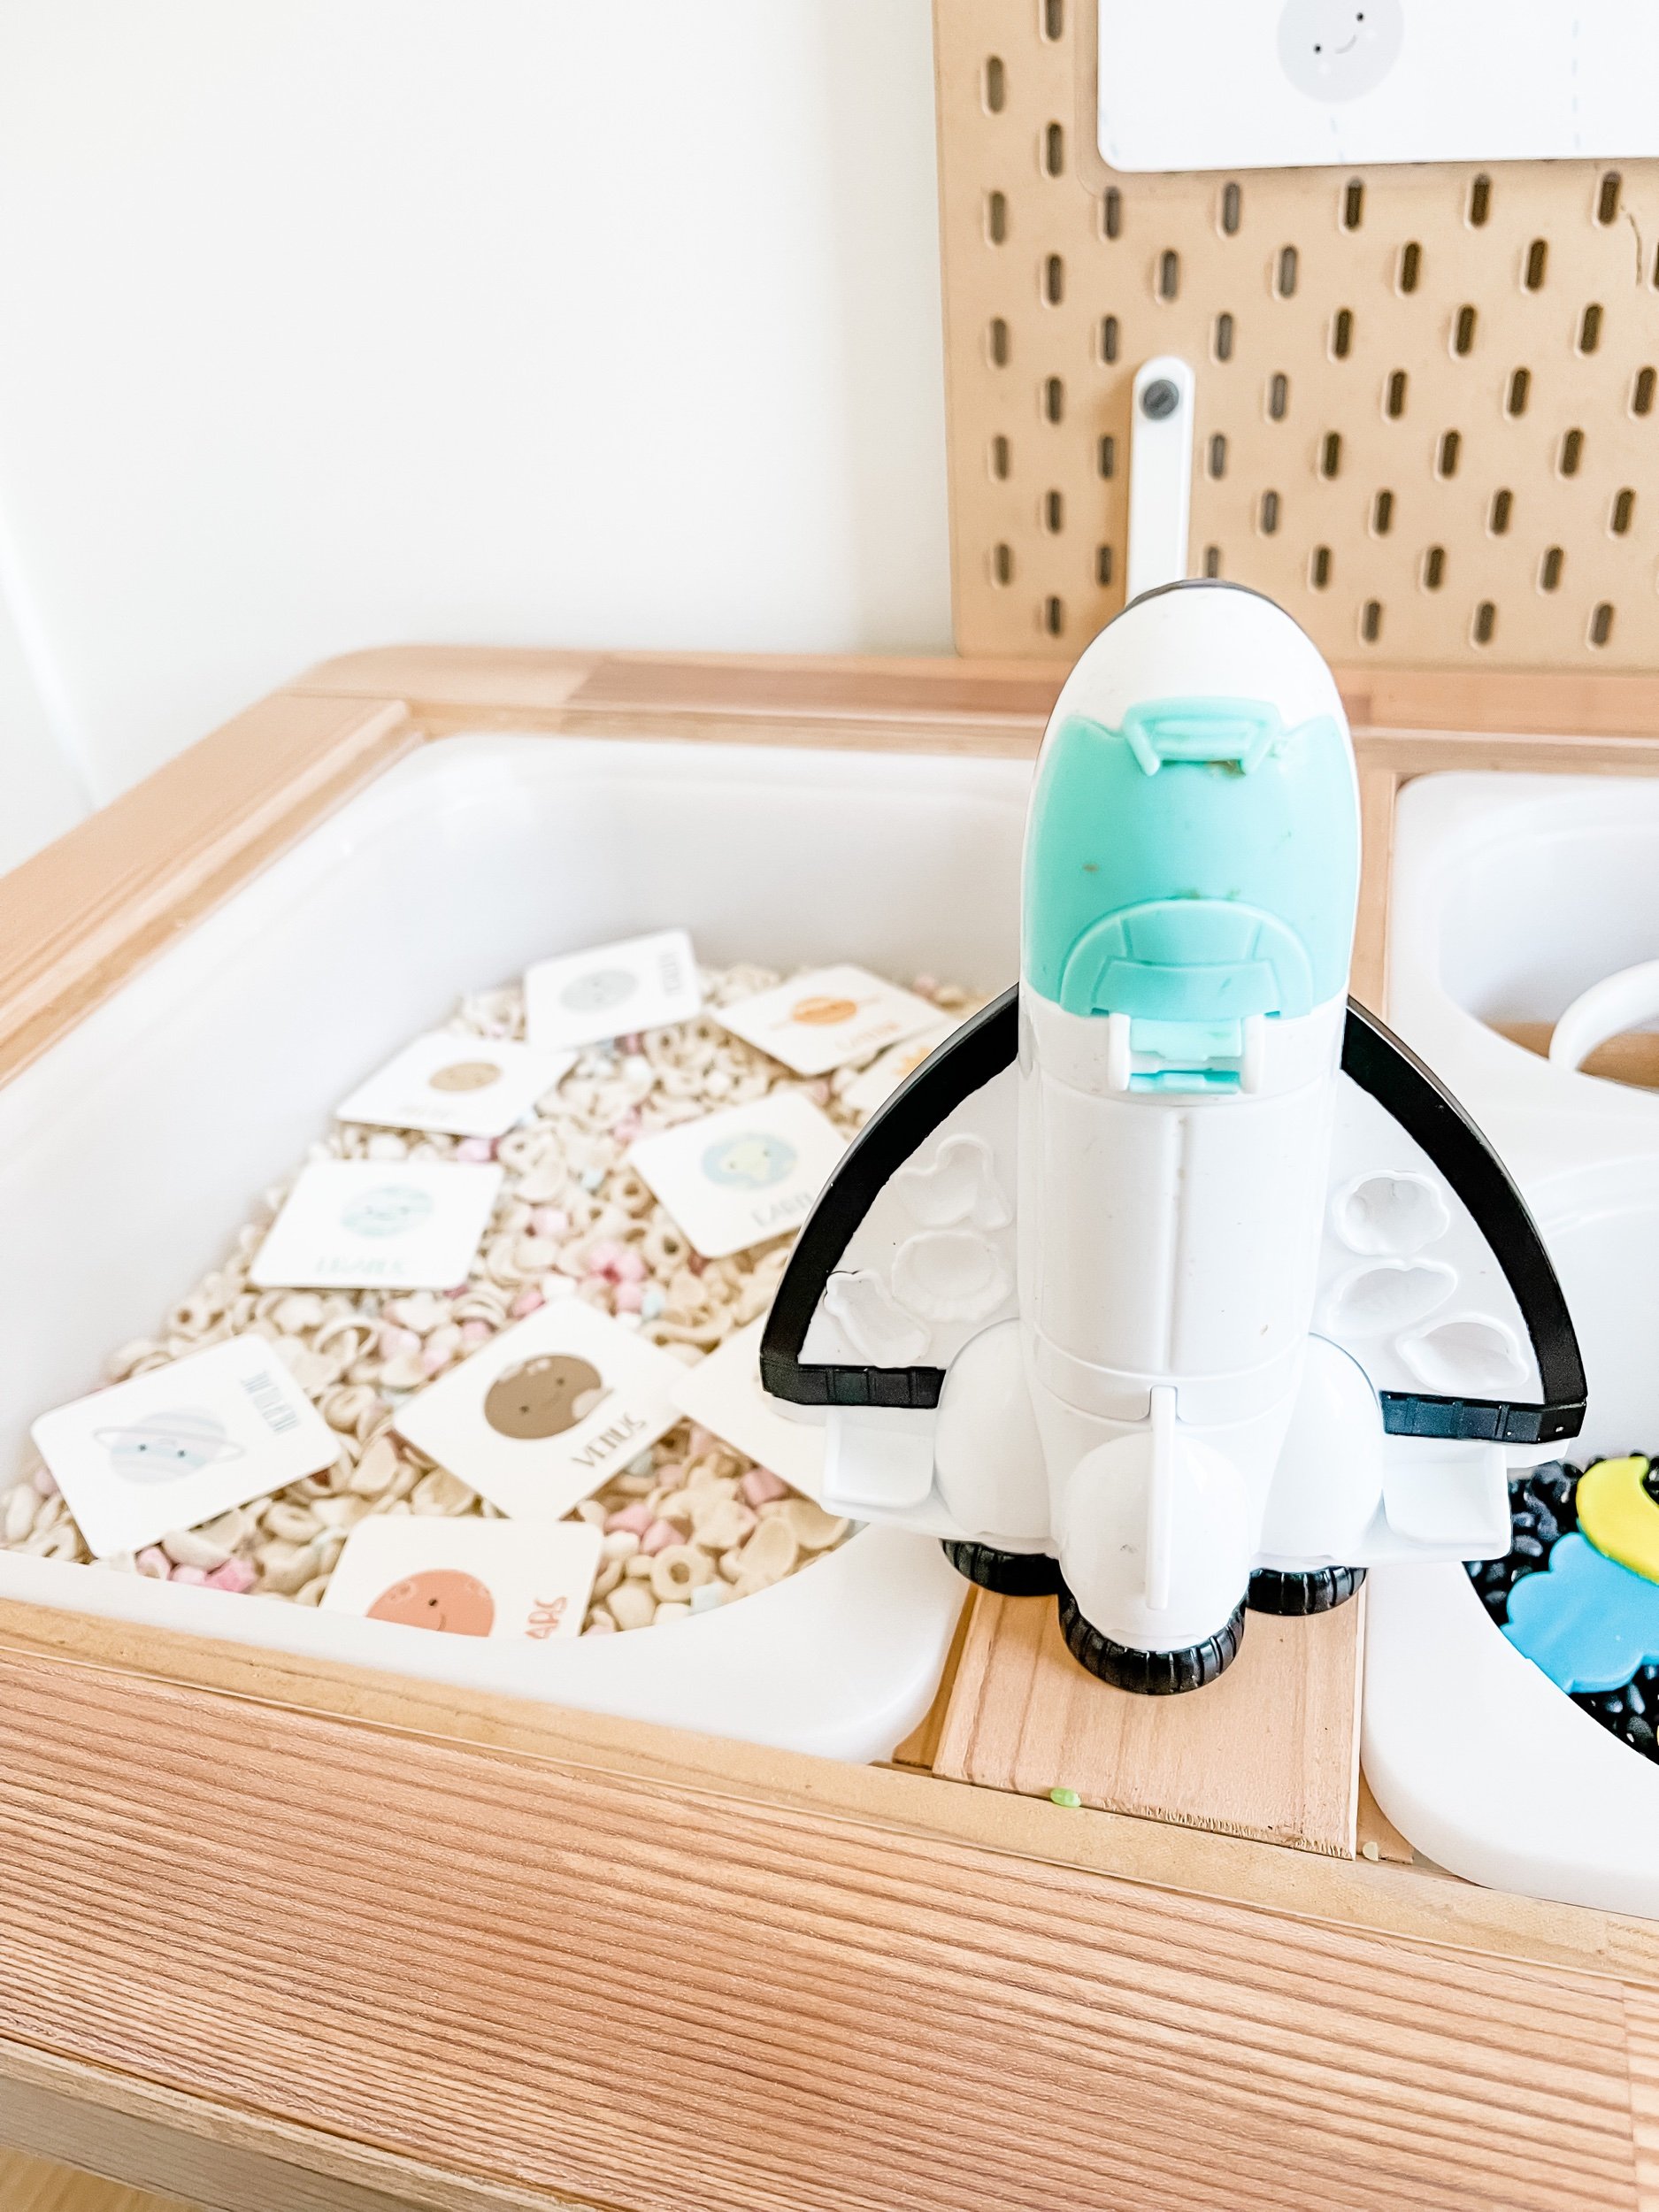
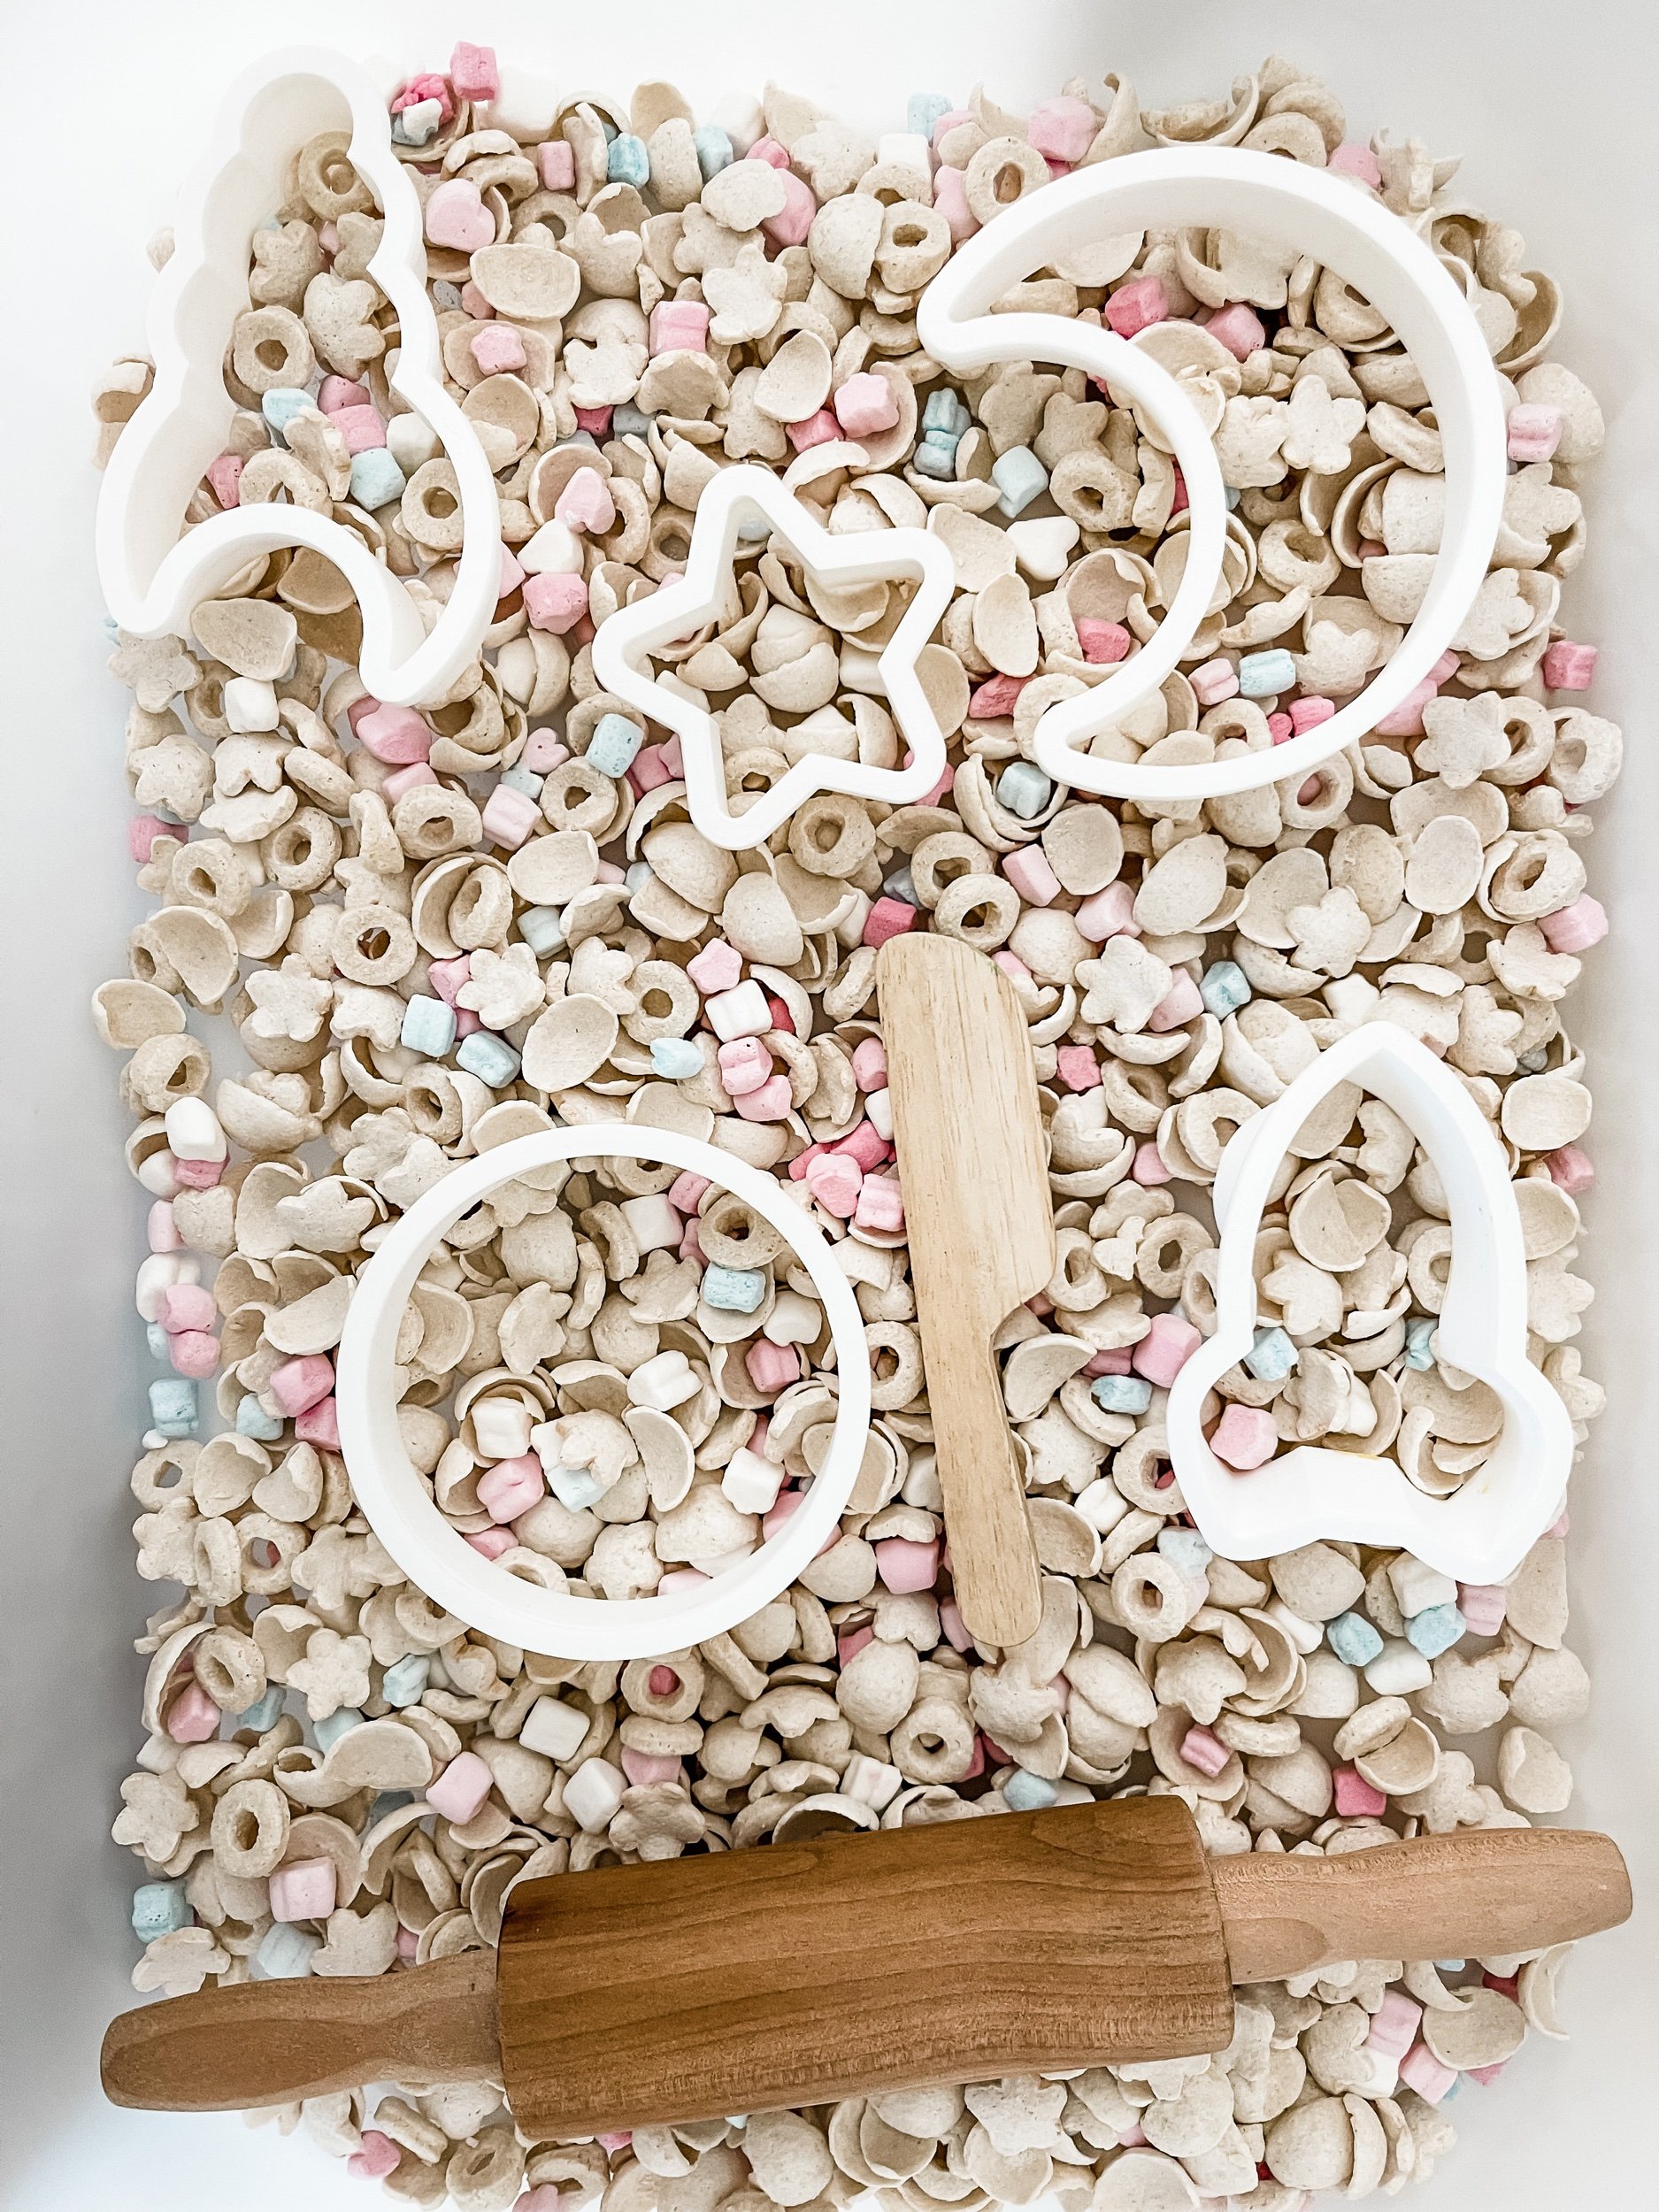
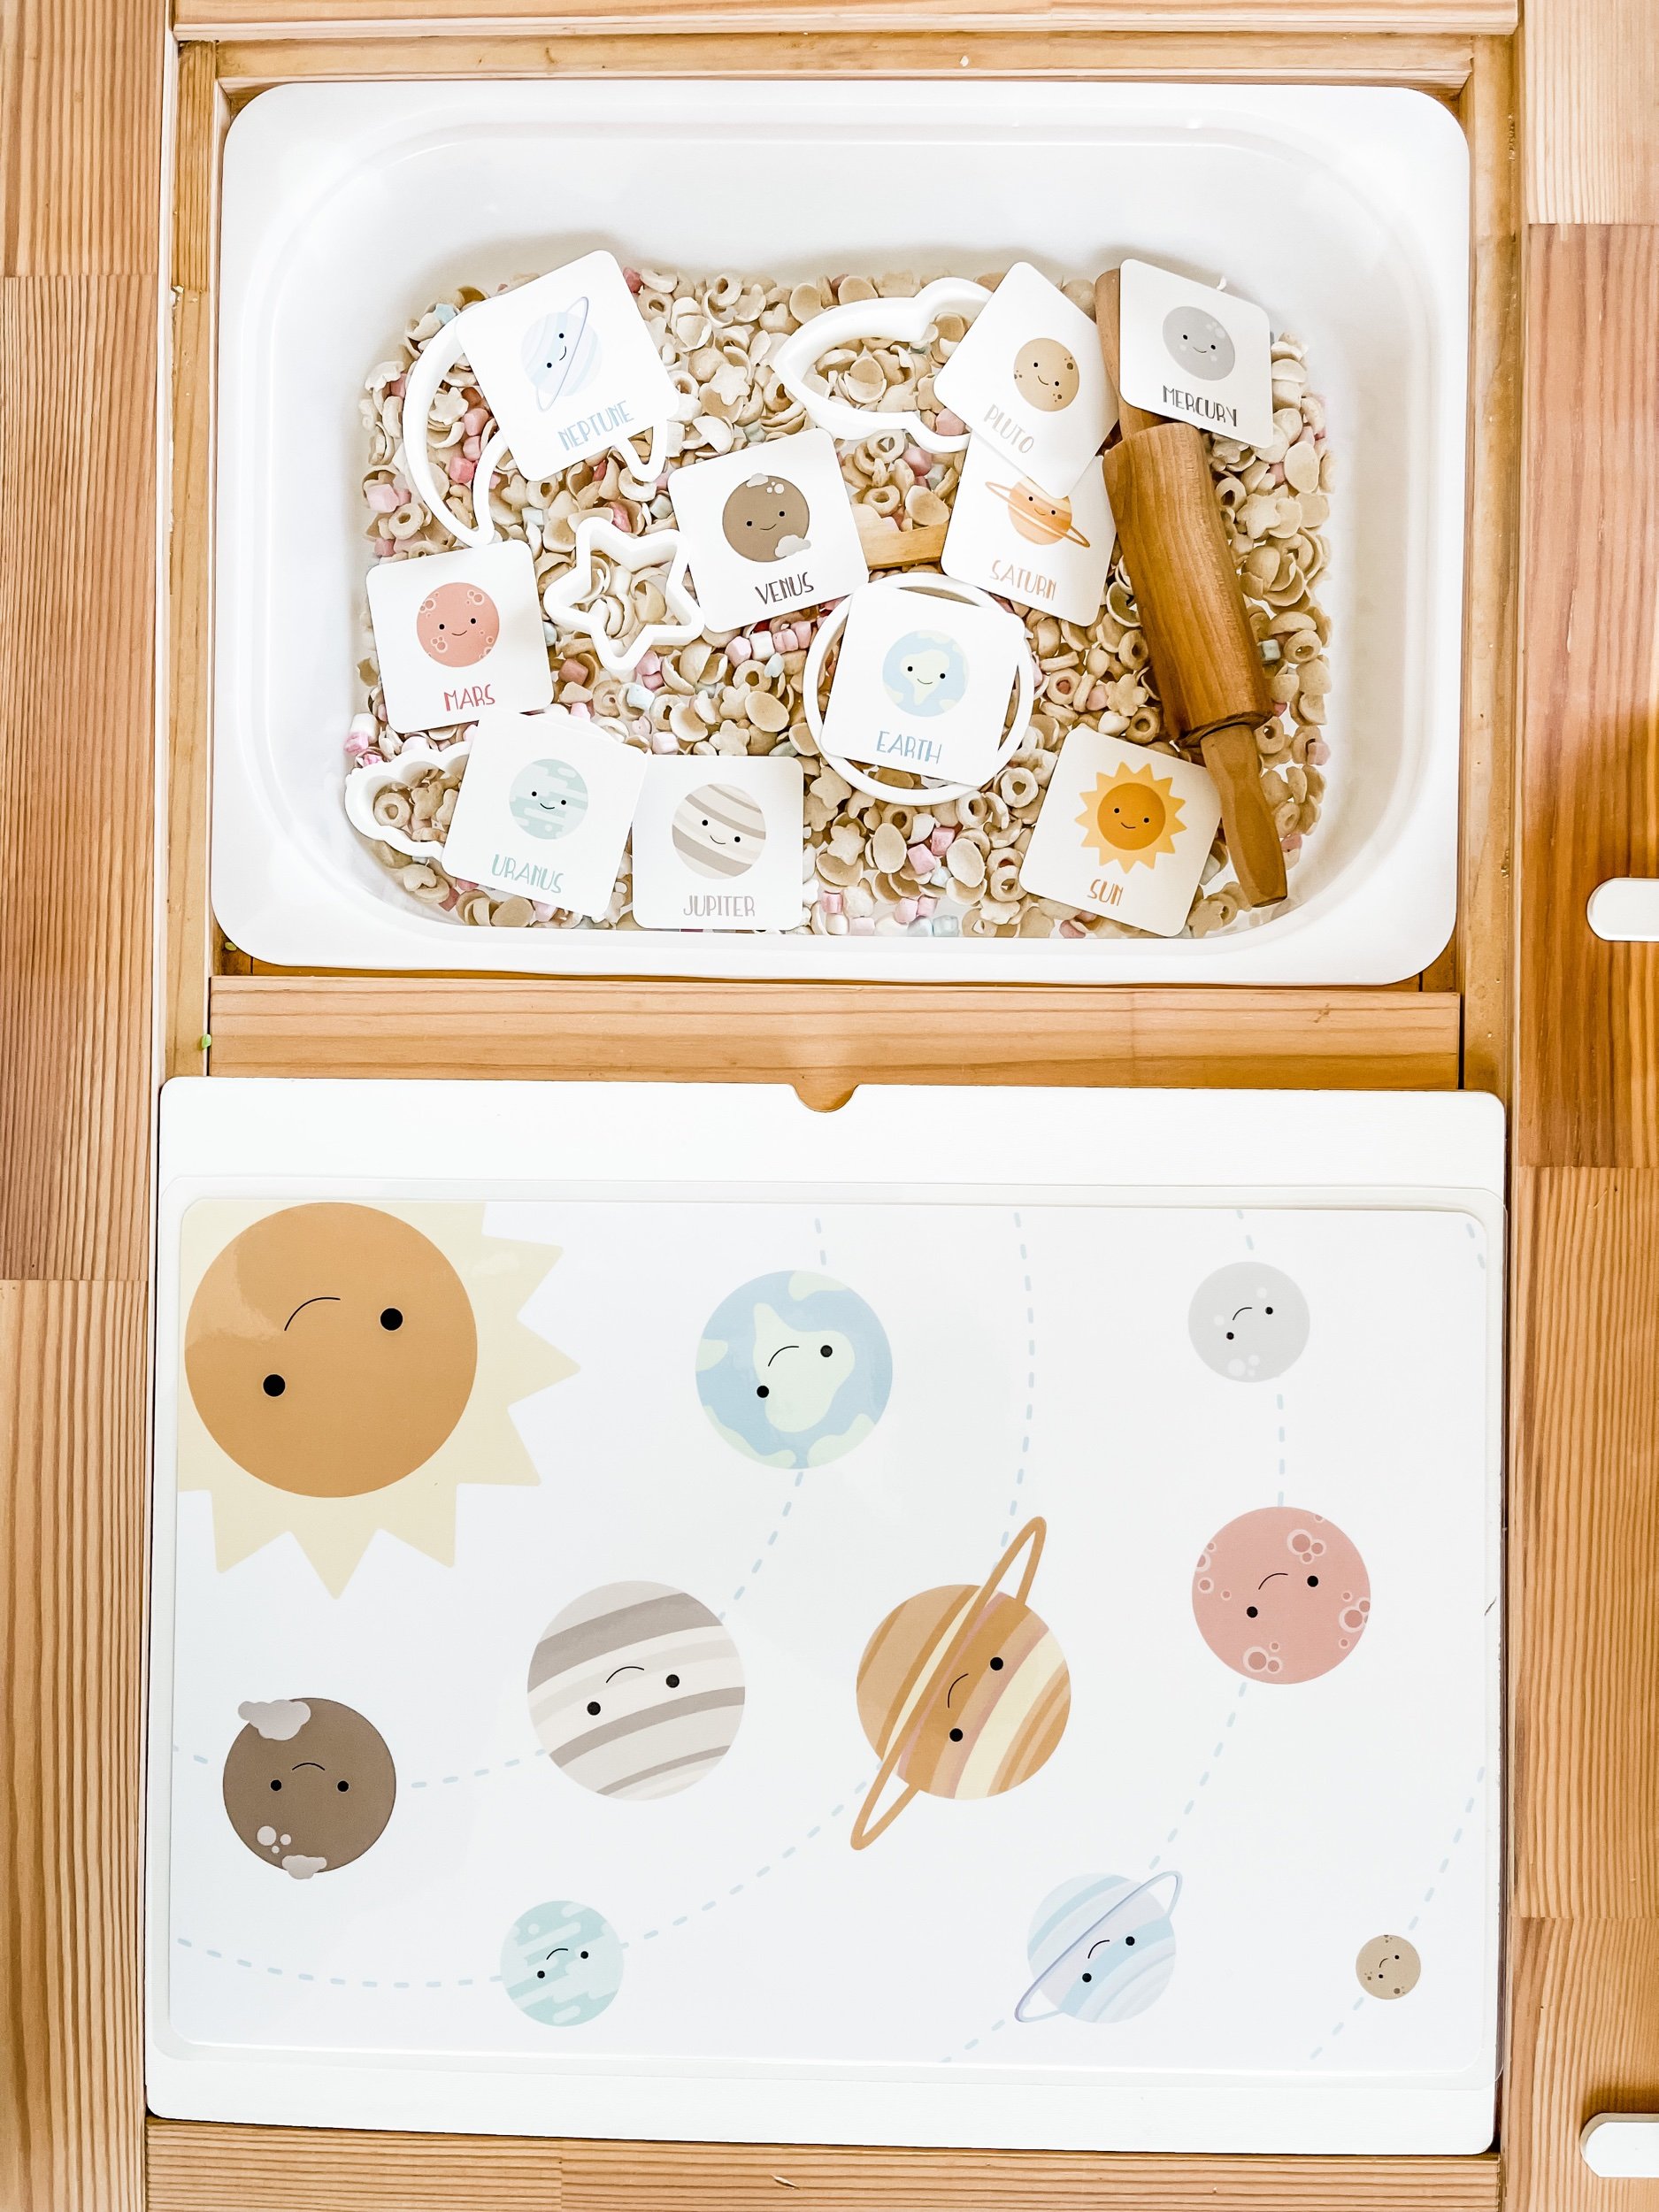
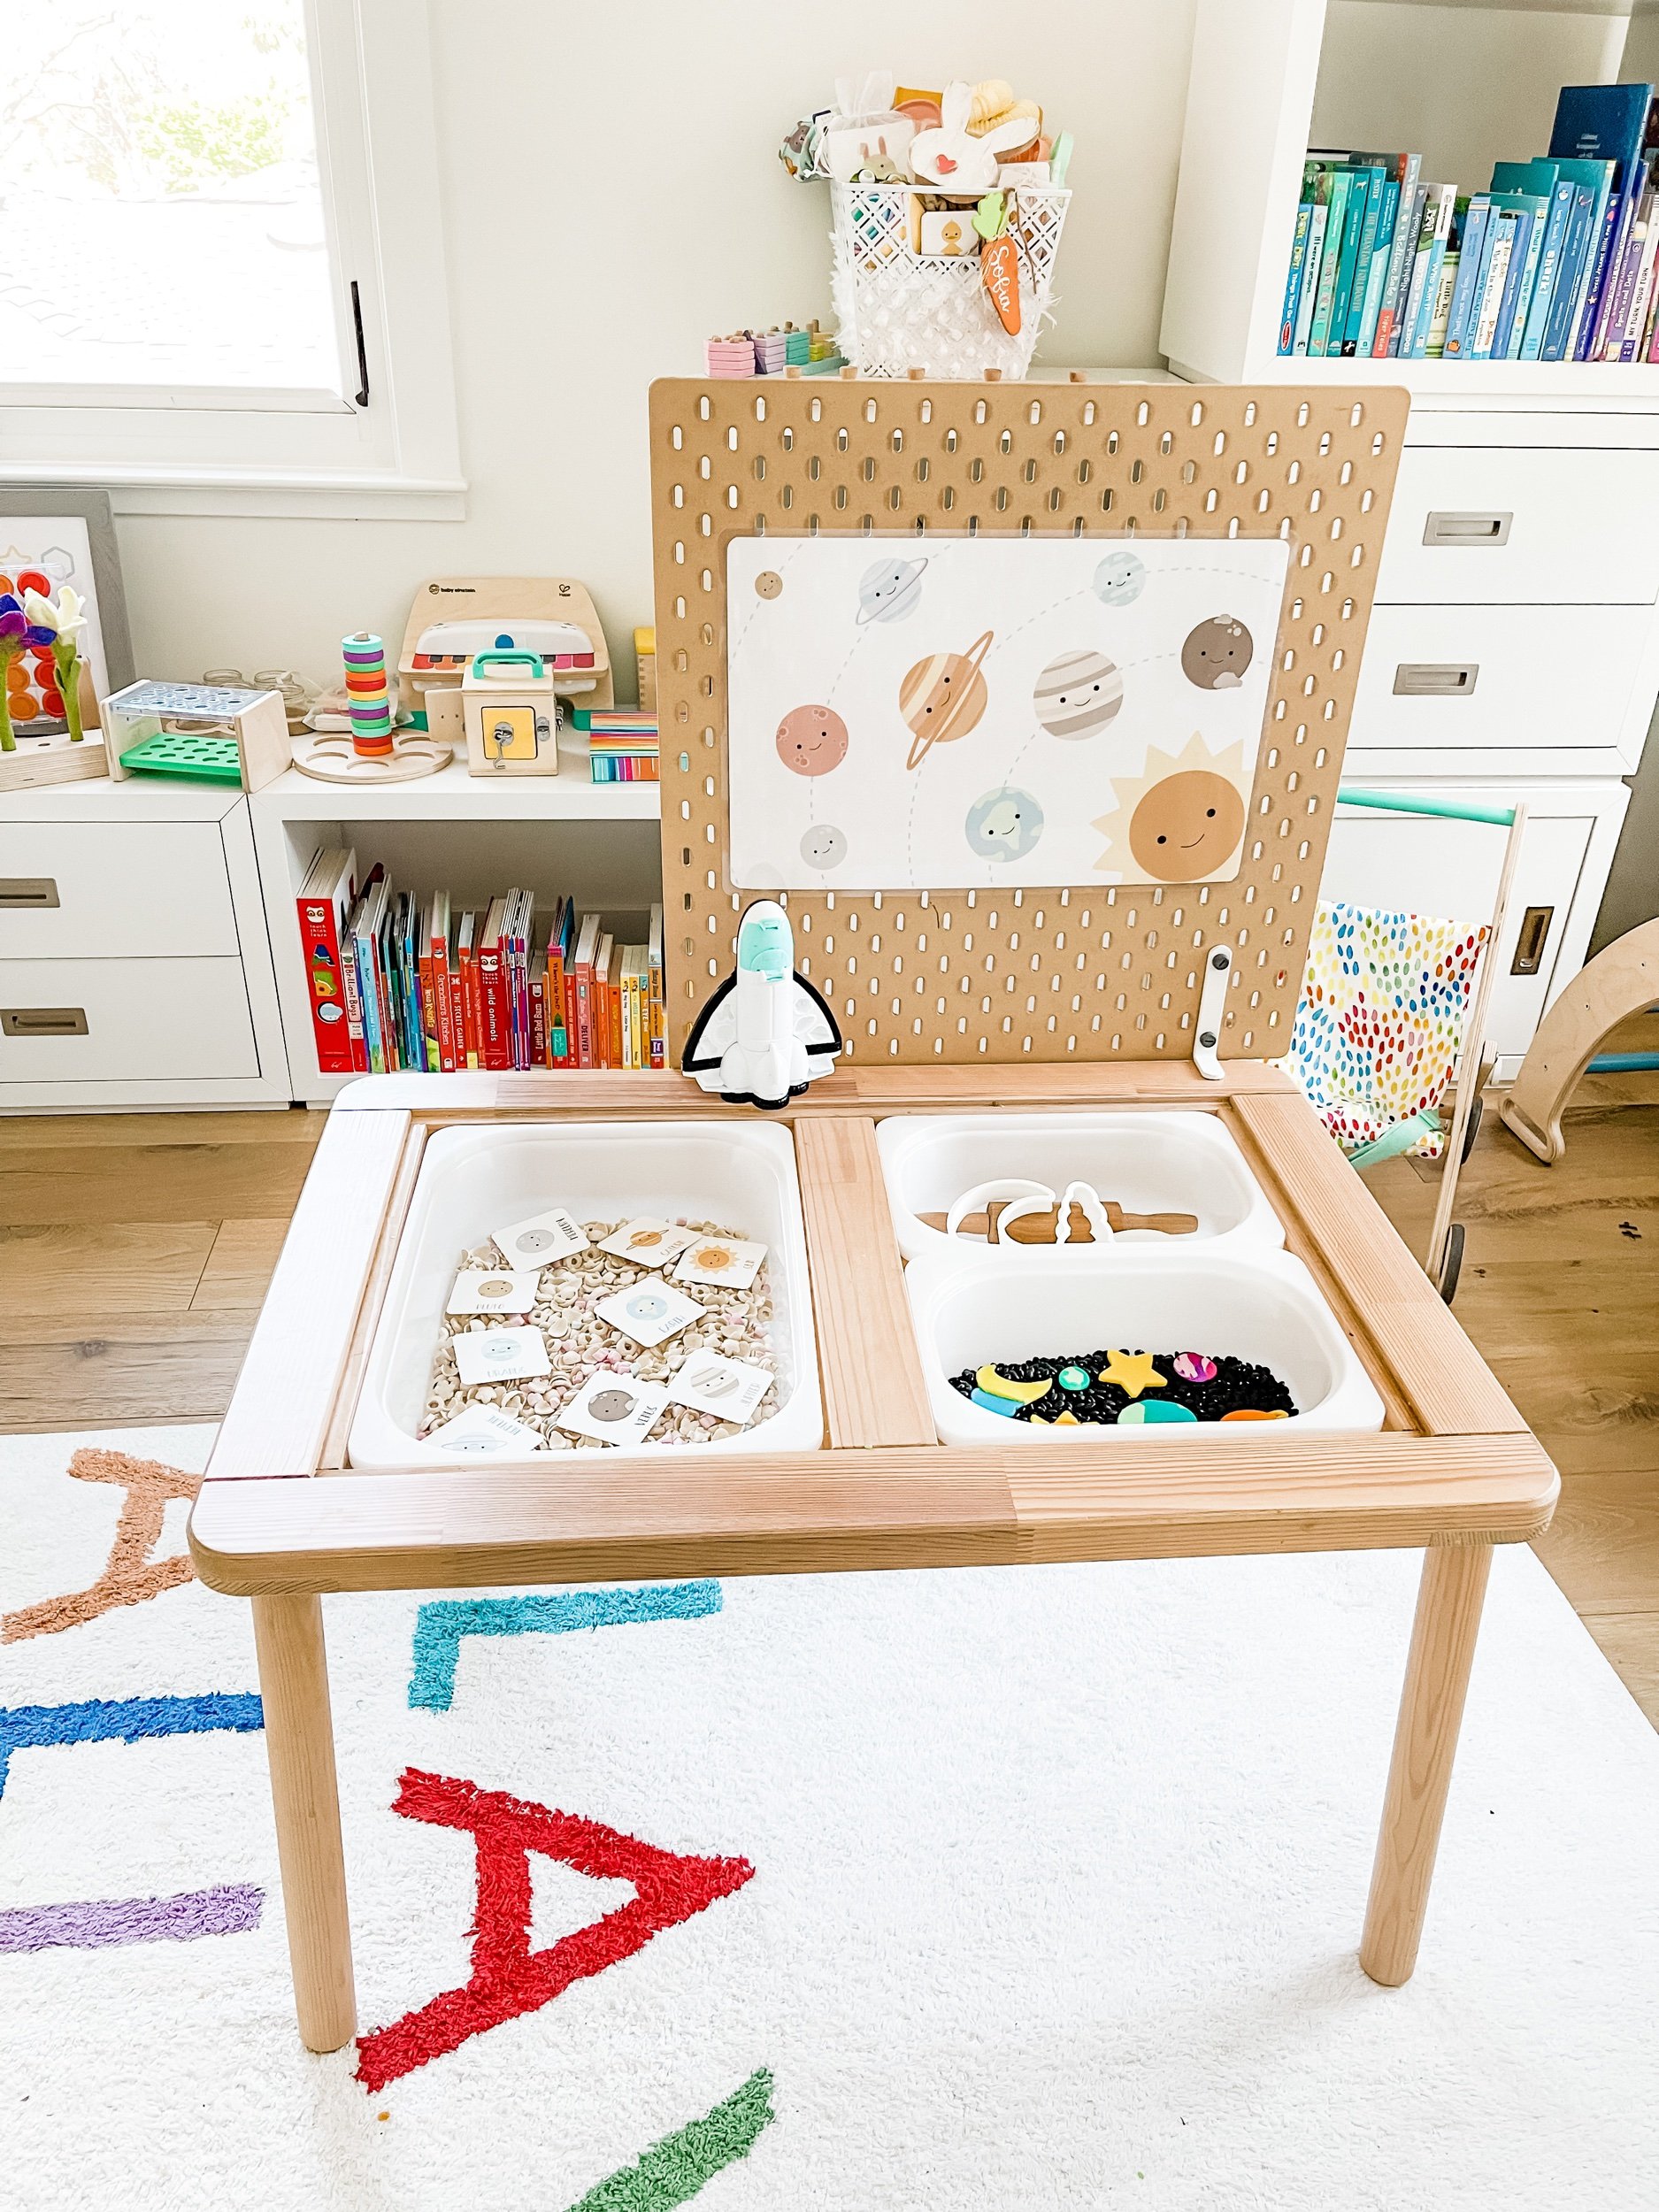
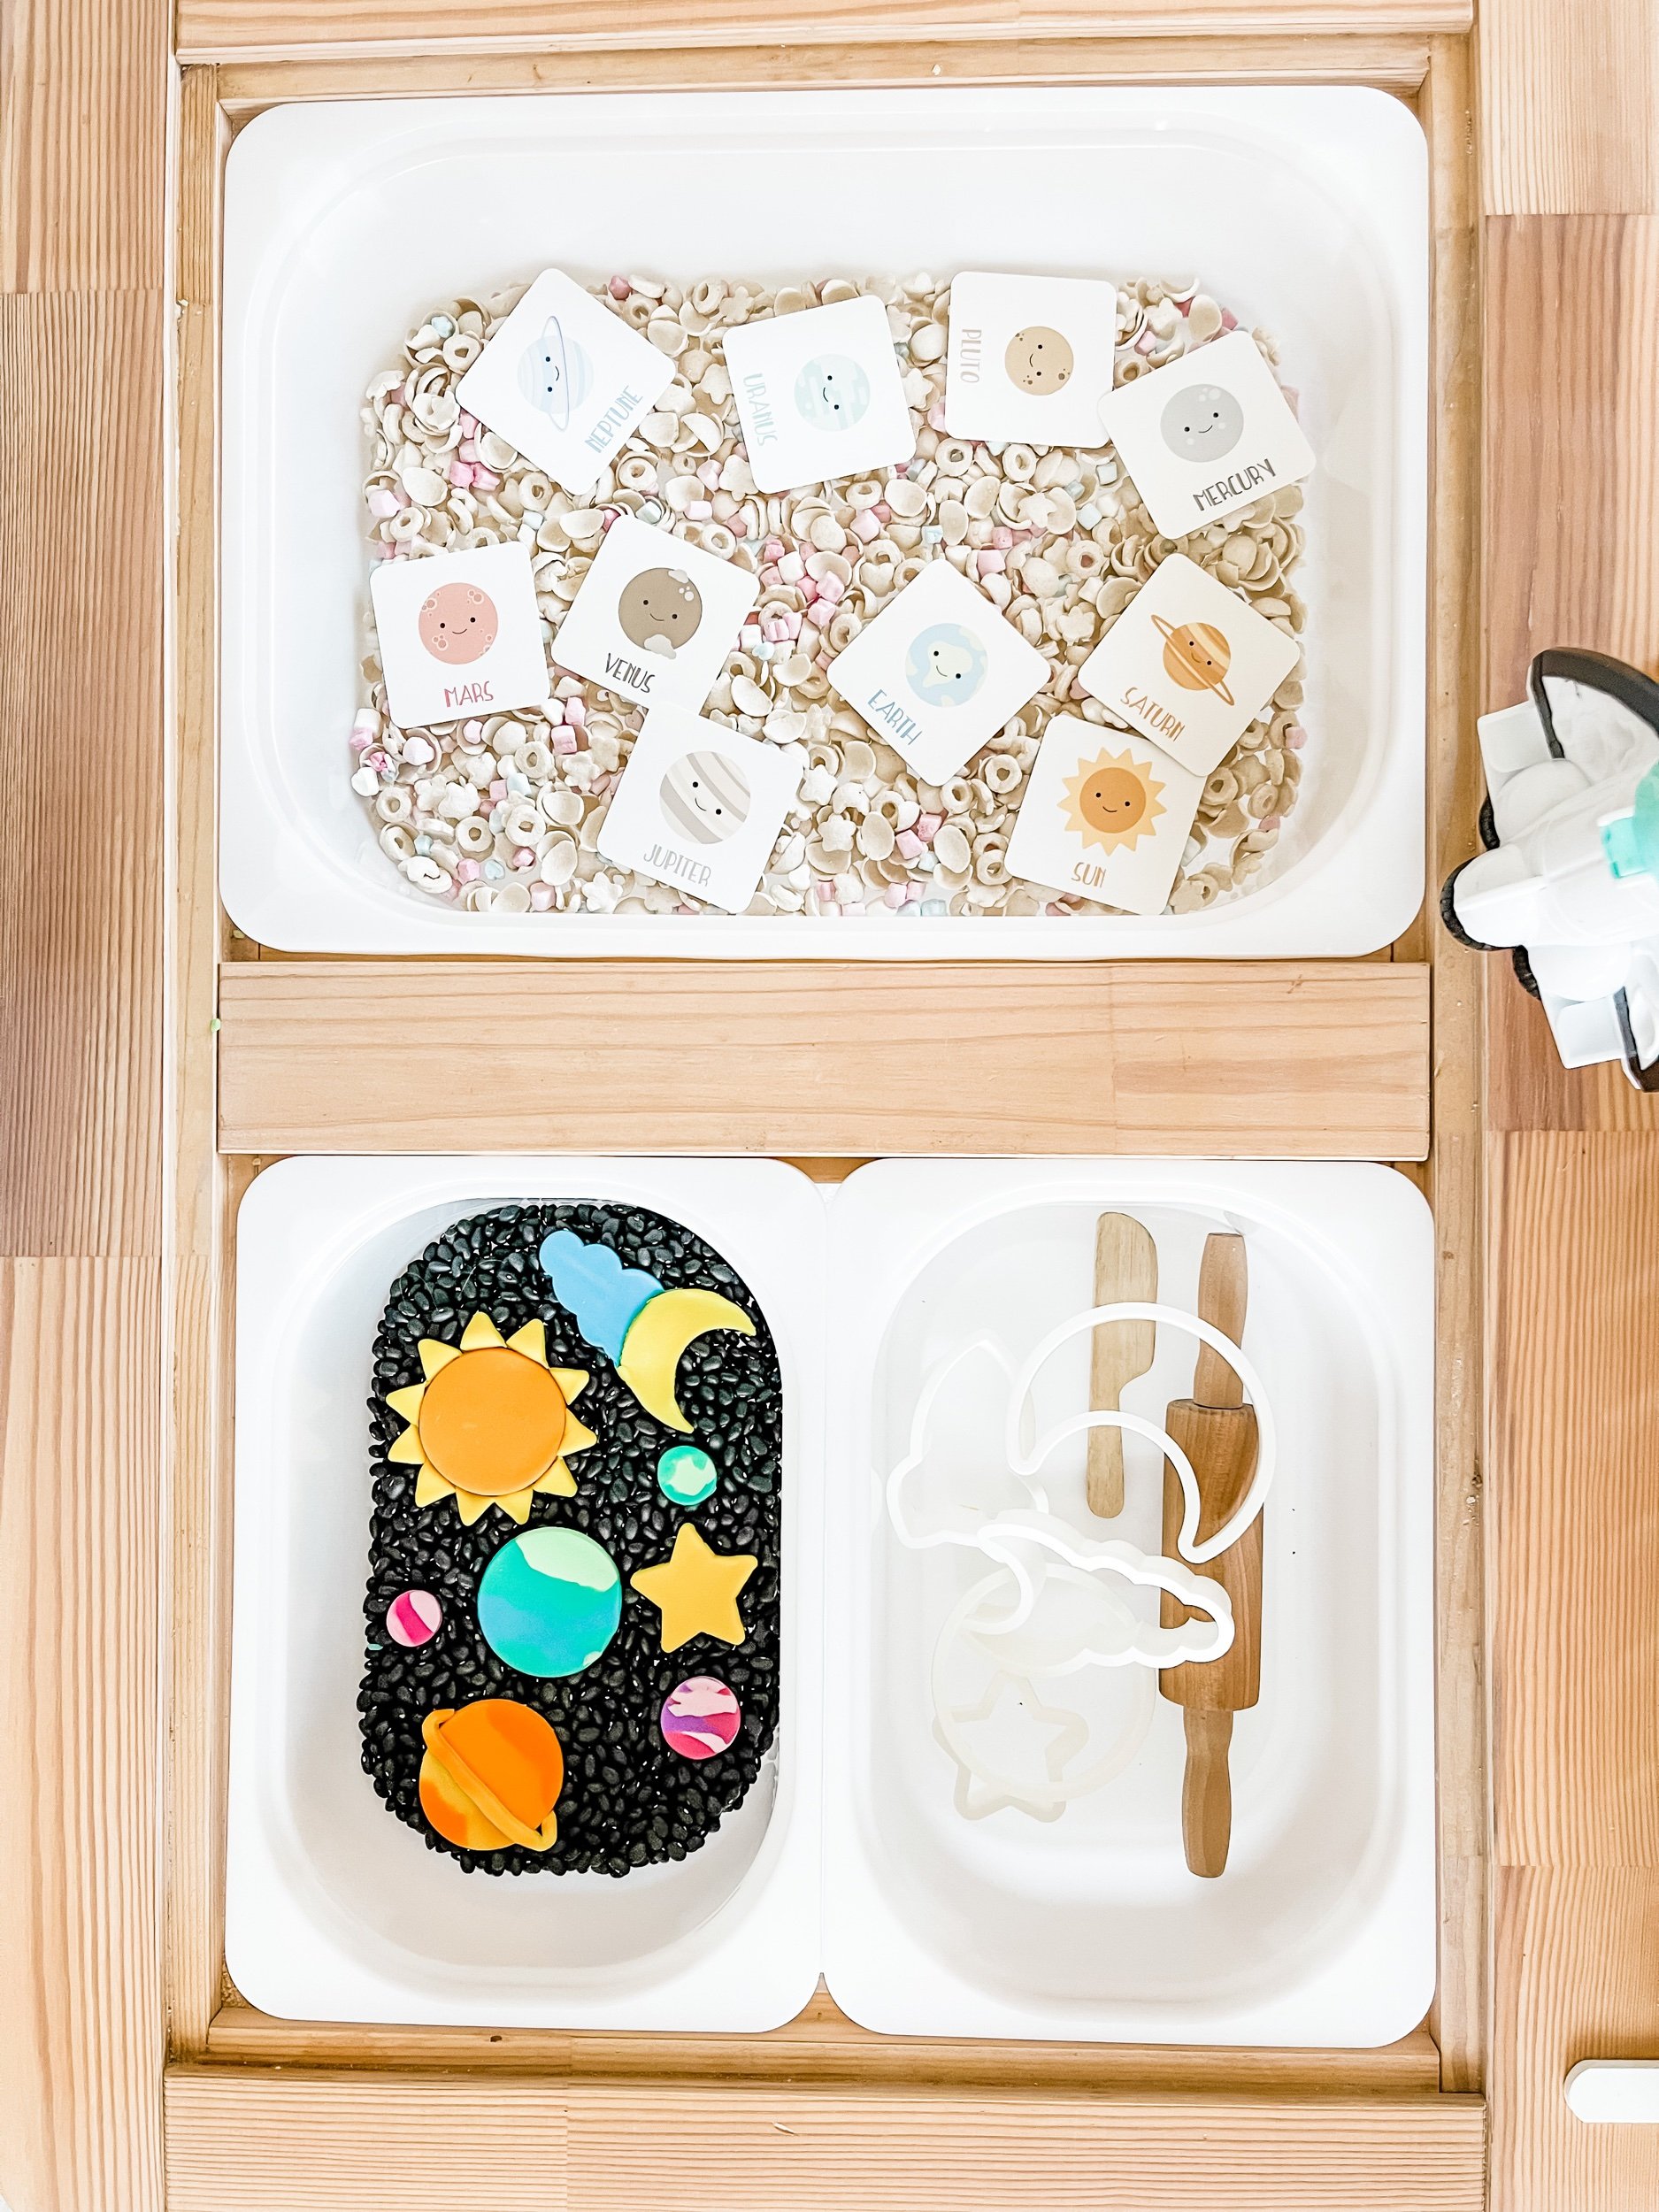
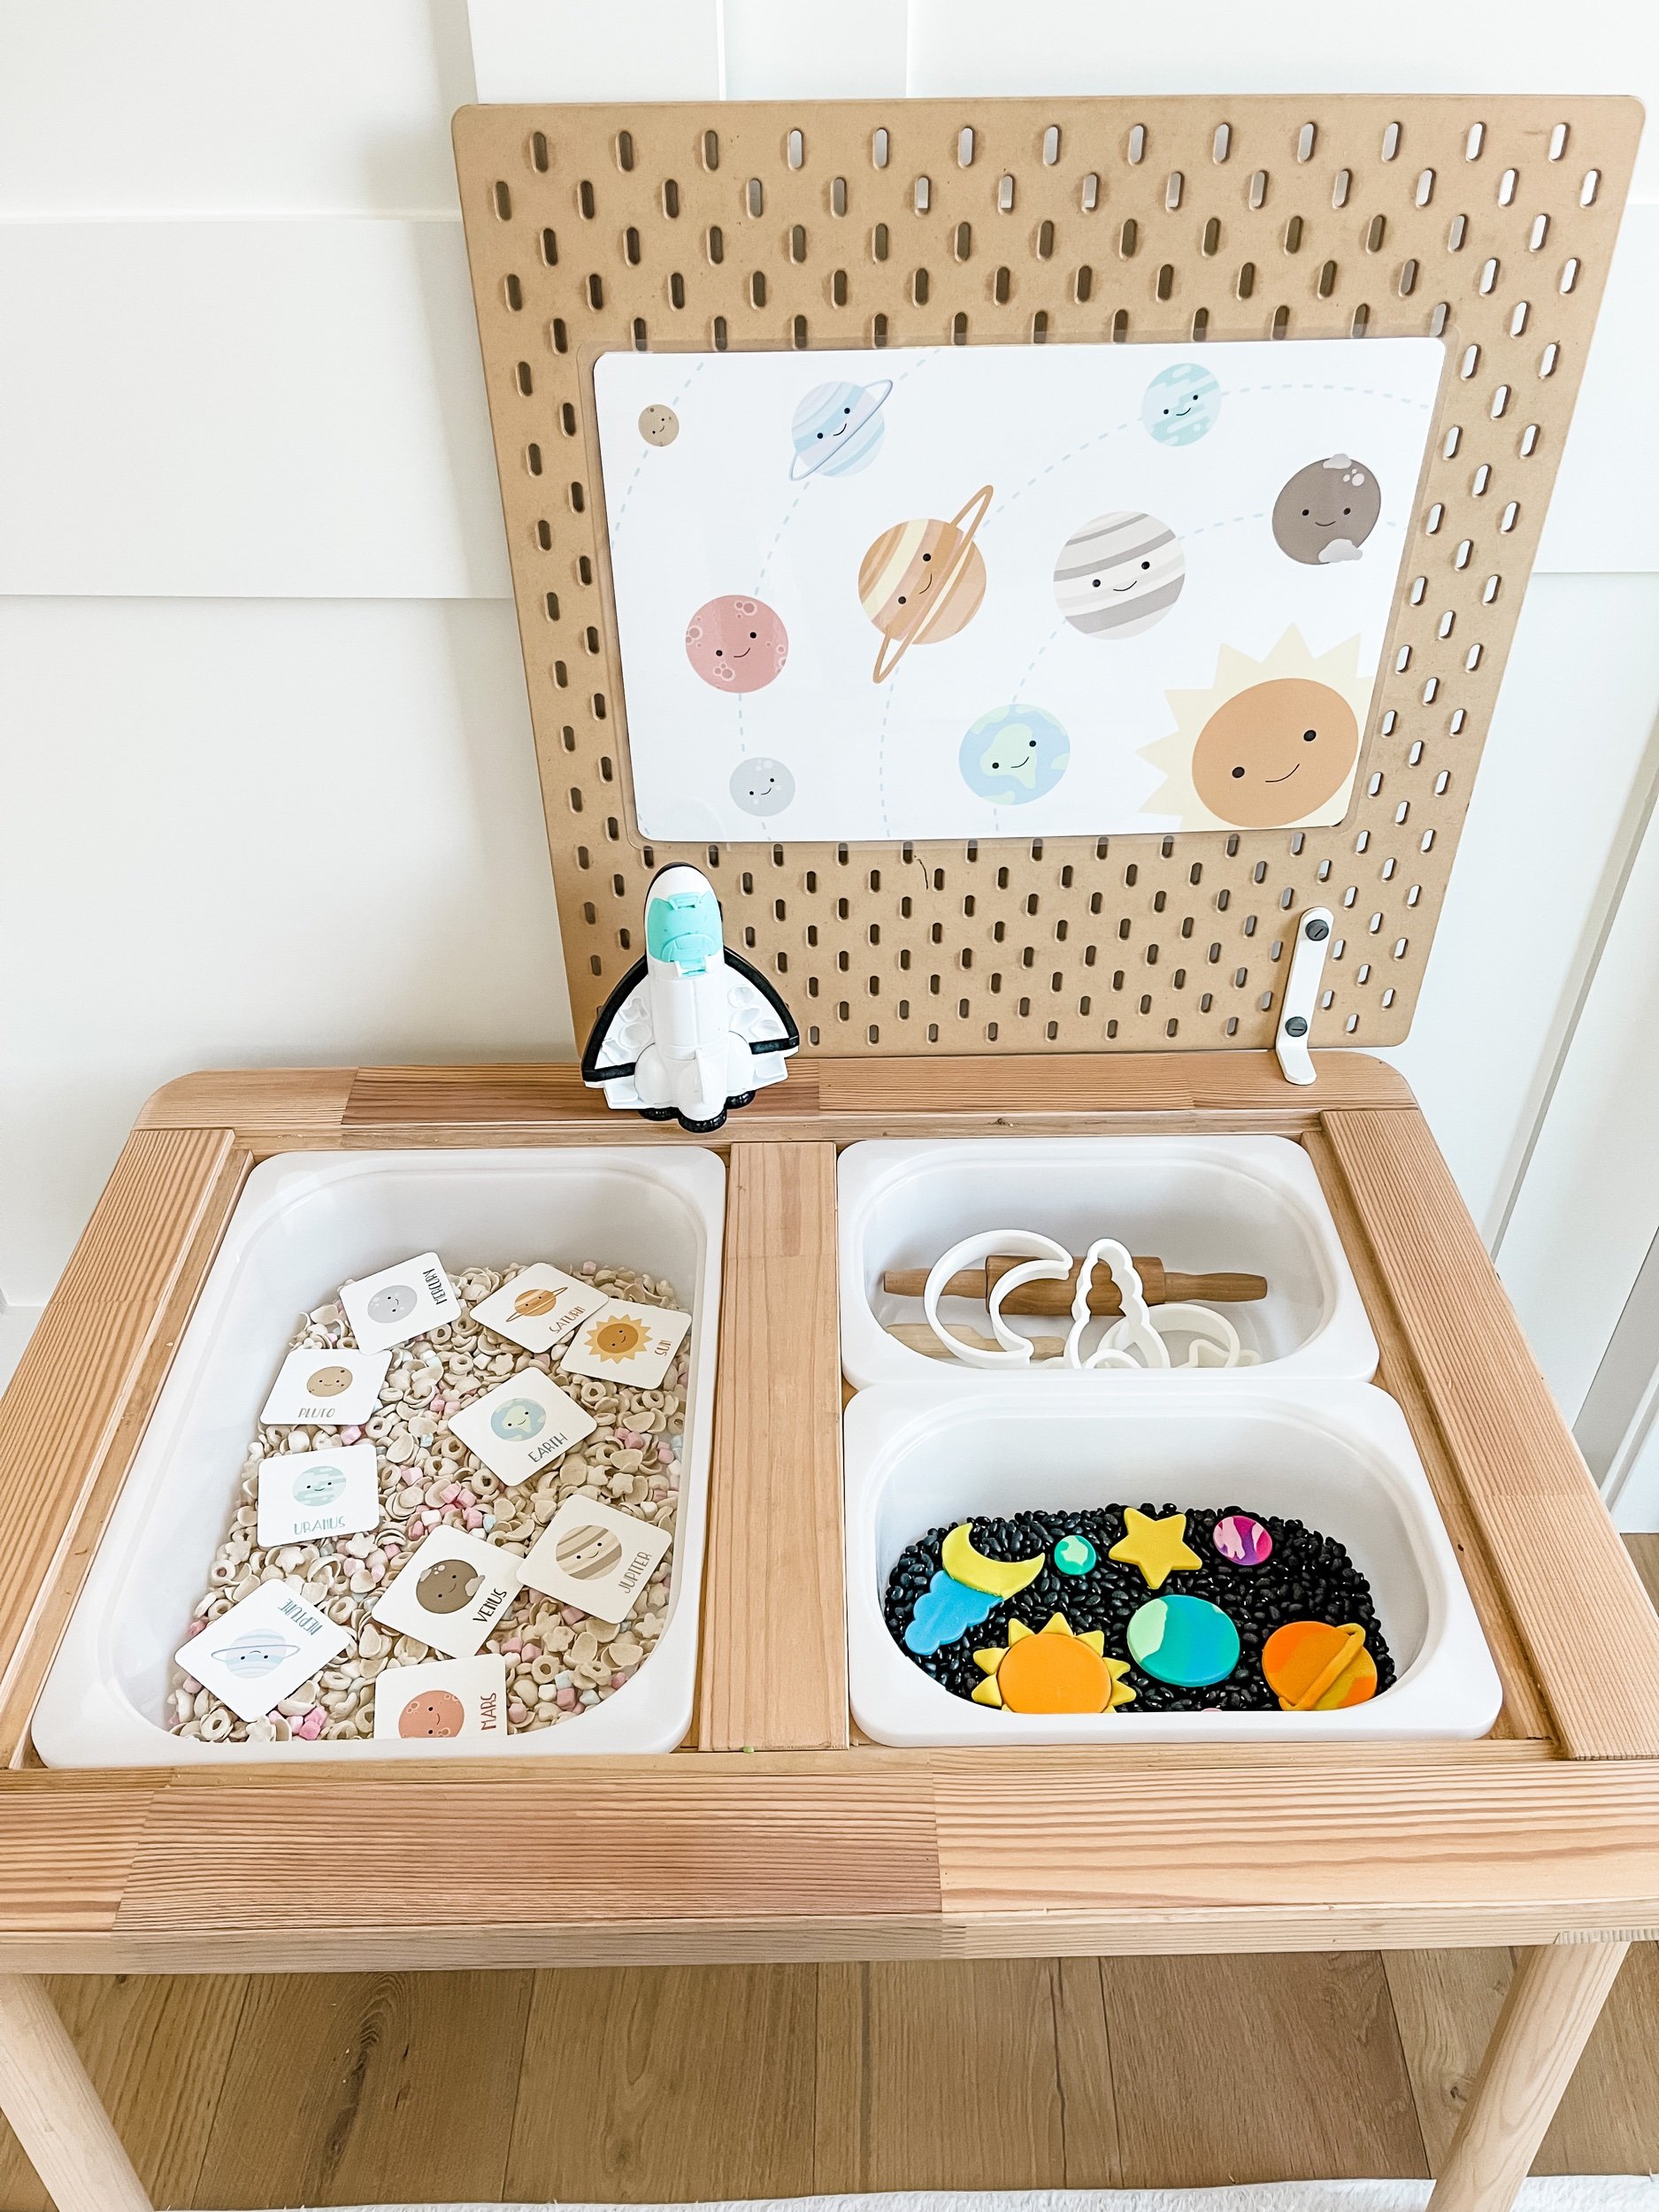
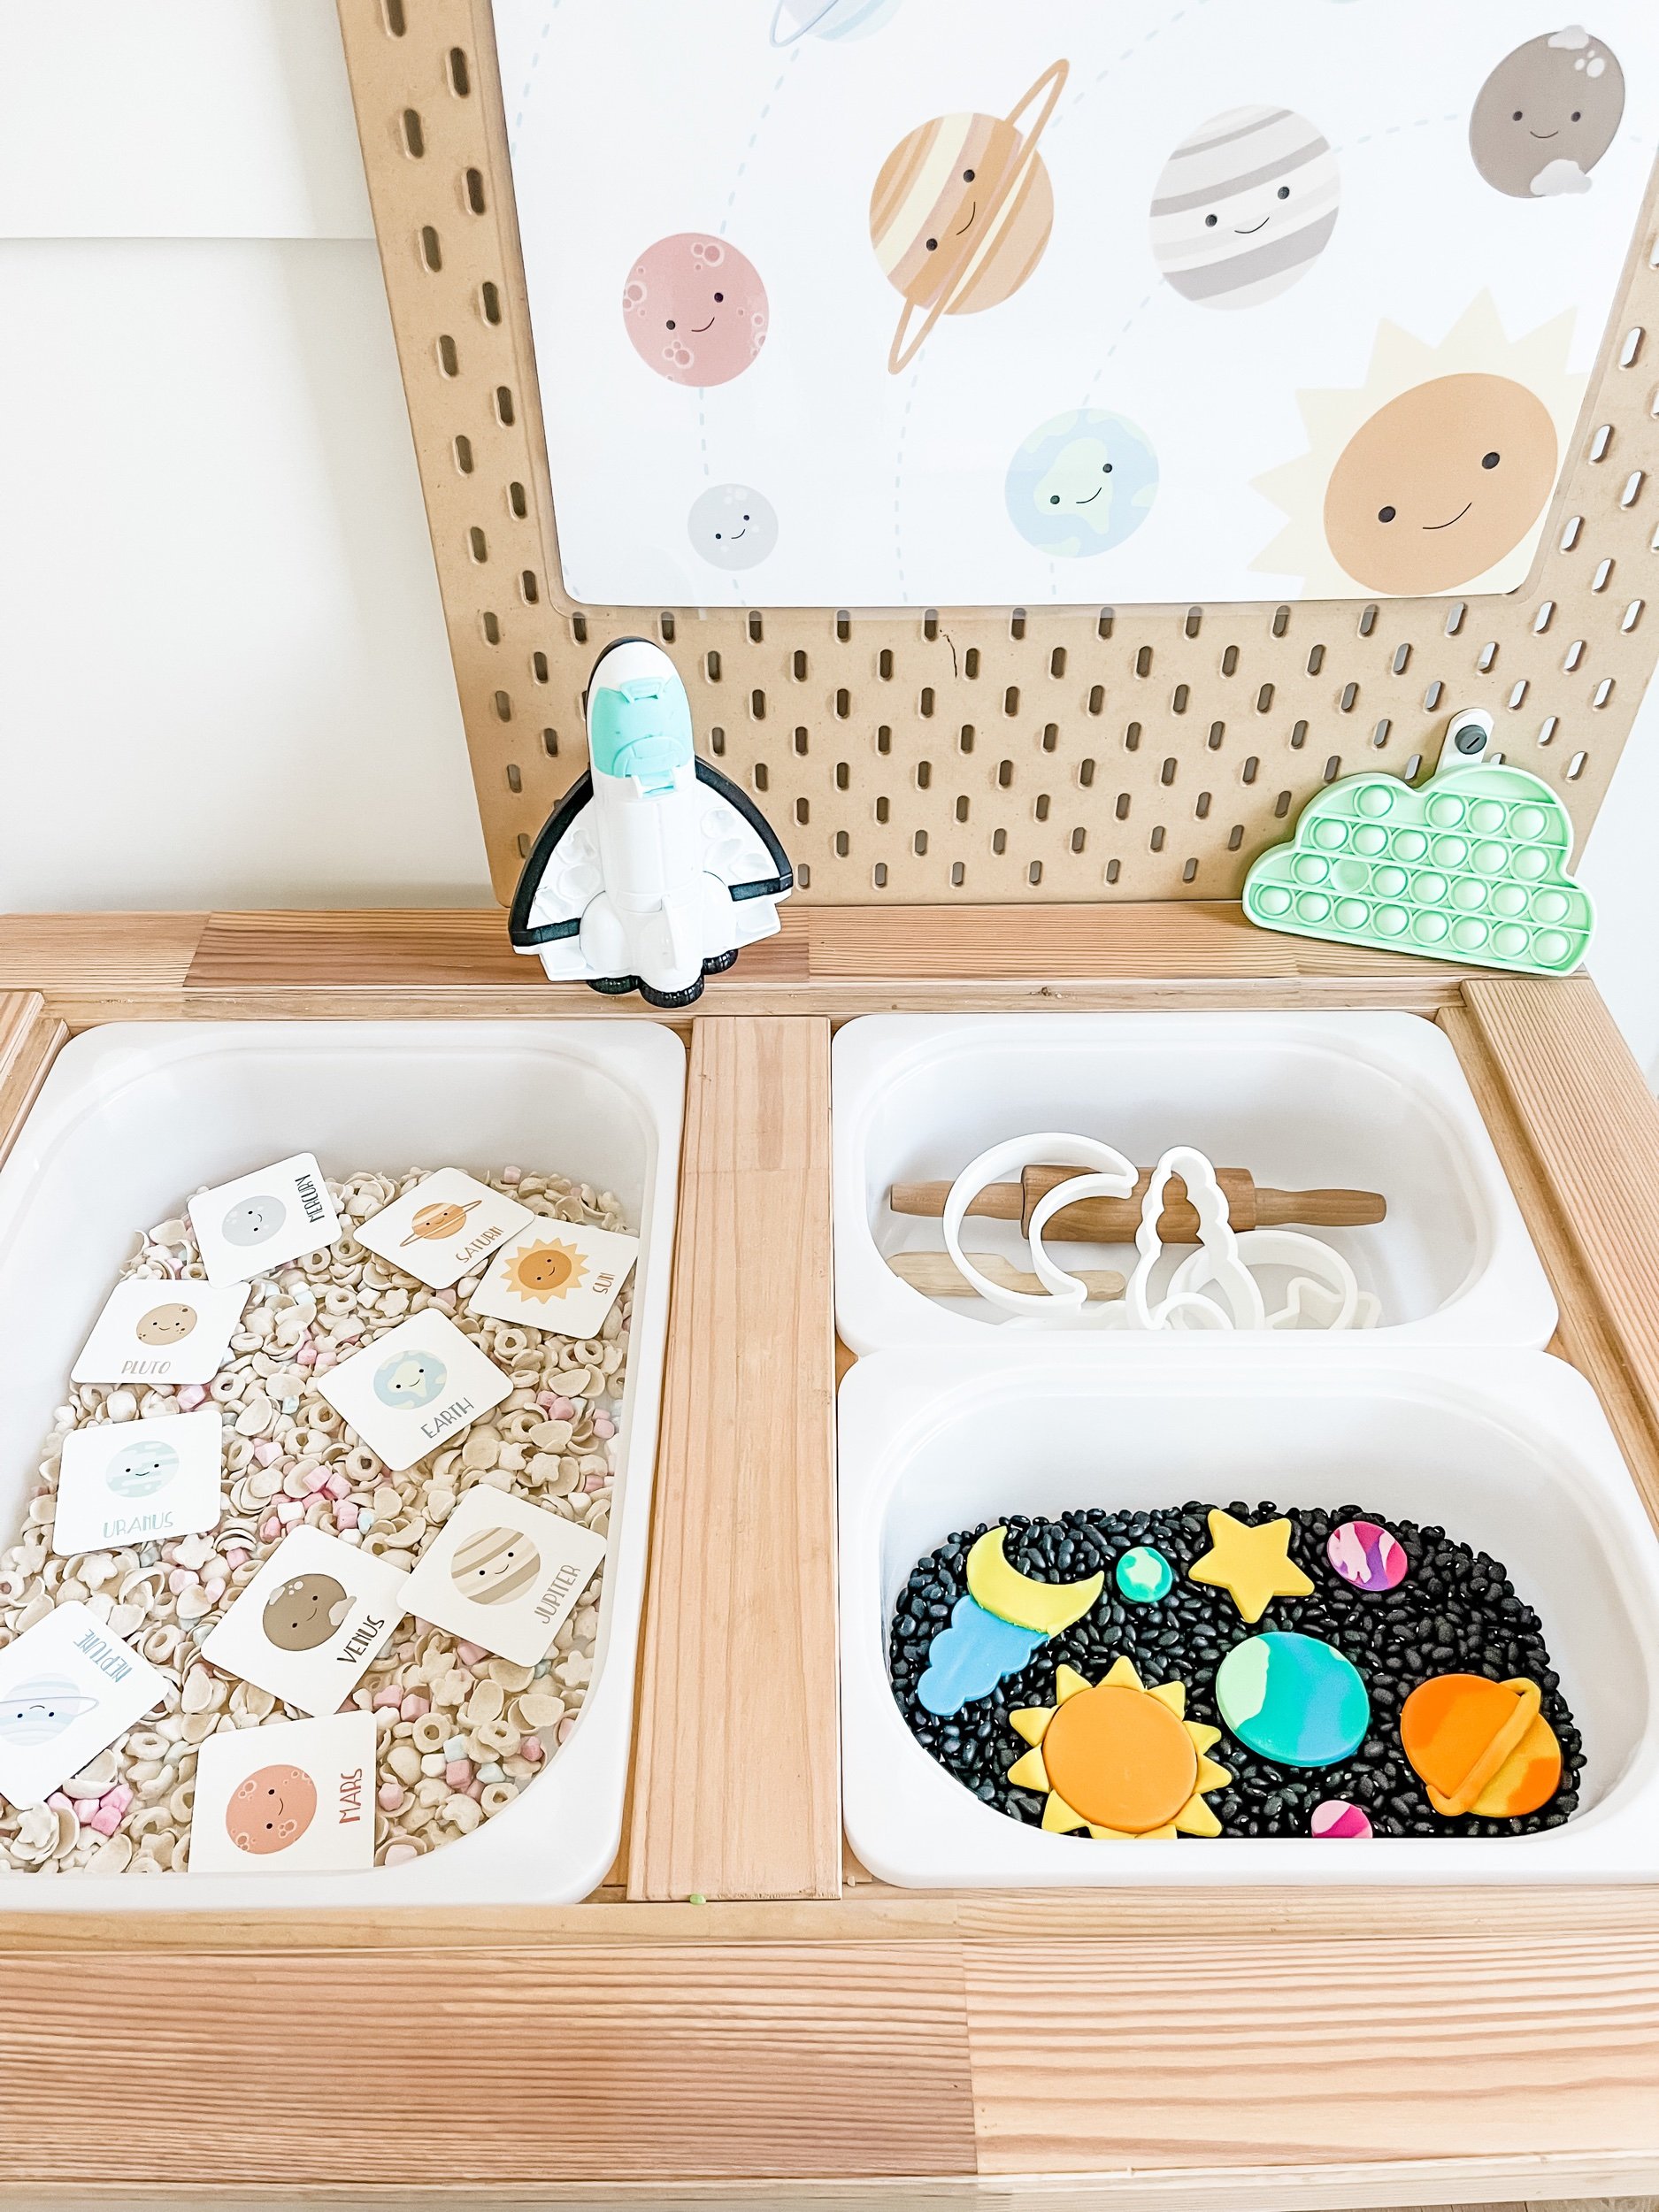
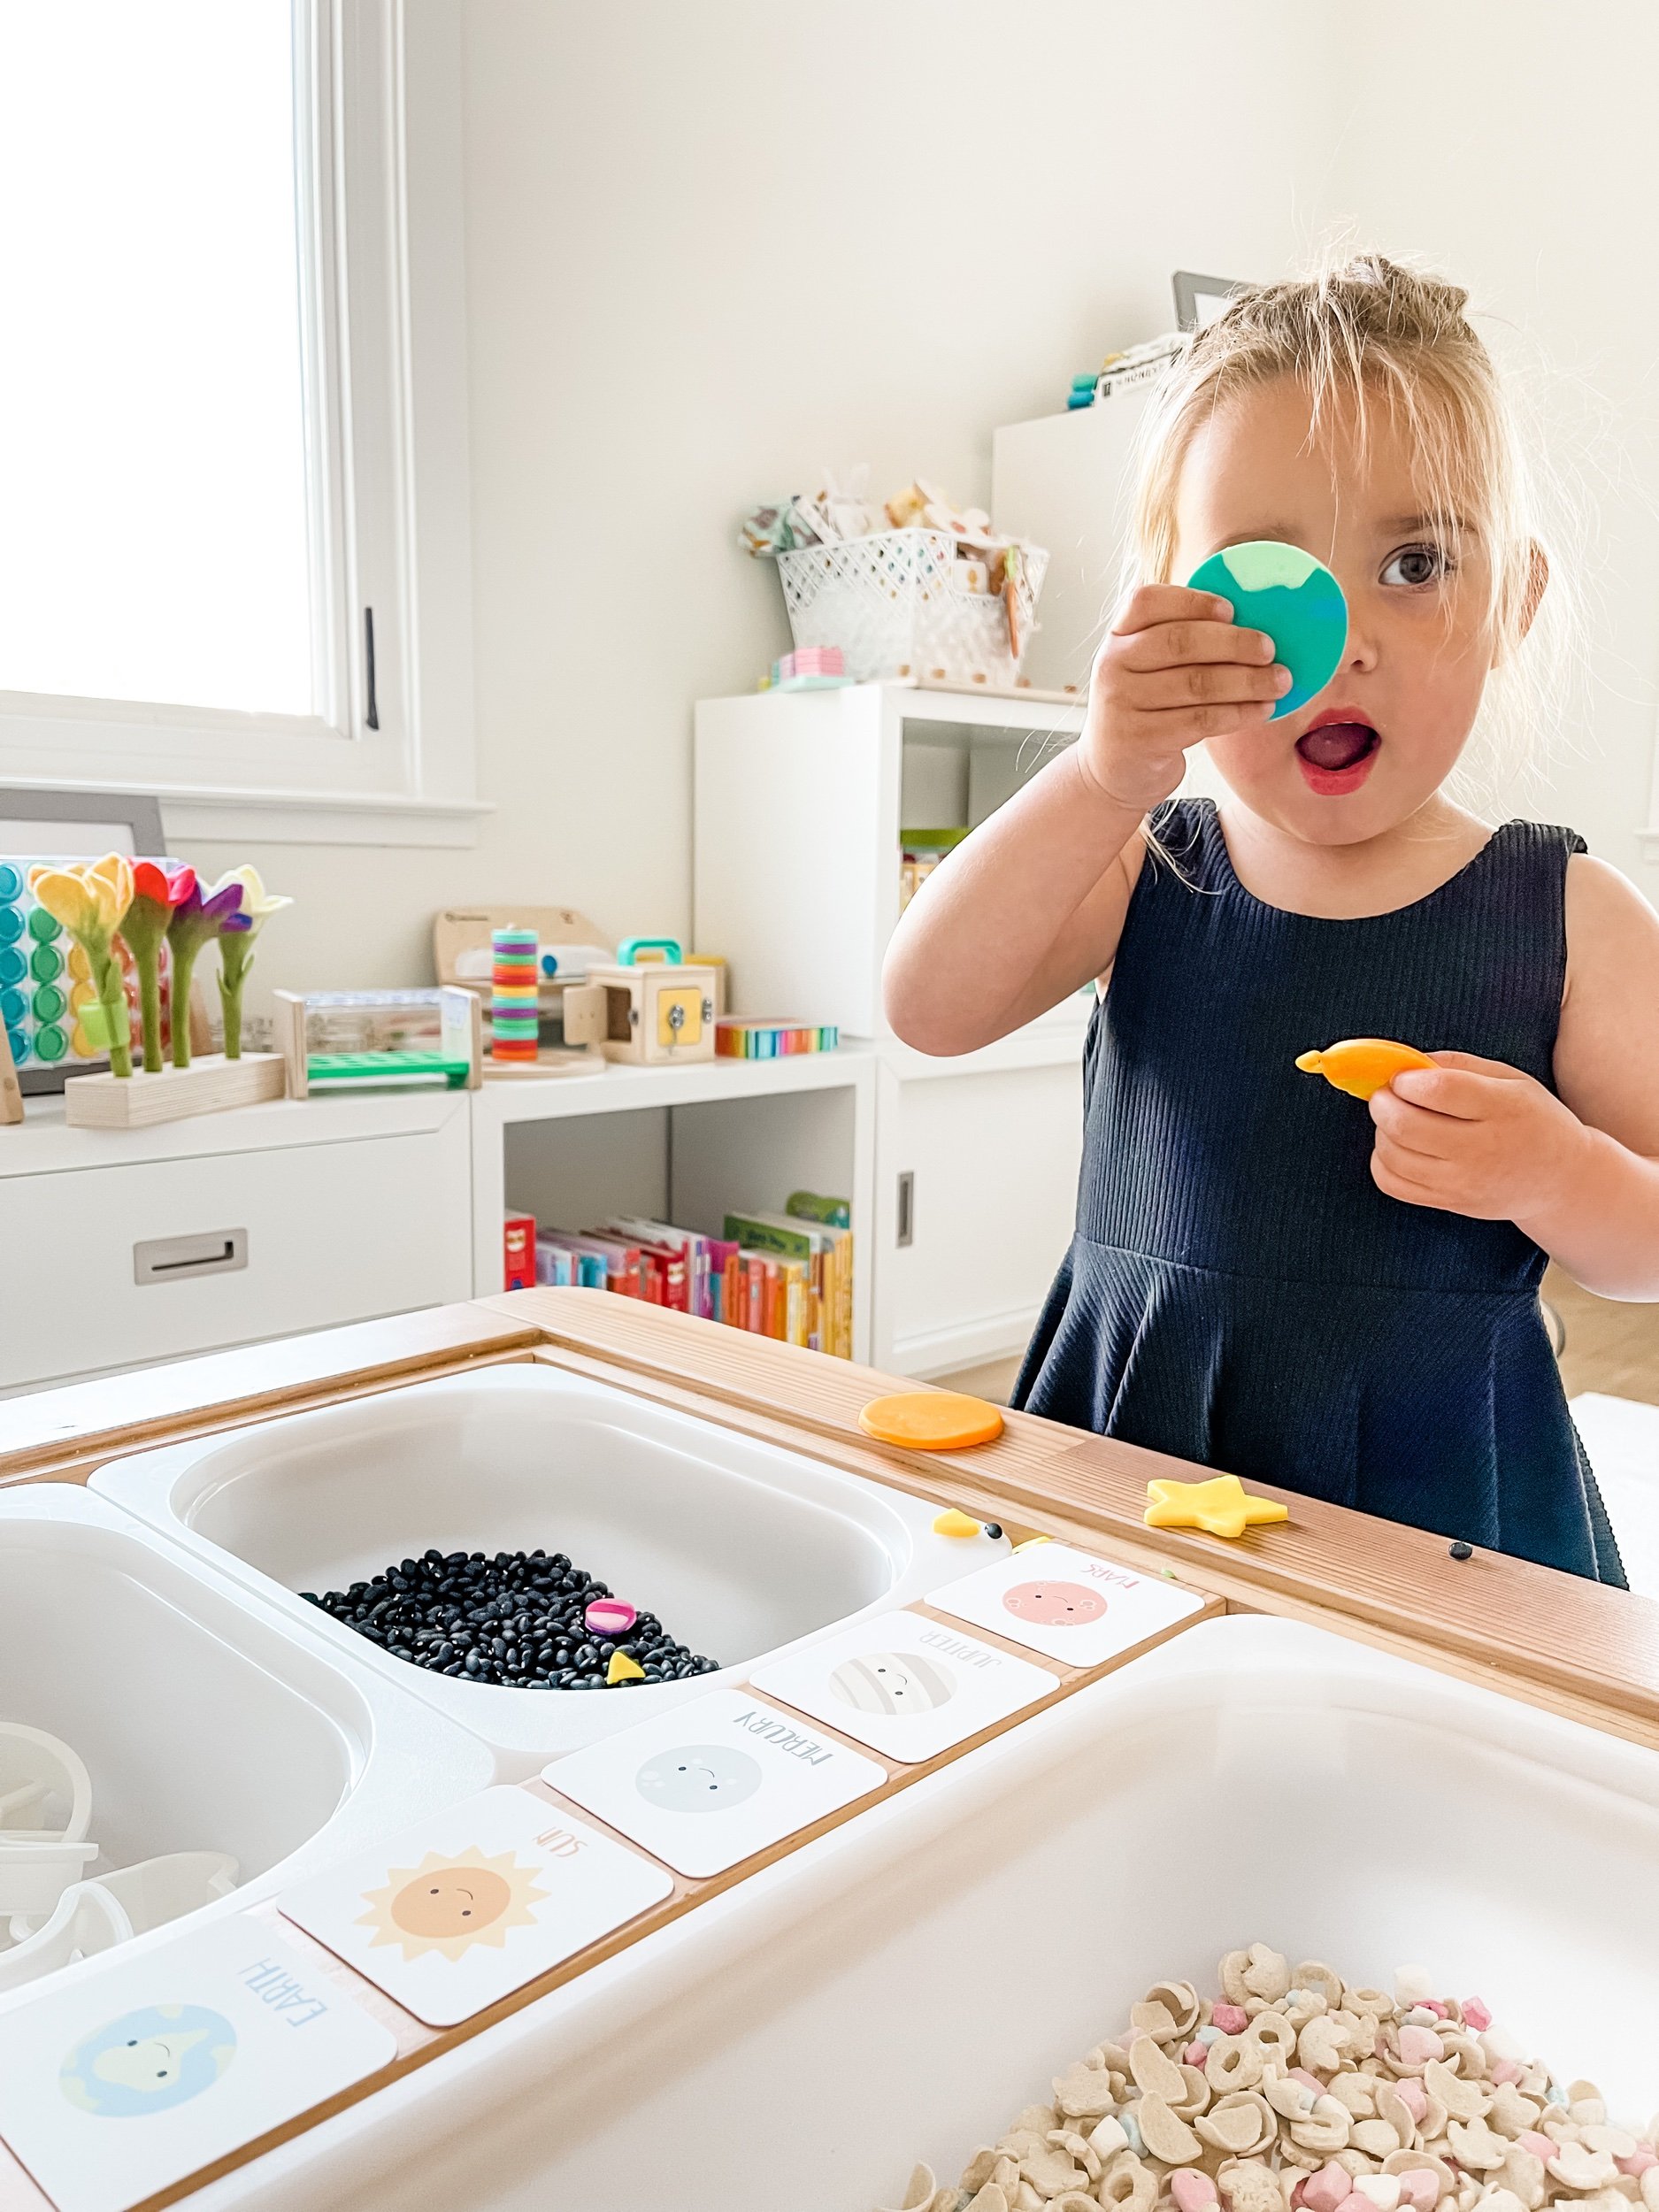
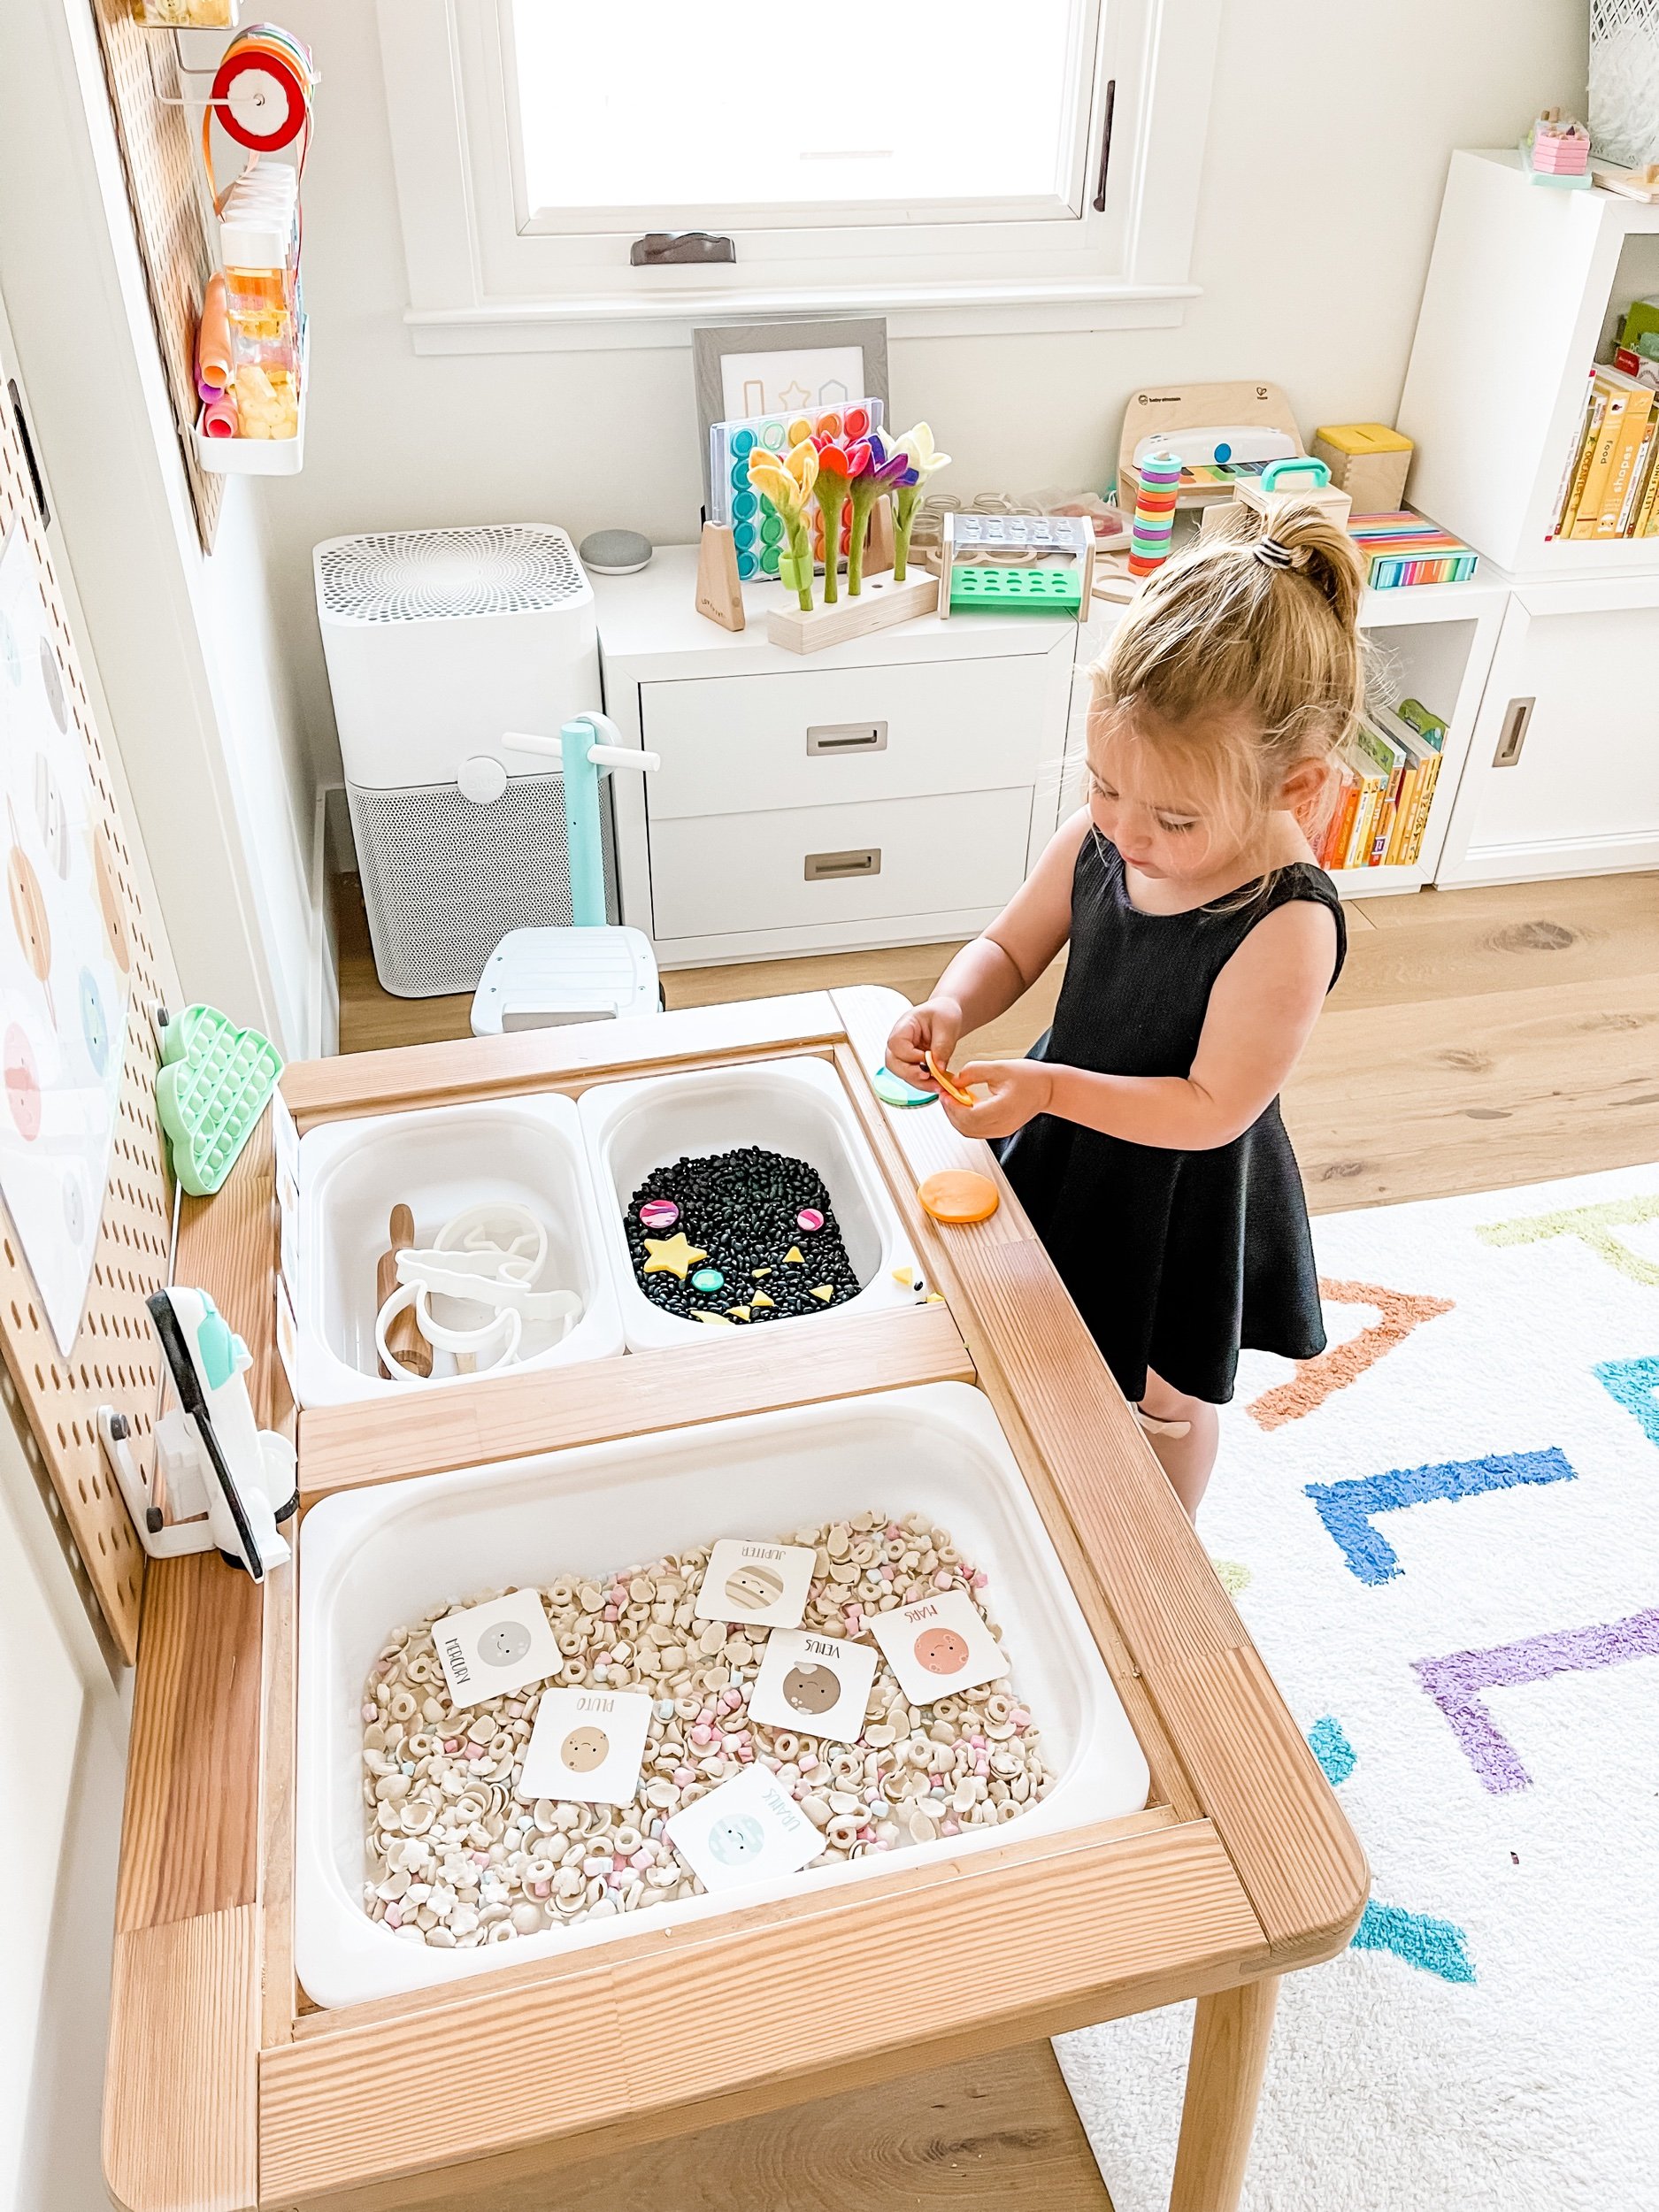
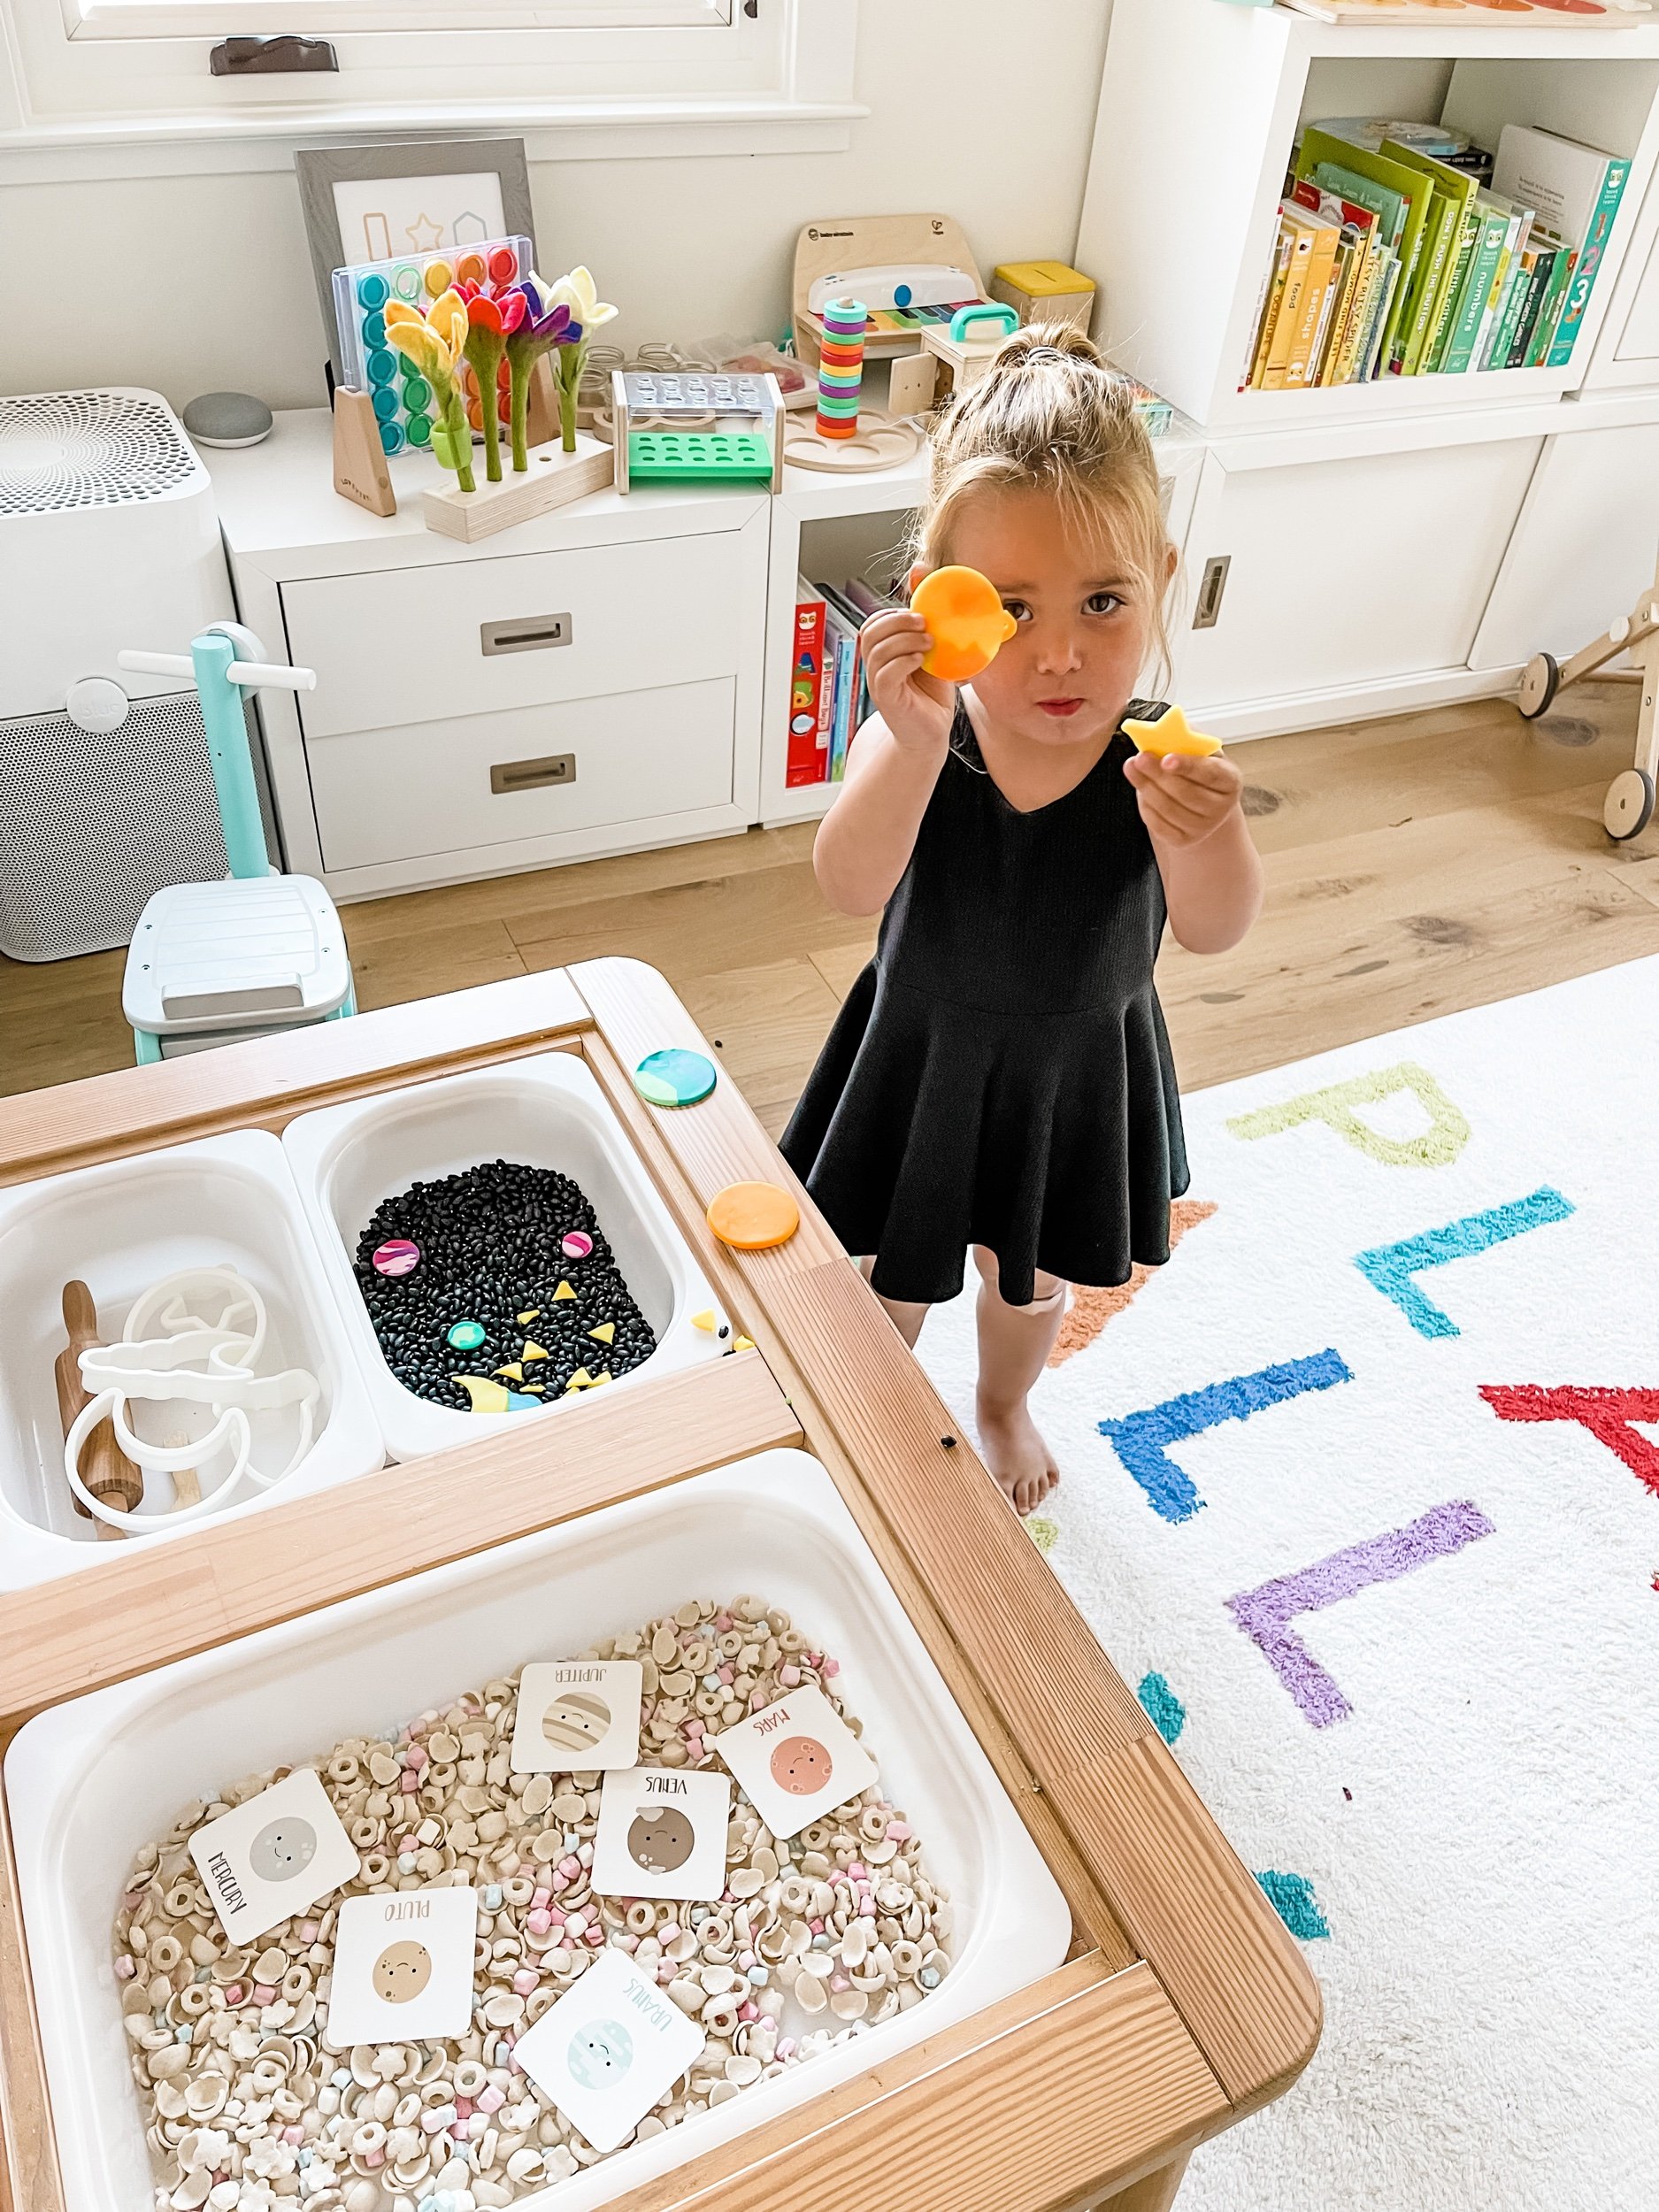
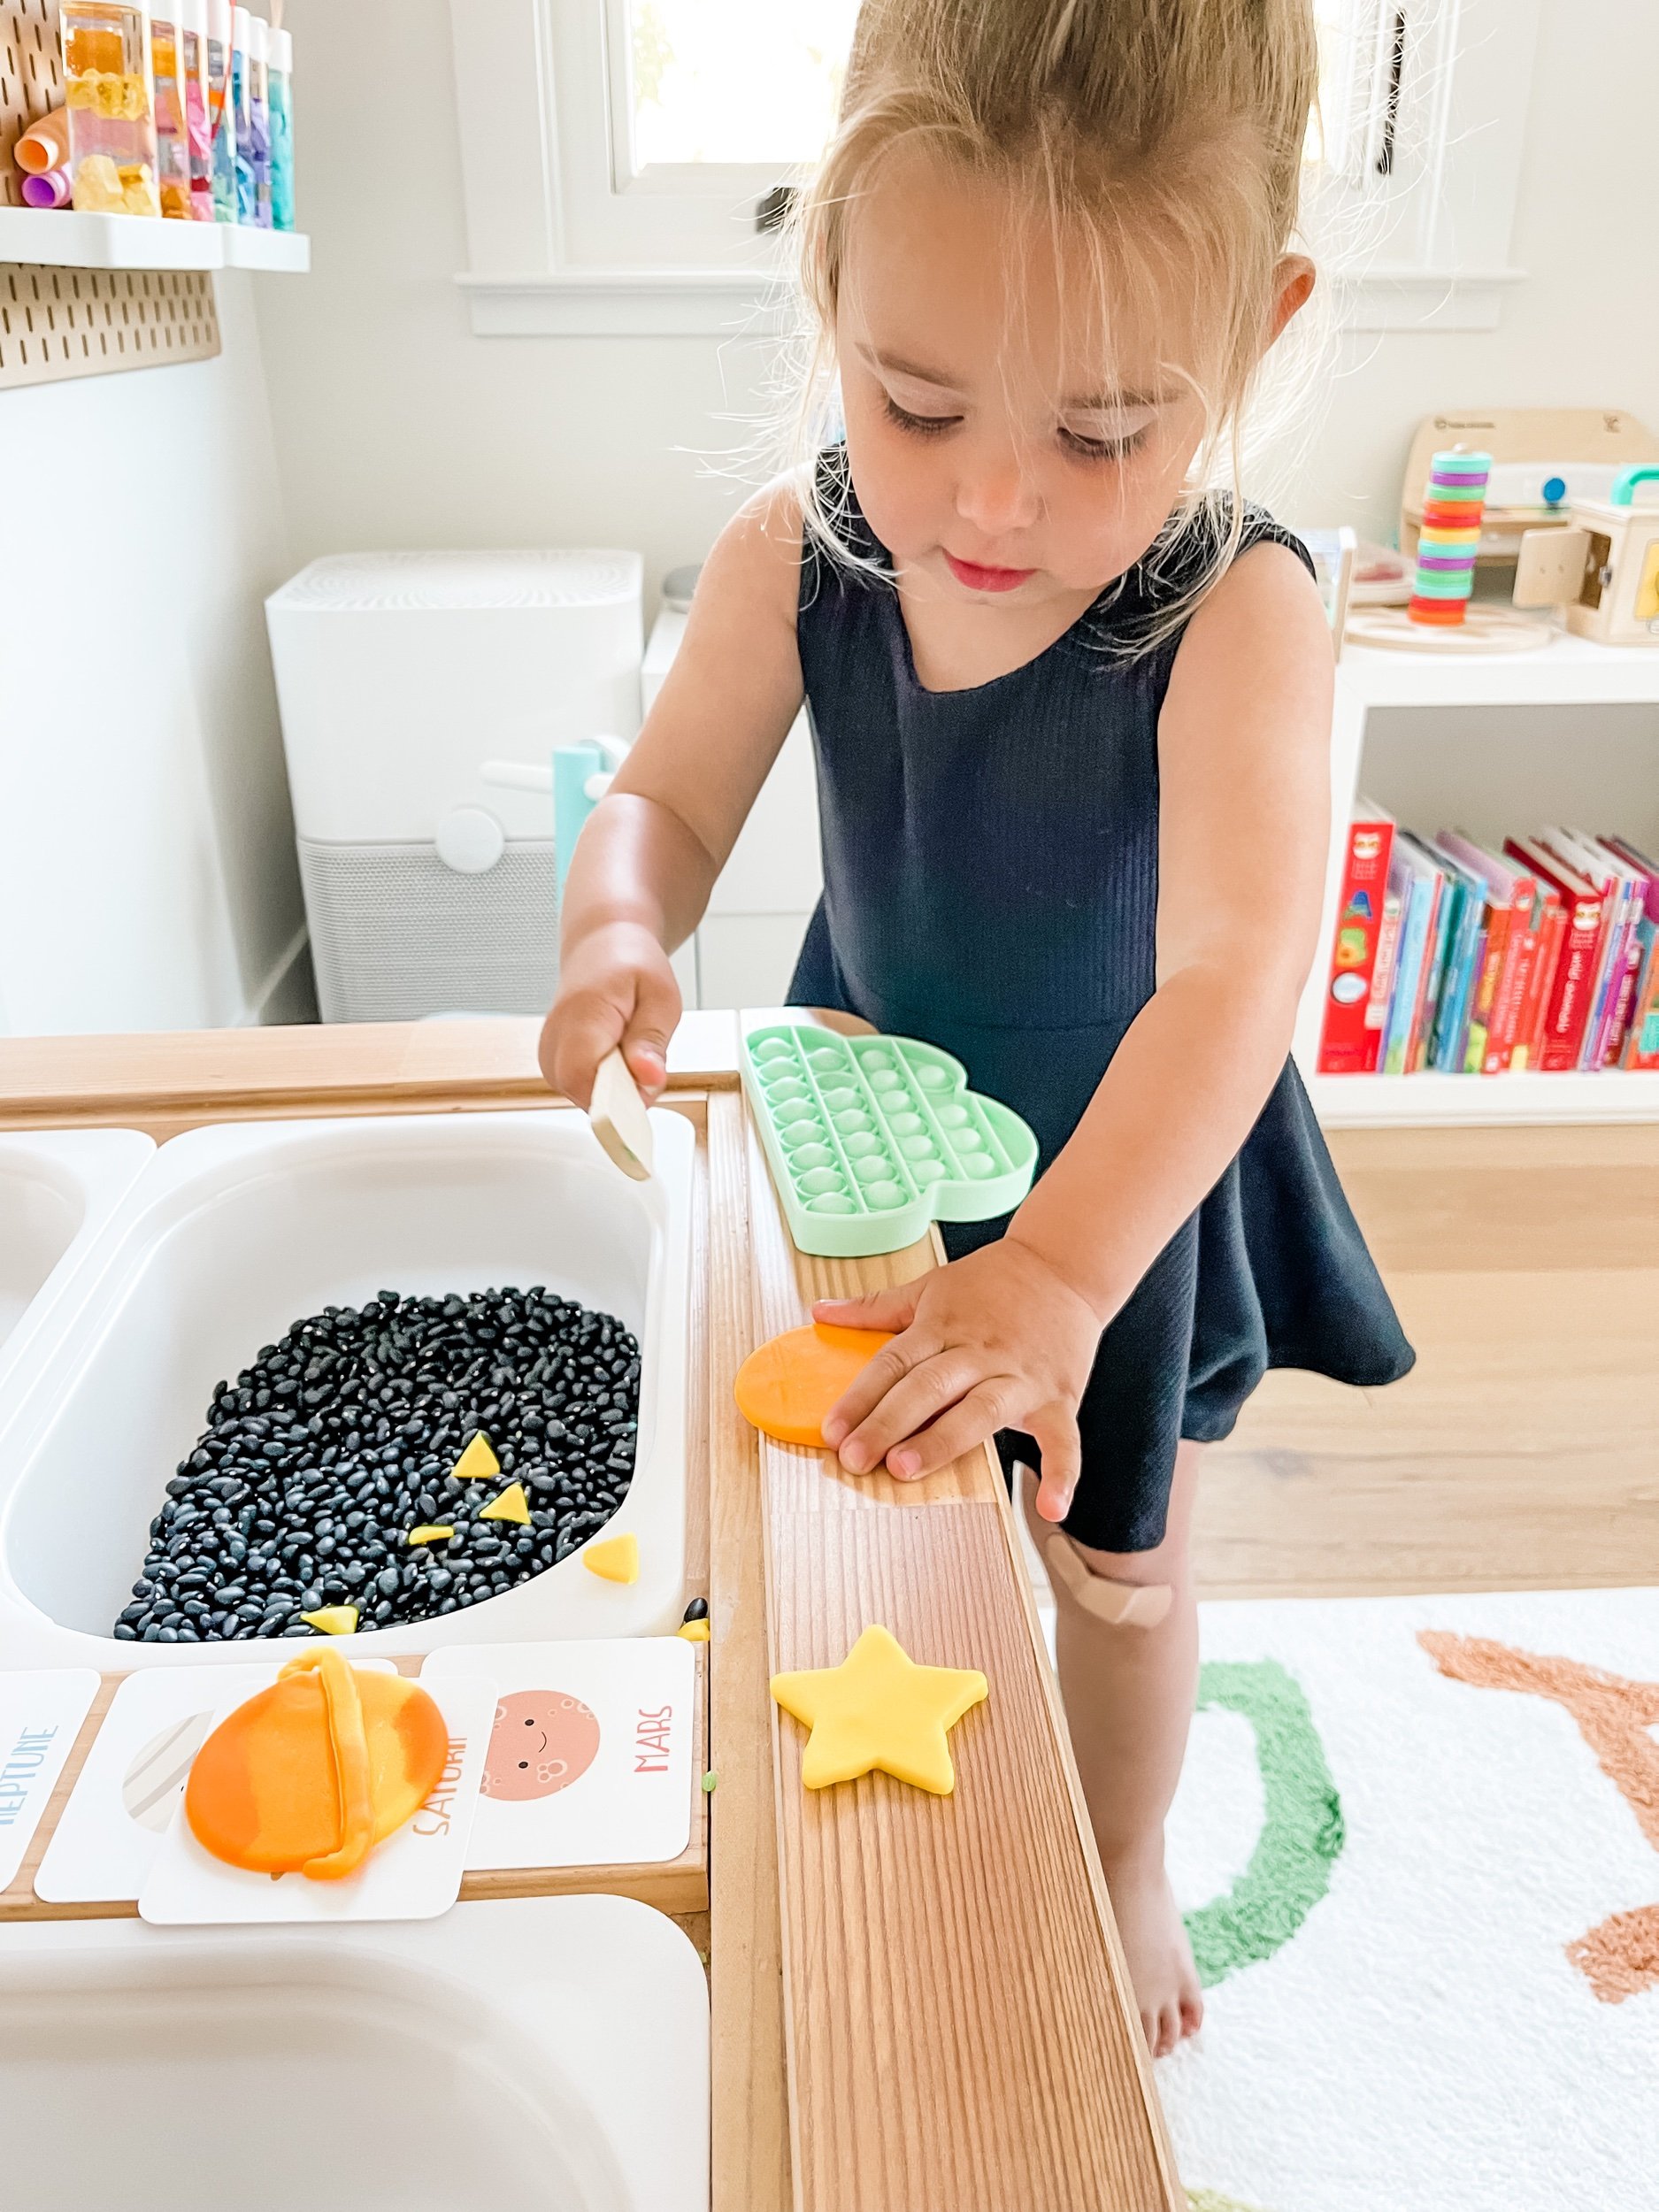
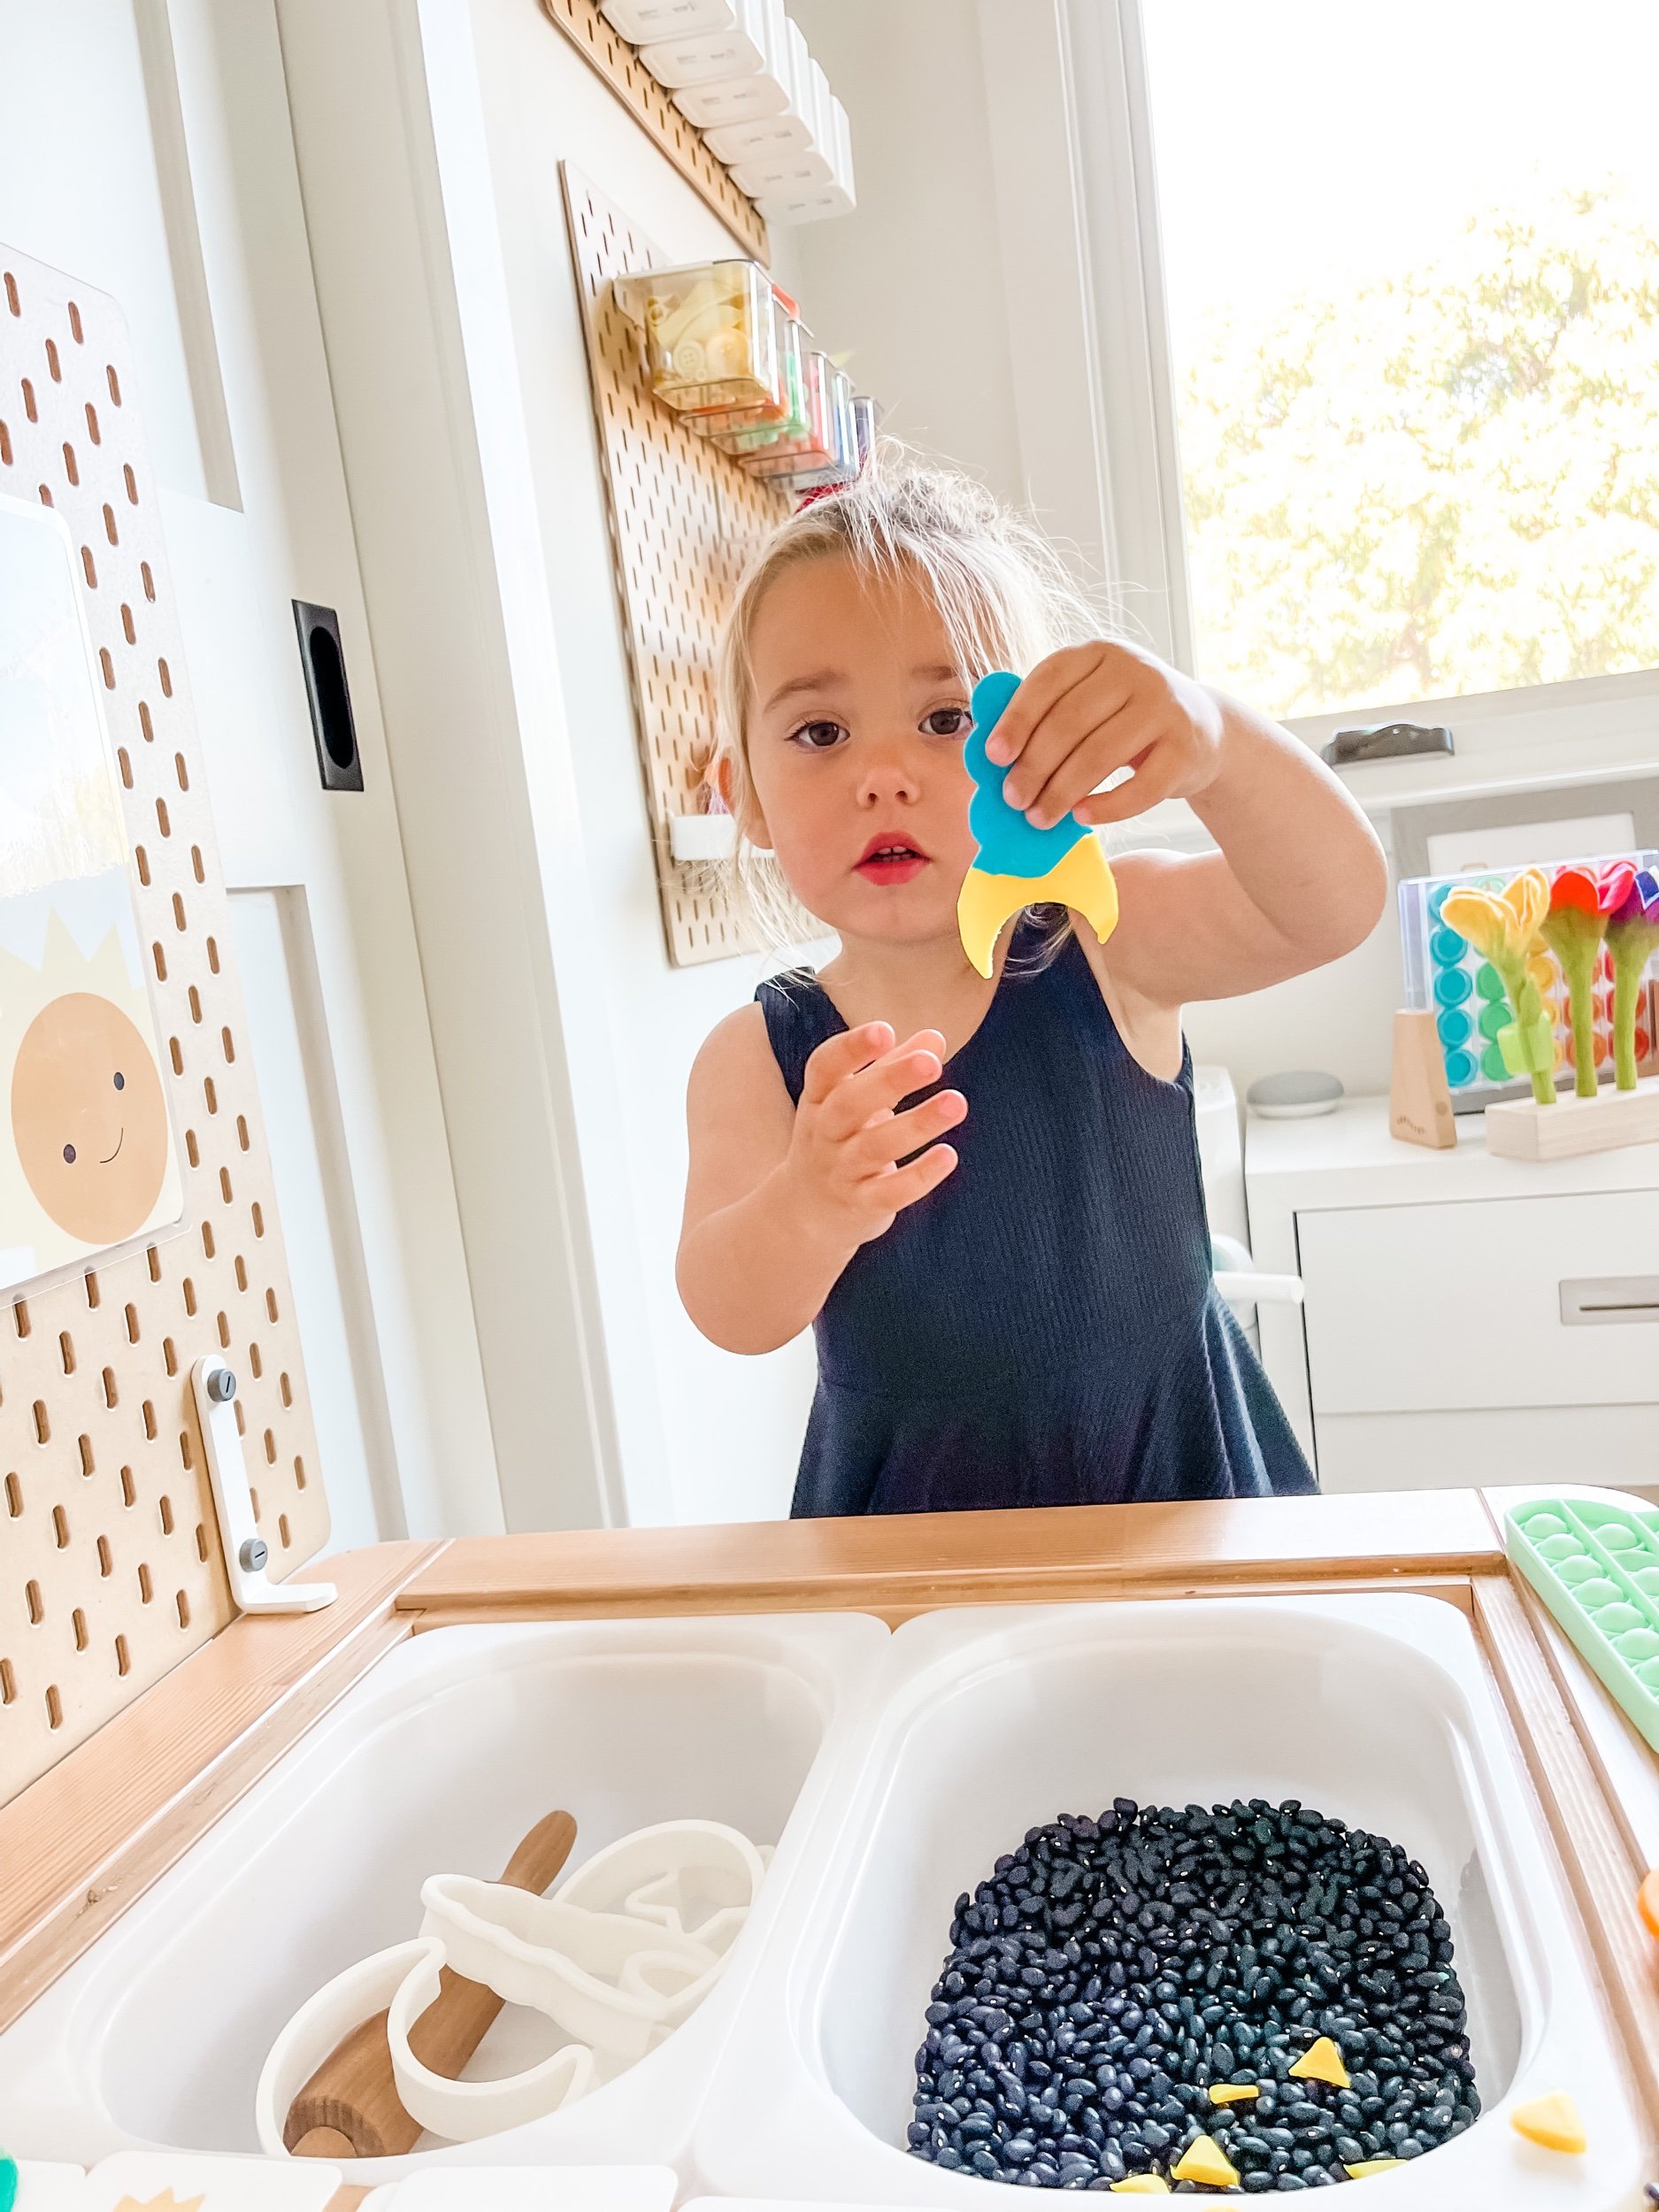
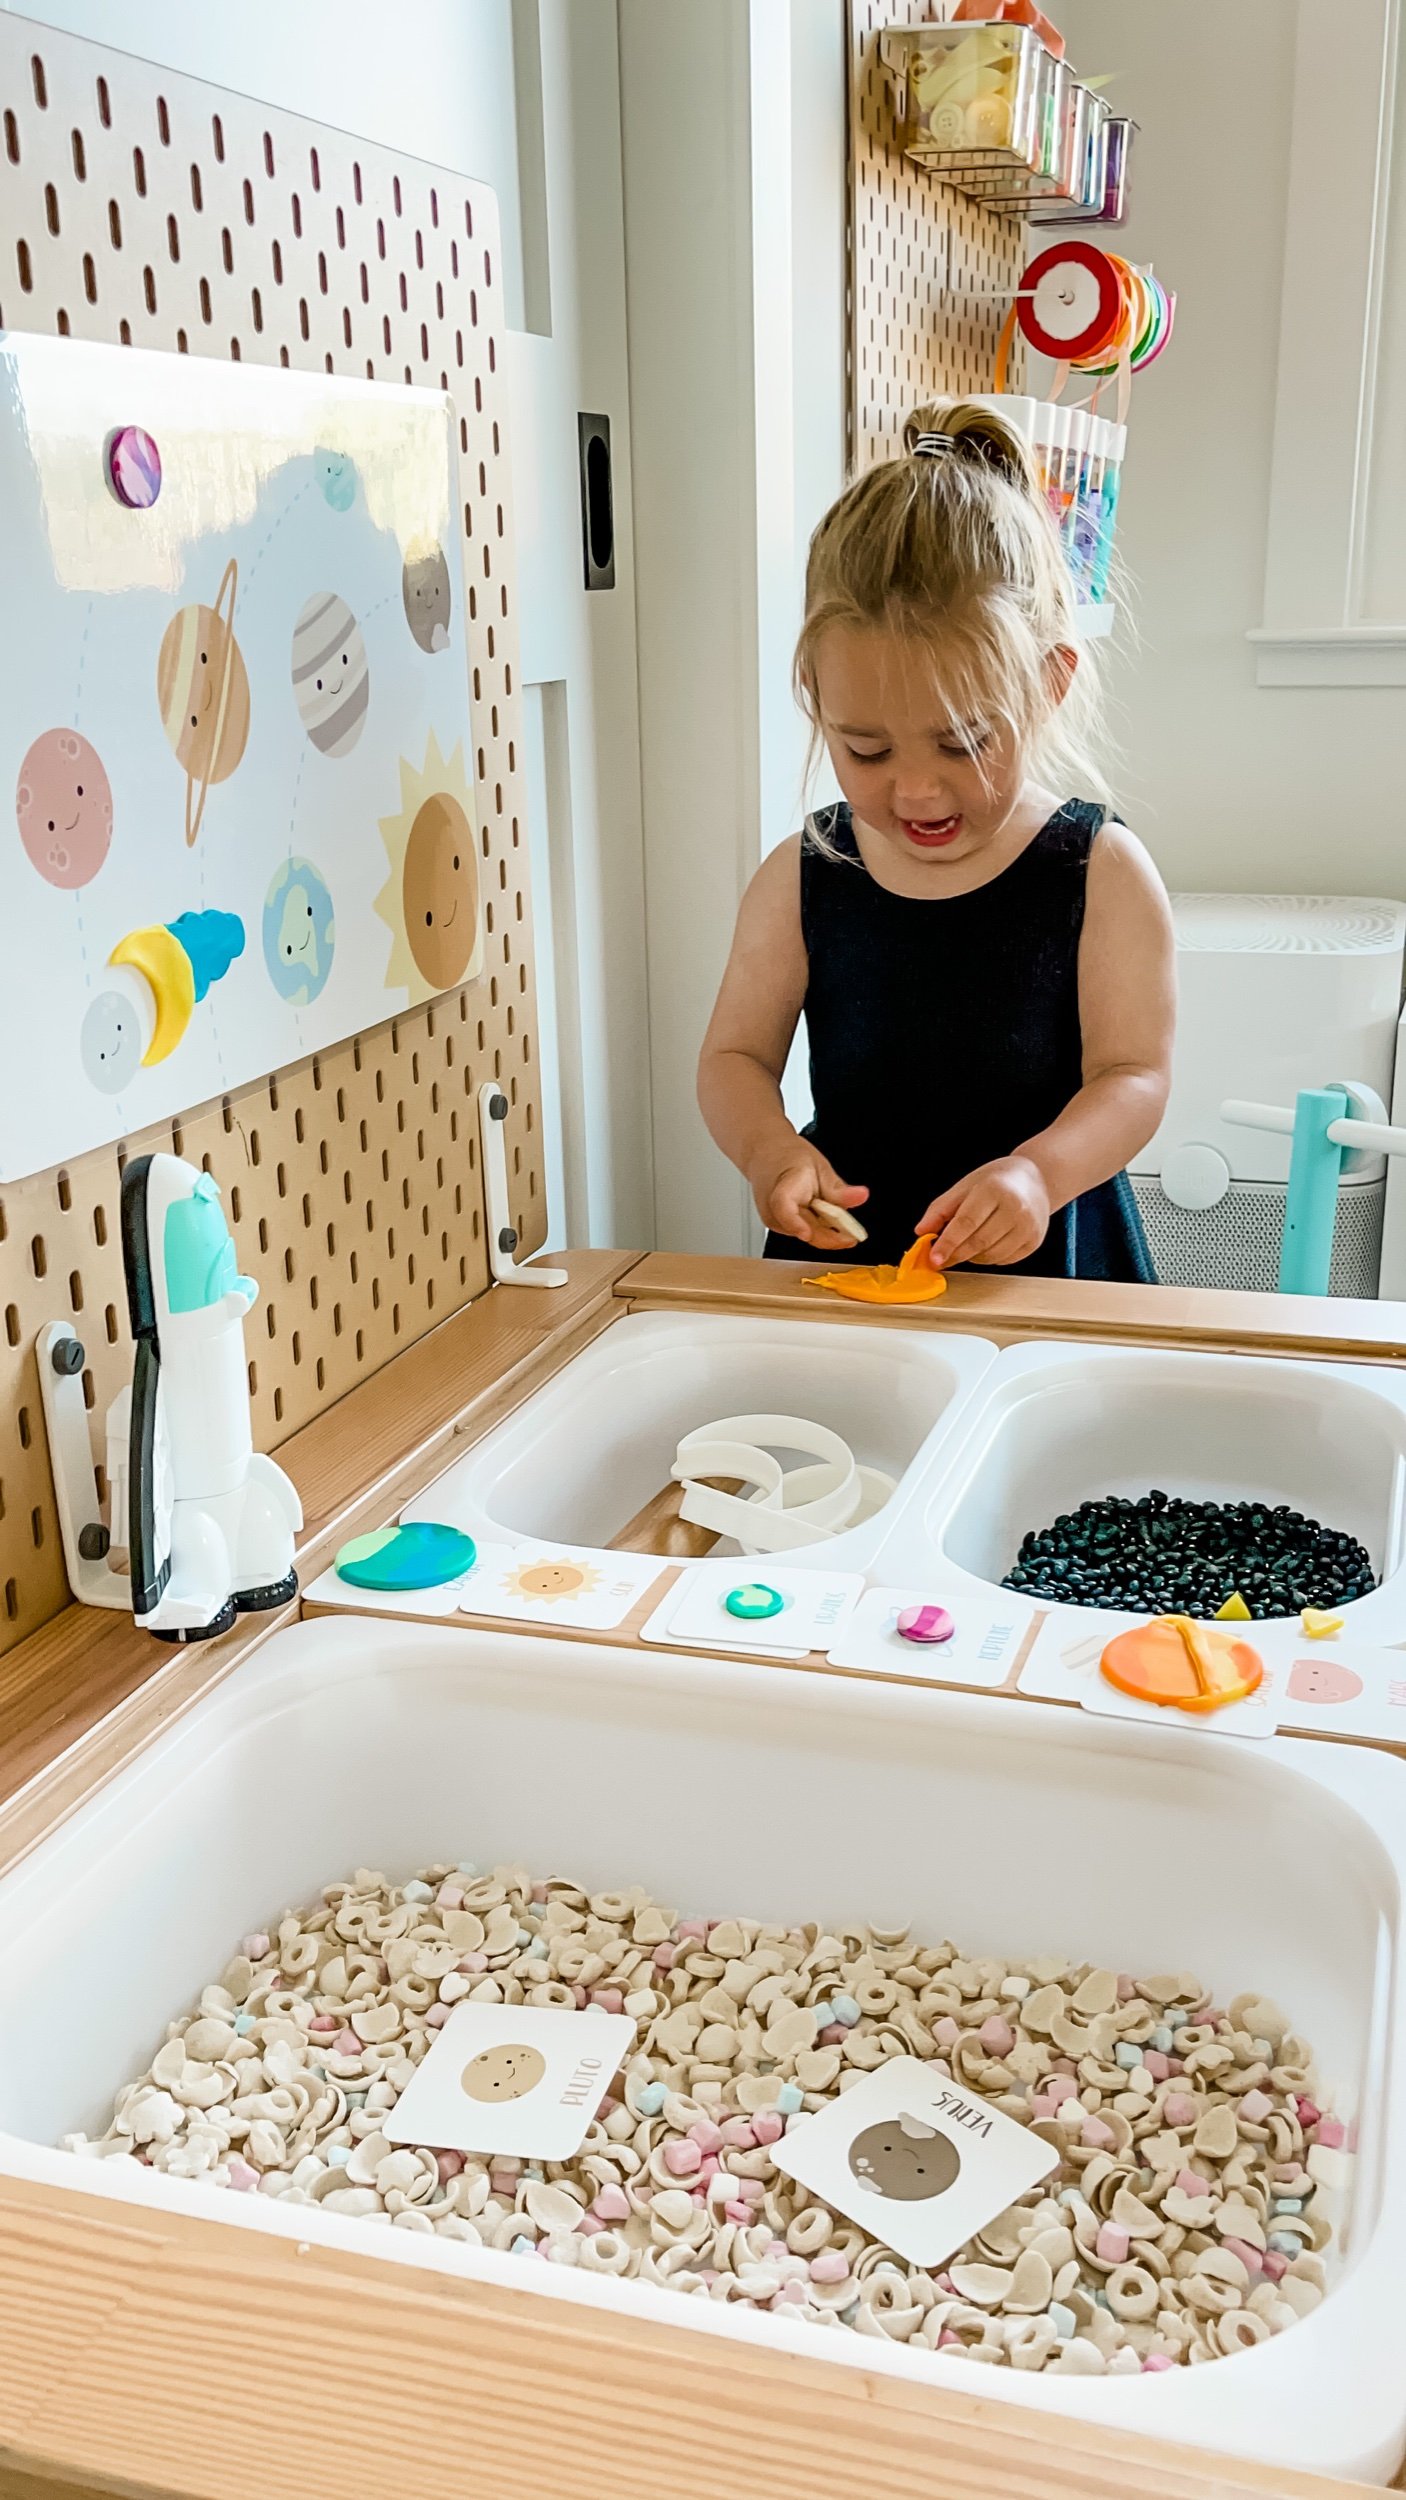
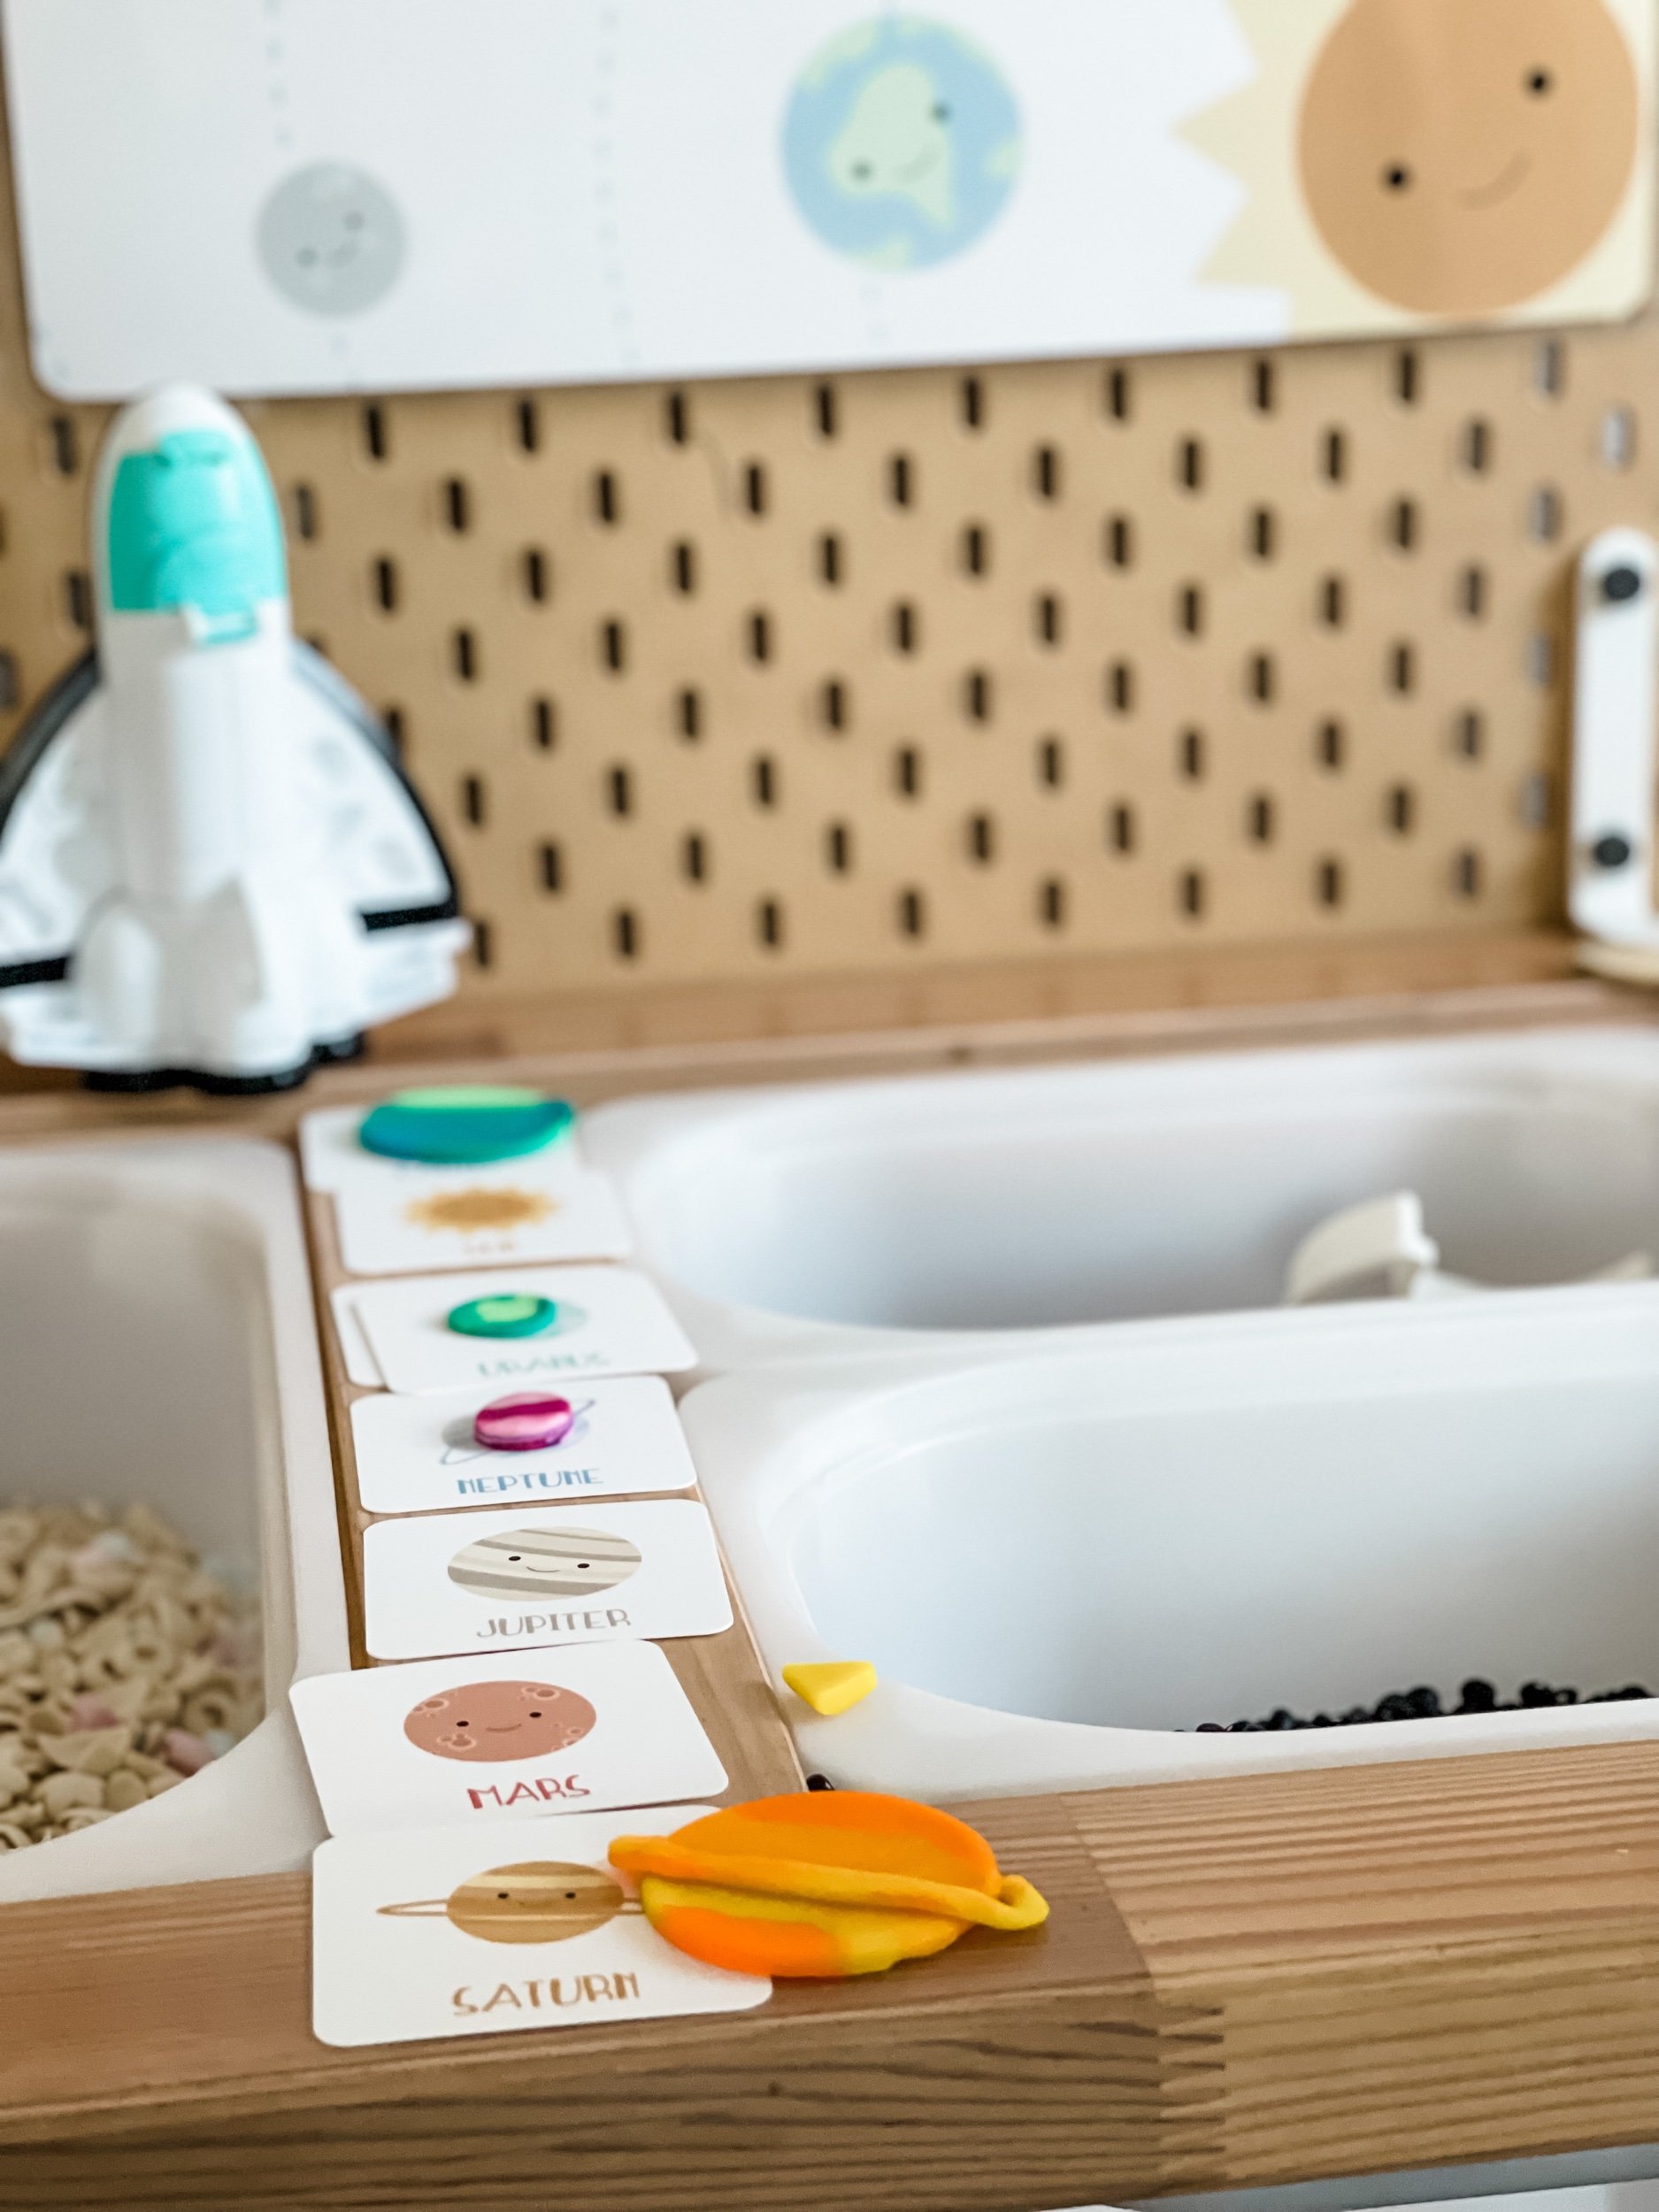
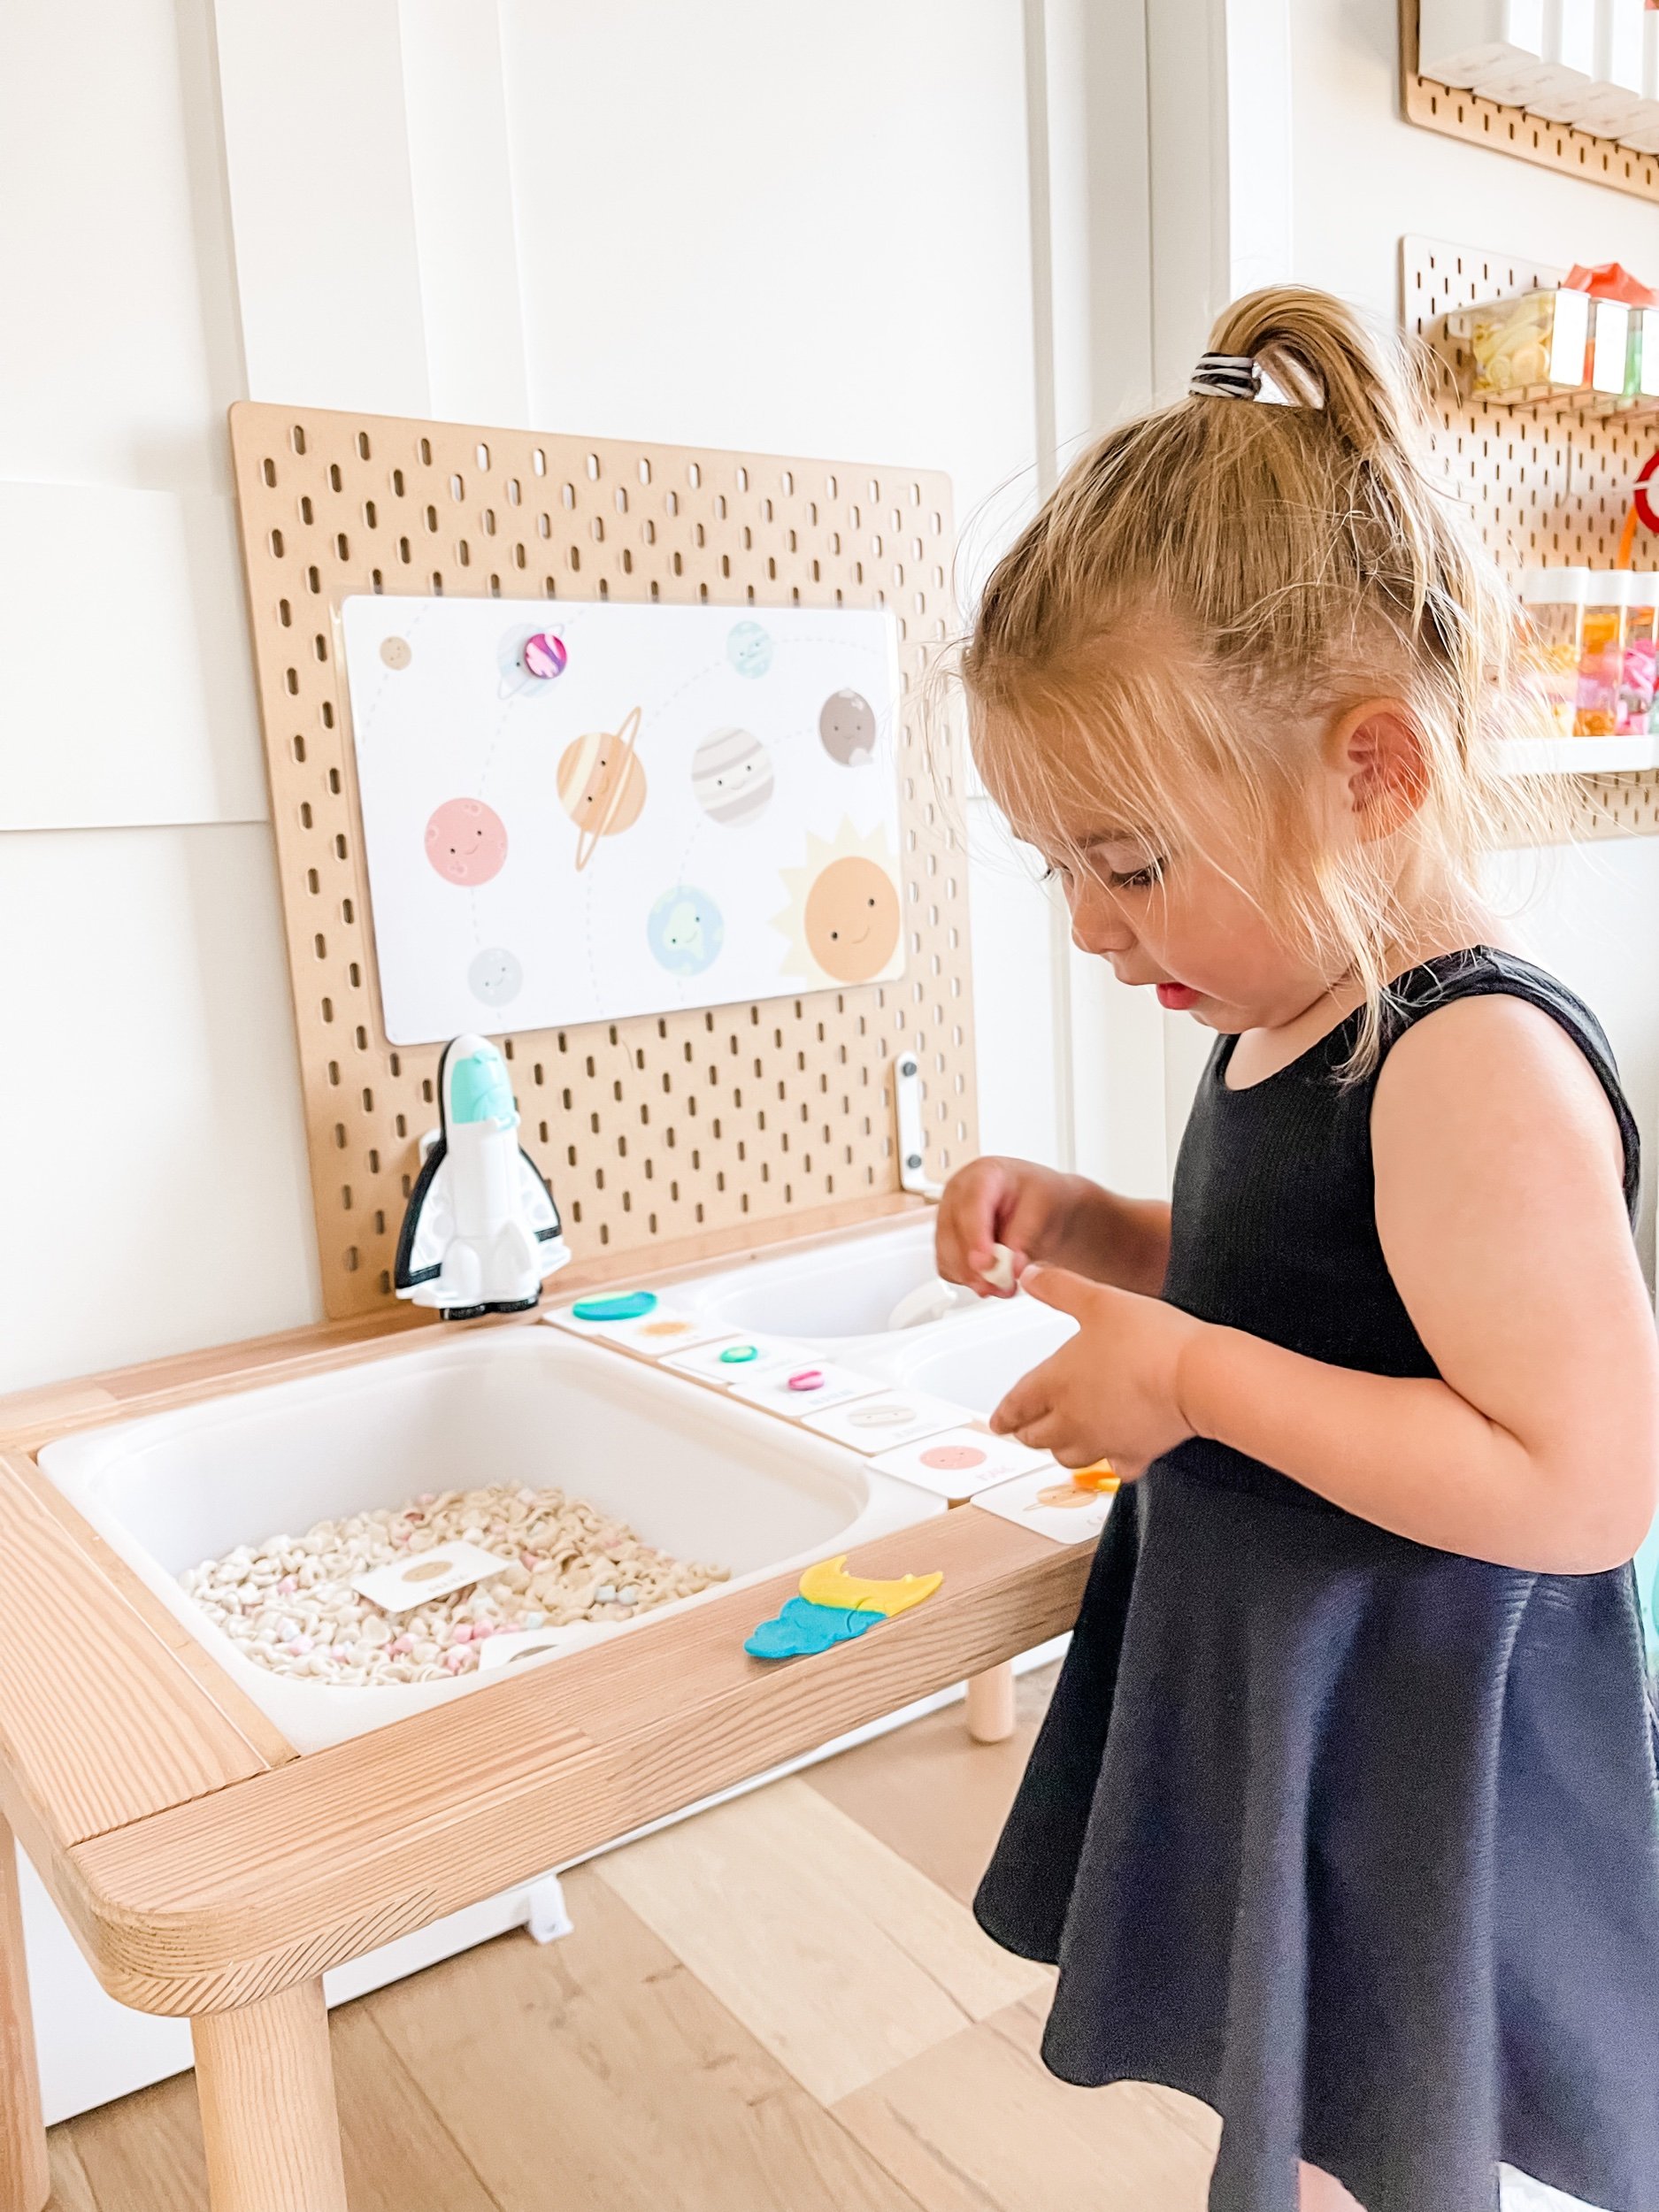
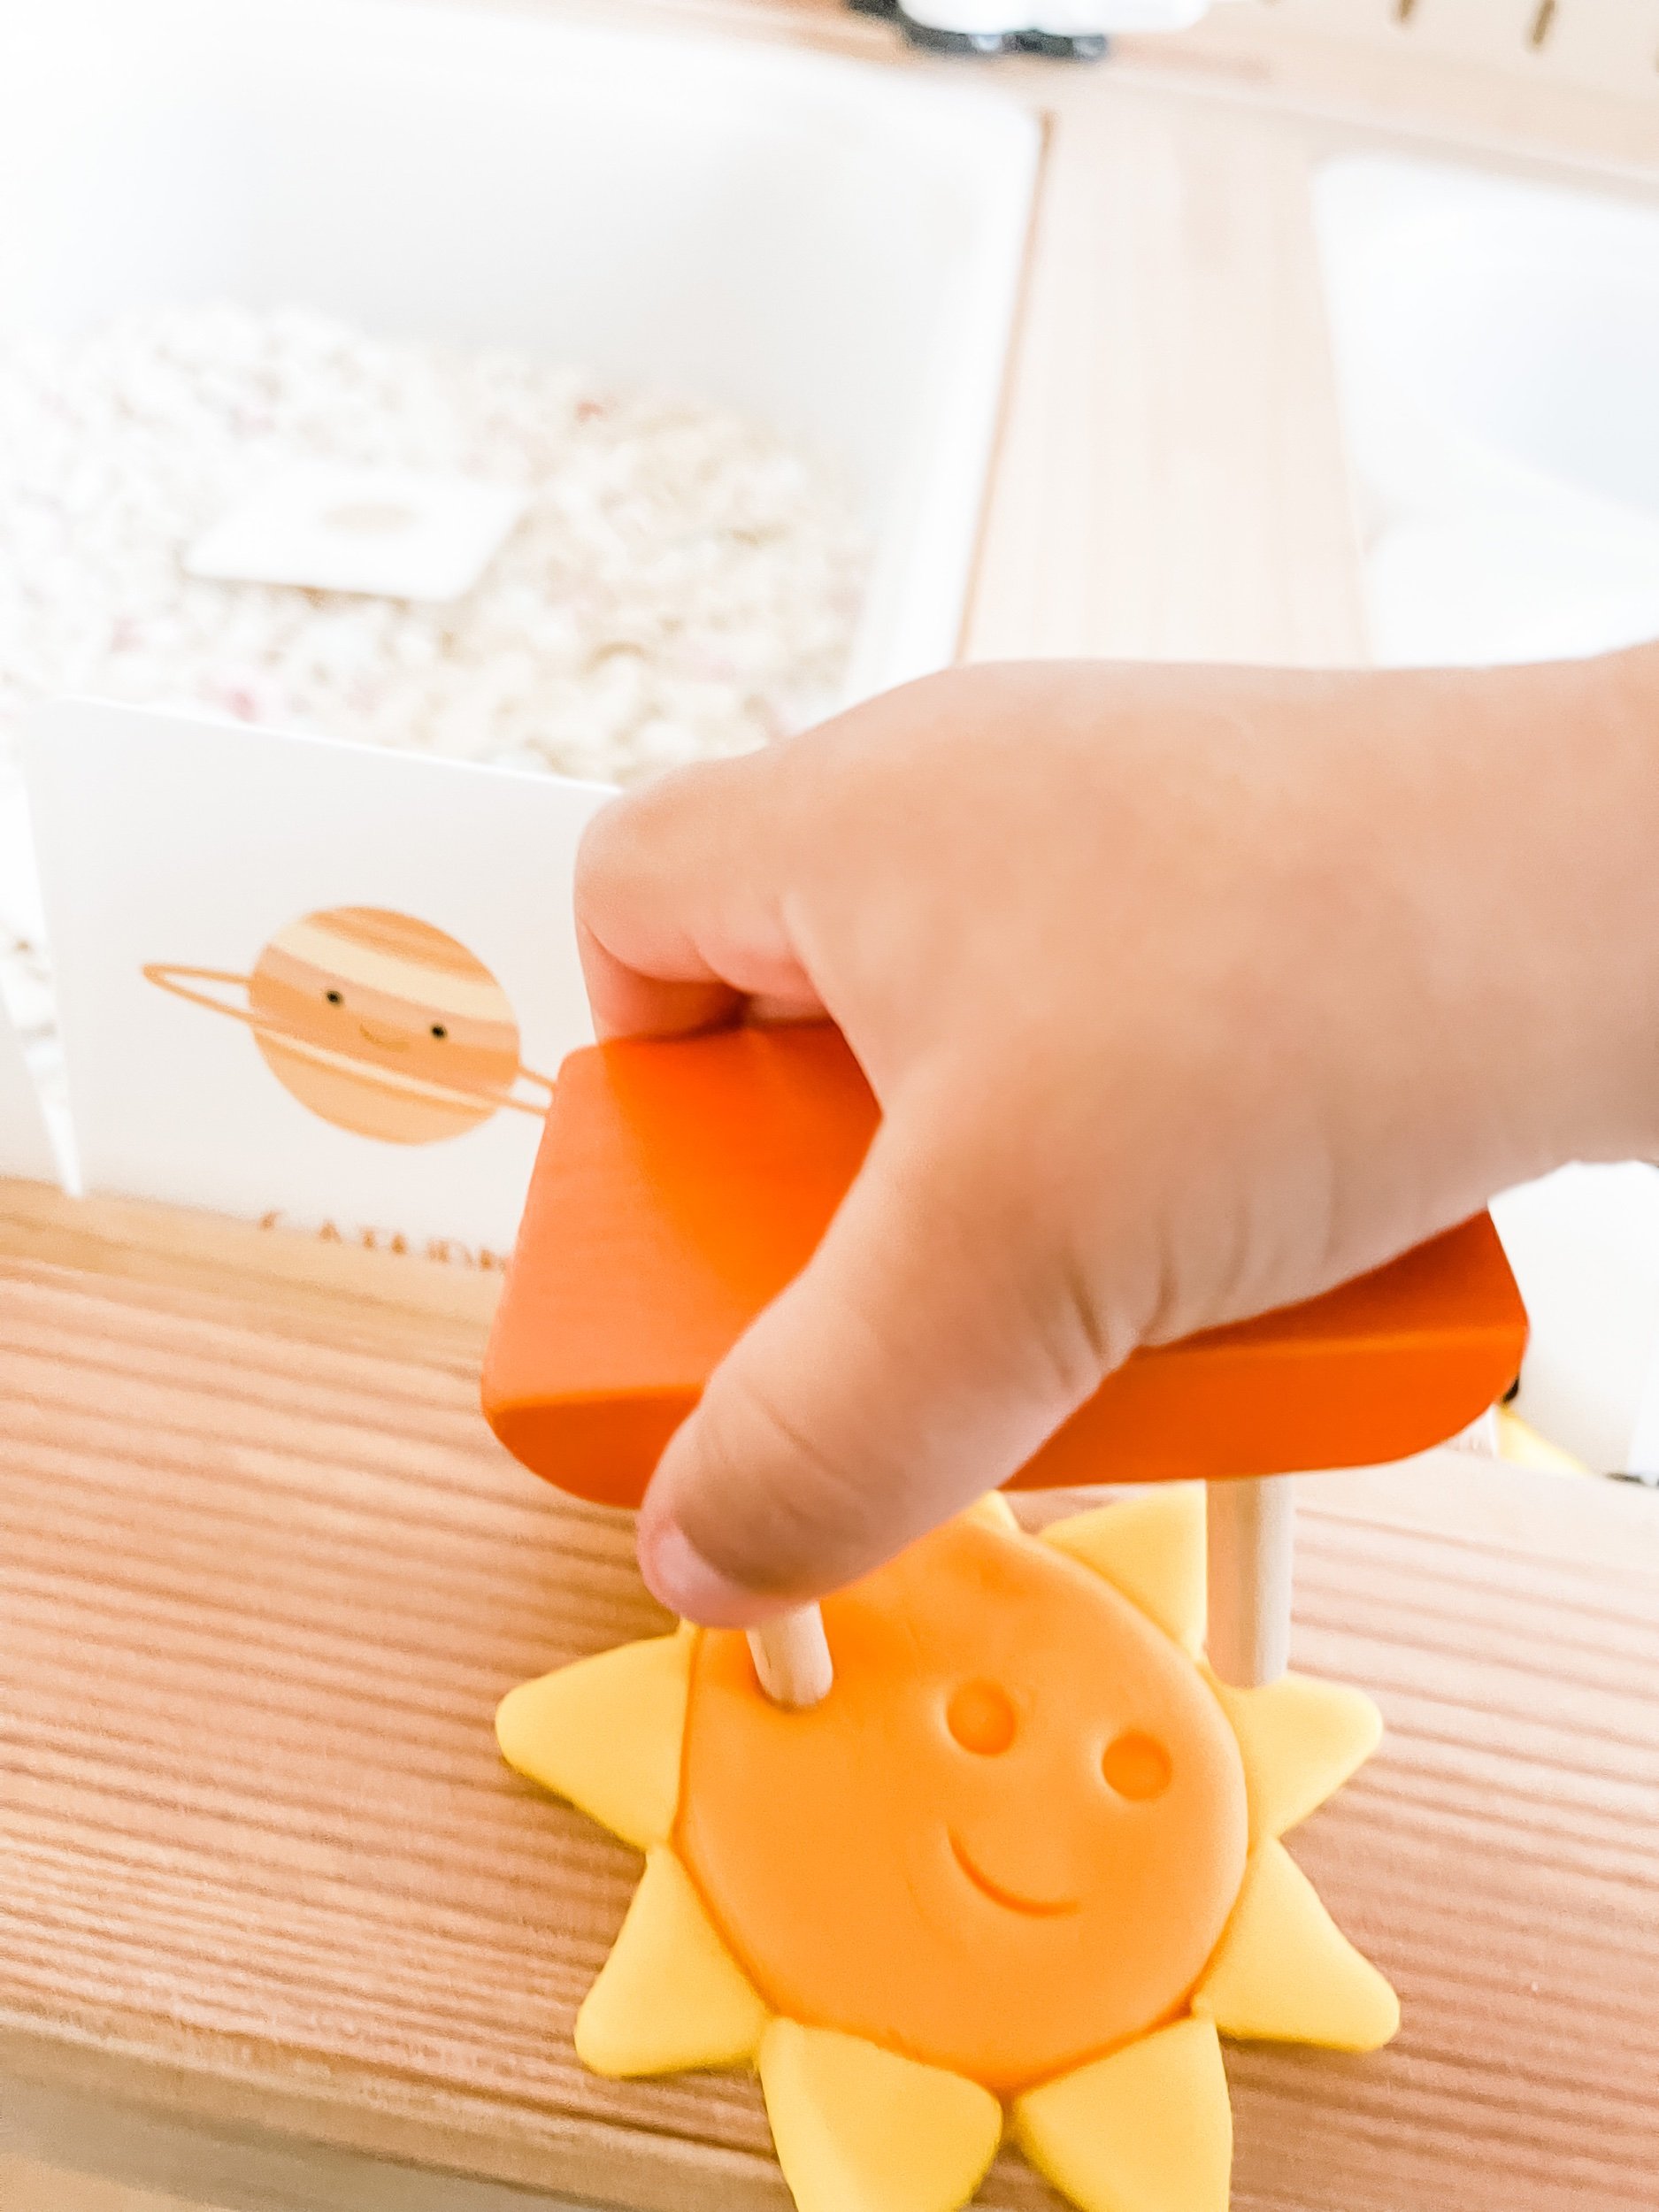
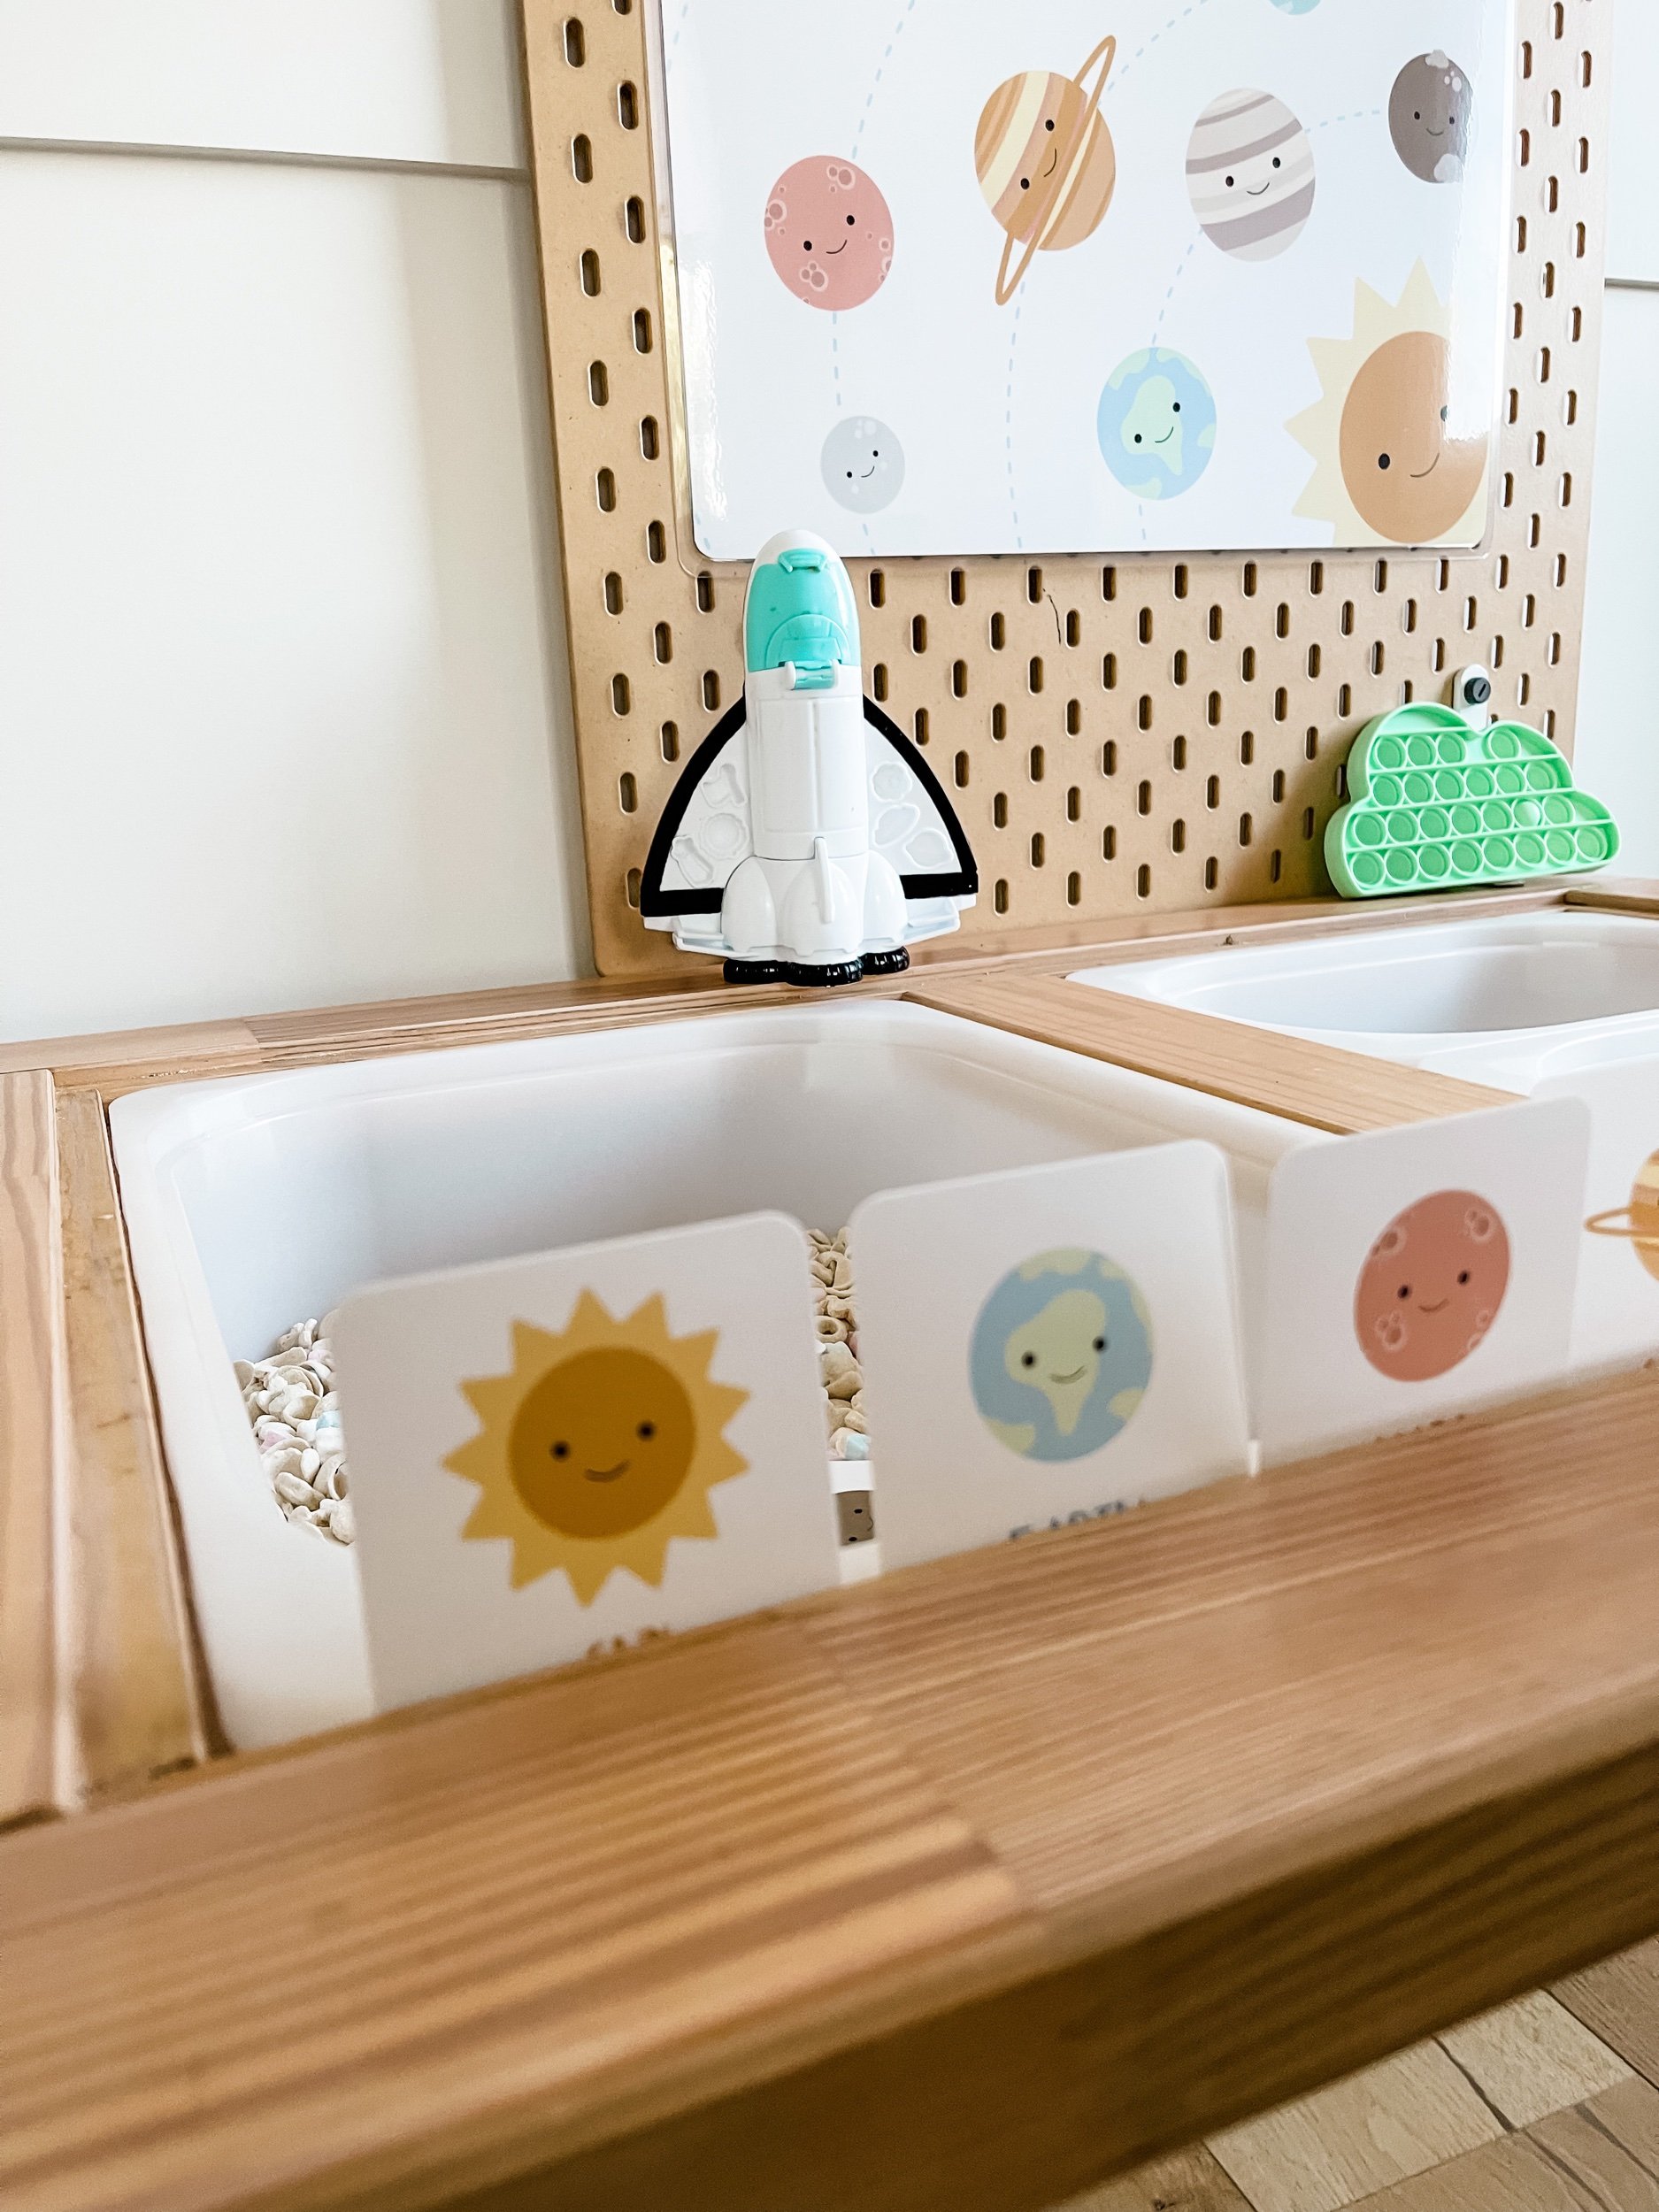
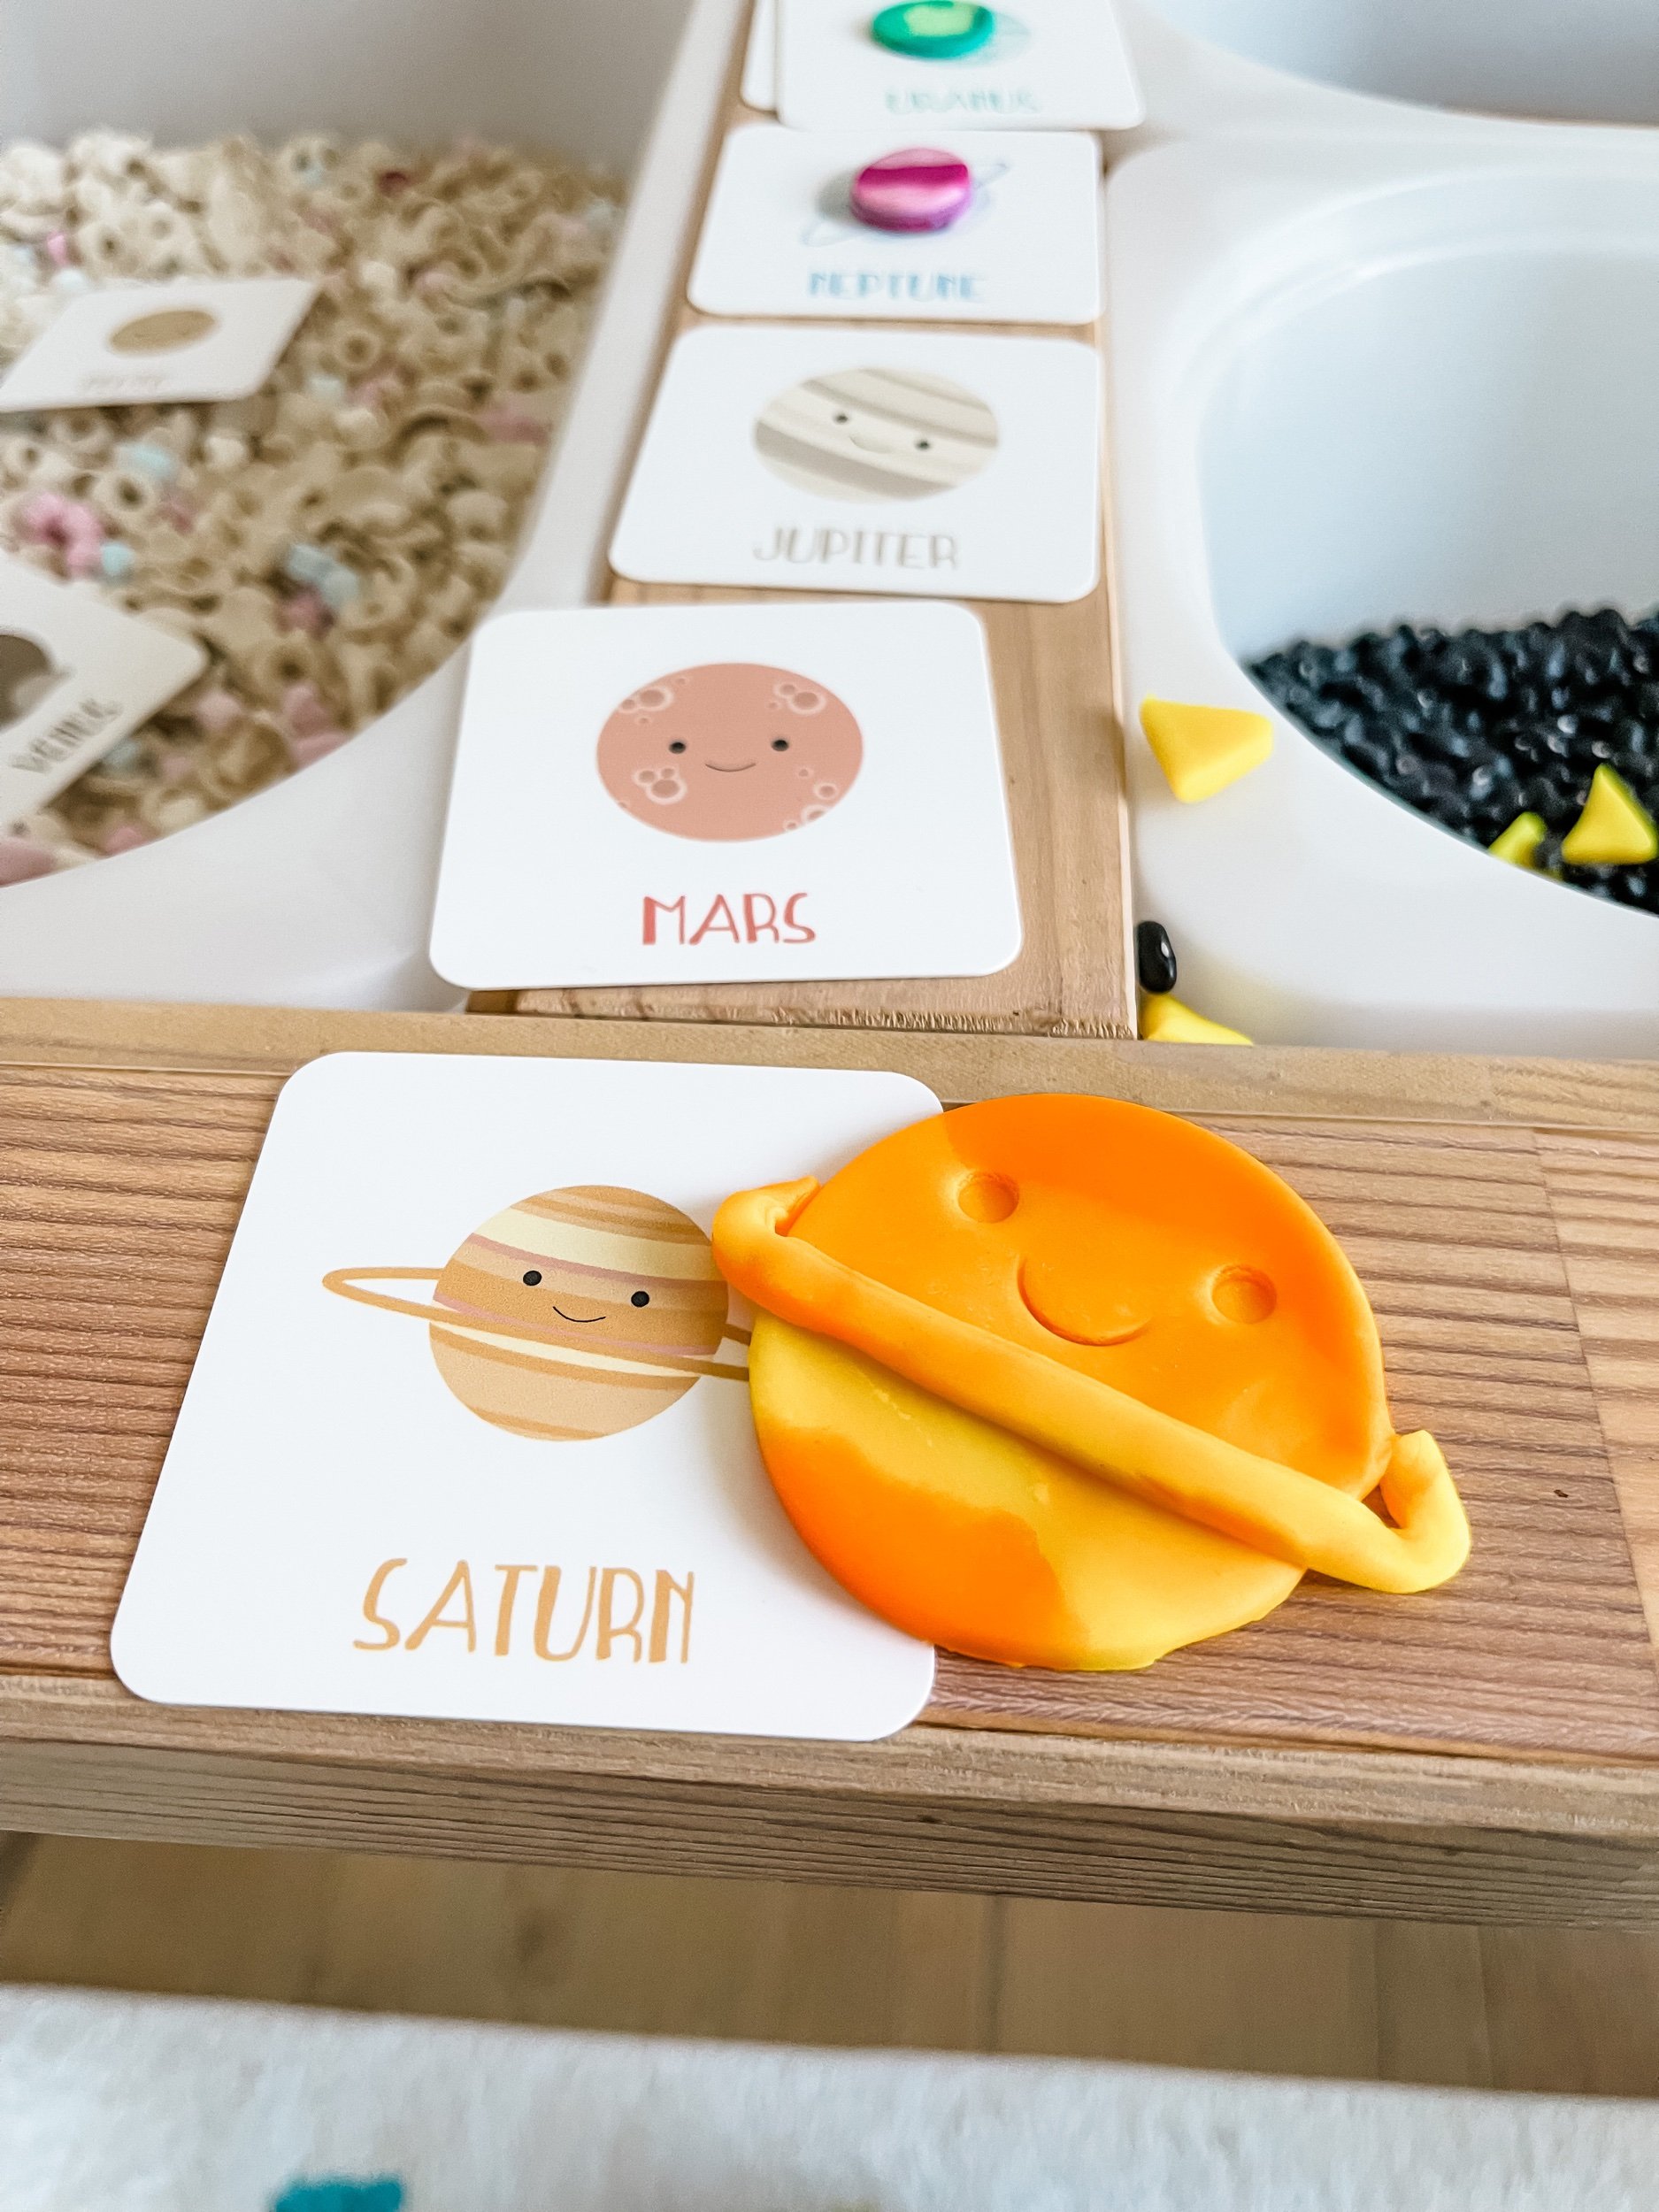
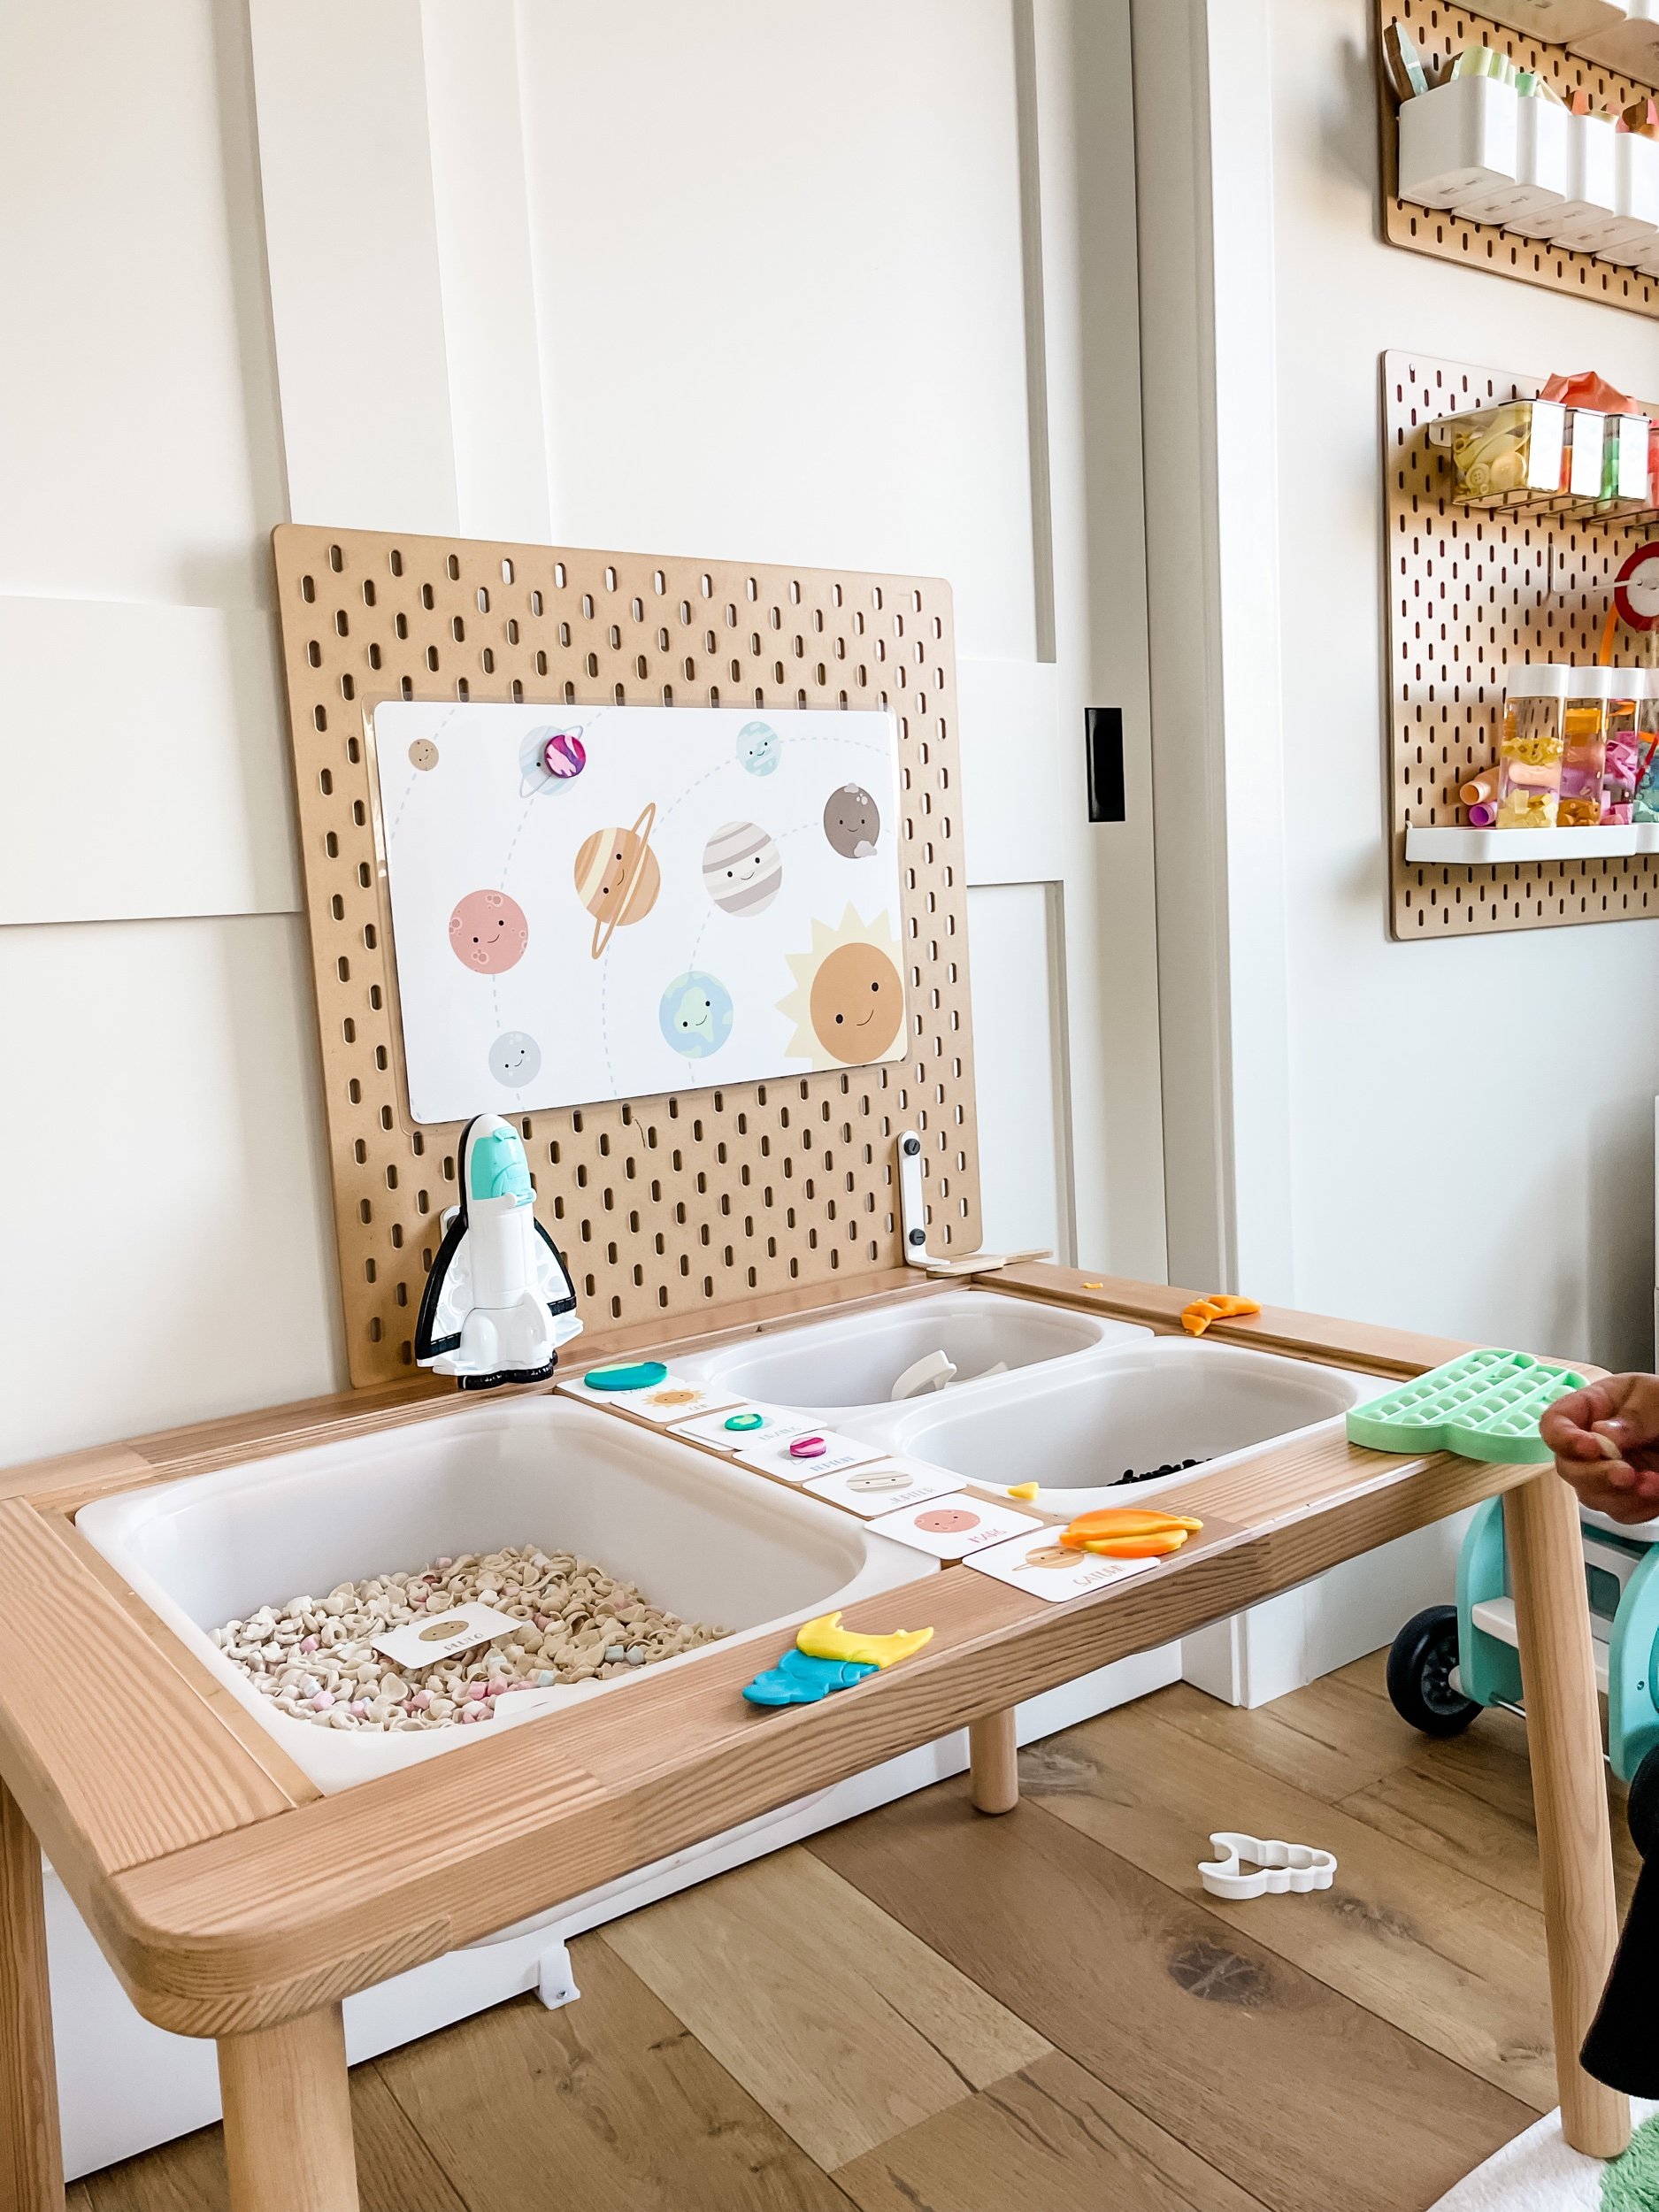
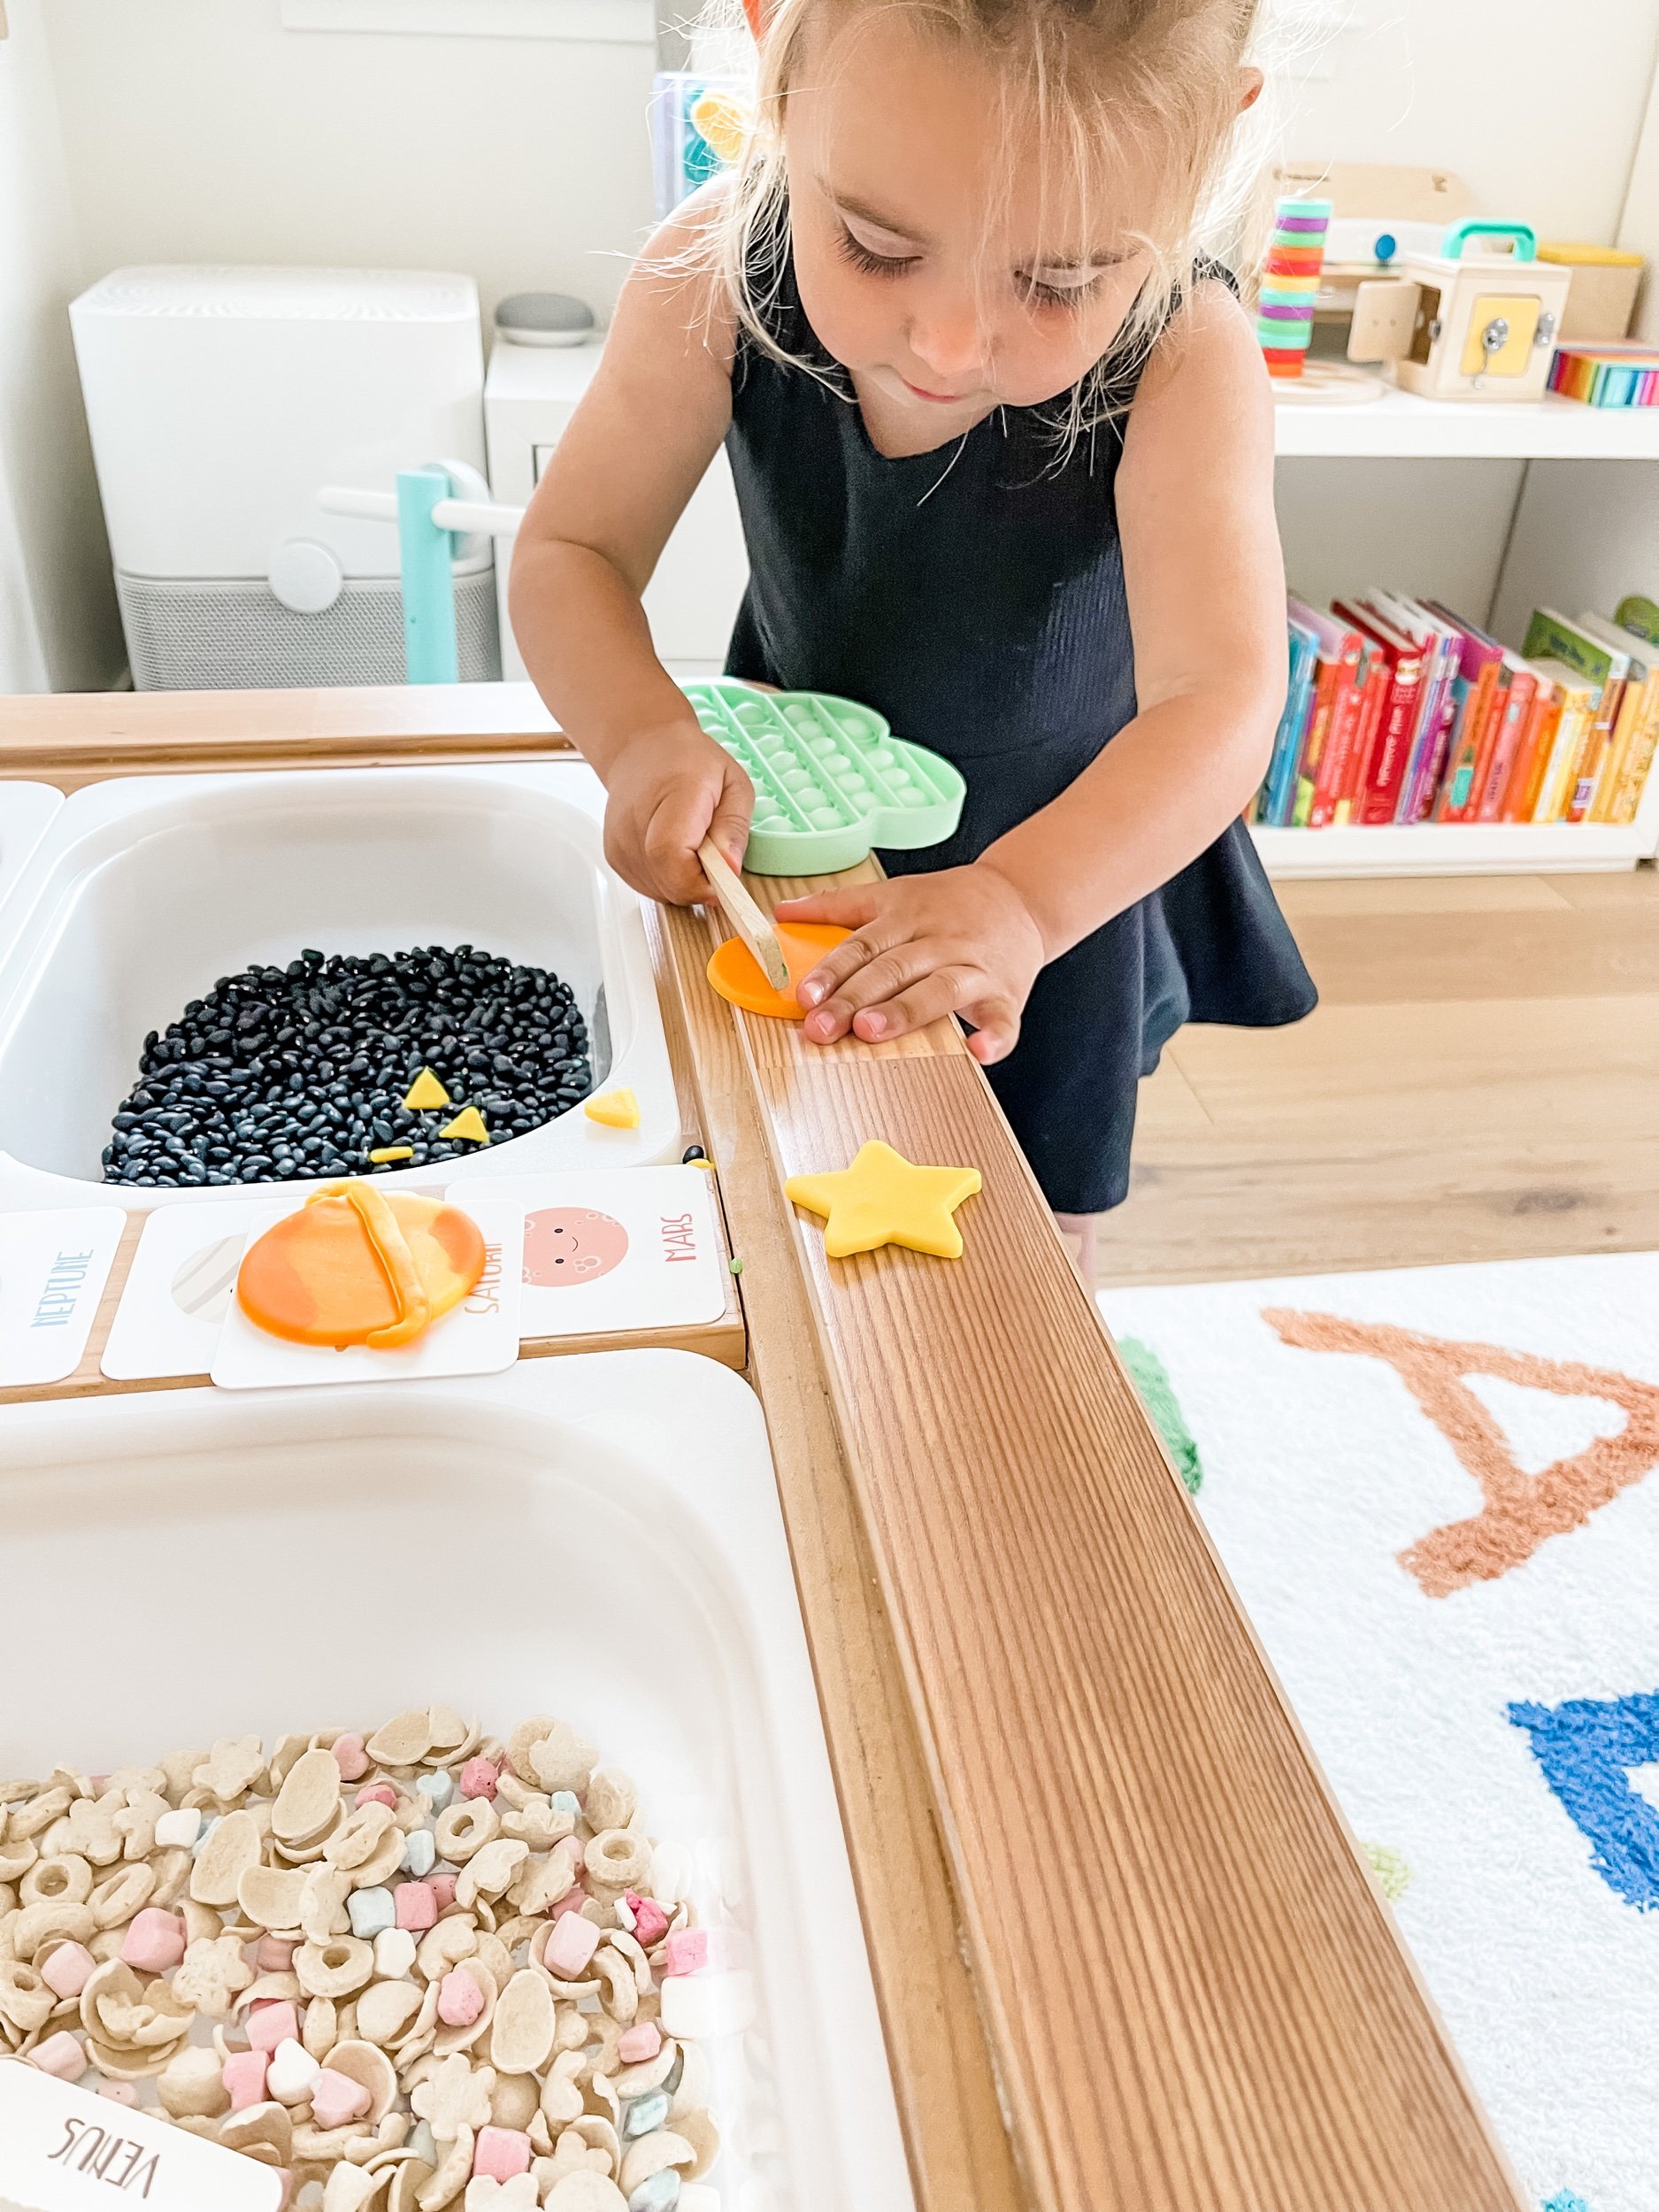
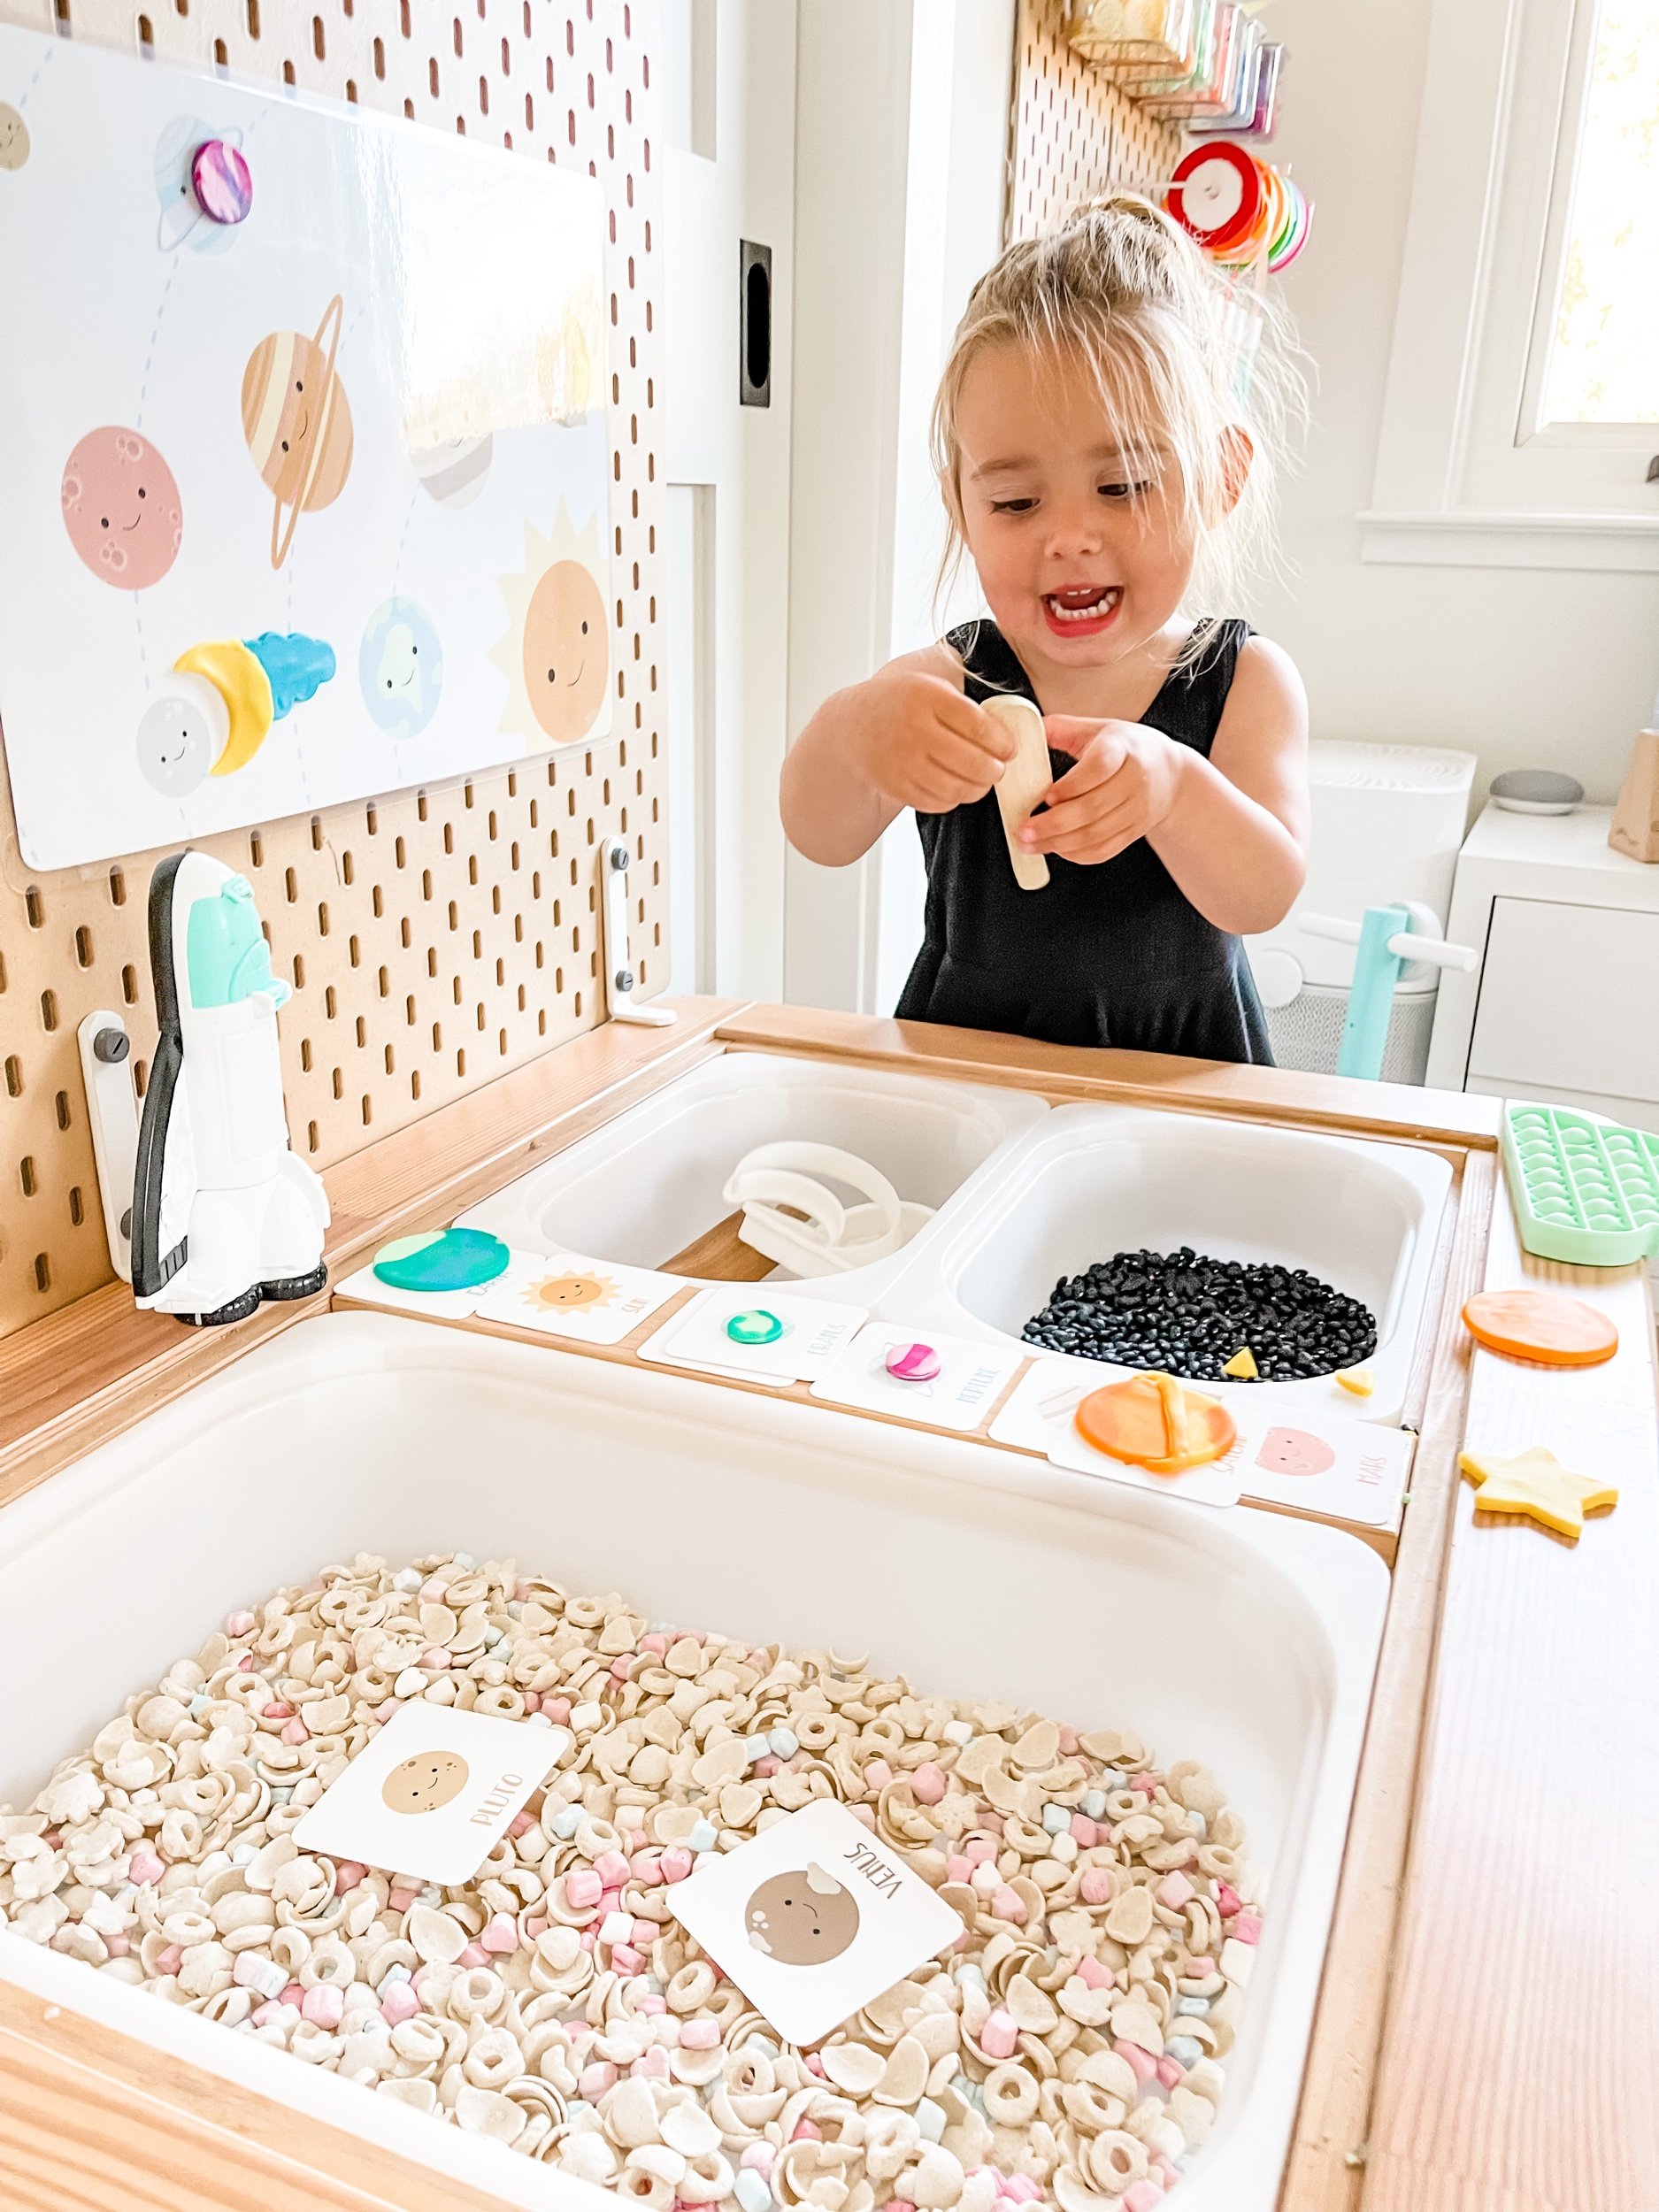
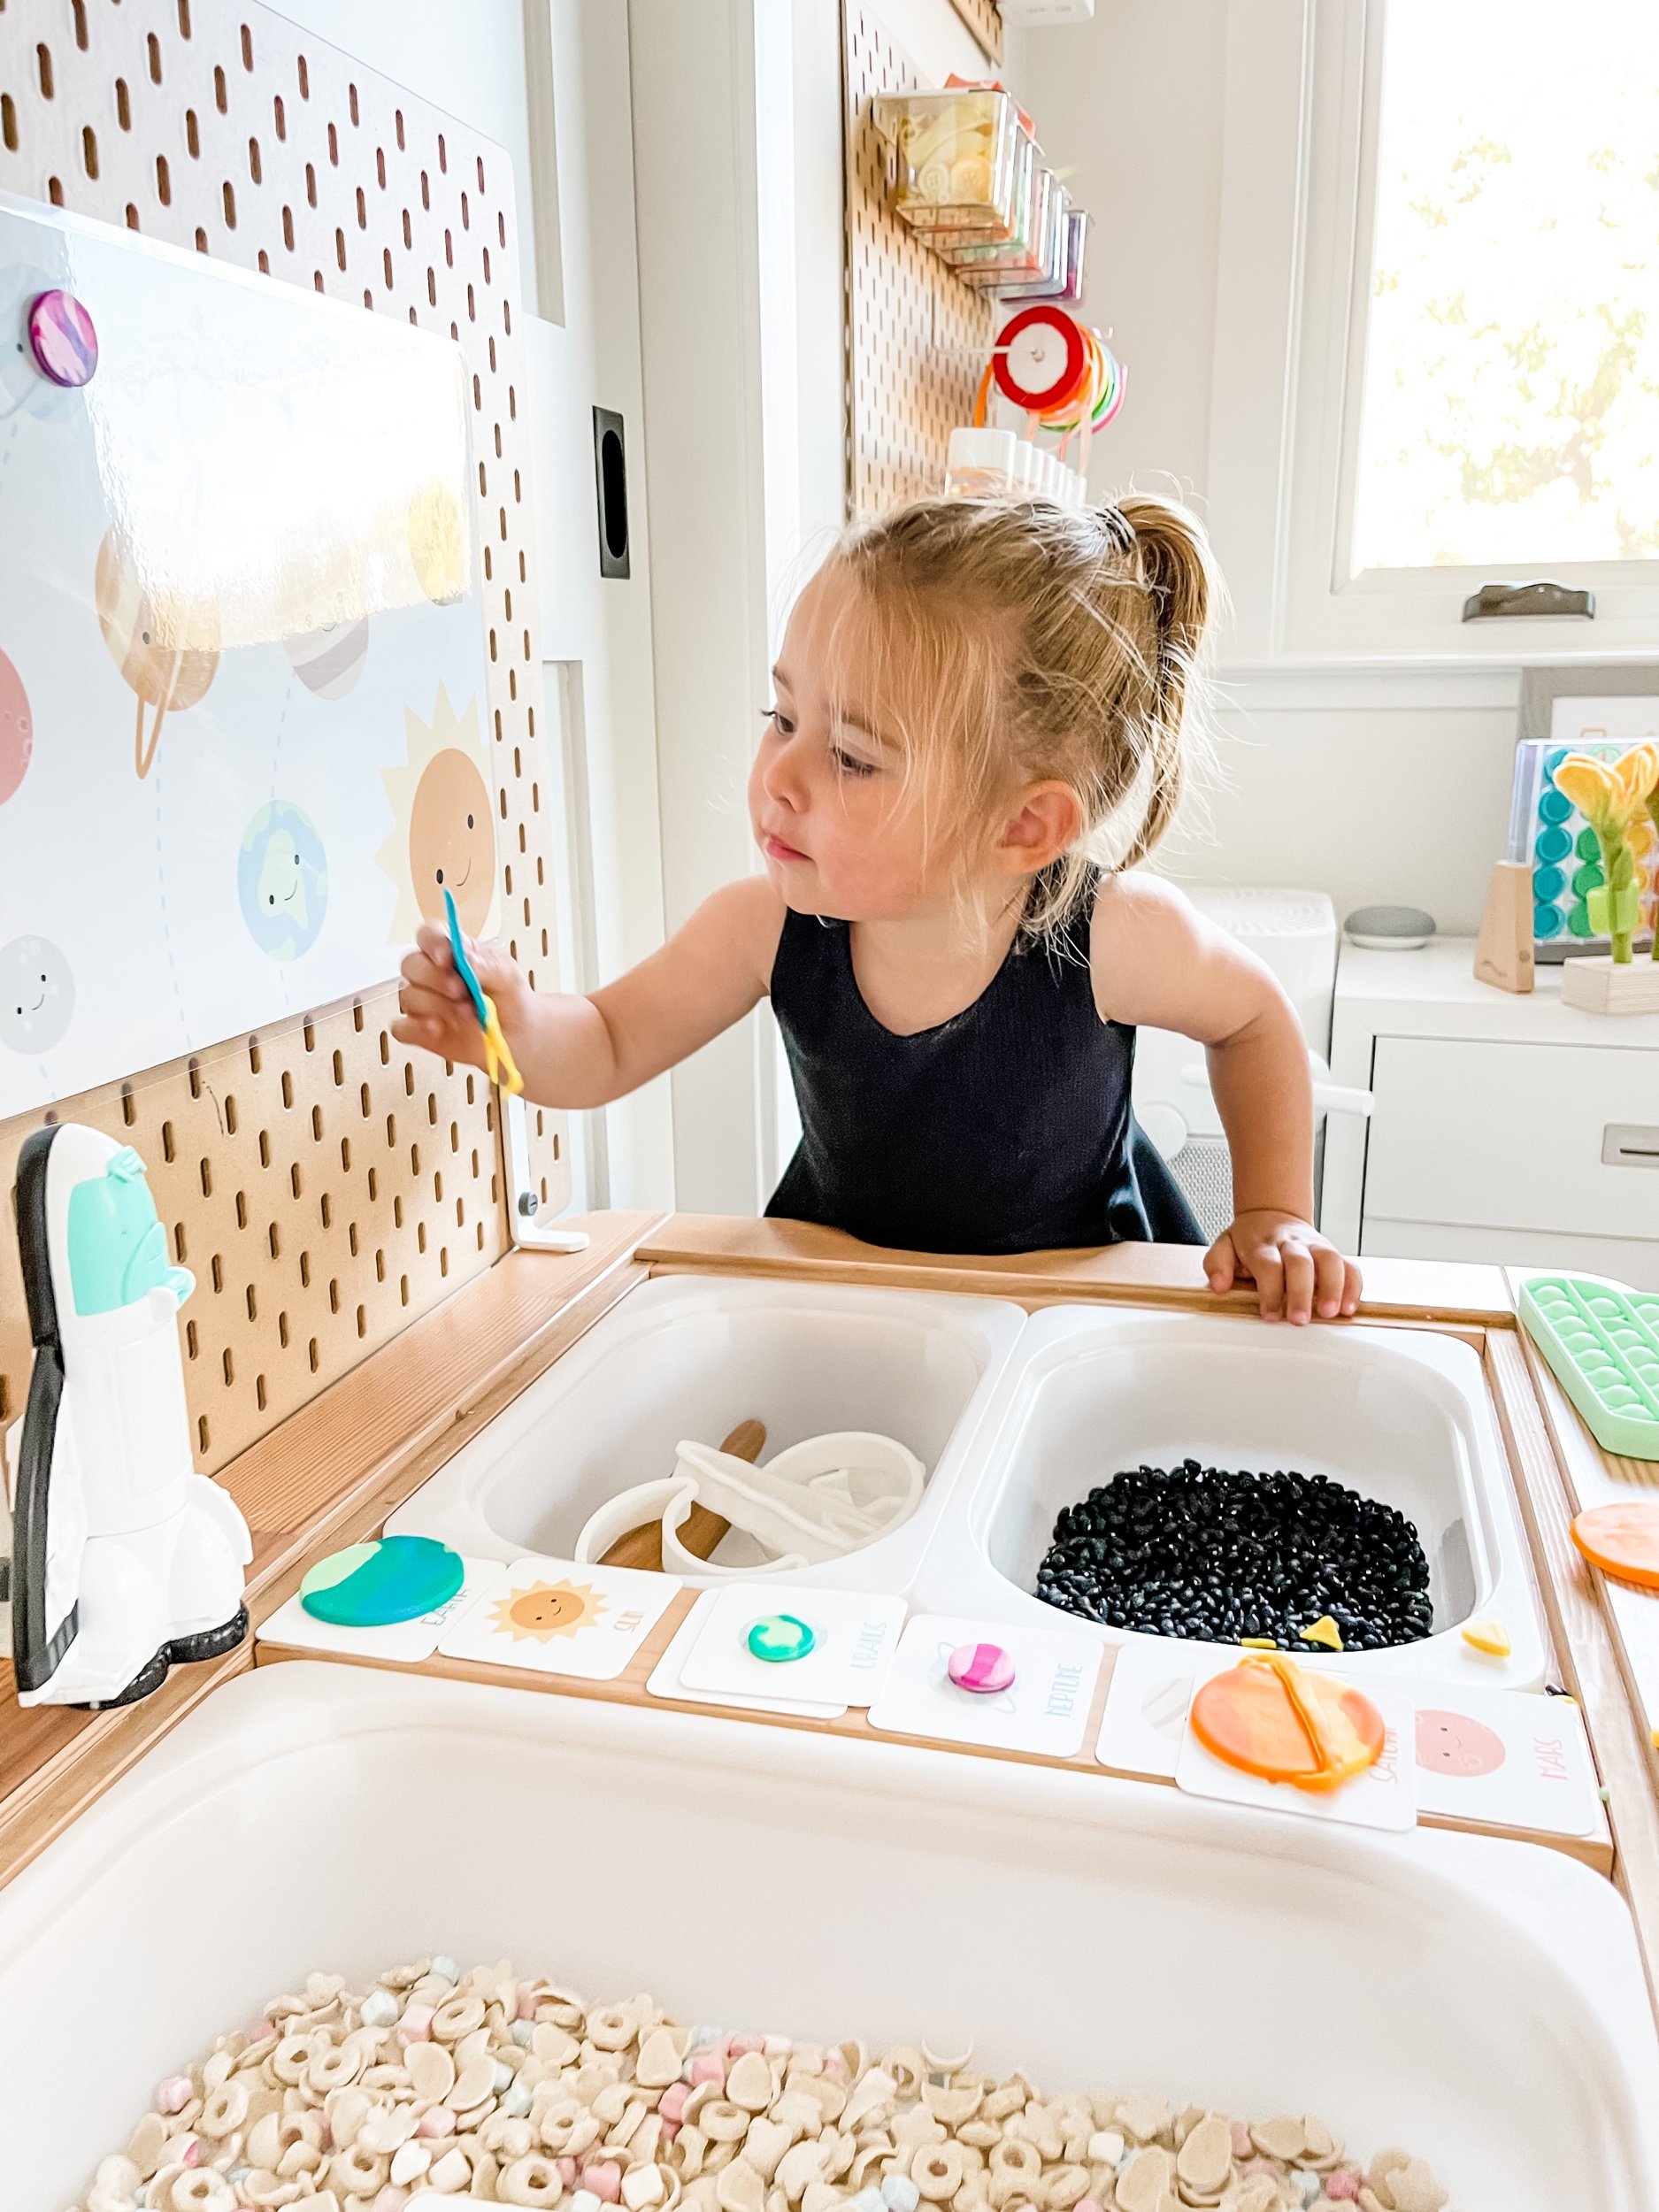
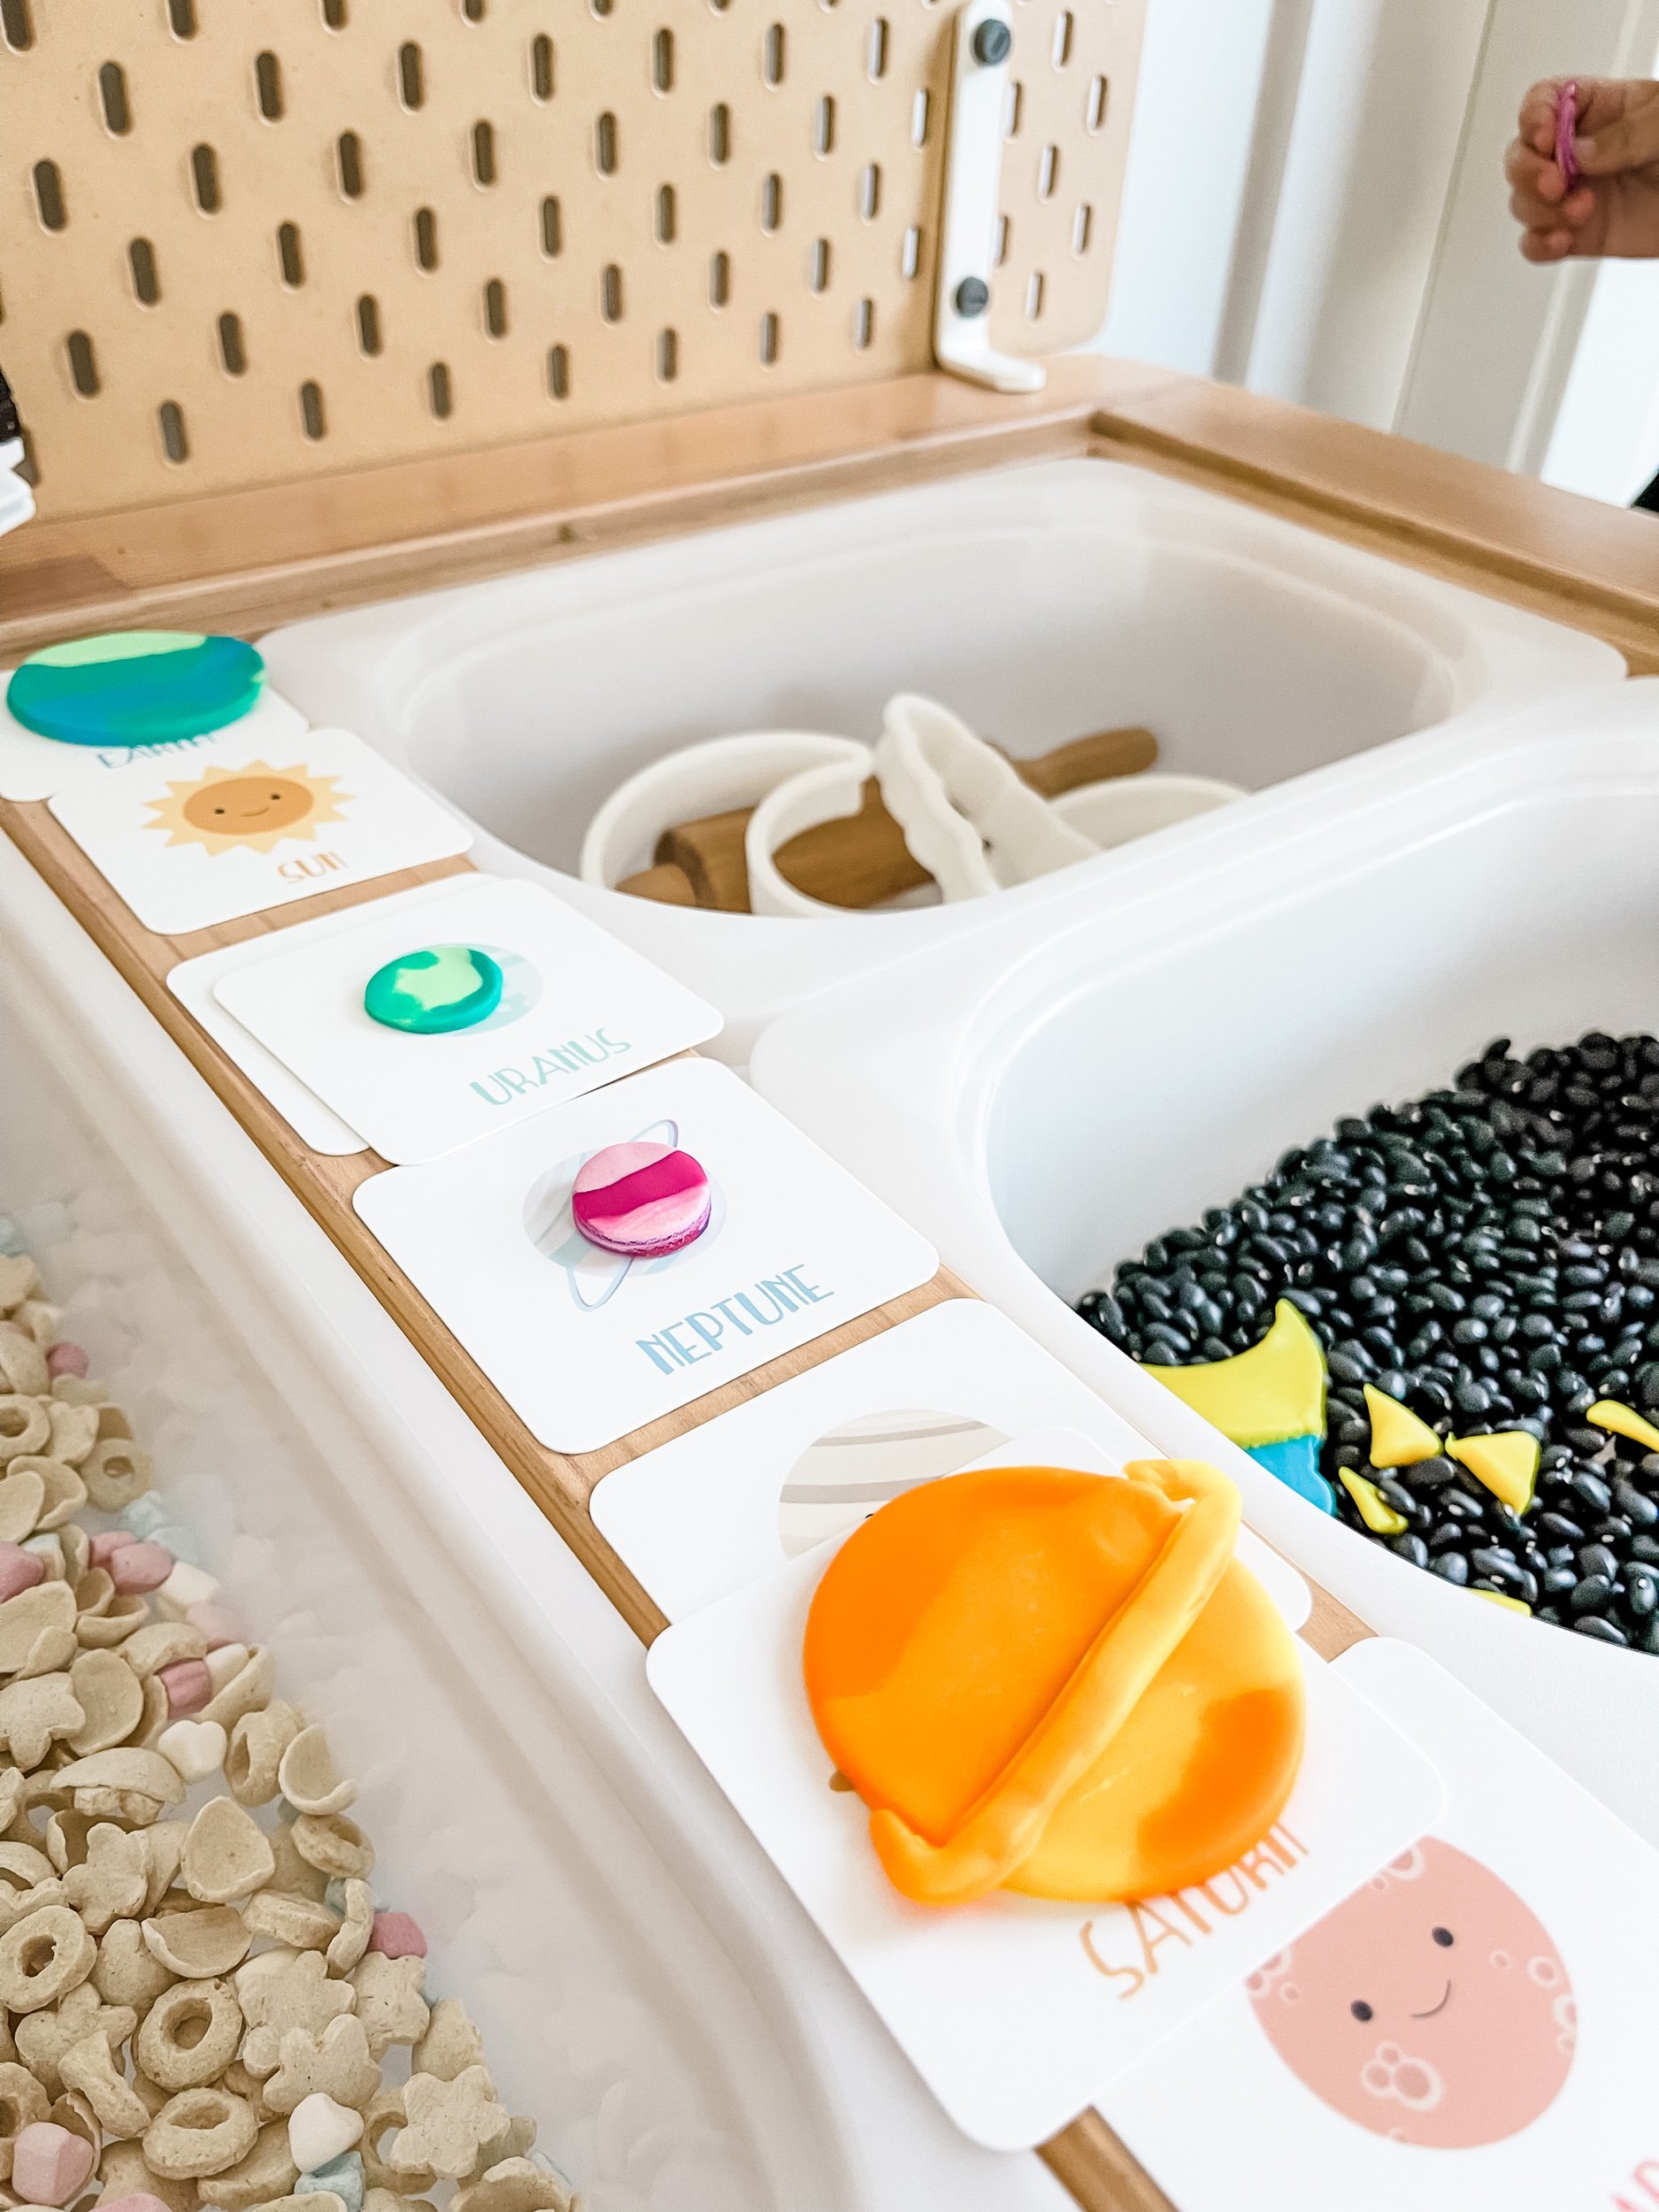
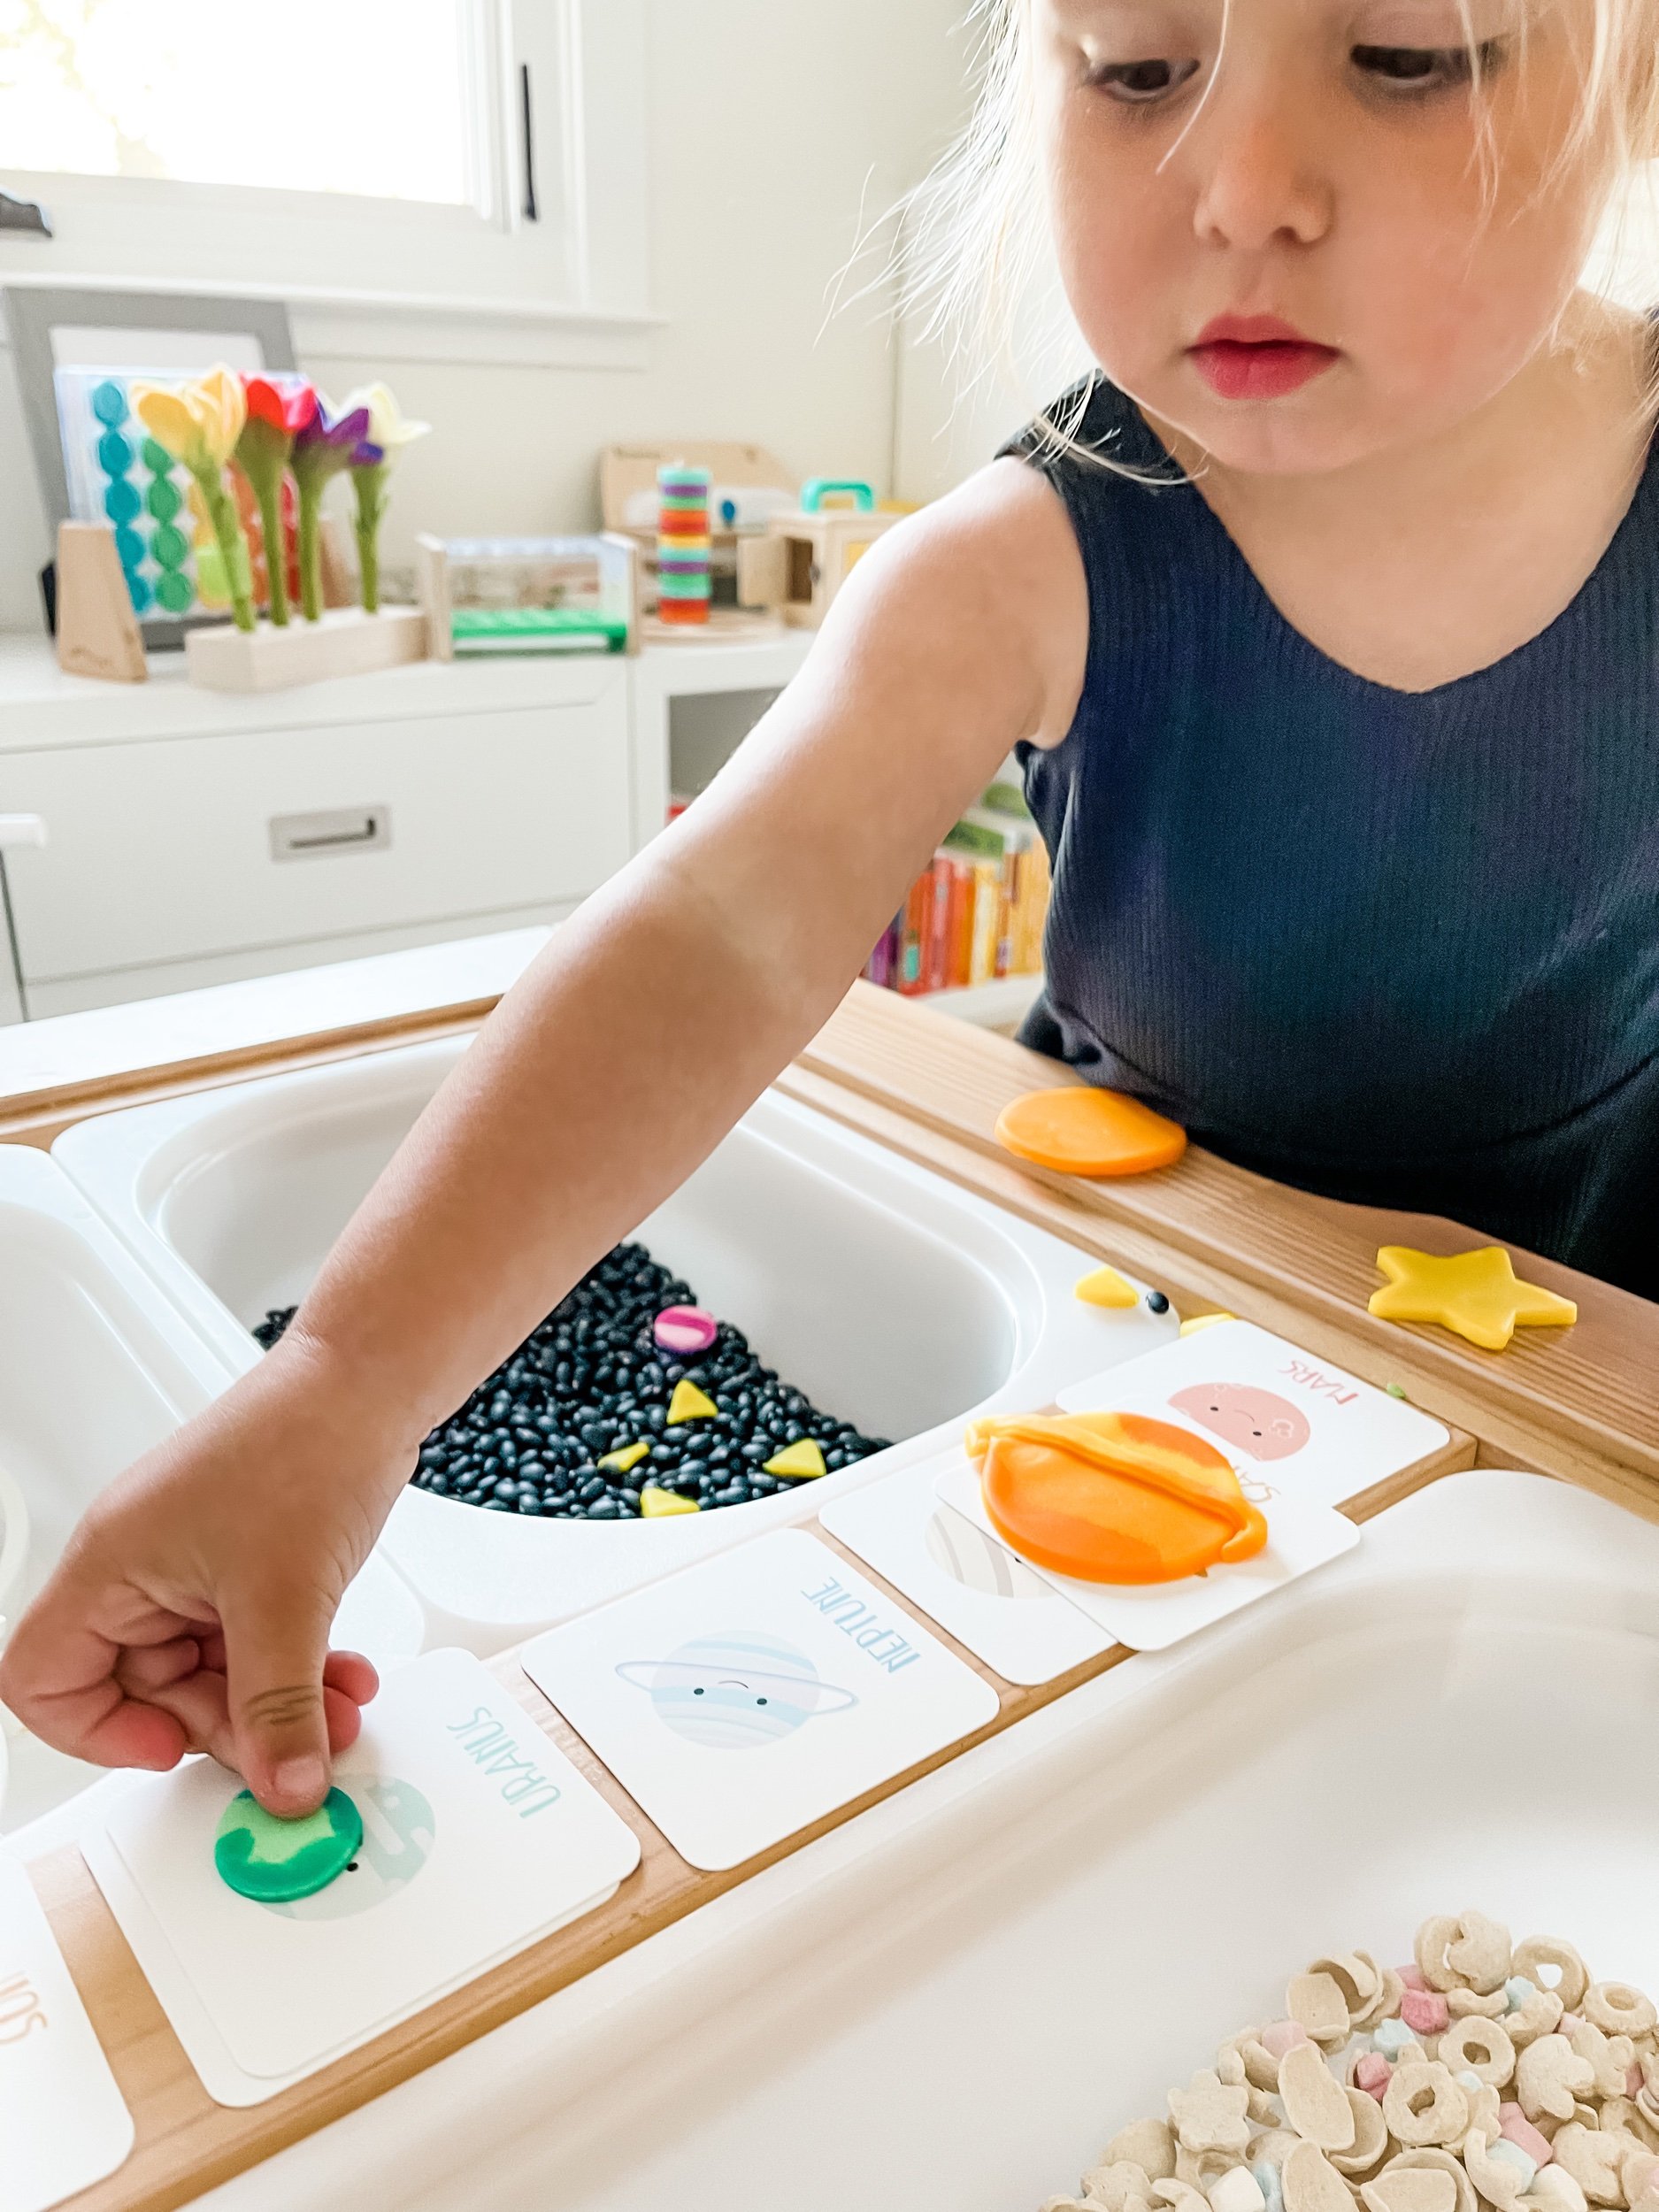
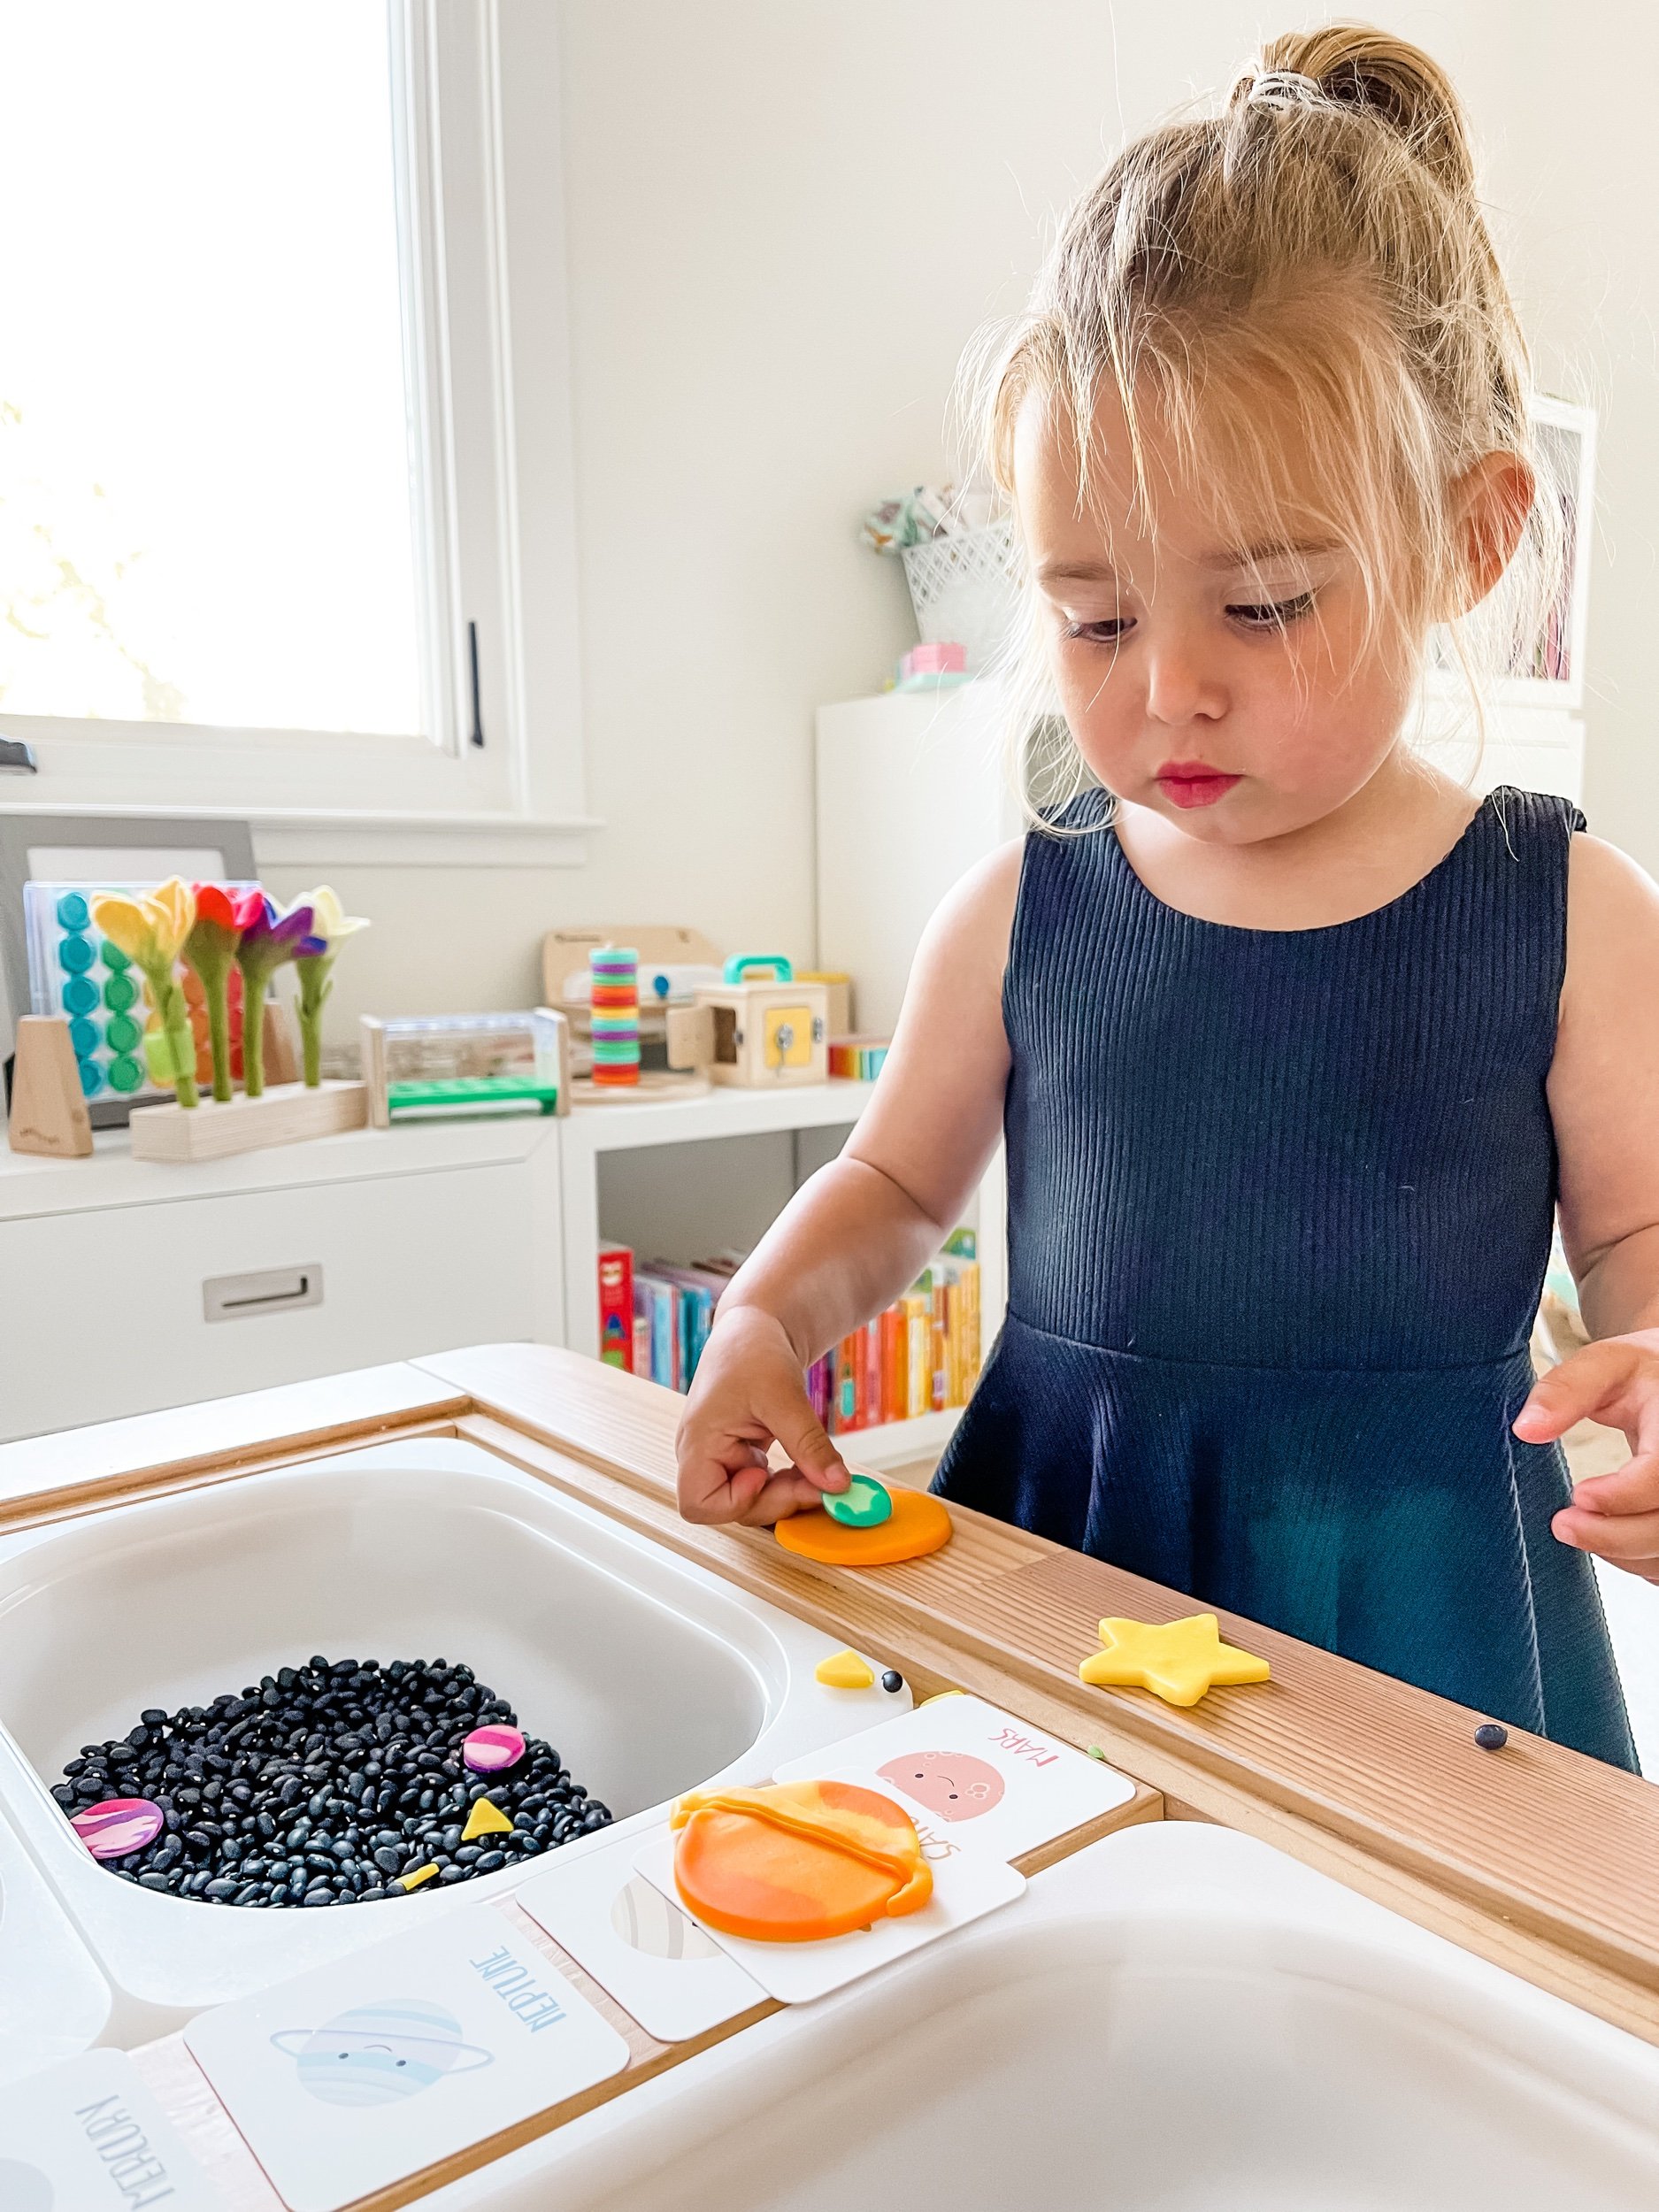
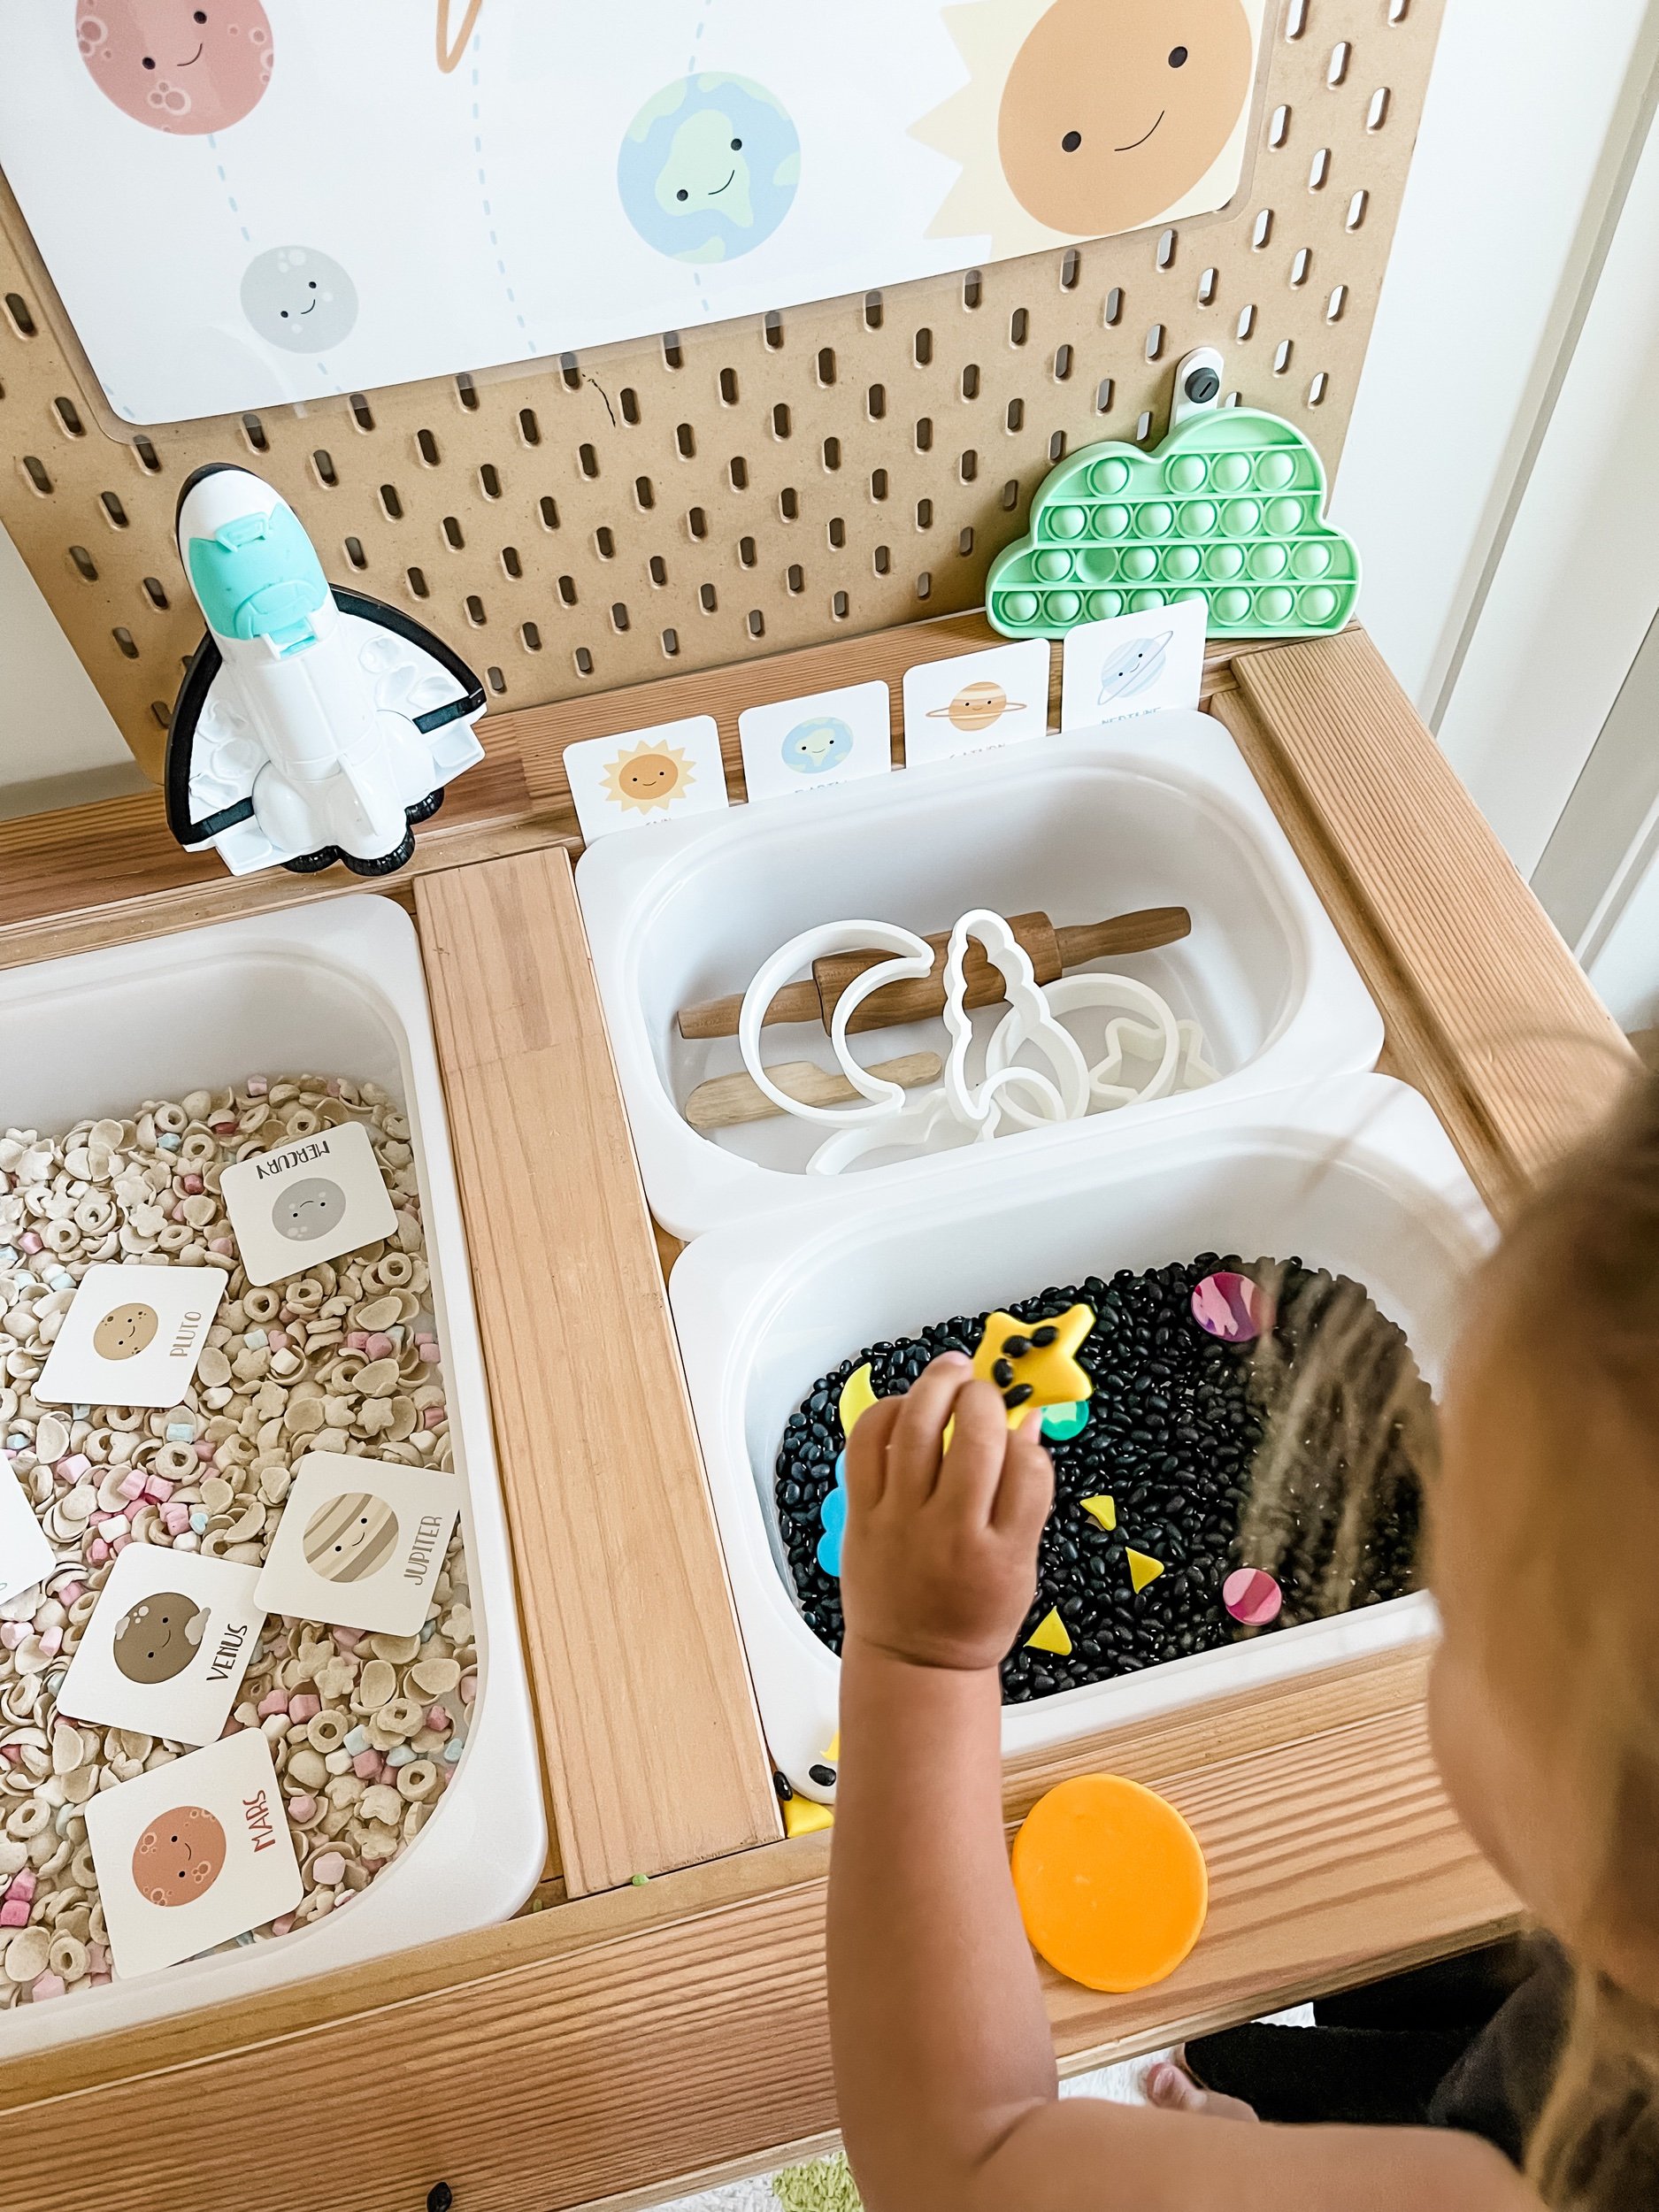
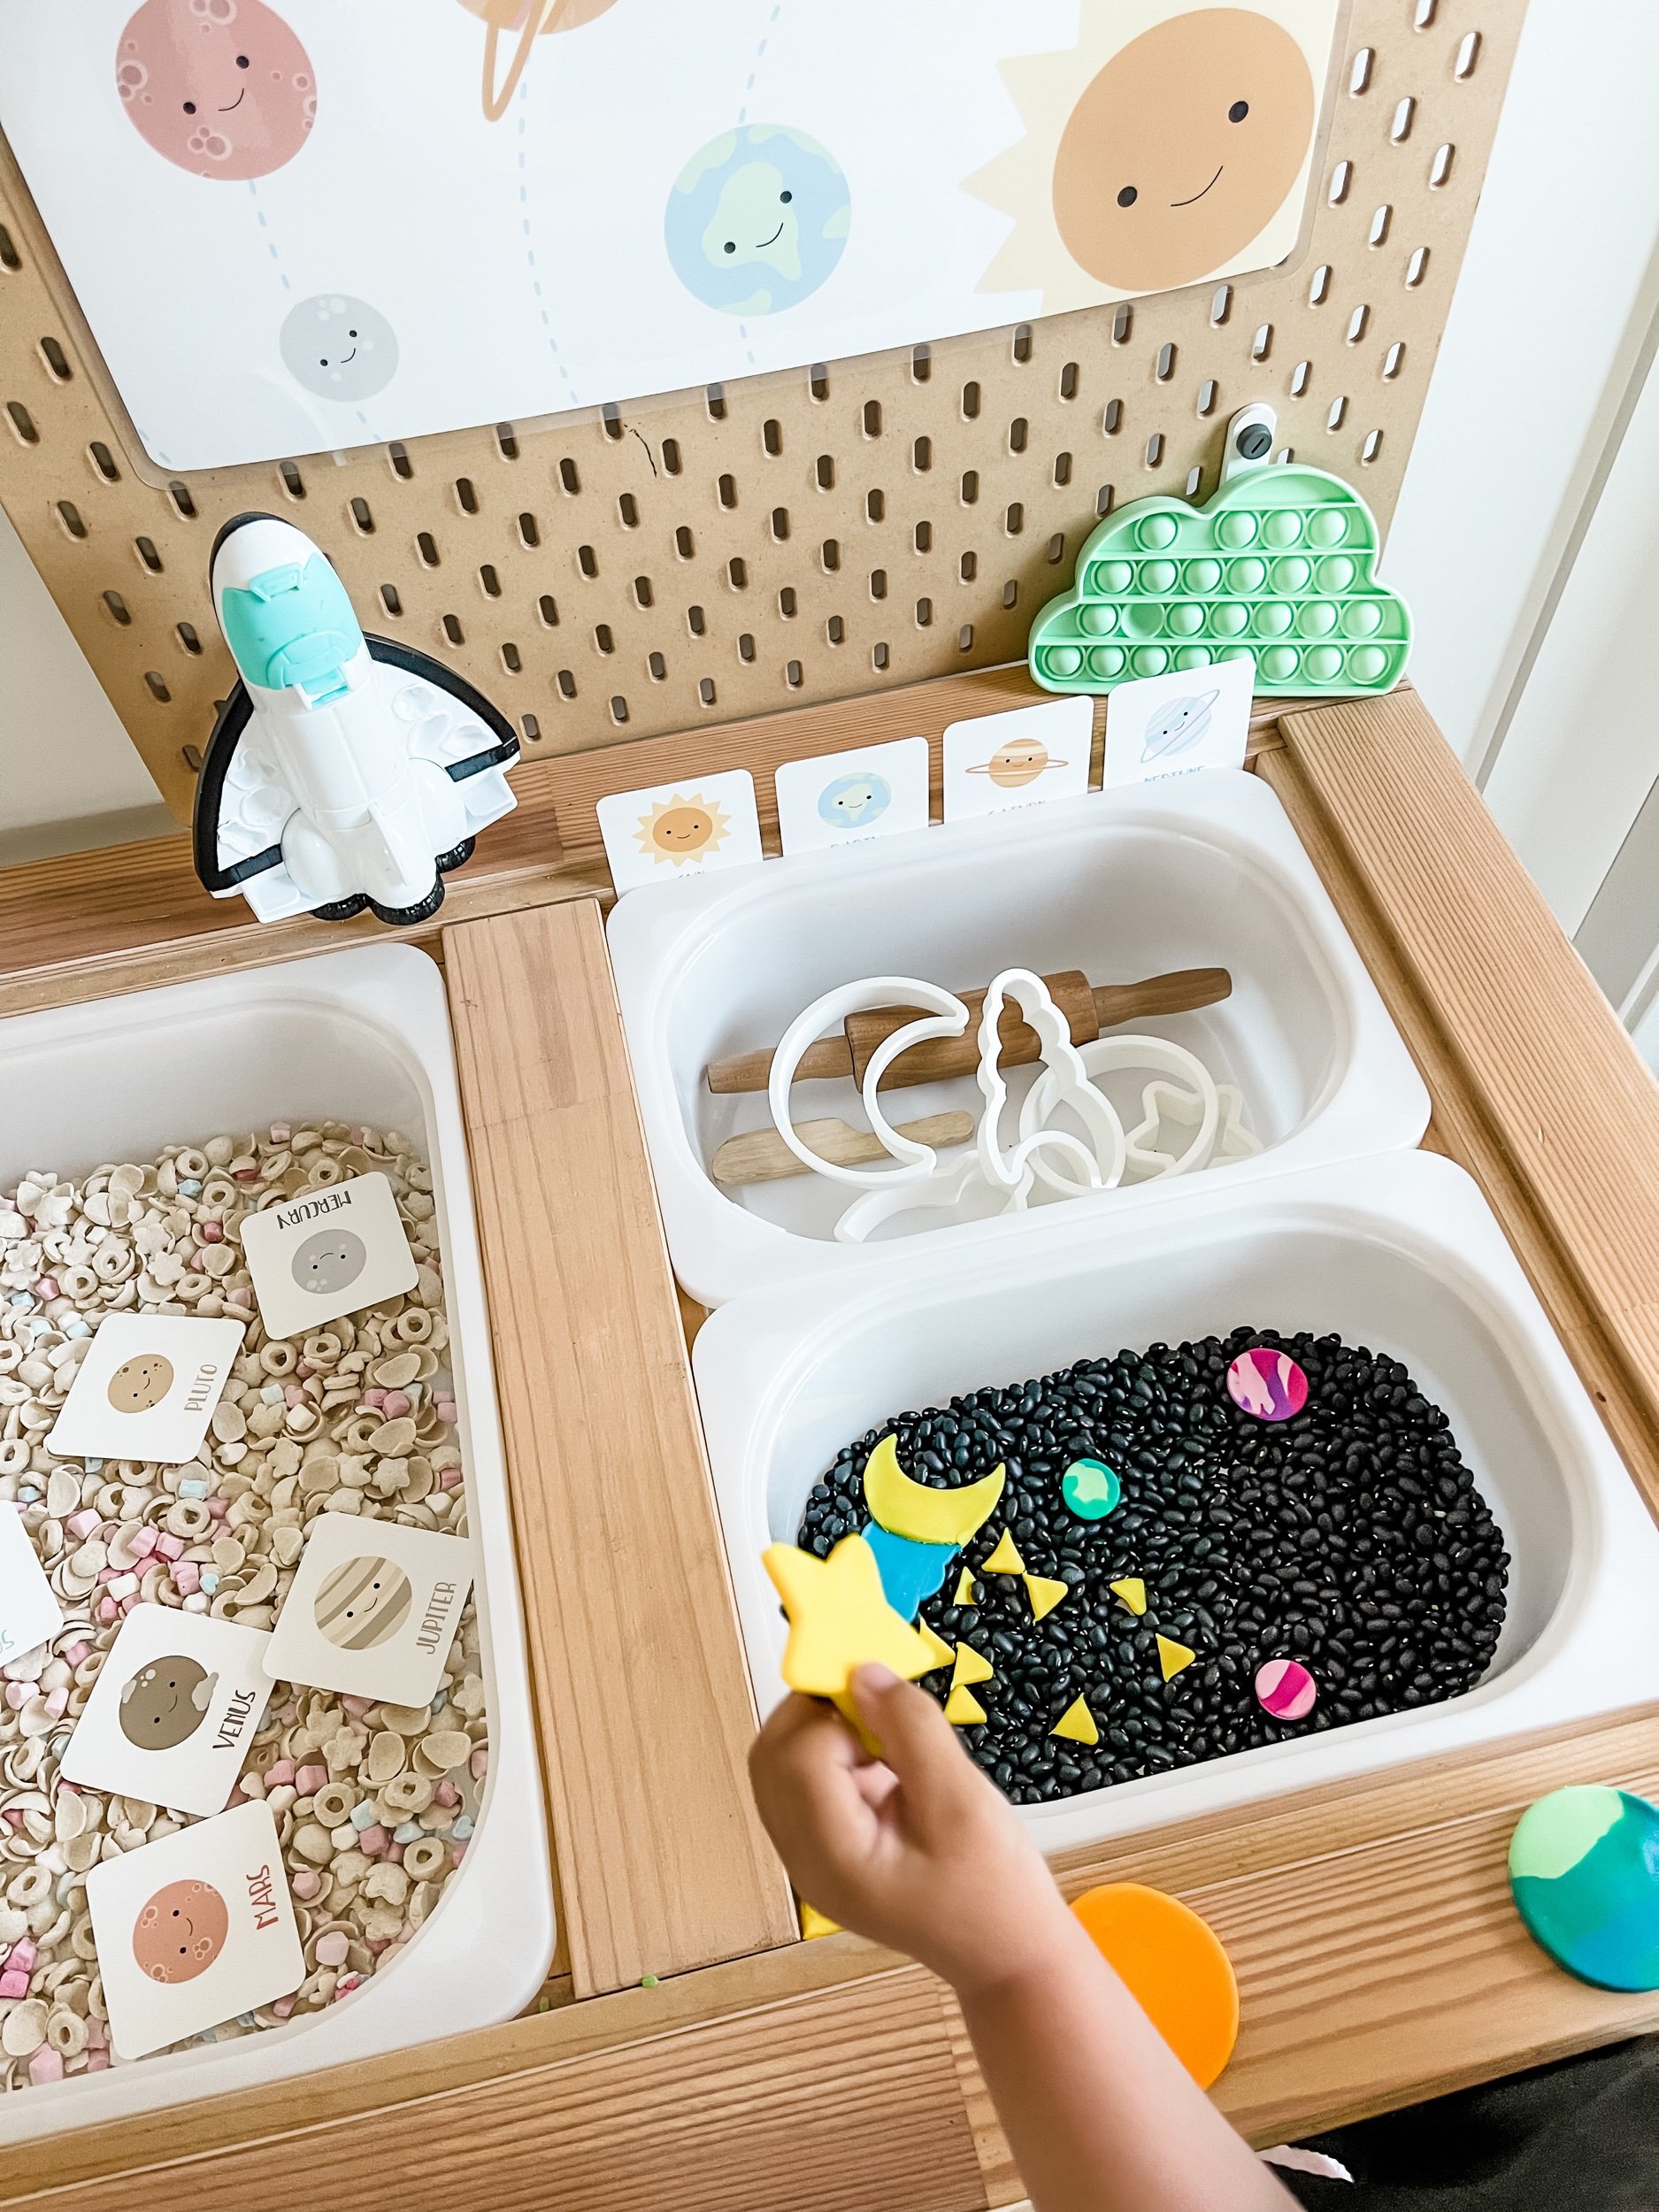
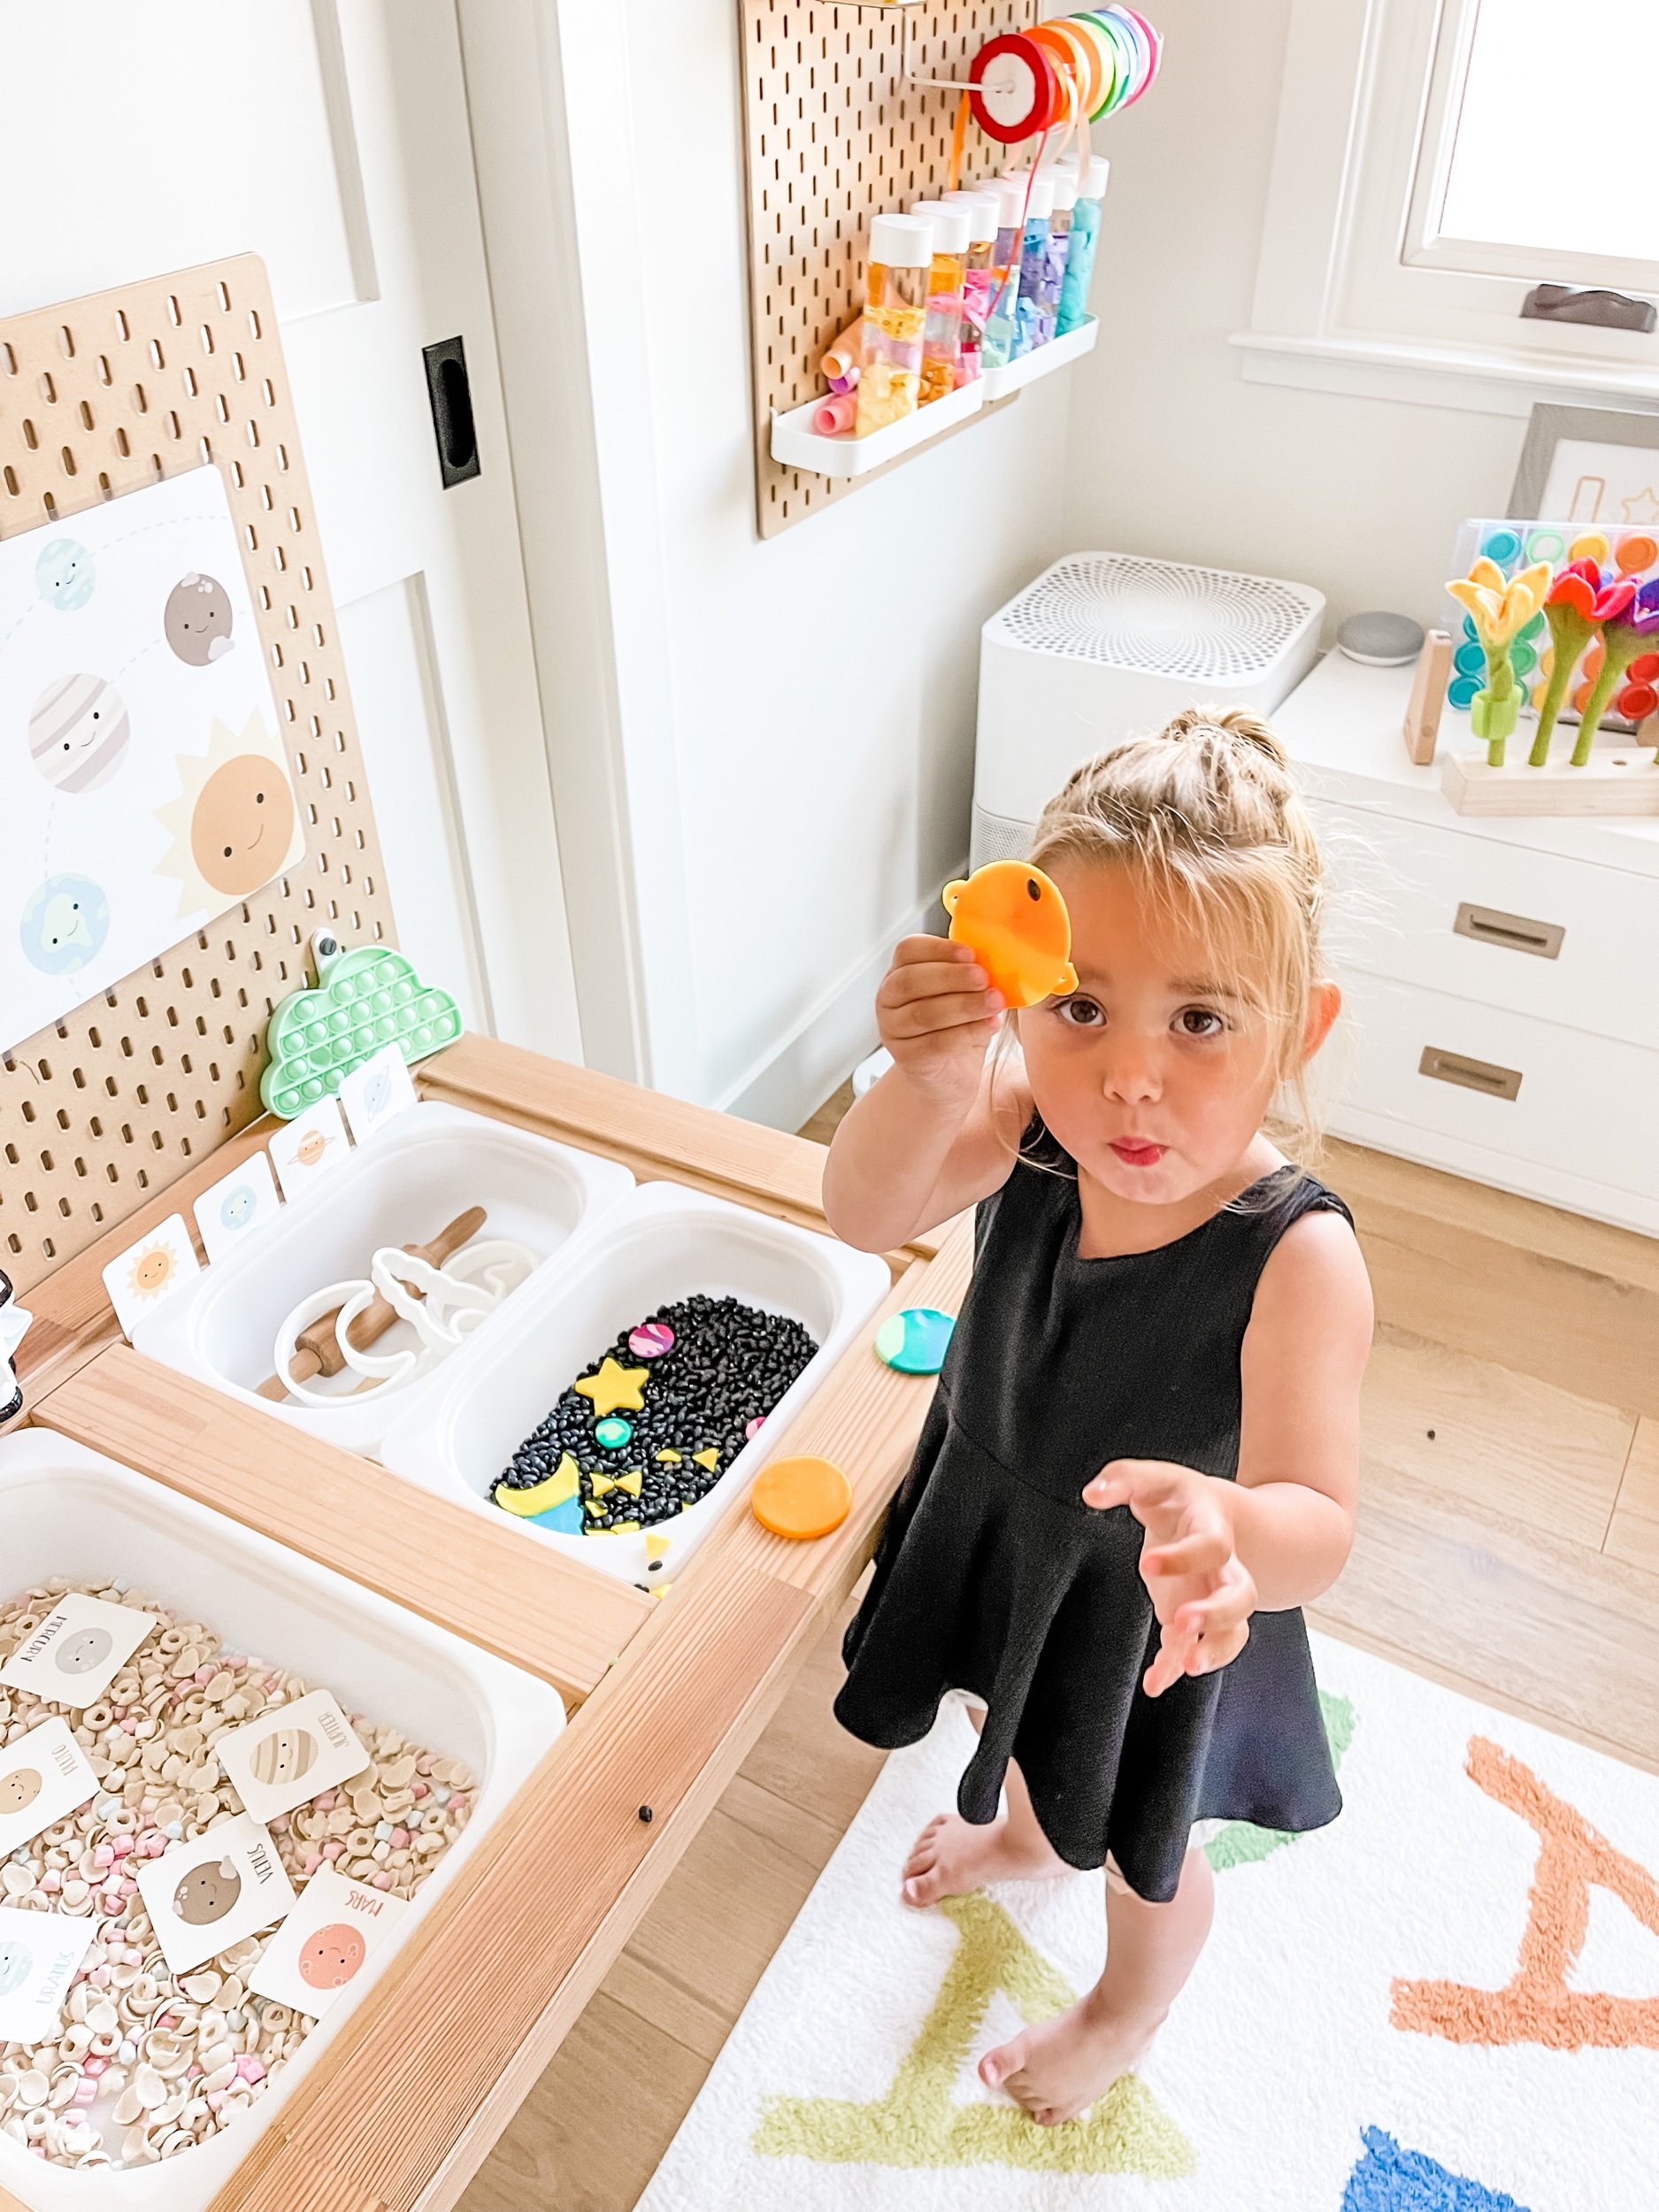
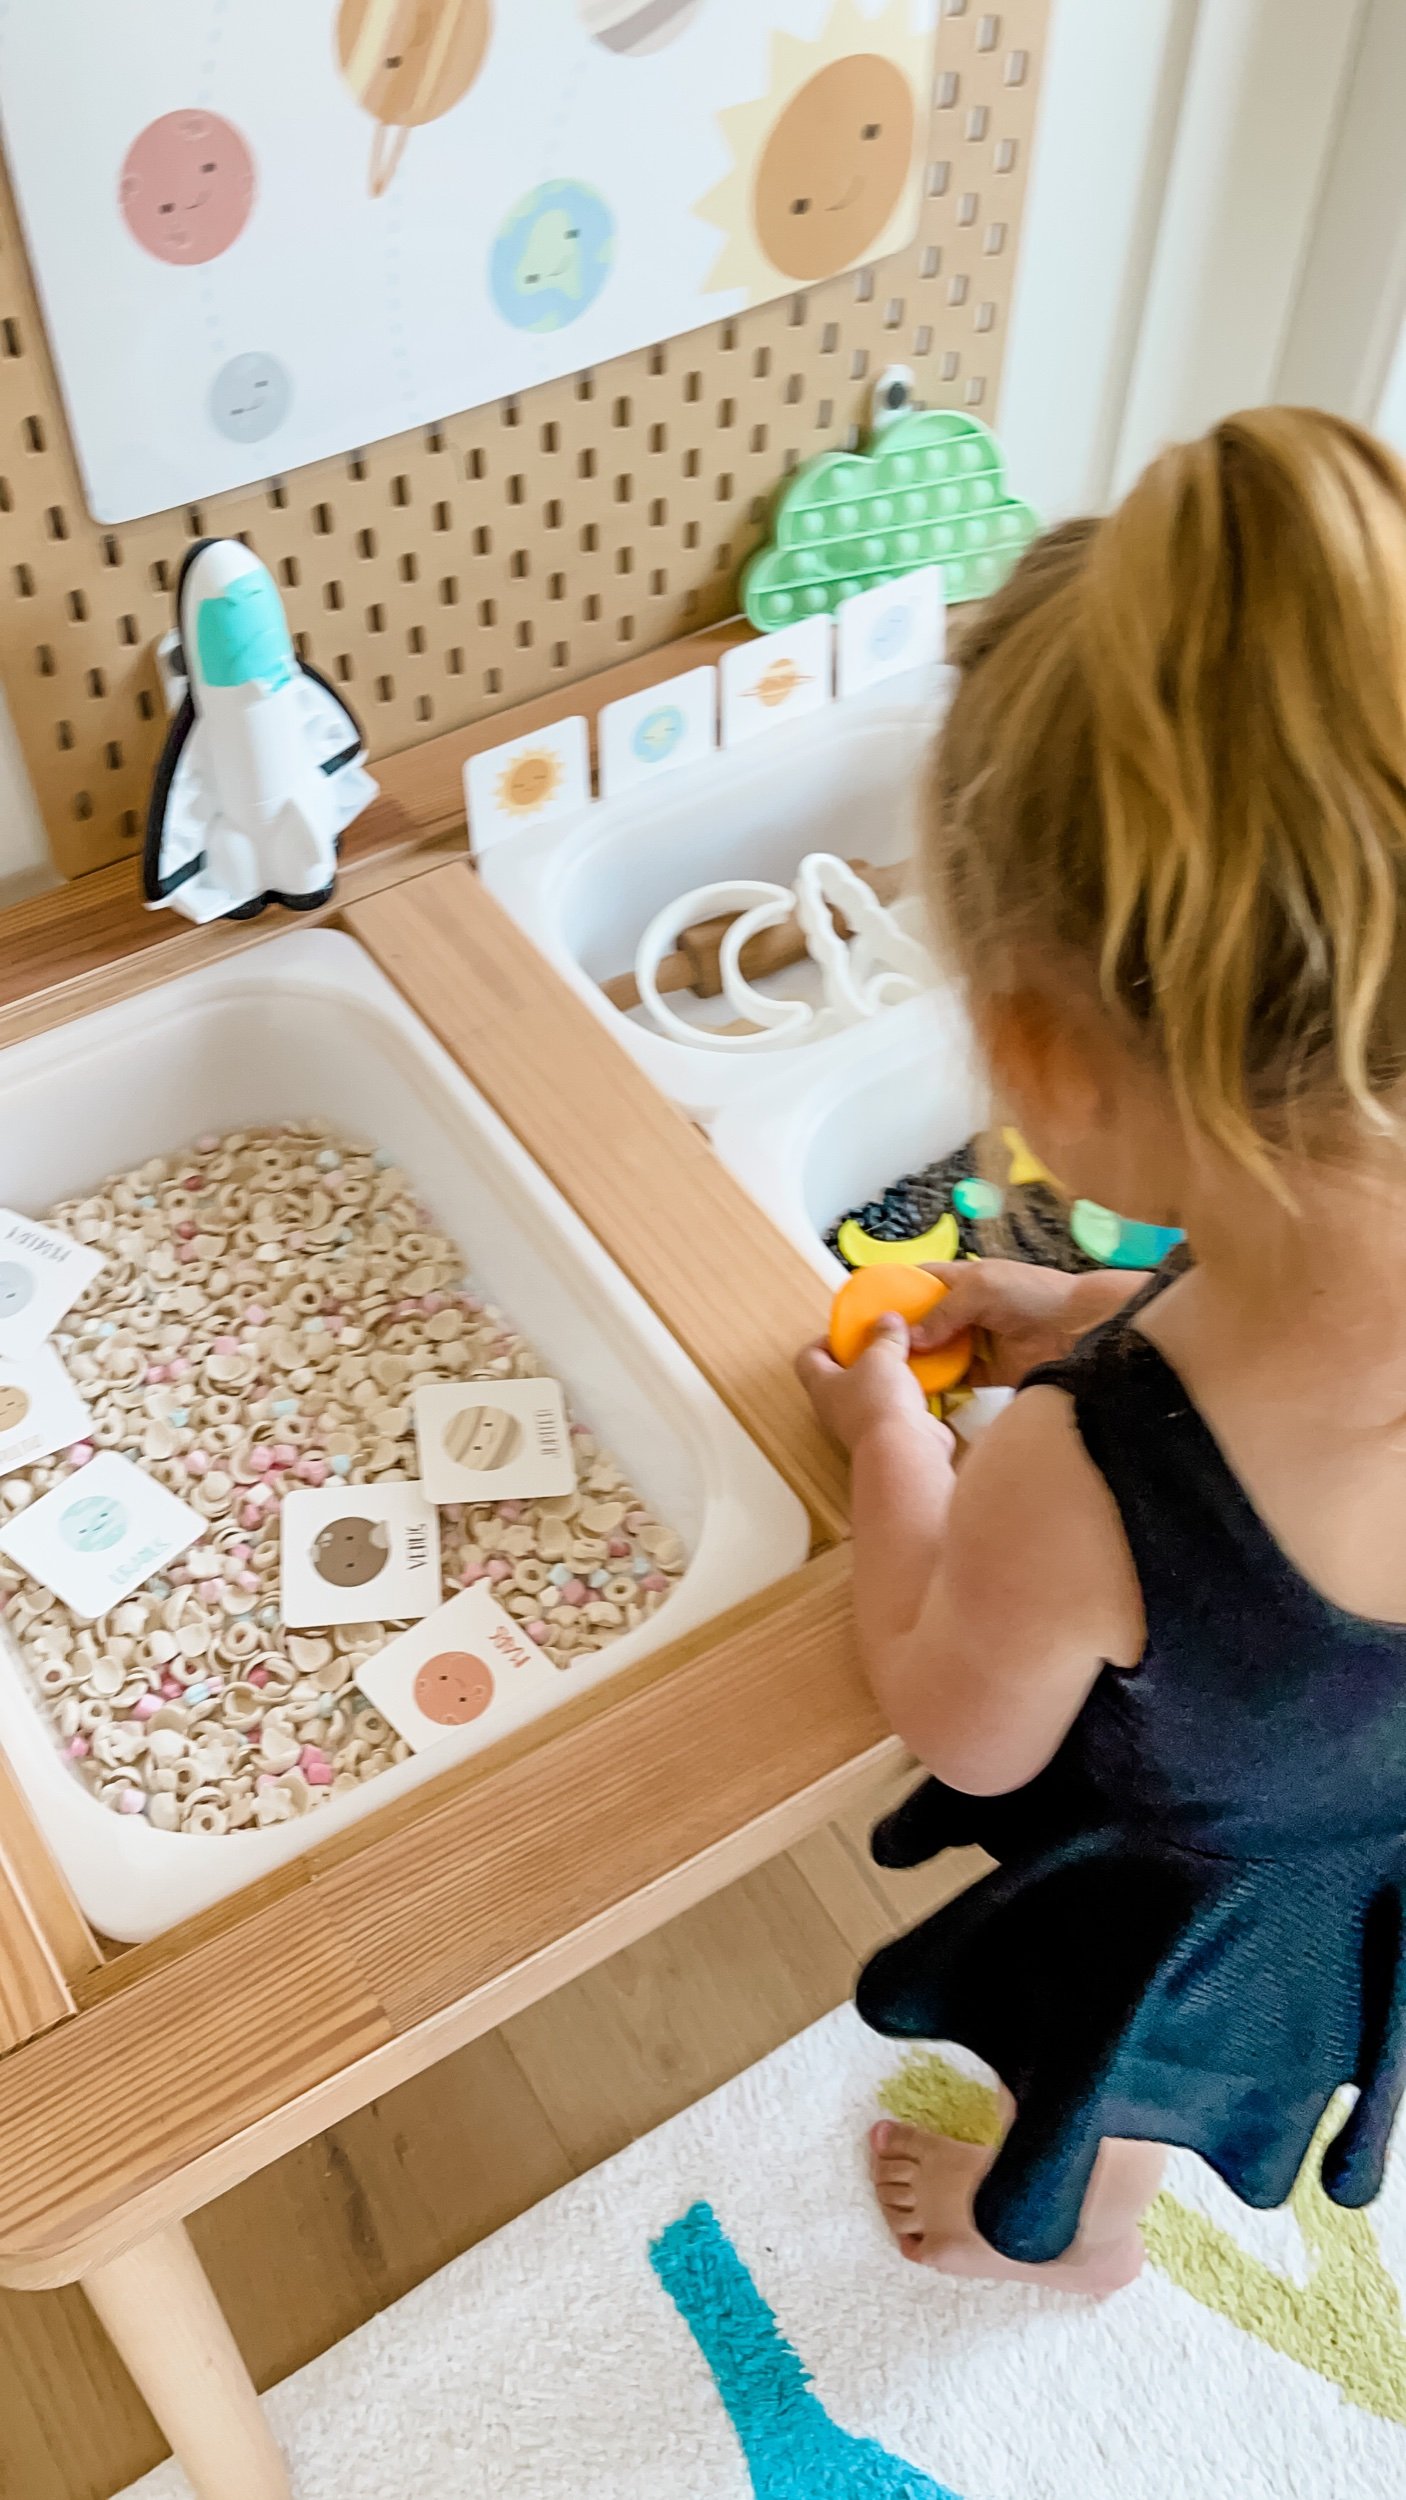
This outer space sensory play setup was so perfect for our weekend play time. I used Galaxy Cereal from whole foods which was basically cheerios plus moons and star marshmallows to make a taste safe snack bin — Sofie loves having snacks when she wakes up from her nap! Paired with some basic black beans and some fun play doh planets, moons, stars, etc. Plus we had this awesome space themed play doh kit that I found at target and it was so great use it for little molds. Also, I just absolutely love these simple white cookie cutters from Holly Fox on Etsy!
Also pictured here is our favorite Ikea Flisat Table and Skadis Peg Board set up!
Transform your sensory play space into a fun and educational picnic adventure! This picnic-themed sensory play setup is perfect for toddlers and preschoolers, combining creativity, fine motor skills, and imaginative play. With hands-on activities like kite-making, felt food picnics, and bug sorting, your child will enjoy hours of meaningful learning through play.
Age 0-6mo: Sensory exposure with textures and colors on the picnic blanket.
Age 6mo-12mo: Encouraging grasping and sensory exploration with felt food.
Age 12mo-2yr: Developing fine motor skills by handling felt food and sorting bugs.
Age 3yr-4yr: Imaginative play with kite flying and picnic setups.
Age 4yr-6yr: Practicing counting, sorting, and problem-solving with bug activity.
Decor Setup
This sensory play setup mimics a sunny day picnic! Spread a cheerful picnic blanket on the floor or table and arrange colorful felt food, plates, and utensils. Add paper kites for an imaginative twist, and bring in the printable bug sorting page for a fun, themed educational activity.
Activity 1: Make a Cut-Out Kite & Pretend to Fly It
Provide your child with colorful paper and help them cut out a kite shape.
Decorate the kite with markers, stickers, or crayons.
Attach string or yarn to the kite for a handle.
Encourage your child to “fly” their kite around the sensory play area, pretending it’s a windy day!
Learning Objectives:
Strengthening fine motor skills with cutting and drawing.
Encouraging imaginative play and storytelling.
Activity 2: Felt Food Pretend Picnic
Materials List:
Felt food (or play food alternatives)
Plates, cups, napkins, utensils
Picnic blanket
Activity Instructions:
Show your child how to set the picnic place settings.
Let them arrange felt food items on the plates.
Encourage pretend play as they serve food to “guests” or stuffed animals.
Learning Objectives:
Developing spatial awareness while setting the table.
Boosting social-emotional skills through pretend play.
Sensory Bin 3: Count and Sort the Picnic Bugs
Materials List:
Printable bug sorting page from GoodnightFox
Play bugs (ladybugs, ants, butterflies, snails)
Sorting tray or containers
Activity Instructions:
Lay out the printable sorting page with labeled sections for each type of bug.
Have your child count and sort the bugs into categories.
Discuss bug characteristics (color, shape, etc.) for added educational value.
Learning Objectives:
Strengthening counting and sorting skills.
Introducing early science concepts about insects.
Benefits of Sensory Play
Sensory play setups like this picnic theme foster creativity, problem-solving, and fine motor development. It also encourages independent play, helping toddlers stay busy and engaged. Through sorting and imaginative activities, children develop cognitive and social-emotional skills crucial for early childhood learning.
Week-Long Picnic Themed Lesson Plan
Saturday & Sunday:
Engage with the full picnic-themed sensory play setup.
Monday: • Make and decorate a paper picnic basket craft. • Create picnic-themed coloring pages. • Practice counting with felt food items.
Tuesday: • Build a bug house using recycled materials. • Explore nature (real or pretend) to find bugs. • Pretend to pack a picnic basket for an outdoor adventure.
Wednesday: • Play a memory game with felt food pieces. • Use the kite to act out a storytelling game about a picnic day. • Engage in a scavenger hunt for picnic items around the house.
Thursday: • Practice simple addition and subtraction with felt food. • Sing songs about bugs and picnics. • Sort picnic items by color or size.
Friday: • Host a “picnic party” with stuffed animals or friends. • Create a bug habitat diorama. • Write a simple story about a picnic adventure.
25 Picnic-Themed Vocabulary Words
Picnic
Blanket
Basket
Kite
Ant
Butterfly
Ladybug
Snail
Felt
Plate
Cup
Napkin
Sandwich
Apple
Cookie
Pretend
Sort
Count
Fly
Summer
Grass
Trees
Table
Fun
Friends
Bring this picnic-themed sensory play setup to life with your little ones and create lasting memories through imaginative and educational activities!
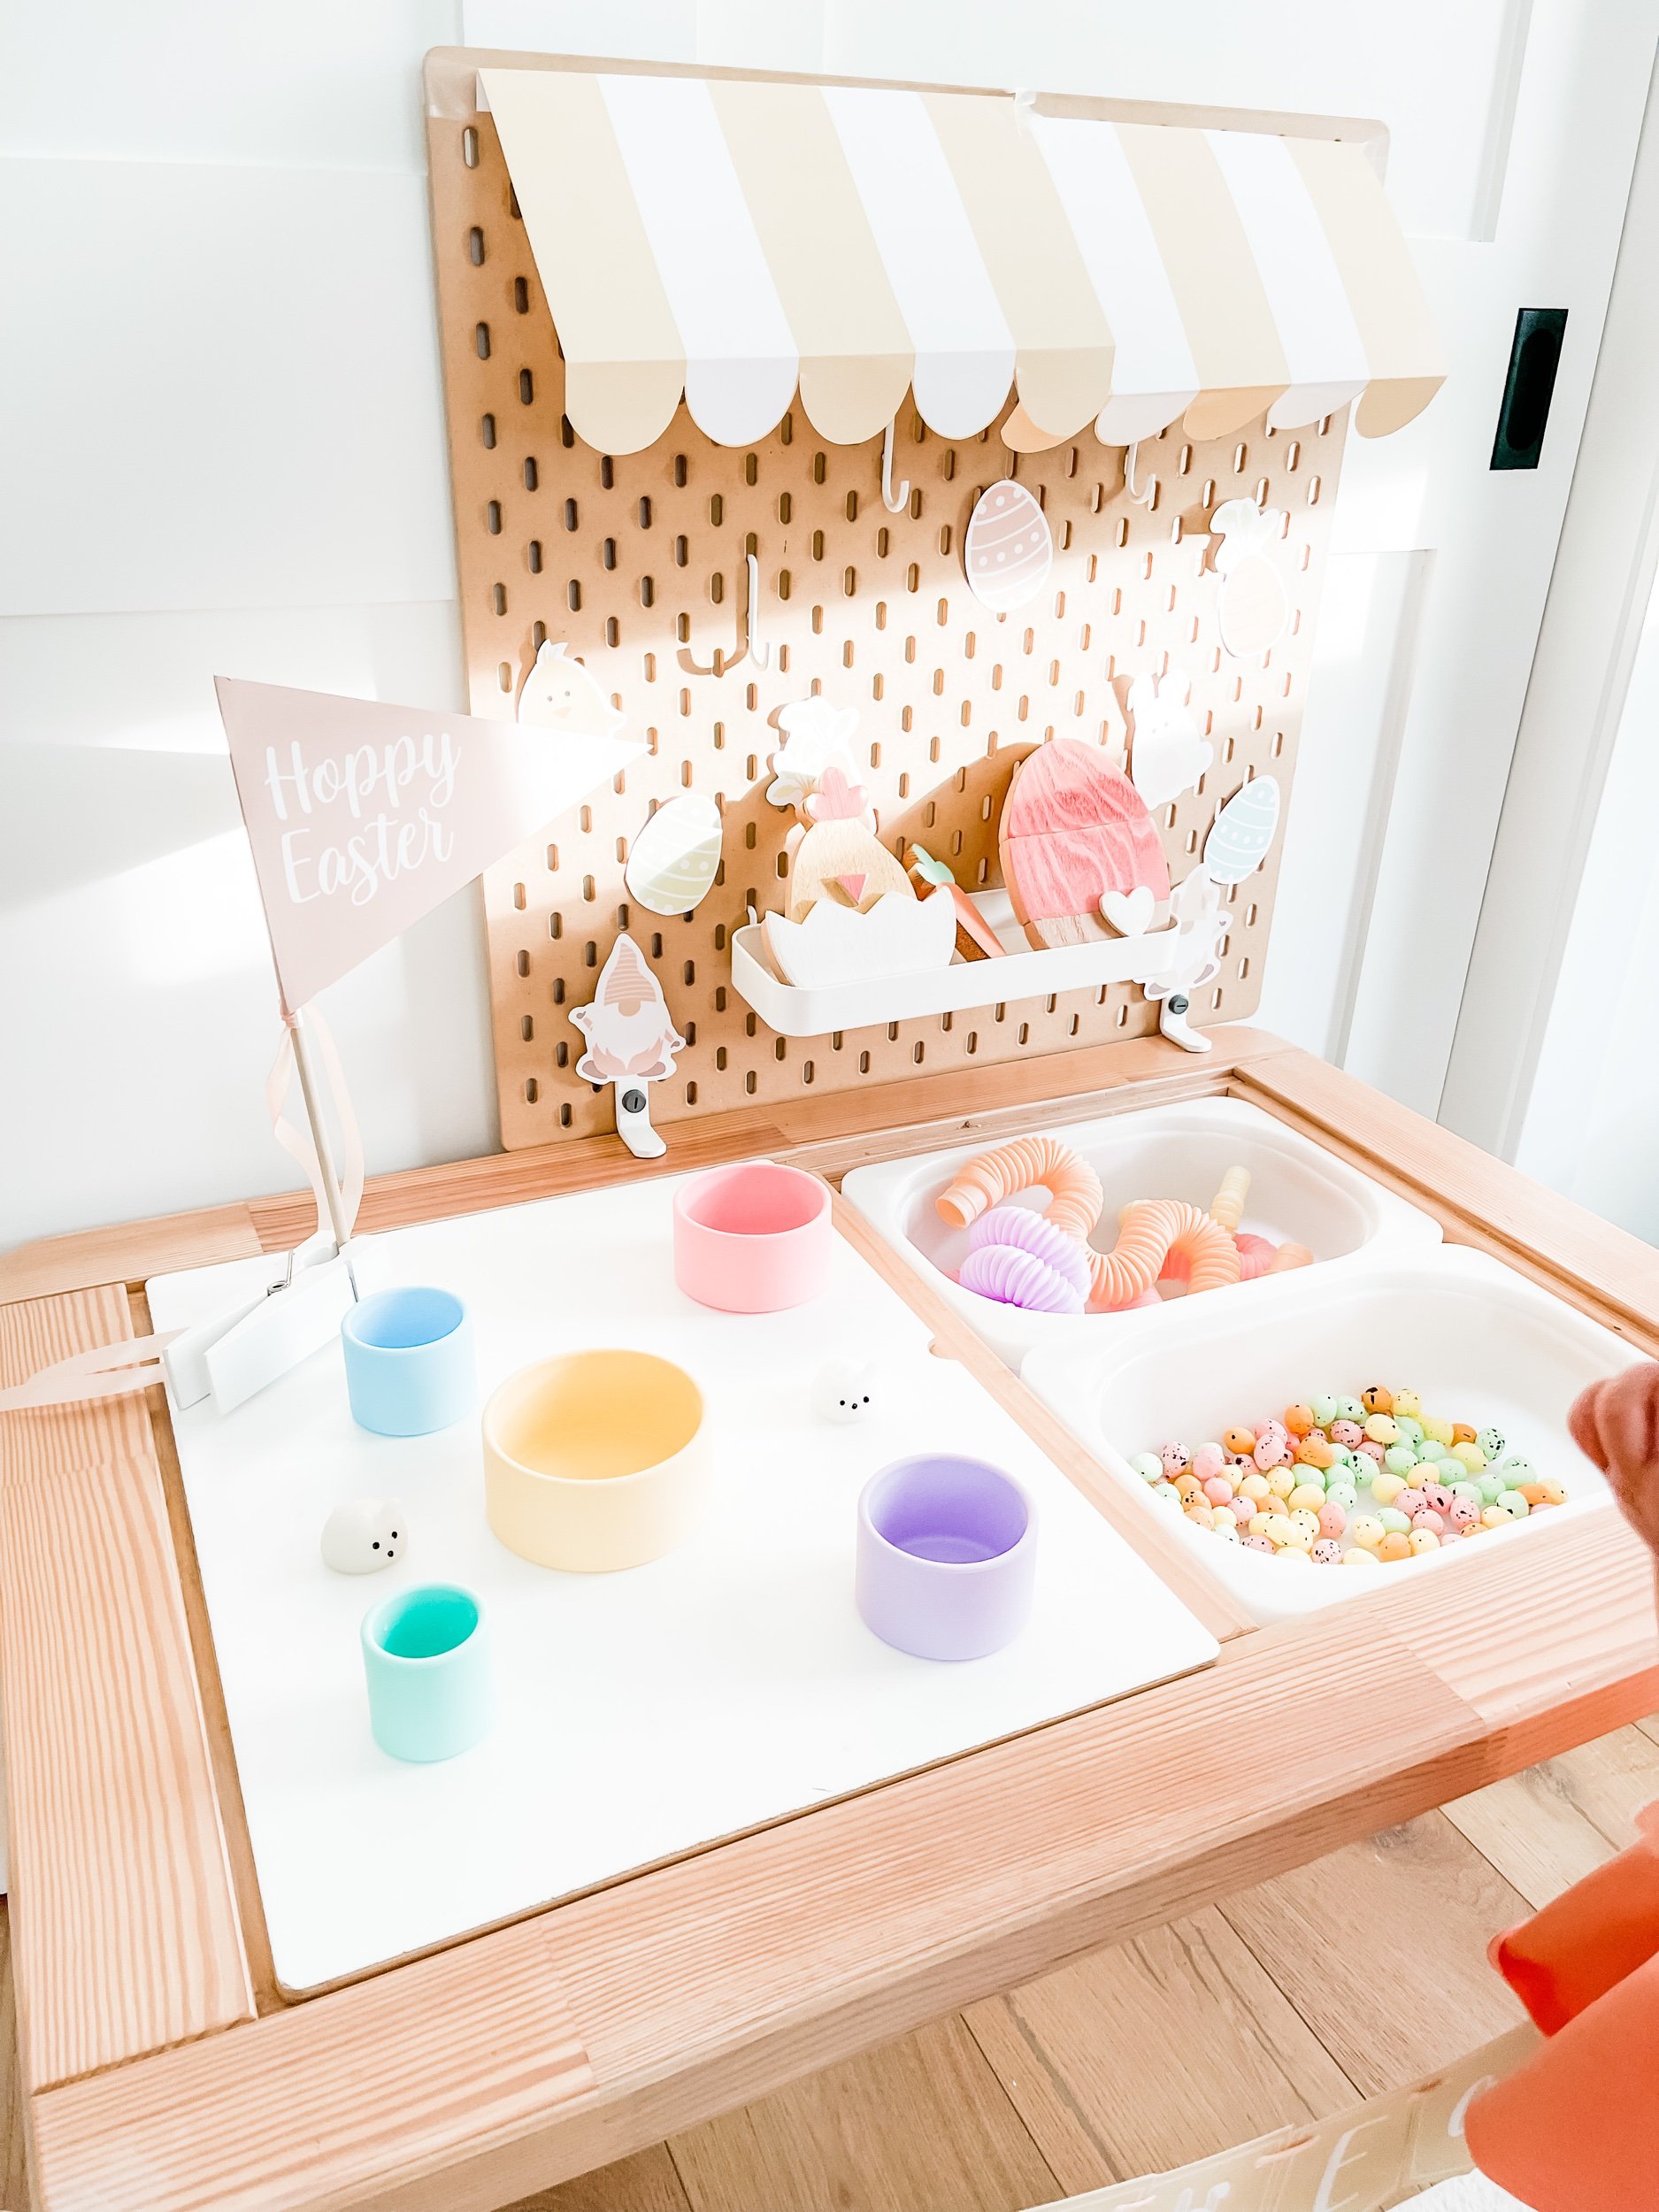
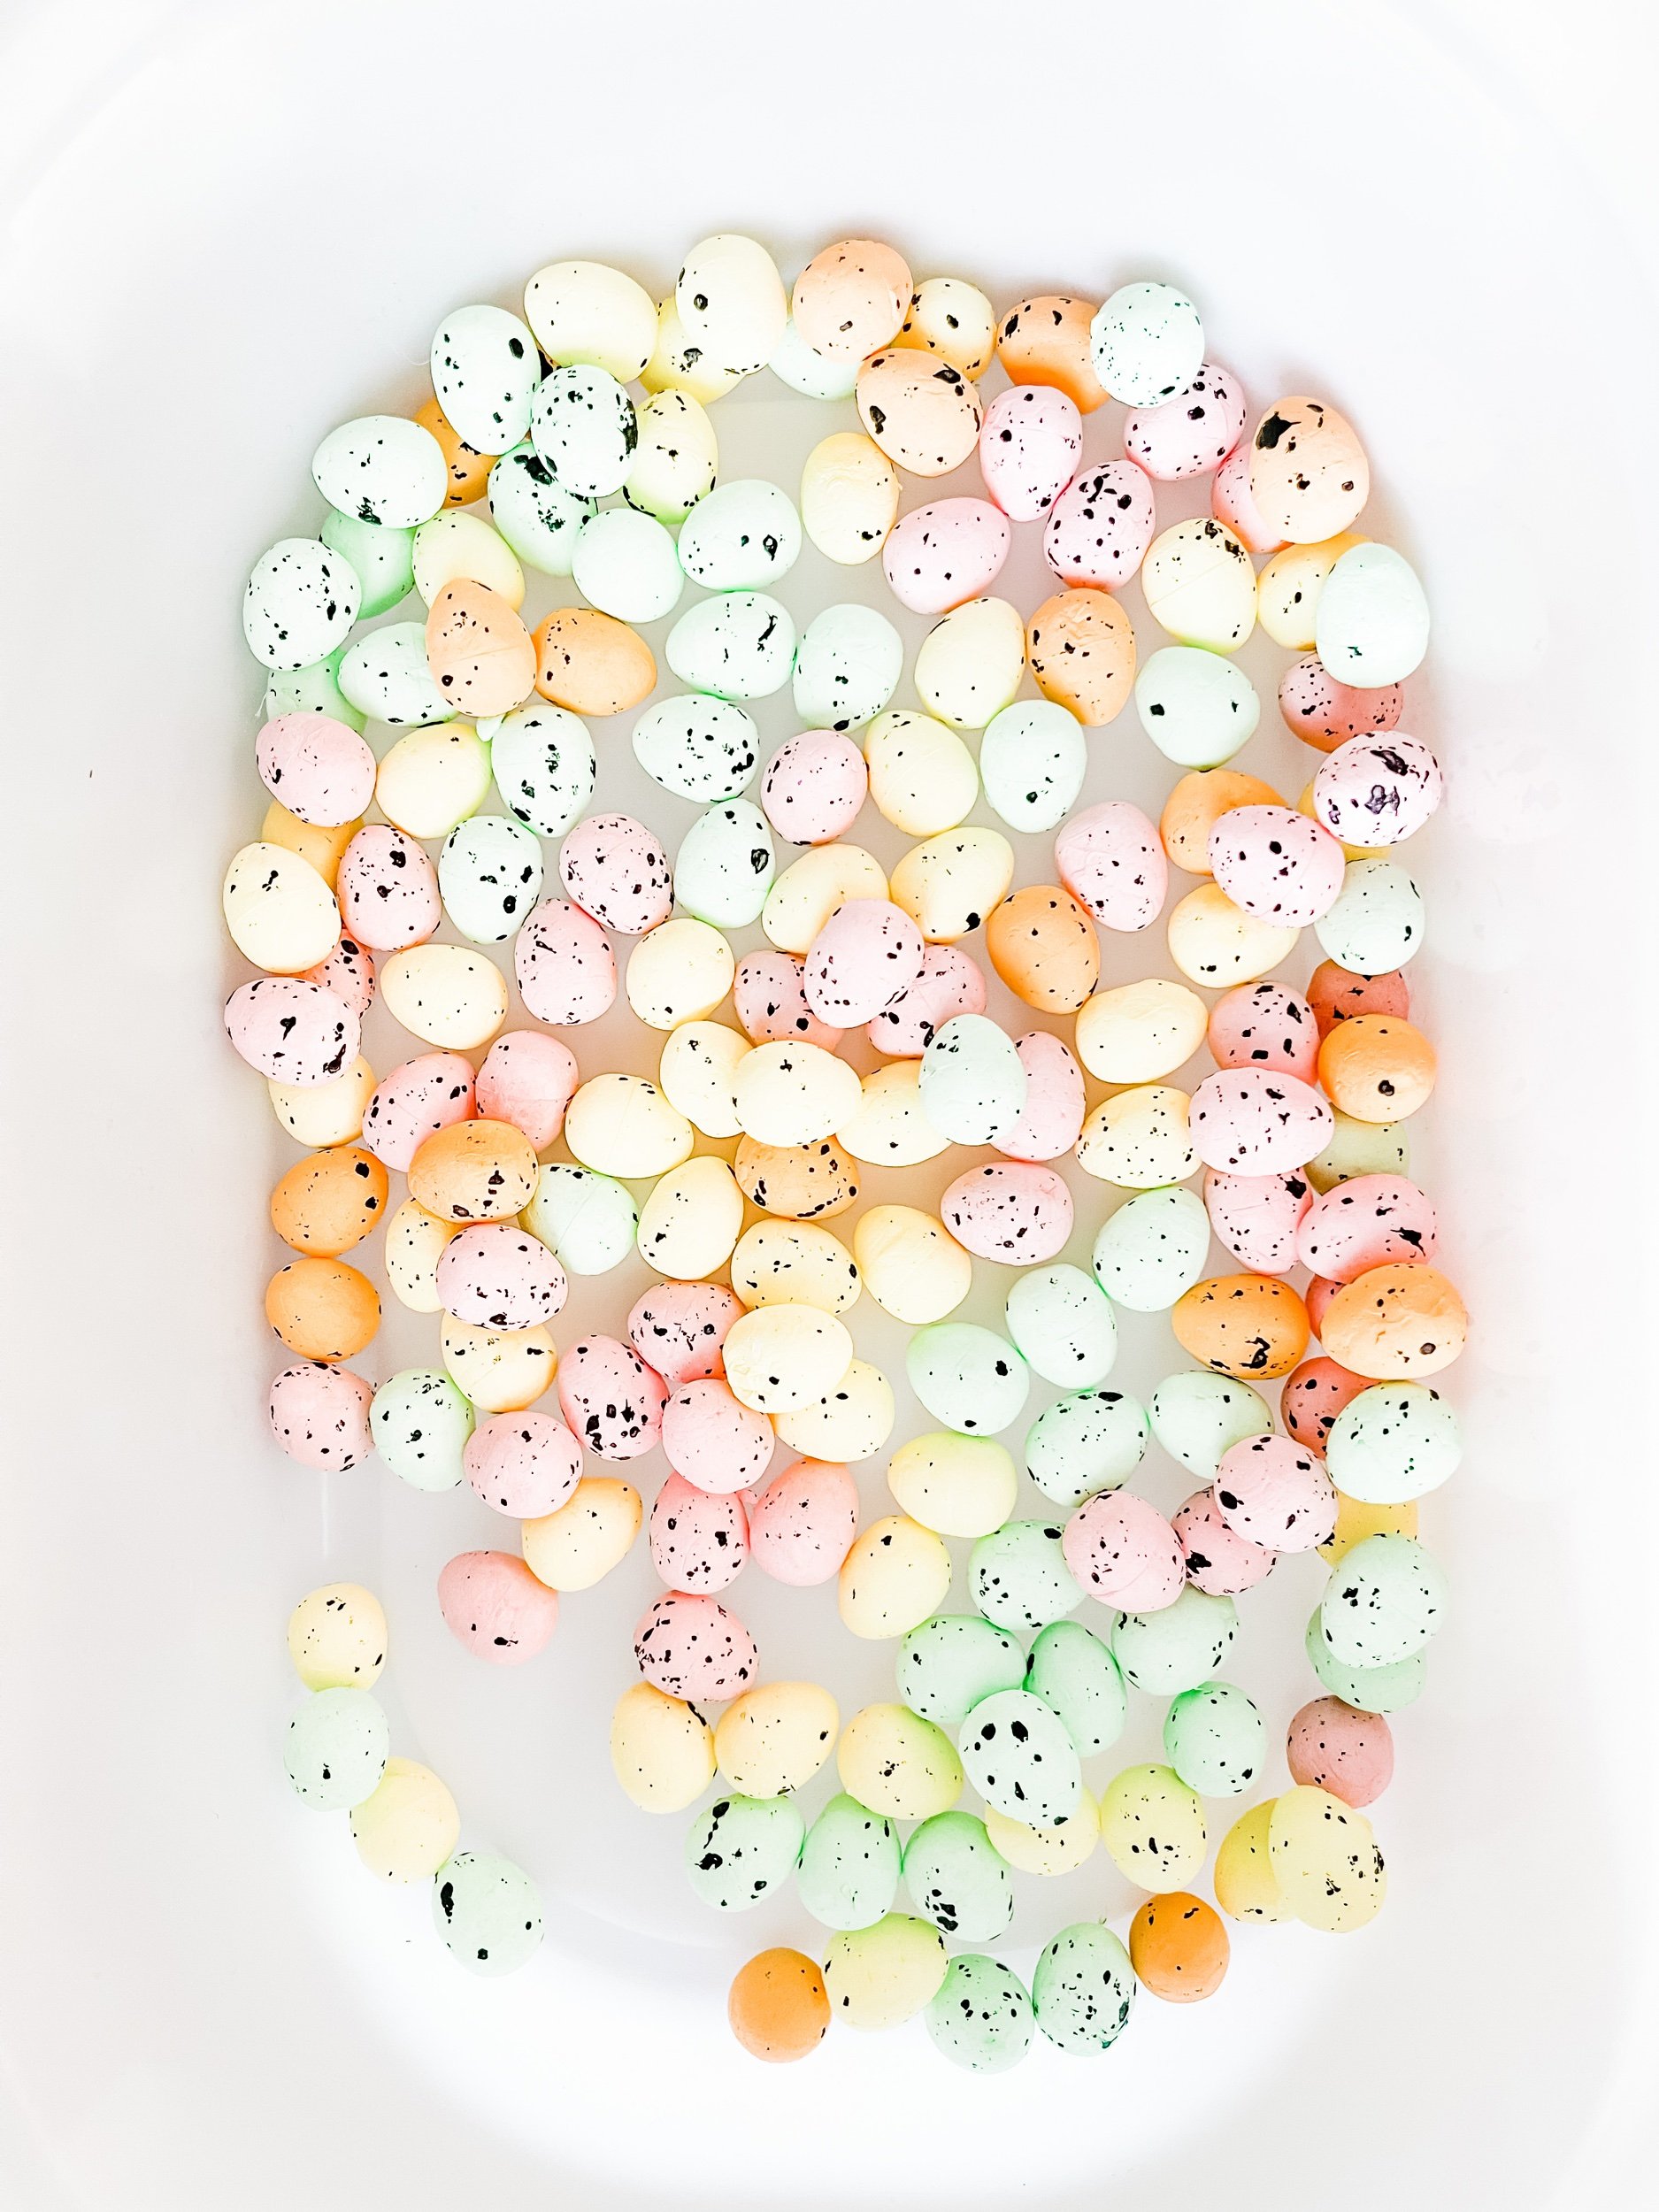
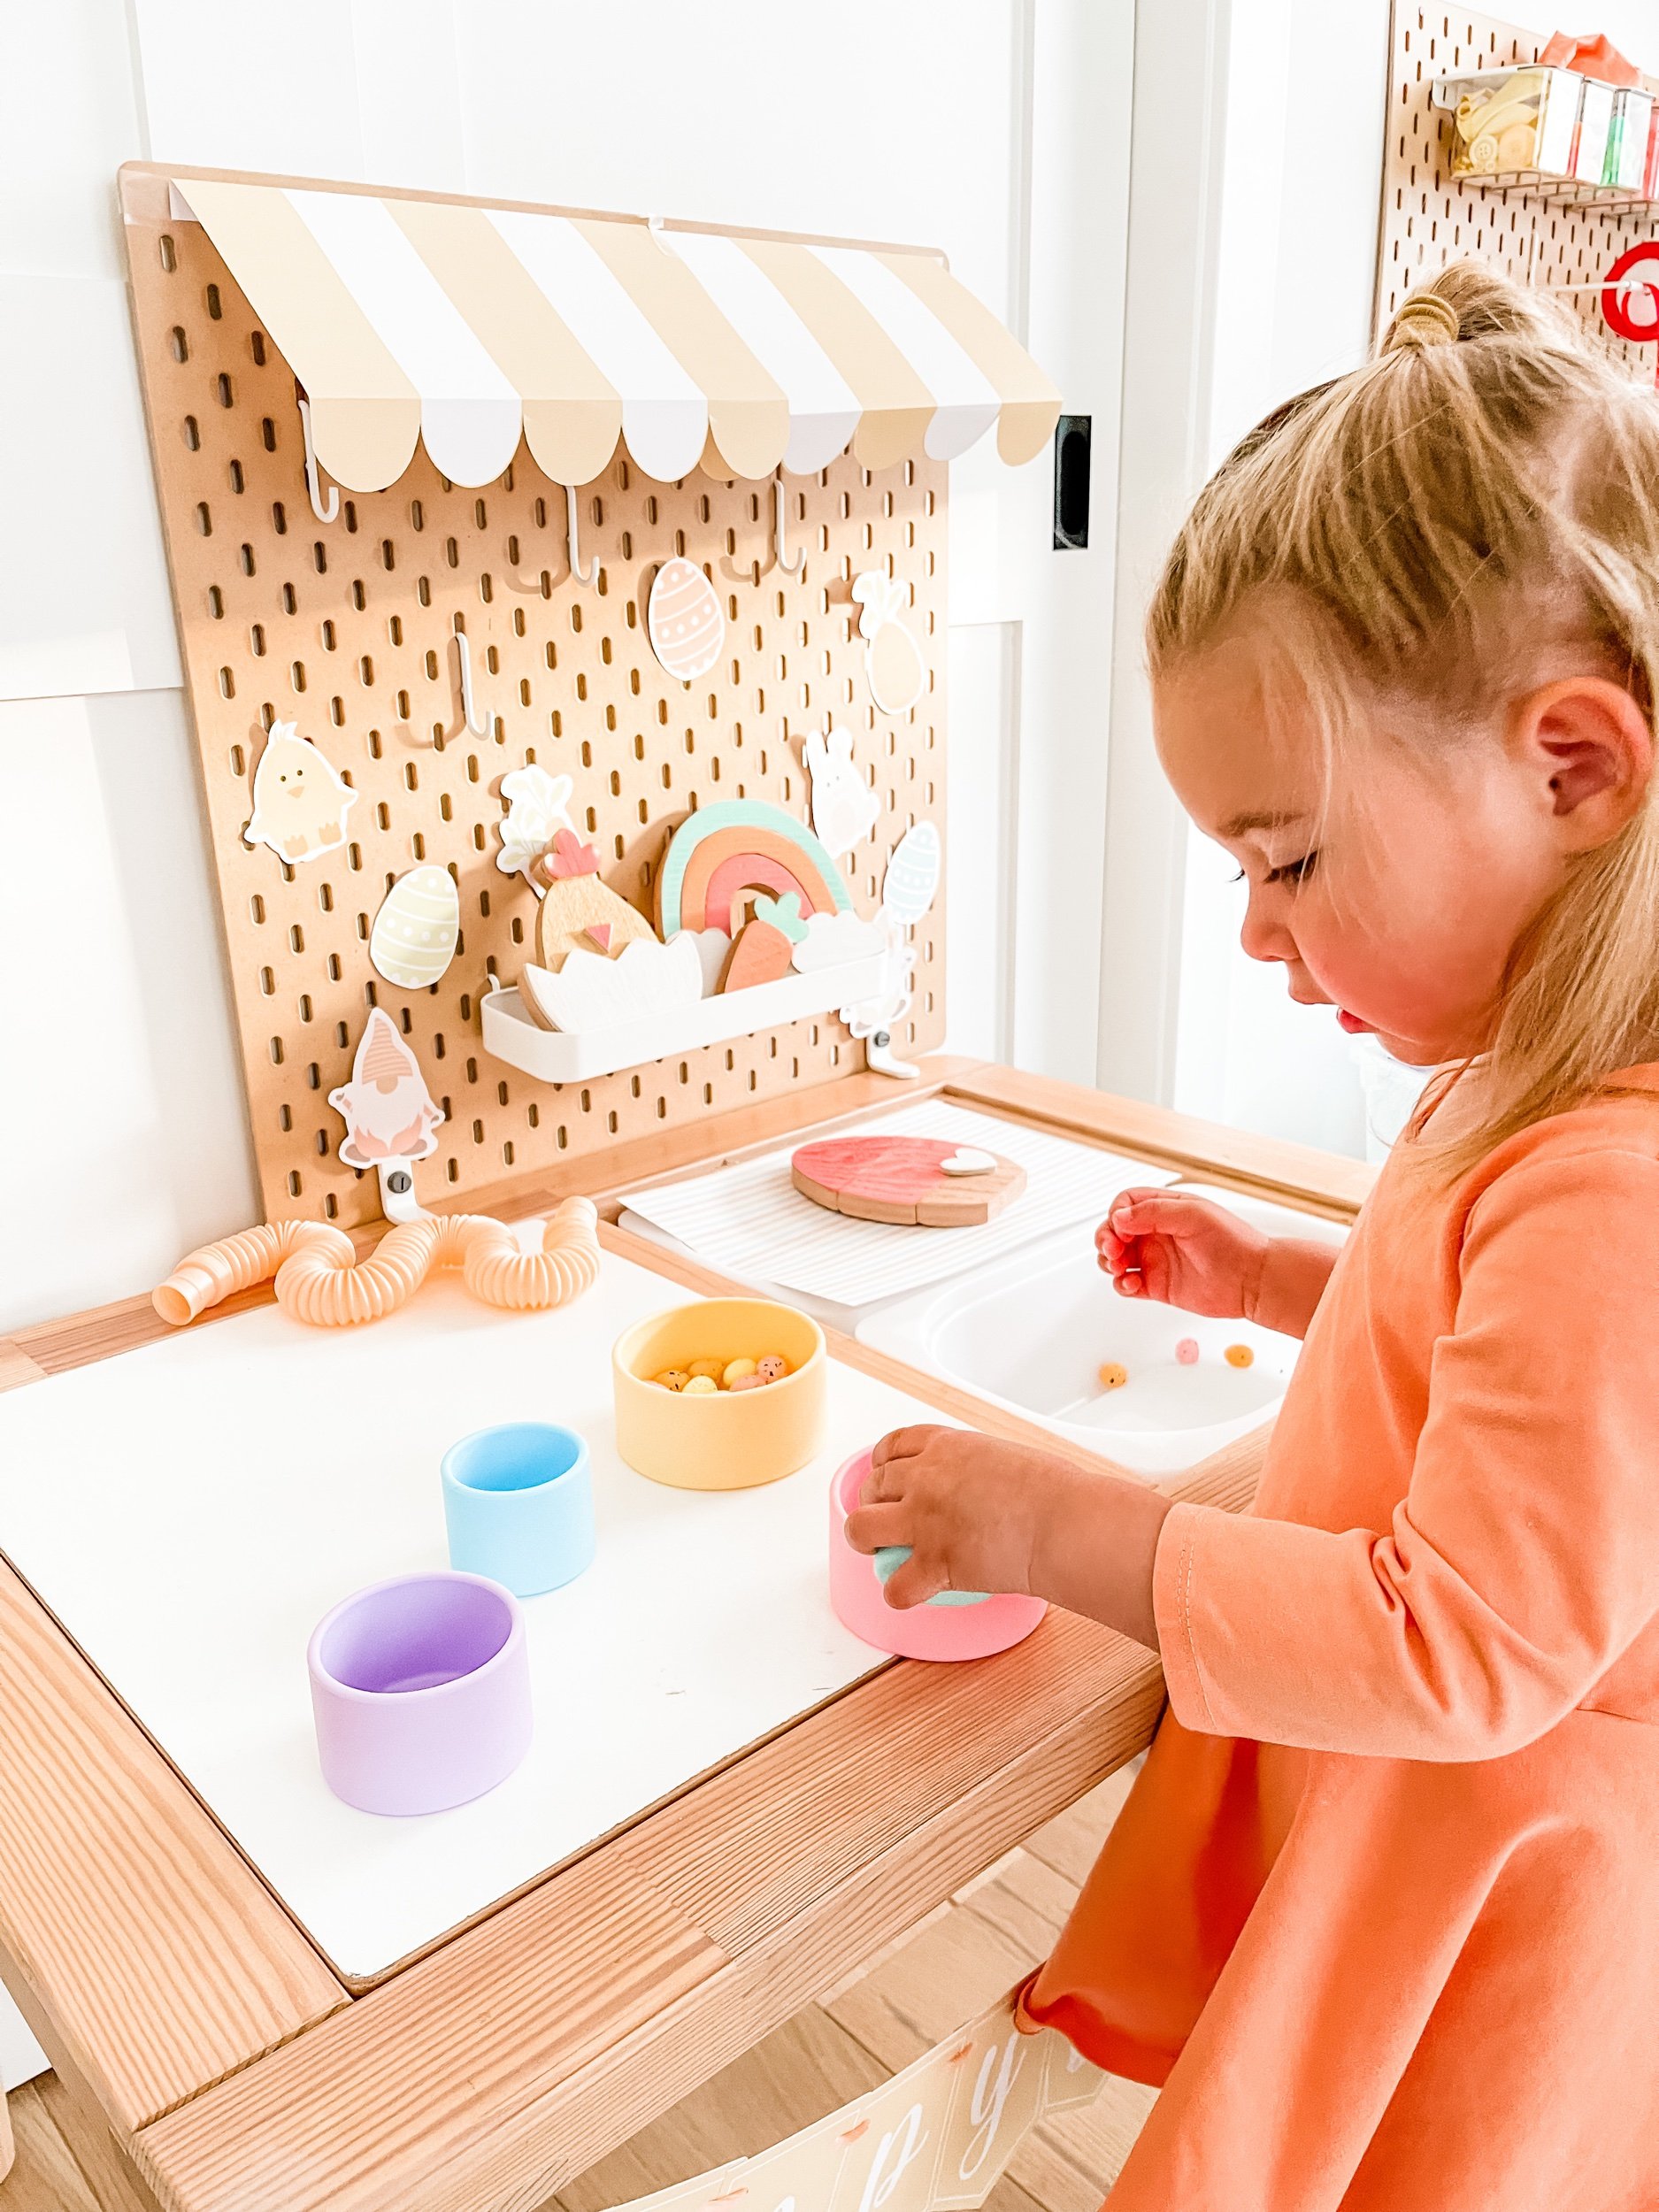
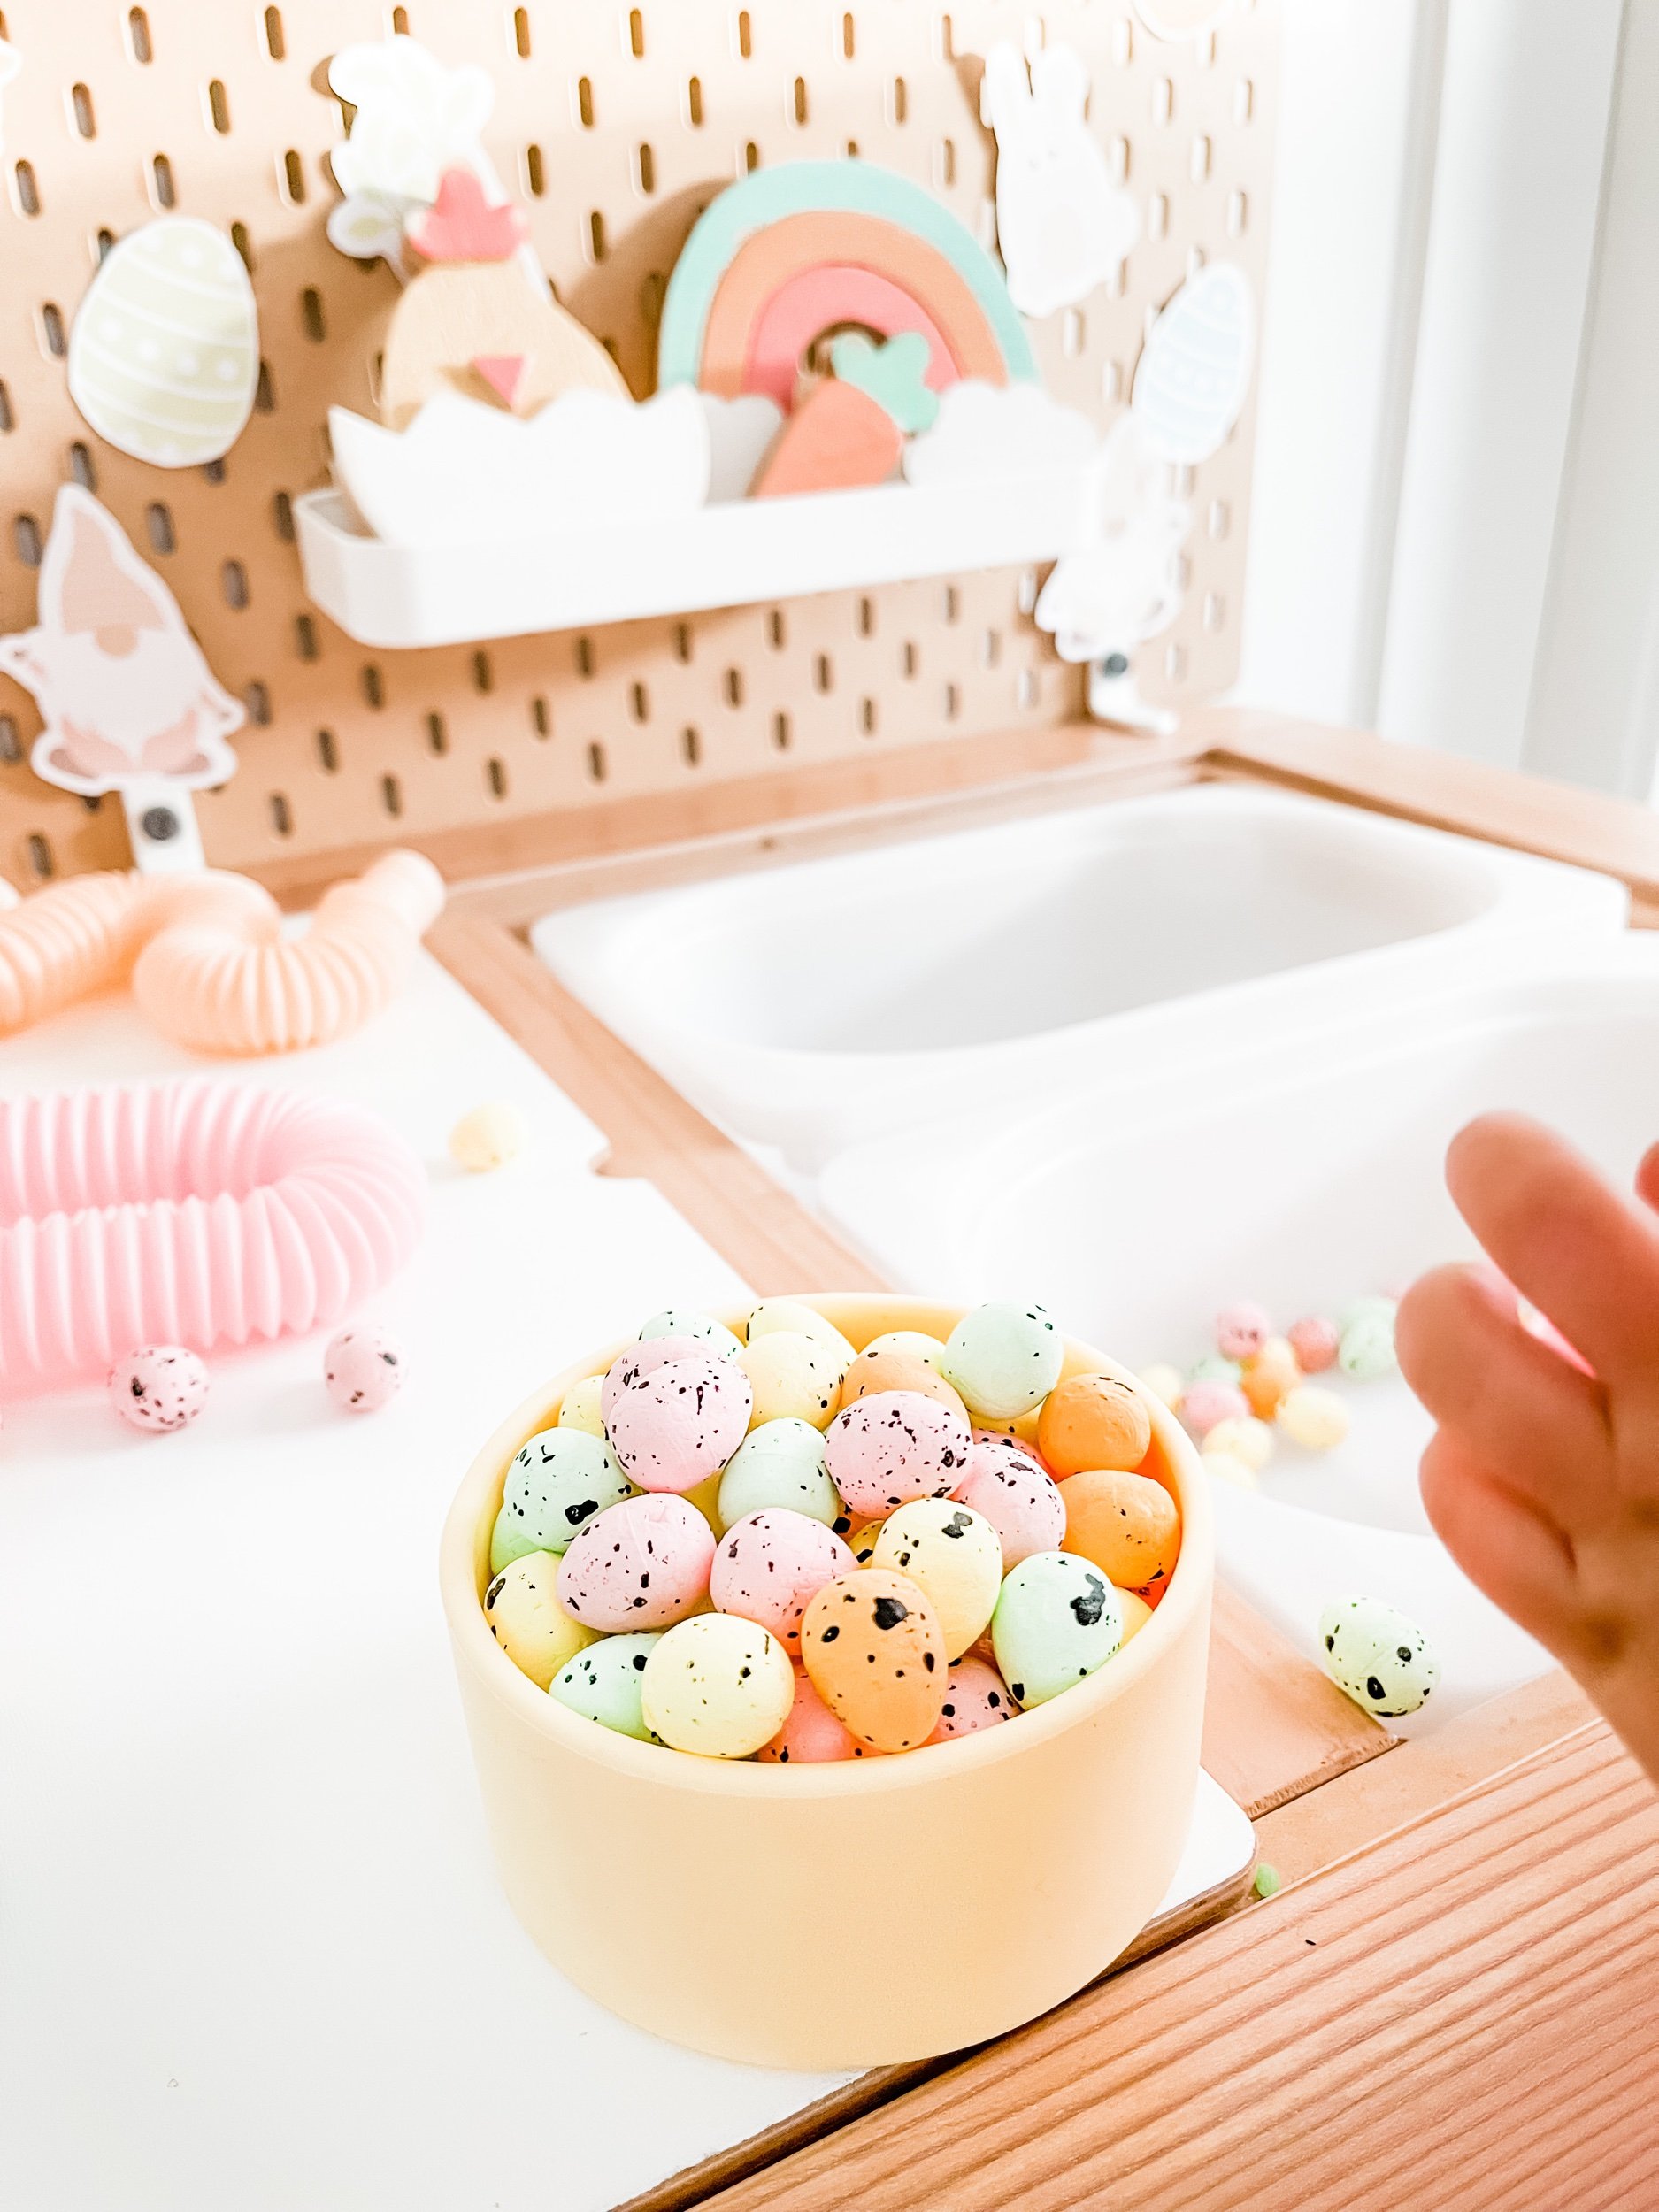
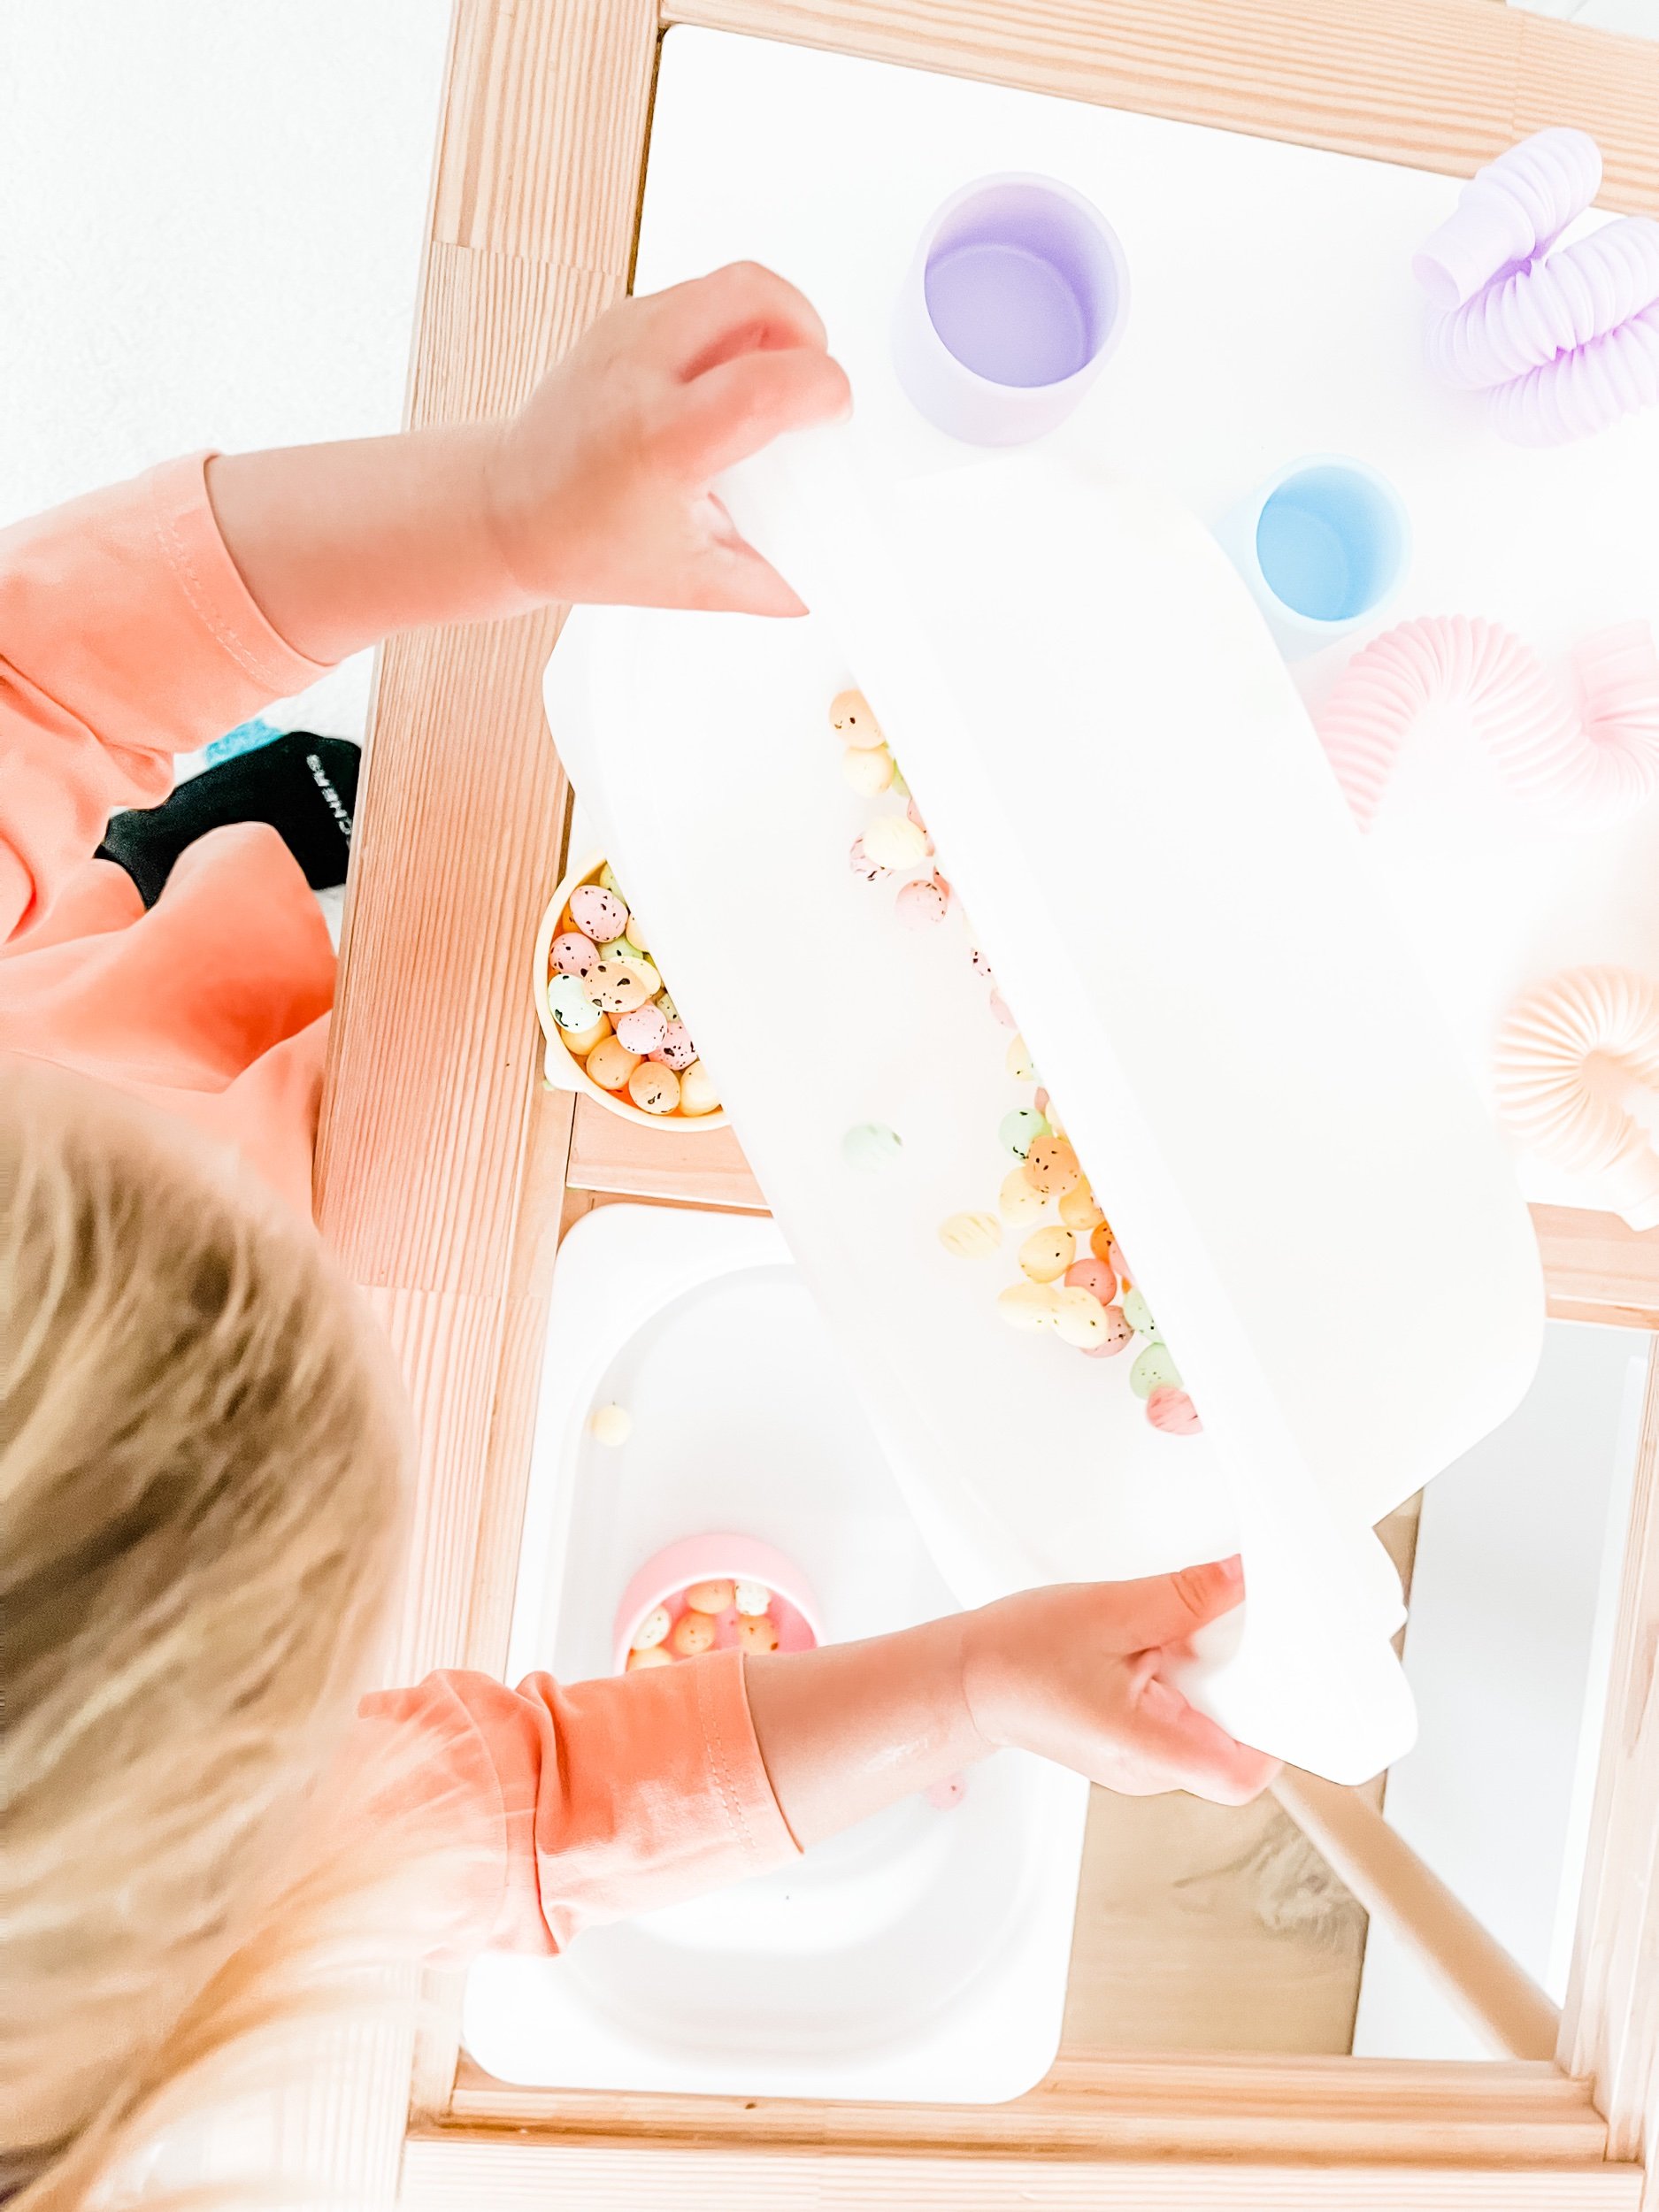
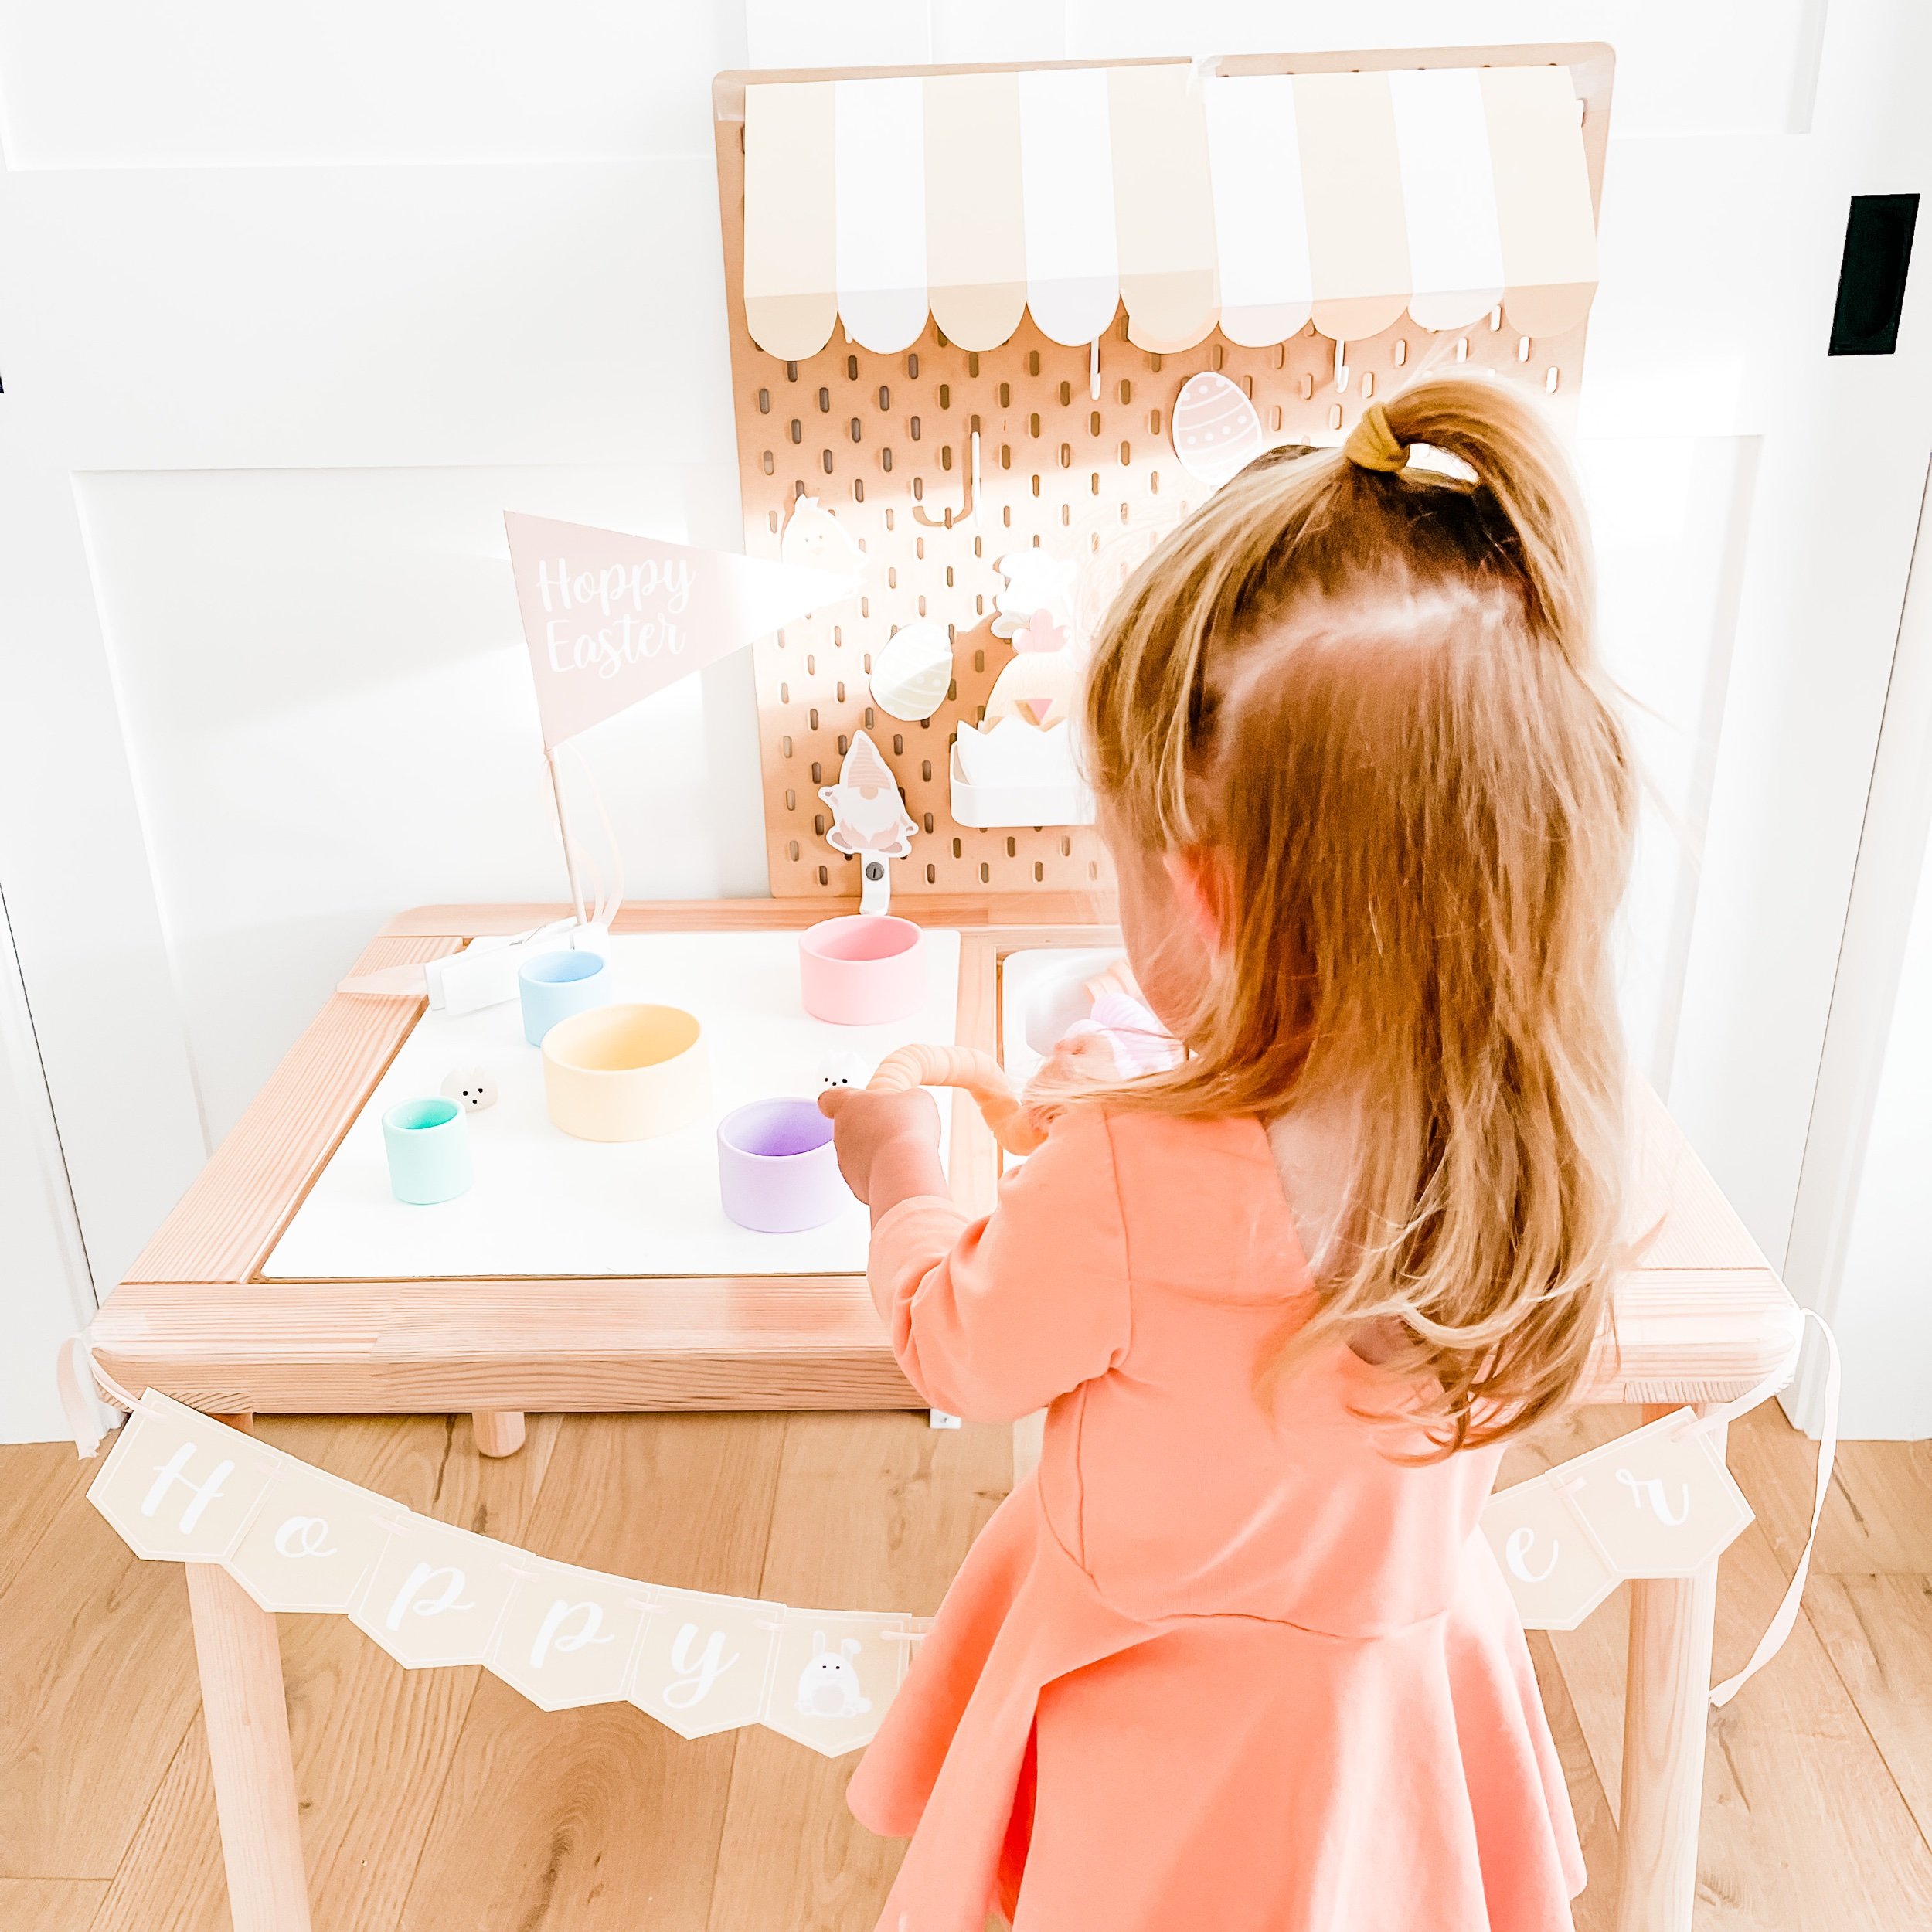
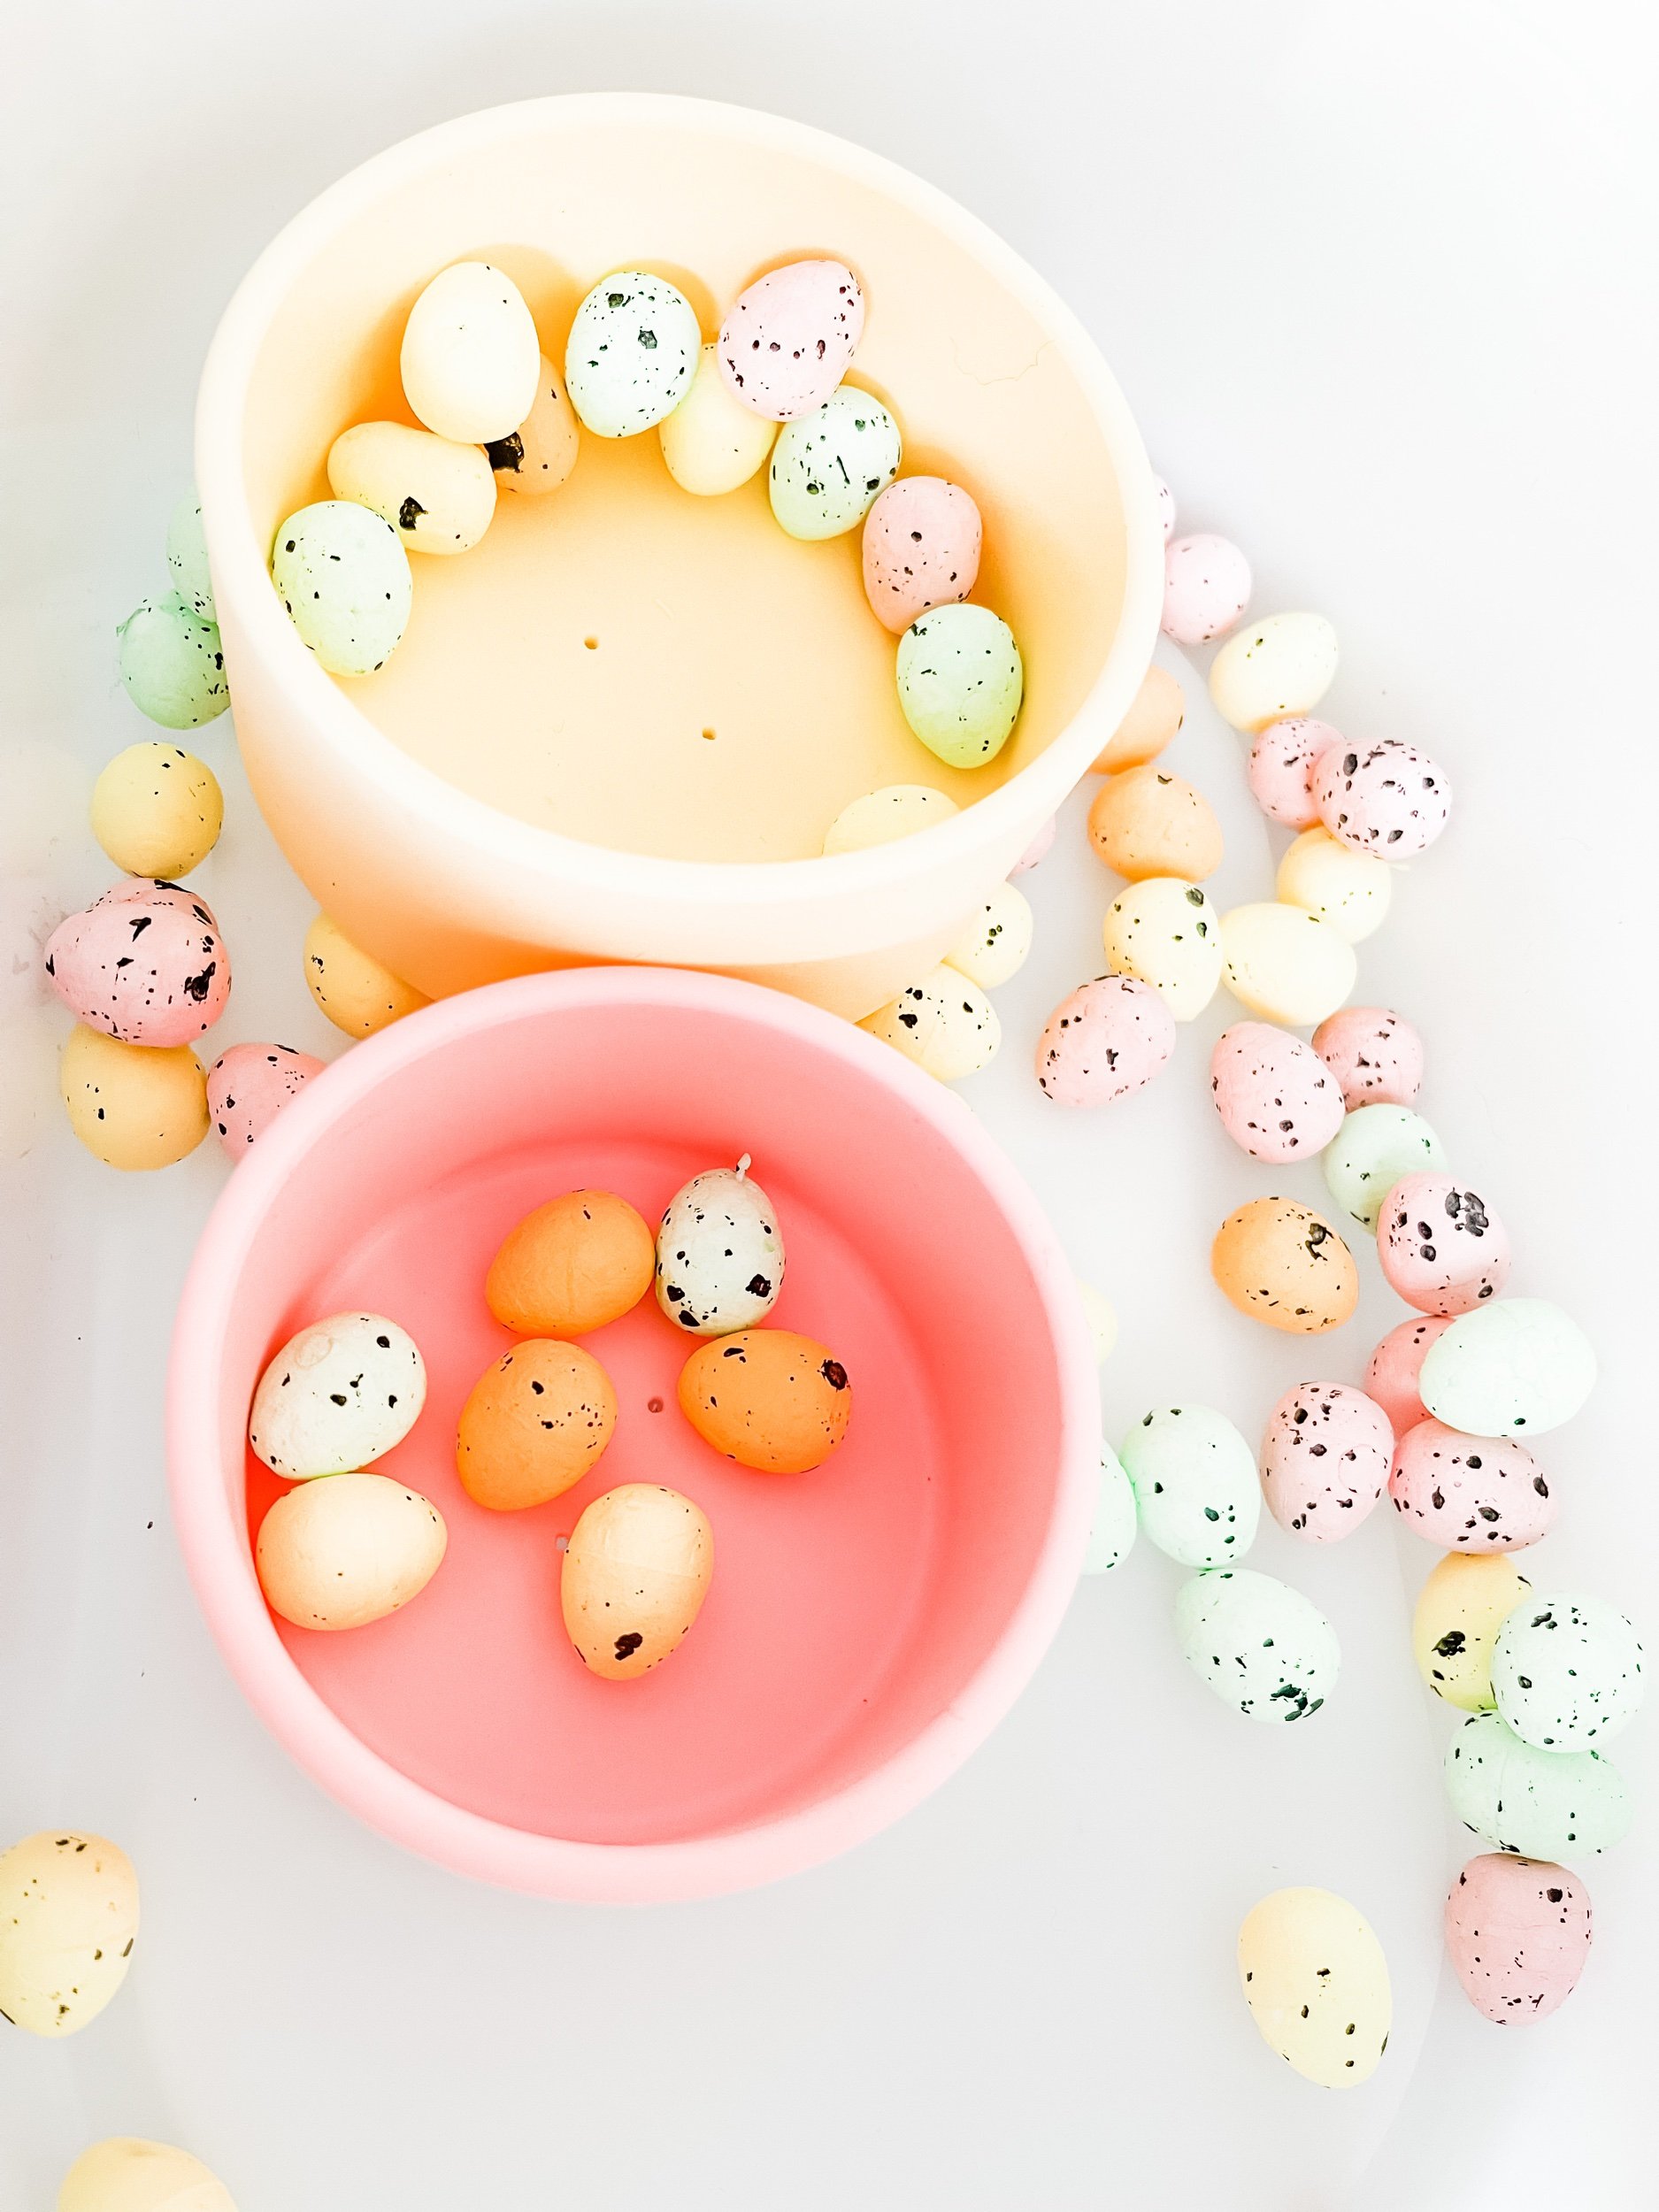
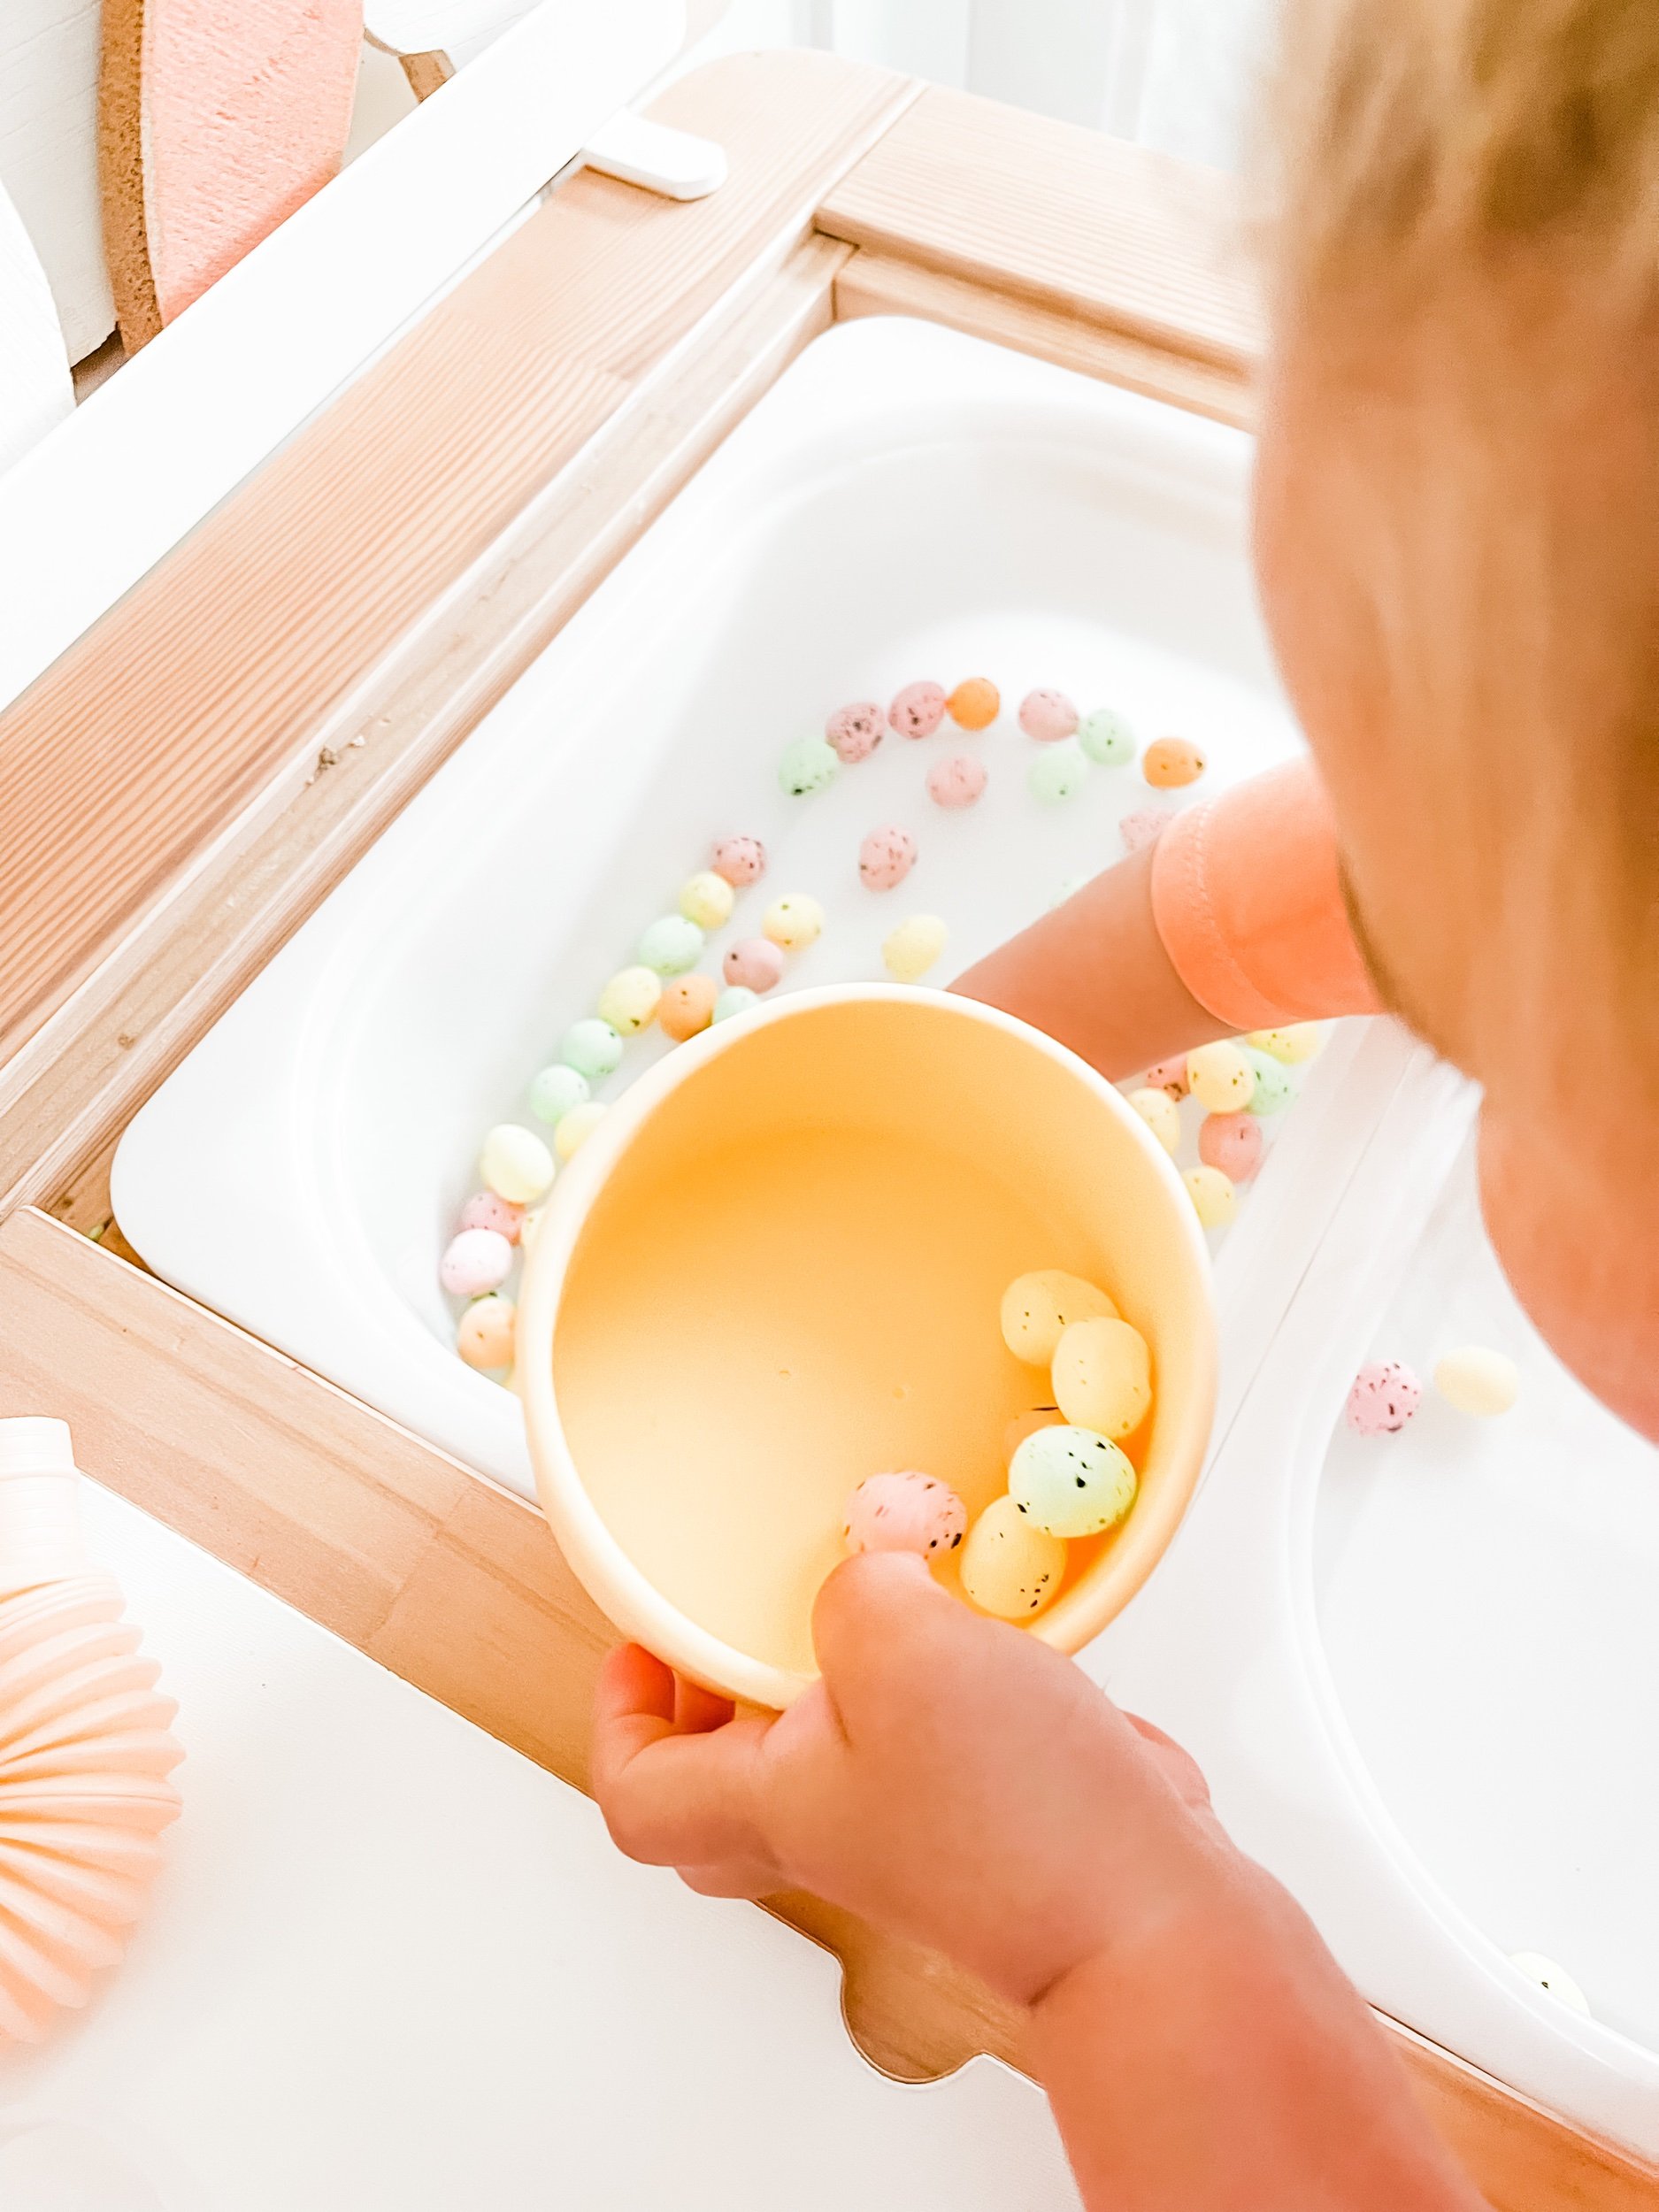
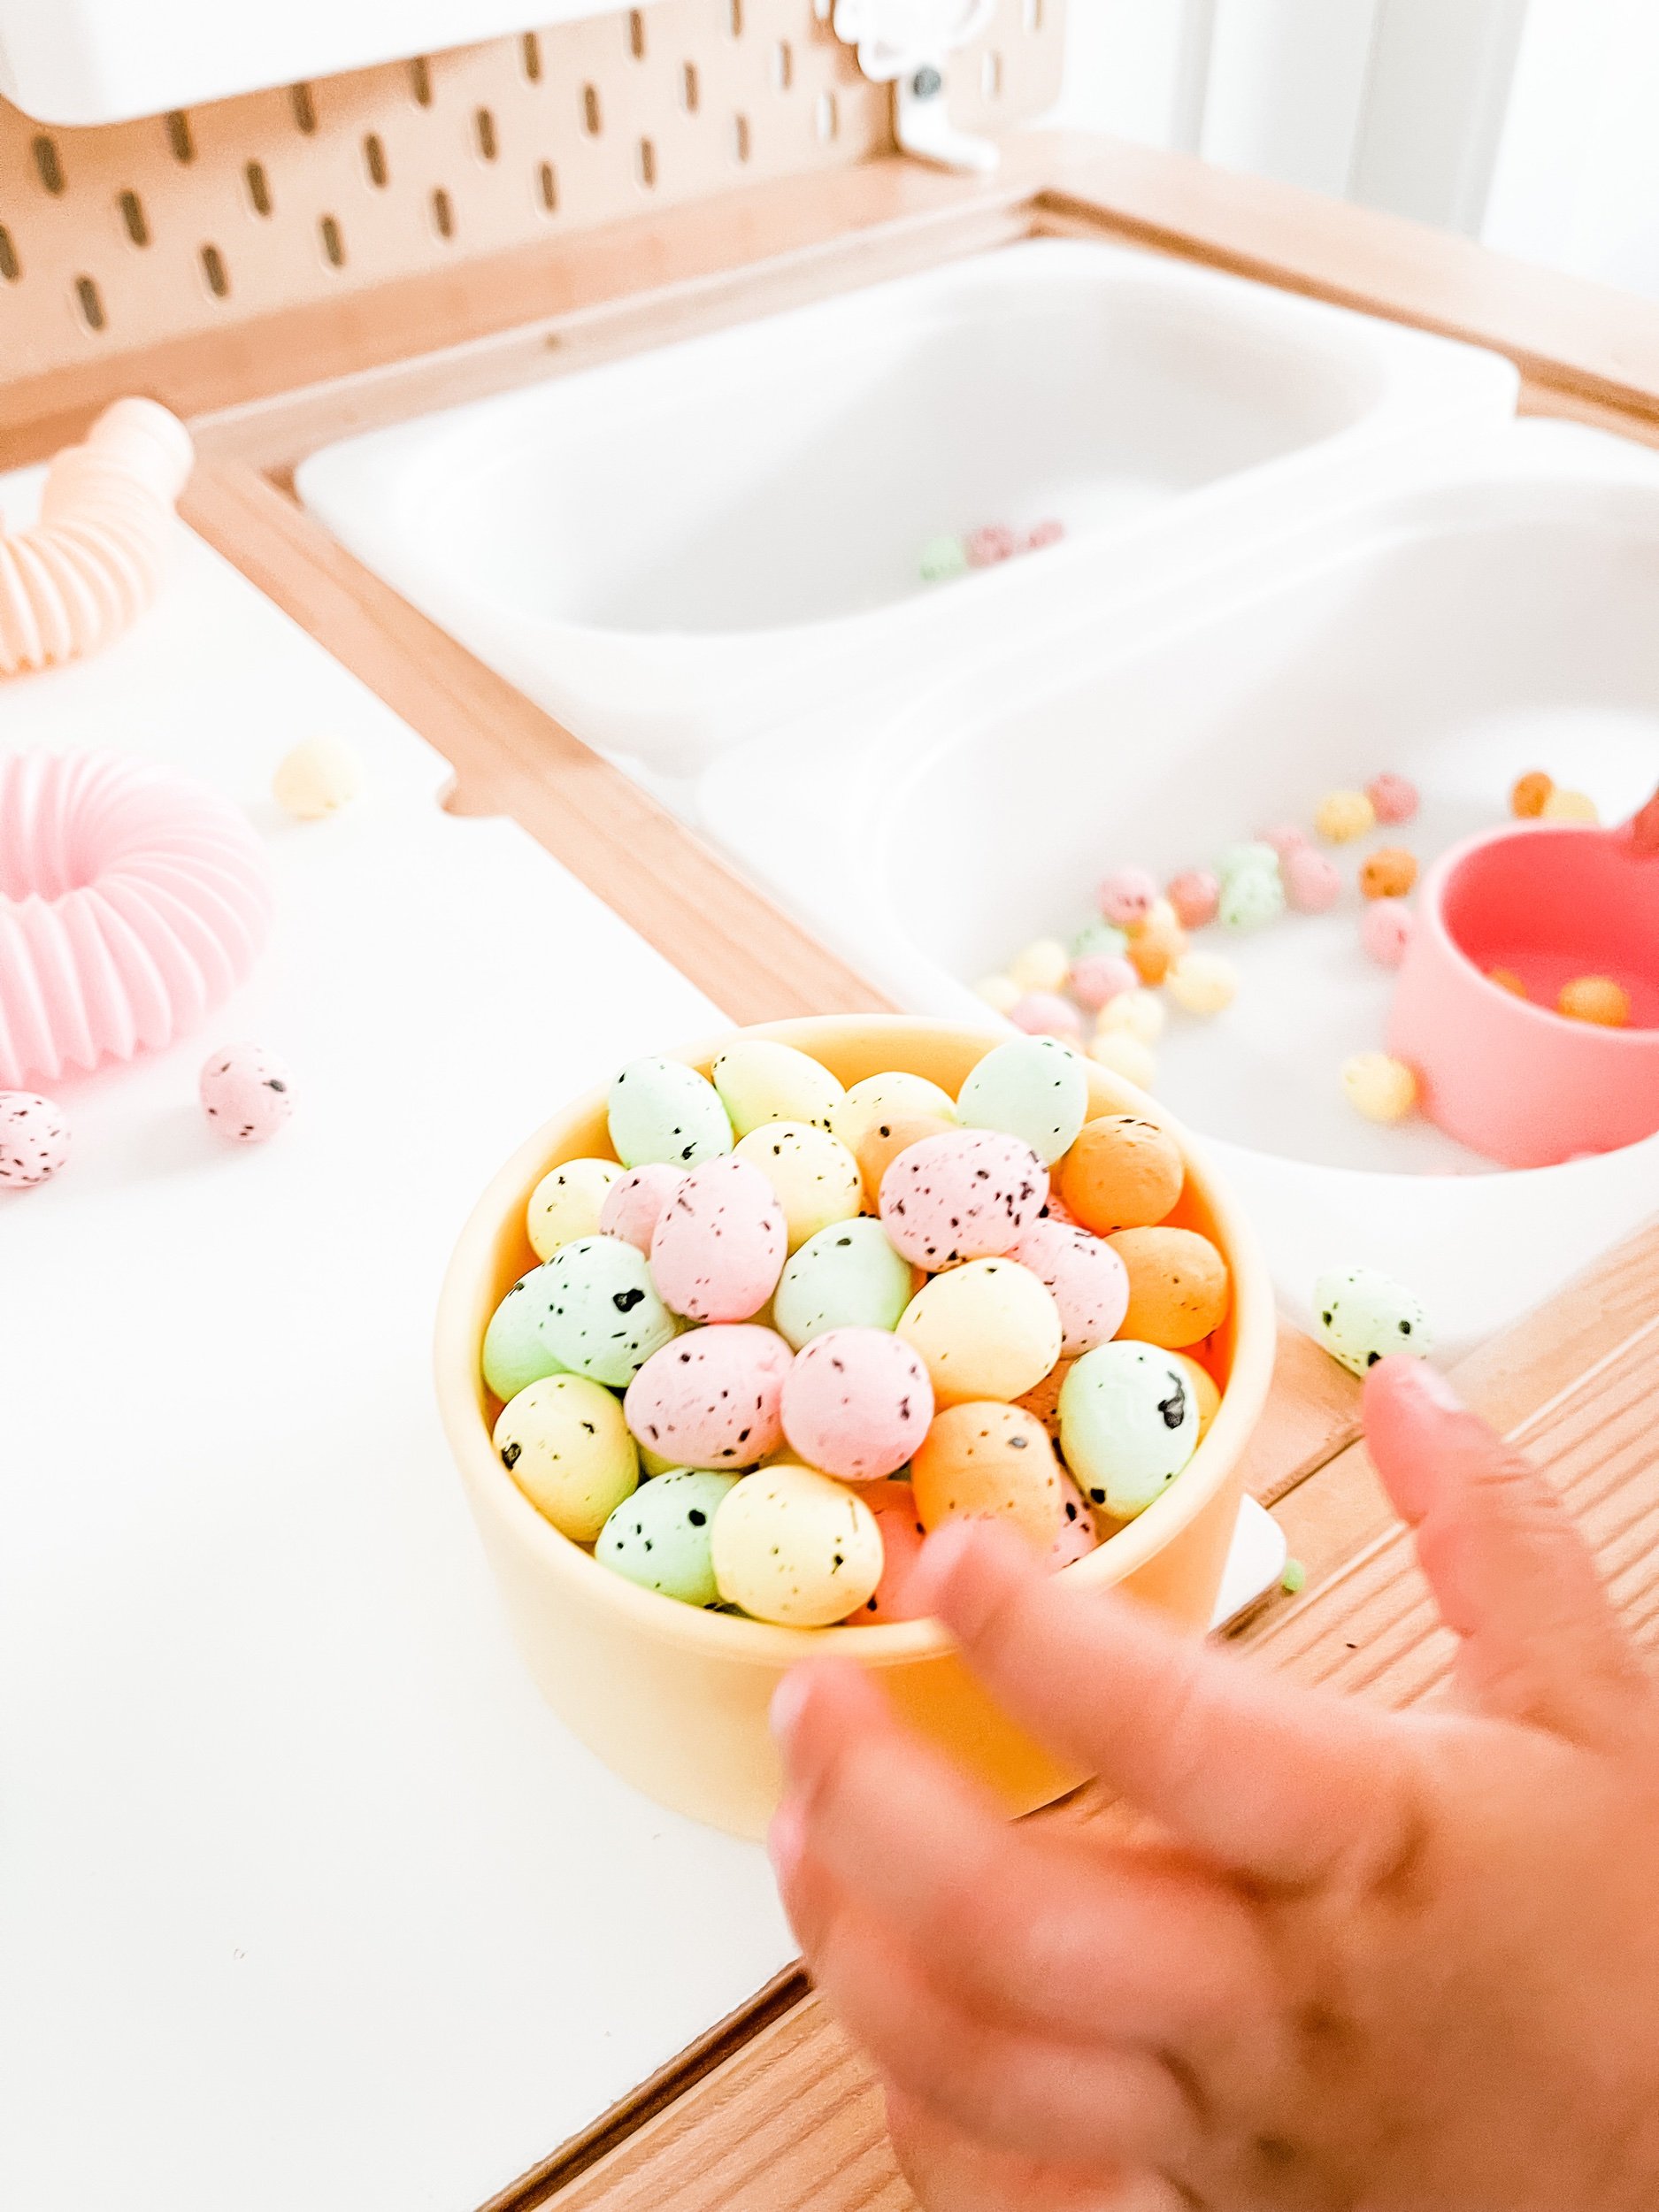
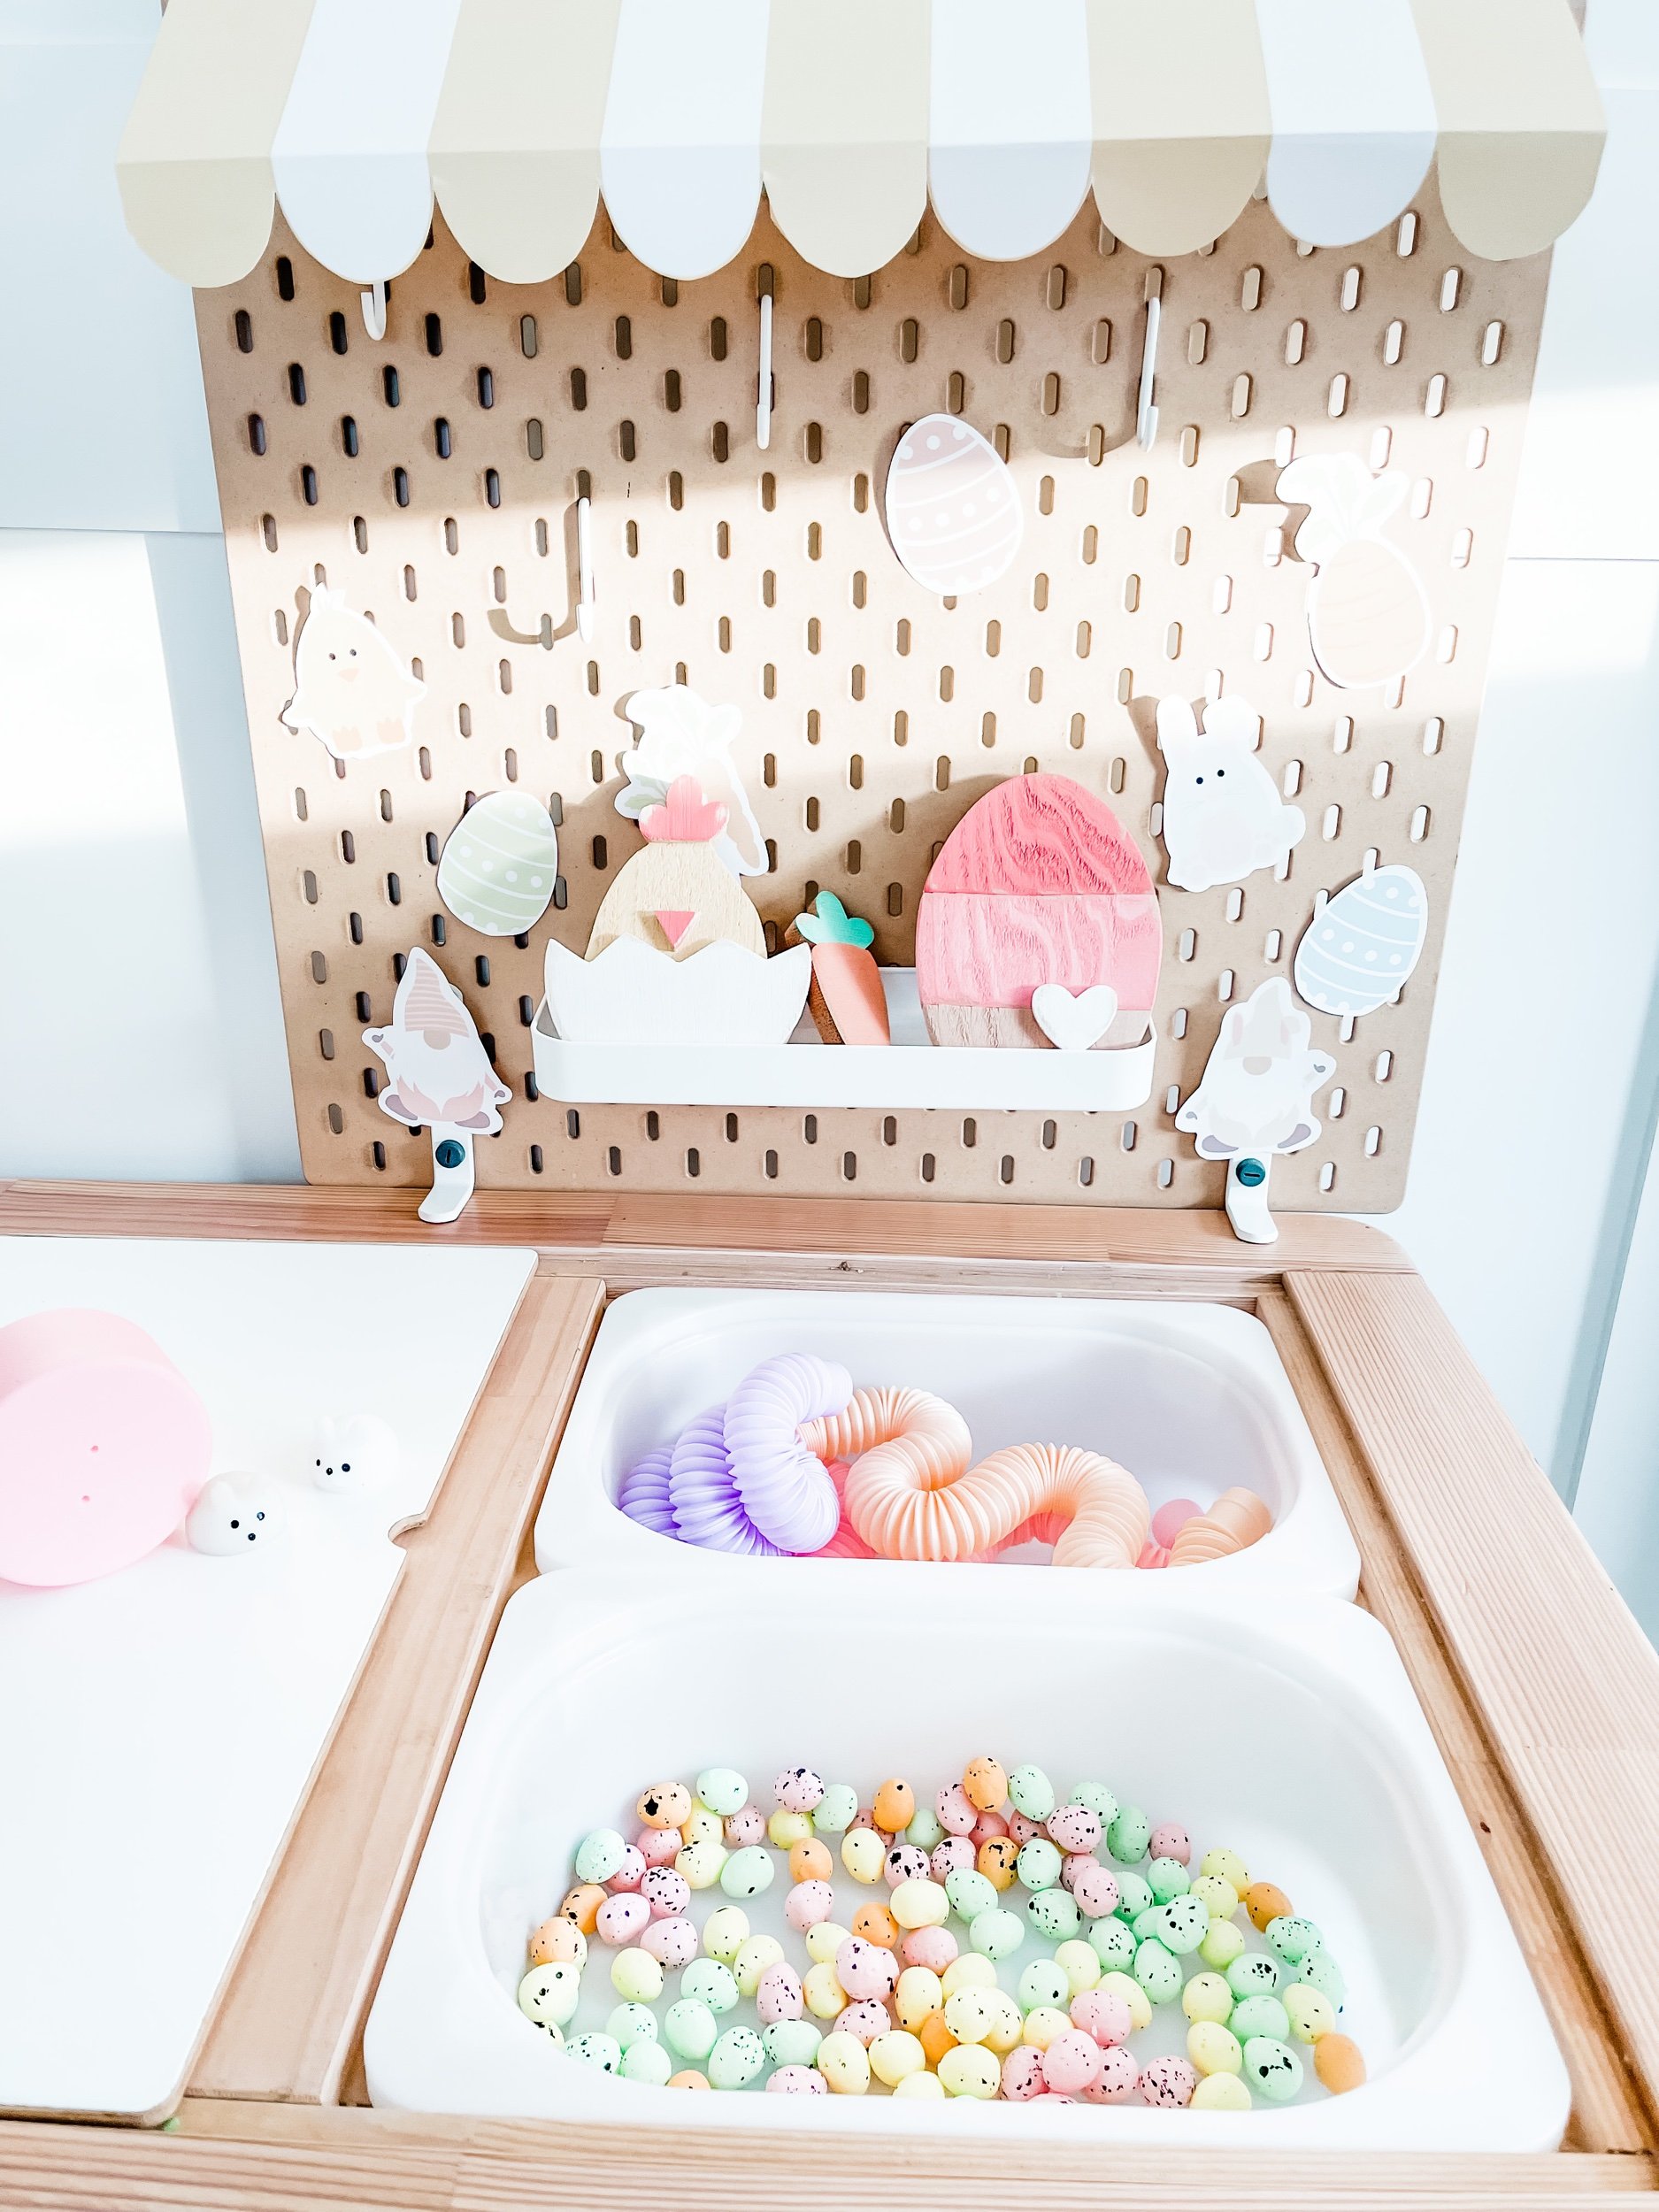
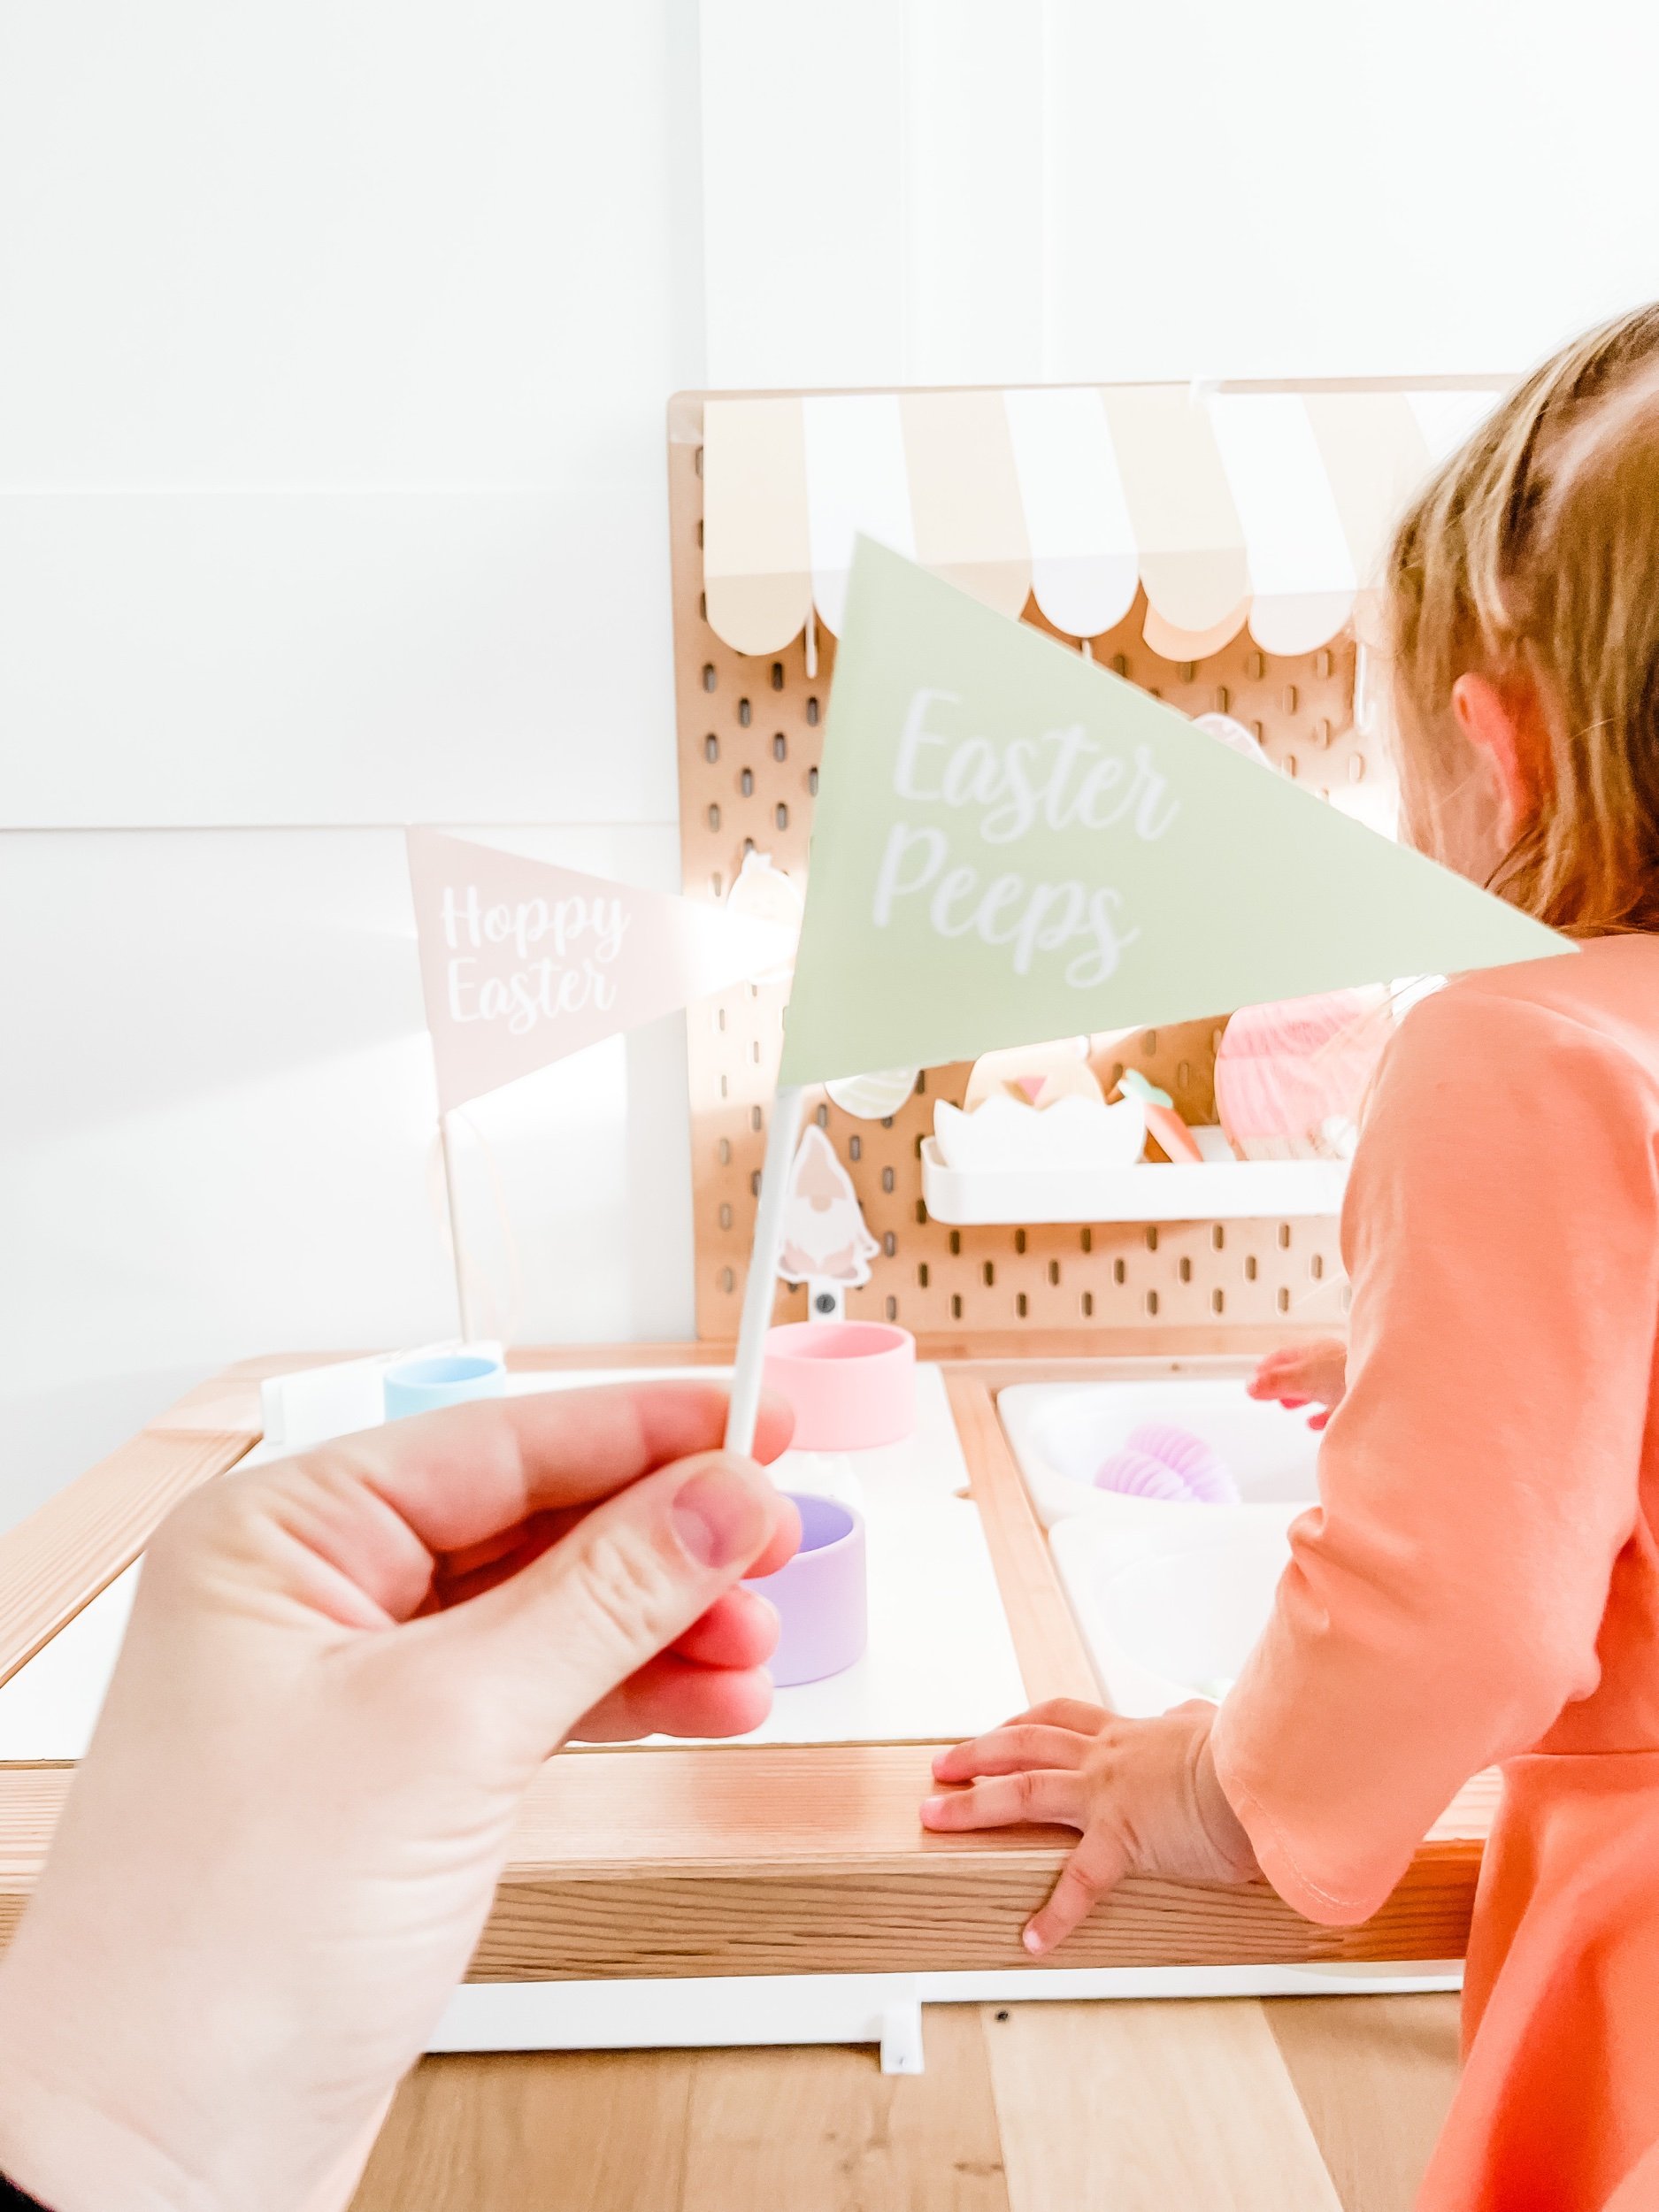
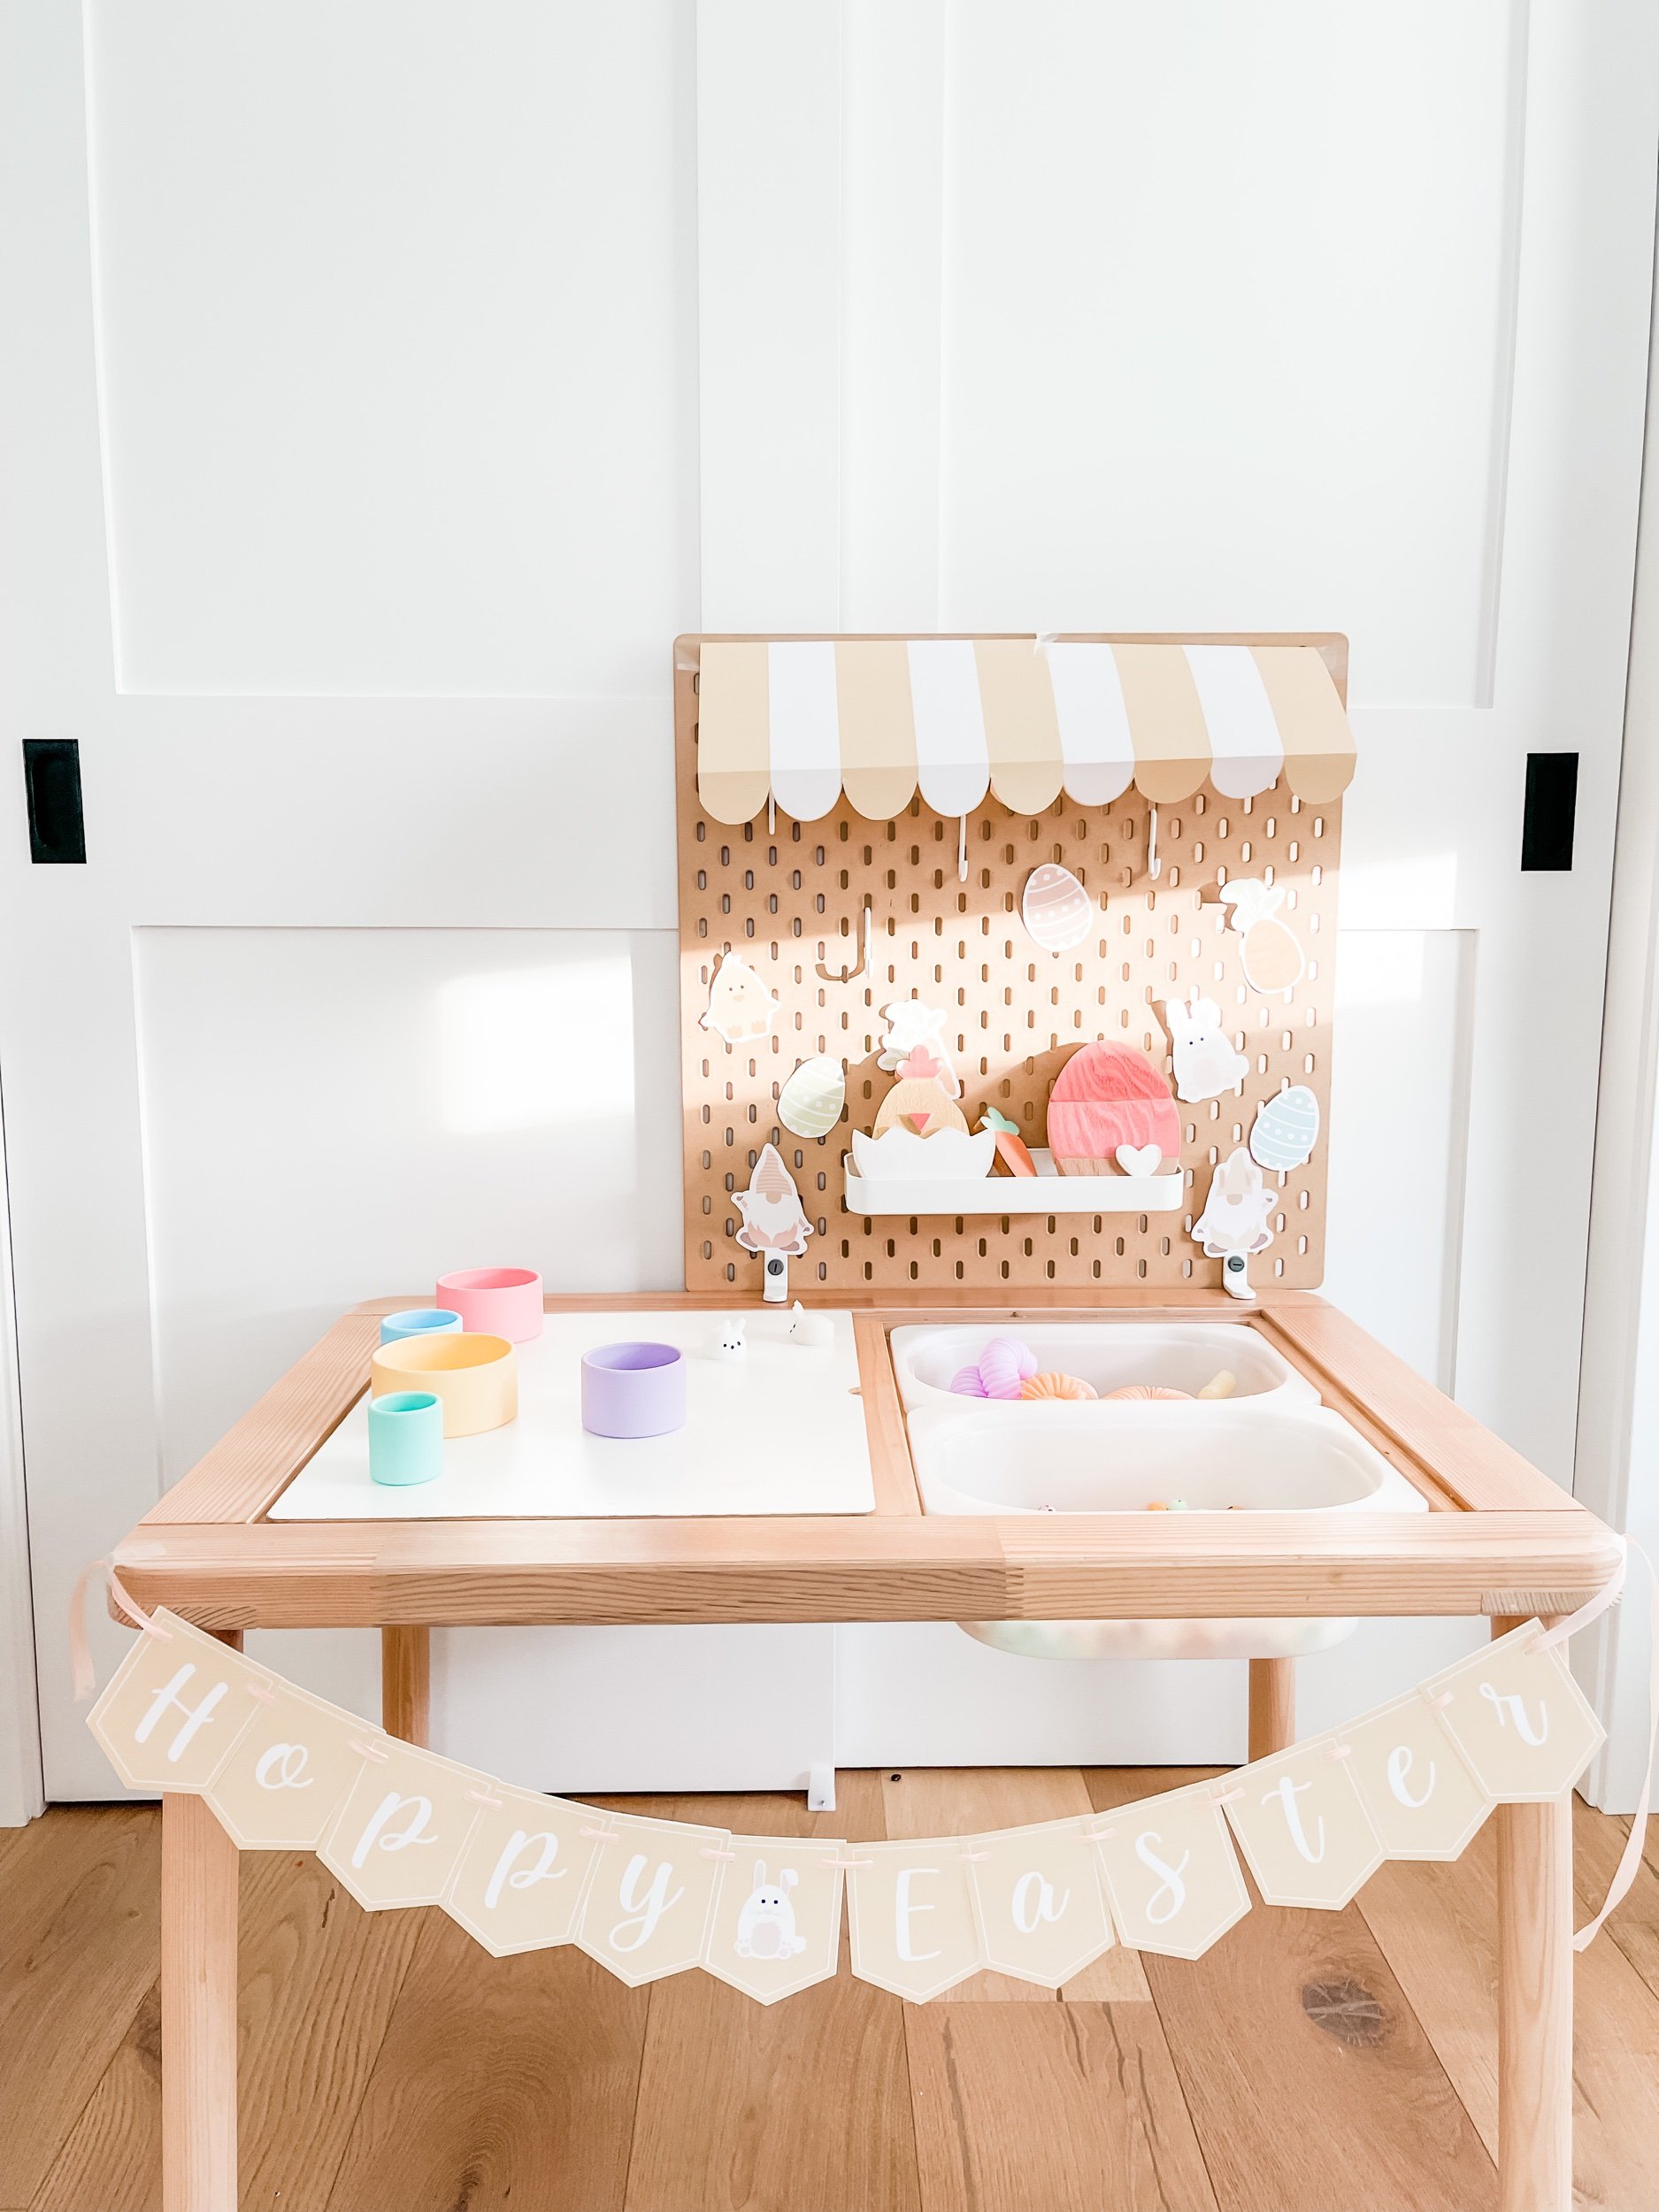
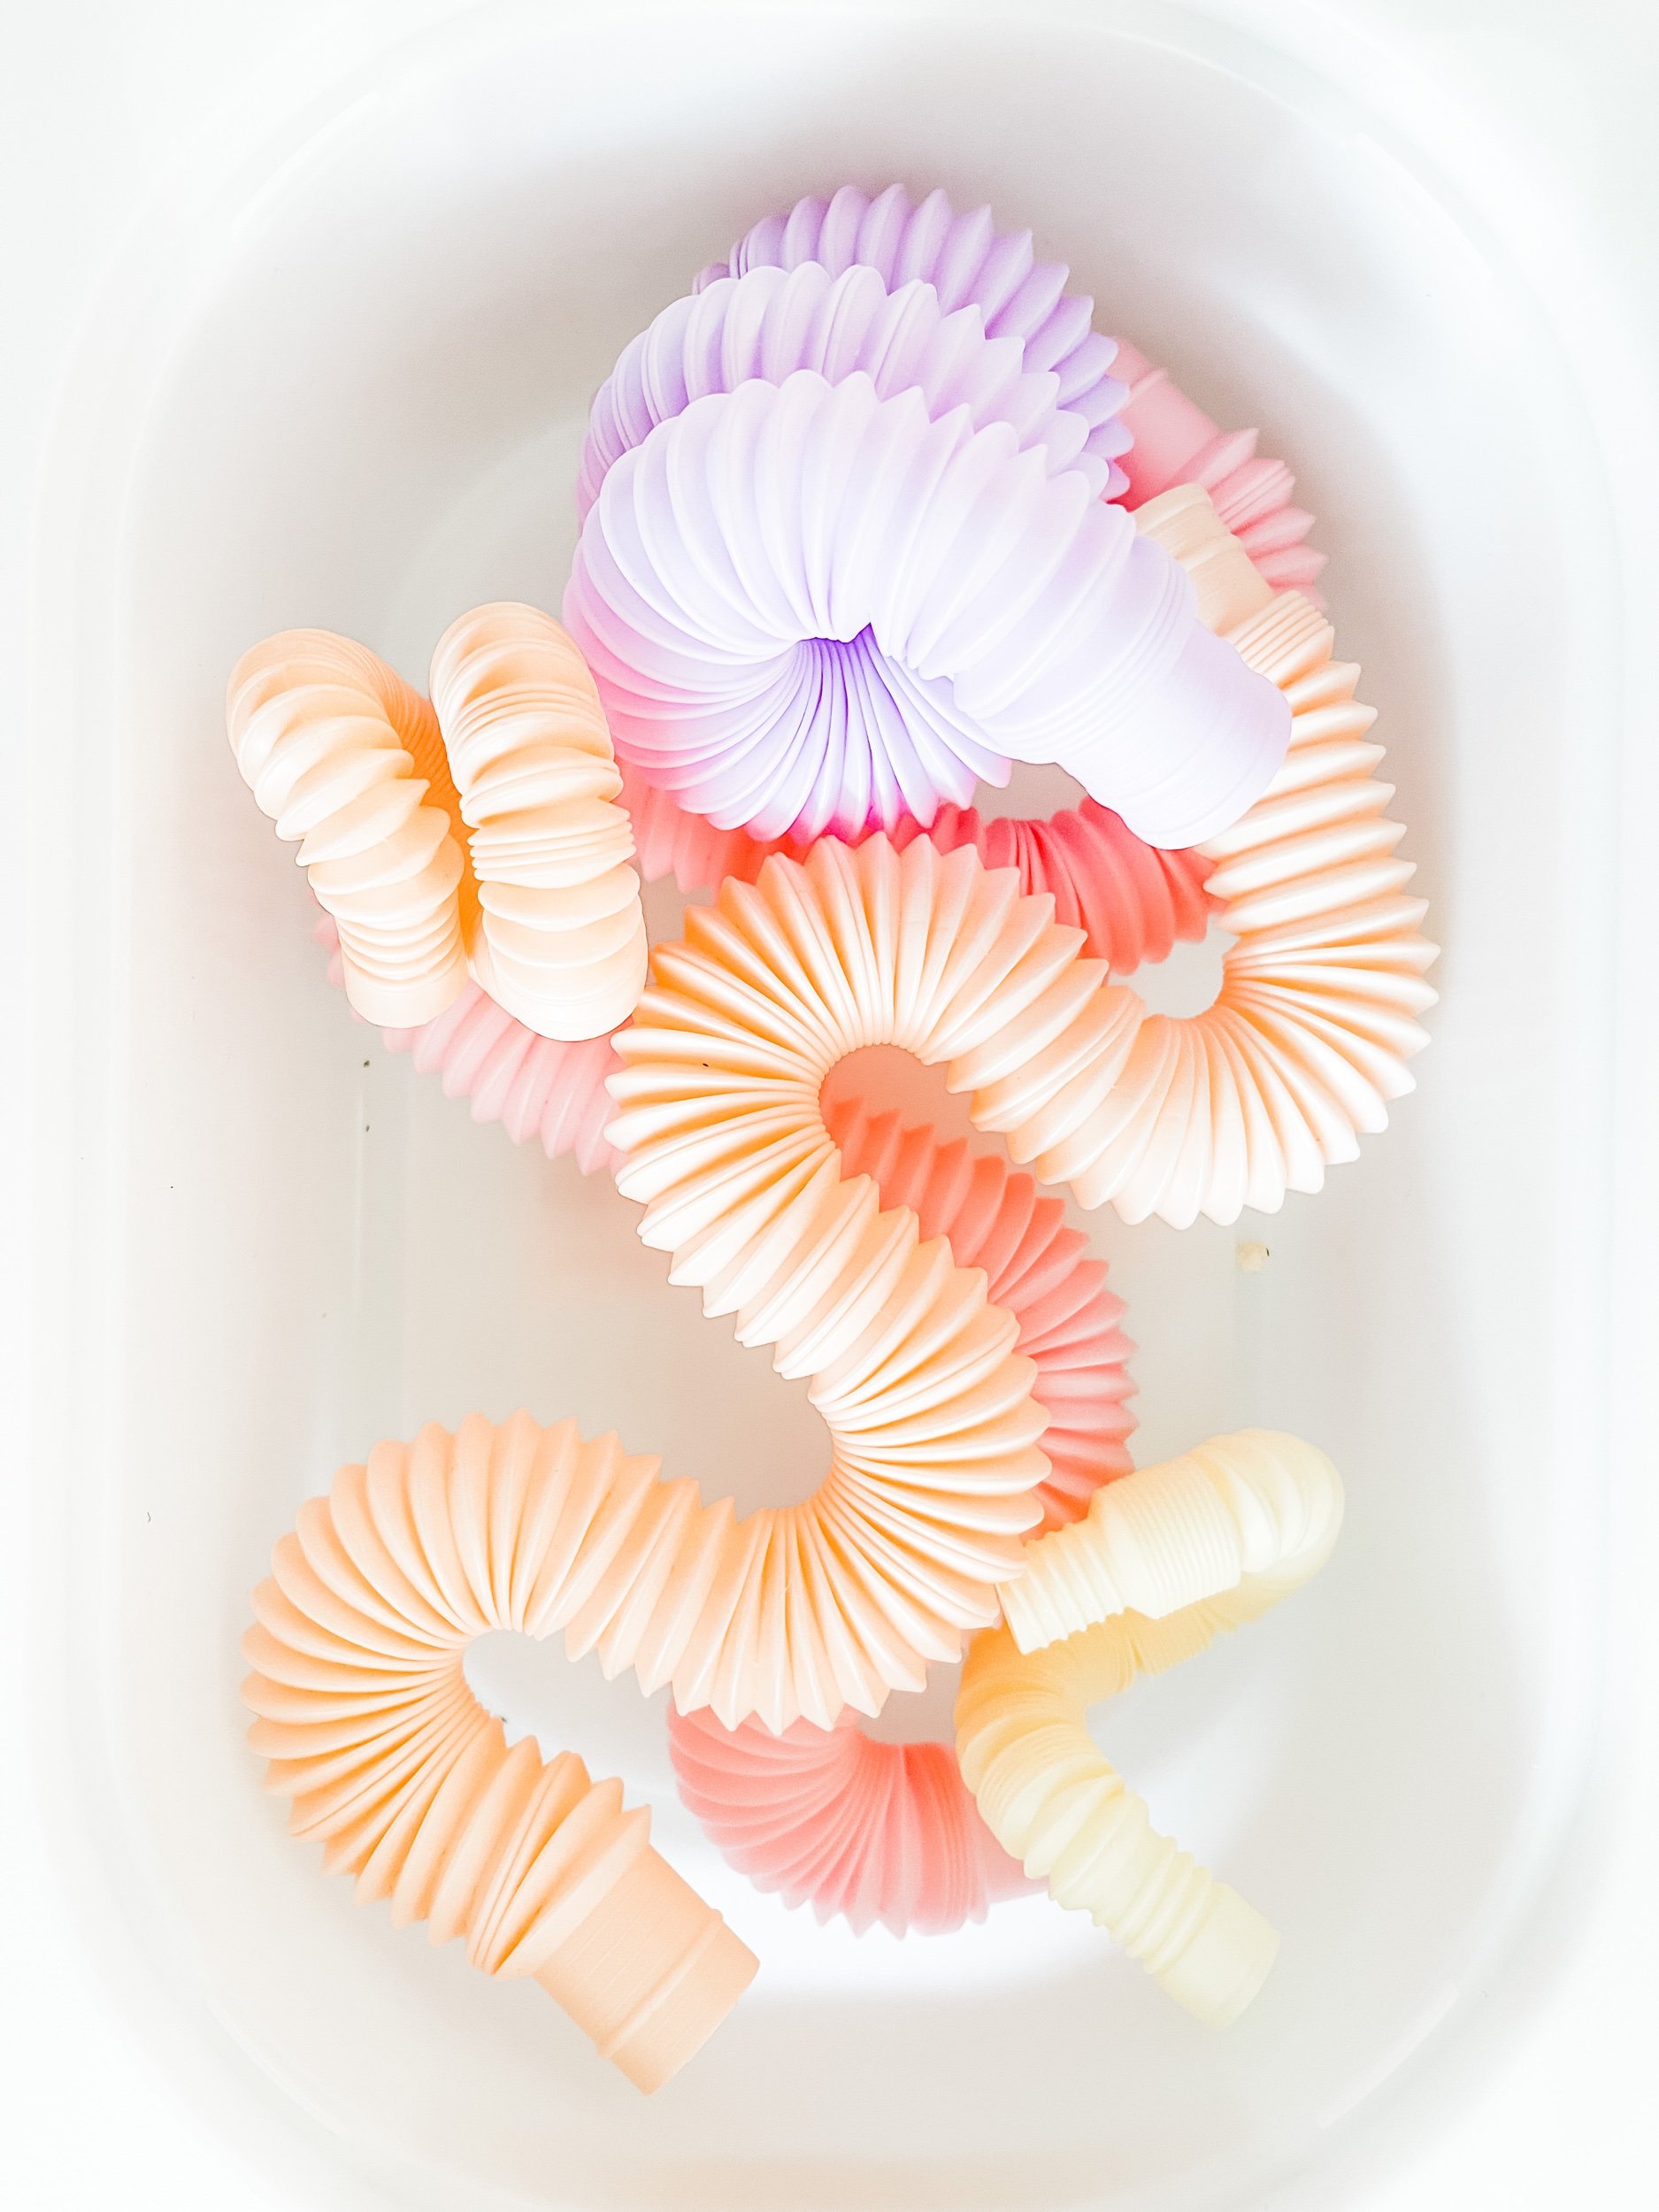
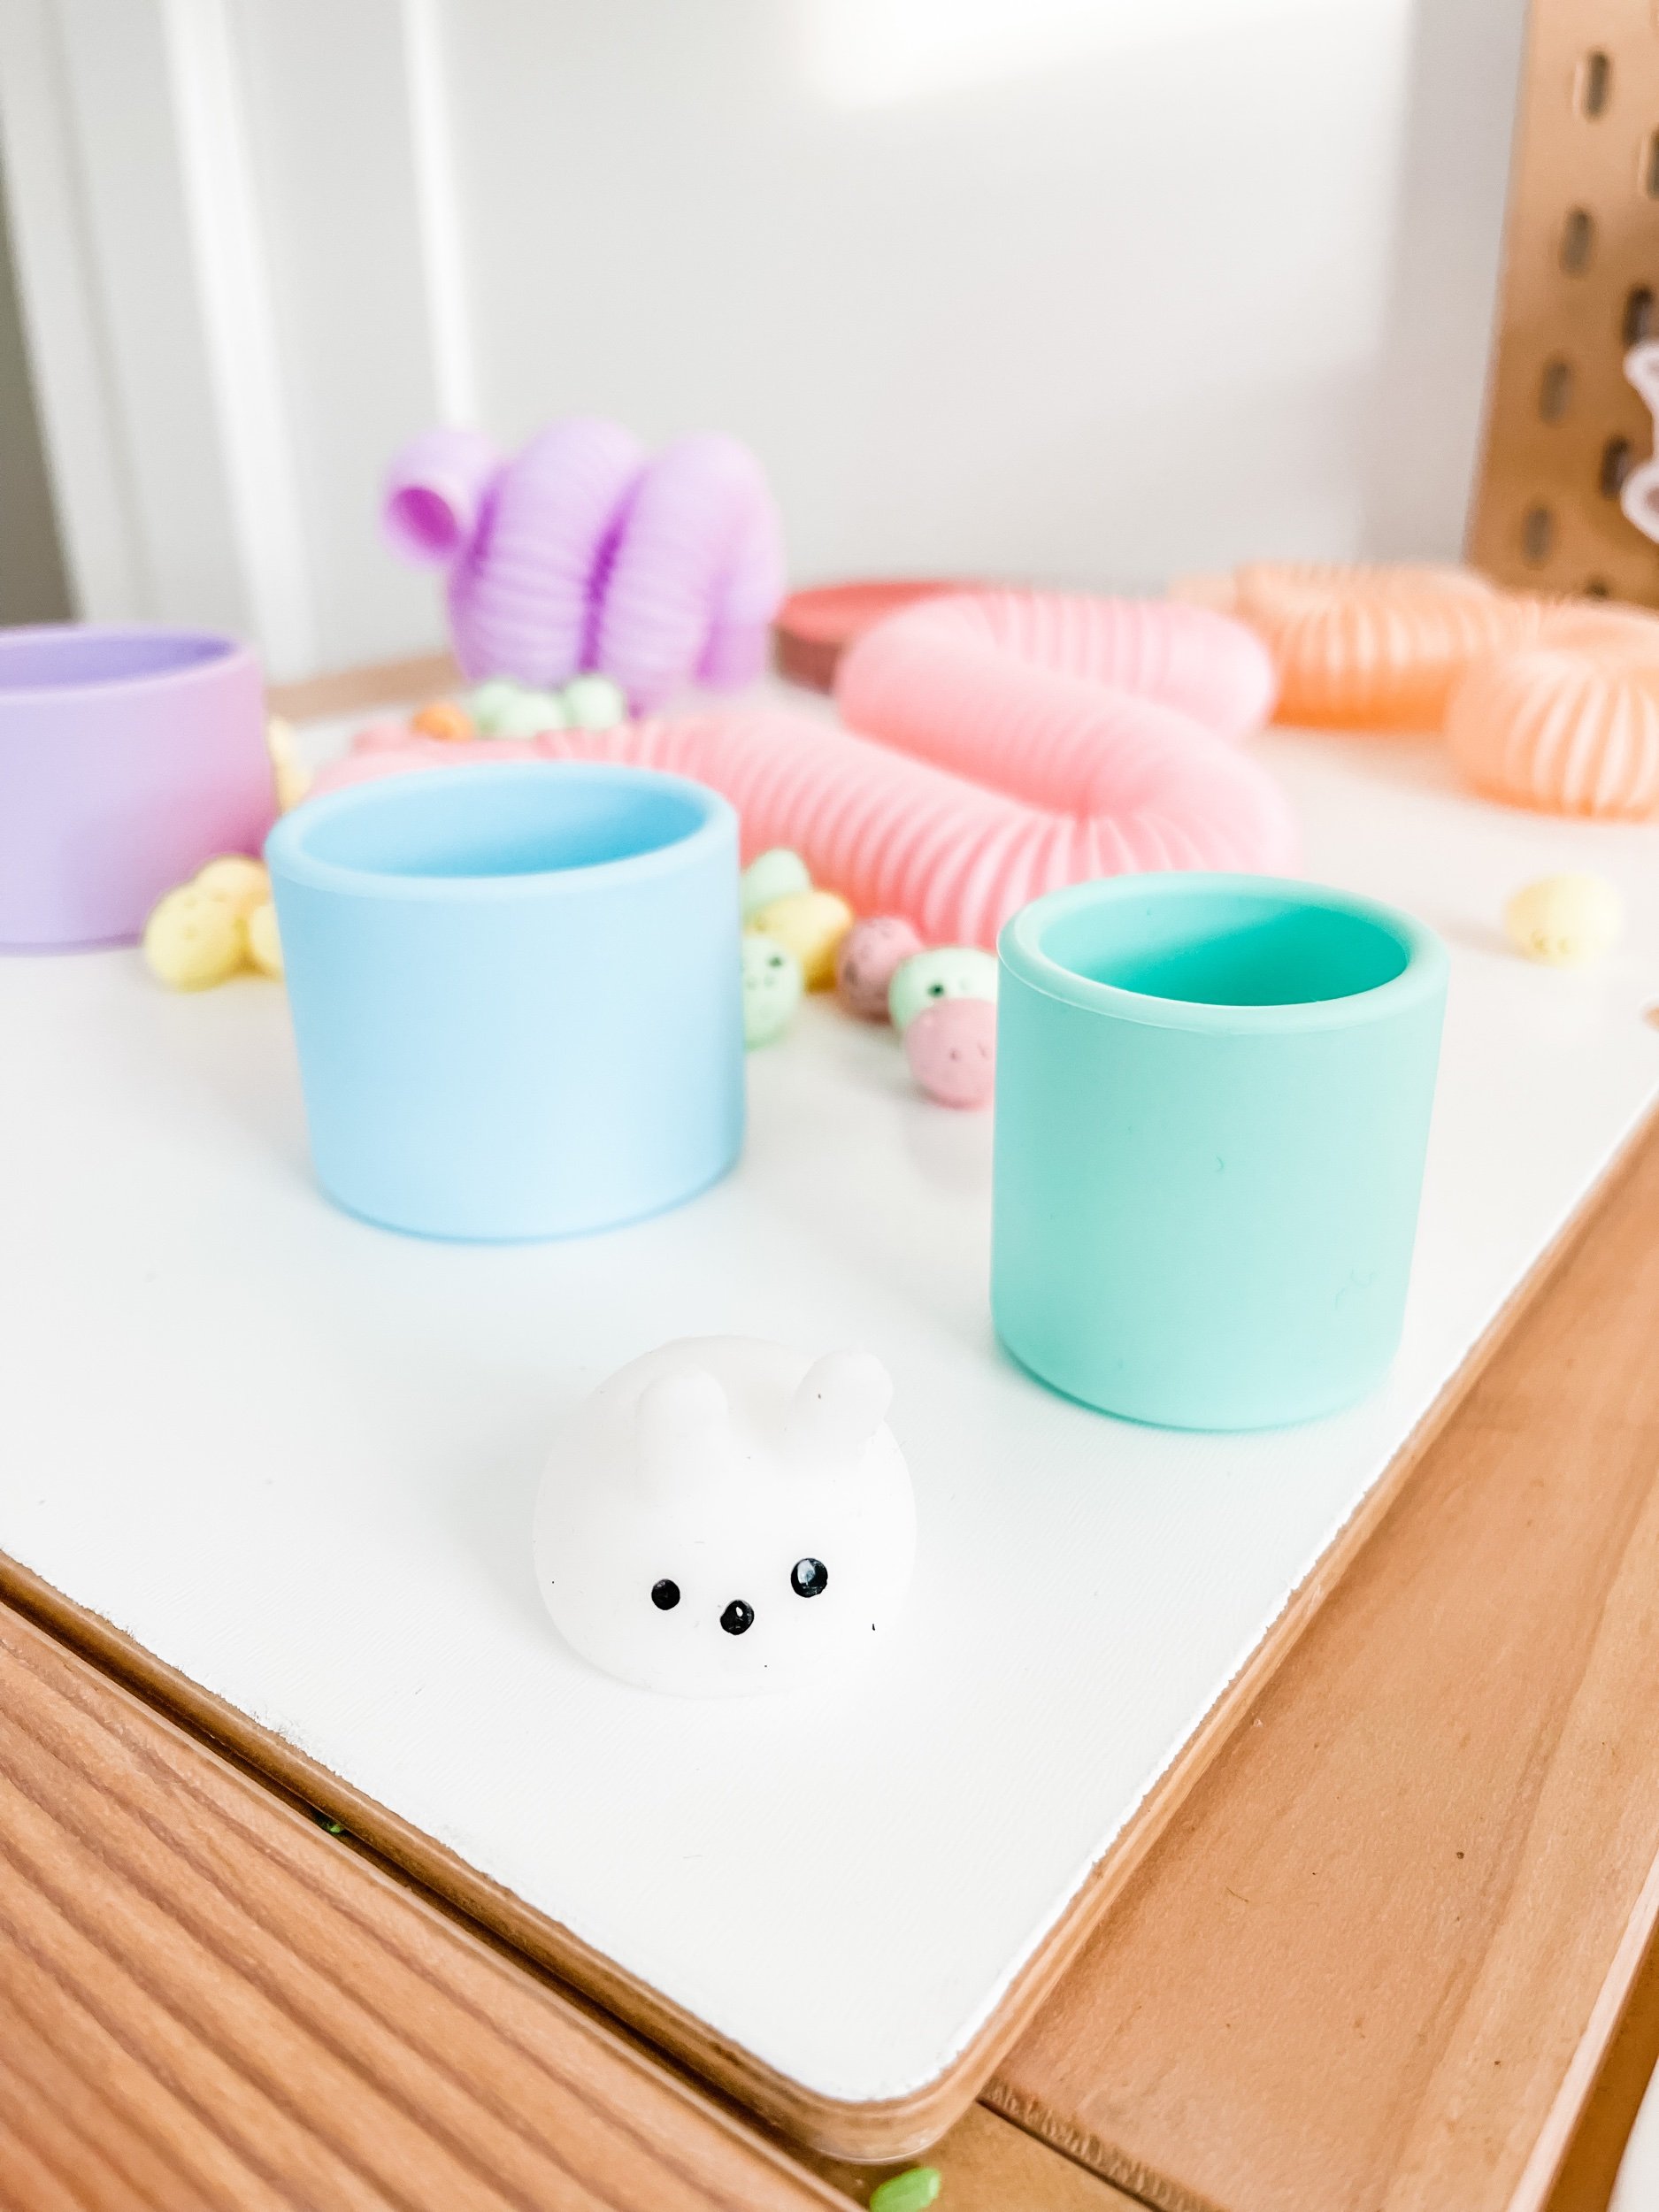
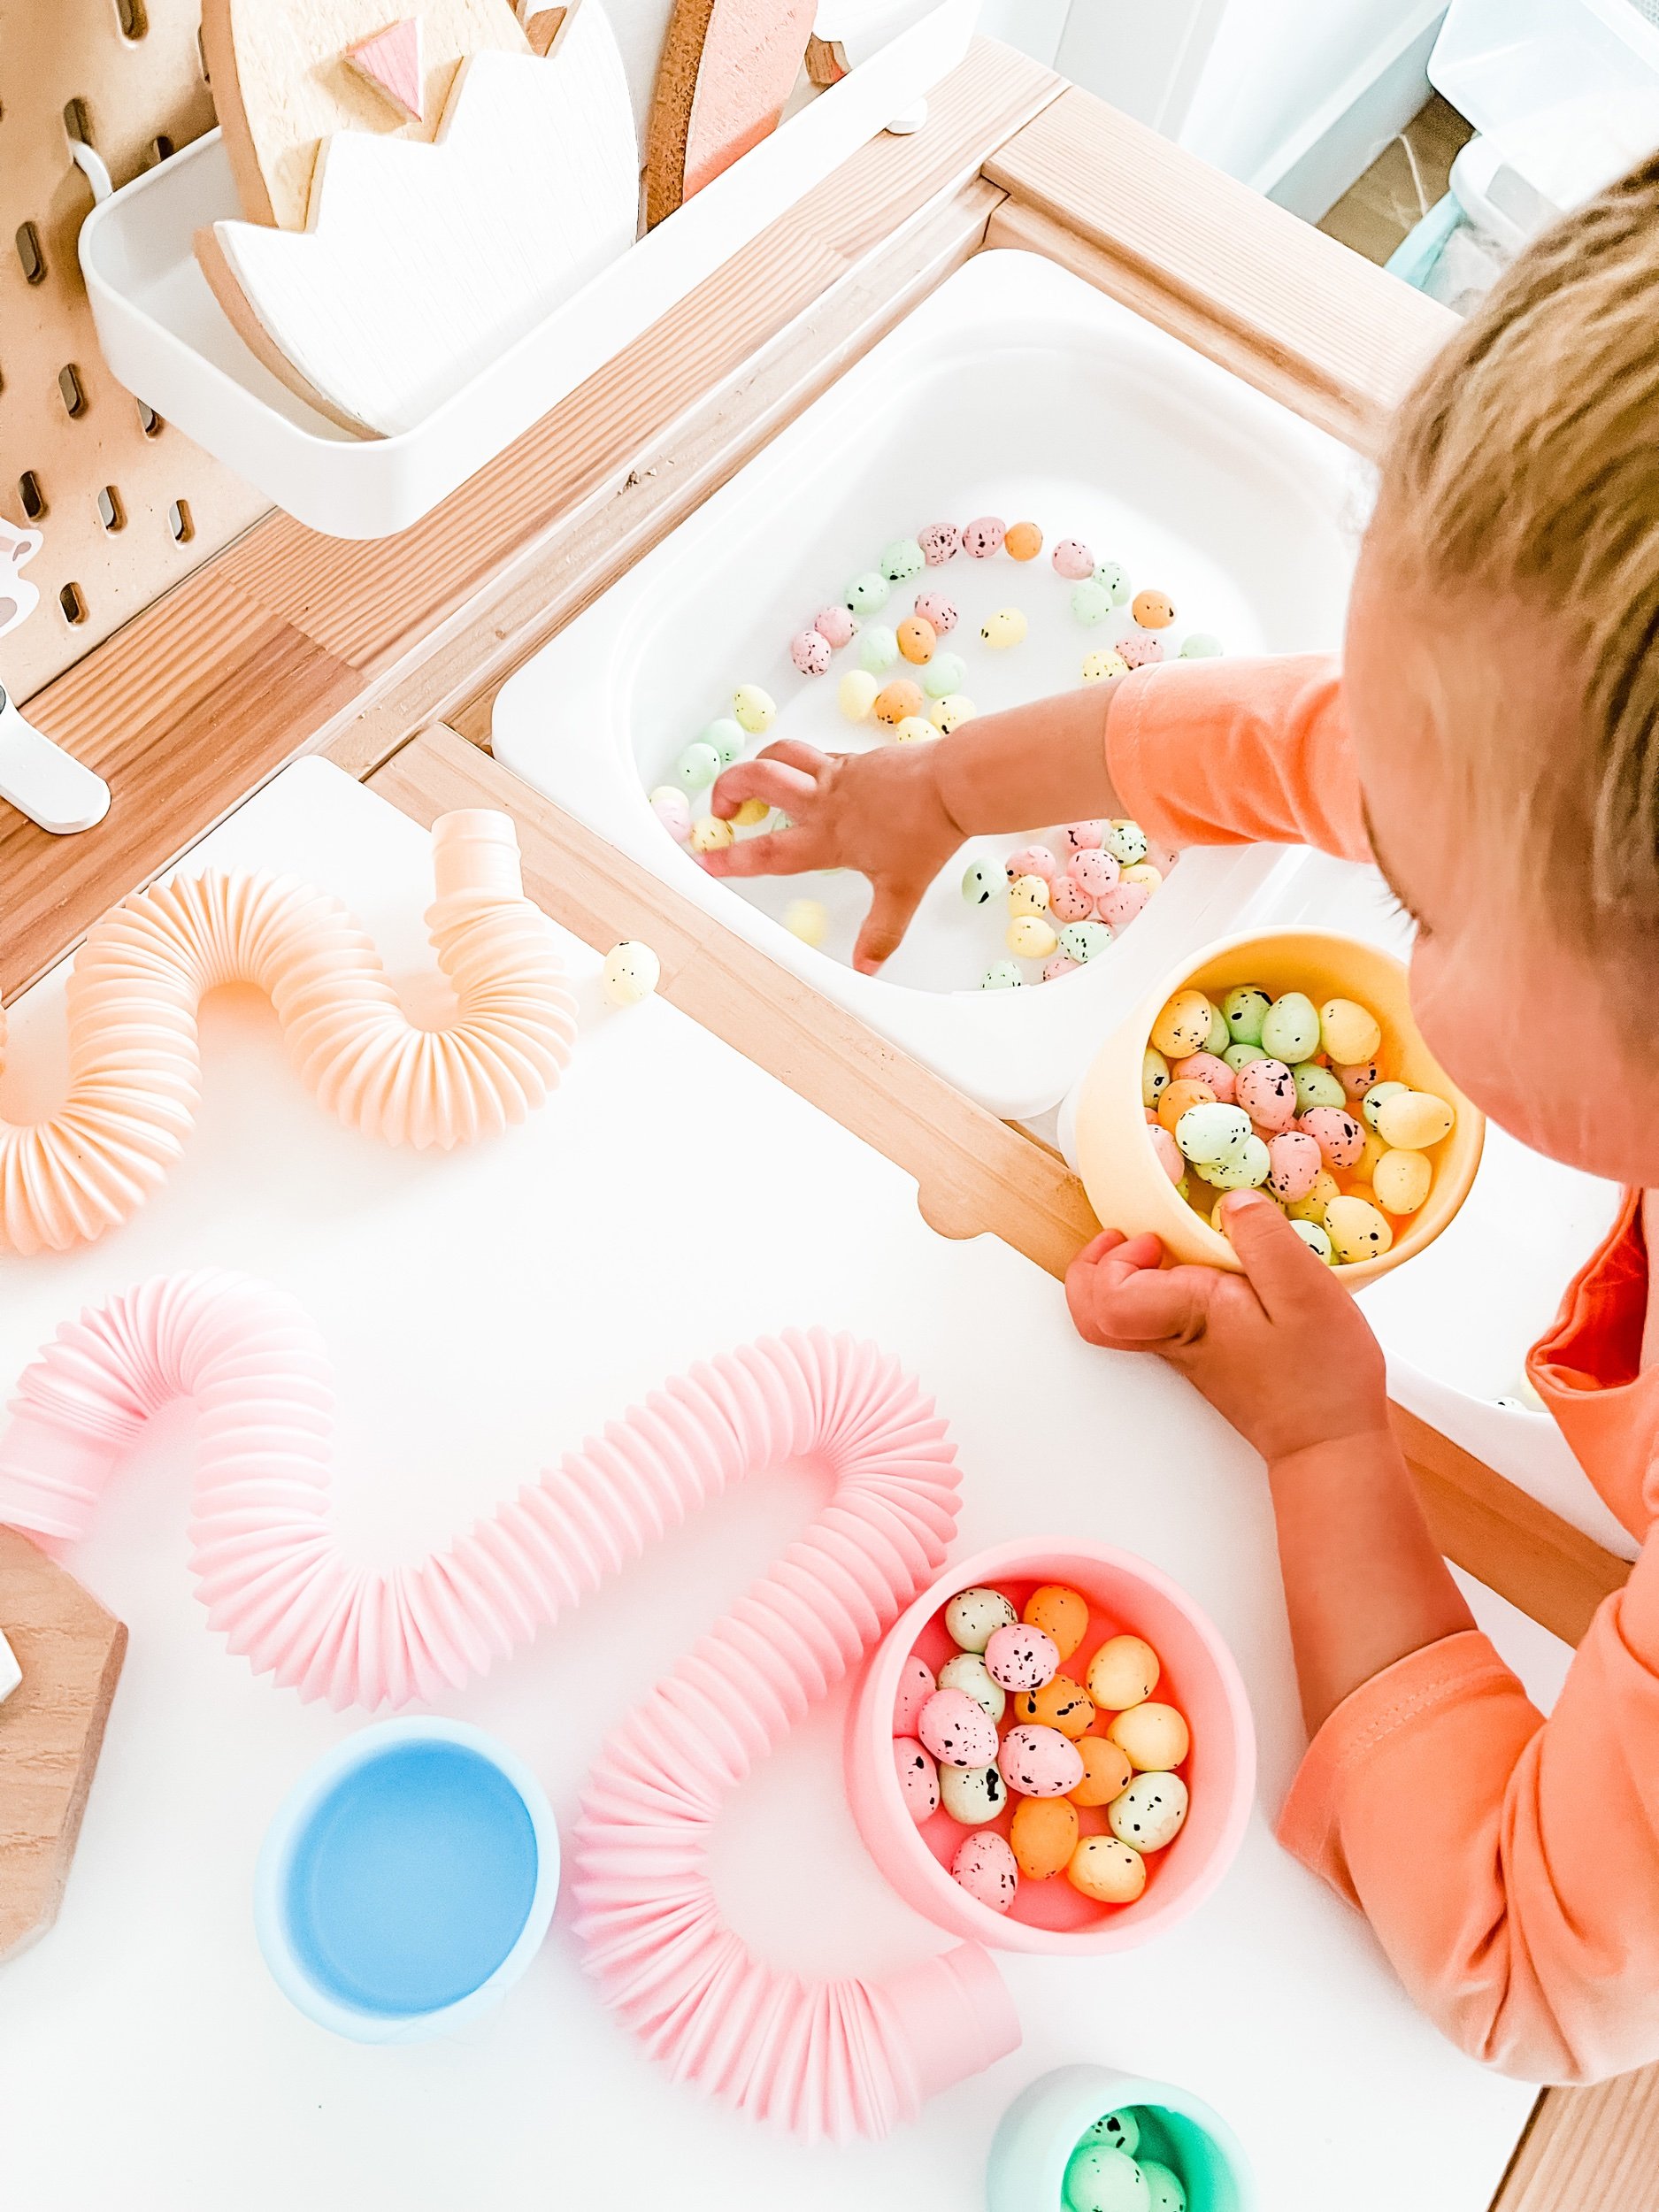
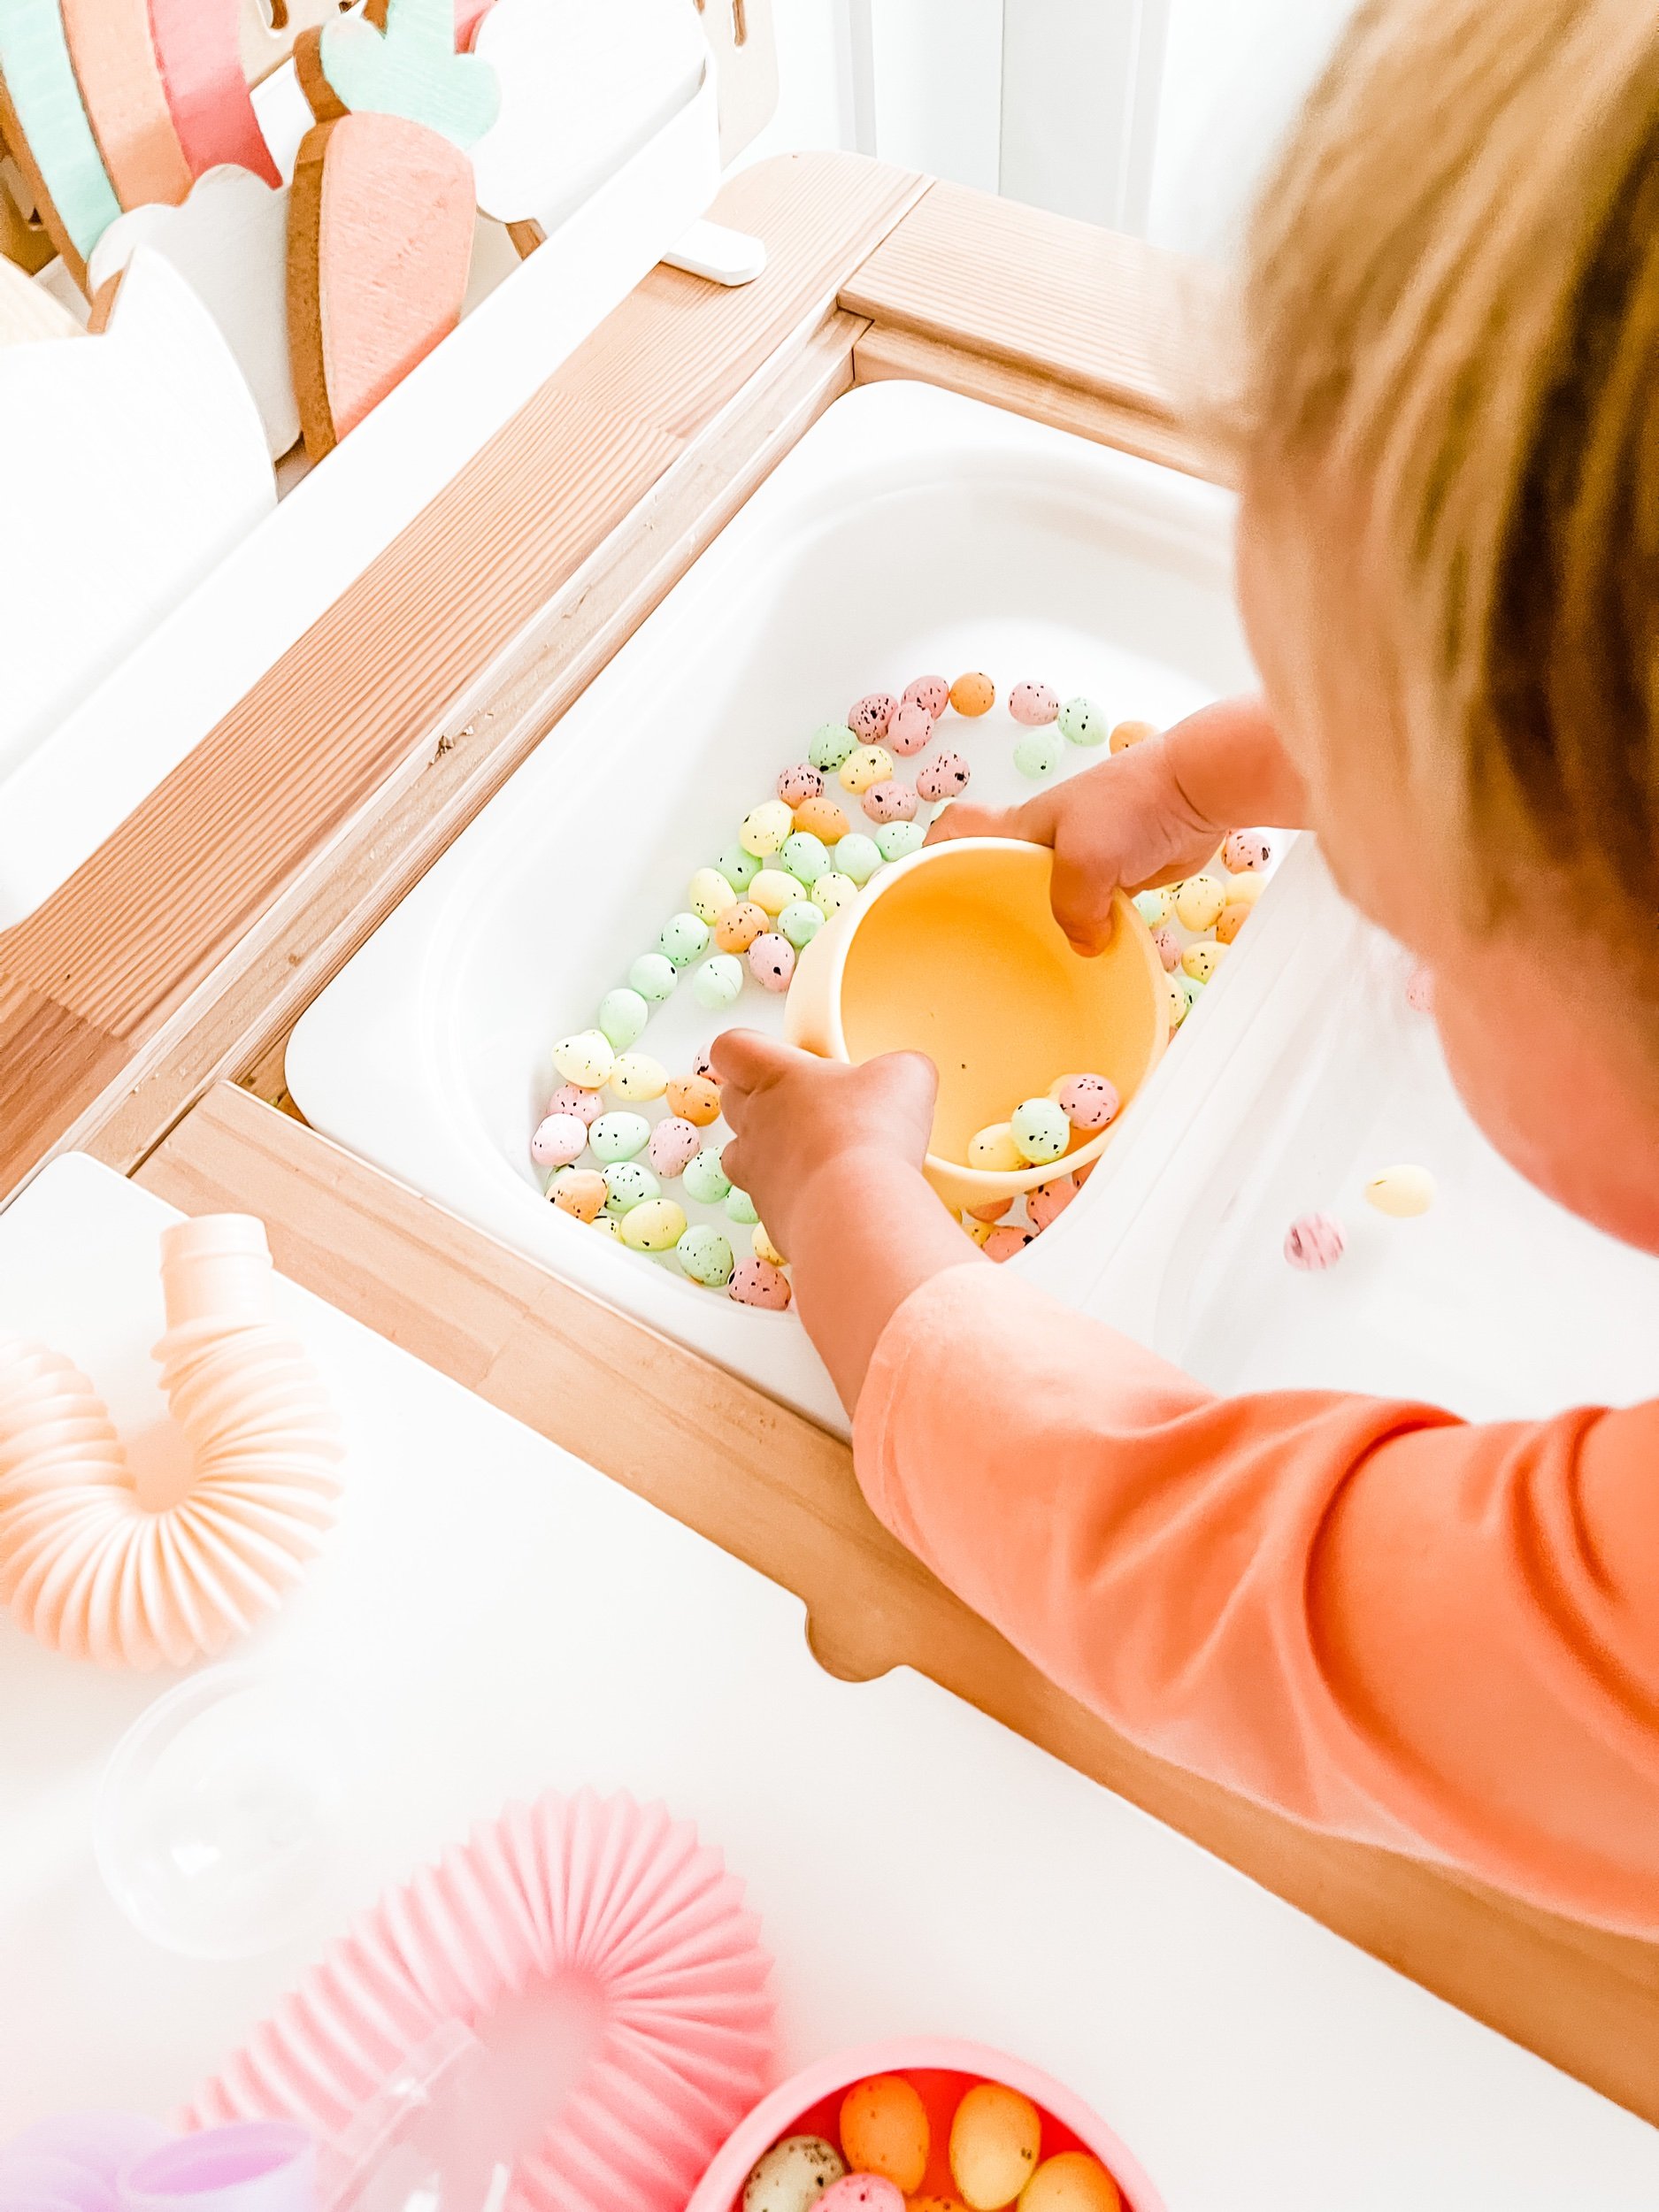
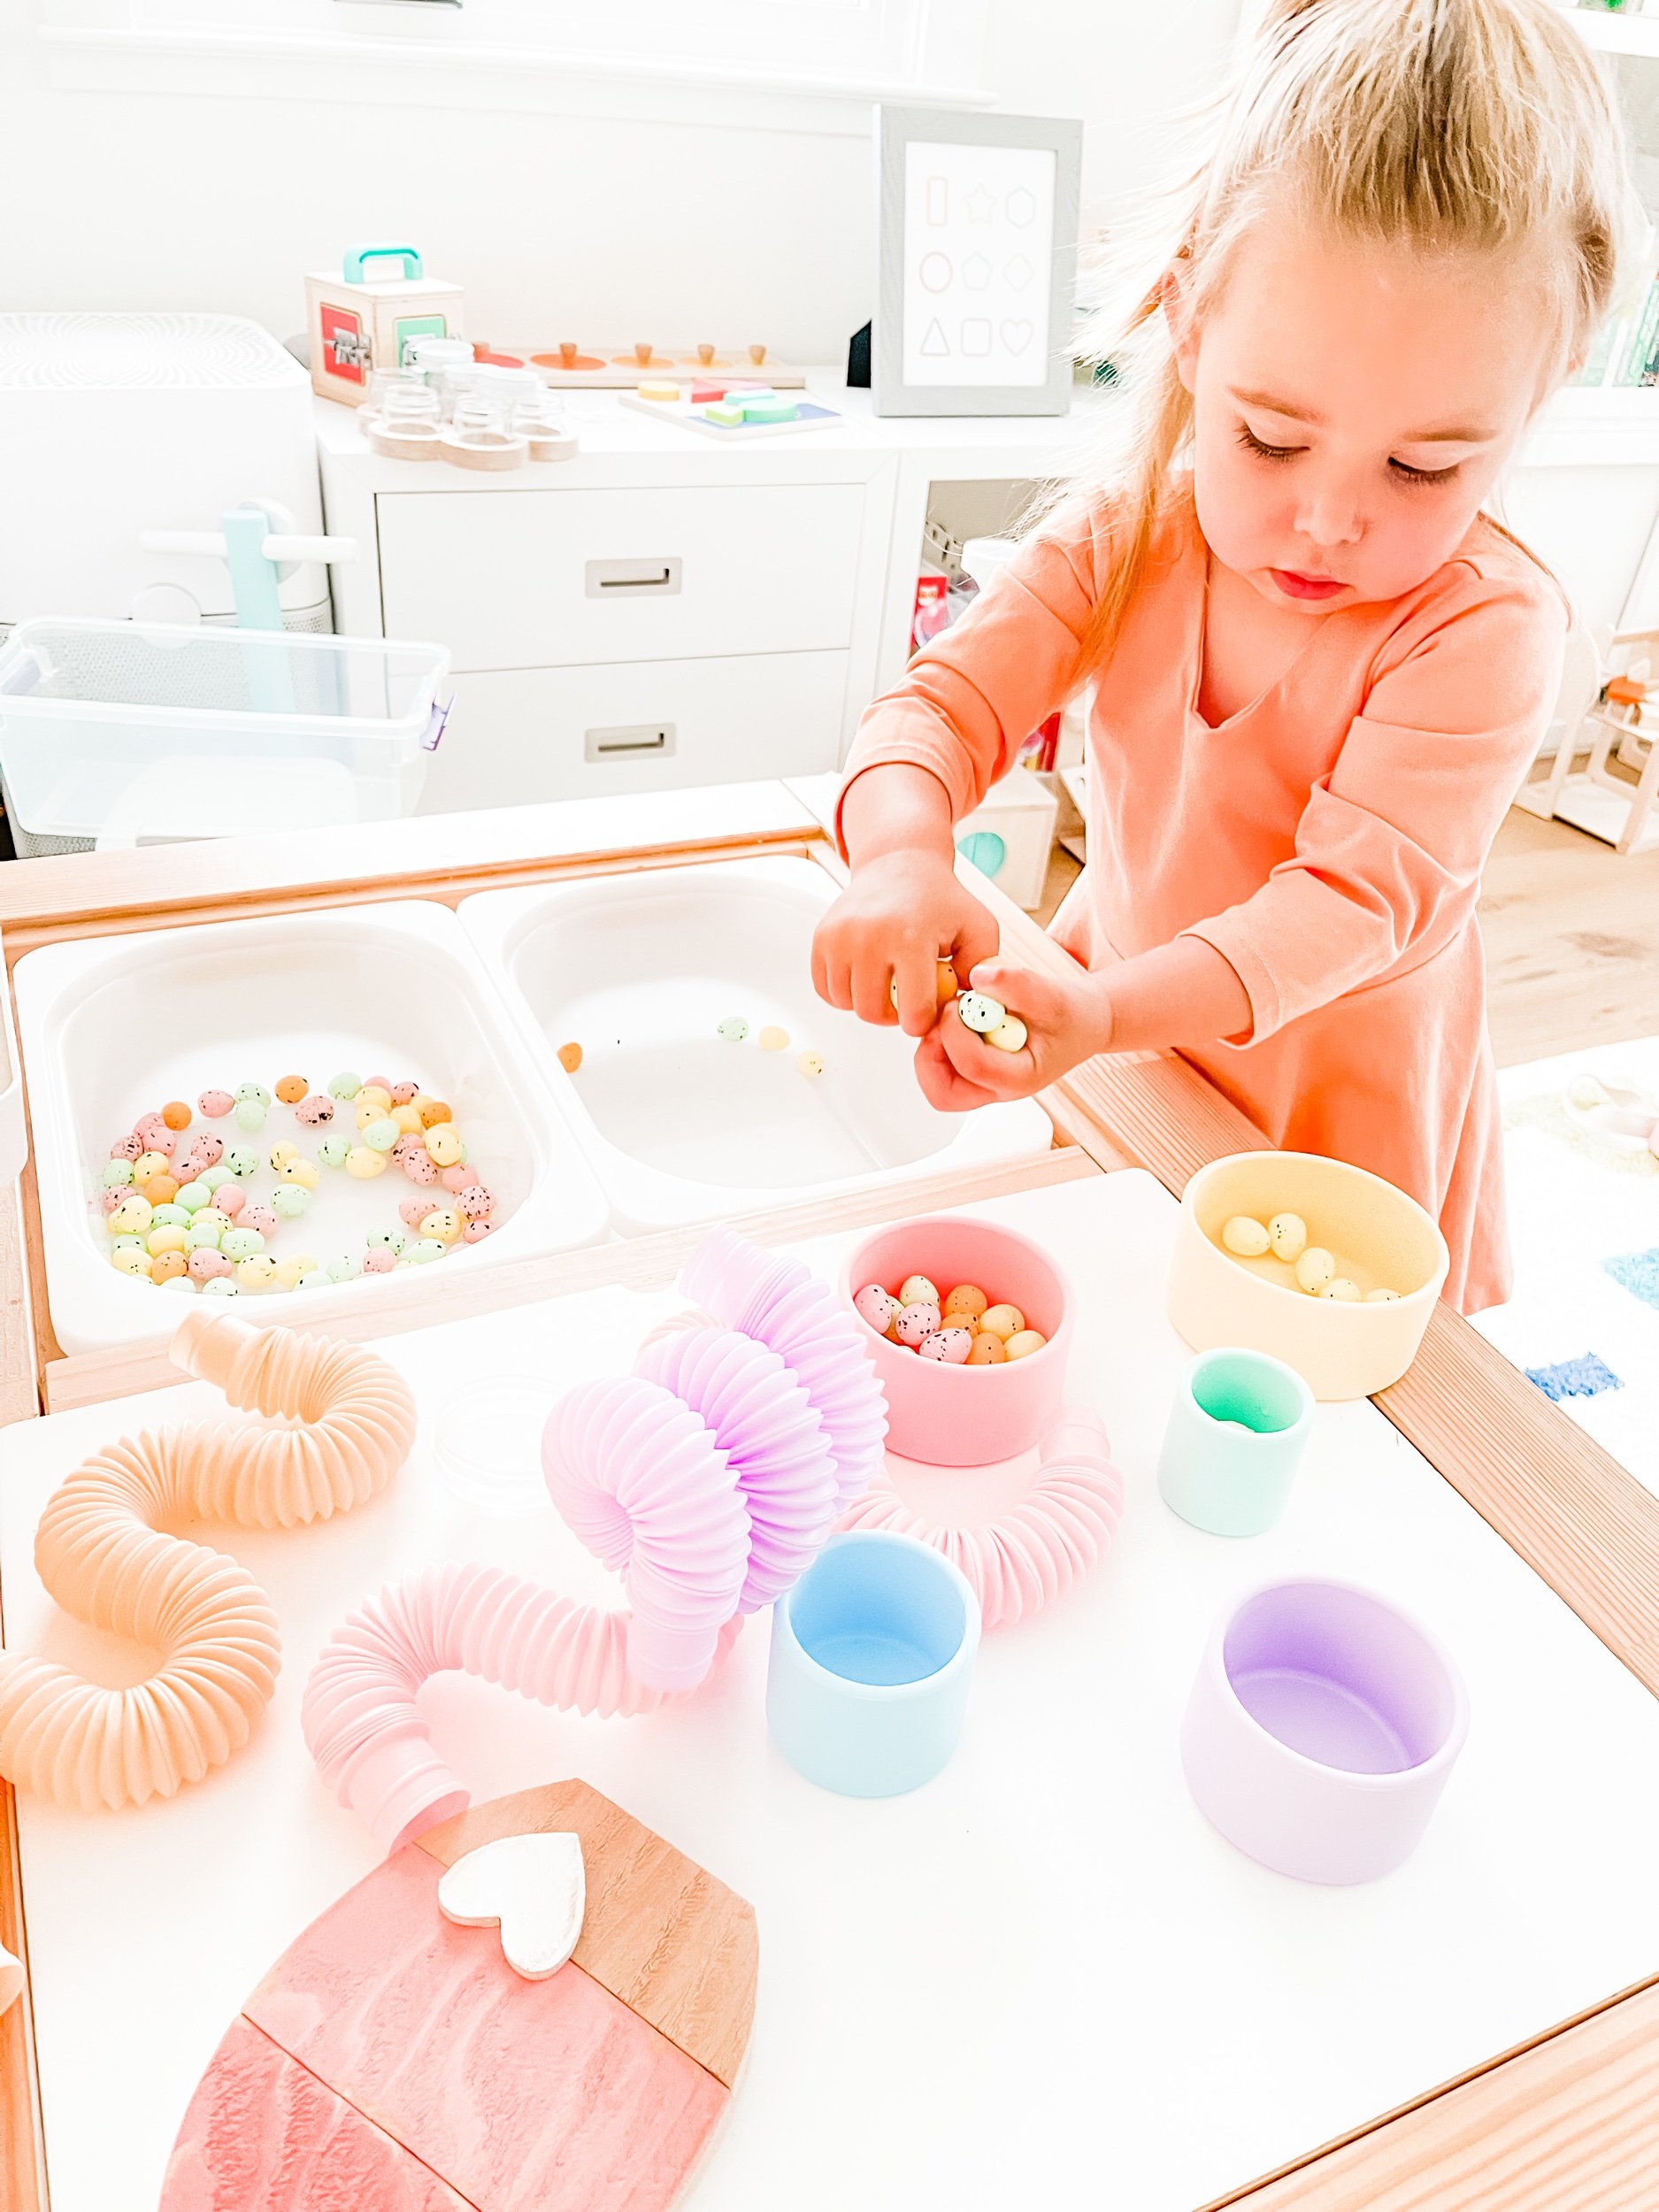
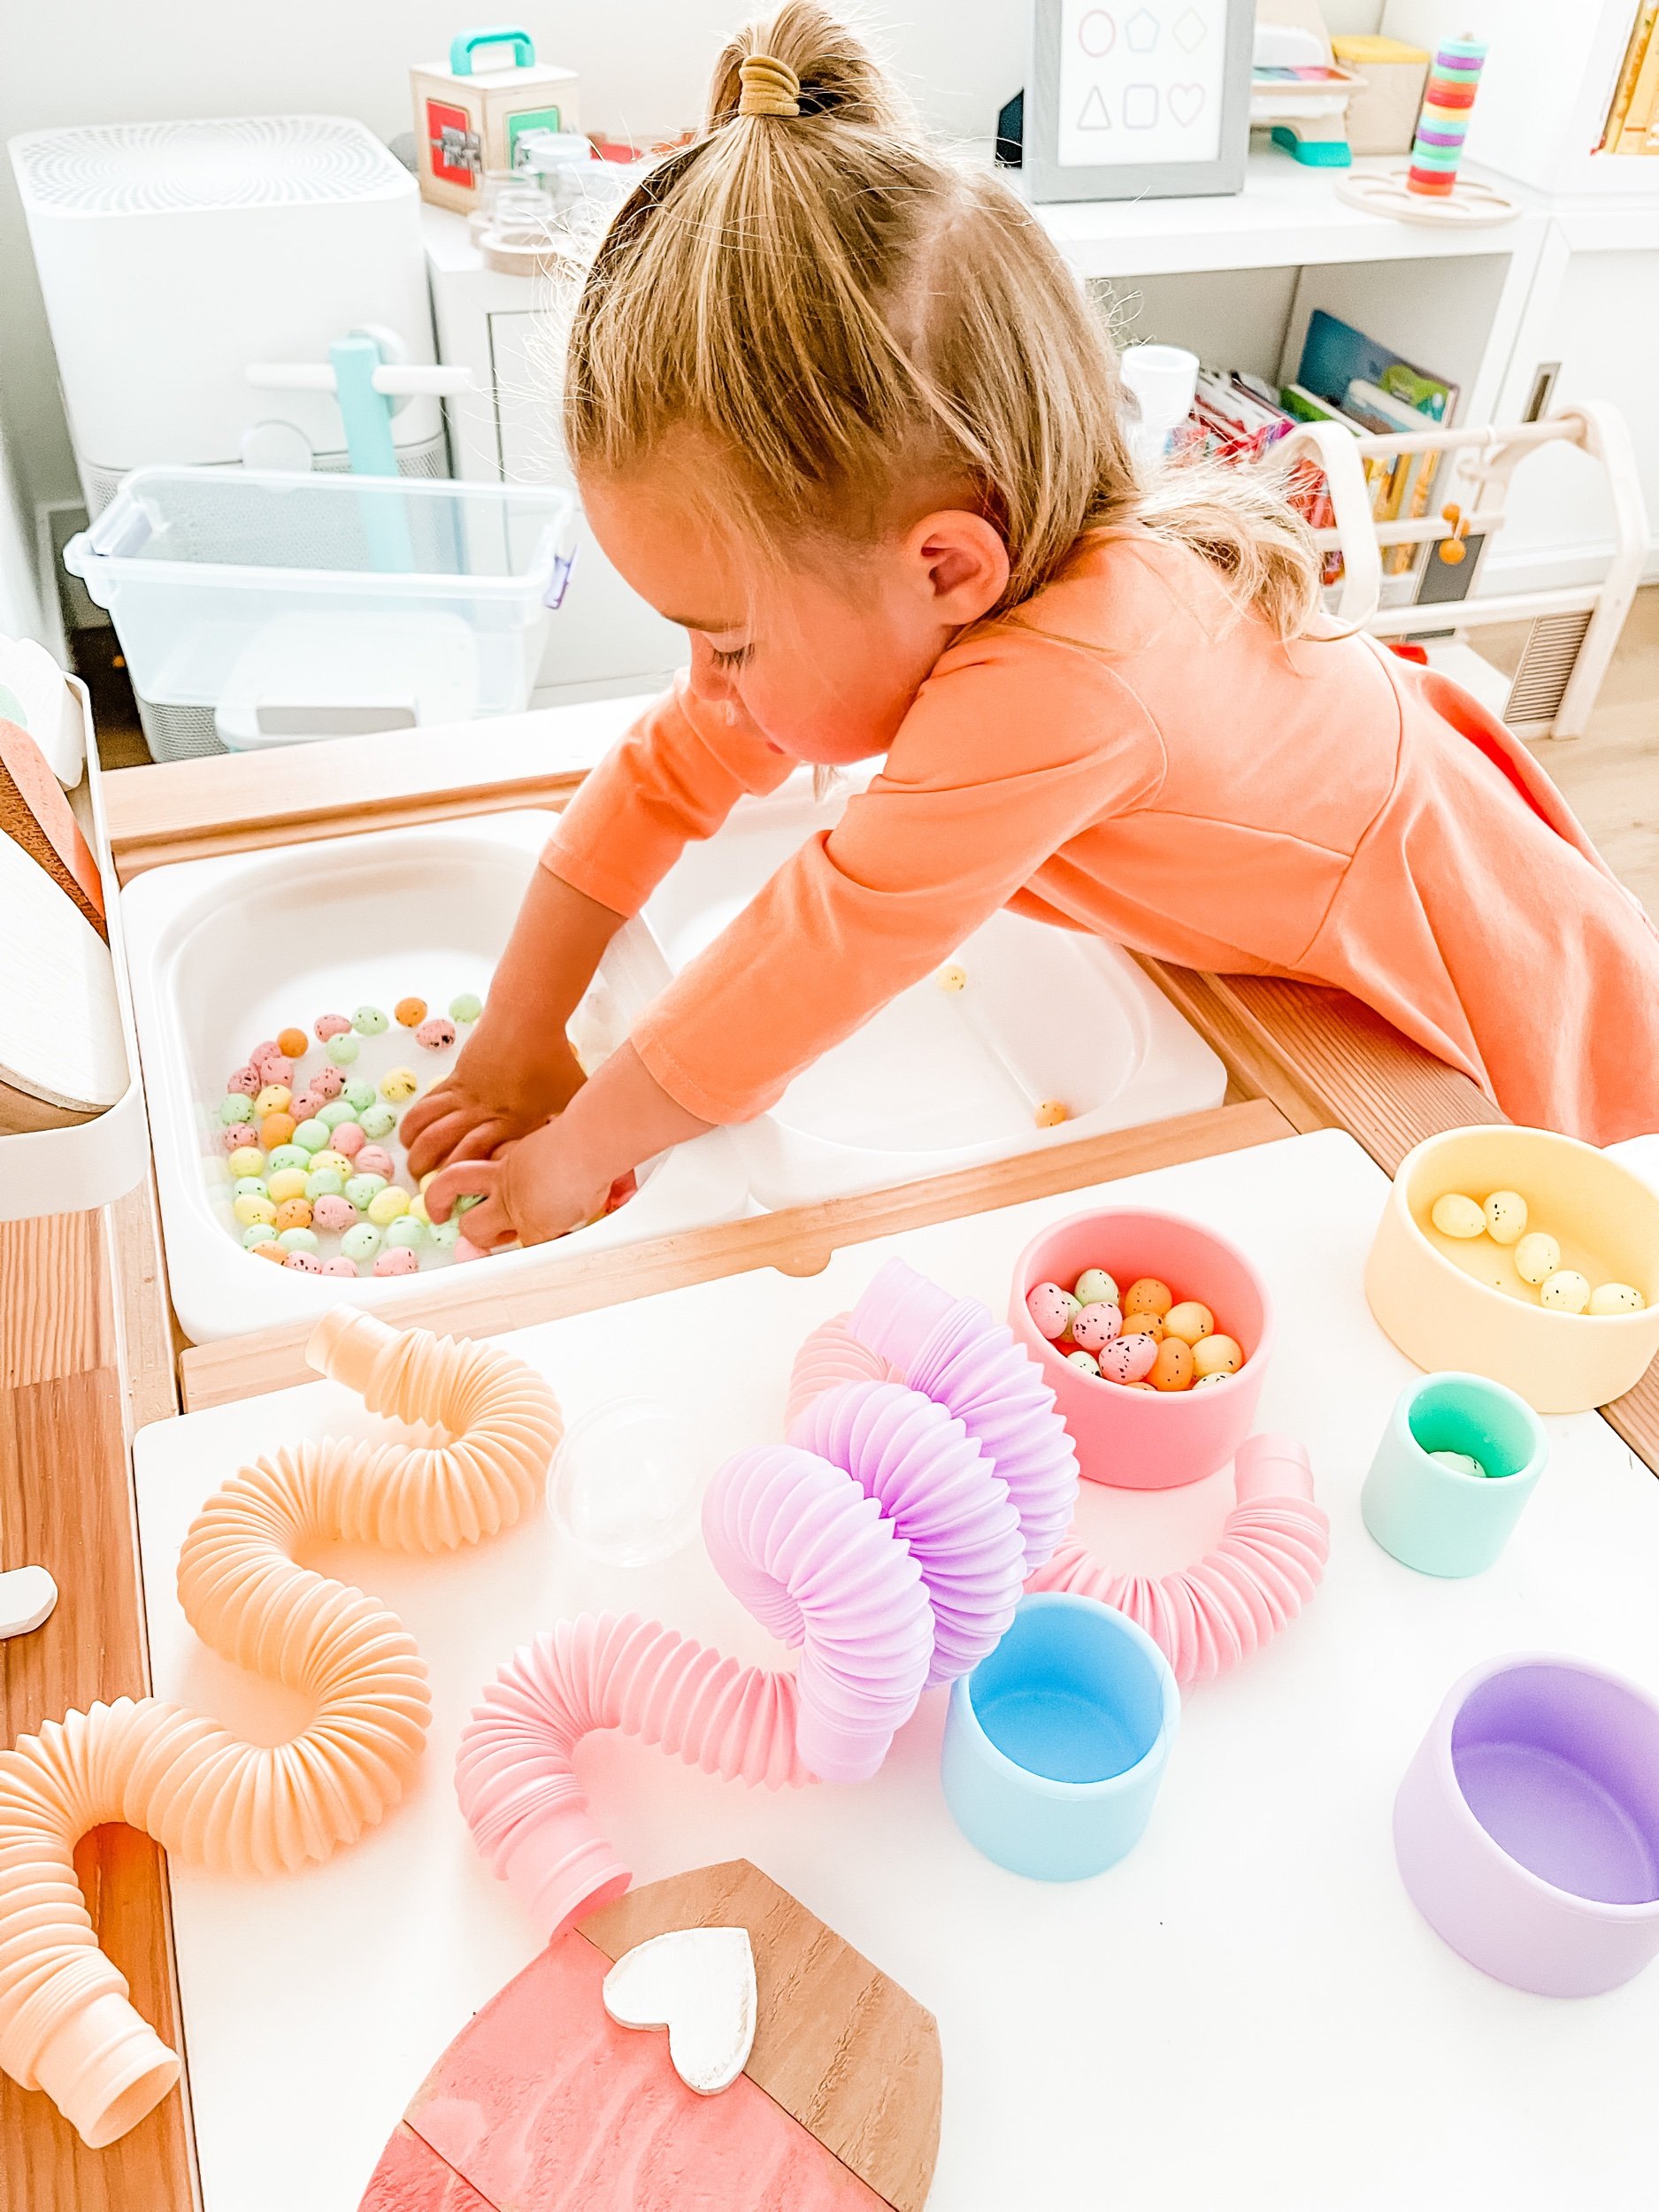
Sofie had so much fun playing with these cute little foam Easter eggs. I scored these cuties on Amazon and was planning on adding them as an Easter Basket filler, but turns out they were perfect for an early Easter sensory bin activity. We pulled out her pastel colored stacking cups and I taught her how to sort the colors. She was definitely more interested in pouring and scooping than sorting, but hey!
Have a shop that specializes in baby gifts? I'd love to feature your shop and products in one of my weekly roundups. Email me at goodnightfoxstudio@gmail.com.