
Sensory Play with Play Dough: 8 Easy Ideas for Toddlers
If there is one material that earns its shelf space in a playroom, it is playdough. It costs almost nothing, it sets up in under a minute, it keeps little hands busy longer than most toys, and when the play is done you squish it back into a ball and put the lid on. When my daughter was little, playdough was the thing I reached for on the afternoons when I had no plan and no energy — a ball of dough on a tray, a few kitchen tools, and suddenly there was a bakery, a counting game, or a snake family living on our table.
Why playdough is the easiest sensory play there is
Most sensory play asks something of you first: fill the bin, pick the filler, lay the towel down, brace for the sweep-up. Playdough asks for none of that. A ball of dough, a tray to catch the crumbs, and your toddler's hands are already doing the work — squishing, rolling, pinching, pressing. That is the whole setup, and it is also the whole point: the dough gives back exactly as much as the hands put into it. Press it and it flattens. Roll it and it stretches. Poke it and it holds the hole. Every squeeze is a little experiment with cause and effect, and toddlers will run that experiment for a surprisingly long time.
It is also one of the best fine-motor workouts hiding in plain sight. Rolling a snake works the palms and fingers in a way that picking up a toy does not. Pinching off tiny pieces asks for a pincer grip — the same grip a pencil will ask for later. Pressing a stamp flat takes real hand strength, and a two-year-old pressing with both hands and their whole body weight is giving those hand muscles a genuine workout. None of that needs to be a lesson — the hands get the practice simply because the play is fun. Our fine motor activities for toddlers has the full rundown on the kinds of hand work that matter at this age, and playdough shows up in it again and again for a reason.

A quick note, the way I'd say it to a friend: stay nearby for every setup here, and keep the pieces large — nothing small enough to be mouthed whole, and no small parts for a toddler who still puts everything in their mouth. Playdough is not for the mouthing stage. If your youngest is still at that stage, our sensory play ideas for 1-year-olds has the same spirit with bigger props and sealed-bag play, and you can come back to playdough when the mouthing has eased. A tray under the dough catches the crumbs, and a lidded tub keeps the dough soft between sessions. If you are starting from the very beginning, our sensory bin tools for toddlers covers the scoops, tongs, and rollers that pair with playdough too.
You don't need eight kinds of dough or a craft-room shelf of tools. You need one ball of dough and eight ways to play with it. Every idea below works with the dough you already have — change the props, not the dough, and the same setup plays differently every day of the week.
8 sensory play with play dough ideas for toddlers
1. Squish, roll & pinch — the warm-up
What to do: hand your toddler a ball of playdough and nothing else — no tools, no cutters, no instructions. Just the dough and their hands. Let them squish it flat with their palms, roll it between their hands into a ball, pinch off tiny pieces, and squish it all back together again. That is the whole game, and it is the game every other idea in this post builds on.
Why it works: the warm-up matters because it wakes the hands up. A cold ball of dough straight from the tub is stiff, and the first minute of squishing is real work for little hands — palms pressing, fingers digging in, the dough slowly giving way. Squishing works the whole hand, rolling works the palms together, and pinching works the fingertips. A toddler who warms up with their hands first plays longer with the tools later, because the hands are ready.
Try it like this: make the warm-up a ritual. Same tray, same spot at the table, same first ball of dough — and let your toddler choose the color. Narrate what the hands are doing: "Squish it flat! Now roll it into a ball! Can you pinch off a tiny piece?" Keep it to two or three minutes, then offer the first tool or prop from the ideas below. When my daughter was little, the warm-up was never skippable — the days we skipped it were the days the play fizzled early.
2. Roll snakes, then snip noodles
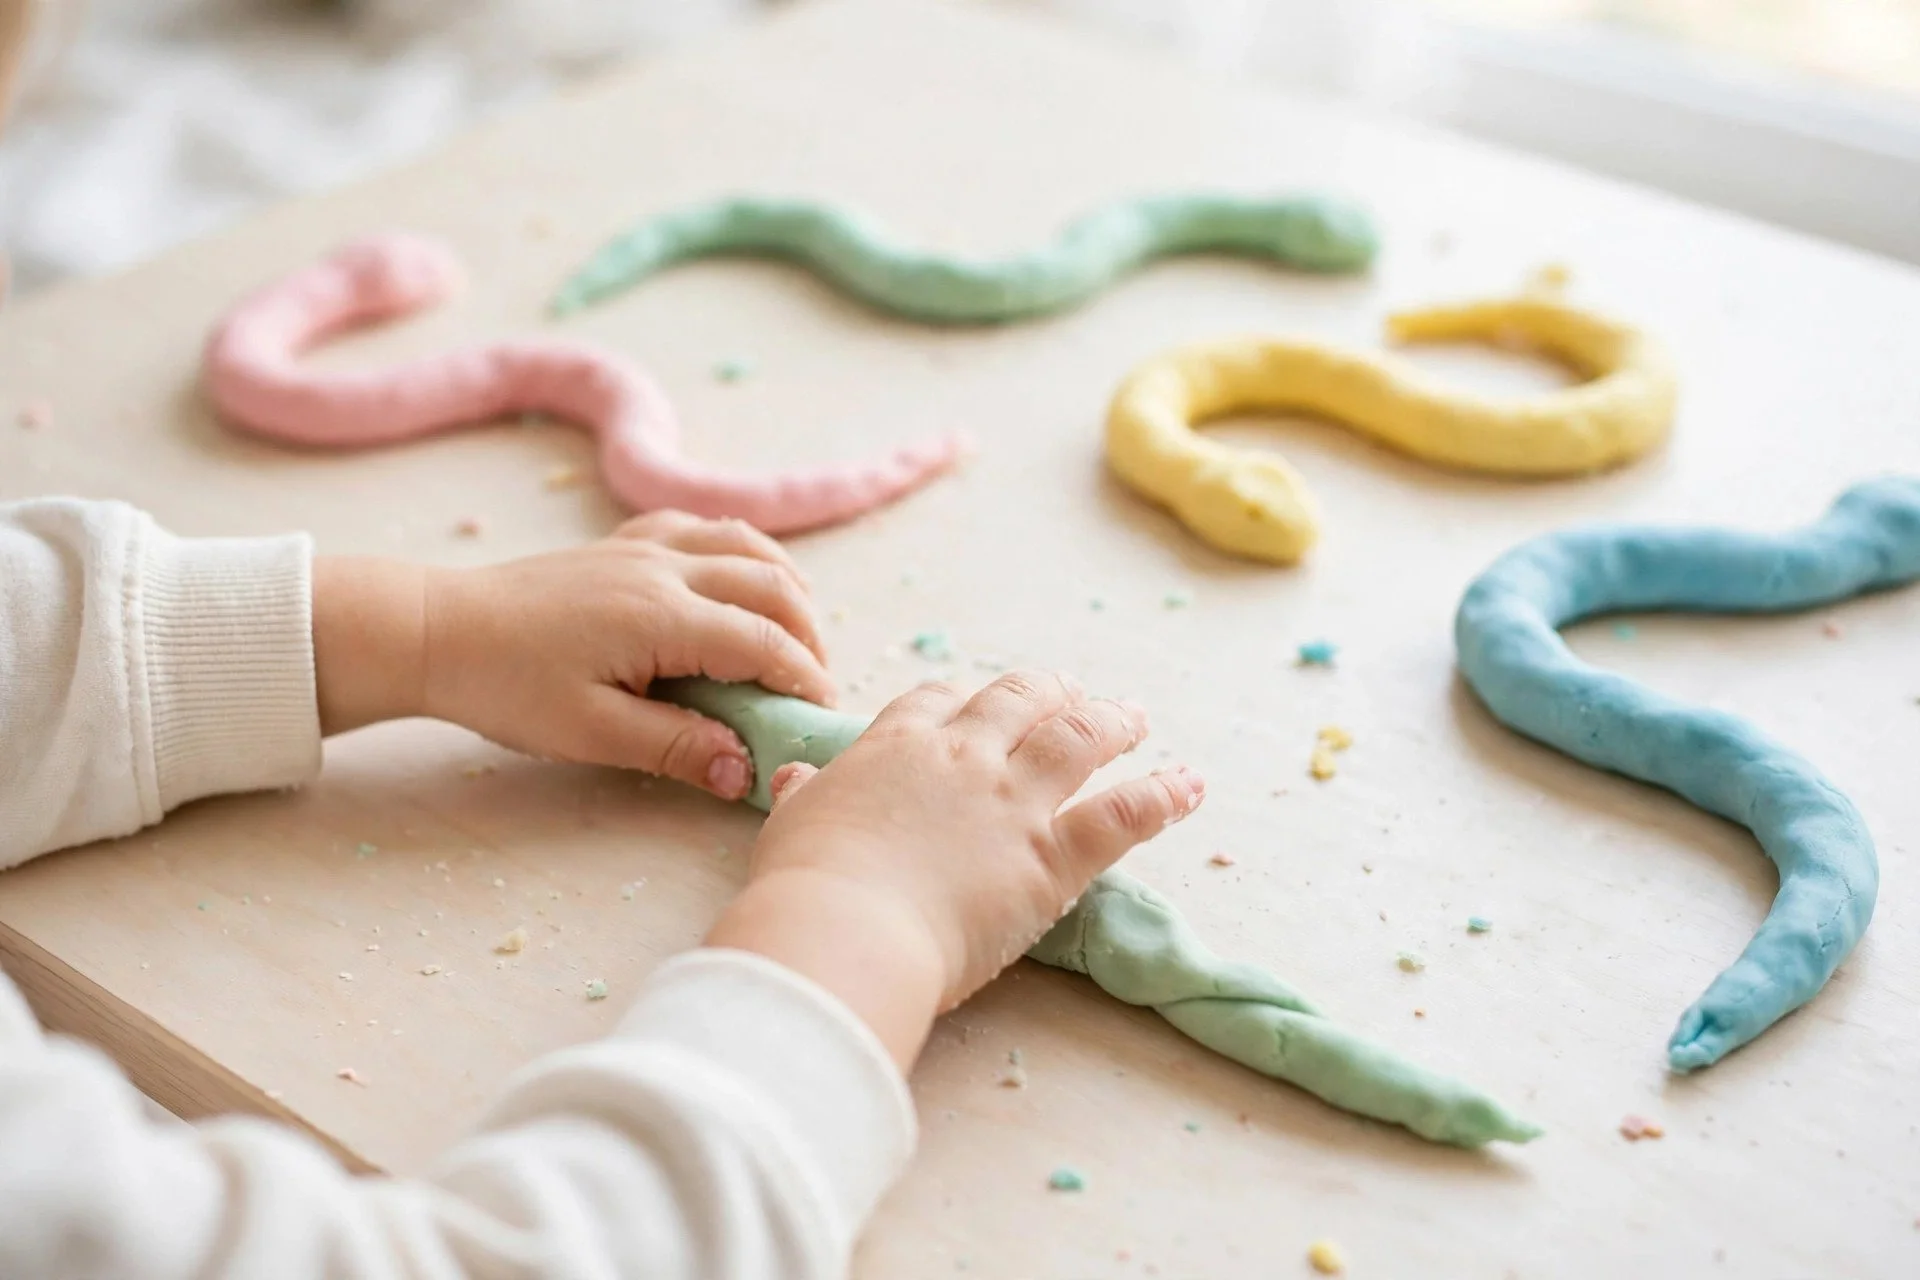
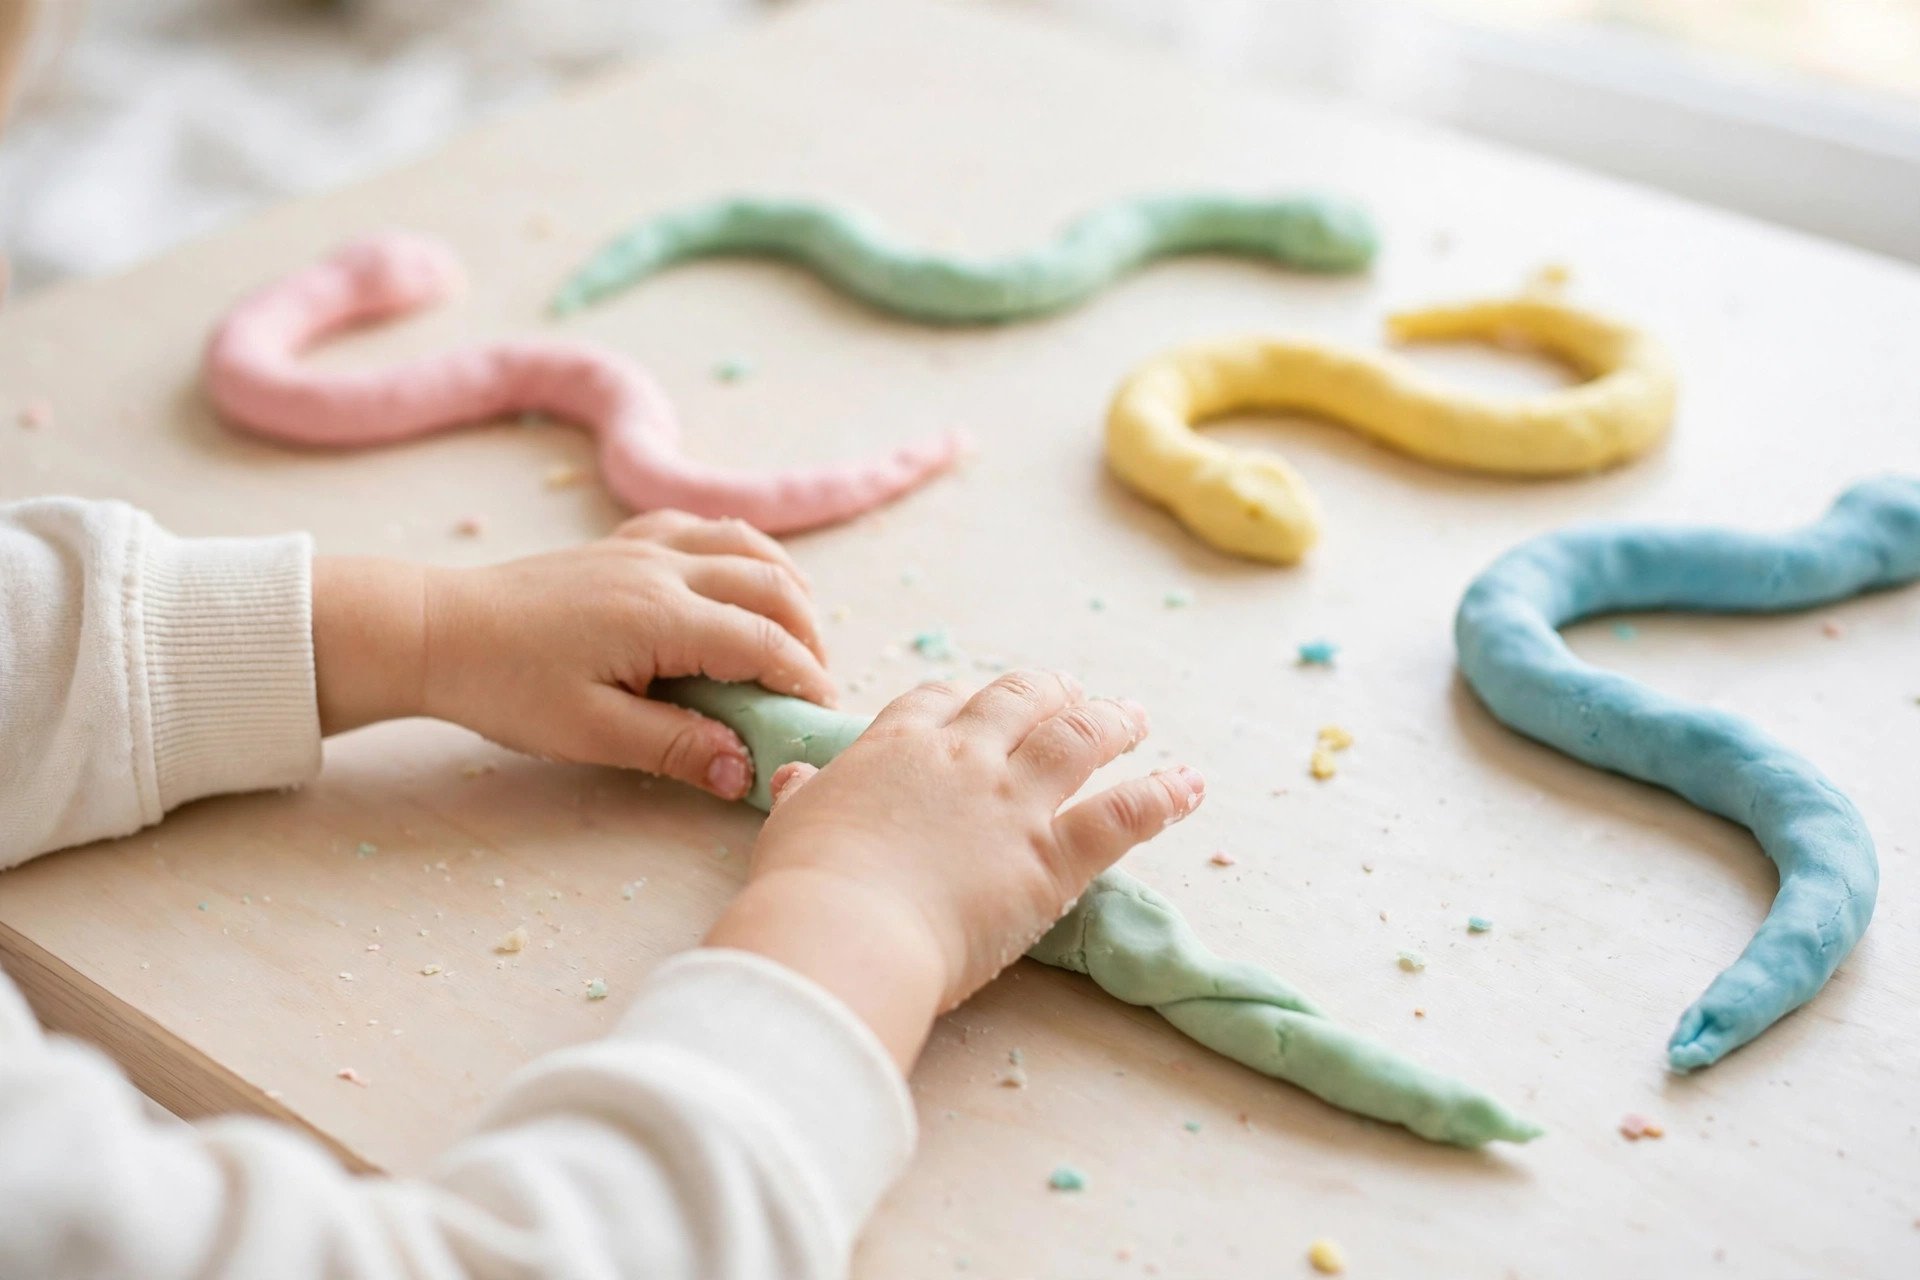
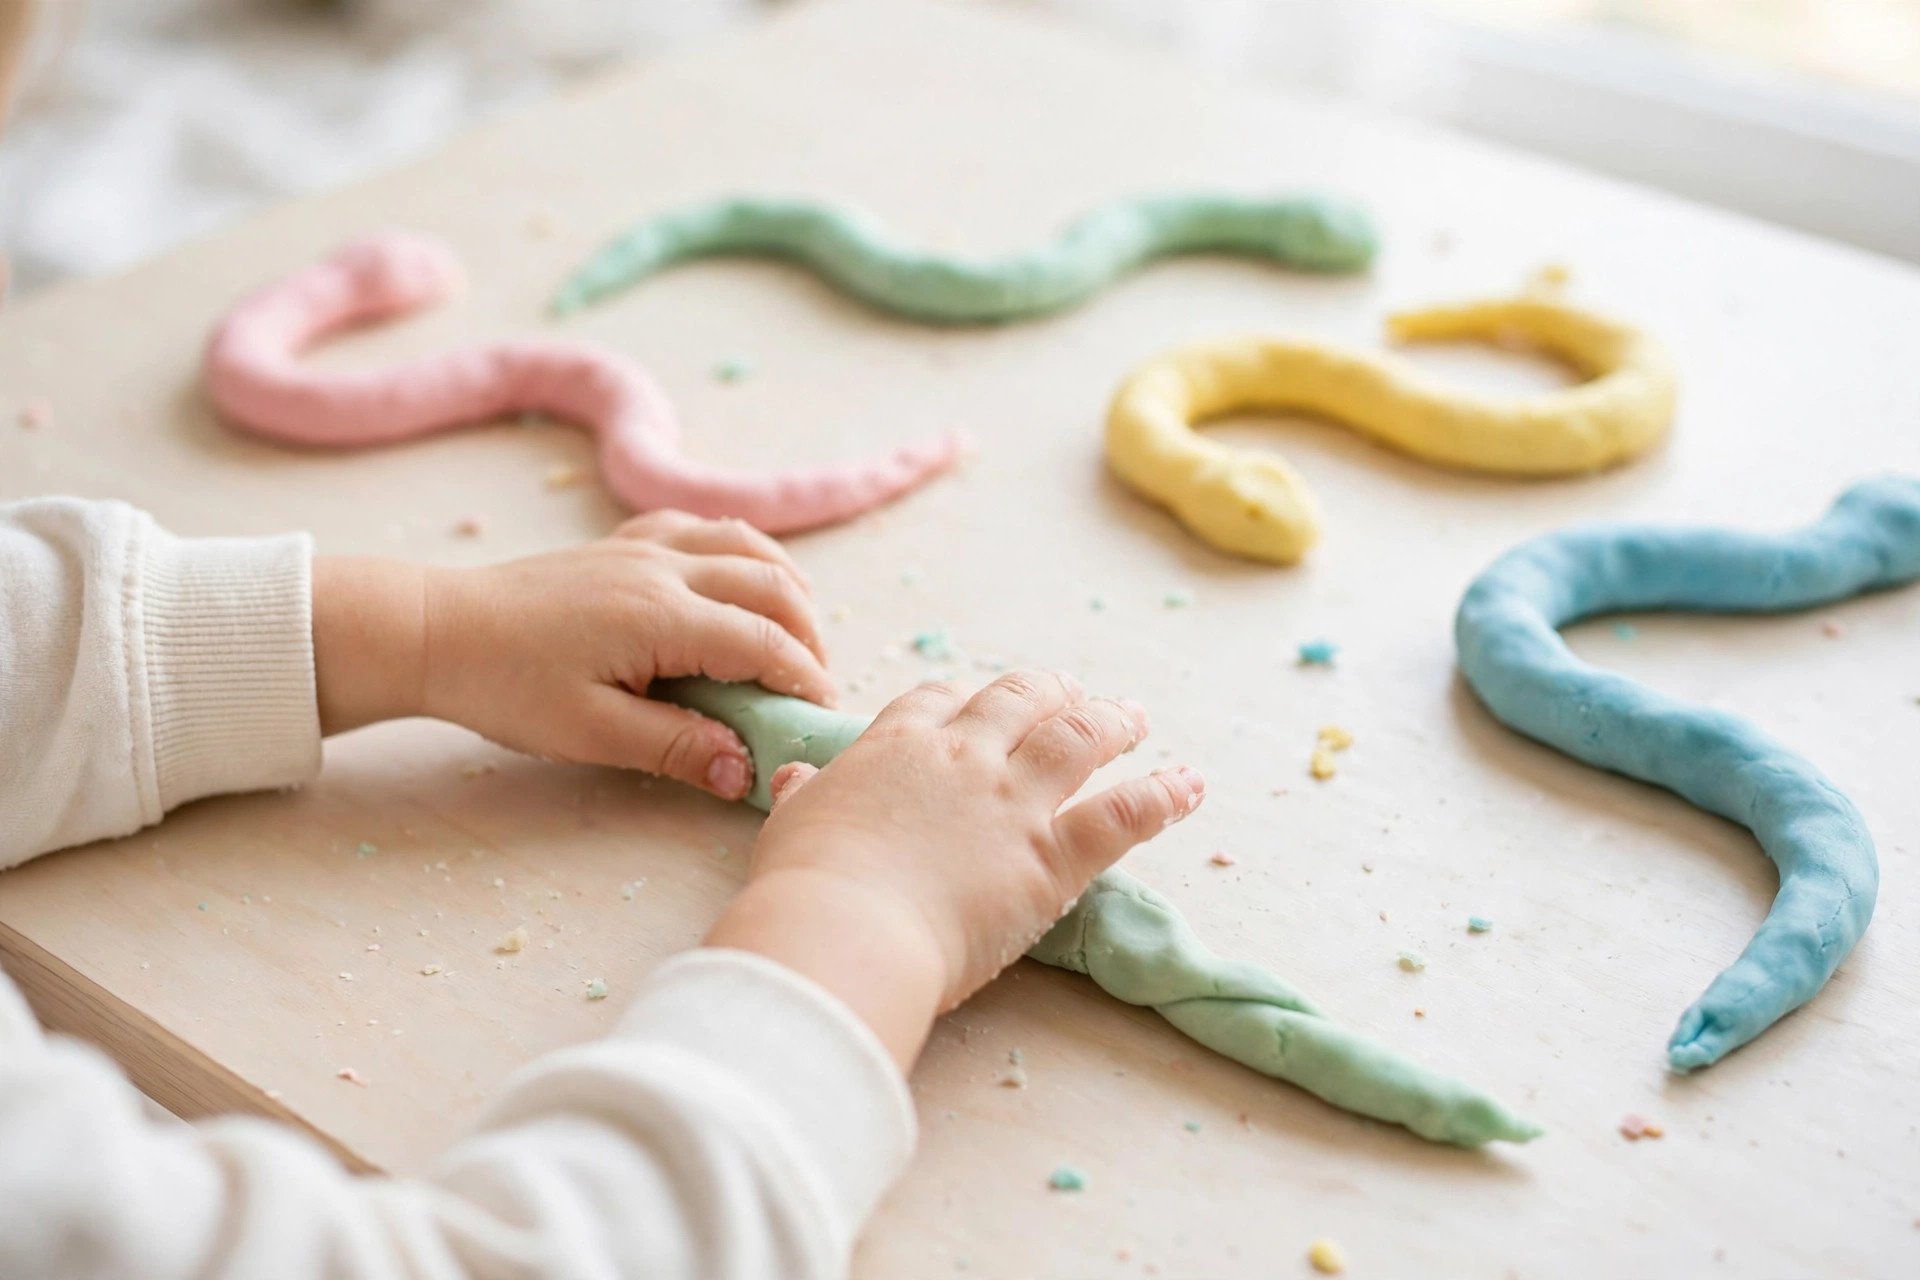
What to do: roll the dough into long snakes — palms flat on the table, rolling back and forth until the snake is as long as the tray. Then bring out child scissors and snip the snake into noodles: snip, snip, snip, a pile of dough pieces. The noodles can become spaghetti for a pretend dinner, beads for a necklace, or just a very satisfying pile to squish back together.
Why it works: rolling a snake is one of the best hand-strengthening moves a toddler can do, because it uses both hands together in a steady rhythm — and the longer the snake, the more rolling it takes. Snipping adds the second skill: opening and closing scissors is a completely different hand movement from squeezing, and dough is the friendliest material to practice on because it holds still, it doesn't slip, and a wobbly cut still makes a perfectly good noodle. Our scissor skills for preschoolers has the full progression, and dough snakes are where it starts.
Try it like this: start with short snakes — a toddler's arms only reach so far, and a snake longer than the tray is frustrating, not fun. Roll together first, your hands beside theirs, so they can copy the rhythm. Then hand over the scissors and let them snip the snake into as many pieces as they like, with no counting and no correct answer. And keep the snipped pieces: a pile of dough noodles is the start of idea 6 below, and a toddler who snipped them will be very invested in hiding them. For more rolling practice, our pre-writing activities for preschoolers uses the same snake-rolling as a warm-up for early writing shapes.
3. Stamp & press — cookie cutters, stamps & nature finds
What to do: flatten a pancake of dough on the tray and press things into it. Cookie cutters first — press down, lift up, and there is a star, a heart, a gingerbread person. Then try stamps, a potato masher, a fork's tines, a leaf from the garden, a pinecone rolled across the surface. Every object leaves a different mark, and a toddler who has discovered that will test everything in the kitchen drawer.
Why it works: pressing takes real hand strength — a stamp needs a firm, flat push, and a cookie cutter needs steady pressure all the way around, or the shape tears when it lifts. It also teaches something wonderful about patterns: the same stamp makes the same mark every time, a fork makes rows, a pinecone makes a wild forest of dots. A toddler pressing and lifting is learning that their hands can leave a mark on the world — and that is a thrilling discovery at two and three.
Try it like this: roll the dough pancake thick — at least as thick as your thumb — so the marks have somewhere to go. A thin pancake tears, and a torn star is a sad star. Start with three tools out, not ten: one cutter, one stamp, one nature find. When the pancake is covered in marks, smooth it flat and start again — the dough forgives everything, which is why toddlers love it. Our ultimate guide to sensory filler materials has the nature finds that pair well with dough.

4. Pretend bakery & pie shop
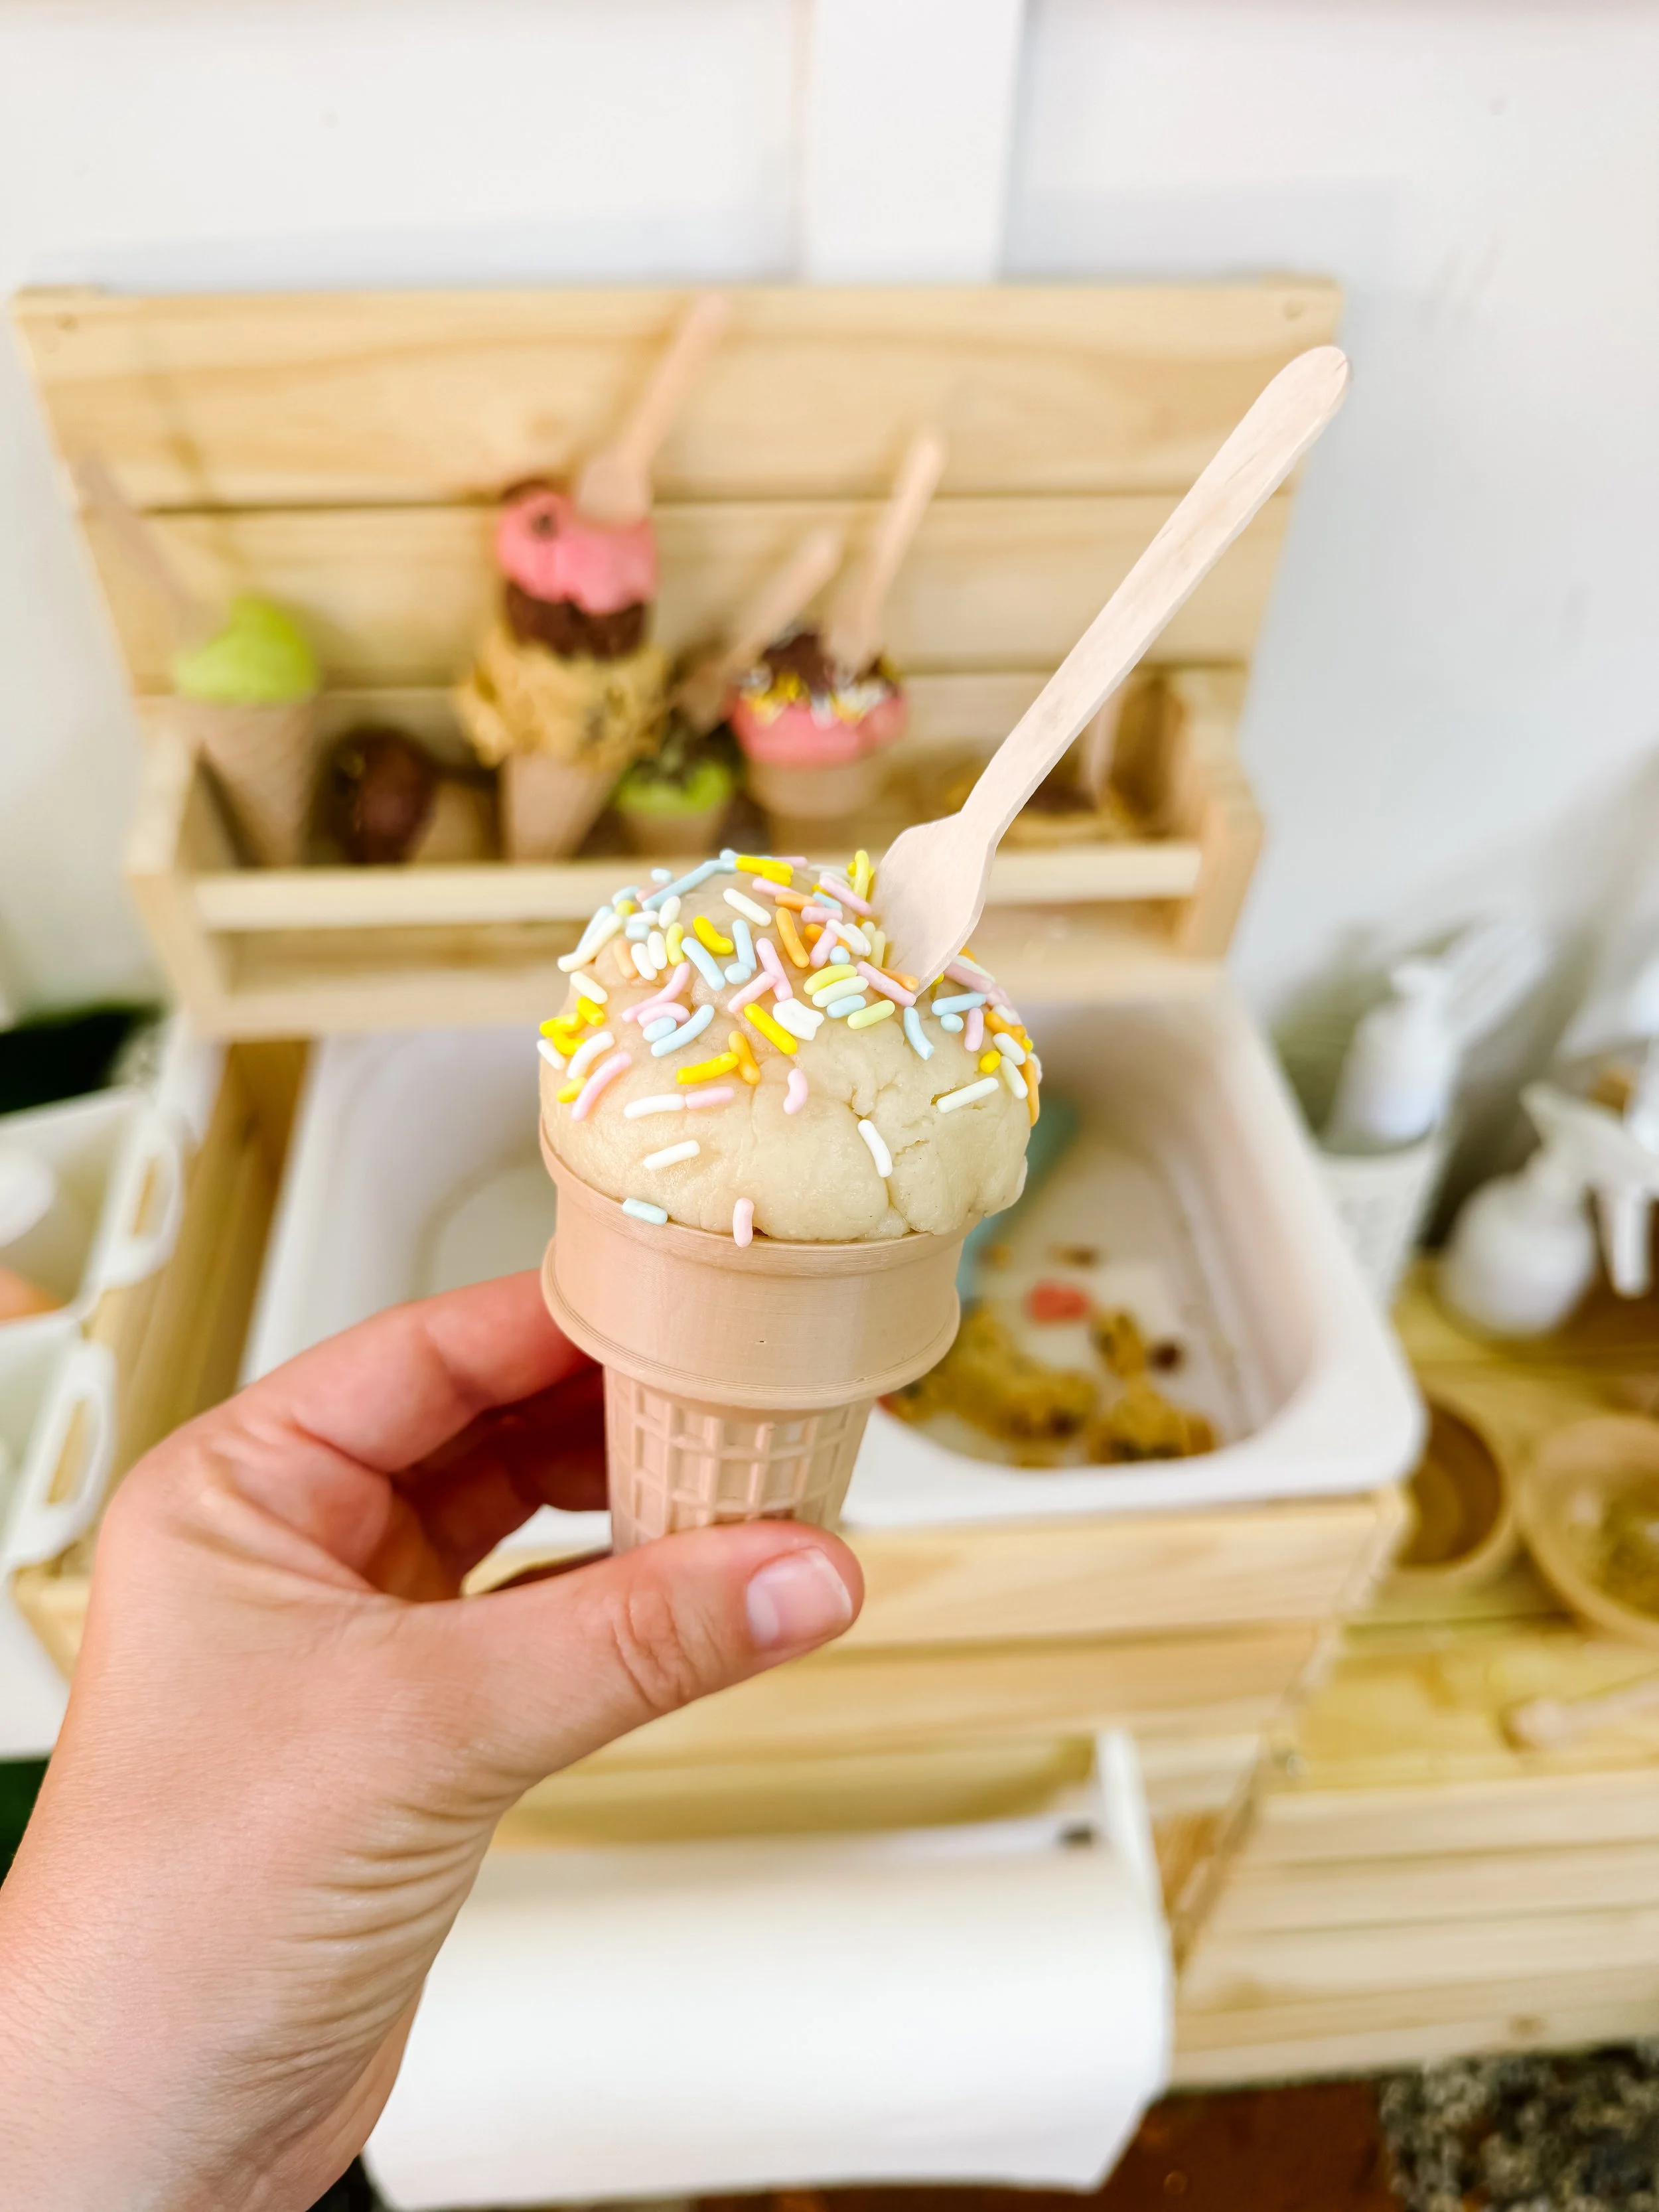
What to do: turn the tray into a bakery. The dough becomes pie crust, rolled flat and pressed into a tin. The cut pieces become cookies on a tray. A few pom-poms become cherries on top. Set out a little menu — "today we are selling apple pie" — and let your toddler take your order, make the pie, and serve it with enormous ceremony. The bakery is the oldest playdough game there is, and it never gets old, because the customer always wants something different.
Why it works: pretend play stretches a dough session from ten minutes to half an hour, because the bakery gives the hands a job to do. Rolling is no longer just rolling — it is rolling out the crust. Cutting is no longer just cutting — it is cutting cookies for a customer who is waiting. The story gives every hand movement a reason, and a reason is what keeps a toddler at the table. The bakery also sneaks in sequencing — first the crust, then the filling, then the top, then the oven. Our sensory play pies is the full pie-shop version of this game, and our bakery roundup has the whole pretend-bakery world.
Try it like this: set the bakery up in the FLISAT if you have one — one bin for the dough, one bin for the toppings, and the table itself doing the containing. A real metal pie tin makes the game feel serious in the best way, and a wooden spoon becomes the baker's best tool. Give the bakery a name, take an order out loud ("I'd like one cherry pie, please!"), and then step back and let the baker run the shop. If the play stalls, be a difficult customer: "Oh no, I wanted blueberry!" Our winter roundup has the cold-weather bakery setups for the months when the play moves indoors.
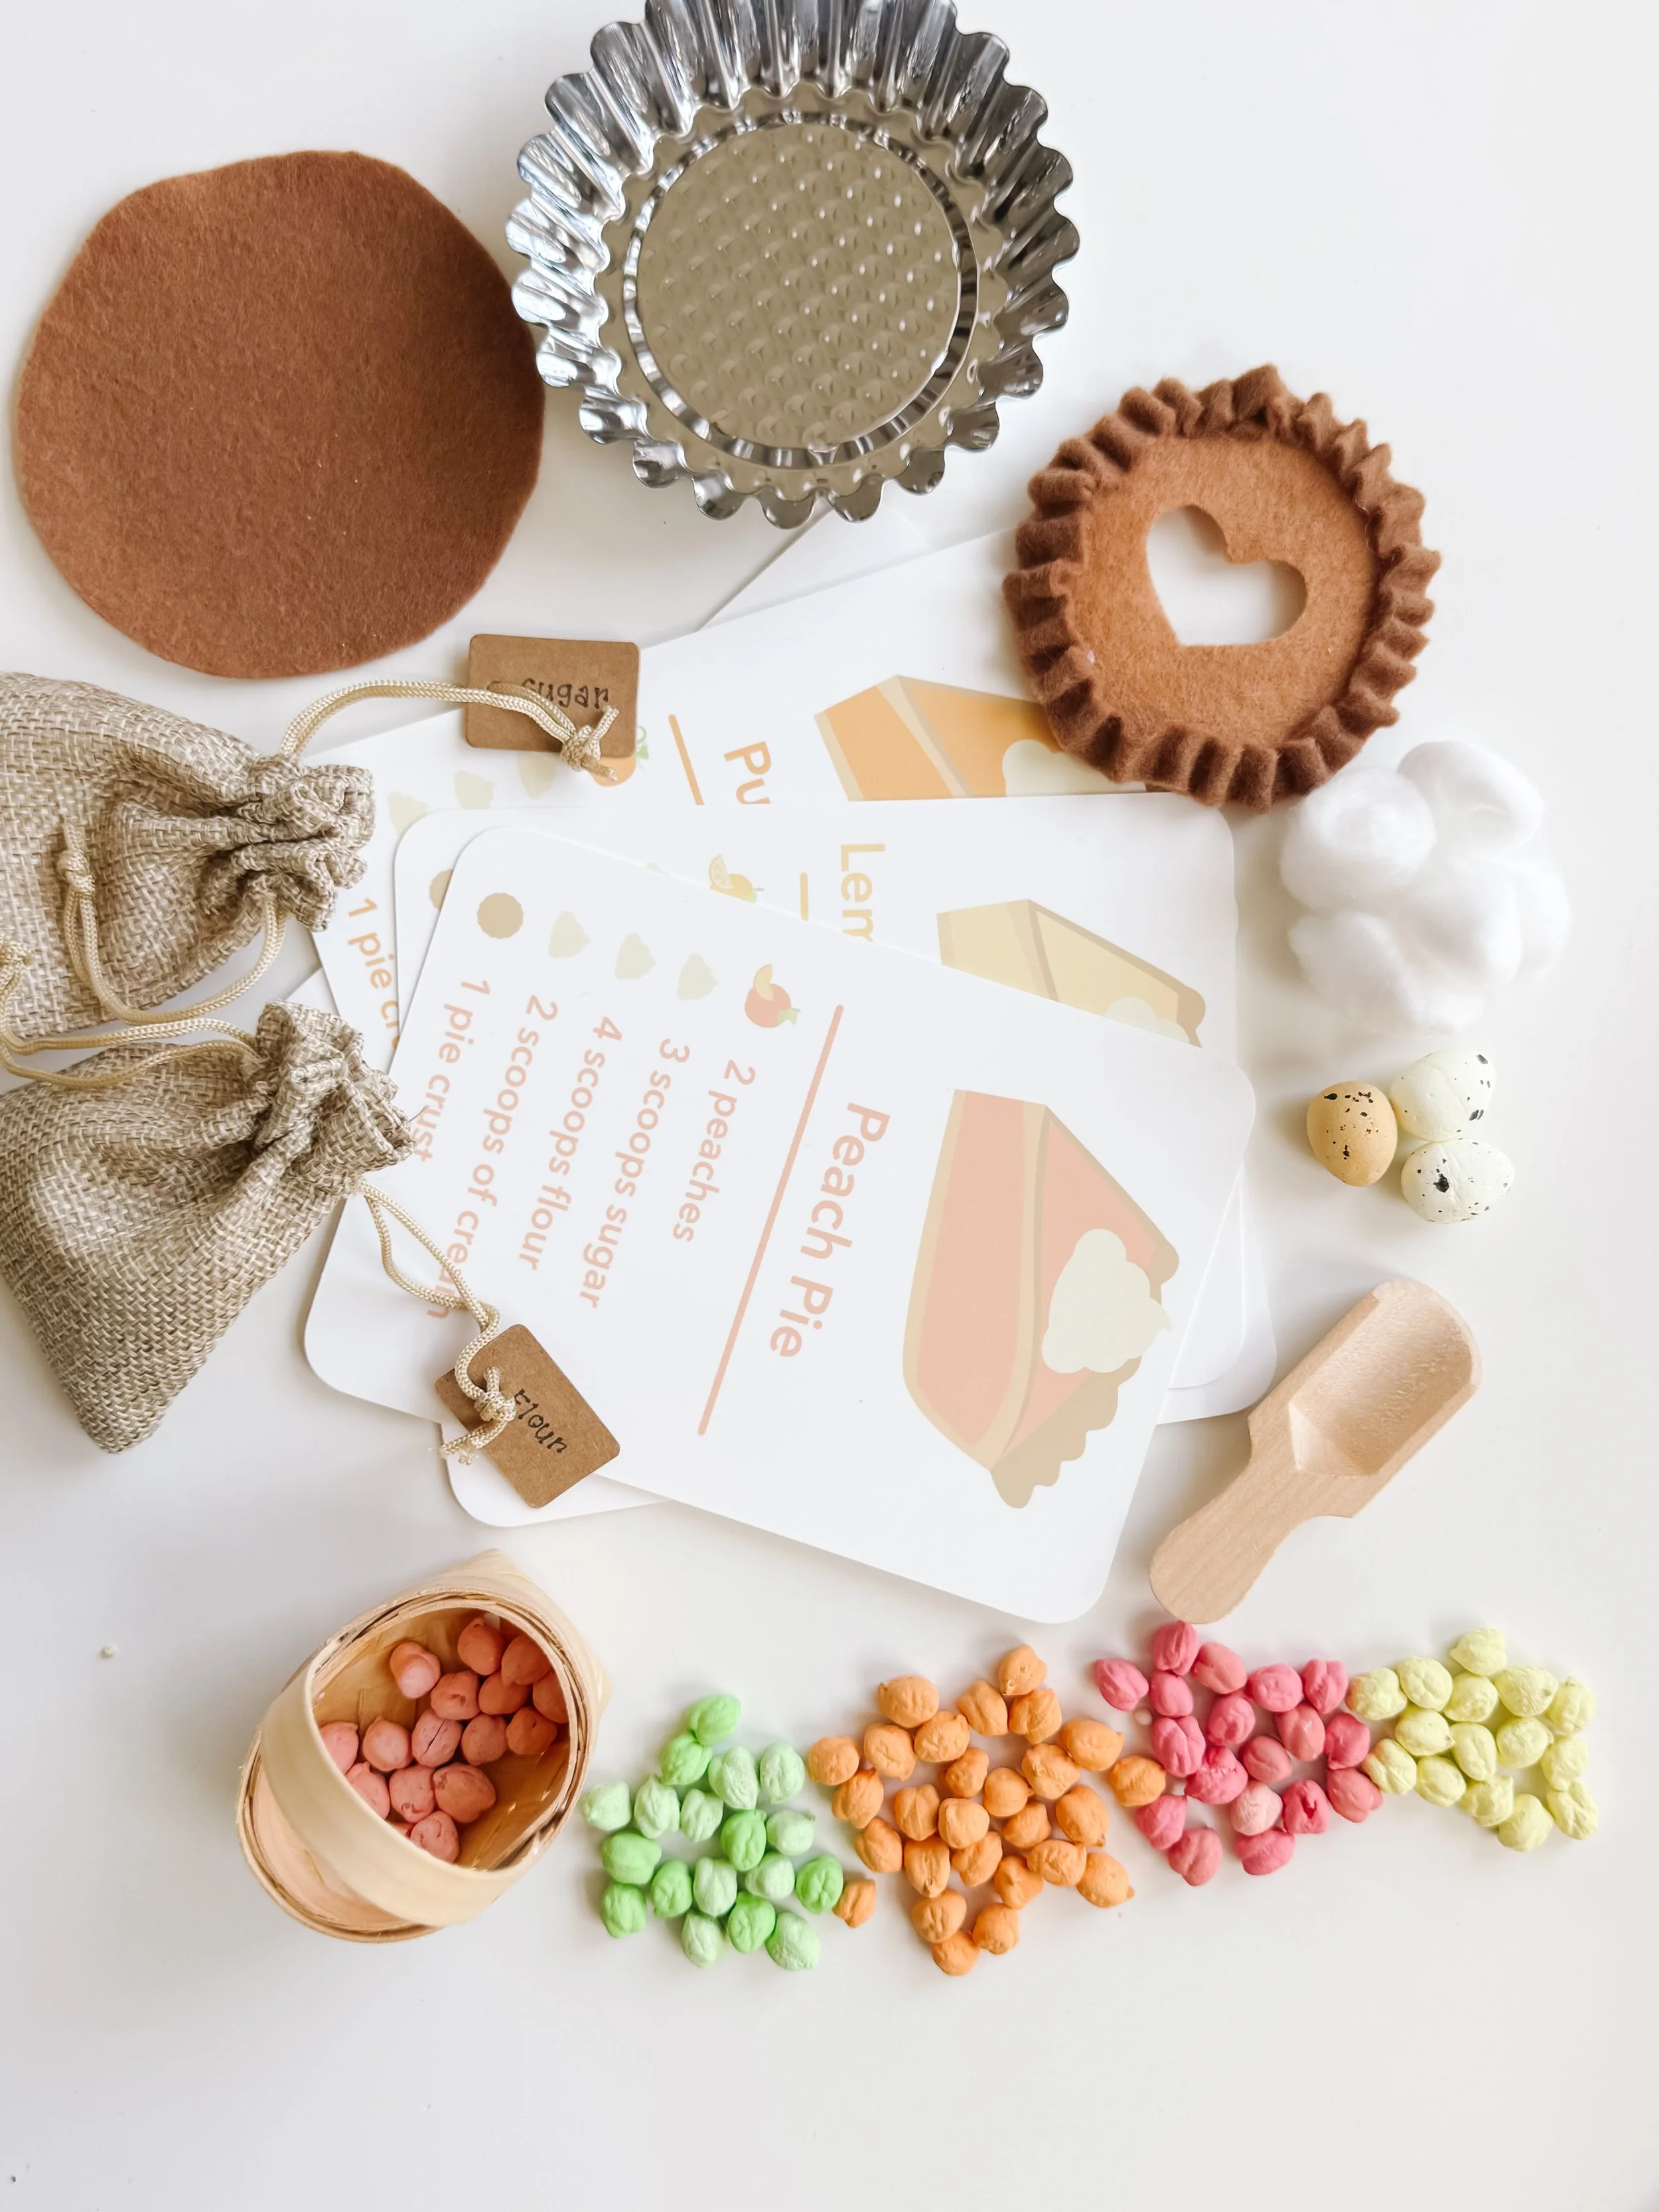
Pie Making Sensory Kit — $32
If the bakery game takes hold, our Pie Making Sensory Kit is the next step — a full pie-making setup with a metal tin, felt crust pieces, and recipe cards, so the rolling, cutting, and serving becomes a follow-the-recipe game with a beginning, middle, and end.
5. Playdough number mats & counting
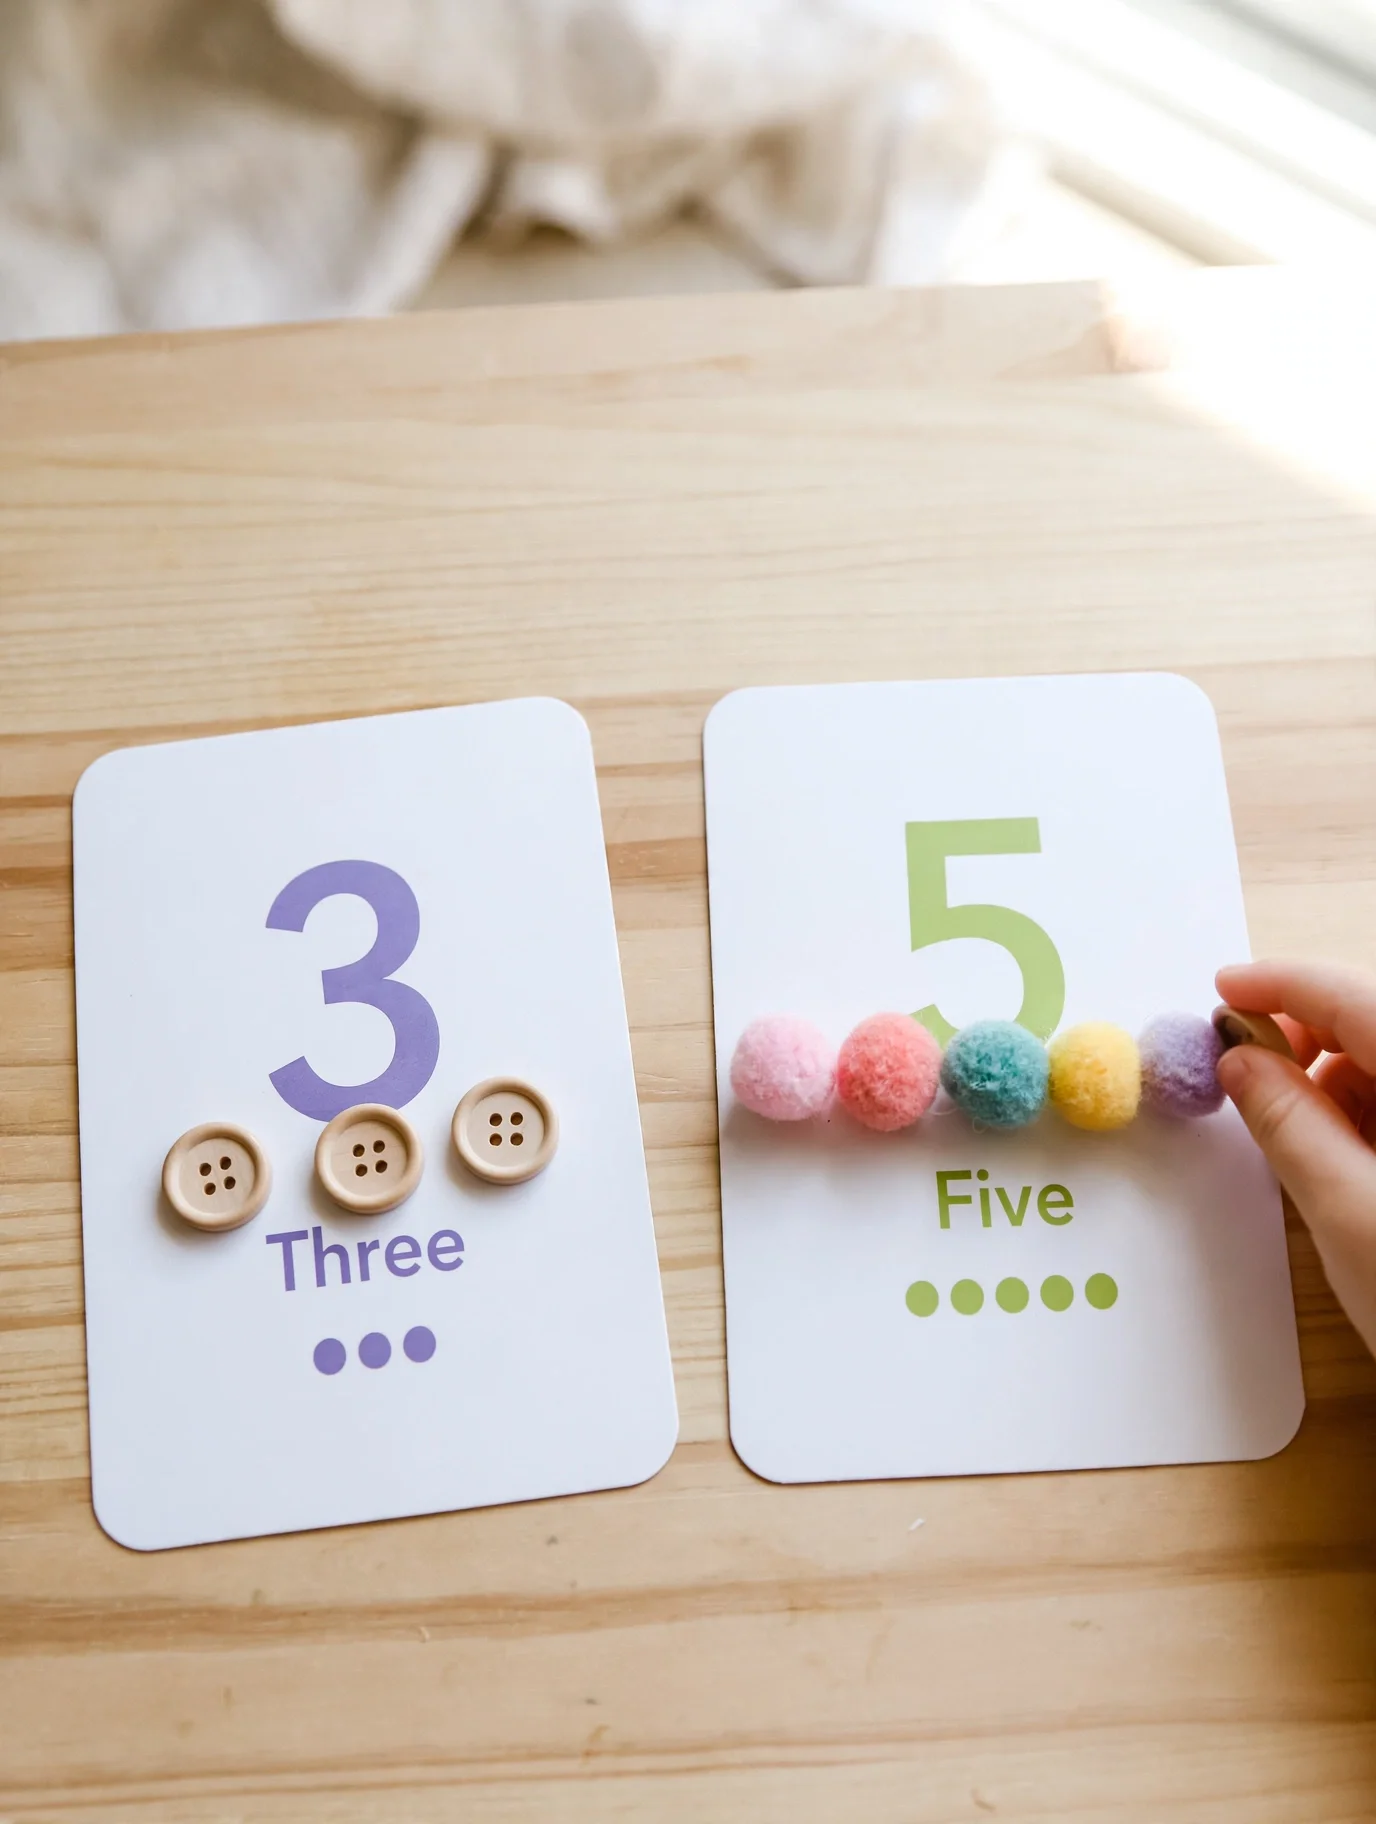
What to do: lay a number mat on the tray — a piece of paper with a big number on it — and let your toddler build the number out of dough snakes, then count out that many dough balls to sit beside it. The number 3 gets a dough snake shaped like a 3, and three little dough balls lined up underneath. The Number Dot Cards sit beside the mat as the counting guide: the card shows the number, the dots show how many.
Why it works: counting with dough makes the number something a toddler can hold. A printed 3 is an idea; three dough balls in a row are a fact the hands can check — one, two, three, and there are no more, because the row is done. Rolling the number itself out of a snake adds the shape of the numeral to the game, so the eyes, the hands, and the counting all practice the same number at once. It is the gentlest kind of early math: no worksheet, no quiz, just dough balls in a row and a card to check against. Our teaching your toddler to count has the full progression, and dough mats are the hands-on step in the middle of it.
Try it like this: start with 1, 2, and 3 — the numbers a two- or three-year-old can actually hold in their head. One mat at a time, one card beside it, and count out loud together as each dough ball lands: "One… two… three!" When the row is full, point at the card and count the dots together, so the card and the dough agree. Then let your toddler choose the next number — choice is what keeps a counting game from feeling like a lesson. Keep the cards on paper beside the tray, never pressed into the dough — the cards are the guide, and the dough is the play. Our pre-writing activities for preschoolers uses the same snake-shaping for letters, once the numbers feel easy.
Counting Sensory Kit — $15
When the counting game clicks, our Counting Sensory Kit gives it somewhere to go — number cards and counting objects for a count-and-match game, with a clear goal on every card.
Number Dot Cards — $10
Our Number Dot Cards are the counting guide for this whole idea — the card shows the number, the dots show how many, and your toddler counts out the dough balls to match. Keep the cards beside the tray as the guide, and let the dough do the counting.
6. Hide-and-seek treasures in the dough
What to do: hide things in the dough and let your toddler dig them out. Press a large button, a shell, a pom-pom, or a small toy animal into a ball of dough, squish it closed, and hand it over: "There's something hiding in there — can you find it?" The digging is the game, and the finding is the prize. Hide three treasures, then five, then let your toddler hide them for you.
Why it works: digging through dough is a different kind of hand work from squishing and rolling — it asks the fingers to pick and pry, to work a small thing out of a soft one. The treasure hunt also gives the play a mission, and a mission is what keeps a toddler digging after the first treasure is found. There is a beginning (the hiding), a middle (the digging), and an end (the finding) — and then the game resets itself, because the found treasure gets hidden again.
Try it like this: keep the treasures large — big buttons, big shells, chunky animals, nothing small enough to be mouthed whole, and nothing with small parts that can come off. Hide the first treasure shallow, so the first find comes fast and the game hooks. Then hide the next one deeper, and the next one deeper still. Narrate the hunt: "I can see a little bit of blue! What could it be?" And when your toddler wants to hide the treasures for you, let them — the hiding is half the game. The snipped noodles from idea 2 make excellent buried treasure too, if you want to chain the two games together.
7. Playdough + loose parts
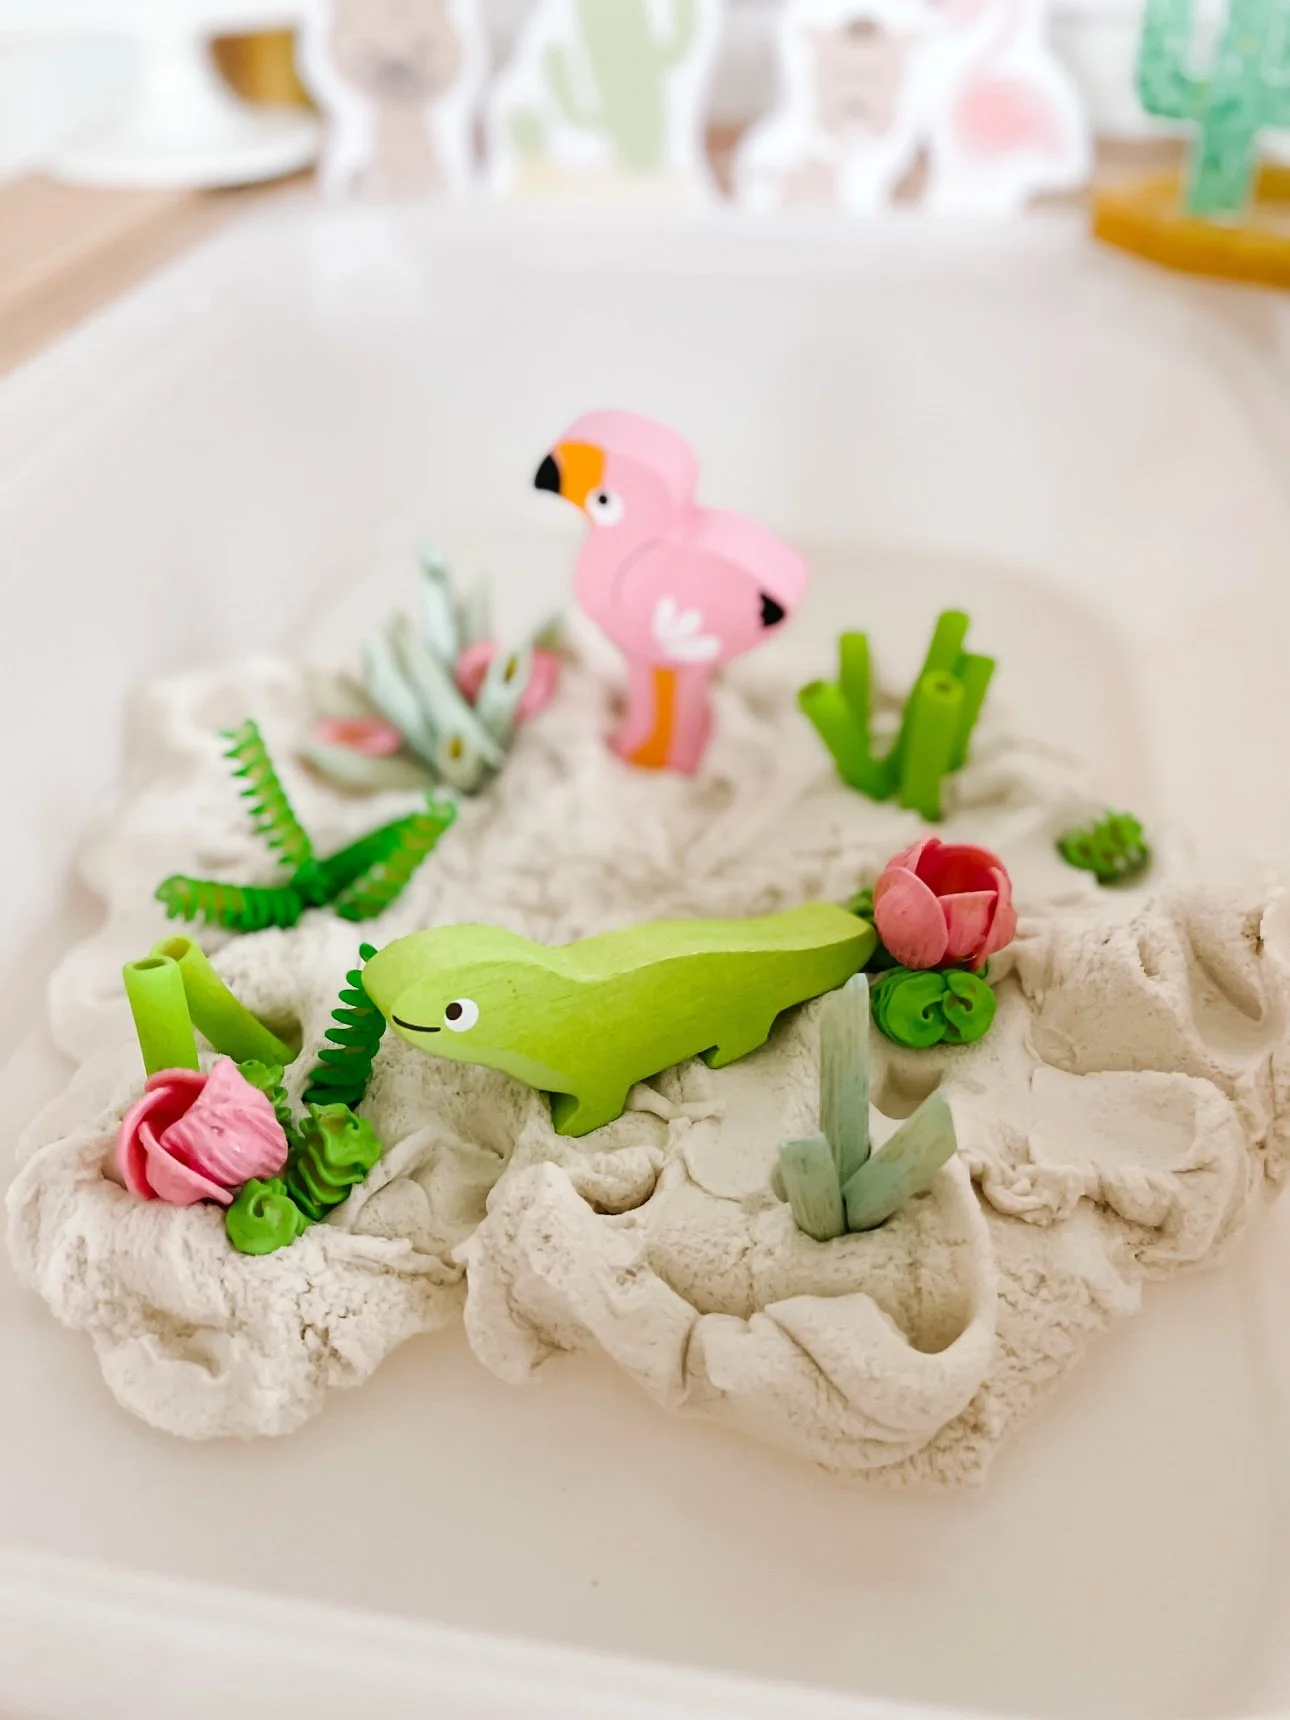
What to do: set out a tray of loose parts beside the dough and let your toddler stick them in. Pom-poms pressed into a dough pancake become a polka-dot cake. Large buttons pushed into a dough snake become a caterpillar's spots. Shells, large beads, bottle caps, and cut straws all become decorations, and a ball of dough covered in loose parts becomes a creature, a cake, or a very fancy hat — depending on the day.
Why it works: loose parts turn dough from a material into a construction set. Pressing a pom-pom into dough asks for a careful, aimed push — not a wild squish — and that aiming is exactly the kind of controlled hand work that builds dexterity. Arranging the parts asks for planning: where does the next button go, and how many fit on this snake? There is no right answer, no finished picture to match — just a toddler deciding what their dough creature looks like today.
Try it like this: one small bowl of loose parts at a time, not the whole craft drawer — a dozen pom-poms, a handful of large buttons, a few shells. Too many choices stall a toddler; a few good choices get the building started. Keep every part large, with nothing small enough to be mouthed whole, and skip anything with sharp edges or small pieces that detach. When the creature is done, photograph it — dough creatures do not keep, and a photo on the fridge is the trophy. Then squish it all back into a ball and start again. Our sensory bin tools for toddlers covers the scoops and containers that hold loose parts well, and our farm sensory bin is the classic loose-parts setup for a toddler who loves sticking things into soft stuff.
8. Make your own playdough together
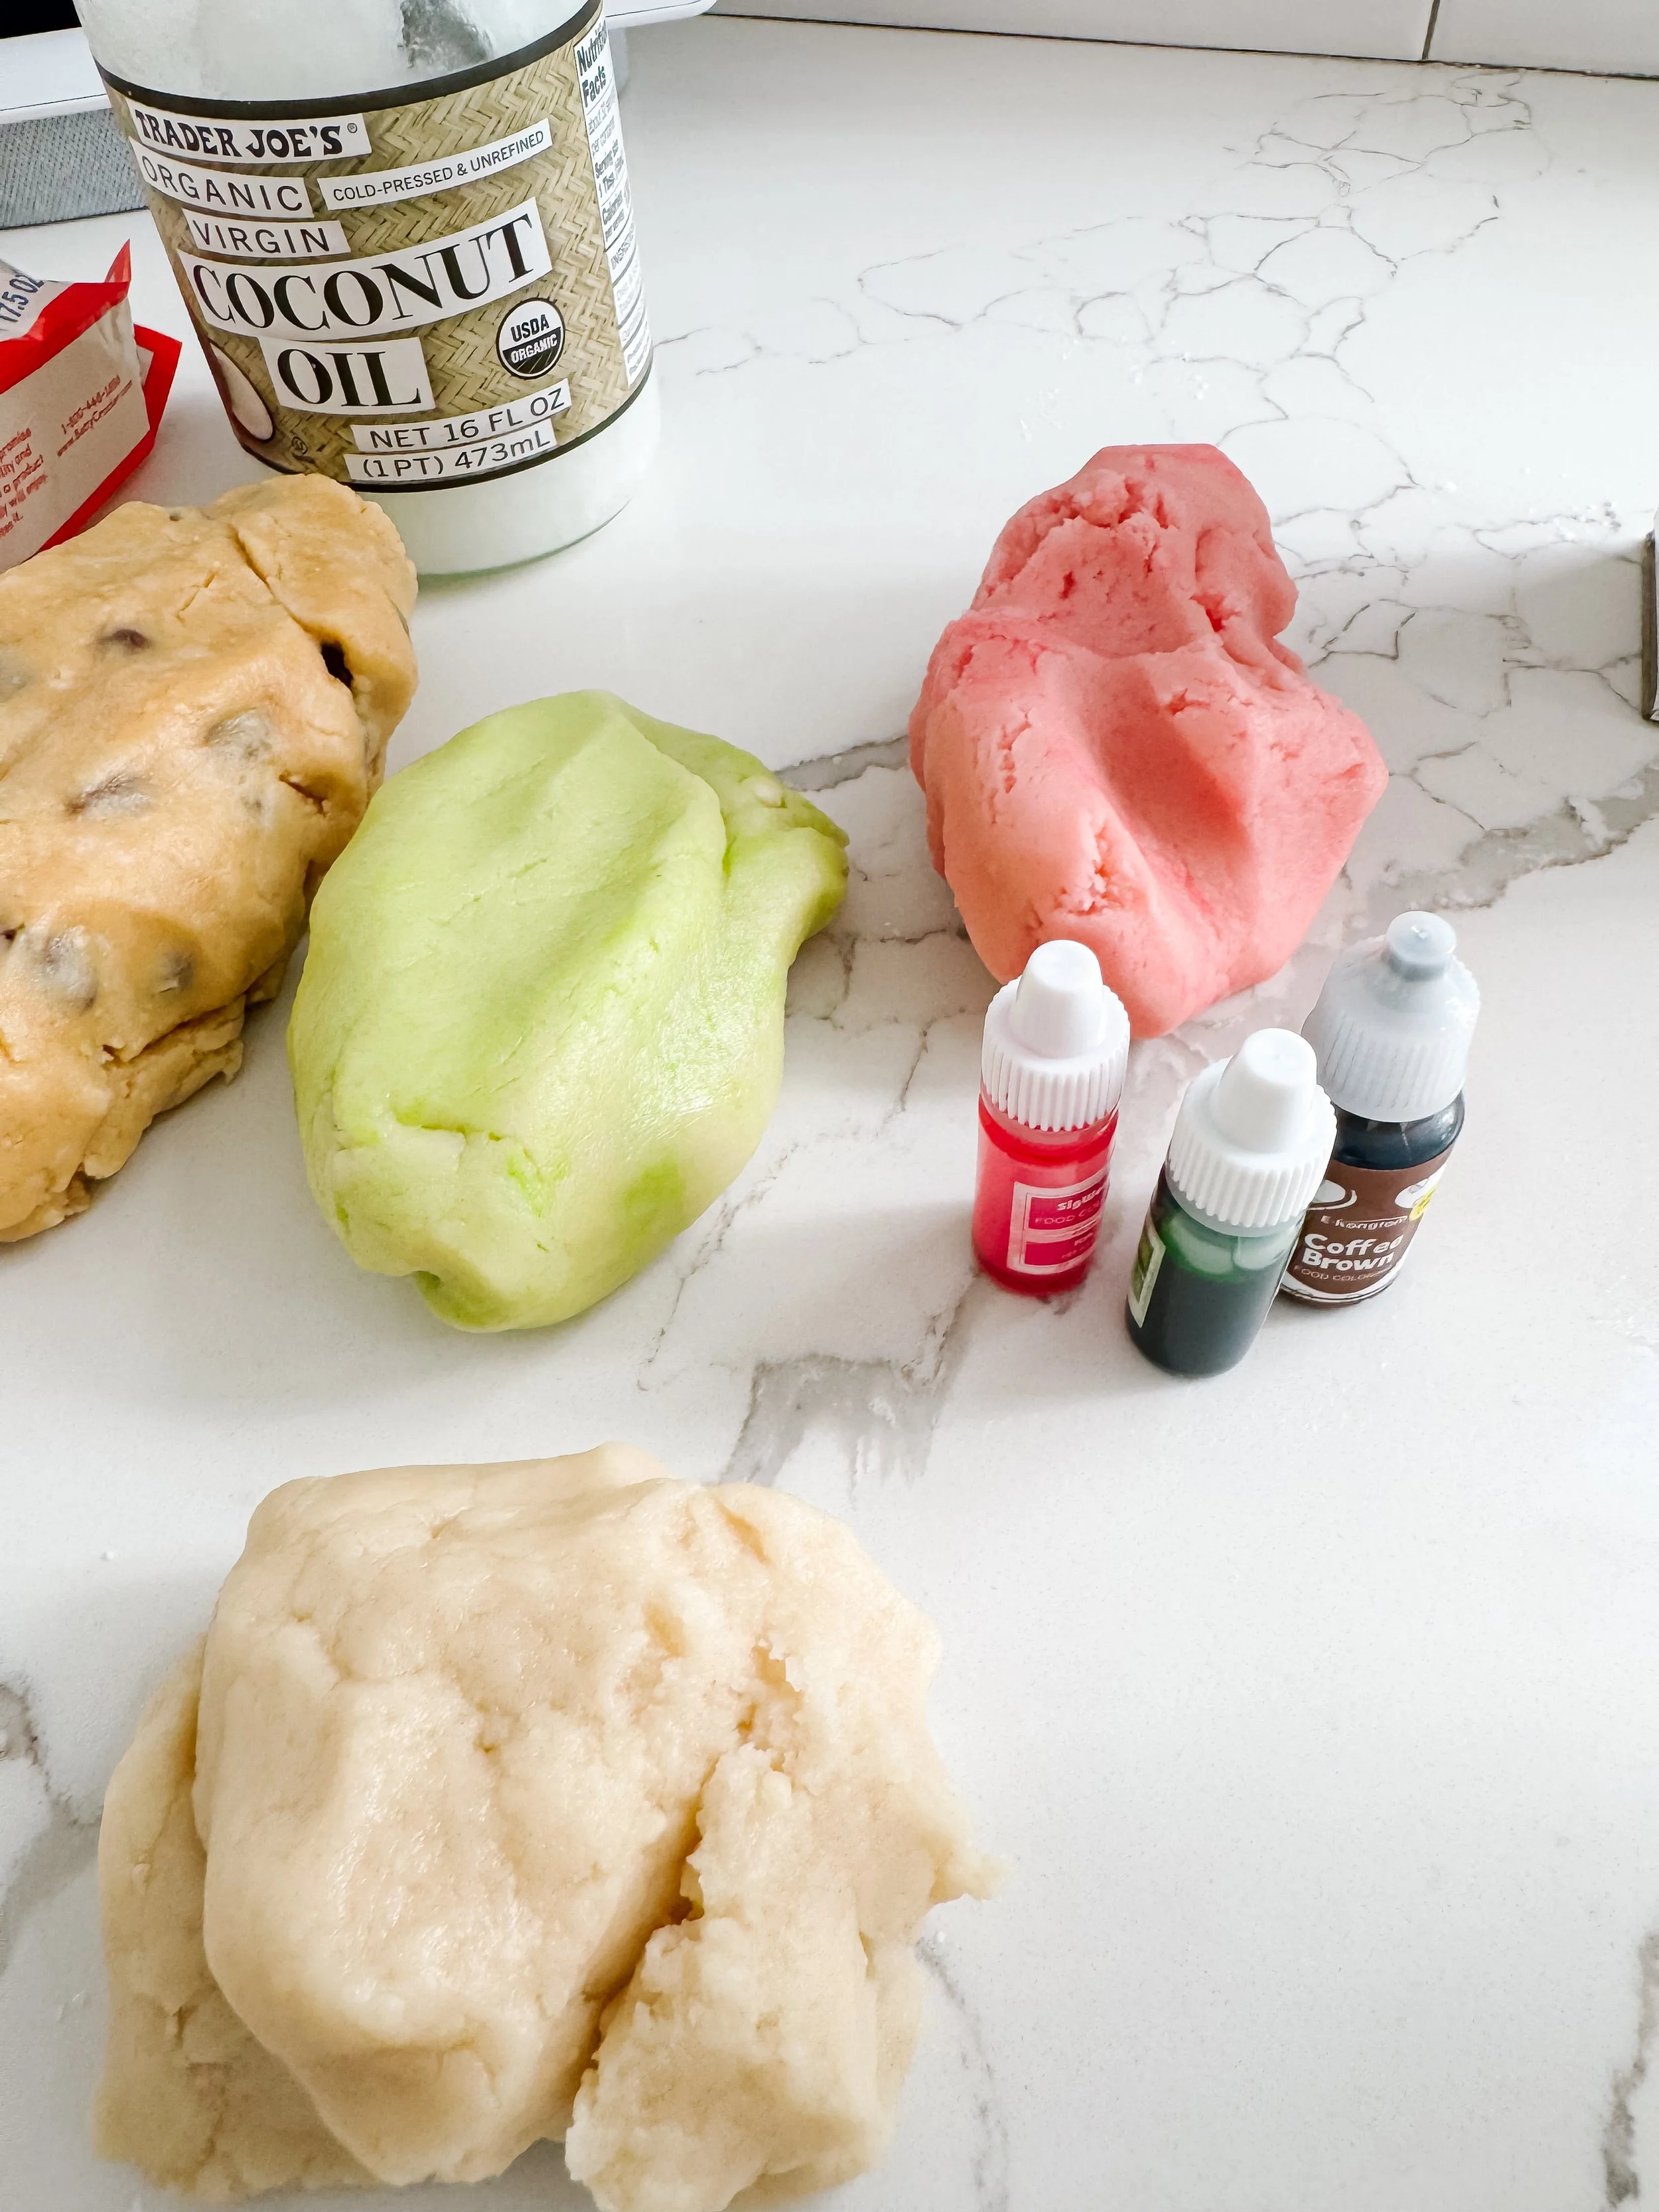
What to do: make the dough itself the activity. The simplest version is two ingredients: flour and a spoonful of oil, mixed and kneaded until it holds together, with a drop of food coloring if you want color. The no-cook version adds salt and warm water and kneads into a soft dough in about five minutes. The cooked version — flour, salt, water, and cream of tartar heated gently in a pan until it thickens — needs a grown-up at the stove, but it stays soft for months in a lidded tub.
Why it works: making the dough turns the whole afternoon into one long sensory activity, because the measuring, pouring, stirring, and kneading are the play before the play. A toddler pouring flour into a bowl is practicing the same pouring they practice at the water table. Kneading the warm dough at the end is the warm-up from idea 1, done with dough they made themselves — and dough a child made is dough a child will play with twice as long.
Try it like this: start with the no-cook version — it is five minutes, one bowl, and no stove, which is the right size for a first batch. Let your toddler do the pouring and the stirring, and you do the kneading until the dough comes together. Add the color at the end, one drop at a time, and let them knead it in and watch the dough change color in their hands. Store the finished dough in a lidded tub or a zip bag with the air pressed out, and it will be ready for every idea in this post all week. If a batch dries out, knead in a few drops of water — and if it is past saving, that is the perfect excuse to make a fresh batch together. Our ultimate guide to sensory filler materials has more homemade fillers in the same spirit, for the days when the dough is resting and the bin needs something new.
If you want a recipe to start from, we have a few favorites on the blog: our ice cream play dough (cookie mix, cornstarch, and coconut oil — soft, fluffy, and scoopable), our taste-safe marshmallow play dough (three ingredients, thirty seconds in the microwave), our Valentine's ice cream cloud dough (frosting and sugar, impossibly soft), and our taste-safe moon sand (cornstarch, brown sugar, and coconut oil). Each one plays a little differently, and each one is a whole afternoon on its own.
Free: Winter Pie Recipe Cards
Once the dough is made, our free Winter Pie recipe cards give the bakery a story to follow — read the card, then play the recipe, step by step.
A week of playdough play
Here's what the eight ideas look like when they run as a week, with the same ball of dough on the same tray, on the same table:
- Monday — the warm-up. Squish, roll, and pinch, nothing else. Two or three minutes of hands-on dough, and that's a fine start.
- Tuesday — snakes and noodles. Roll the snakes long, then snip them into noodles. The pile of noodles becomes spaghetti for dinner.
- Wednesday — the bakery opens. The dough becomes pie crust, the pom-poms become cherries, and you are the customer with a very specific order.
- Thursday — counting day. Number mats on the tray, Number Dot Cards beside them, and dough balls counted out one at a time.
- Friday — treasure hunt. Hide the loose parts in the dough, dig them out, and let your toddler hide them for you. Then make a fresh batch together for the weekend.
One ball of dough, five days, five different games — and the only thing you bought was the flour. If you want more setups to run this week, start with our fine motor activities for toddlers, then pick a setup from our sensory play pies and see how long the bakery stays open.
Keep it playful — the rule that matters most
Here's the thing I learned the slow way: the moment playdough stops feeling like play, a toddler stops playing with it. The counting mats, the bakery orders, the treasure hunts — they all work because they're hidden inside a game a child chose.
So keep it light. Offer the counting mat, but don't insist on it — if the dough balls turn into a snake family instead, the snake family is the game now. Open the bakery, but let the baker set the menu — if the customer orders a blueberry pie and the baker makes a mud pie, that's the pie.
Sensory play with play dough FAQ
Is playdough good for fine motor skills?
Yes — squishing, rolling, pinching, pressing, and snipping dough all give little hands real practice with the grips and movements they use for holding pencils, using scissors, and doing up buttons. The practice happens naturally inside the play, which is what makes dough such a good fine-motor activity: the hands get the workout simply because the game is fun.
What age can toddlers play with playdough?
Most toddlers are ready for playdough around age 2, once the mouthing stage has eased and they can be trusted not to put small pieces in their mouth. Keep the pieces large, stay nearby, and skip the small loose parts. If your child is still mouthing everything, our sensory play ideas for 1-year-olds has bigger props and sealed-bag play for that stage.
How do I keep playdough from drying out?
Store it in a lidded tub or a zip bag with the air pressed out, and it will stay soft for weeks. If a ball starts to feel stiff, knead in a few drops of water — a little at a time, until it softens. Homemade cooked dough keeps the longest, and a batch that is truly past saving is the perfect excuse to make a fresh one together.
How do I clean up playdough mess?
Play on a tray, and most of the mess stays on the tray. Let dropped crumbs dry completely — dried dough crumbles off tables, floors, and clothes far more easily than wet dough smears. A damp cloth takes care of the rest, and a quick vacuum handles the crumbs on the floor.
What can I use instead of cookie cutters?
Almost anything with an edge or a shape: a drinking glass for circles, a plastic cup for smaller circles, a fork for lines, a potato masher for grids, a leaf or pinecone for nature prints, a bottle cap for tiny circles, and the rim of a jar for rings. Let your toddler test the kitchen drawer — half the fun of stamping is discovering what leaves the best mark.
Free: Winter Printable Play Mats
Give the dough games somewhere to land — our free Winter Printable Play Mats sit right on the tray as counting mats and sorting trays, so whatever game your toddler invents has a place to go.
The dough was never just dough — it was the bakery, the counting game, the treasure hunt, and the snake family, all on one tray on the table. Start with one idea this week: hand over a ball of dough and let the squishing begin, or roll a snake and snip it into noodles. That's how our sensory play worked when my daughter was little: one ball of dough, eight ways to play with it. If you want more setups to pair with the dough, start with our fine motor activities for toddlers, then open the bakery with our sensory play pies.